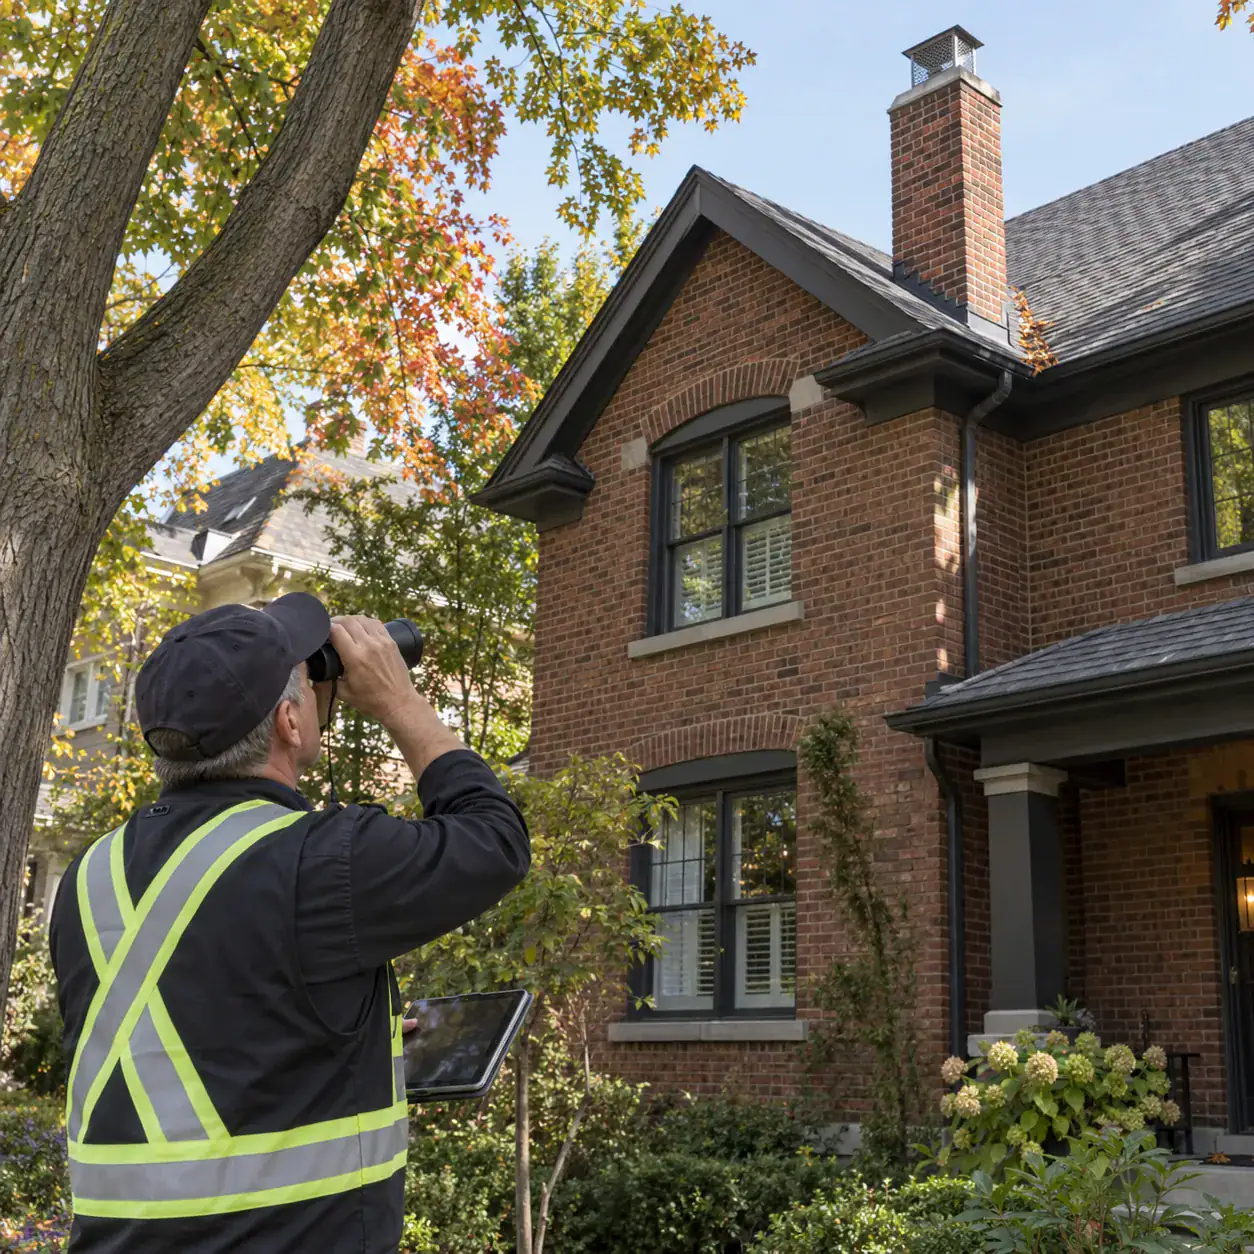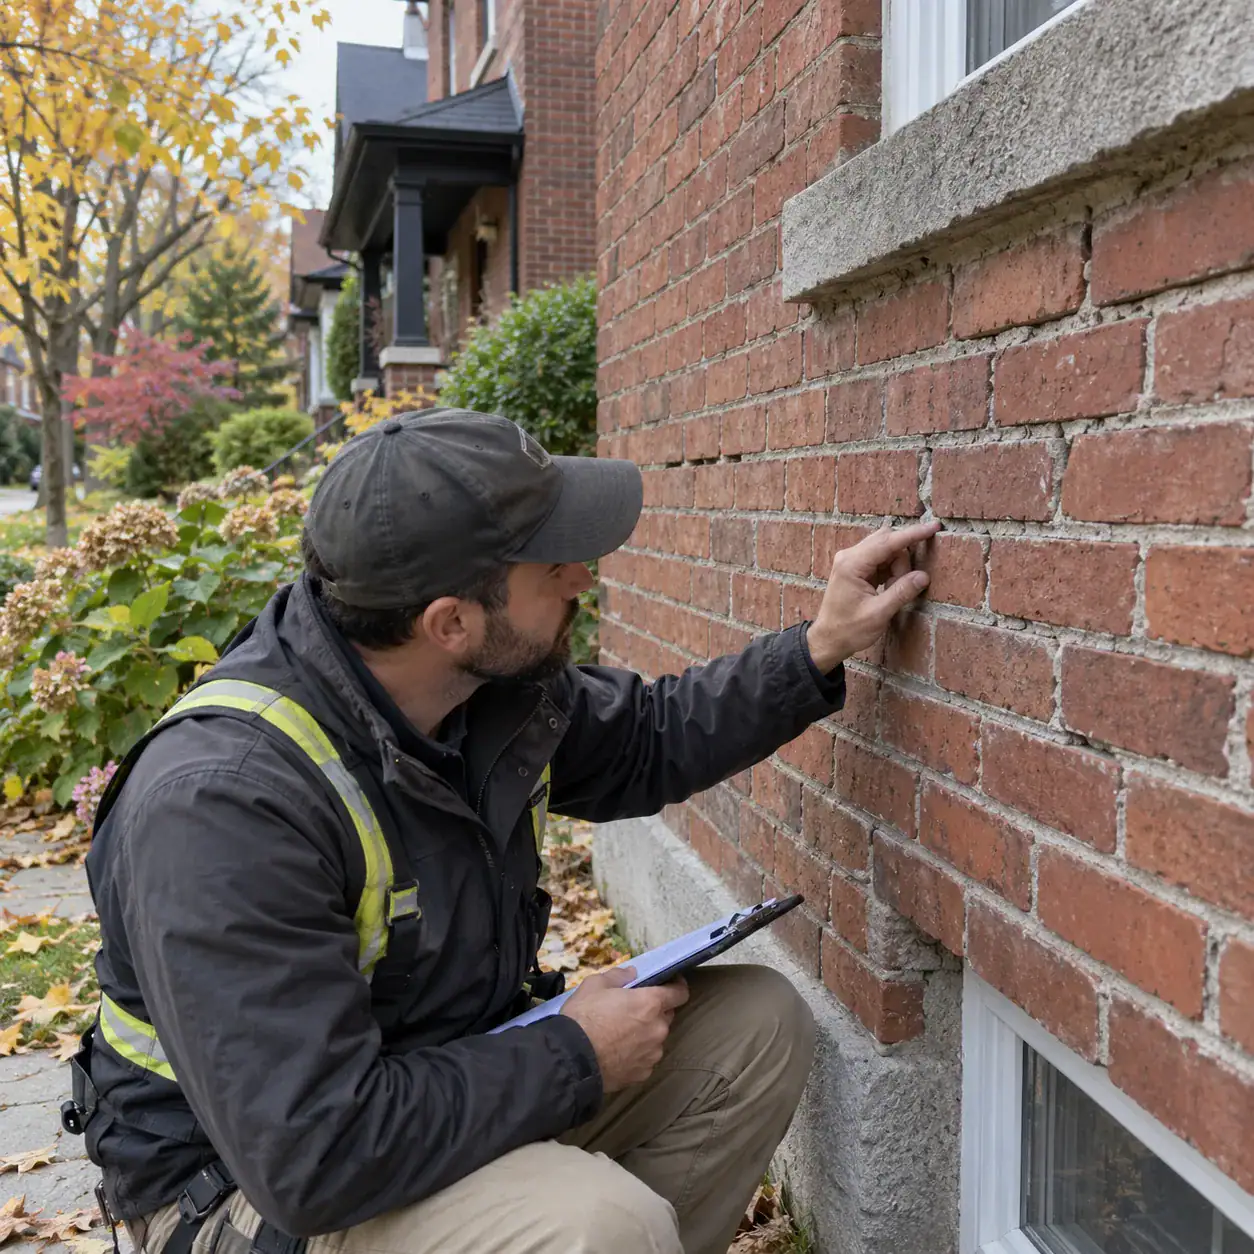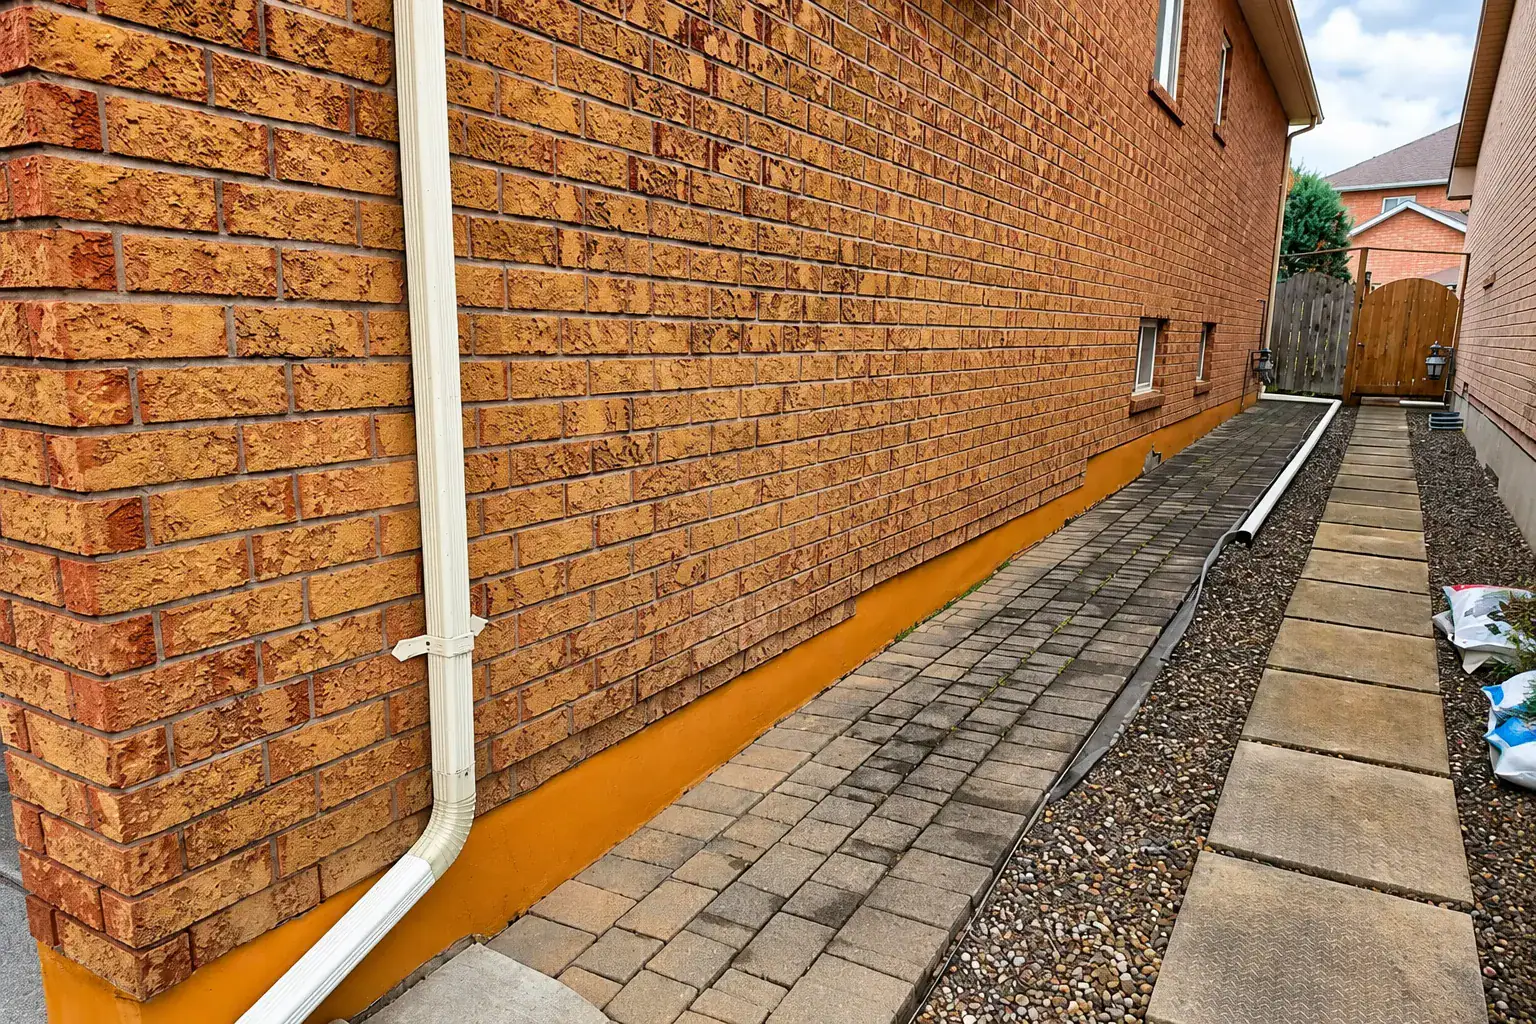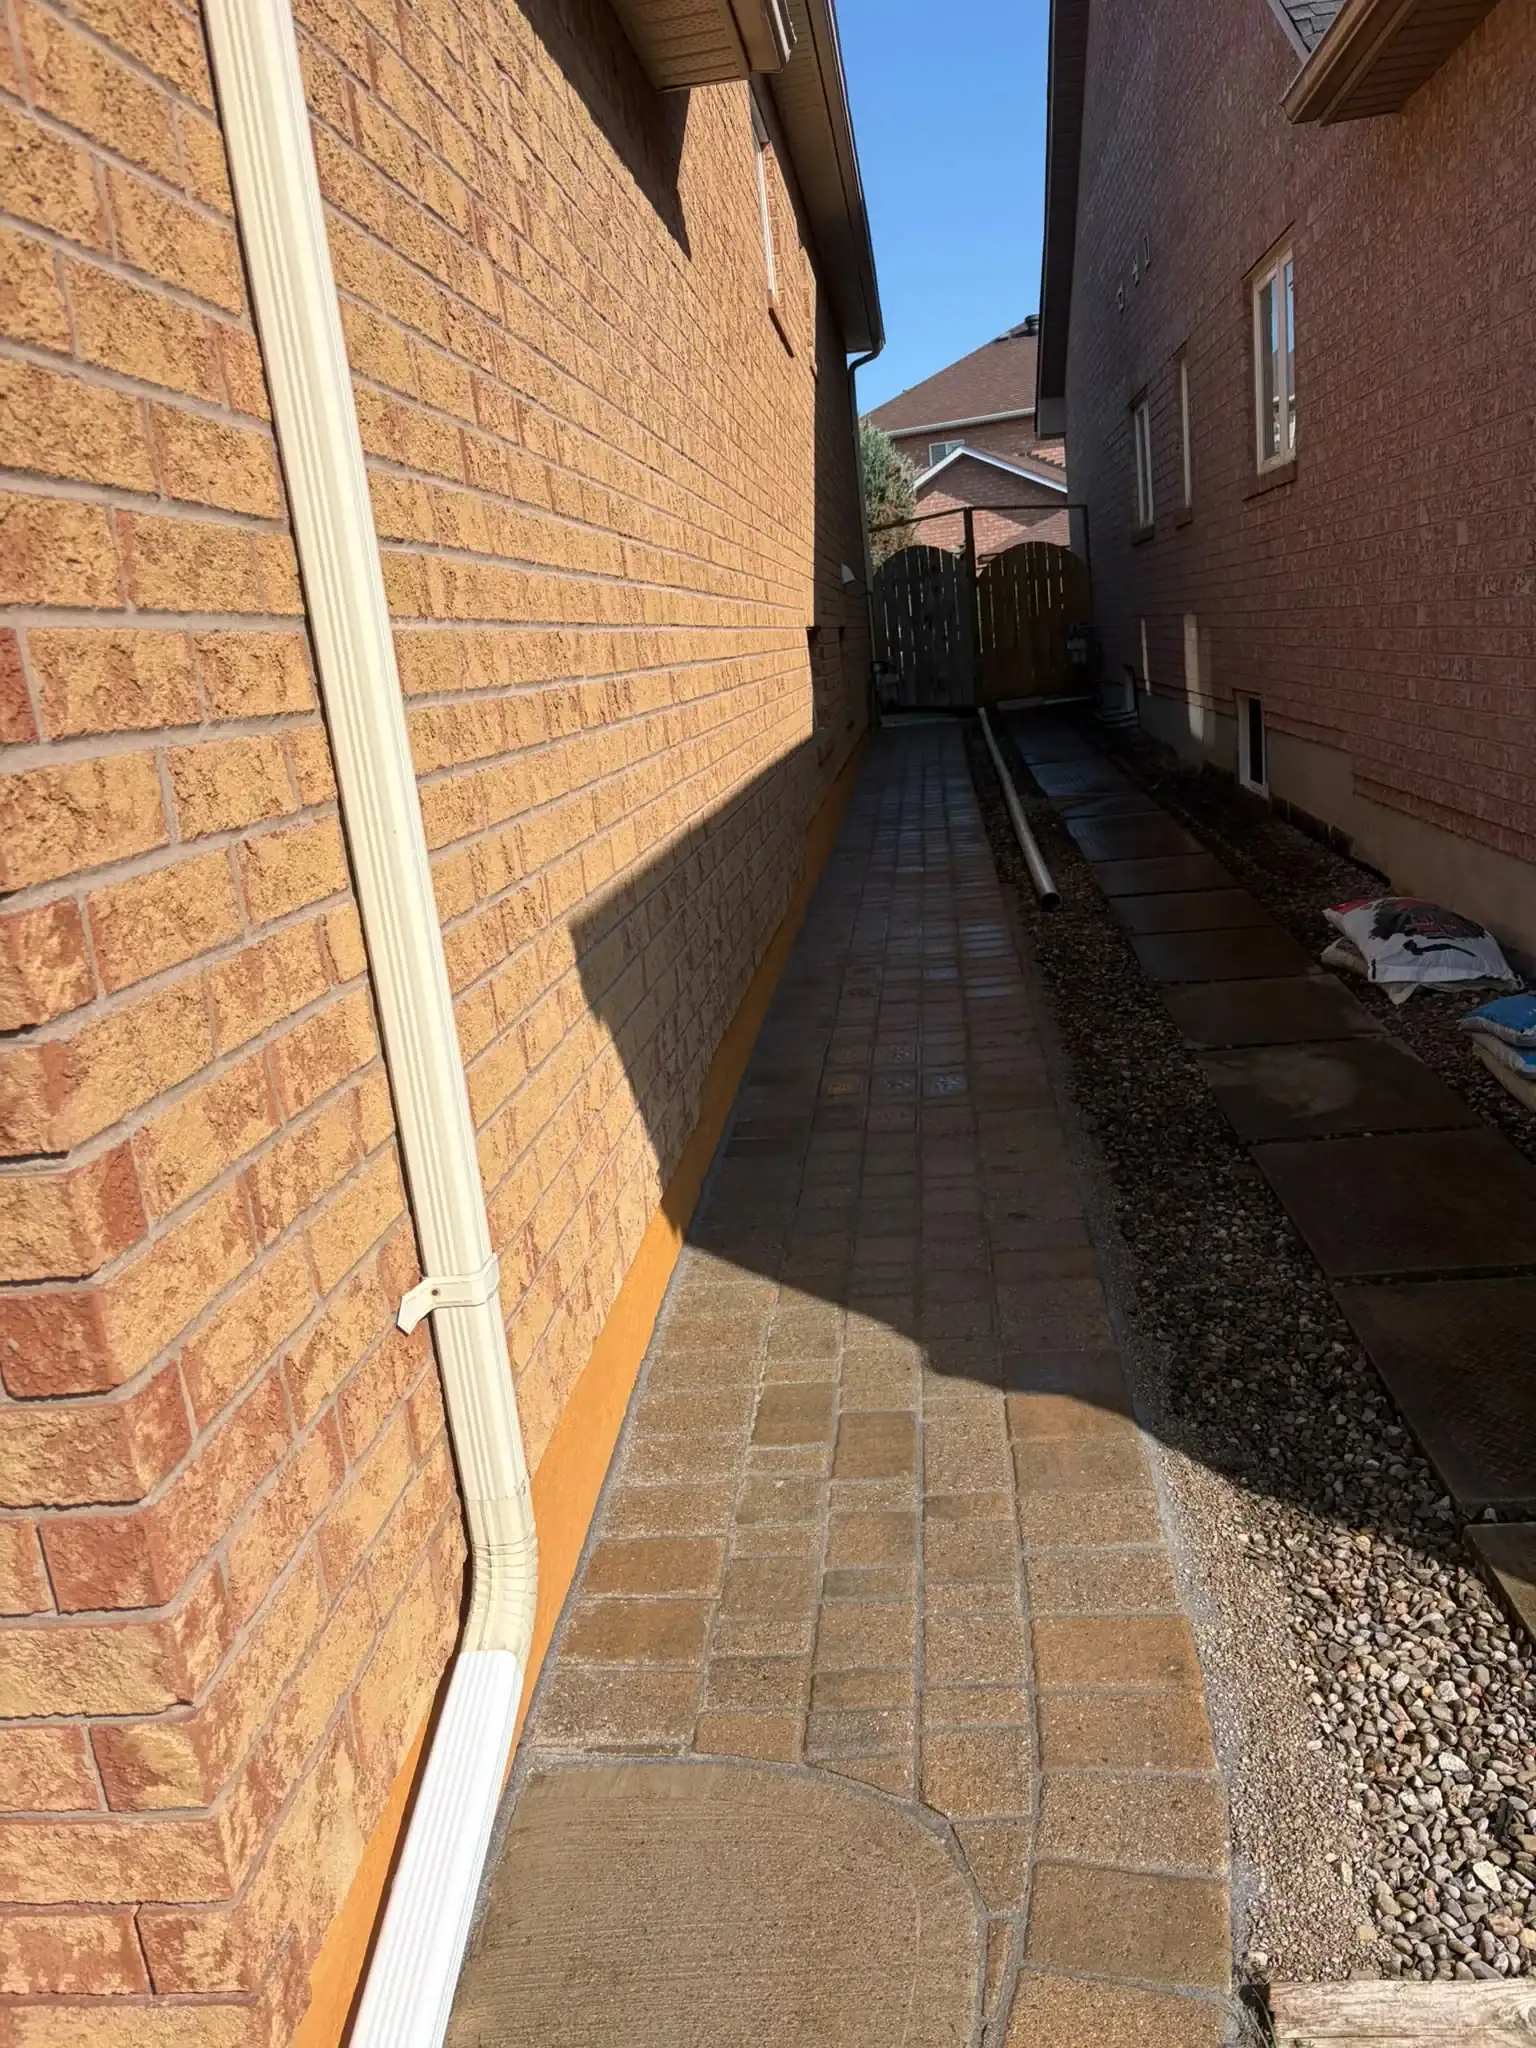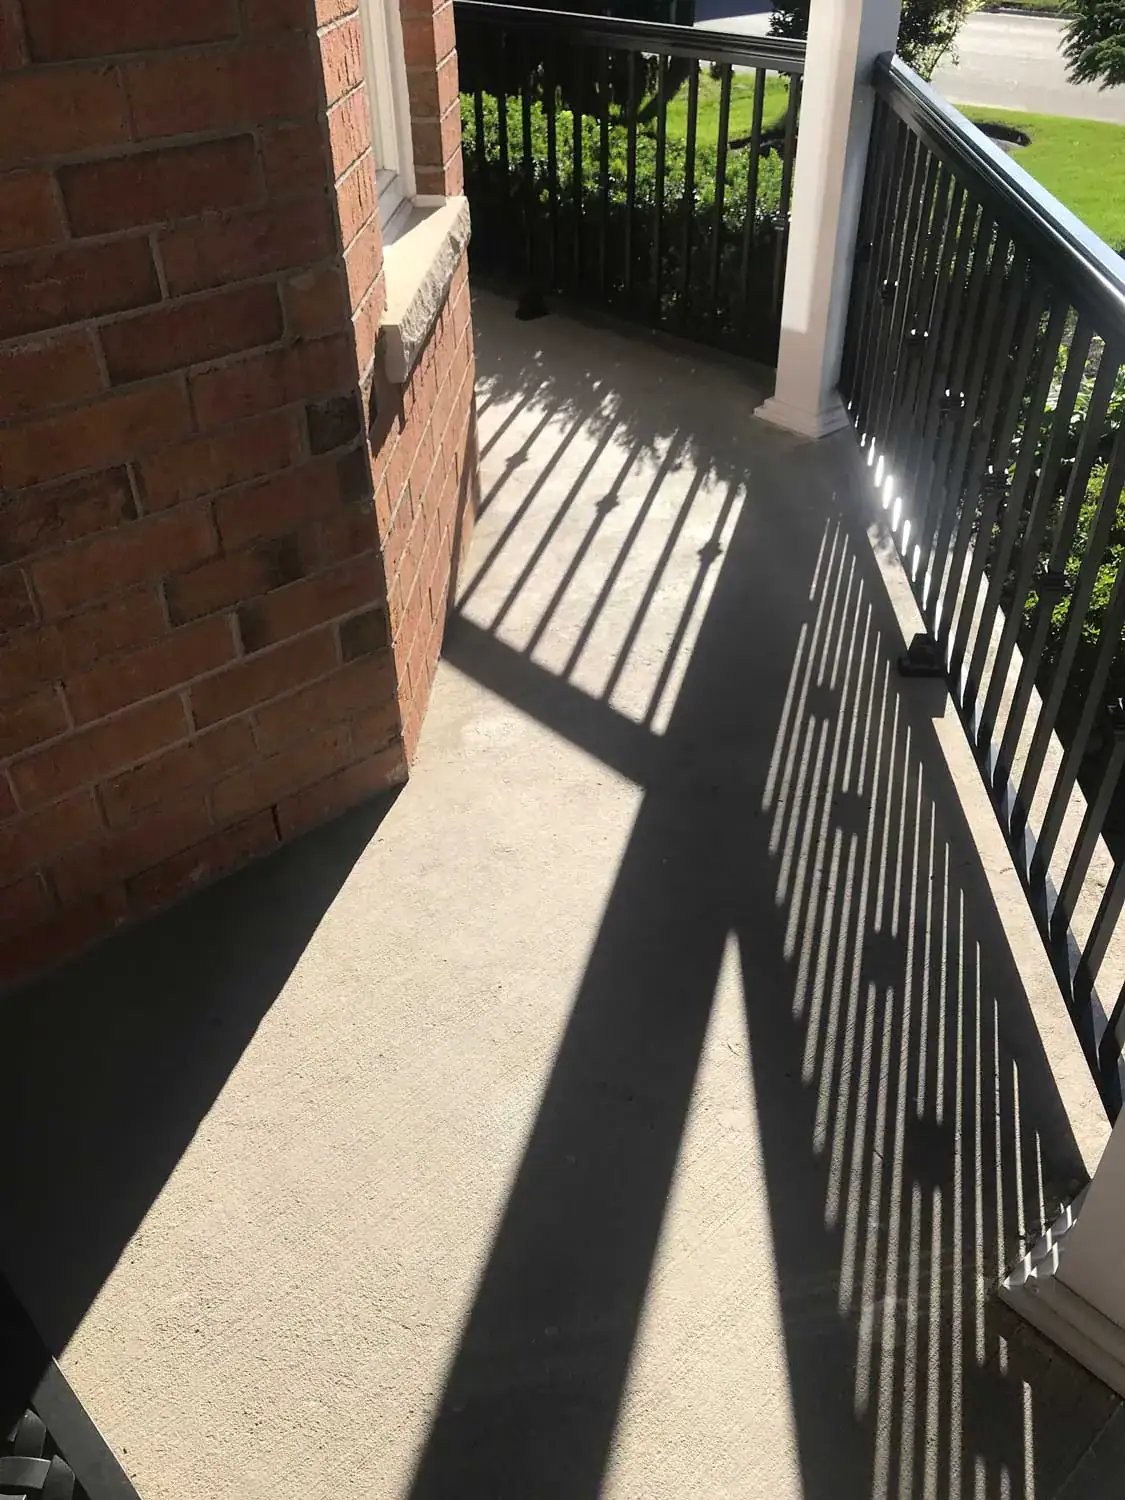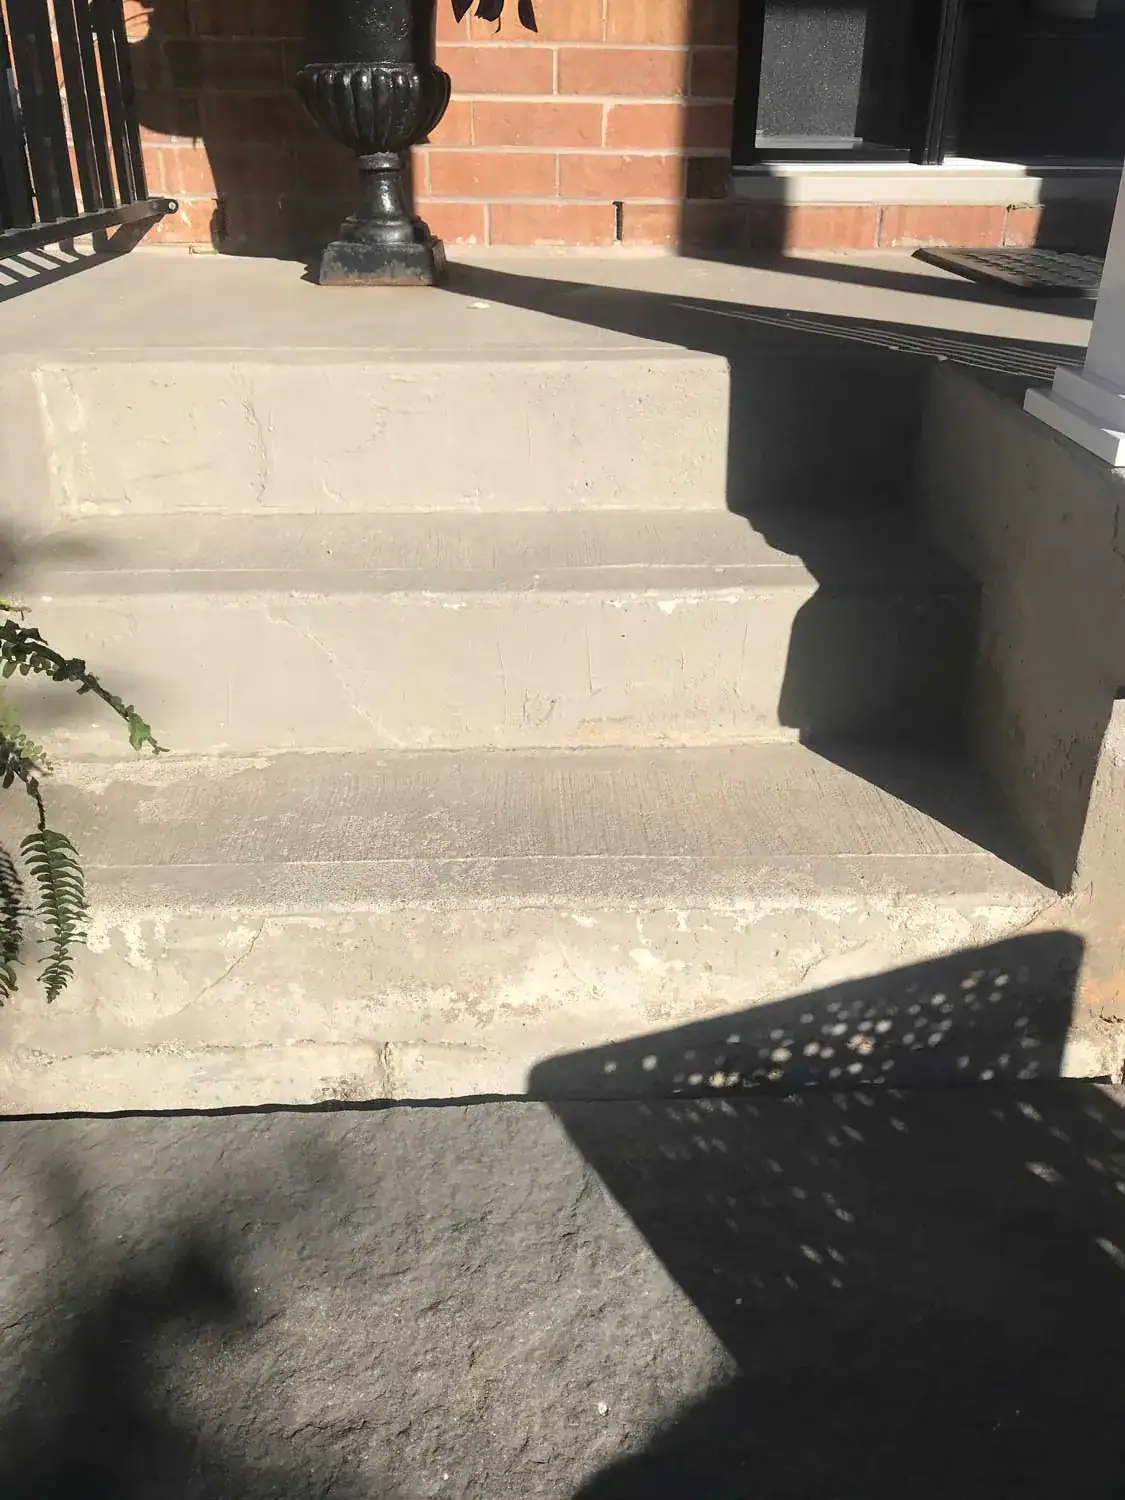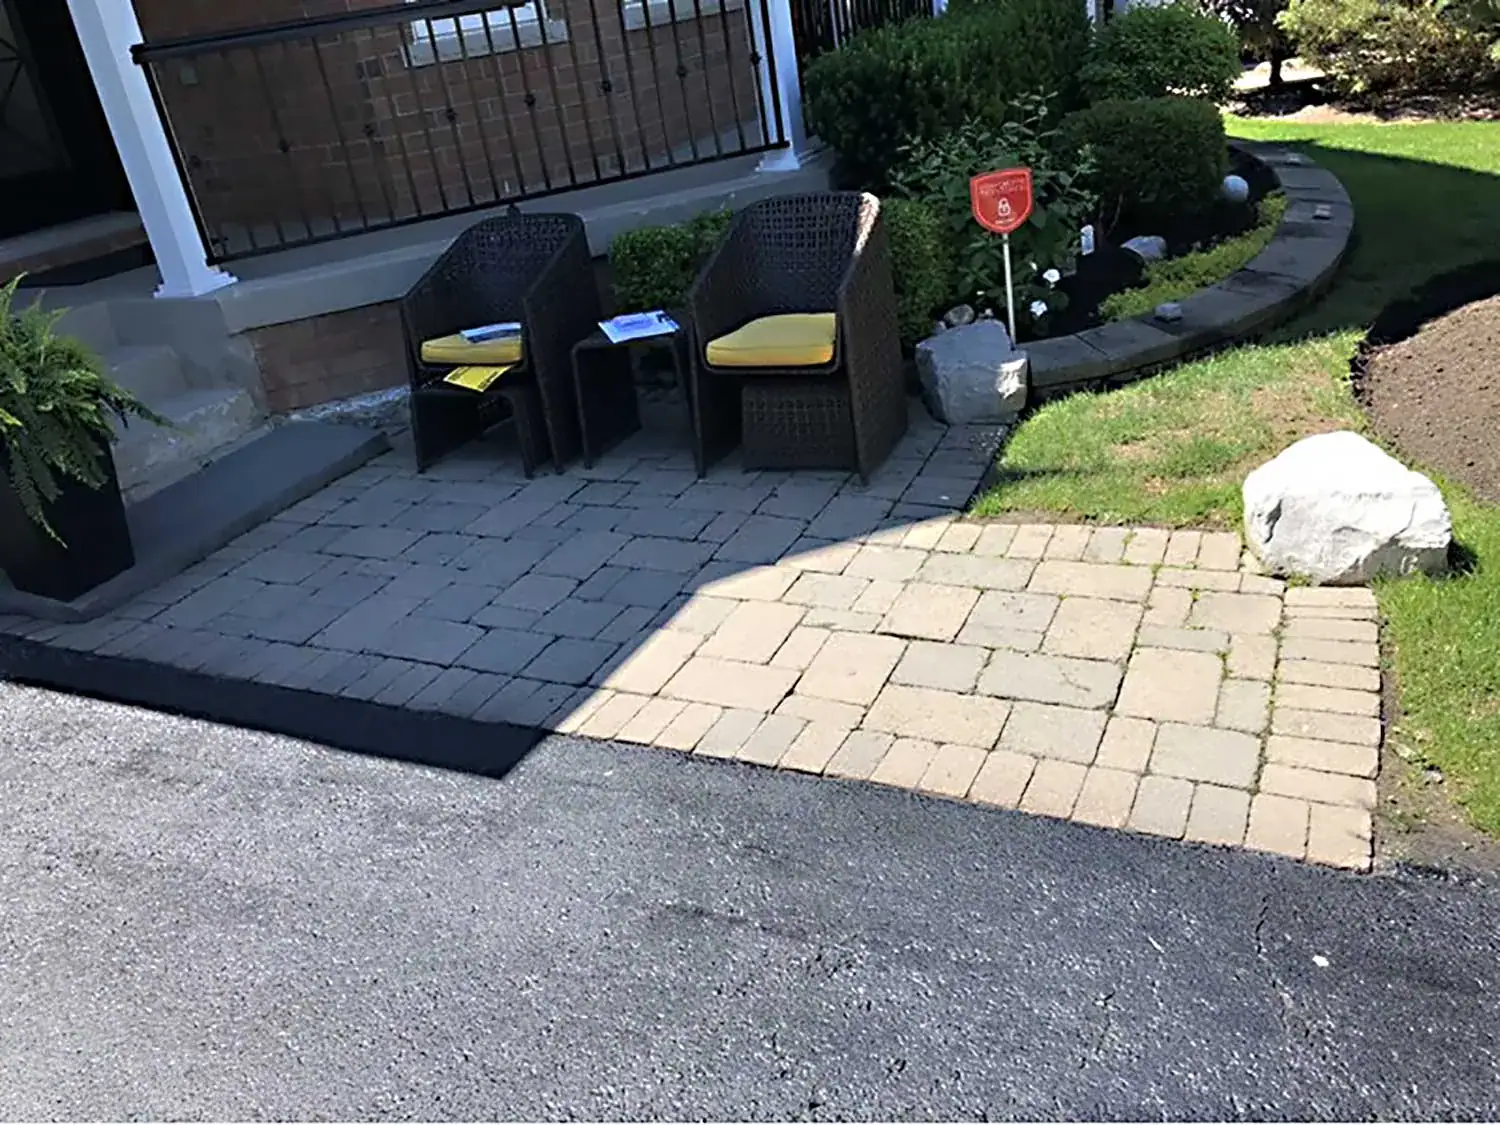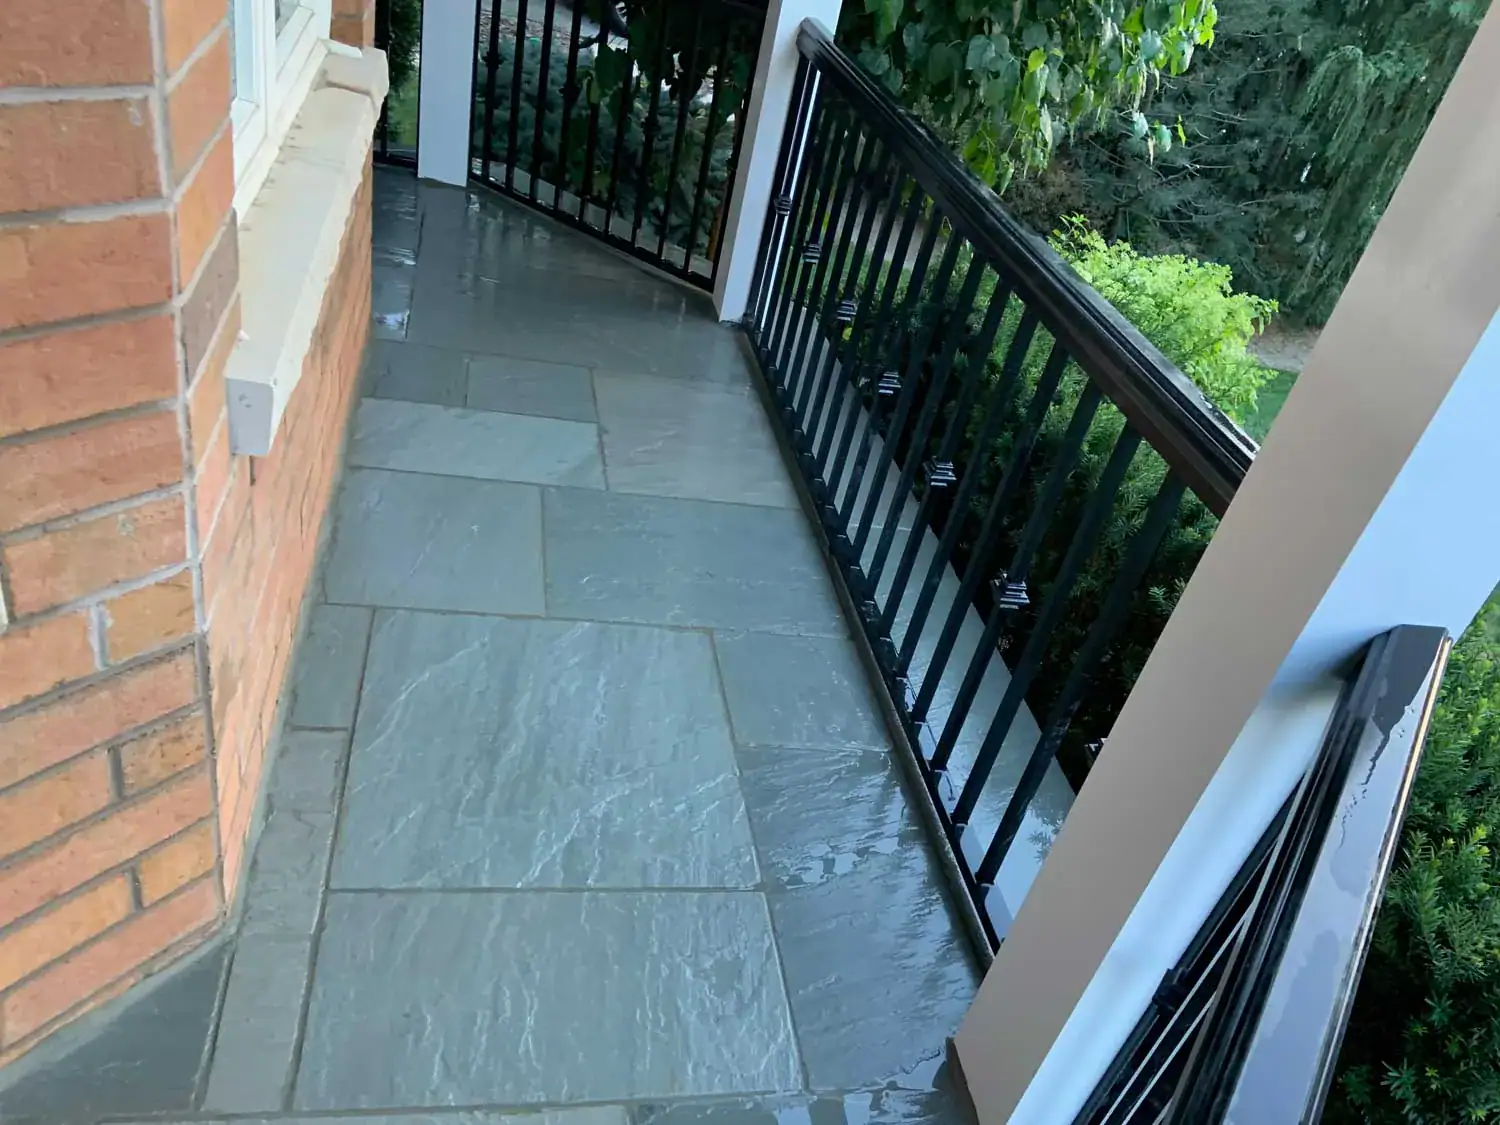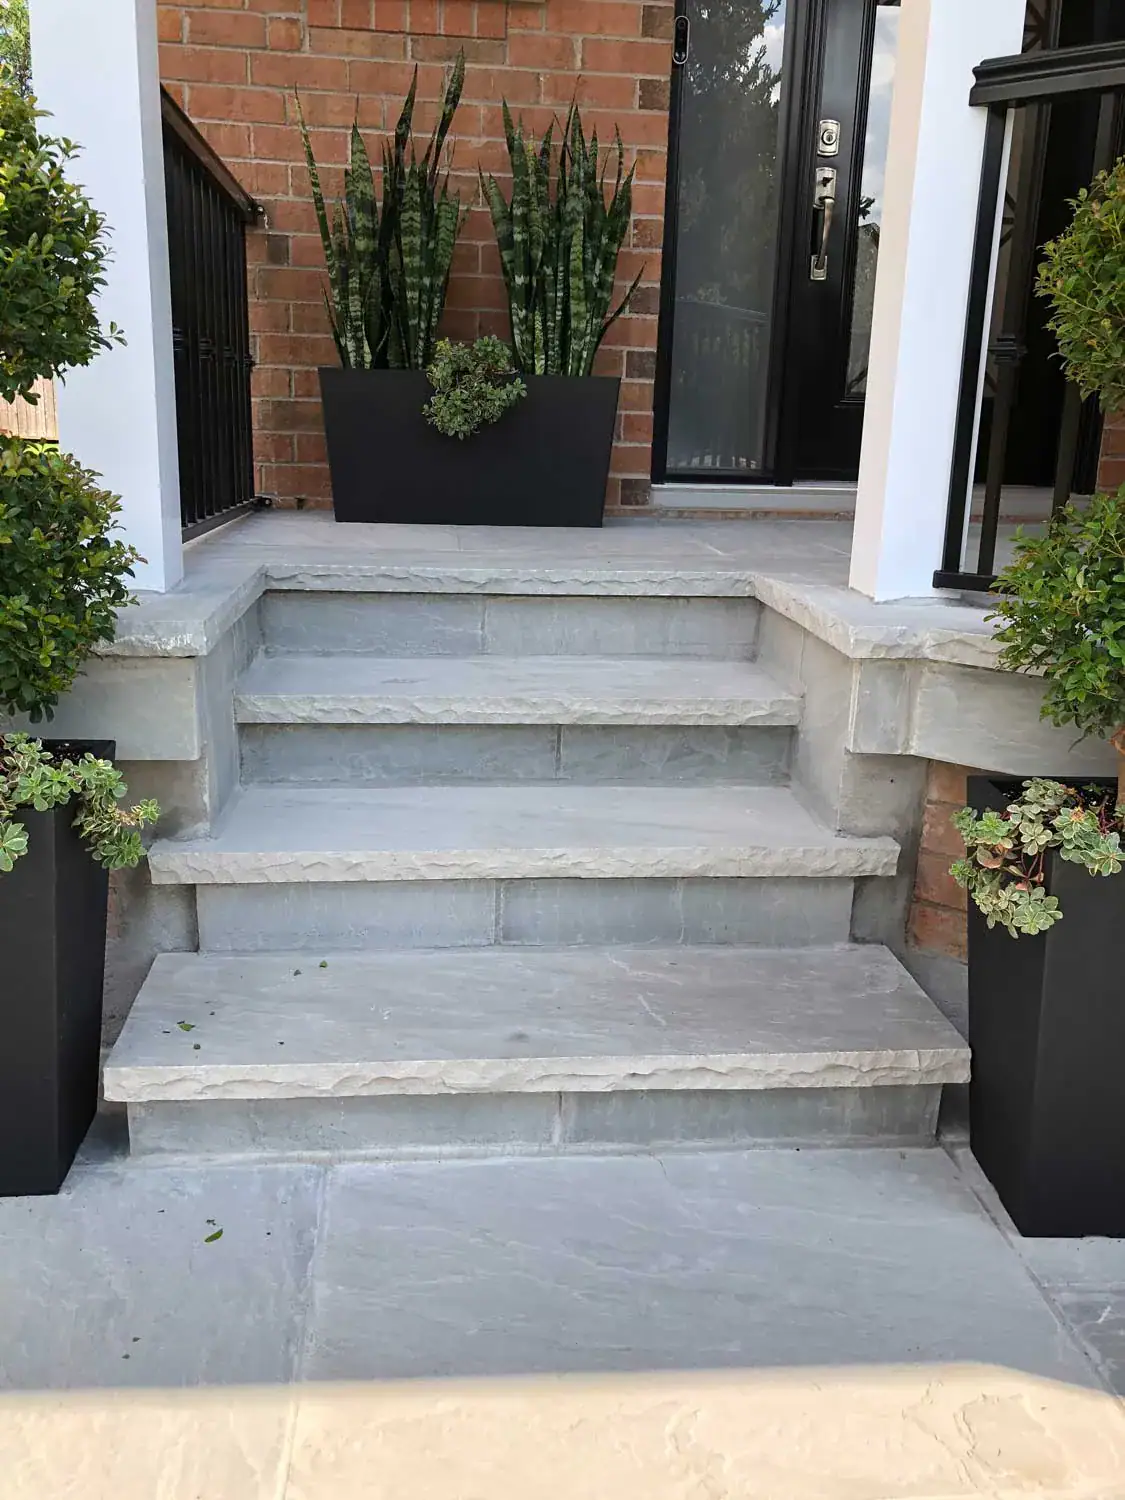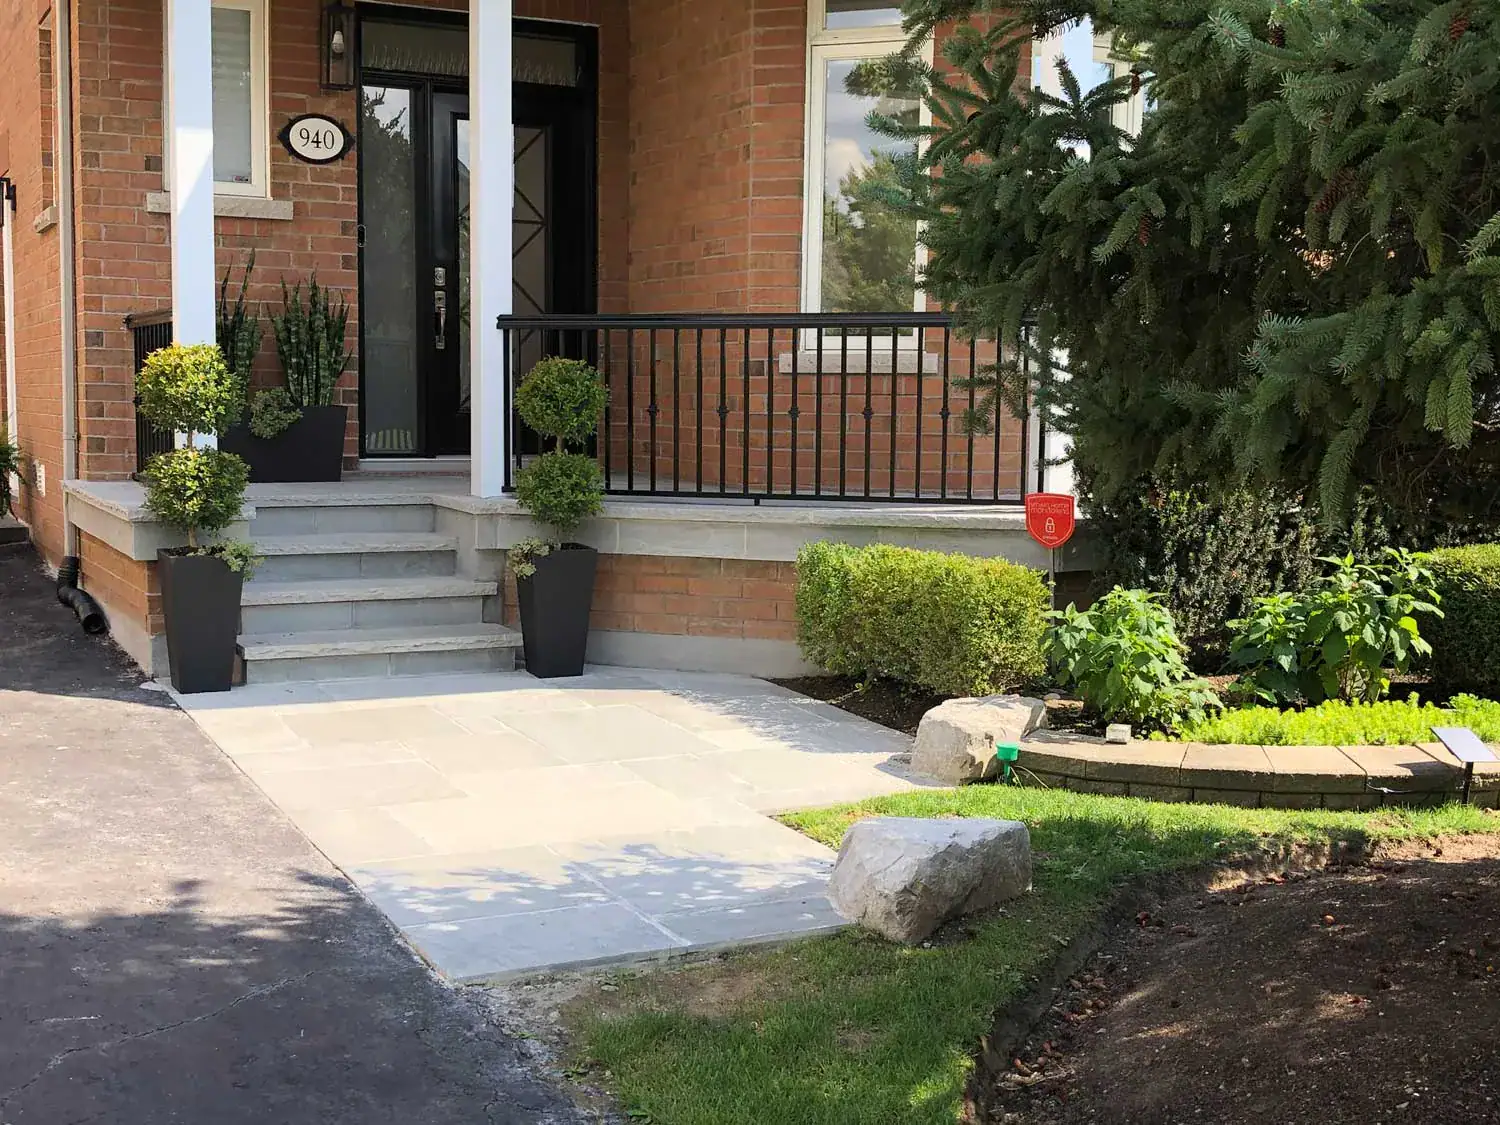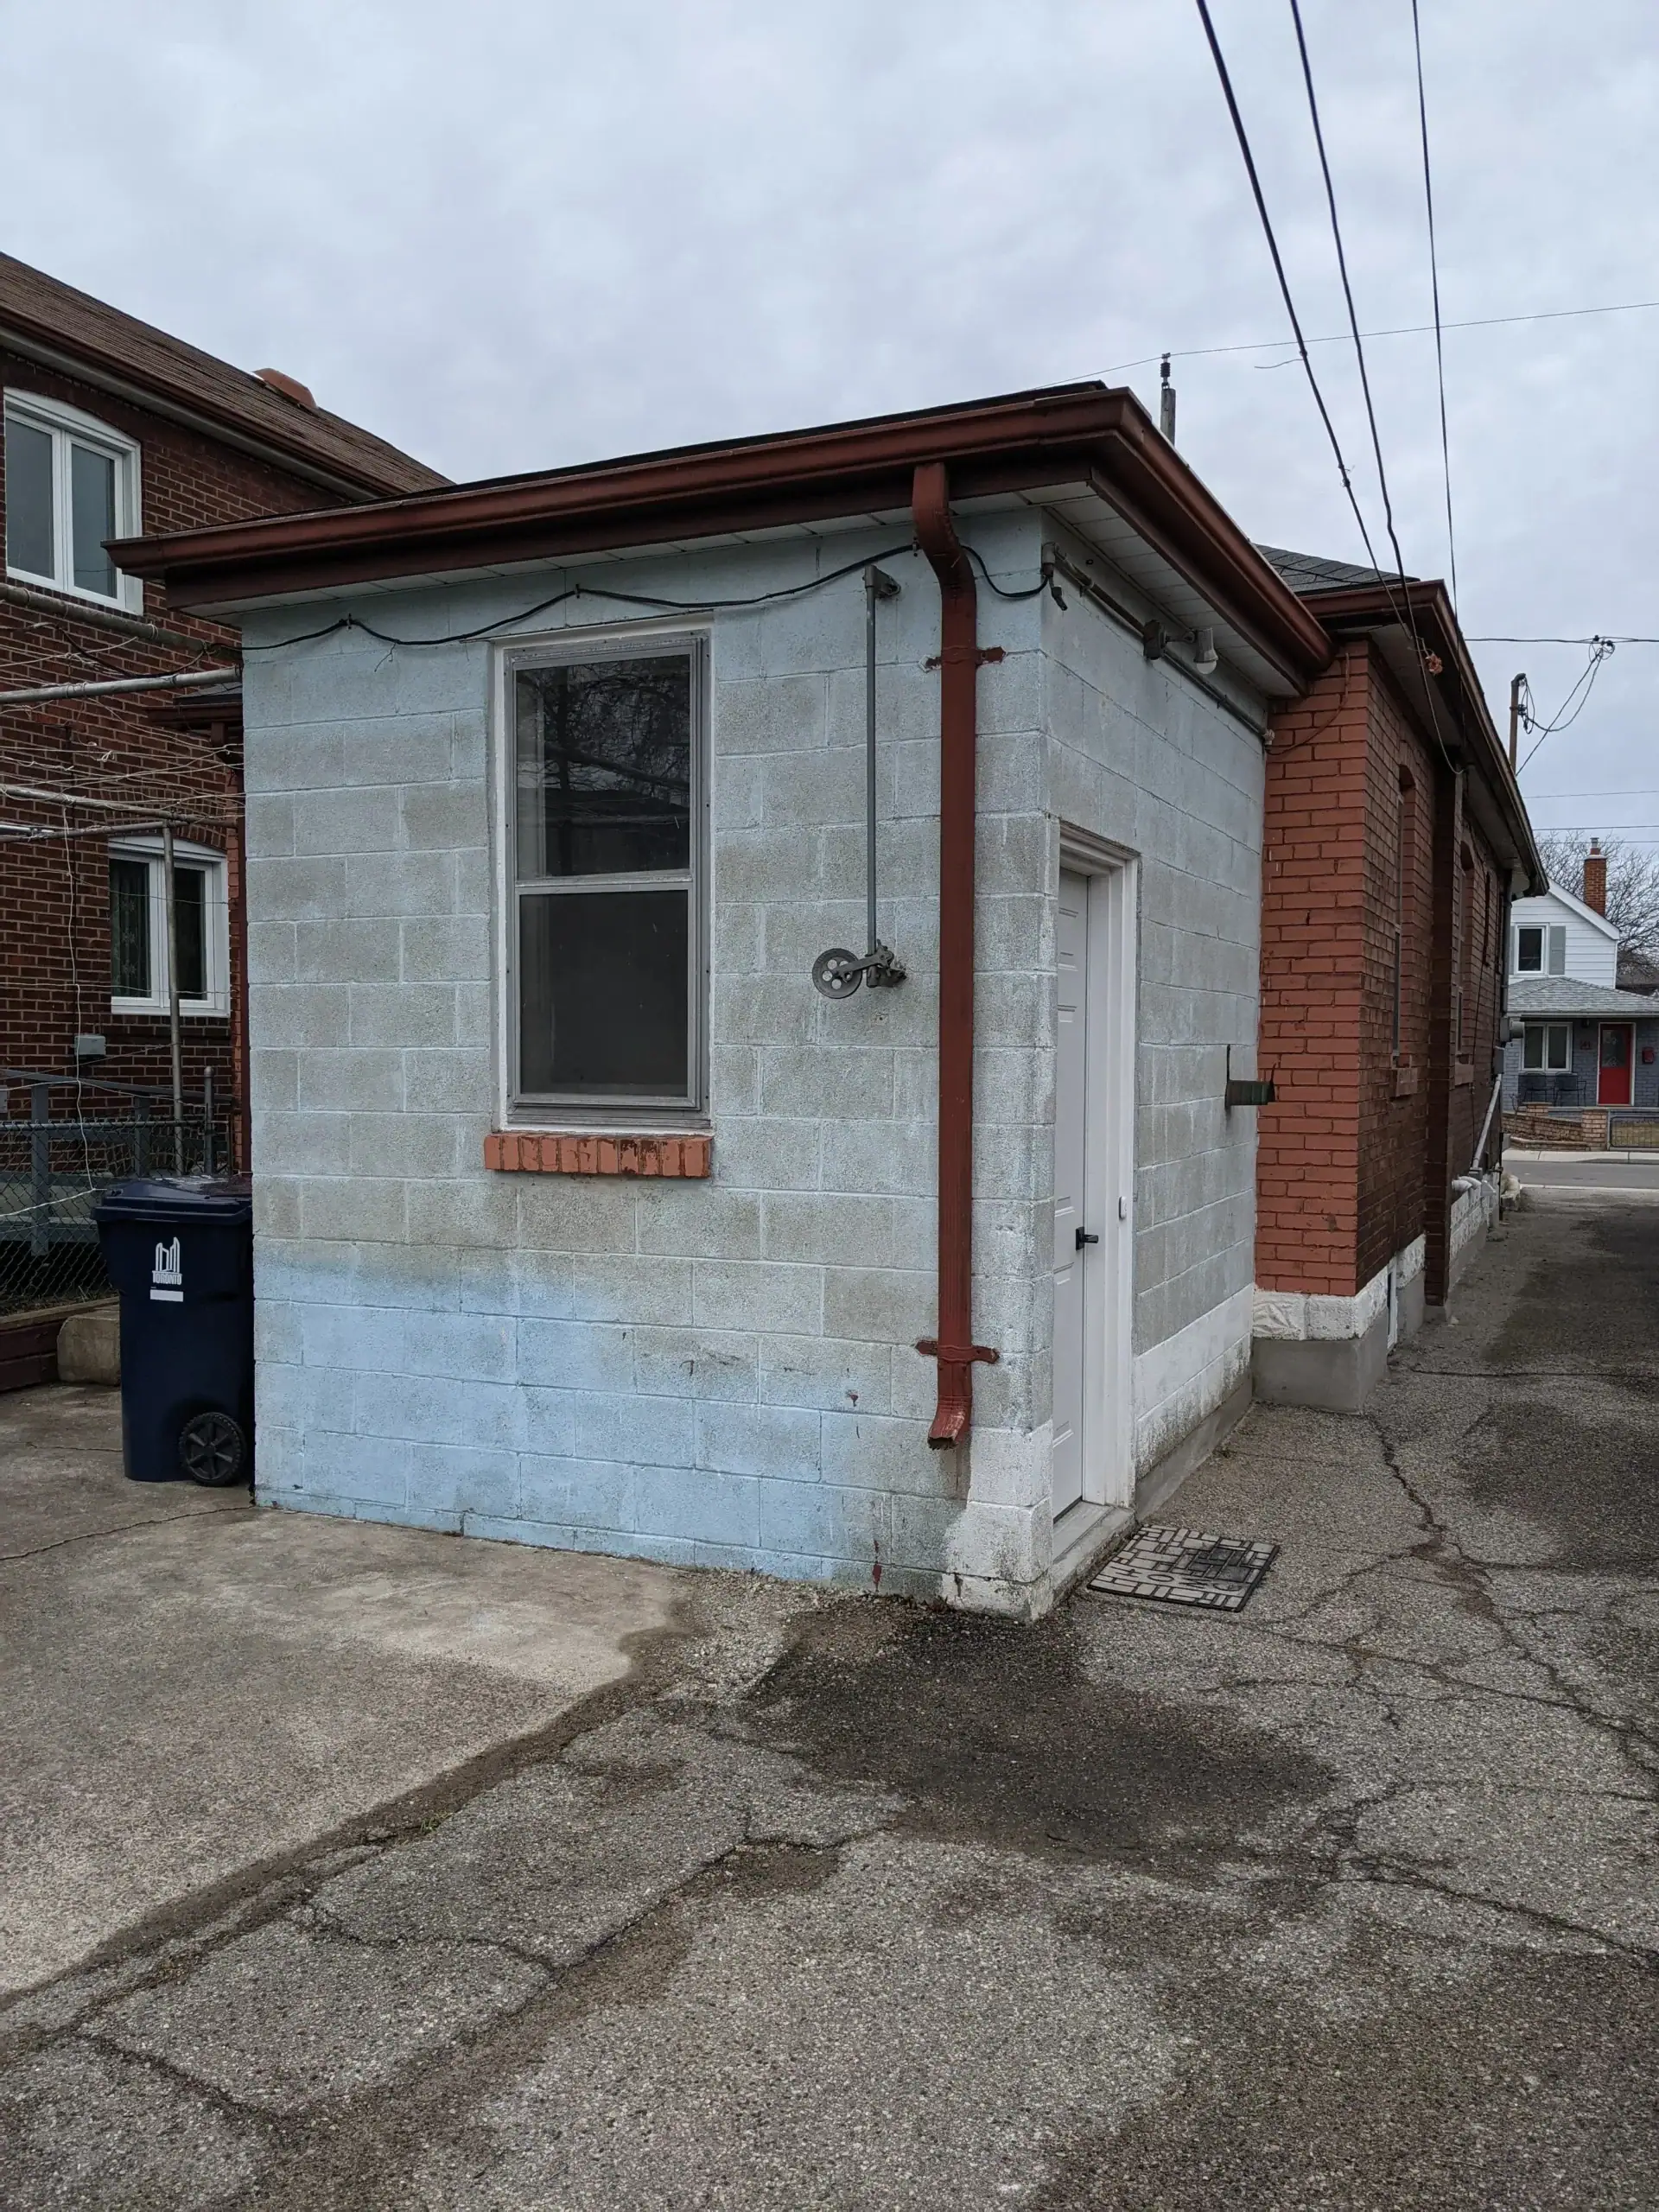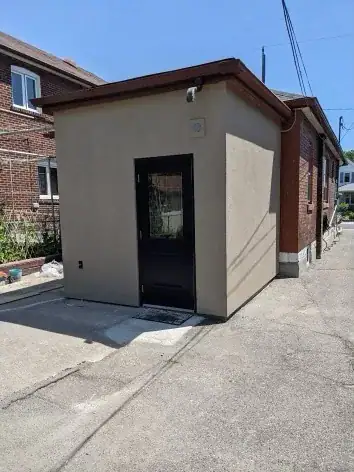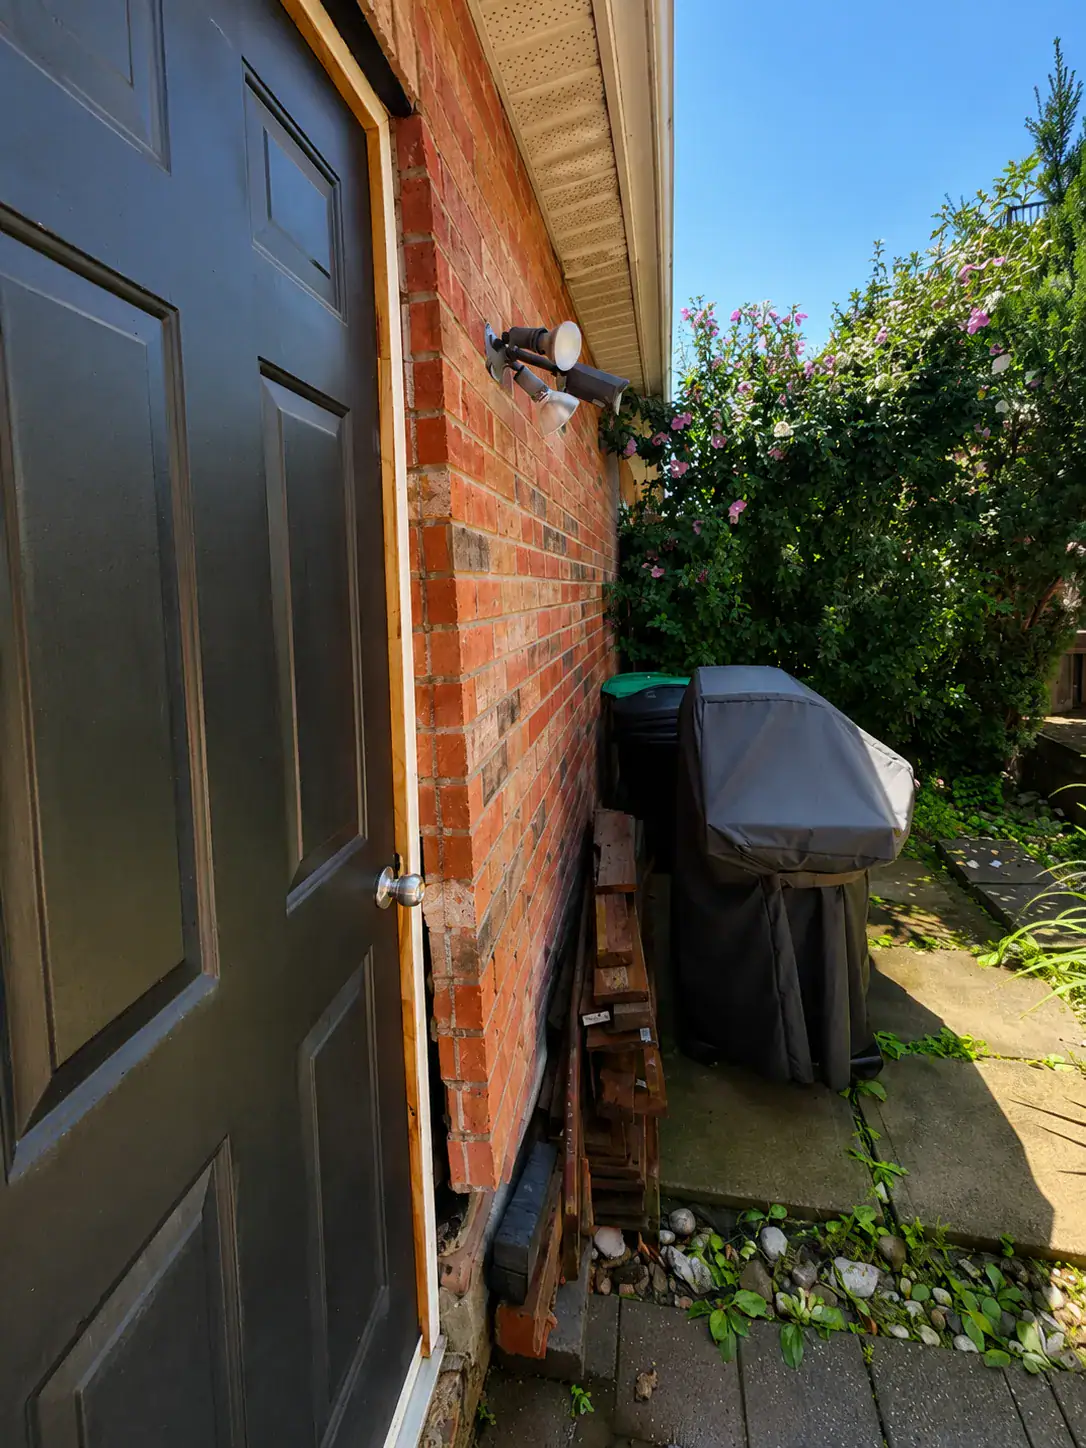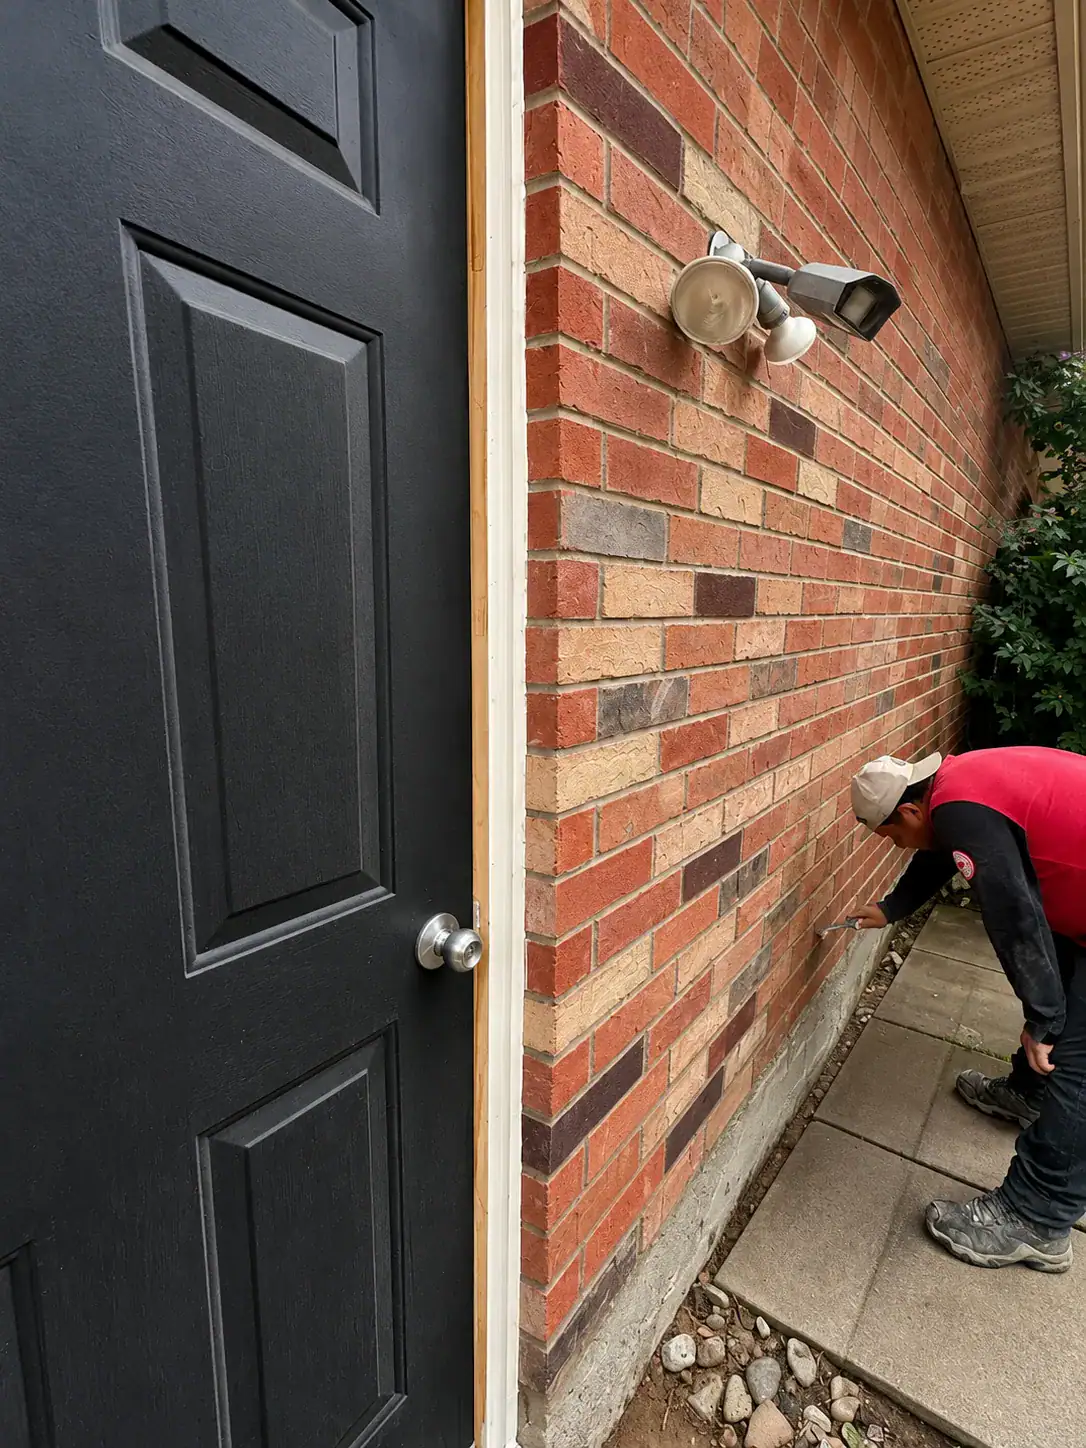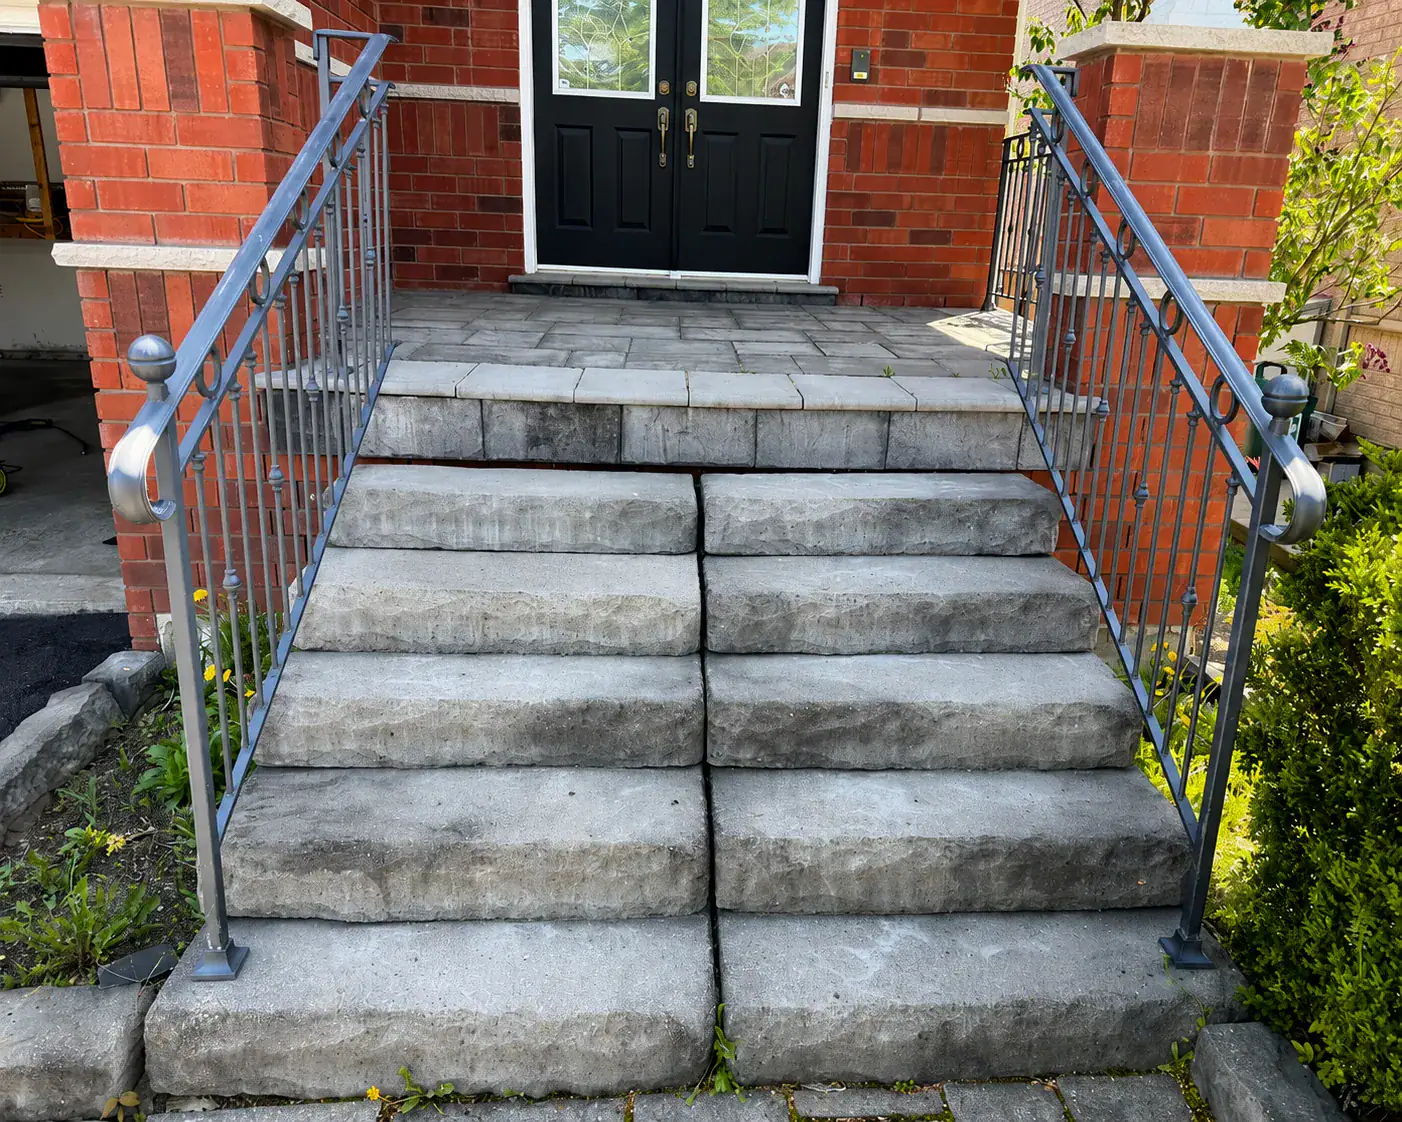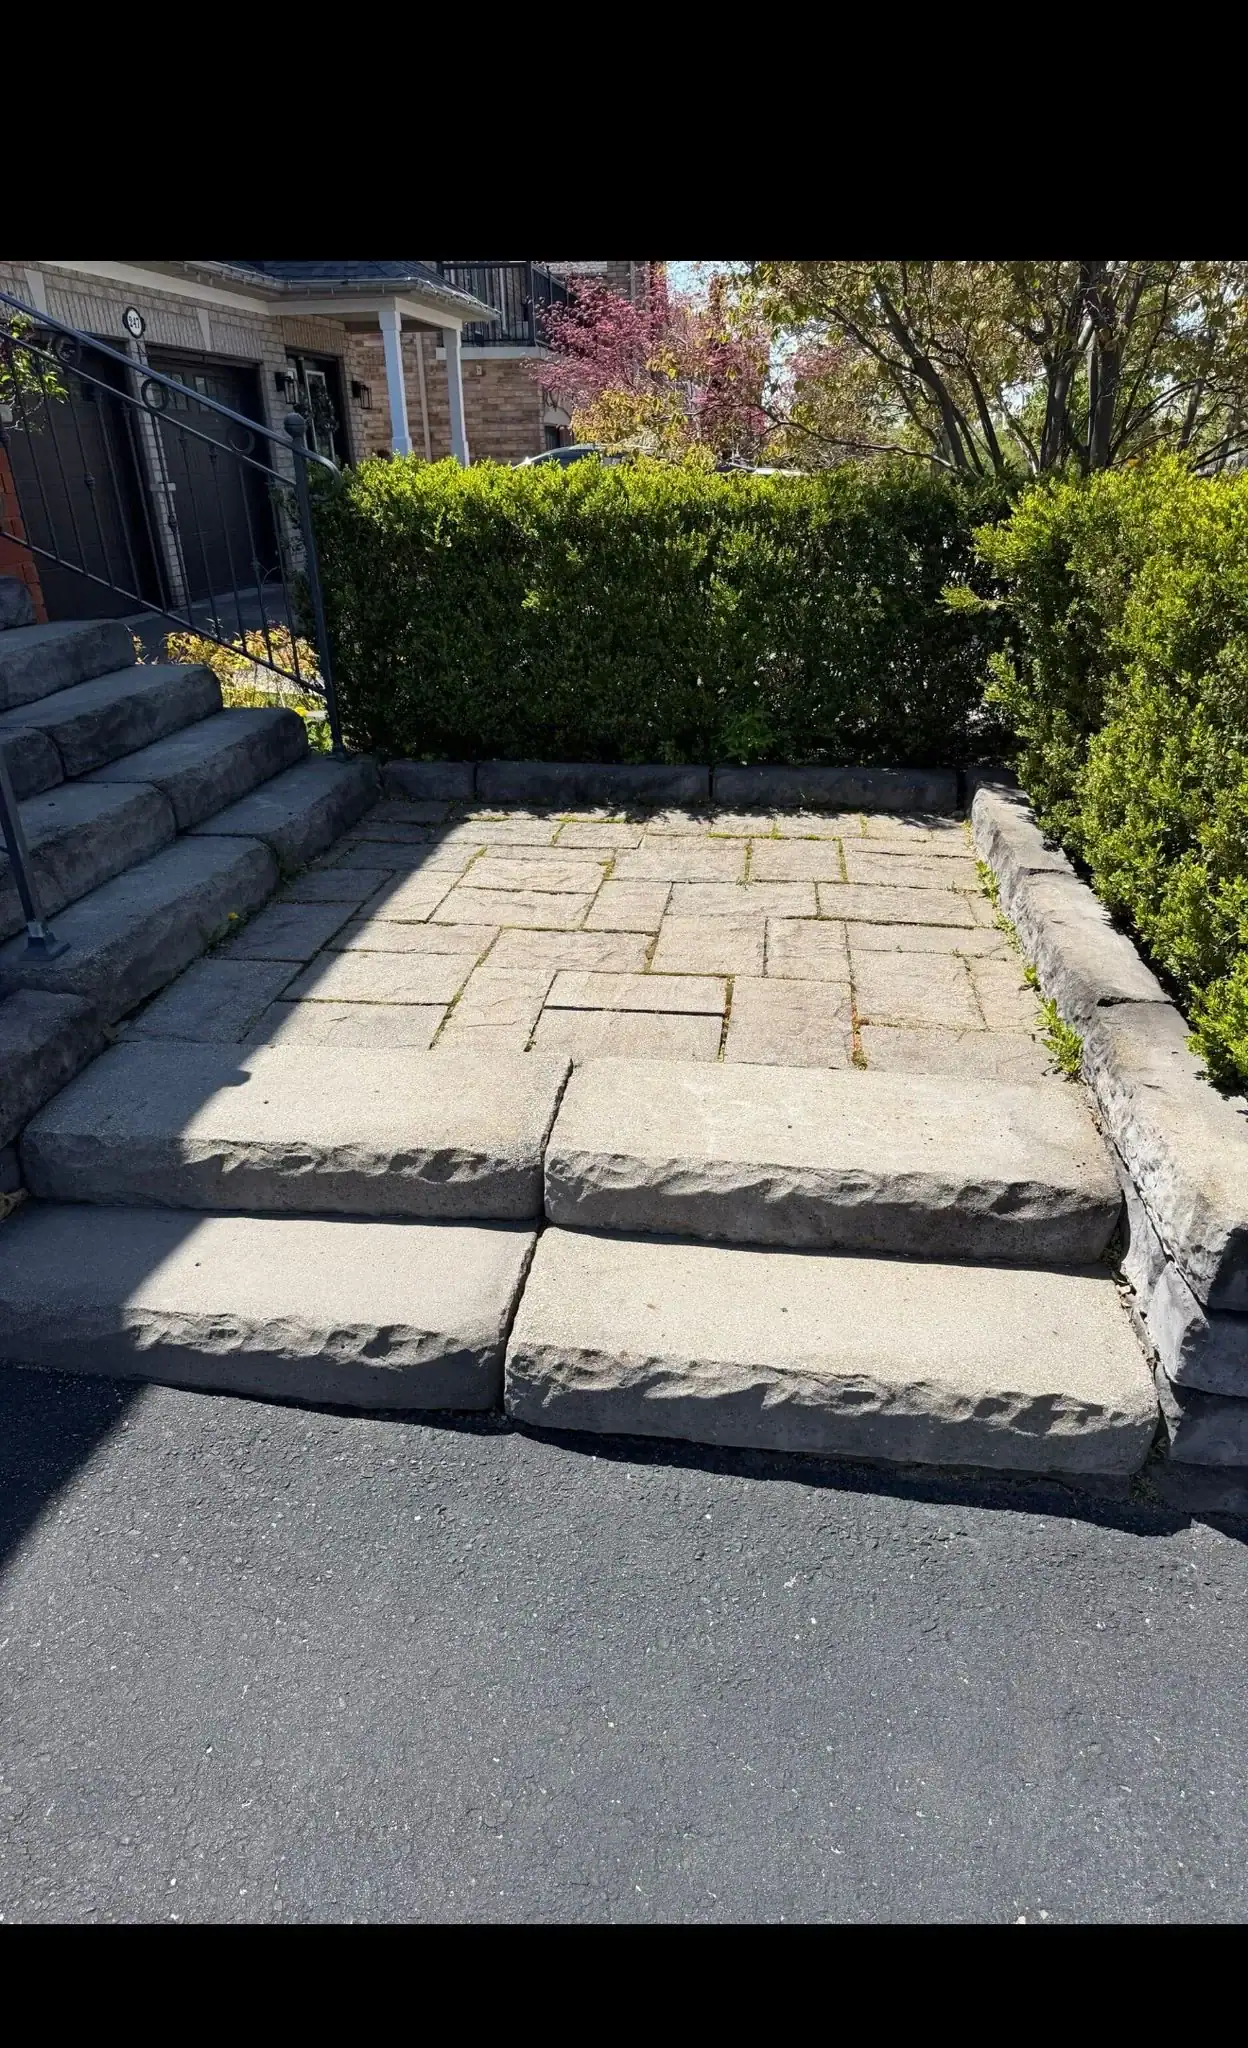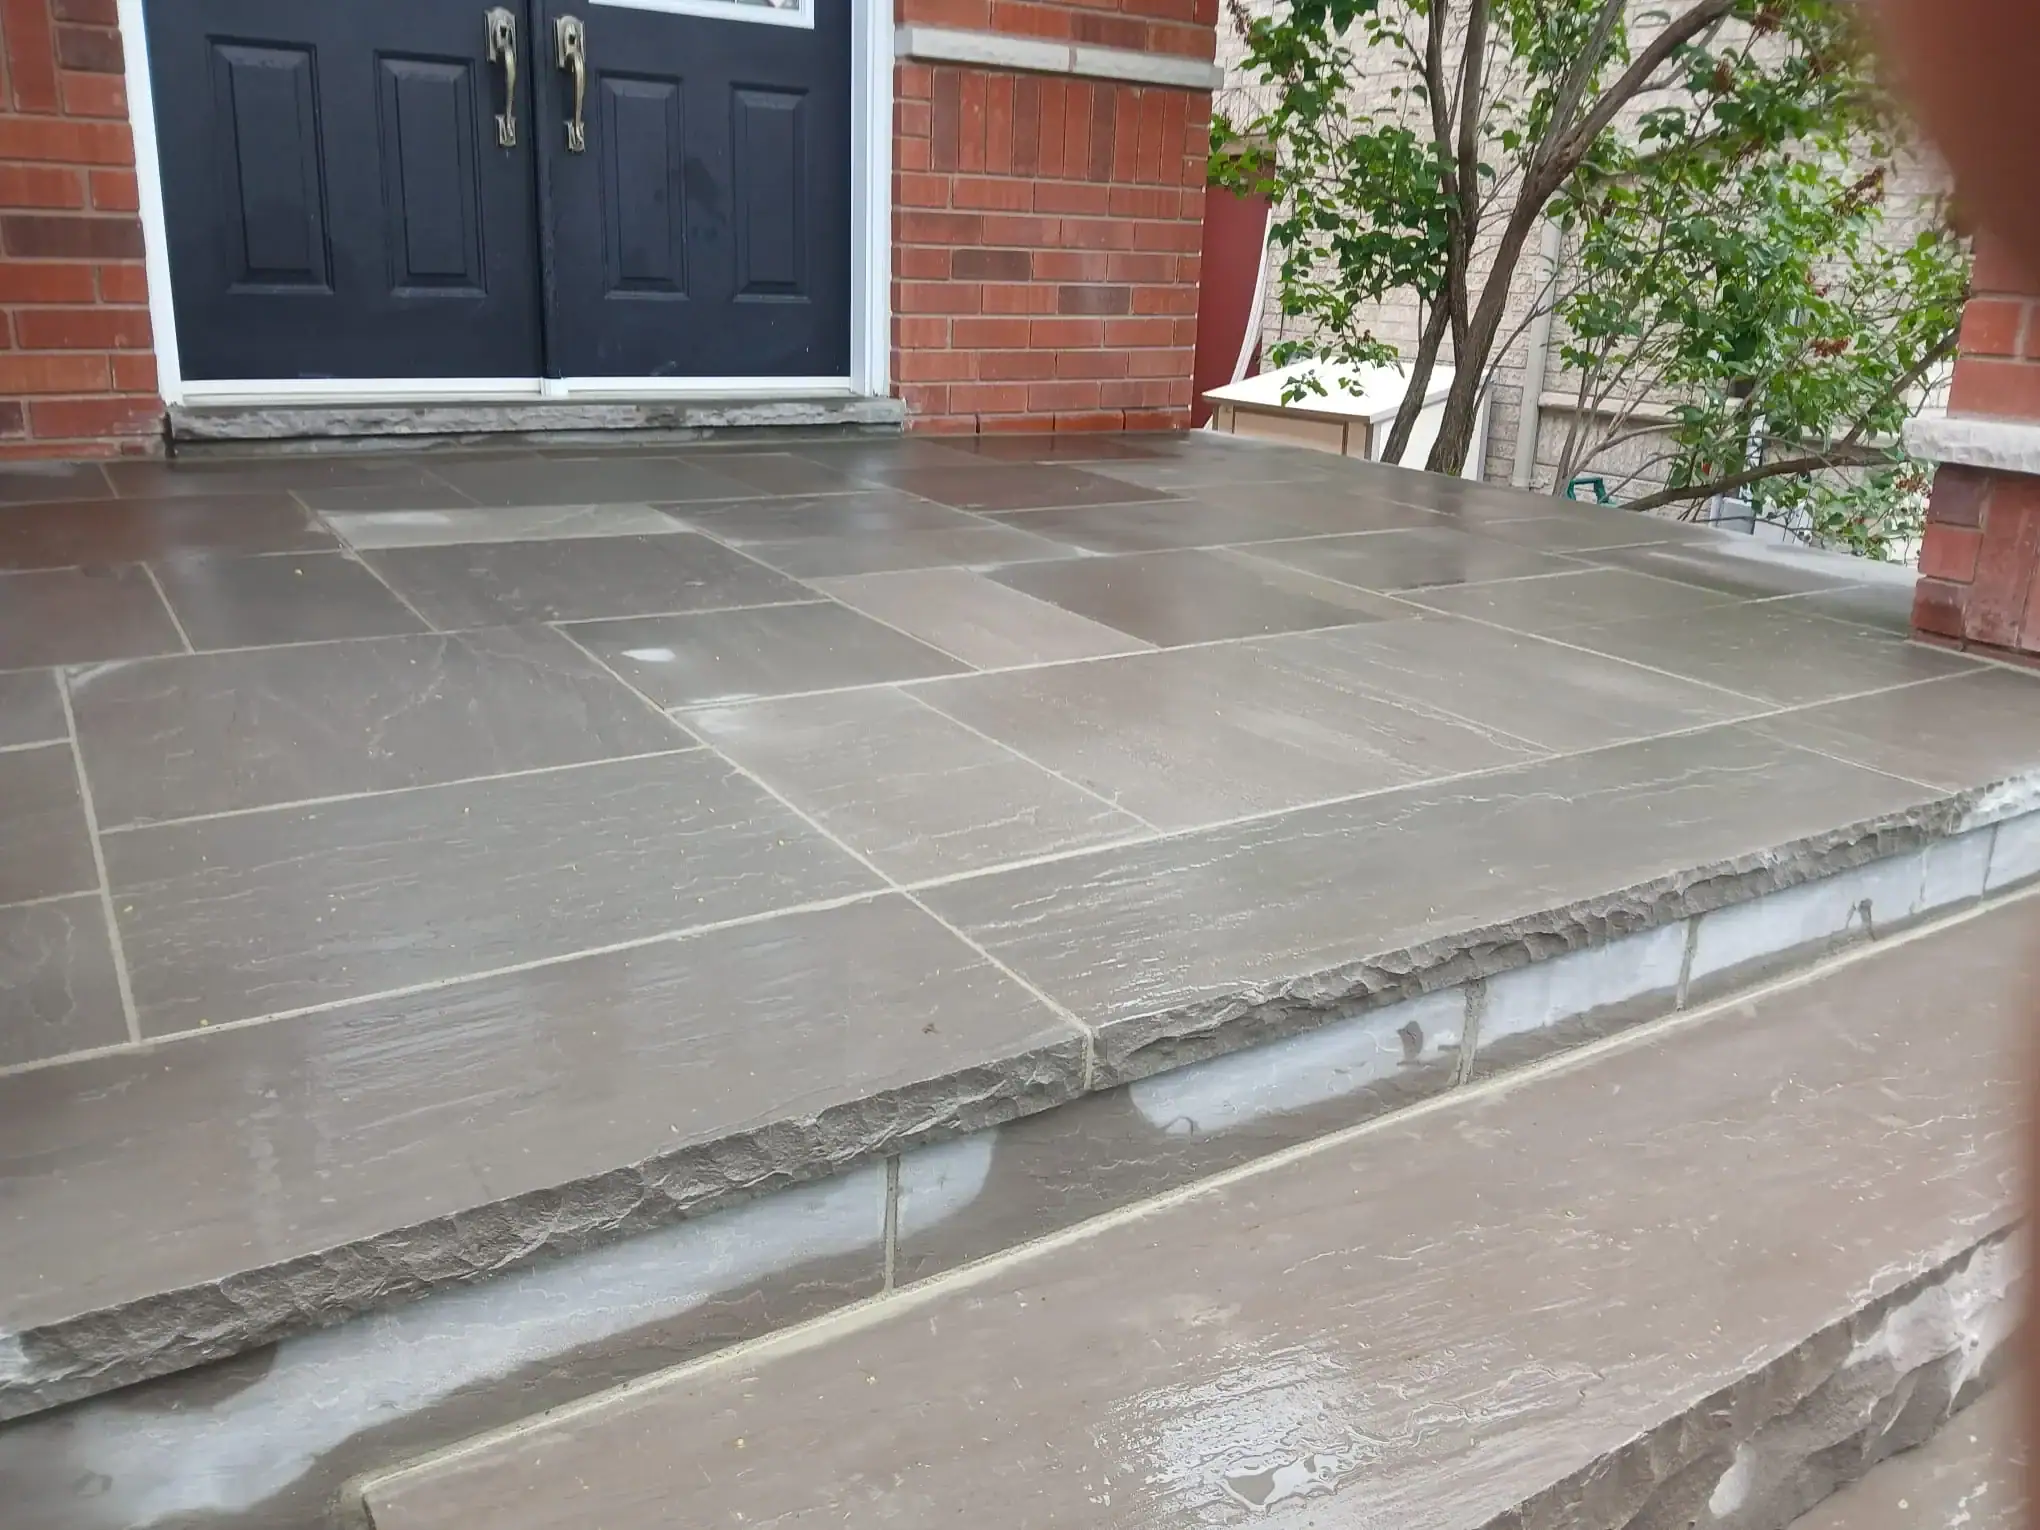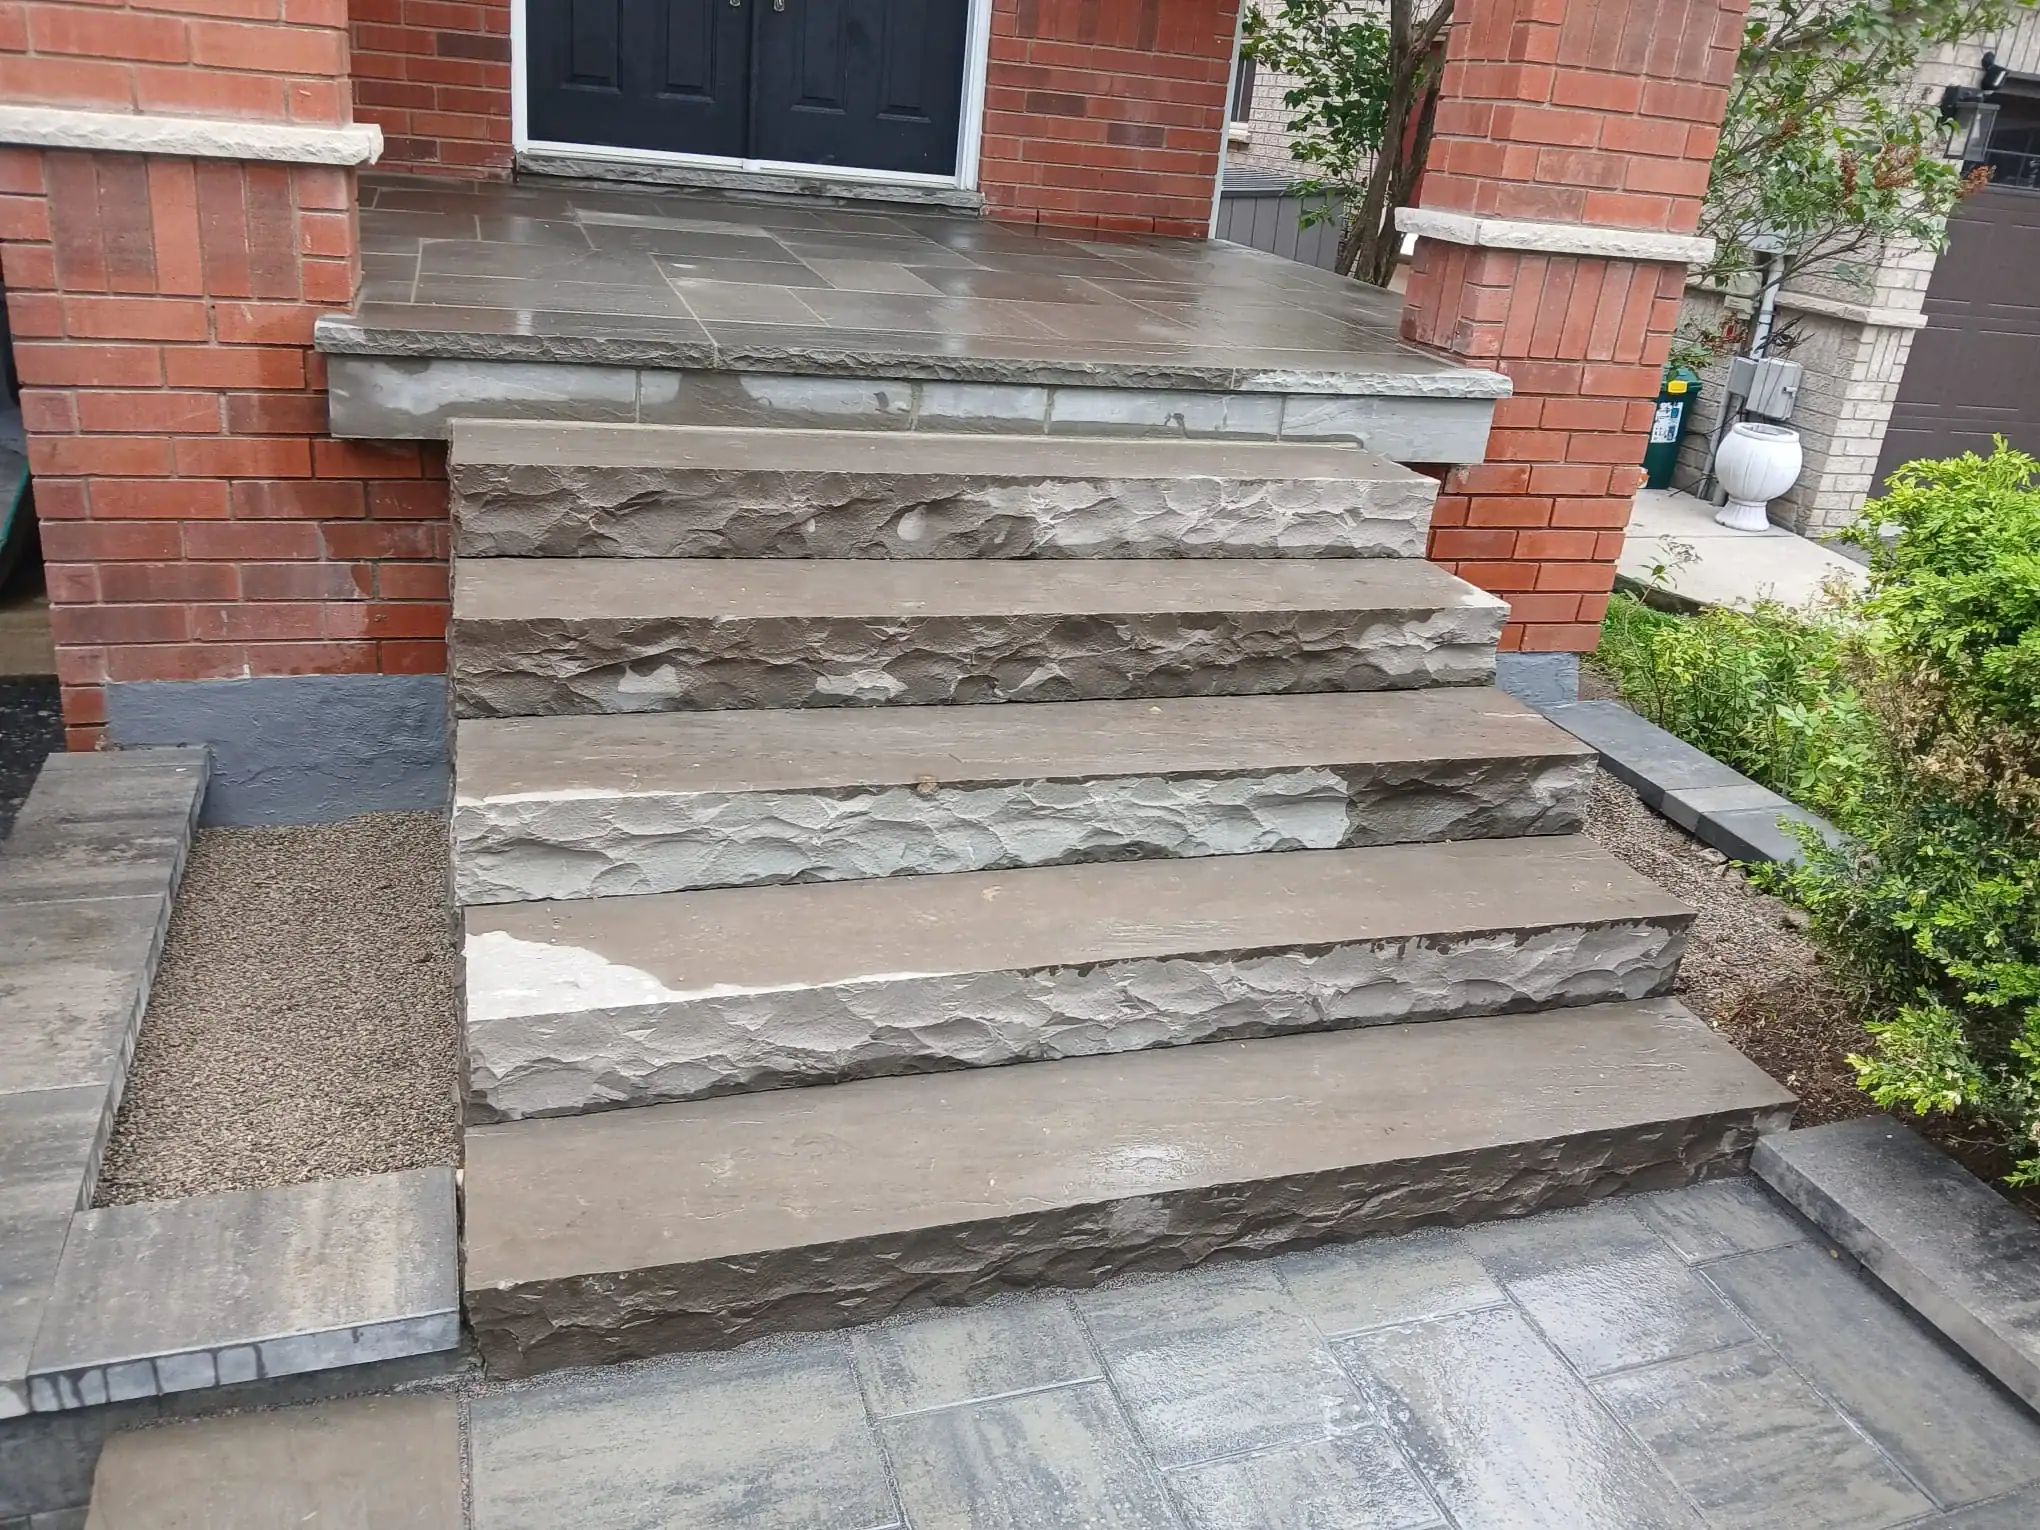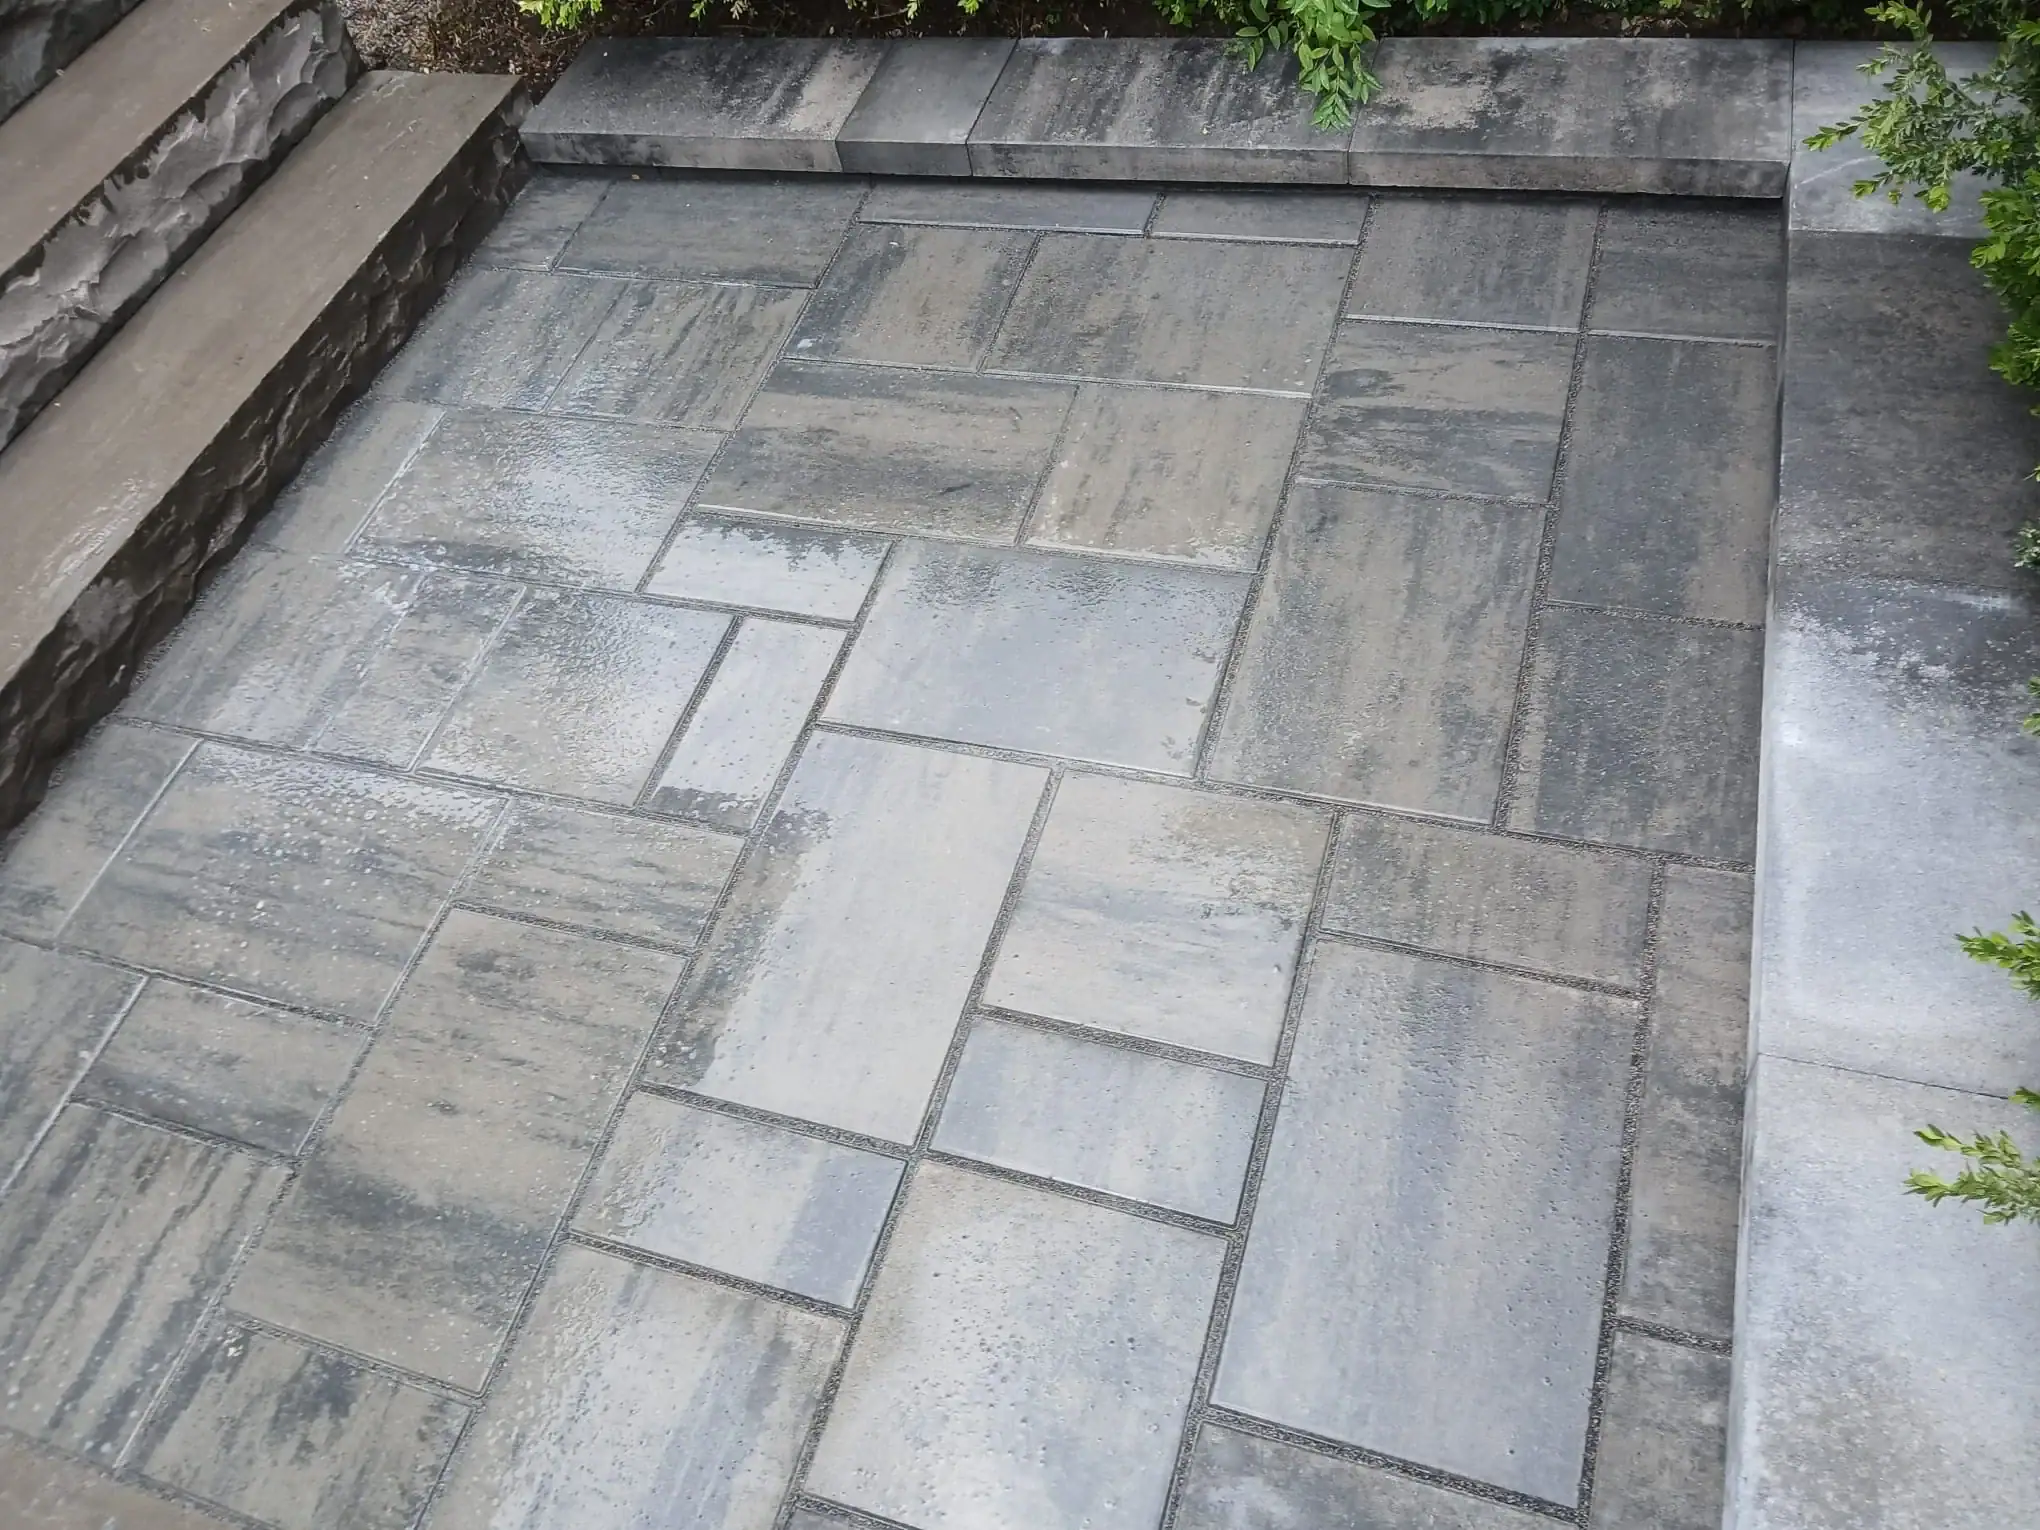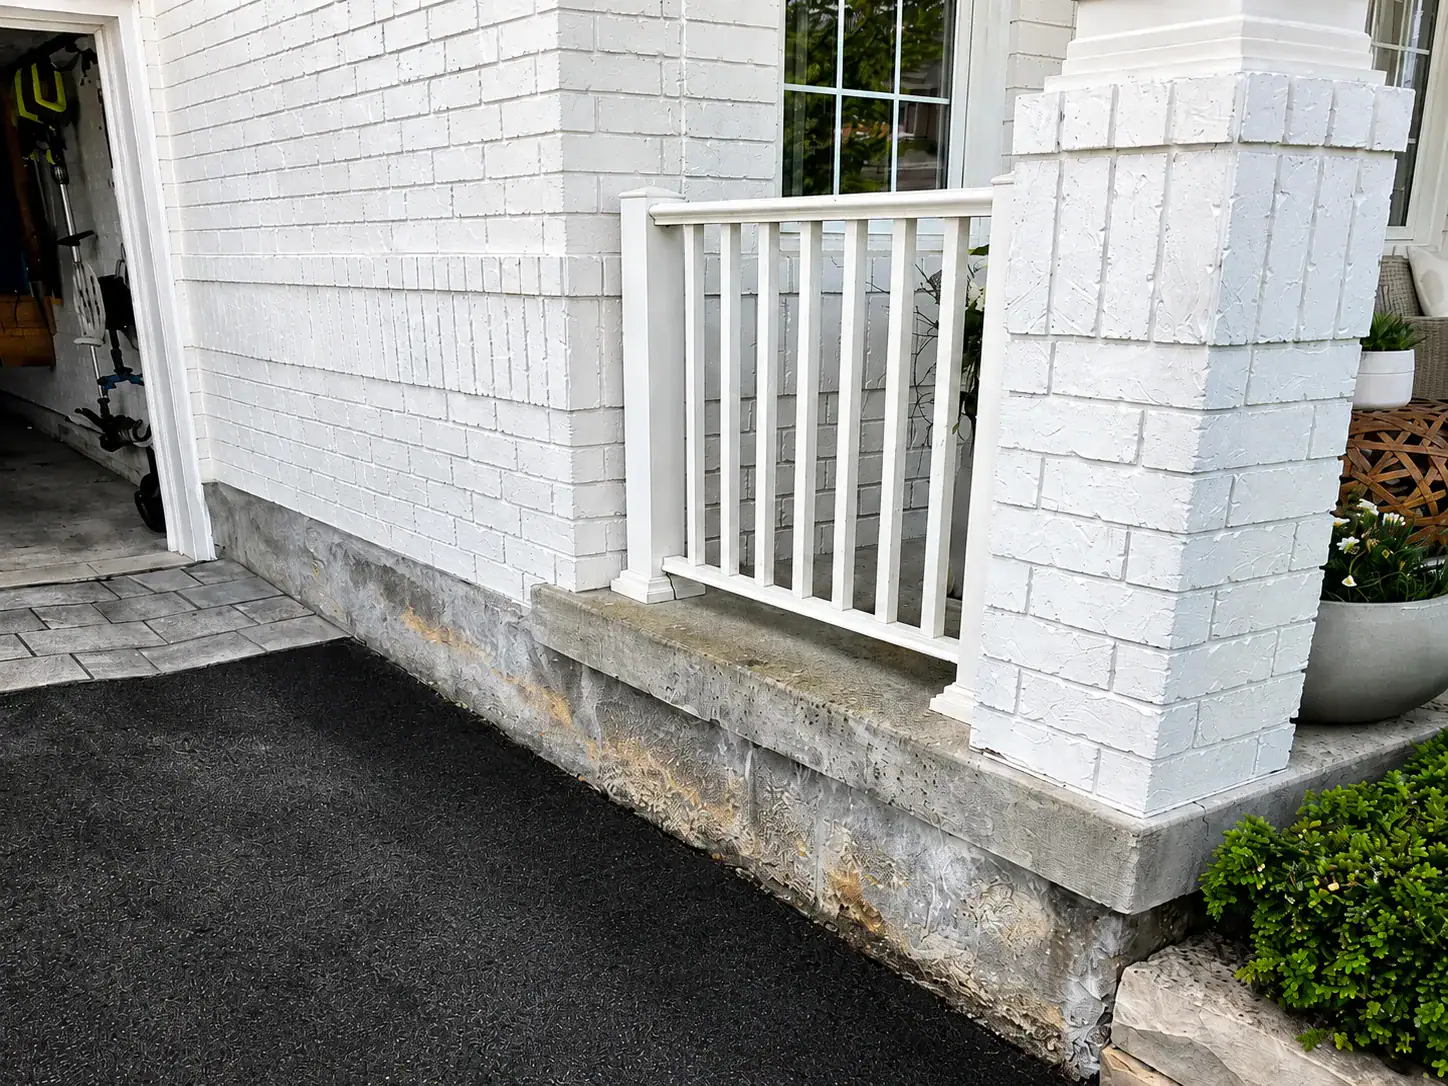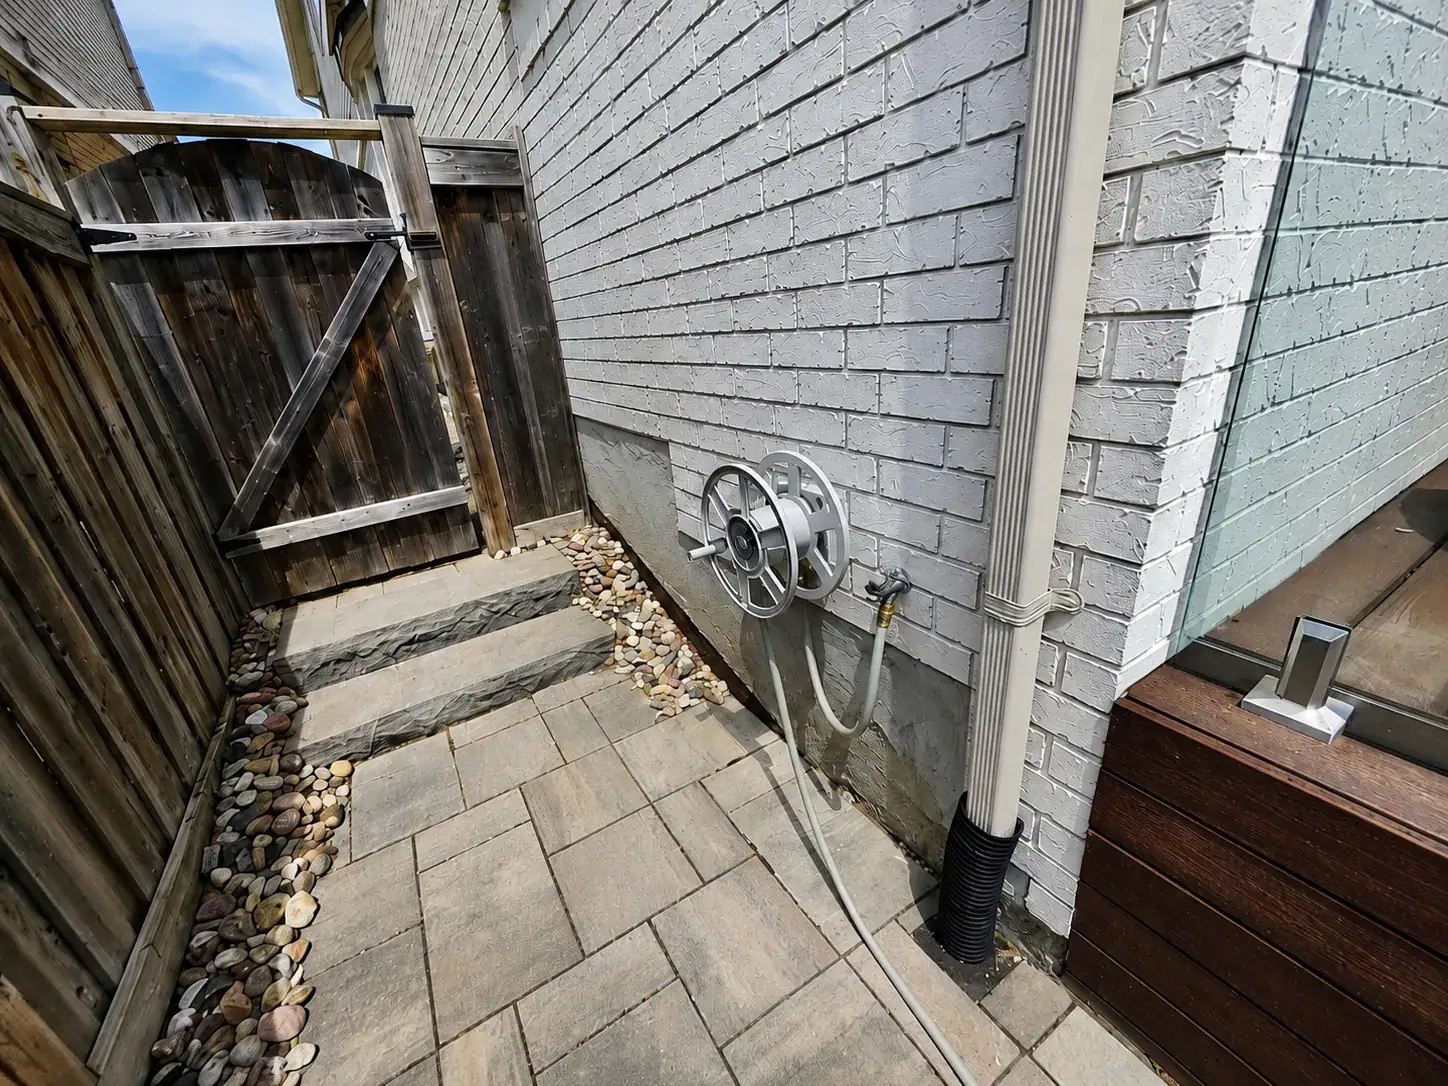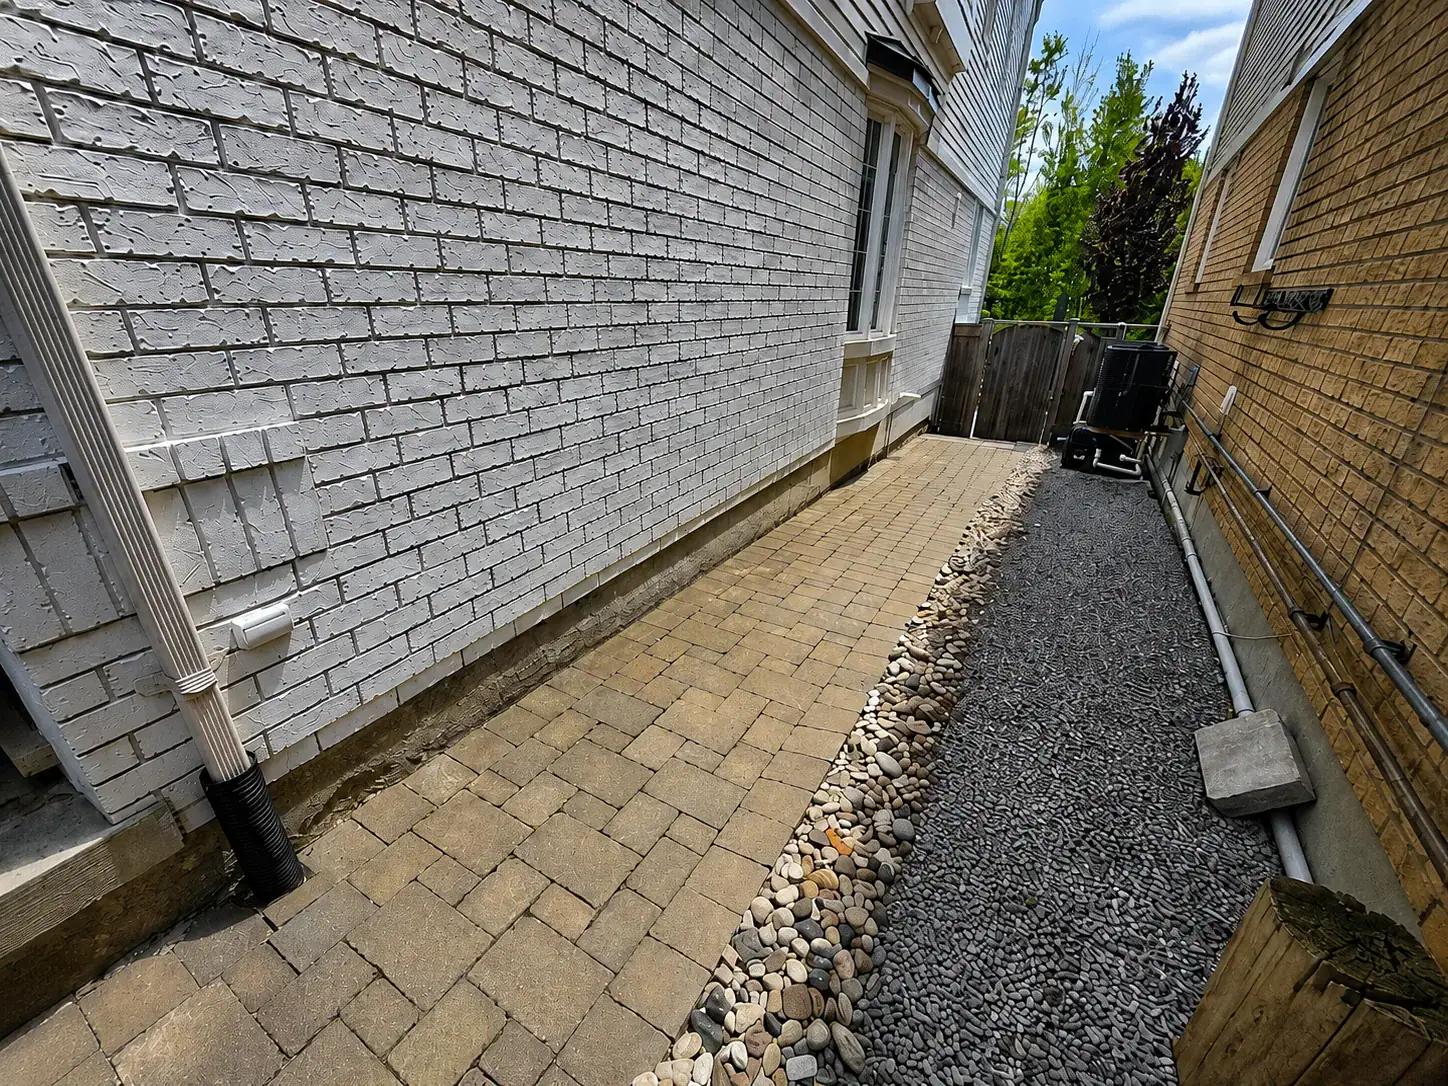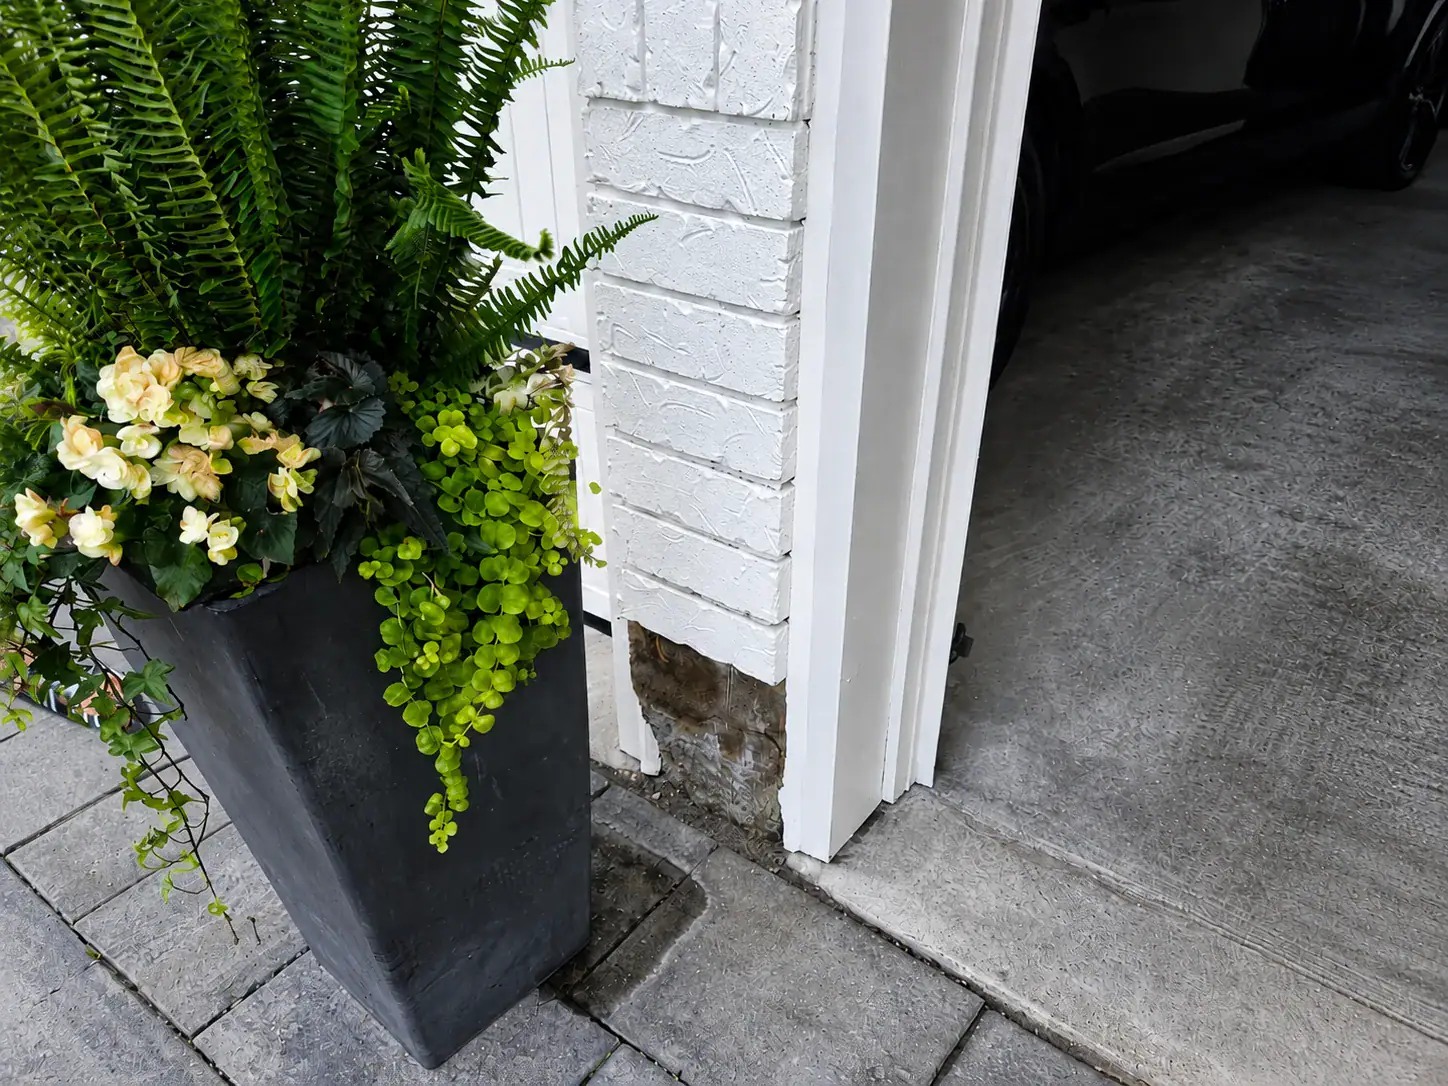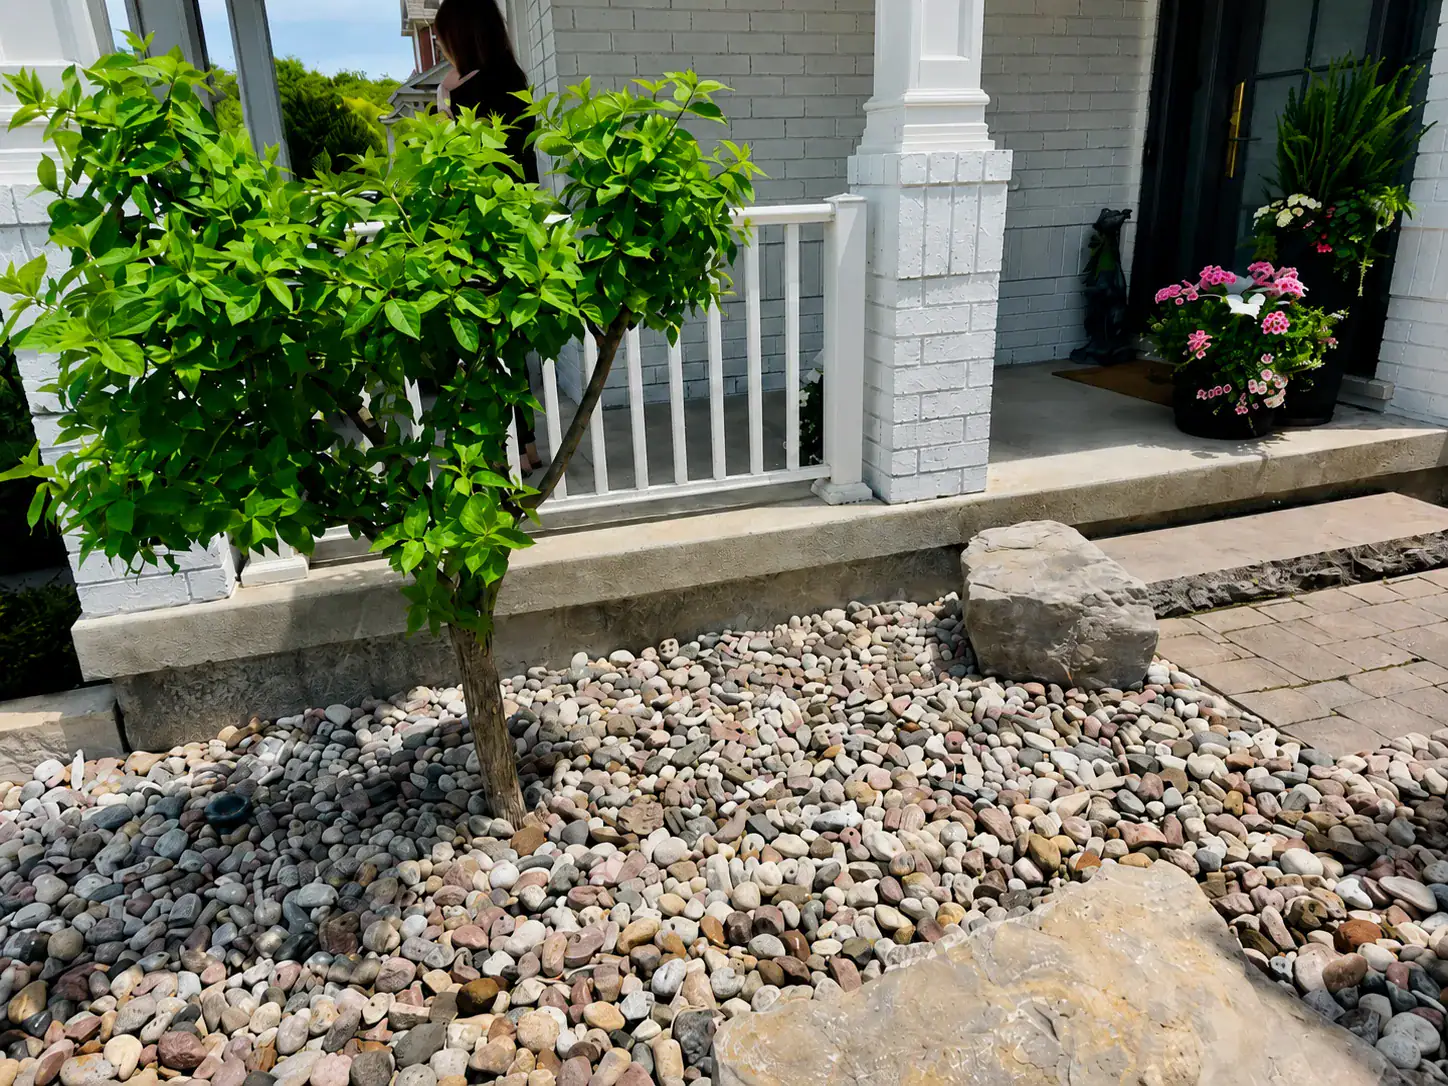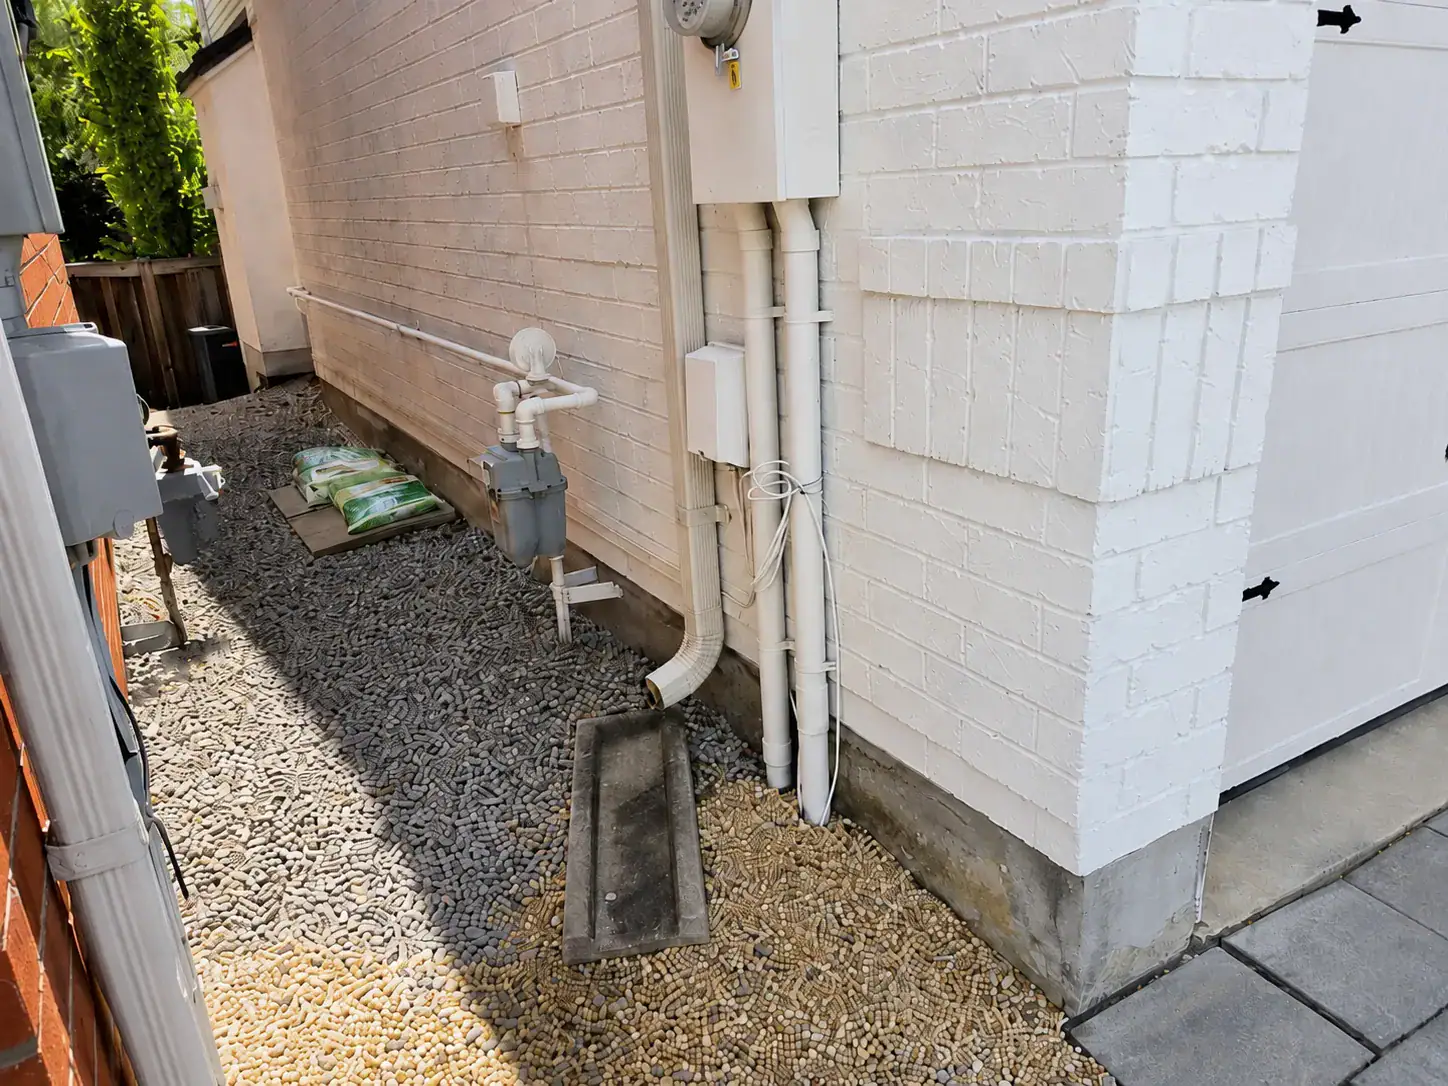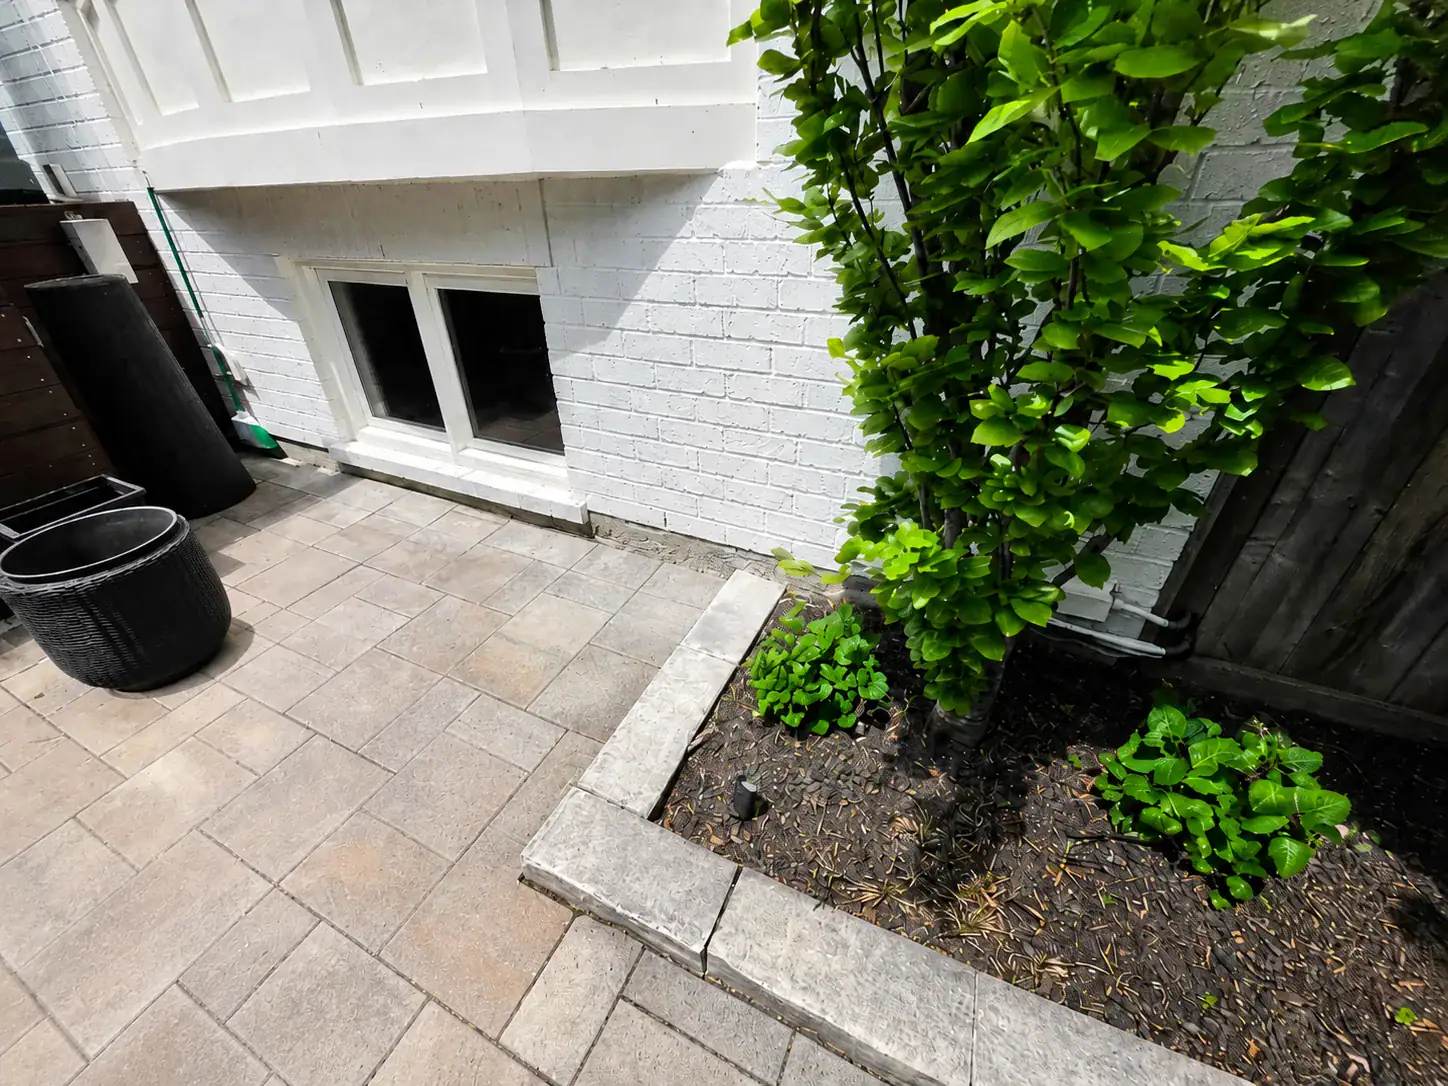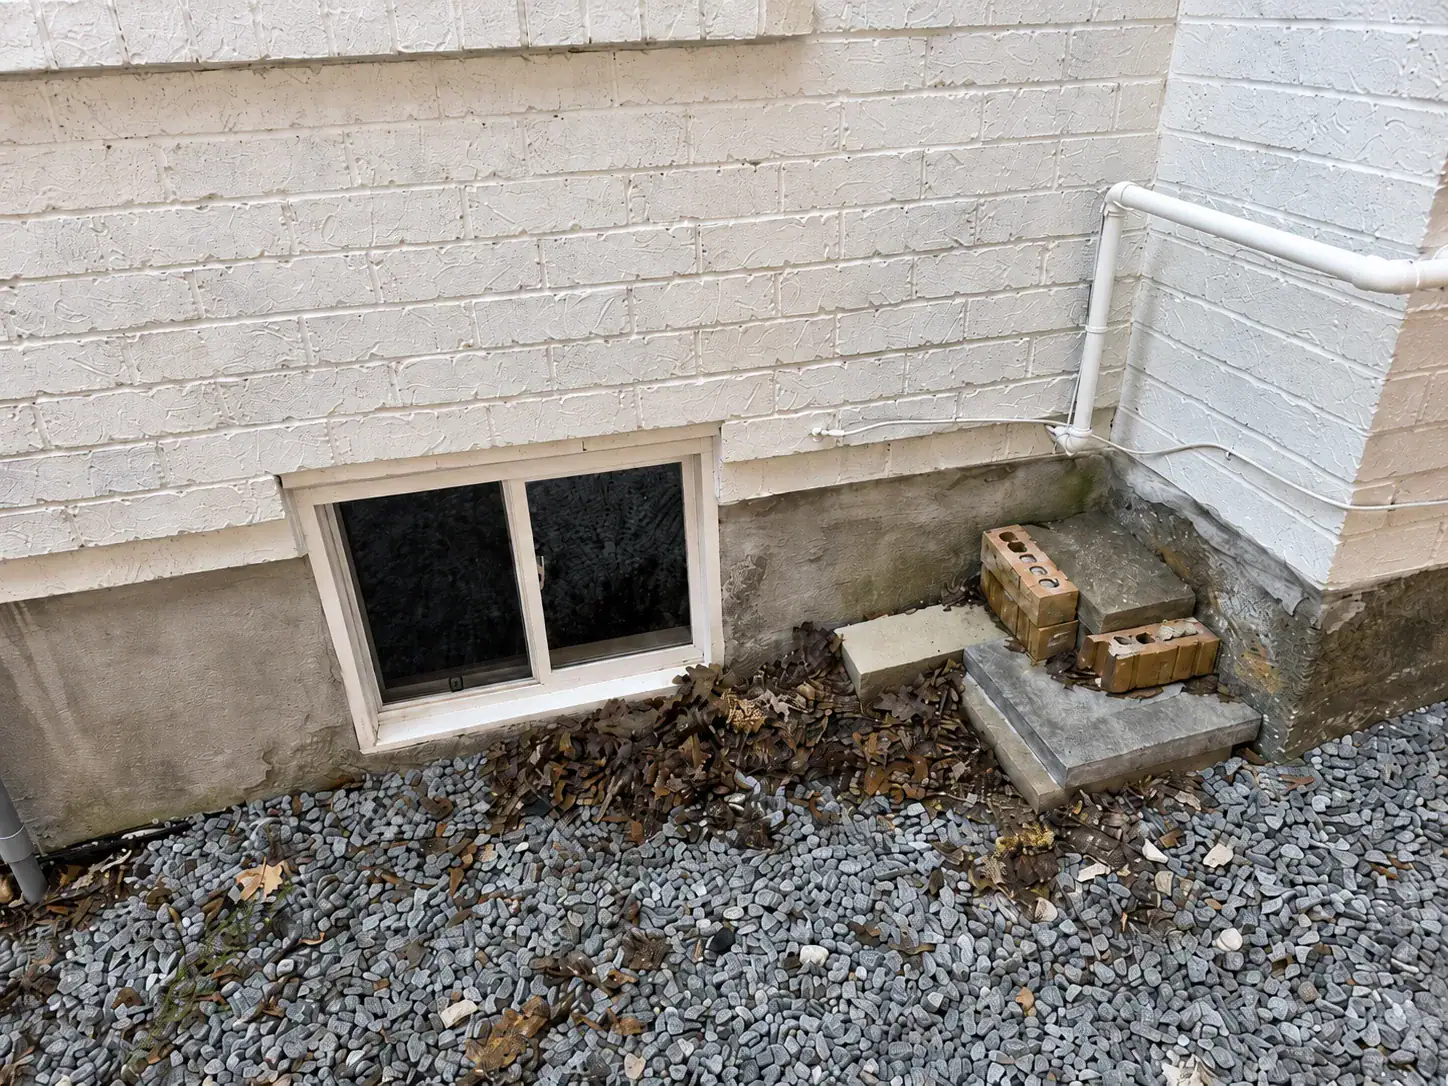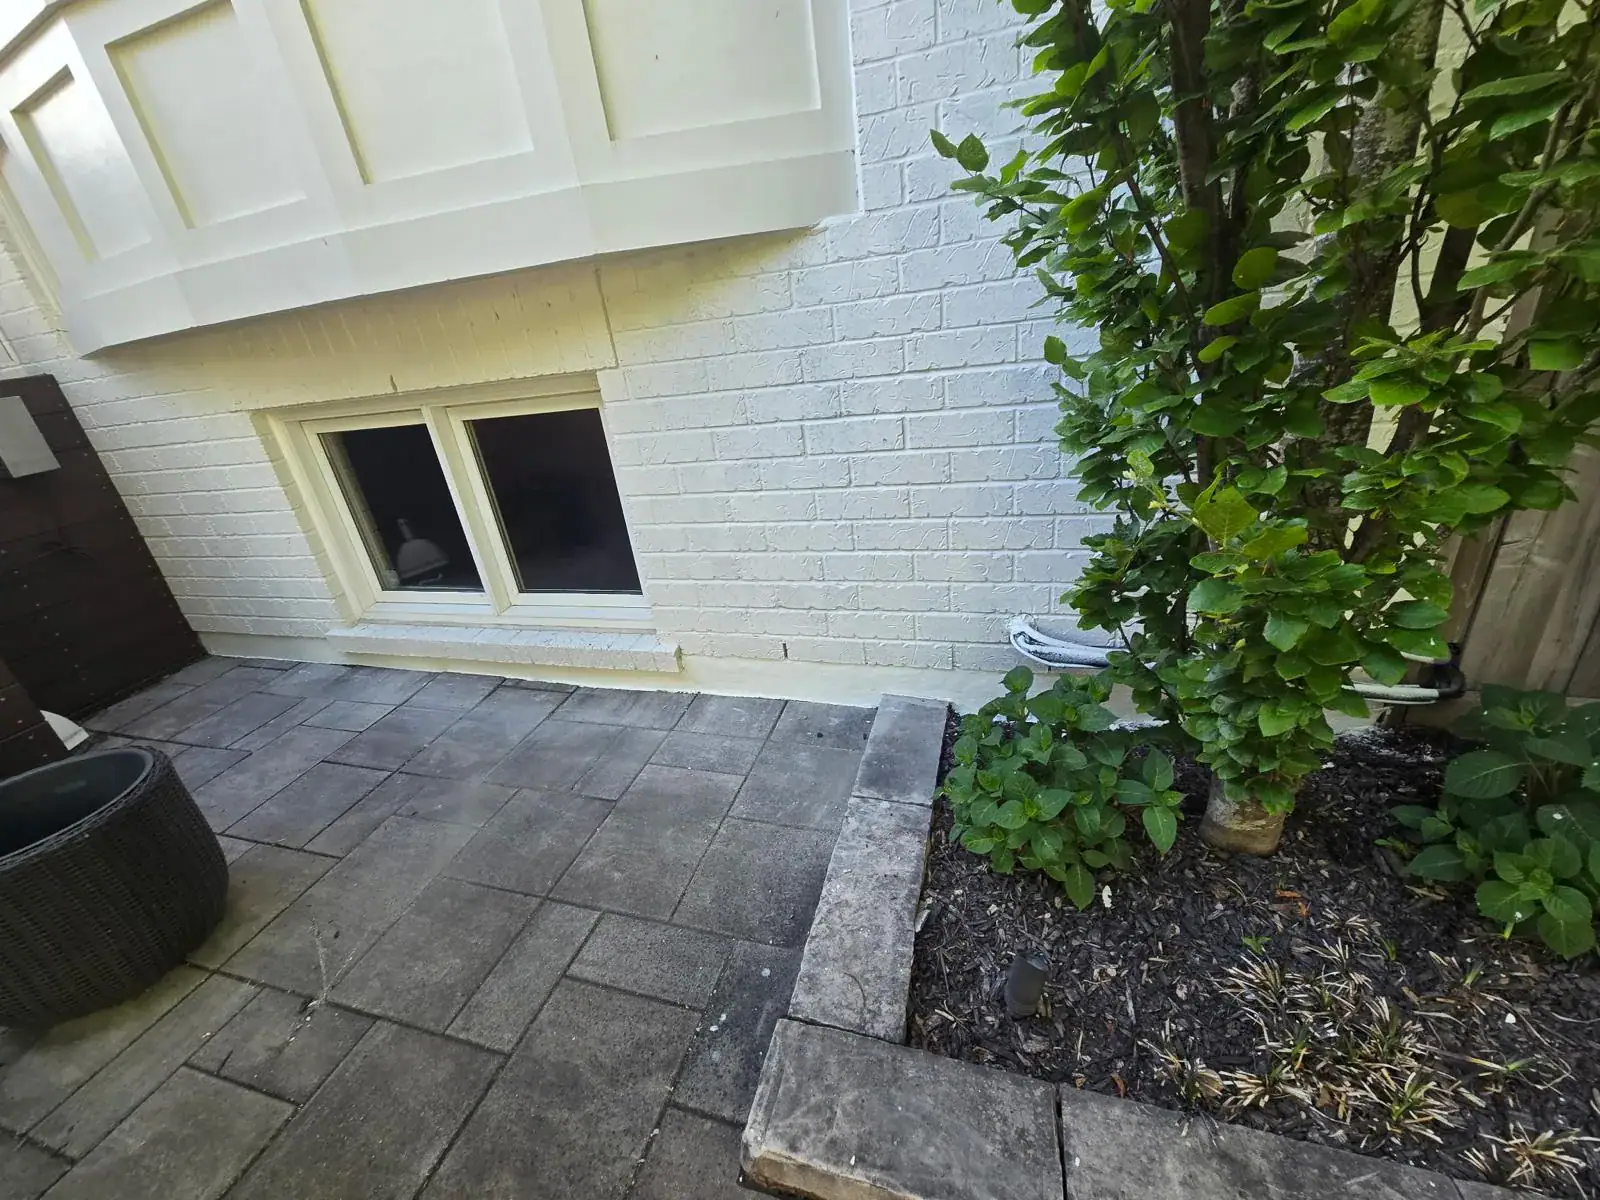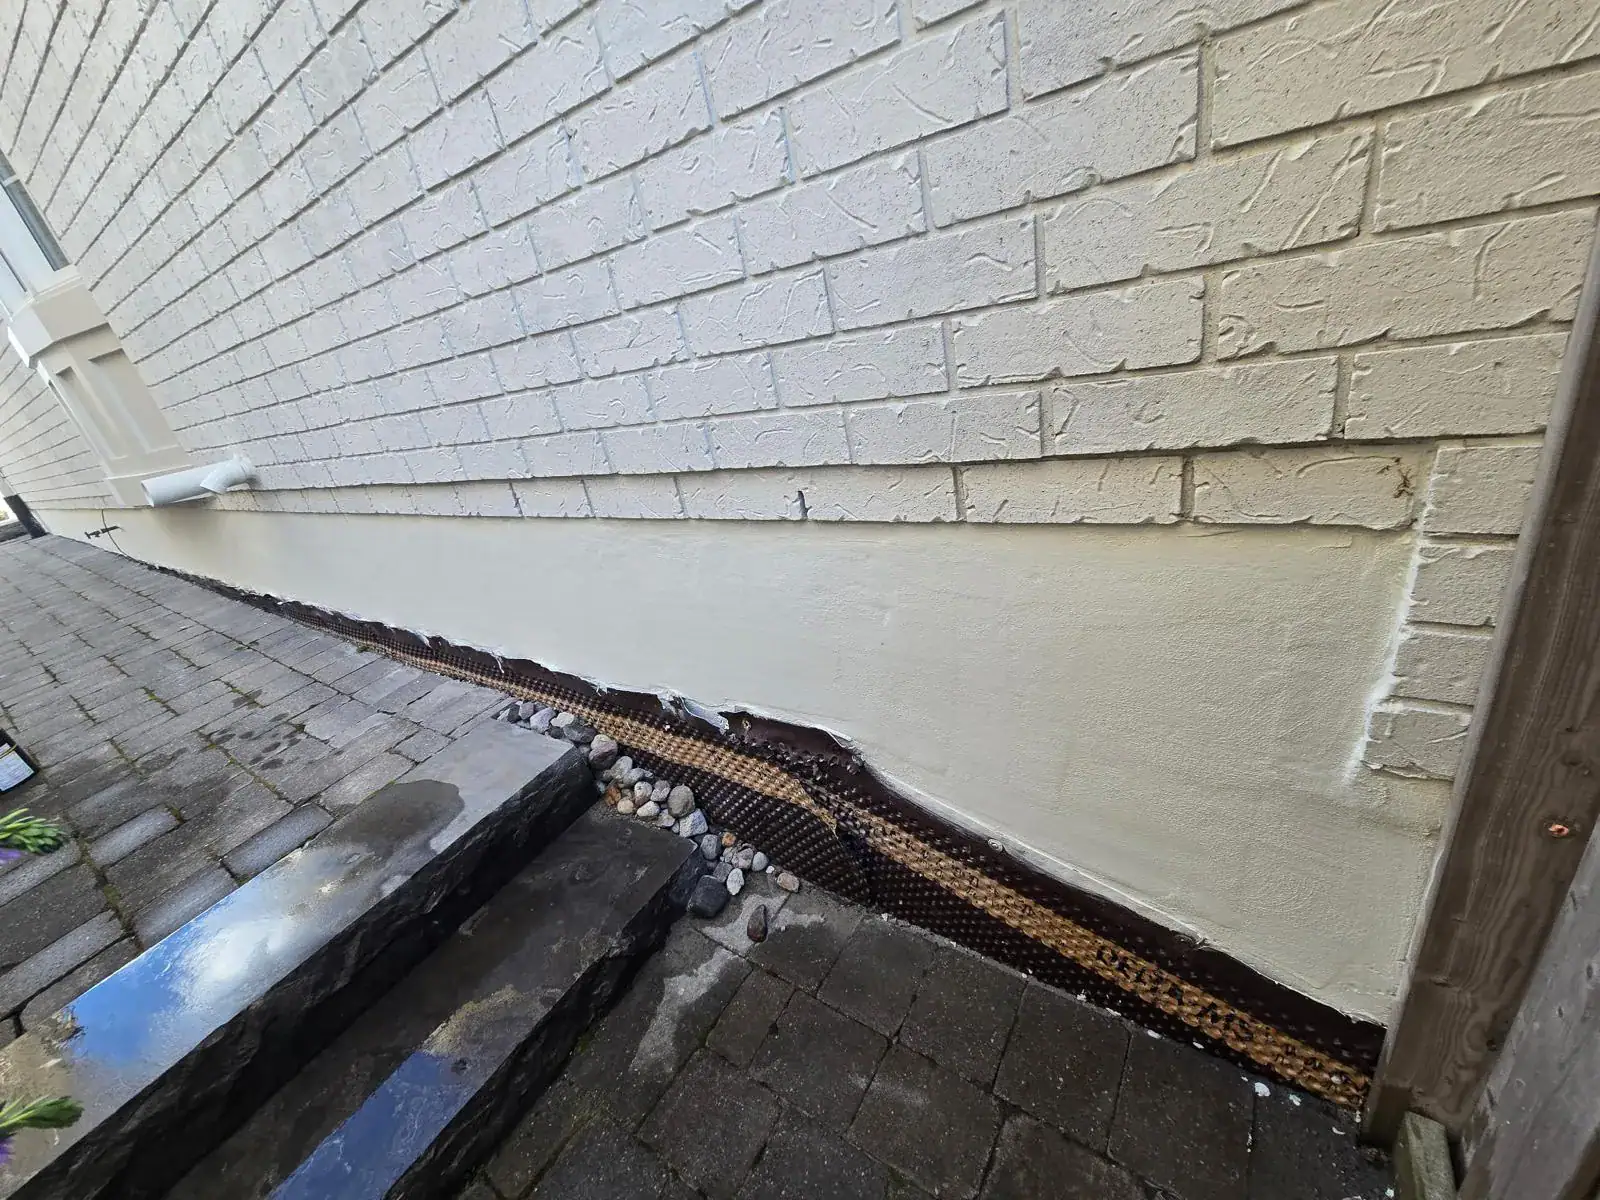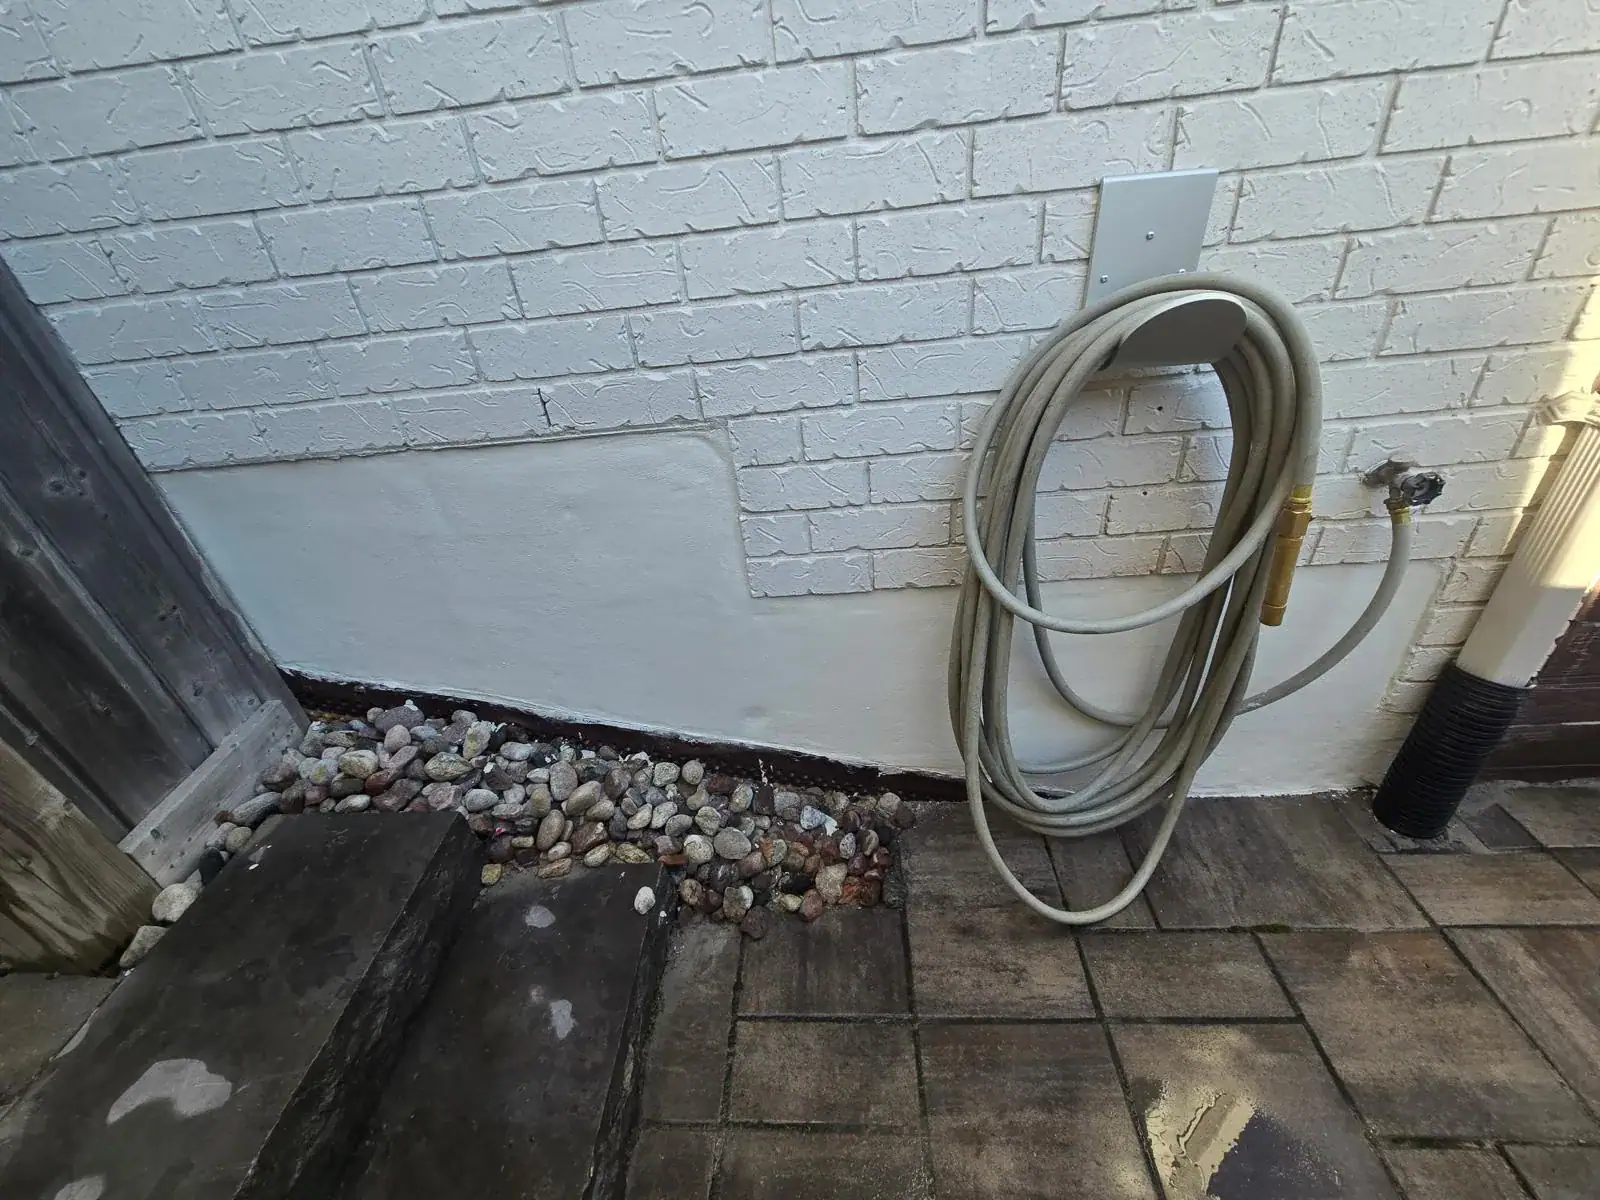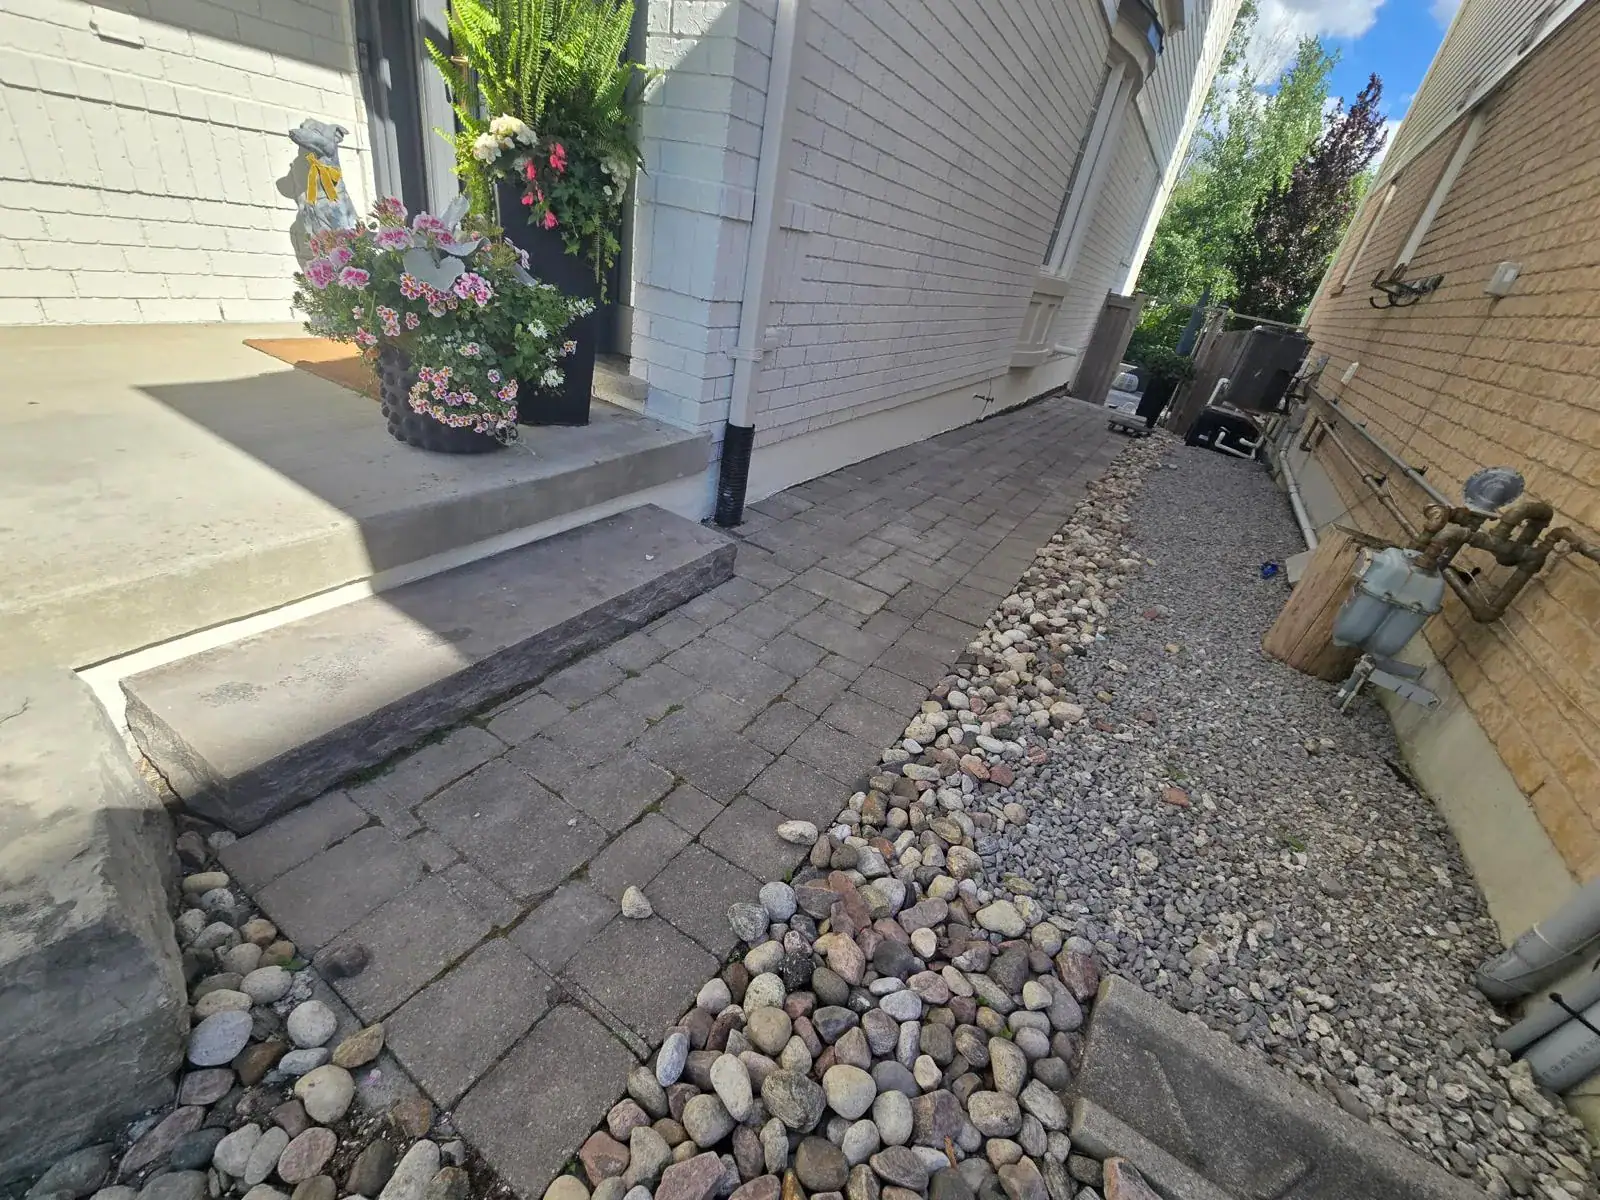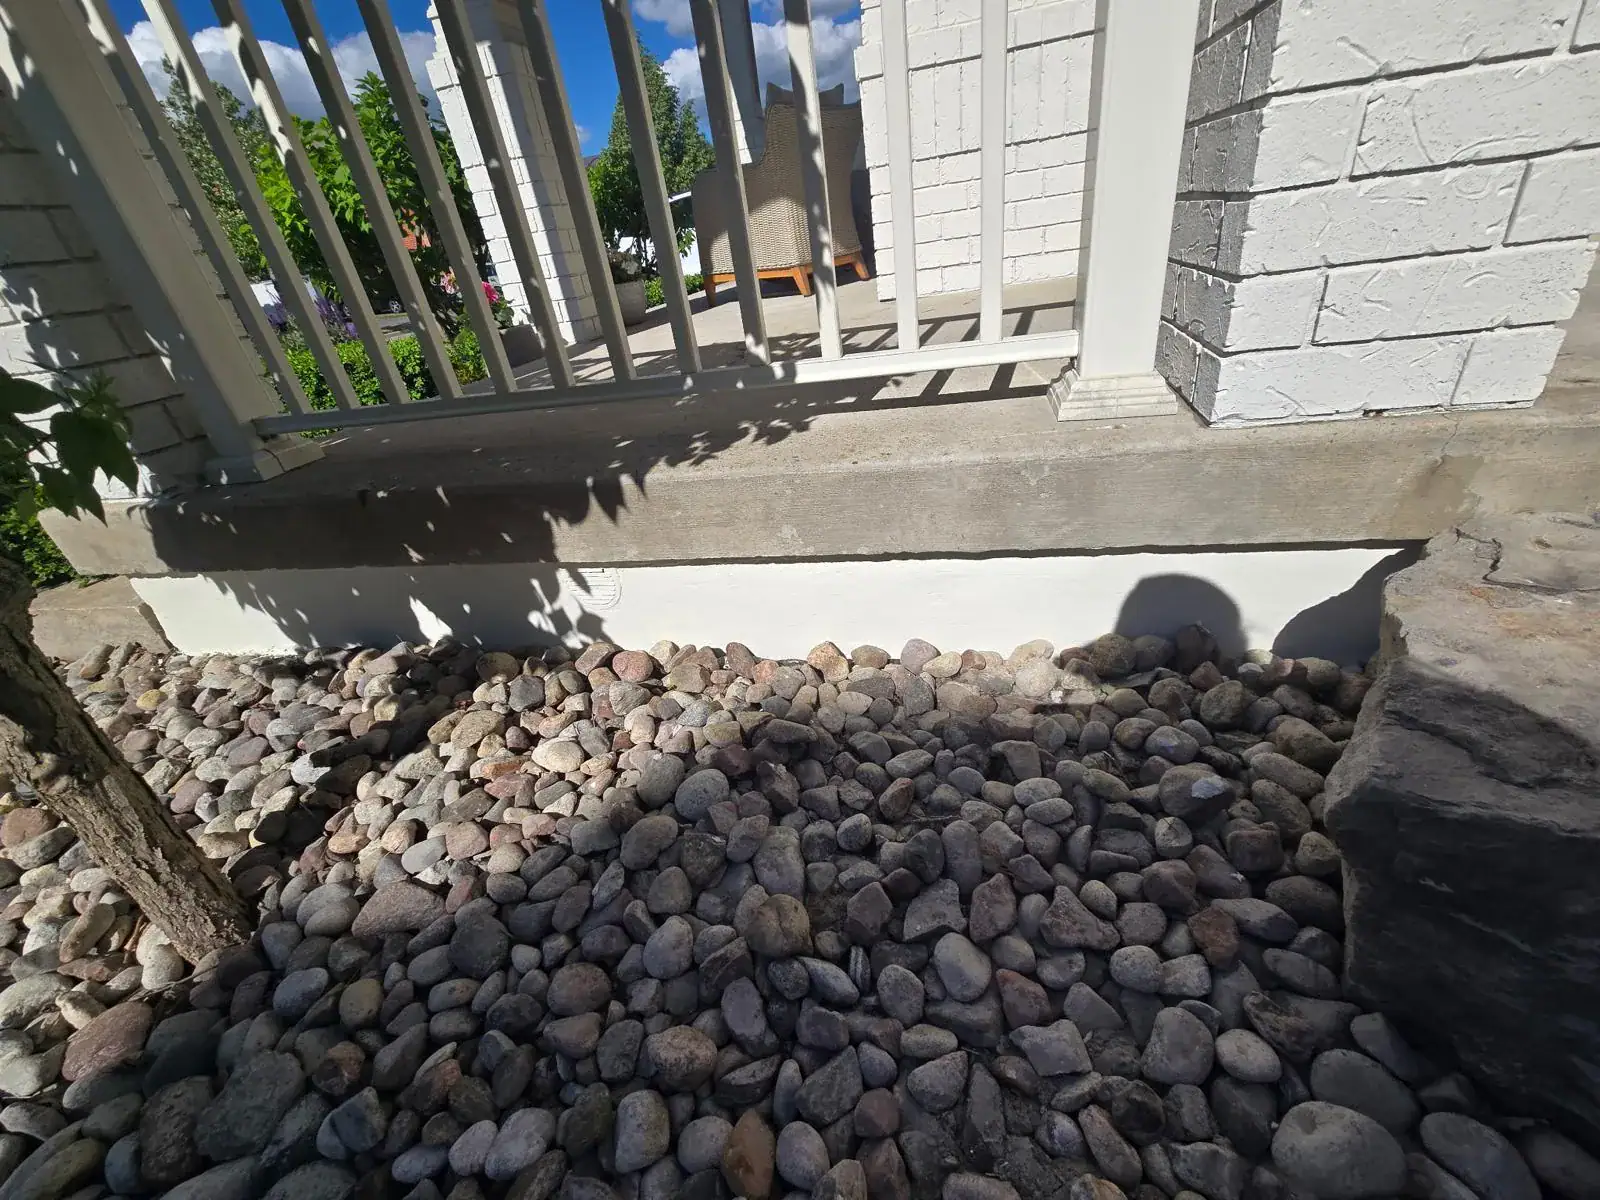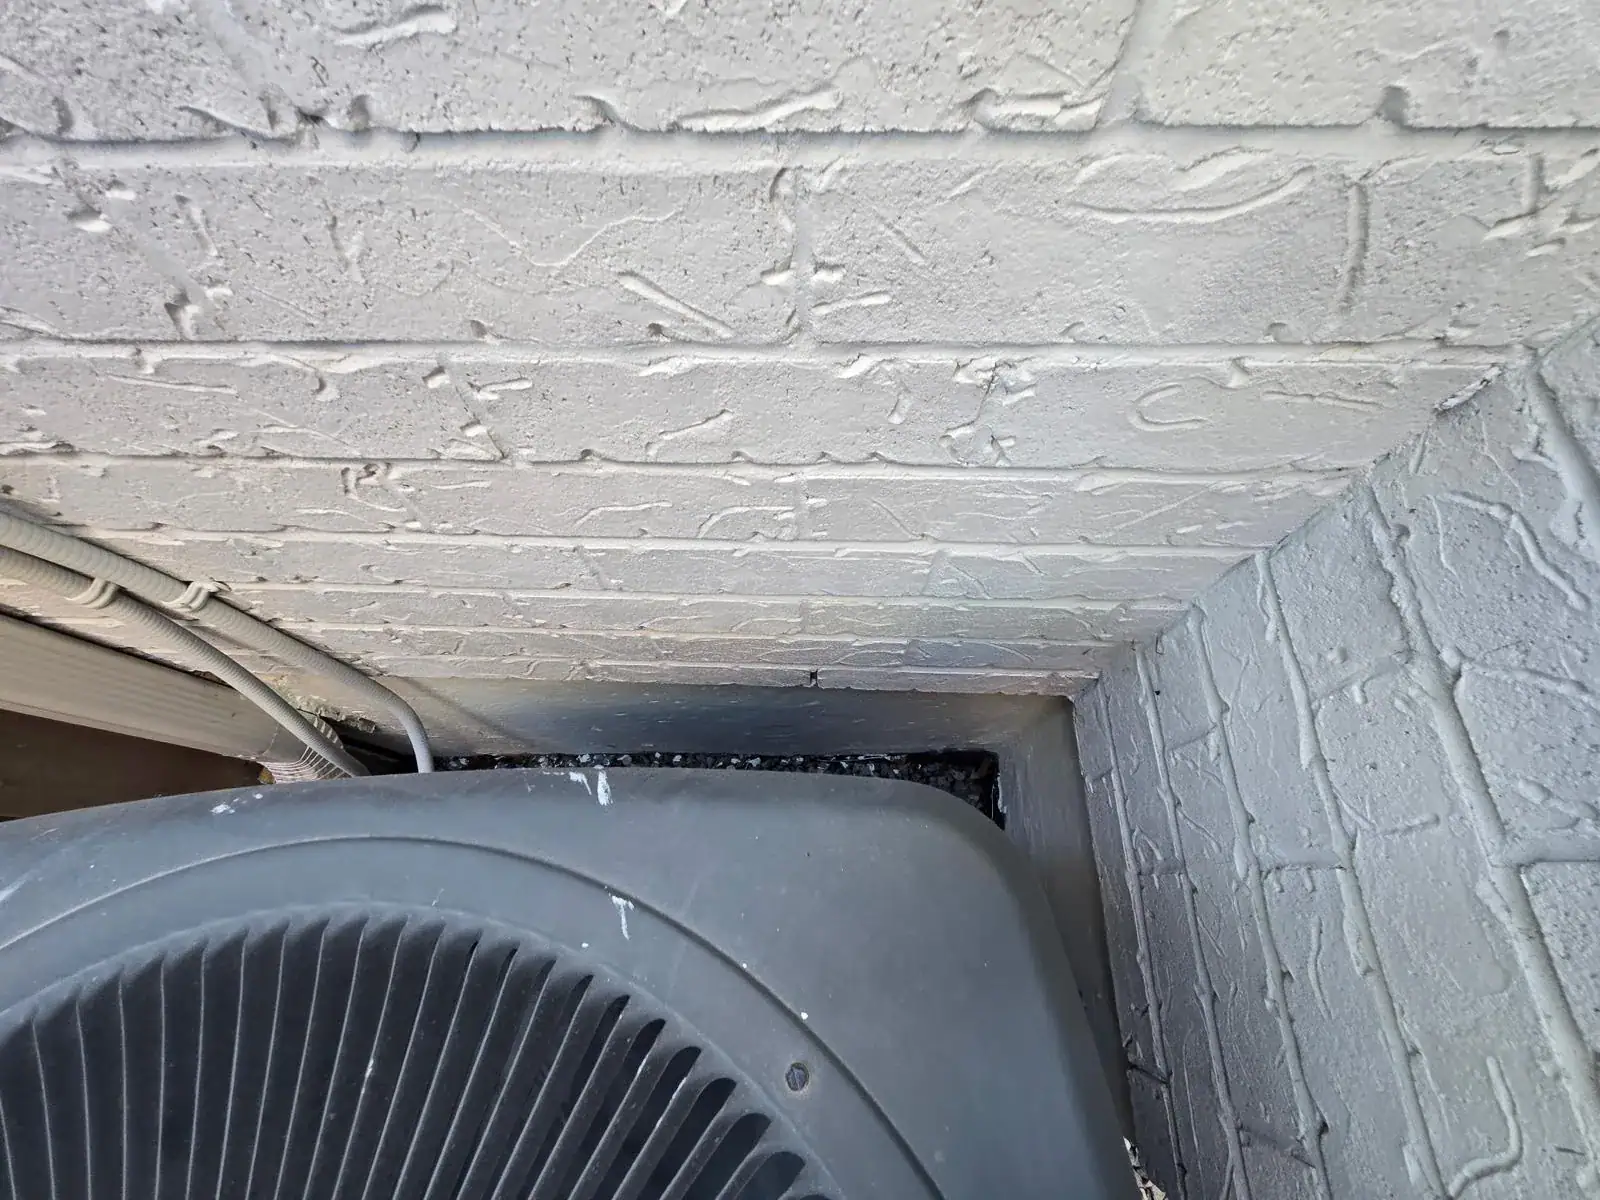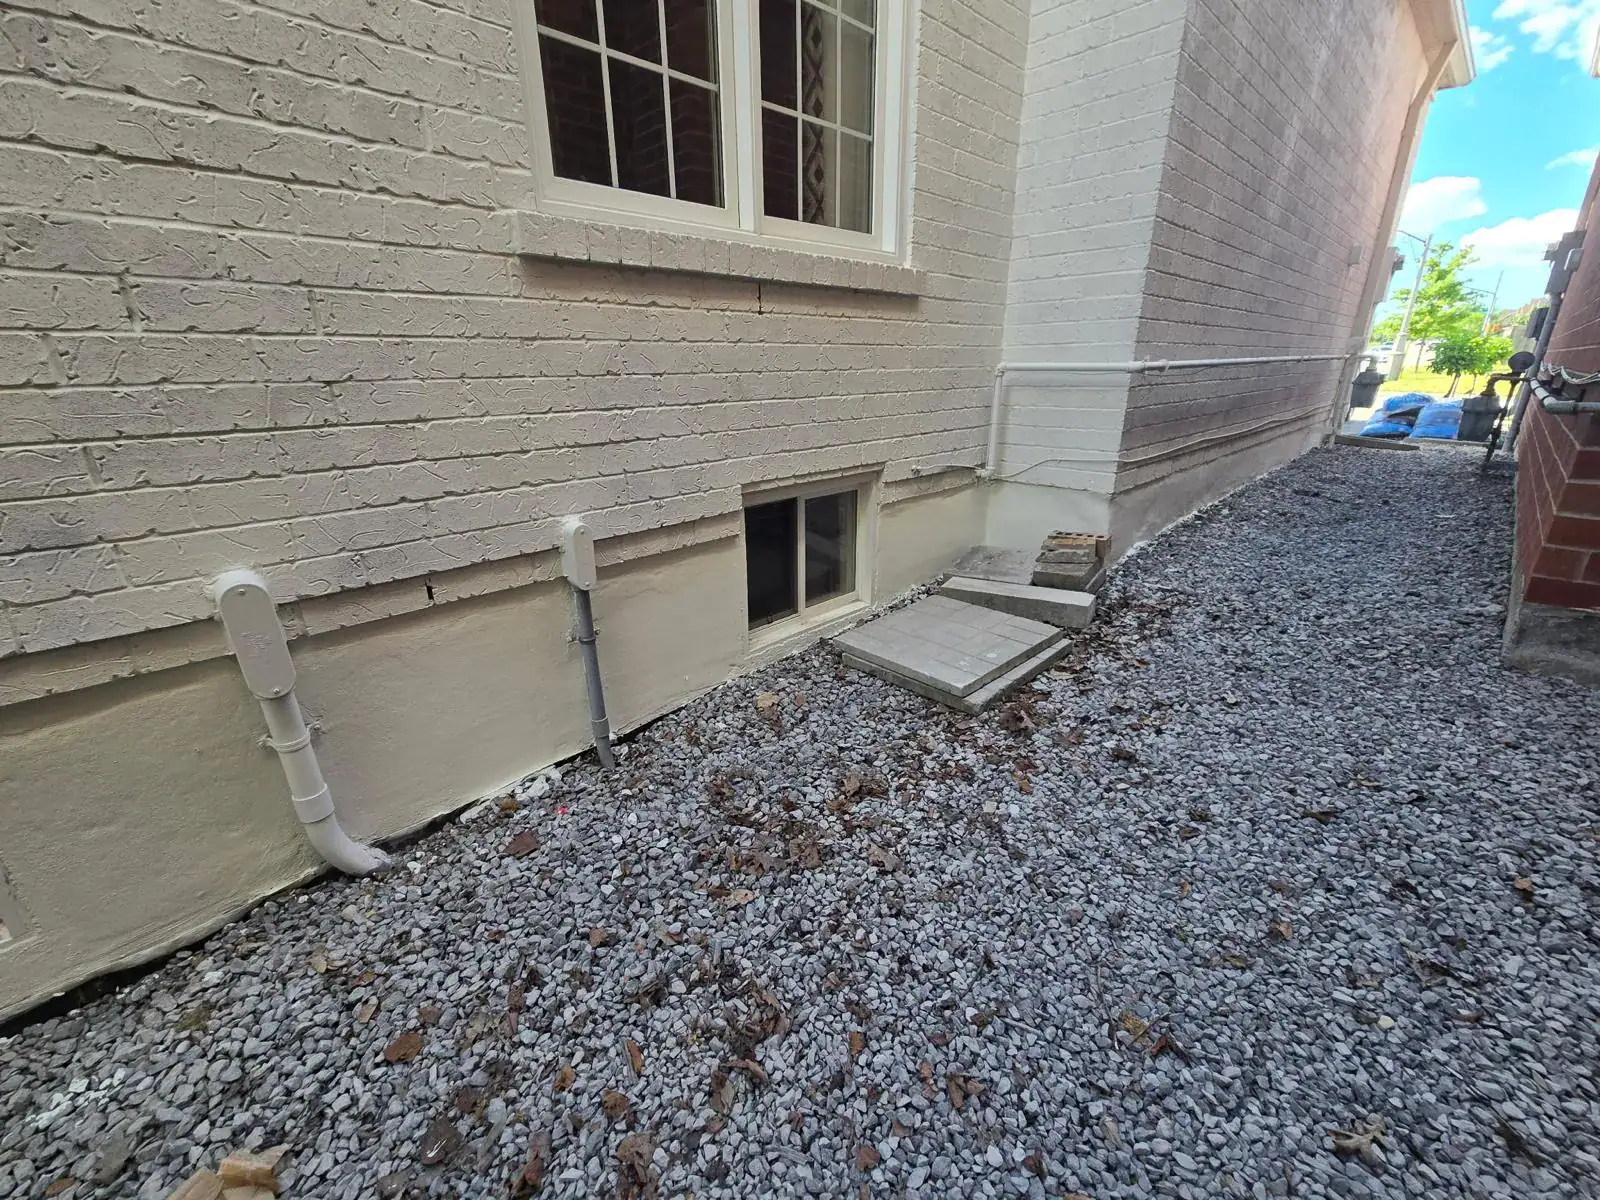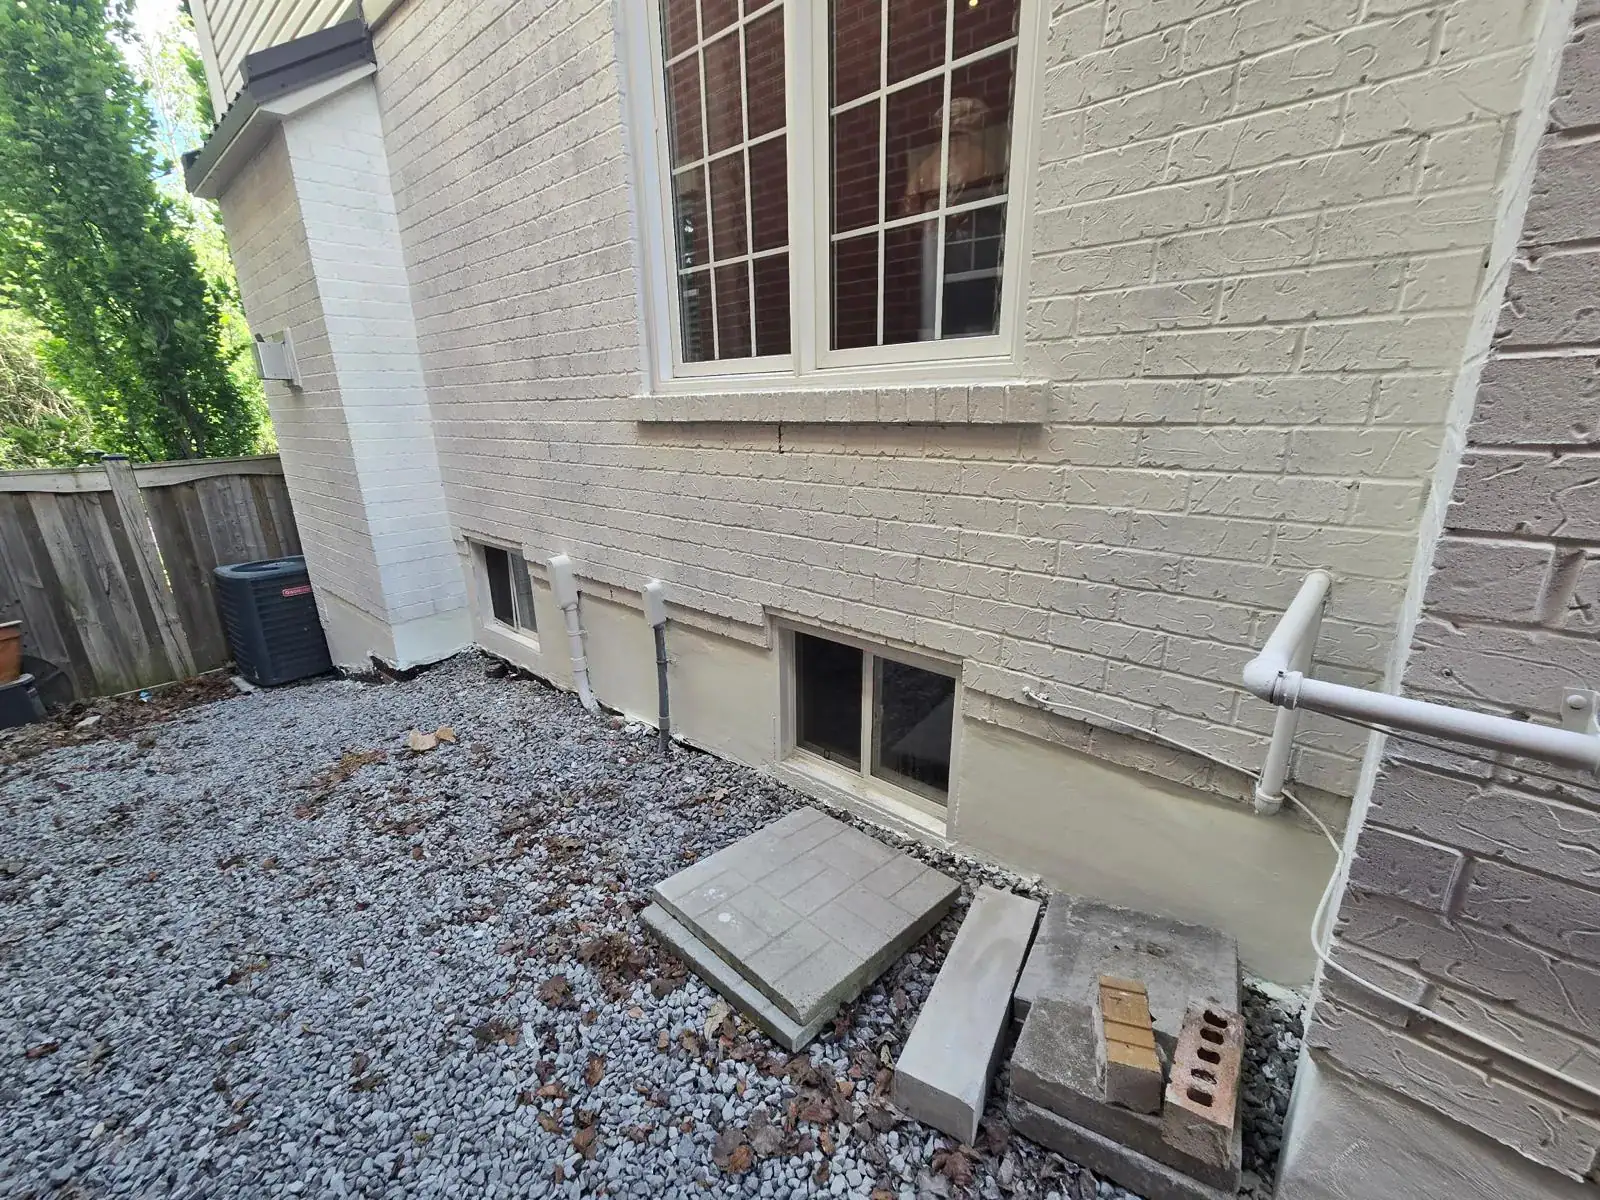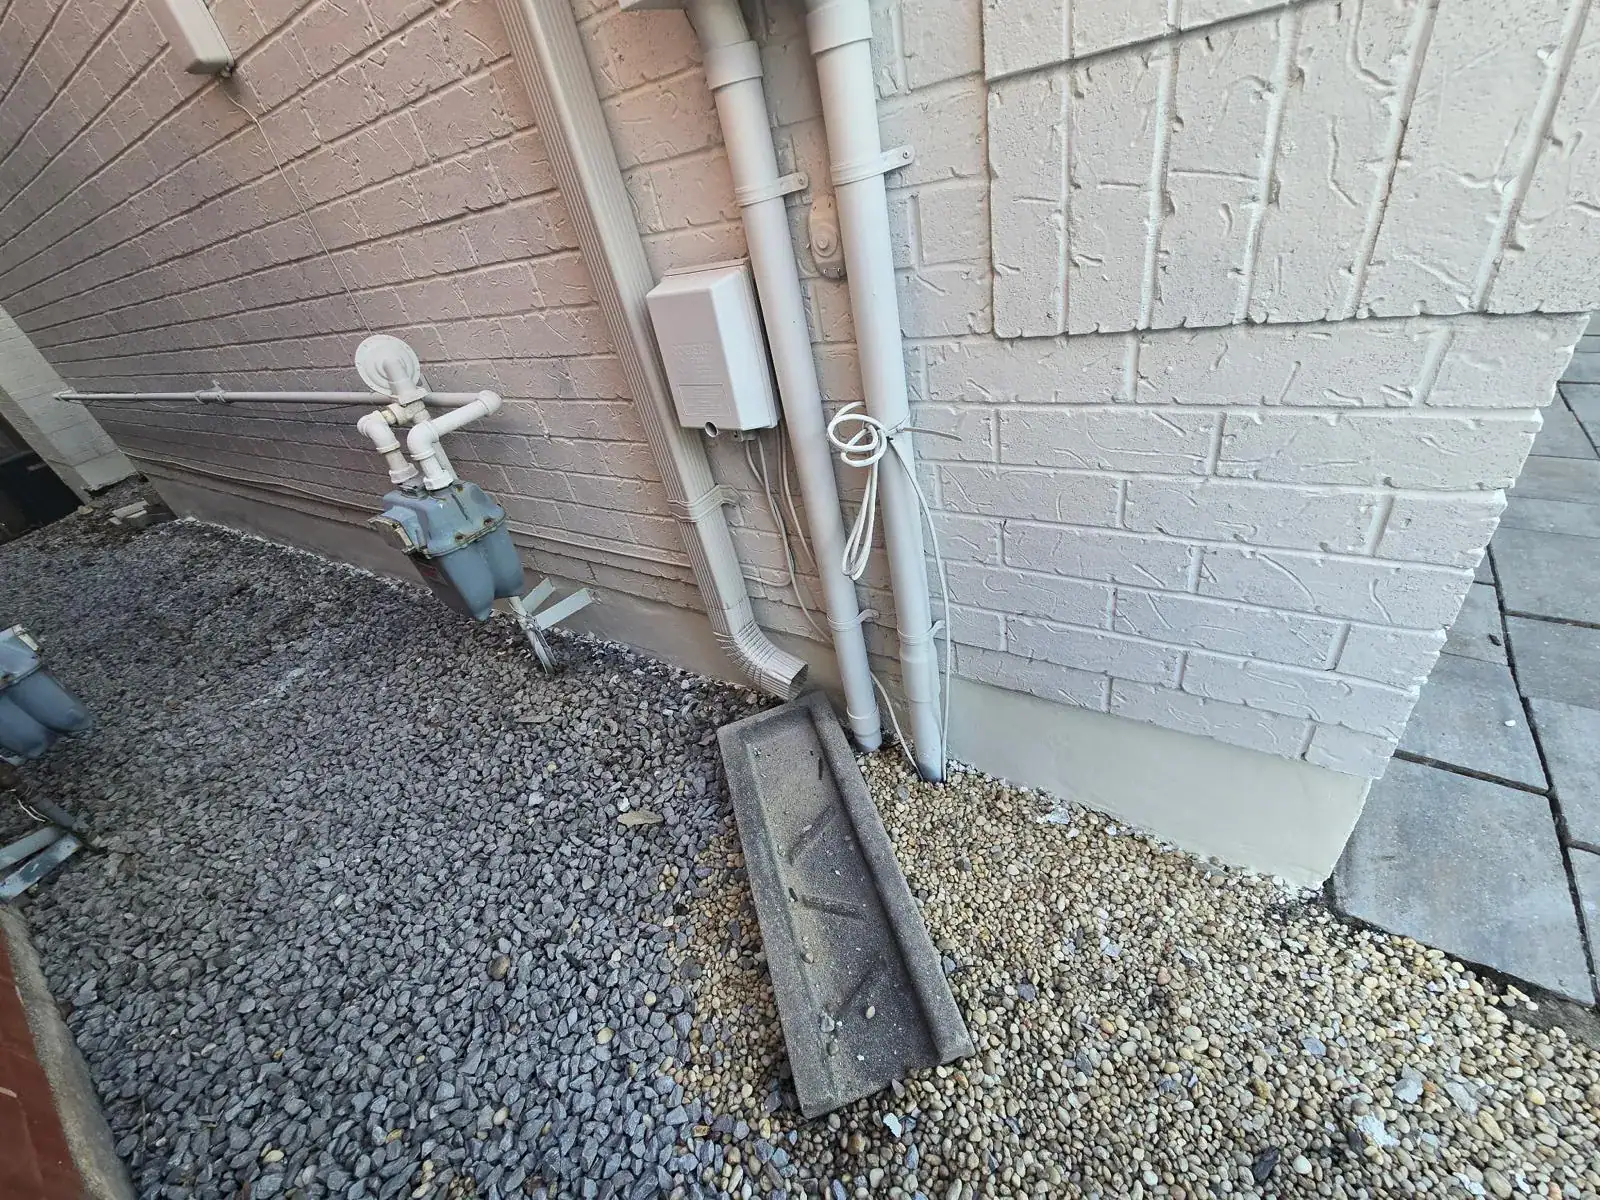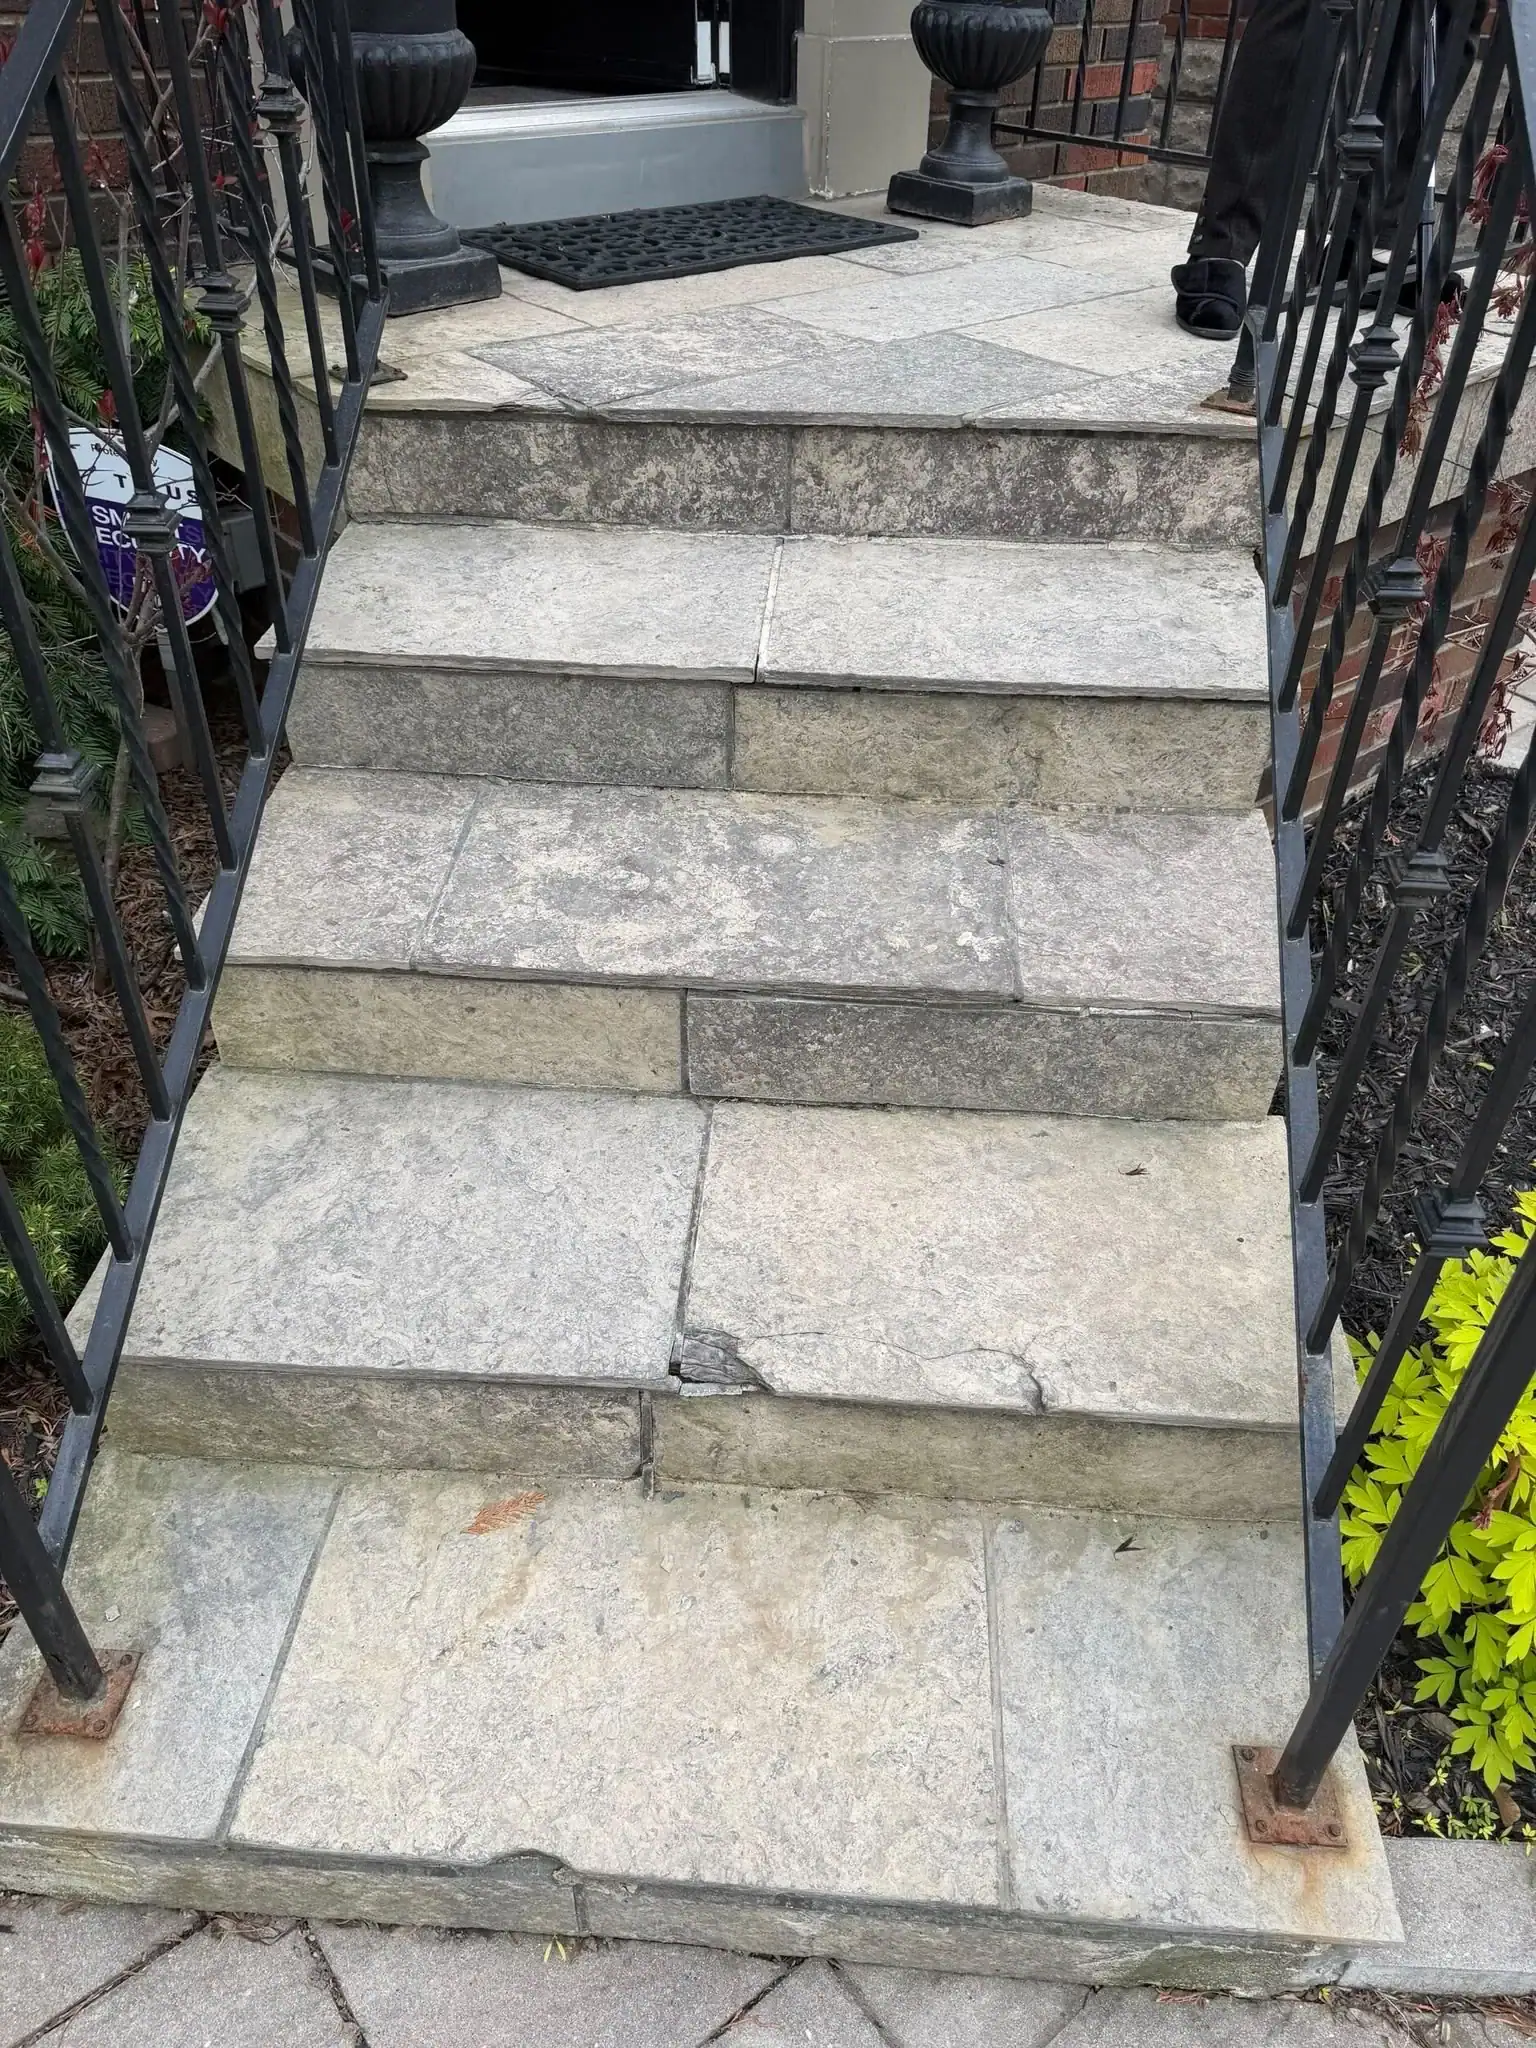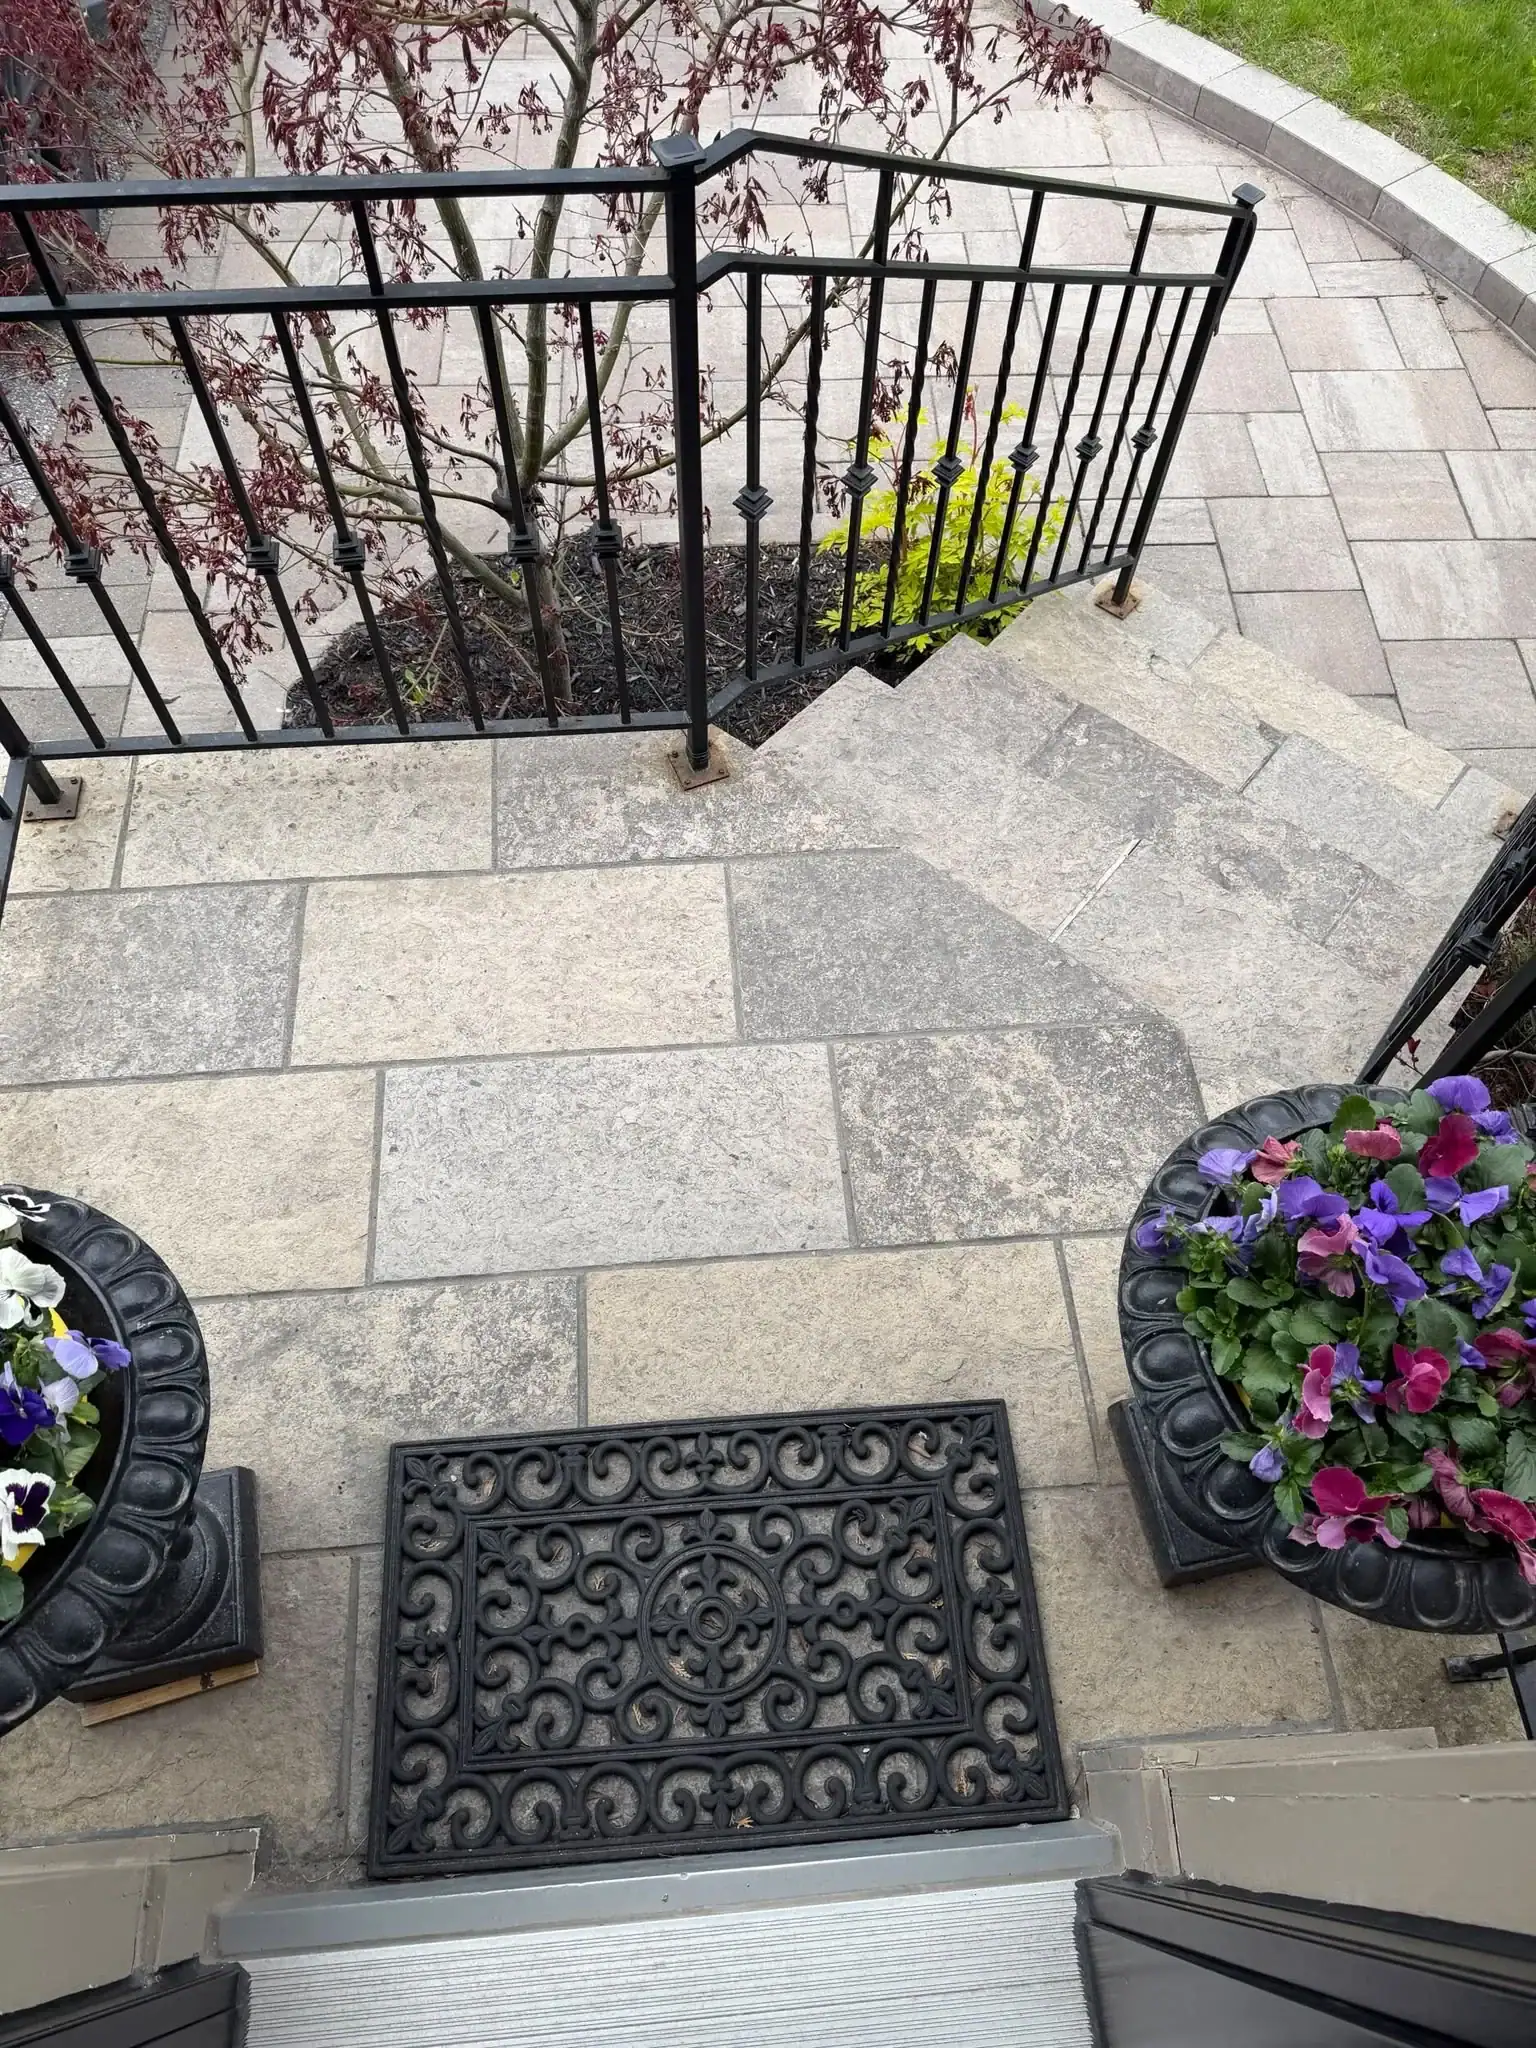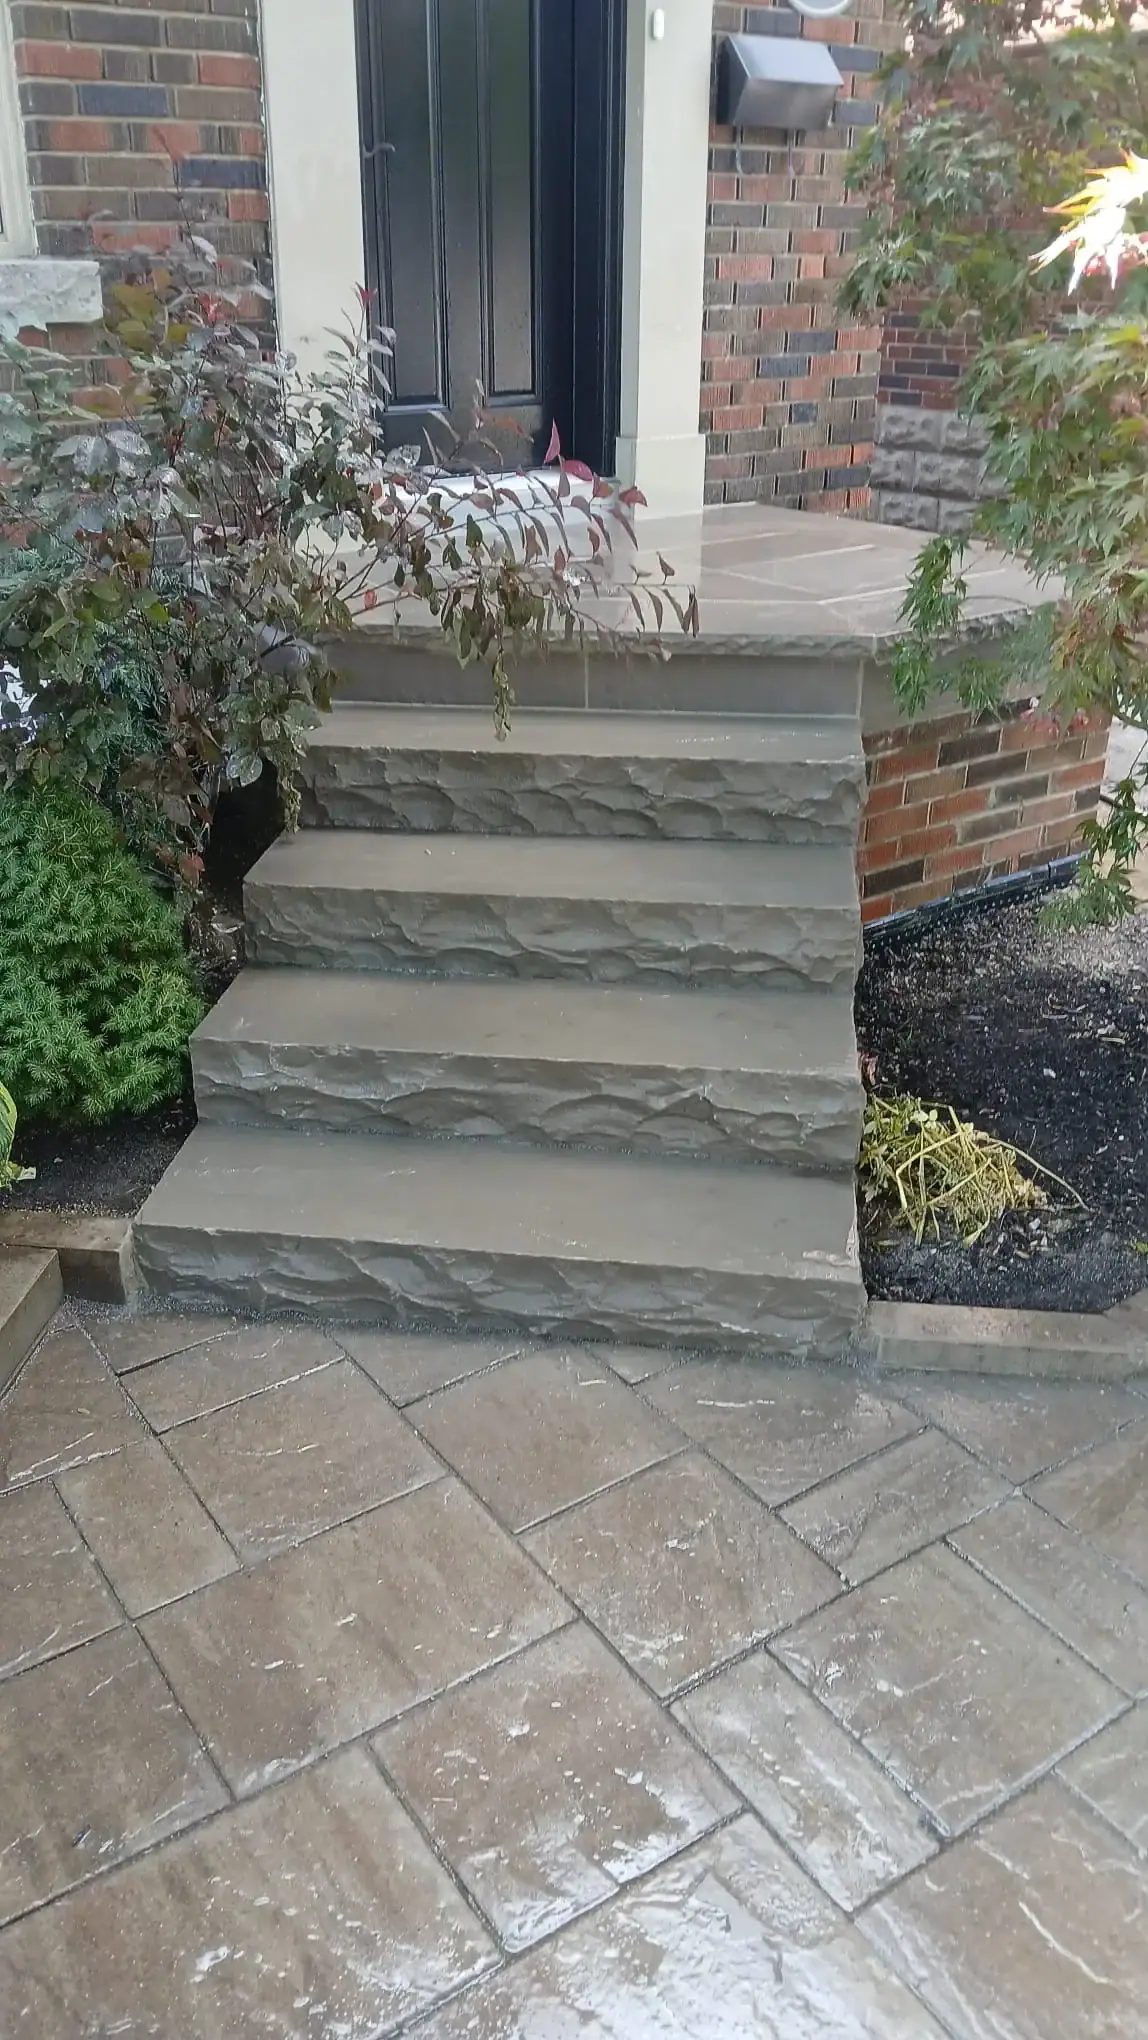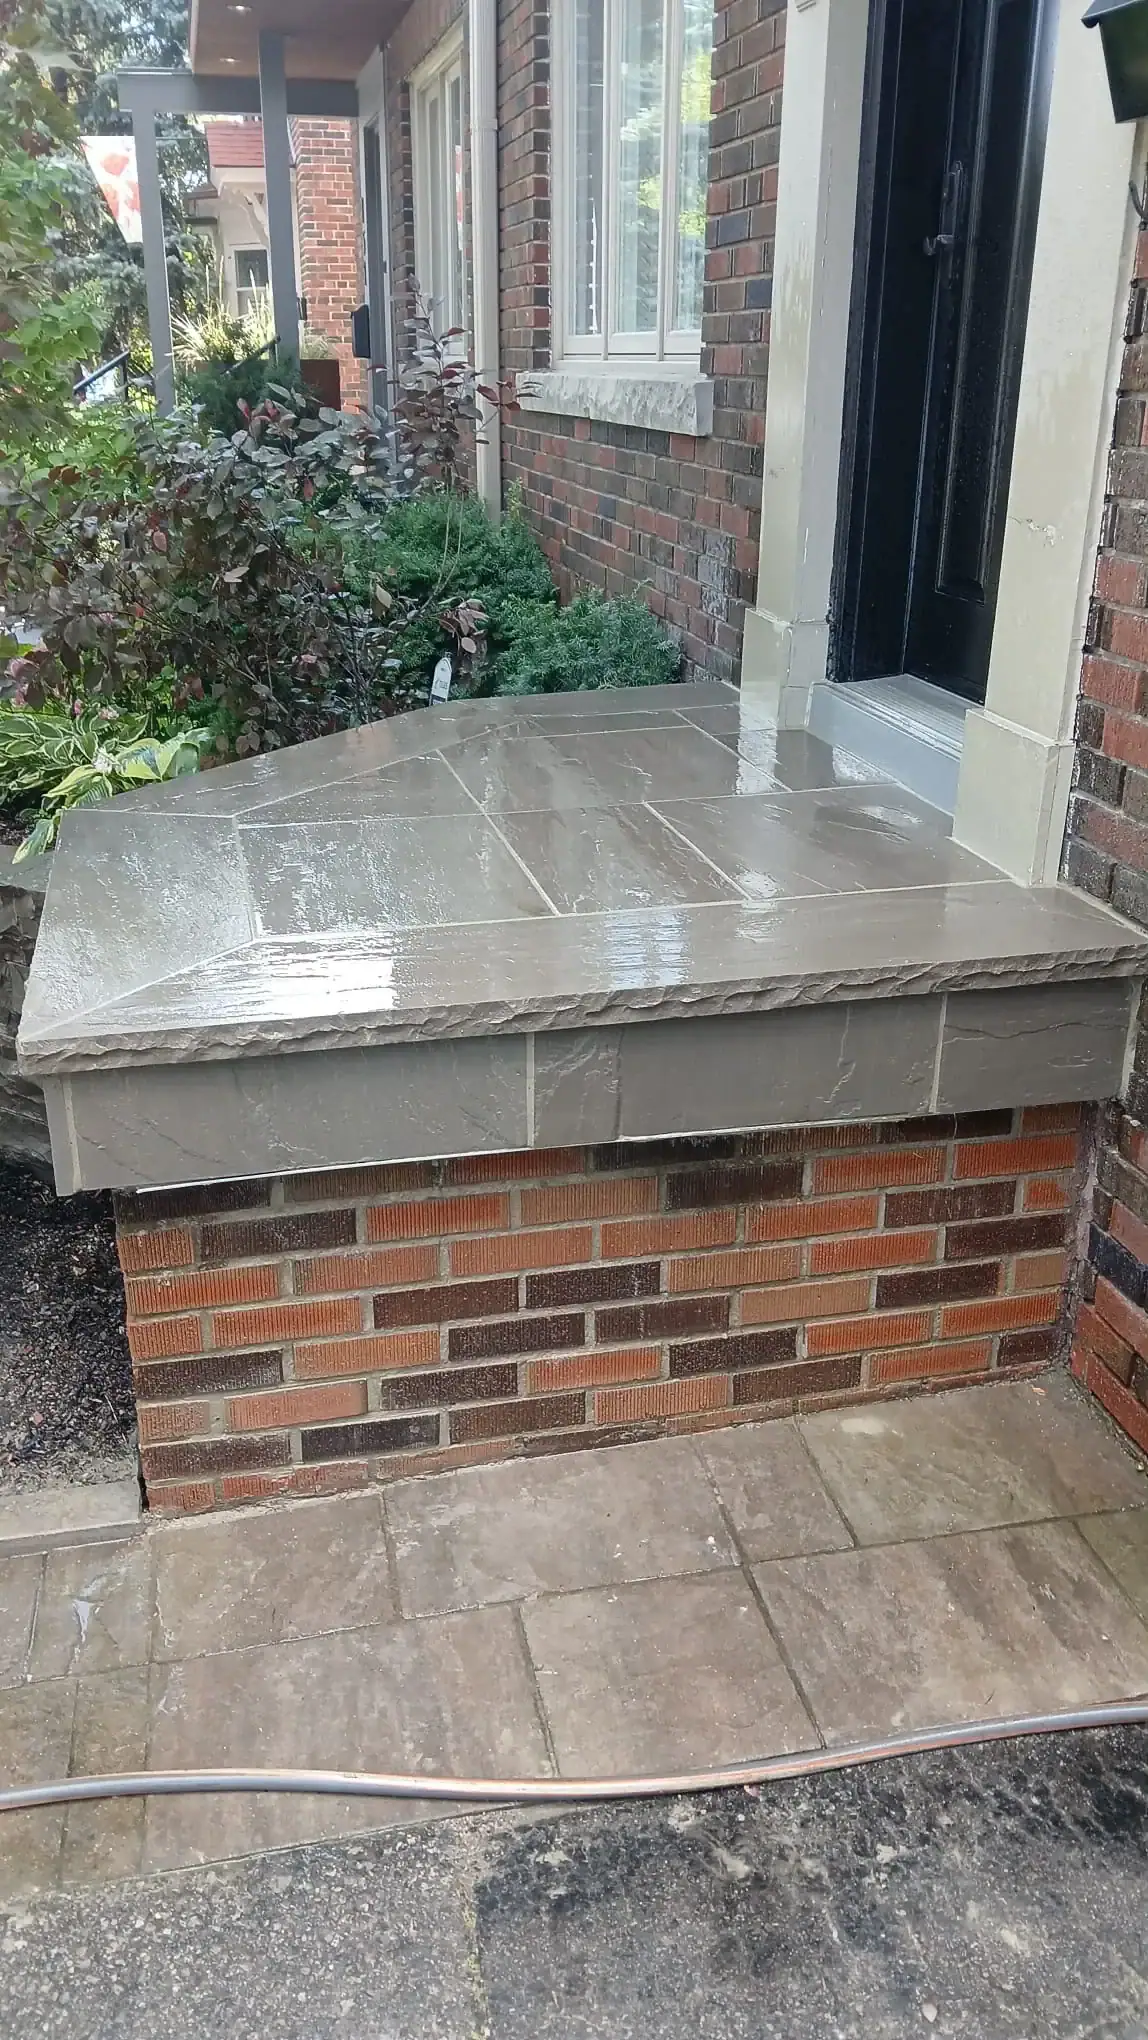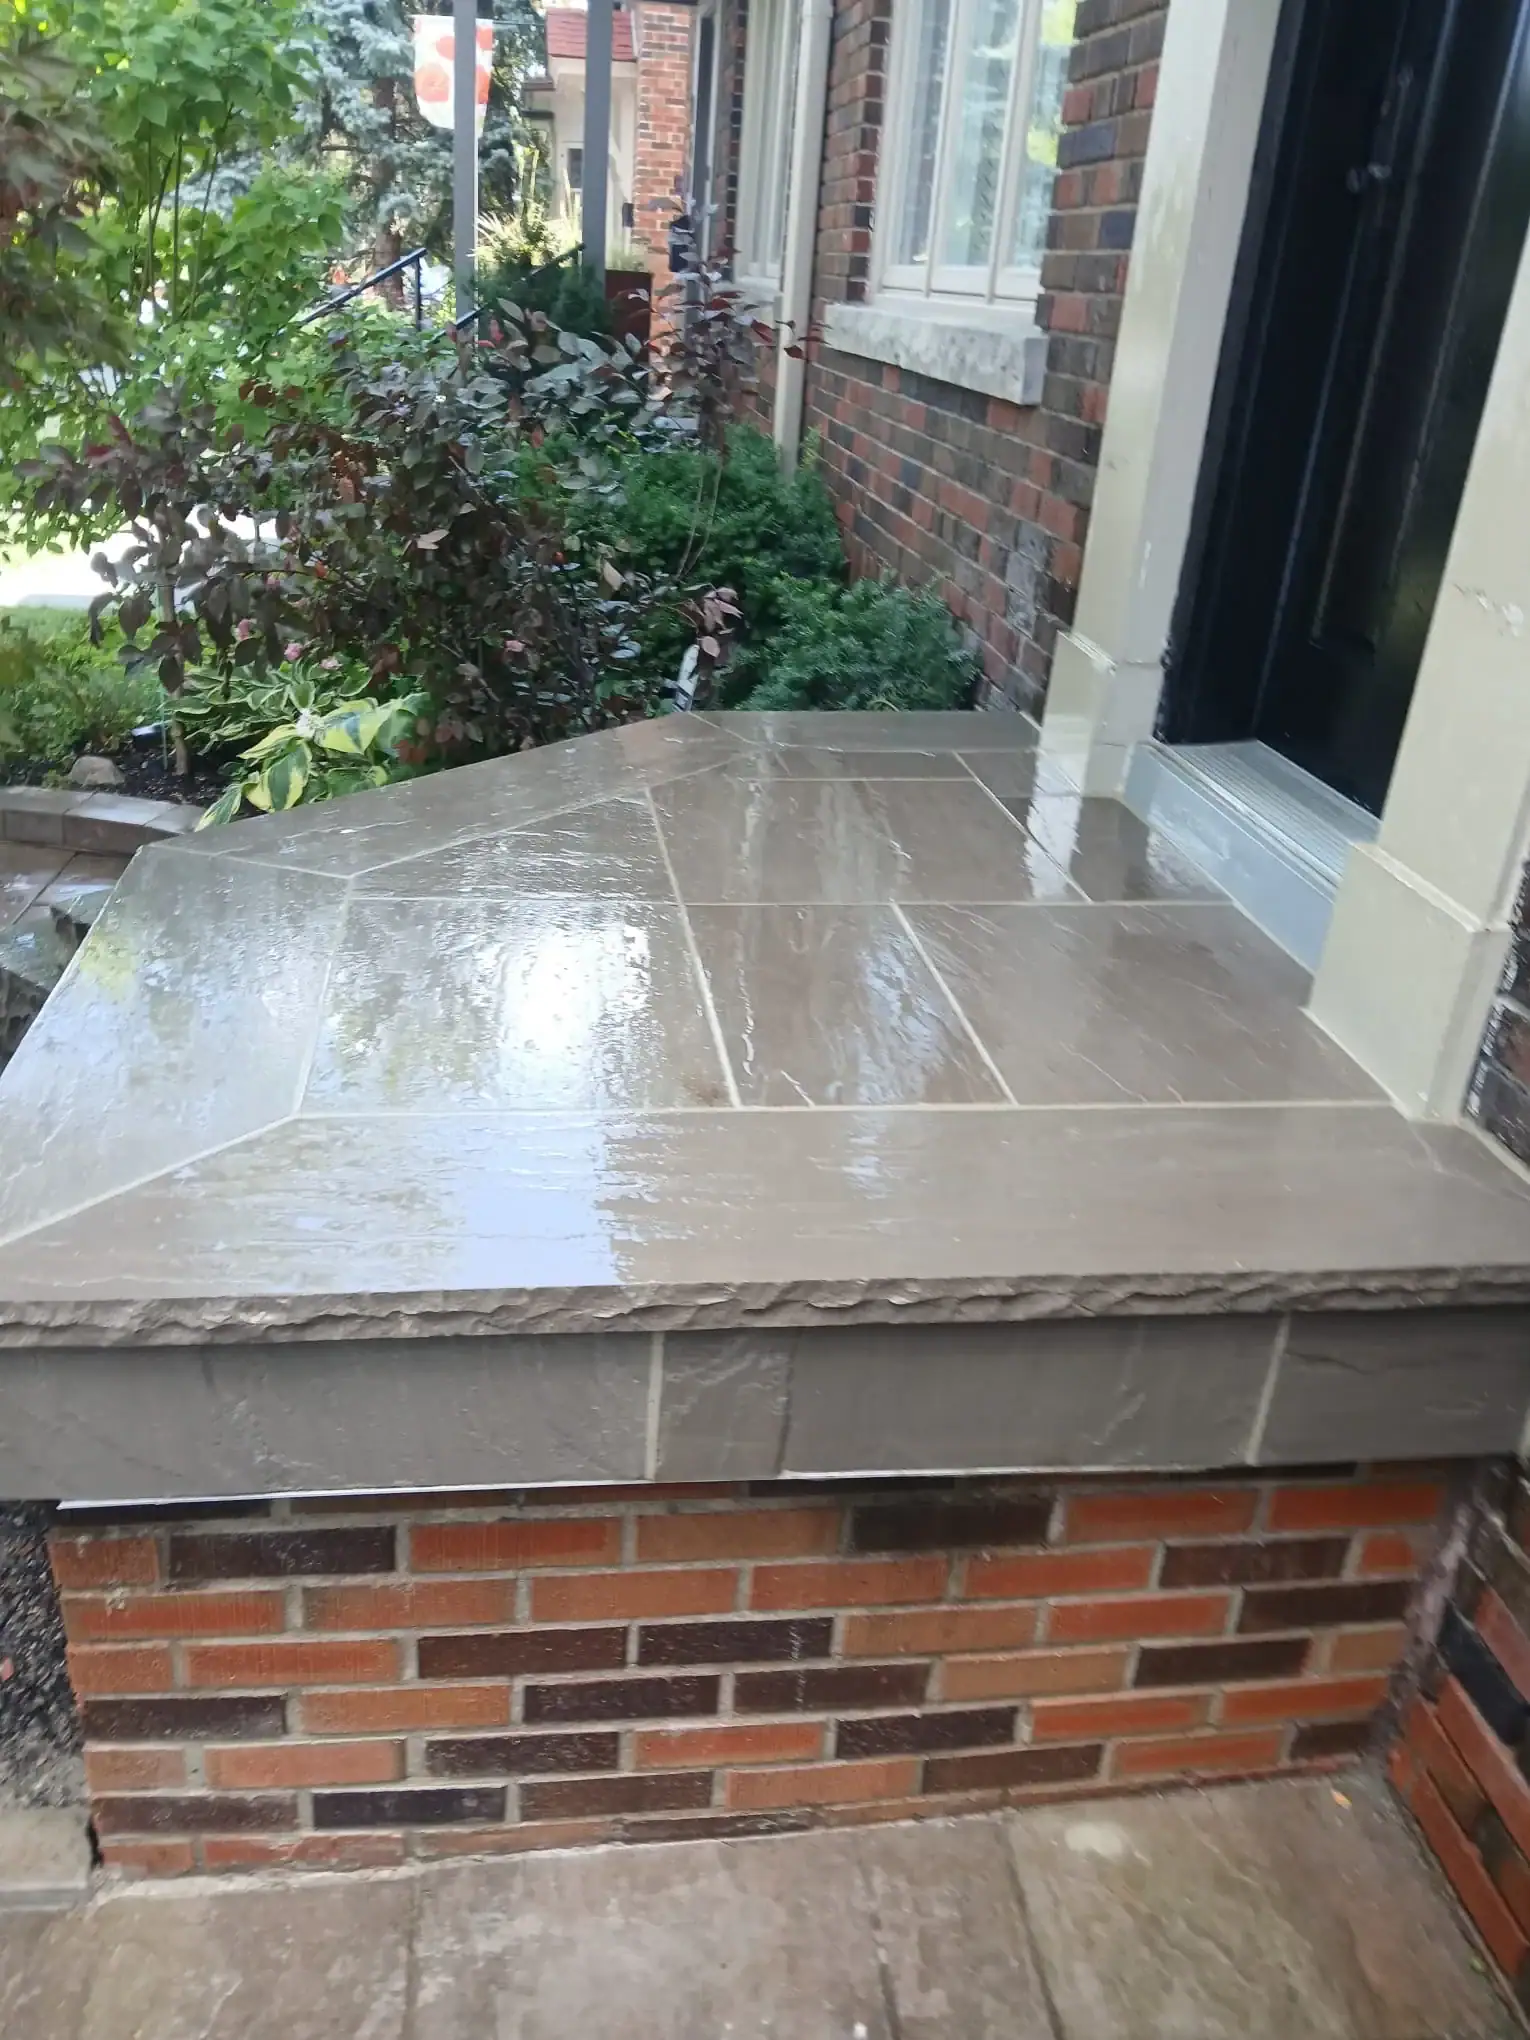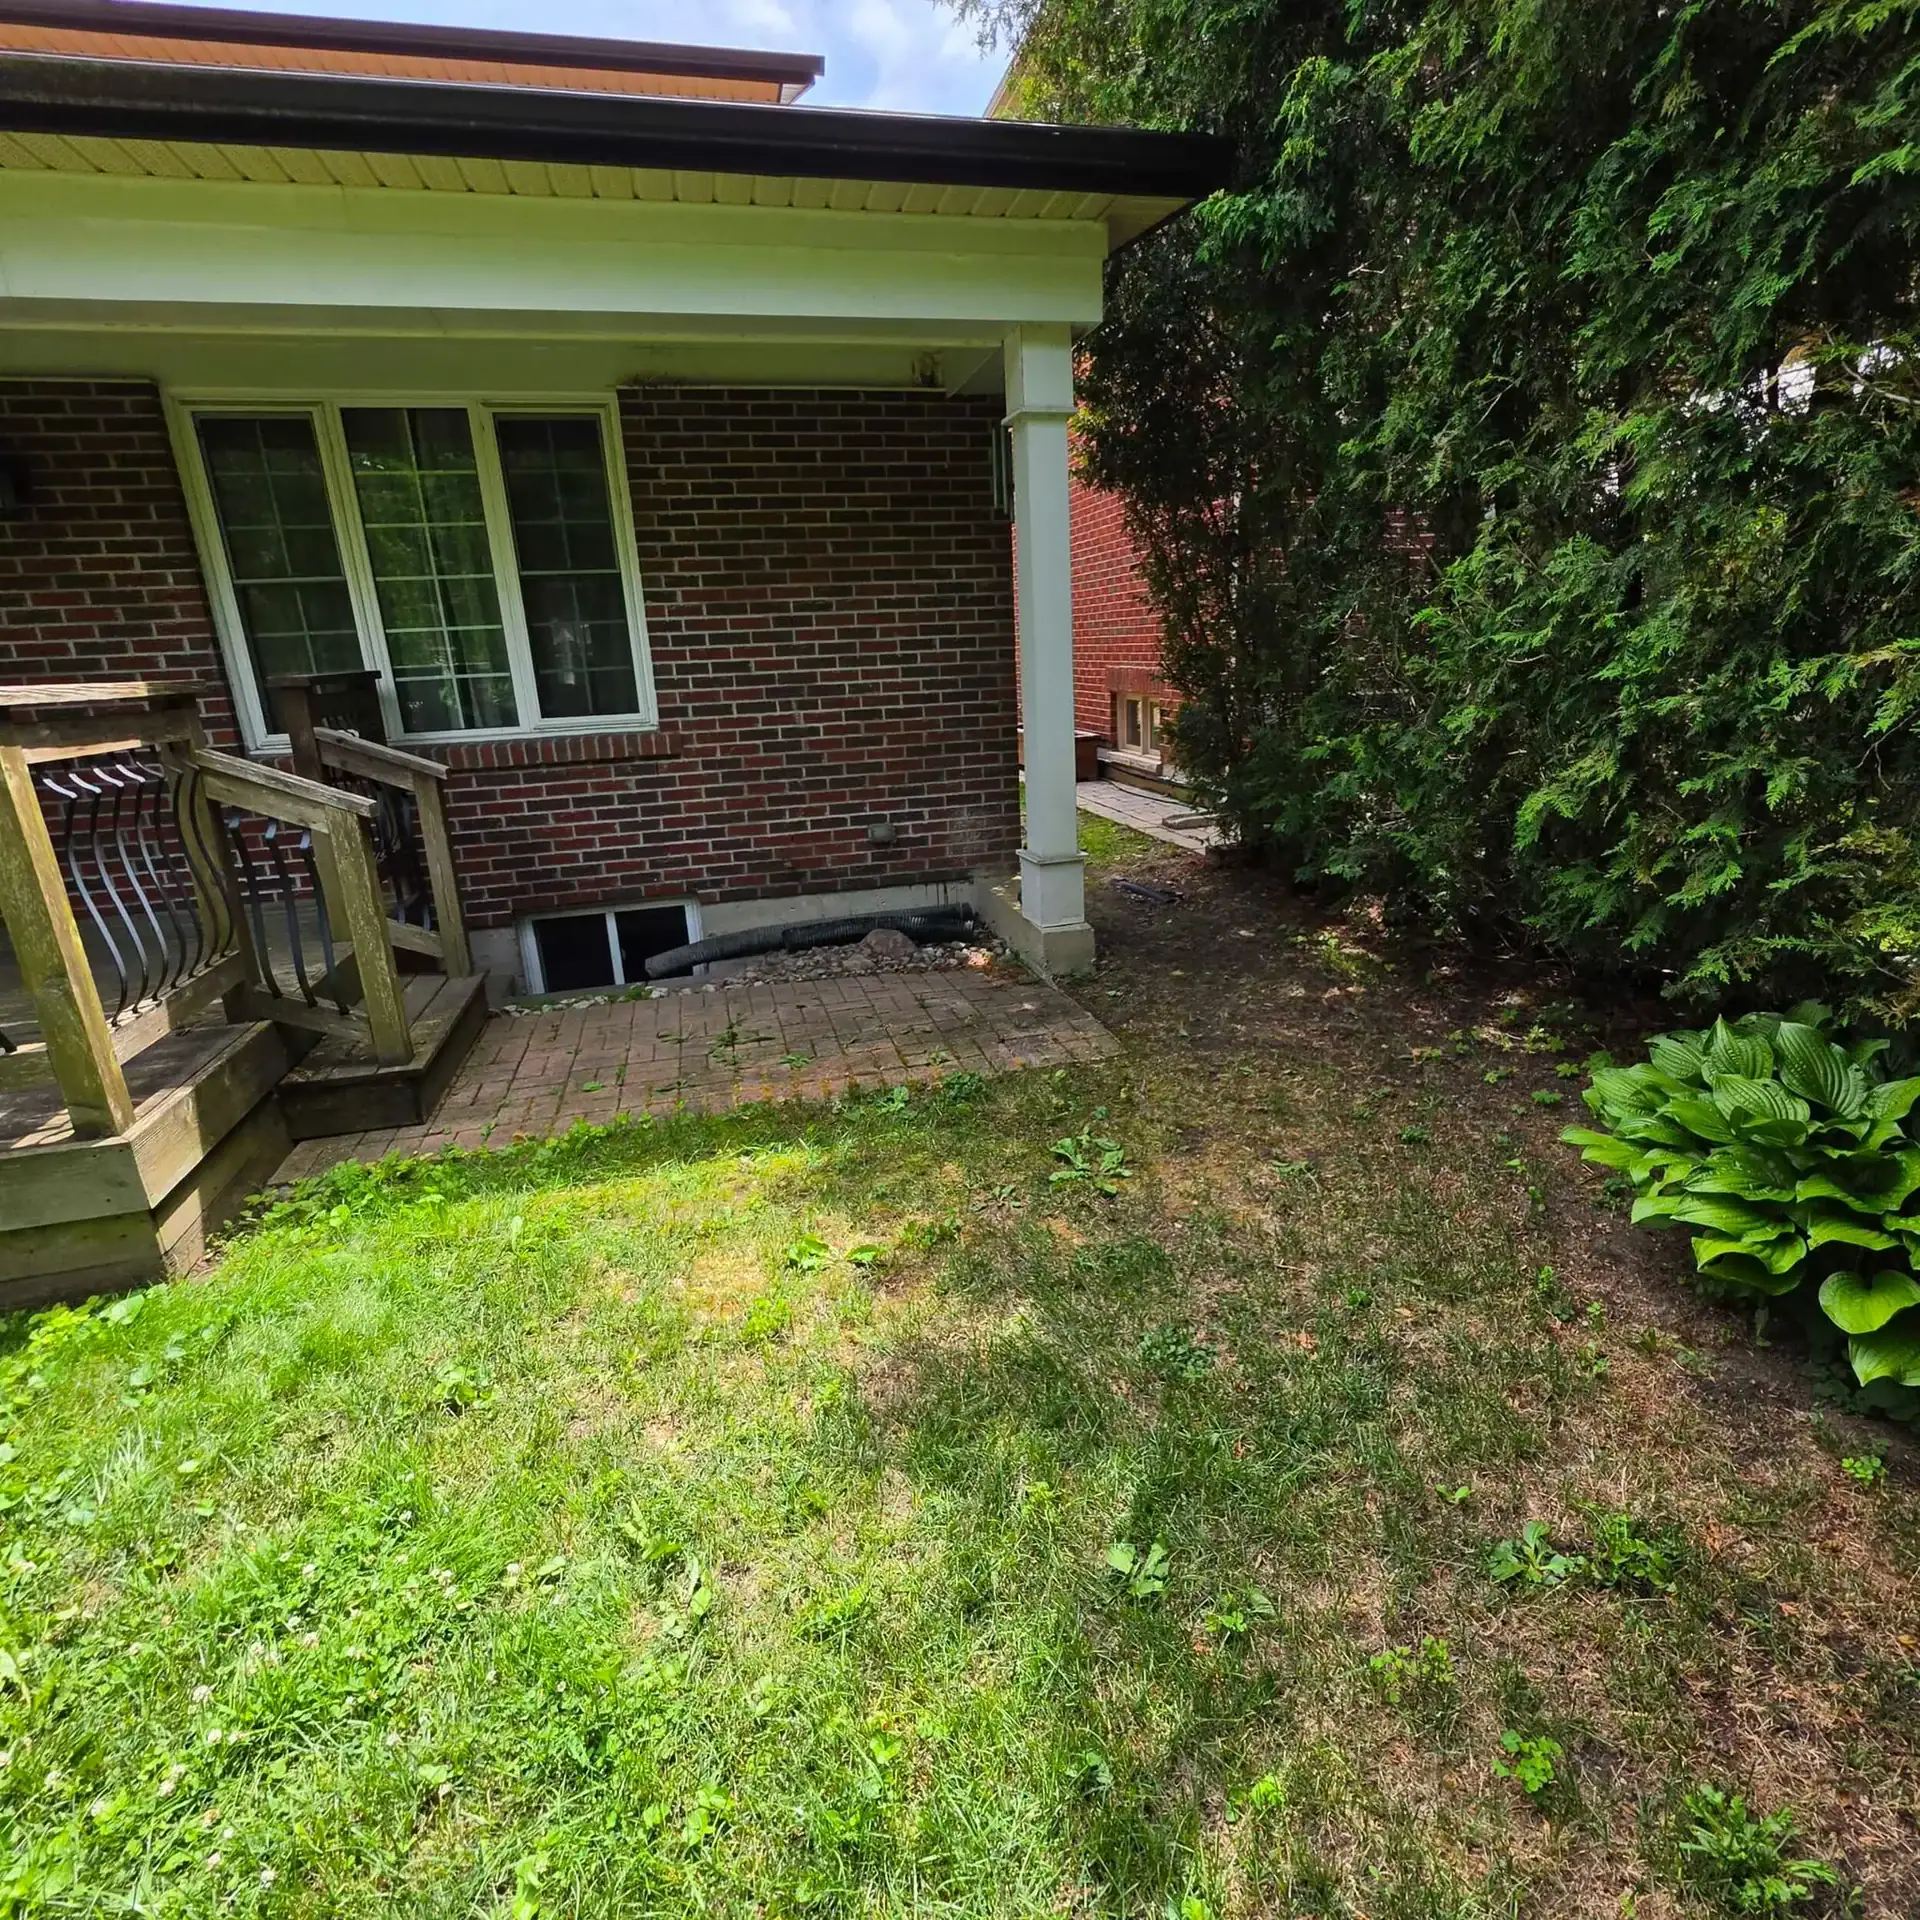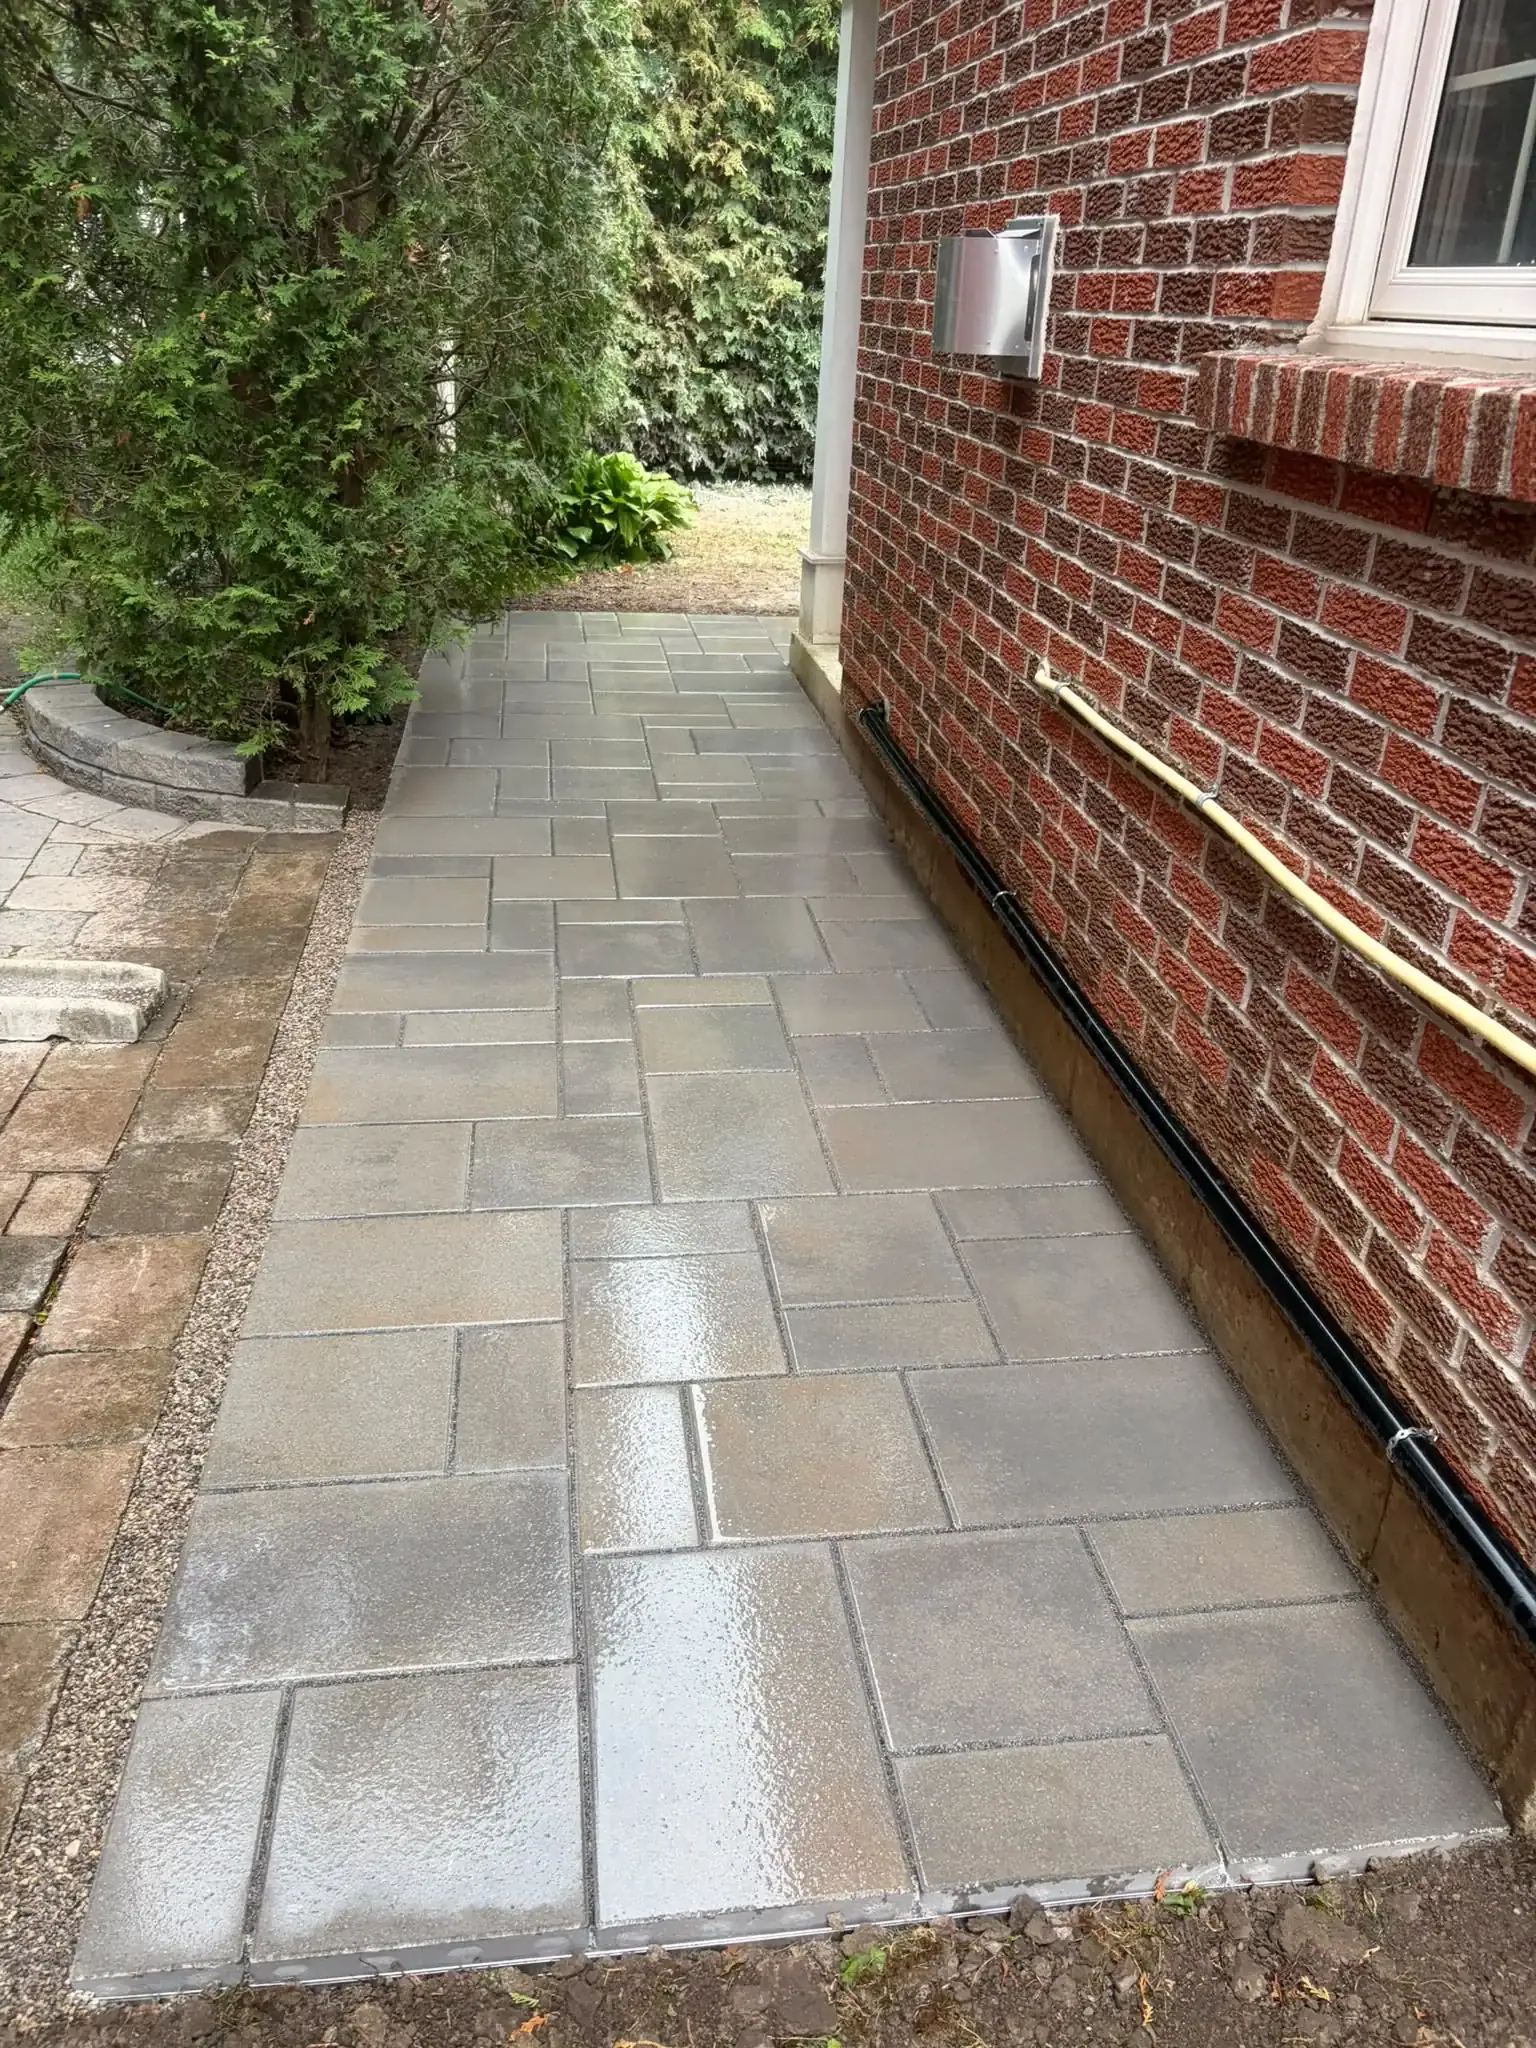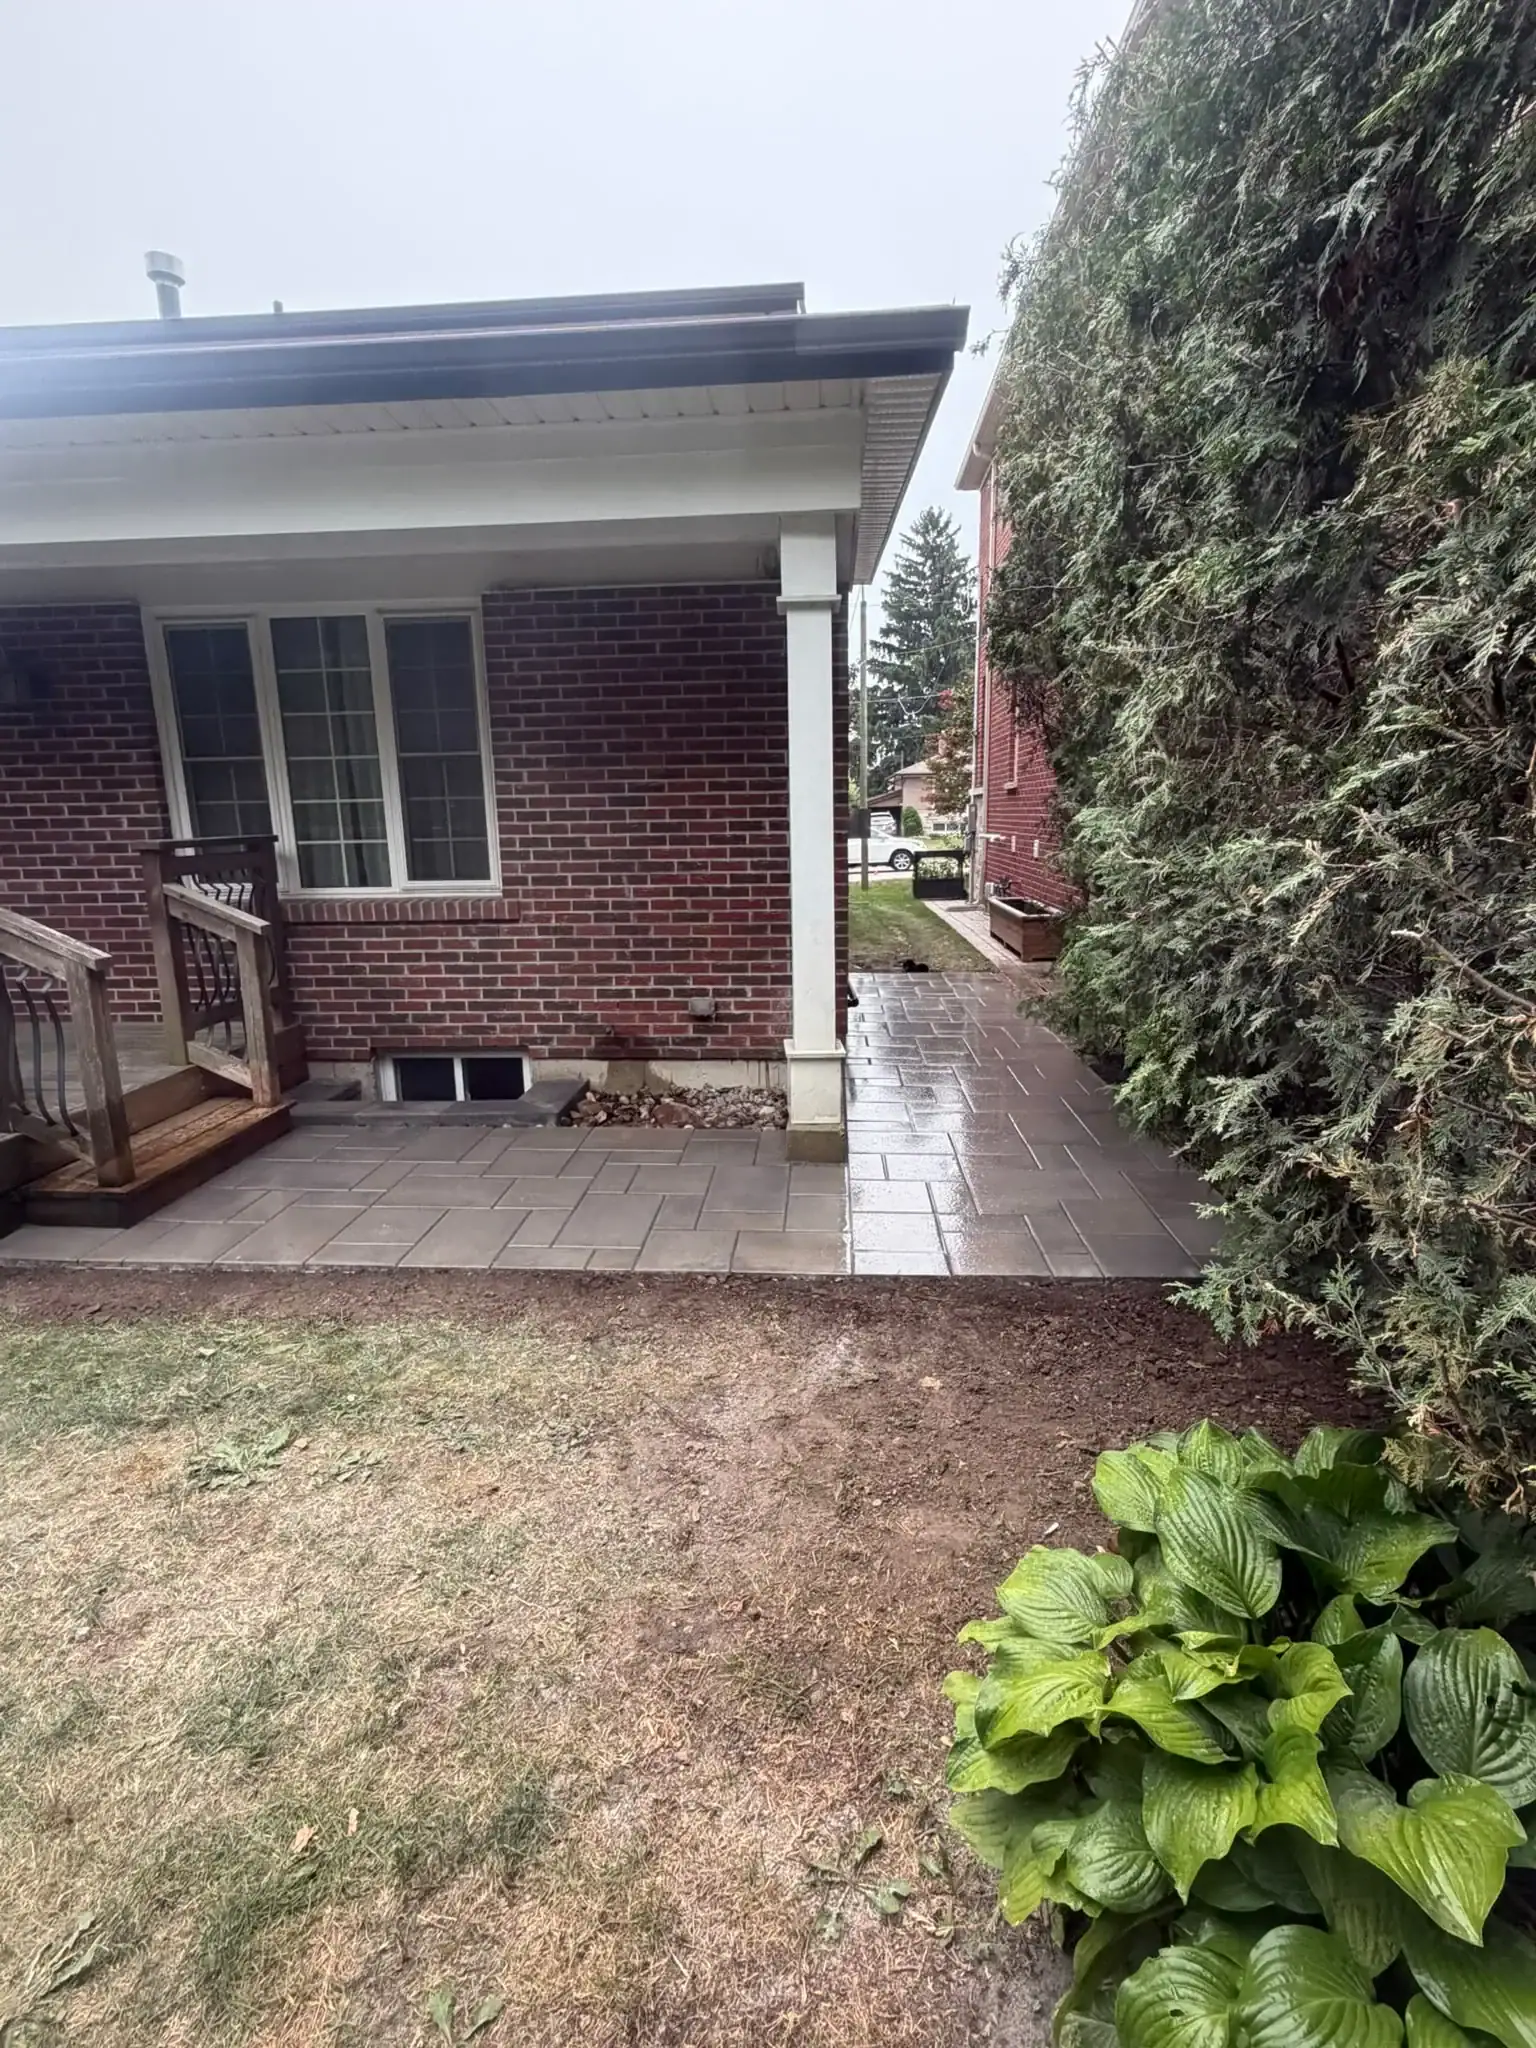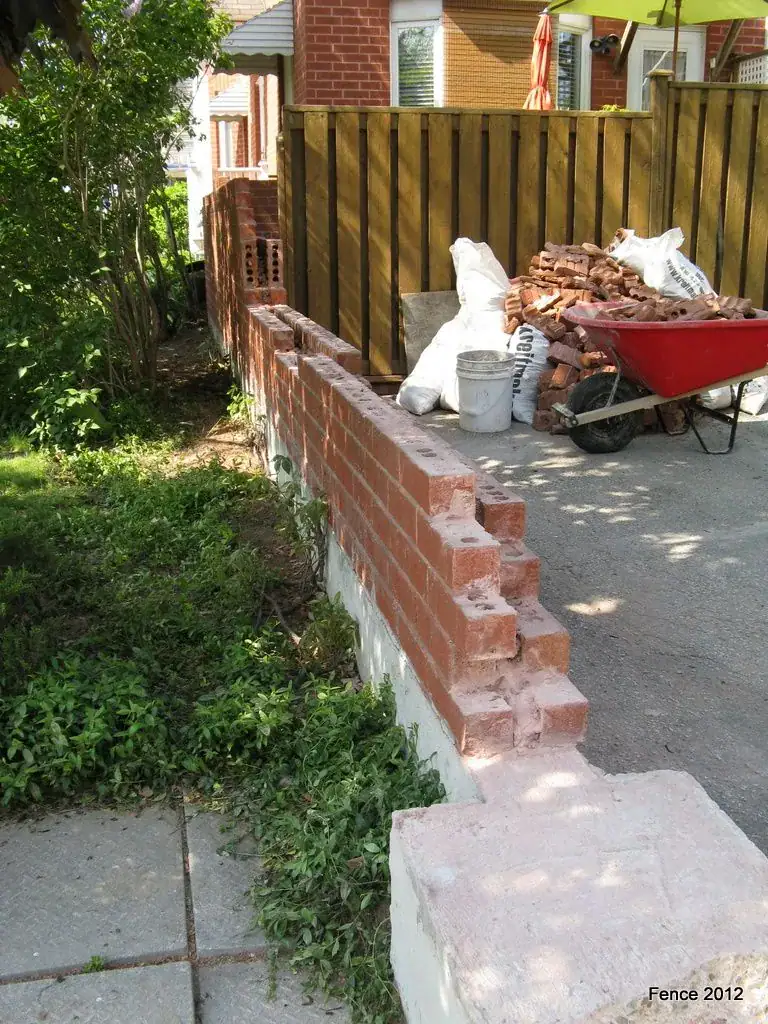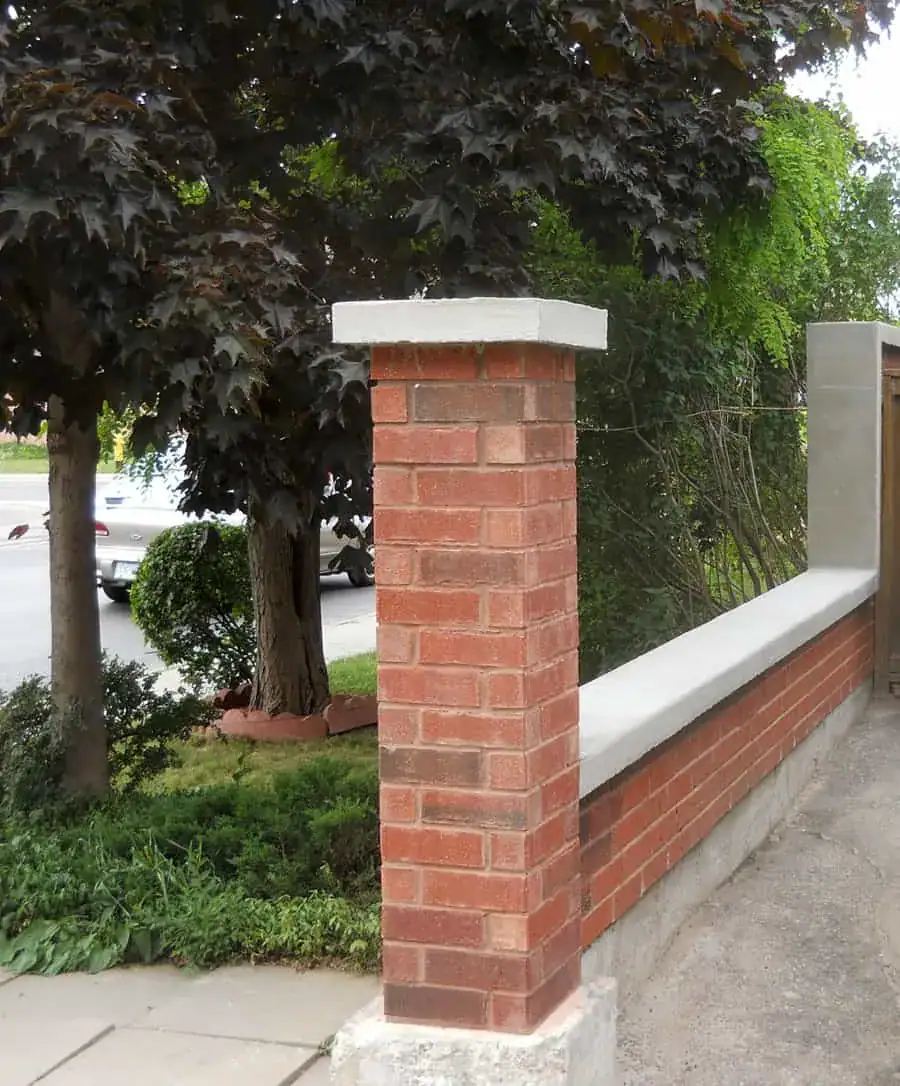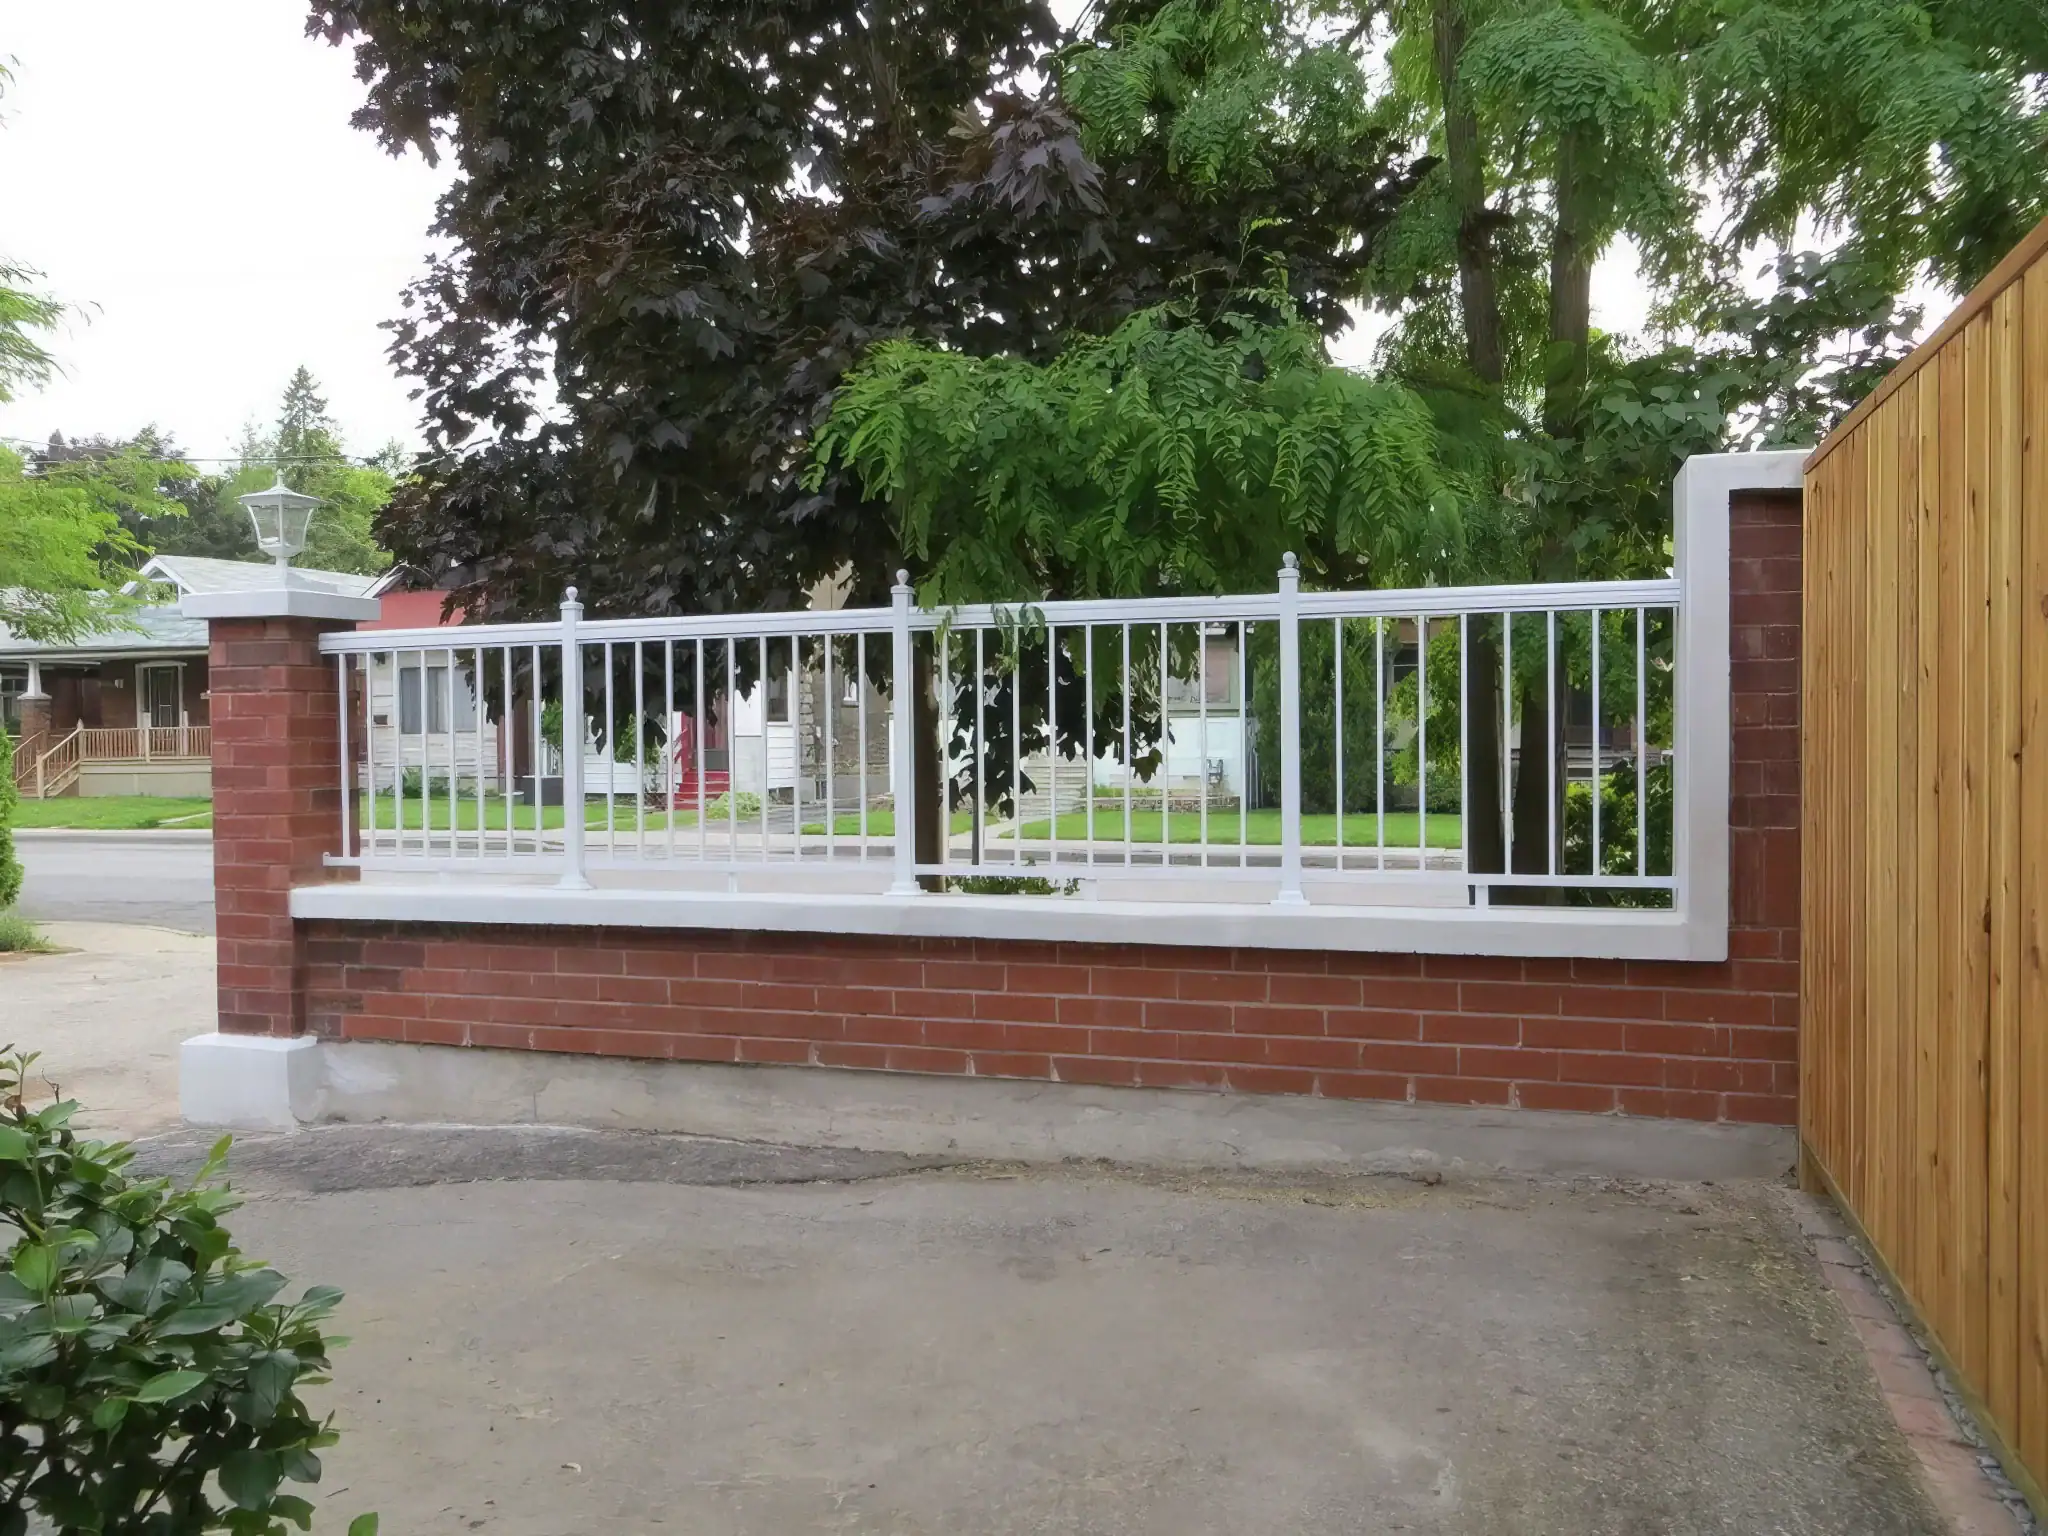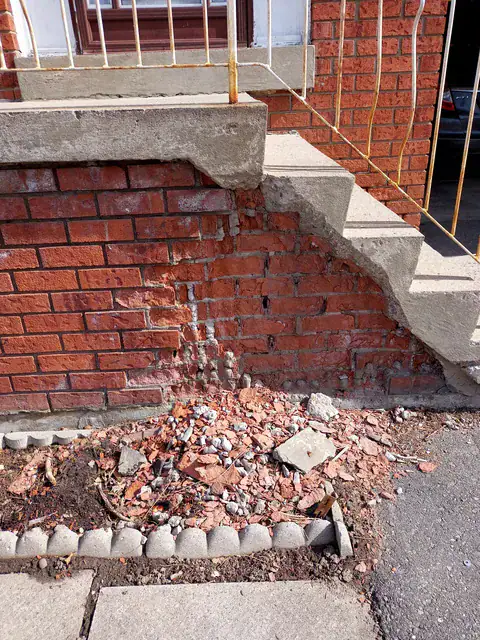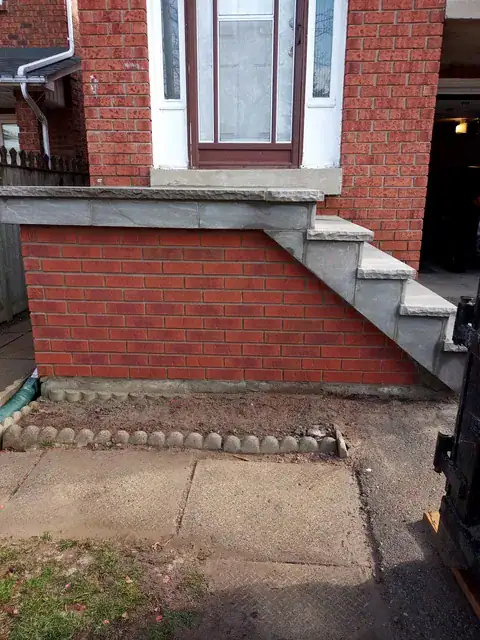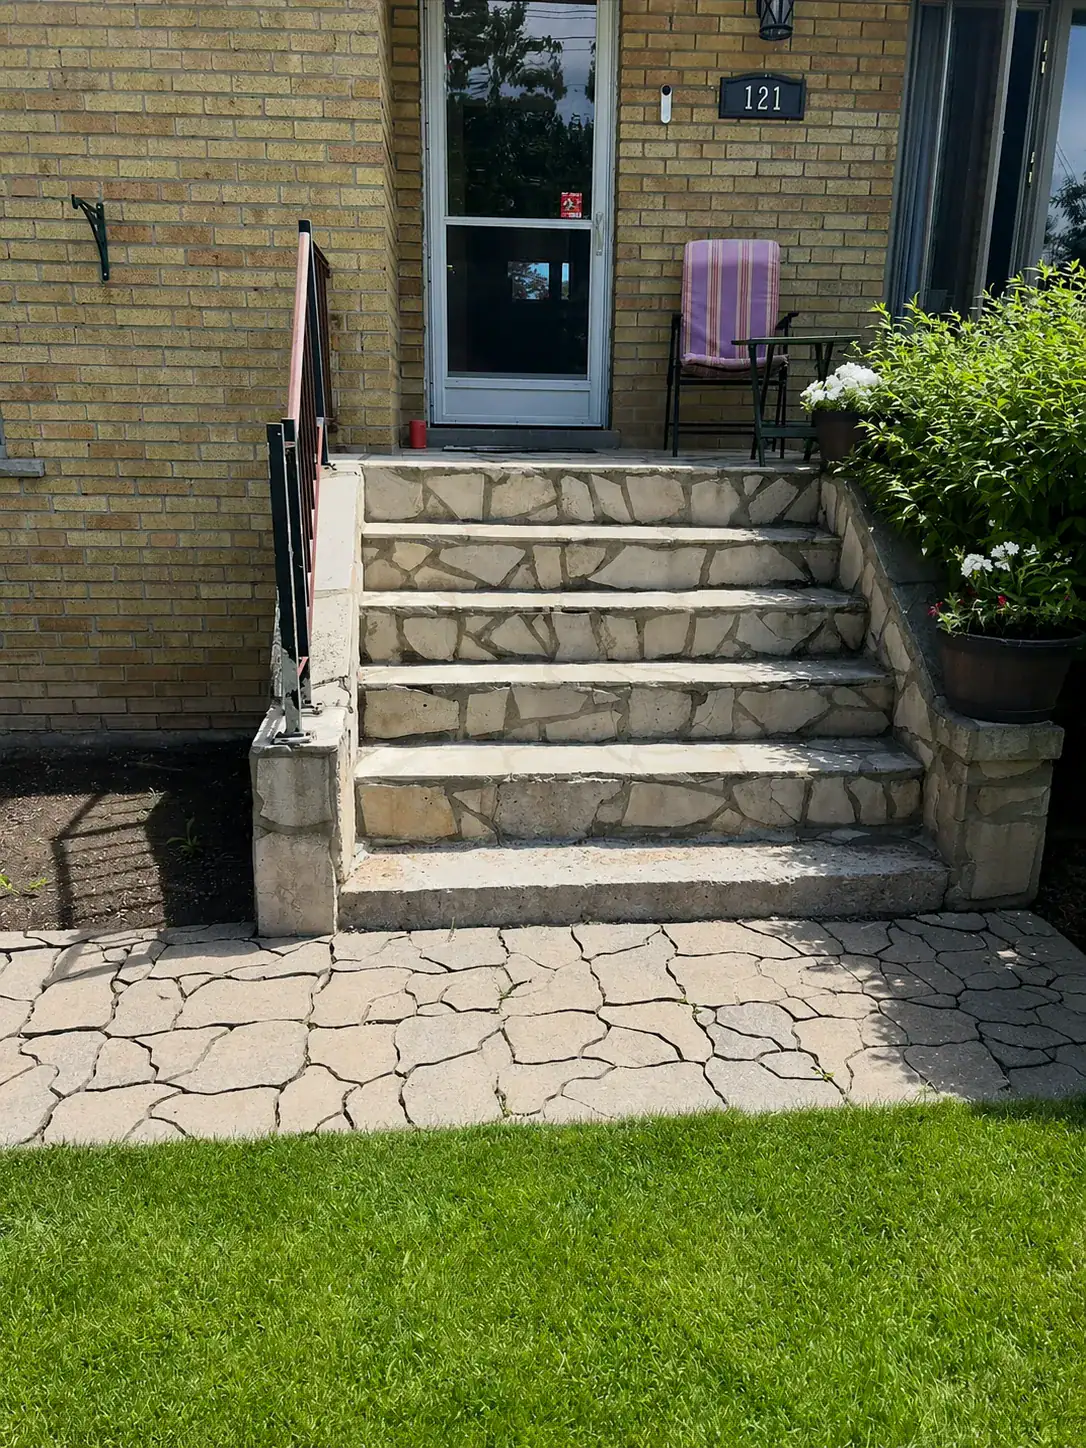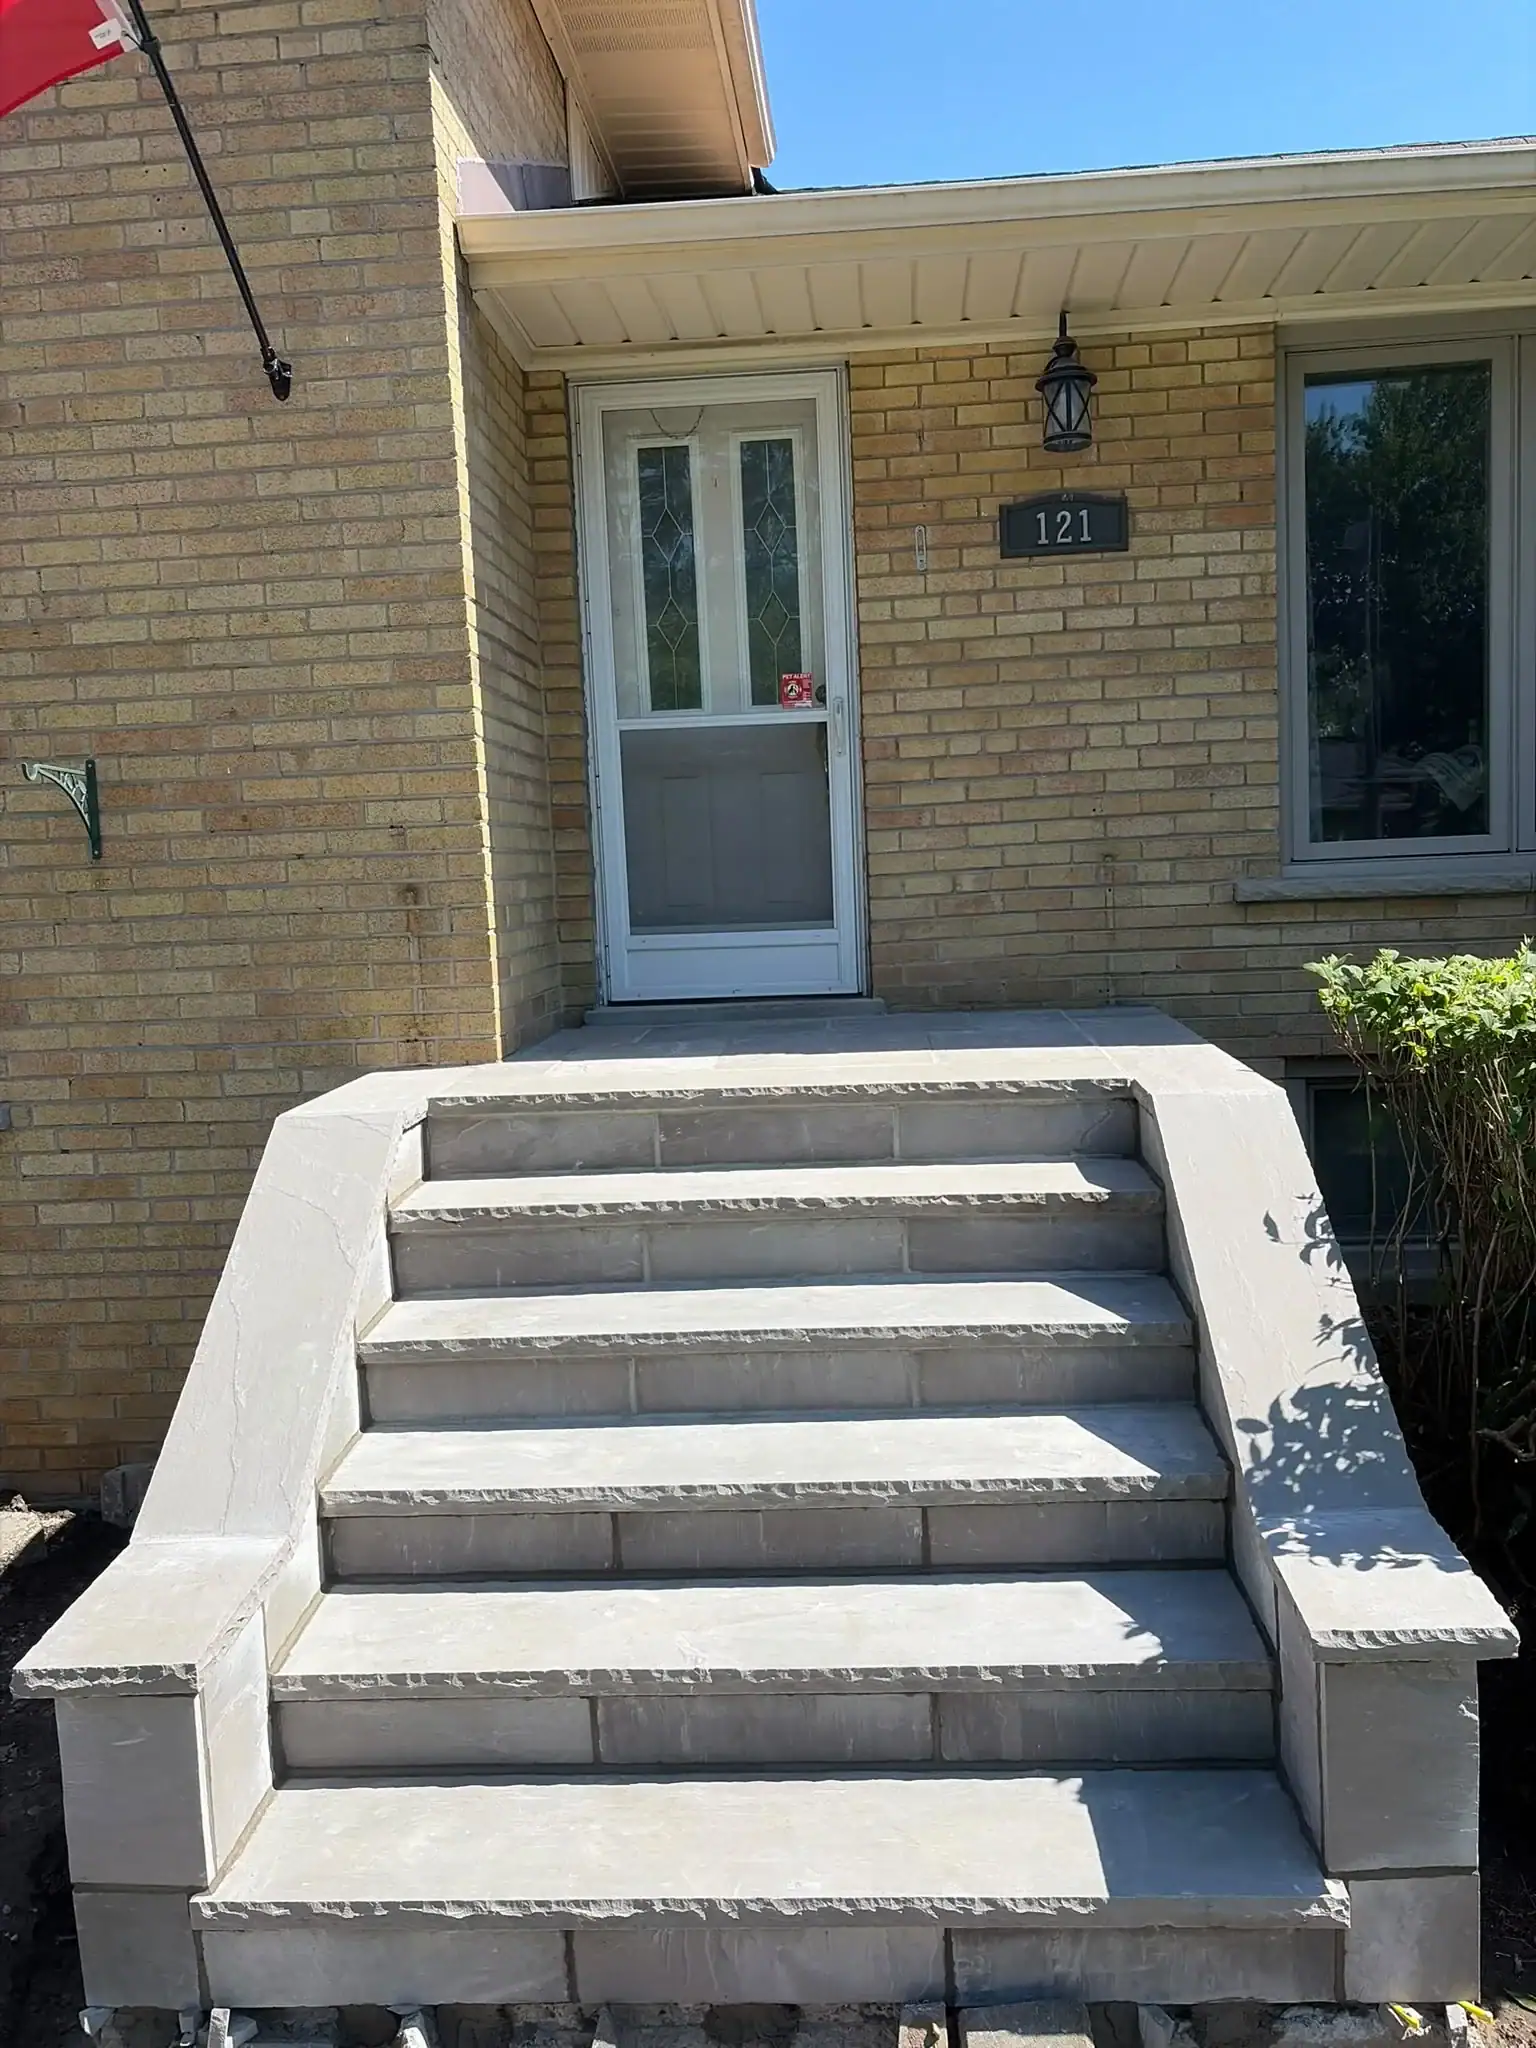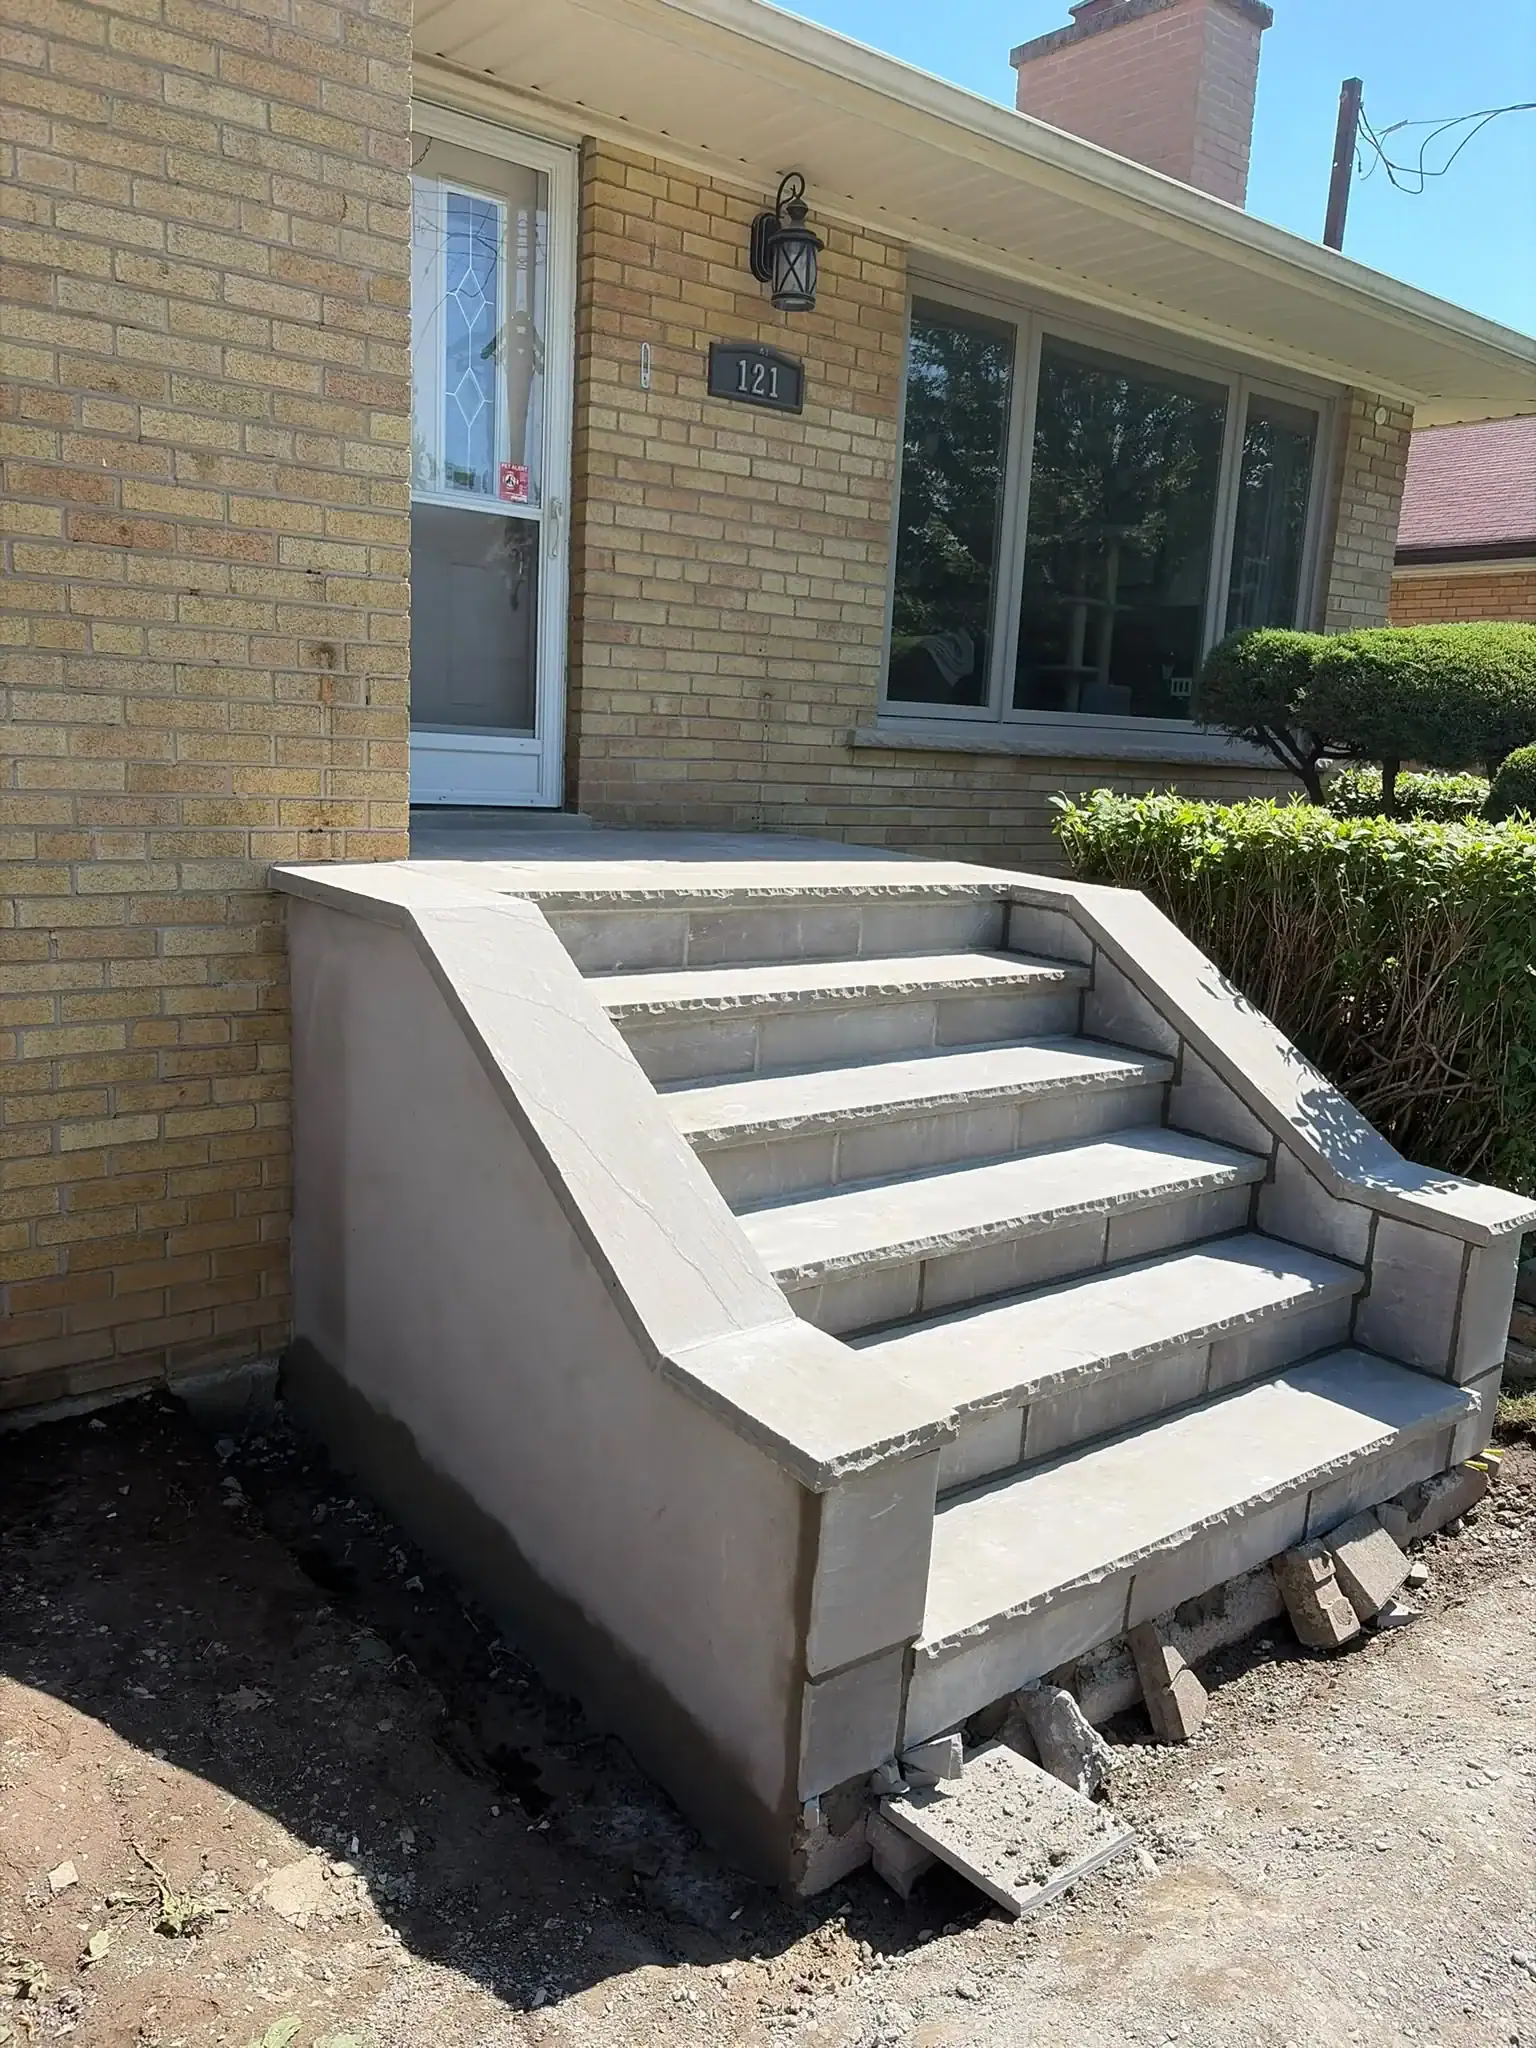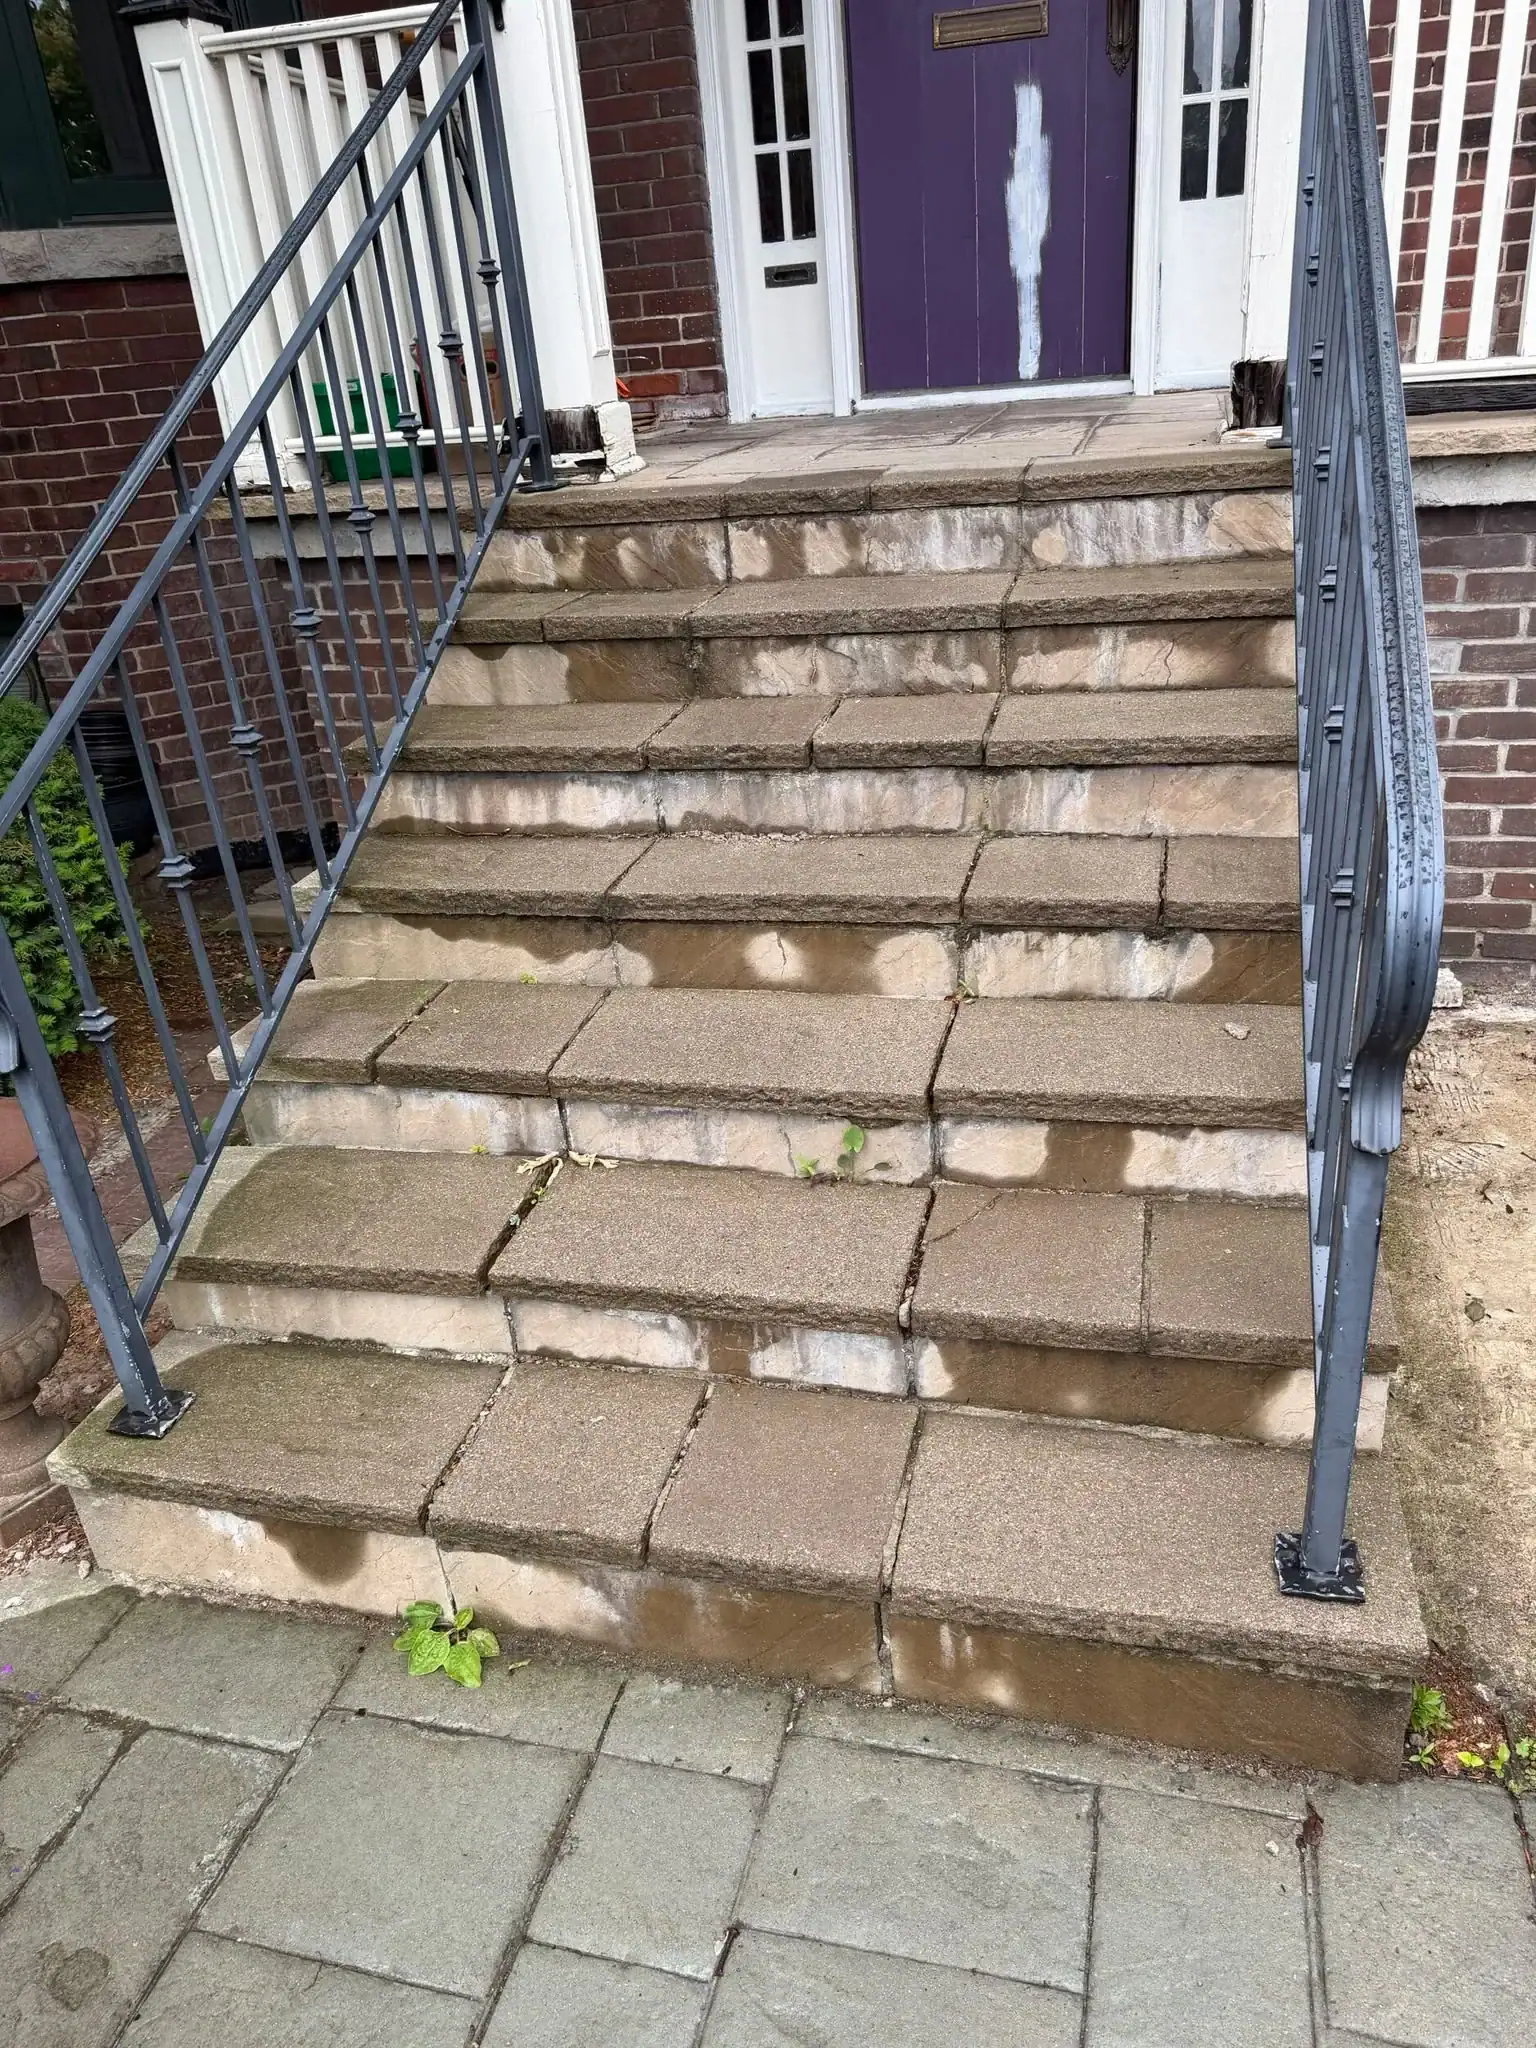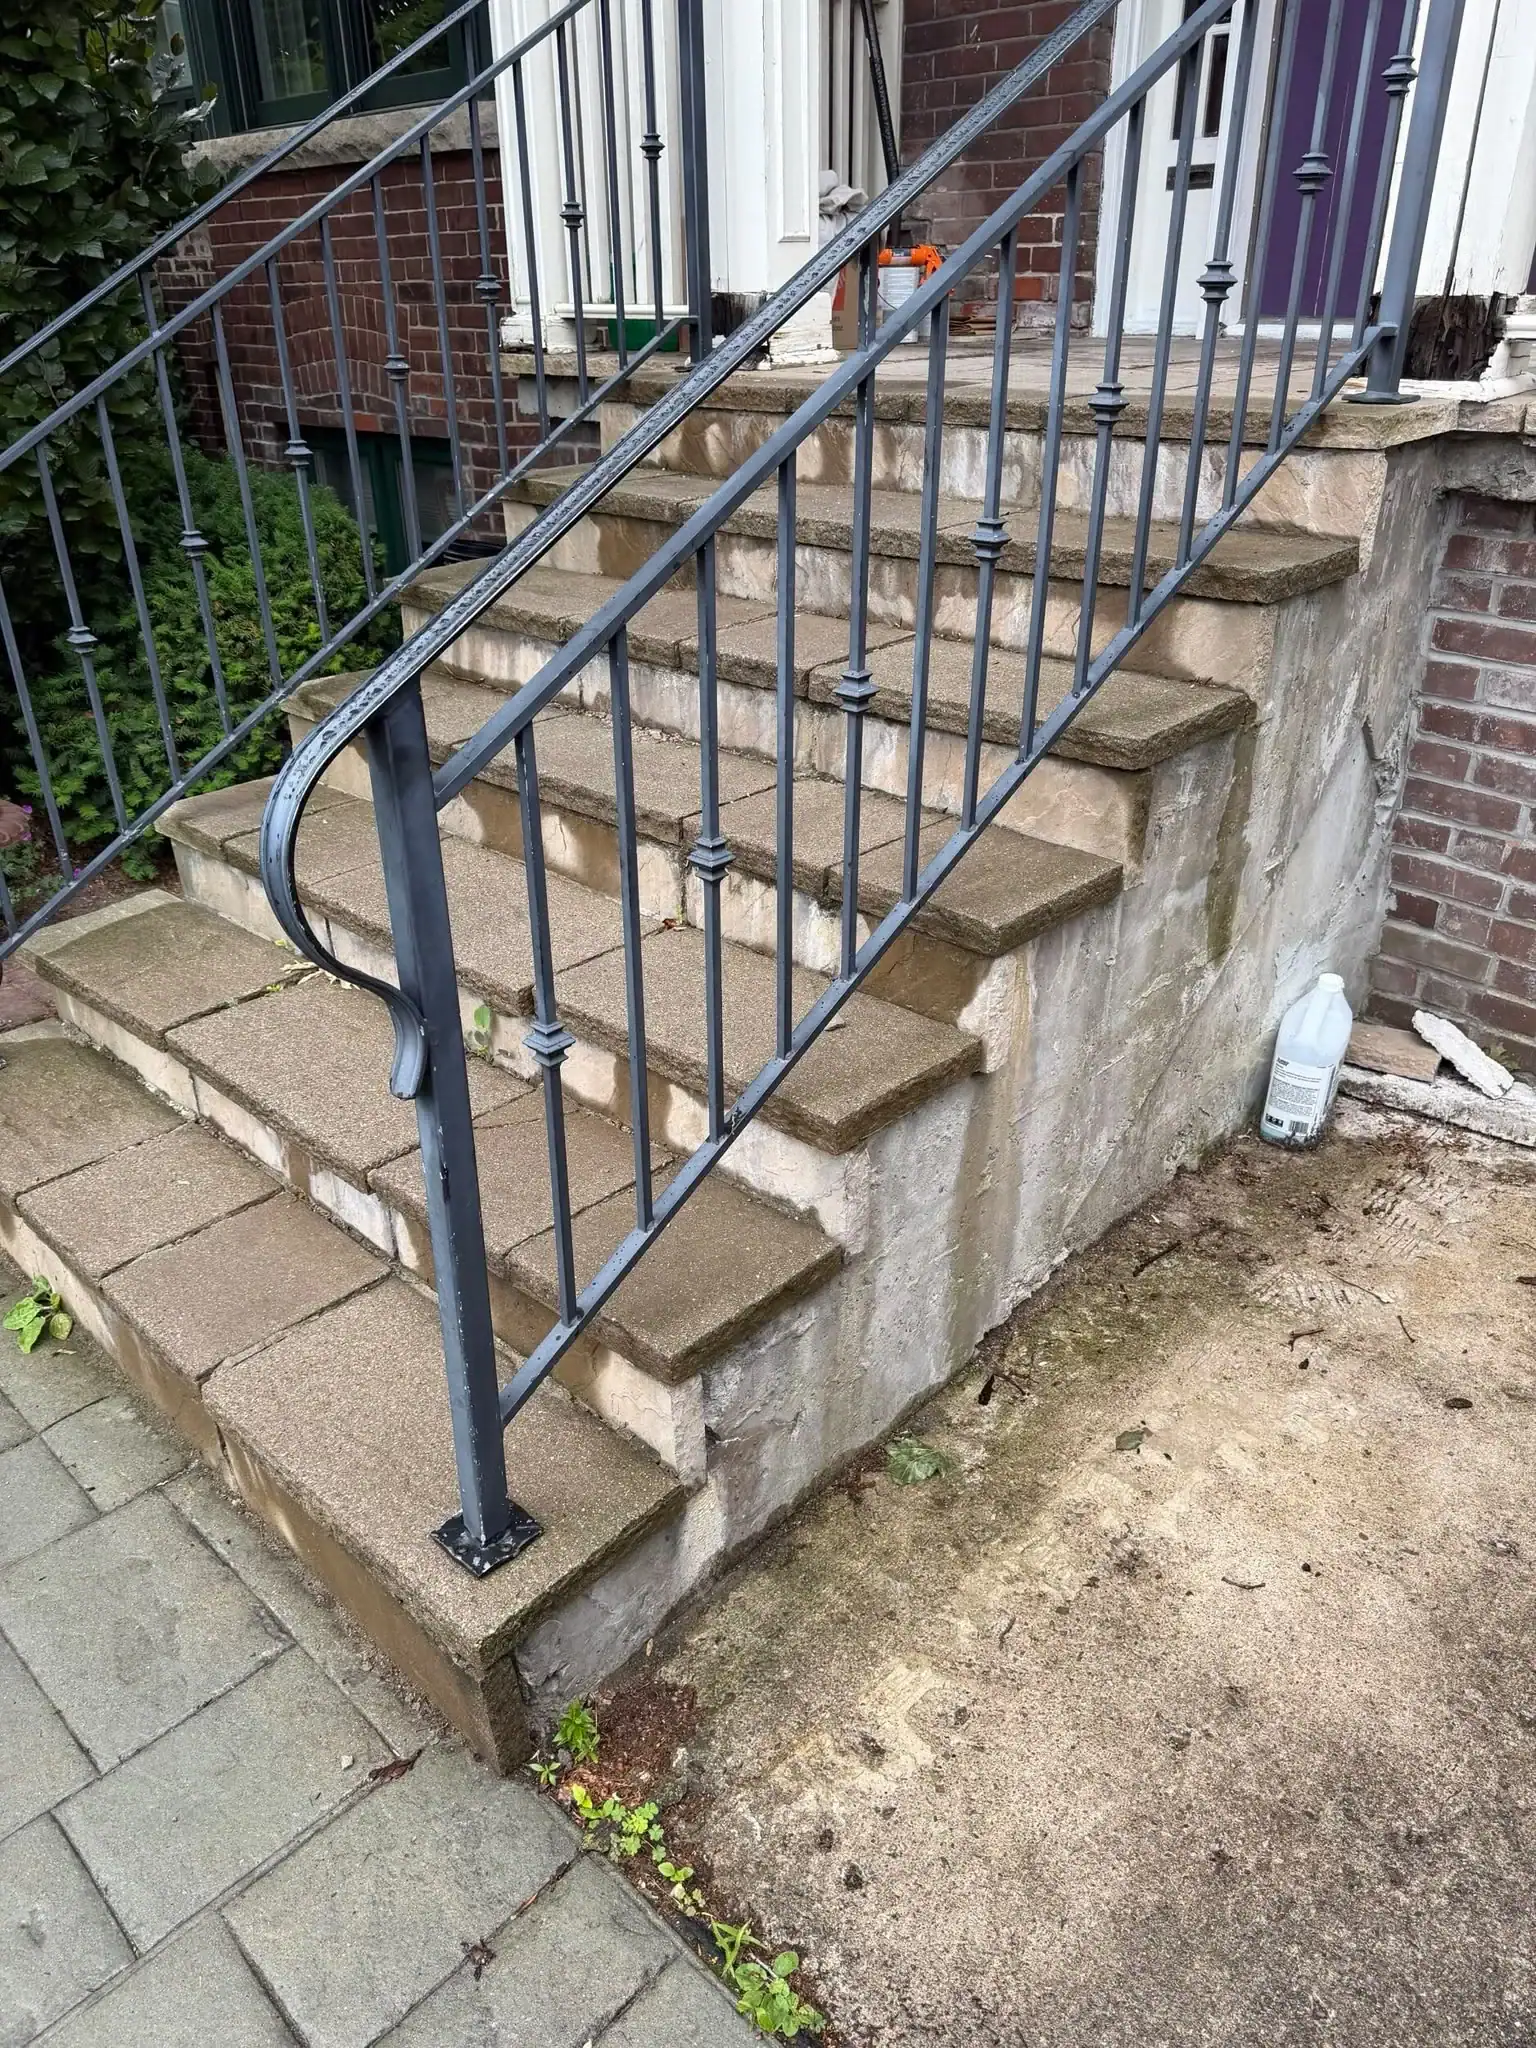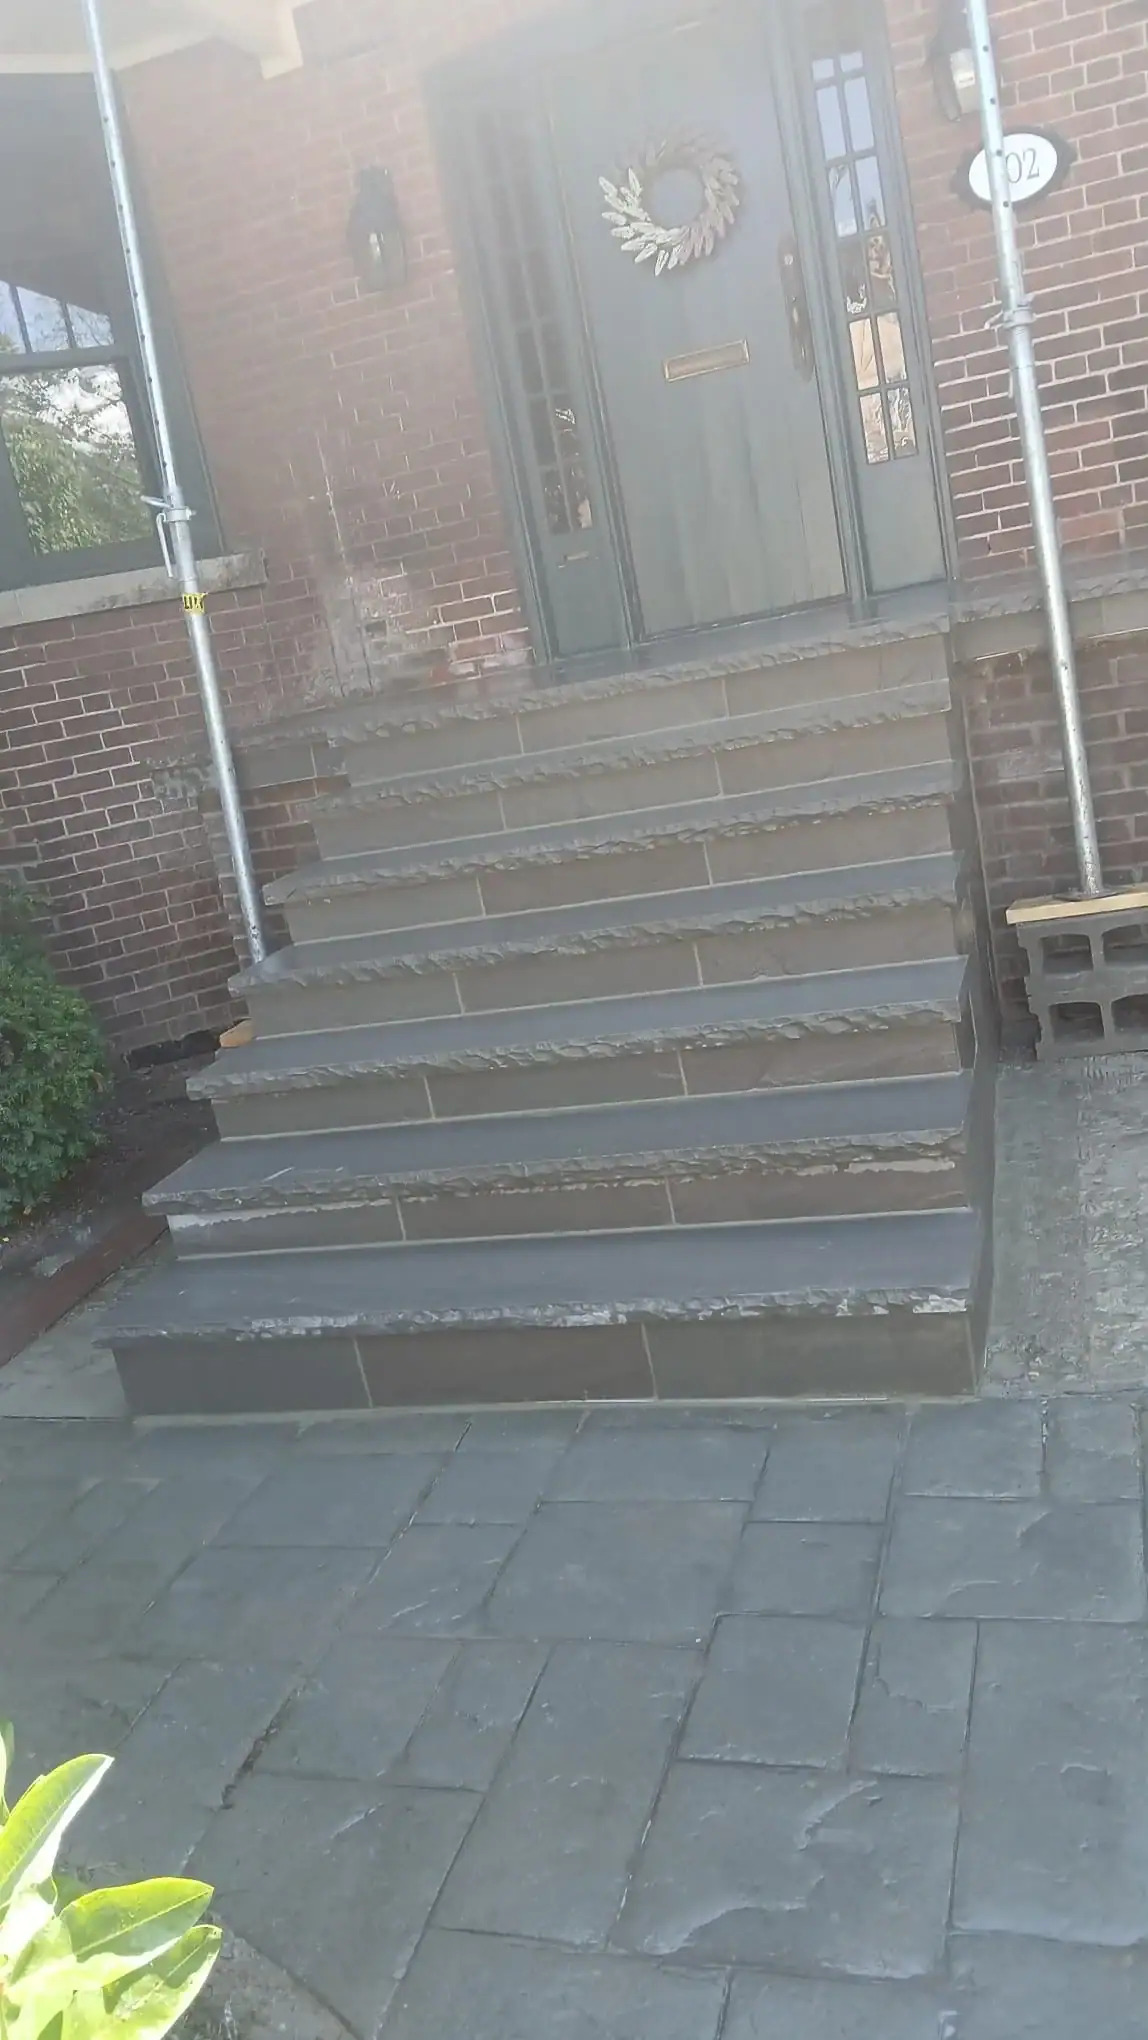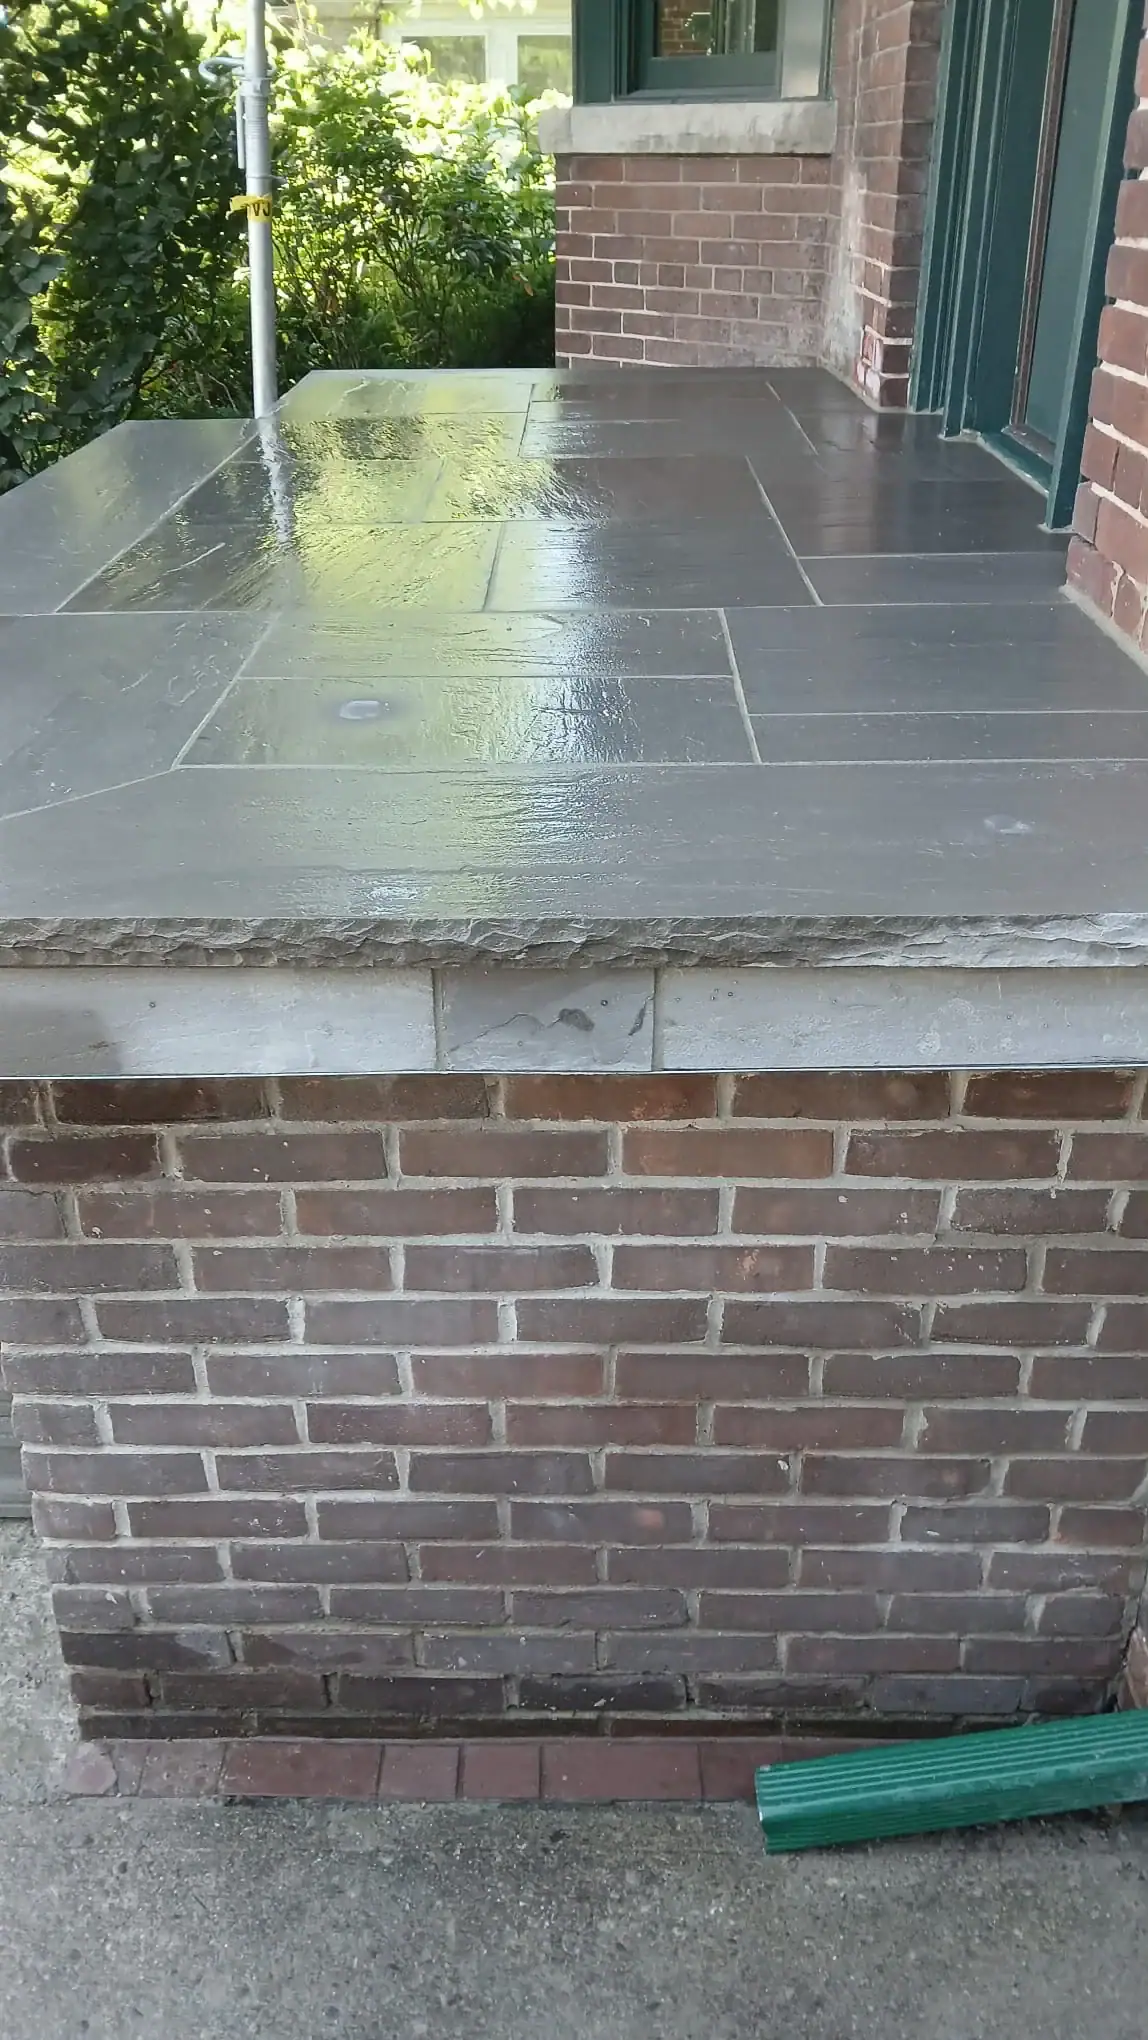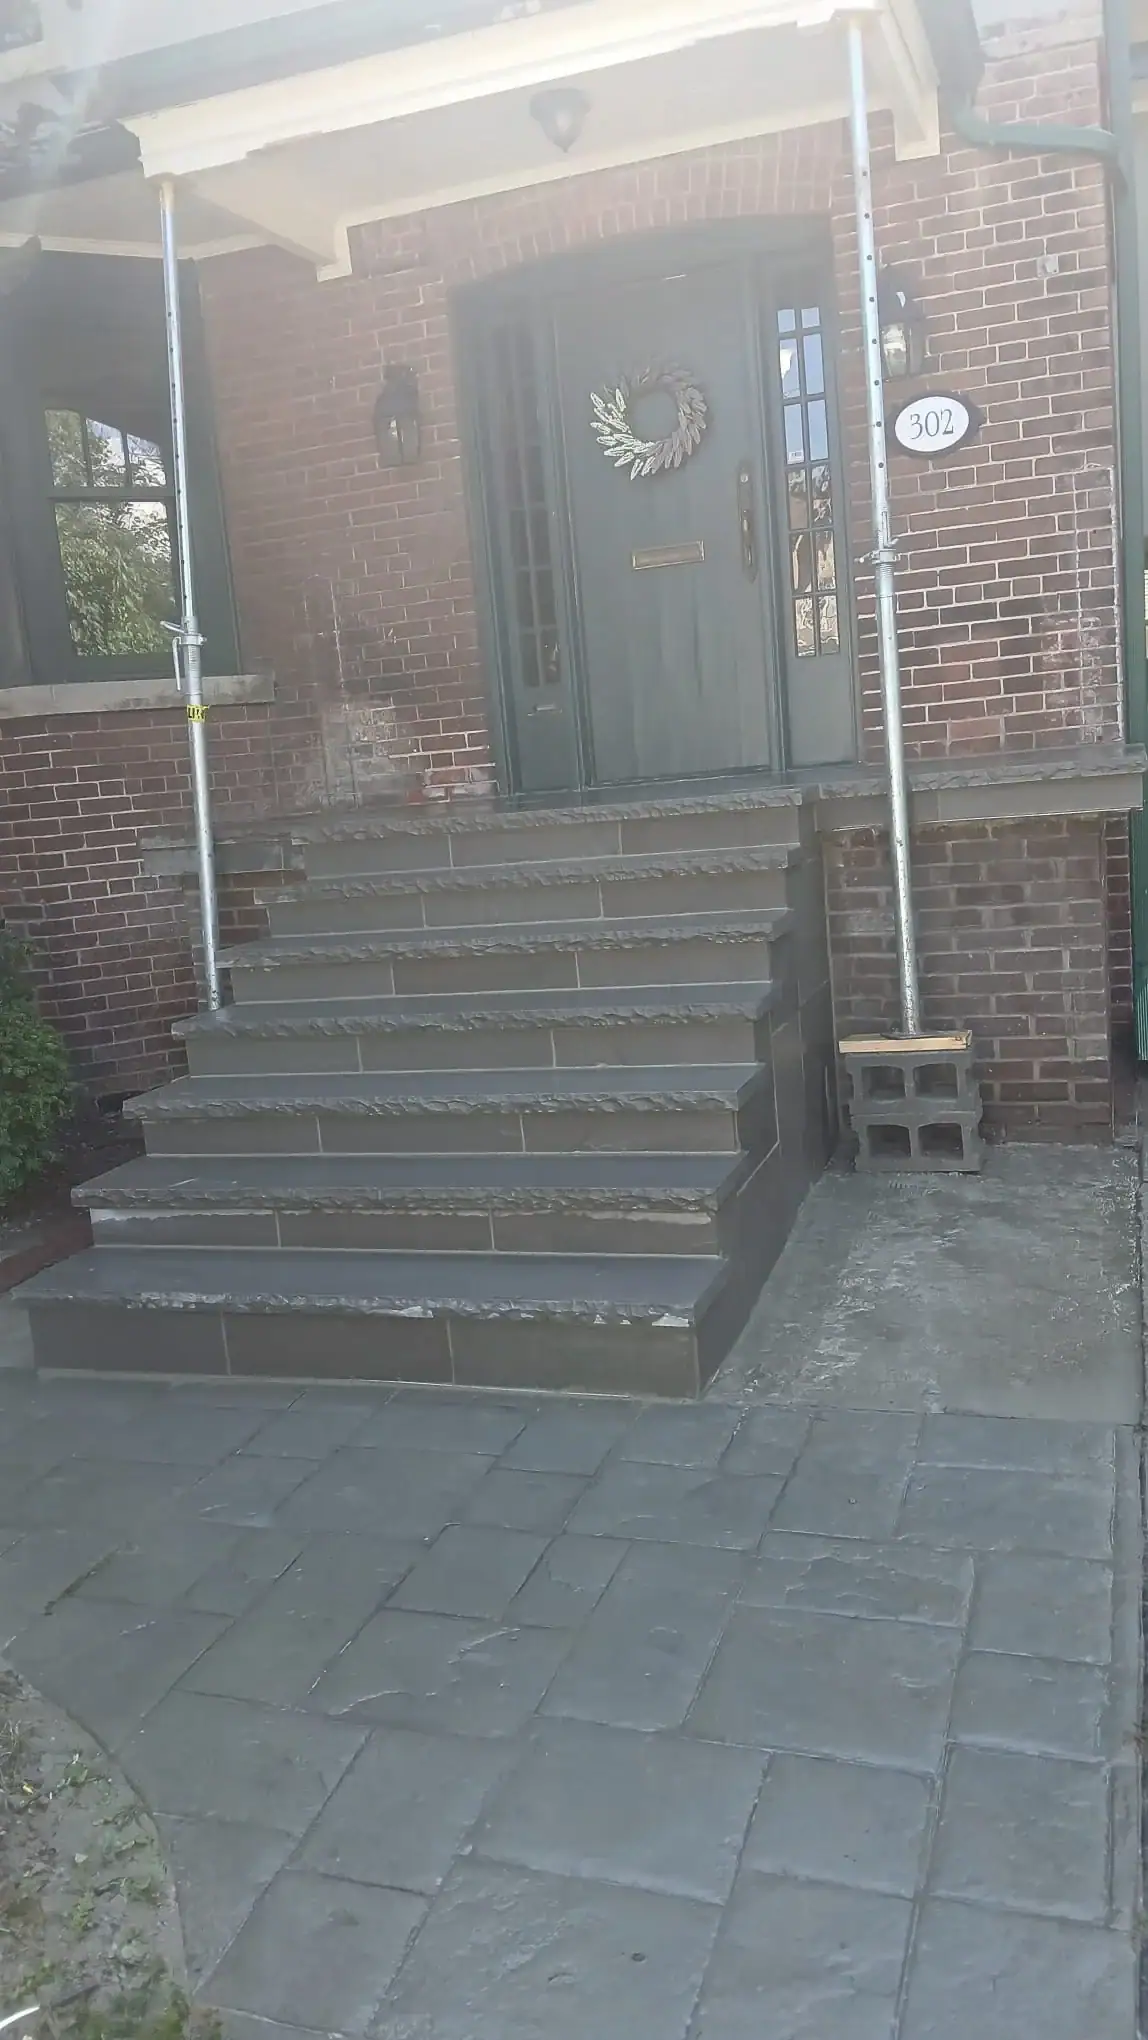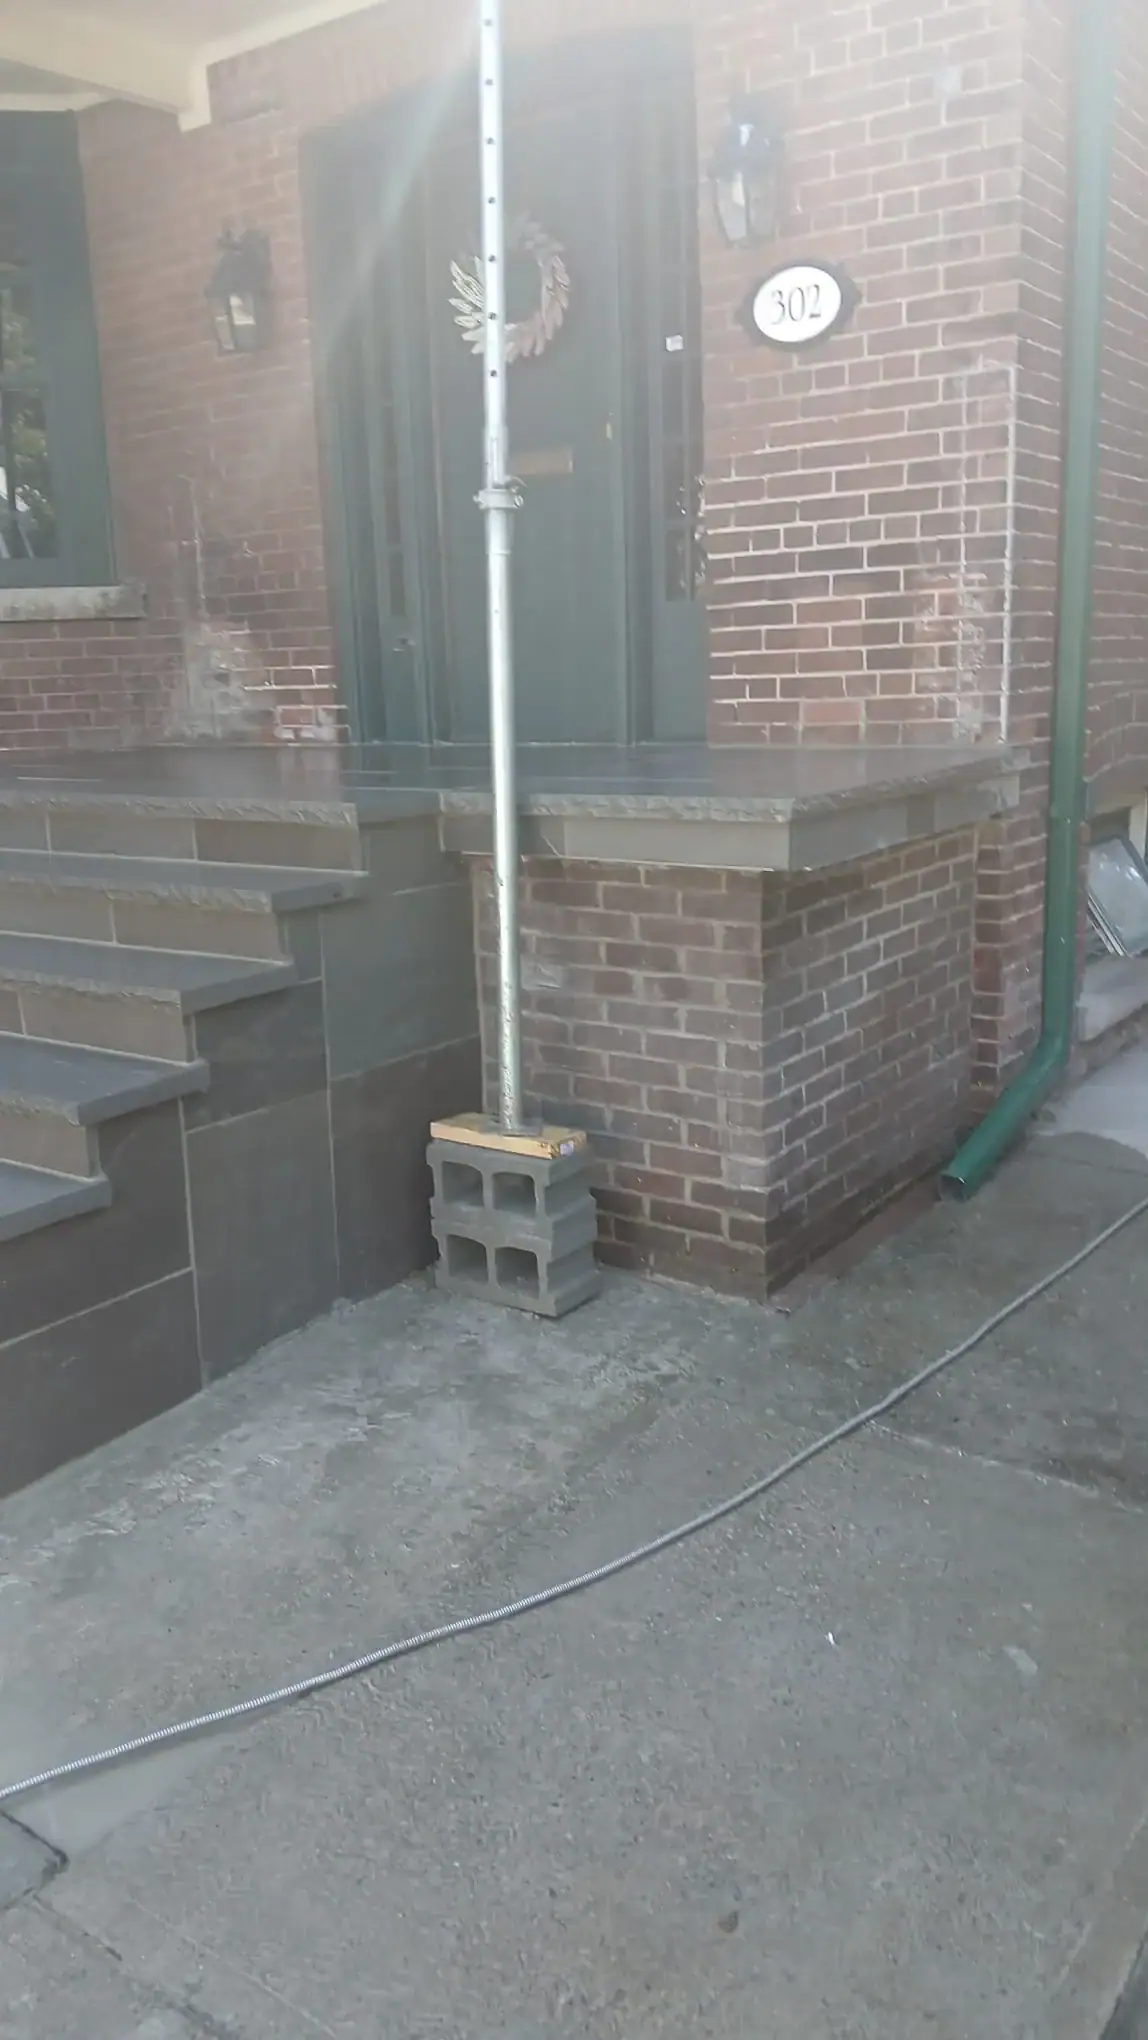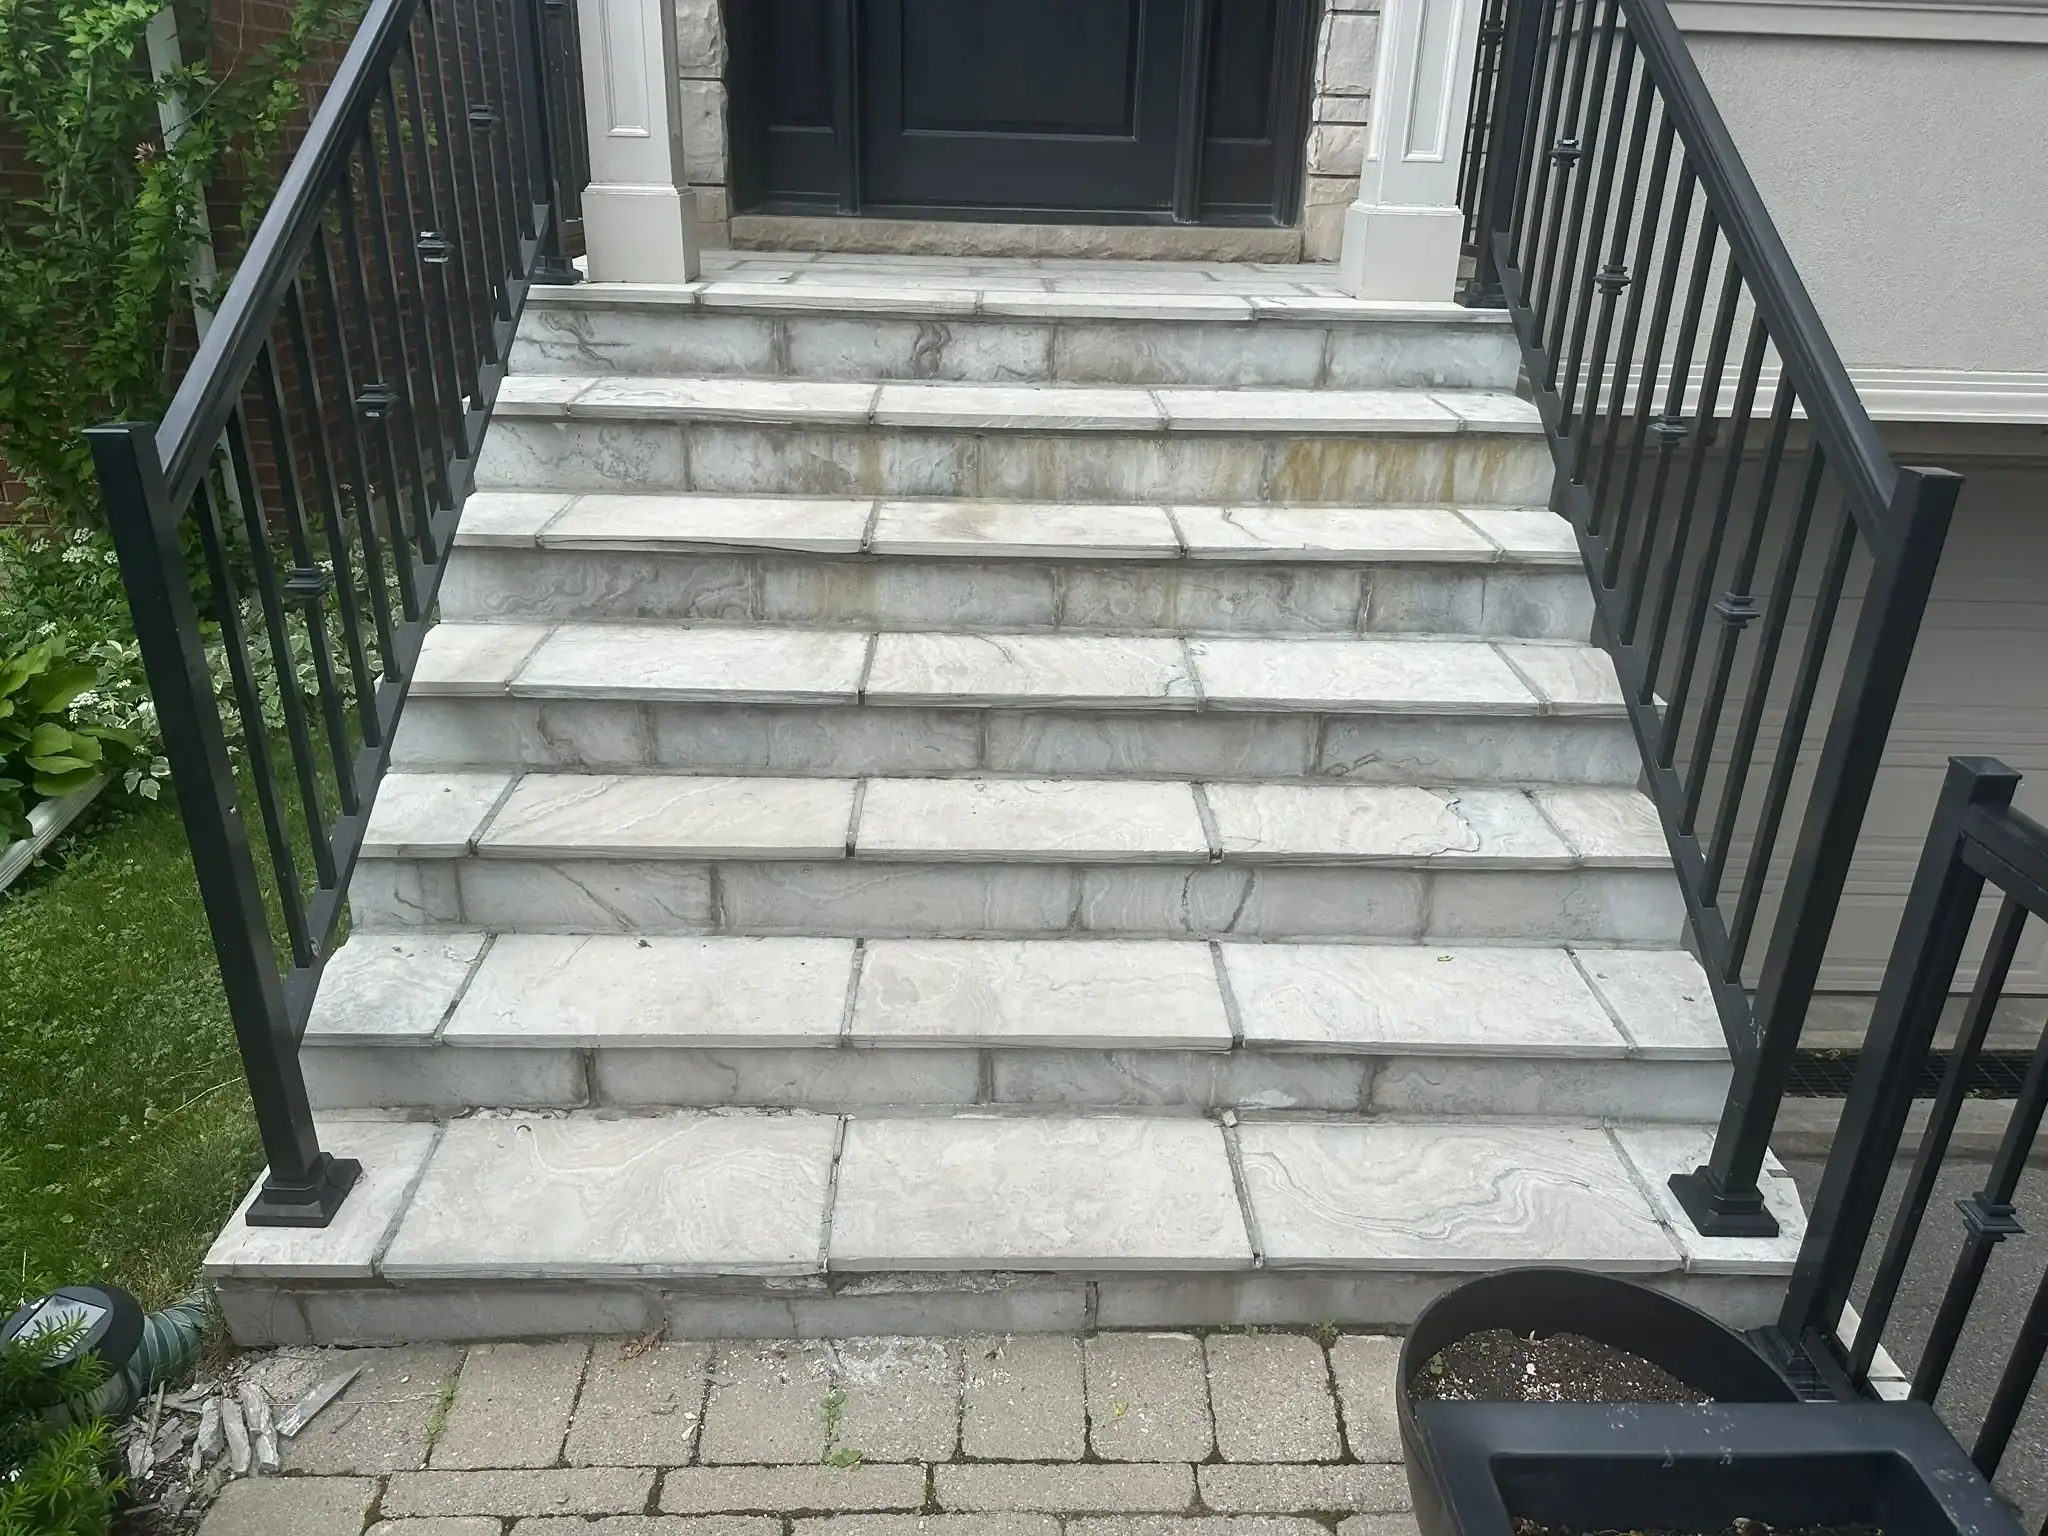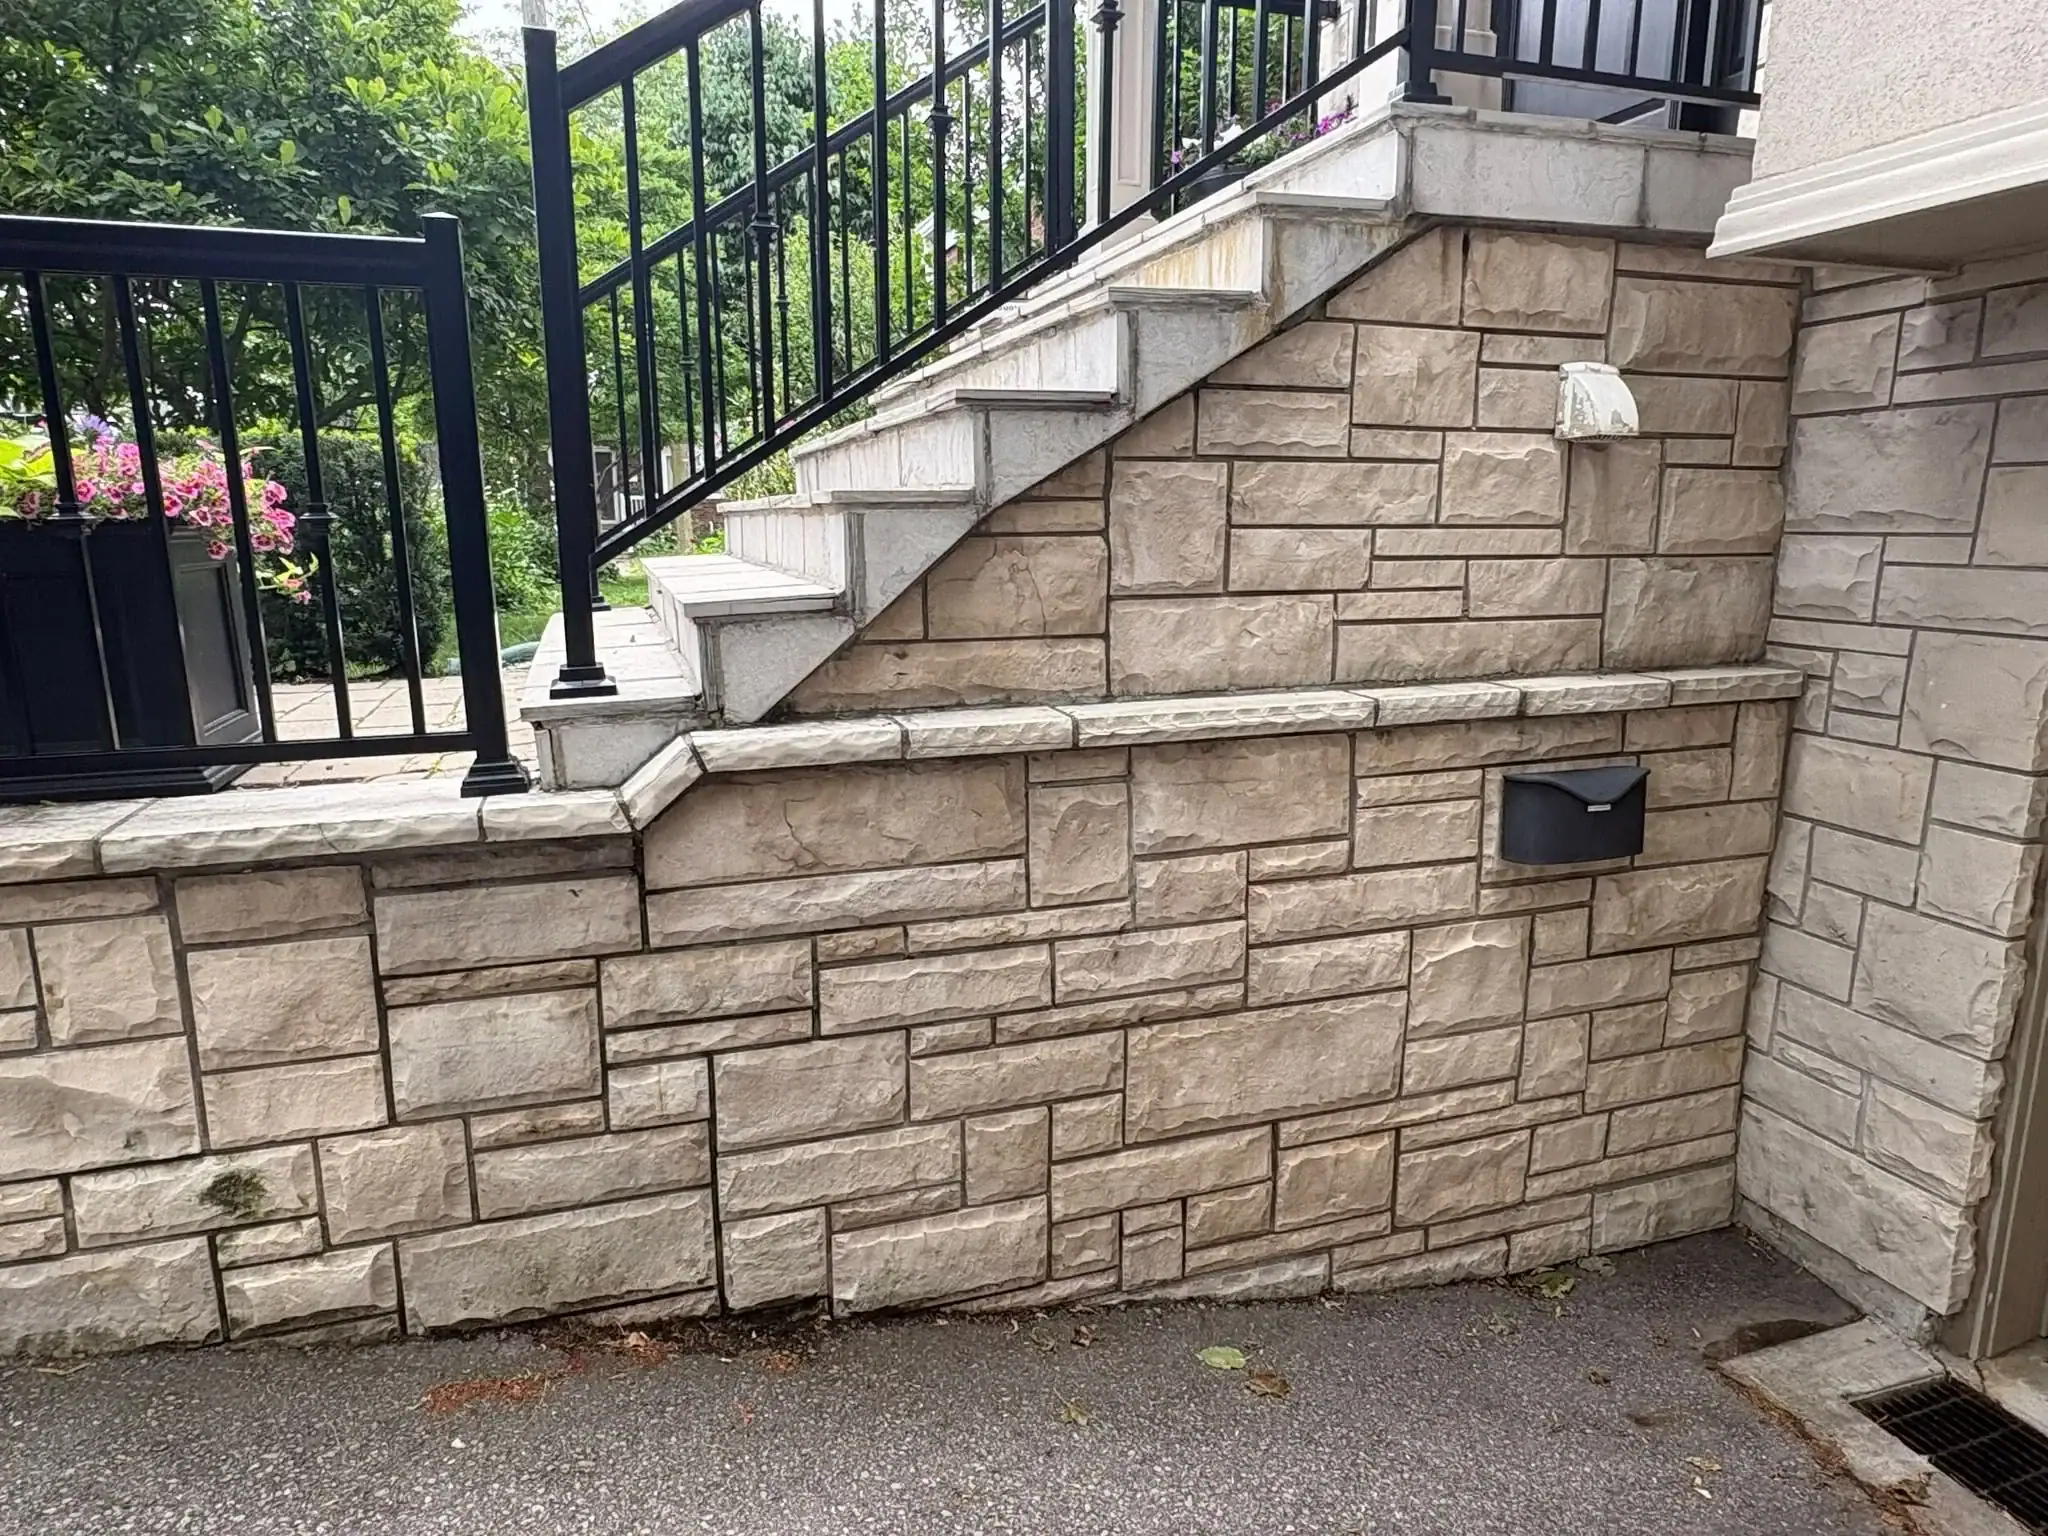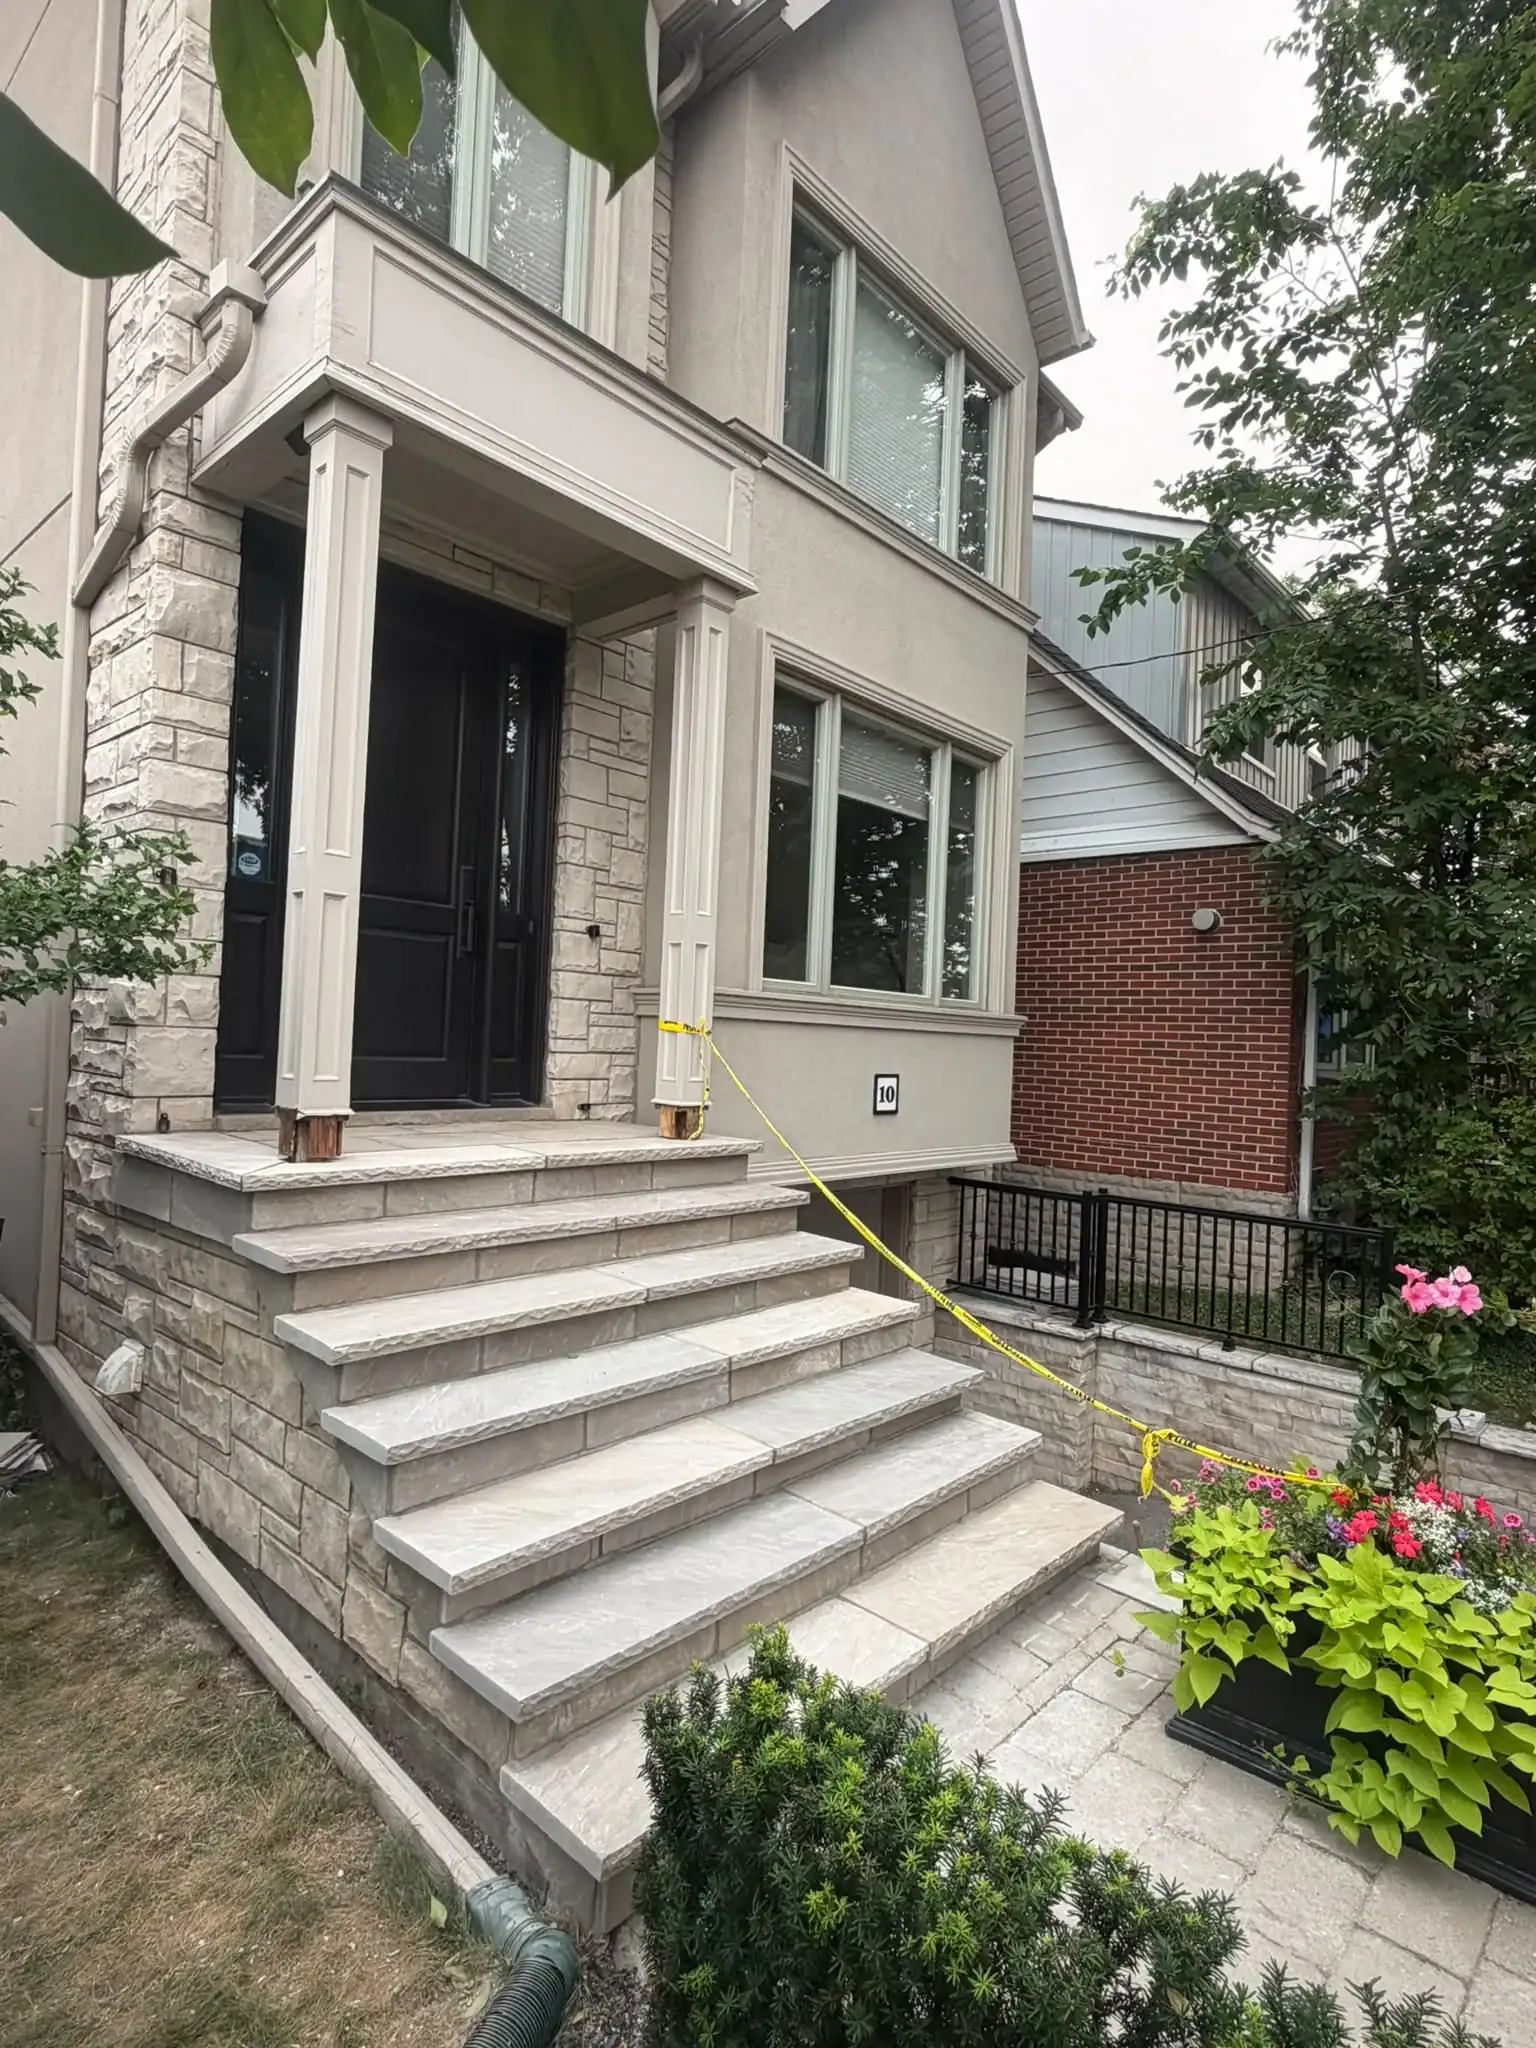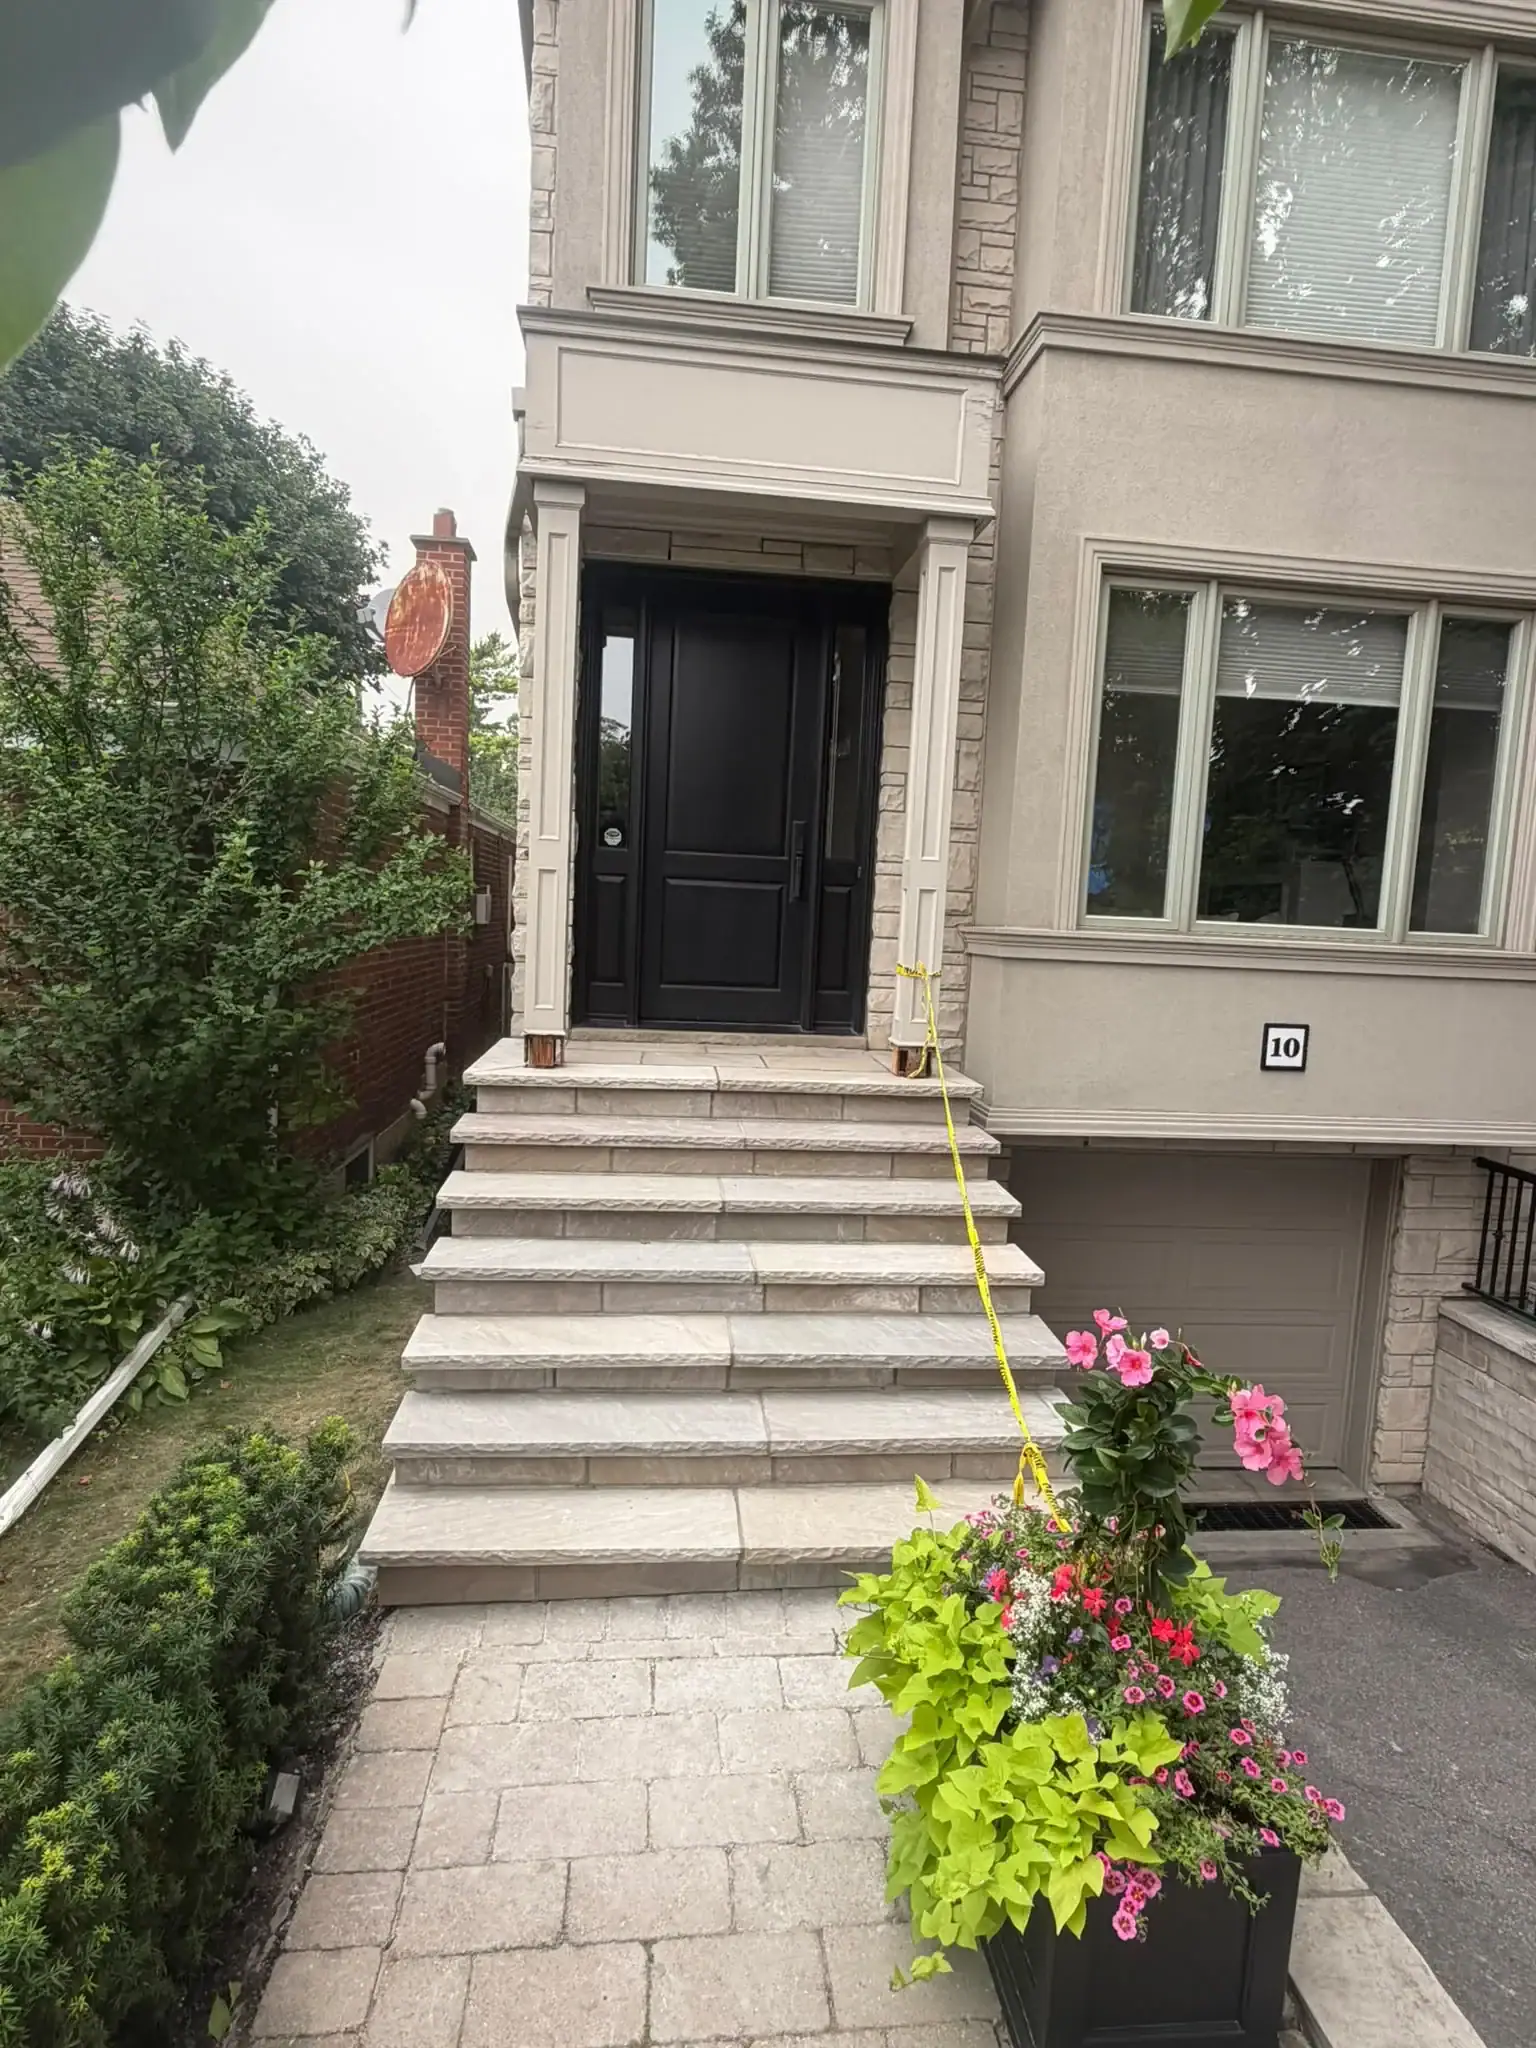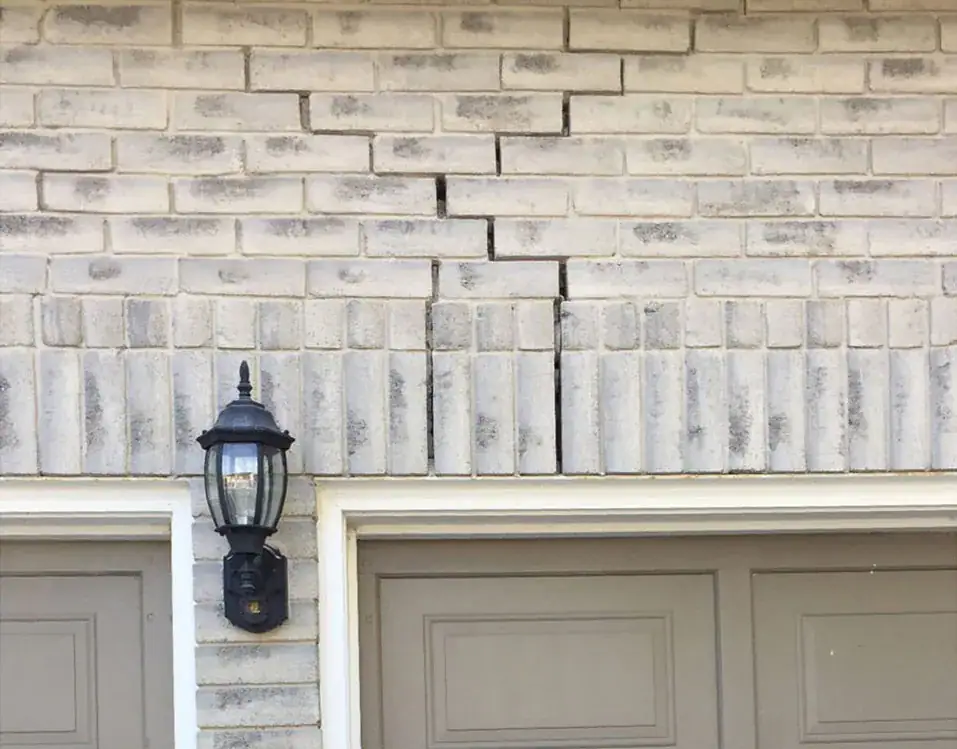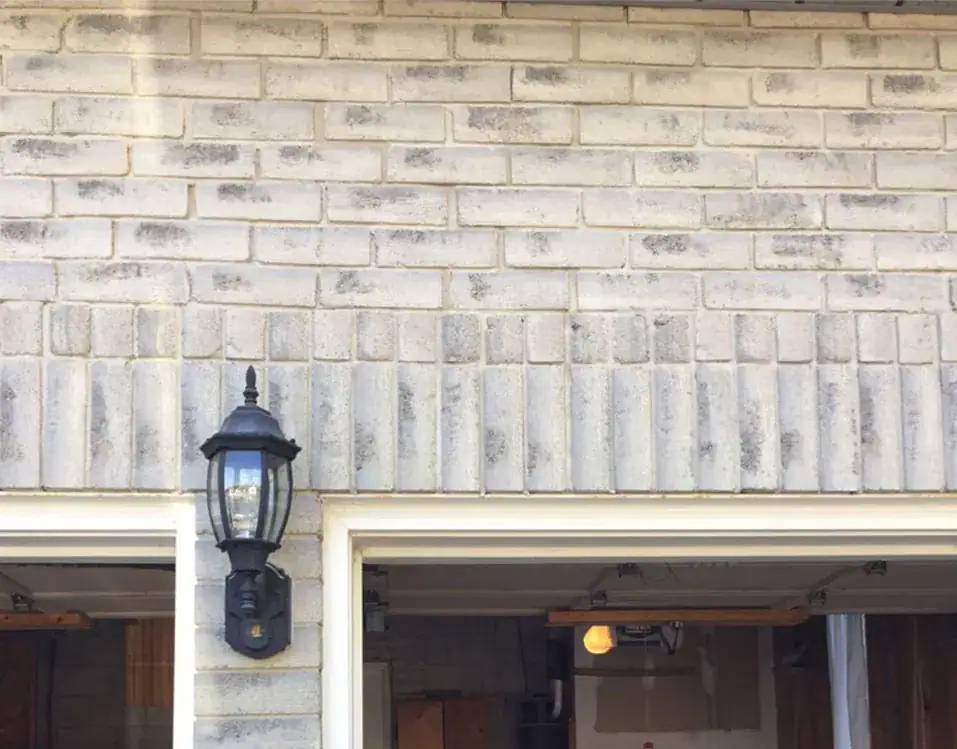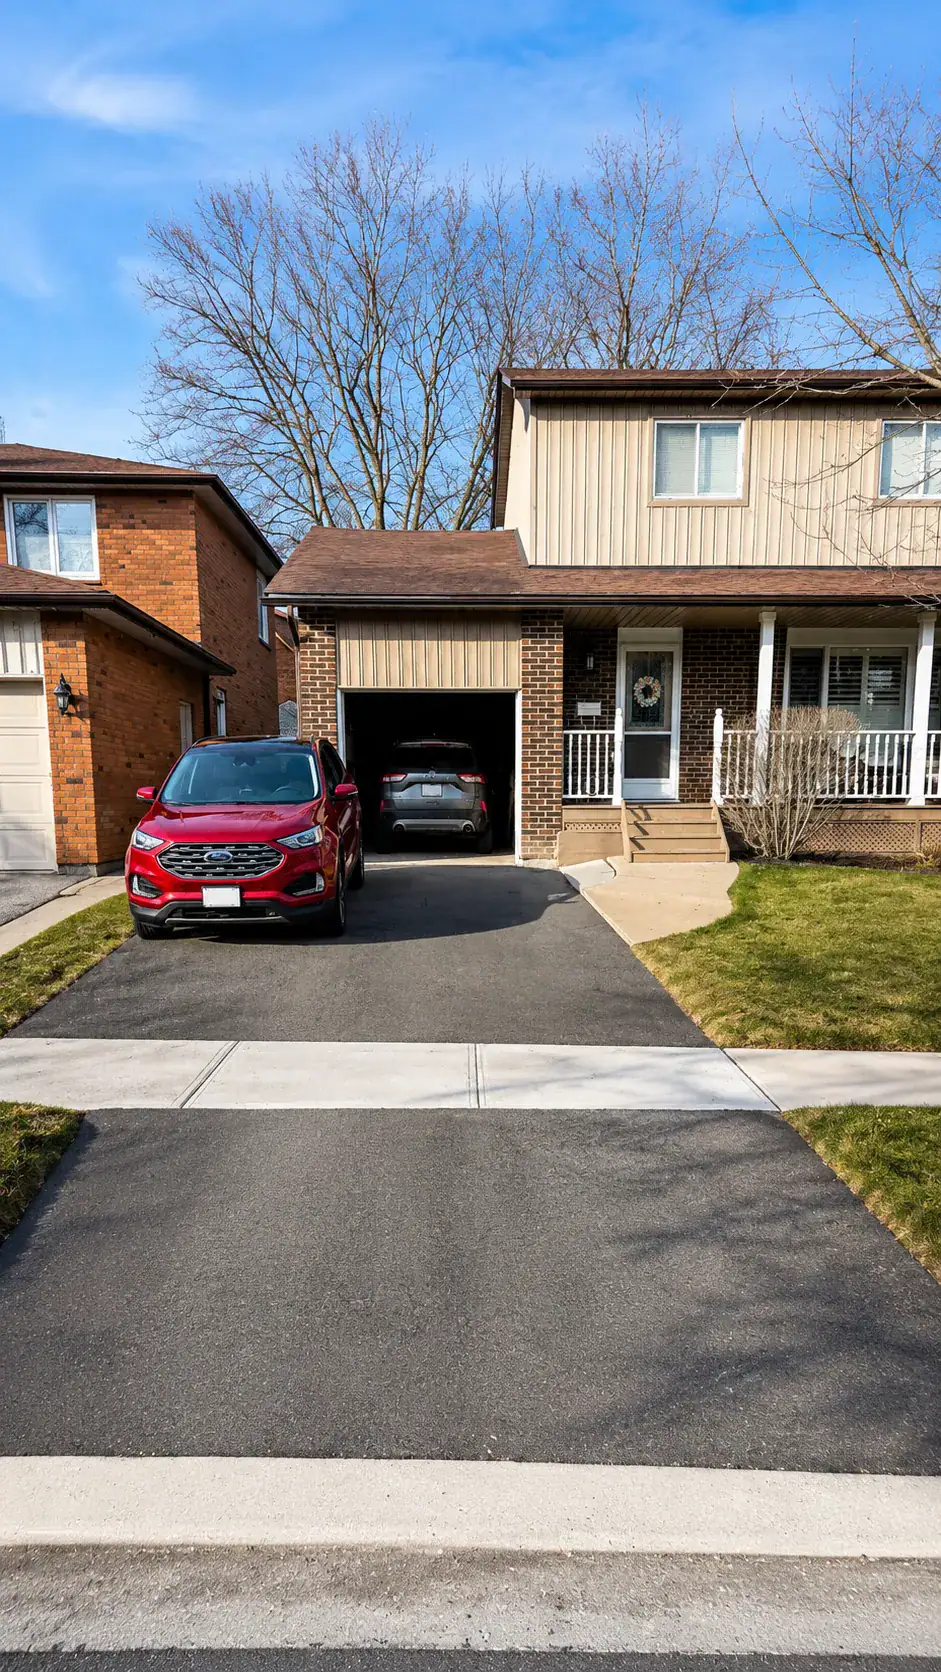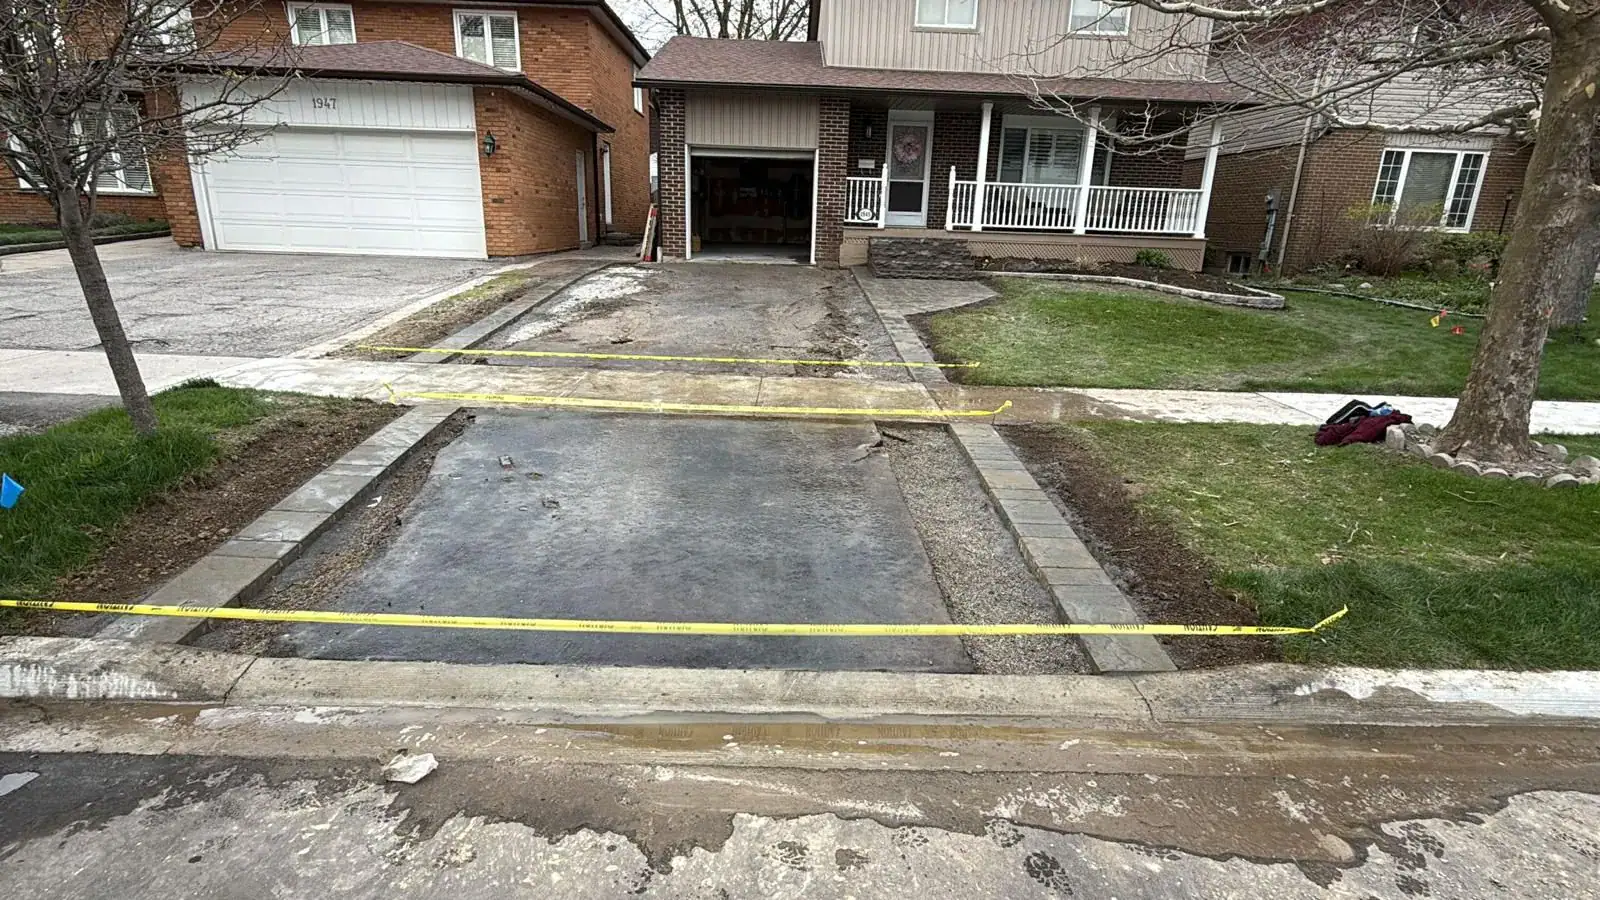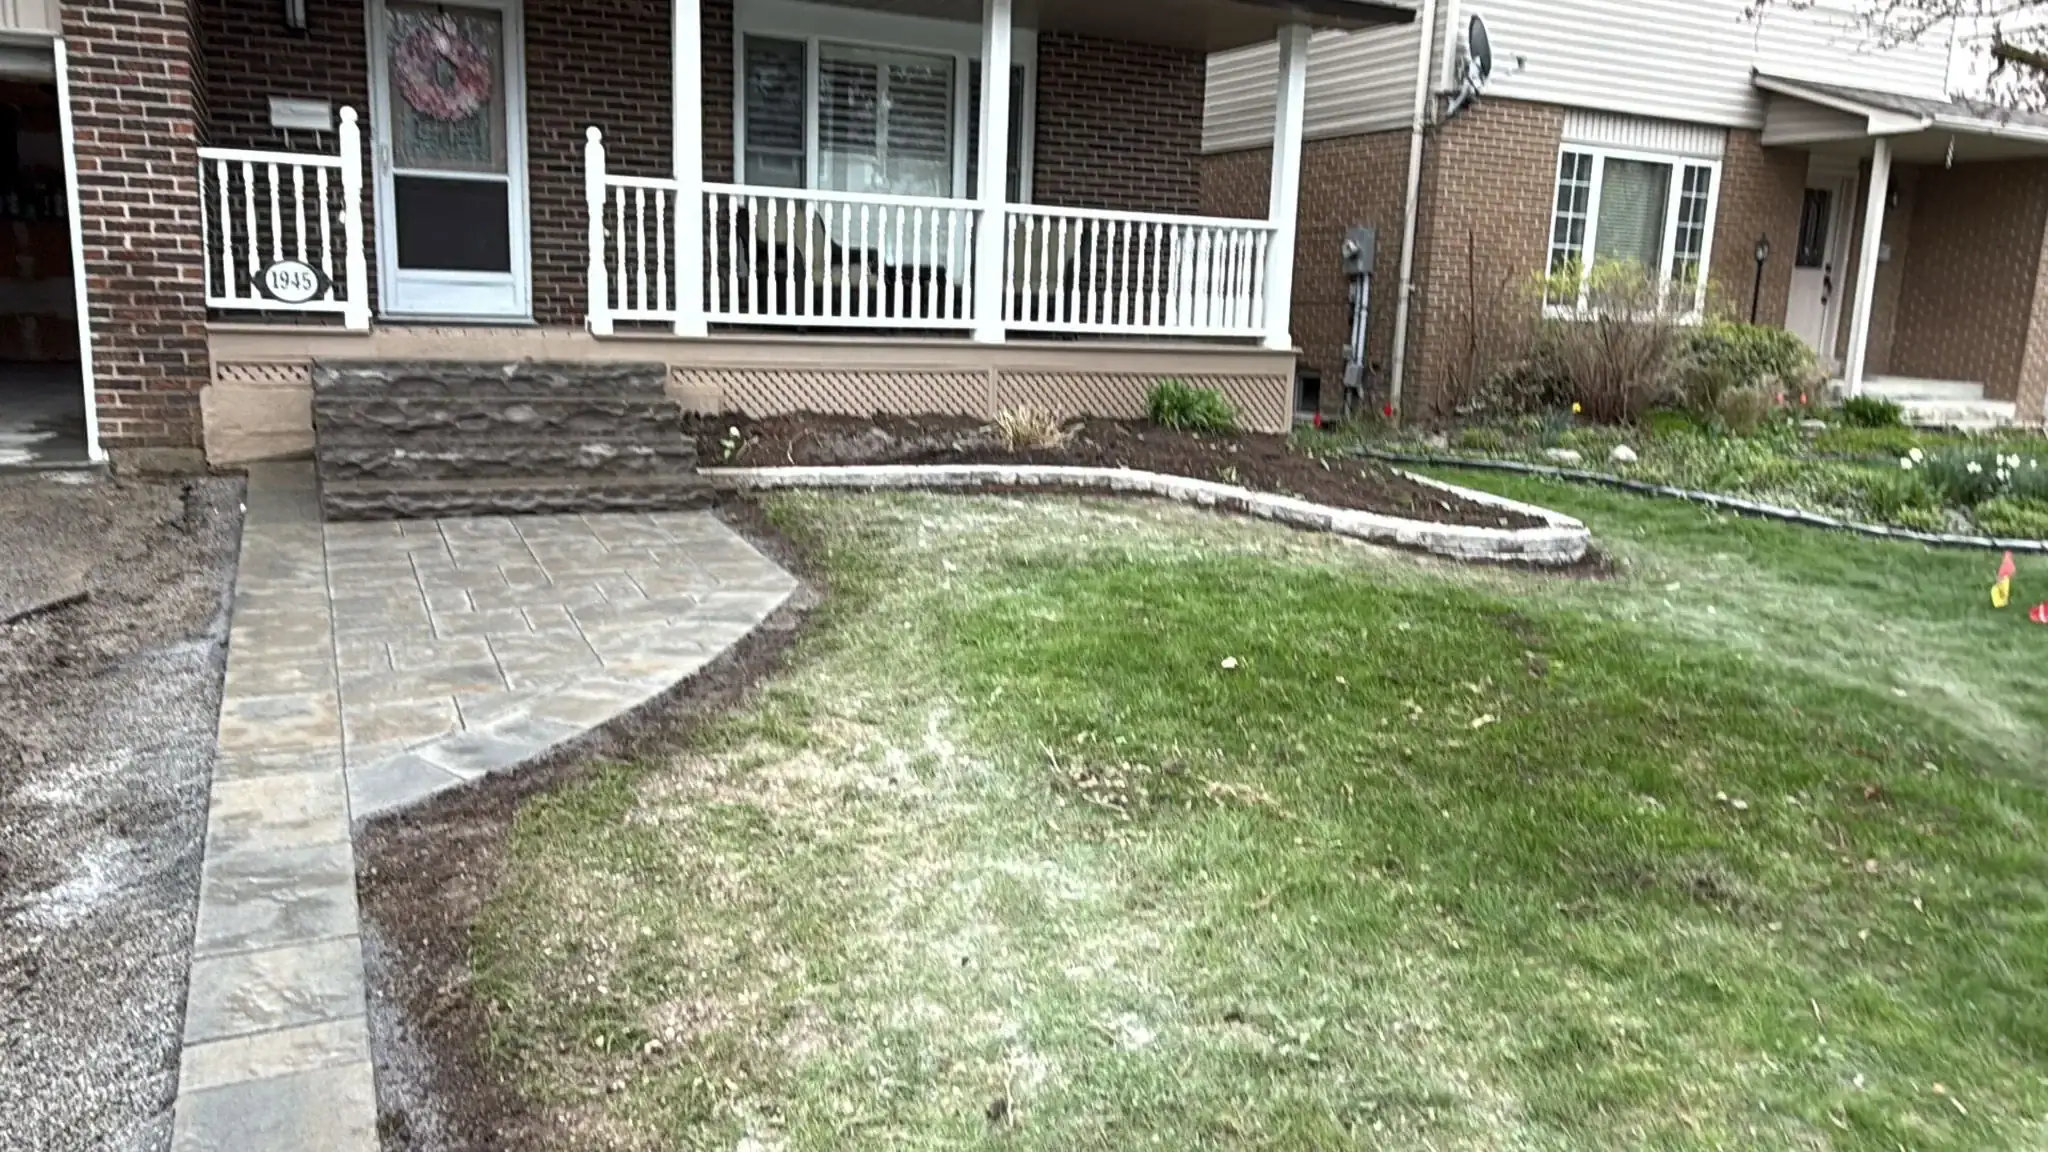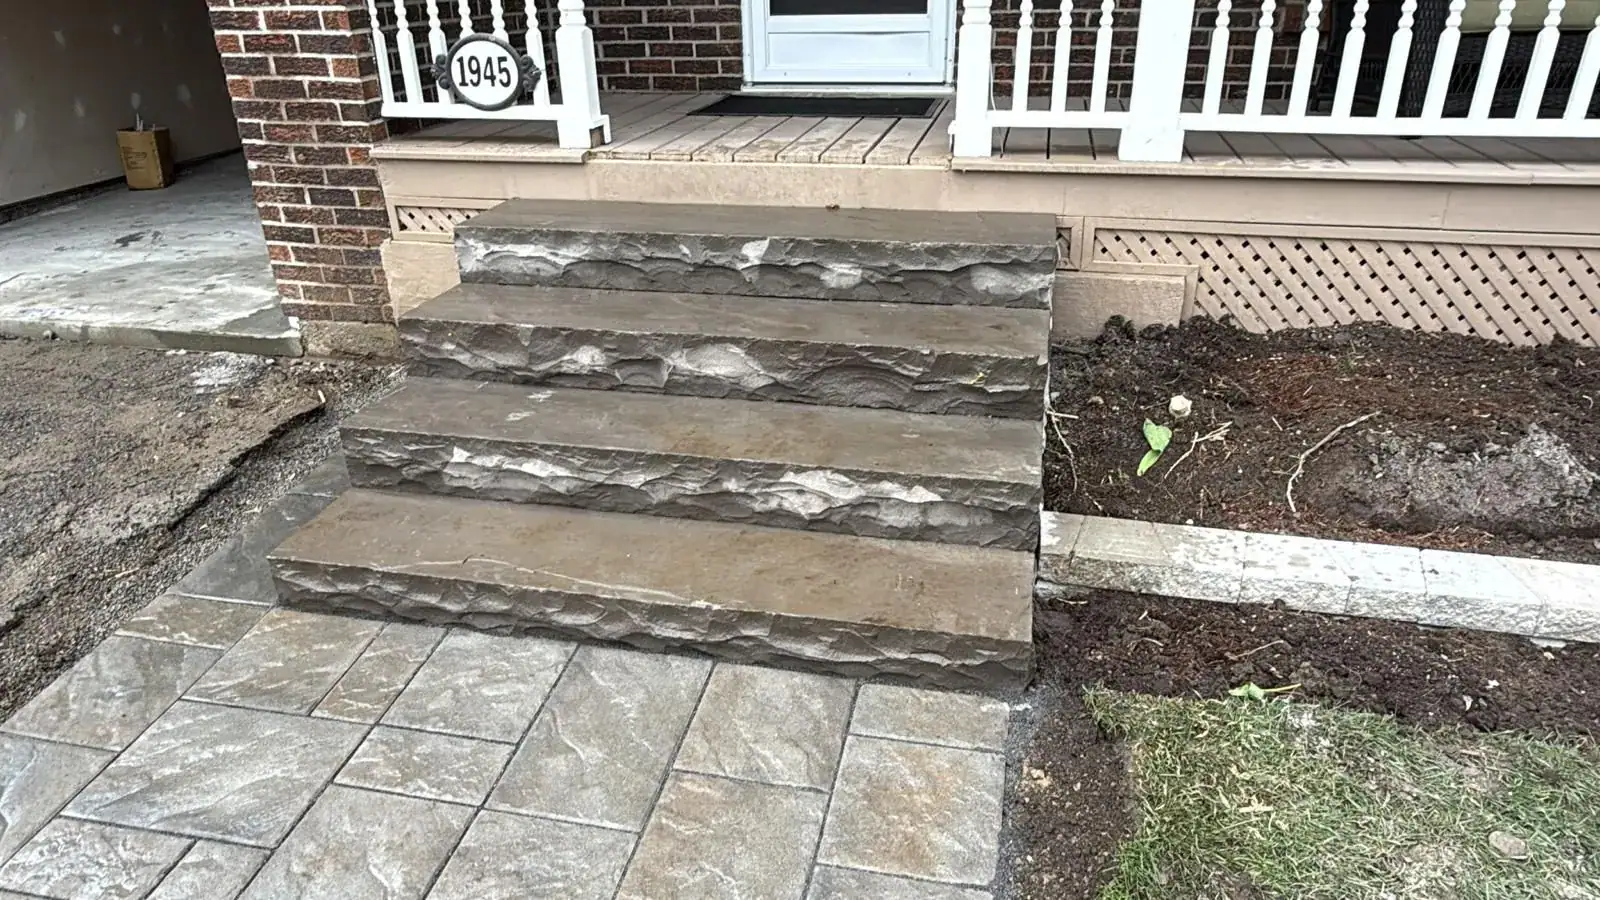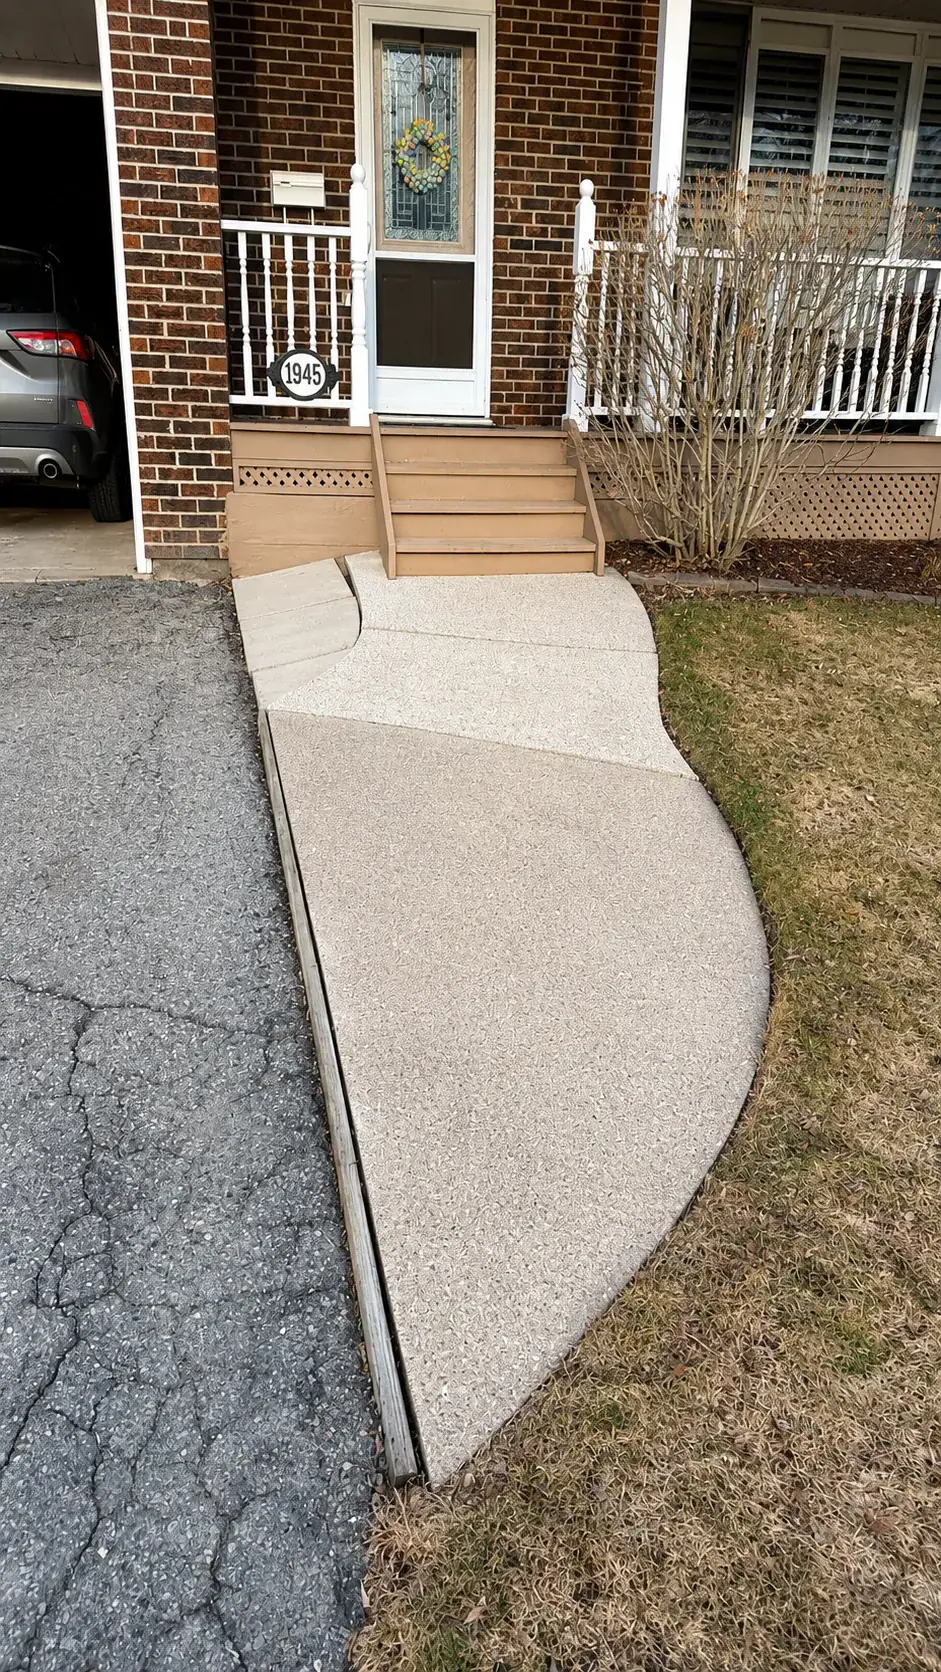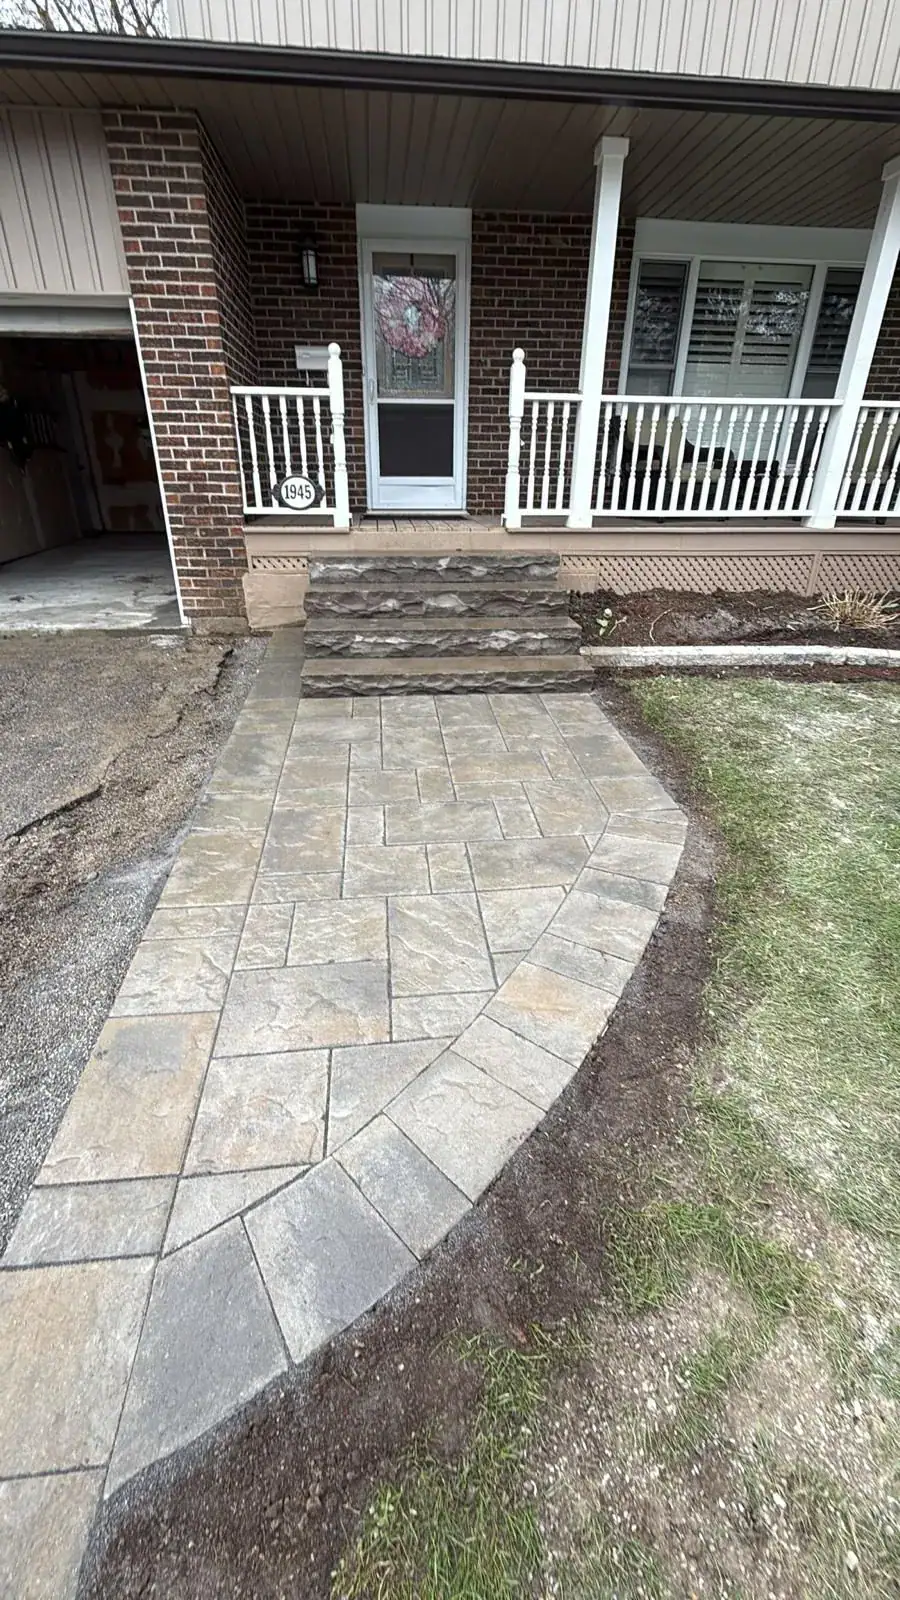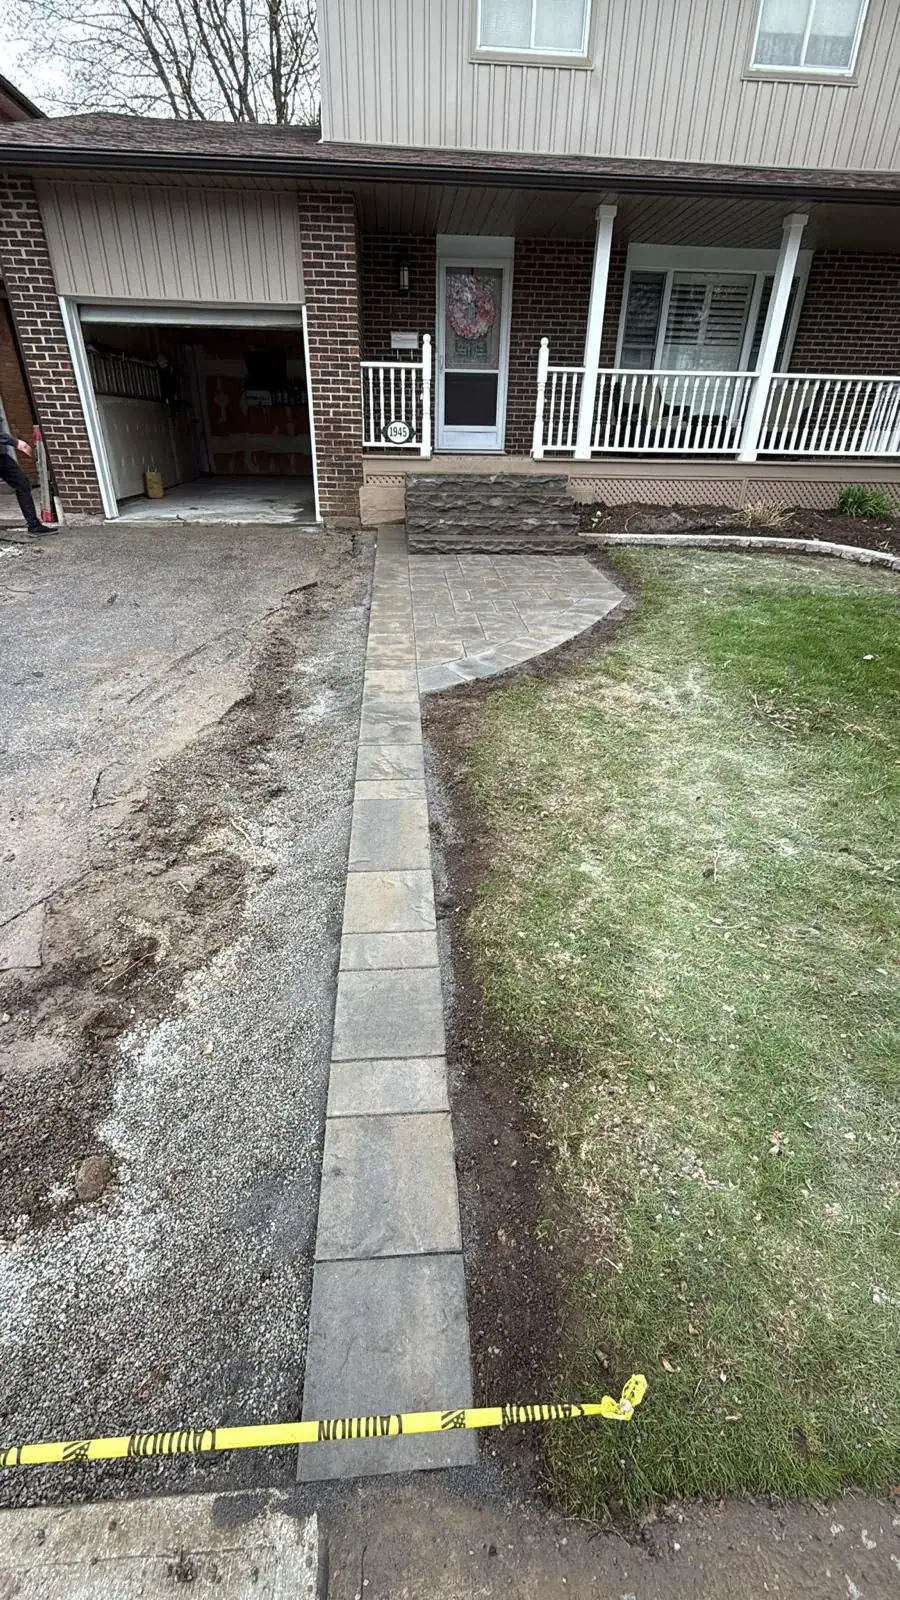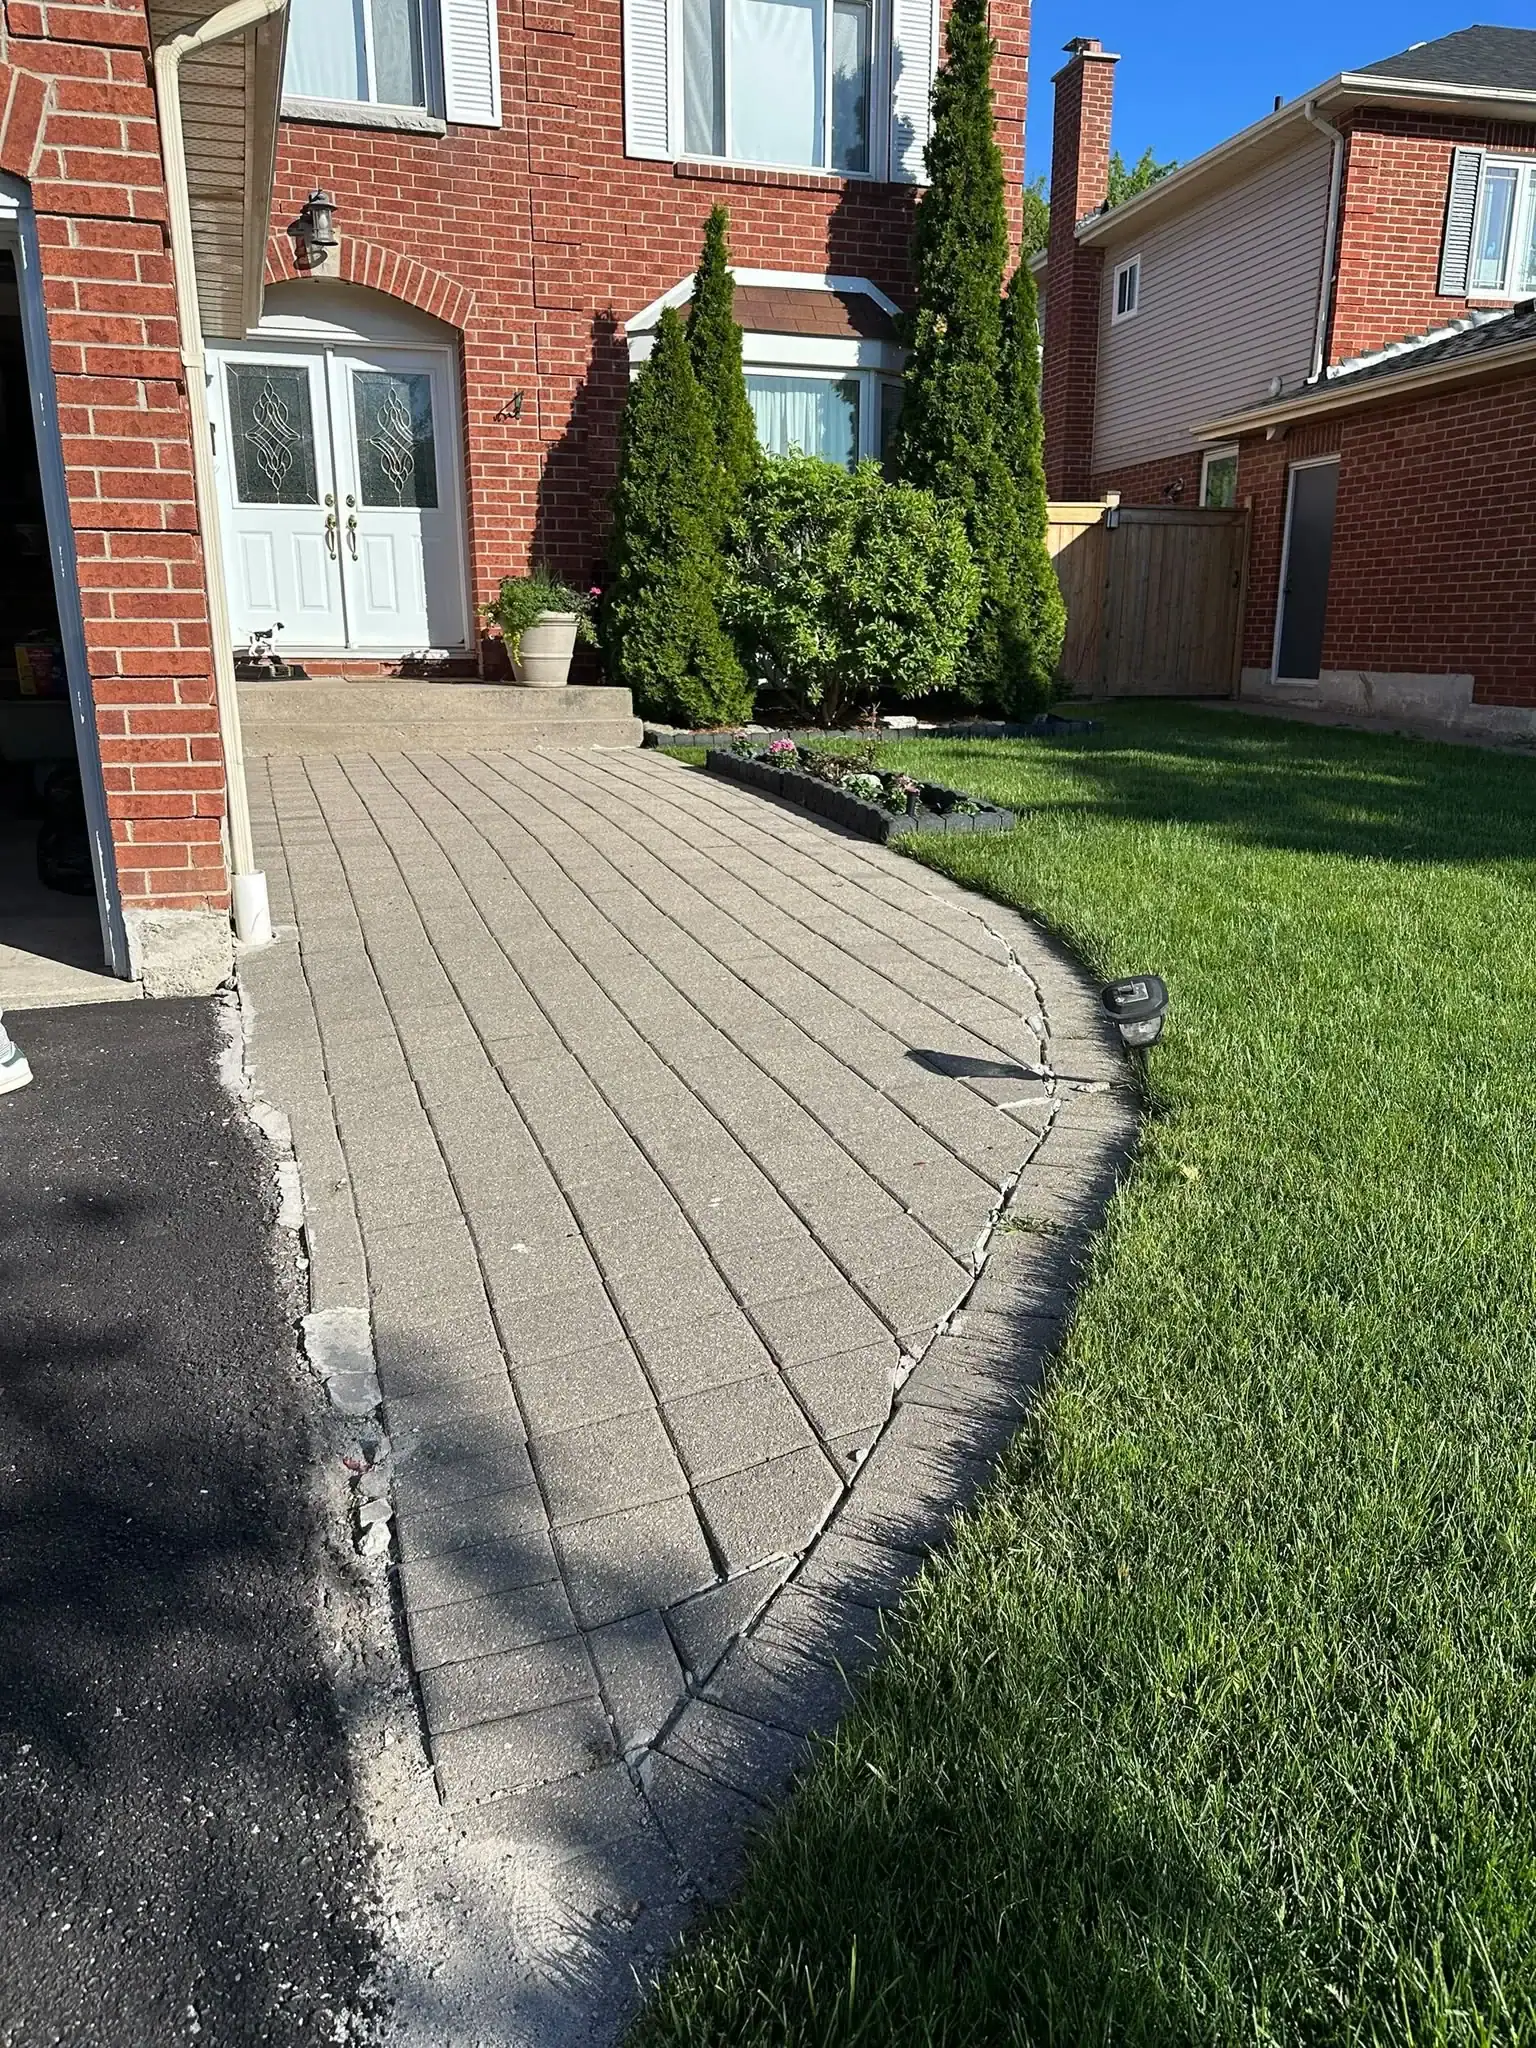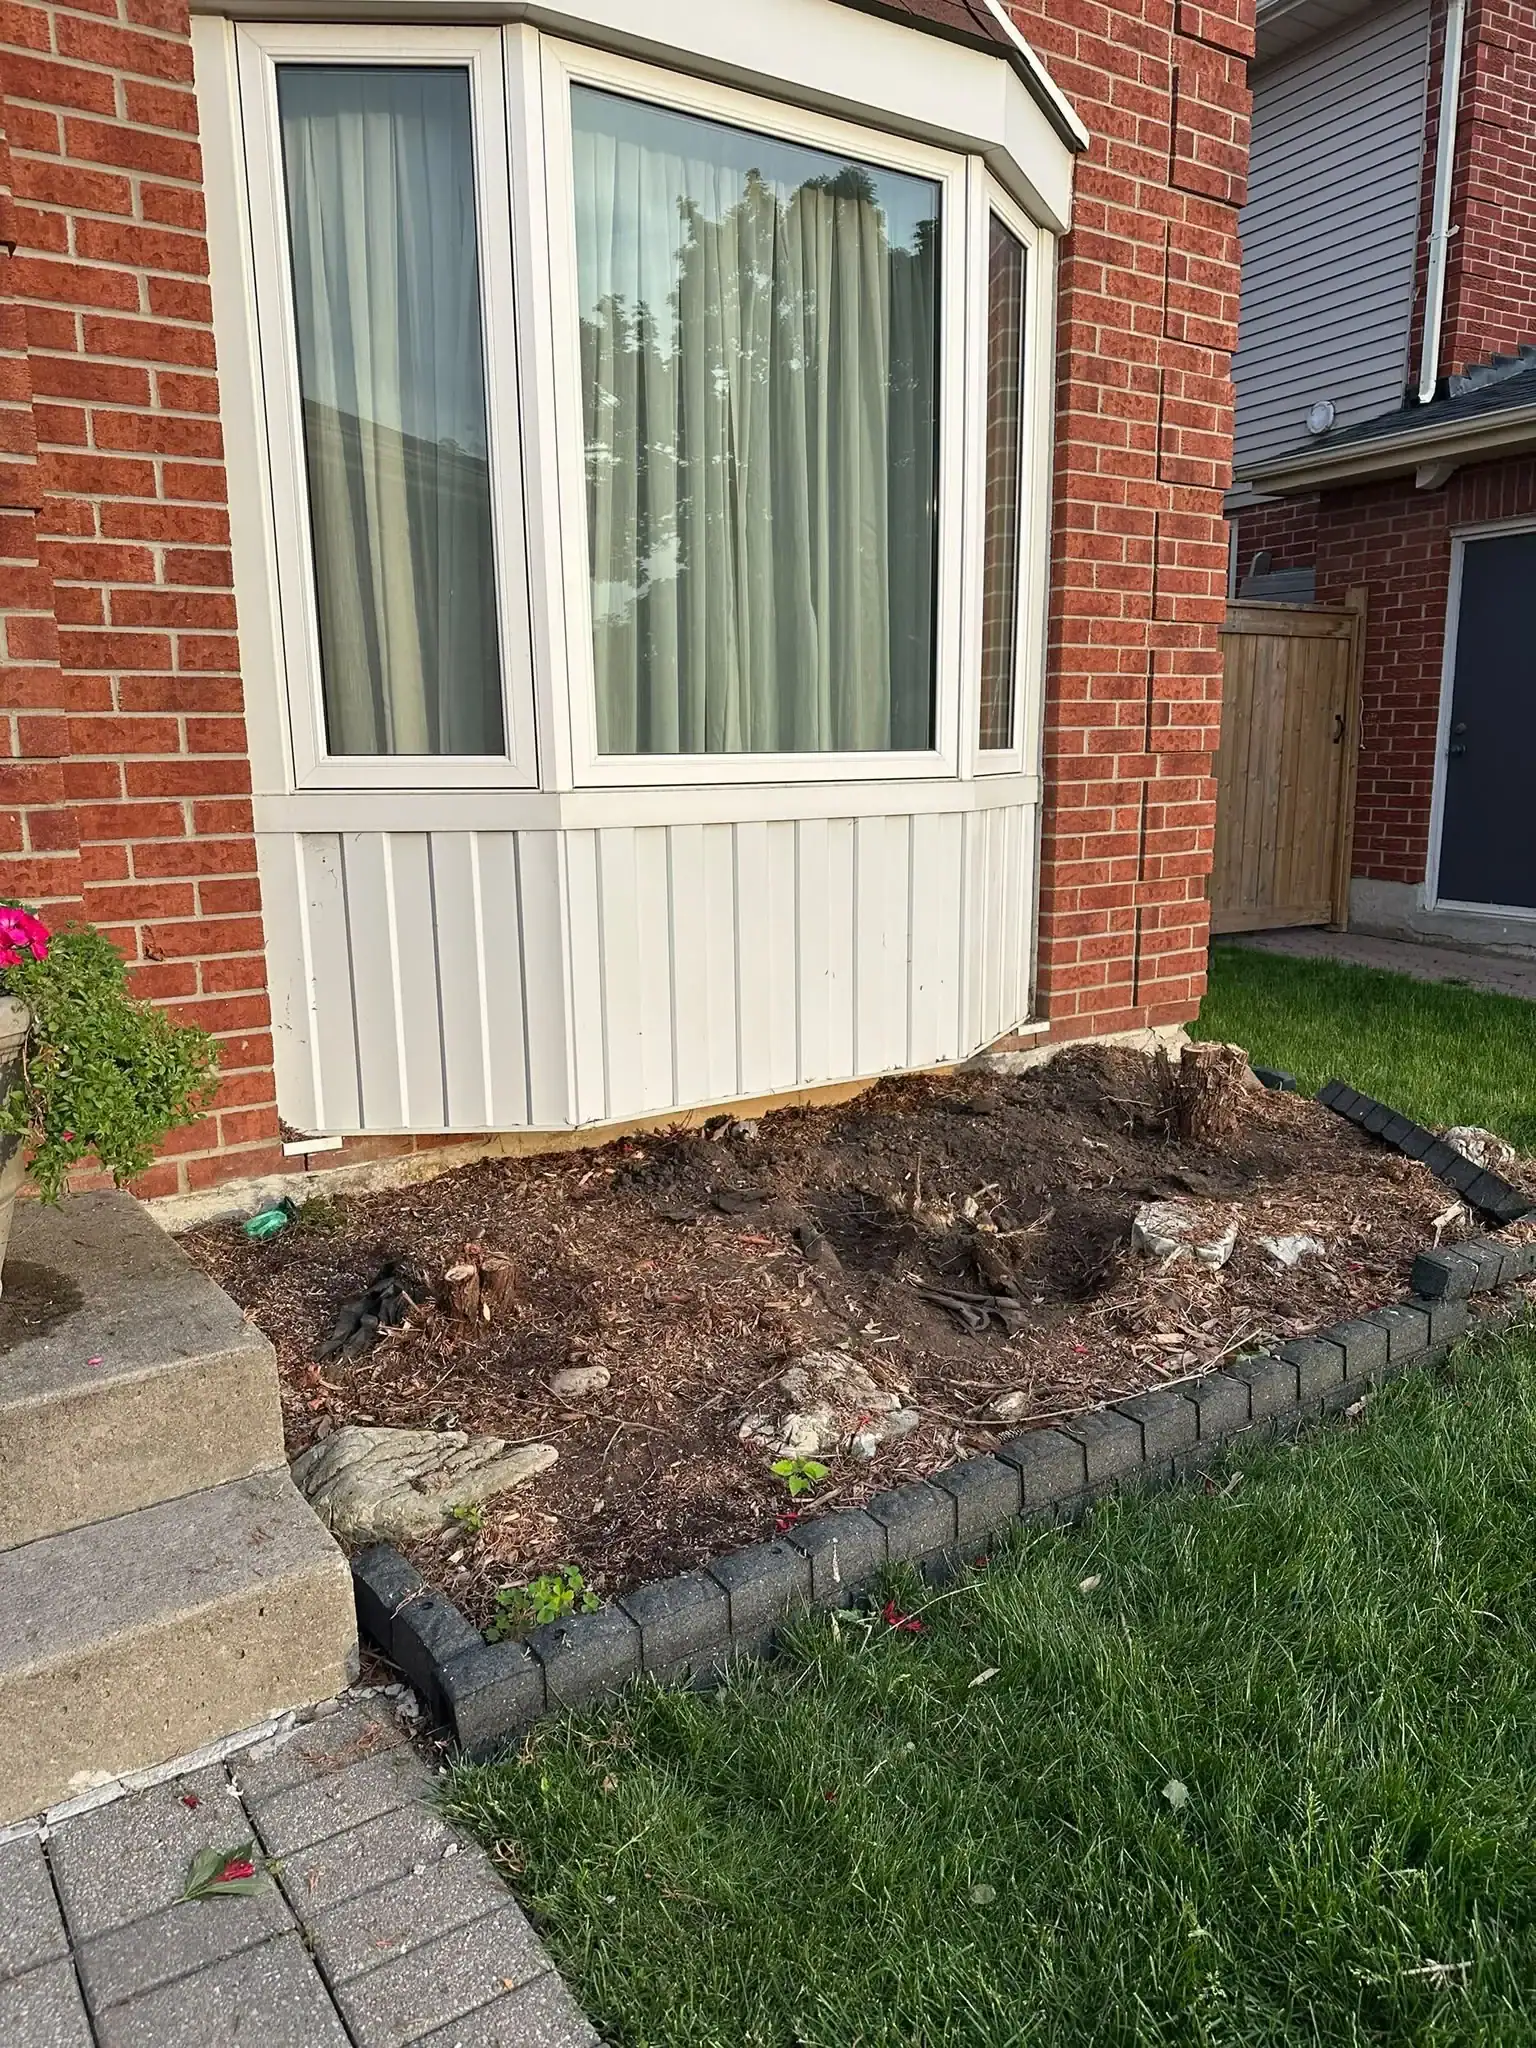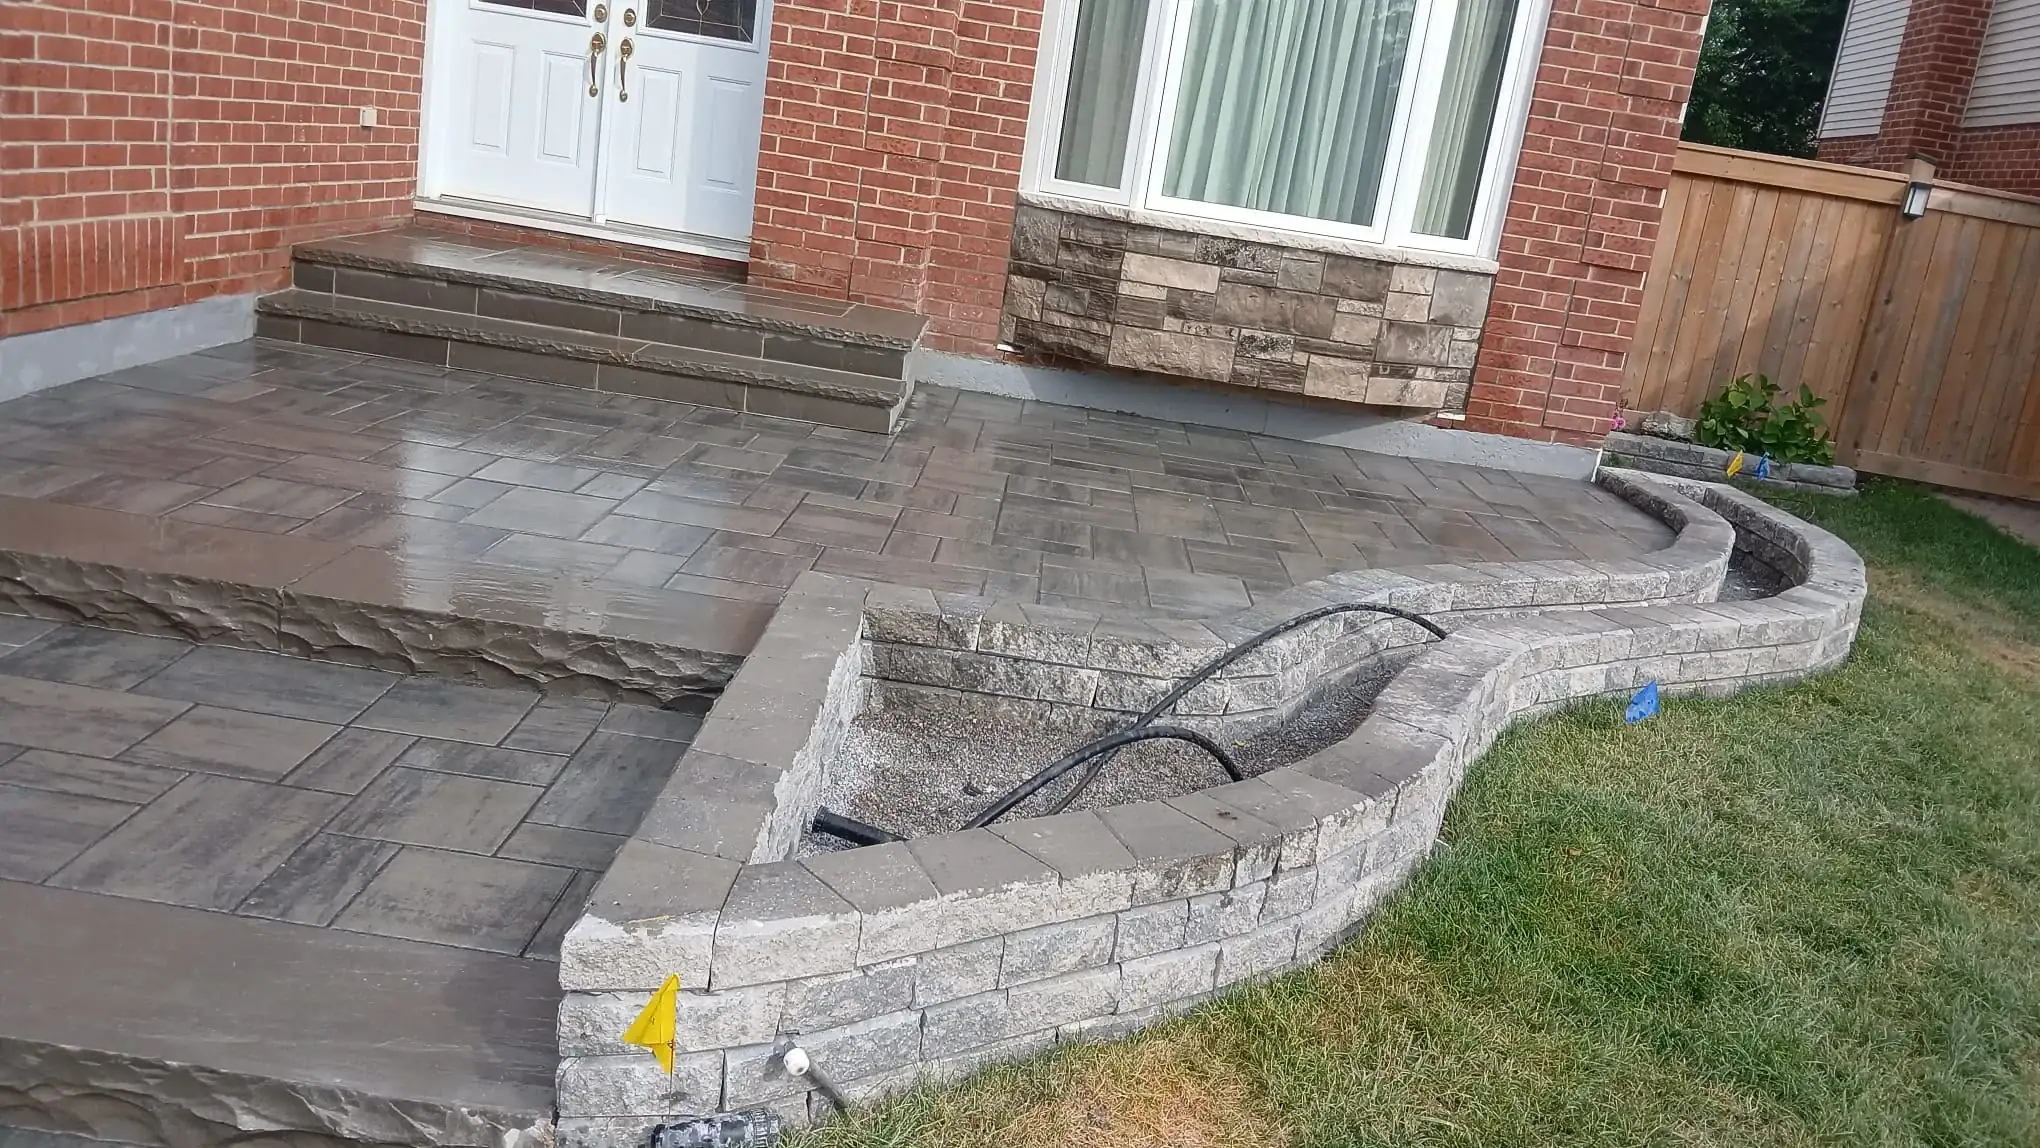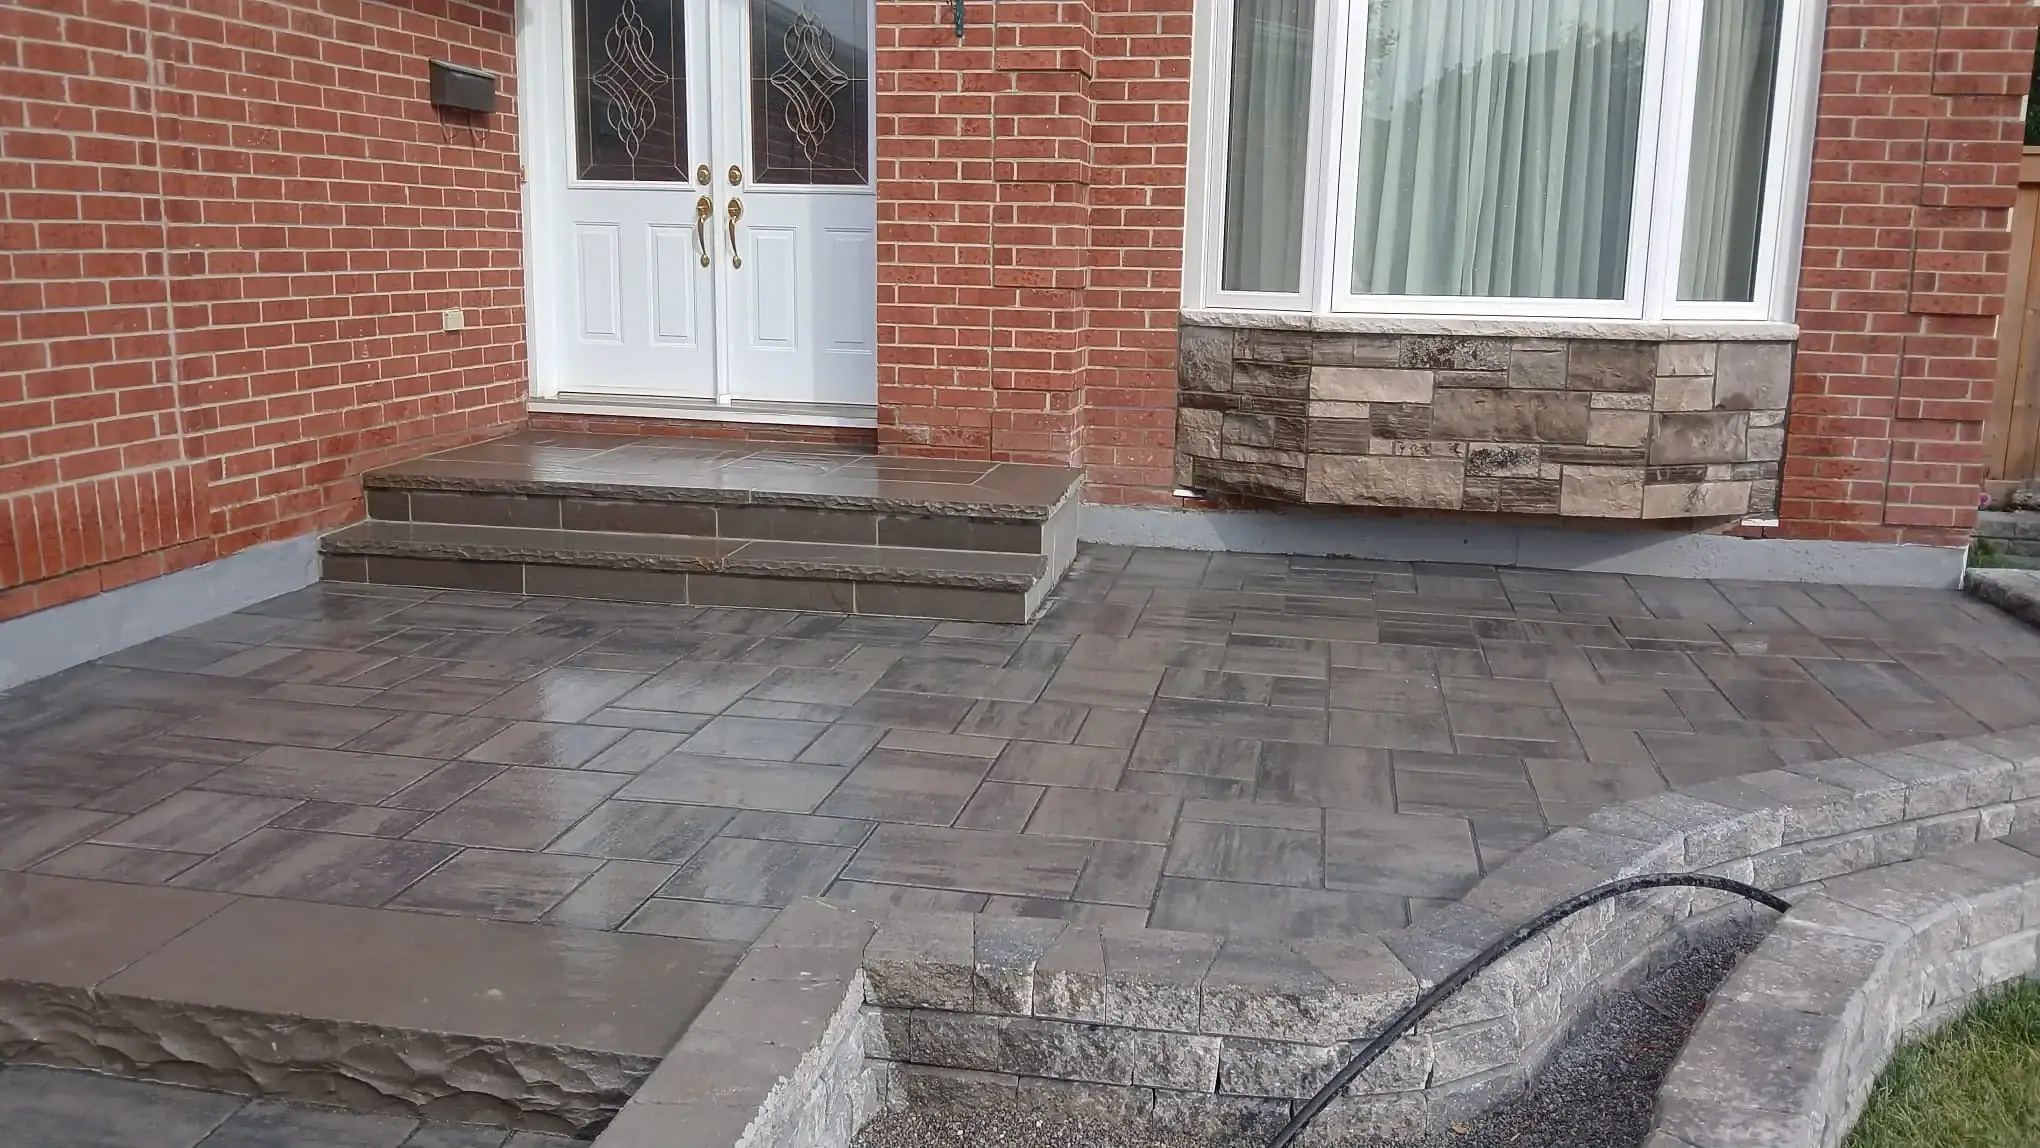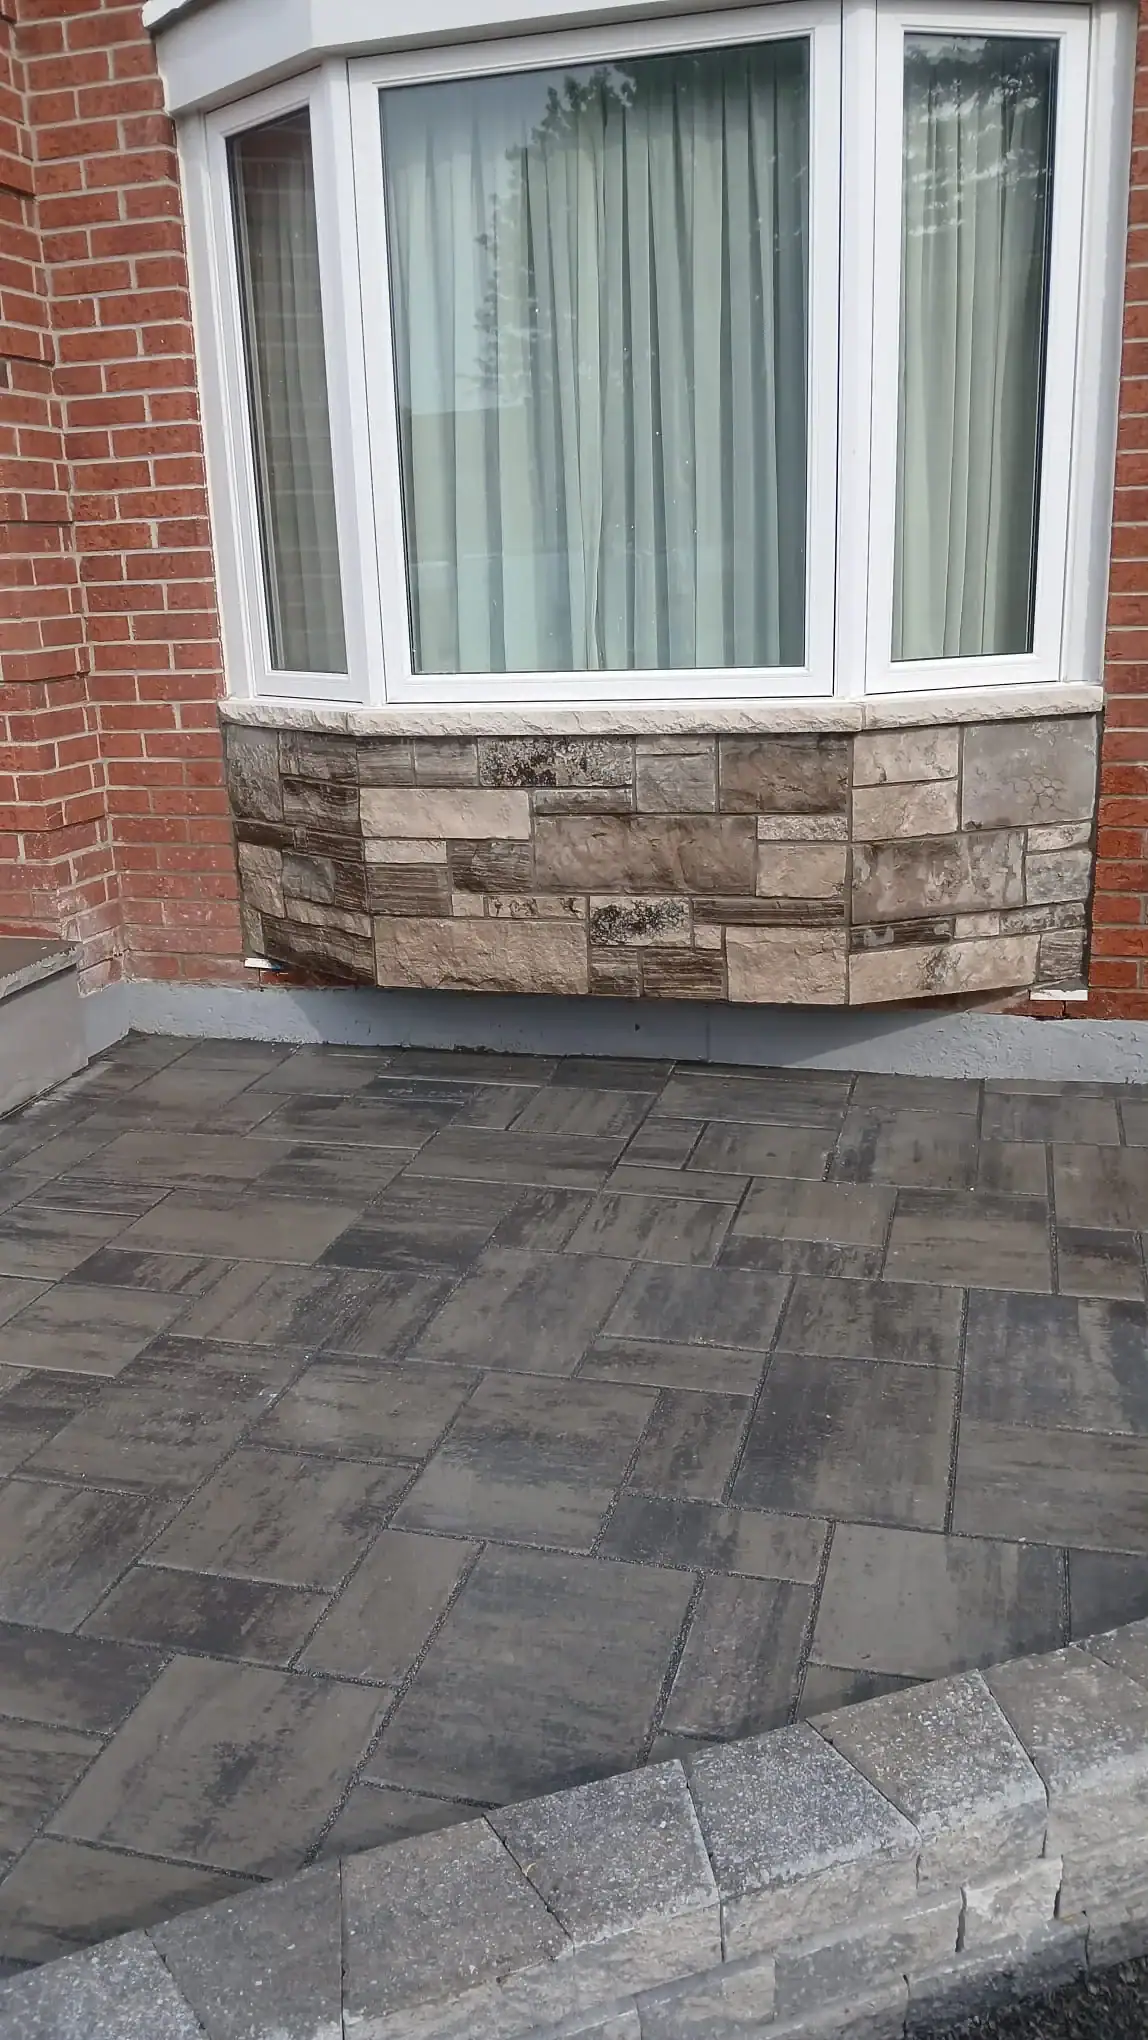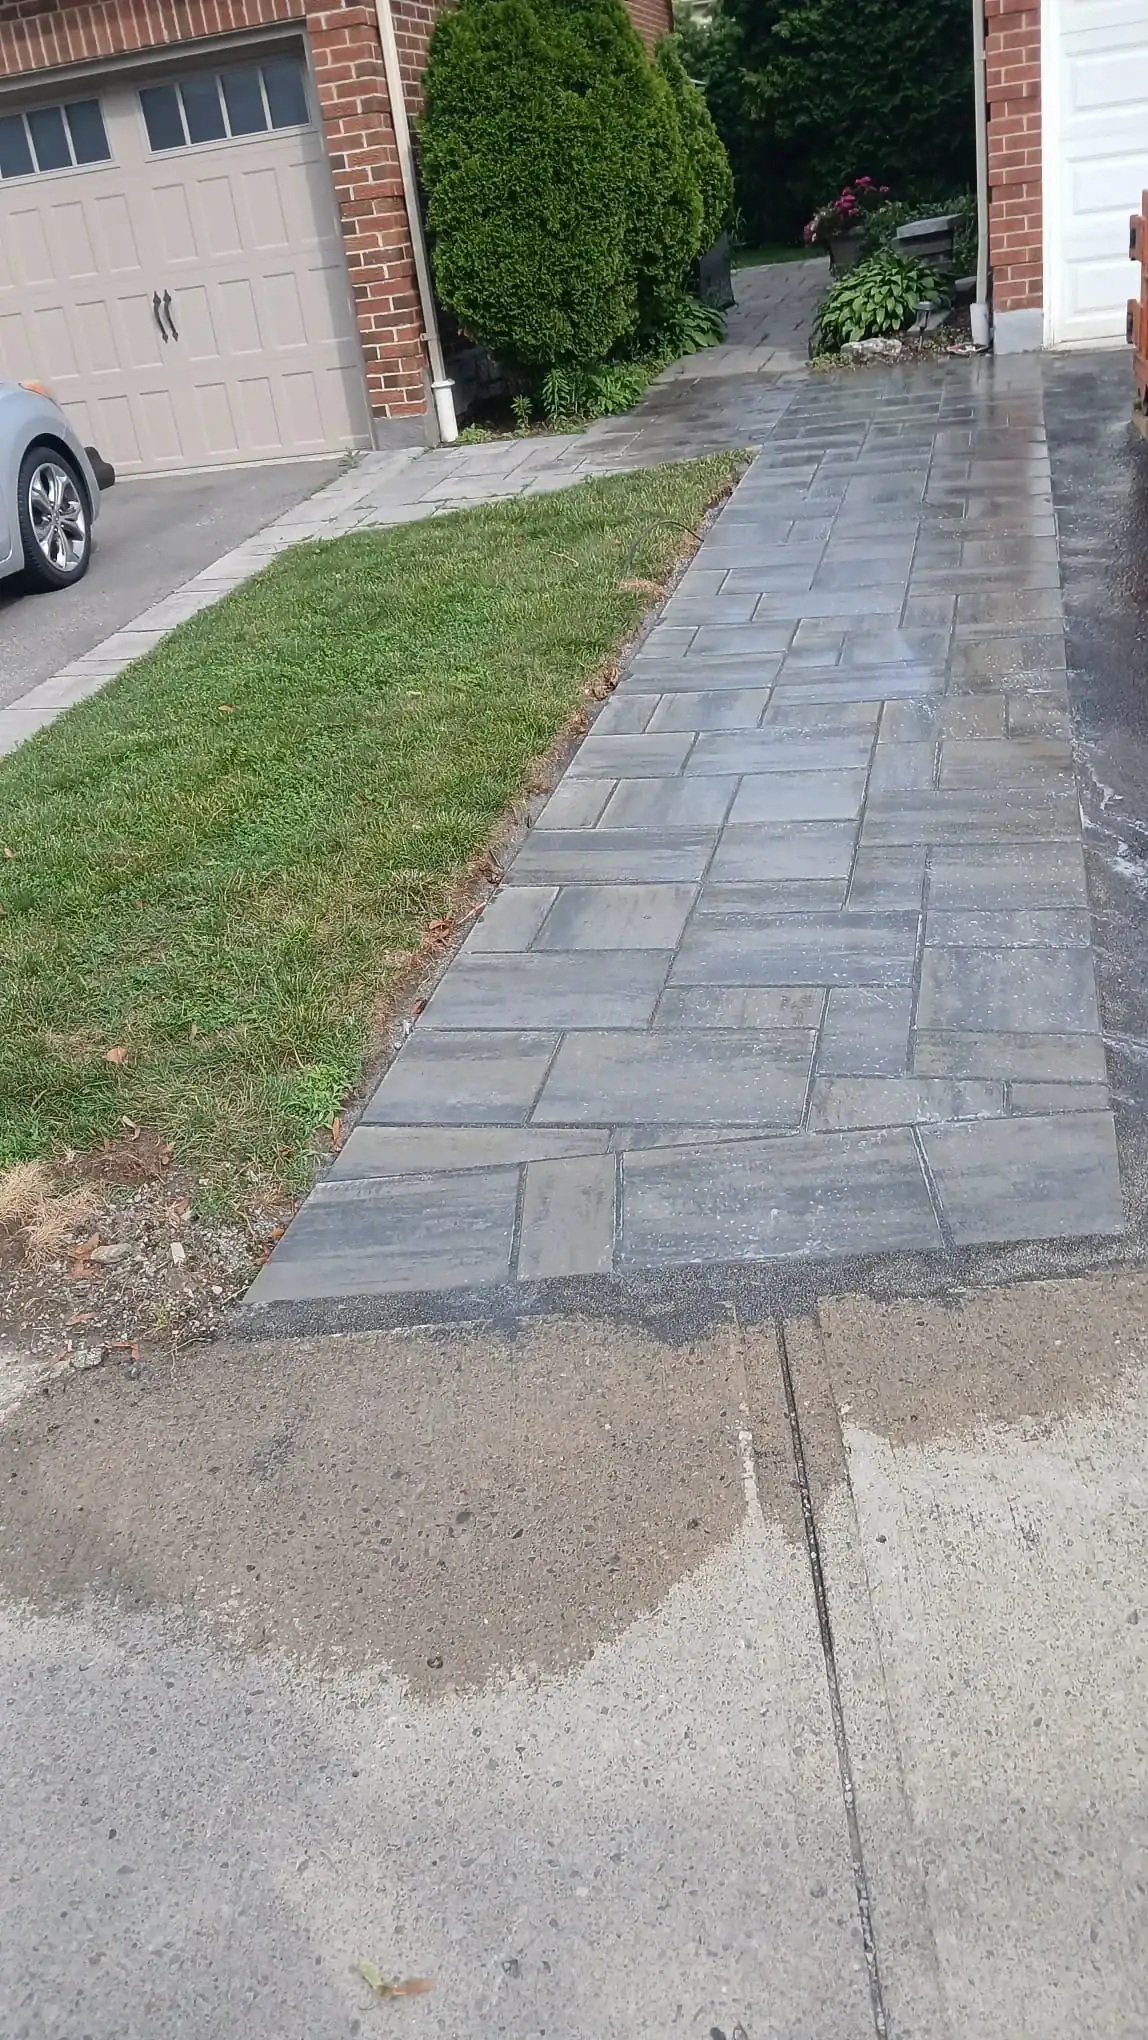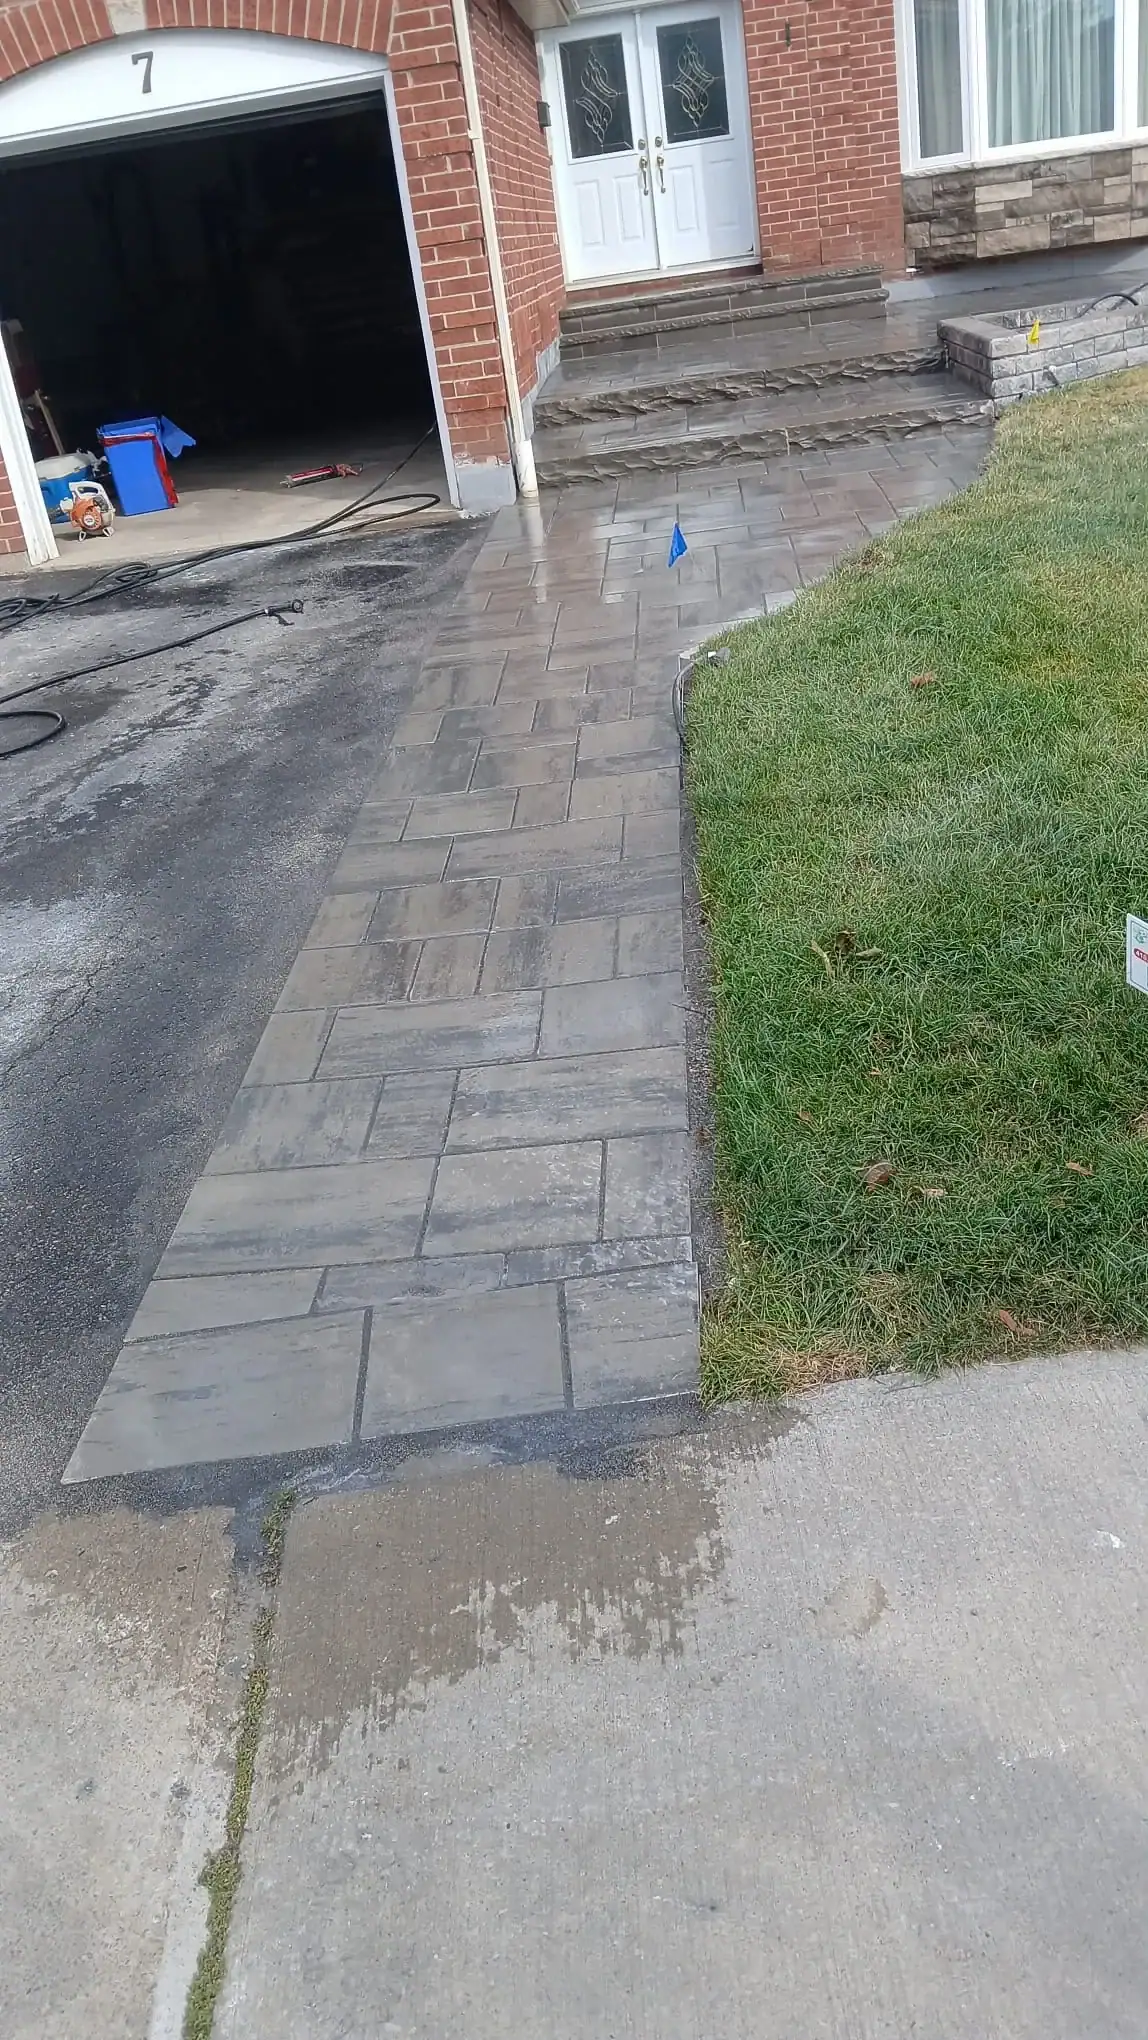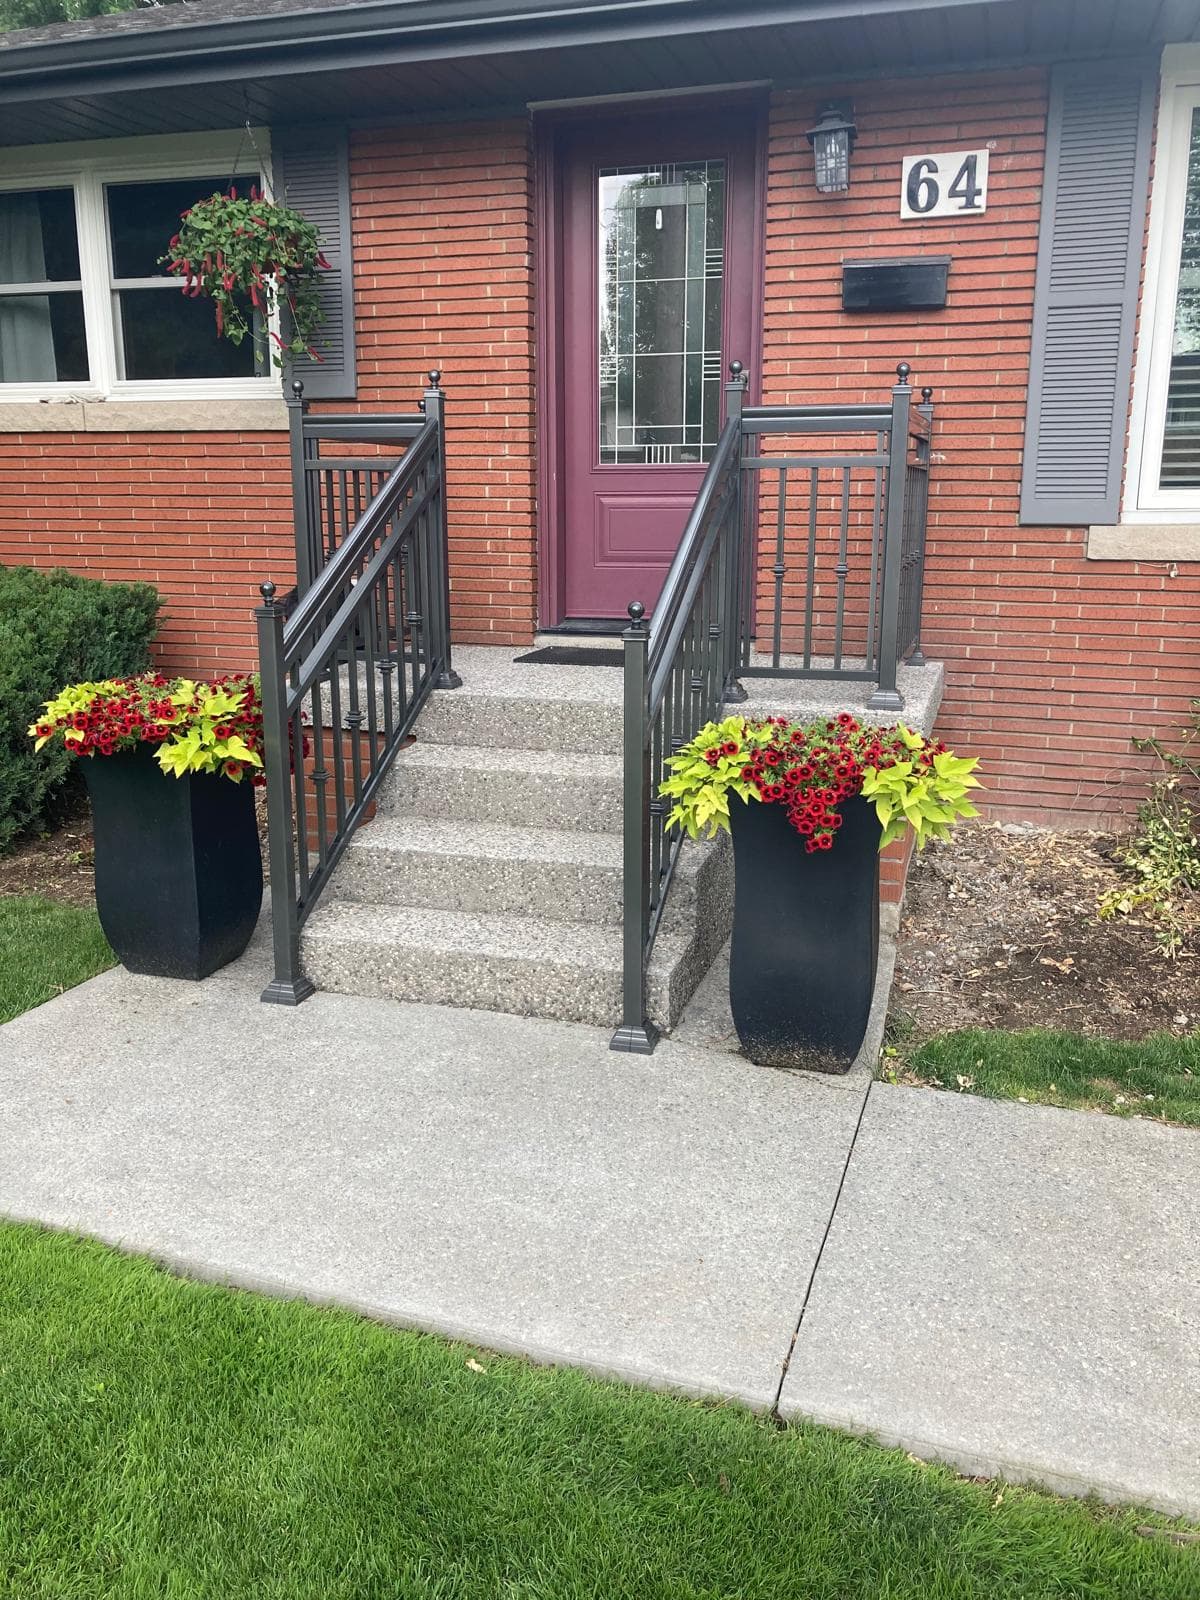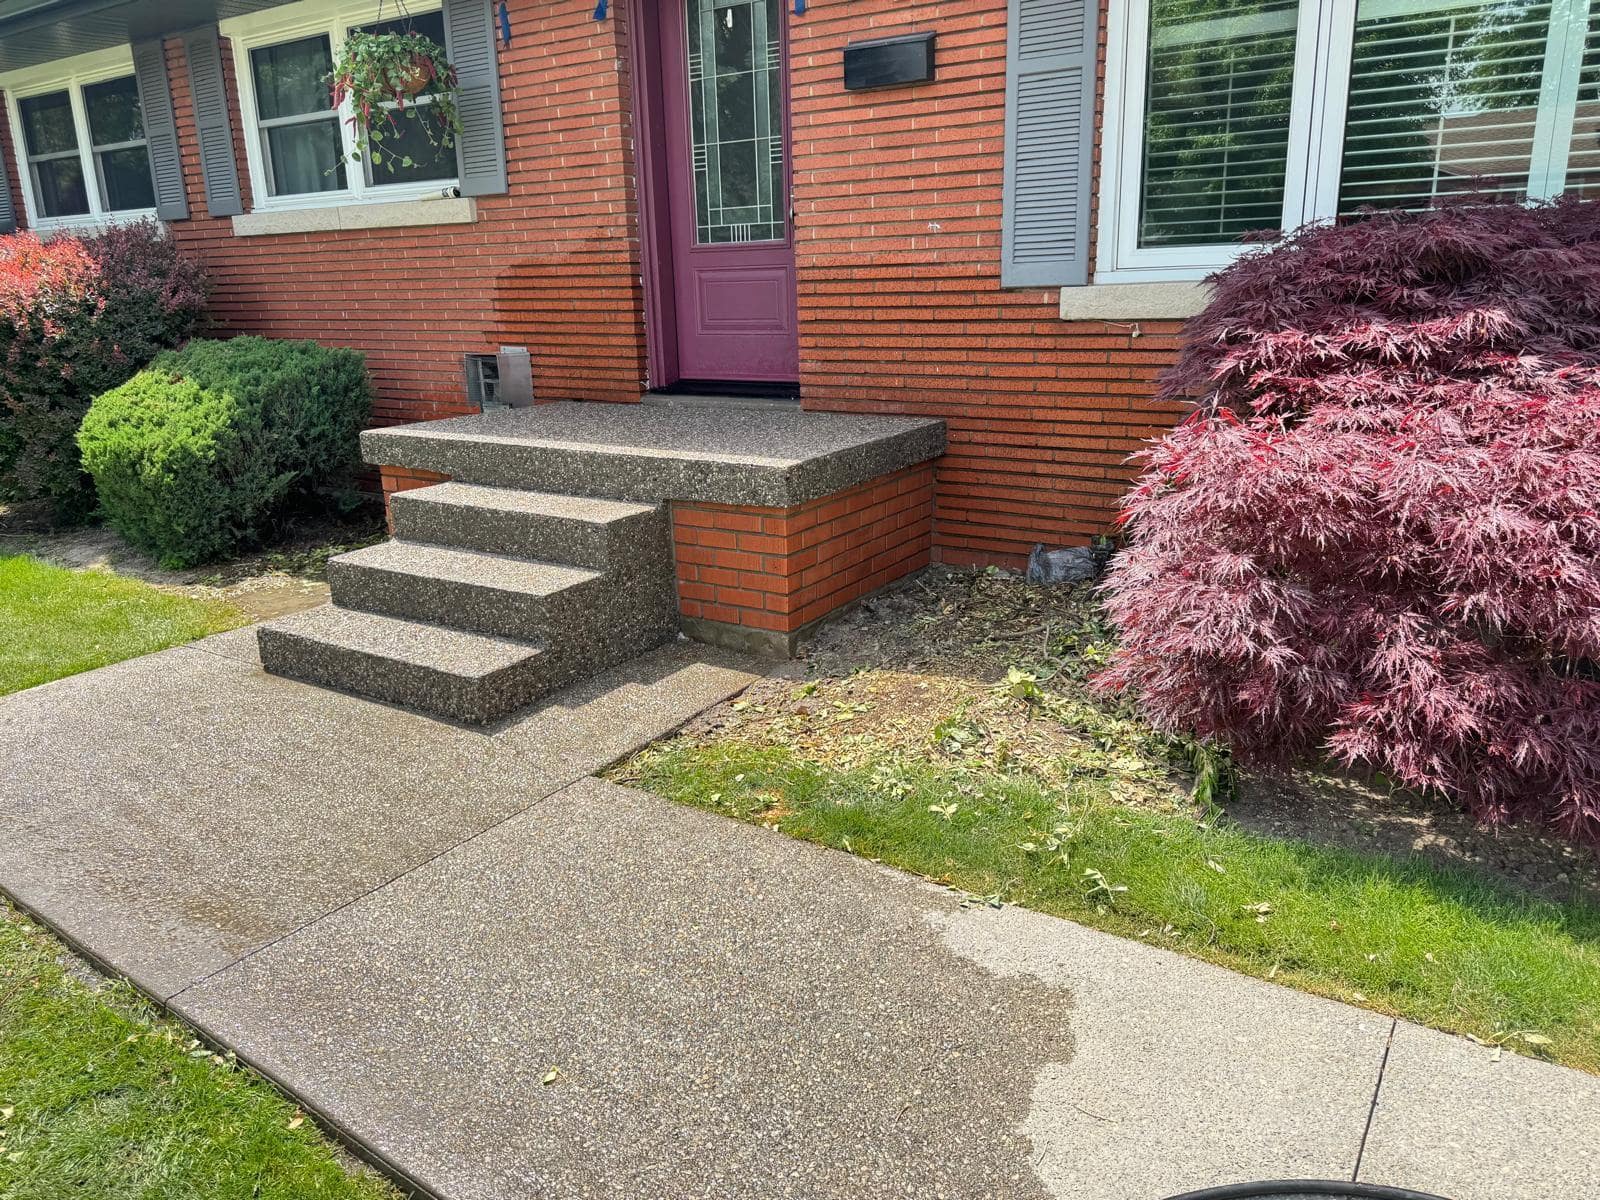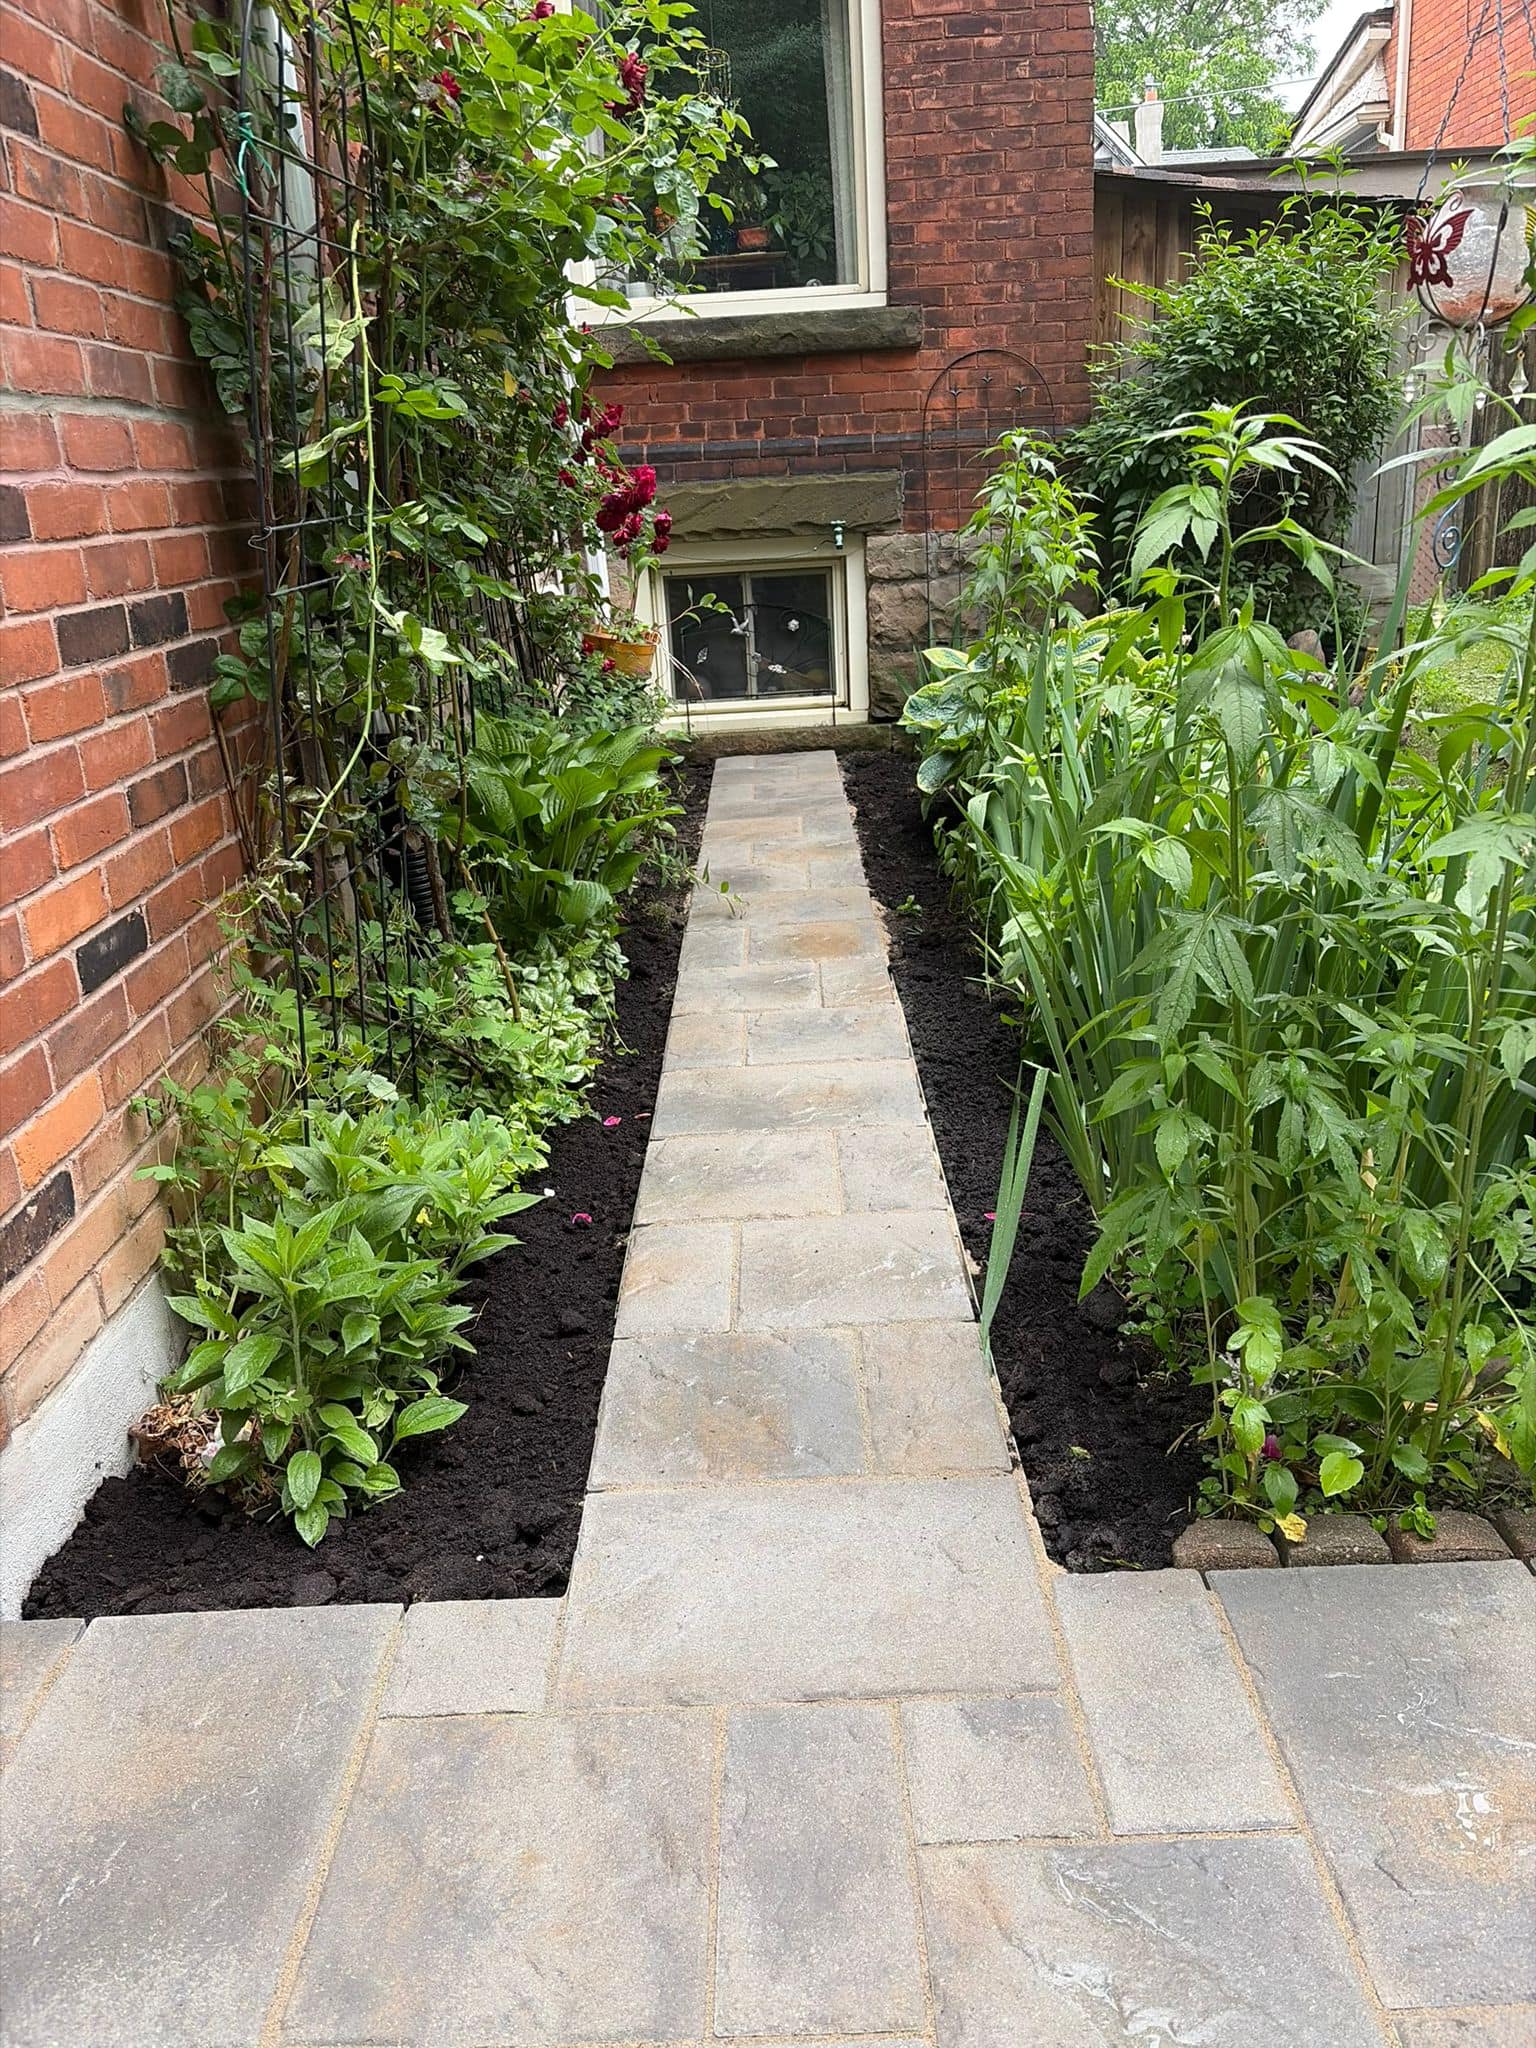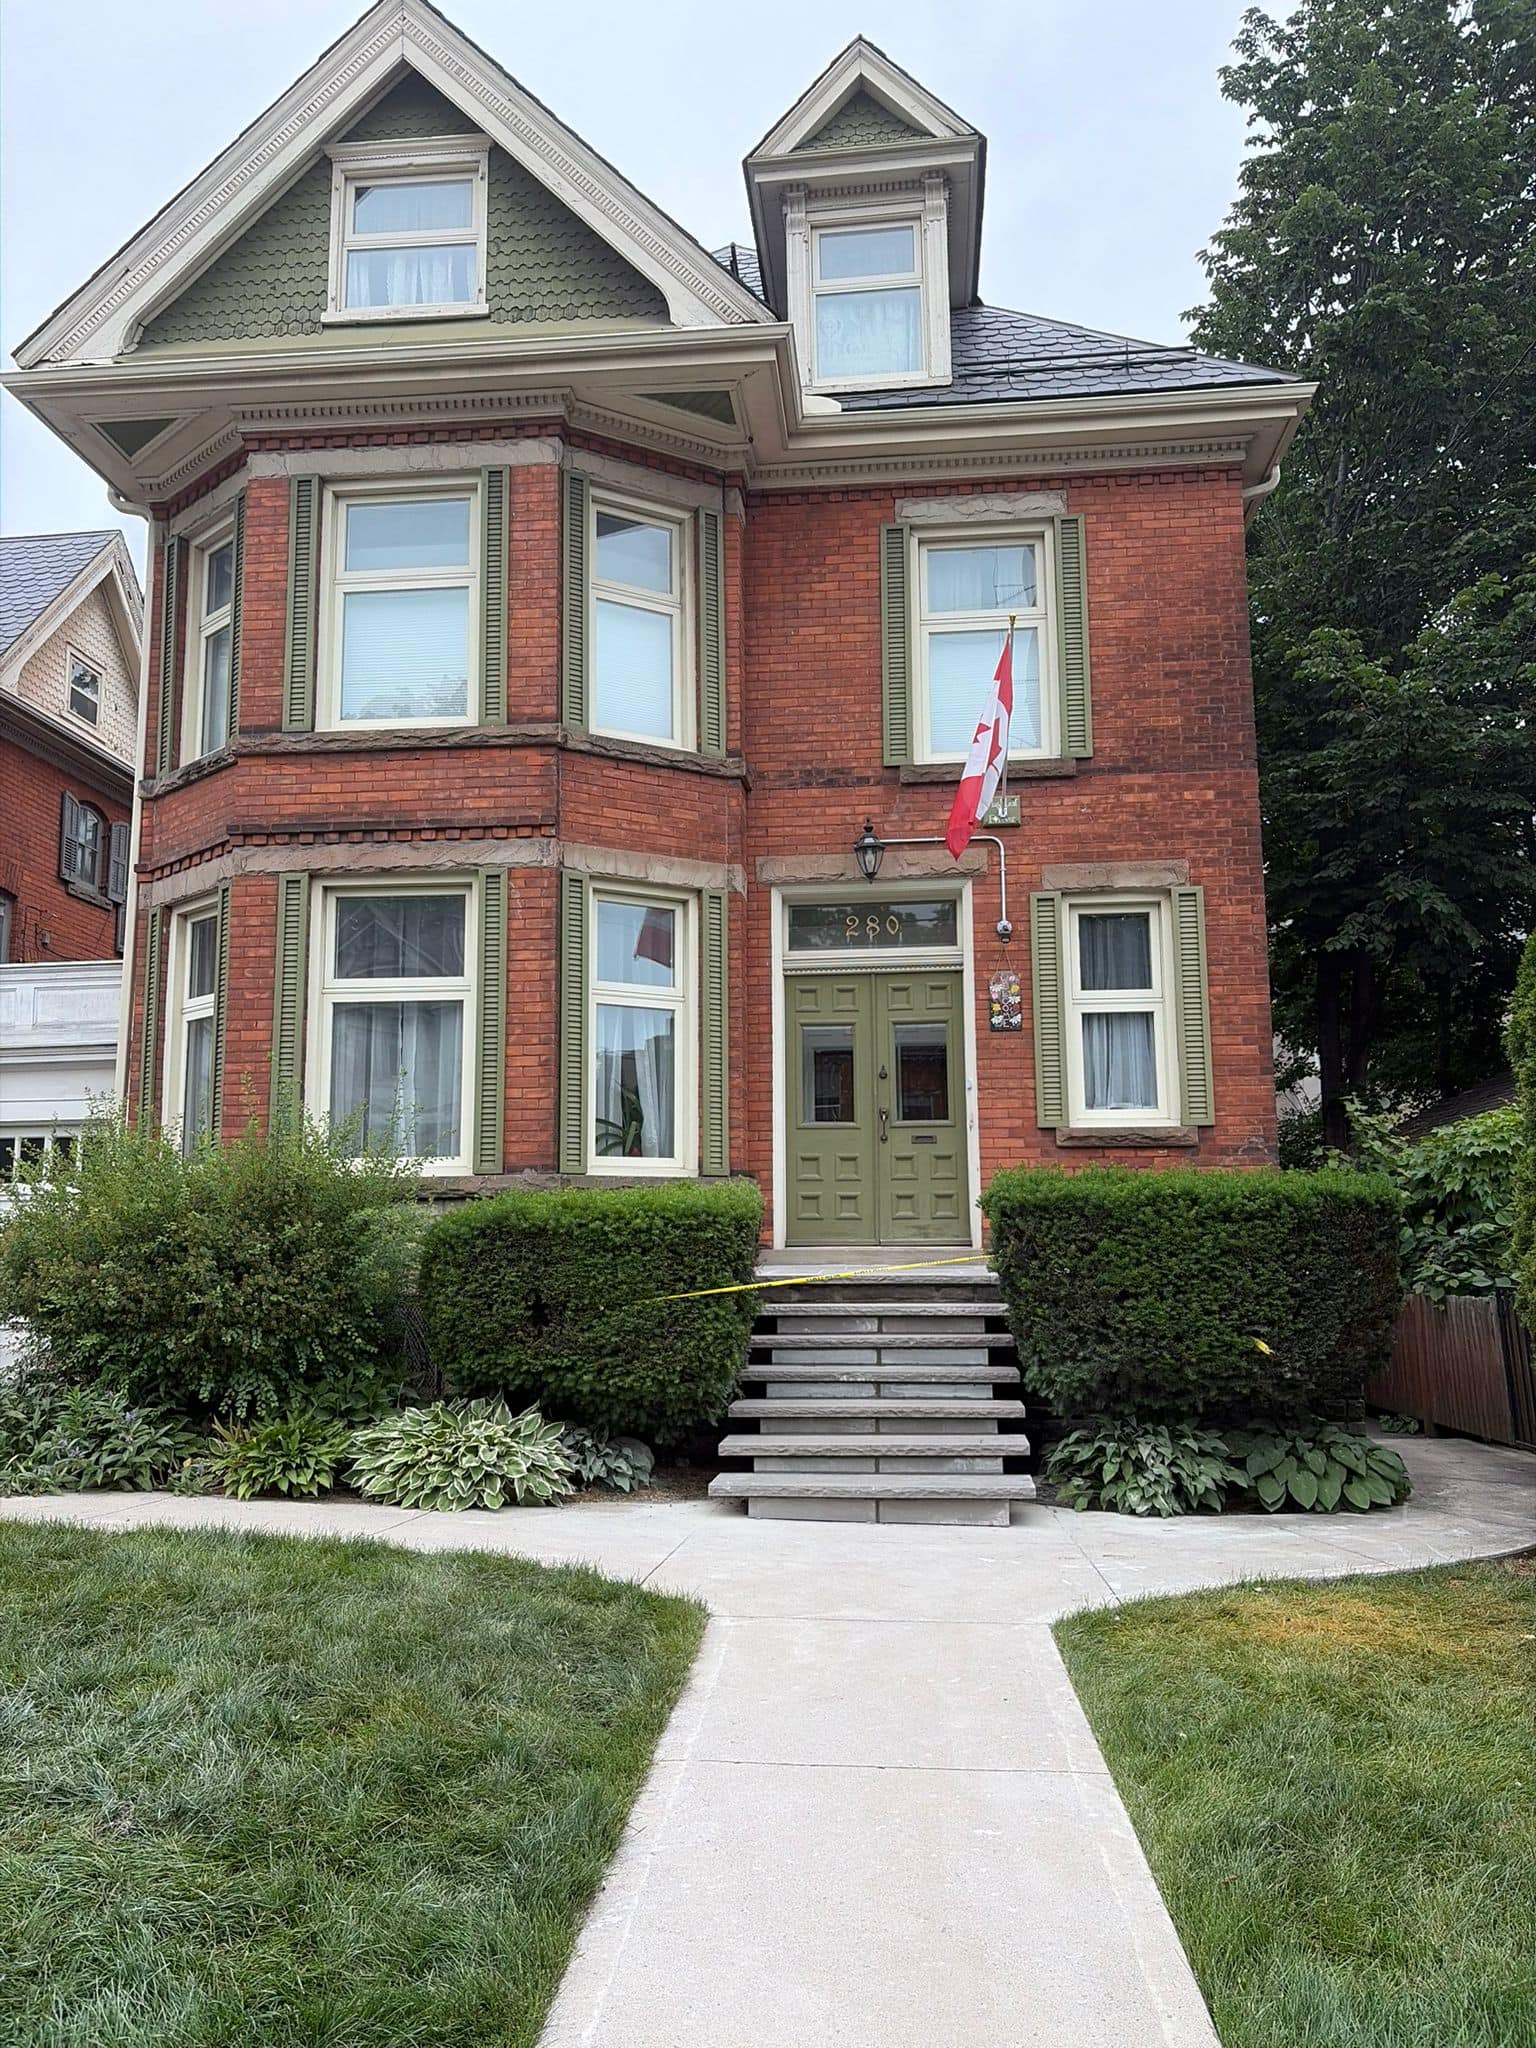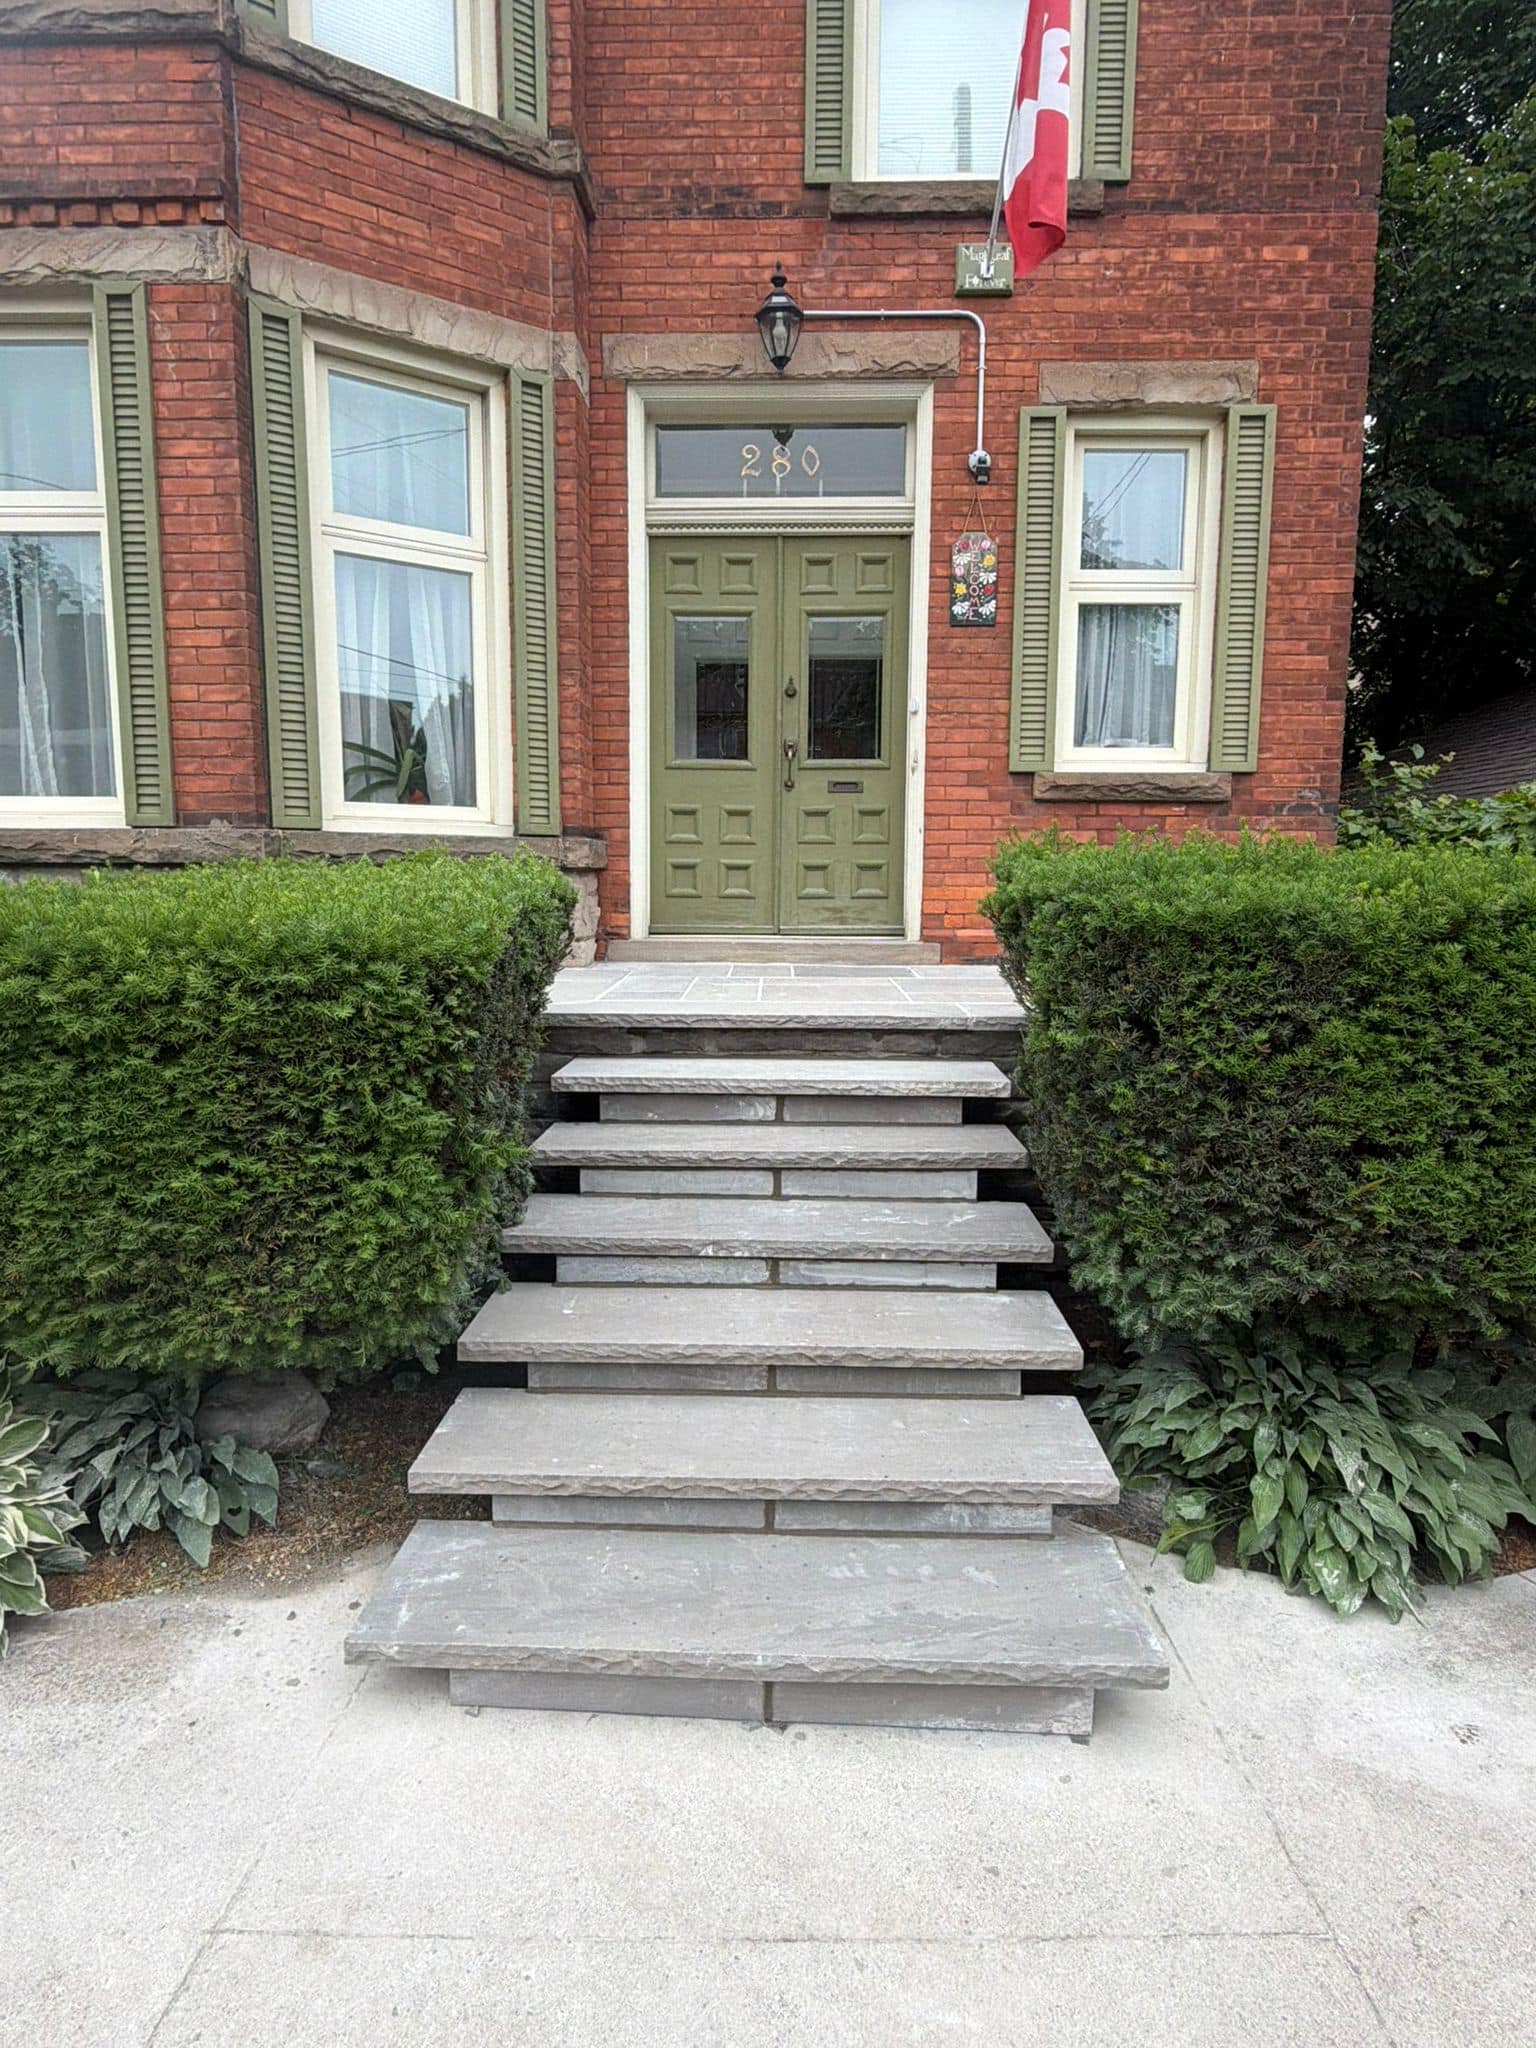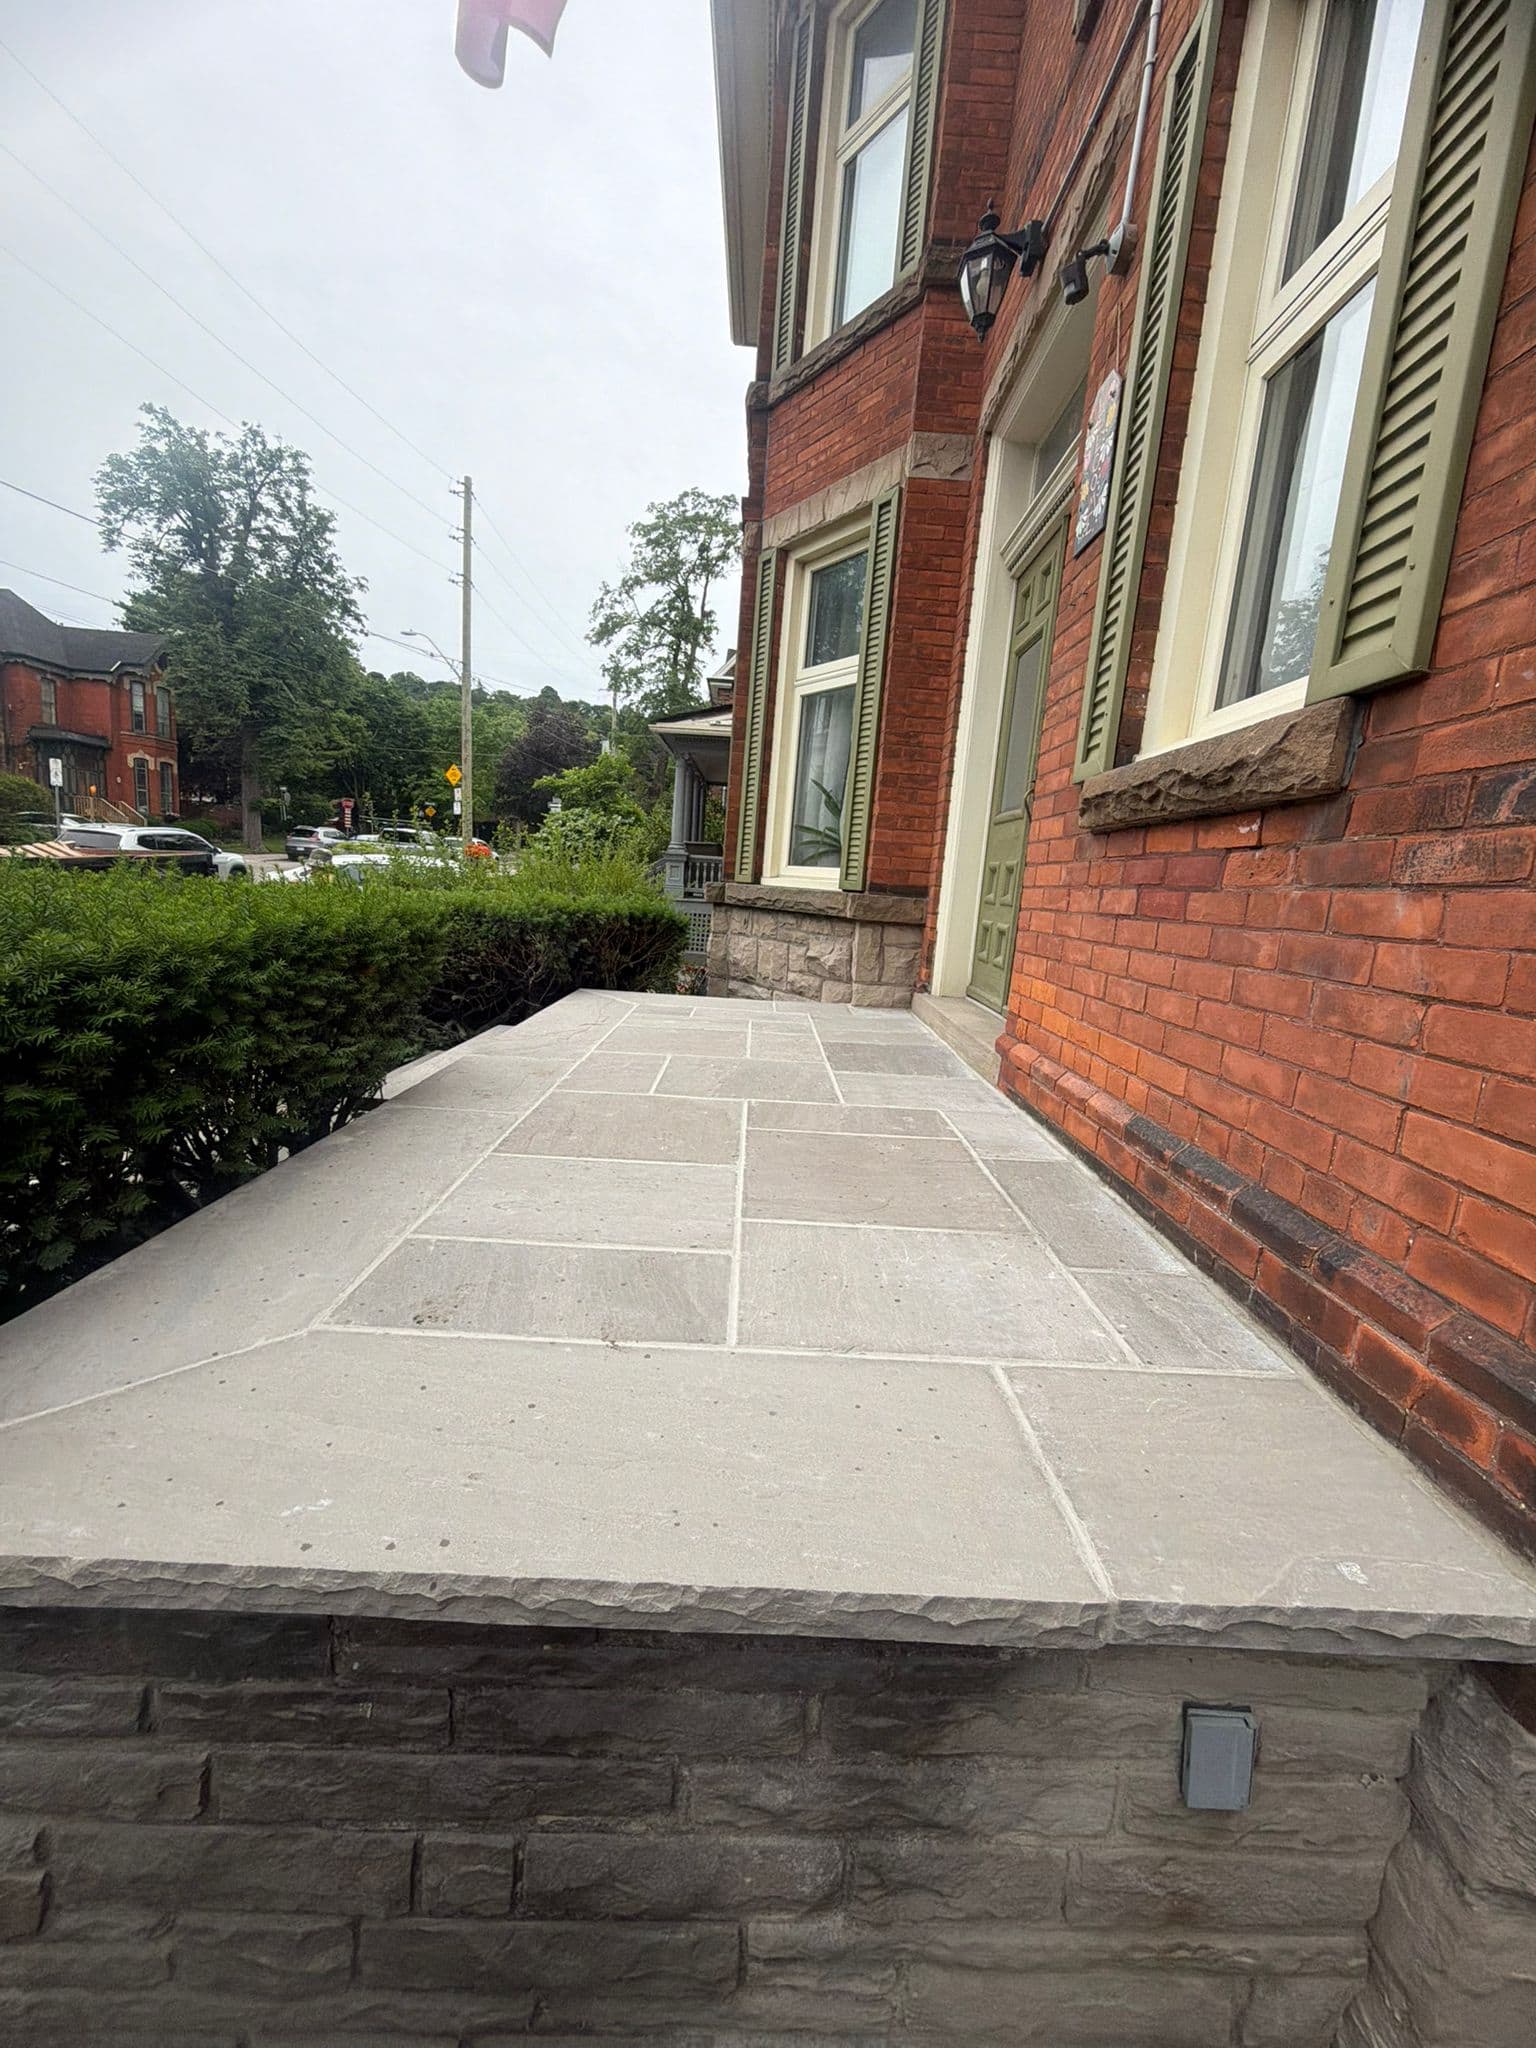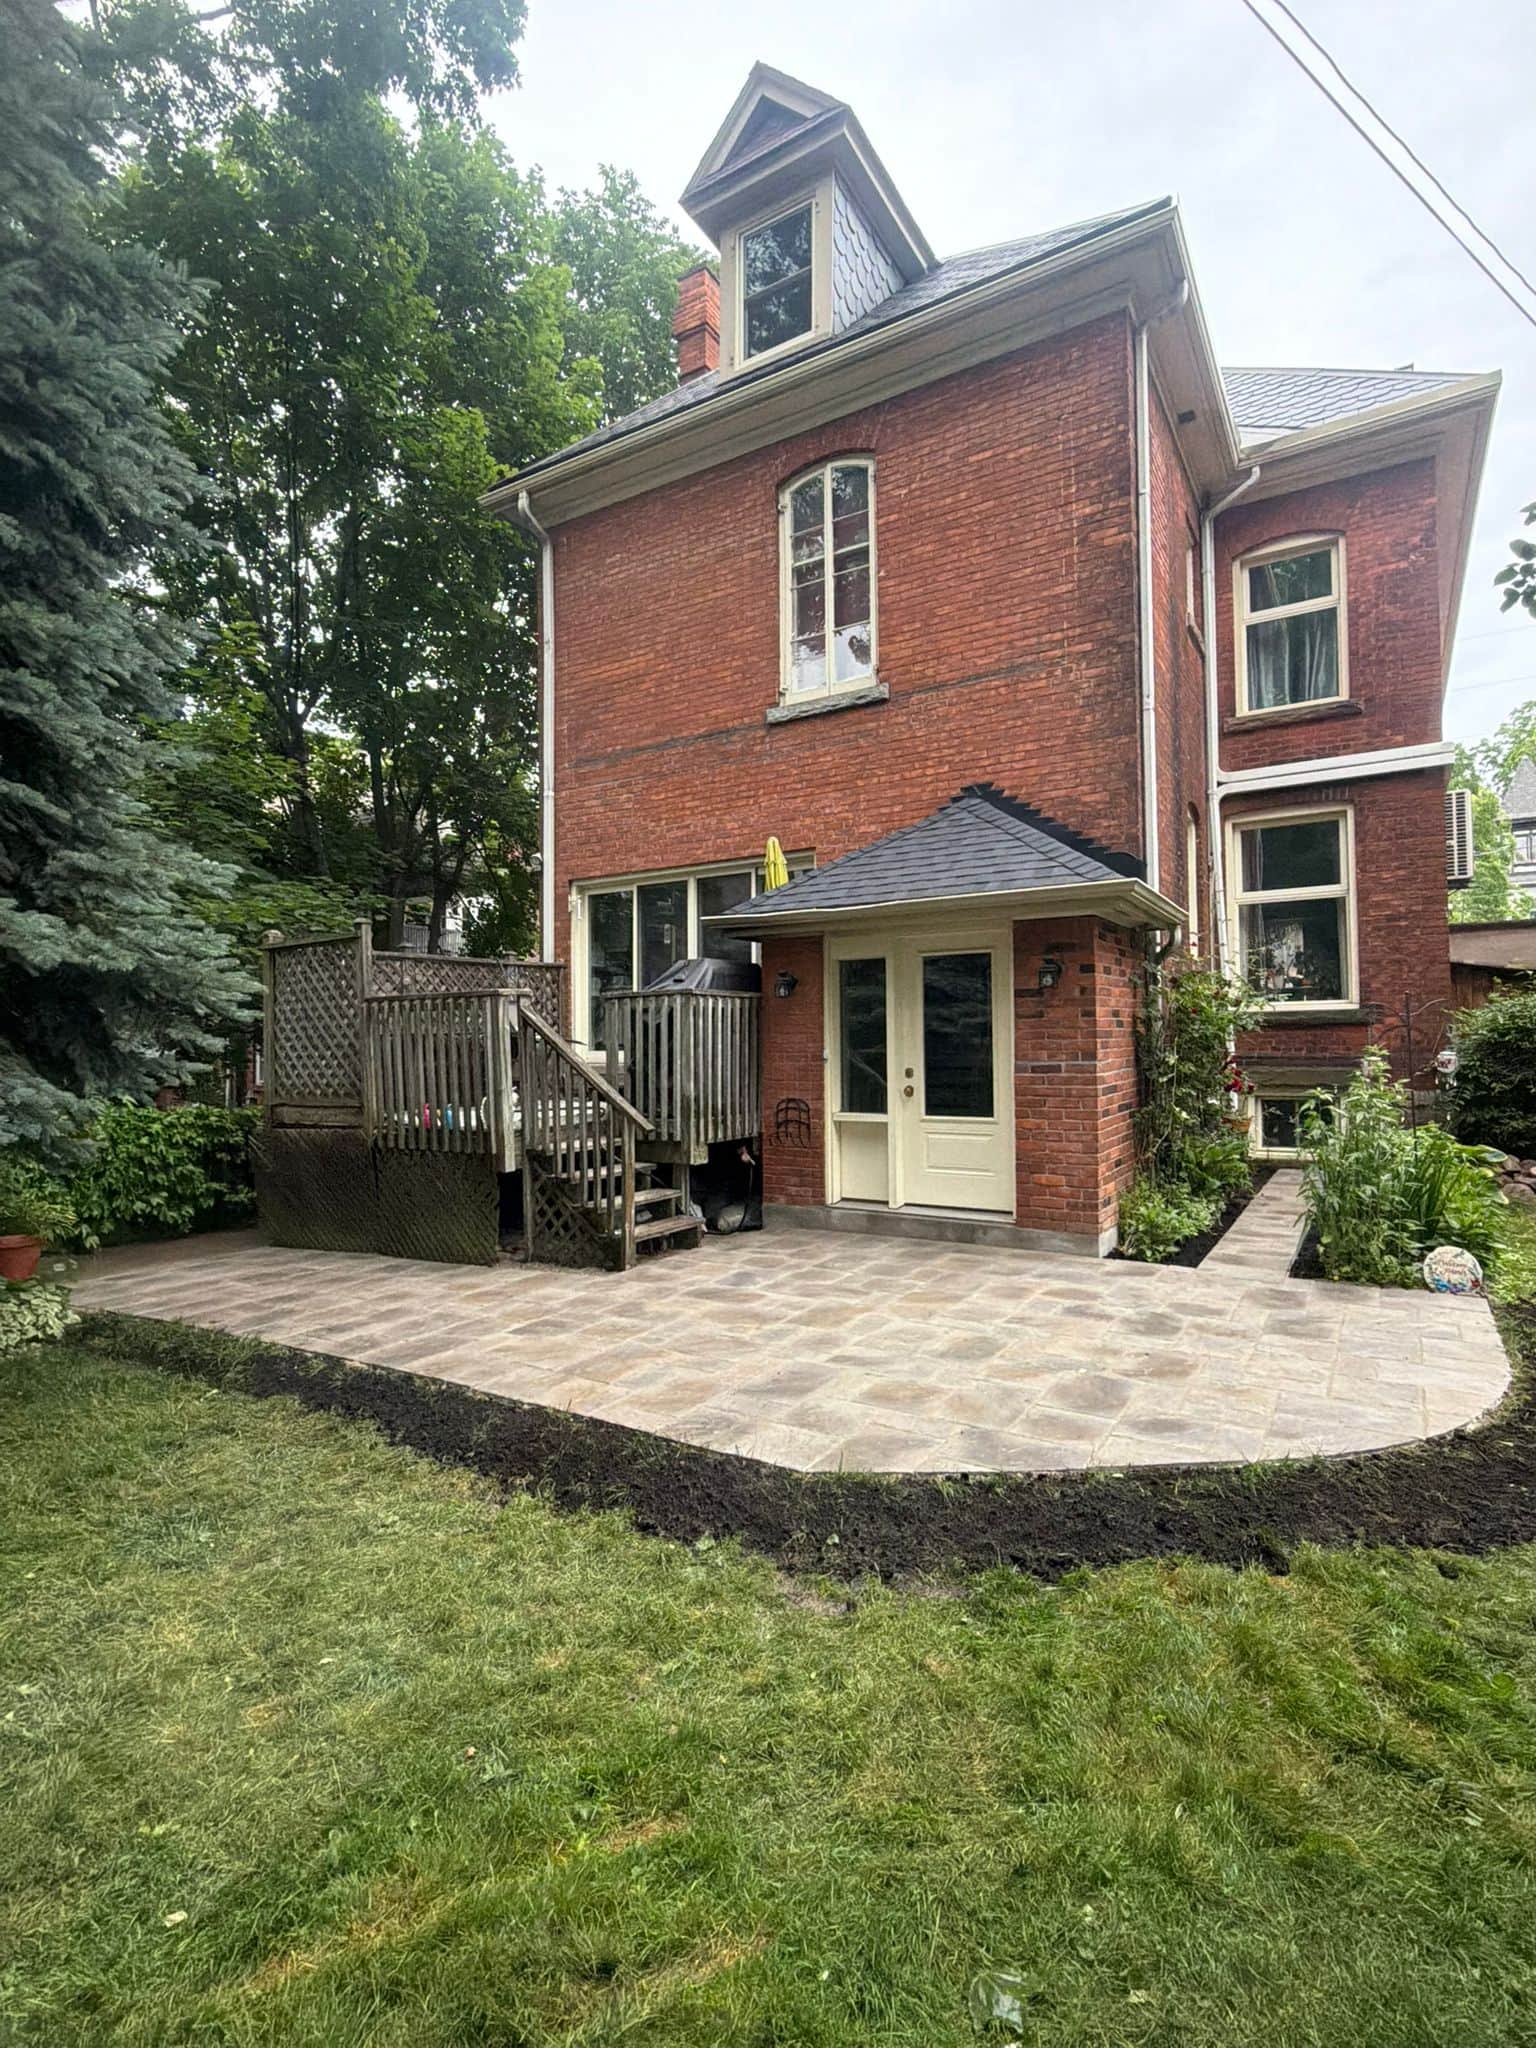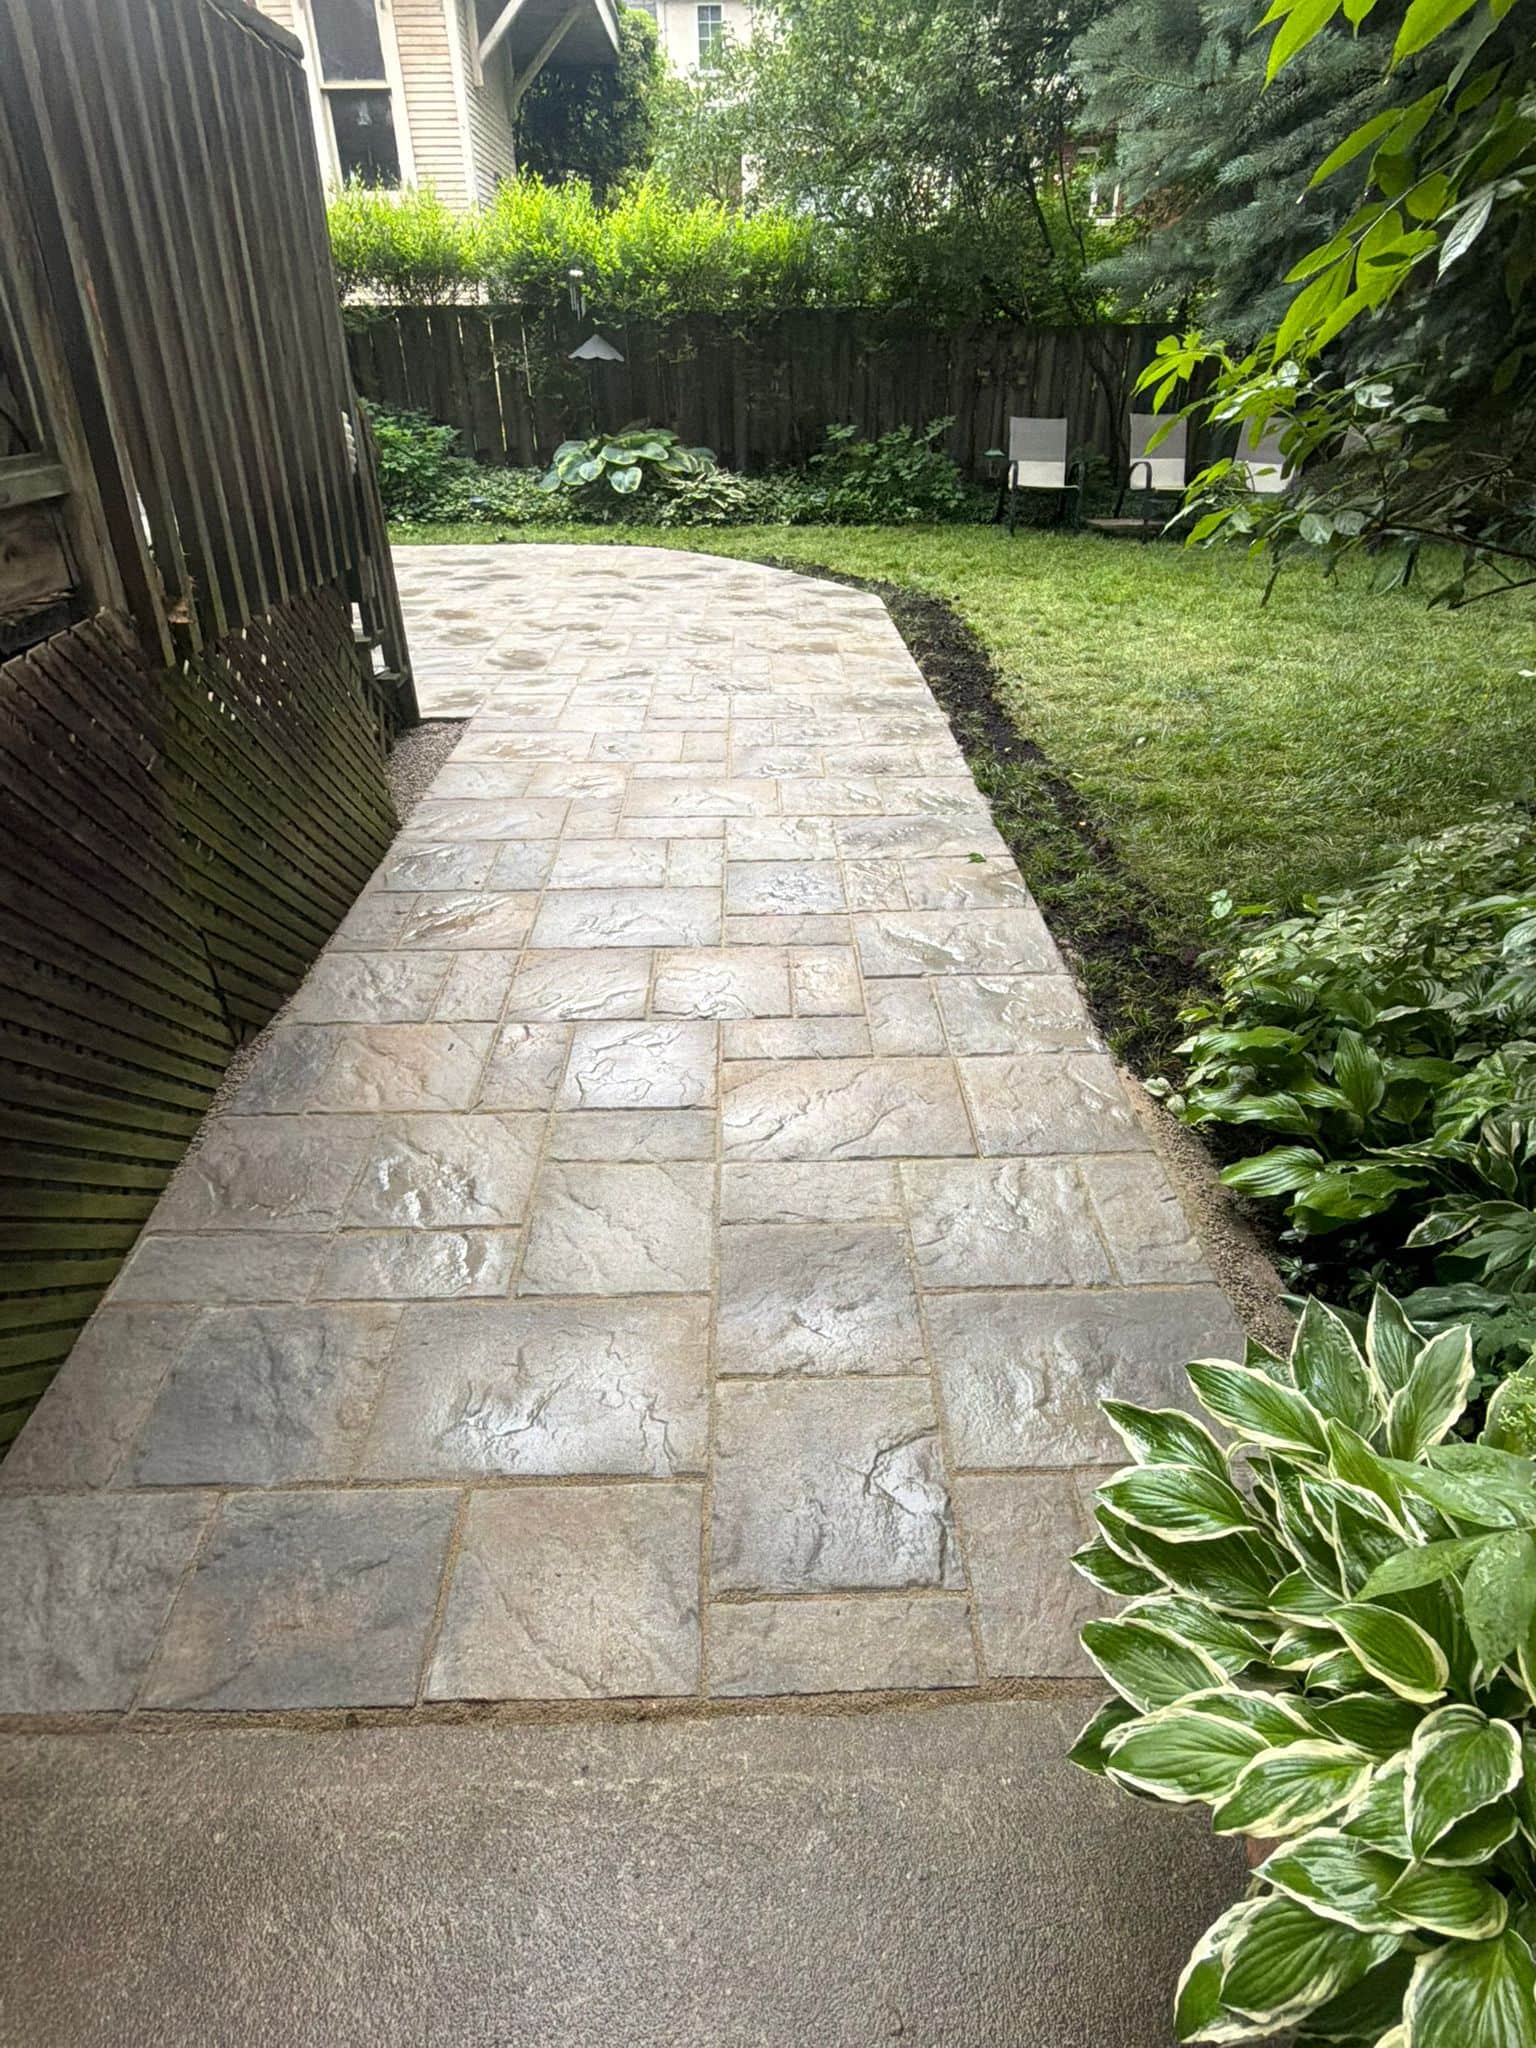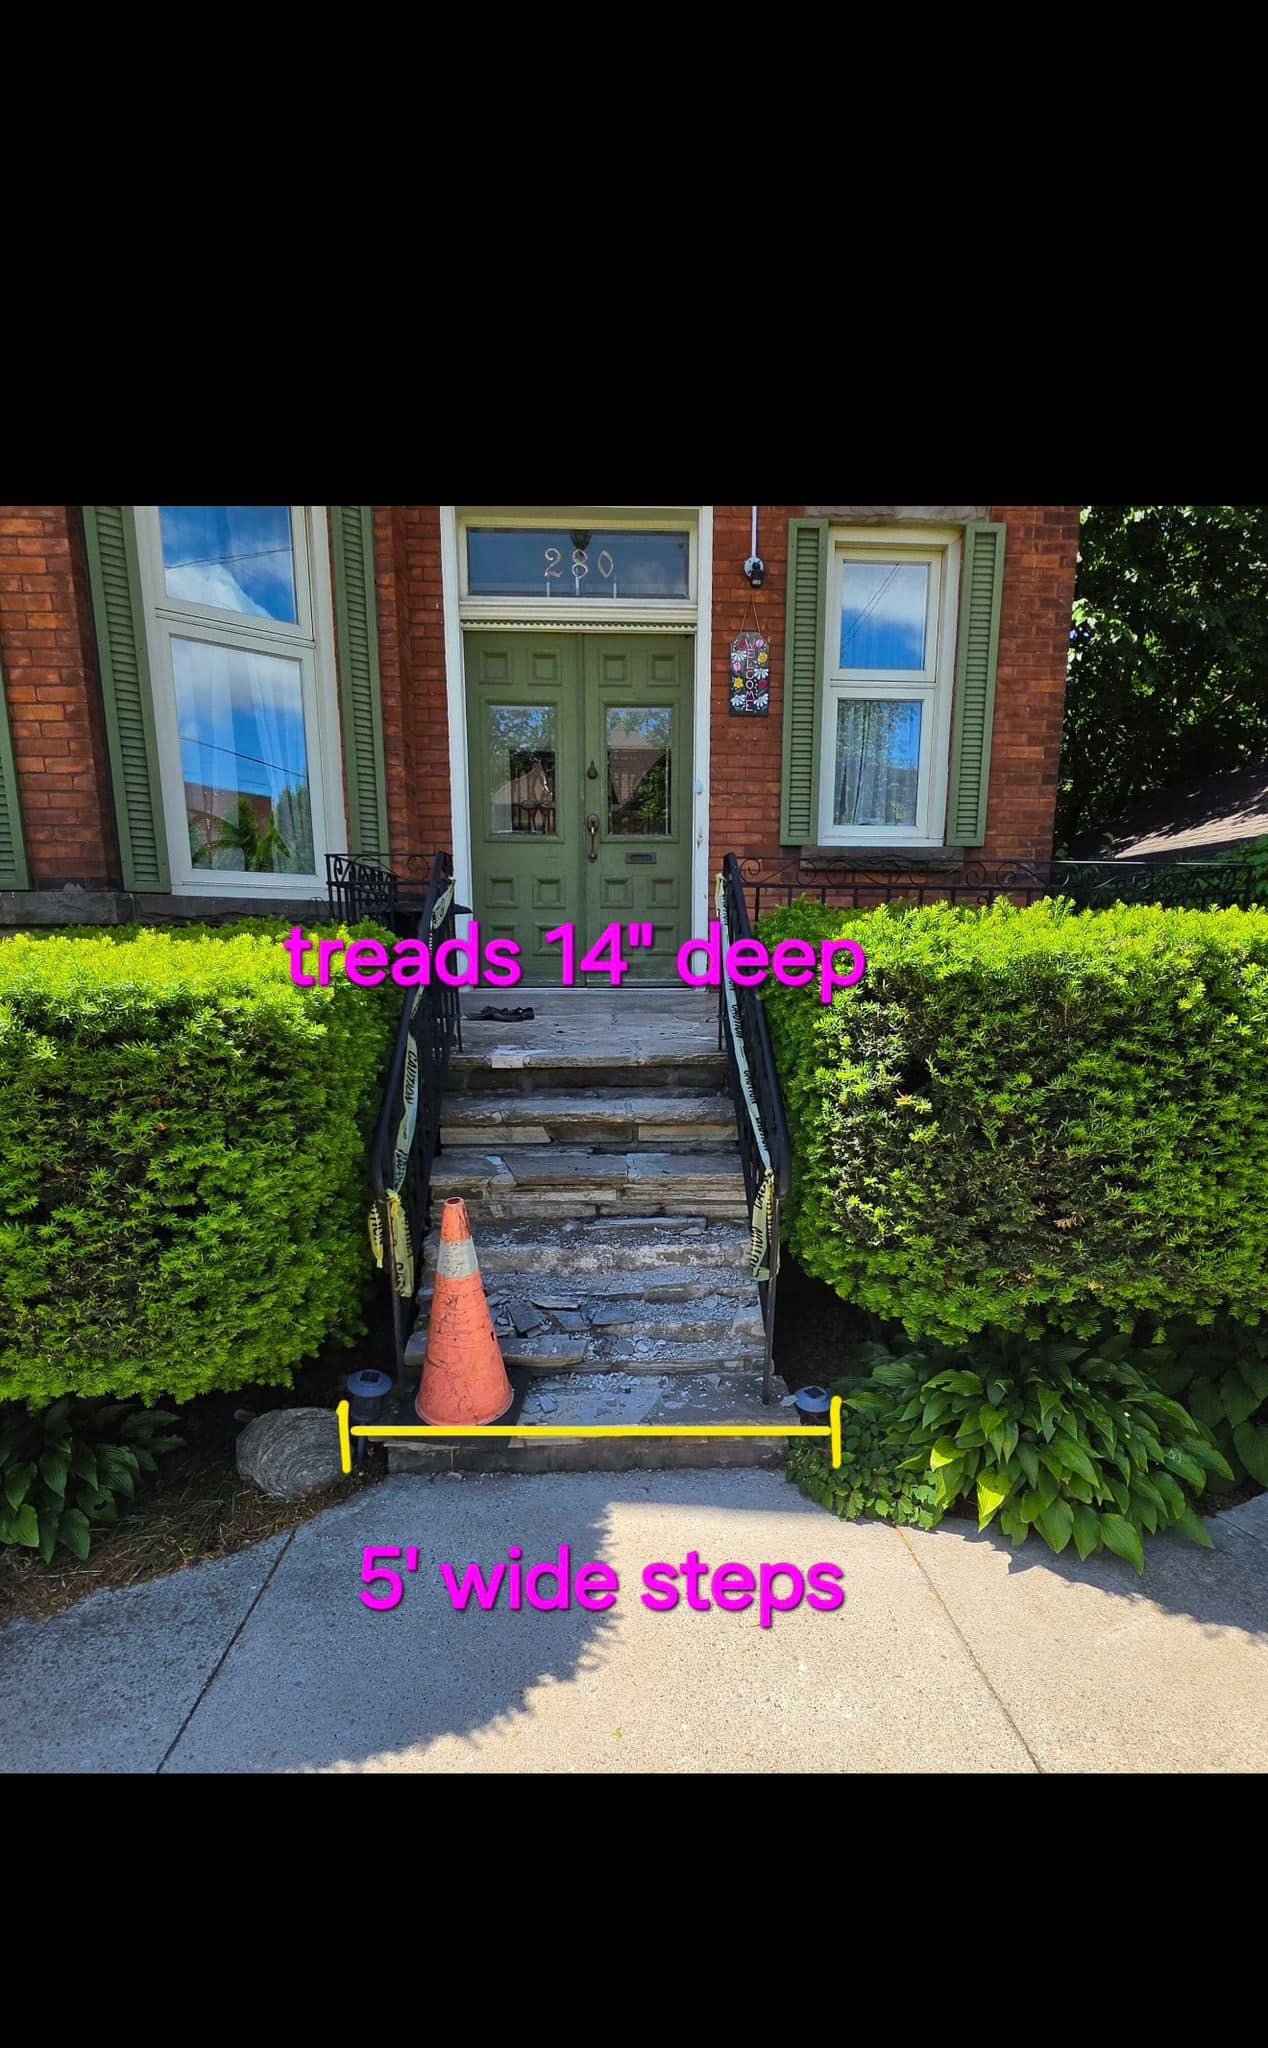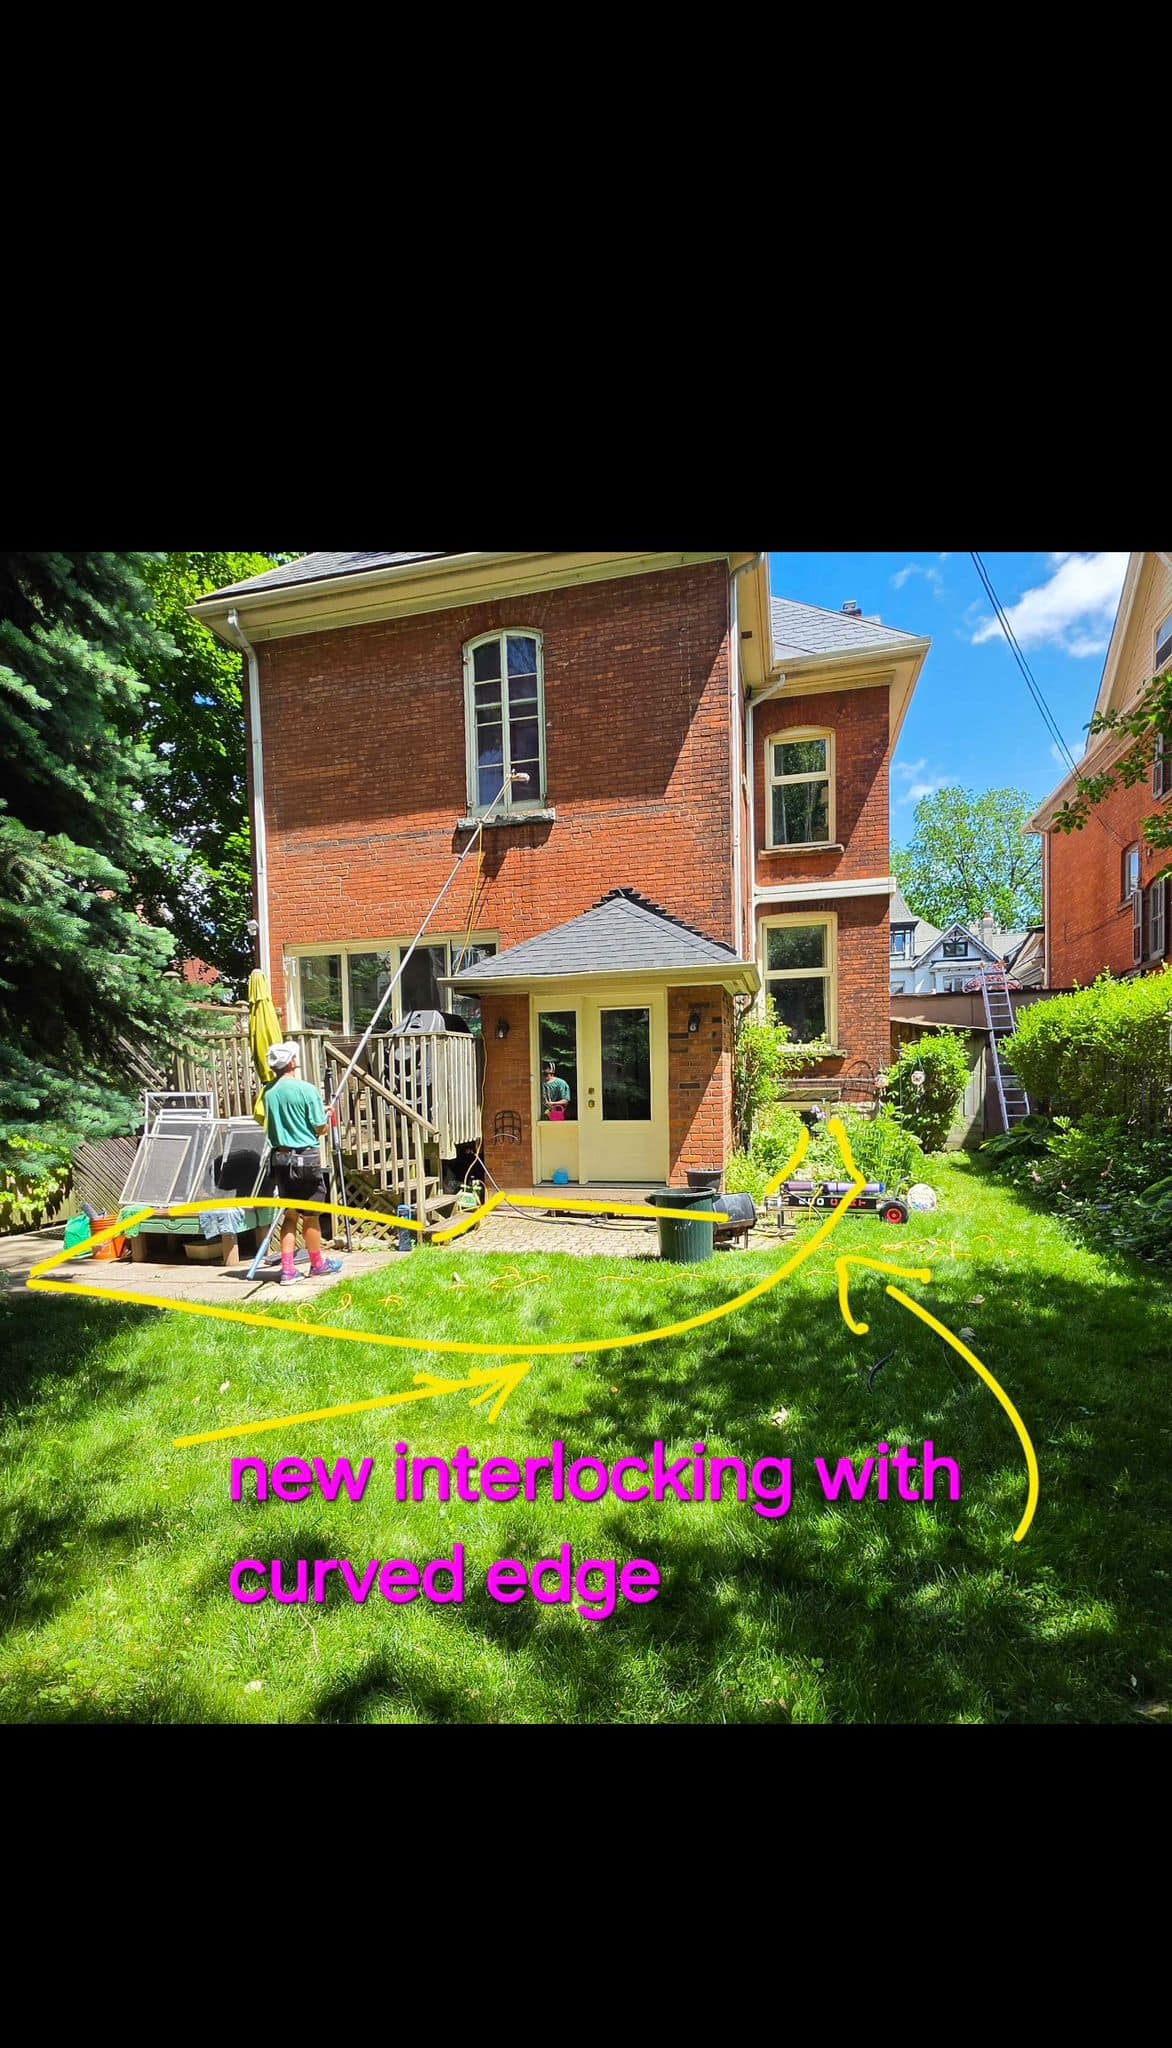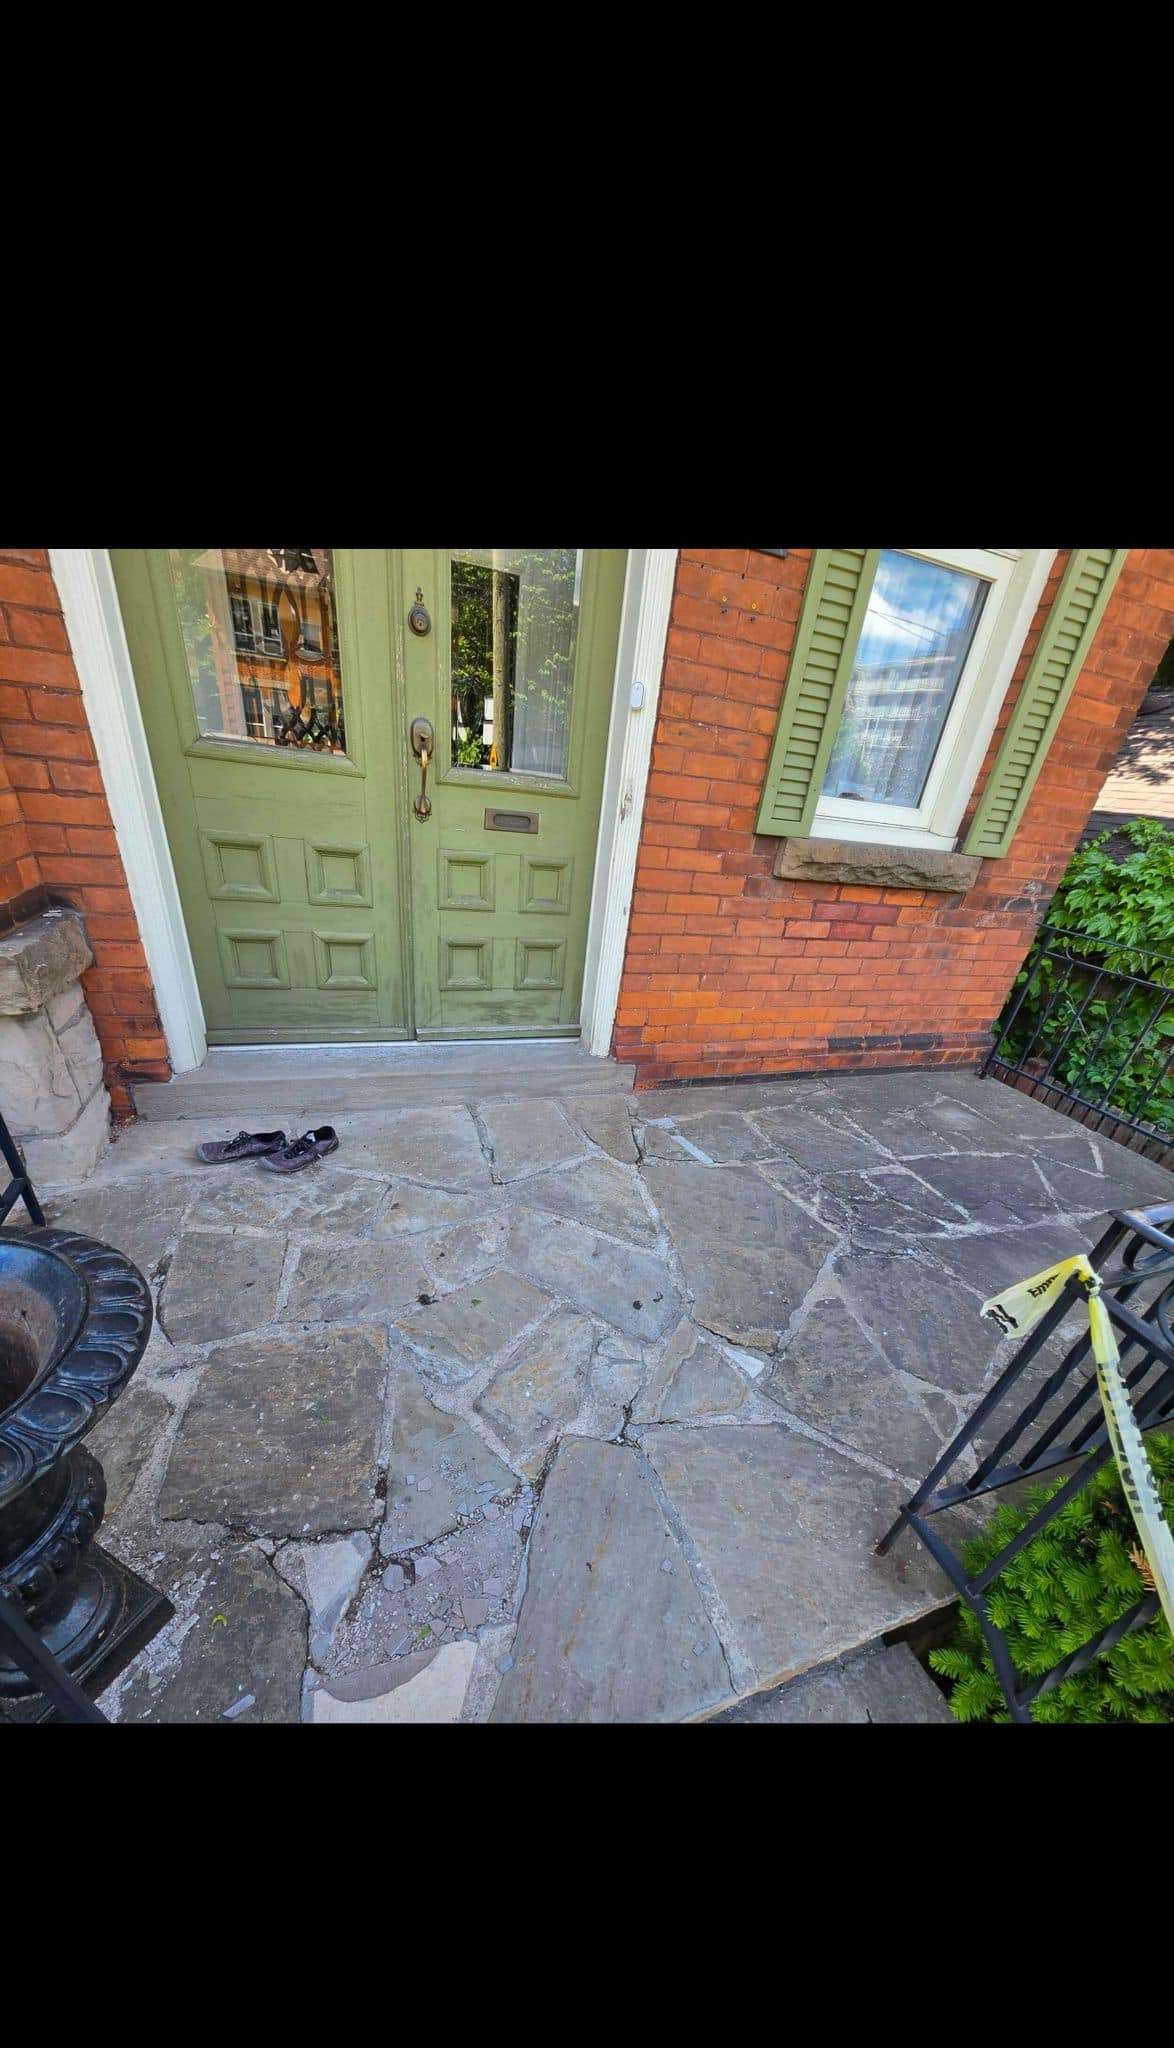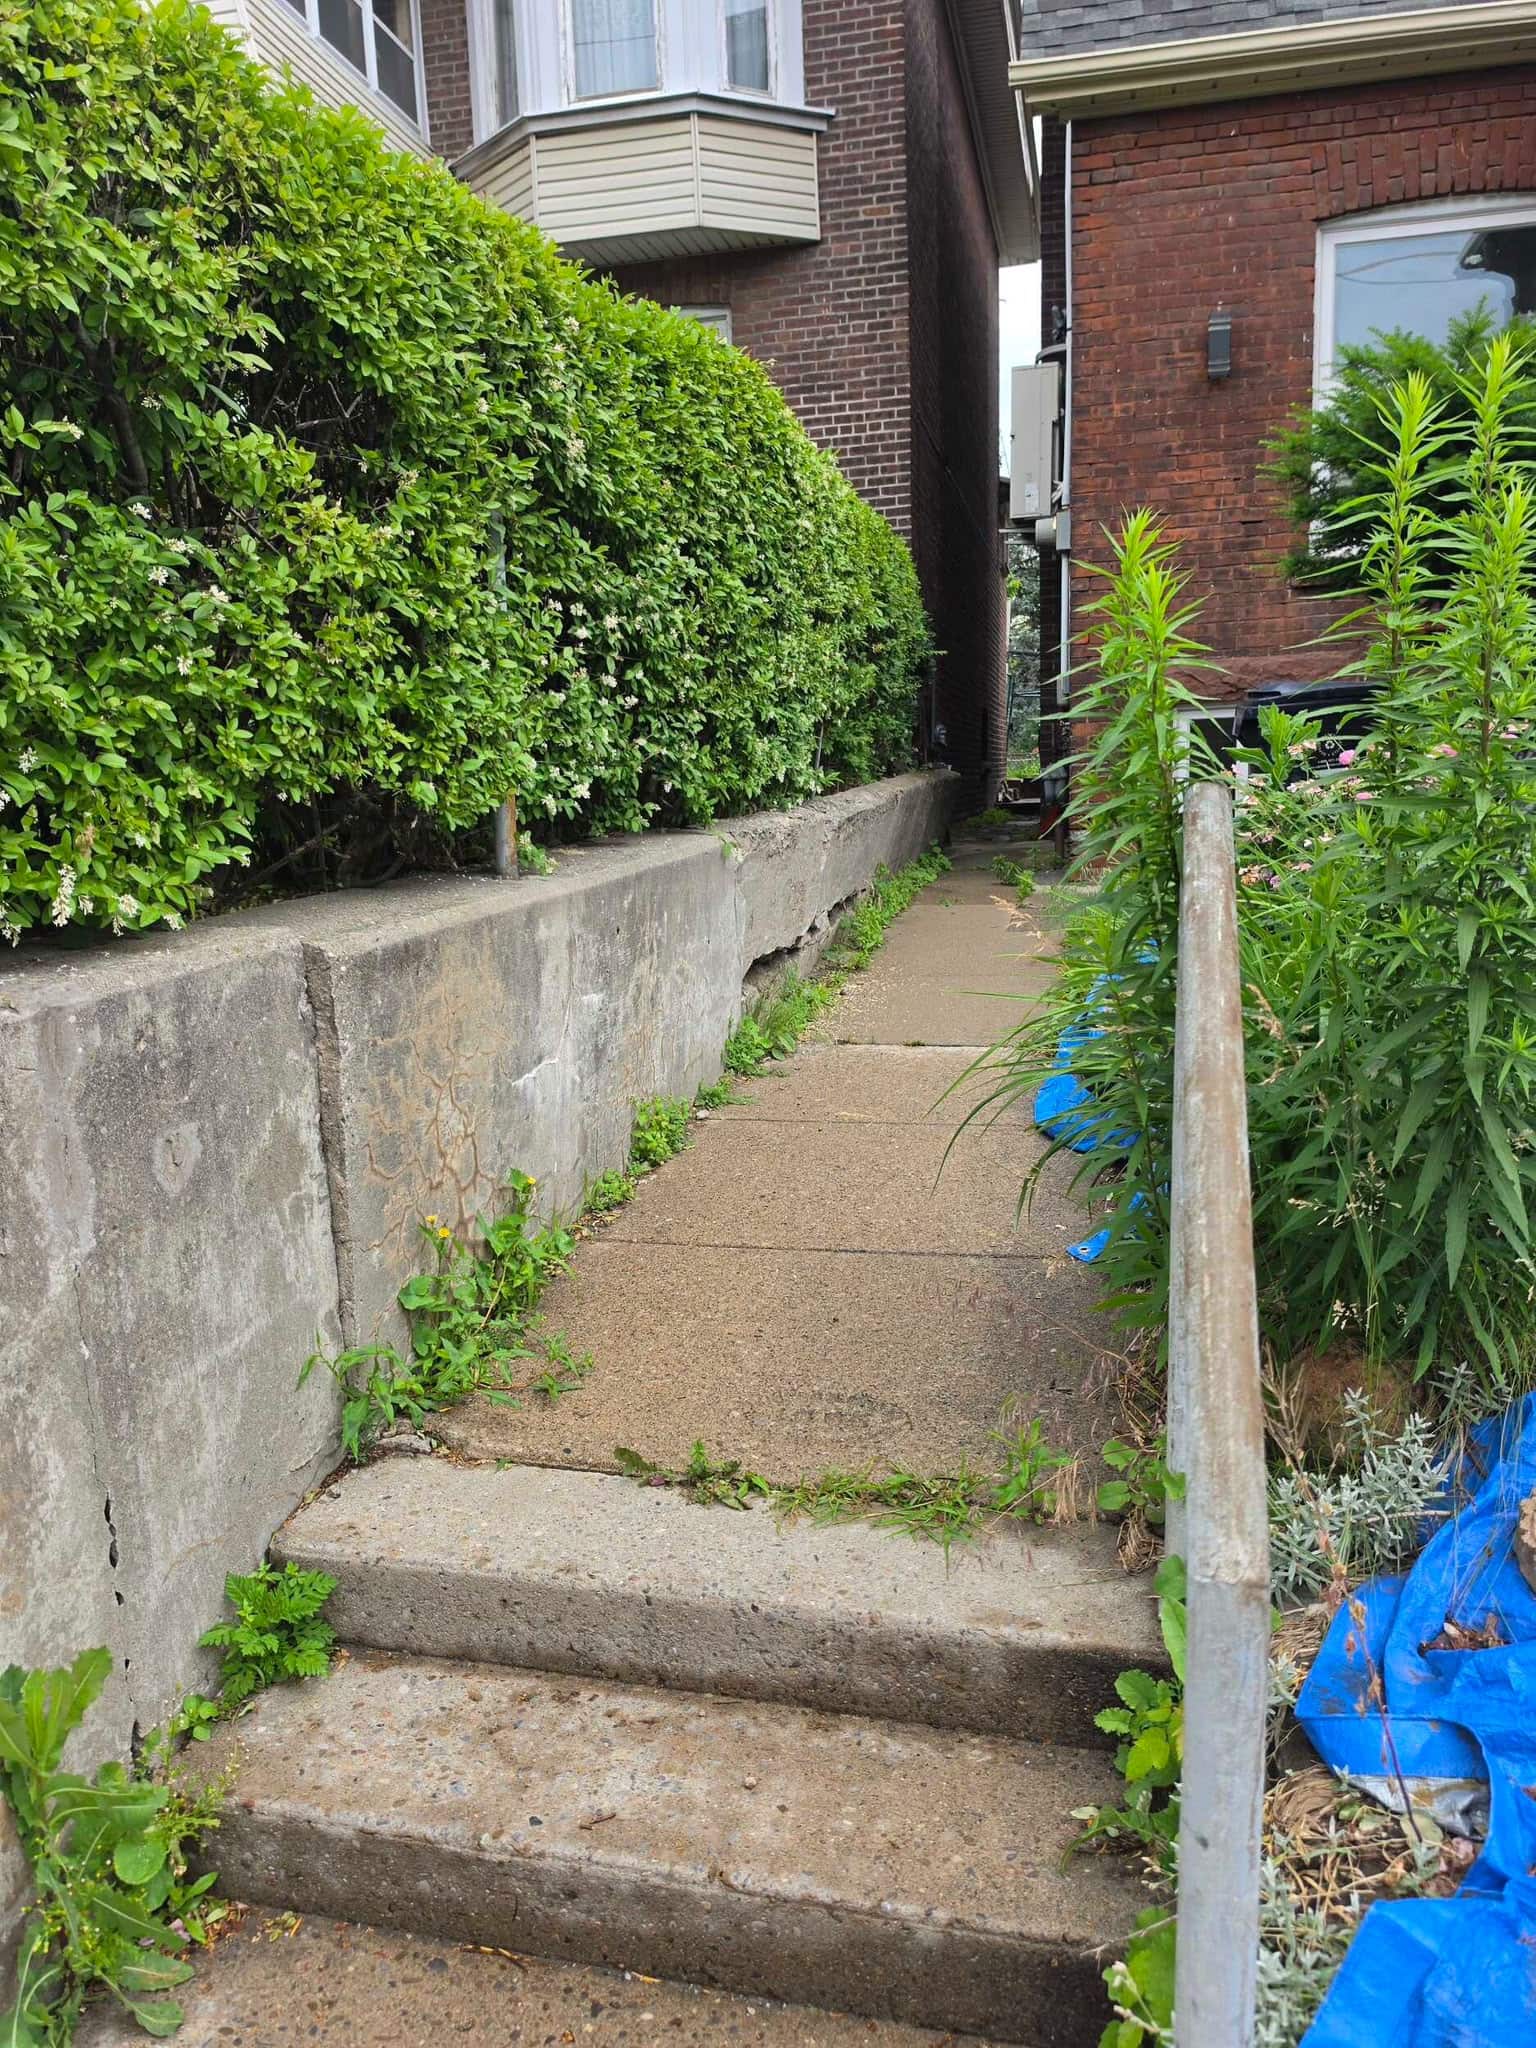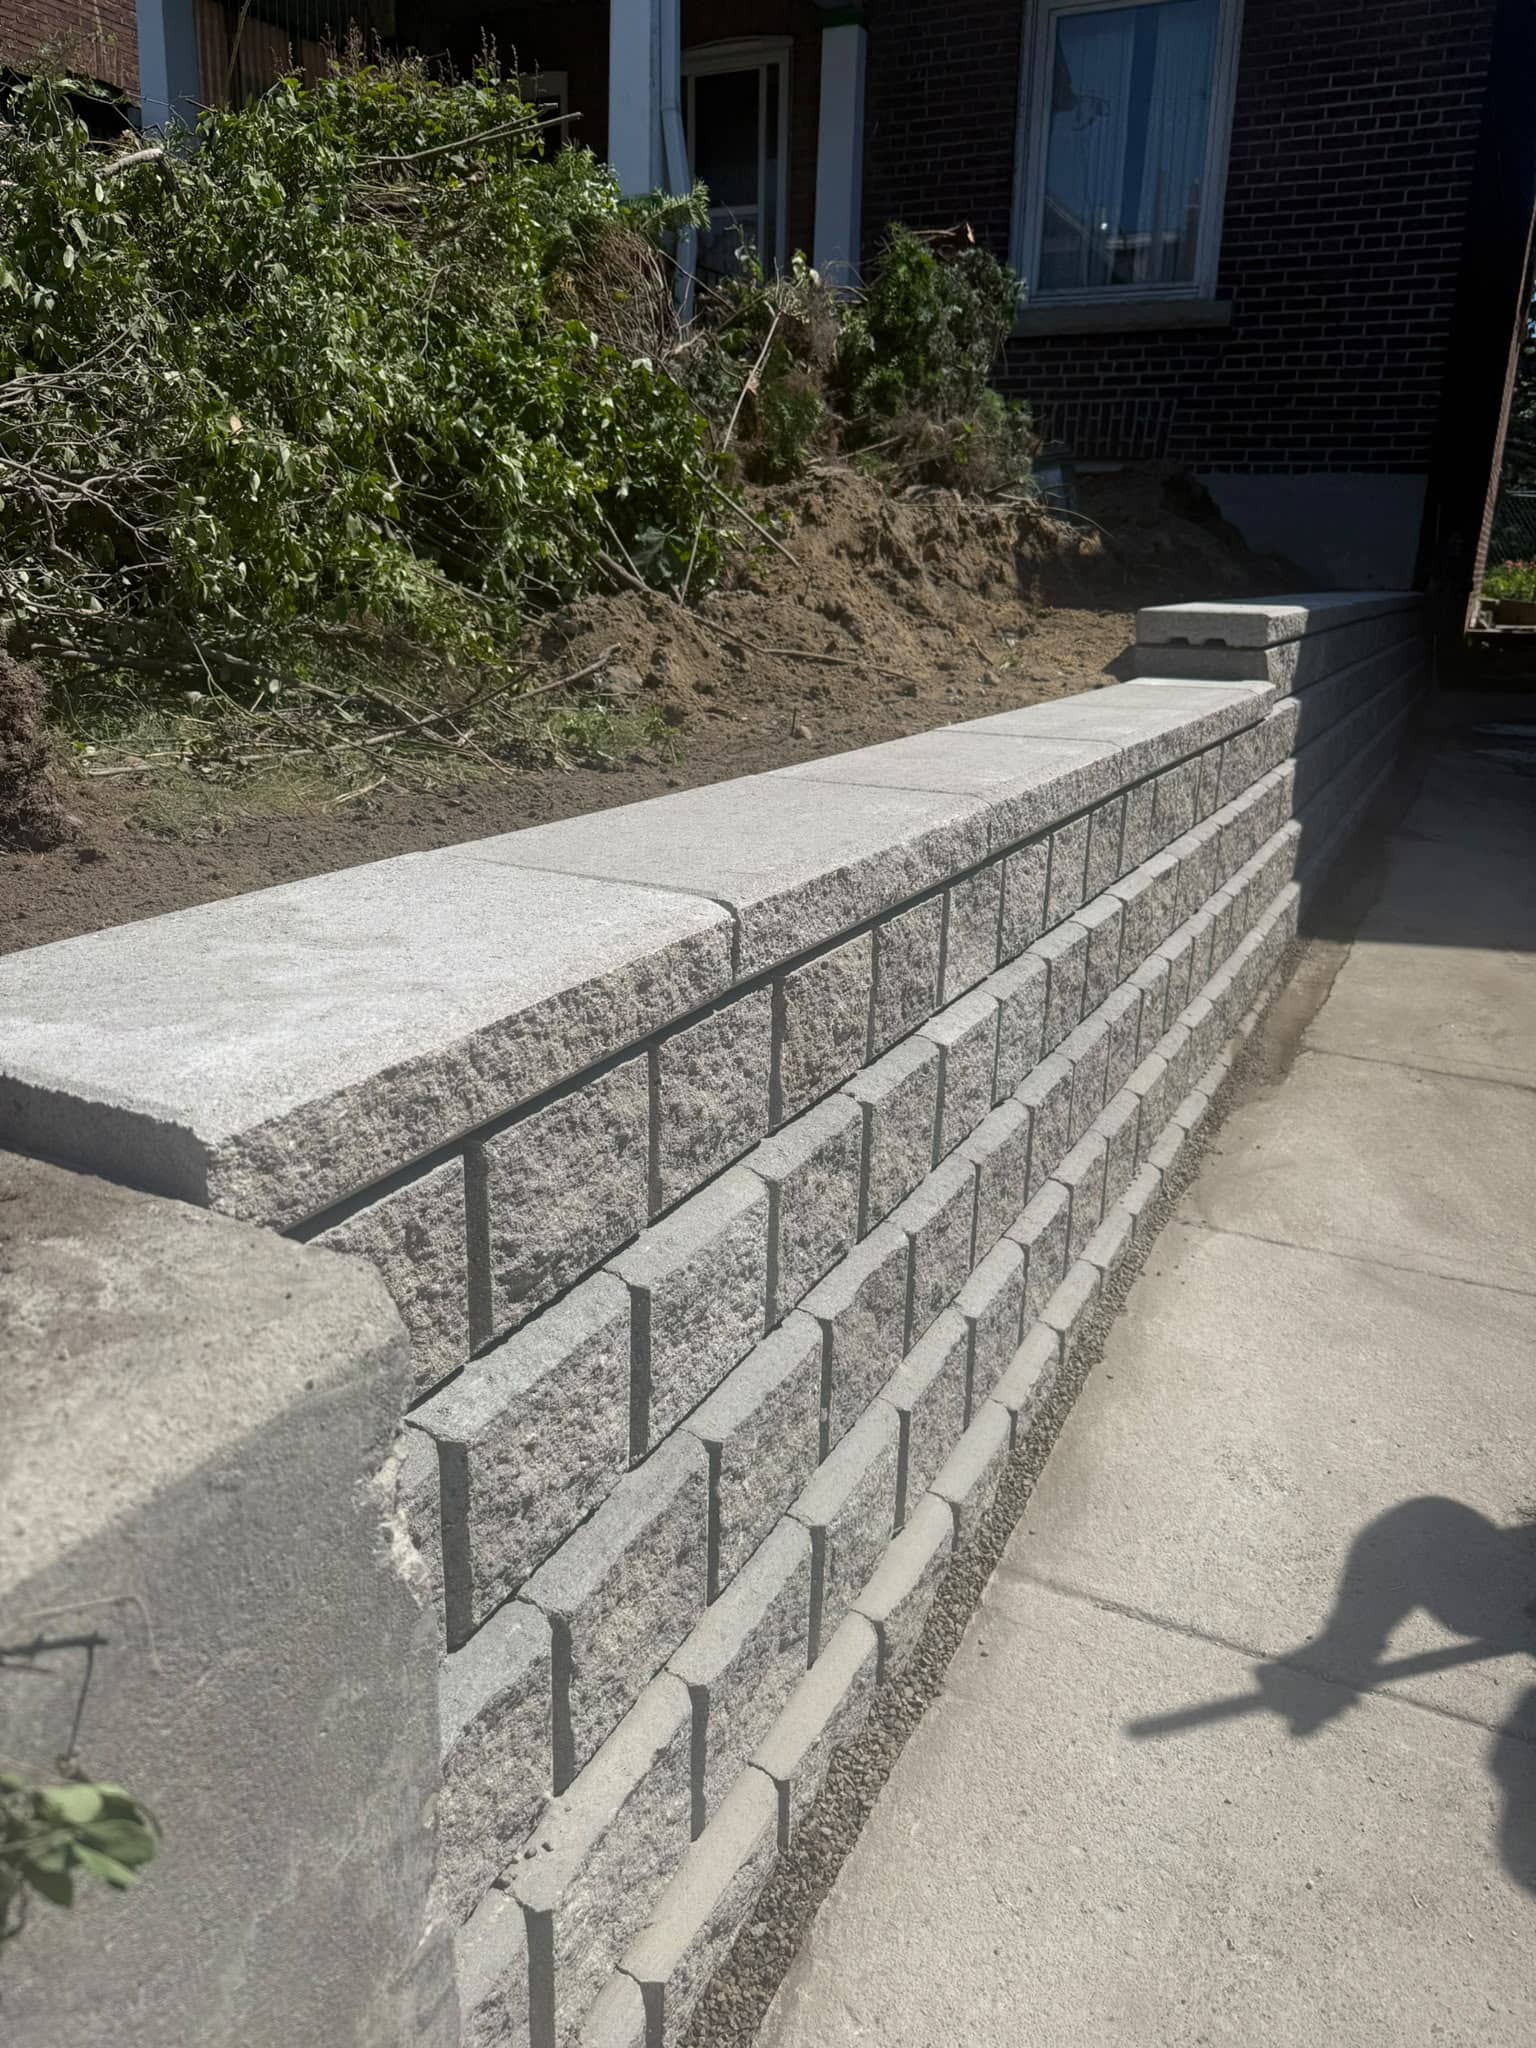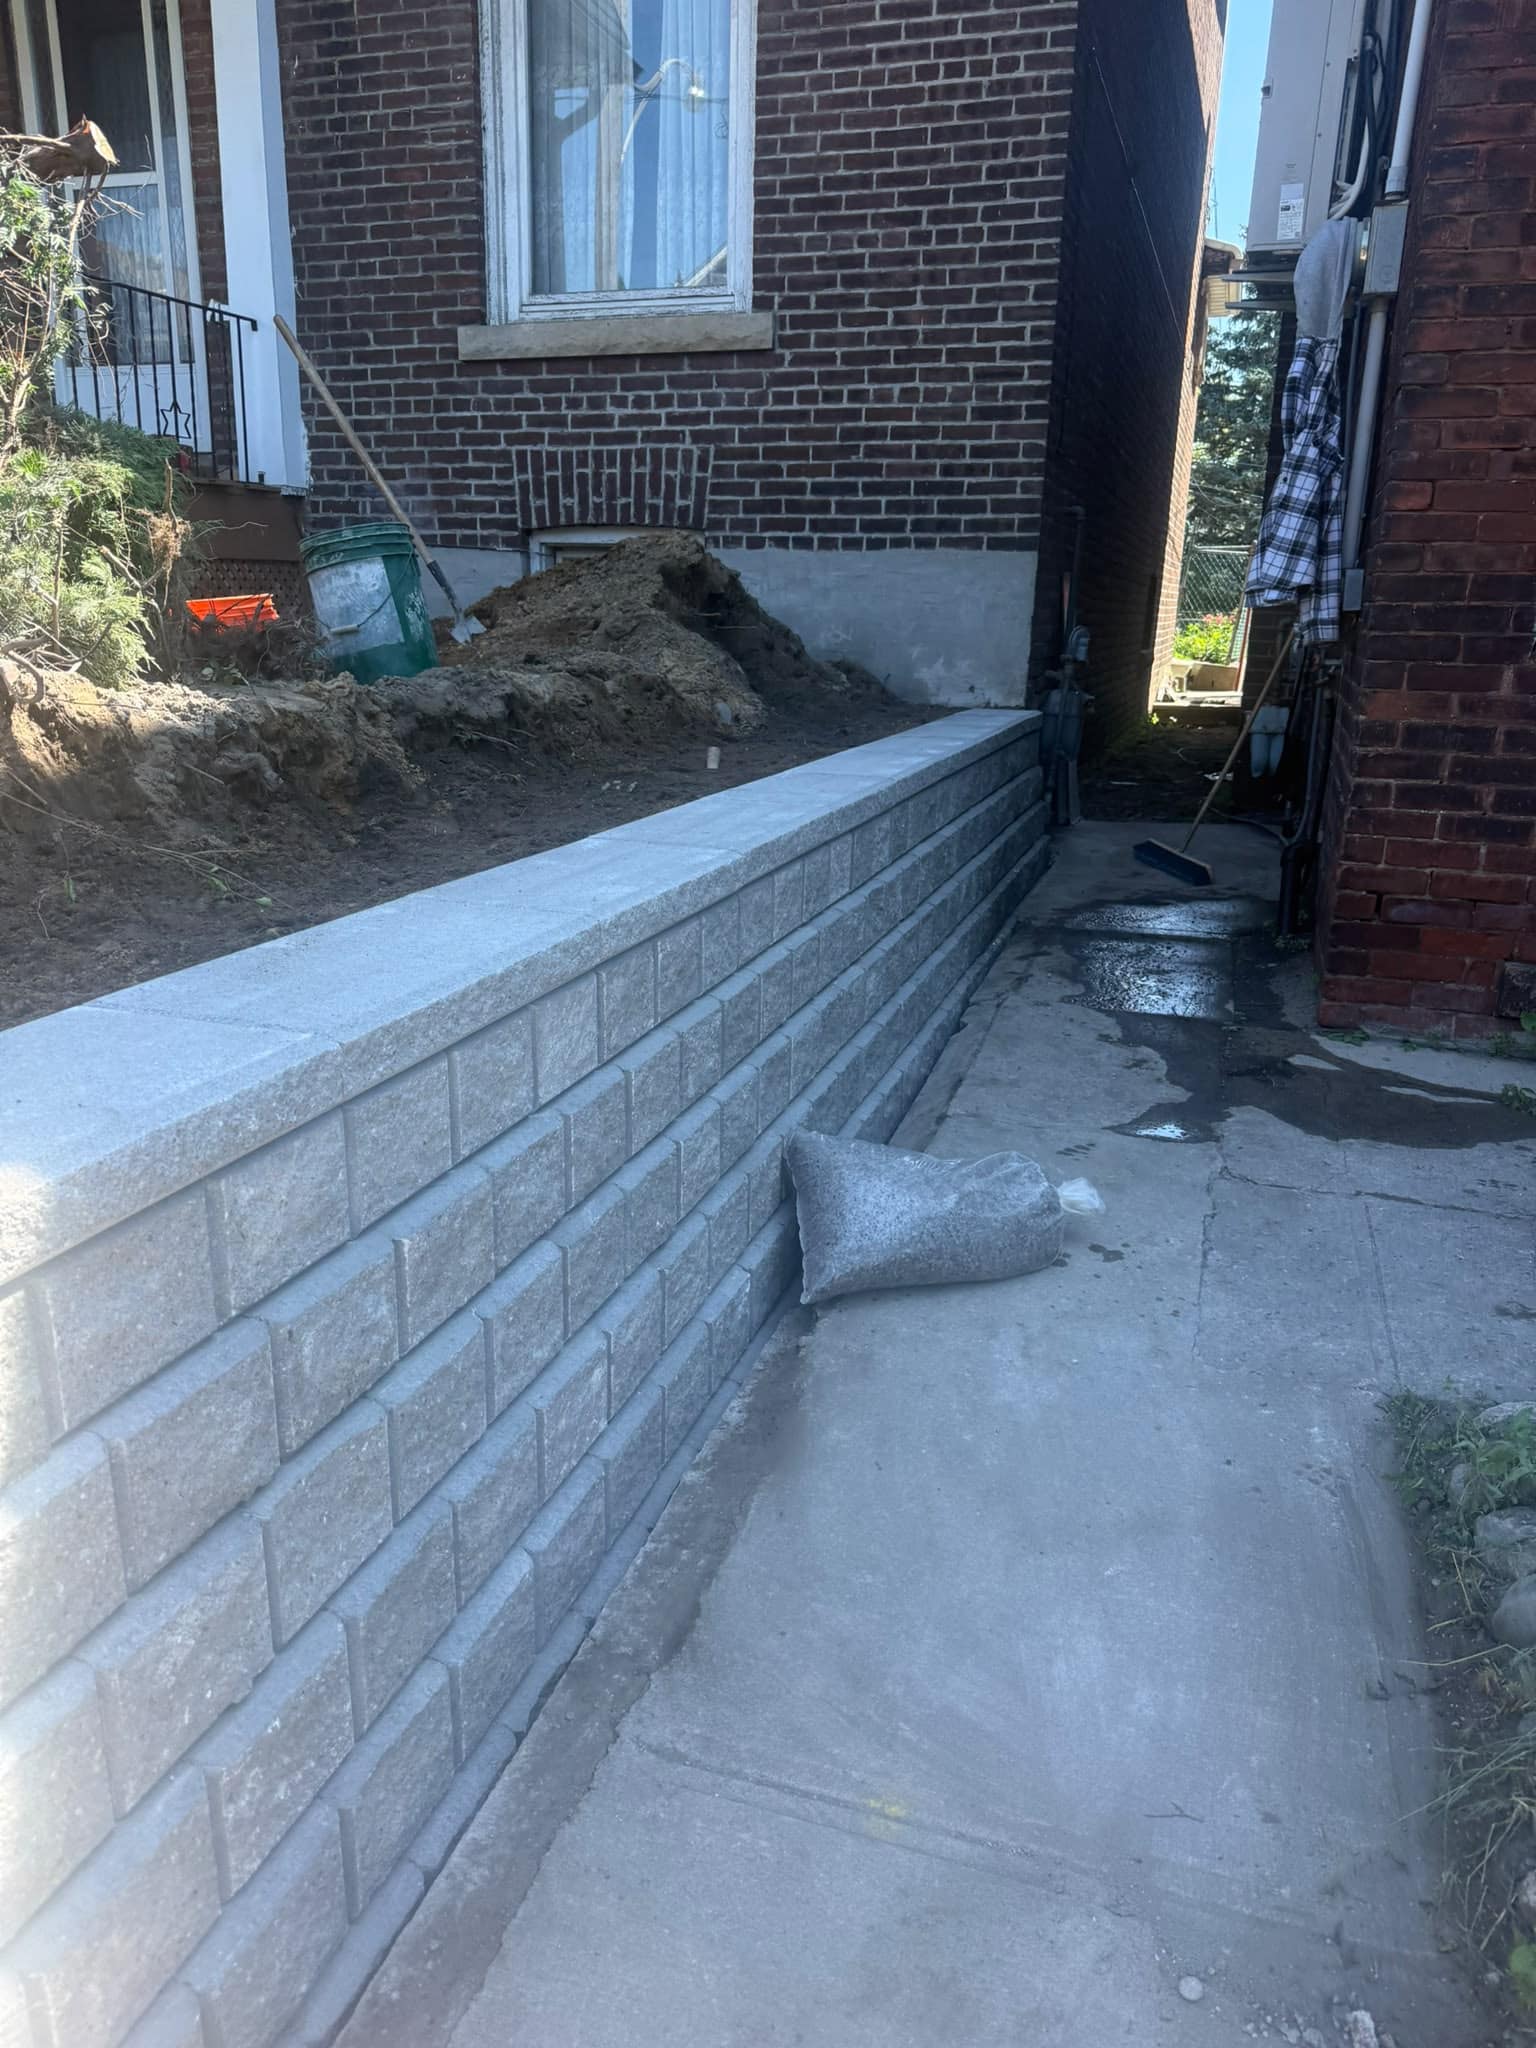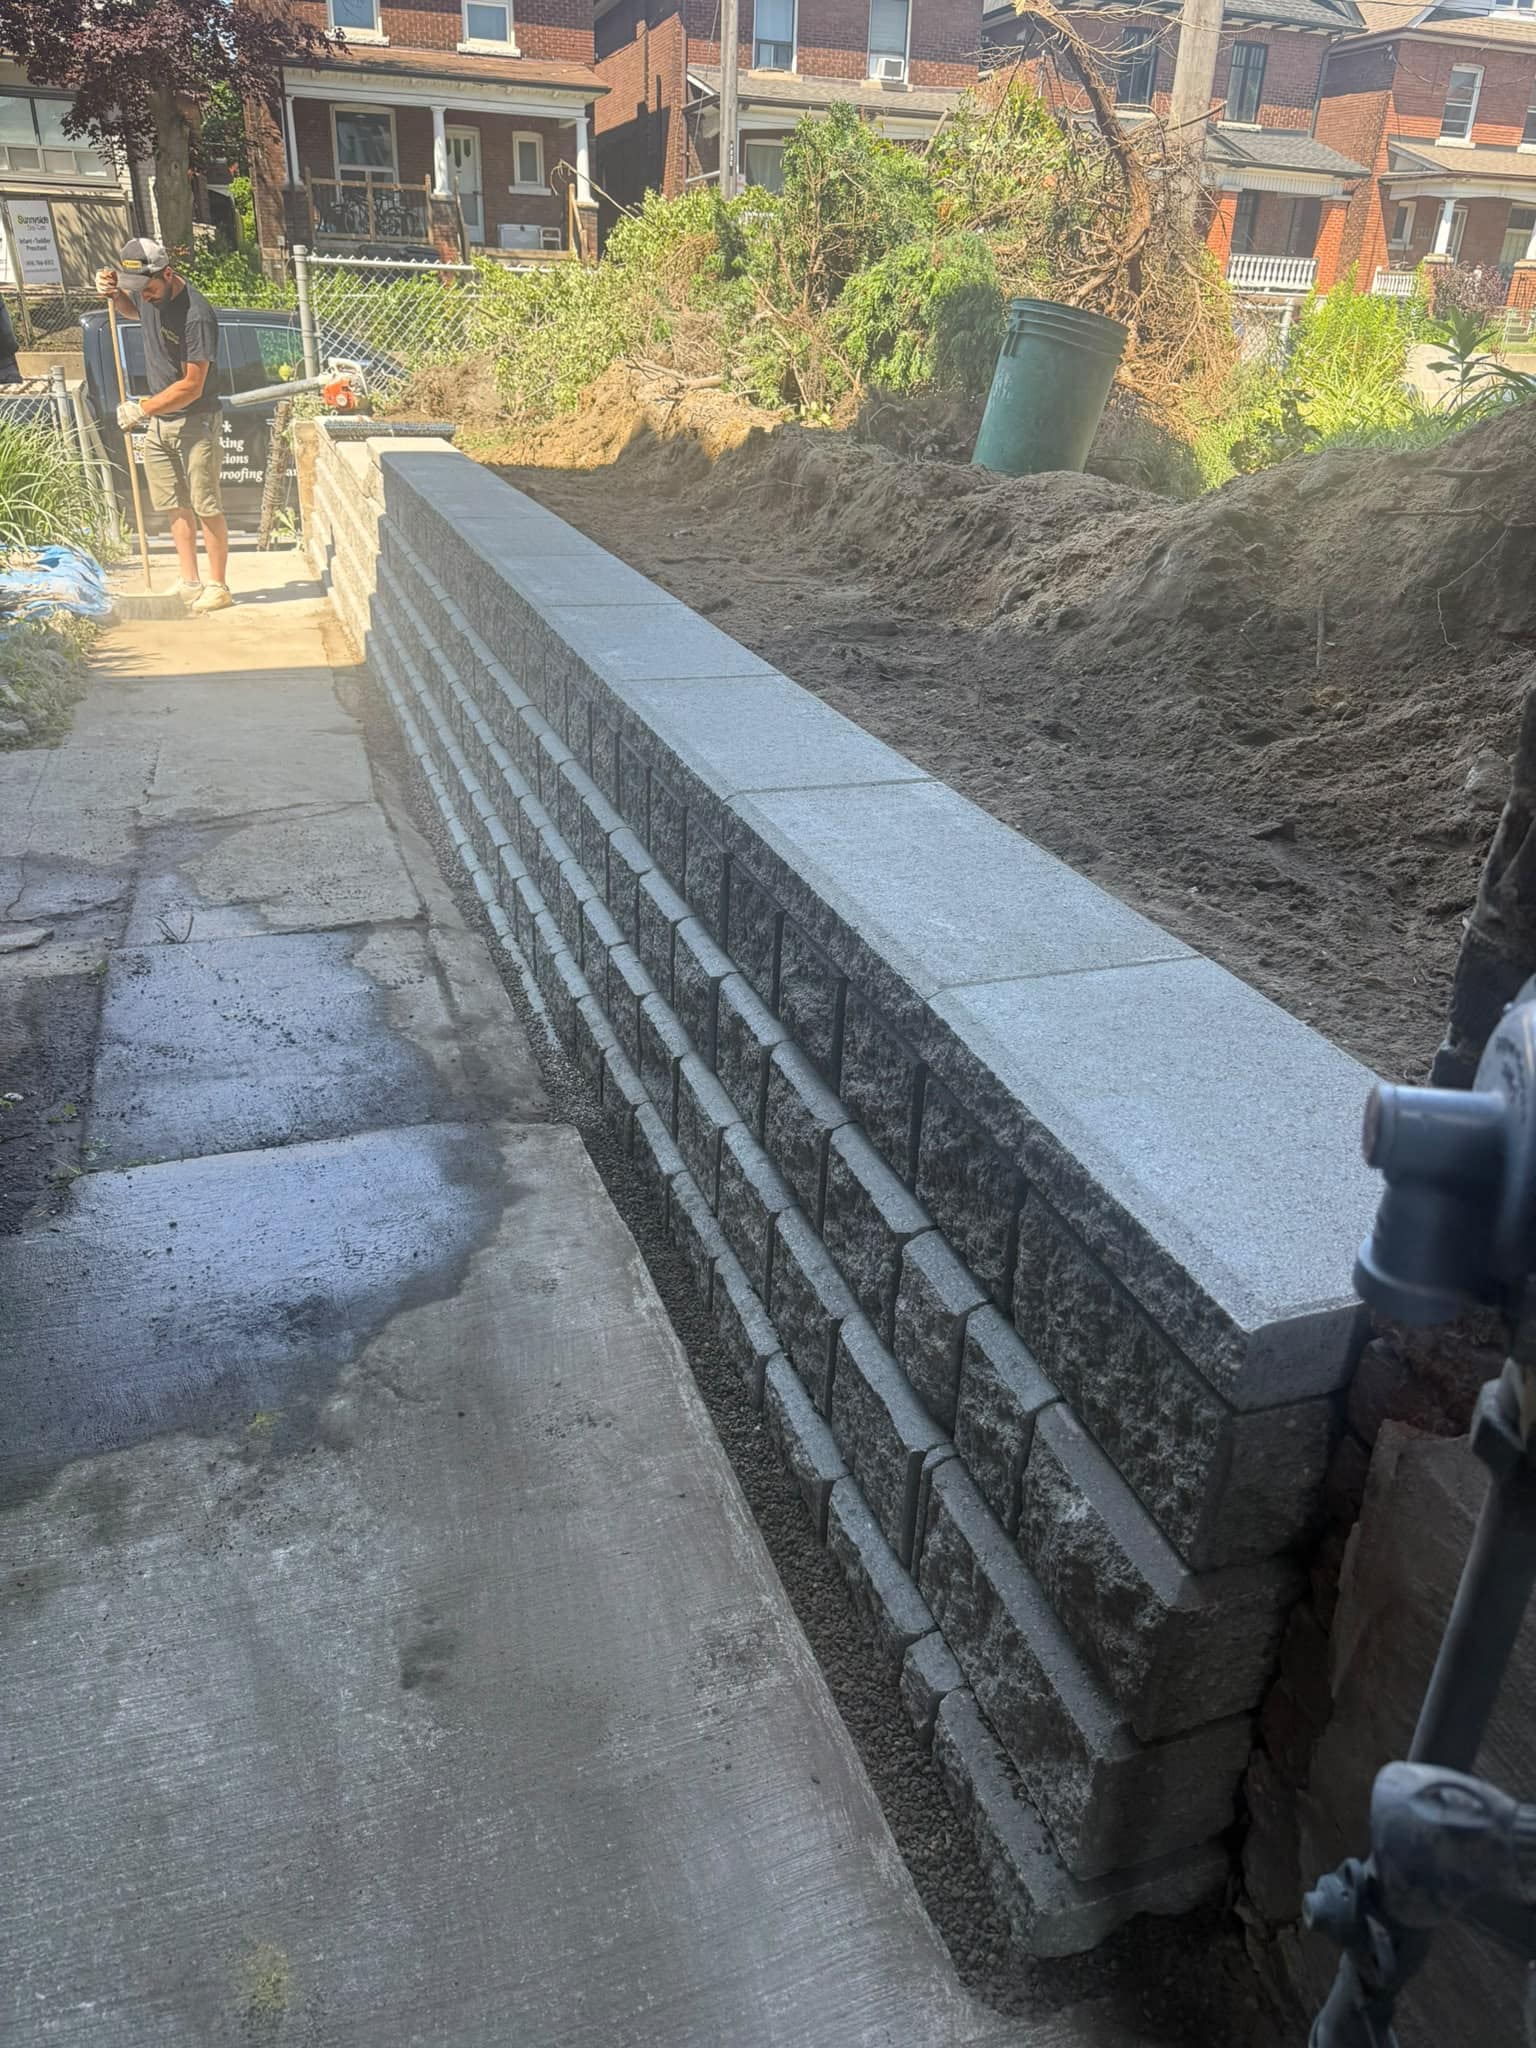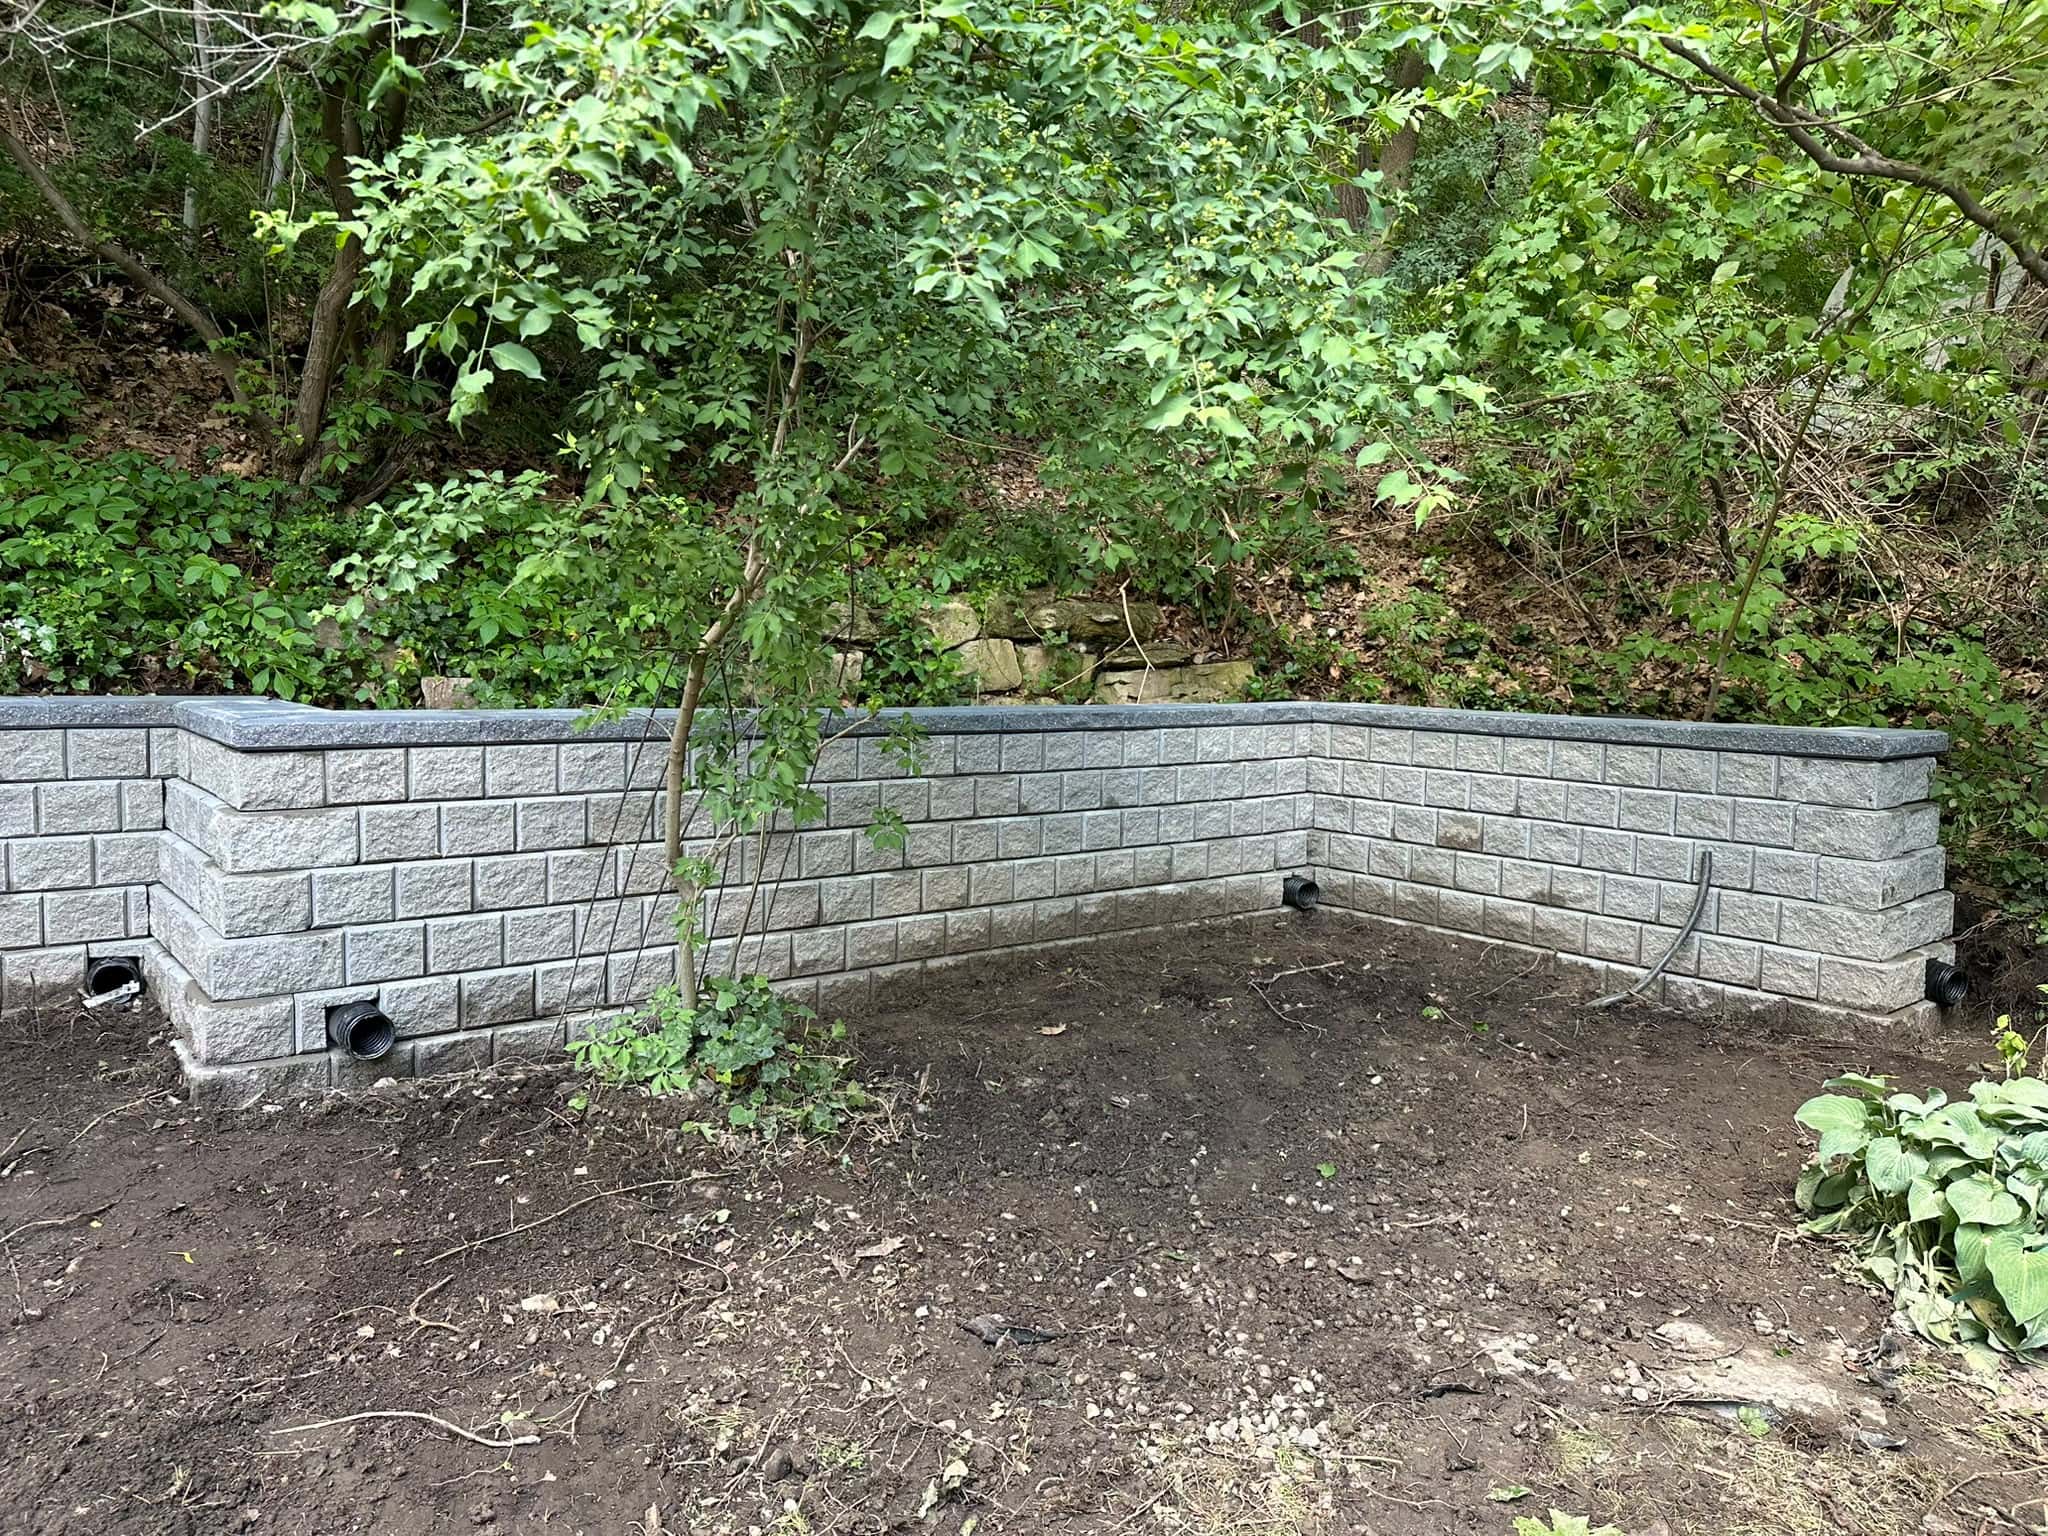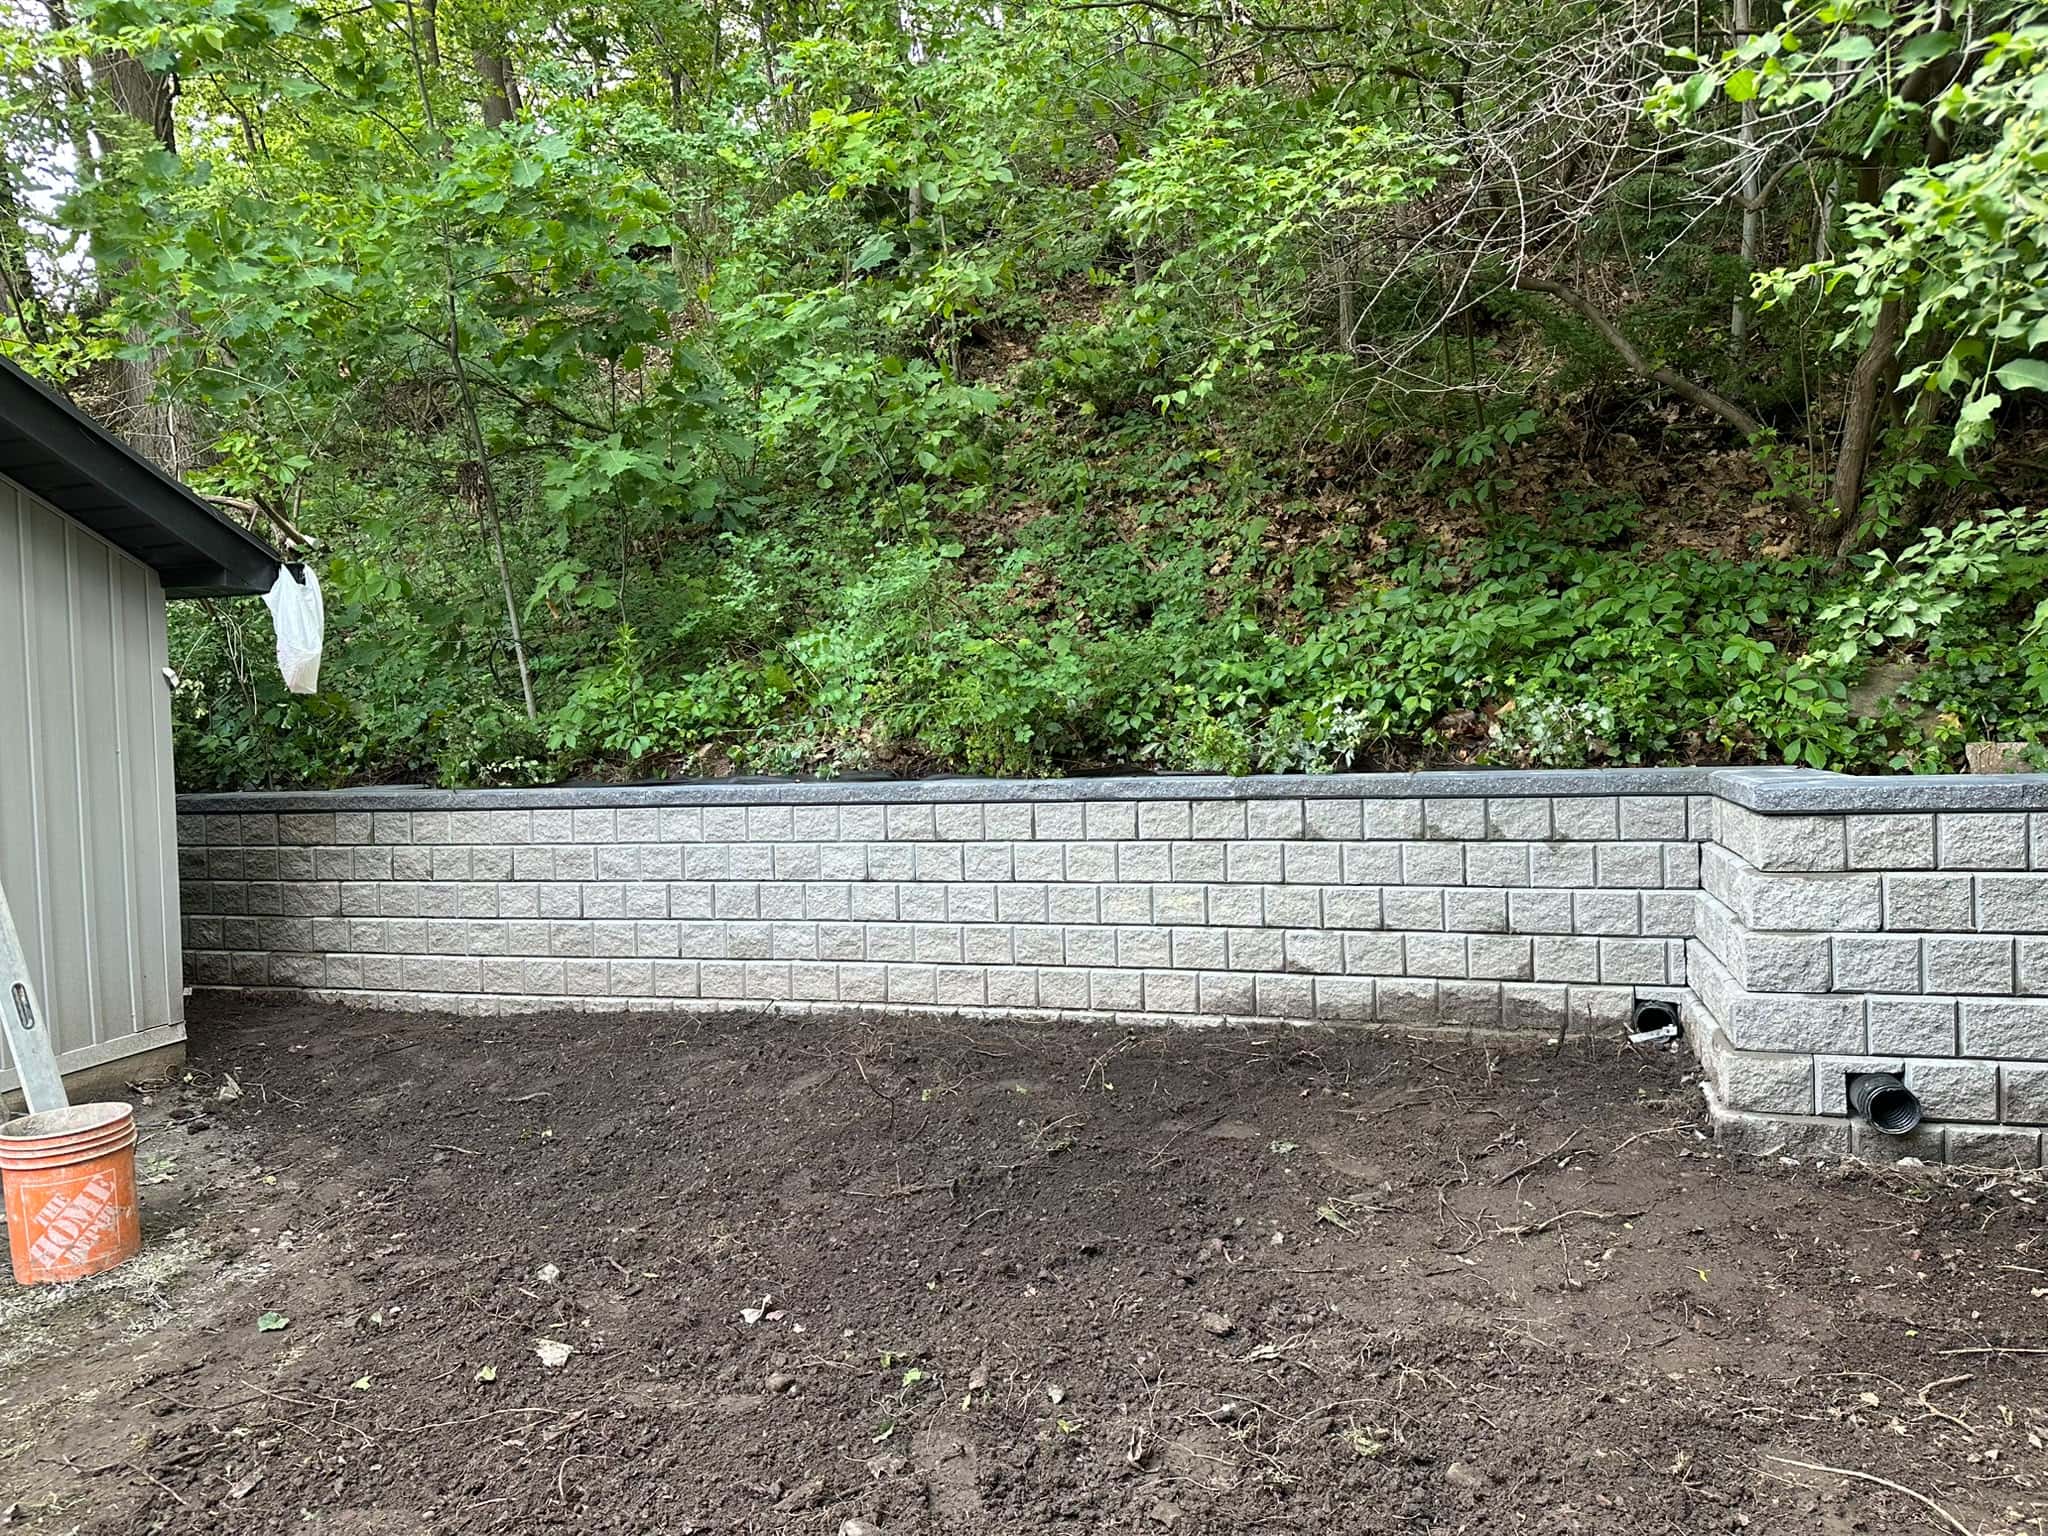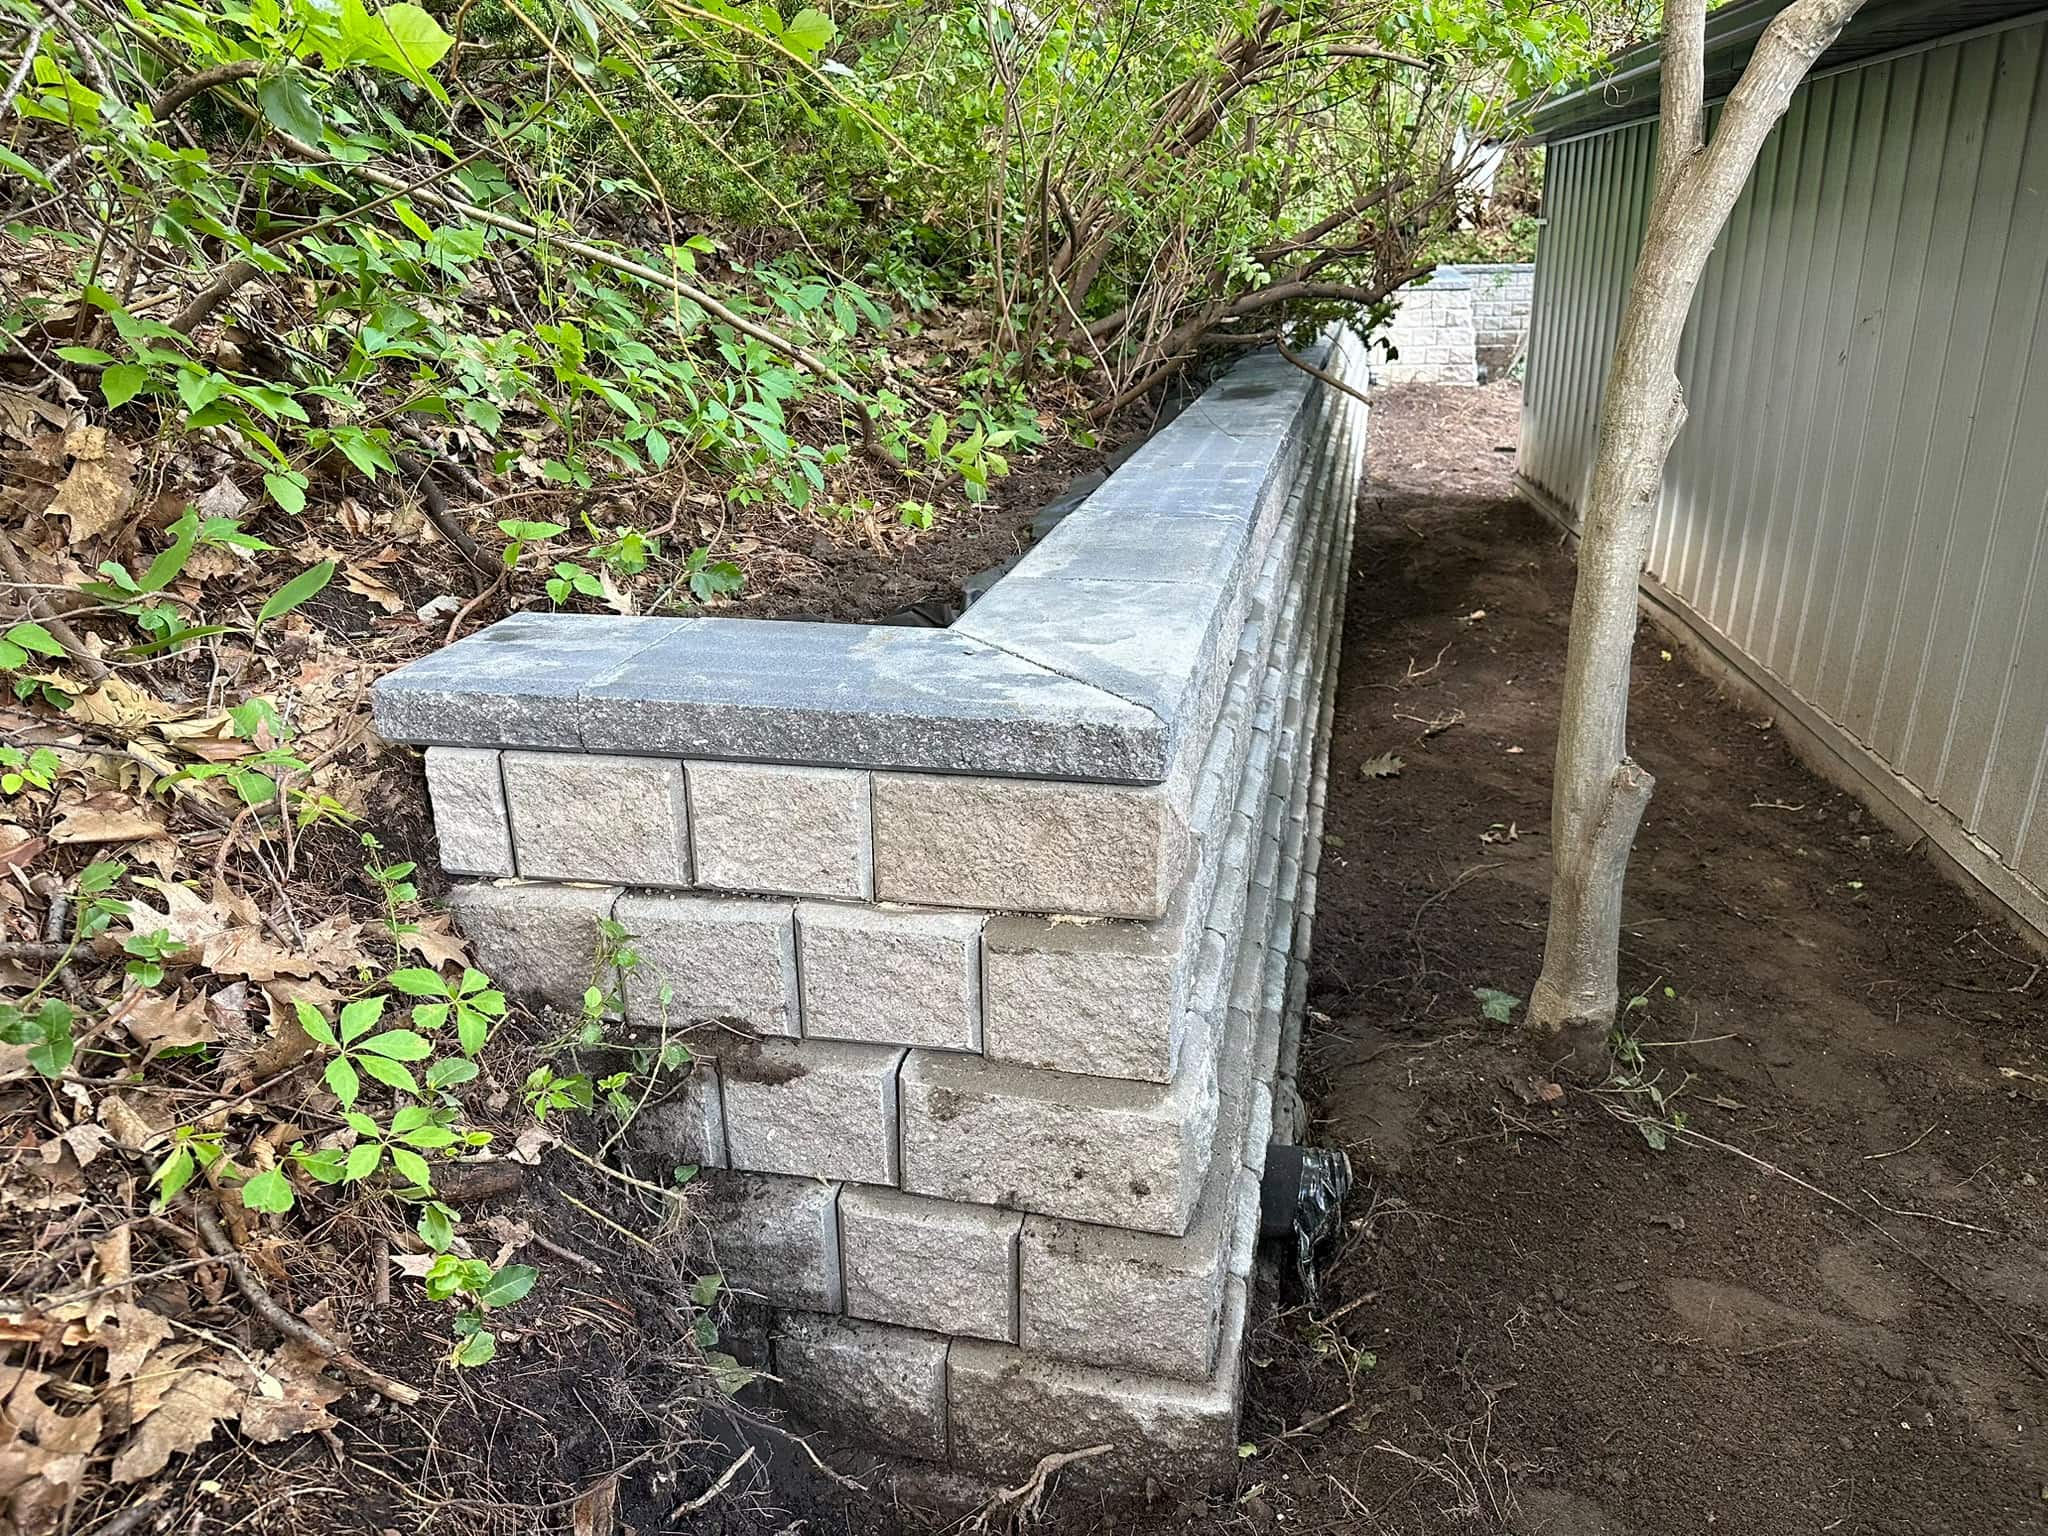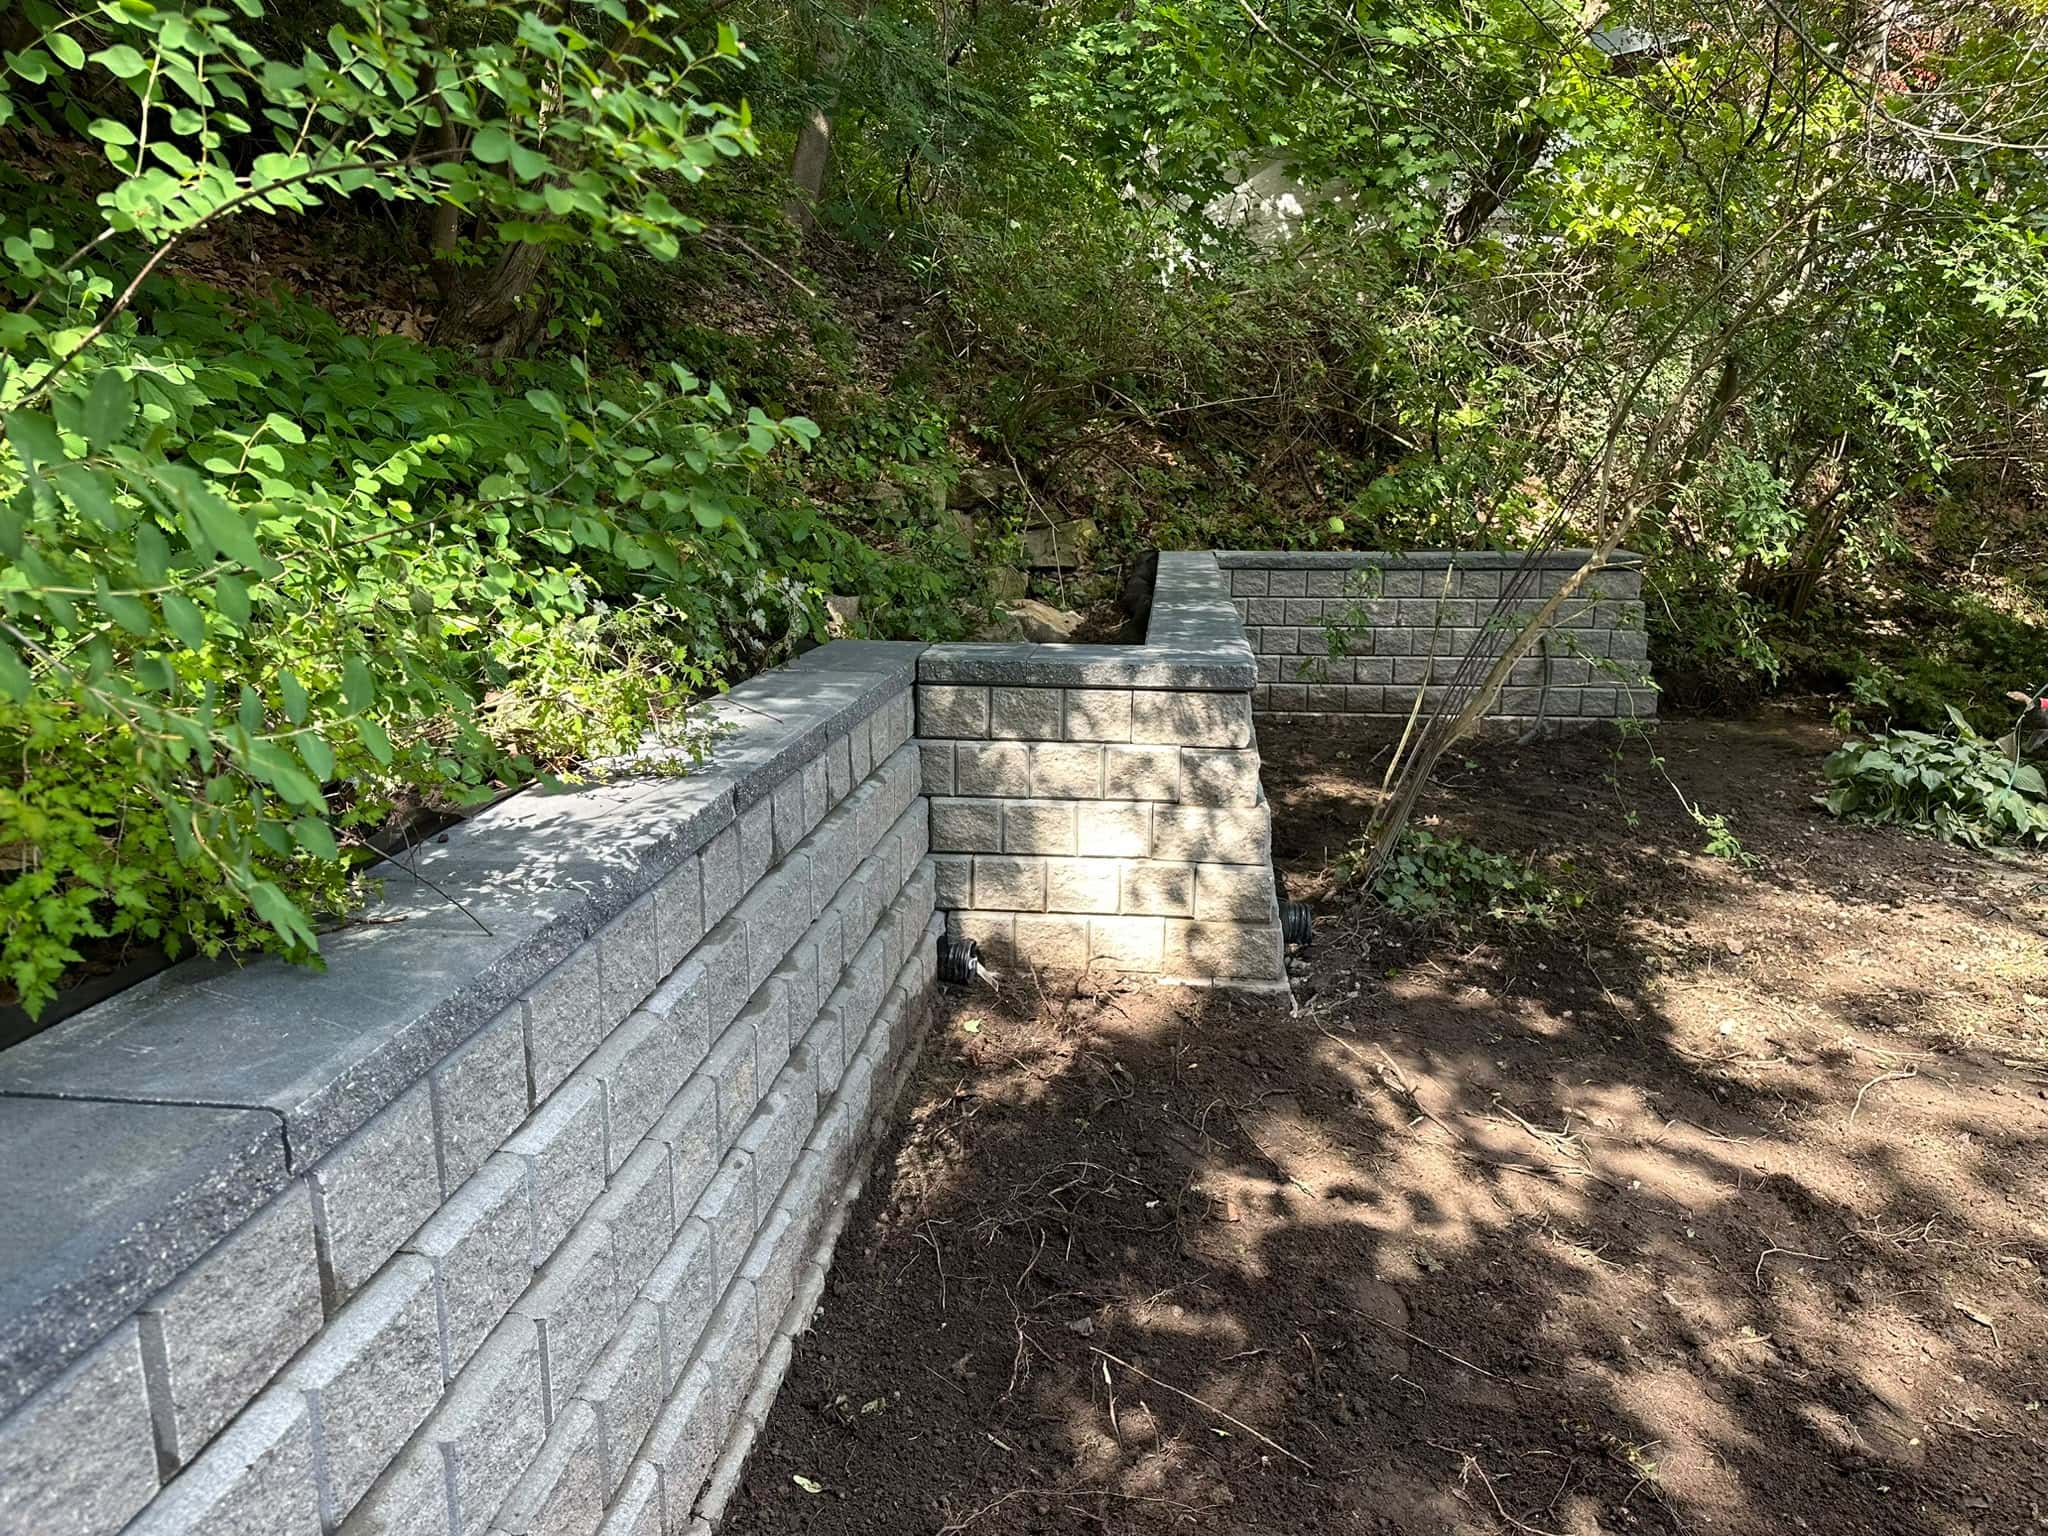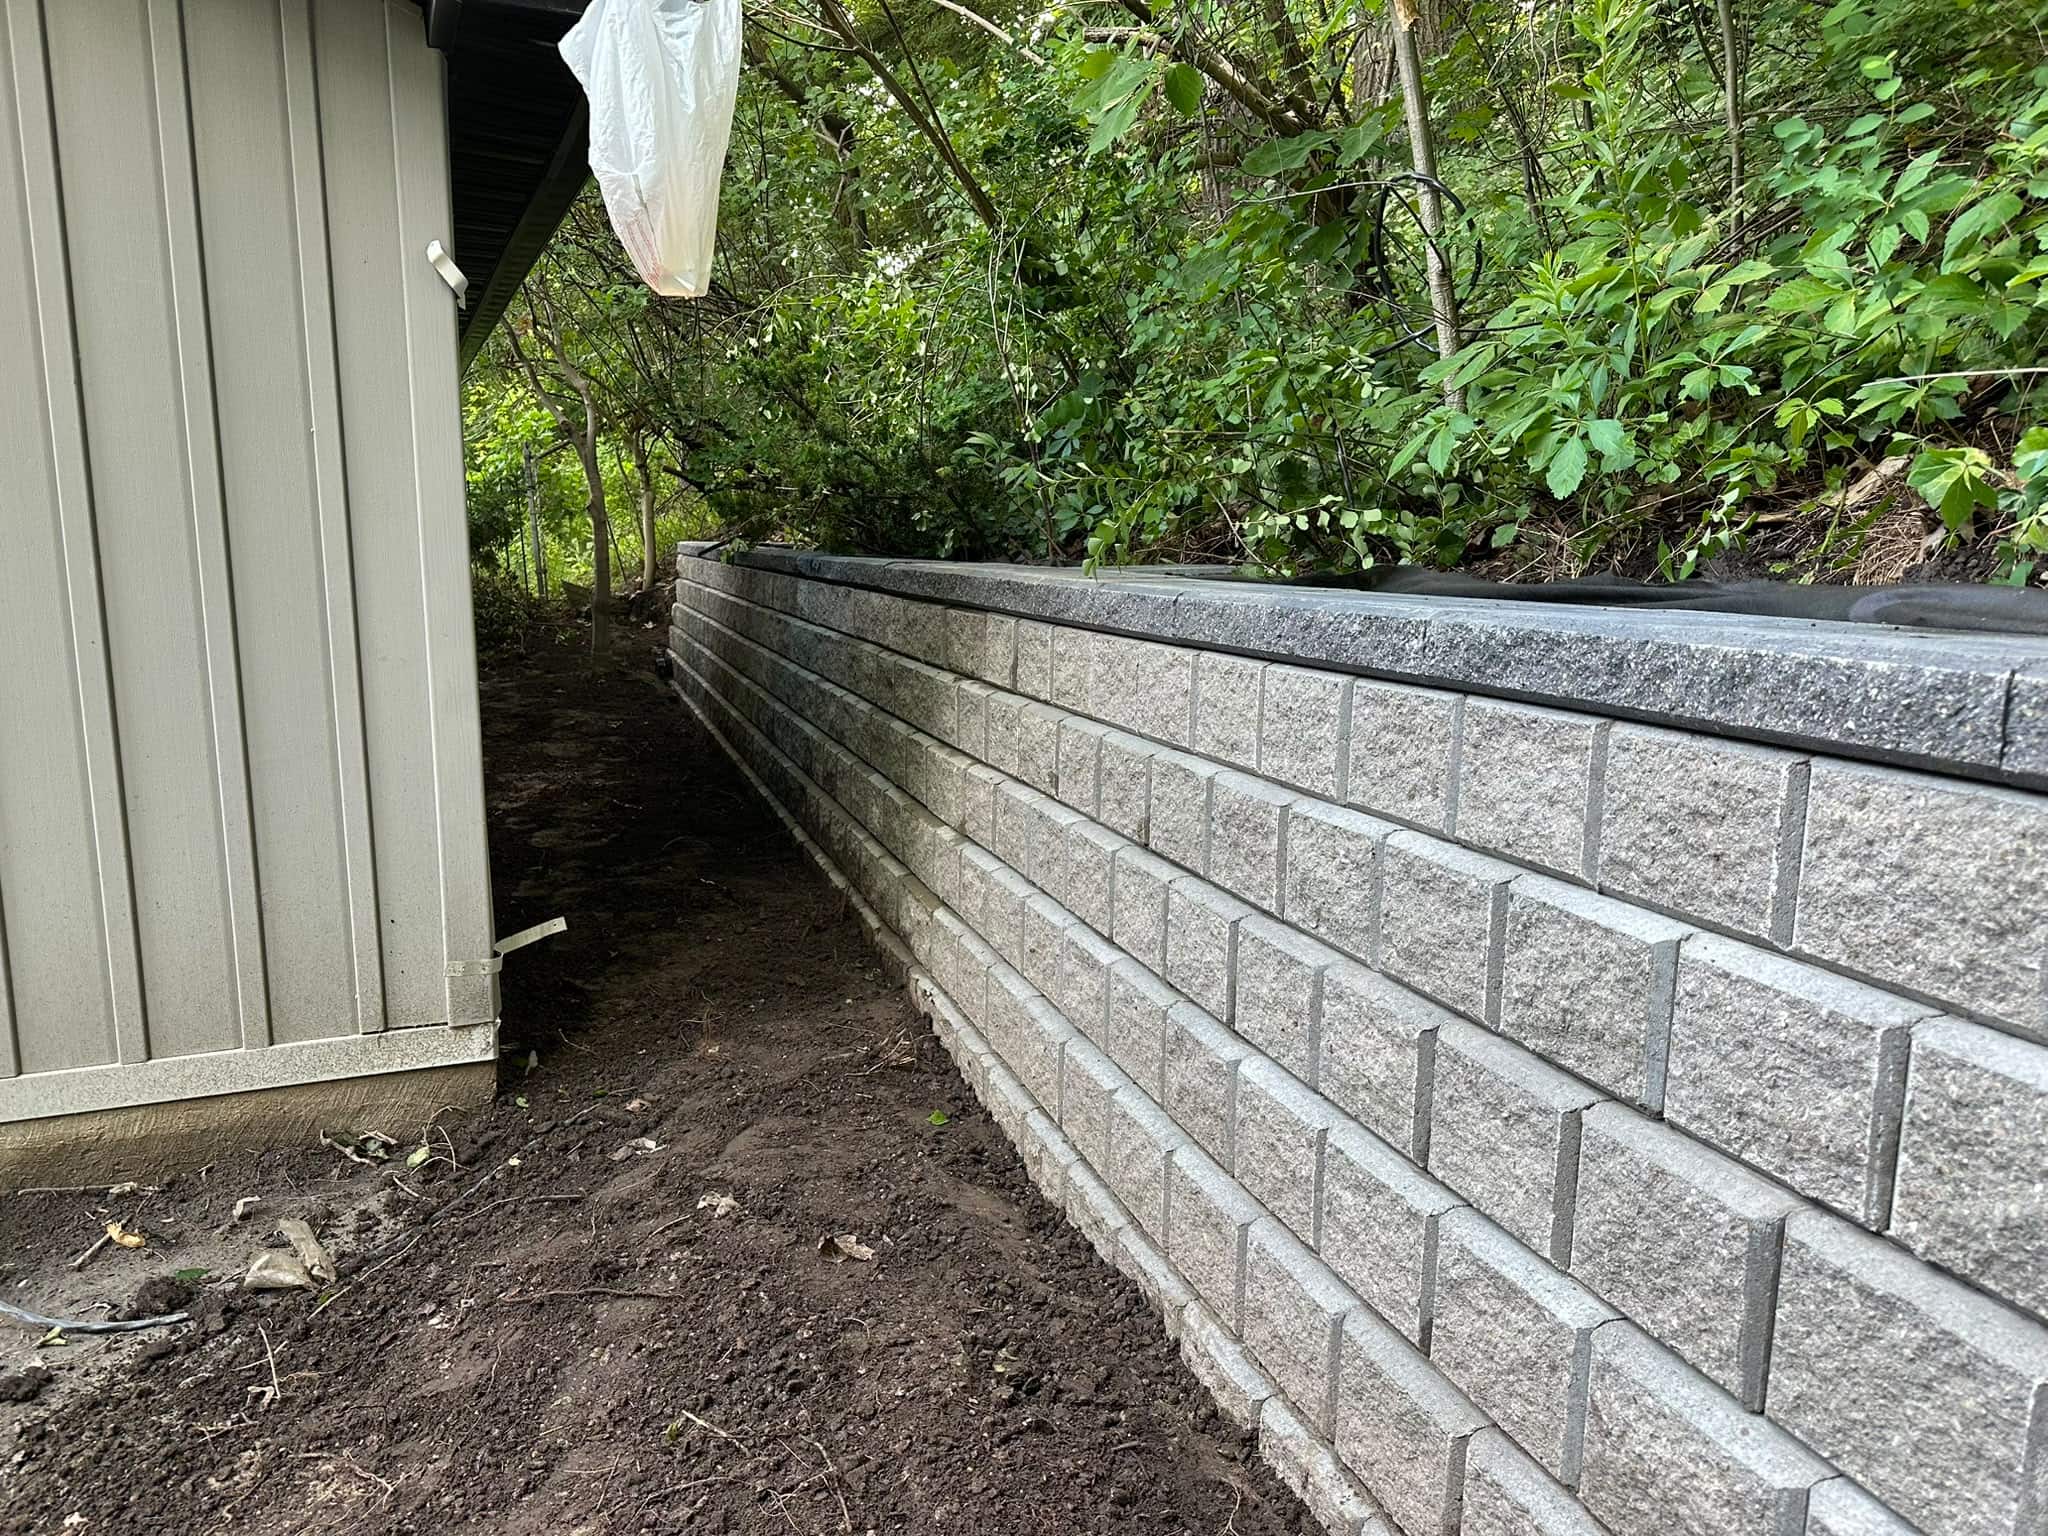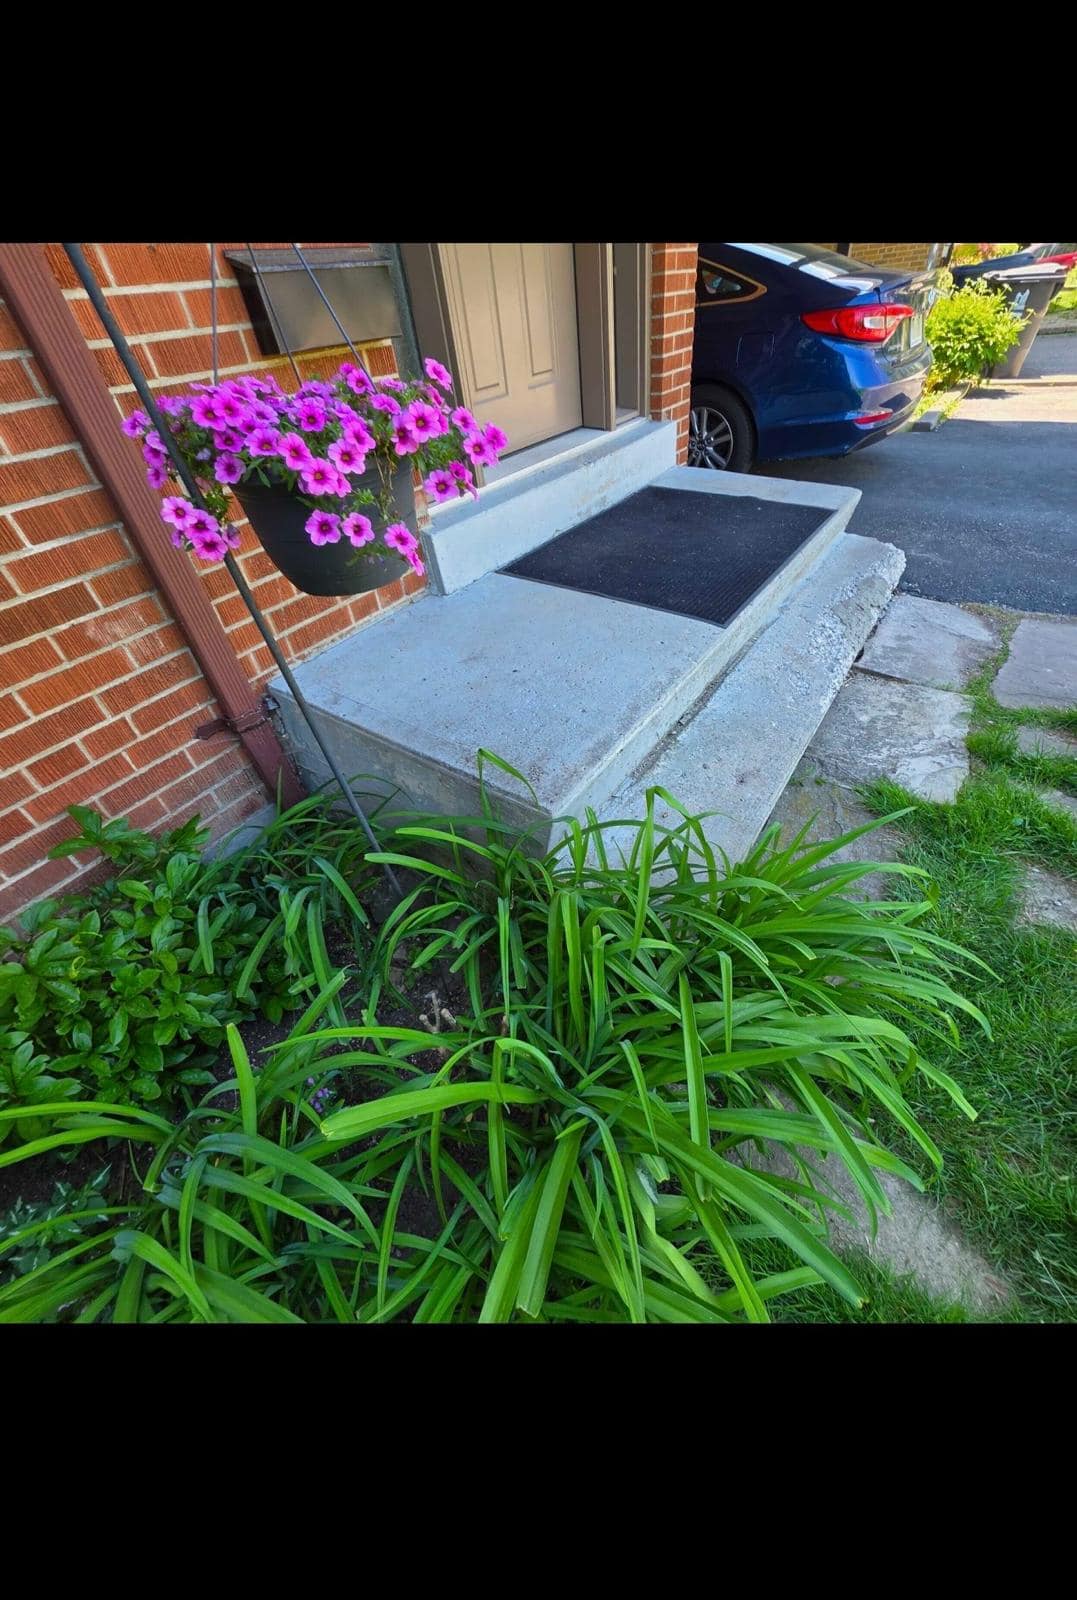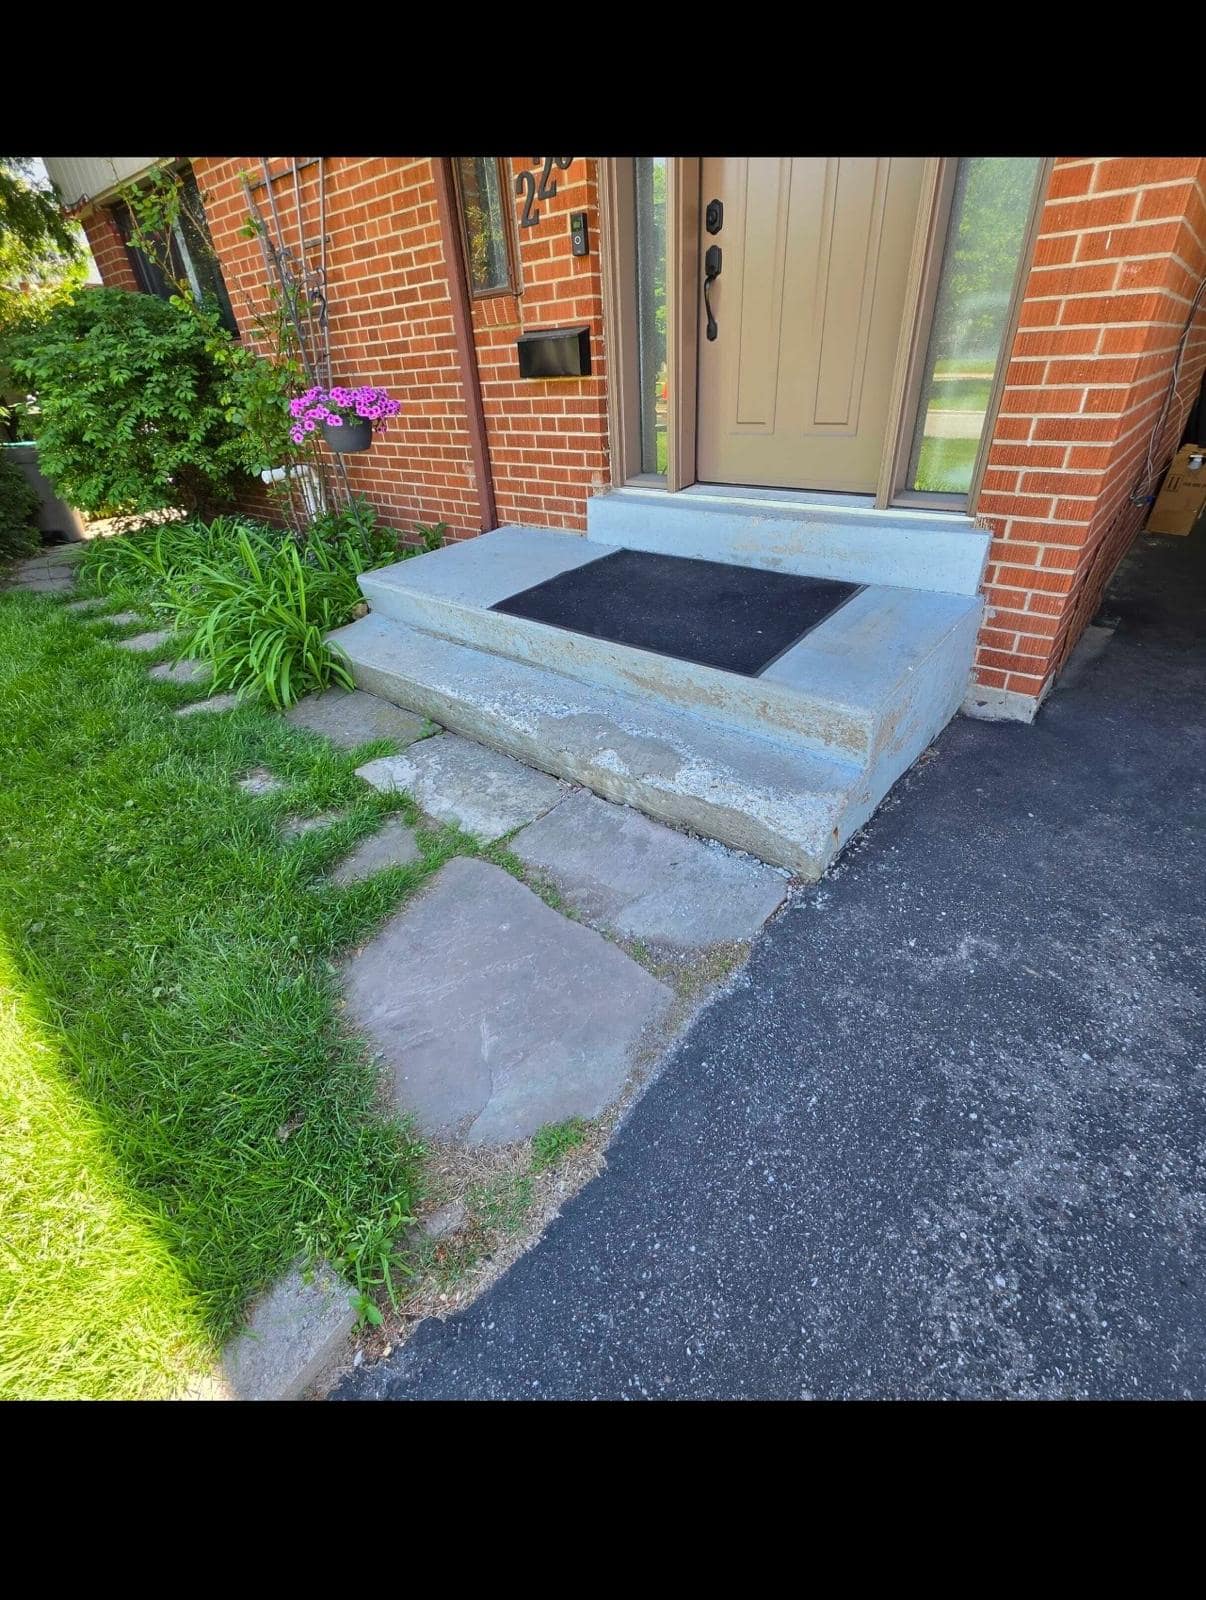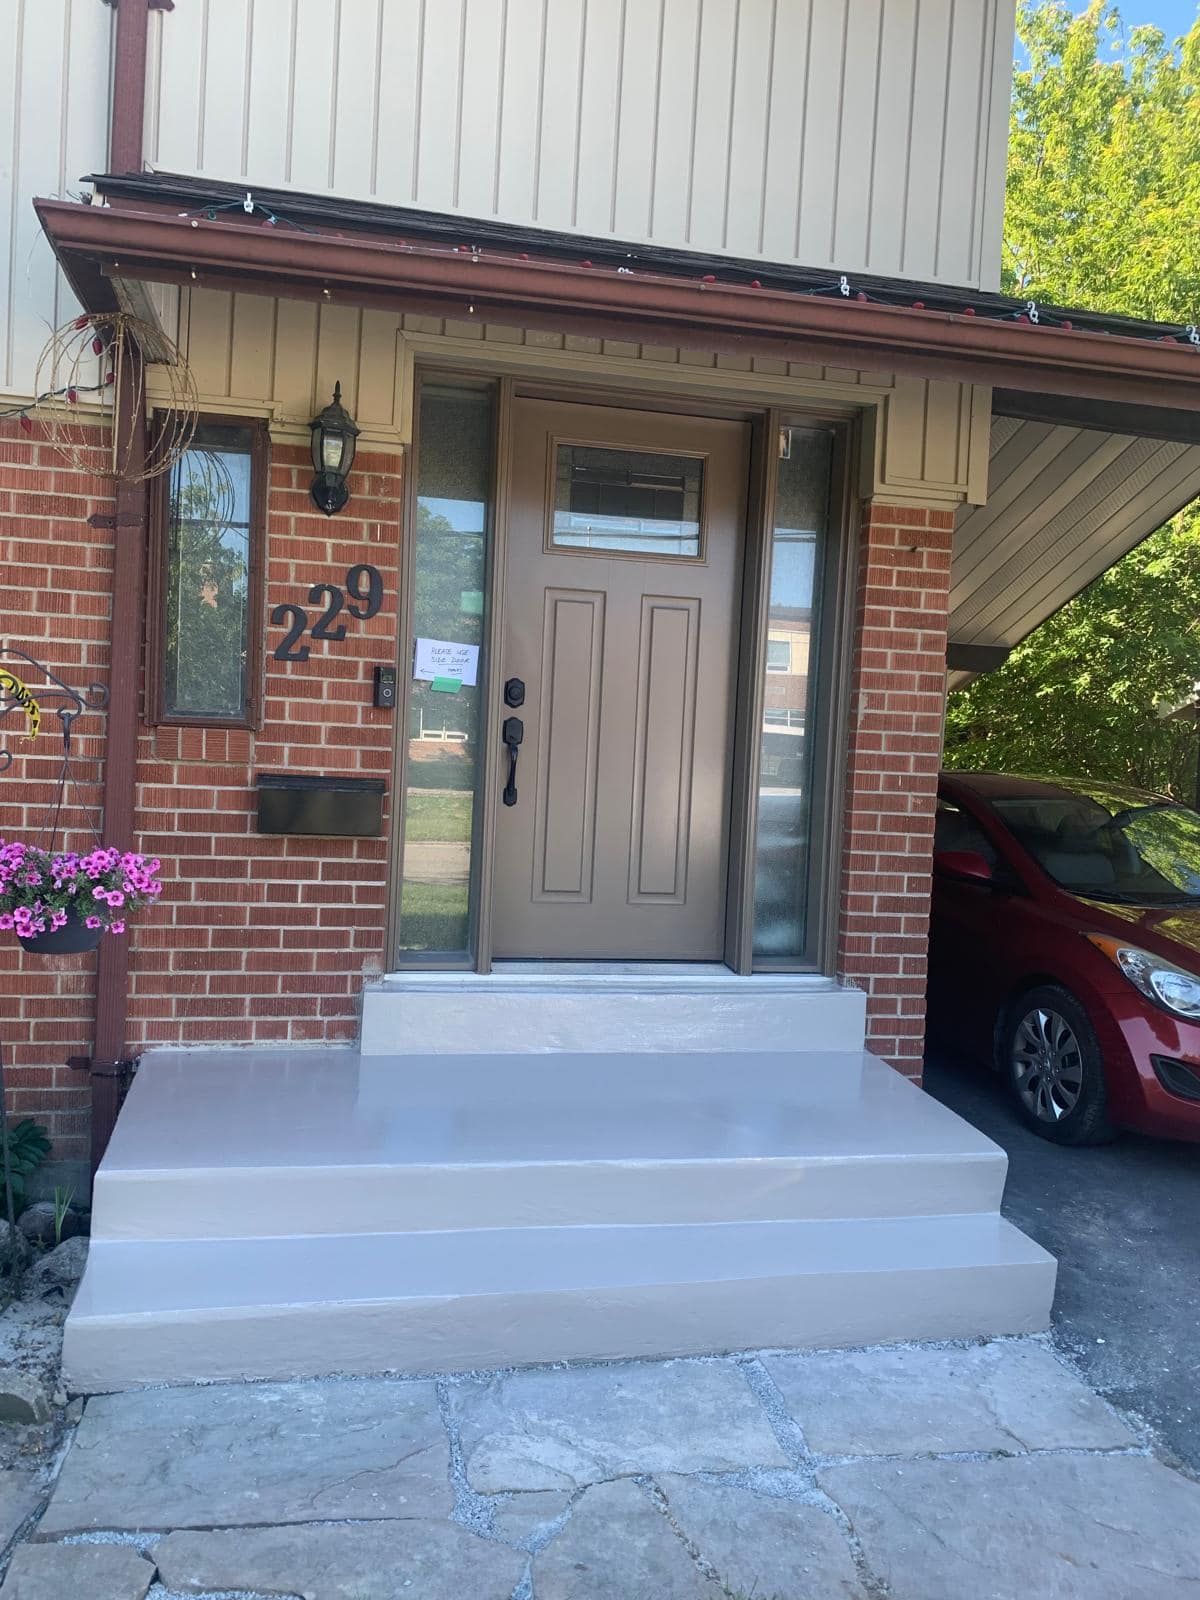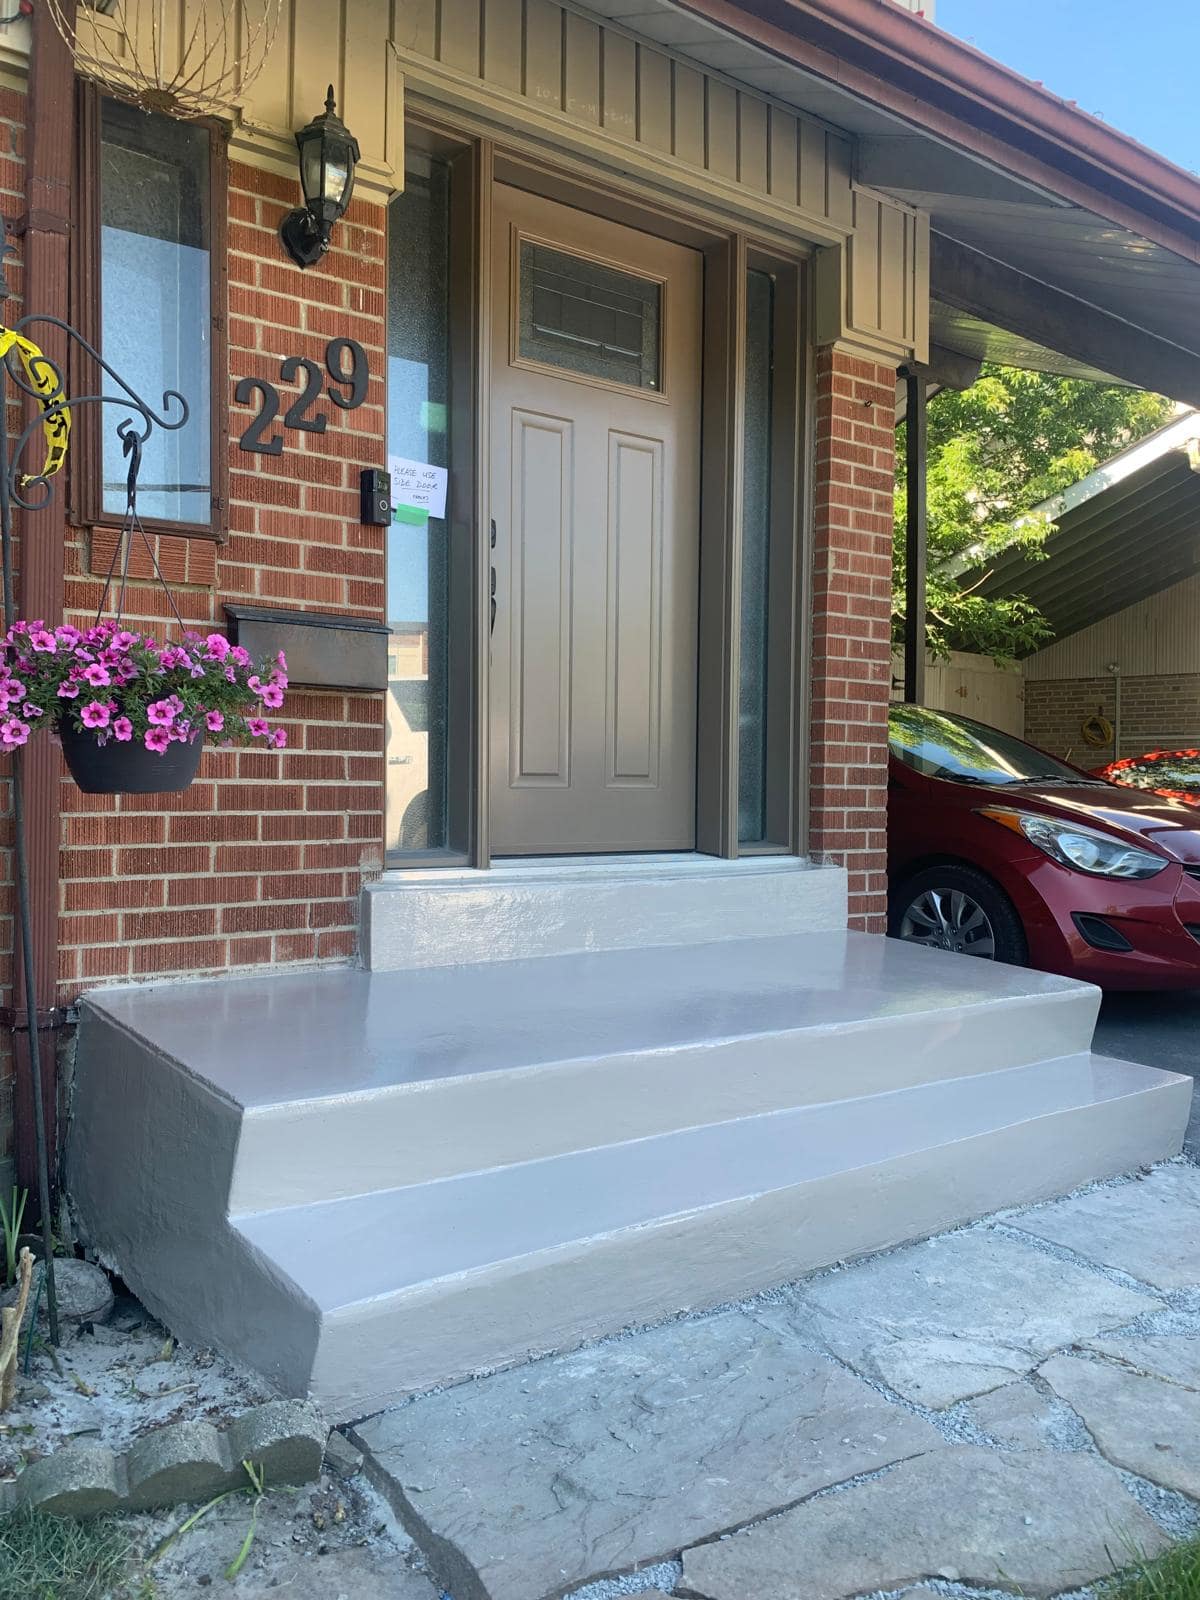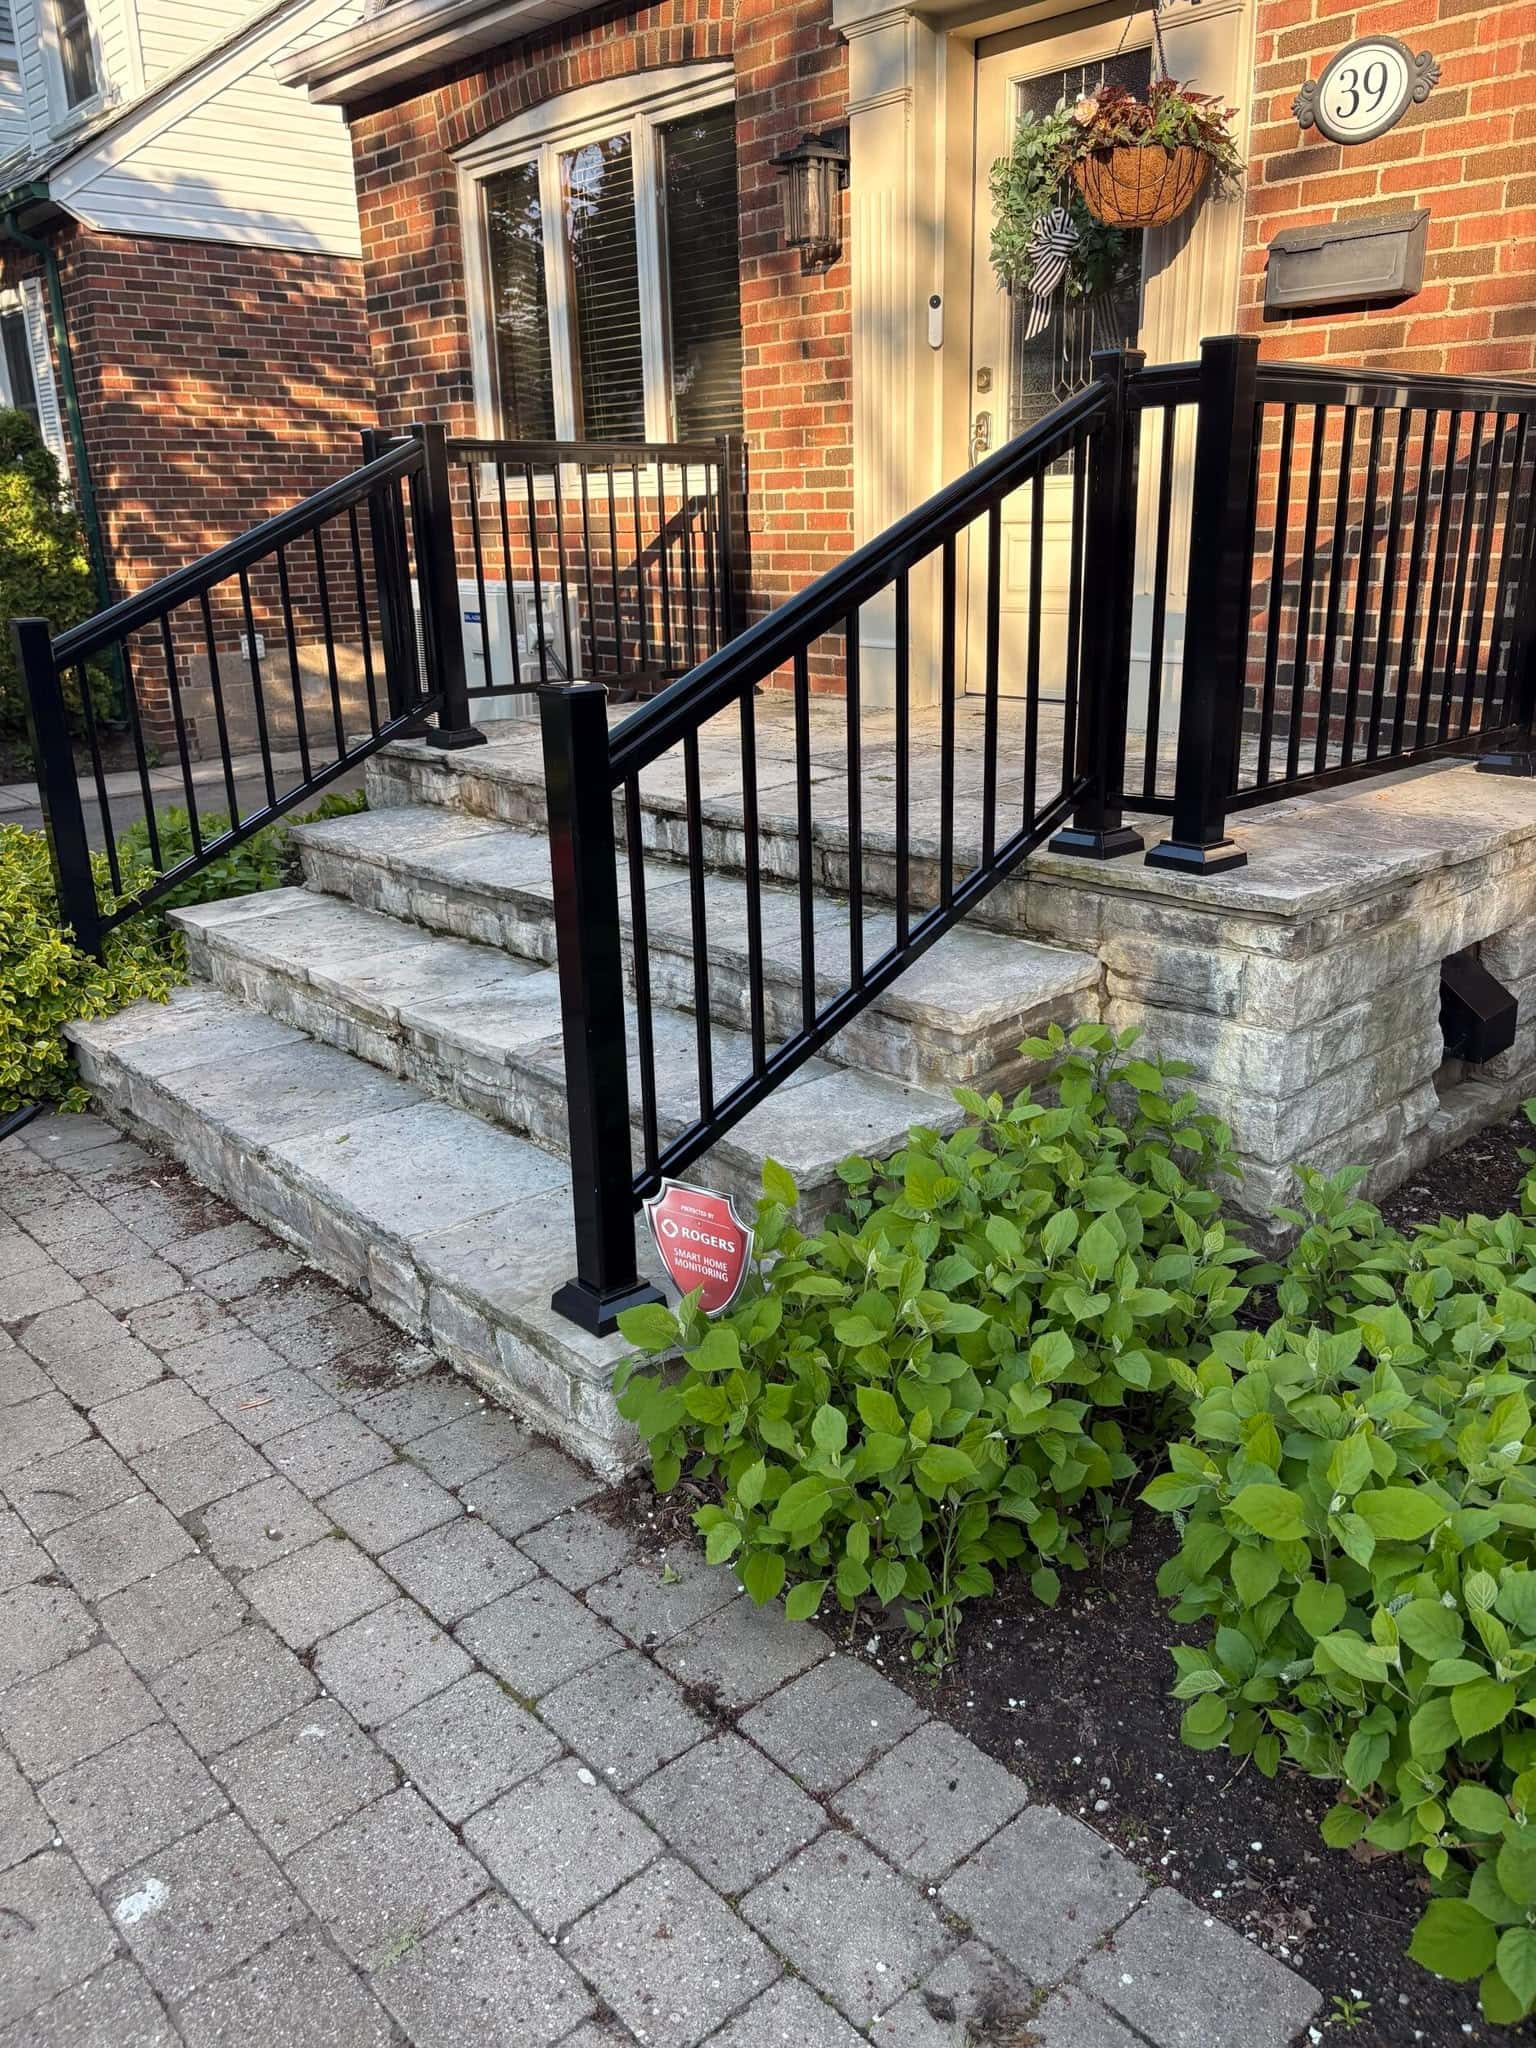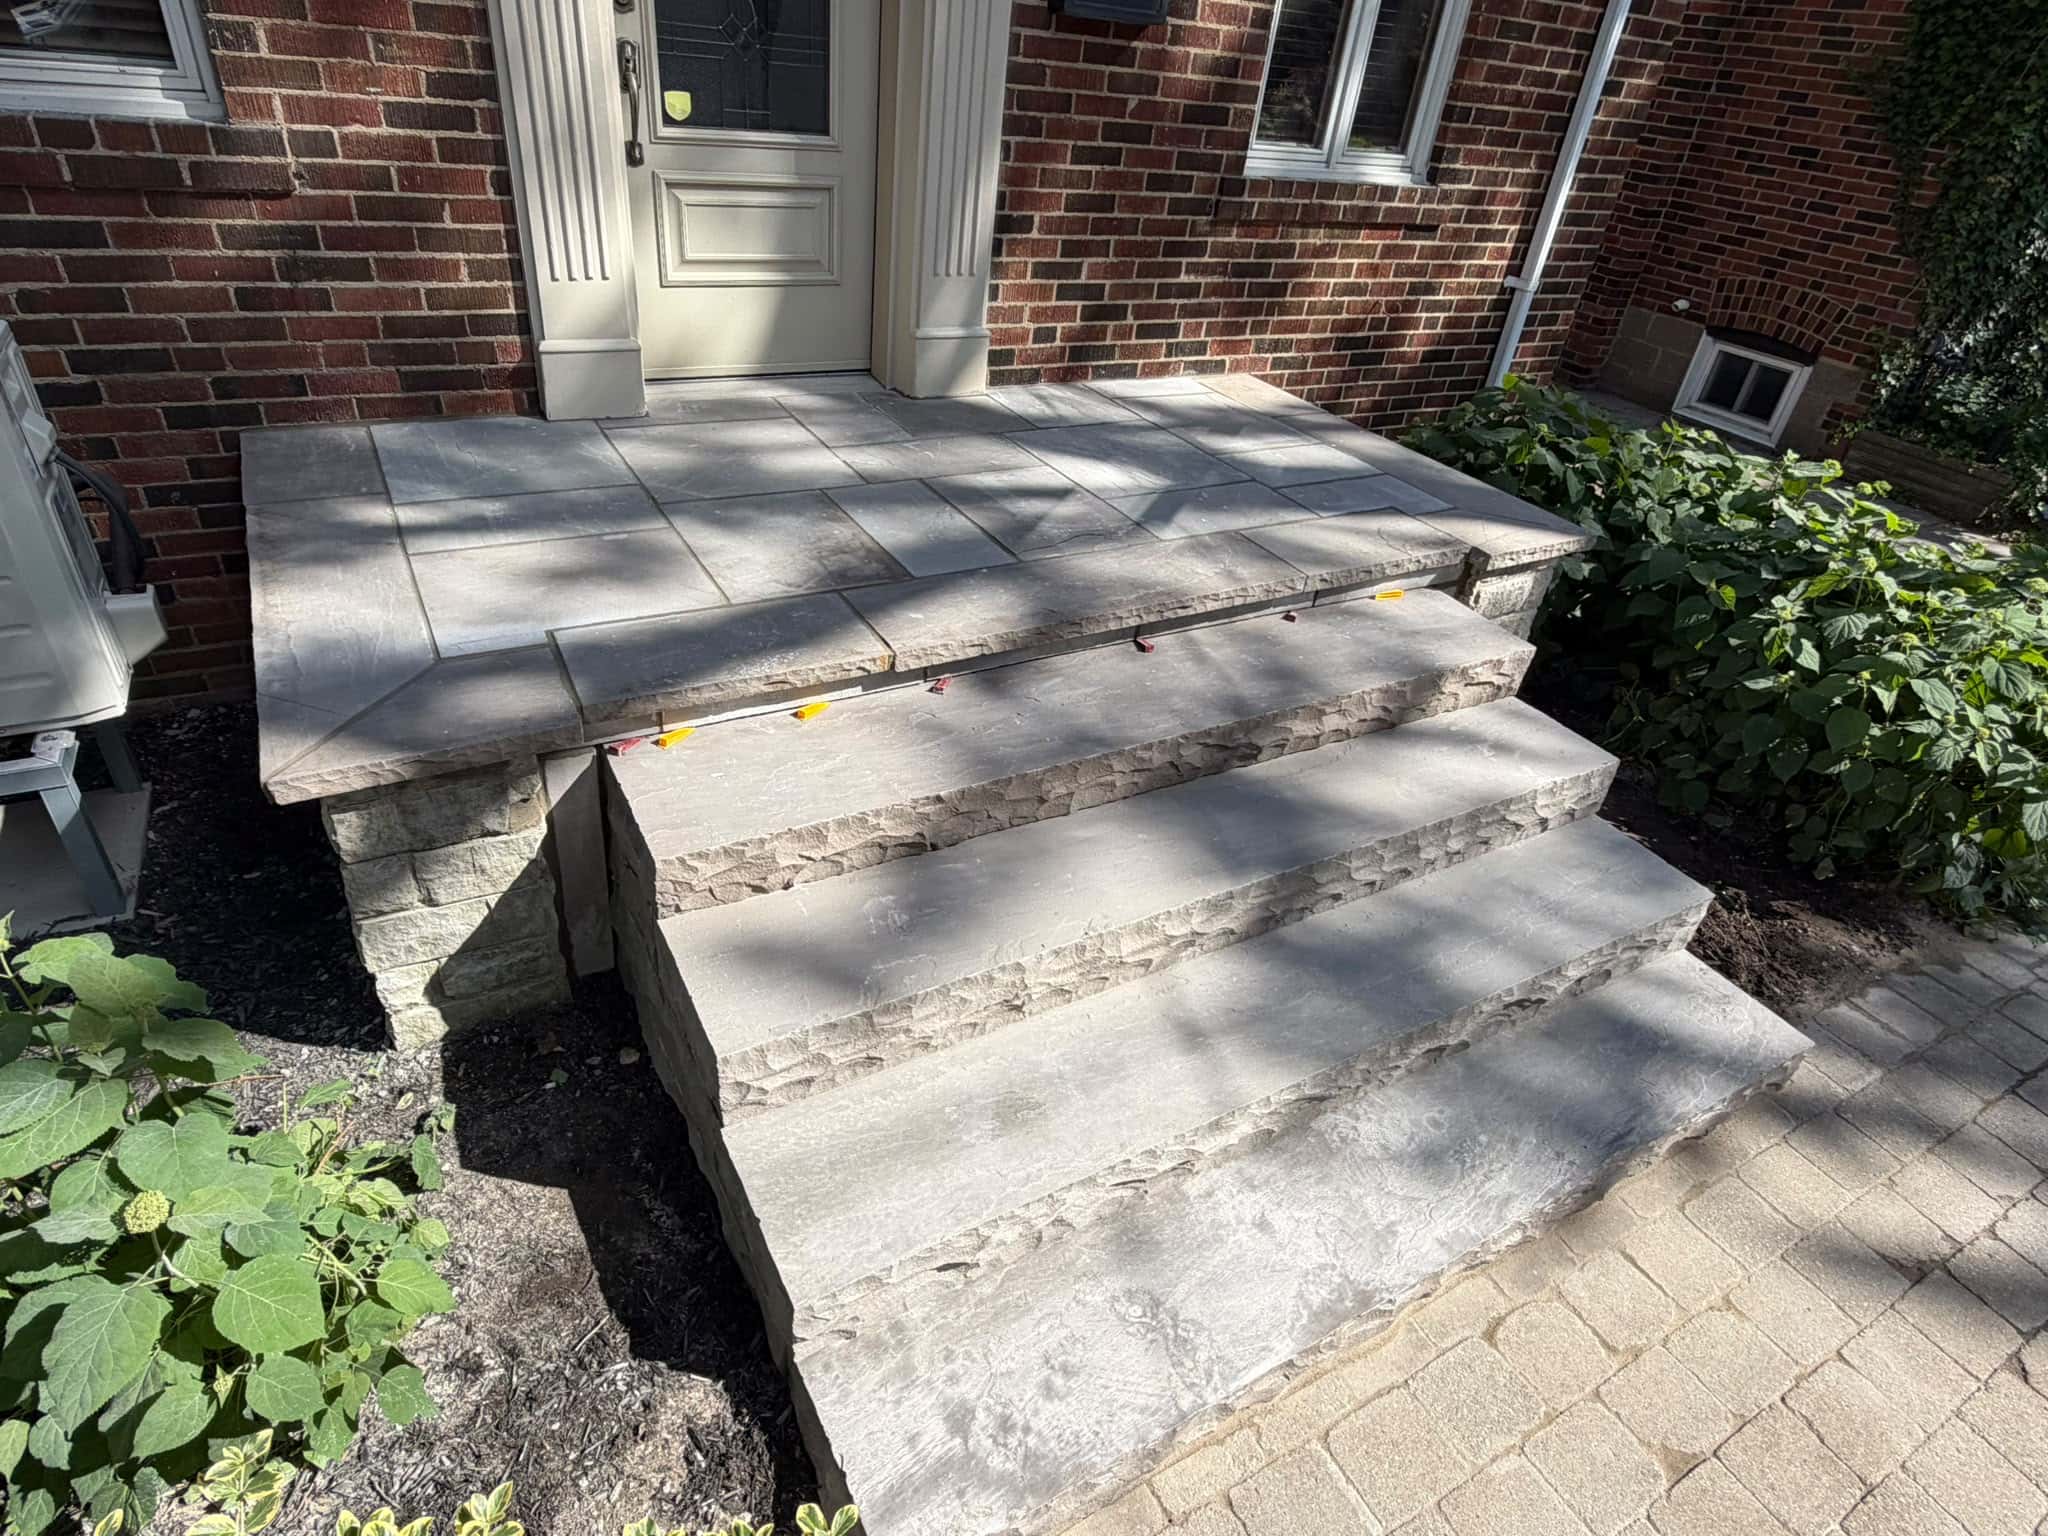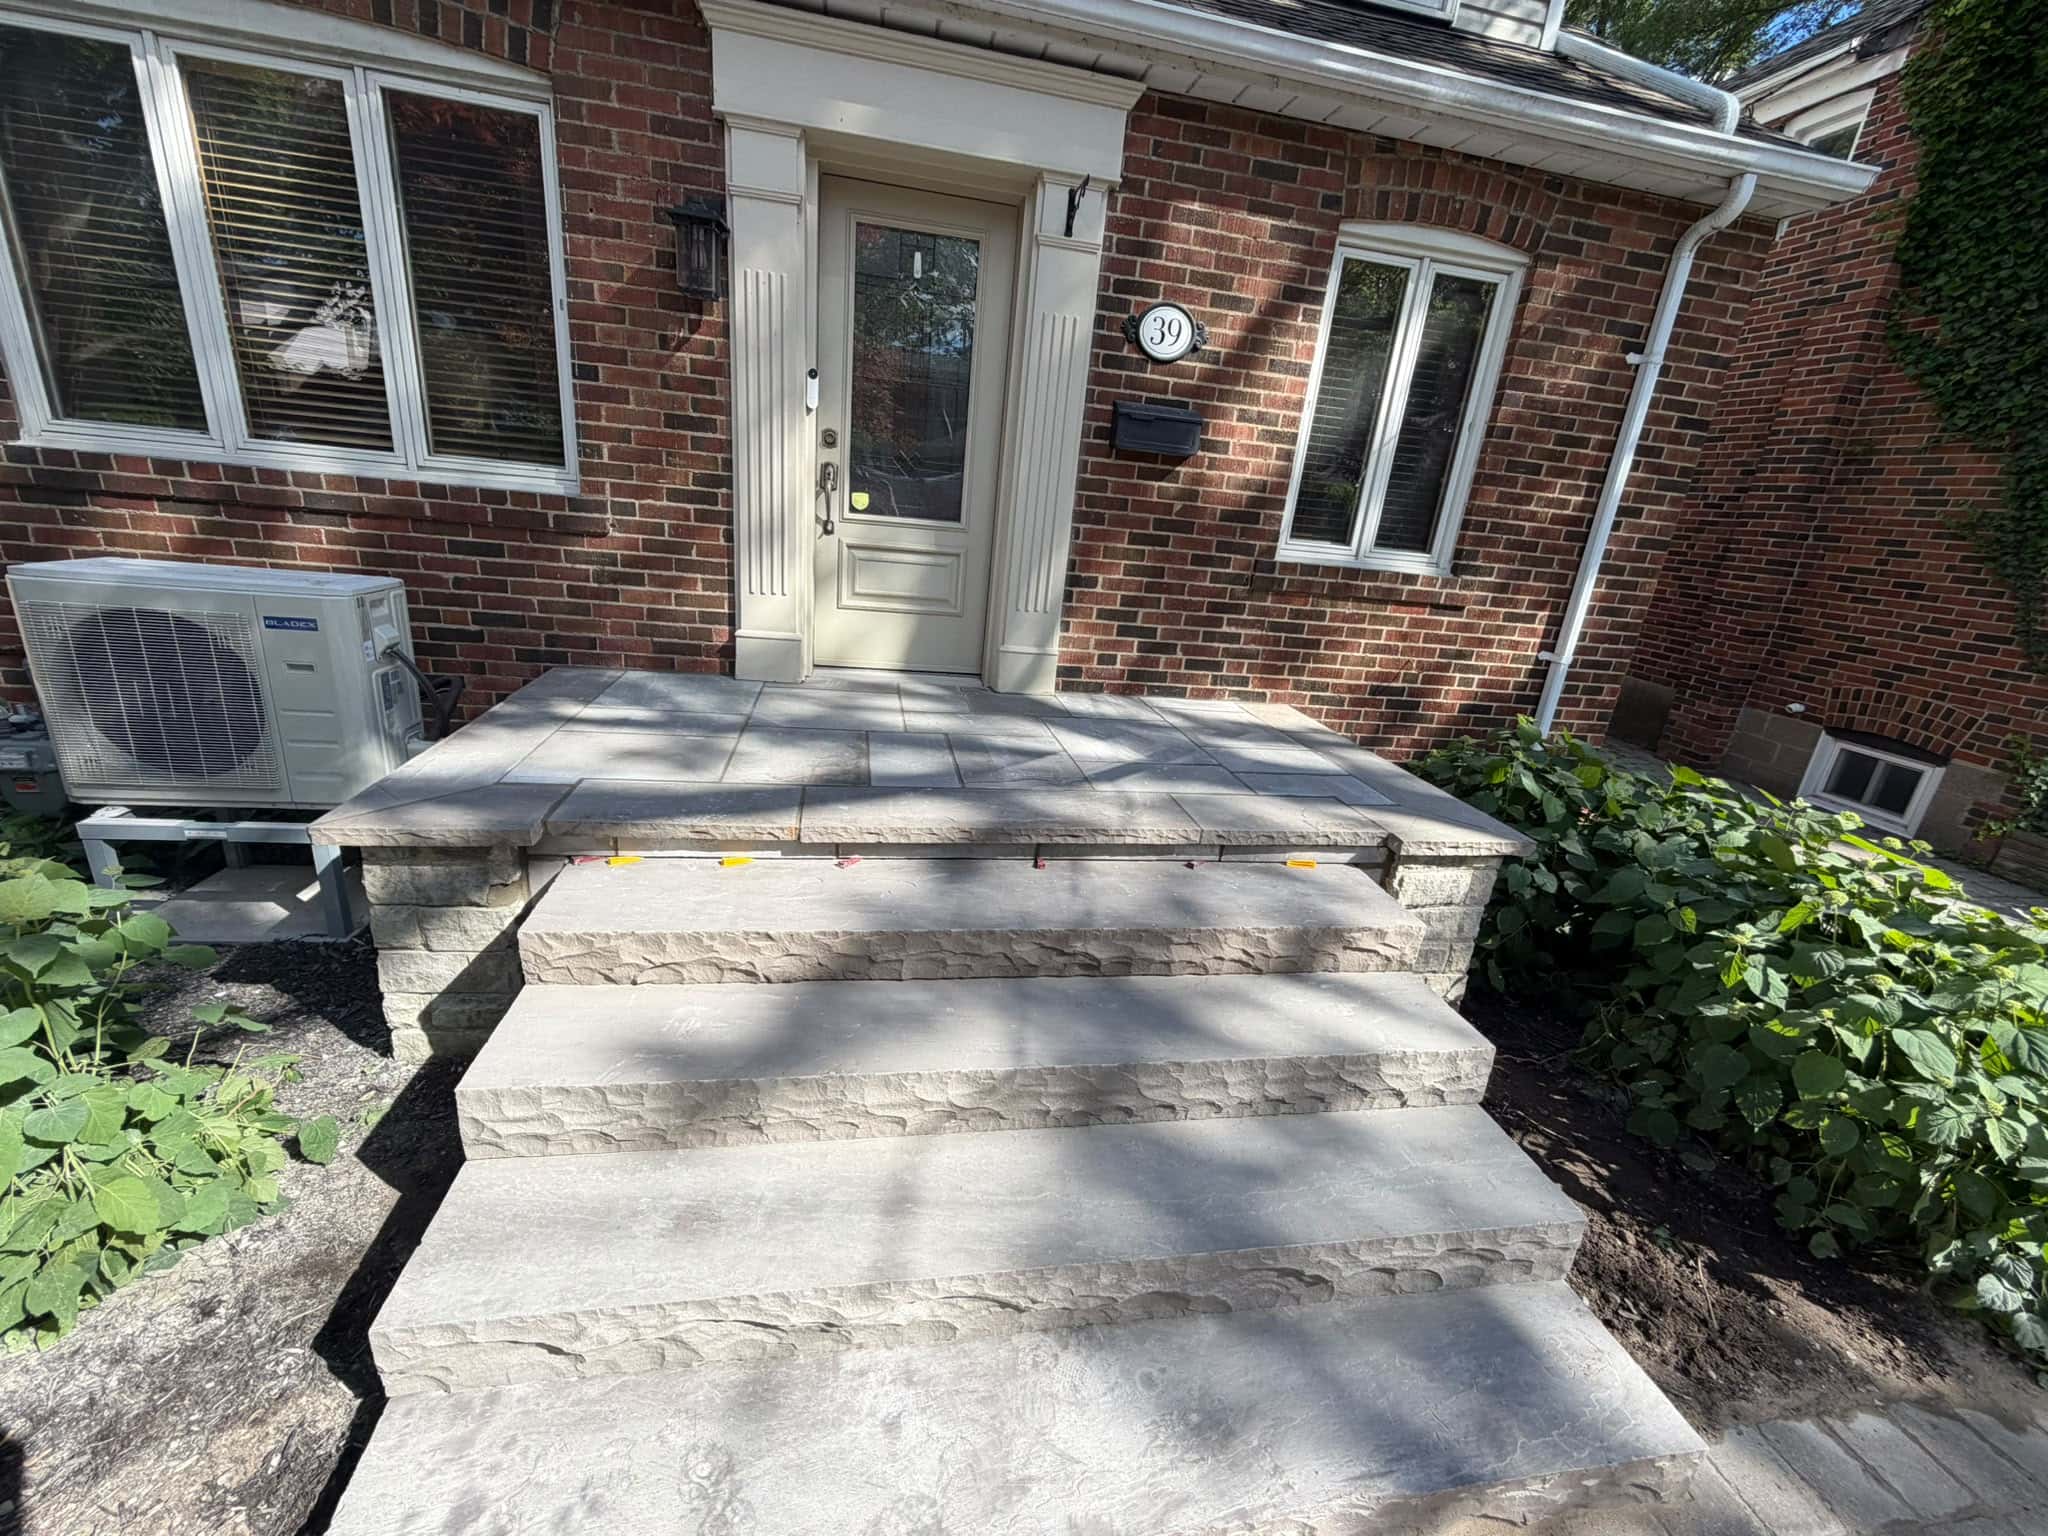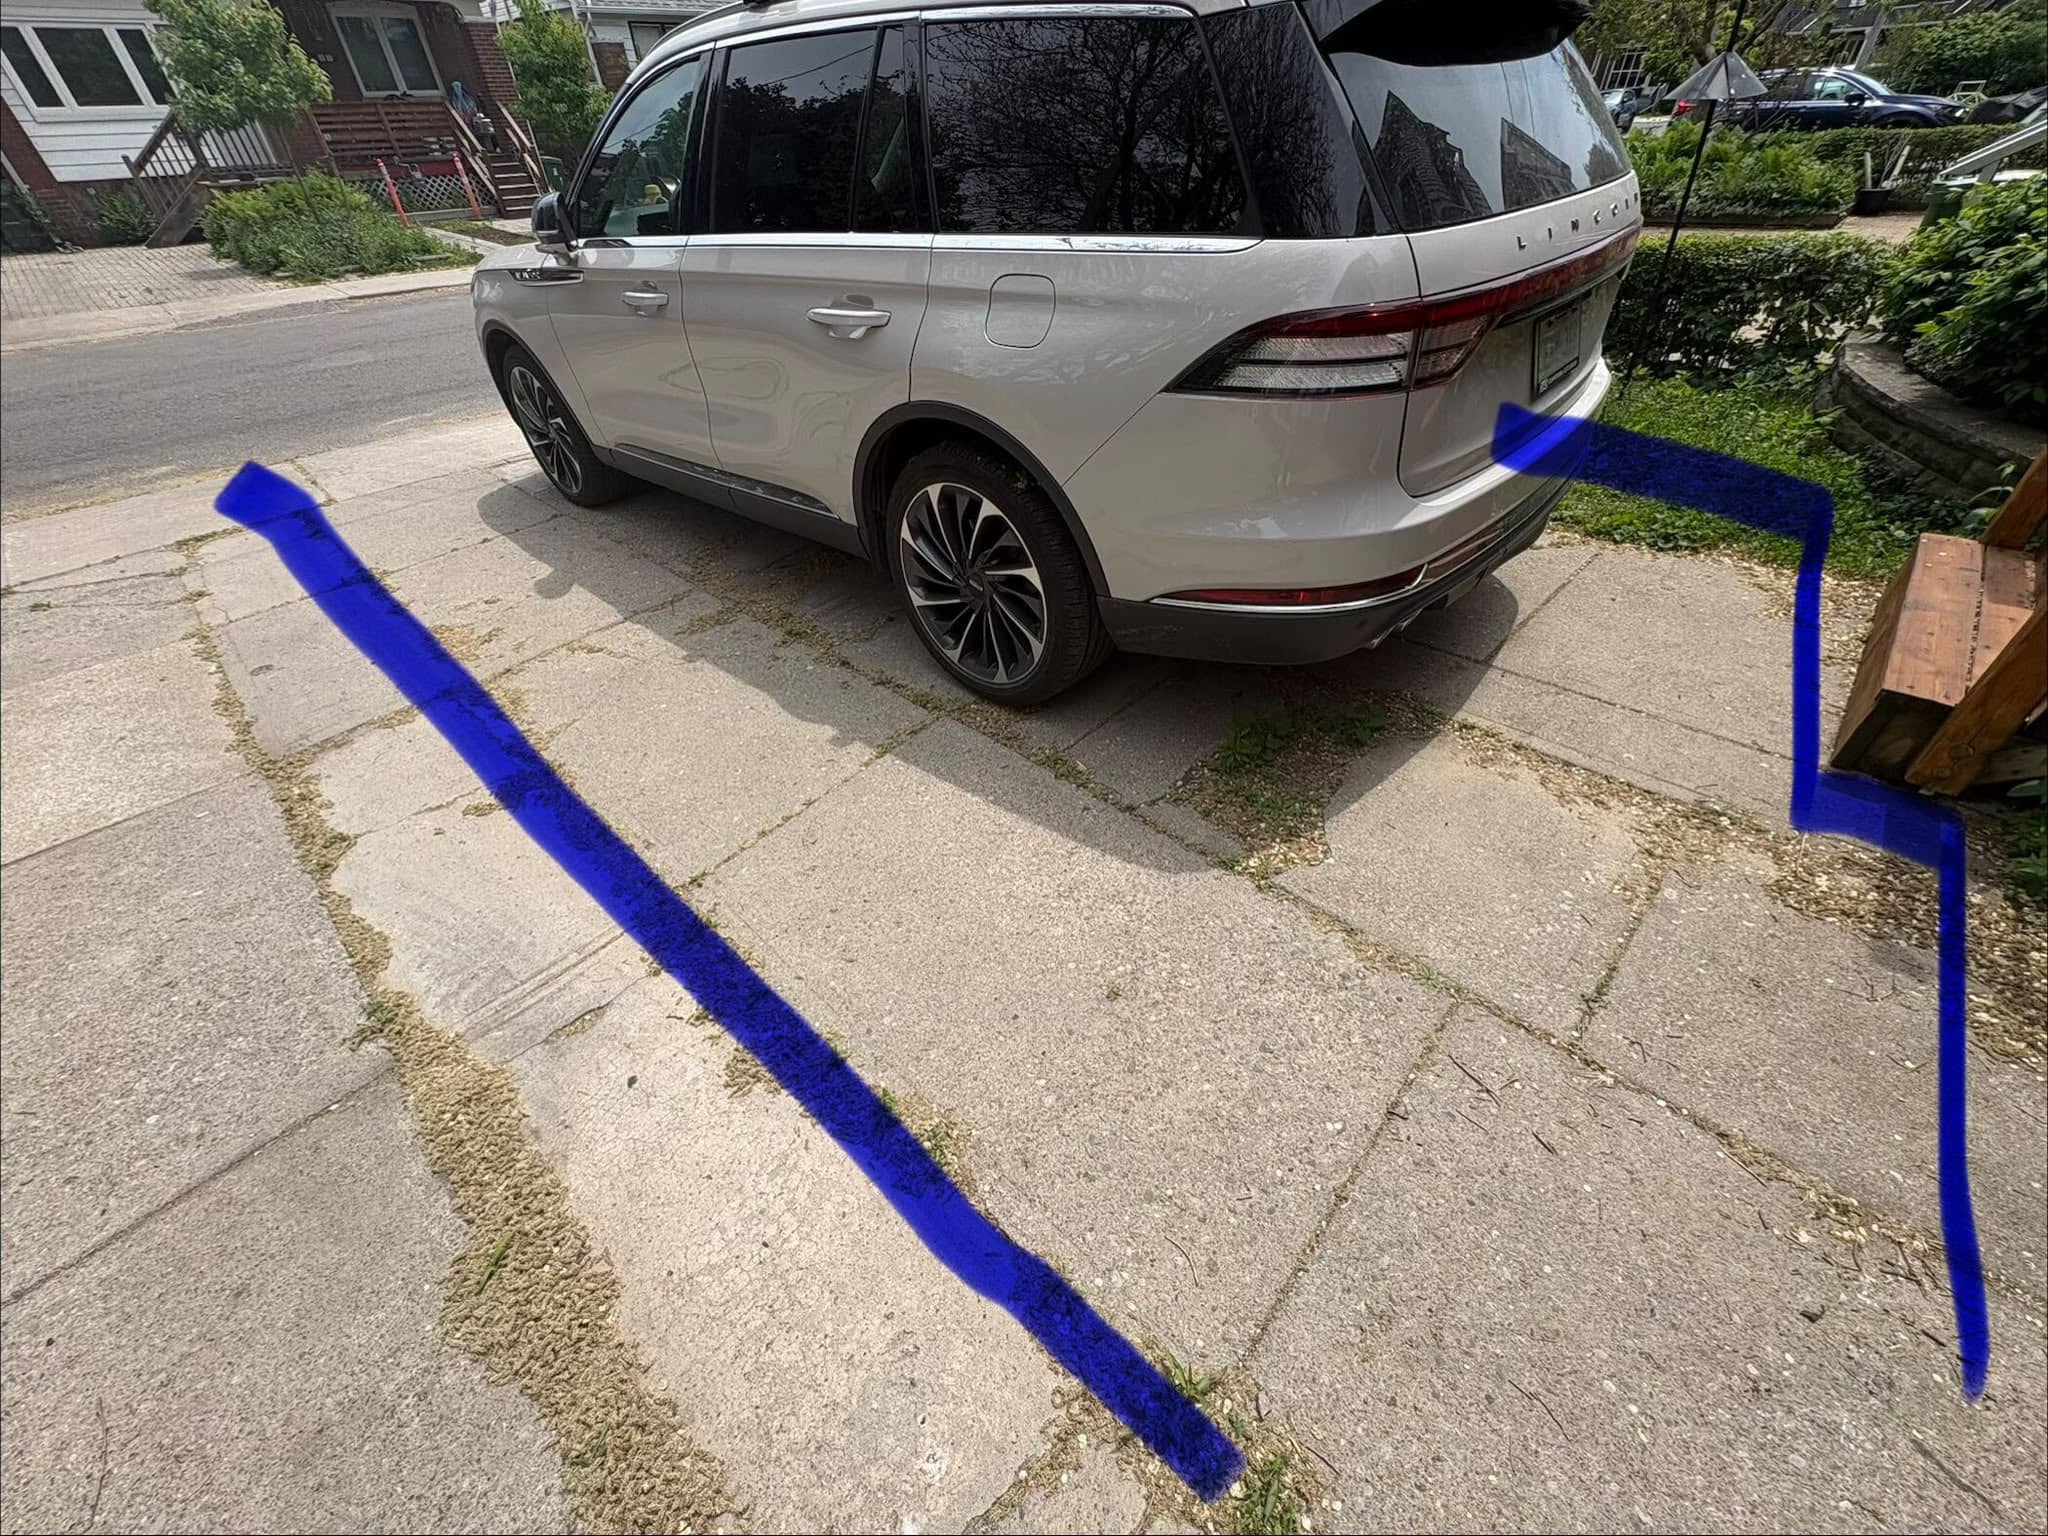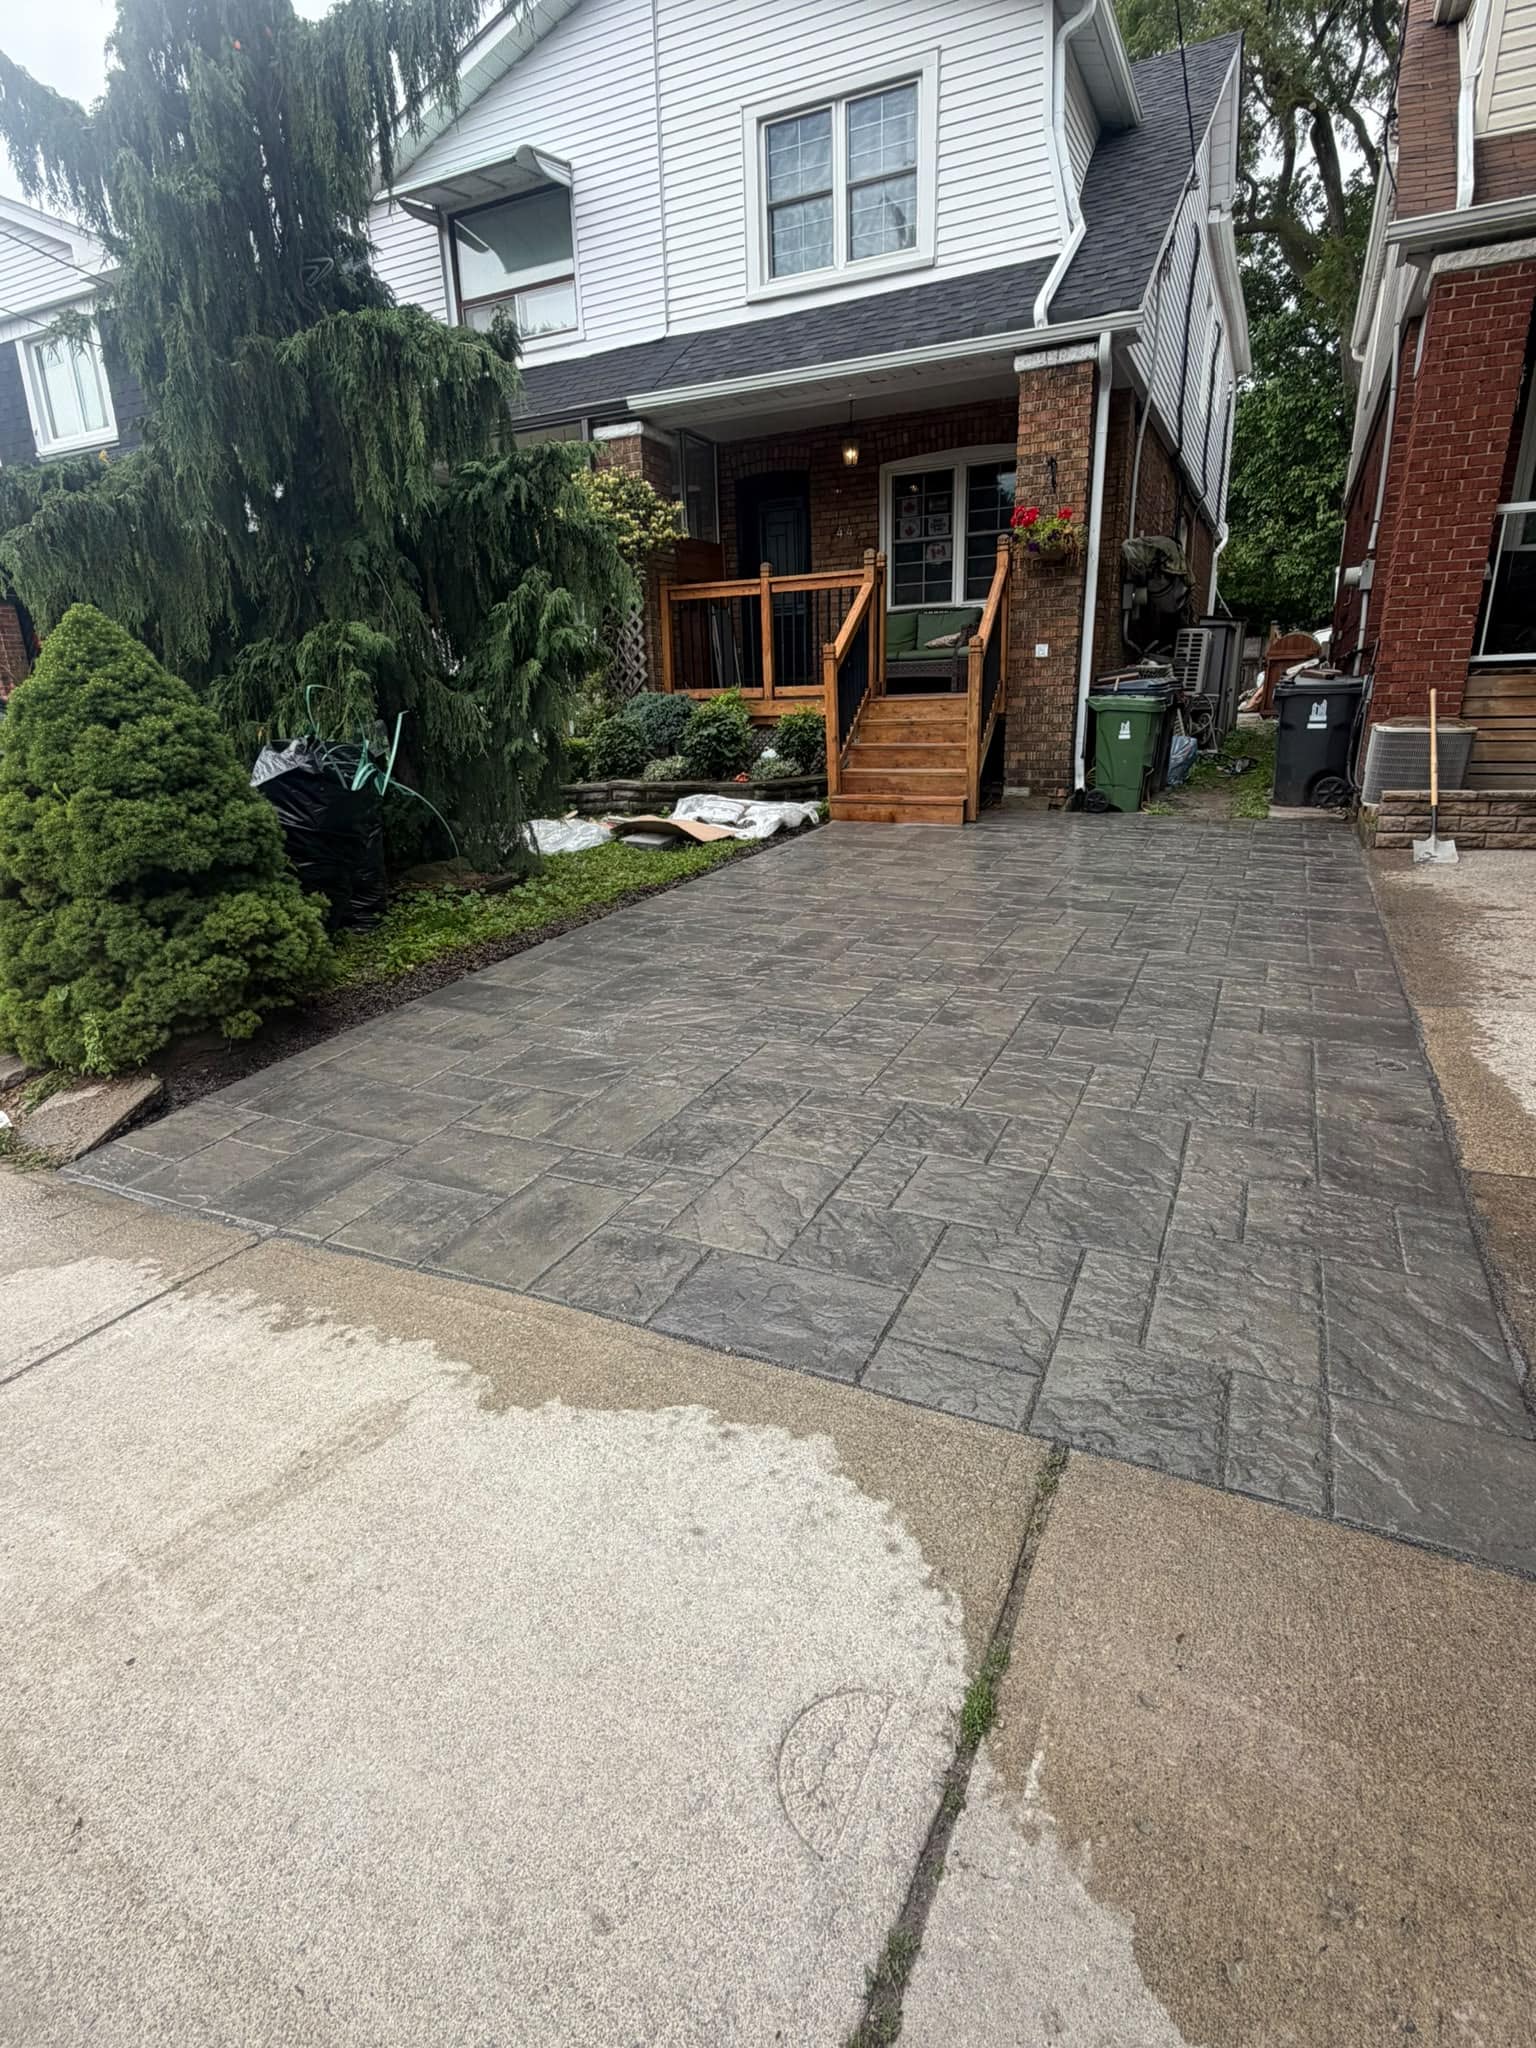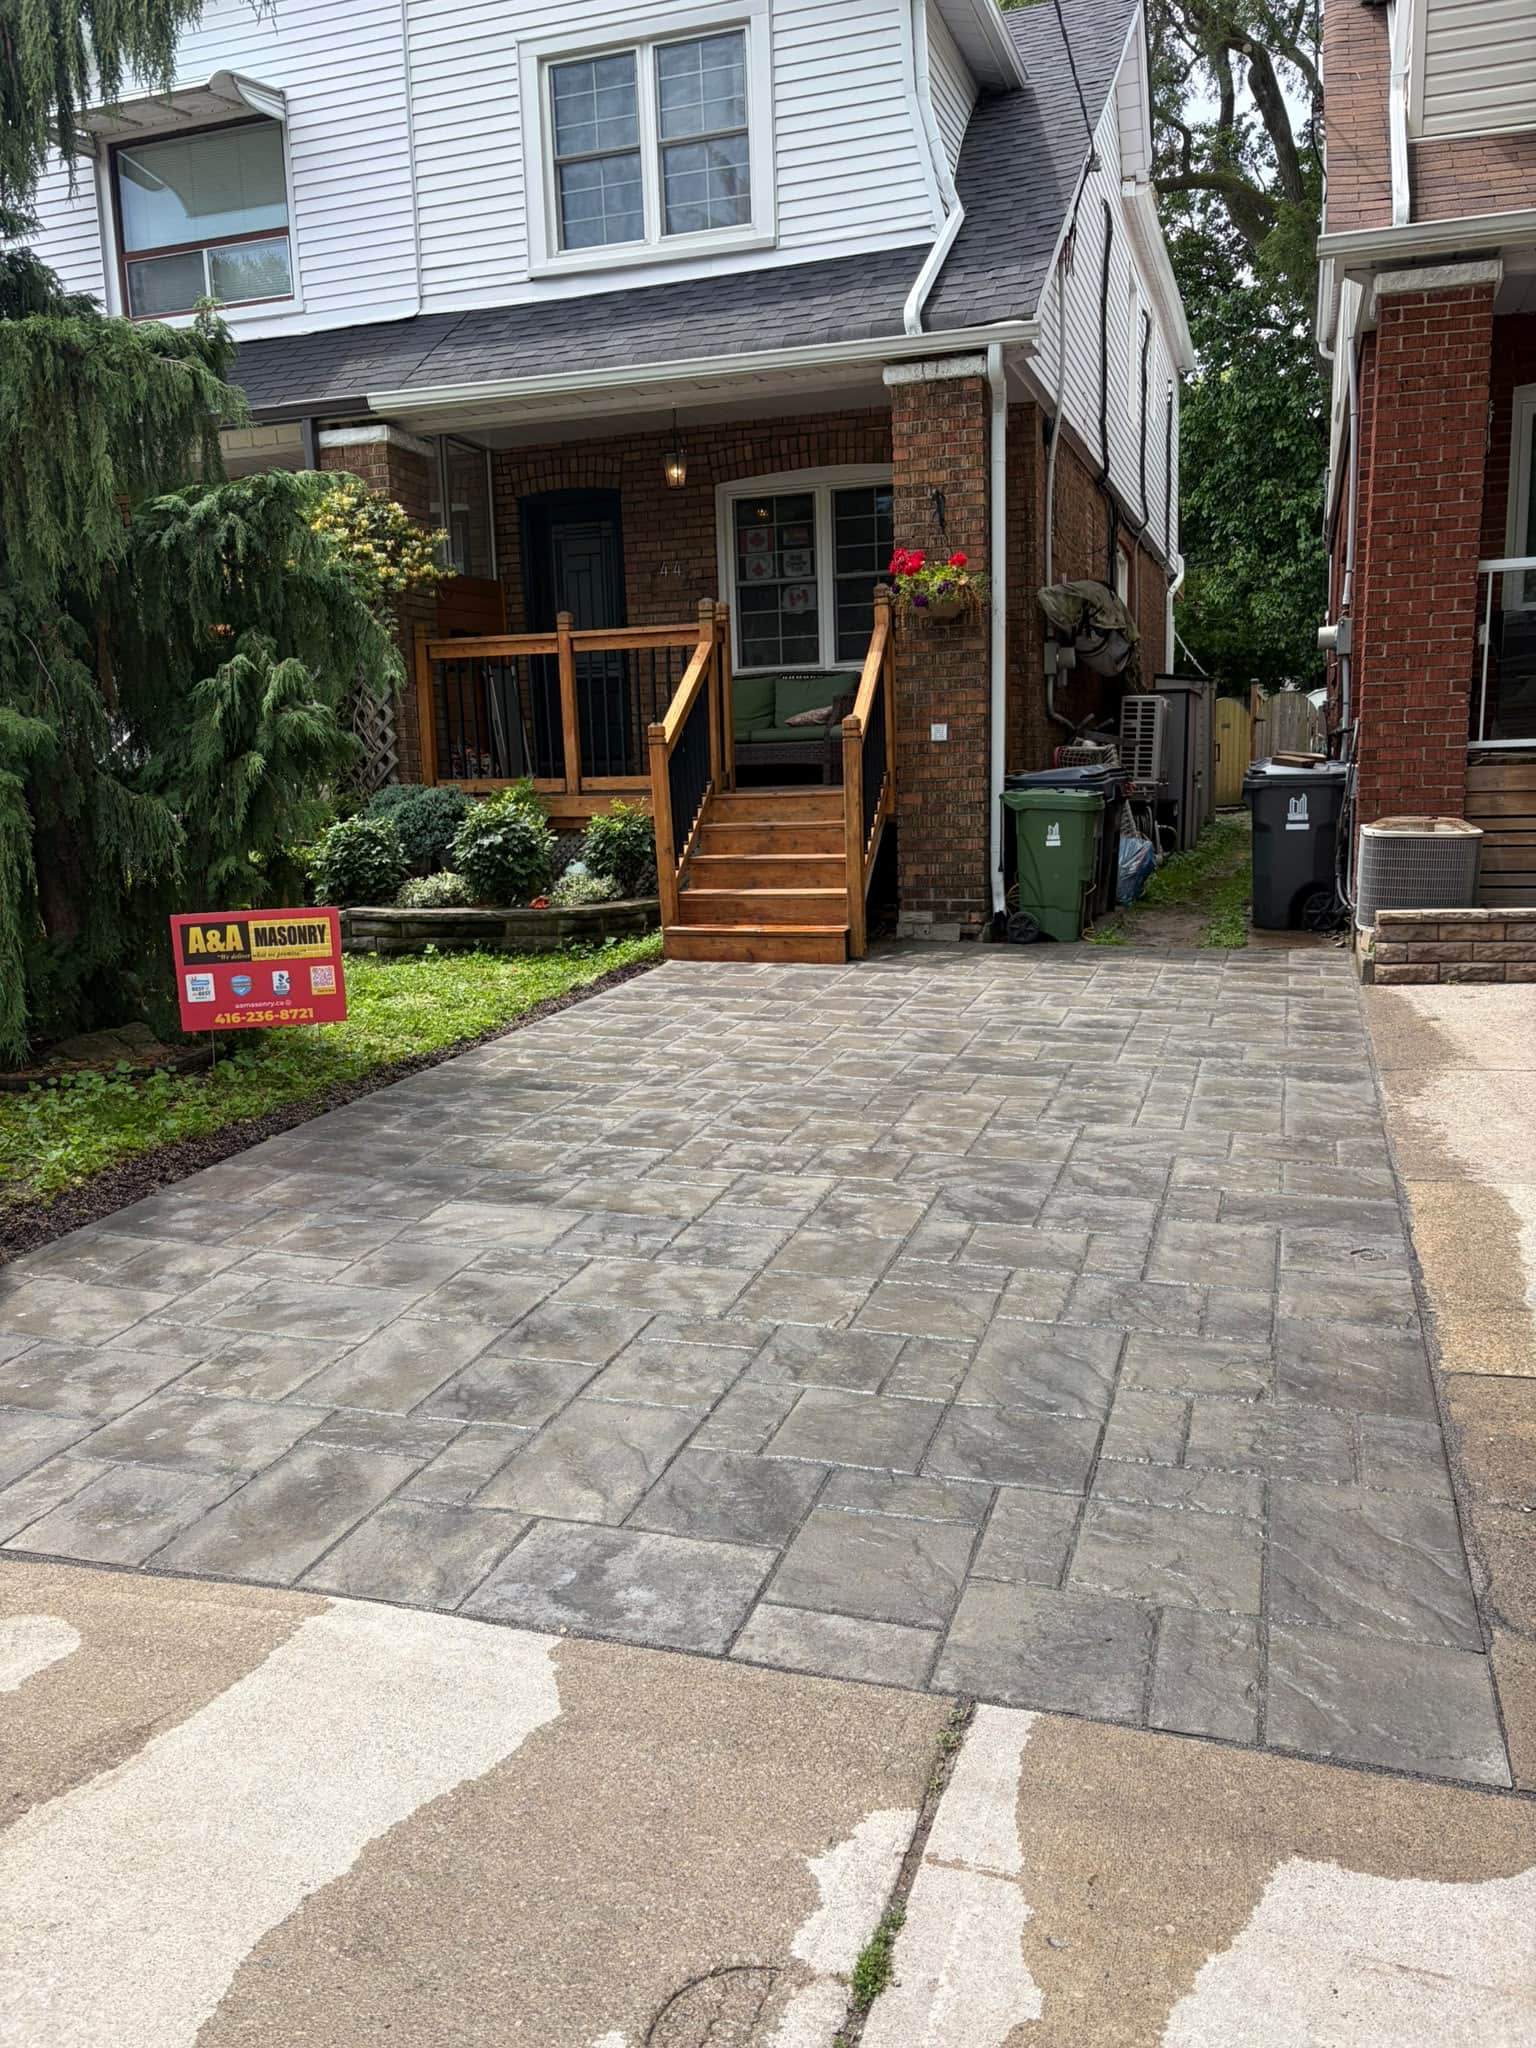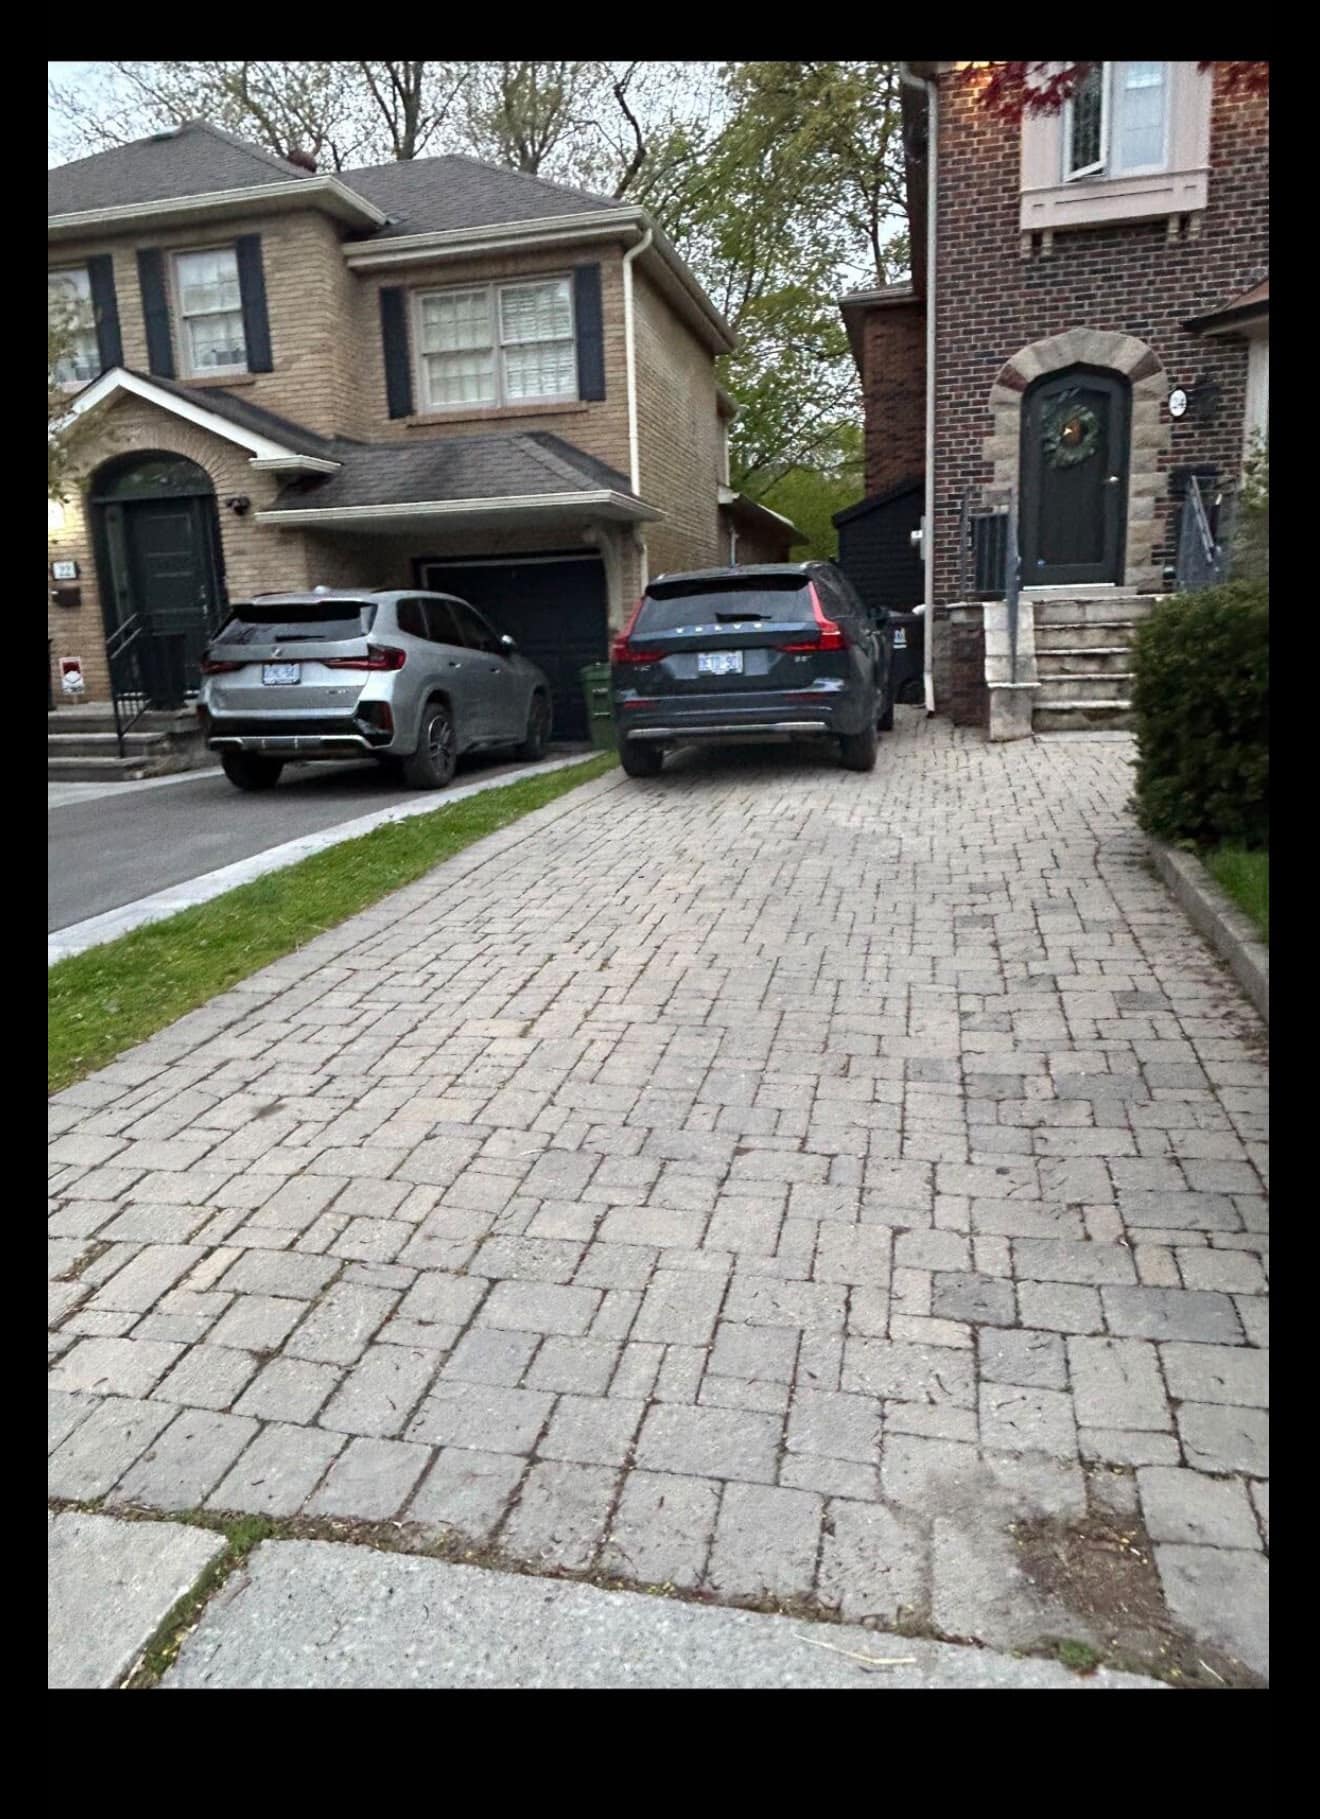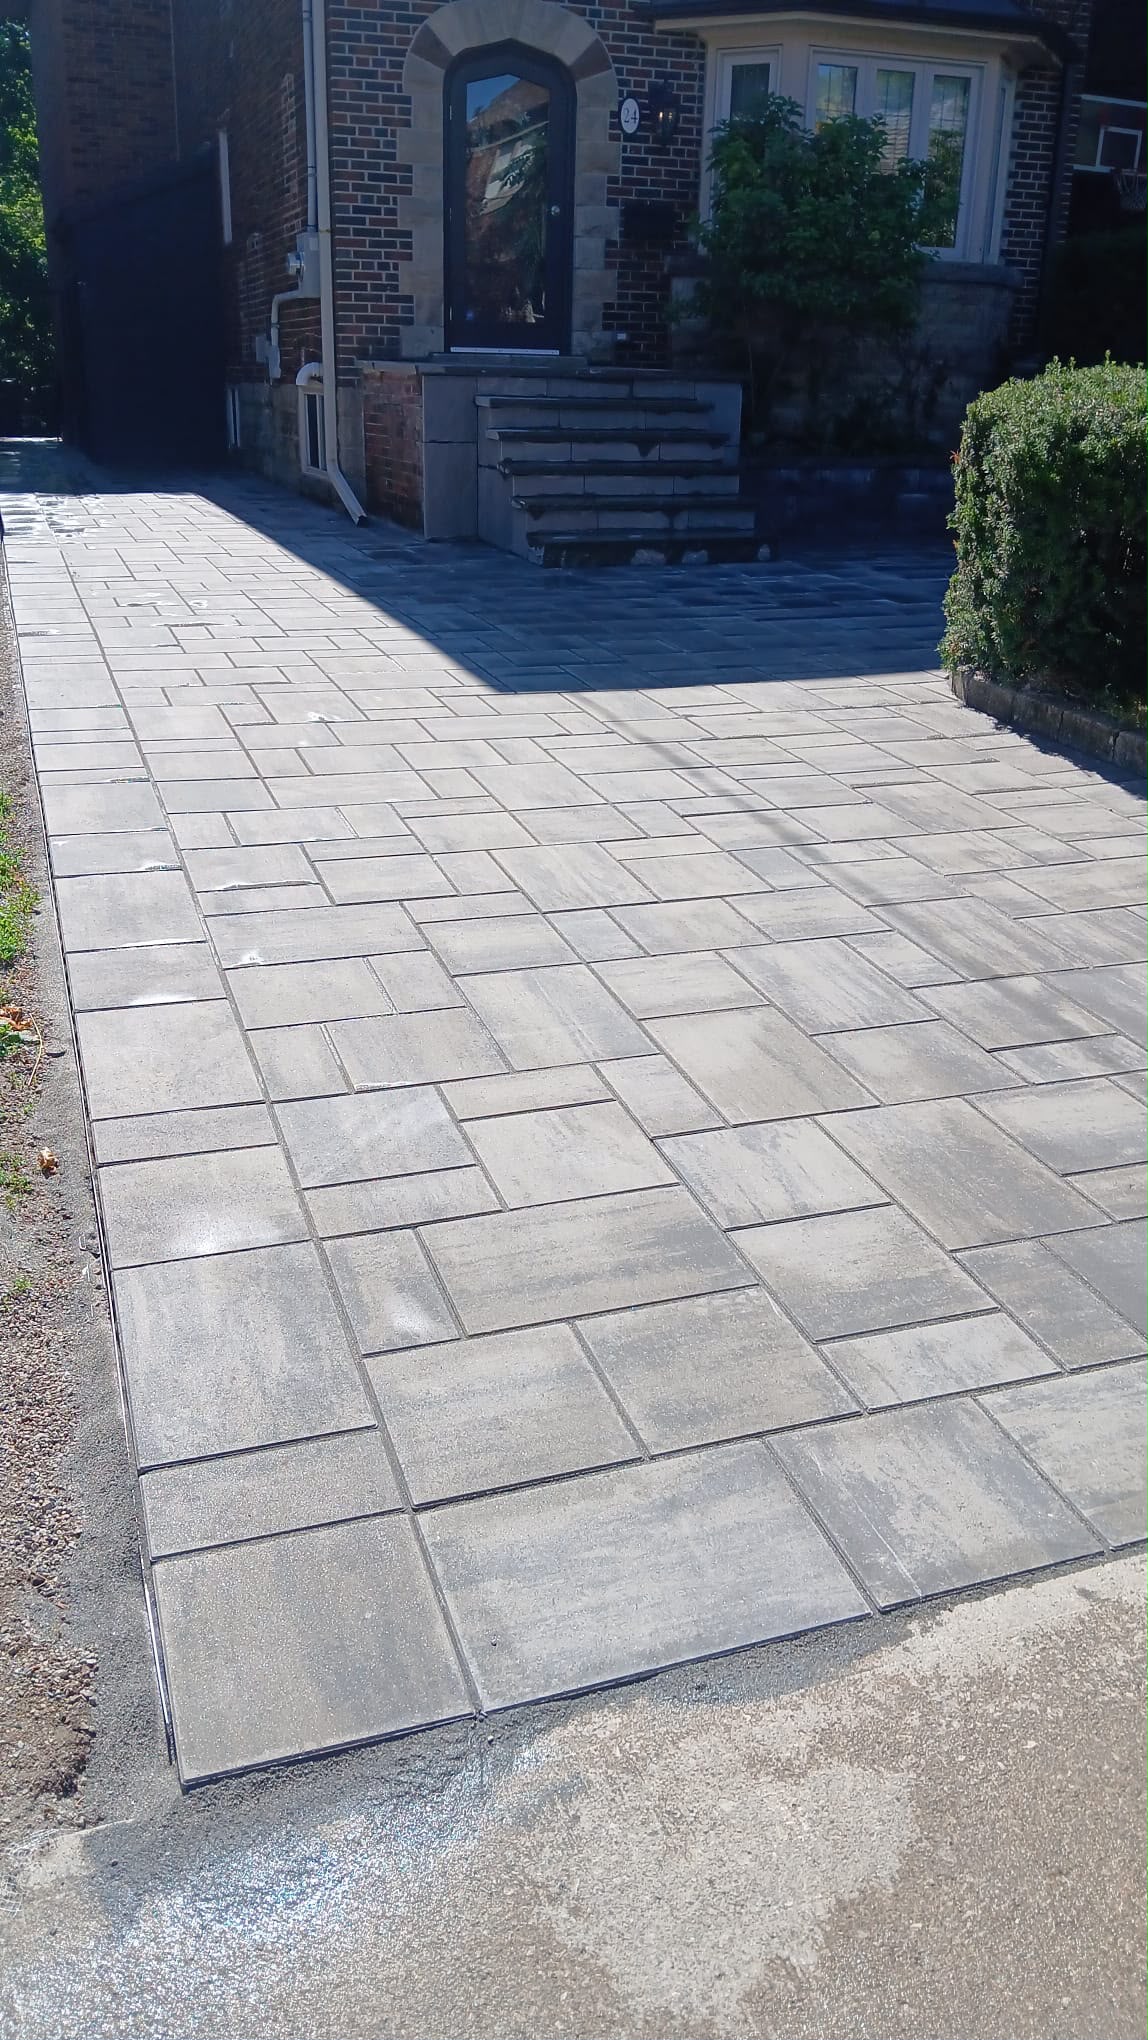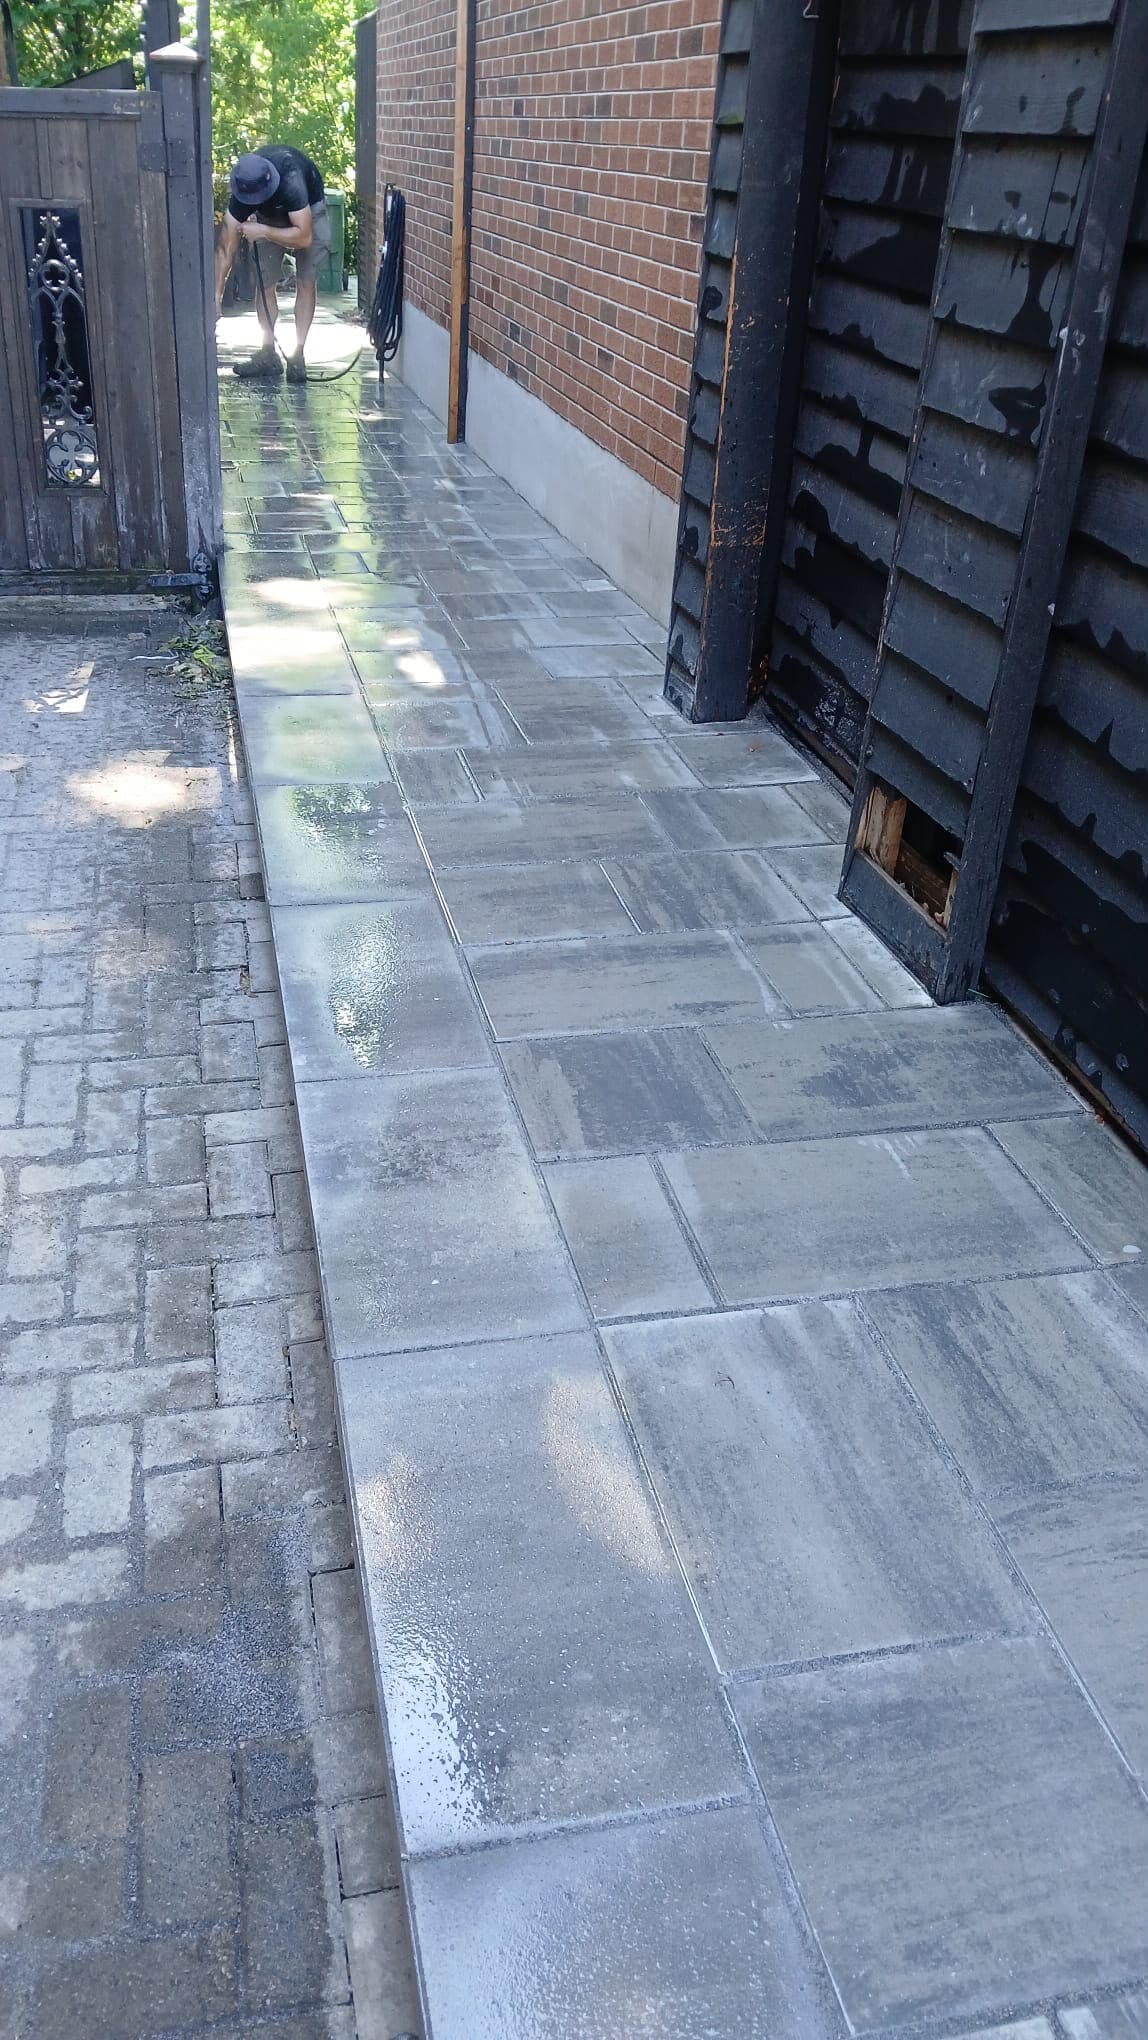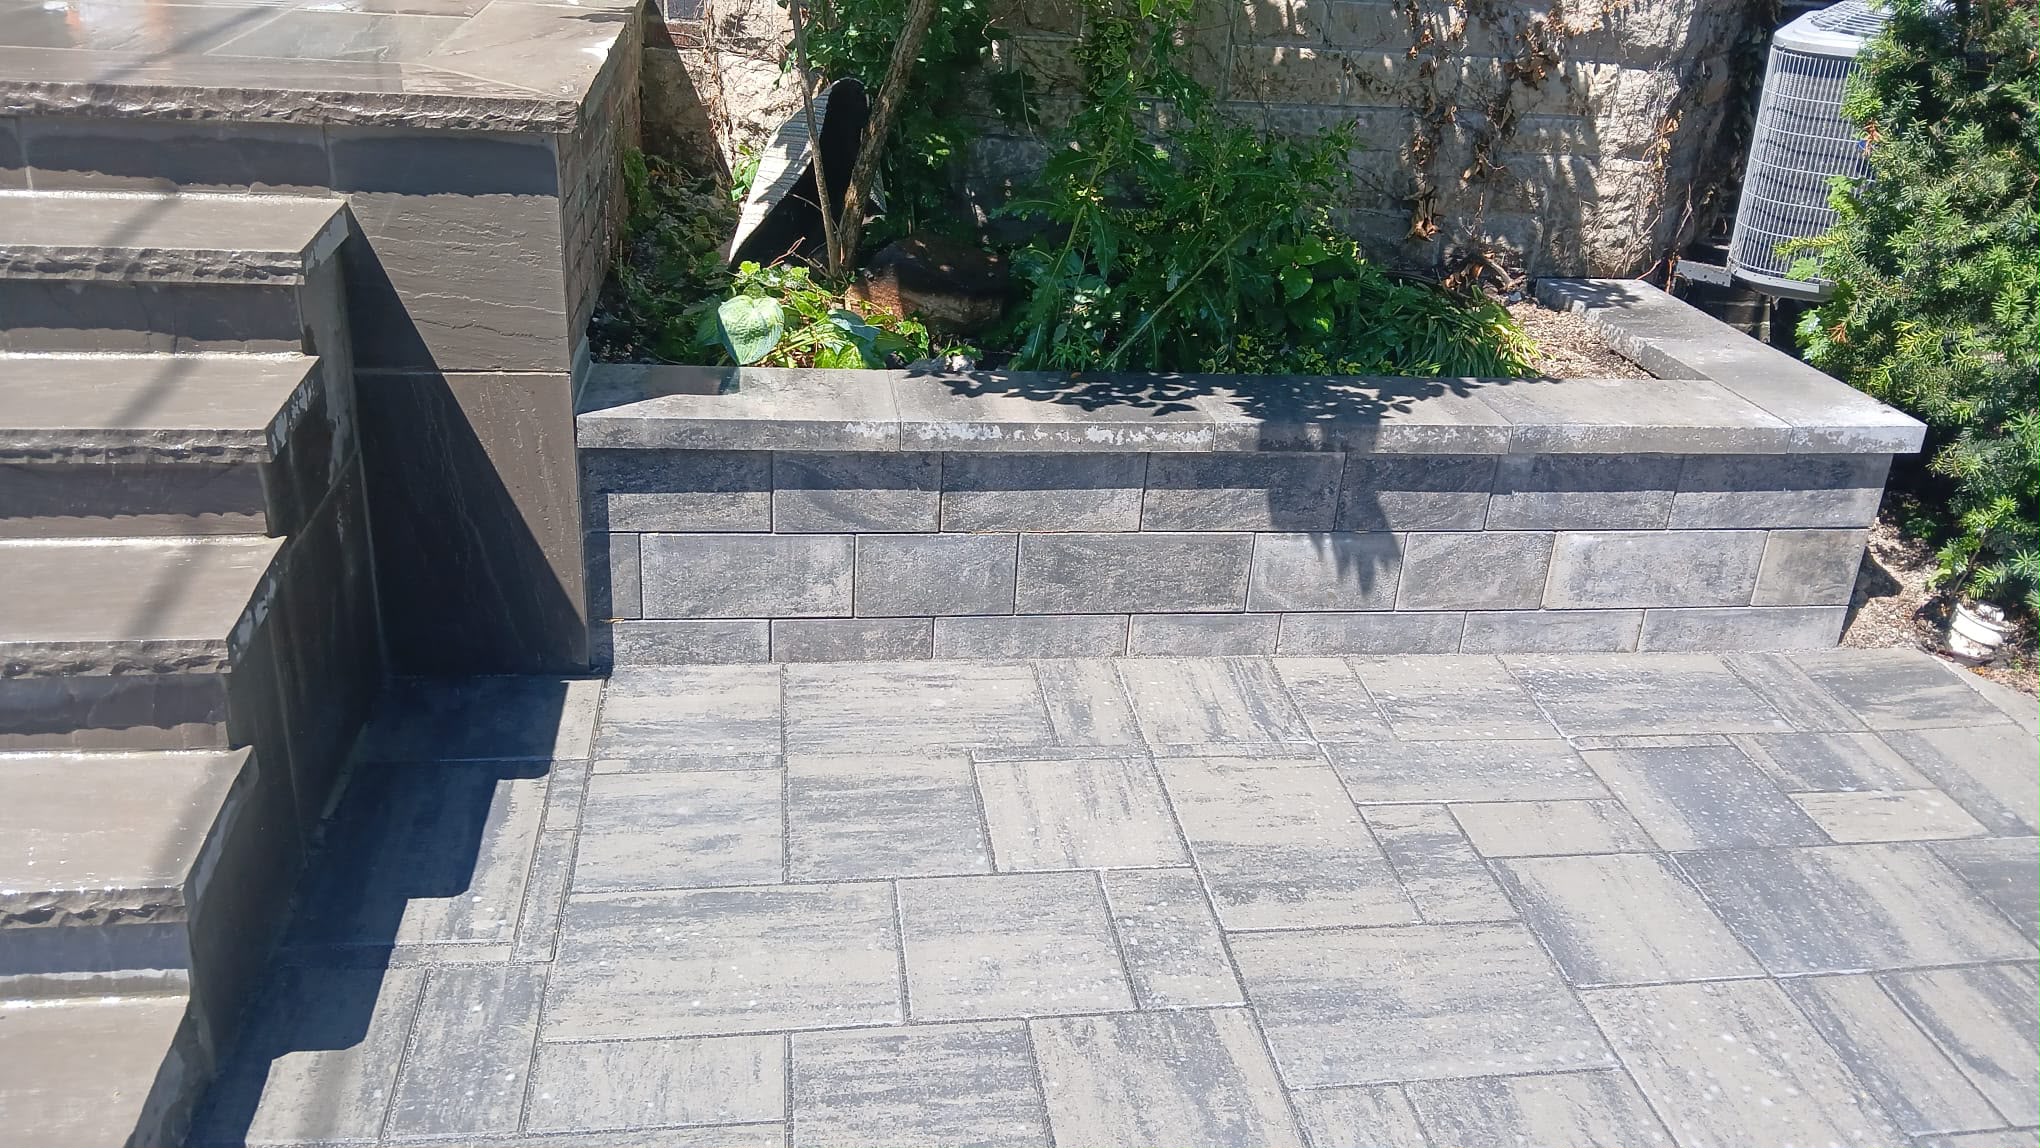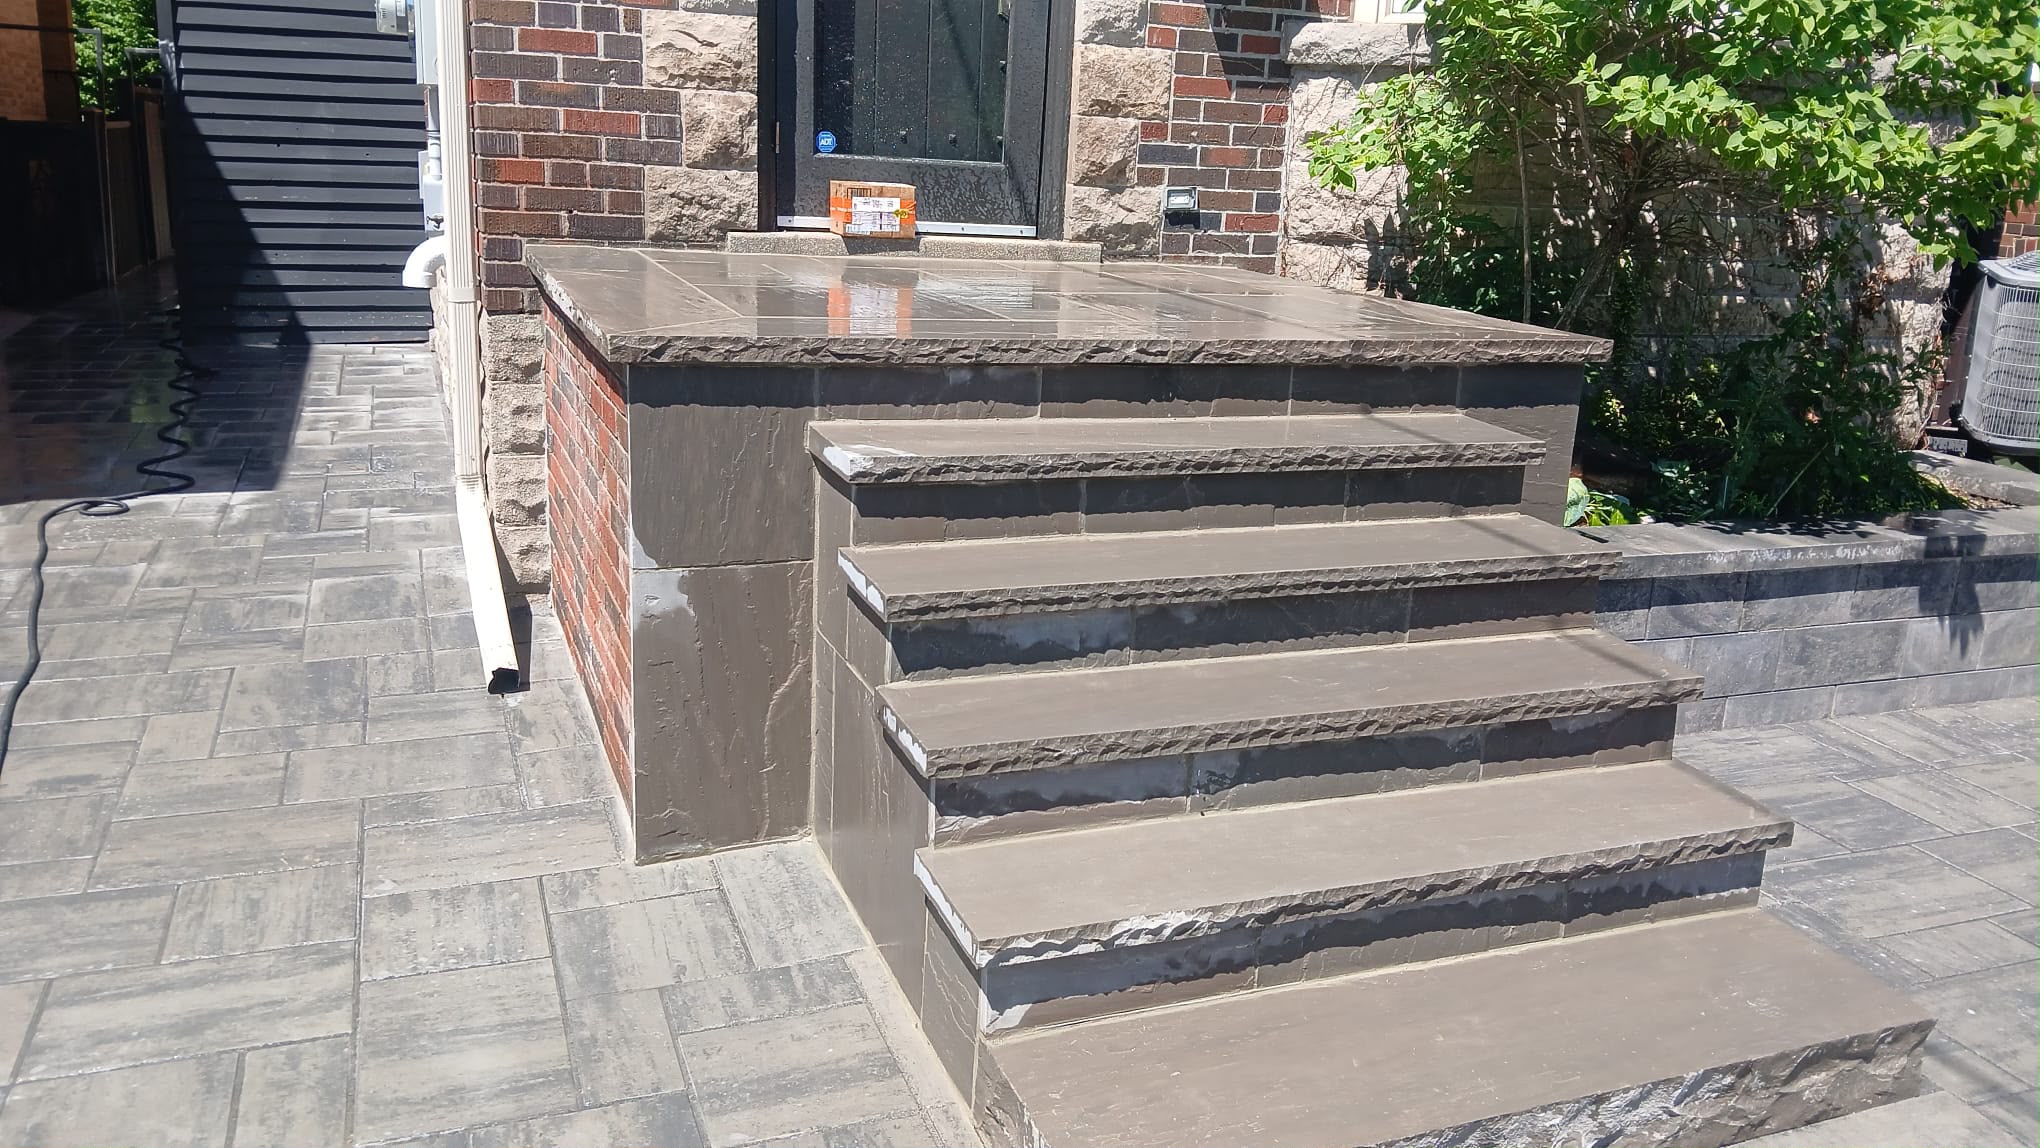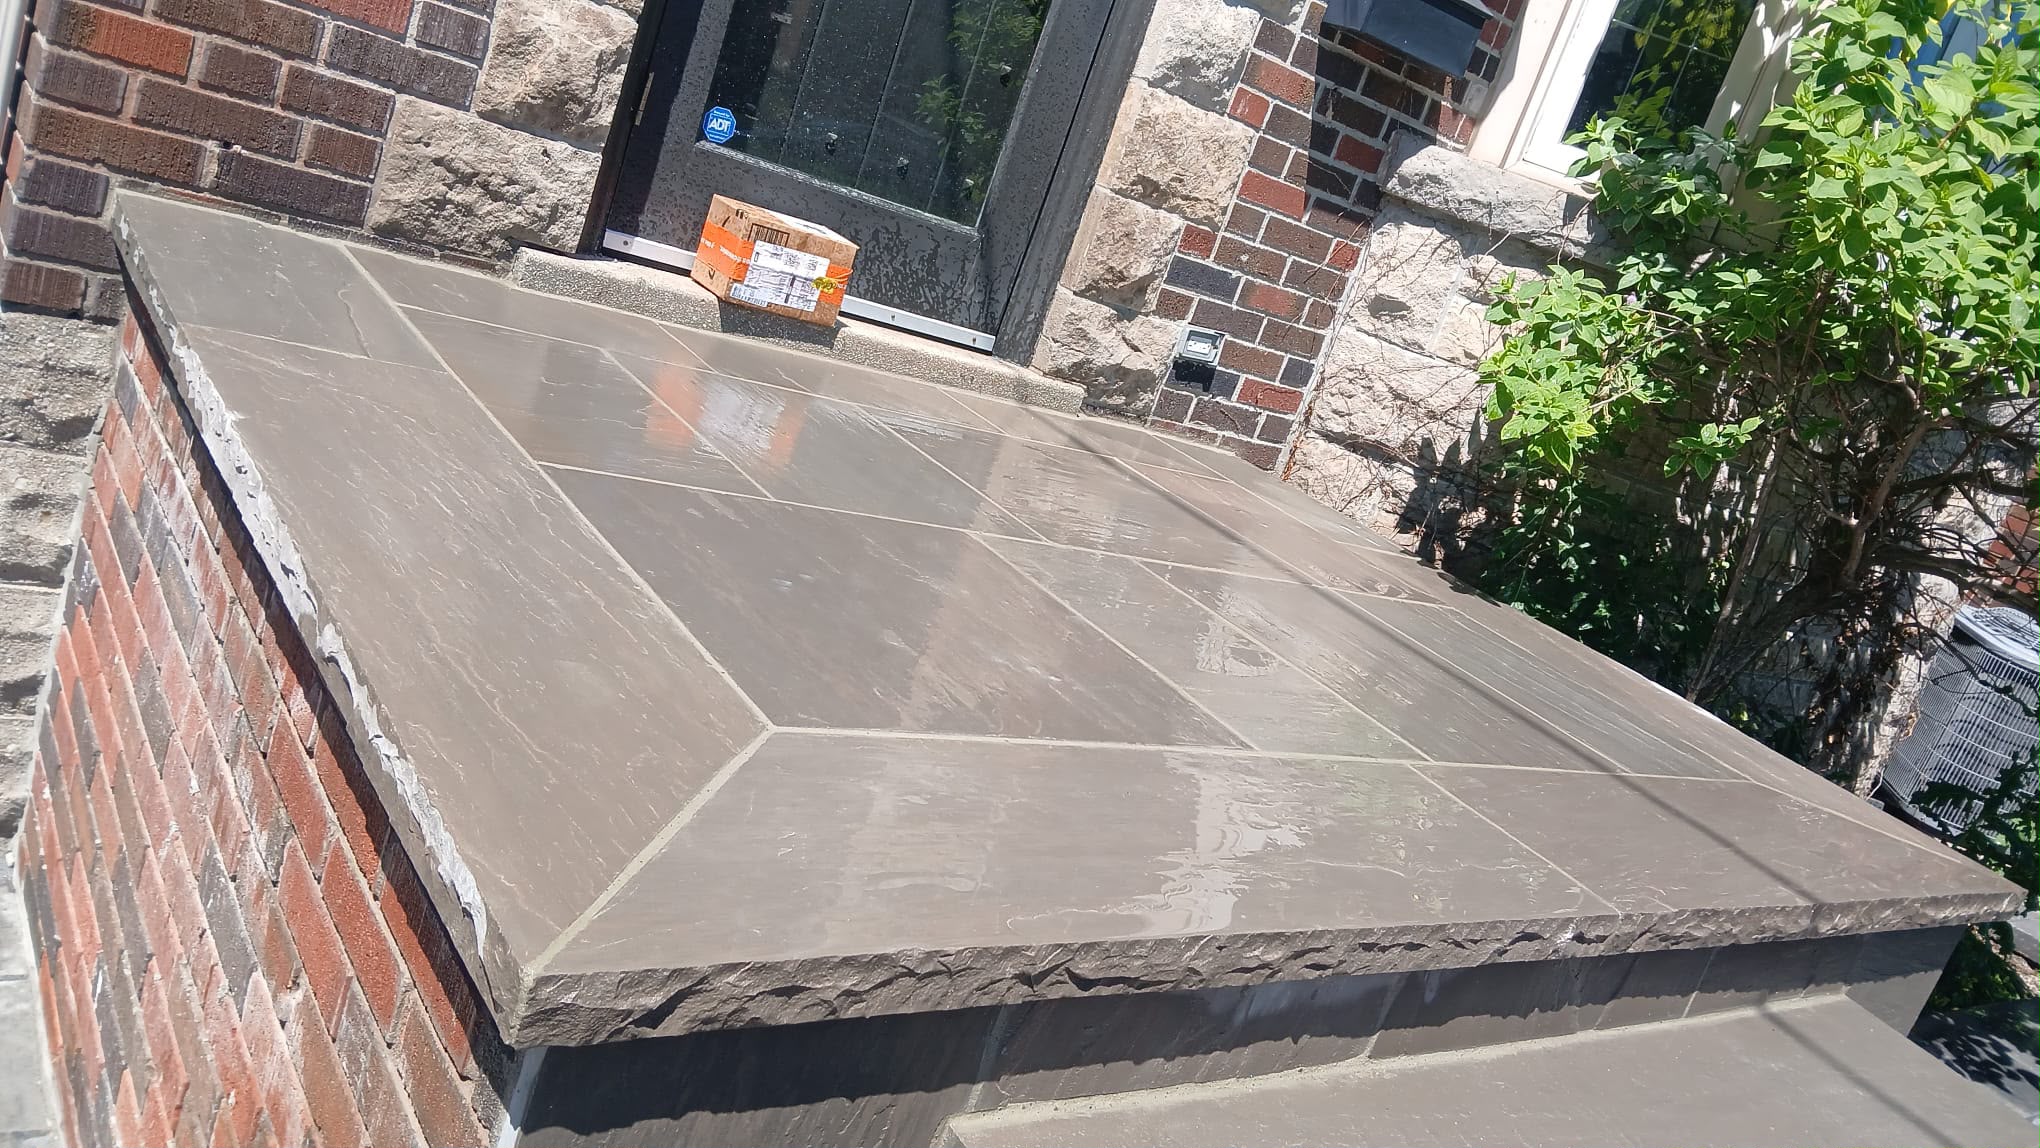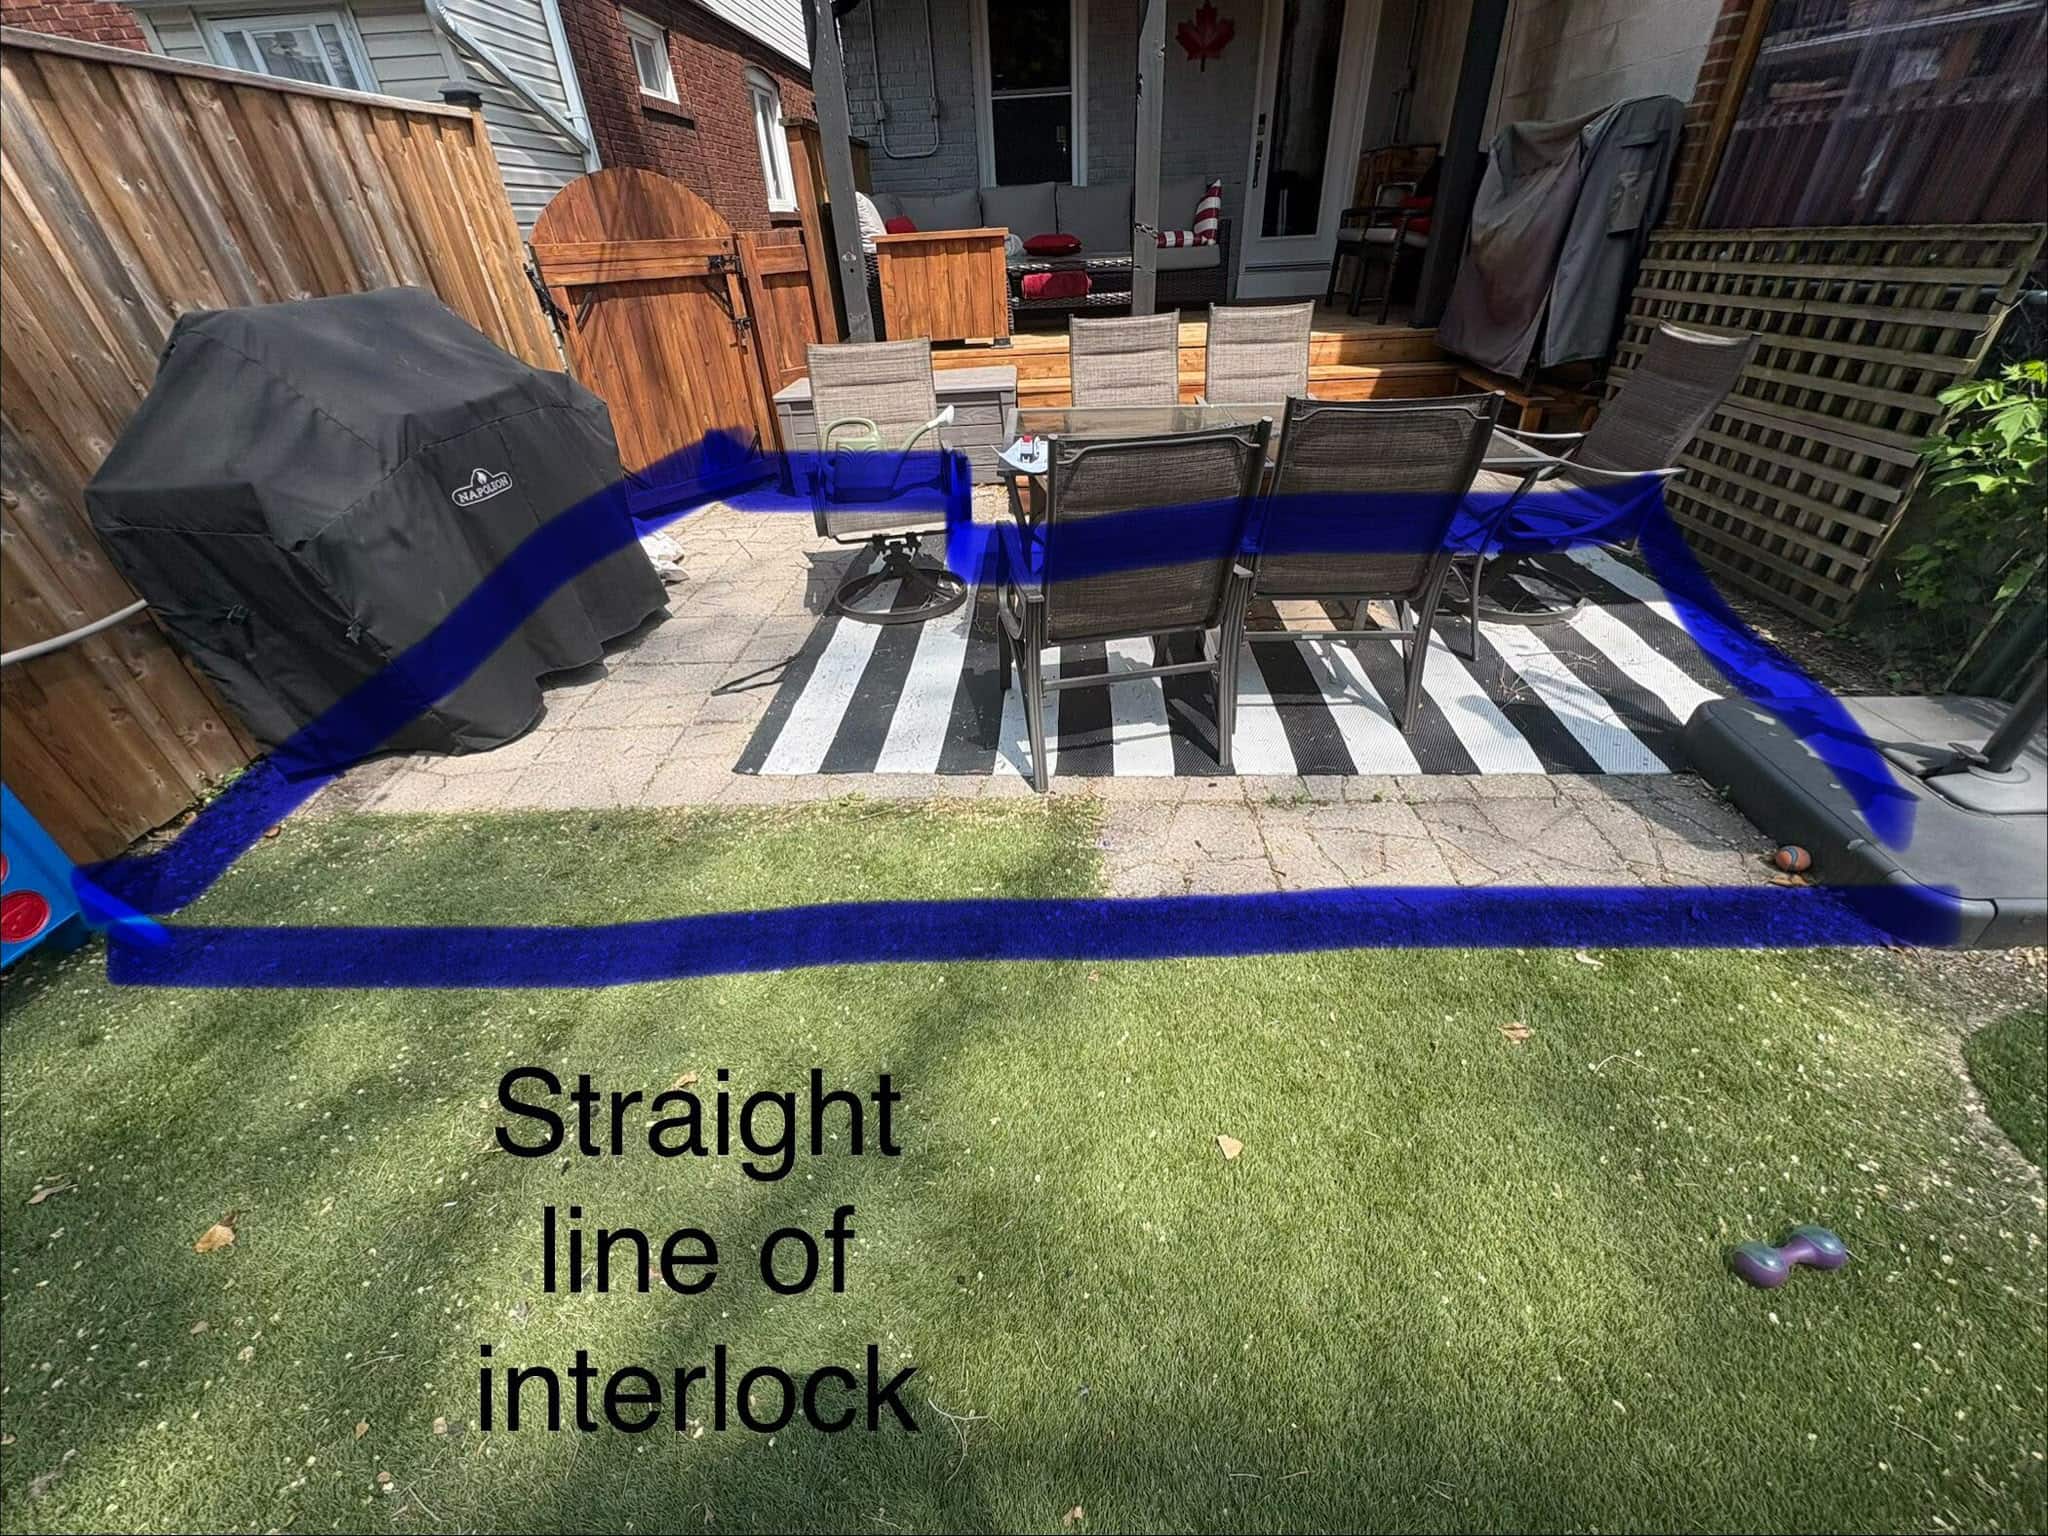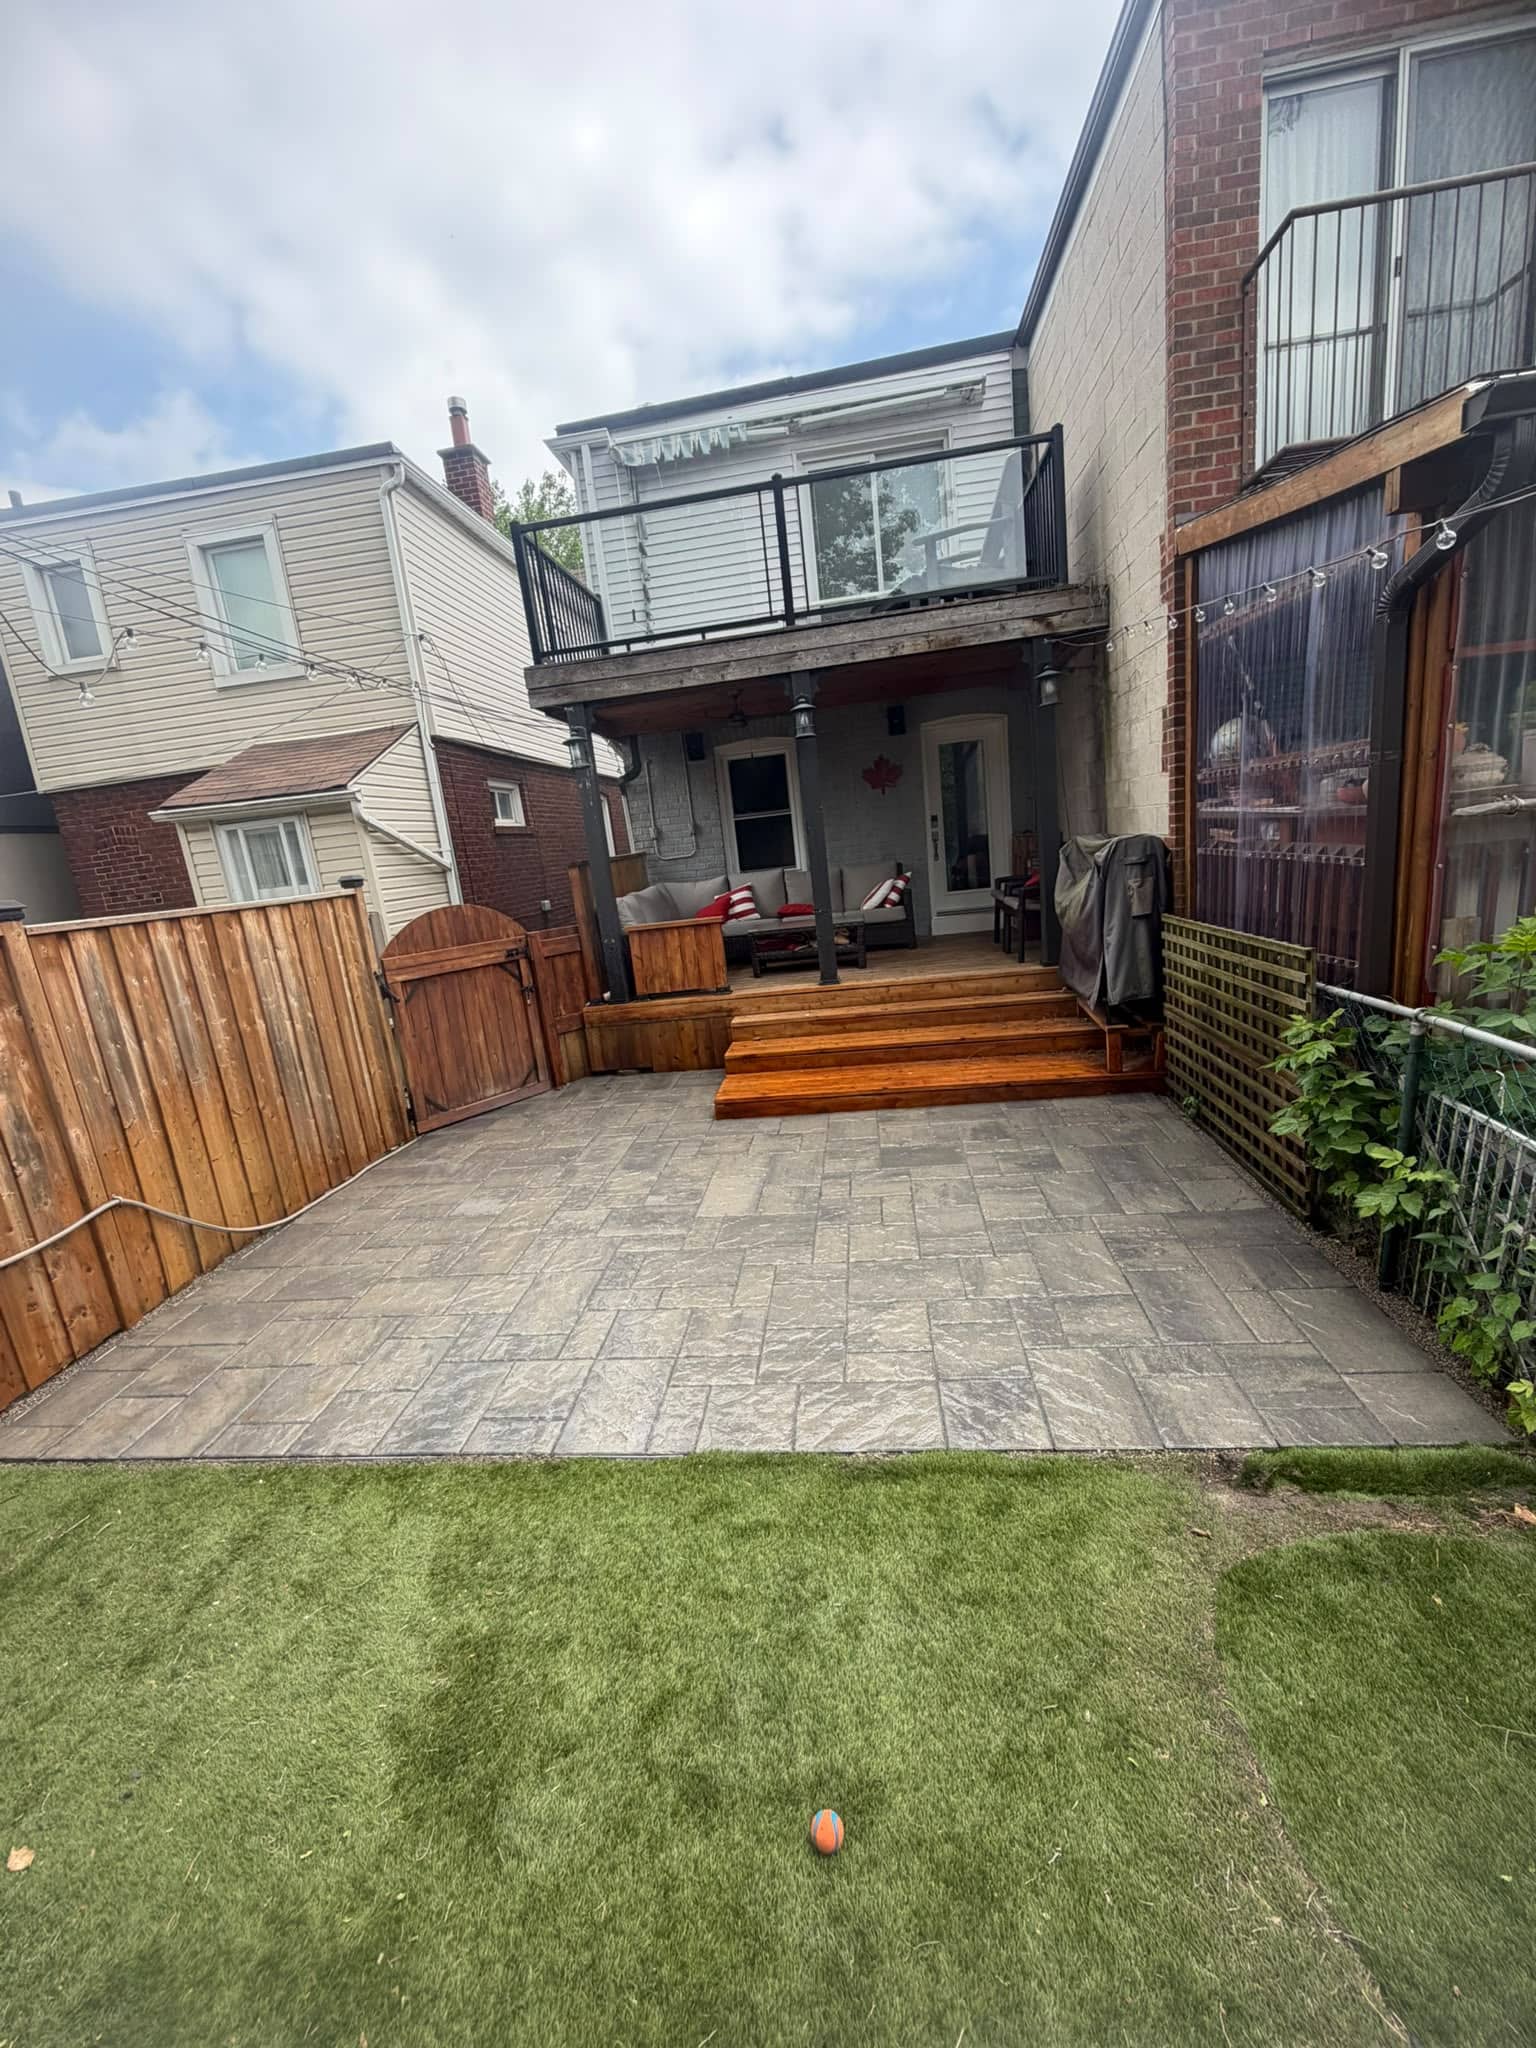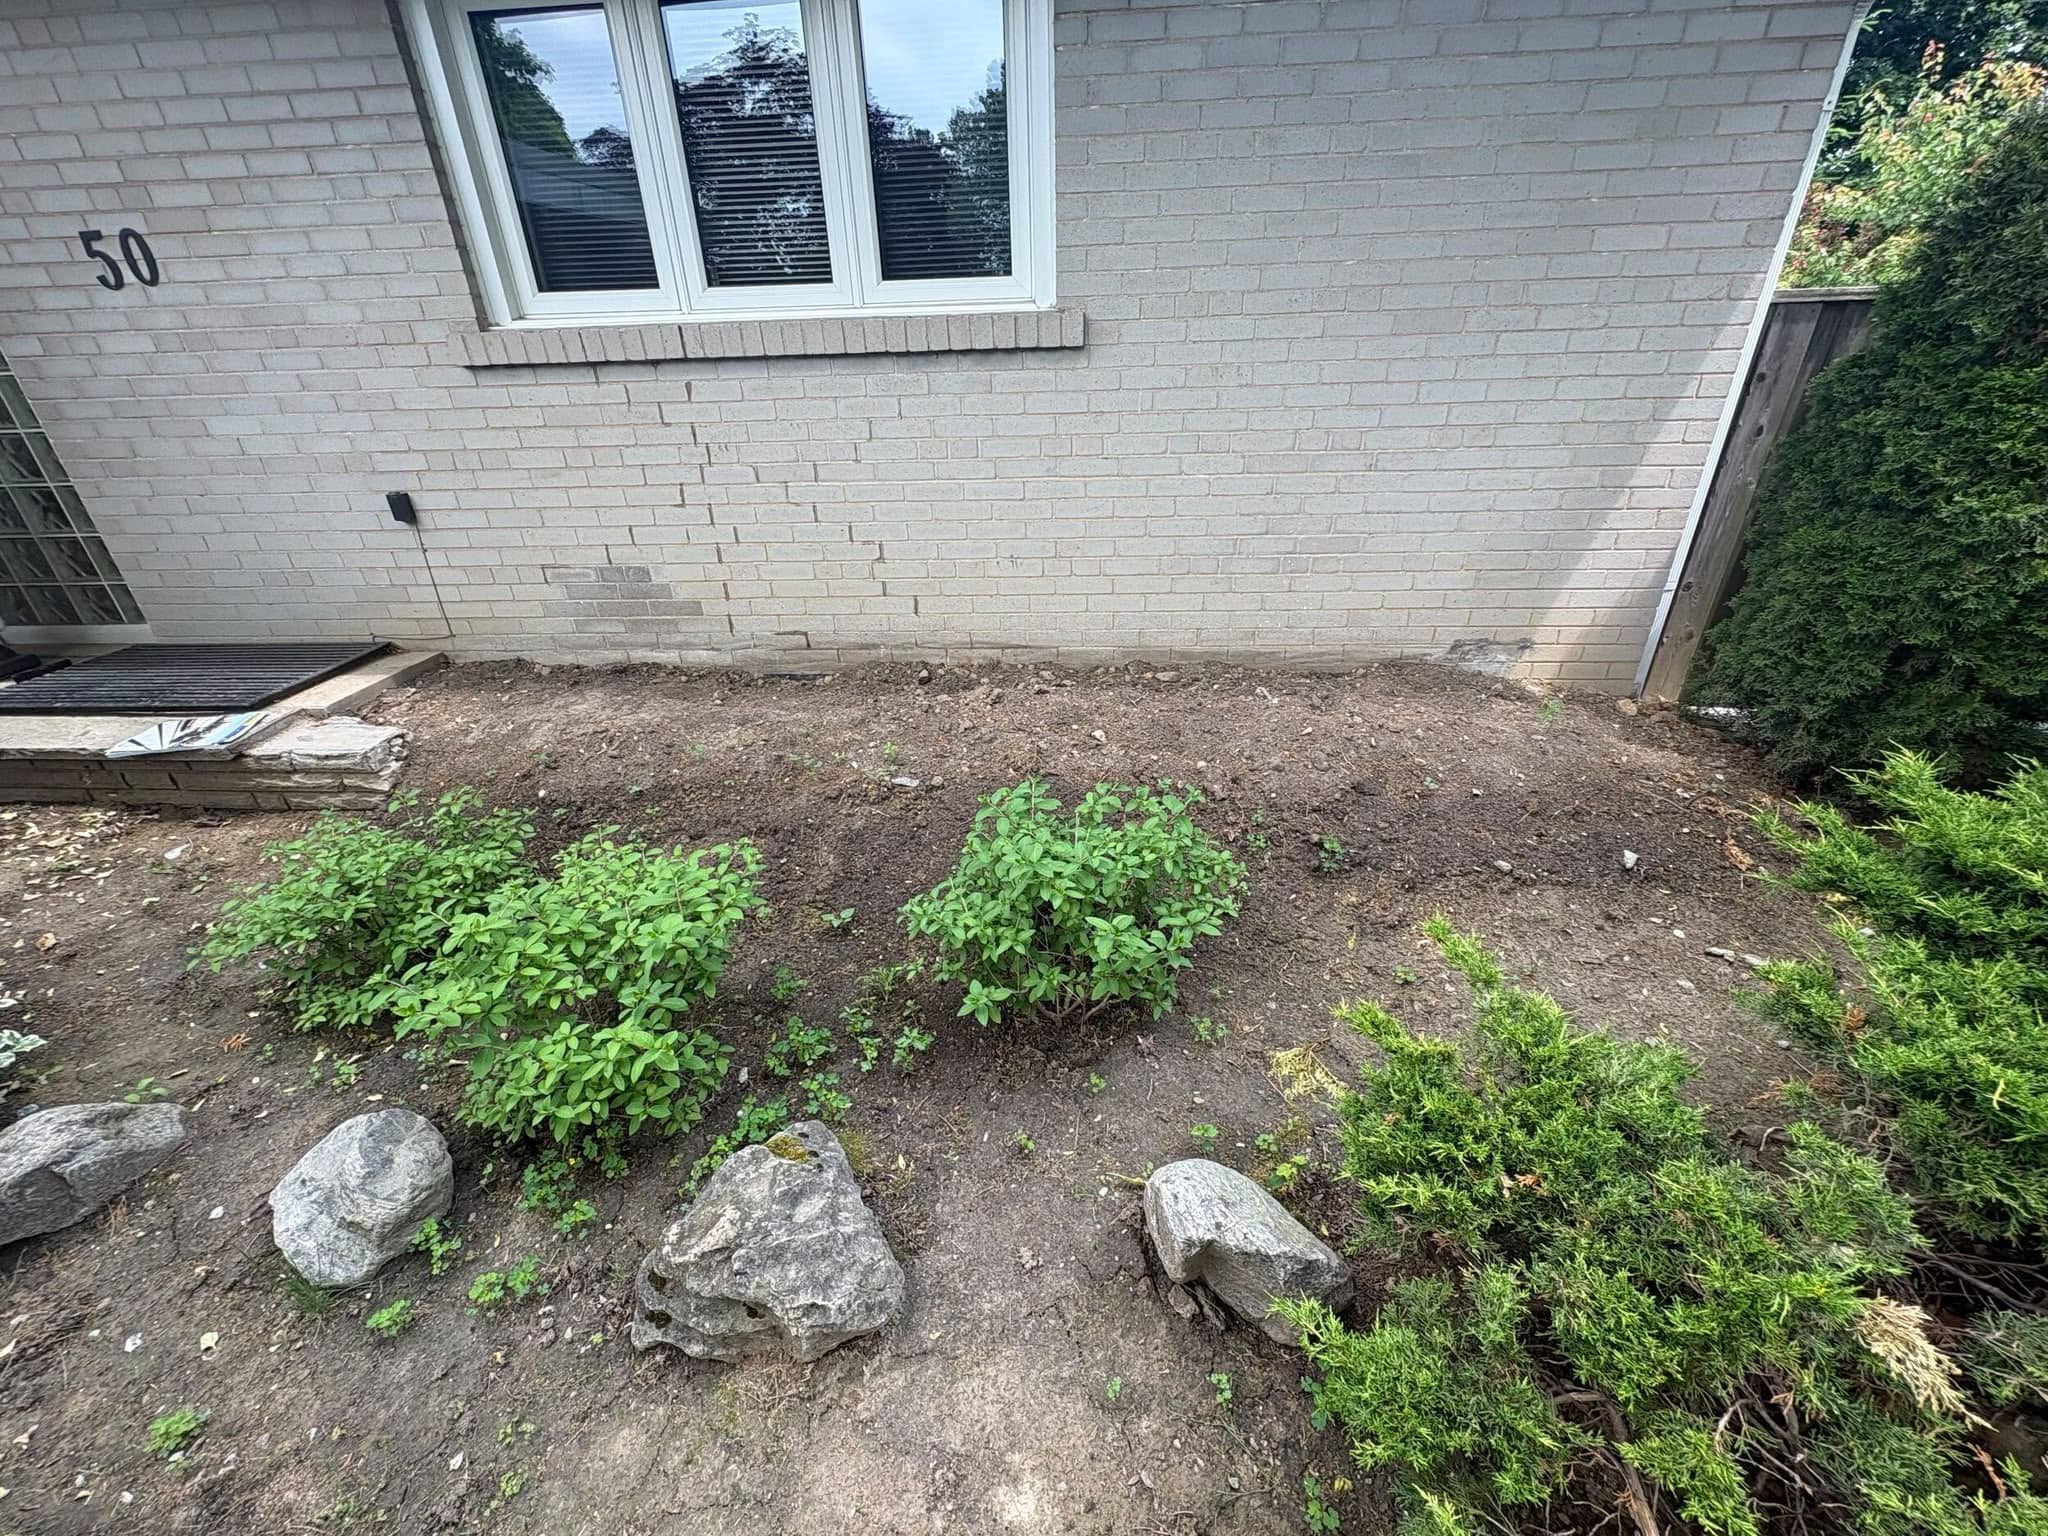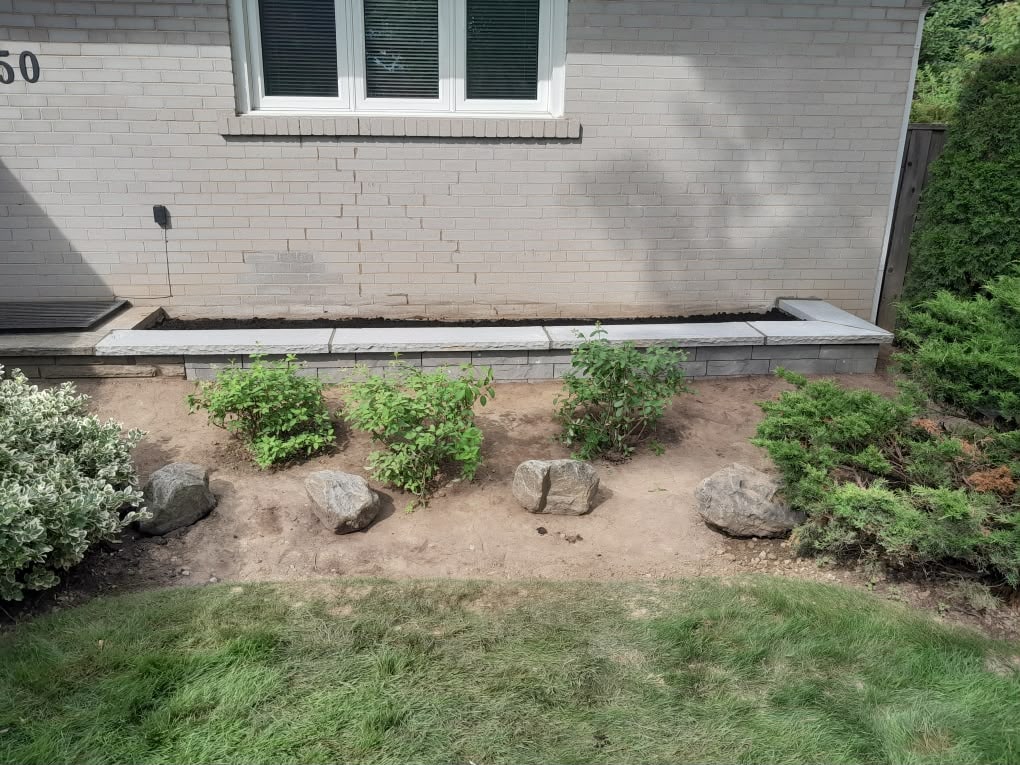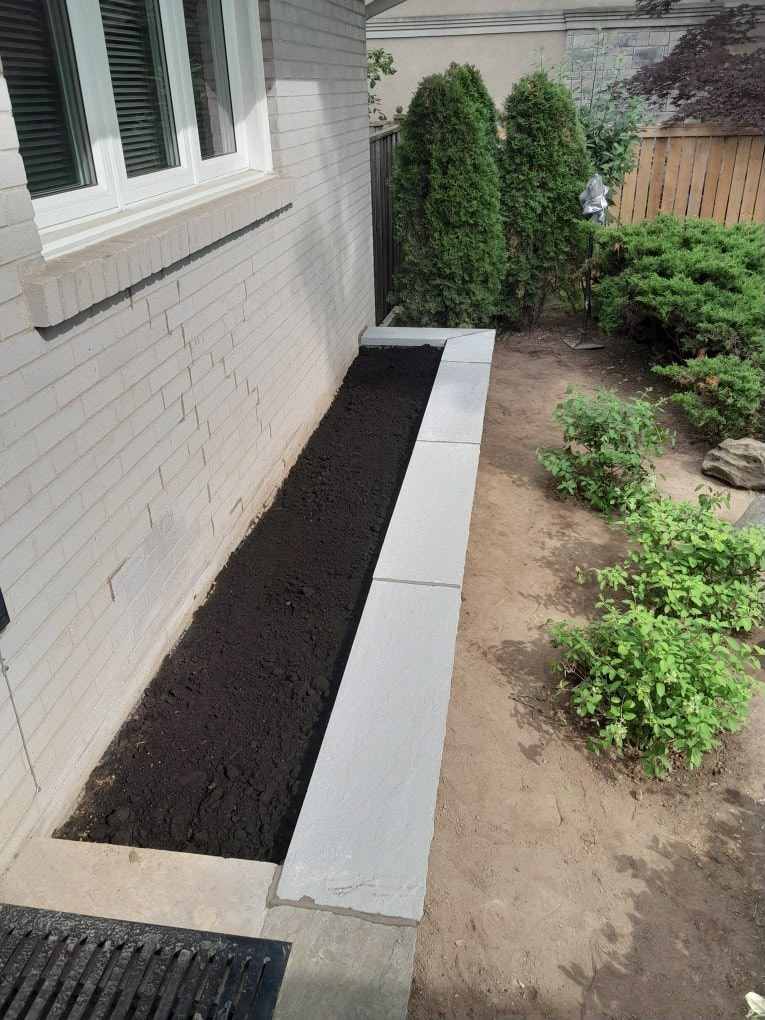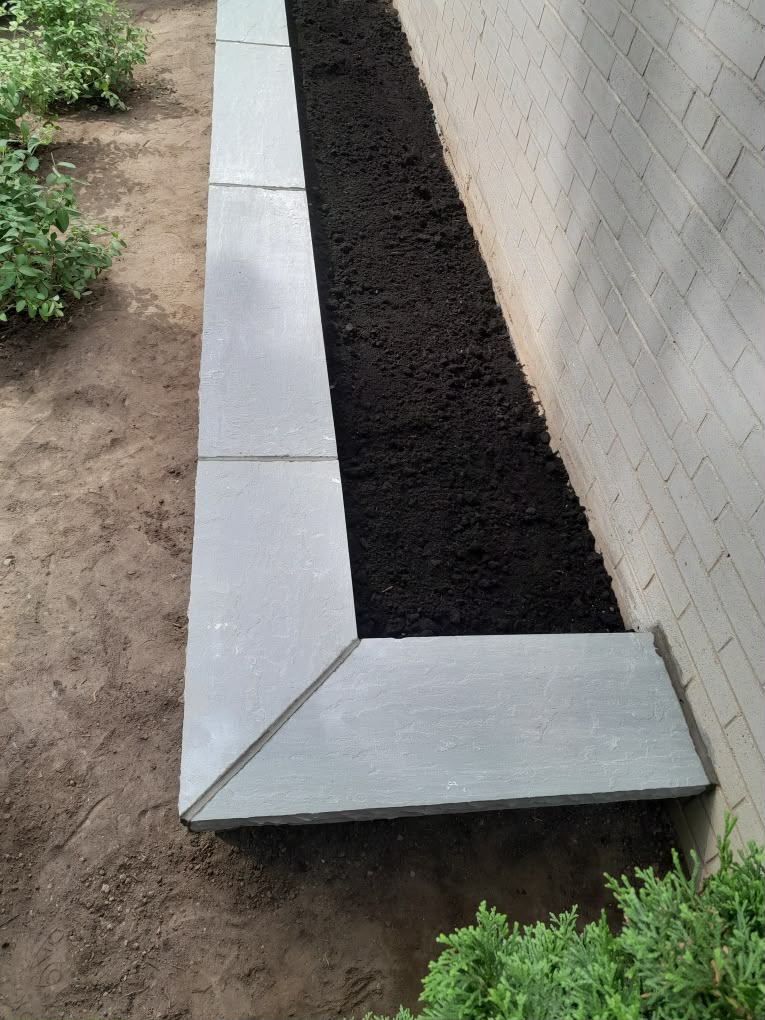

Cracks in concrete porches, steps, or walkways can compromise safety and aesthetics. At AA Masonry, we provide expert concrete step repair services in Toronto to restore your surfaces and prevent further damage.
Fixing concrete cracks is crucial to maintaining your home’s safety and value. Small cracks in driveways, walkways, or porches can turn into big problems if not fixed. Regular upkeep prevents small issues from developing into major structural problems.
This guide teaches you how to handle surface-level damage, pick the right materials, and when to call a pro. It focuses on important areas, such as driveways and foundations, to help you identify what to fix first.
Understanding Why Concrete Cracks Develop
Concrete cracks often signal deeper issues affecting safety and longevity. Recognizing their origins helps homeowners take timely action to avoid major repairs.
Common Causes of Concrete Deterioration
Environmental stress, poor installation, and overuse all lead to concrete deterioration. Key triggers include:
- Environmental factors: Freeze-thaw cycles, soil shifting, or humidity changes stress the concrete’s structure.
- Installation flaws: Poor mixing ratios, rushed curing, or weak reinforcement weaken concrete over time.
- Wear and Tear (Usage issues): Heavy foot traffic or uneven weight distribution can strain concrete beyond its limits.
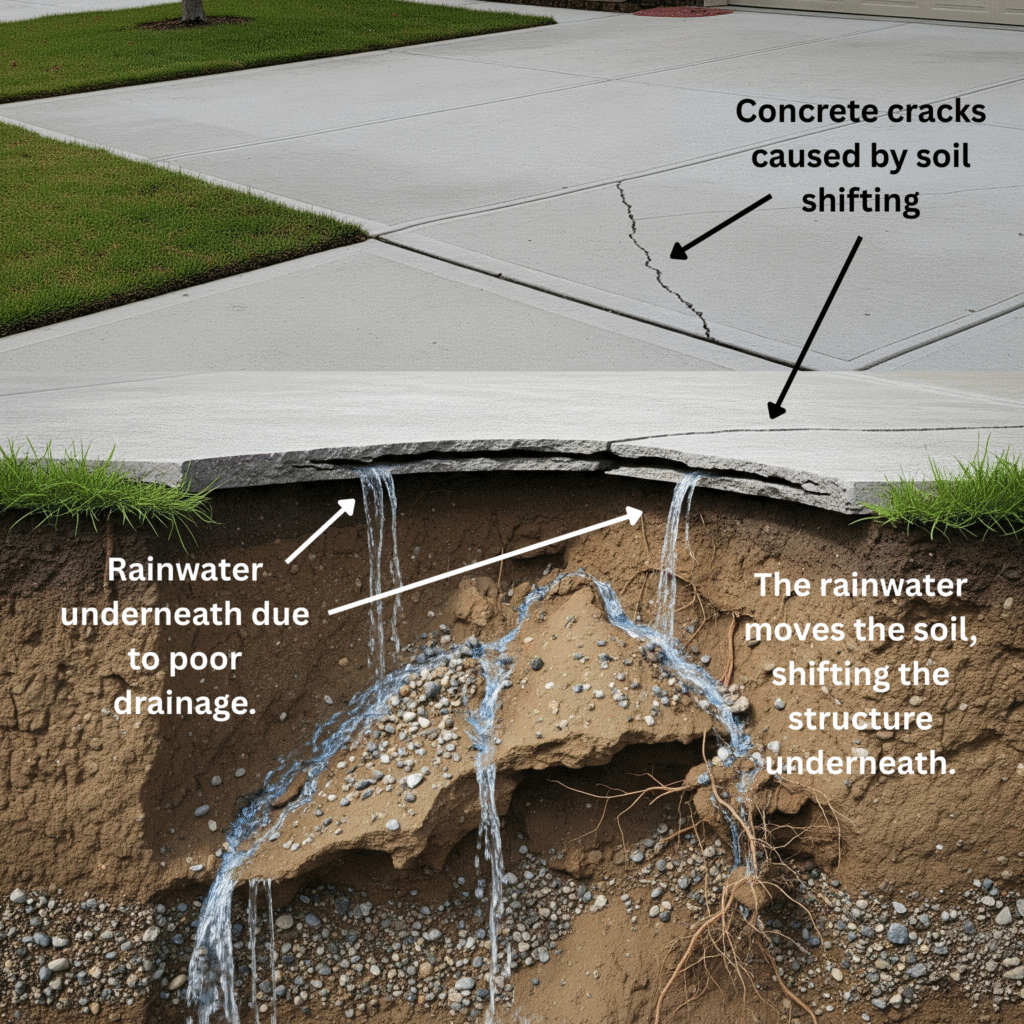
Different Types of Concrete Cracks and What They Indicate
Crack patterns vary by cause. Key types include:
- Shrinkage cracks: Fine lines from drying concrete, typically superficial.
- Settlement cracks: Wider gaps from uneven ground settling, often signalling instability.
- Vertical cracks may reflect soil movement, while horizontal cracks could indicate internal pressure.
When to Worry About Structural Issues
Some cracks signal urgent risks. Signs of structural concrete damage include:
- Cracks exceeding 1/8 inch in width or spreading rapidly.
- Cracks paired with sinking surfaces or tilting floors.
- Damage near building corners or foundation edges.
Professional inspection is critical if cracks appear in load-bearing areas or worsen after rain or heavy use.

Essential Tools and Materials for DIY Concrete Crack Repair
Fixing concrete cracks starts with the right concrete crack repair materials and repair tools. Homeowners need to know how to pick the best products for their cracks and projects.
There are three main concrete crack fillers on the market:
- Epoxy-based fillers for wide gaps over 1/8″ wide
- Polyurethane foams for areas that get a lot of water
- Acrylic concrete patching compounds for small surface cracks
Here are the must-have repair tools:
- Stiff-bristle wire brushes
- Masonry chisels and hammers
- Rubber scrapers and trowels
- Masking tape and painter’s brushes
Choosing the right material depends on the crack’s width and where it is:
| Type | Best Use |
| Epoxy fillers | Structural cracks in driveways |
| Polyurethane foam | Expansion joints and garage floors |
| Acrylic compounds | Walkways and patios |
Wearing safety gear, such as dust masks, gloves, and goggles, is key. You can find these materials at stores like Home Depot or Lowes. Always follow the instructions for mixing and drying times. Keep unused materials in a cool, dry place to keep them good to use.
Assessing Crack Severity: When to DIY vs. Call a Professional
Checking cracks correctly is key to fixing them safely and for the long haul. First, measure the cracks to see how deep and wide they are. Small cracks under 1/8 inch are often fixable with DIY concrete repair. However, larger cracks may require the services of professional concrete contractors to prevent hidden issues.
Hairline Cracks vs. Structural Concerns
Visible signs help make choices:
- Hairline cracks (less than 1/16 inch) are just for looks and can be sealed with filler.
- Cracks over 1/4 inch wide or chipped surfaces mean deeper issues. These might need rebar or concrete inspection by experts.
- Cracks spreading across joints or sinking slabs show structural problems. Getting a pro’s opinion is a must here.
Budget Considerations for Repair Projects
Costs vary. DIY concrete repair can cost between $20 and $50 for small cracks. However, larger jobs or repair costs for structural fixes can be $ 500 or more with professional help. DIY might save money upfront, but it could cost more if the cracks worsen.
Safety Precautions Before Starting Repairs
Keep yourself safe first. Wear gloves, masks, and eye protection. Make sure the surface is even before starting. If it feels unstable, stop and call a contractor. Always check for rebar or water damage before fixing.

Step-by-Step Concrete Crack Repair Methods for Small Damage
Small cracks in driveways or patios can often be fixed by yourself. Follow these steps for lasting repairs with concrete crack sealants and patching techniques.
Using Concrete Crack Sealants and Fillers
Clean the cracks well with a wire brush and a shop vacuum. For hairline crack repair, use a caulk gun with sealants like Loctite PL Premium or DAP Flex Seal. Remove any extra with a damp cloth.
- Polysulfide sealants resist water best
- Epoxy-based fillers bond well to uneven surfaces
Patching Techniques for Surface-Level Cracks
Mix 3 parts cement with 1 part masonry sand in a bucket. Use a trowel to apply the mix, feathering the edges. Finish with a damp sponge for a smooth look.
| Material | Application Method |
| Cement mortar | Spread in 1/4″ layers |
| Polymer-modified joint compound | Use for fine texture matching |
Drying Times and Curing Recommendations
Follow the product’s curing time for repairs. Most concrete curing needs 24-48 hours before water exposure. Keep the area off-limits for 7 days after.
| Material Type | Initial Set Time | Full Cure Time |
| Epoxy fillers | 4-6 hours | 24 hours |
| Cement-based patches | 1 hour | 7 days |
Keep the area warm during curing, above 70°F. Use plastic sheeting in cool weather to stop drying too soon. For tough cracks, you might need to apply more after 24 hours.
How to Repair Concrete Walkway Damage Like a Pro
Effective concrete walkway repair tips begin with addressing root intrusions and improving water drainage. Clear cracks with a wire brush before filling. For sidewalk crack repair, use epoxy or polyurethane foam for gaps over ¼ inch. Make sure slopes direct water away from structures to prevent future damage.
- Remove roots with a mason’s chisel. Undercut exposed roots to prevent regrowth.
- Chisel away crumbling edges to create a clean surface for filler. Clean thoroughly before application.
- Fill cracks in layers, letting each cure. Trowel the surface to match the existing texture.
Concrete path restoration requires cutting out uneven sections with a diamond blade saw. Pour new concrete, then texture-match with a broom or stamp. Annual inspections after winter help catch settling or cracks early. Apply a siloxane sealer every 3–5 years to protect against freeze-thaw cycles.
- Grade walkways to 1/4 inch per foot slope for proper drainage.
- Ensure ADA compliance by eliminating trip hazards over ¼ inch in height.
- Colour hardeners during patching ensure decorative finishes align with existing pathways.
Professional outcomes come from precise execution. Regular checks after heavy rains catch issues early, maintaining safe, long-lasting surfaces. Prioritizing walkway maintenance extends the walkway’s lifespan significantly.
Concrete Driveway Repair Steps: Tackling Large and Deep Cracks
Fixing large cracks in concrete driveways needs careful steps to make them strong again. First, check how deep and where the damage is. Heavy traffic areas need extra care. Here’s a step-by-step guide for lasting fixes:
- Prepare the damaged area: Start by cleaning with a 2,000-3,000 PSI pressure washer to get rid of dirt and oil. For tough stains, use TSP solution. Make cracks wider to 1/2 inch with a masonry chisel, creating a V shape for better filling. Clean edges with a wire brush to remove weak spots.
- Apply concrete reinforcement: For bigger gaps, add galvanized steel mesh or FRP. In deep cracks, use #4 rebar spaced 12 inches apart, securing it with epoxy. Before filling, apply a bonding agent to the surface.
- Finish for seamless integration: Fill the crack with a rapid-set concrete mix. Use a trowel to pack it in, then smooth with a darby. Texture the area to match the rest of the driveway. After it’s cured, seal it with silicone to keep moisture out. Check it yearly to catch any problems early.
Resurfacing your driveway also means checking the slope for good drainage. In cold areas, use calcium chloride to speed up repairs. Don’t seal until the repair is fully dry, usually 7-10 days. Keeping up with maintenance helps avoid expensive fixes later.
Solutions for Concrete Porch Repairs: Addressing Unique Challenges
Porch surfaces face weather and heavy use every day. They need special care. Fixing concrete porch issues means focusing on both strength and appearance. Decorative elements on porches require decorative concrete repair that matches the design.
Dealing with Corner and Edge Cracks
Corners and edges take the most stress. To fix these spots:
- Use fibre-reinforced repair mortar for extra strength
- Install metal corner guards to stop future cracks
- Apply joint sealant every 3-5 years for concrete porch maintenance
Making Repairs Invisible
Matching colour and texture needs careful work. Here are some tips:
- Test colourants on small areas first for a porch restoration that blends
- Use stamped overlay systems like QUIKRETE TextureCoat for pattern replication
- Apply acid stains to mimic existing hues before sealing
Fixing porch railings or column connections? Use epoxy-based adhesives for outdoor use. Regular checks of expansion joints and drainage are crucial for long-term porch health. Professional tools like Bosch SDS-plus rotary hammers help fix deep cracks without harming the structure.
How to Repair Concrete Steps: Safety and Aesthetic Considerations
Fixing concrete steps is all about safety and looks. Cracks or uneven surfaces can be dangerous. Using the right stair repair techniques can fix the damage and strengthen the structure. First, check for cracks, worn edges, and how water flows.
- Inspect and Clean: Start by brushing off dirt. Look for water damage, as it can weaken the steps.
- Apply Reinforcement: For concrete step reinforcement, fill cracks with epoxy or add rebar. Use strong mortar for gaps.
- Repair Edges: Fix chipped corners with step edge repair. Mix cement with fibres, shape well, and cure for 48 hours.
- Improve Drainage: Make sure water flows away from steps. Use channels if water gathers at the base.
| Issue | Recommended Method | Materials |
| Crumbling Edges | Edge repair with cement mix | Quikrete All-Purpose Patching Compound, fibreglass mesh |
| Vertical Cracks | Epoxy injection and bonding | Mactac CrackWeld Epoxy, carbon fibre strips |
| Structural Separation | Anchoring with rebar | Redi-Mix Rebar, expansion joint sealant |
After fixing, check if the risers are even to avoid tripping. Add grit to wet spots during curing. Ensure compliance with local building codes for handrails. The right way to repair concrete steps ensures they remain safe and look good.
Weatherproofing After Repairs: Extending the Life of Your Concrete
Protecting repaired concrete from the weather is key to its longevity. Using the right concrete weatherproofing and upkeep can stop new cracks. Here’s how to keep your concrete safe.
Sealant Options for Different Climates
Sealants must match your area’s challenges. Coastal spots need salt-resistant ones, while cold areas need freeze-thaw protection. Here are some top picks:
| Sealant Type | Best For | Top Brands |
| Penetrating Sealers | Coastal (salt corrosion) | Drylok, Siloxa-Tek |
| Acrylic Coatings | Mountain regions (freeze-thaw cycles) | V versa, Lifetime |
| Epoxy Systems | High-traffic driveways | Epoxee, HercuLiner |
Seasonal Maintenance Recommendations
Follow a concrete maintenance schedule to keep it strong all year:
- Spring: Clean with a stiff brush and mild soap.
- Summer: Hose down weekly to fight algae. Don’t pressure wash too soon after repair.
- Winter: Use de-icer carefully; calcium chloride is better than rock salt.
Apply sealants before the first freeze for freeze-thaw protection. In hot areas, use UV-resistant coatings like Siloxa-Tek 550.
| Season | Action |
| Spring/Fall | Check for new cracks monthly |
| Winter | Apply sealant treatments |
| Summer | Look for efflorescence buildup |
Coastal homes need to rinse off salt every three months. Mountain homes should use concrete sealants for -40°F. Regular checks can make repairs last 11+ years, says the Portland Cement Association.
Preventing Future Concrete Damage: Smart Homeowner Strategies
Preventing concrete damage starts with taking care of it early. Ensuring that water doesn’t pool near foundations is crucial. Installing French drains or relocating downspouts away from slabs can be beneficial.
Additionally, compacting the soil before laying new concrete is crucial. This stops soil from shifting and causing cracks. Loose soil can make concrete settle unevenly, leading to cracks.
Adding fibre mesh to concrete makes it stronger. Using products like Quikrete Fibre-Mesh Concrete Mix helps prevent small cracks. Checking drainage systems often stops roots from damaging concrete.
It’s also important not to overload driveways. They should only handle 40 psi. Using de-icing products like Calcium Chloride instead of rock salt helps avoid chemical damage in winter.
Regularly sweeping expansion joints allows concrete to move naturally. This helps it last longer. Checking for settling or drainage problems often catches issues early.
Applying sealants like DryLok Concrete Sealer every three years keeps moisture out. Smart landscaping, like sloping lawns, helps keep water away from walkways.
These steps make maintenance a worthwhile investment. While they might cost a bit upfront, they save a lot in the long run. Taking care of concrete early keeps it safe and functional for years.
Our Repair Process
- Inspection: We assess the crack’s depth and cause to determine the best approach.
- Cleaning: Debris is removed to ensure proper adhesion of repair materials.
- Filling: We use high-quality epoxy or polyurethane fillers for durability.
- Sealing: Applying the best concrete sealer for freeze–thaw protects against future damage.
Maintenance Tips
- Regularly clean your concrete to prevent dirt buildup.
- Reapply sealers every 2–3 years to maintain protection.
- Address small cracks early to avoid costly repairs.
Why Repair Your Concrete?
Timely repairs extend the life of your porch or steps, saving you from full replacements. For comprehensive porch conversion Toronto options, visit our Porch Repair & Wood Porch Conversion Services guide.
FAQs
What is the best method for concrete crack repair?
The best way to fix concrete cracks depends on the size and type of the crack. For tiny cracks, a sealant or filler works well. But for bigger cracks or structural problems, epoxy or polyurethane might be better. Always clean the area well and follow the instructions for the material you choose.
How can I repair a concrete walkway that has uneven sections?
To fix an uneven walkway, first find out why it’s uneven. It might be roots or water. Use a grinder to even out the surface or fill in low spots with a patching compound. Ensure it drains well to prevent future issues. You can also use a lightweight material for a nice finish.
What materials do I need for concrete porch repair?
For fixing a concrete porch, you’ll need a few things. You’ll need a patching compound for cracks, bonding agents for sticking, and a sealant for protection. You’ll also need tools like trowels, chisels, and mixing containers for applying the materials.
How do I assess if a concrete driveway crack requires professional attention?
If a driveway crack is over 1/4 inch wide, shows displacement, or looks like it’s failing, get a pro. Think about your budget and safety when deciding to fix it yourself or call a contractor.
What steps should I take to repair concrete steps?
To fix concrete steps, first check for cracks or crumbling. Clean the area with a wire brush, then use a patch or filler as needed. Reinforce the joints and make sure it drains well. Keep the risers the same height for safety and add non-slip surfaces for better grip.
What are some tips for extending the life of repaired concrete?
To make repaired concrete last longer, apply a sealant that fits your local weather. Clean and check for new cracks seasonally. Use preventative measures like good drainage and avoid heavy loads on fixed areas to prevent damage.
Can I use the same concrete crack repair techniques for all types of damage?
No, different types of damage need different fixes. Small cracks can be sealed, but bigger ones might need patching and reinforcement. Always choose the right method and materials for the damage you’re dealing with.
How do I match the colour and texture of existing concrete during a repair?
To match the colour and texture, use colour additives in your patching compound. For texture, use stamps or brushes to match the surface. Test on a small area first to get it right.
What are some common causes of concrete cracking?
Concrete cracks often come from environmental factors like freezing and thawing, bad installation, too much weight, and moisture. Soil movement or erosion can also cause cracks over time.
Related Services and Resources
- Need concrete step repair? Check out our Concrete Steps & Walkways service page.
- Explore Interlocking Steps for a modern, durable alternative.
- Learn about protective coatings in Types of Concrete Sealers.
- Discover material options in Different Types of Concrete.
Contact AA Masonry for professional concrete crack repair in Toronto today!
AA Masonry’s concrete repair services in Toronto & GTA
Noticed cracks in your concrete? Keep your home safe and looking its best with expert repairs from AA Masonry. Serving Toronto and the GTA, we provide reliable and lasting concrete repair solutions. Contact us today at or contact A&A Masonry for a free consultation.