Through-Wall Flashing Repair in Toronto & the GTA
A&A Masonry provides through-wall flashing repair in Toronto and the GTA. We assess visible water-entry symptoms and related masonry conditions, then discuss access, further investigation and suitable repair details.
Explore our commercial masonry services in Toronto and the GTA.
Why Through-Wall Flashing Fails
Flashing and drainage concerns that may warrant assessment include:
Cracked Drip Edges
Cracked drip edges allowing water to run back.
Clogged Weep Holes
Clogged weep holes trapping moisture.
Deteriorated Sealant Joints
Deteriorated sealant joints in the through-wall.
Corrosion
Corrosion of metal flashing.
Missing Termination
No seal at roof or parapet.
Related moisture concerns may also involve our industrial building waterproofing in Toronto service. The appropriate work depends on the source of water entry and the building’s condition.
Common Flashing Failure Signs in Toronto Buildings
Toronto’s climate—freeze-thaw cycles, high humidity, and urban pollution—accelerates flashing breakdown. Typical warning signs include:
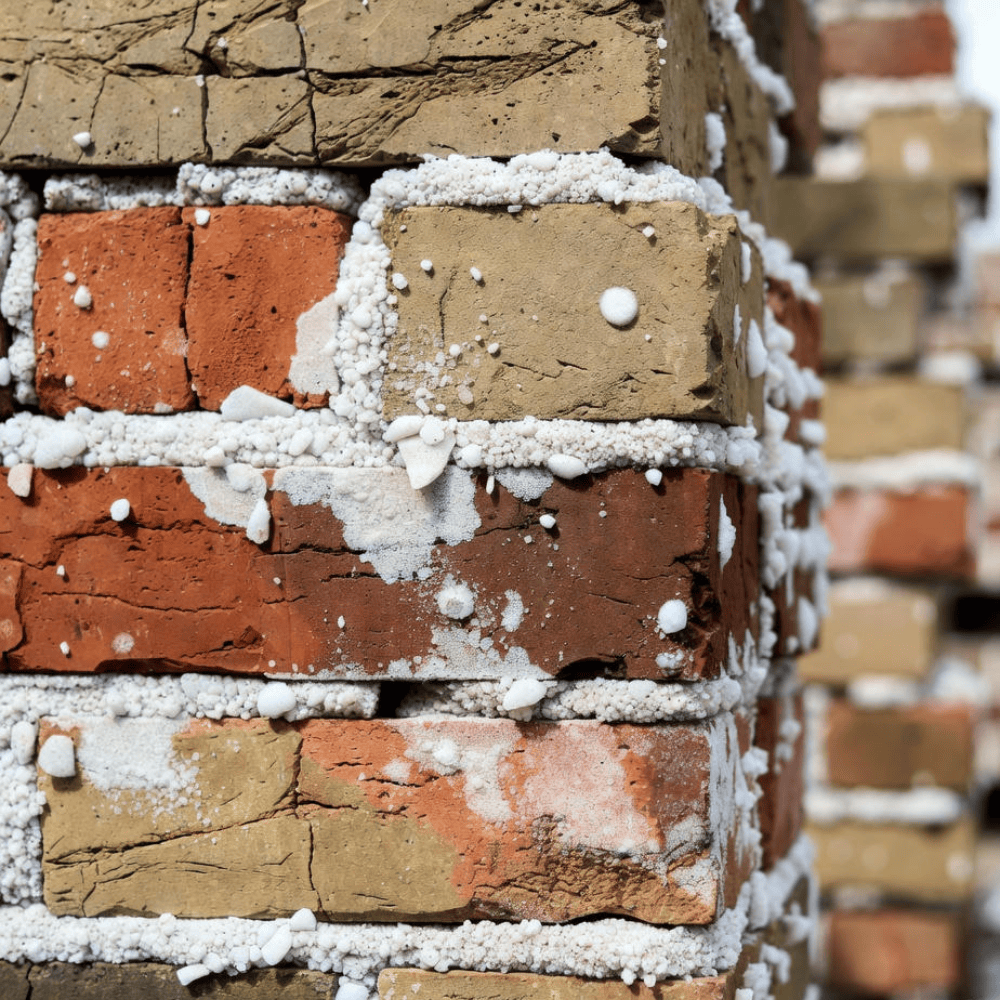
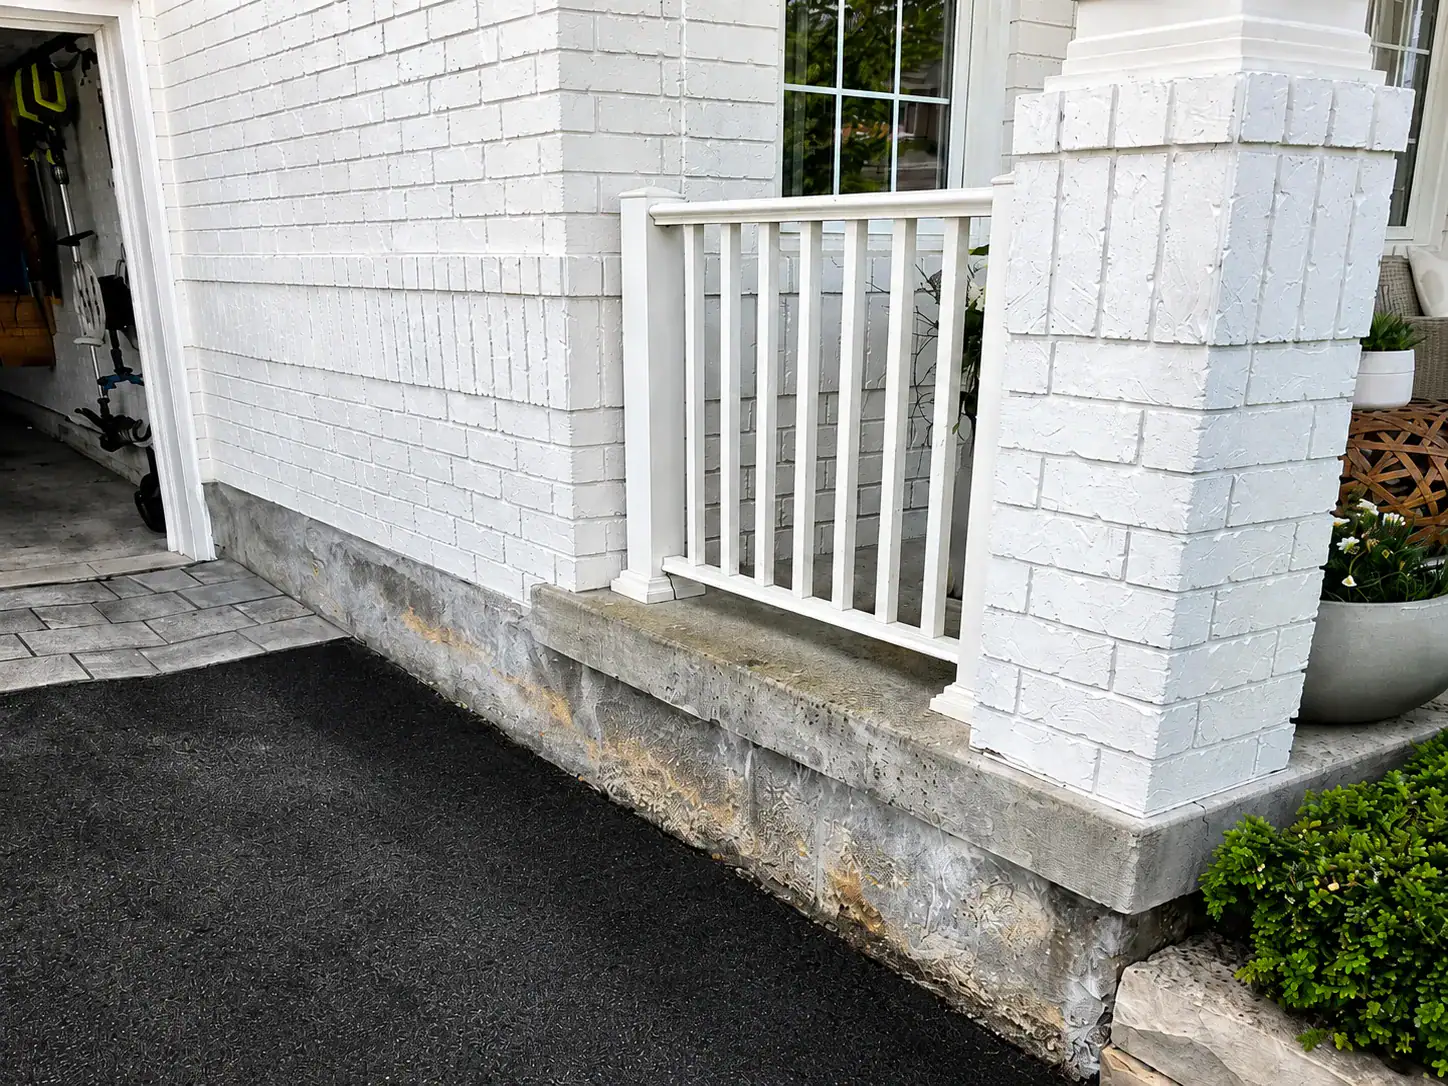
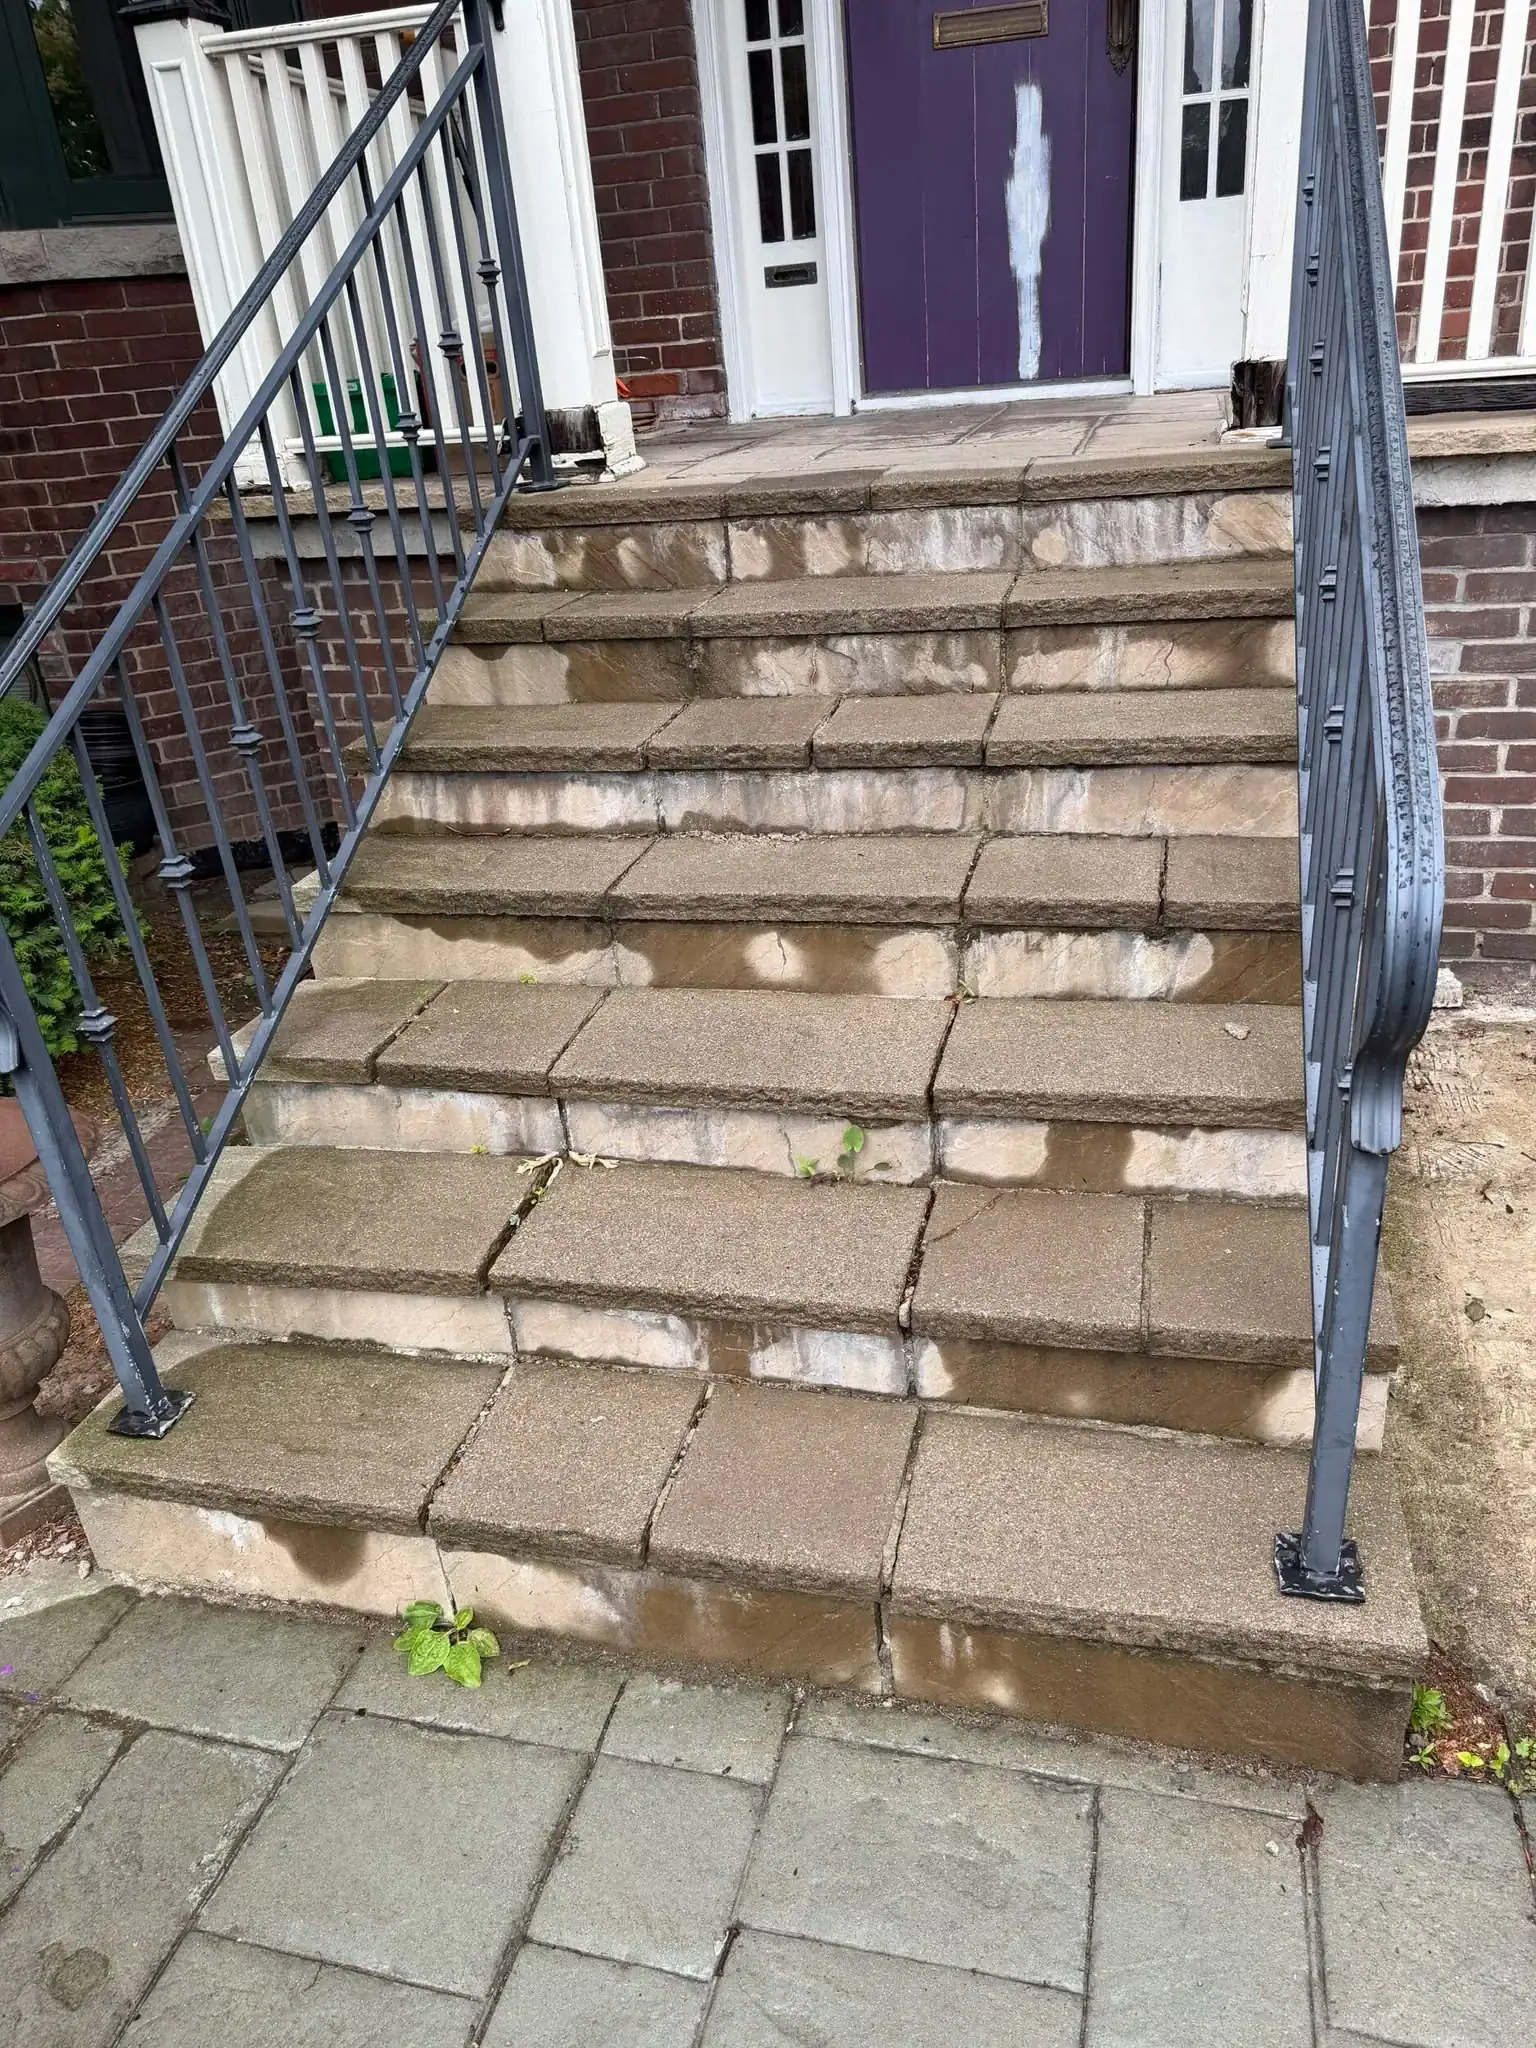
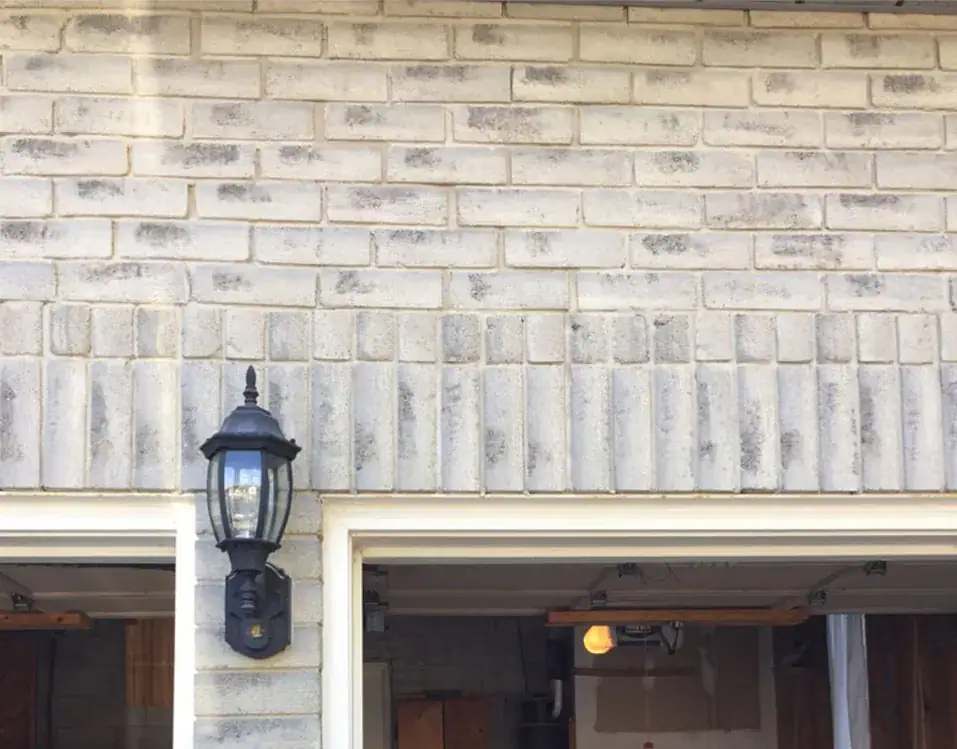
White salts on brick surface.
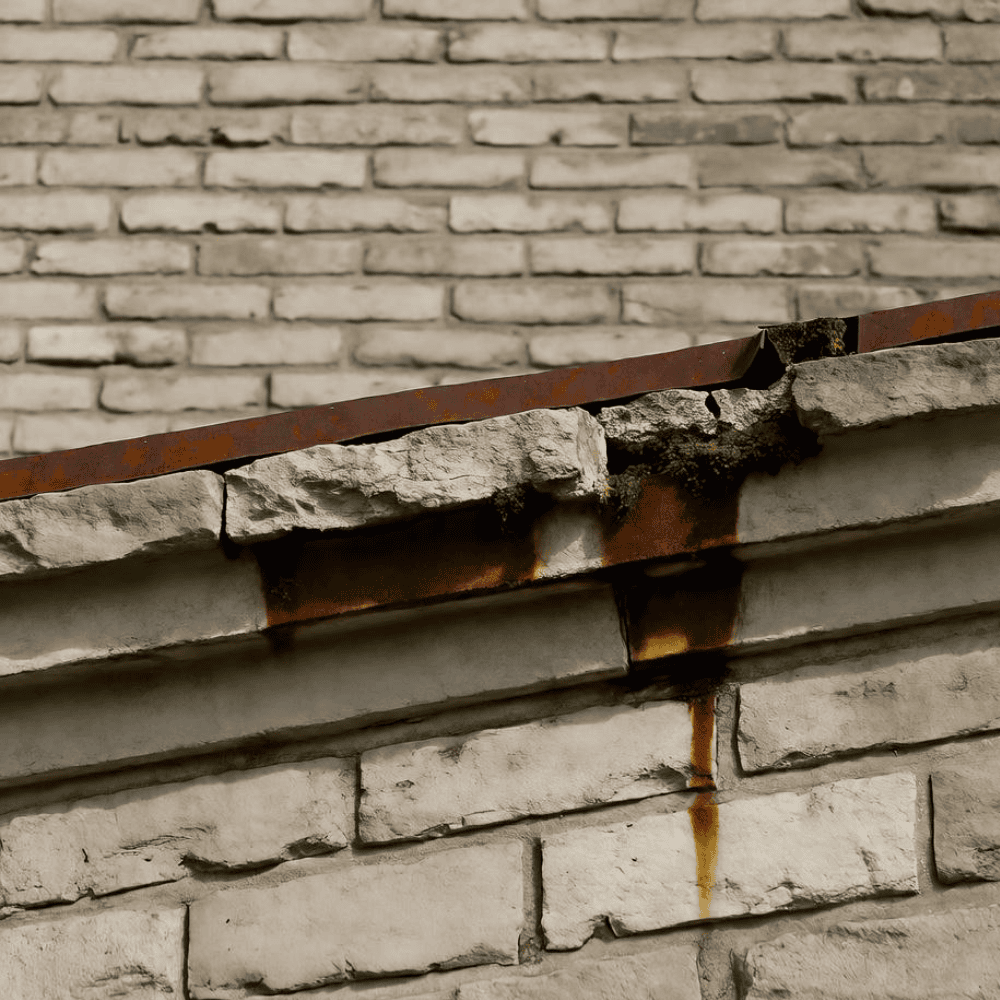
Brown streaks from steel.
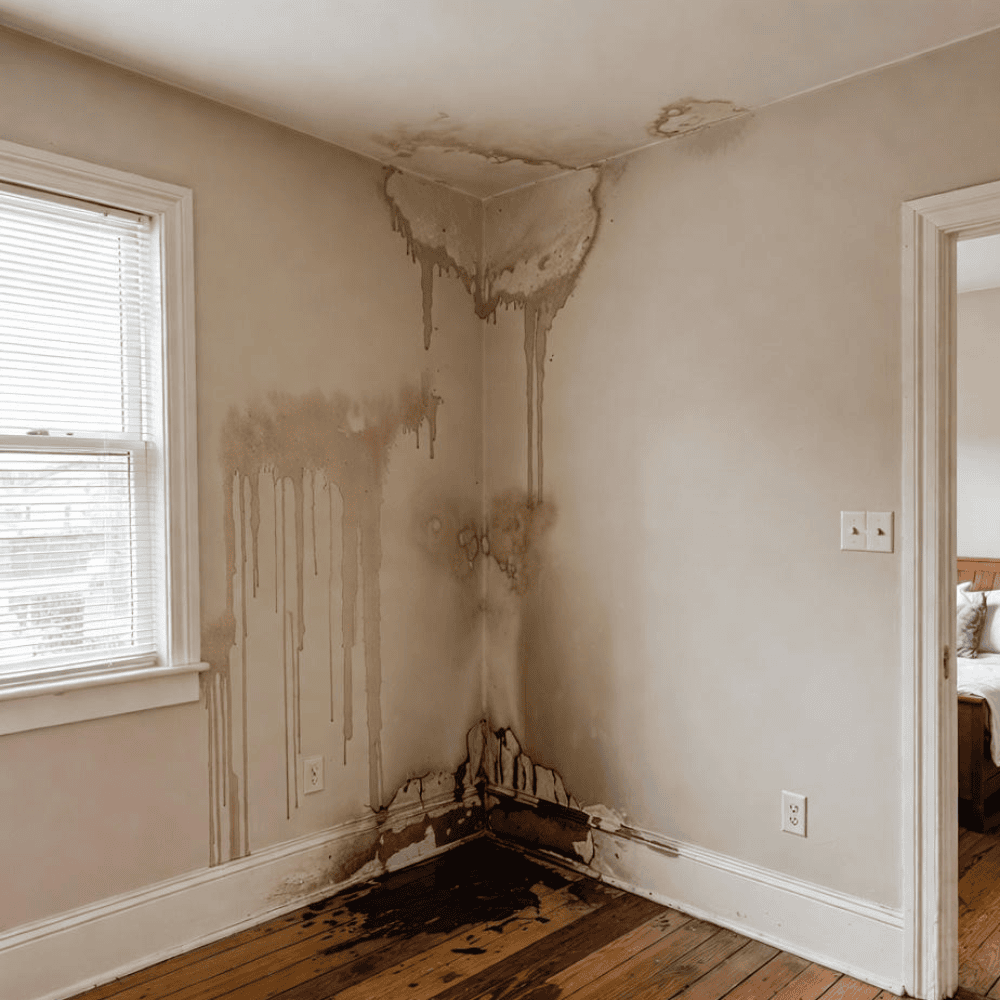
Stains near windows or floors.
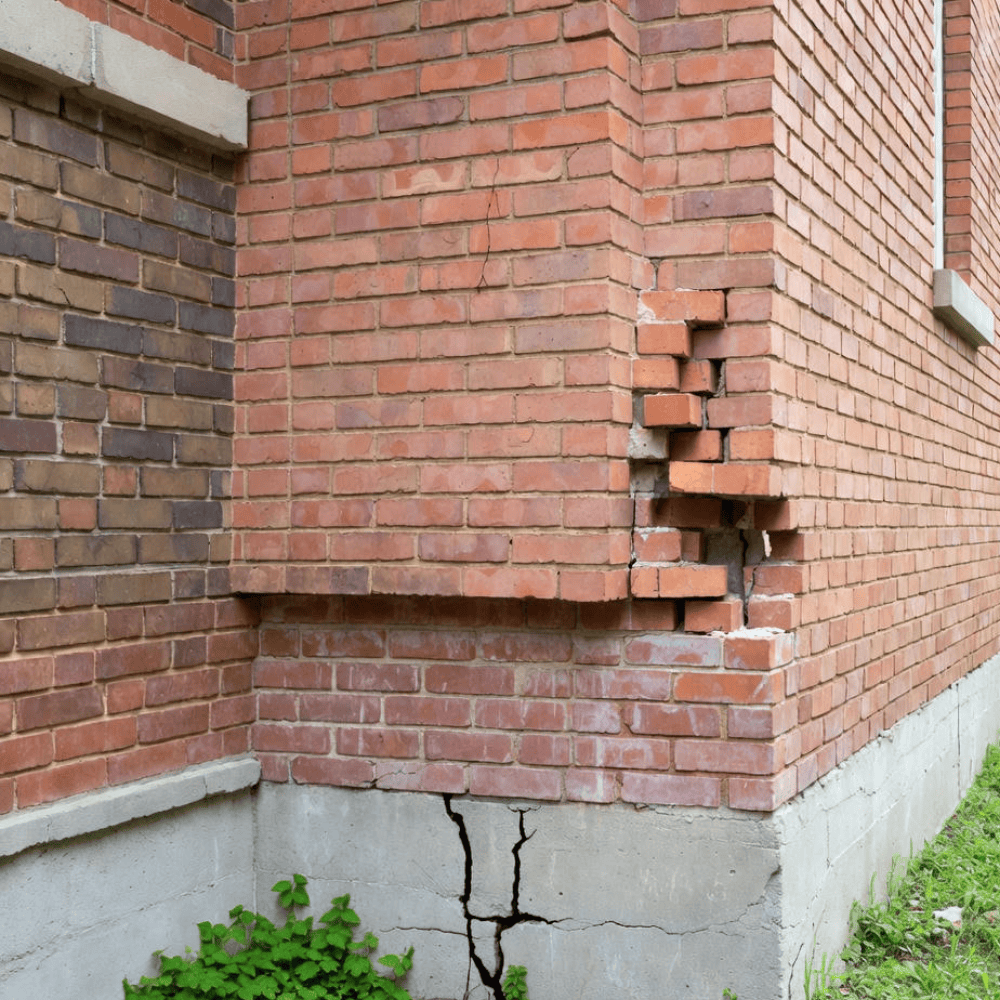
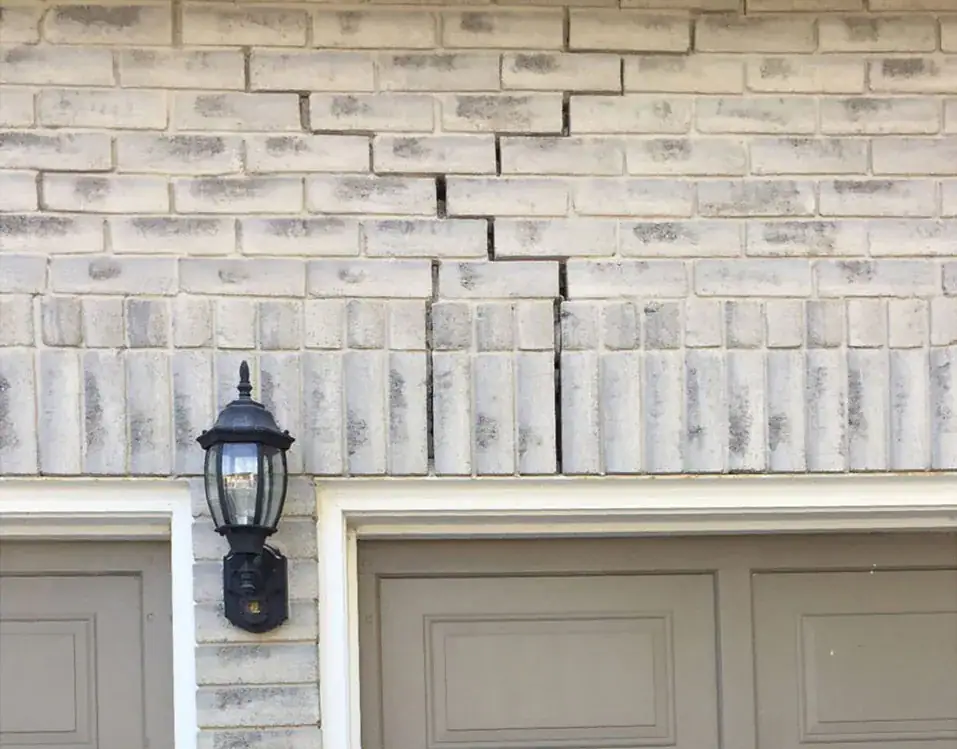
Veneer pushed outward.
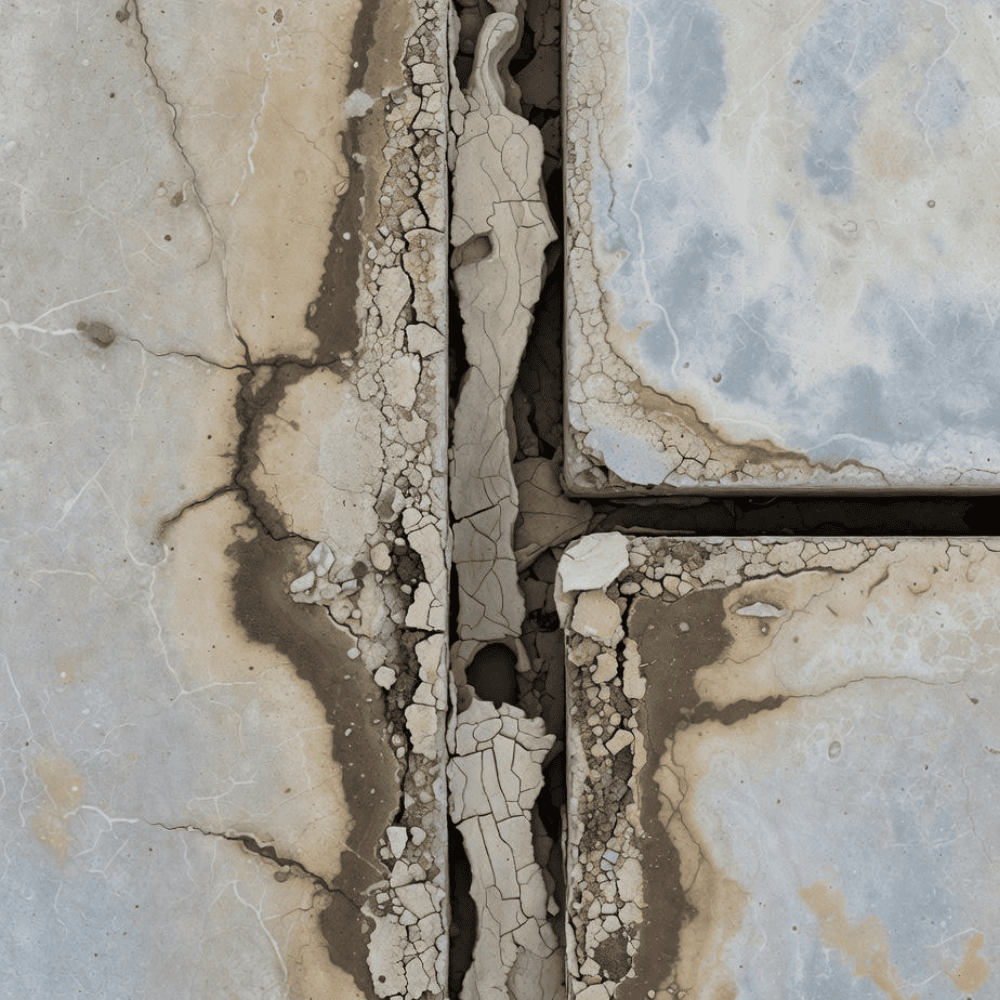
Cracked caulk at transitions.
Recurring stains, rust, deteriorated joints or displaced masonry should be assessed to identify the source and extent of the problem. On older buildings, repair materials and access also need to respect existing architectural details. See our heritage masonry restoration in Toronto service.
A&A Masonry’s Flashing Repair Process
Flashing repair starts with the reported leaks, visible masonry condition and the wall’s drainage details. Some conditions may require further investigation or localized opening before the cause and repair scope can be confirmed.
- Review the symptoms: assess reported water entry, staining and the surrounding masonry.
- Define the investigation: identify access and any localized opening or specialist assessment needed.
- Plan protection: discuss occupied areas, pedestrian routes and protection of nearby finishes.
- Access the affected area: remove the material required by the agreed repair plan.
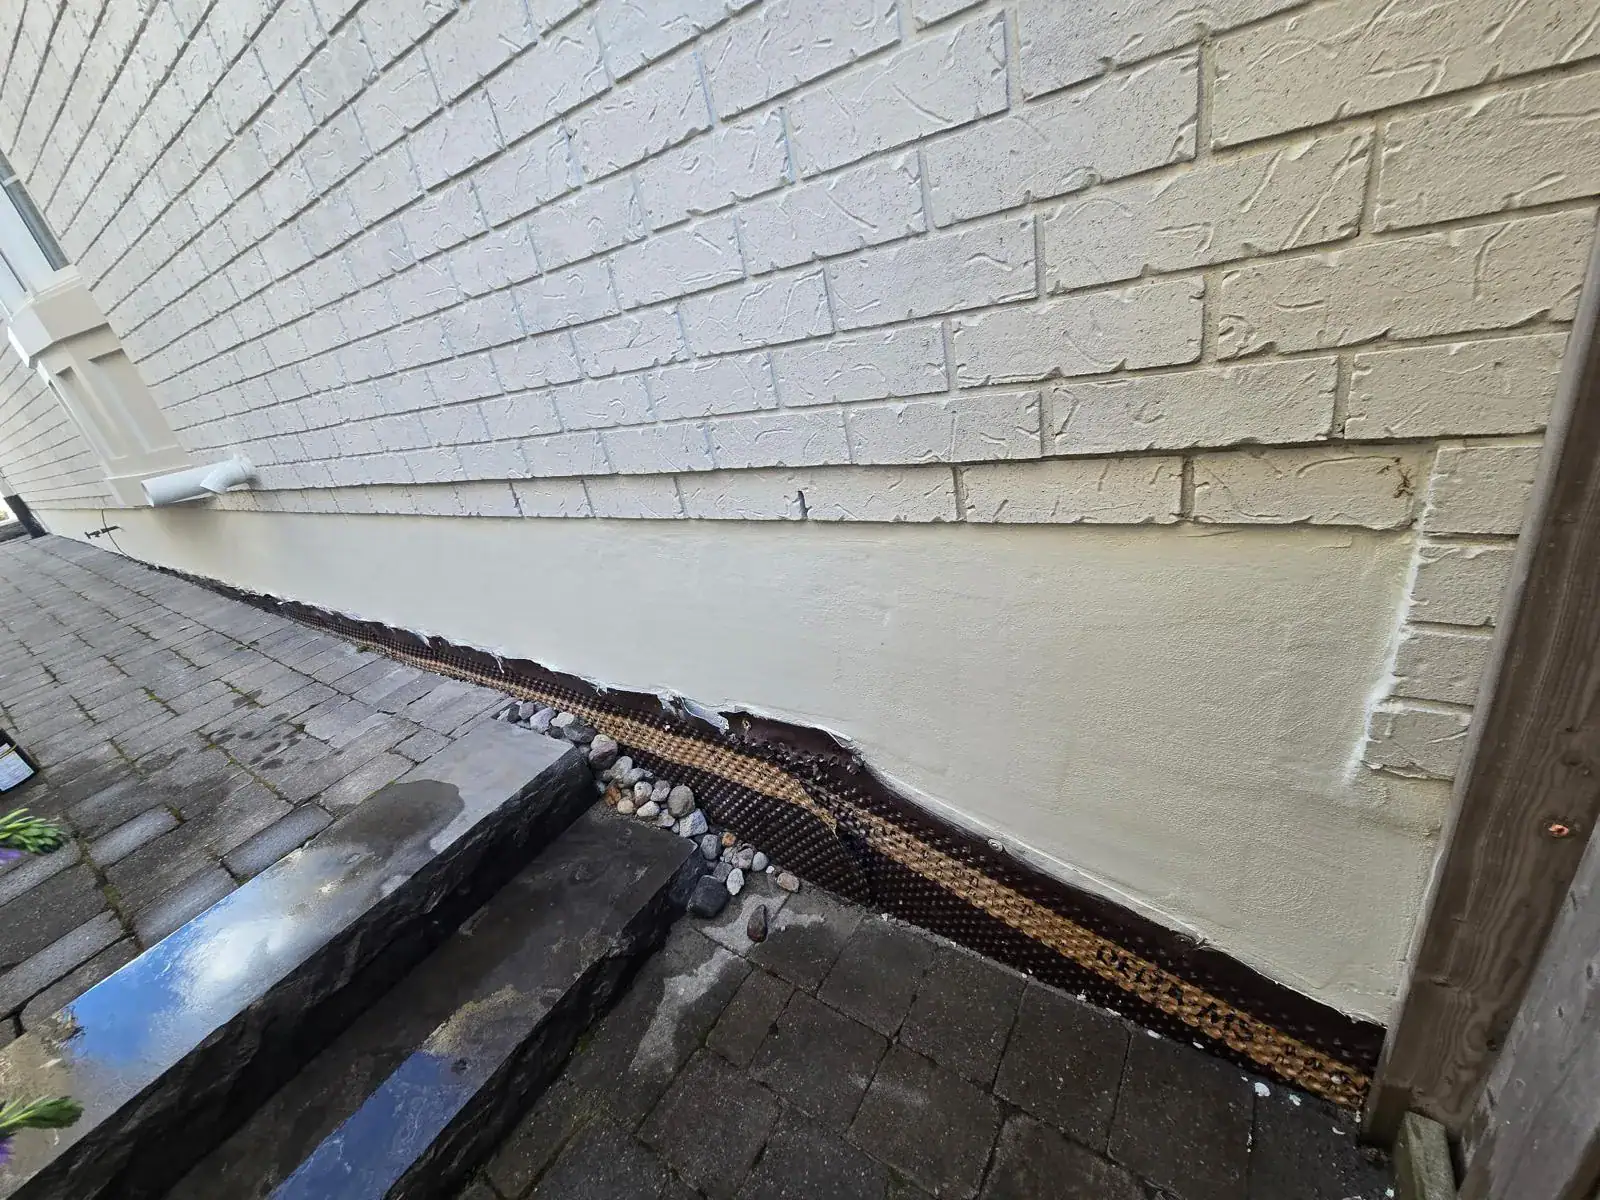
- Repair the flashing: use materials and termination details suited to the wall assembly.
- Address drainage and transitions: complete the weep, sealant and adjoining details included in the scope.
- Restore the masonry: reinstall or replace affected units and repoint with compatible mortar, then review completion and care requirements.
We discuss access, protection, sequencing and cleanup with property management. Any permit, heritage review, engineering or inspection requirements should be identified before the scope is finalized. Temporary operational restrictions depend on the building and agreed repairs.
Flashing Systems & Long-Term Waterproofing
Flashing materials and connections should suit the wall assembly and exposure. The repair plan should consider:
- Compatibility of flashing materials with the existing construction
- Continuity and termination of the repaired flashing
- Drainage outlets and weep details relevant to the affected area
- Sealant and adjoining masonry conditions
- Any specified inspections or verification requirements
- Maintenance, repair limitations and any warranty included in the written project terms
Expected performance depends on the source of water entry, the wall assembly and the work included in the repair scope. Discuss any related drainage, condensation or building-envelope concerns during assessment.
Our Flashing Repair Services
Inspection & Diagnosis
Assess reported leaks and visible masonry conditions. Discuss whether further investigation or localized opening is needed to confirm the cause.
Flashing Replacement
Repair or replace affected flashing using materials and termination details selected for the wall assembly and exposure.
Weep Hole & Ventilation
Assess blocked, missing or deteriorated drainage outlets and complete the weep or cavity-drainage work included in the repair plan.
Sealant & Integration
Review sealant and adjoining details. Related work may include shelf angle replacement in Toronto or parapet rebuilding in Toronto where assessment identifies a need.
Planning Your Flashing Repair Enquiry
A&A Masonry serves Toronto and GTA property owners and managers. For a flashing repair enquiry, provide:
- The building address and use
- Photos of exterior staining and affected interior areas
- Notes about when leaks occur and any previous repairs
- Known access restrictions and project timing
We are proud to serve:
Why Choose A&A Masonry?
Award-Winning Masonry
Repair planning based on the building’s condition and agreed scope.
Trusted Masonry Contractor
Honest, detailed estimates and clear project timelines
Full Exterior Services
Expertise in flashing repair, shelf angle, and lintel replacement.
Clear Project Terms
Discuss access, site protection, repair limitations and any applicable warranty.
Assessment to Completion
Clear communication about investigation, repairs and cleanup.
Frequently Asked Questions on Through-Wall Flashing Repair
What are the signs of failed through-wall flashing in Toronto buildings?
Can through-wall flashing be repaired without removing all the brick?
How long does through-wall flashing repair take in Toronto?
Do you need a permit for through-wall flashing repair or replacement?
Is through-wall flashing repair covered by property insurance?
Request a Commercial Assessment
Contact A&A Masonry to request a commercial assessment of recurring water entry or deteriorated flashing details. We can discuss the reported symptoms, access and next steps needed to define the repair scope.