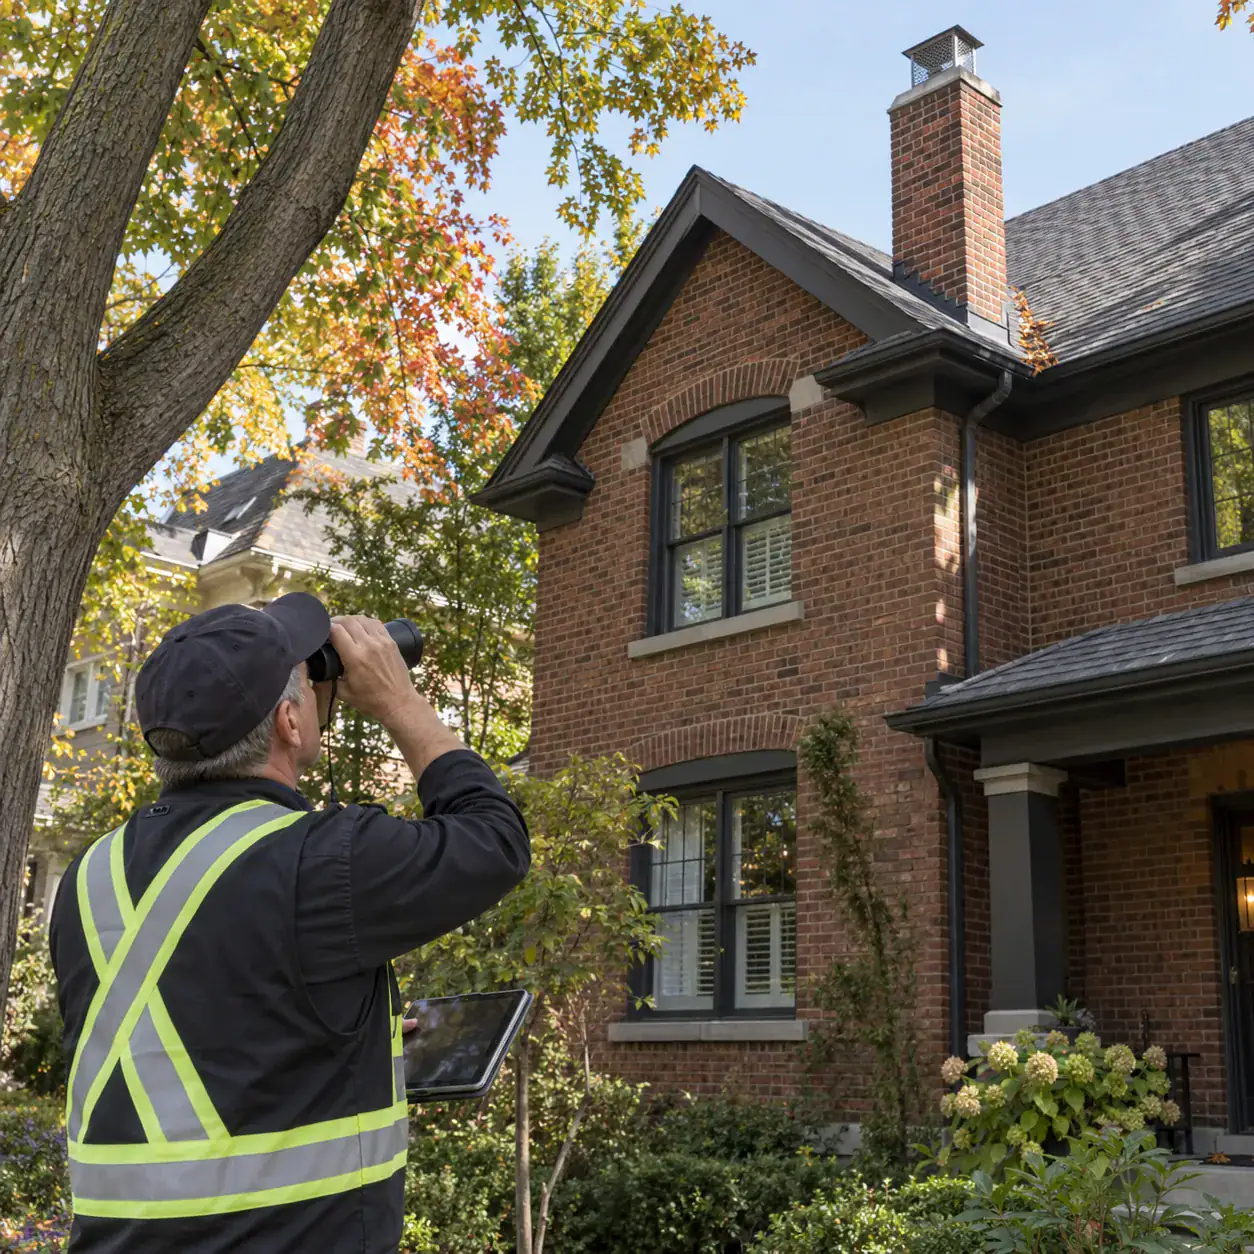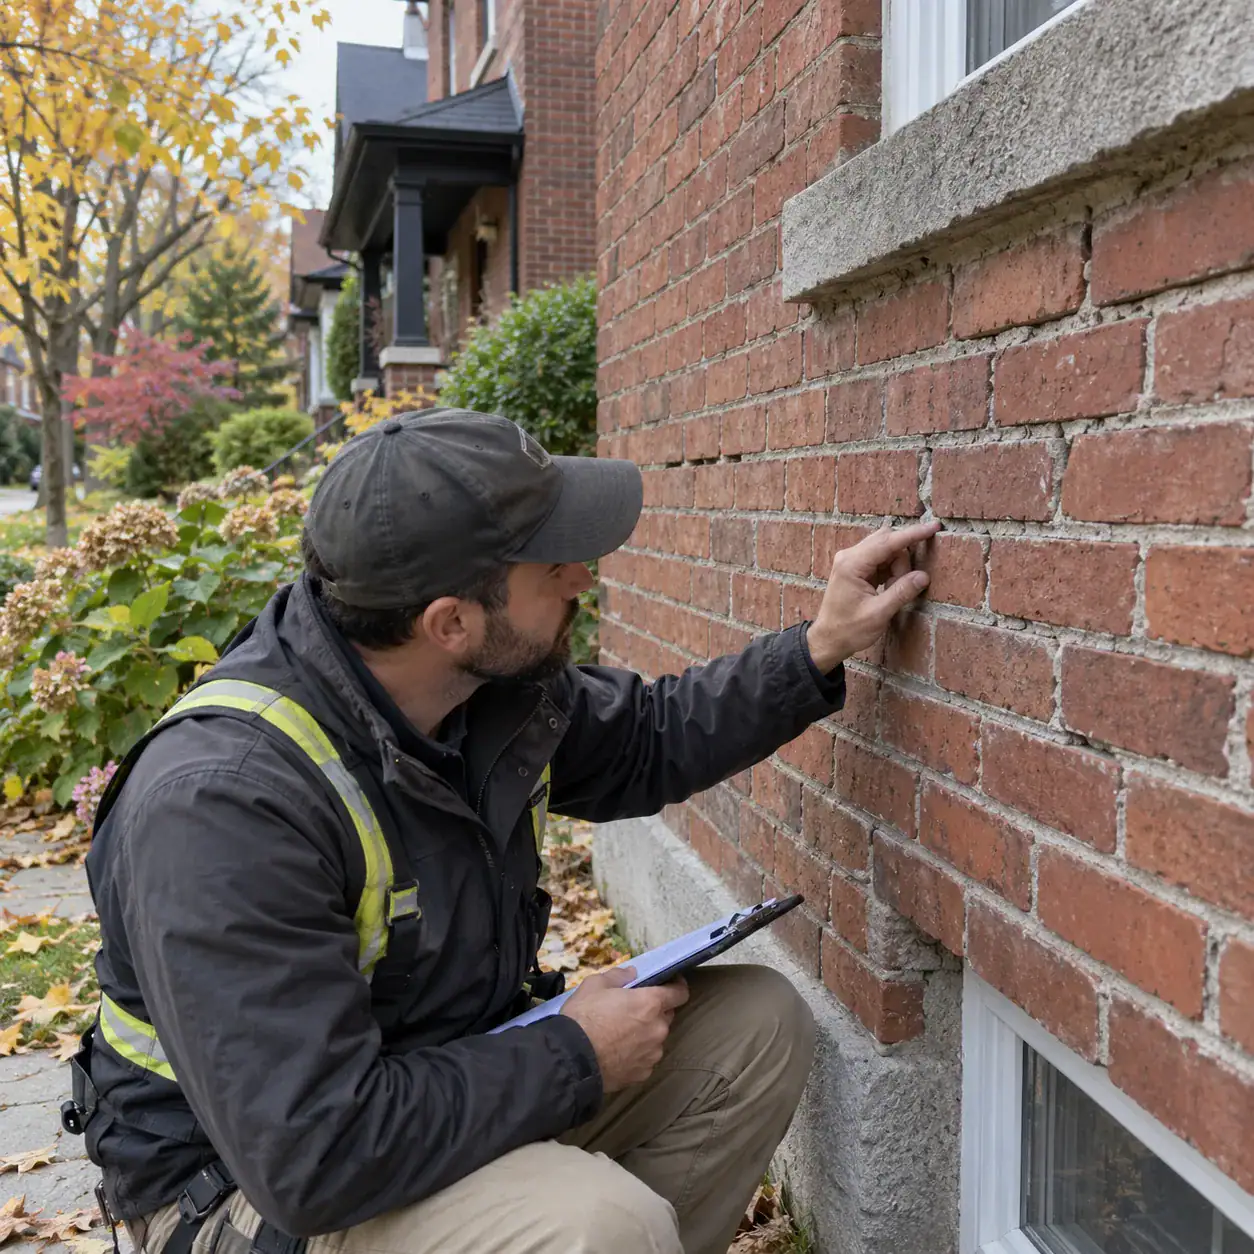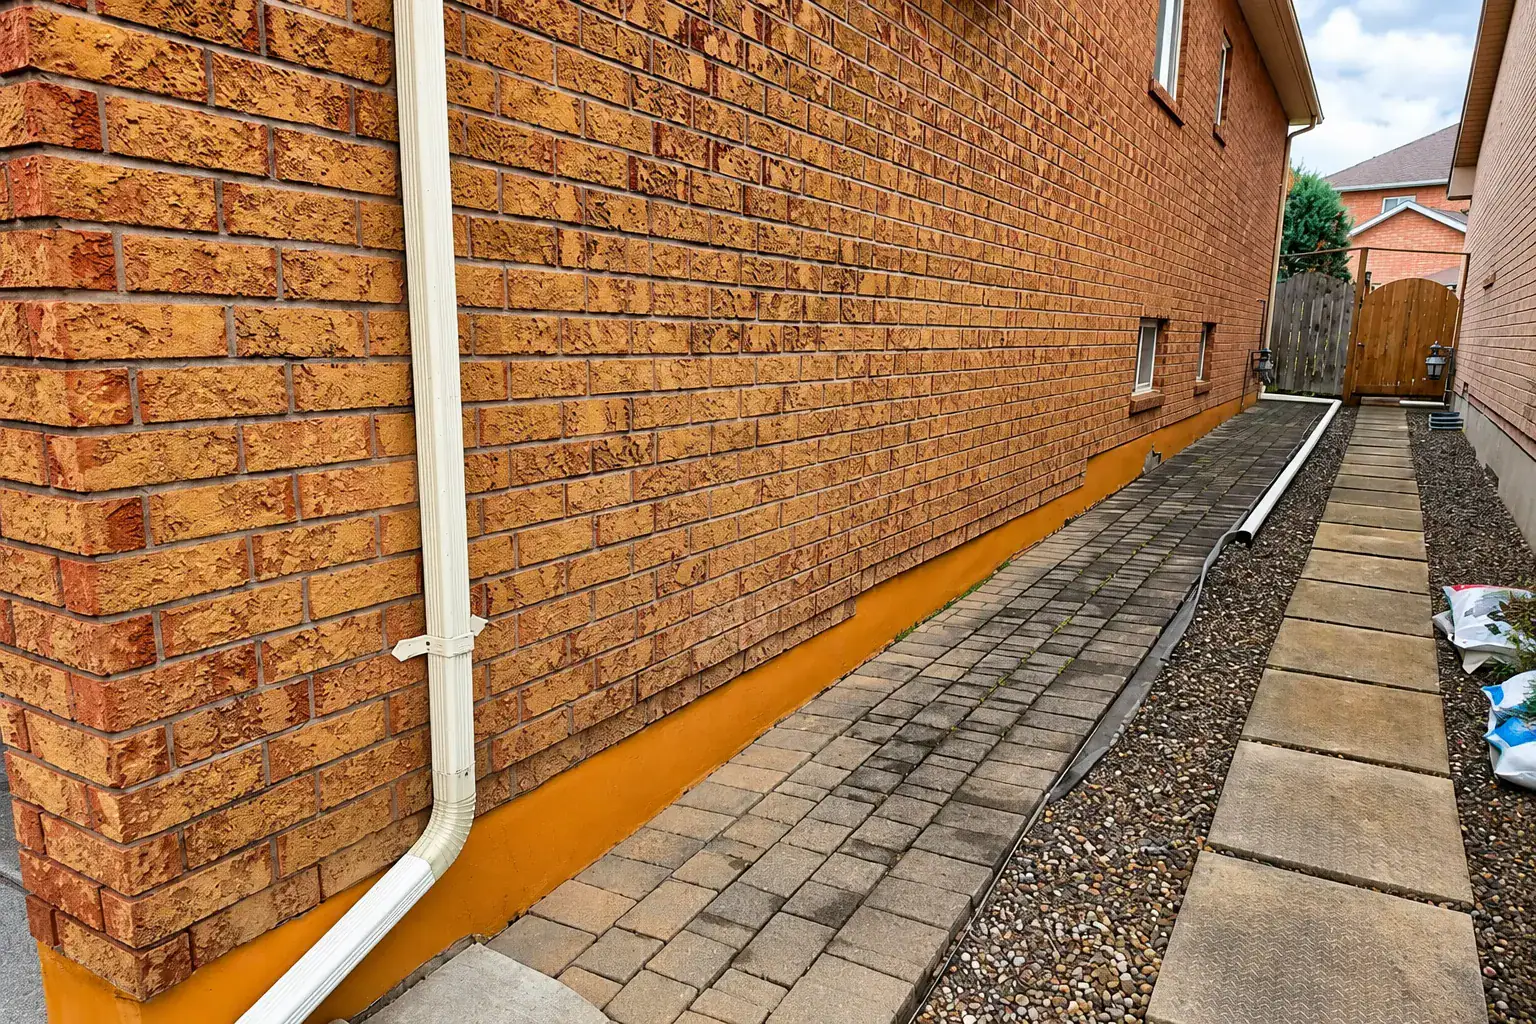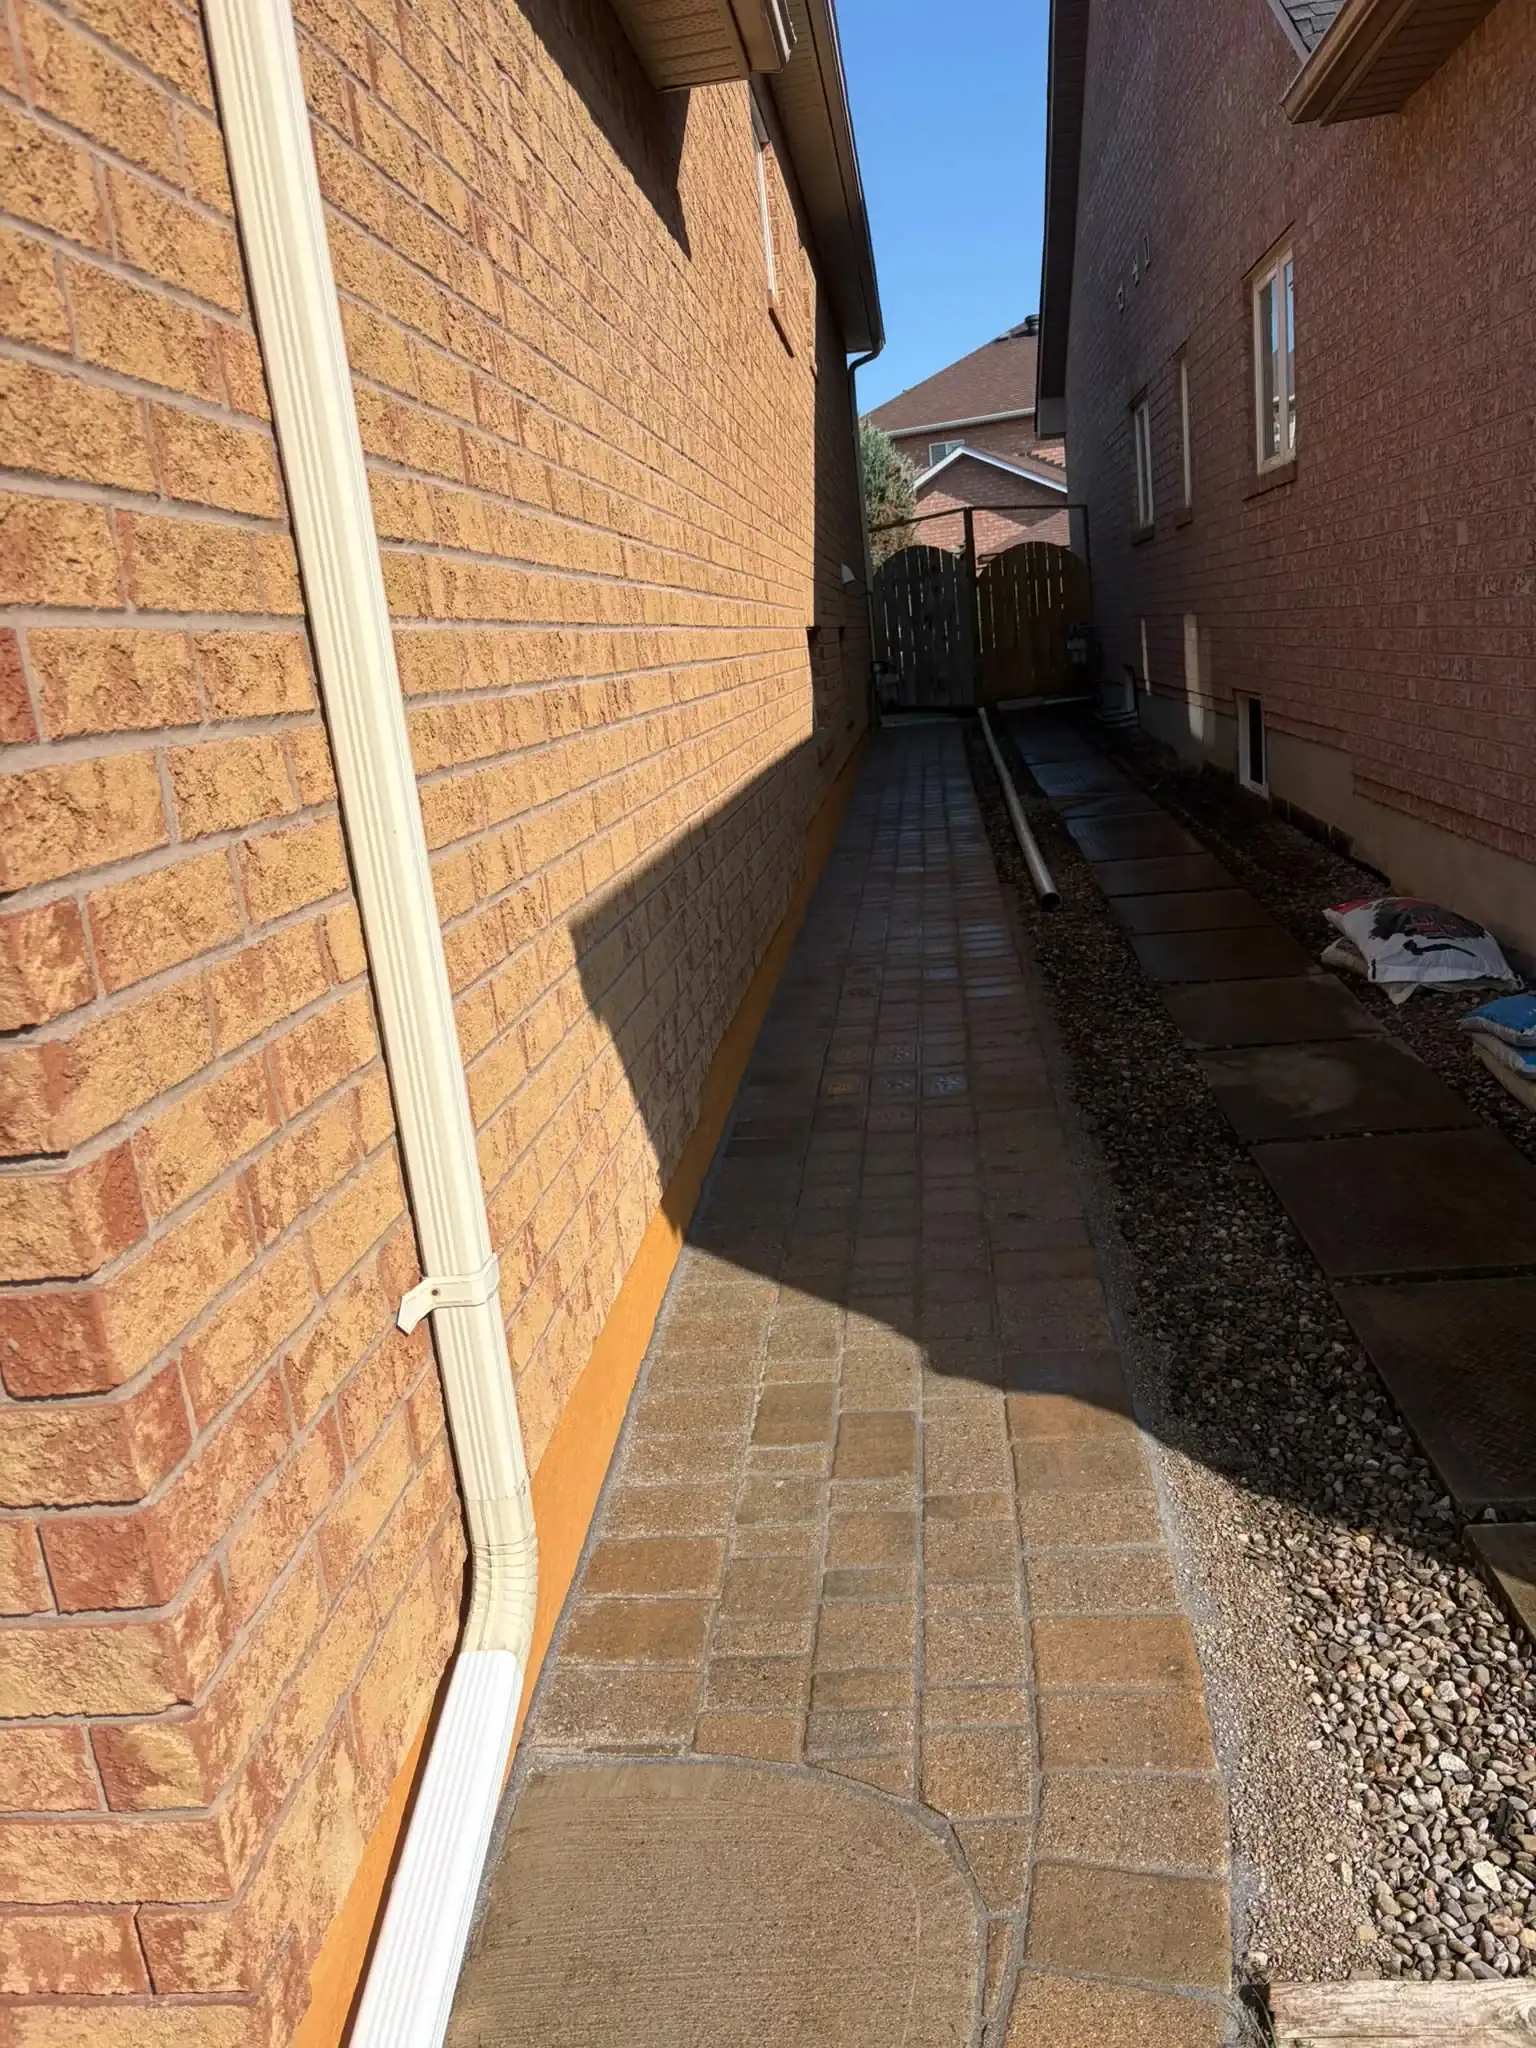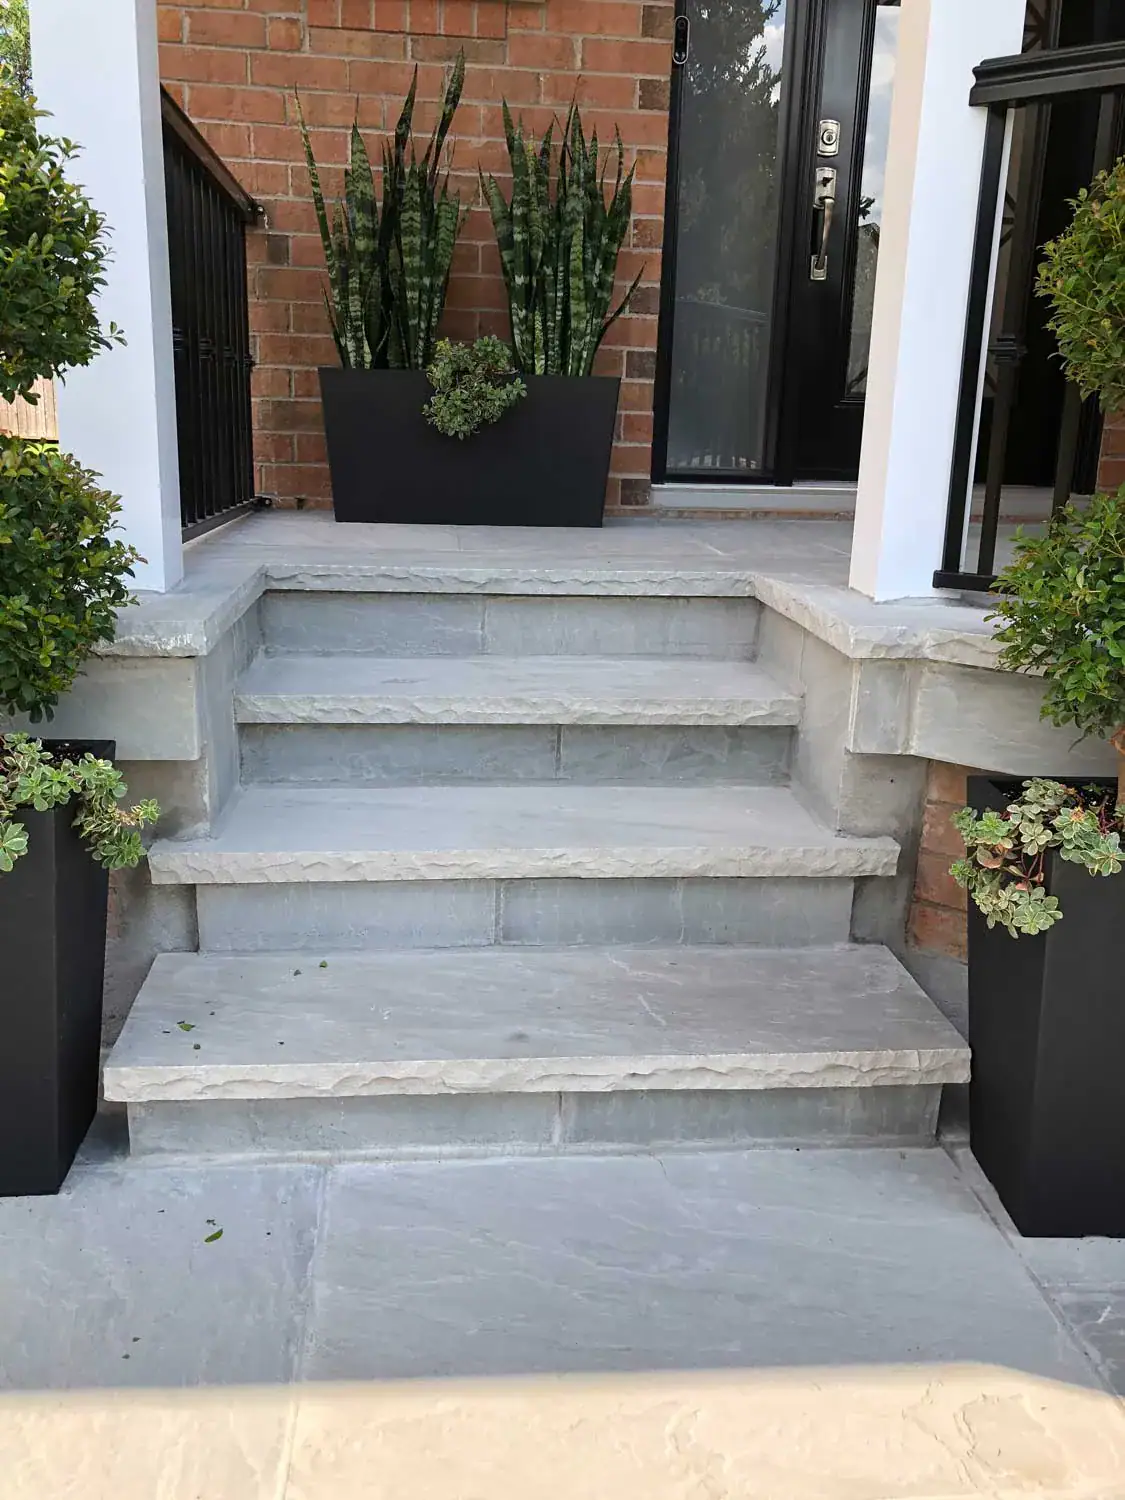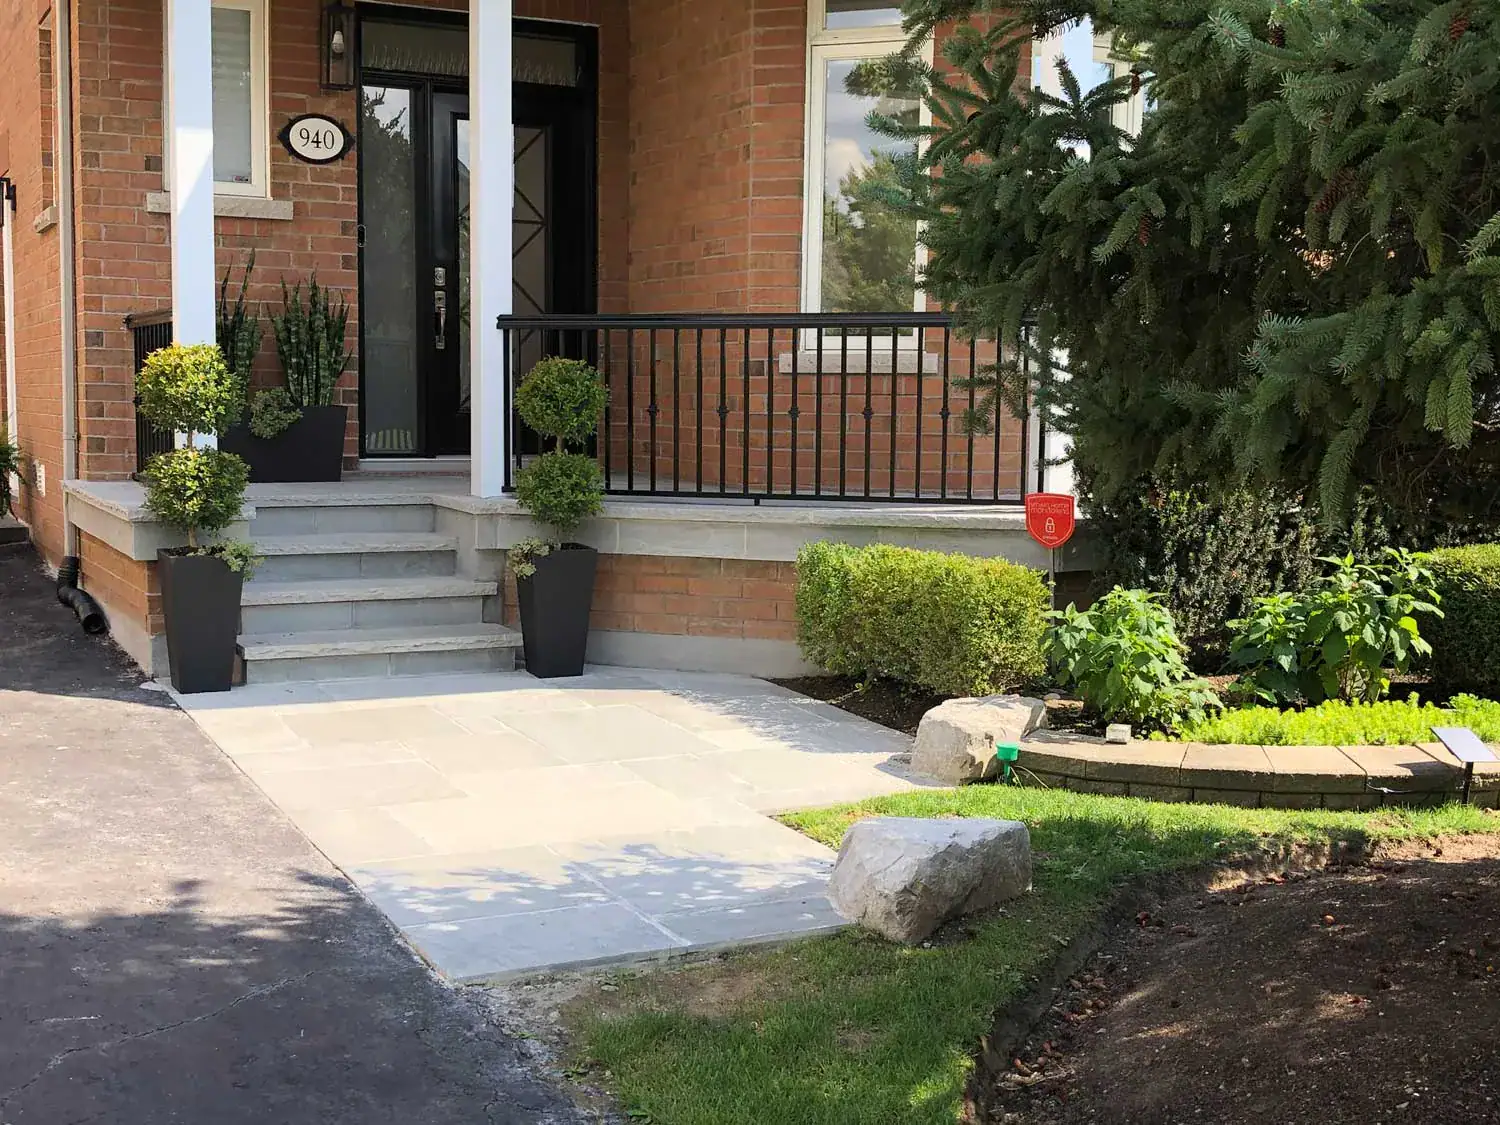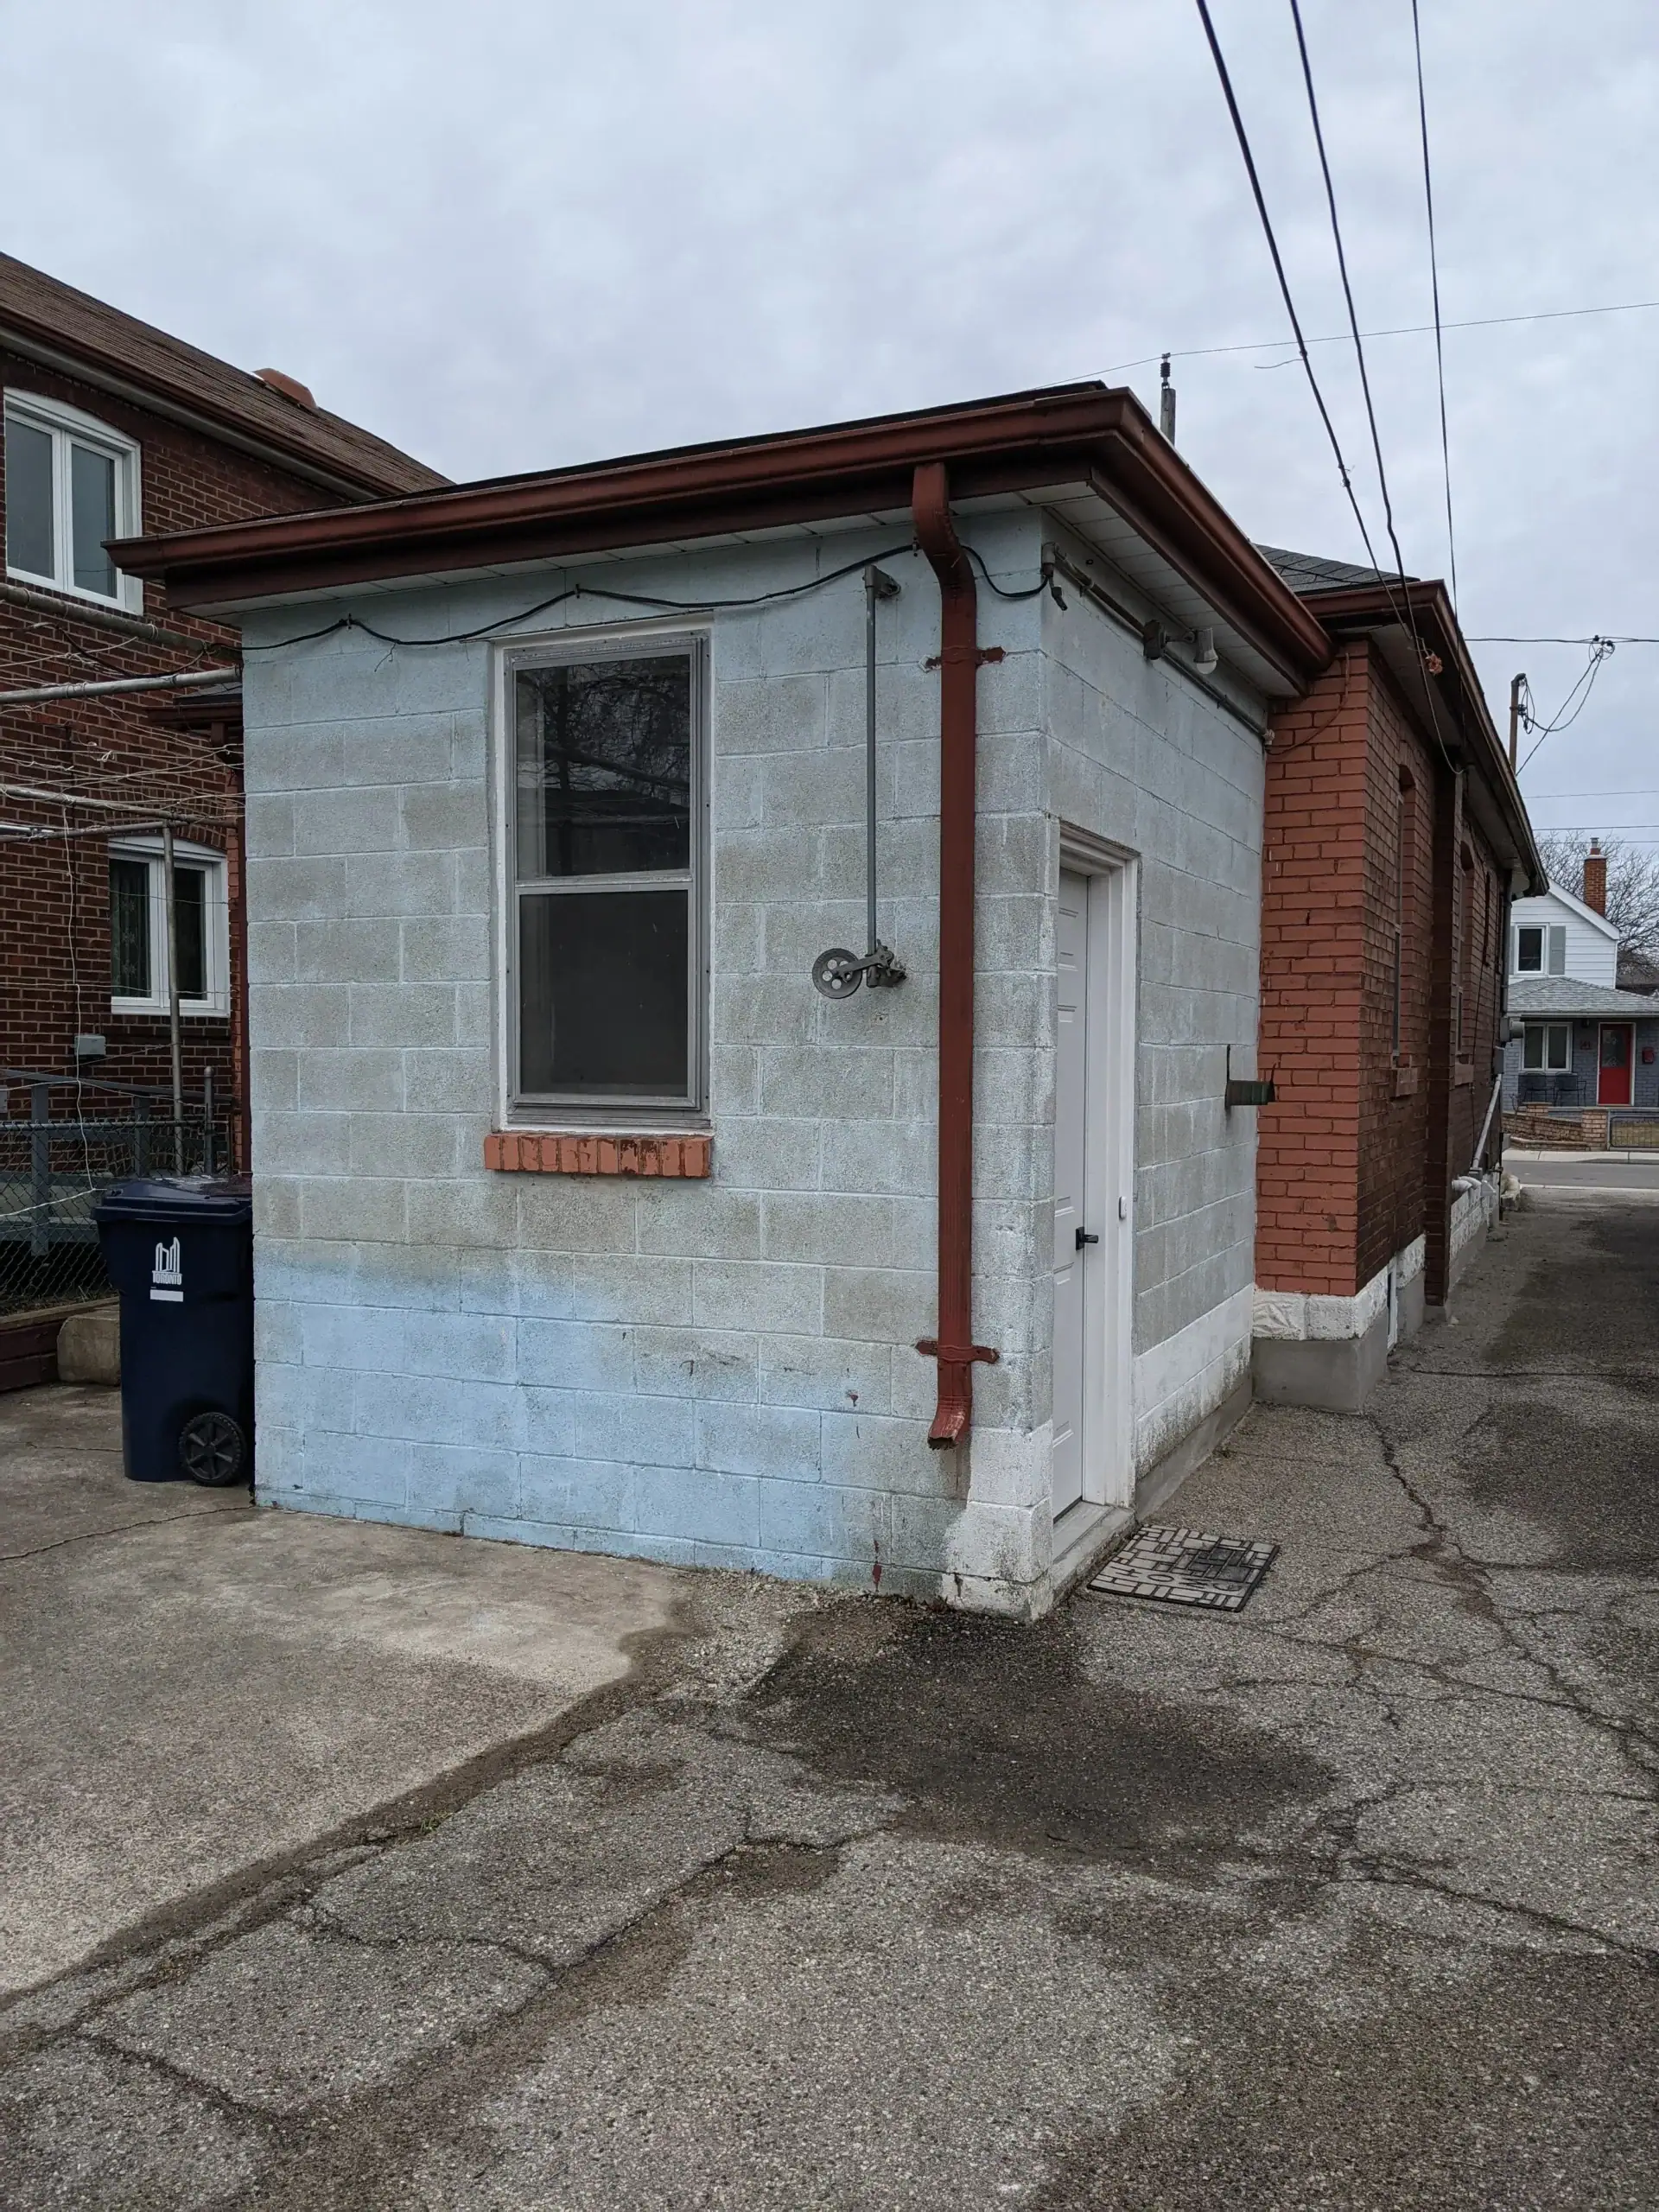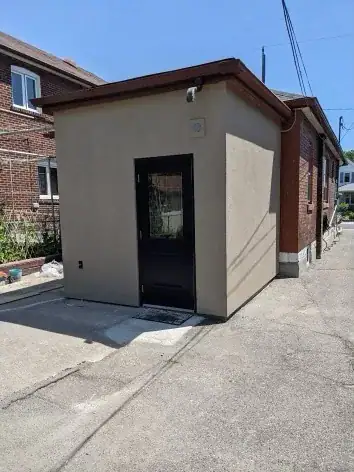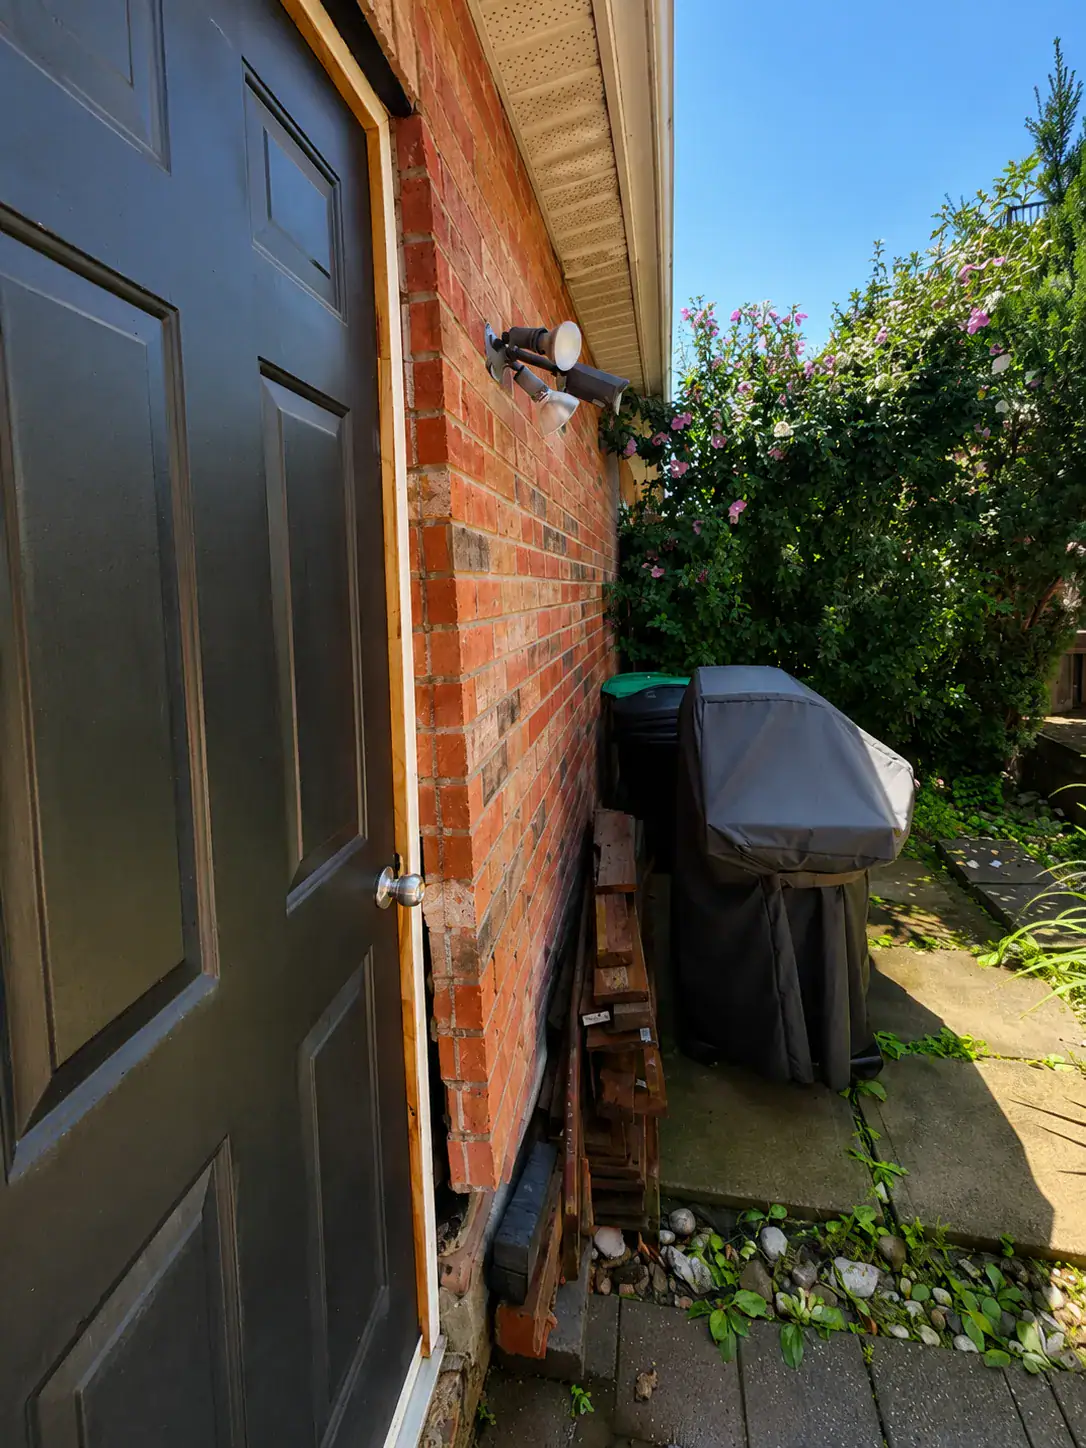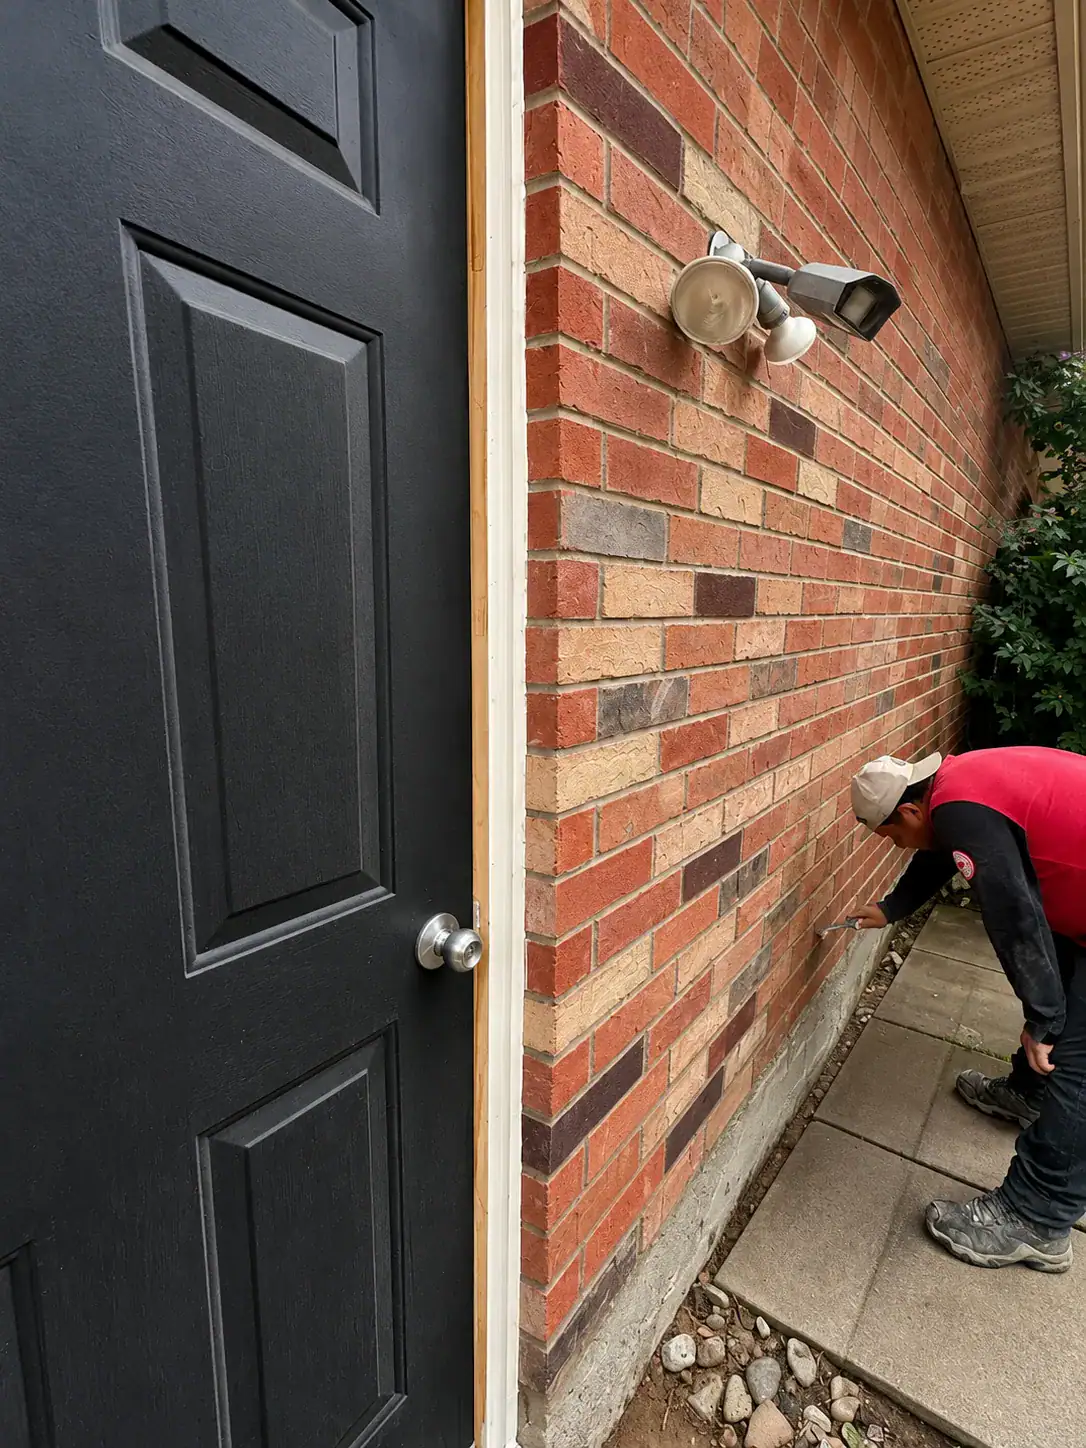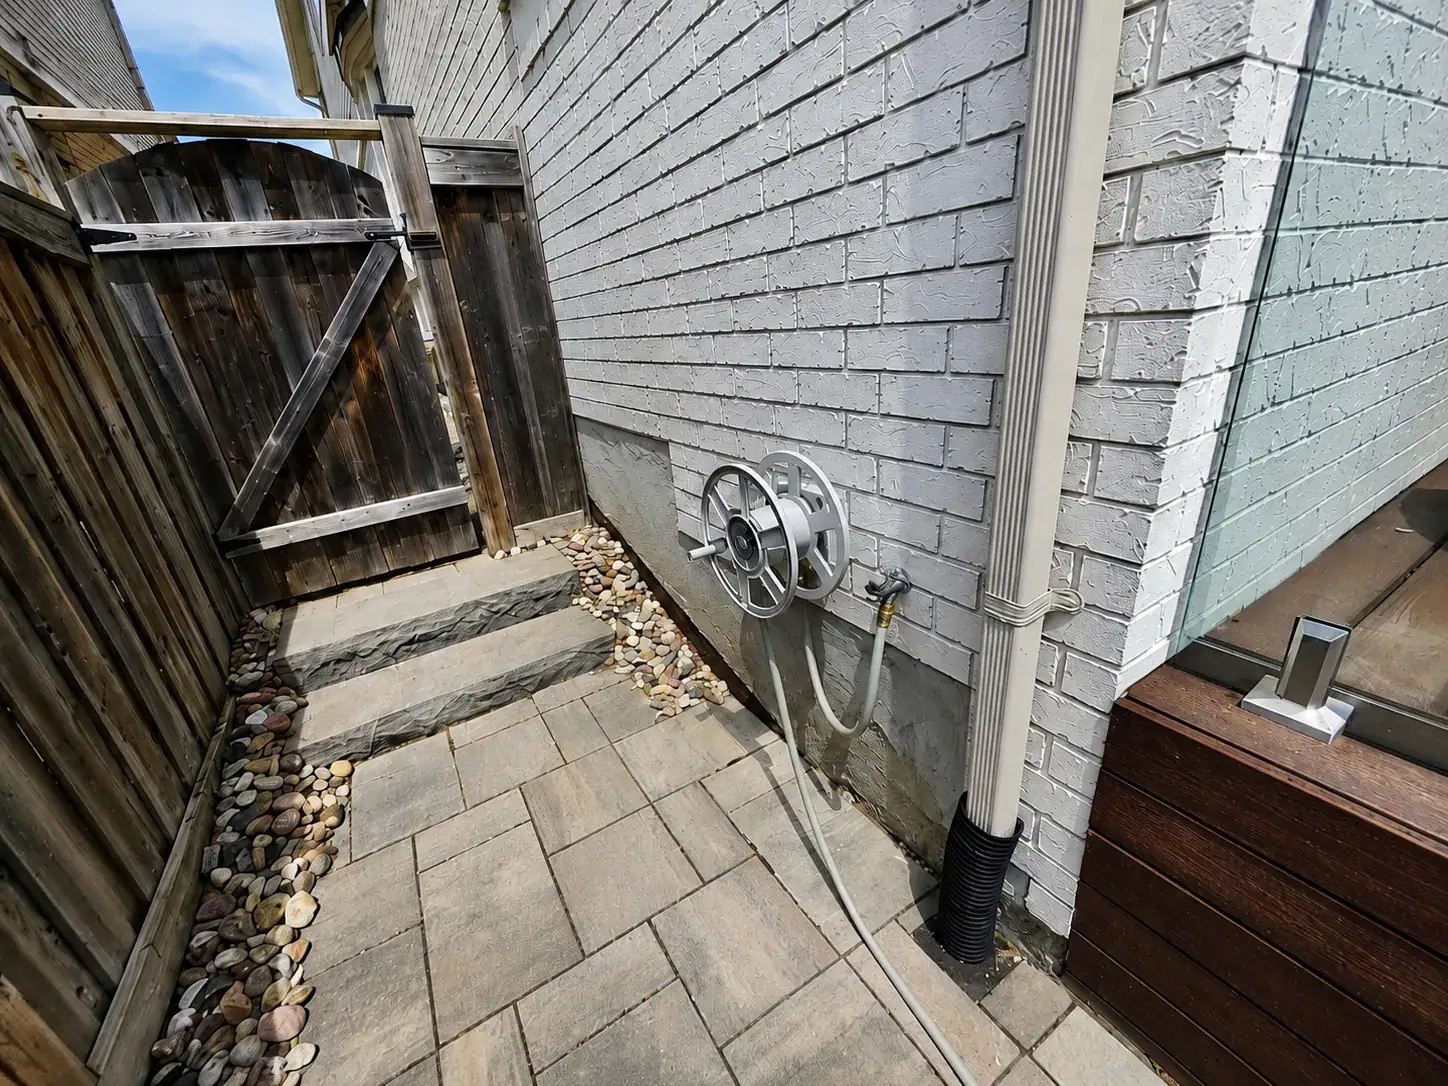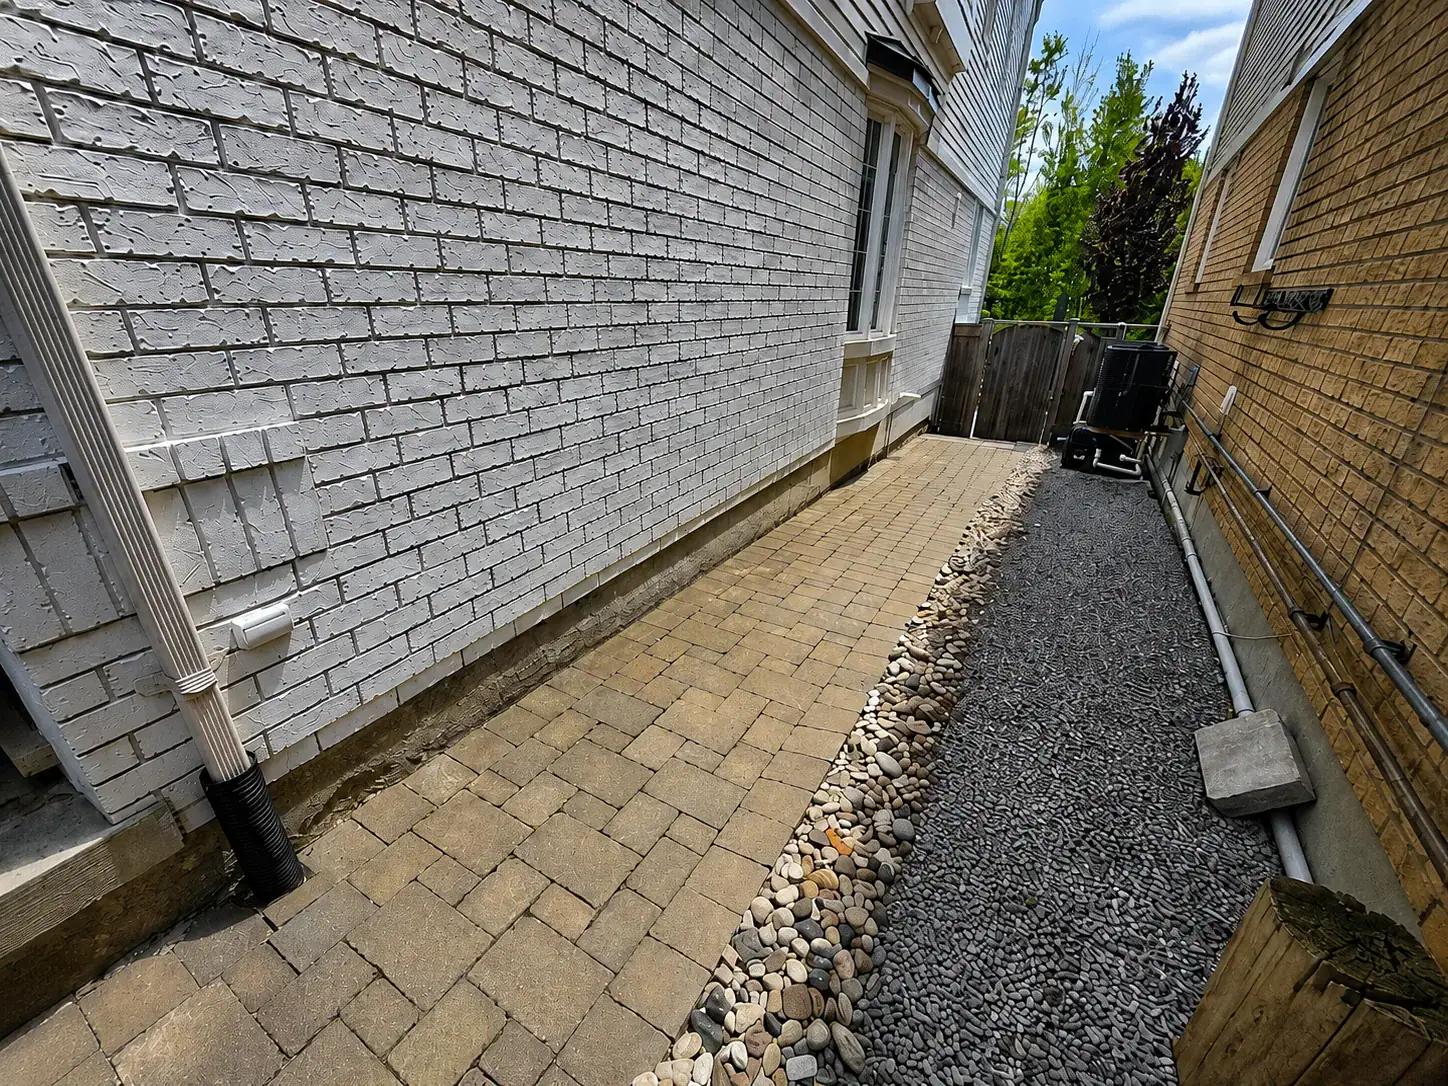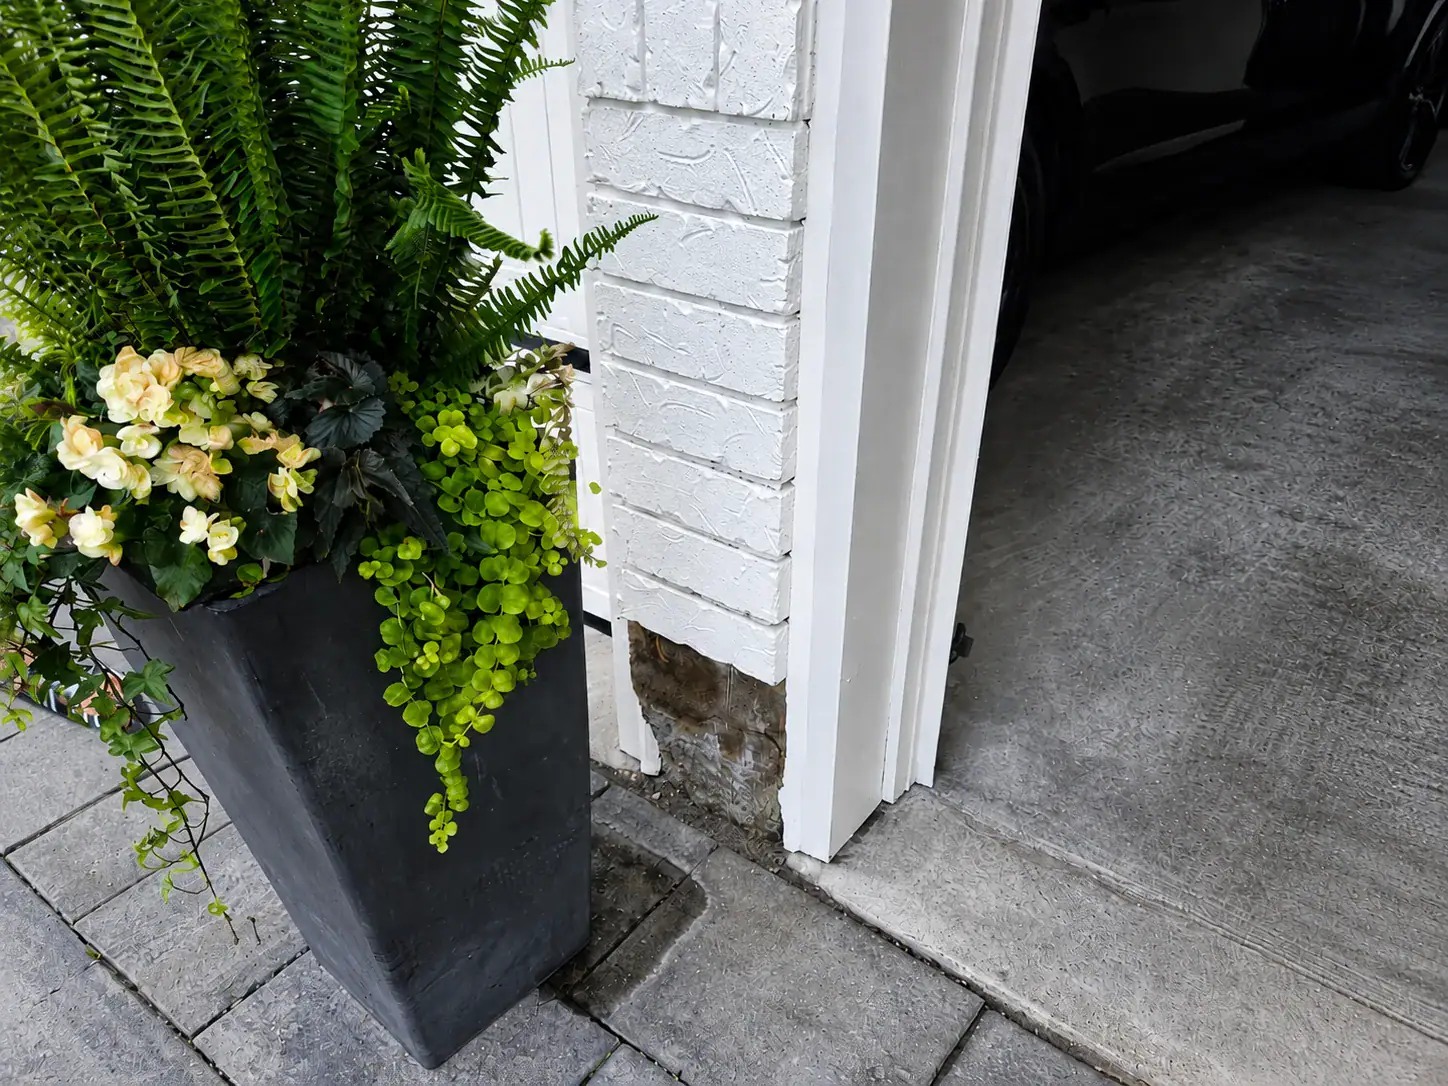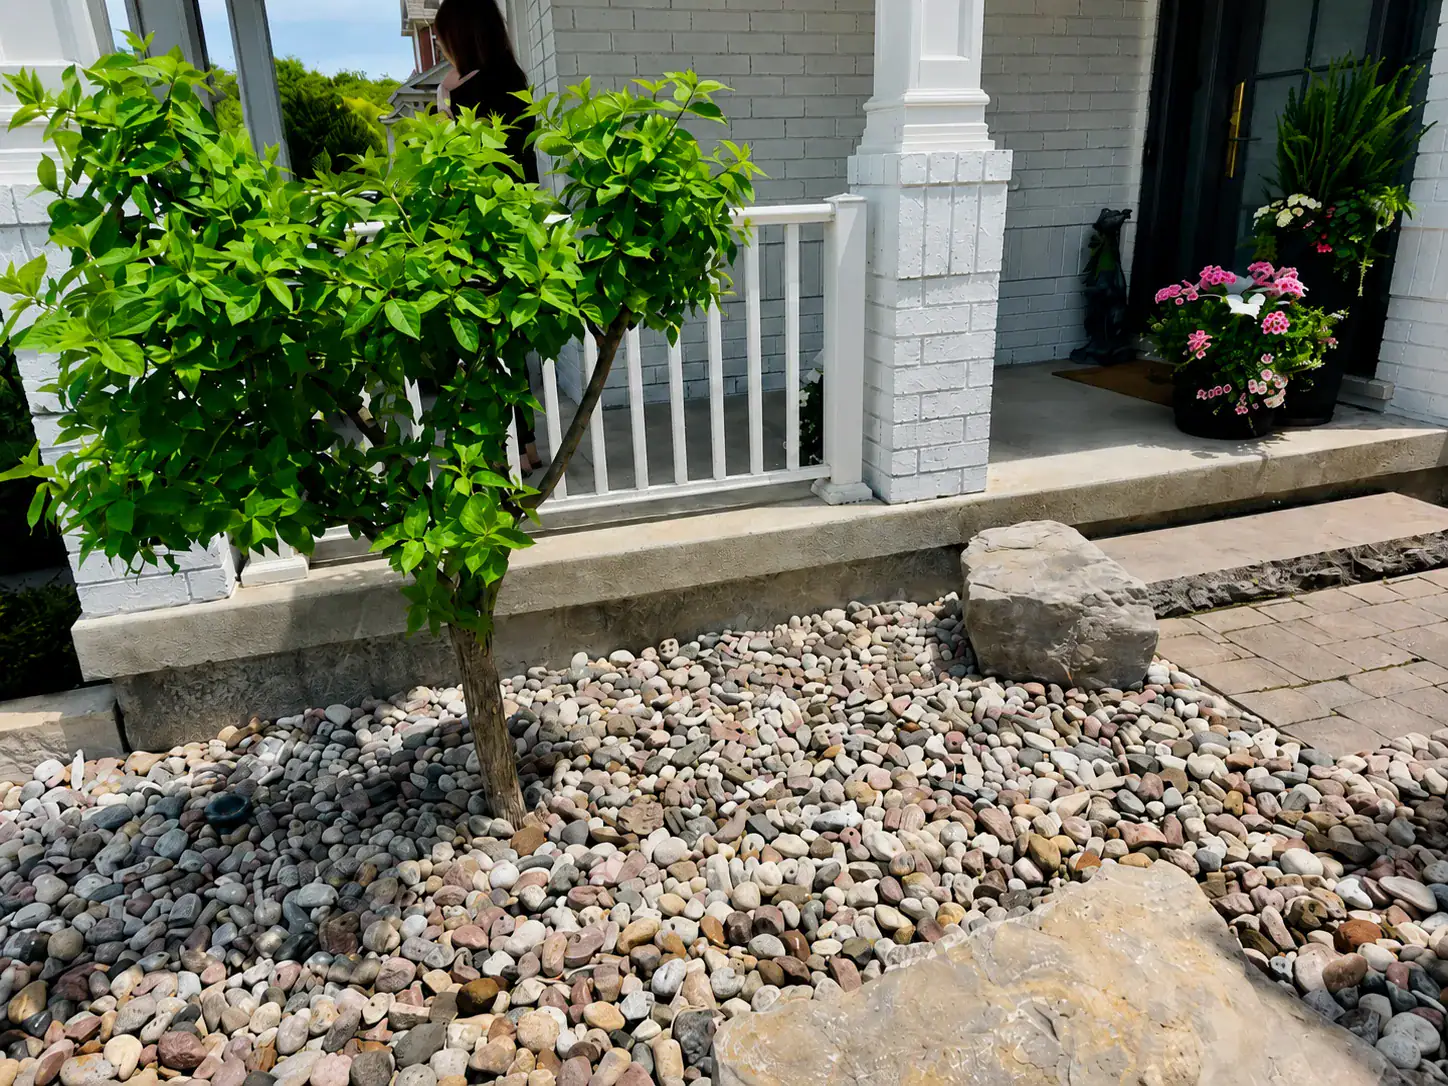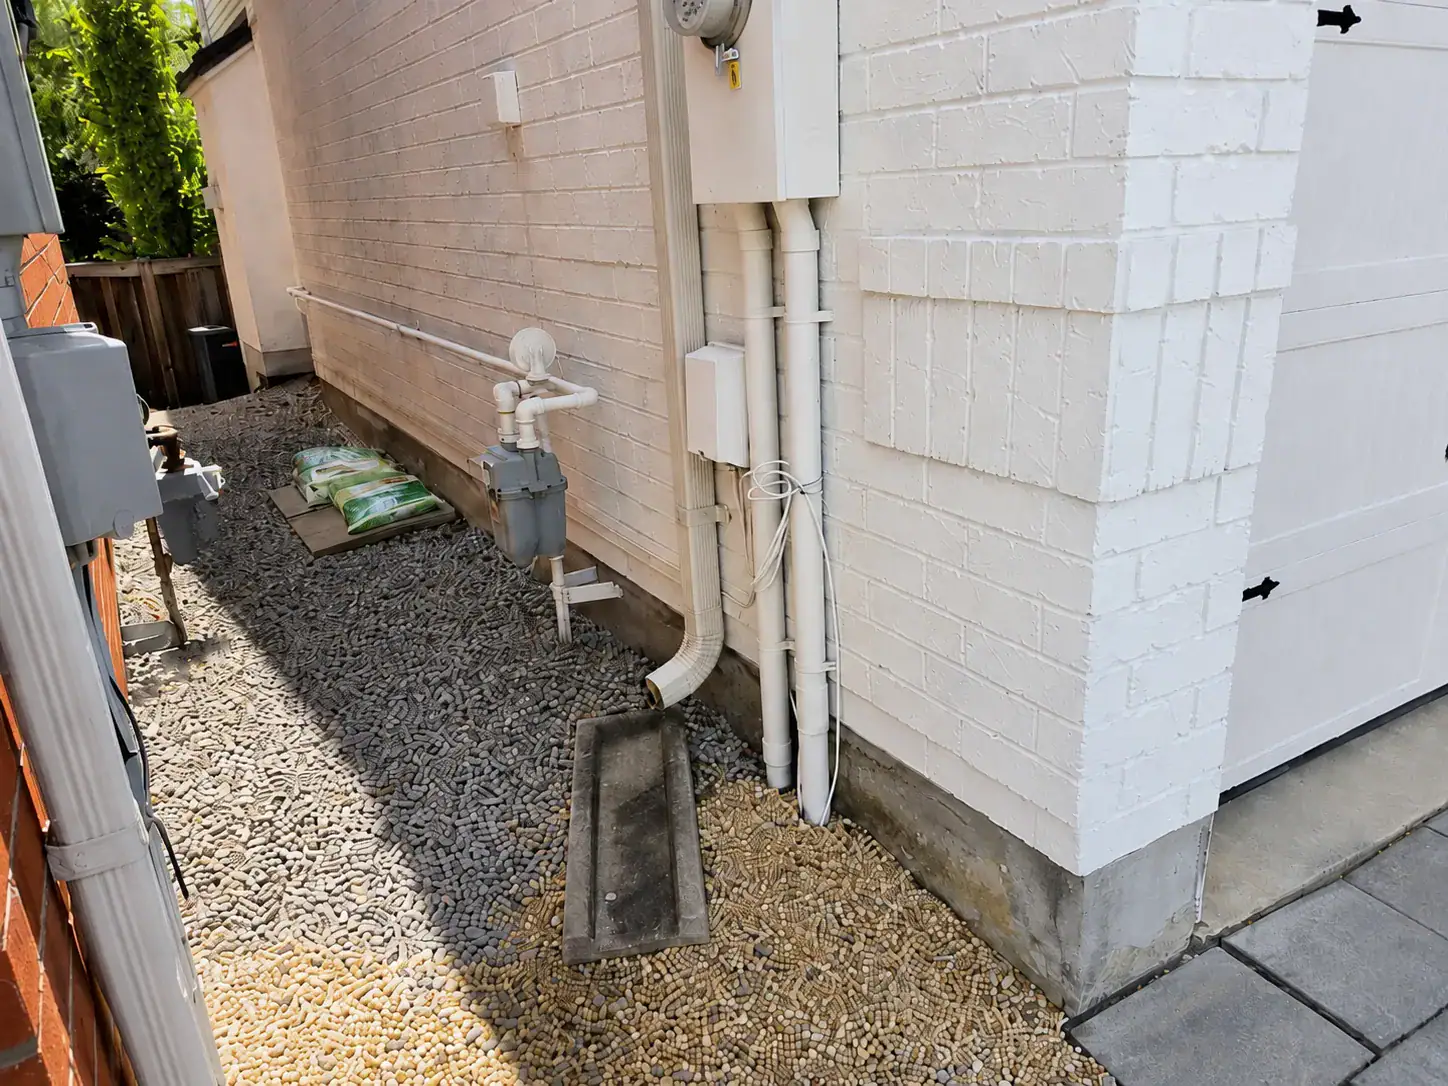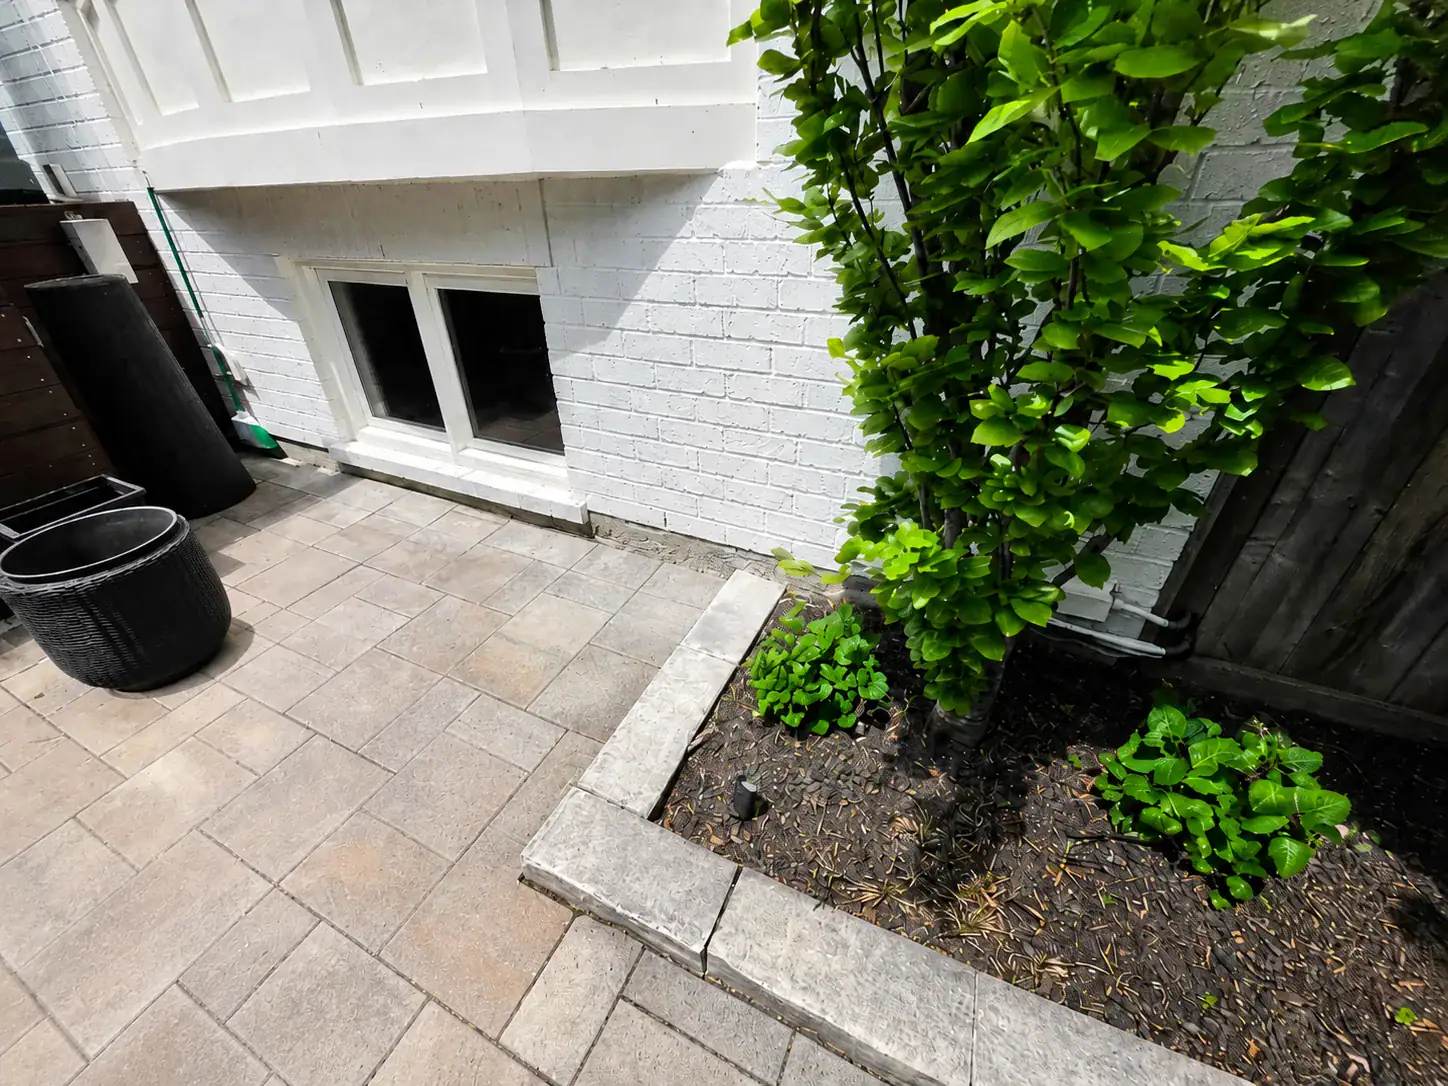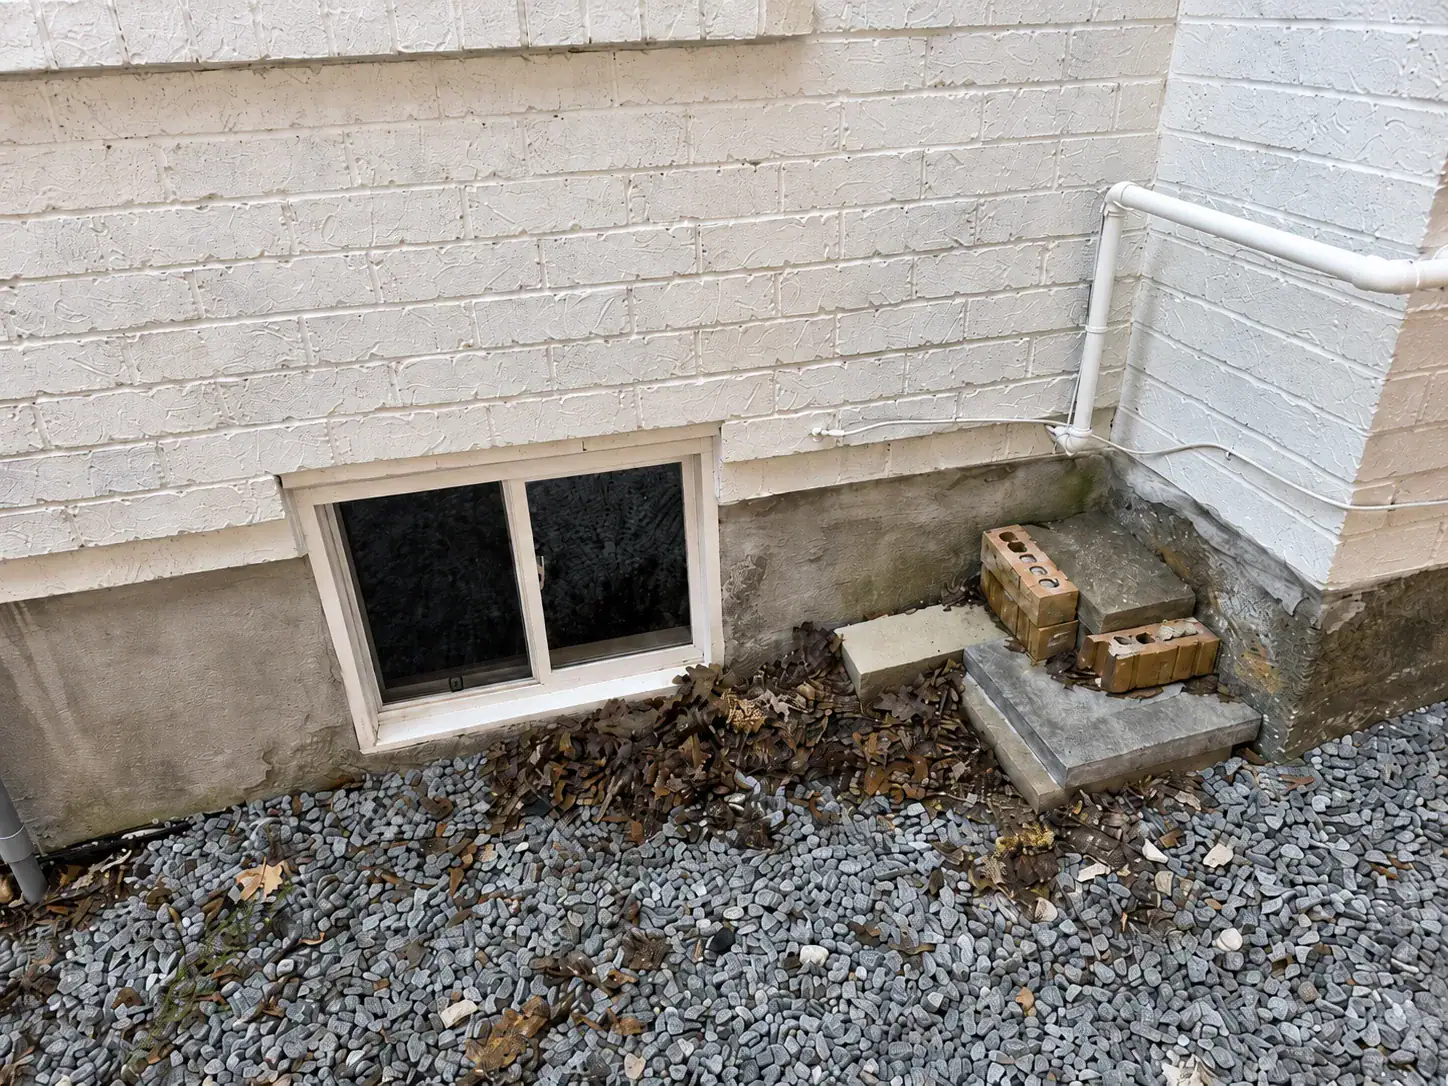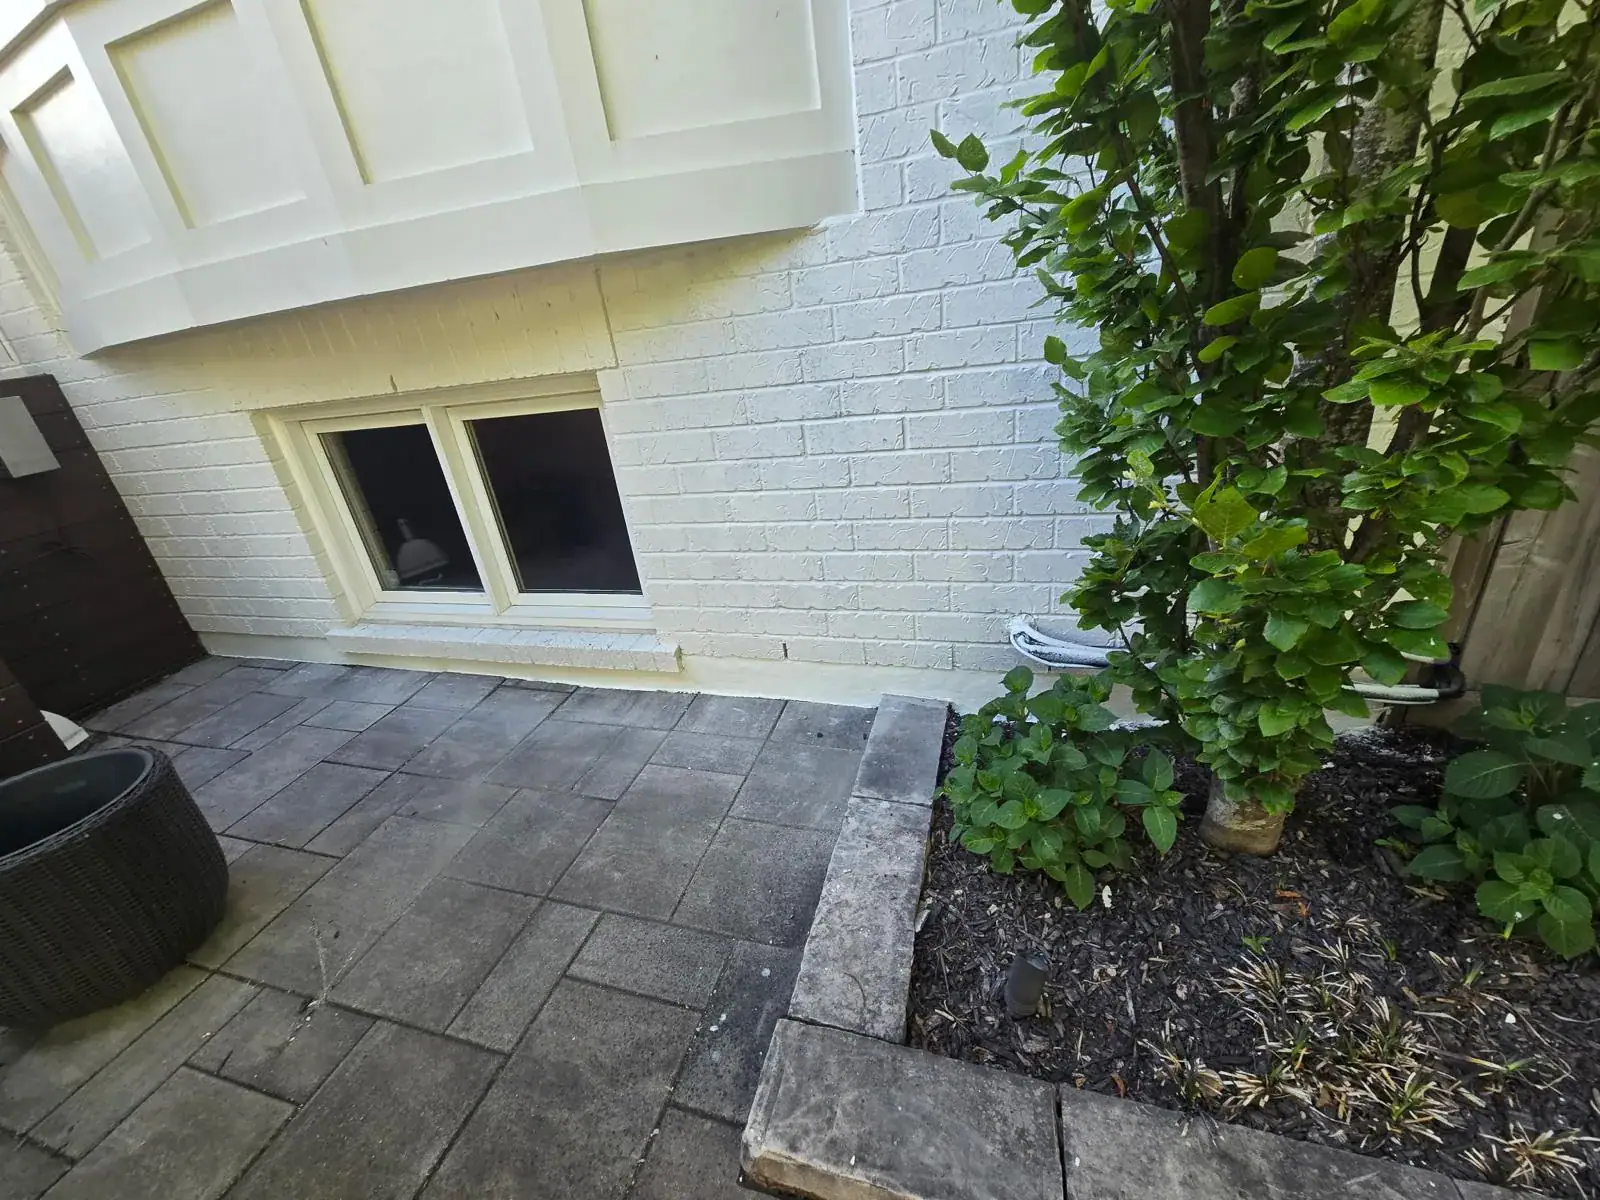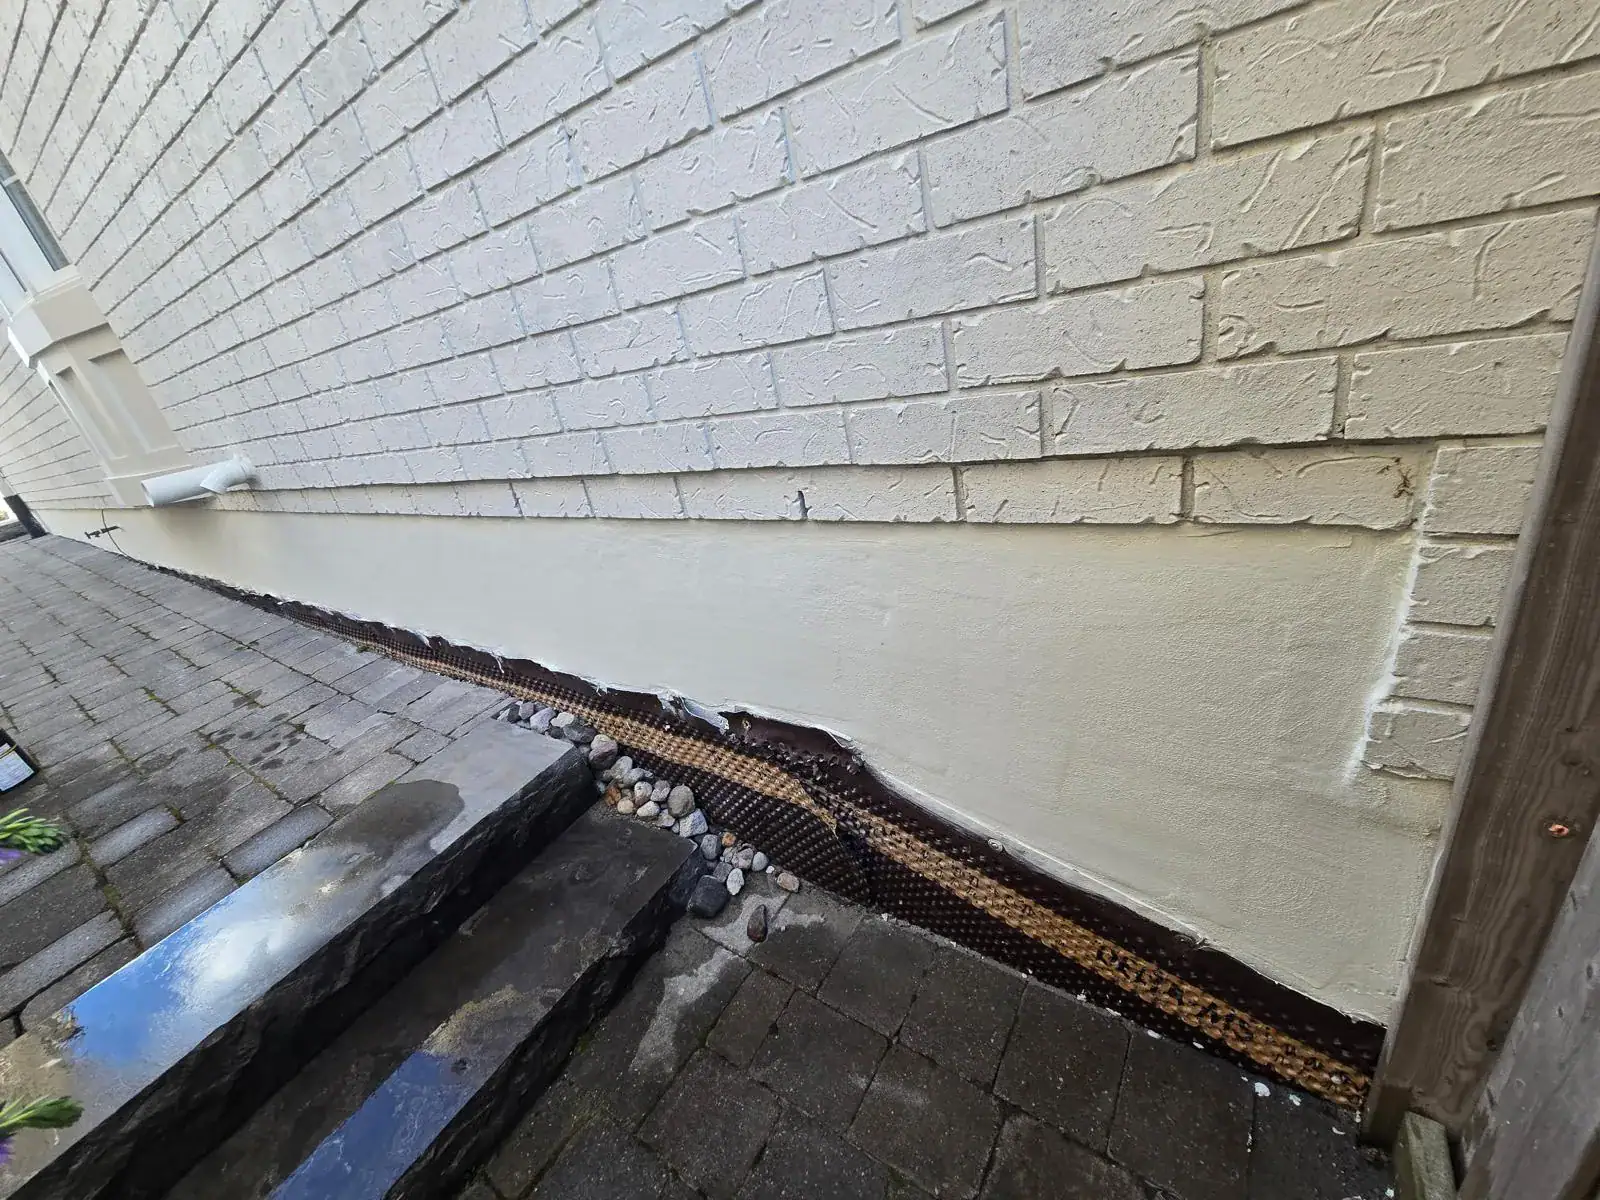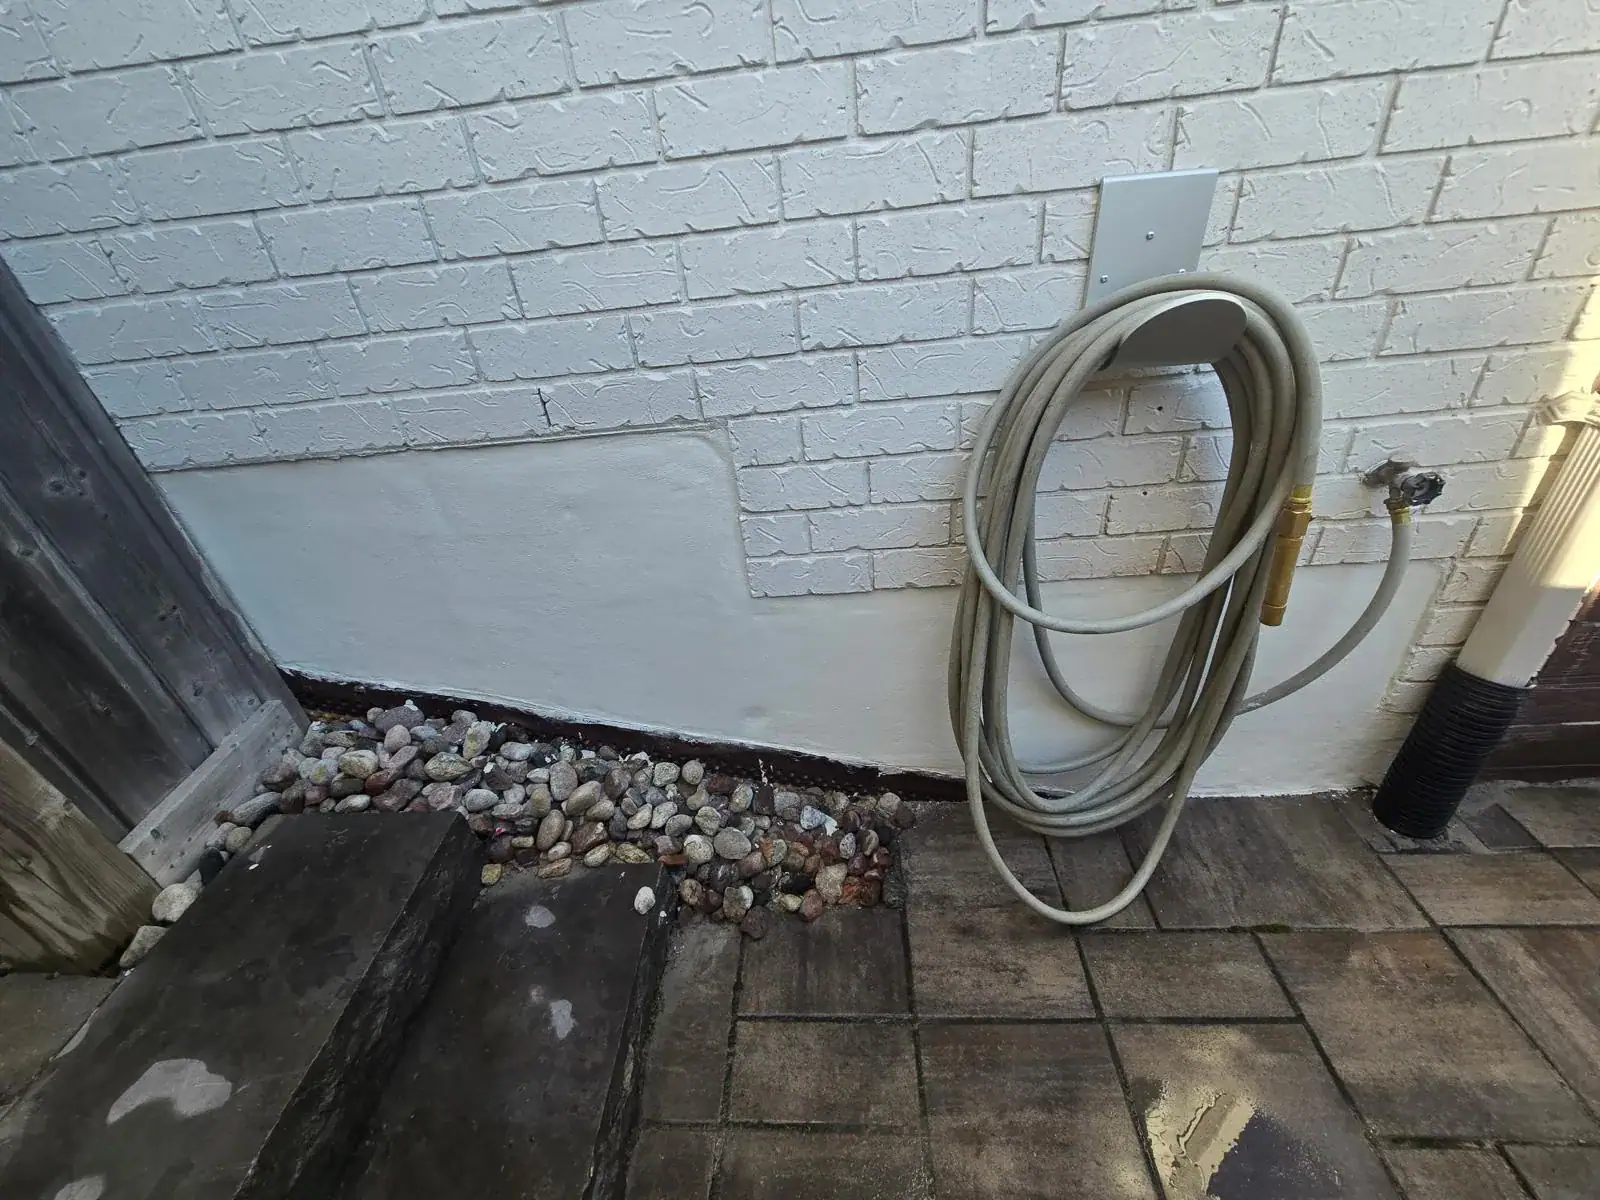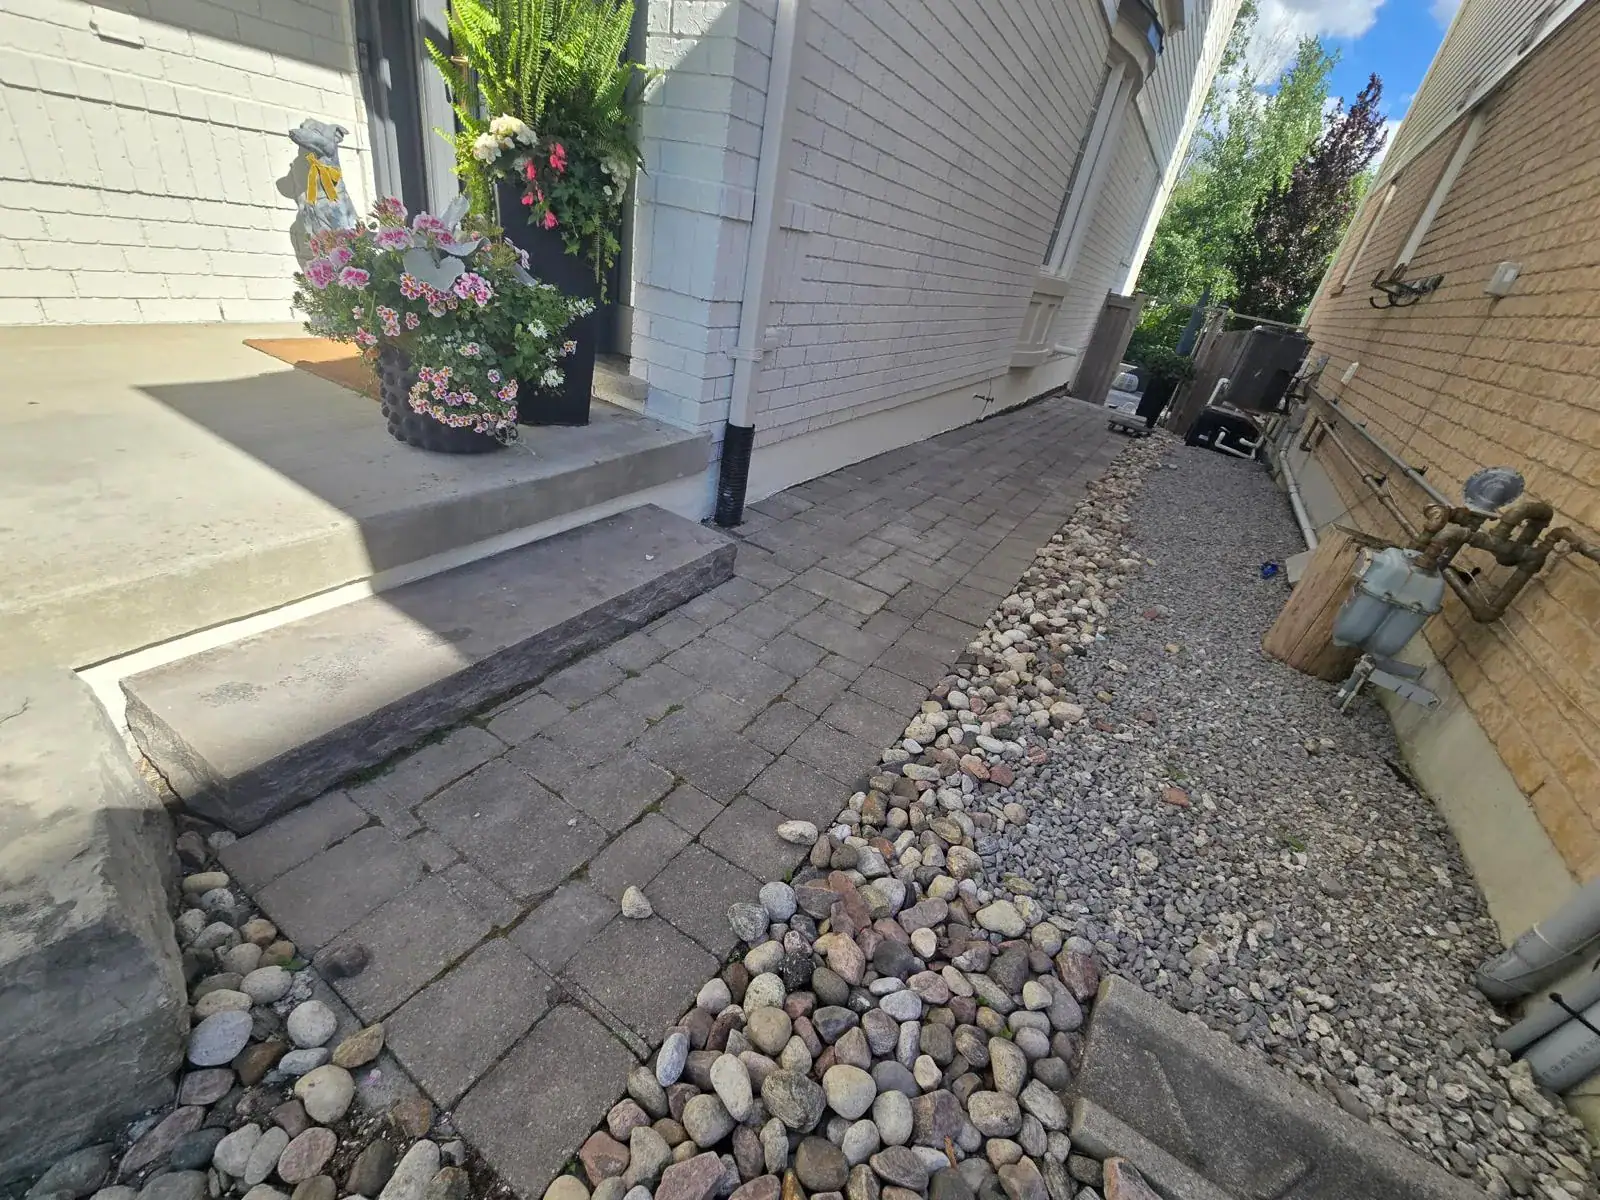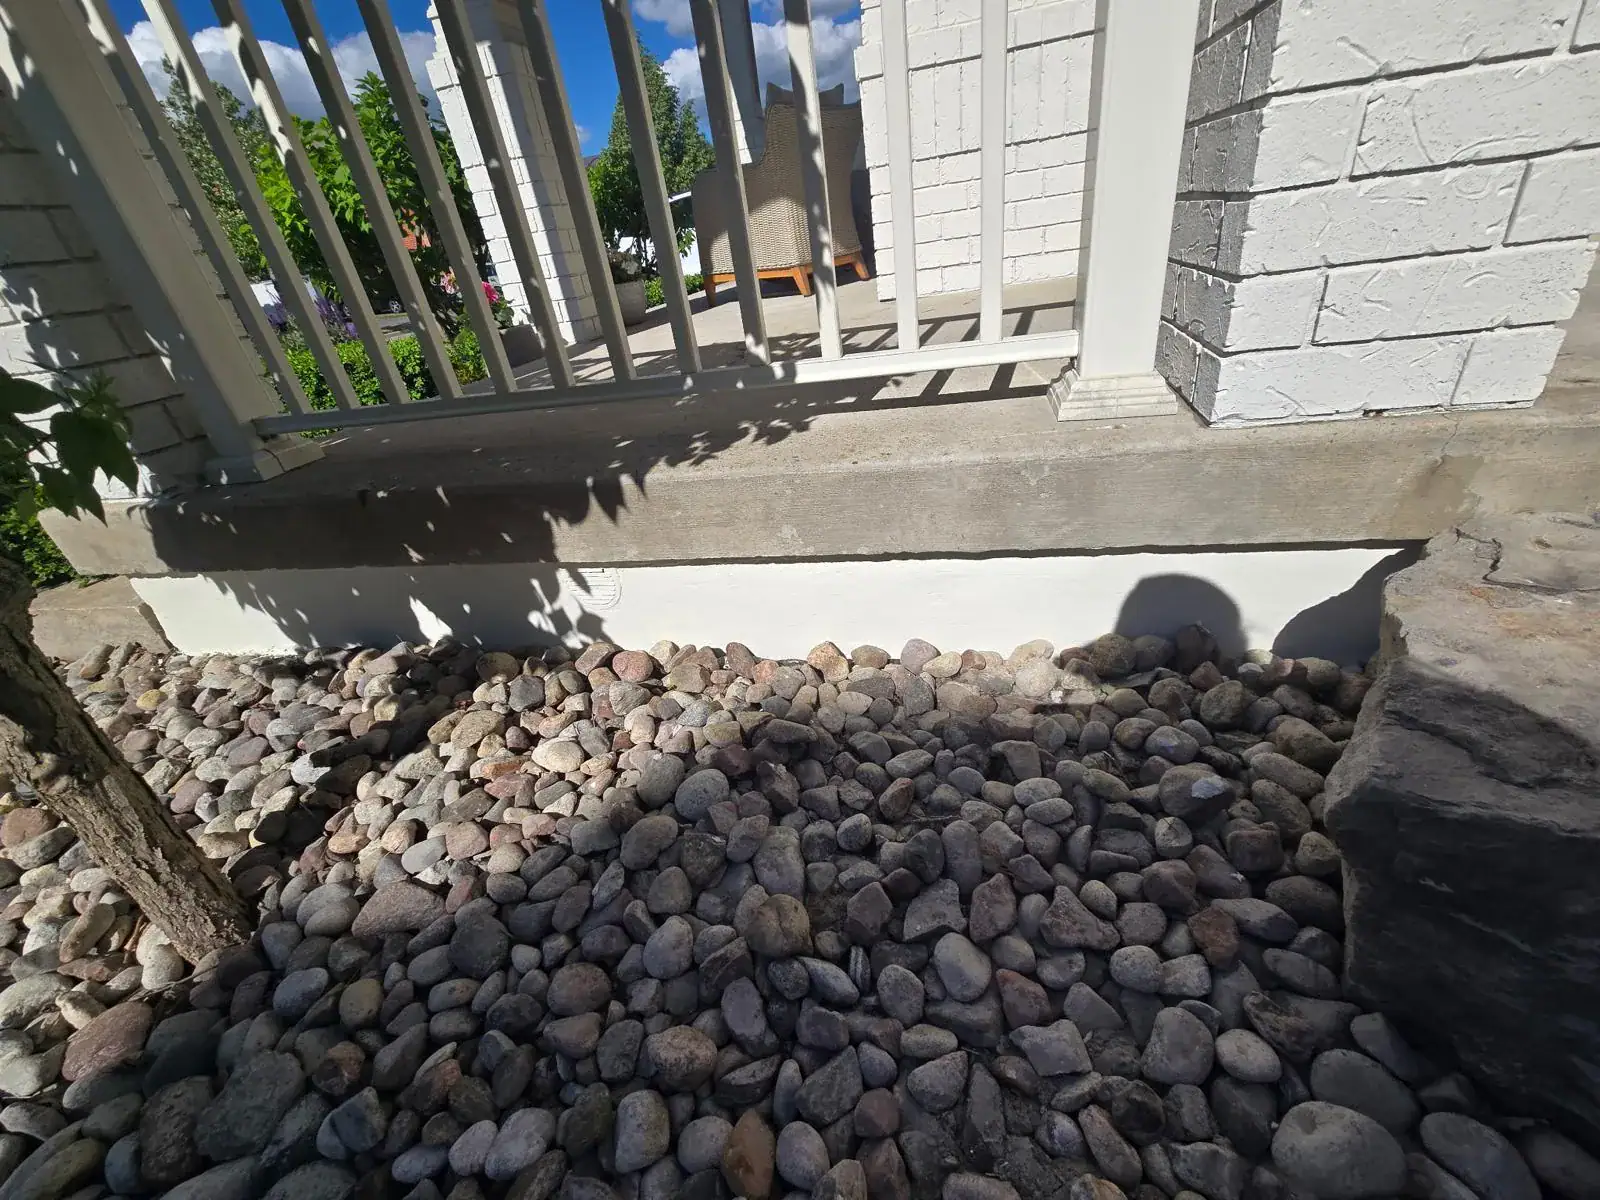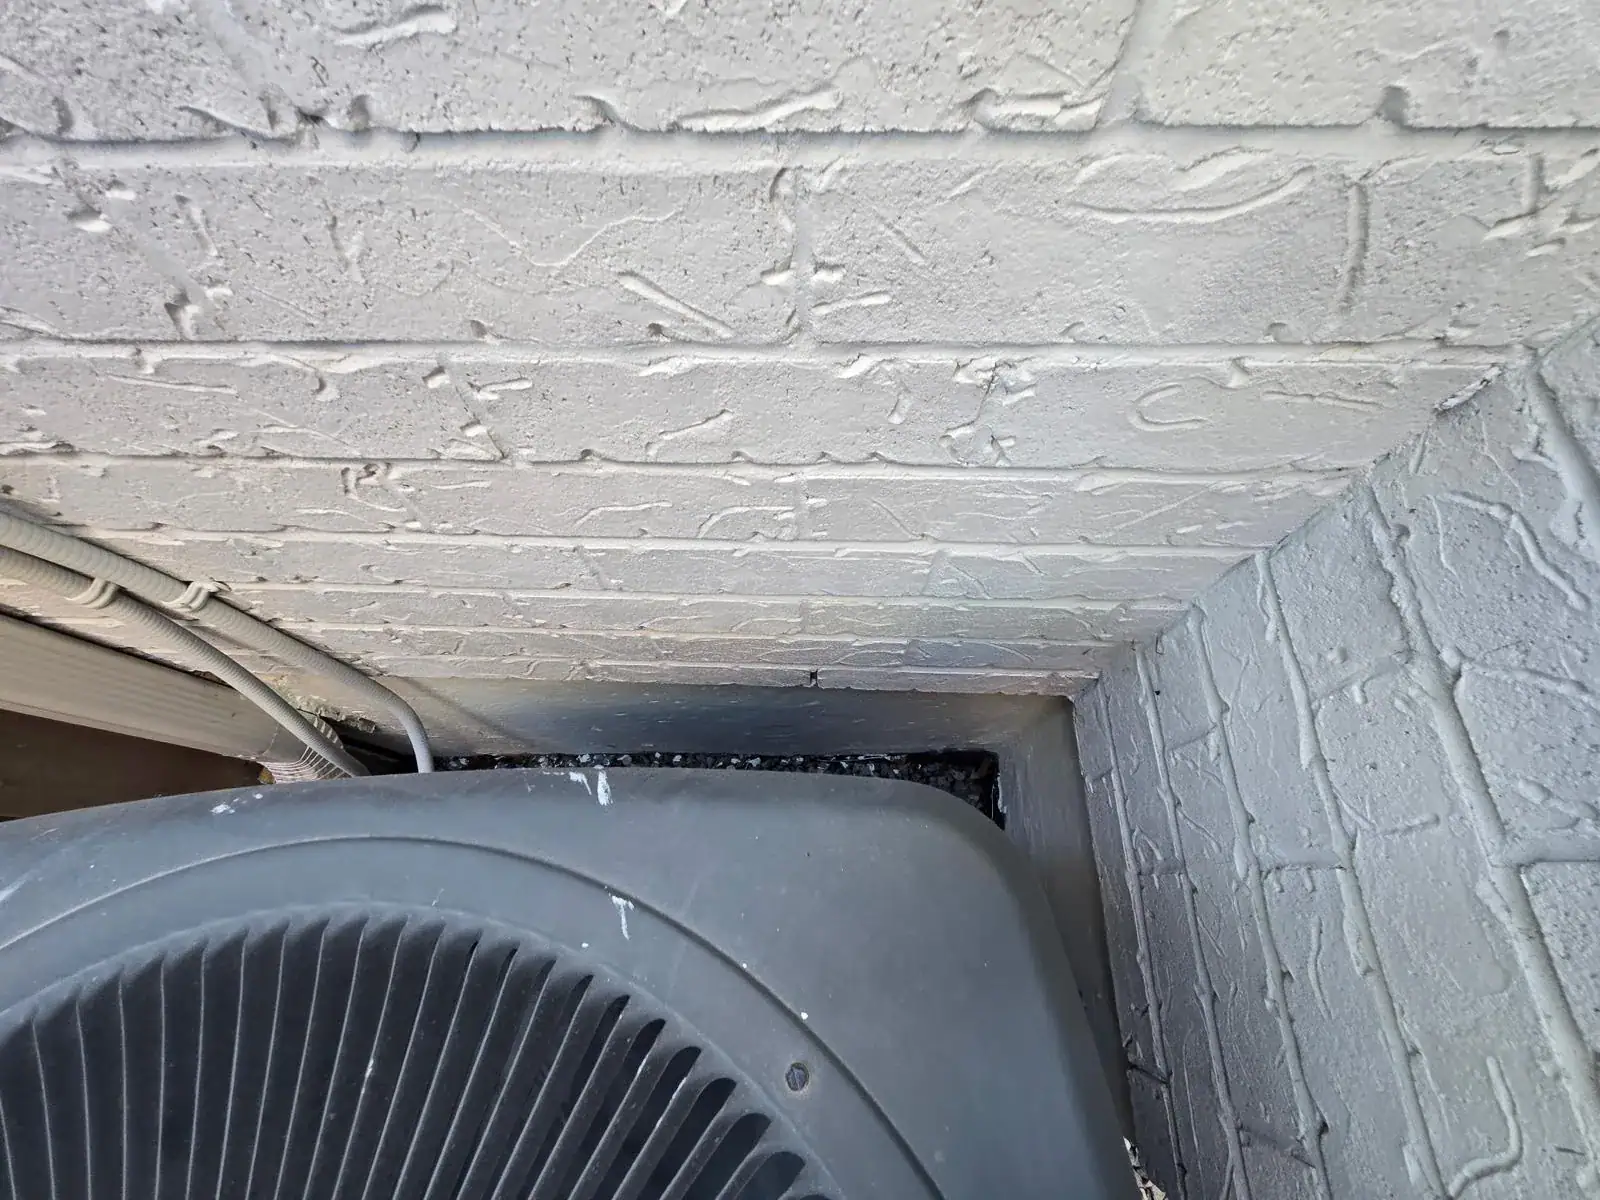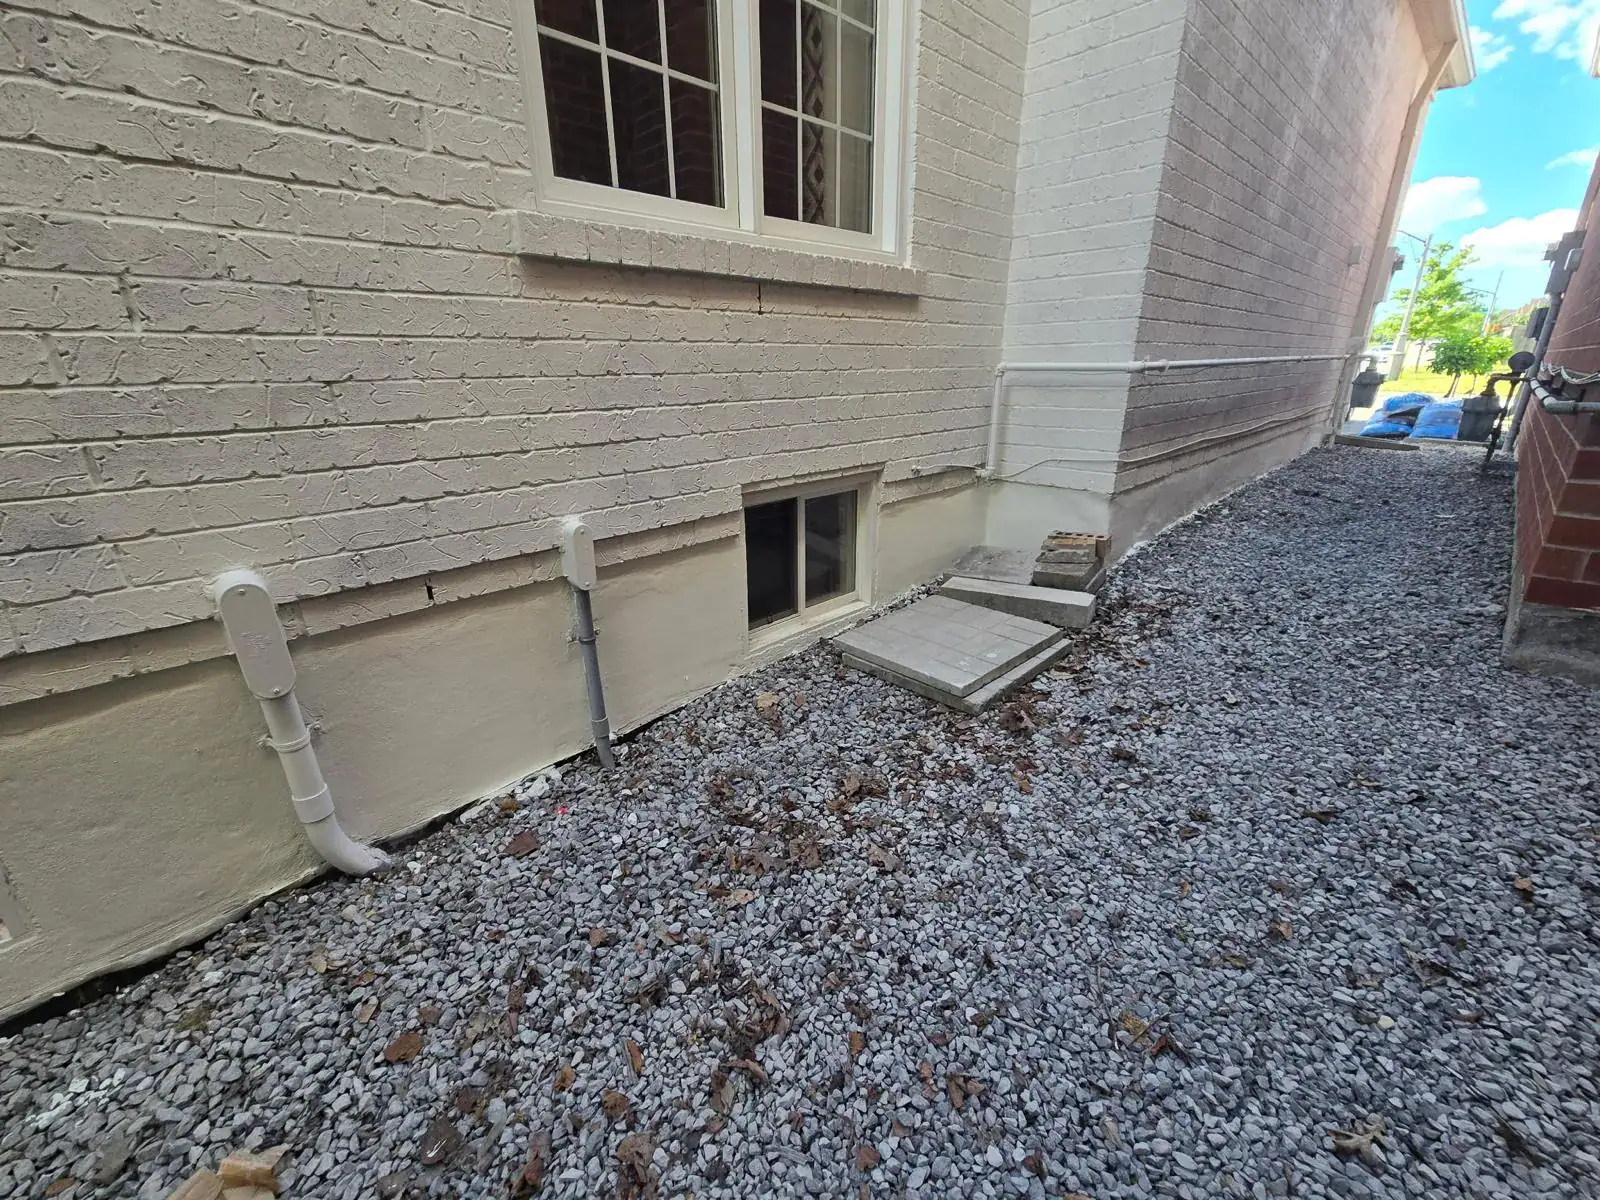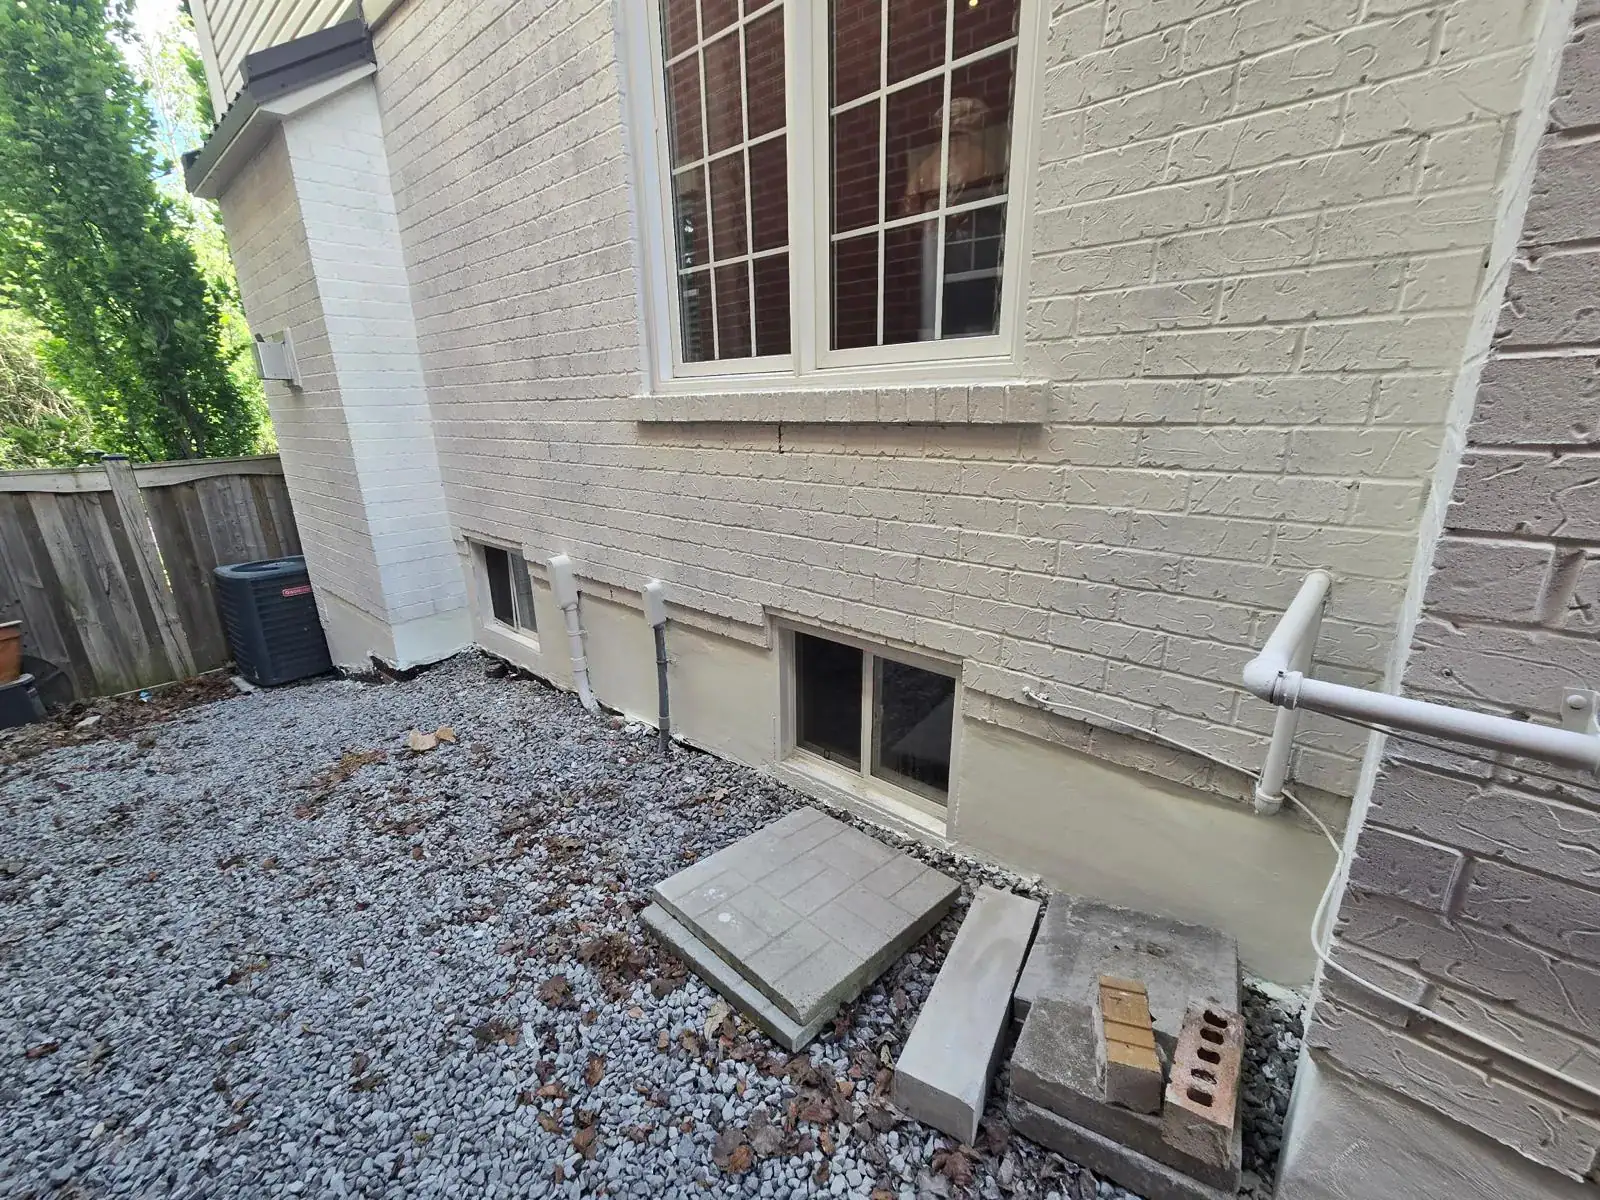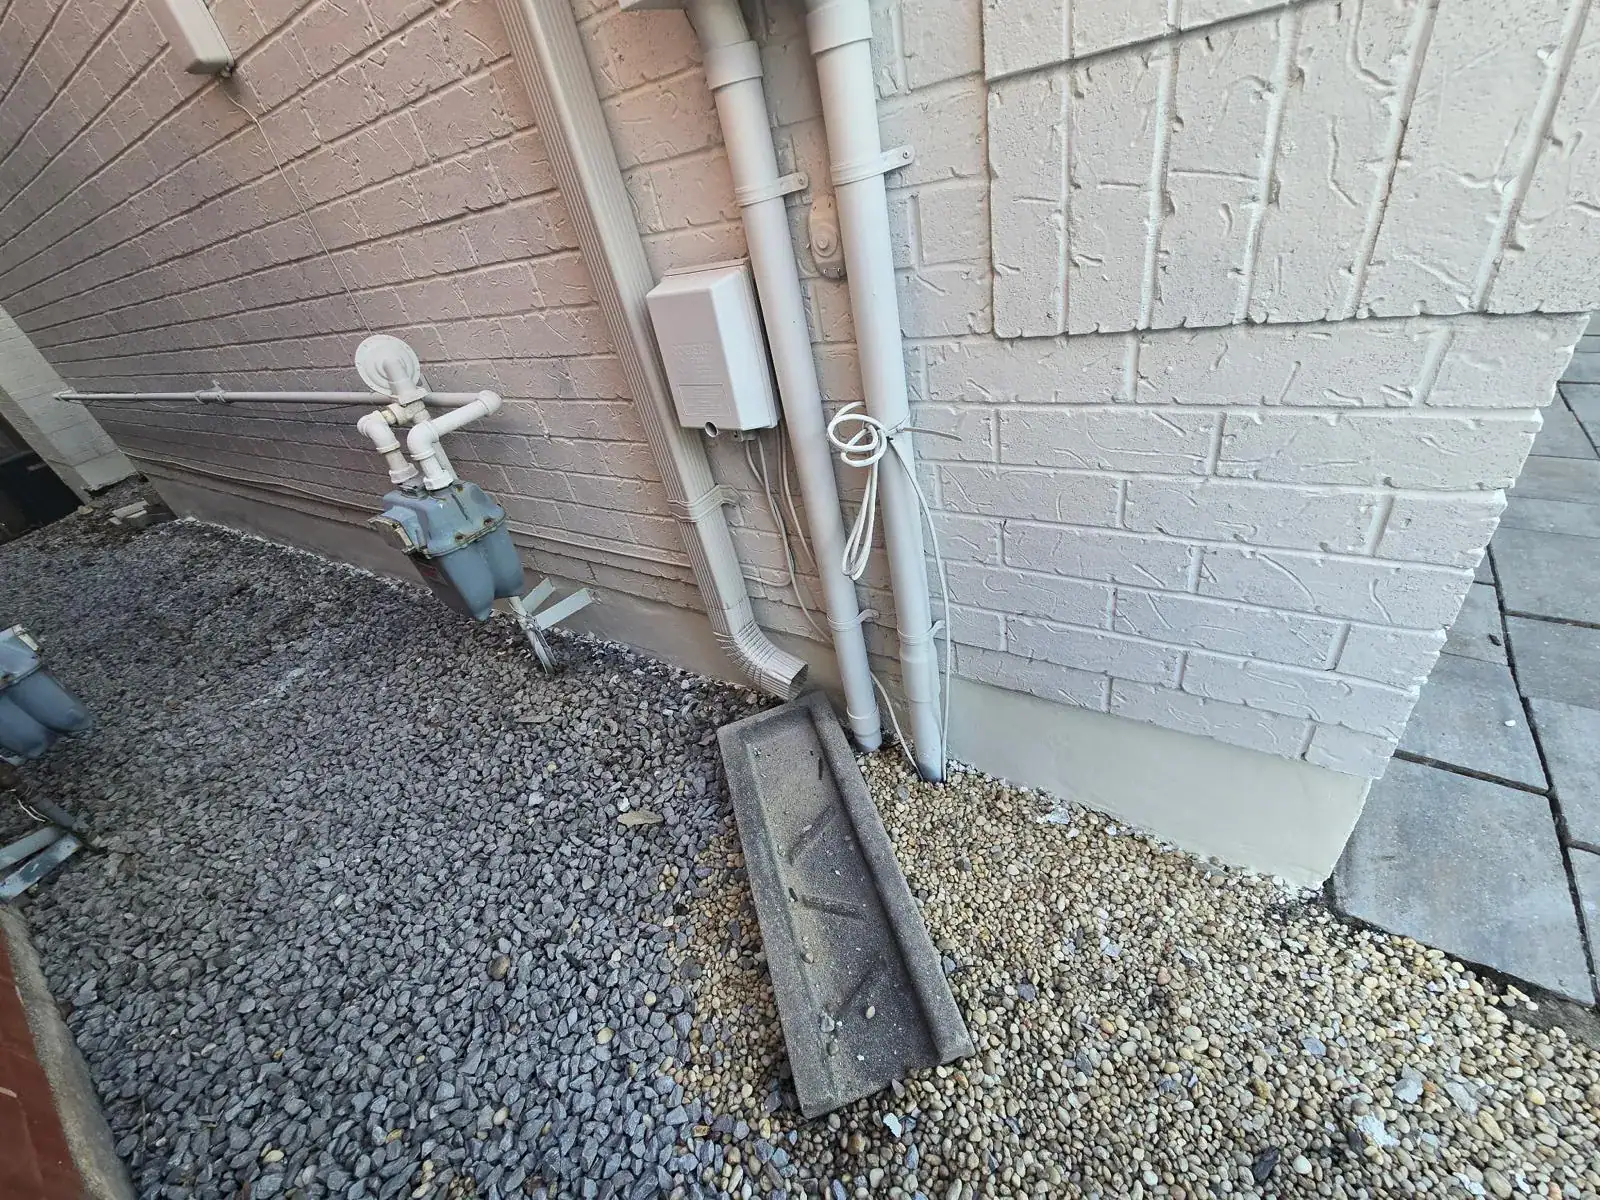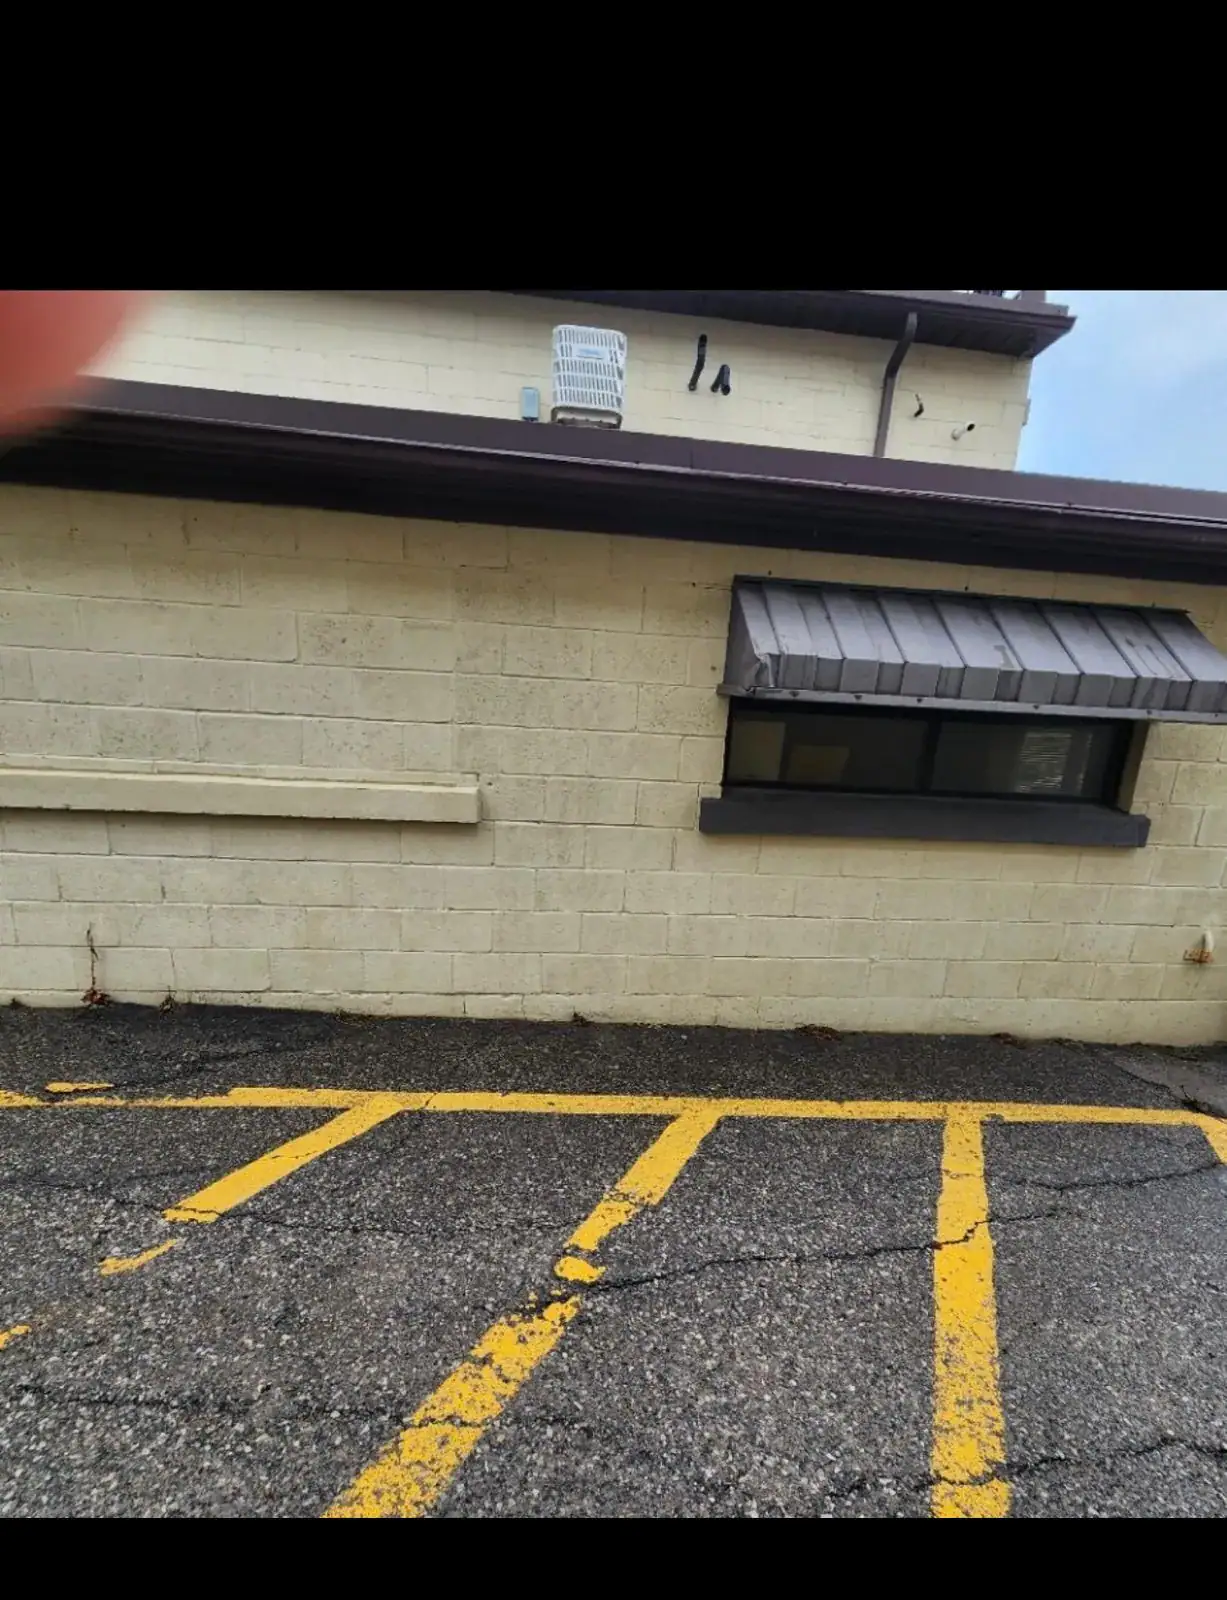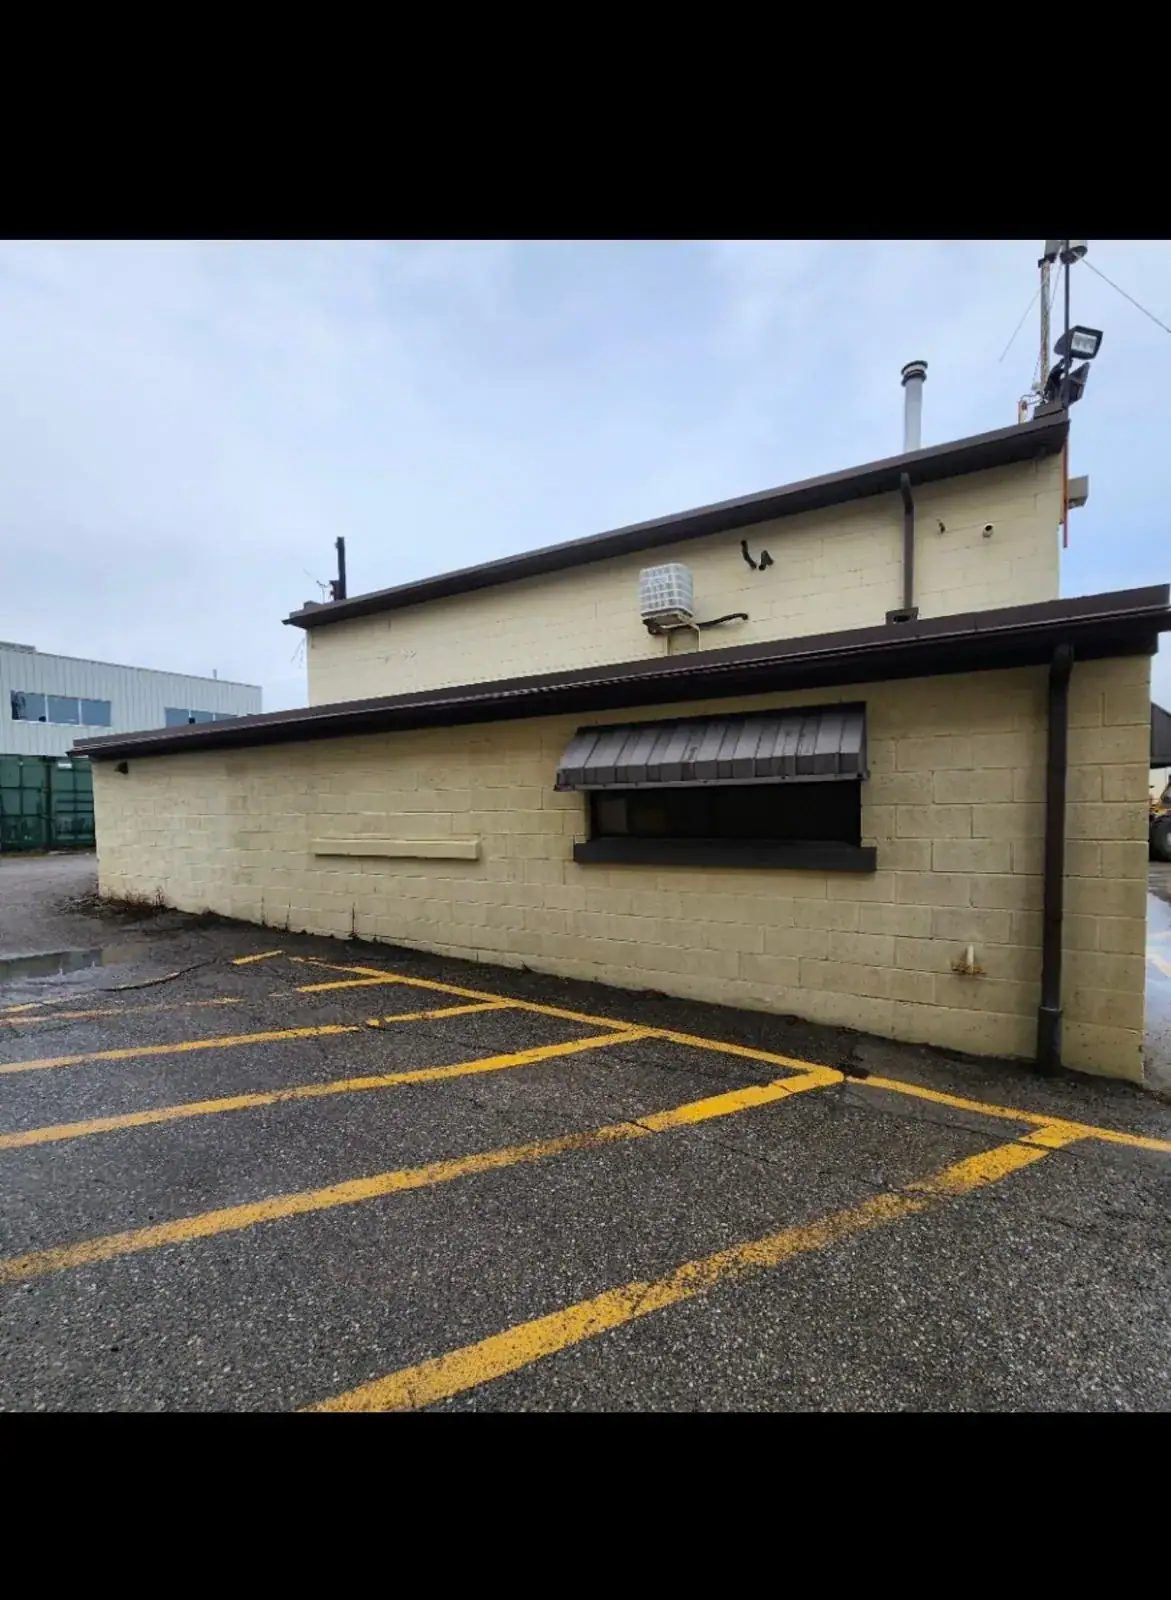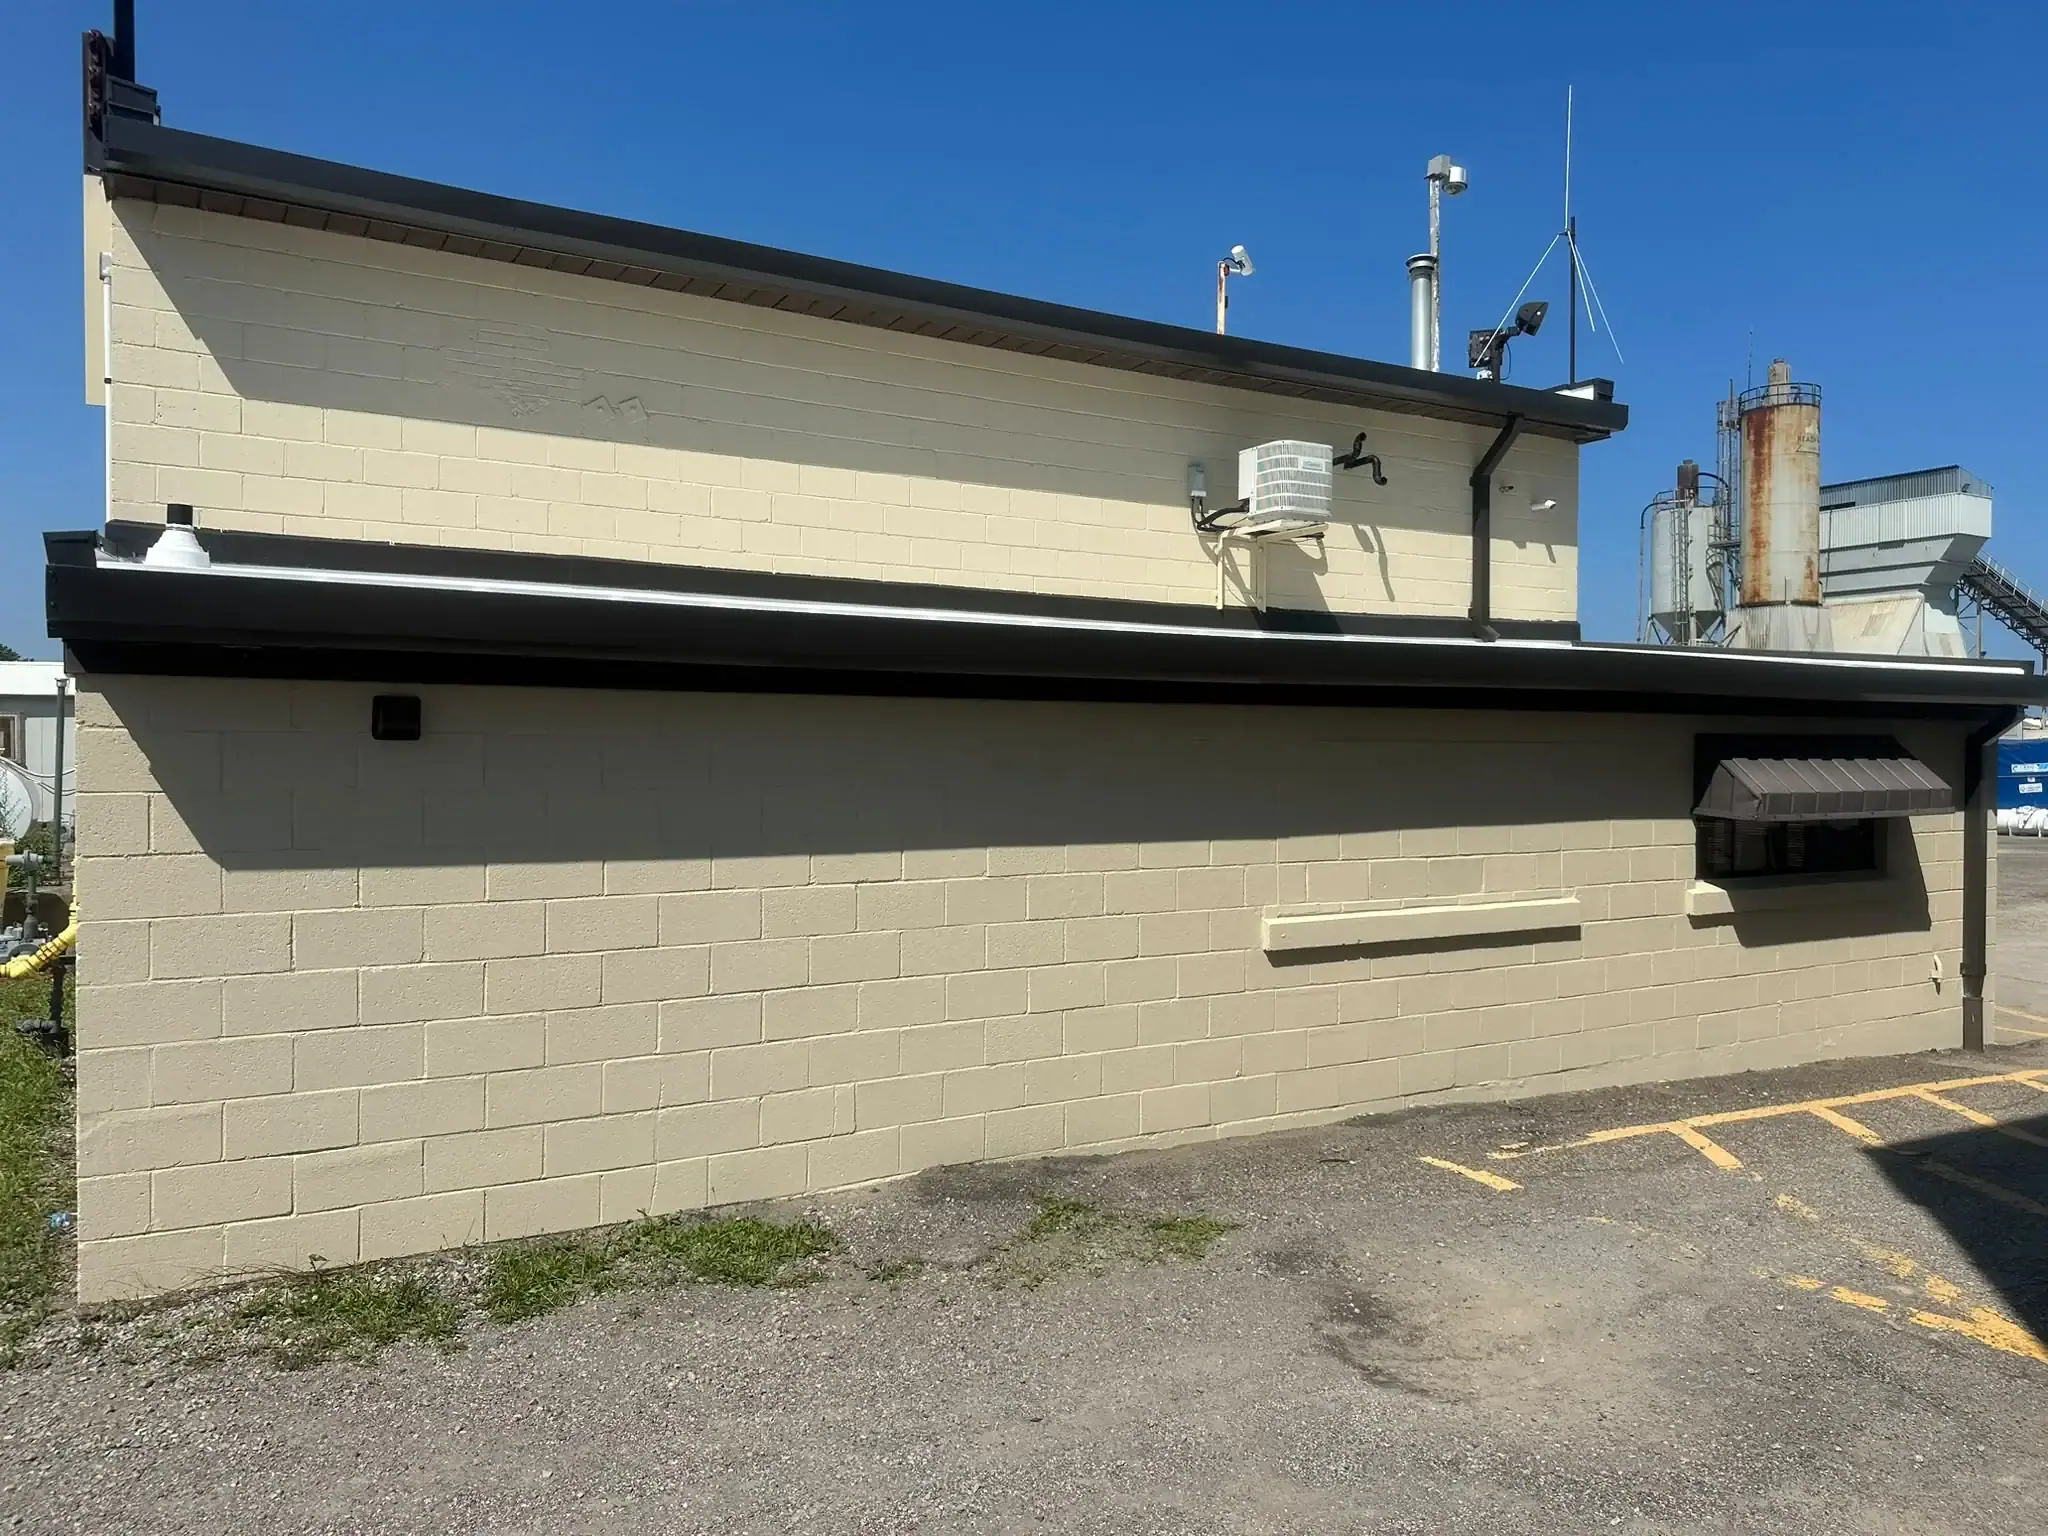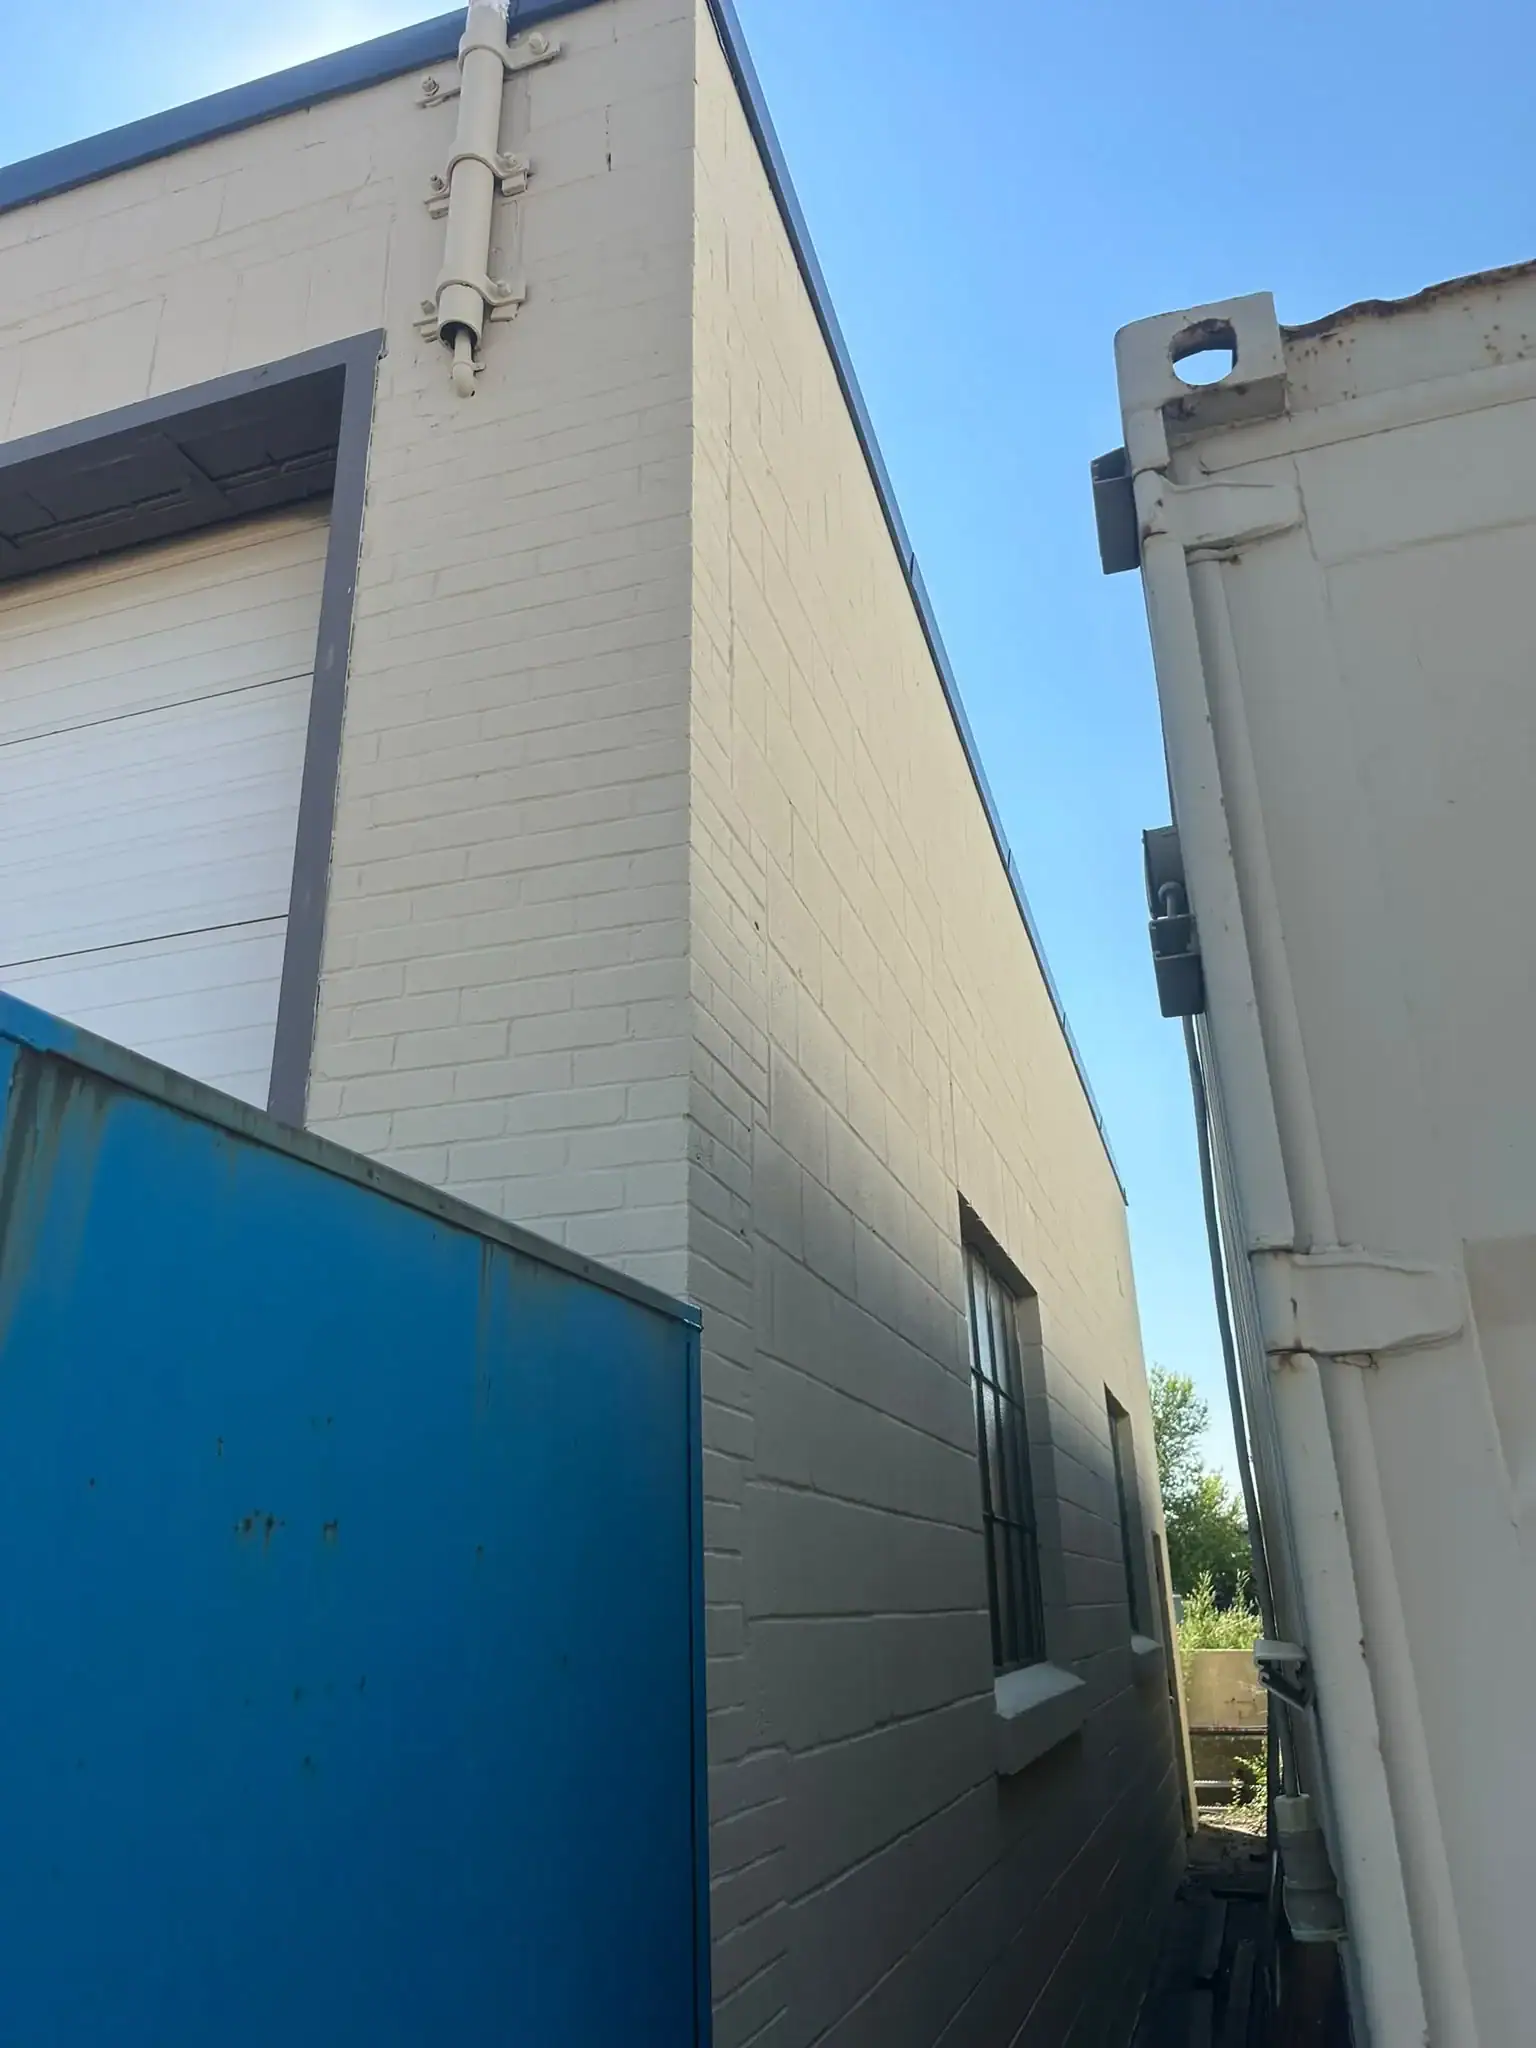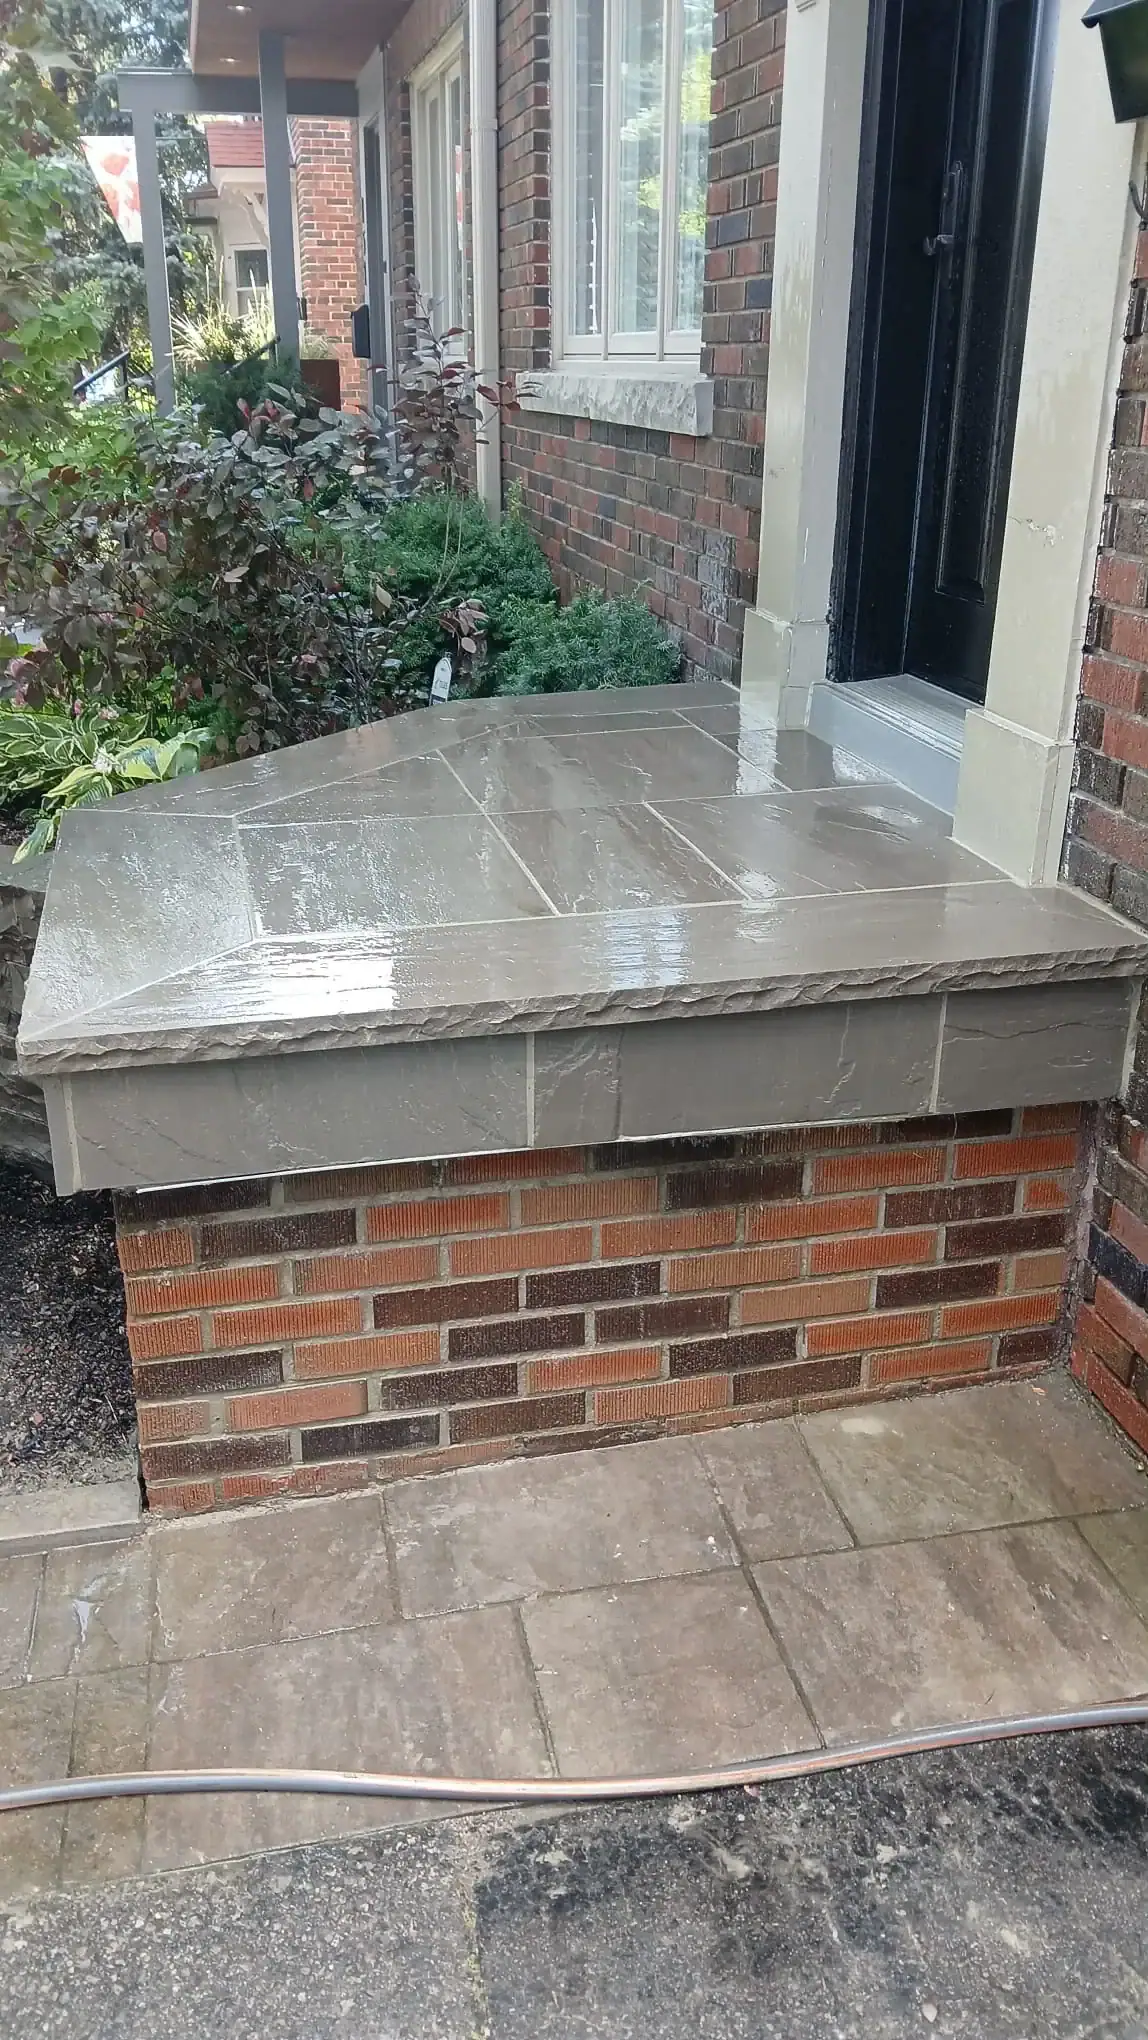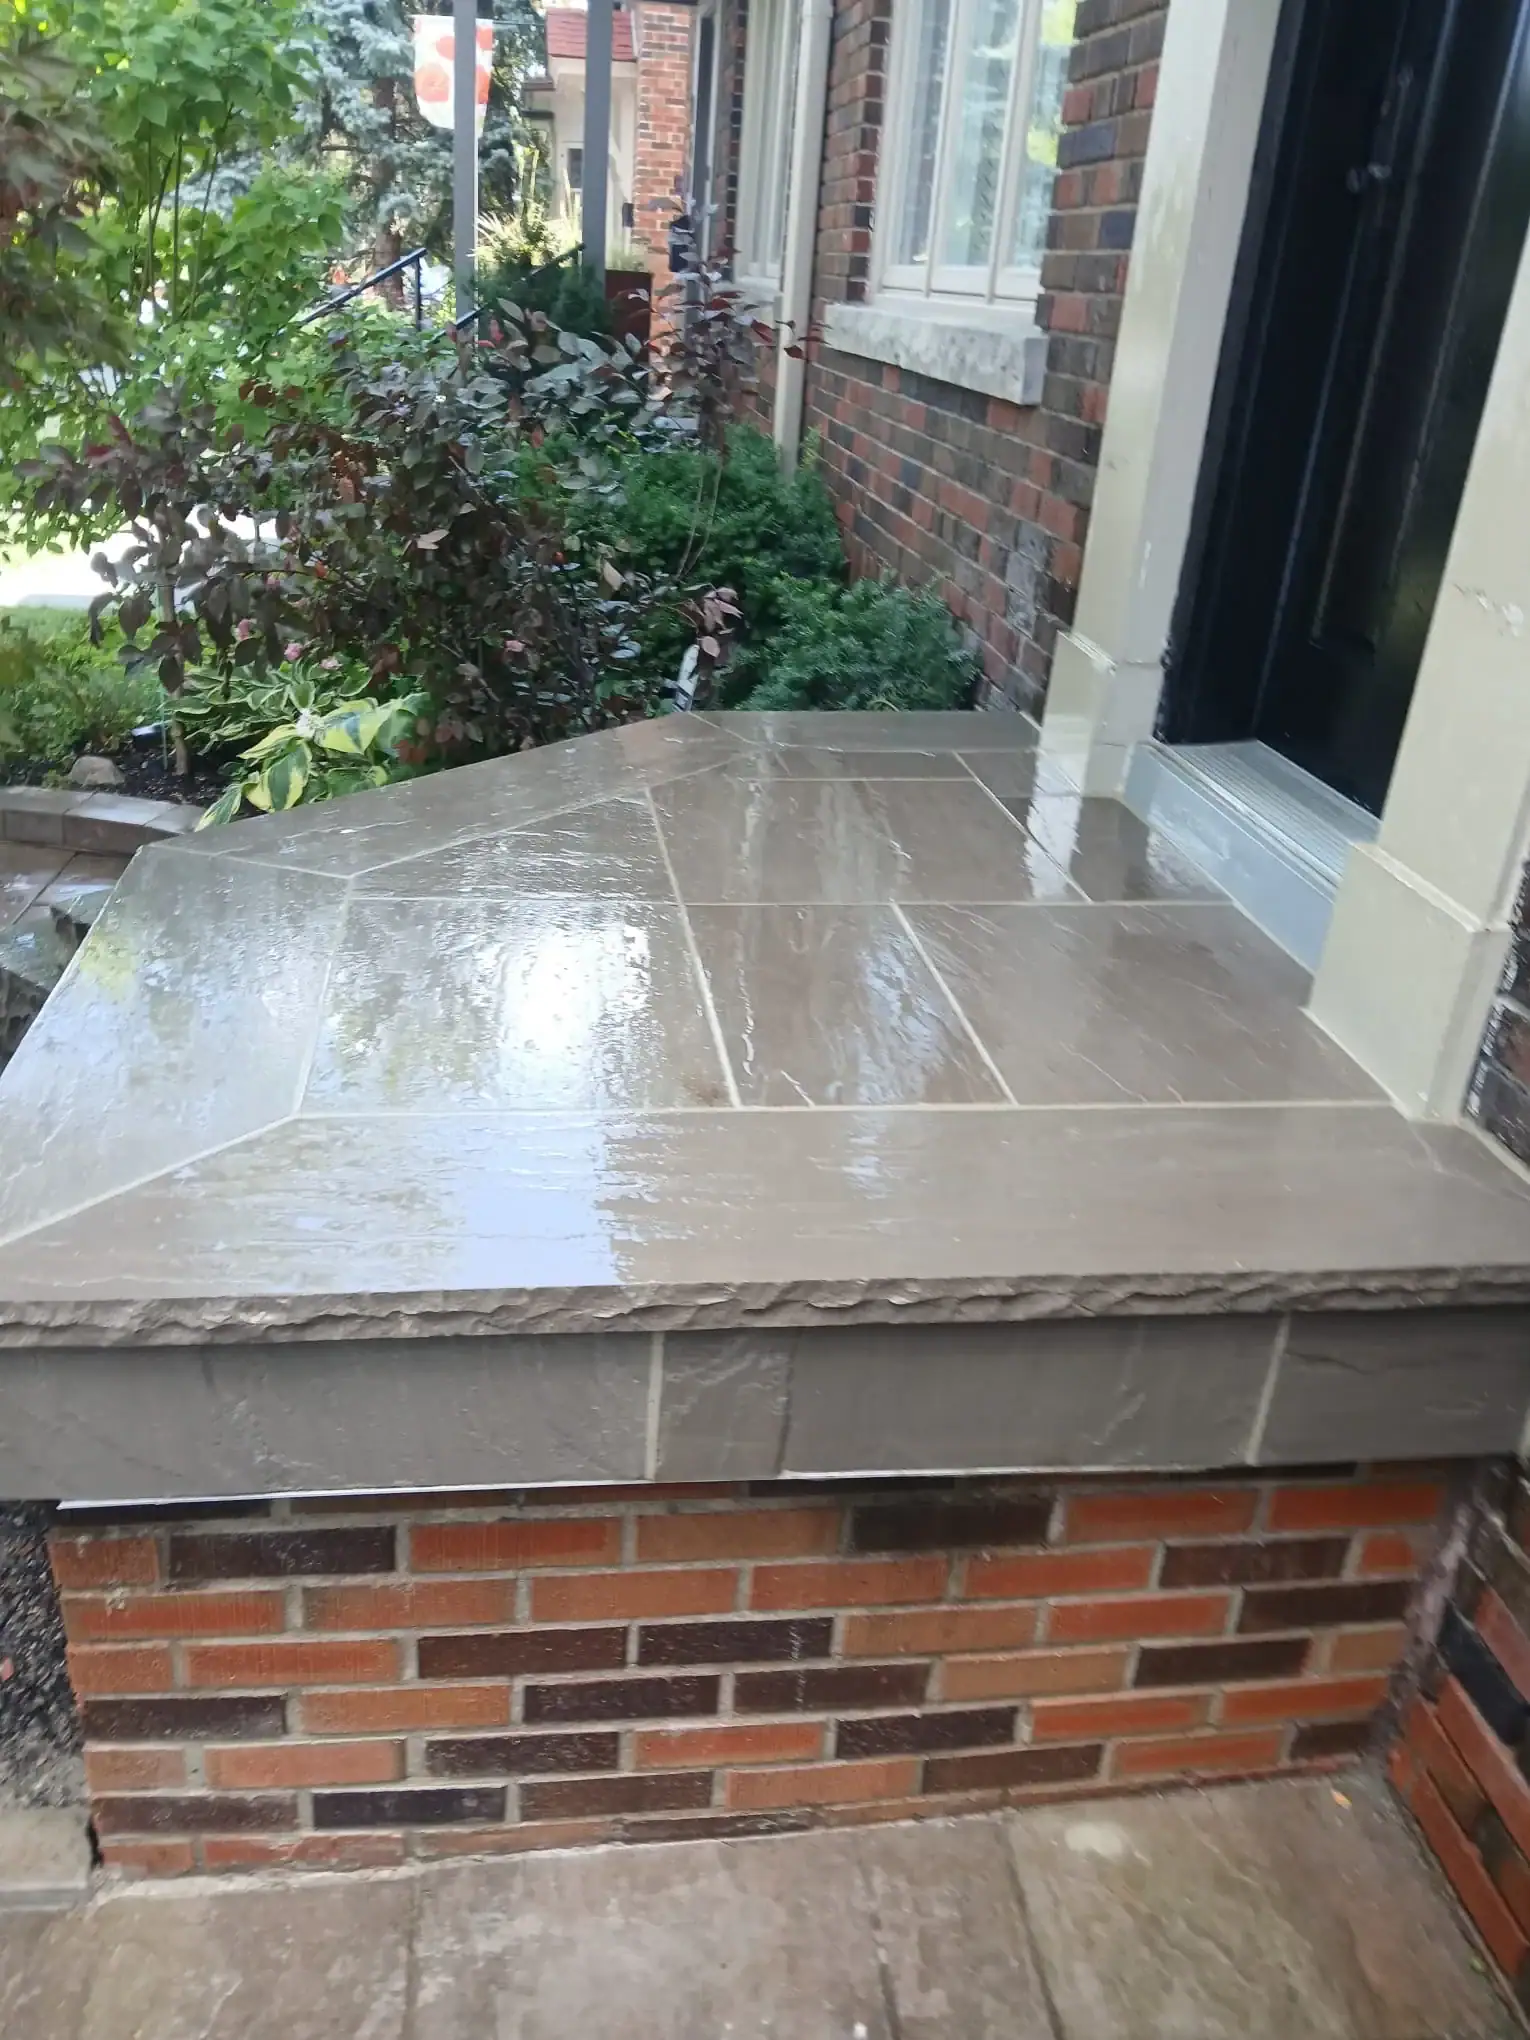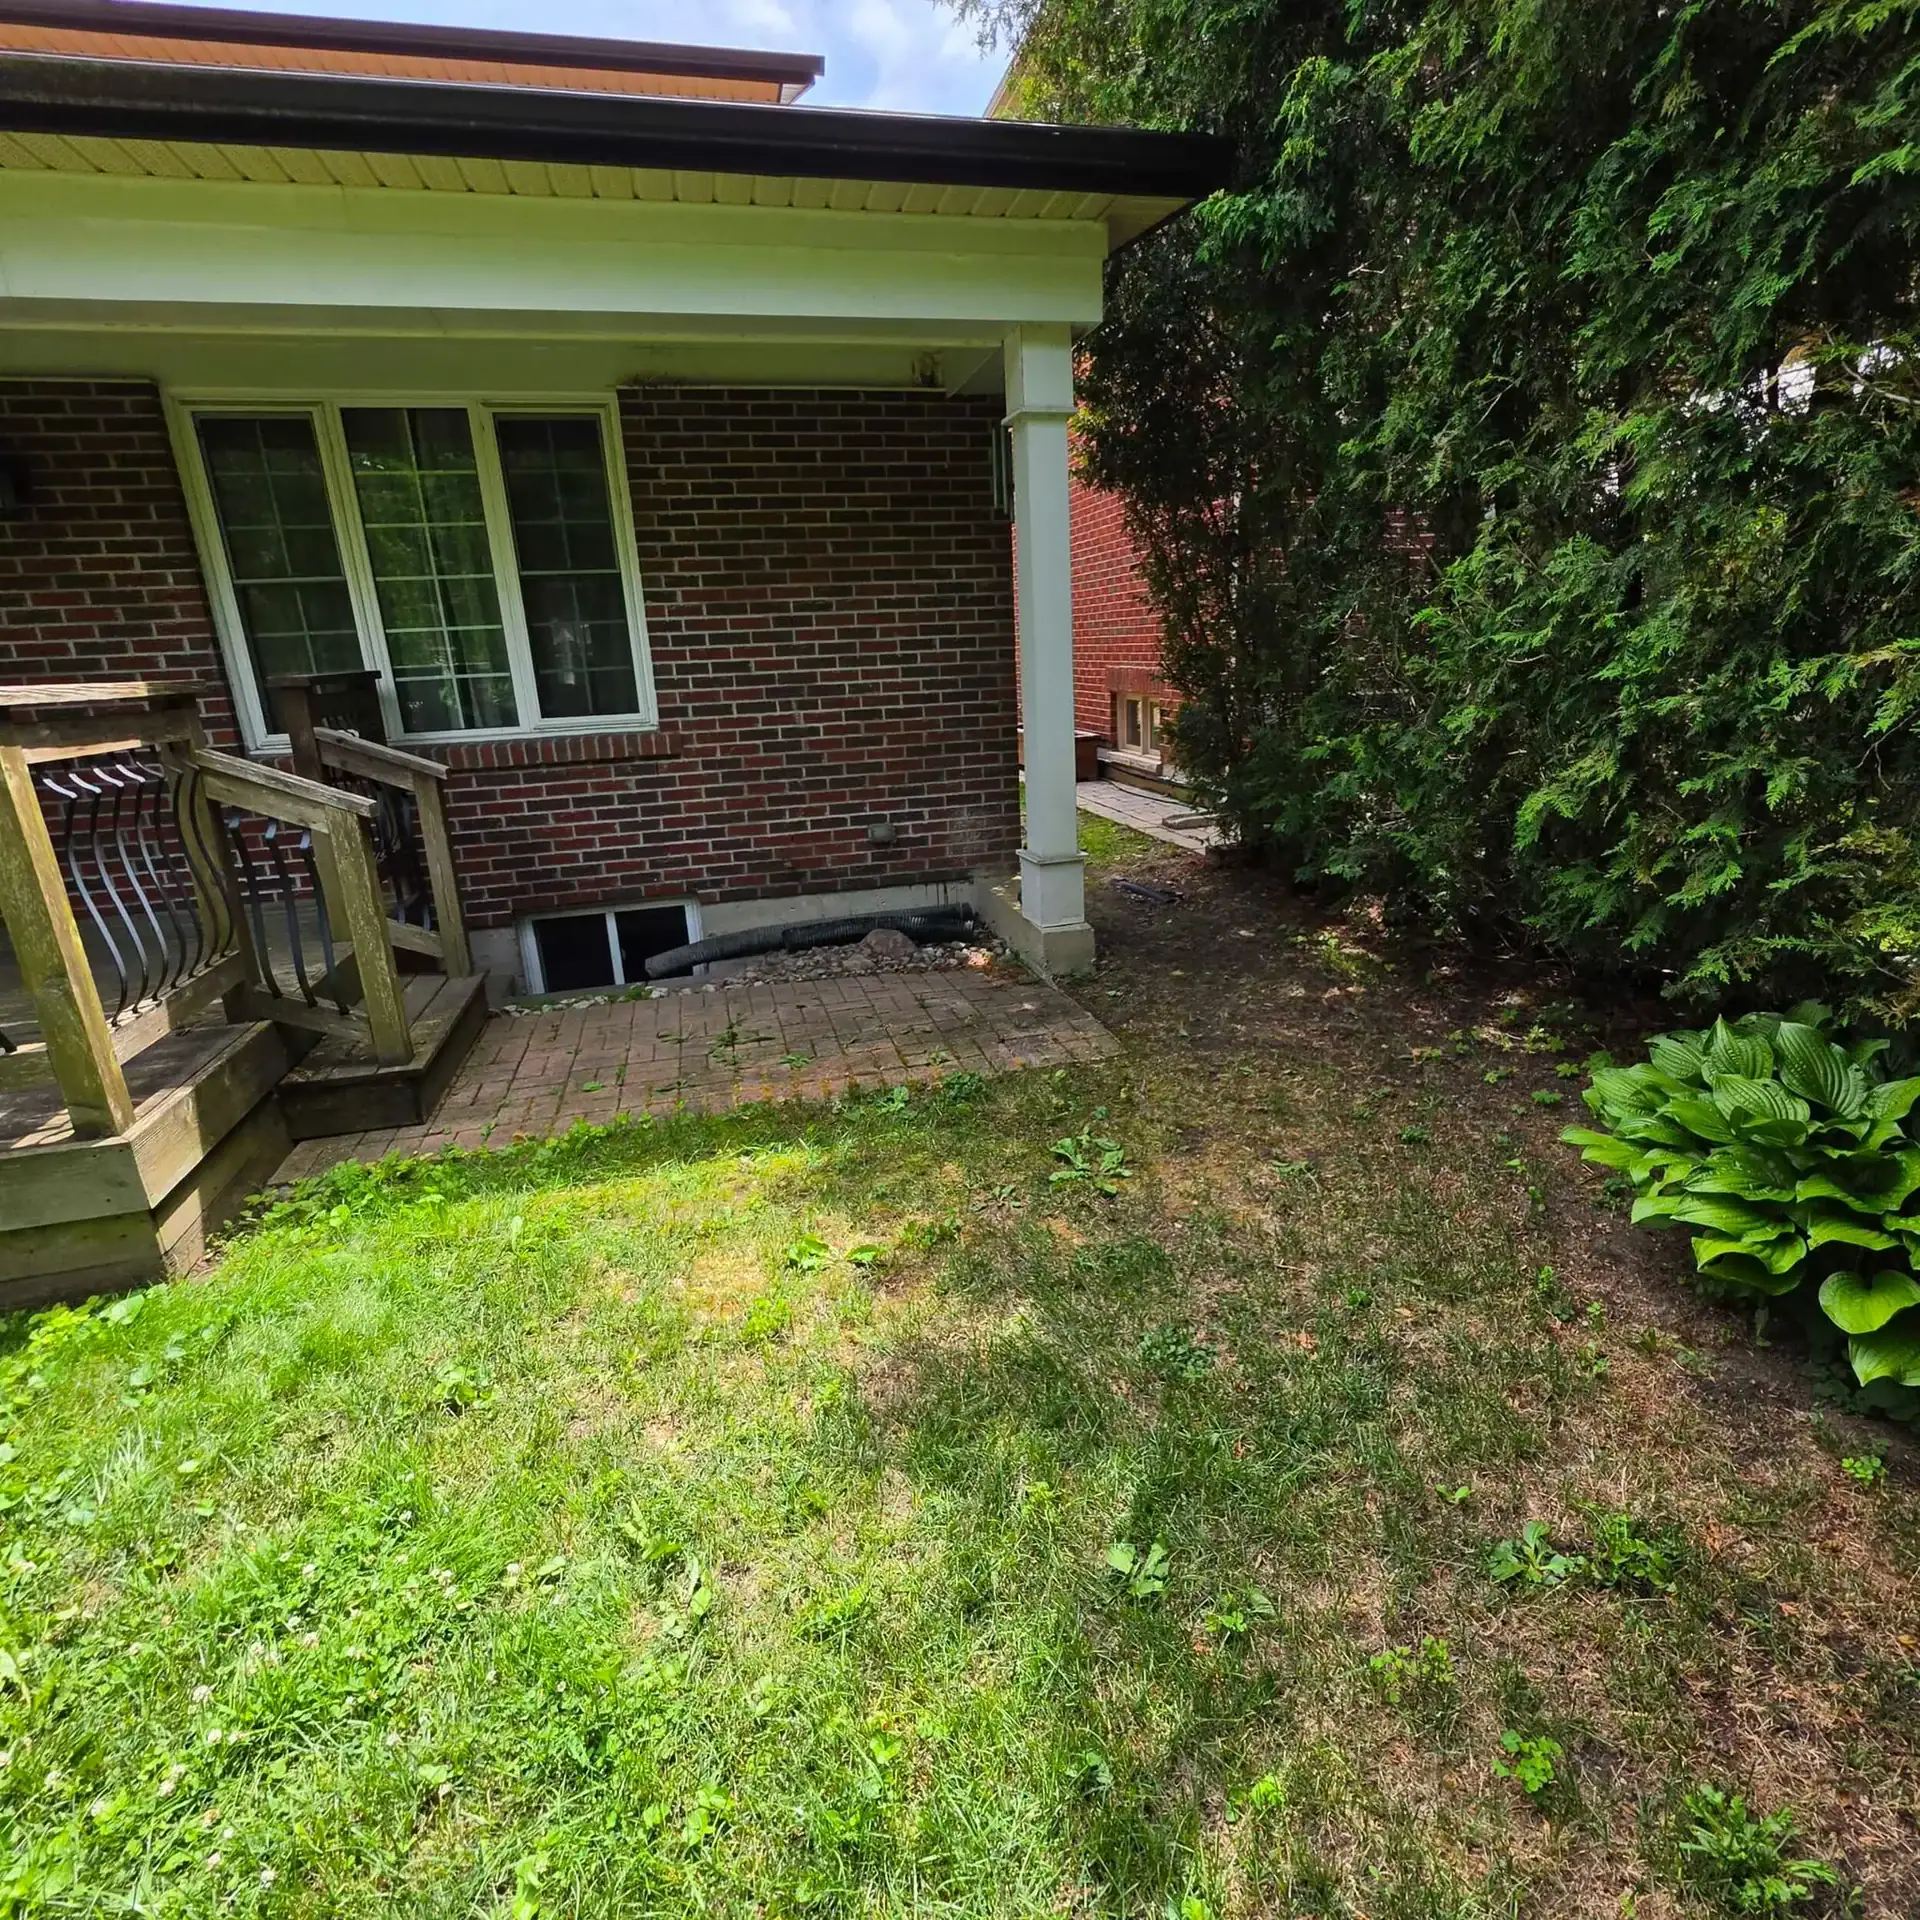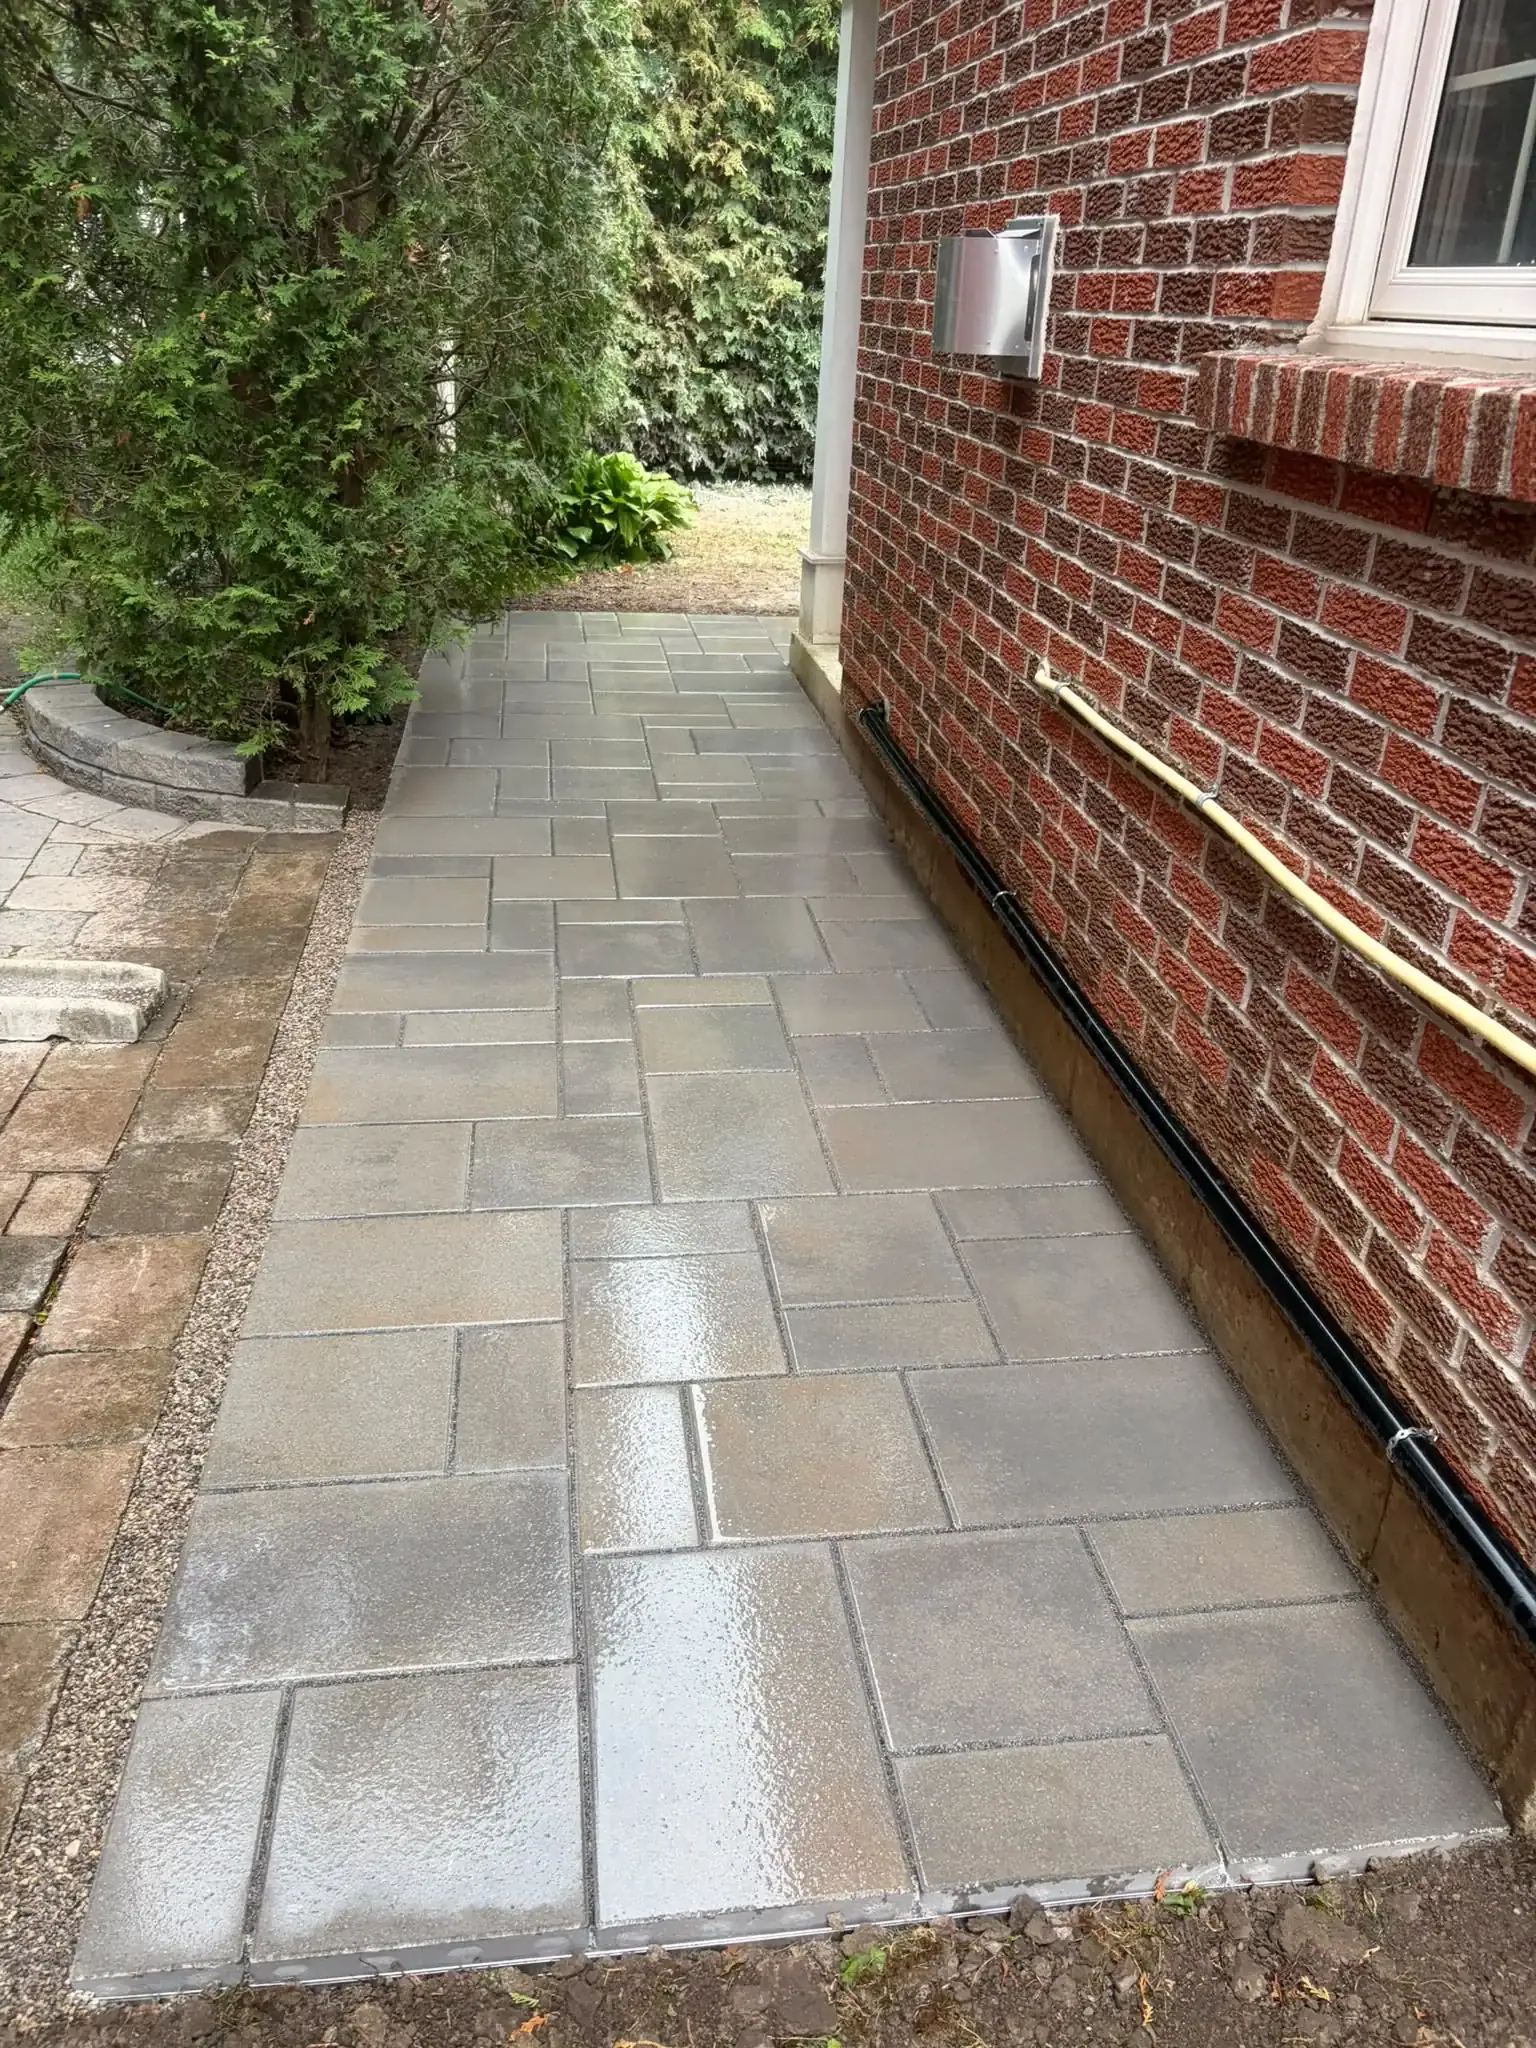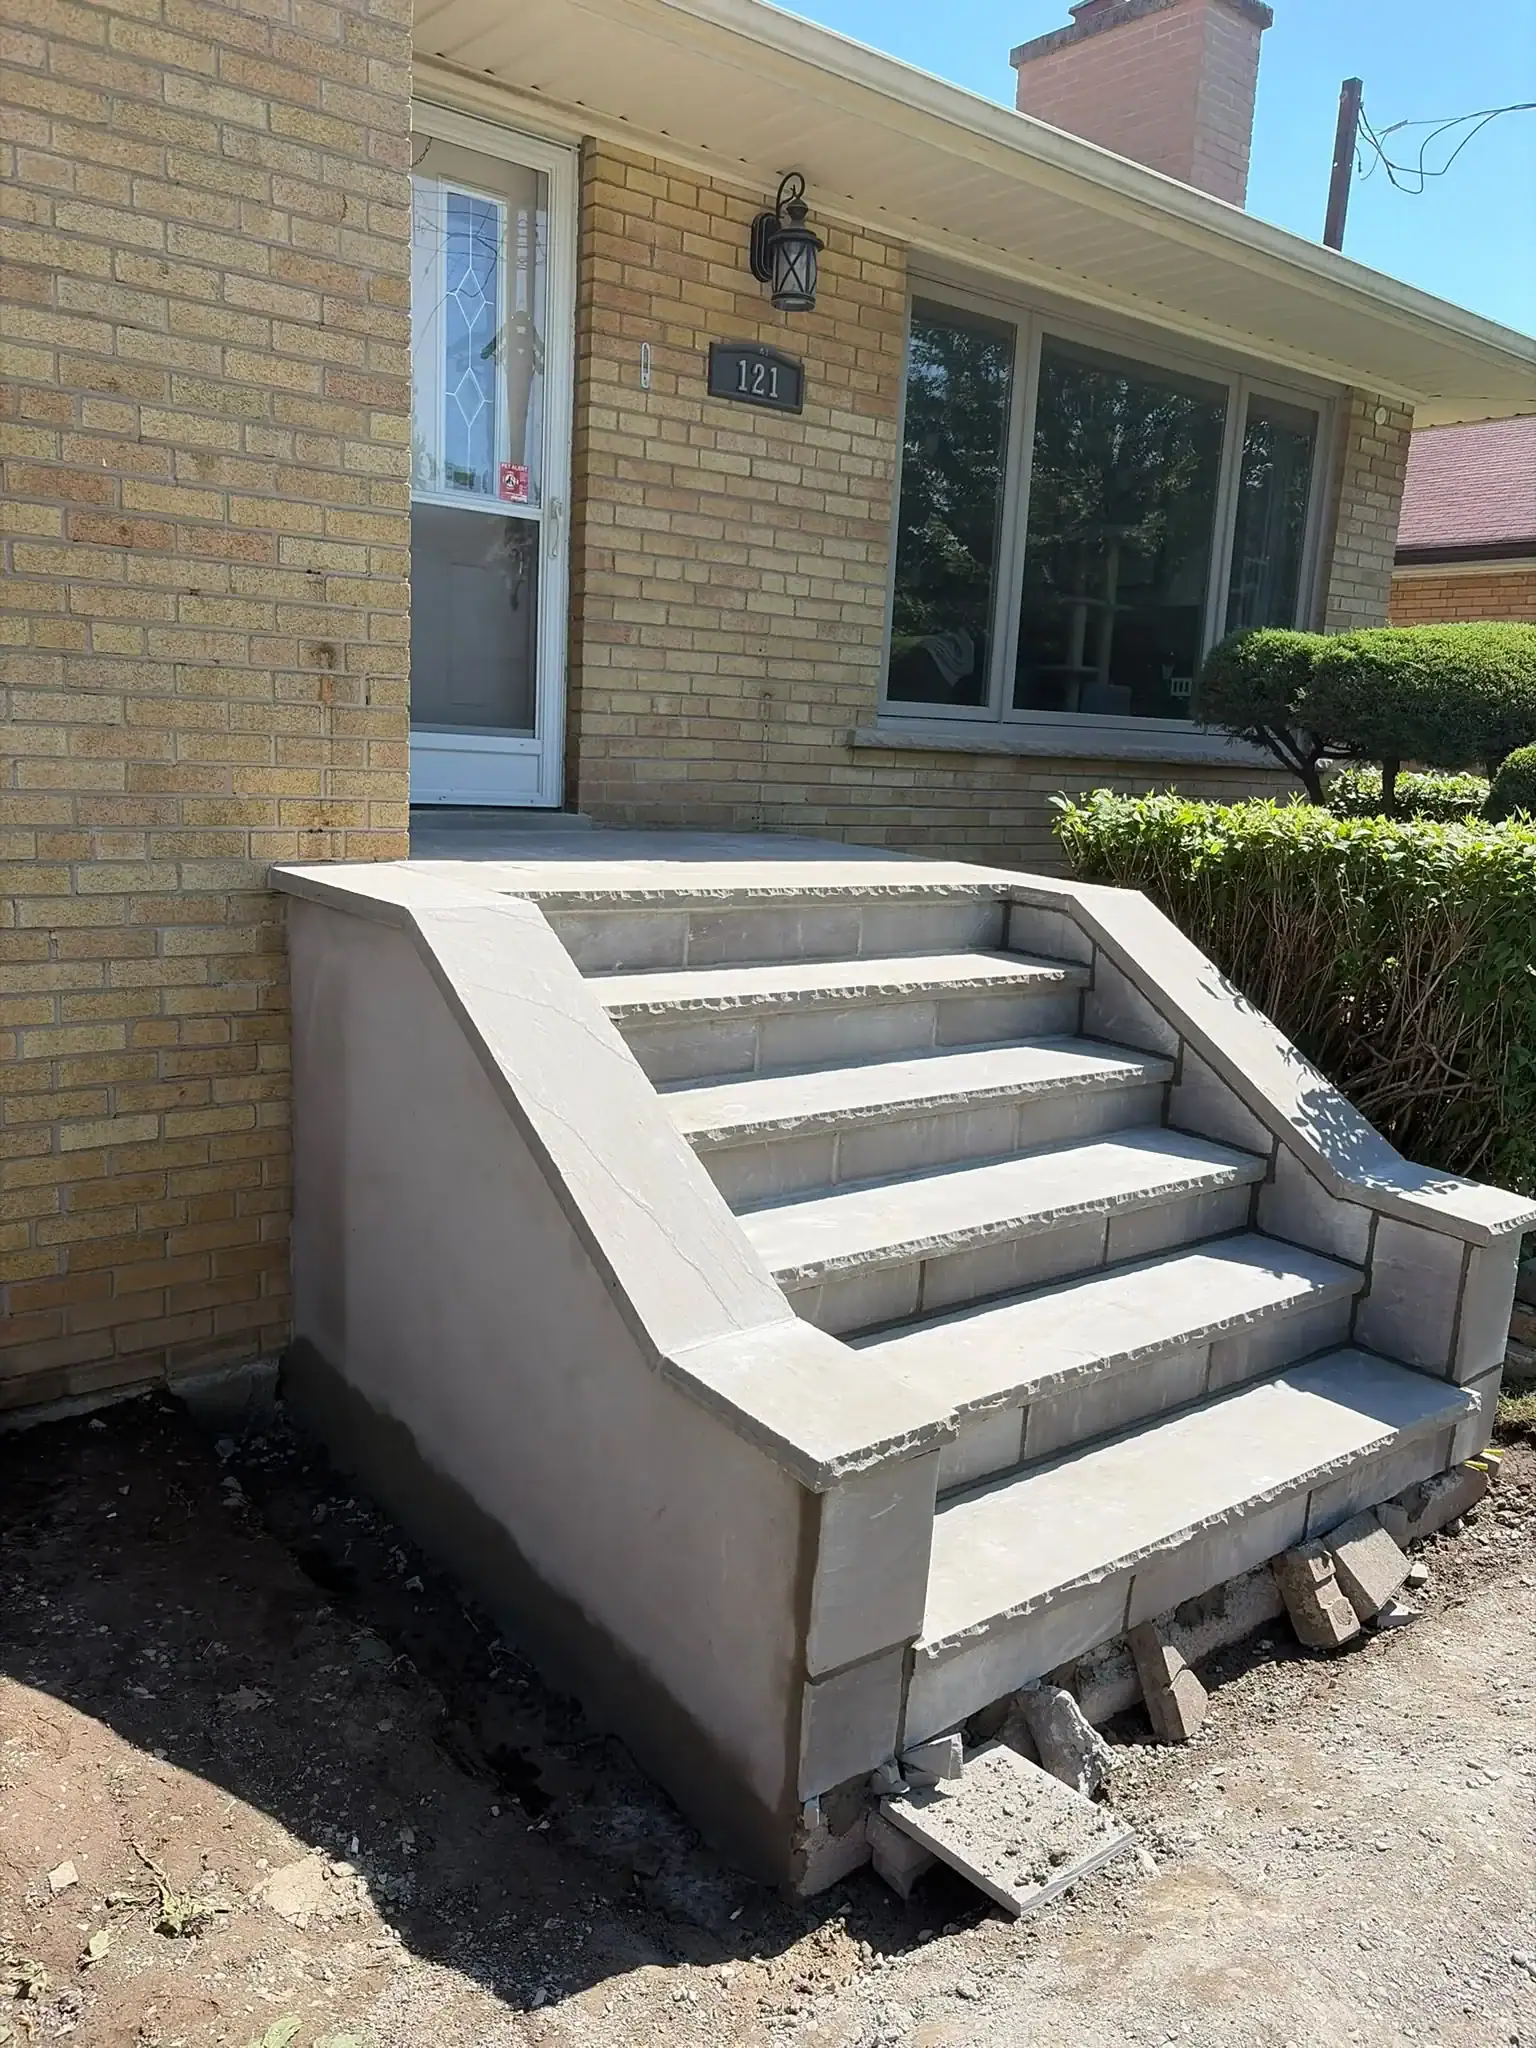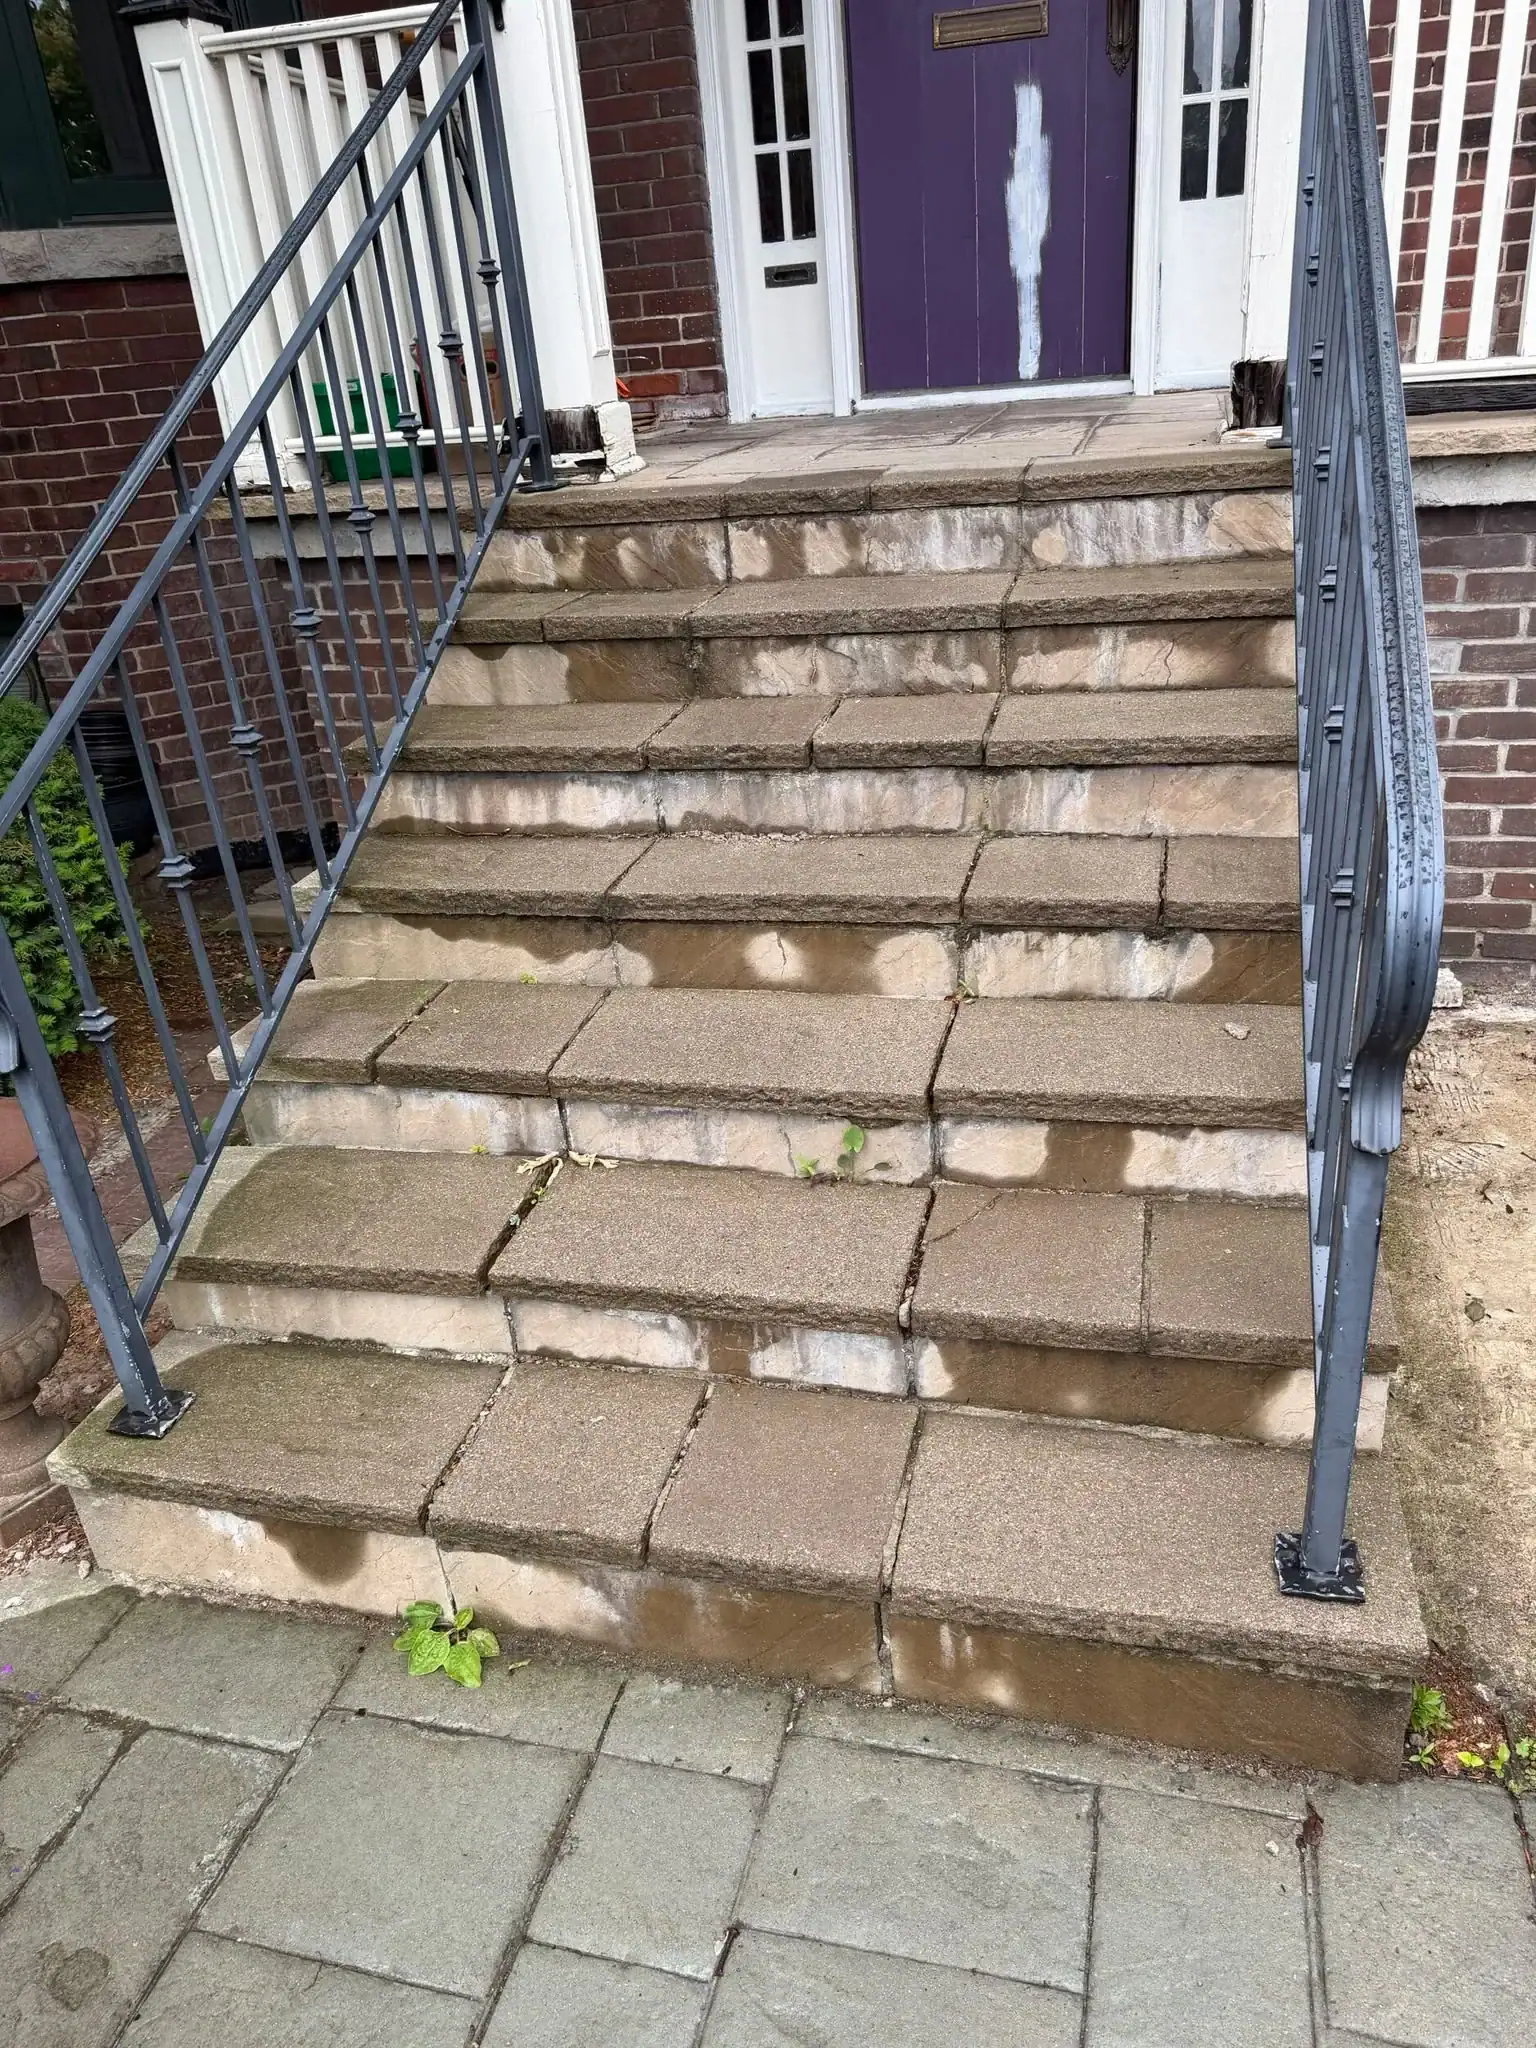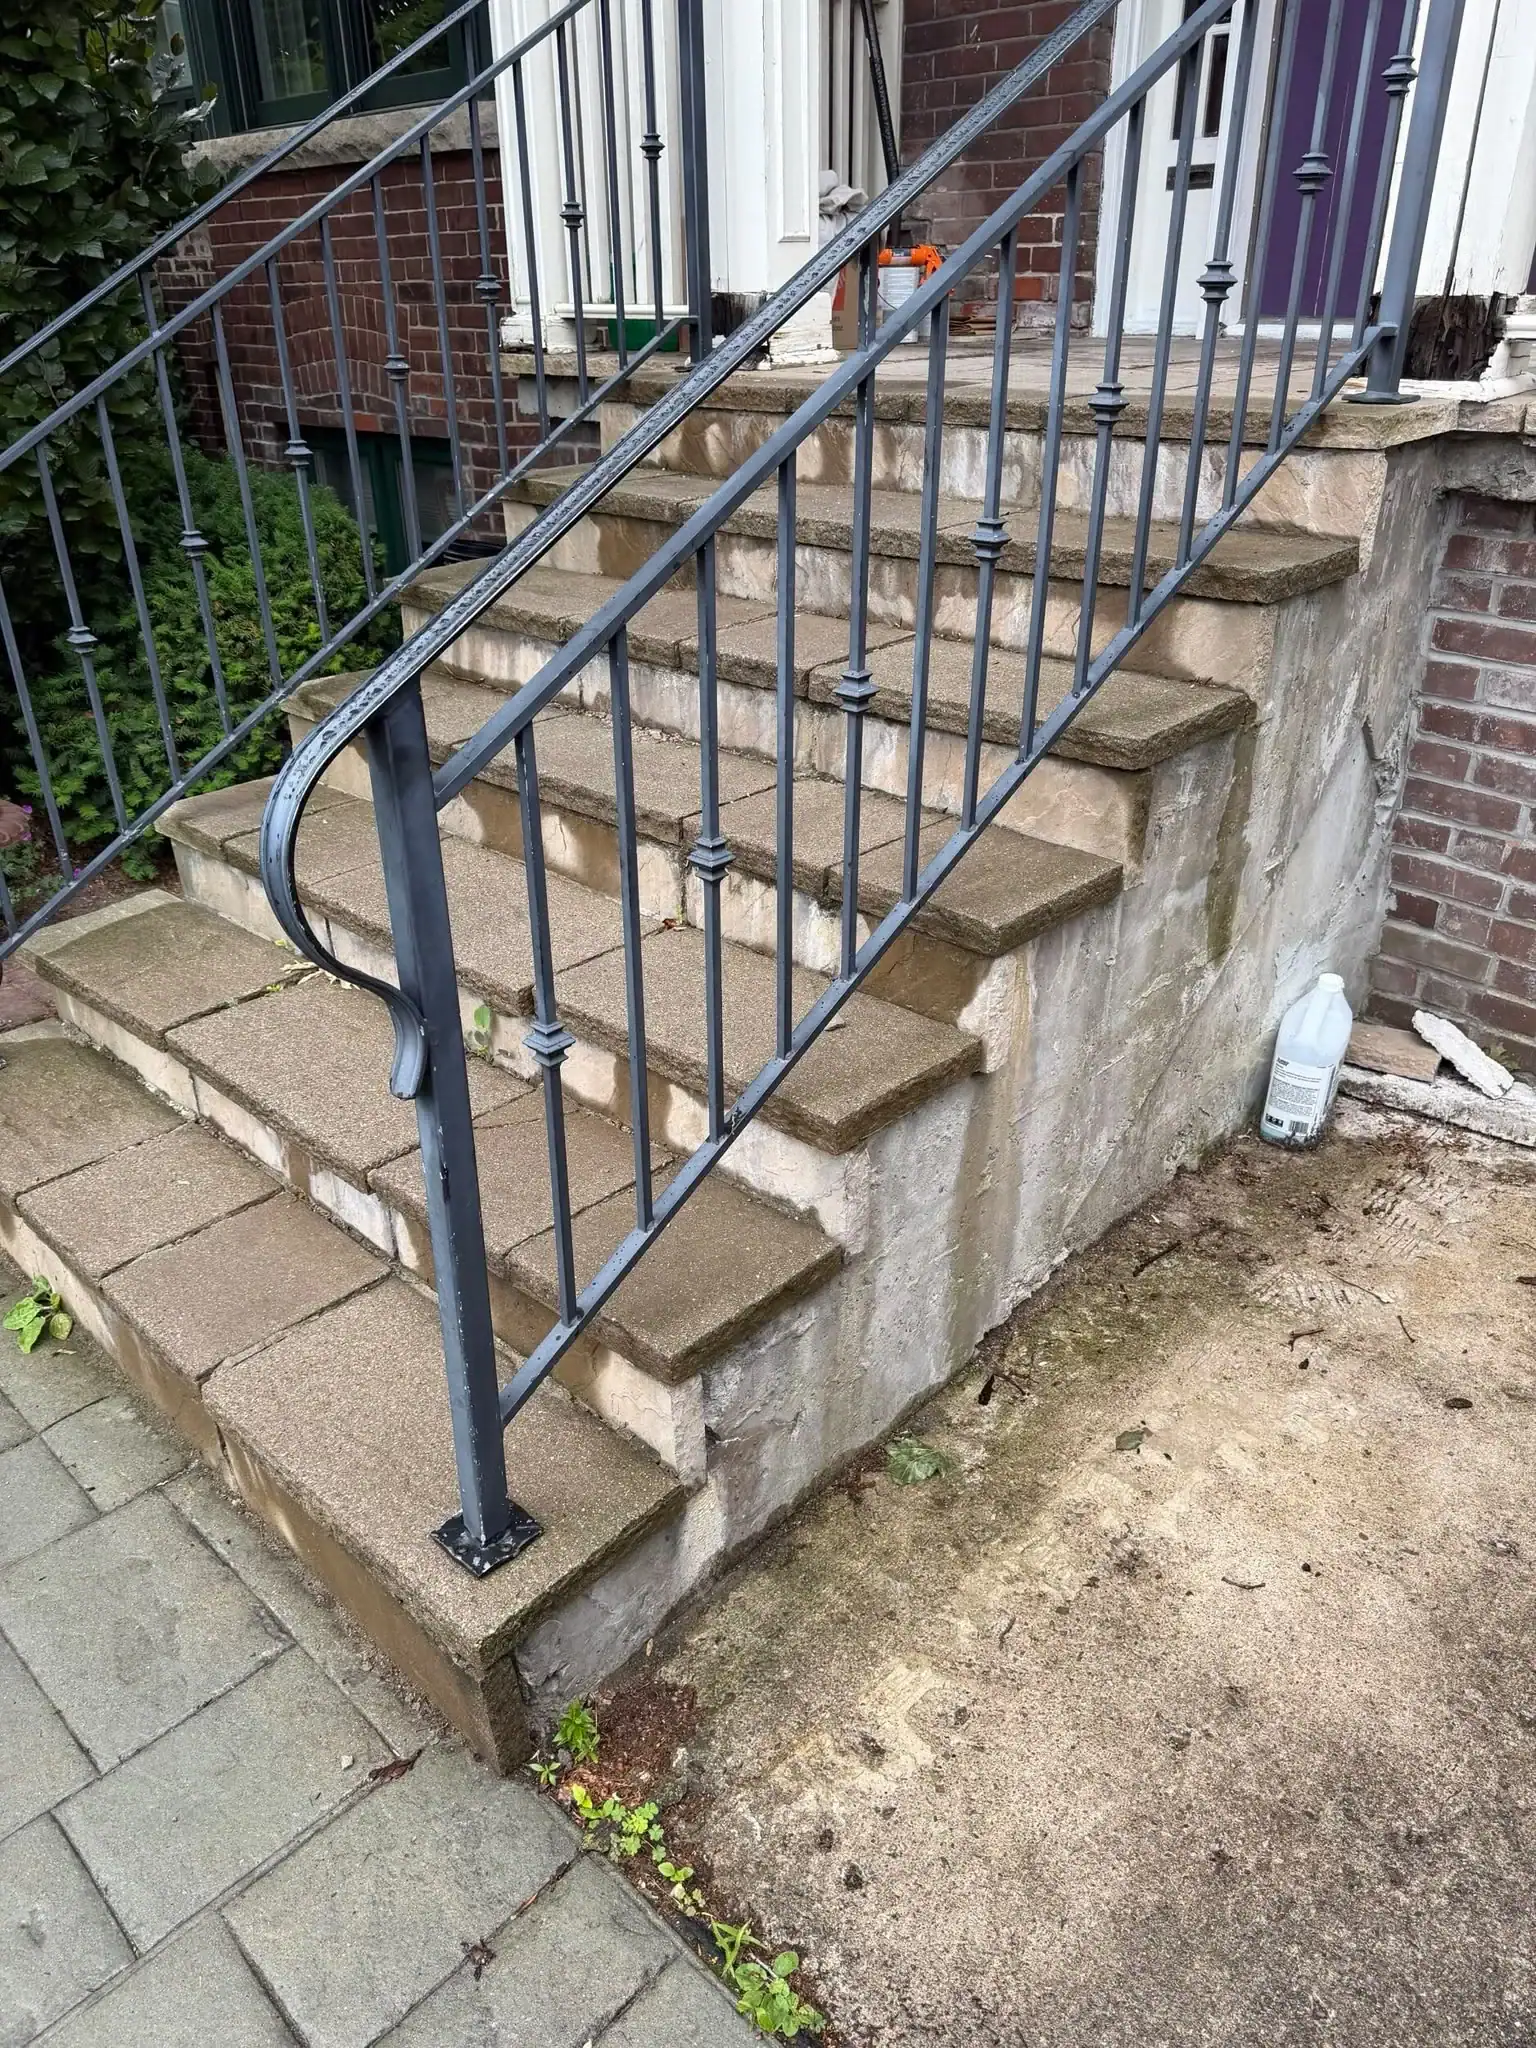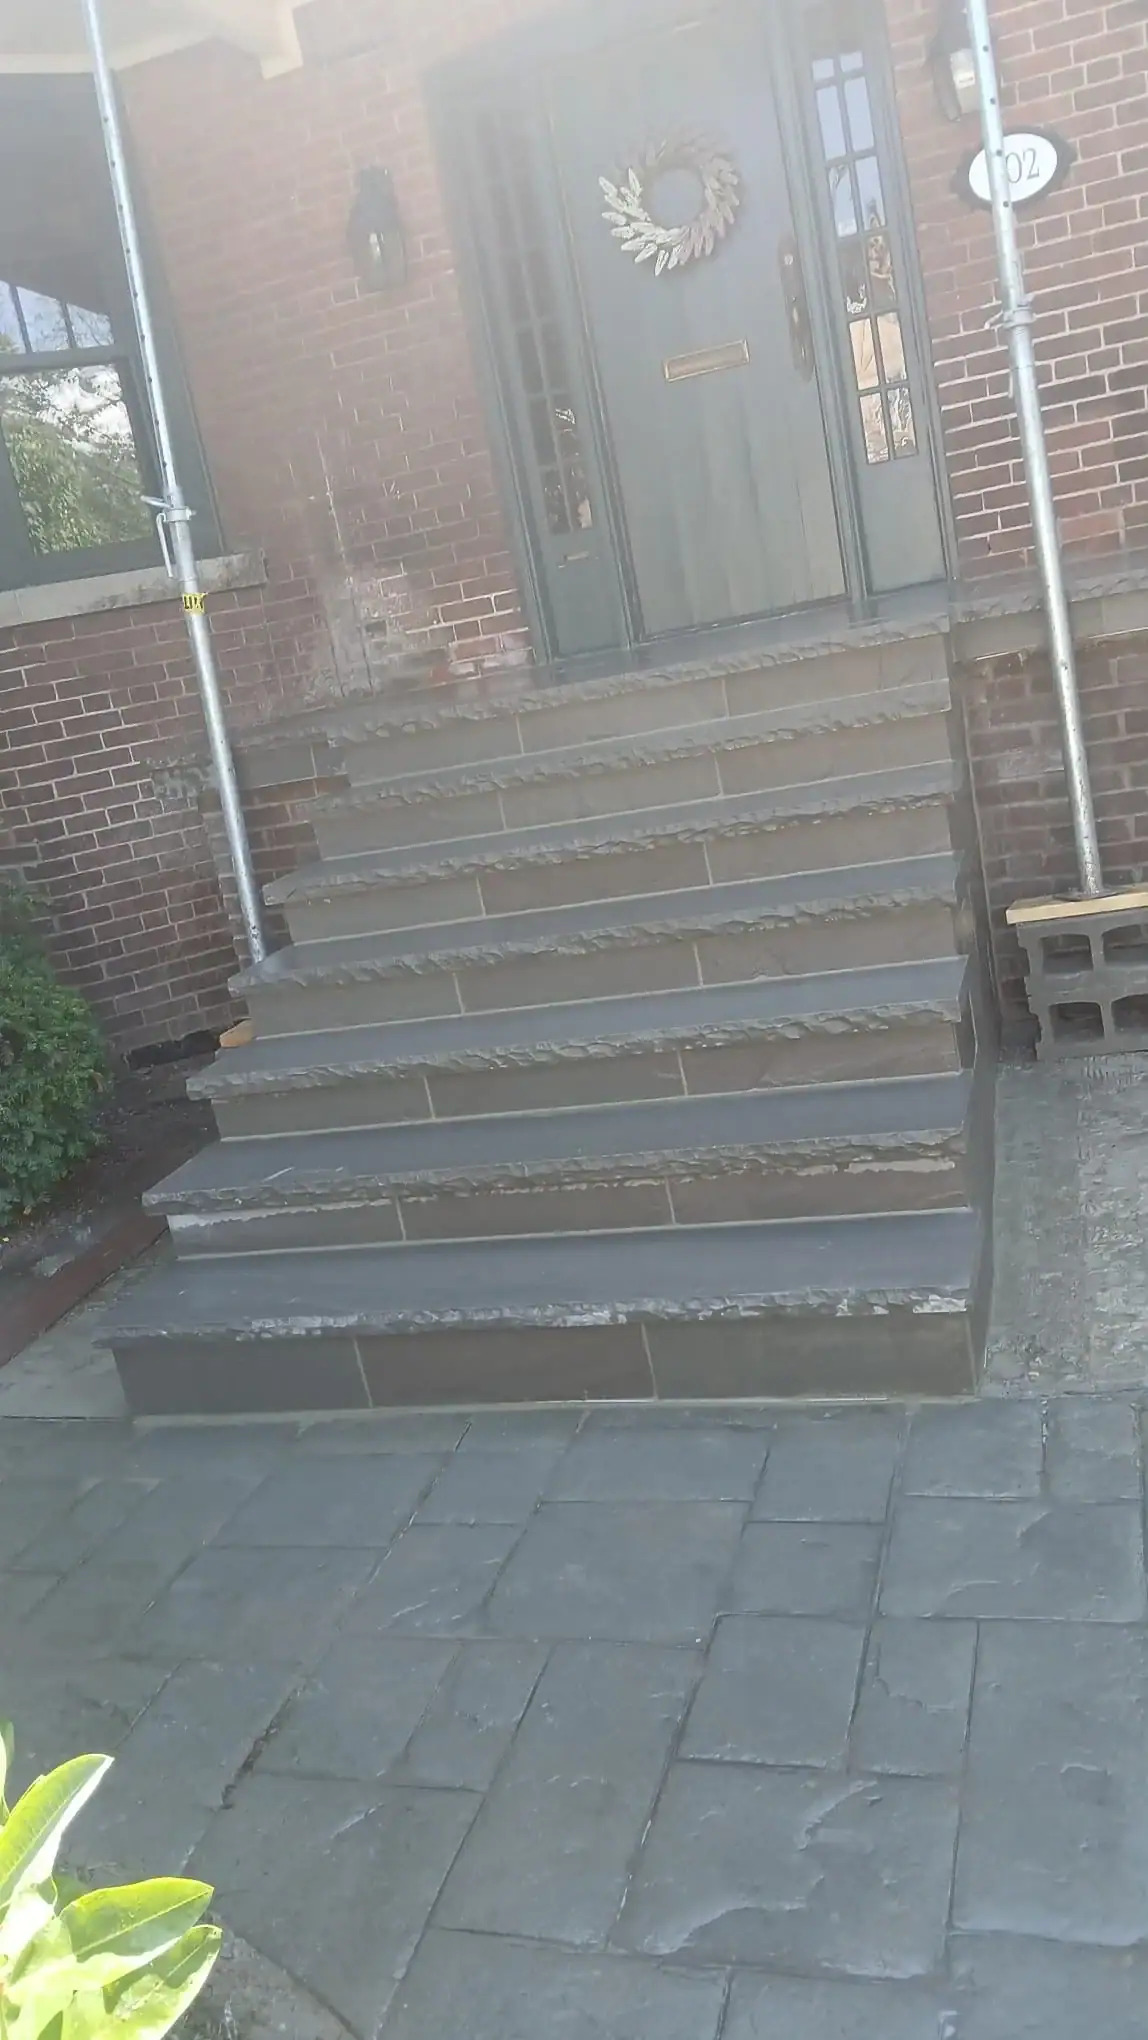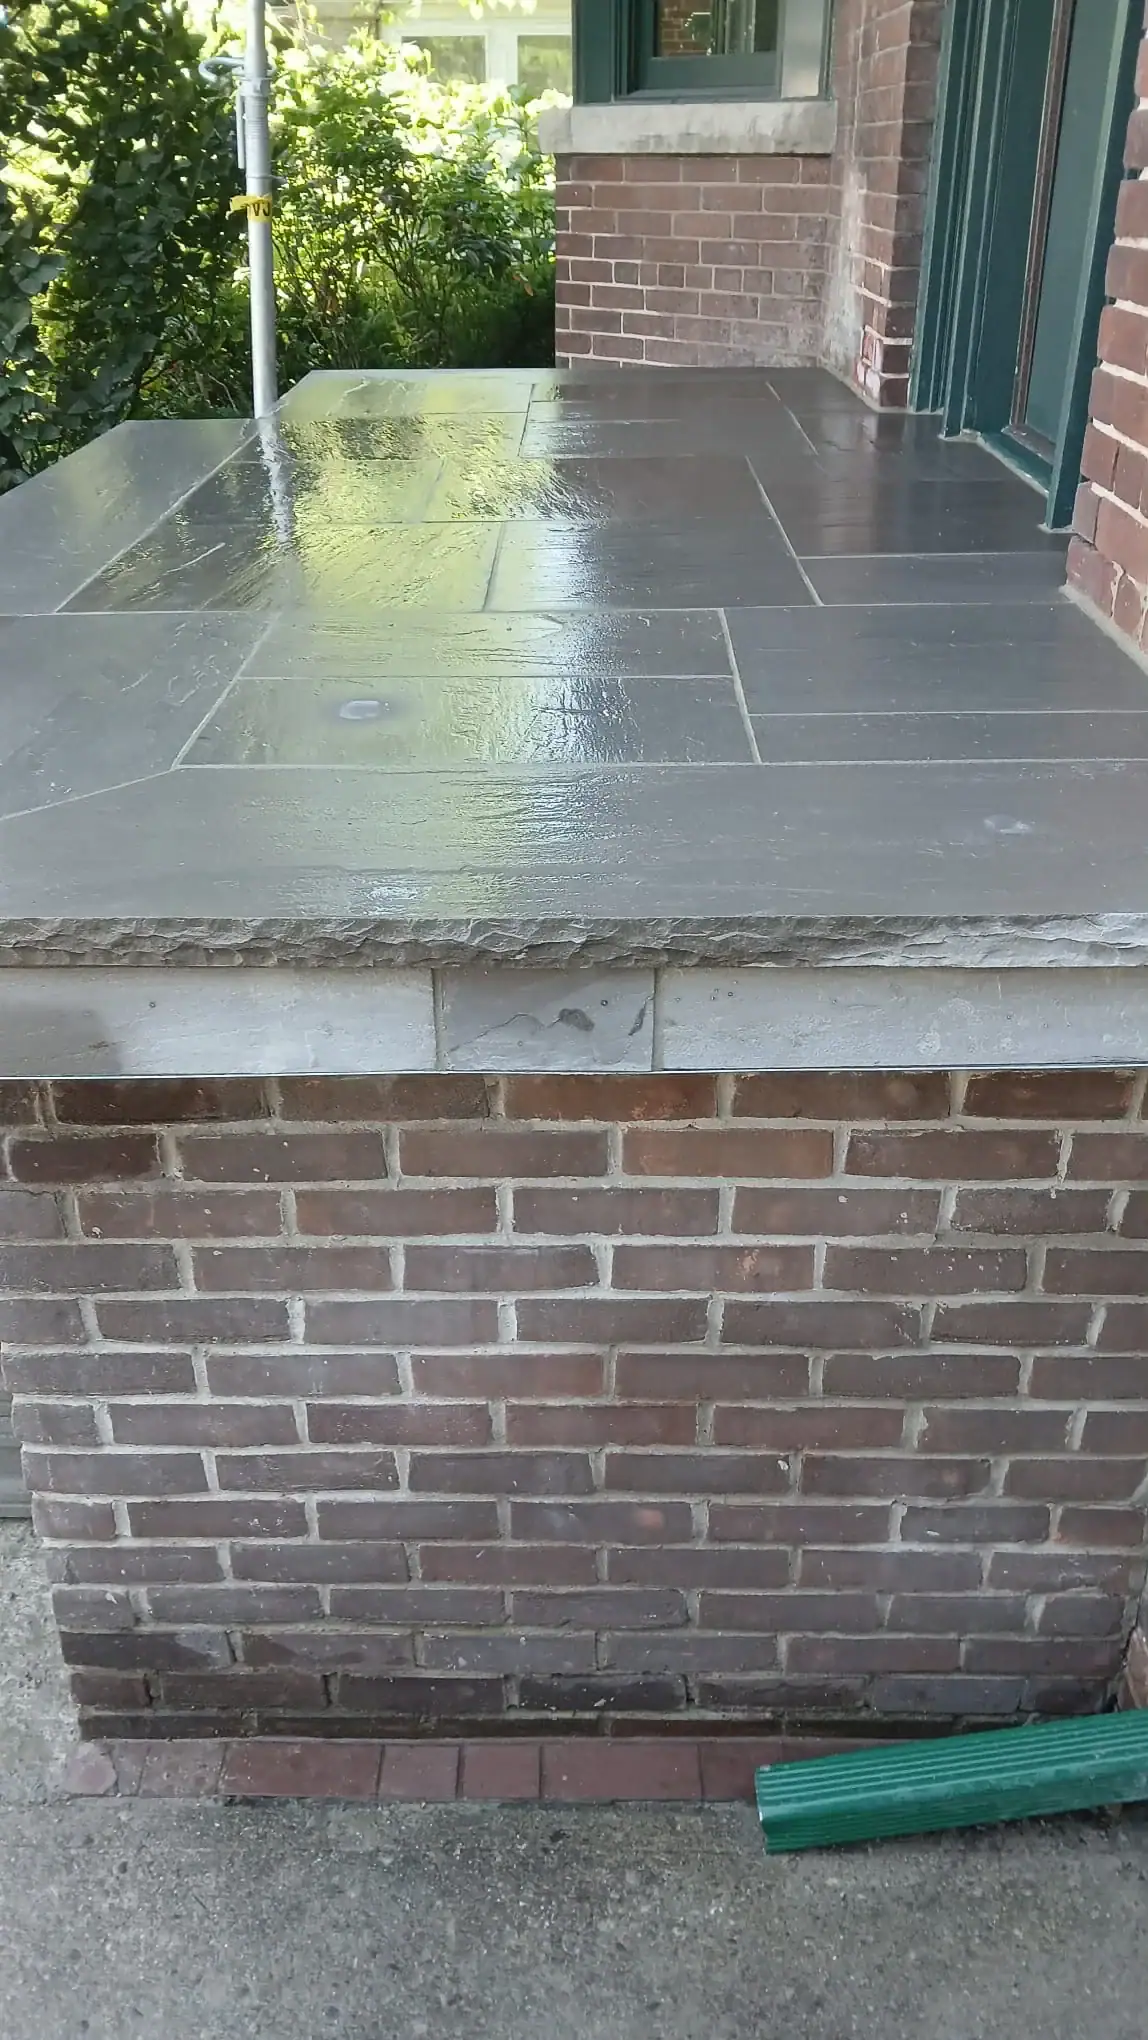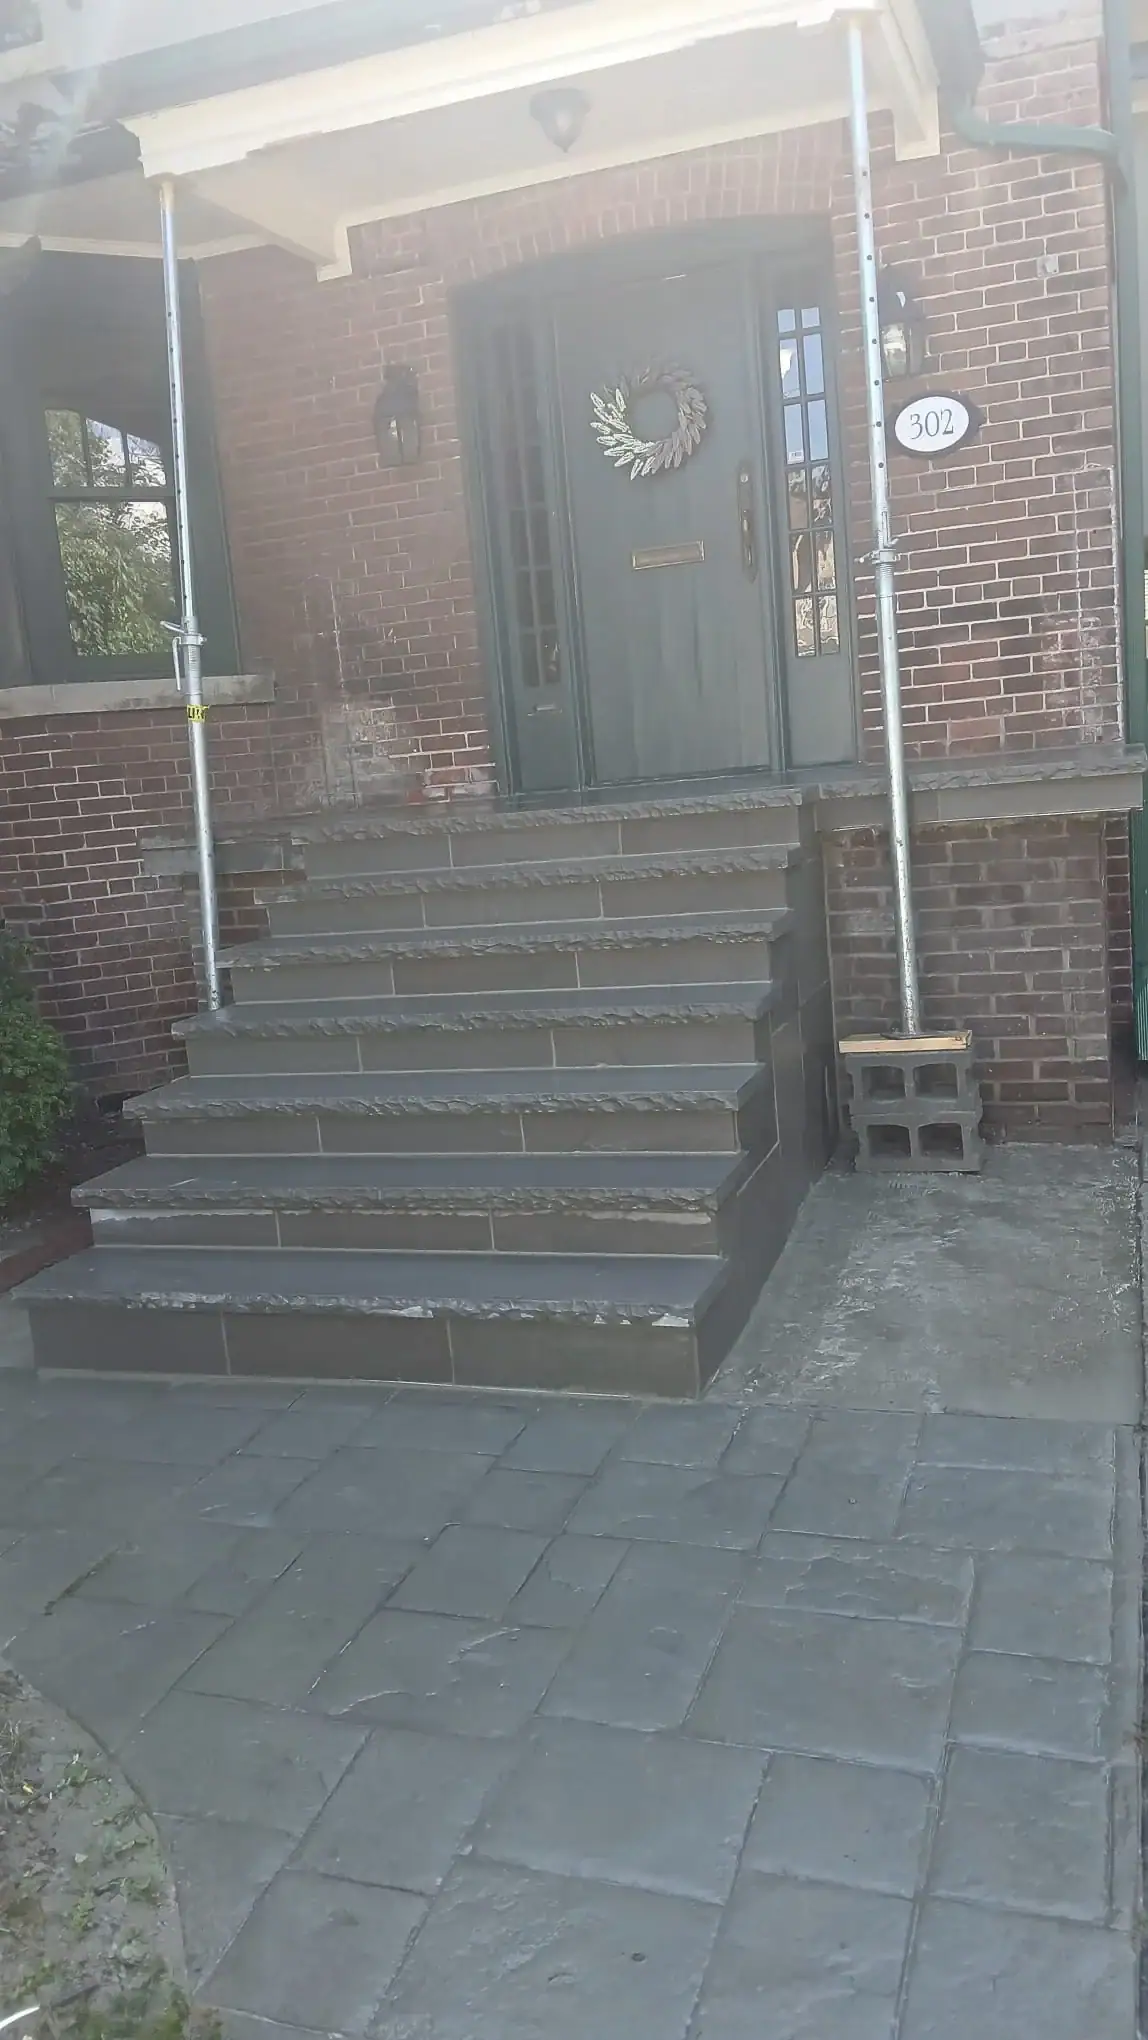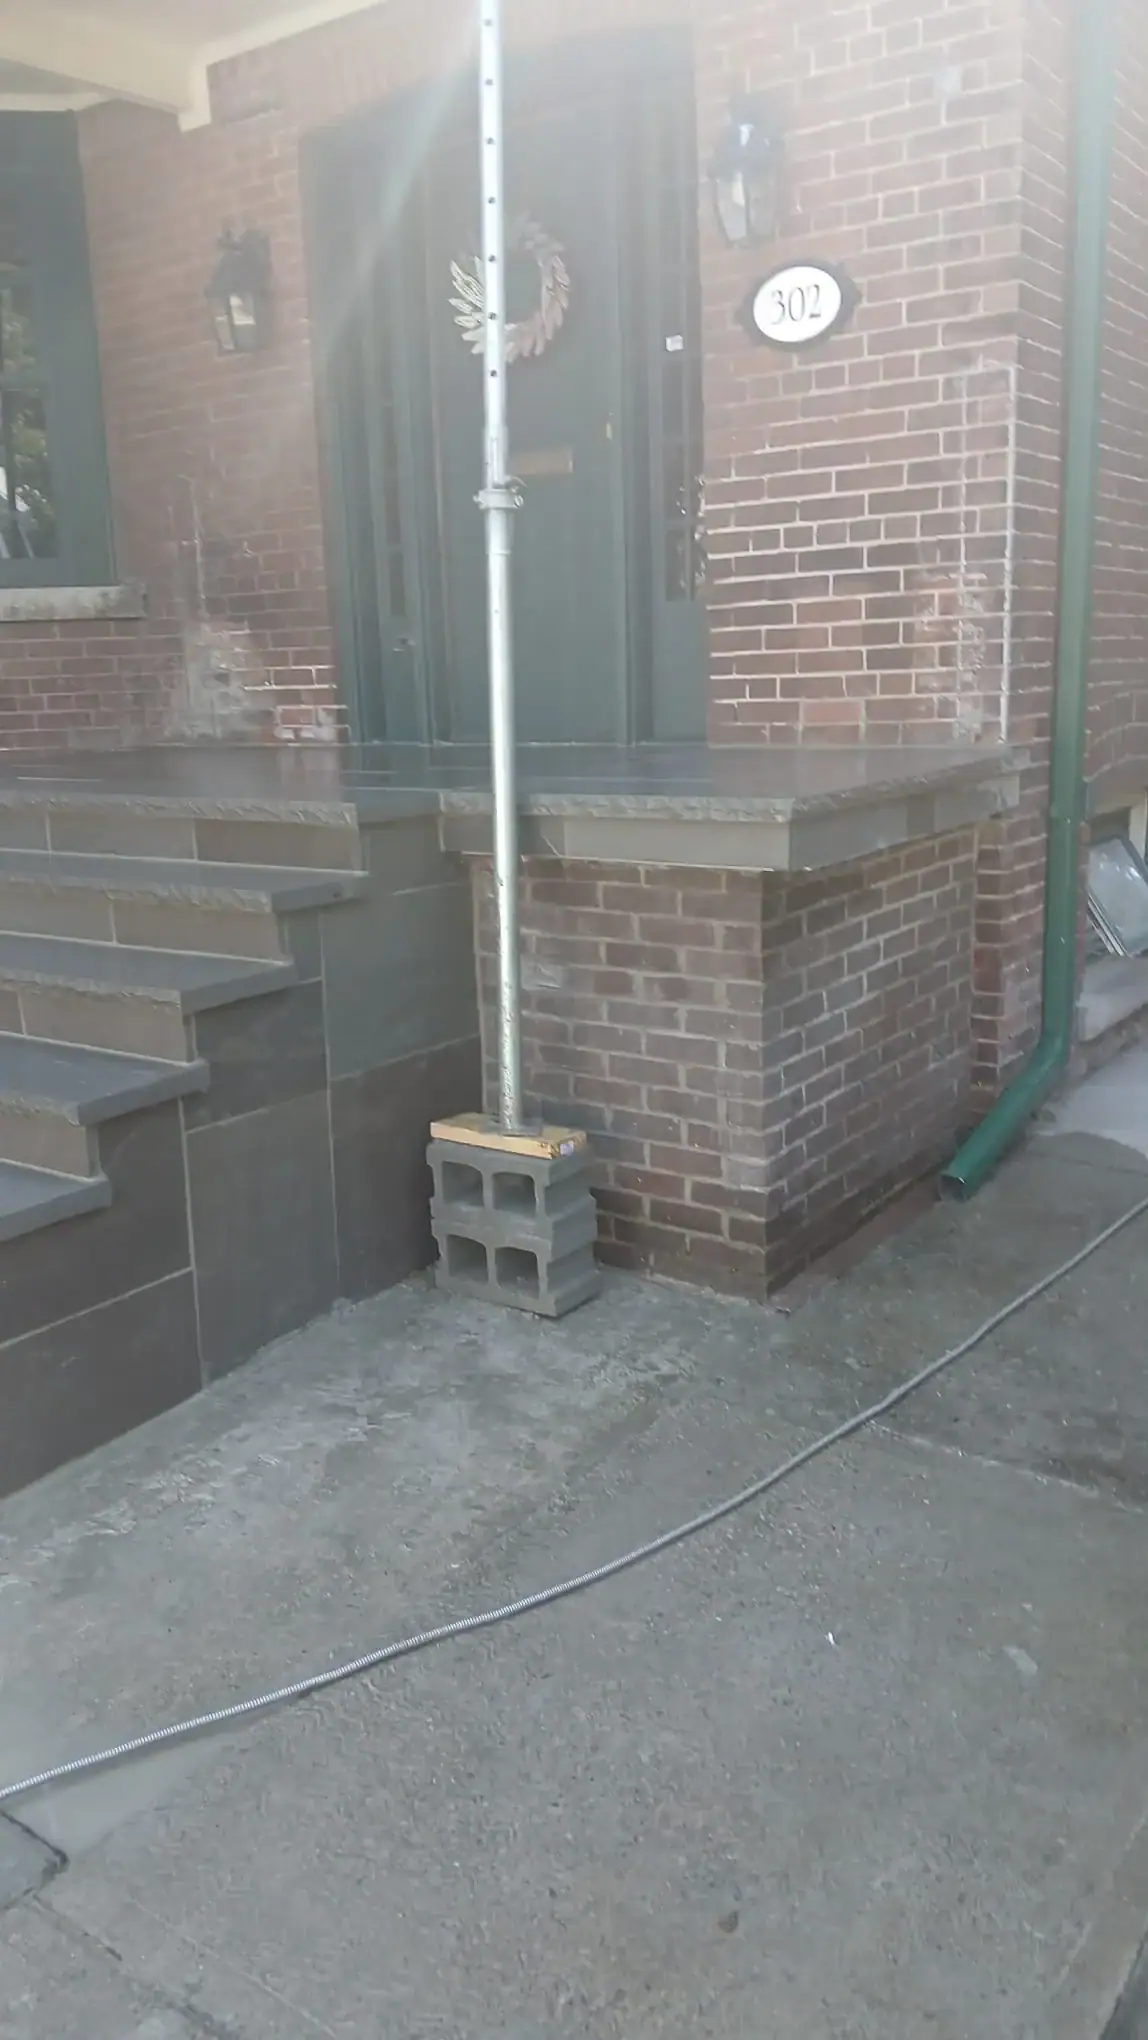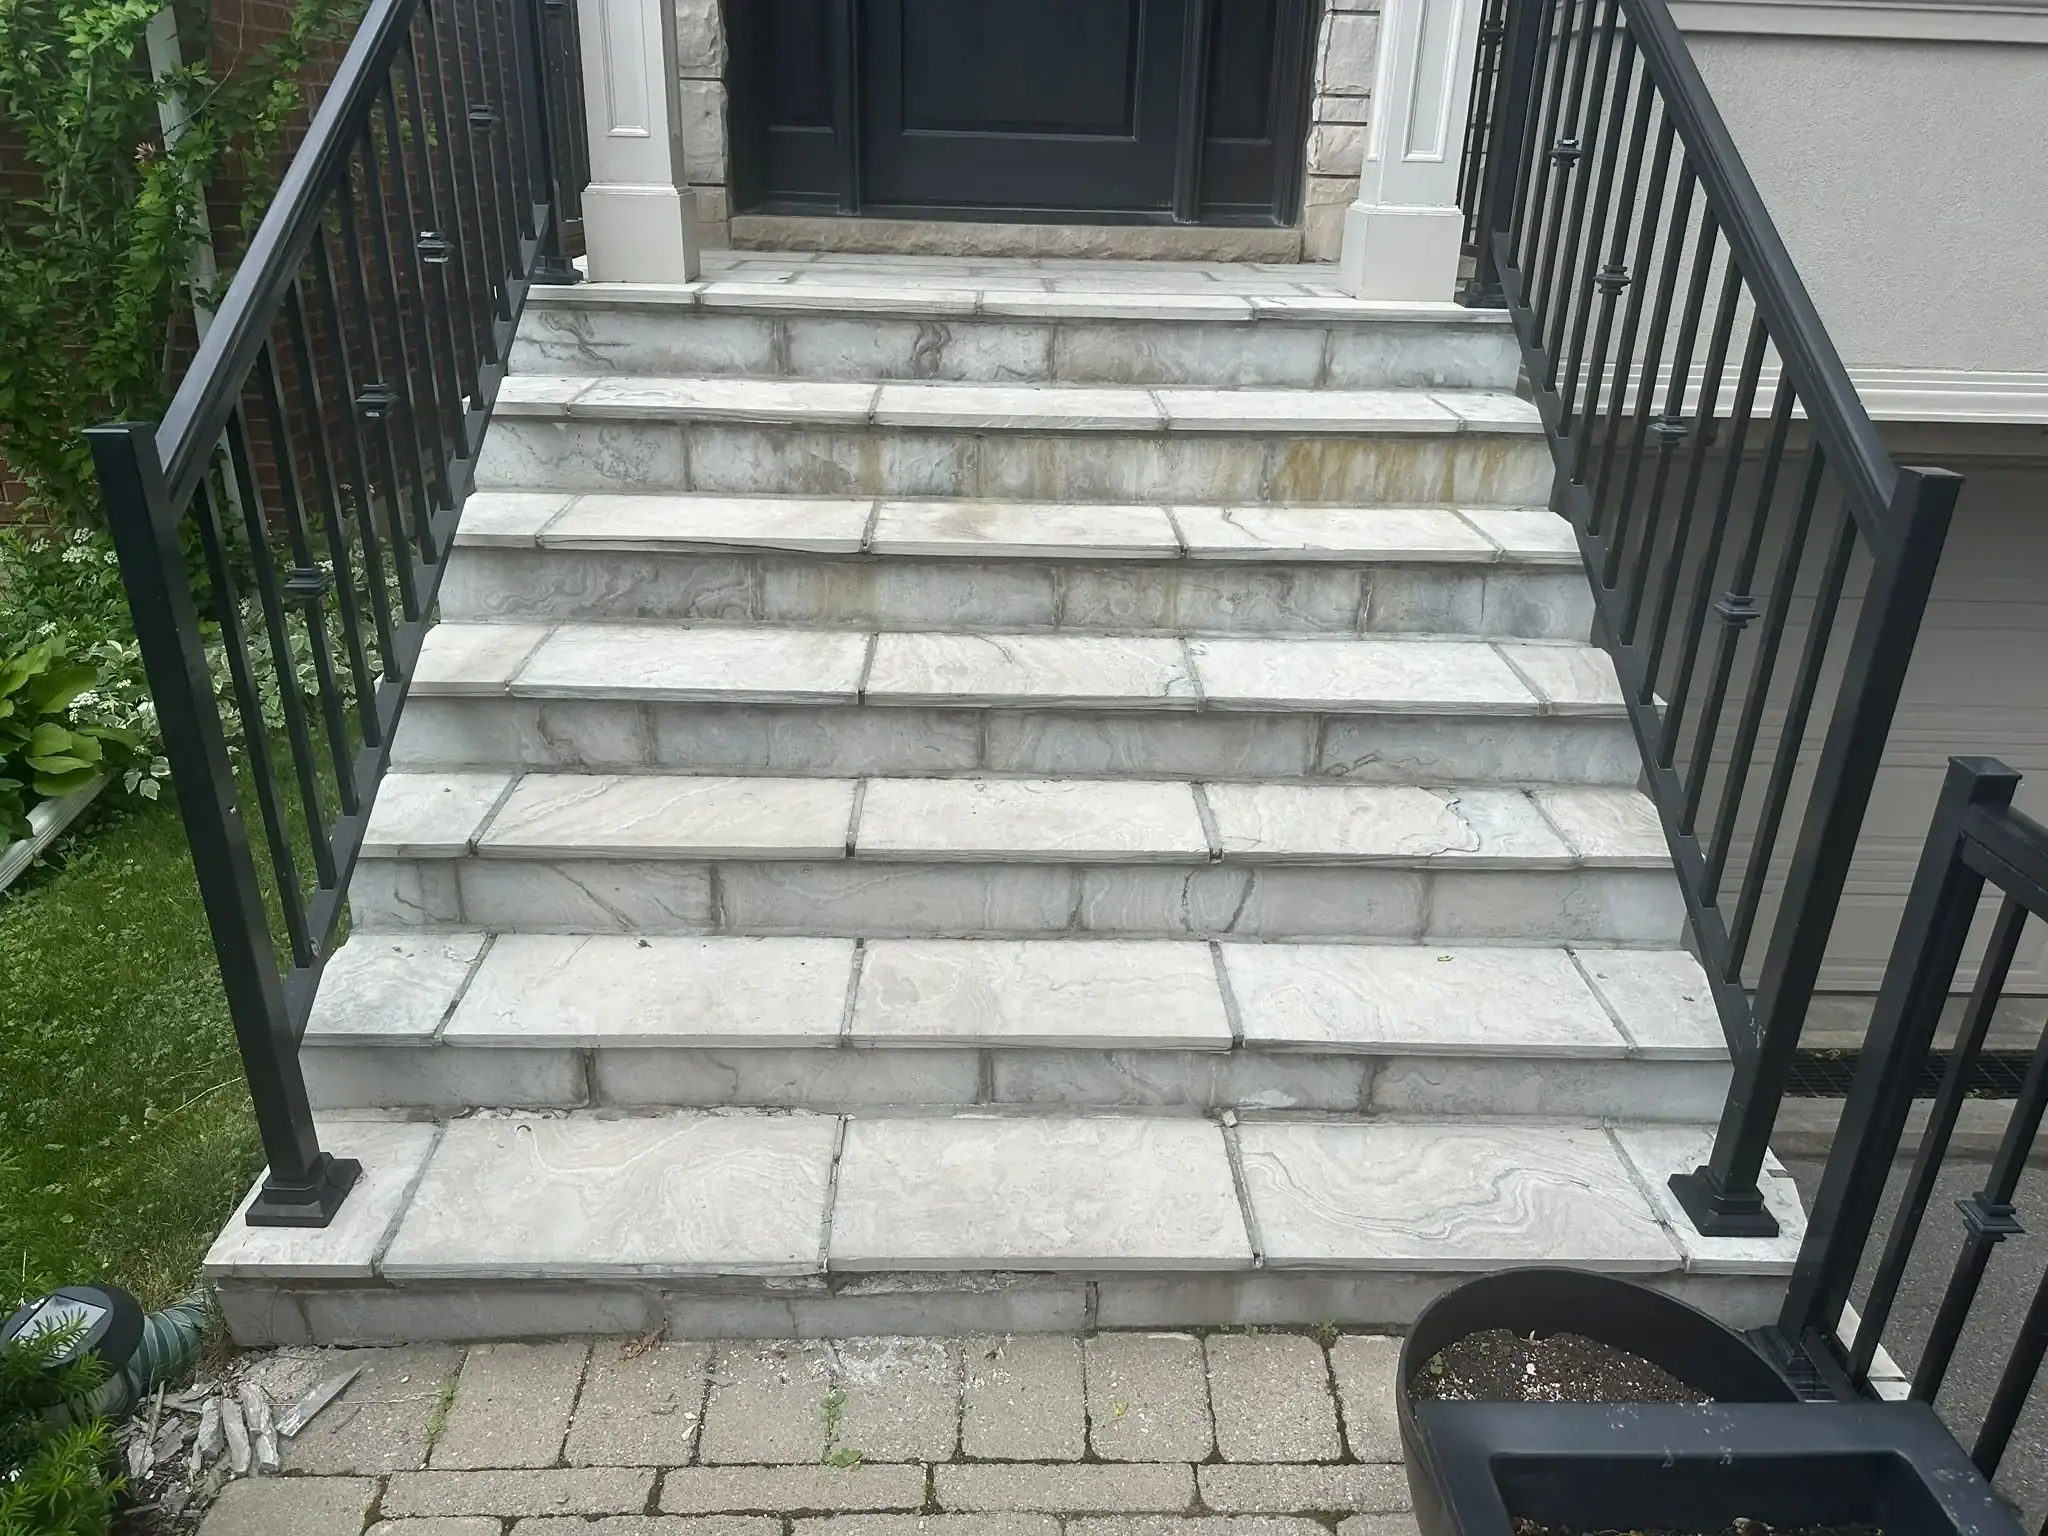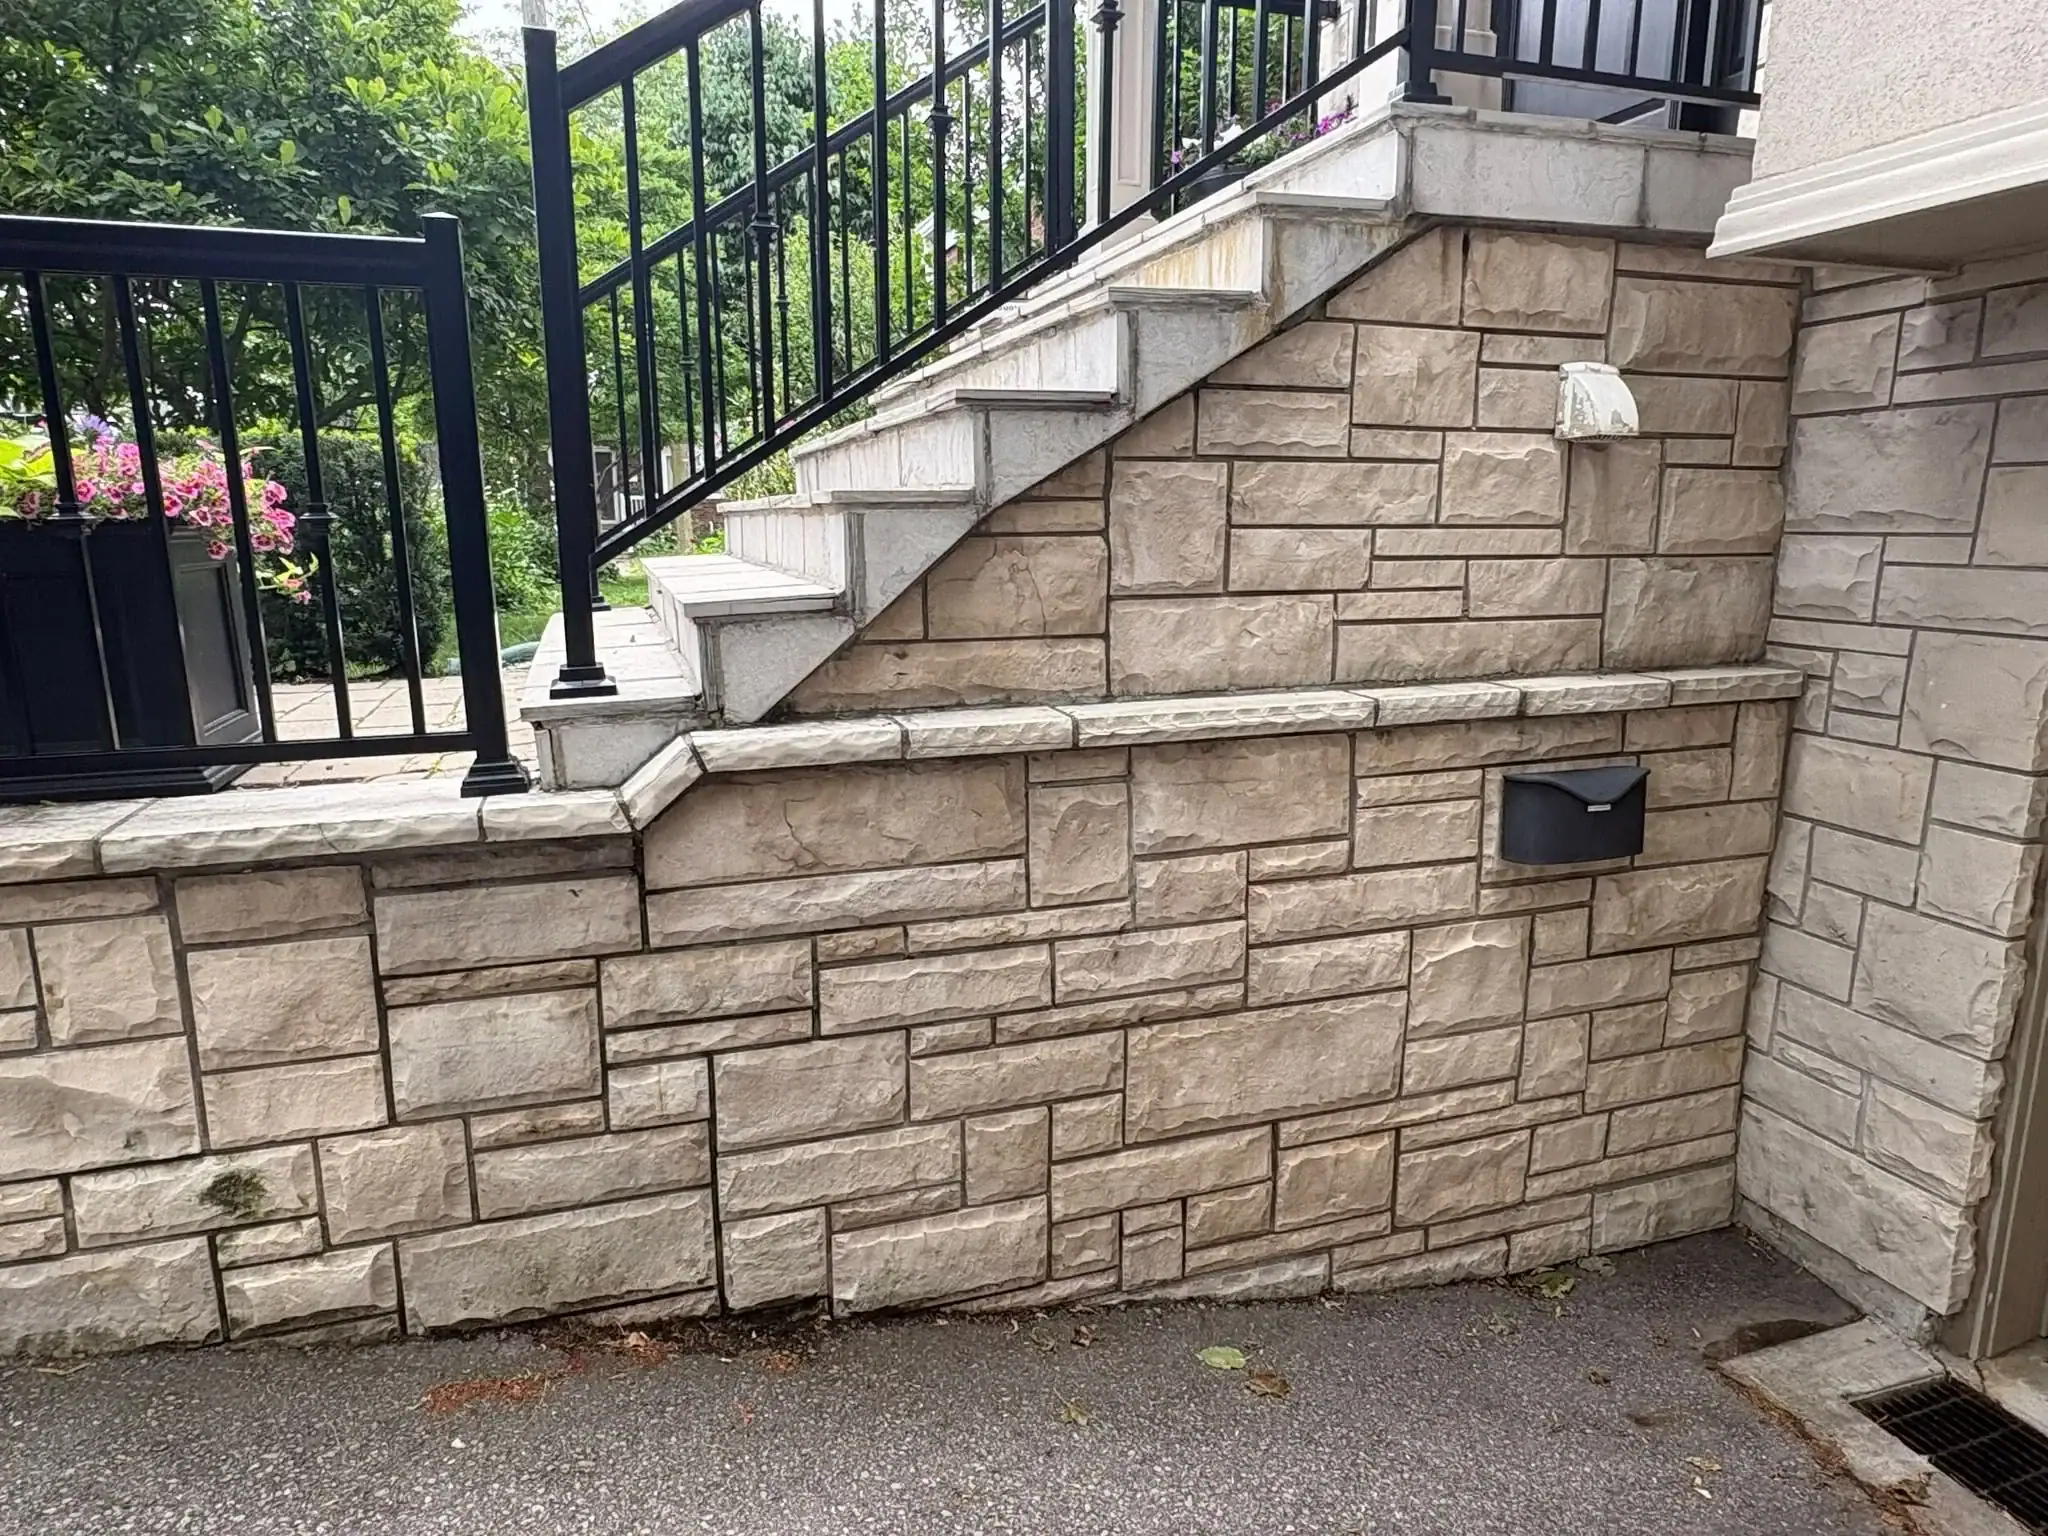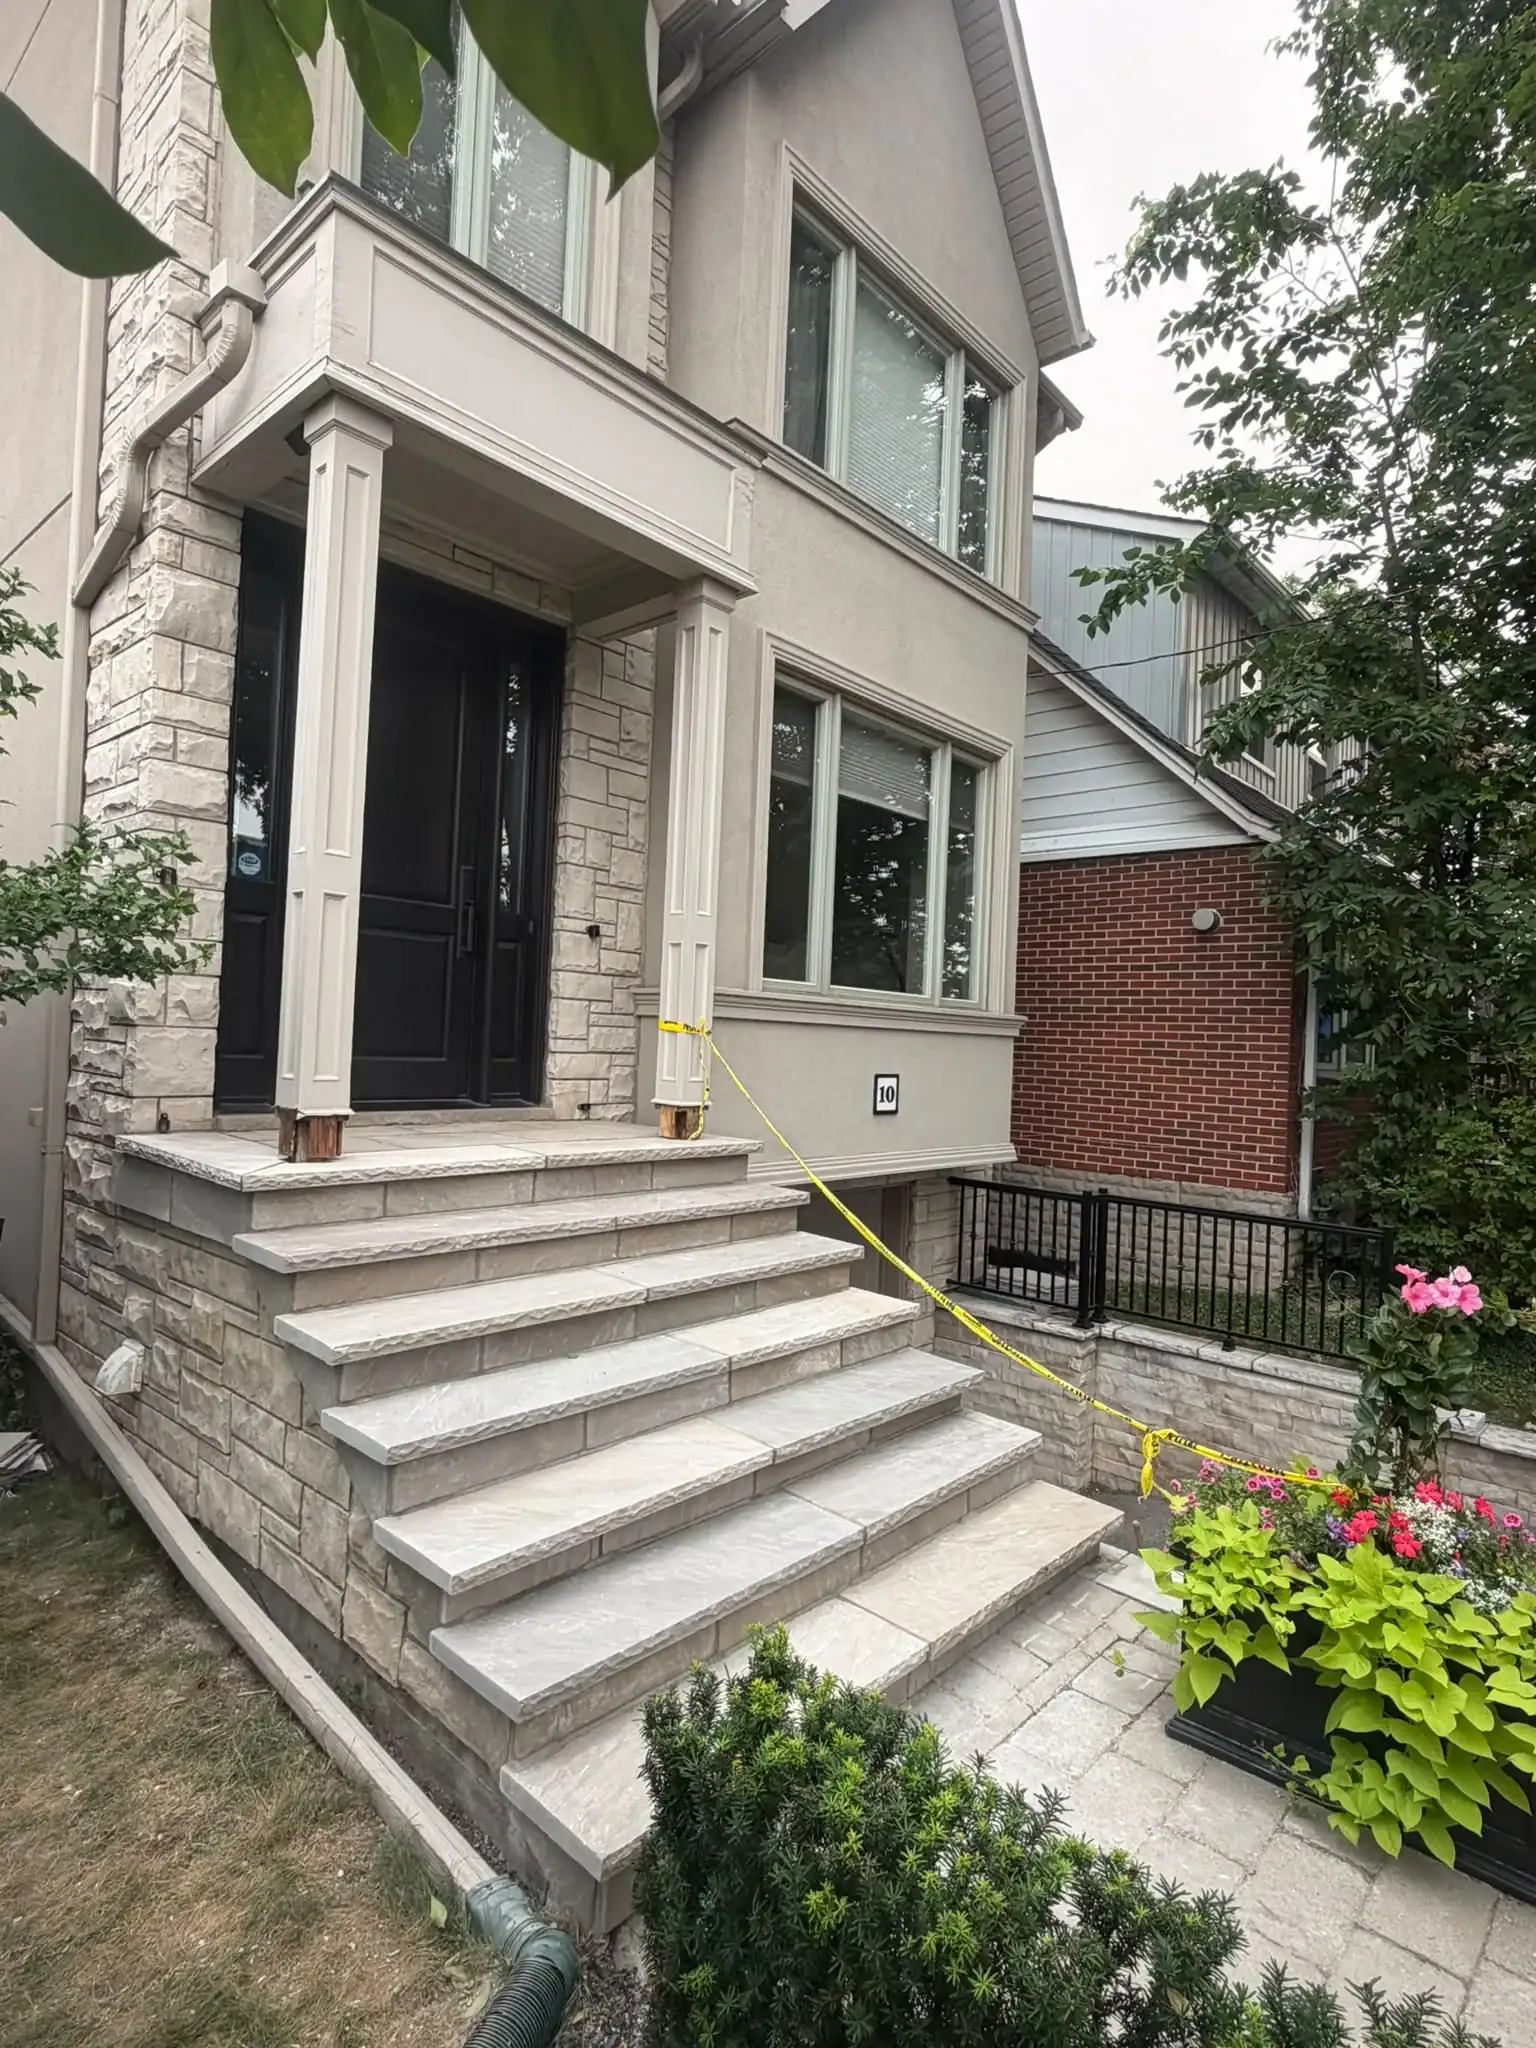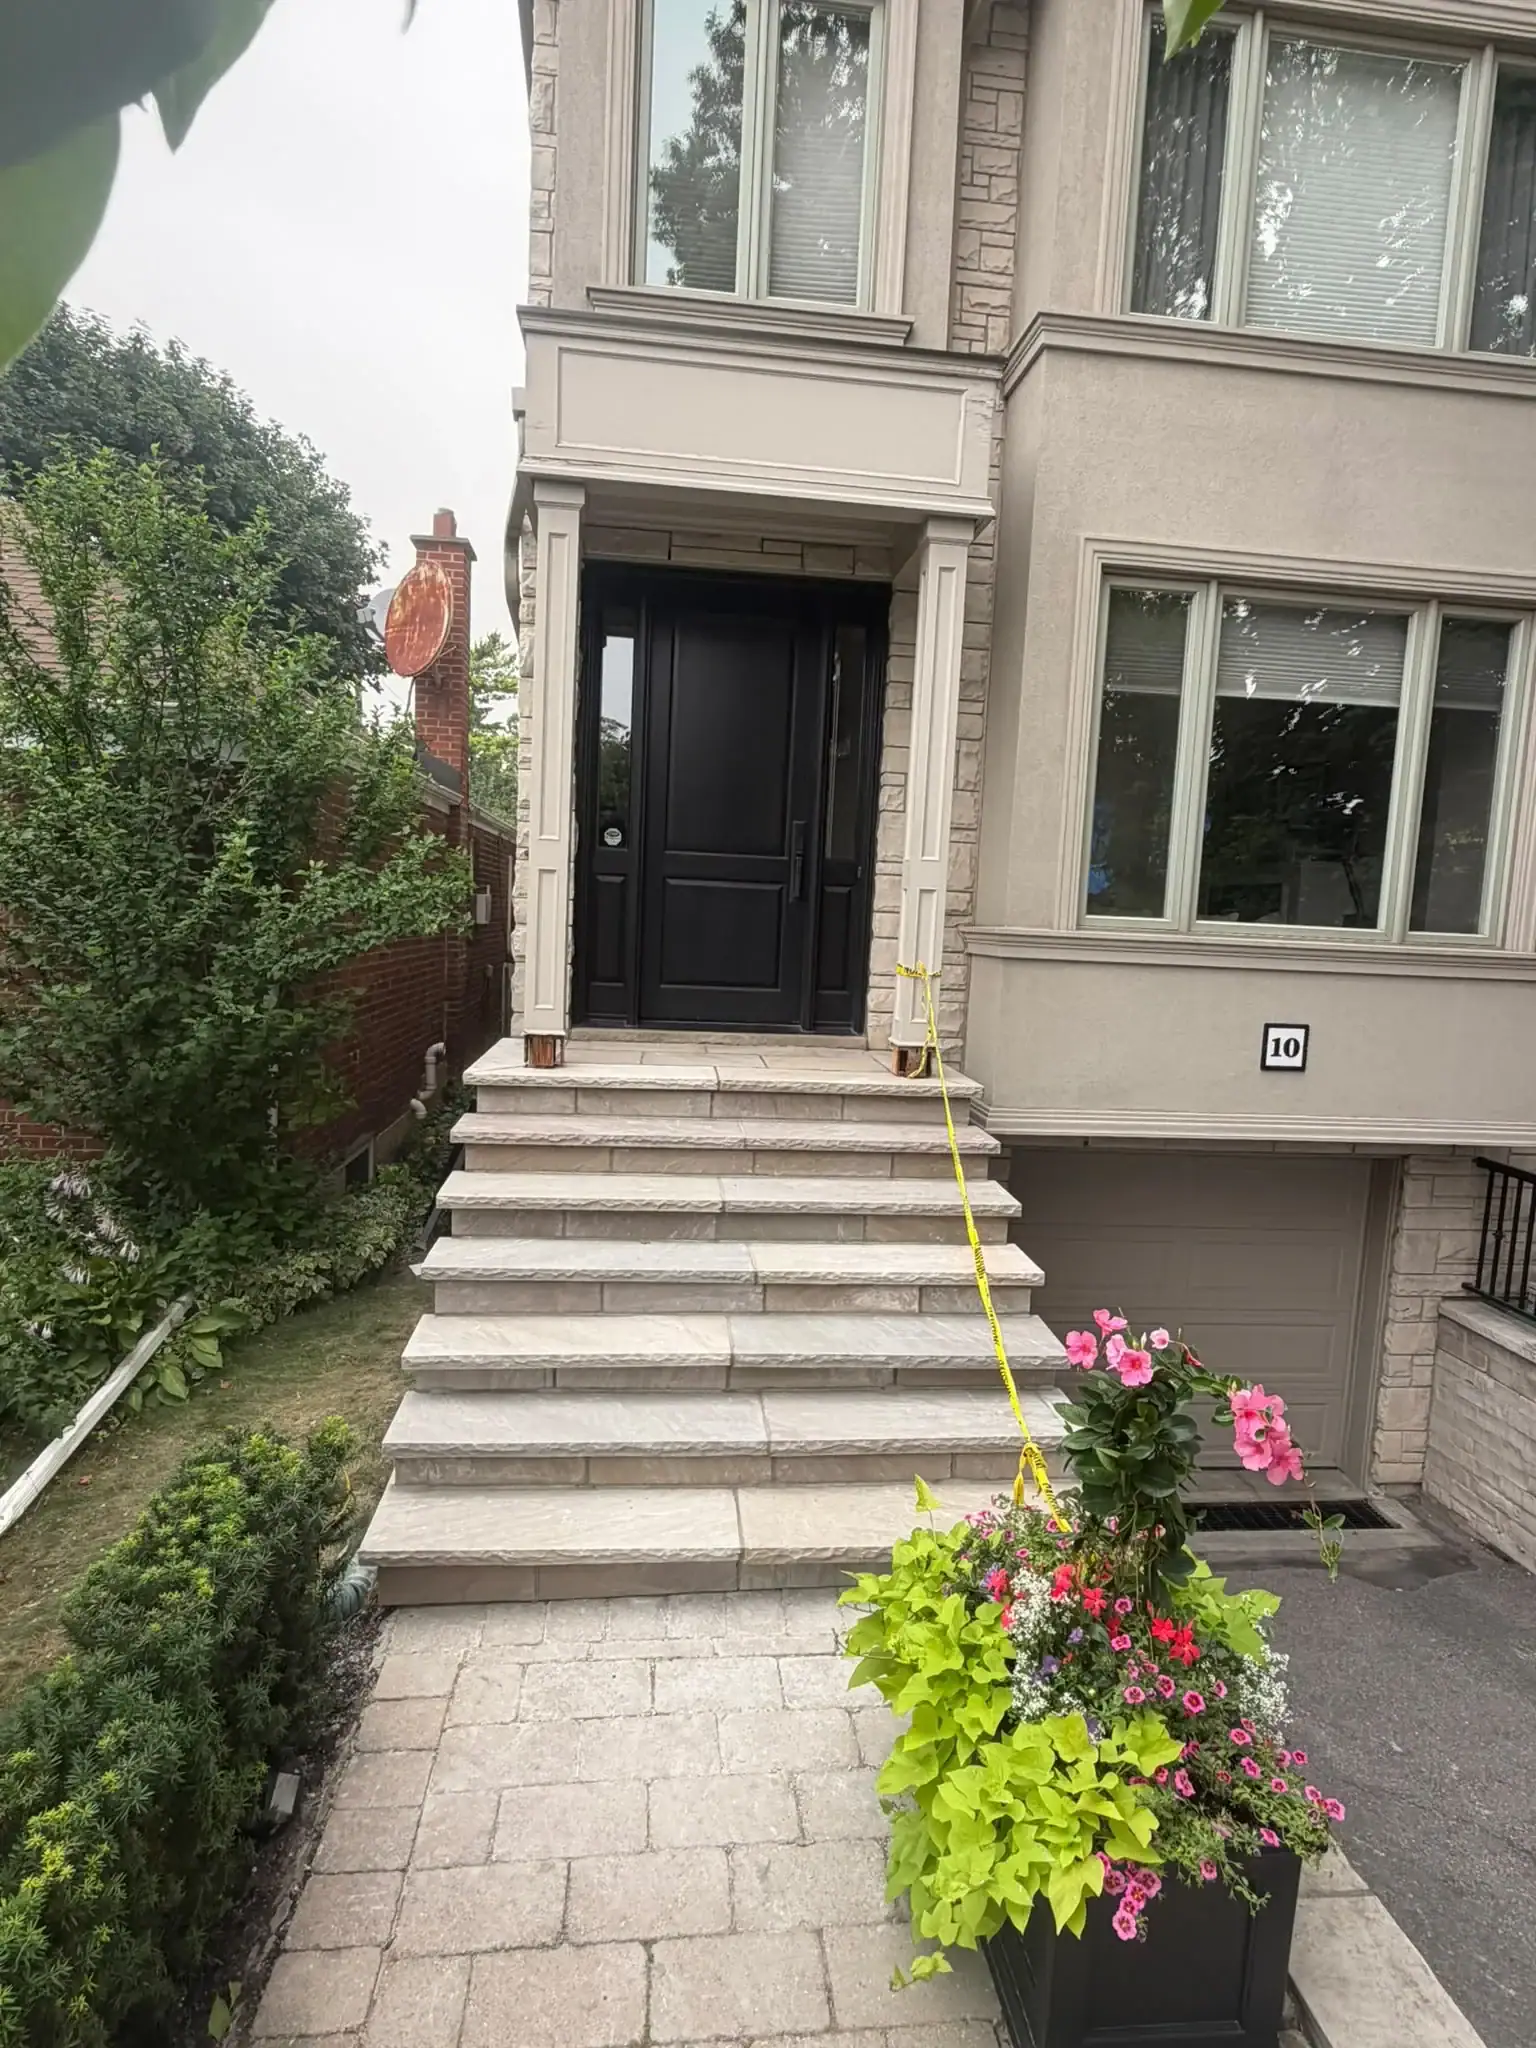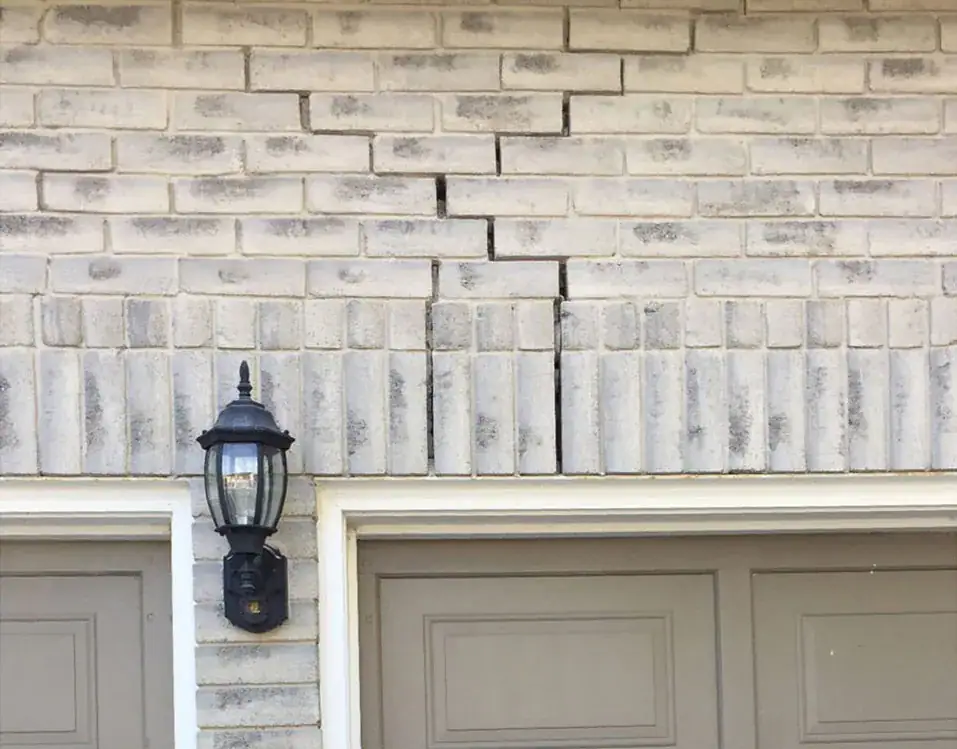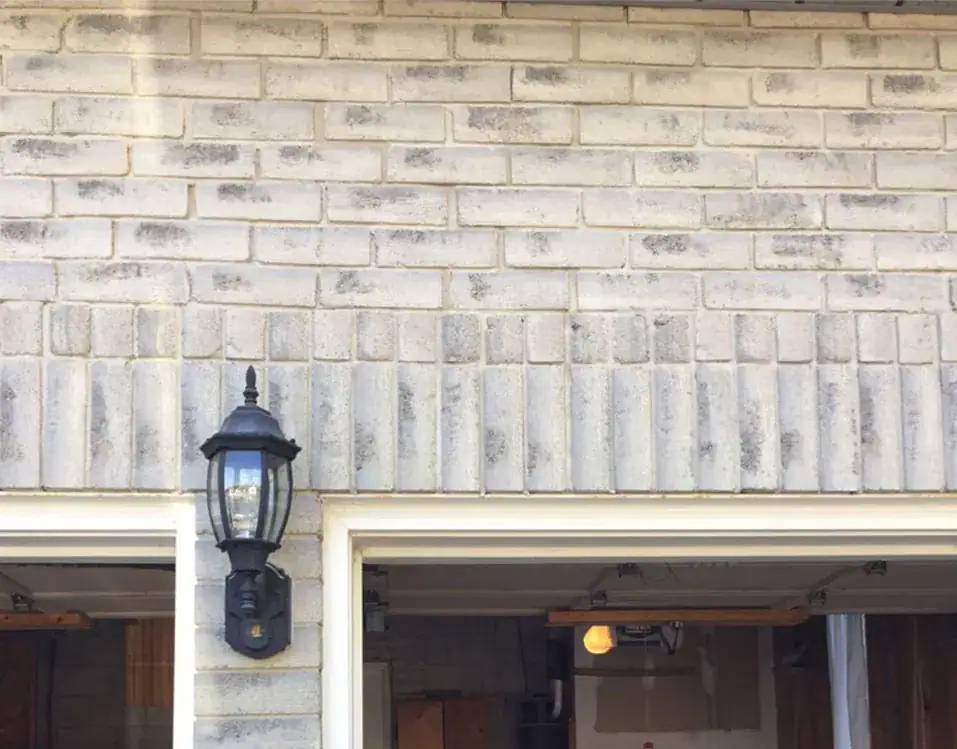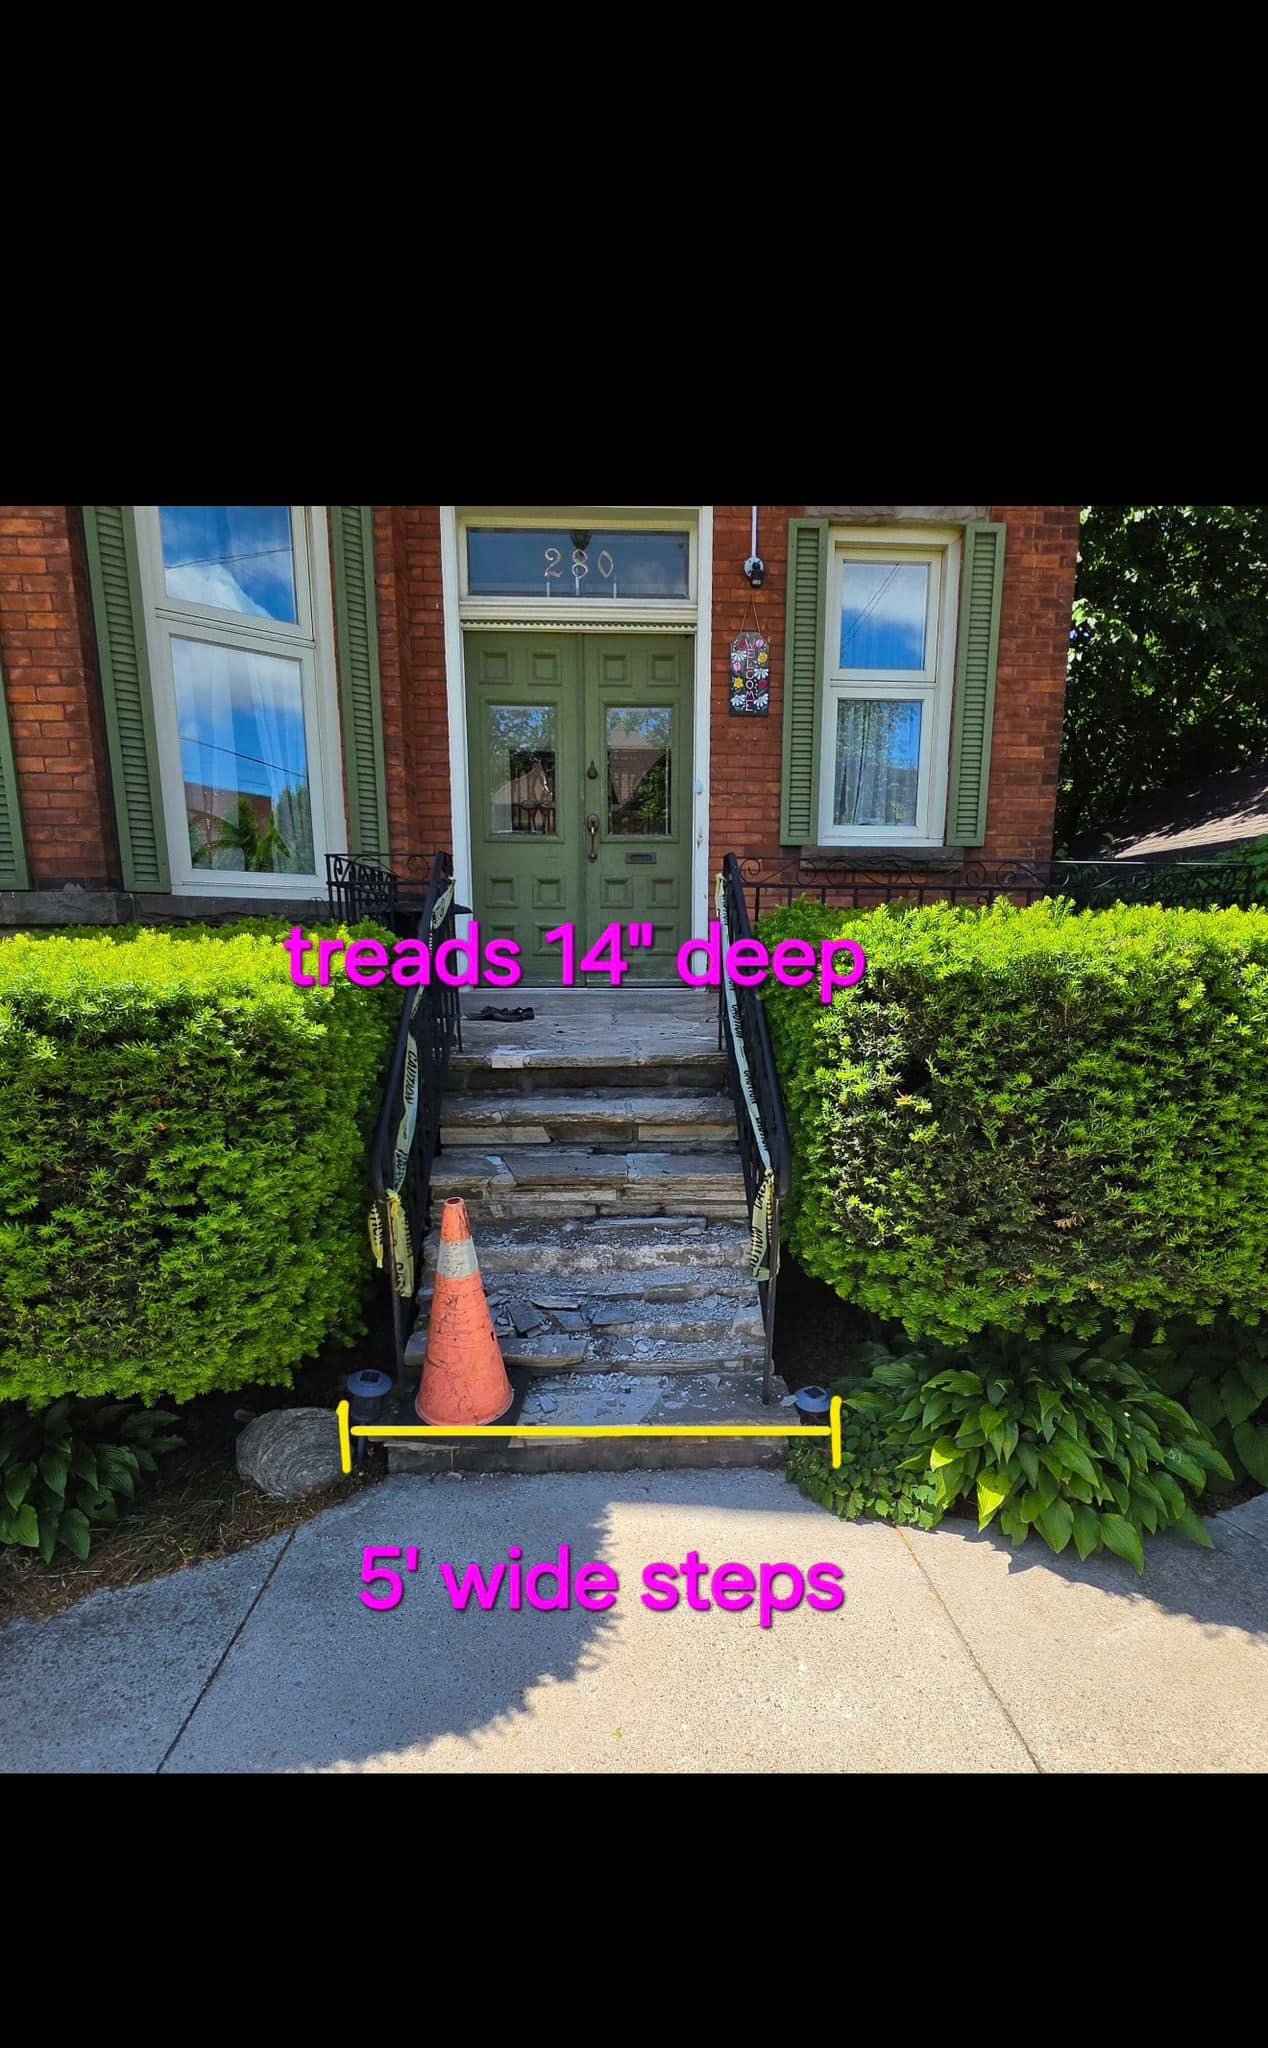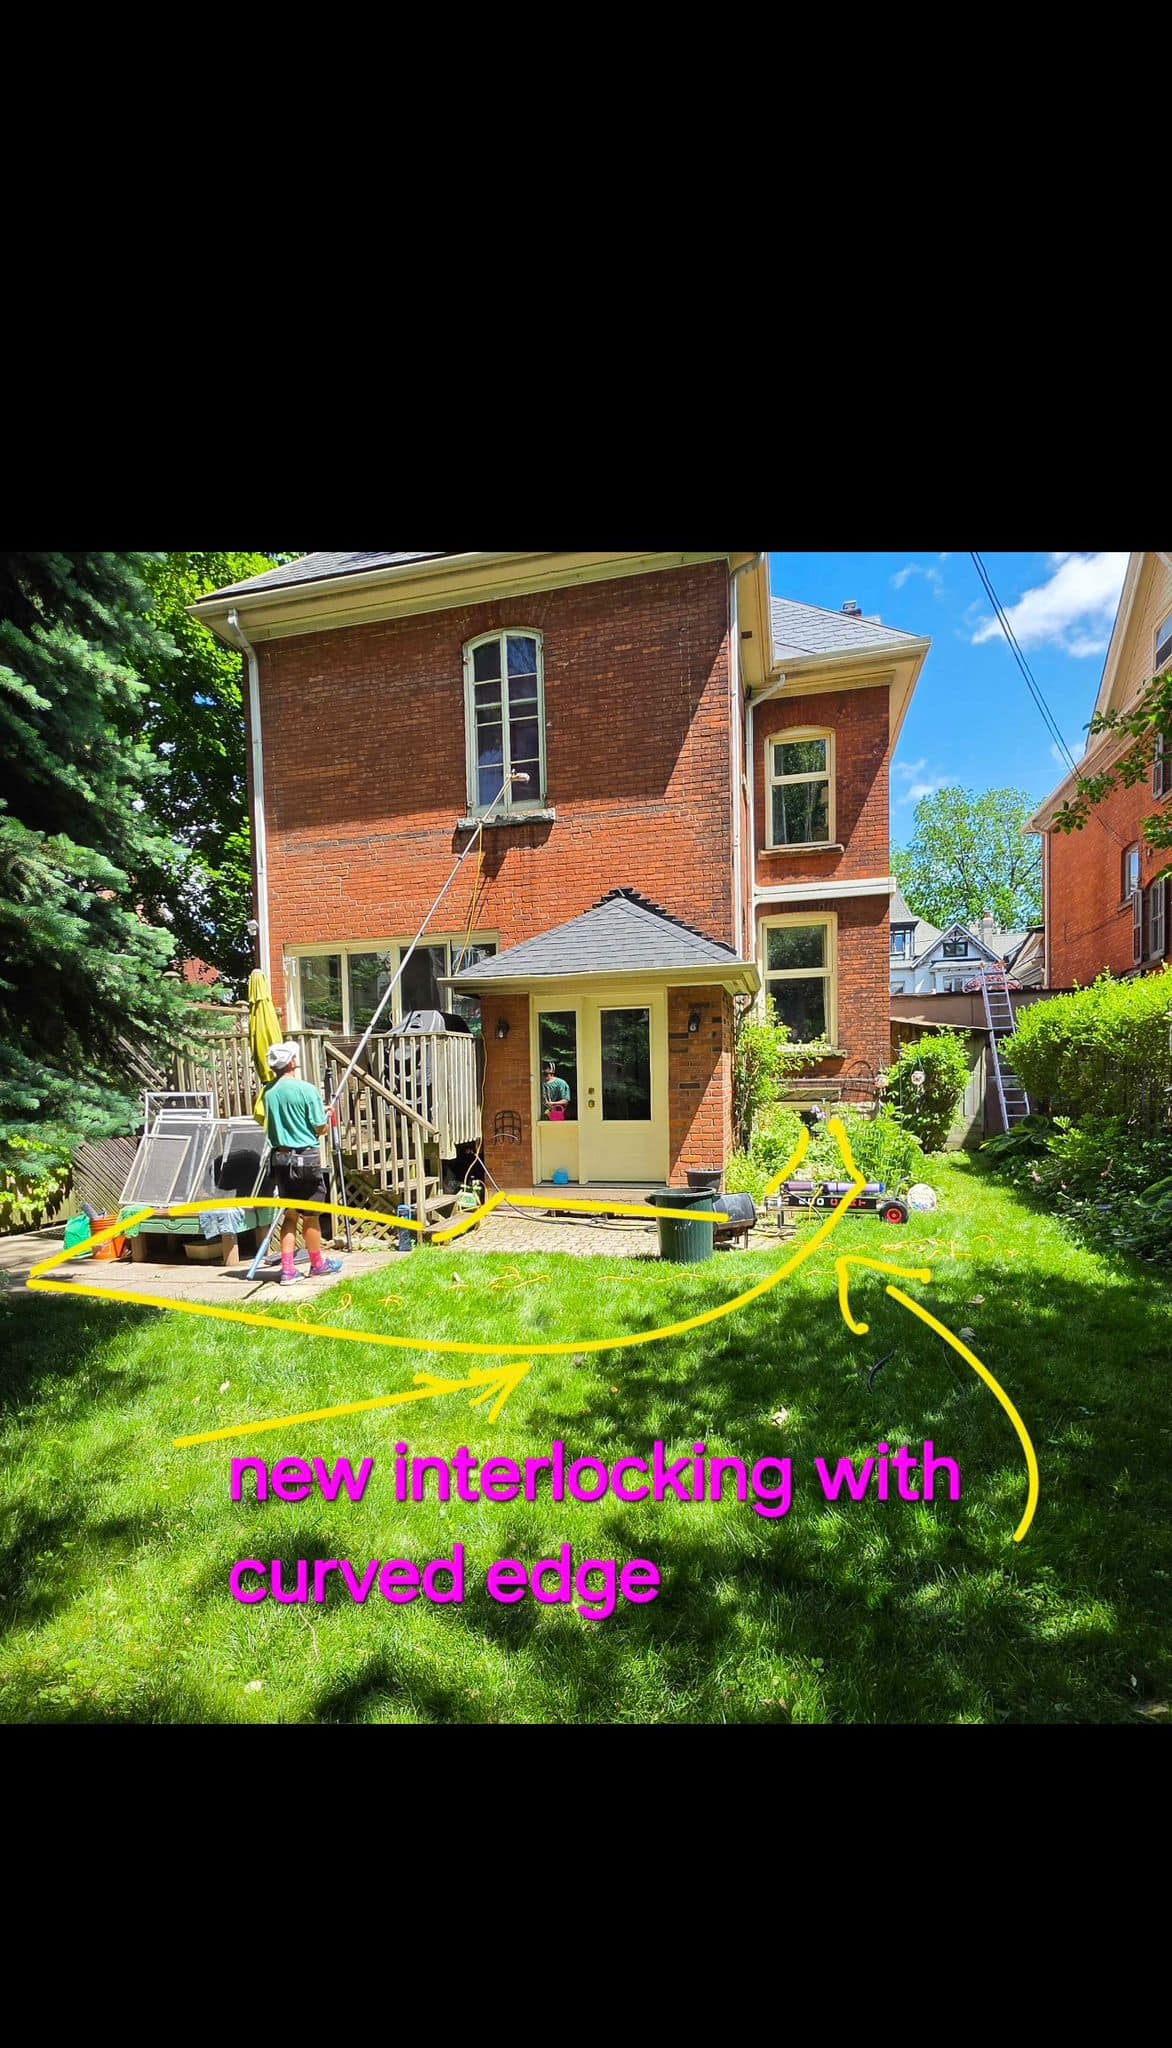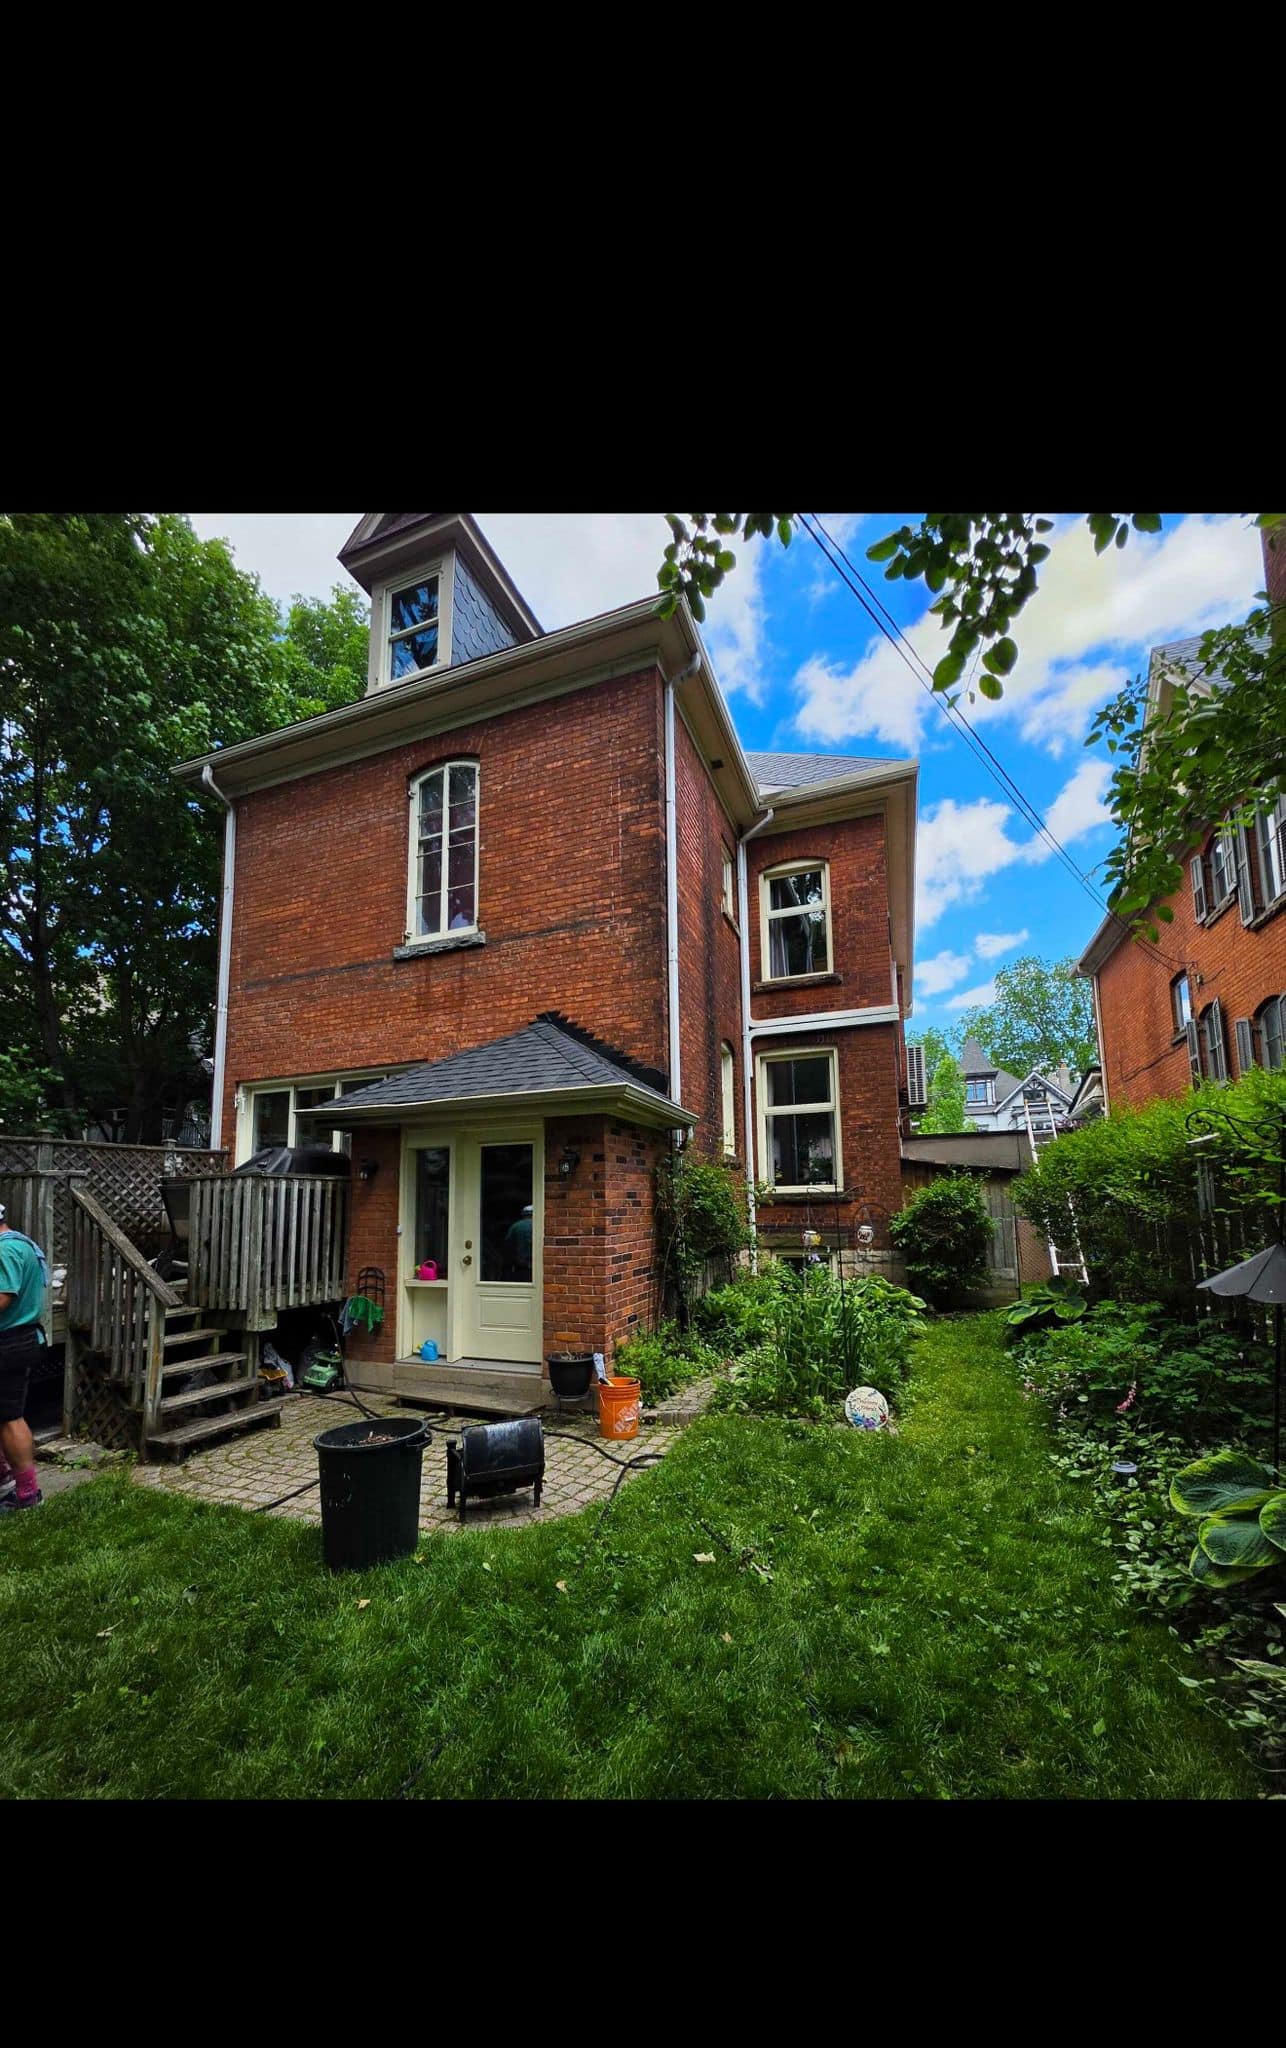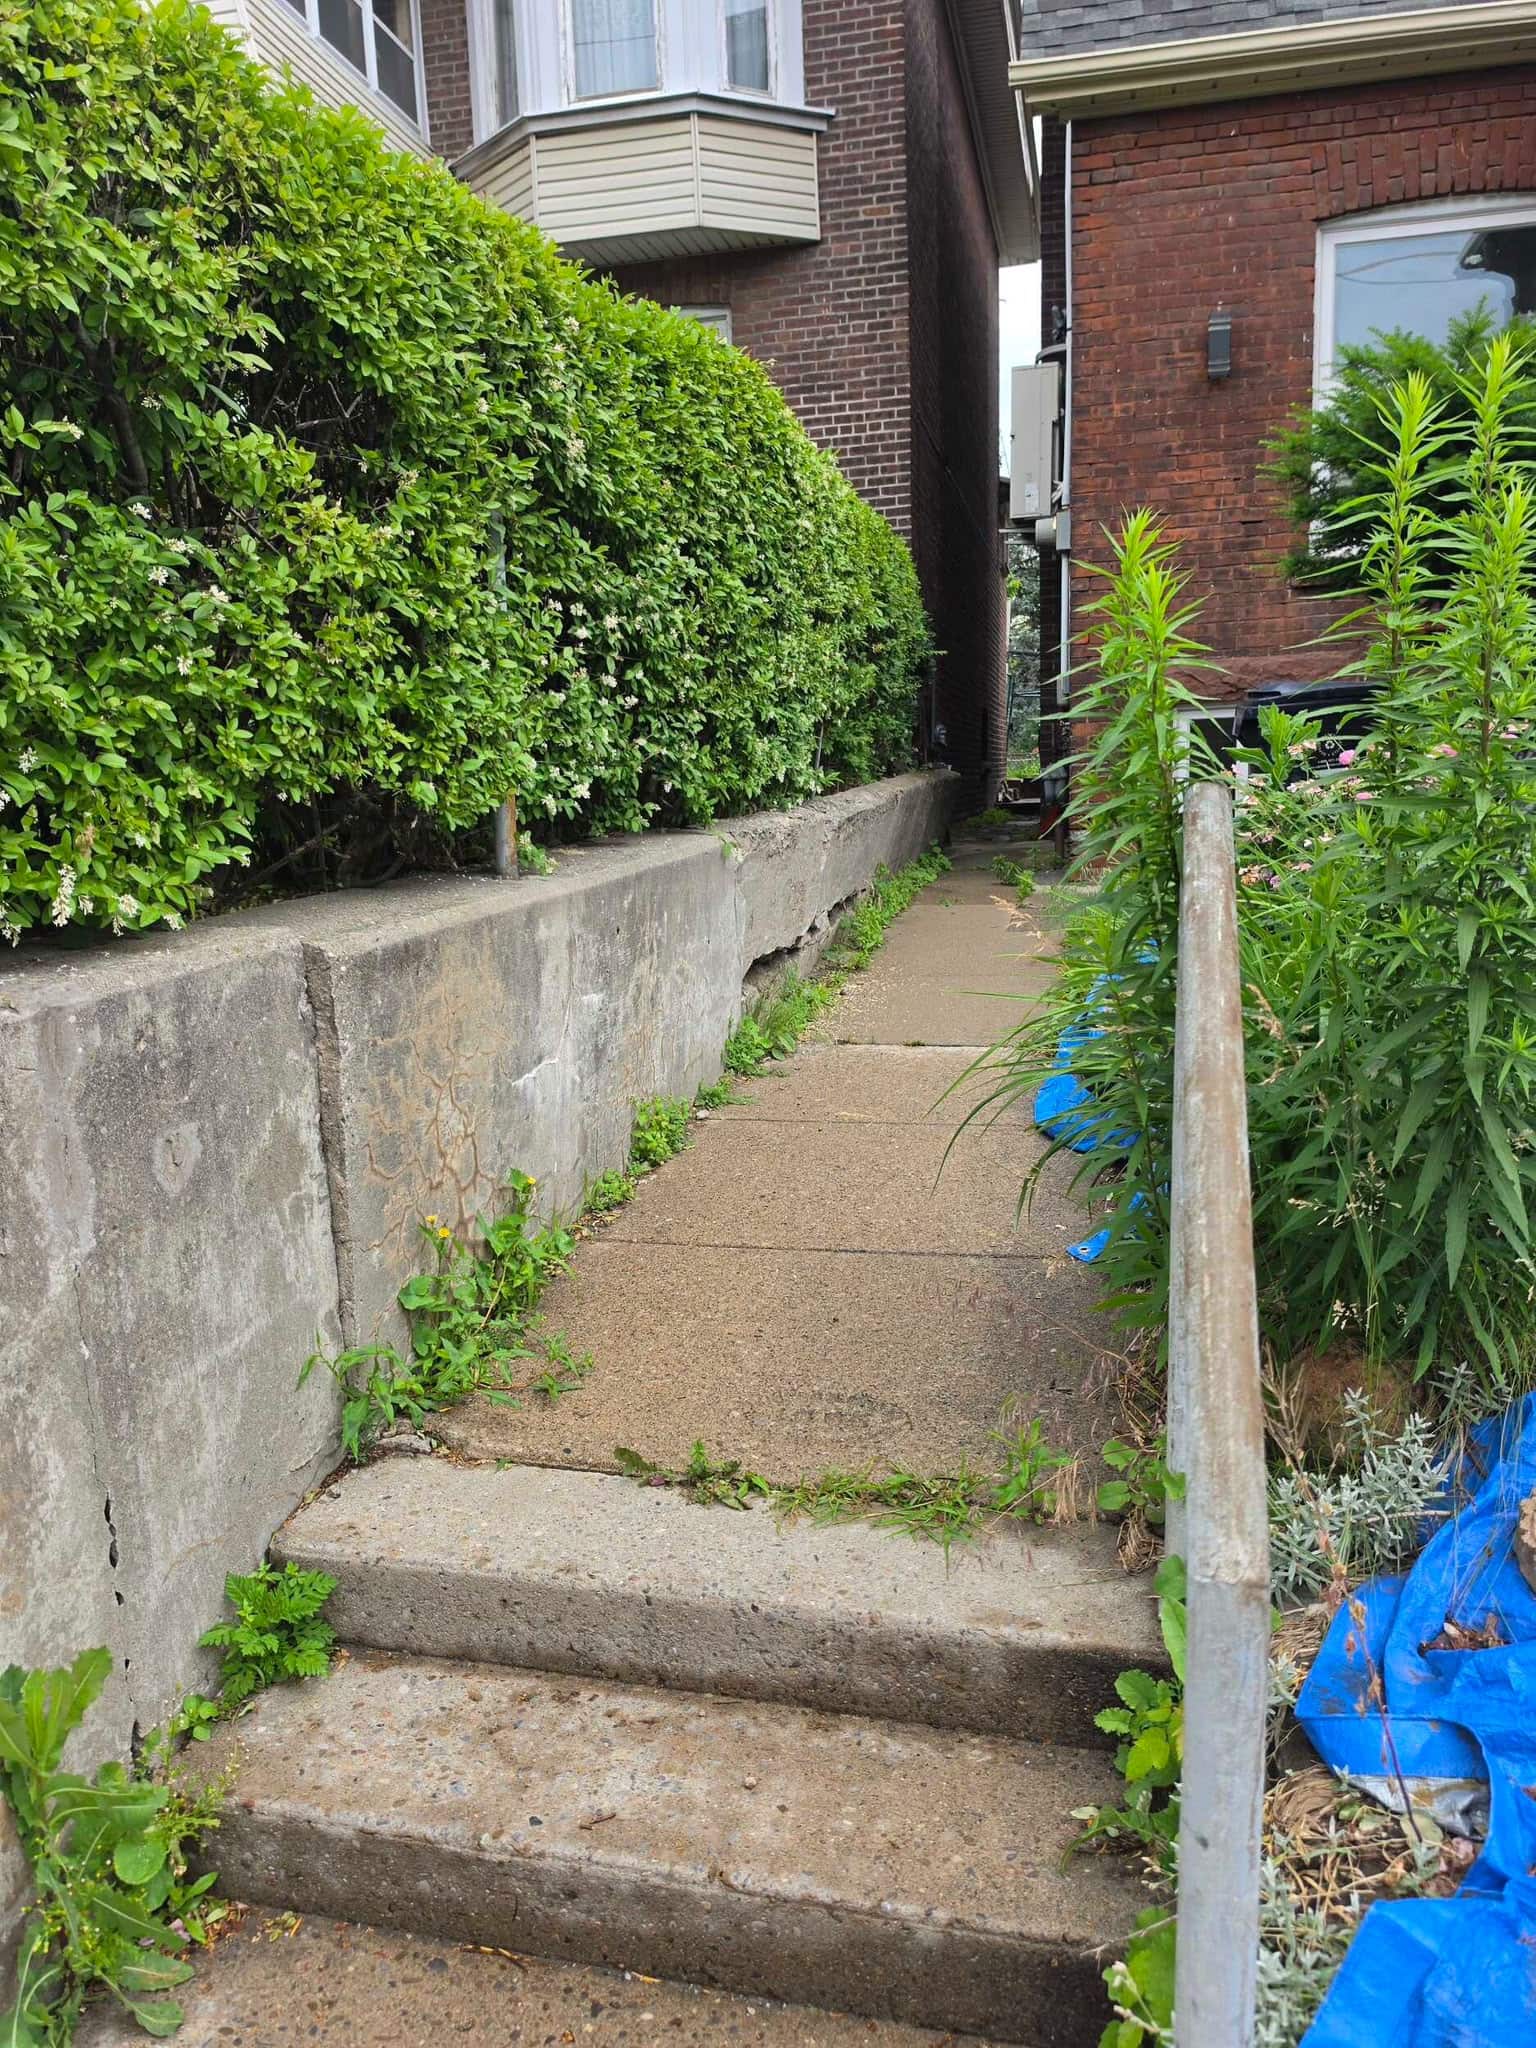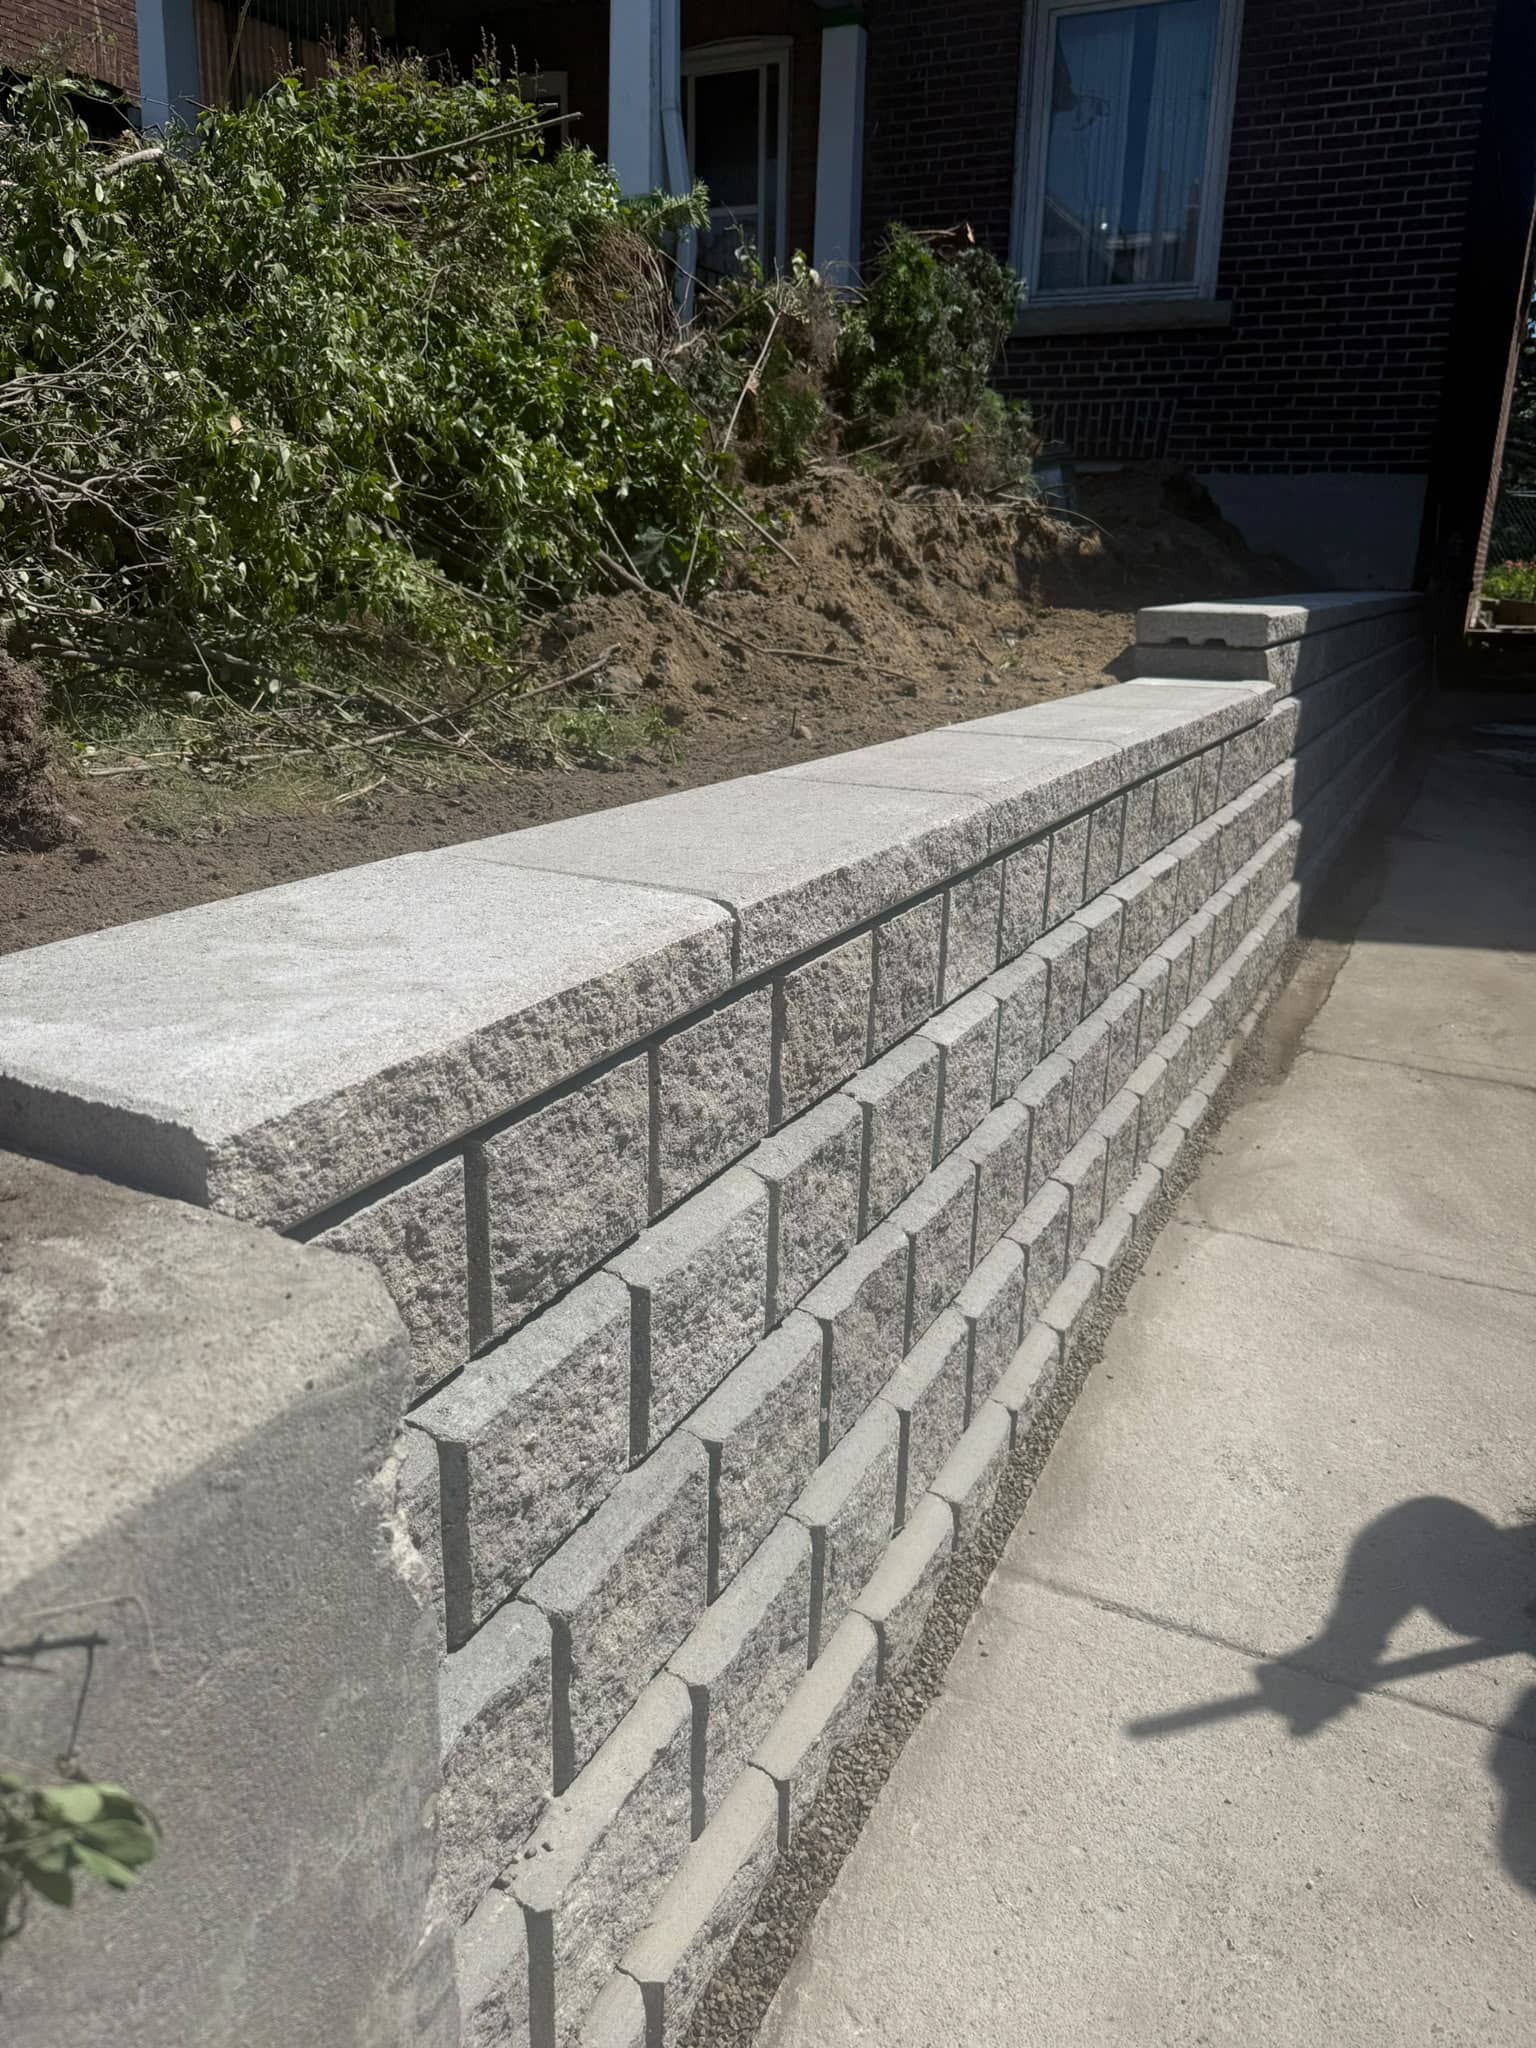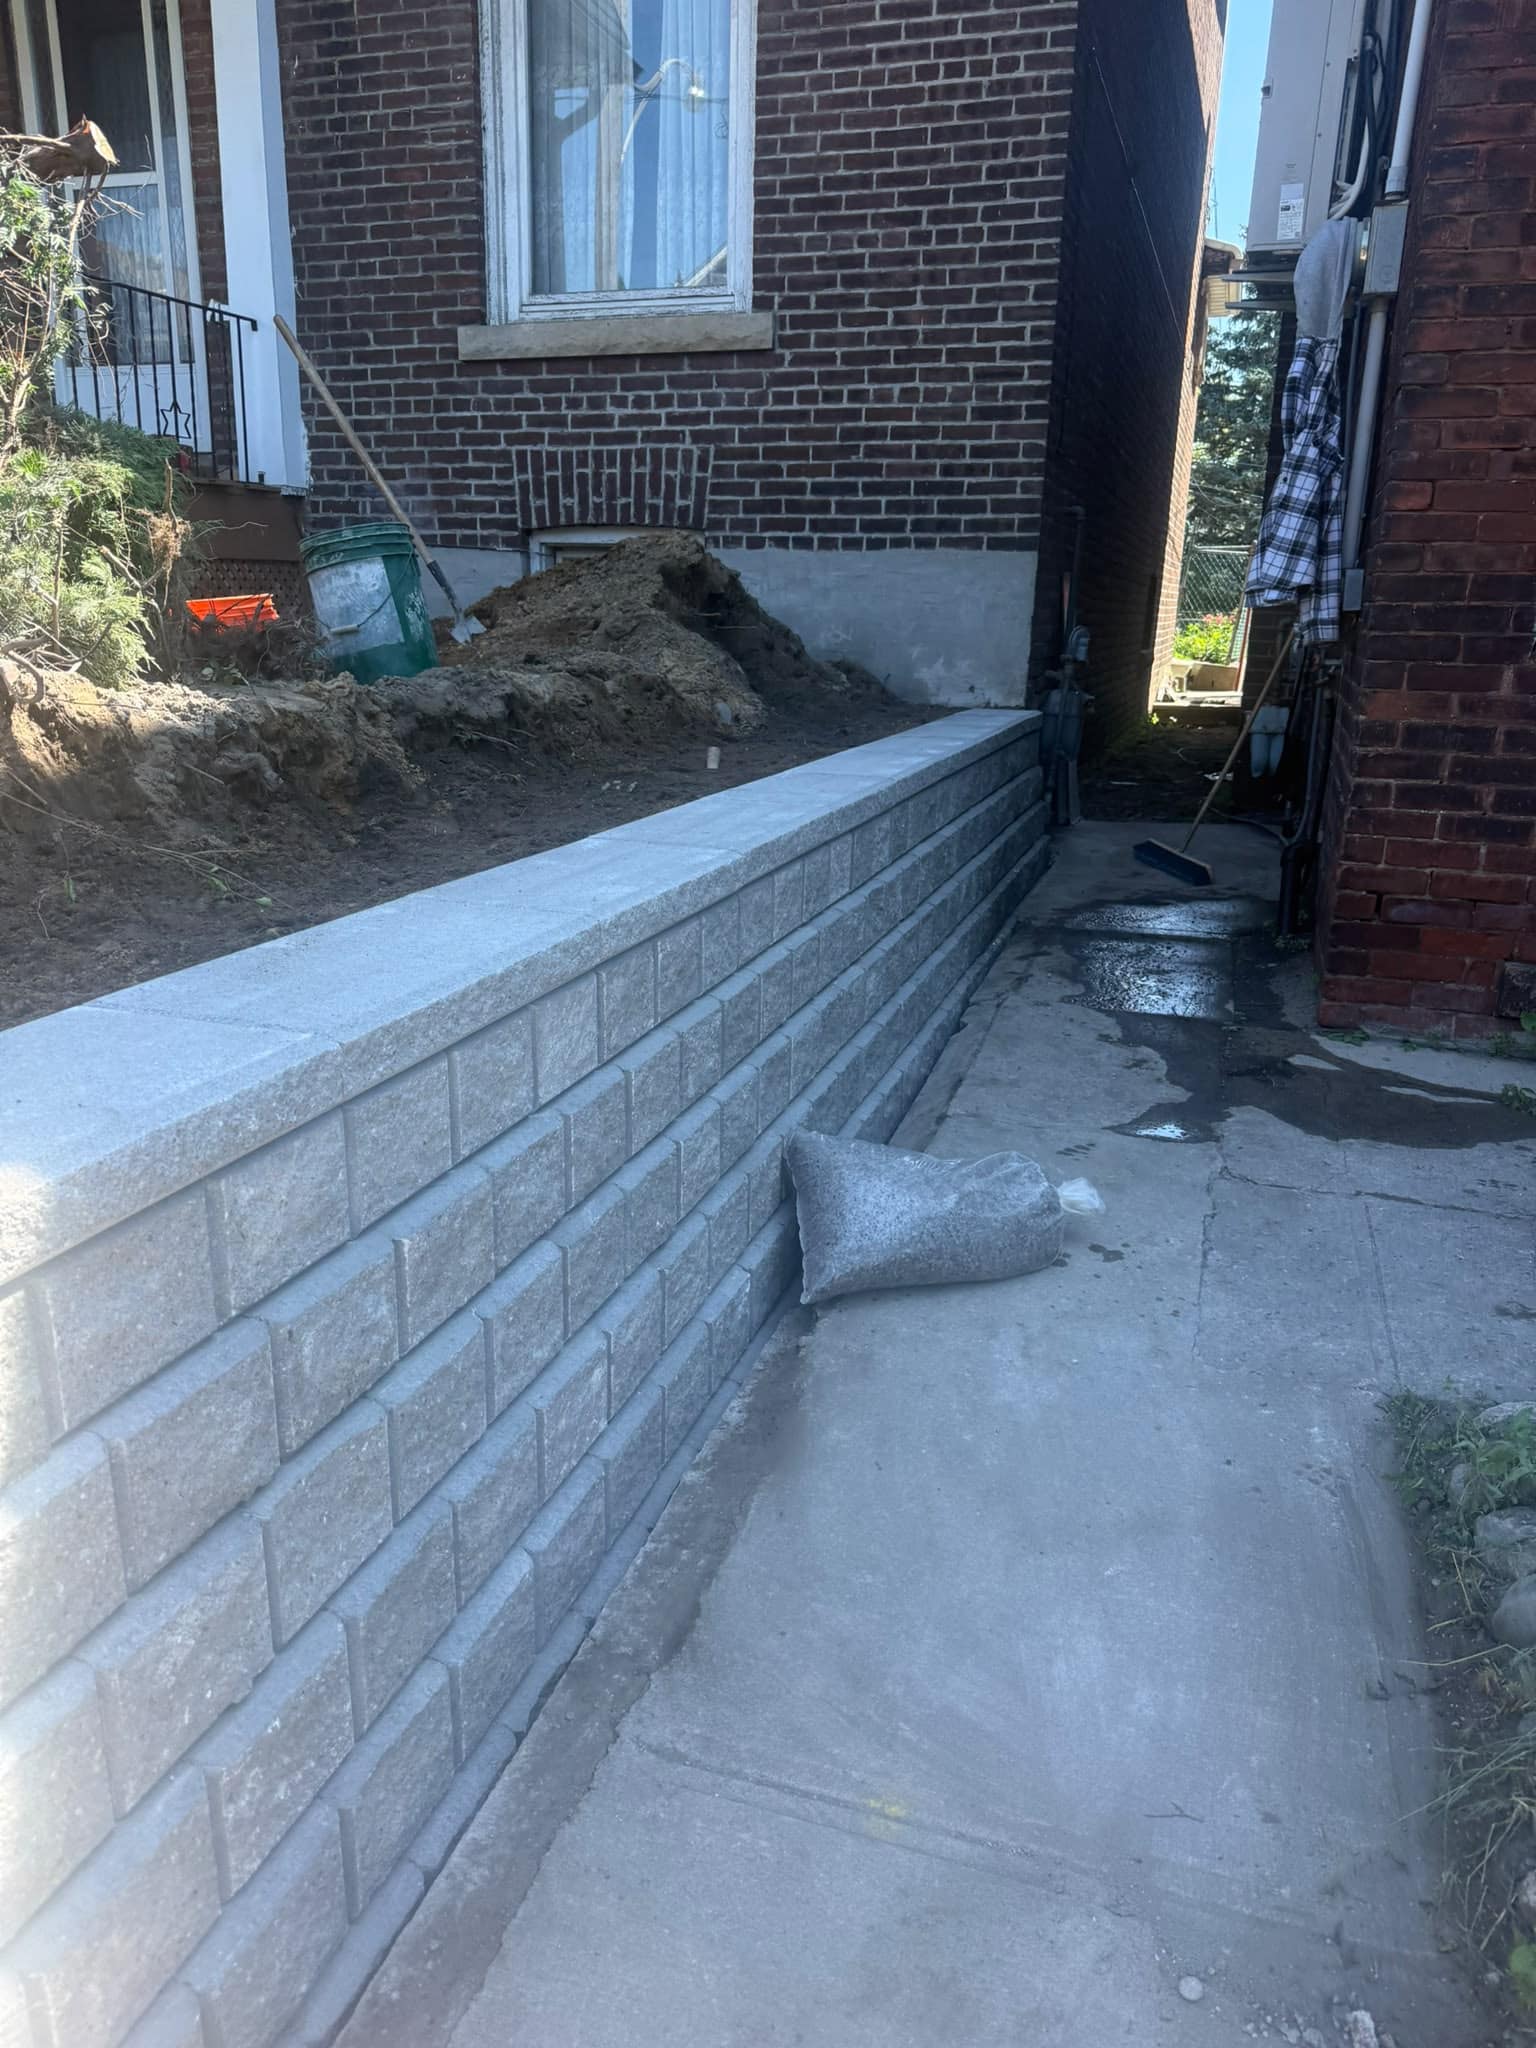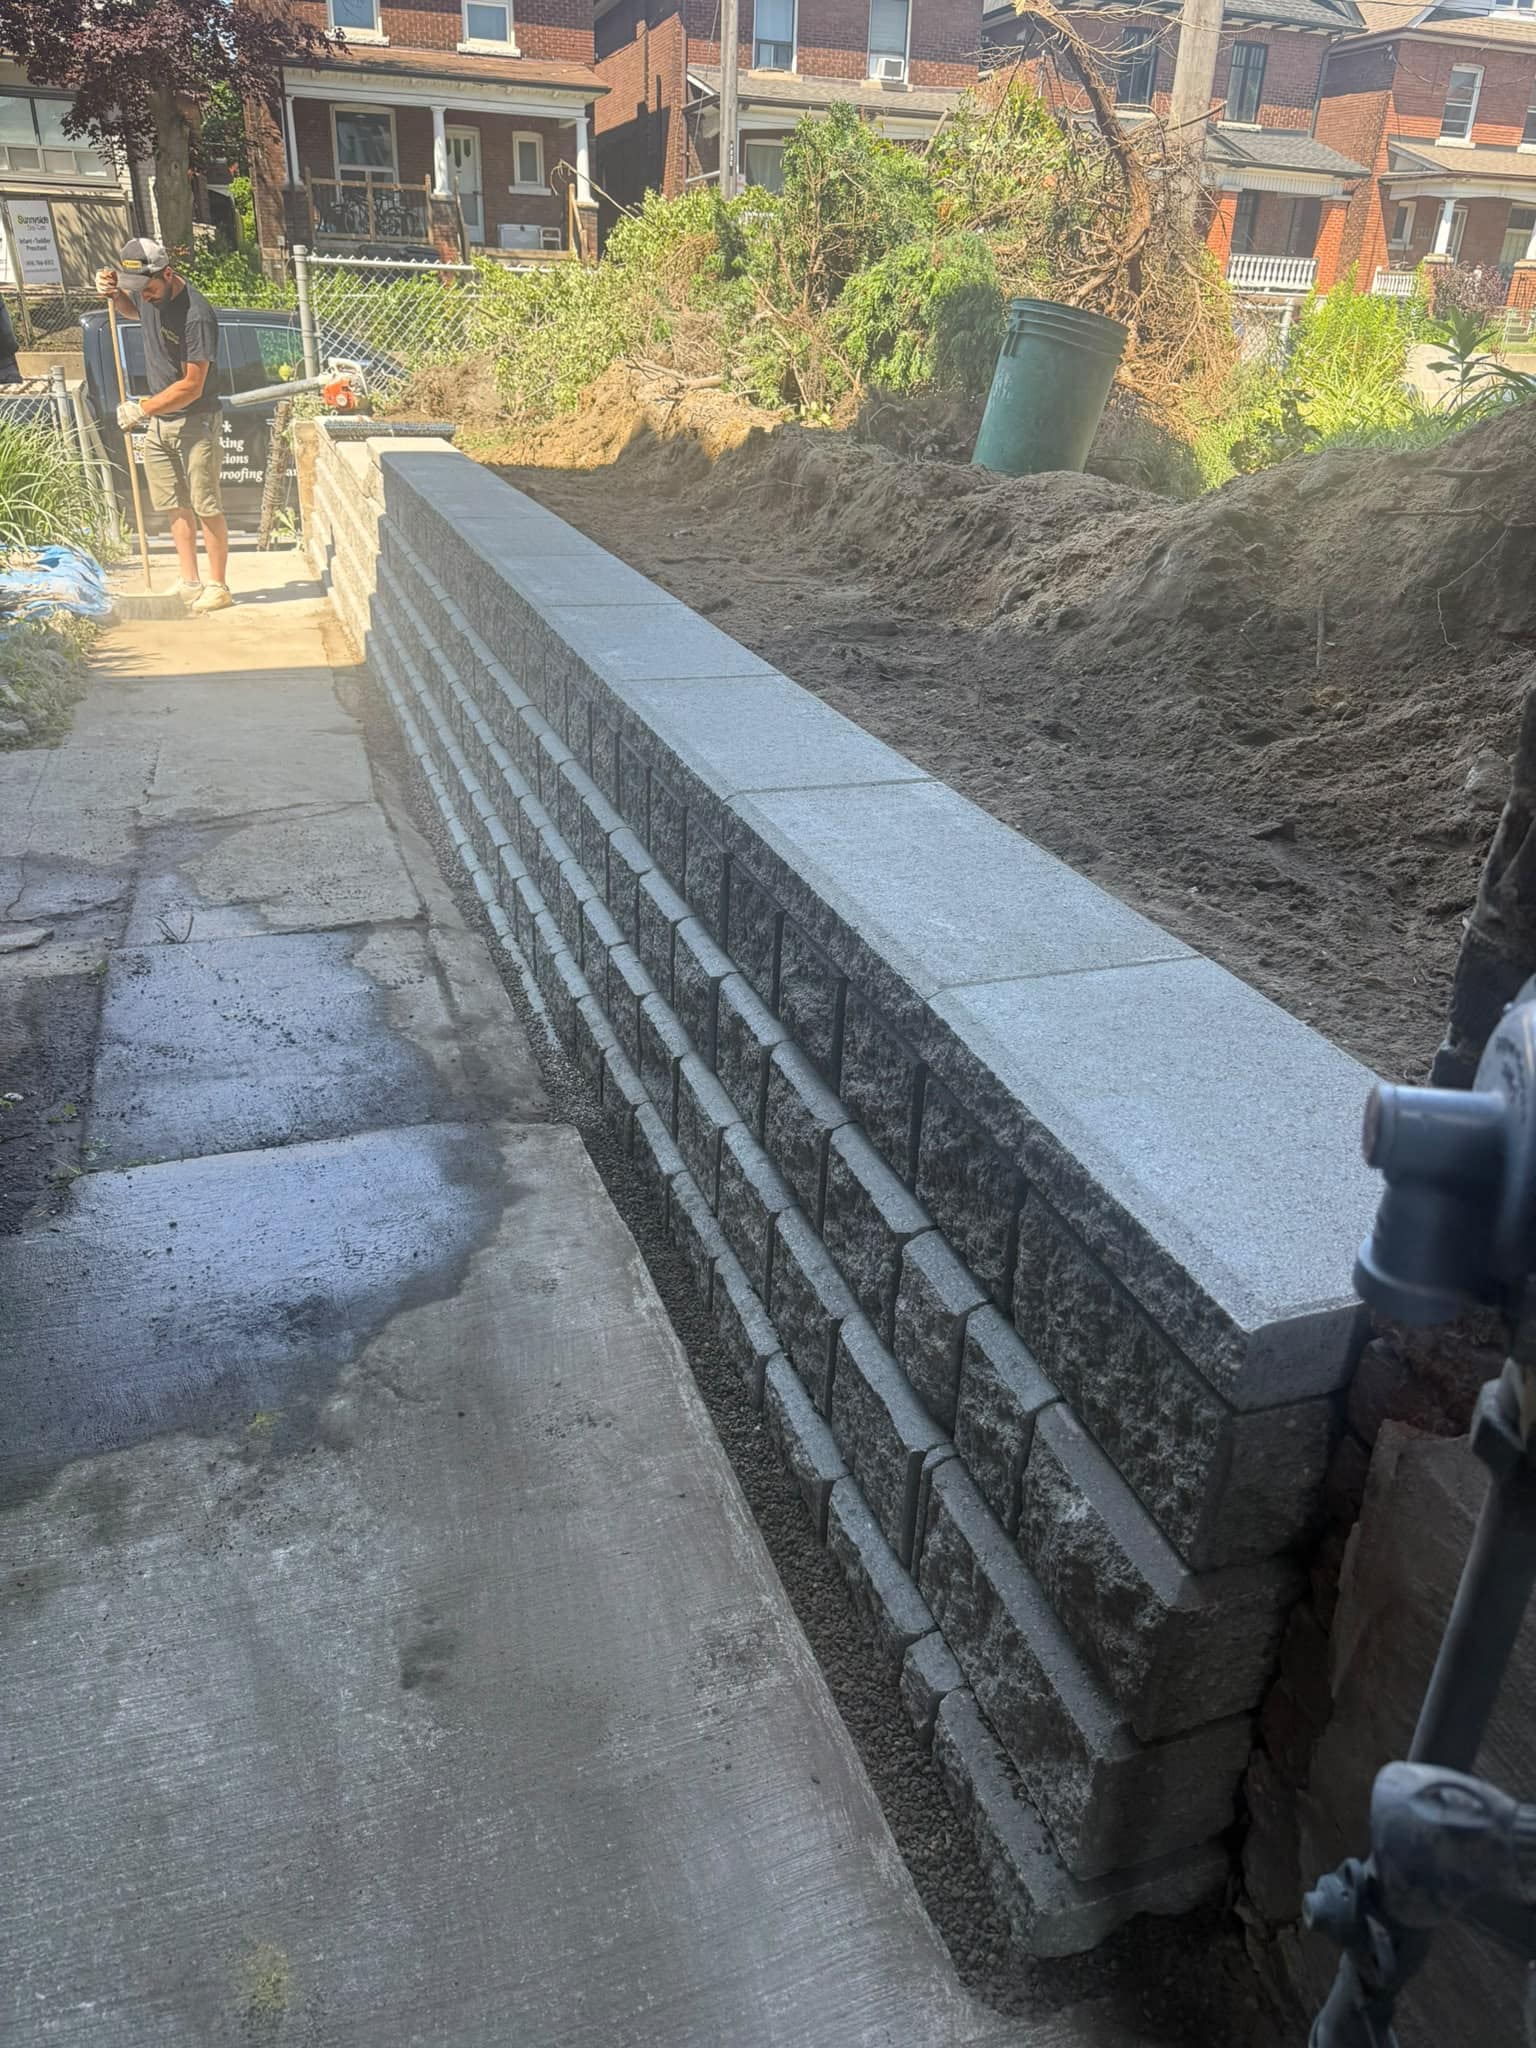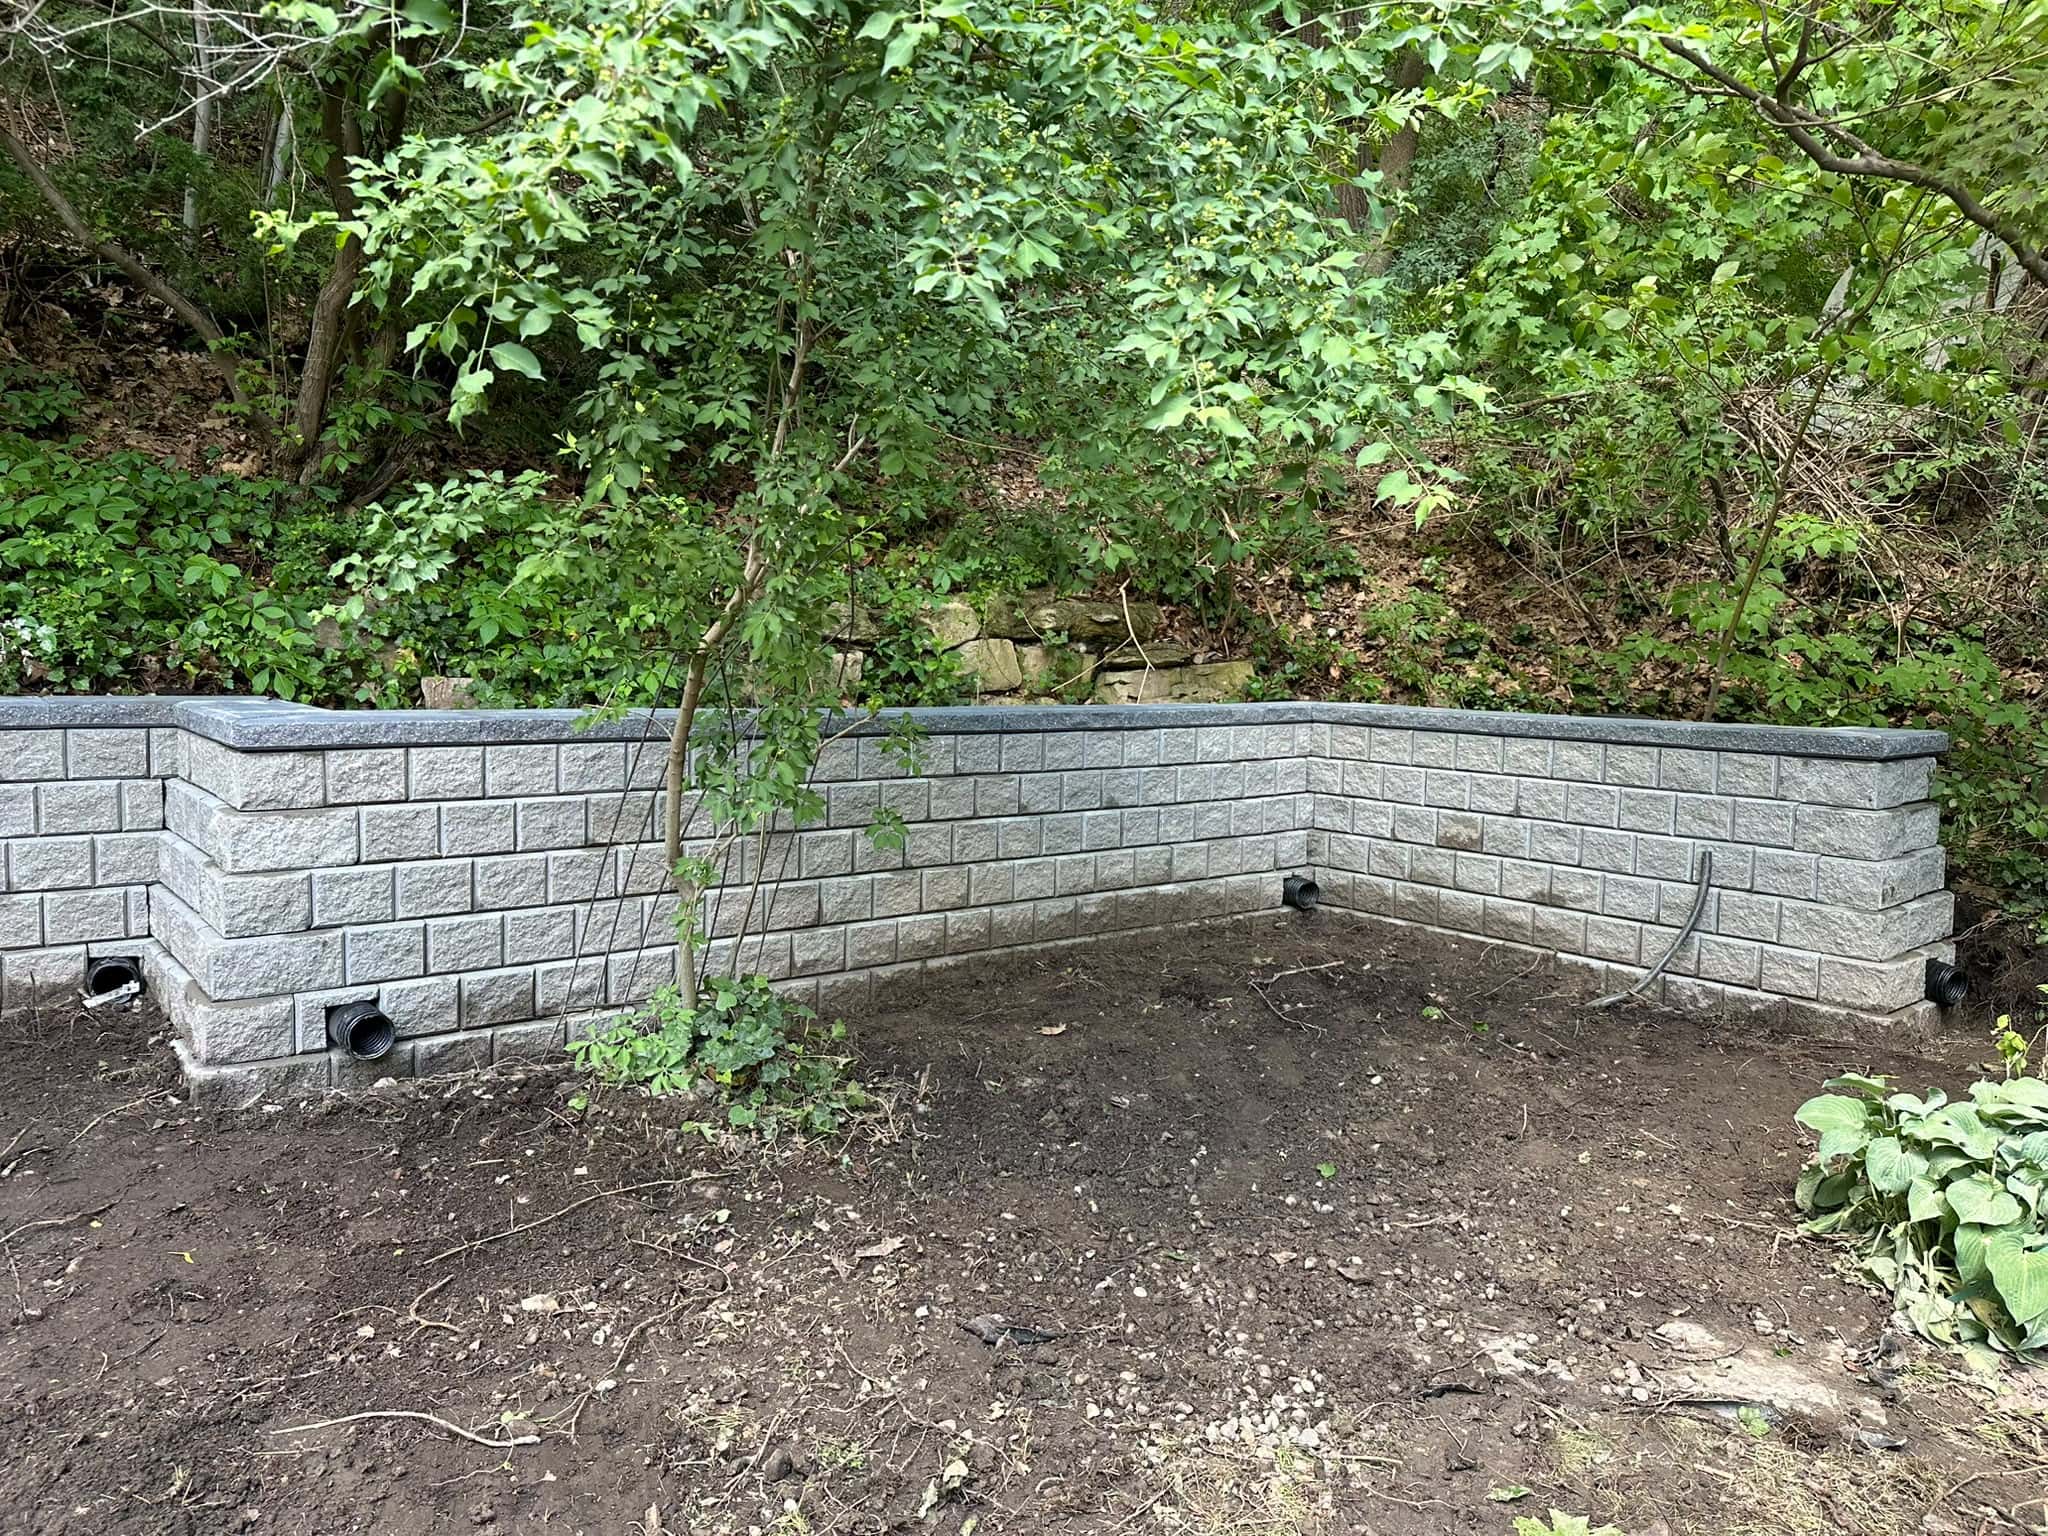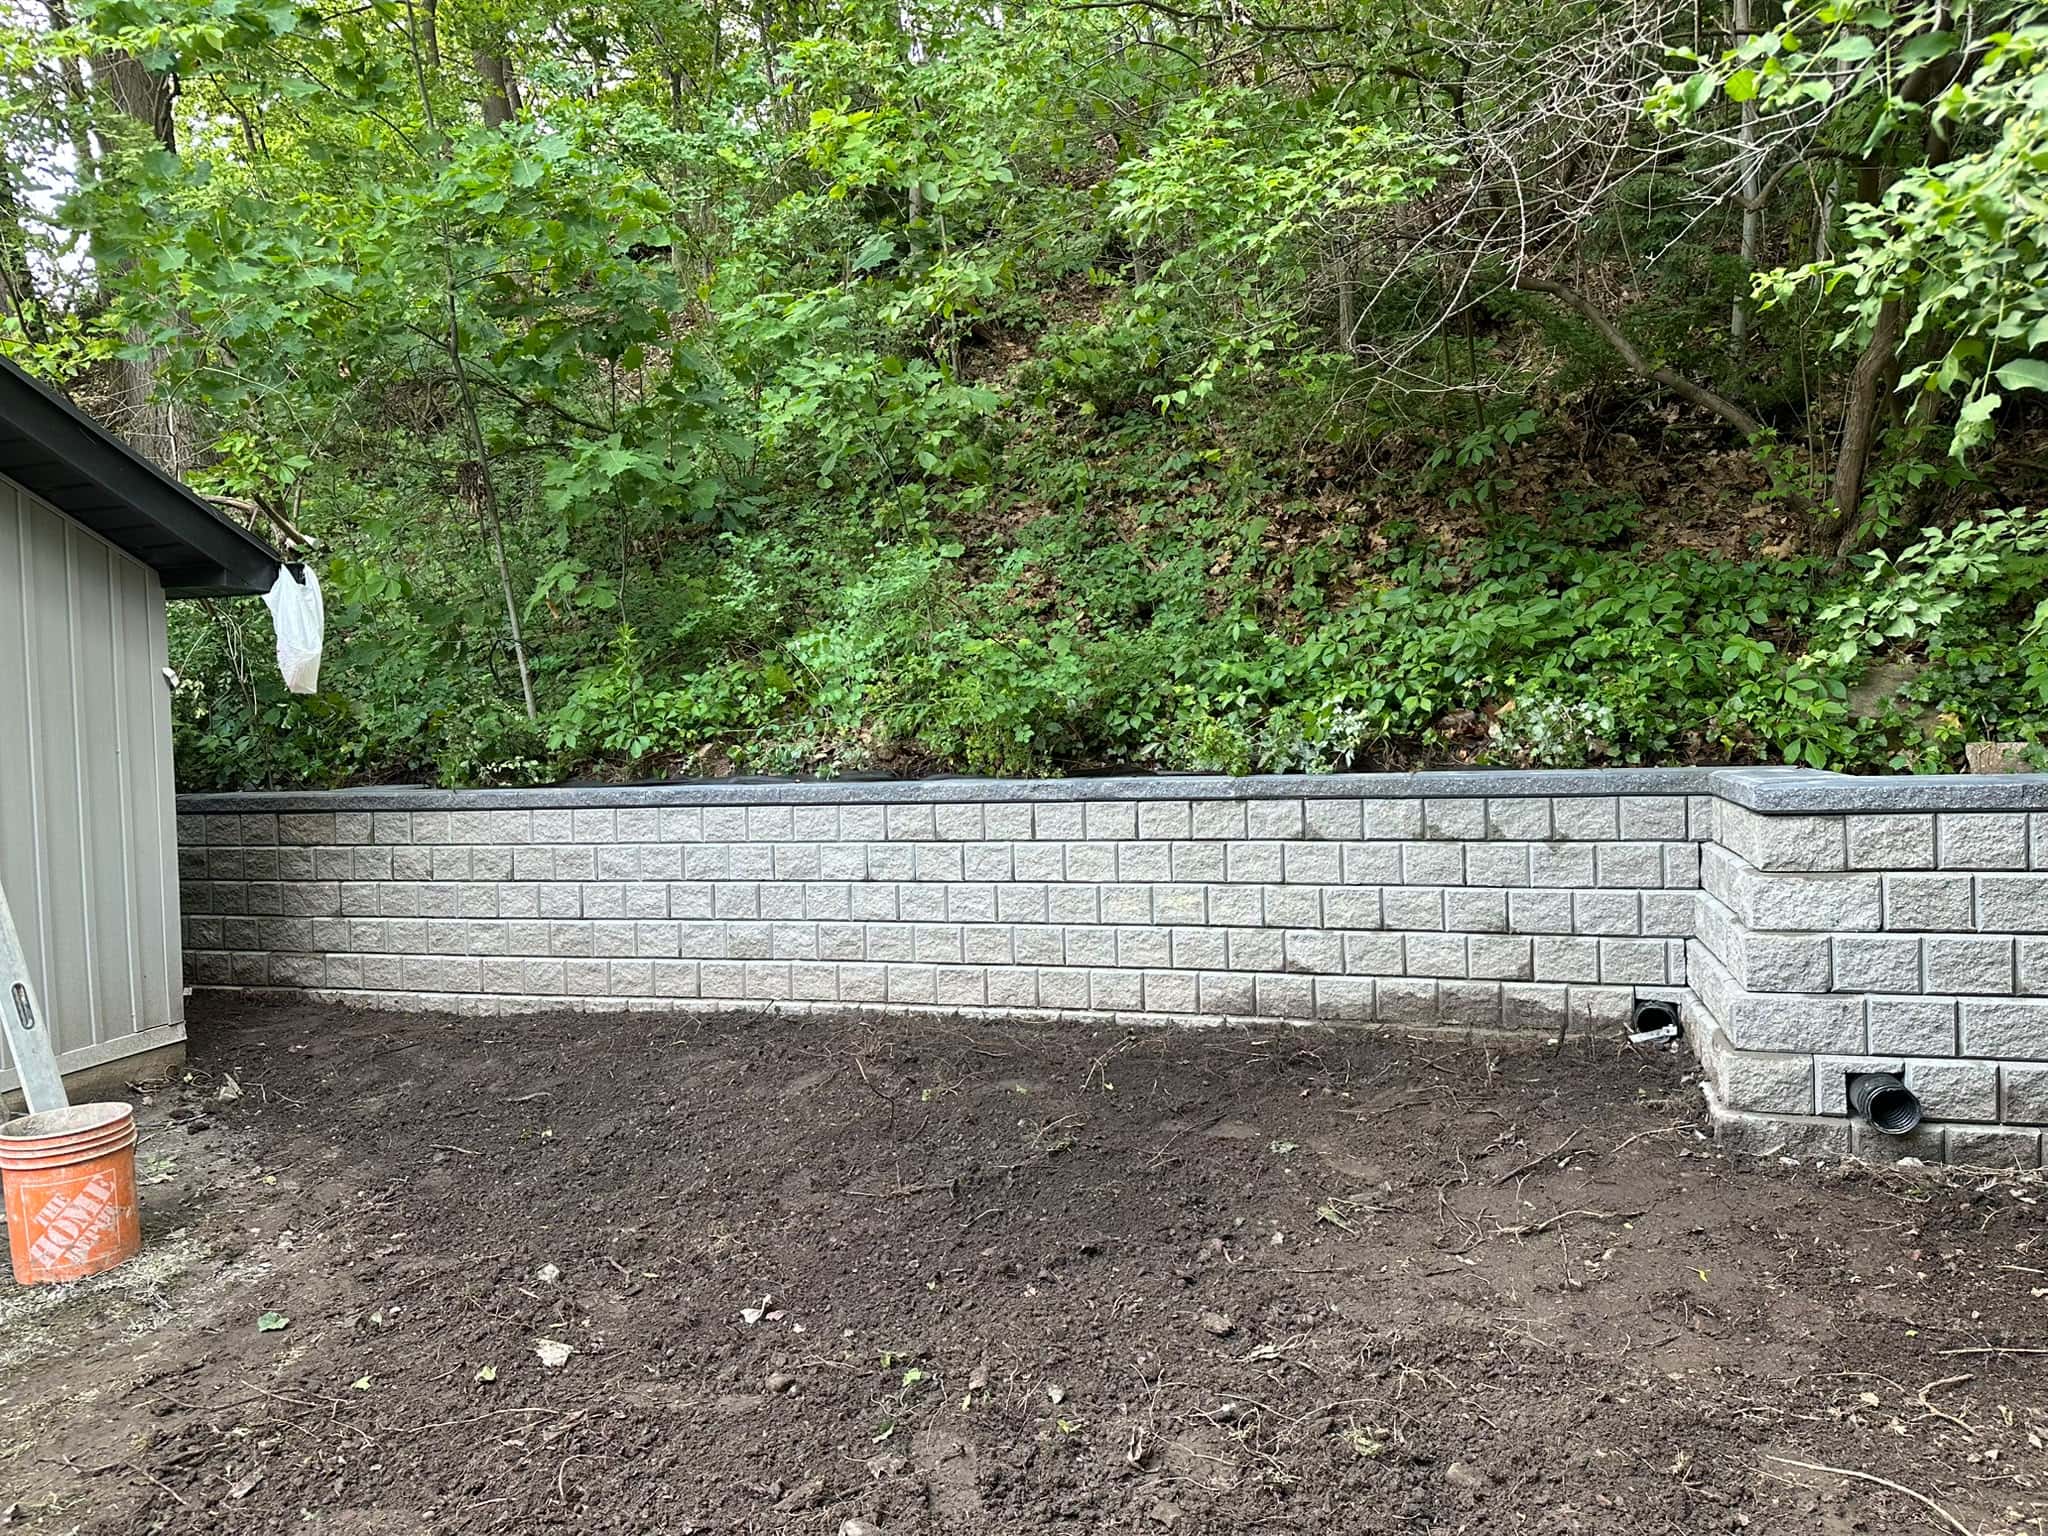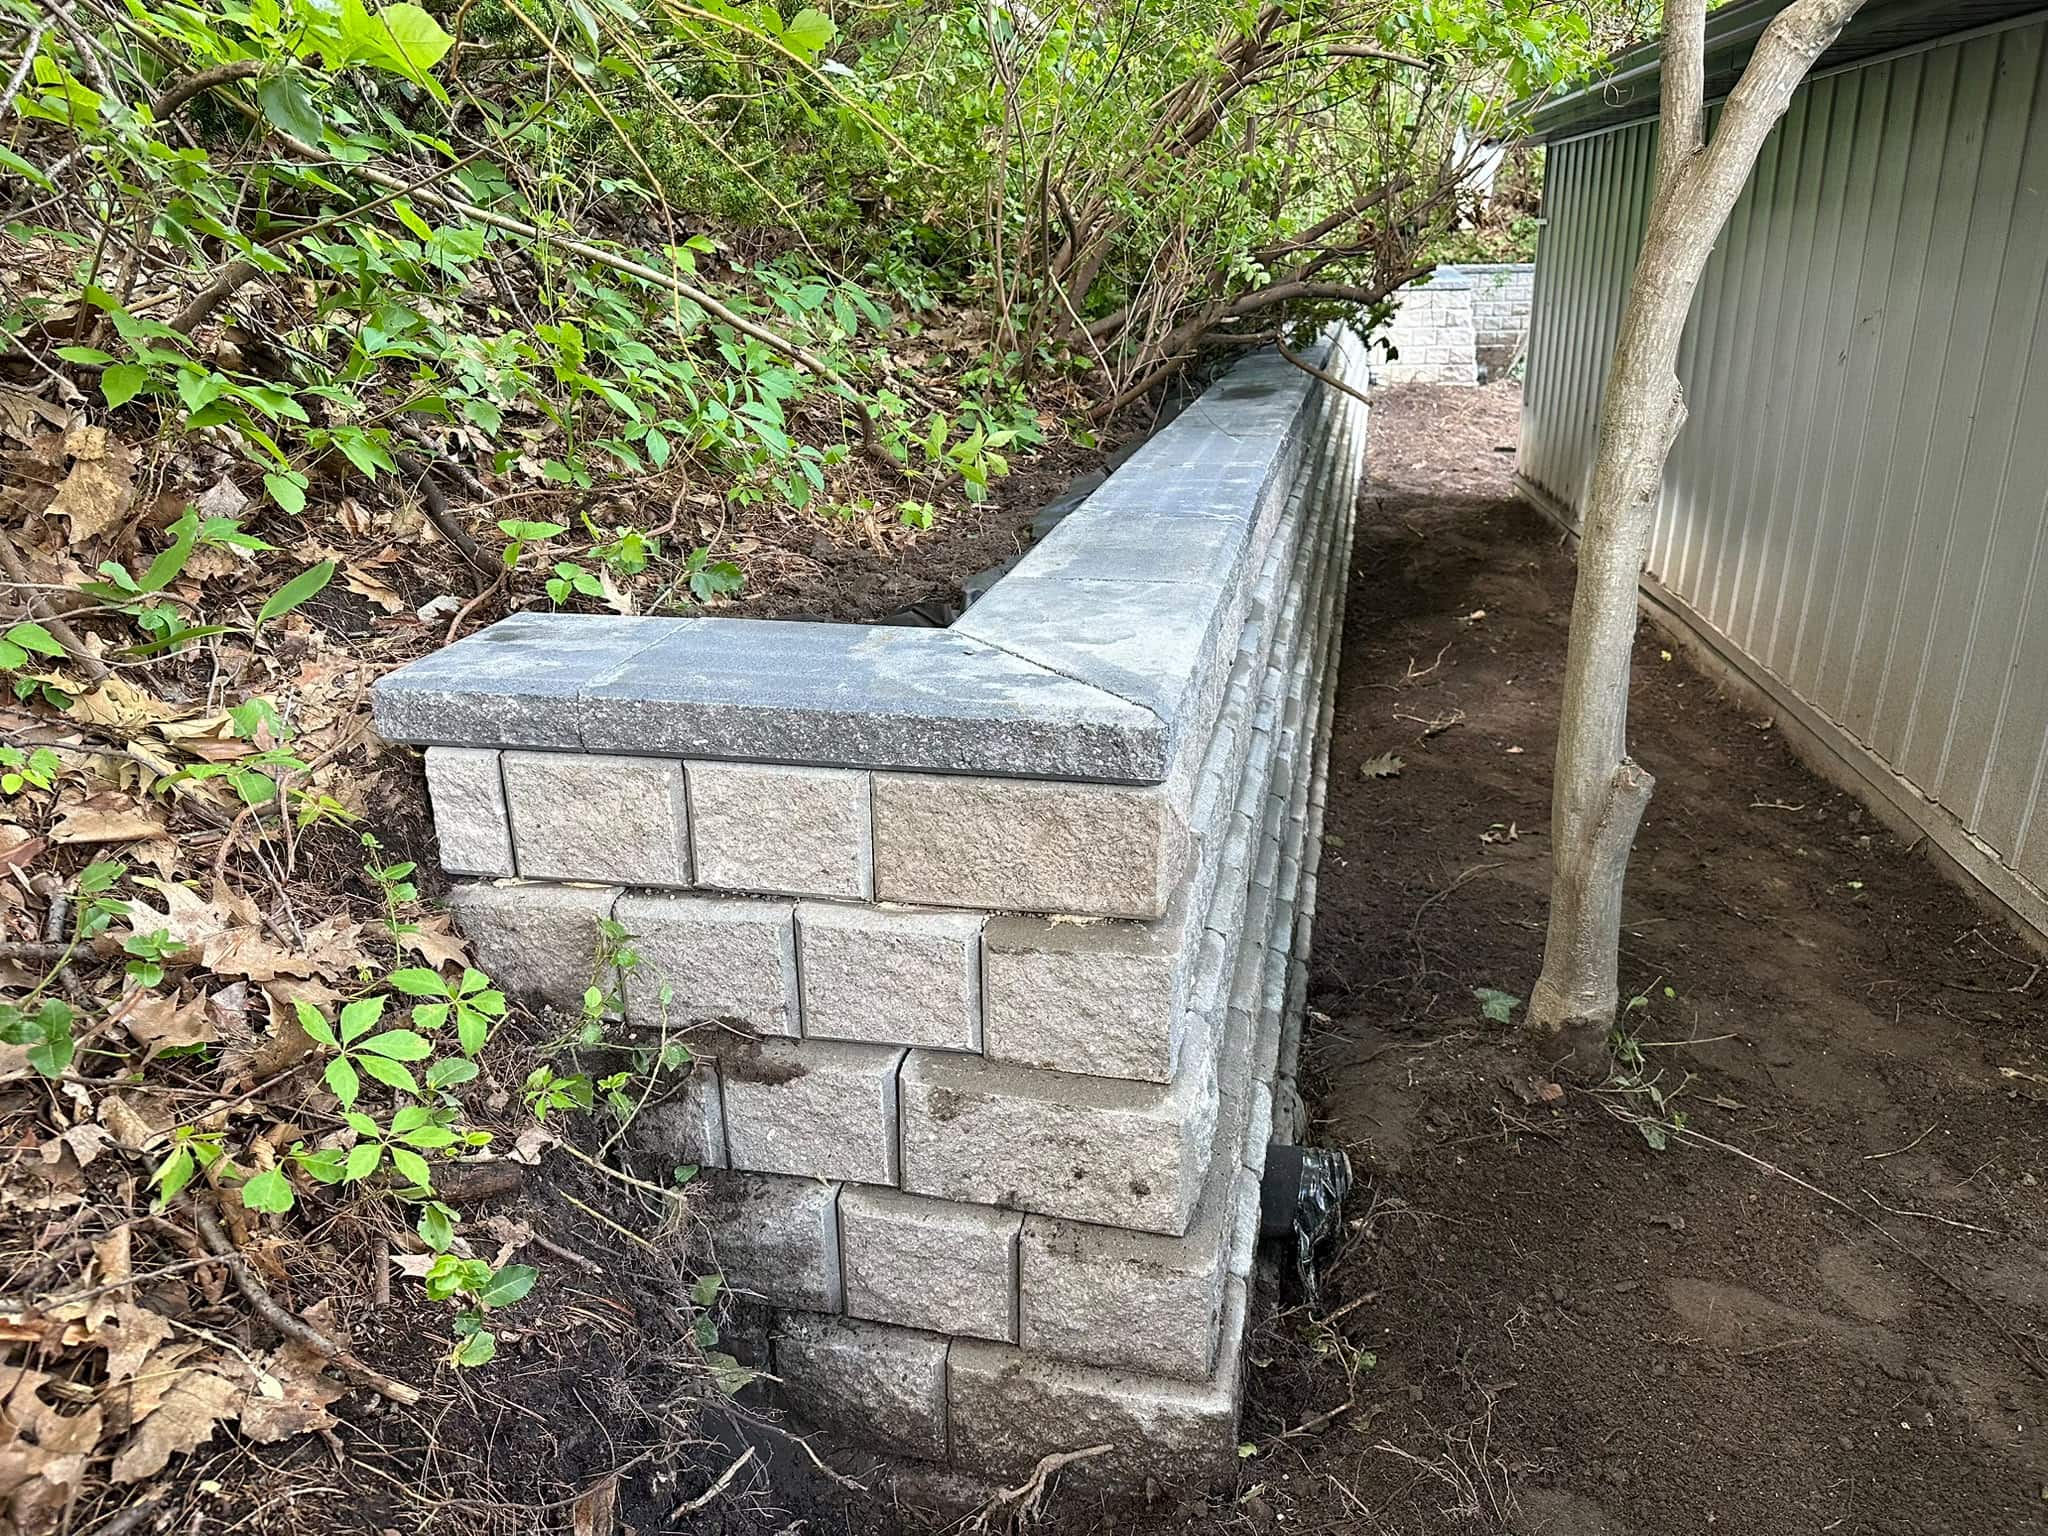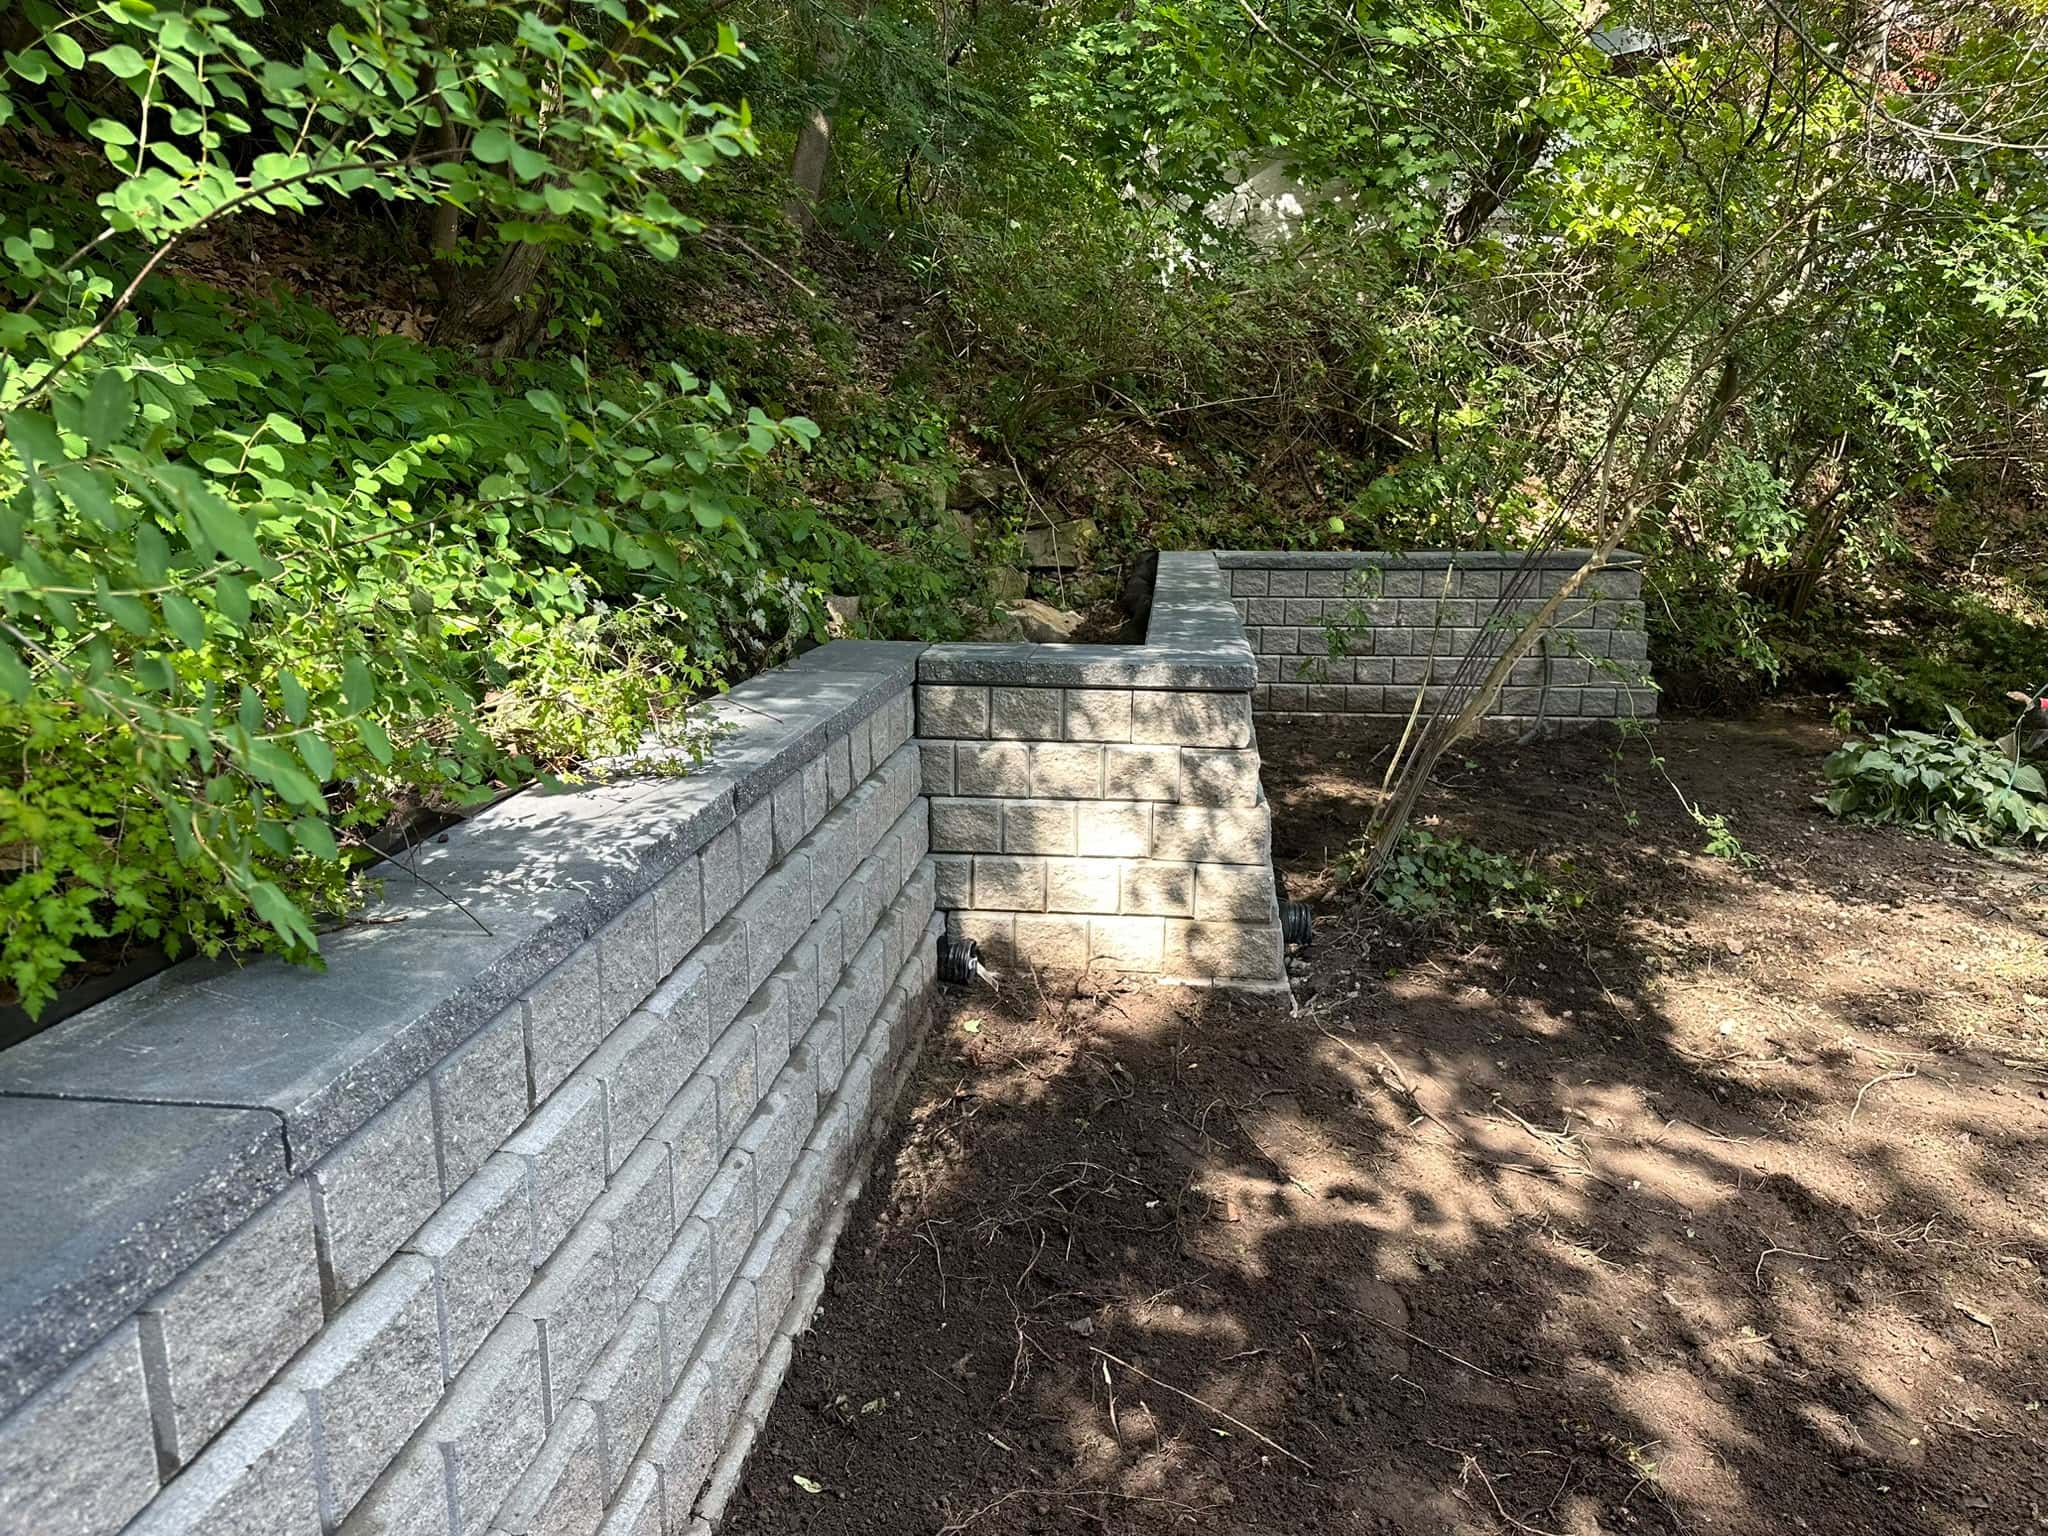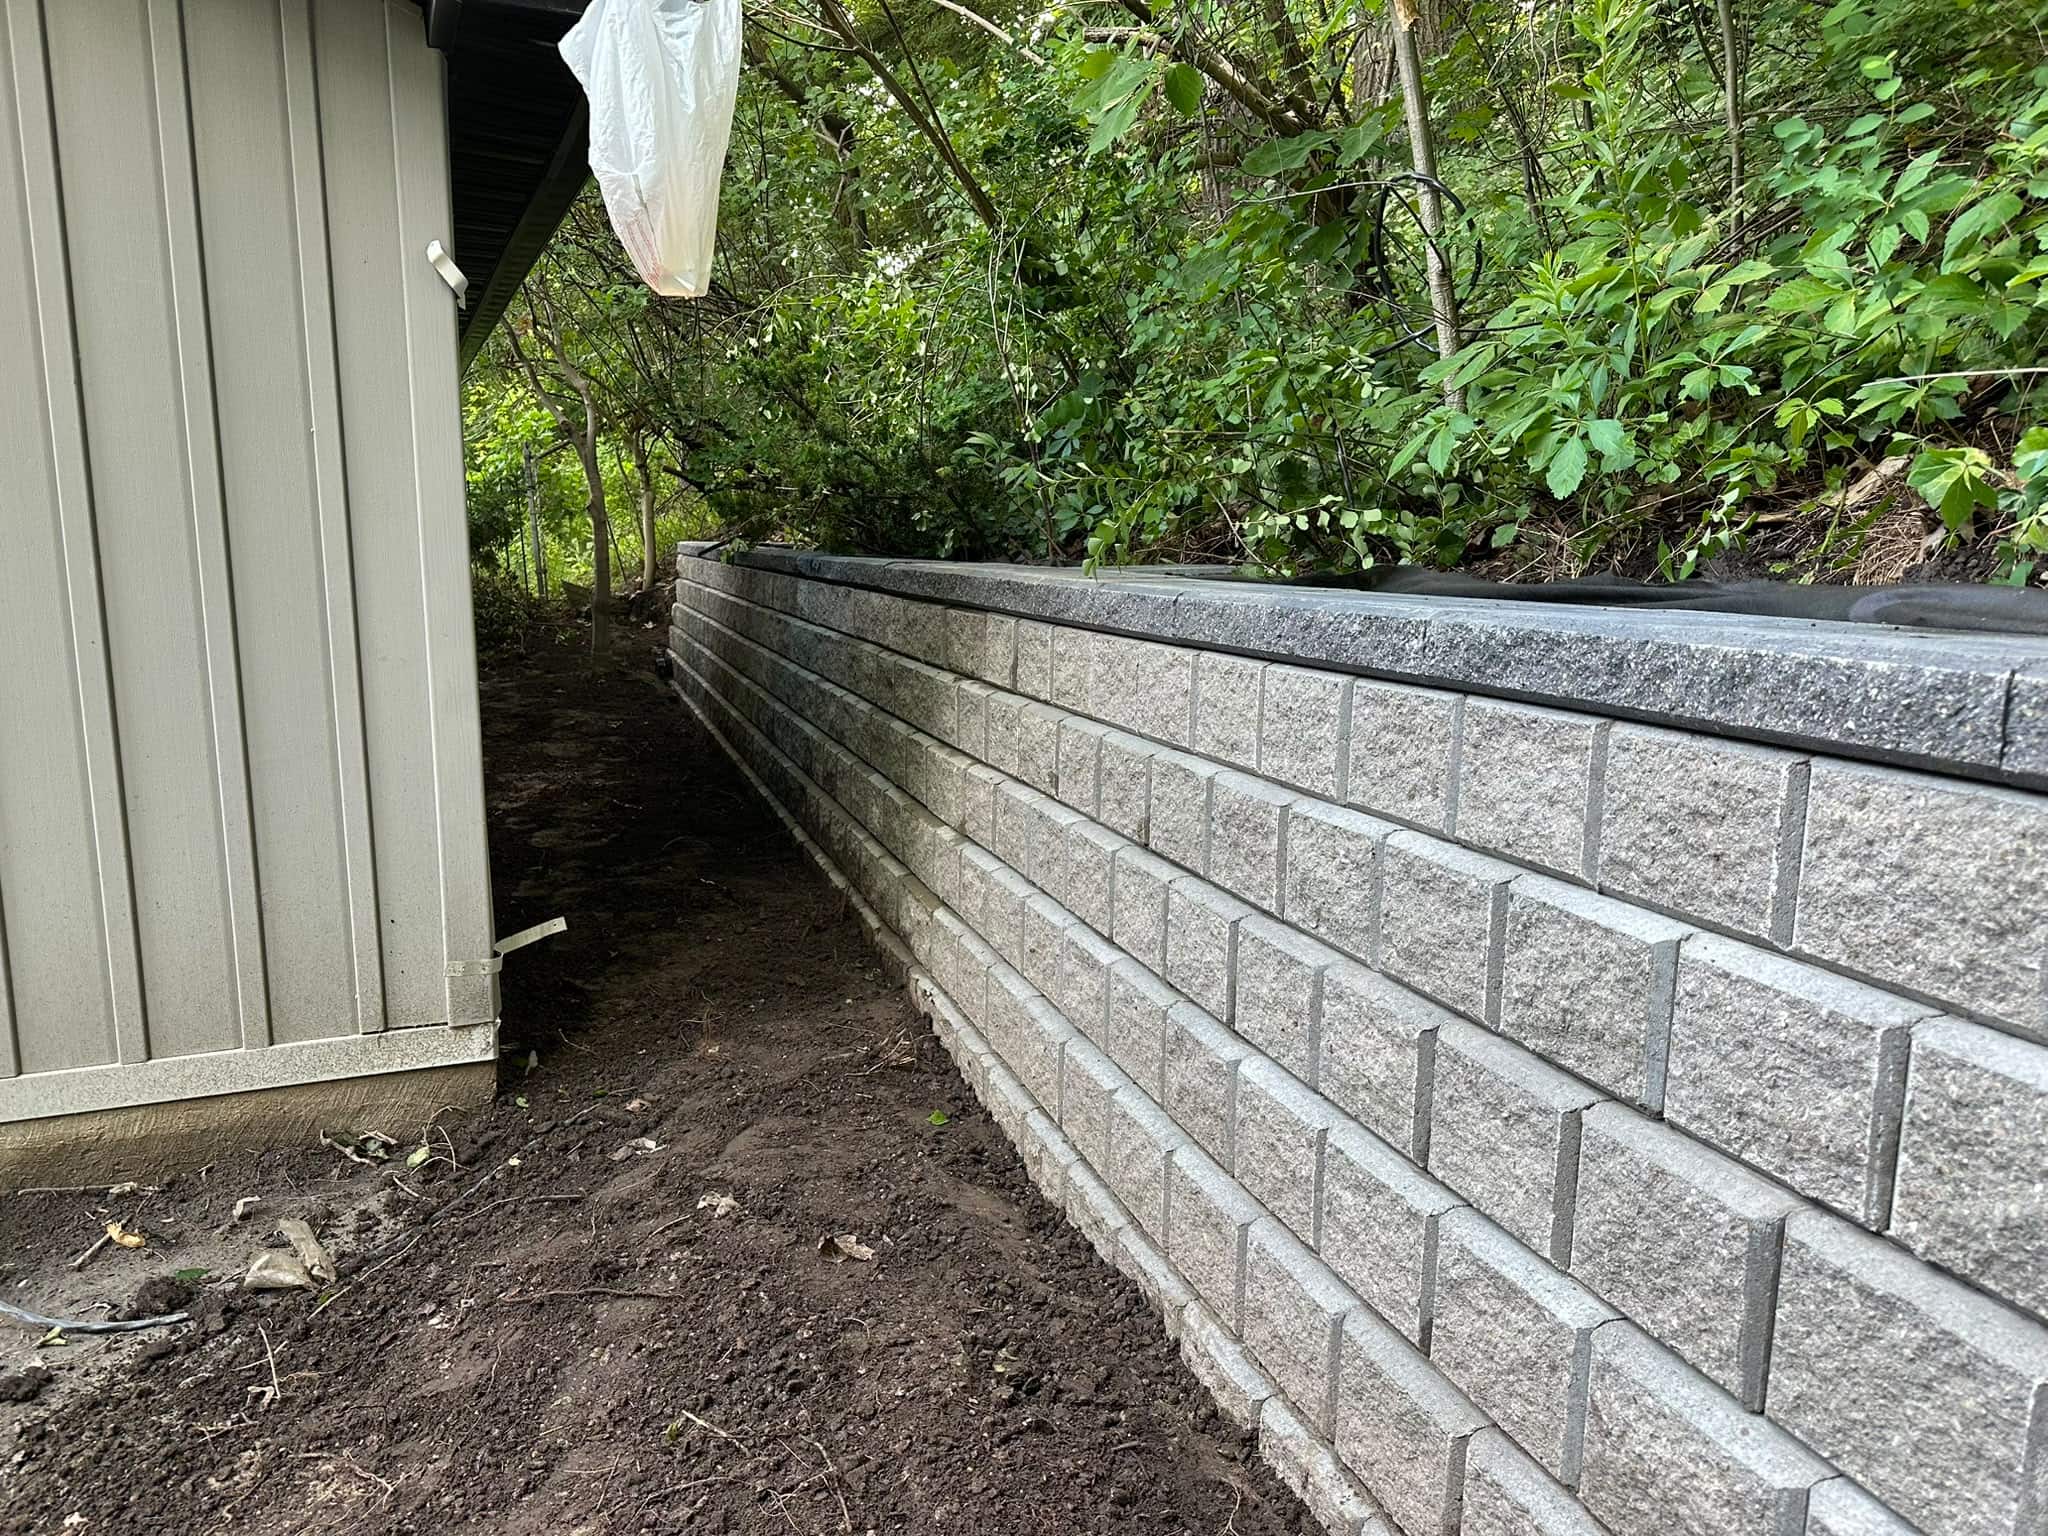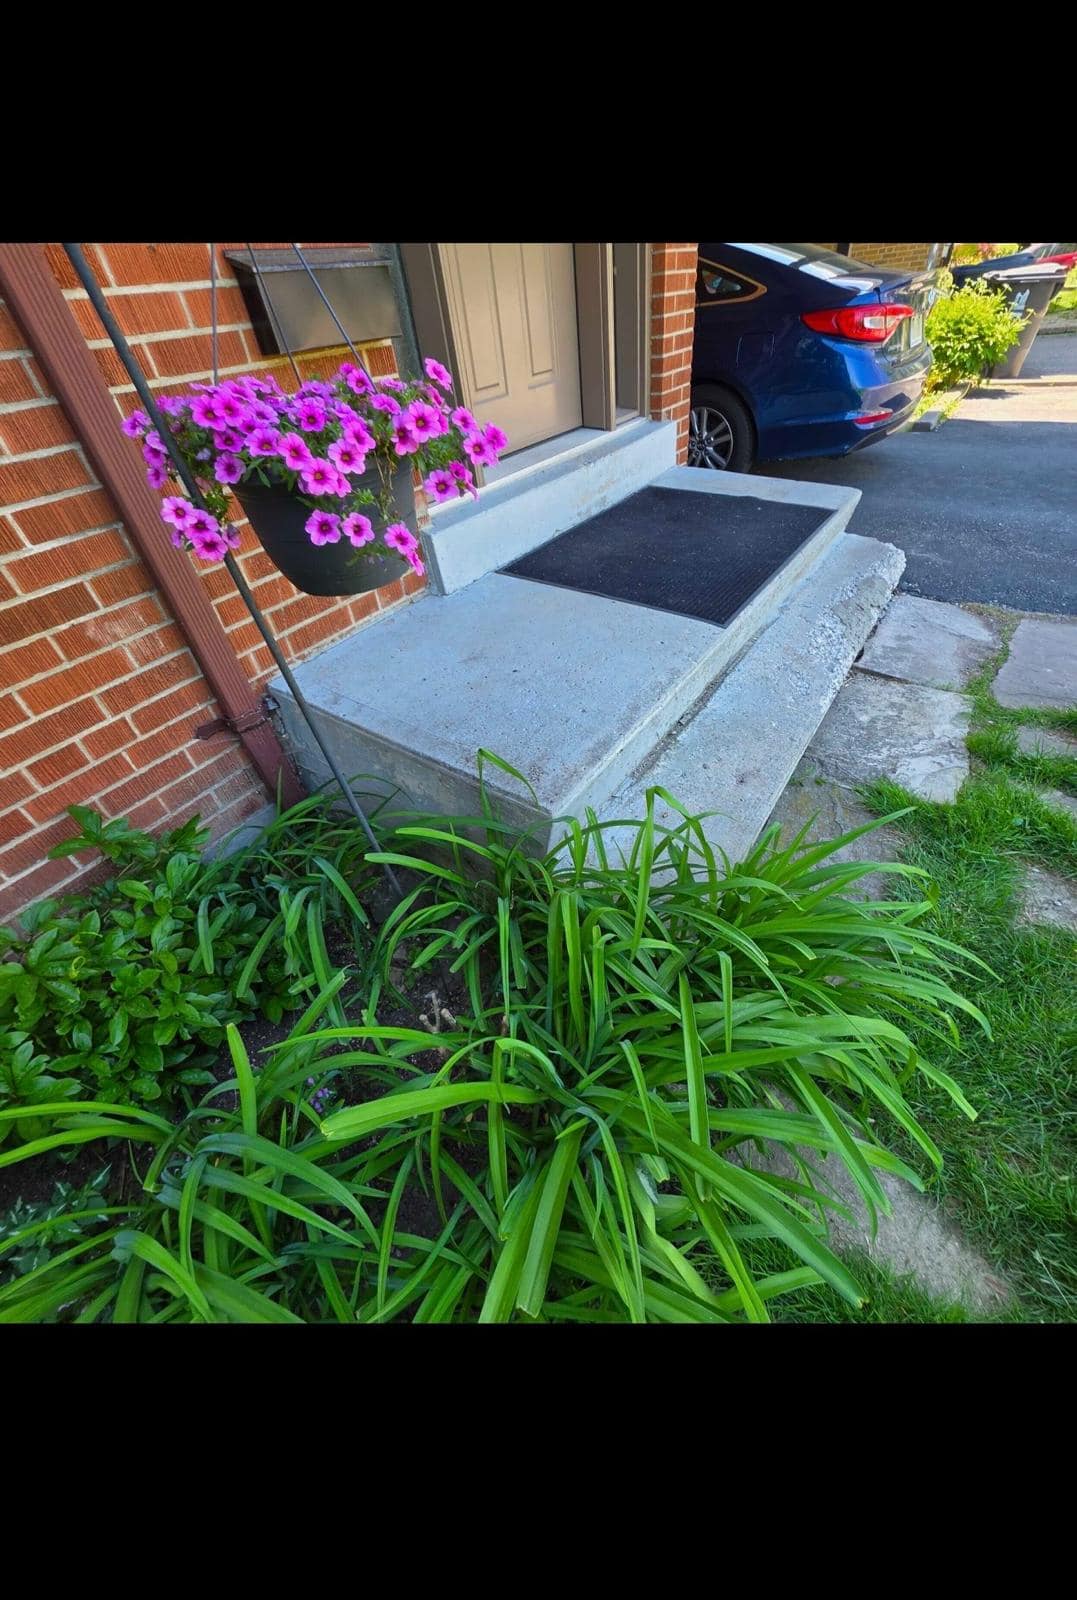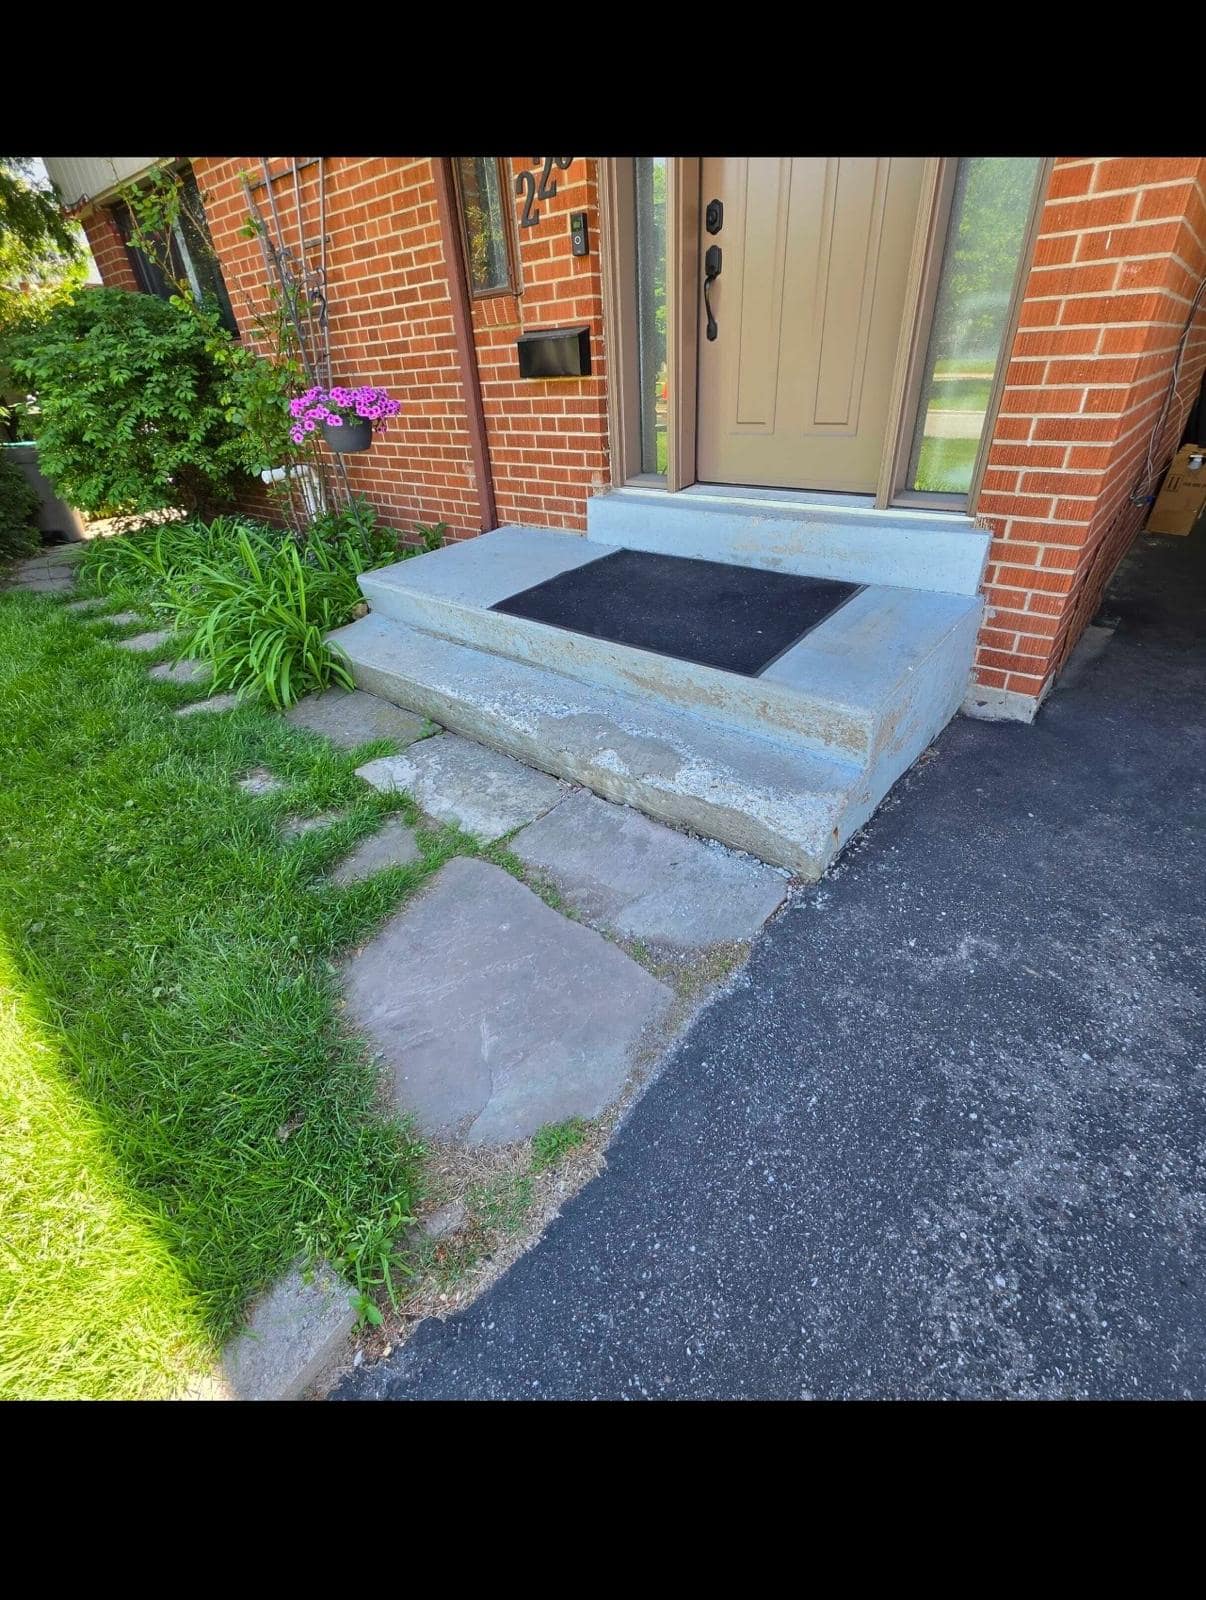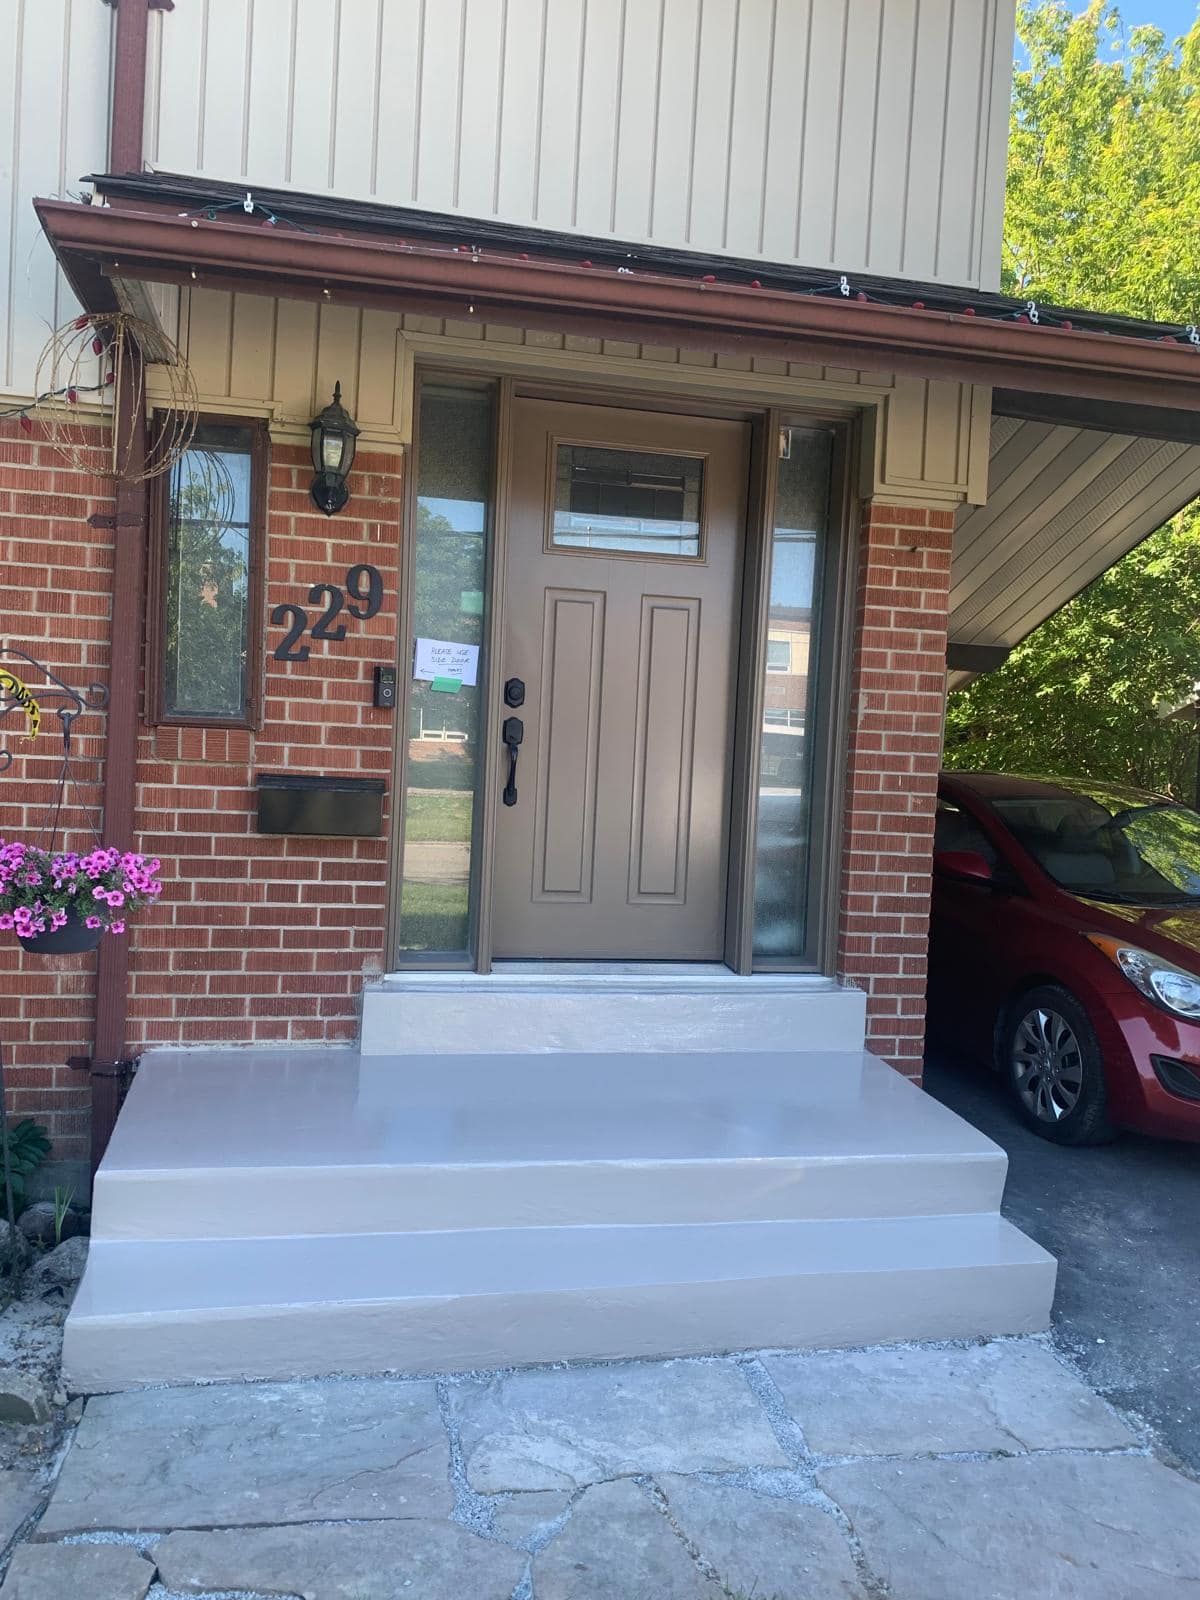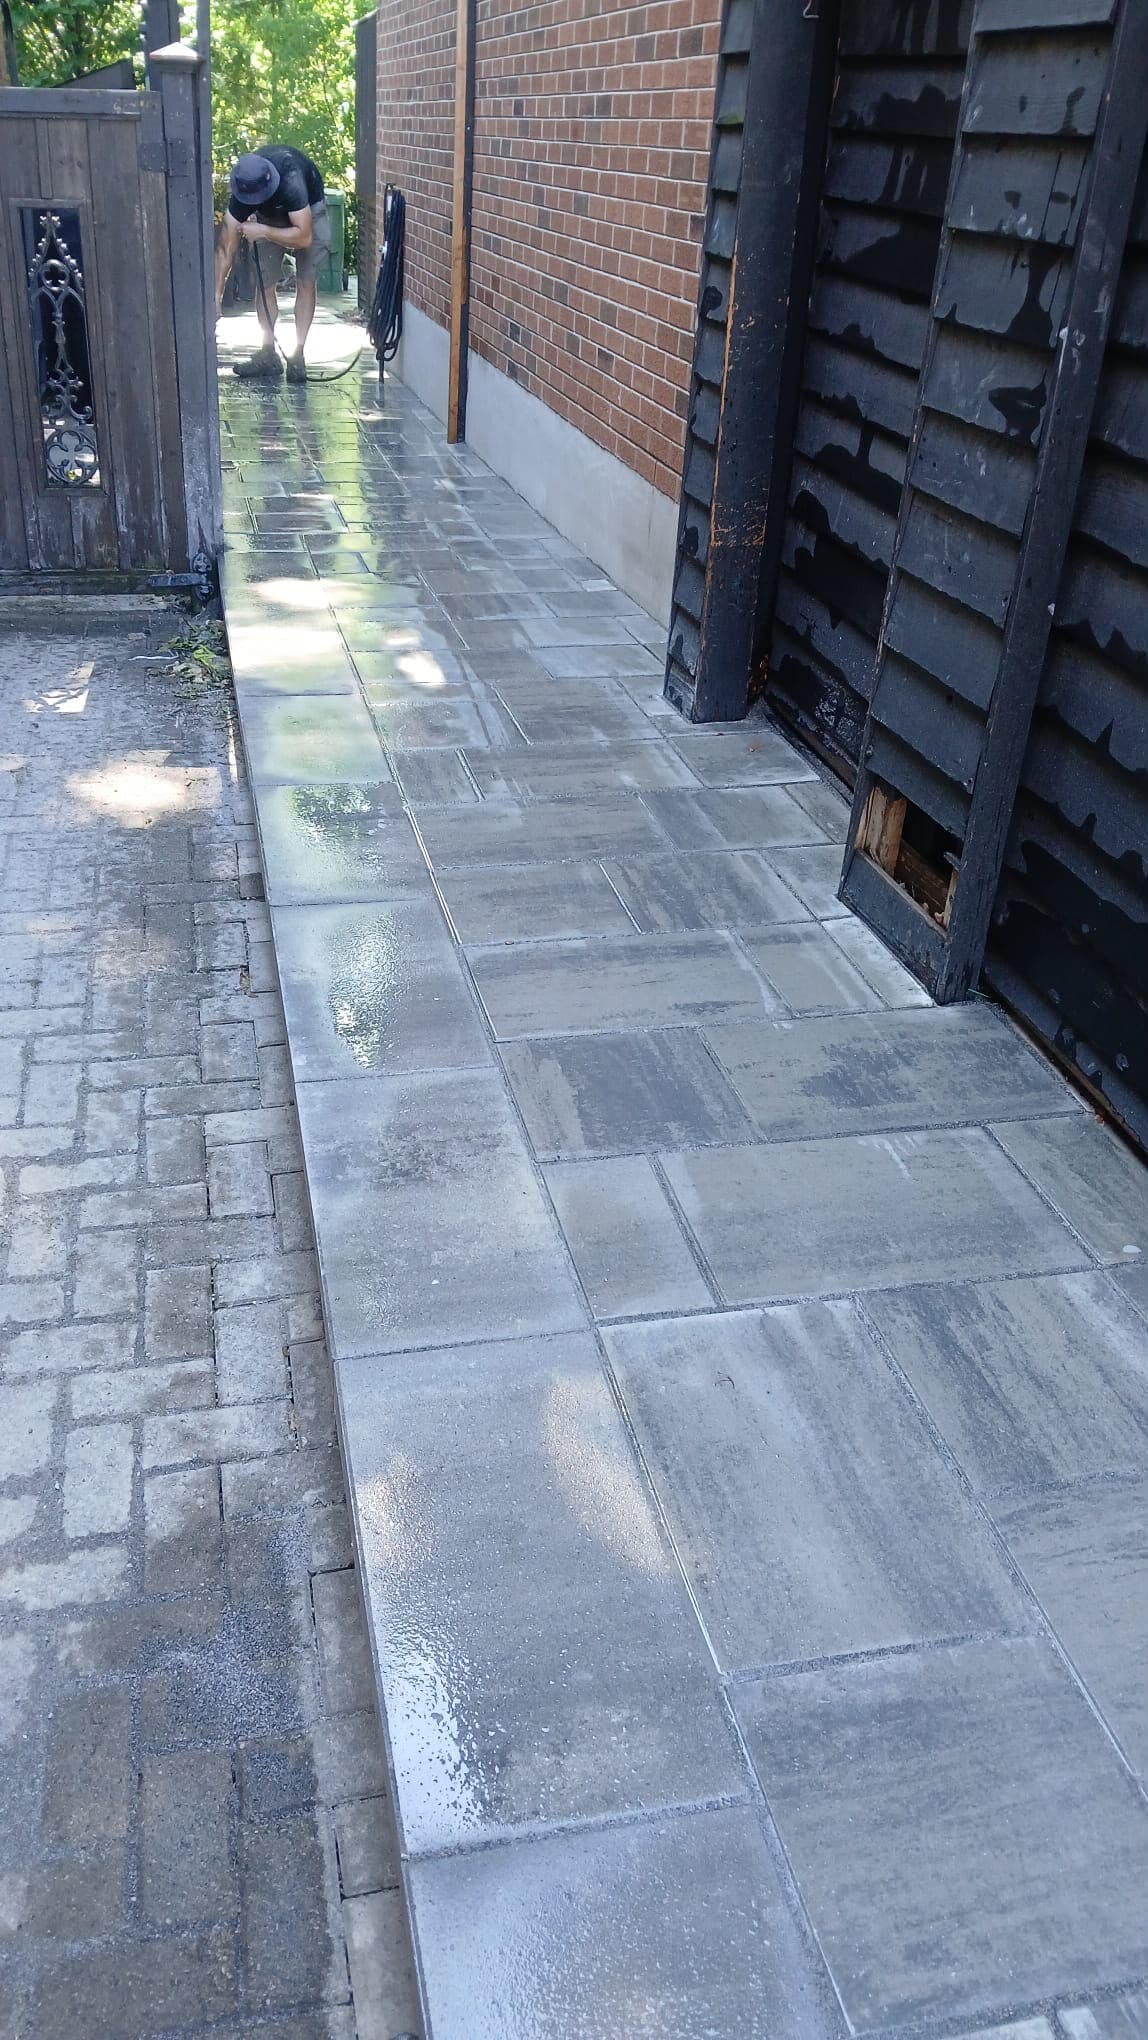

It is essential to remove black mould from bricks as black mould in your Toronto home can be unsightly and harmful to your health. If you notice black mould on your brickwork, it’s crucial to remove it.
What is Black Mould
Black mould, scientifically known as Stachybotrys chartarum, is a fungus that thrives in damp environments. Depending on the moisture level, its dark green or black coloration often recognizes it and can appear fuzzy or slimy.
Unlike other moulds, black mould can produce mycotoxins, harmful substances that can negatively affect human health, particularly in individuals with respiratory issues or weakened immune systems.
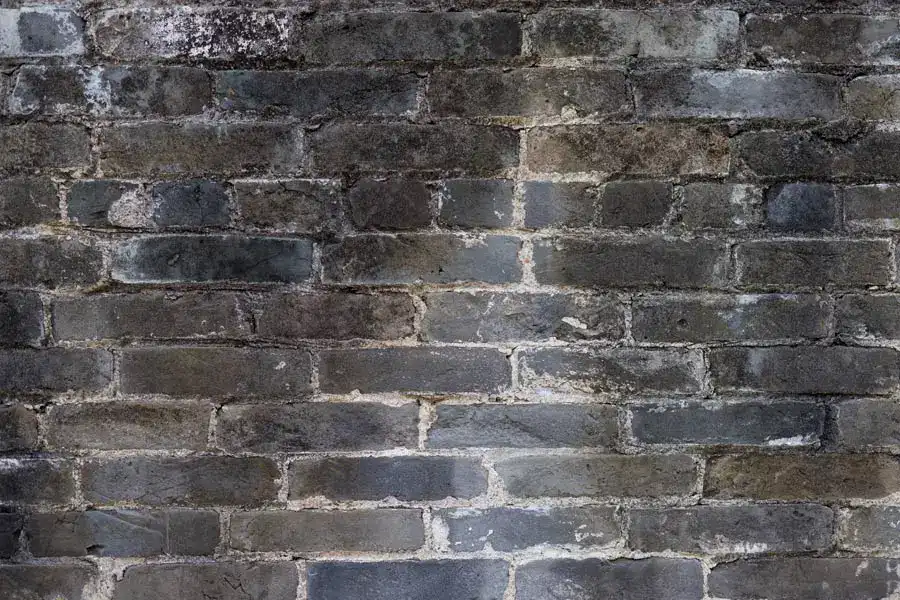
Characteristics of Black mould:
- Color: Typically black or dark green.
- Texture: Can be slimy when wet or fuzzy when dry.
- Odour: Often emits a musty smell, indicative of mould growth.
- Location: Commonly found in areas with high moisture, such as basements, bathrooms, and exterior brick walls.
How Black Mould on Your Bricks Become Dangerous:
Black mould, especially the type known as Stachybotrys chartarum, can produce harmful chemicals called mycotoxins, which can be released into the air or settle on surfaces.
When mould spores and mycotoxins are in the air, people can breathe them in. This can lead to respiratory problems, such as coughing, sneezing, and difficulty breathing.
If someone touches mouldy surfaces, the mycotoxins can irritate the skin, causing rashes or allergic reactions.
If mouldy materials are accidentally ingested (for example, if food is contaminated), it can cause stomach issues.
How Black Mould Grows on Your Toronto Home’s Exterior Walls
The growth of black mould on bricks is primarily attributed to three key factors: moisture, humidity, and poor ventilation.
Moisture:
Bricks are porous materials that can absorb water. When bricks become saturated from rain, leaks, or improper drainage, they create an ideal environment for mould growth. Water pooling around brick surfaces, especially during heavy rains or melting snow, can lead to persistent dampness.
Humidity
High humidity levels in the air can contribute to mould growth. In areas with high humidity, moisture can condense on brick surfaces, particularly in shaded or poorly ventilated spots. This moisture accumulation fosters an environment conducive to black mould proliferation.
Poor Ventilation
Insufficient airflow around brick exteriors can trap moisture. Inadequate ventilation in attics, basements, or crawl spaces can lead to stagnant air and increased humidity, promoting mould growth. Proper ventilation allows moisture to escape, reducing the likelihood of mould development.
Steps How To Remove Black Mould From Bricks of Your Toronto Home?
Black Mould Removal Materials:
- Protective gear (gloves, mask, eye protection)
- Scrub brush (stiff-bristled)
- mould remover solution (commercial or homemade)
- Spray bottle
- Bucket
- Clean water
Mould Removal Process:
Mould removal involves more than surface cleaning; it requires proper containment, treatment, and prevention to stop regrowth. By following the proper steps and using effective cleaning solutions, you can safely eliminate mould and prevent it from returning.
Let’s break down the best practices for removing mould from your home efficiently and effectively.
- Wear protective gear to avoid contact with mould spores.
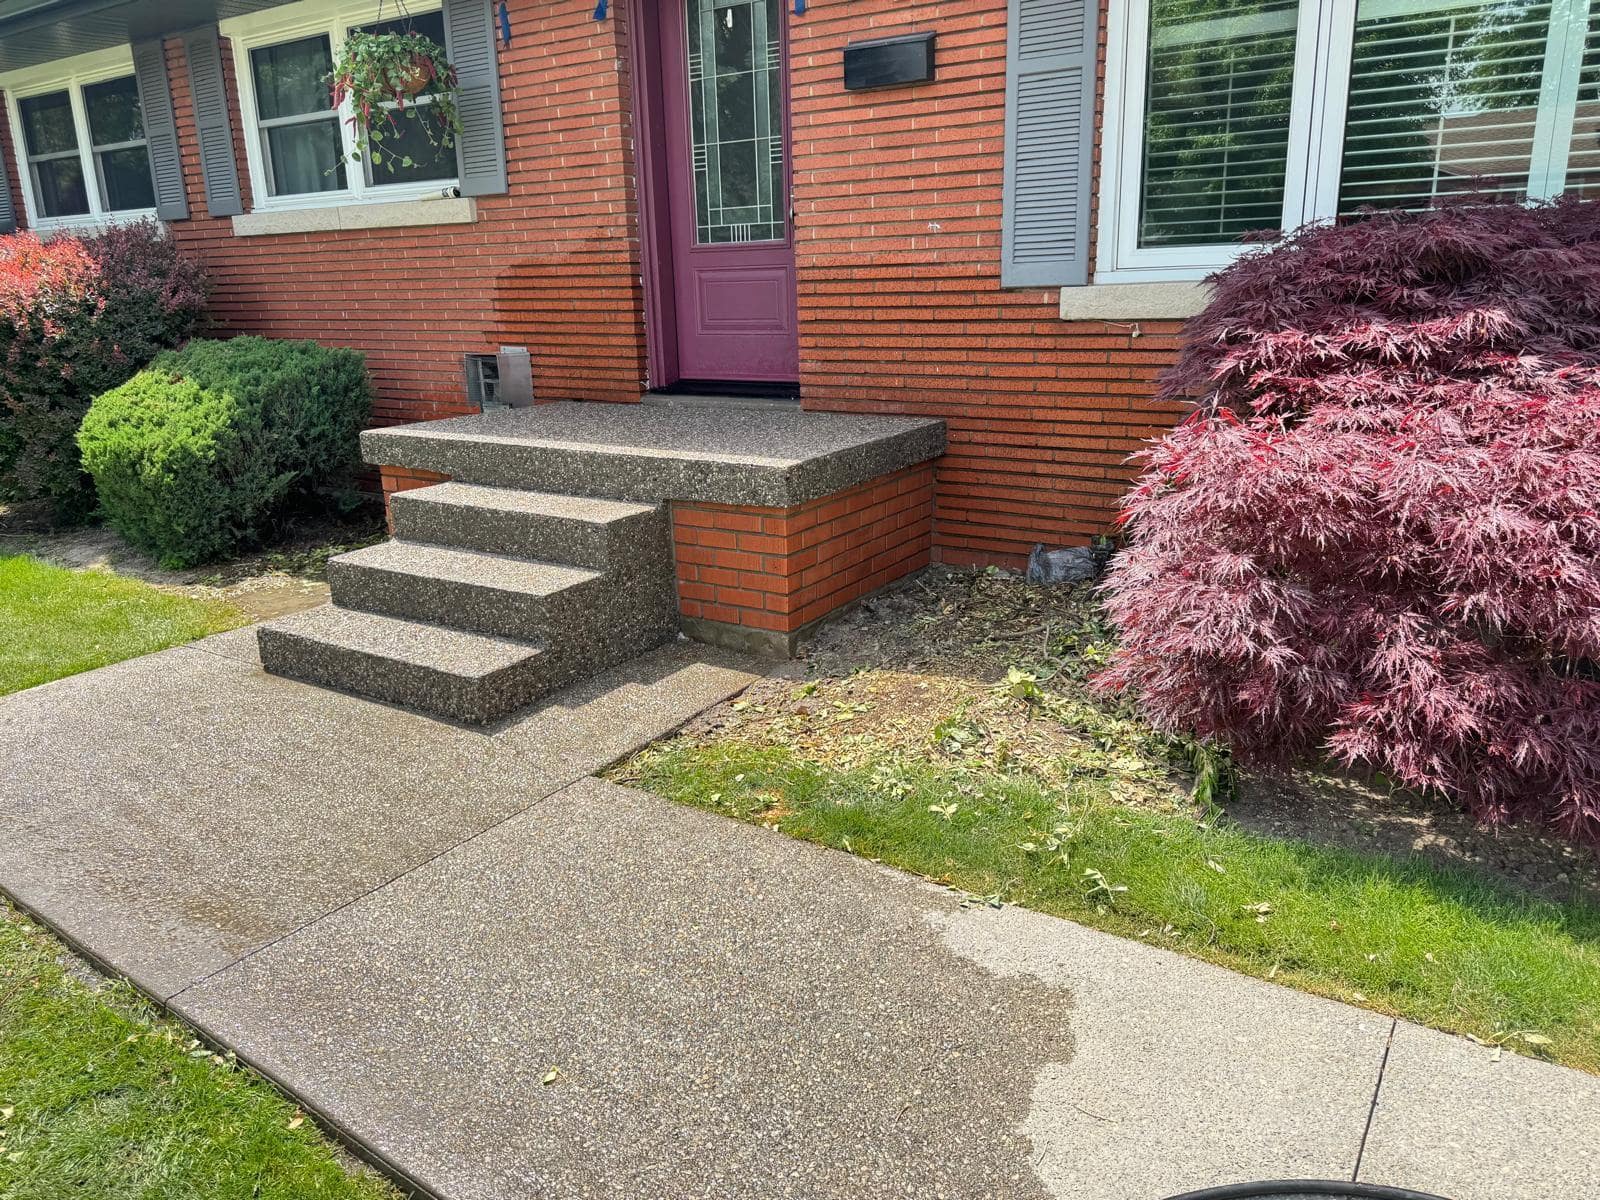
- Begin preparing the area and locating the source of mould. Clear the debris and tree branches or plant the area around the mouldy bricks.
- Apply mould remover solution to affected areas. Thoroughly spray the deep regions between joints or cracks. Allow the mould remover to sit for a few minutes.
- Scrub the brick surface using a stiff-bristled brush.
- Rinse the affected area with clean water to remove the mould remover and any mould spores.
- Use Water Pressure for stubborn or large areas of black mould
- Dry the area to ensure complete dryness.
- Apply sealant when needed.
Protect Your Toronto Property by Preventing Mould from Growing Back
Specific areas can be ideal breeding grounds for mould due to their moisture levels and limited sunlight exposure. Keep an eye on these mould-prone spots to make effective prevention.
Regularly trim bushes, plants, and tree branches near your home. Overhanging foliage can trap moisture against walls and surfaces, creating an environment where mould can thrive.
Schedule routine property checks to identify any signs of mould or moisture accumulation. Please pay close attention to hidden areas, such as basements, attics, and behind appliances, and apply a quality mould remover to eliminate the problem before it spreads.
Seal any cracks or gaps in your walls or foundation to prevent moisture infiltration. These openings can create ideal conditions for mould growth, providing a dark and damp environment that encourages its spread.
Read here about ways how to avoid mould inside your home.
Toronto Home Formulation of Mould Remover and Cleaning Solutions
You can formulate robust solutions targeting mould and mildew using common household ingredients. Here’s the home formulation for mould removal using your kitchen supplies.
Bleach
Formulation: Mix one part bleach (sodium hypochlorite) with ten parts water. For example, combine 1 cup of bleach with 10 cups of water.
Pros:
- Effective at killing mould quickly.
- Disinfect surfaces and remove stains.
Cons:
- It can damage the surface of bricks if used excessively.
- Produces harmful fumes and can irritate skin and eyes.
- Doesn’t prevent future mould growth; it only removes existing mould.
Application Safety Precaution:
- Wear protective gear (gloves, mask, goggles) before applying any cleaning solution
- Use a sponge or spray bottle to apply the bleach solution directly onto the mouldy areas. Allow it to sit for about 10-15 minutes to penetrate the mould.
Vinegar:
Formulation: Use distilled white vinegar undiluted (no mixing required).
Pros:
- It is safe for indoor use and doesn’t produce harmful fumes.
- Effective against a variety of mould types.
- Helps deodorize while cleaning.
Cons:
- It may require more scrubbing than bleach.
- It might not be as adequate for challenging mould infestations.
How to Apply: Spray undiluted vinegar directly onto the mould and let it sit for at least an hour. This will help kill the mould and prevent it from returning.
Commercial Mould Removers:
Formulation: Follow the manufacturer’s instructions for dilution and application, as these can vary widely.
Pros:
- Often formulated to penetrate and kill mould deep within surfaces.
- It may contain additional ingredients to prevent future growth.
Cons:
- Can be more expensive than DIY solutions.
- Some products may contain harsh chemicals that require careful handling.
Recommended Scrubbing Techniques
- Use a Stiff-Bristled Brush: For more challenging mould, a stiff brush can help scrub away the mould without damaging the brick.
- Gentle Circular Motions: Use gentle circular motions to avoid scratching the surface when scrubbing.
- Frequent Rinsing: Rinse your brush often to avoid spreading mould spores to clean areas.
FAQ
What Kills 100% of Mold?
While no household cleaner guarantees 100% mould elimination, bleach, hydrogen peroxide, and white vinegar are highly effective at killing surface mould. However, deep-rooted mould in porous materials (like drywall or wood) may require professional remediation to prevent regrowth.
What Stops Black Mold from Spreading?
To stop black mould from spreading:
✅ Control Moisture – Reduce indoor humidity below 50%.
✅ Seal Off Affected Areas – Close vents and doors and use plastic sheeting.
✅ Use Mold-Killing Solutions – Apply vinegar, hydrogen peroxide, or a commercial mould remover.
✅ Improve Ventilation – Use fans and dehumidifiers to keep air dry.
✅ Remove Contaminated Materials – Heavily infested items (like carpet or drywall) may need replacement.
Can Vinegar Damage Concrete?
Yes, vinegar can slowly erode concrete over time due to its acidity. If used for cleaning, dilute it with water (1:1 ratio) and avoid prolonged exposure to prevent surface degradation.
Which Vinegar Is Best for Cleaning?
White distilled vinegar (5–8% acetic acid) is the best for cleaning because it effectively breaks down grime, grease, and mould without staining surfaces.
Distilled or White Vinegar? What’s the Difference in Cleaning?
Both are great for cleaning, but here’s the difference:
- White vinegar (more substantial, 5–8% acidity) is ideal for tough stains, mould removal, and disinfecting.
- Distilled vinegar (milder, 4–7% acidity) is gentler and better for delicate surfaces.
White vinegar is the best choice for household mould cleaning due to its higher acidity.
Our Services Include:
- Concrete Repairs
- Stone Masonry
- Brick Painting
- Interlocking Stone Pavers
- Parging
- Tuckpointing
- Brick Repair
- Fireplace Stone Veneer
- Chimney Repair
- Commercial Exterior Painting
- Basement Waterproofing
- Stucco
- Interlocking Steps
- Roofing