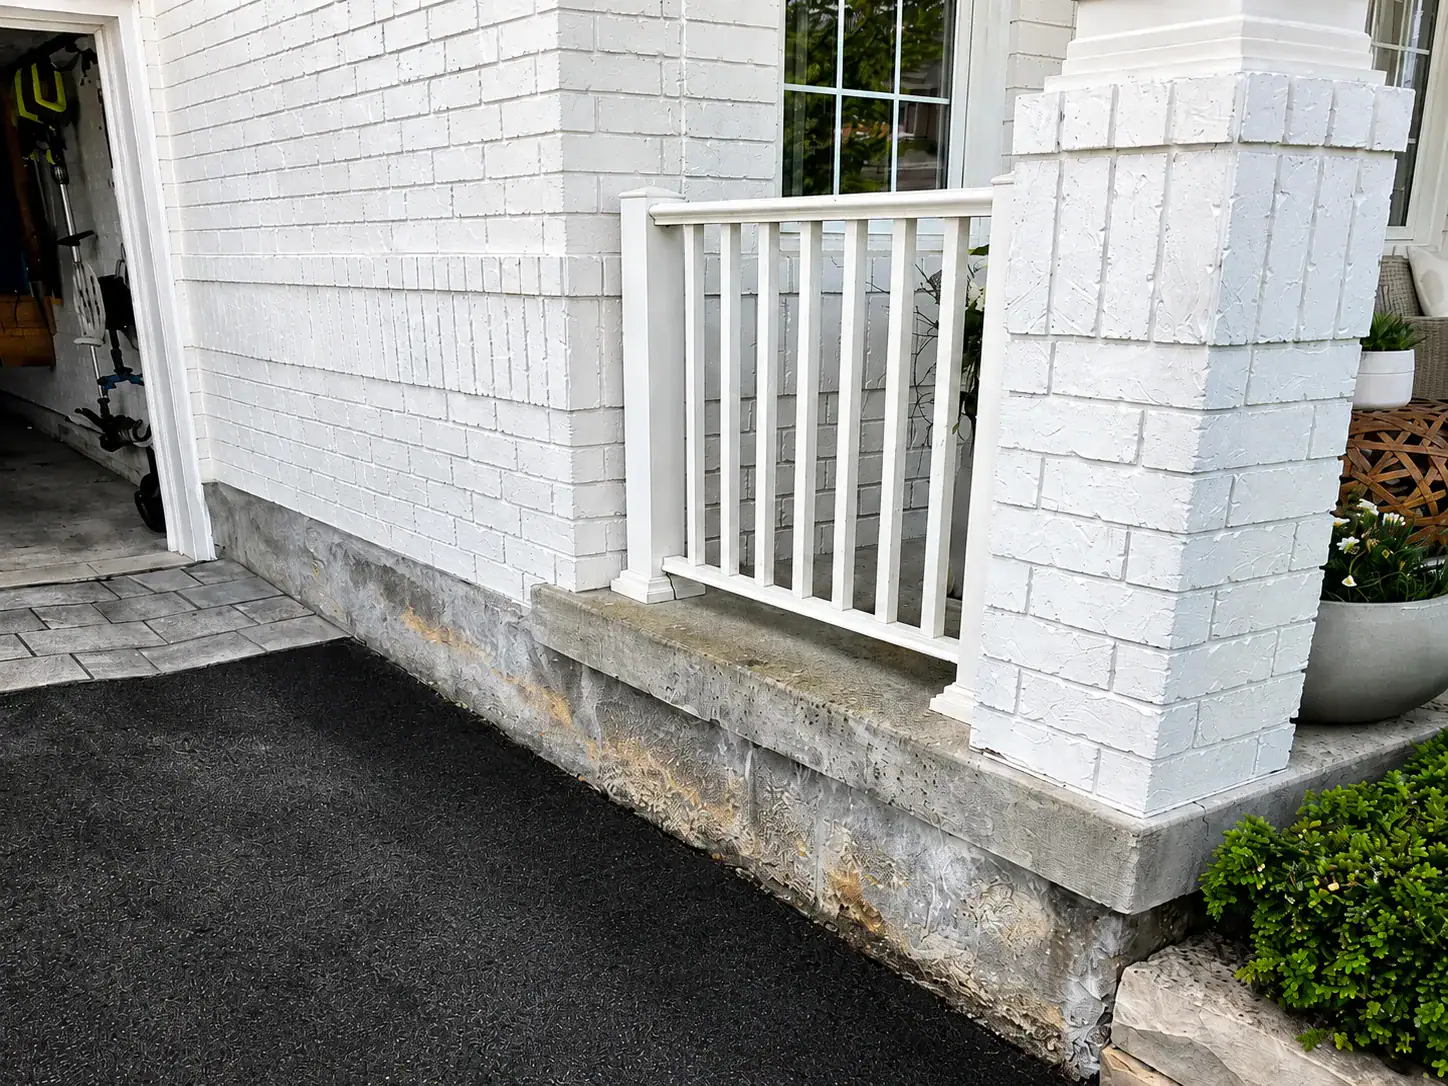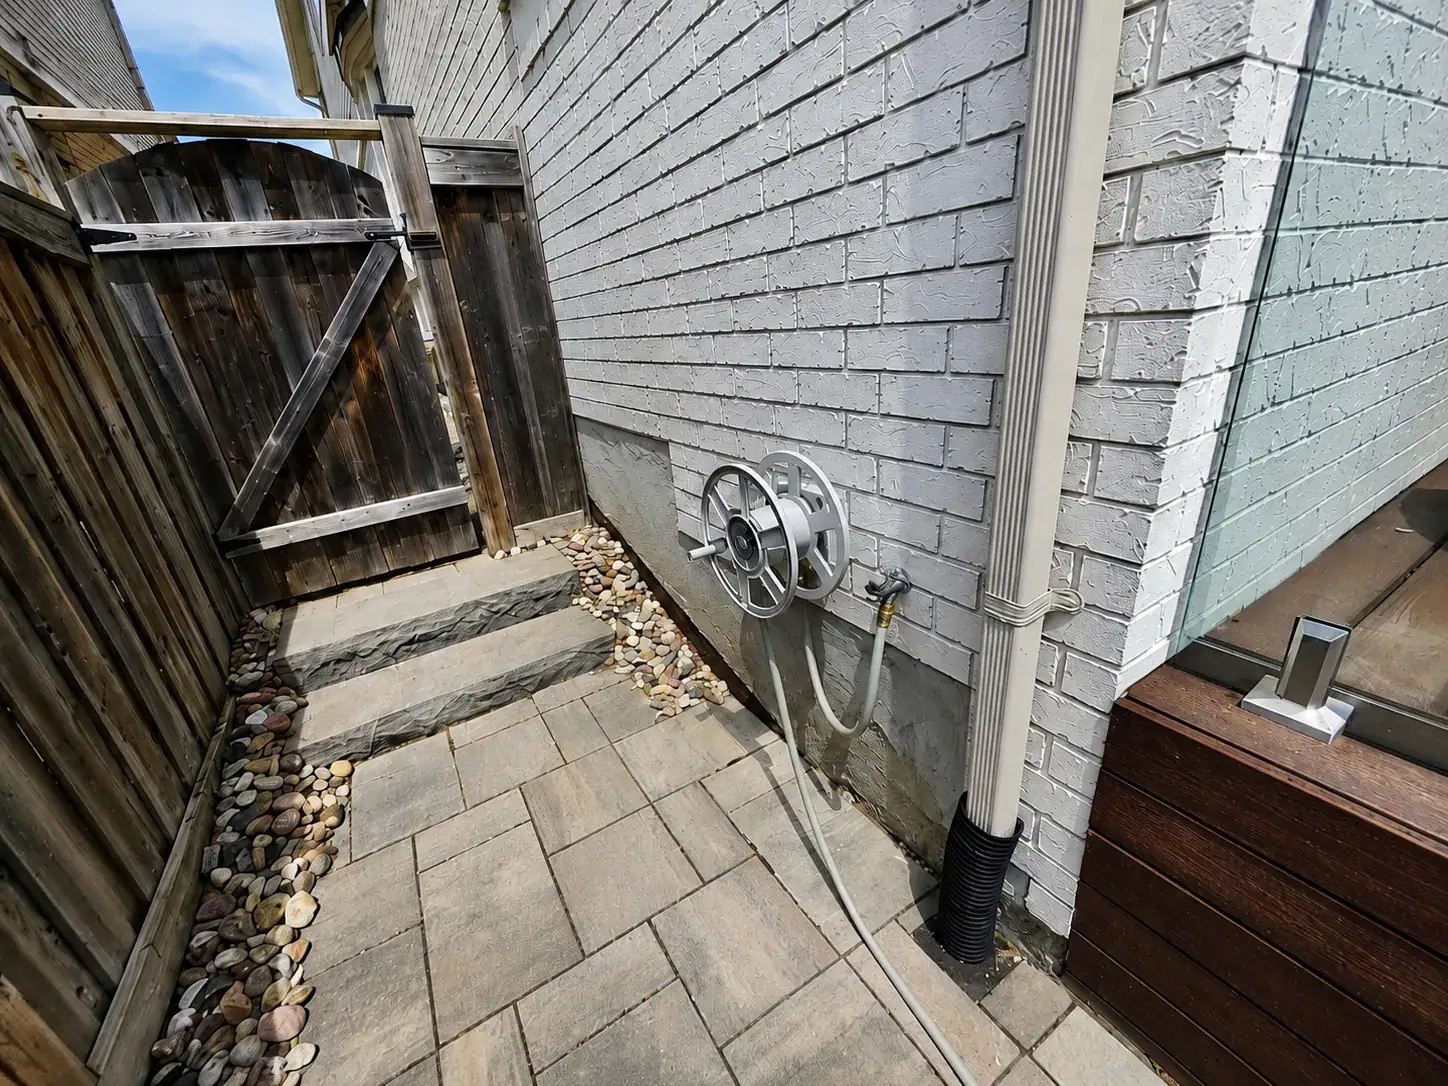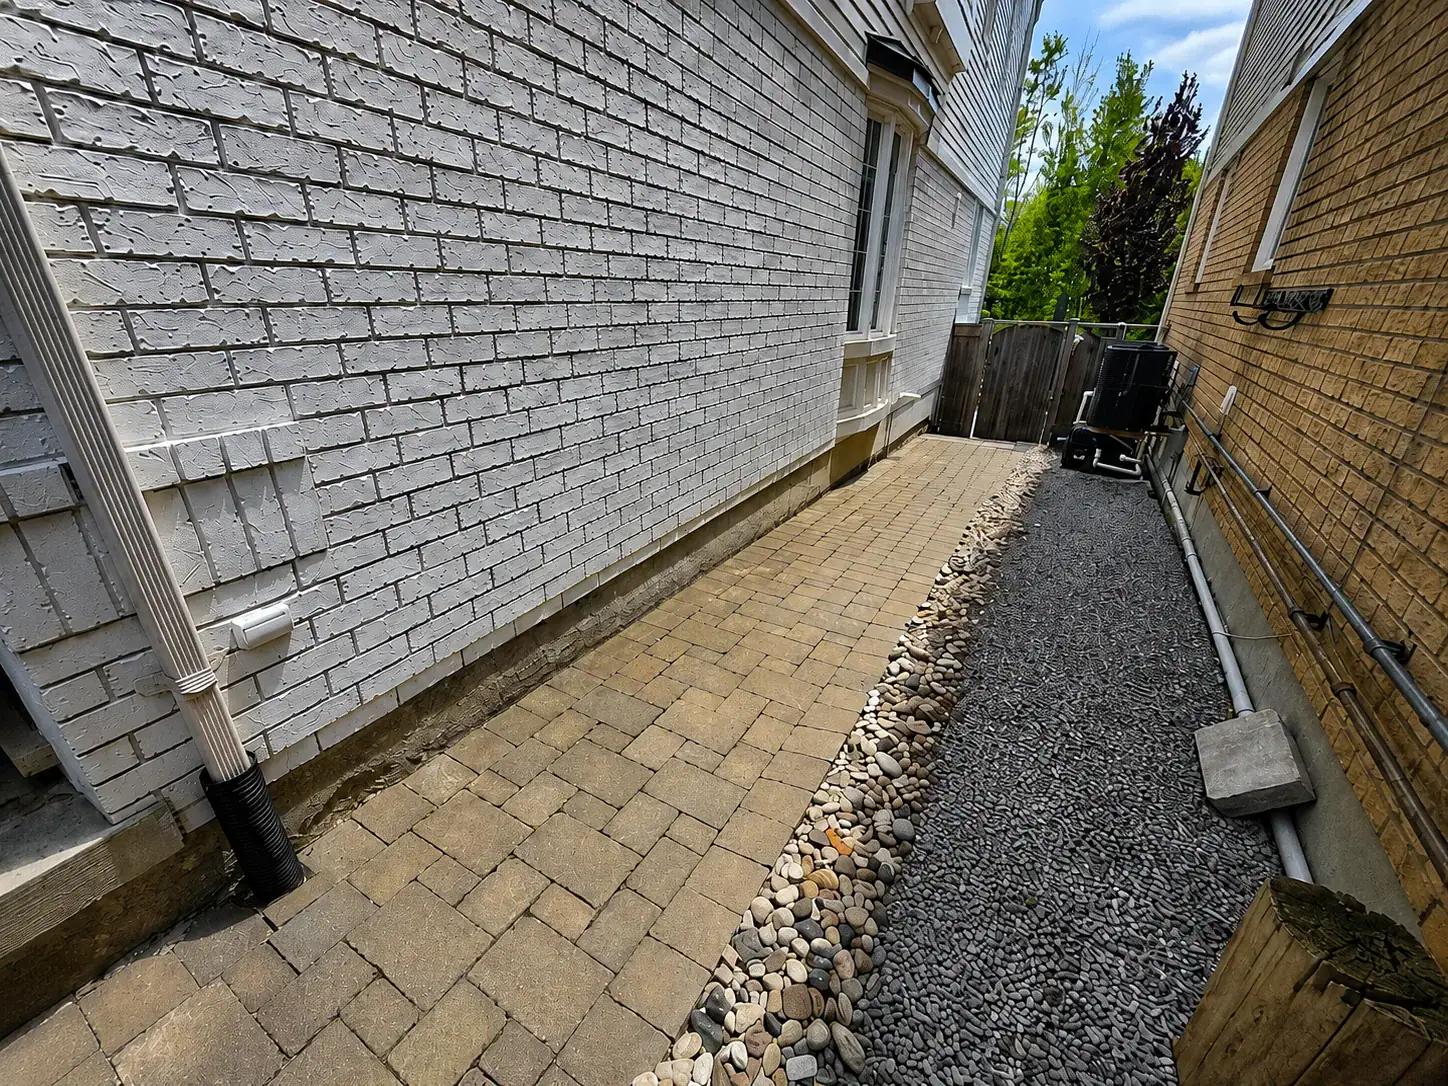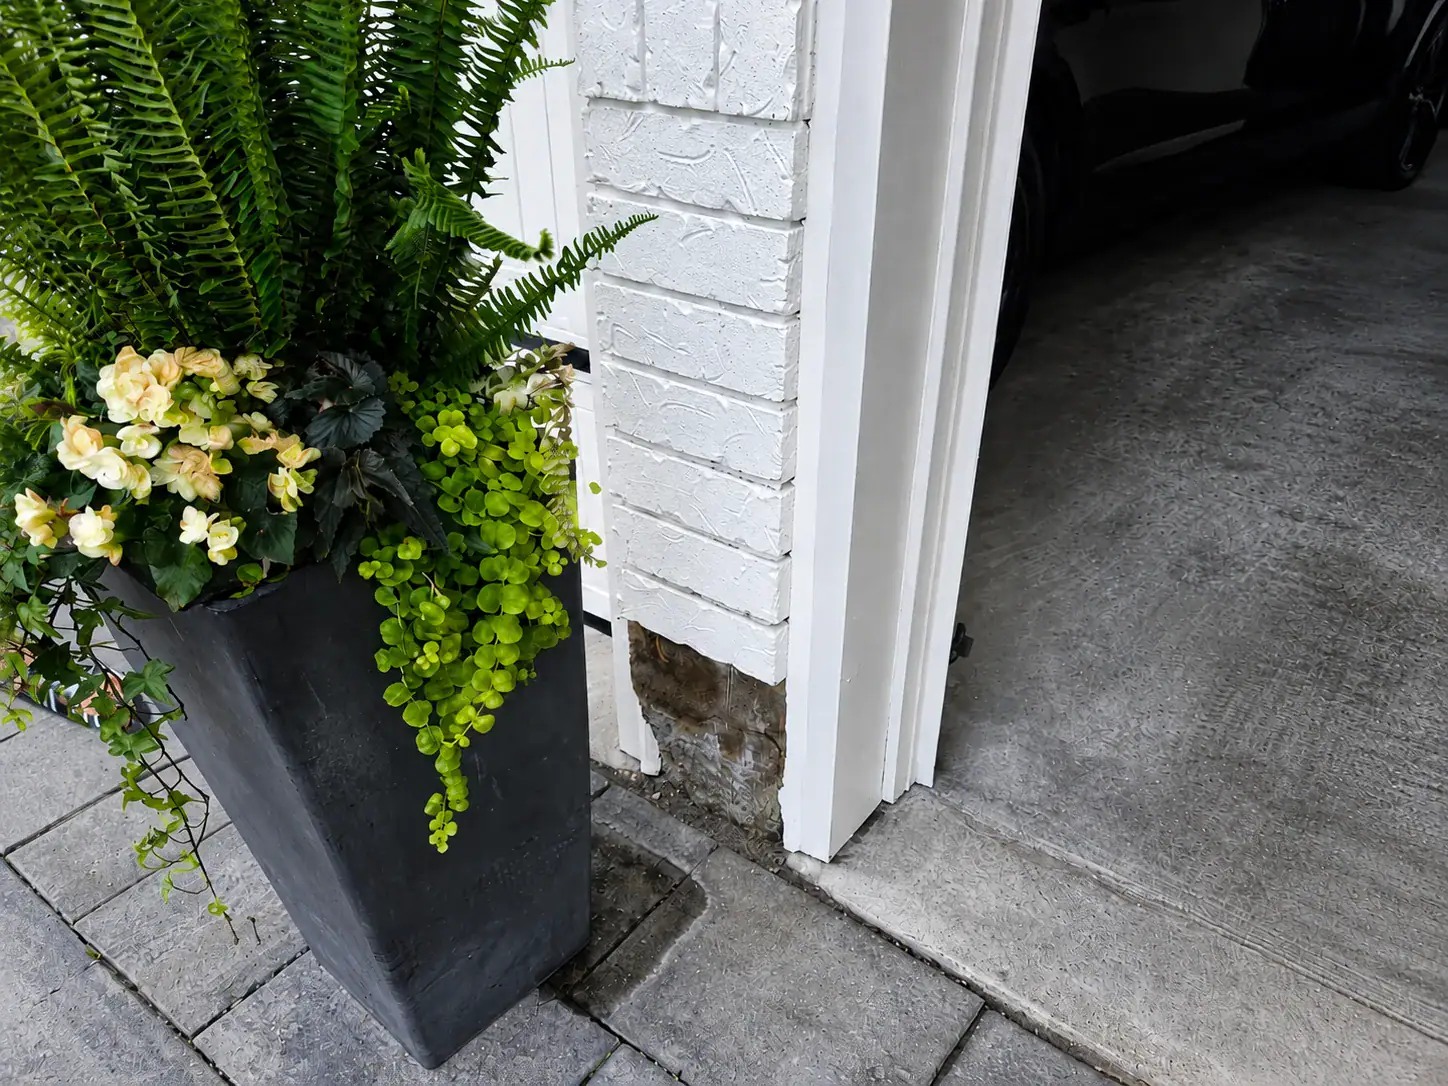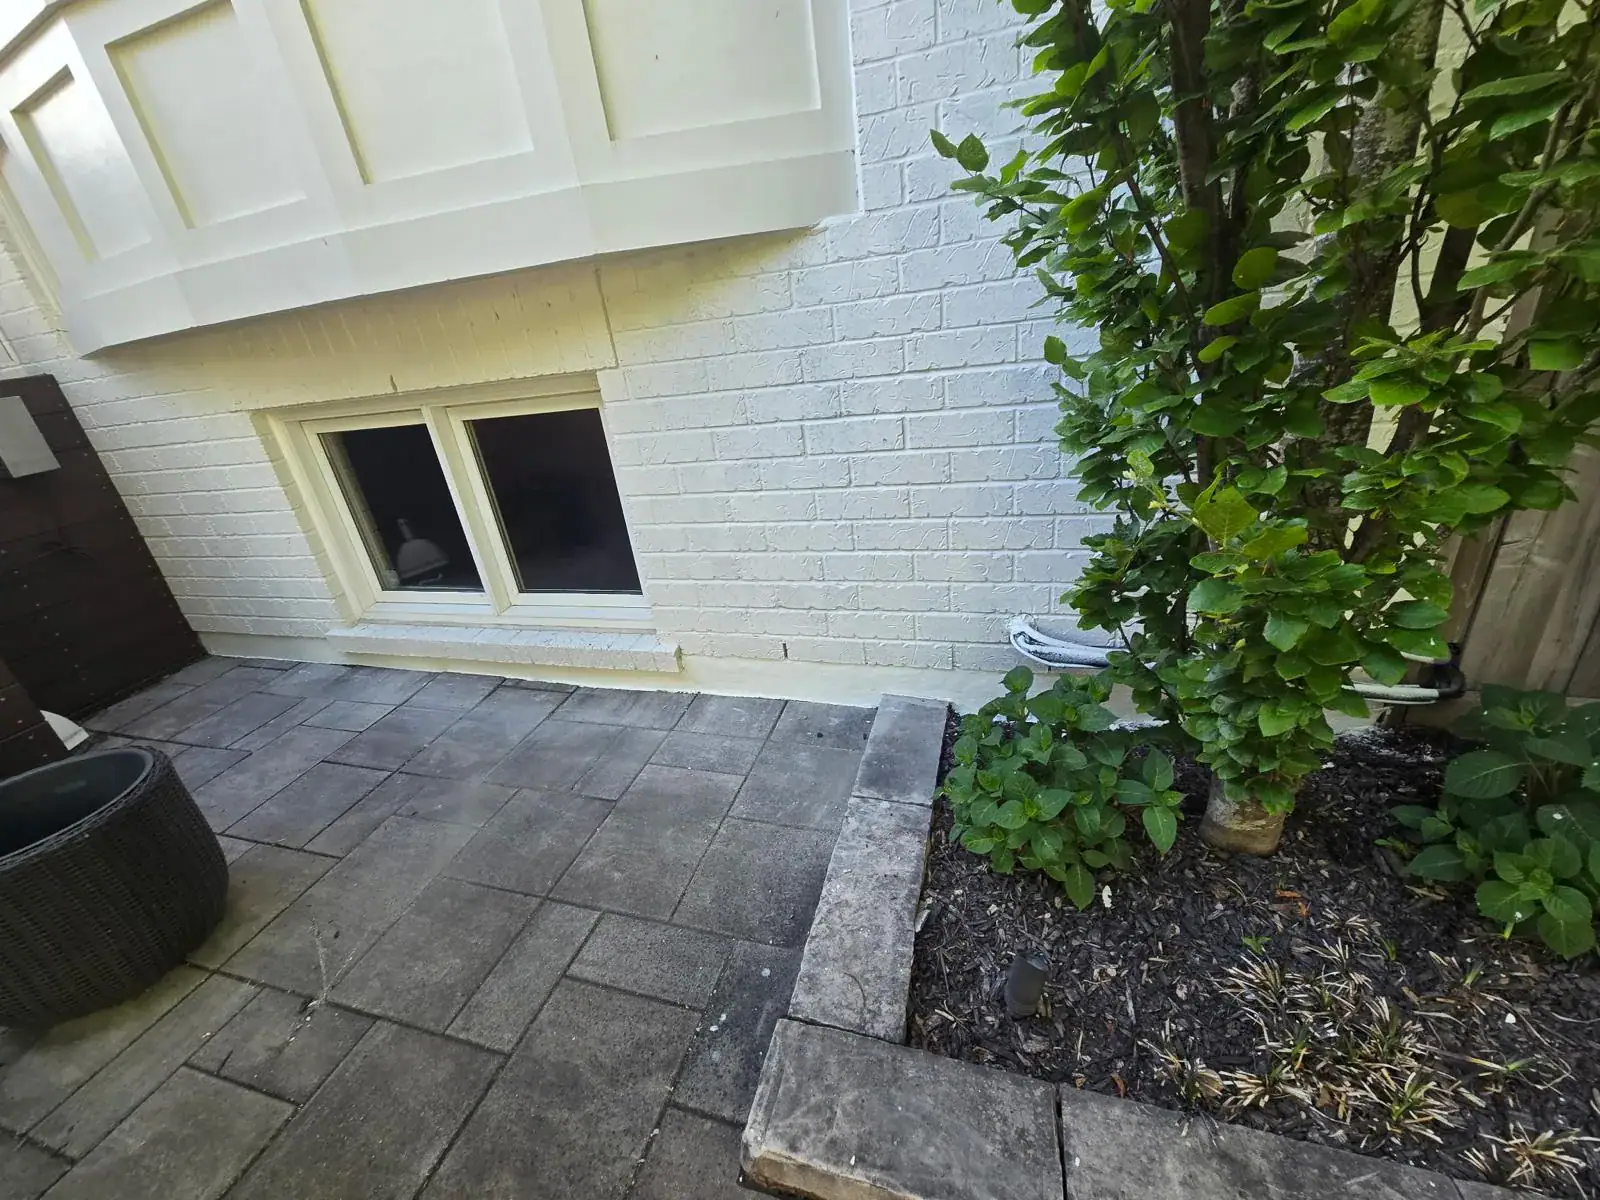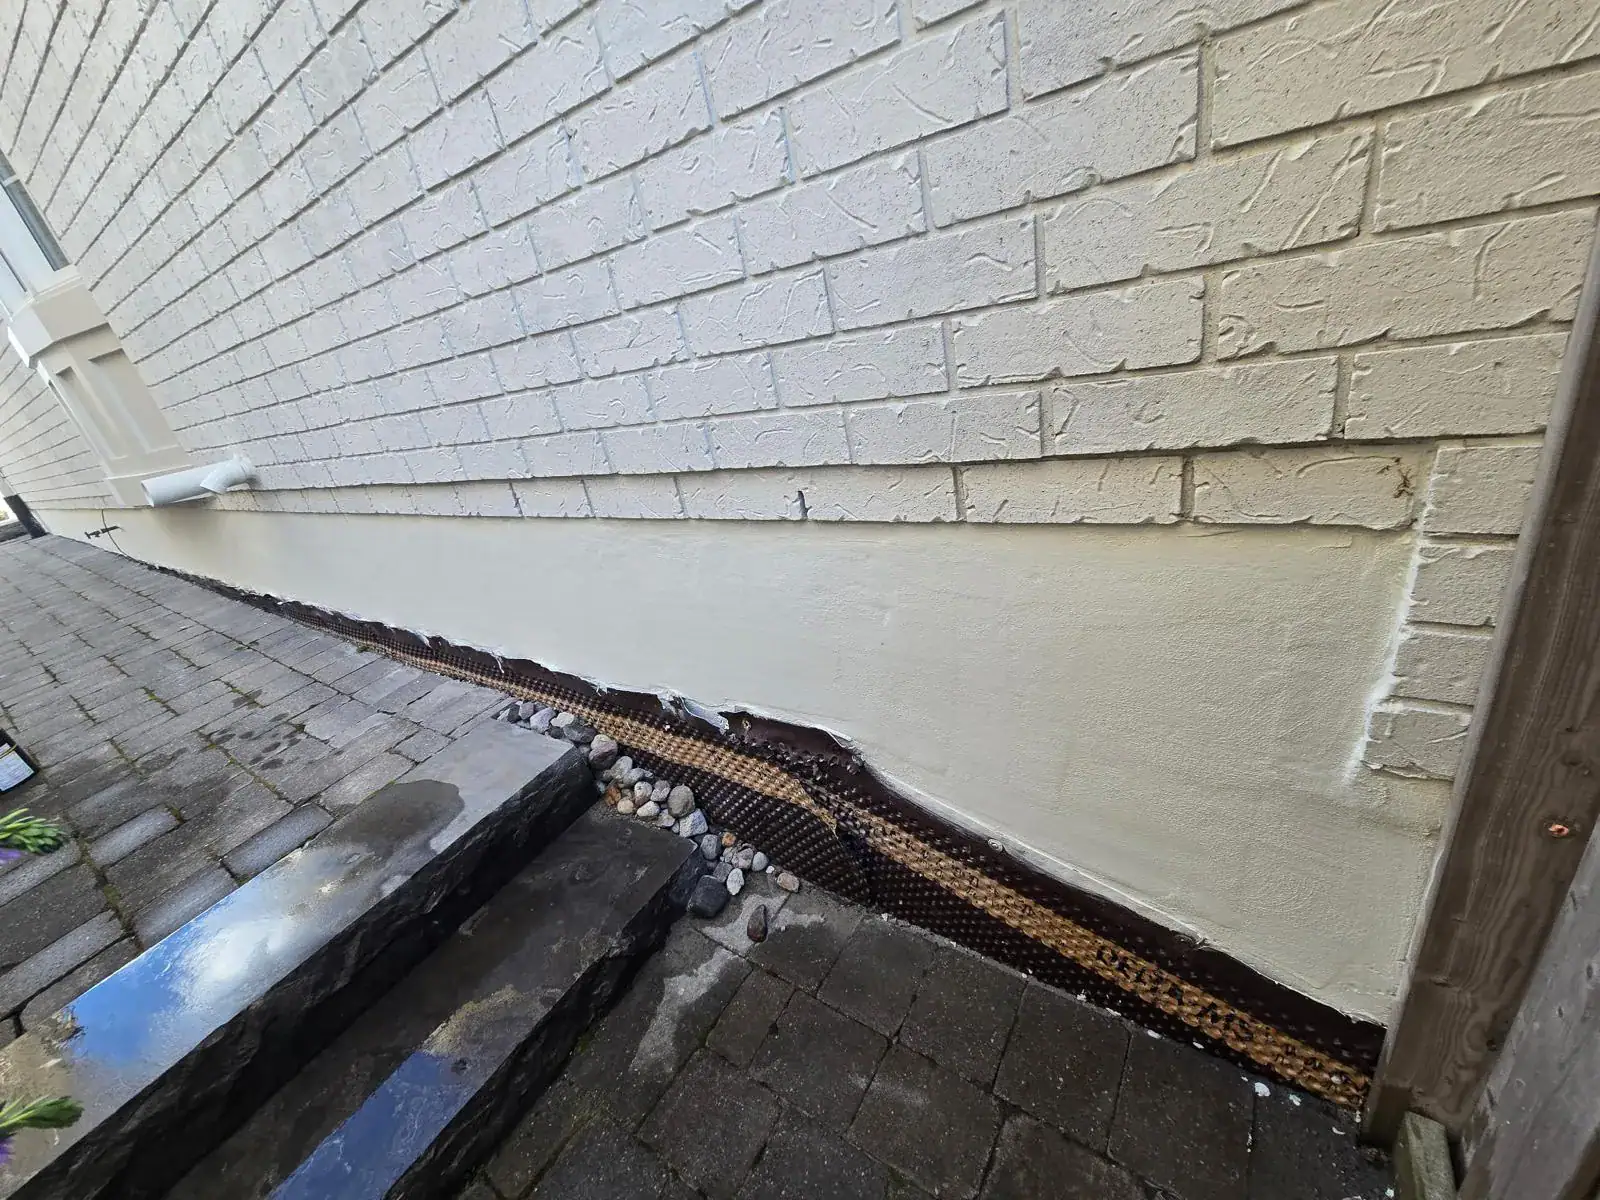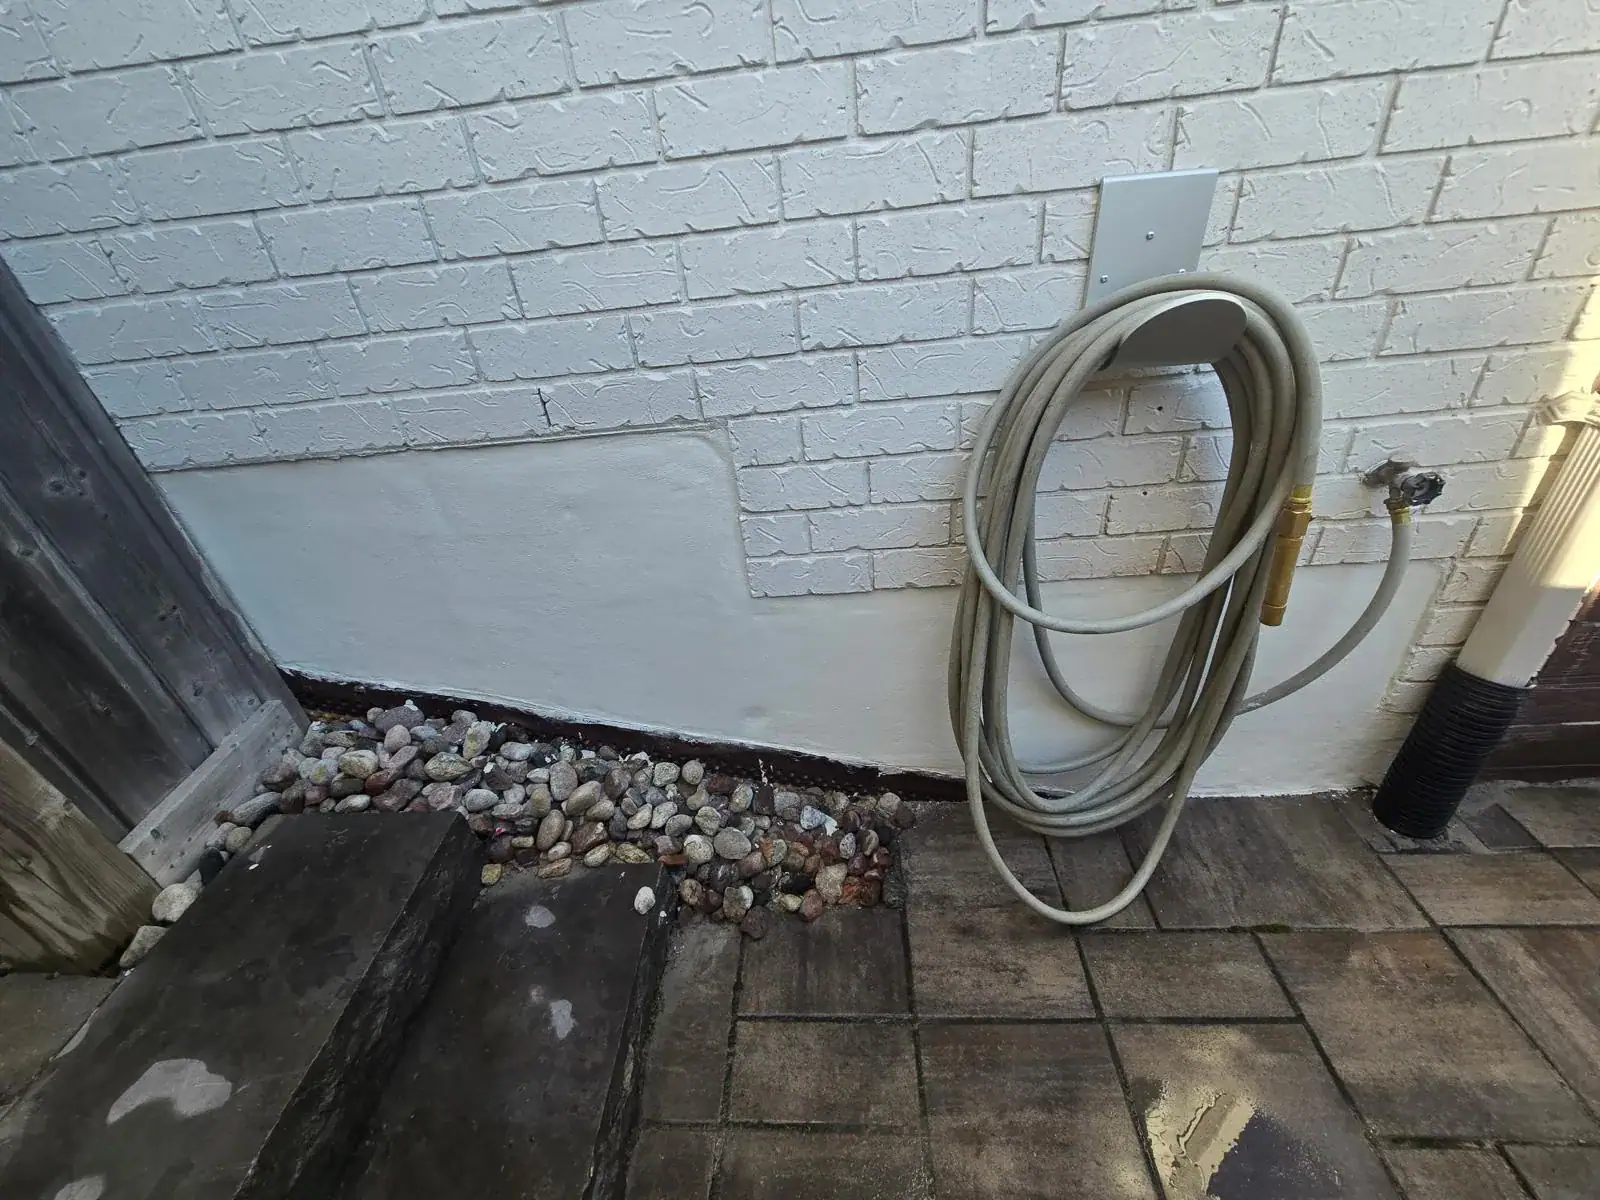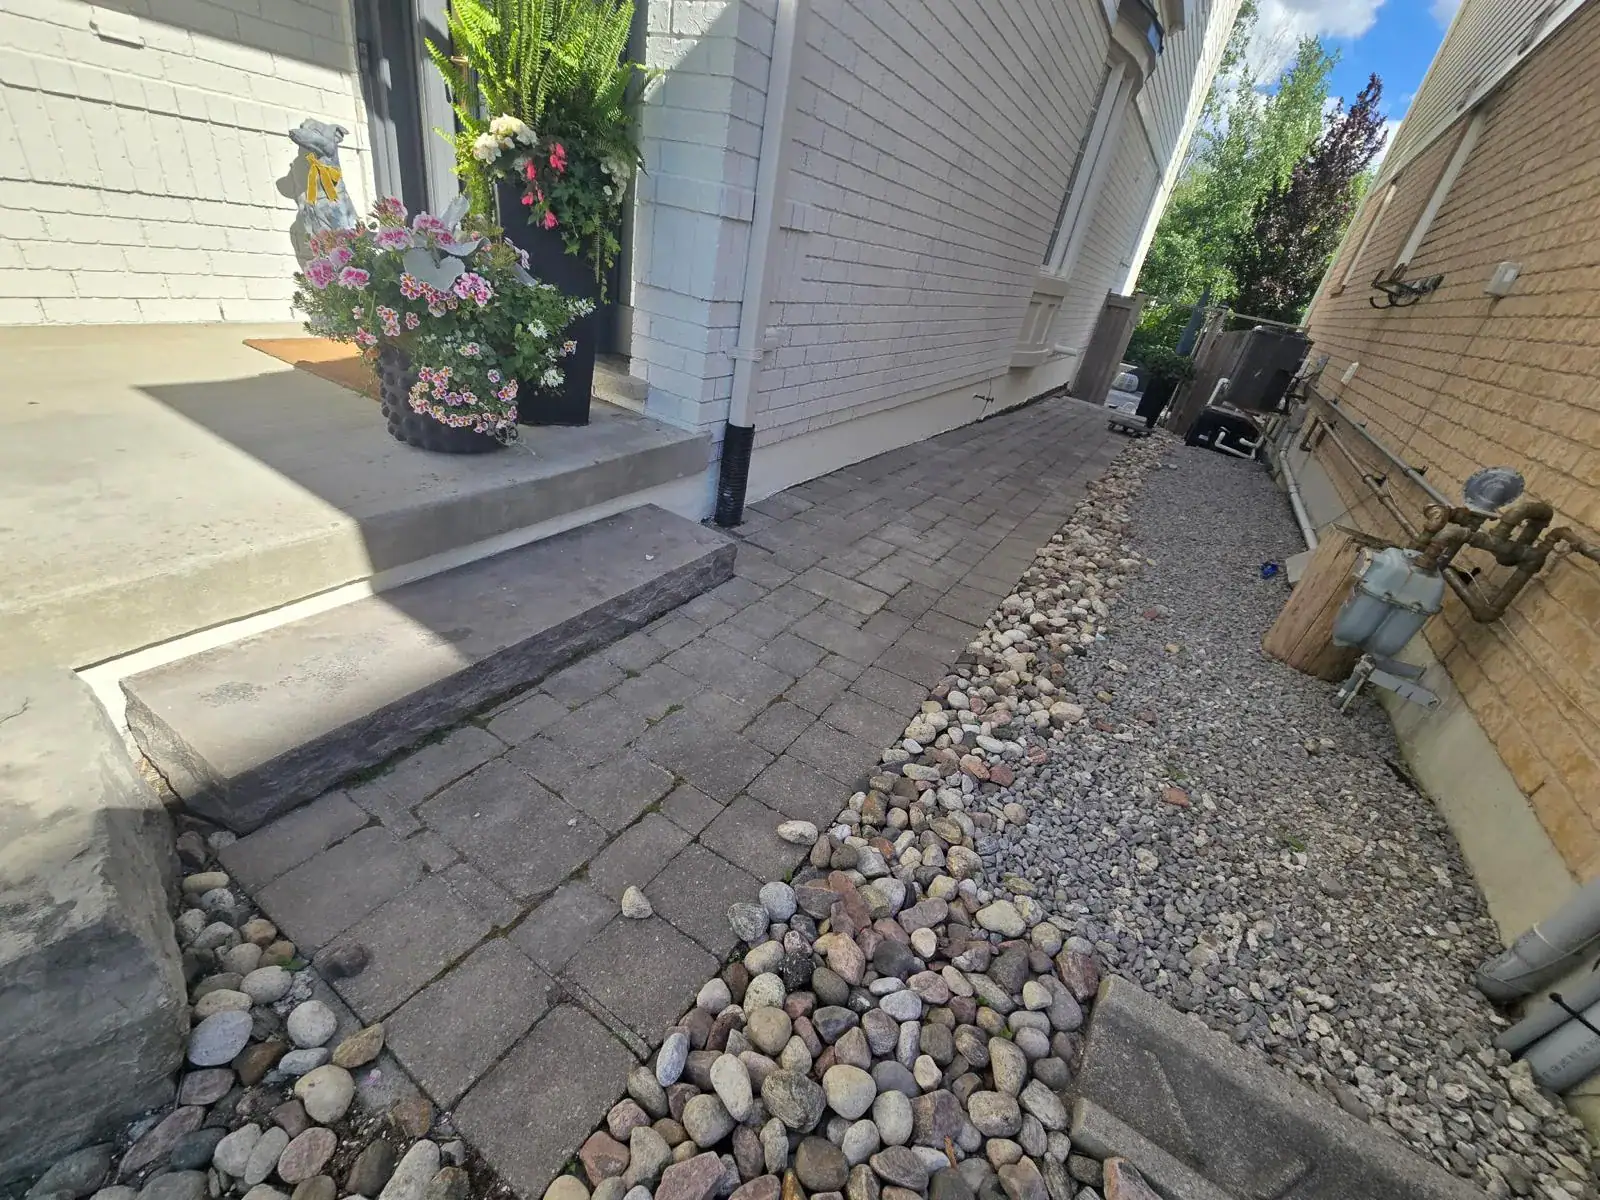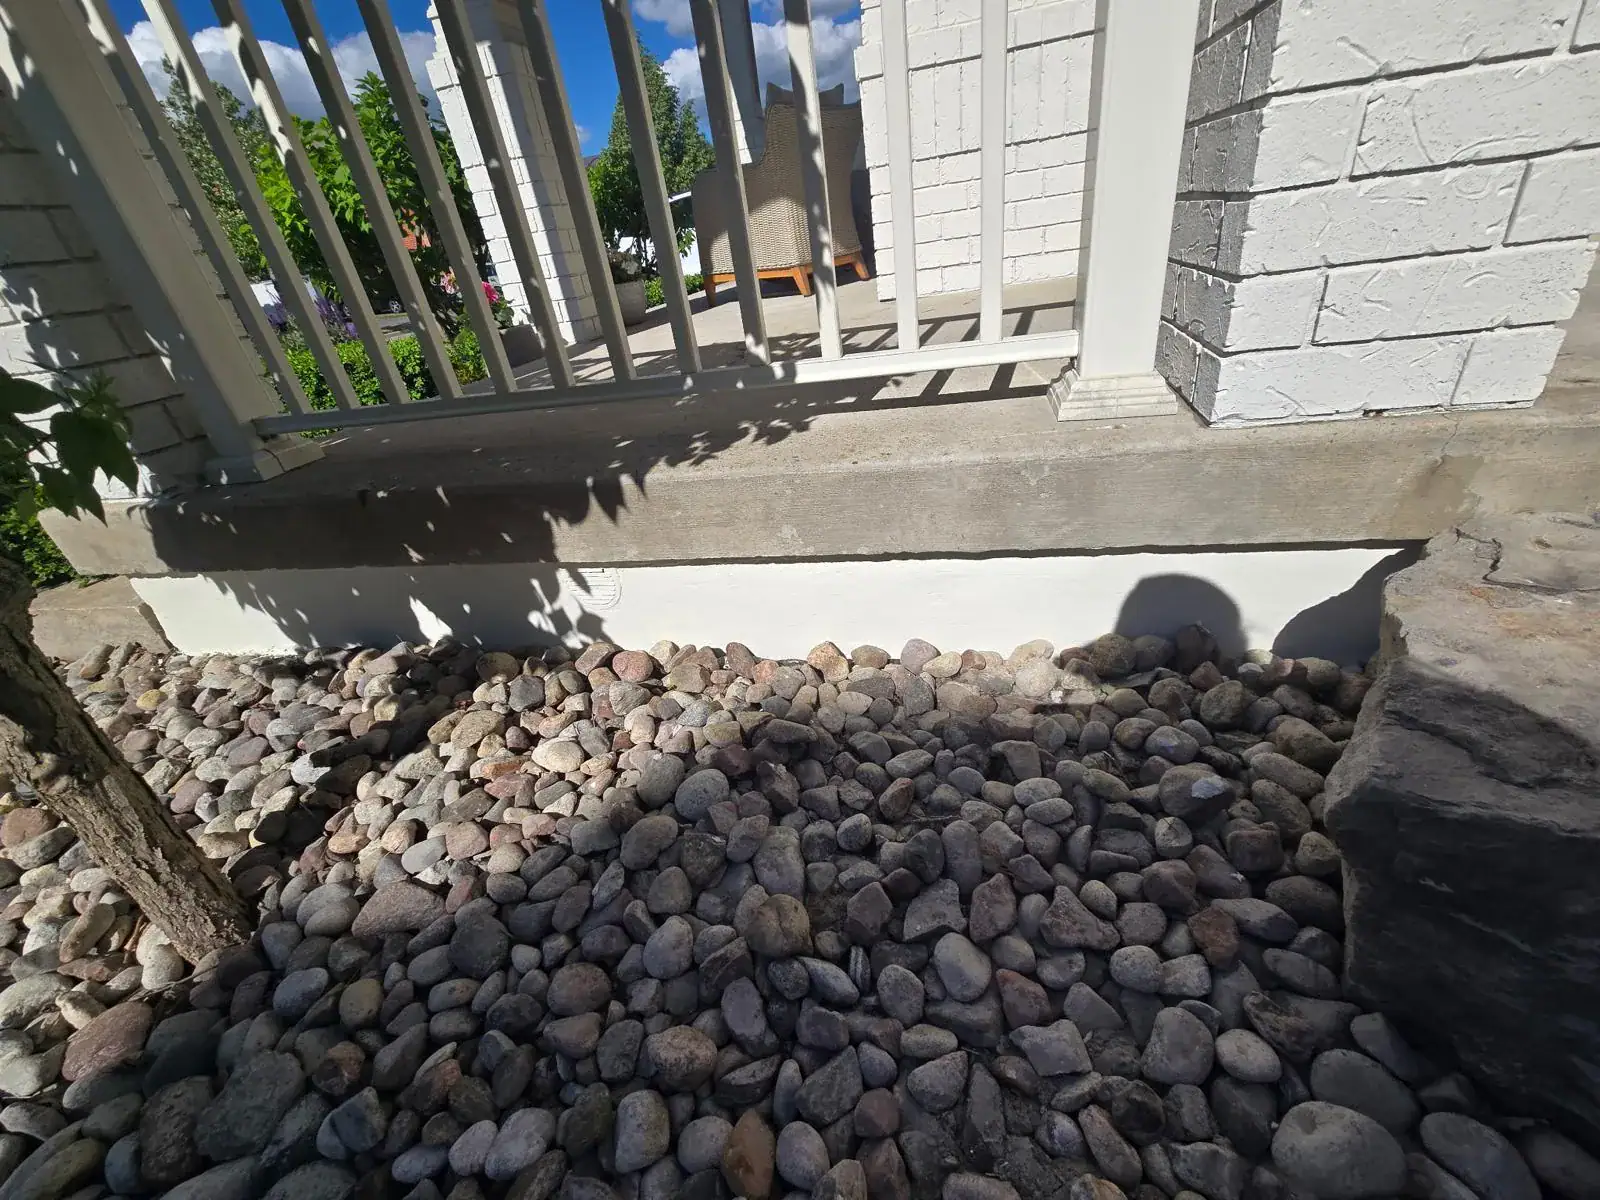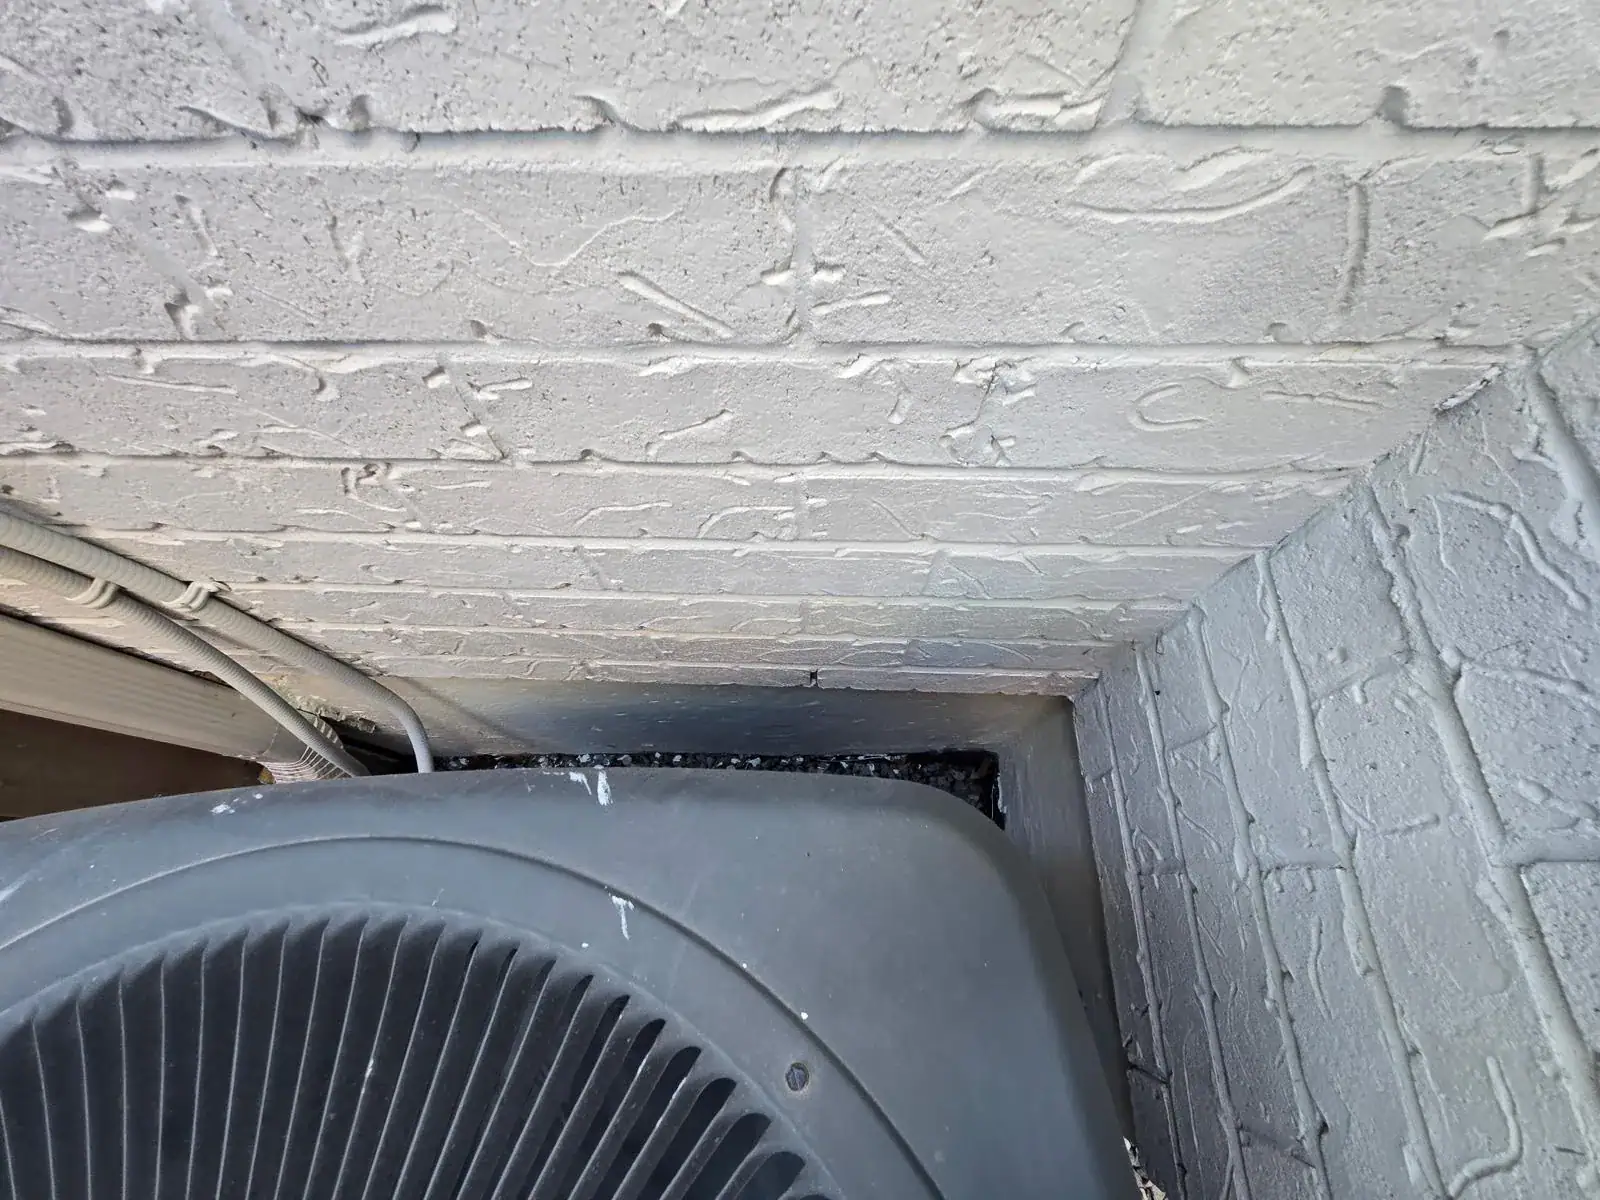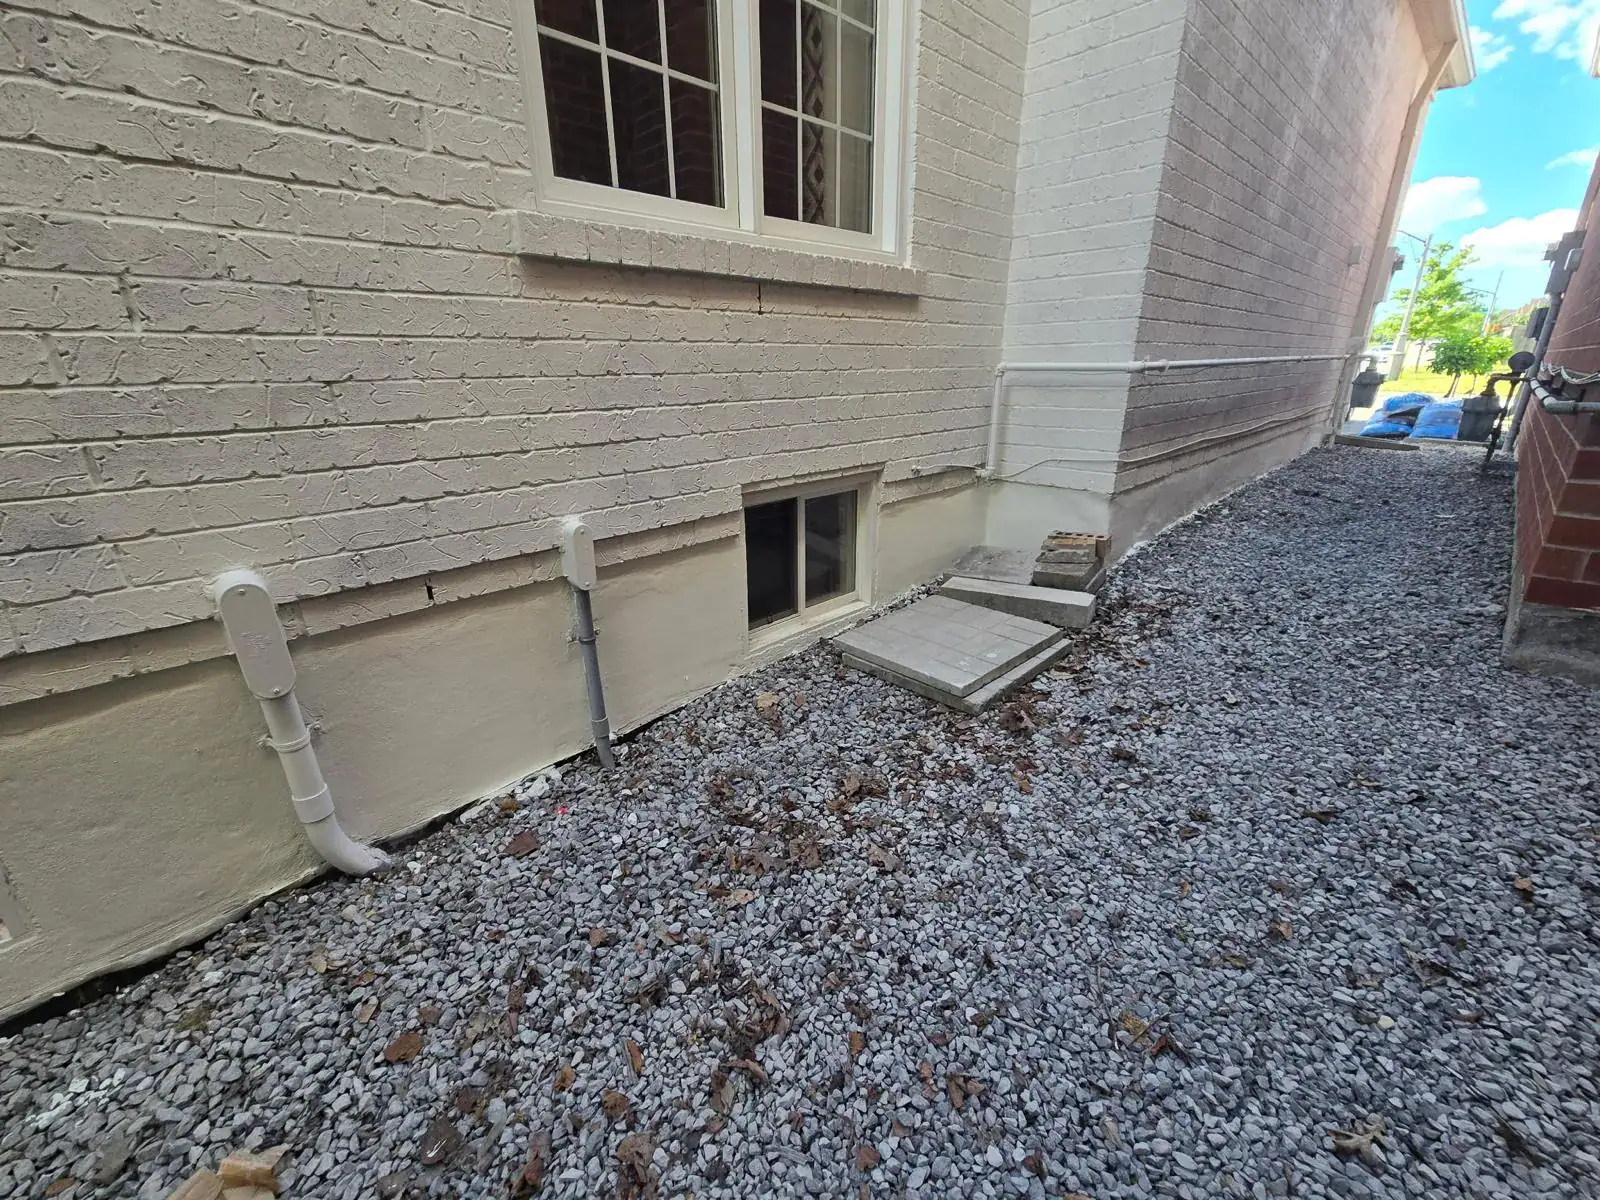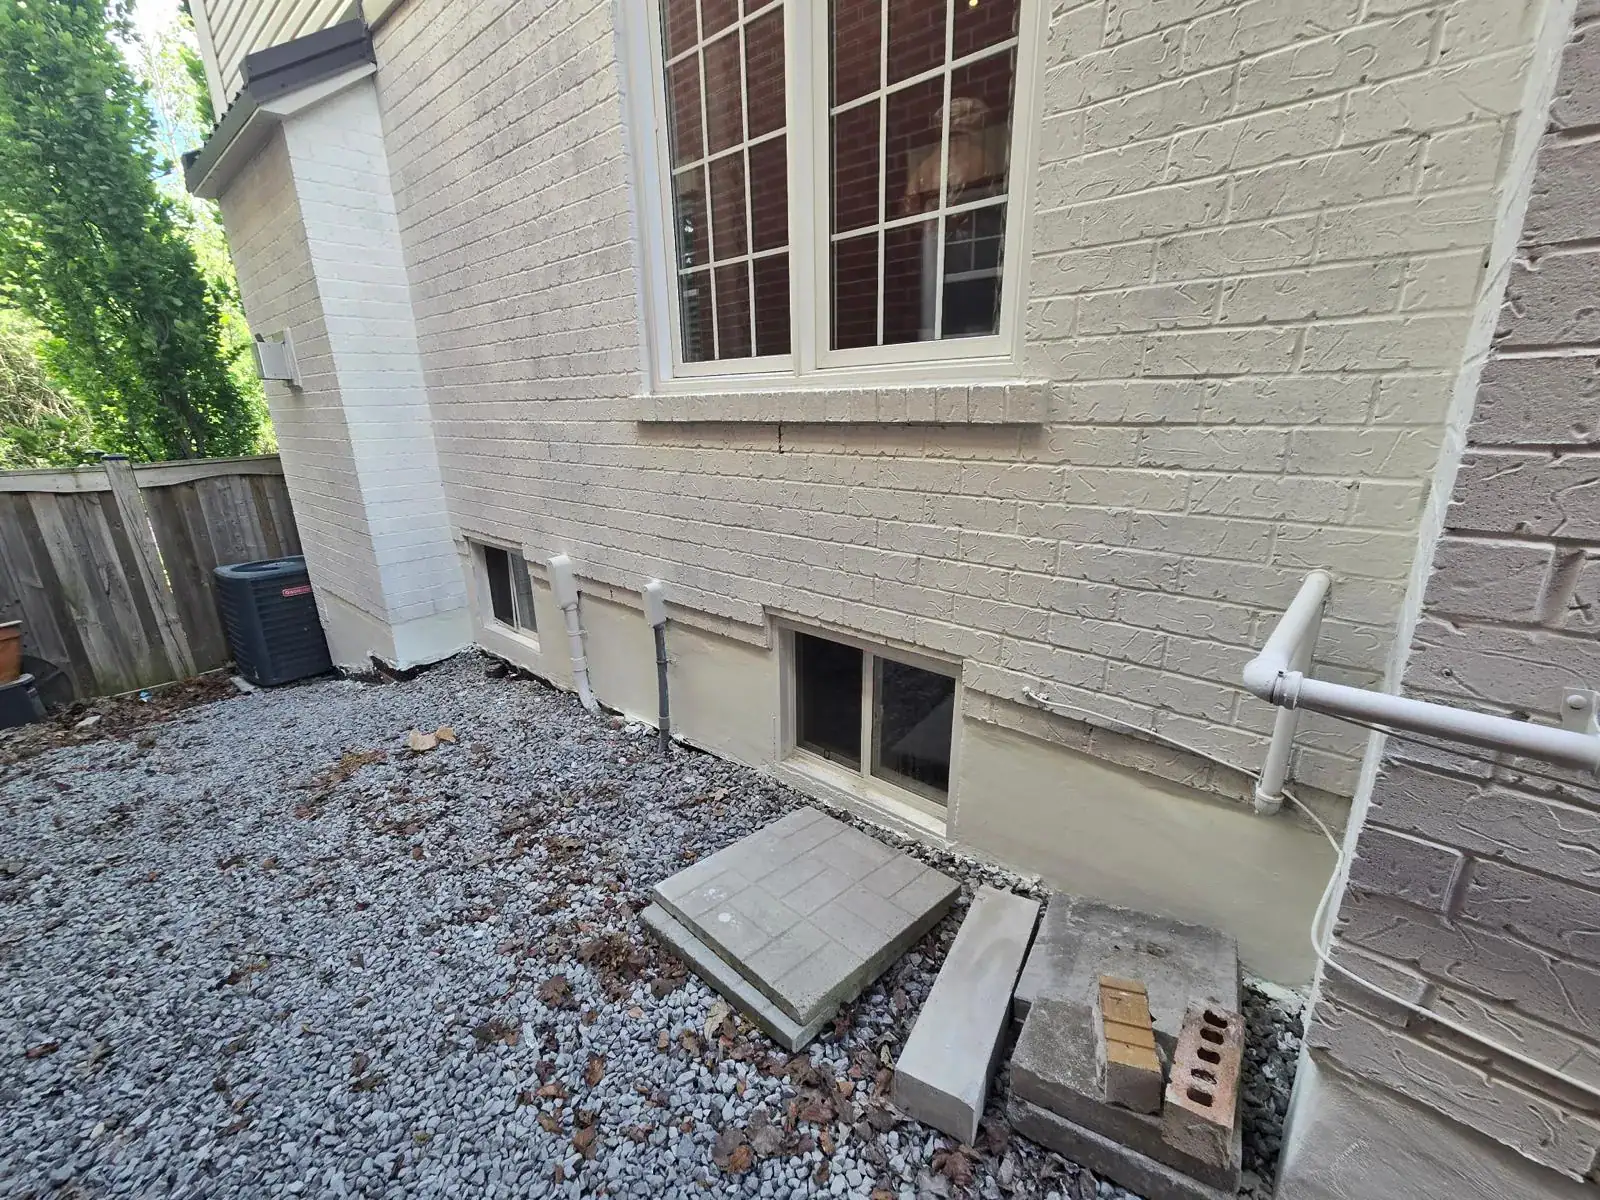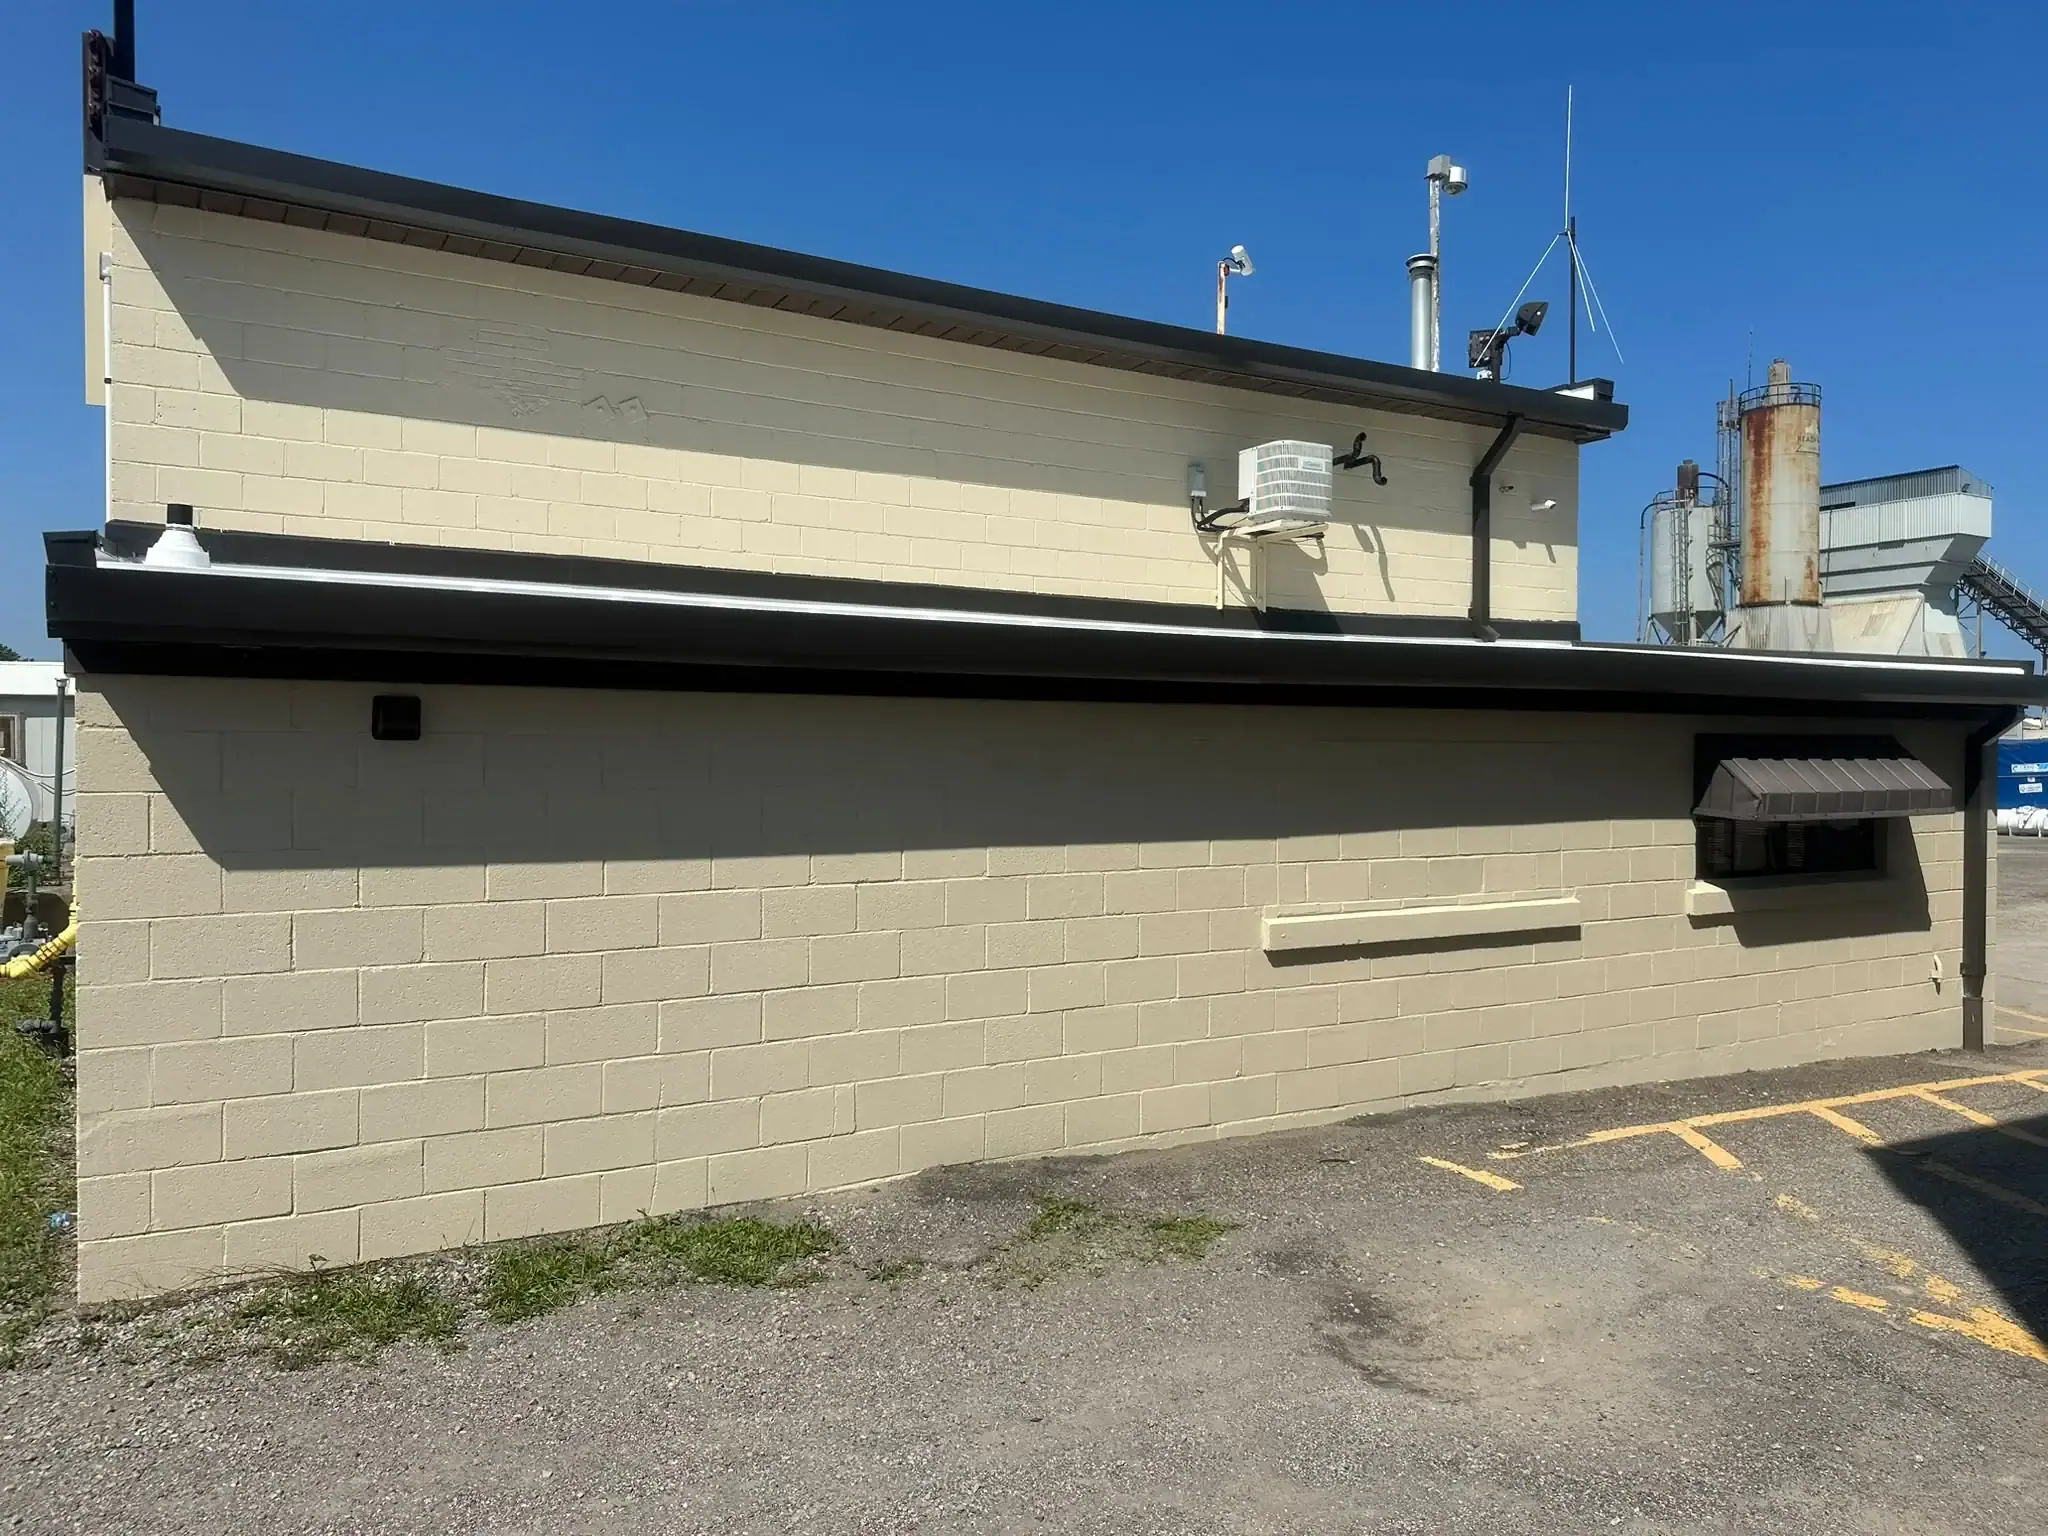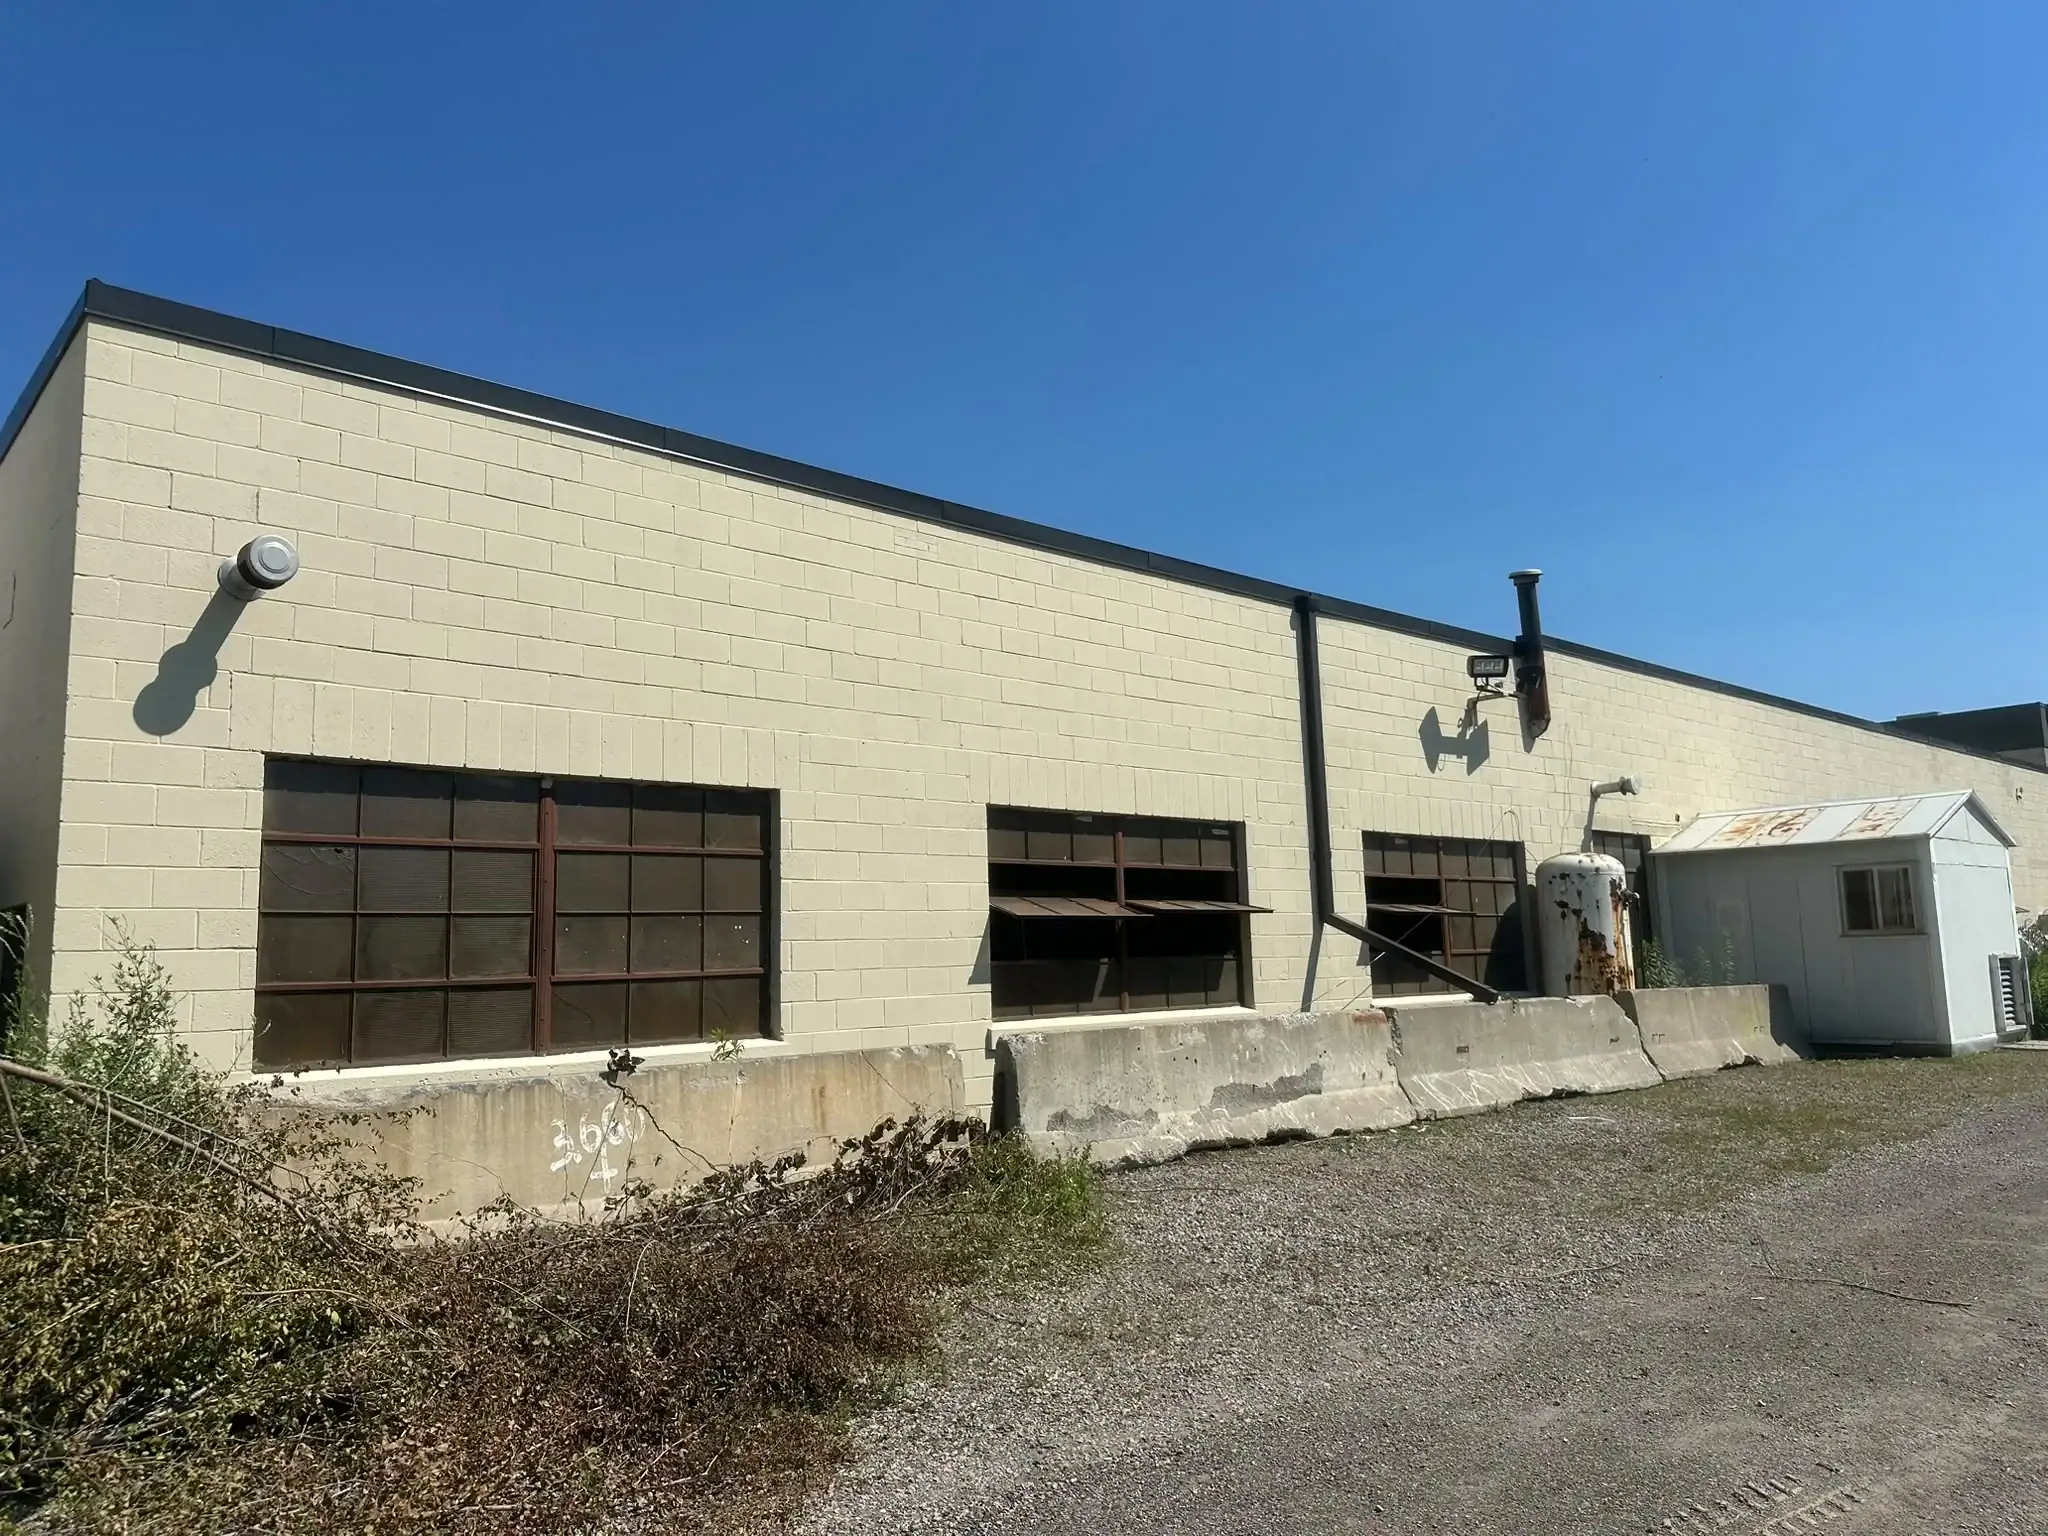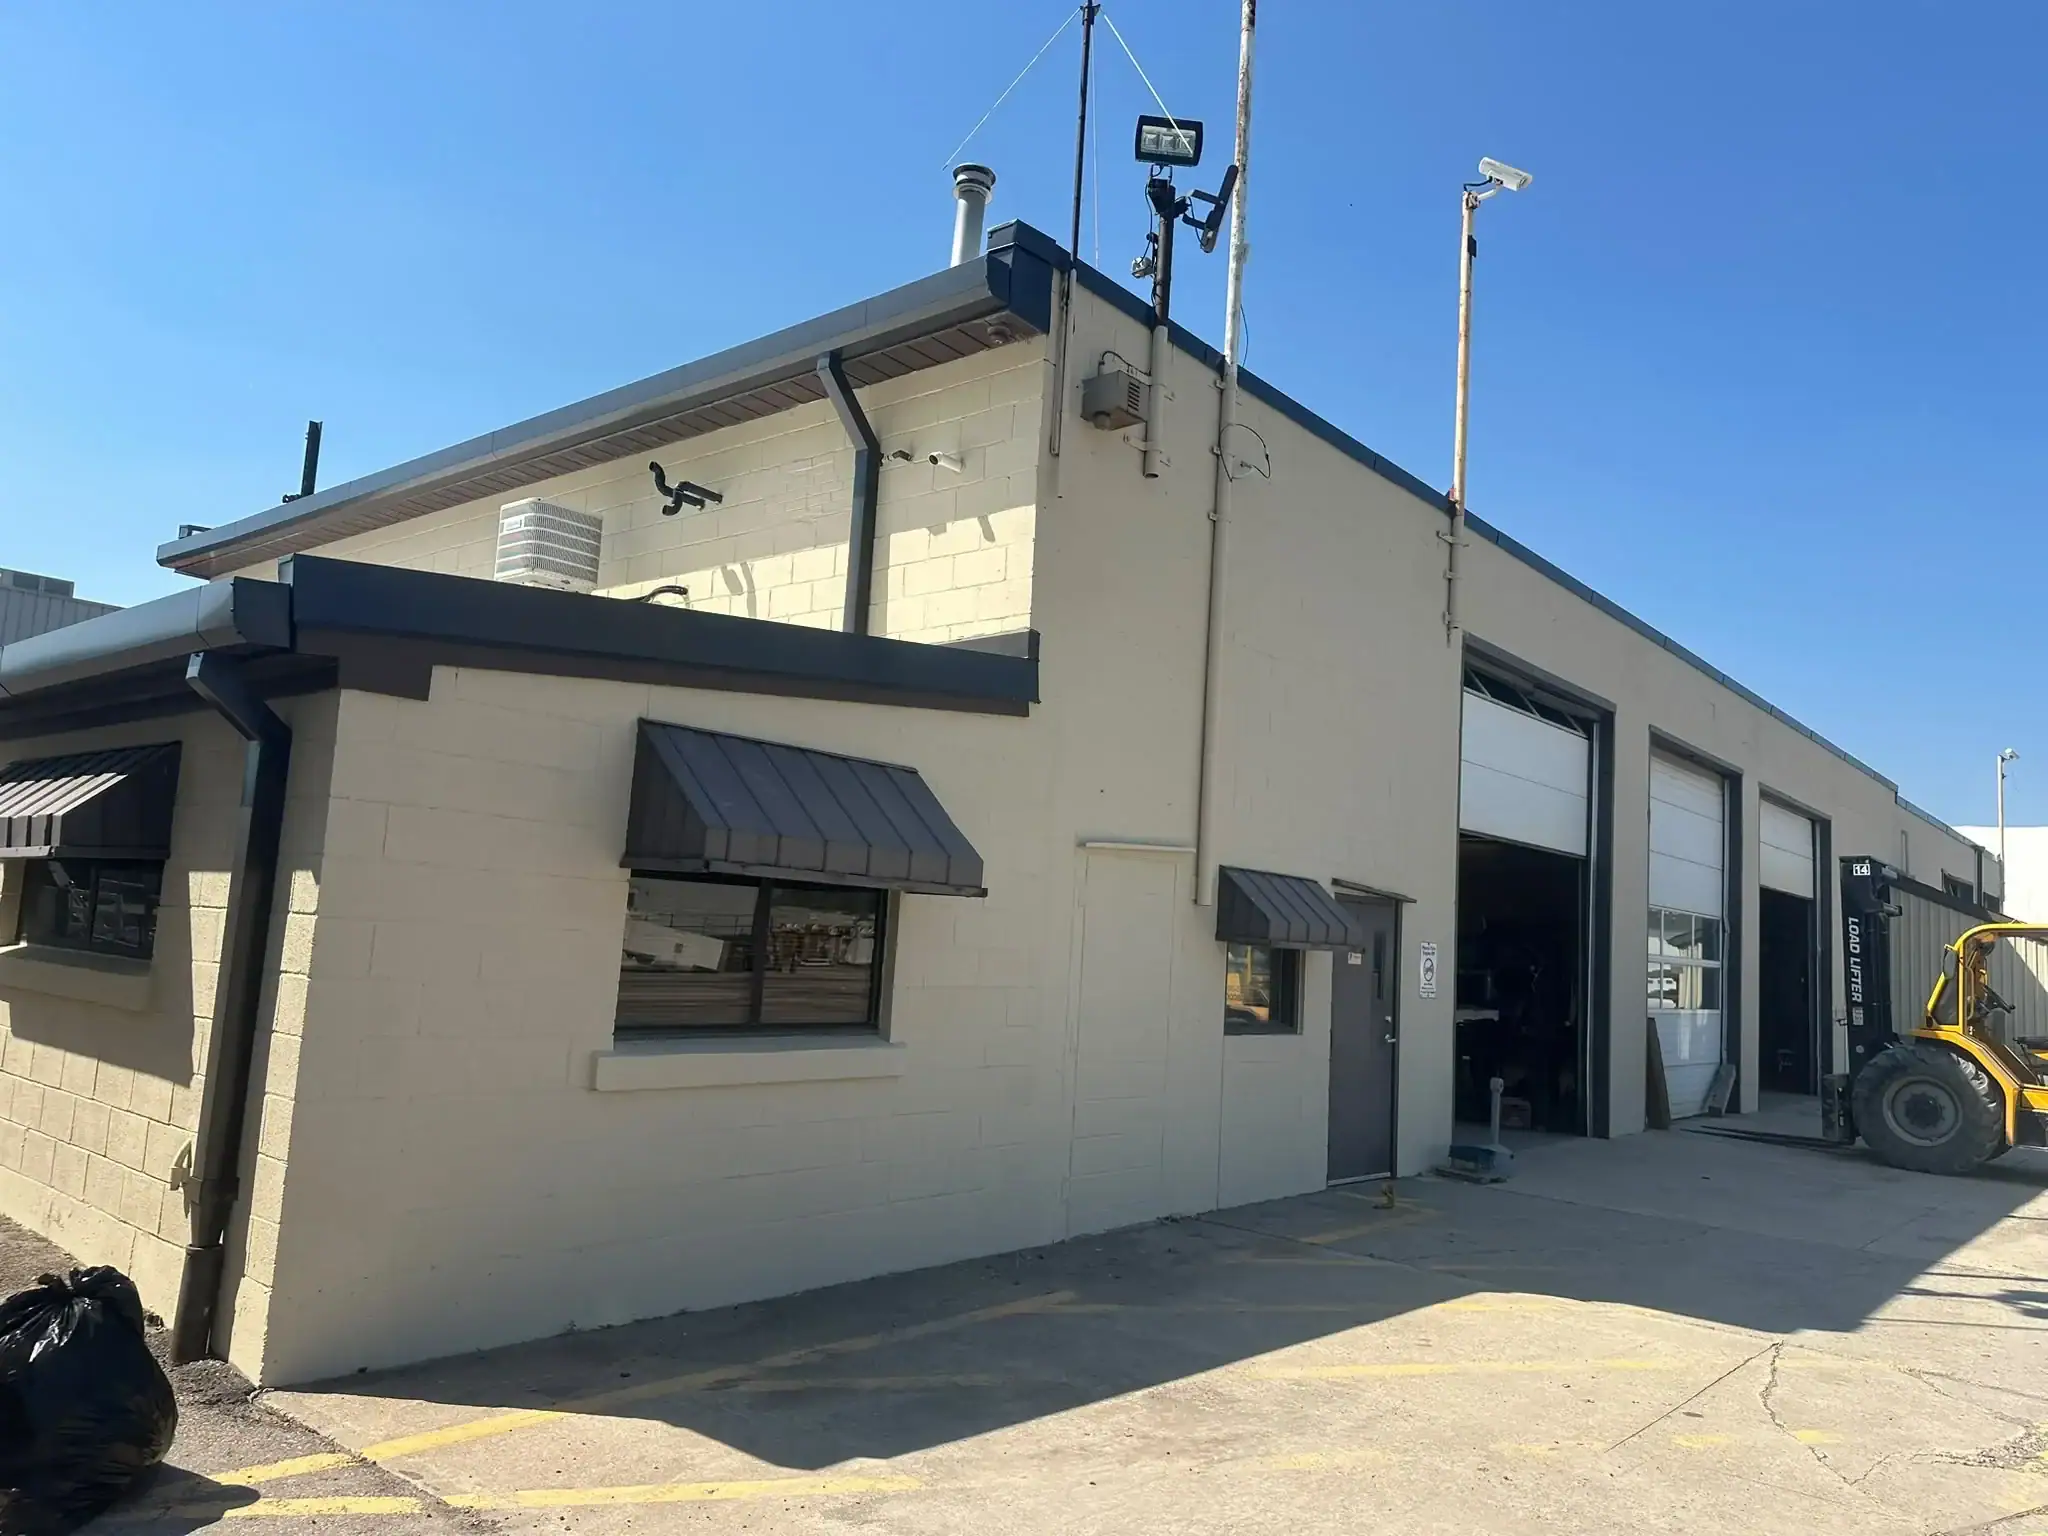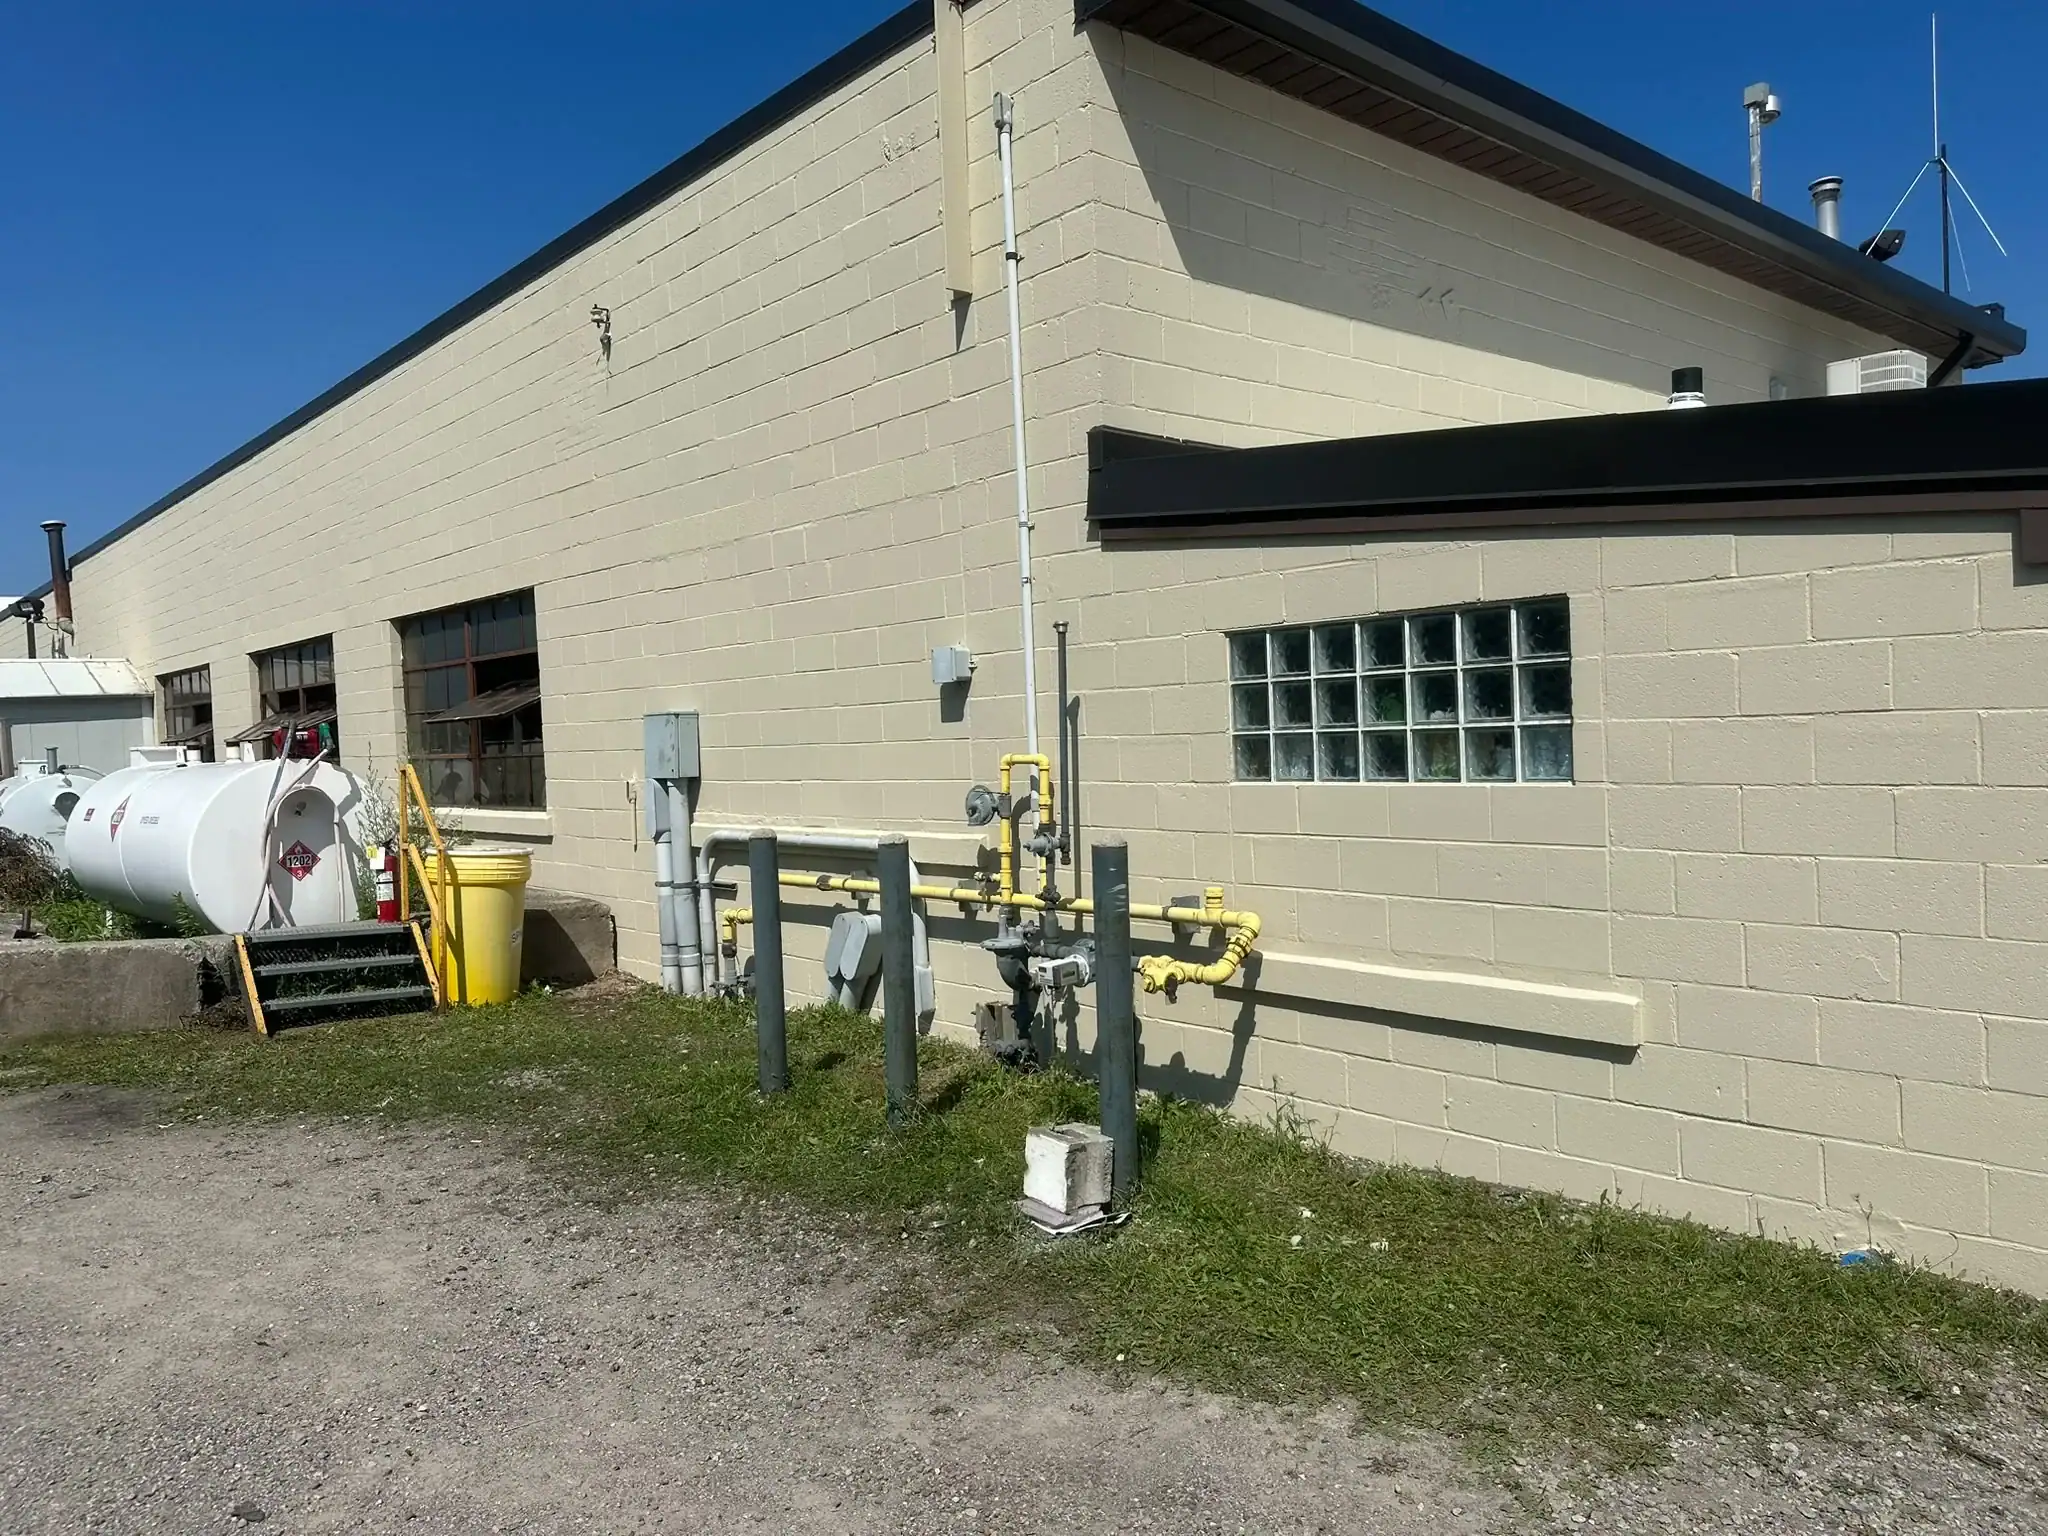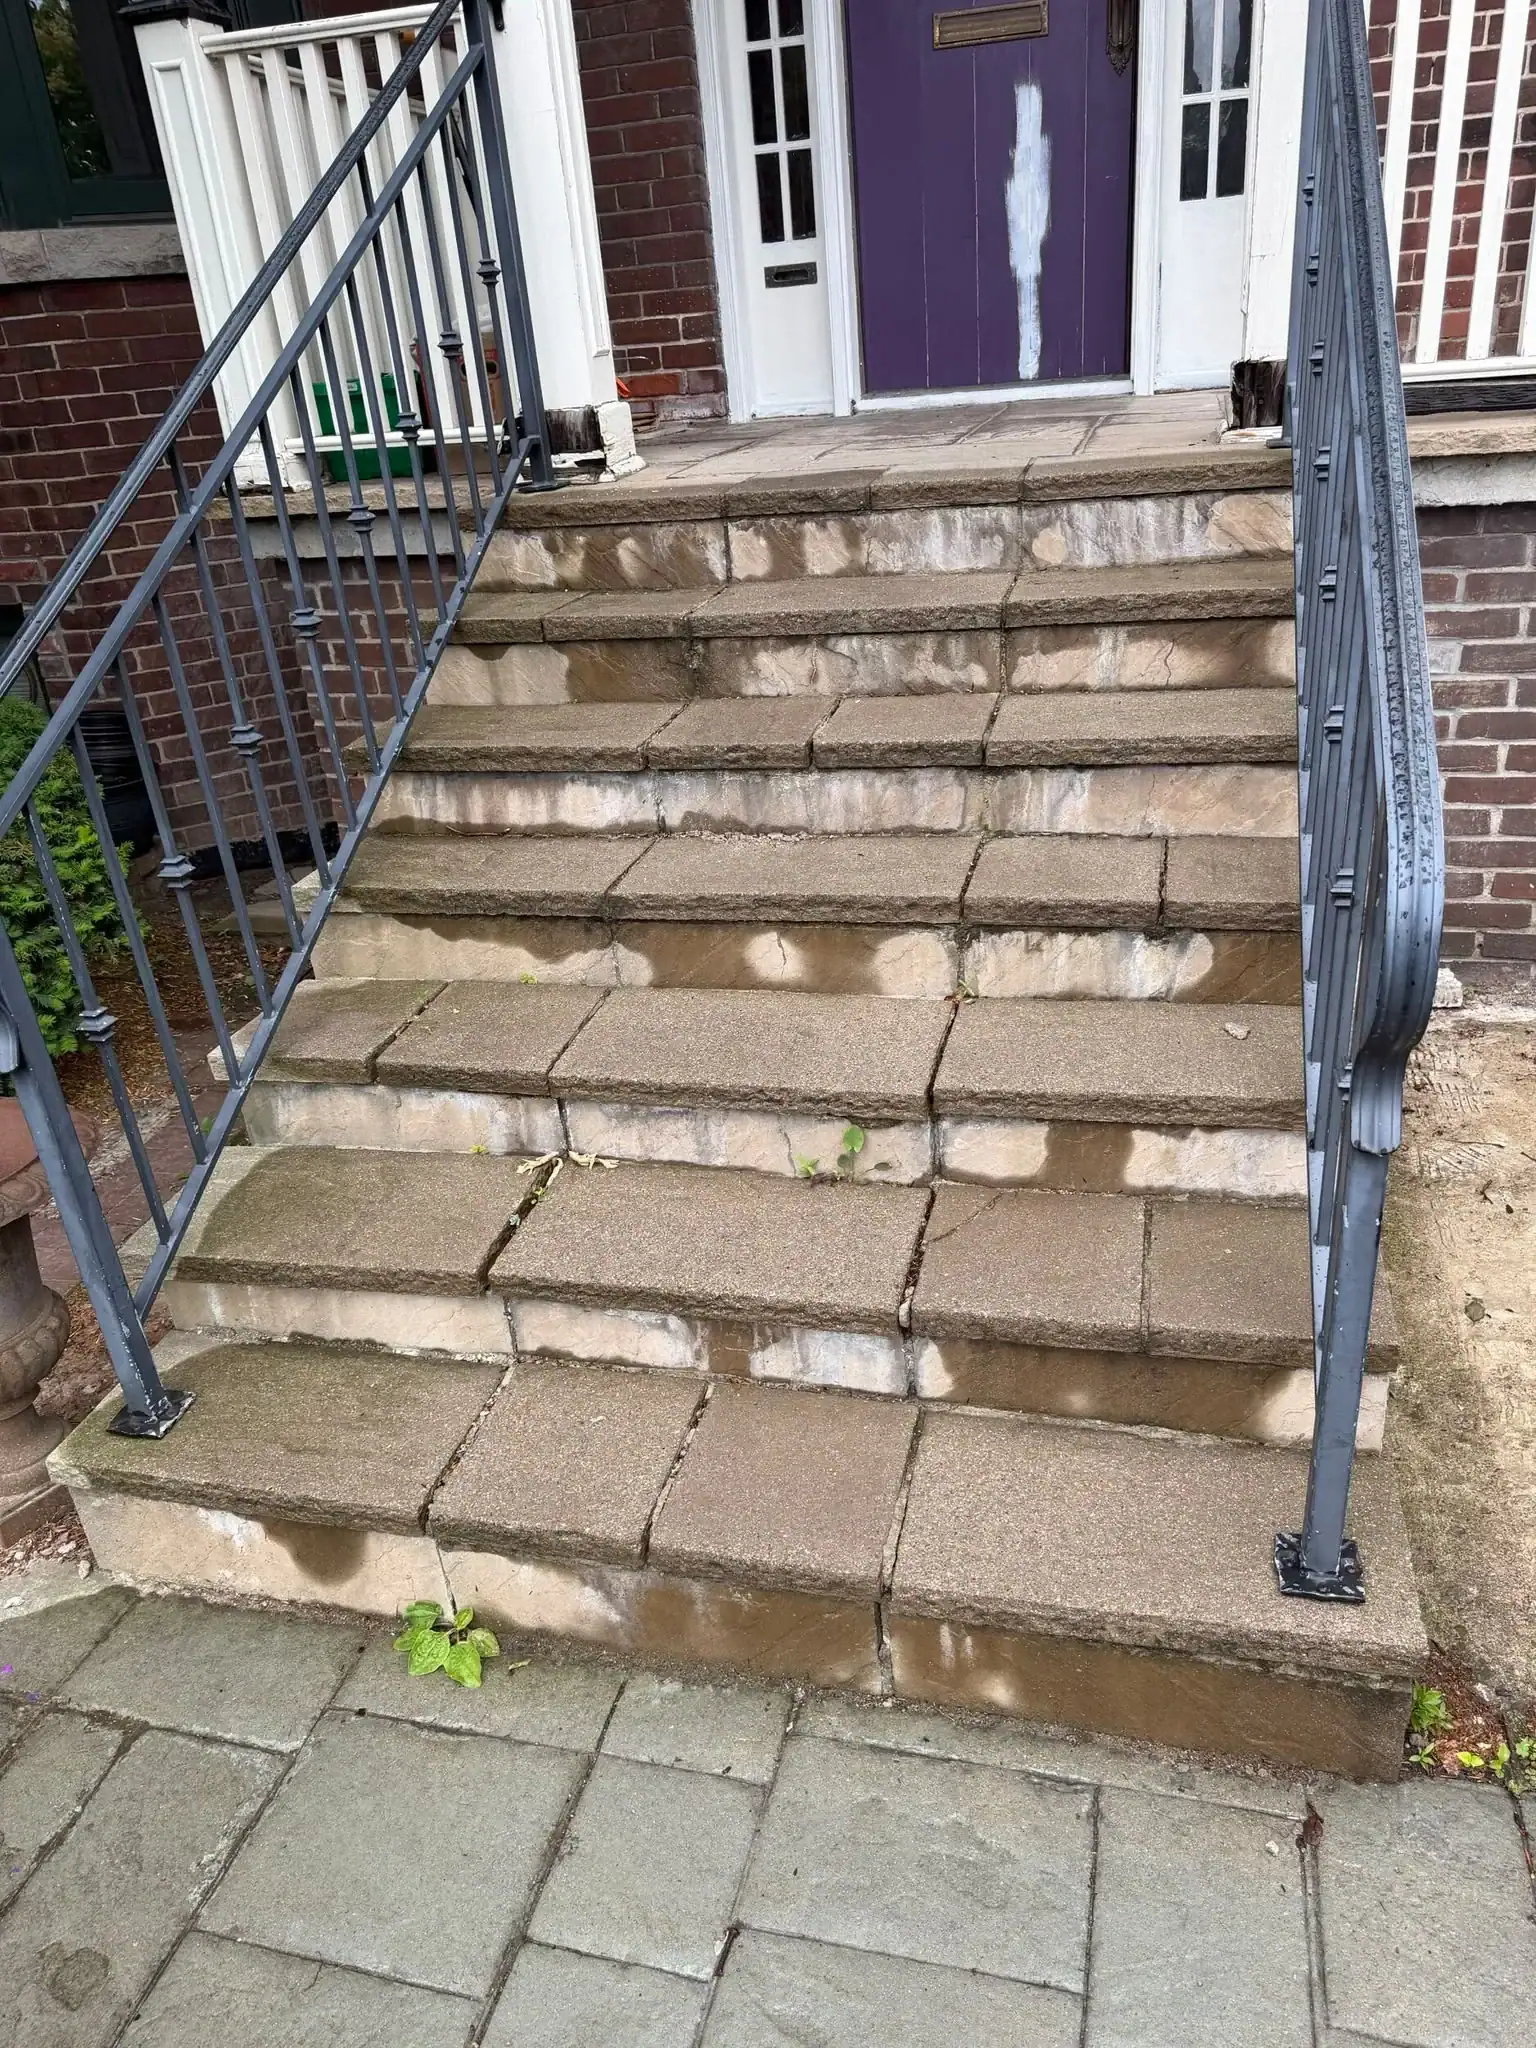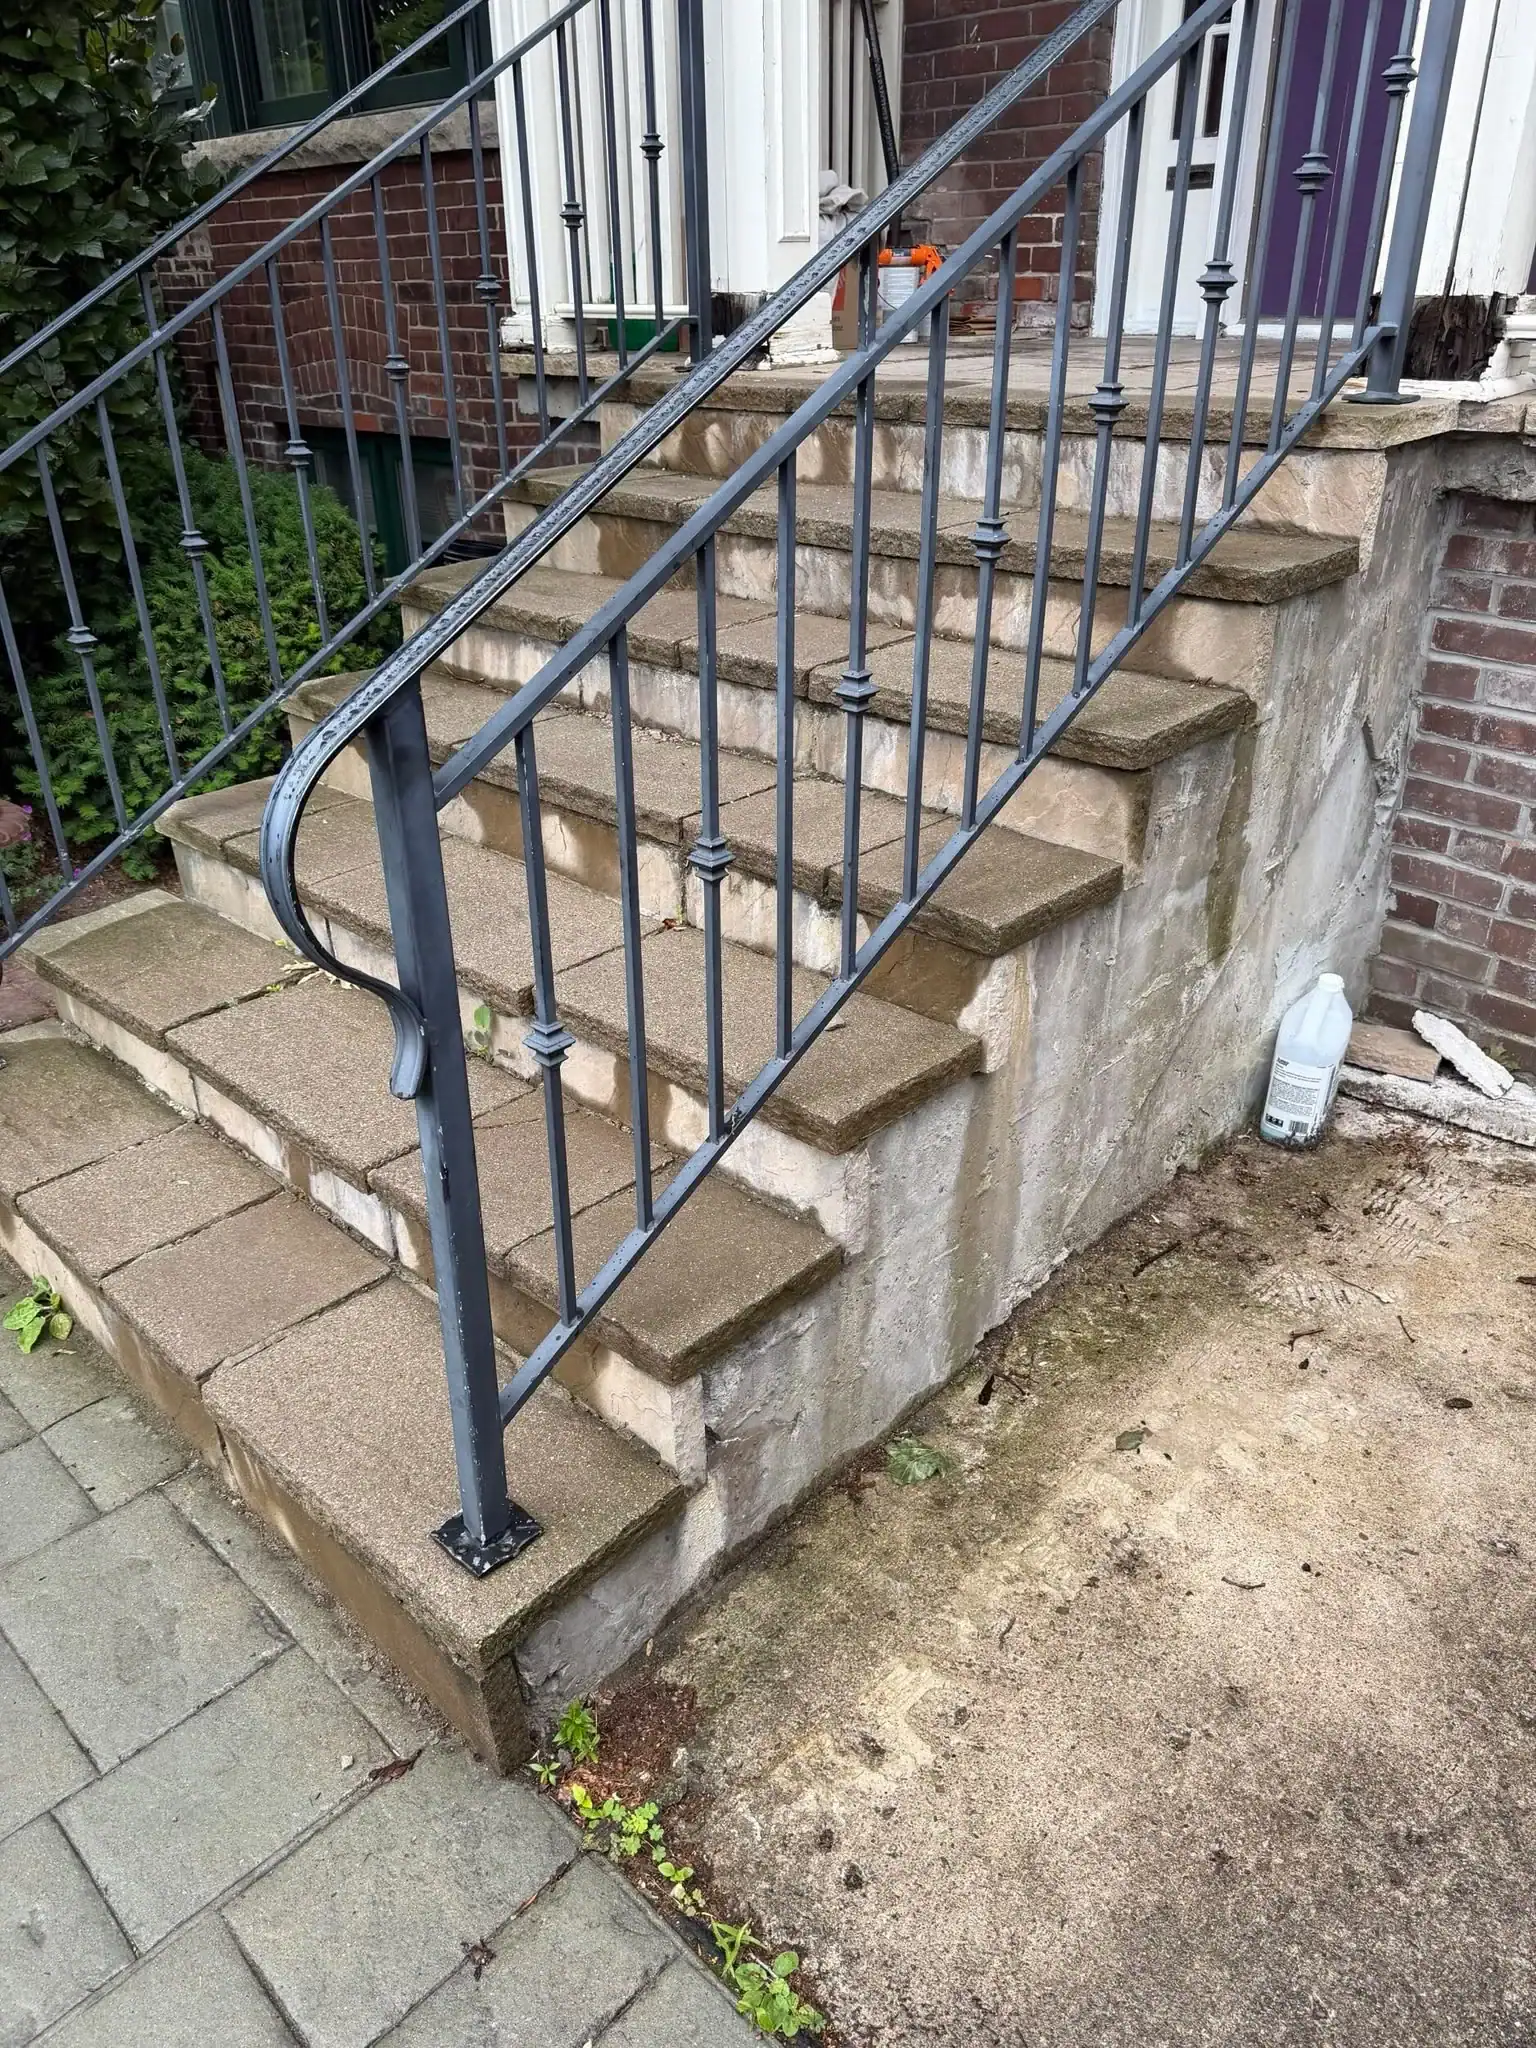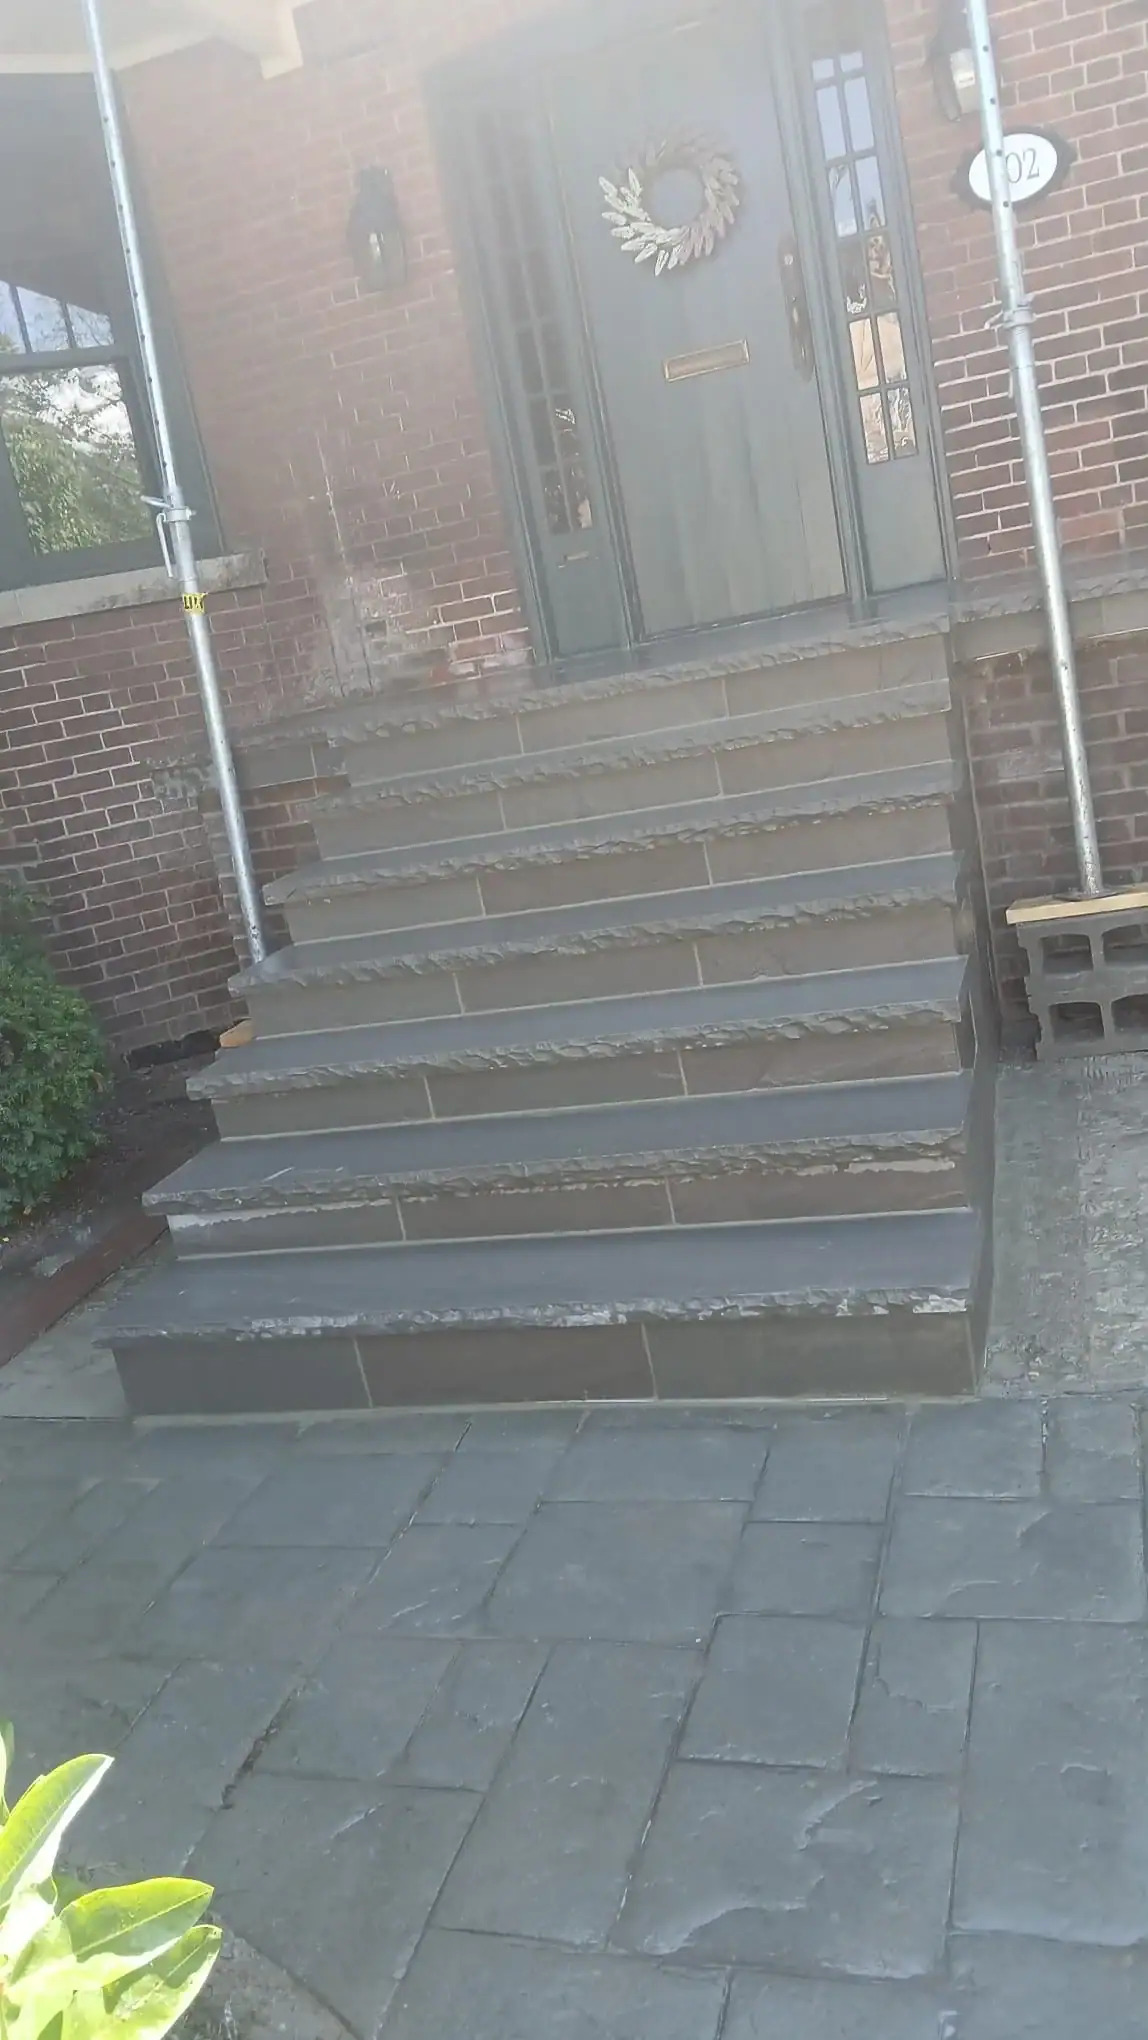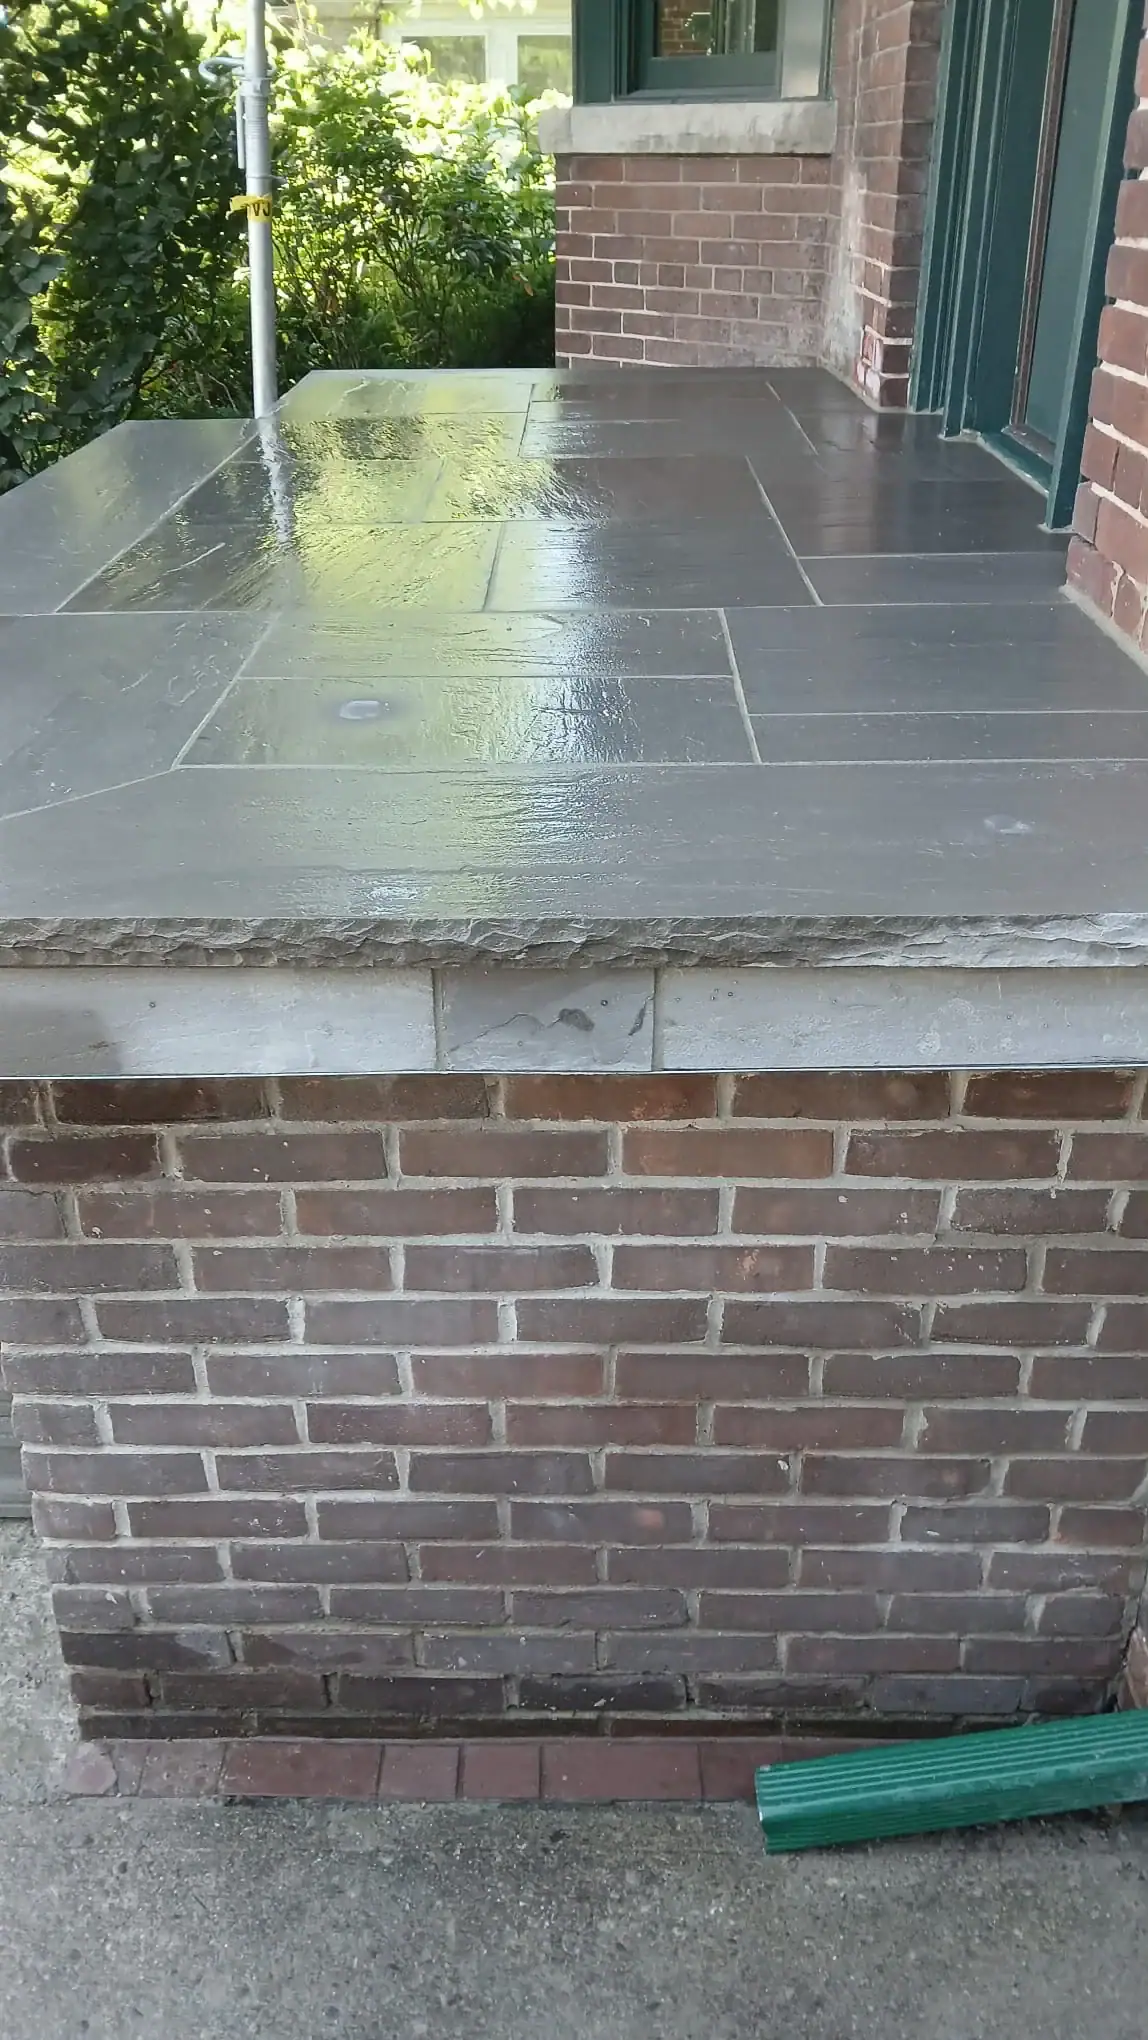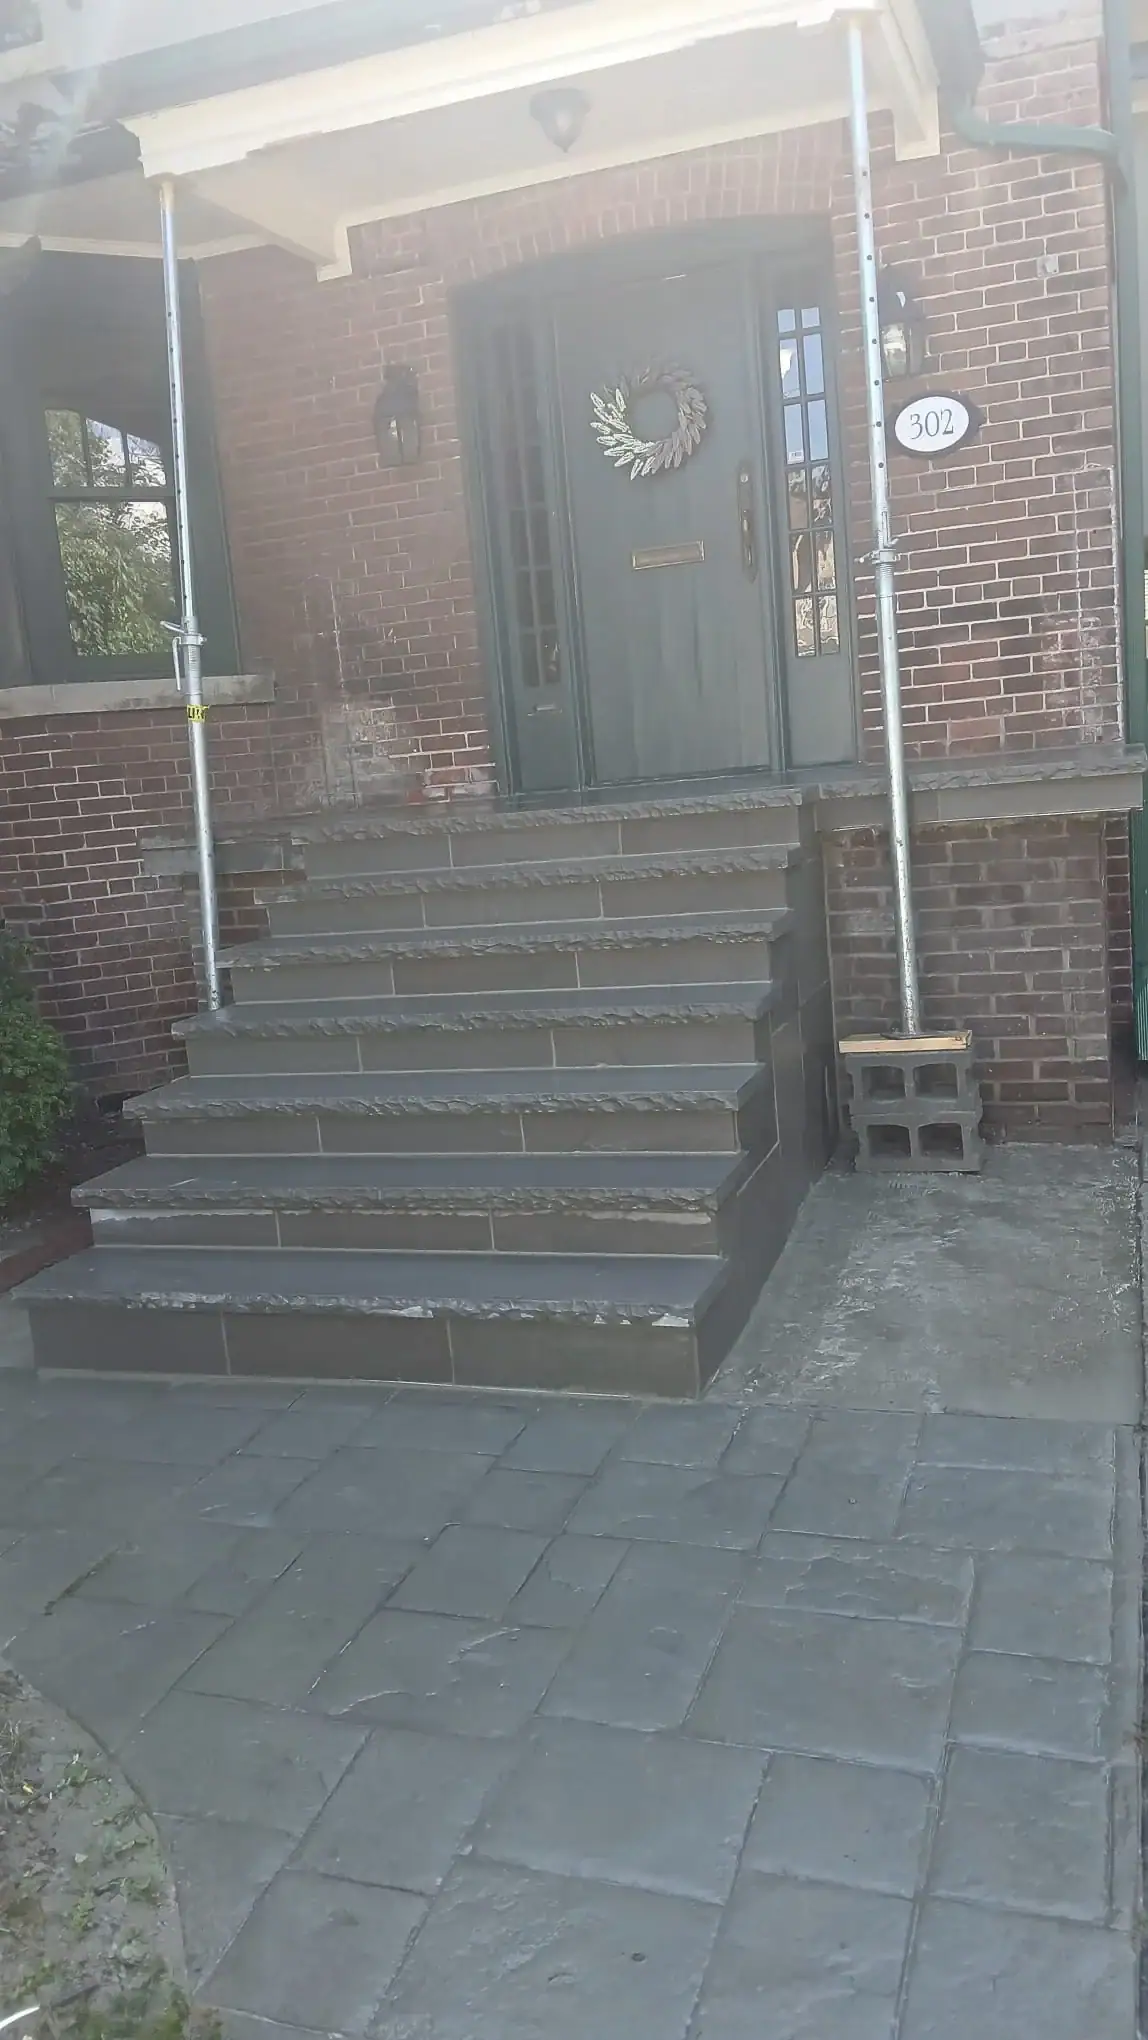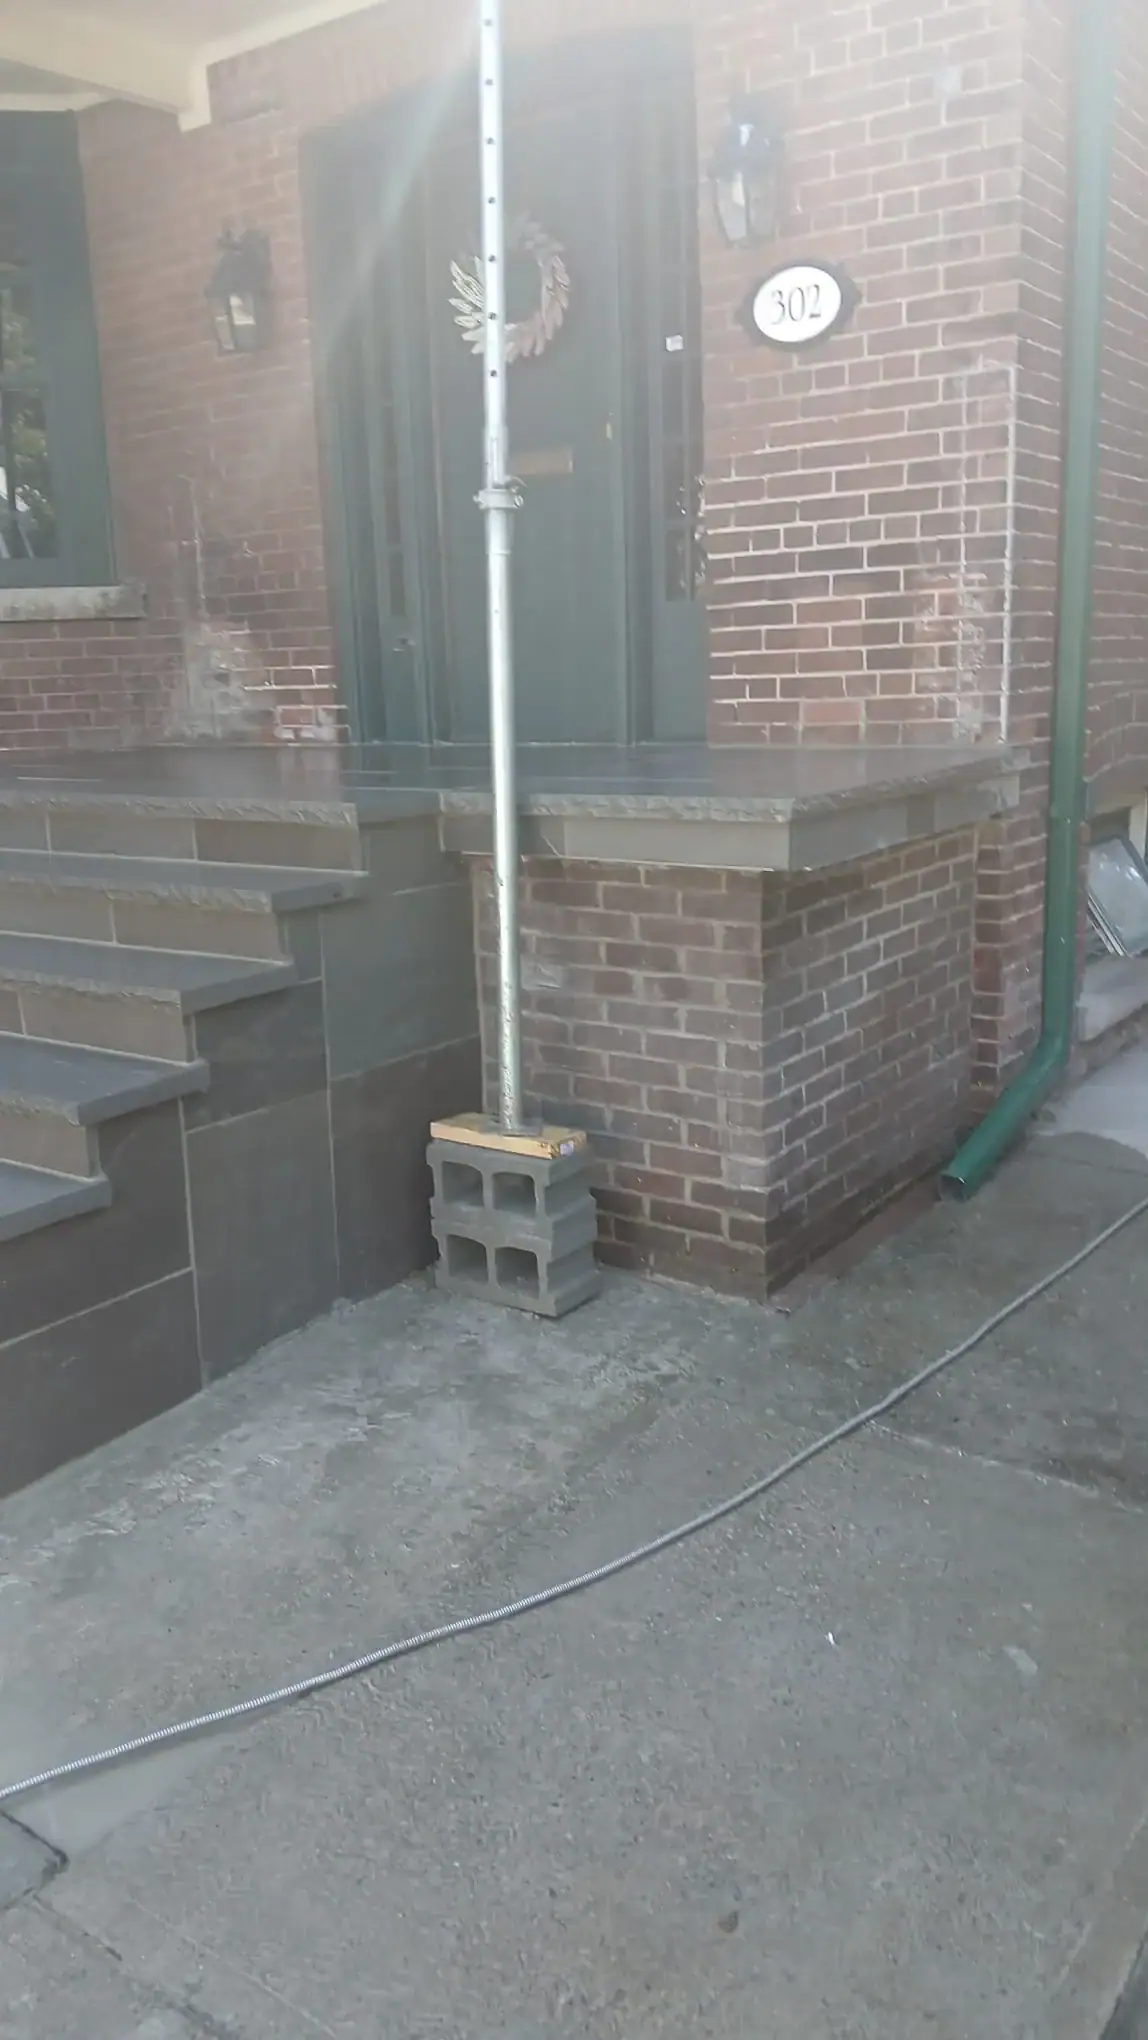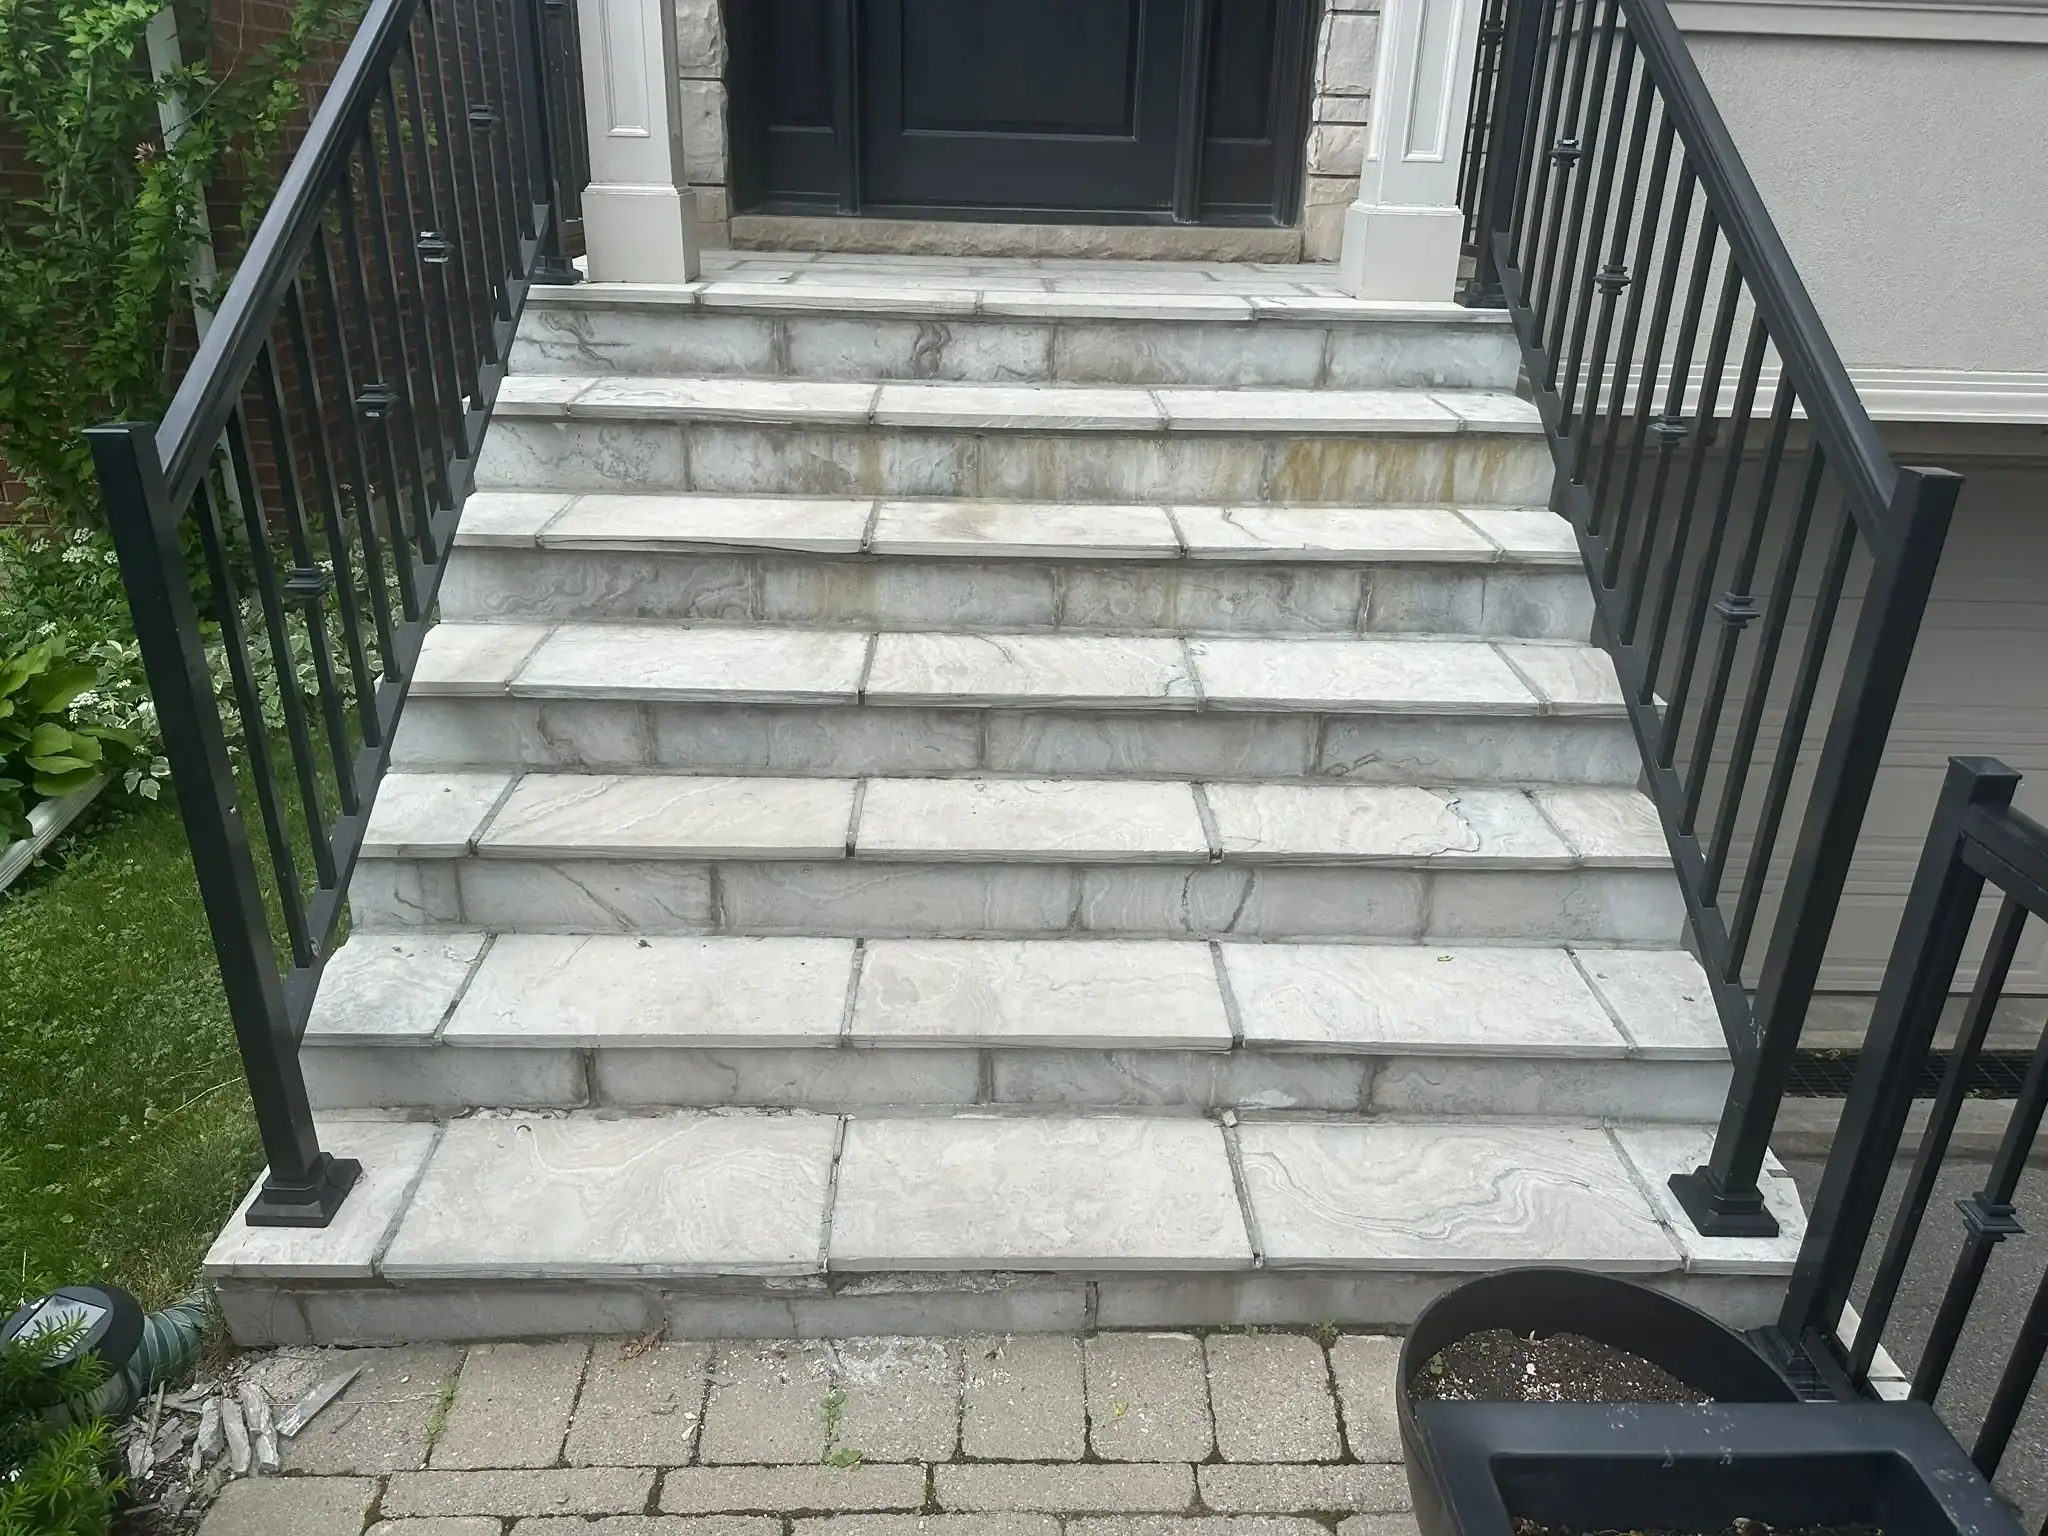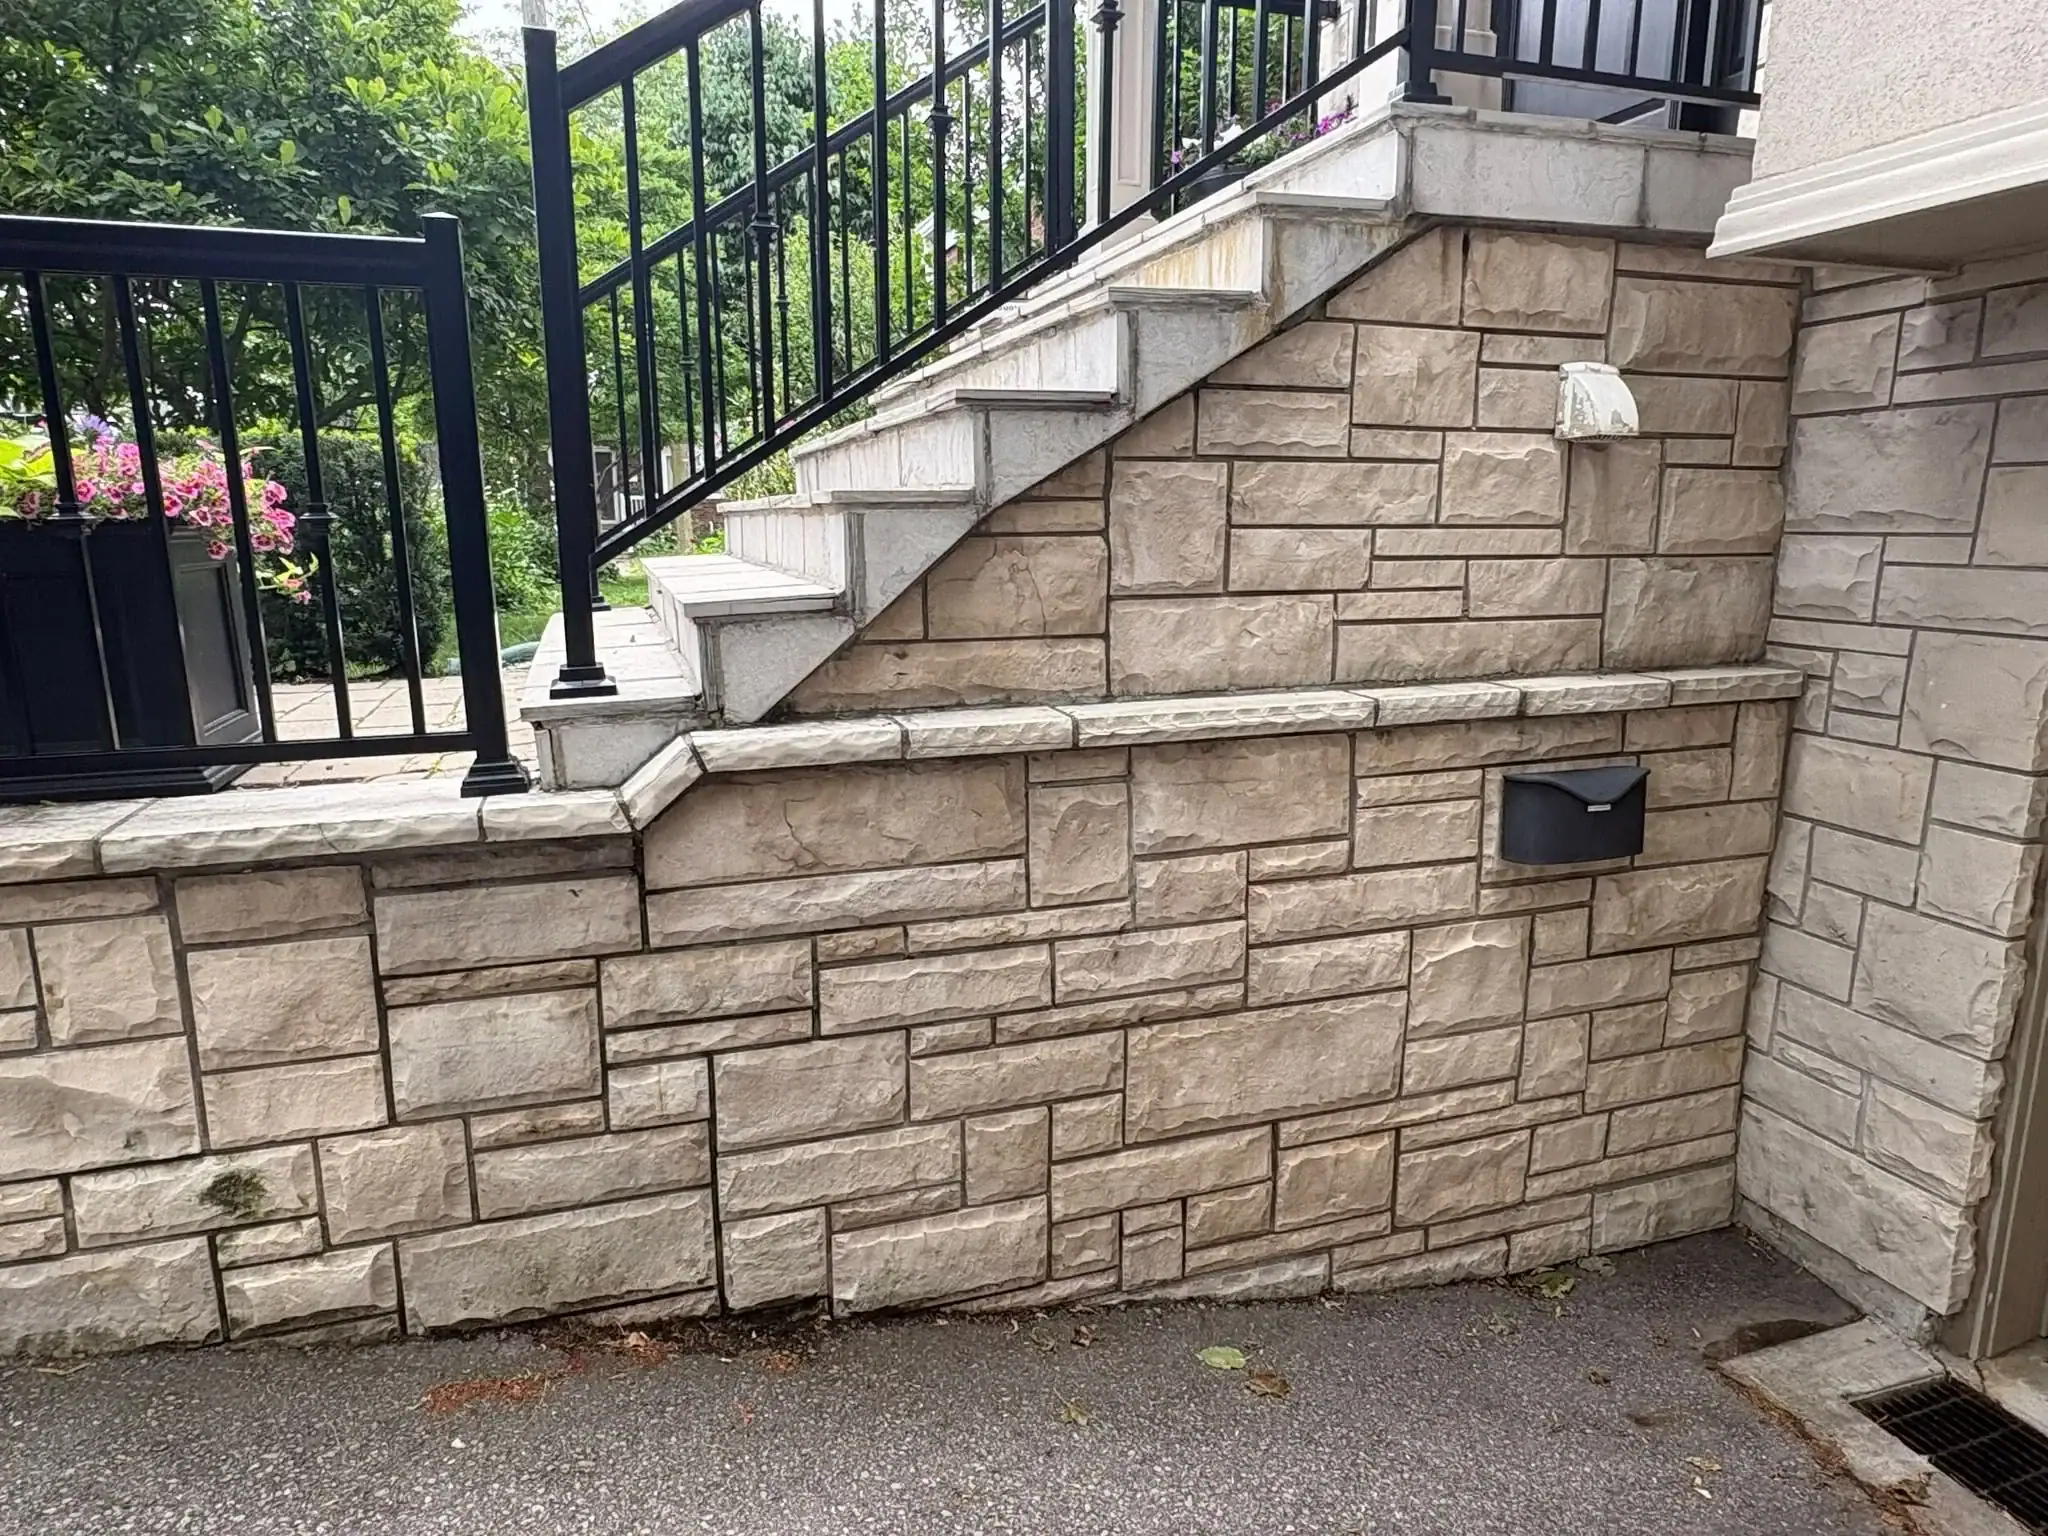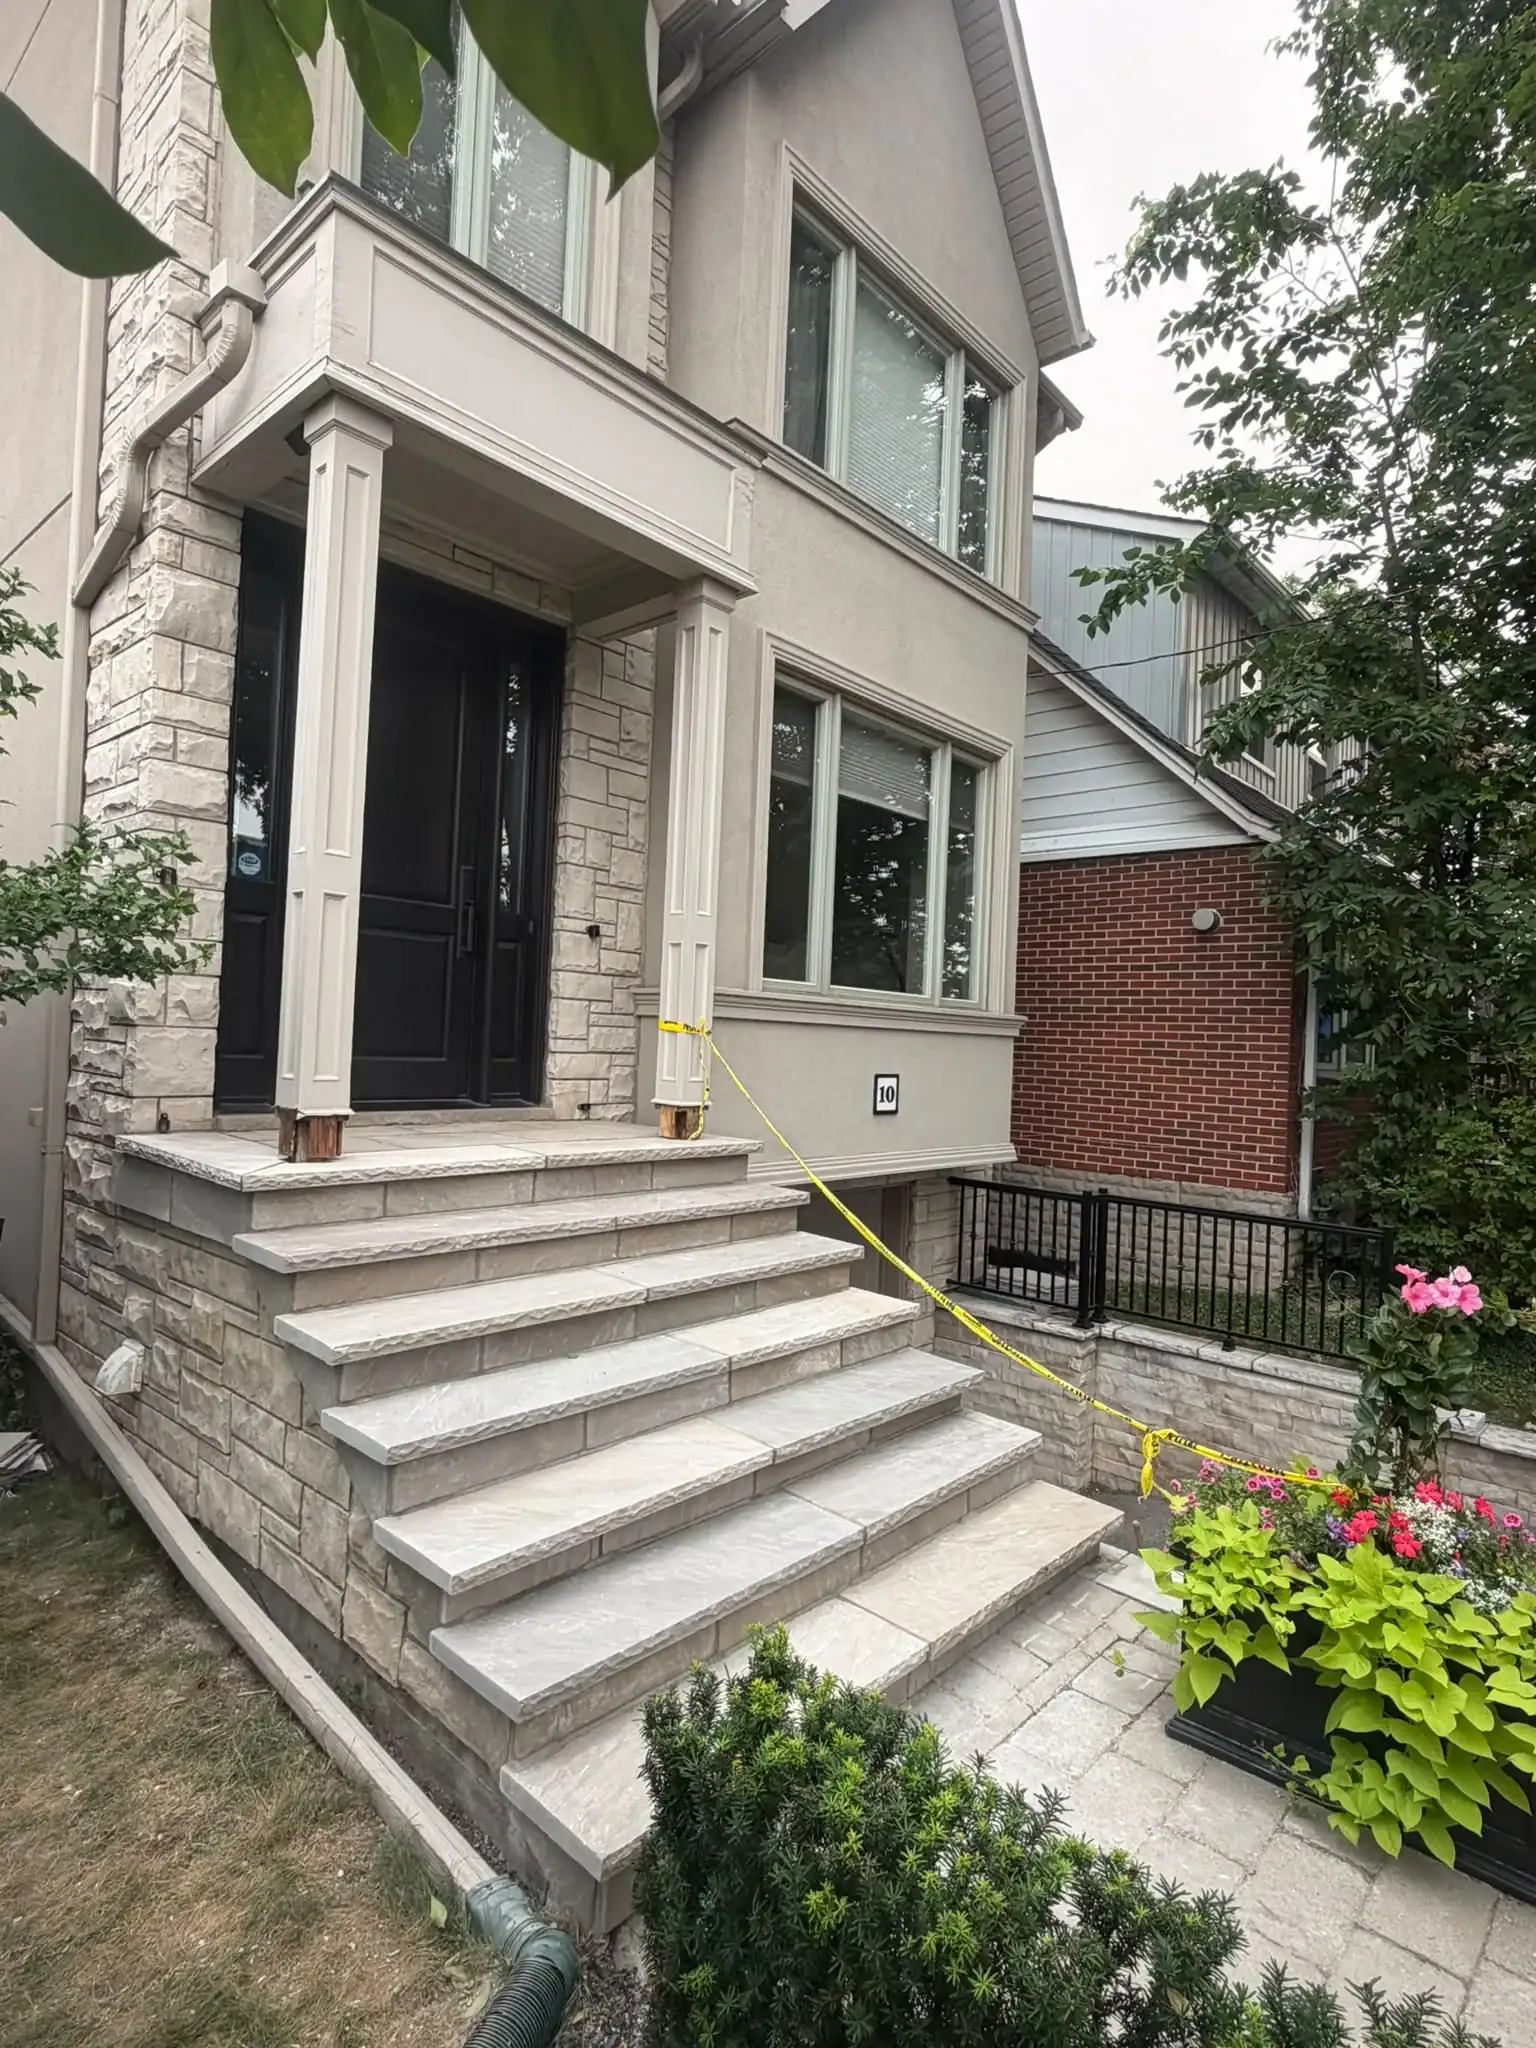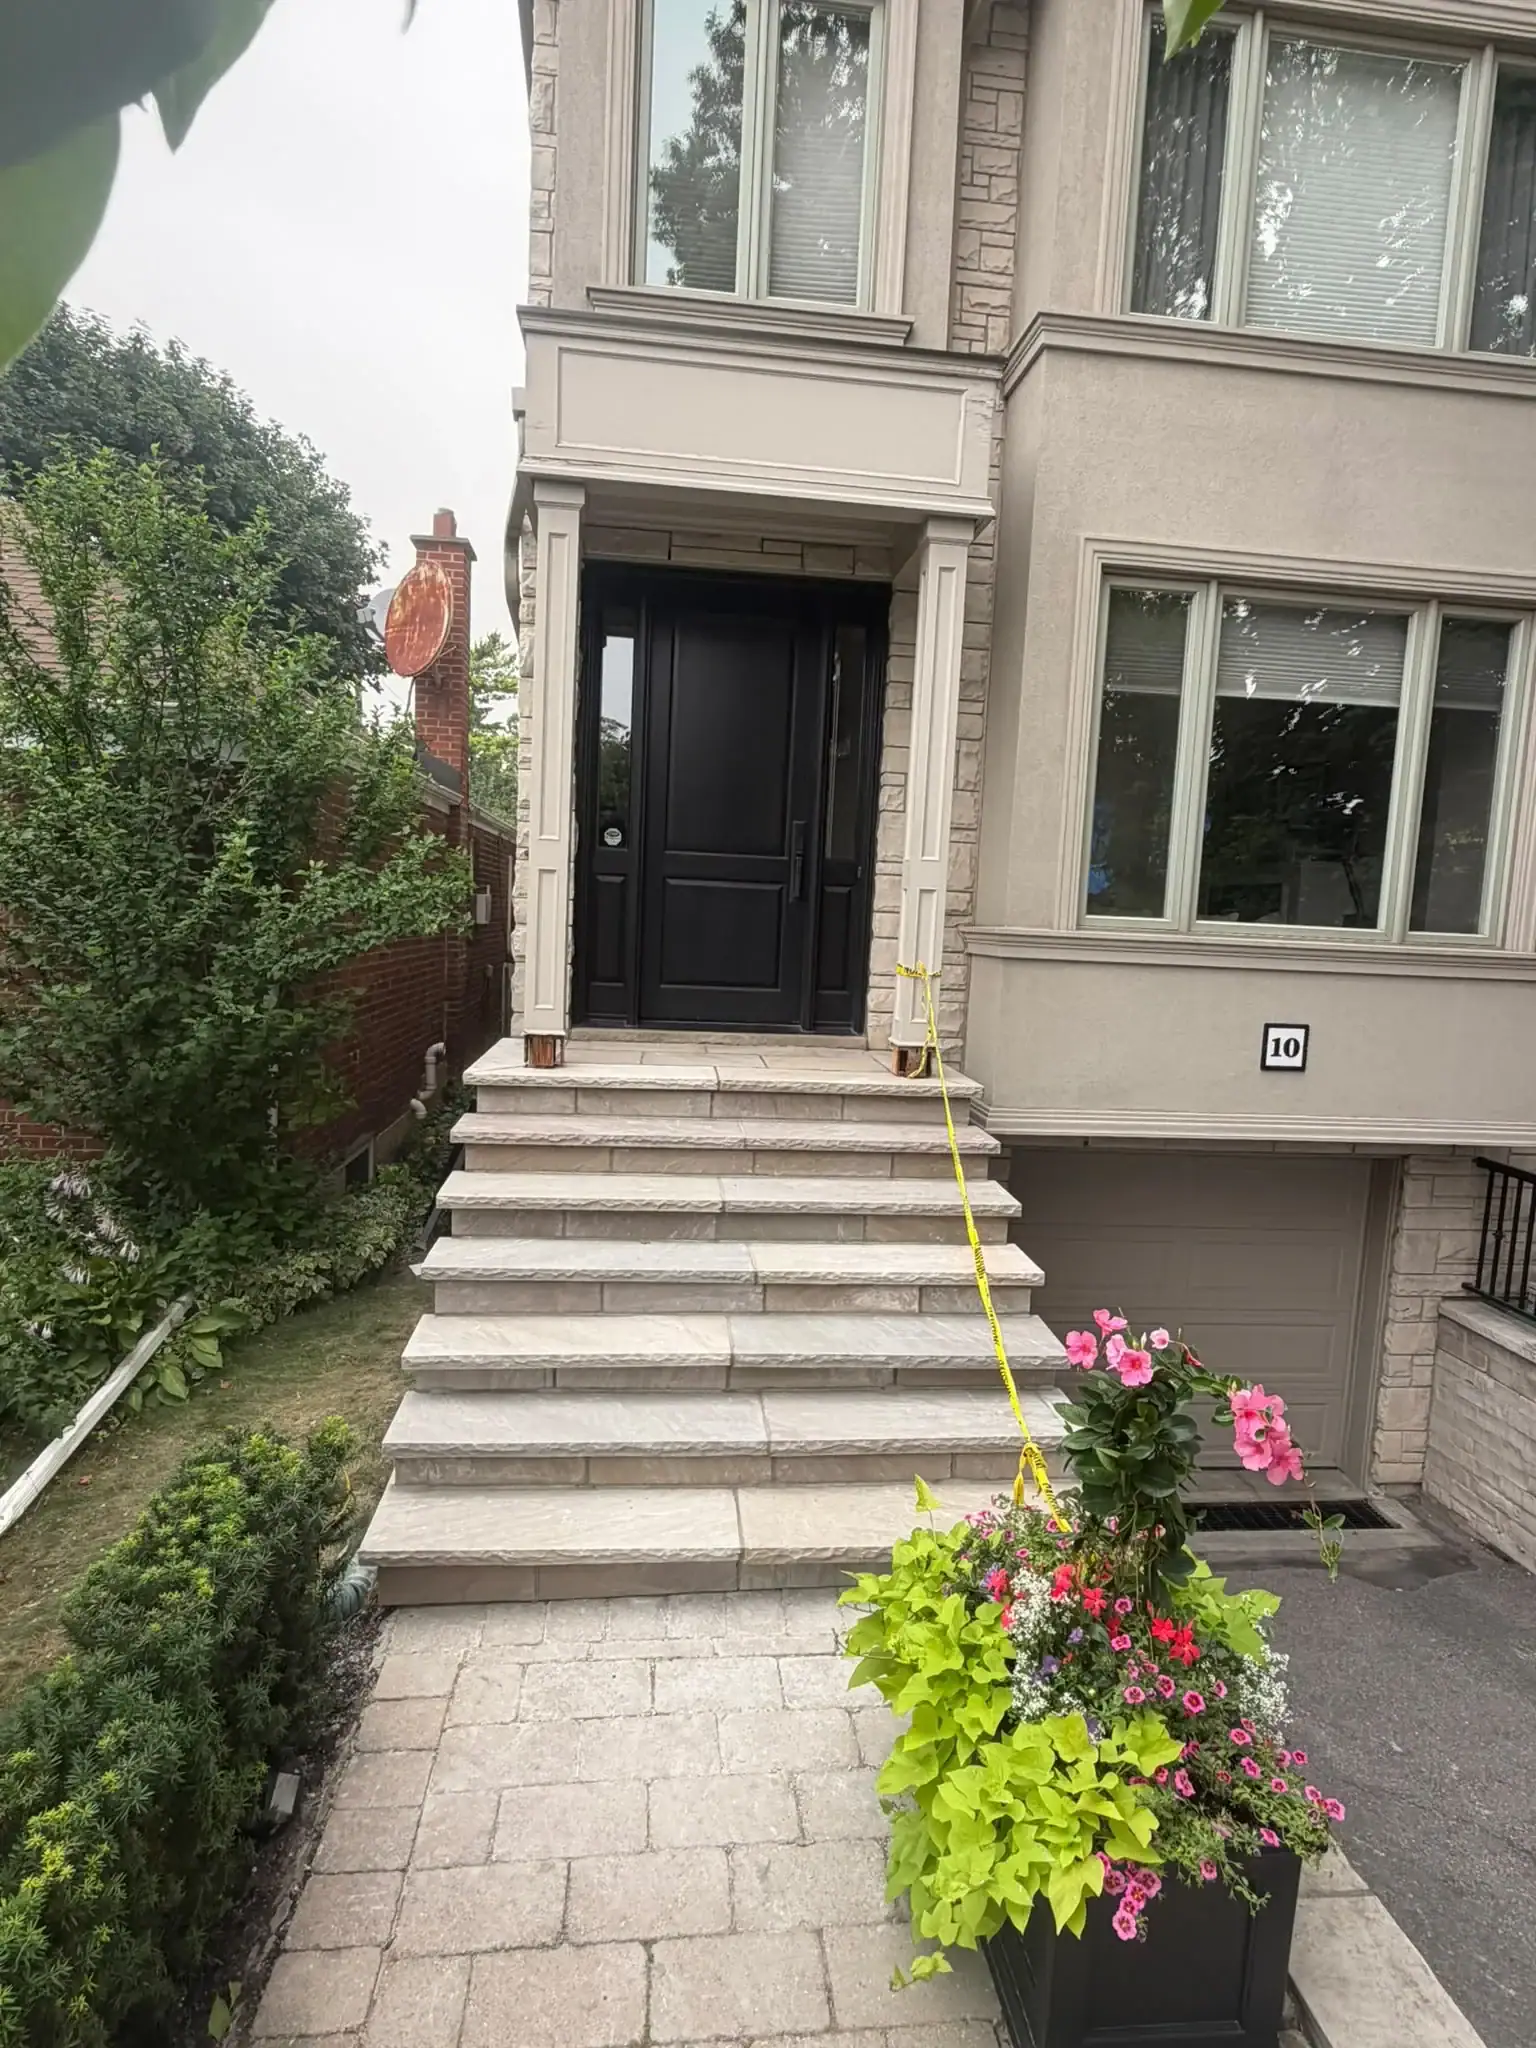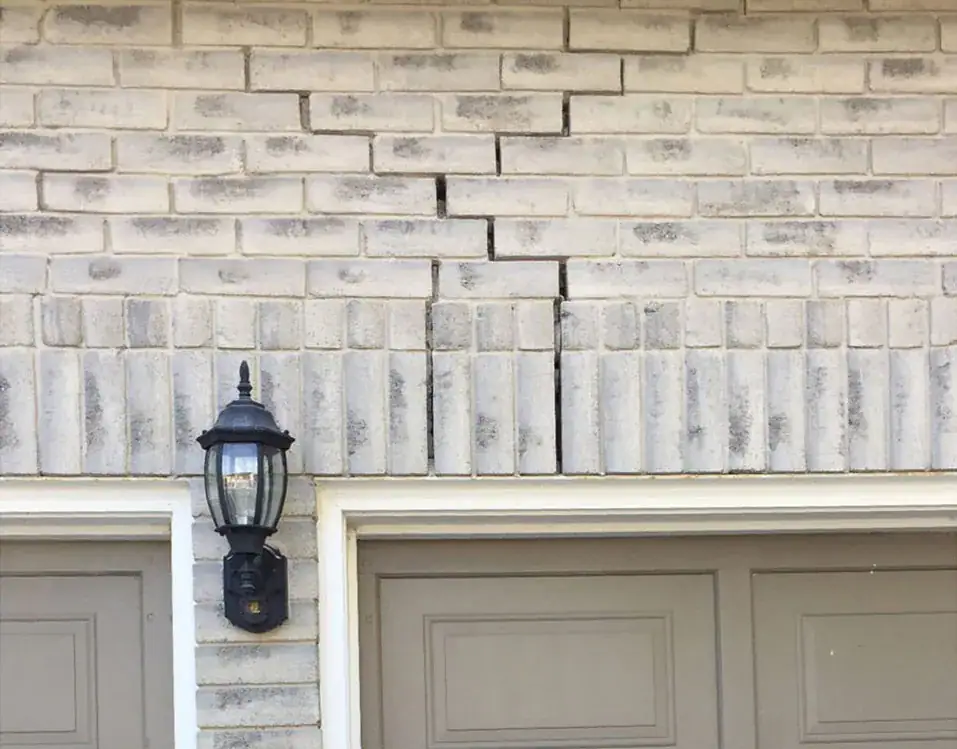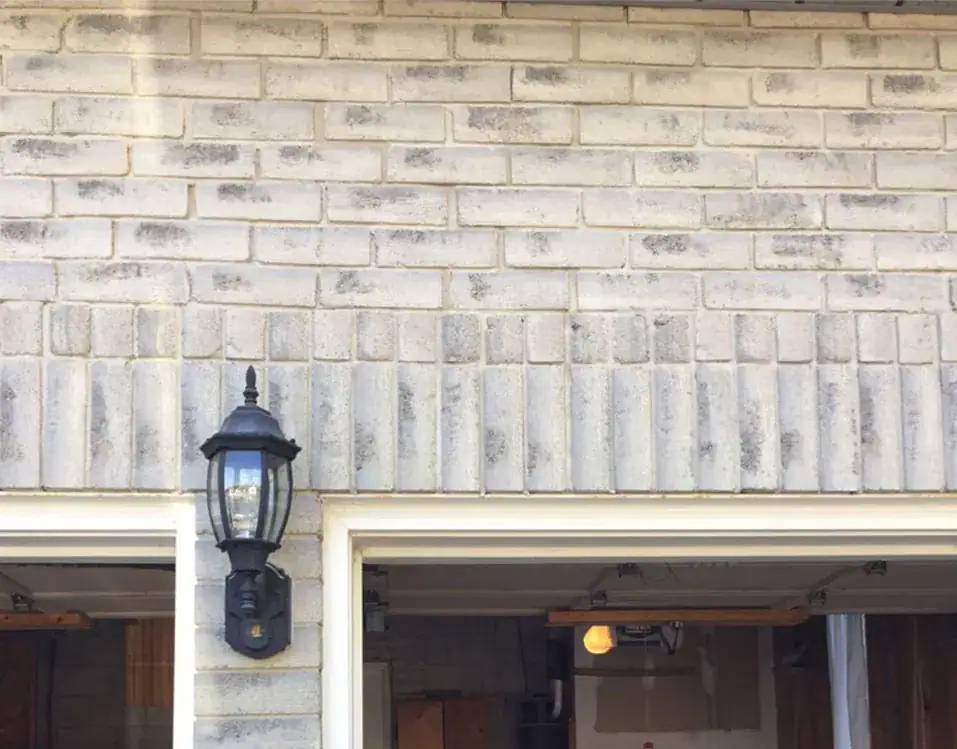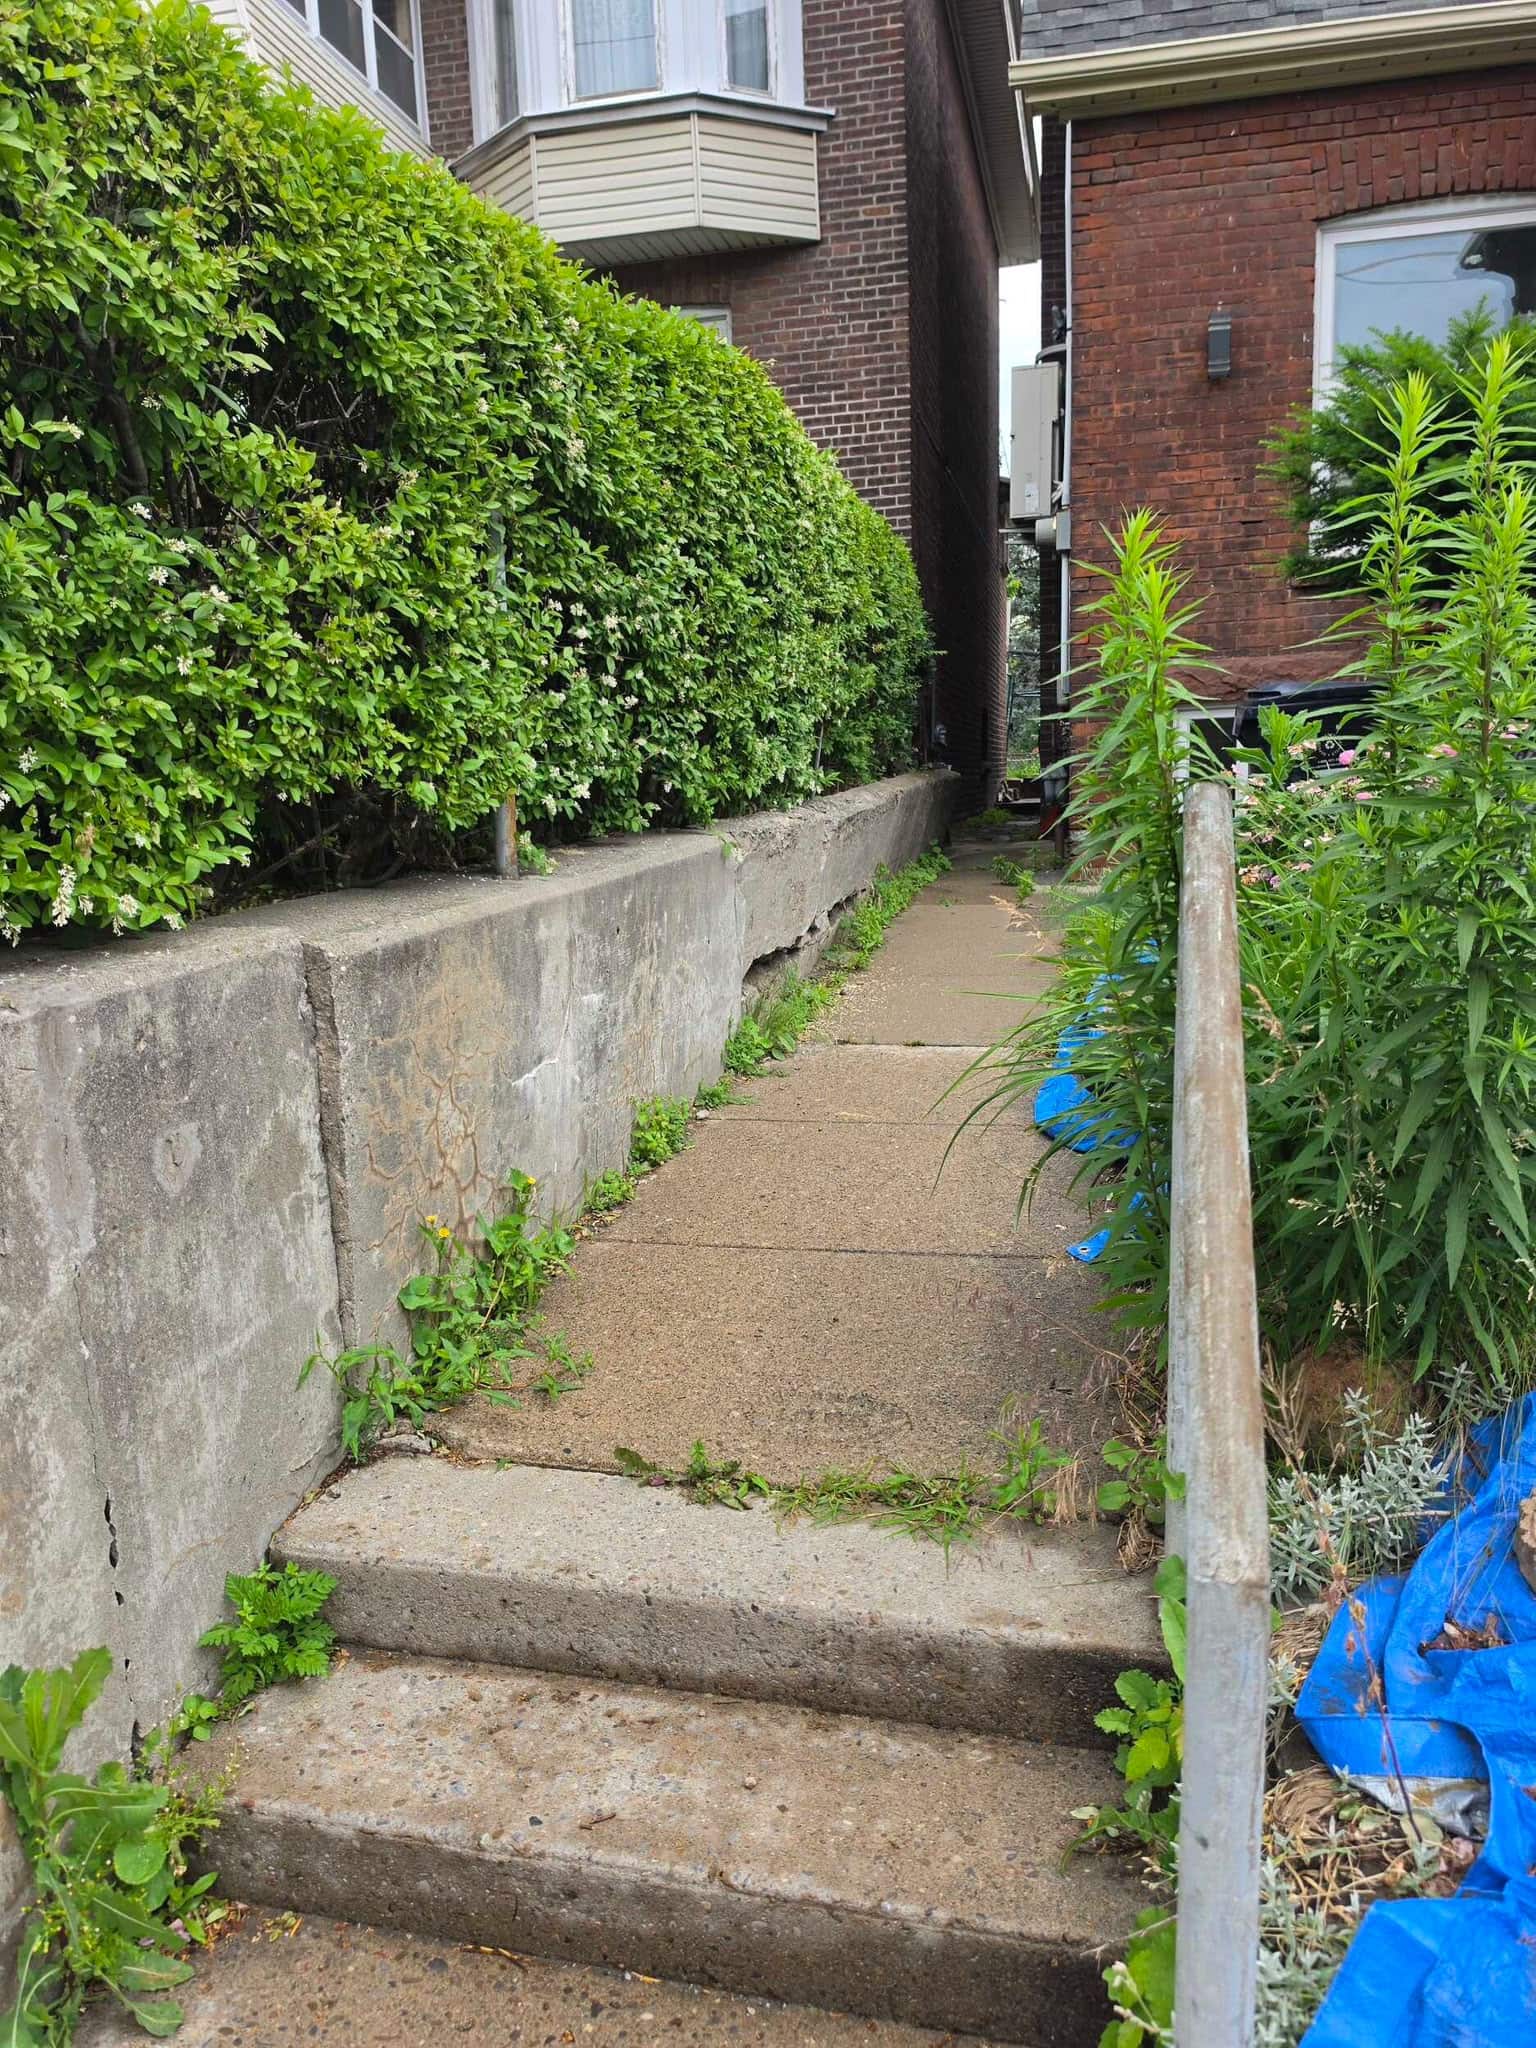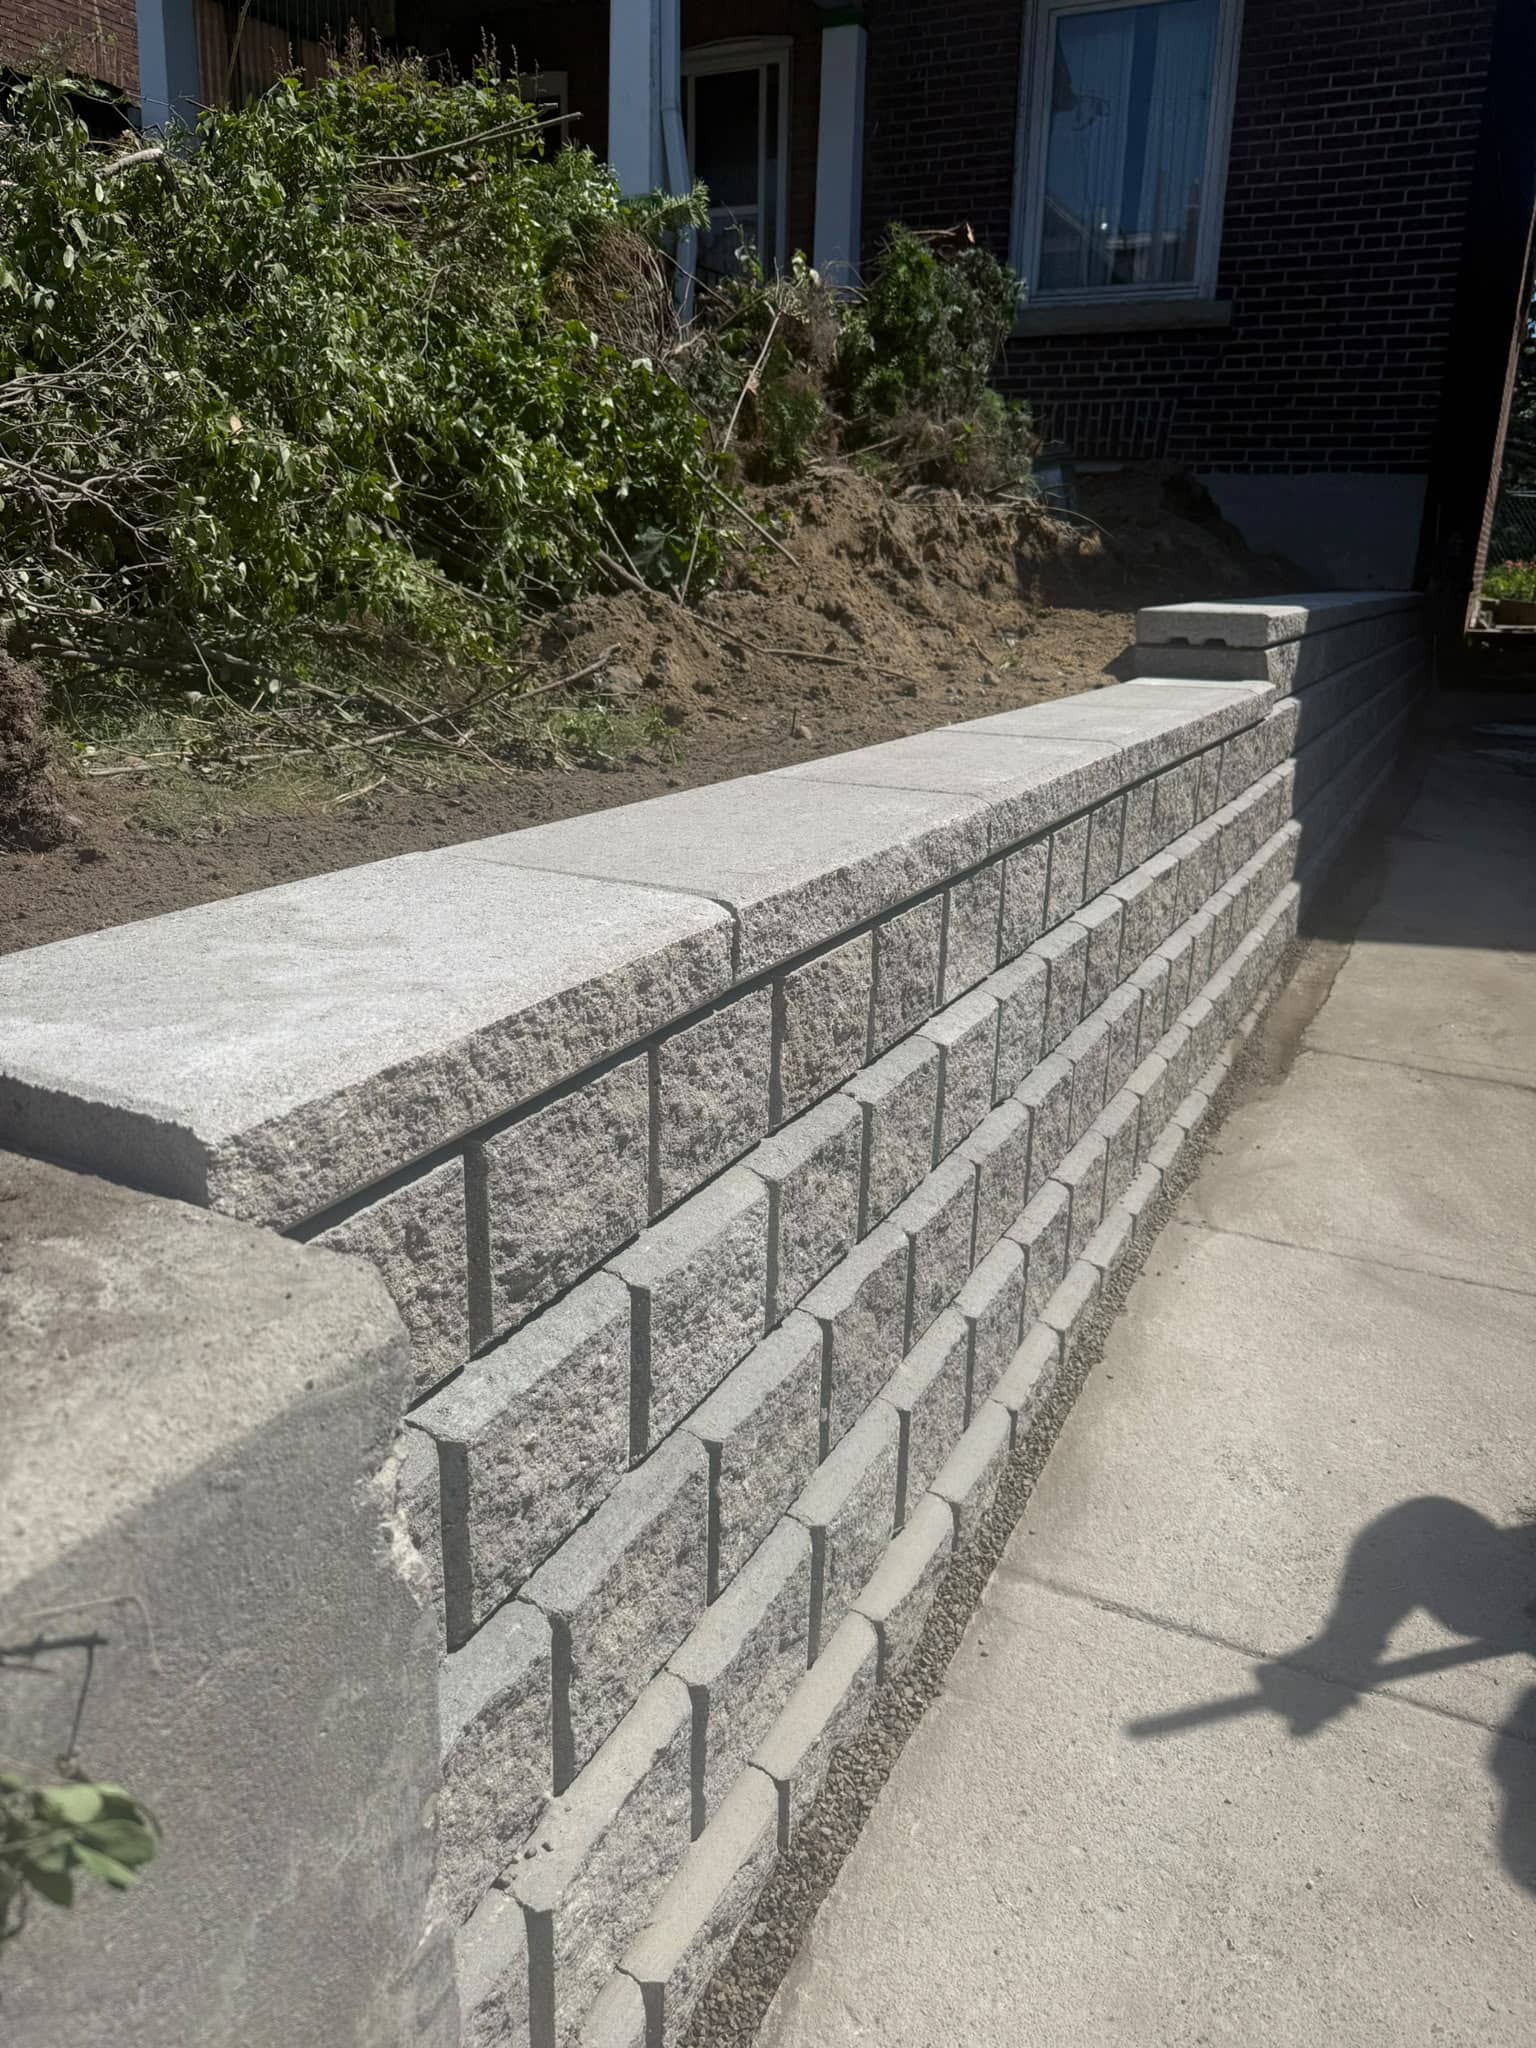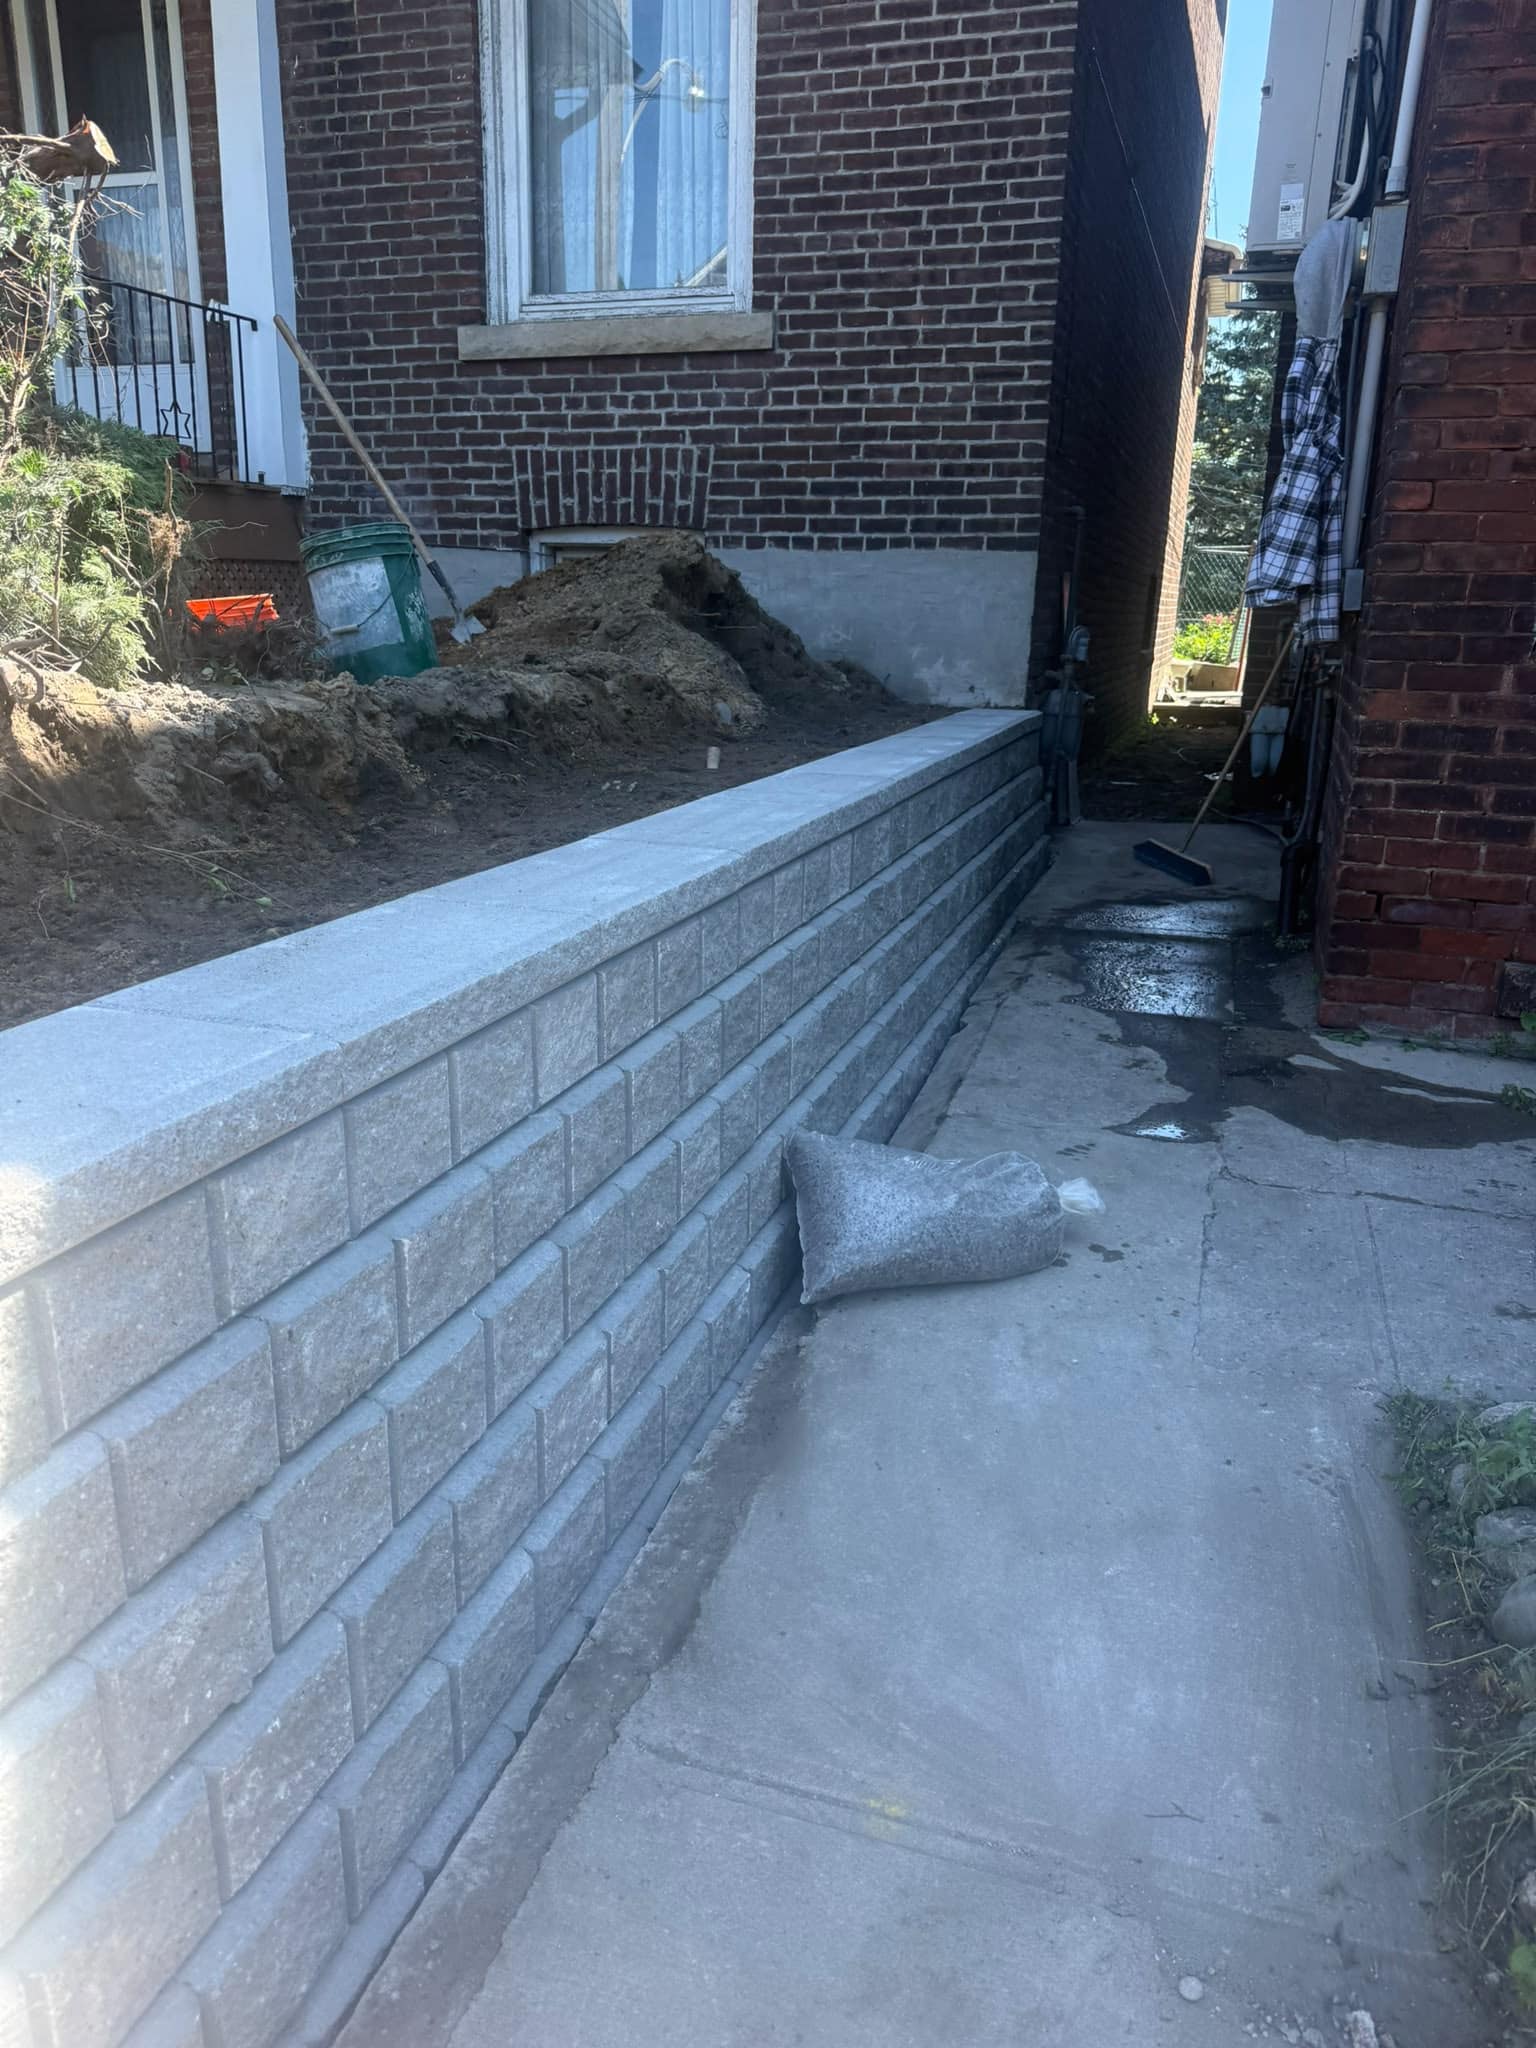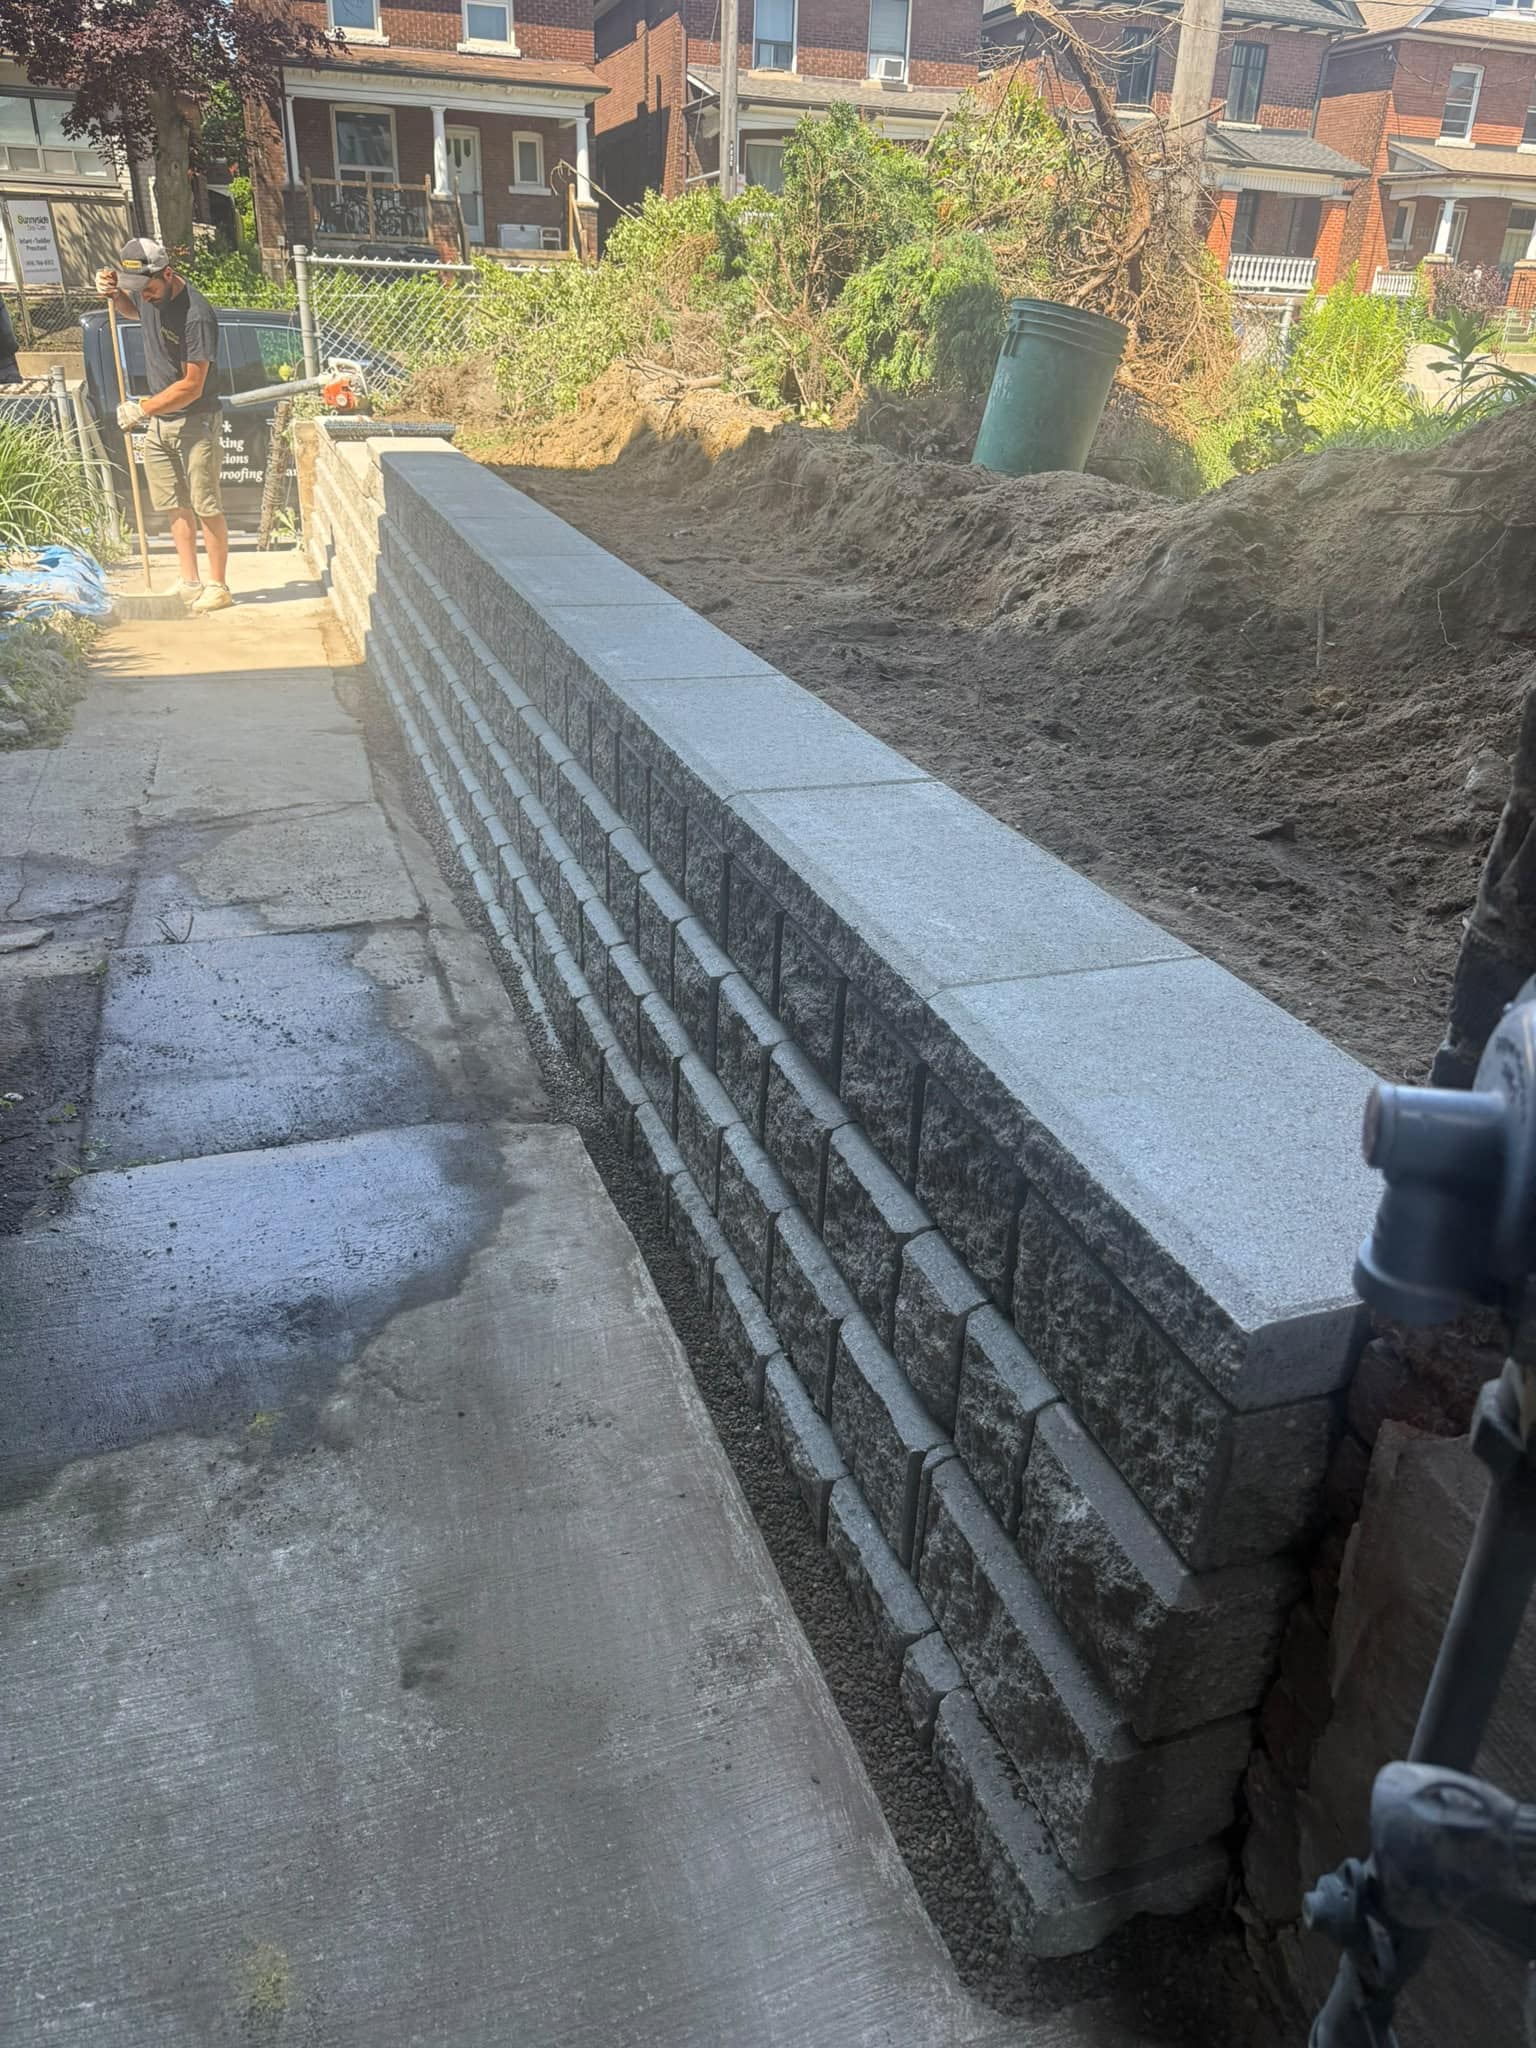
If the mortar between your bricks is cracked, loose, deeply recessed, or missing, repairing it before winter can help reduce further moisture-related damage. But not every weathered joint needs immediate repointing, and late-season work should only be done when conditions are suitable for the mortar being used.
For Toronto homeowners, early fall is a useful time to inspect brick walls and chimneys. Rain can reveal where masonry stays wet, deteriorated joints are still visible before snow arrives, and there may be enough suitable weather left to complete necessary repairs properly.
The important question is not simply, “Should I repoint before winter?” It is whether your mortar has deteriorated enough to need repair, what caused that deterioration, and whether there is enough suitable weather for the work to cure correctly.
This guide explains how to make that decision, which mortar problems deserve attention, when a repair can reasonably wait, and why moisture should be considered before new mortar is installed.
What Does Repointing Actually Repair?
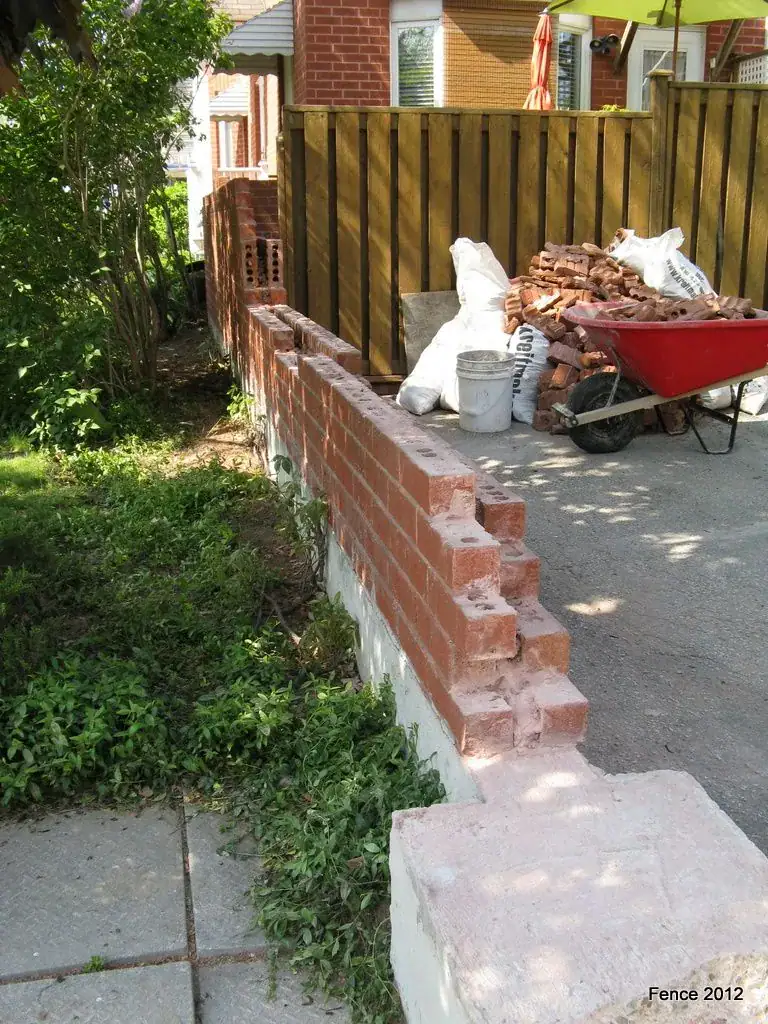
Repointing repairs deteriorated mortar joints while preserving brick or stone that is still in usable condition.
The damaged mortar is removed to an appropriate depth, the joint is cleaned, and compatible new mortar is installed and finished to suit the existing masonry.
Homeowners often use the terms repointing and tuckpointing interchangeably. Traditional masonry terminology differs, but both terms are commonly used when discussing mortar-joint repair.
The main point is that repointing addresses the mortar between the bricks. It does not repair badly deteriorated bricks, correct major wall movement, or address the source of recurring water exposure on its own.
If your bricks remain sound but the joints are failing, A&A Masonry’s Toronto tuckpointing and mortar-joint repair services explain how deteriorated joints are repaired.
Why Mortar Joints Matter Before a Toronto Winter
Mortar joints matter before winter because they are part of the exterior masonry system that helps manage weather exposure and holds the masonry units together.
Toronto brickwork faces rain, snow, melting ice, changing temperatures, and repeated wetting and drying. When joints become deeply recessed, or sections of mortar fall out, more water can reach vulnerable parts of the masonry.
Cold weather does not automatically damage every damp brick wall. The bigger concern is masonry that is already deteriorated or repeatedly saturated before freezing temperatures arrive.
If water gets into open joints and the underlying problem continues through winter, existing deterioration may worsen.
That makes fall a useful inspection period, but it does not mean every old mortar joint should be replaced before the first snowfall.
Signs Your Brick May Need Repointing Before Winter
Consider repointing when mortar deterioration clearly affects the condition of the joints, not just their appearance.
Look for:
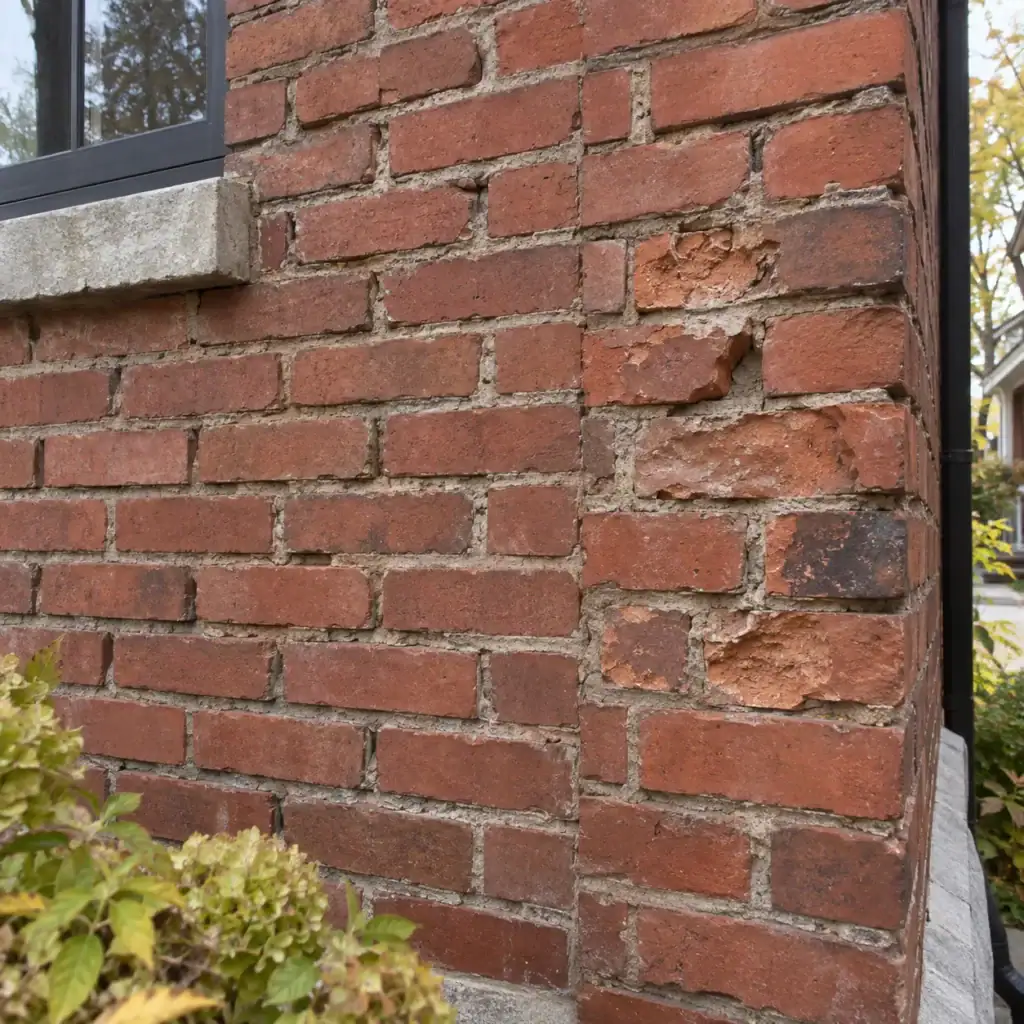
- mortar that crumbles easily;
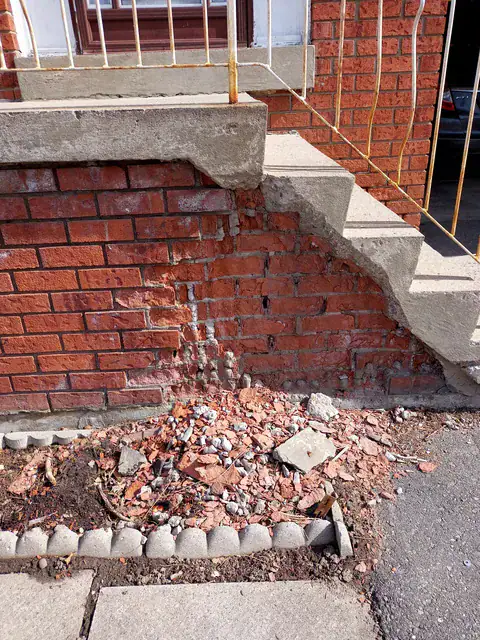
- sections of mortar that have fallen out;
- deeply recessed joints;
- visible cracks running through mortar;
- open gaps around individual bricks;
- loose pieces of mortar at the base of the wall;
- water staining around deteriorated joints;
- loose bricks associated with mortar loss;
- widespread joint deterioration on a chimney.
One small hairline crack does not necessarily mean an entire wall needs repointing. The extent, location, depth, and cause of the deterioration all matter.
Try a Simple Visual and Touch Inspection
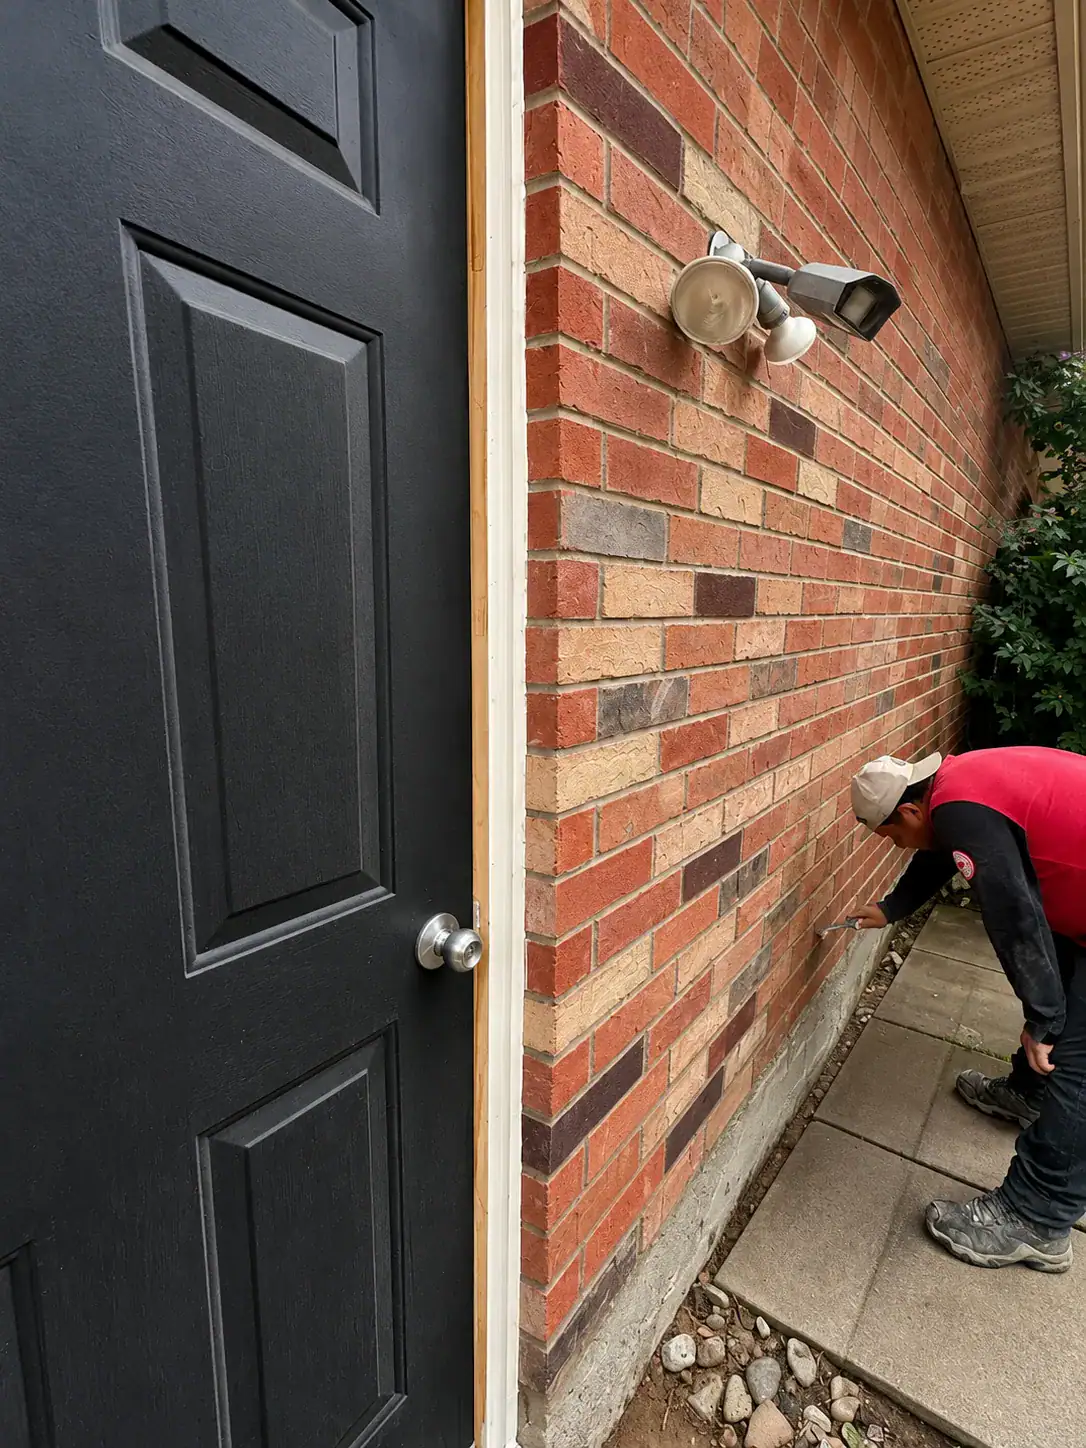
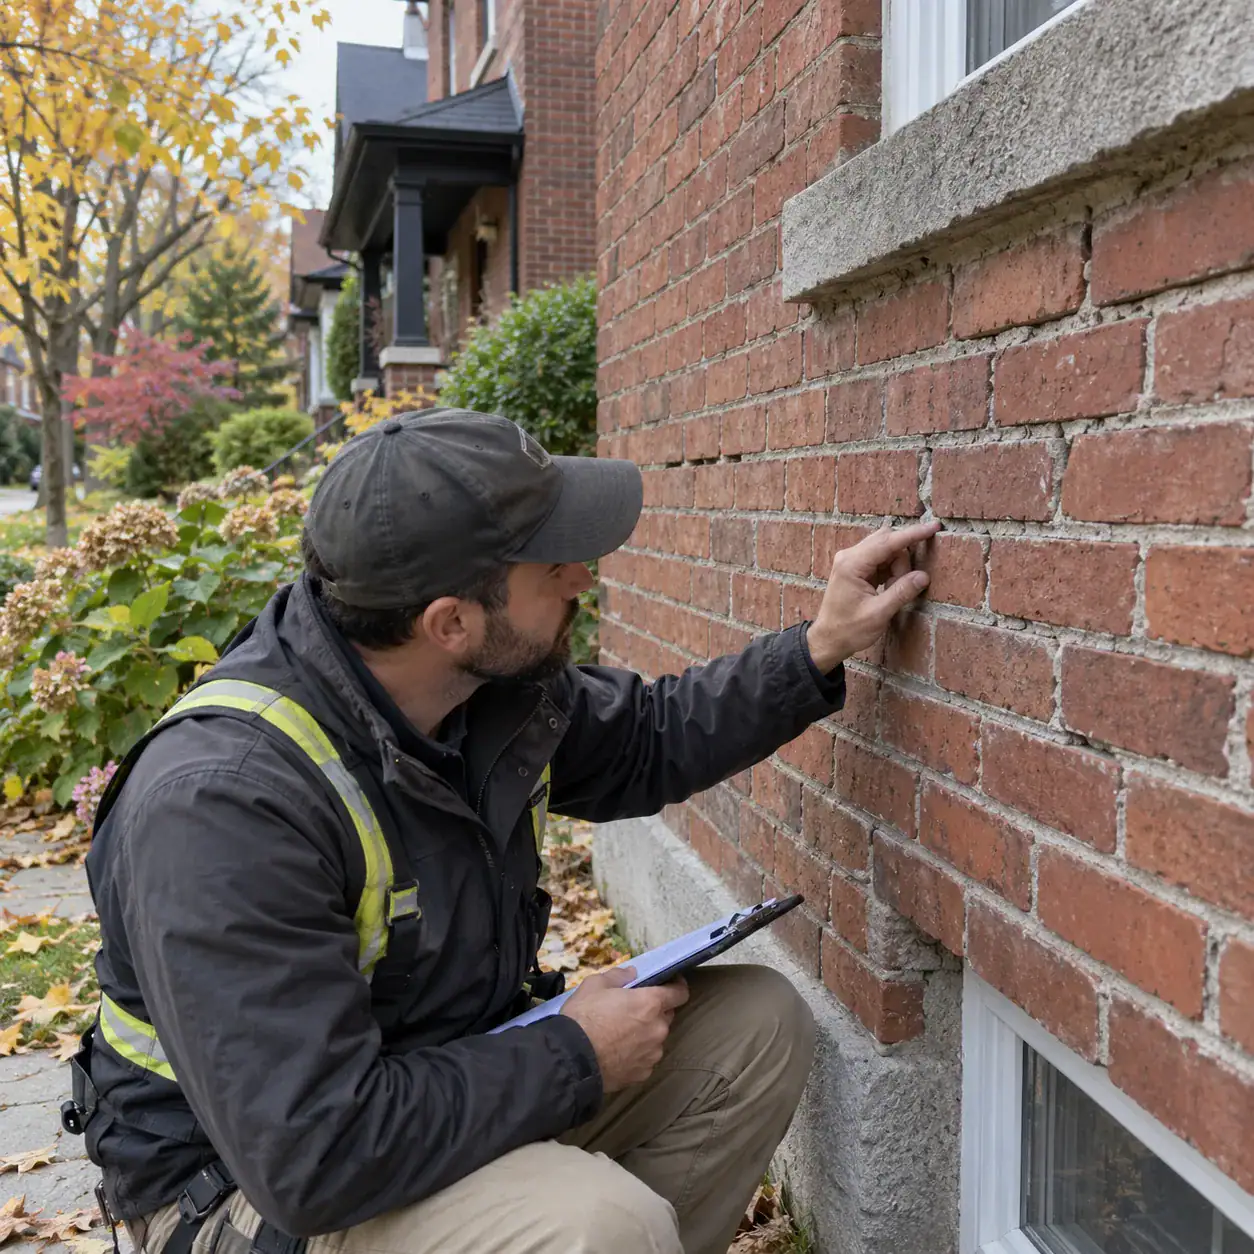
Homeowners can learn a lot from a careful visual inspection without damaging the wall.
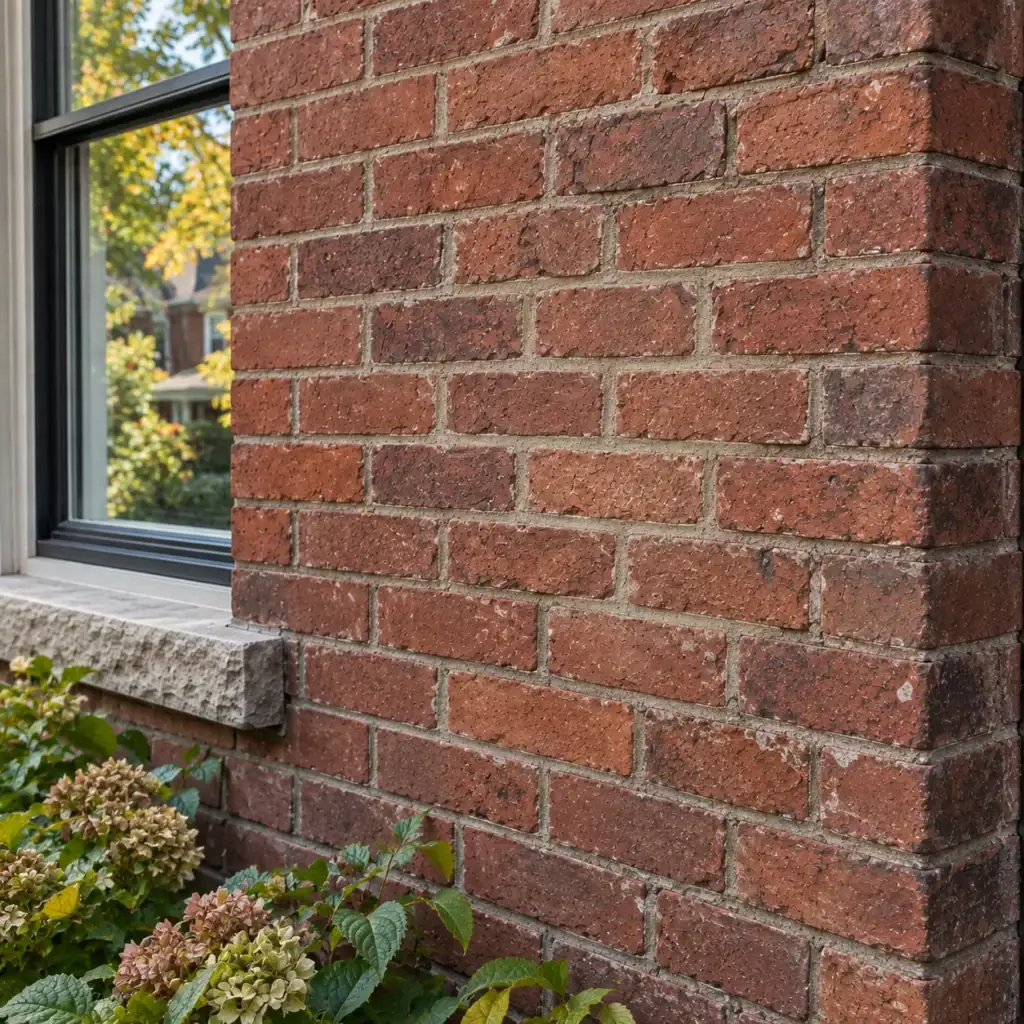
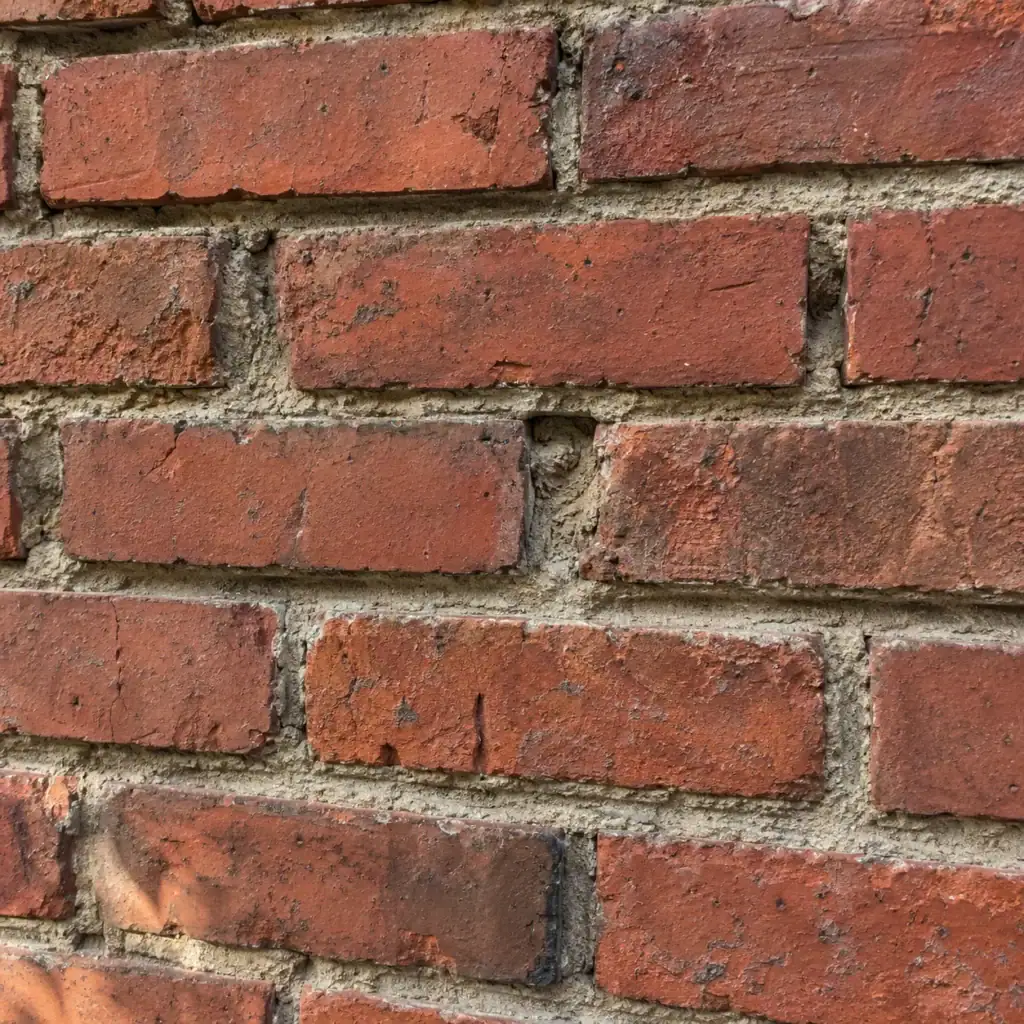
Stand back first and look for areas where the mortar appears darker, lighter, deeper, or more irregular than the surrounding joints.
Then inspect accessible areas more closely. Mortar that is visibly turning to loose sand or falling away with very light contact deserves more attention than mortar that is simply aged or discoloured.
Do not aggressively scrape joints with screwdrivers or other hard tools. You do not need to damage a joint to determine that it is deteriorating.
Photograph questionable areas so you can compare them later. This is especially useful for cracks that may be changing over time.
Recessed Mortar Is an Important Warning Sign
Mortar that has eroded well behind the brick face should be assessed because the joint is no longer in its original condition.
Some older masonry was intentionally built with particular joint profiles, so a recessed appearance alone does not prove that a joint has failed. What matters is whether the mortar has worn away from its original profile.
Look for uneven erosion, exposed brick edges, loose material, and sections where the joint is substantially deeper than neighbouring areas.
Widespread recession can also make the wall hold and shed water differently than it did when the joints were intact.
Cracked Mortar Does Not Always Mean the Same Thing
The pattern of a mortar crack can provide clues about what may be happening.
Small localized cracks may result from ordinary weathering or a previous repair. Longer stair-step cracks, repeated cracks around openings, or cracks accompanied by displaced brick may indicate movement that should be investigated before simply filling the joints.
This distinction matters because repointing is not a structural cure.
If a crack keeps reopening because the masonry is moving, replacing the mortar may hide the symptom temporarily without addressing the reason it developed.
When brick units themselves are cracked, spalling, or crumbling, the repair may also require selective brick replacement. A&A Masonry’s brick repair vs. brick replacement guide explains how these conditions differ.
Inspect Mortar After Rain
Rain can reveal moisture patterns that are difficult to see when the wall is completely dry.
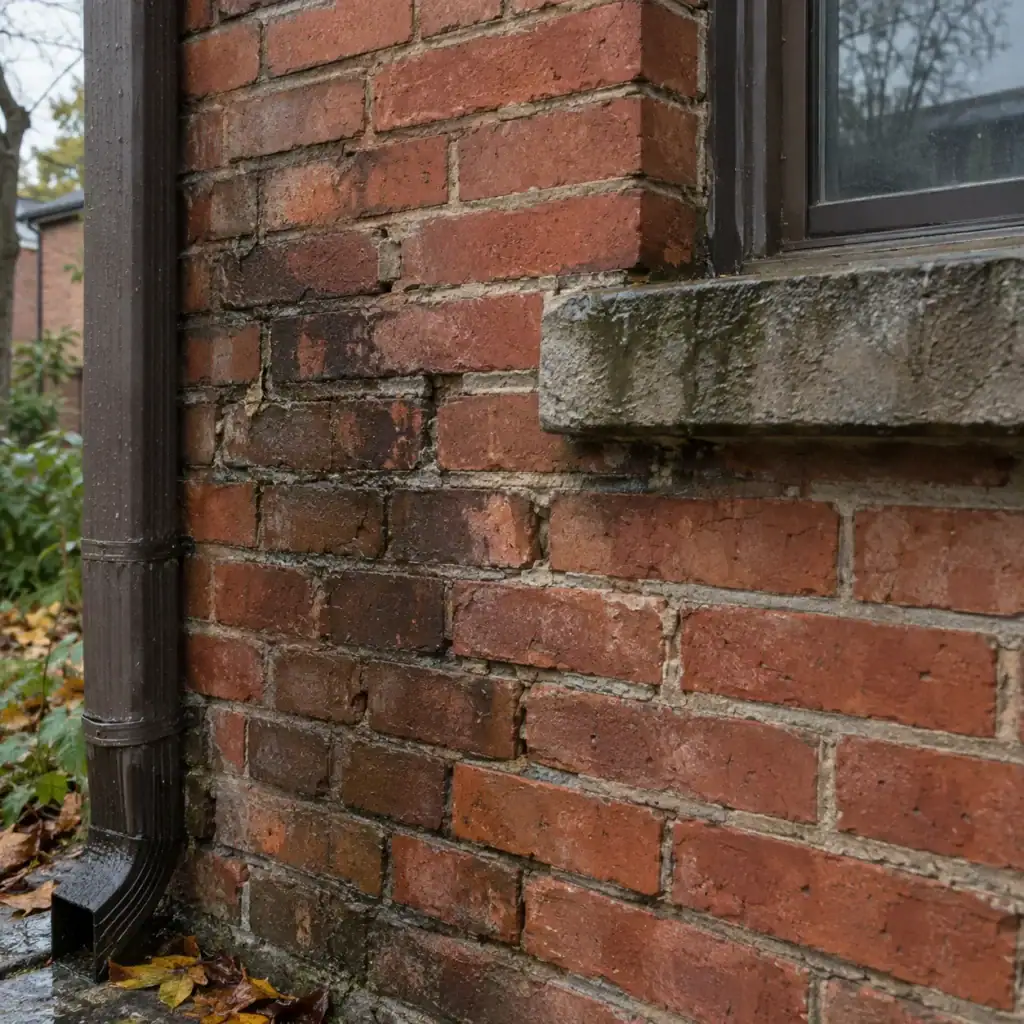
After a normal rainfall, look for sections that remain noticeably darker than surrounding masonry.
Pay particular attention:
- below roof edges;
- around windows and doors;
- below window sills;
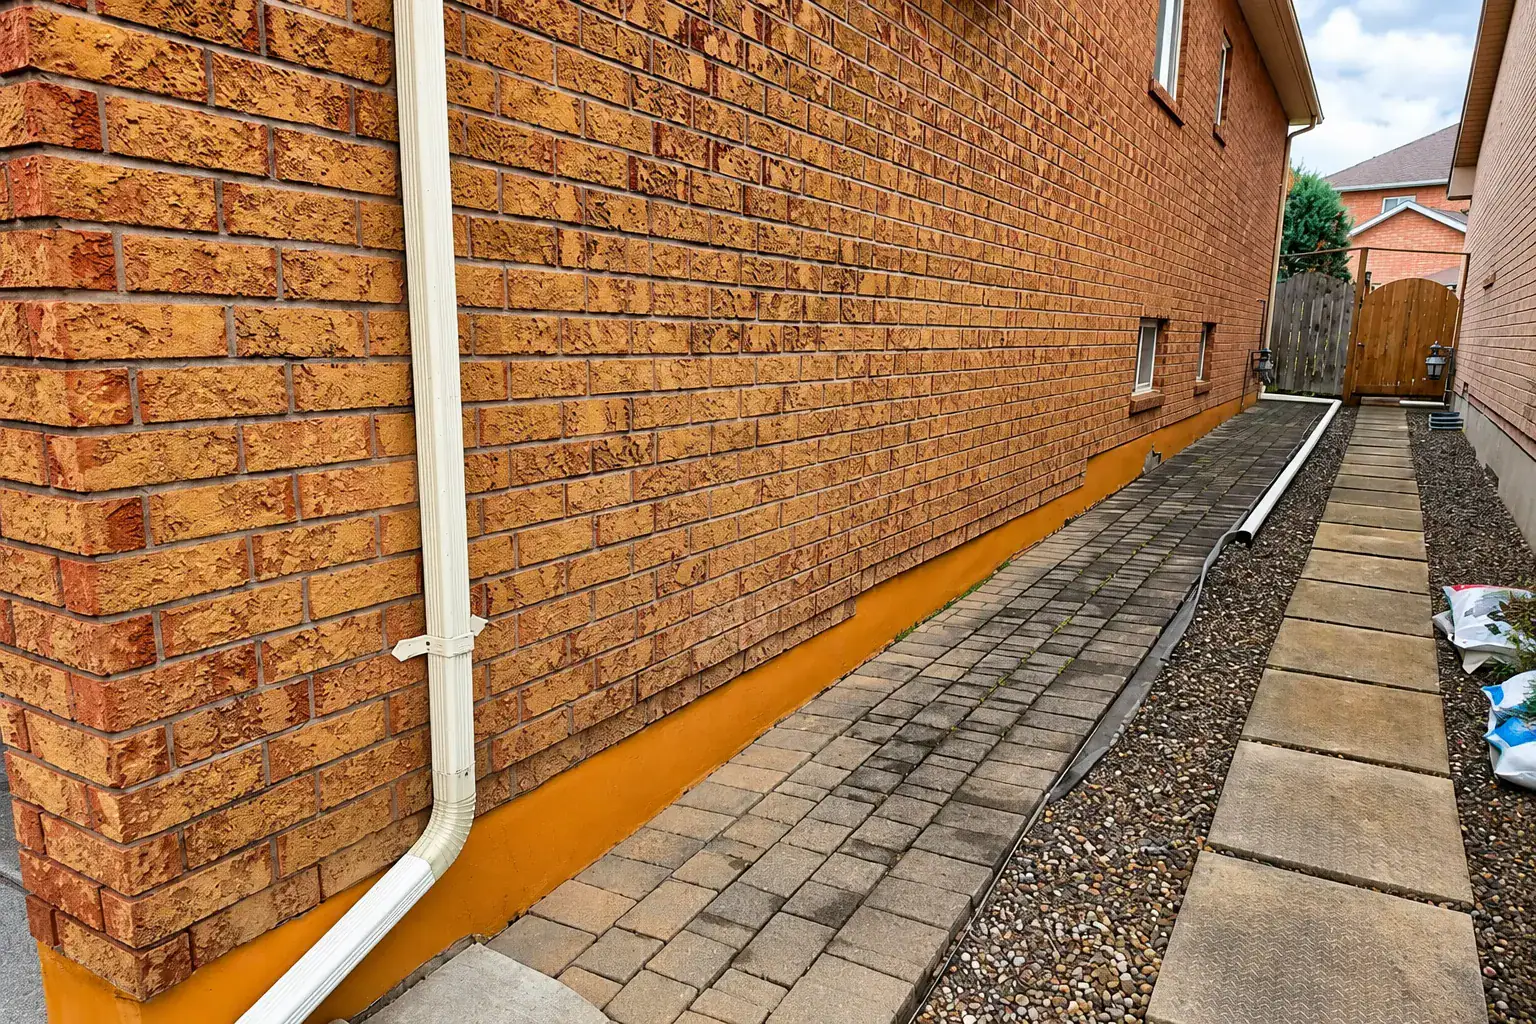
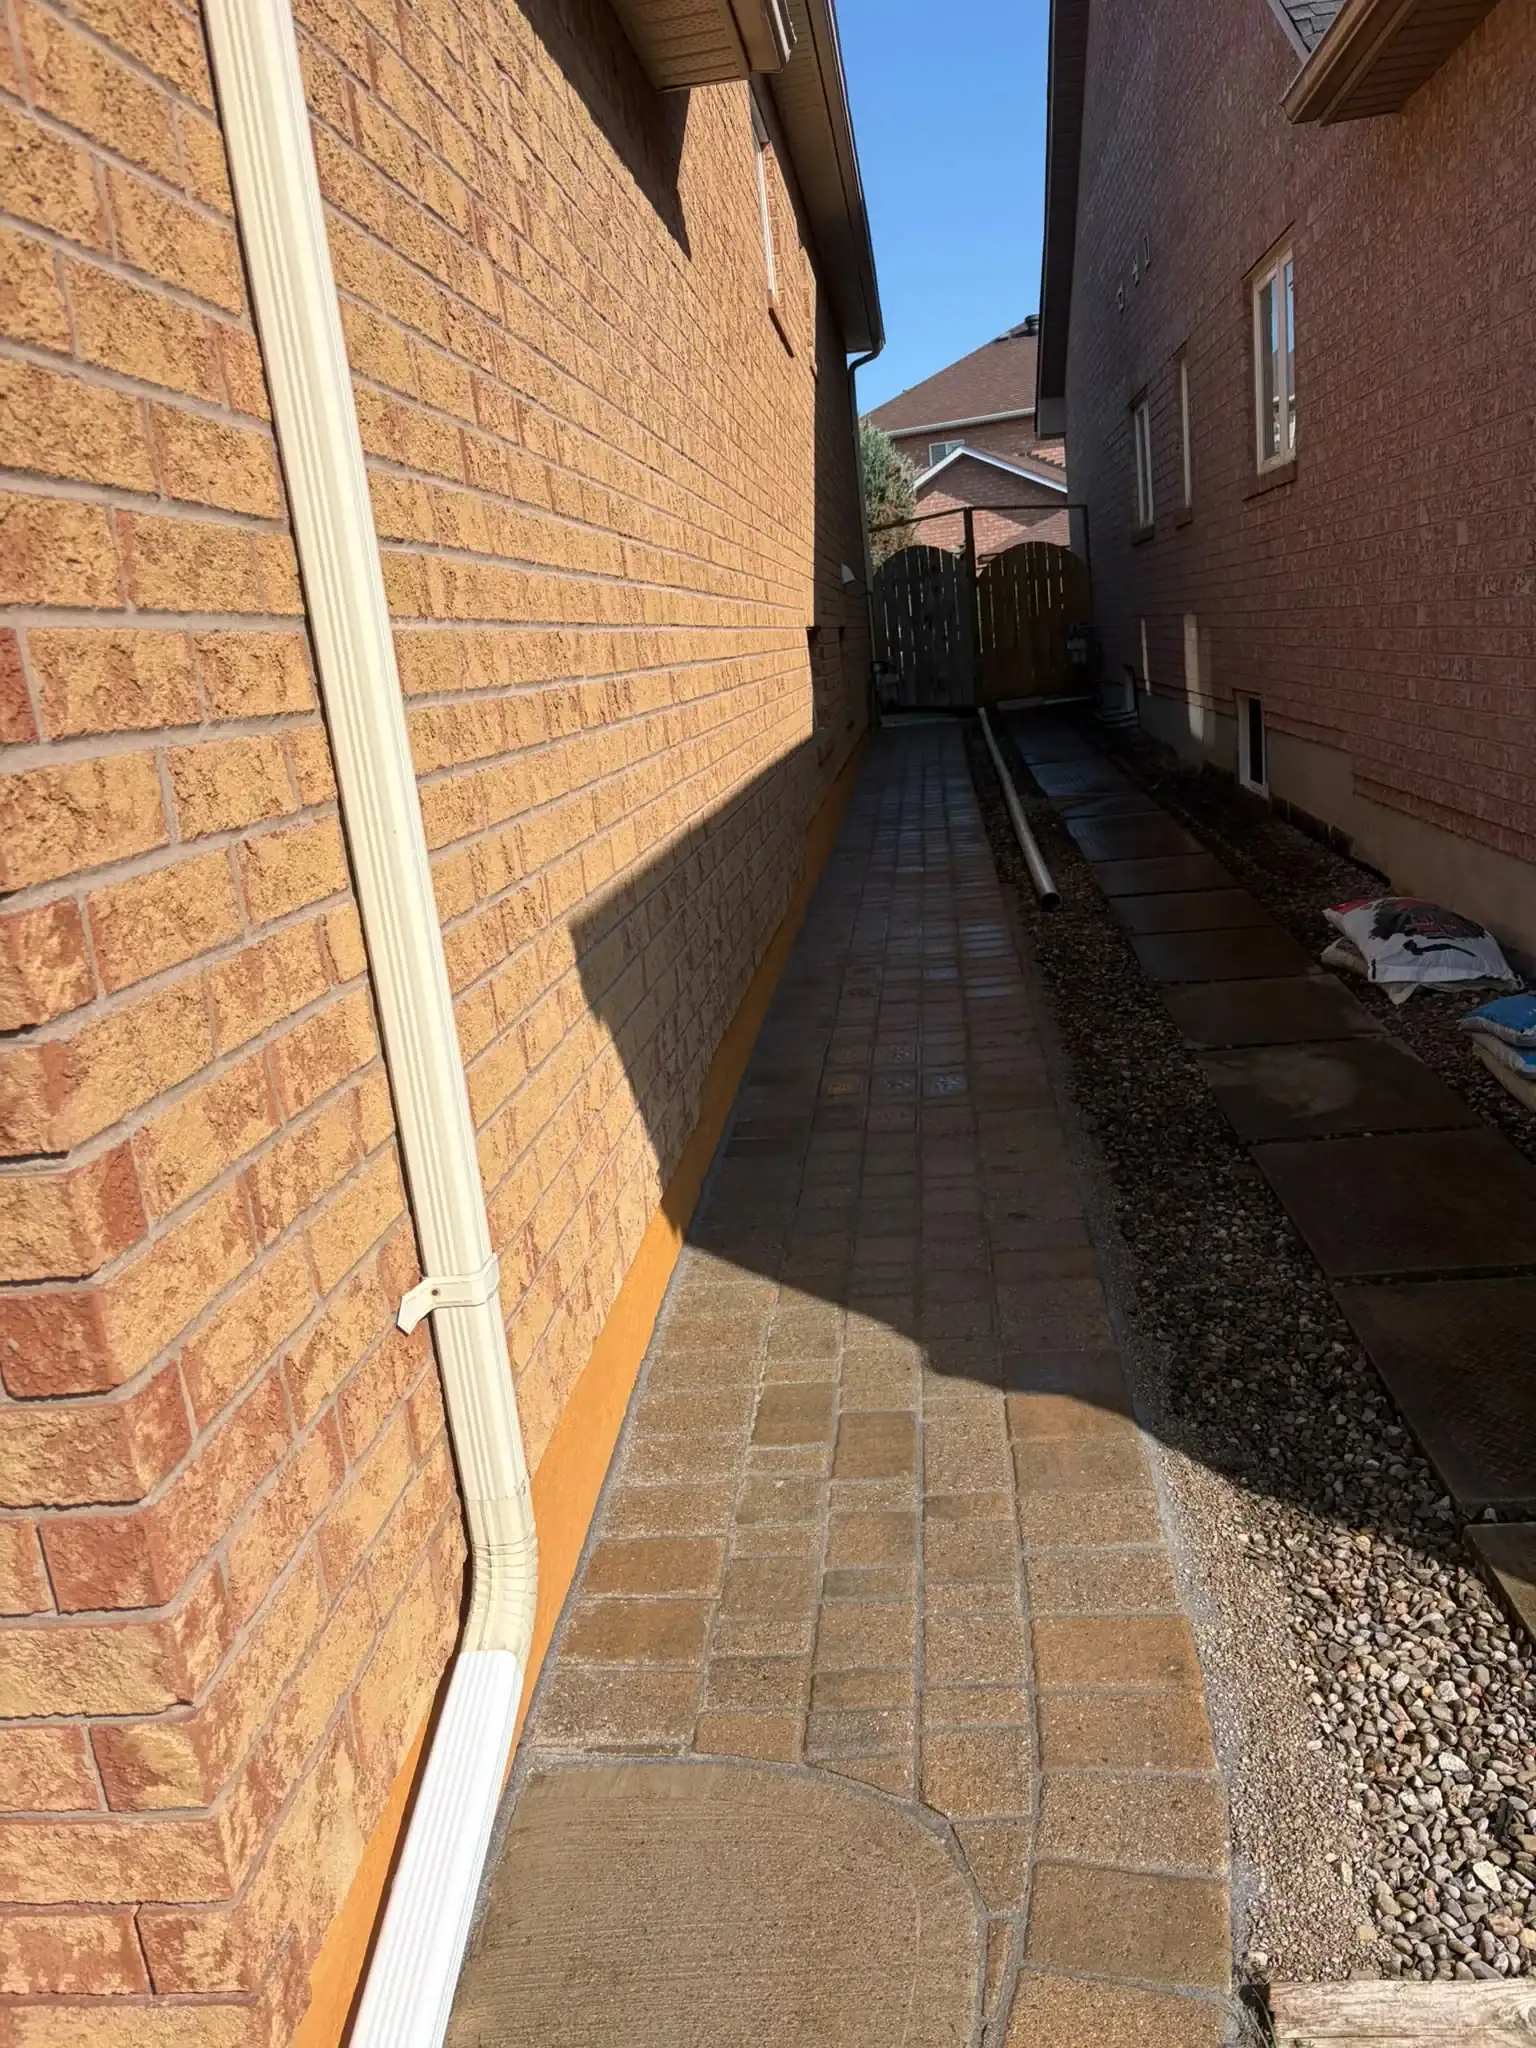
- near downspouts;
- at chimney shoulders;
- around flashing;
- near the bottom of exterior walls;
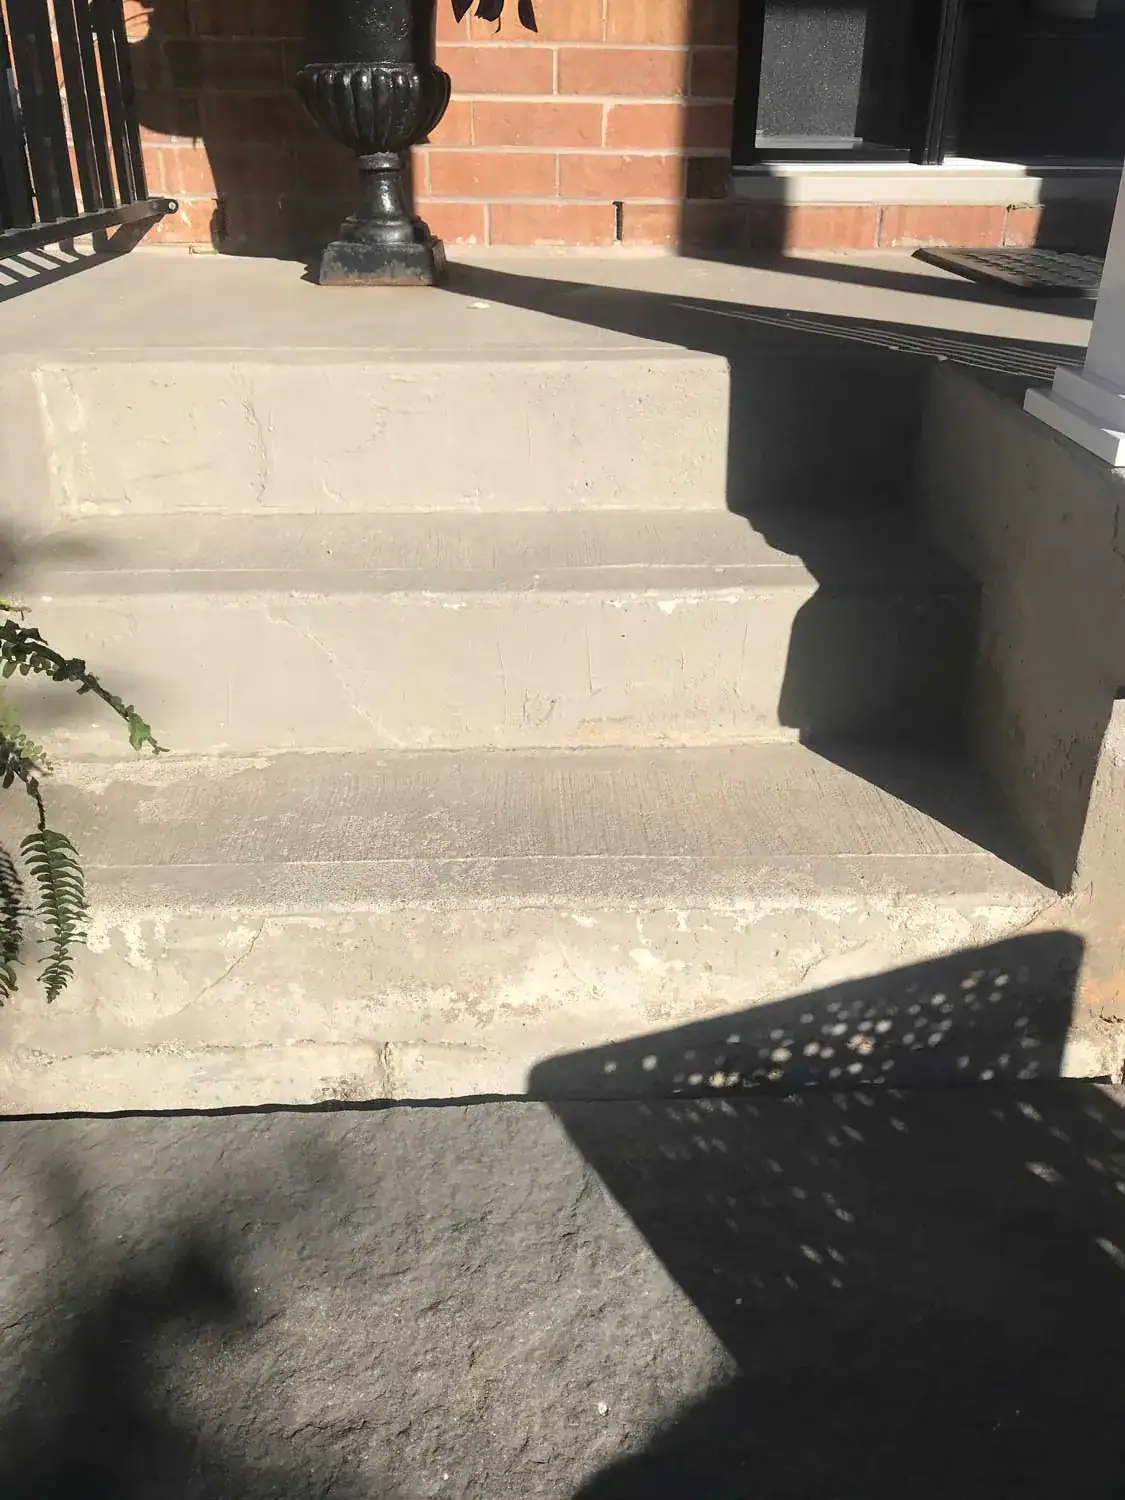
- beside porches and steps.
A dark area does not automatically mean the mortar needs repointing. It tells you where water is travelling or remaining longer, which may help identify the real problem.
Fix the Moisture Source, Not Just the Joint
Repointing is less useful if the repaired area will immediately return to the same abnormal moisture exposure.
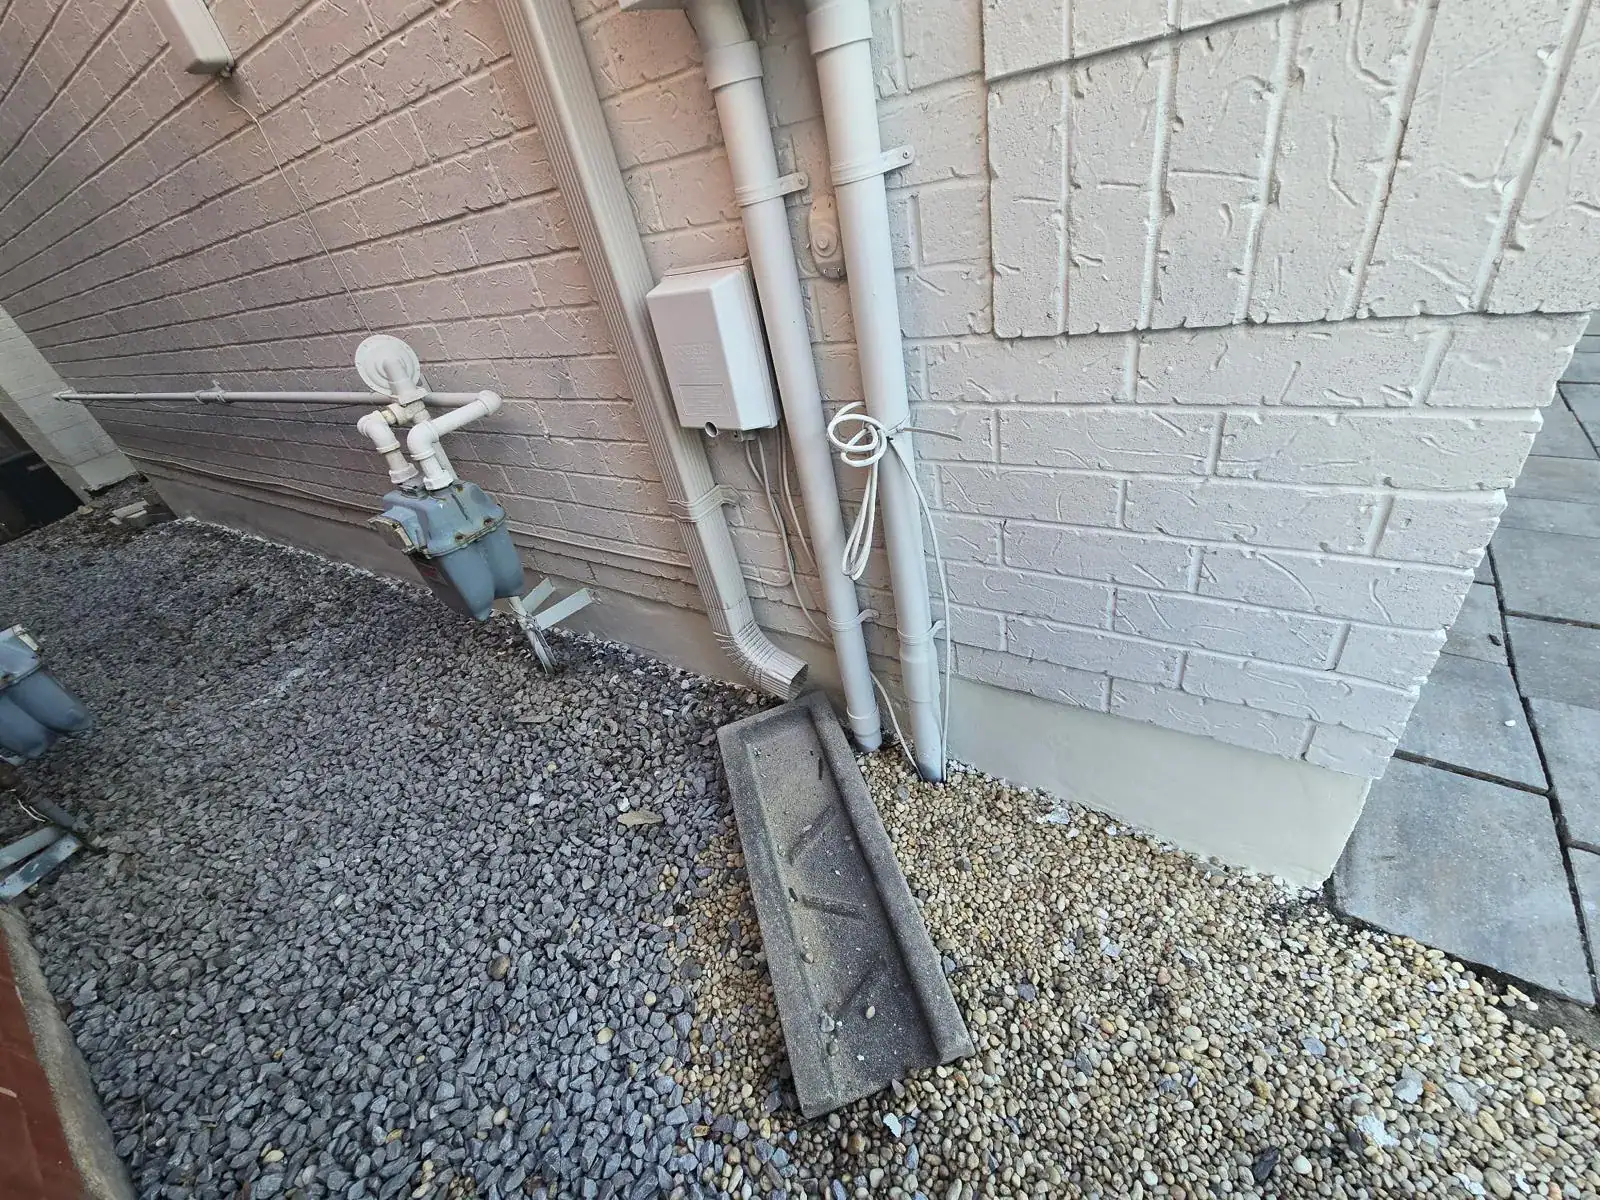
For example, suppose mortar below a downspout is deteriorating much faster than the rest of the wall. Repointing the joints may be appropriate, but the downspout problem should also be corrected.
Other moisture sources can include:
- overflowing eavestroughs;
- leaking downspout connections;
- poor grading;
- failed flashing;
- damaged chimney crowns;
- poor window-sill drainage;
- snow repeatedly piled against masonry;
- water splashing from hard surfaces beside the wall.
A&A Masonry’s Toronto water management guide explains why roof drainage, grading, patios, walkways, foundations, and masonry should be considered as connected parts of the home’s exterior.
Why Fall Can Be a Good Time for Repointing
Early fall can be a practical time for repointing because the masonry is accessible and homeowners can address deteriorated areas before winter exposure increases.
September can also make moisture problems easier to identify because seasonal rain may reveal wet areas while temperatures can still be suitable for masonry work.
However, calendar dates are less important than actual site and weather conditions.
Mortar needs suitable temperatures and curing conditions. Very cold weather, frost, saturated masonry, heavy rain, or rapidly changing temperatures can affect the quality of the work.
A homeowner should therefore avoid treating the first frost date as a fixed deadline. The correct repair window depends on the mortar, the wall, the weather forecast, and the contractor’s cold-weather procedures.
Can Repointing Be Done in Cold Weather?
Masonry work can sometimes be performed during colder periods when appropriate protection, heating, materials, and procedures are used, but ordinary repointing should not simply continue as if it were a warm summer day.
Mortar contains water and depends on controlled curing. Freezing before adequate curing can interfere with proper performance.
Conditions also matter before mortar is installed. Masonry should not be treated as a normal dry substrate when it is frozen, covered with frost, or saturated.
For larger construction work, Ontario’s official Building Code information is the appropriate provincial starting point for current building requirements.
For a normal homeowner repair, the practical lesson is simpler: do not rush poor-quality mortar work merely because winter is approaching.
When Waiting Until Spring May Be Better
Waiting may be the better choice when deterioration is minor and weather conditions no longer allow the repair to be completed and cured properly.
Examples may include:
- small cosmetic mortar imperfections;
- minor isolated weathering with no loose material;
- an area that has remained stable for years;
- a repair discovered immediately before sustained freezing weather;
- a wall that is too wet for proper work;
- a project that requires more investigation before the correct repair can be chosen.
Postponing a non-urgent repair is different from ignoring it.
Take photographs, note the location, reduce avoidable water exposure, and arrange an inspection when appropriate.
When You Should Not Simply Wait
Some masonry conditions deserve faster attention because they may involve safety, active water entry, or rapidly progressing deterioration.
Seek an assessment if you notice:
- loose bricks that could fall;
- sections of masonry visibly bulging;
- large areas of missing mortar;
- unstable chimney masonry;
- significant cracks accompanied by movement;
- active water entering the building;
- stone or brick becoming detached;
- rapid deterioration after each storm.
These conditions may require more than repointing.
Chimney Mortar Deserves Extra Attention
Chimneys are especially exposed because they receive weather from several directions and extend above the more protected wall surfaces below.
Check chimney mortar for open joints, missing sections, loose brick, spalling, and deterioration near the crown.
If chimney mortar is failing because water is entering through a damaged crown, cap, or flashing detail, repointing alone may not solve the problem.
The repair should address the masonry and the source of water exposure together.
Older Toronto Homes Need Compatible Mortar
Older masonry should not automatically be repointed with the hardest mortar available.
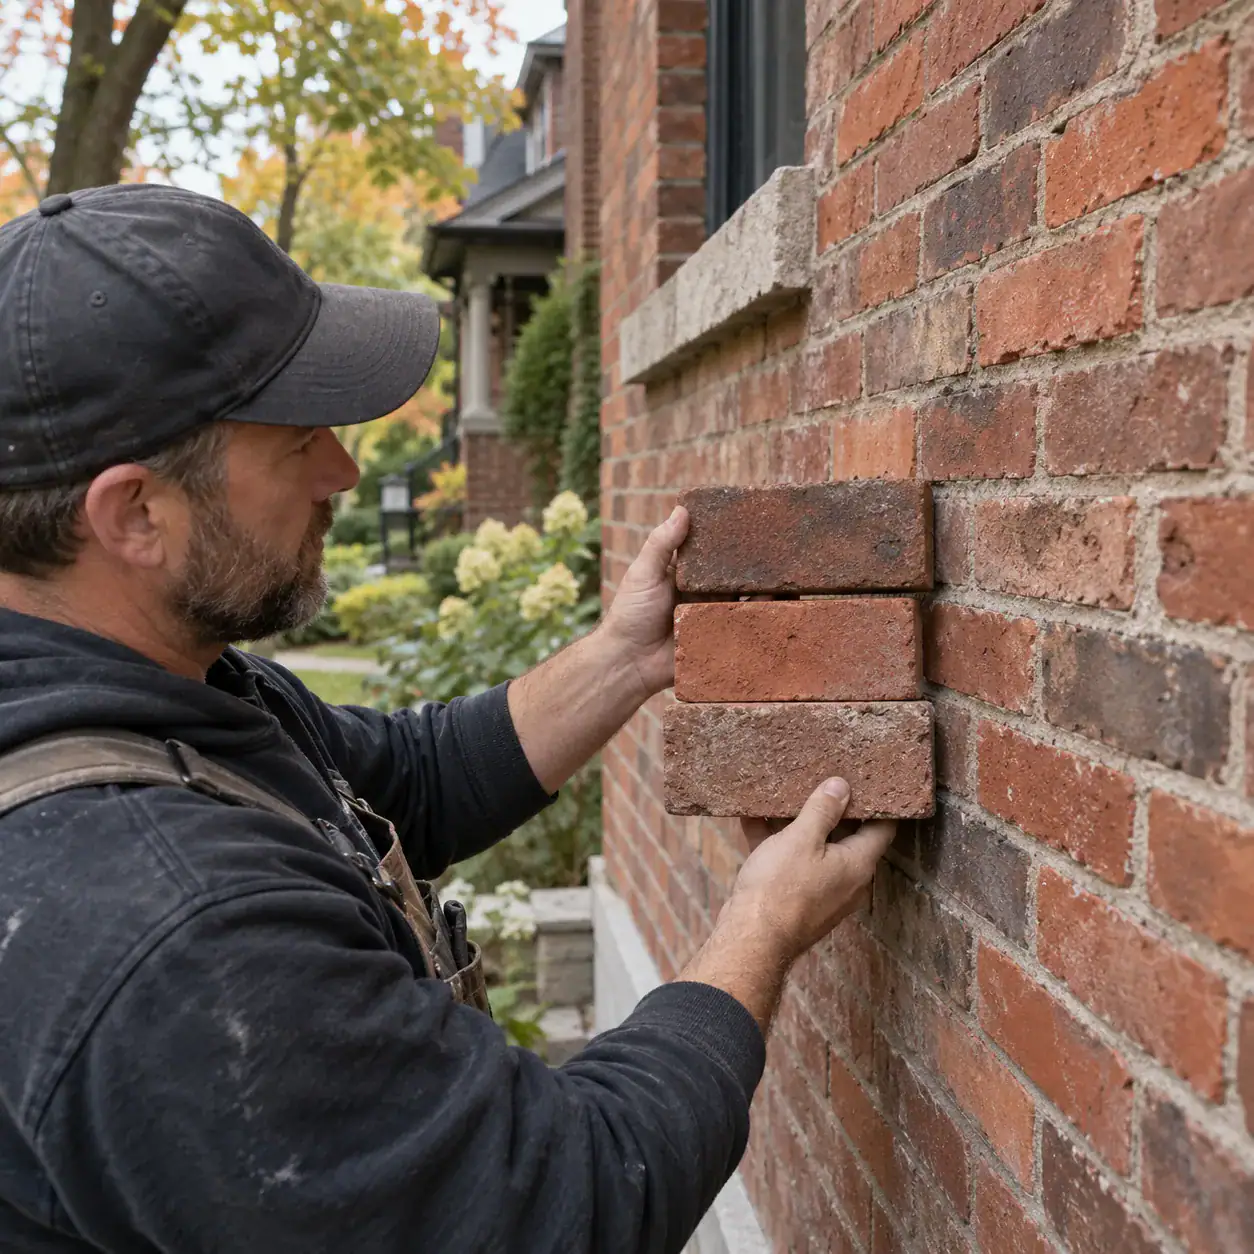
The replacement mortar should be compatible with the existing brick and original masonry system.
Older bricks can differ from modern units in strength, absorption, and manufacturing method. Mortar that behaves very differently from the surrounding masonry can create an undesirable concentration of stress or moisture.
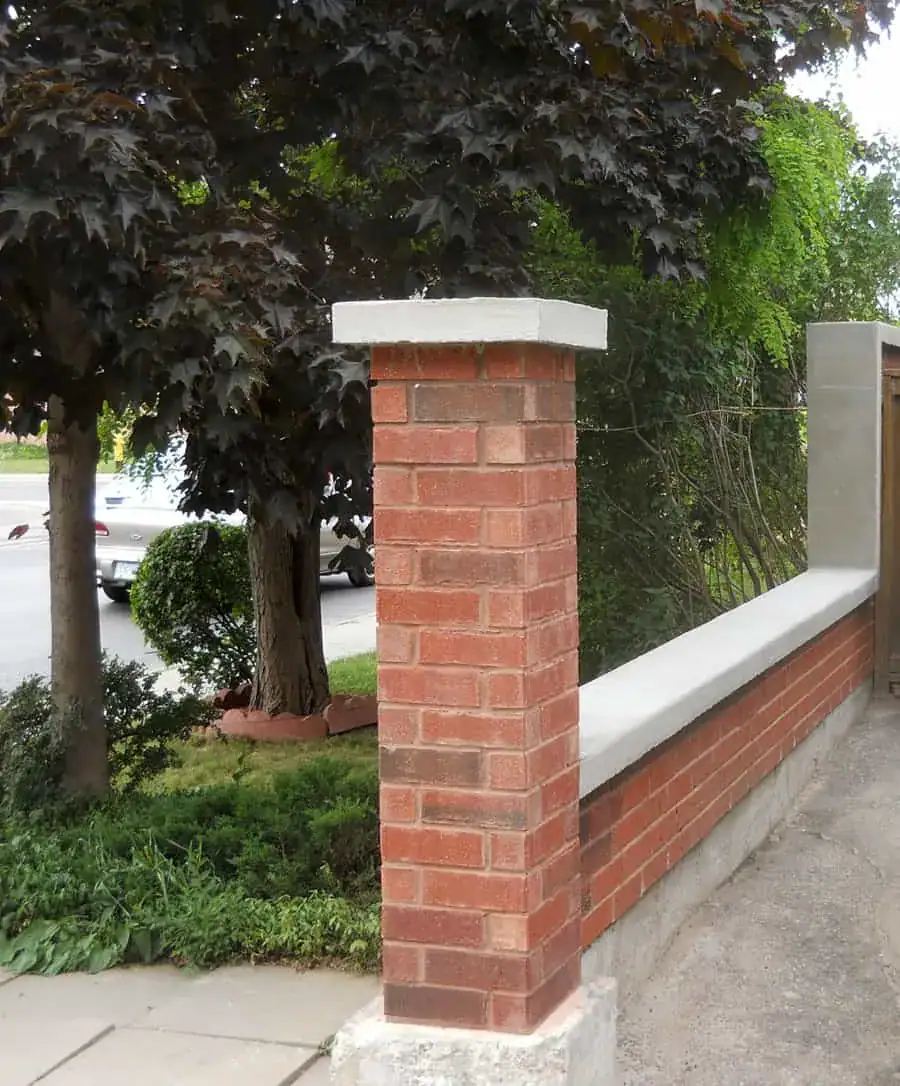
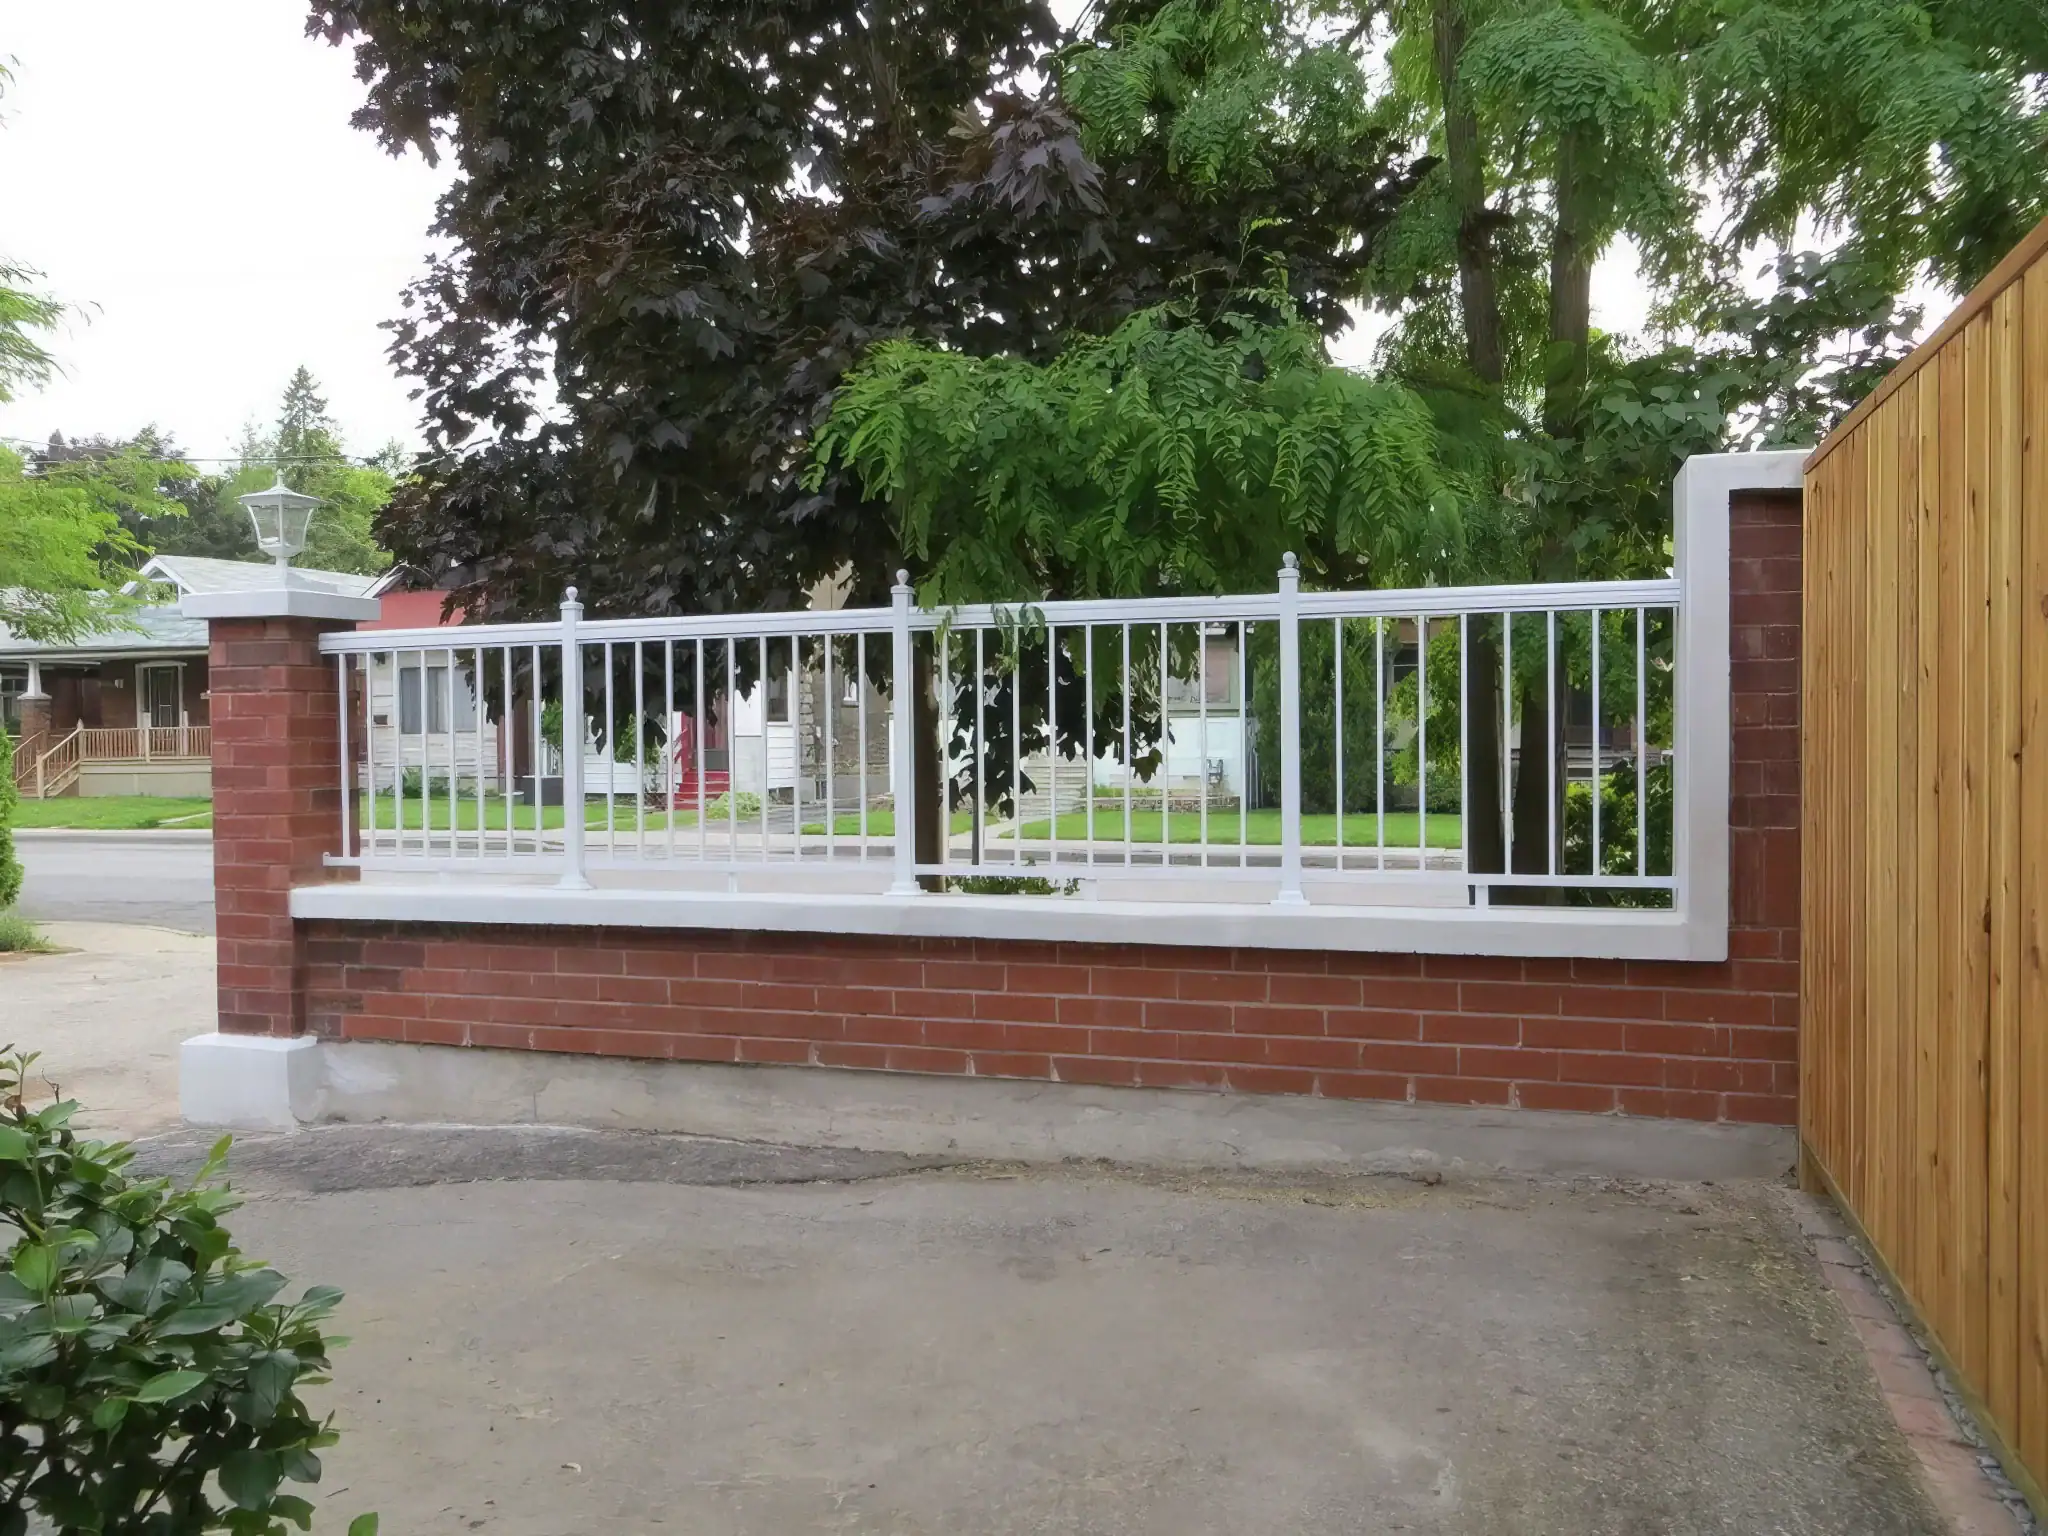
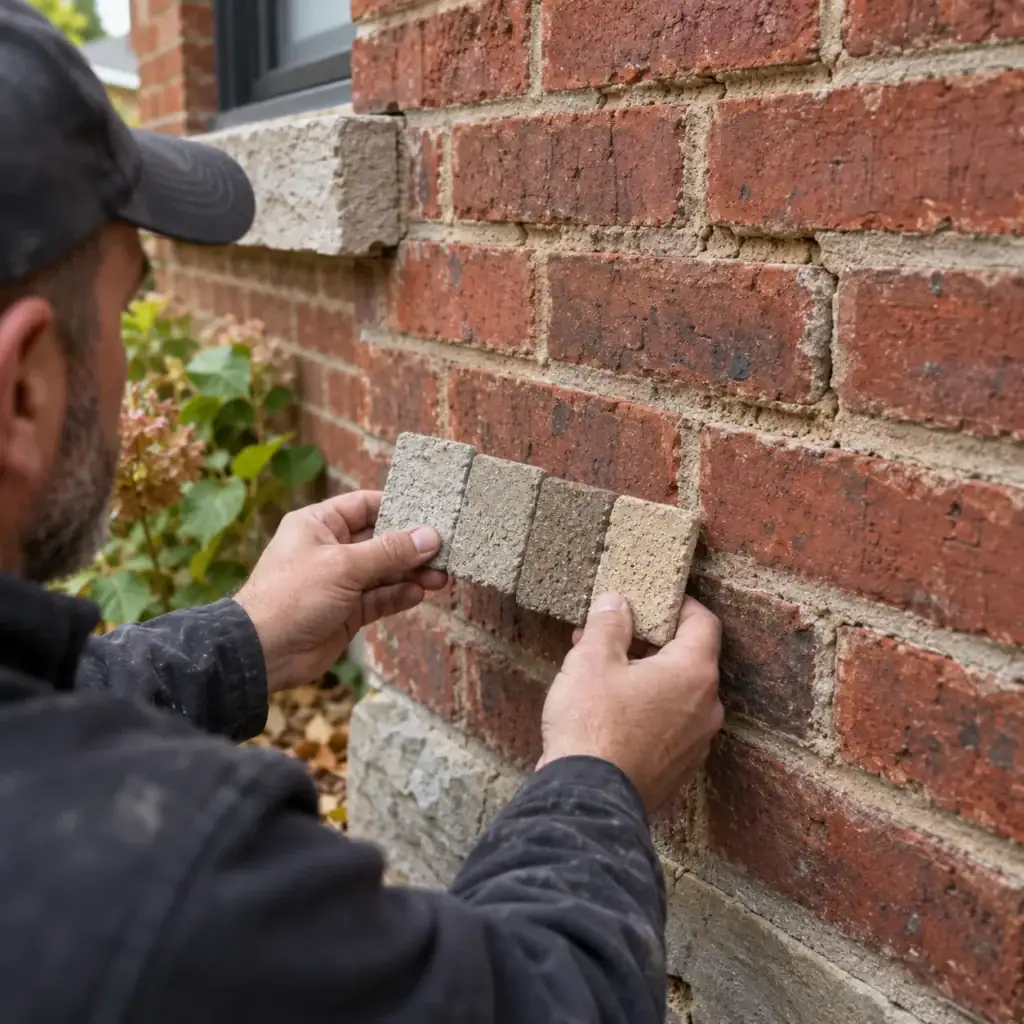
Matching also affects appearance. Colour, aggregate, texture, joint width, and joint profile all influence how the finished repair blends with an older wall.
If the property has heritage status, repair requirements deserve additional attention. The City of Toronto’s heritage preservation information is a useful starting point for owners of listed or designated properties.
Do Not Cover Failing Mortar With a Thin Surface Patch
Applying a thin layer of fresh mortar over deteriorated material is not the same as proper repointing.
New mortar needs a suitable joint and sound material to bond to. A shallow cosmetic layer over loose or sandy mortar may fail quickly because the underlying joint remains weak.
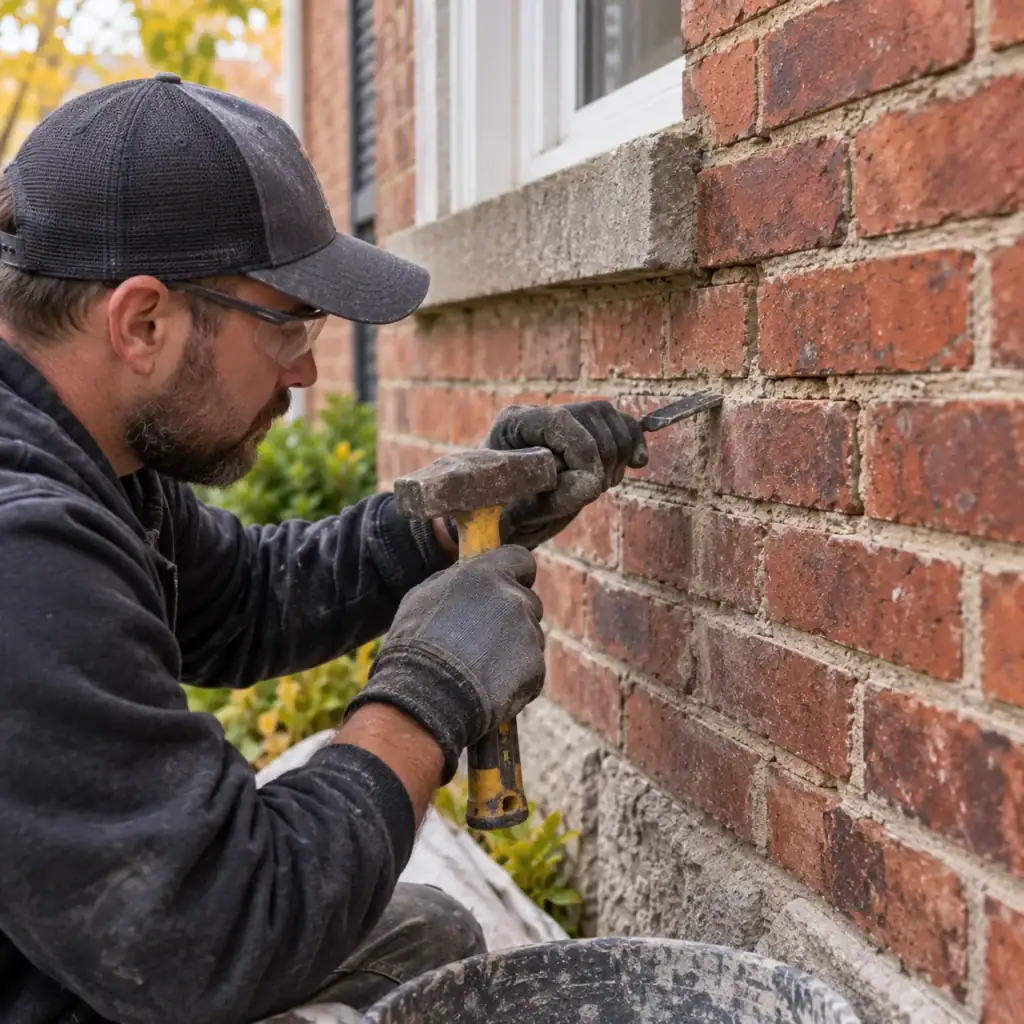
Proper repointing normally requires deteriorated material to be removed carefully without unnecessary damage to the brick edges.
The joint is then cleaned and prepared before compatible new mortar is installed.
Avoid Damaging Brick During Mortar Removal
Removing old mortar is one of the most important parts of repointing because careless cutting can damage otherwise sound bricks.
This is especially important on older homes with softer brick or narrow joints.
You can’t restore damaged brick edges simply by filling the joint again. Once the faces or corners have been cut away, the wall’s appearance may be permanently changed unless those bricks are repaired or replaced.
The goal should be to remove the failed mortar while preserving as much sound original masonry as practical.
Should the Whole Wall Be Repointed?
No. An entire wall does not automatically need repointing because one section has deteriorated.
Localized repointing may be suitable when damage is concentrated around one opening, chimney area, downspout, wall section, or previous repair.
Wider repointing makes more sense when mortar deterioration is consistent across a substantial portion of the wall.
The decision should be based on condition rather than convenience.
Replacing sound mortar unnecessarily adds cost and can disturb masonry that was still performing properly.
How Repointing Differs From Masonry Restoration
Repointing is one repair method. Masonry restoration can involve several repairs working together.
A wall may need only mortar-joint repair. Another property may have failed mortar plus spalled bricks, damaged stone, chimney deterioration, staining, previous incompatible repairs, and moisture problems.
In the second situation, treating every problem as a repointing project would be too narrow.
A&A Masonry’s masonry restoration services in Toronto cover projects where brick replacement, mortar repair, stonework, chimney repair, and other exterior masonry issues need to be assessed together.
What Homeowners Can Do Before Winter
Homeowners can perform a useful pre-winter mortar inspection without attempting the repair themselves.
- Walk around the property in daylight.
- Photograph walls from a distance and close up.
- Look for missing, cracked, or deeply recessed mortar.
- Check for loose material below damaged areas.
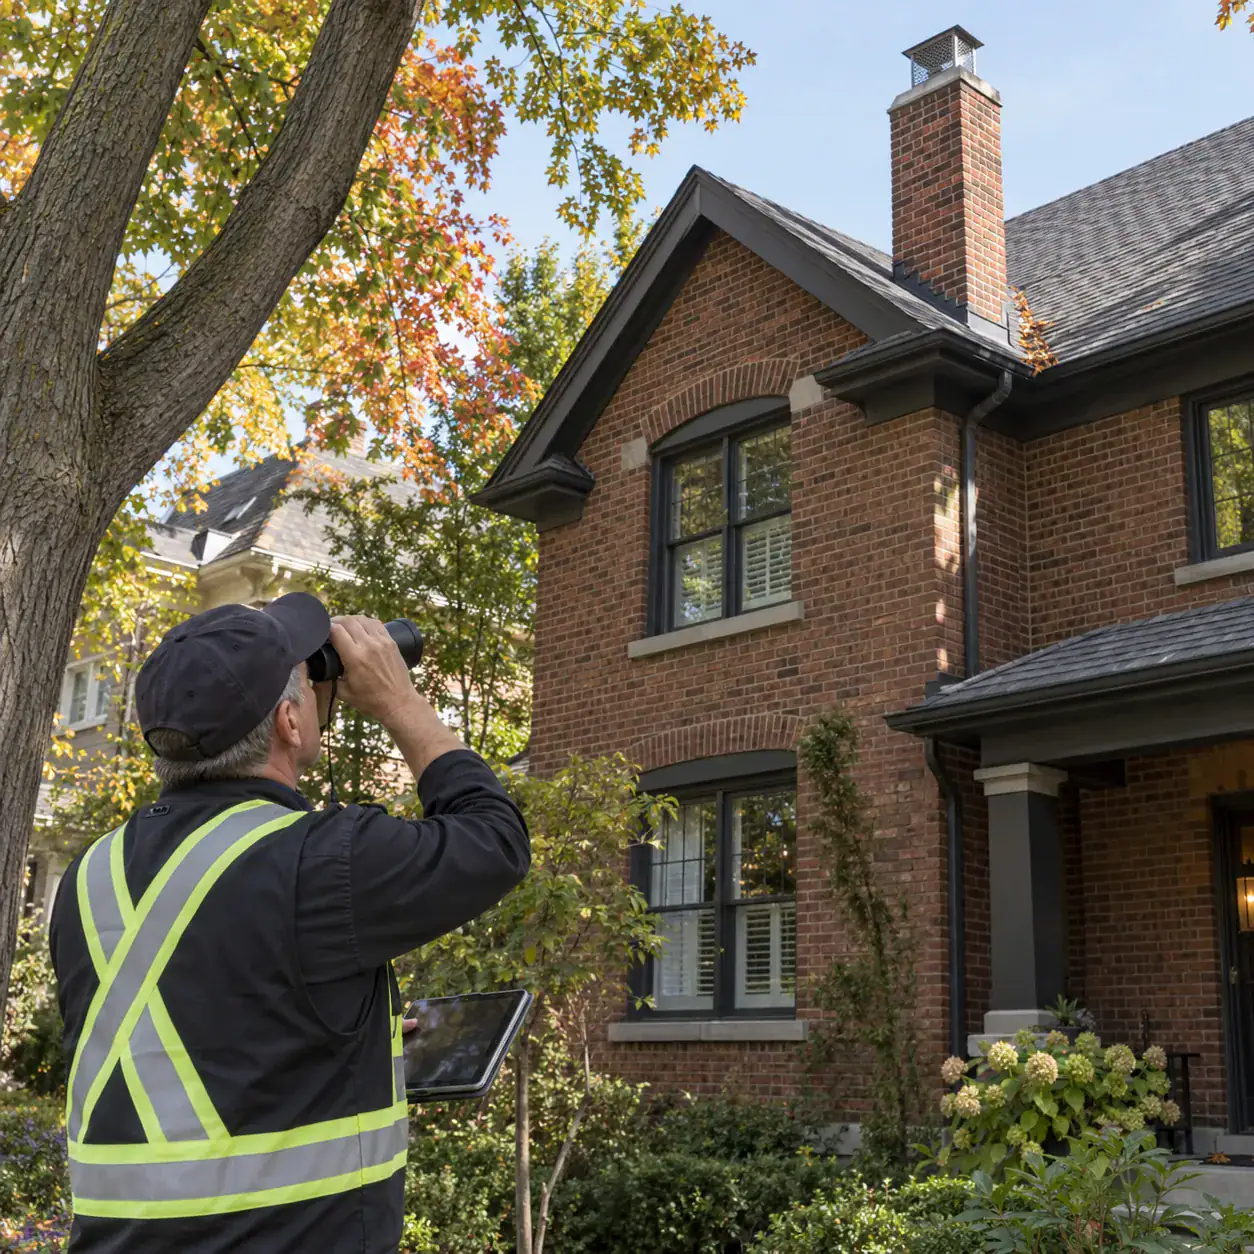
- Inspect accessible chimney masonry from the ground.
- Watch the walls during or after rain.
- Check gutters and downspouts near damaged mortar.
- Look at window sills, flashing, and roof-to-wall connections.
- Note any cracks that pass through bricks rather than only mortar.
- Compare current cracks with older photographs if available.
Do not climb onto steep roofs or unstable structures to inspect chimney joints. Areas that cannot be viewed safely from the ground should be left for someone with appropriate access equipment.
Quick Decision Guide: Repoint Now or Wait?
Use the condition of the masonry and the available repair window rather than the calendar alone.
- Cracked but solid mortar in one small area: inspect and monitor the cause before deciding.
- Loose or missing mortar: consider repair before winter if suitable conditions remain.
- Deeply recessed joints across a large area: arrange an assessment.
- Sound mortar with surface discolouration: repointing may not be necessary.
- Spalling or crumbling bricks: brick repair or replacement may be needed in addition to mortar work.
- Bulging or displaced masonry: investigate movement rather than simply repointing.
- Repeatedly wet joints: find the moisture source as part of the repair.
- Minor deterioration but freezing weather has arrived: protecting the area and planning a proper spring repair may be better than rushing the work.
What Happens If Deteriorated Mortar Is Ignored?
Mortar deterioration can progress gradually, particularly when open joints continue to receive water.
Possible consequences include deeper joint erosion, loose masonry, increased moisture penetration, staining, and deterioration of nearby brick.
That does not mean every small mortar crack will become a major repair over one winter. The rate of deterioration depends on exposure, water, the masonry materials, wall design, and the existing condition.
The useful approach is to identify genuine deterioration early and repair it at the right time rather than either ignoring every problem or treating every weathered joint as an emergency.
Final Thoughts: Should You Repoint Brick Before Winter?
Consider repointing brick before winter when mortar is clearly loose, missing, deeply eroded, or allowing more water into otherwise serviceable masonry, provided conditions remain suitable to complete the work properly.
Minor cosmetic weathering may be able to wait. Loose masonry, active water entry, widespread mortar loss, or visible movement deserves more attention.
Most importantly, do not treat repointing as a way to cover every masonry problem. Check the brick, look for movement, follow the water, and identify why the mortar deteriorated in the first place.
For Toronto homes, a careful early-fall inspection can help separate routine aging from repairs worth addressing before another season of rain, snow, and freeze-thaw exposure.