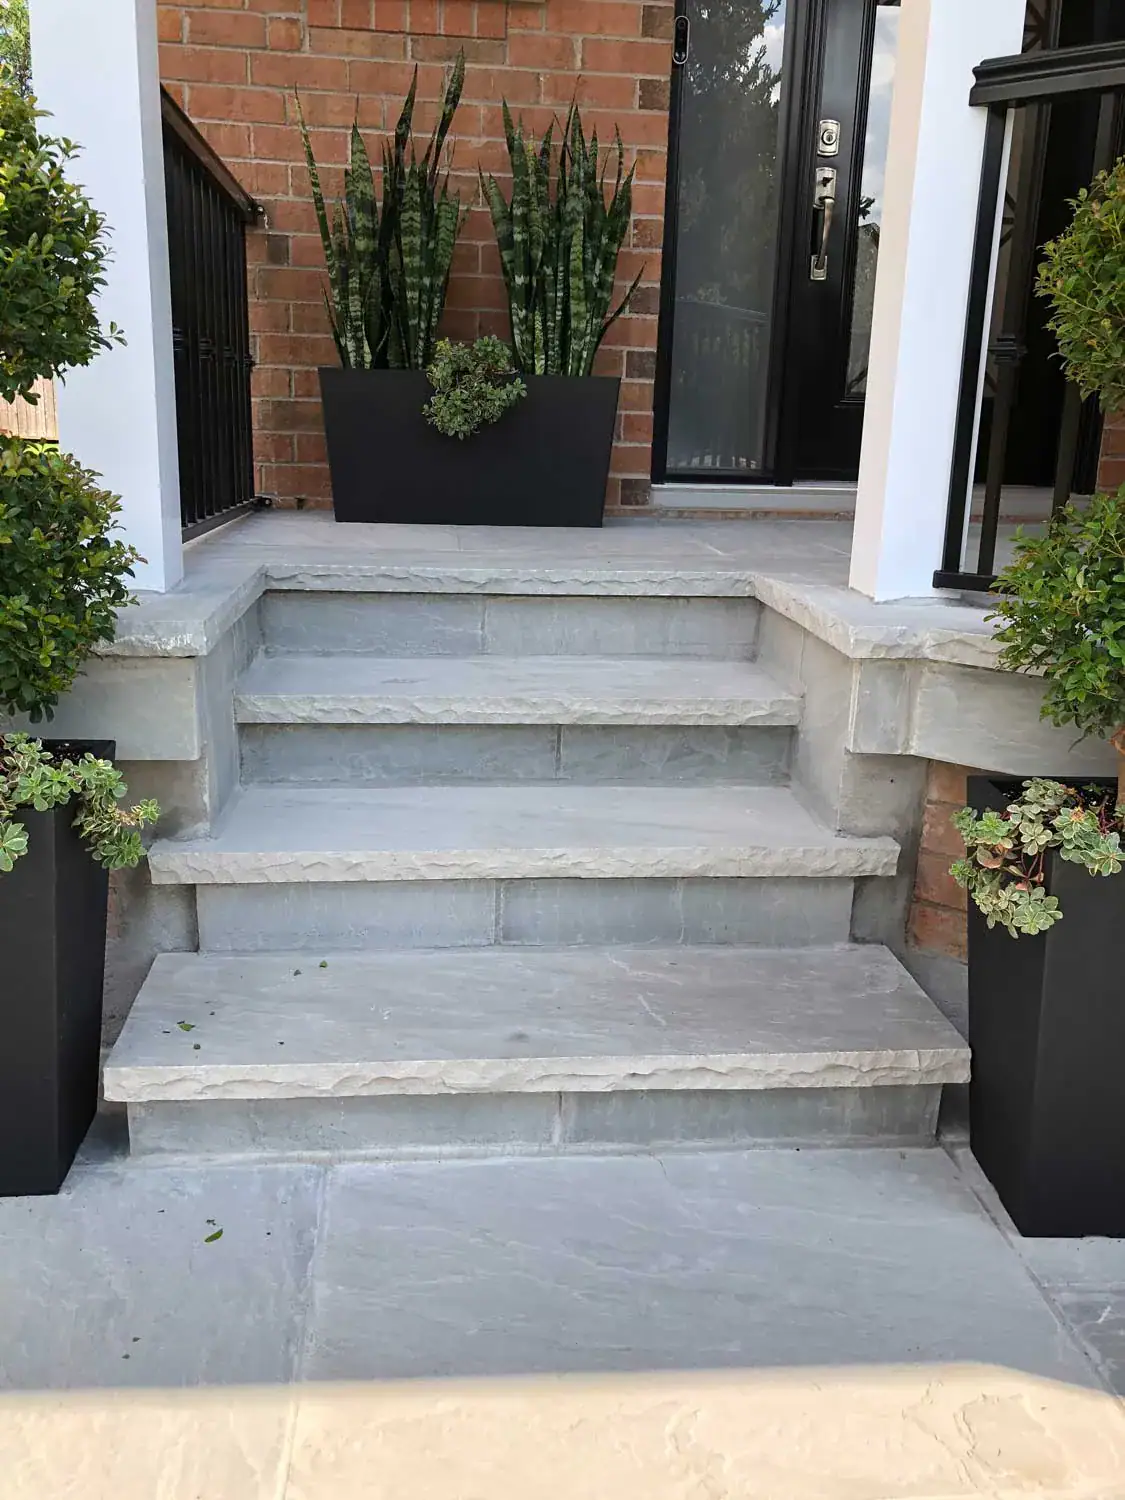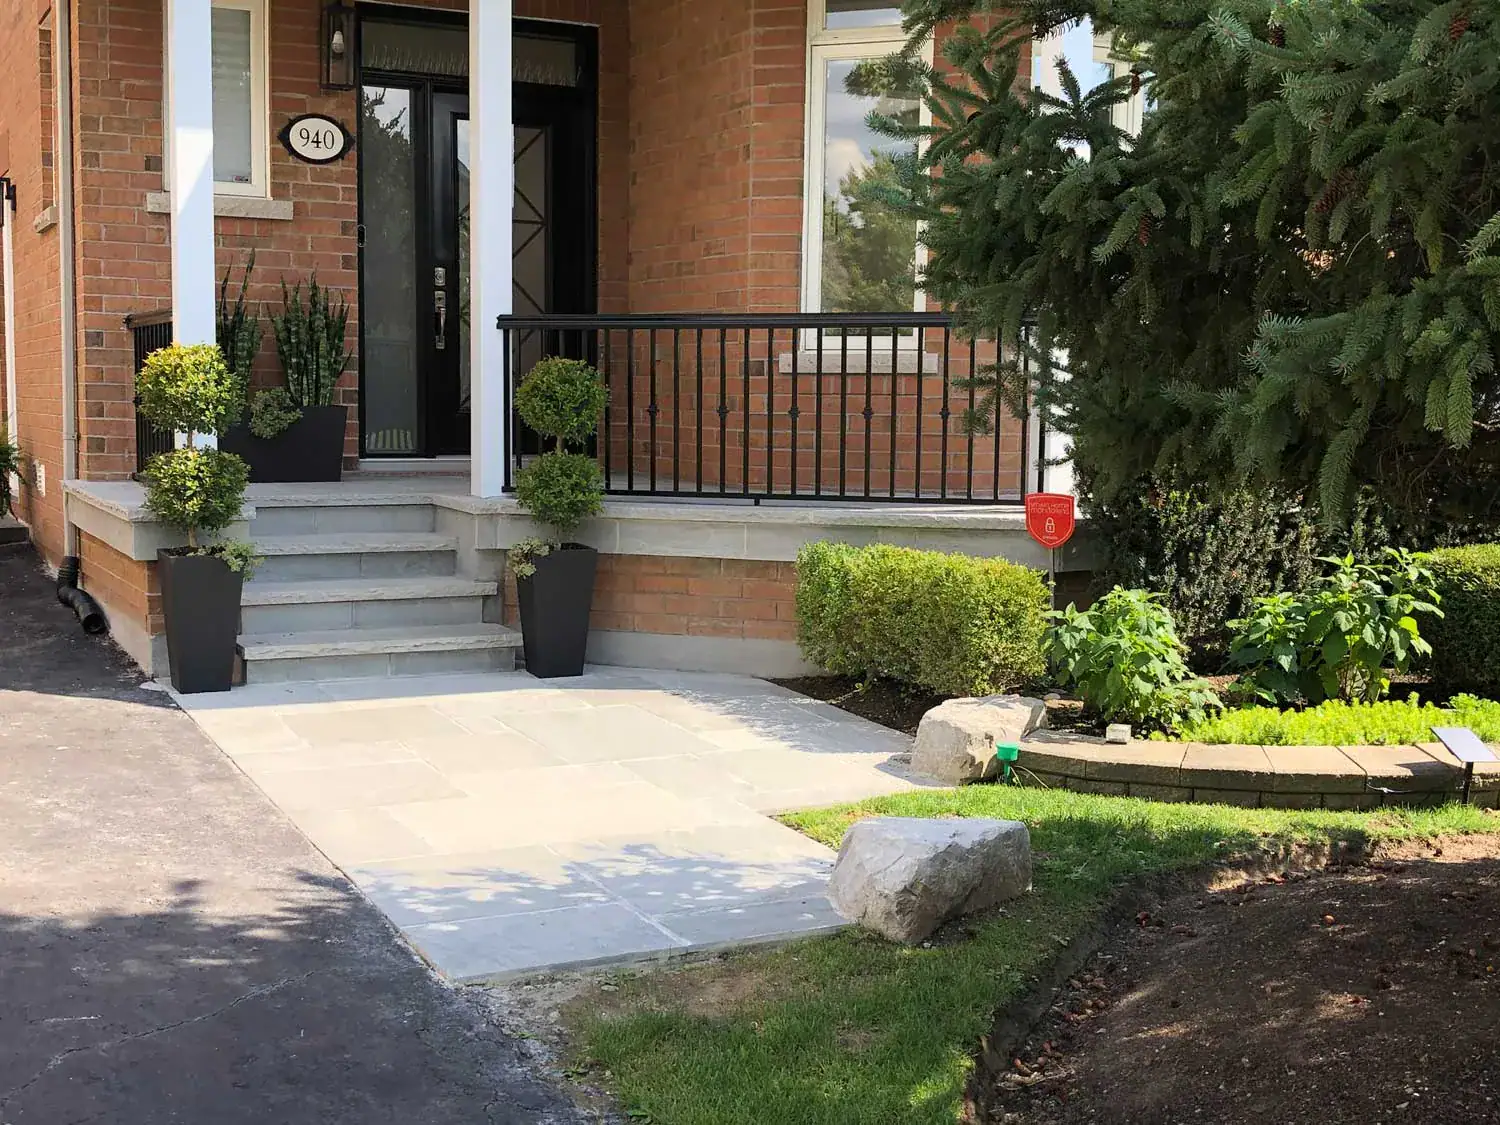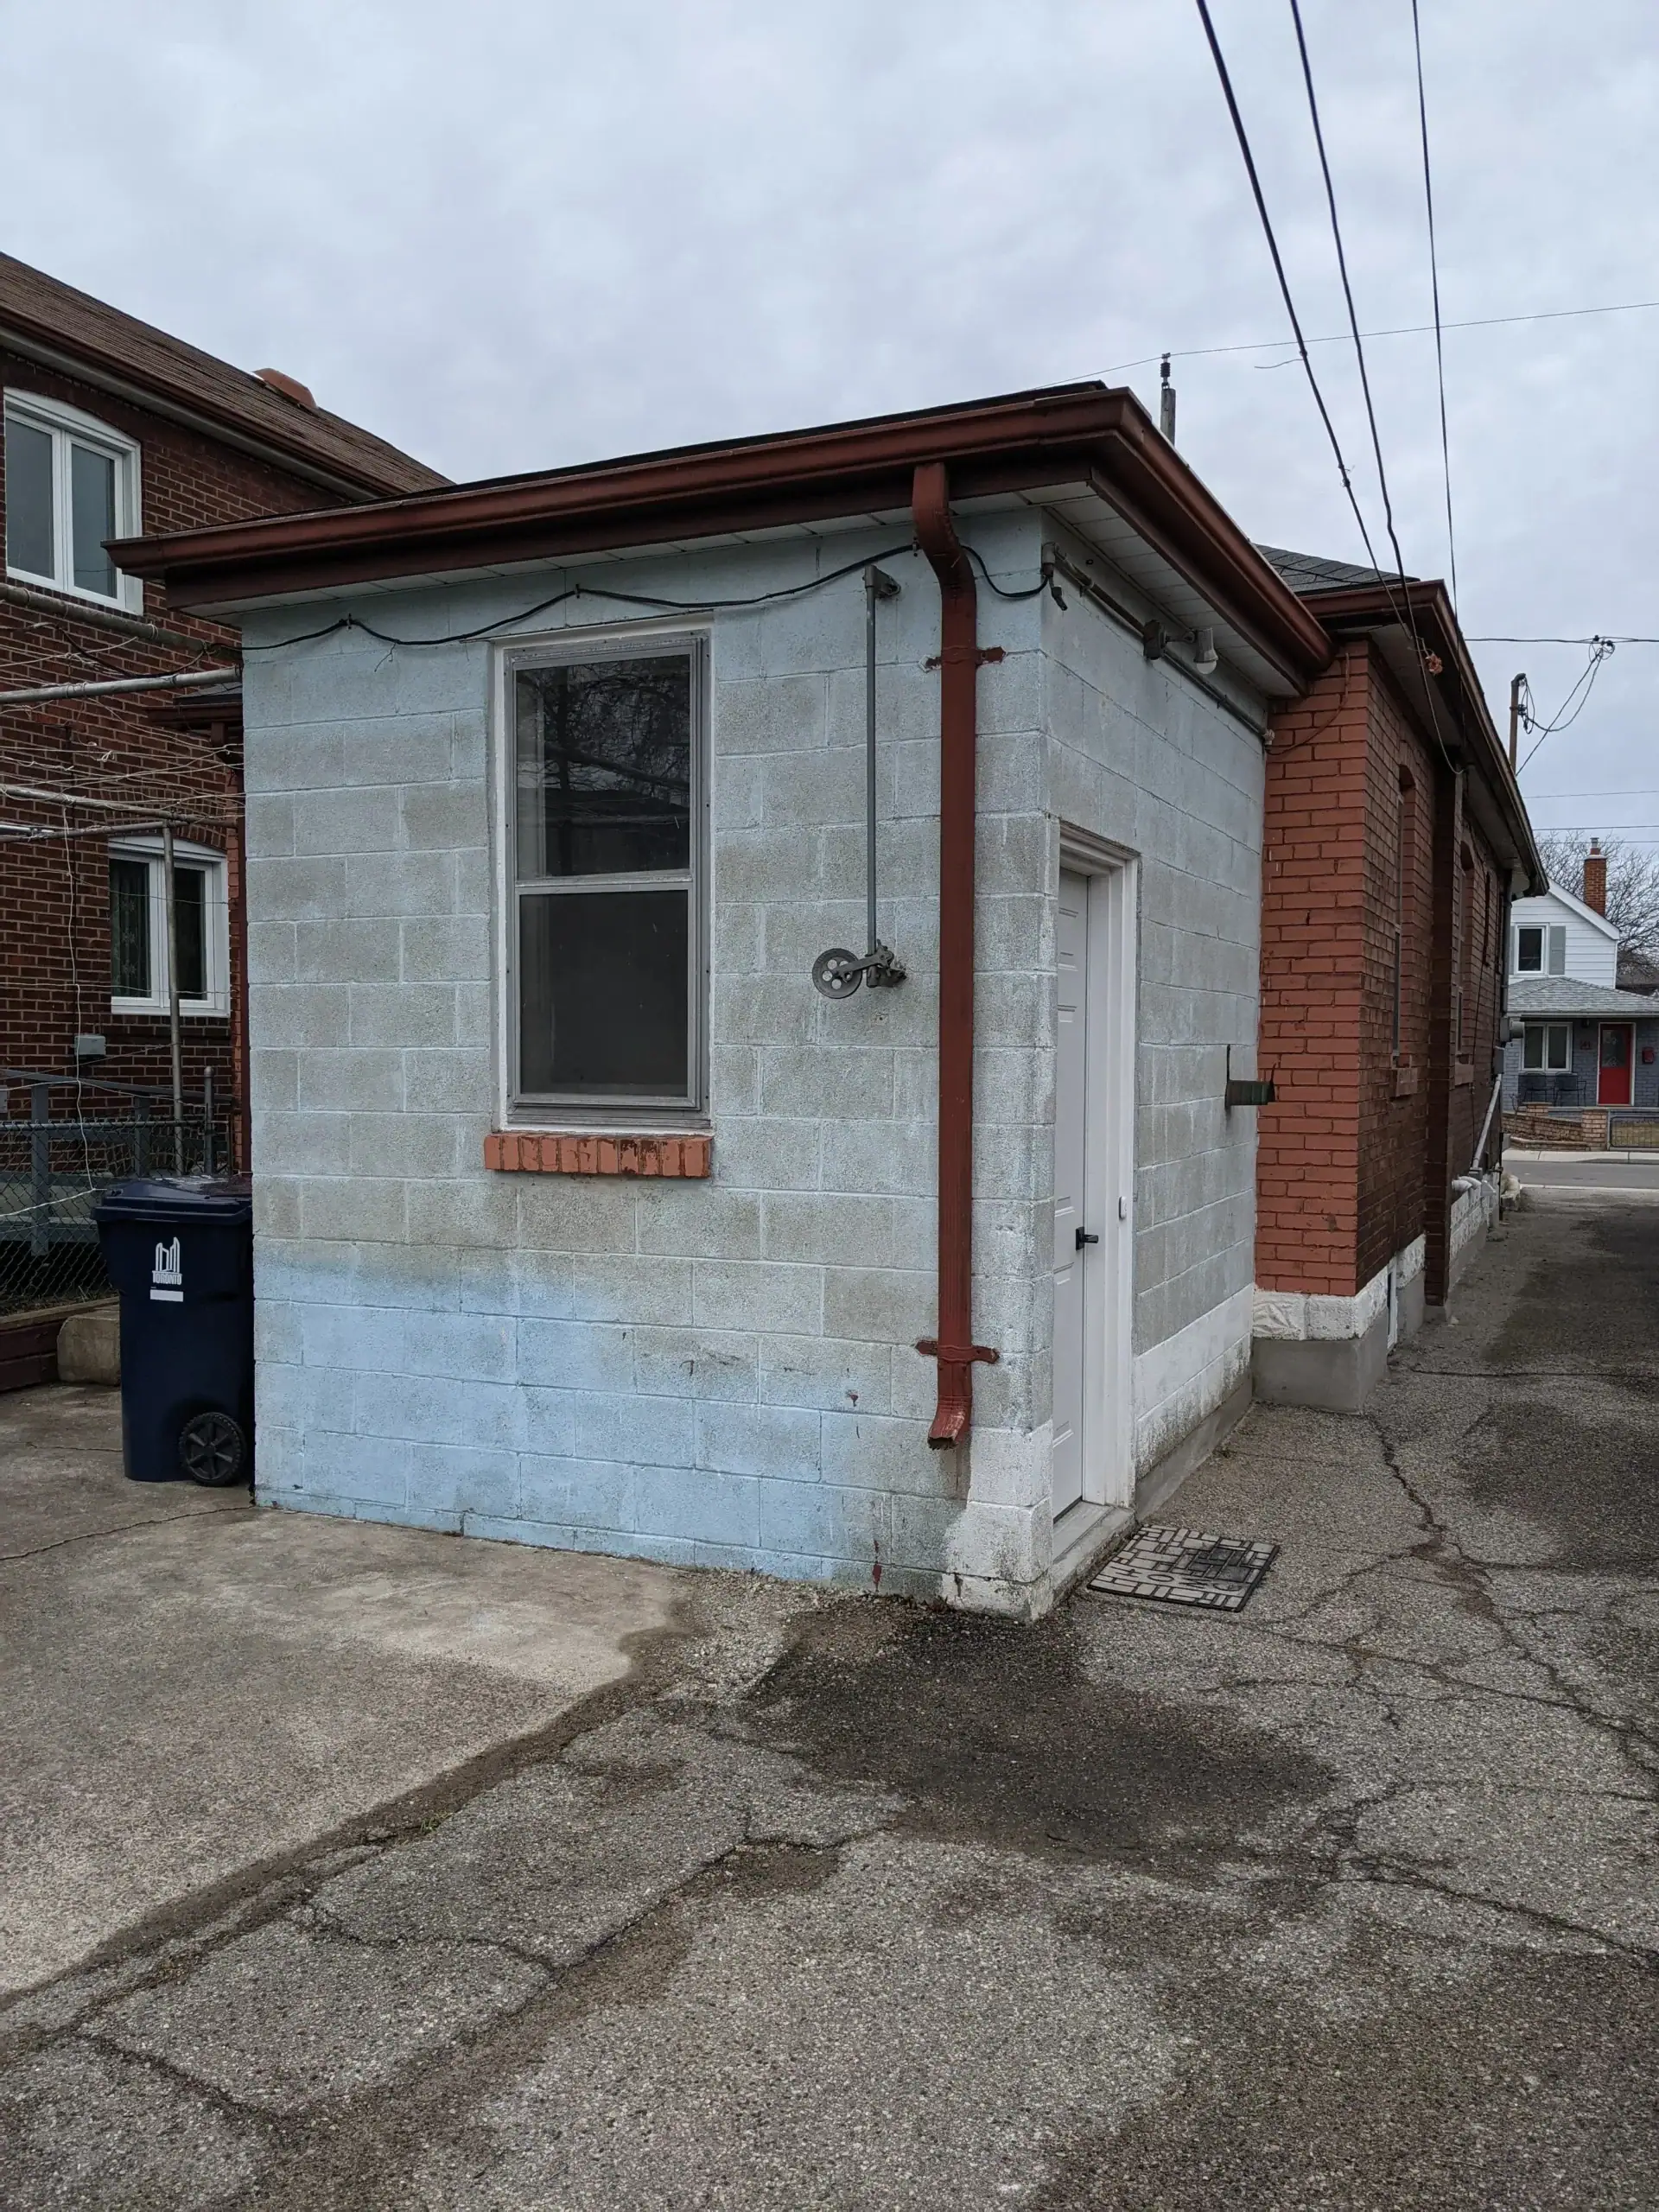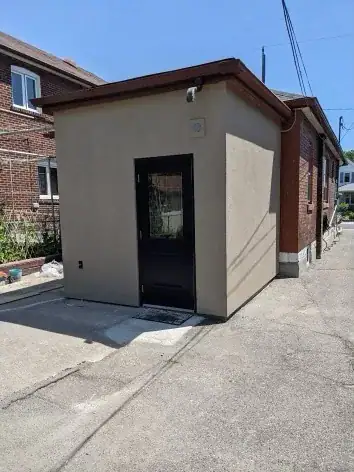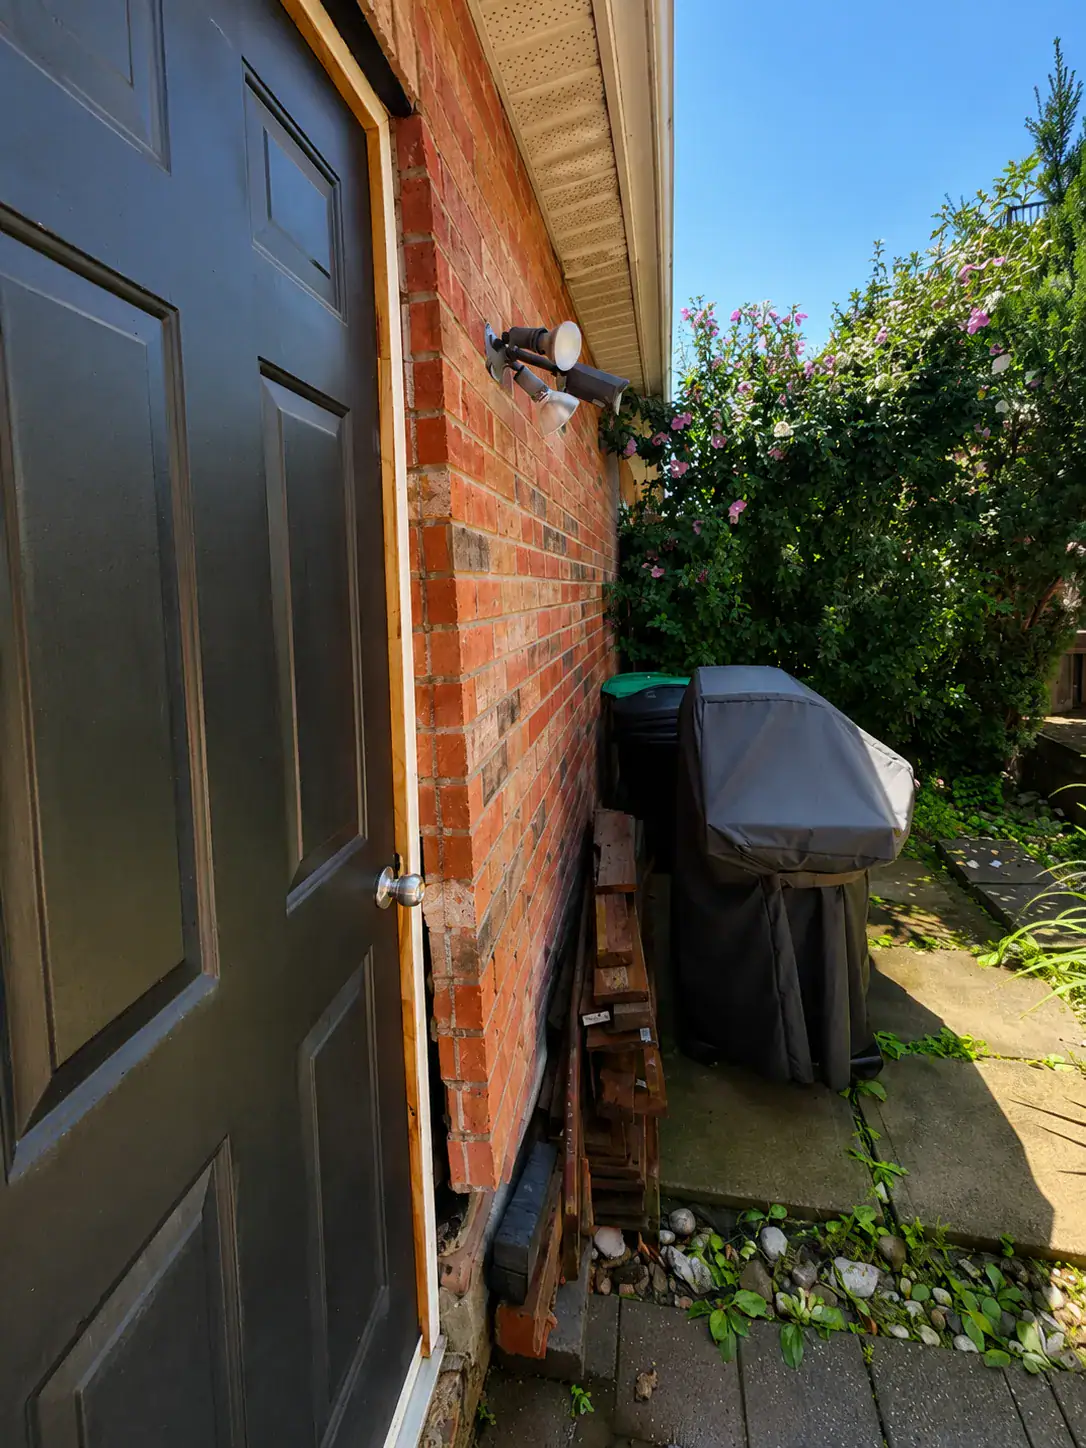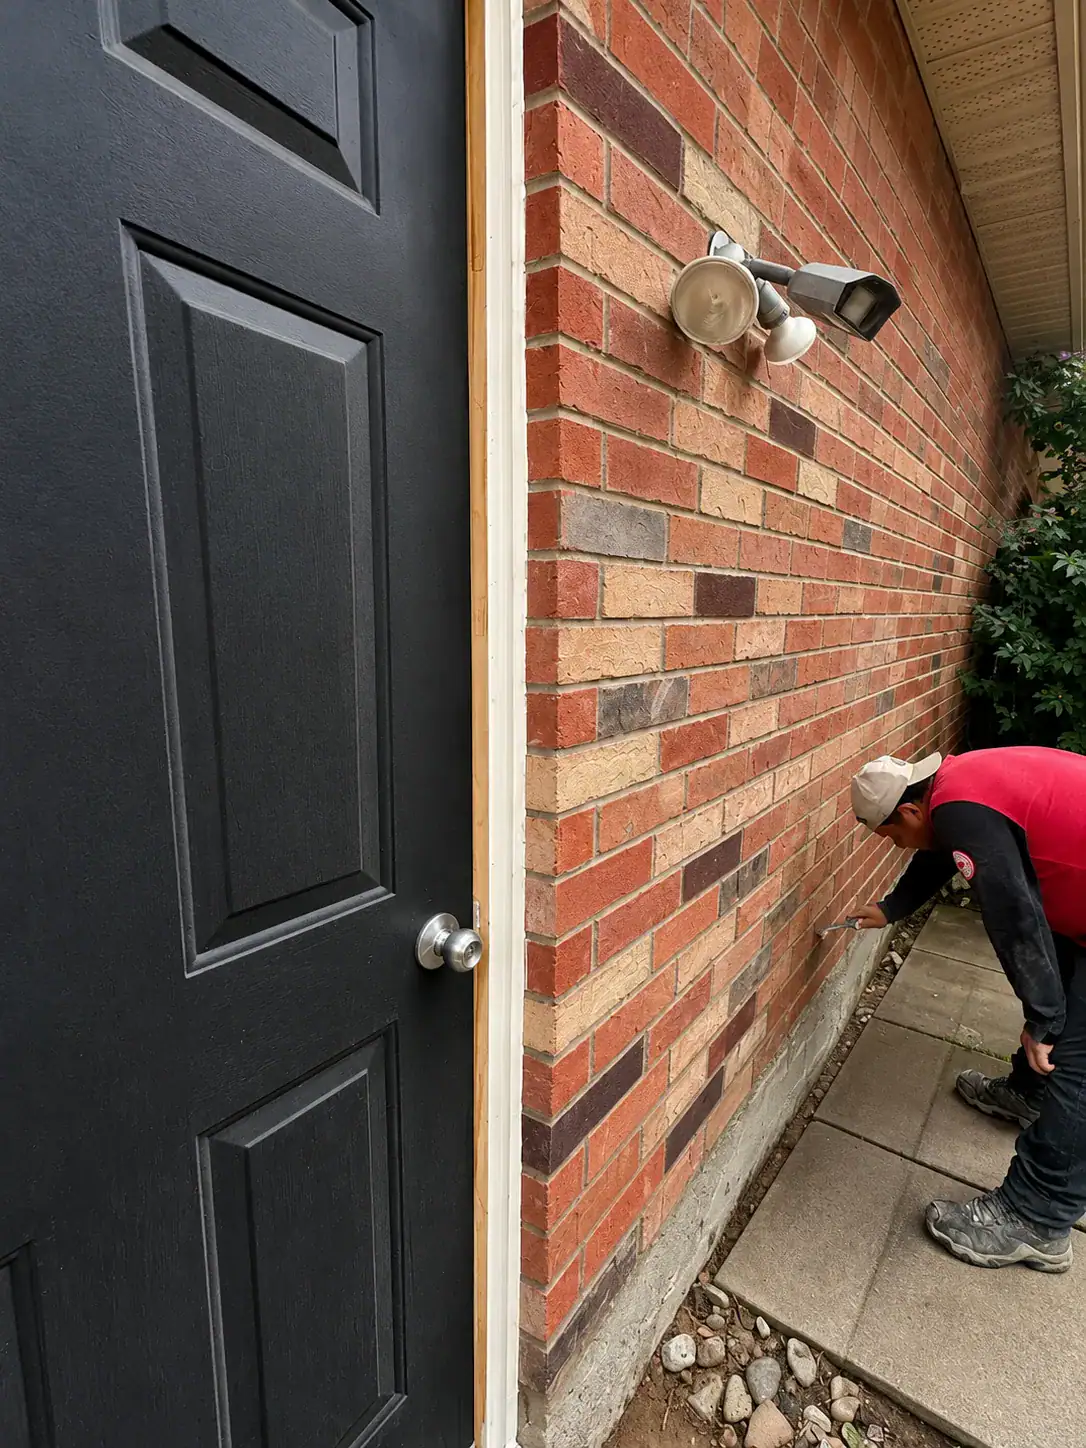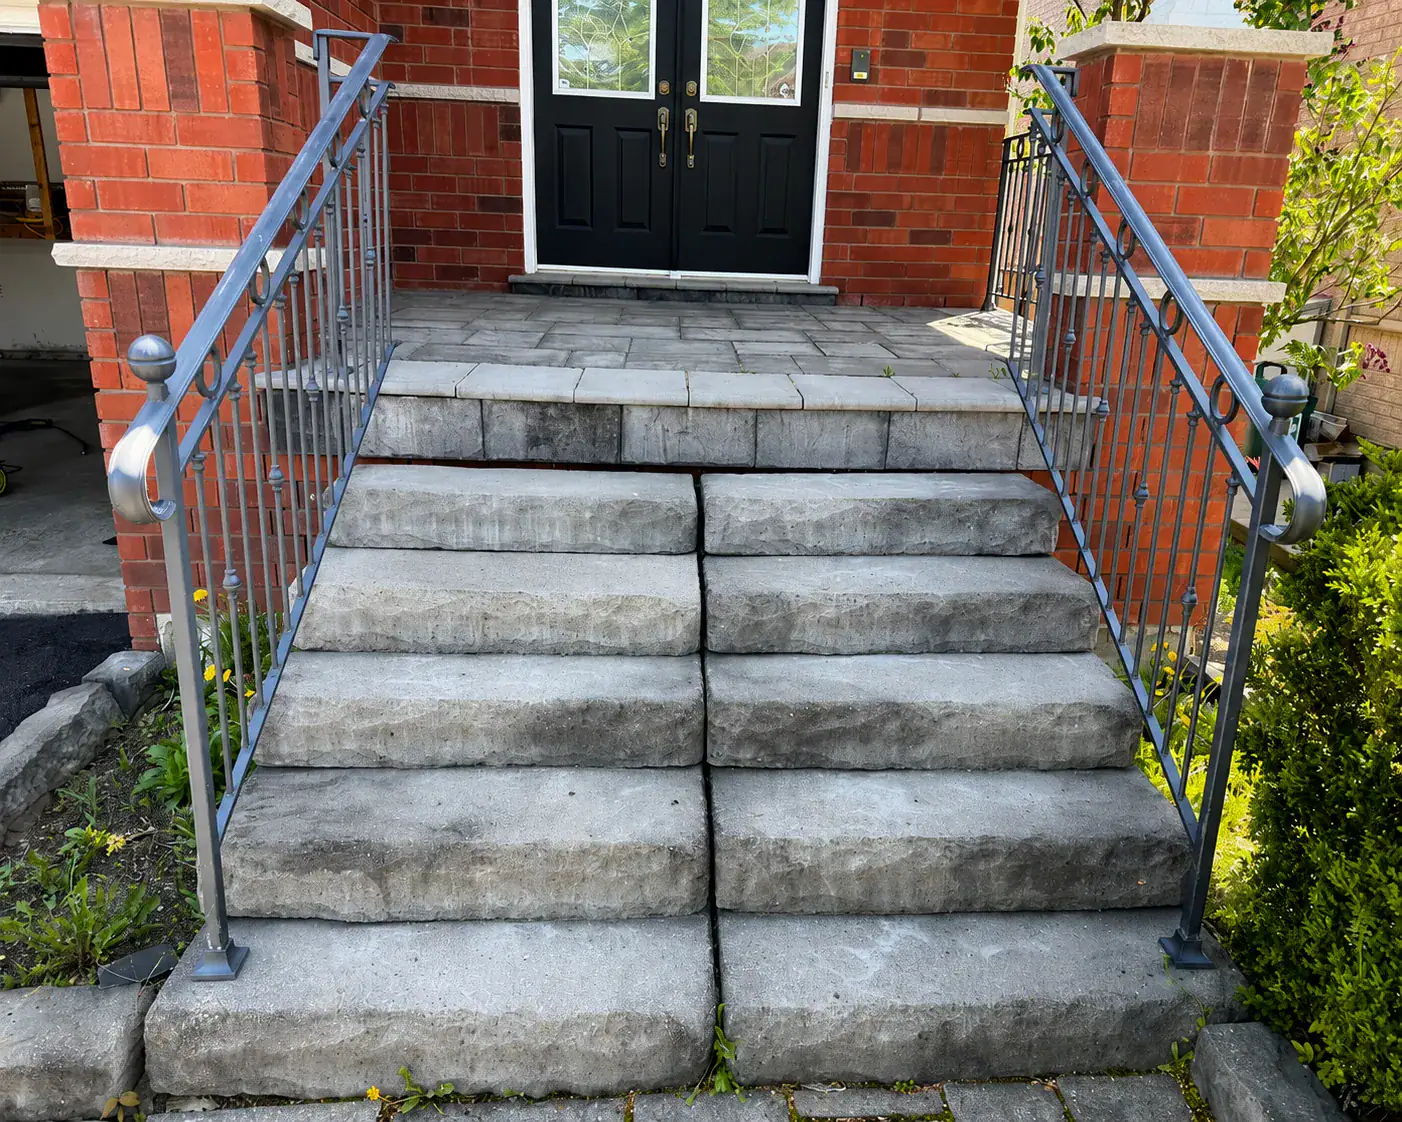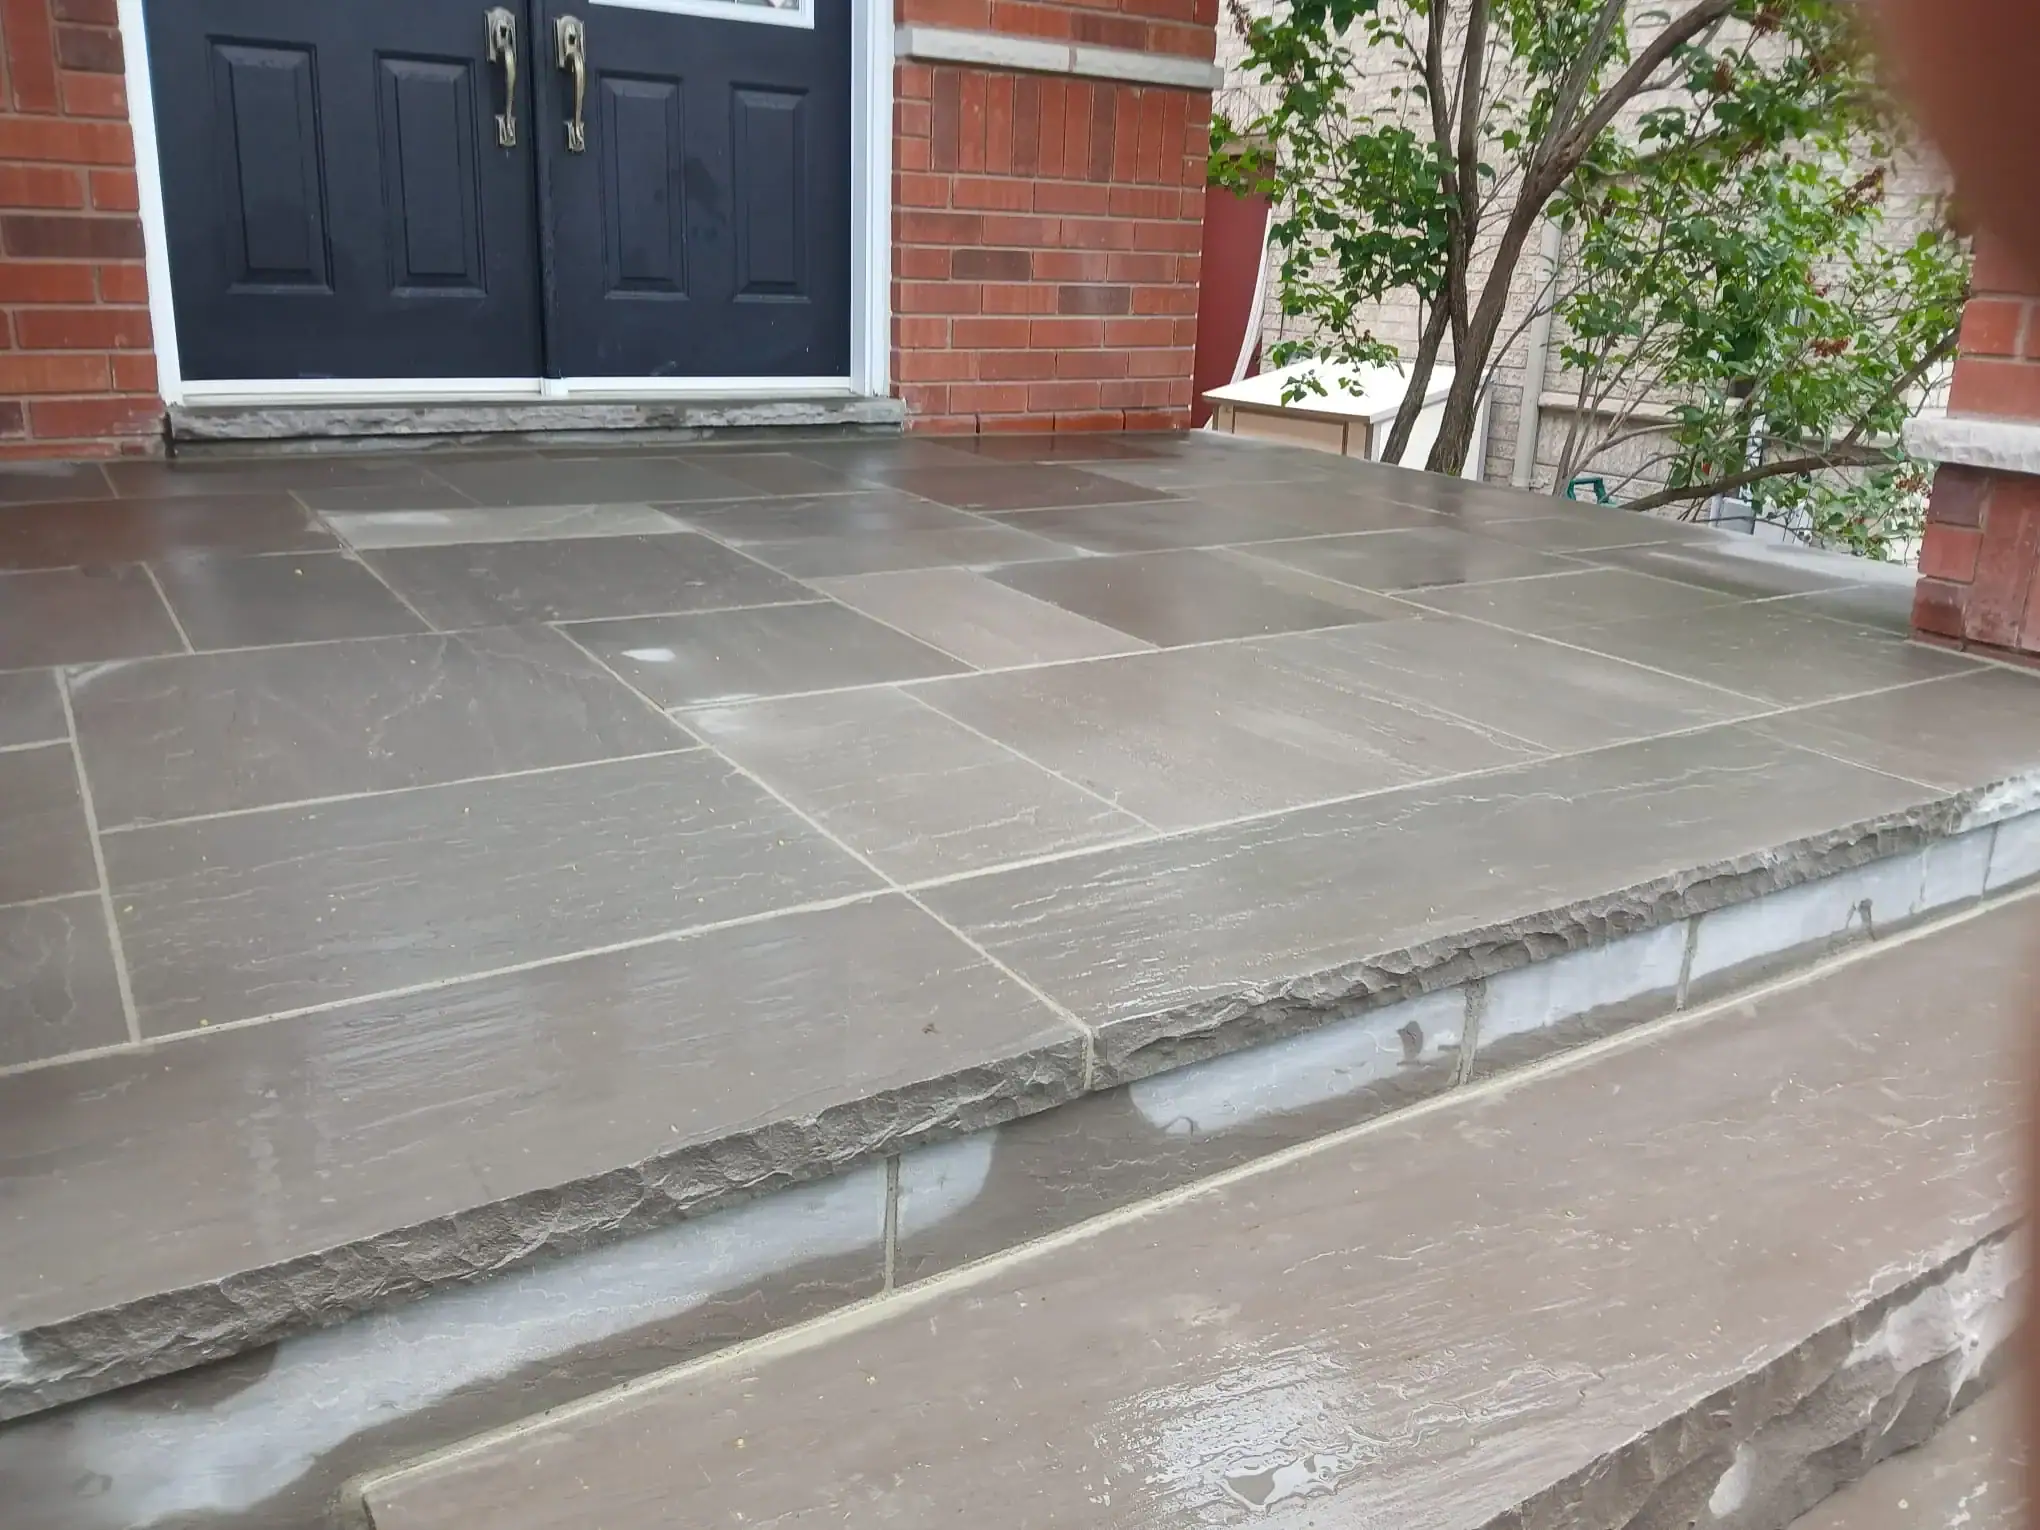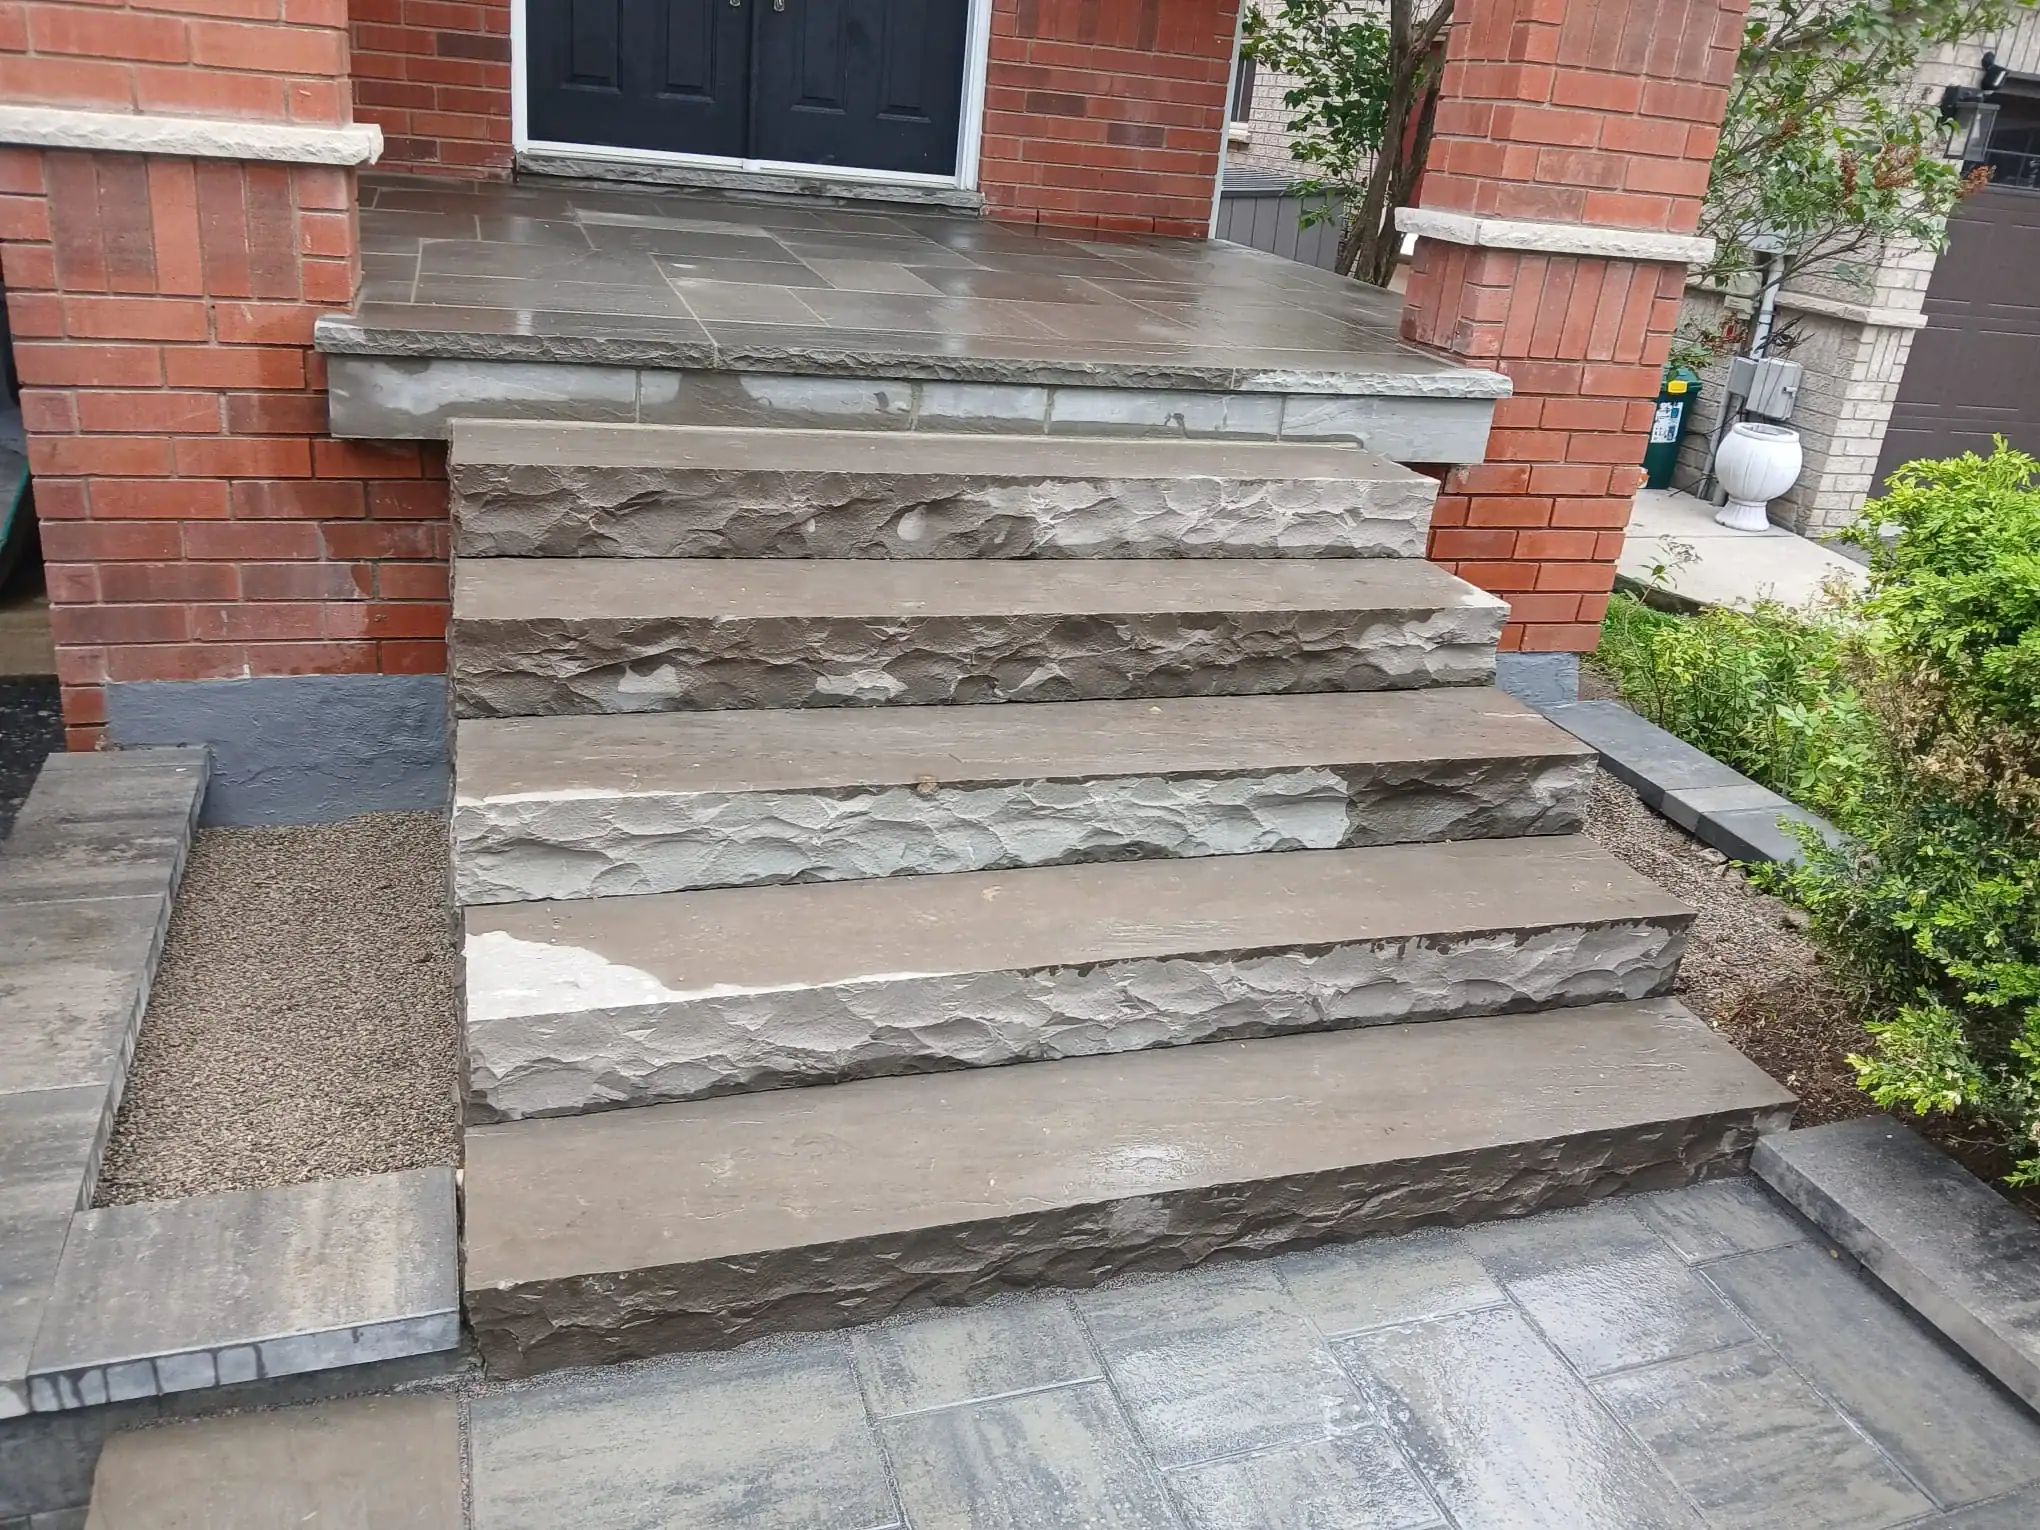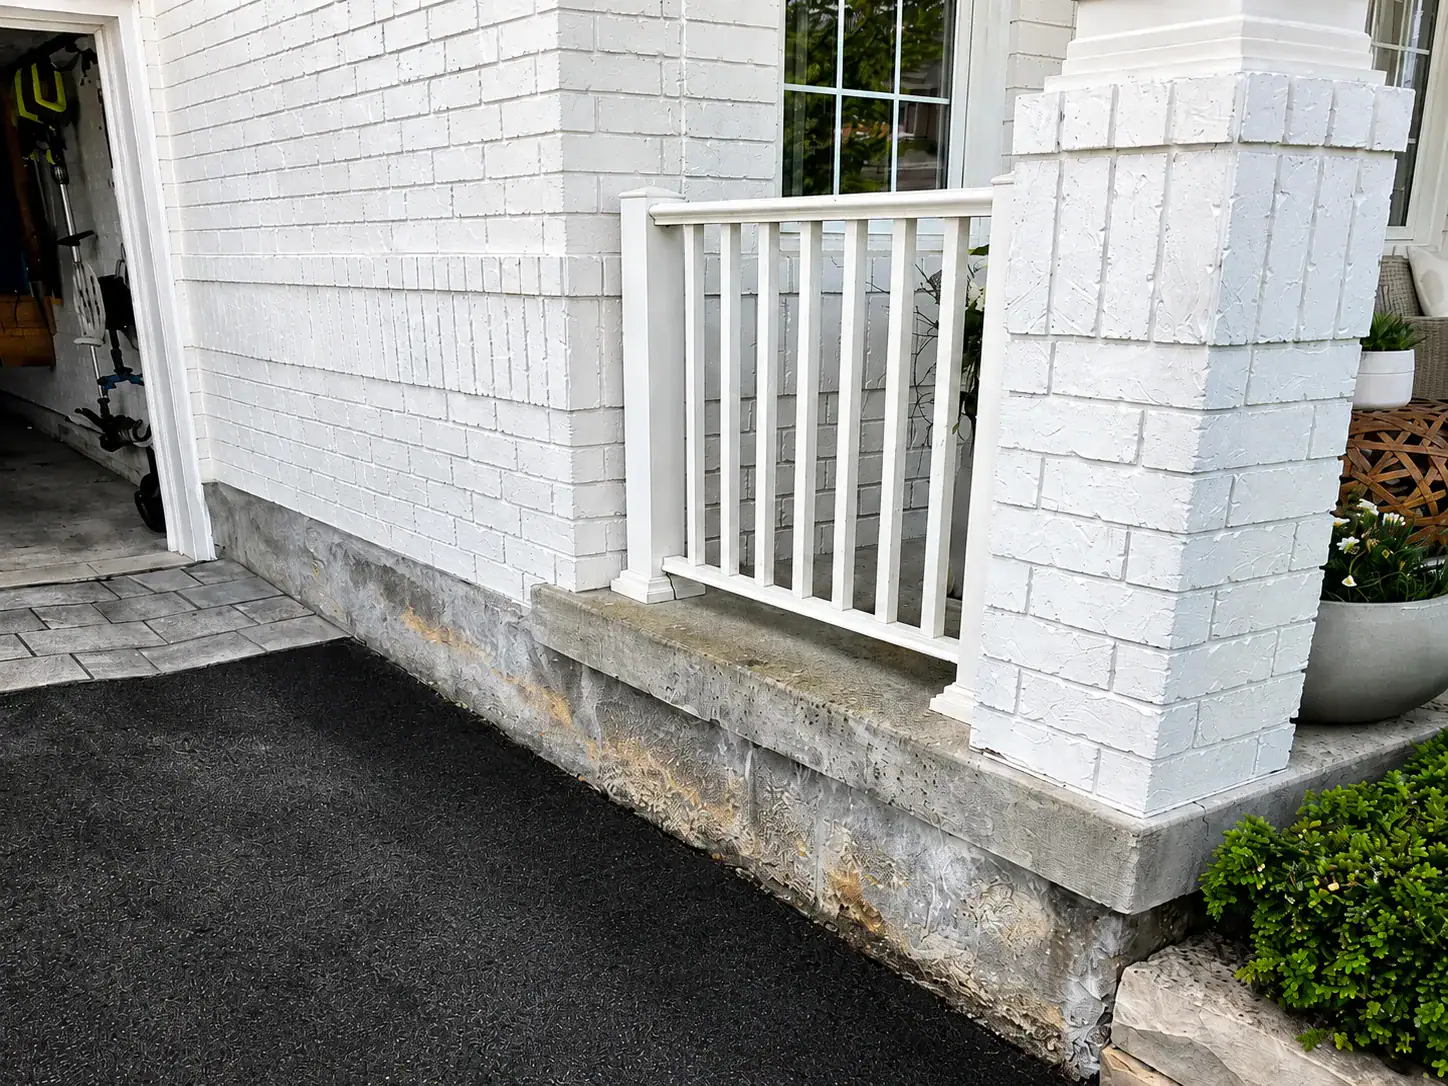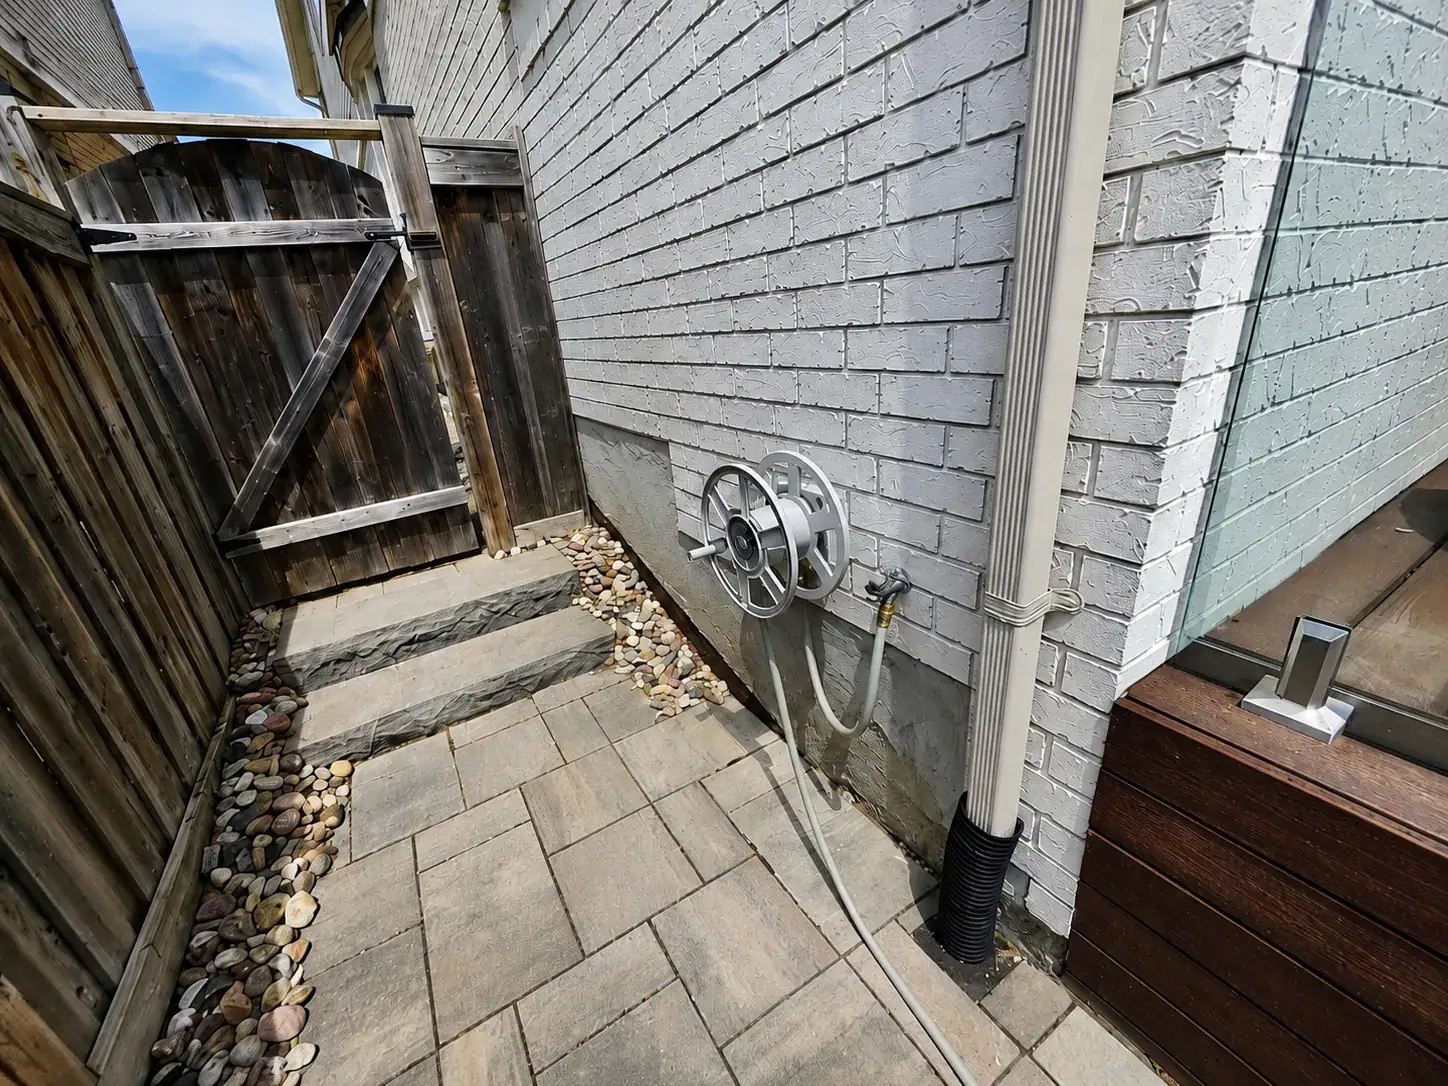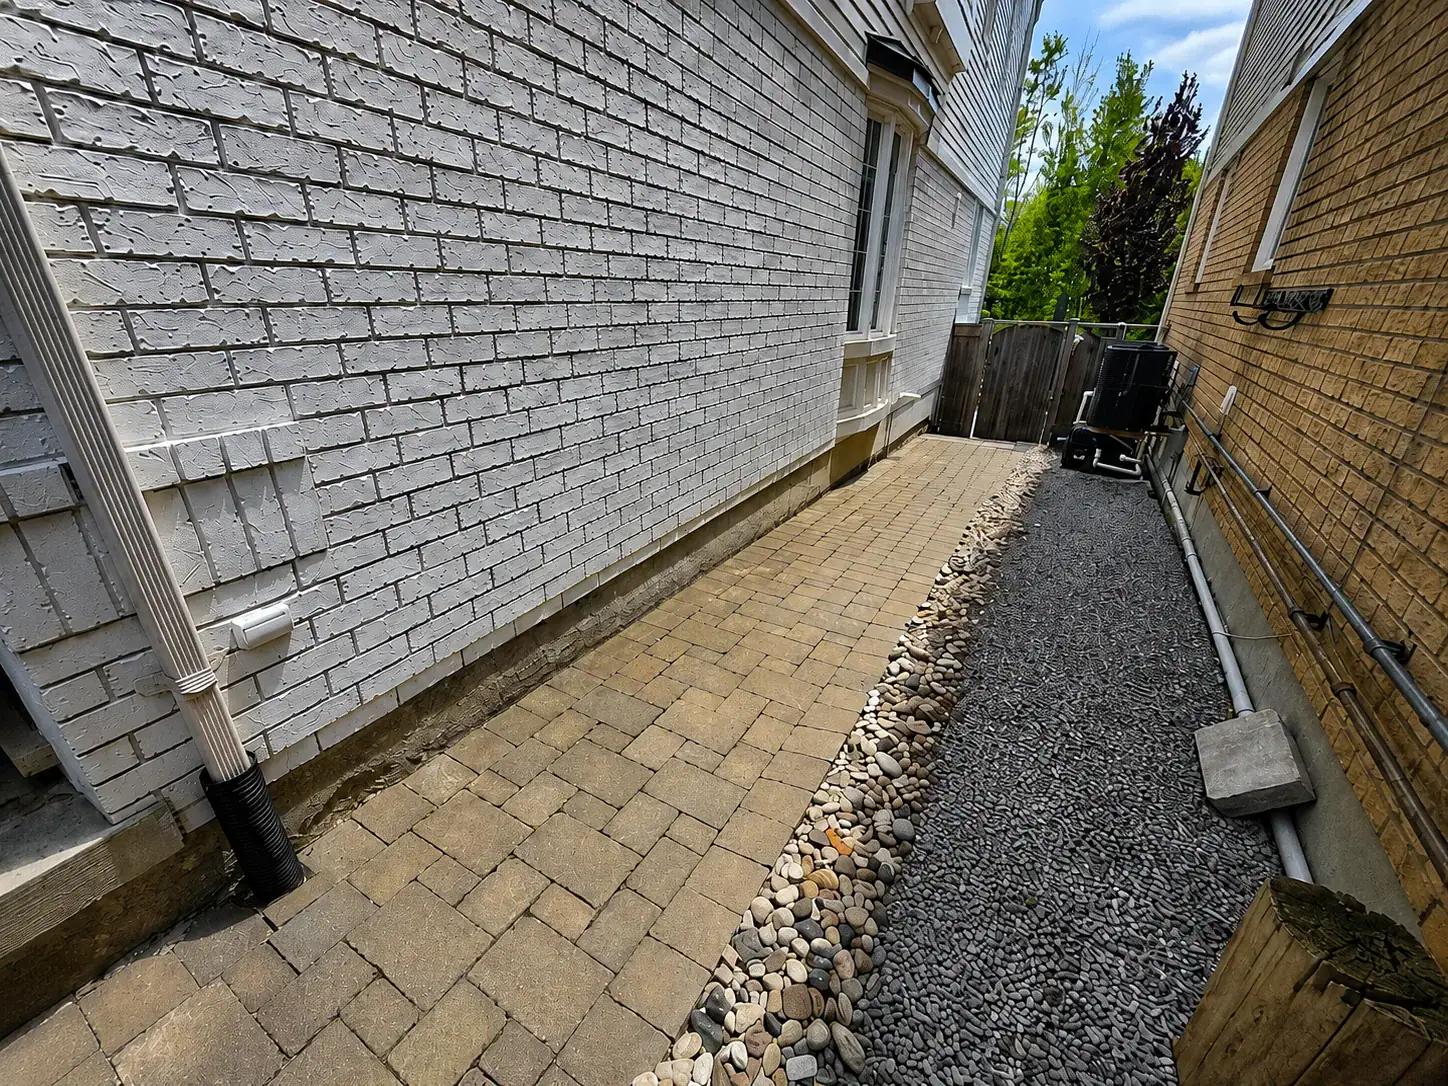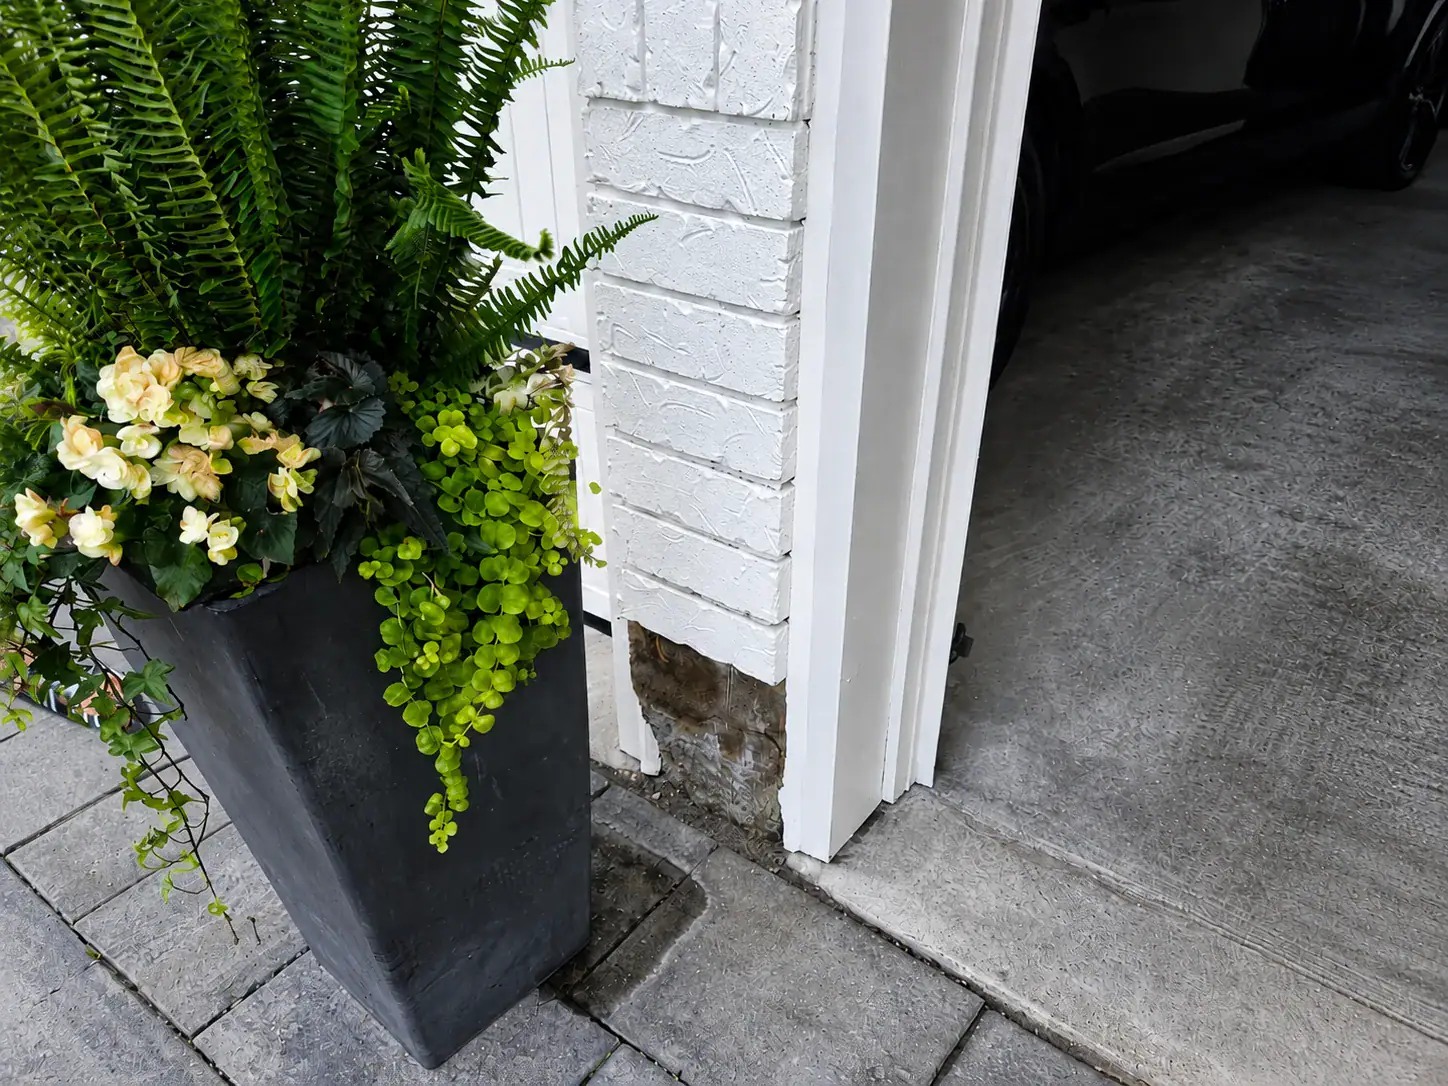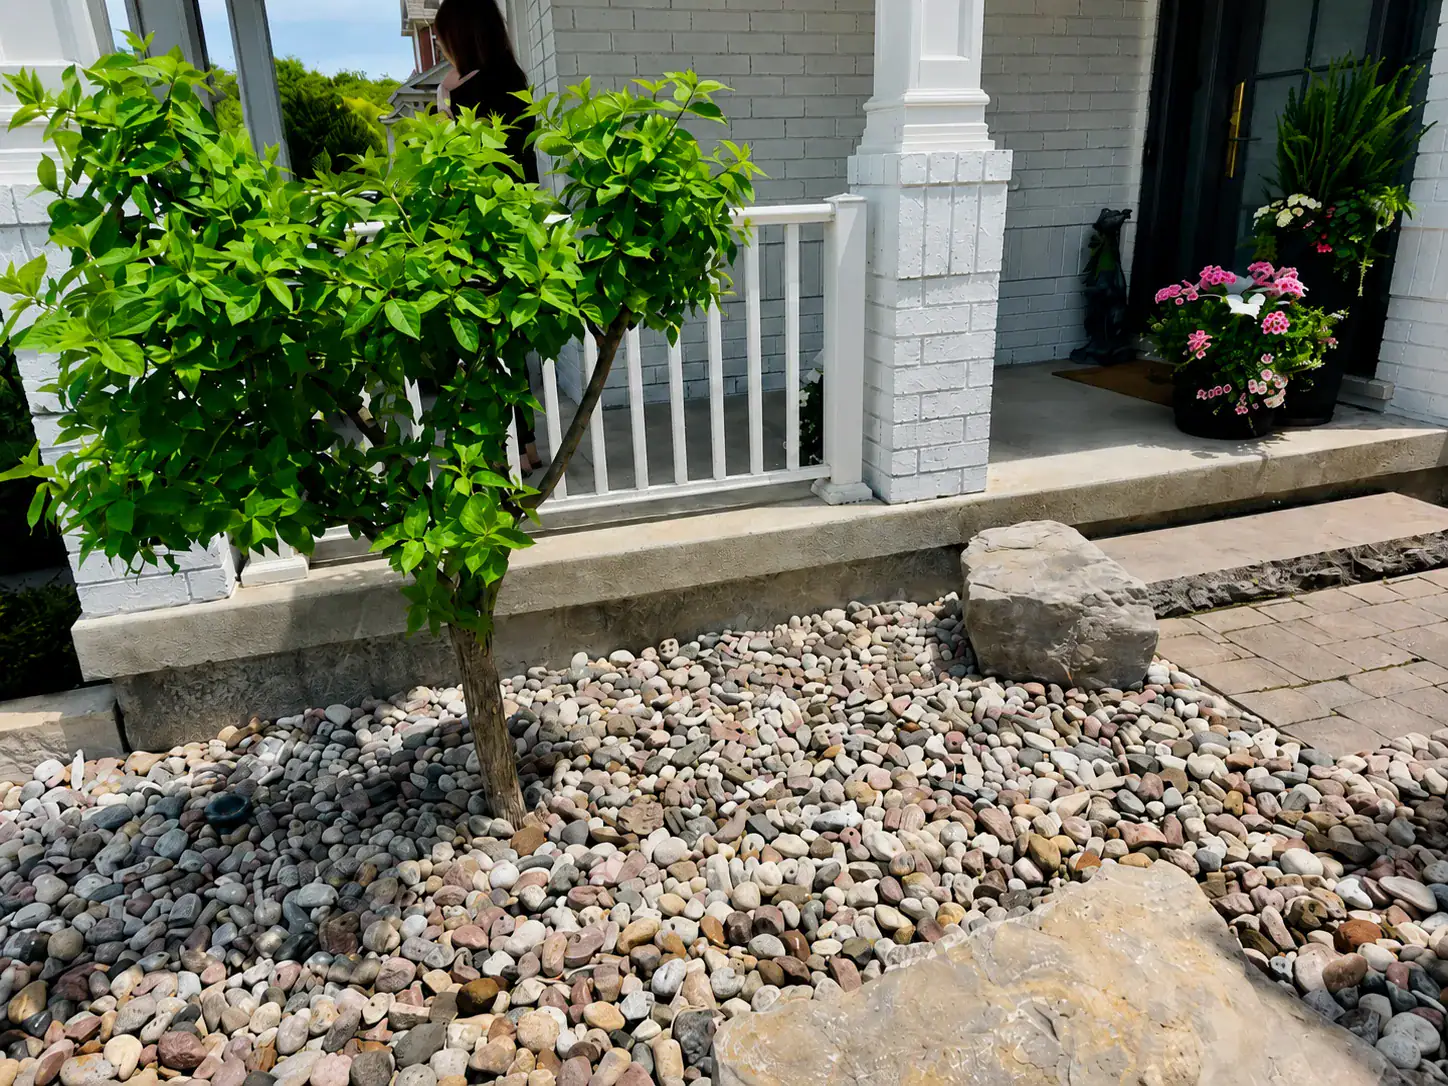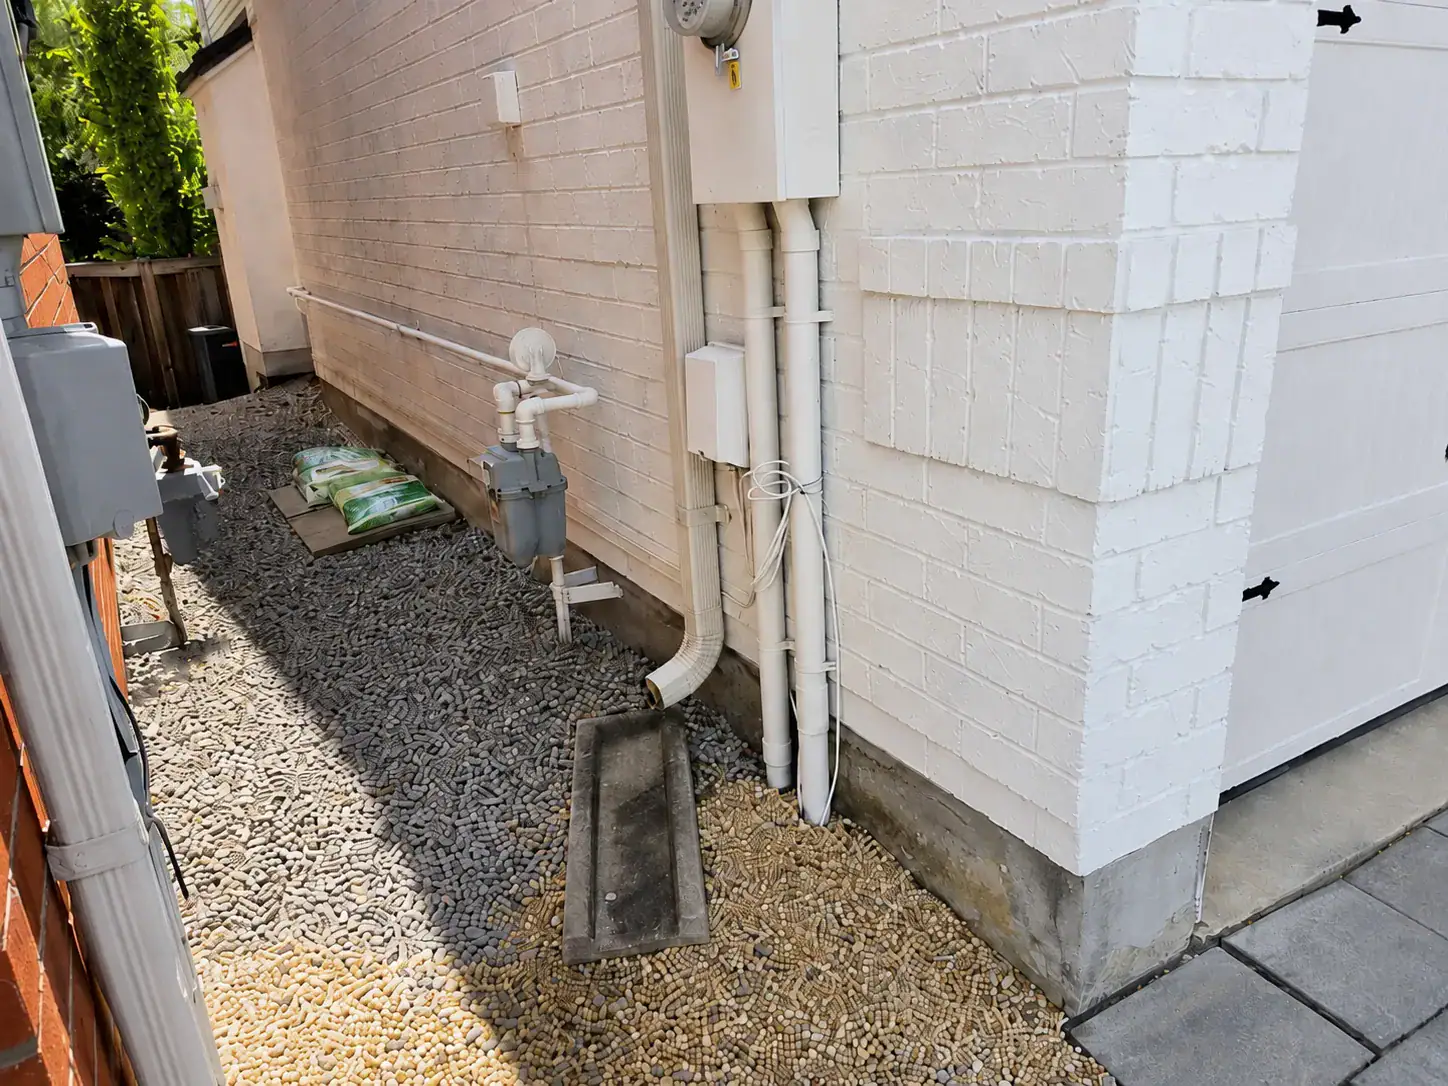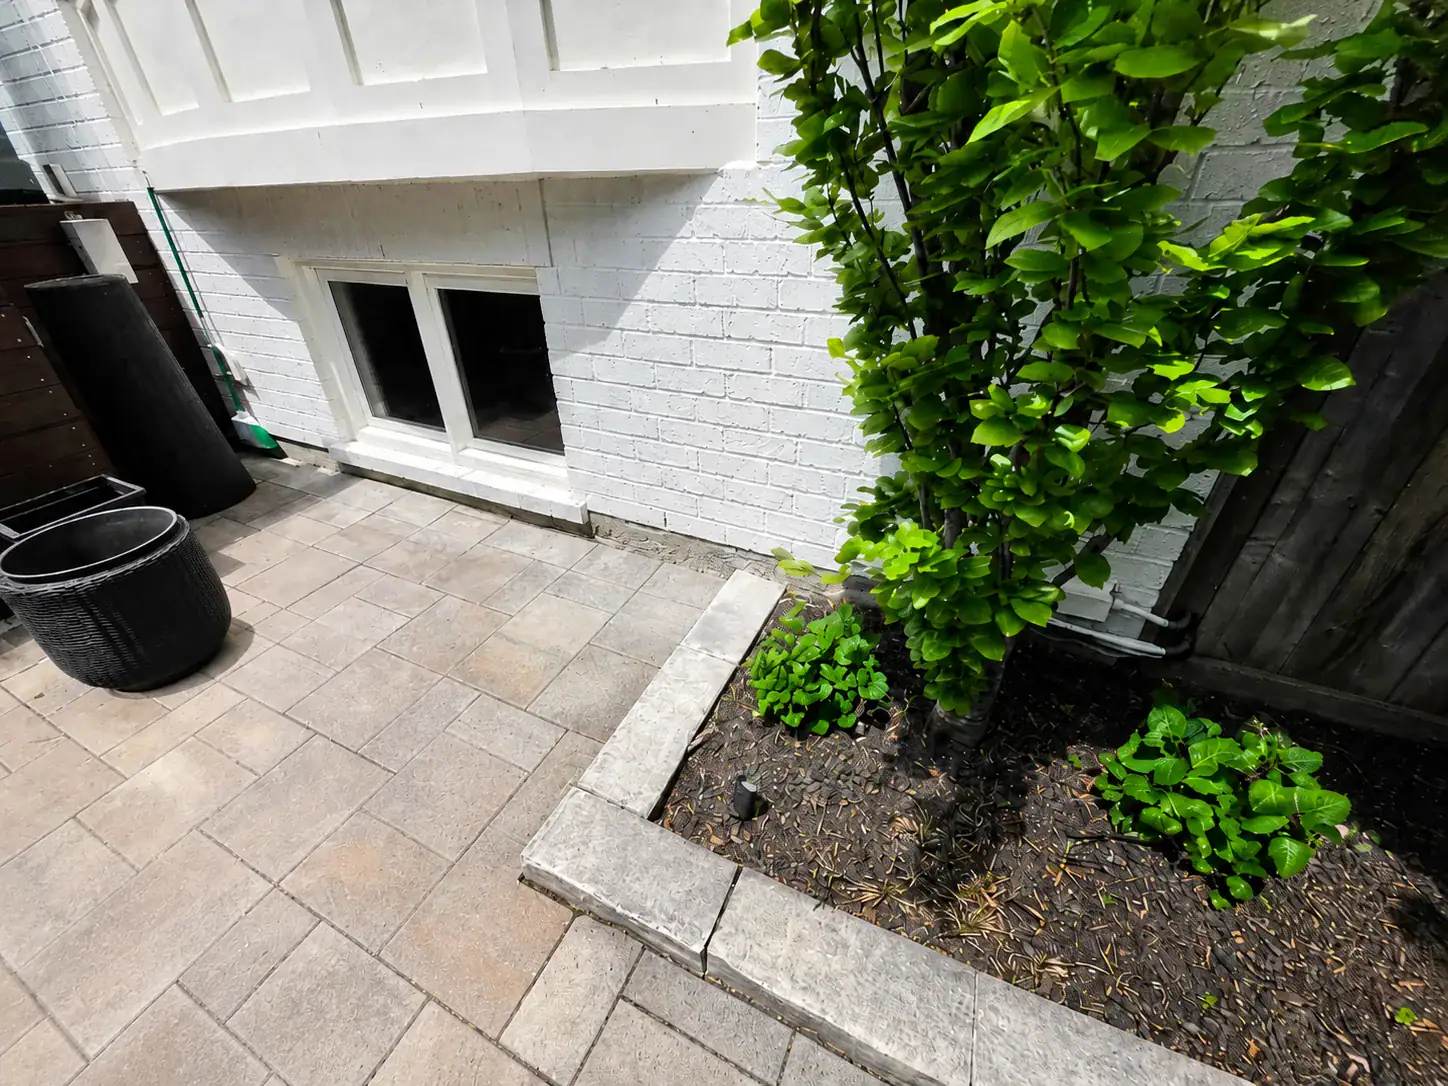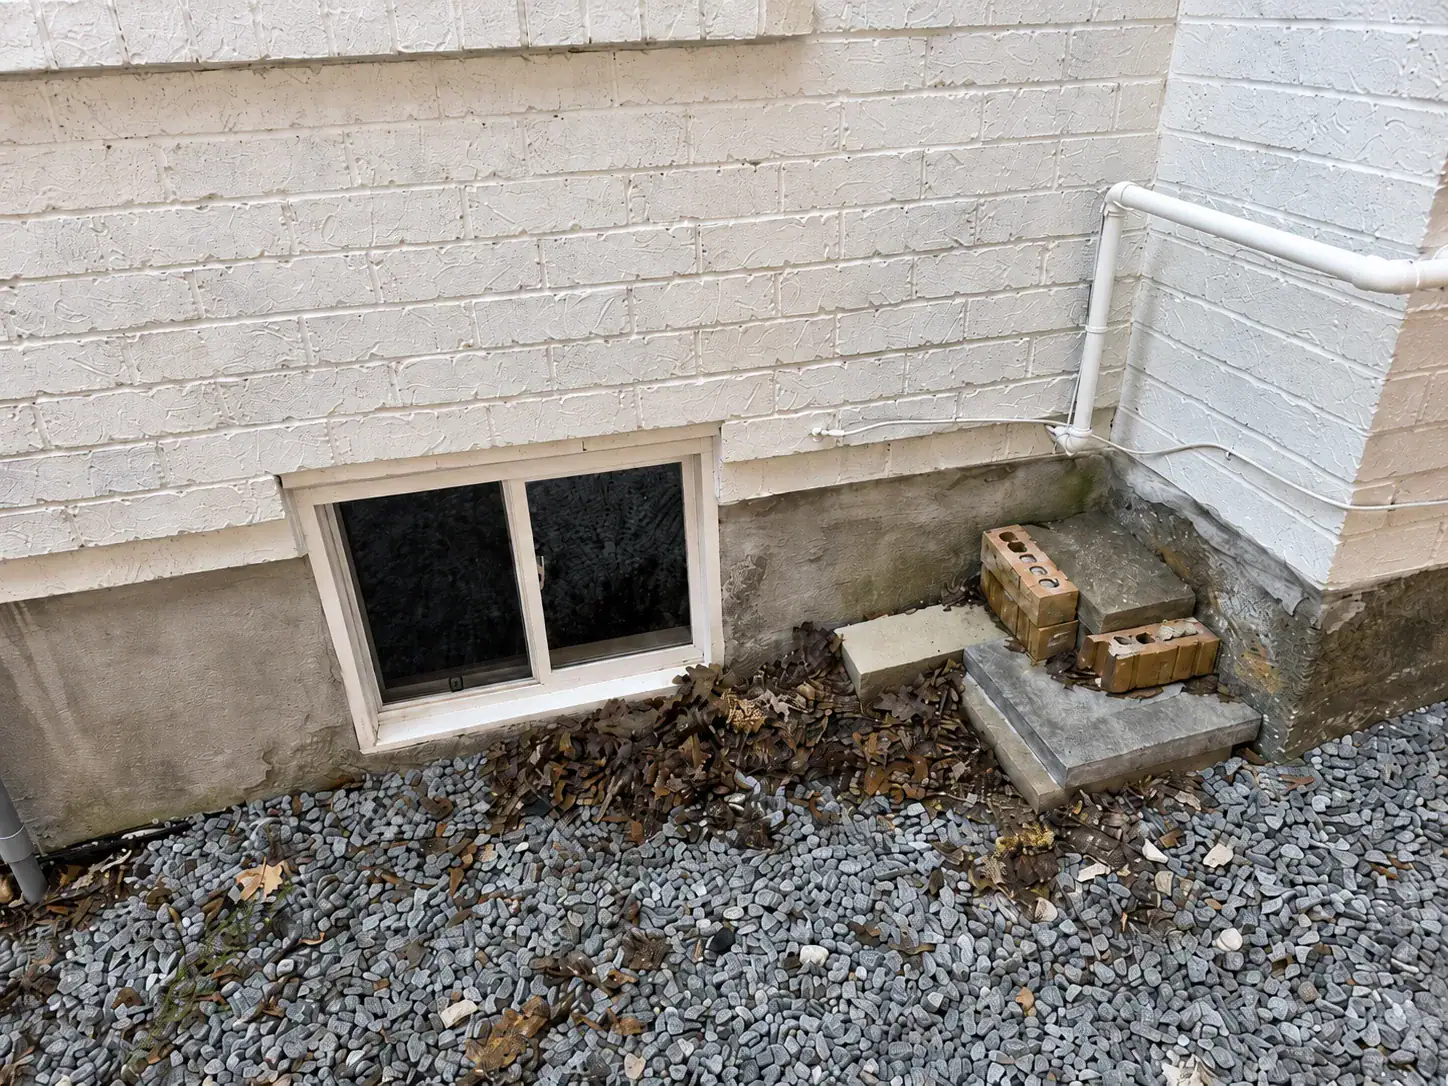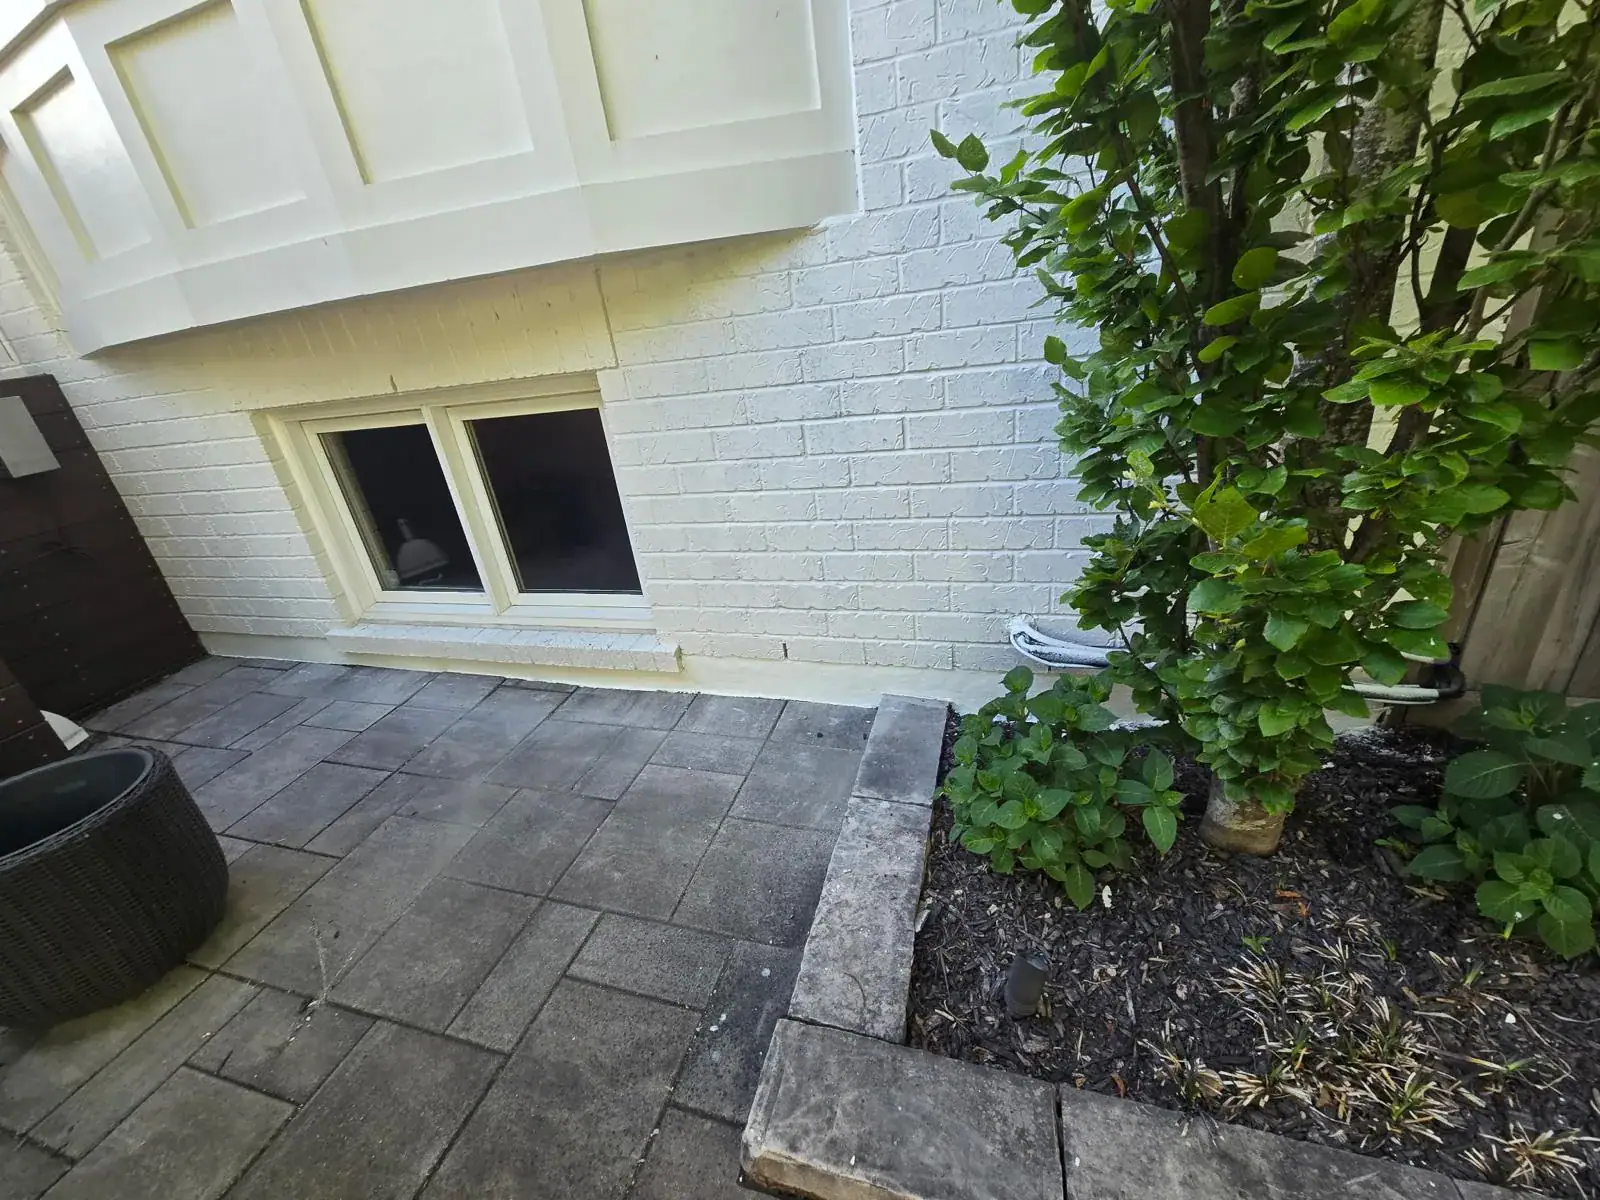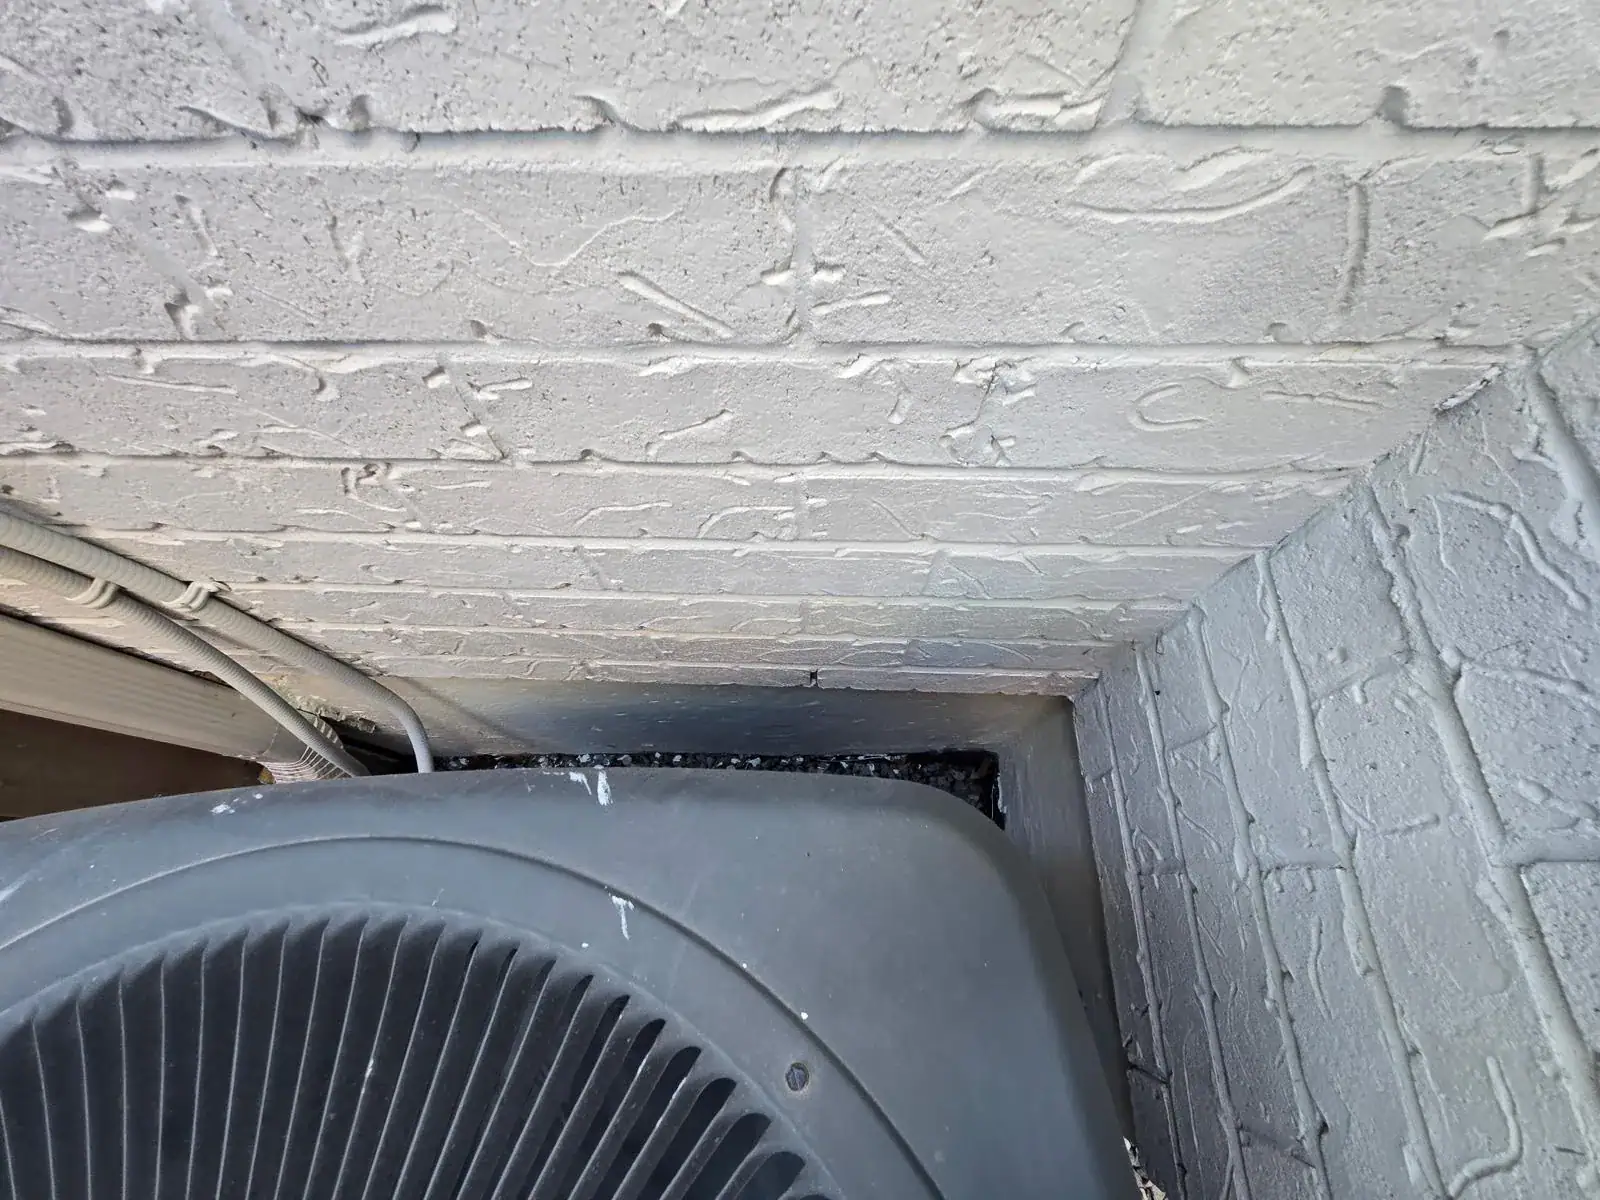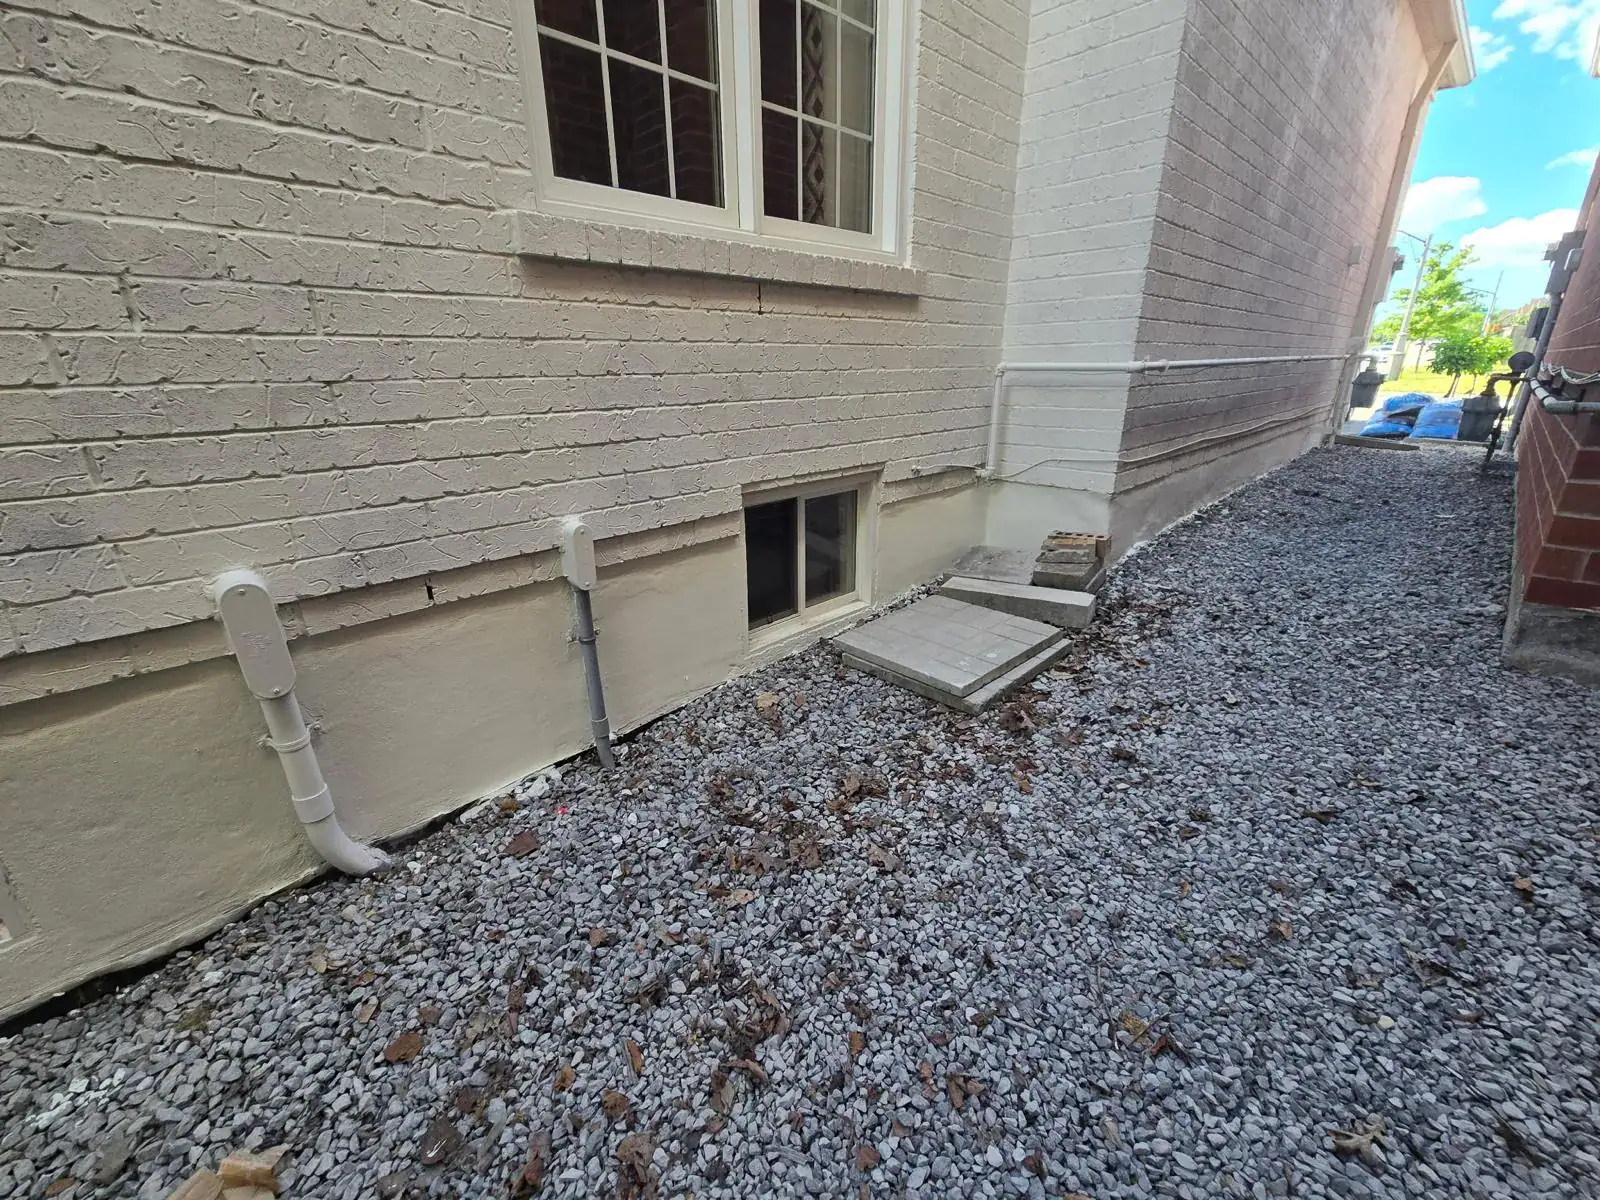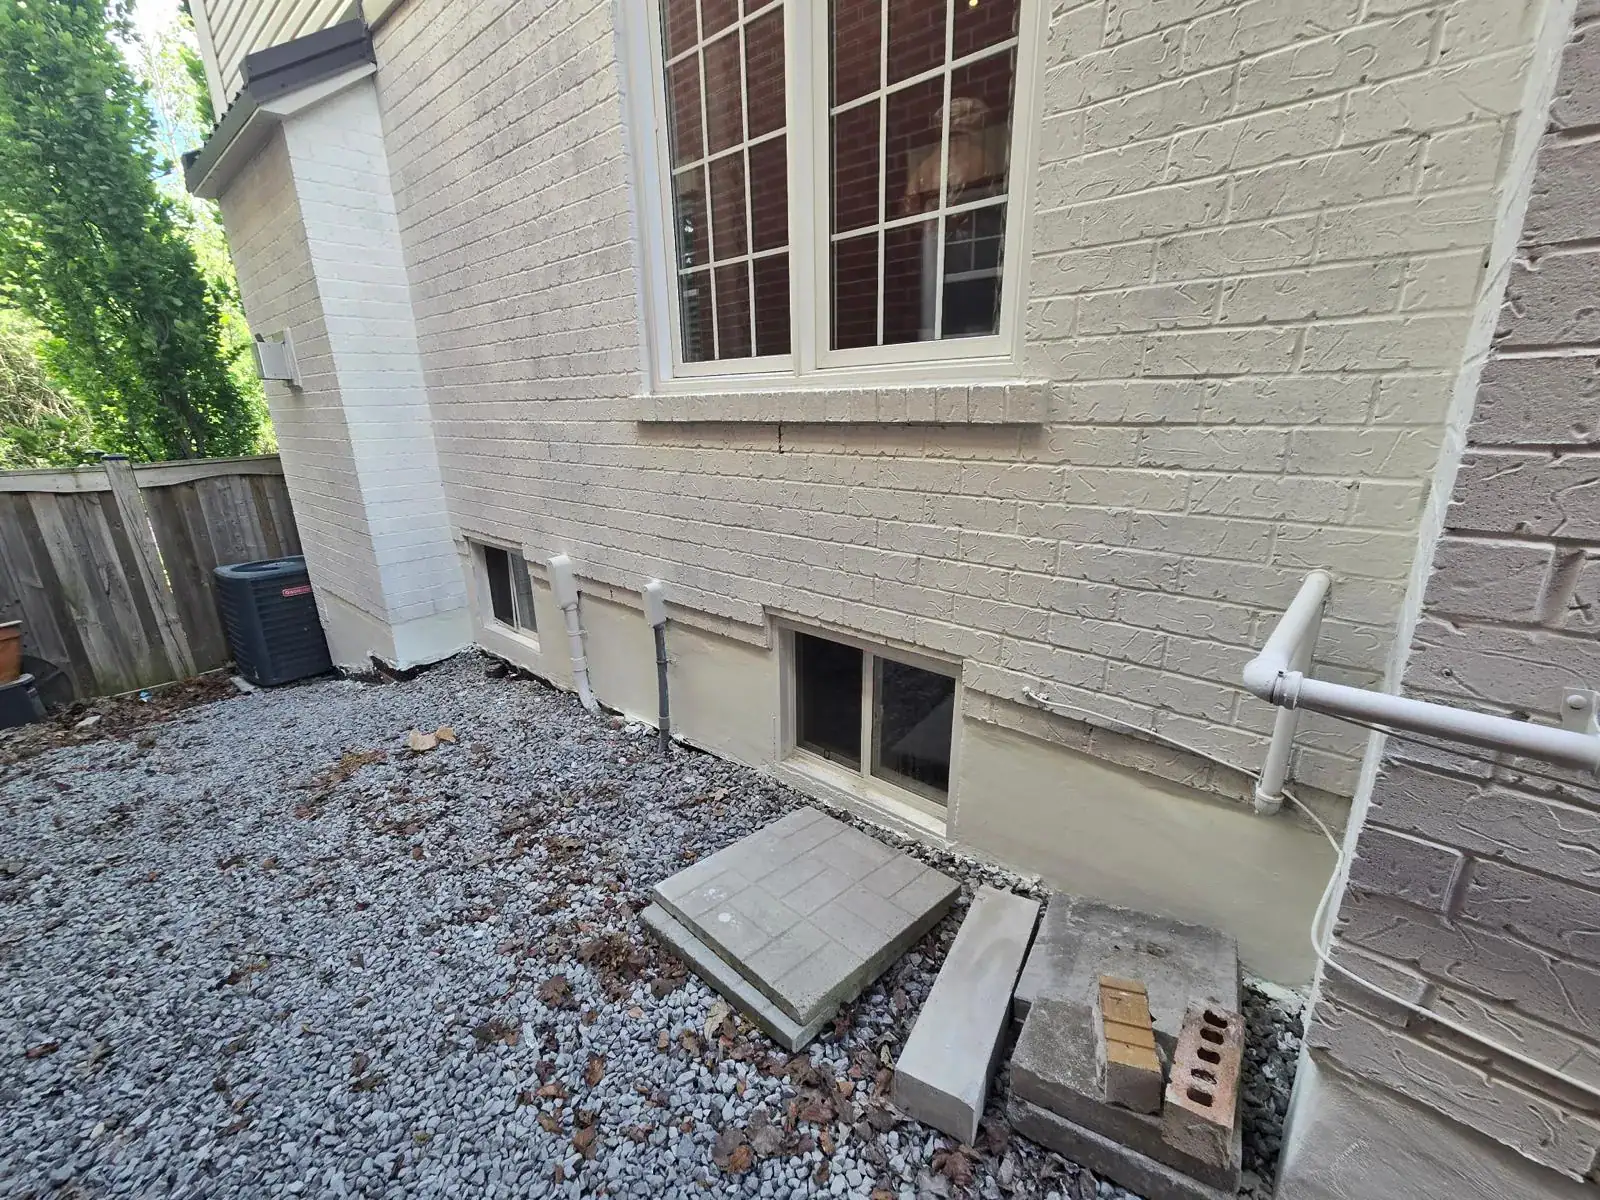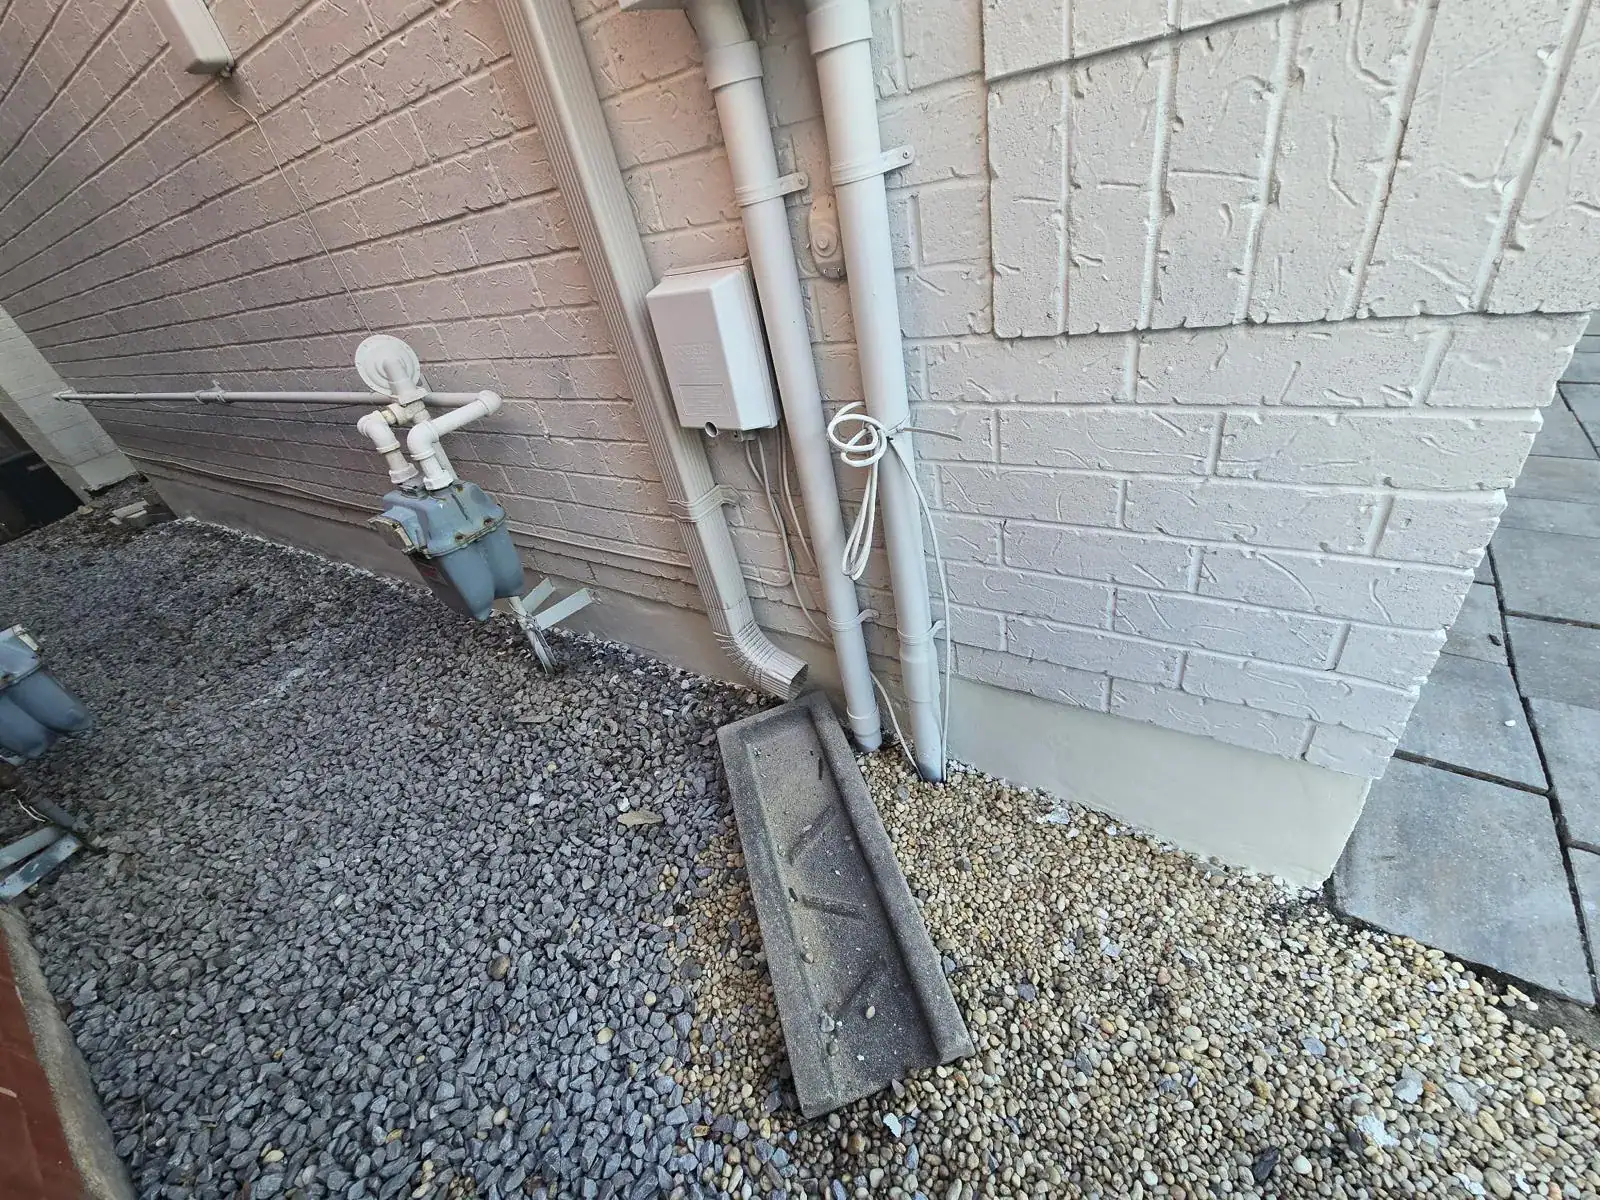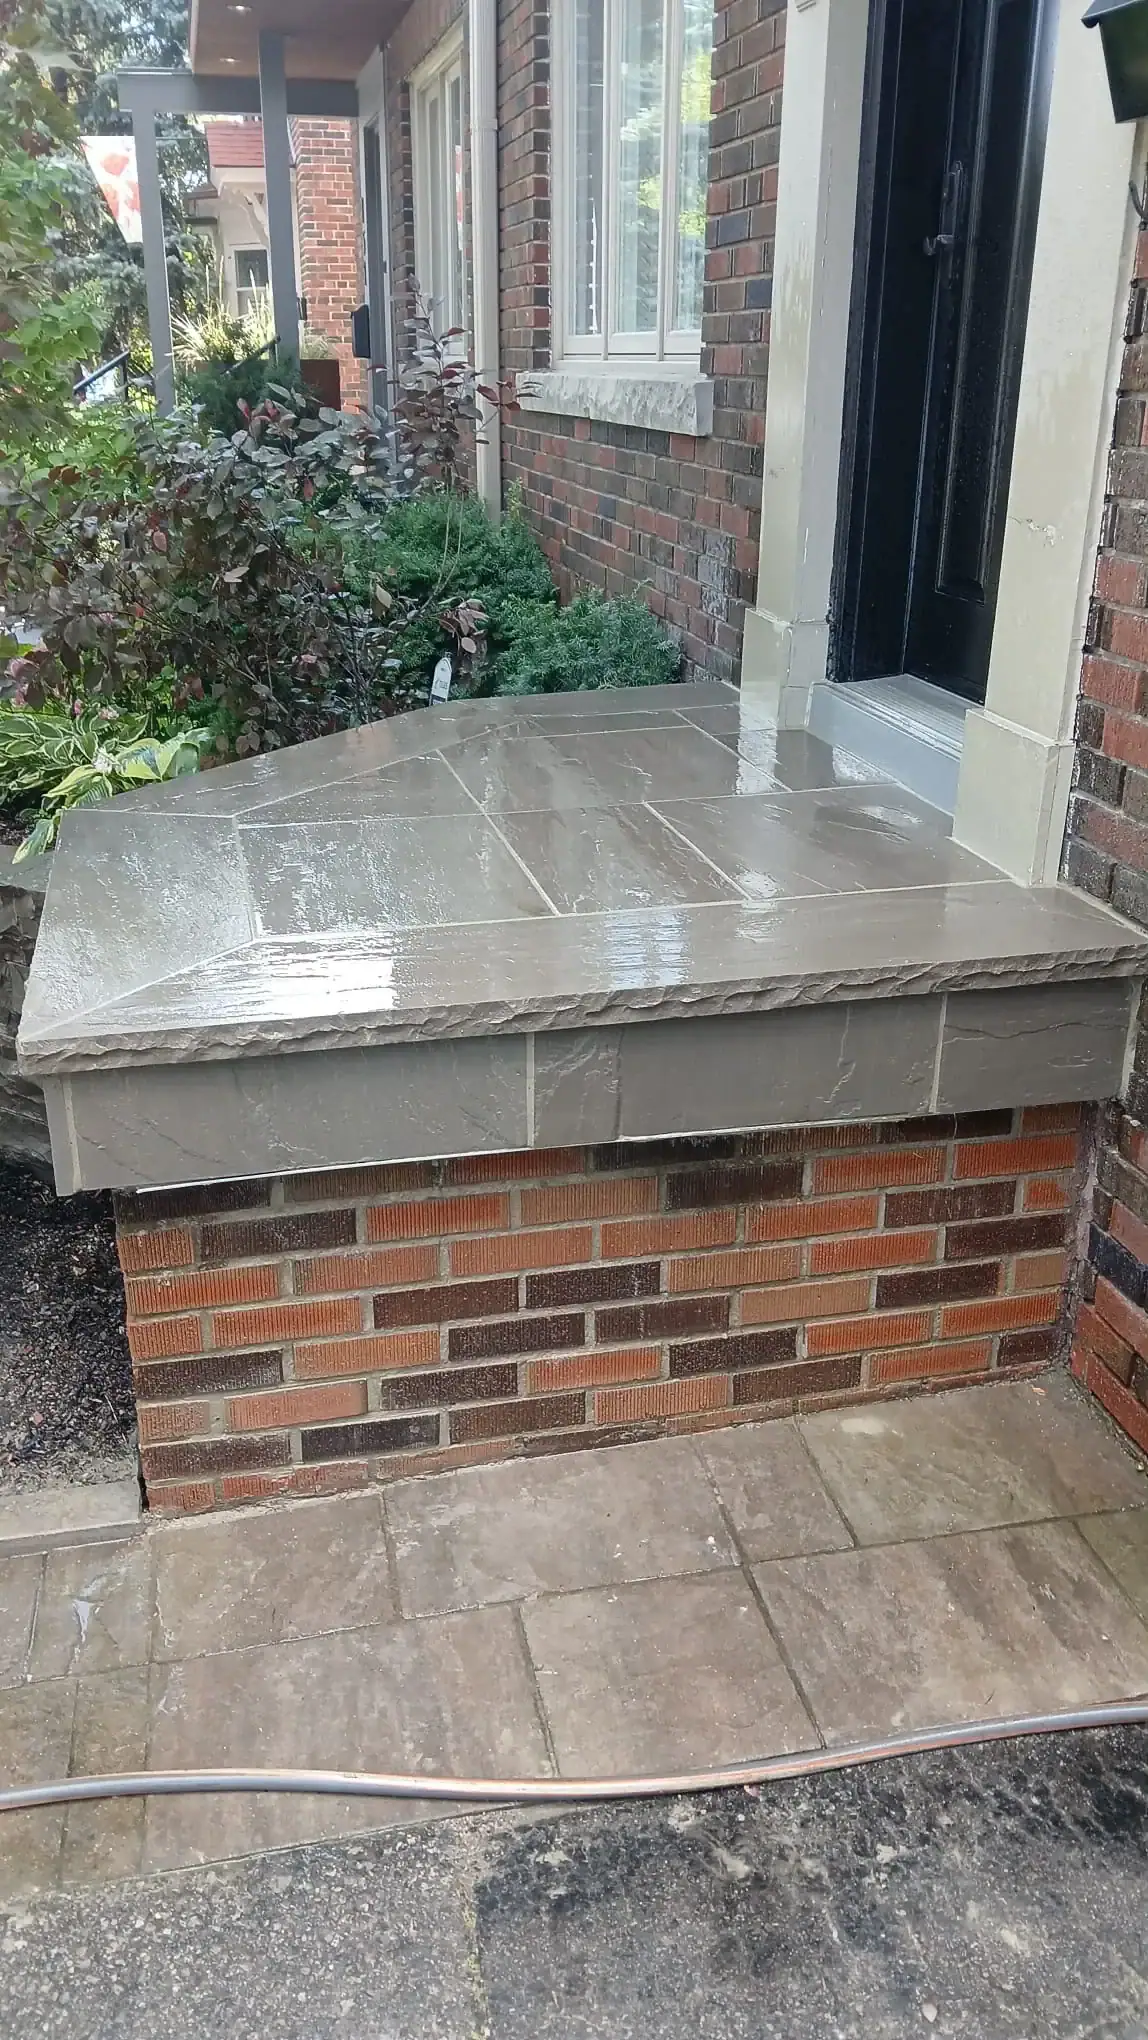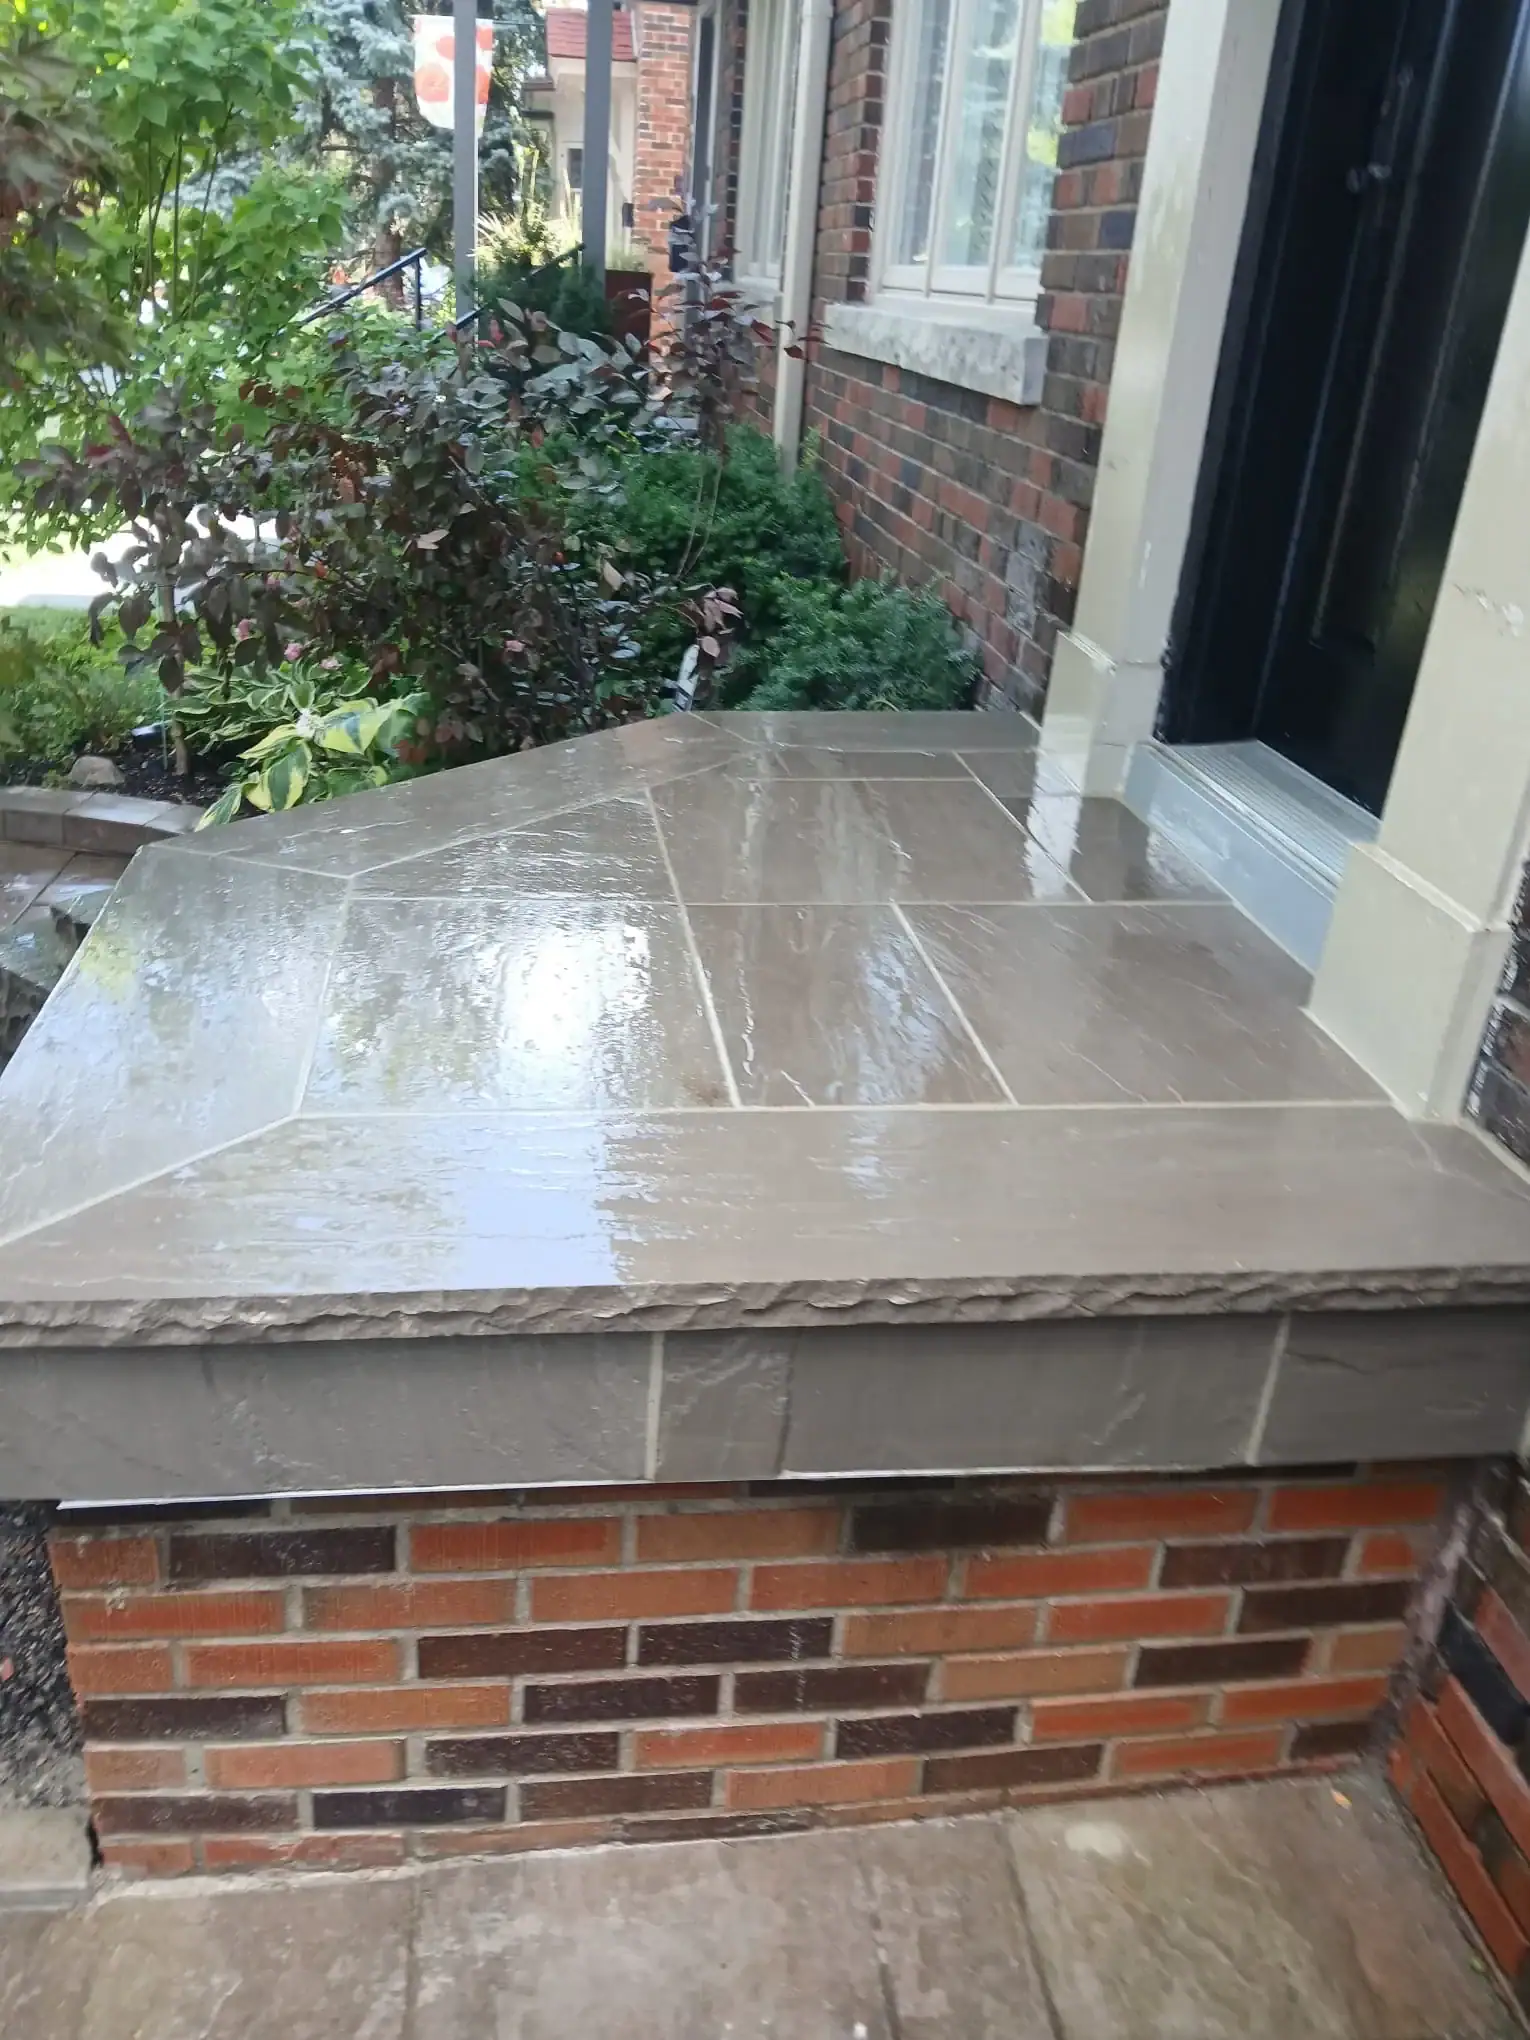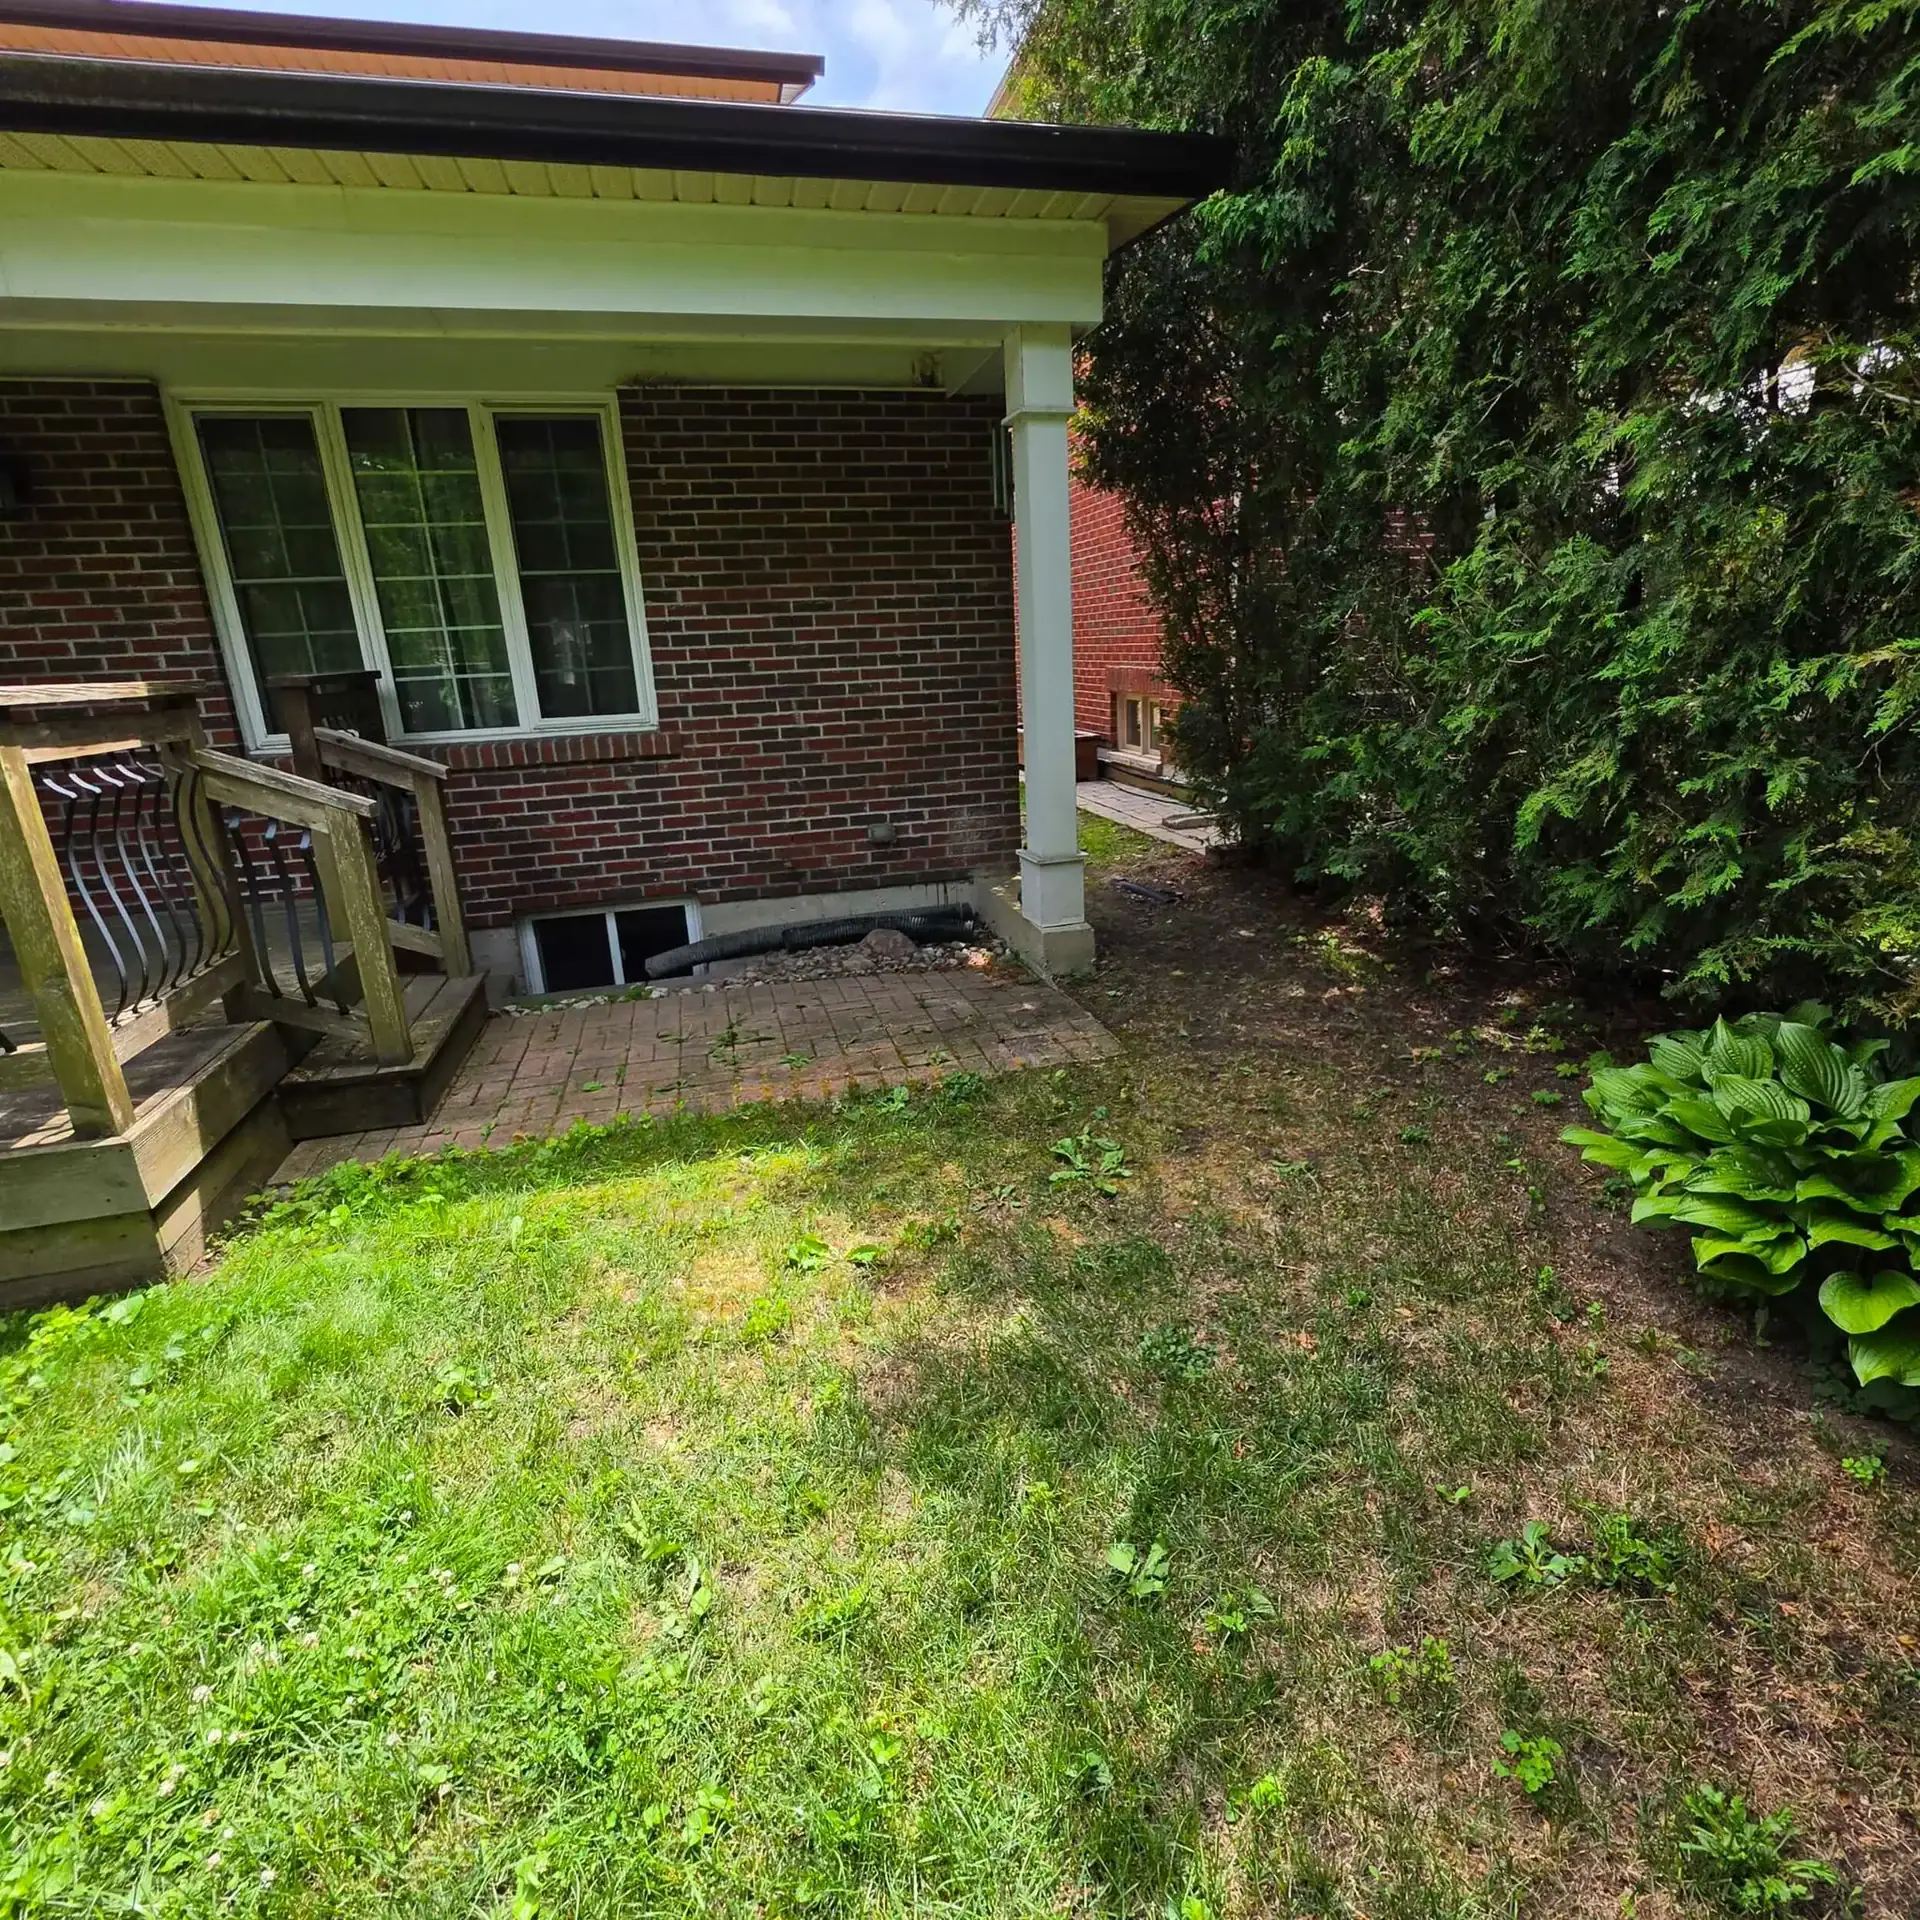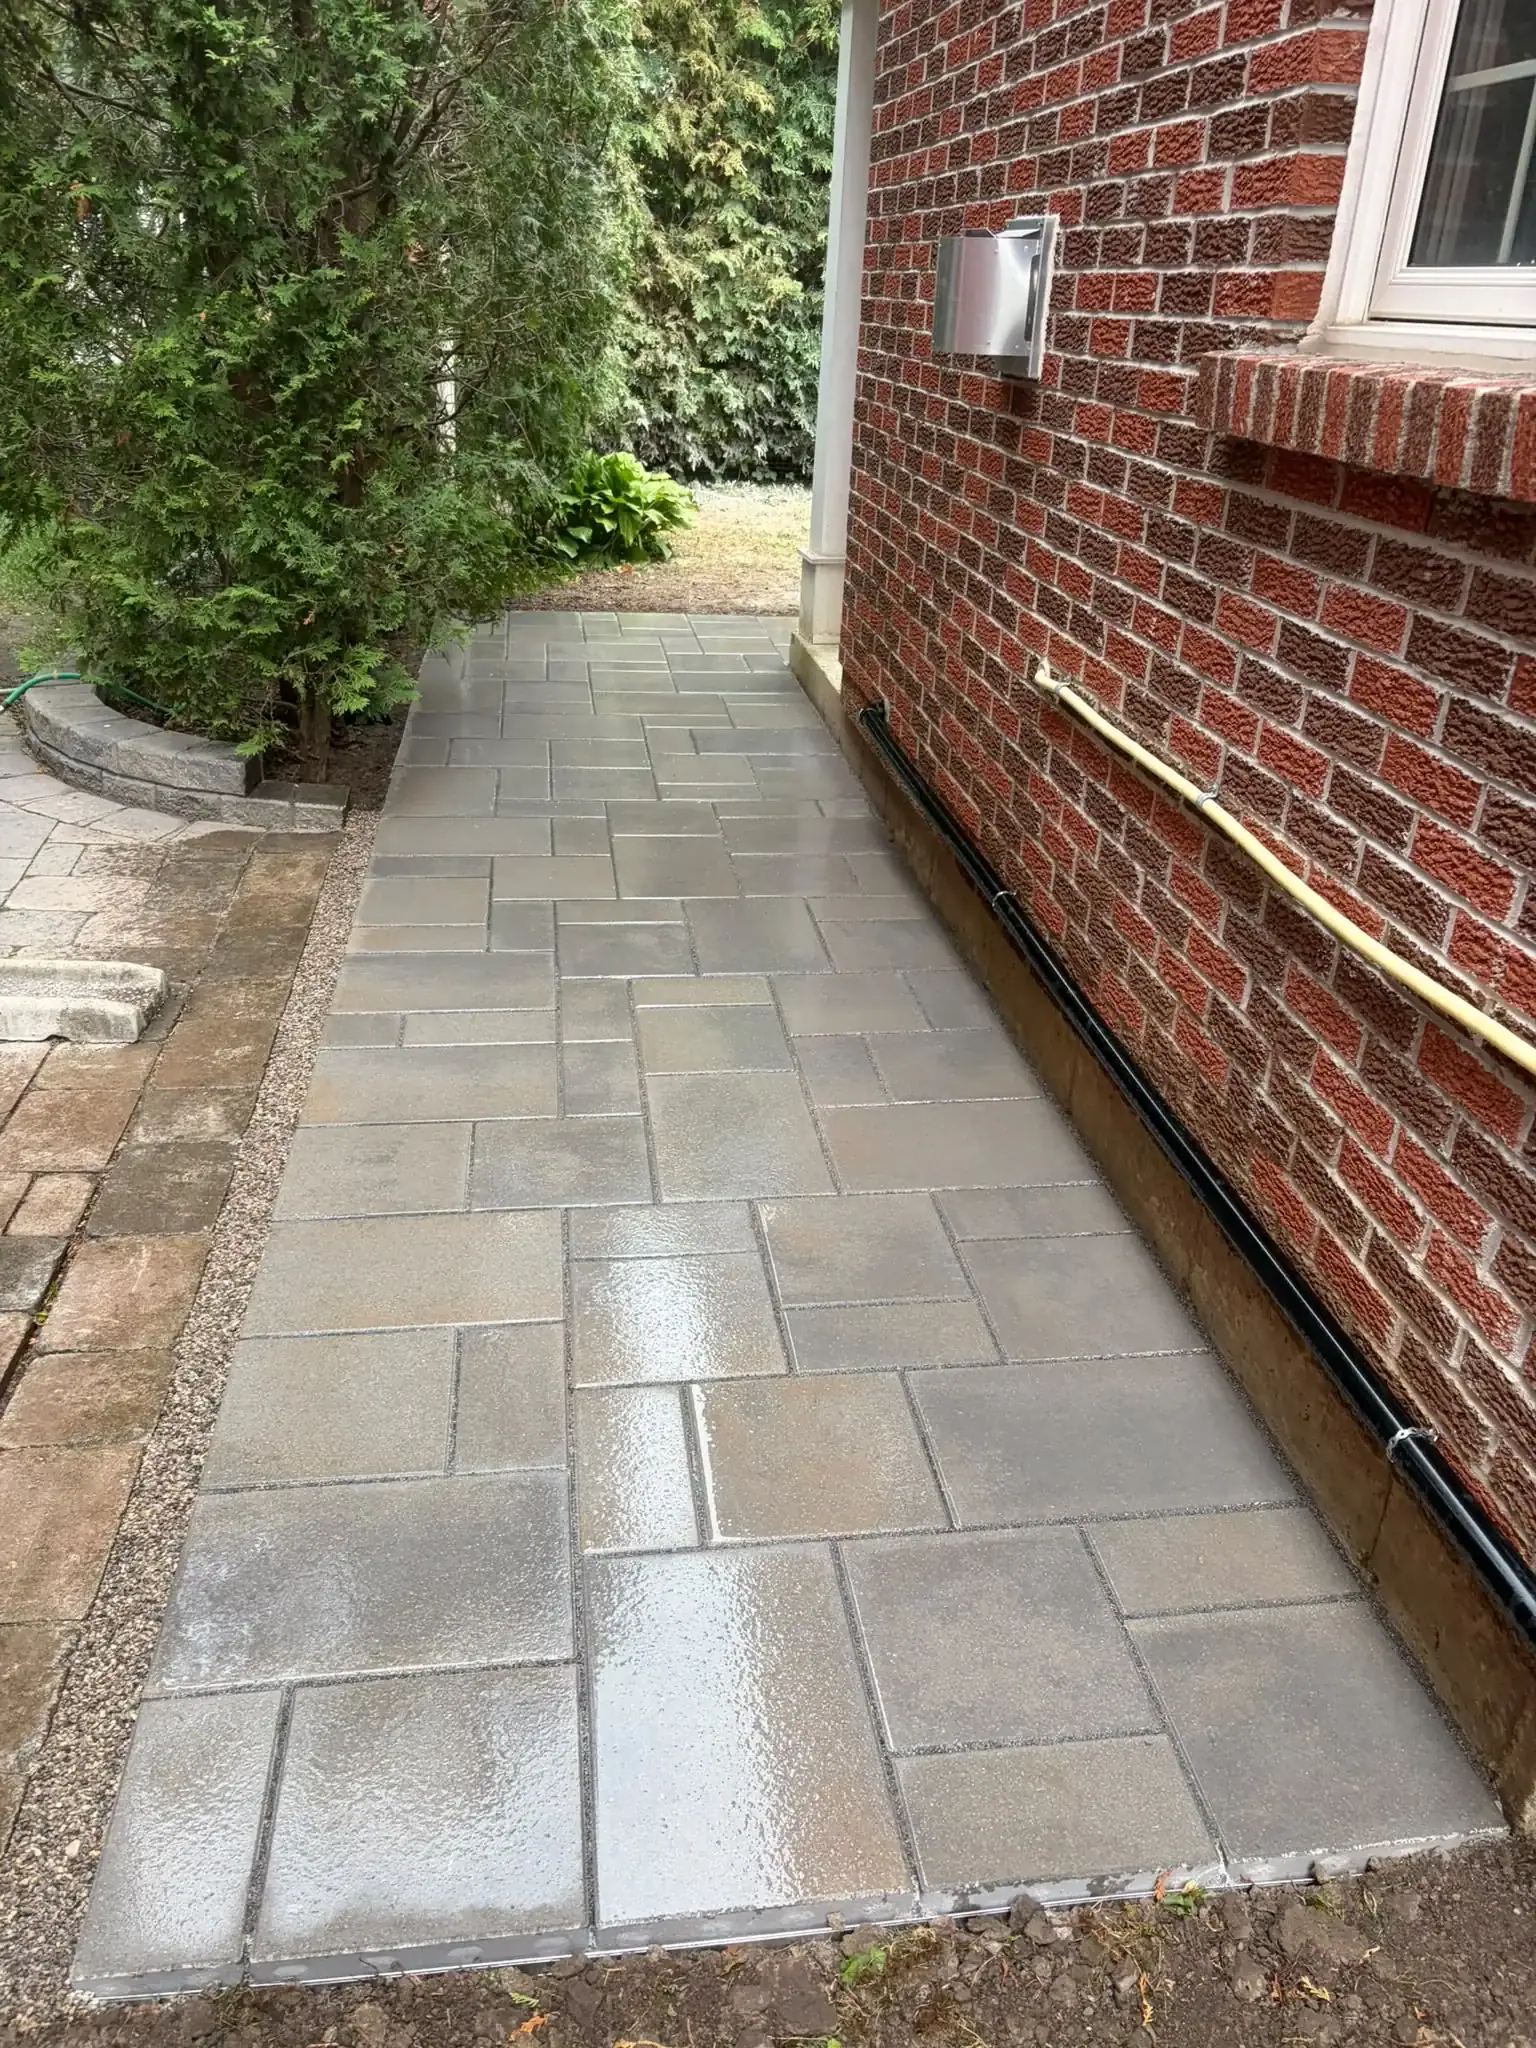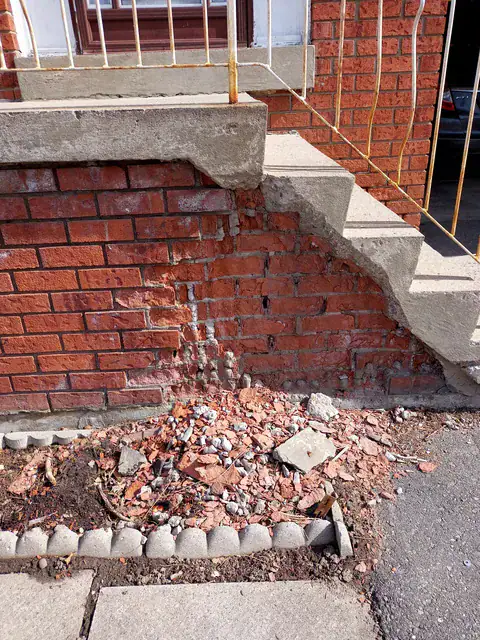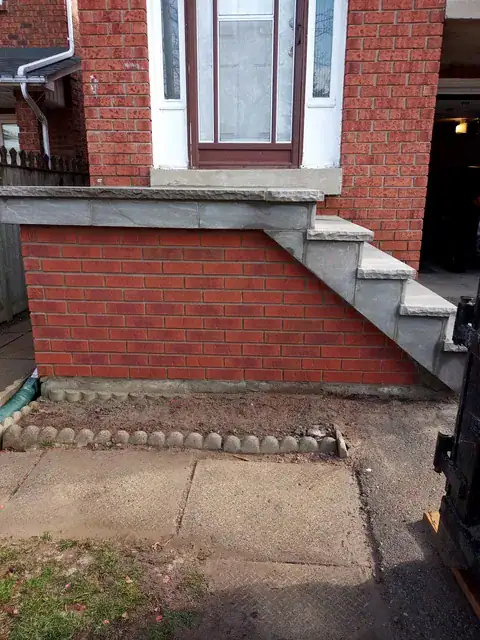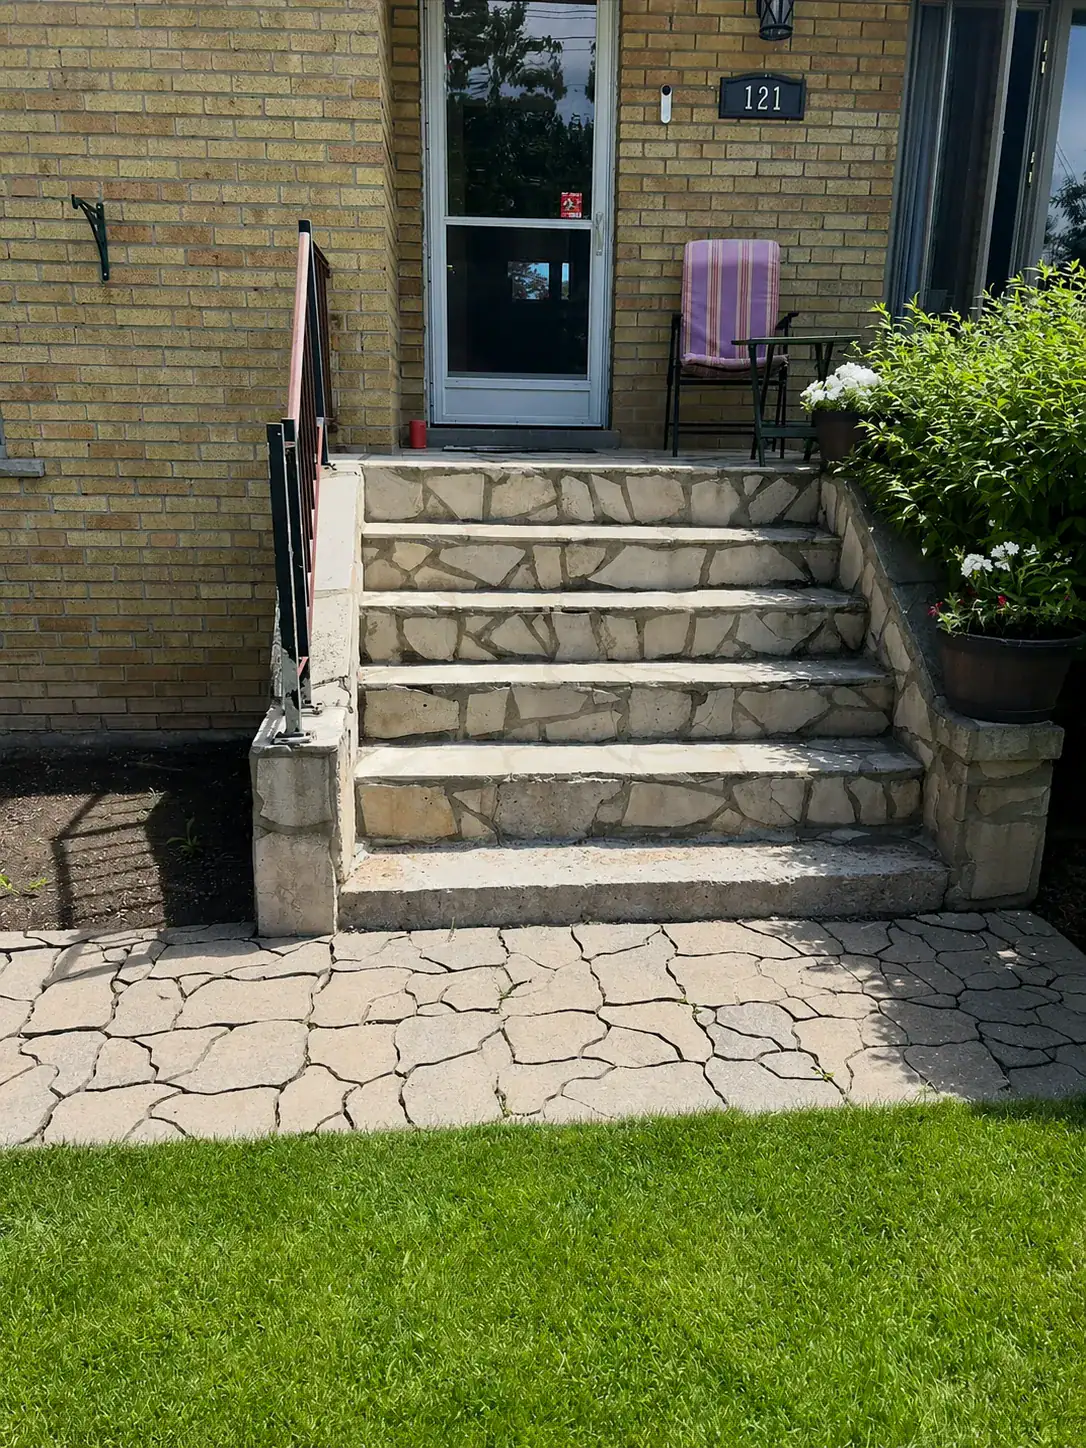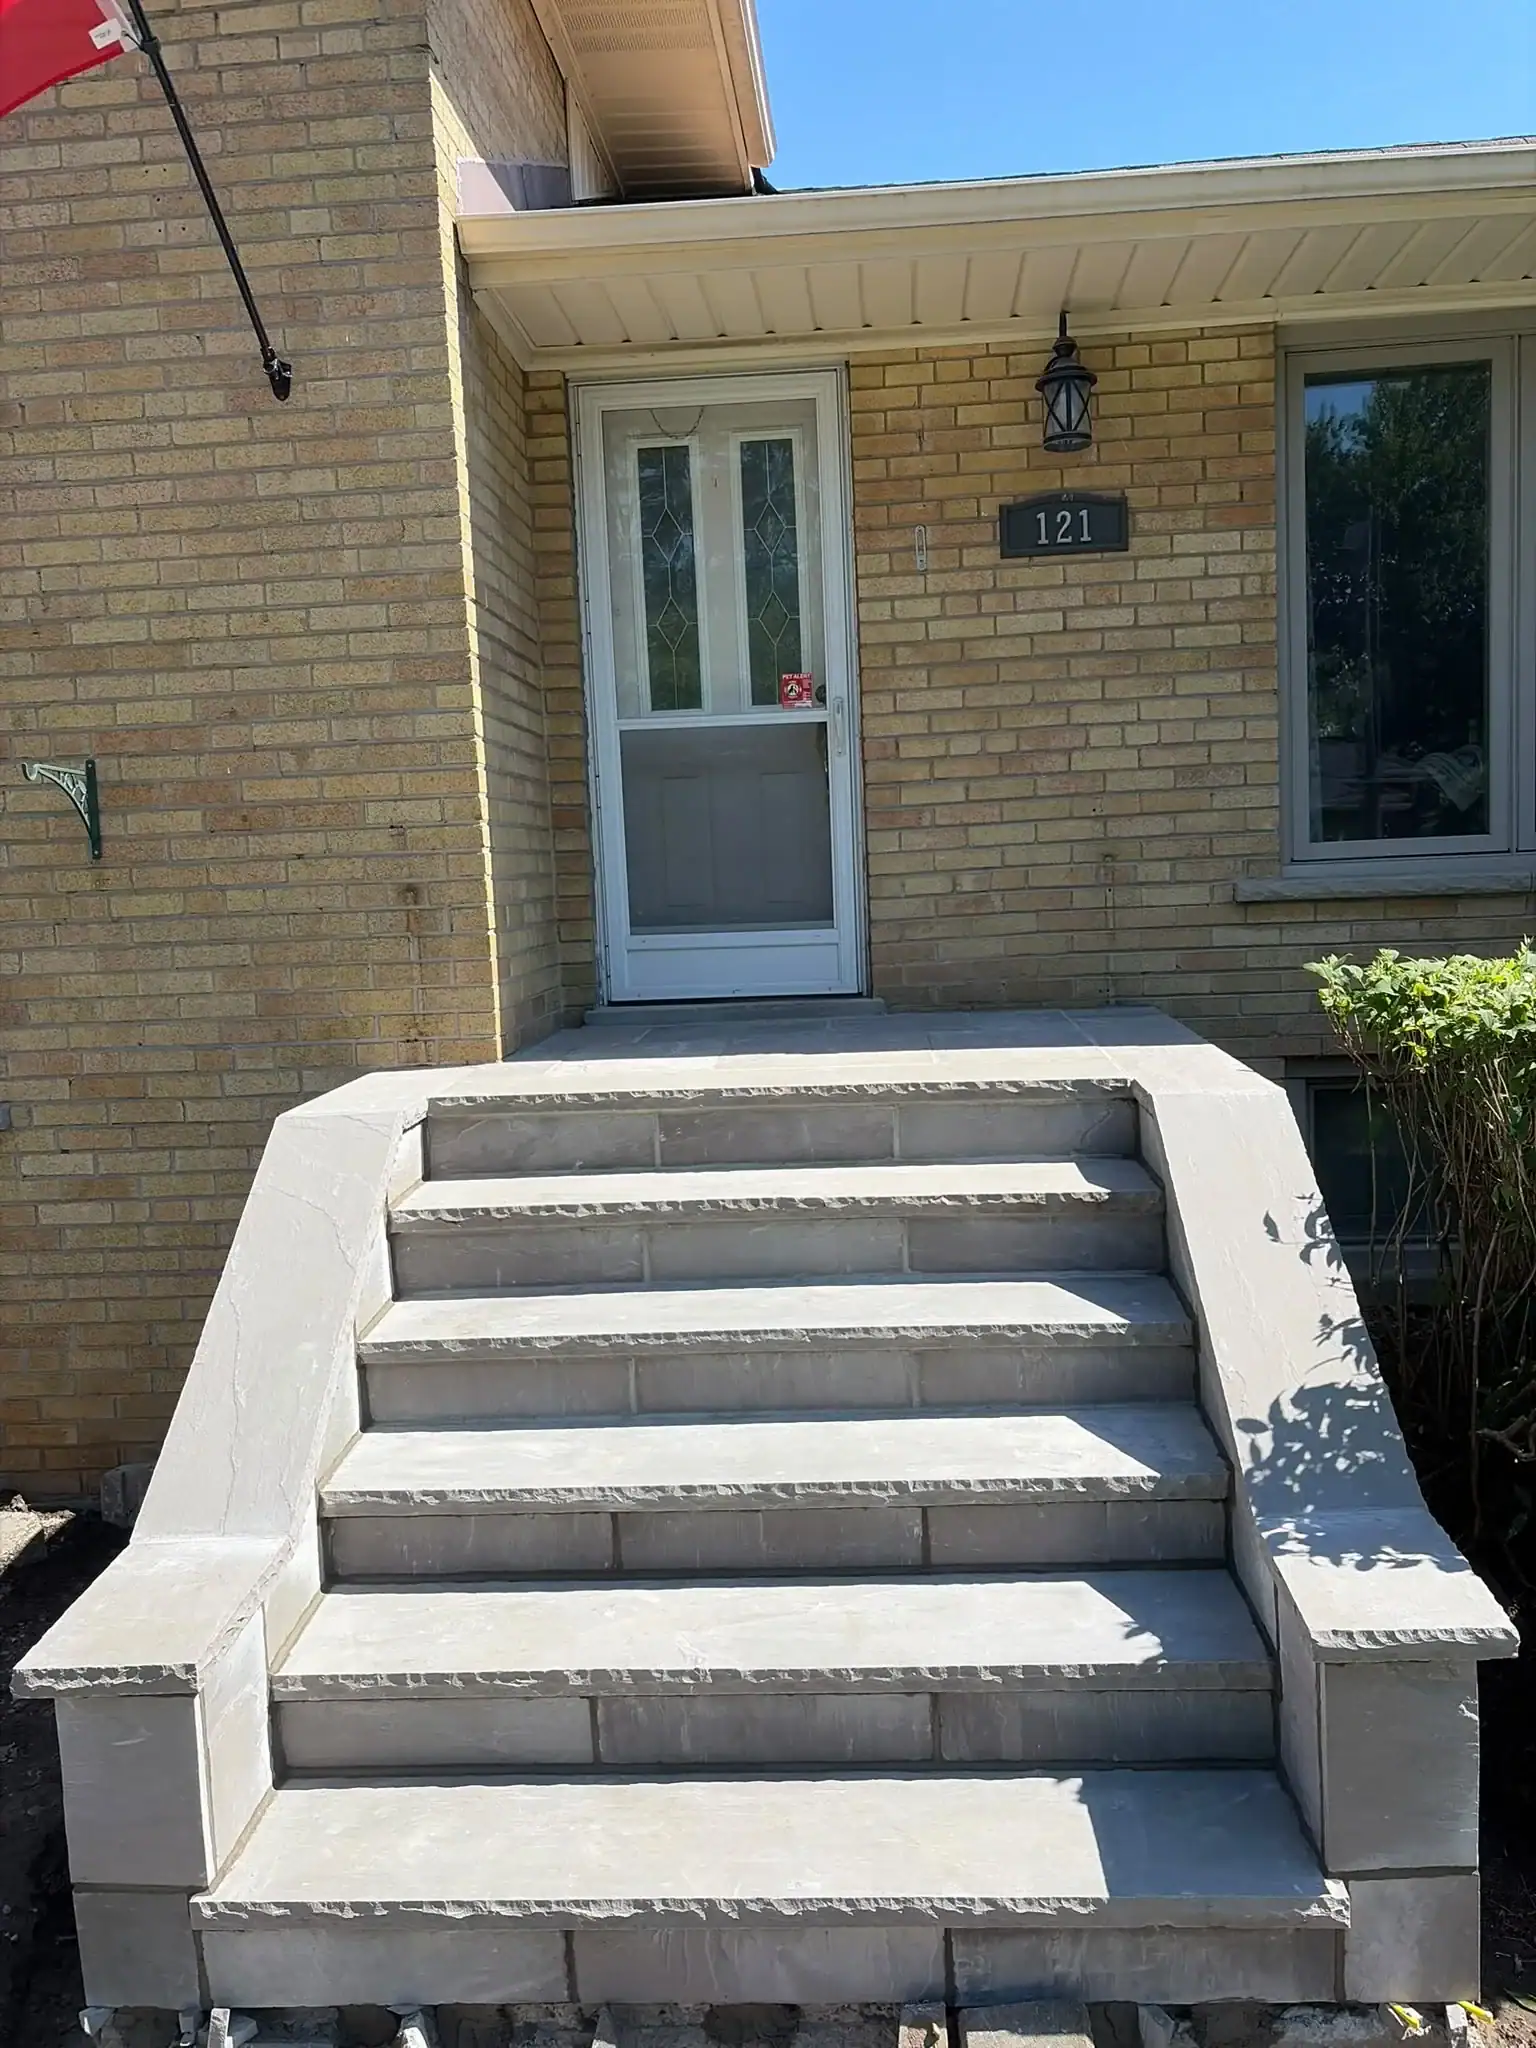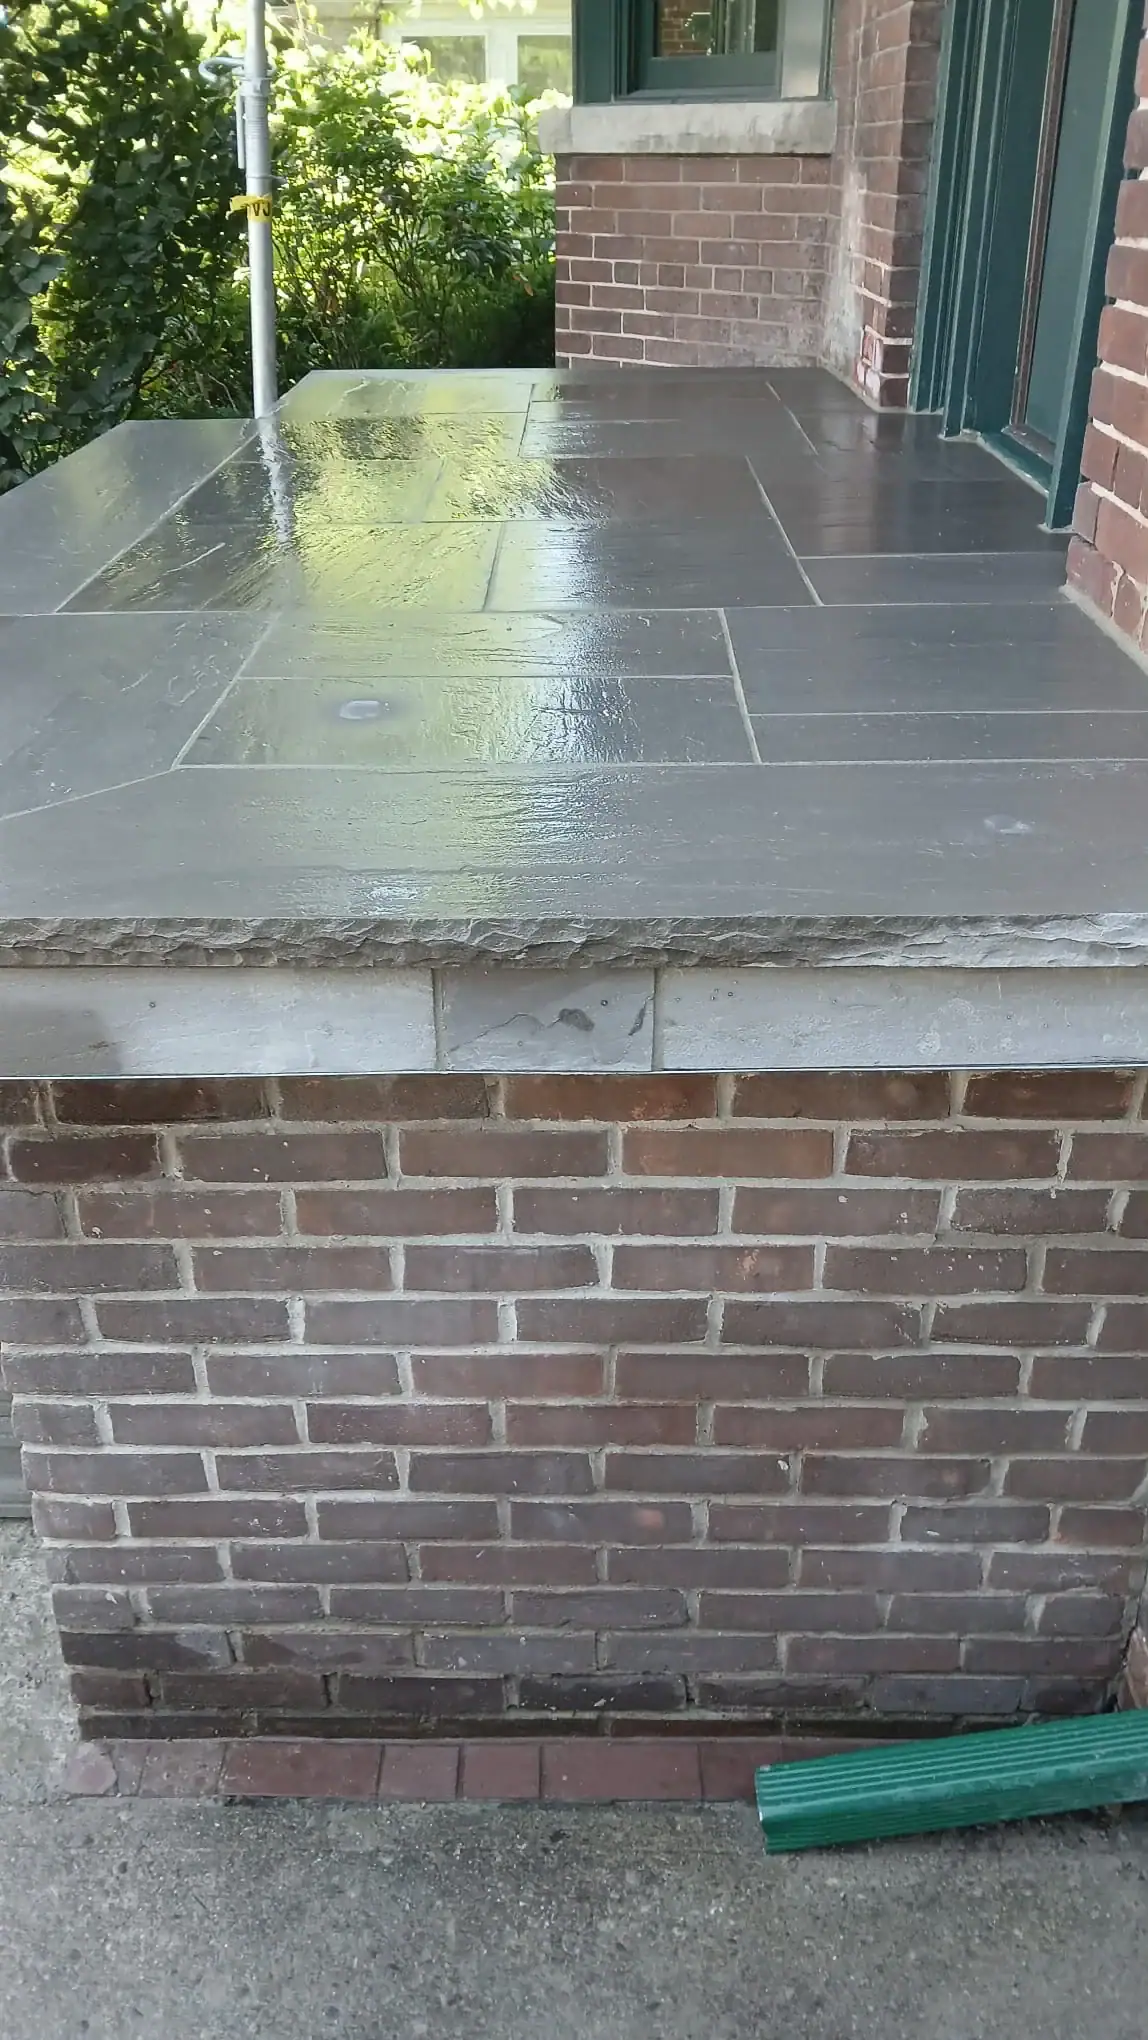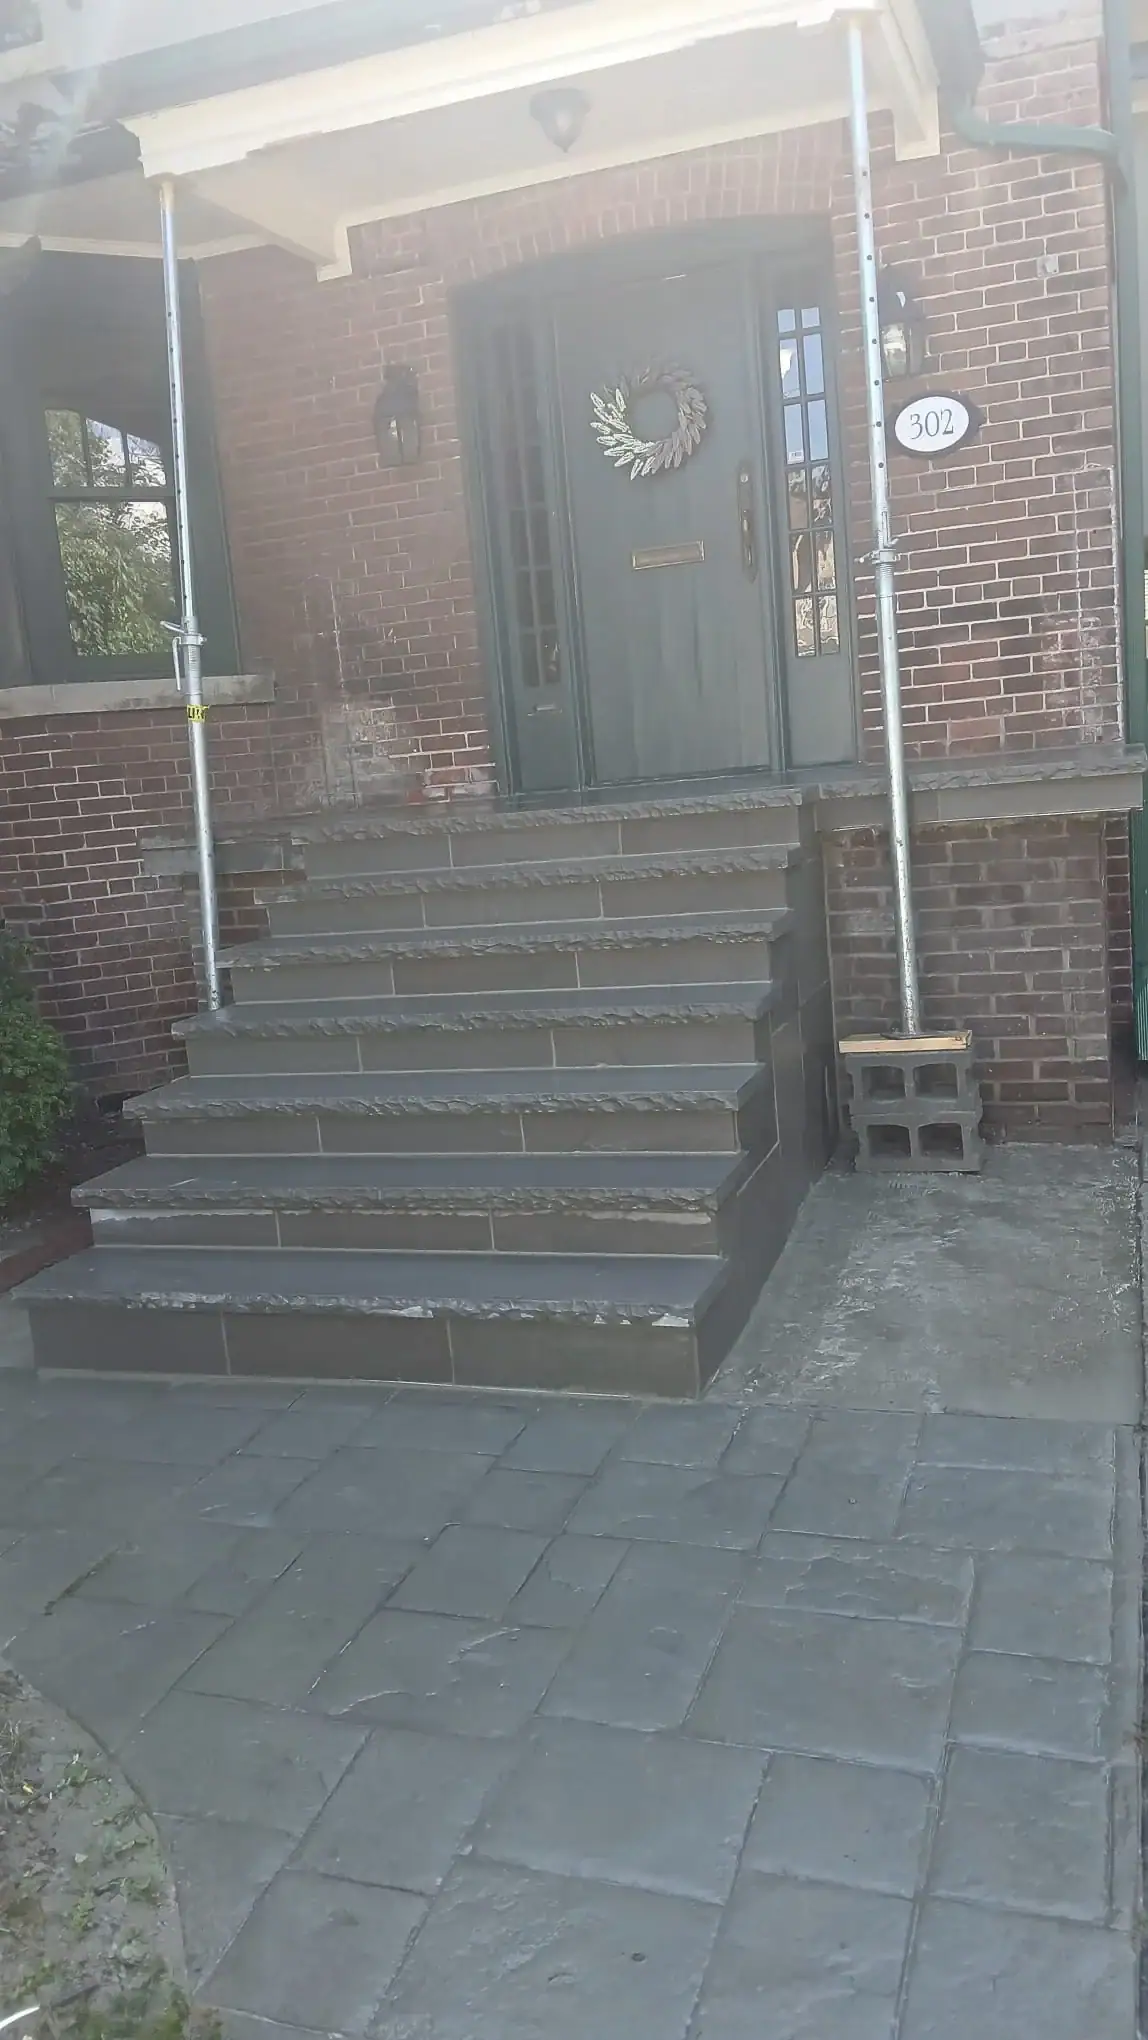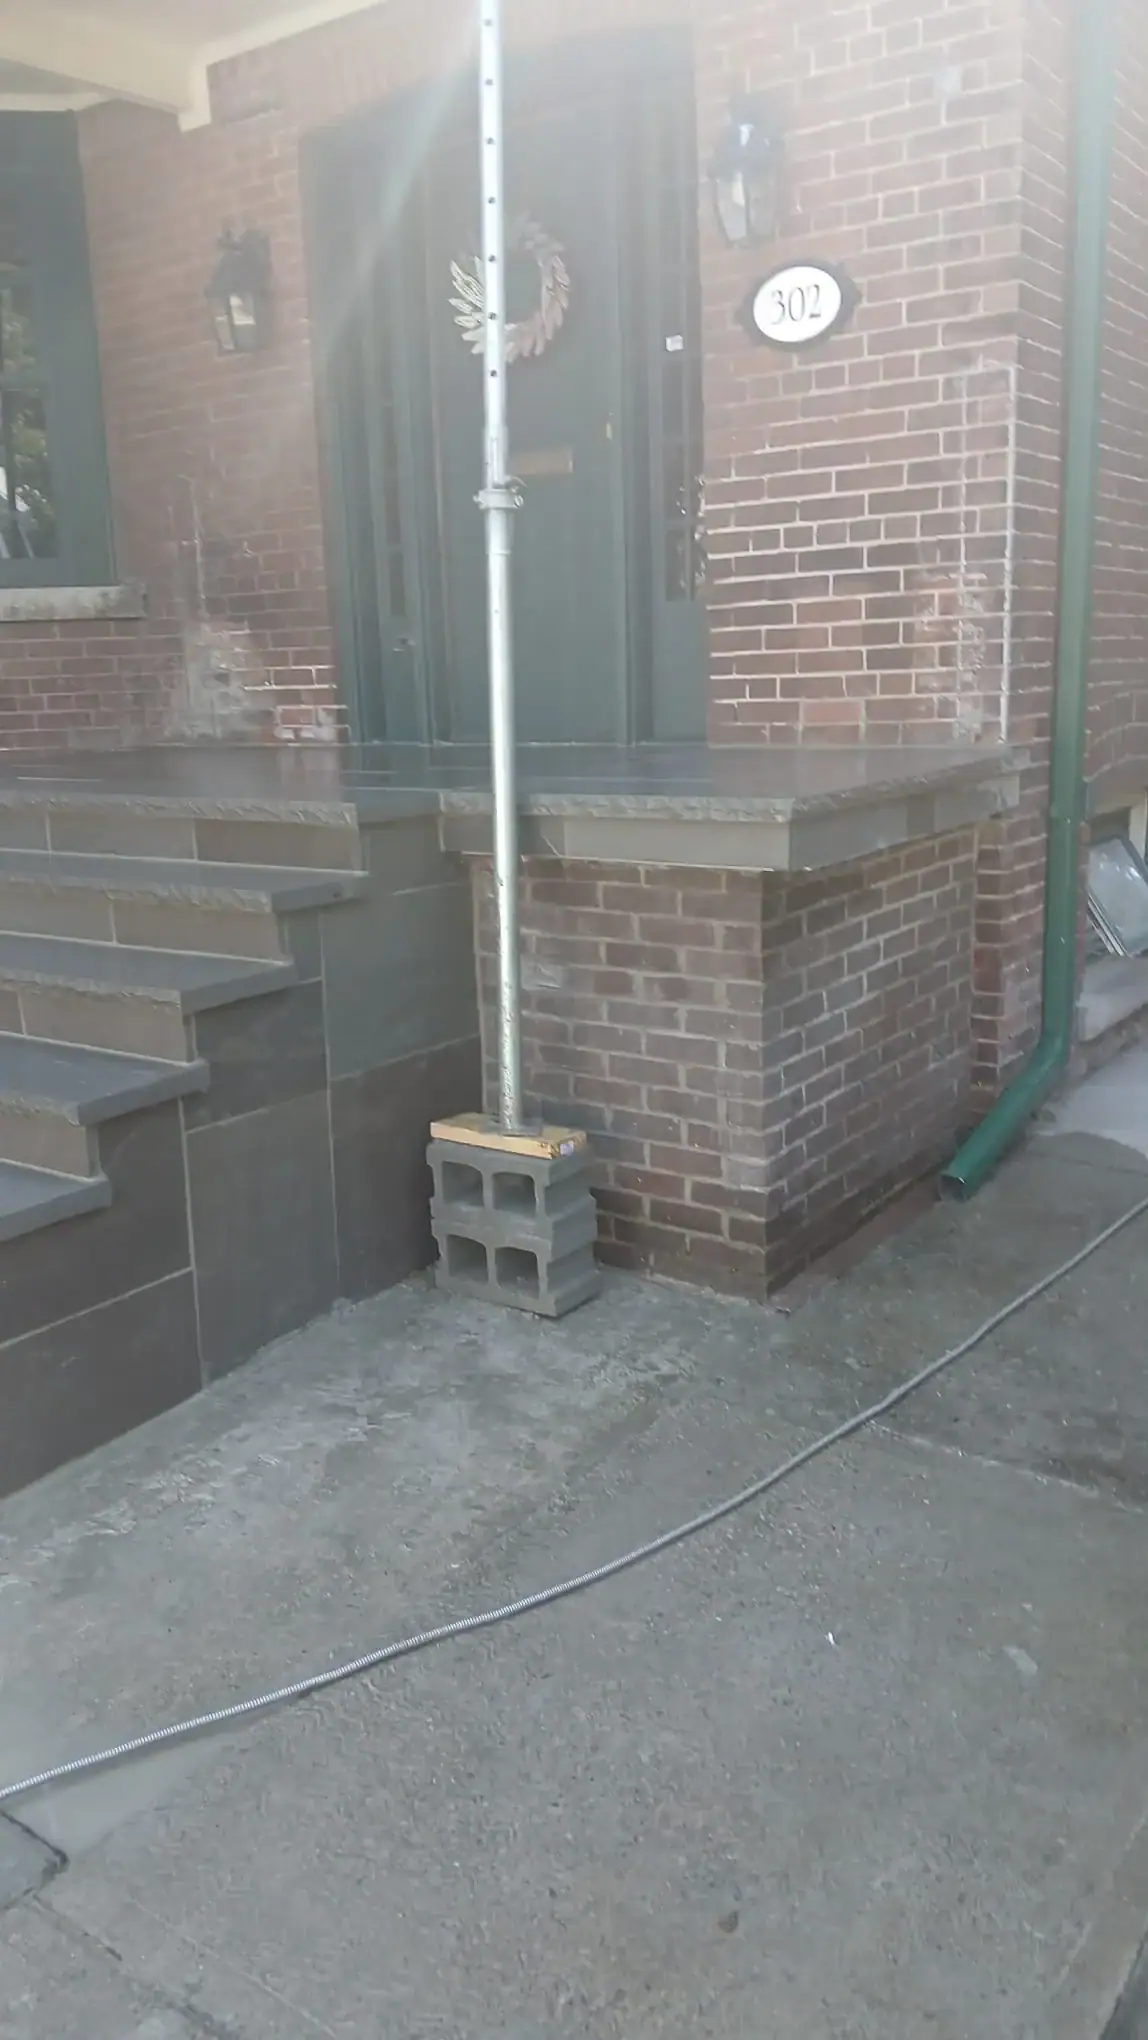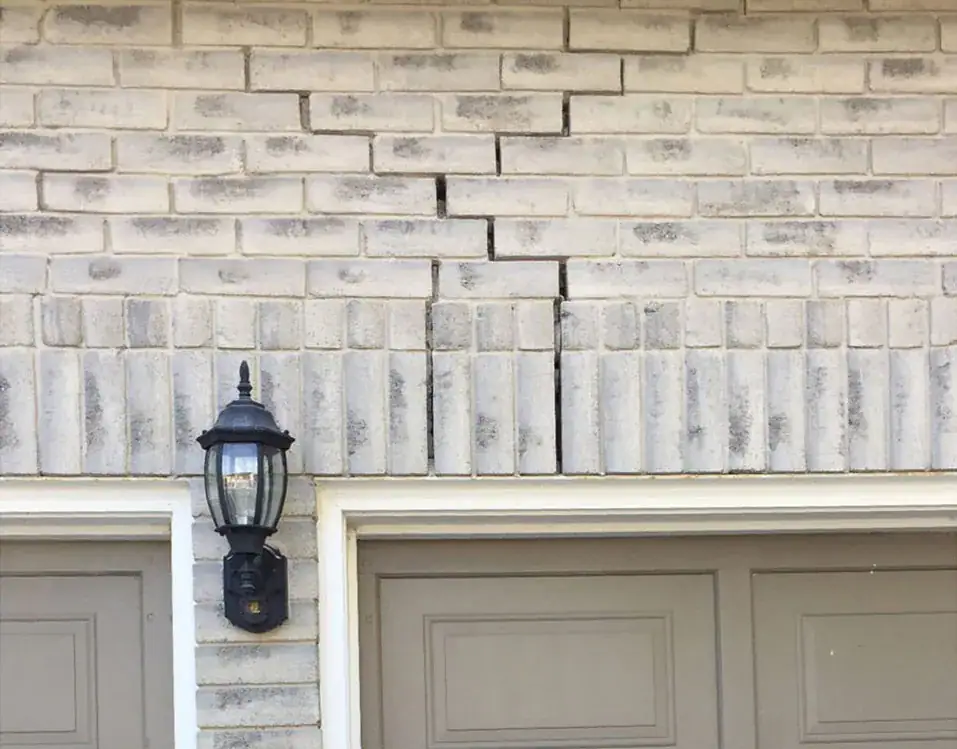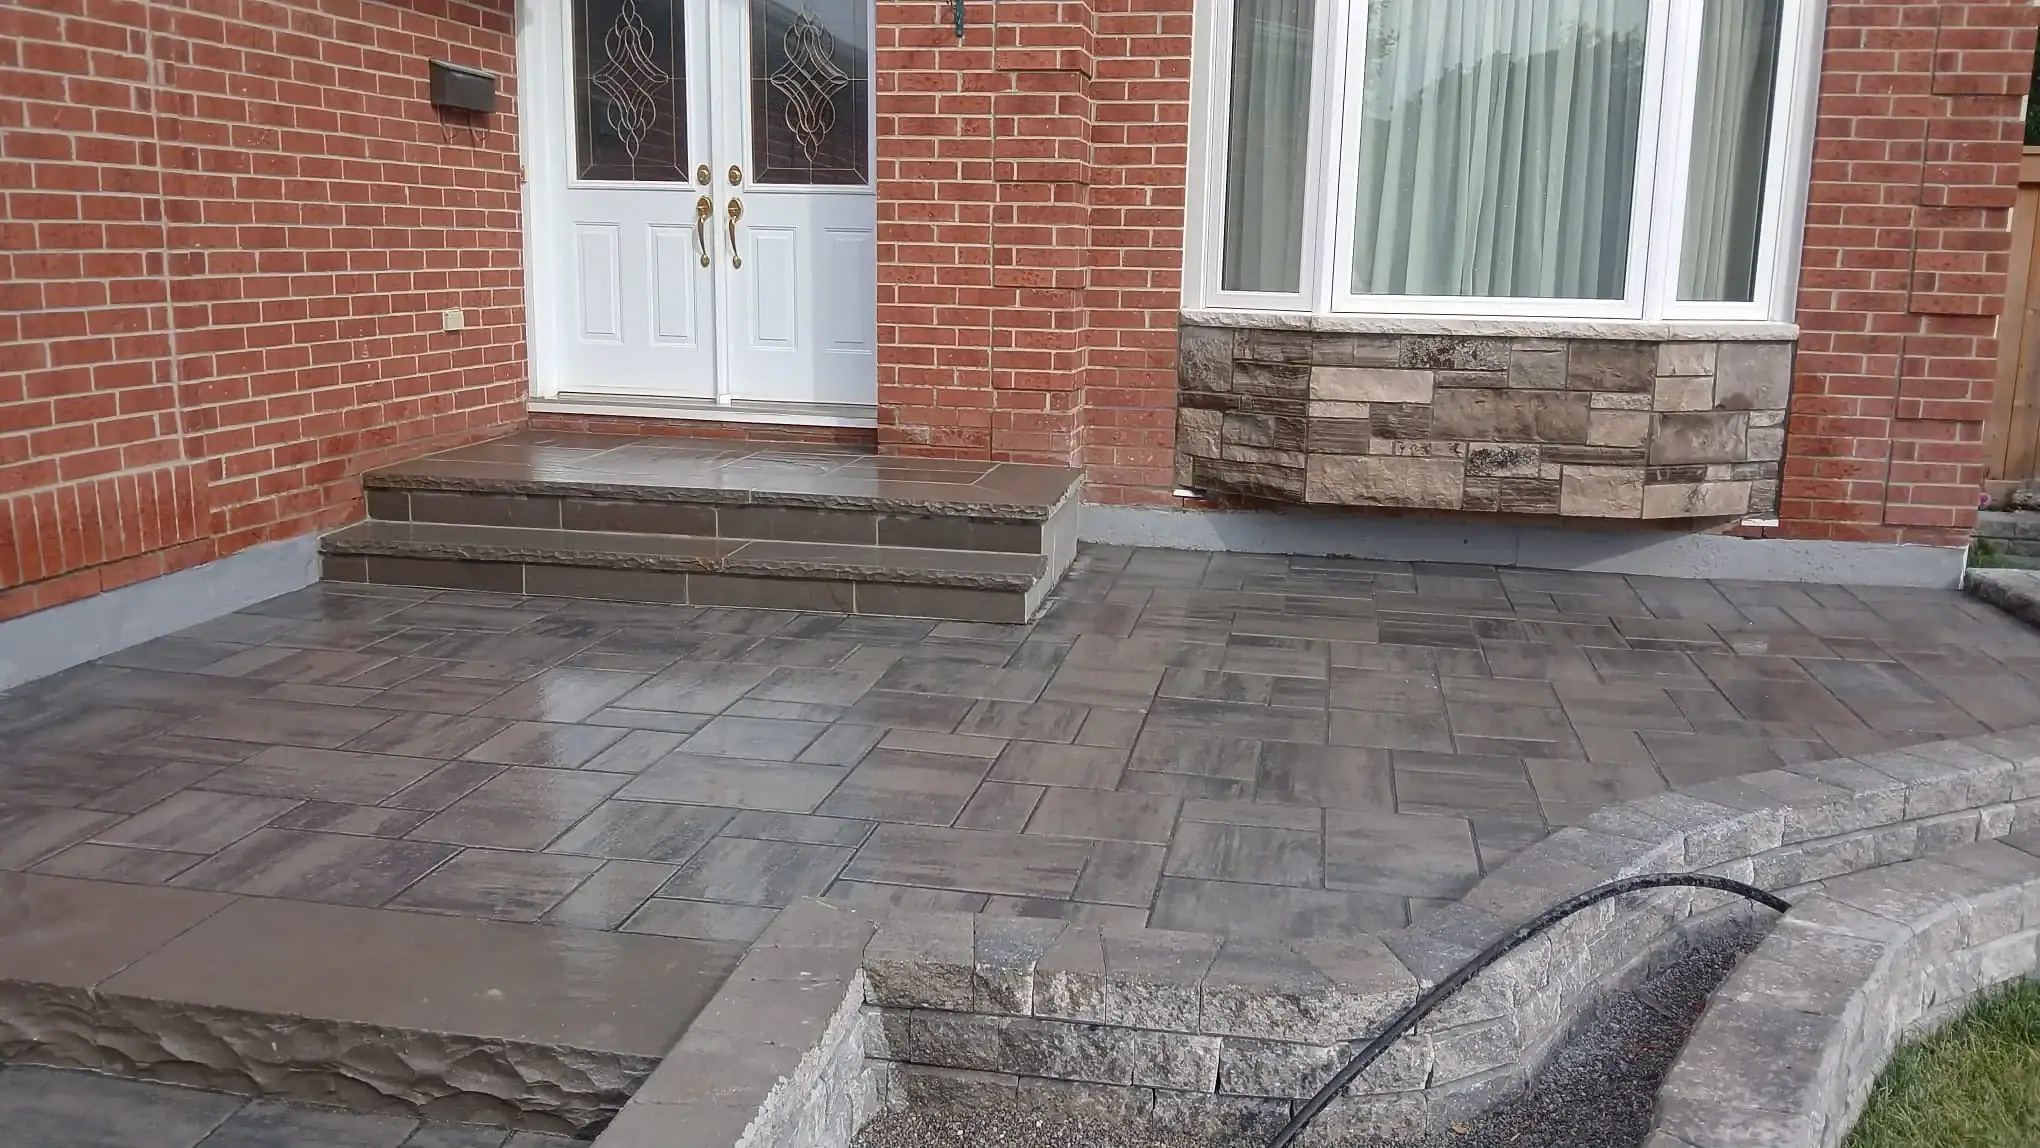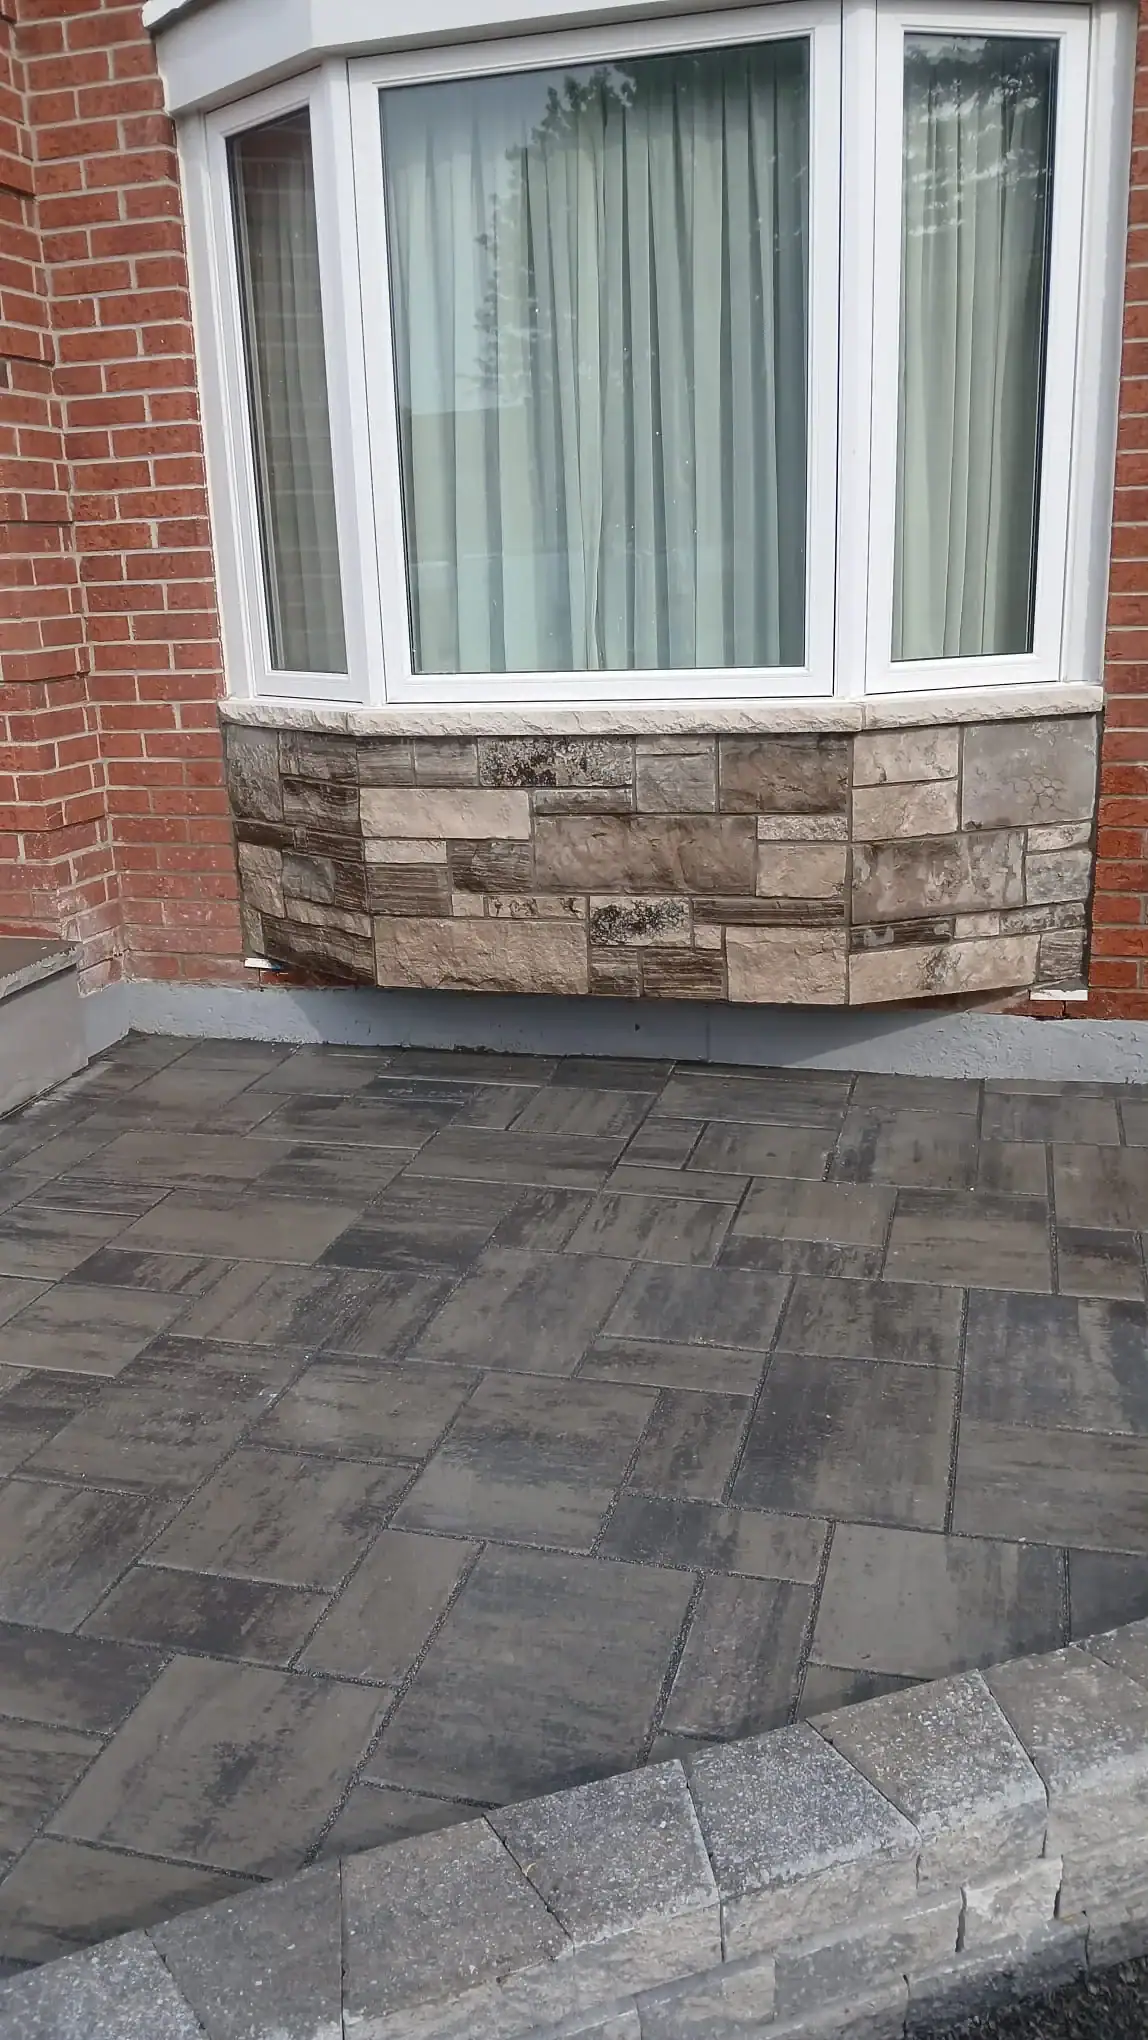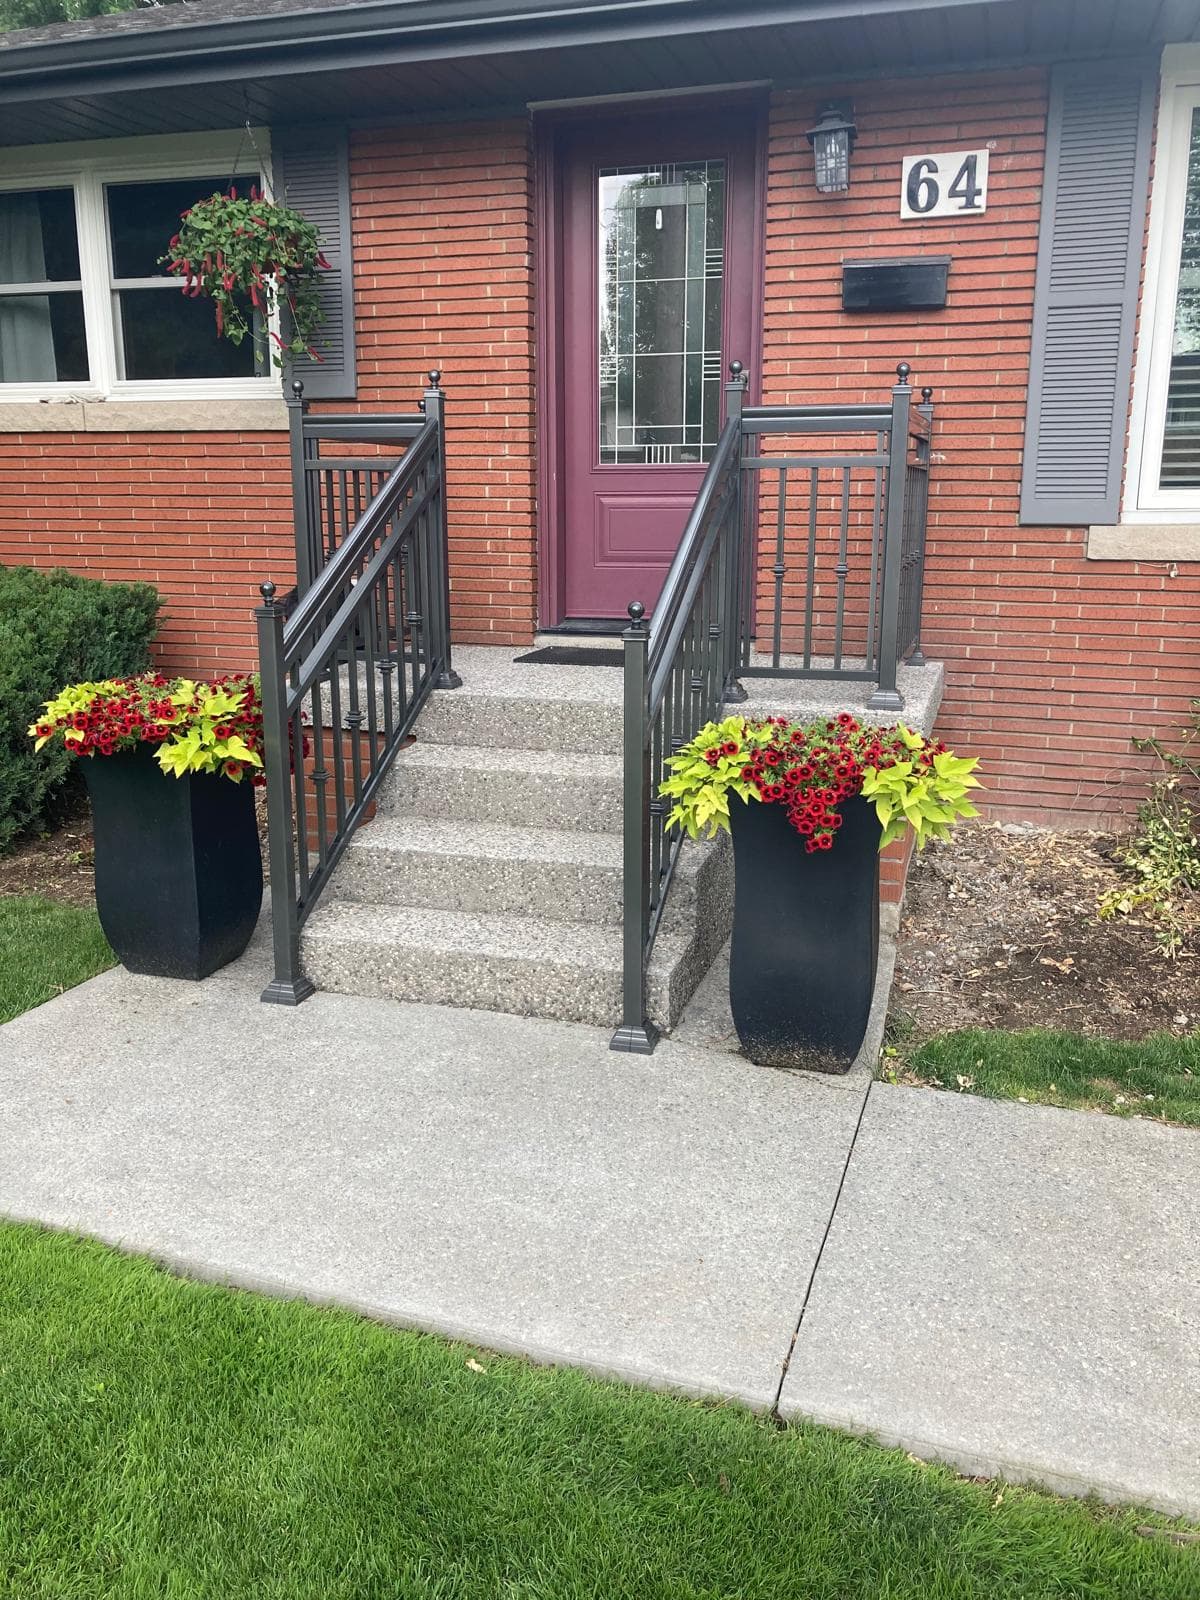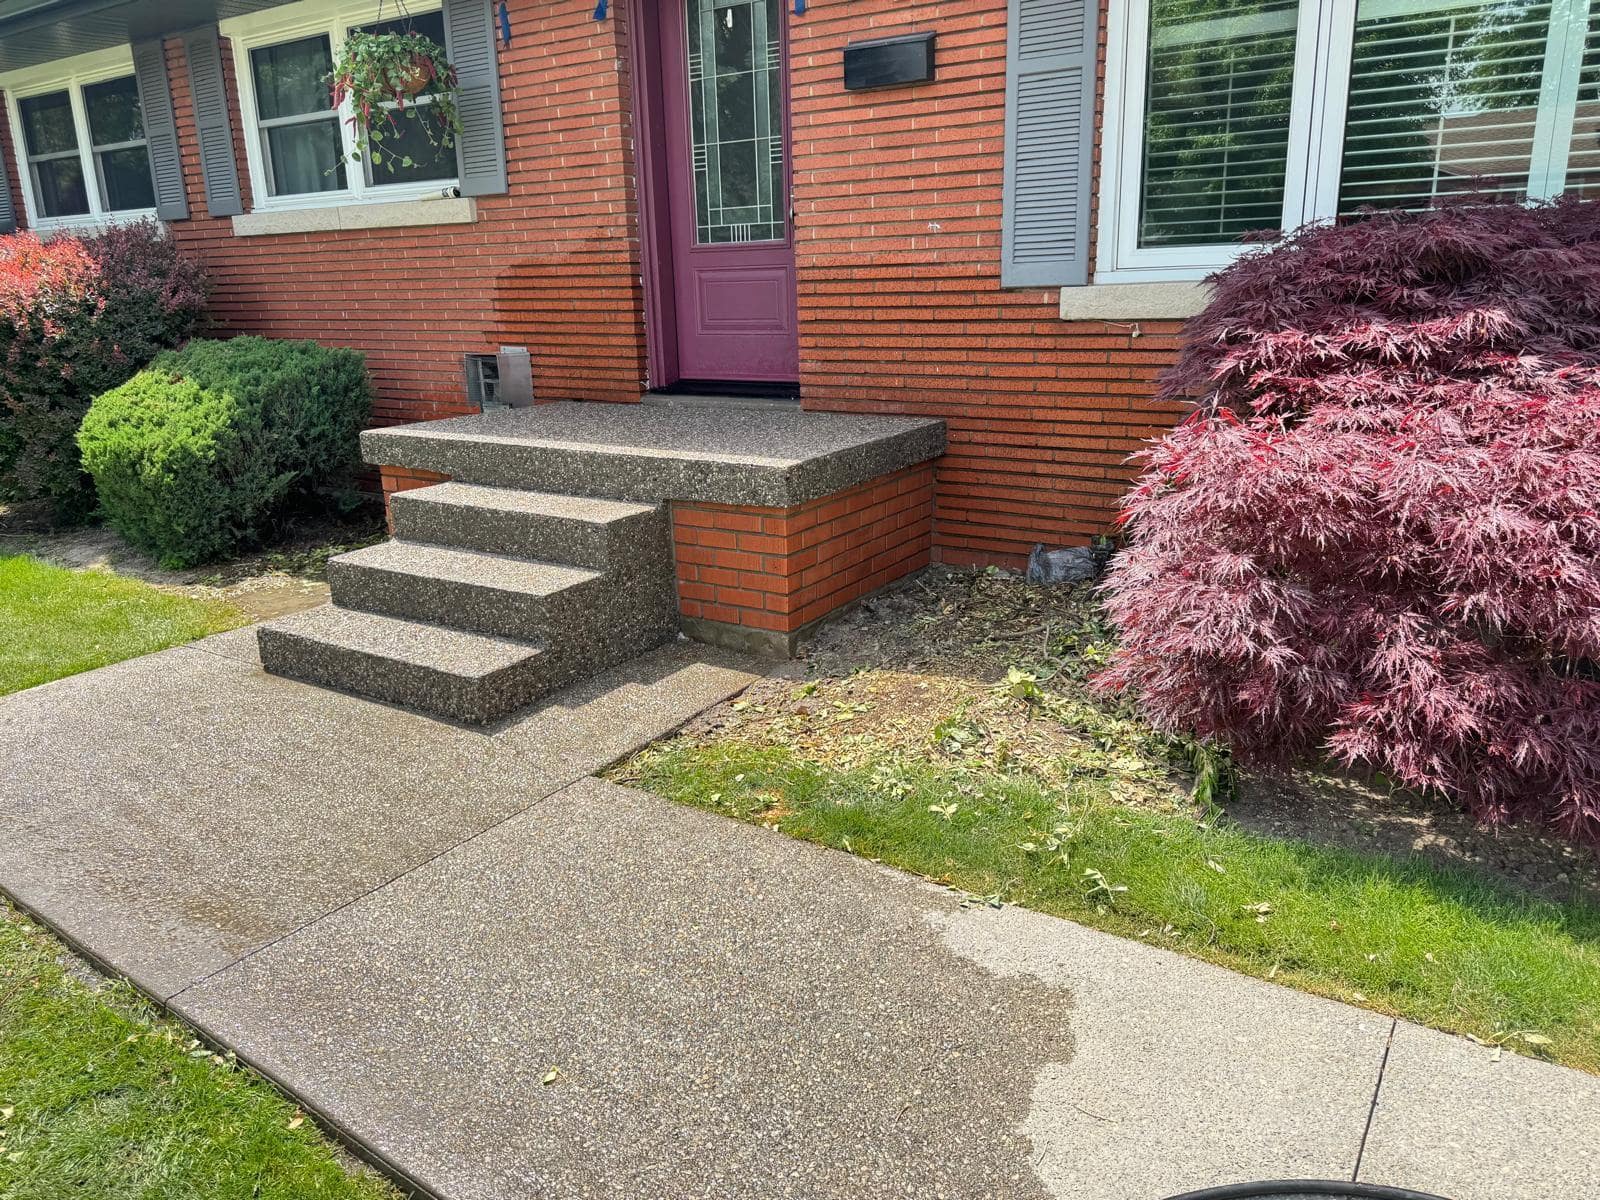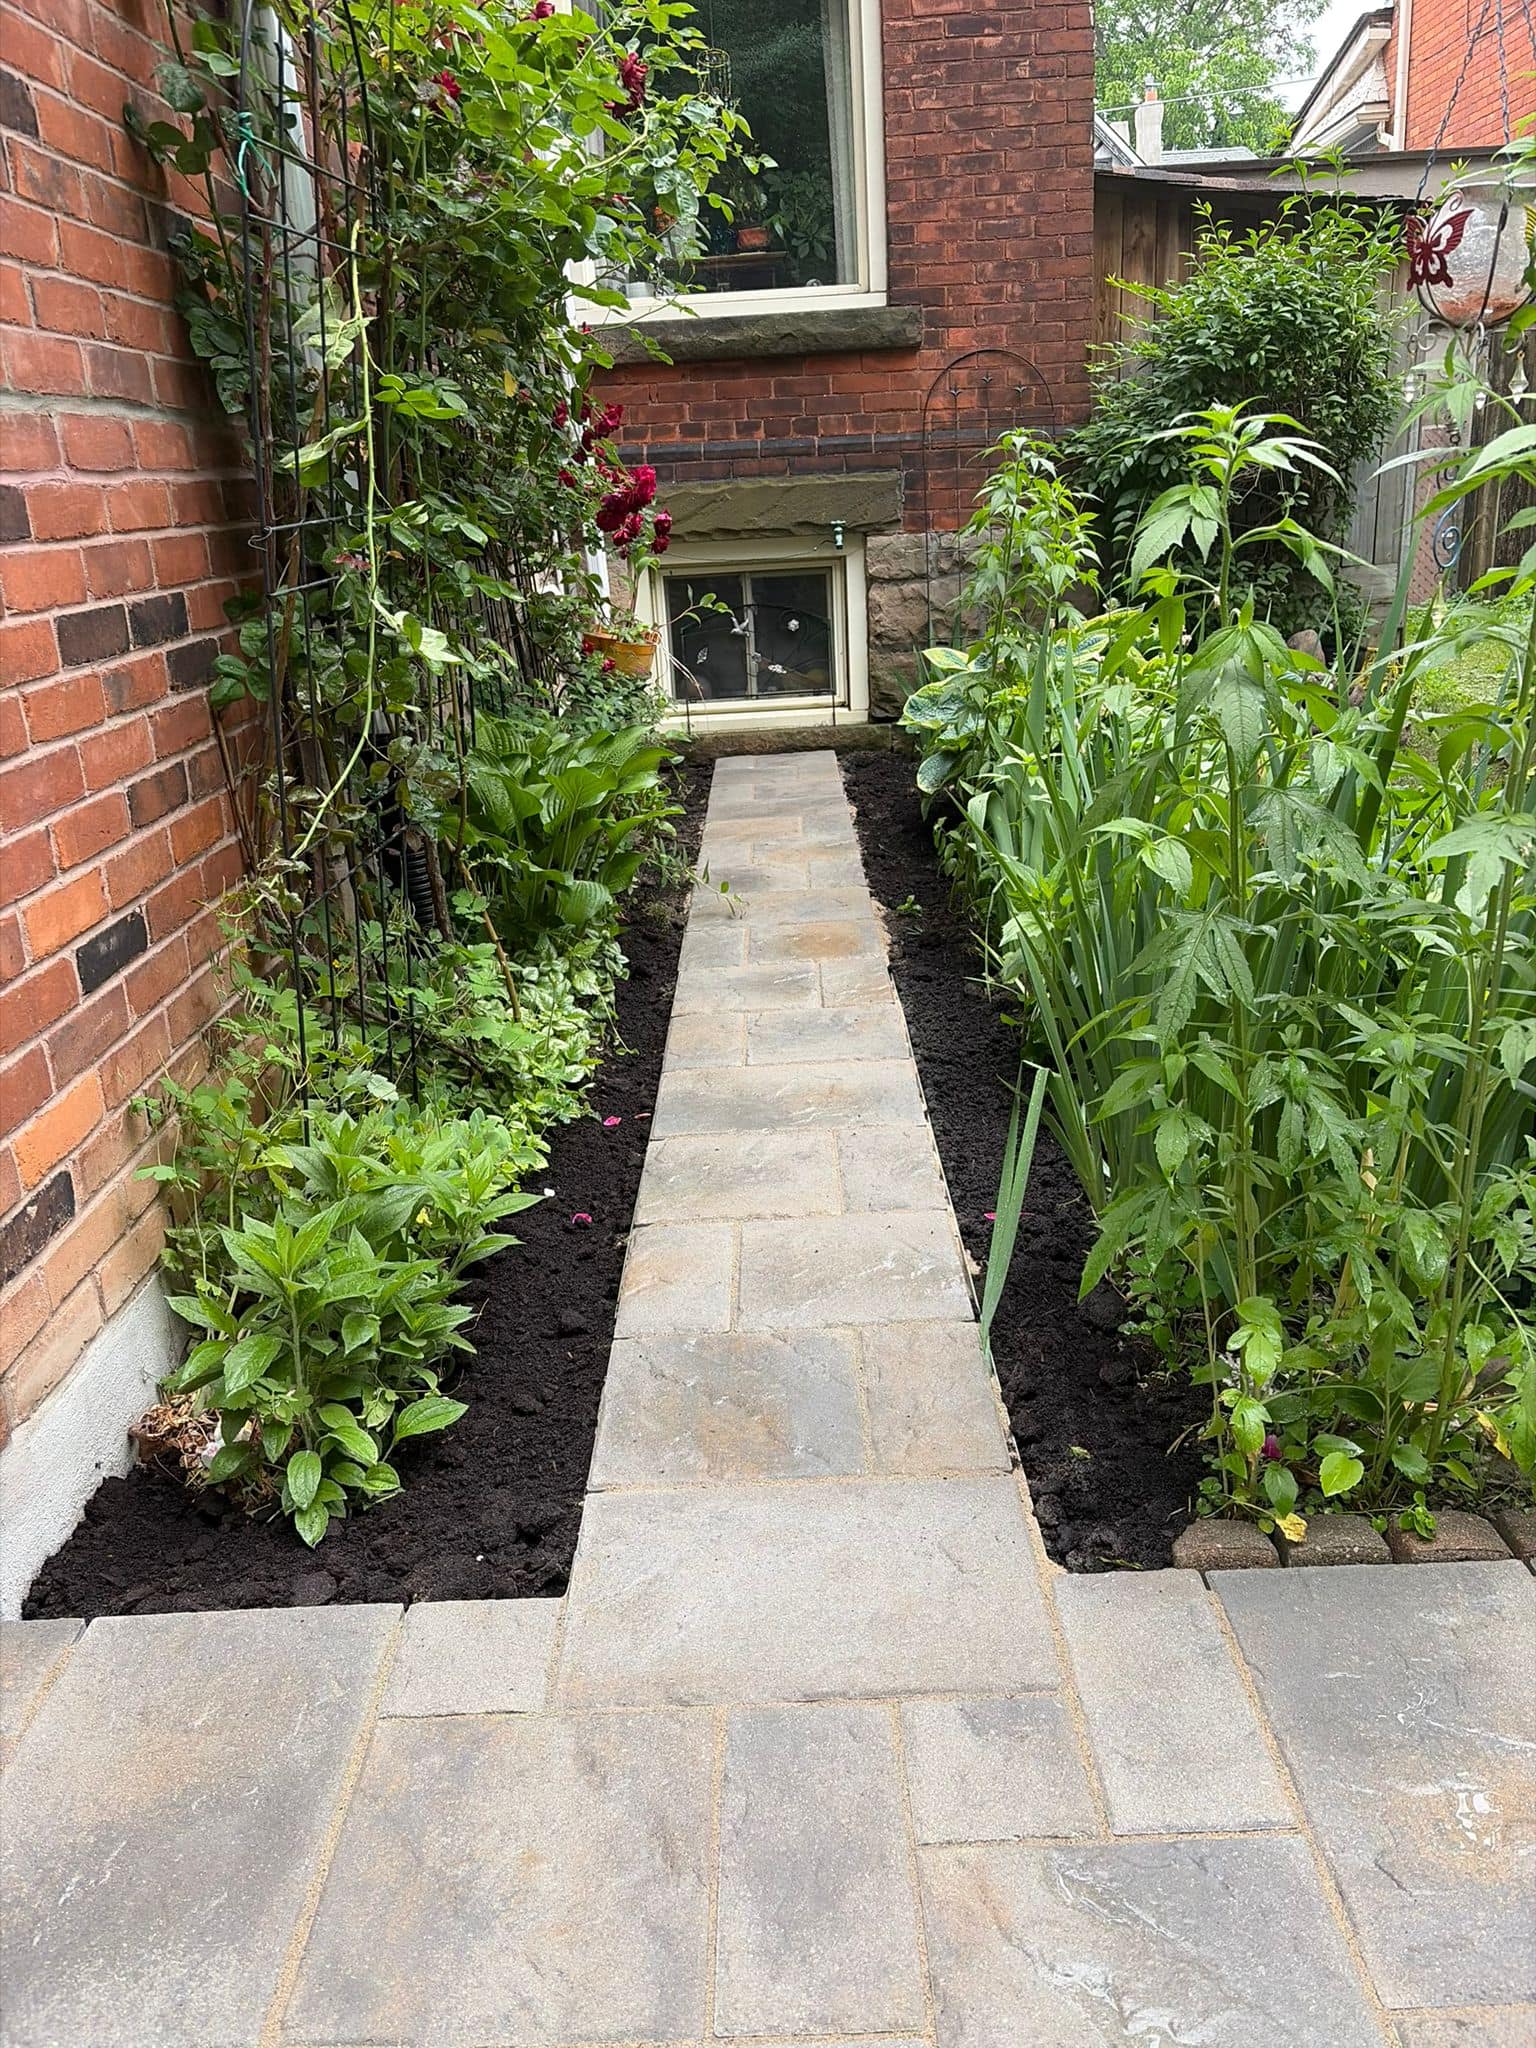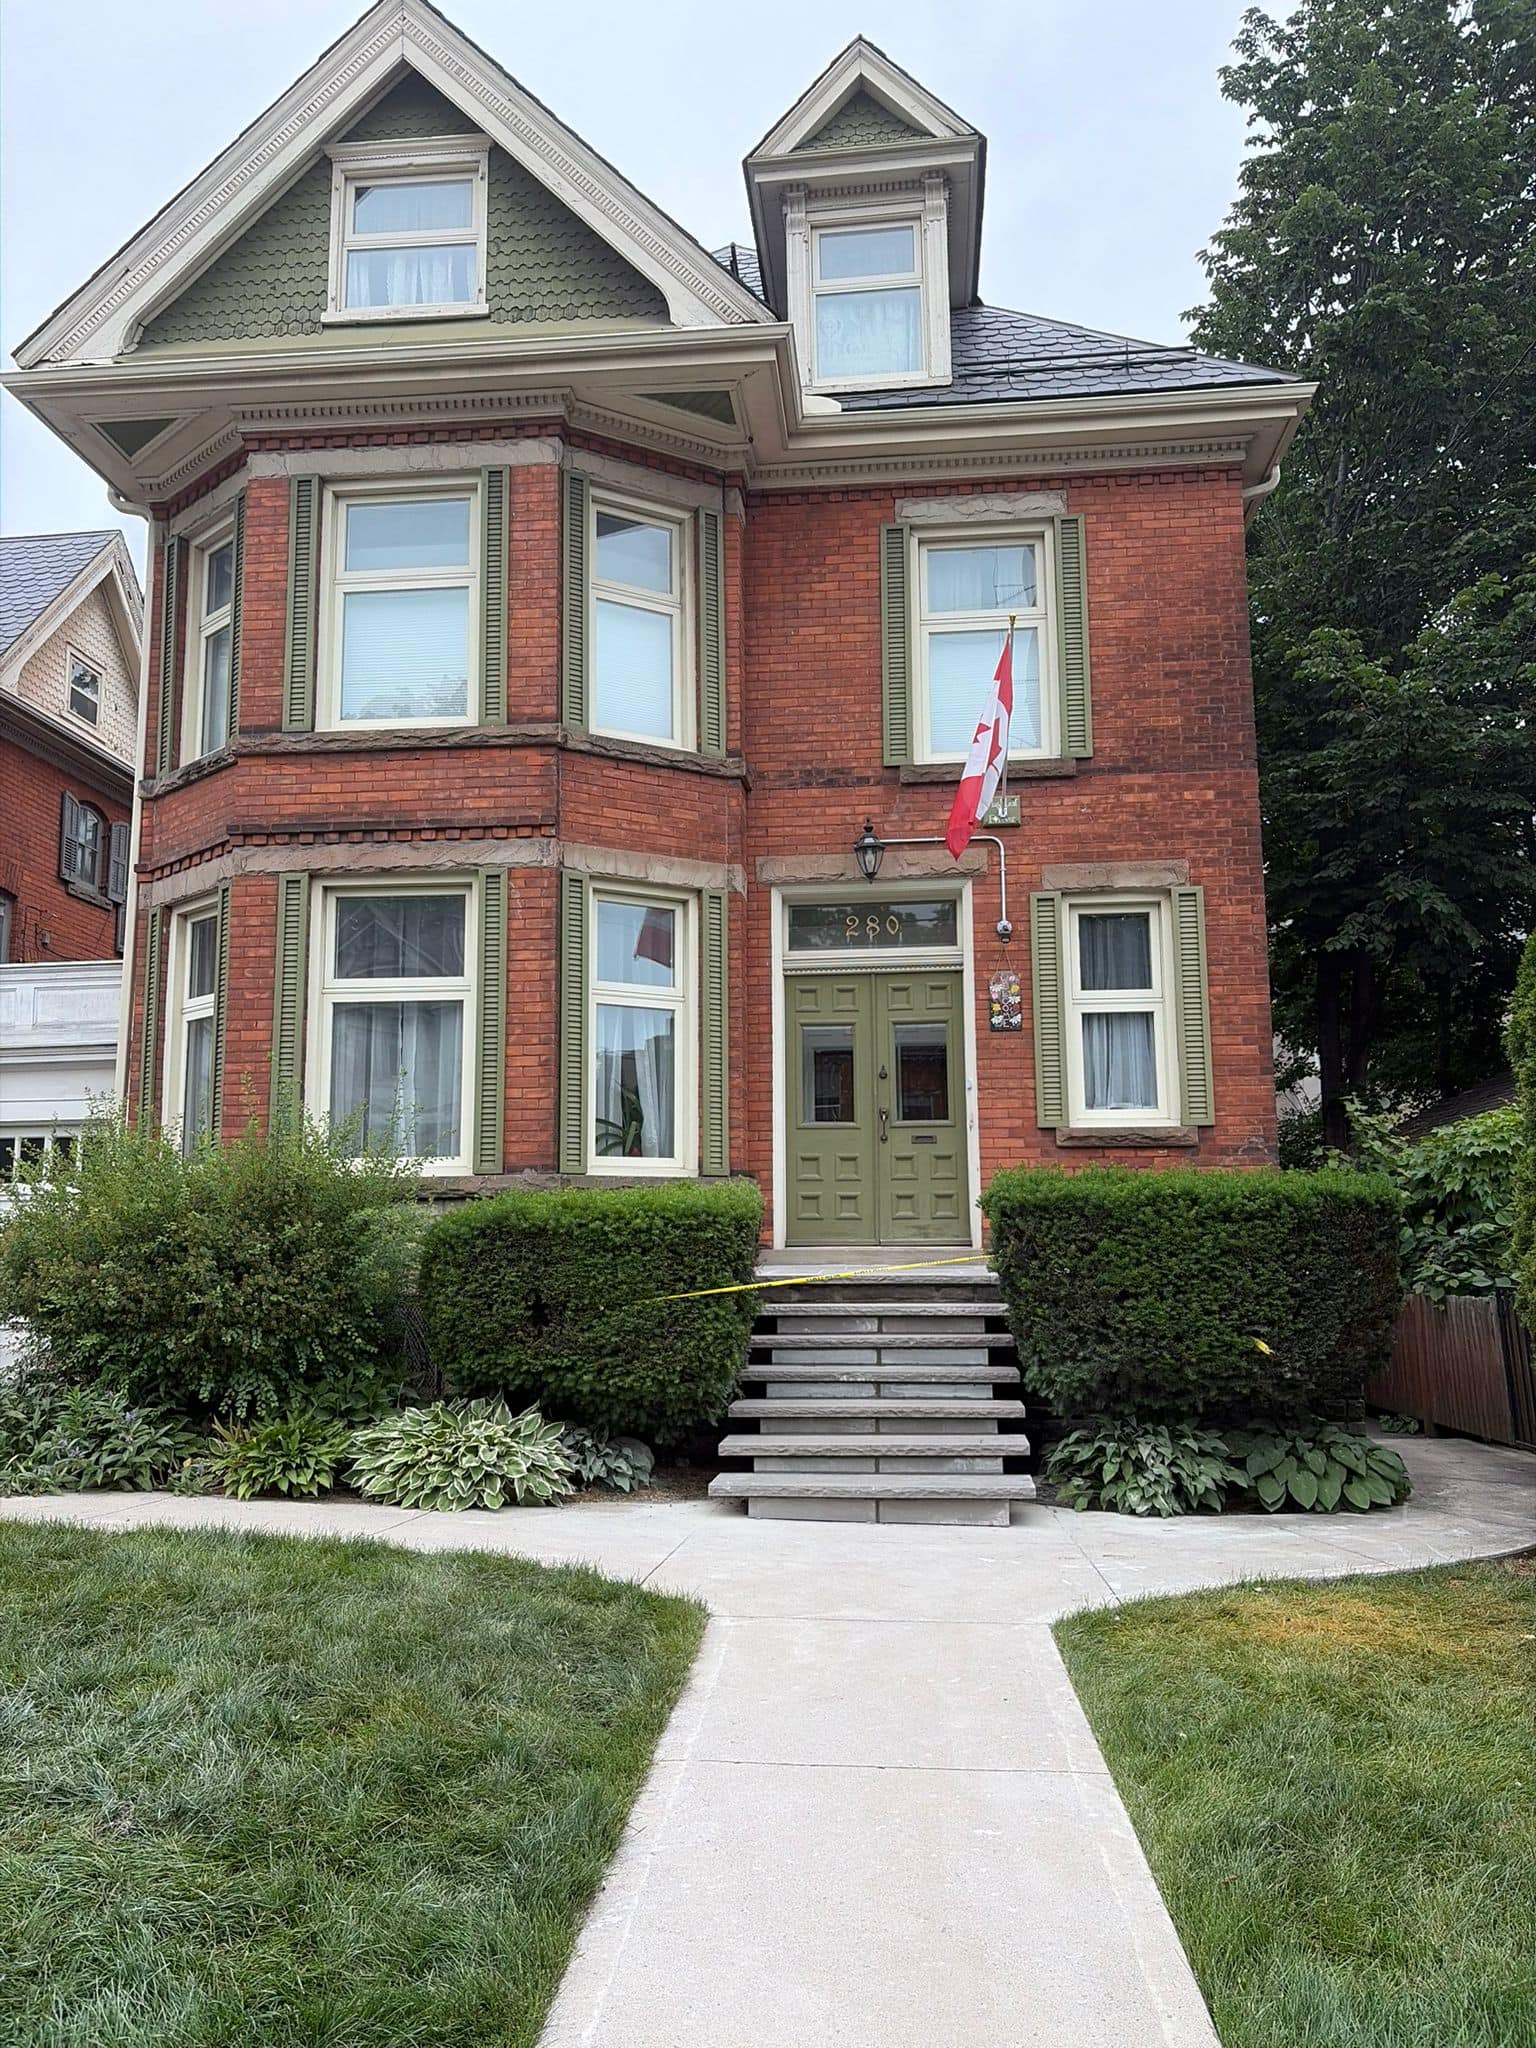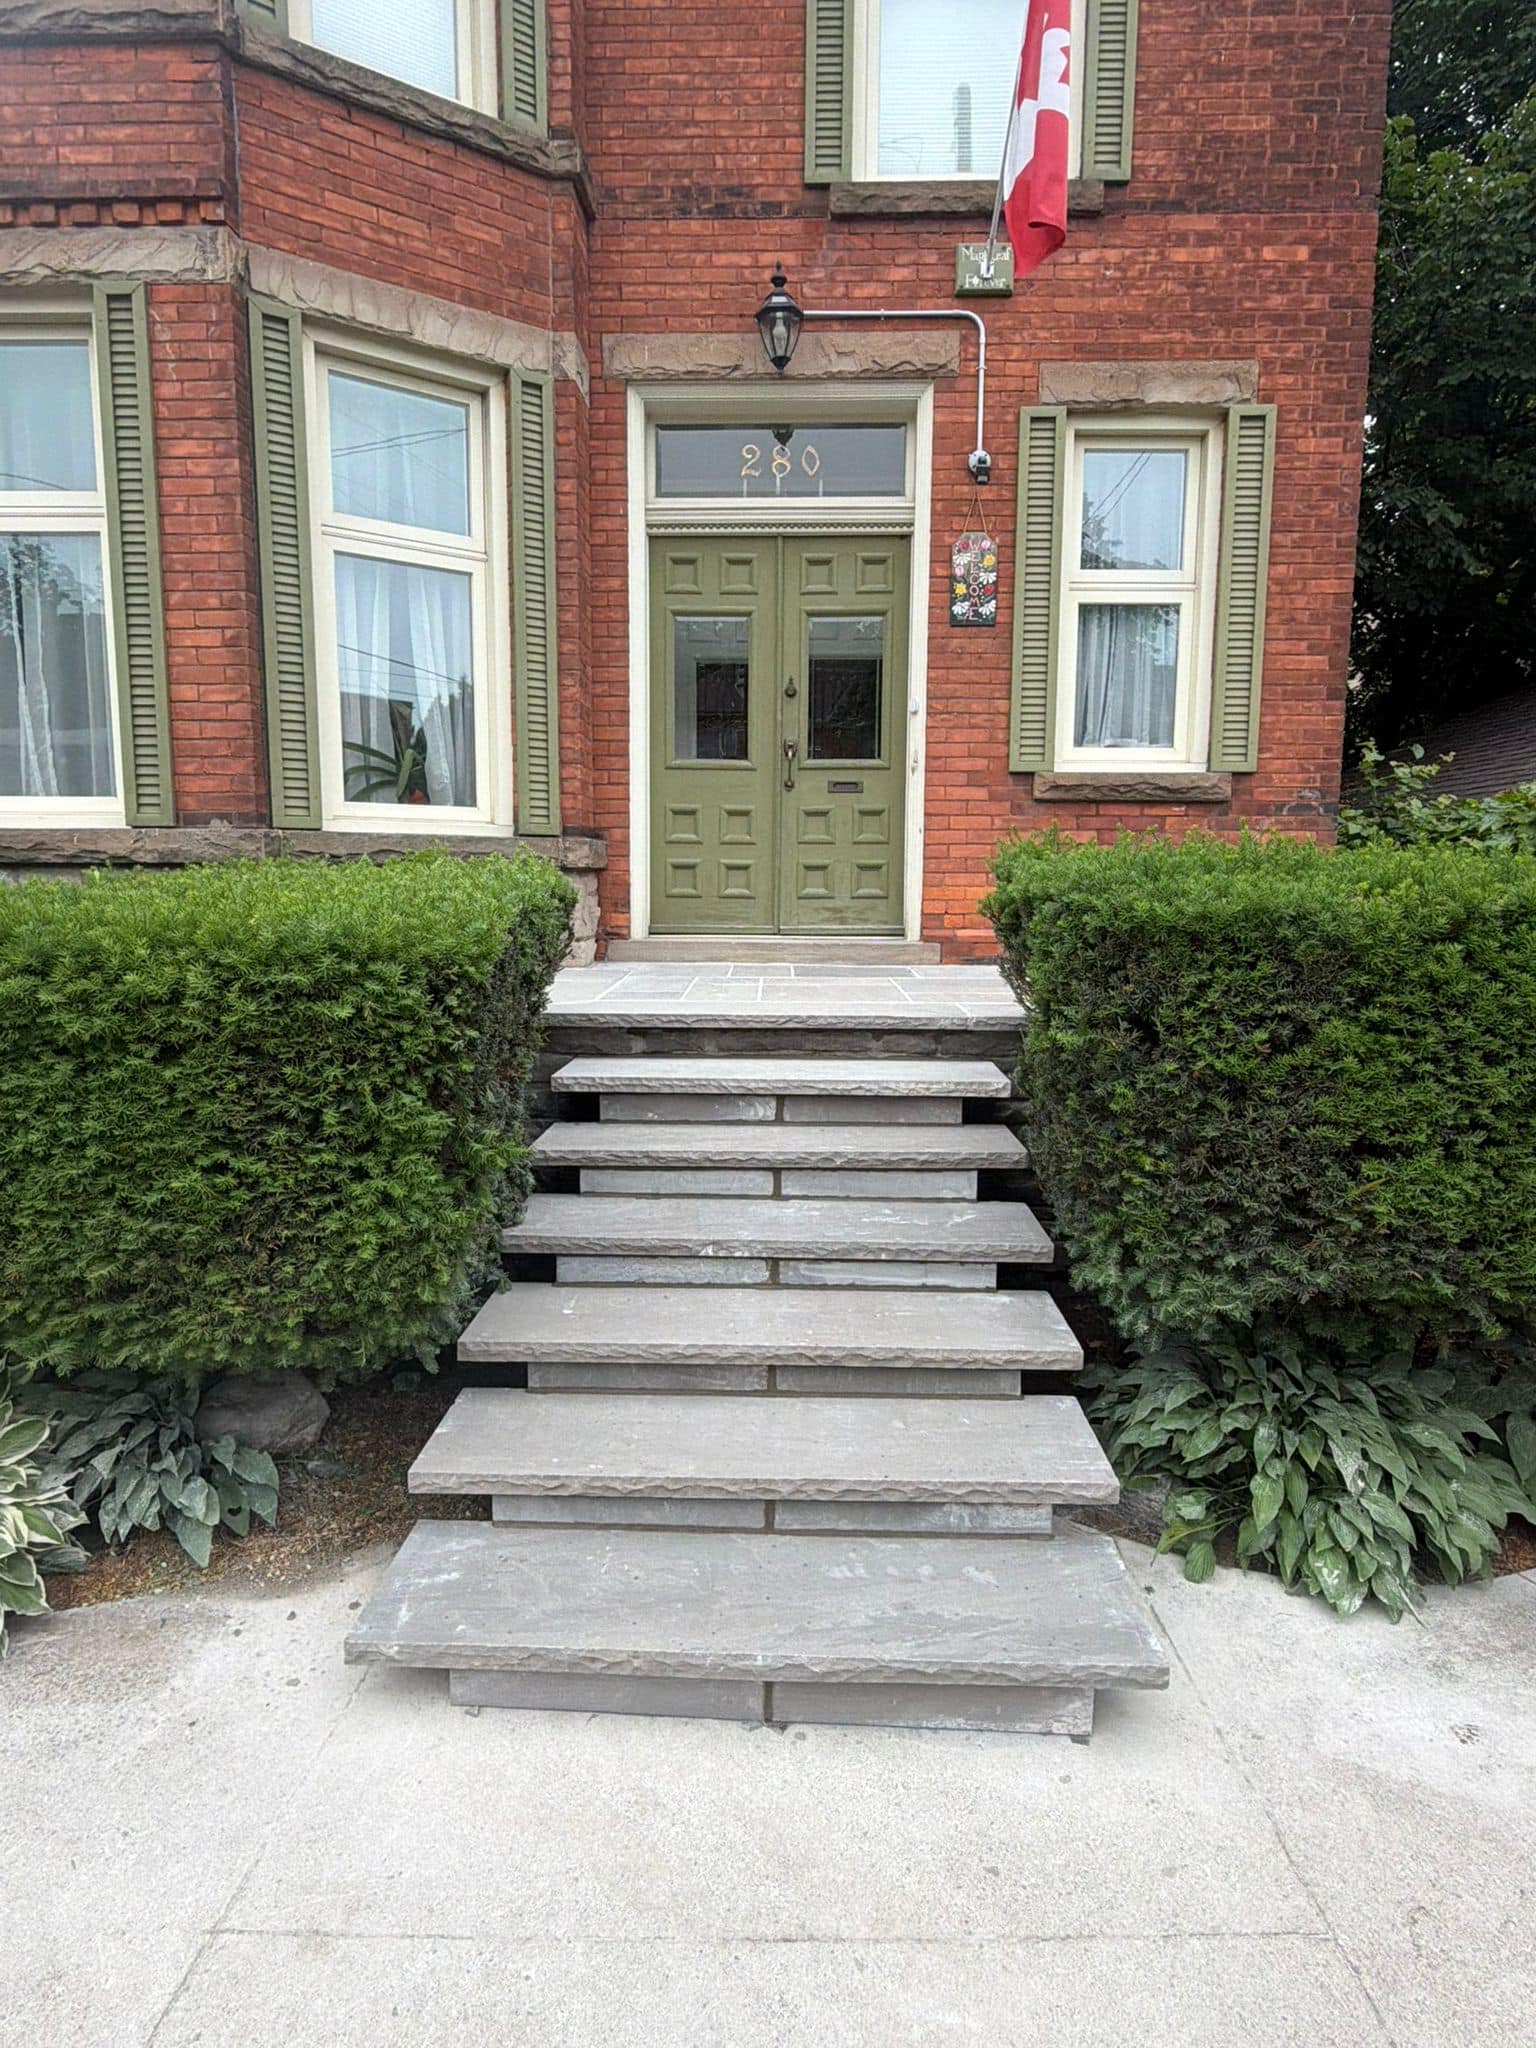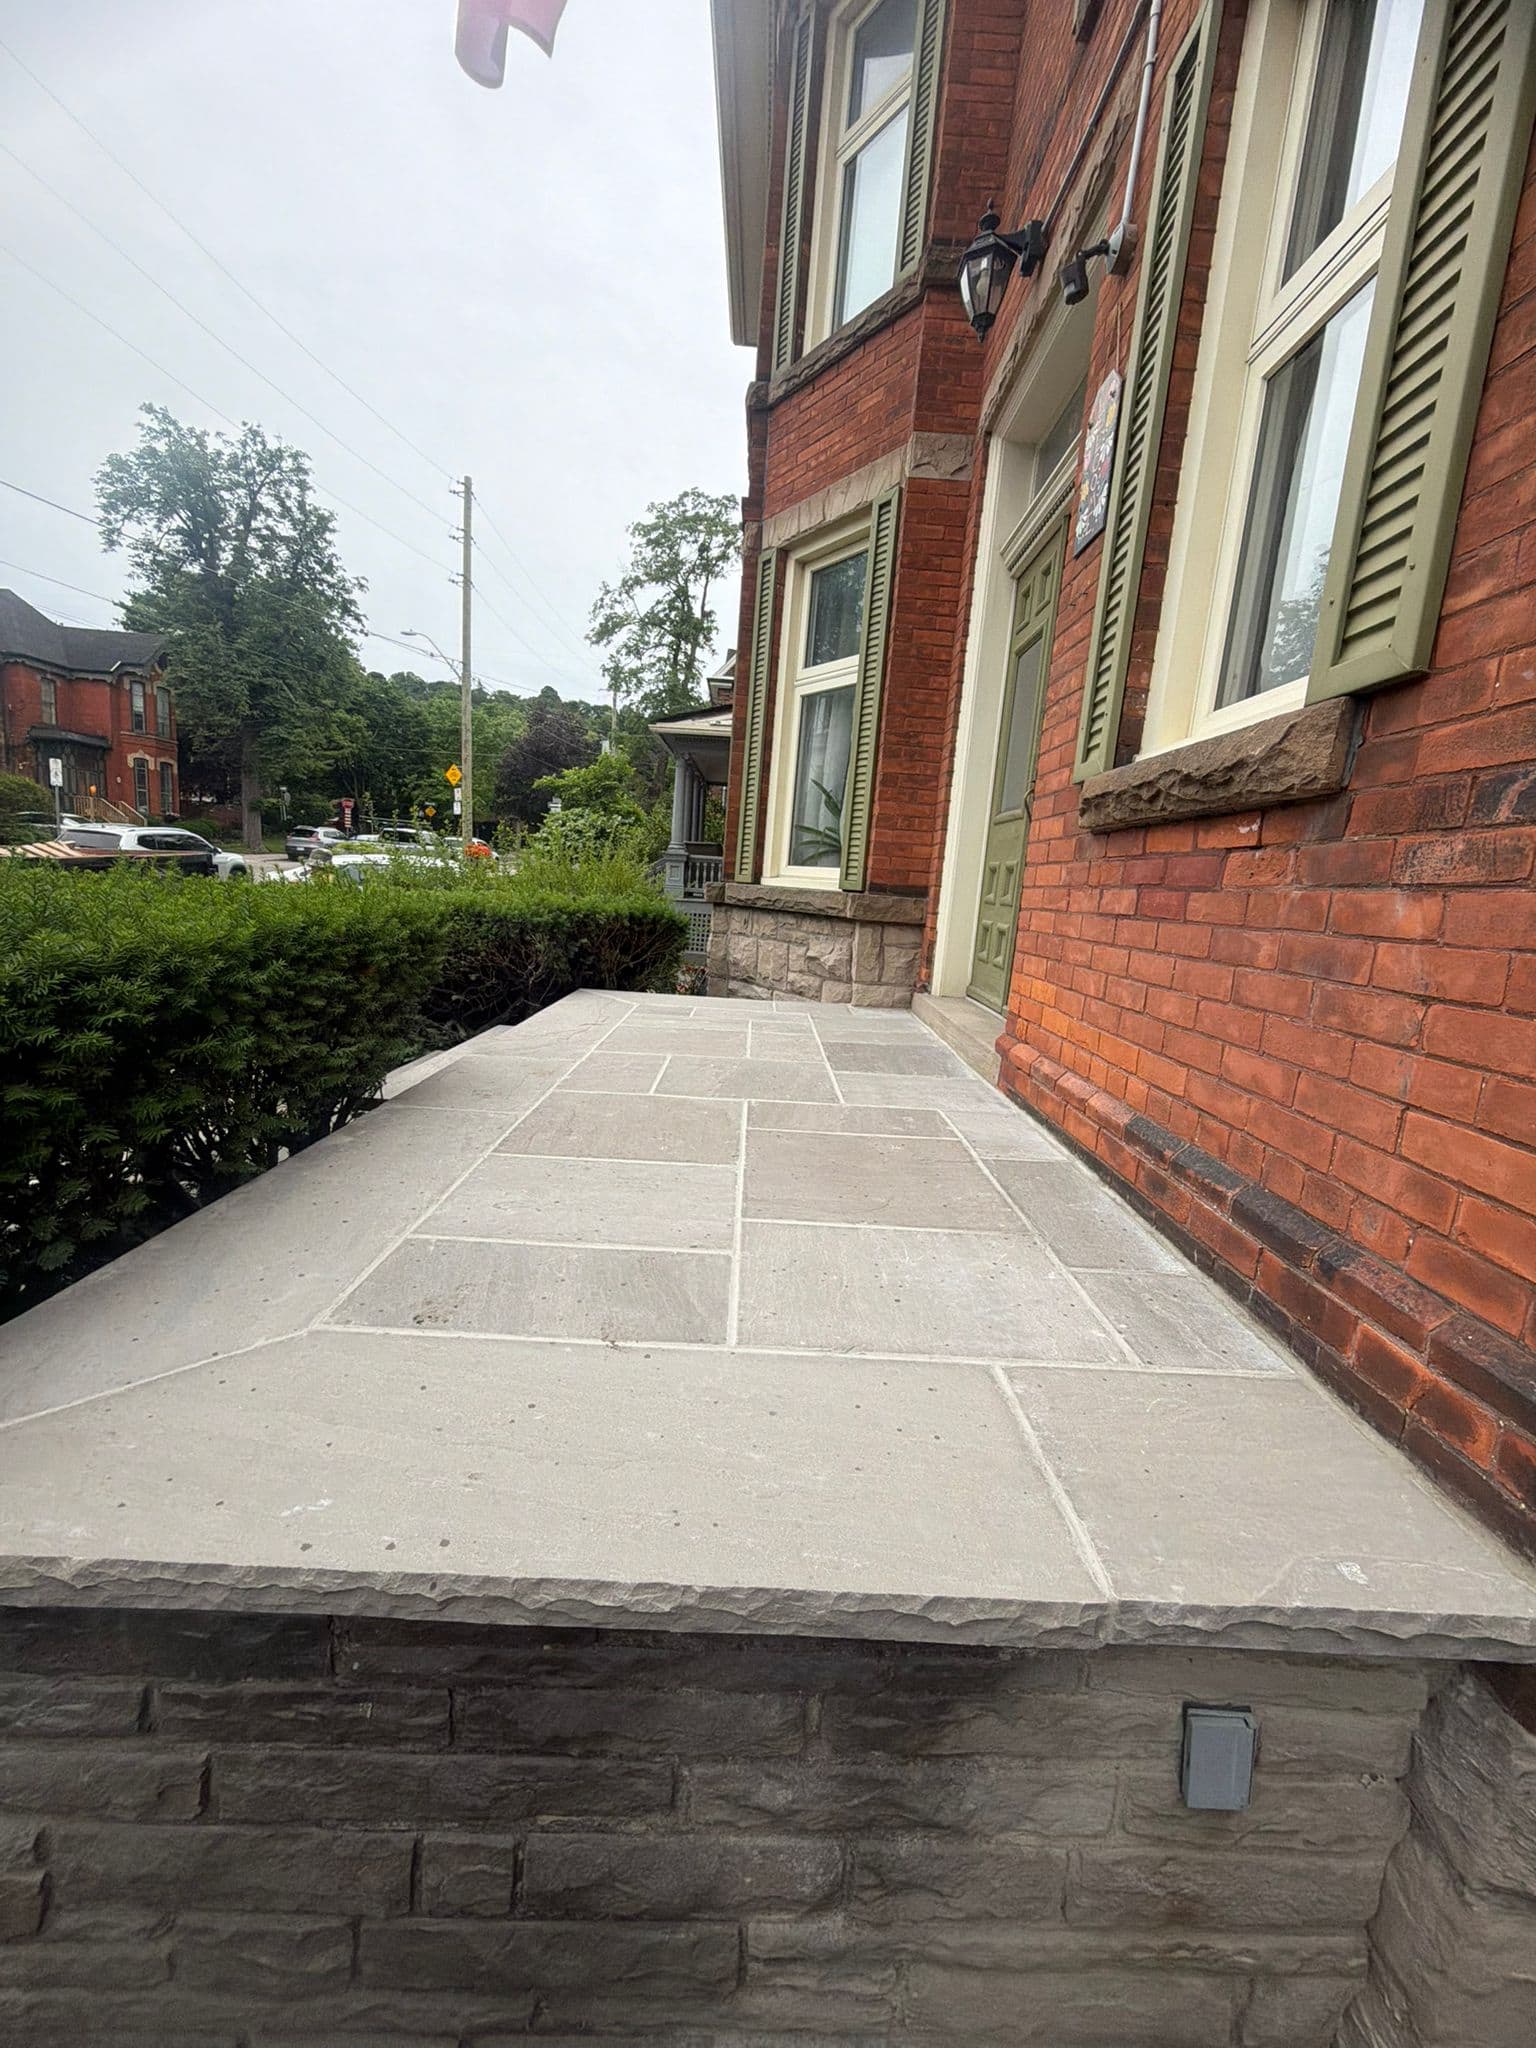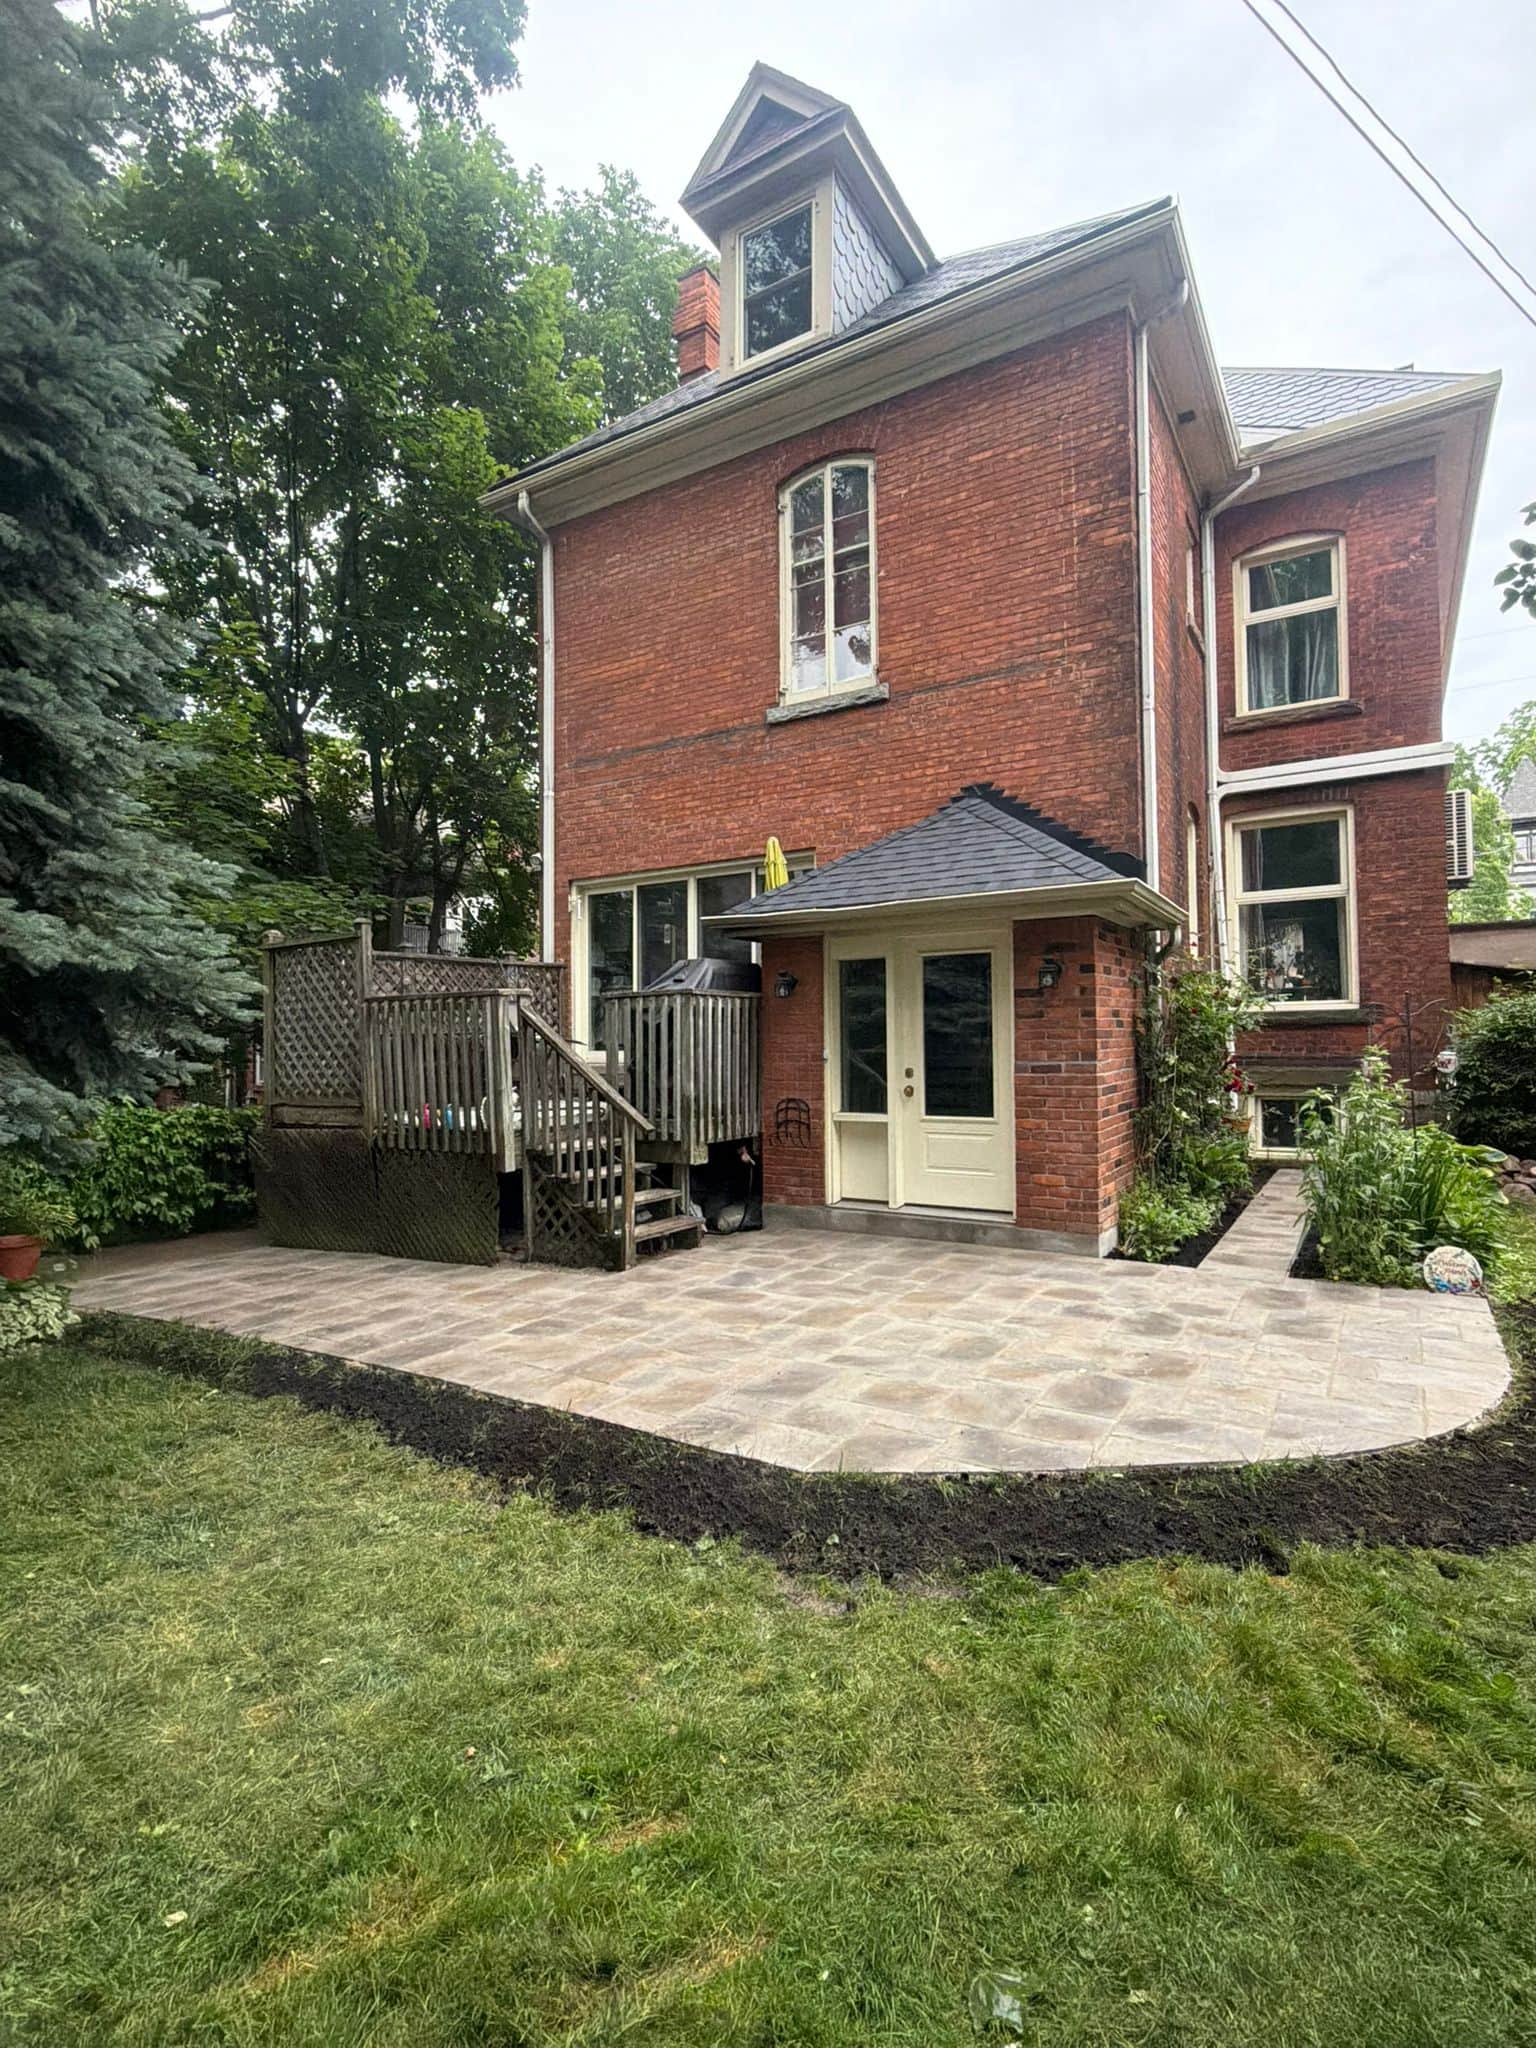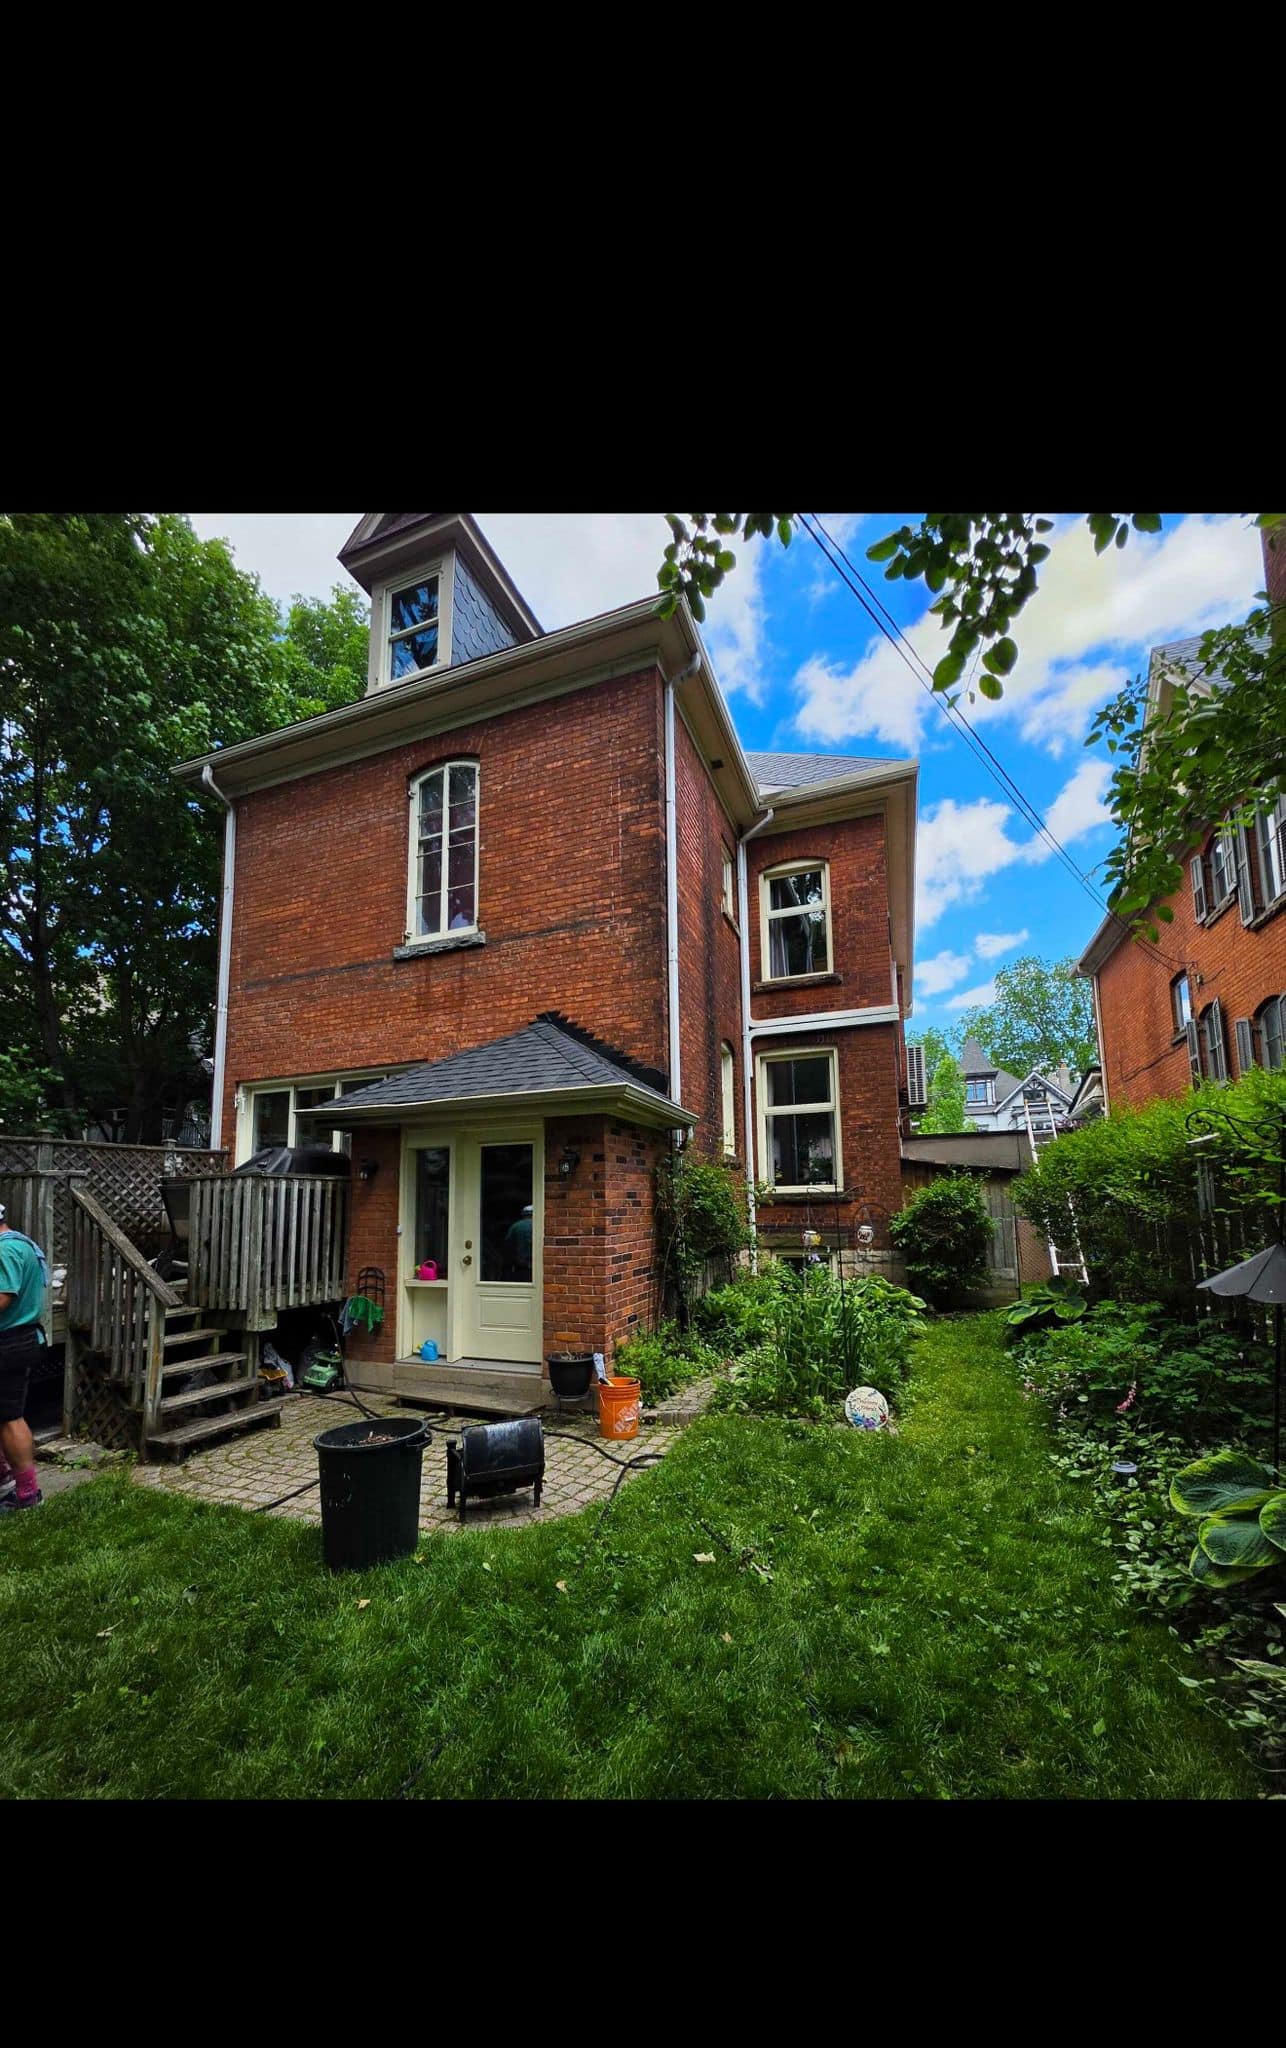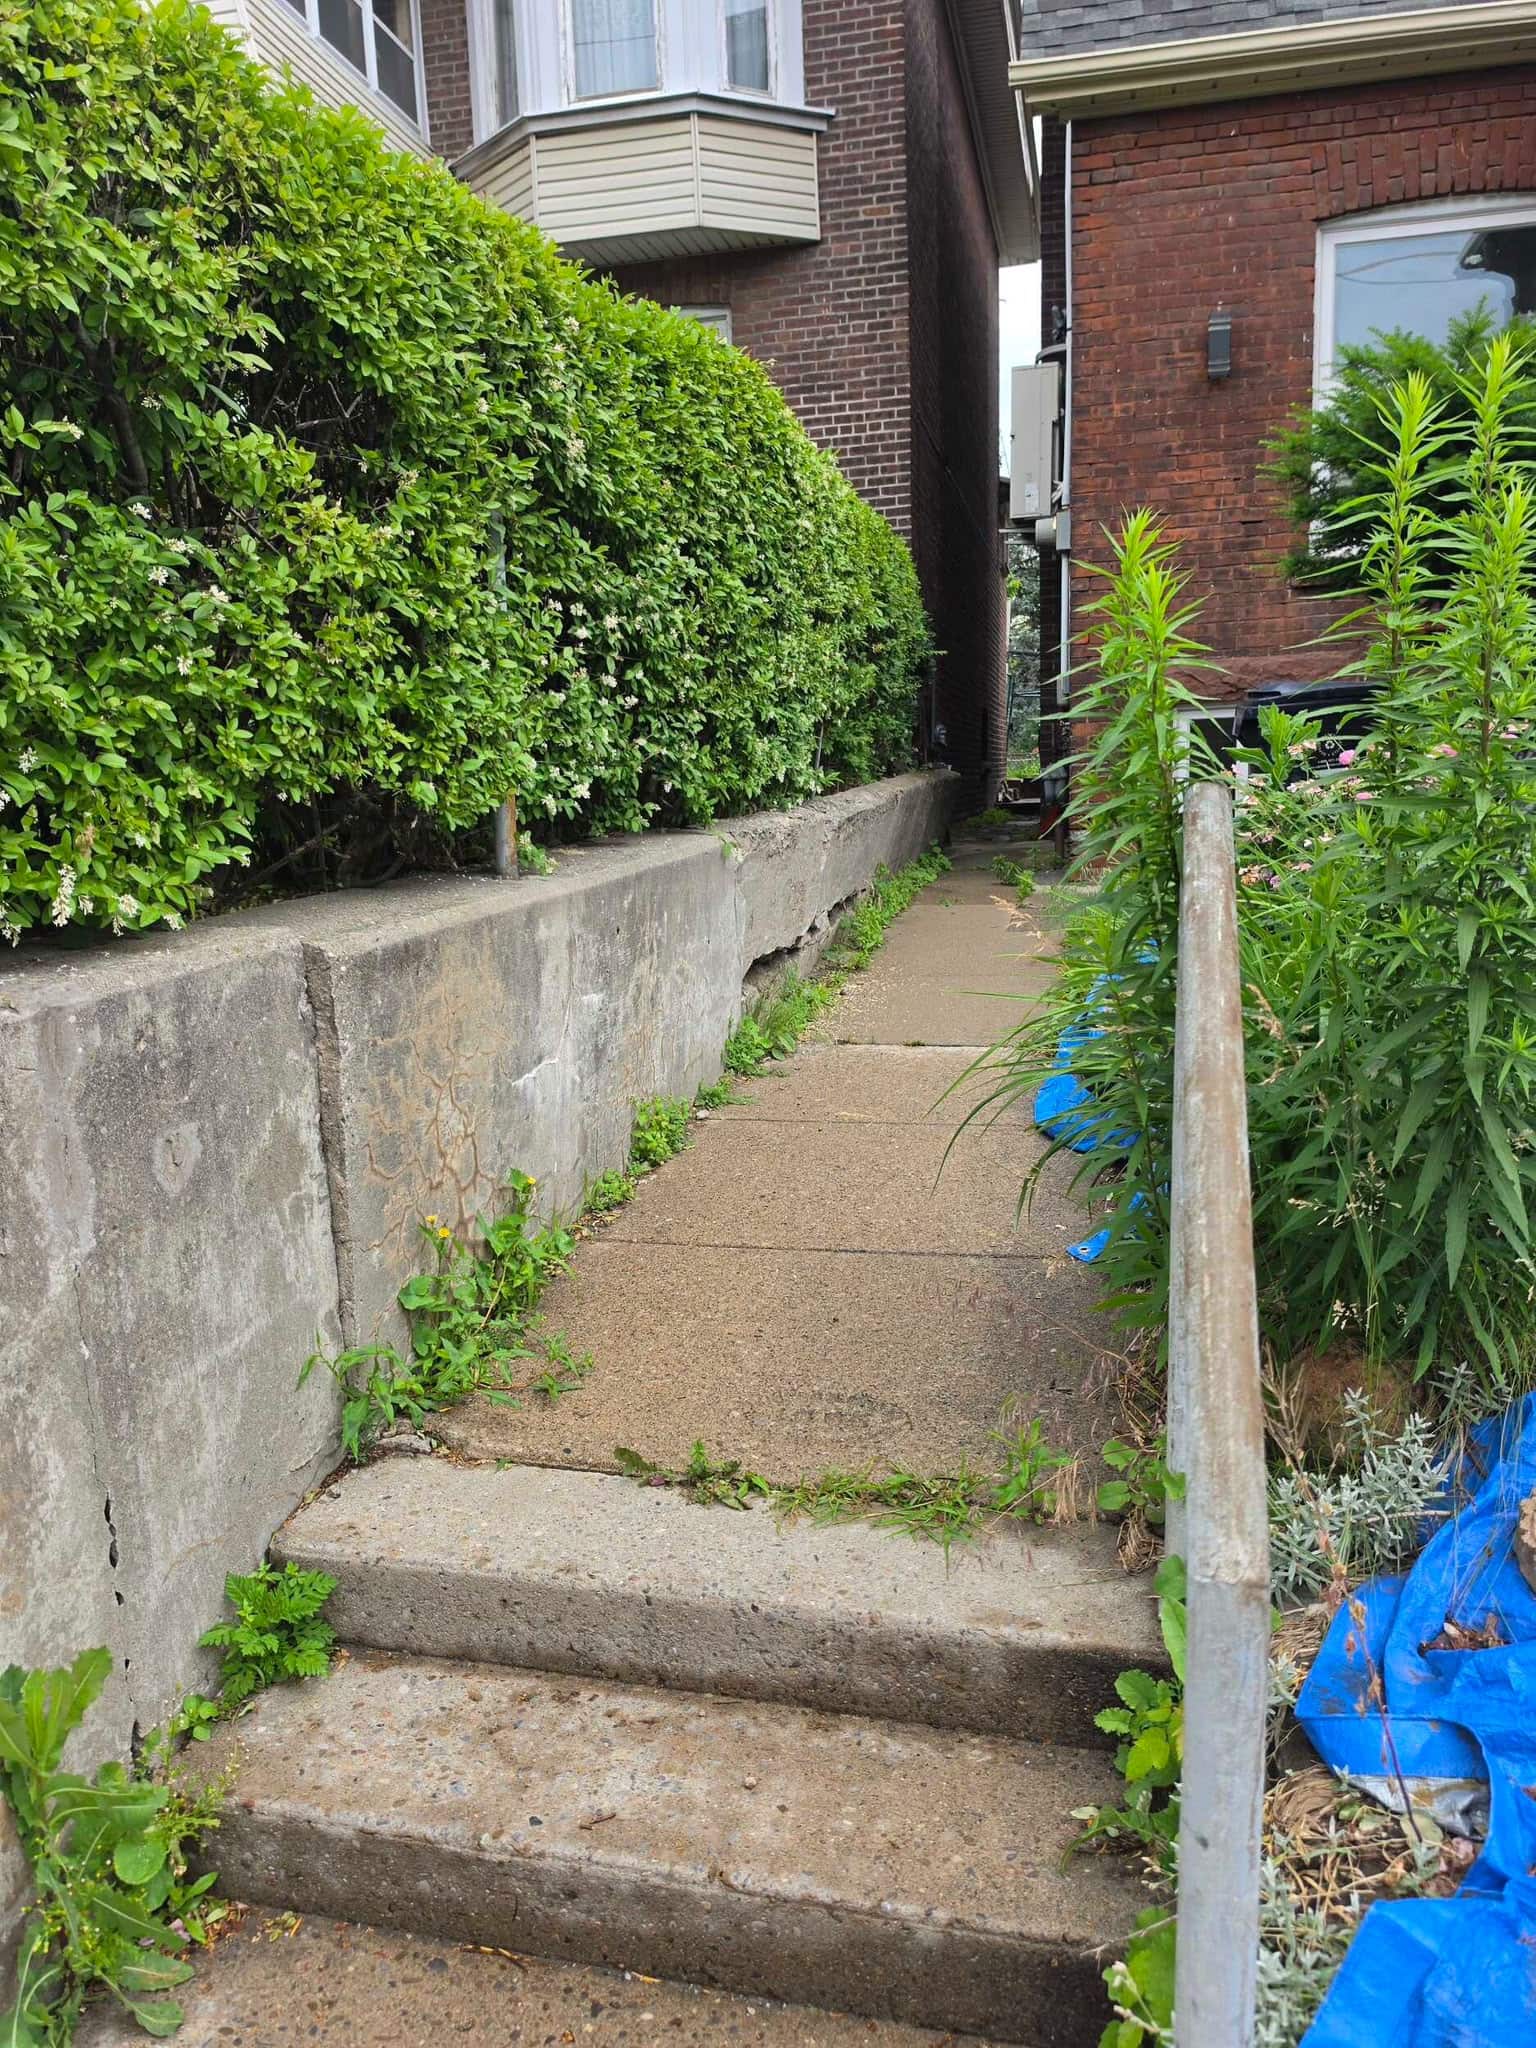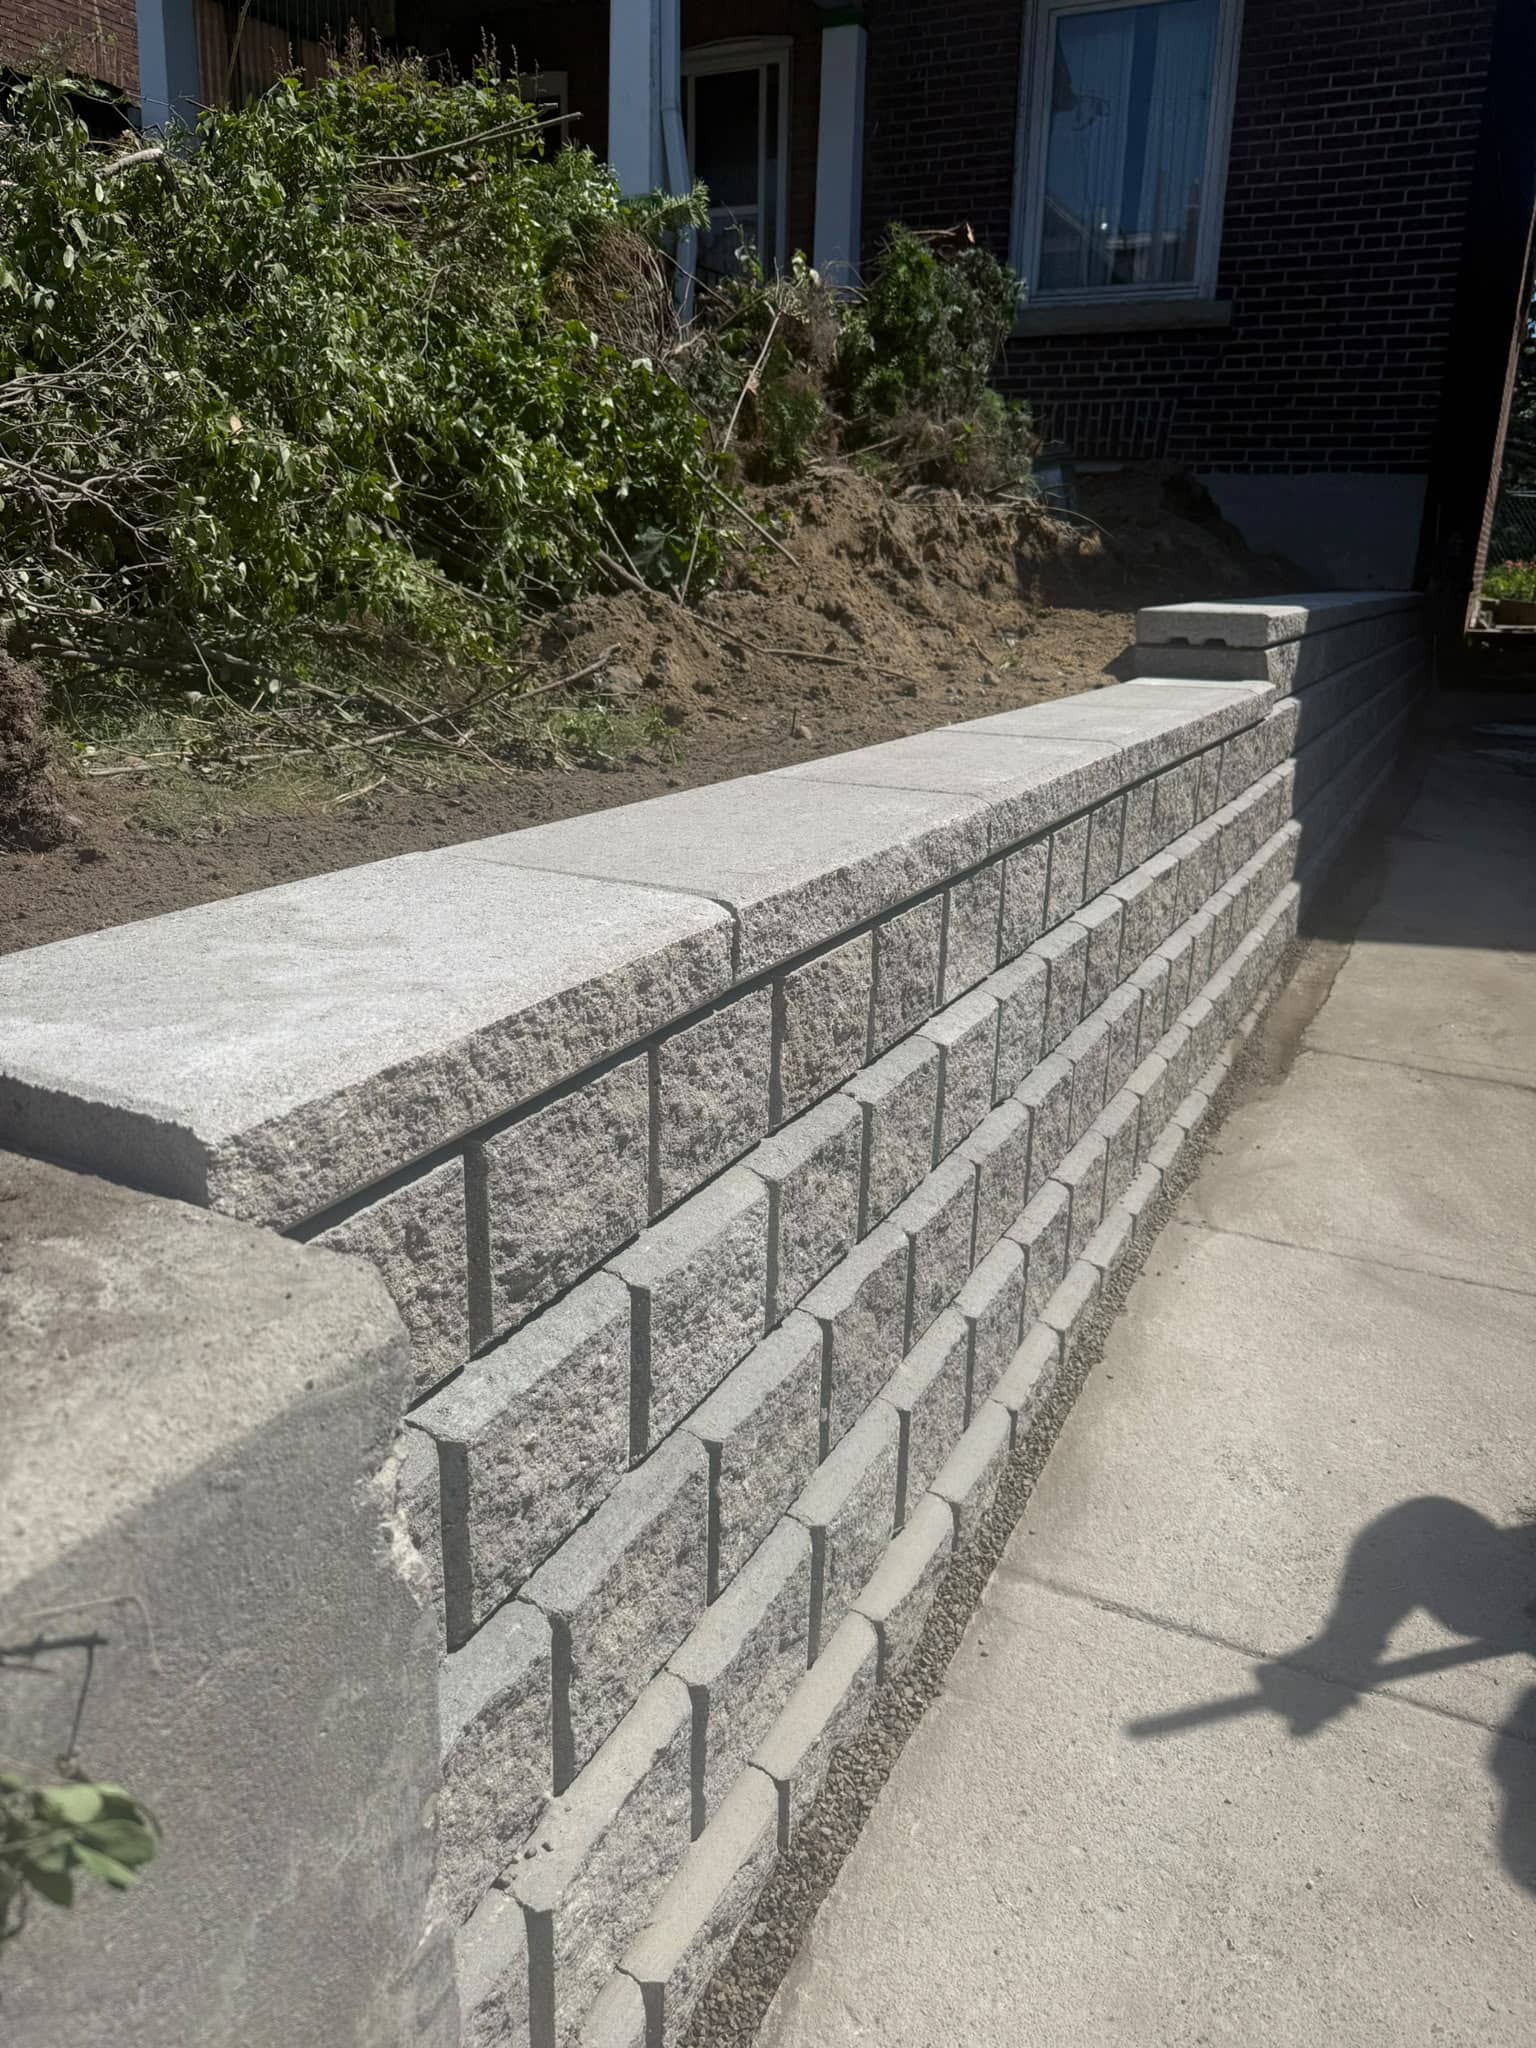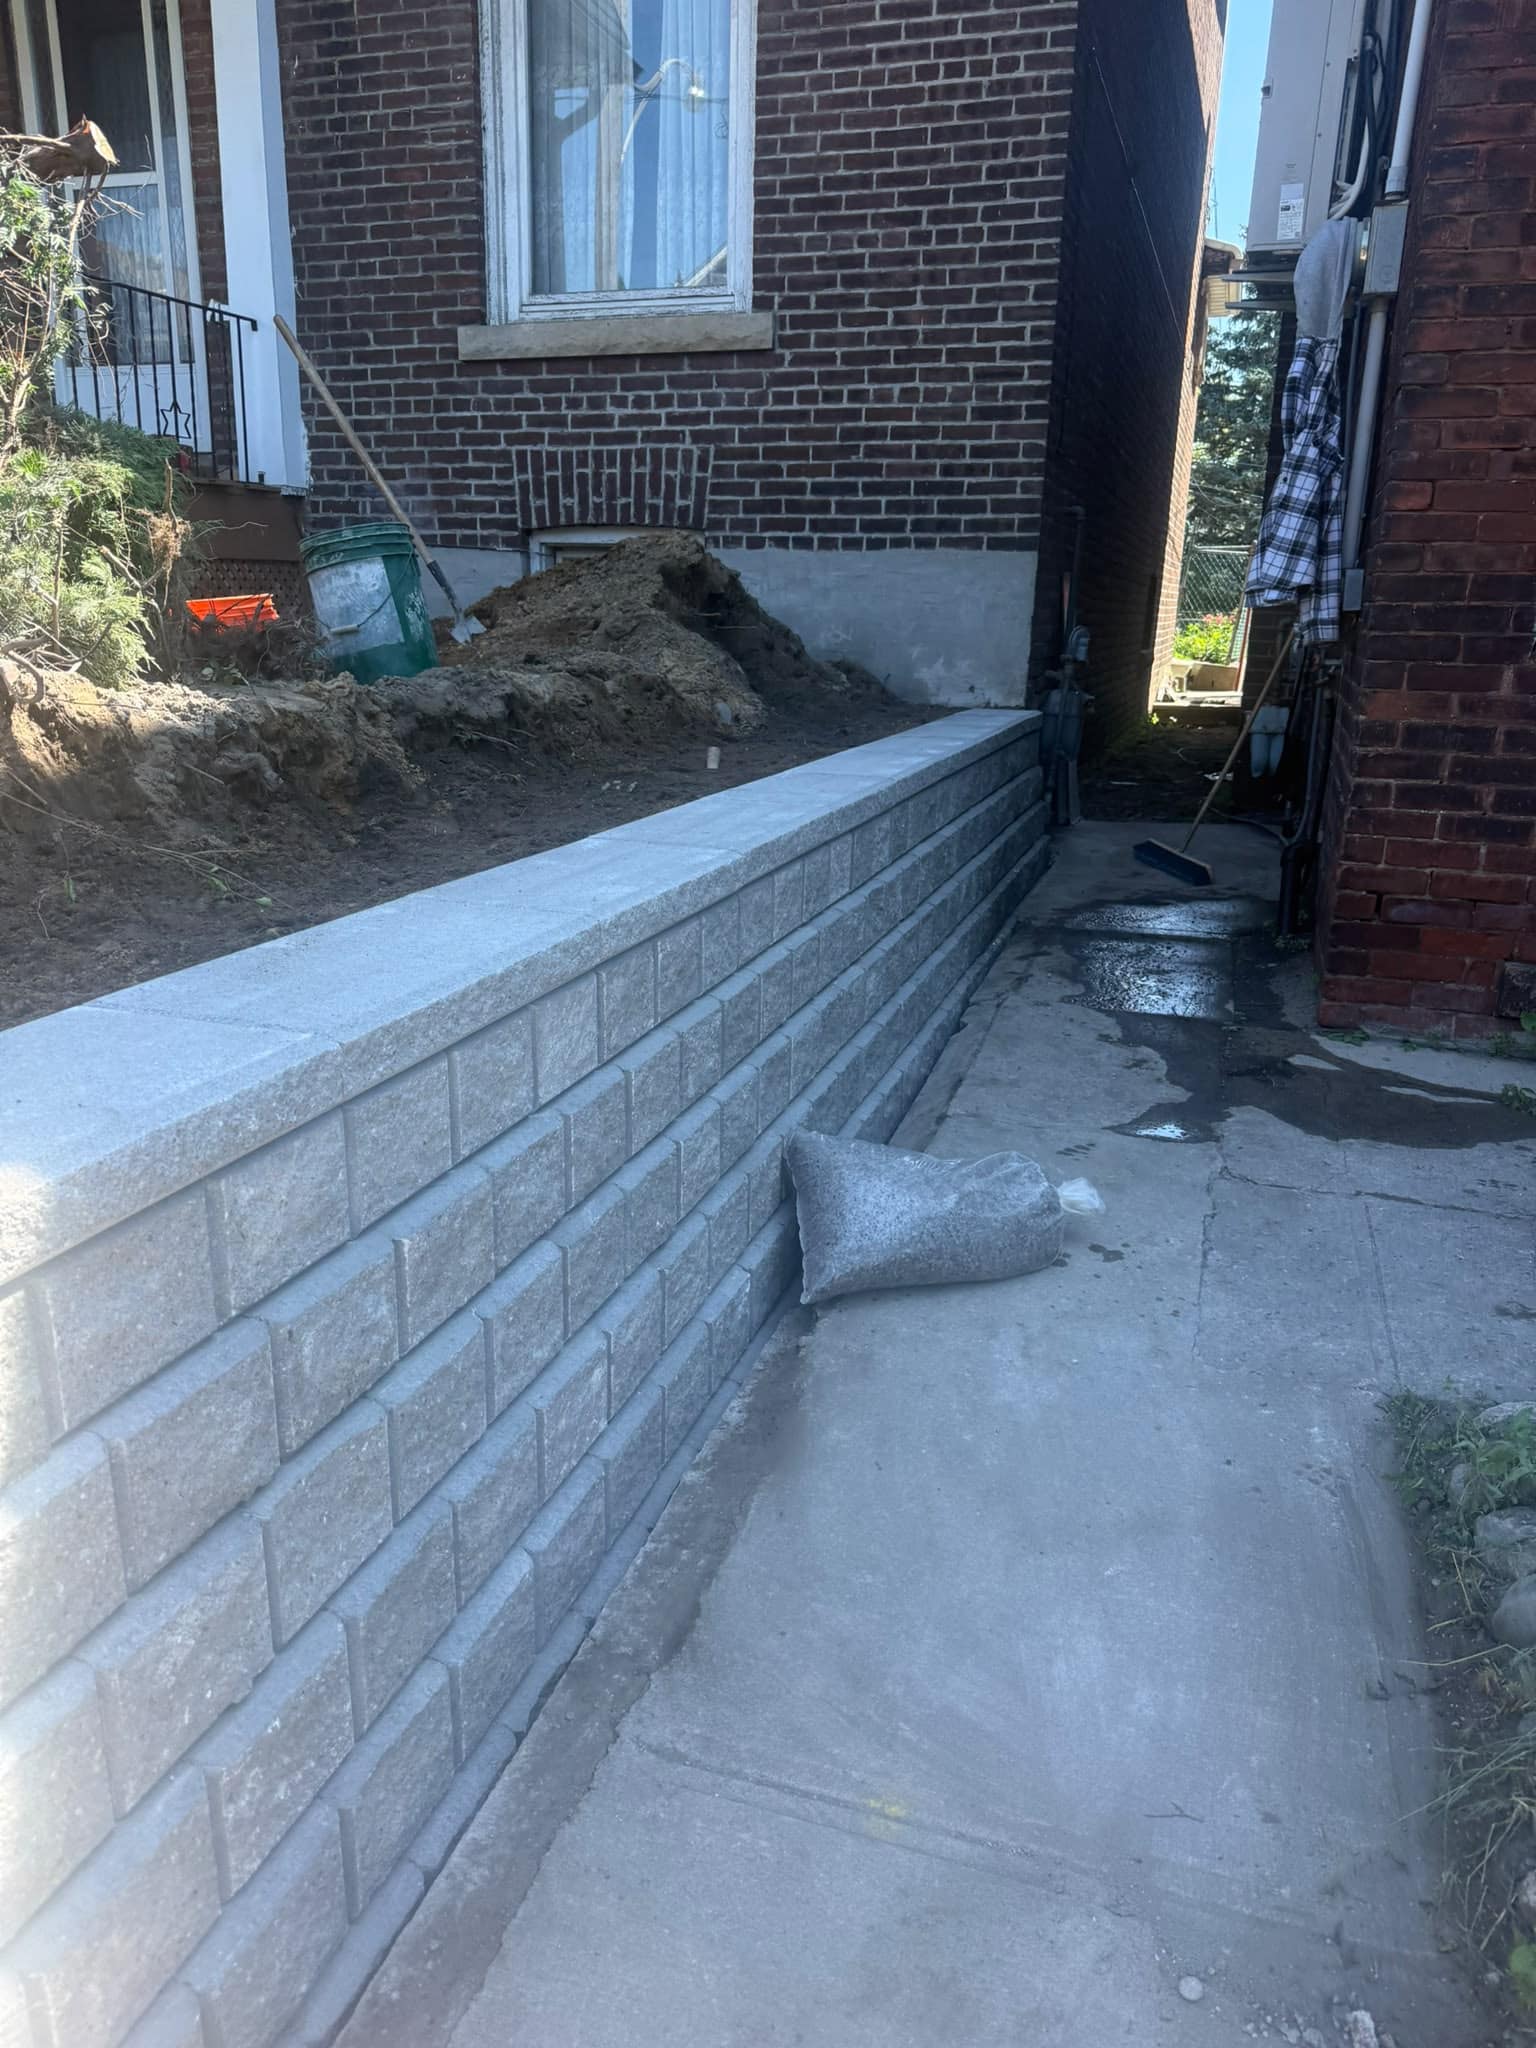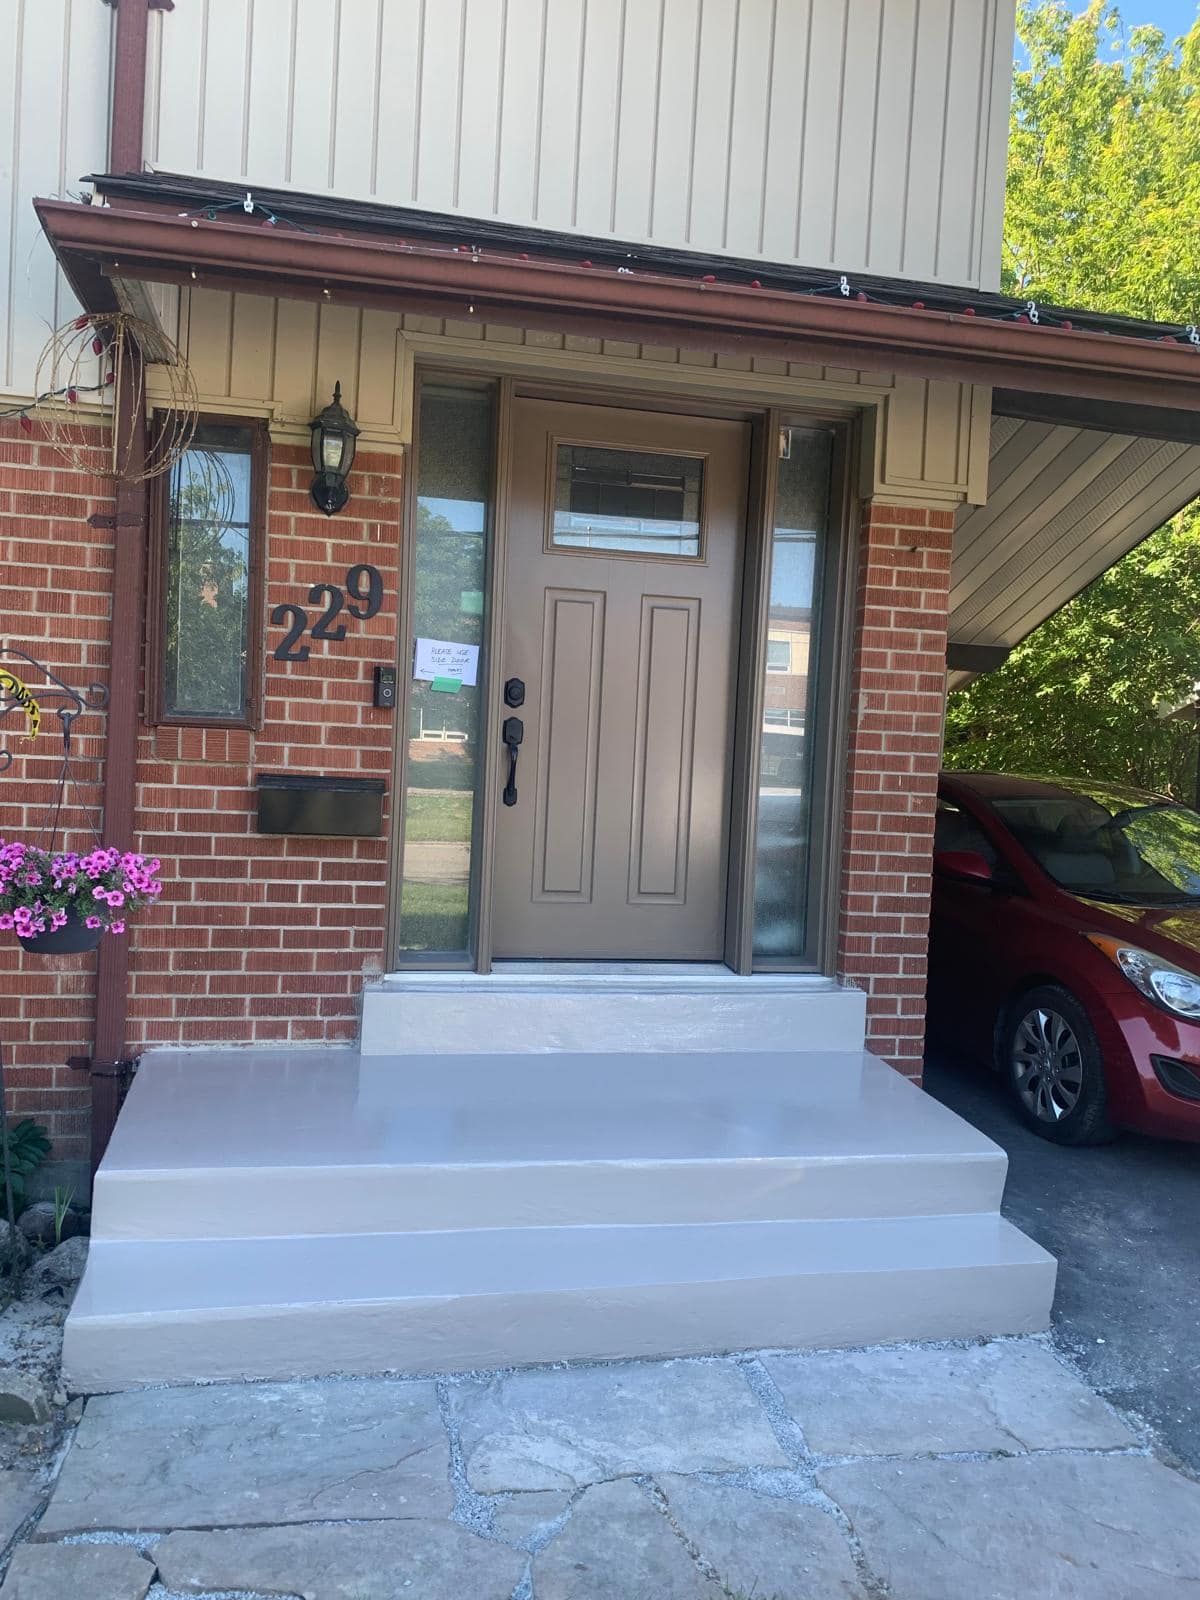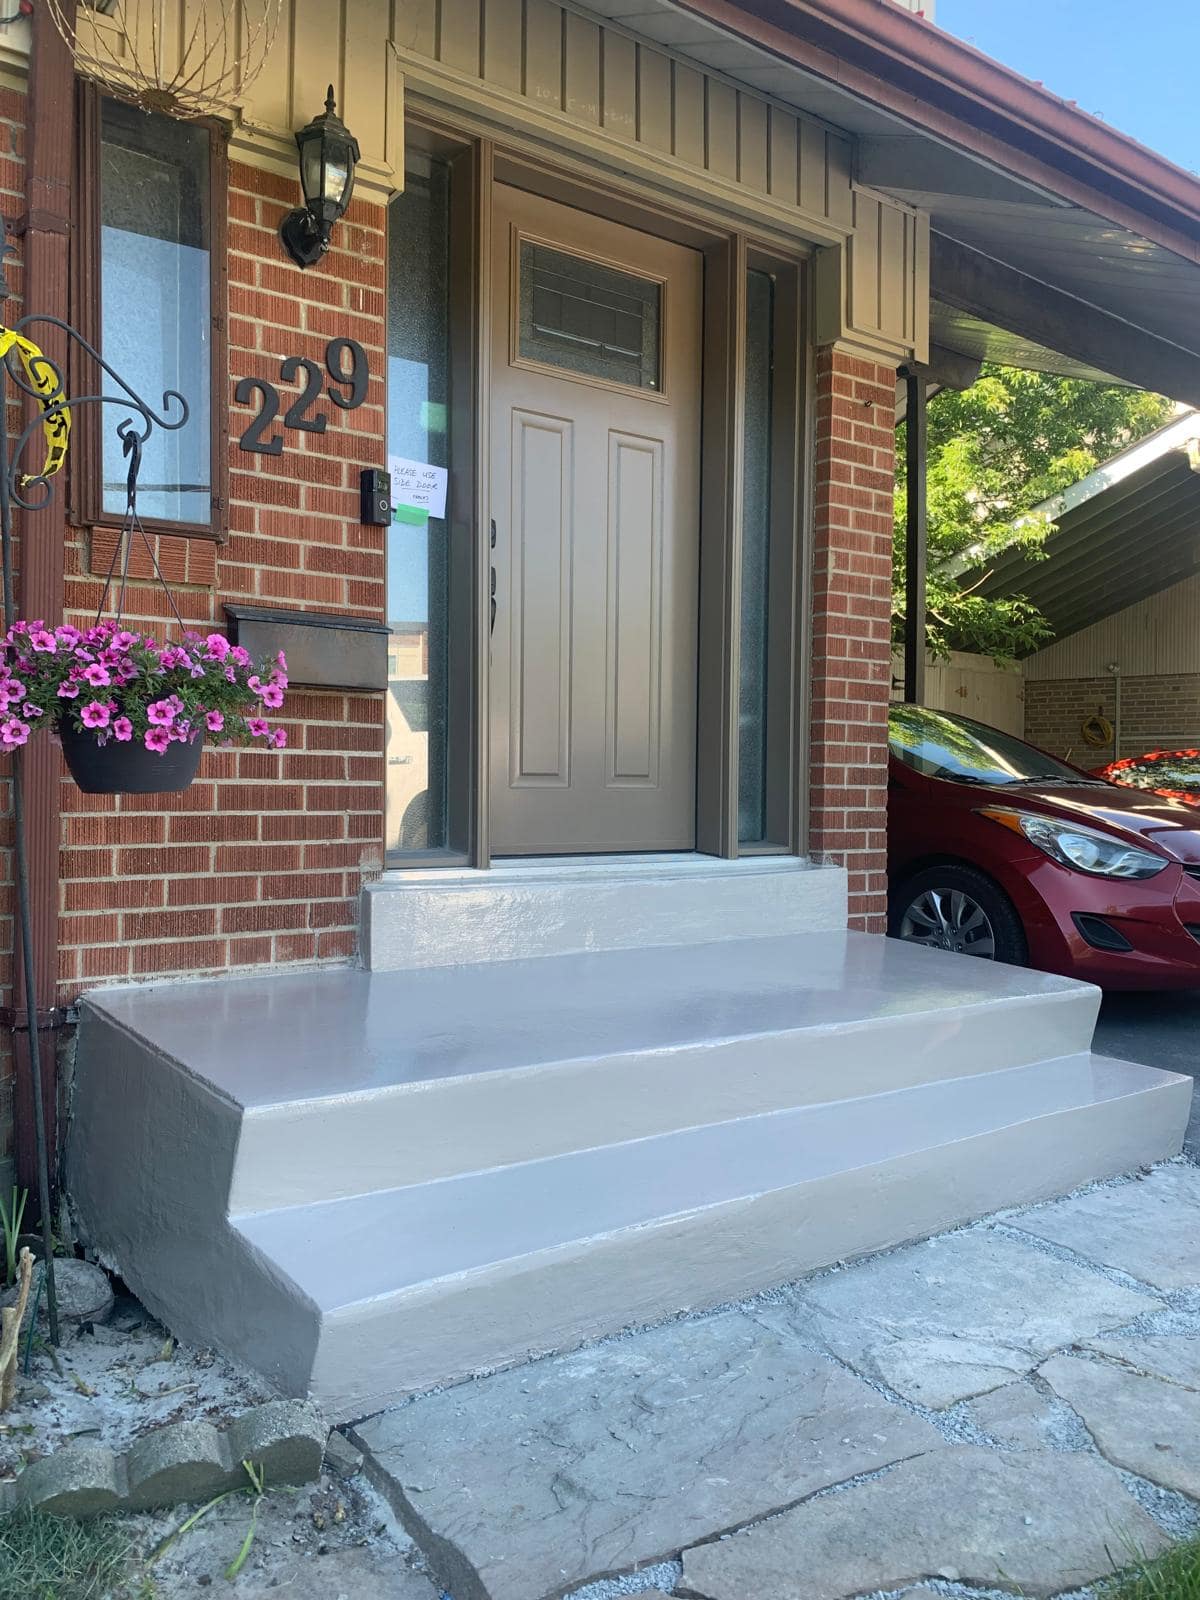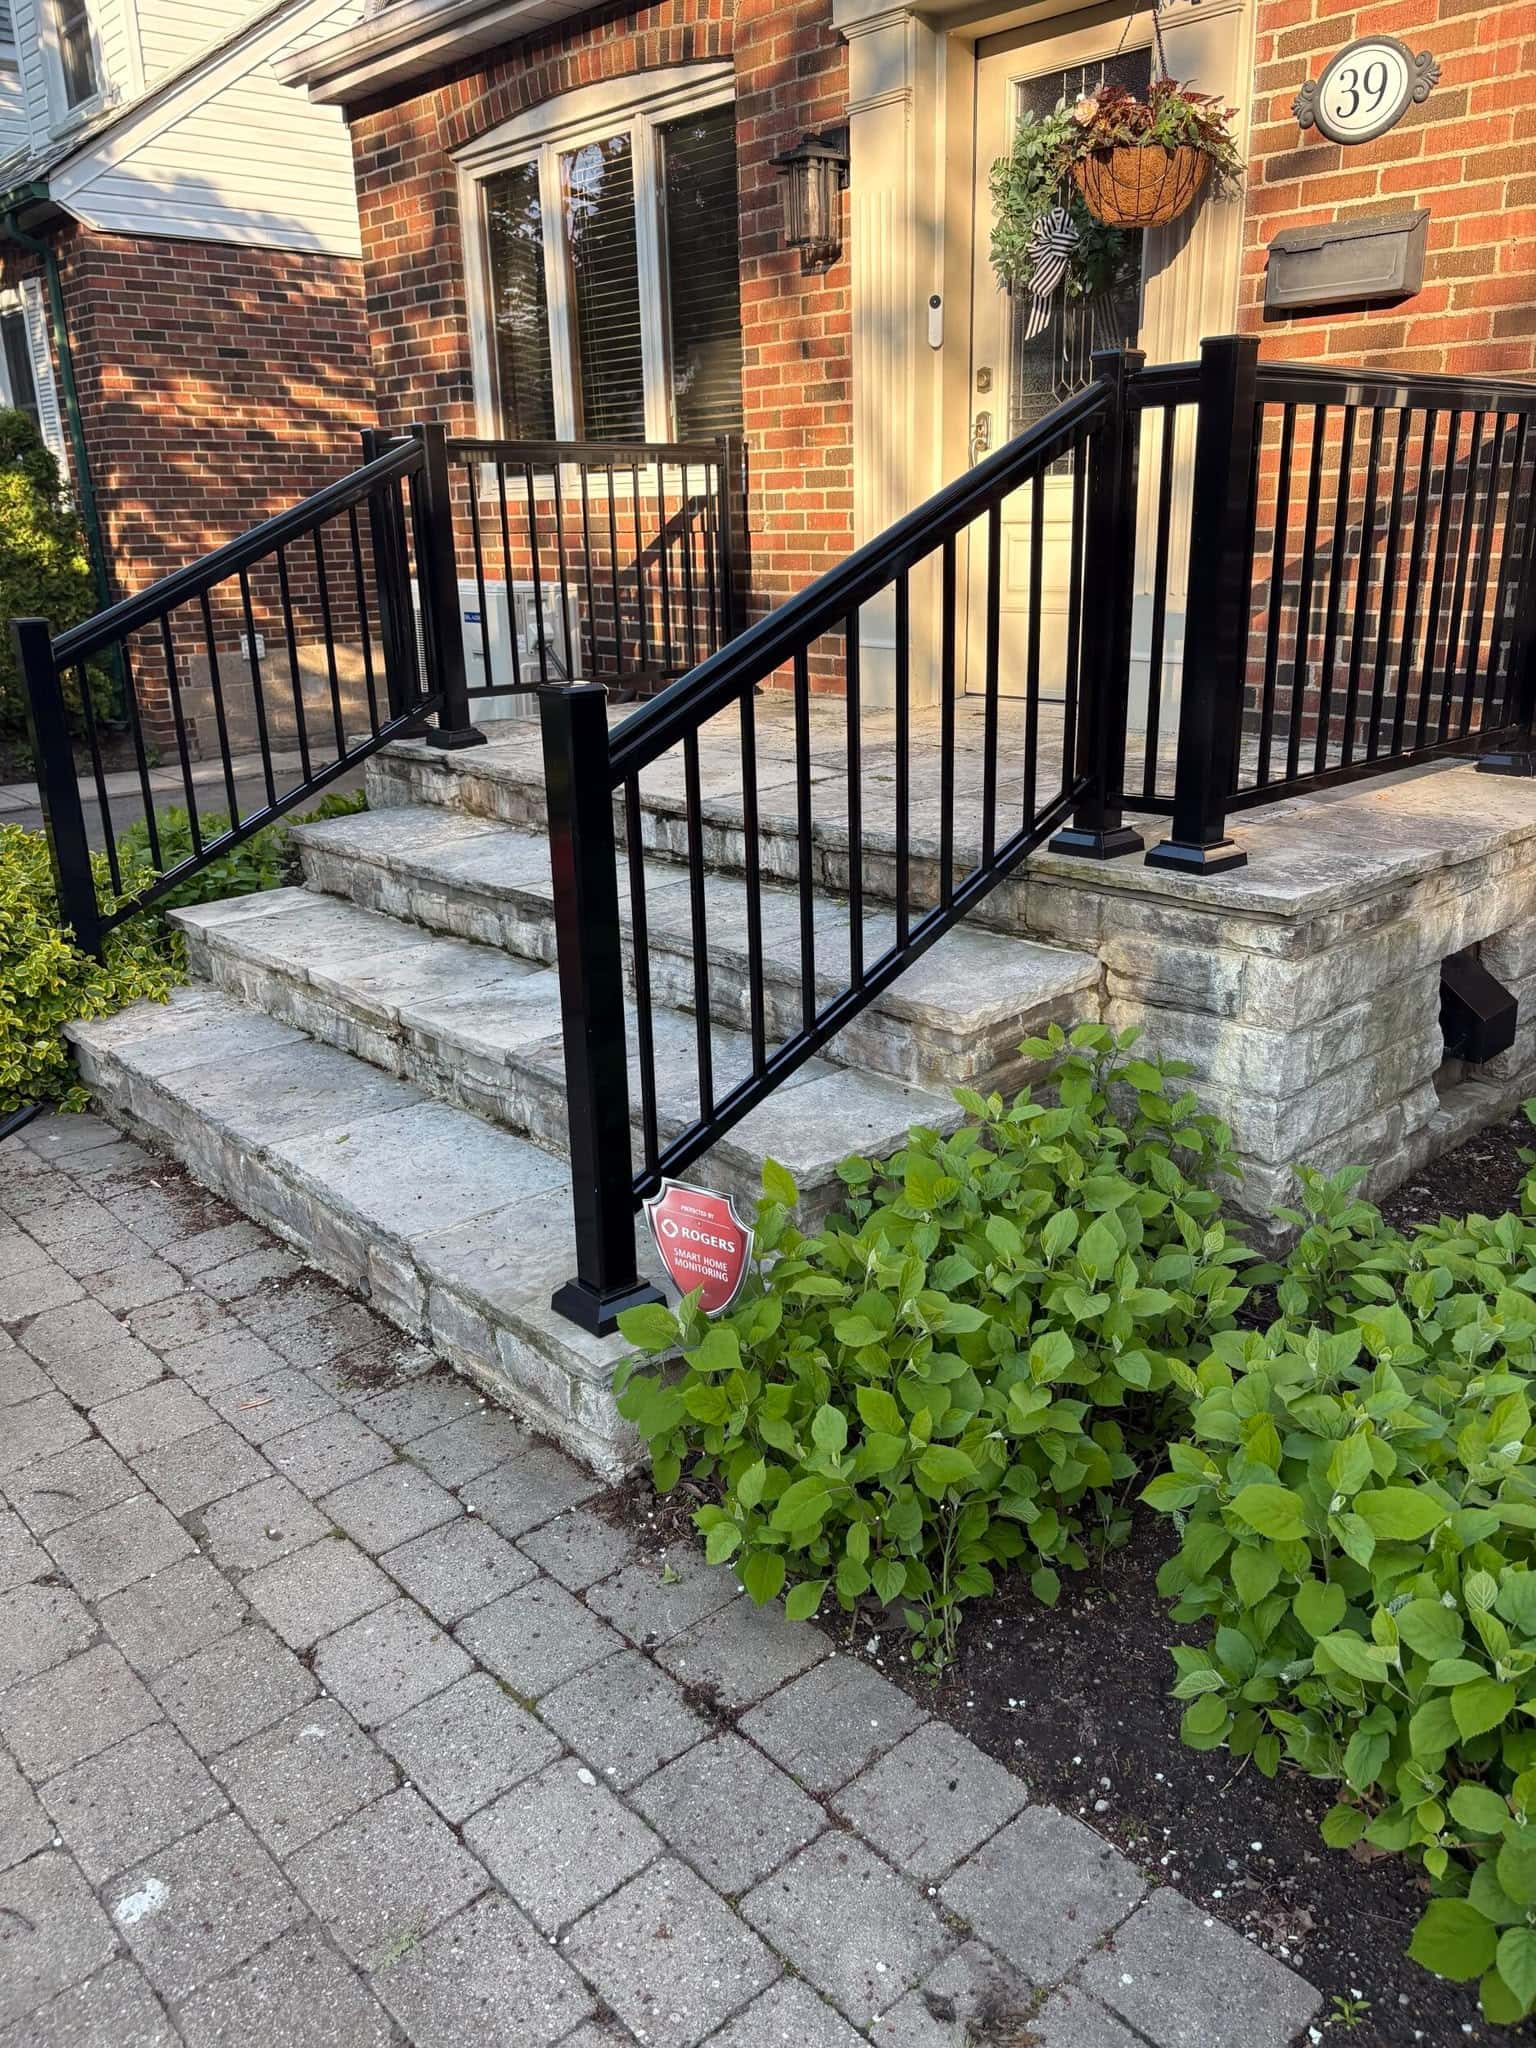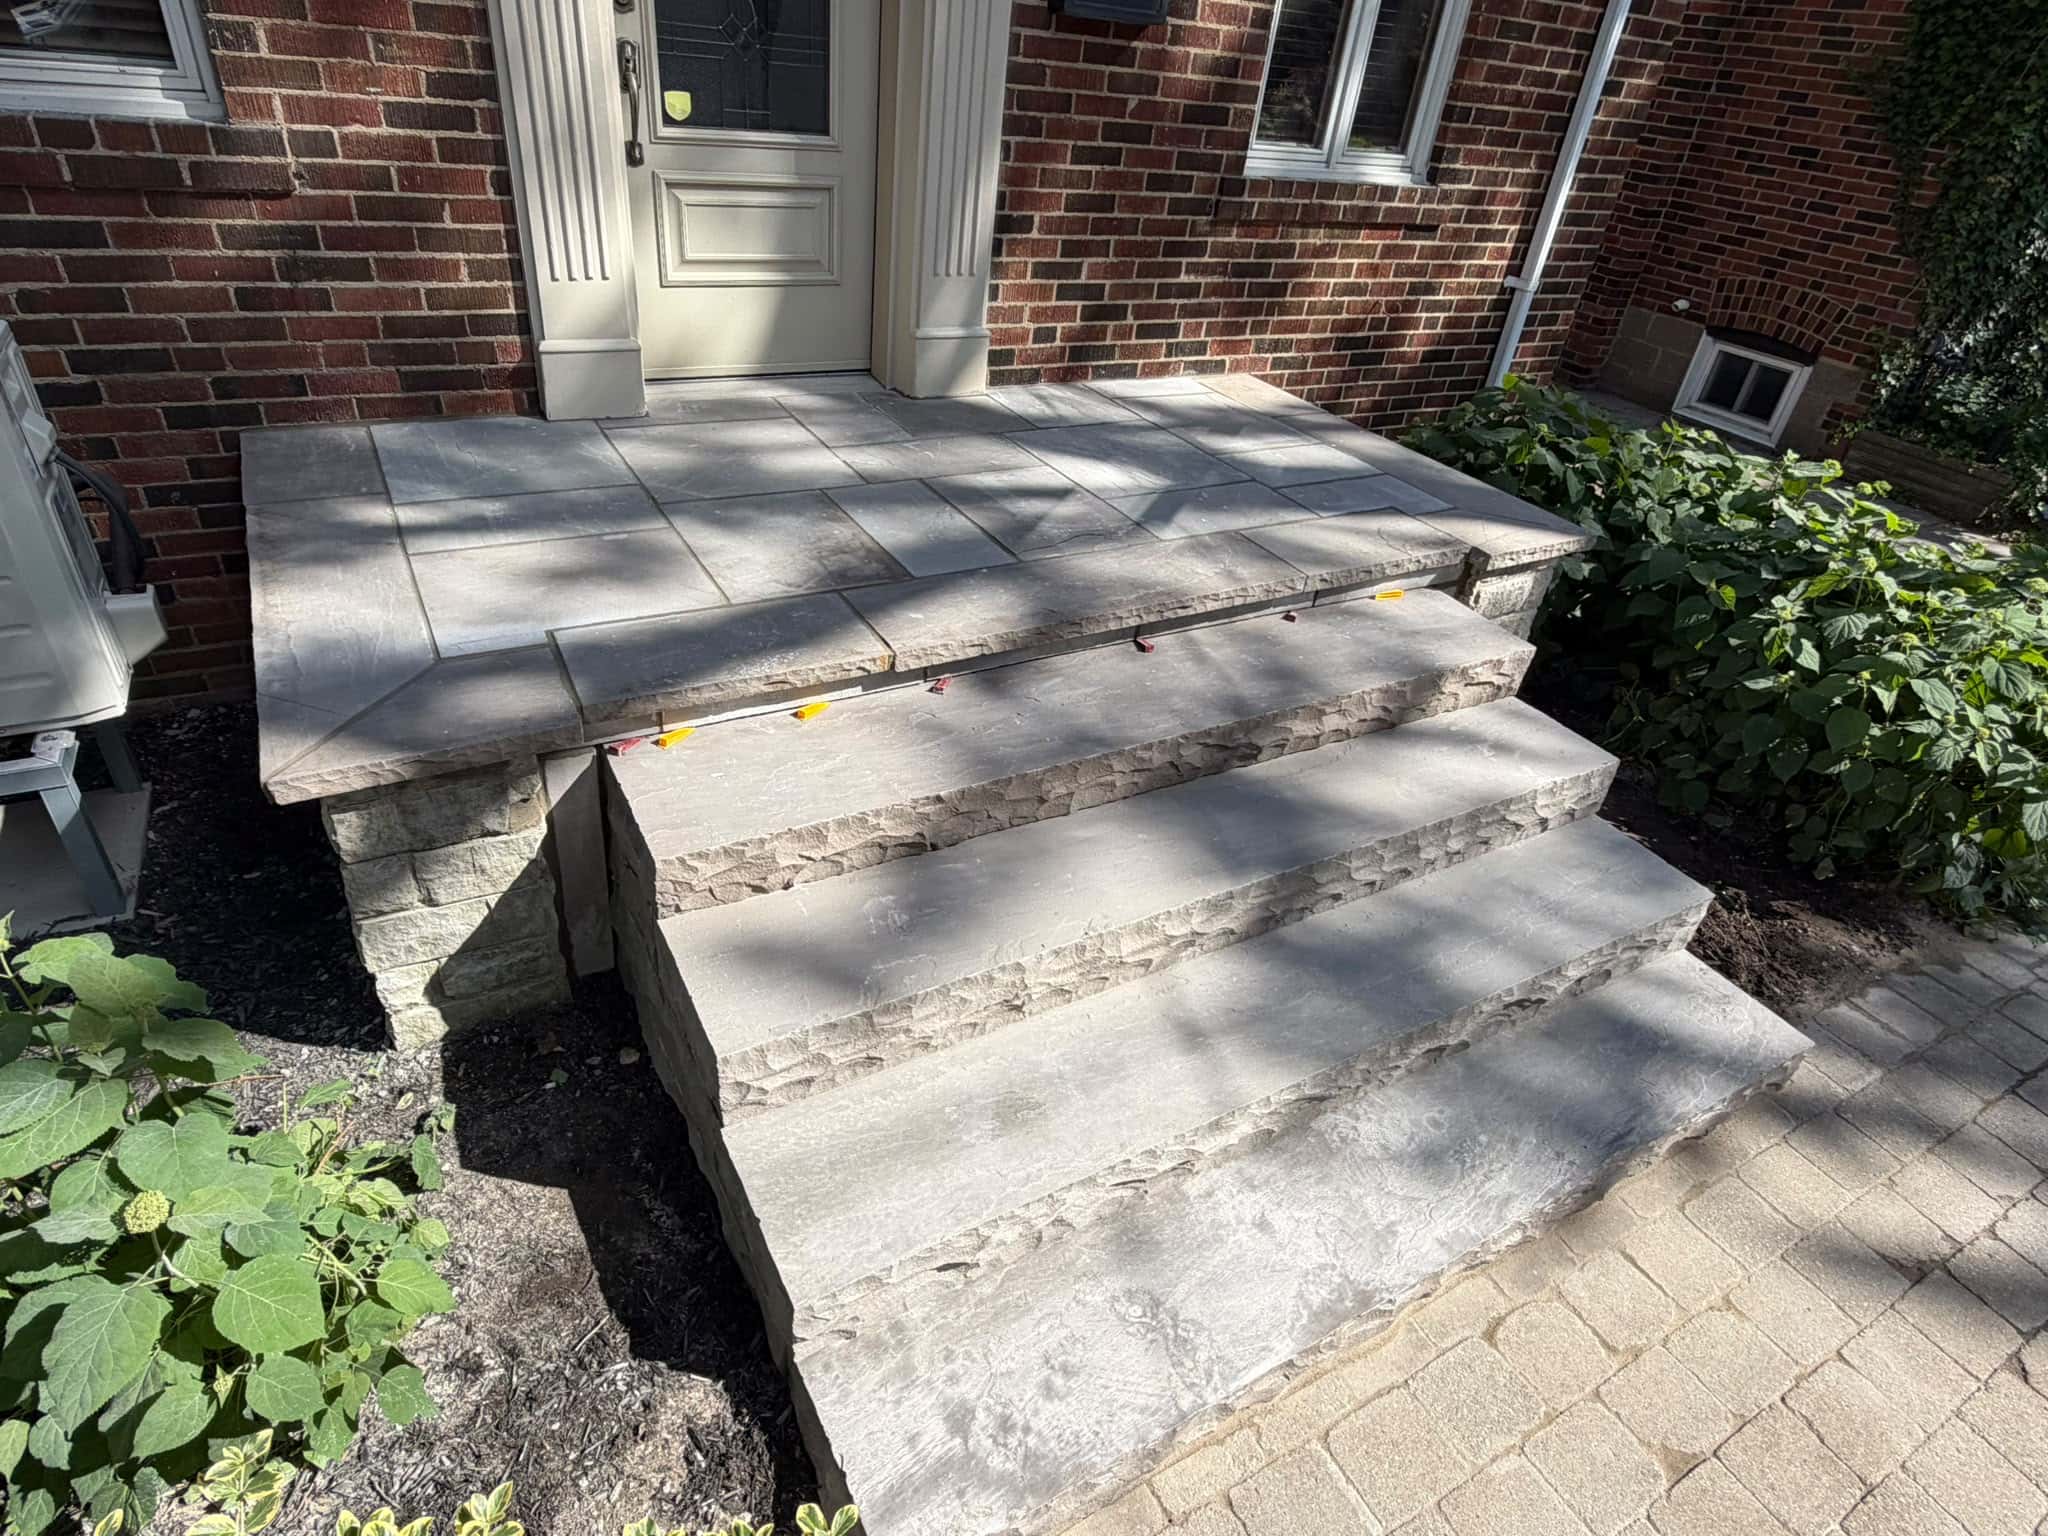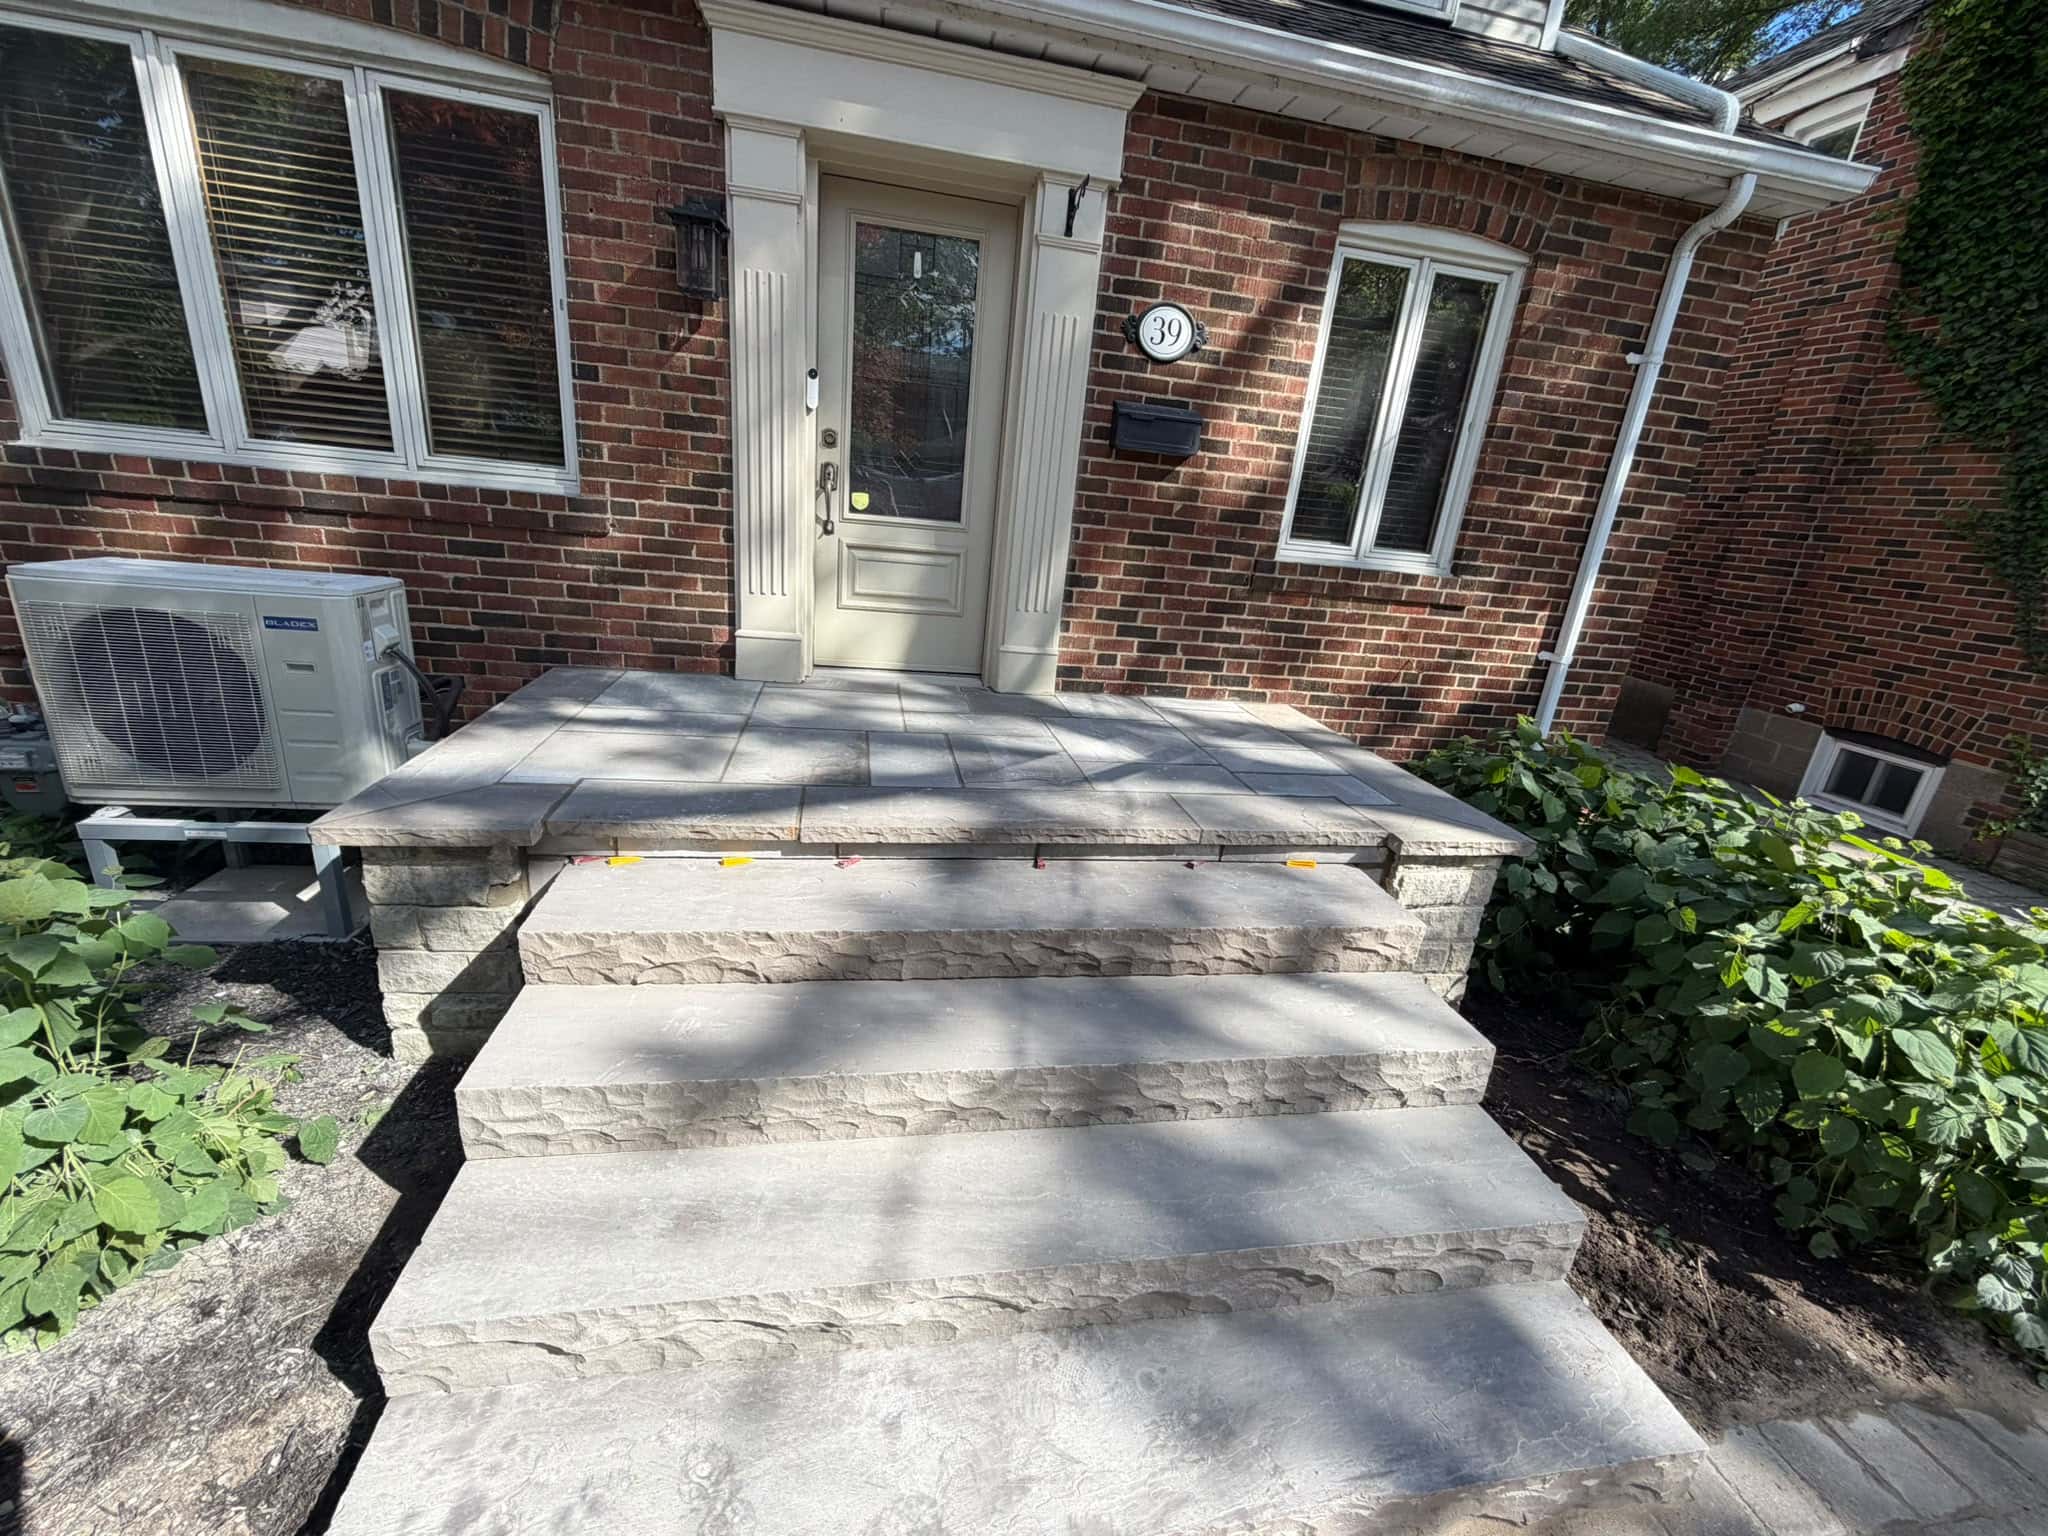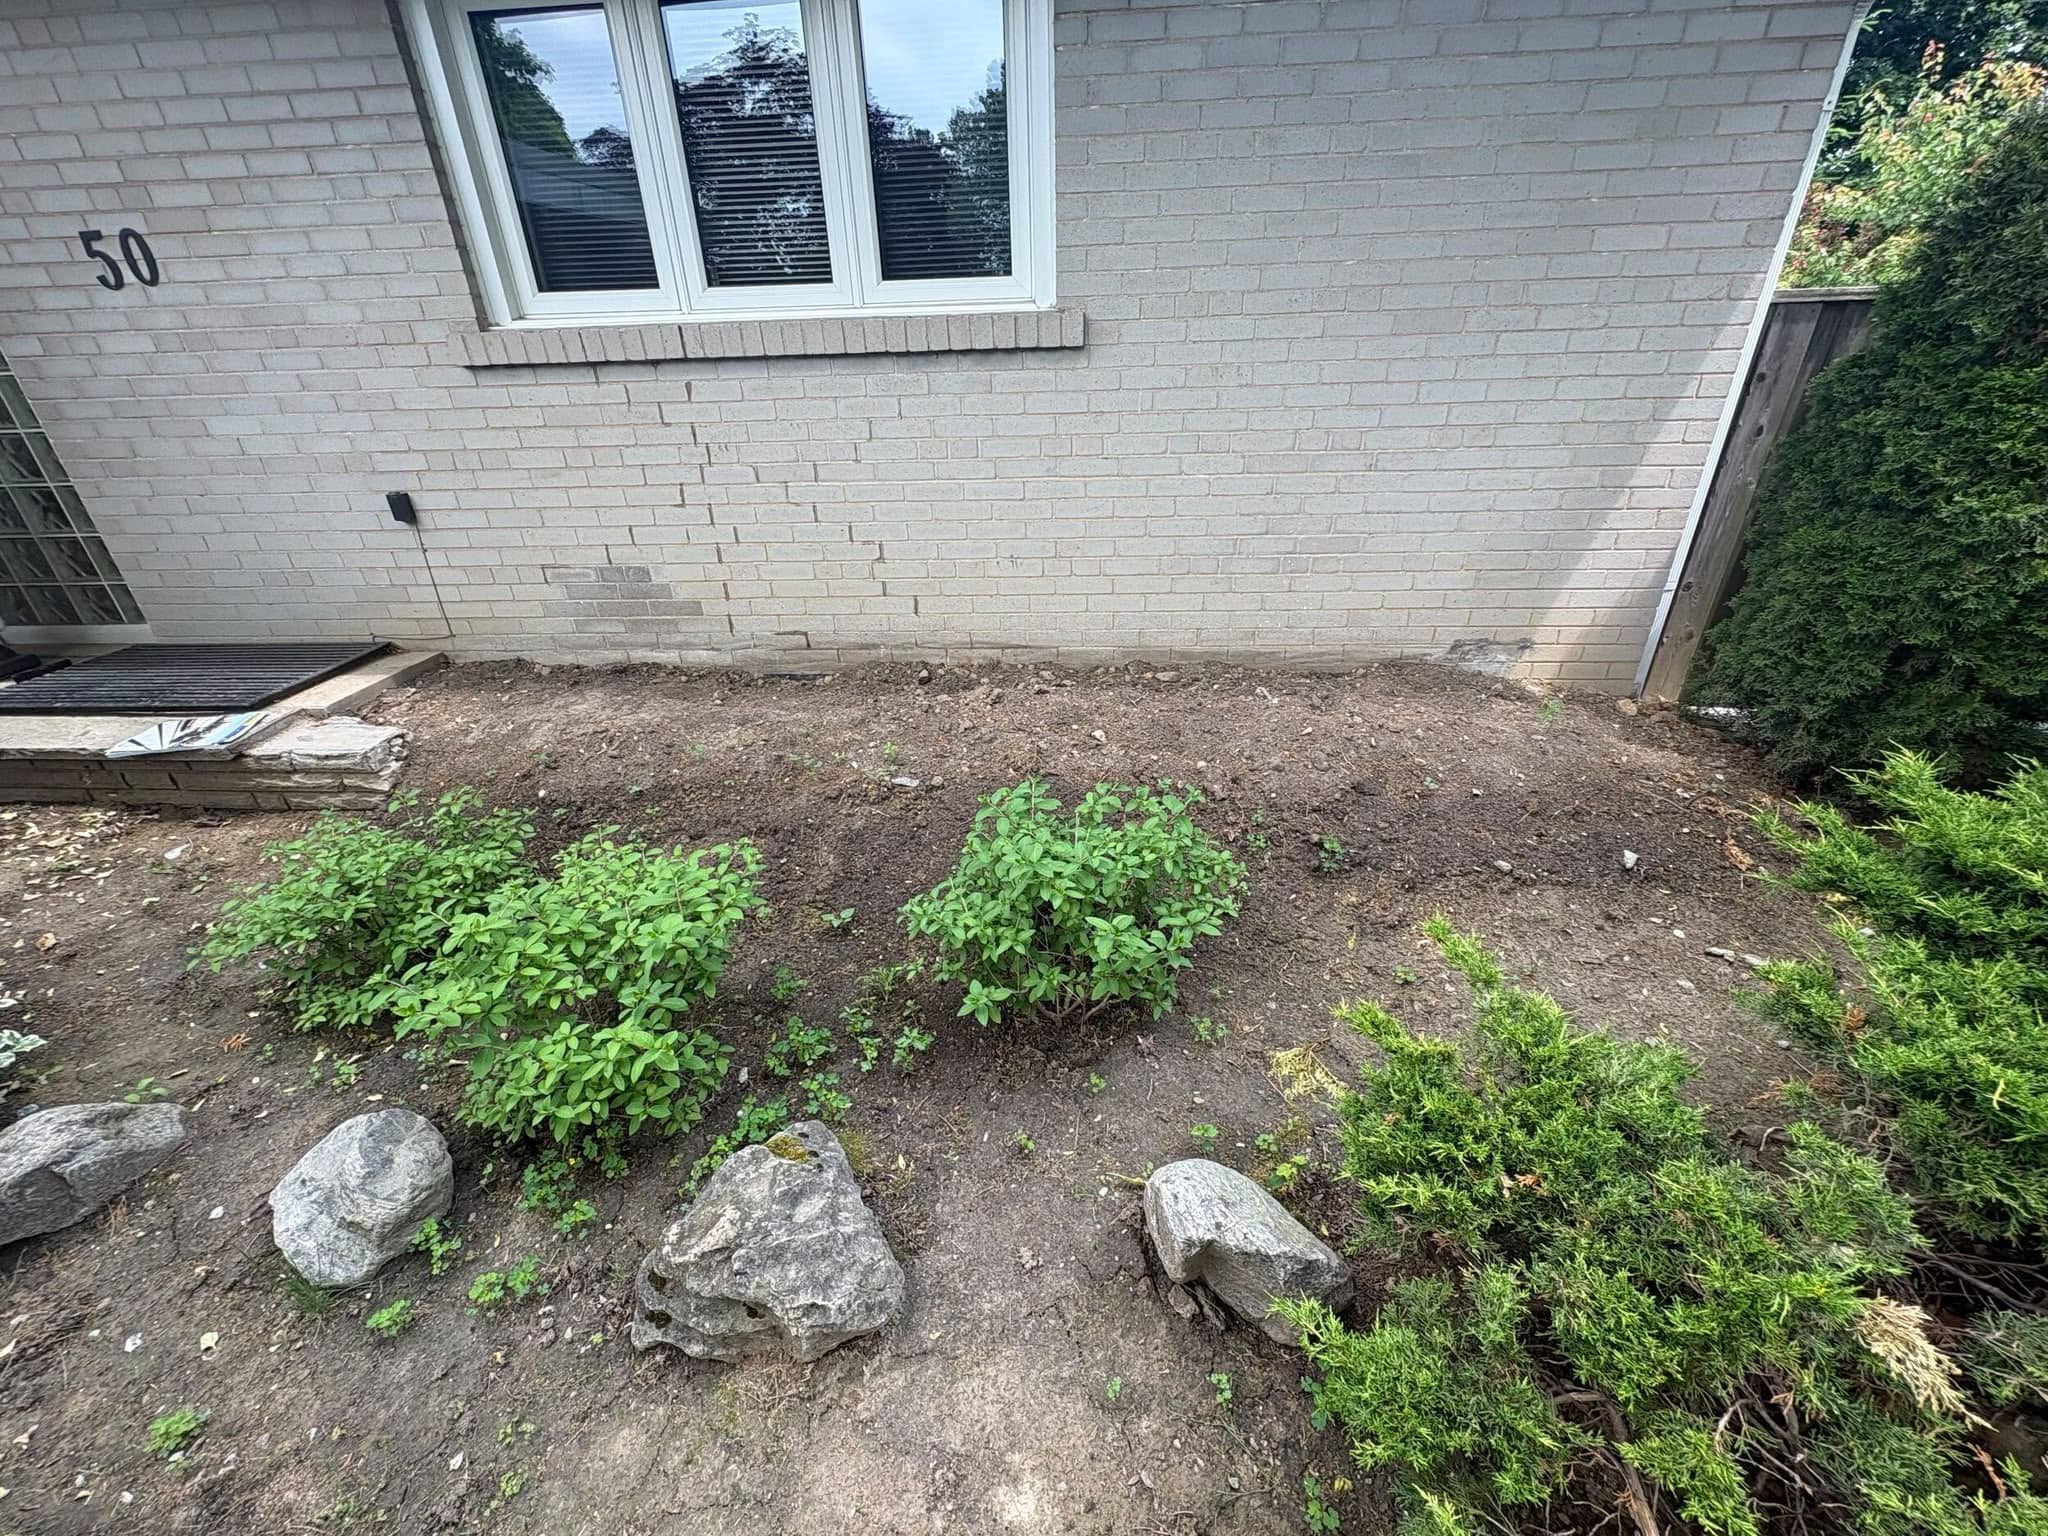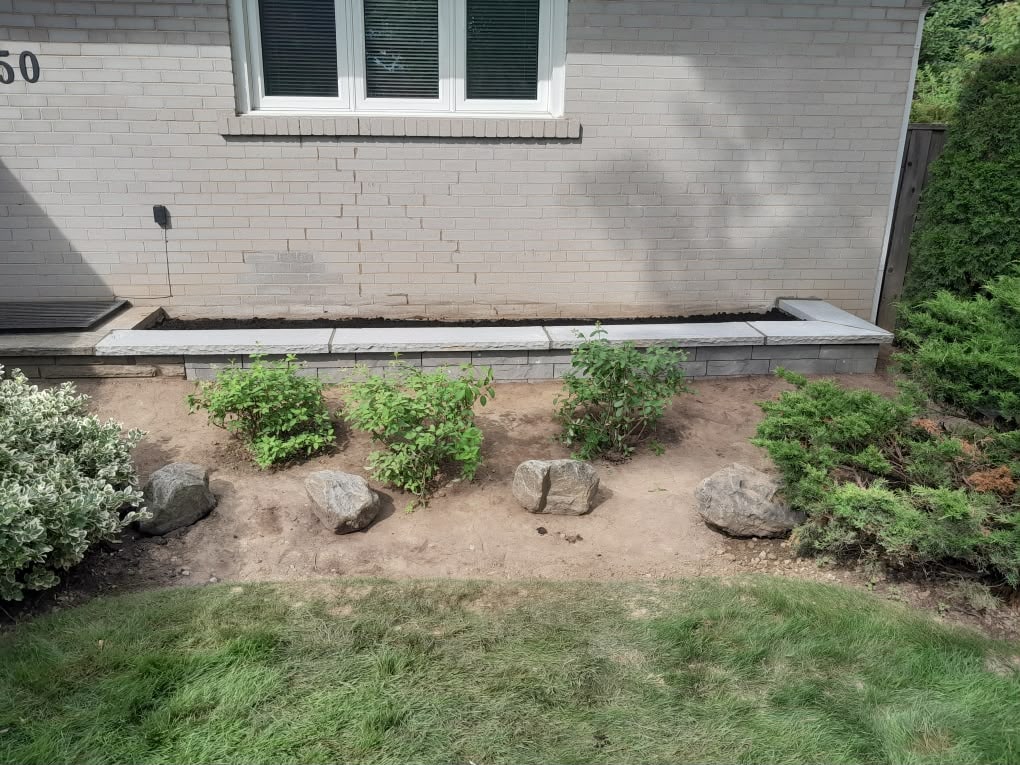
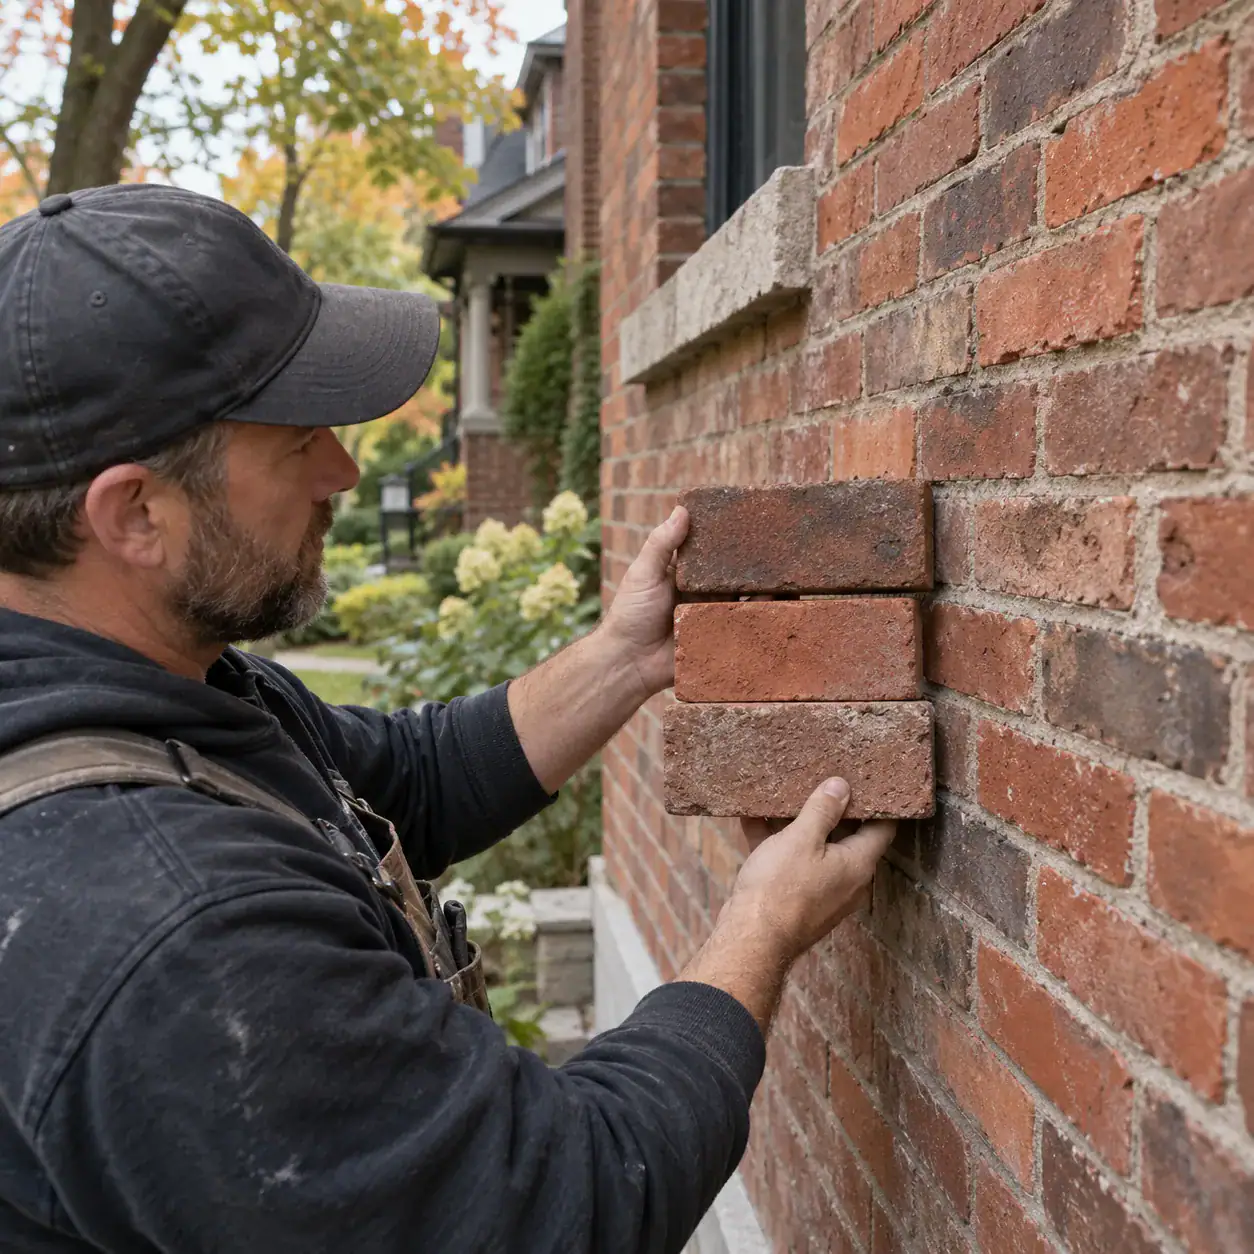
Matching replacement brick on an older Toronto home involves more than finding a similar red or brown colour. A good match considers brick size, colour variation, texture, surface finish, hardness, weathering, mortar colour, joint width, and the way the bricks are arranged in the wall.
This becomes especially important on older Toronto houses. Original bricks may have dimensions, textures, and colour variations that are difficult to reproduce with a standard modern brick. Even a small repair can stand out if the replacement units are too smooth, too bright, the wrong size, or surrounded by noticeably different mortar.
The goal is not always a perfect invisible match. That may be unrealistic on a wall that has weathered for 70, 90, or more than 100 years. The practical goal is to choose compatible replacement materials that perform properly and blend naturally with the existing masonry.
This guide explains what homeowners should compare before replacing bricks, when reclaimed brick may make sense, why mortar matters almost as much as the brick itself, and what to consider on heritage and older Toronto properties.
Why Matching Replacement Brick Matters
Replacement brick should match the existing wall closely enough to work both visually and physically with the surrounding masonry.
Appearance is the most obvious reason. A few bright orange bricks in an older muted-red wall can make a small repair more noticeable than the original damage.
Performance matters too. Older masonry assemblies were built using particular combinations of brick and mortar. Introducing replacement materials with very different physical properties can change how moisture and stress move through the repaired area.
The City of Toronto’s heritage masonry guidance recommends retaining sound masonry and selecting replacement brick or stone that closely matches original material in composition, size, colour, and texture.
For homeowners dealing with damaged units, A&A Masonry’s brick replacement services in Toronto cover selective removal and replacement of failed bricks without automatically rebuilding an entire wall.
Start by Deciding Whether the Brick Actually Needs Replacement
Not every old, stained, chipped, or weathered brick needs to be removed. Before trying to find a match, determine whether replacement is actually necessary.
A brick may need replacement when it has:
- severe spalling or major surface loss;
- deep cracks running through the unit;
- significant crumbling;
- loose or unstable sections;
- large pieces missing;
- damage that continues after previous patching;
- deterioration that prevents the brick from remaining serviceable.
A small chip, surface stain, or minor weathering may not justify removing otherwise sound original masonry.
This distinction matters because keeping sound existing brick is often better than replacing it simply to make the wall look newer. The City of Toronto’s masonry repair guidance for heritage work specifically recommends retaining sound and repairable masonry wherever practical.
If you are unsure whether a damaged area needs repair, repointing, or replacement, A&A Masonry’s brick repair vs brick replacement guide explains the differences.
1. Match the Brick Size First
Brick size is one of the first things to compare because even a small dimensional difference can change the appearance of the surrounding joints.
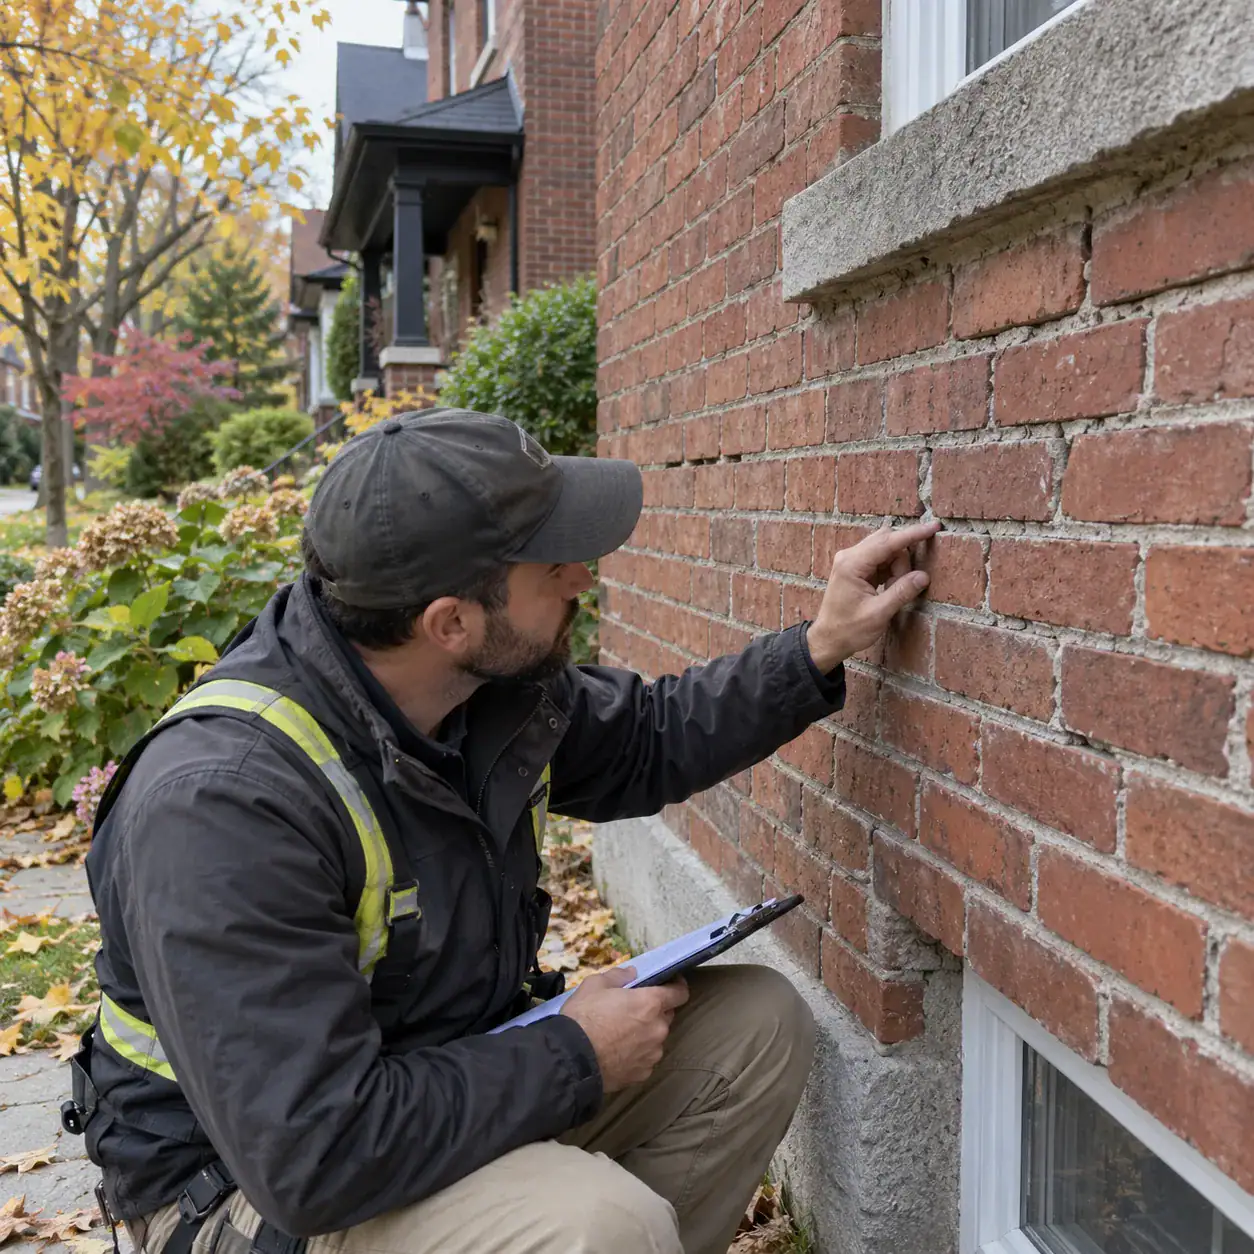
Measure the visible length and height of several existing bricks rather than relying on one unit. Older handmade or historic brick can have natural dimensional variation.
Also remember that the visible brick face does not tell you its full depth. If a brick is being removed as part of the repair, its complete dimensions can provide a more useful reference for sourcing replacements.
A replacement brick that is noticeably taller or shorter can force the mason to change mortar-joint thickness. Once several bricks are replaced, those different joint lines may make the repair stand out.
Size should therefore be considered before colour. A nearly perfect colour match with obviously different dimensions may look worse than a slightly different shade with the correct proportions.
2. Do Not Match Brick Colour From One Sample Alone
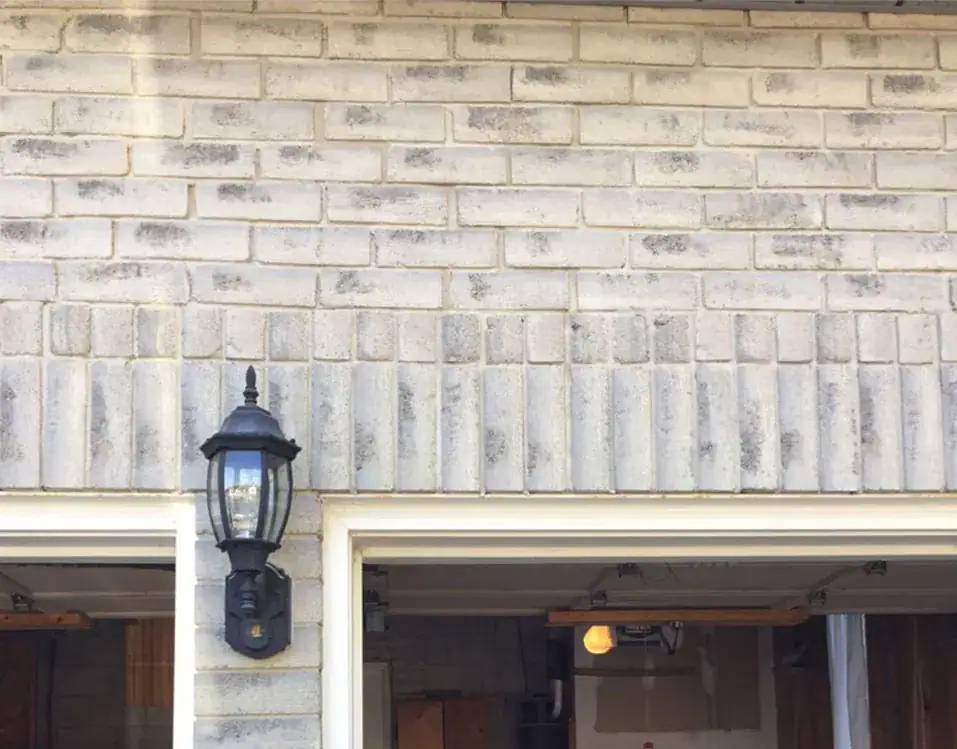
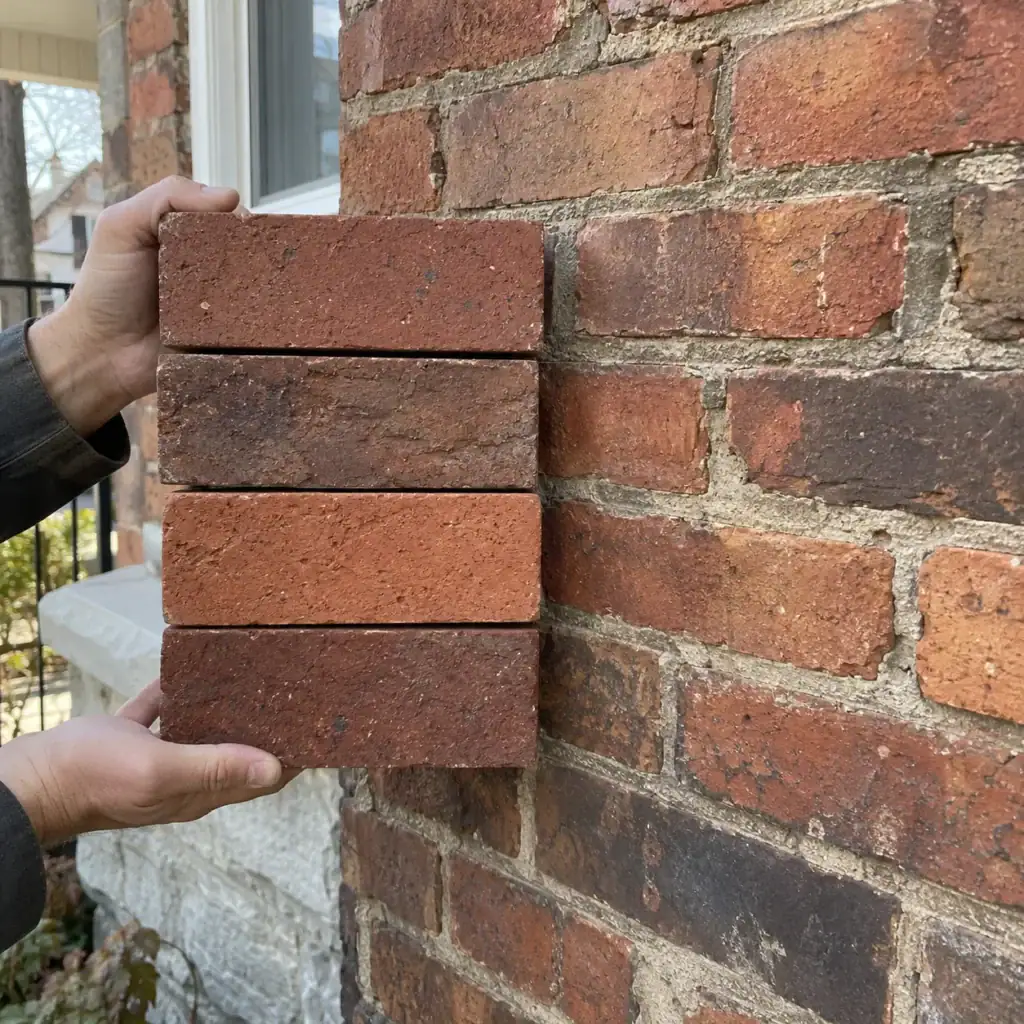
Older brick walls rarely have one exact colour. A wall that looks “red” from across the street may contain darker red, brown, orange, burgundy, and even slightly purple units when viewed closely.
That variation is part of the character of the wall.
When selecting replacement brick, compare several existing bricks from the repair area rather than trying to match one individual unit. The replacement should work with the overall colour range.
Also examine samples outdoors. Brick can look different:
- in direct sunlight;
- in shade;
- when wet;
- beside old mortar;
- against different elevations of the house.
A sample that looks correct under warehouse lighting may appear much brighter once installed on a north-facing Toronto wall.
3. Texture Can Matter as Much as Colour
Texture is one of the main reasons a replacement brick can look wrong even when its colour seems close.
Older Toronto bricks may have:
- soft or rounded edges;
- sand-faced surfaces;
- wire-cut textures;
- irregular faces;
- small pits or marks;
- natural variation from brick to brick.
A very smooth modern brick placed among rough, weathered units can immediately draw attention to the repair.
Look at the wall from several distances. Fine texture matters up close, while larger patterns of light and shadow become more noticeable from the sidewalk or street.
The City of Toronto’s heritage masonry standards also identify texture as an important part of matching replacement masonry.
4. Consider How the Existing Brick Has Weathered
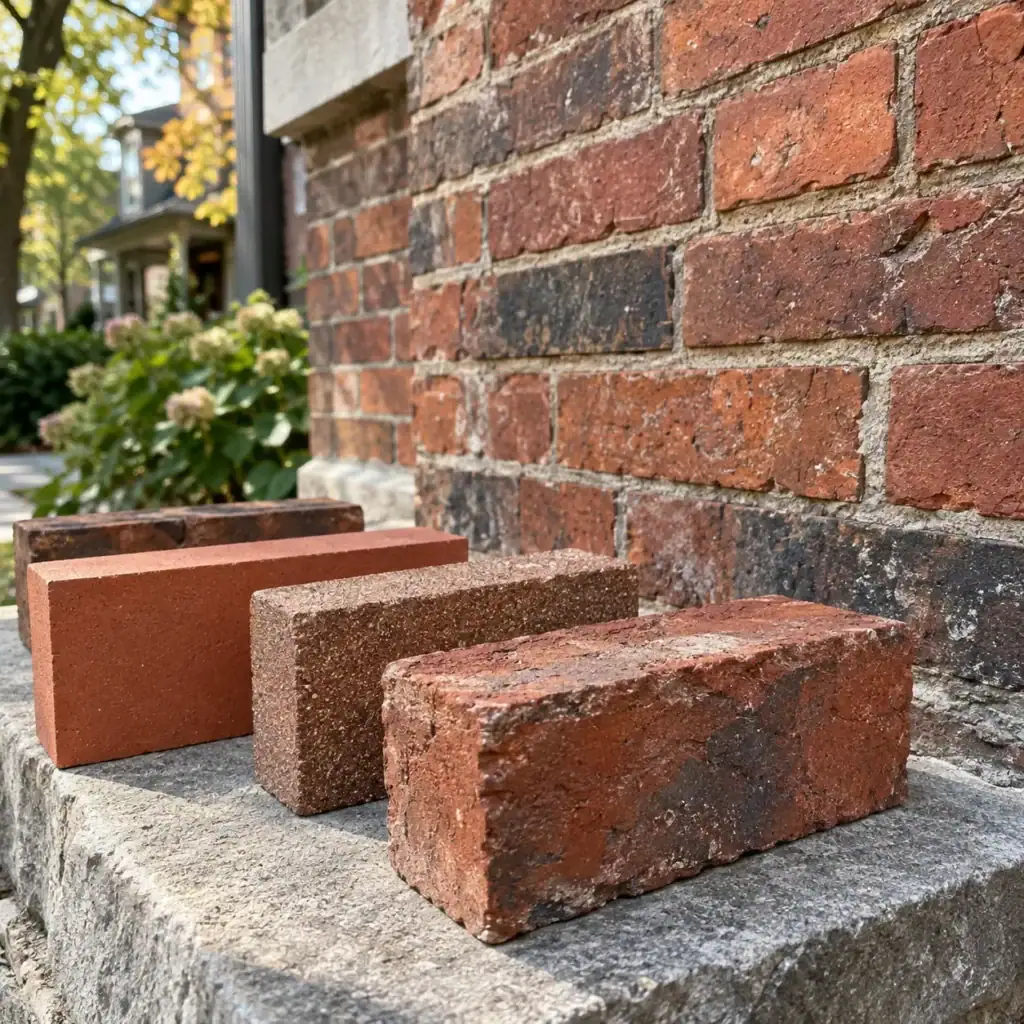
Weathering changes the appearance of masonry over time. A brick installed decades ago may no longer look exactly as it did when it left the manufacturer.
Sun, rain, pollution, previous cleaning, repairs, moisture exposure, and normal aging can all affect appearance.
This means a replacement brick does not necessarily need to match the original brick’s factory colour. It needs to work with the wall as it looks today.
This is particularly noticeable on street-facing facades, porch columns, decorative brickwork, and highly visible areas around front entrances.
Matching may be less visually demanding on a small repair at the rear of the house, although physical compatibility remains important.
5. Check More Than the Front Face
Brick selection should not be based only on appearance. Physical compatibility also matters, particularly on older masonry.
Modern bricks can differ from historic bricks in strength, absorption, density, and vapour movement. A replacement that is dramatically different from the surrounding masonry may not behave the same way when exposed to moisture and freezing conditions.
This is one reason heritage repairs require more care than simply finding the closest colour at a building-supply store.
Toronto’s heritage conservation guidance warns that replacement materials should be compatible with original masonry and recommends matching the original composition as closely as practical.
For ordinary non-designated homes, the same principle is useful even if formal heritage requirements do not apply.
6. Mortar Matching Is Part of Brick Matching
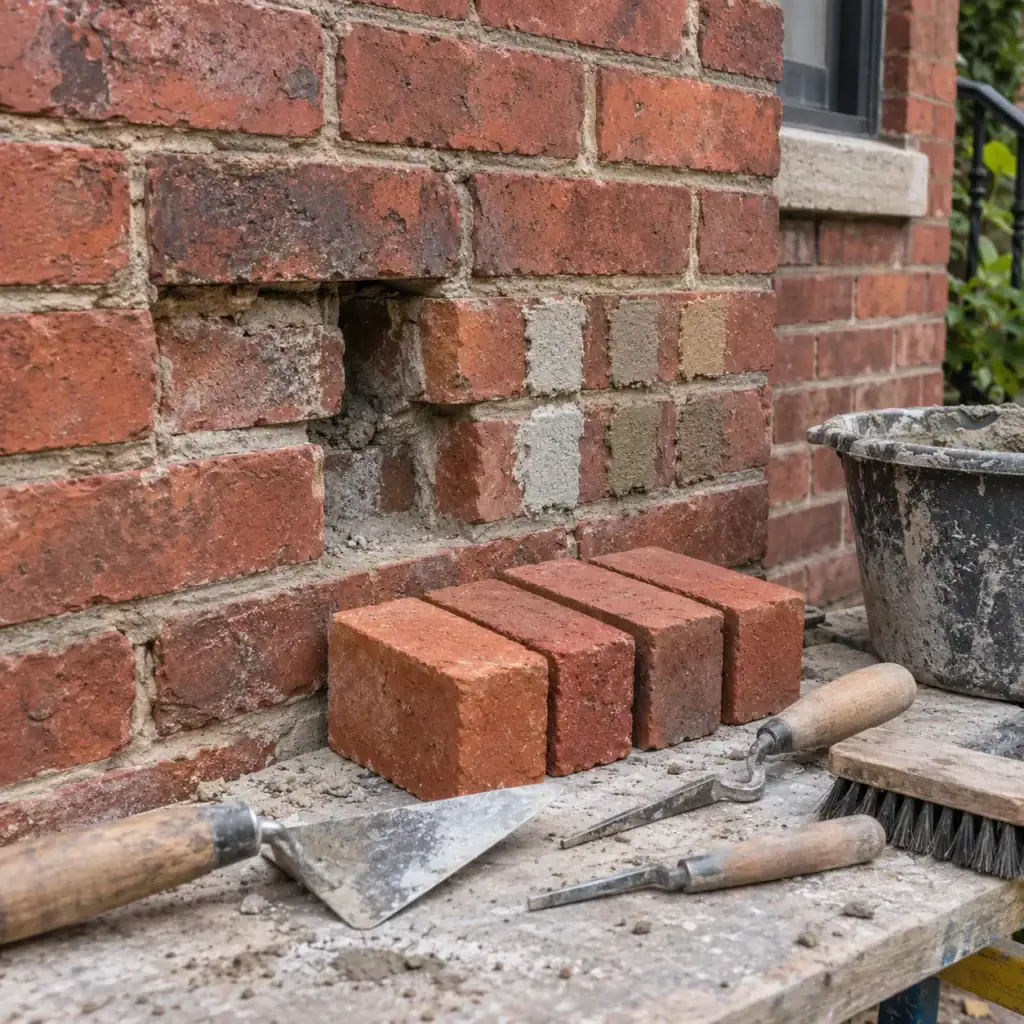
Mortar can make a replacement brick repair blend in or stand out. Even a well-matched brick can look noticeably different if the surrounding new mortar is too bright, too dark, too wide, or finished with a different joint profile.
Compare:
- mortar colour;
- aggregate appearance;
- joint width;
- joint depth;
- joint profile;
- texture;
- hardness and compatibility.
On older masonry, compatibility is especially important. Replacement mortar should not simply be chosen because a harder mix sounds stronger.
Toronto’s heritage masonry repair guidance recommends examining original mortar for texture, colour, jointing, and composition, then matching those qualities as closely as possible.
If the bricks remain sound but the joints are deteriorating, replacement may not be necessary at all. A&A Masonry’s tuckpointing and mortar-joint repair services explain how failed mortar can be replaced while retaining the original bricks.
7. Match the Existing Joint Profile
Joint profile is easy to overlook because homeowners naturally focus on brick colour. However, mortar joints create a large part of the wall’s overall visual pattern.
Older masonry may use concave, flush, weathered, struck, or other joint finishes. Changing that profile around replacement bricks can make the repair visible even when the materials are otherwise well matched.
Joint depth also changes how light falls across the wall. Deeply recessed joints create stronger shadows than joints finished close to the brick face.
When replacing a small number of bricks, the new joints should normally relate closely to the surrounding original work rather than introducing a completely different finish.
8. Look at the Brick Bond and Pattern
Replacement bricks should follow the existing brick pattern. This includes the way individual units overlap and how headers, stretchers, decorative courses, arches, and other details are arranged.
Most small repairs involve straightforward replacement within an existing pattern, but older Toronto homes can include decorative masonry around:
- windows;
- doors;
- porches;
- rooflines;
- bay windows;
- cornices;
- chimneys.
Decorative bricks should not be replaced with ordinary units simply because the dimensions are close.
Photograph the area before removal. The original layout provides a useful reference when the repair is rebuilt.
9. When Reclaimed Brick May Be Worth Considering
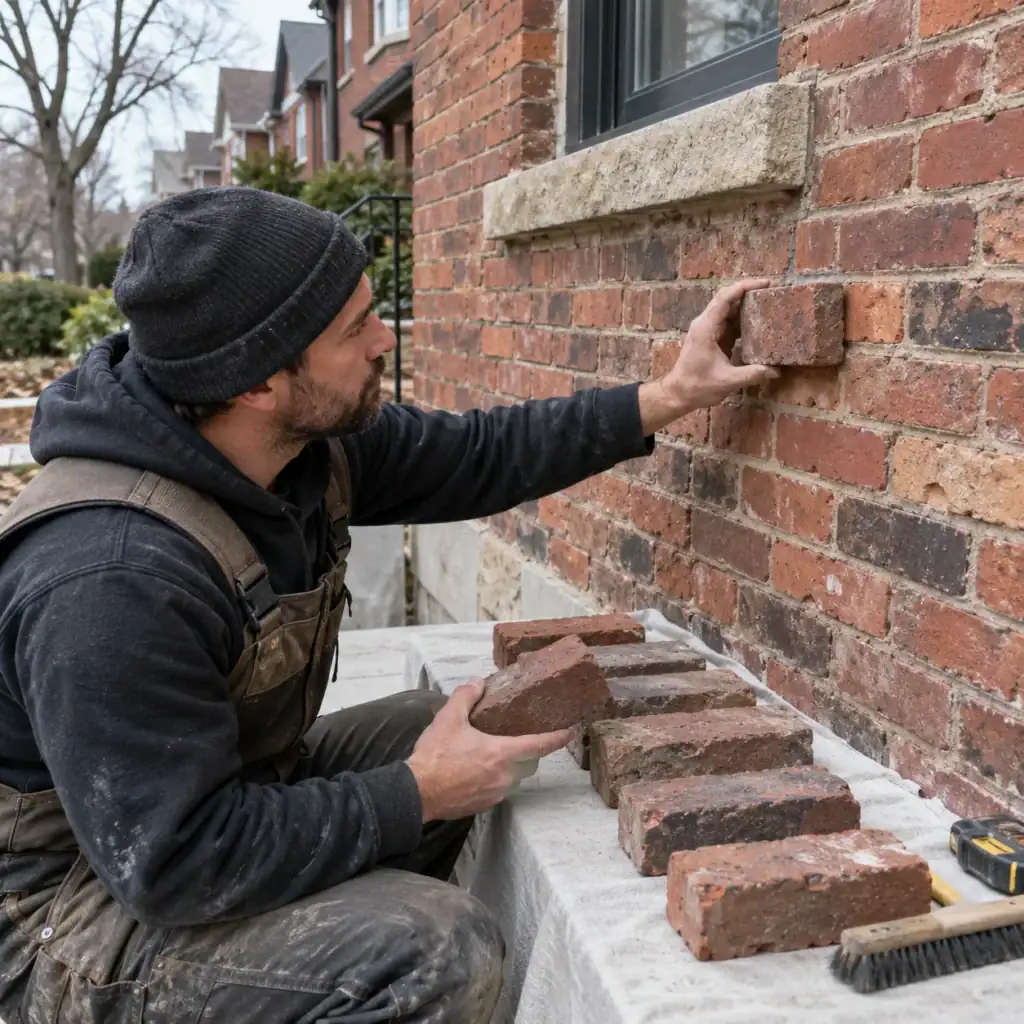
Reclaimed brick can sometimes provide a closer match for an older Toronto home because it may have similar dimensions, colour variation, texture, and age-related appearance.
However, “old” does not automatically mean suitable.
Reclaimed bricks need to be appropriate for exterior exposure and sound enough for reuse. Their previous use, condition, strength, and weathering should be considered.
The City of Toronto’s heritage masonry guidance allows suitable reclaimed material in certain conservation work but recommends evaluating its strength and durability before reuse.
A reclaimed brick that visually matches but is already badly deteriorated is not a good replacement.
Availability is another factor. Finding enough matching reclaimed units may be practical for a localized repair but difficult for a large wall.
10. New Brick Can Still Be the Right Choice
New brick can be appropriate when a compatible product is available and reclaimed material is unsuitable, unavailable, or unnecessary.
Manufacturers produce a wide range of colours, sizes, textures, and finishes. A carefully selected new brick may blend well, particularly on homes built with relatively common brick types.
The challenge is avoiding a match based only on catalogue colour.
Whenever possible, compare physical samples directly with the existing wall. If several candidate bricks are available, view them beside the repair area under normal daylight.
For a larger project, a small sample panel or test area can provide a better idea of the final appearance than looking at an individual loose brick.
11. Do Not Forget the Location of the Repair
The importance of a close visual match depends partly on where the replacement brick will be installed.
A repair beside the front door may be seen from only a few metres away every day. A small replacement high on a rear wall may be far less noticeable.
Prioritize the closest possible visual match for:
- front facades;
- porch columns;
- entrance walls;
- decorative masonry;
- areas around prominent windows;
- street-facing chimneys;
- heritage features.
This does not mean hidden areas can use incompatible materials. Physical compatibility still matters. The difference is mainly how much visual variation is acceptable.
12. Understand Why New Mortar May Look Different at First
Fresh mortar often looks different from decades-old mortar immediately after installation. That does not necessarily mean the match is poor.
New mortar changes appearance as it cures and dries. Existing mortar may also contain years of dirt, weathering, mineral deposits, and colour change.
For this reason, evaluate a repair after the new mortar has had suitable time to cure rather than judging the colour while it is still fresh and damp.
However, curing will not fix a fundamentally wrong colour or joint profile. Material selection still needs to be done carefully before installation.
13. Avoid Painting Replacement Bricks Just to Make Them Match
Painting a few replacement bricks is not automatically a good solution for a poor match.
Paint changes the surface behaviour and maintenance requirements of masonry. It can also make future repairs more complicated.
If the original wall is unpainted, it is generally better to find a more suitable brick than to rely on an opaque coating to disguise a mismatch.
This is especially important on heritage masonry. Toronto’s conservation guidance generally favours retaining the original masonry appearance and using compatible replacement materials rather than covering historically unpainted brick with coatings.
14. Find the Cause Before Replacing Several Damaged Bricks
Brick replacement solves the failed units, but it does not automatically solve whatever caused them to deteriorate.
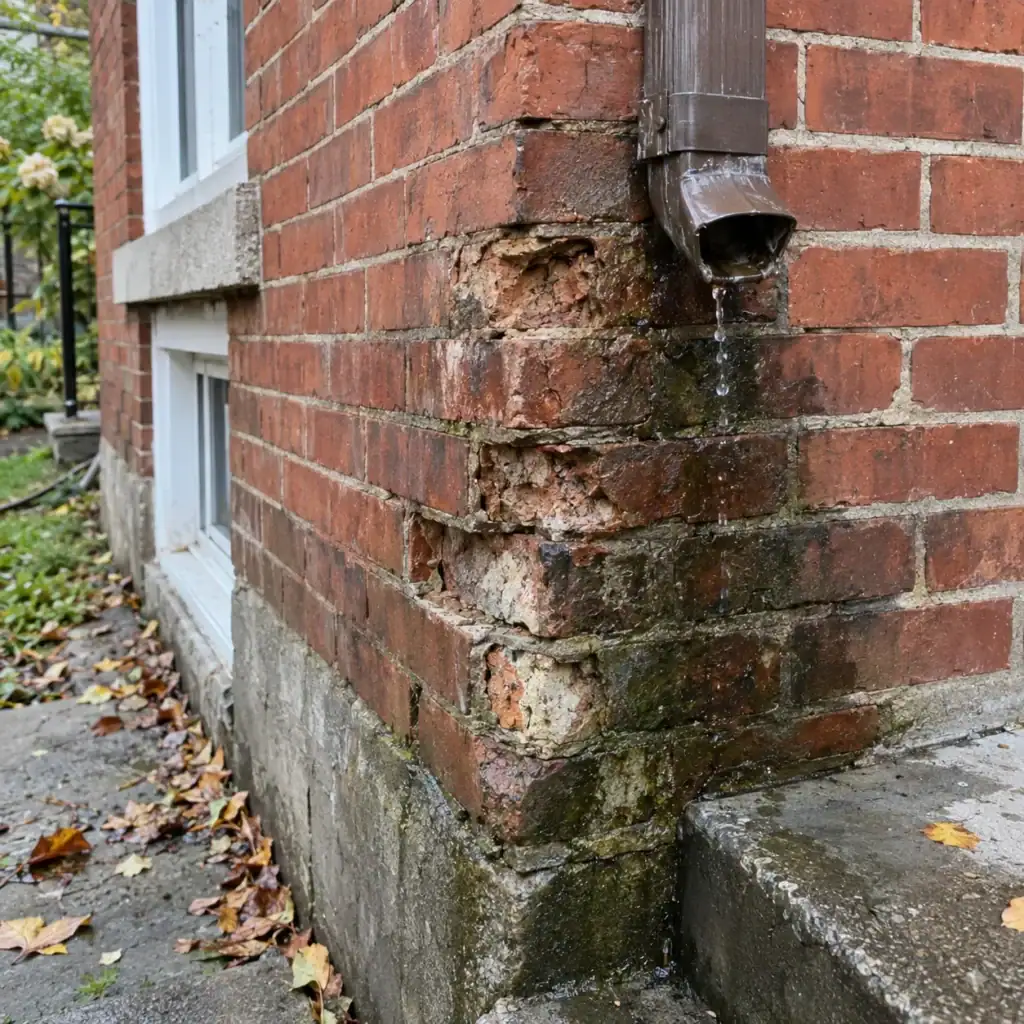
If several bricks are spalling in the same location, look for a shared moisture source.
Possible causes include:
- leaking eavestroughs;
- poorly directed downspouts;
- failed mortar joints;
- damaged window sills;
- chimney crown problems;
- snow piled against lower walls;
- repeated splashback;
- poor drainage around the foundation;
- incompatible previous repairs.
Replacing damaged bricks while leaving the wall repeatedly wet can allow the problem to return.
A&A Masonry’s fall masonry moisture check provides a practical way to trace water around exterior brickwork before winter.
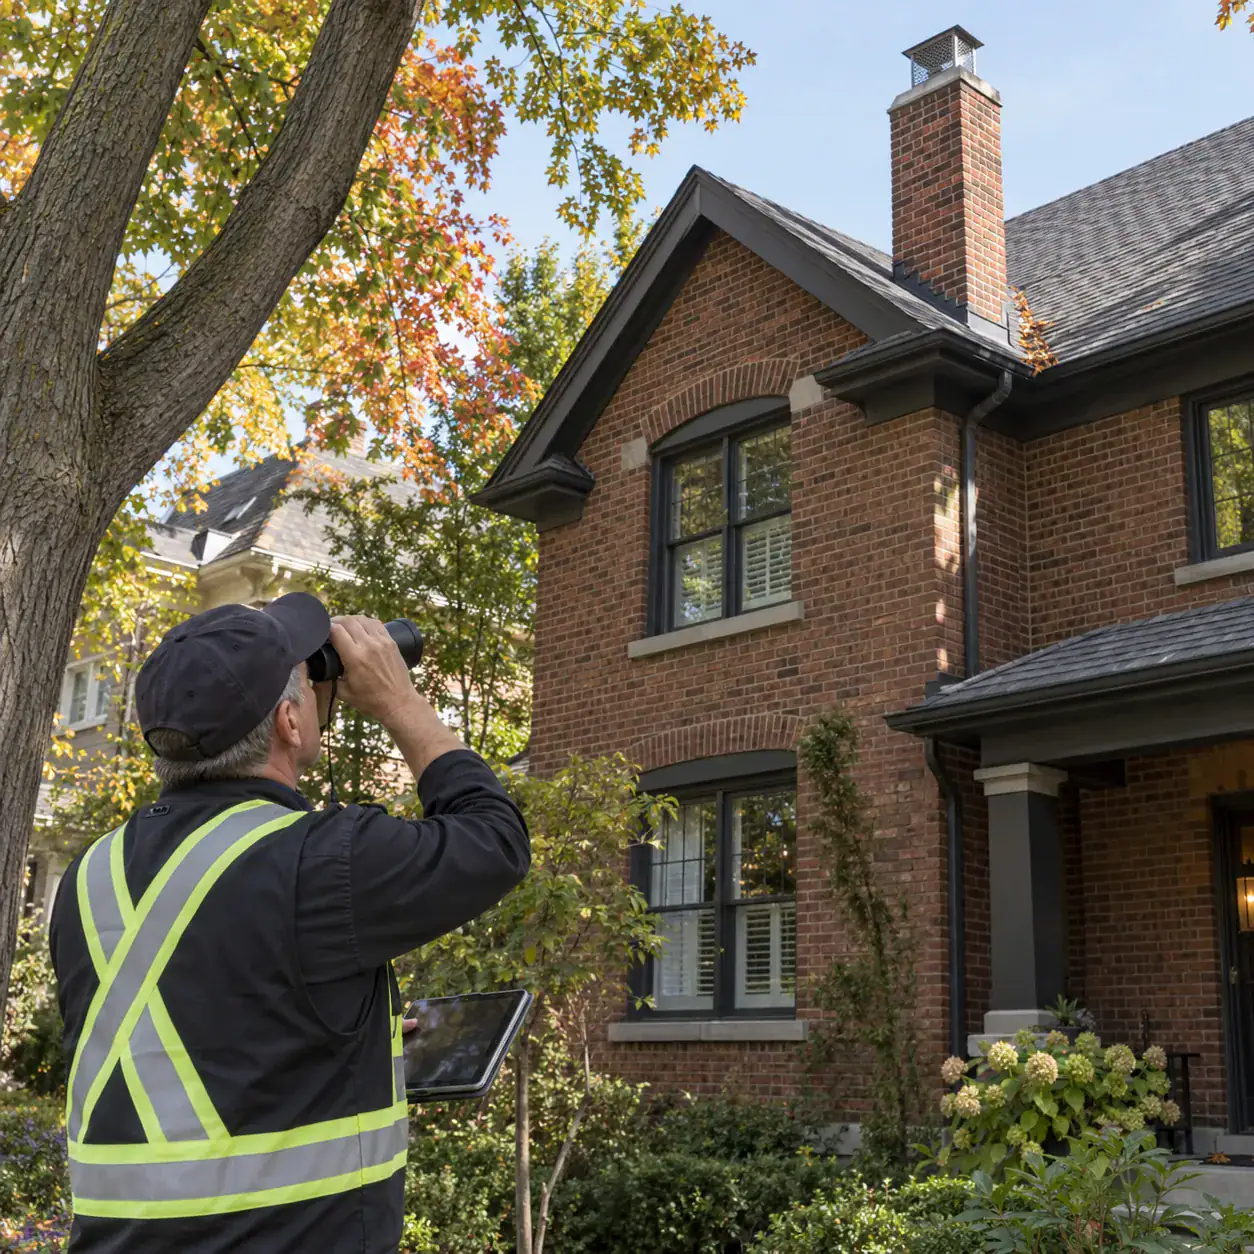
15. Matching Chimney Brick Can Be More Difficult
Chimneys can present a different matching challenge because the existing brick may have weathered more heavily than the brick on protected walls below.
A chimney is exposed to rain, snow, wind, temperature changes, and moisture from several directions. As a result, the original units may have changed colour or surface texture more than brick elsewhere on the house.
Do not automatically take a colour sample from a protected wall and assume it will look right on the chimney.
The condition of the crown, cap, flashing, and mortar should also be checked when chimney bricks are deteriorating. Replacing spalled units without addressing water entering from above may lead to repeated damage.
16. Heritage Properties Need an Extra Check Before Work Starts
Owners of designated Toronto heritage properties should check the property’s status and applicable requirements before altering exterior masonry.
The City of Toronto maintains a Heritage Register that homeowners can search to determine whether a property is listed, individually designated, or located within a Heritage Conservation District.
For designated properties, the City’s Heritage Permit Guide explains when approval is required before making changes.
This should be checked early in the planning process rather than after replacement bricks have already been ordered.
Heritage requirements can affect material choice, repair methods, documentation, and which original features should be retained.
17. Check Whether the Larger Project Needs a Permit
Simple localized brick maintenance and a major alteration are not the same project.
If masonry work is part of a larger structural alteration, addition, major renovation, or reconstruction, permit requirements may apply.
The City of Toronto’s building permit guidance explains common situations where a permit is required.
Ontario homeowners can also review the province’s official Ontario Building Code information when planning larger construction or alteration work.
If there is uncertainty about whether the scope requires approval, confirm before construction begins.
A Practical Brick-Matching Checklist
Before selecting replacement brick, compare the following characteristics:
- Size: length, height, and depth.
- Colour: overall range rather than one isolated brick.
- Texture: smooth, rough, sand-faced, wire-cut, or irregular.
- Edges: sharp, rounded, worn, or irregular.
- Finish: surface character and sheen.
- Physical properties: compatibility with the existing masonry.
- Weathering: how the existing wall has changed with age.
- Mortar: colour, texture, composition, and compatibility.
- Joint profile: shape and depth of the finished joint.
- Pattern: existing brick bond and decorative details.
- Location: how visible the repair will be.
- Heritage status: whether special requirements apply.
A brick that matches only one or two of these qualities may still stand out once installed.
What Homeowners Can Do Before Calling a Mason
Homeowners can collect useful information before requesting an assessment.
- Take wide photographs showing the entire wall.
- Take close-up photographs of the damaged bricks.
- Photograph the wall in normal daylight.
- Count approximately how many units appear damaged.
- Note whether the problem becomes wet during rain.
- Check nearby gutters, downspouts, sills, and roof edges.
- Look for similar bricks elsewhere on the property.
- Check whether the property has heritage status.
- Keep any loose brick fragments rather than throwing them away immediately.
These steps can make it easier to understand the original material and determine the likely repair scope.
When a Wider Masonry Restoration Makes More Sense
Selective brick replacement works well when damage is localized and most of the surrounding wall remains sound.
A wider restoration may make more sense when deterioration involves many bricks, widespread mortar failure, previous incompatible repairs, major staining, movement, or several connected masonry features.
In that situation, replacing individual bricks one at a time may address only part of the problem.
A&A Masonry’s masonry restoration services in Toronto cover projects where brick replacement, repointing, cleaning, stonework, or other repairs need to be planned together.
Final Thoughts on Matching Replacement Brick
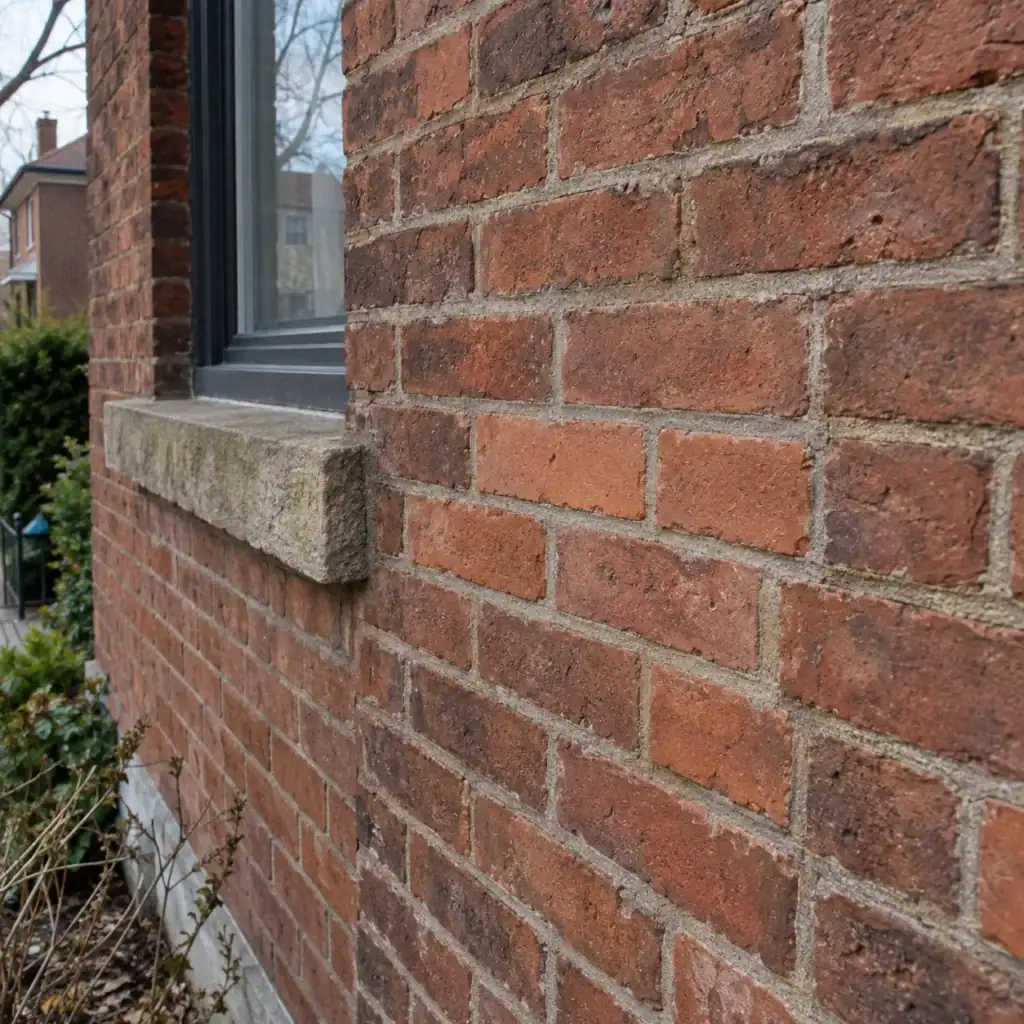
Matching replacement brick on an older Toronto home is not simply a matter of finding the closest colour. Size, texture, weathering, physical compatibility, mortar, joint profile, and the location of the repair all influence the final result.
Start by keeping sound original brick wherever practical. When replacement is necessary, compare several characteristics rather than choosing from a photograph or colour name alone. On older and heritage masonry, pay particular attention to material compatibility and the original construction details.
A successful brick replacement should solve the damaged area without making the repair the first thing you notice when looking at the wall. Just as importantly, the source of the original damage should be identified so the new bricks are not exposed to the same avoidable moisture problem.