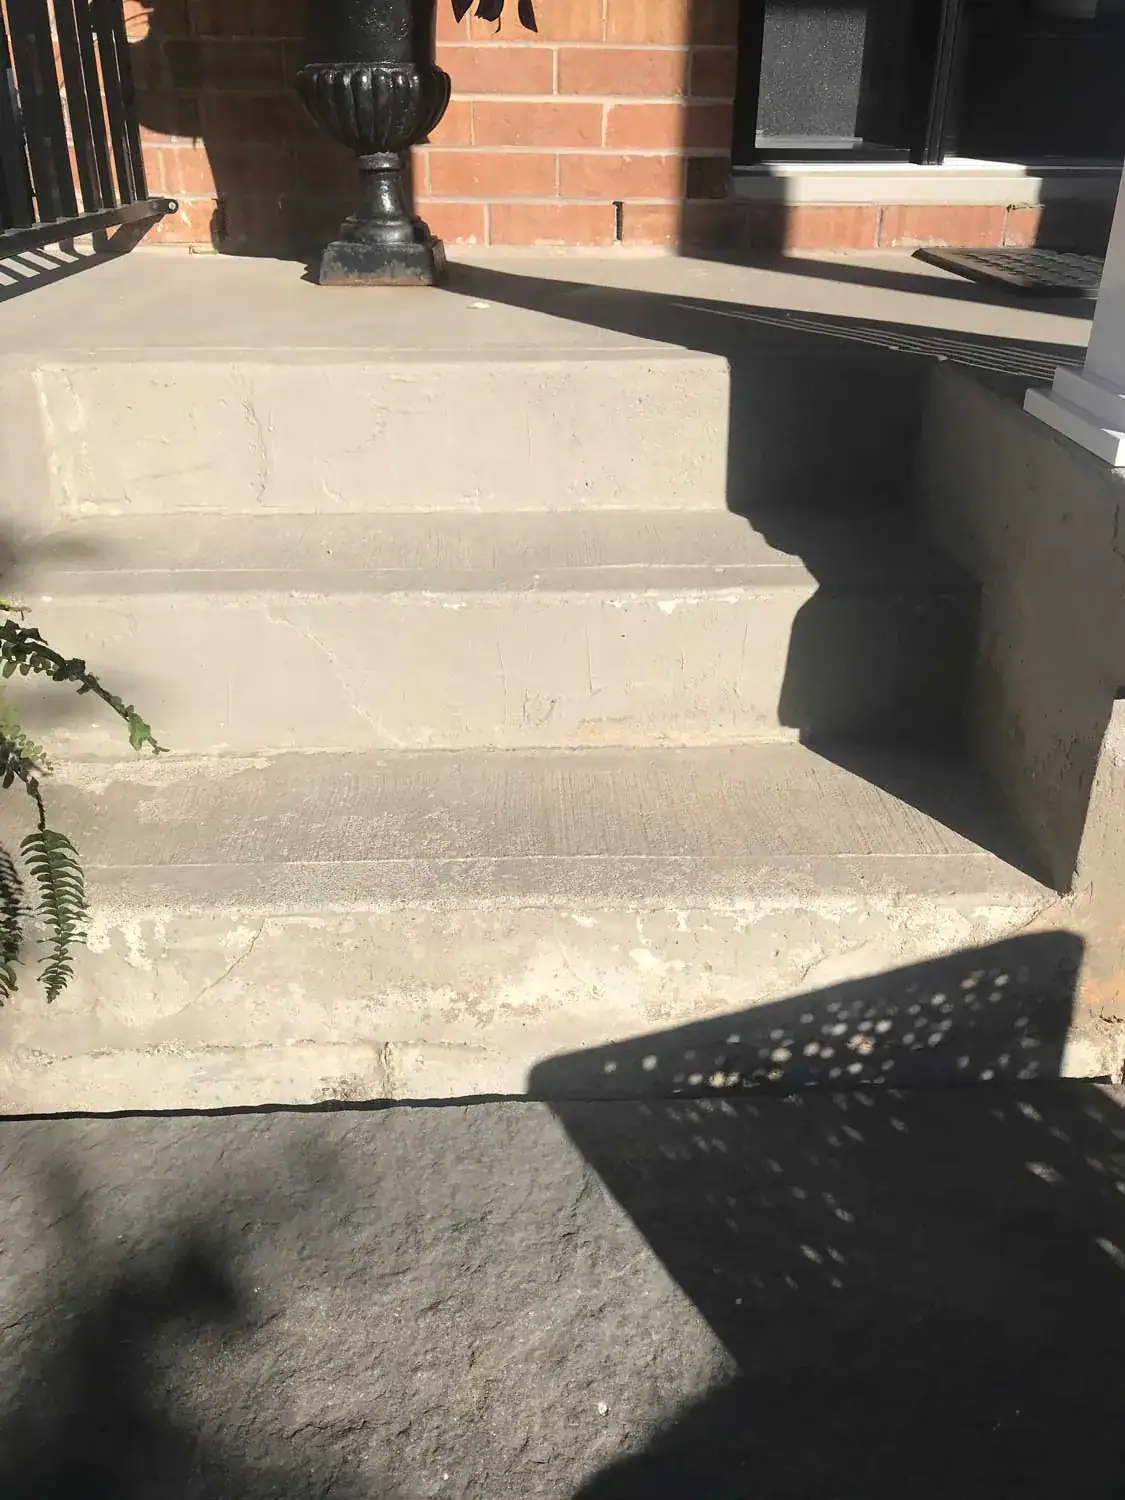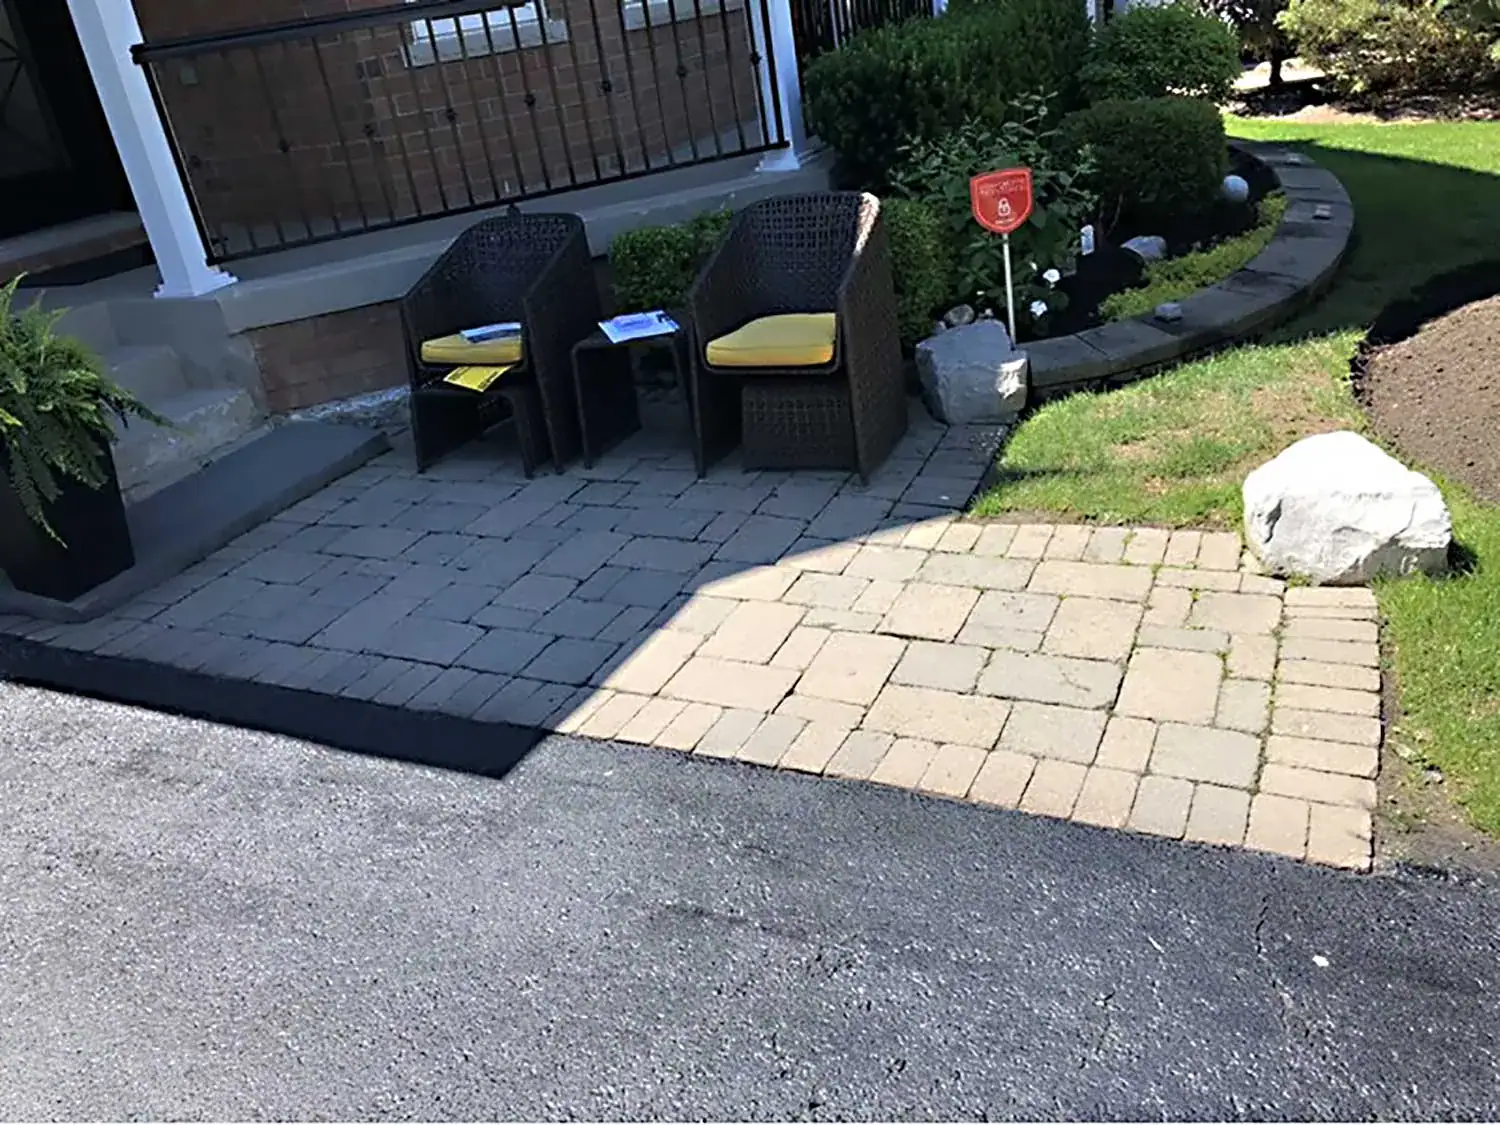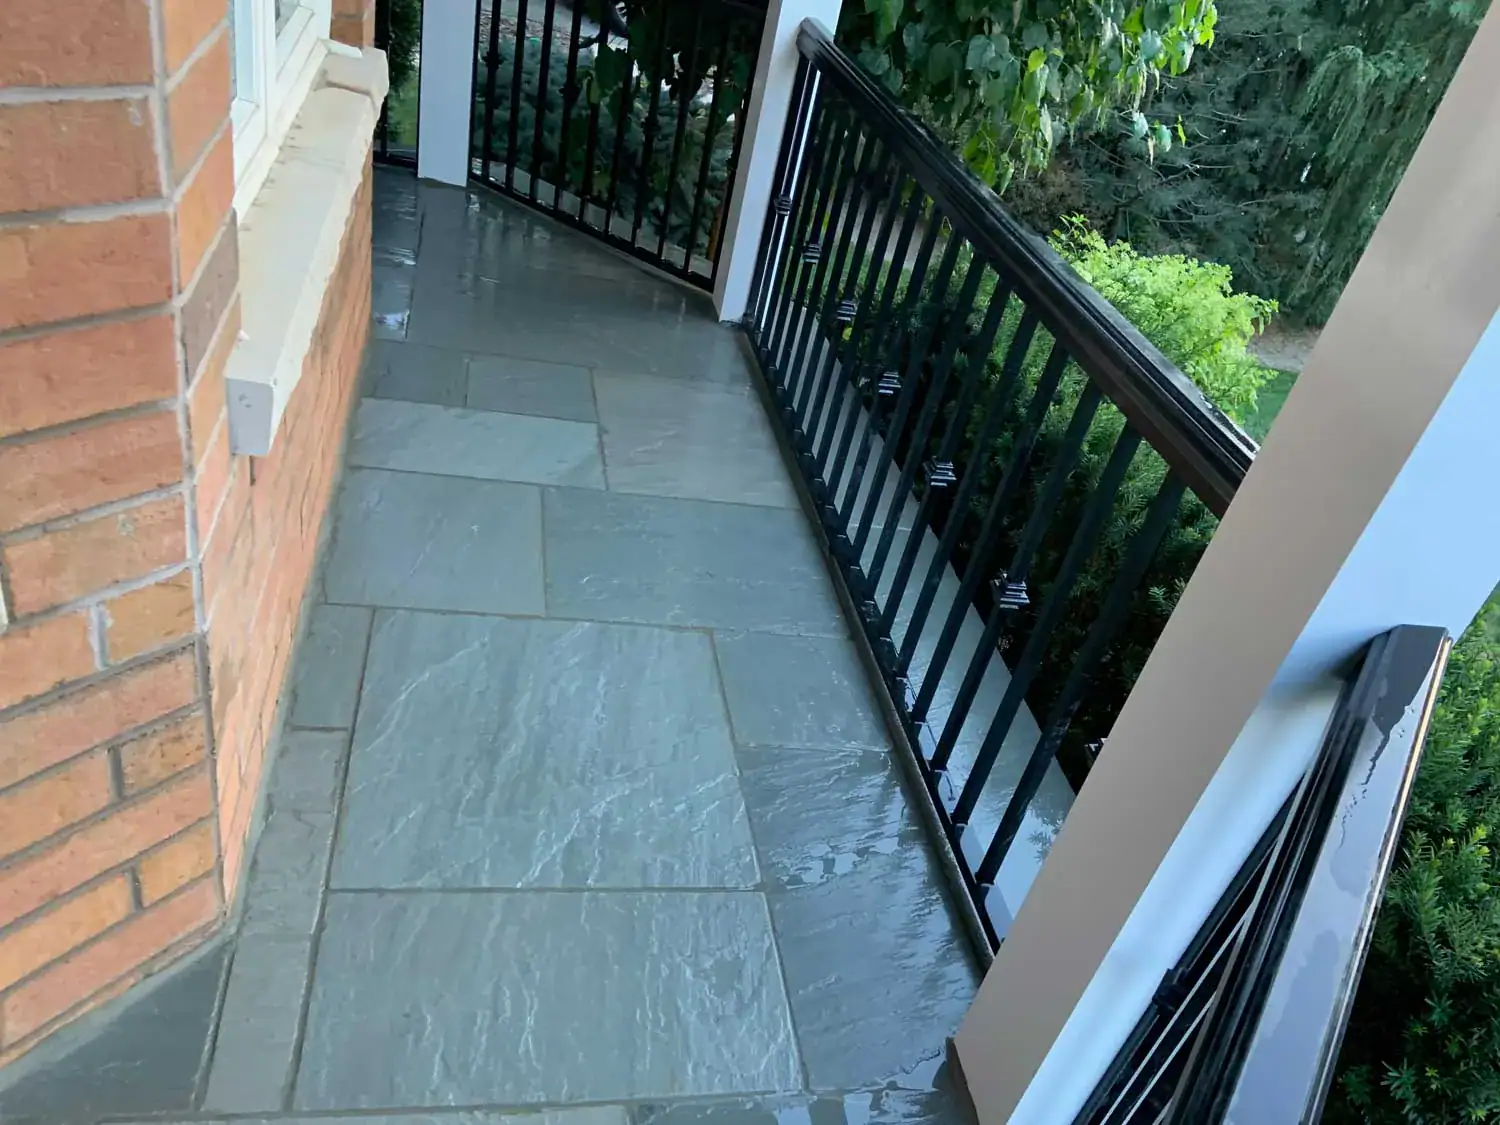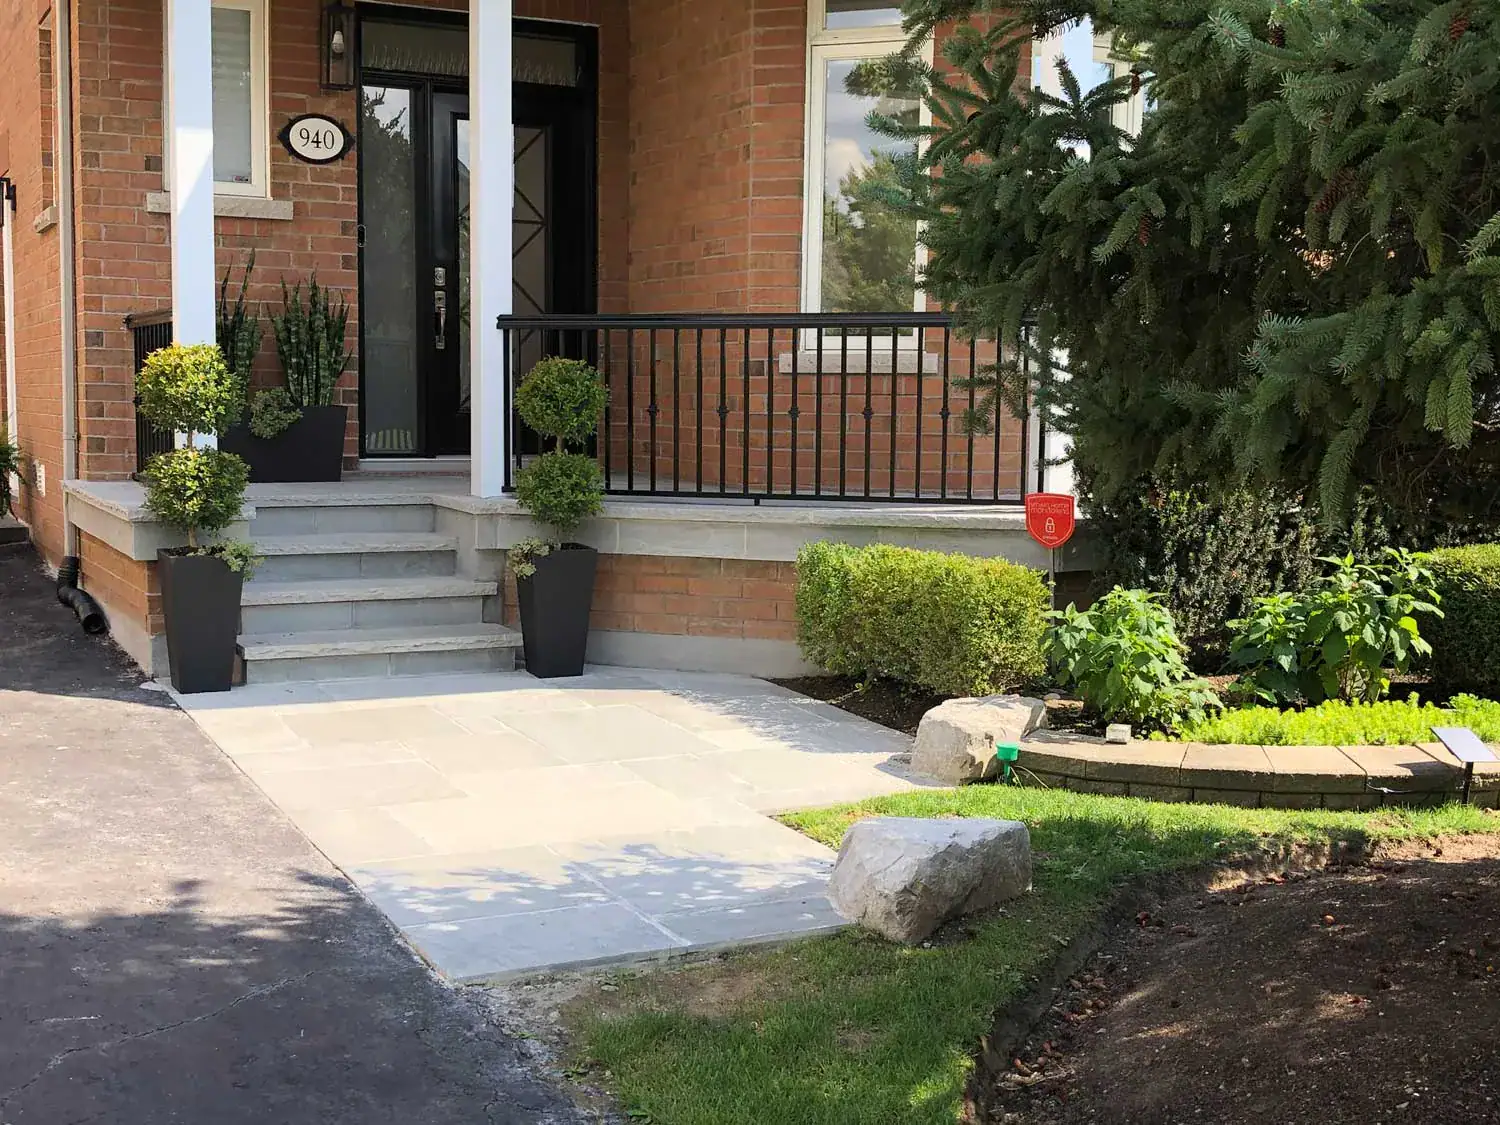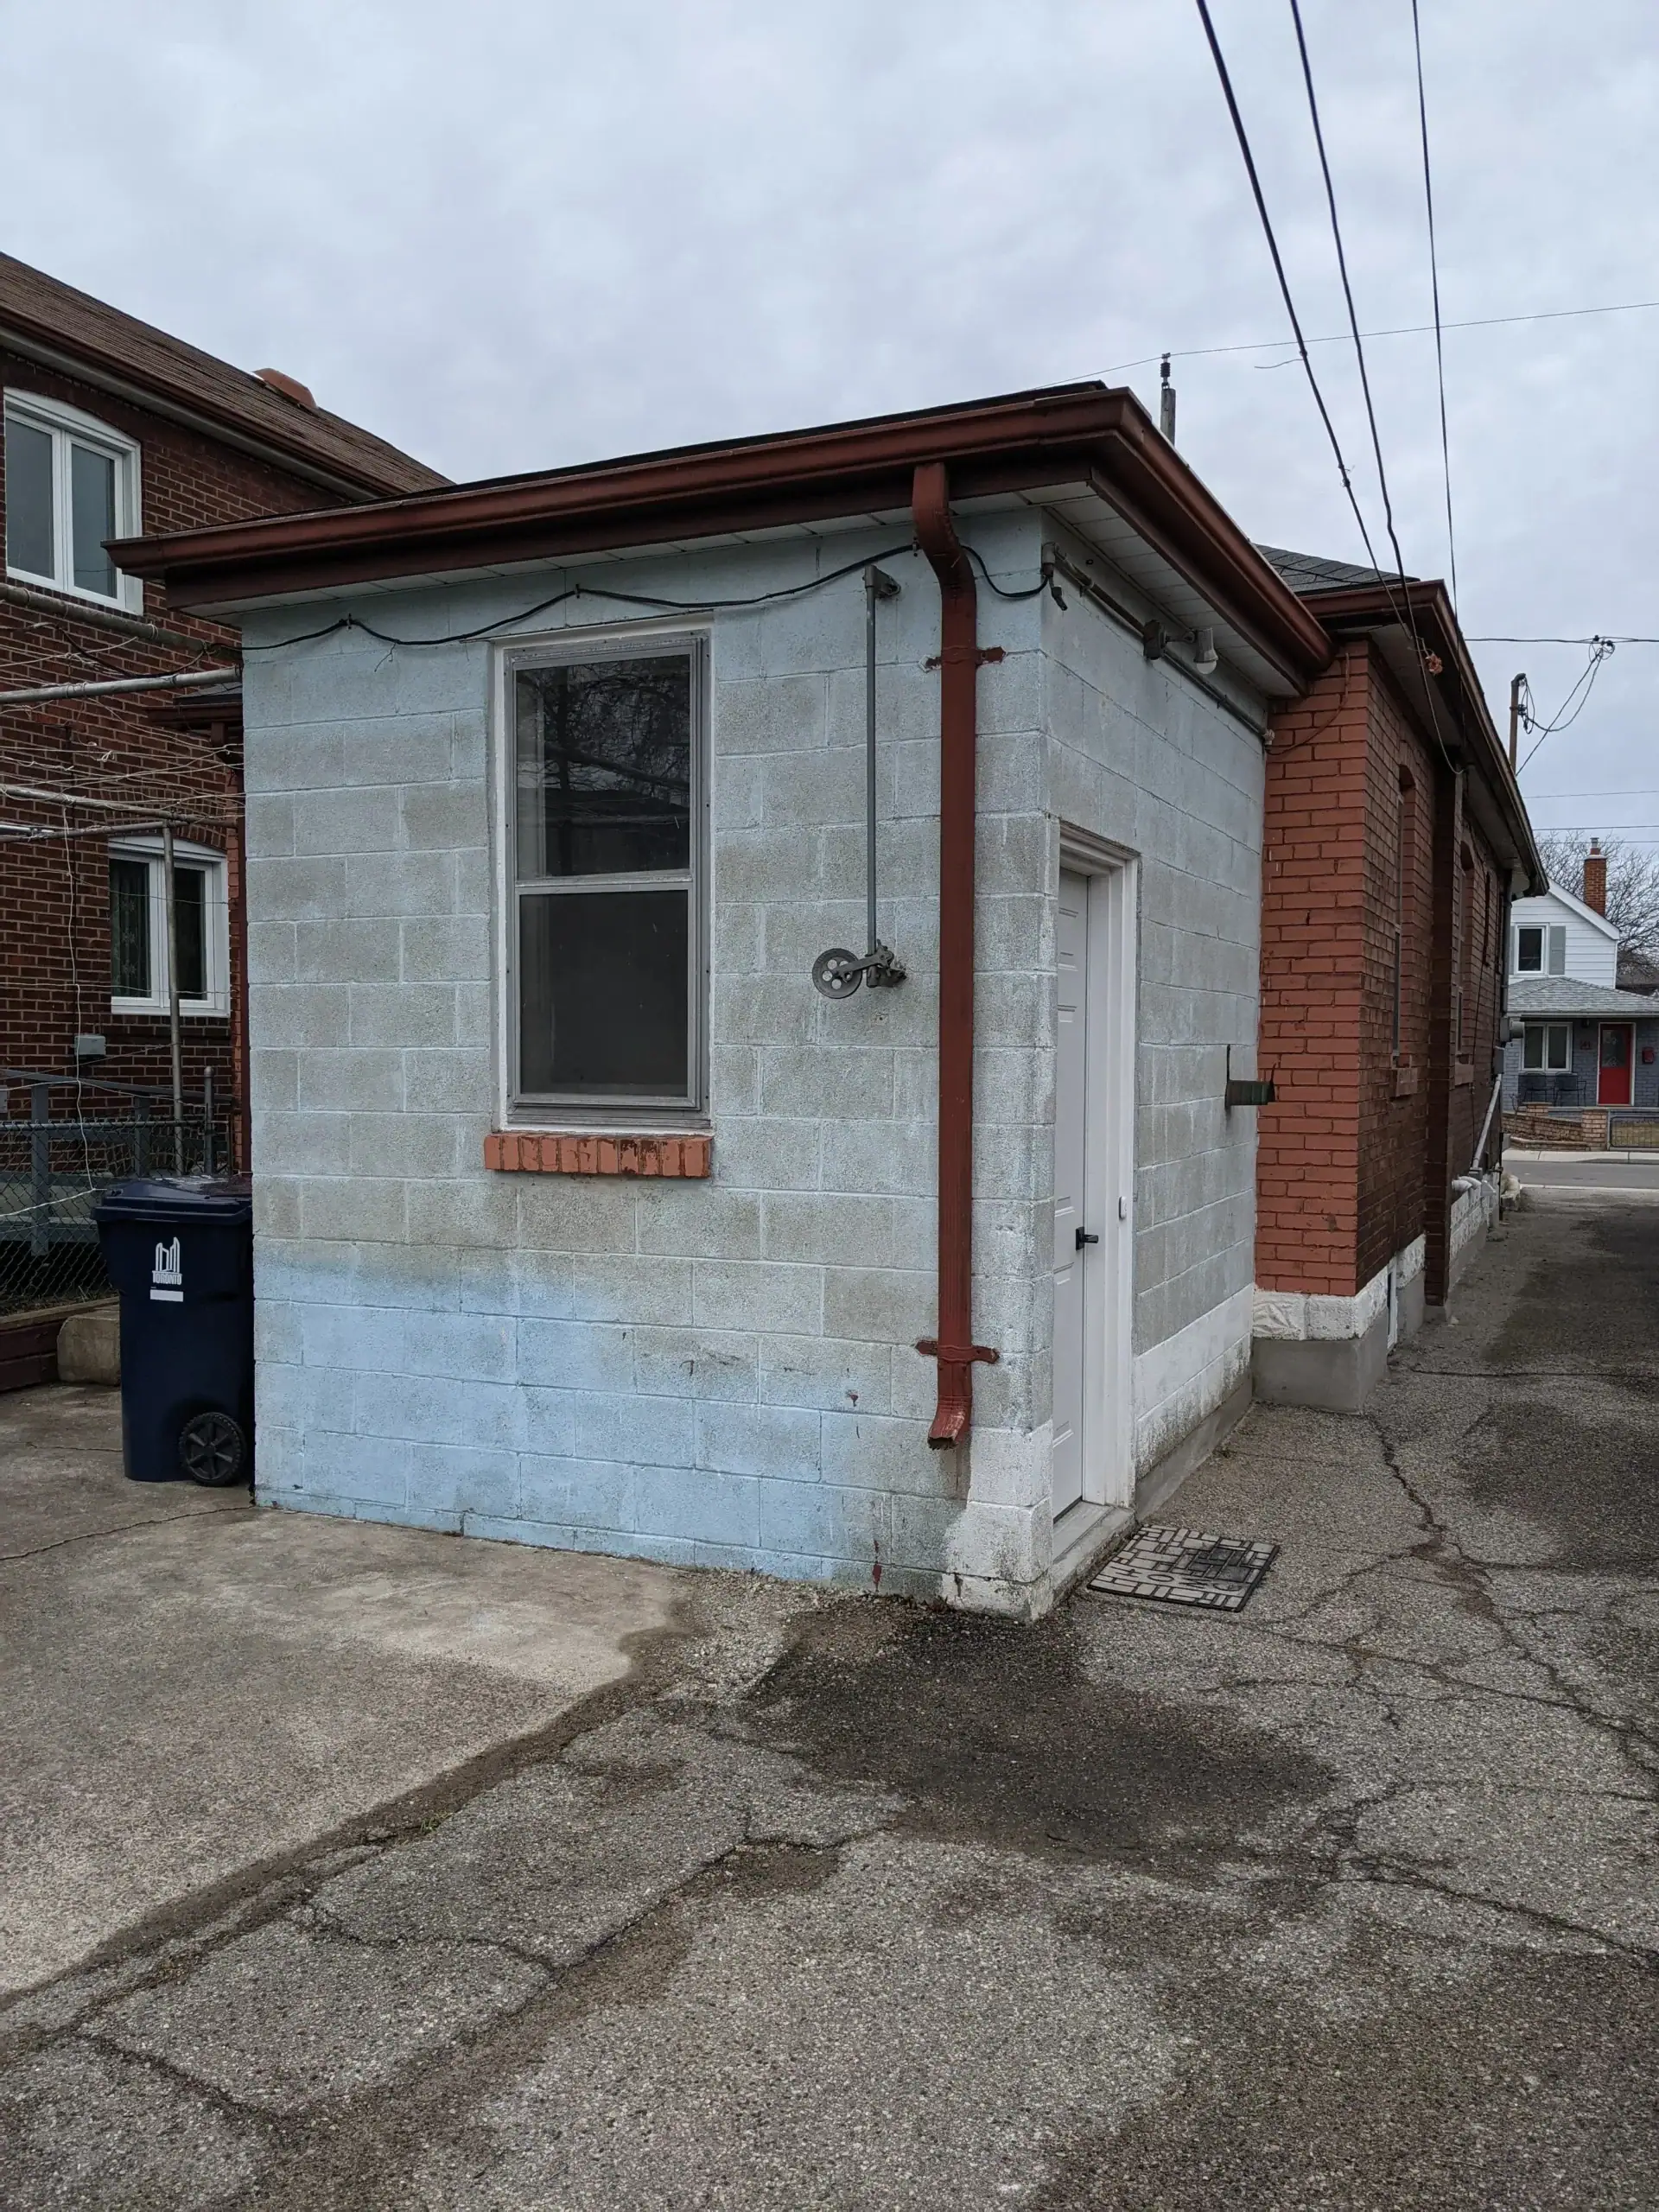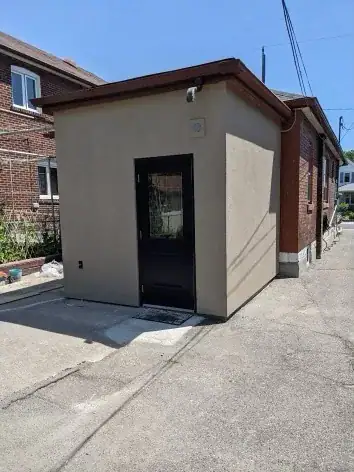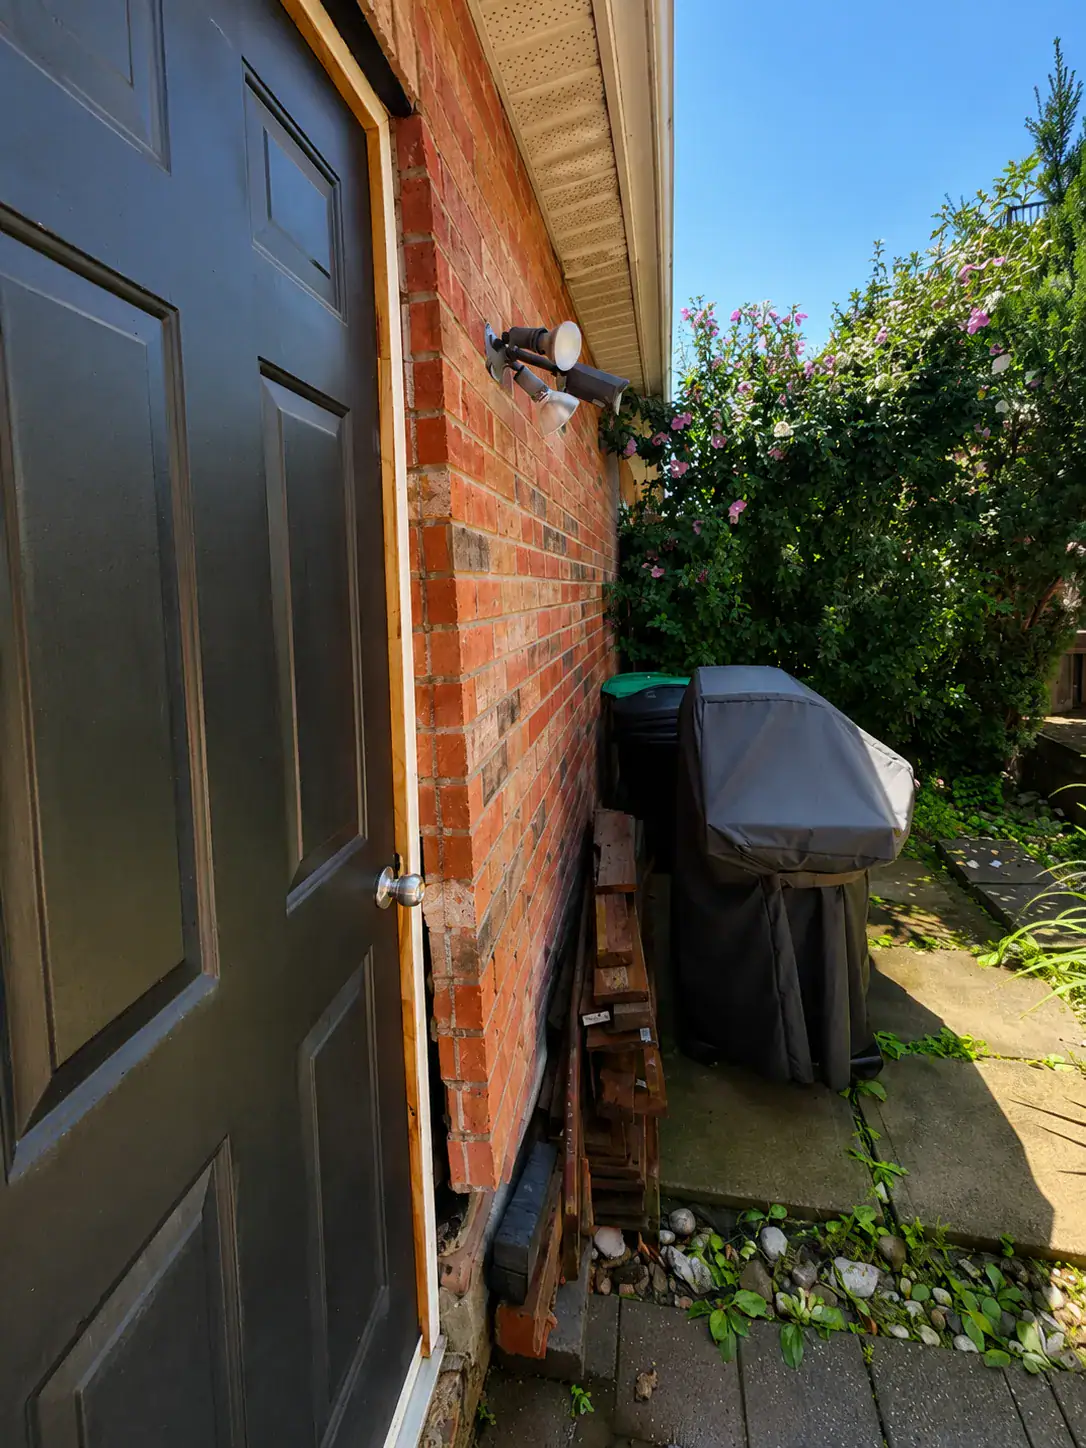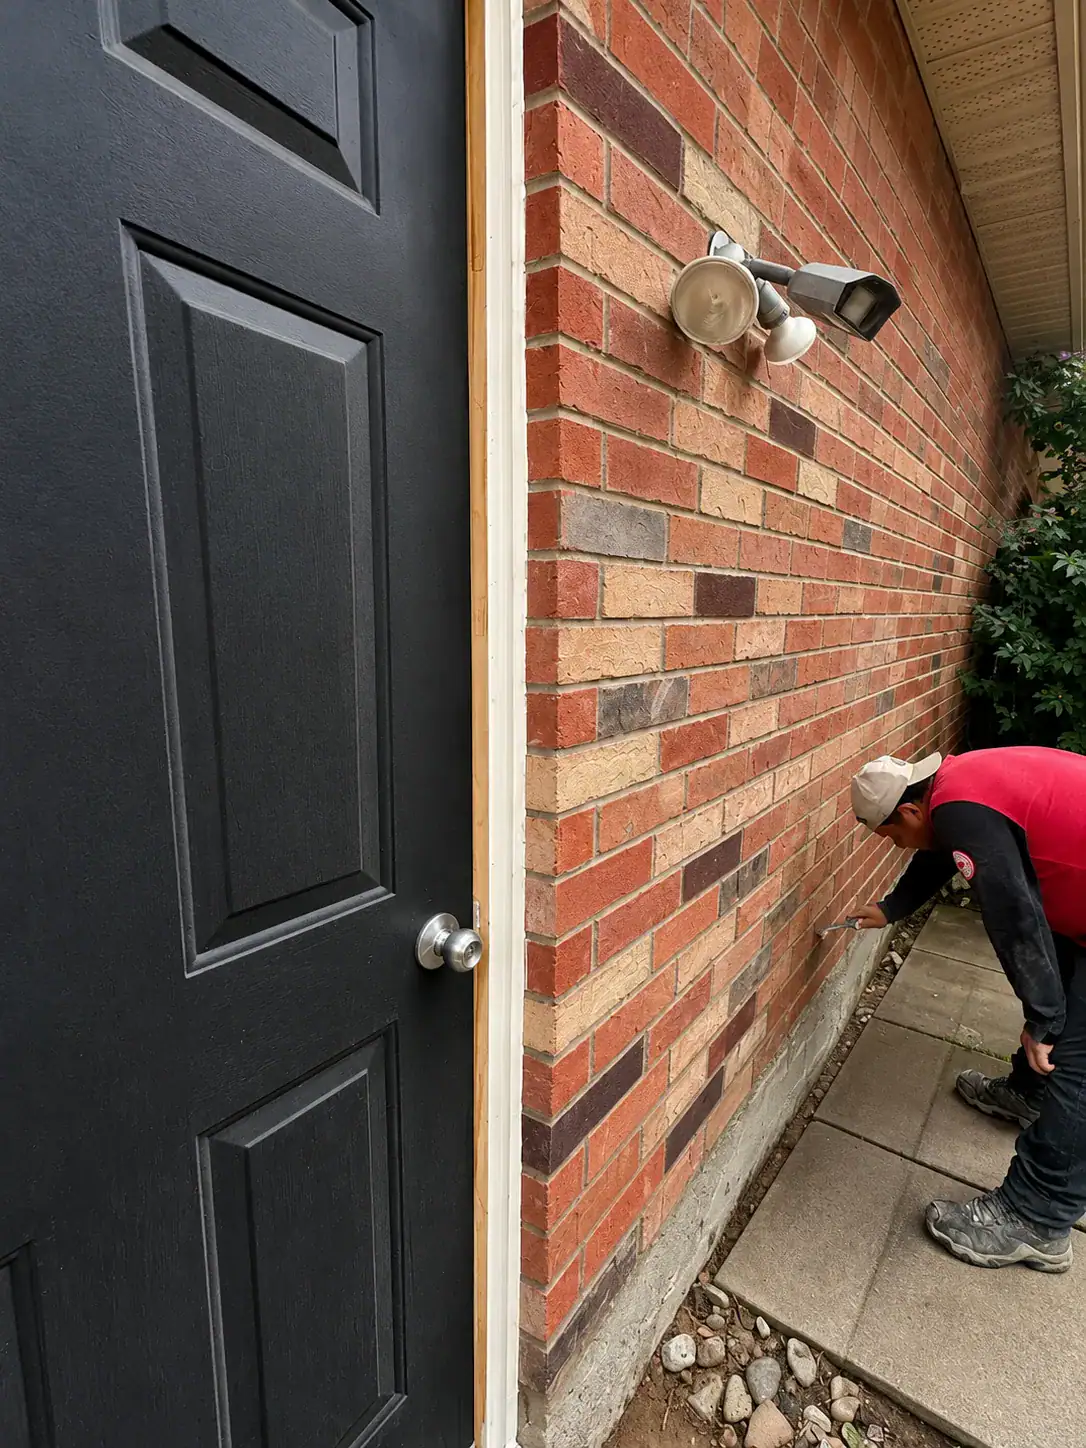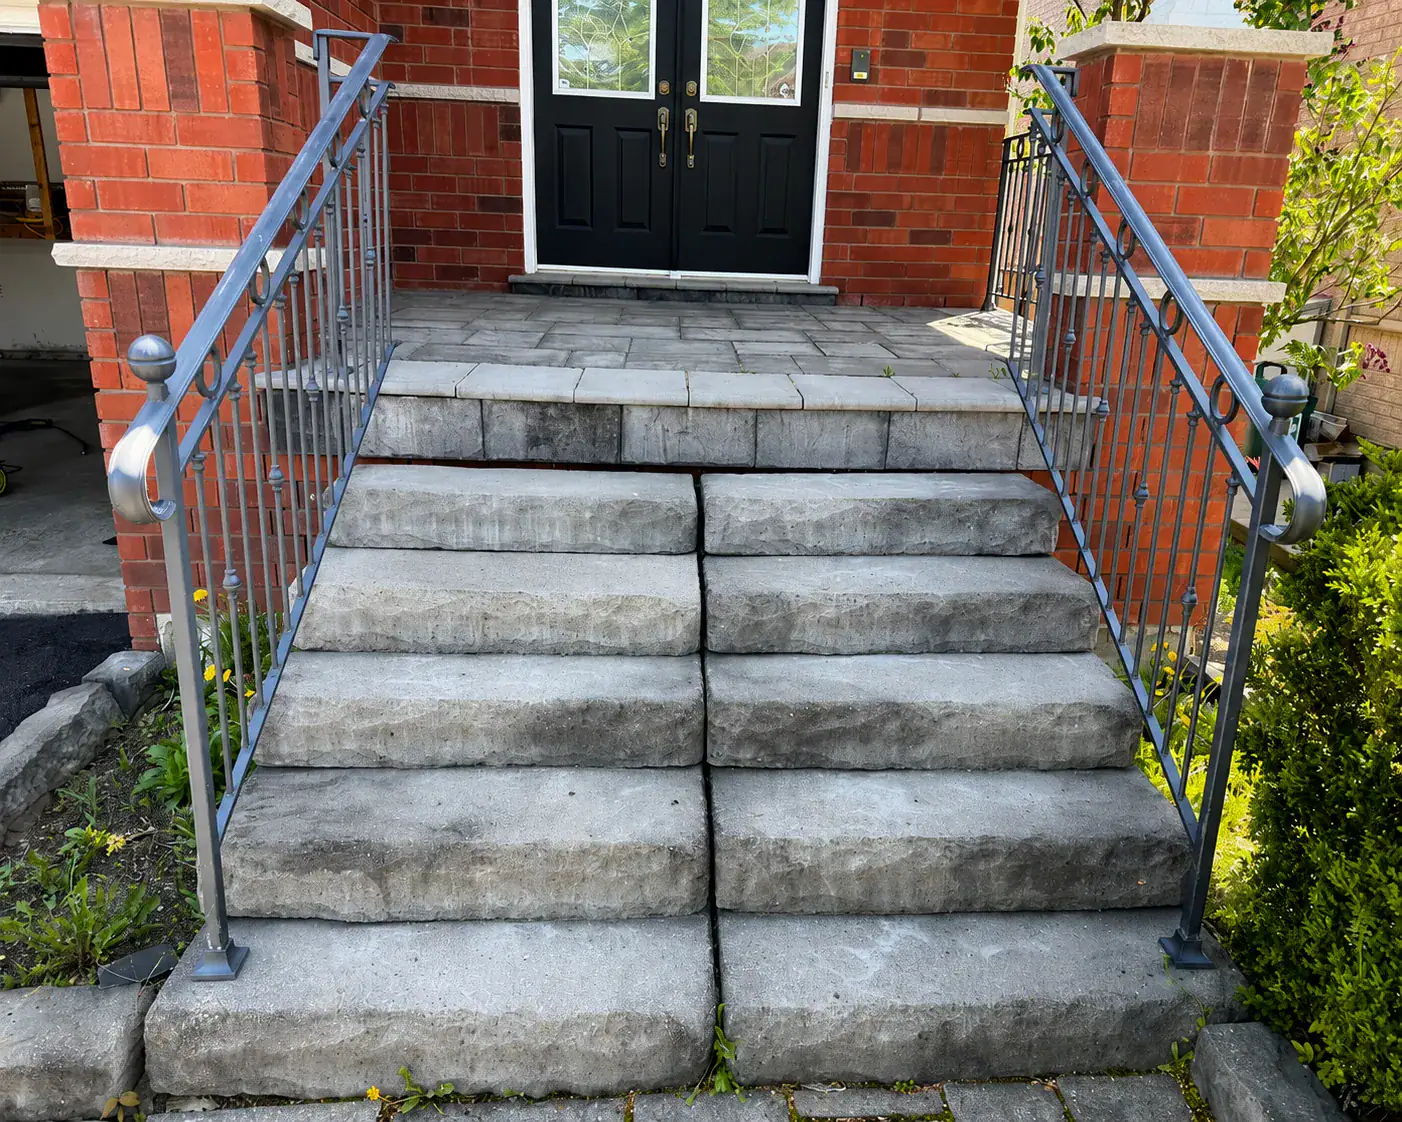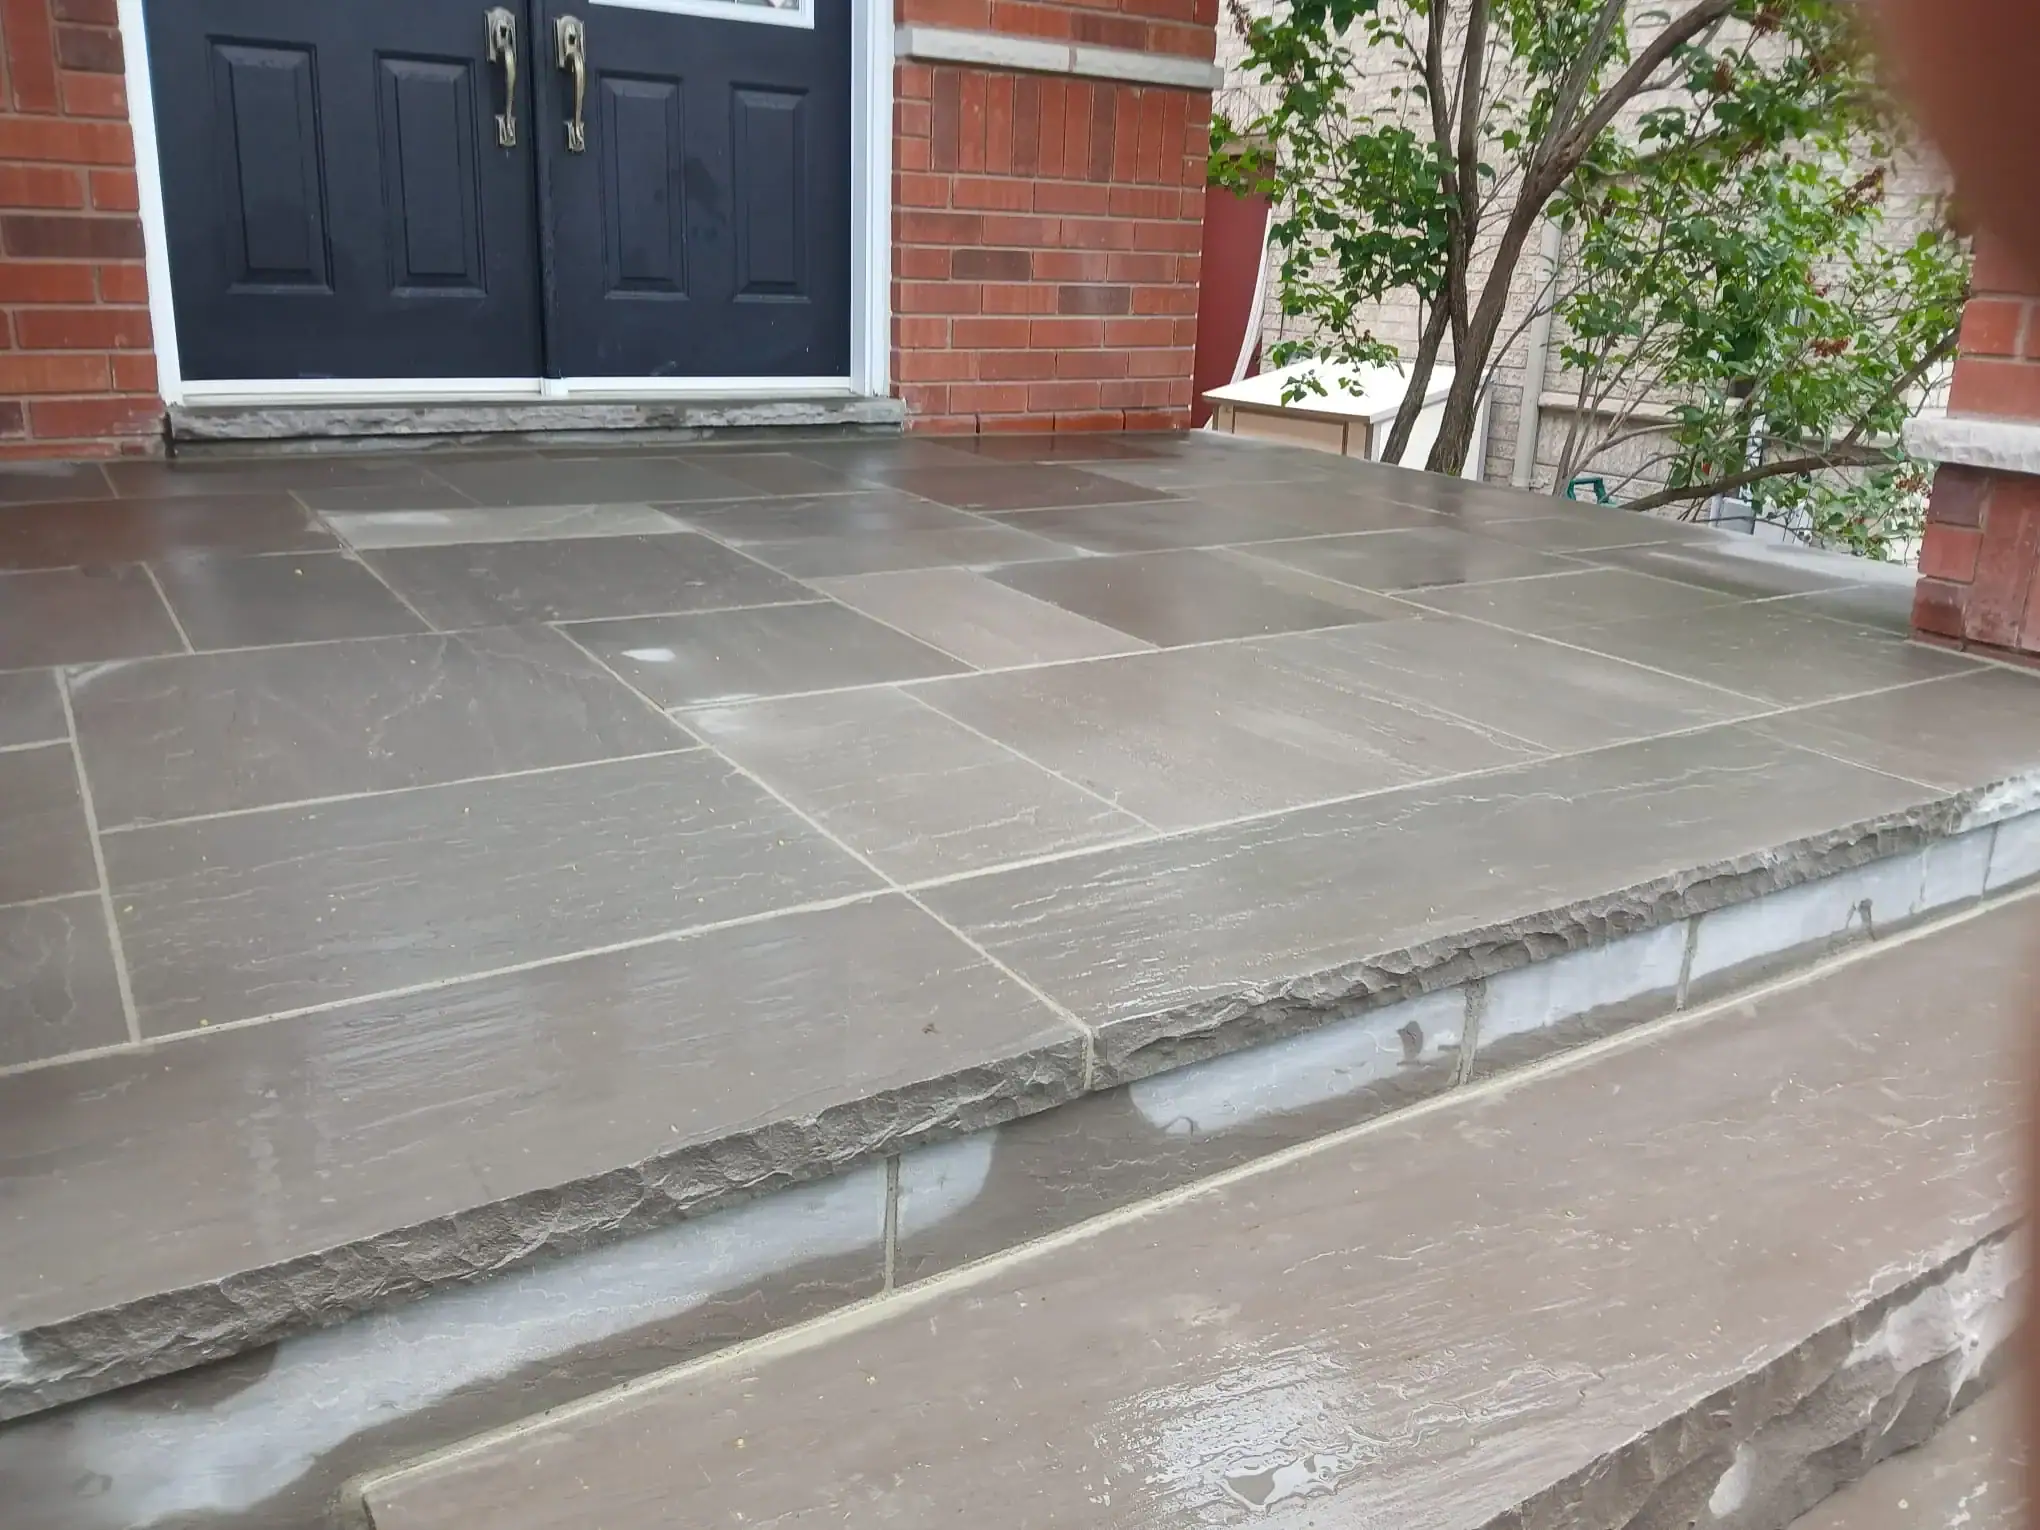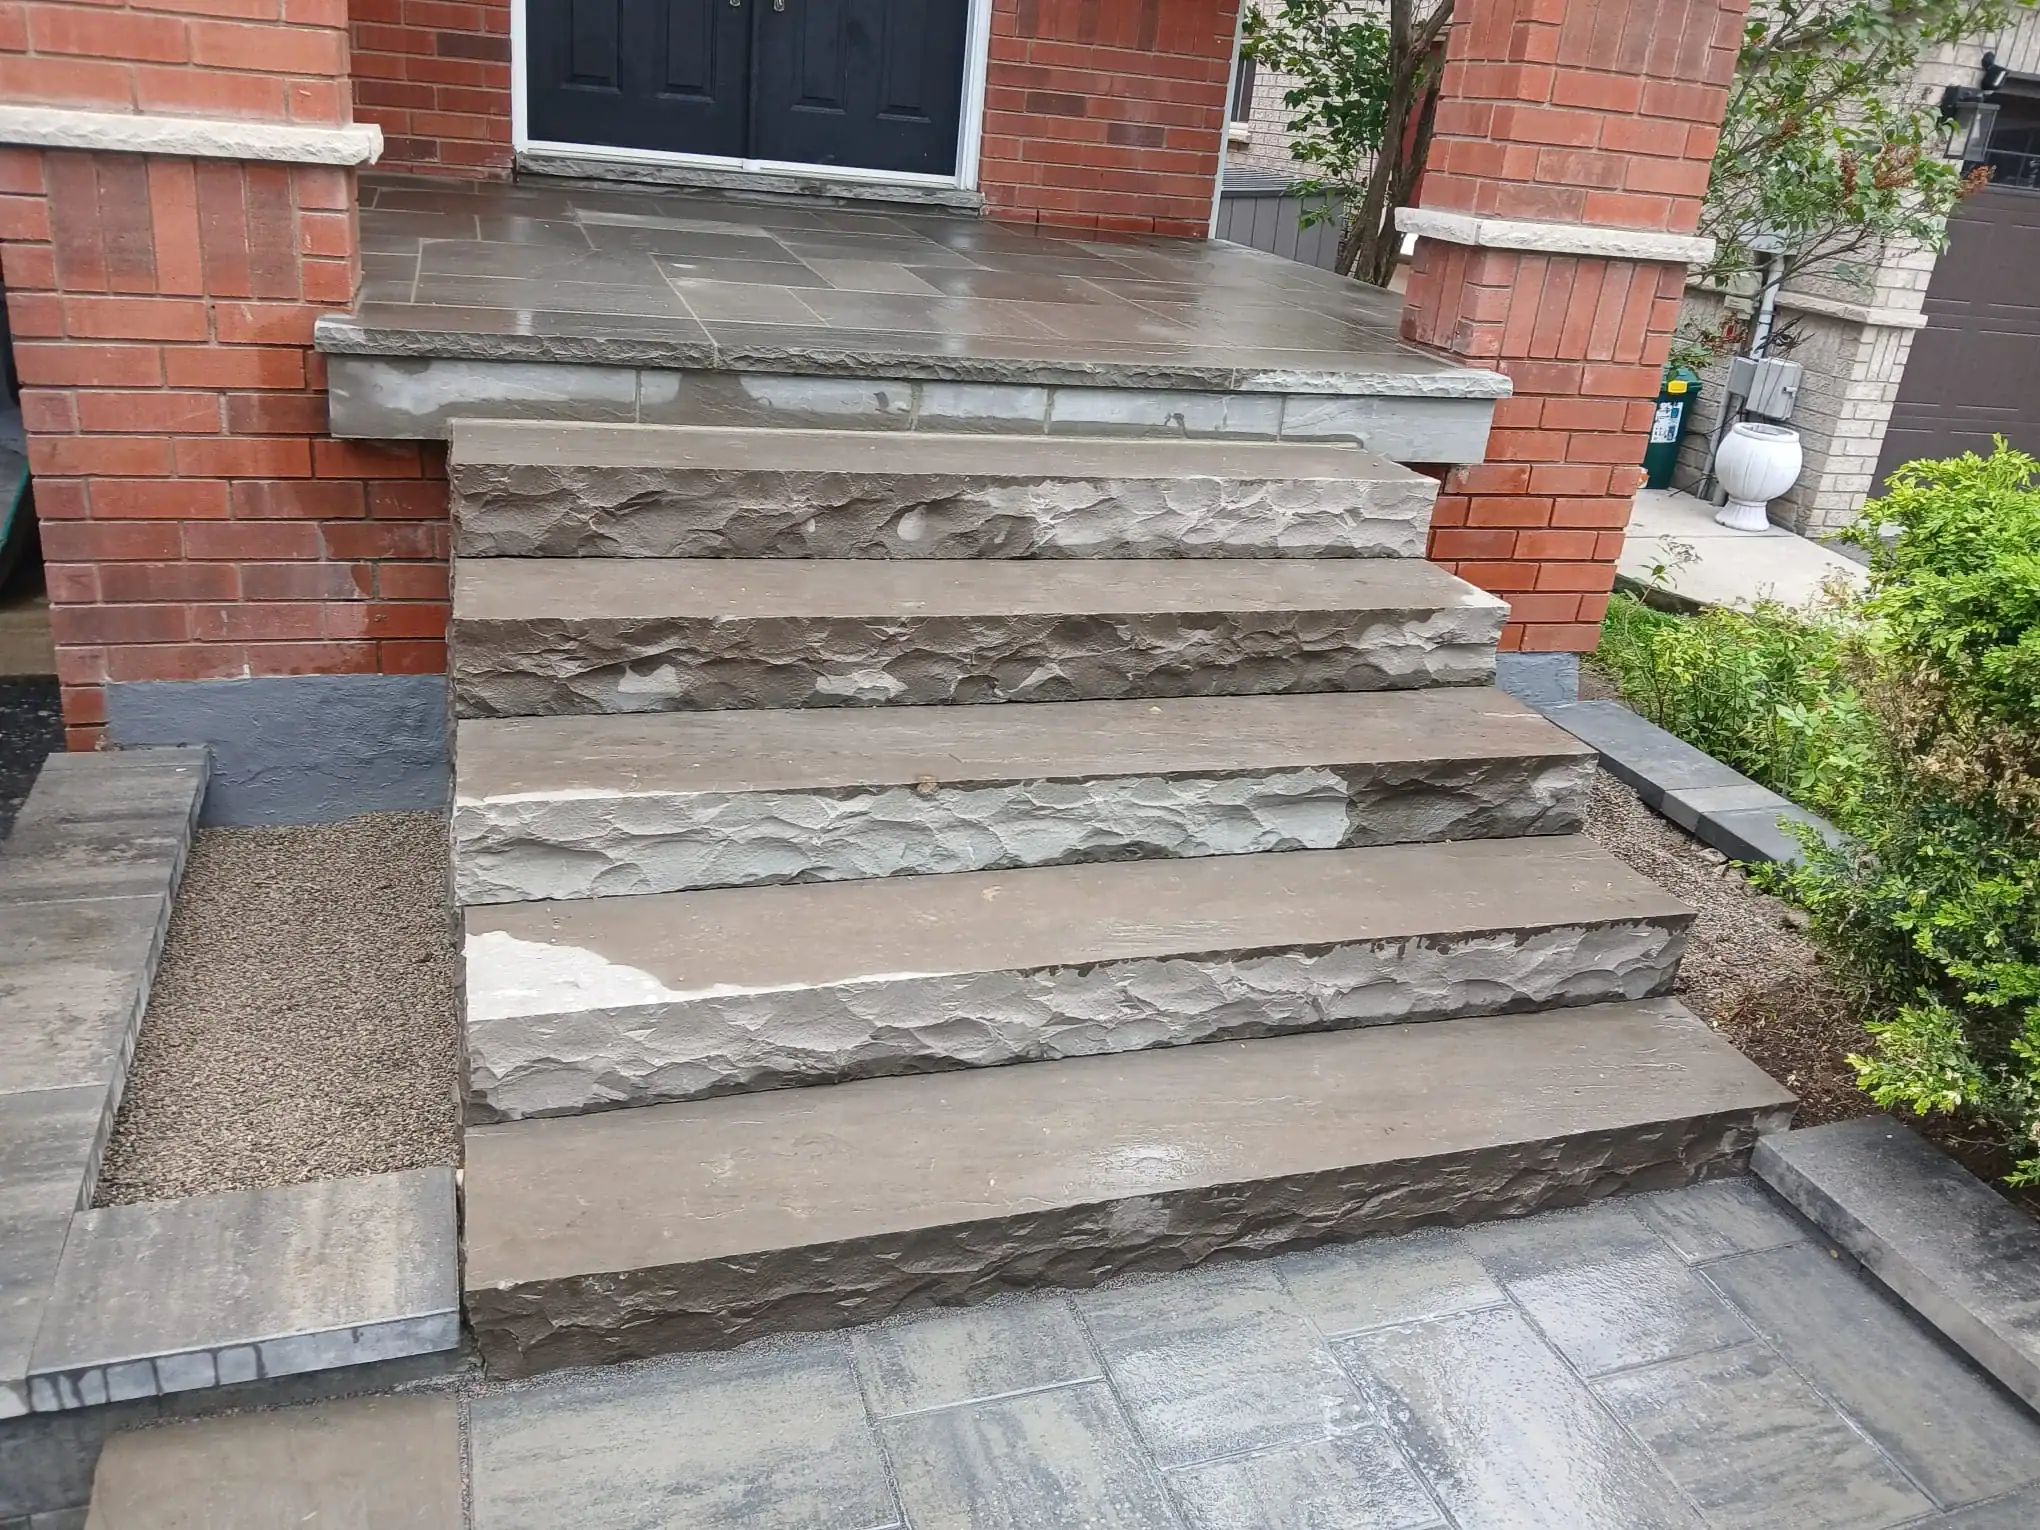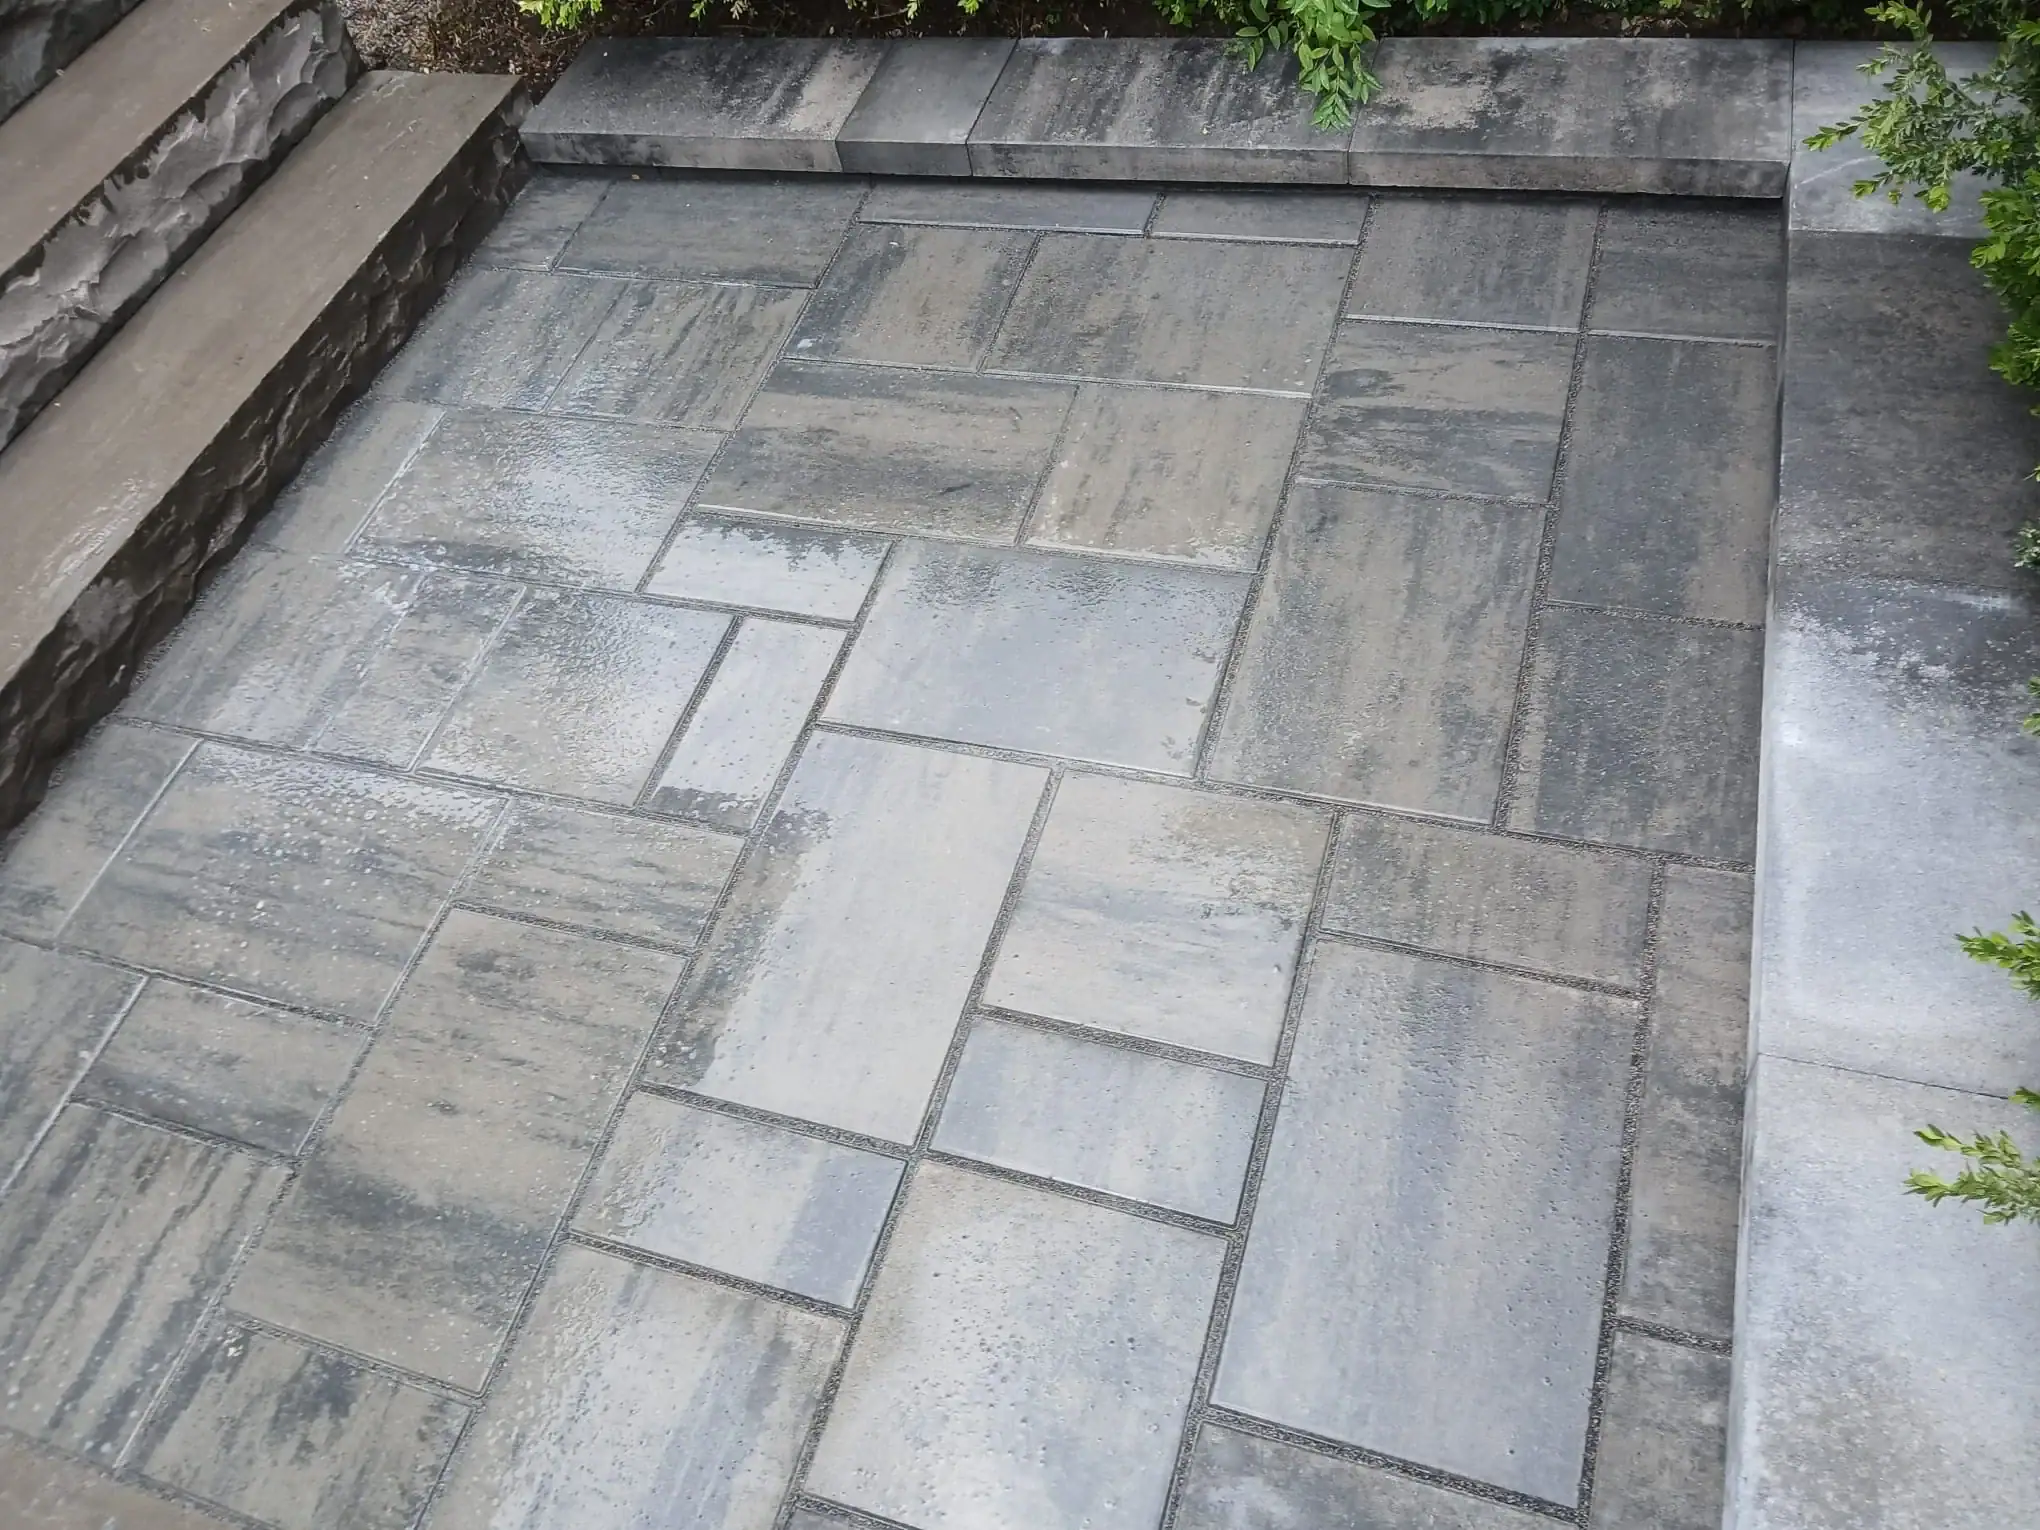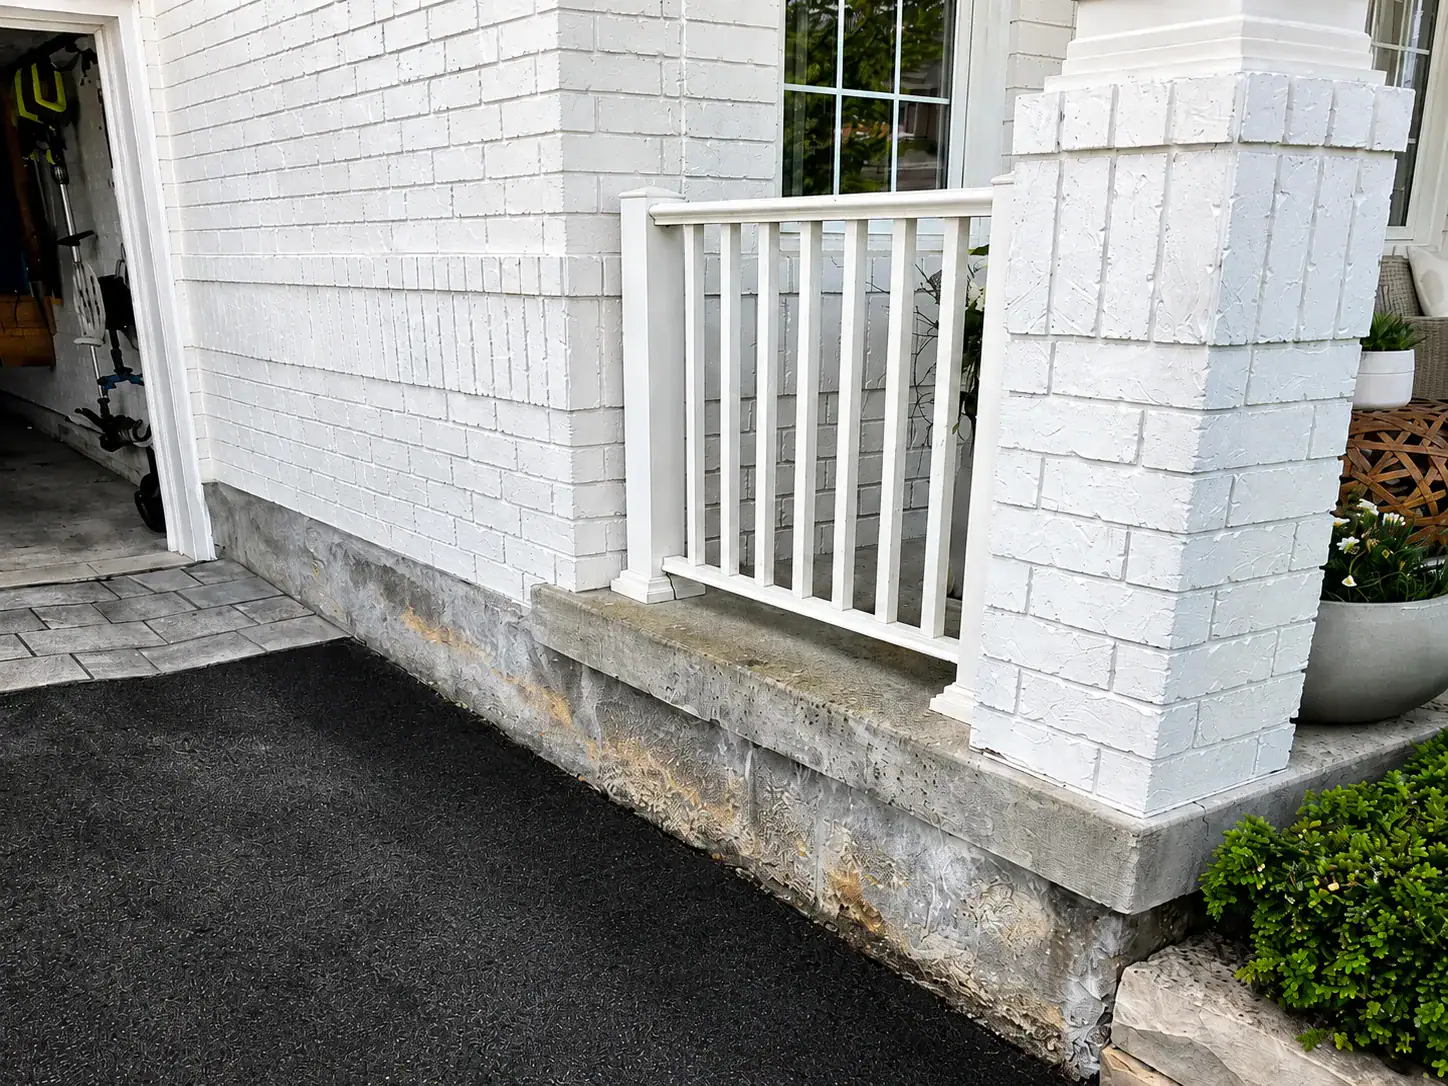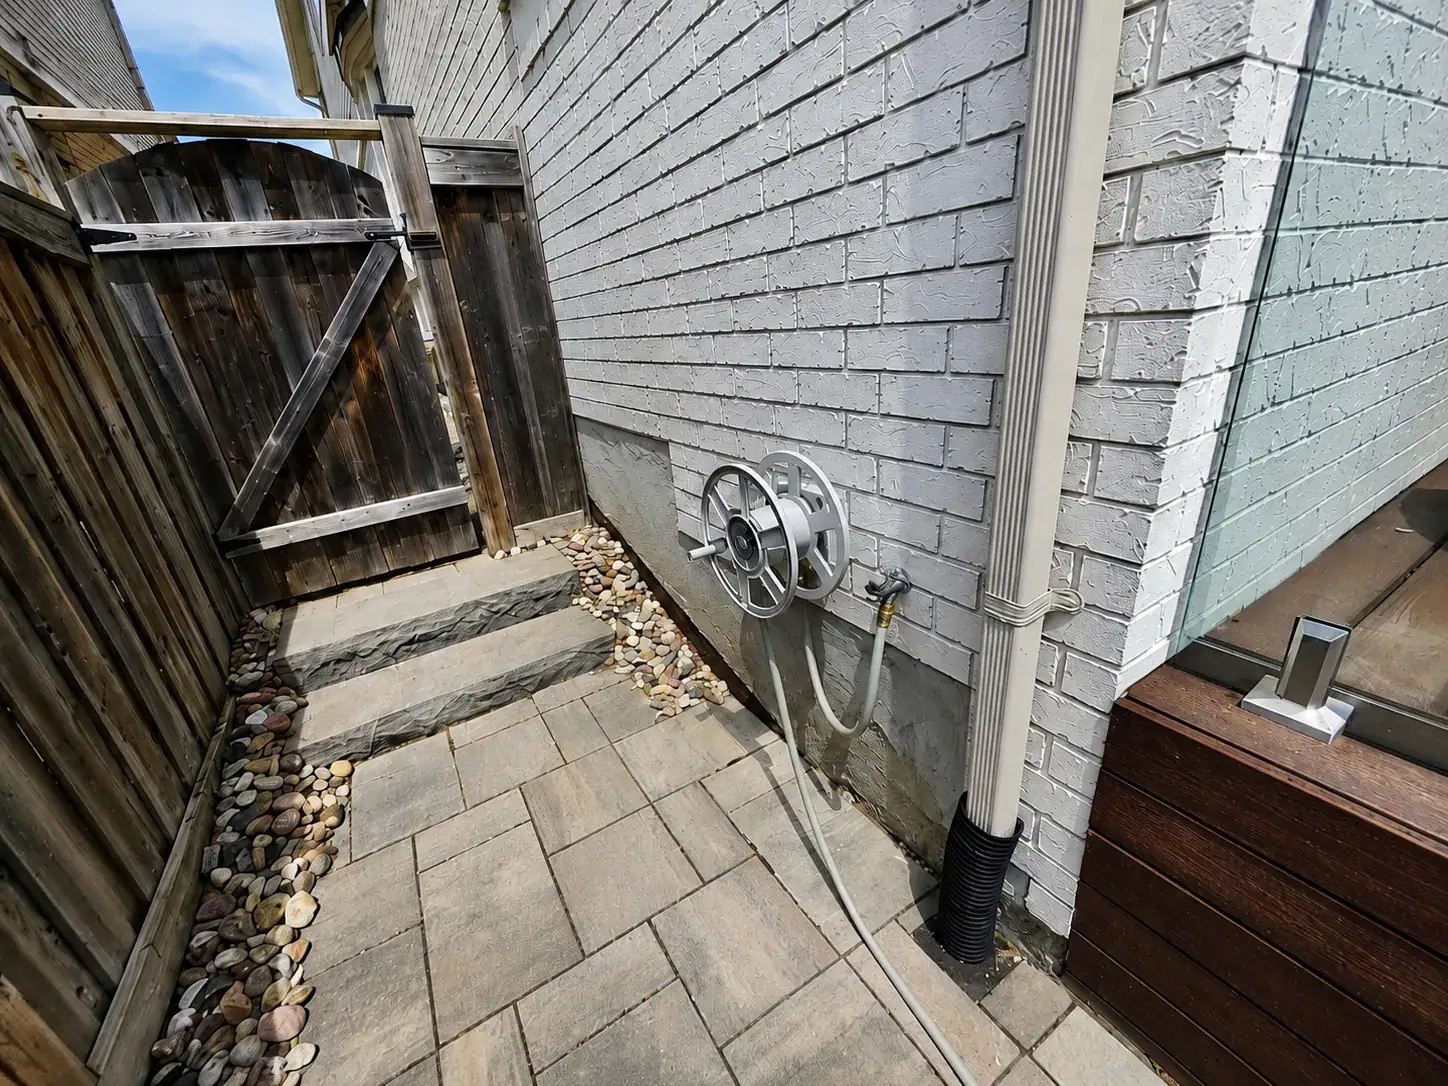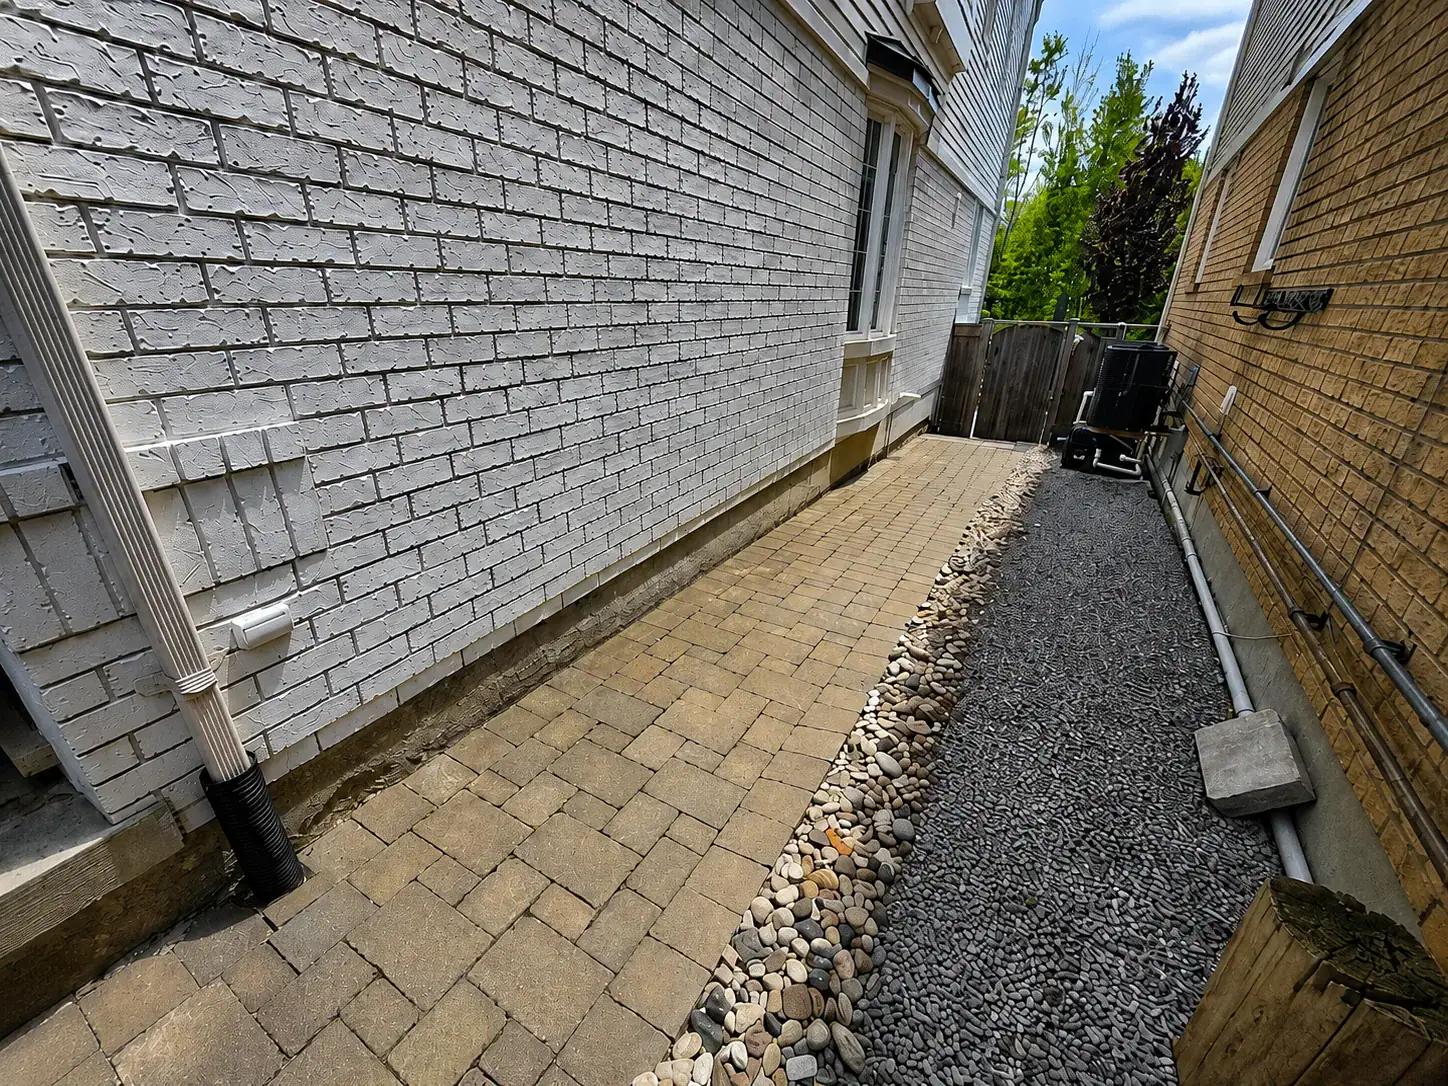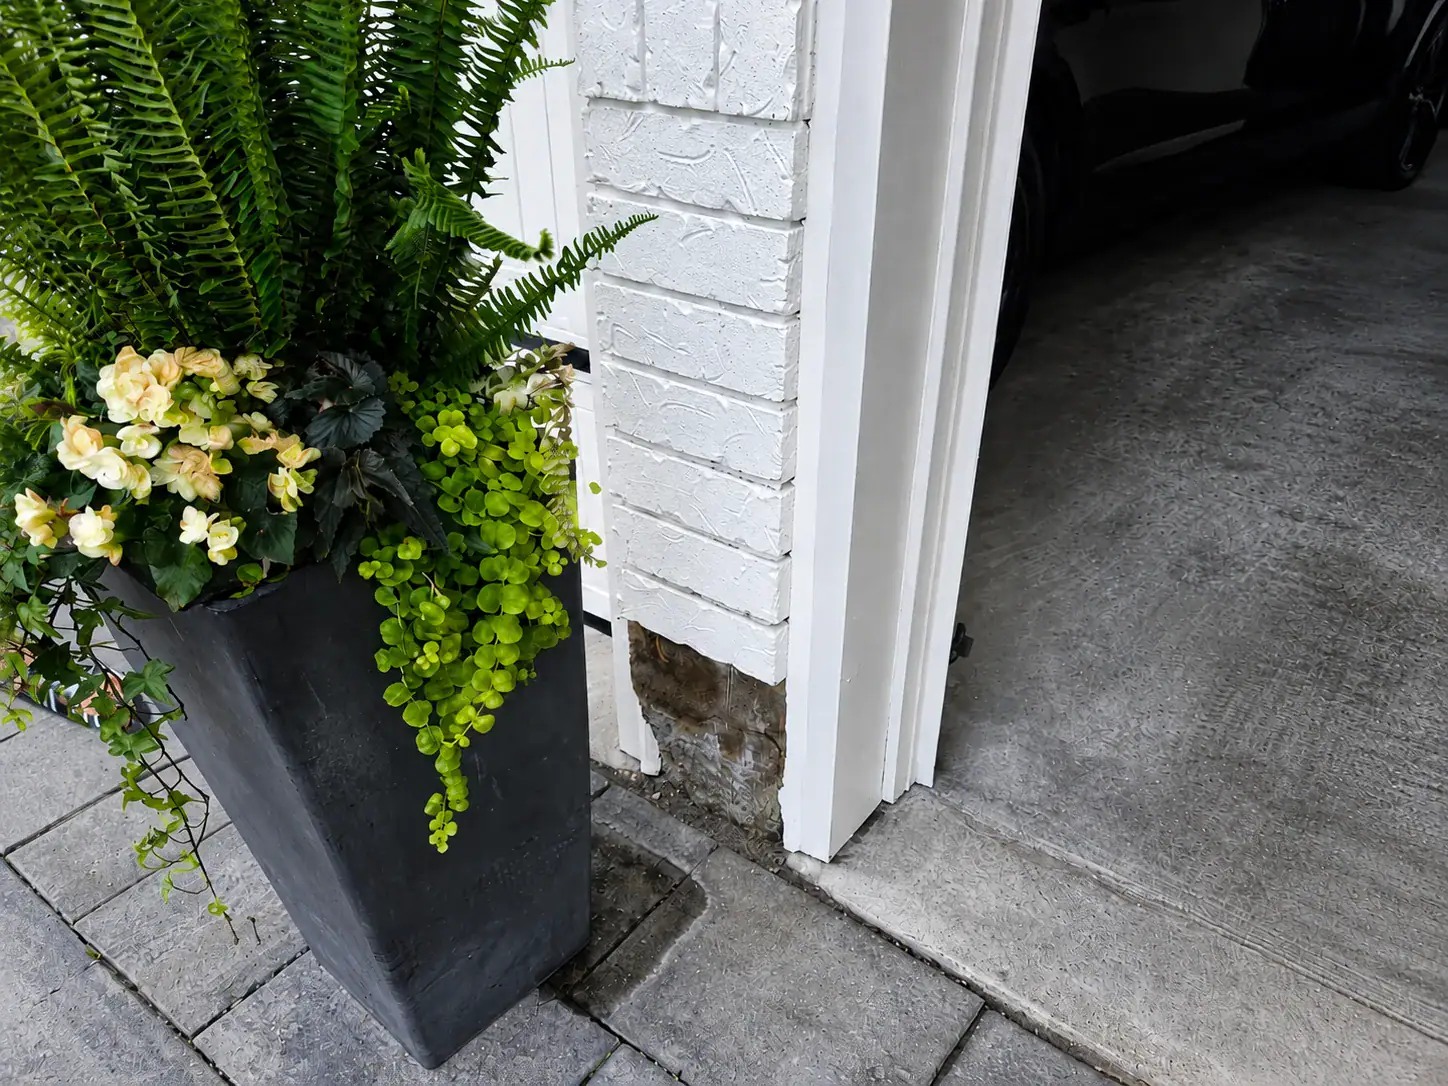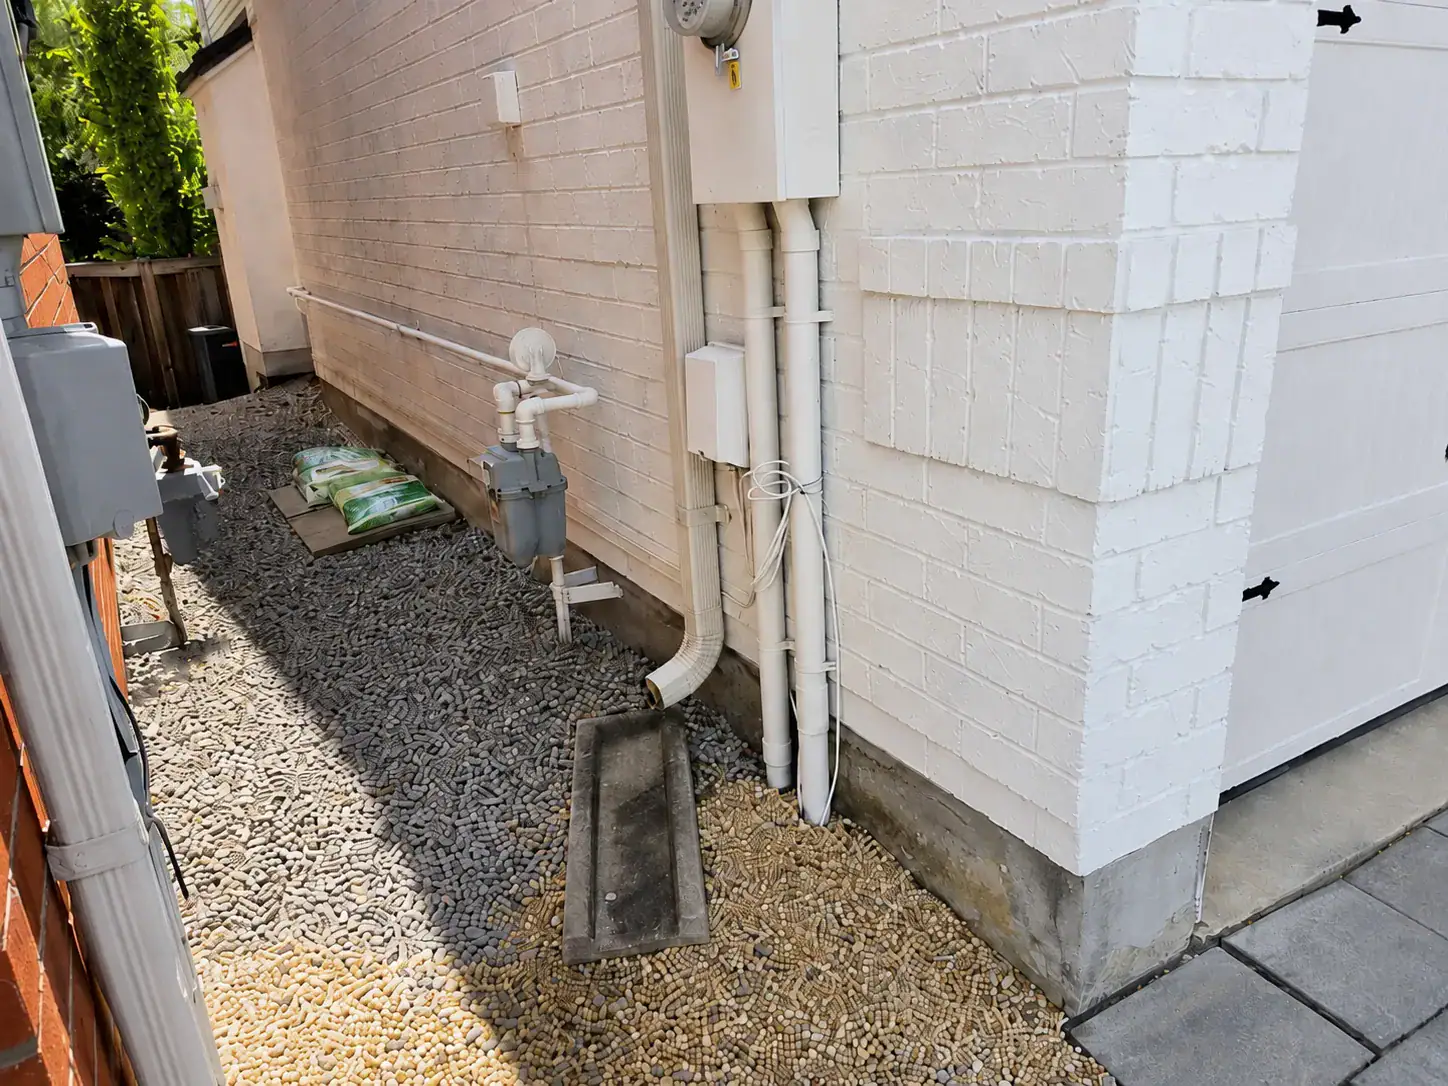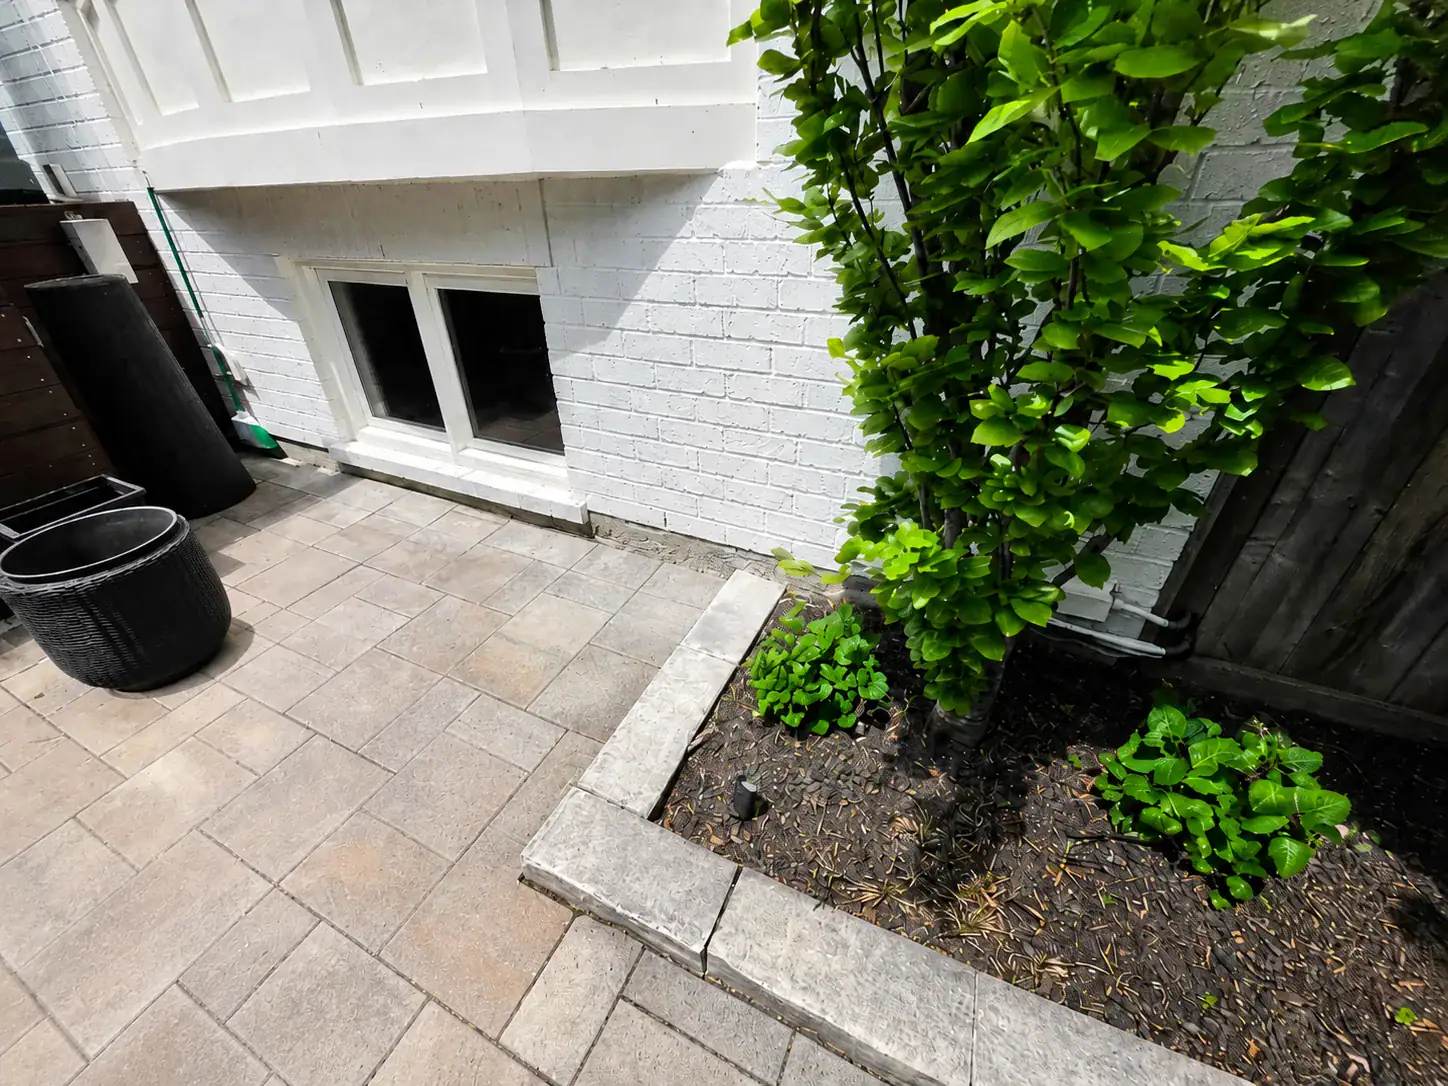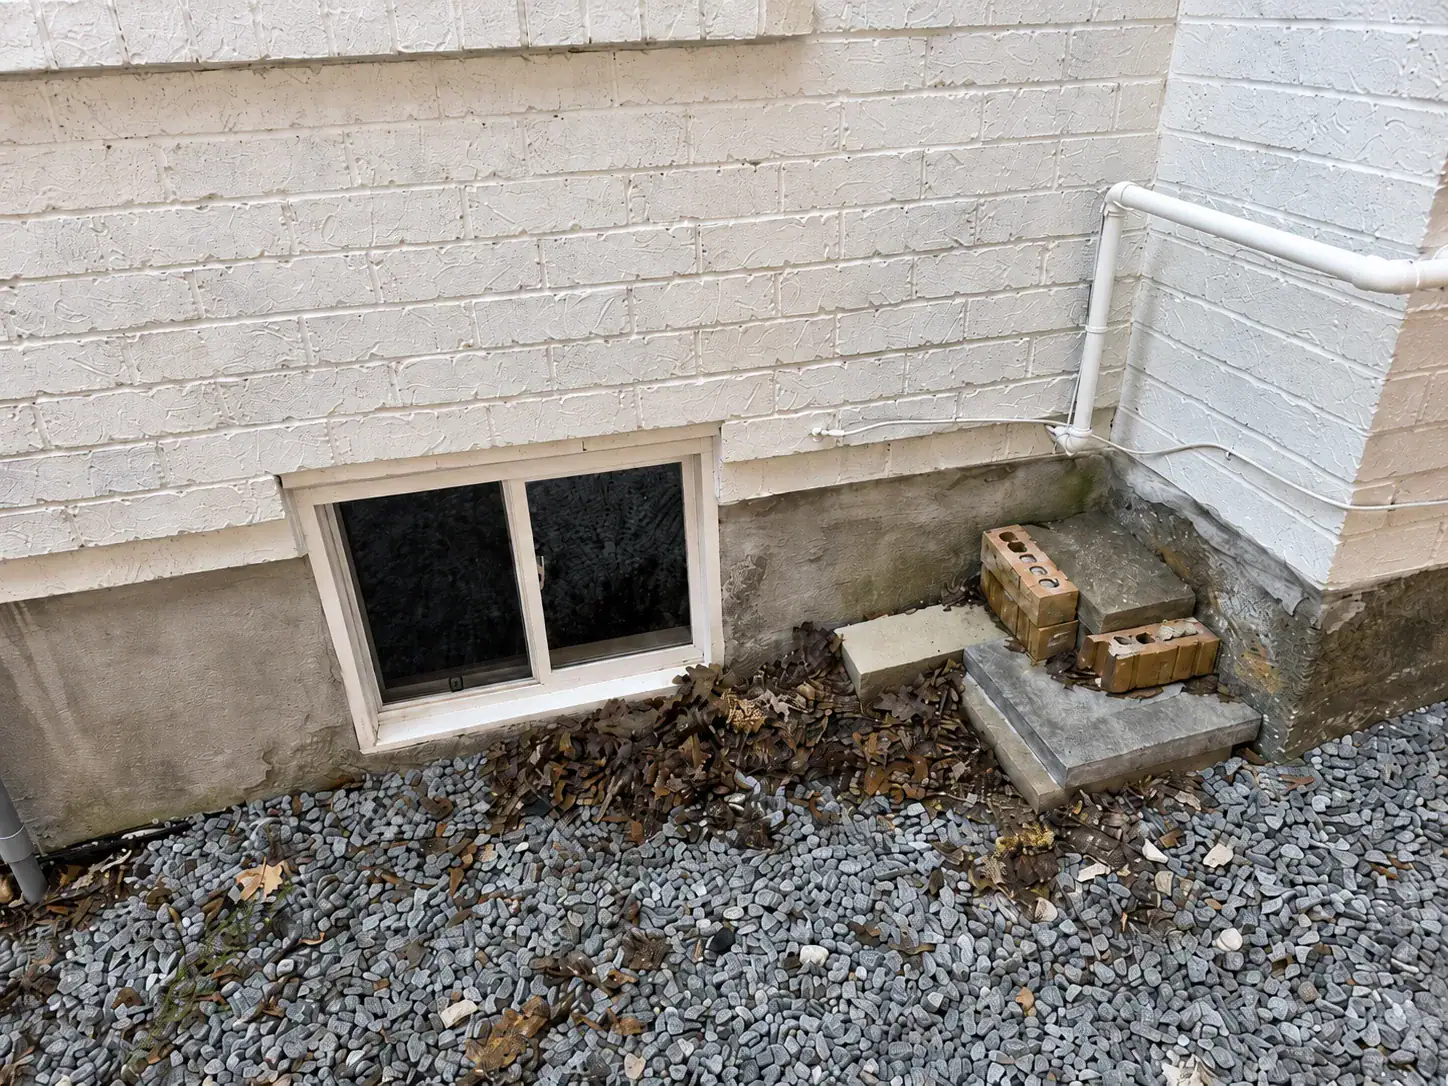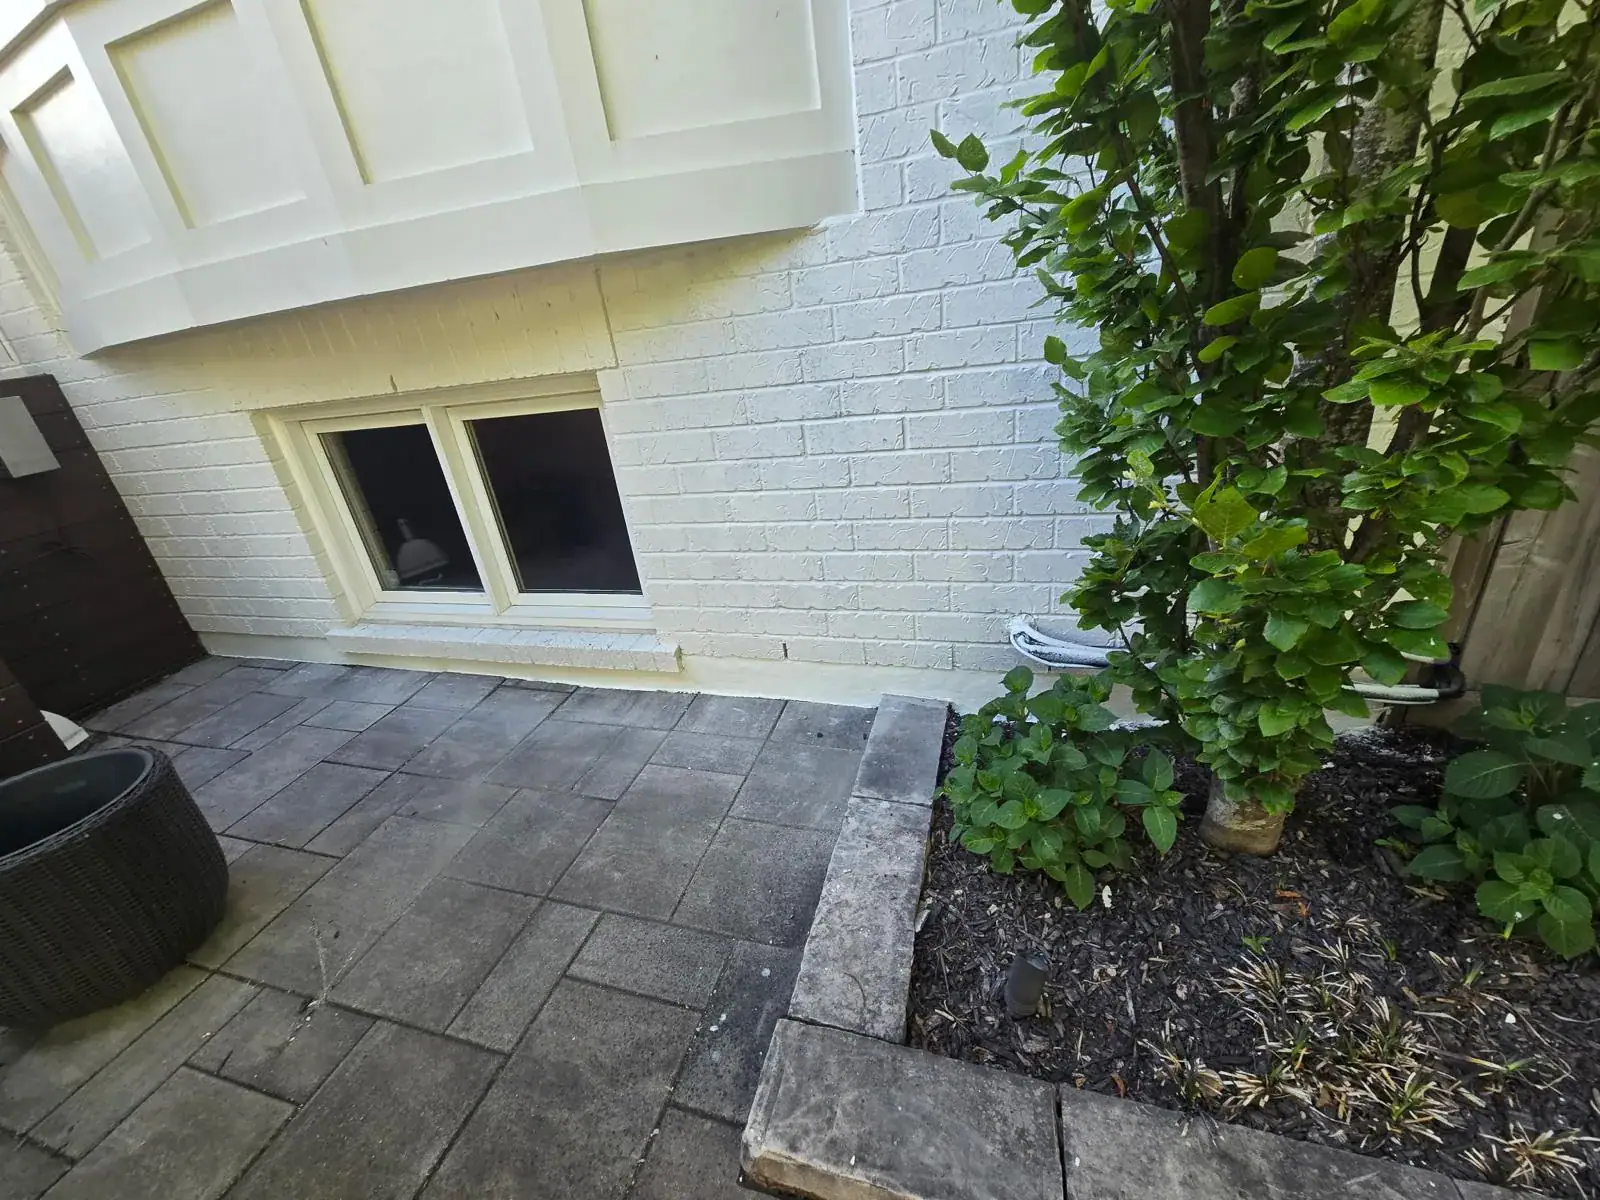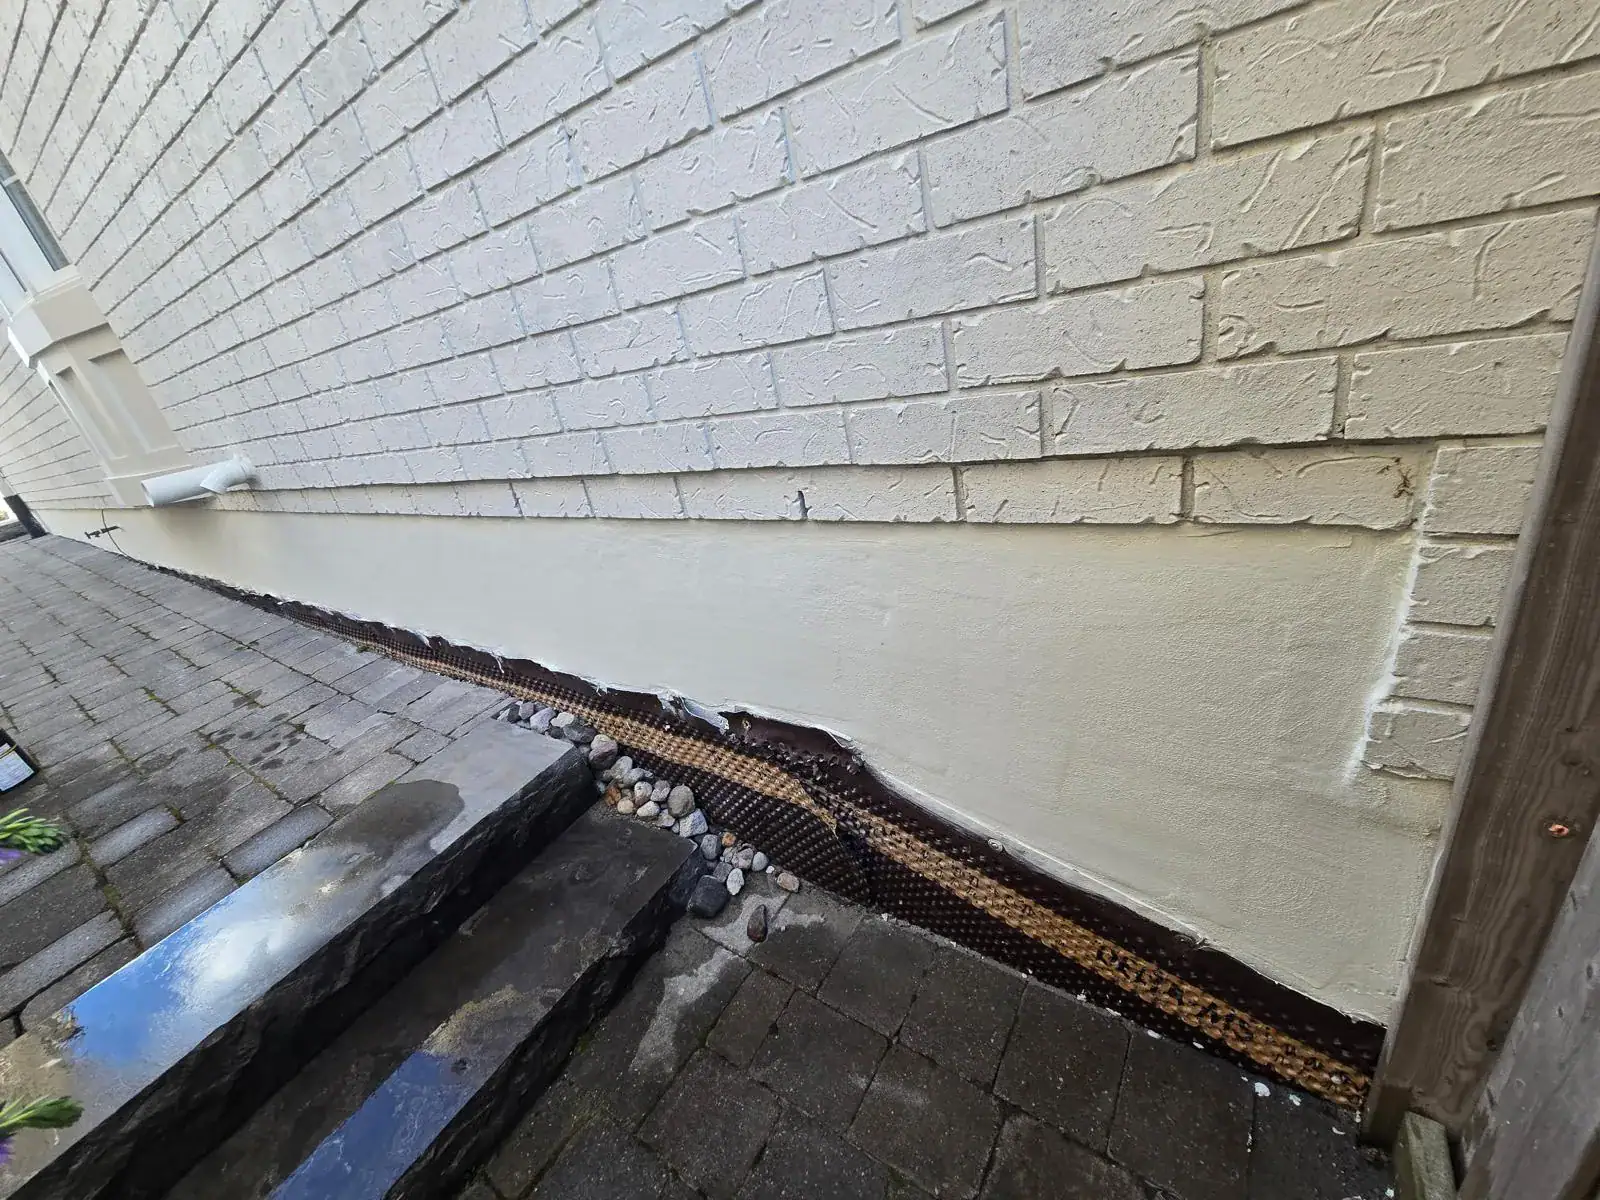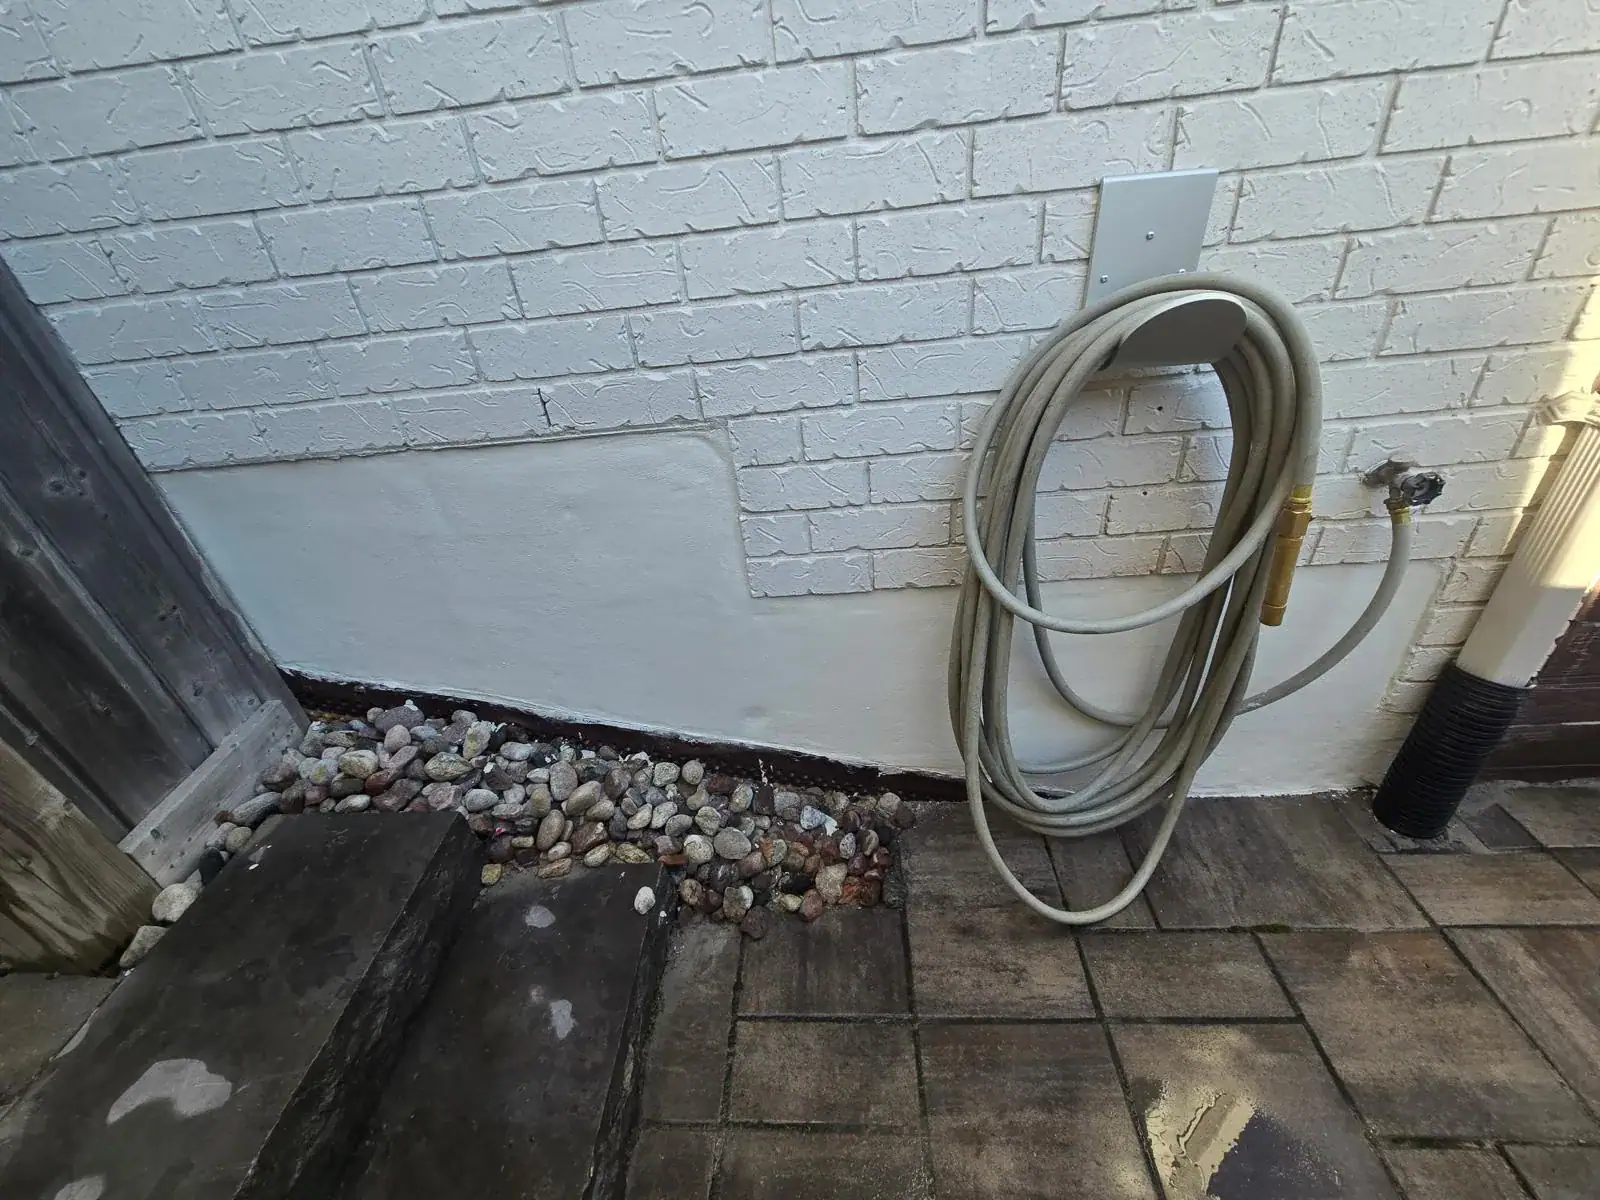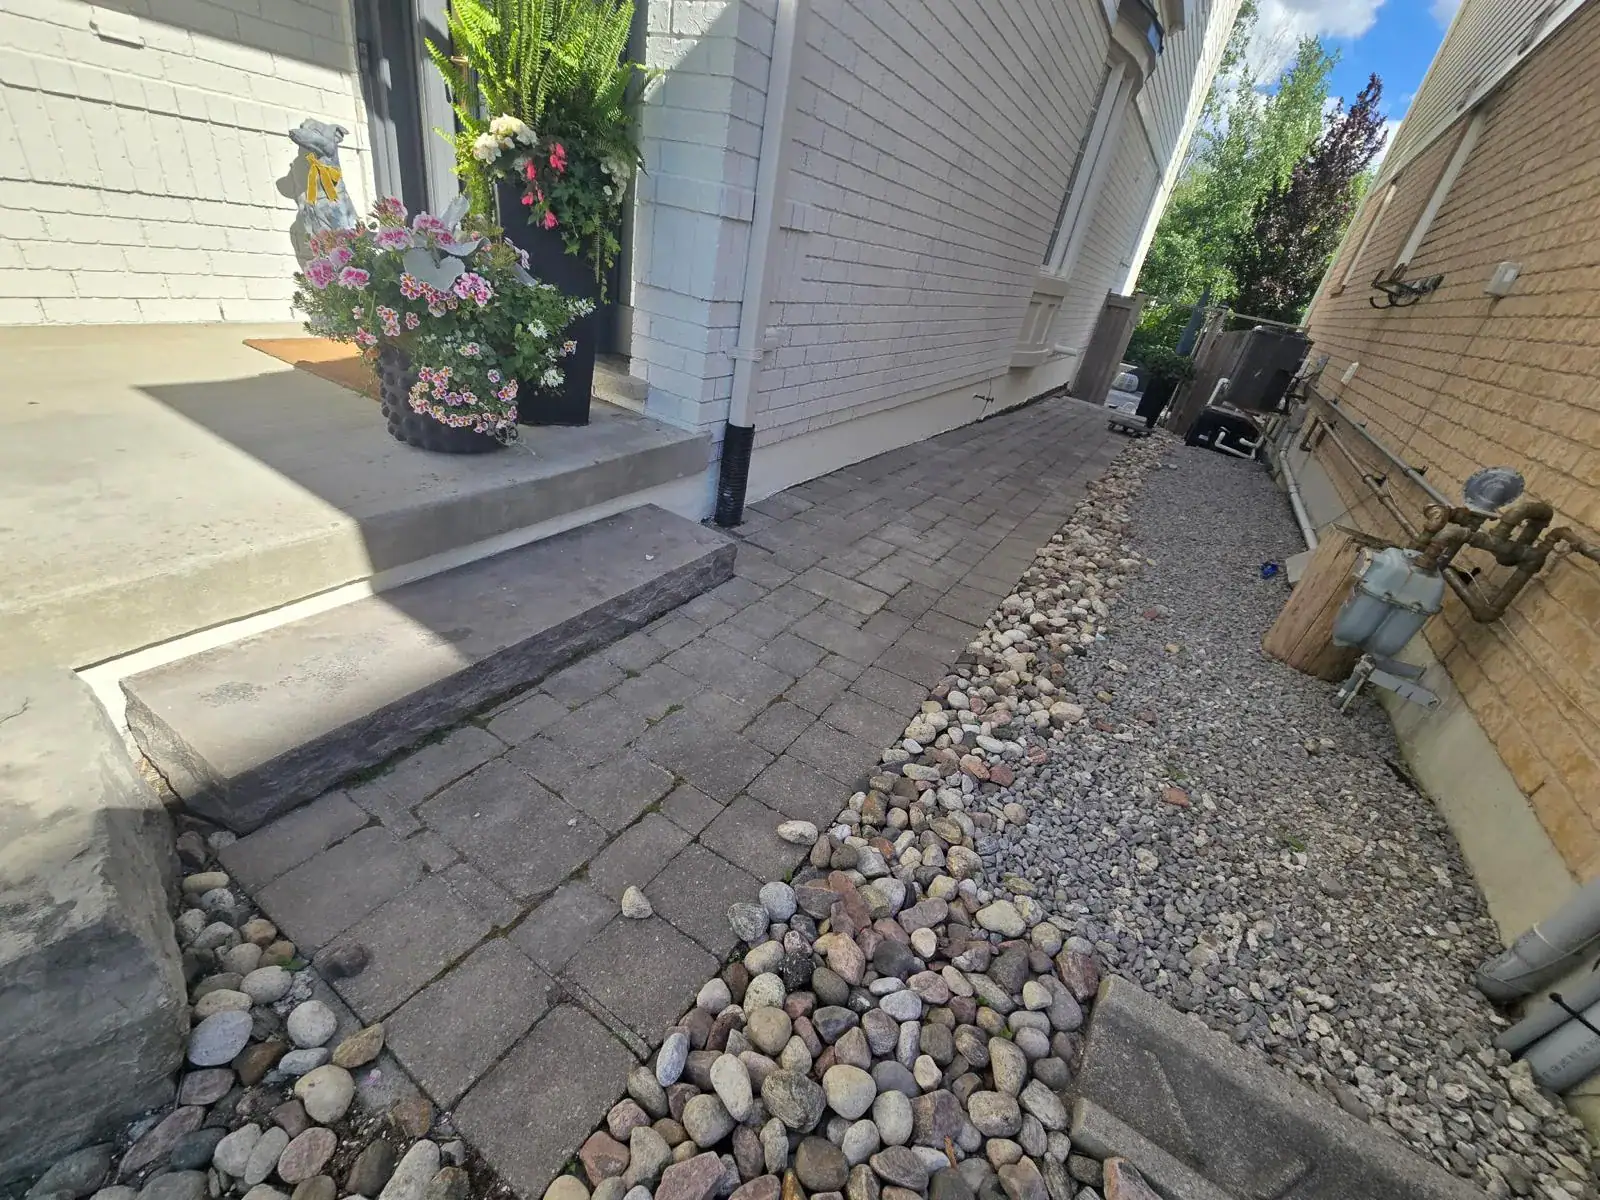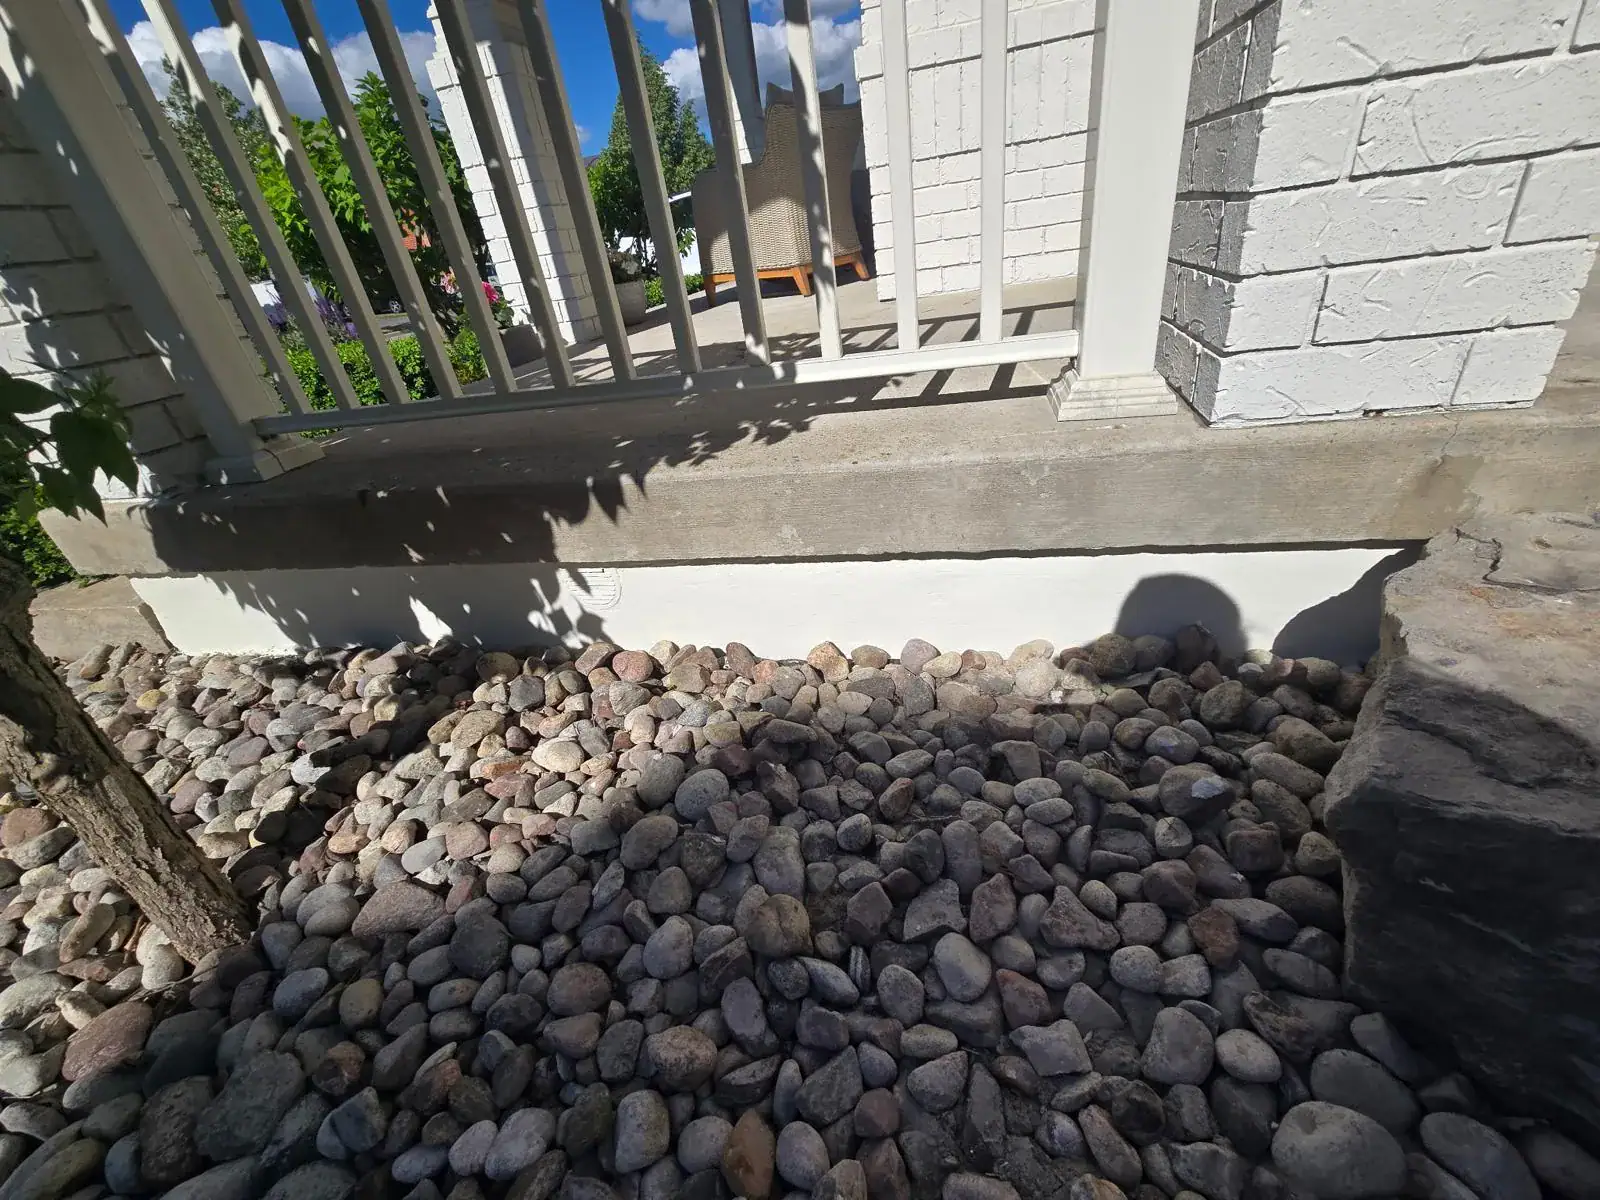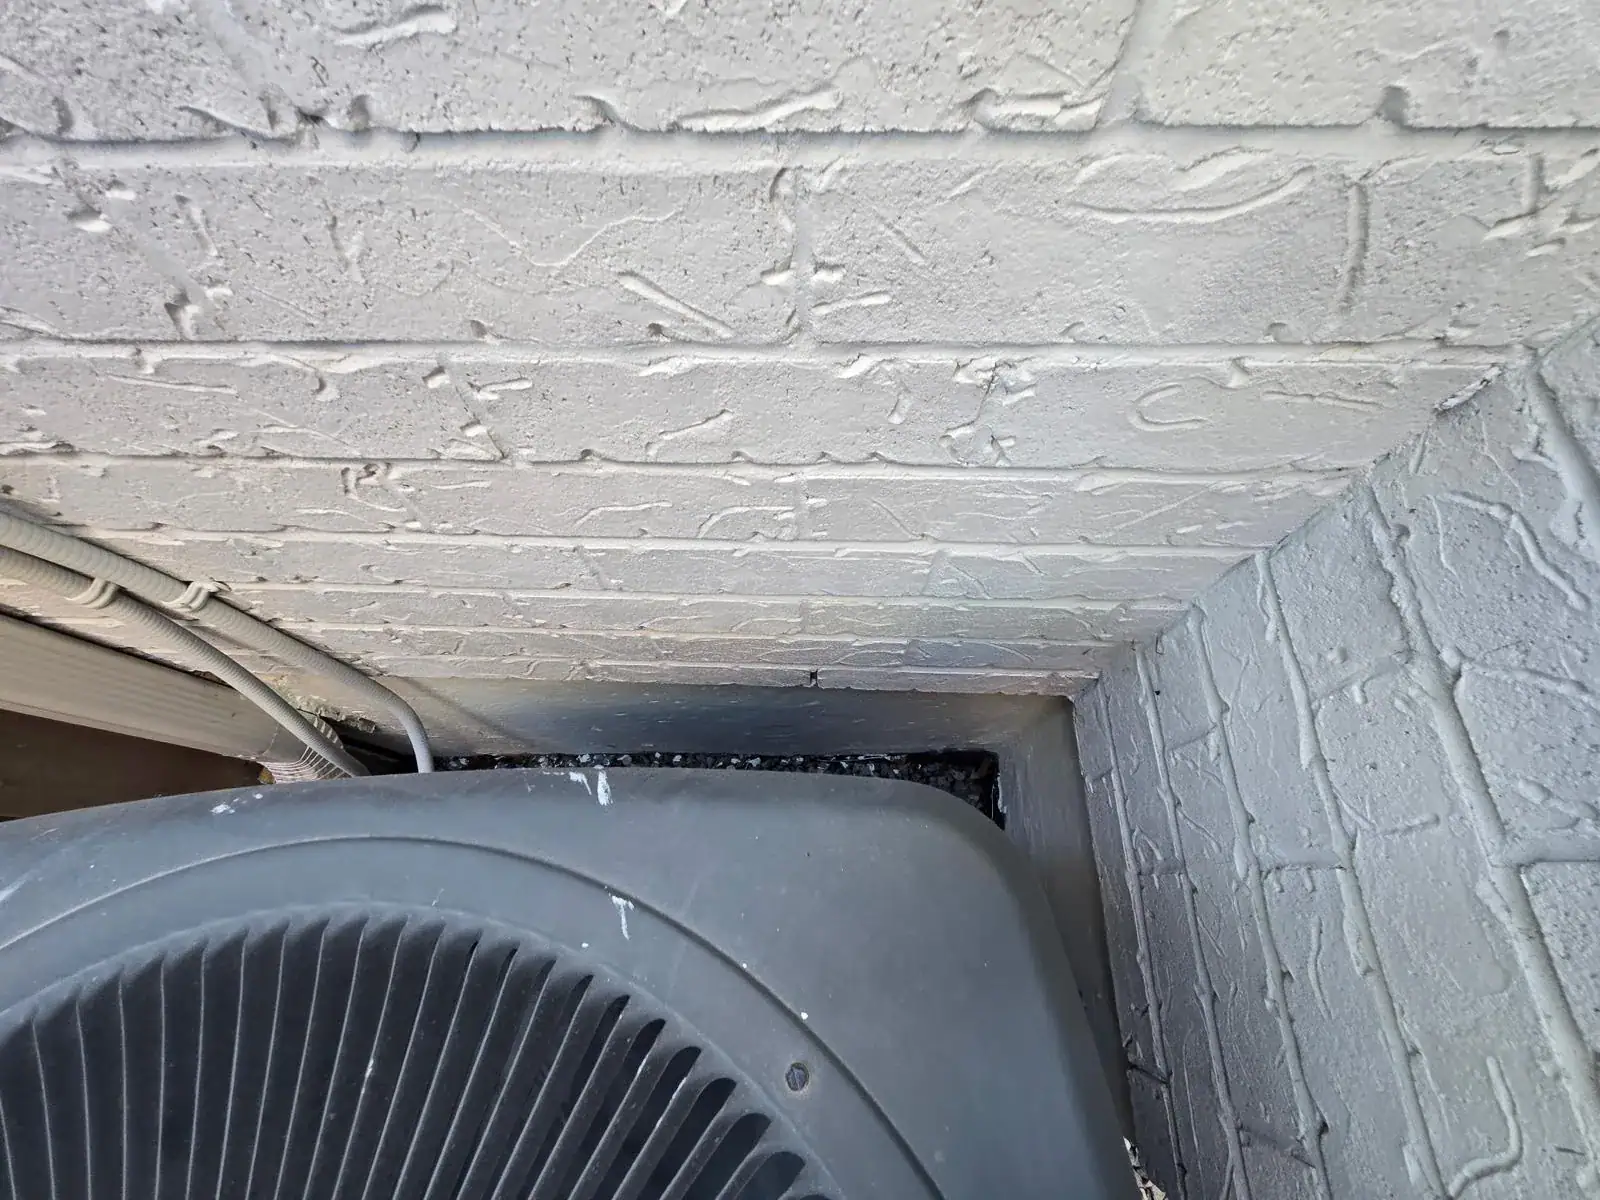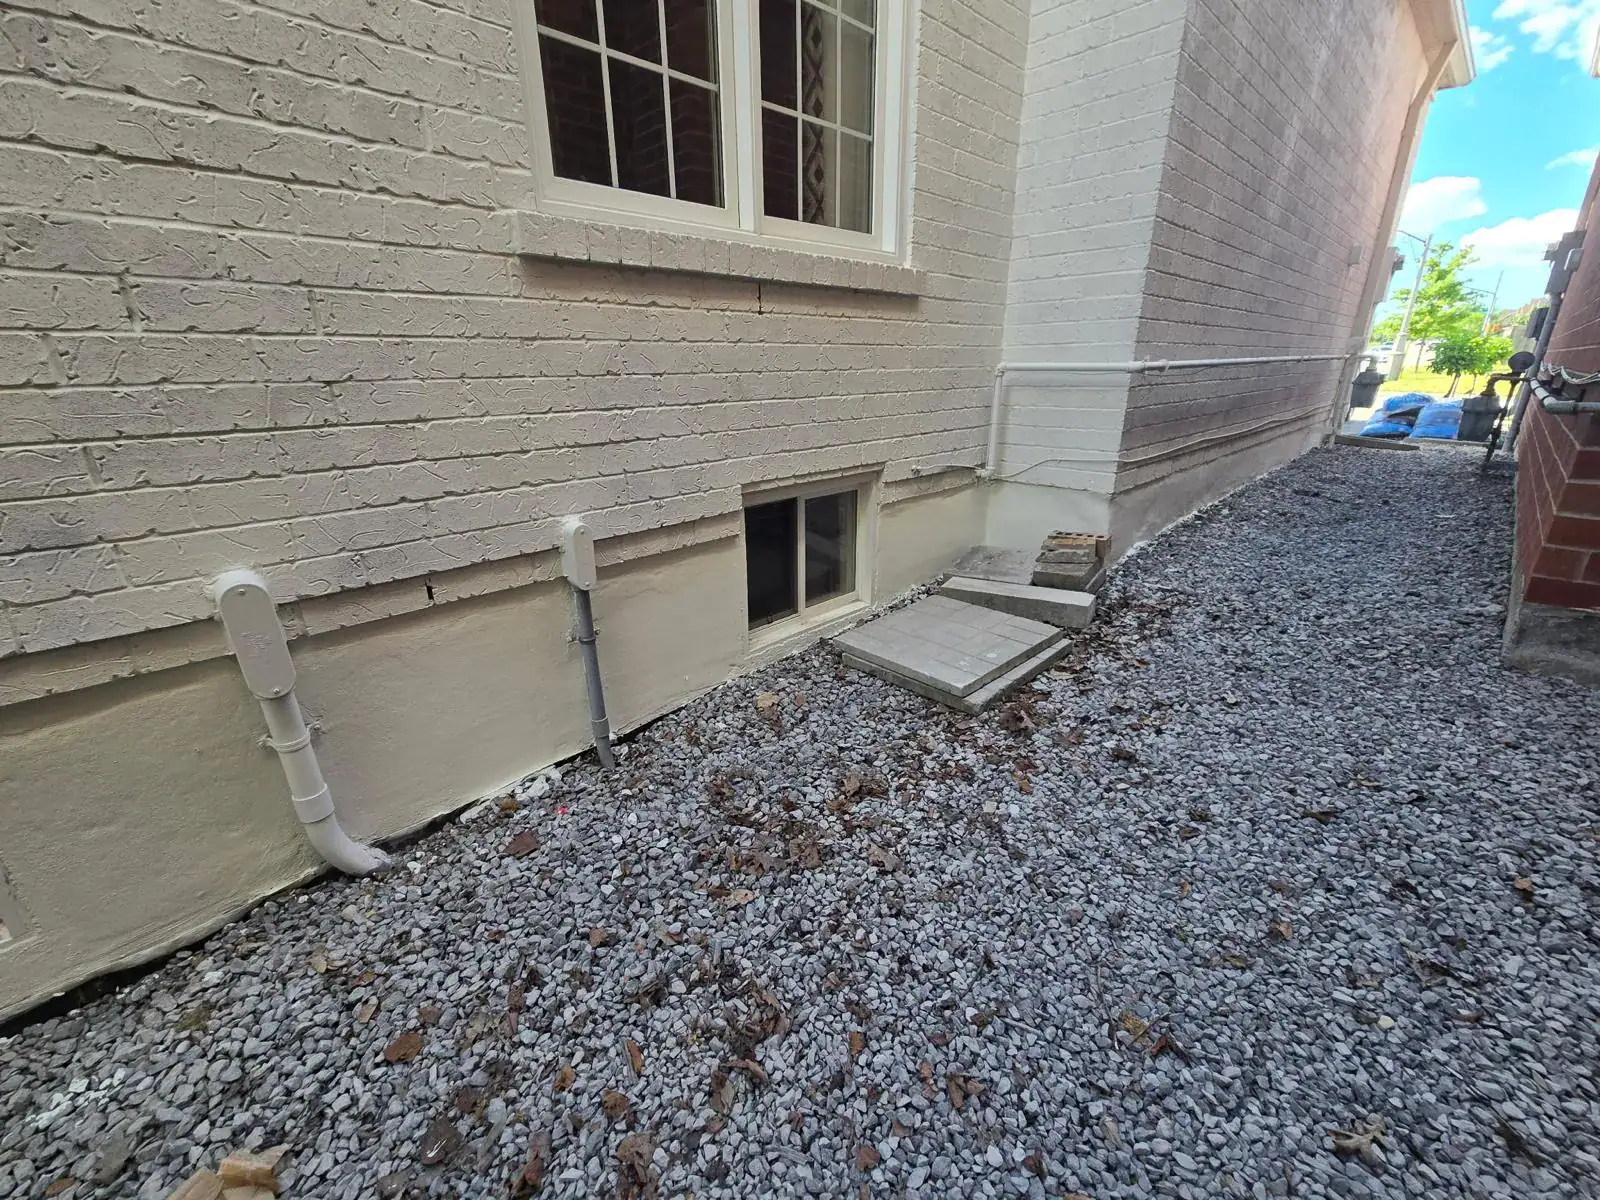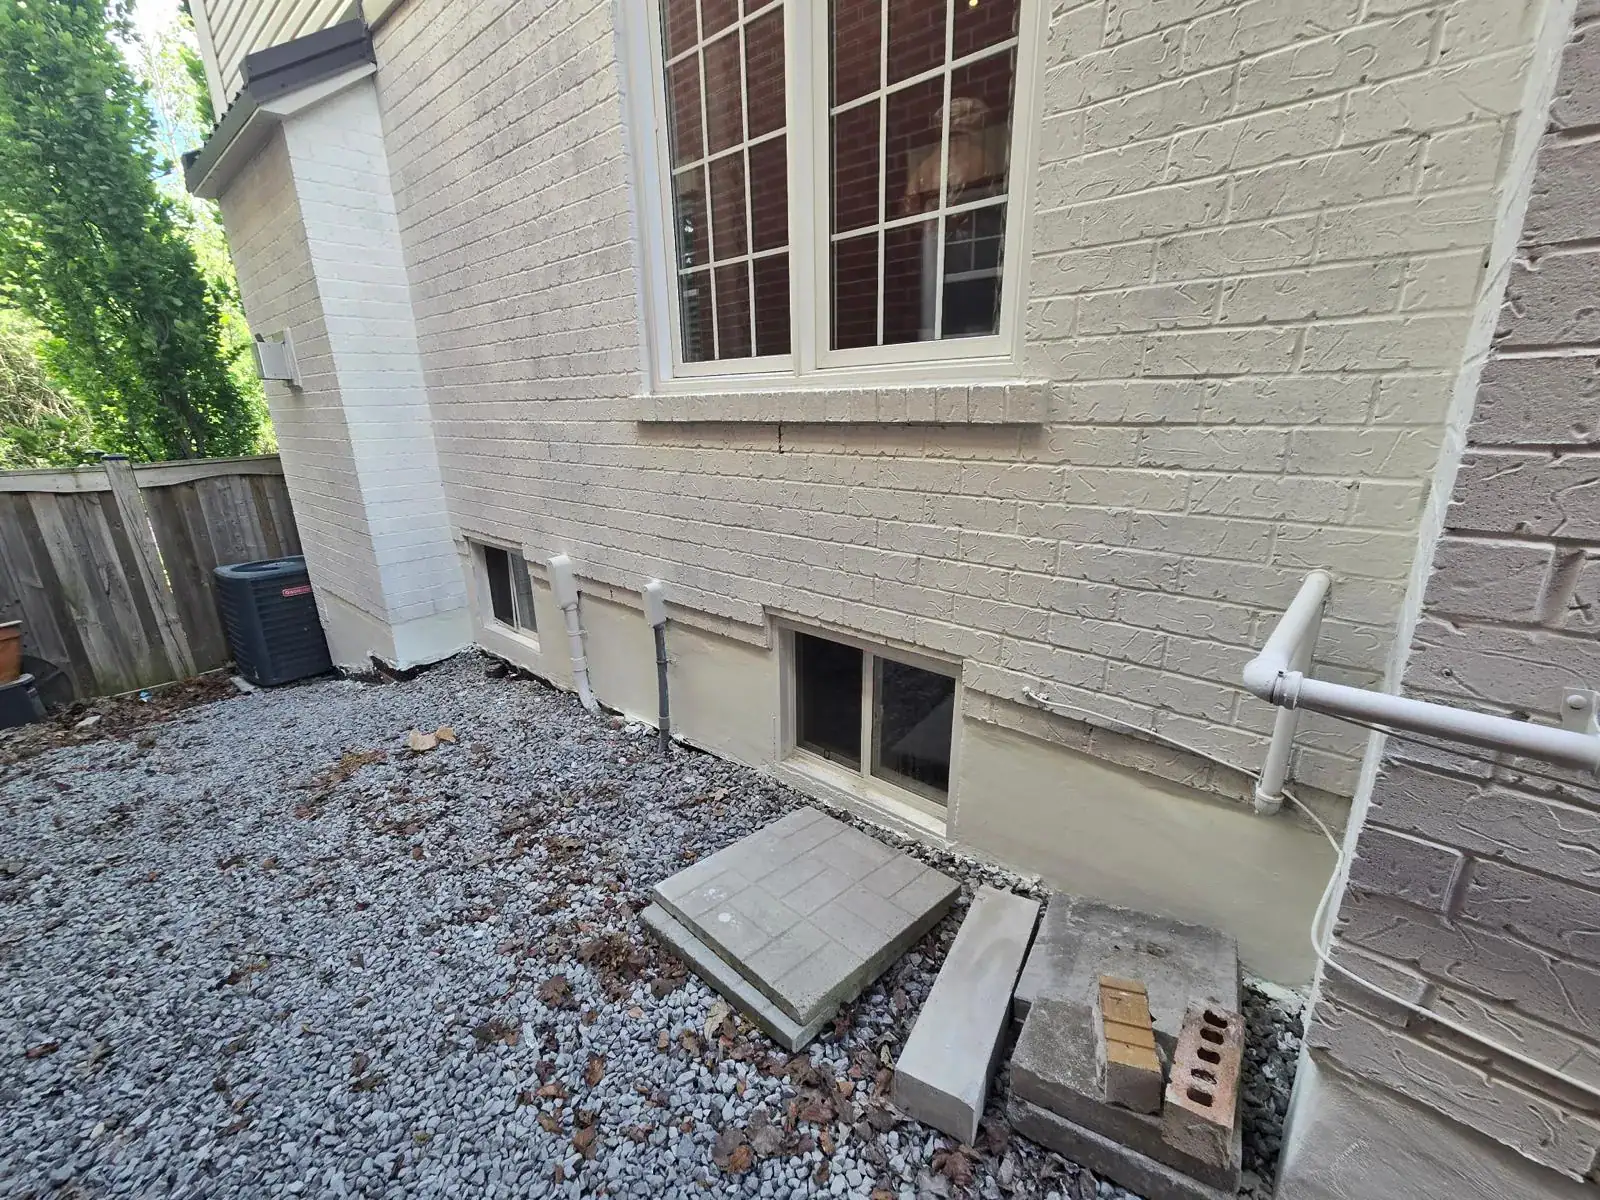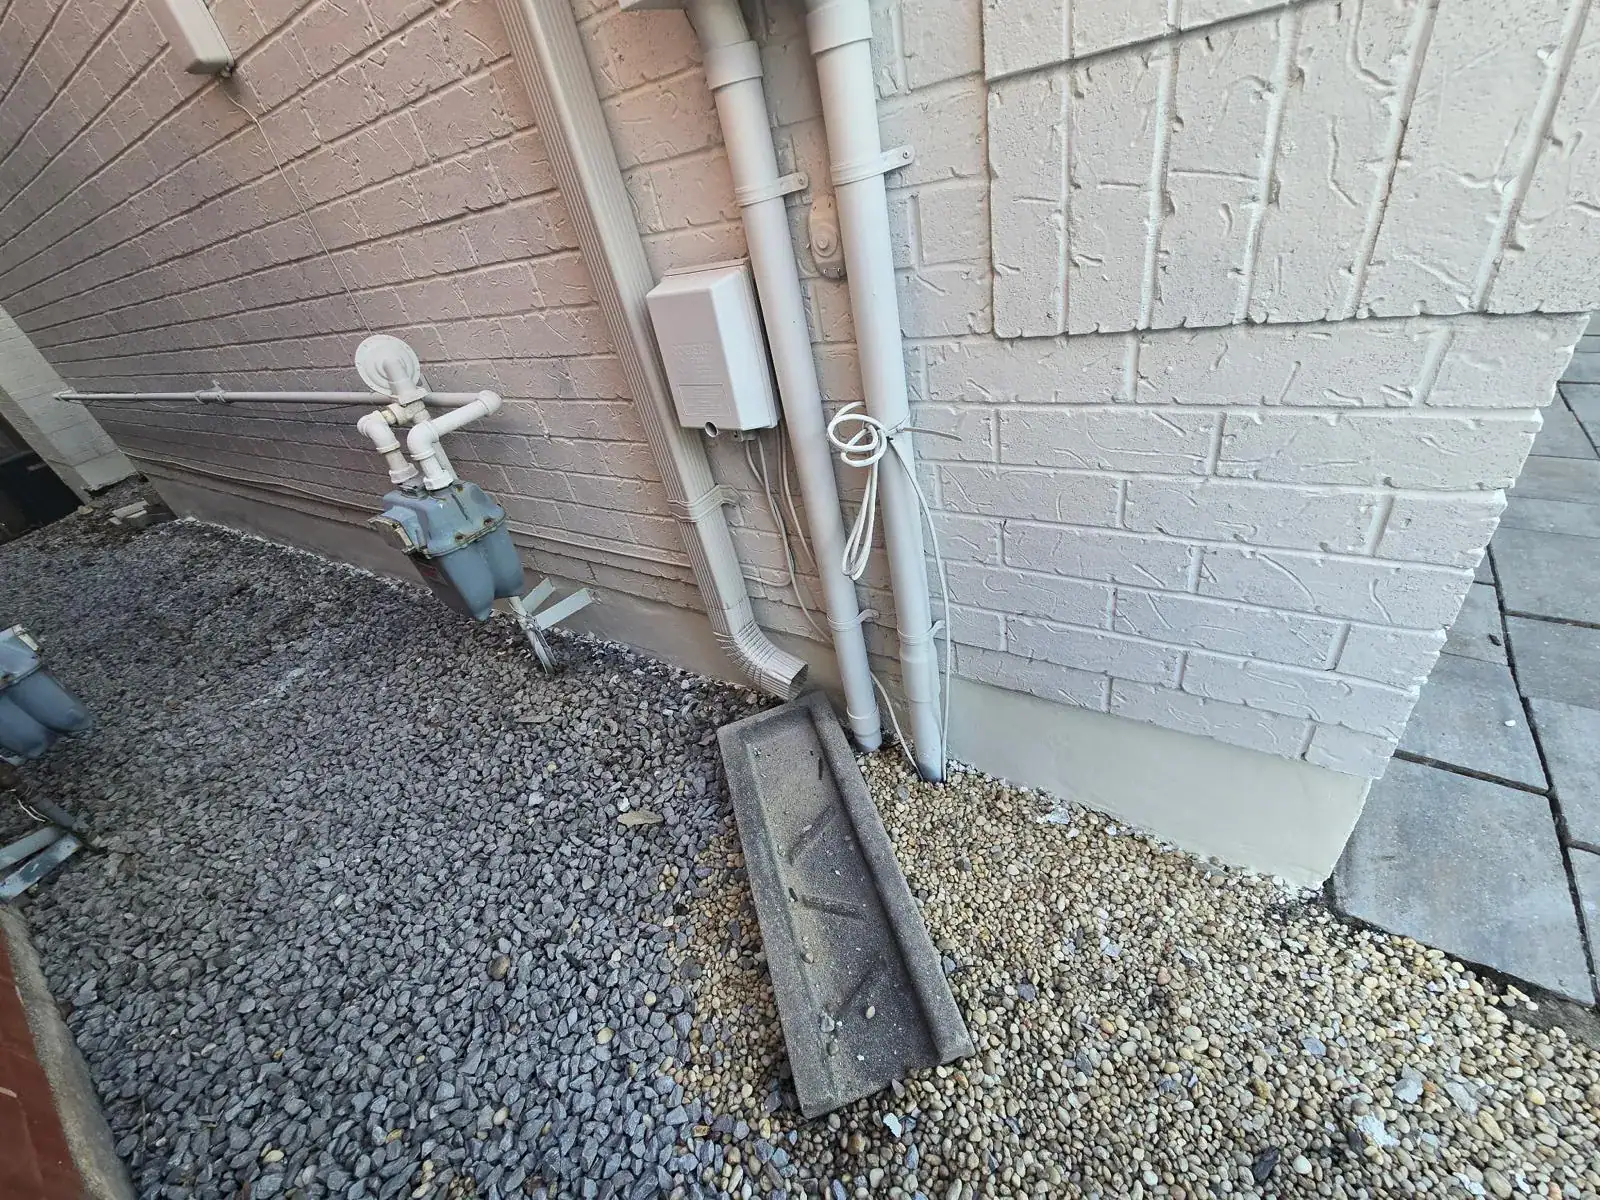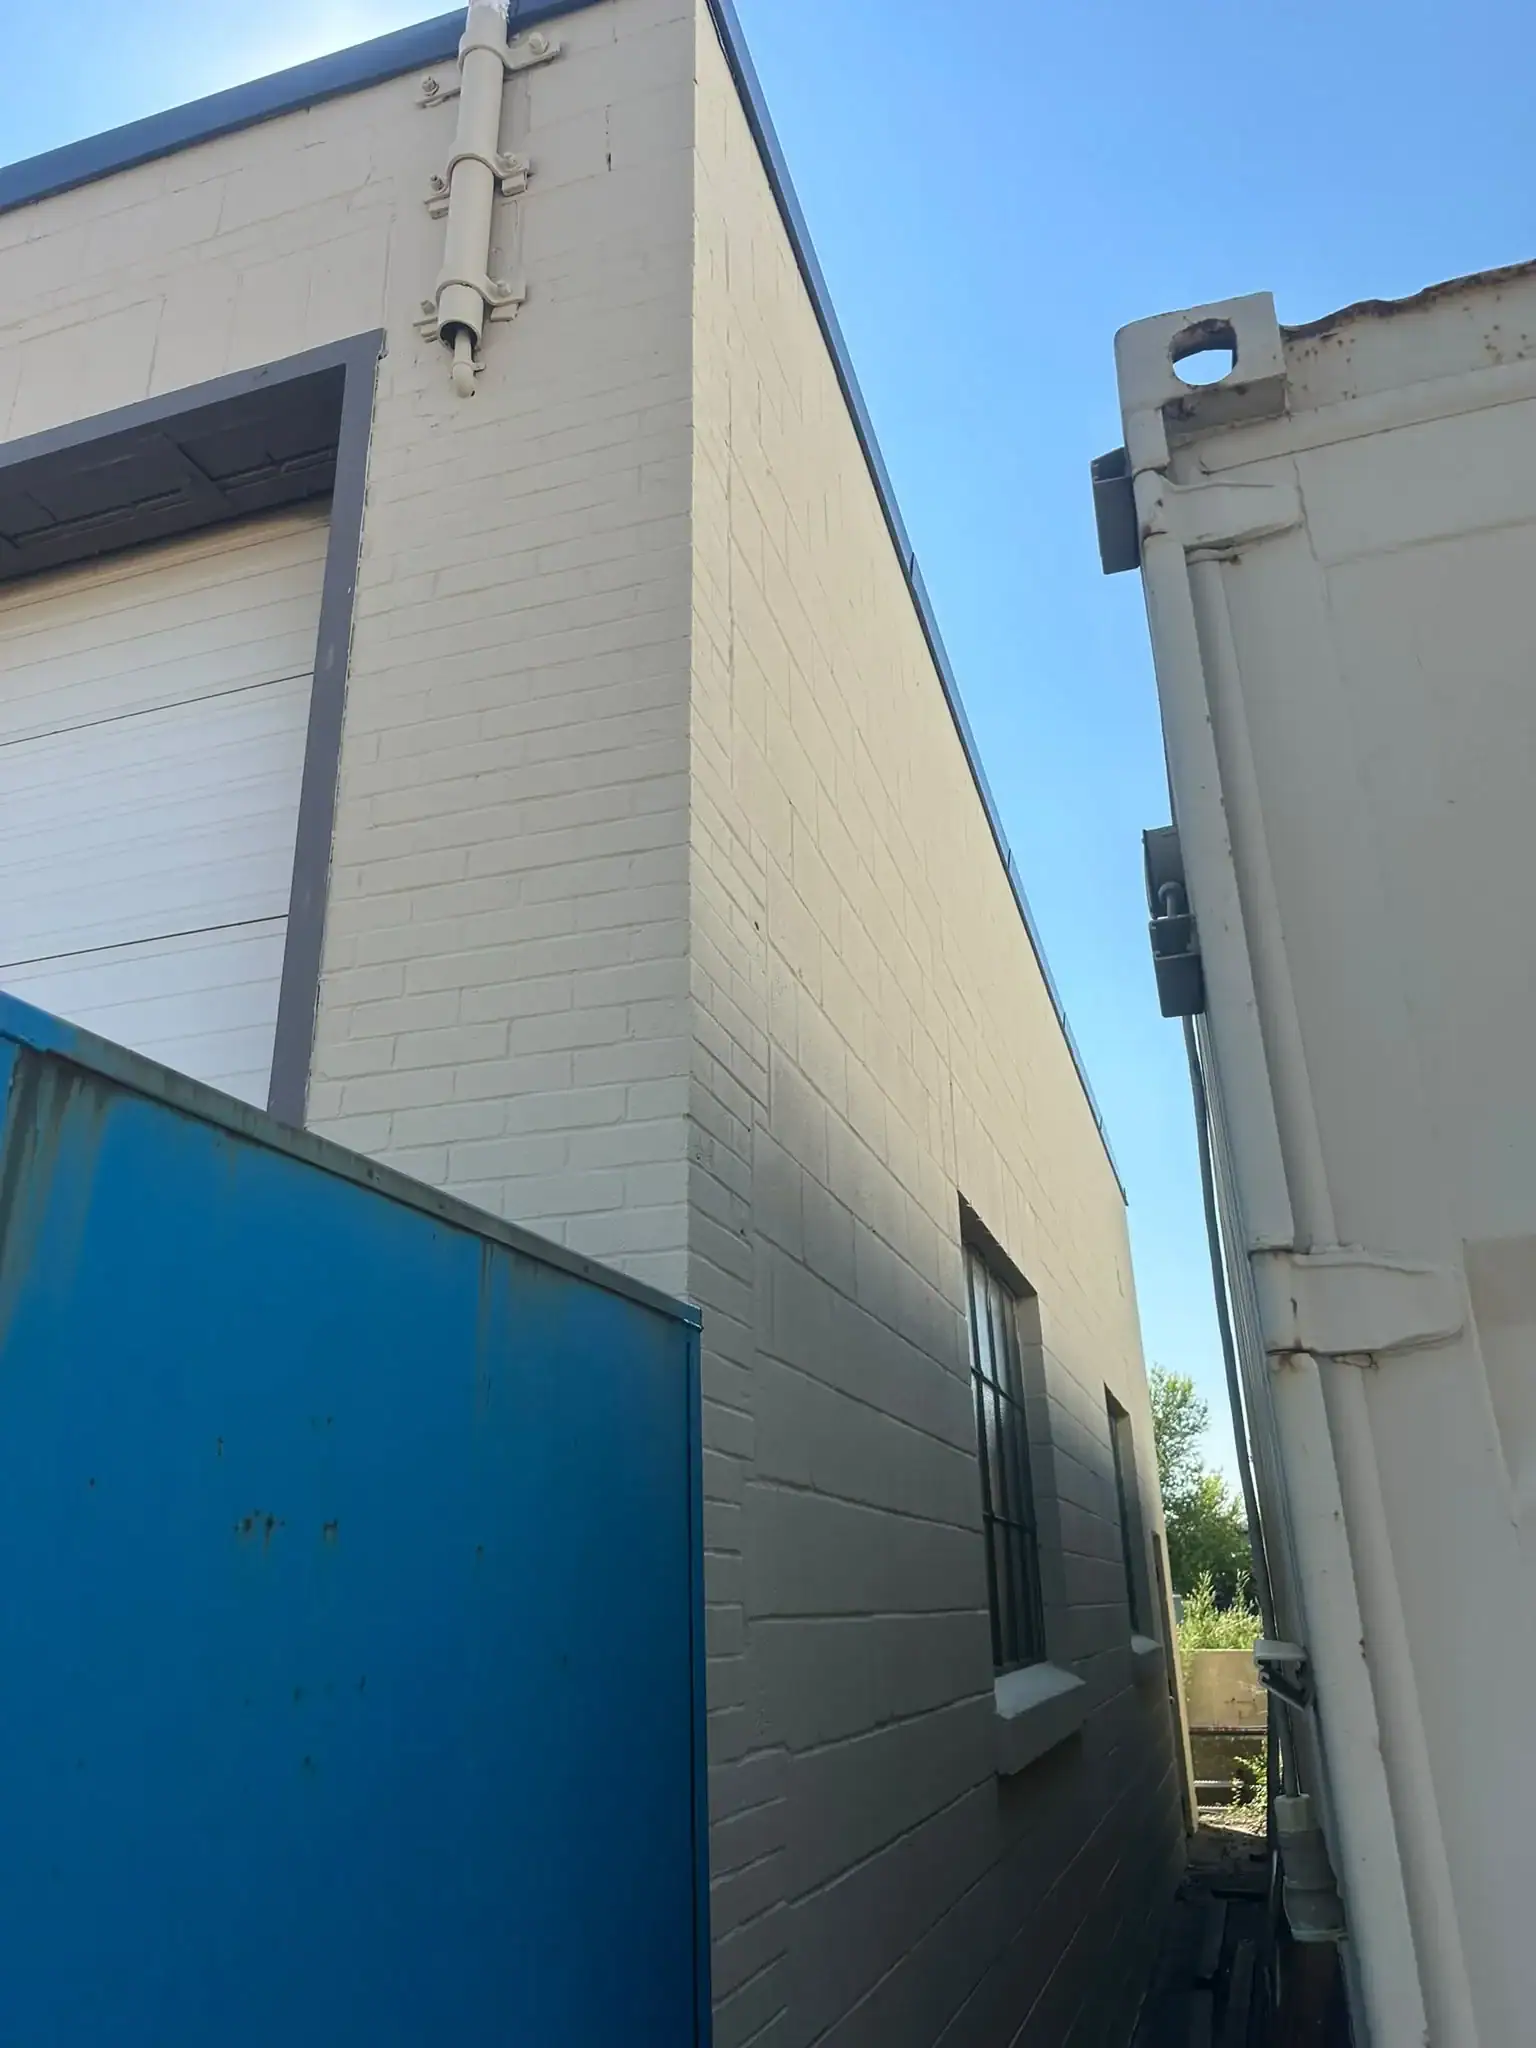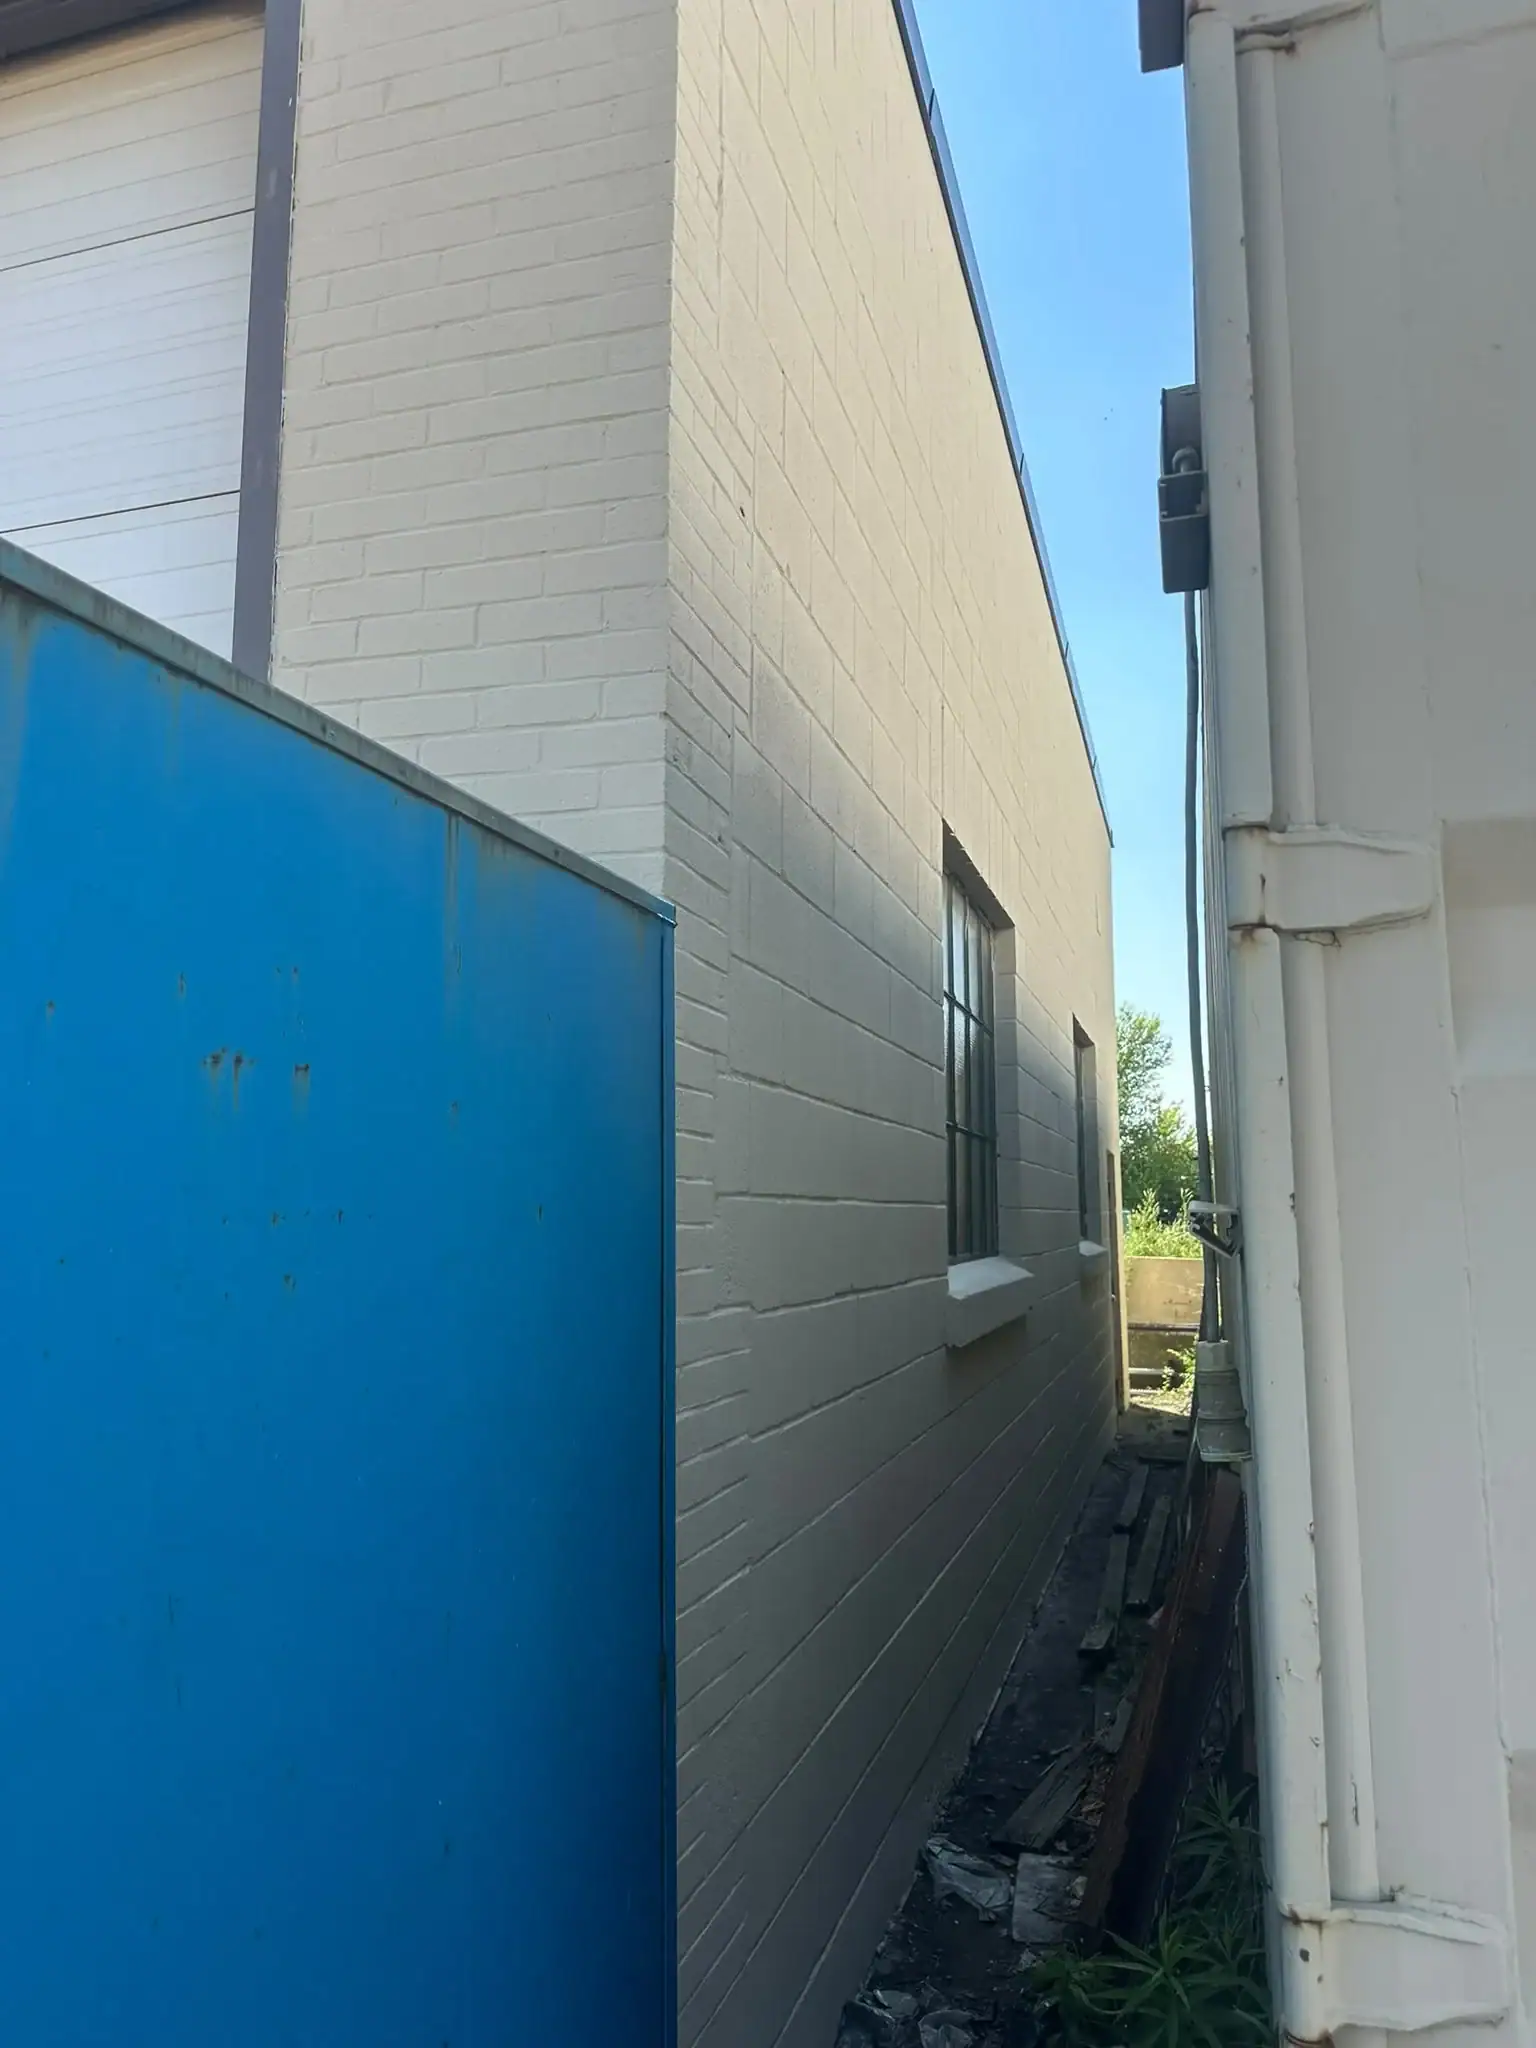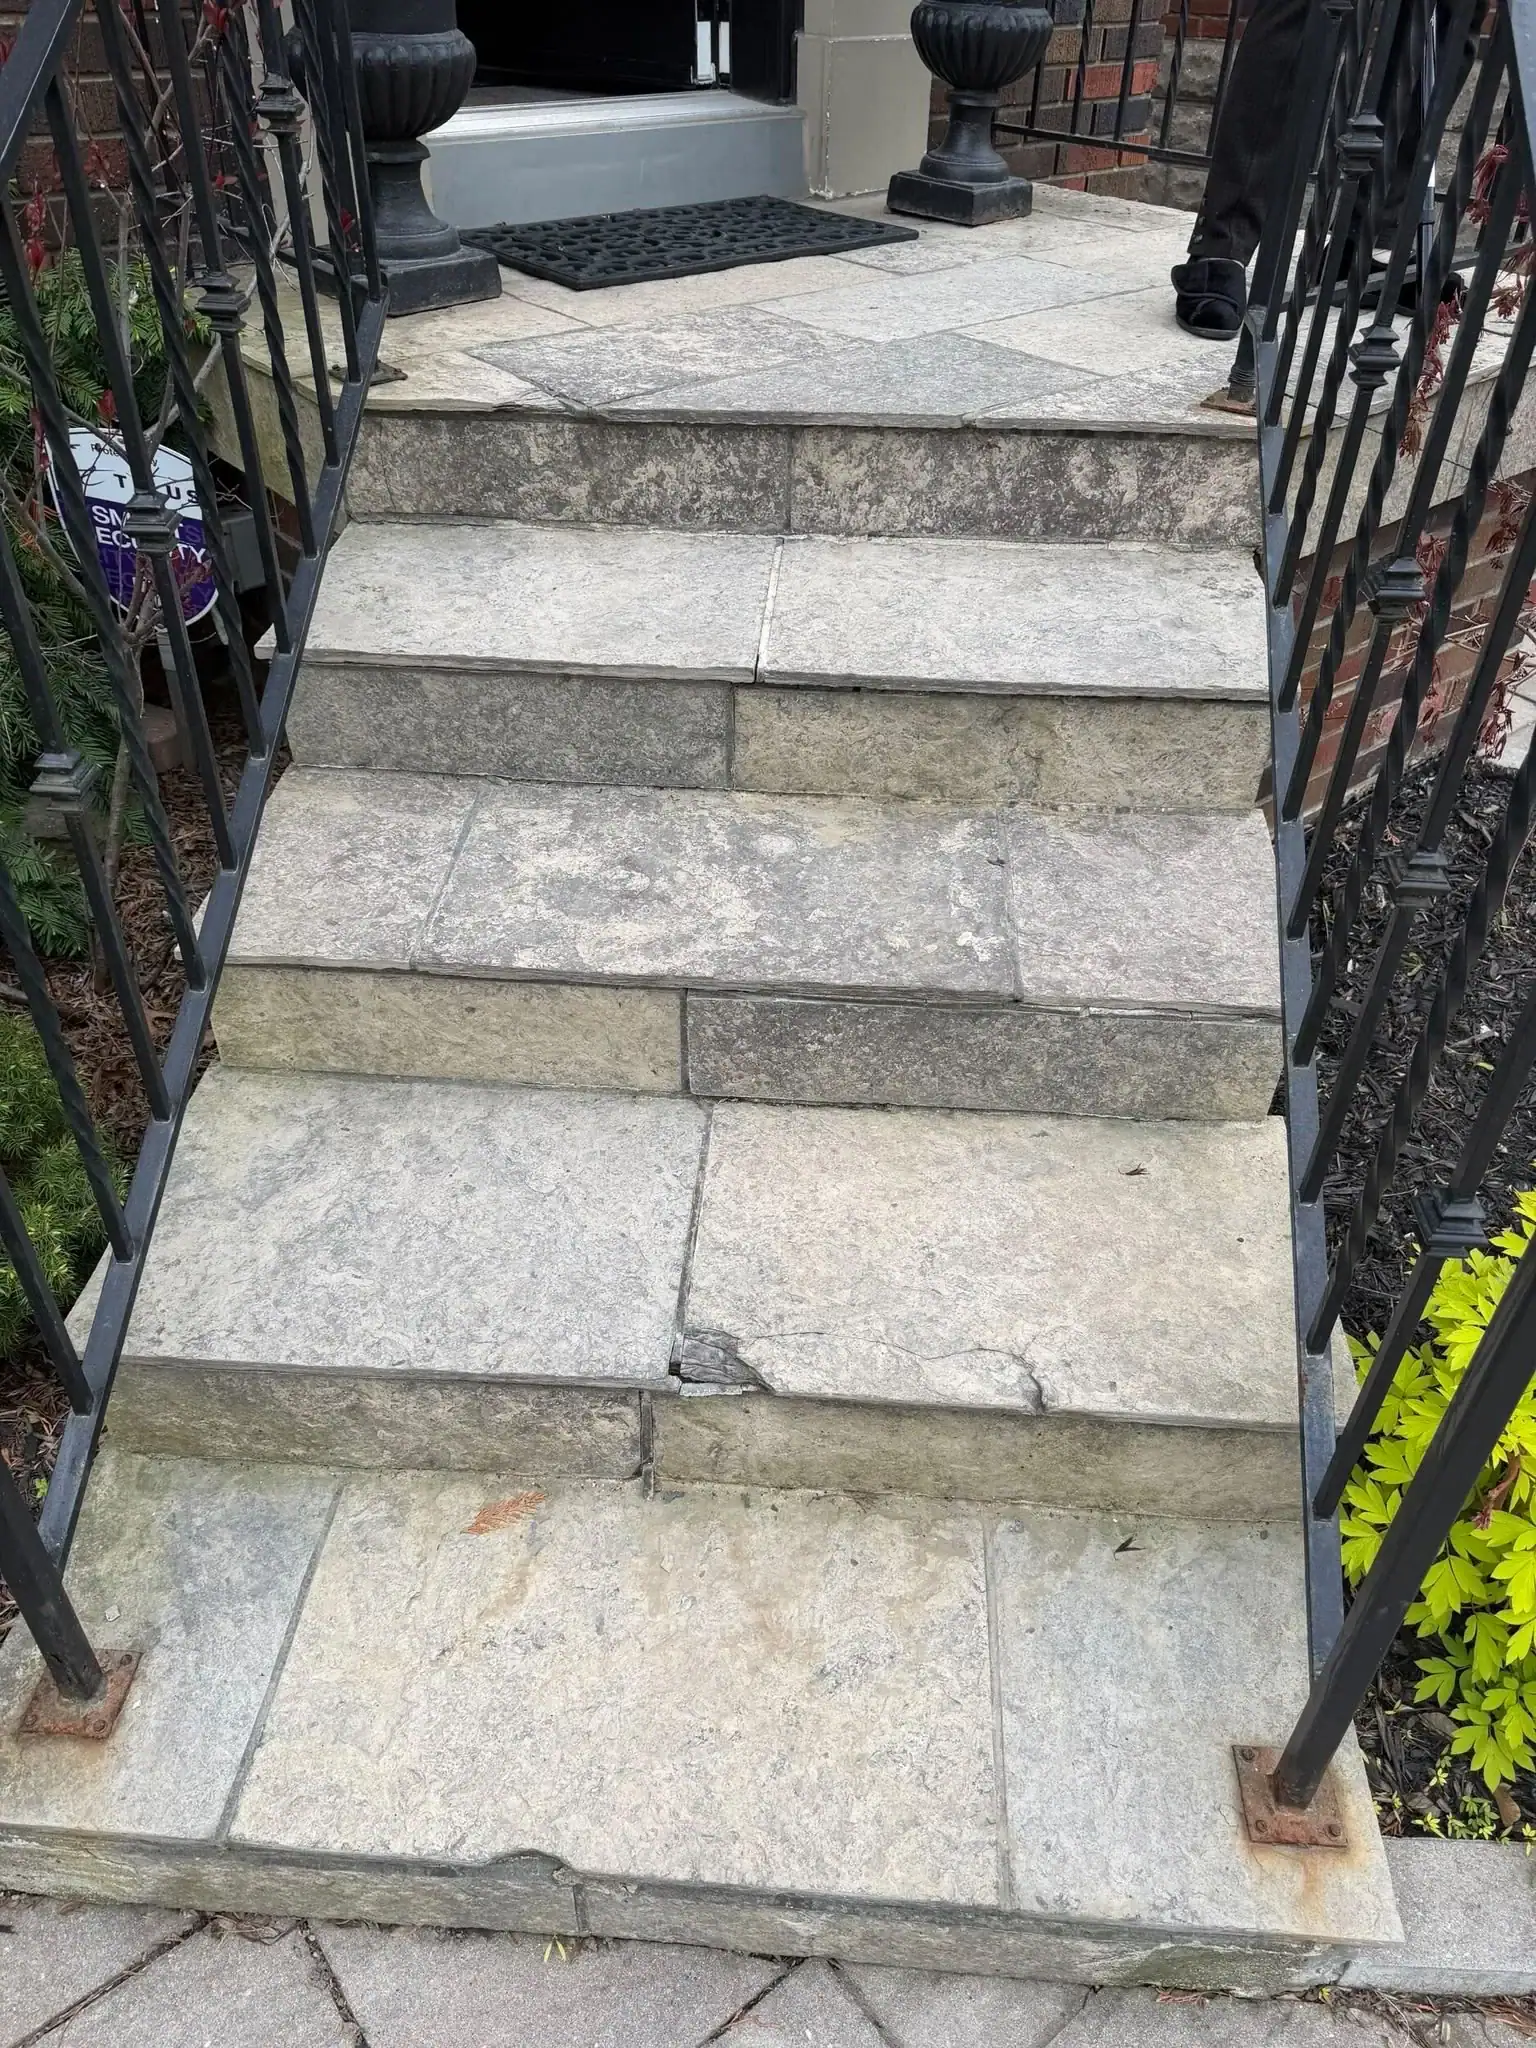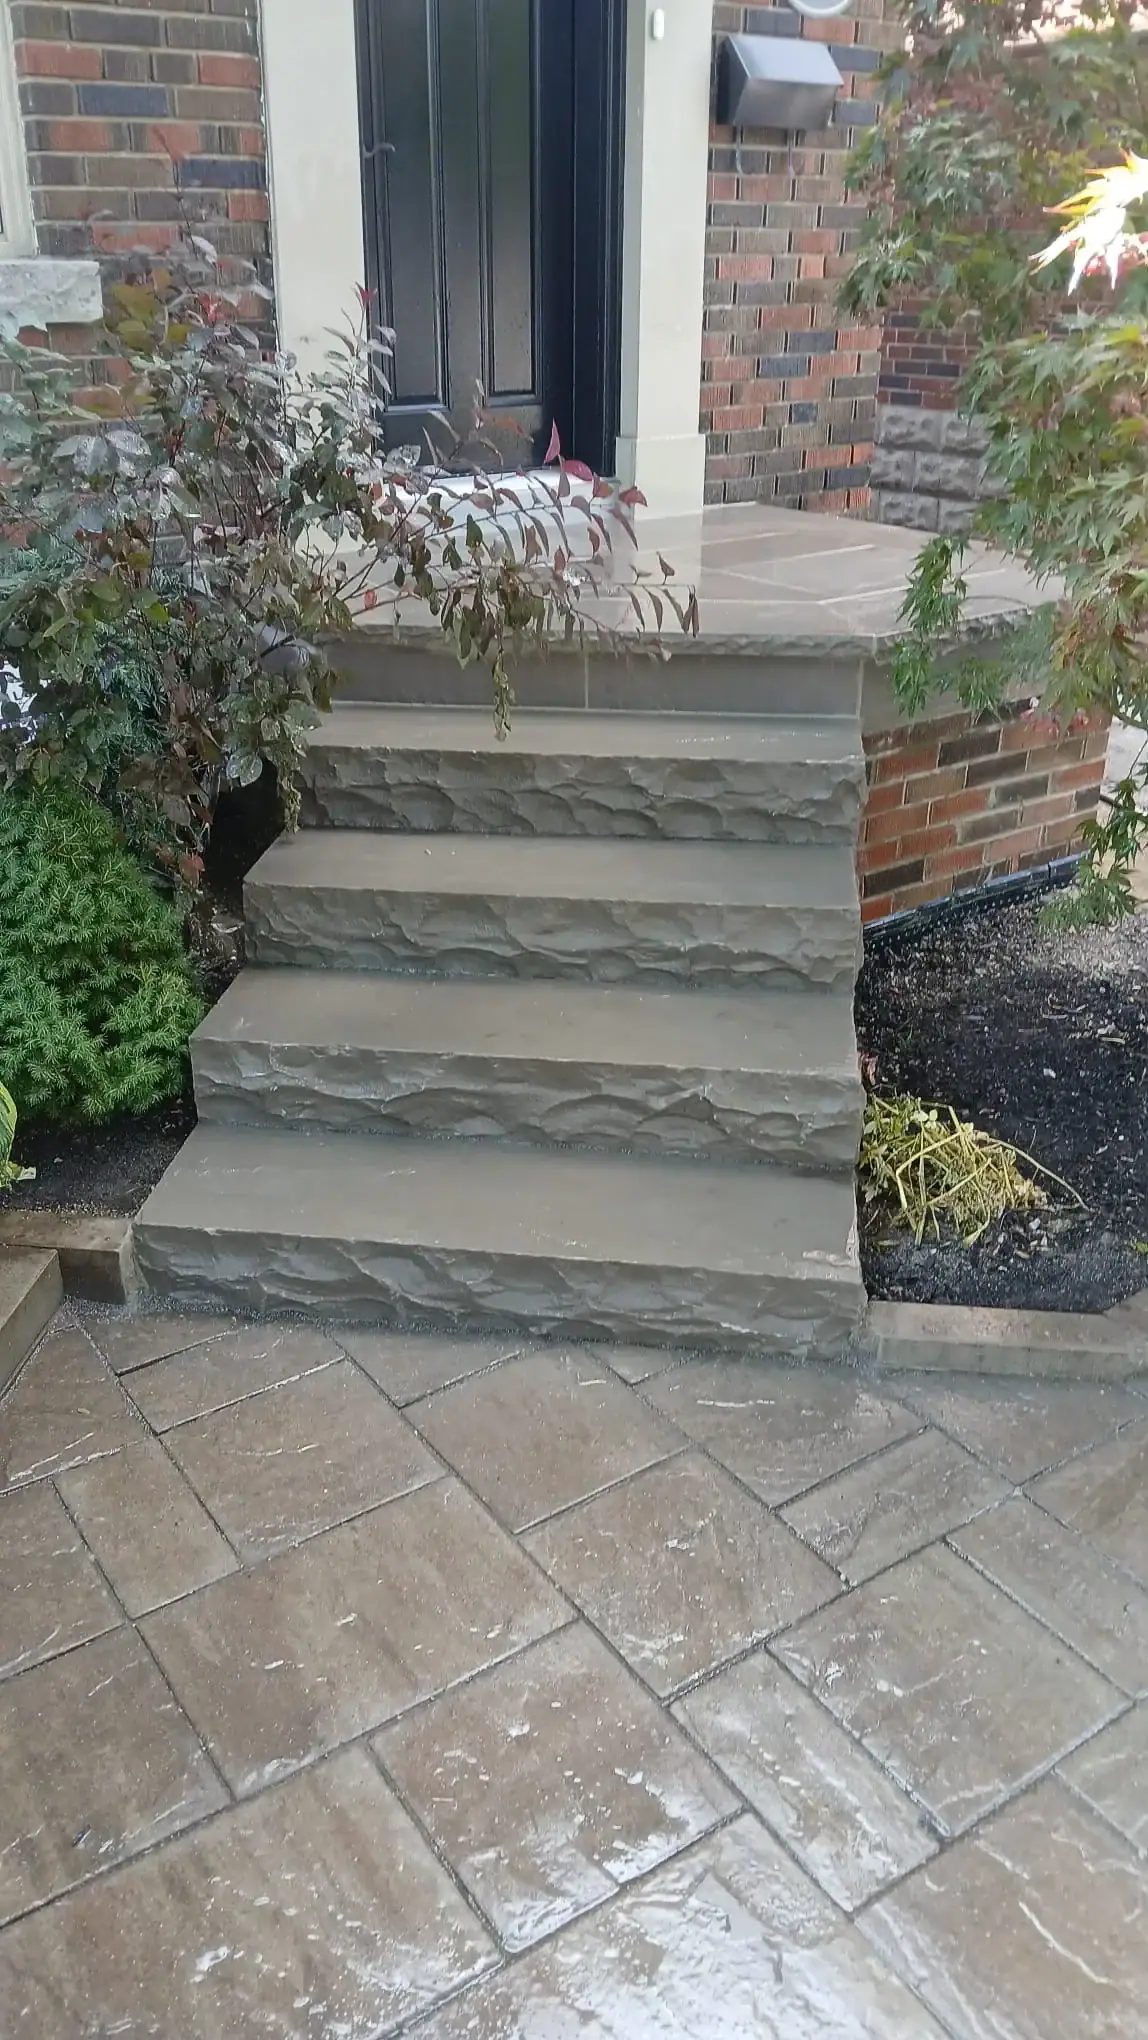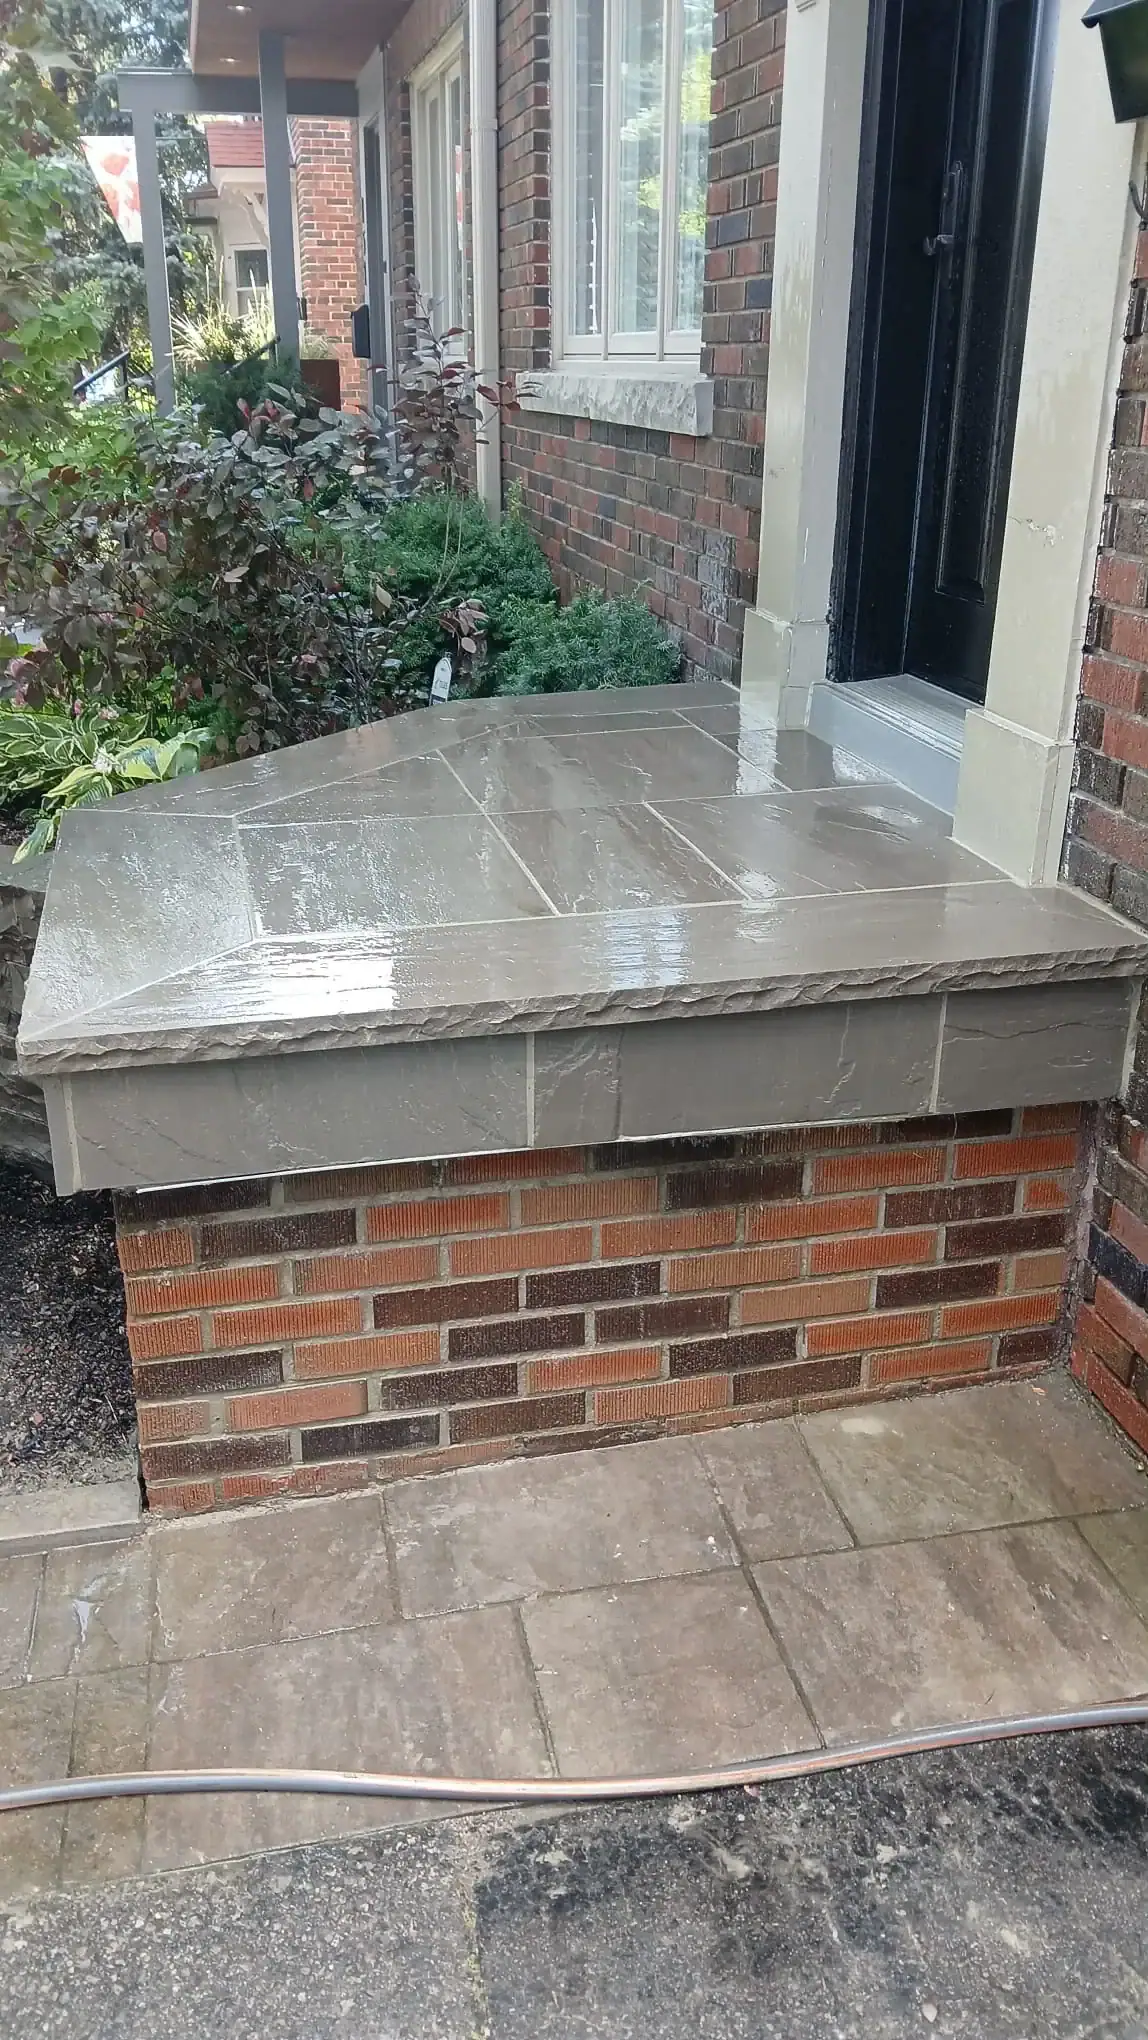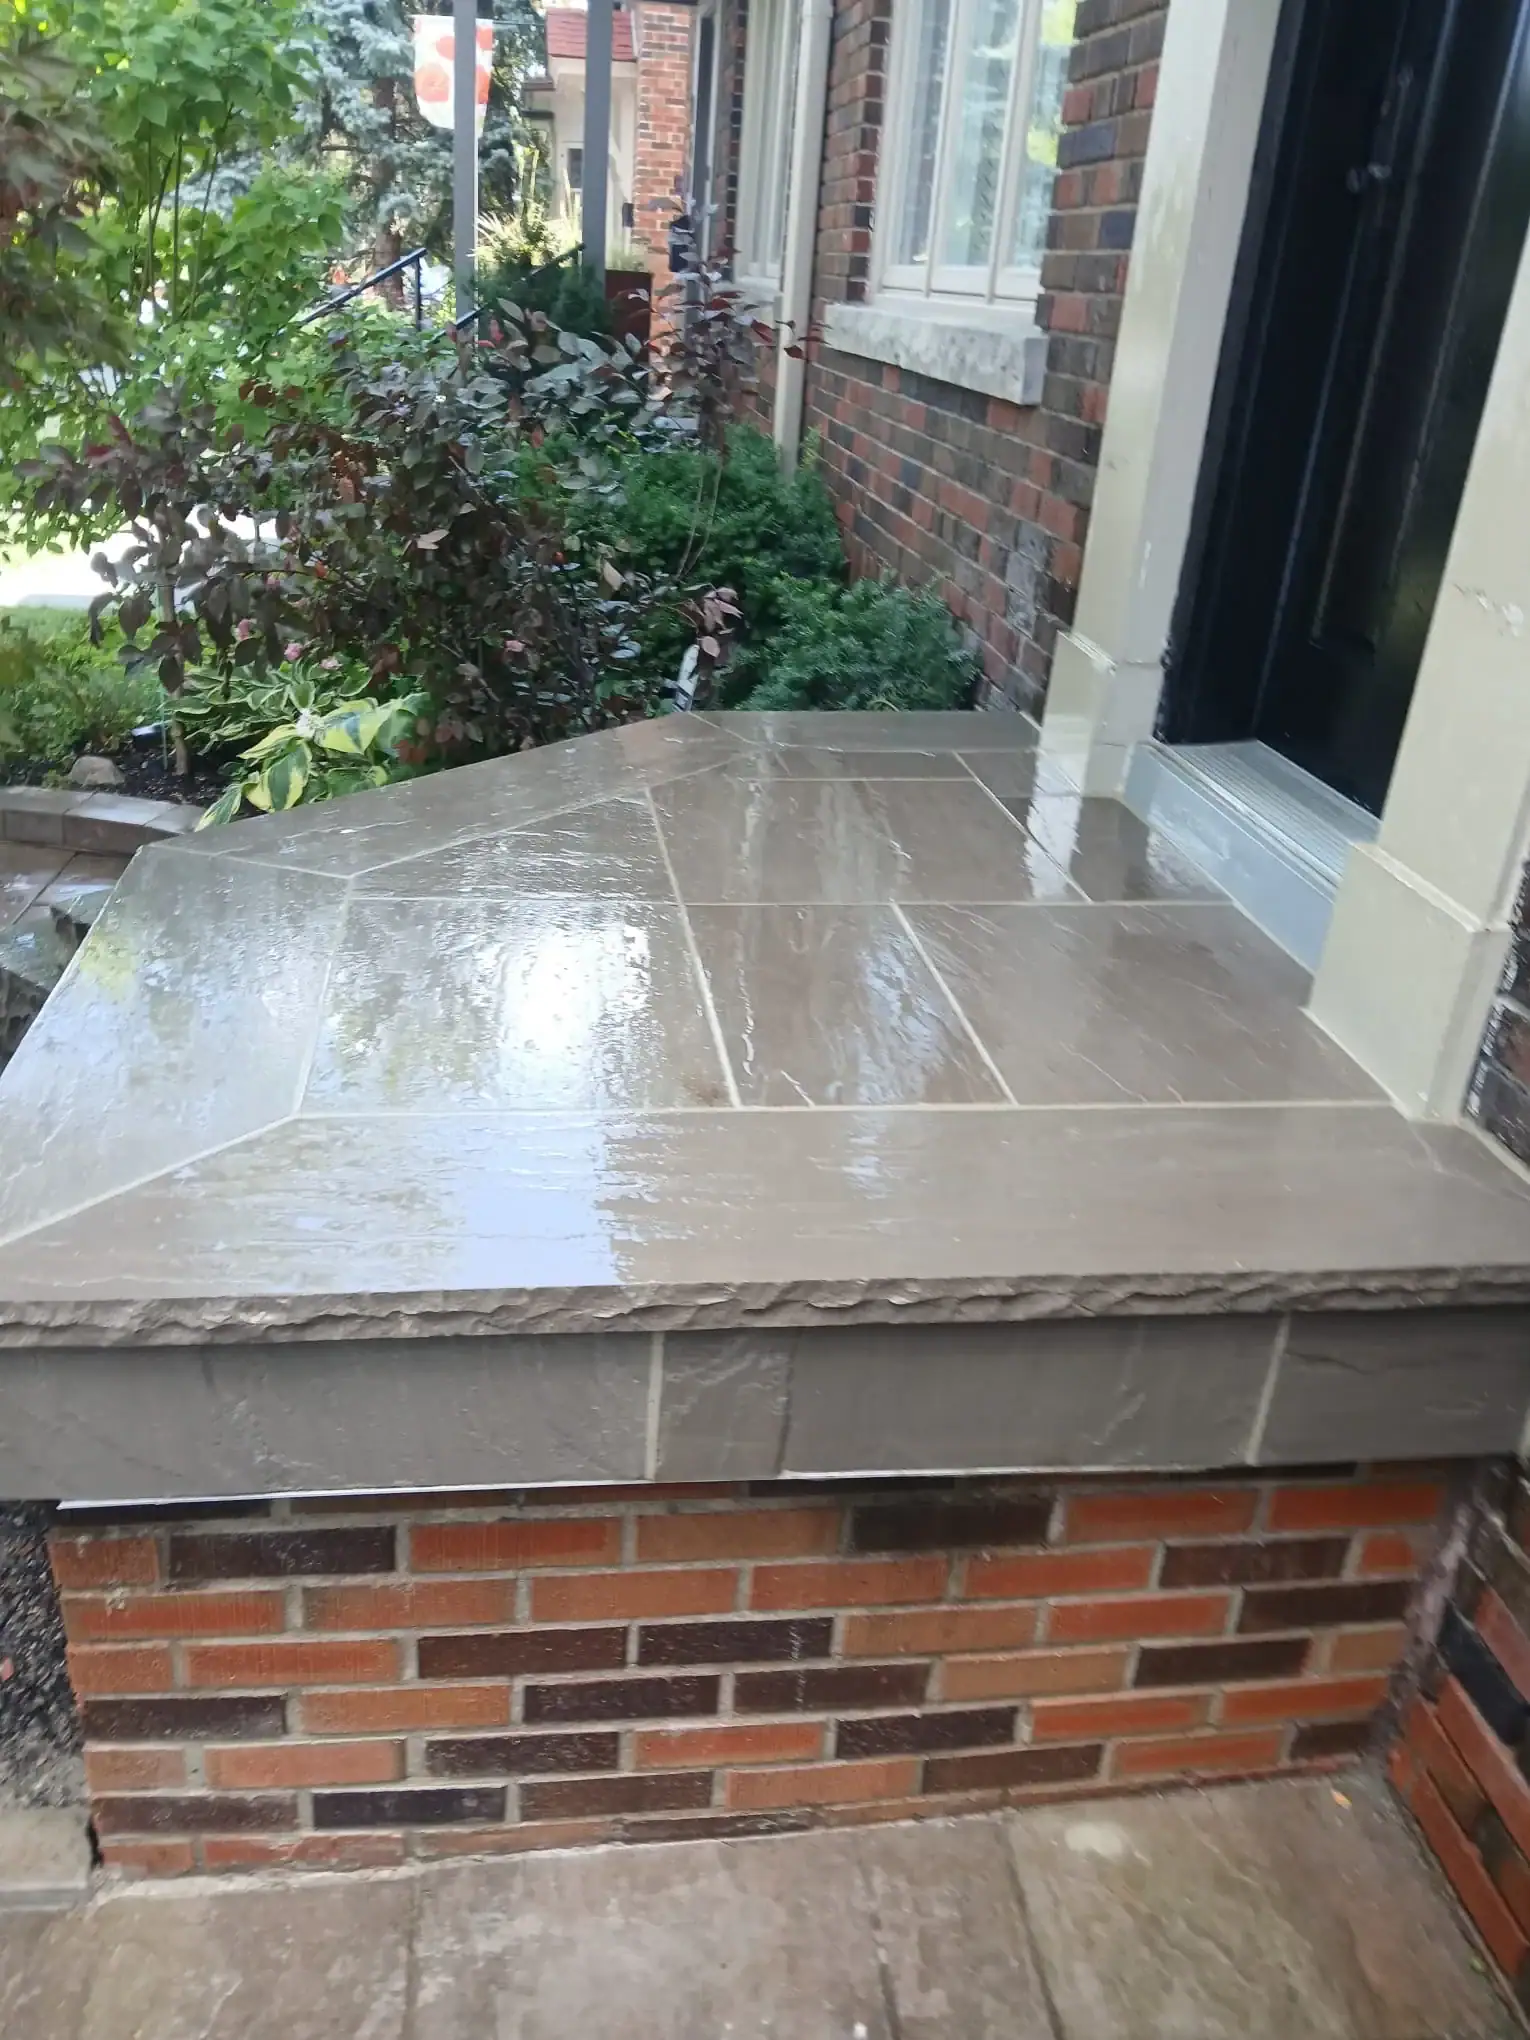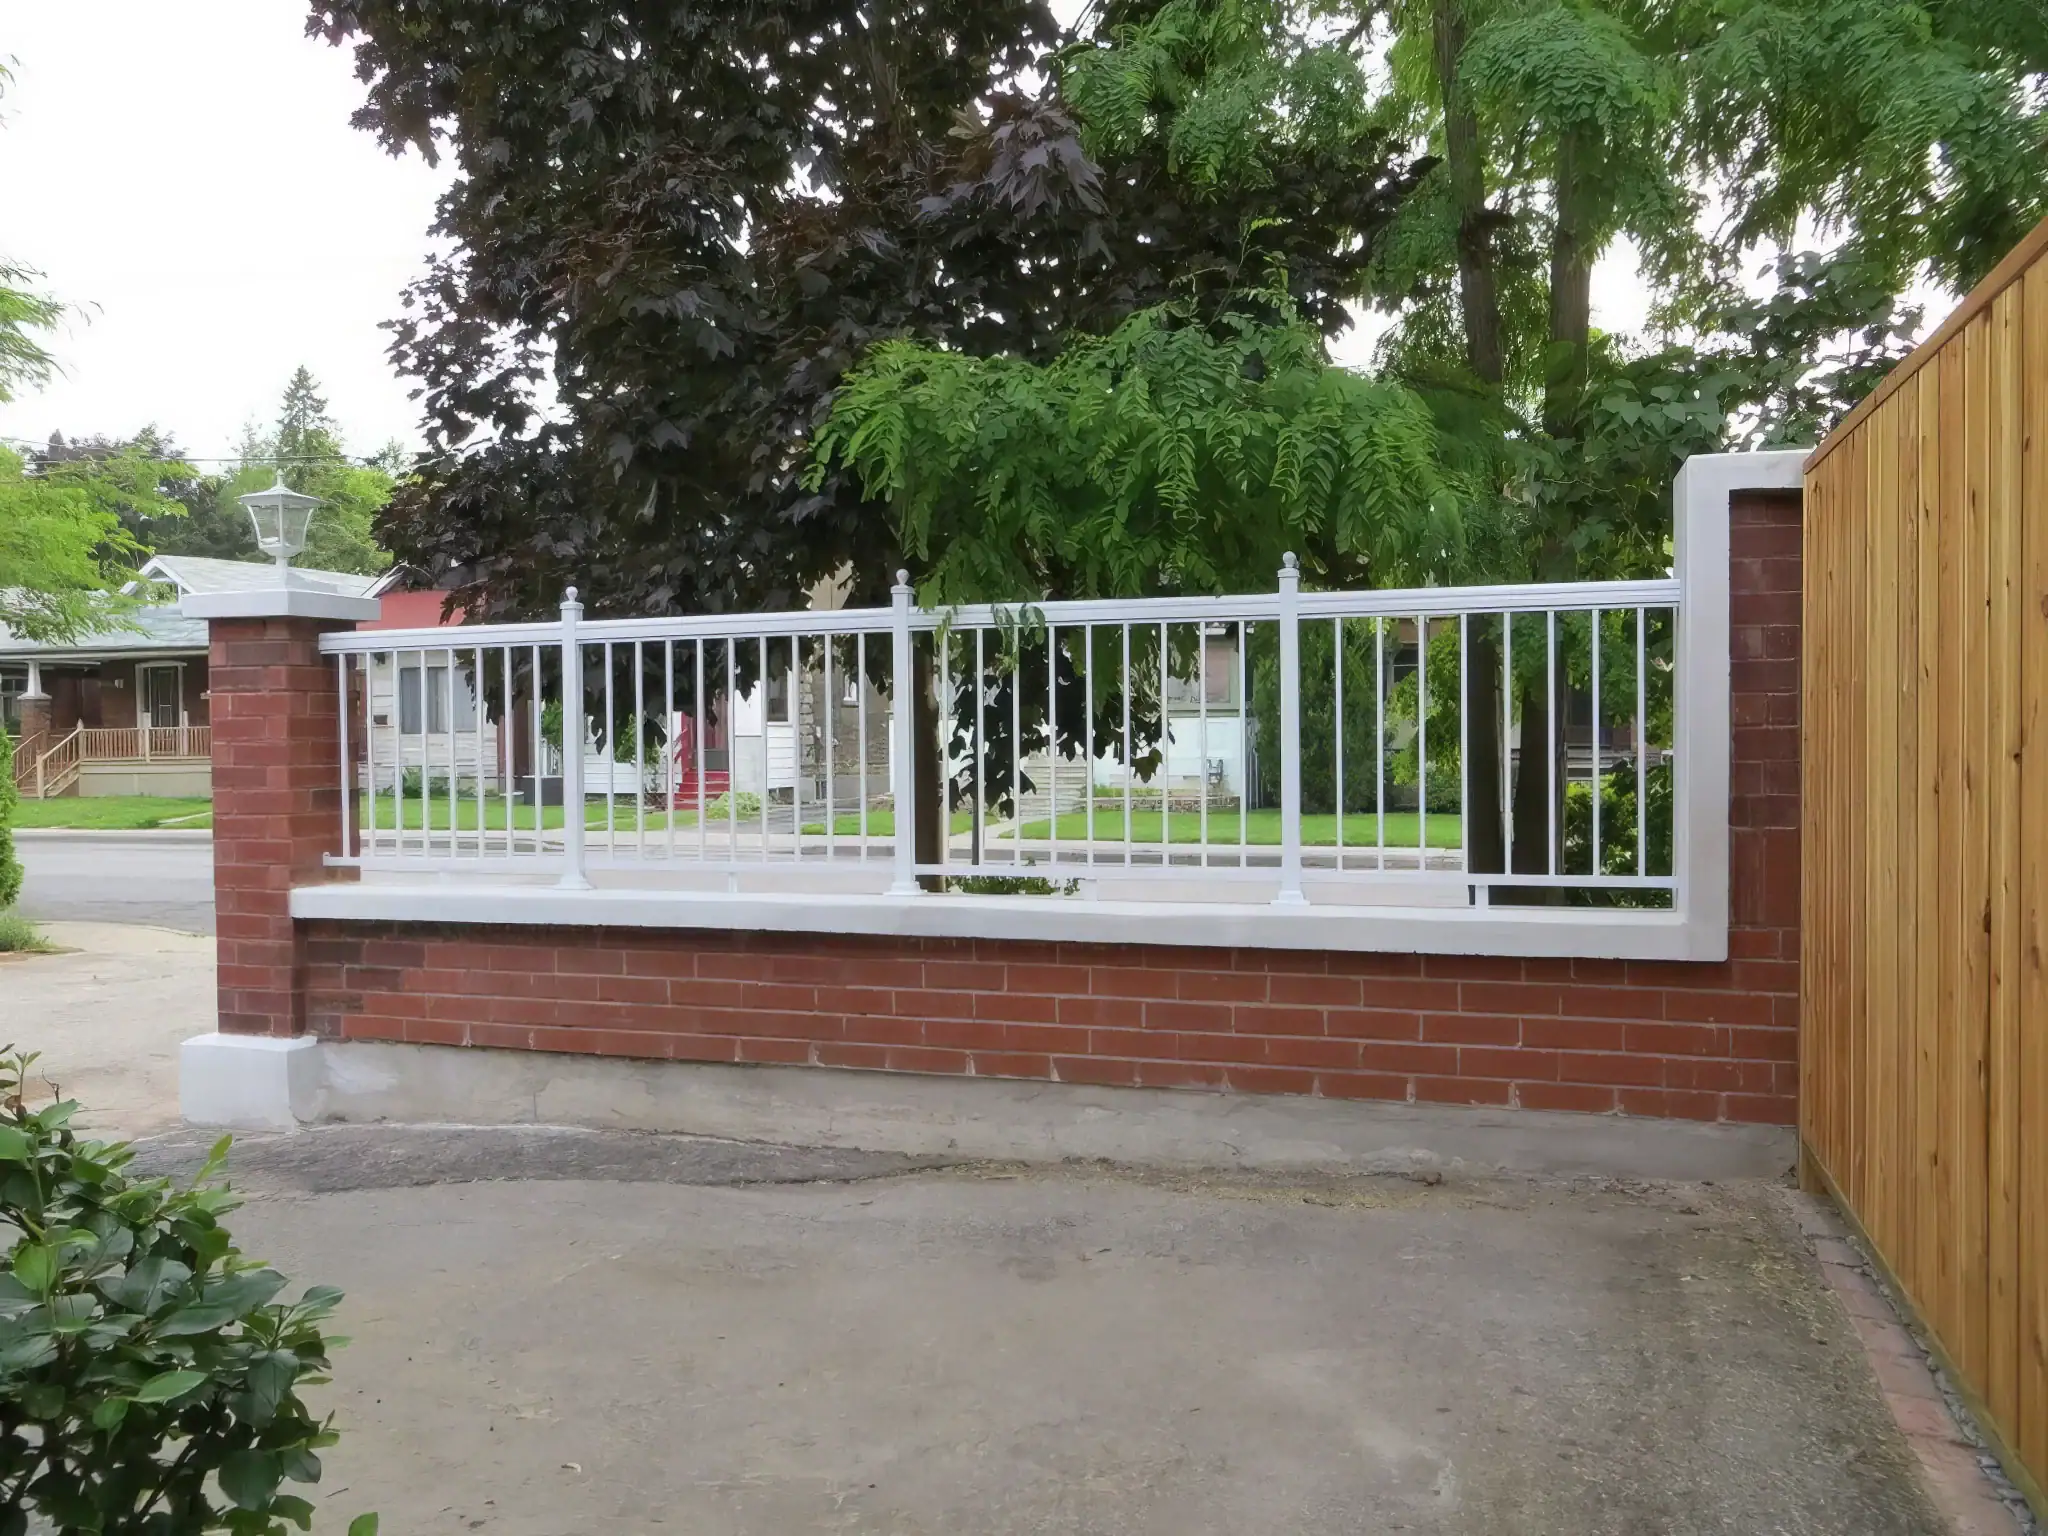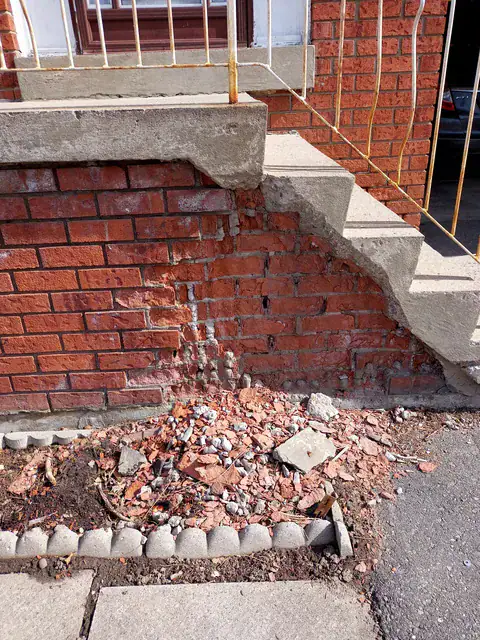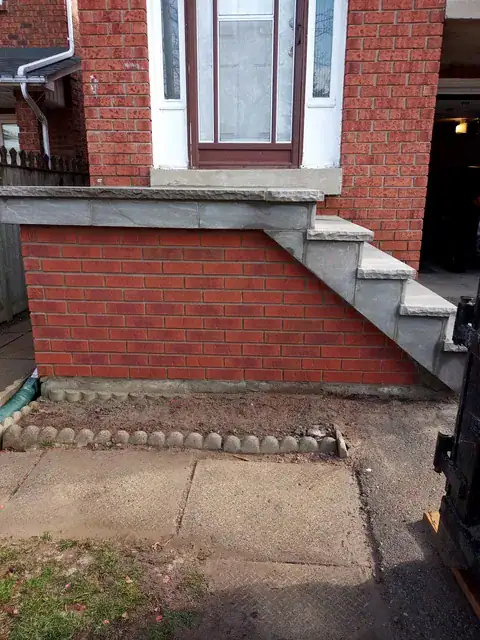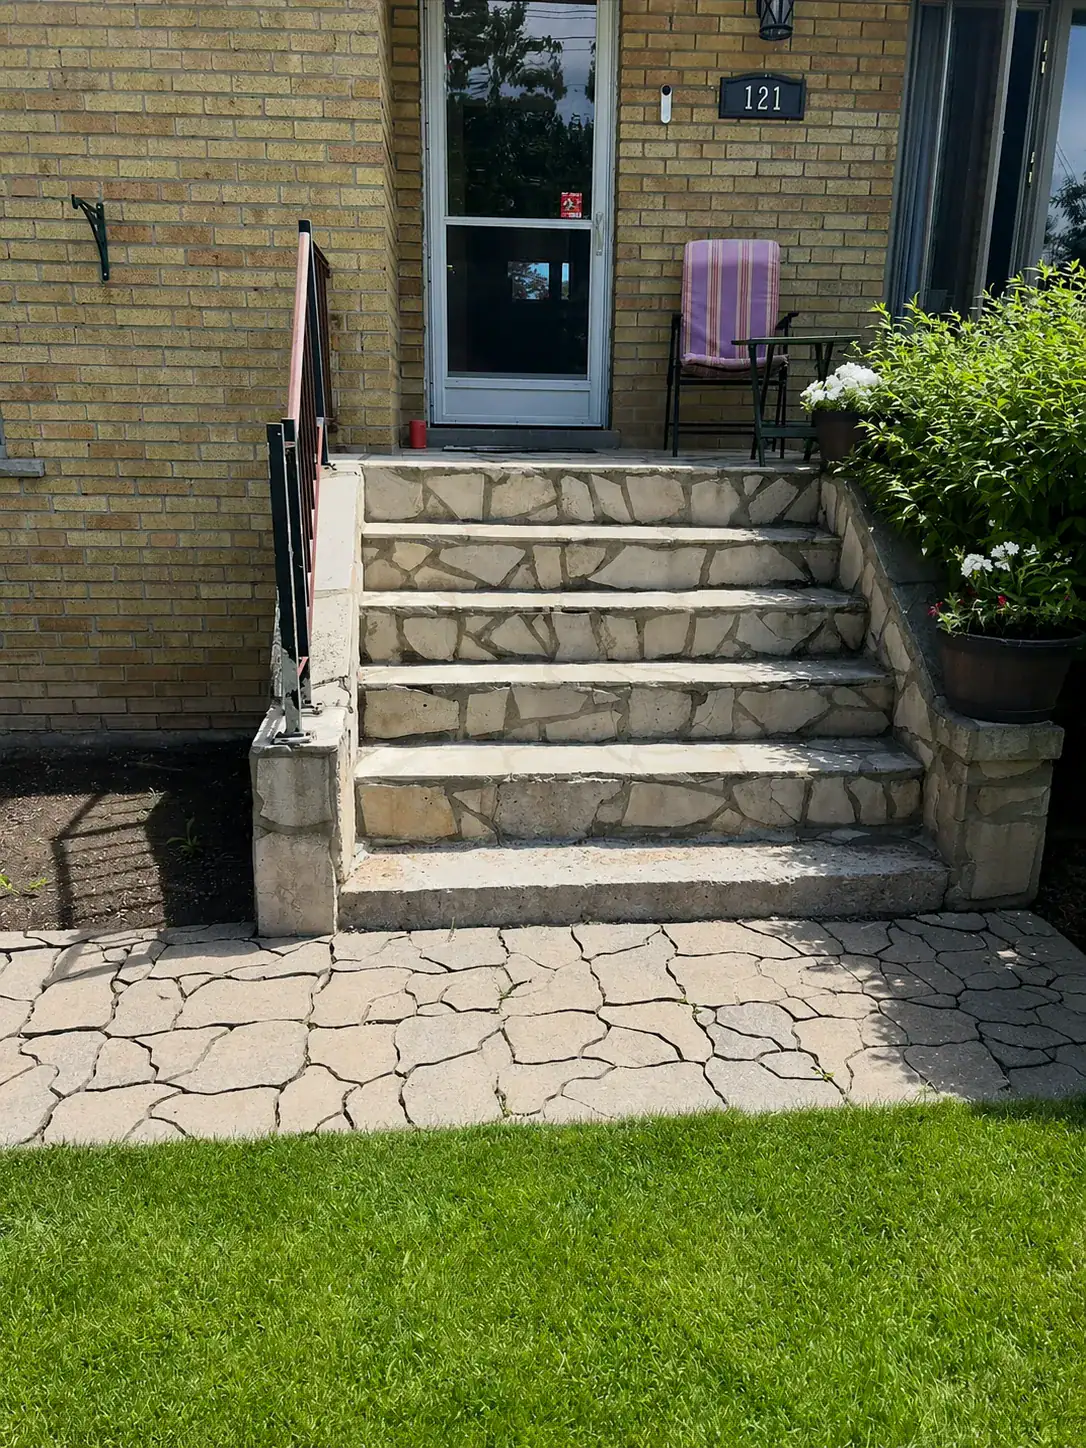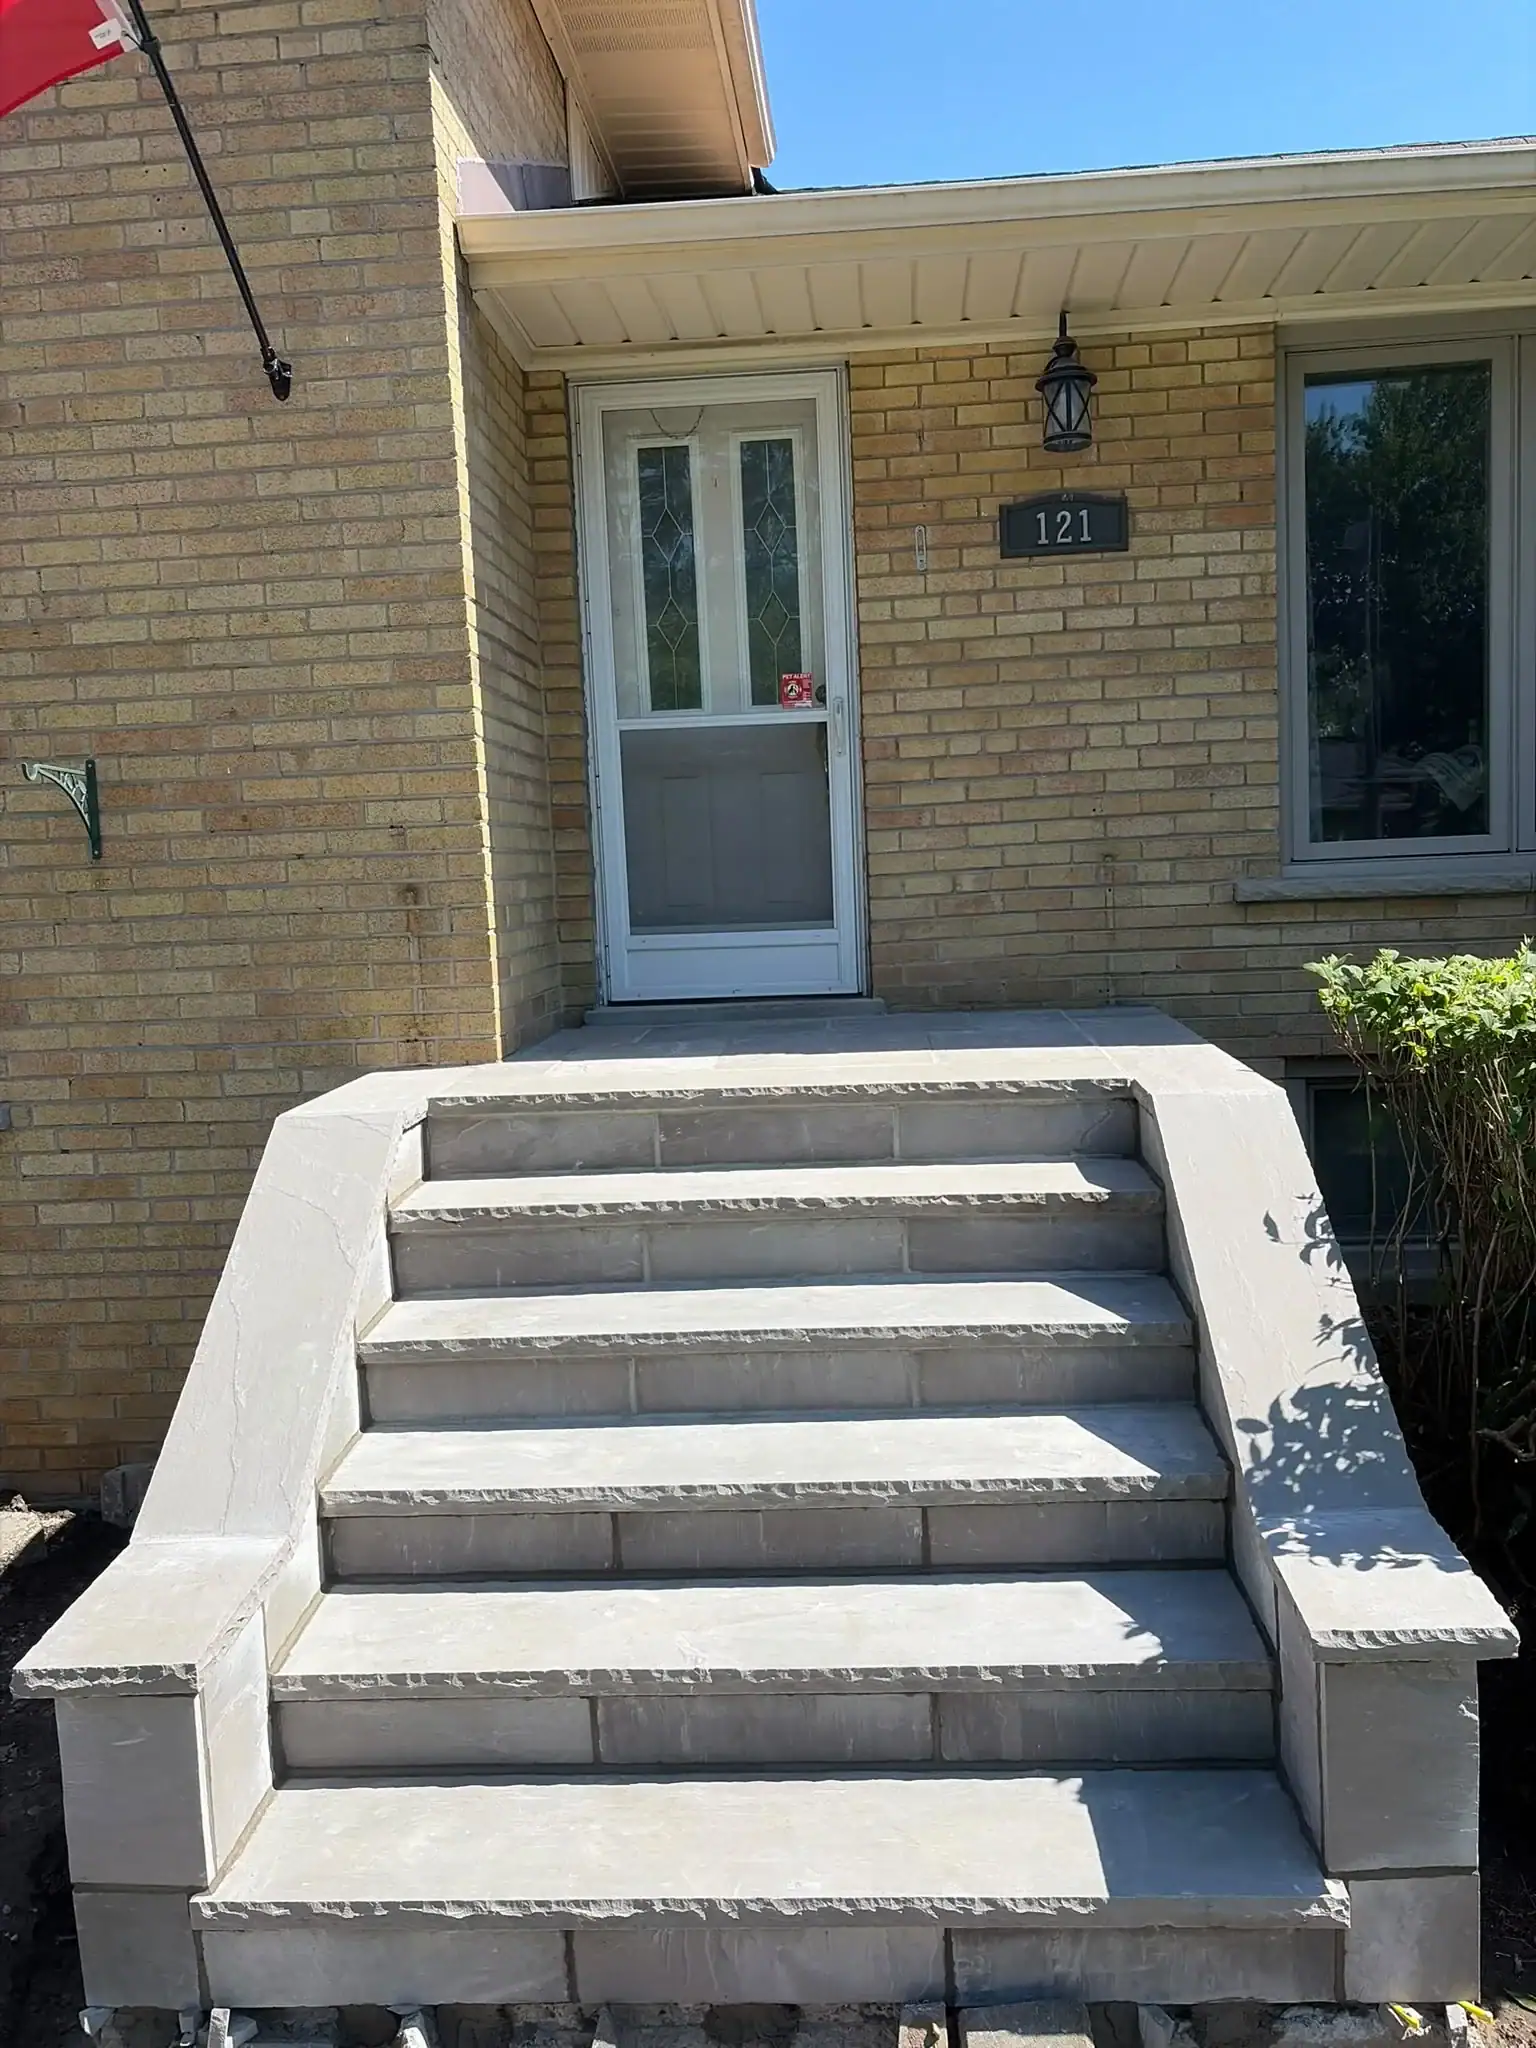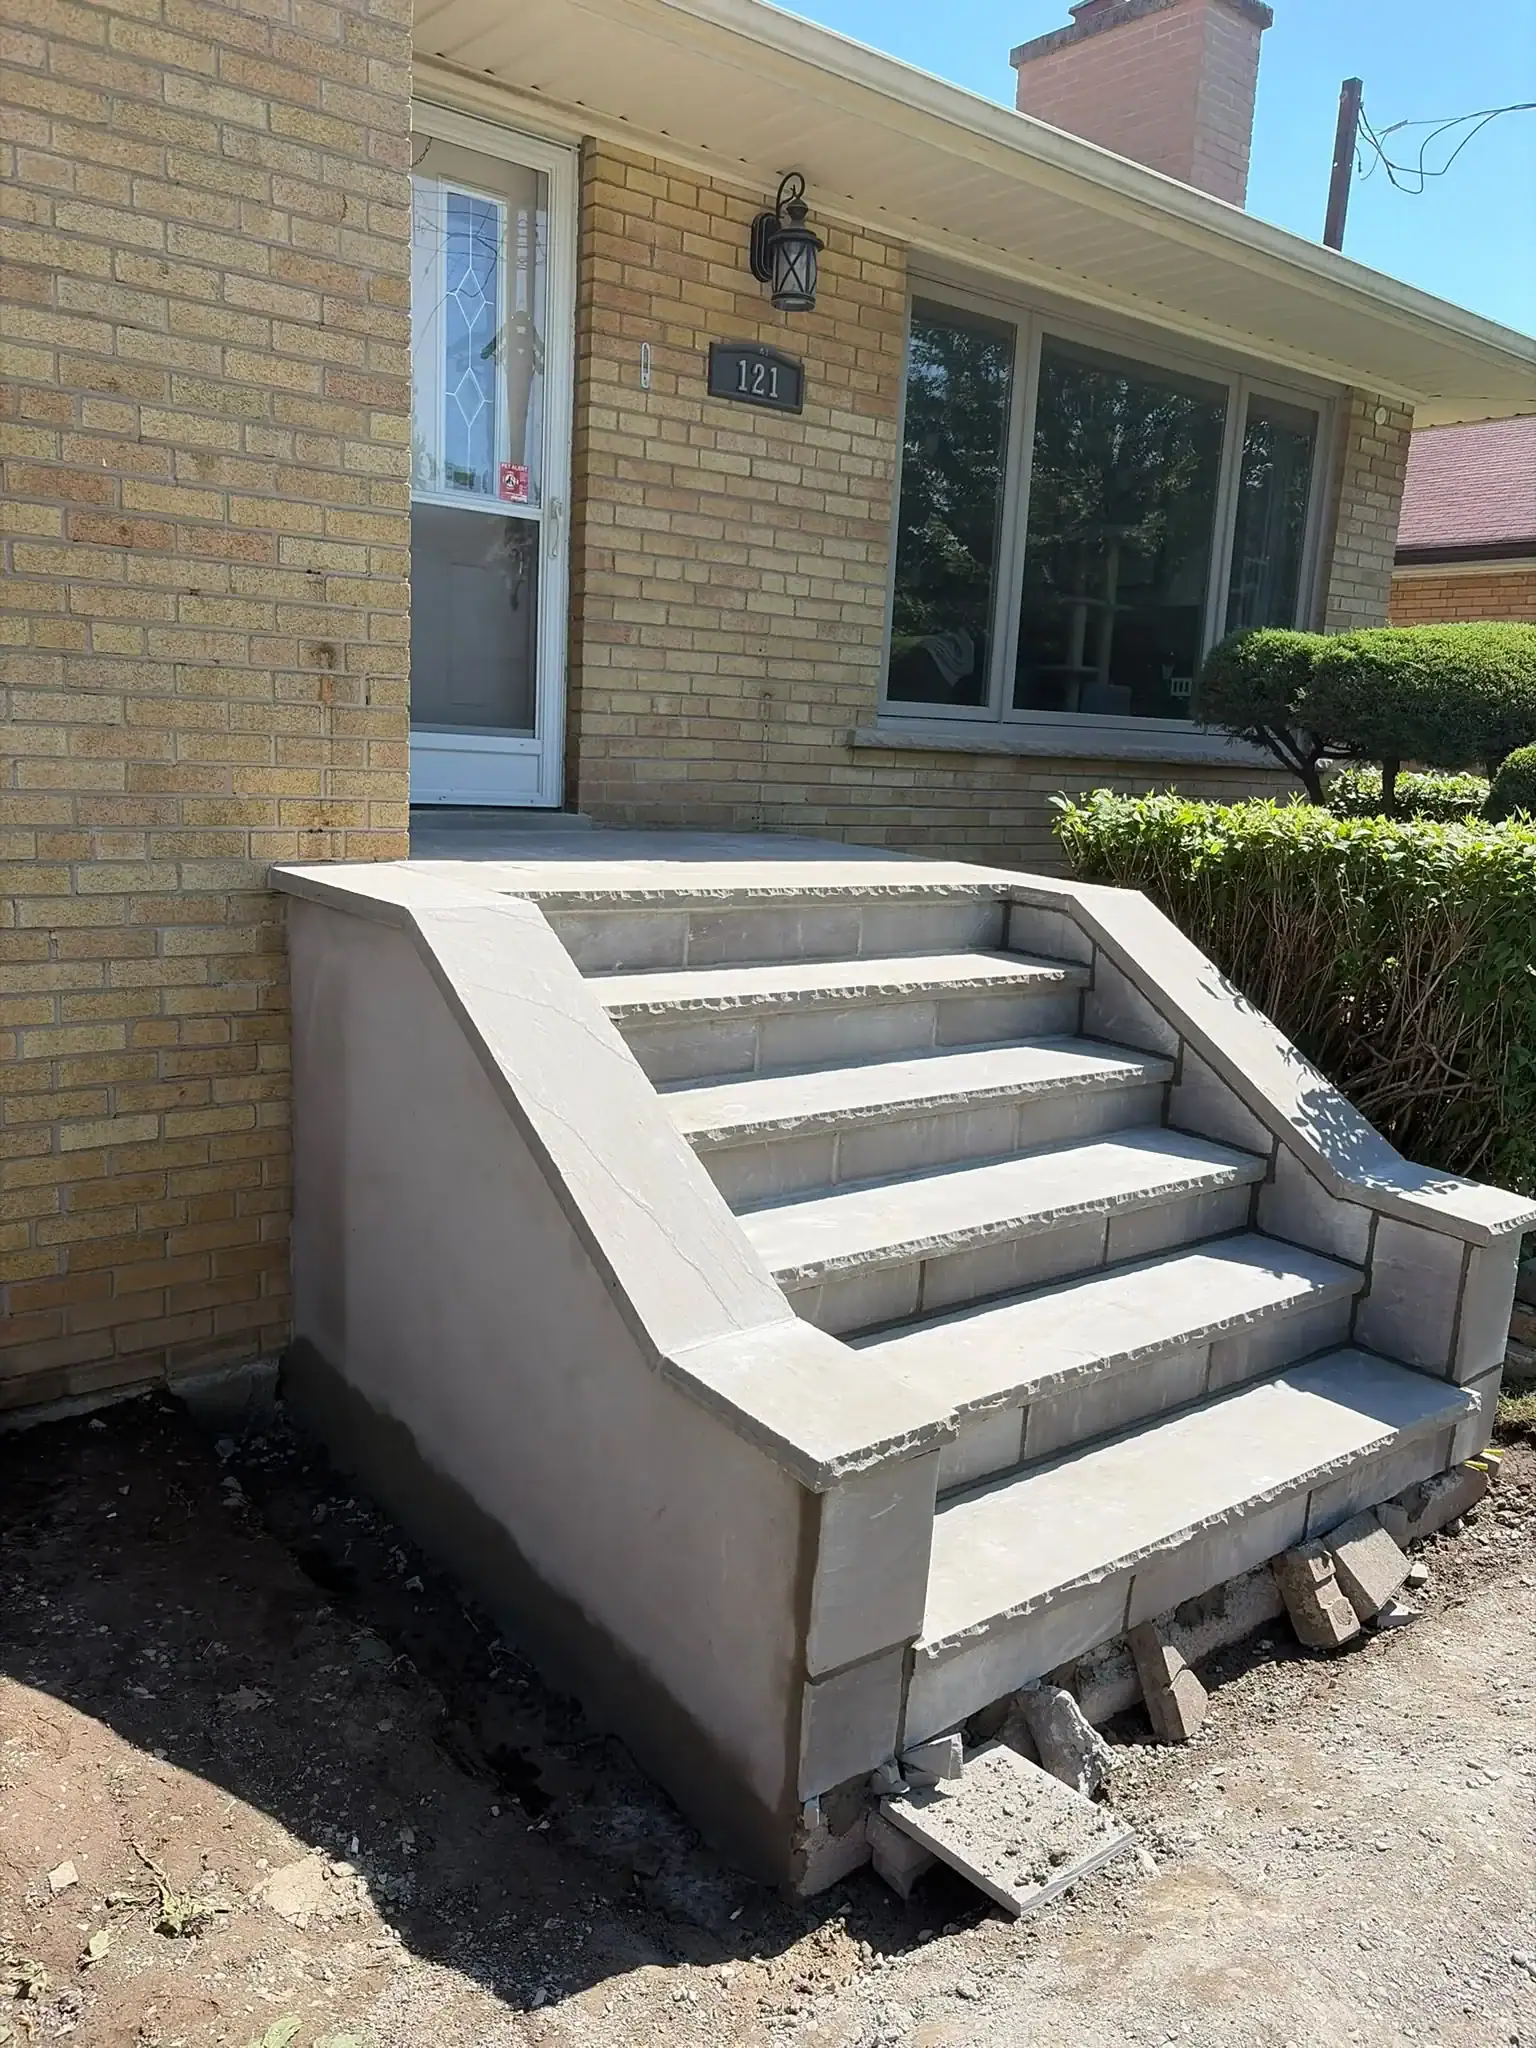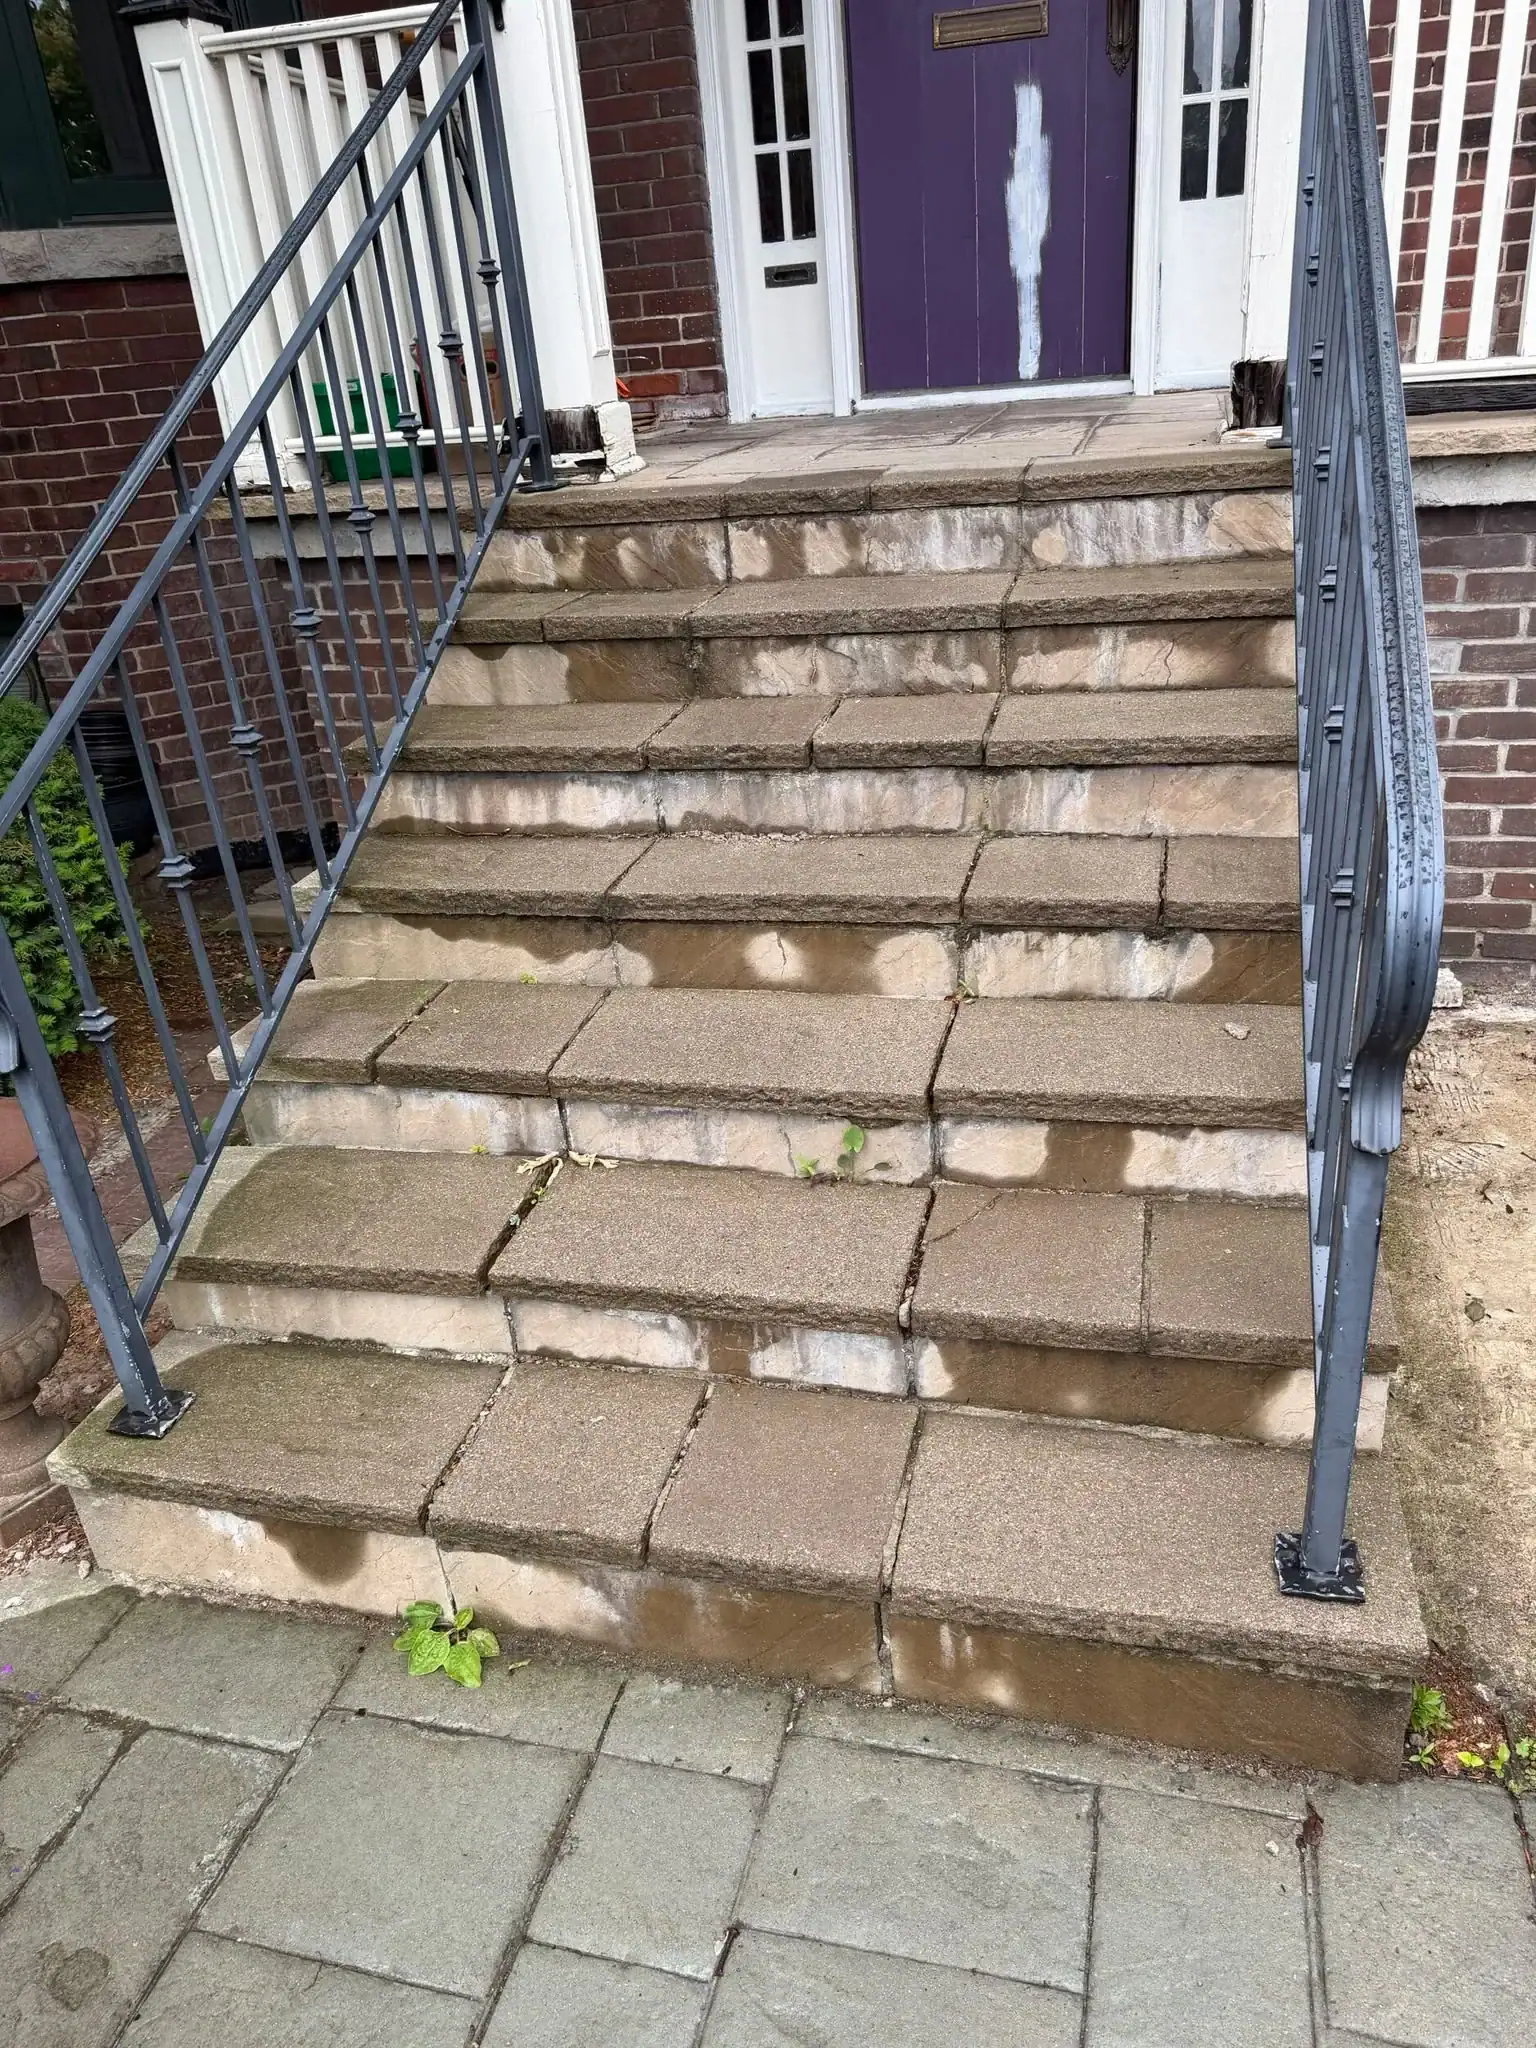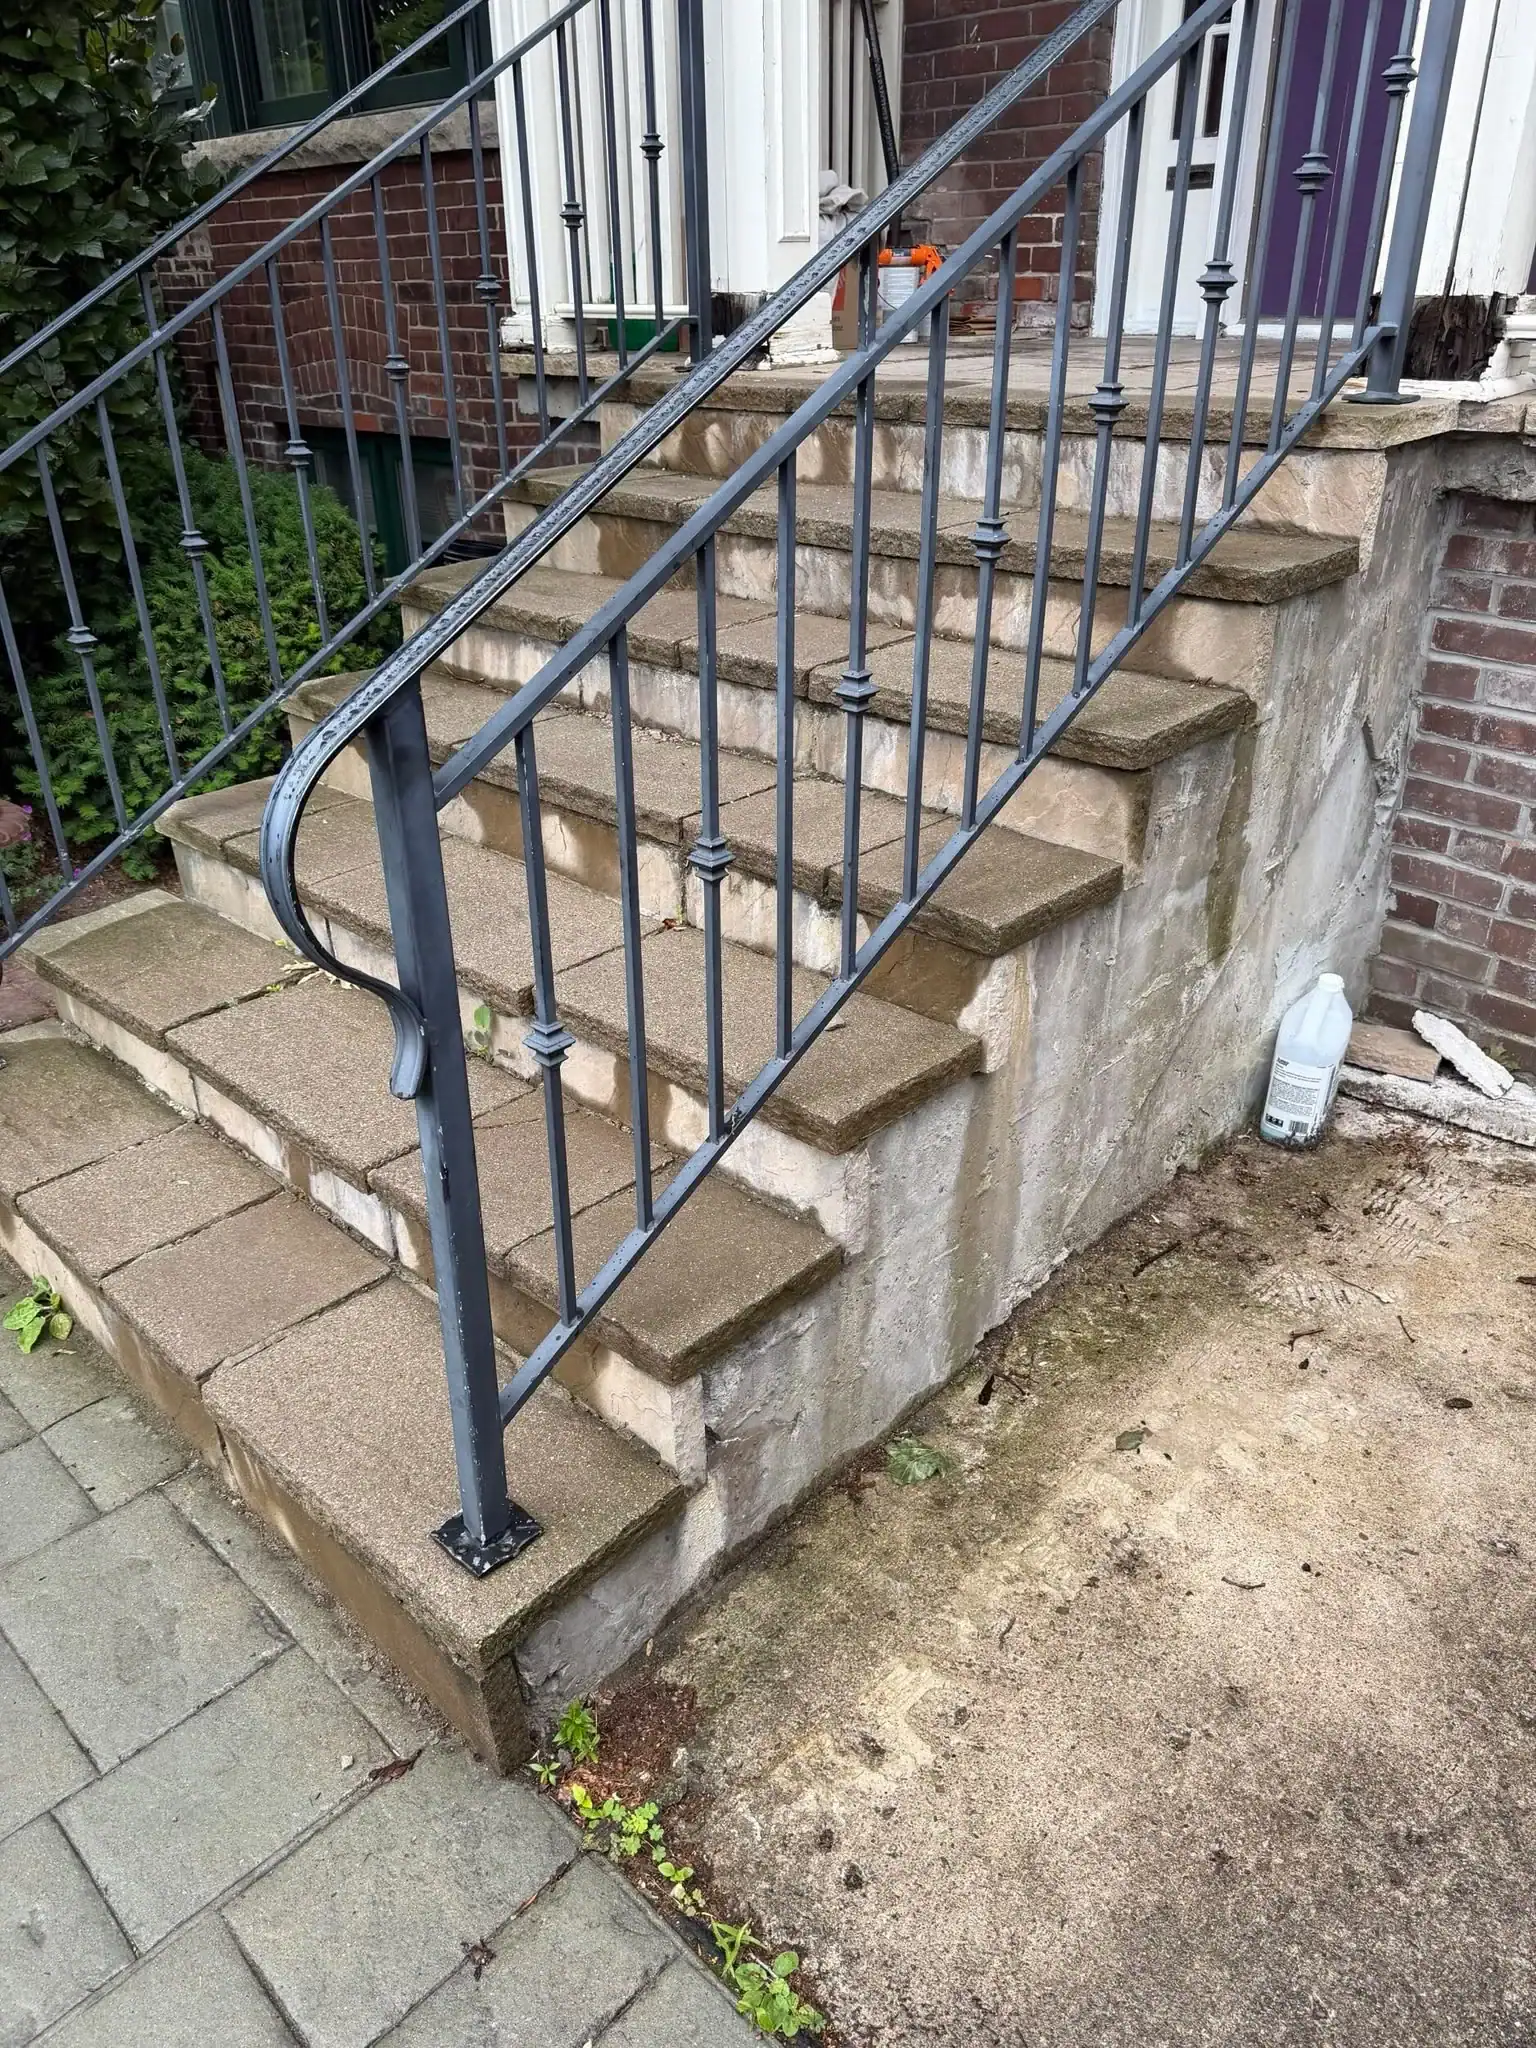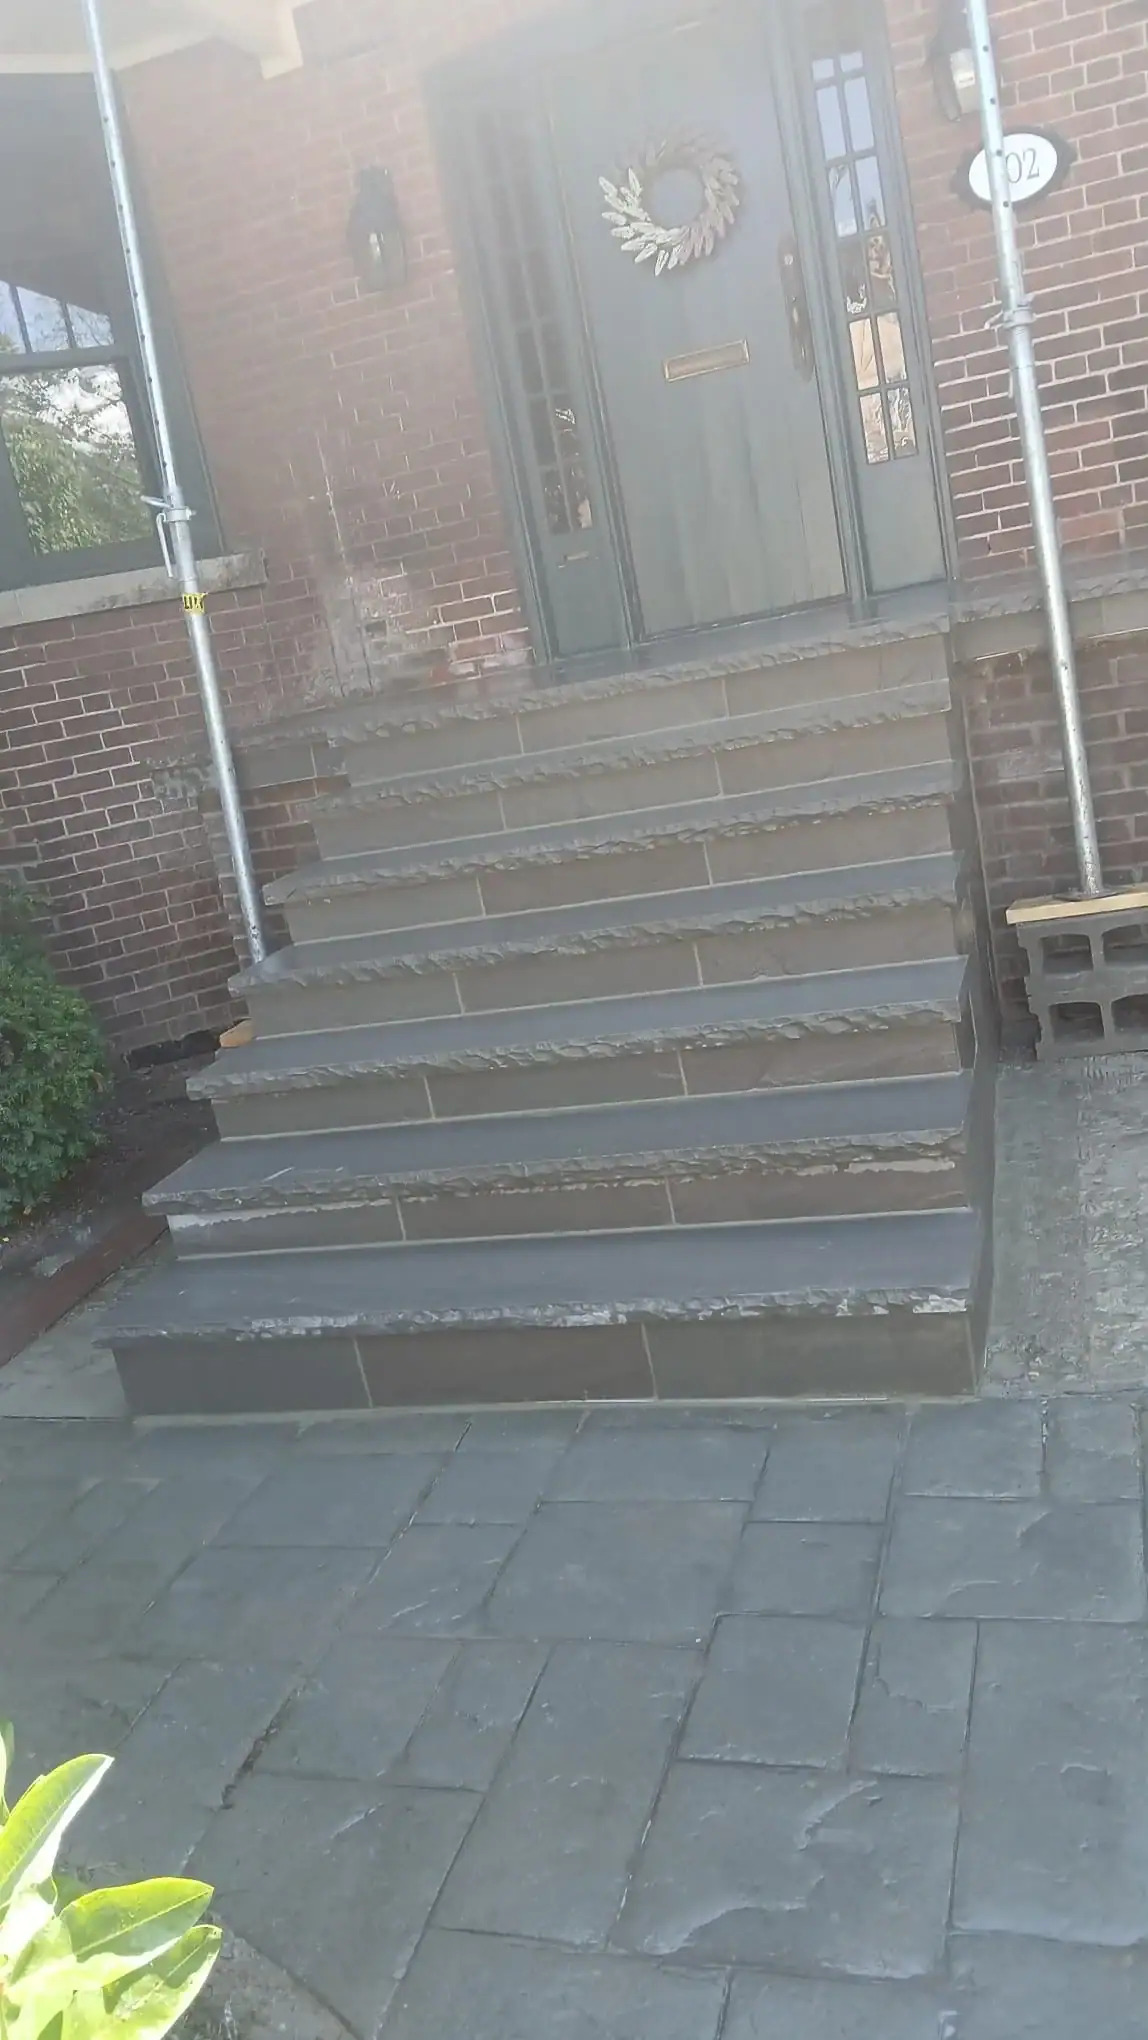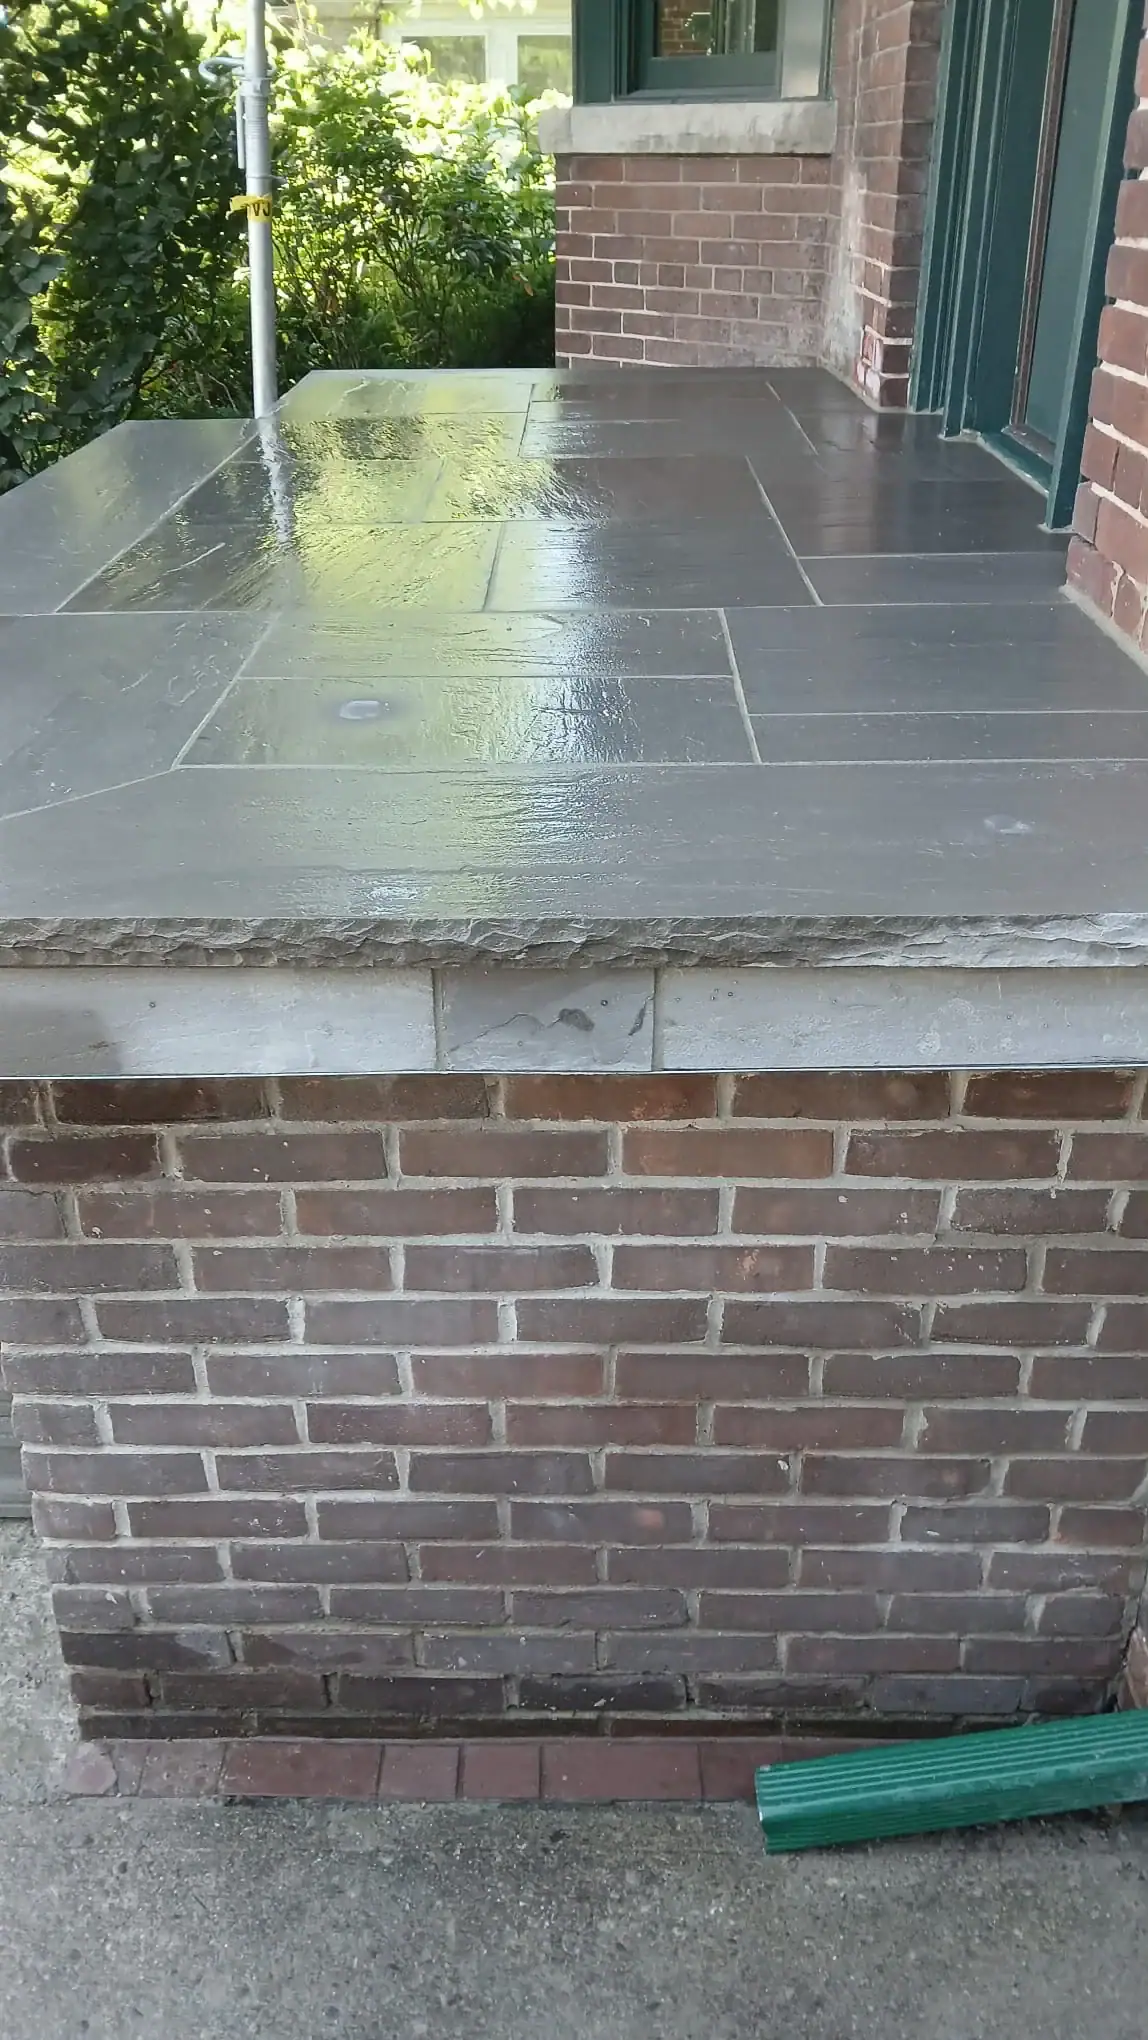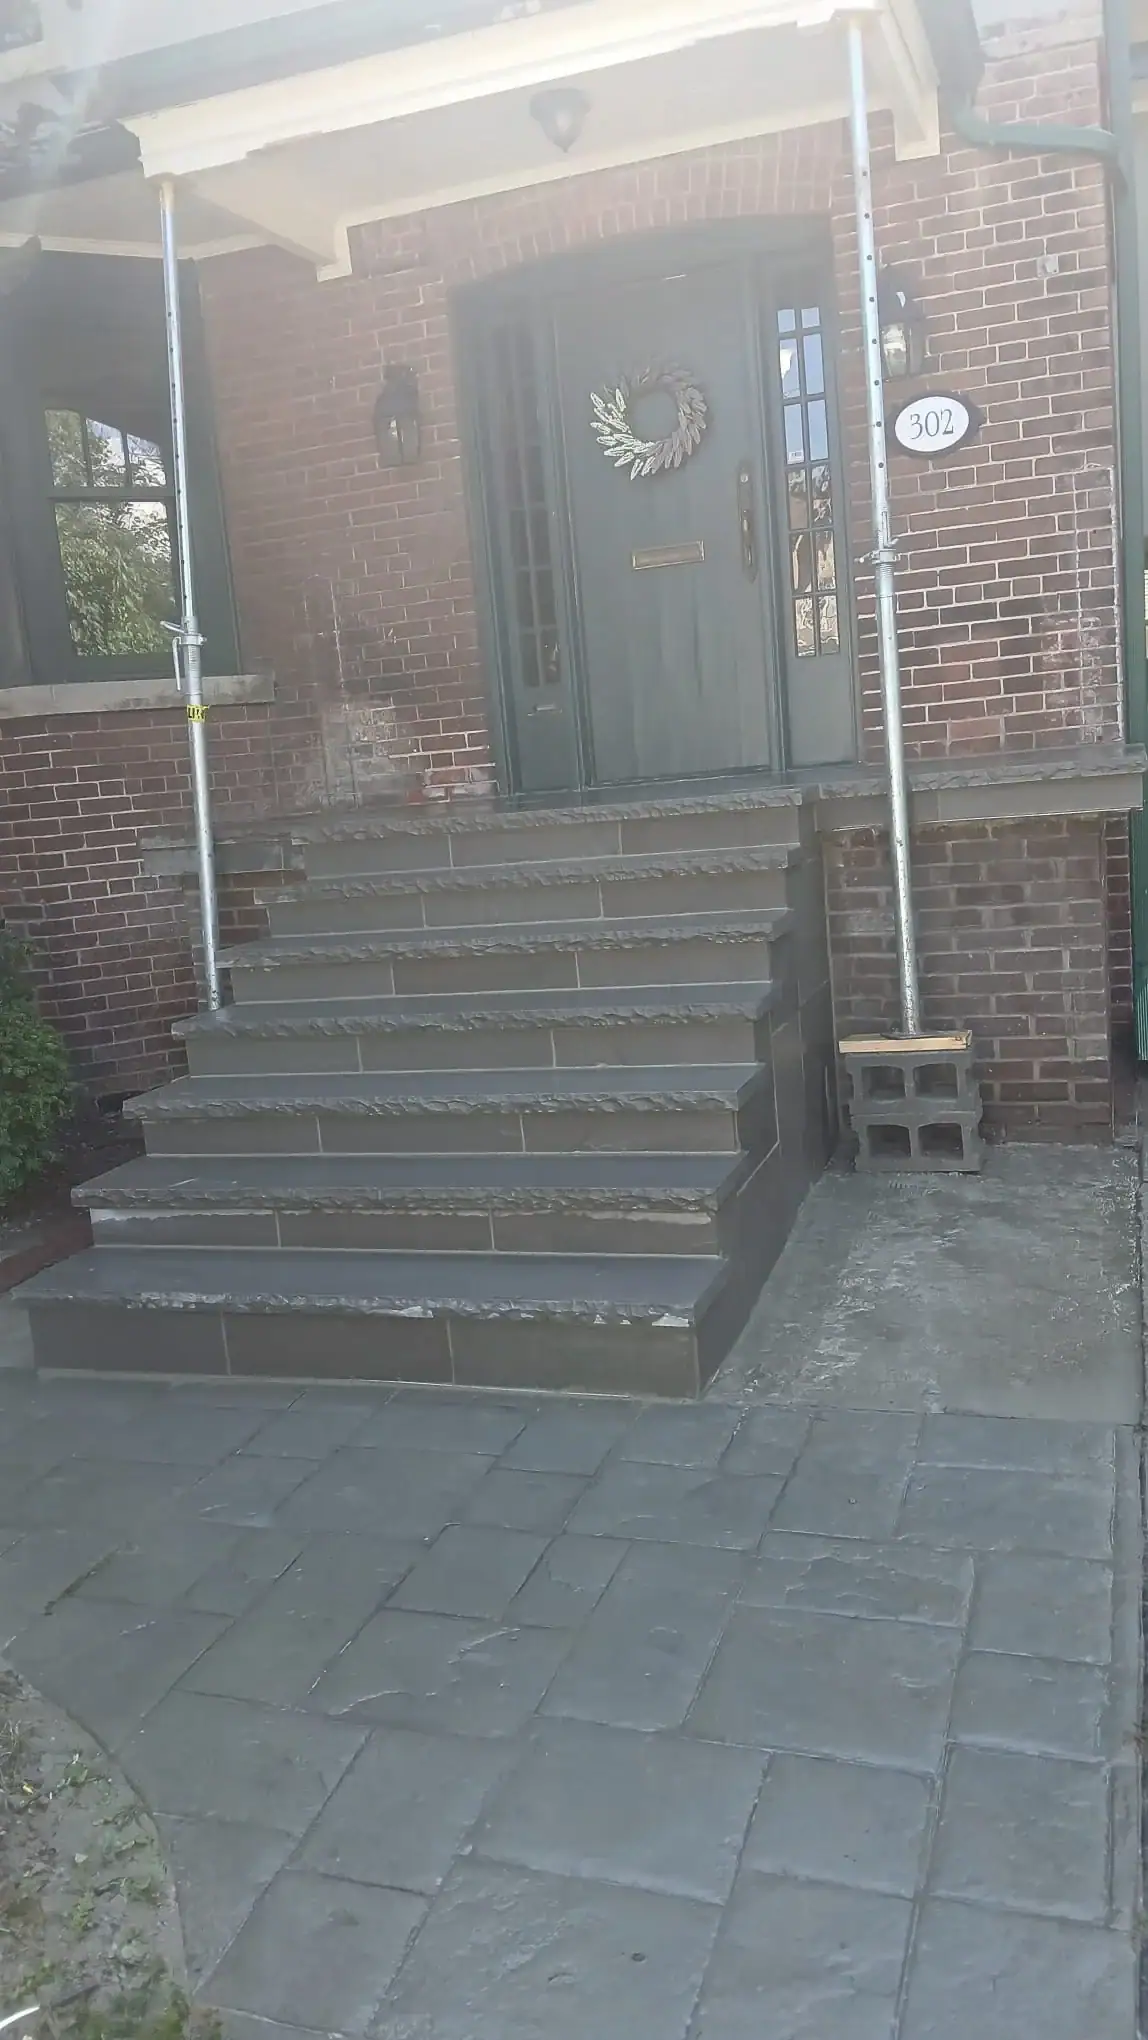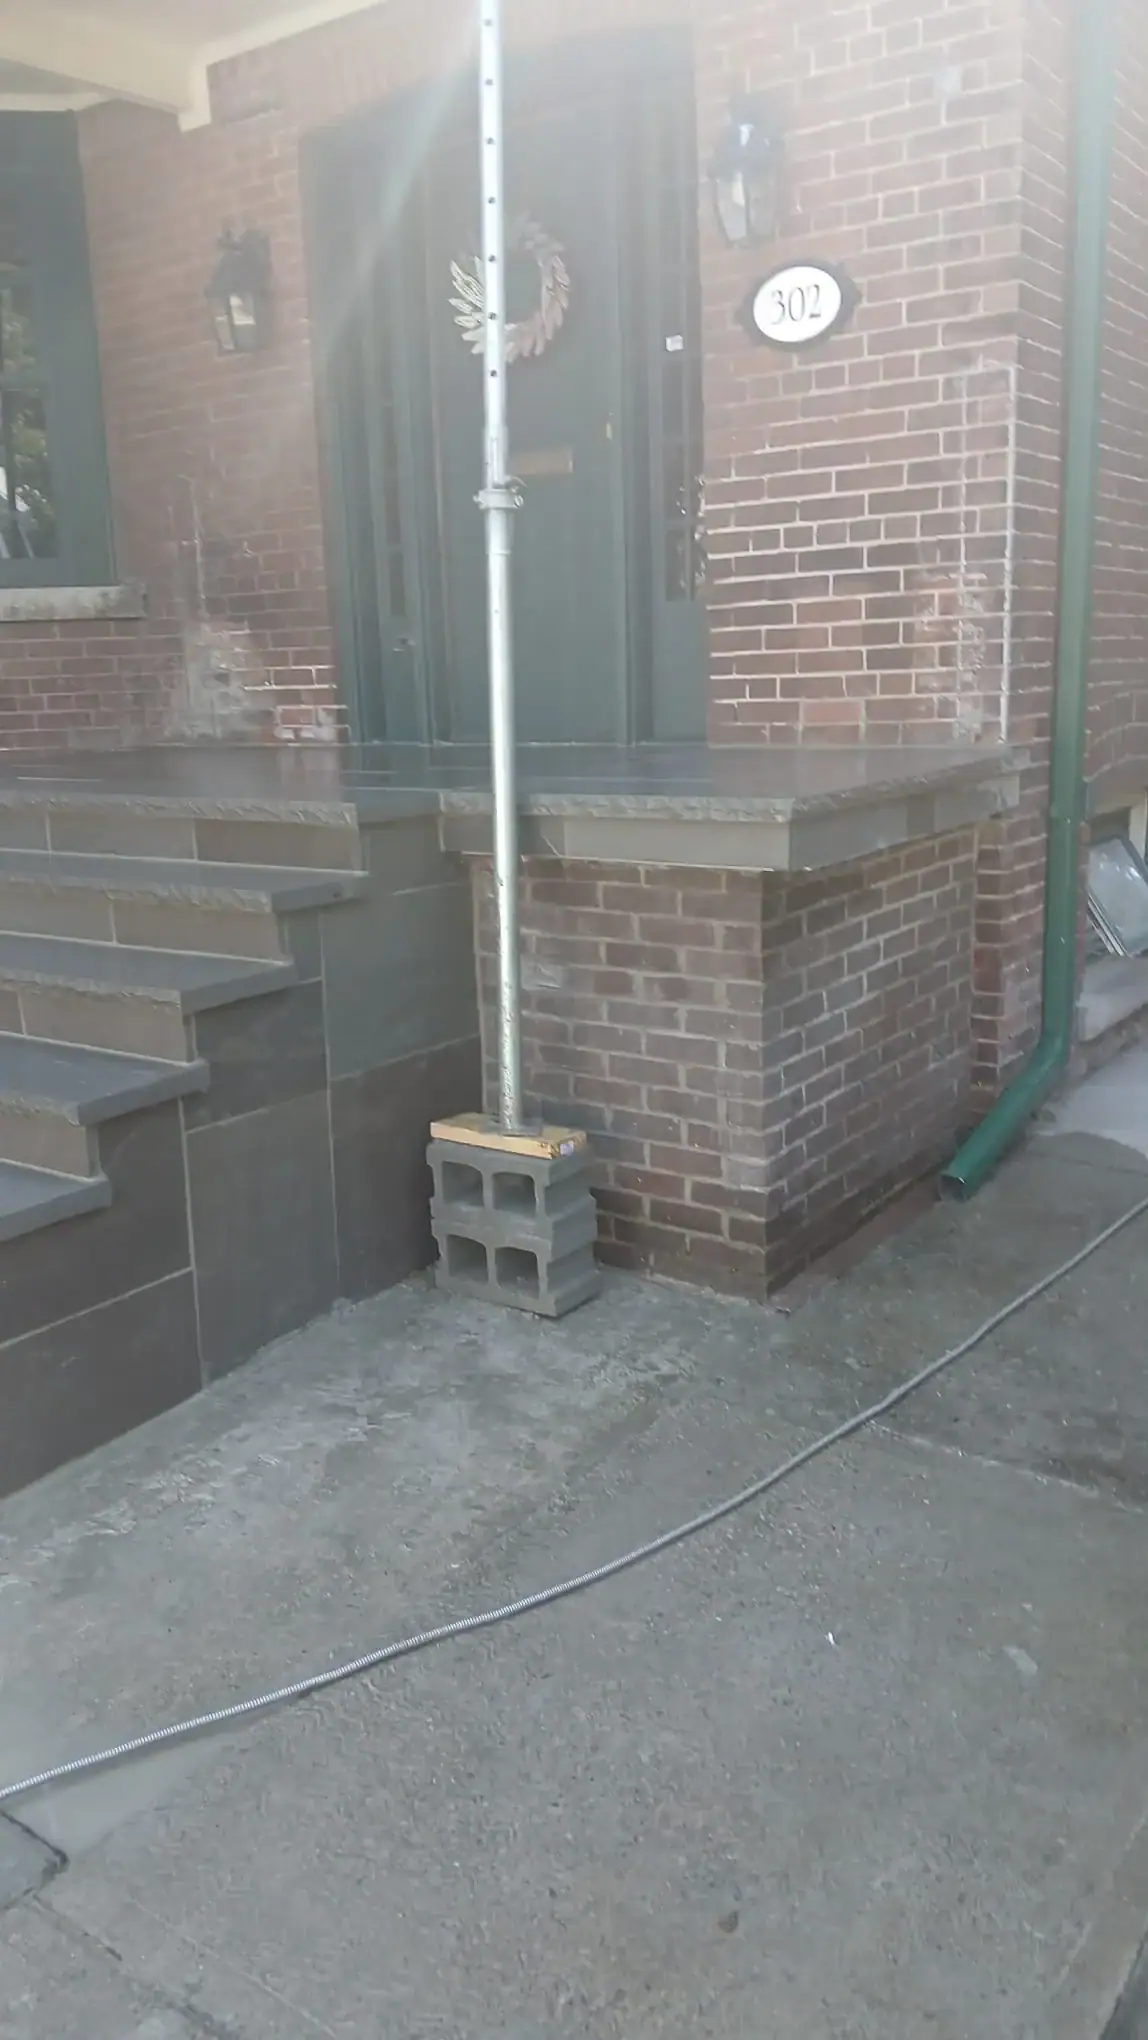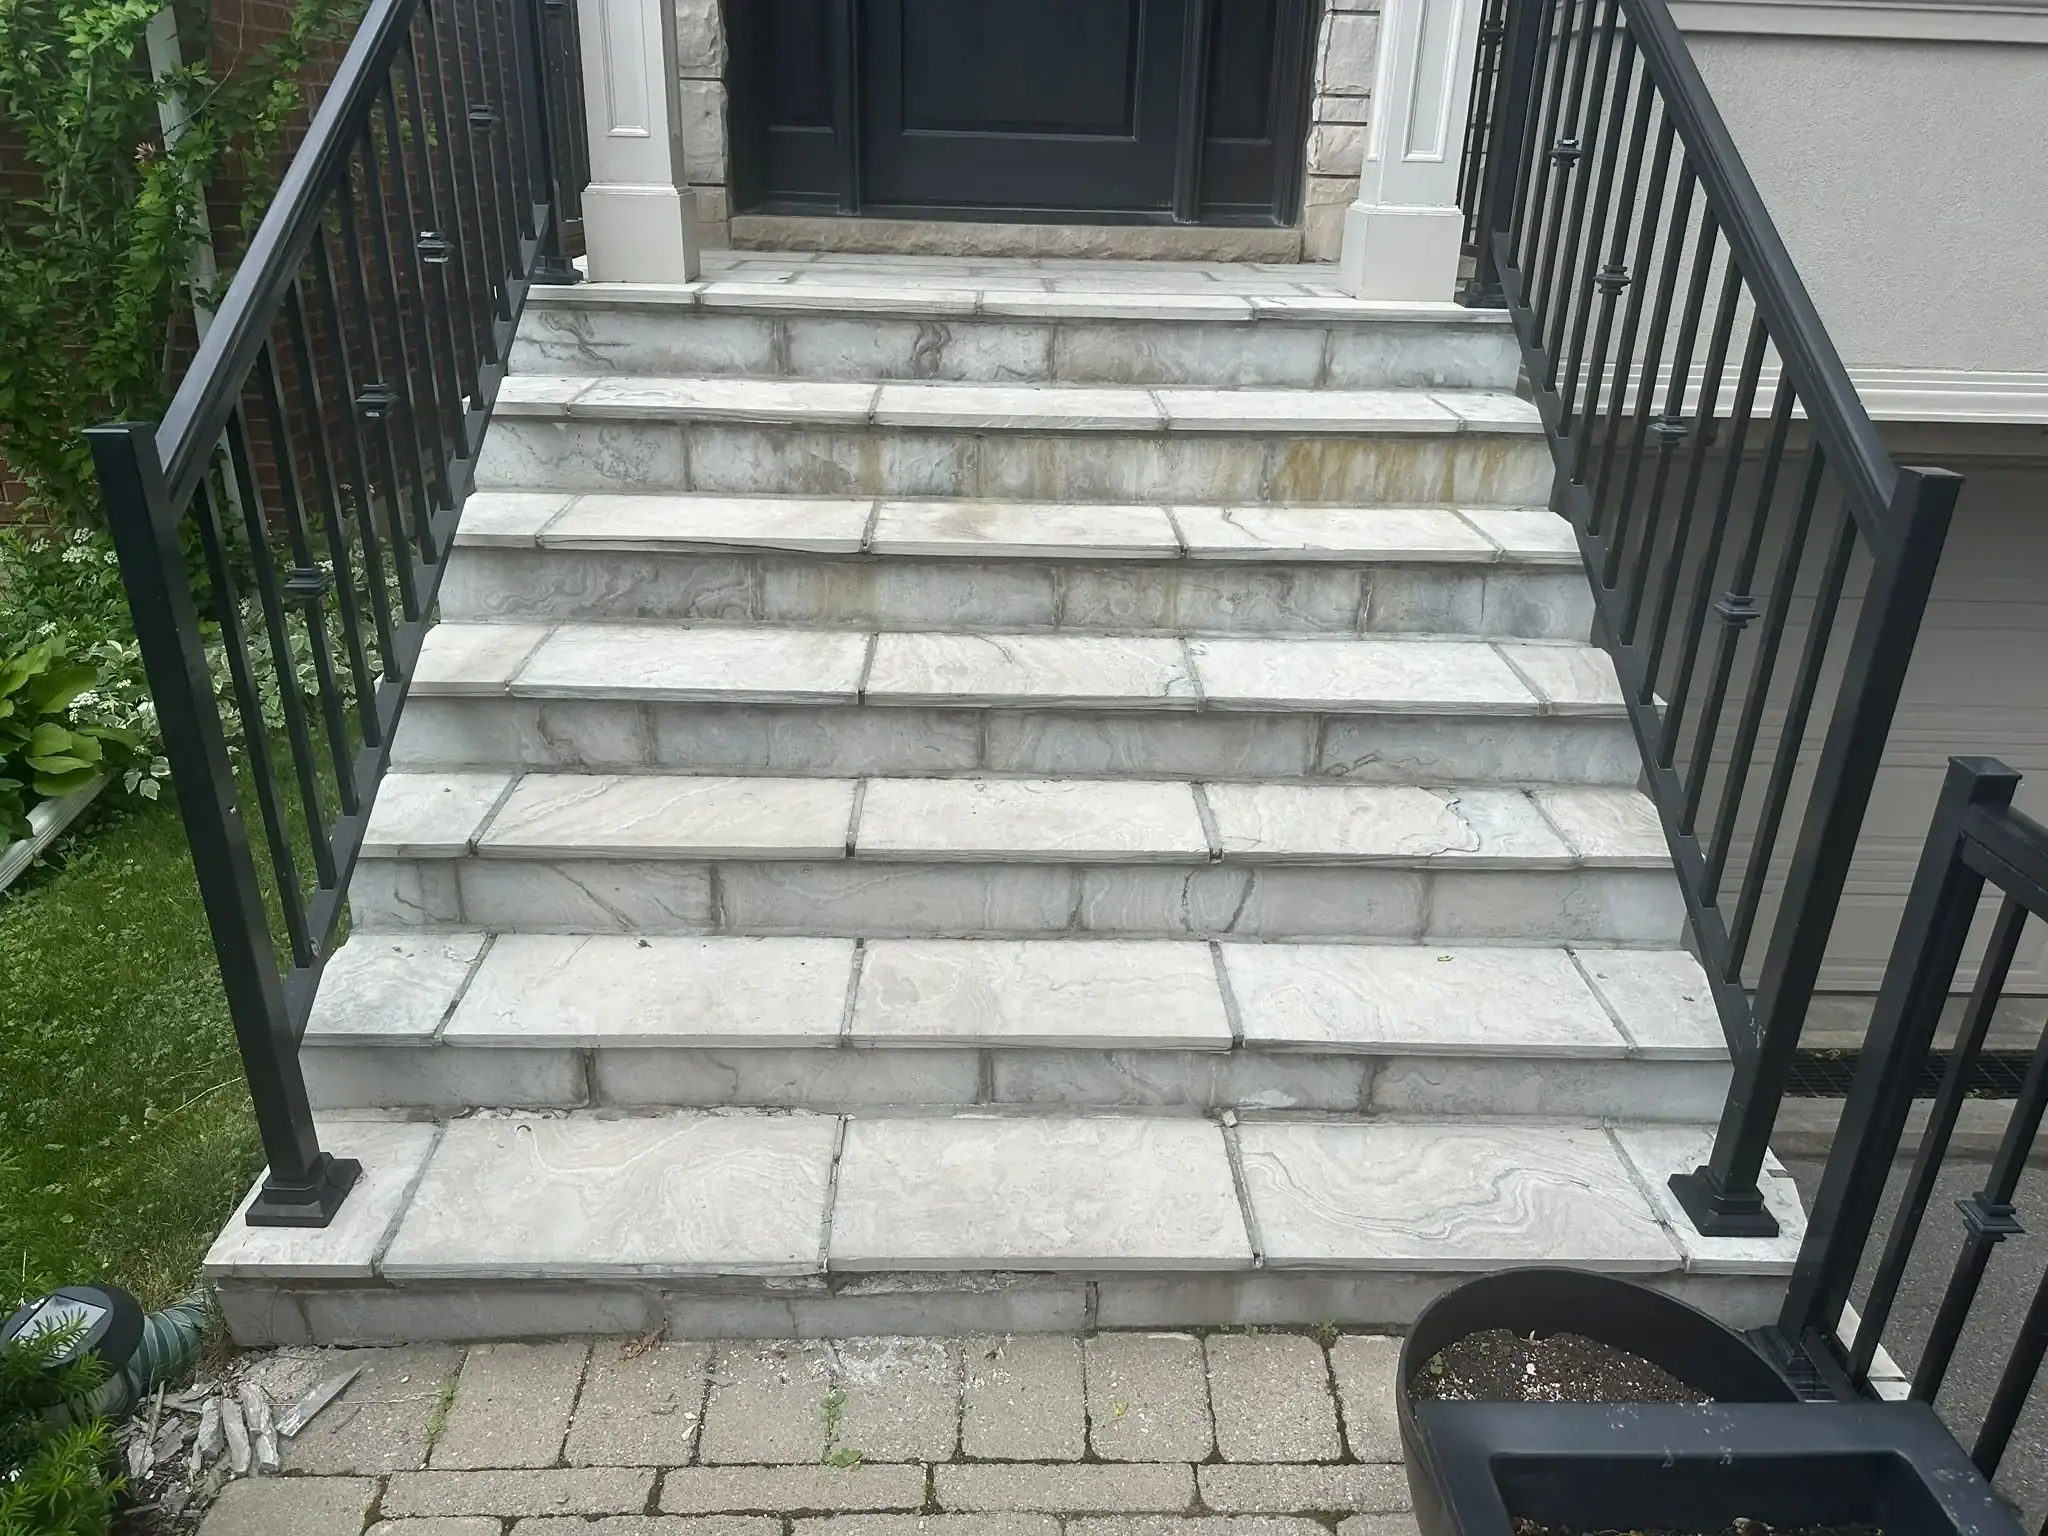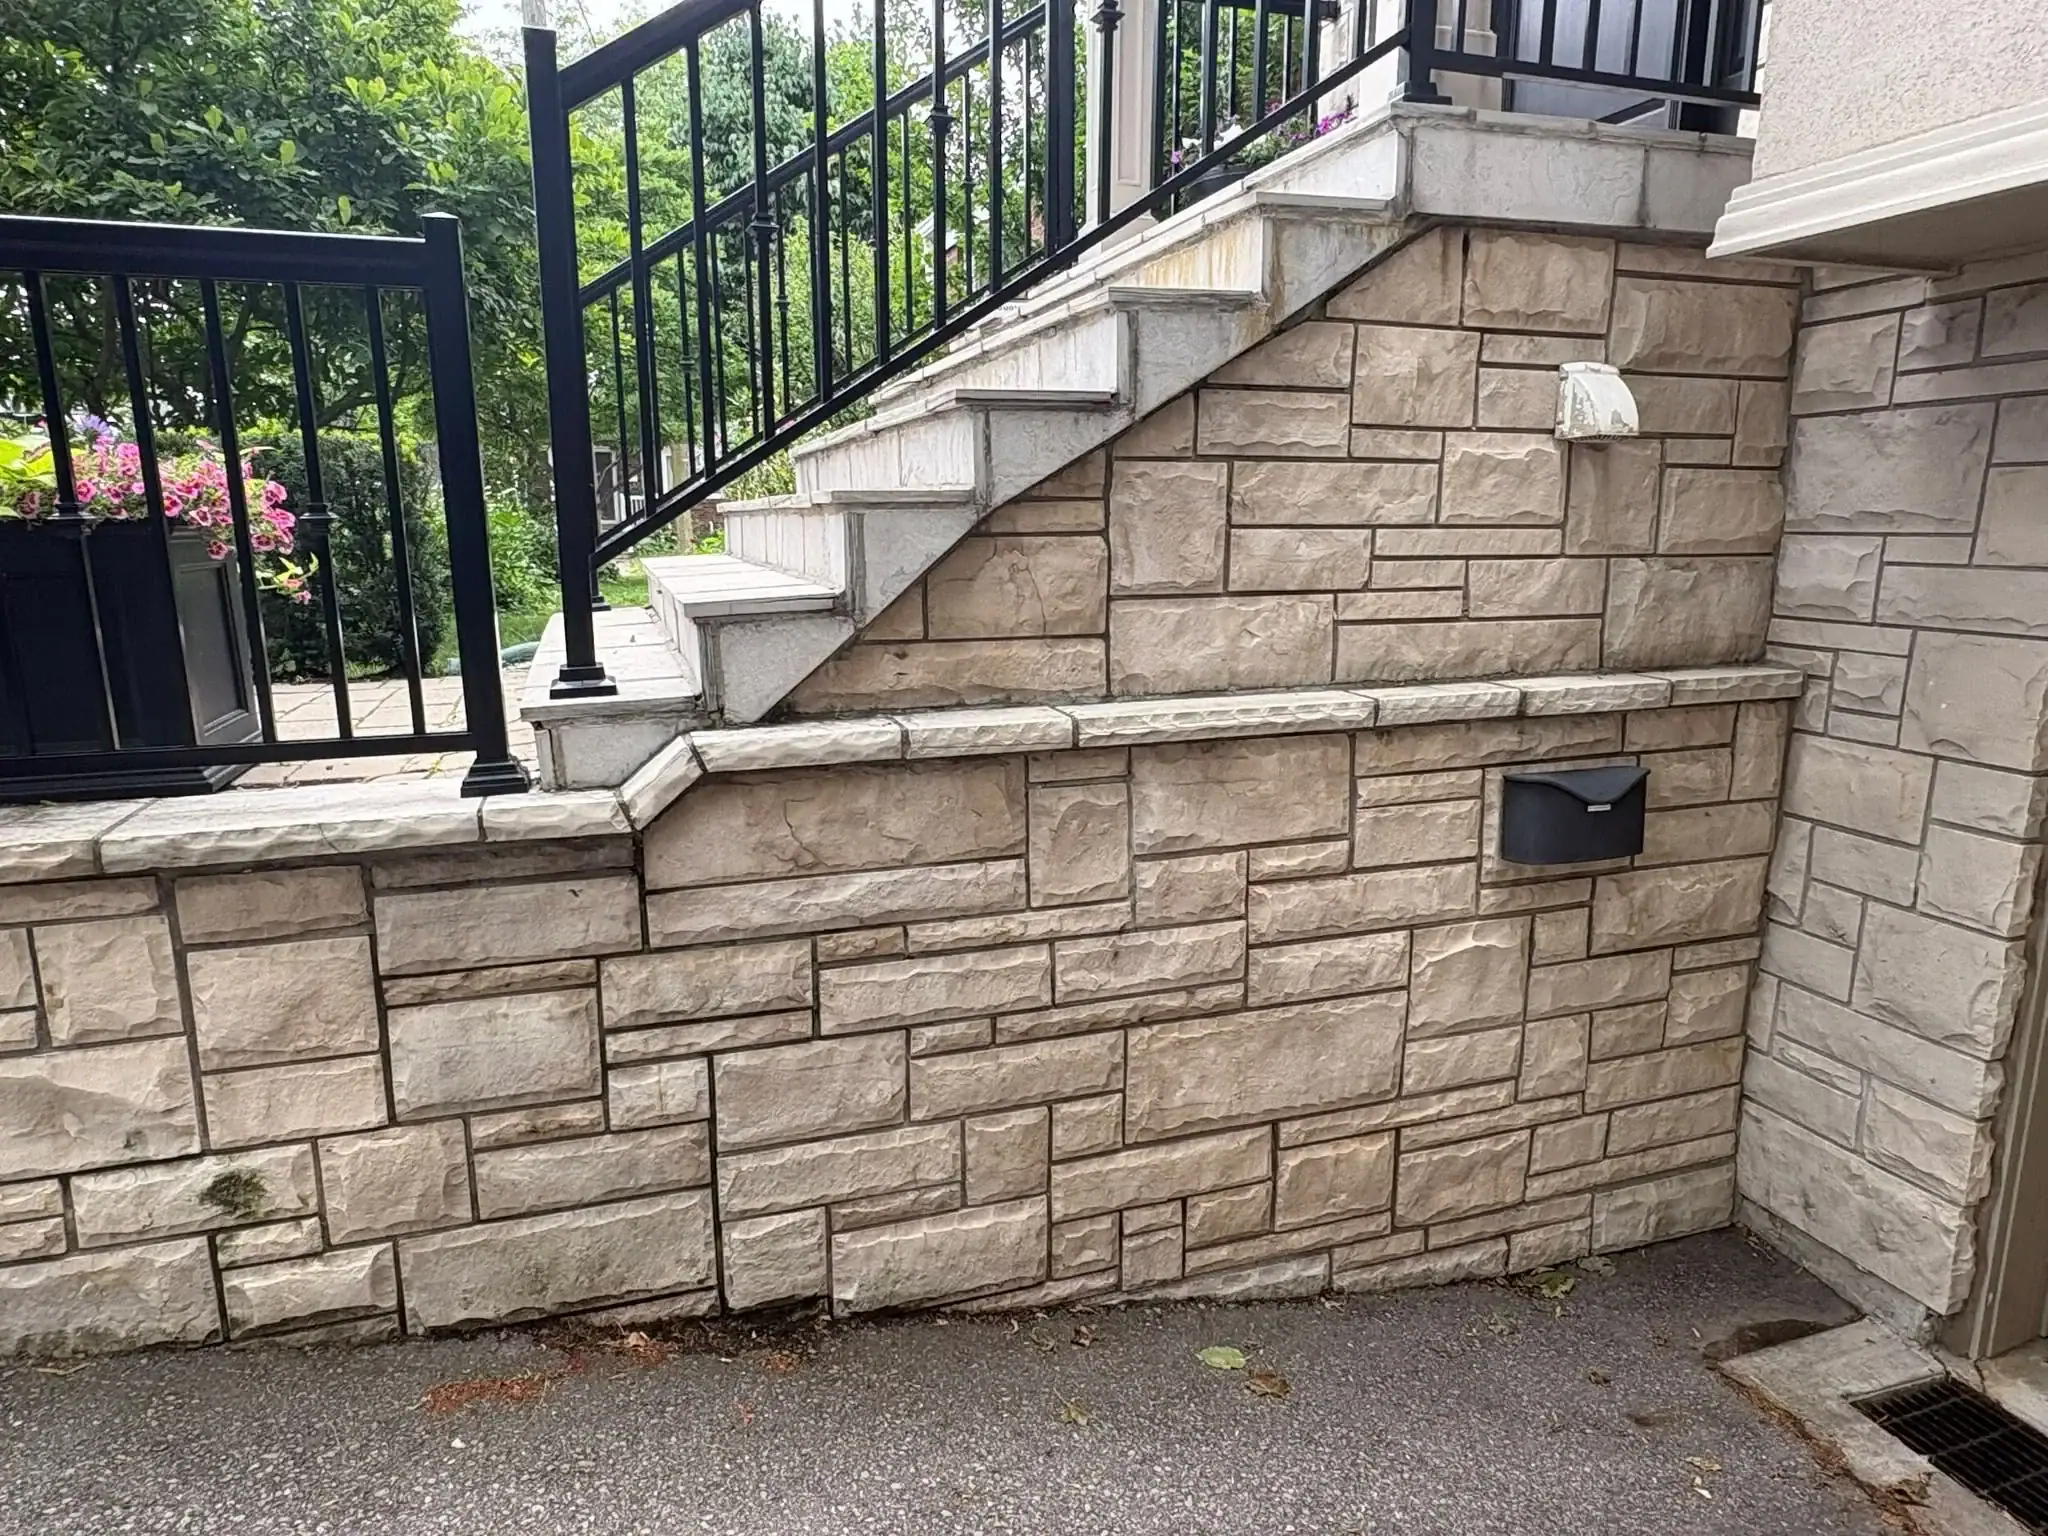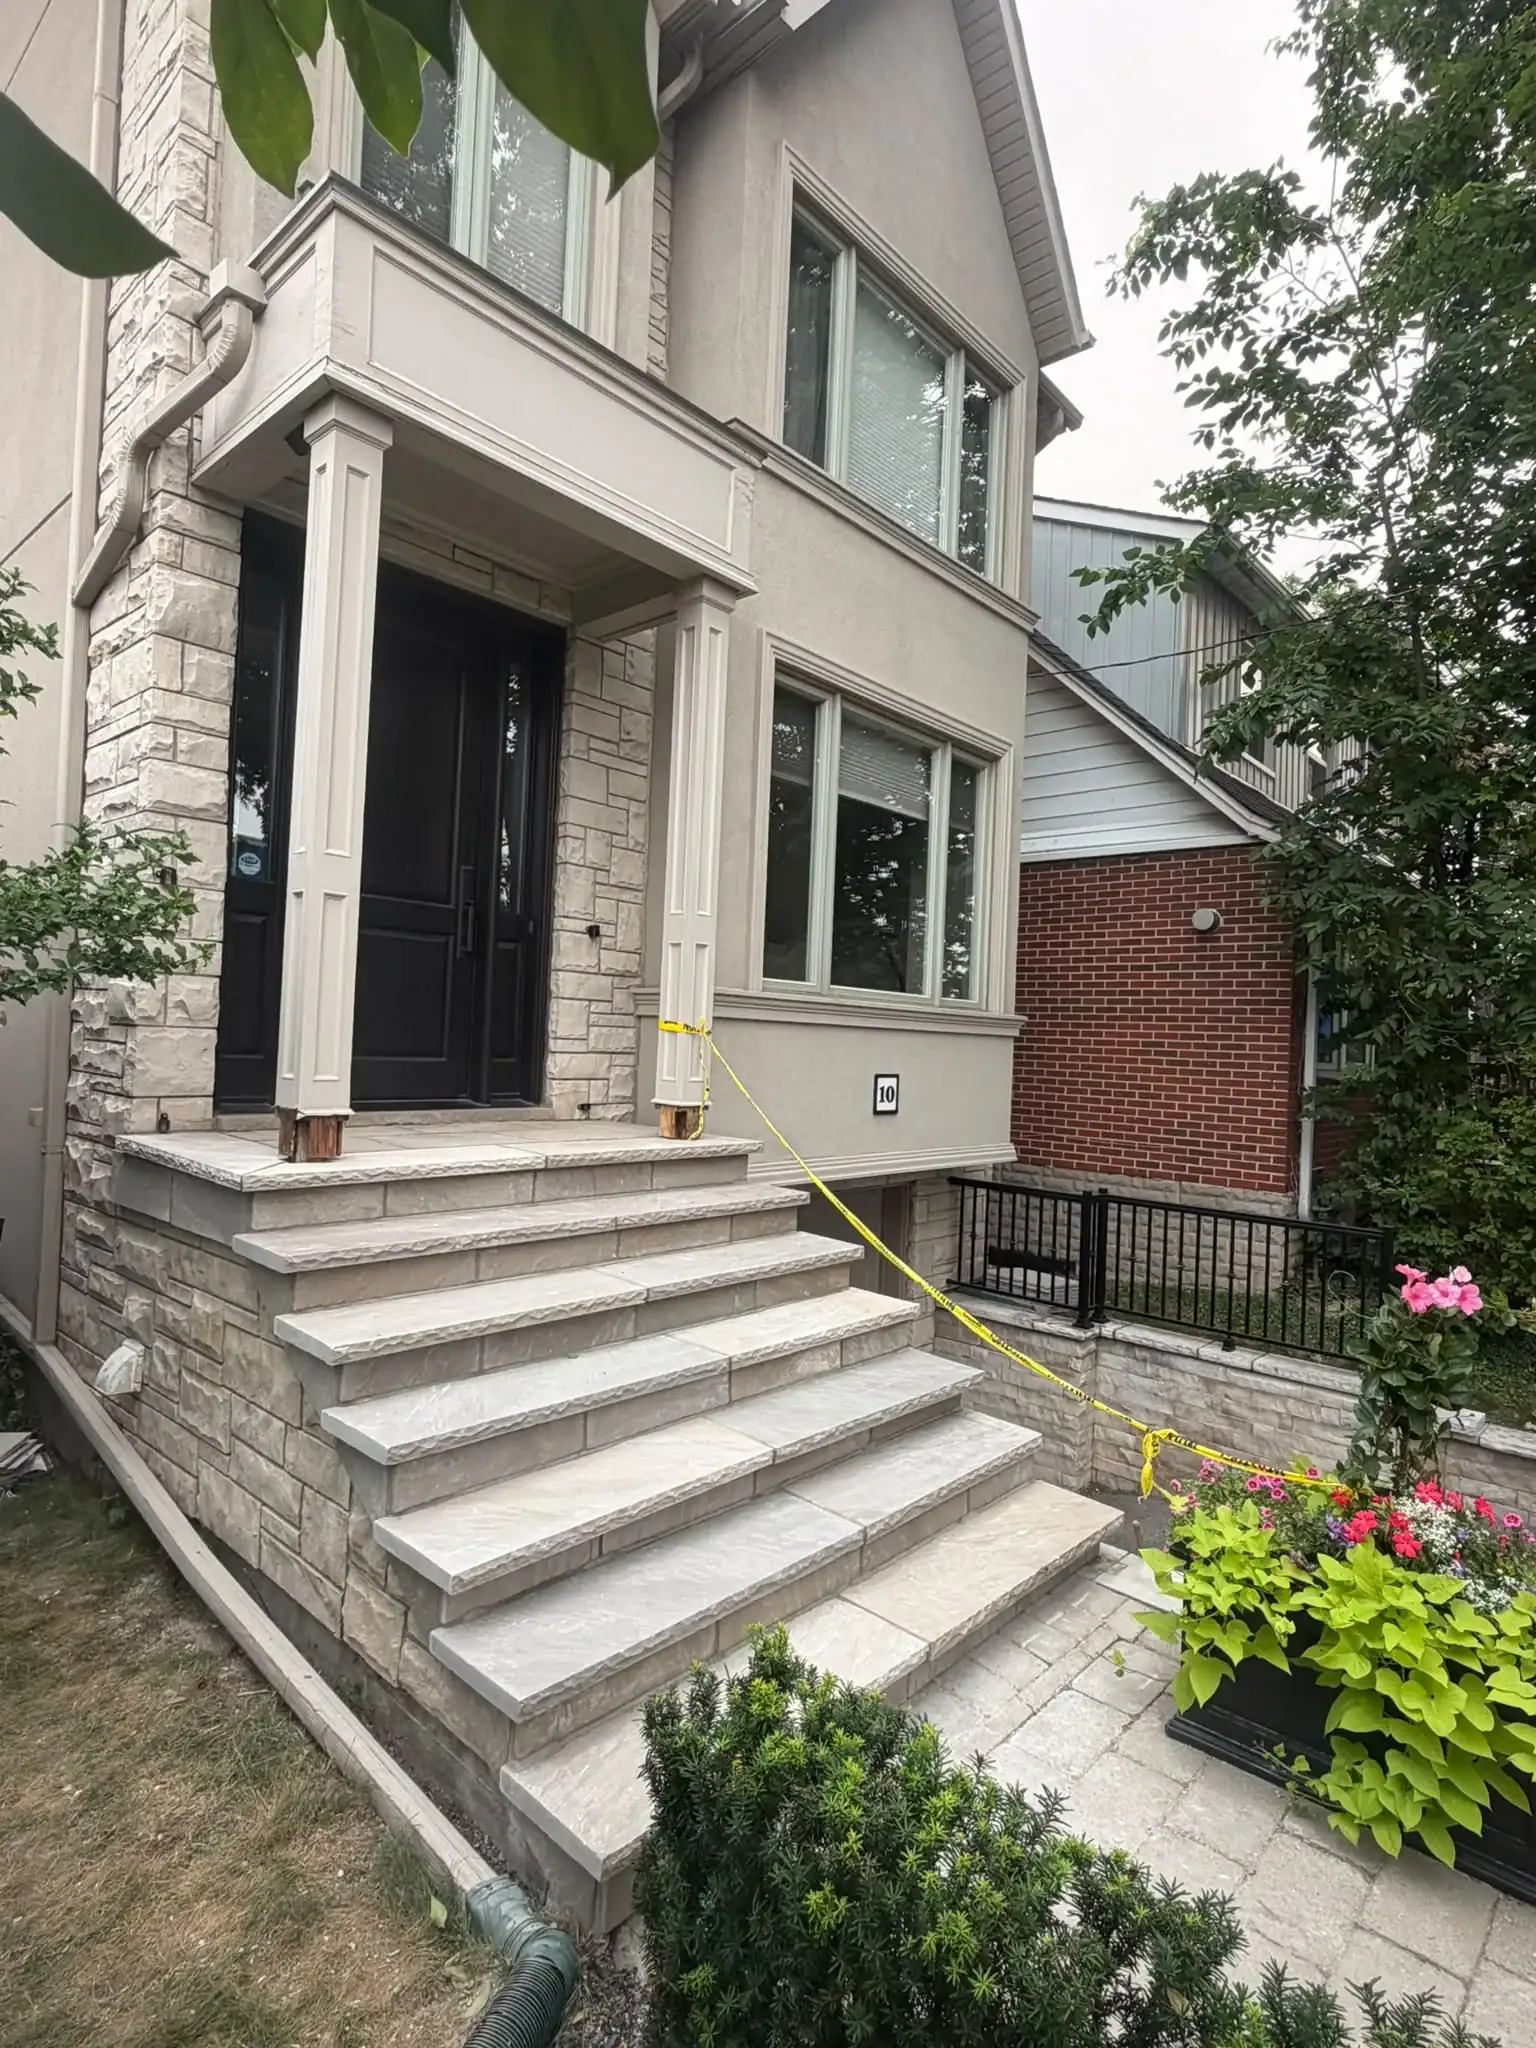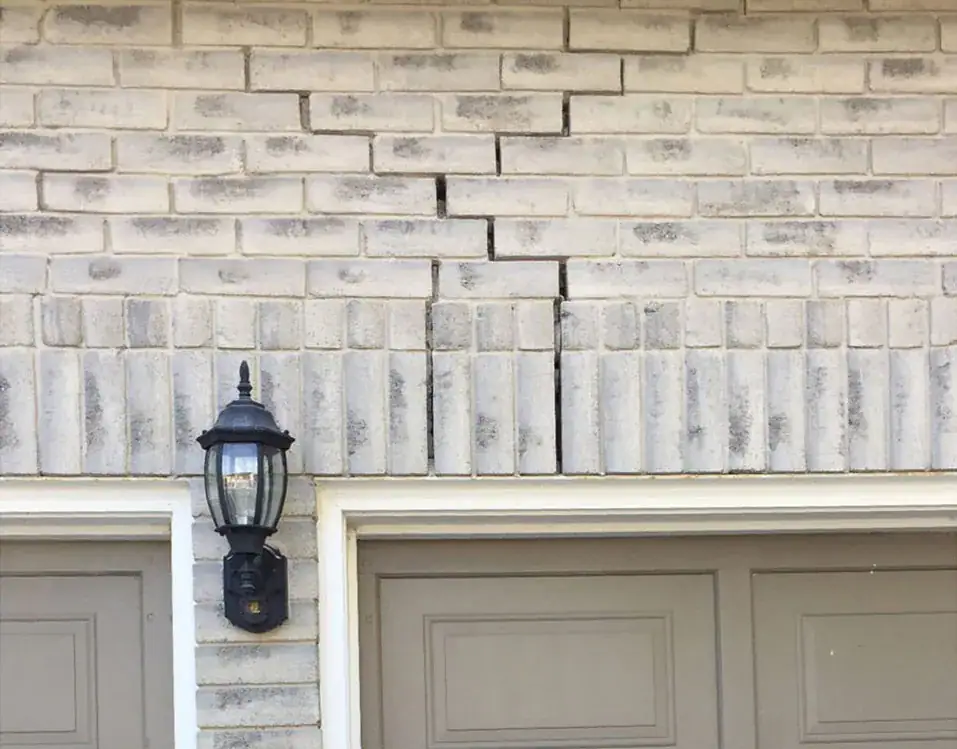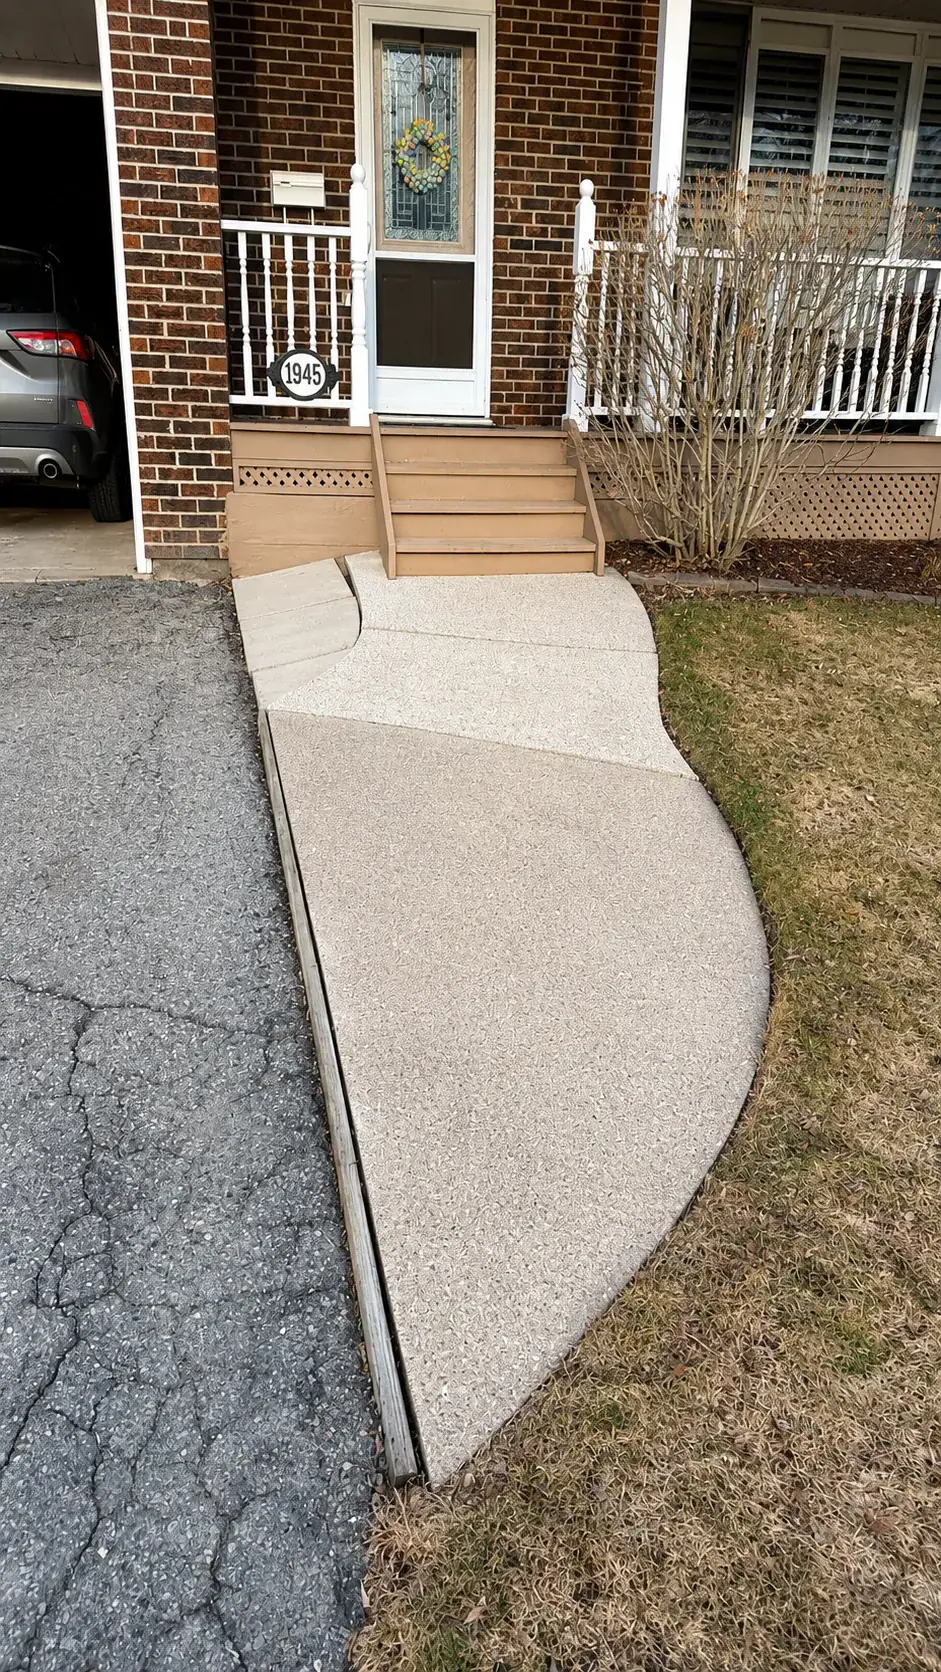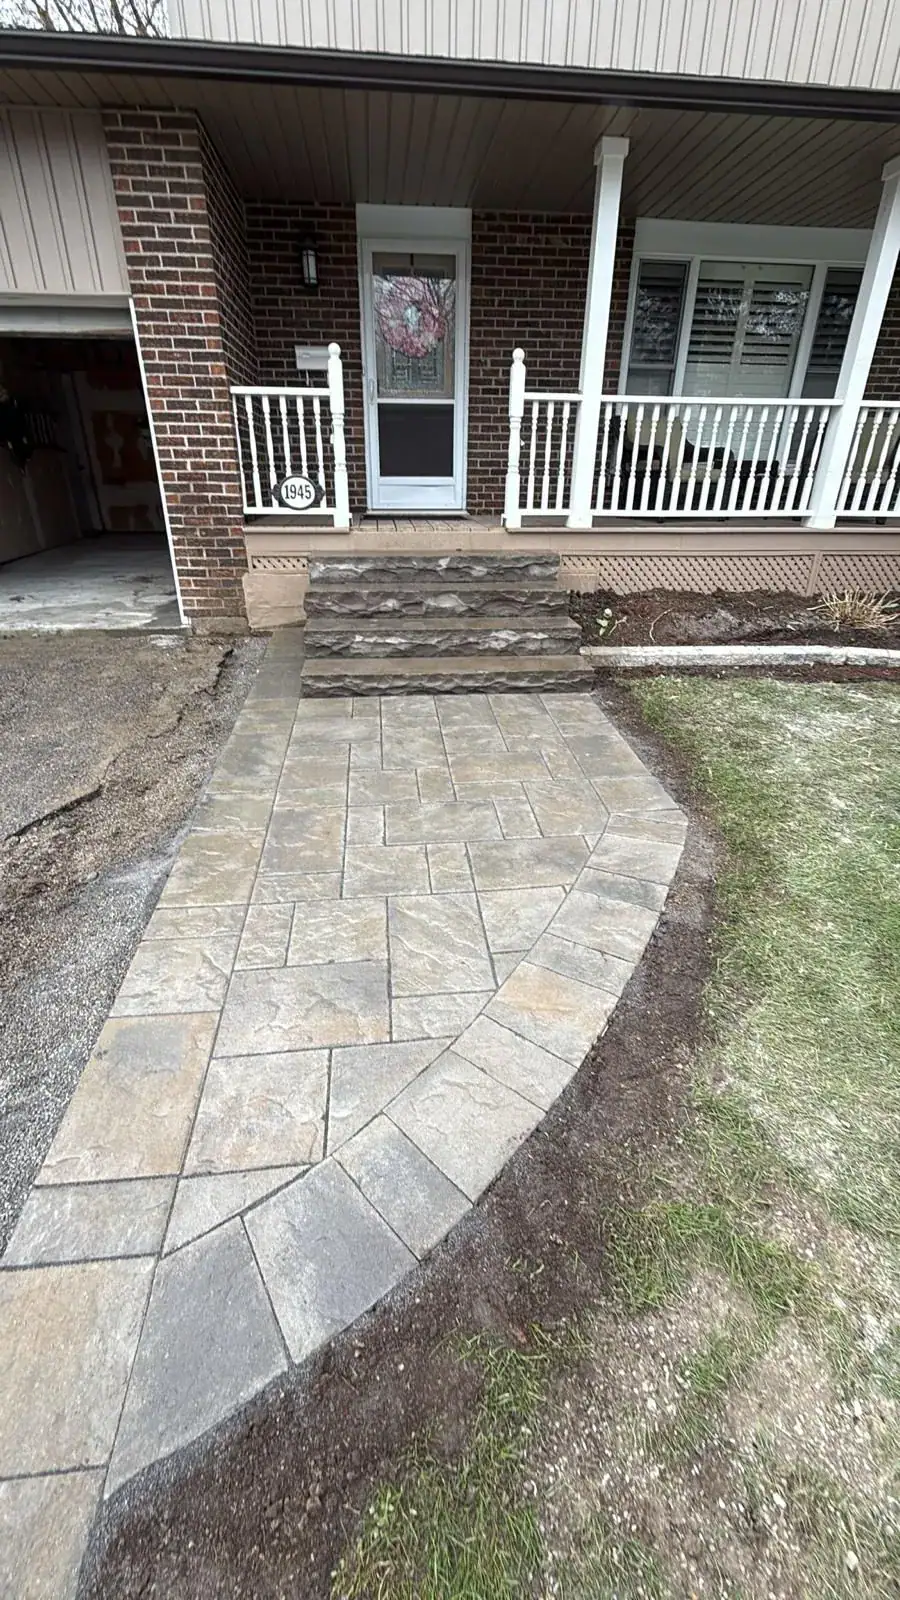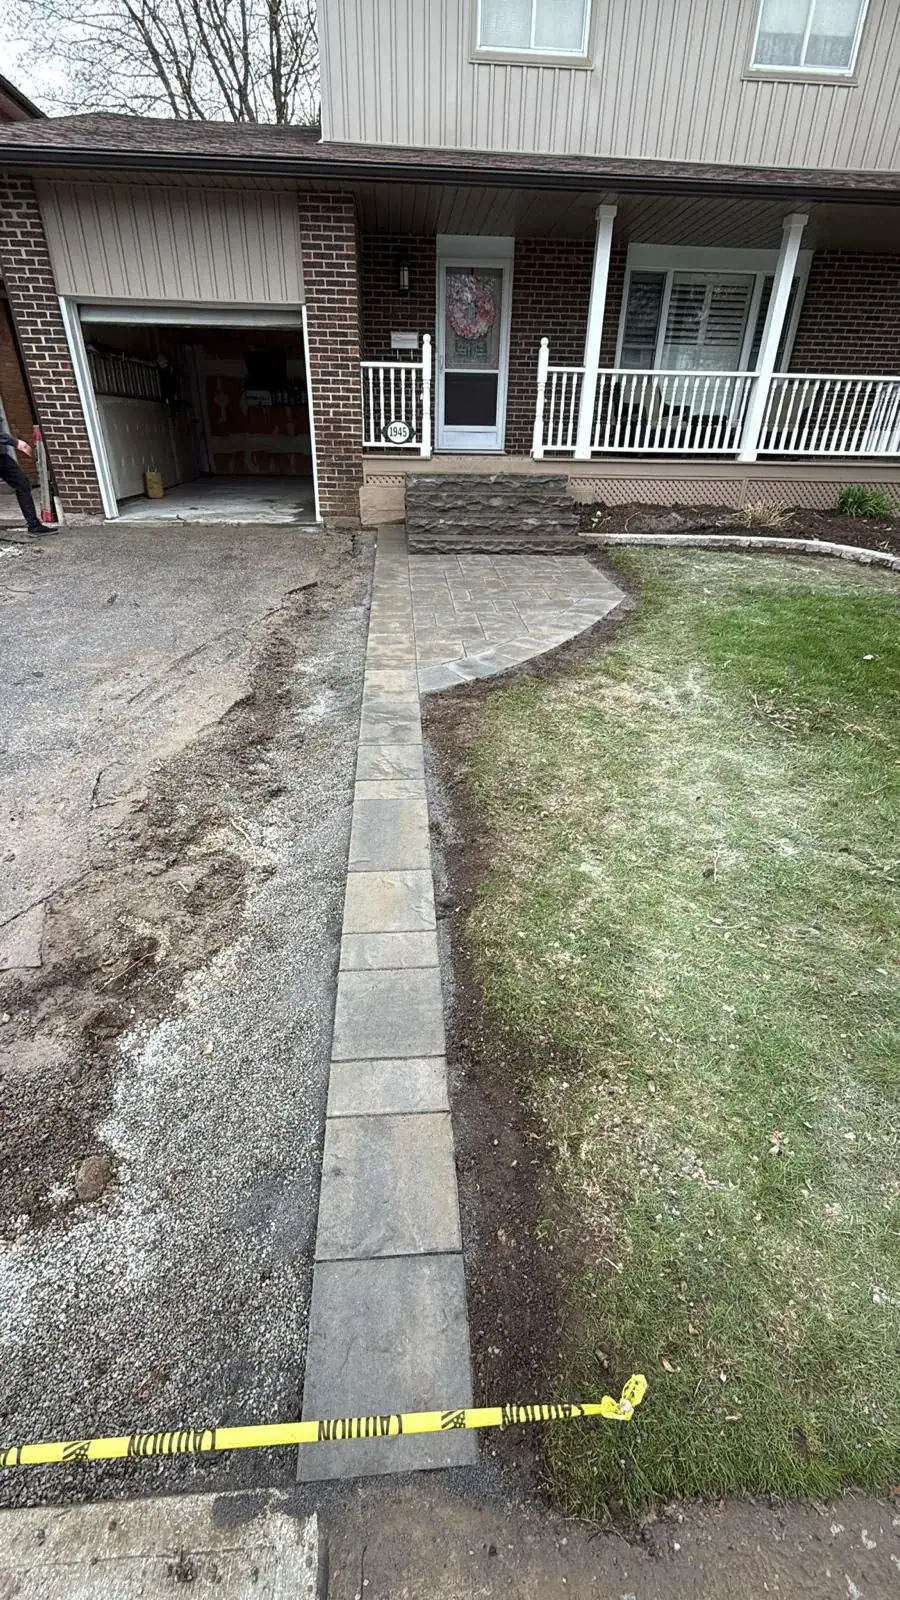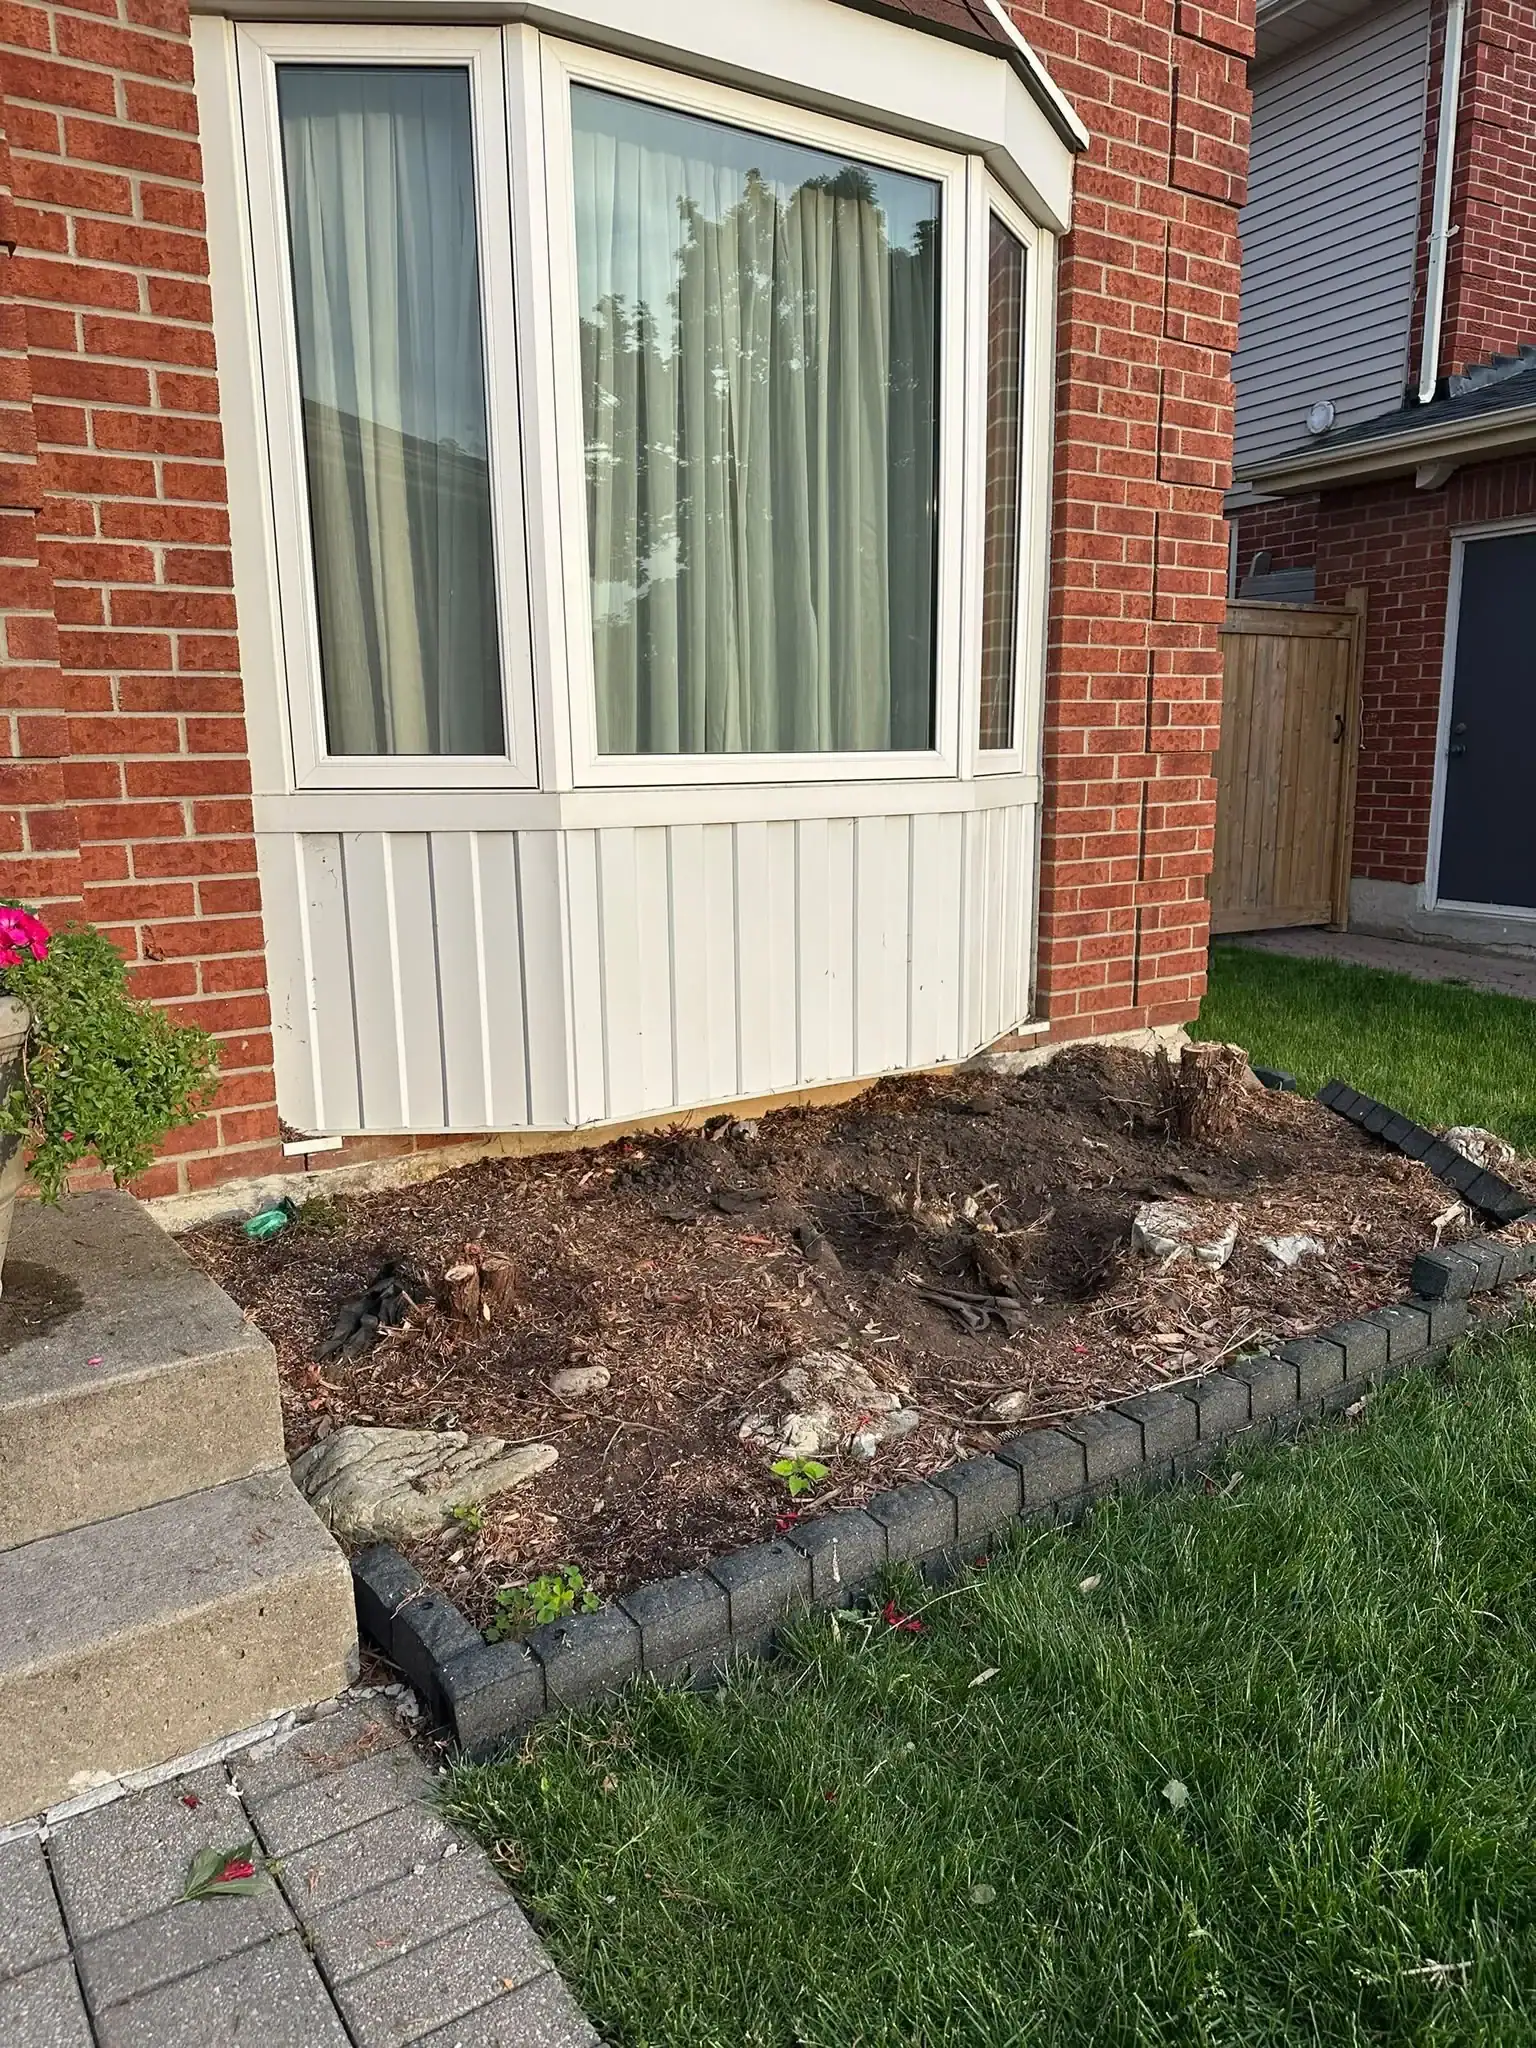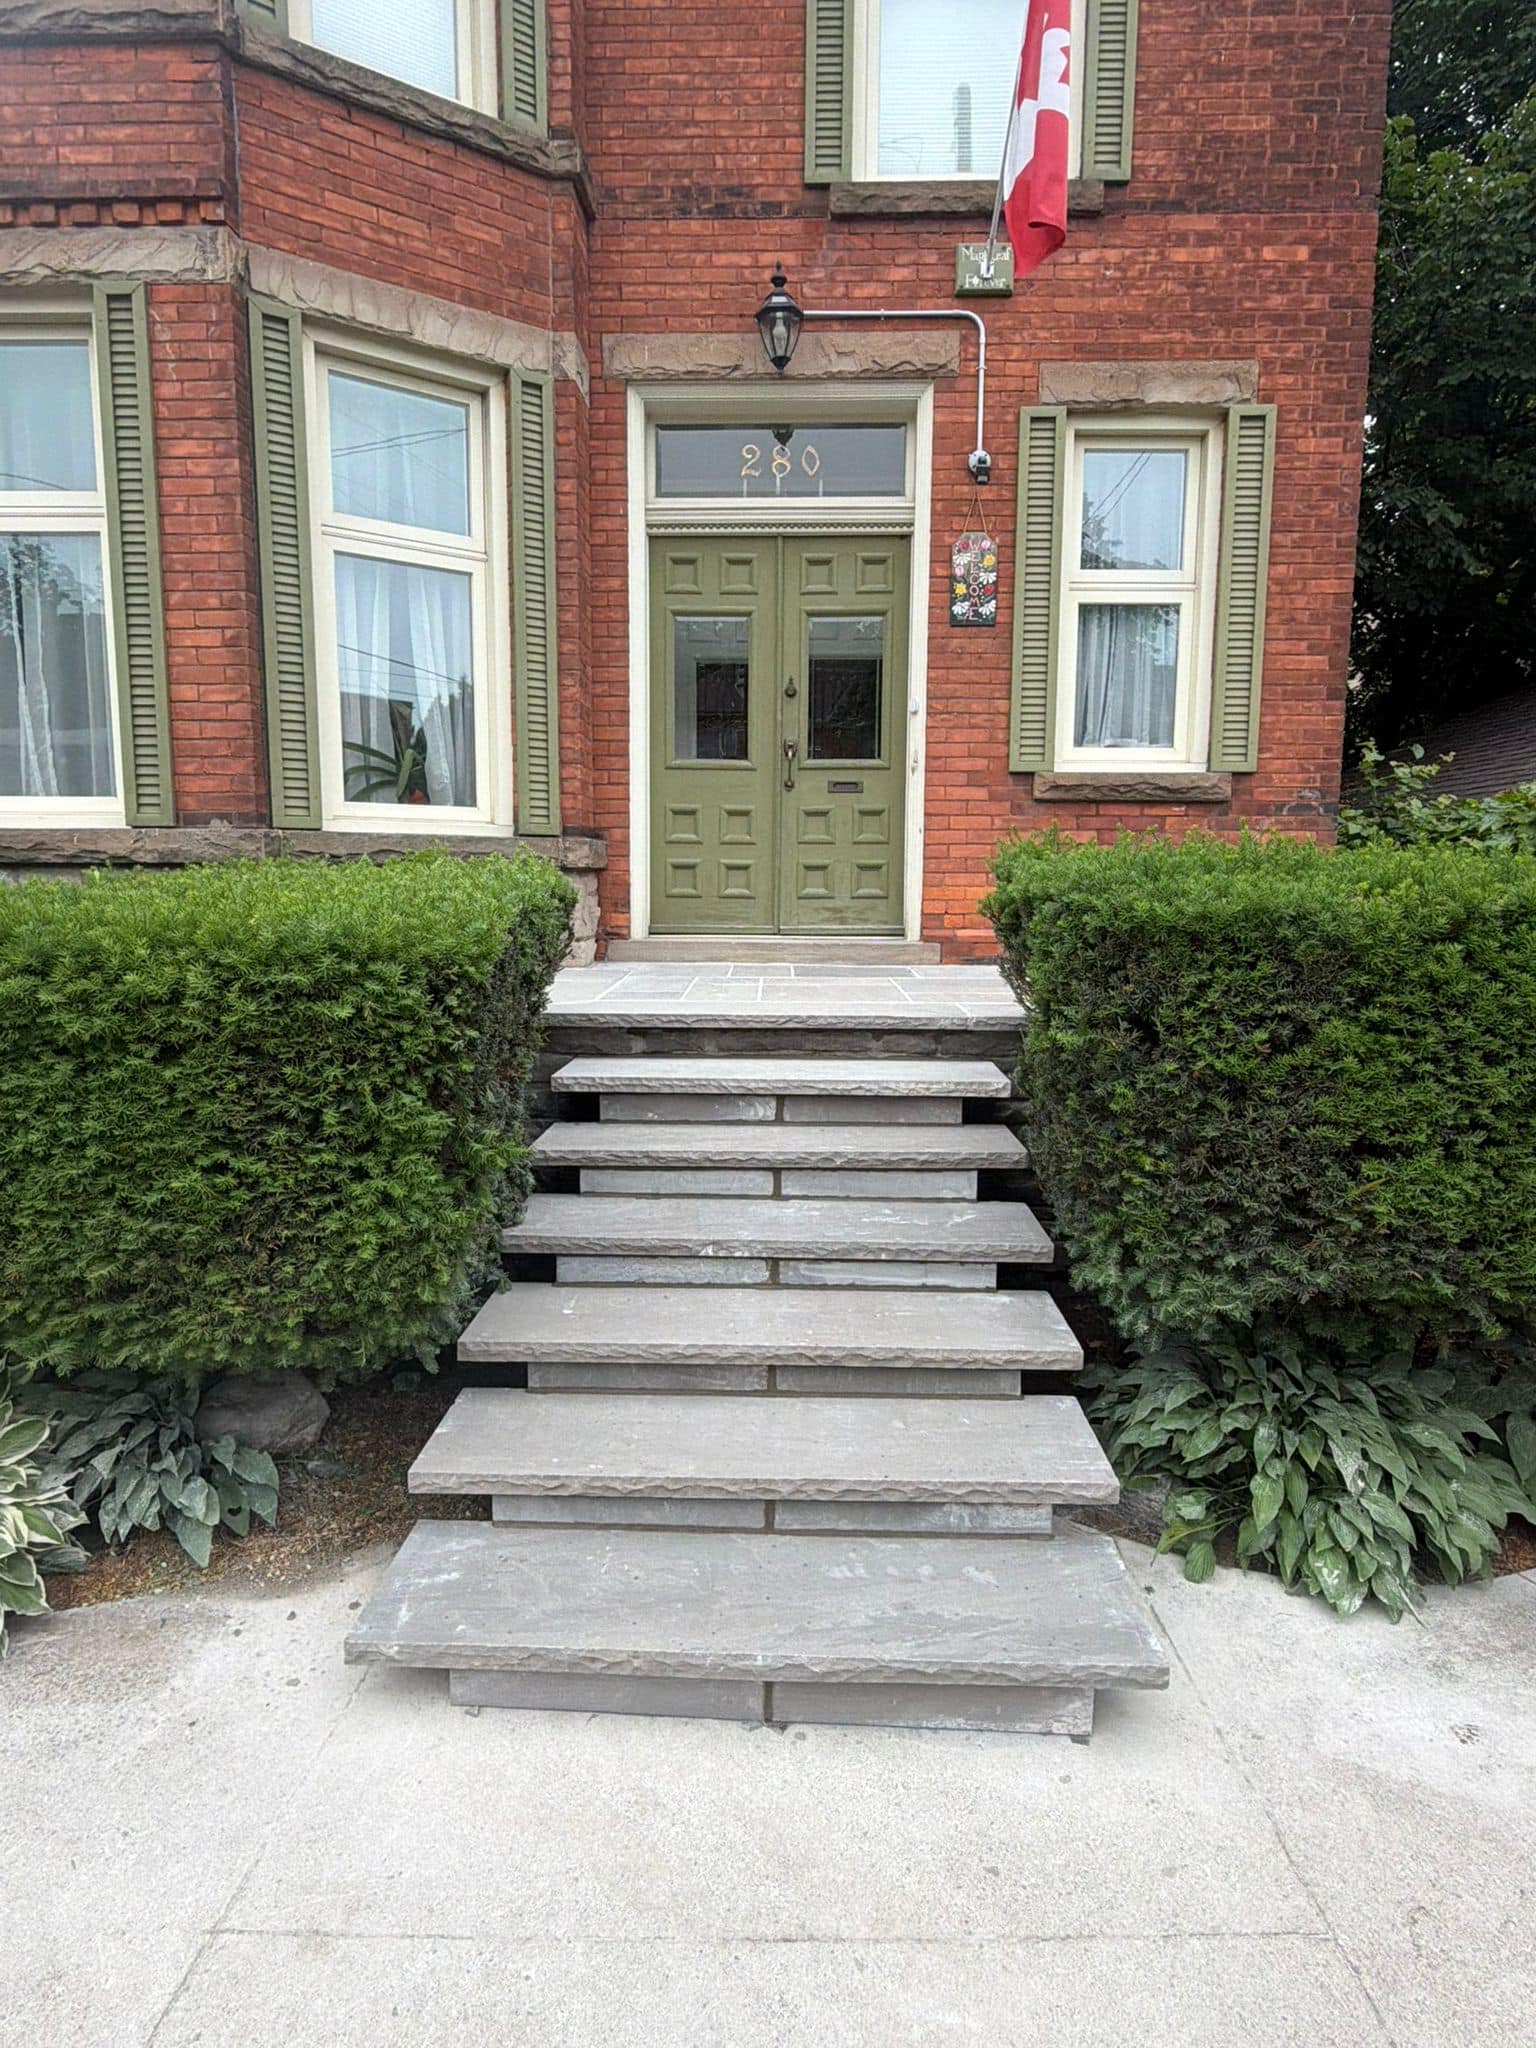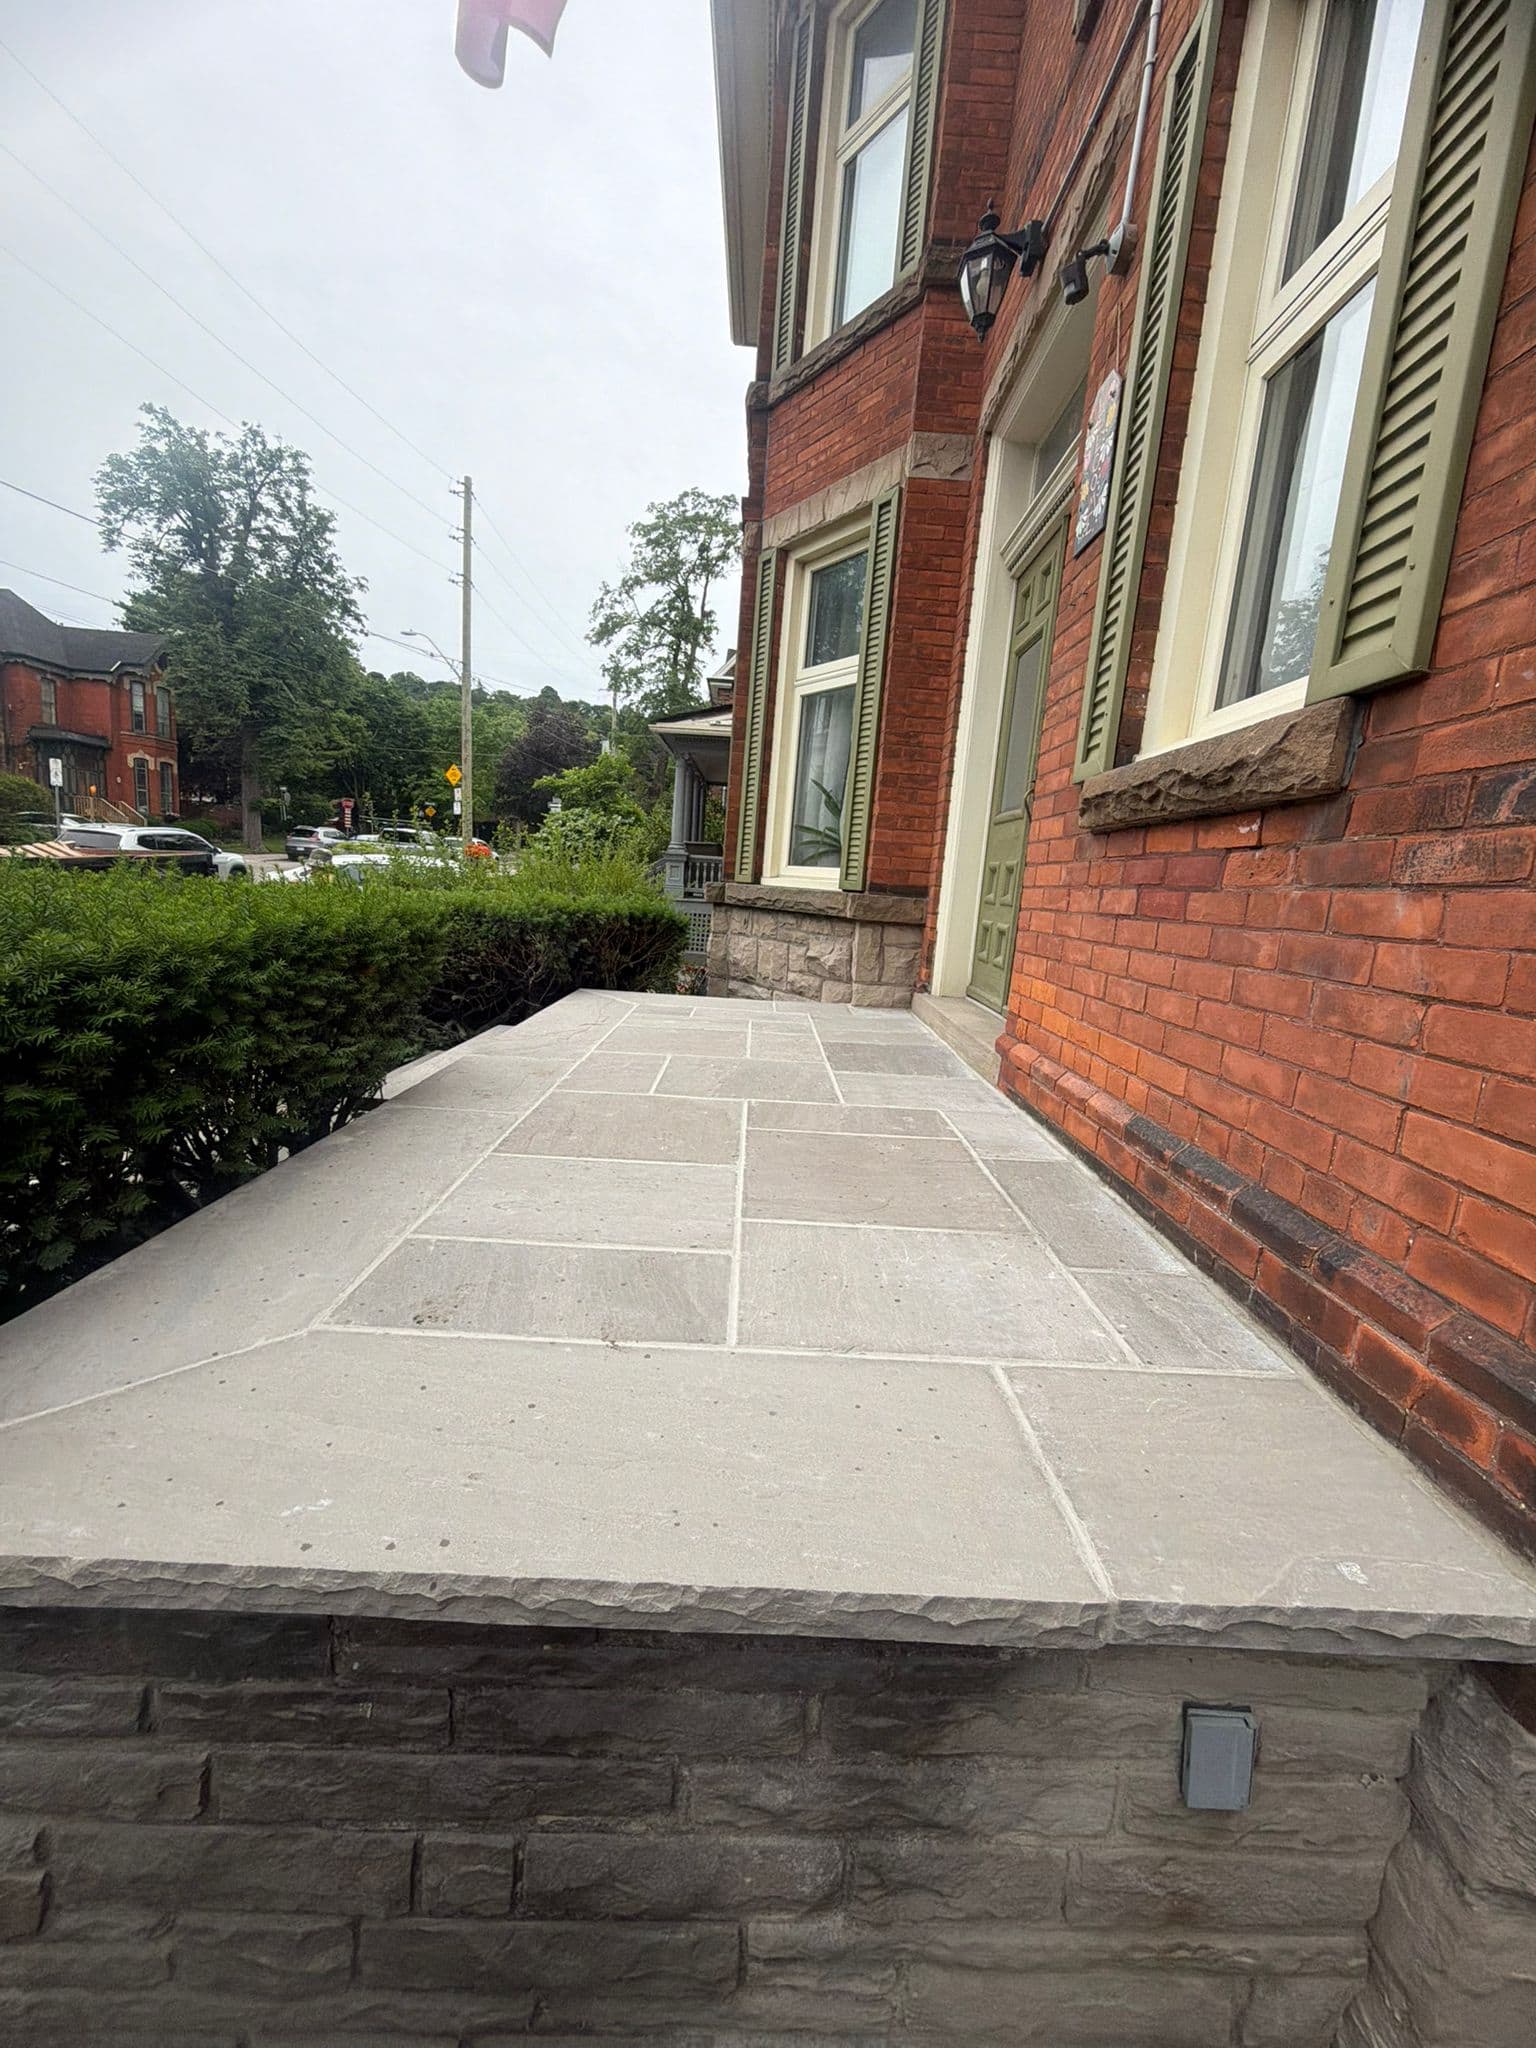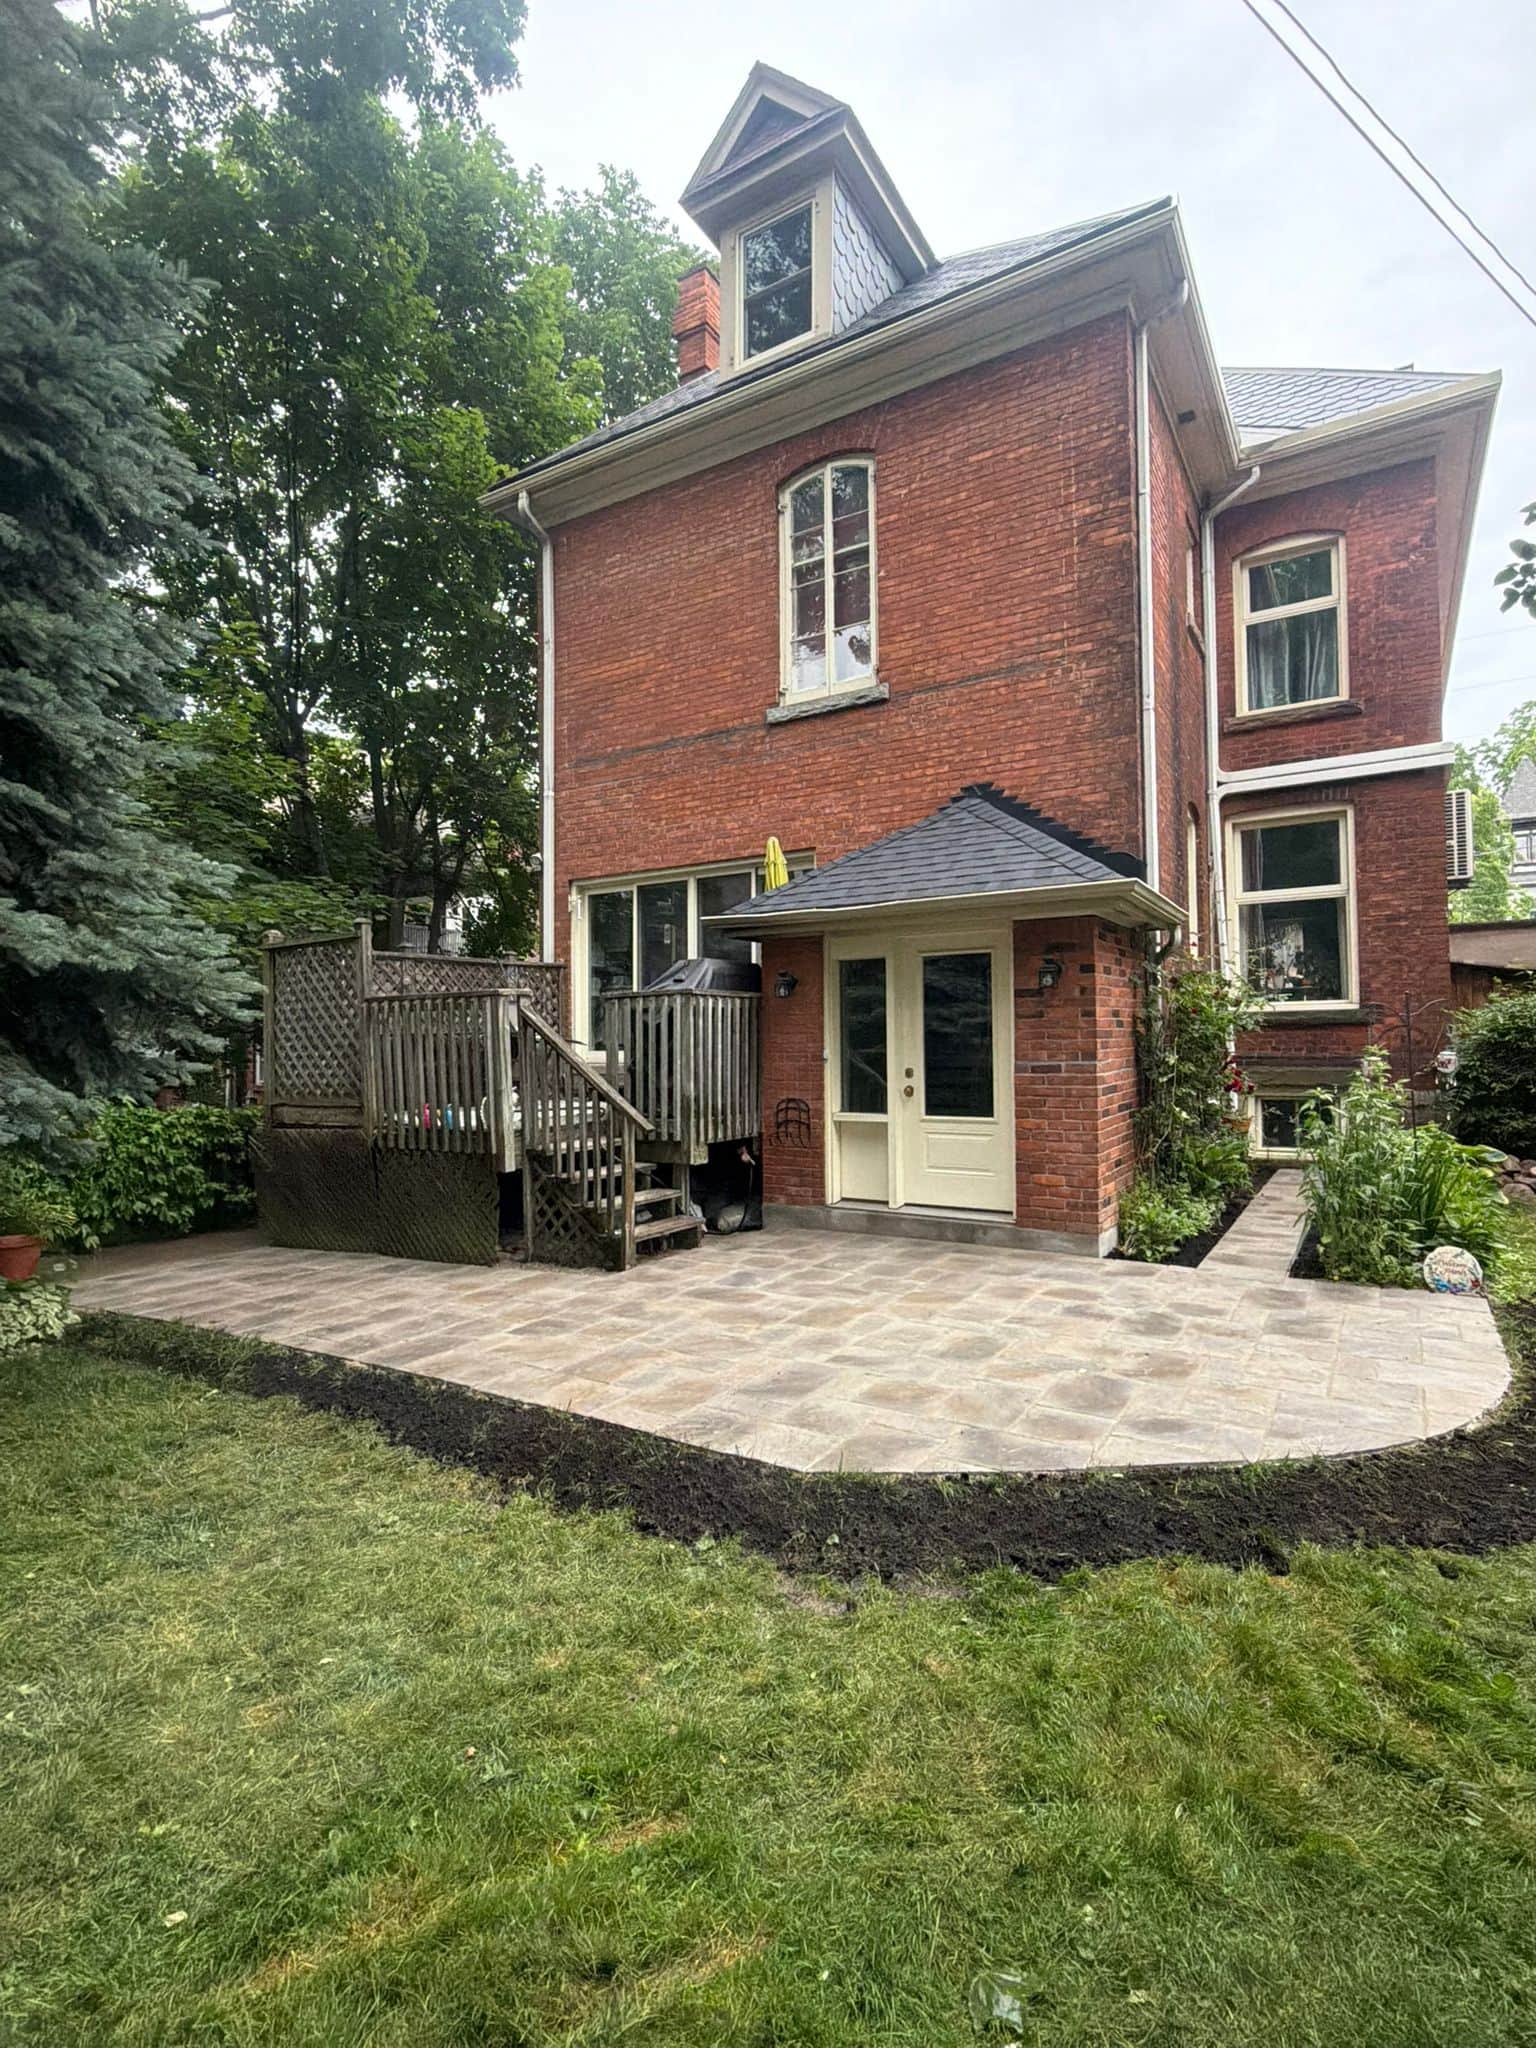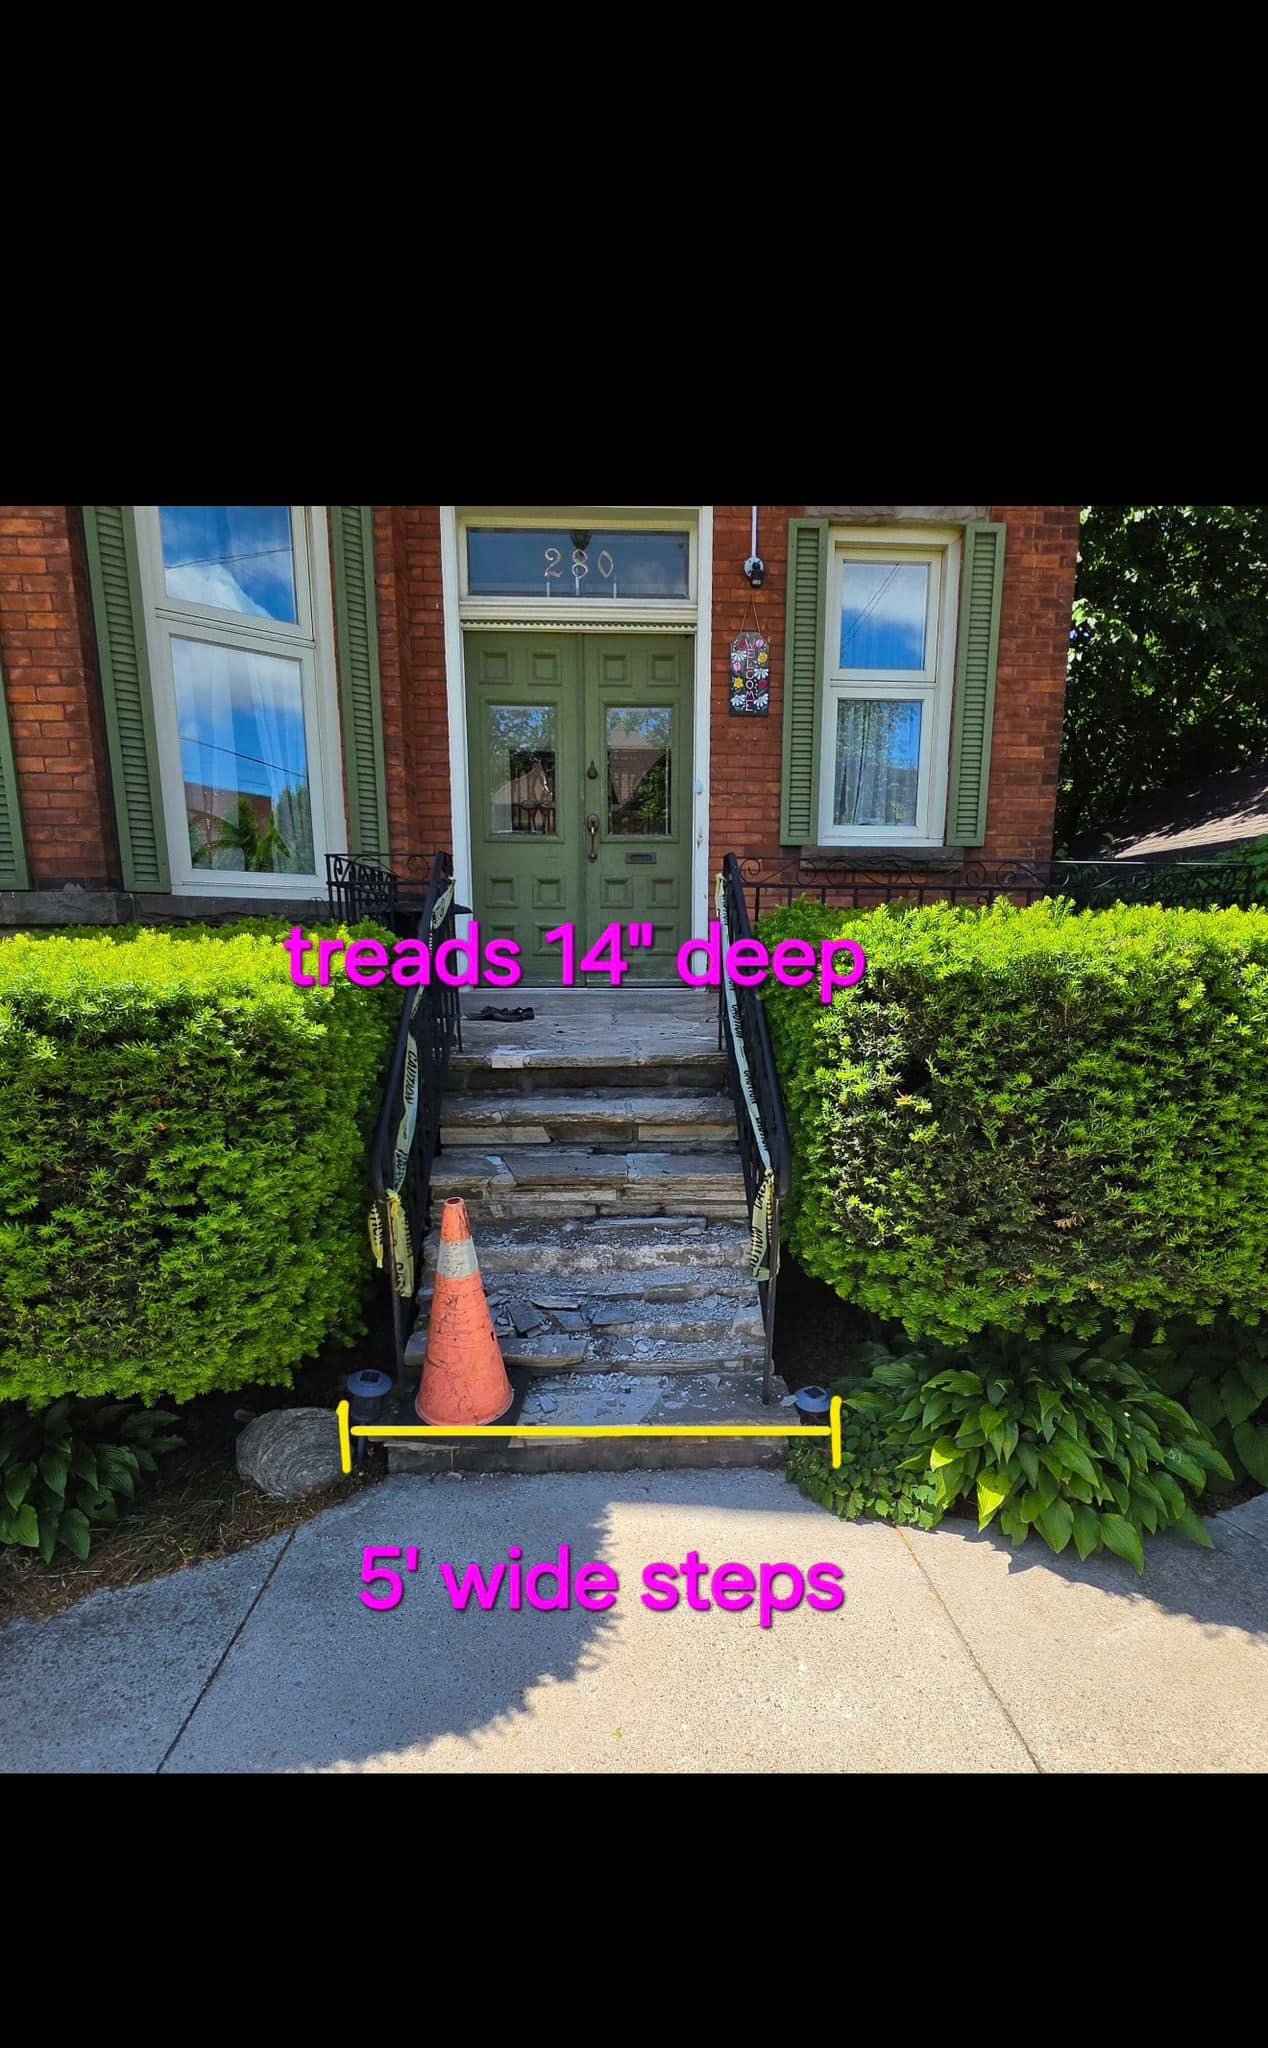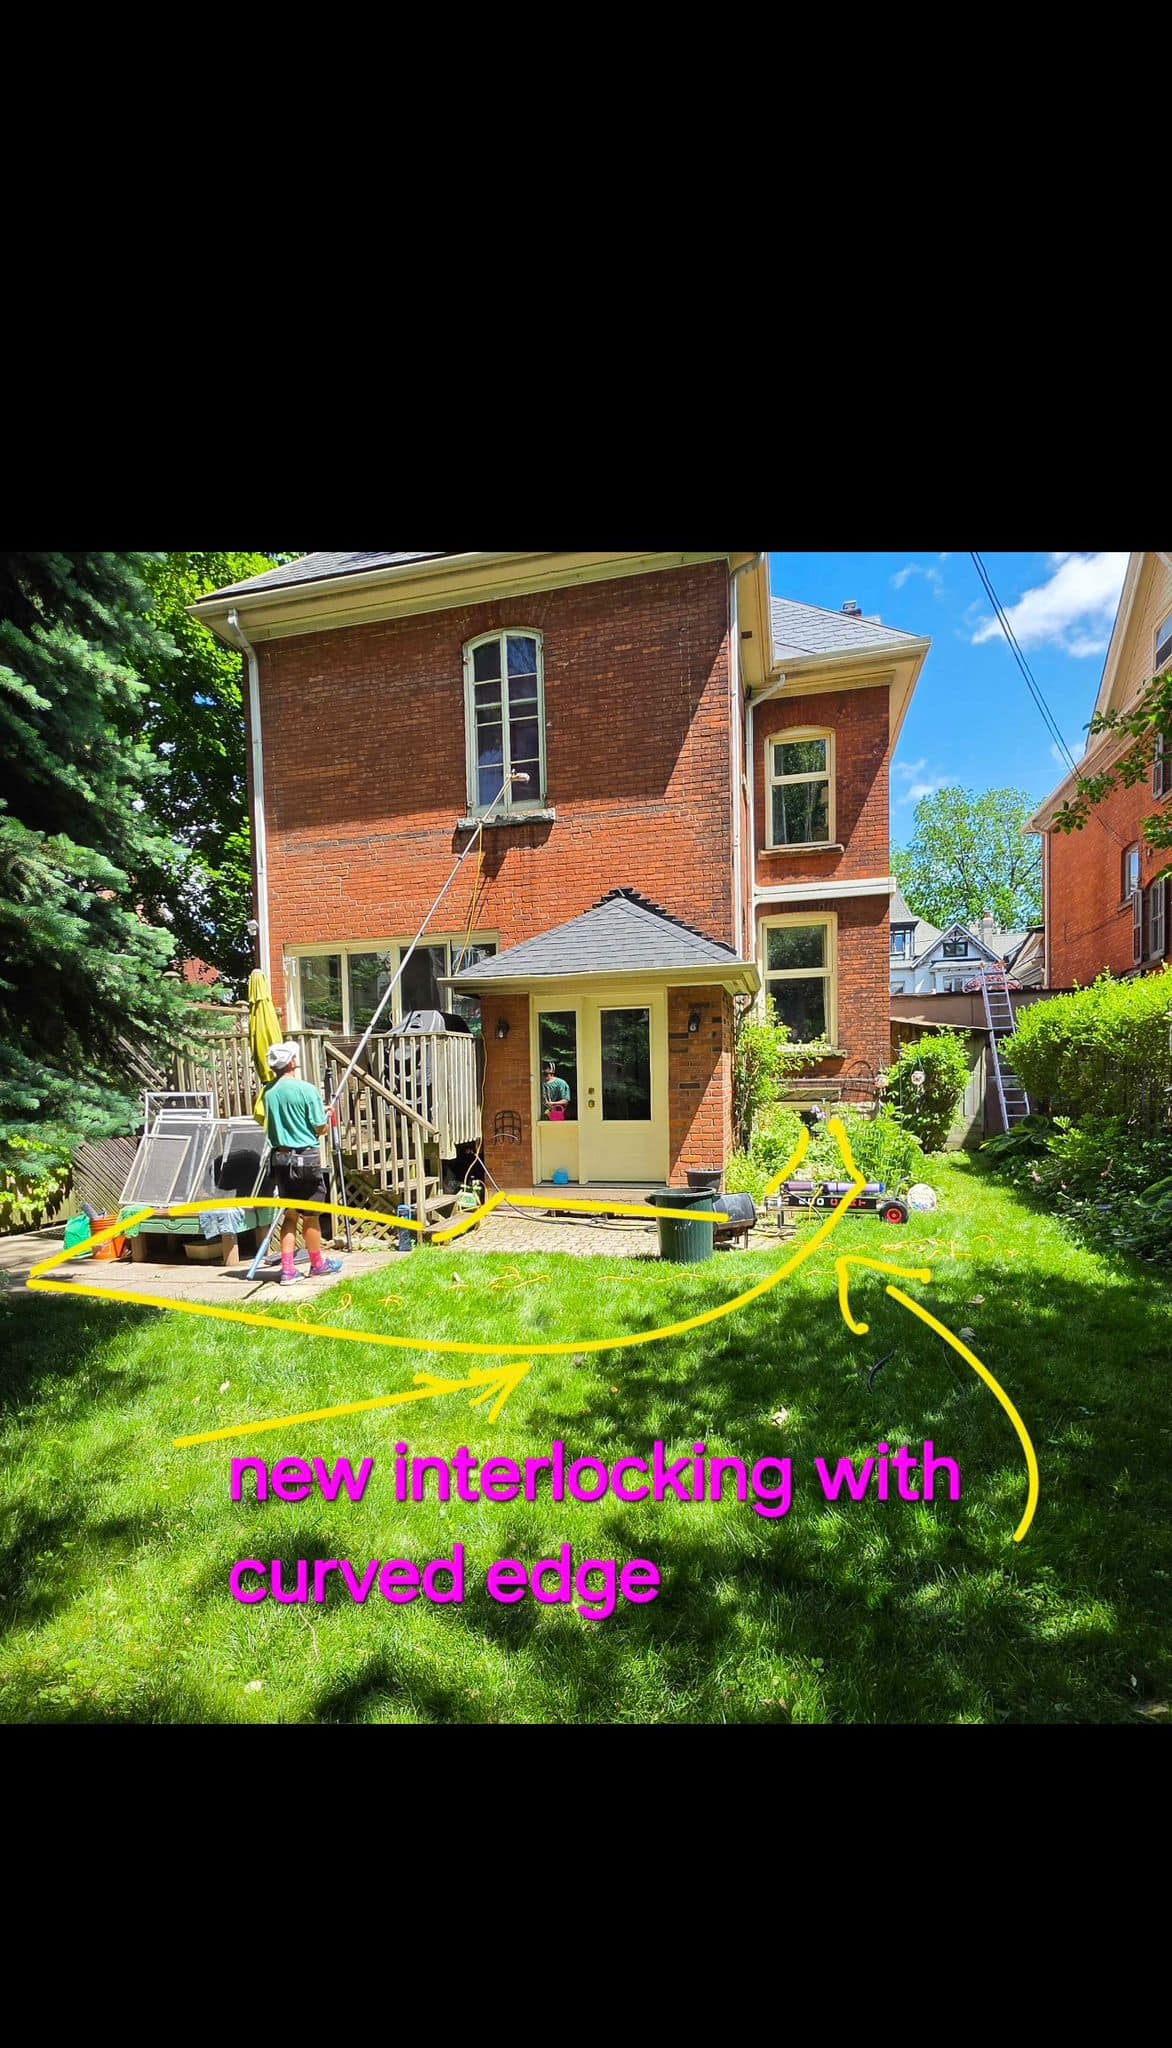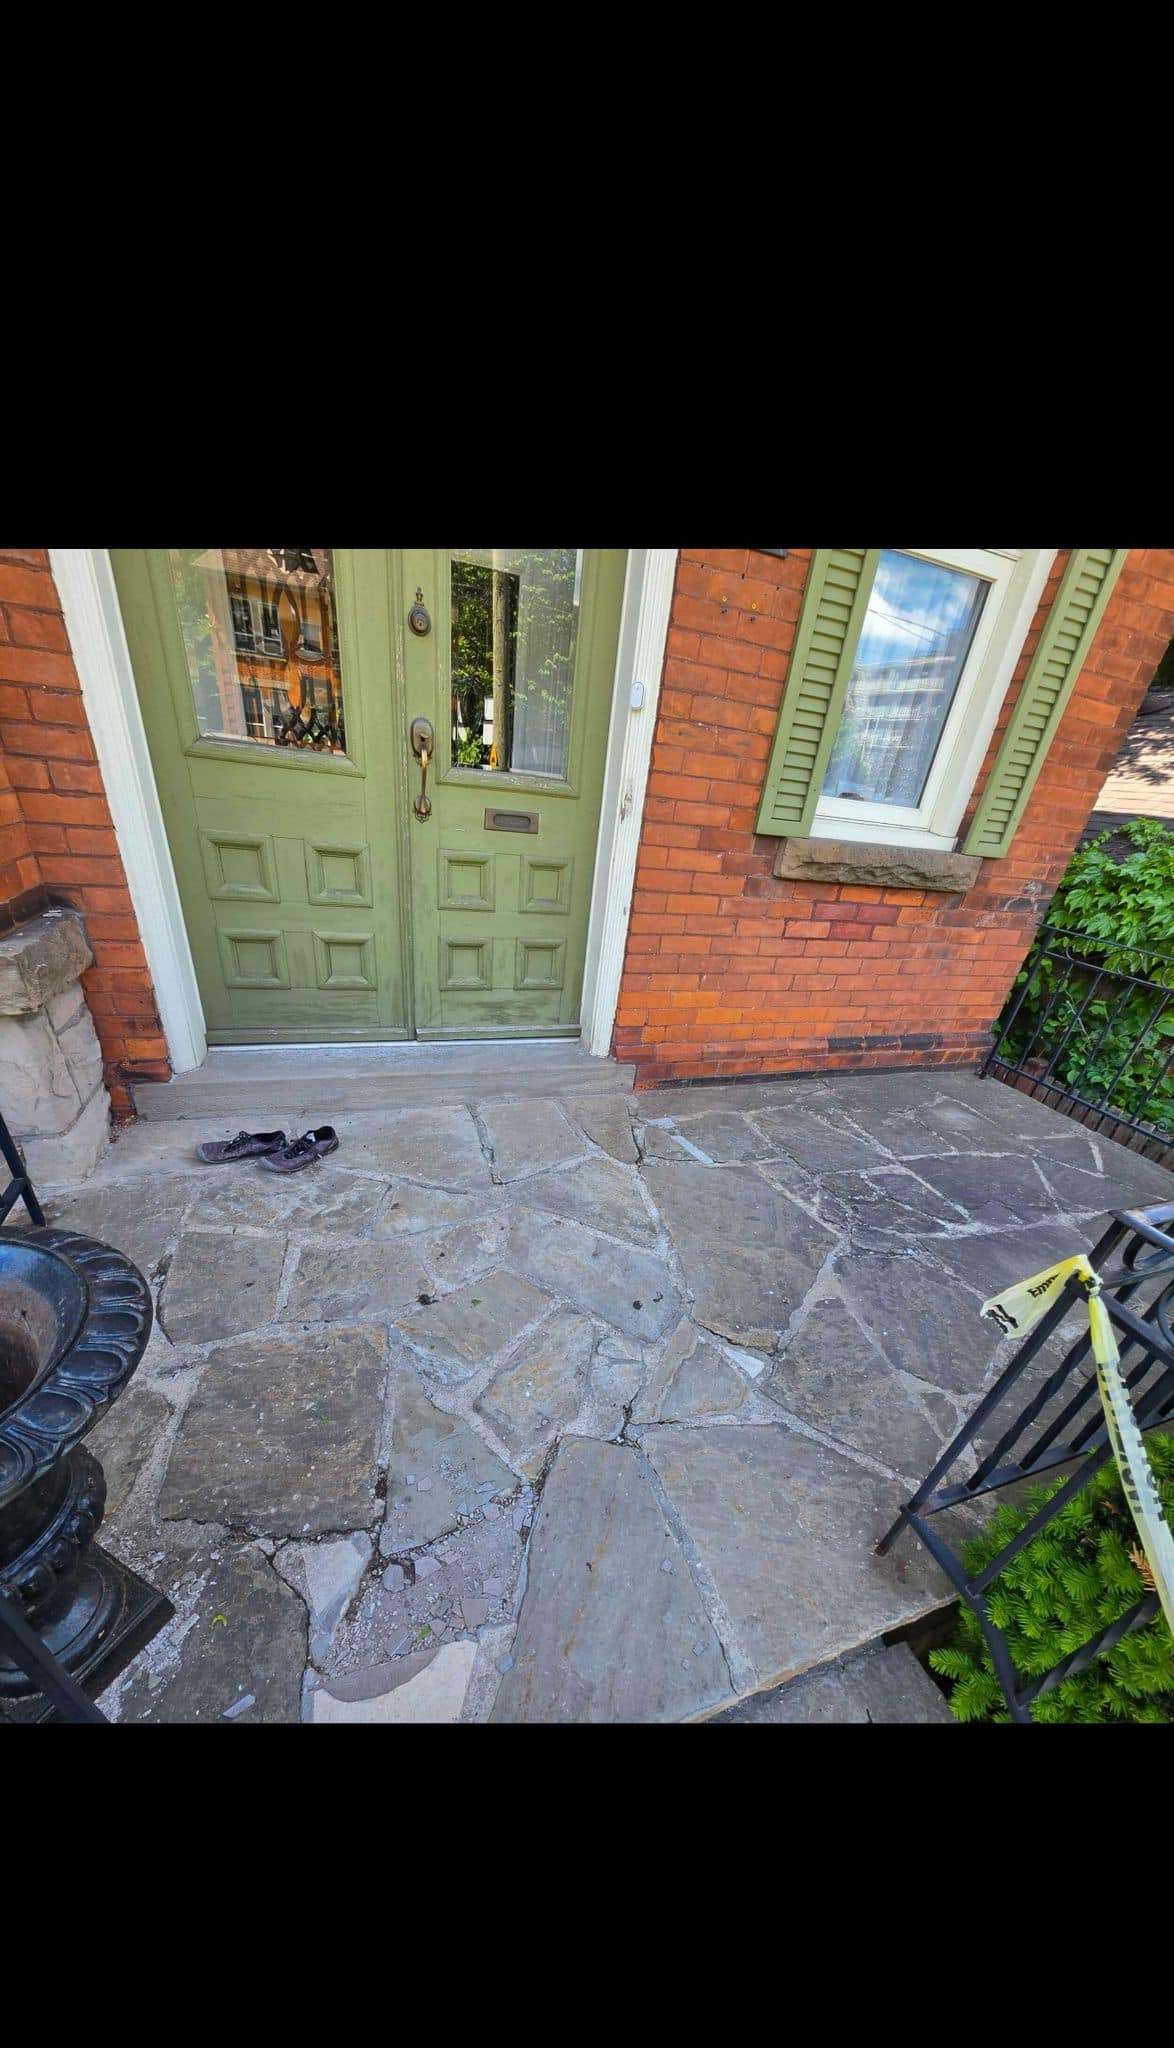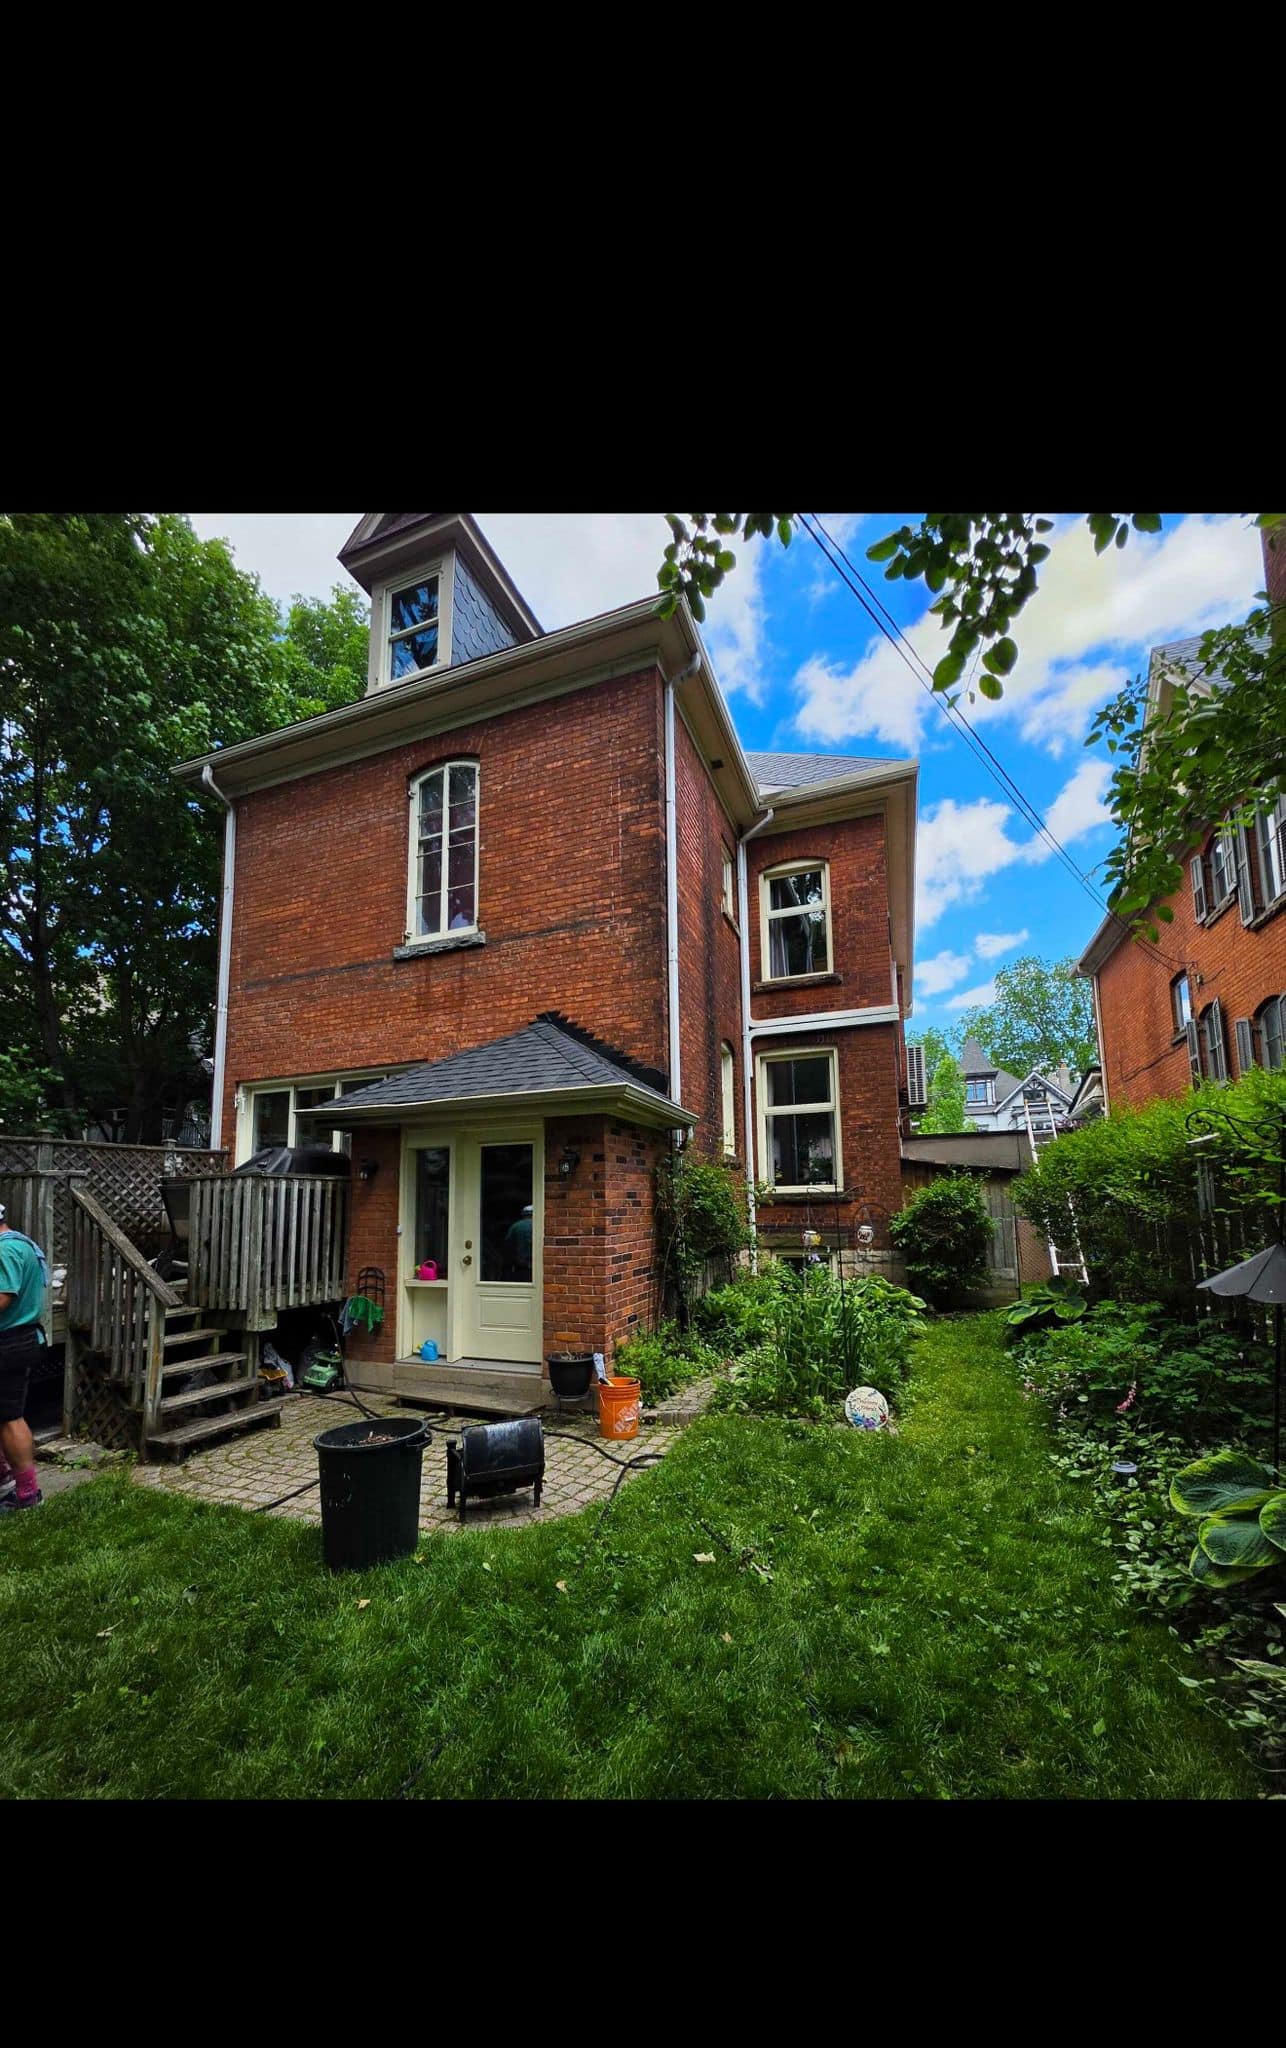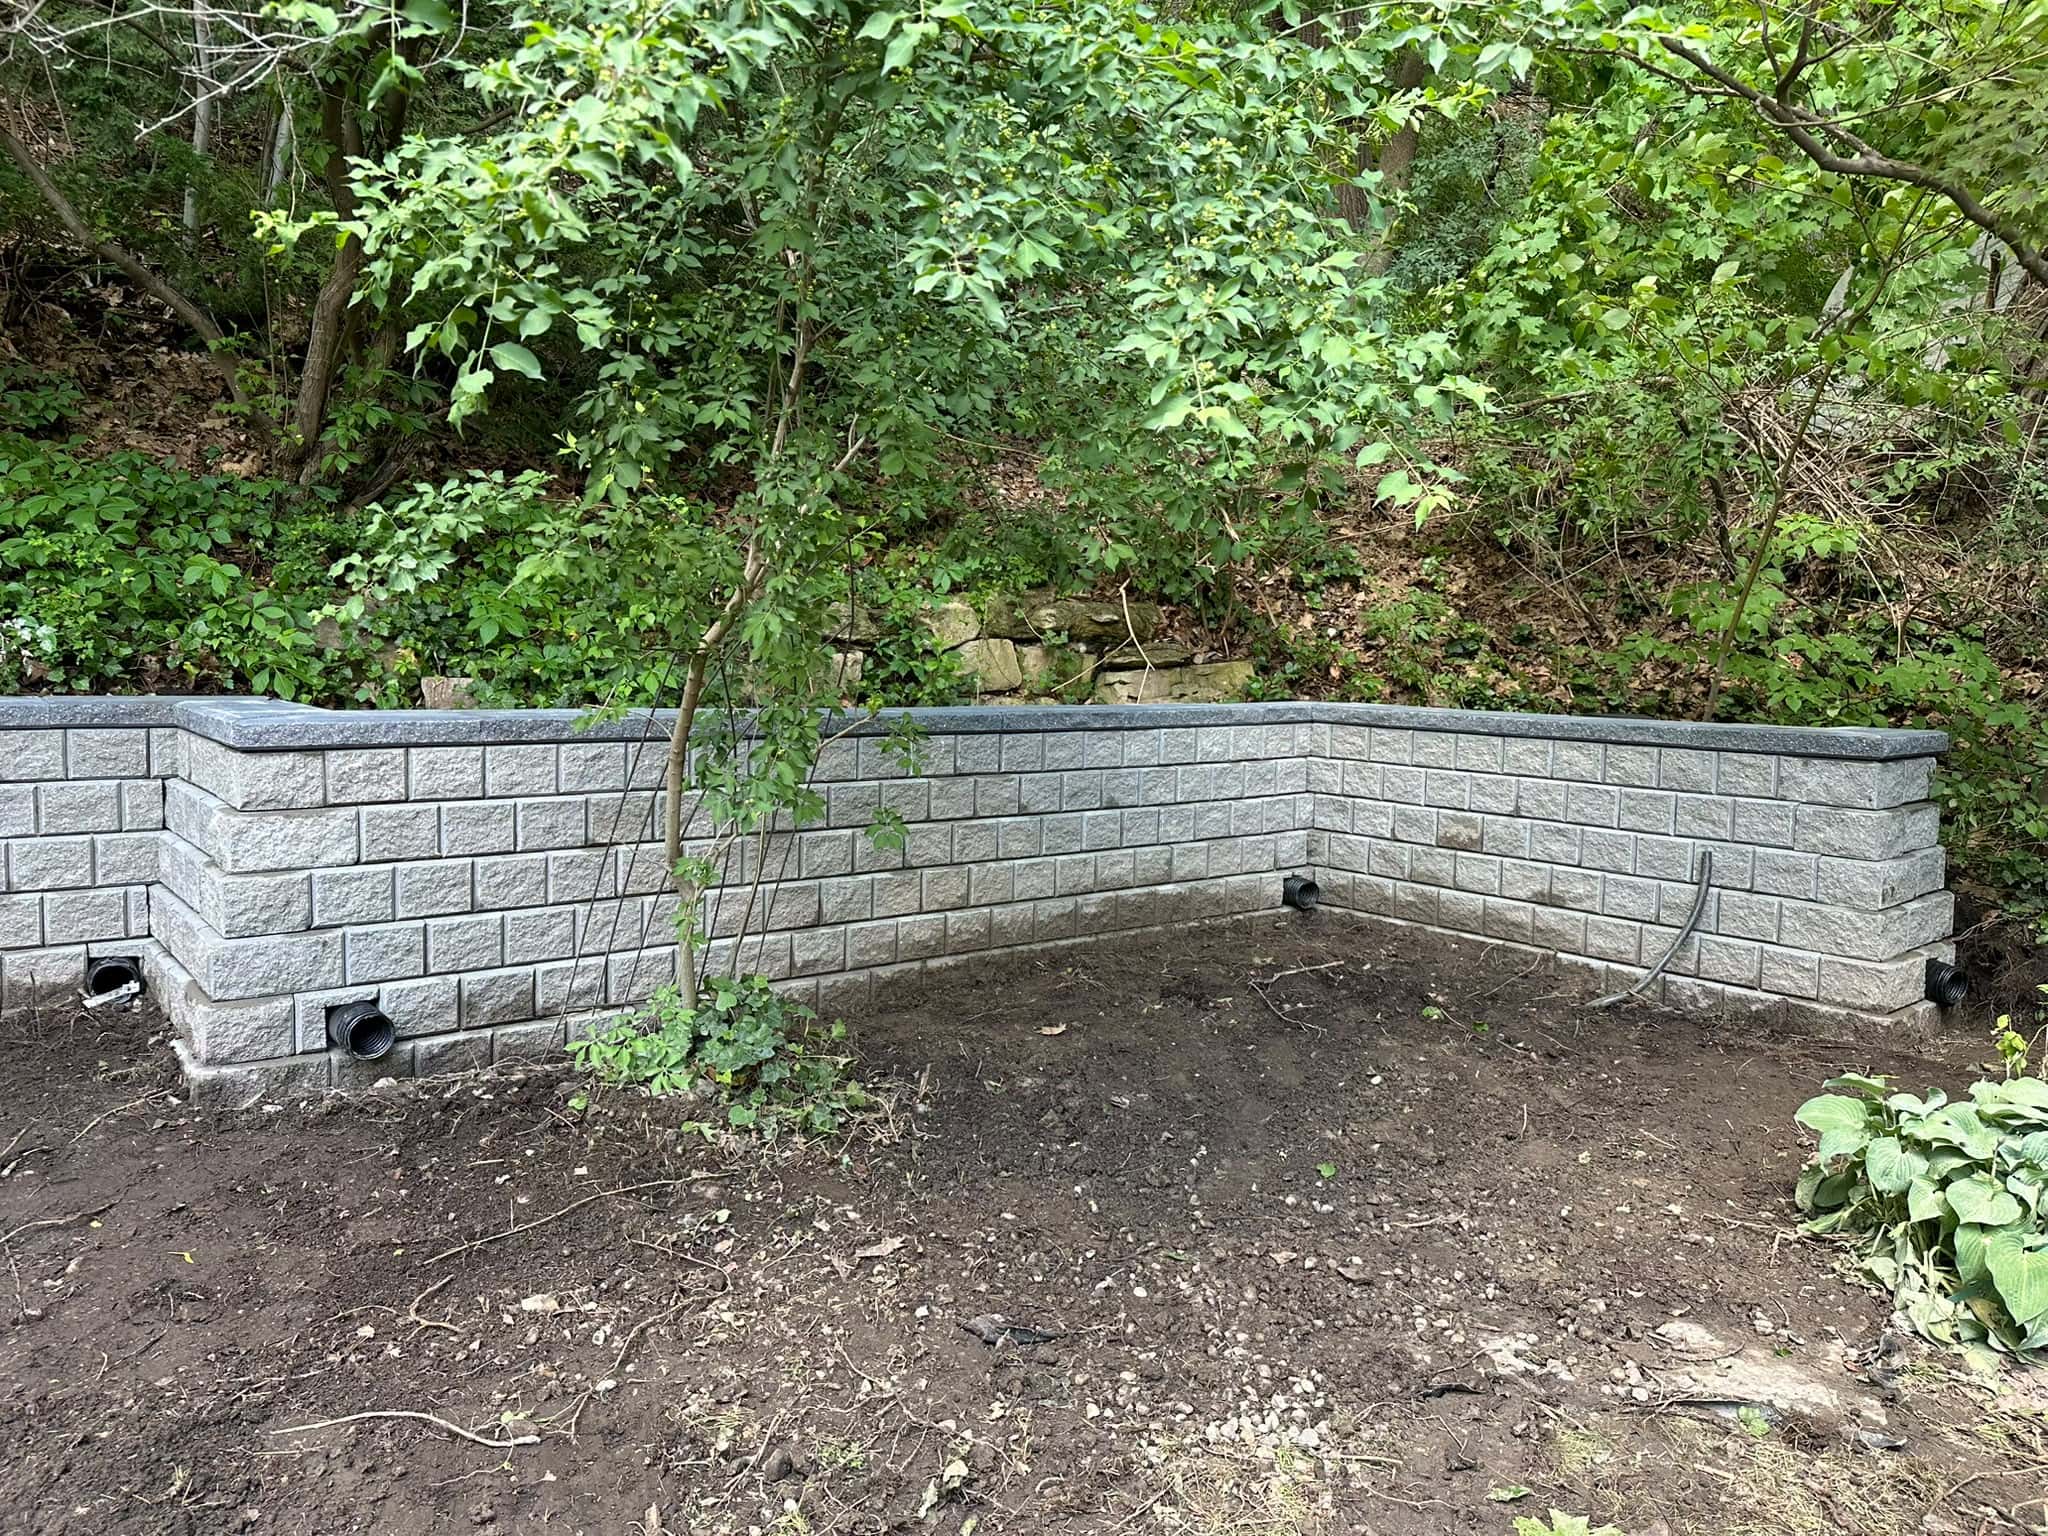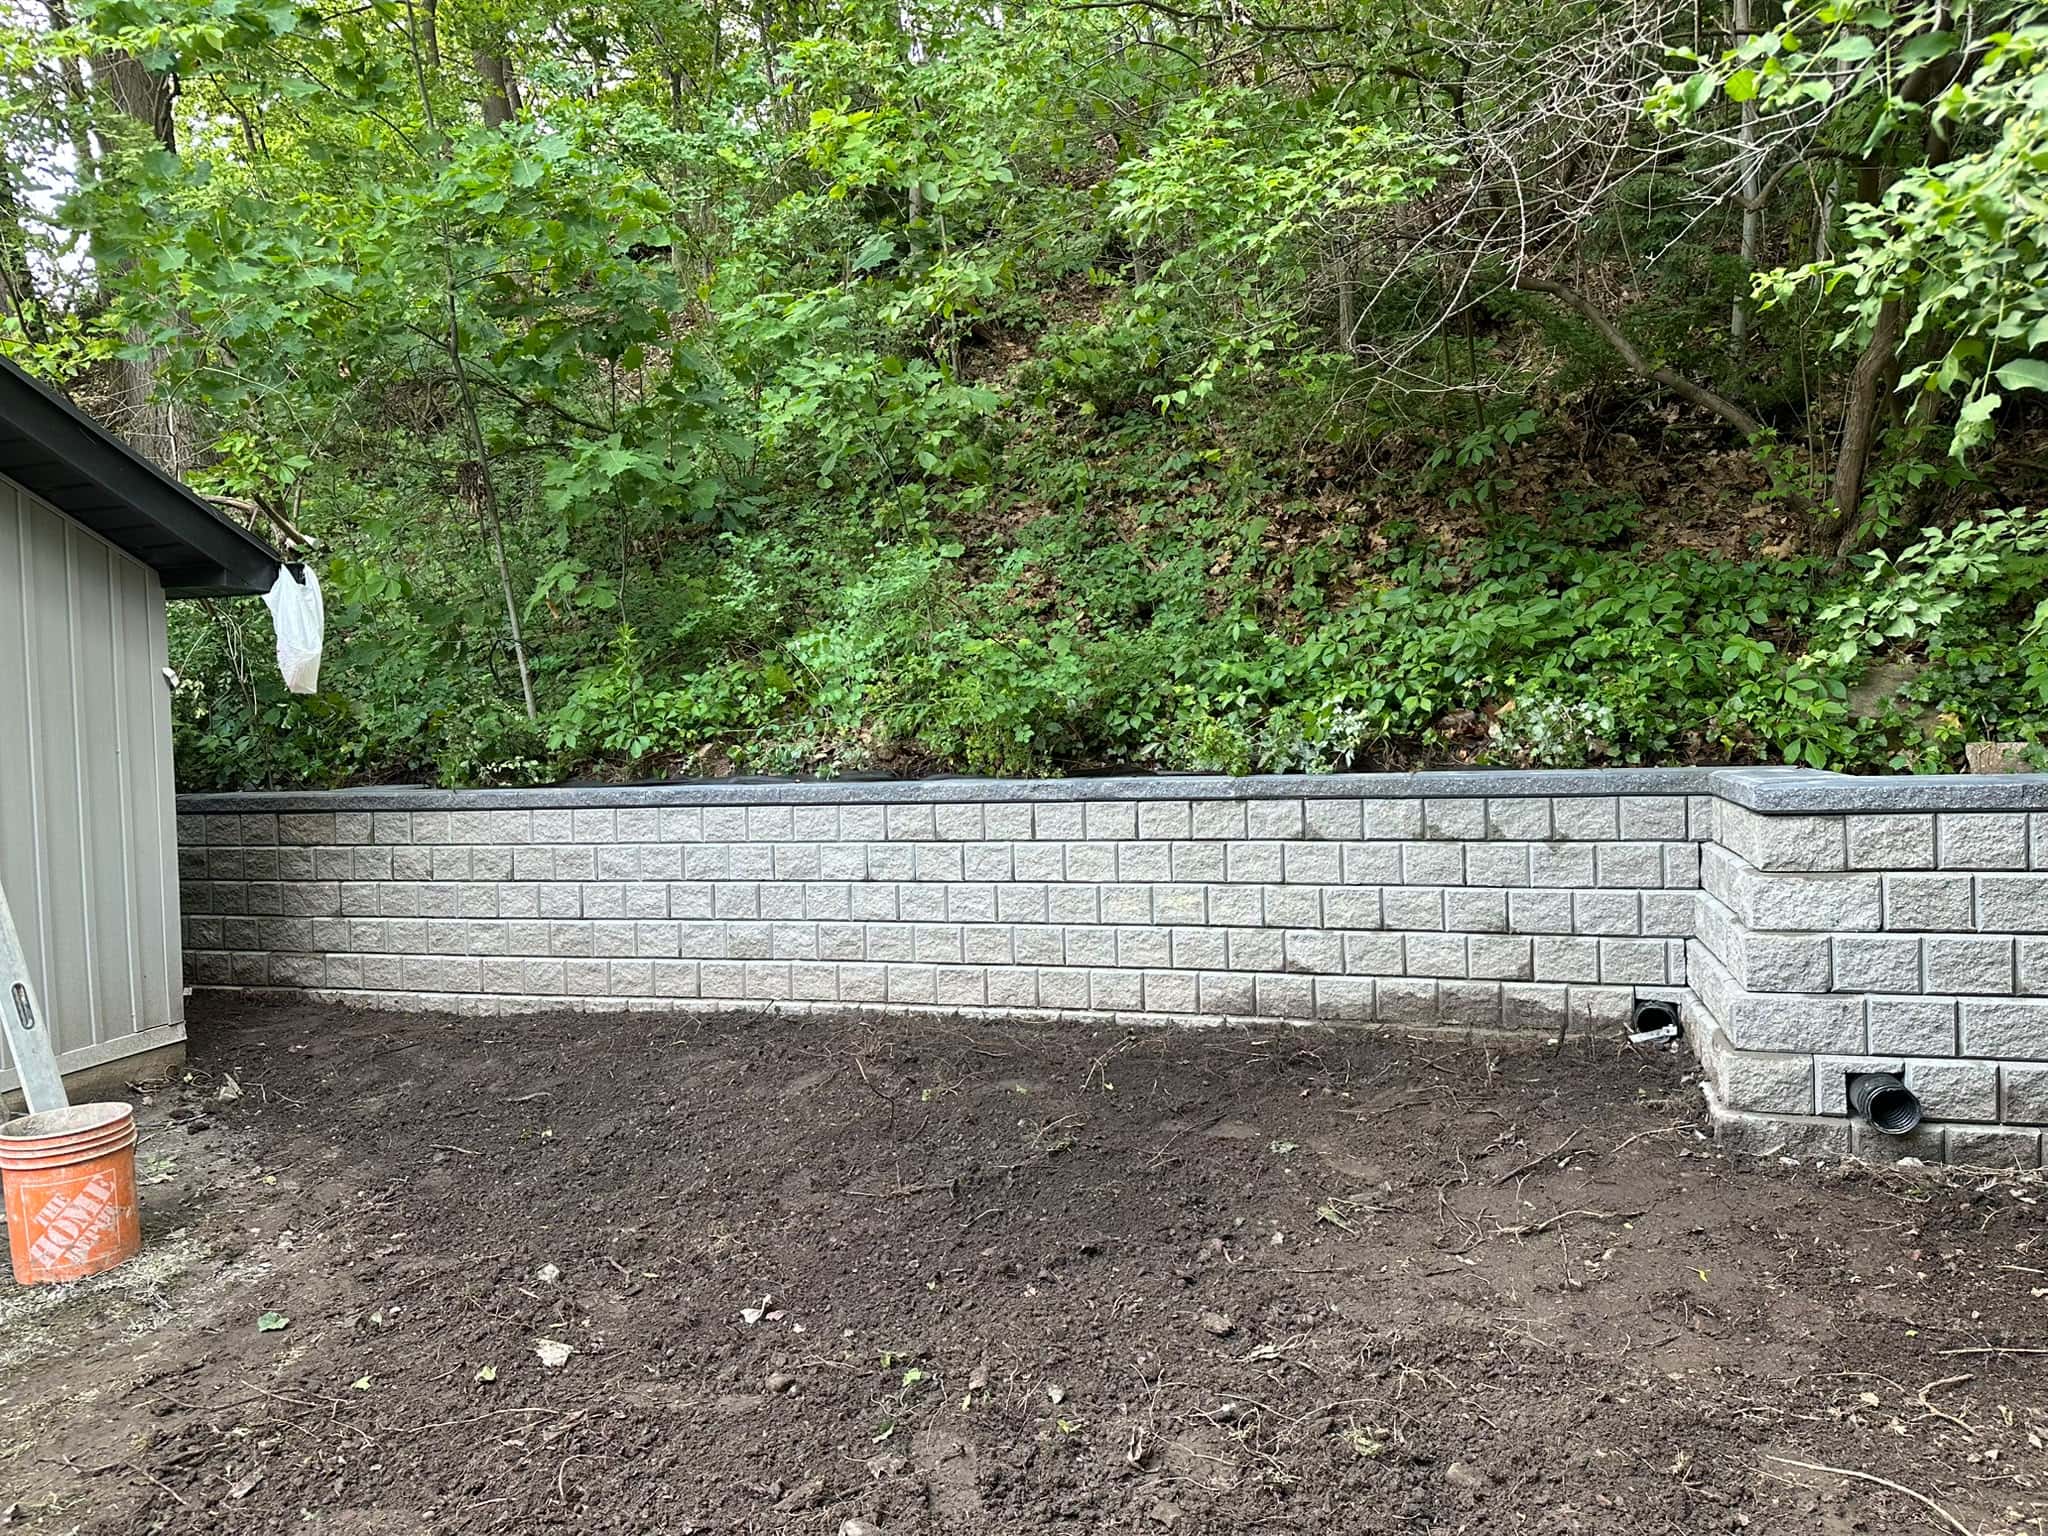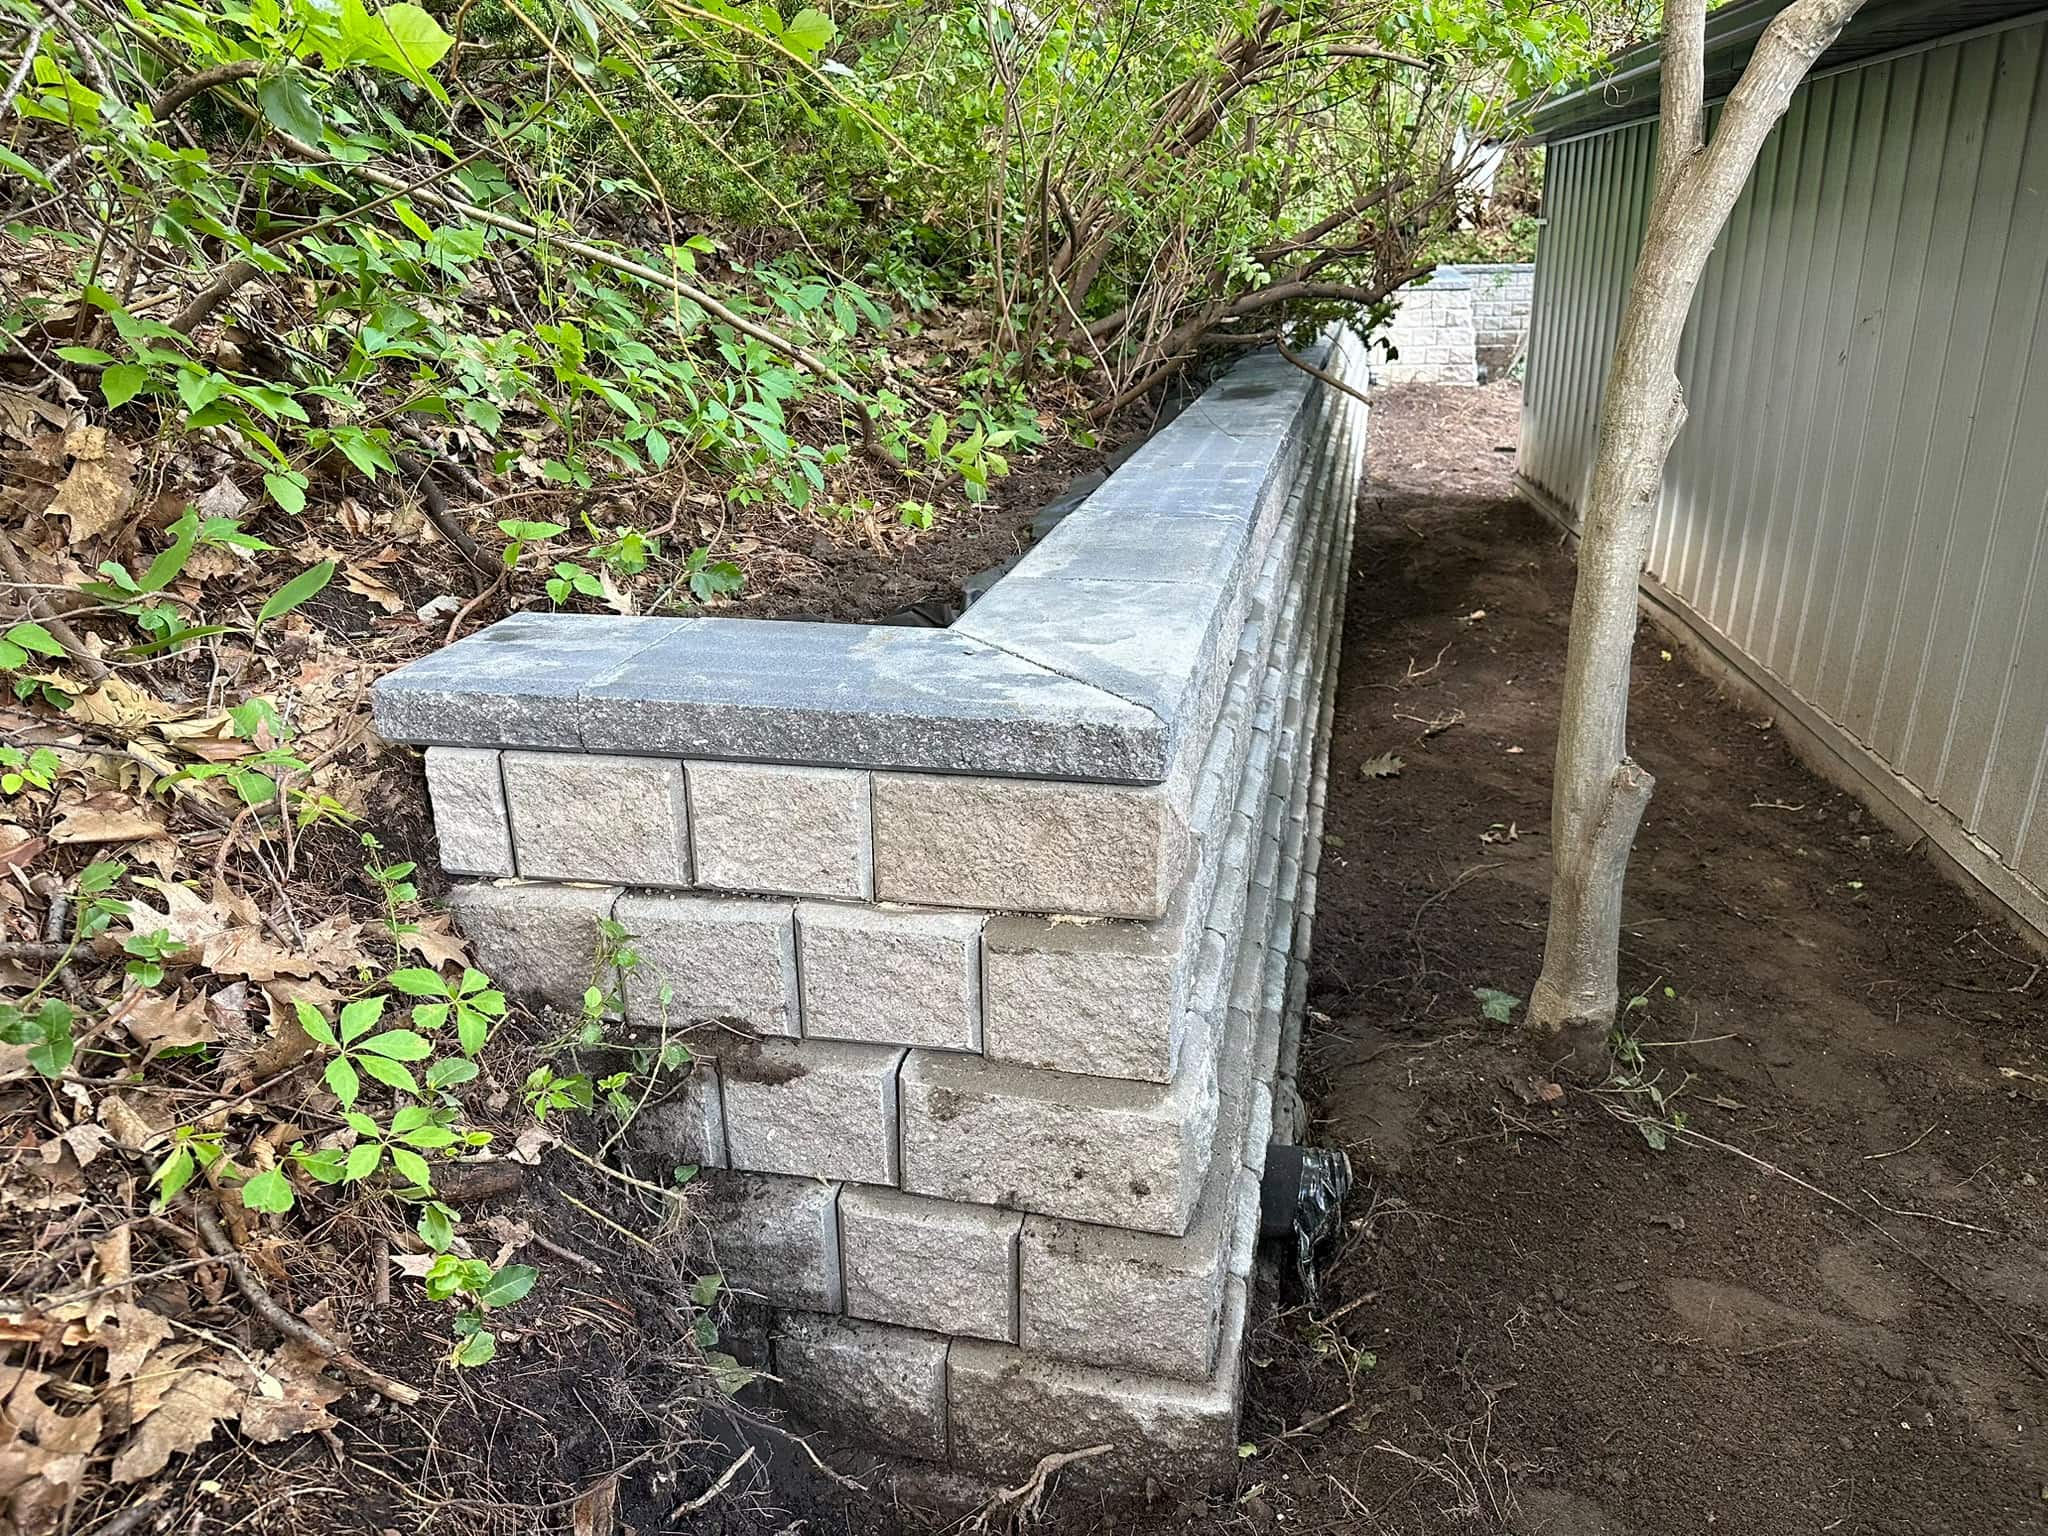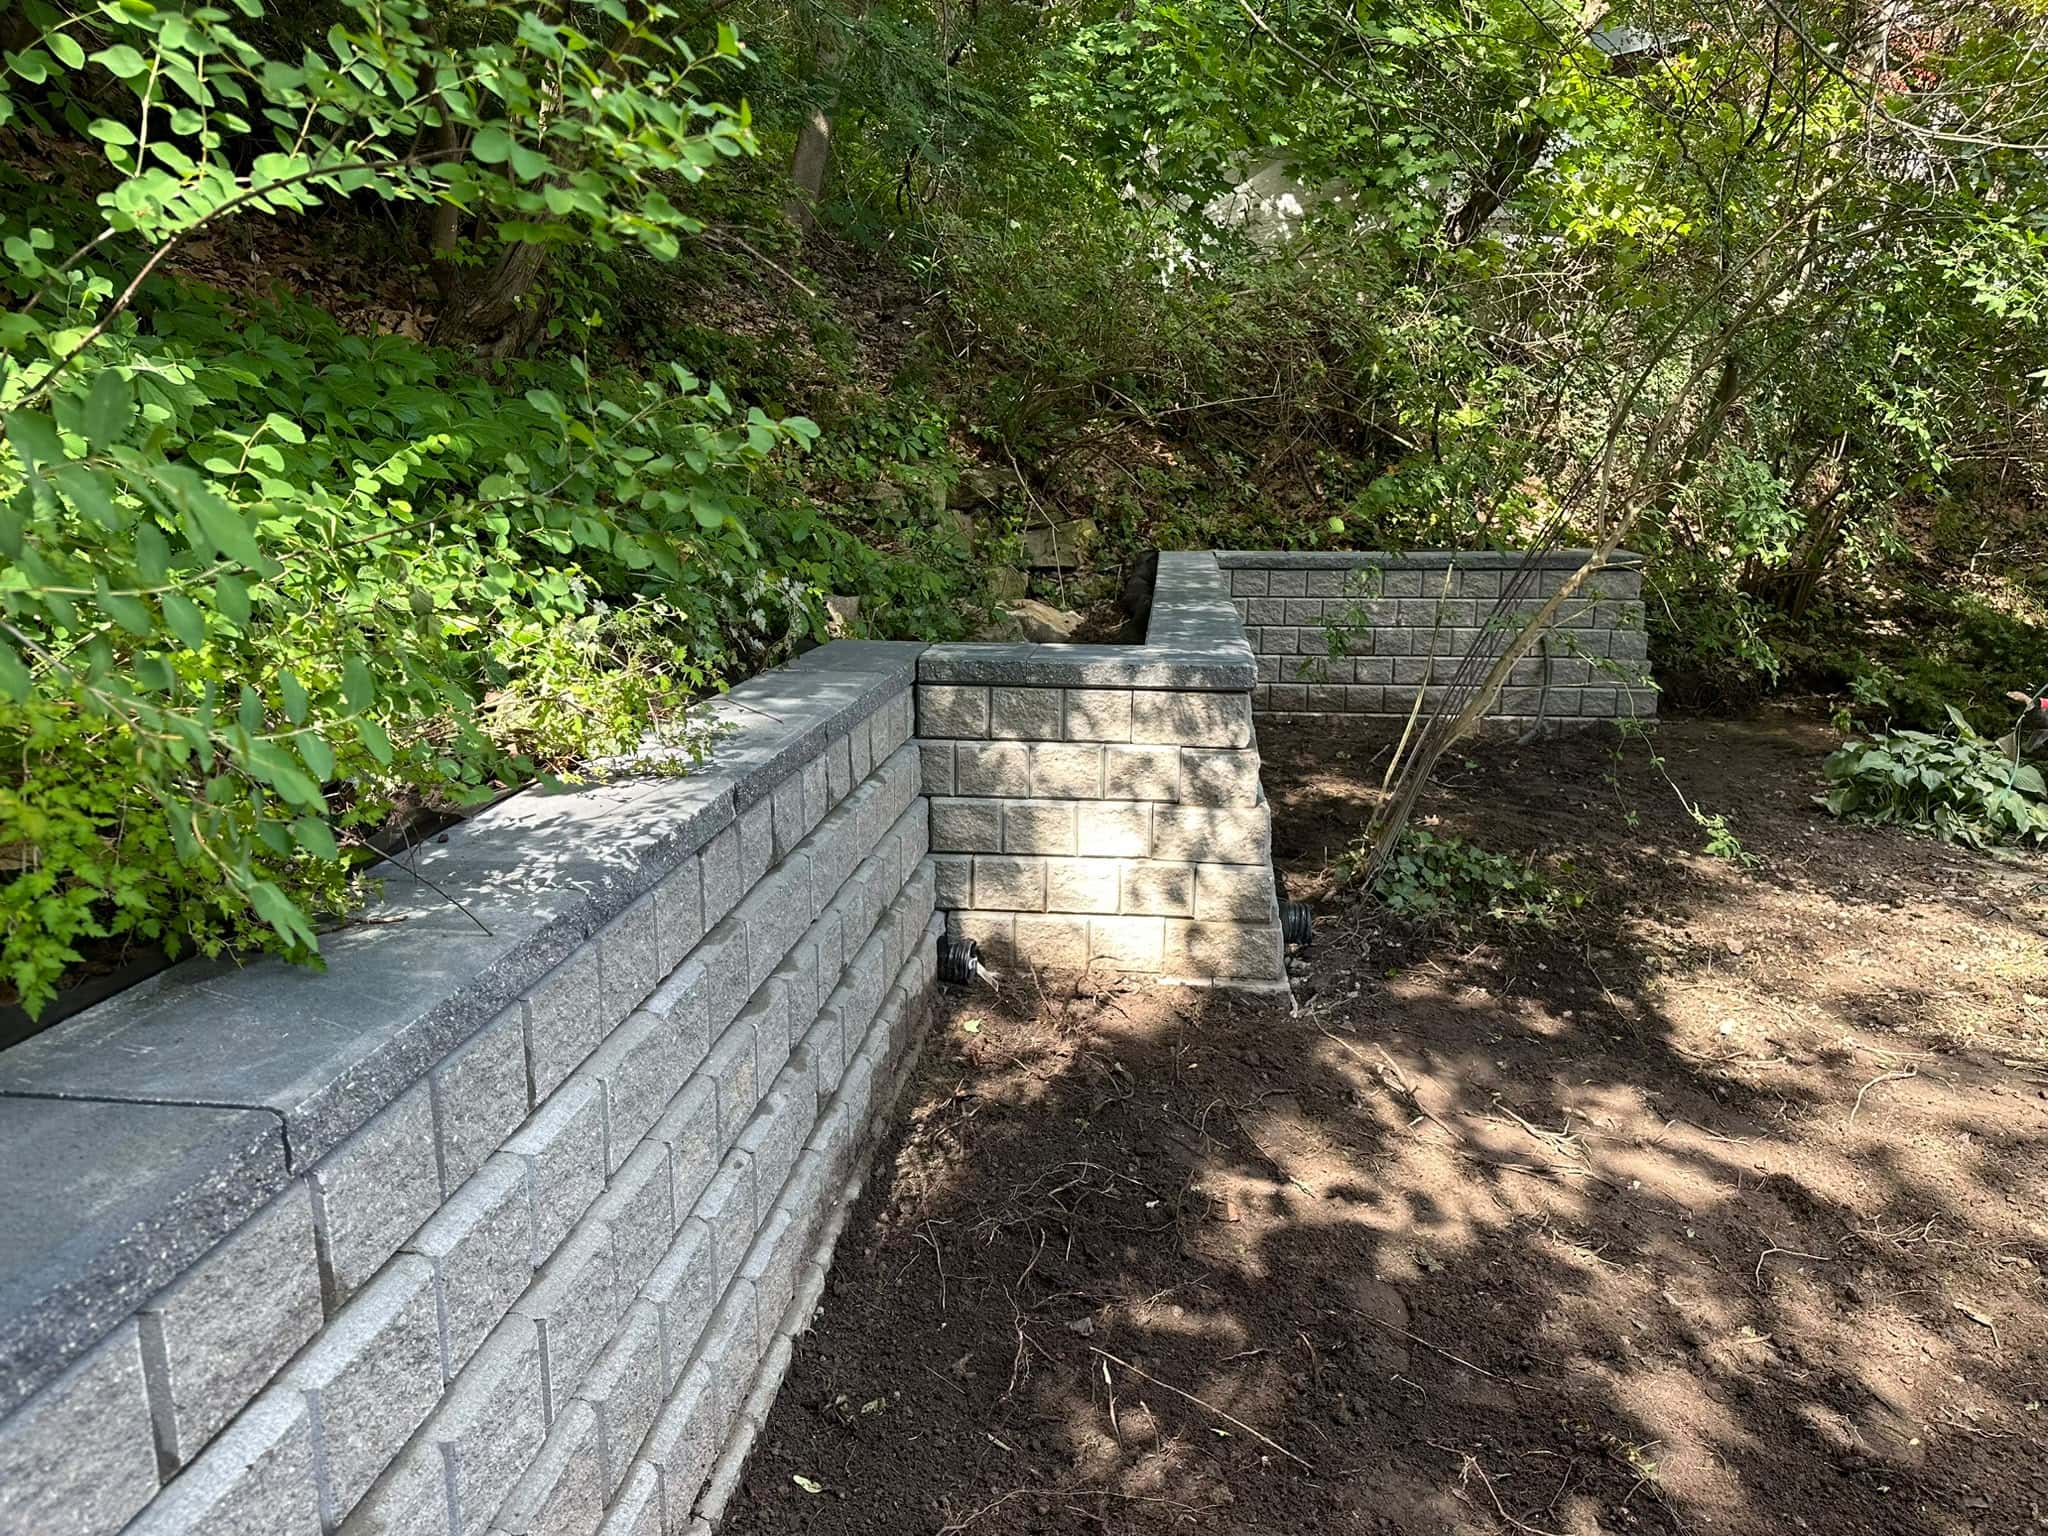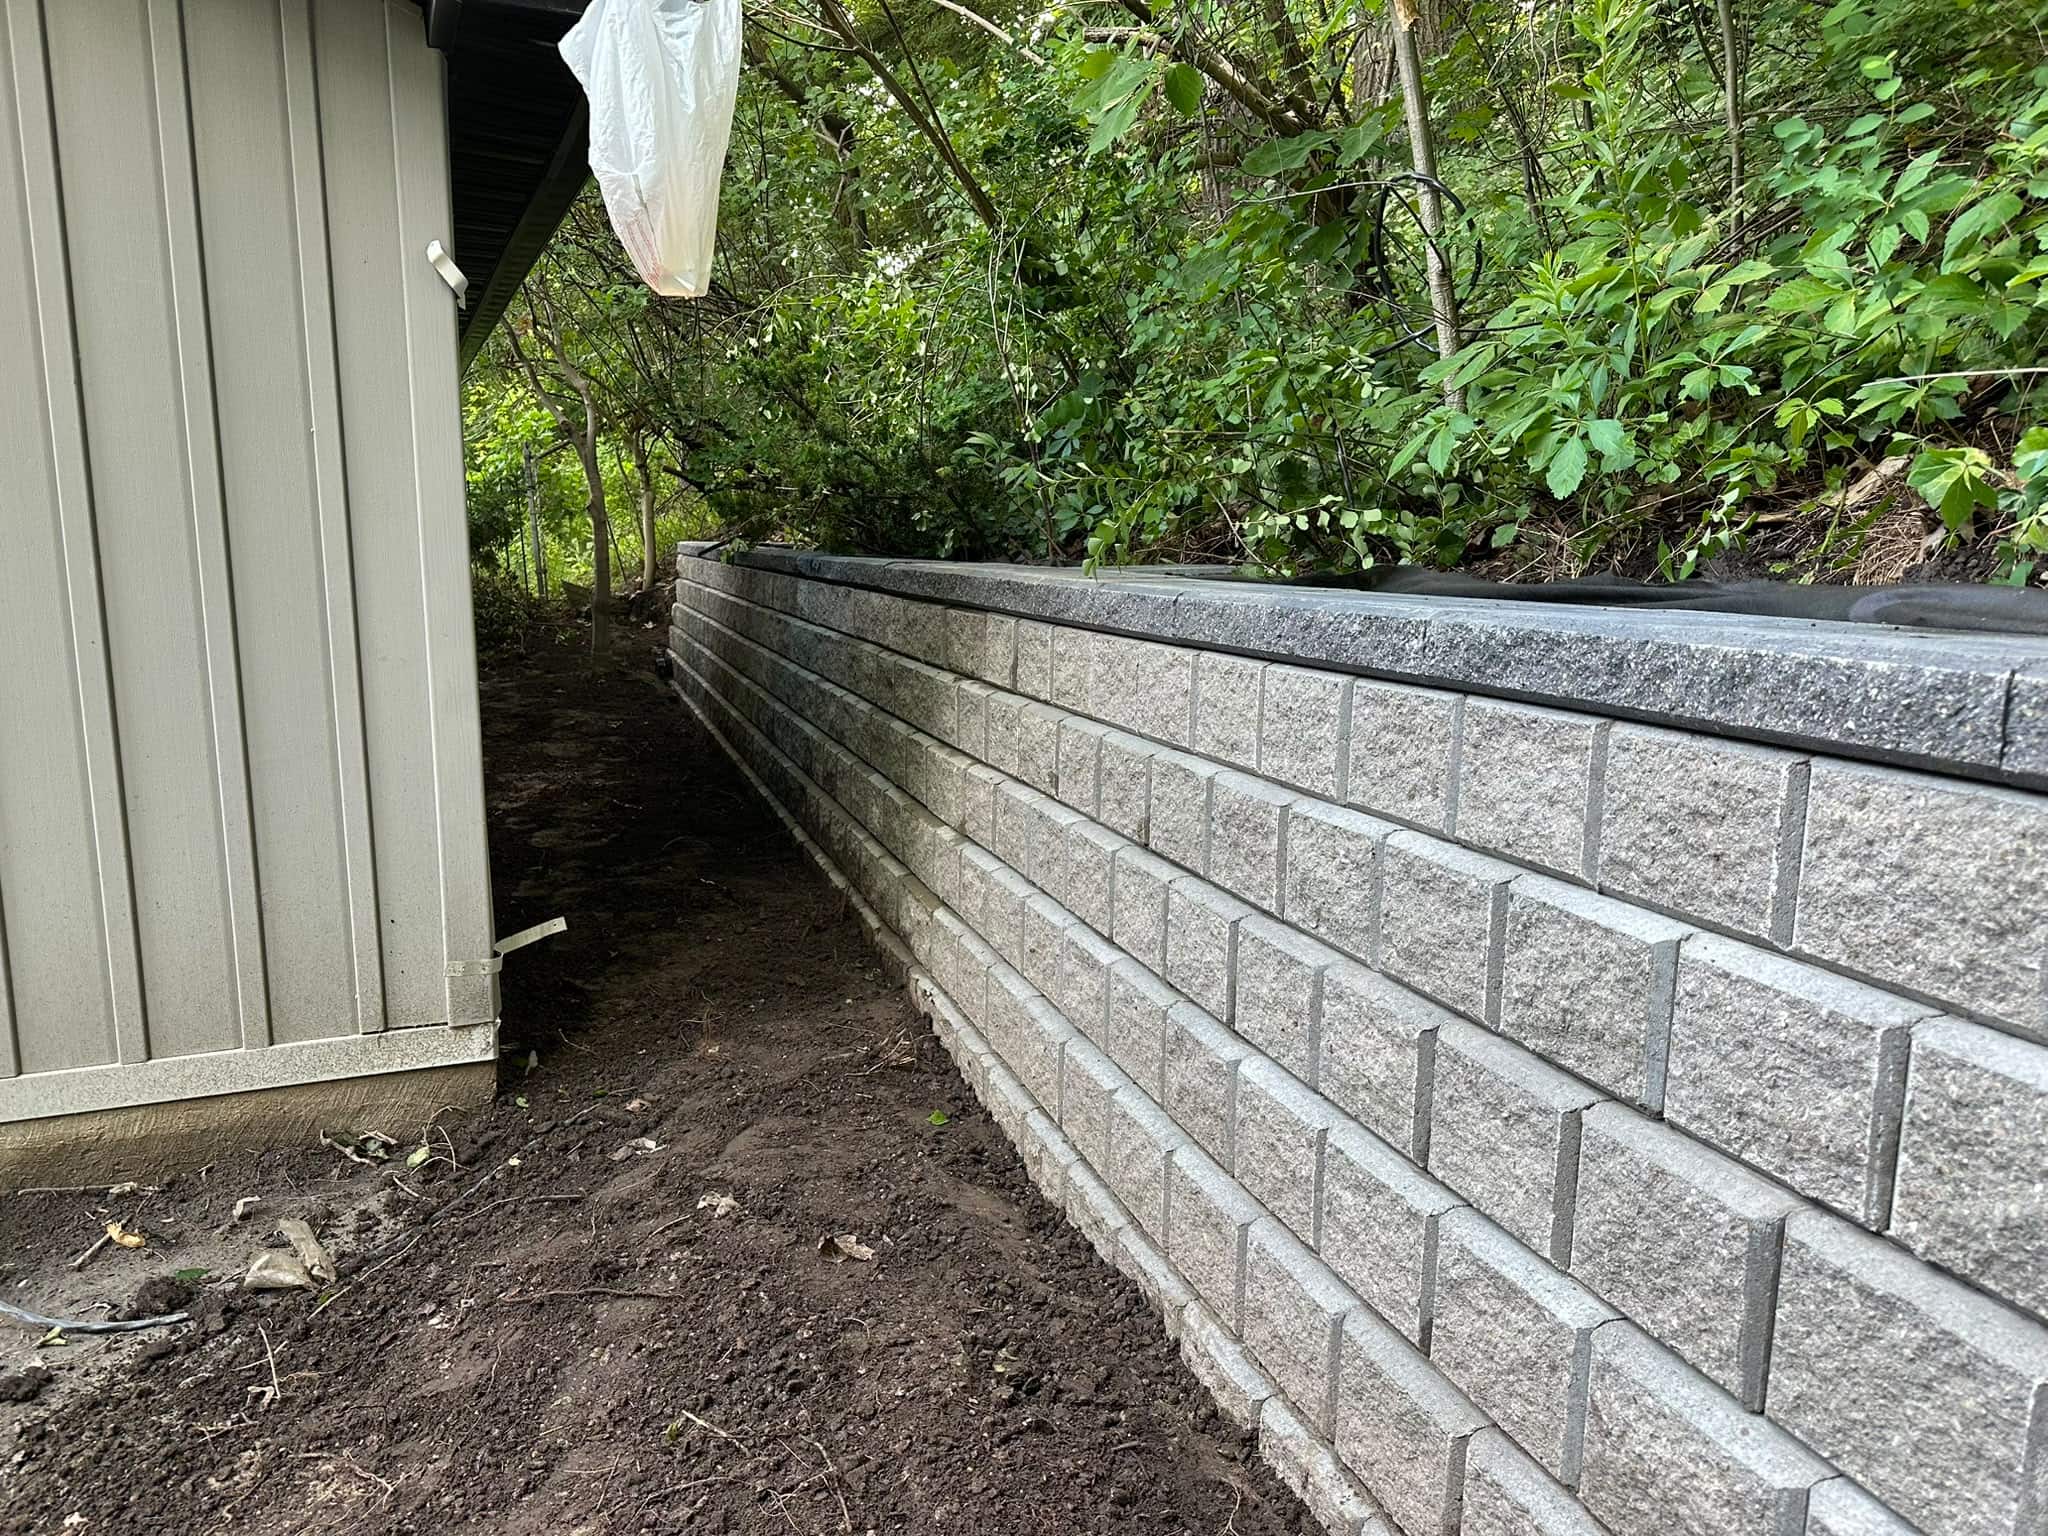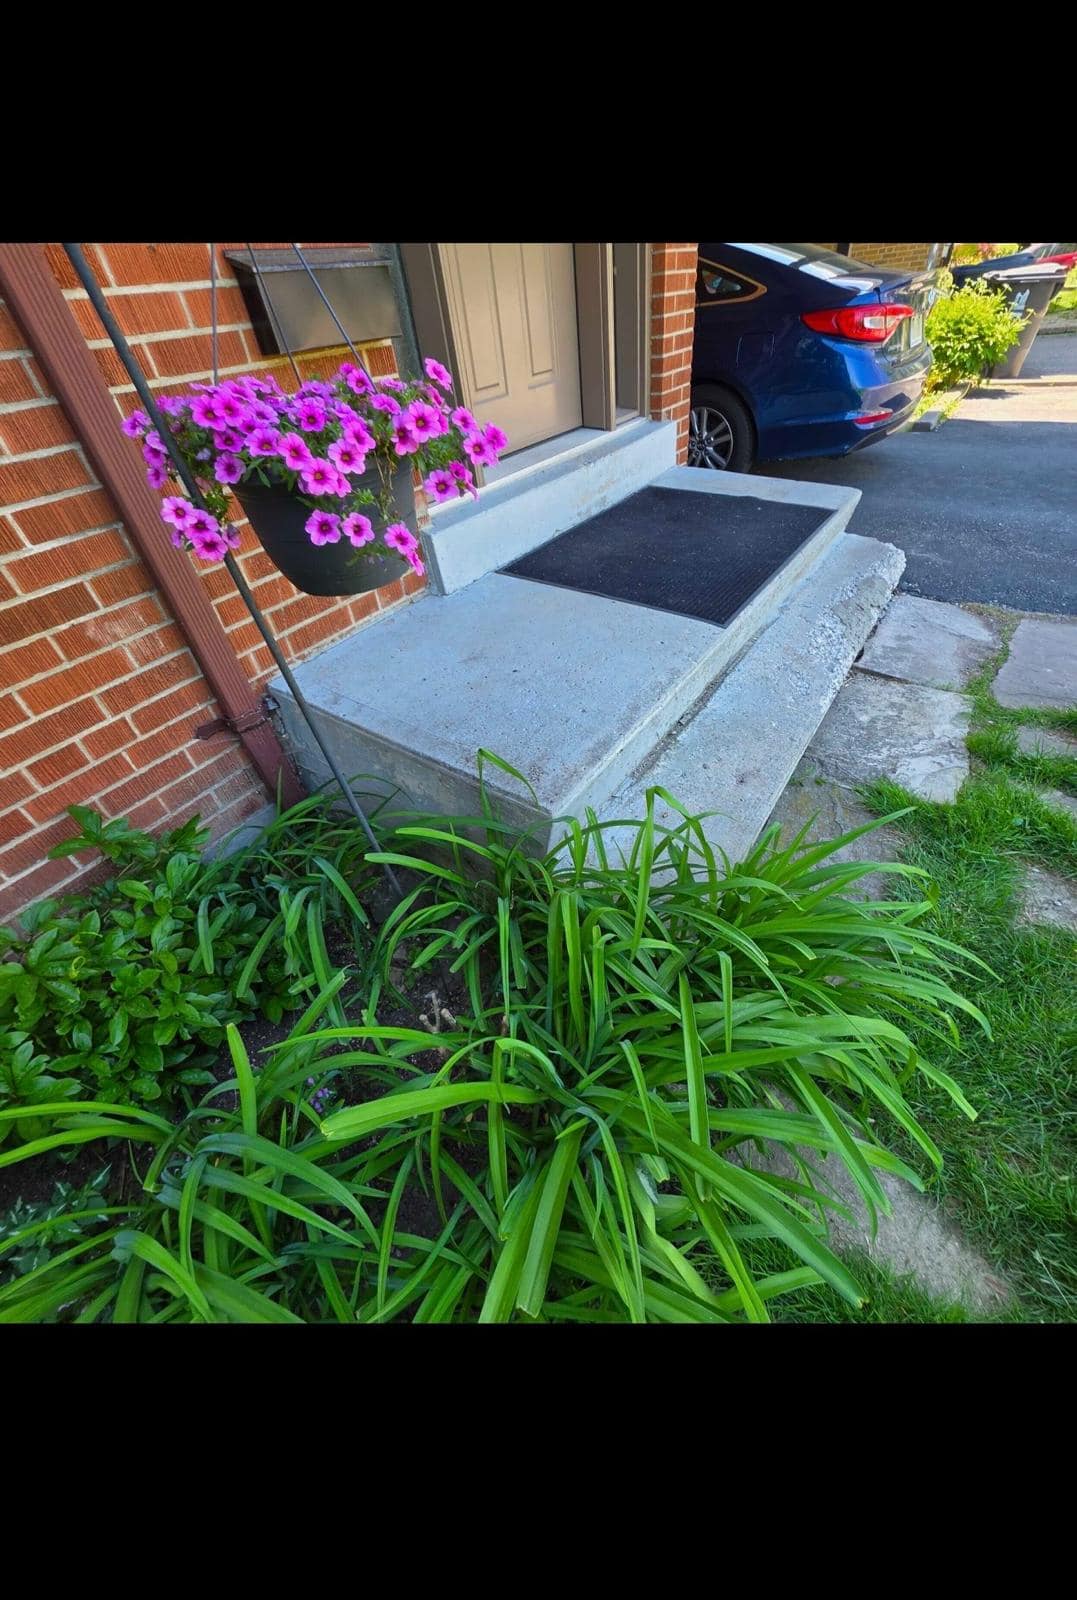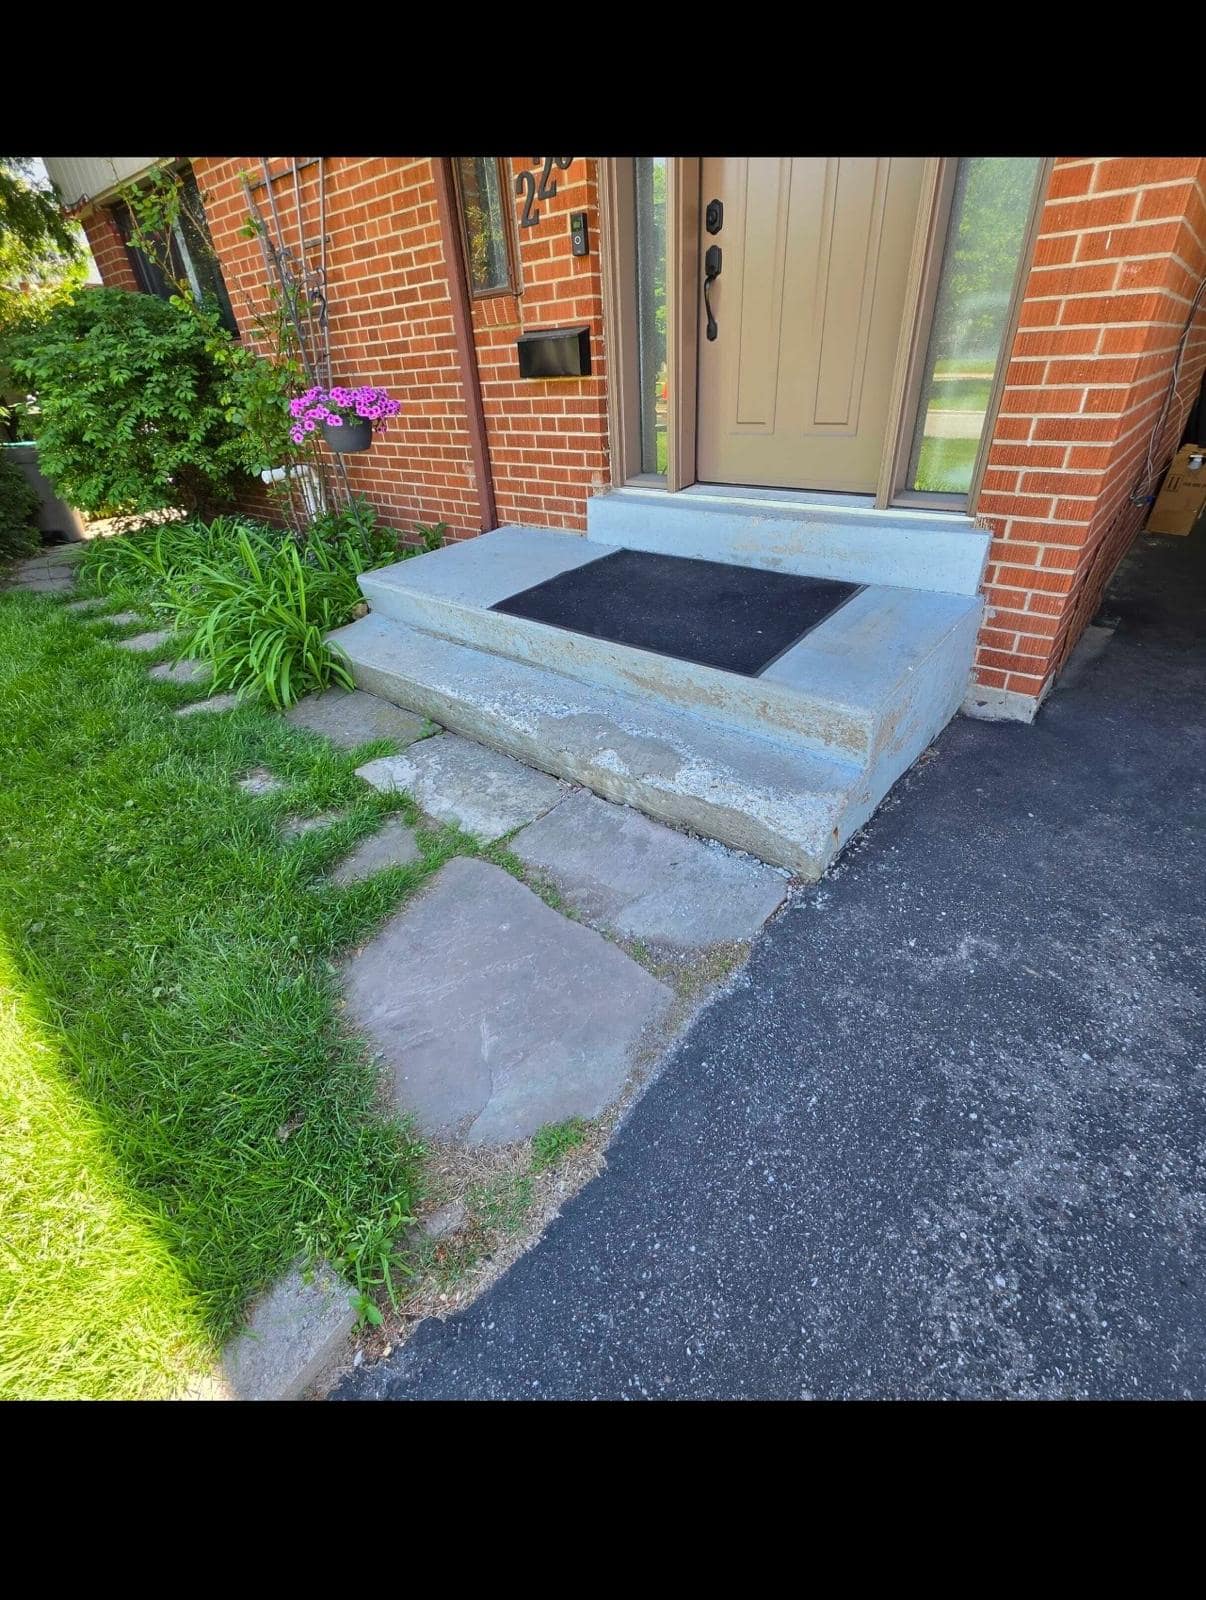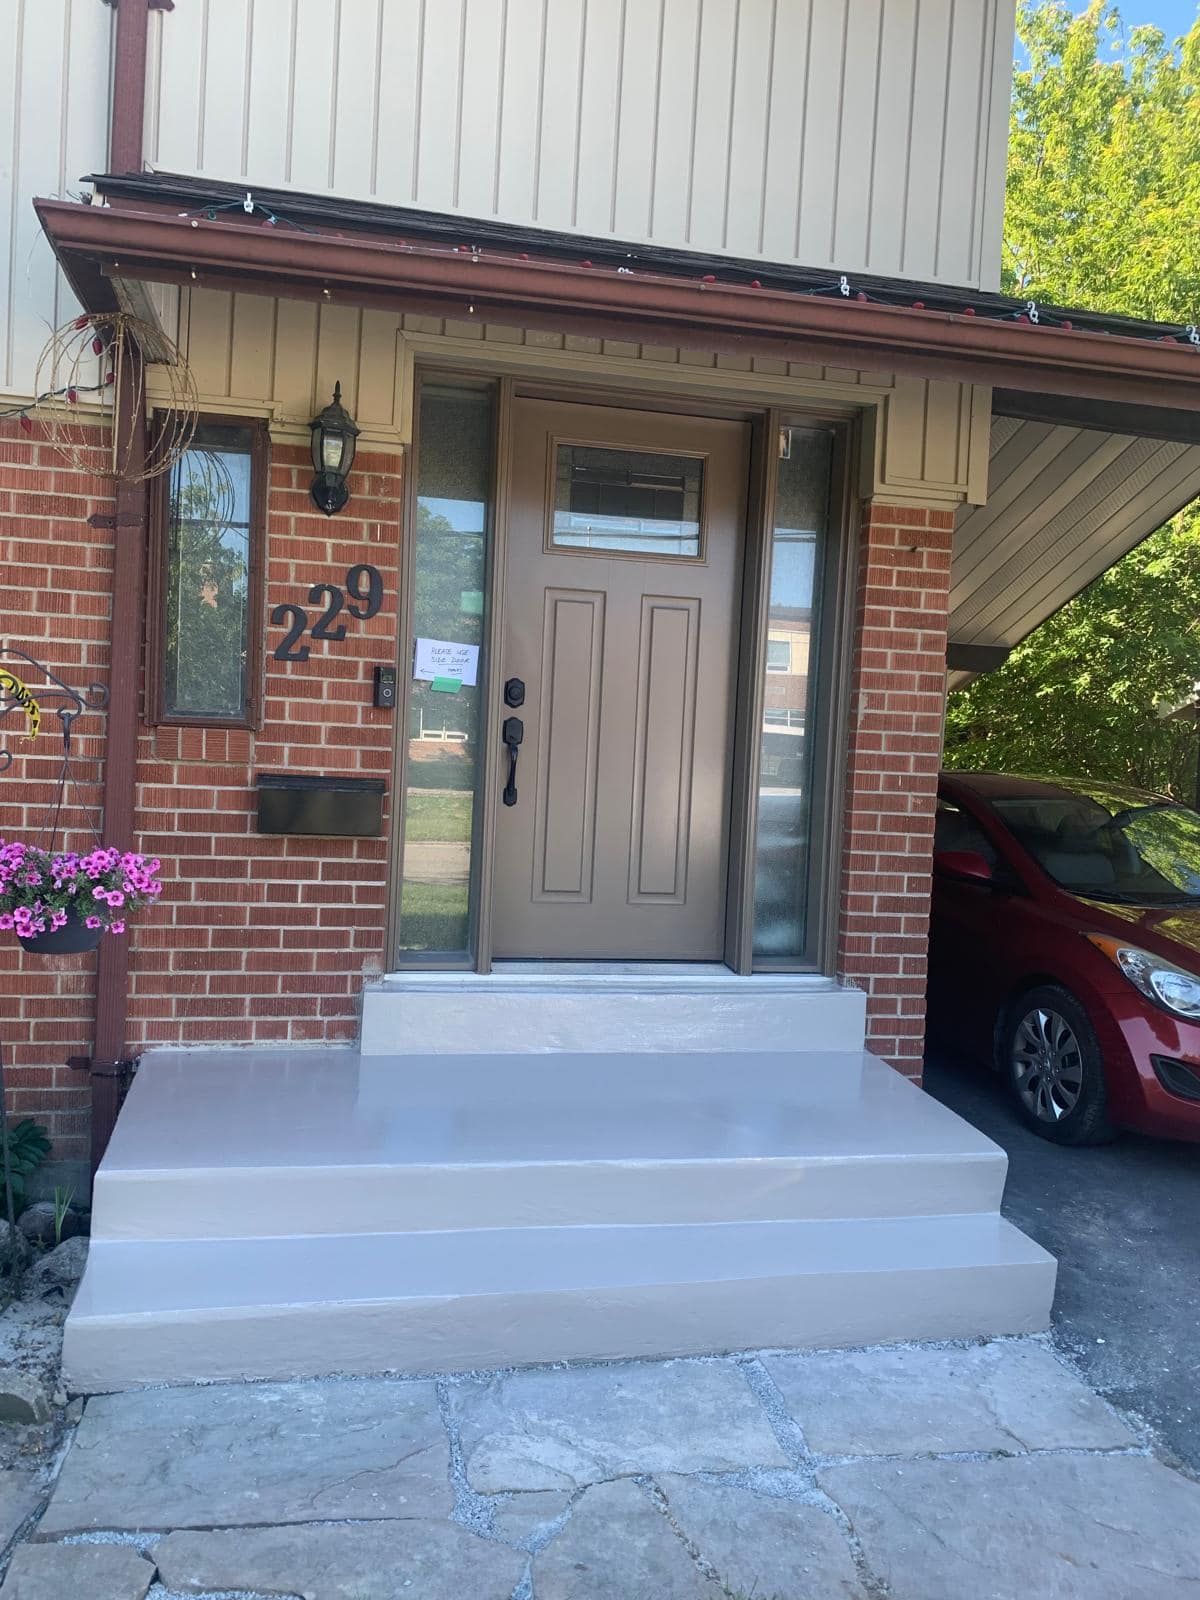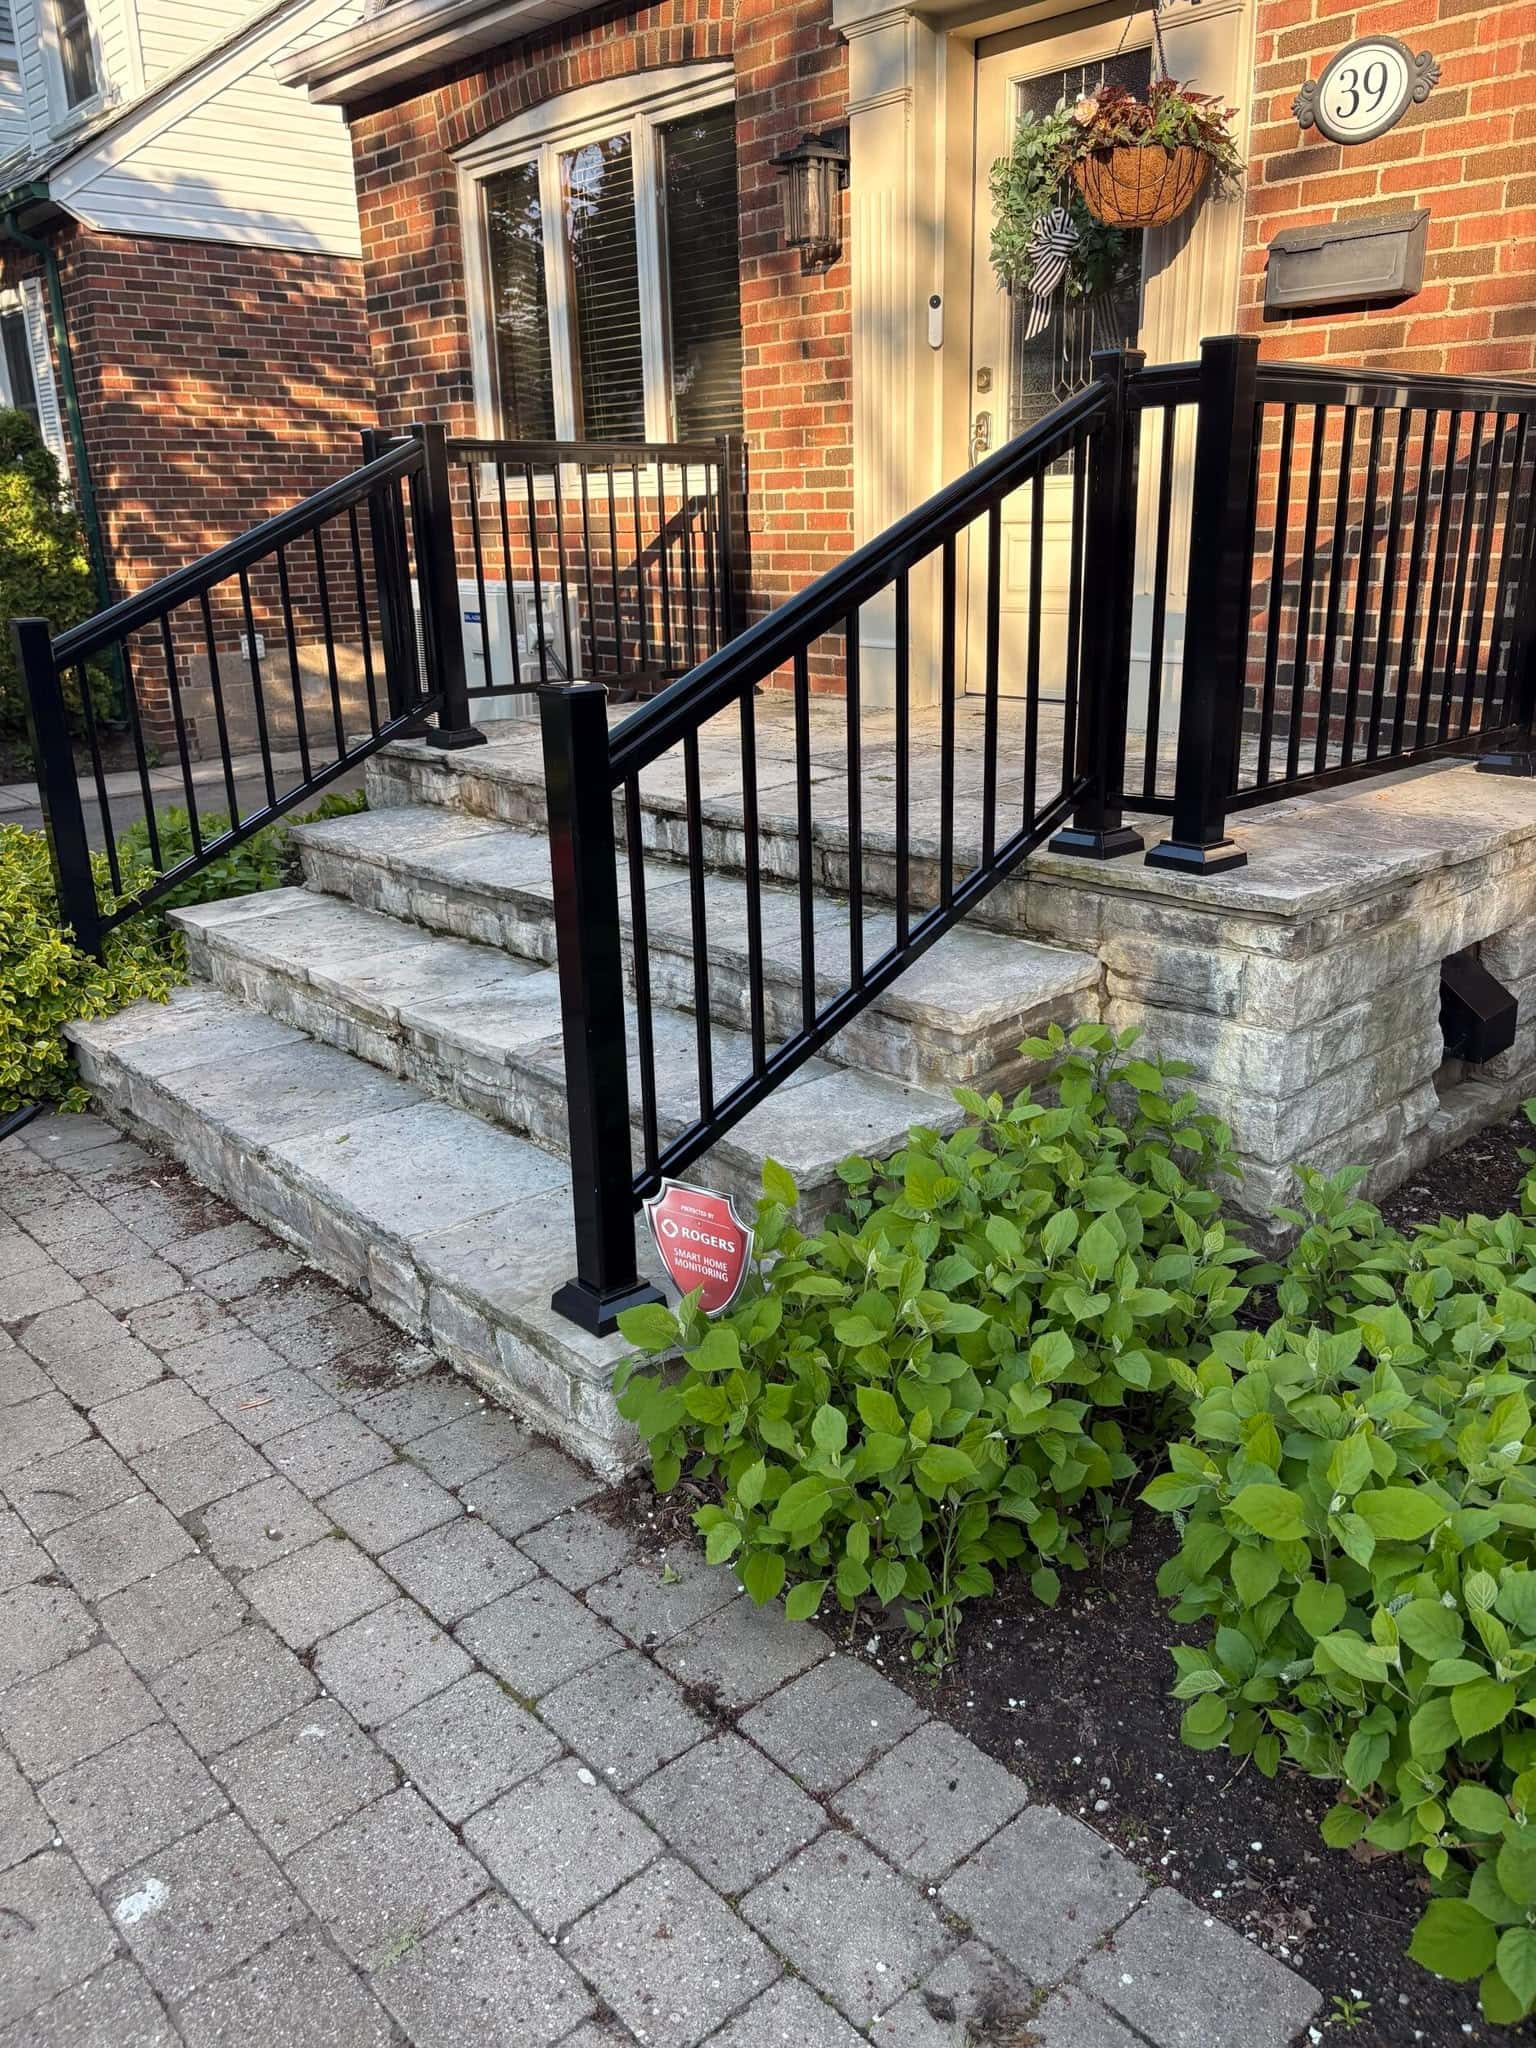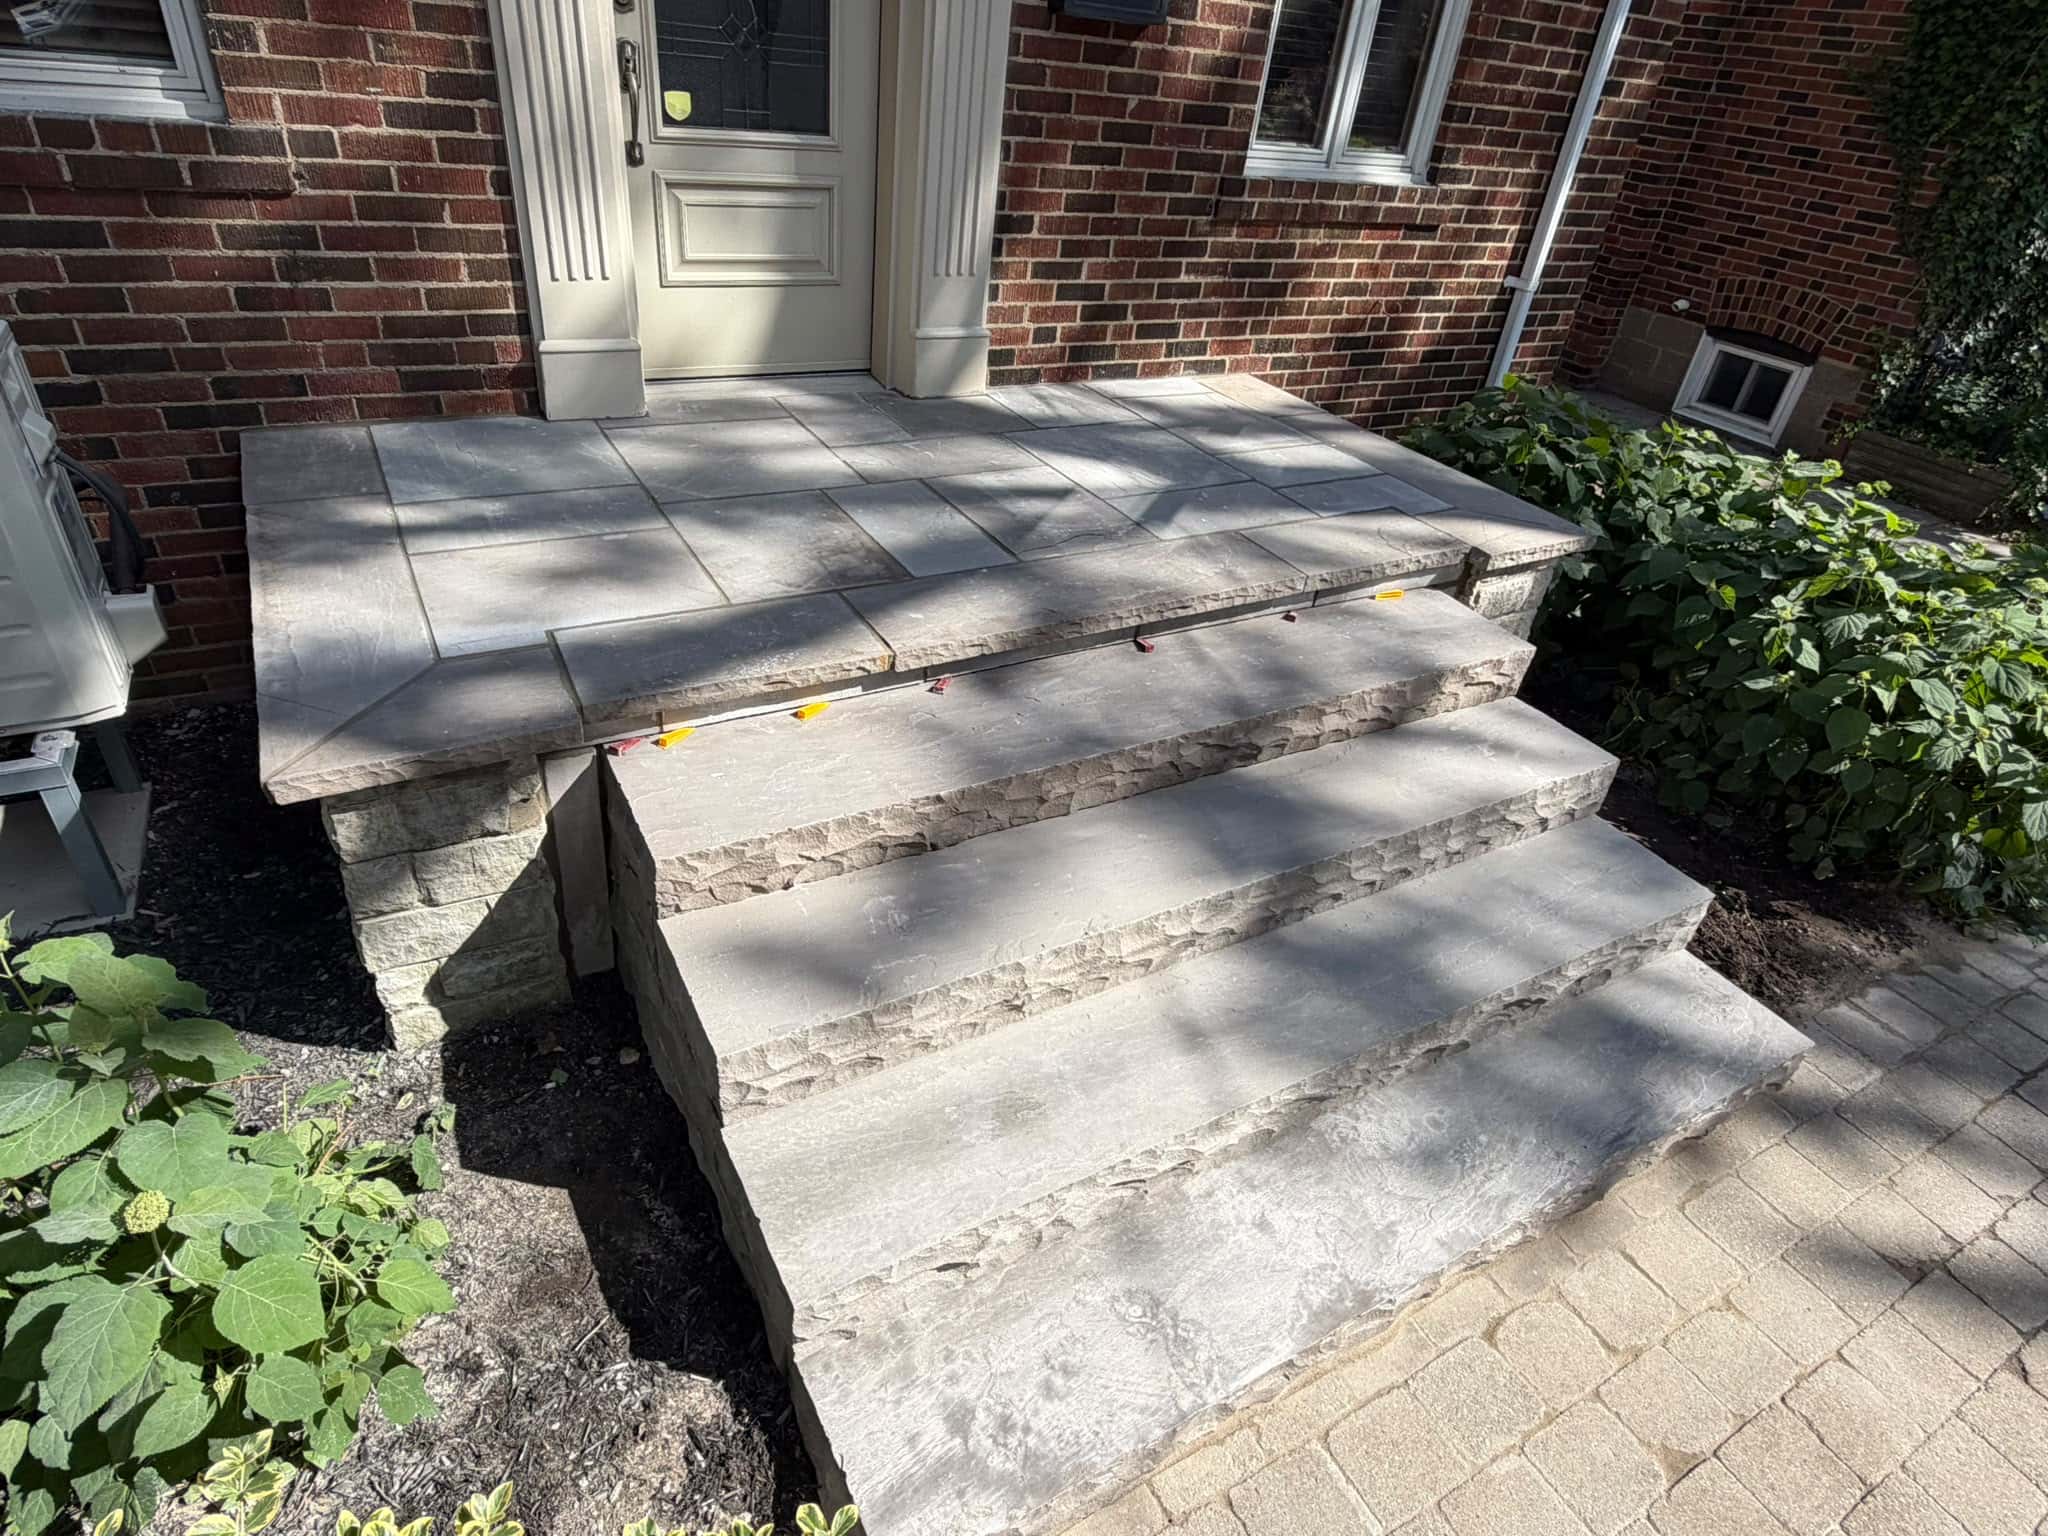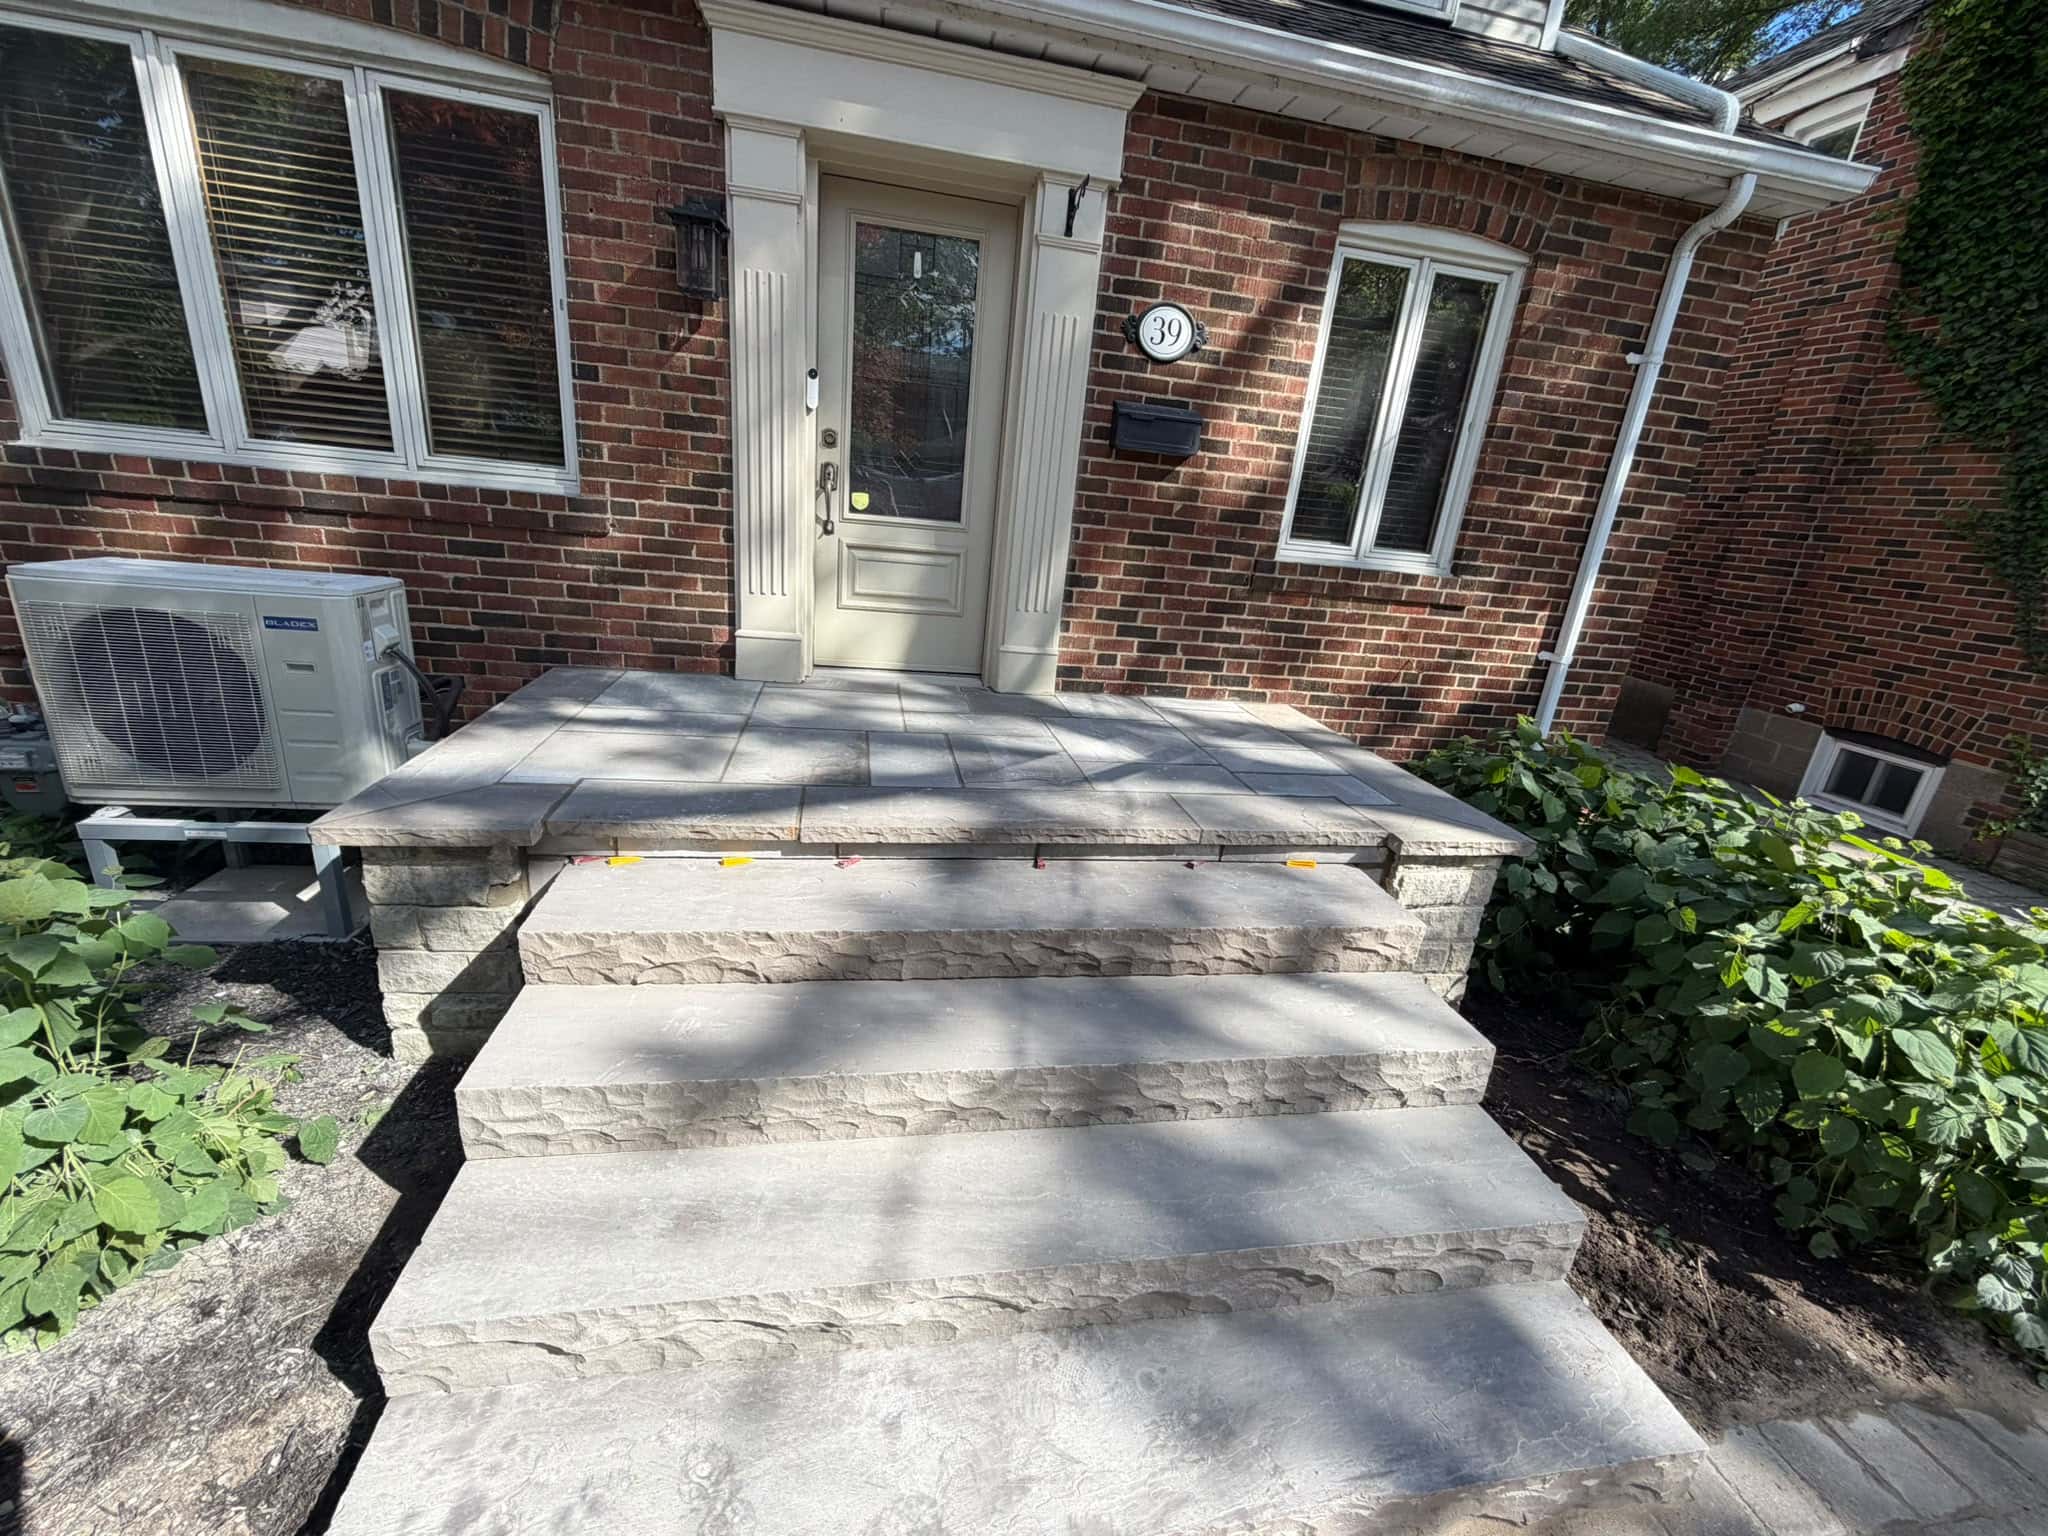

Historic brick cleaning techniques need to be gentle, selective, and planned around the age and condition of the masonry. Older brick is not the same as newer brick. It may be softer, more porous, handmade, weathered, or paired with lime-rich mortar that can be damaged by aggressive cleaning. The goal is not to make old brick look brand new. The goal is to remove harmful dirt, staining, biological growth, or surface buildup while protecting the original brick and mortar.
For Toronto and GTA homeowners, this matters because many older homes have brickwork that helps define the character of the property and the neighbourhood. A century-old brick wall can lose its face, texture, colour variation, and historic value if it is cleaned with harsh pressure washing, sandblasting, strong acids, or the wrong chemical products.
This guide explains historic brick-cleaning techniques, which methods are safer, which should be avoided, how to test before cleaning, and when professional help makes more sense than DIY cleaning.
Why Historic Brick Cleaning Requires More Care
Historic brick cleaning requires more care because older brick and mortar can be softer and more vulnerable than modern masonry. Many older Toronto homes were built with clay-brick and mortar systems designed to breathe. If the surface is damaged, sealed incorrectly, or cleaned too aggressively, the wall can lose its ability to shed and release moisture properly.
Cleaning is also irreversible in many cases. Once the fired face of a brick is removed by sandblasting or high-pressure washing, it cannot be put back. The brick may become more absorbent, leading to faster moisture damage, spalling, staining, and freeze-thaw deterioration.
Historic cleaning should begin with the question, “What needs to be removed, and why?” Dirt, soot, algae, paint, efflorescence, mineral staining, and biological growth all need different approaches. A method that works on one stain may damage another surface or leave permanent marks.
A&A Masonry’s blog on historic masonry restoration is a useful resource for homeowners who want to understand why older masonry requires a more careful approach to repair and cleaning.
Start With Inspection Before Cleaning
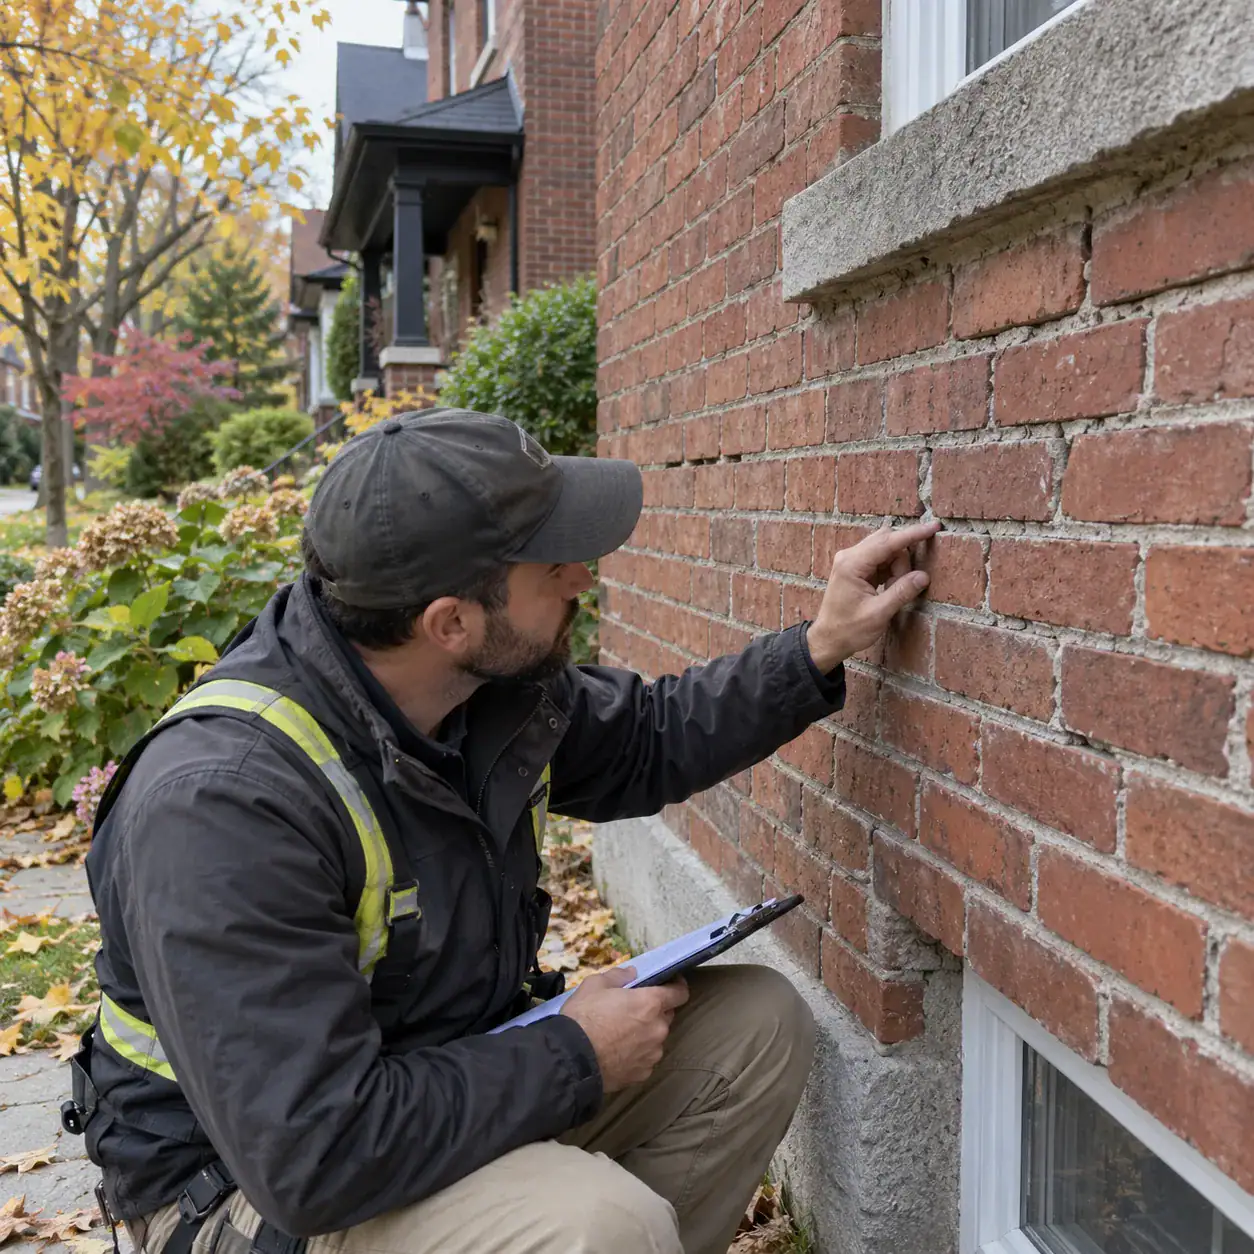
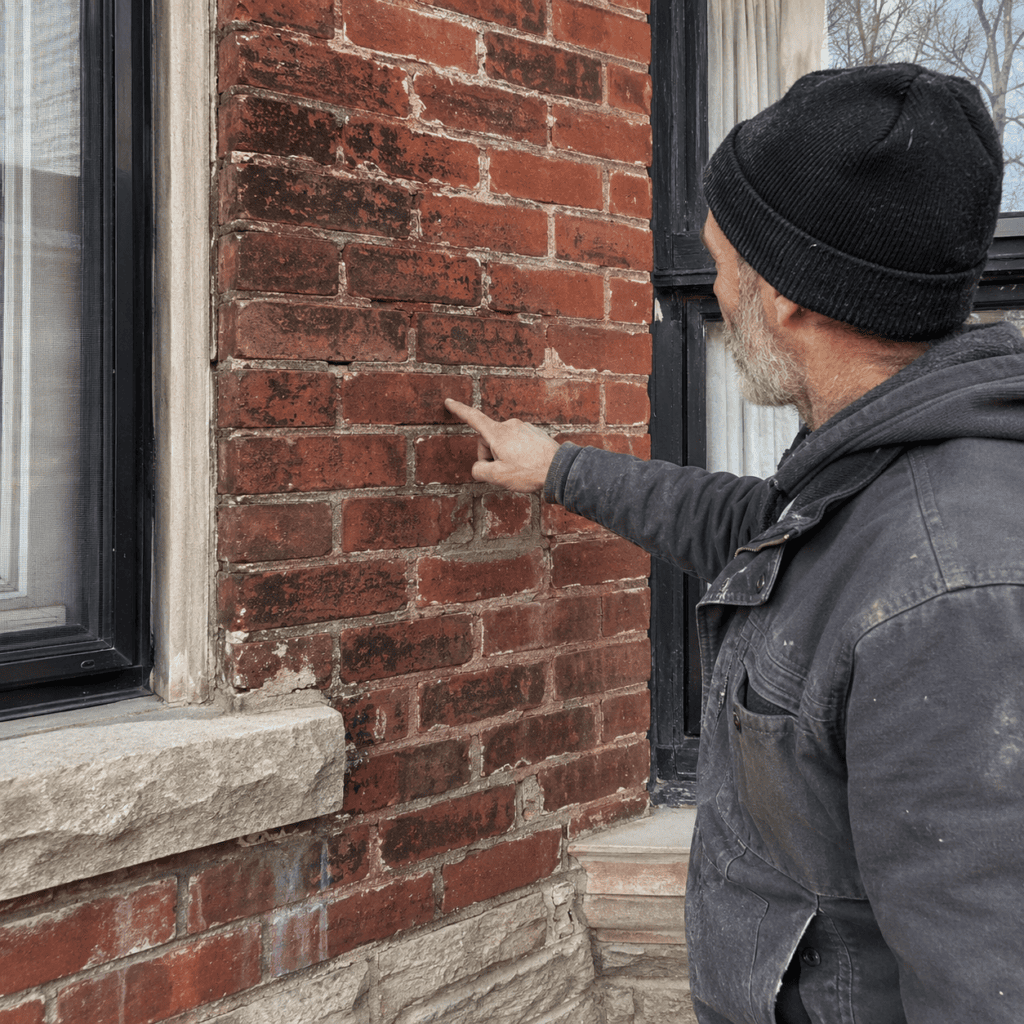
The first step in historic brick cleaning is inspection. Cleaning should not begin until the brick, mortar, joints, previous coatings, moisture problems, and wall condition are understood. A wall with loose mortar, spalling brick, open joints, or active water entry should not be cleaned aggressively.
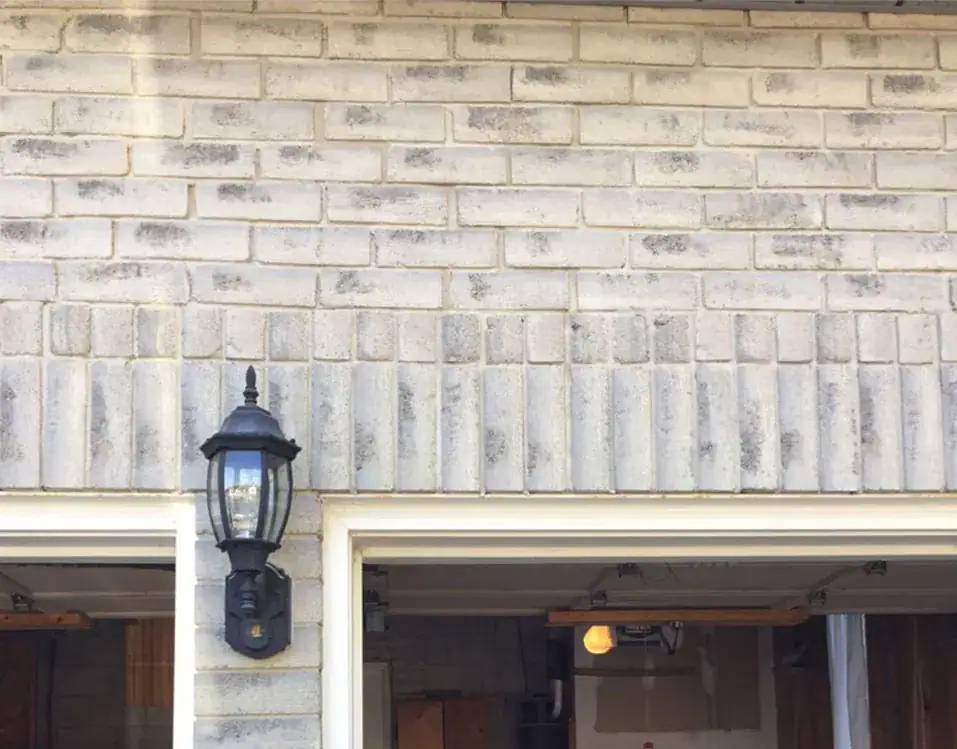
Look closely at the brick face. Is it smooth, glazed, weathered, sandy, cracked, or already flaking? Check the mortar joints. Are they recessed, soft, cracked, missing, or patched with hard modern mortar? Look for stains. Are they from dirt, rust, algae, paint, water runoff, or salts? Each answer changes the cleaning plan.
Inspection should also include water sources. If the wall is stained because a downspout leaks or a sill drains poorly, cleaning alone will not solve the problem. The stain will return unless the water source is corrected.
If the wall already has cracked brick, crumbling mortar, or areas of deterioration, A&A Masonry’s brick repair Toronto page explains common damage concerns that should be handled before cosmetic cleaning.
Test Cleaning Is Essential
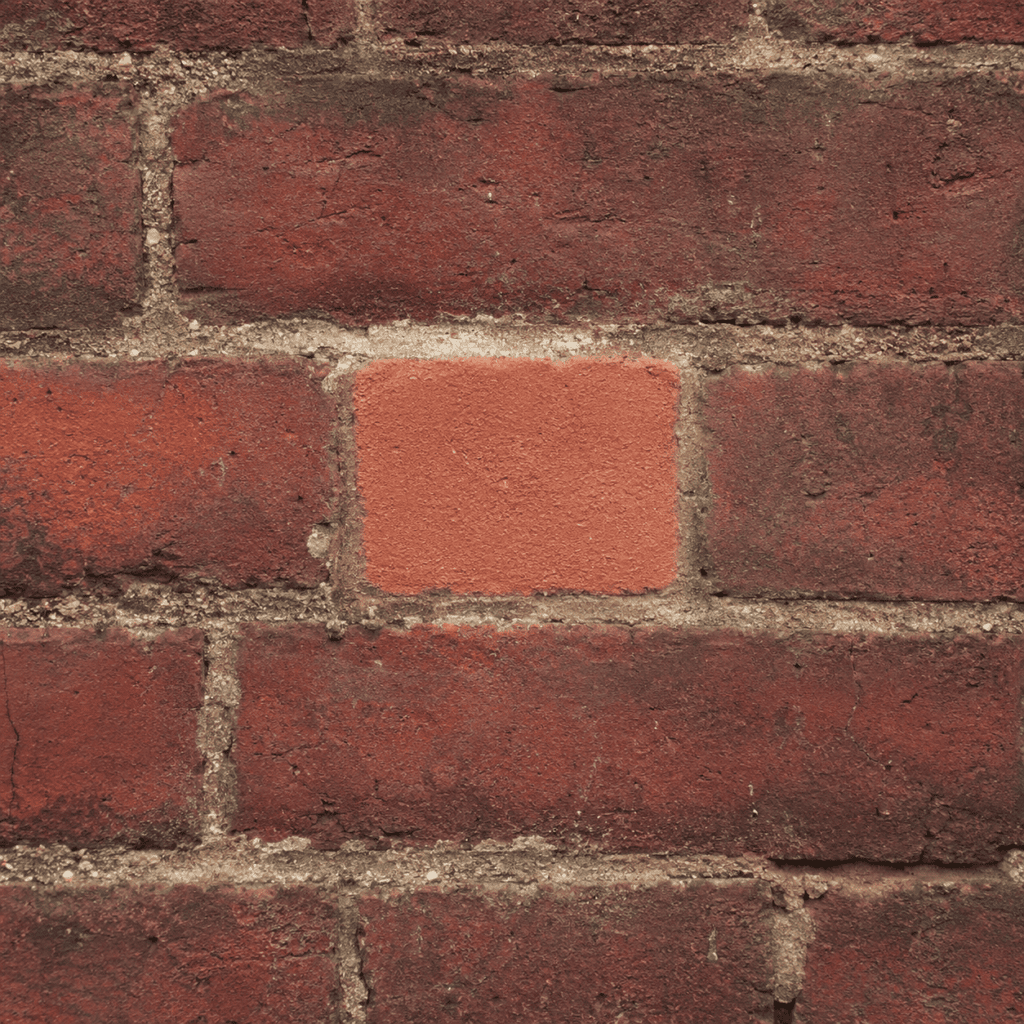
Test cleaning is essential because historic brick can react differently than expected. A small test area helps confirm whether the method removes the stain without damaging the brick or mortar. The test should be done in a low-visibility area when possible and allowed to dry fully before judging the result.
Brick often looks different when wet. A cleaning method may seem successful at first, then reveal staining, streaking, residue, or surface damage once dry. Waiting before continuing helps avoid repeating a mistake across the full wall.
A good test should use the gentlest likely method first. If low-pressure water and soft brushing work, there may be no need for stronger products. If a stain remains, the next step should be carefully selected based on the stain type and brick condition.
Homeowners should avoid testing multiple unknown chemicals at random. Some products can react with salts, metals, mortar, or past coatings. The safer approach is to identify the stain, start gently, test carefully, and stop if the surface begins to deteriorate.
Gentle Water Cleaning
Gentle water cleaning is often the safest starting point for historic brick. It can remove loose dirt, light surface dust, and some biological growth without exposing the wall to harsh chemicals or abrasion.
The key is controlled water use. Historic brick should not be soaked heavily without reason, especially if the wall has open joints, damaged brick, or interior moisture concerns. Too much water can enter the wall and create new problems, particularly before cold weather.
Low-pressure rinsing, misting, and soft brushing may be enough for lightly soiled masonry. The surface should be cleaned from top to bottom and rinsed carefully so dirty water does not streak down the wall. Any cleaning should be done in weather that allows the wall to dry properly.
High-pressure washing is different from gentle water cleaning. A pressure washer can drive water deep into mortar joints, remove the face of softer brick, and leave permanent surface damage. On older Toronto brick, pressure should be treated with caution.
Soft Brushing and Hand Cleaning
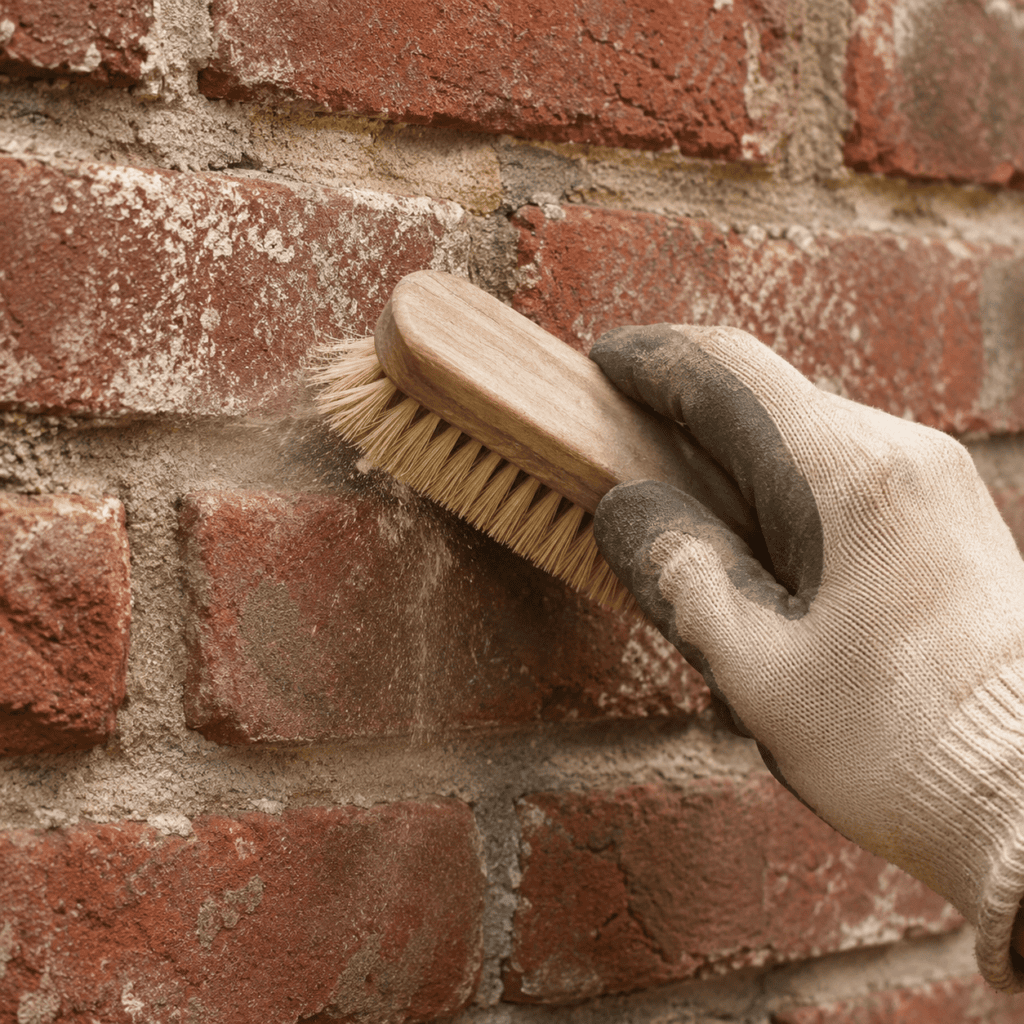
Soft brushing and hand cleaning can be useful for fragile historic brick because they give more control than mechanical or high-pressure methods. Soft natural or nylon bristle brushes can remove loose dirt, dust, cobwebs, and light surface growth without scraping the brick face.
Metal brushes should be avoided on historic brick. They can scratch the surface, leave metal residue, damage mortar joints, and make the wall more vulnerable to staining. Scrapers and hard abrasive pads can also cause damage if used carelessly.
Hand cleaning is slower, but slower is often safer with older masonry. It allows the person cleaning to notice weak areas, soft mortar, loose brick faces, or sections that should not be disturbed.
This technique is especially useful around decorative brick details, window surrounds, arches, sills, soldier courses, and heritage-style patterns where aggressive cleaning could destroy the fine texture that gives the wall its character.
Low-Pressure Steam Cleaning
Low-pressure steam cleaning can be a useful technique for cleaning historic brick when used carefully by someone who understands masonry. Steam can help loosen dirt, soot, algae, and some surface contaminants without relying on high pressure or harsh abrasion.
The benefit of steam is that it can be gentler than blasting methods while still helping with deeper surface grime. However, it still needs care. Too much heat, too much moisture, or poor timing can affect older brick-and-mortar structures. The wall must also be allowed to dry properly after cleaning.
Steam cleaning may be useful for older brick façades, soot-stained masonry, and delicate areas where pressure washing is too risky. It should still be tested first because every wall is different.
A&A Masonry’s brick cleaning Toronto page is relevant for homeowners comparing cleaning methods for older and modern brick surfaces.
Detergent-Assisted Cleaning
Detergent-assisted cleaning can help remove dirt, pollution residue, and some organic staining when water alone is not enough. The detergent should be masonry-safe, mild, and appropriate for the brick condition.
On historic brick, stronger is not better. Harsh cleaners can damage the brick face, weaken mortar, leave residue, or cause colour changes. The cleaner should be tested, applied carefully, kept from drying too quickly on the wall, and rinsed properly.
Detergent cleaning may be useful for general grime, urban dirt, and light staining on brick façades. It is less likely to solve deep mineral staining, heavy paint residue, hard cement smears, or severe biological growth without a more specific approach.
Homeowners should avoid mixing cleaners or using household products without knowing how they react with brick and mortar. A cleaner that is safe for tile, concrete, or siding may not be safe for historic brick.
Poultice Cleaning for Stains
Poultice cleaning can be useful for certain stains because it draws the stain out of the masonry rather than attacking the entire wall. A poultice is usually a paste-like material applied to a stained area, allowed to sit, and then removed after it absorbs or pulls out the stain.
This method may be considered for specific stains such as rust, oil, copper staining, or some deep discolouration. The exact material depends on the type of stain. A rust stain needs a different approach than an oil stain or biological stain.
Poultice cleaning should be tested carefully. It can leave a lighter patch if it cleans one area more than the surrounding wall. On historic façades, that can be just as noticeable as the original stain.
This method is best used when the stain is localized, and the cause has been identified. If staining comes from ongoing water movement, metal runoff, leaking gutters, or failed flashing, the source should be corrected before stain removal.
Efflorescence and Salt Staining
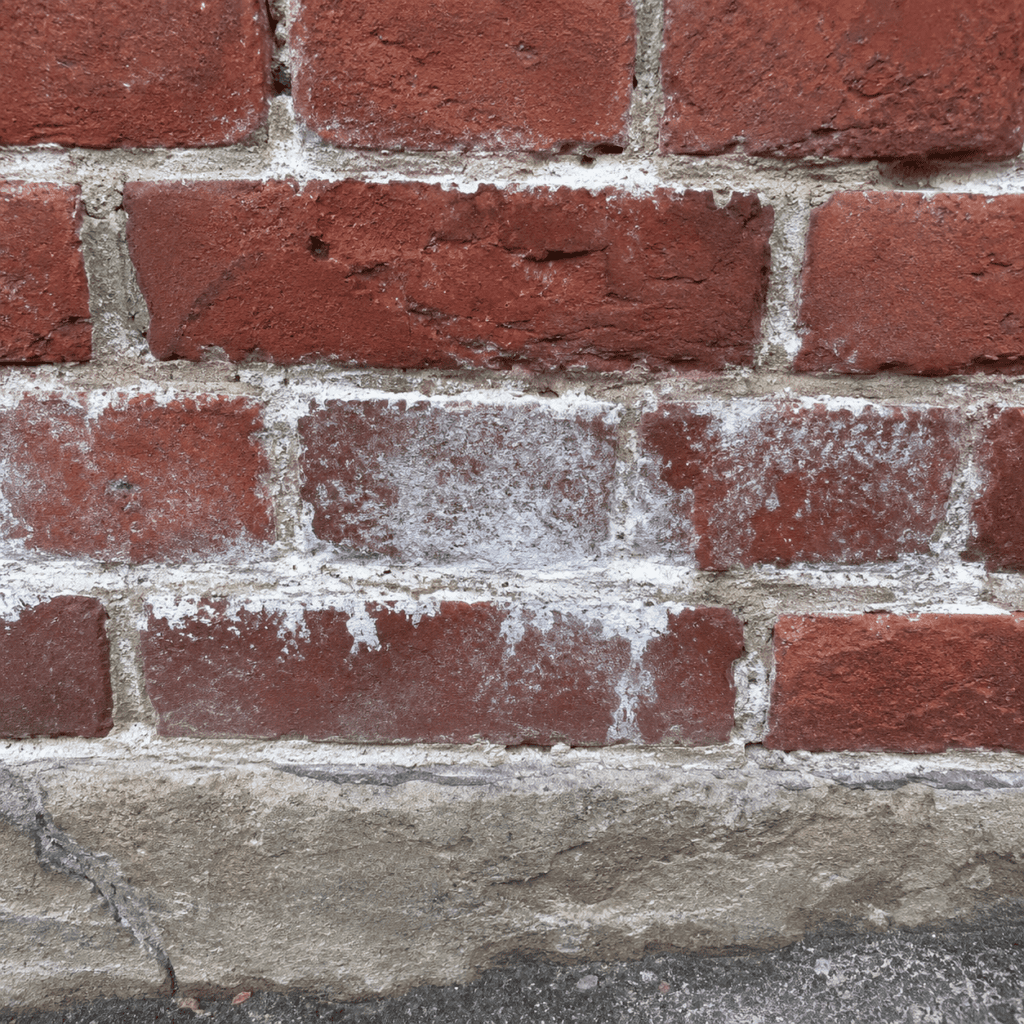
Efflorescence is a white, powdery deposit that can appear when moisture moves through masonry, leaving salts on the surface. It is common on brick, stone, concrete, and mortar when water is present.
Light efflorescence can sometimes be brushed off dry with a soft brush. Wetting the wall too quickly can dissolve the salts and draw them back into the masonry, where they may reappear later. If efflorescence keeps returning, the real issue is usually moisture movement, not surface dirt.
In Toronto homes, repeated efflorescence may appear near foundations, chimneys, parapets, window sills, downspouts, or lower walls. These areas often deal with repeated wetting, poor drainage, or open mortar joints.
Cleaning the white residue may improve appearance, but it does not solve the cause. If the wall keeps getting wet, the salts may continue to return.
Paint Removal From Historic Brick
Paint removal from historic brick must be approached carefully because old brick can be damaged during stripping. Paint may have been applied to hide repairs, stains, mismatched brick, or moisture problems. Removing it without understanding the wall can reveal larger issues.
Aggressive grinding, sandblasting, or harsh stripping can damage the brick’s fired face. Some chemical paint removers can also affect mortar, leave residue, or create disposal and safety concerns. Older paint may require special care, especially if lead is present.
Paint removal should begin with a test area and a clear reason for the work. In some cases, leaving a compatible coating in place may be safer than forcing removal. In other cases, careful removal may be needed to restore breathability or historic appearance.
If the brick beneath is damaged, repair or restoration planning should precede the full cleaning project. A&A Masonry’s masonry restoration vs repair blog can help homeowners understand the difference between preserving original masonry and simply fixing visible damage.
Methods to Avoid on Historic Brick
Some cleaning methods should usually be avoided on historic brick because they can cause permanent damage. These methods may seem fast, but they often remove the protective brick face, weaken mortar, or force water deep into the wall.
- Sandblasting: Can strip the hard outer face of brick and leave the surface more porous.
- High-pressure washing: Can erode mortar, scar brick, and drive water into the wall.
- Strong acid cleaning: Can damage brick and mortar or leave uneven colour changes.
- Metal wire brushing: Can scratch brick, damage joints, and leave metal residue.
- Grinding for cleaning: Can permanently change the surface texture.
- Random chemical use: Can create staining, residue, or unsafe reactions.
- Cleaning in freezing weather: Water trapped in the wall can freeze, causing damage.
Parks Canada’s Standards and Guidelines for the Conservation of Historic Places in Canada are a useful public reference for conservation thinking. The general preservation principle is to use the least aggressive method that achieves the needed result while protecting character-defining materials.
Cleaning Historic Brick in Toronto Weather
Toronto weather affects when and how historic brick should be cleaned. Cleaning should be planned when the wall can dry before cold temperatures, heavy rain, or freezing weather. Late fall cleaning can be risky if moisture remains in the wall and temperatures drop.
Spring and early summer are often better times for larger cleaning projects because winter damage can be inspected first and drying conditions are more favourable. Cleaning after repairs also makes sense in many cases. If mortar joints are open or brick faces are spalling, cleaning first may push water deeper into weak areas.
Shade and orientation also matter. A north-facing wall may dry slowly. A wall under heavy tree cover may hold moisture longer and develop algae or biological growth more often. A wall exposed to road splash or salt may need a different maintenance plan than a sheltered rear wall.
The cleaning plan should fit the actual wall, not only the stain.
Heritage Homes and Permit Considerations
Heritage homes and properties in heritage-sensitive areas may need extra care before exterior brick cleaning. Visible changes to masonry can affect heritage character, especially if cleaning changes colour, texture, finish, or original surface detail.
The City of Toronto’s Heritage Permit Guide explains that permission may be required for work involving alterations, demolition, removal, or new work on designated properties. Homeowners with designated properties or homes in Heritage Conservation Districts should confirm requirements before cleaning, paint removal, repointing, or façade restoration.
Even if a permit is not required, heritage guidance is still useful. A good historic brick cleaning plan should protect the original material as much as possible and avoid making the wall look artificially new.
Cleaning vs Repair: Which Comes First?
Repair usually comes before cleaning when brick or mortar is damaged. Cleaning a weak wall can make problems worse by forcing water into gaps, loosening fragile surfaces, or removing material that was already failing.
If mortar joints are missing, tuckpointing should often happen before full cleaning. If bricks are spalling or loose, they may need repair or replacement first. If stains are caused by water, drainage should be corrected before cleaning the wall.
There are exceptions. Sometimes light cleaning is needed first so the mason can clearly see the condition. But full cleaning should not be used to hide damage or delay necessary repair.
If mortar joints are open, cracked, or failing, A&A Masonry’s tuckpointing services in Toronto page explains how proper joint repair helps protect brickwork from water and freeze-thaw damage.
What Homeowners Can Safely Do Themselves
Homeowners can safely handle light maintenance on historic brick when the wall is sound, and the work stays gentle. The safest DIY work is usually observation, dry brushing, simple debris removal, and gentle water cleaning in small areas.
- Use a soft brush to remove dust, cobwebs, or loose surface dirt.
- Clear leaves and soil away from the base of brick walls.
- Keep downspouts and gutters working so water does not stain or soak the wall.
- Photograph stains and damage before cleaning so changes can be tracked.
- Test any cleaning method in a small, hidden area first.
- Stop immediately if brick starts to flake, sand, chip, or change texture.
- Avoid cleaning when freezing weather is expected.
Homeowners should avoid pressure washing, acid cleaning, abrasive blasting, and large paint removal projects on historic brick without professional guidance.
What Happens If Historic Brick Is Cleaned the Wrong Way?
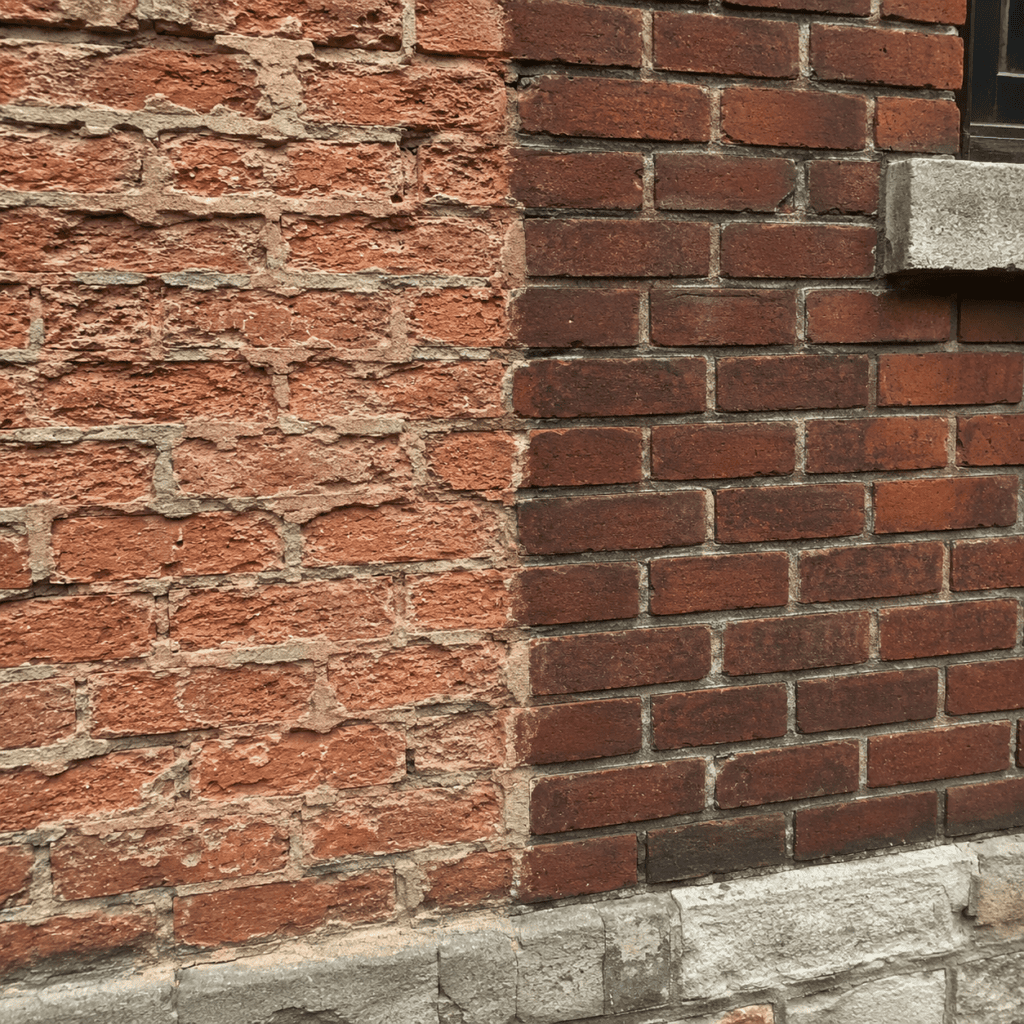
If historic brick is cleaned improperly, the damage can be permanent. The brick face may become rough, sandy, pitted, or more absorbent. Mortar joints may be weakened. Water may enter more easily. The wall may stain unevenly or look patchy.
Once the outer surface is damaged, the brick can become more vulnerable to freeze-thaw cycles. Moisture can enter more quickly, remain longer, and cause spalling. In some cases, brick replacement may be needed later because the cleaning caused or accelerated deterioration.
Wrong cleaning can also affect heritage character. A historic façade that once had soft colour variation, texture, and age can end up looking harsh, flat, or artificially stripped. Cleaning should gently improve the wall, not erase its history.
For damaged units that cannot be saved, A&A Masonry’s brick replacement Toronto page explains why matching brick size, colour, texture, and surrounding masonry matters.
When Professional Help Makes More Sense
Professional help makes more sense when the brick is old, fragile, painted, heavily stained, heritage-sensitive, high up, or already damaged. It also makes sense when stains keep returning or the homeowner is unsure what caused the staining.
A masonry professional can assess whether the wall needs cleaning, tuckpointing, brick repair, stain treatment, paint removal, water management, or restoration. They can also identify cleaning methods that are too aggressive for the specific brick and mortar.
For broader exterior planning, A&A Masonry’s masonry services in Toronto page outlines related work such as brick repair, tuckpointing, stone masonry, chimney repair, concrete repair, waterproofing, and exterior restoration.

Quick Guide to Historic Brick Cleaning Techniques
A quick guide can help homeowners choose the safest starting point.
- Use inspection first when the wall has damage, staining, or unknown past repairs.
- Use test cleaning first before applying any method to the full wall.
- Use soft brushing for loose dirt, cobwebs, and light dry surface buildup.
- Use gentle water cleaning for light grime when the wall is sound and can dry properly.
- Use low-pressure steam when careful professional cleaning is needed for deeper grime or soot.
- Use mild detergent cleaning only when the product is masonry-safe and properly tested.
- Use poultice cleaning for certain localized stains after the stain type is identified.
- Avoid abrasive blasting on historic brick because surface loss is often permanent.
- Repair first when mortar joints, brick faces, or water-entry points are already failing.
The safest historic brick-cleaning technique is usually the least aggressive method that does the job without altering the character of the masonry.
Final Thoughts on Historic Brick Cleaning Techniques
Historic brick cleaning techniques should protect the brick first and improve appearance second. Older Toronto brickwork has character, texture, colour variation, and age that should not be erased by harsh cleaning. The goal is not to make historic masonry look new. The goal is to clean it carefully while preserving the material that gives the building its value.
Start with inspection, identify the stain, test a small area, and use the gentlest effective method. Avoid sandblasting, harsh pressure washing, strong acids, metal brushing, and random chemical cleaners. If the wall is damaged, repair may need to come before cleaning.
For Toronto and GTA homeowners, careful brick cleaning can help preserve older masonry, improve curb appeal, and reduce moisture-related damage when done correctly. When the brick is fragile, heritage-sensitive, painted, or heavily stained, professional guidance is usually the safer choice.