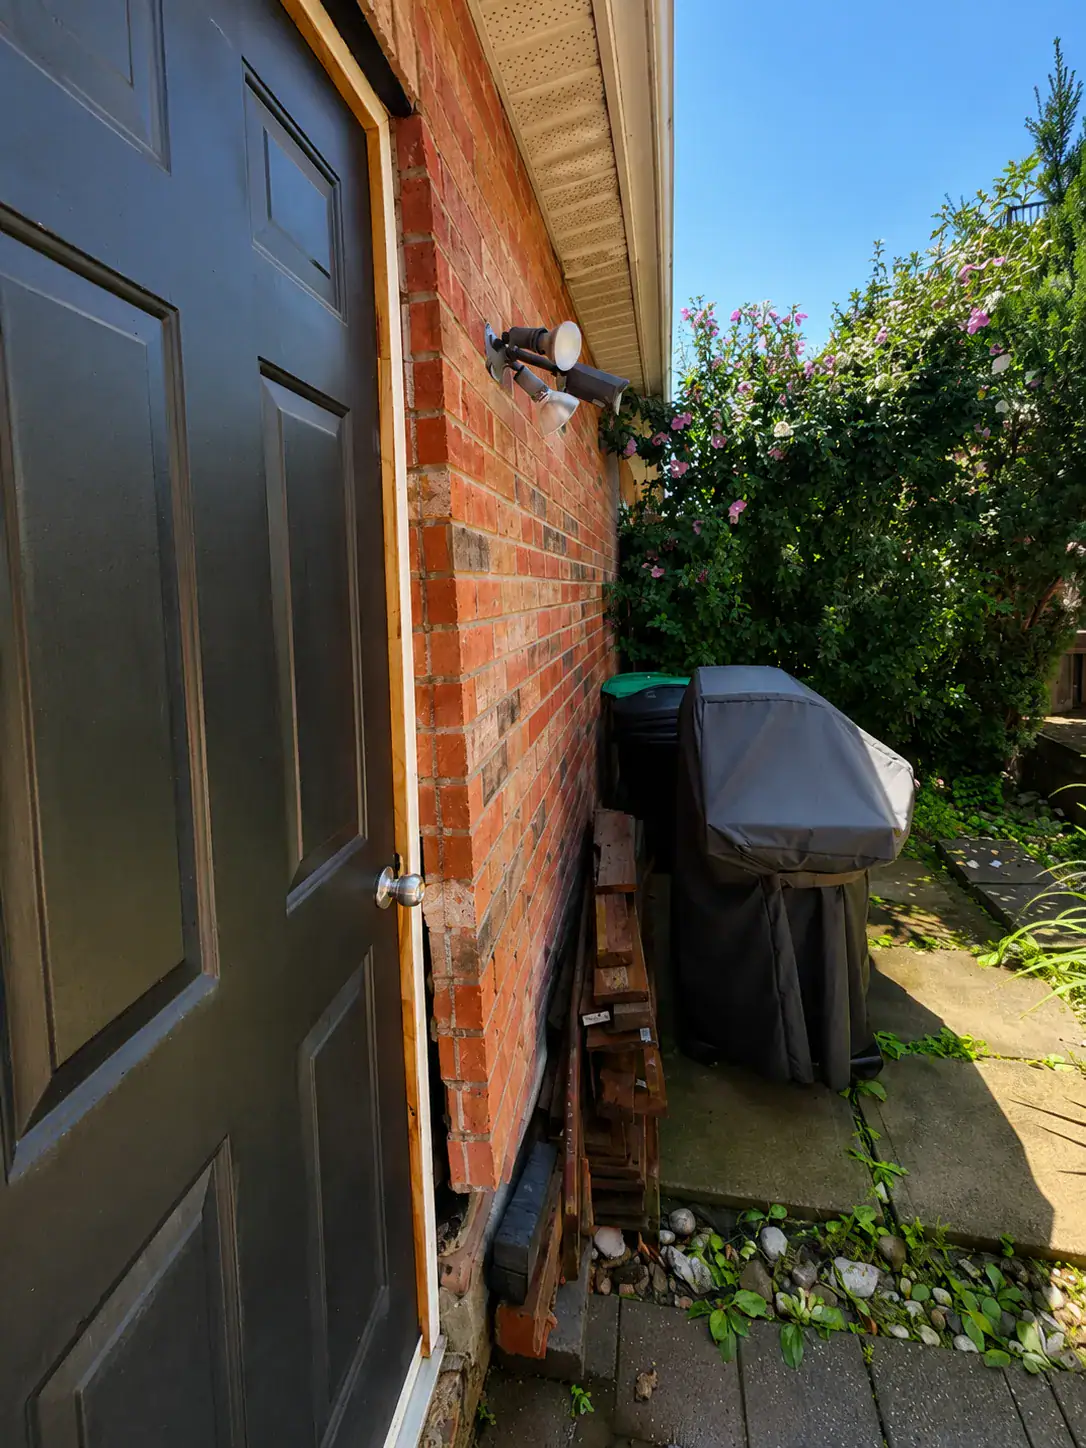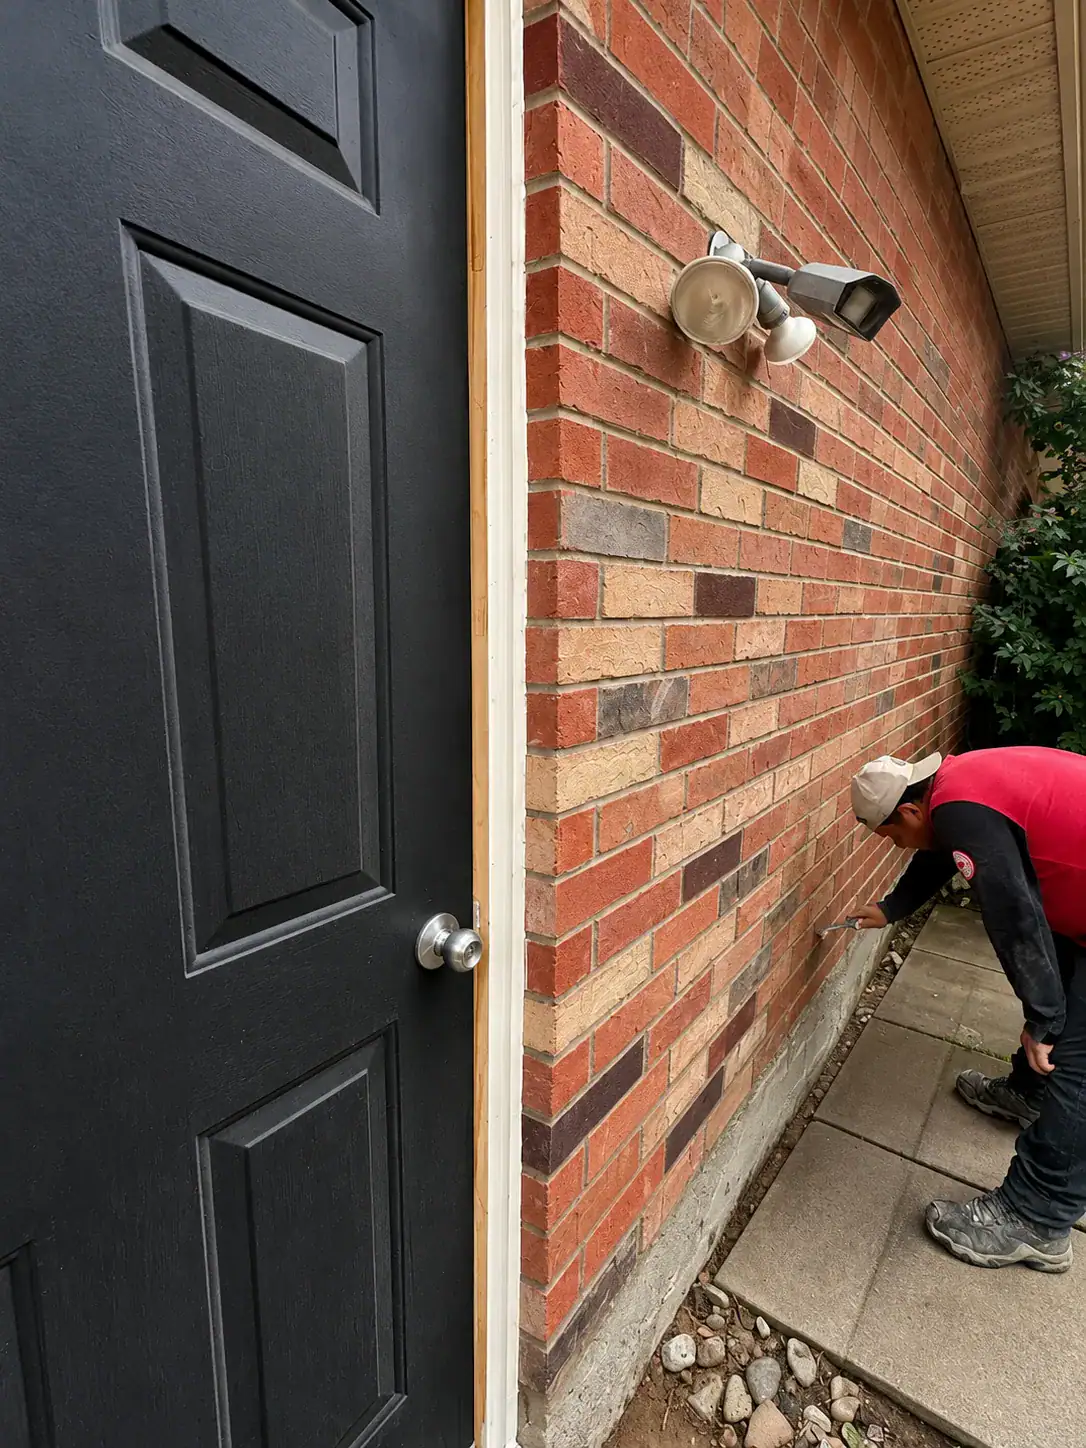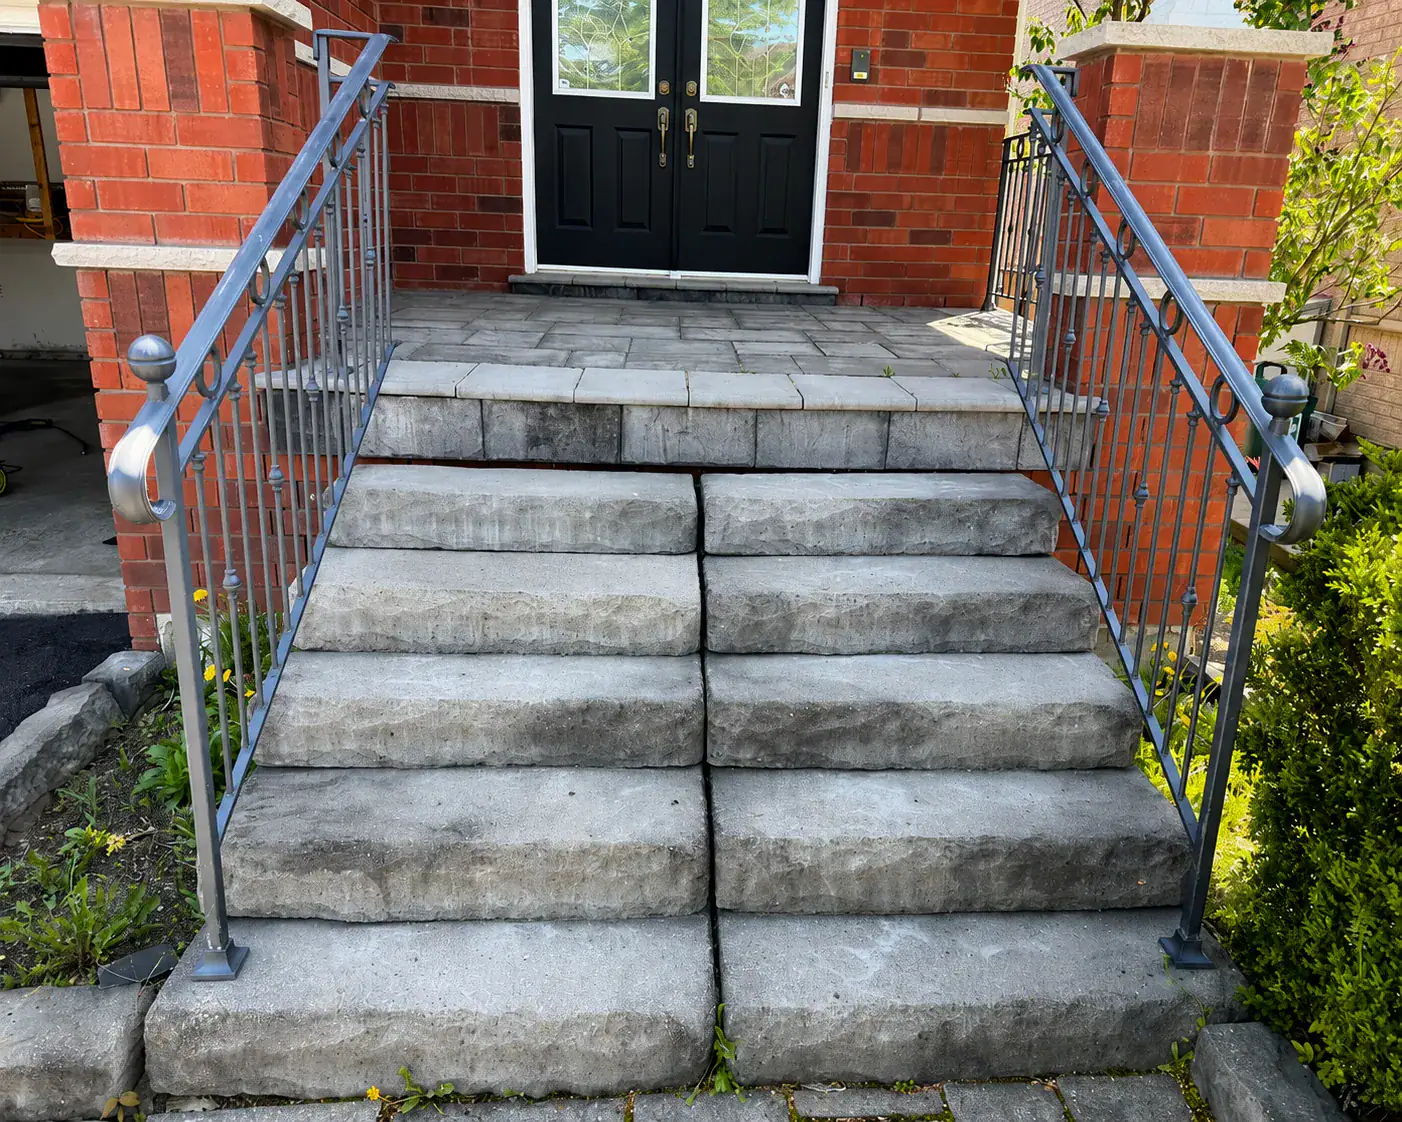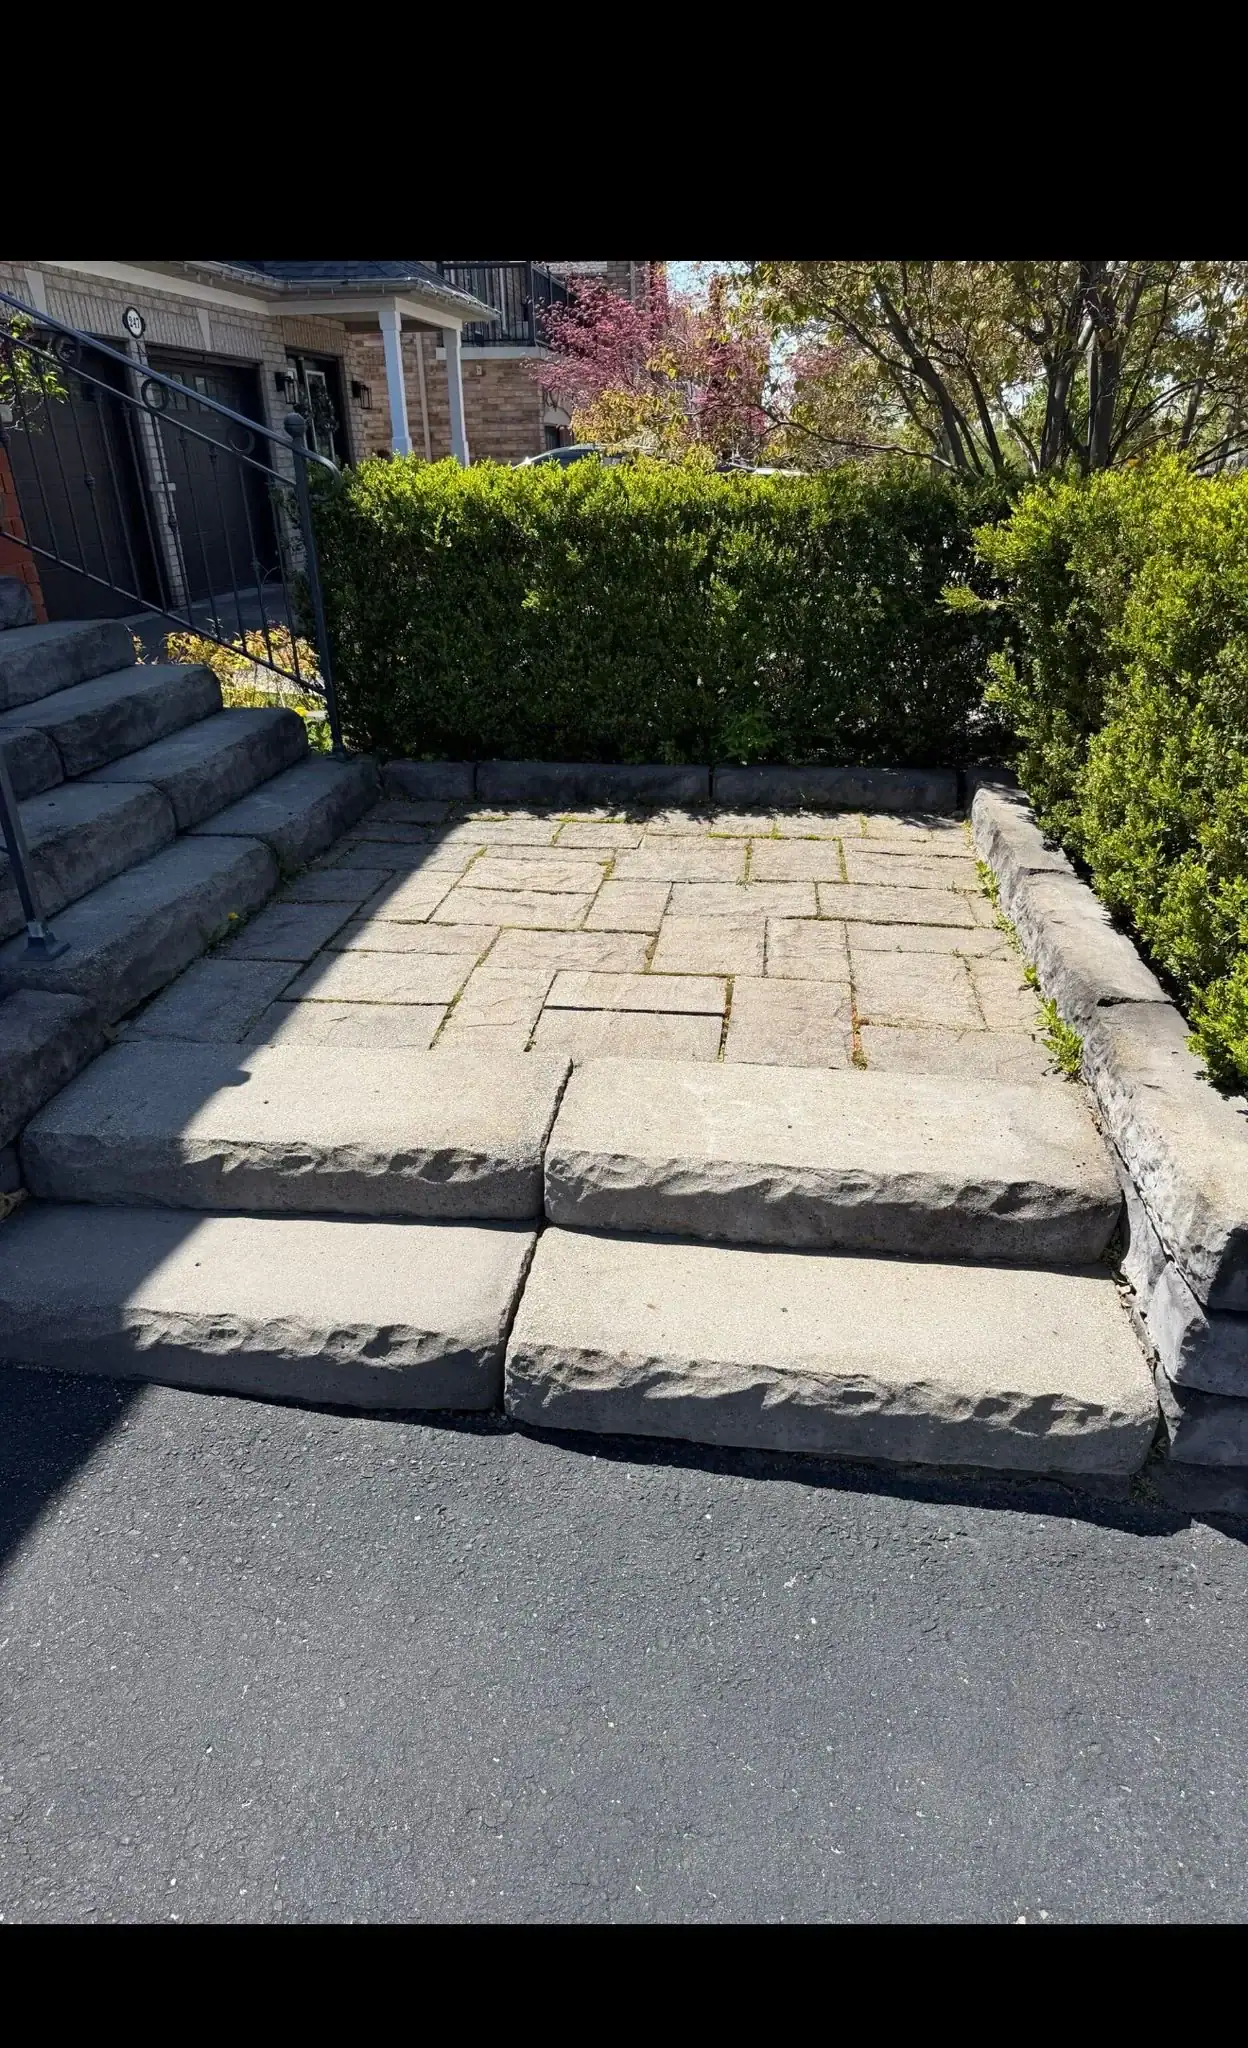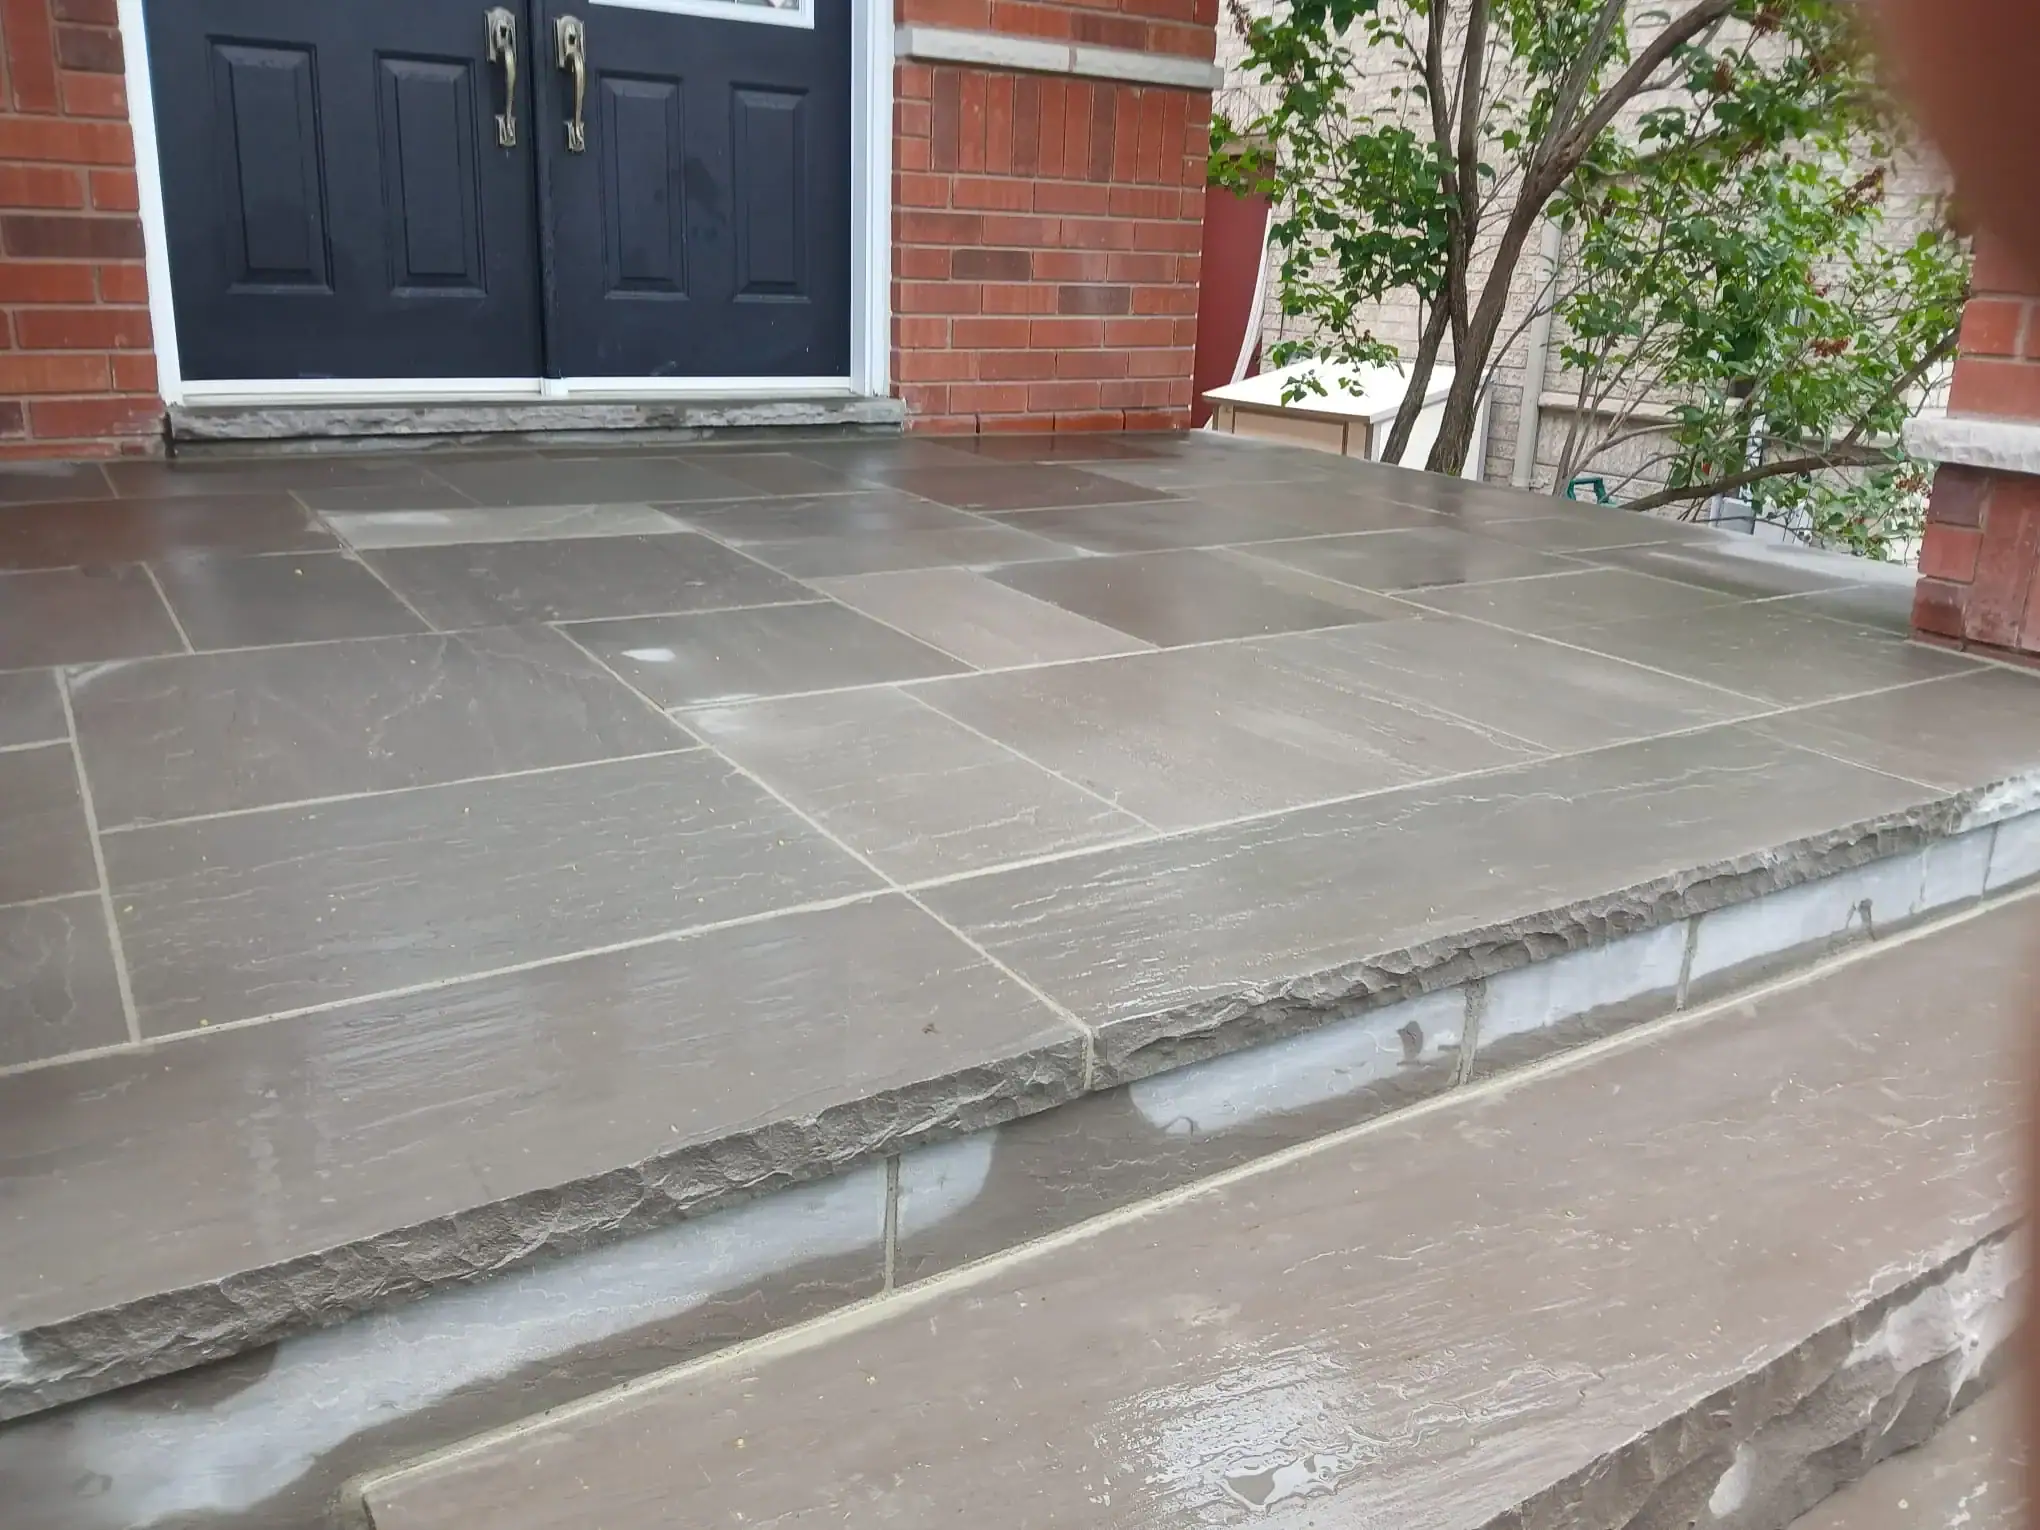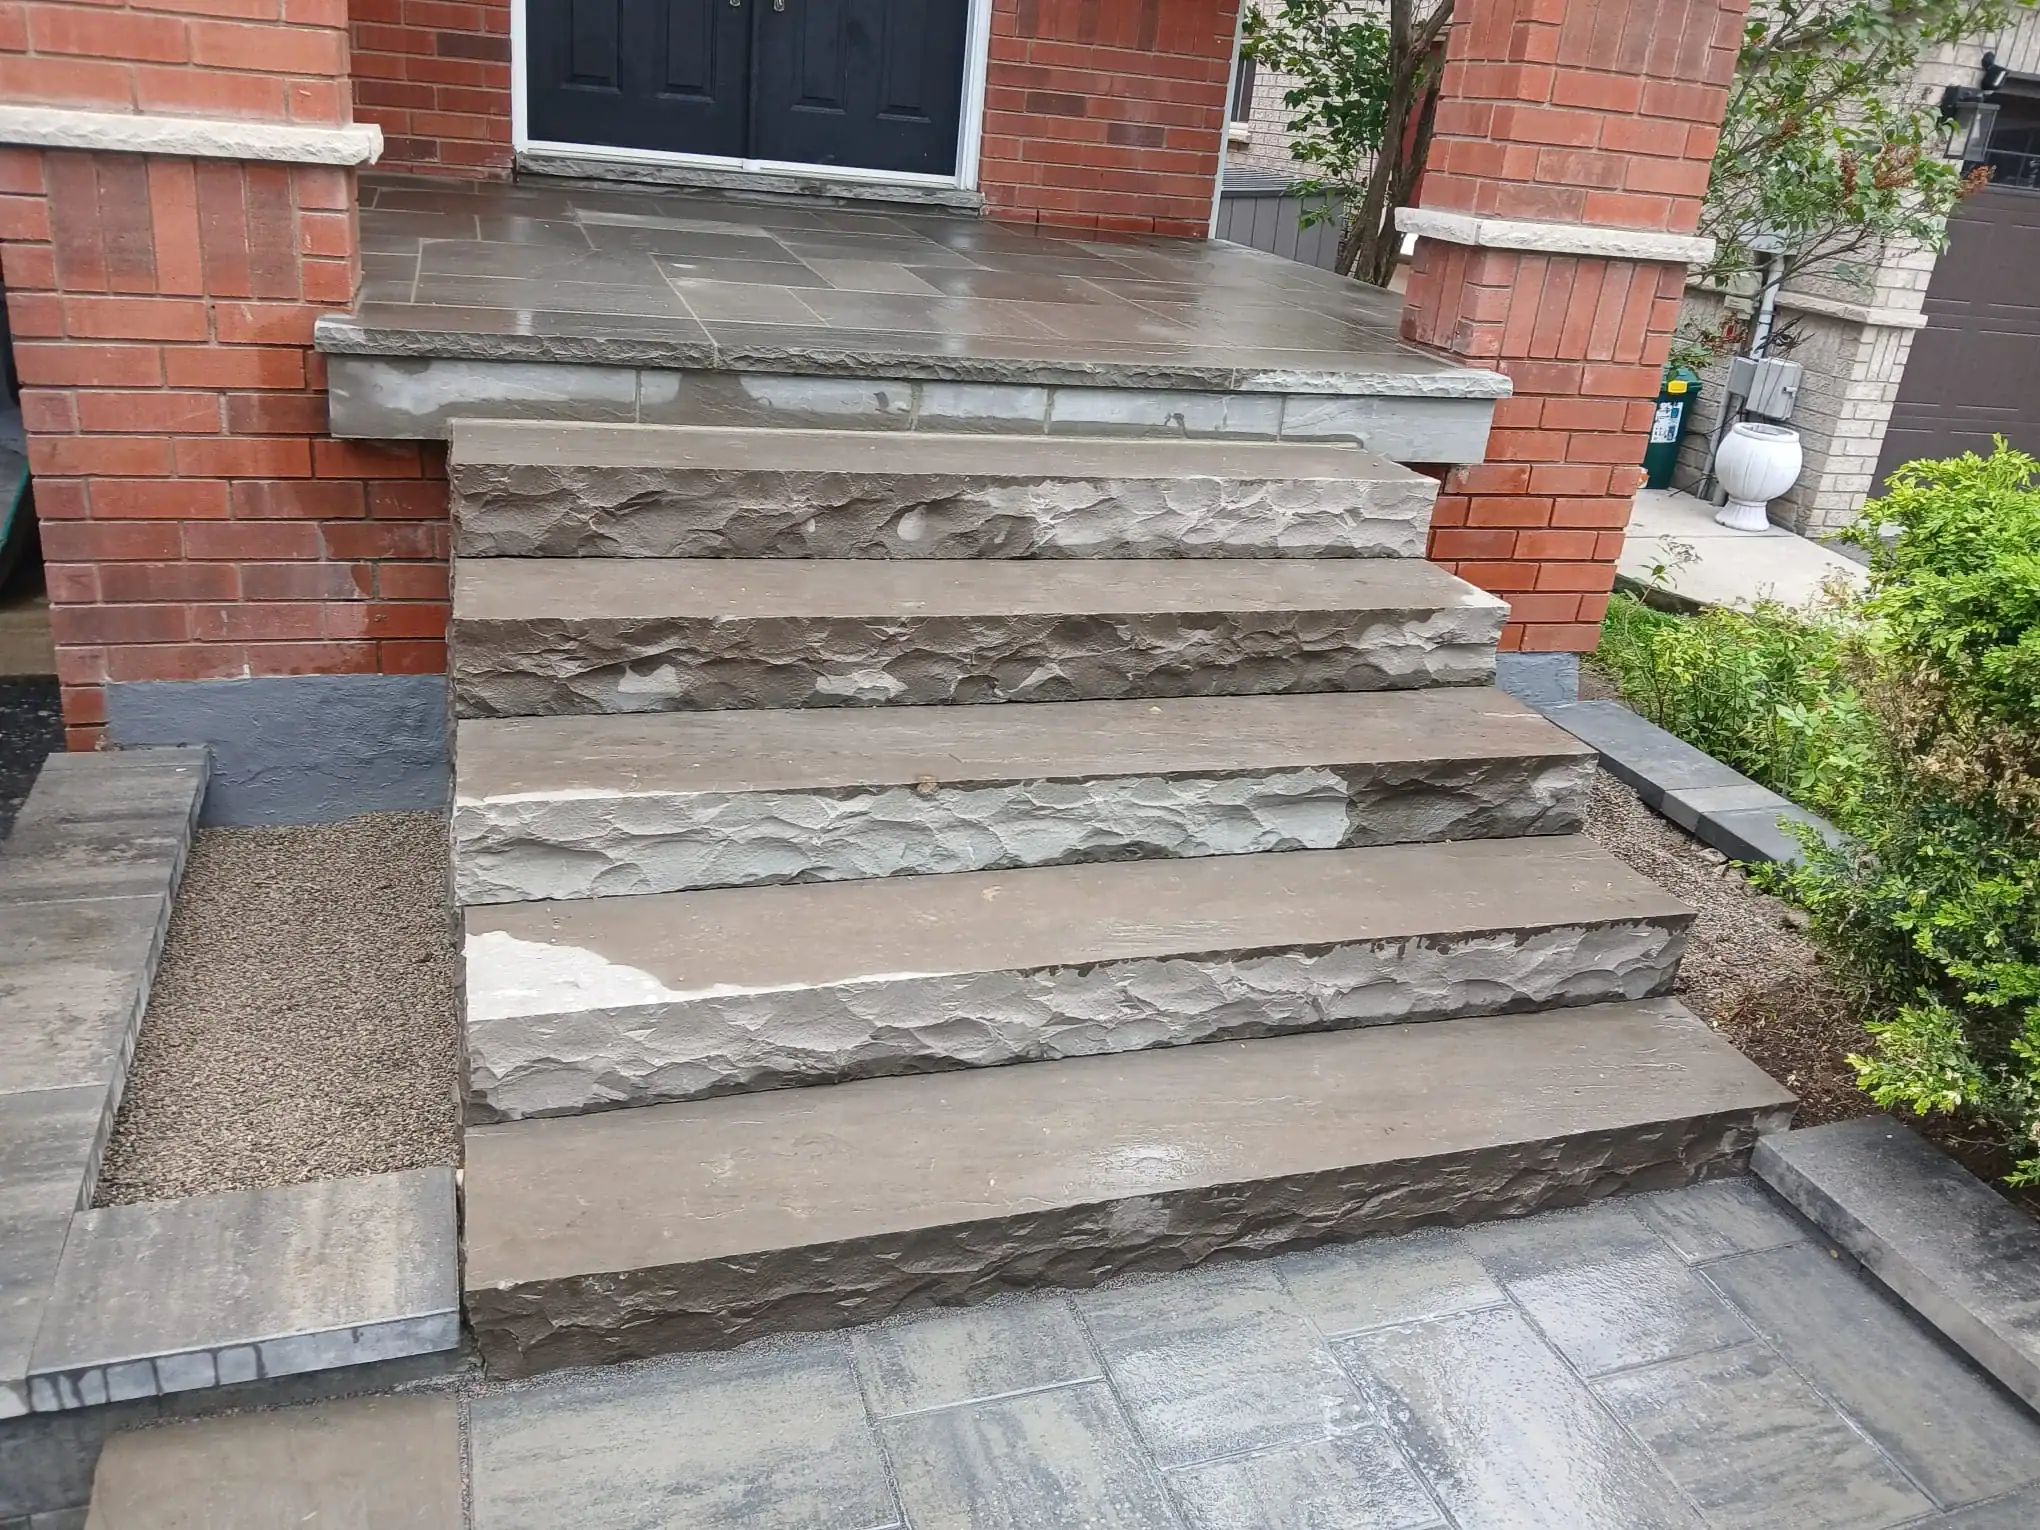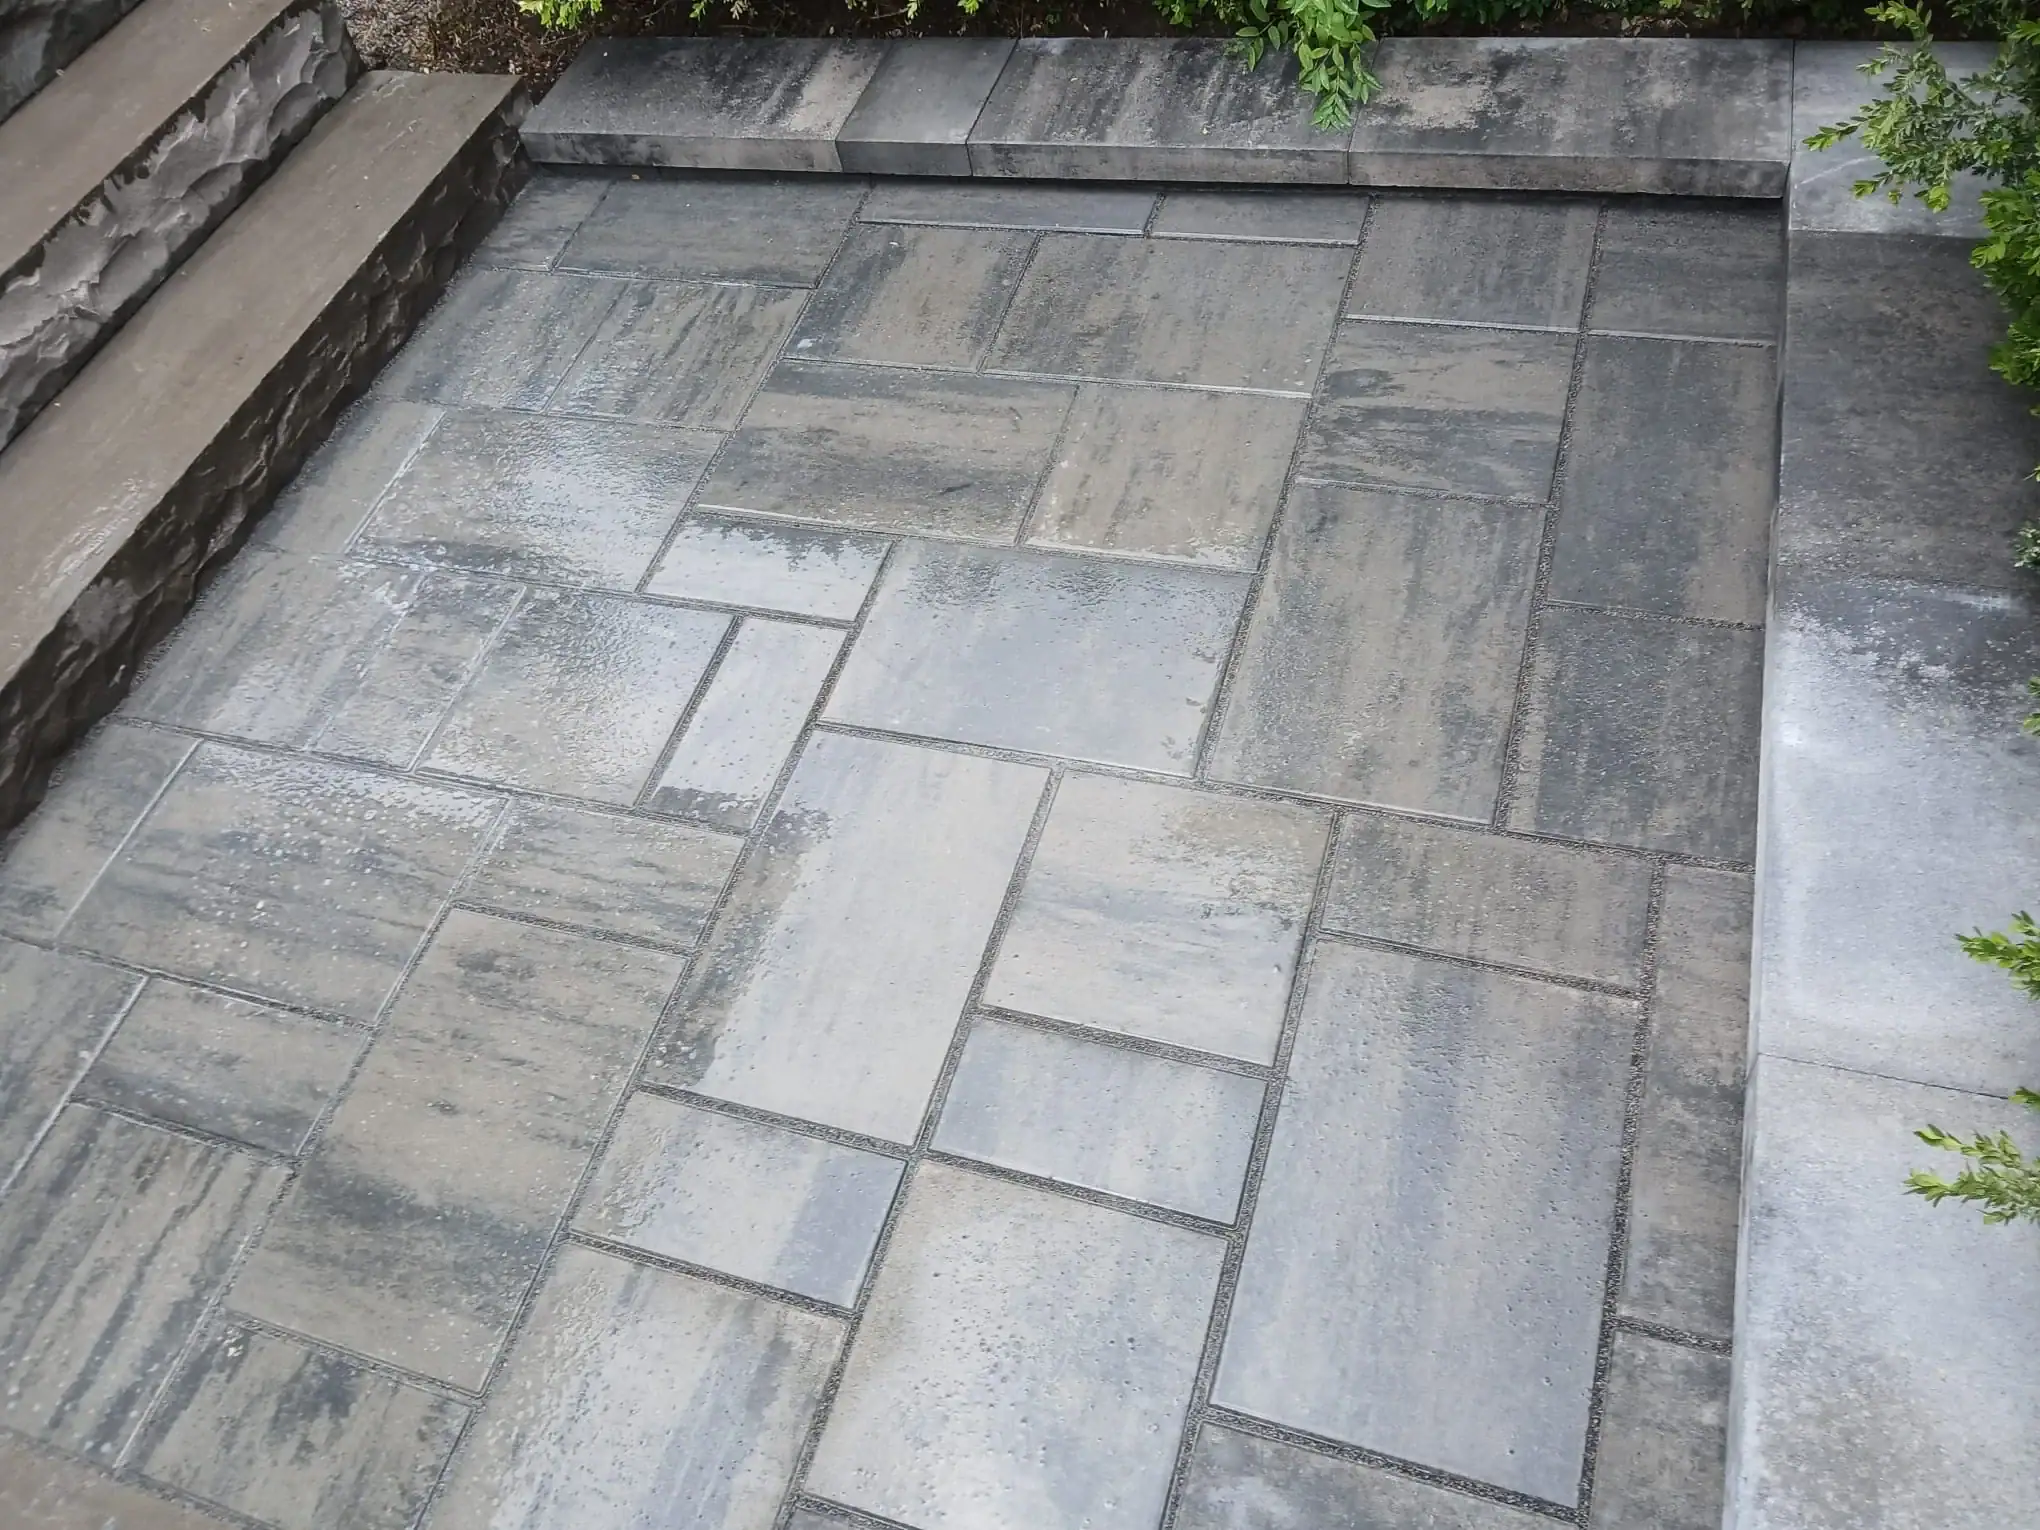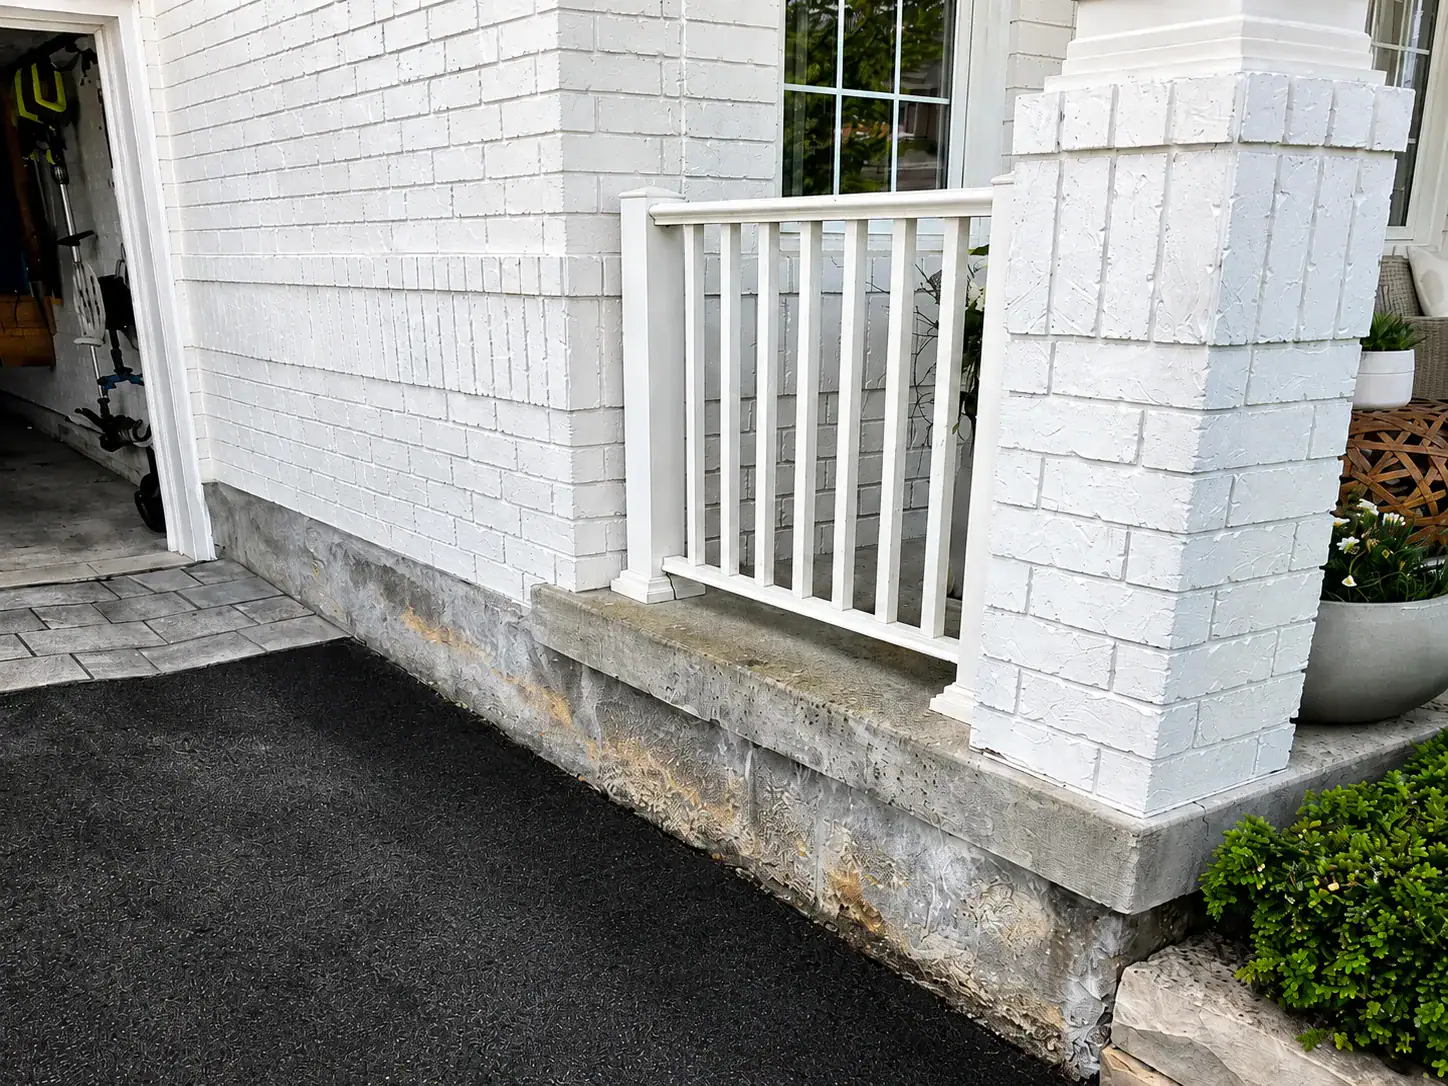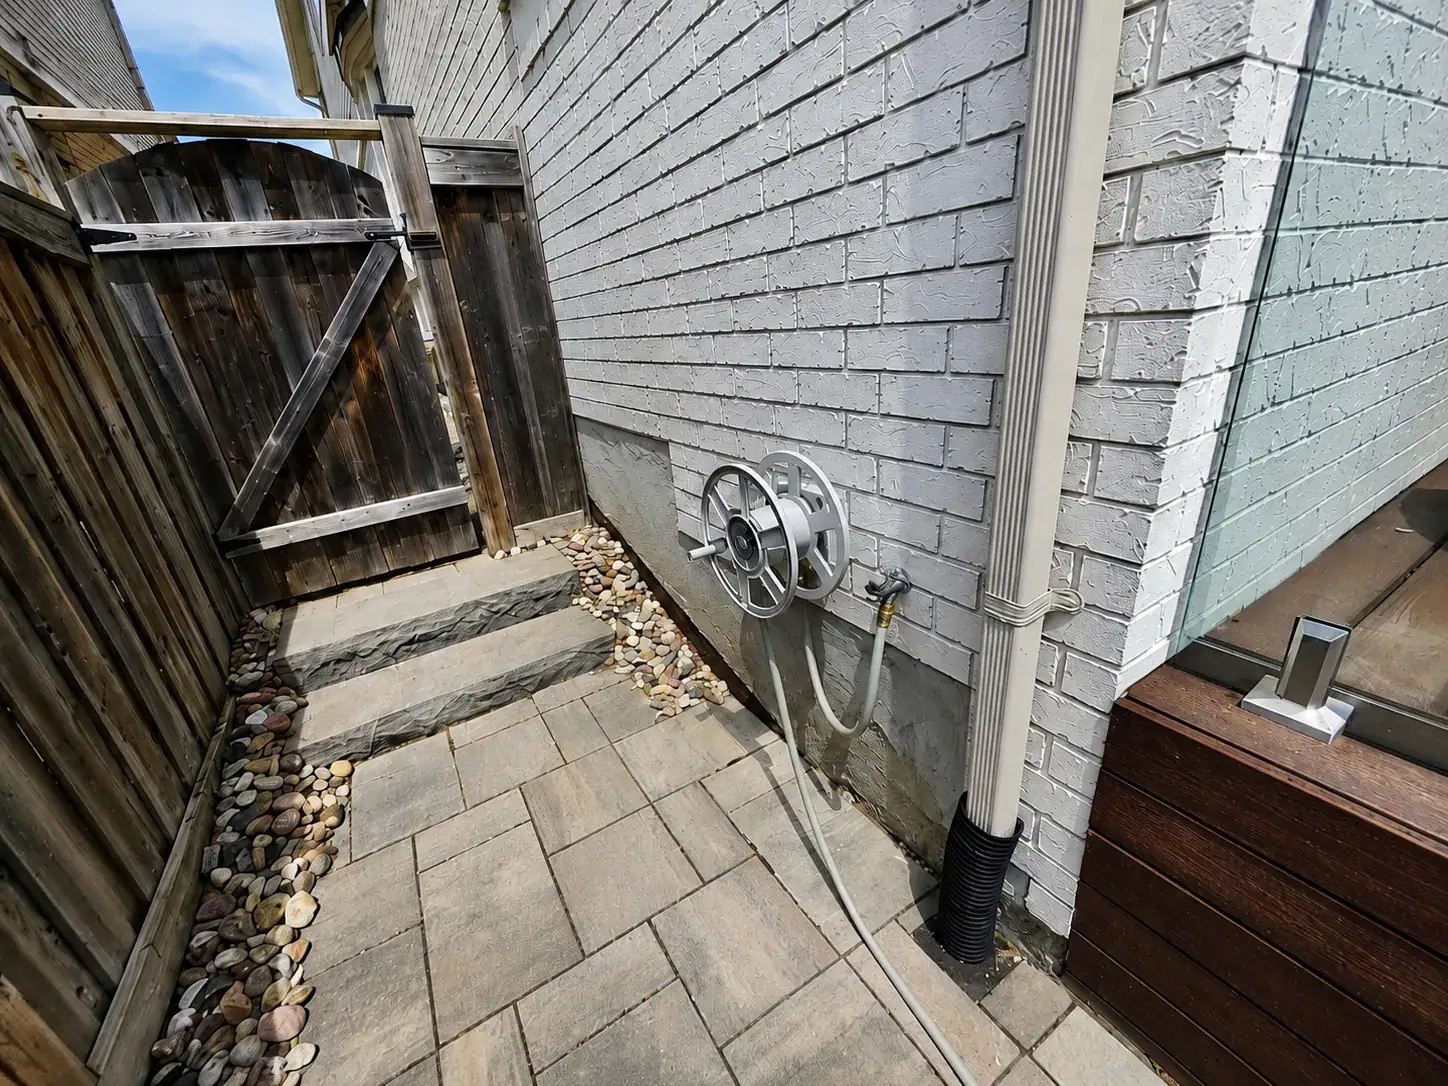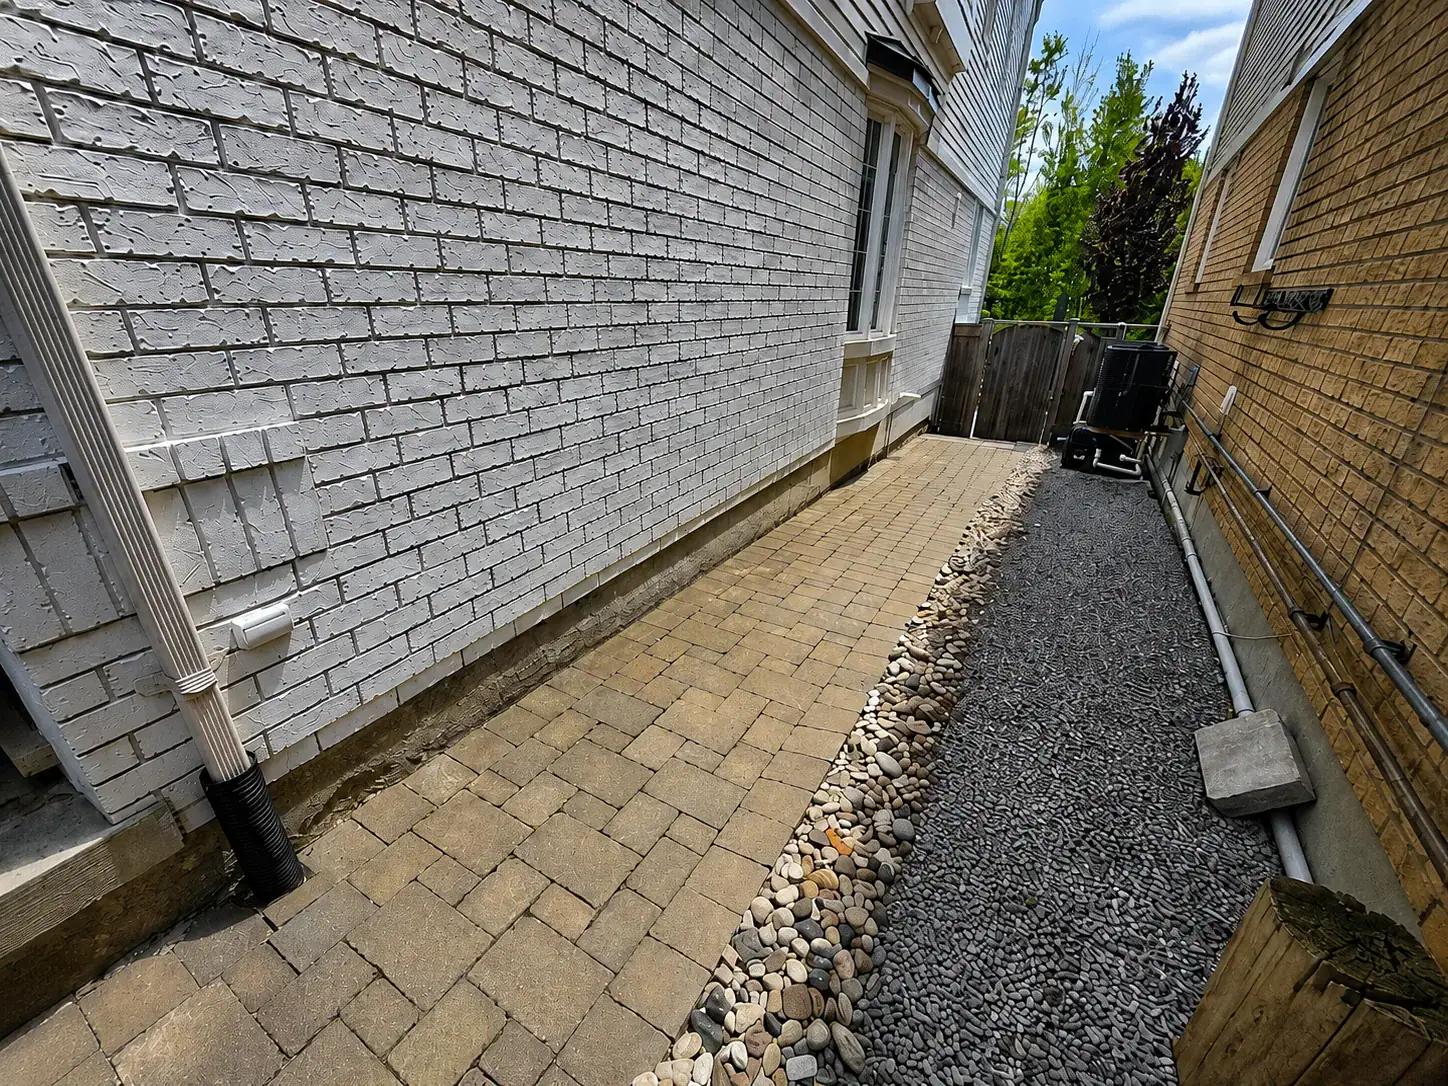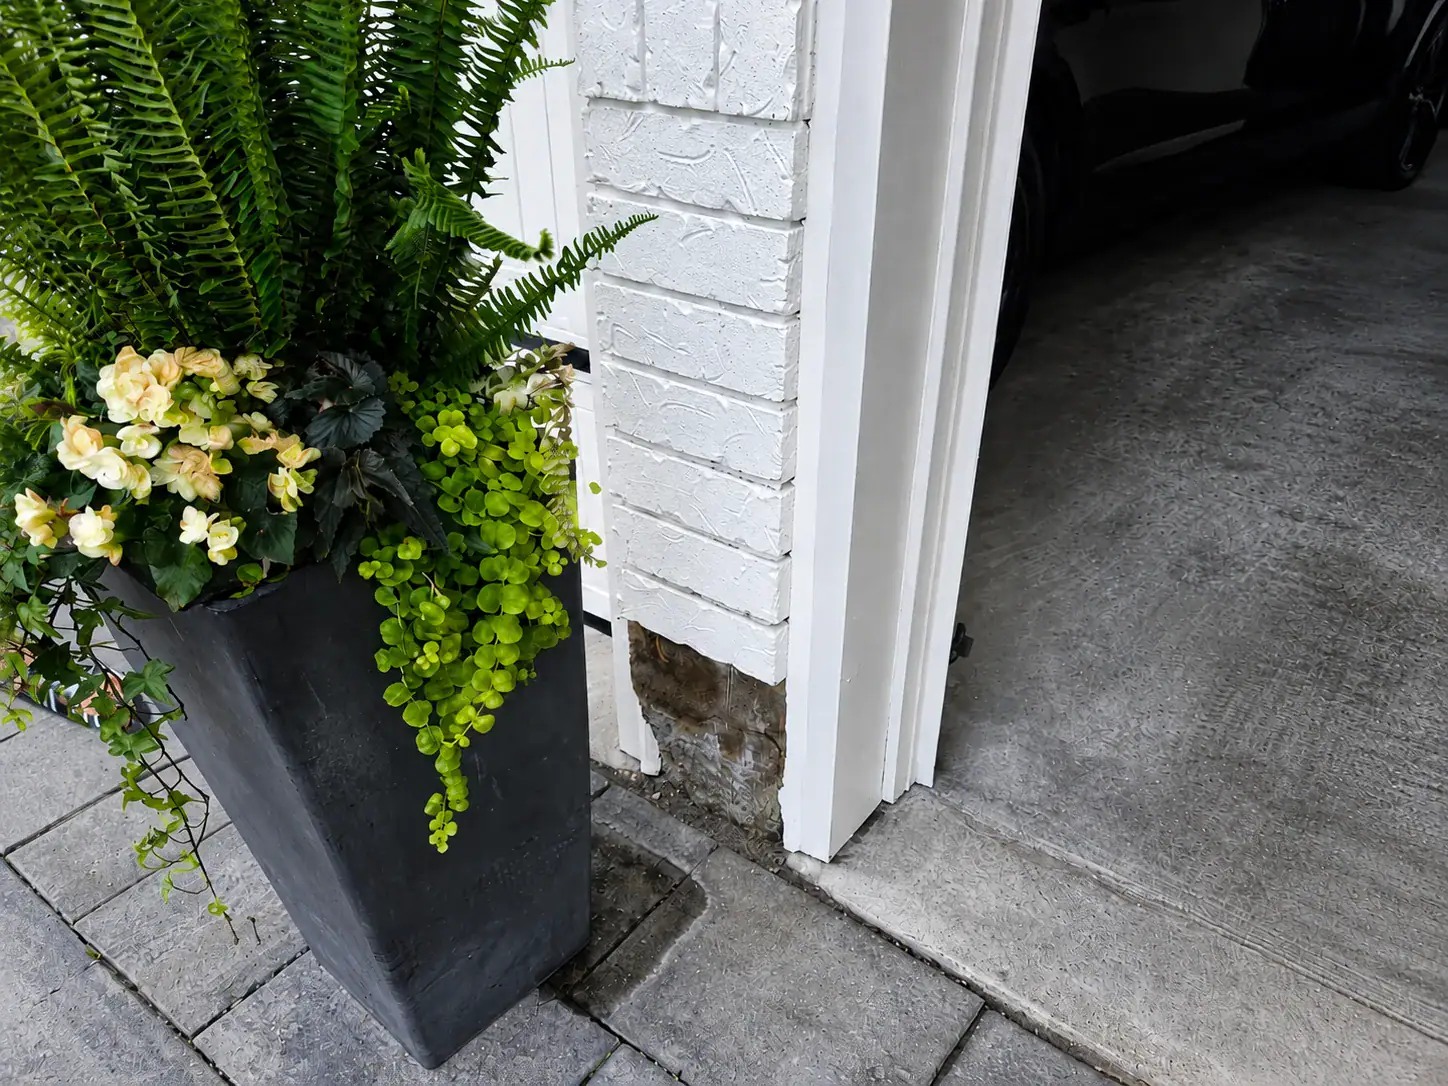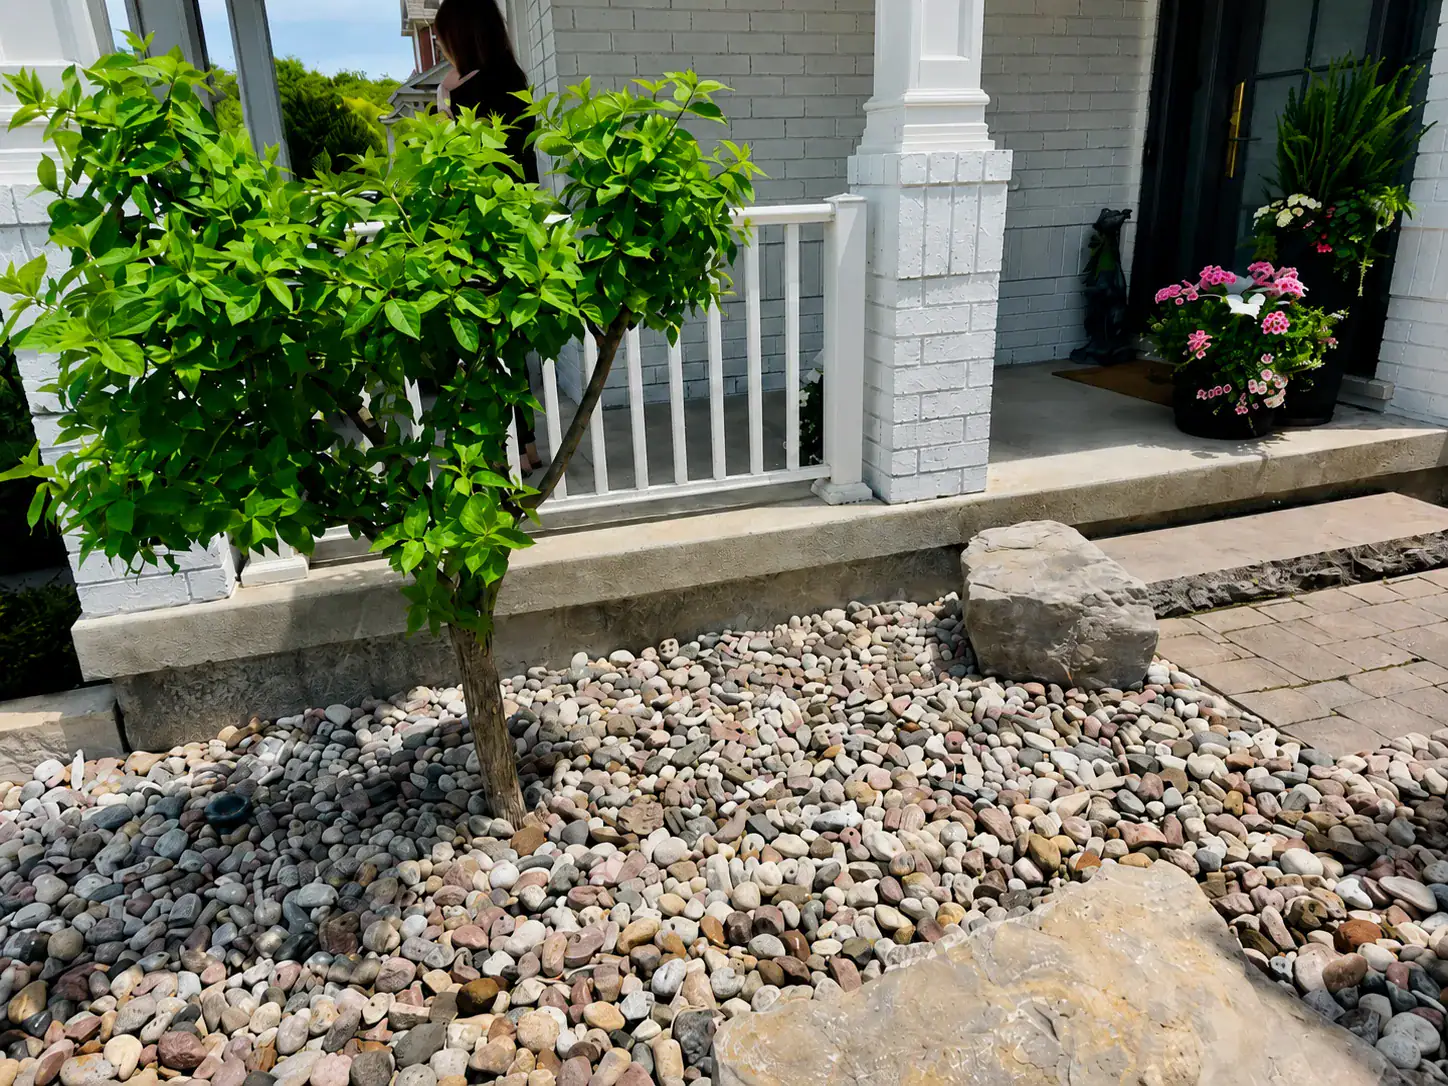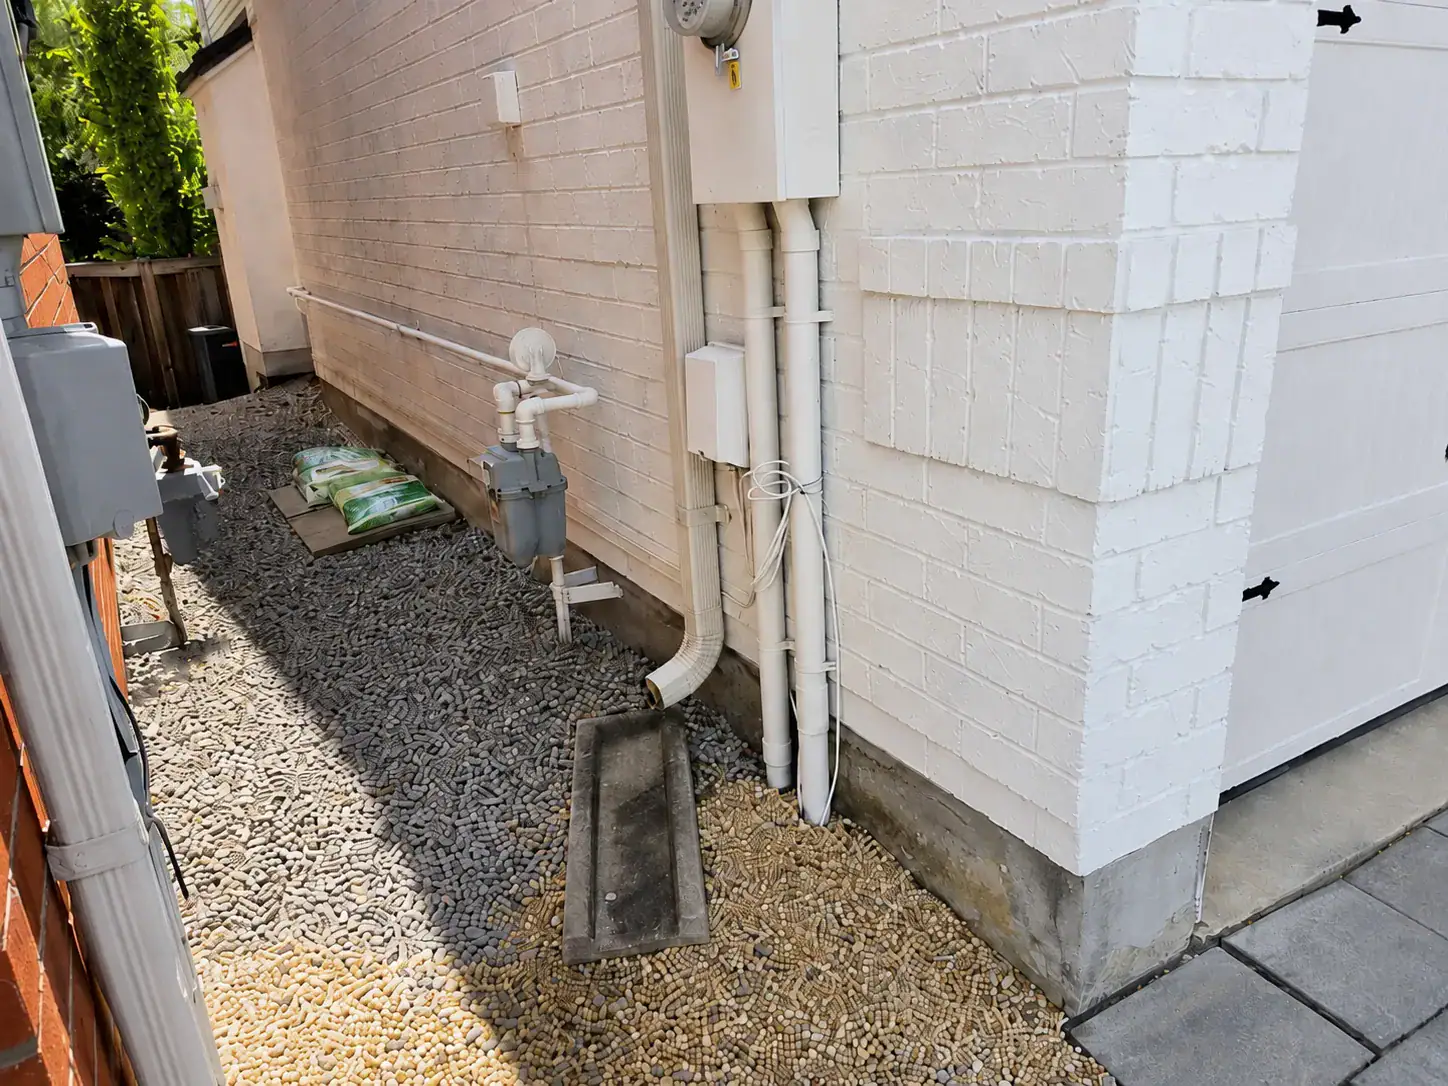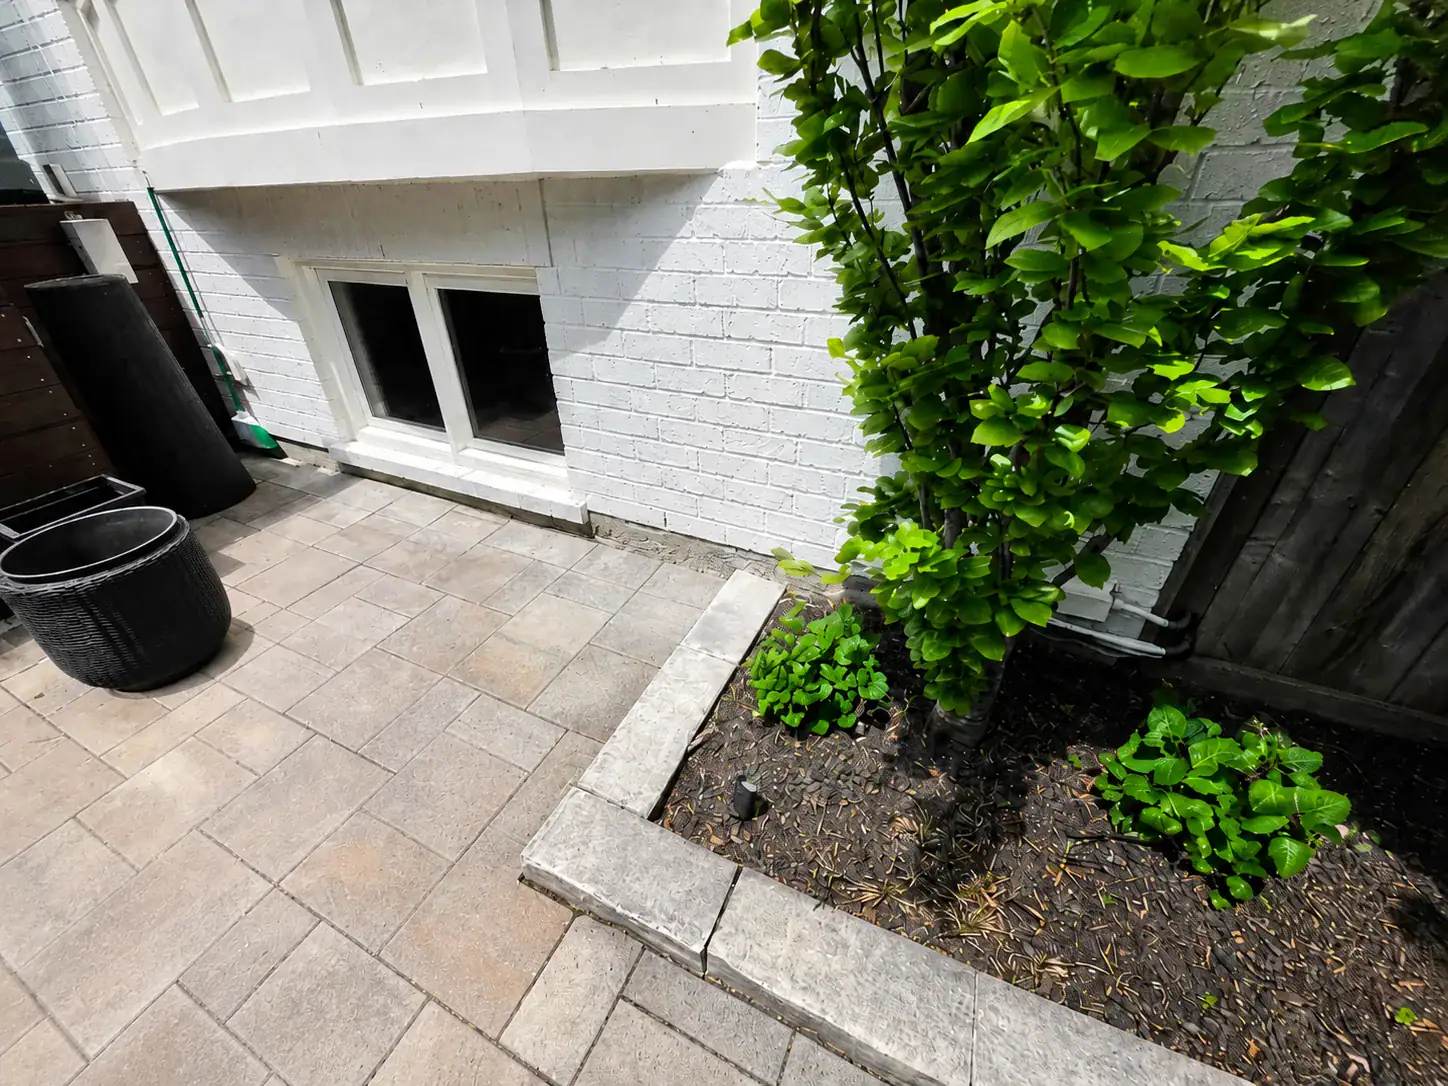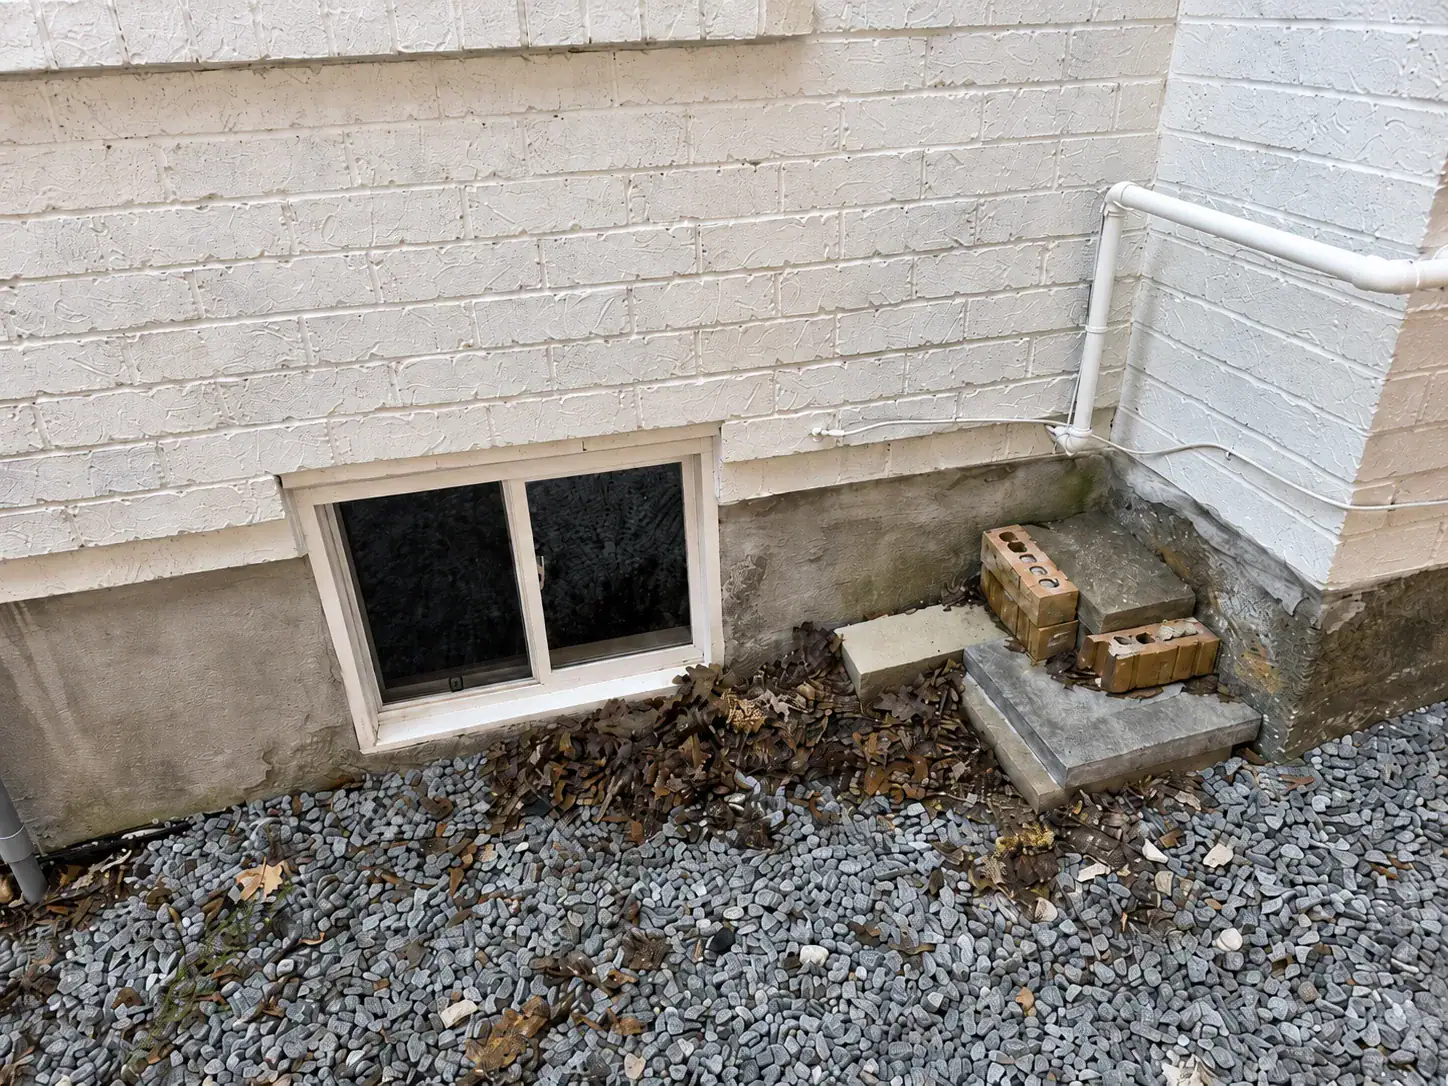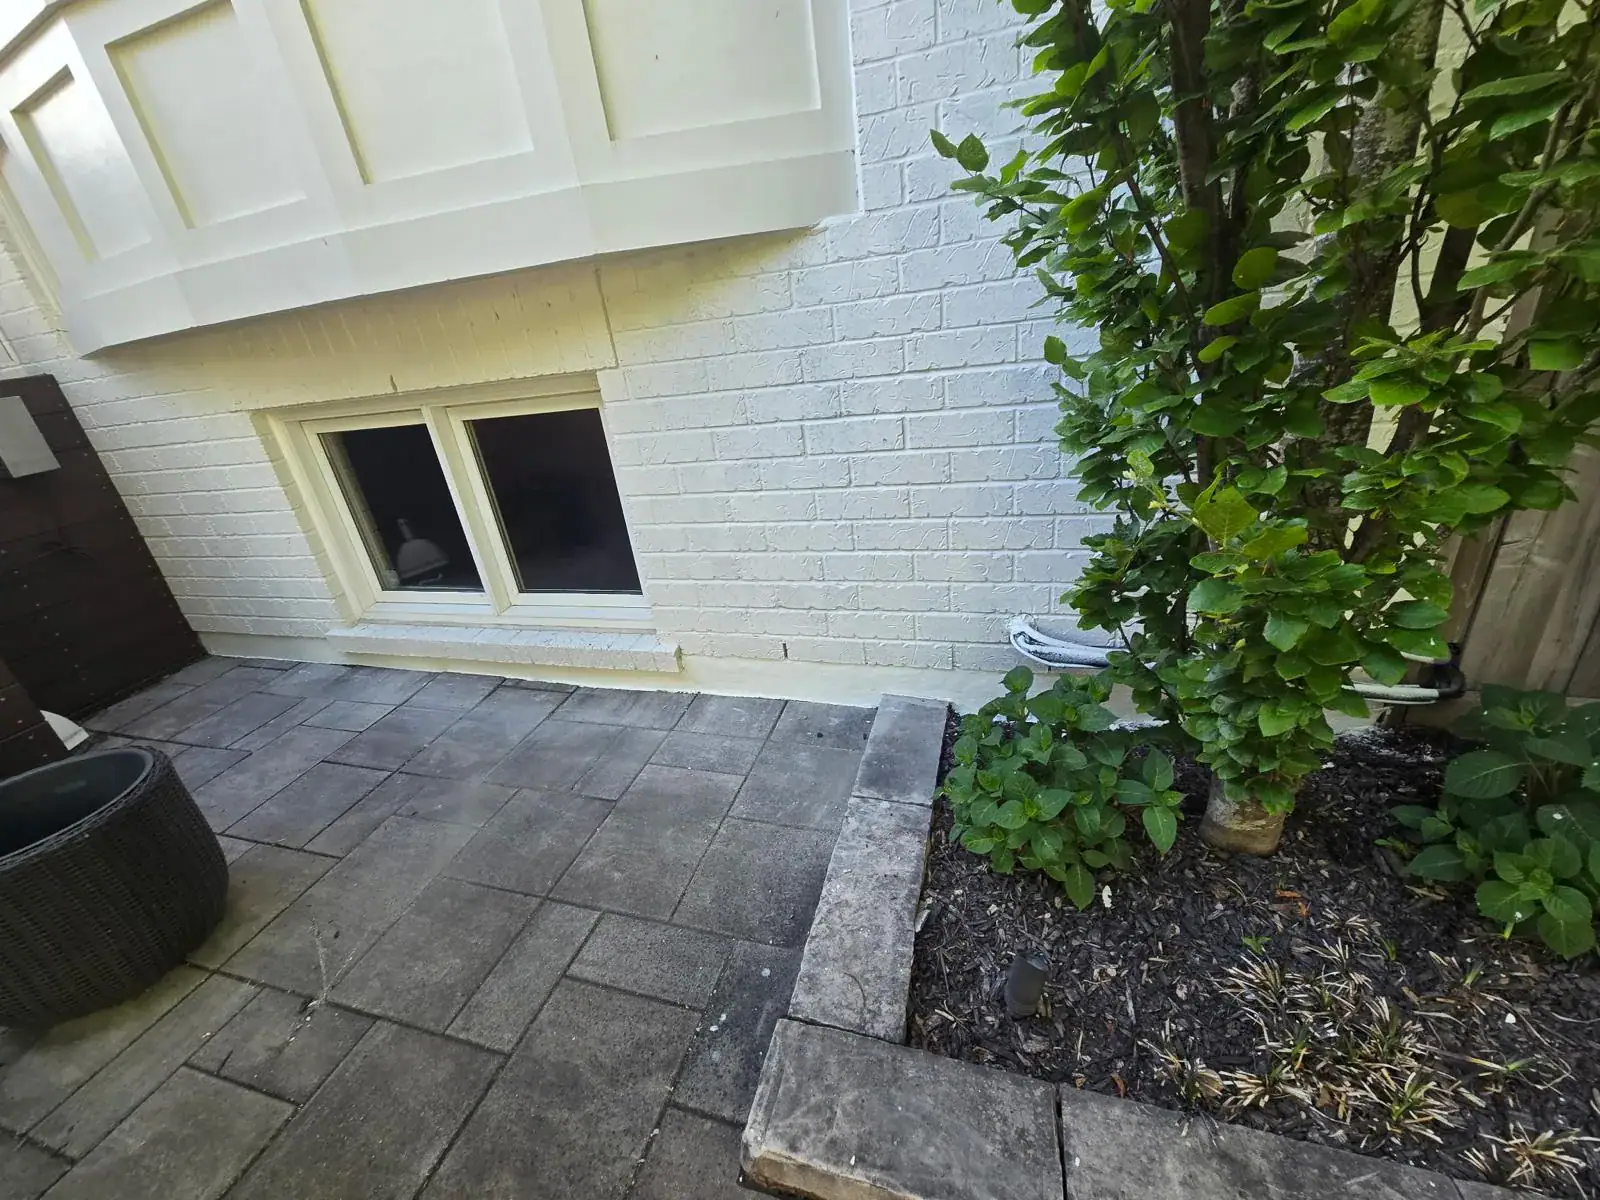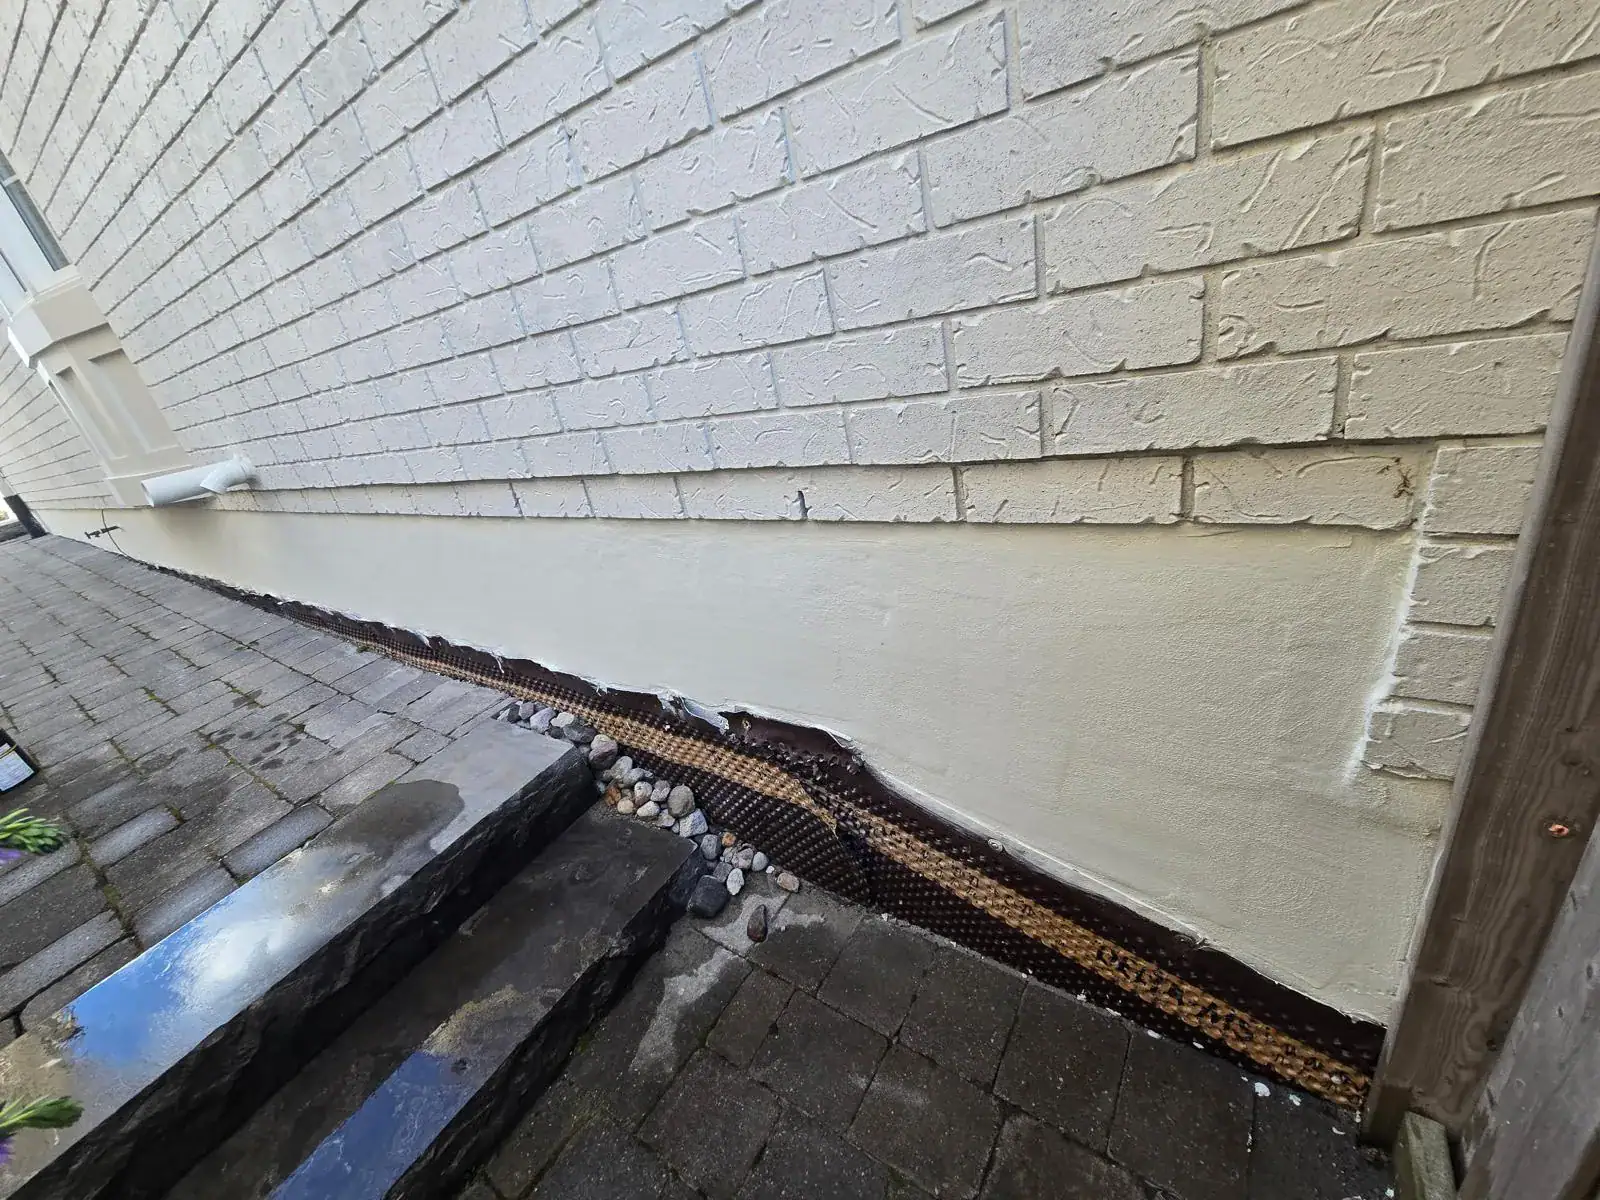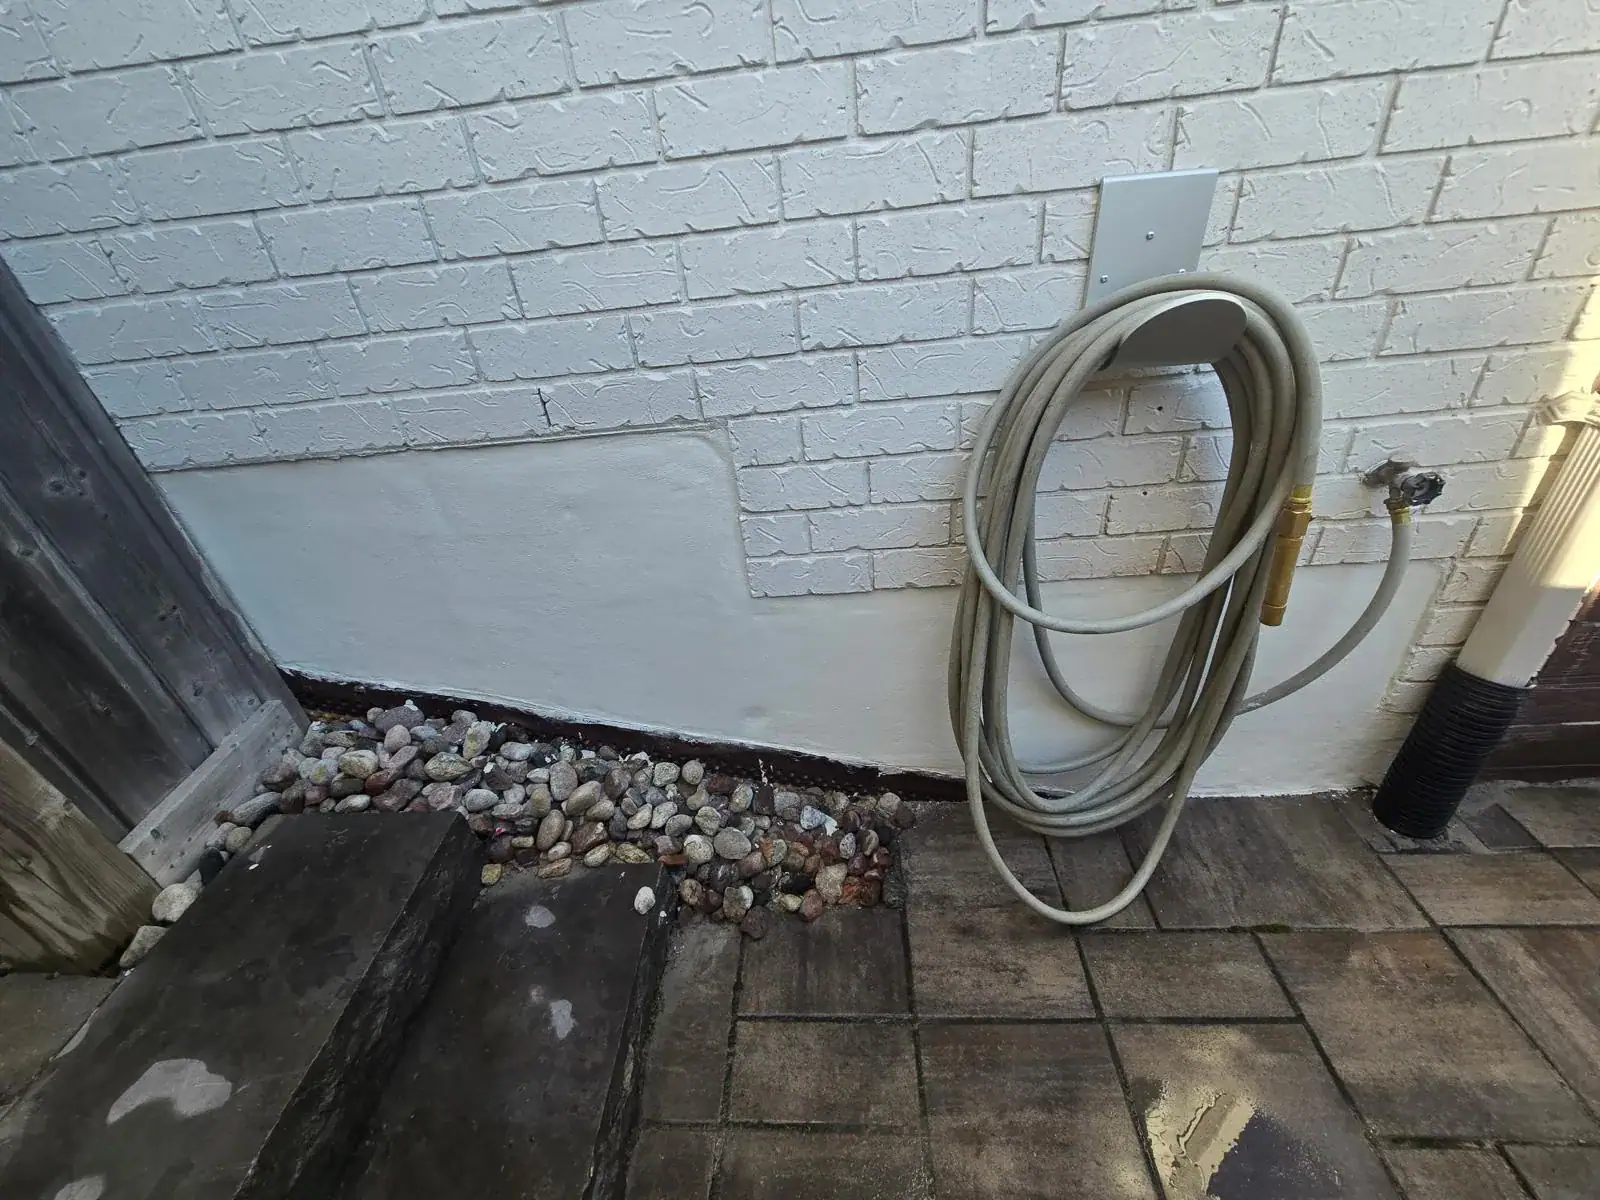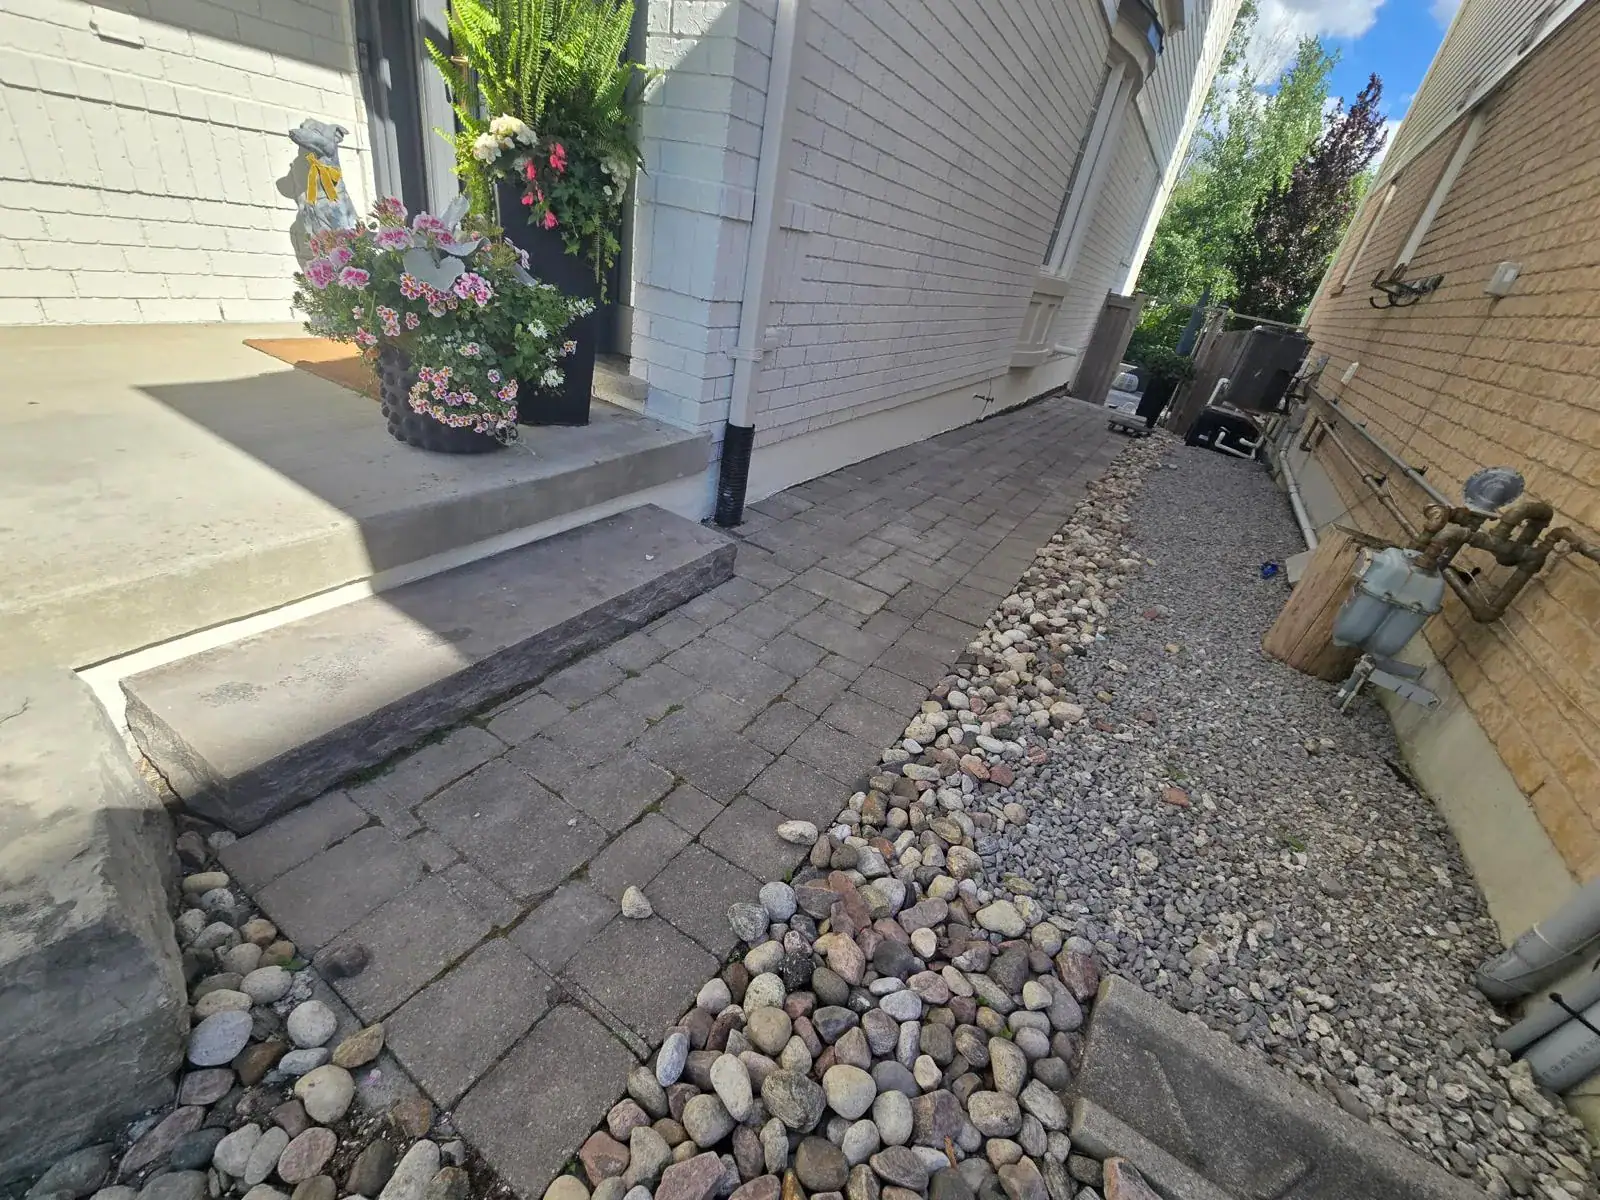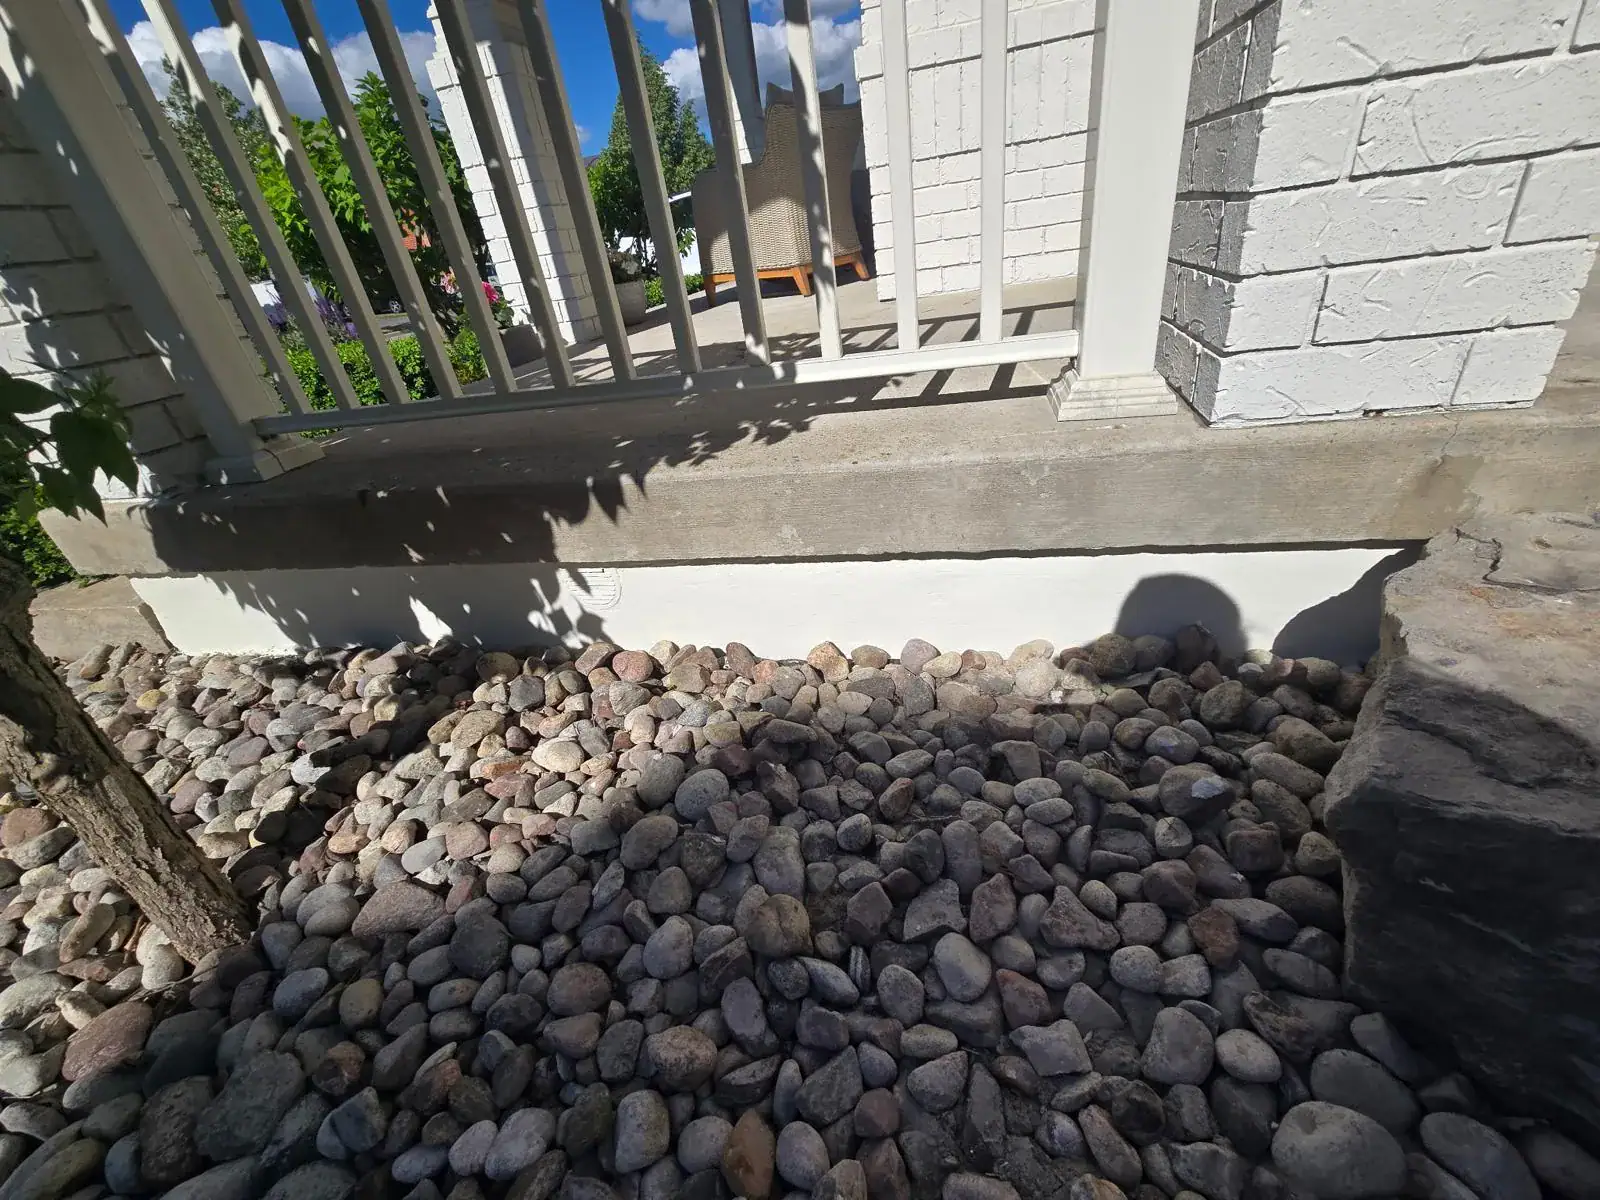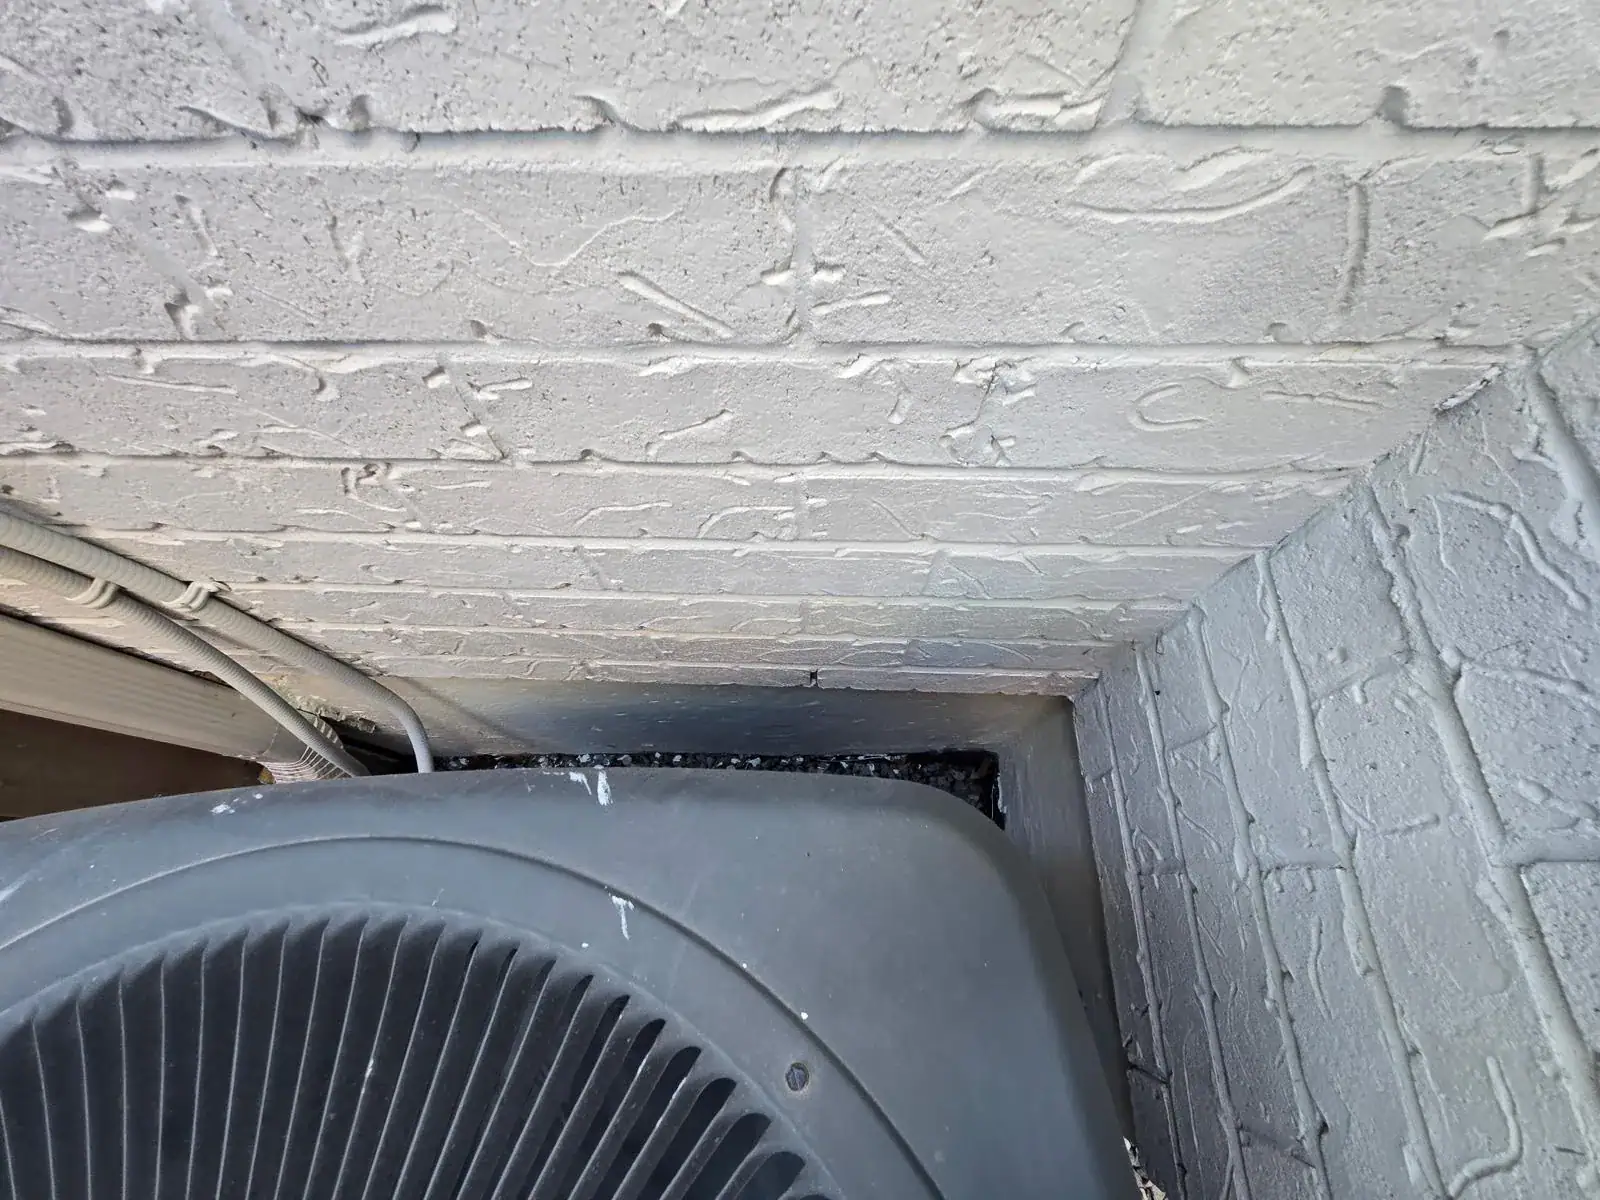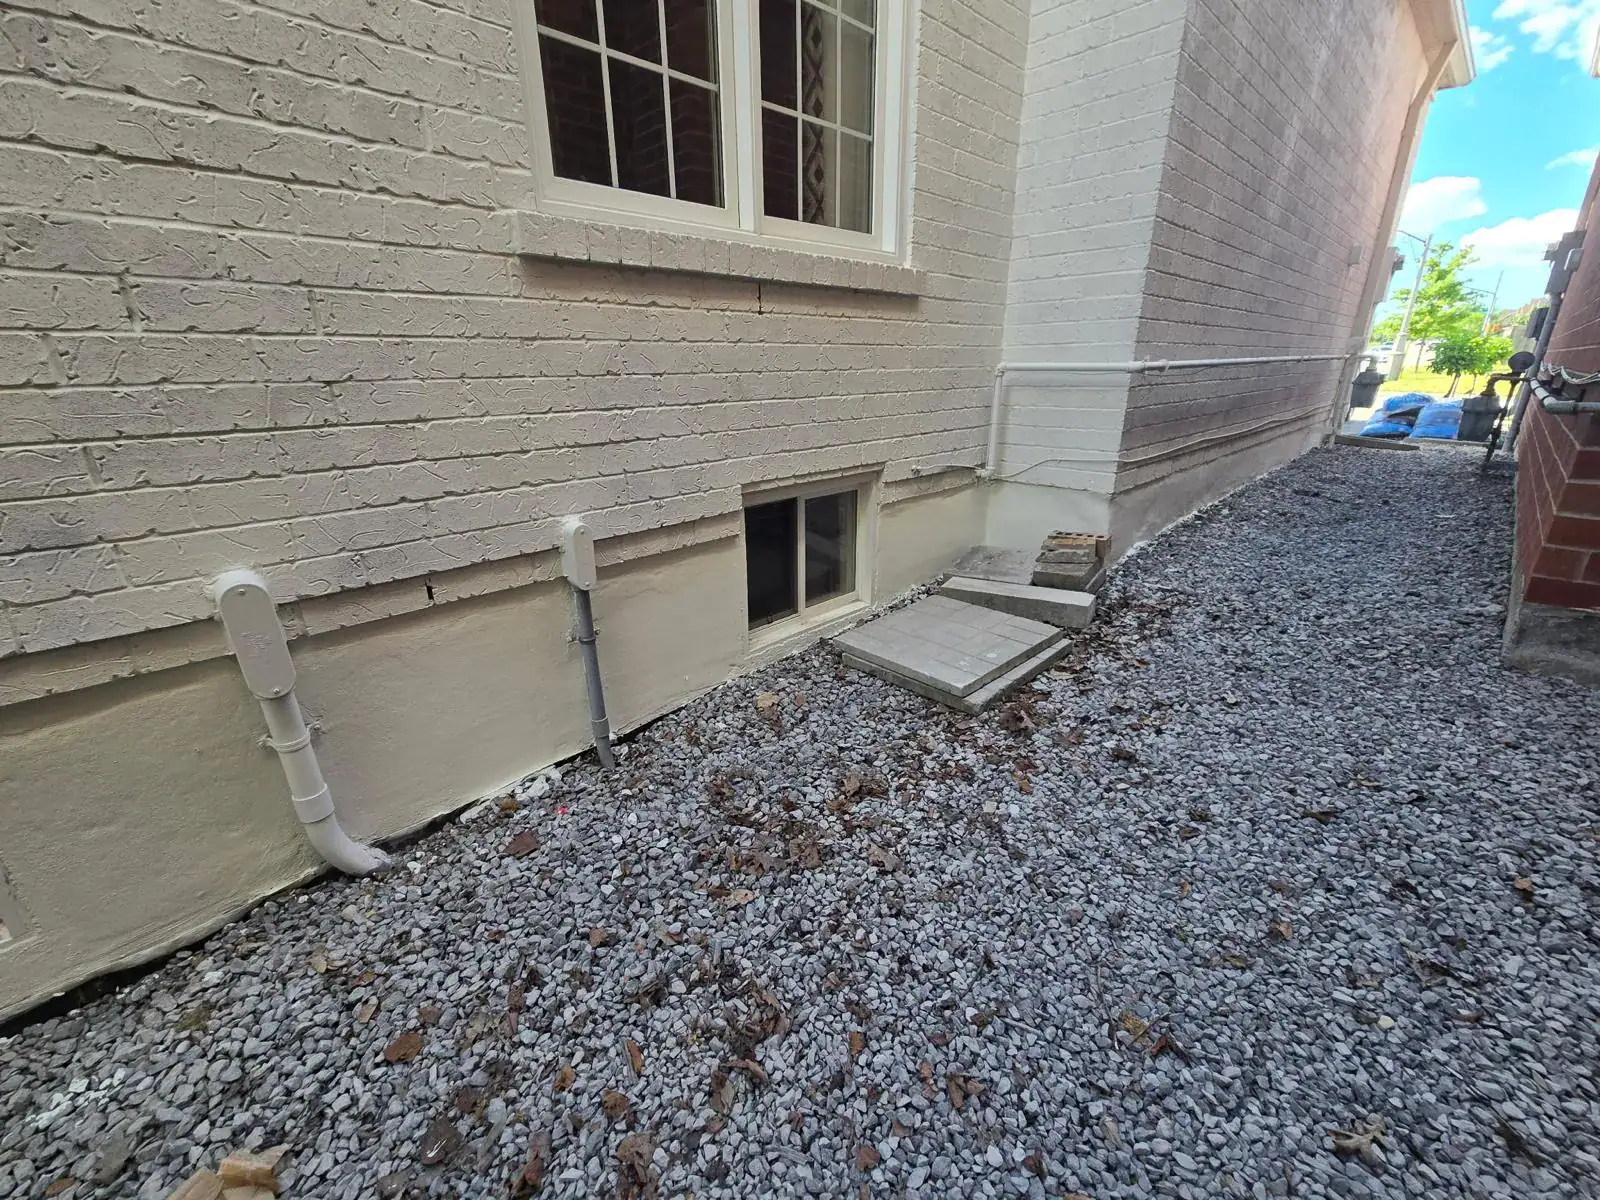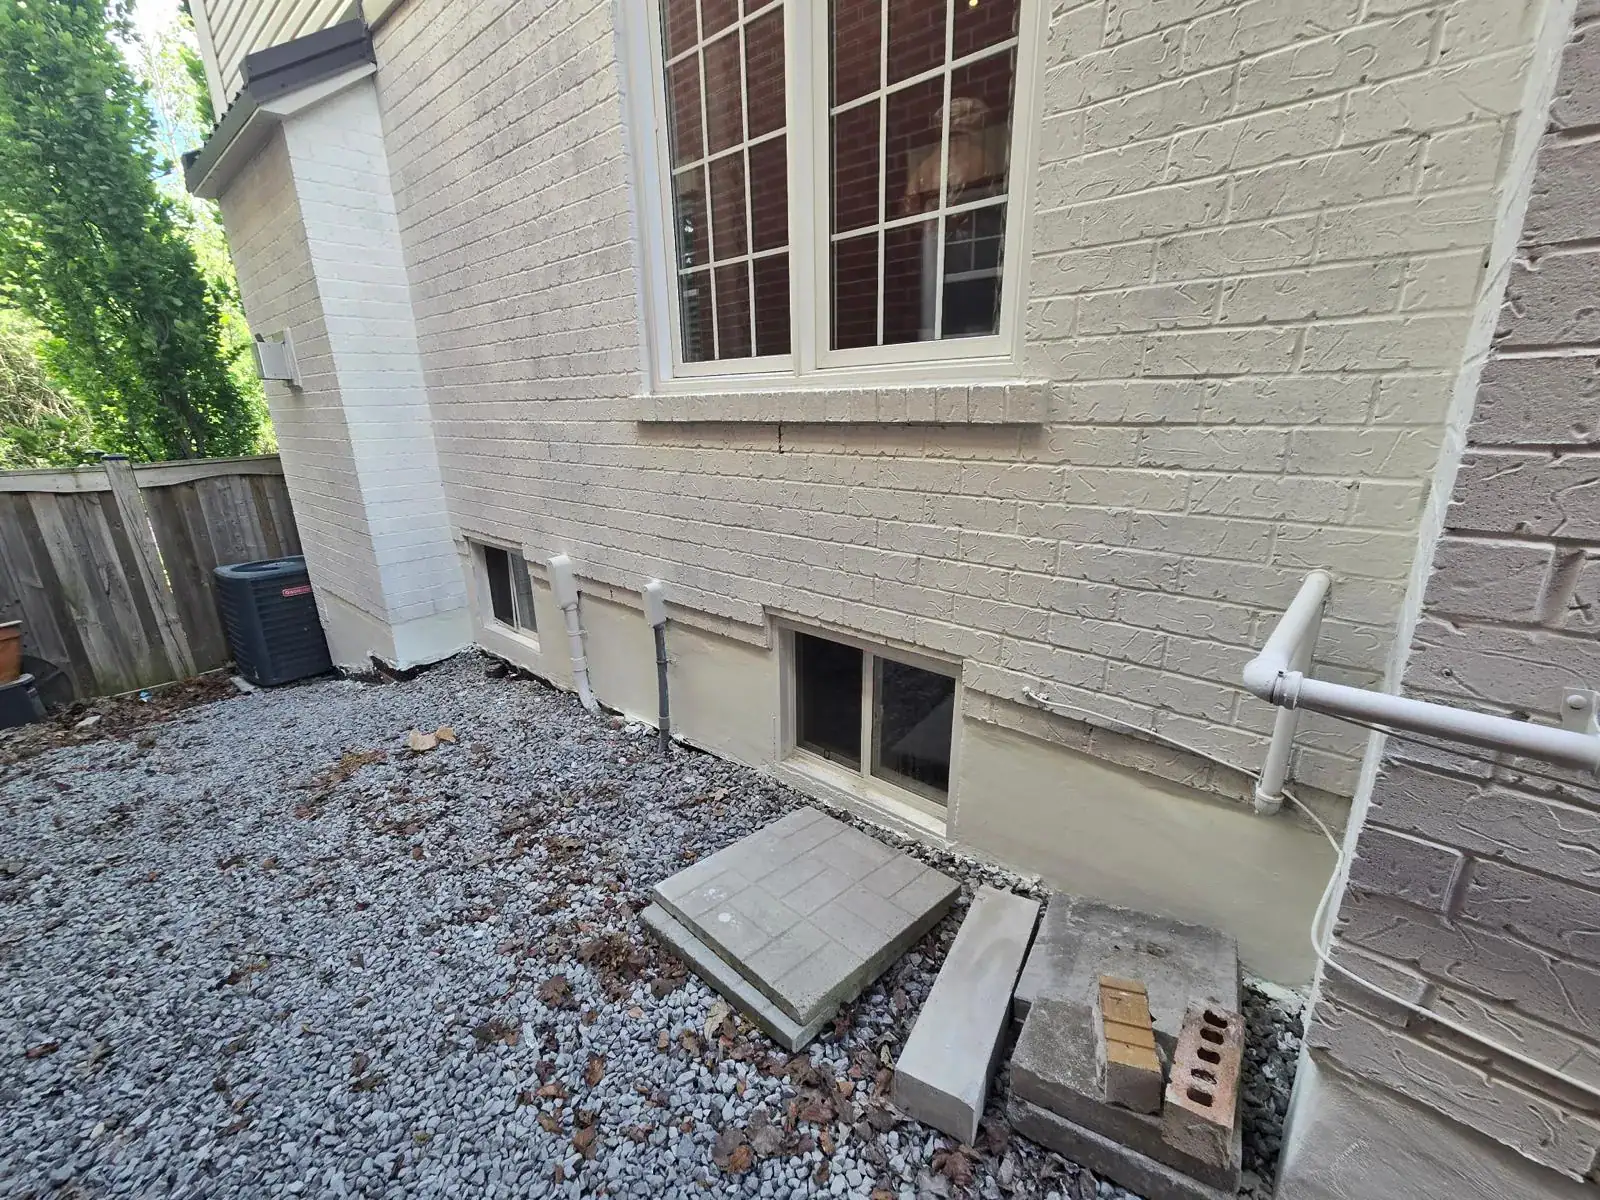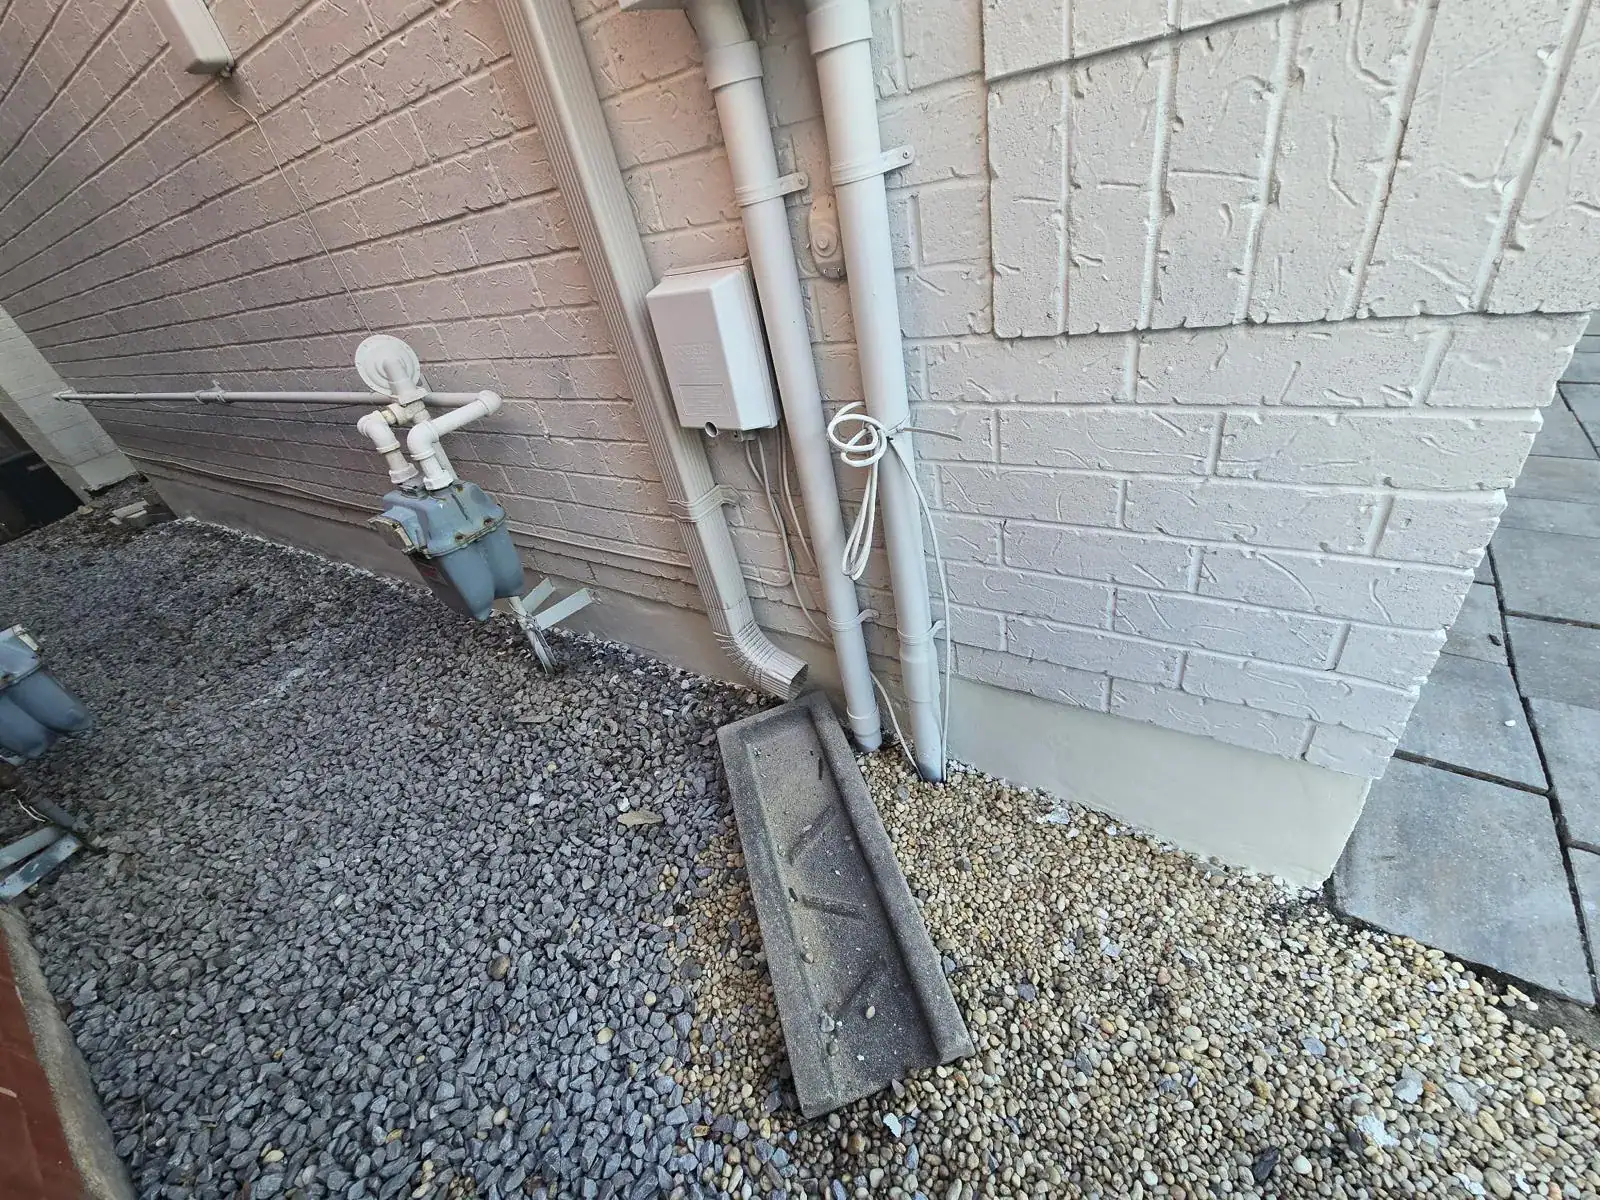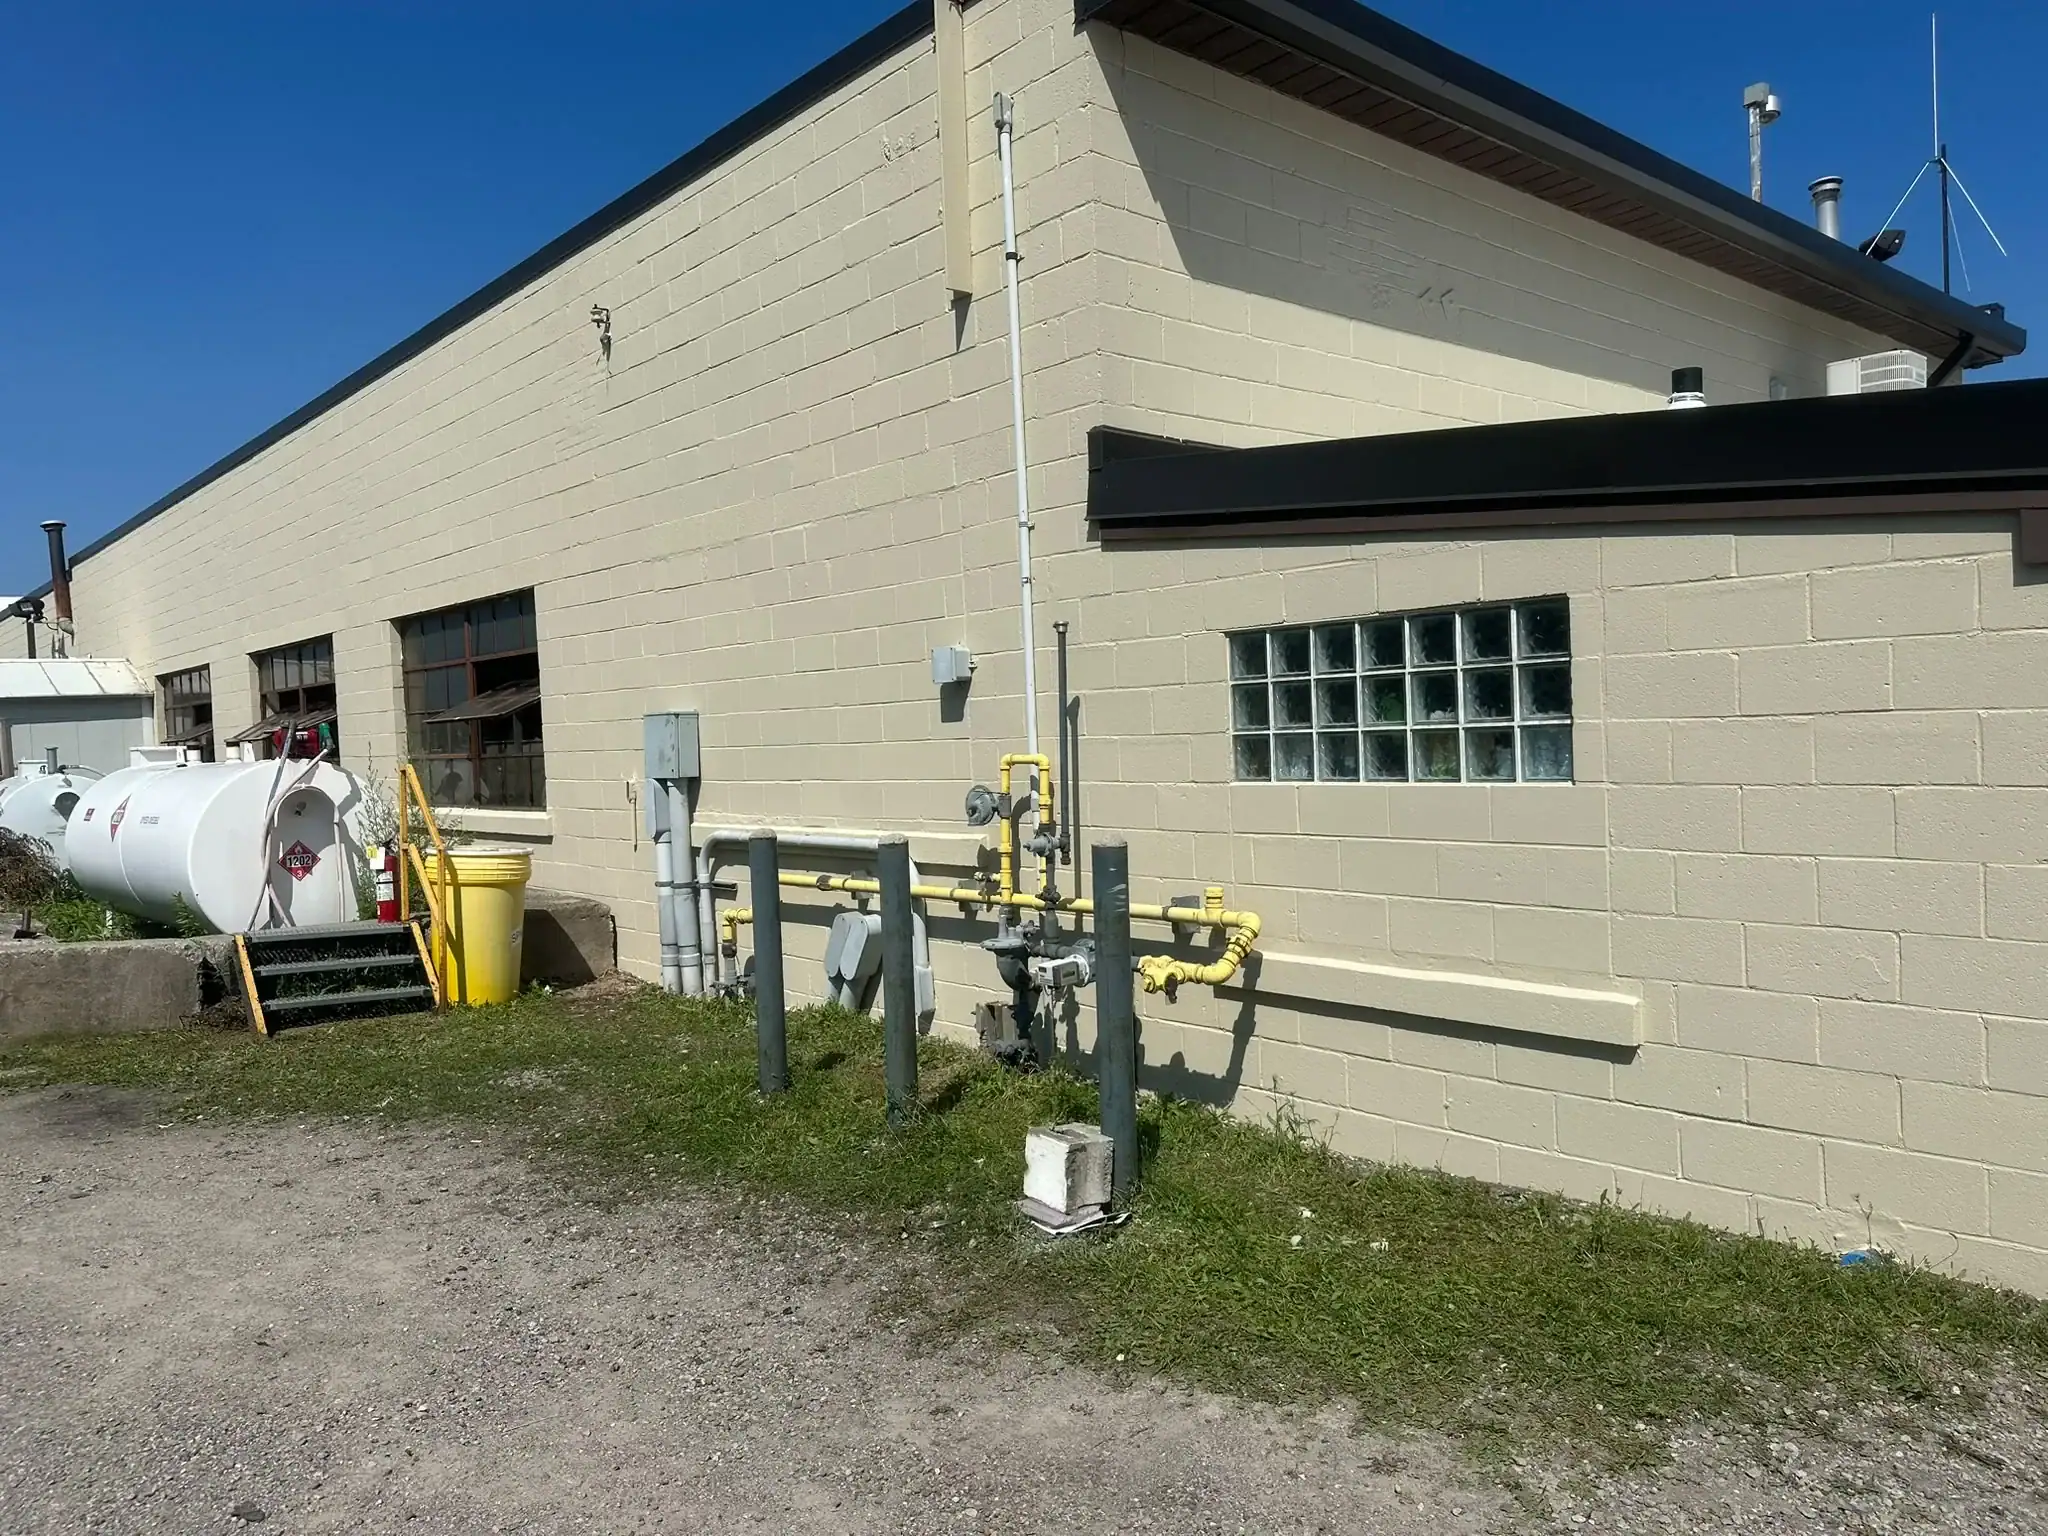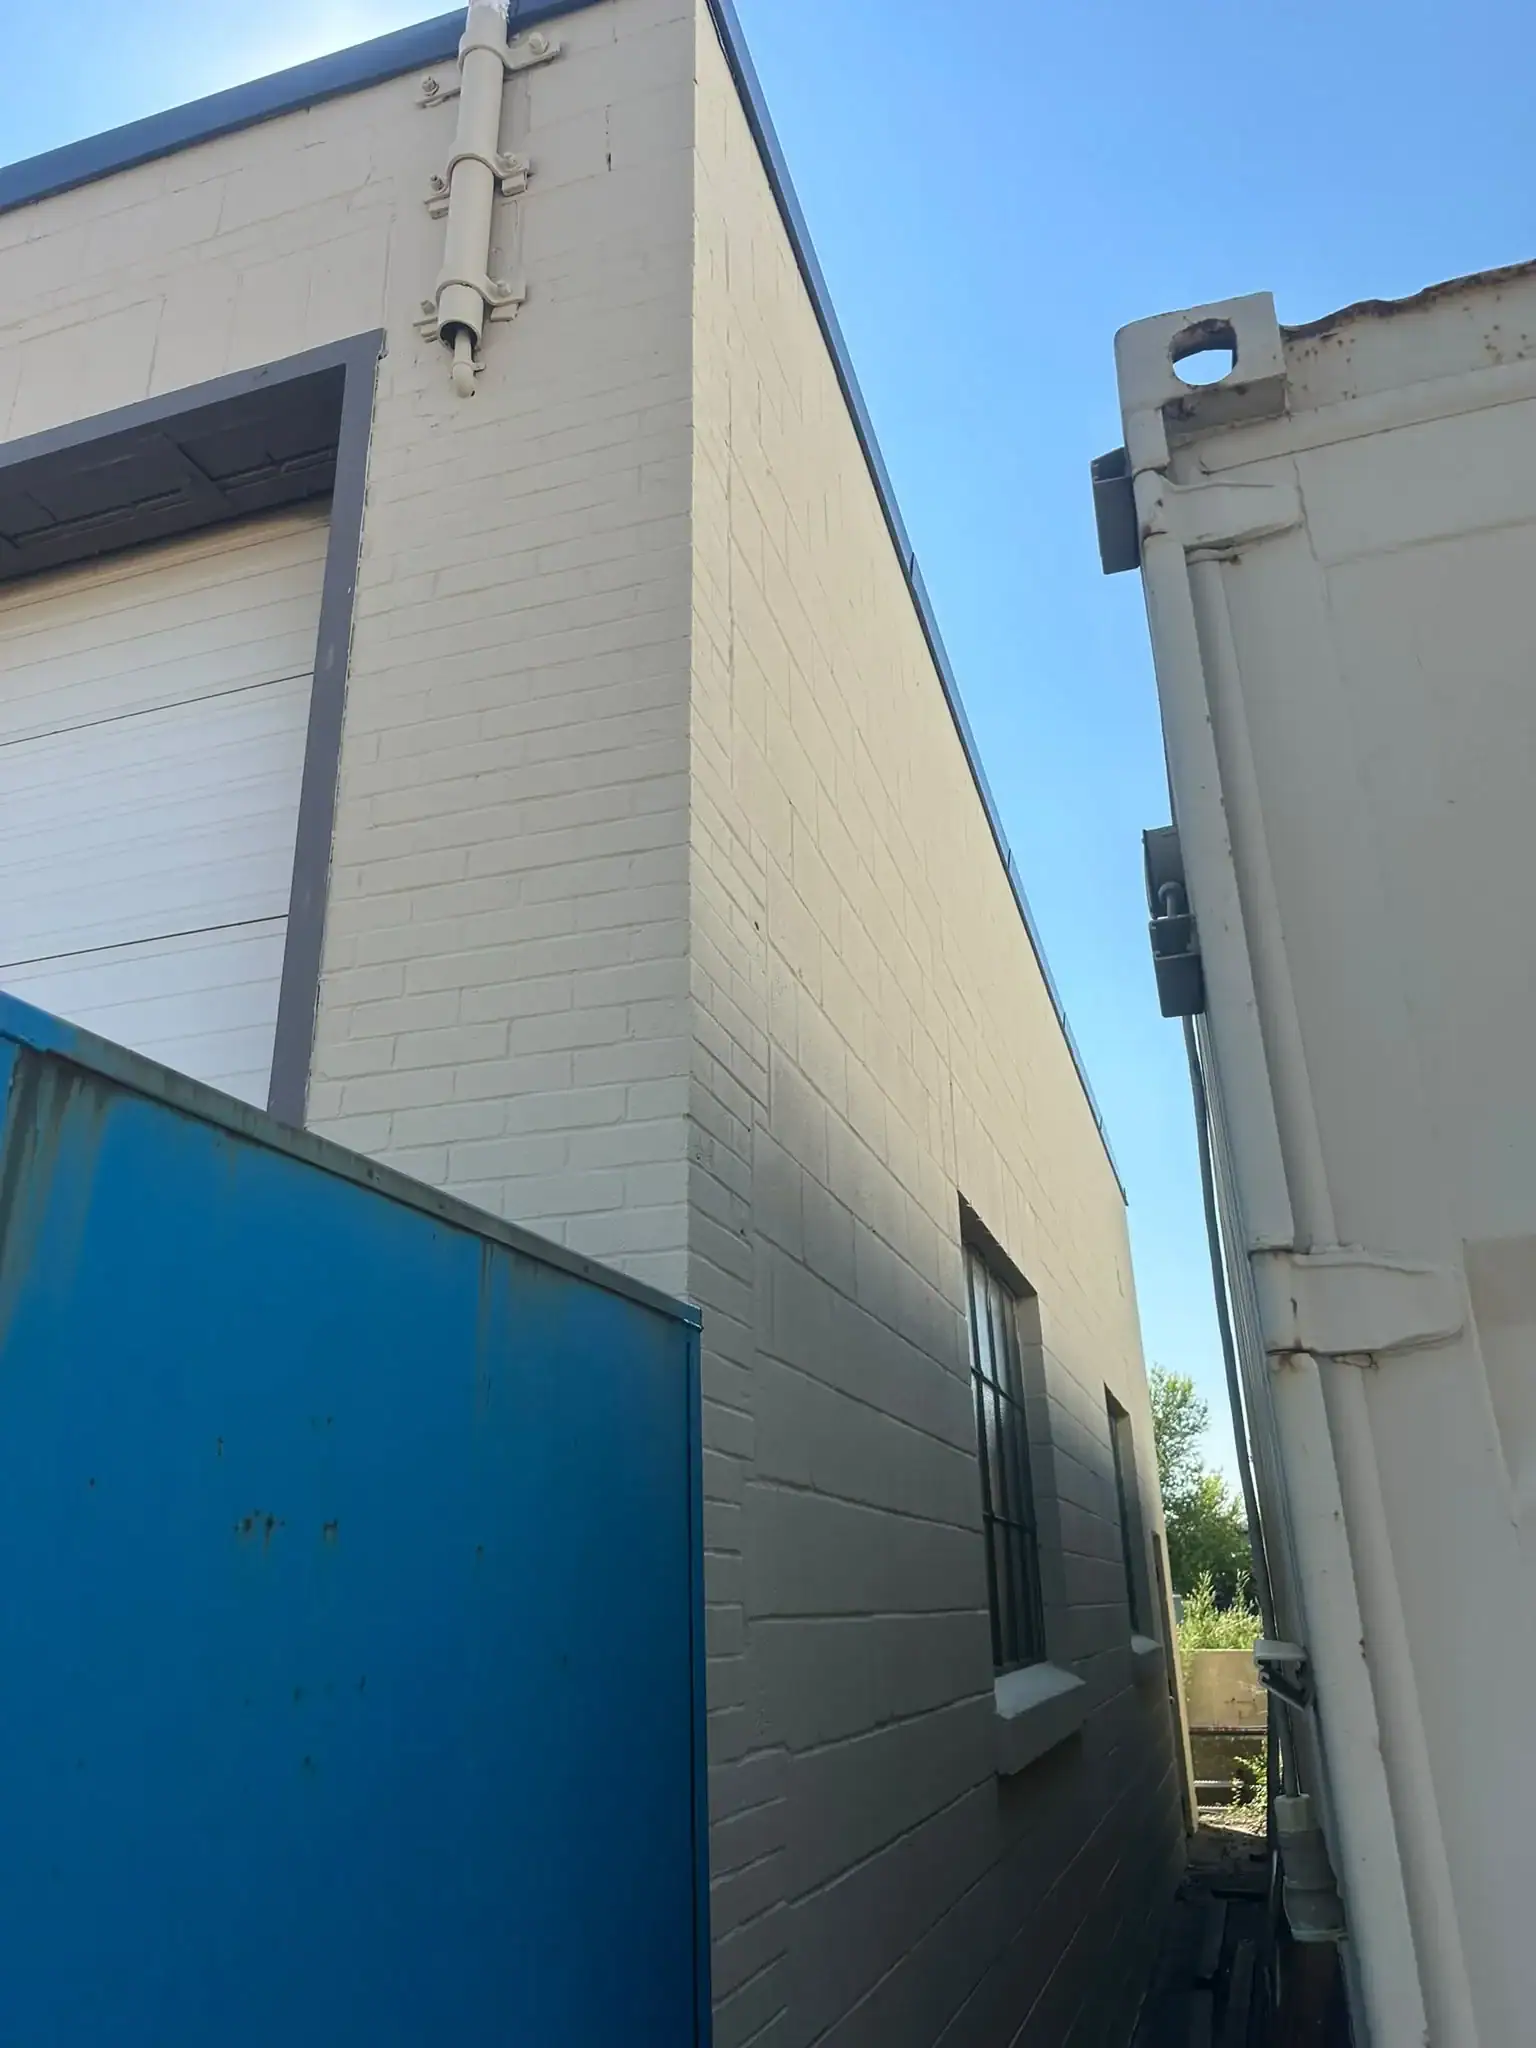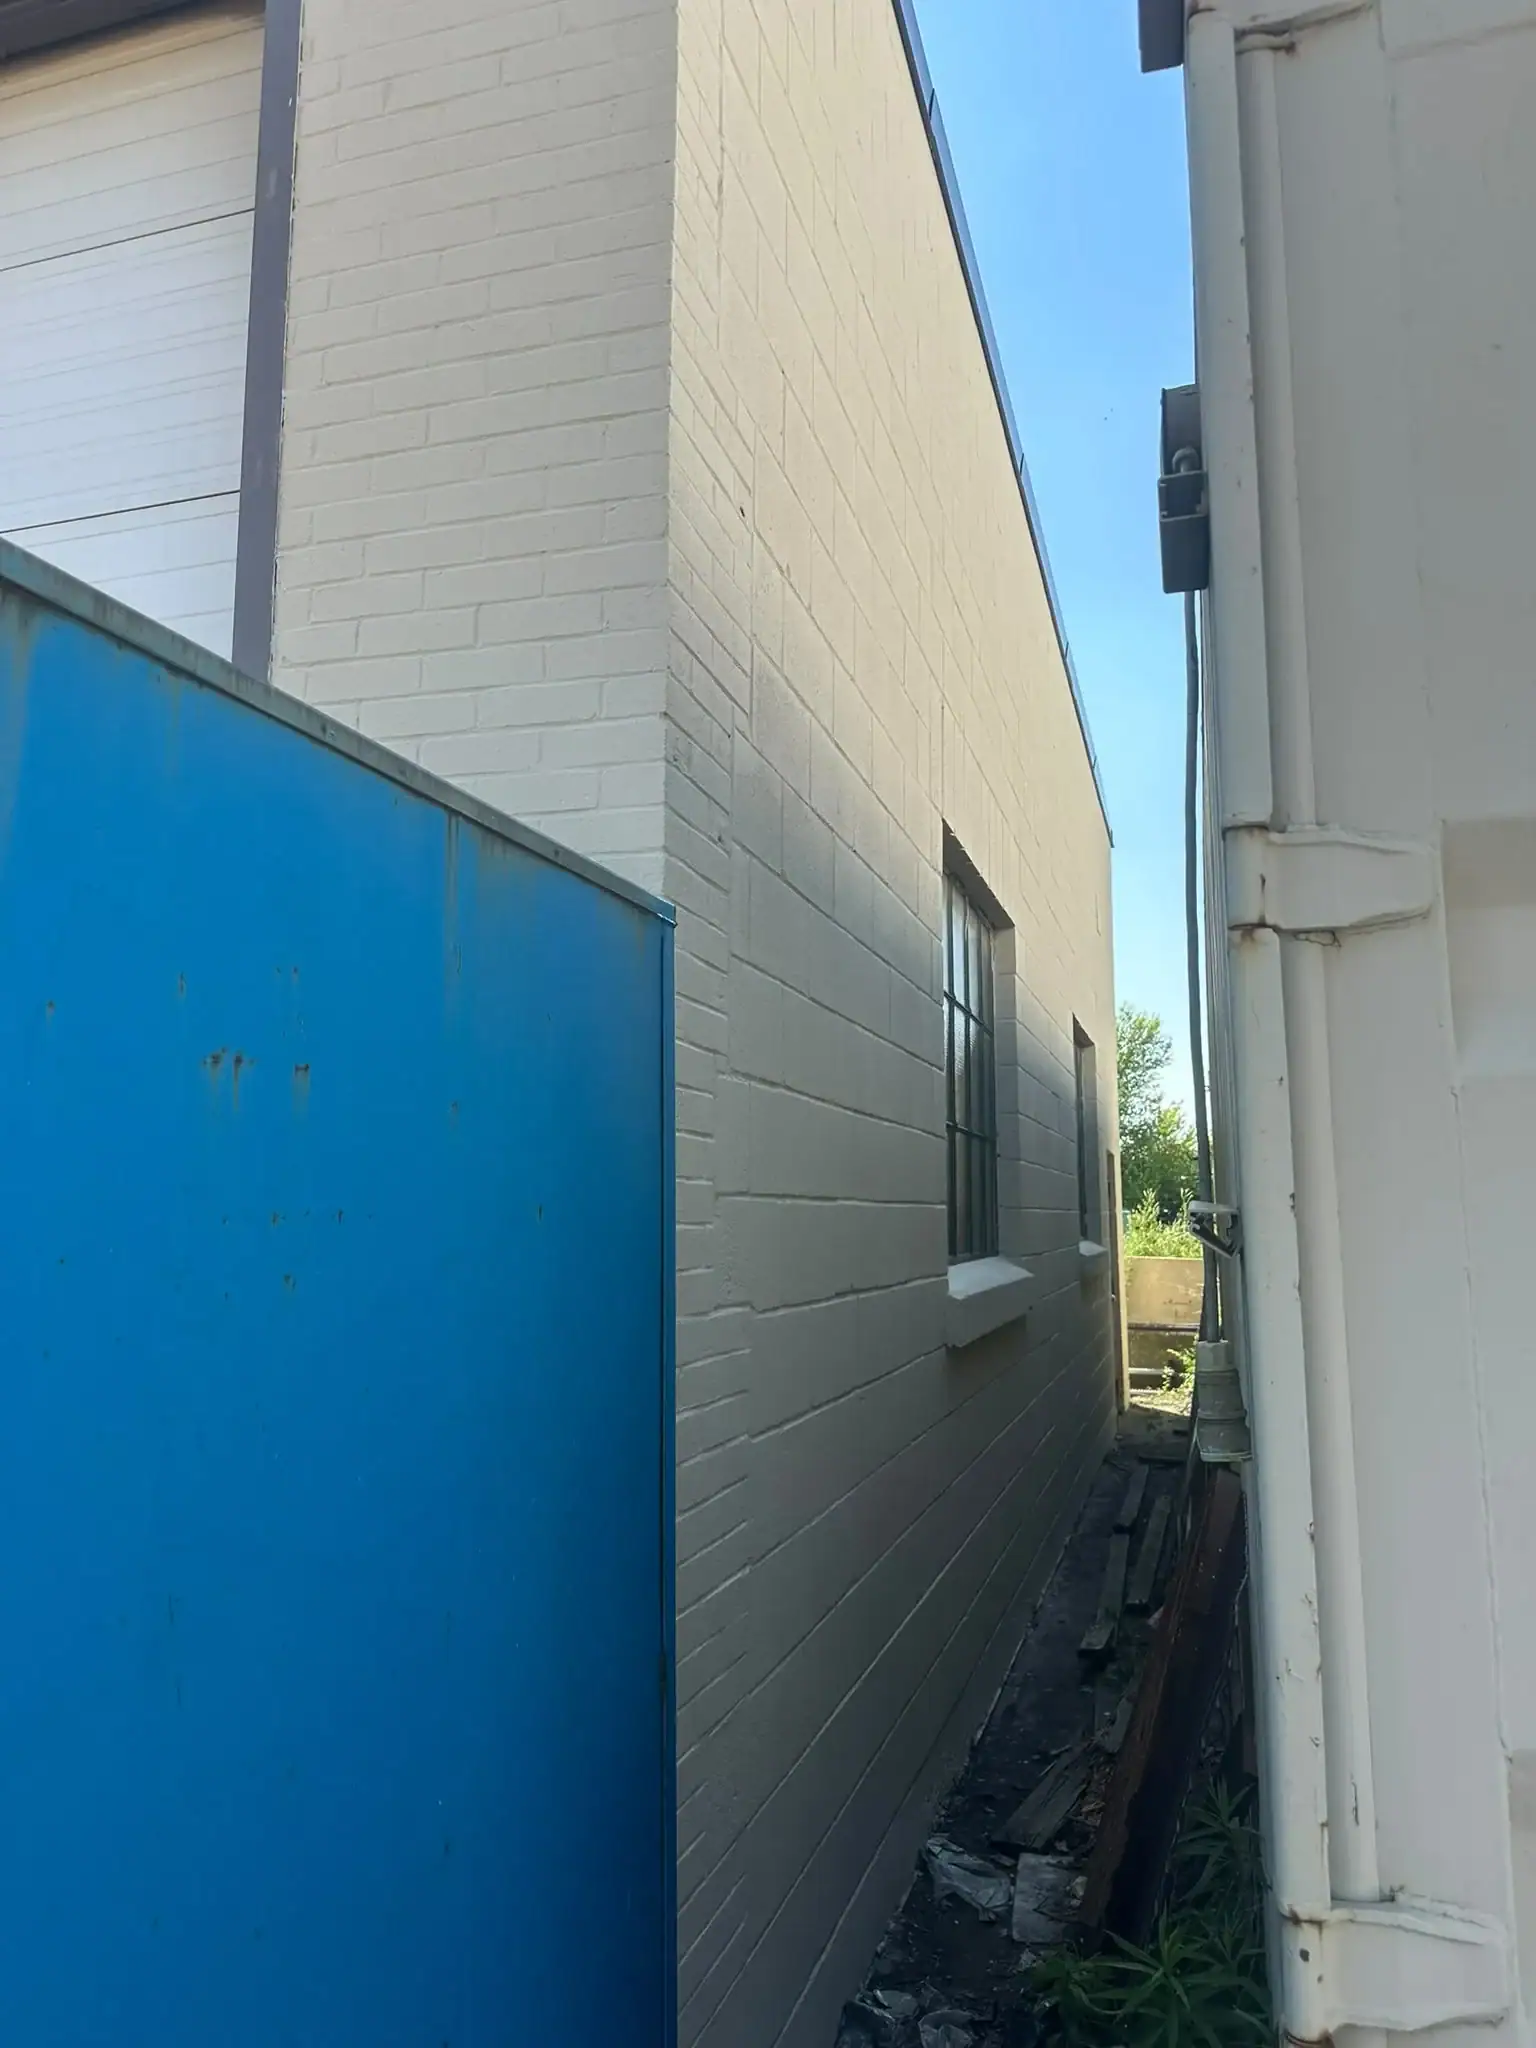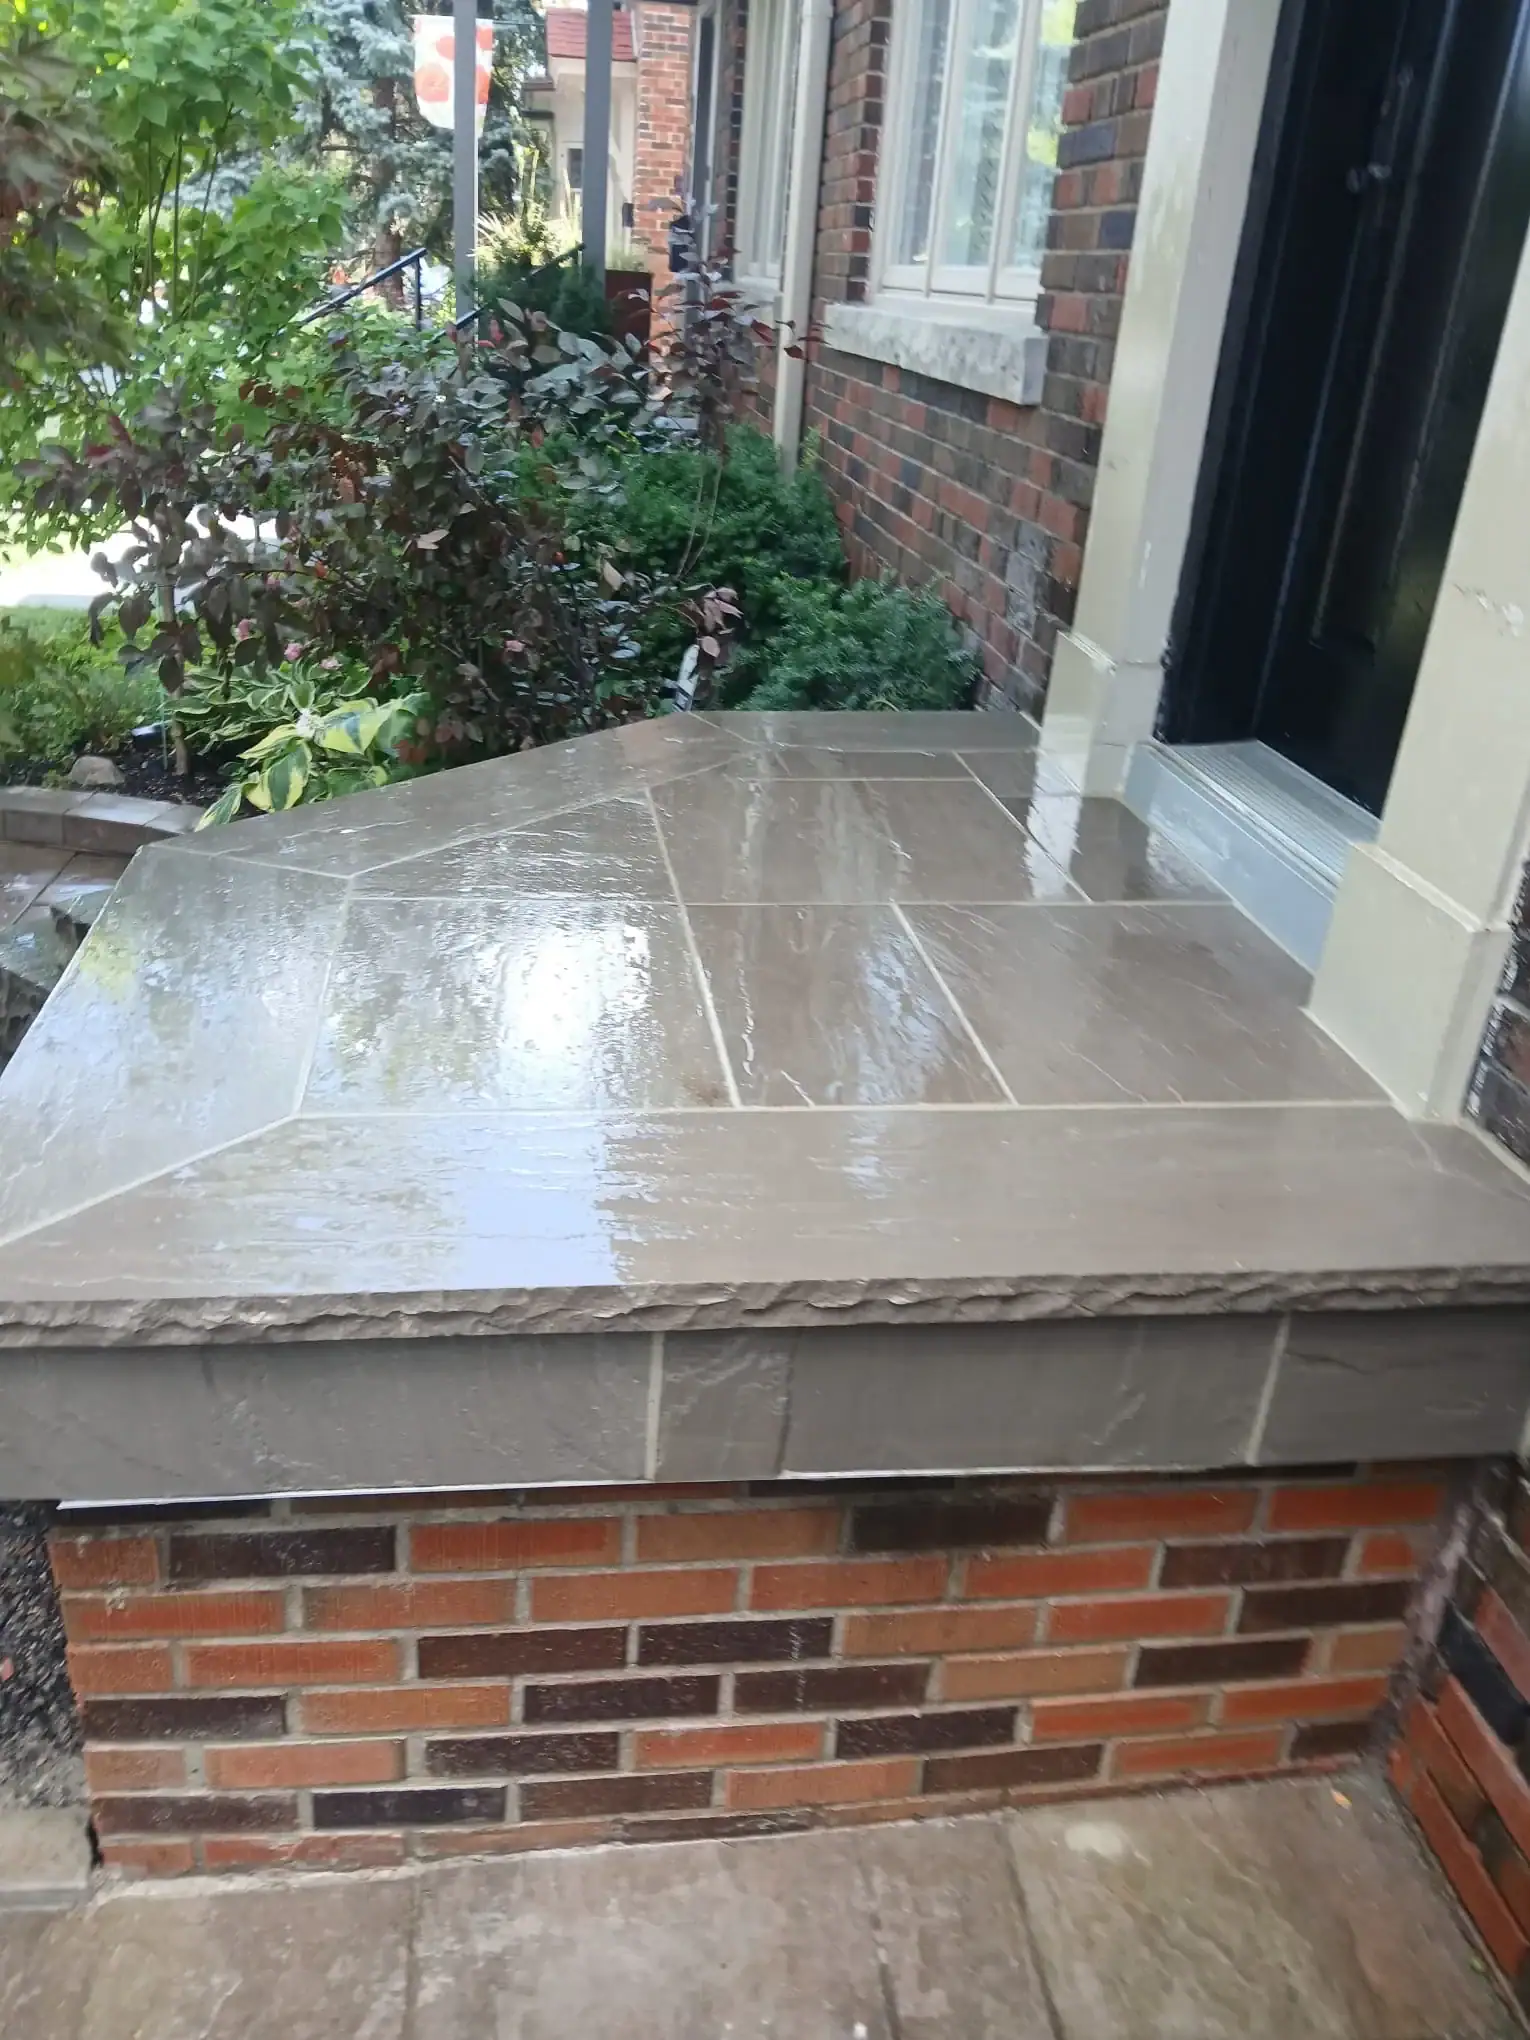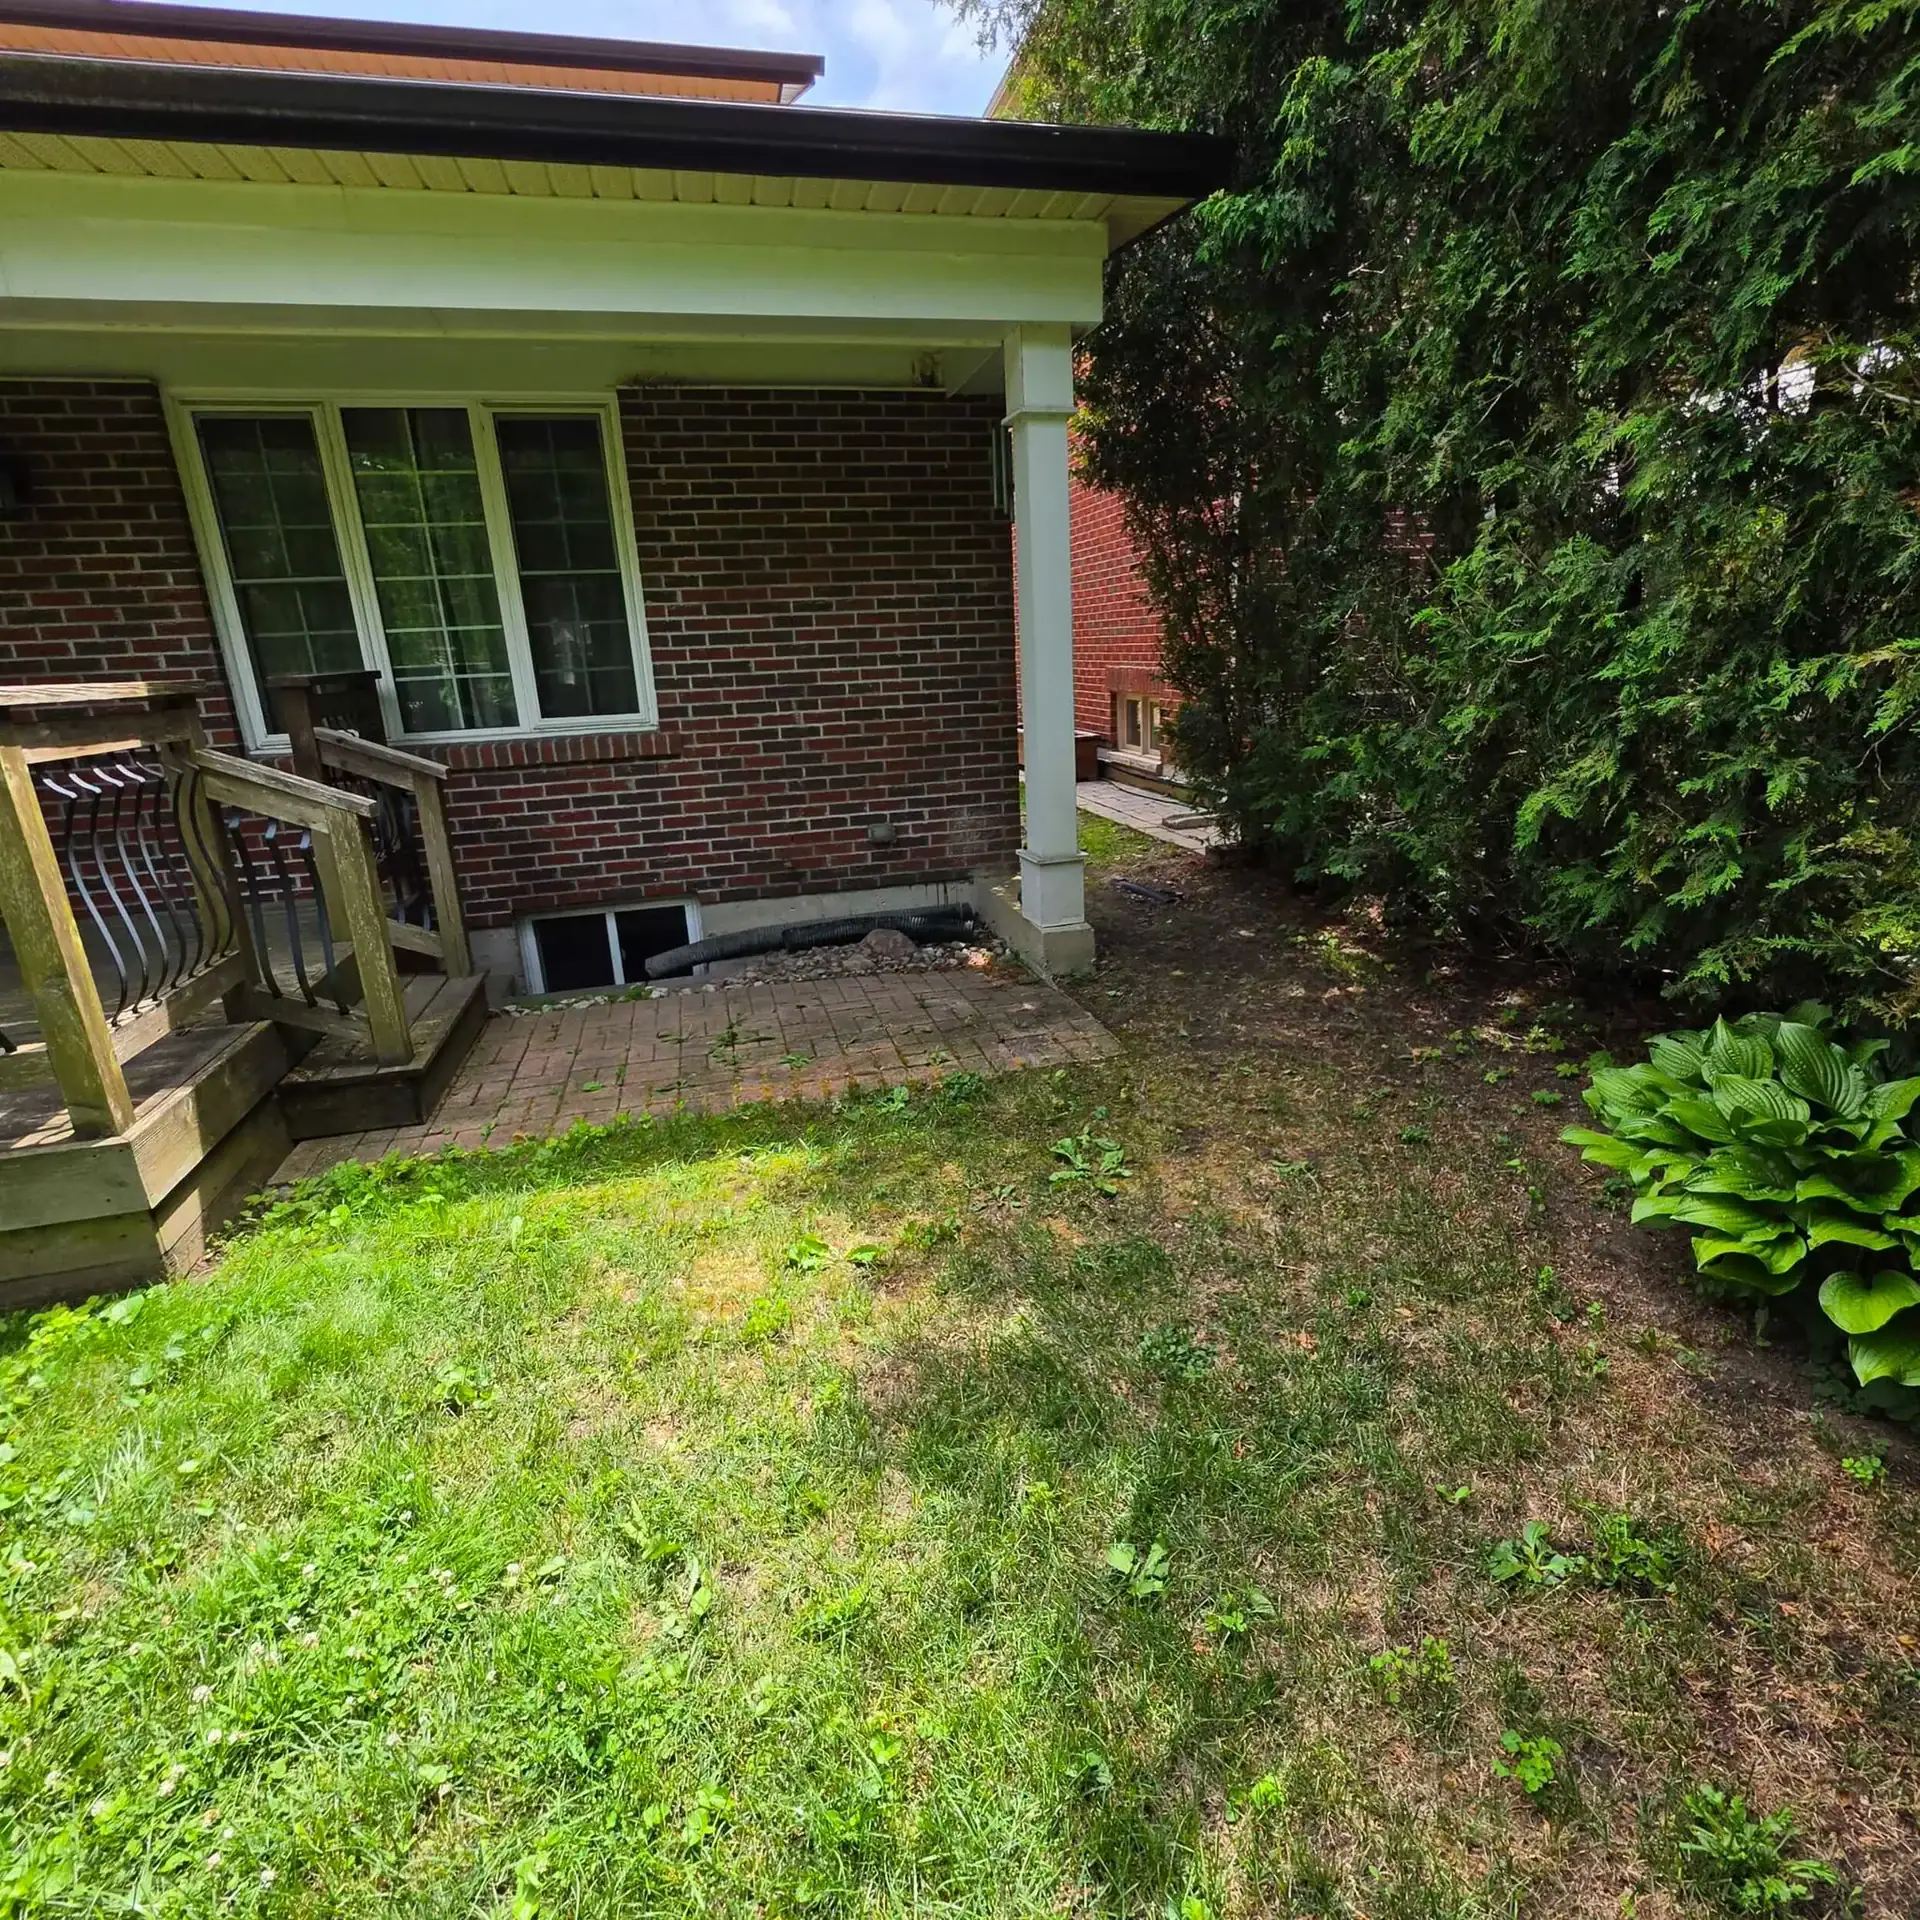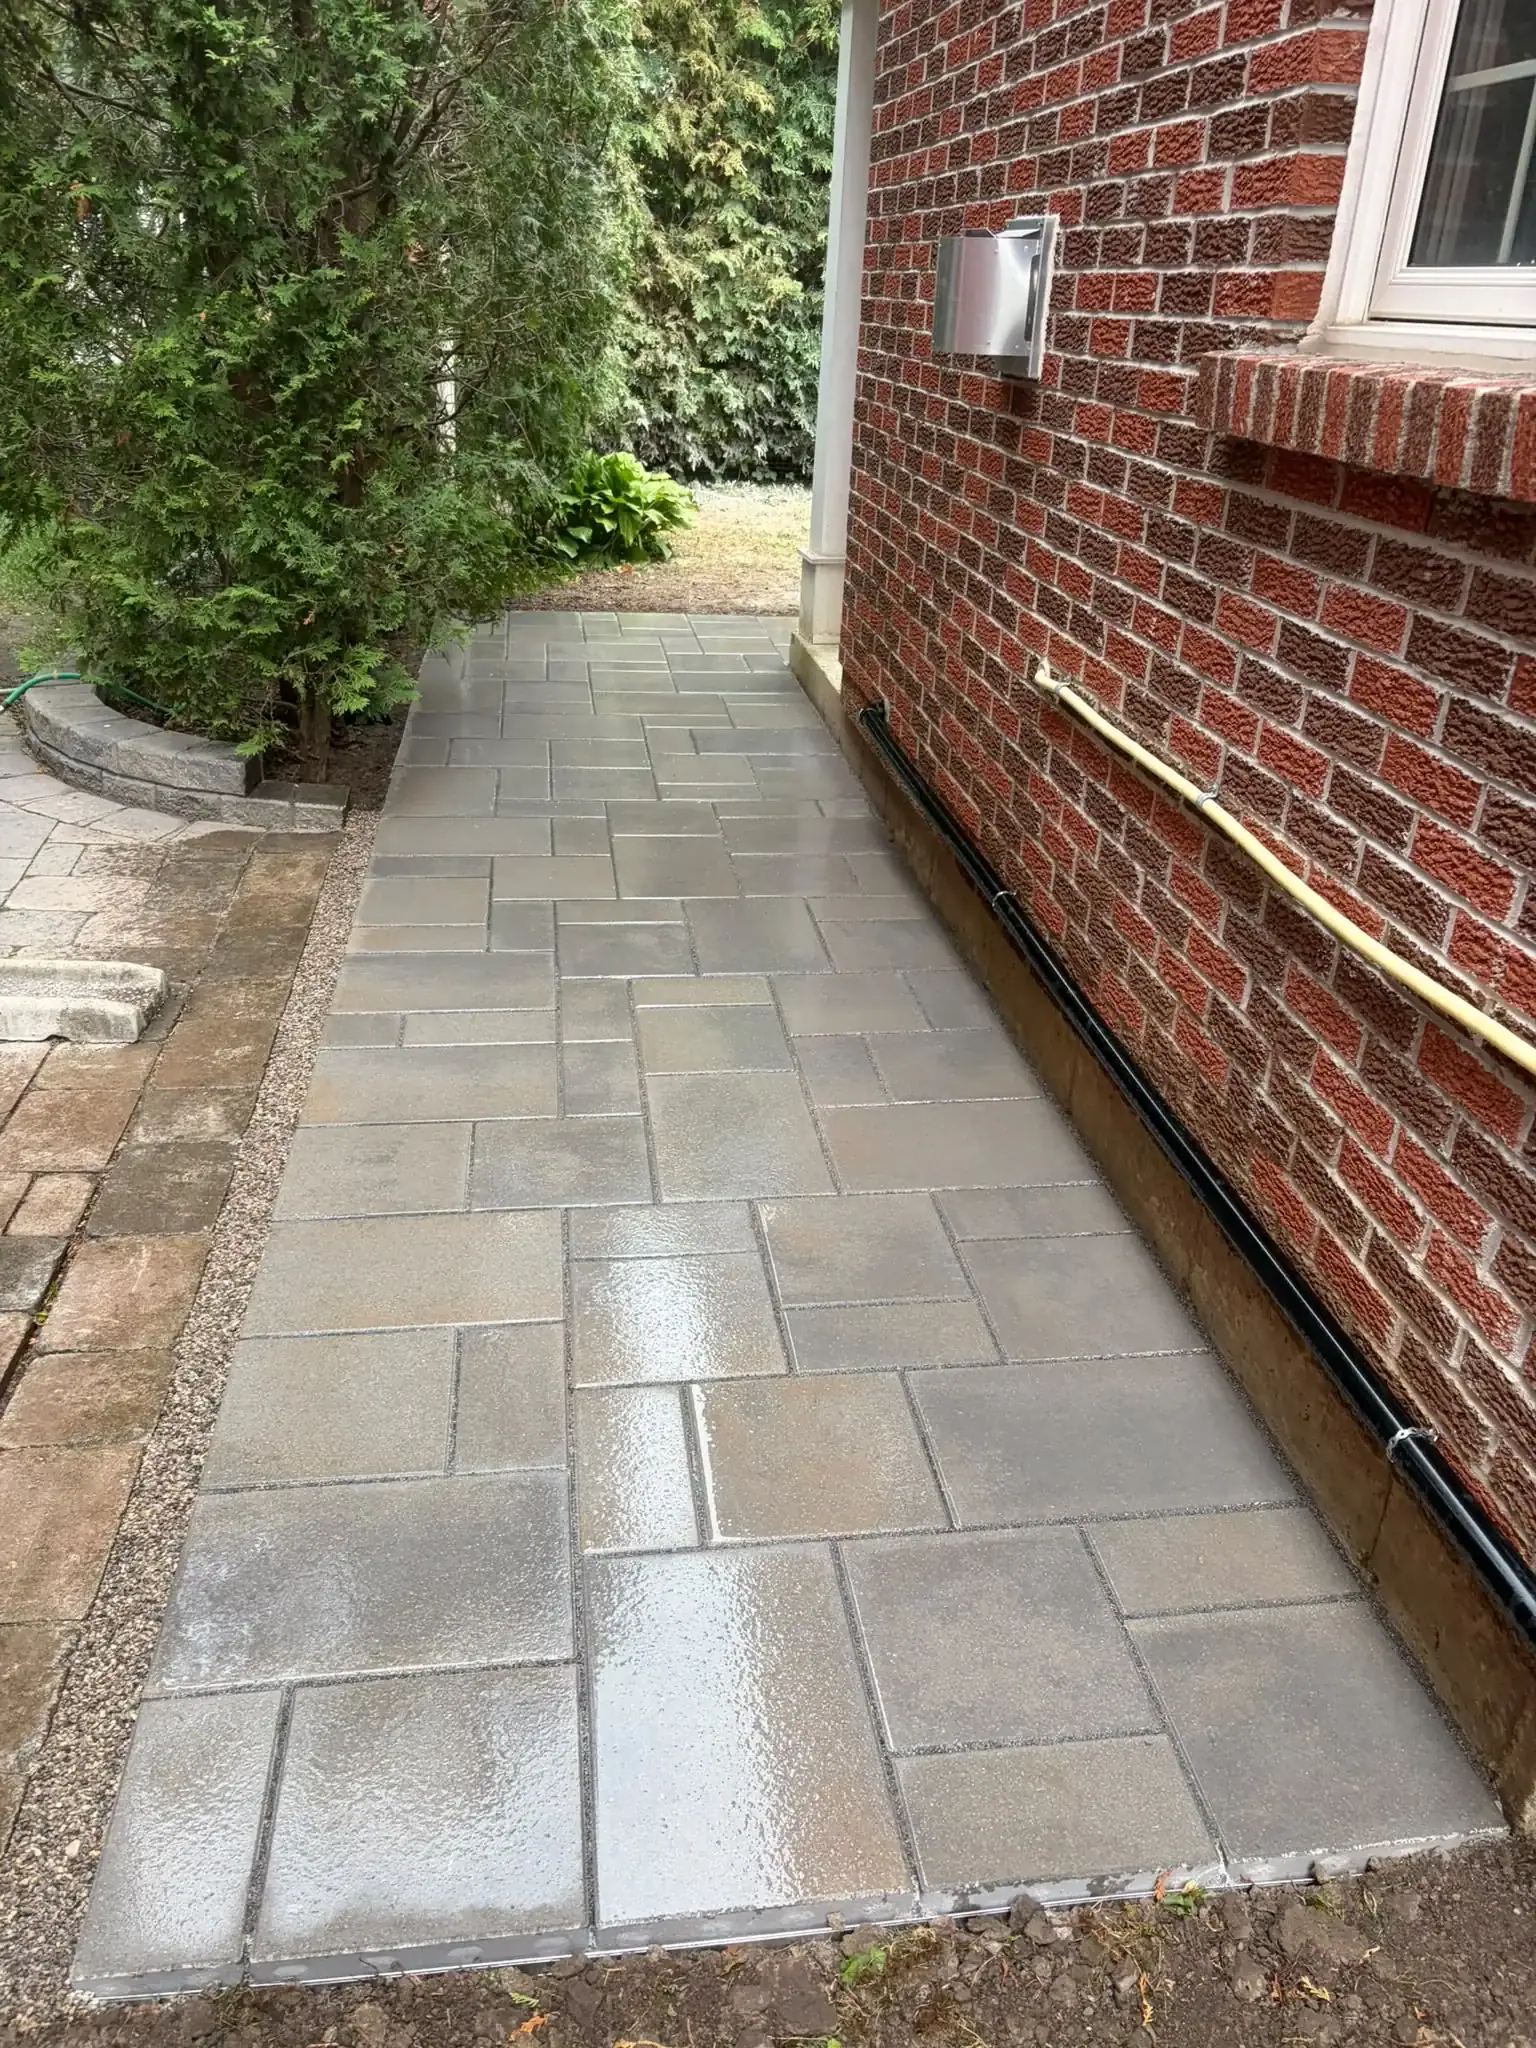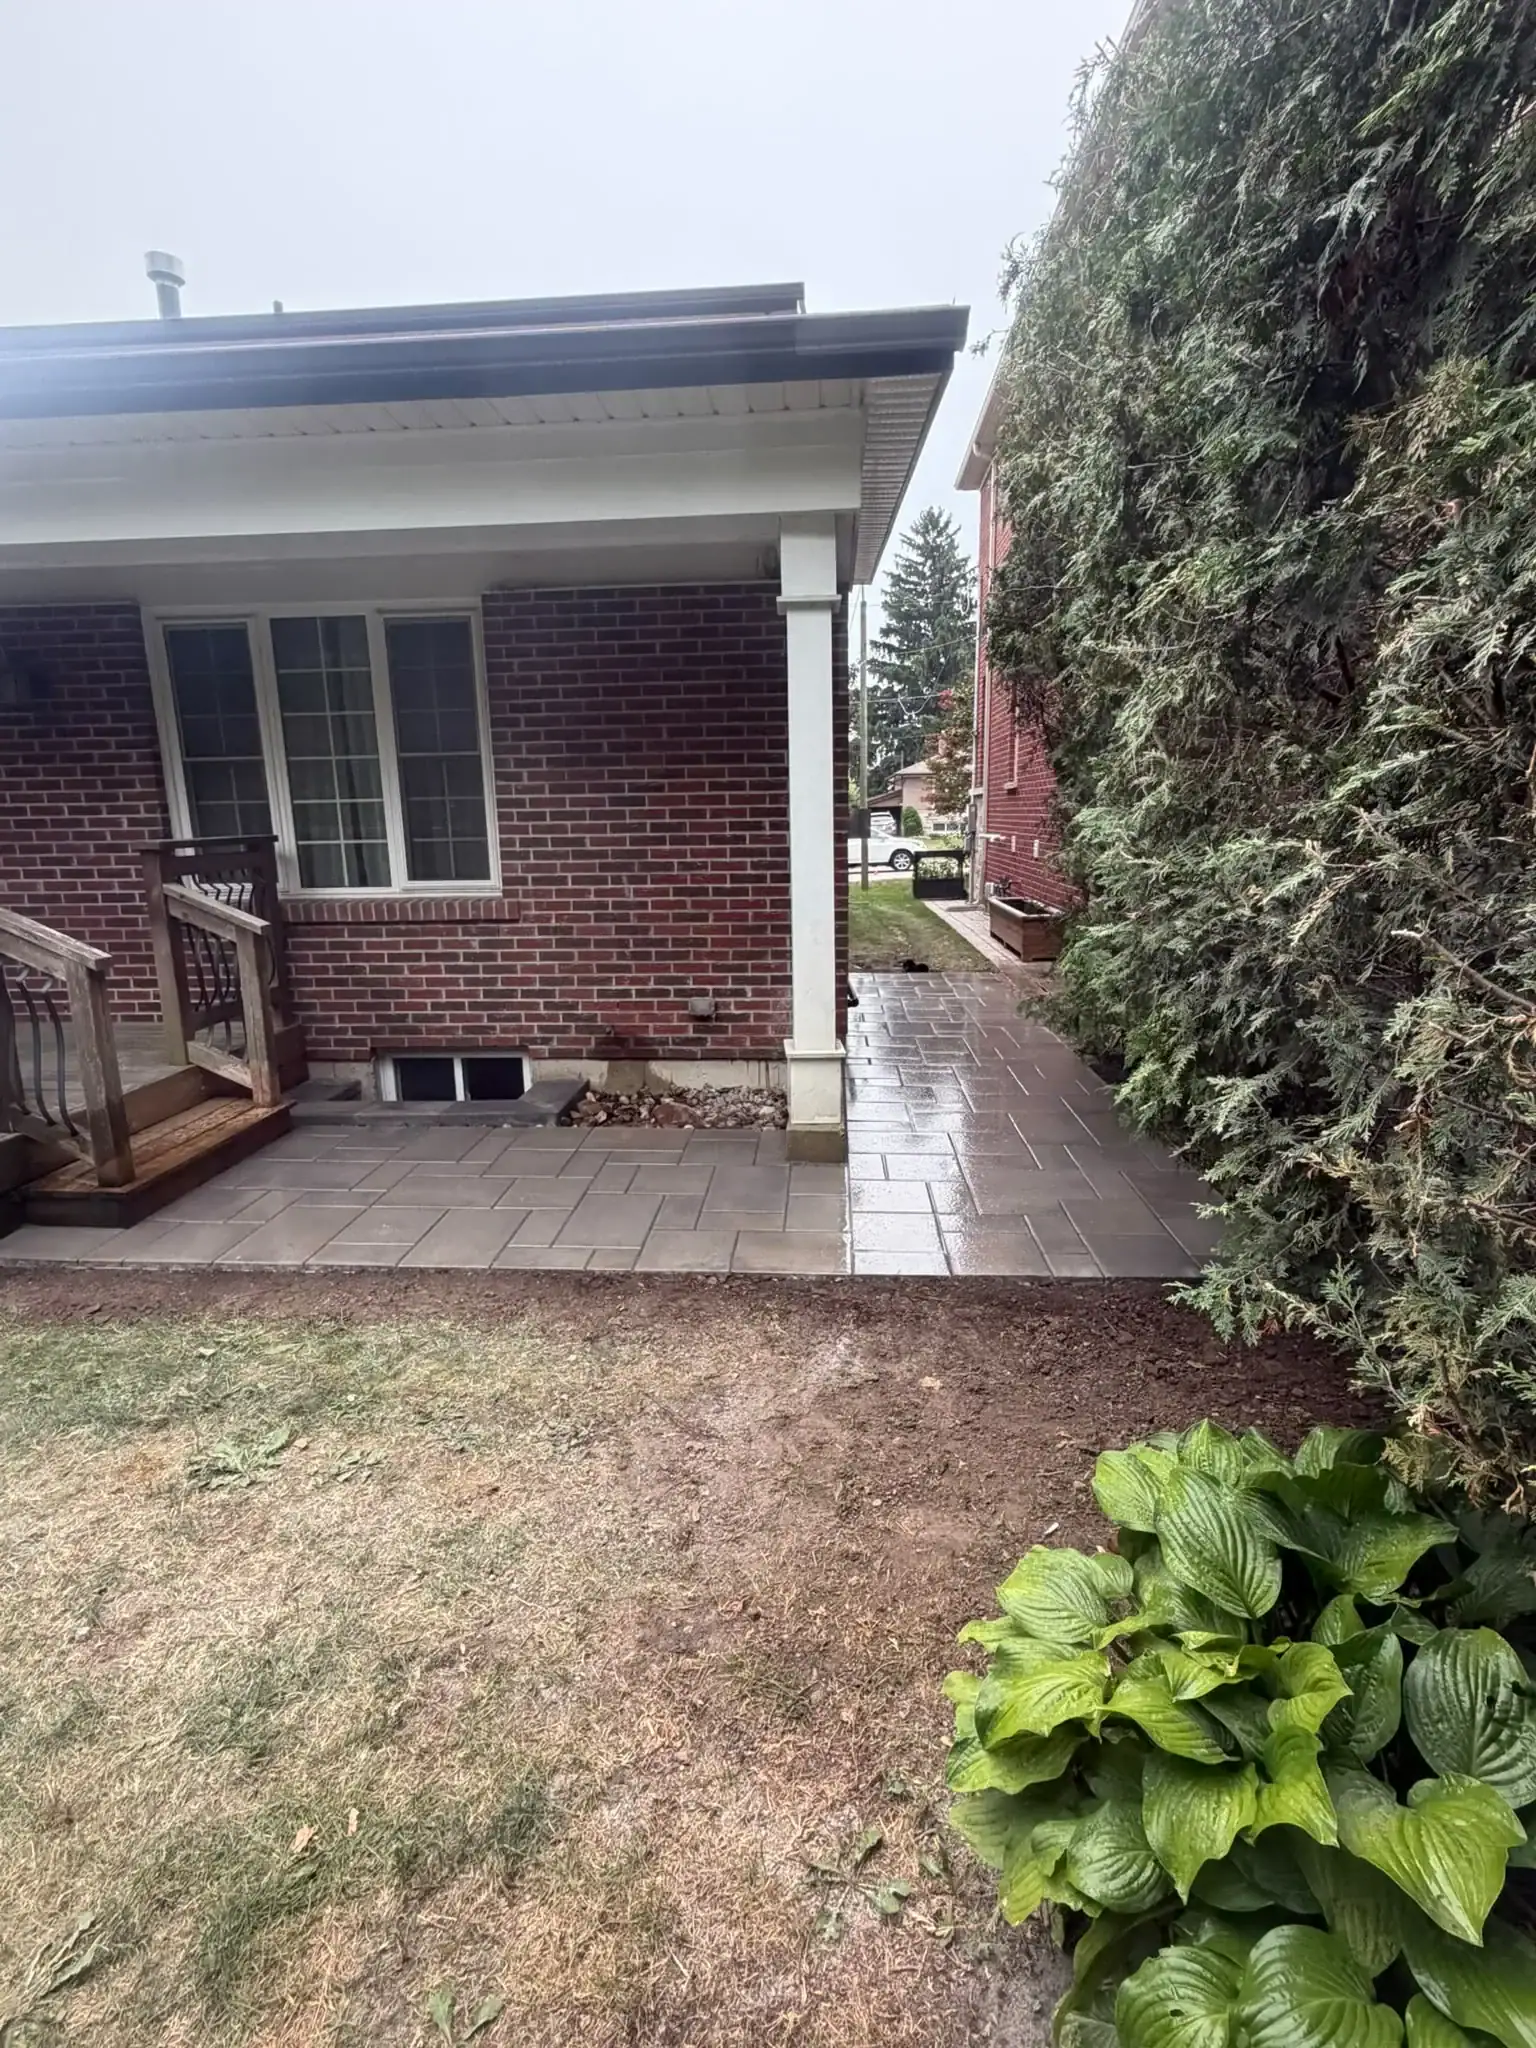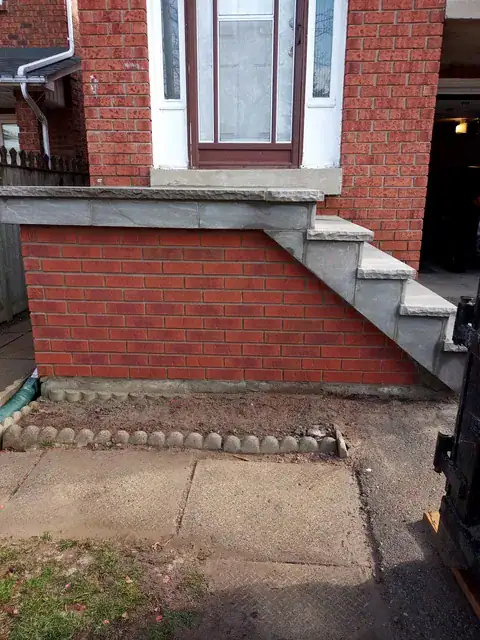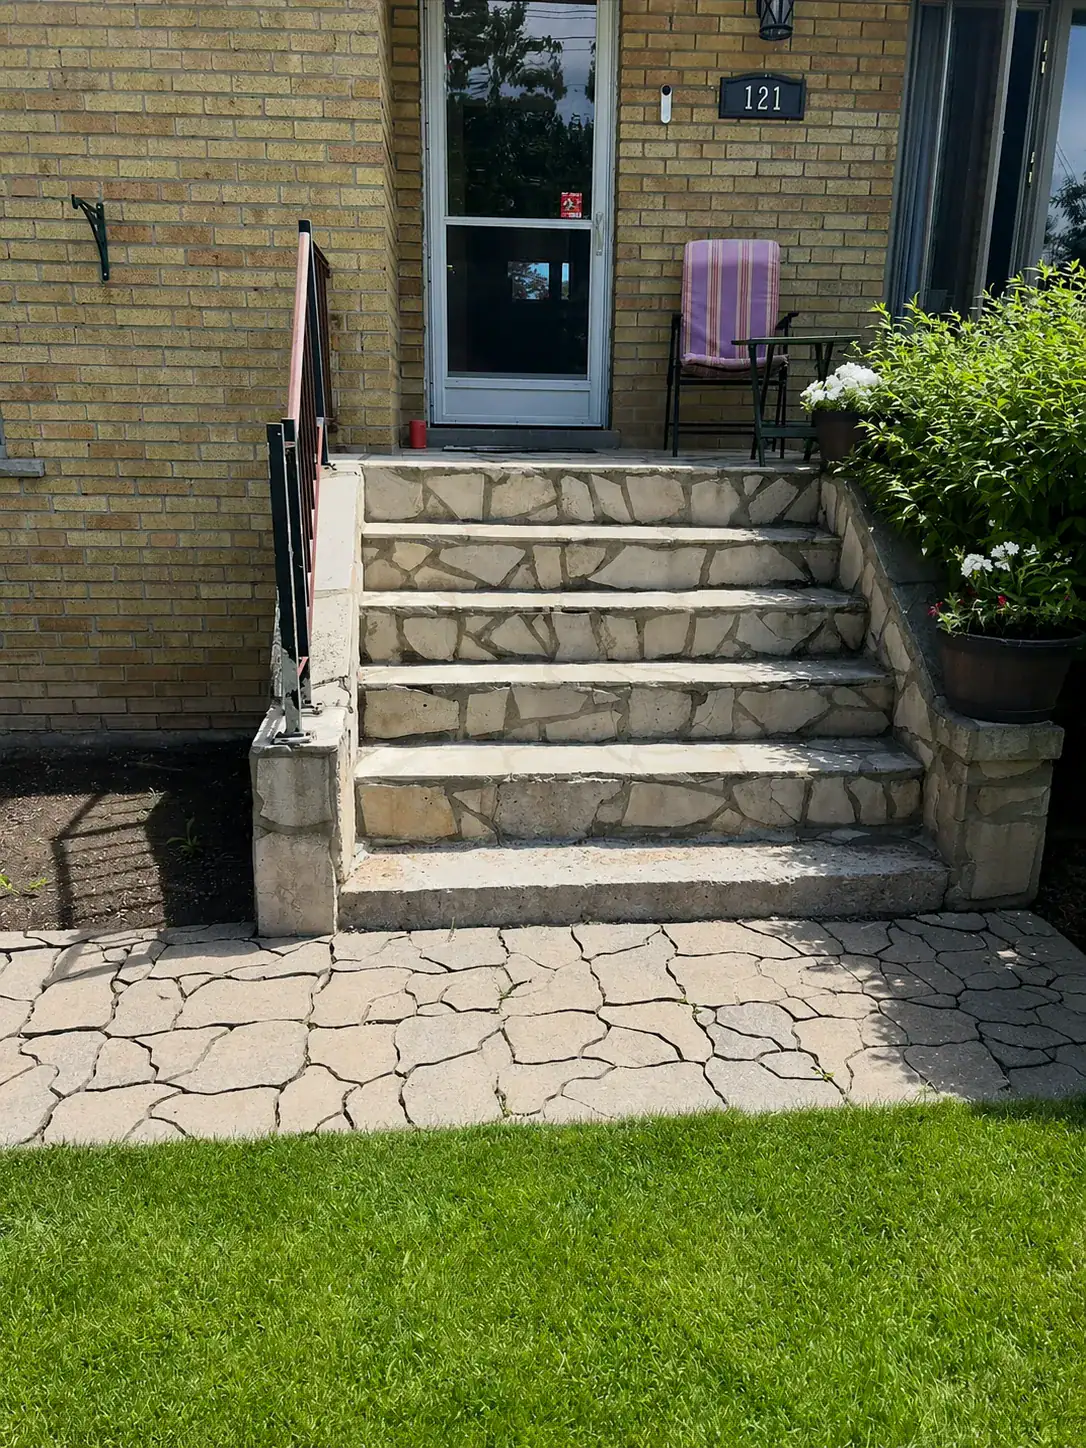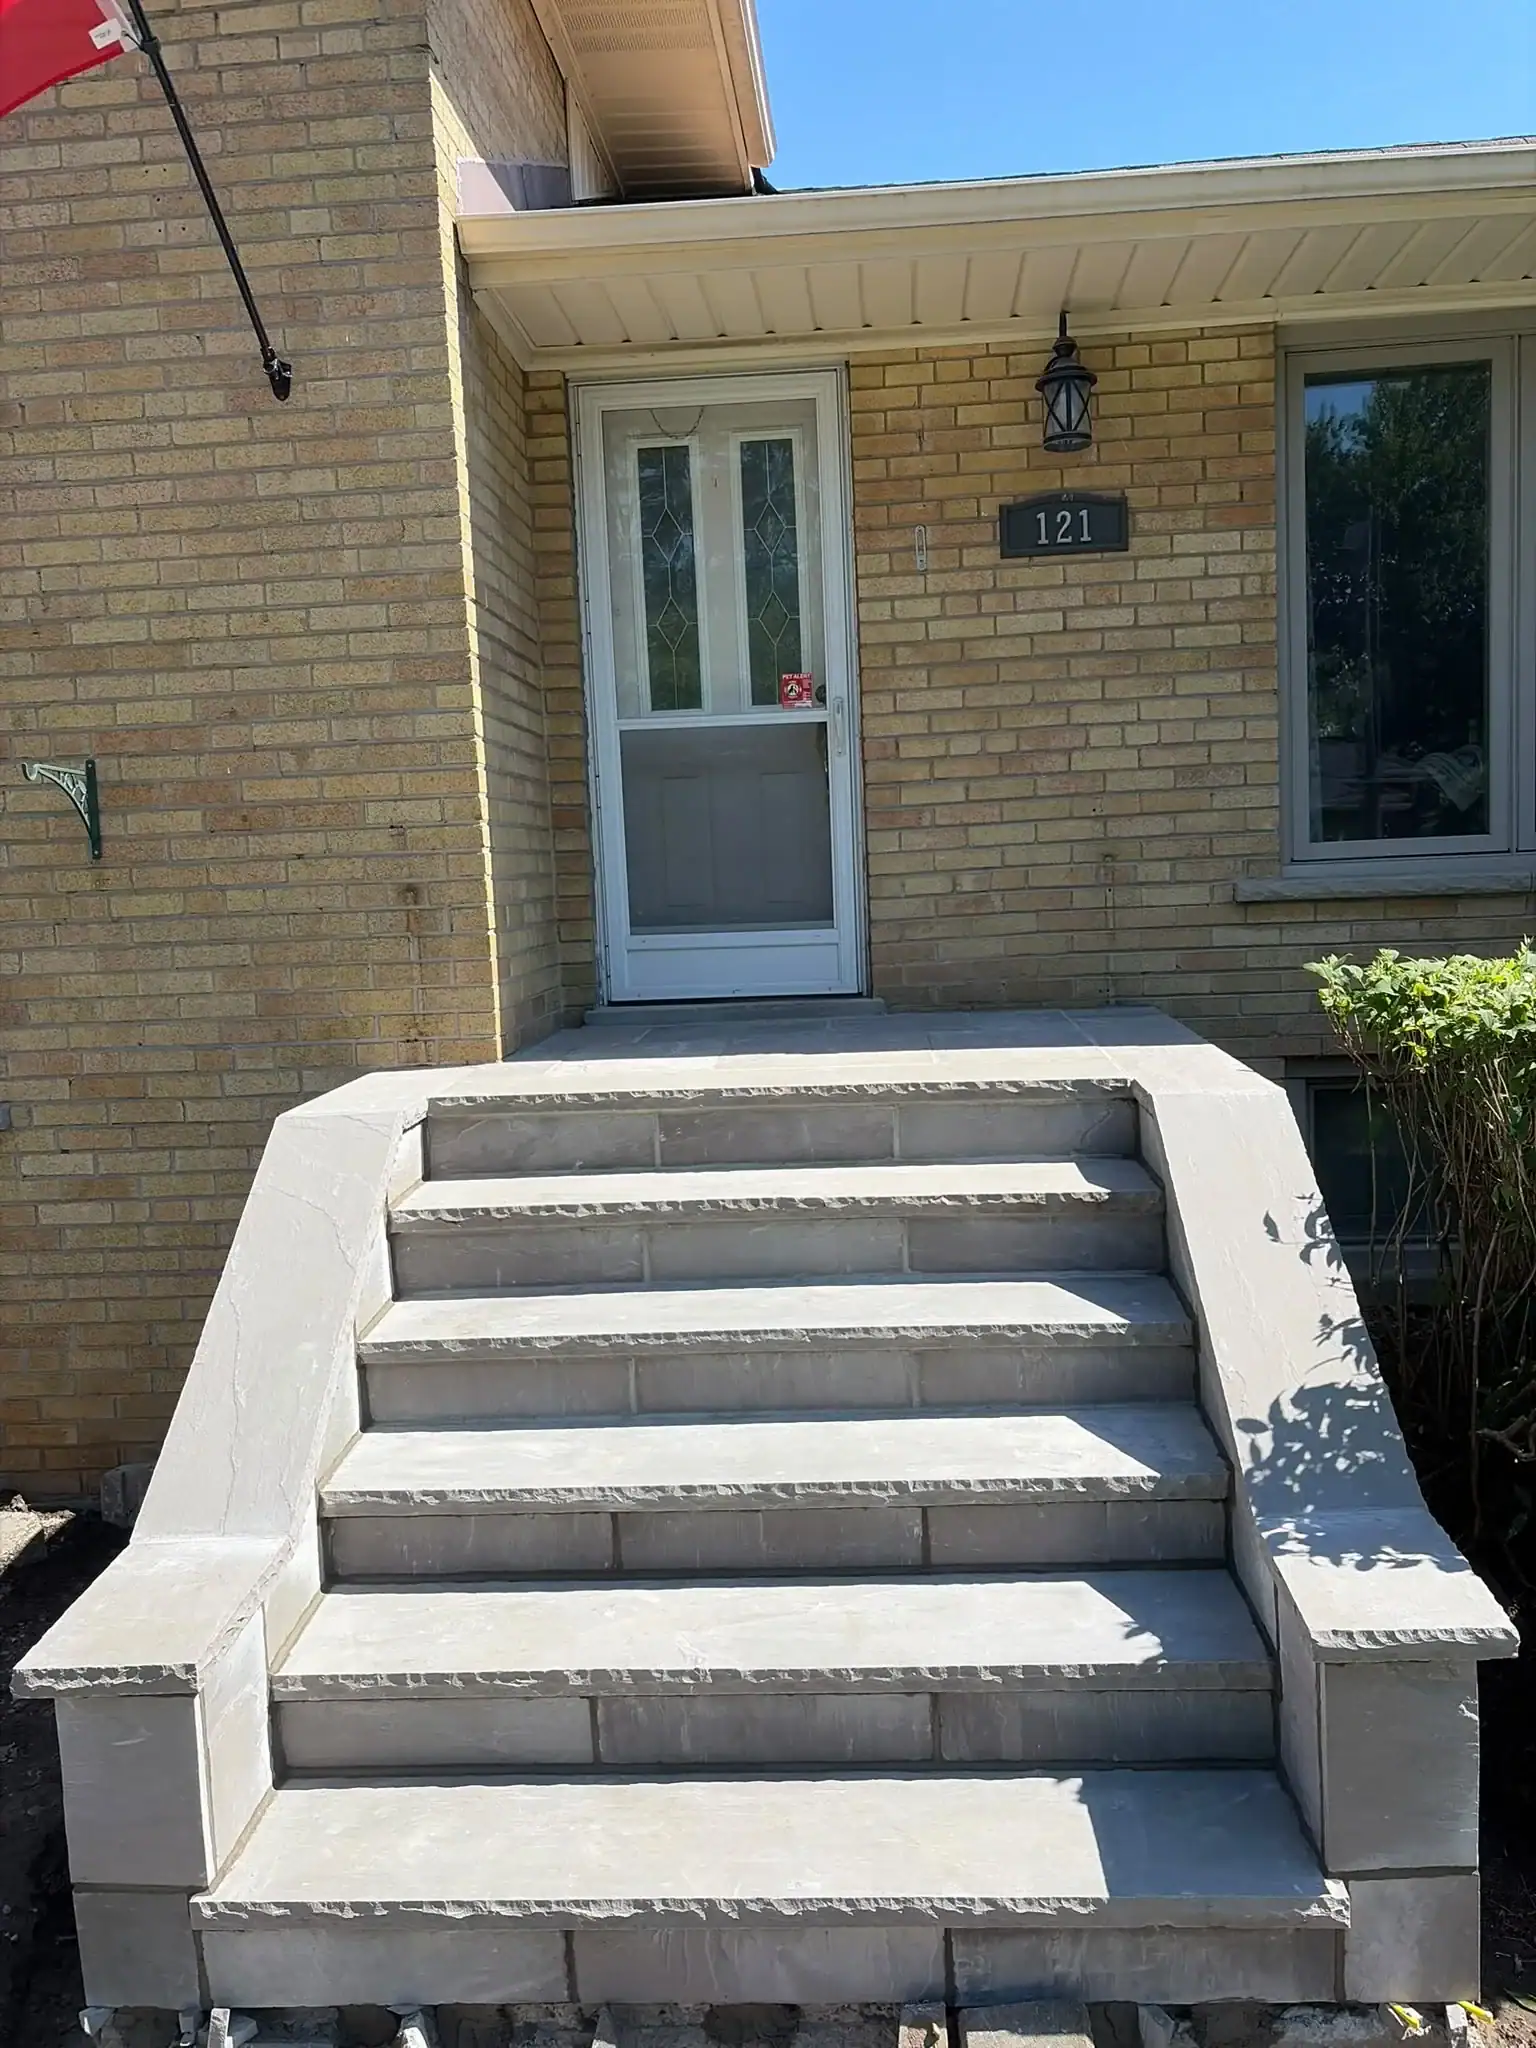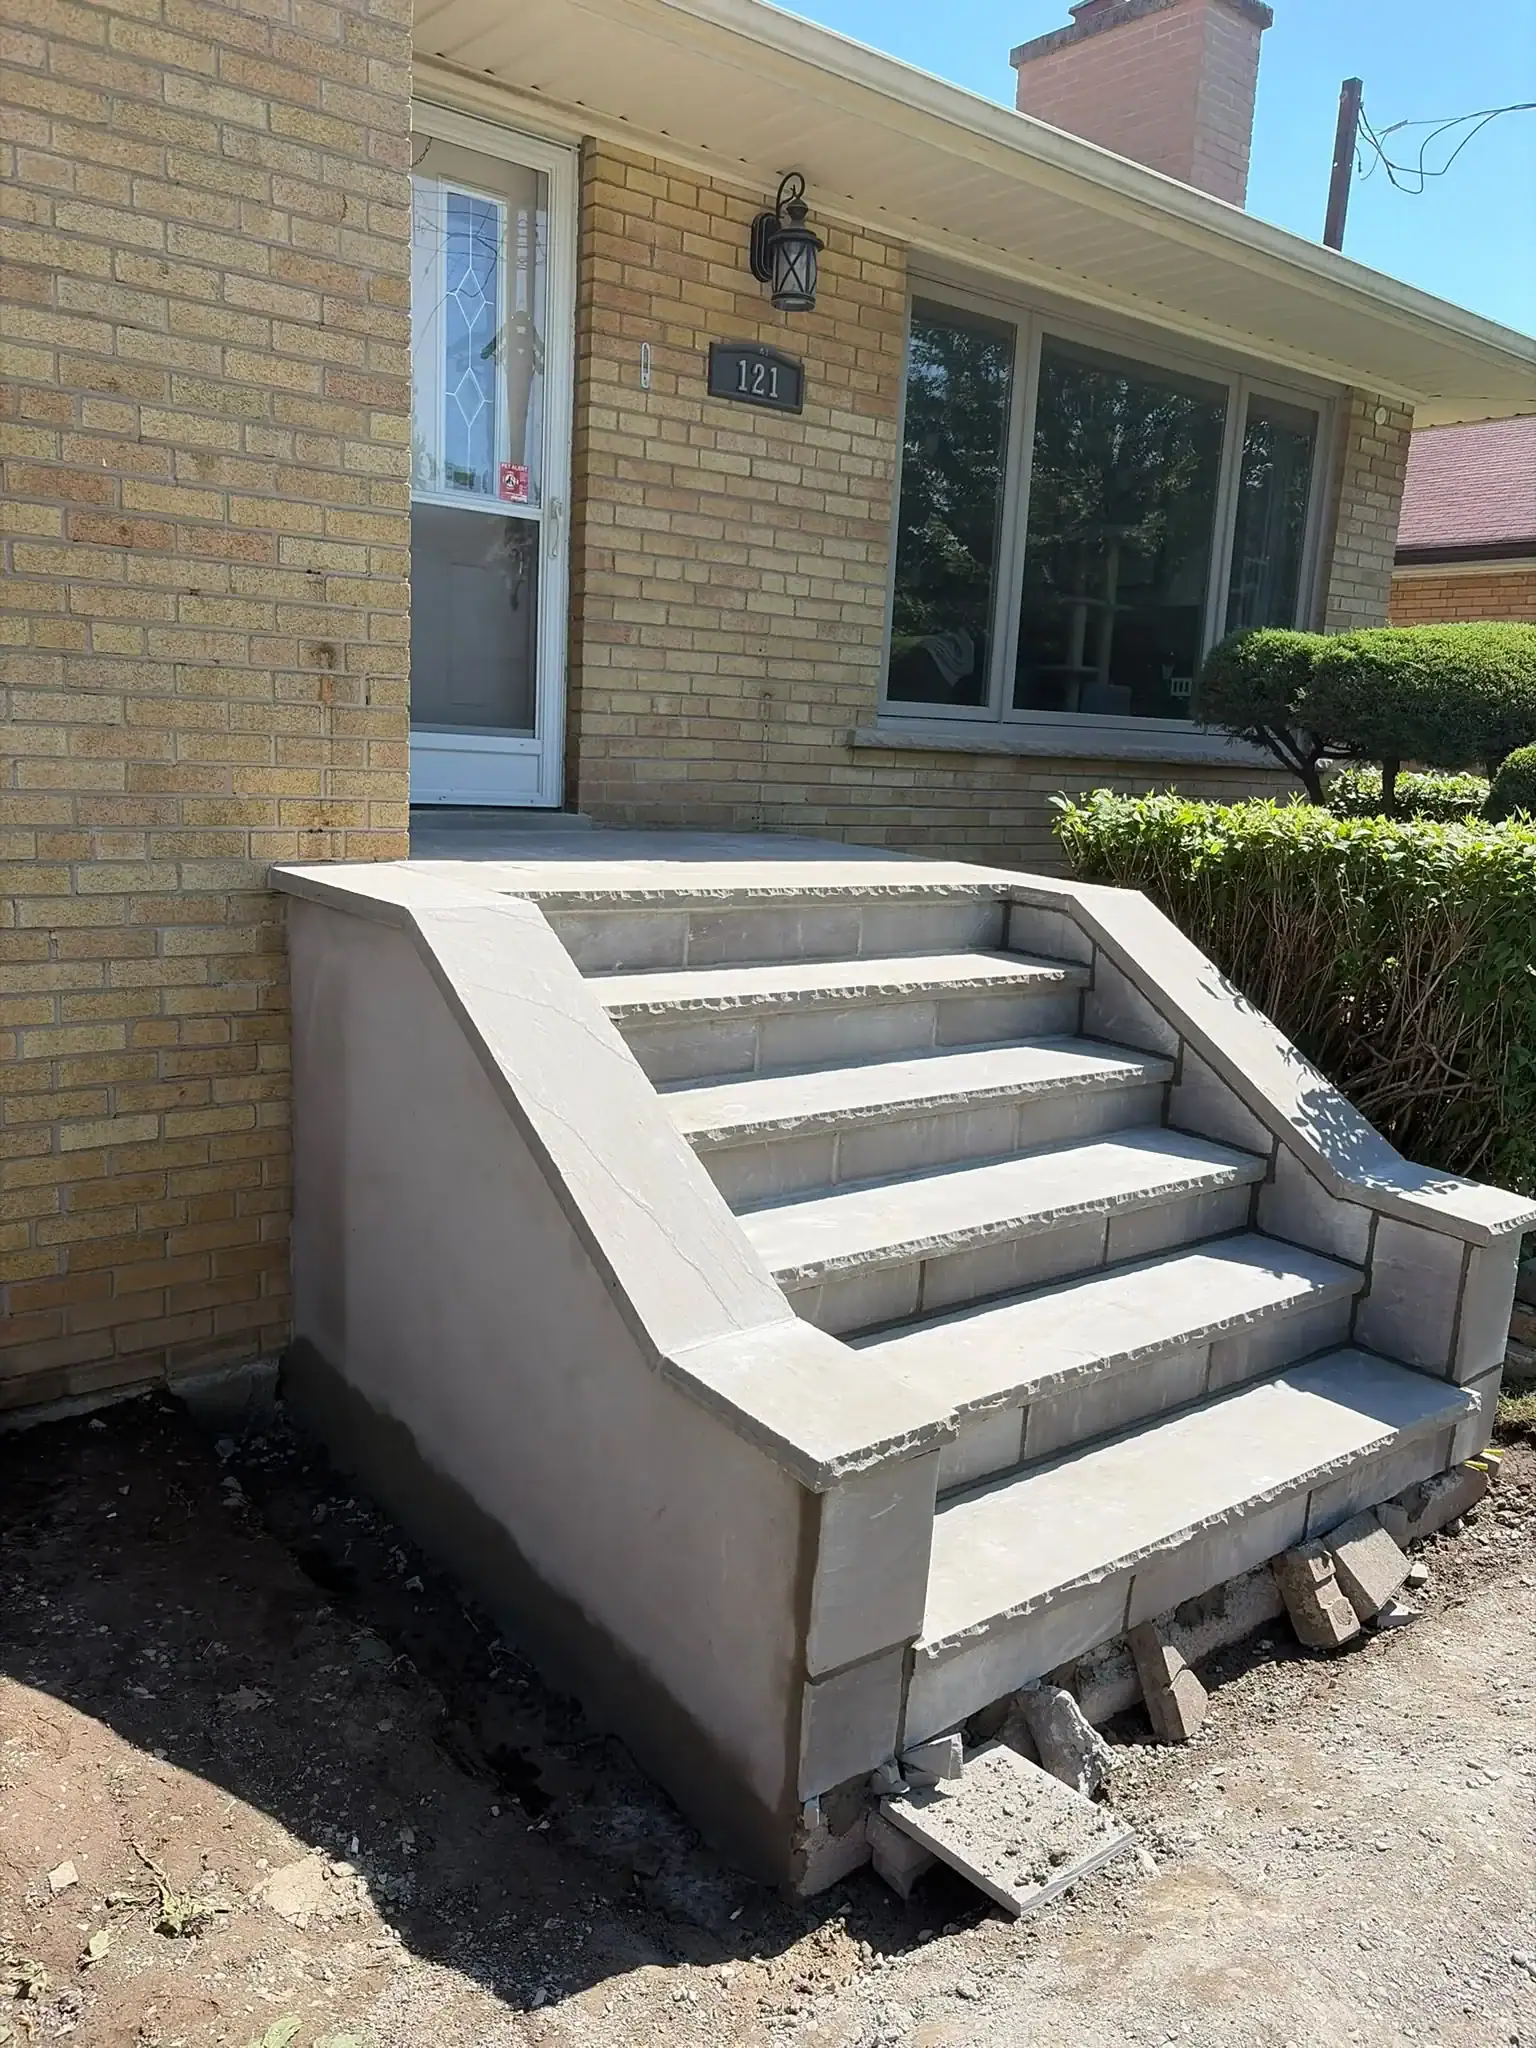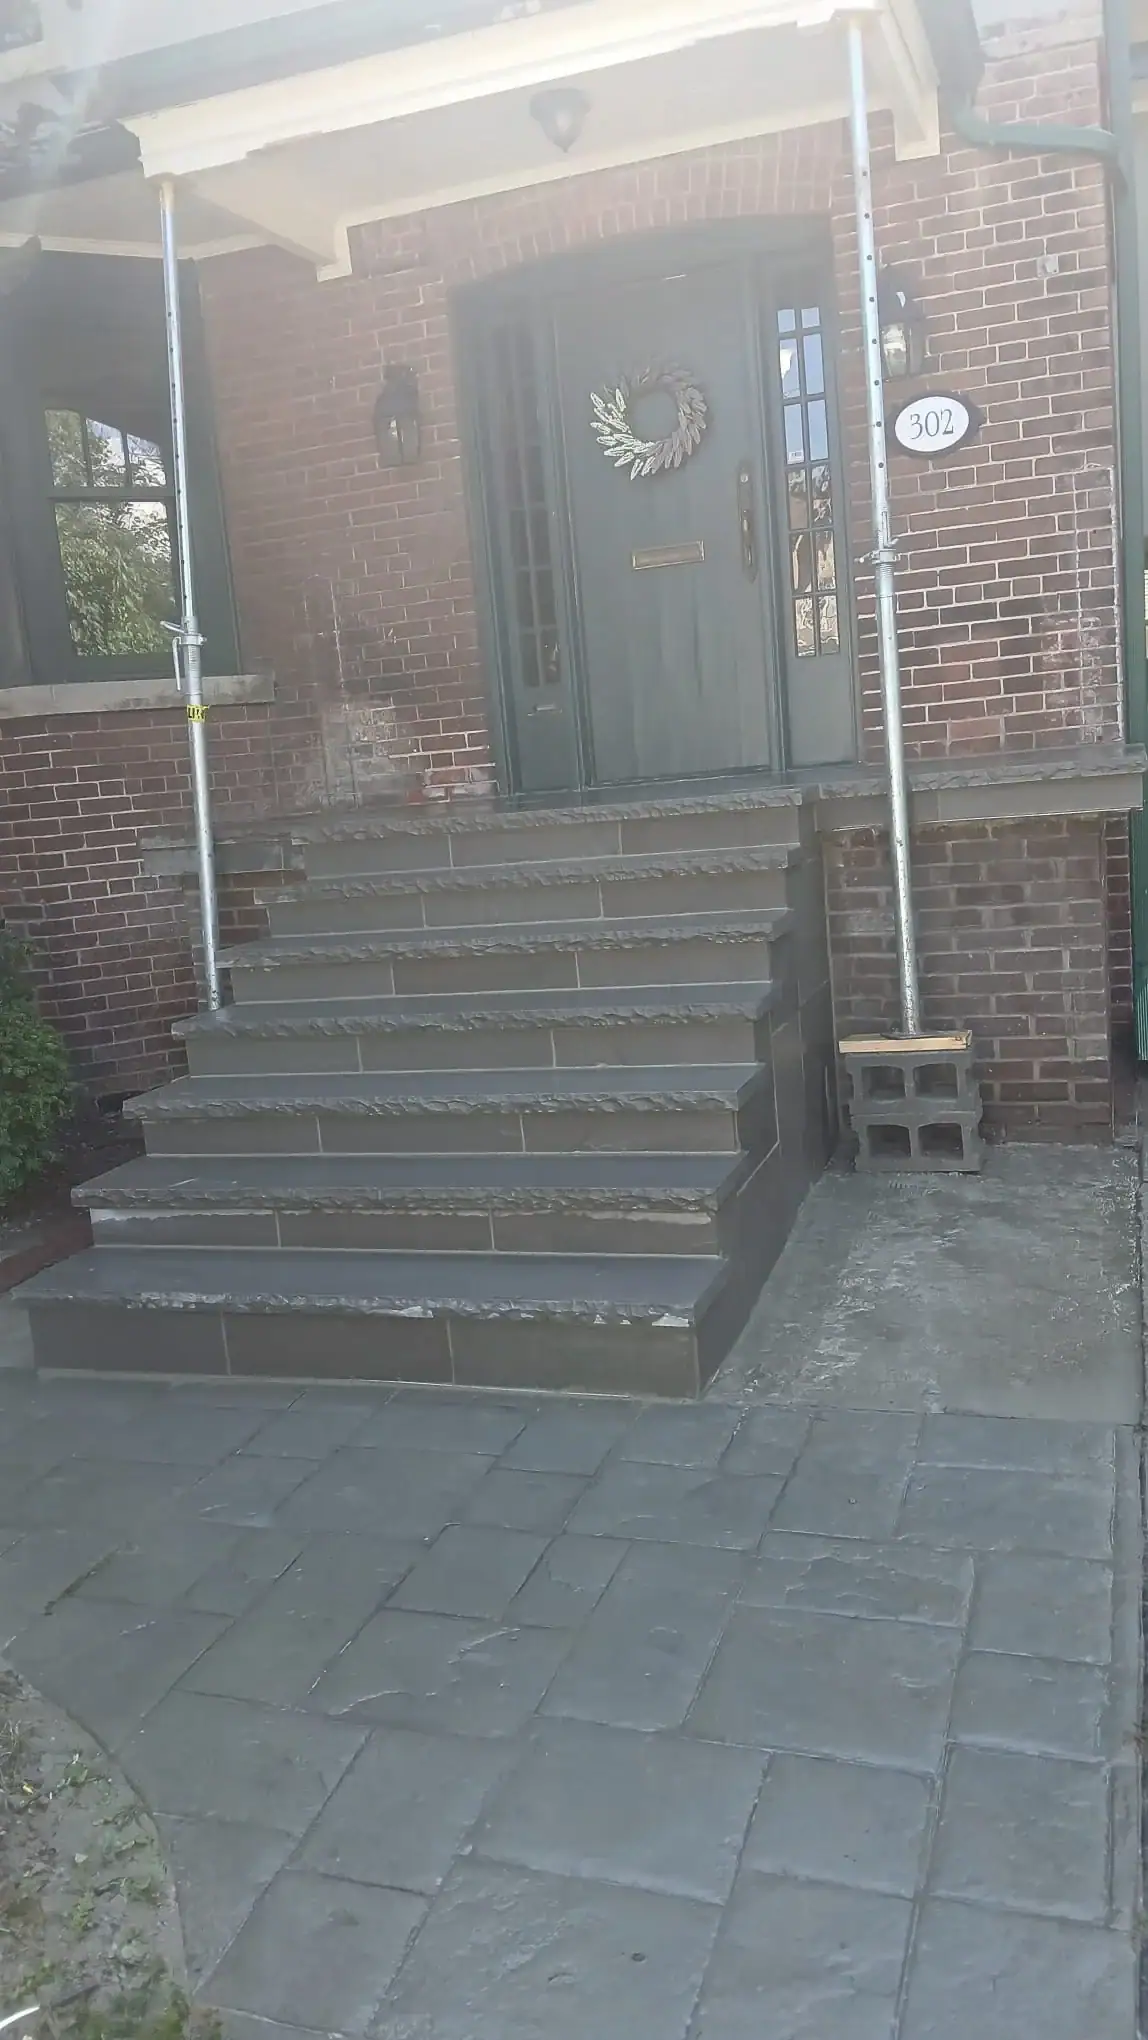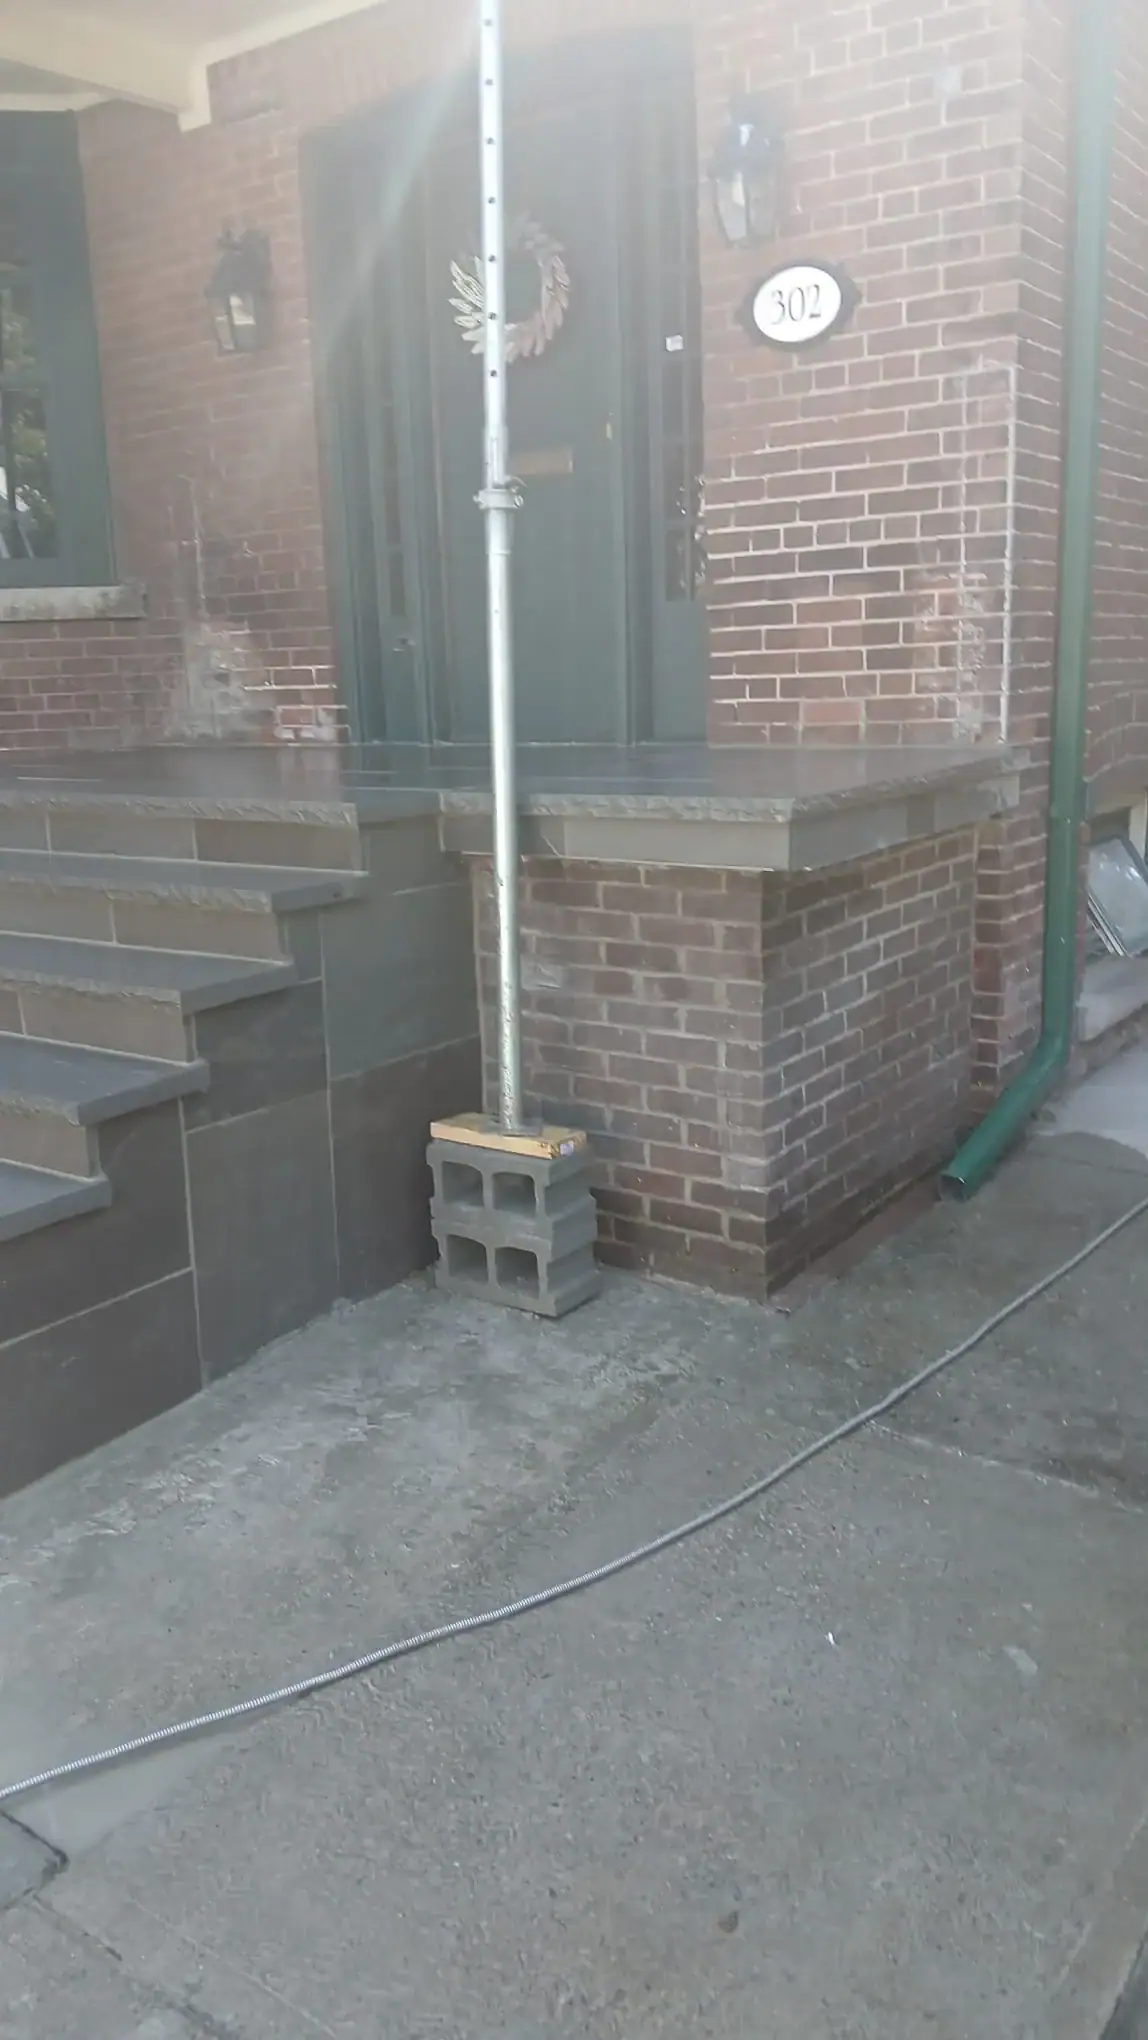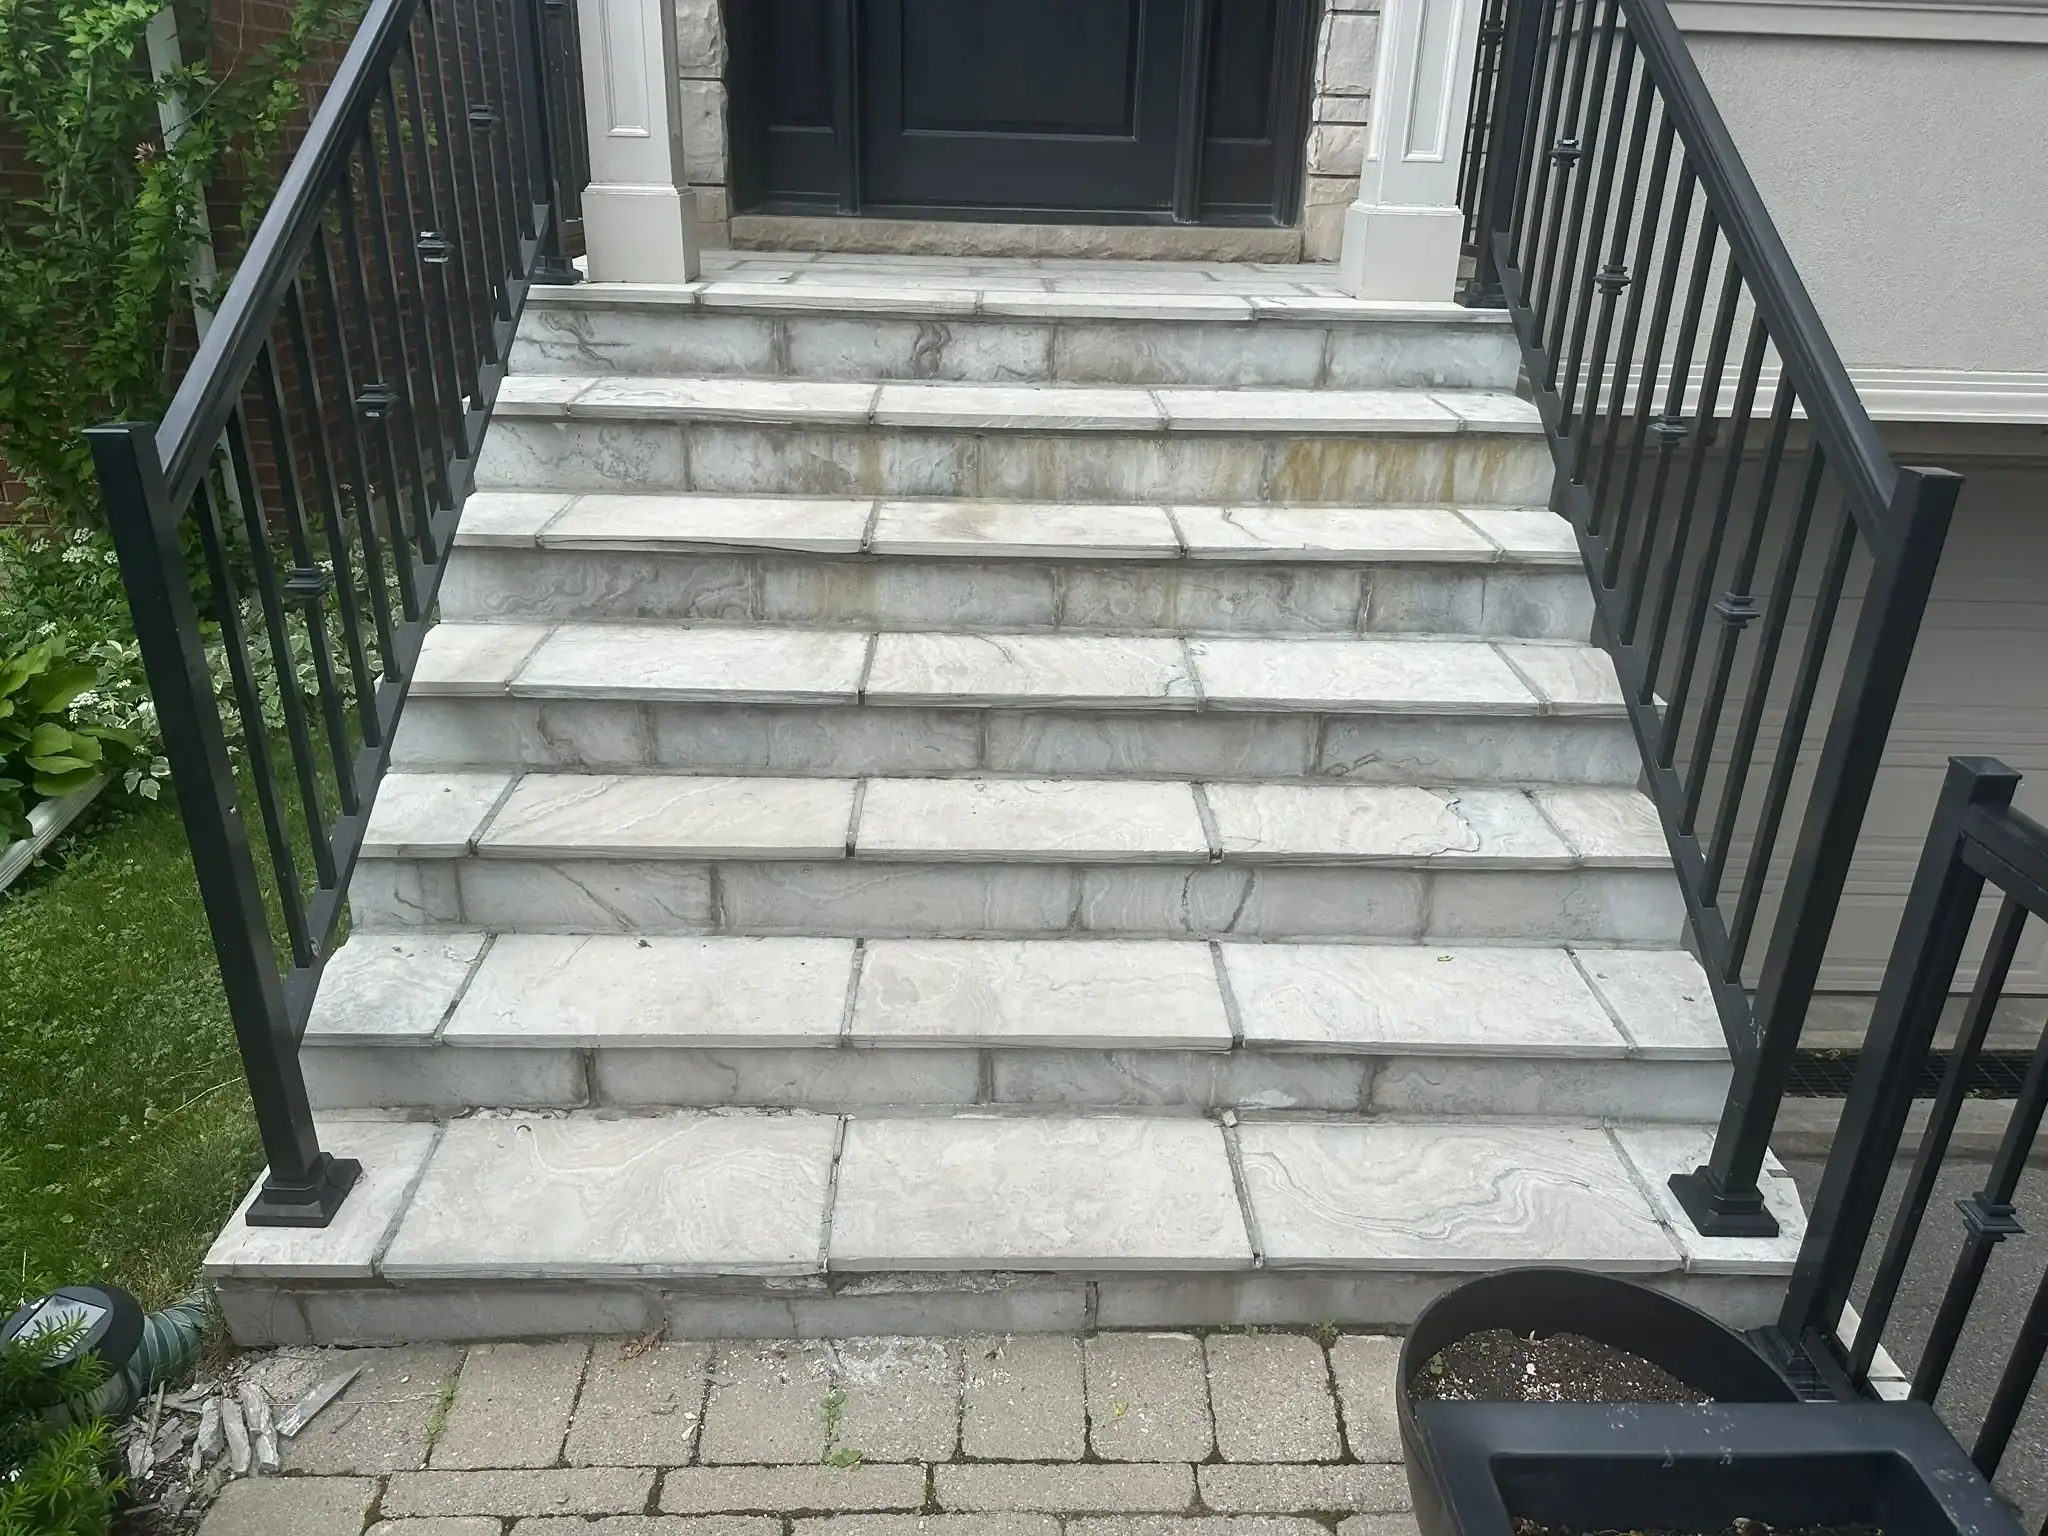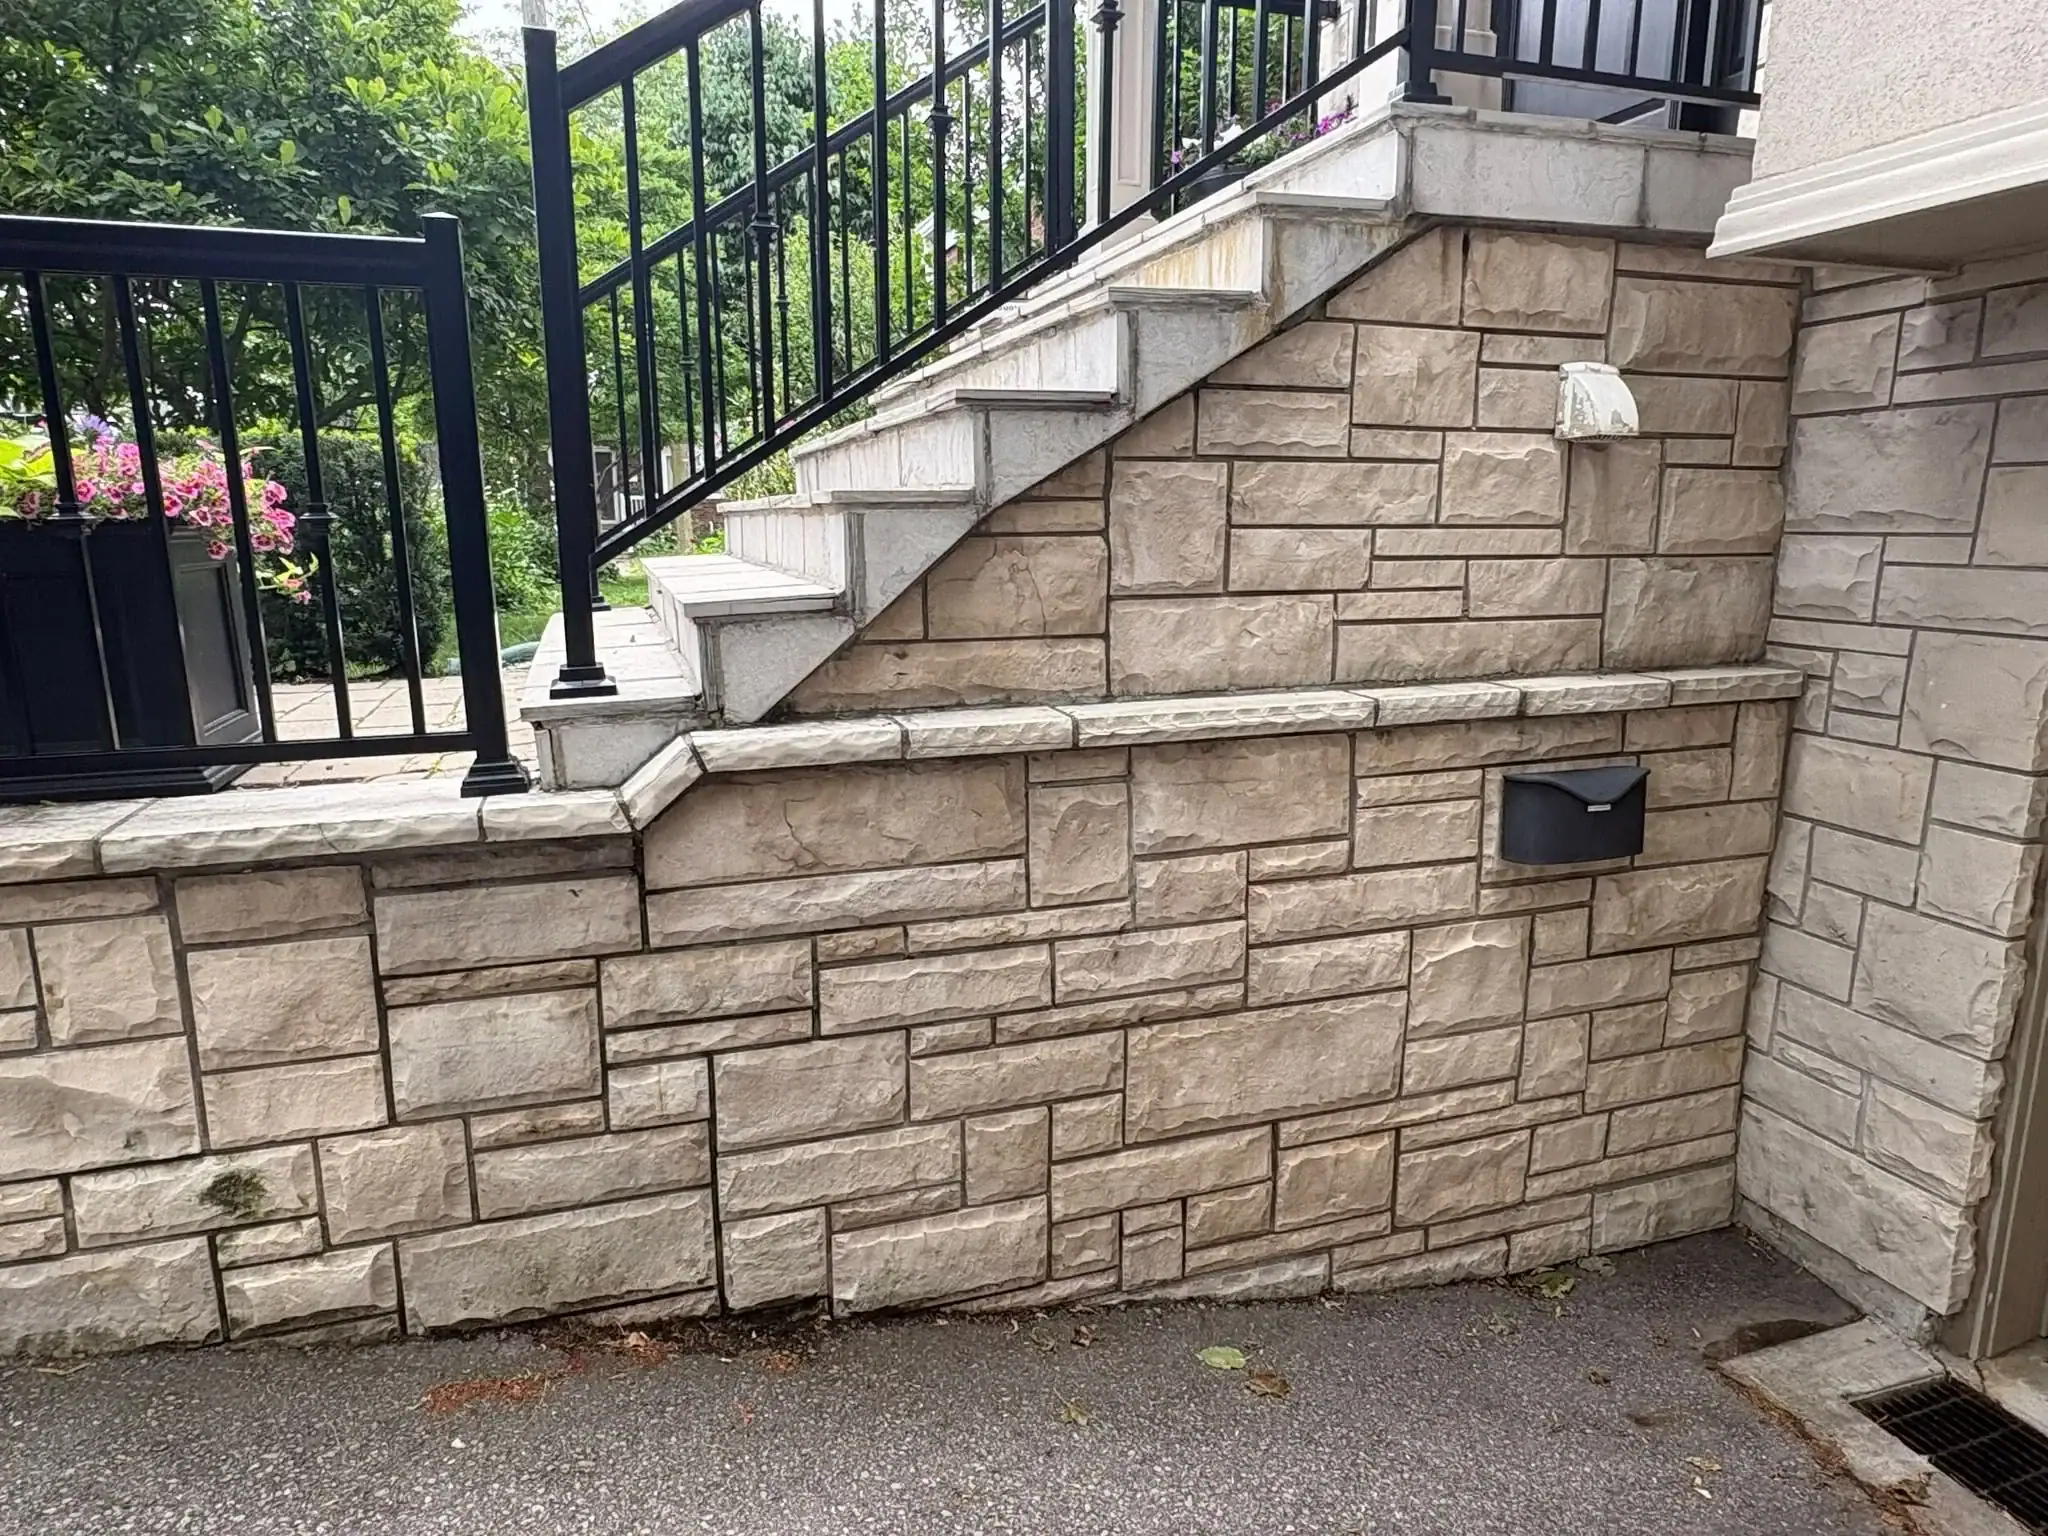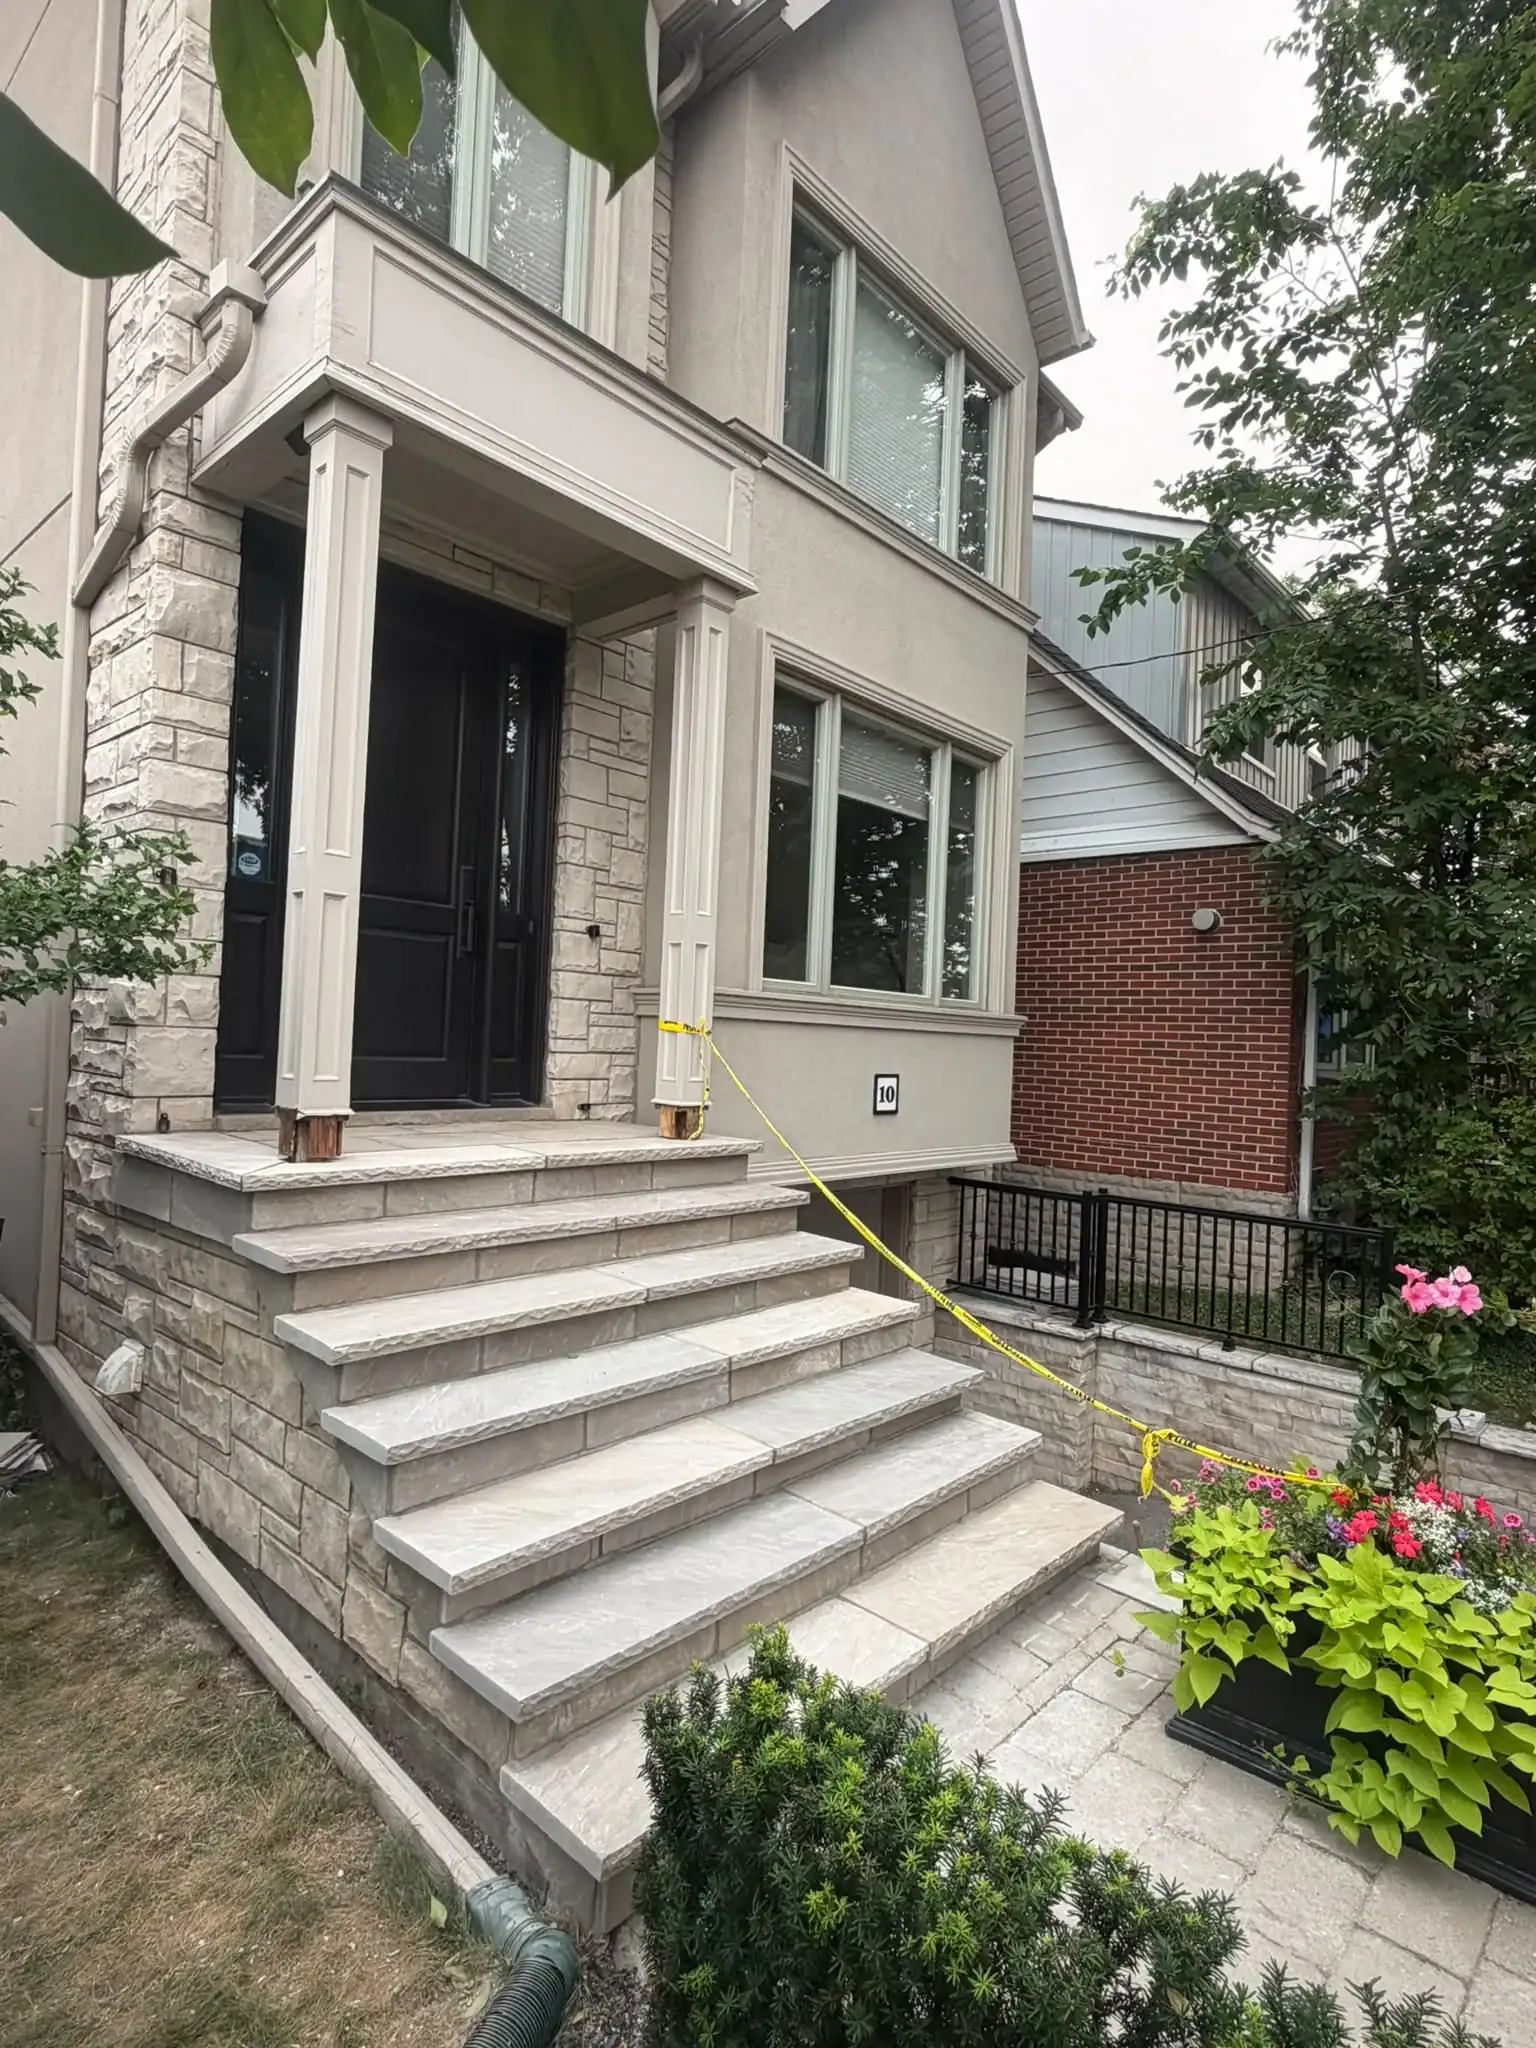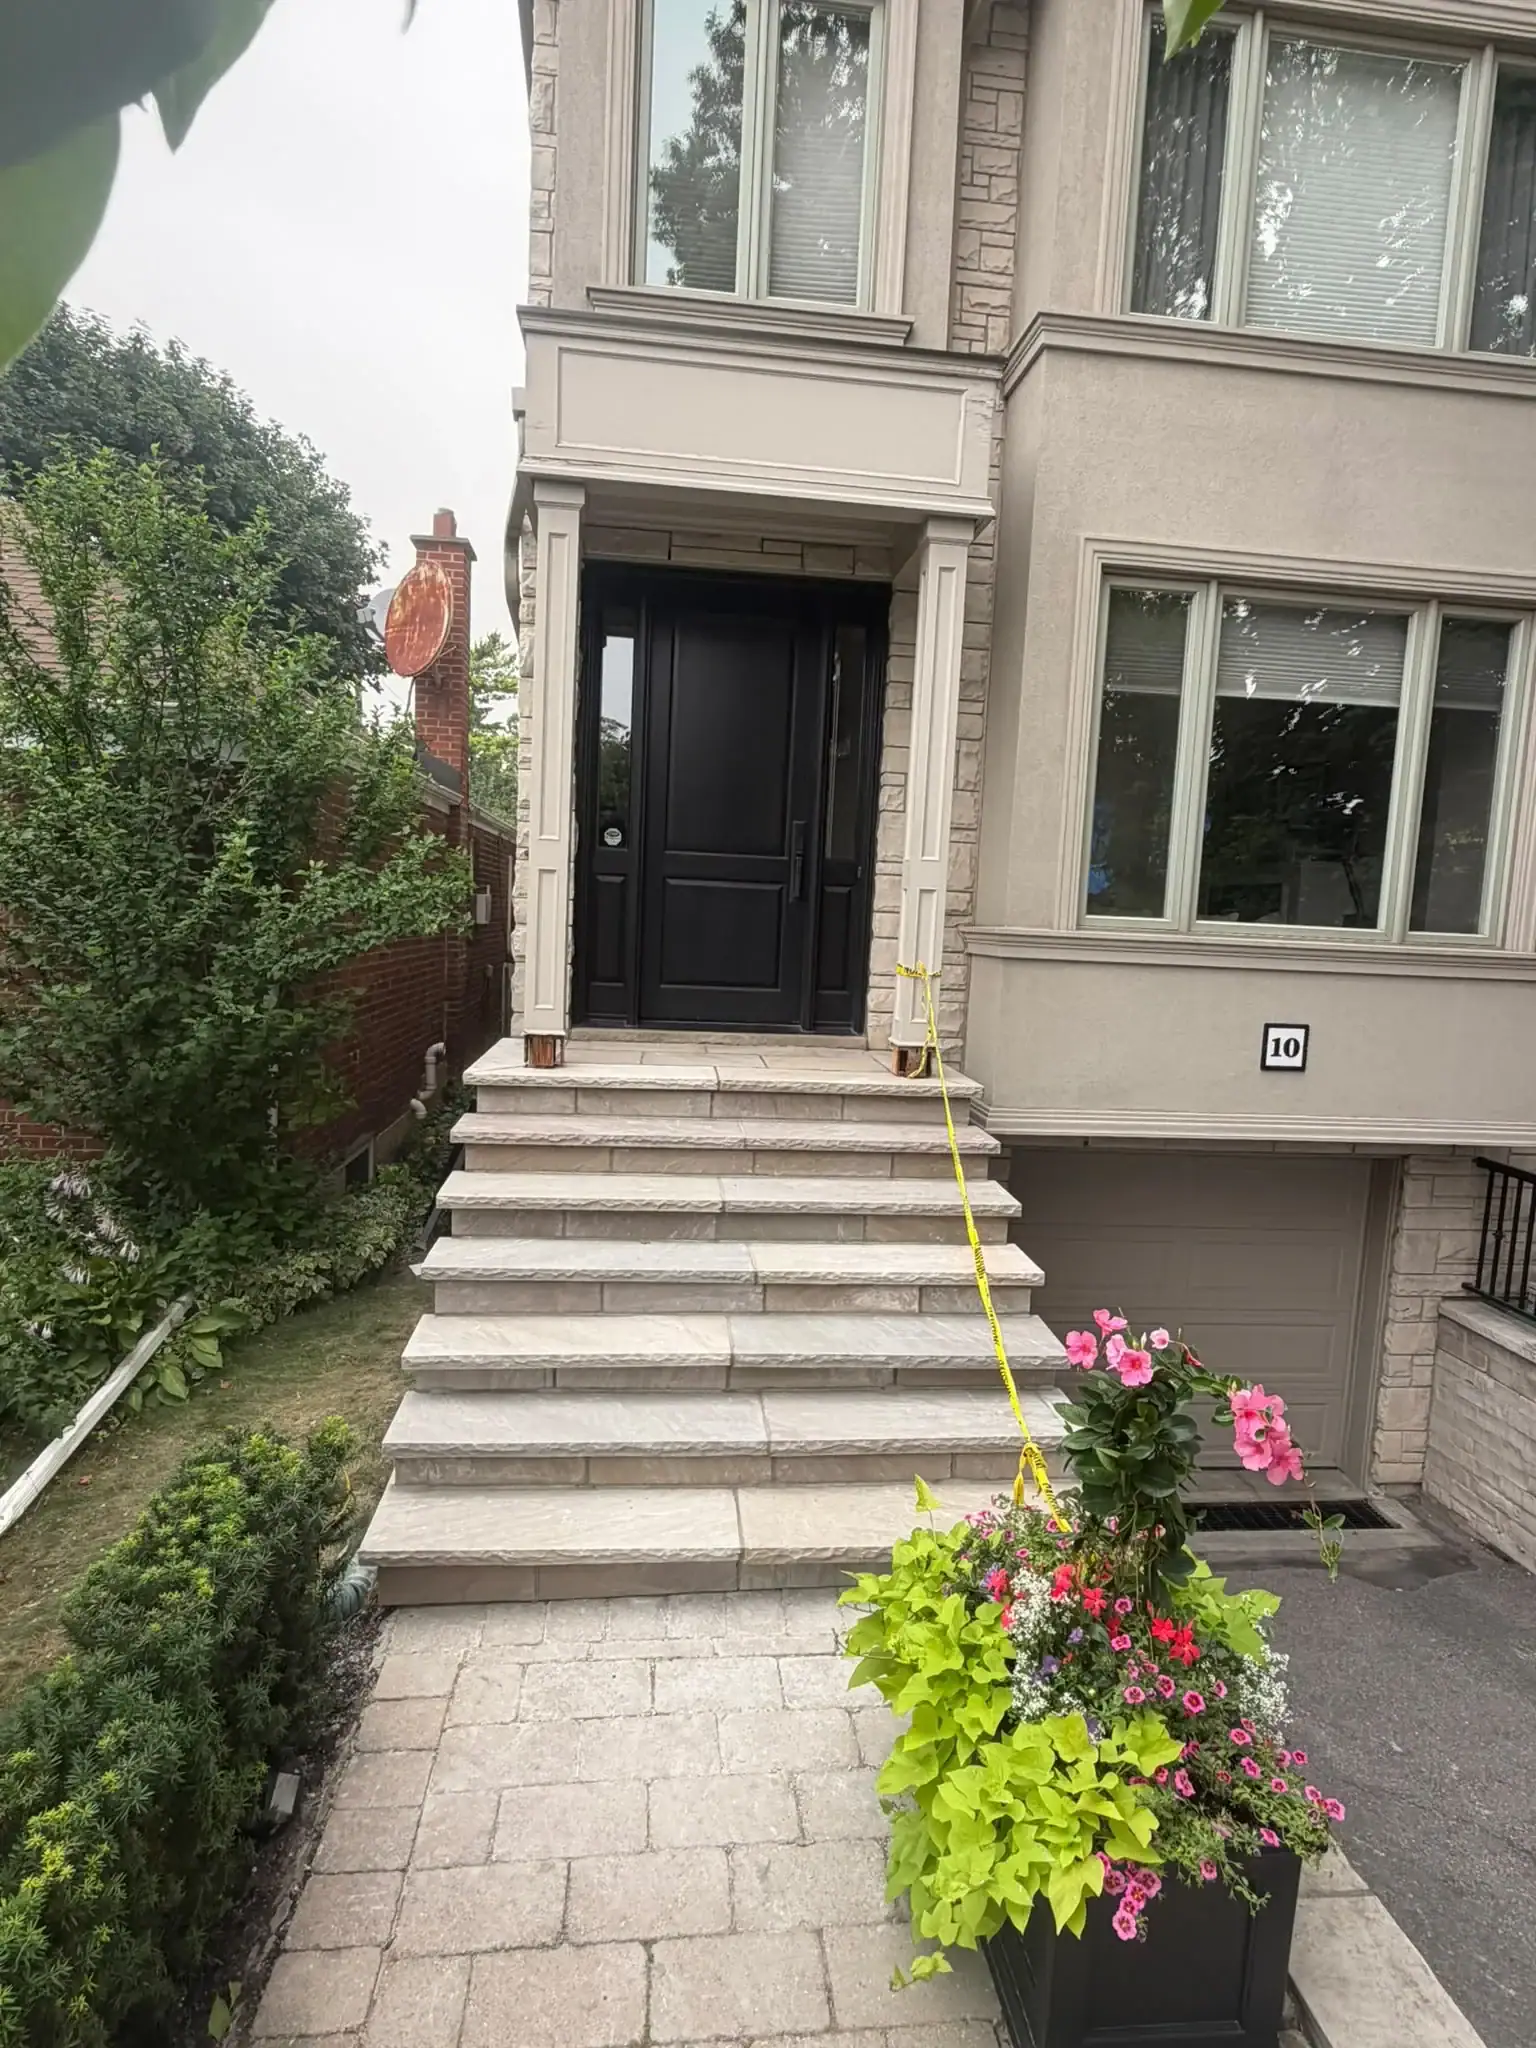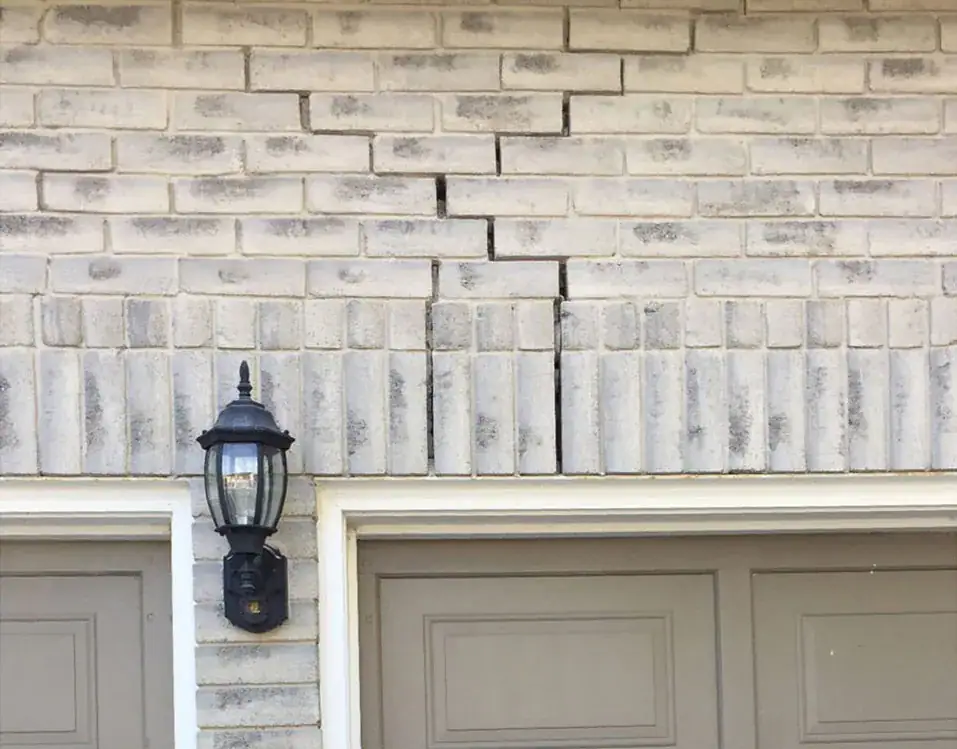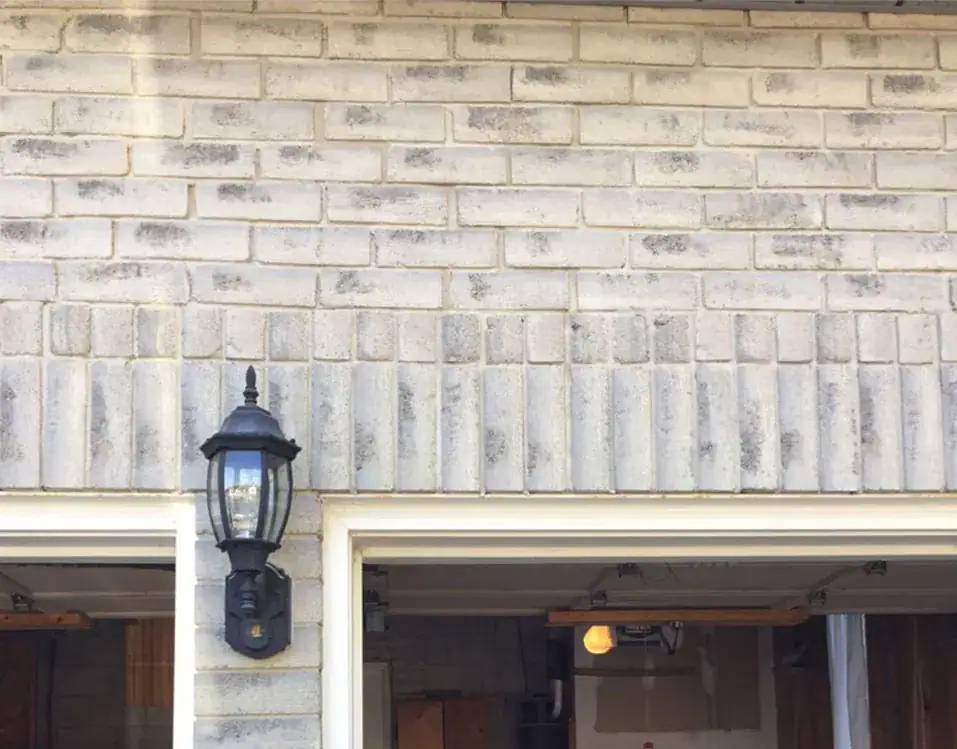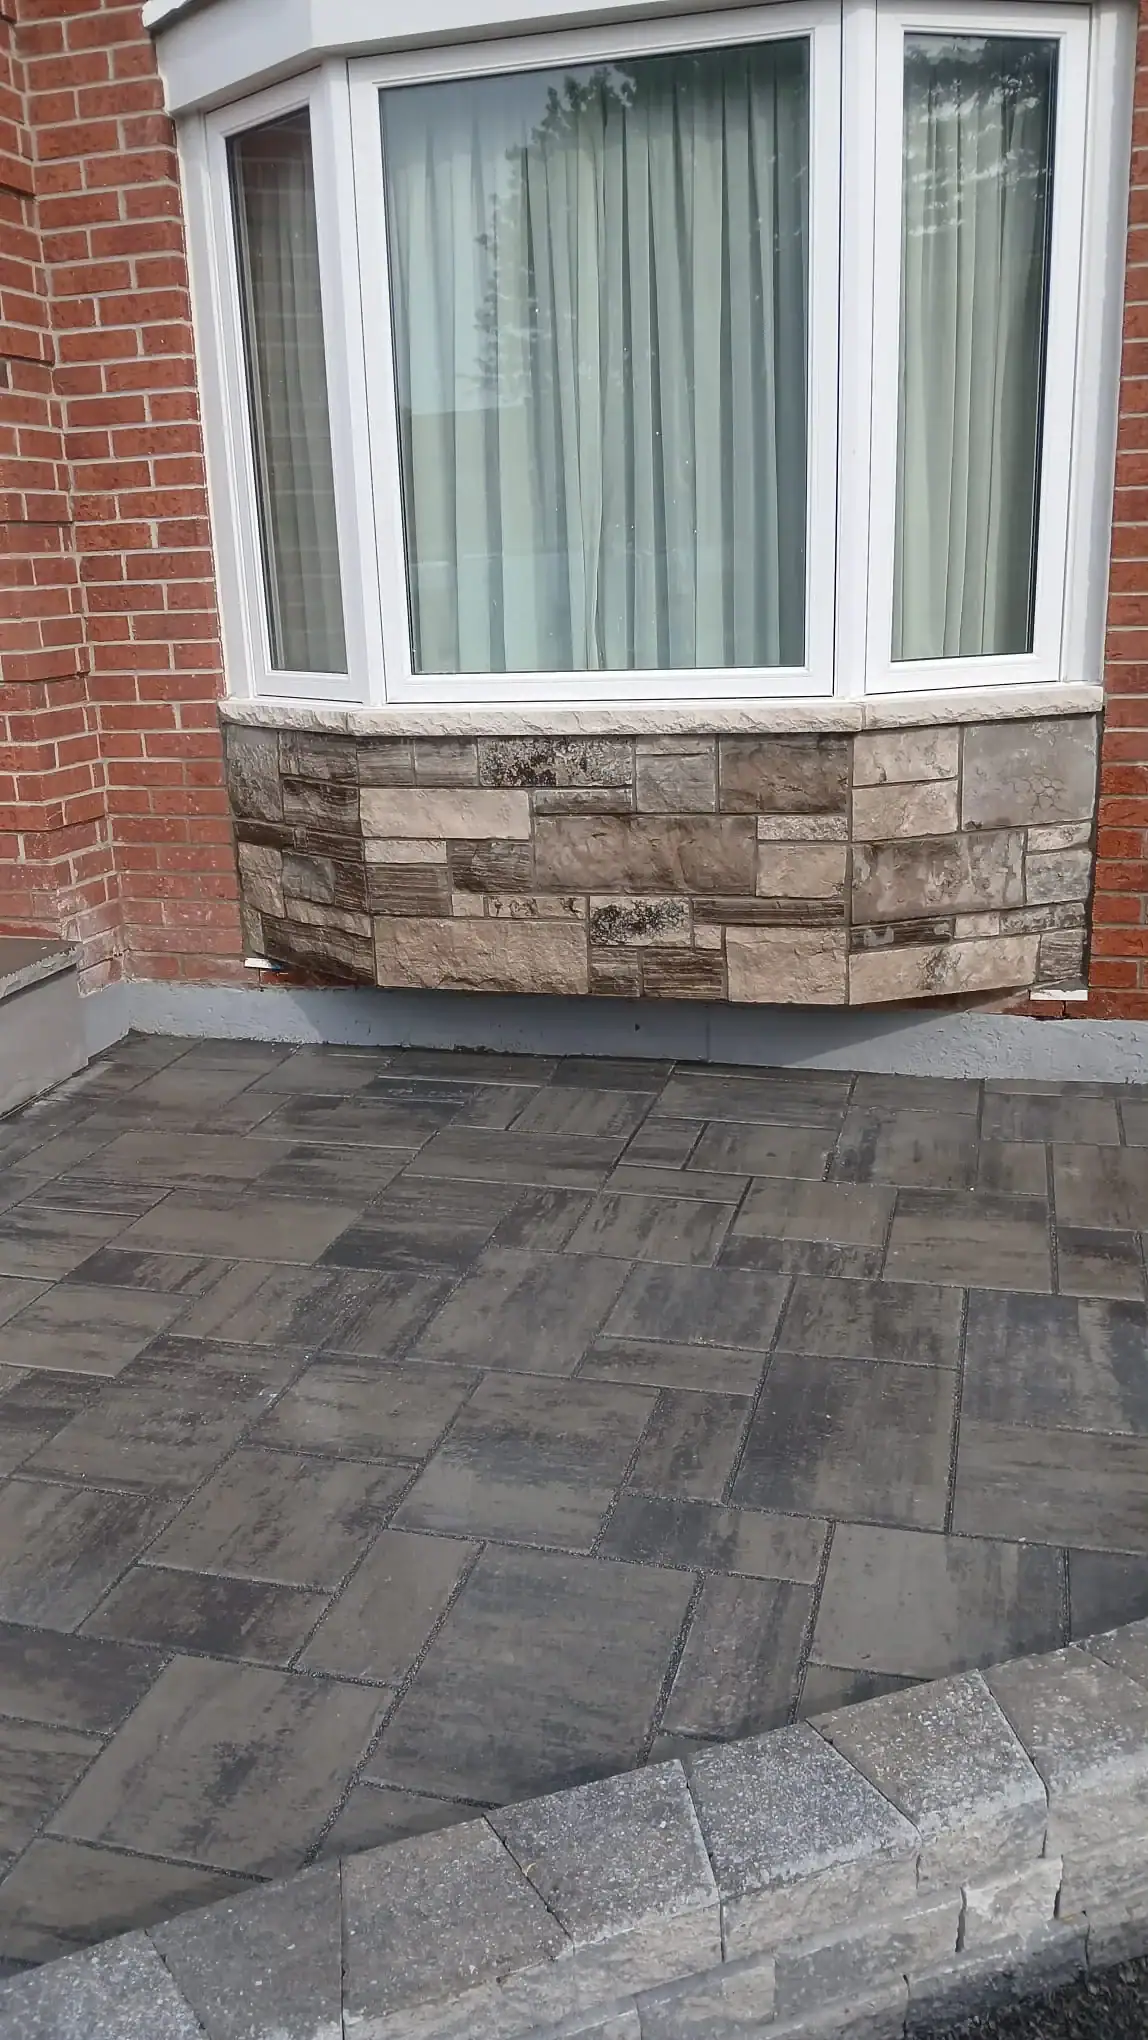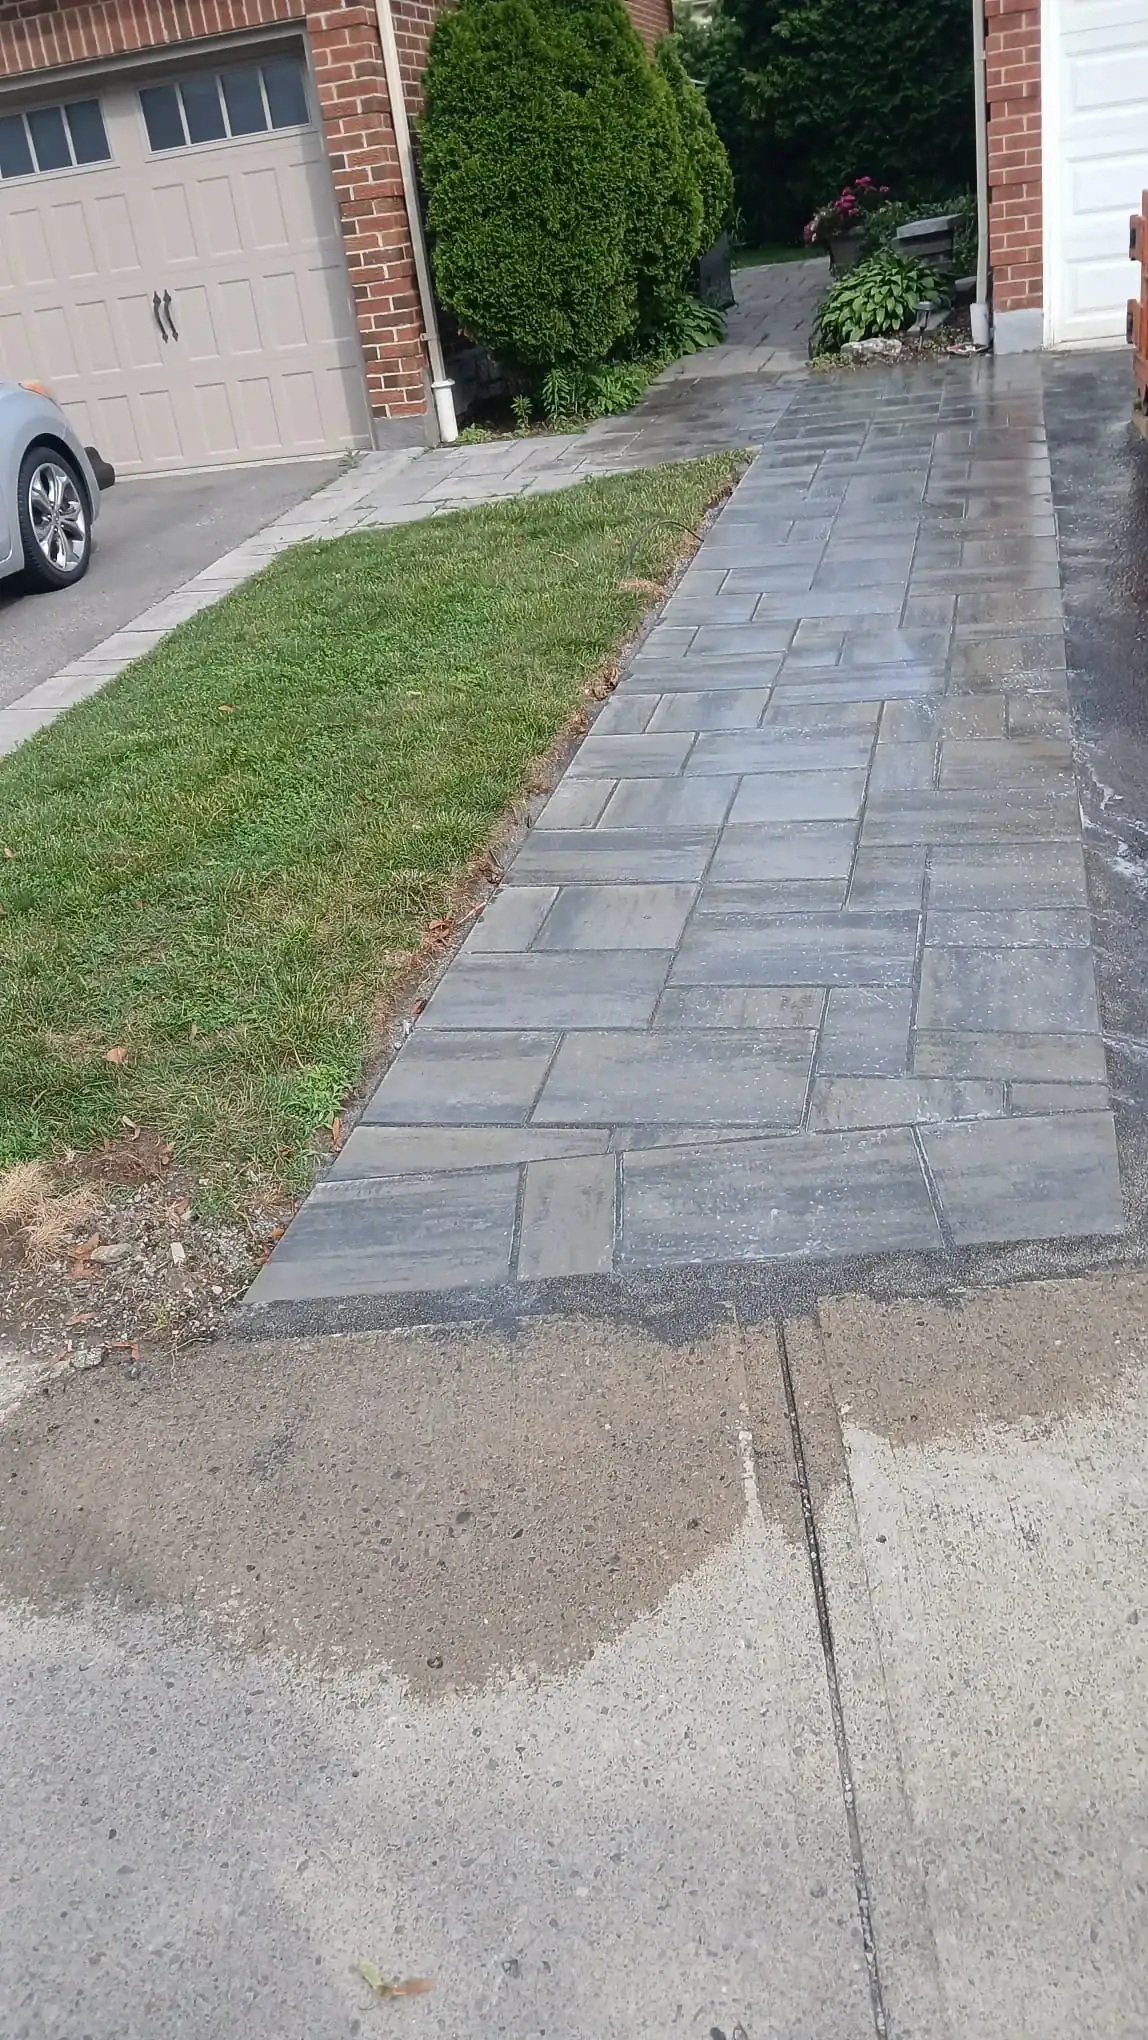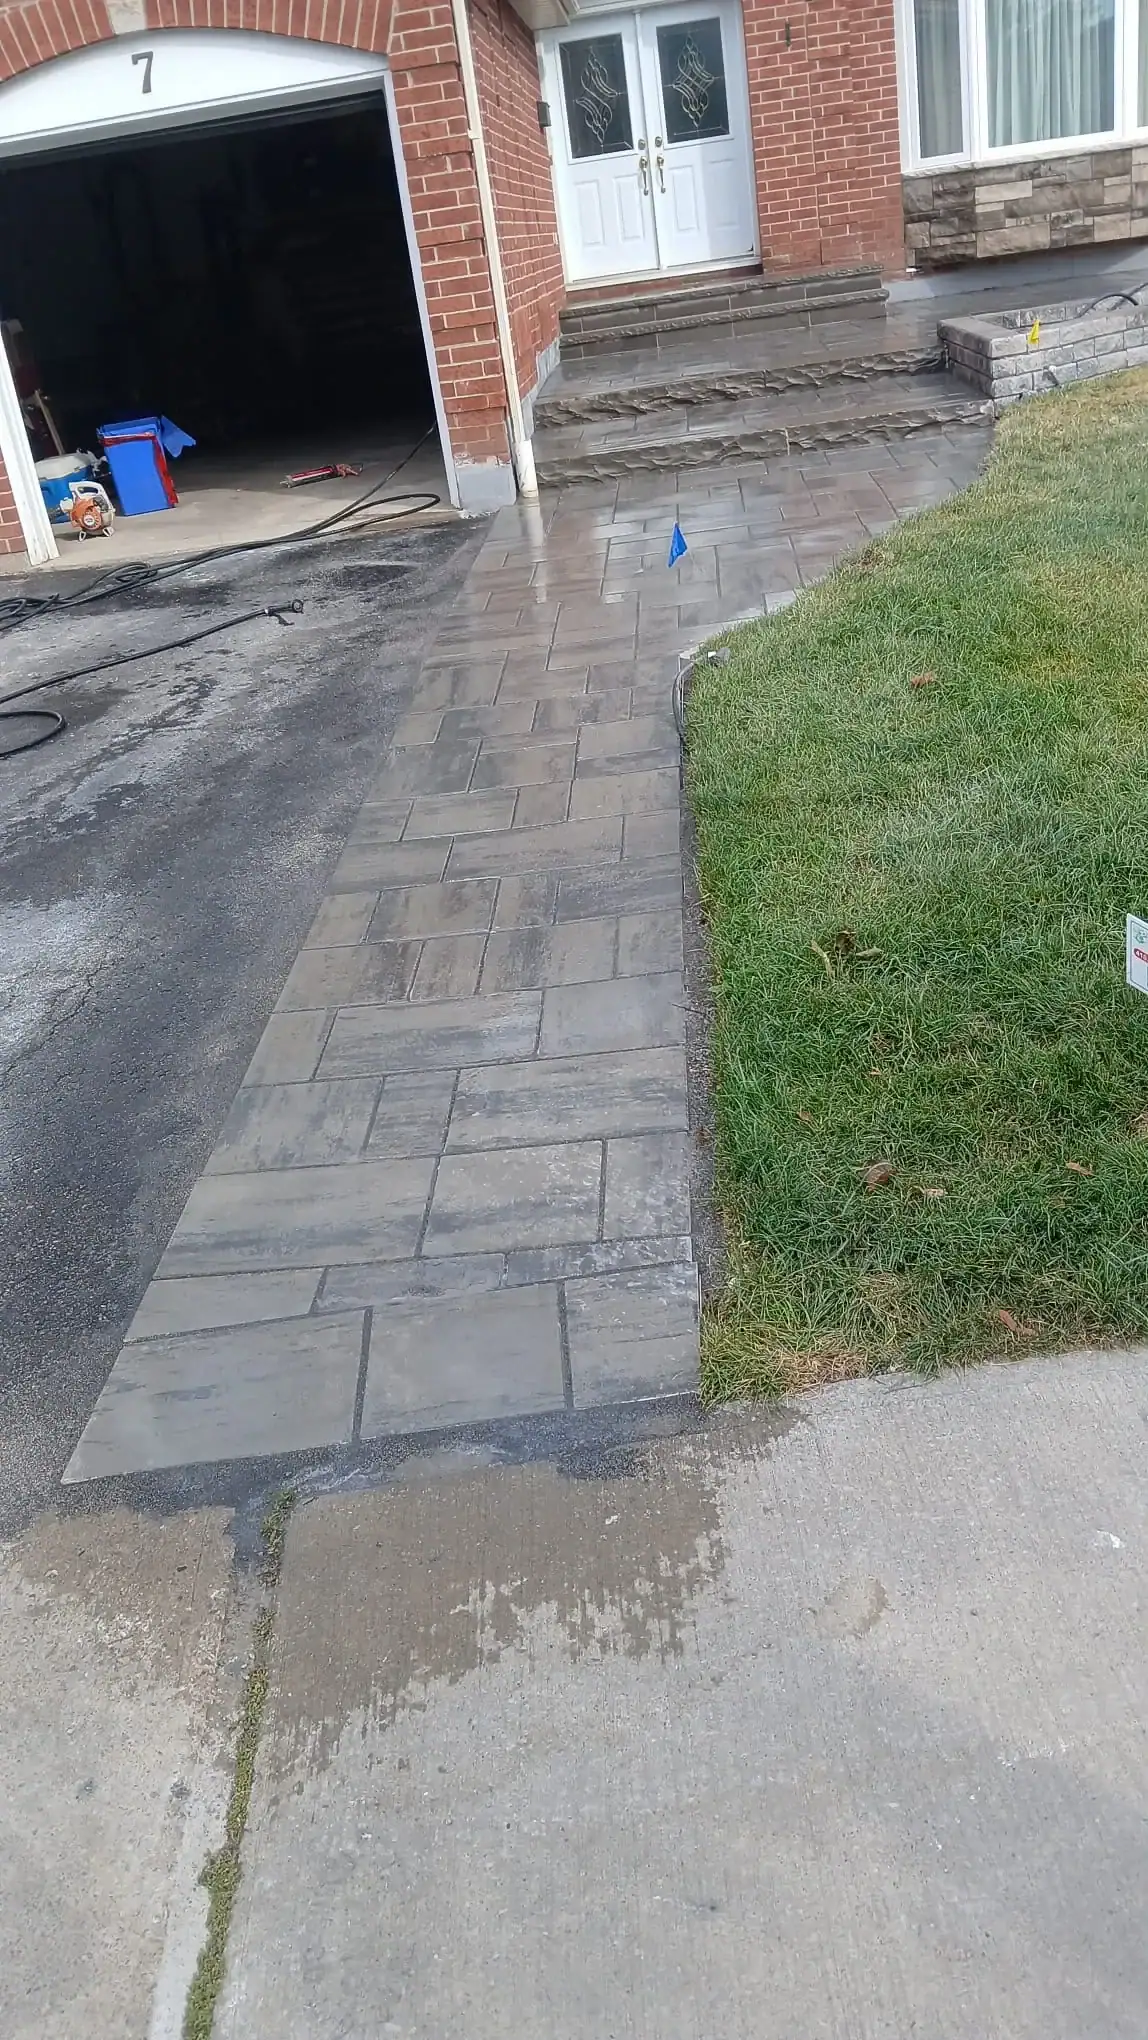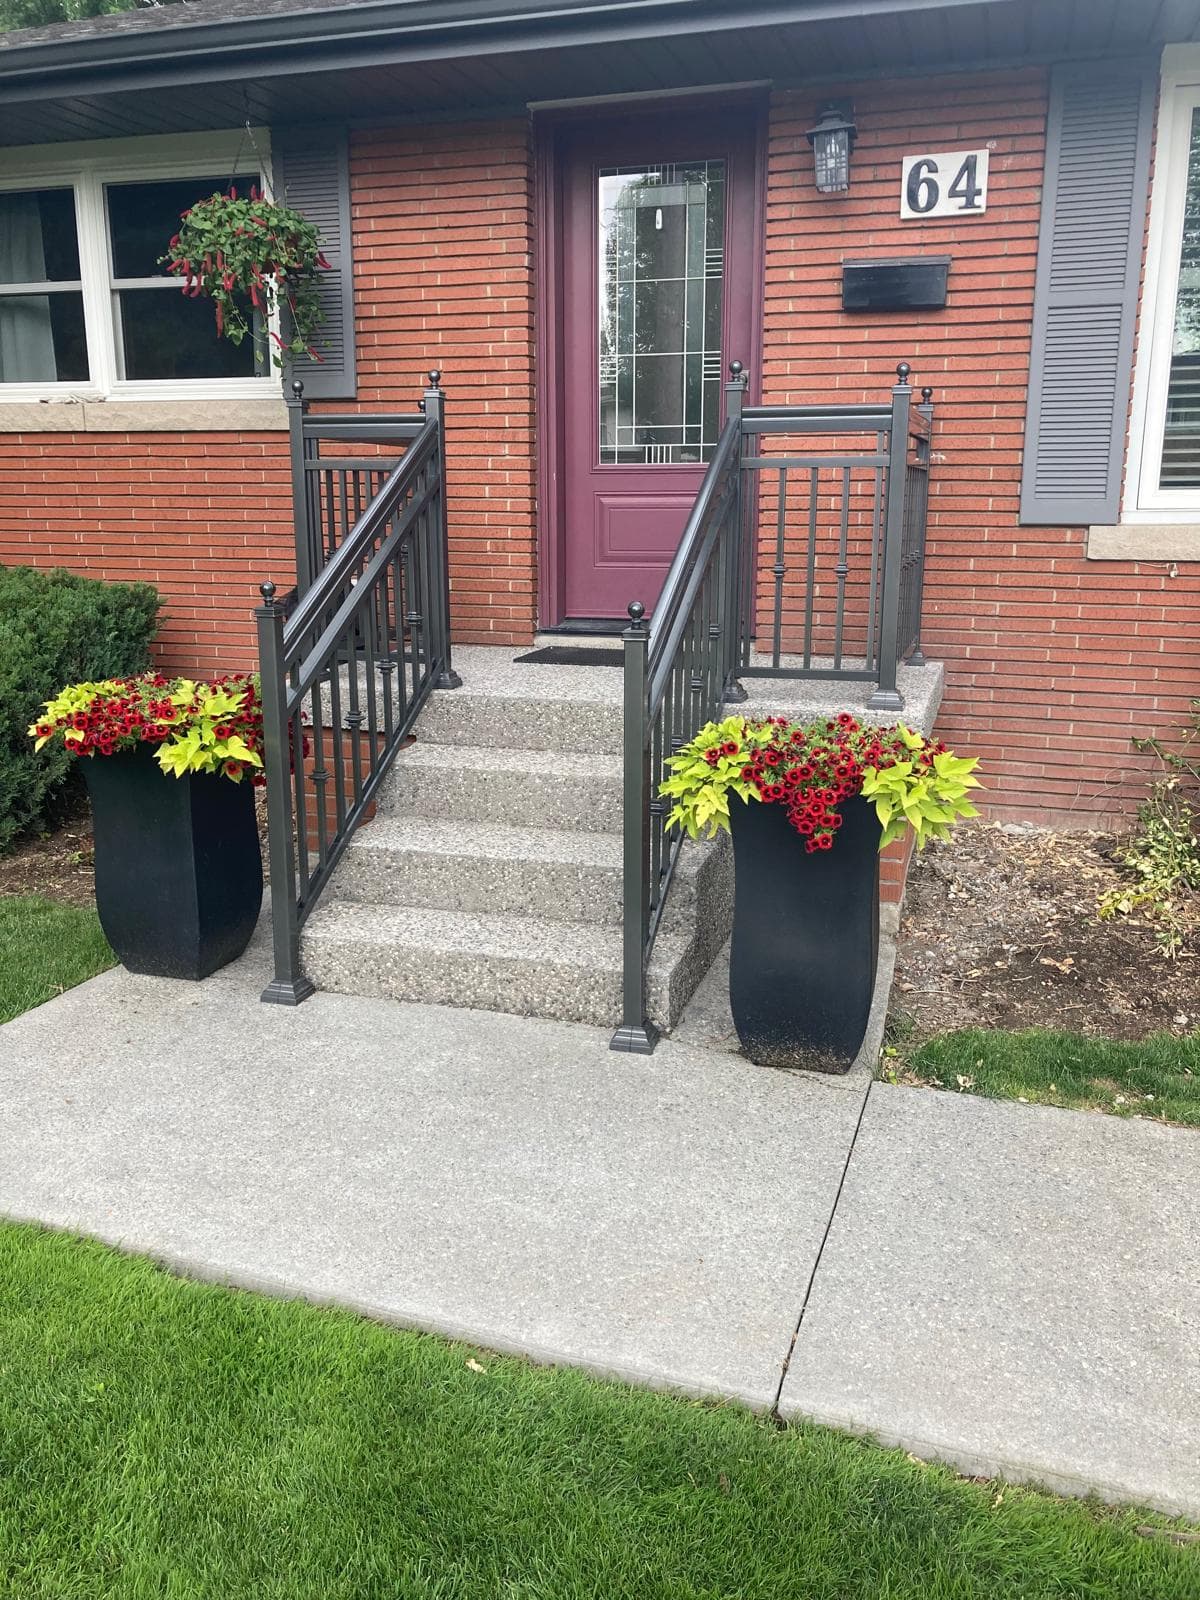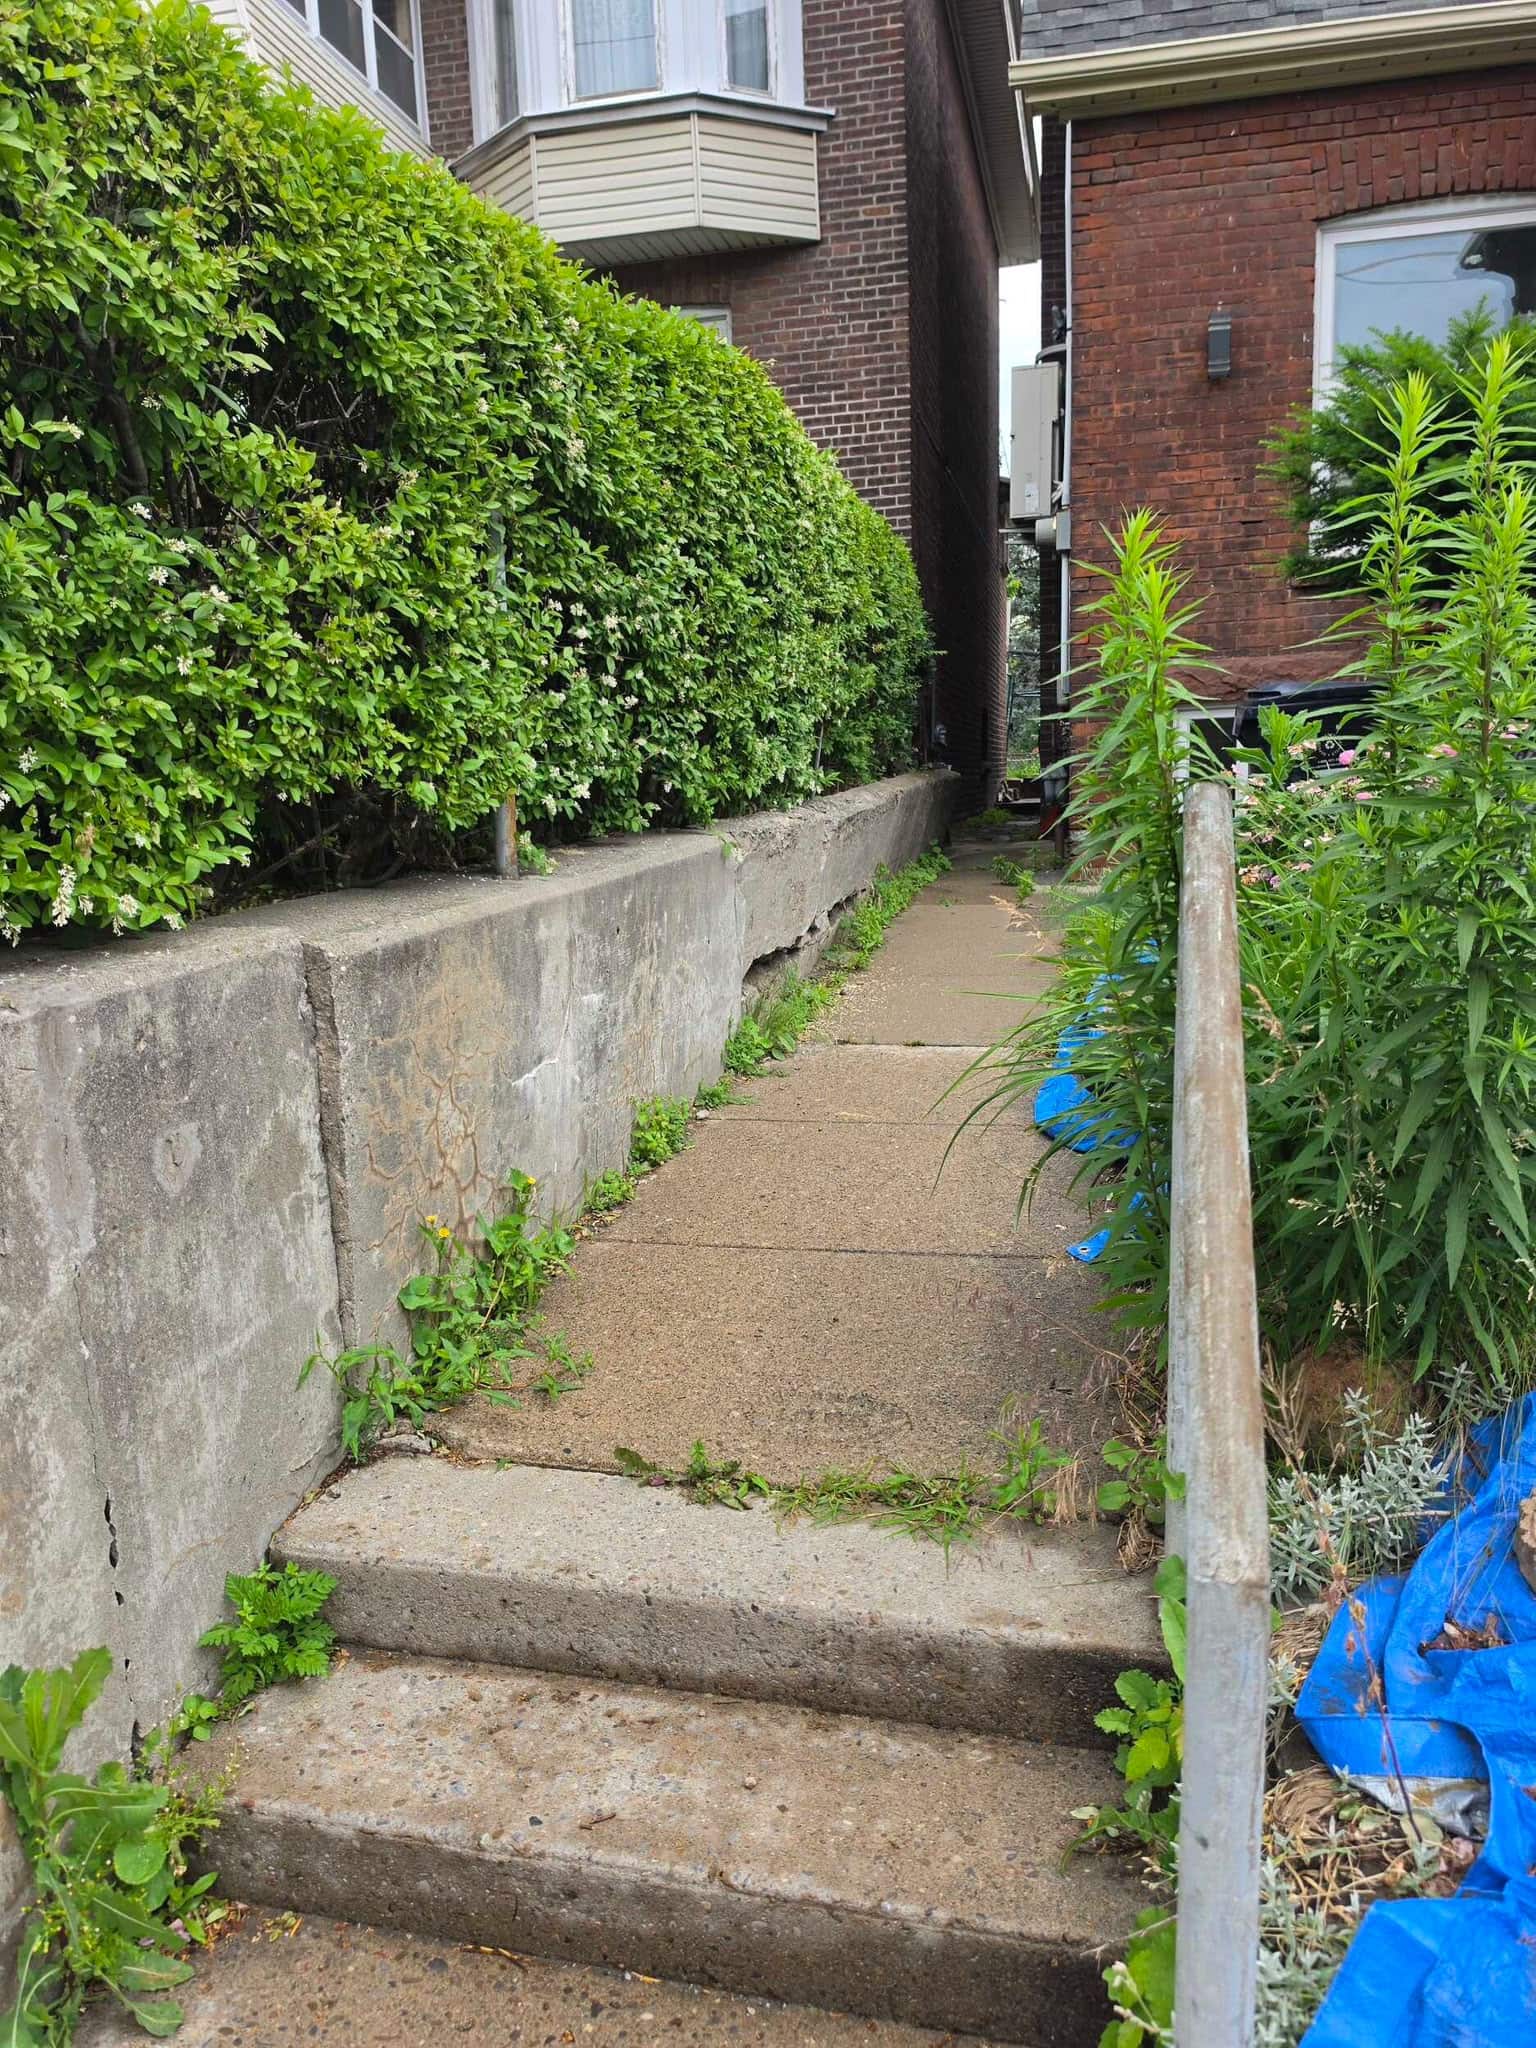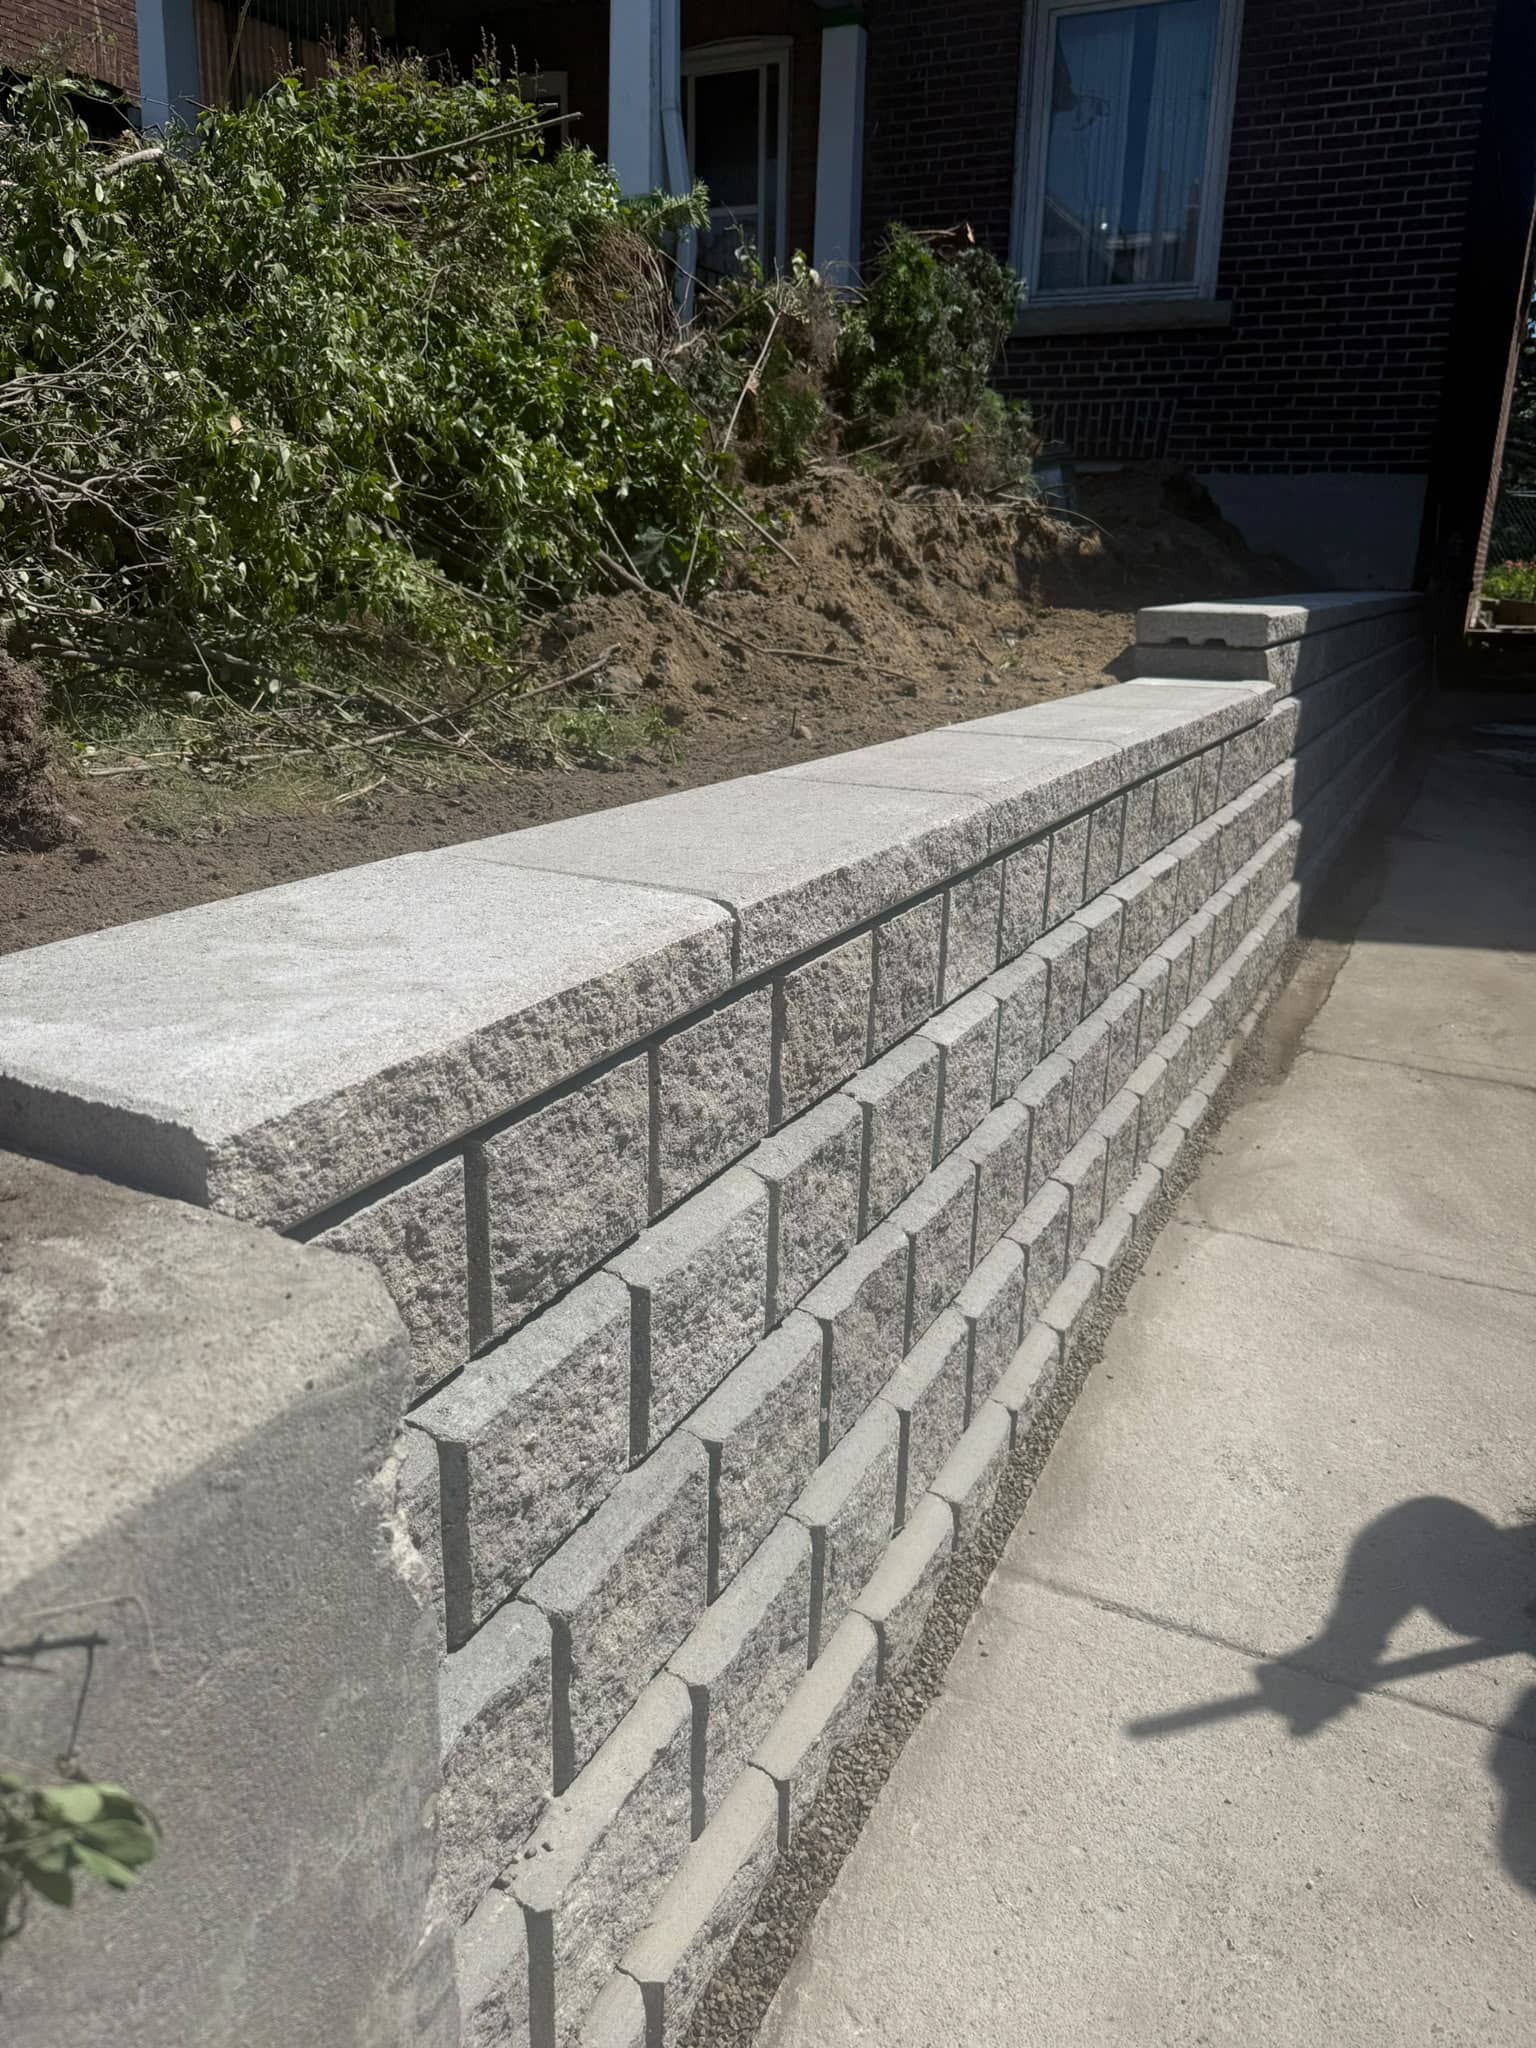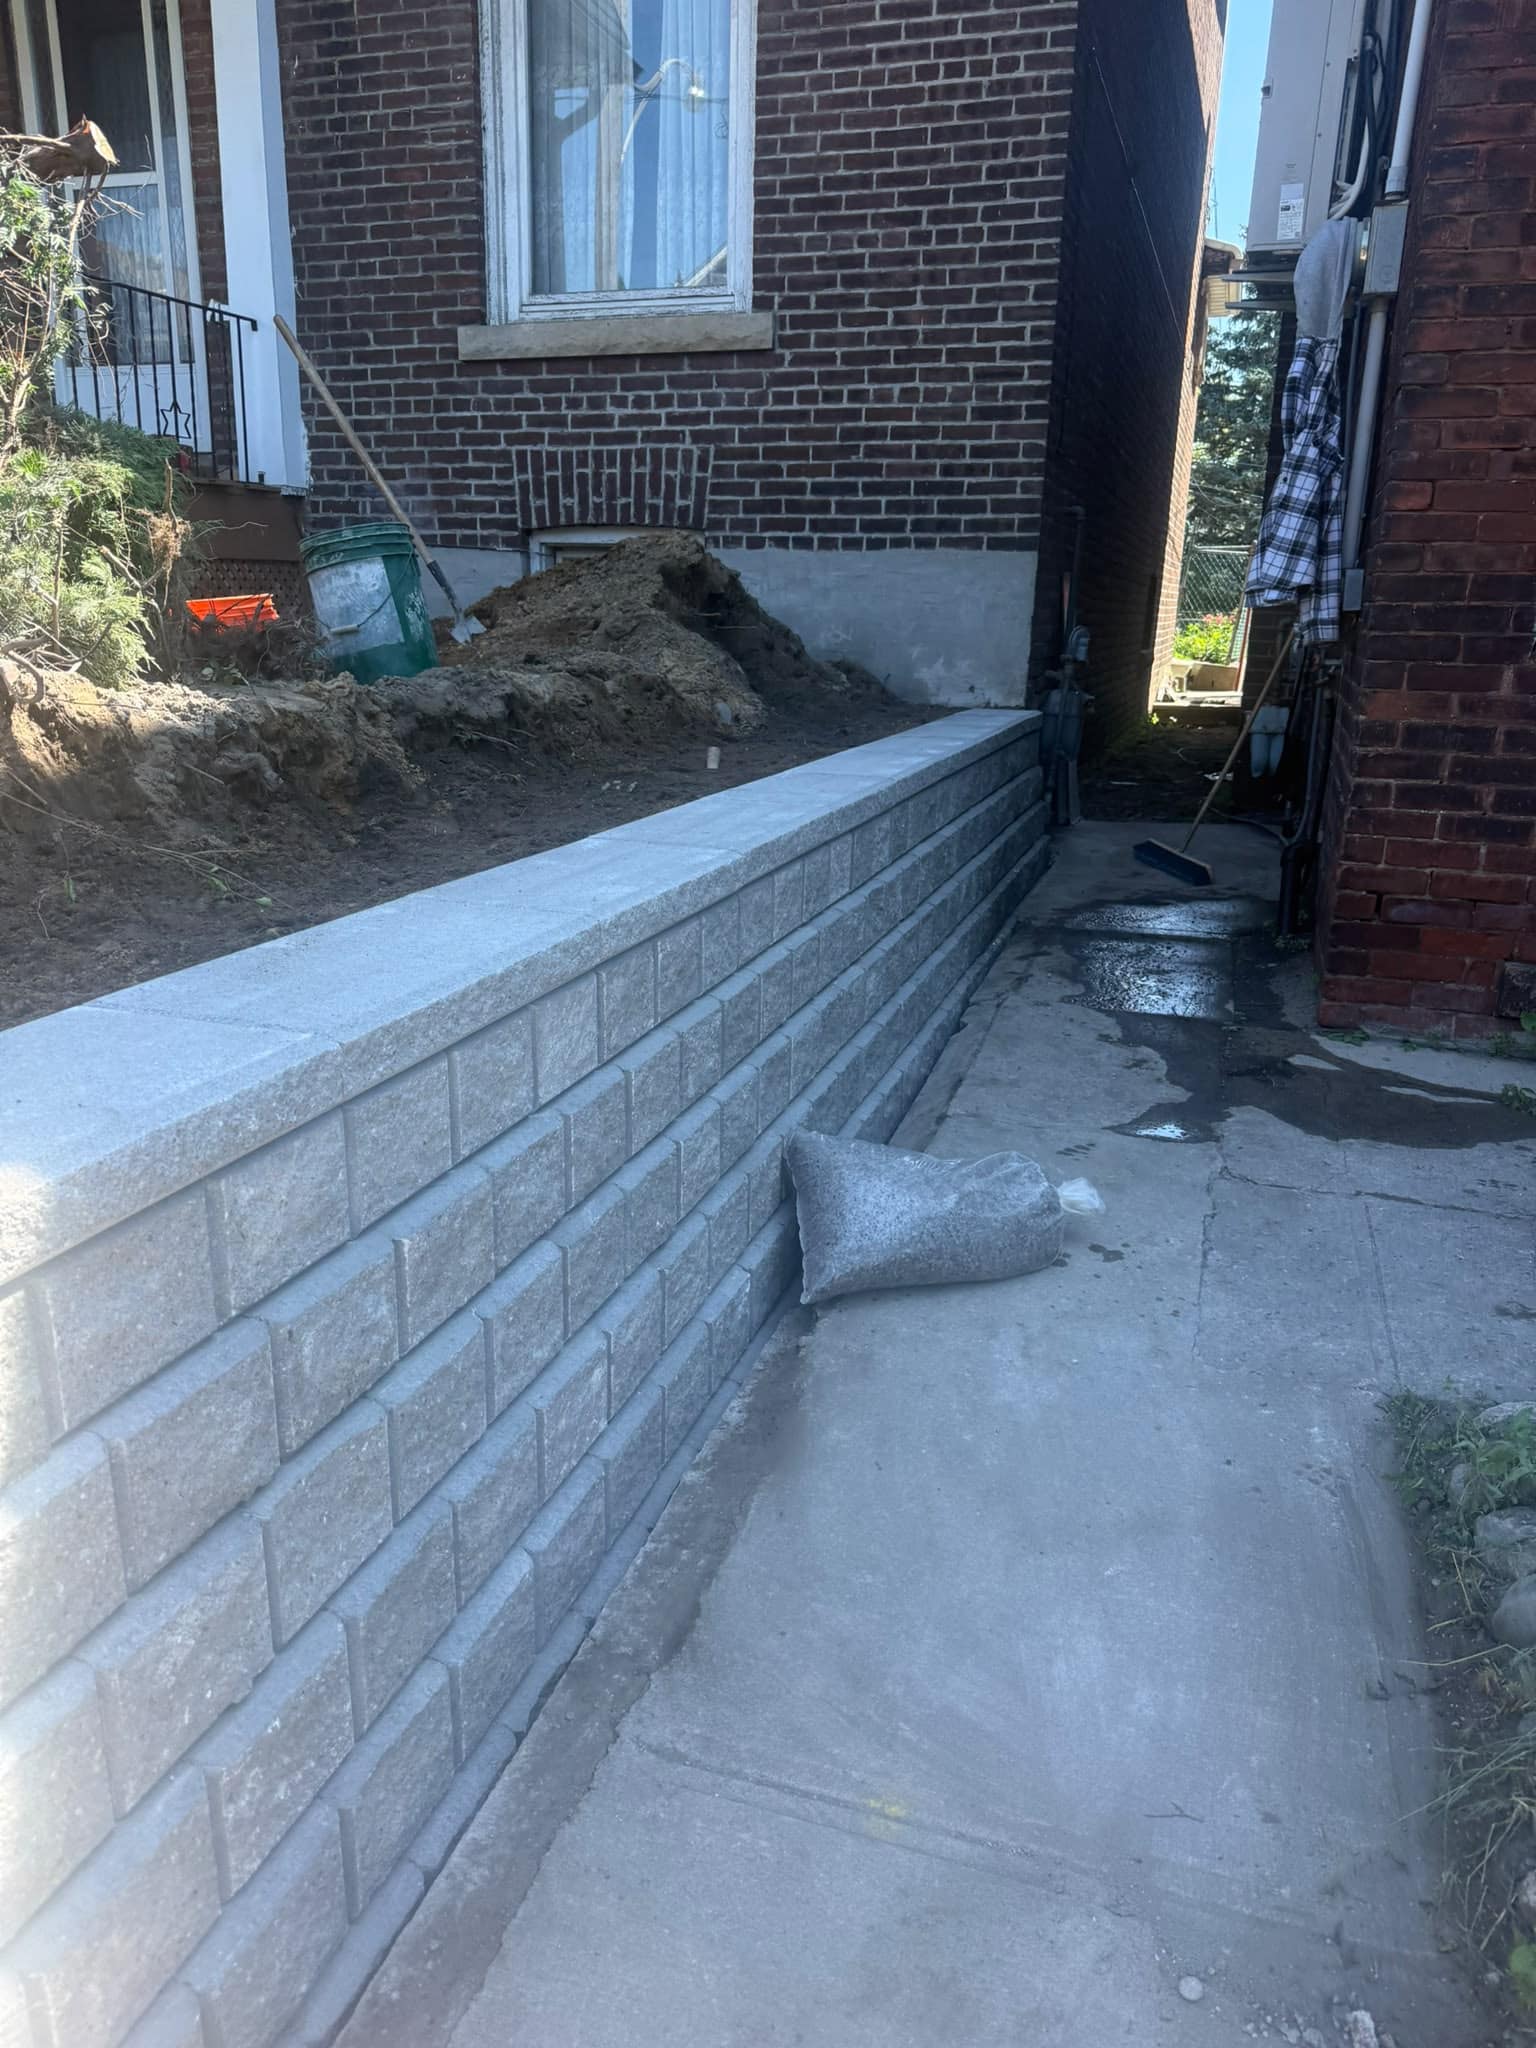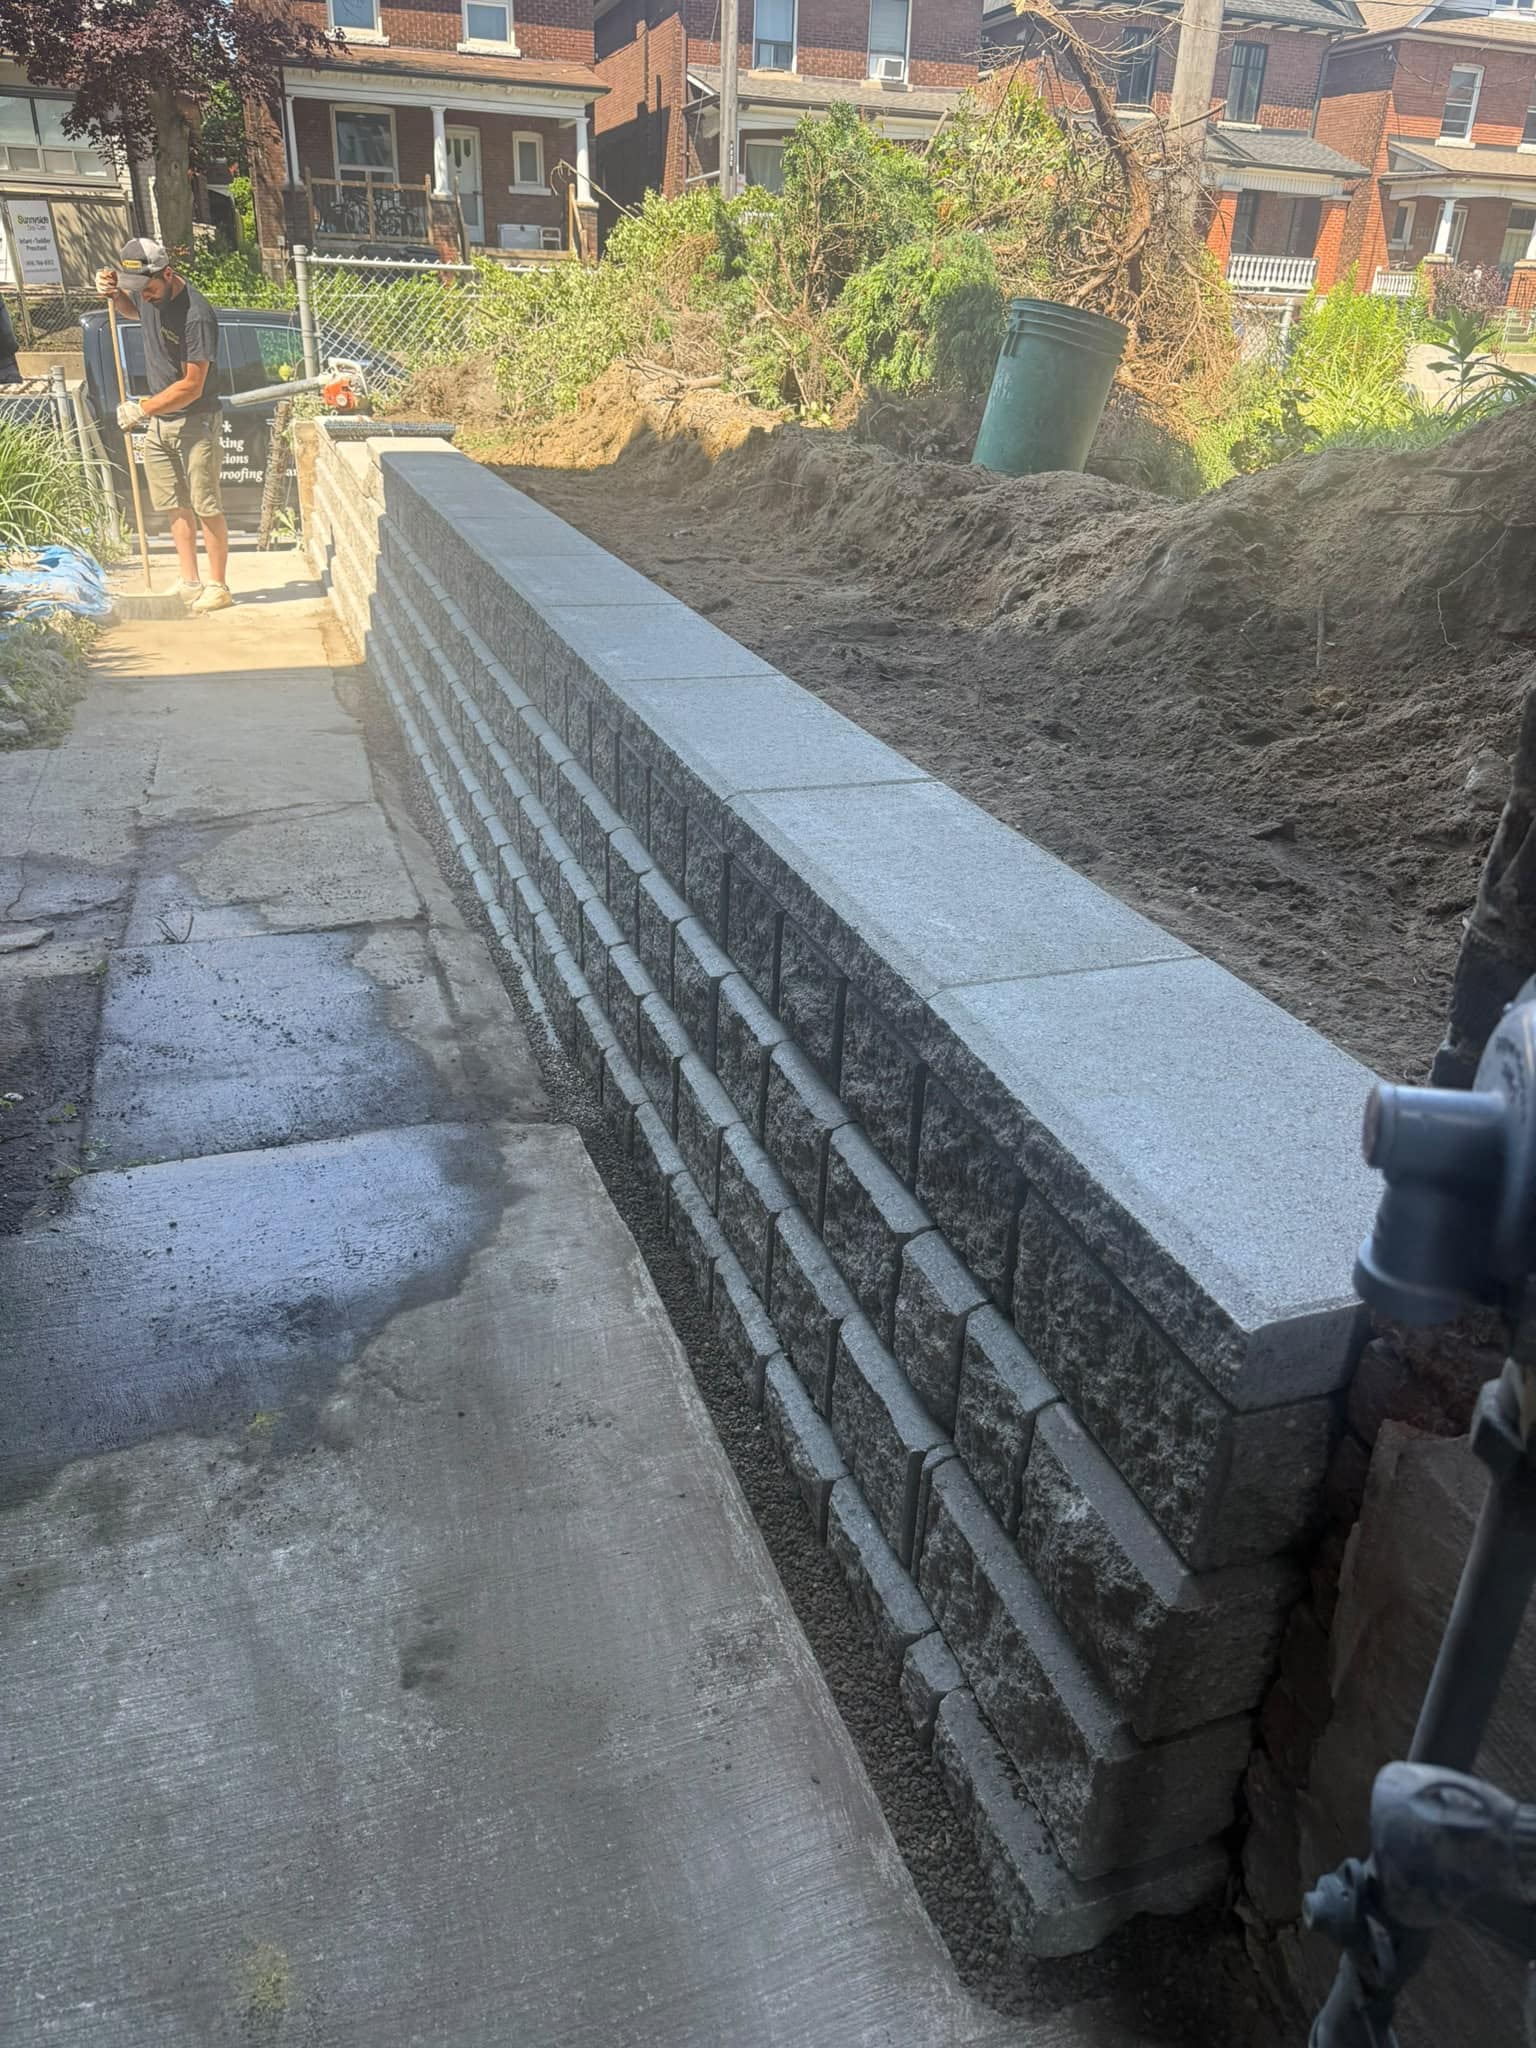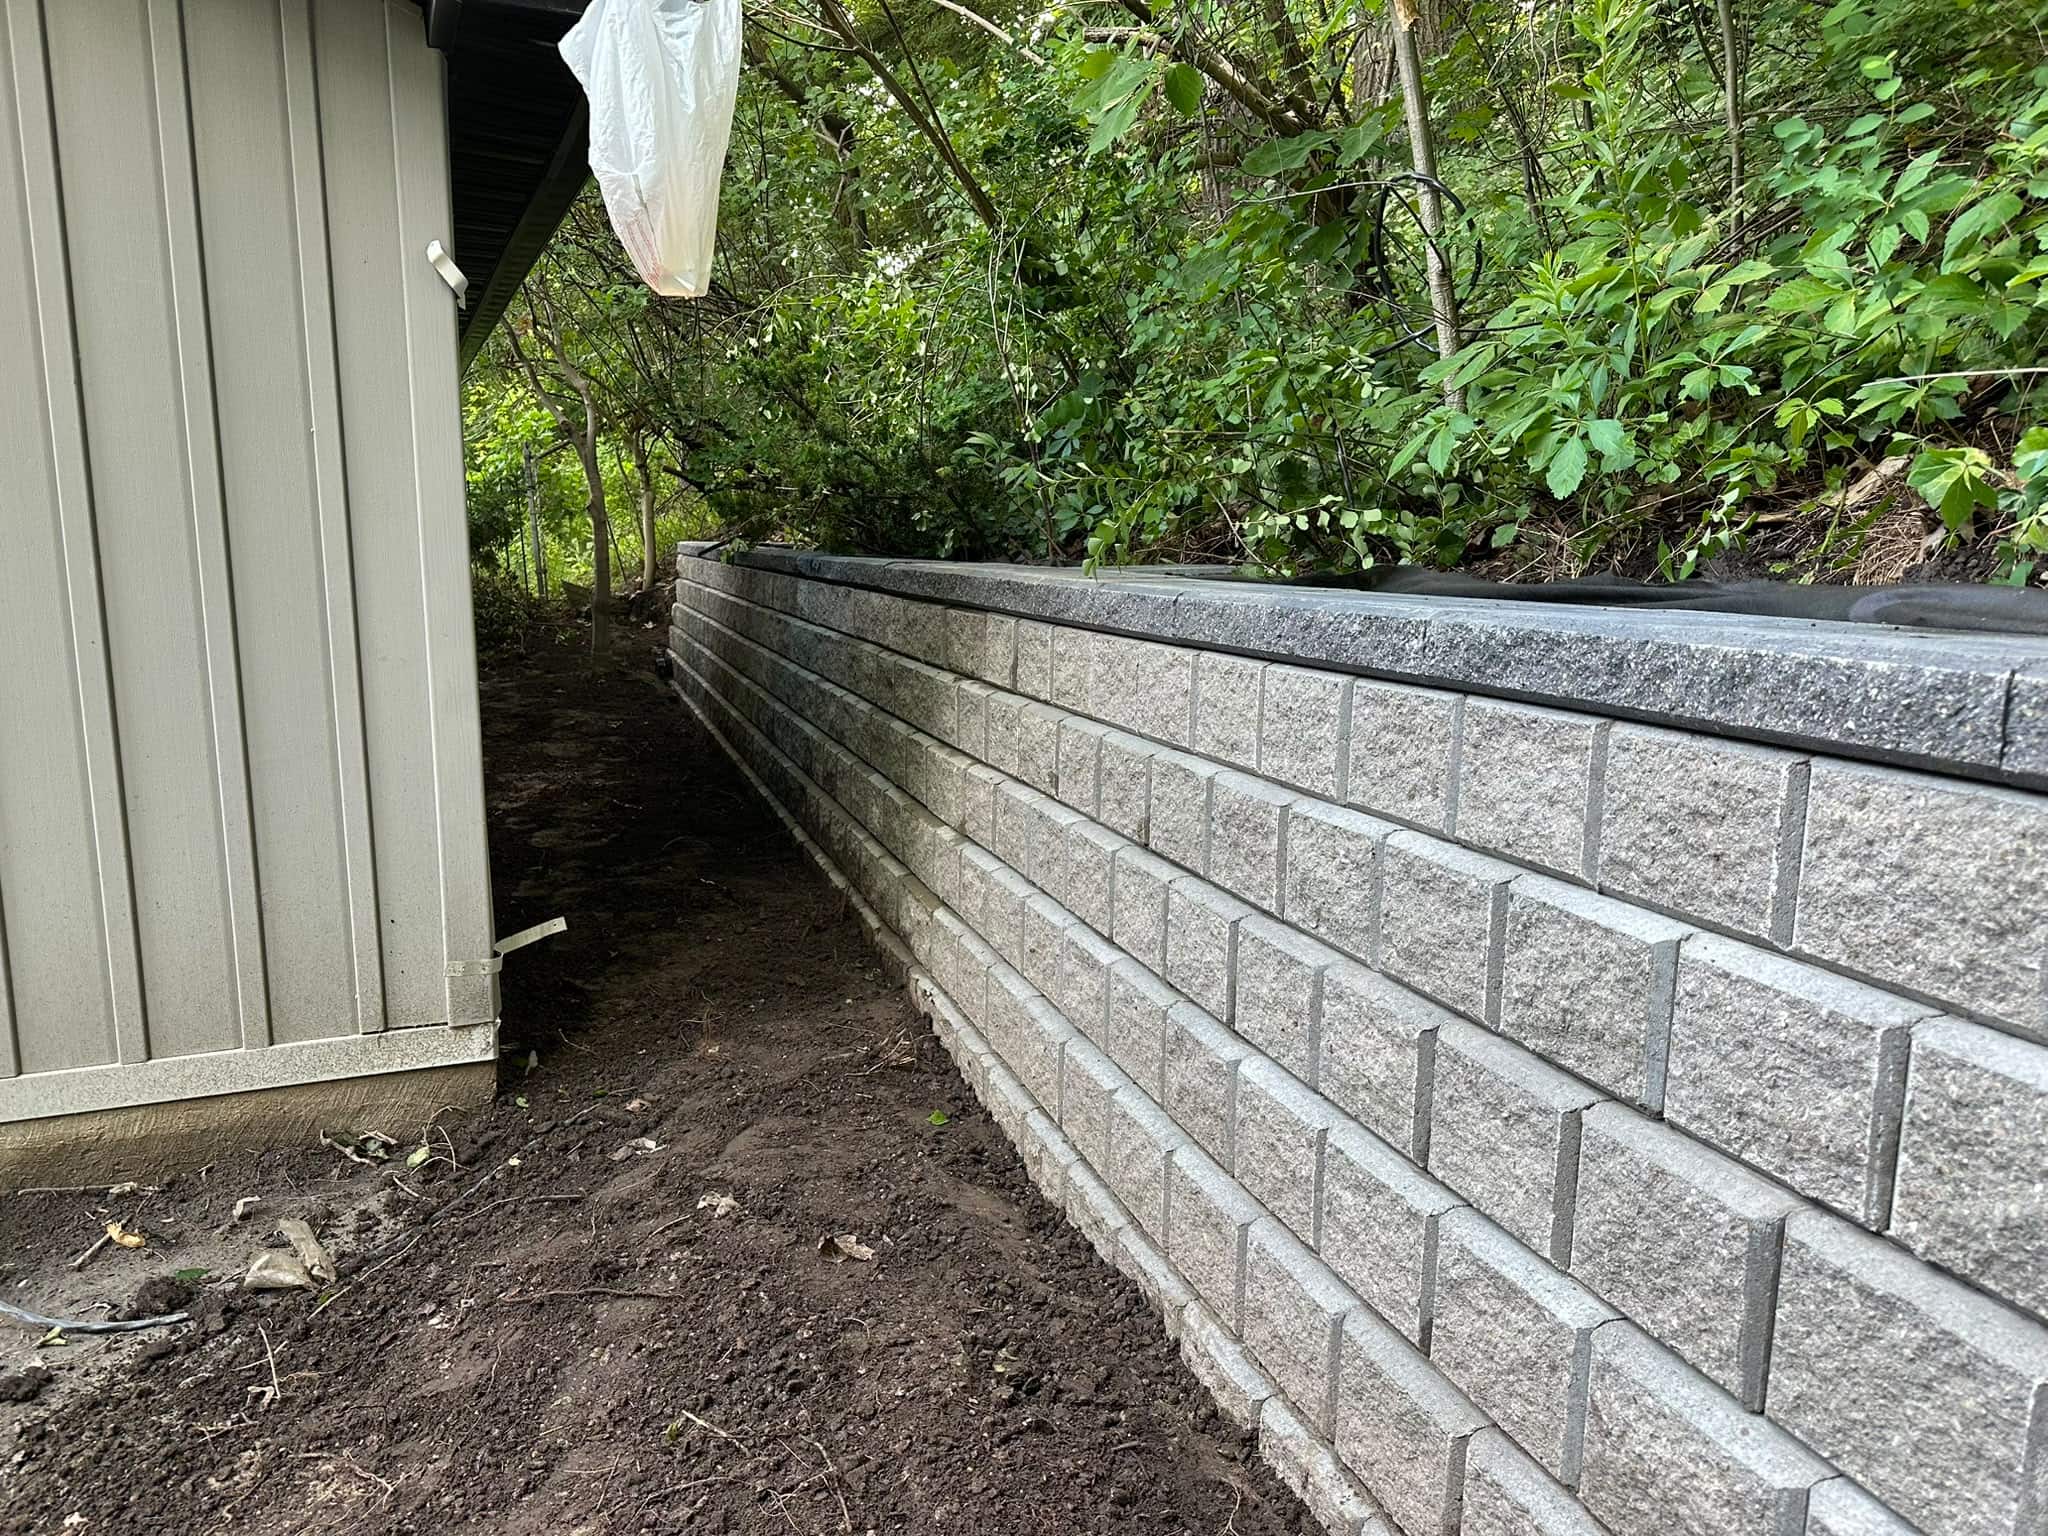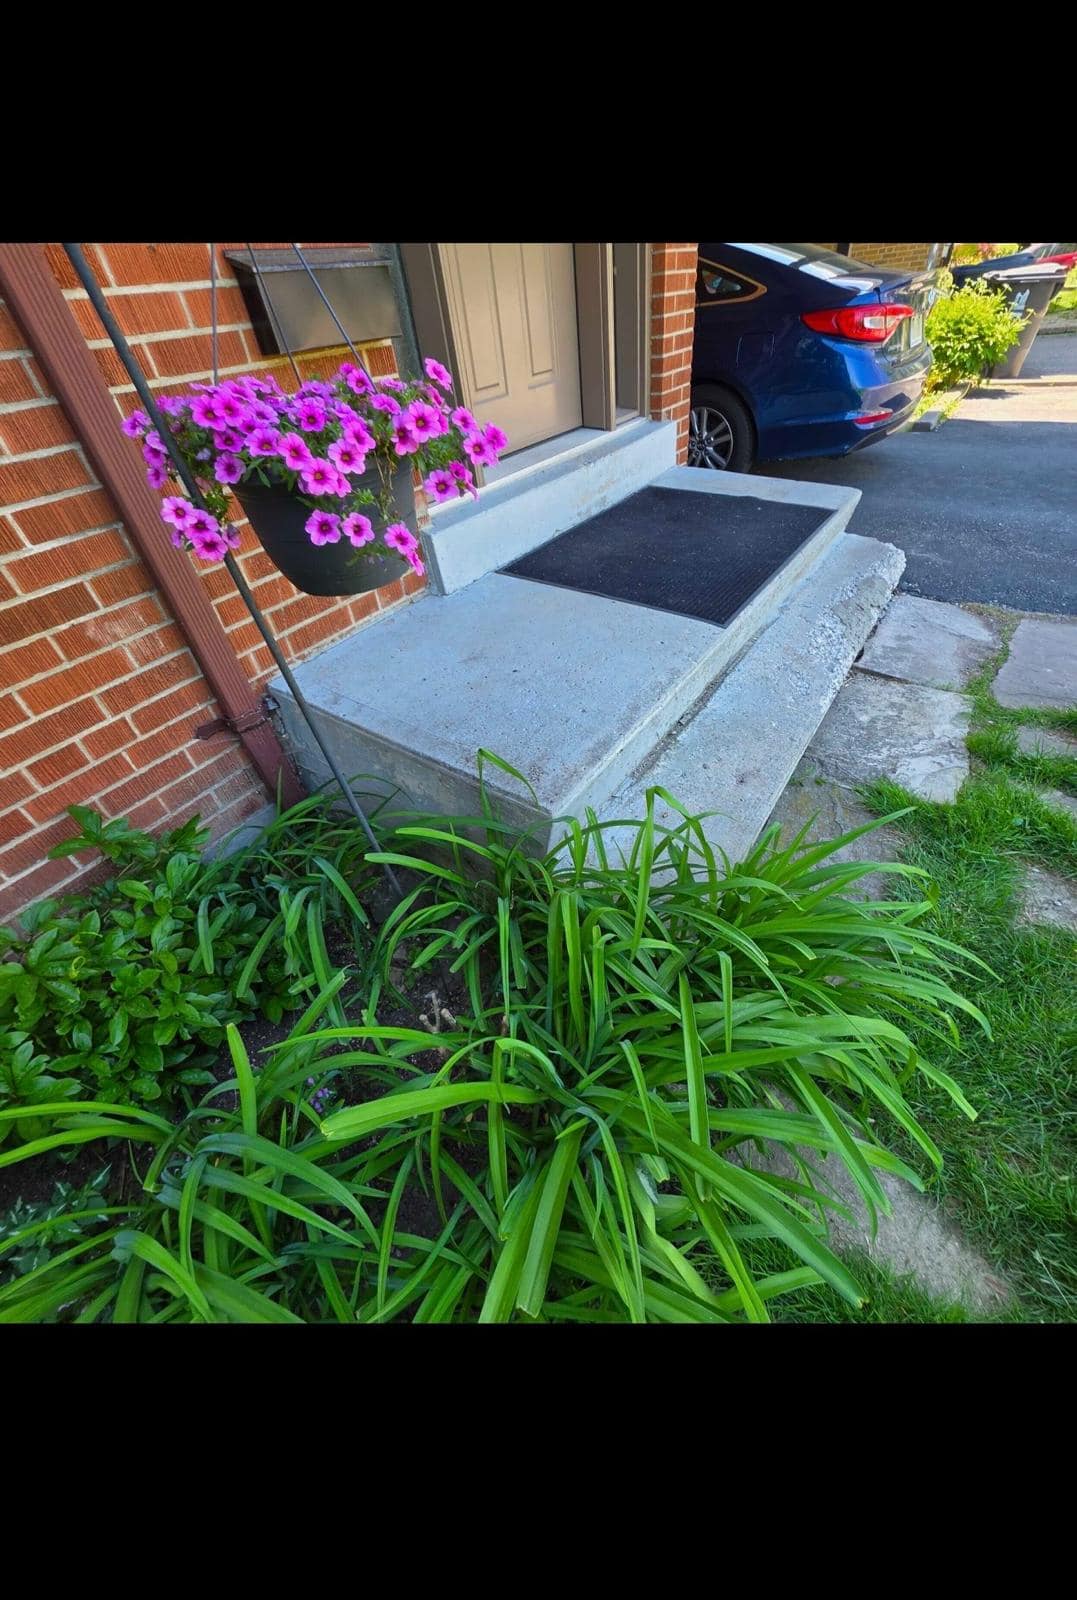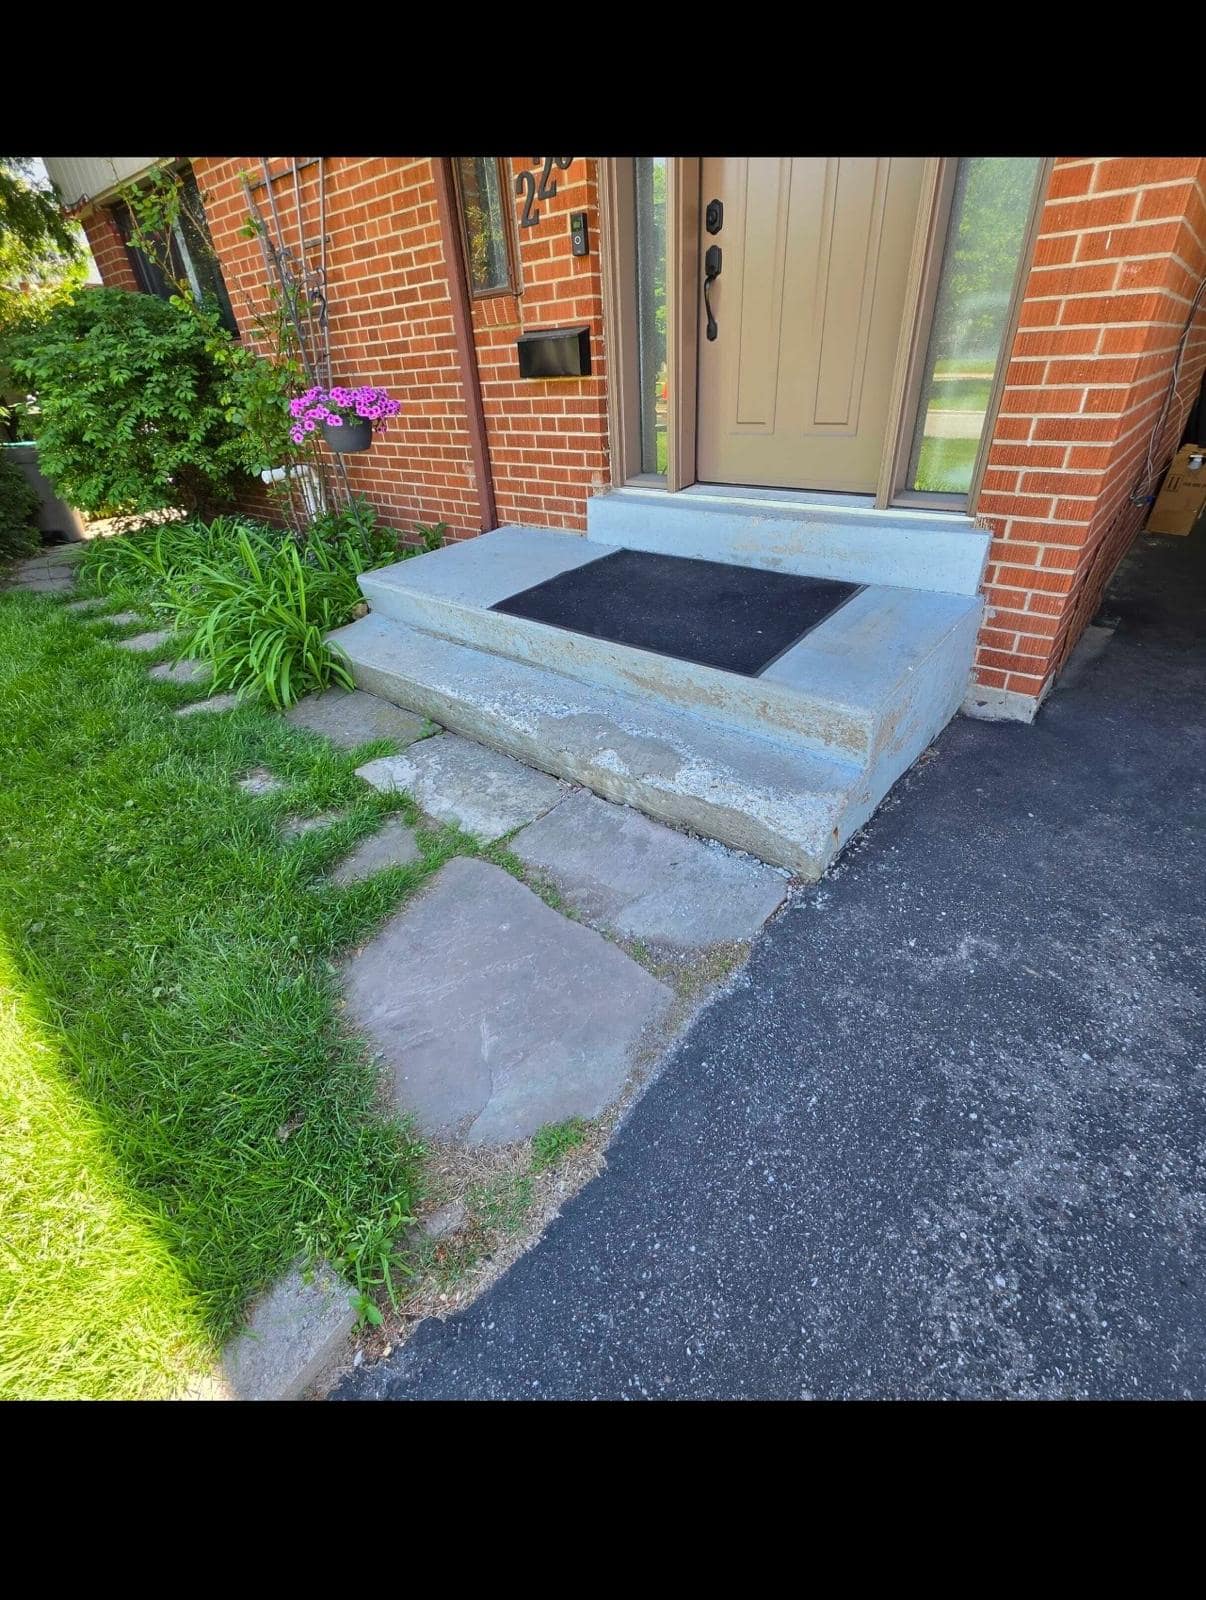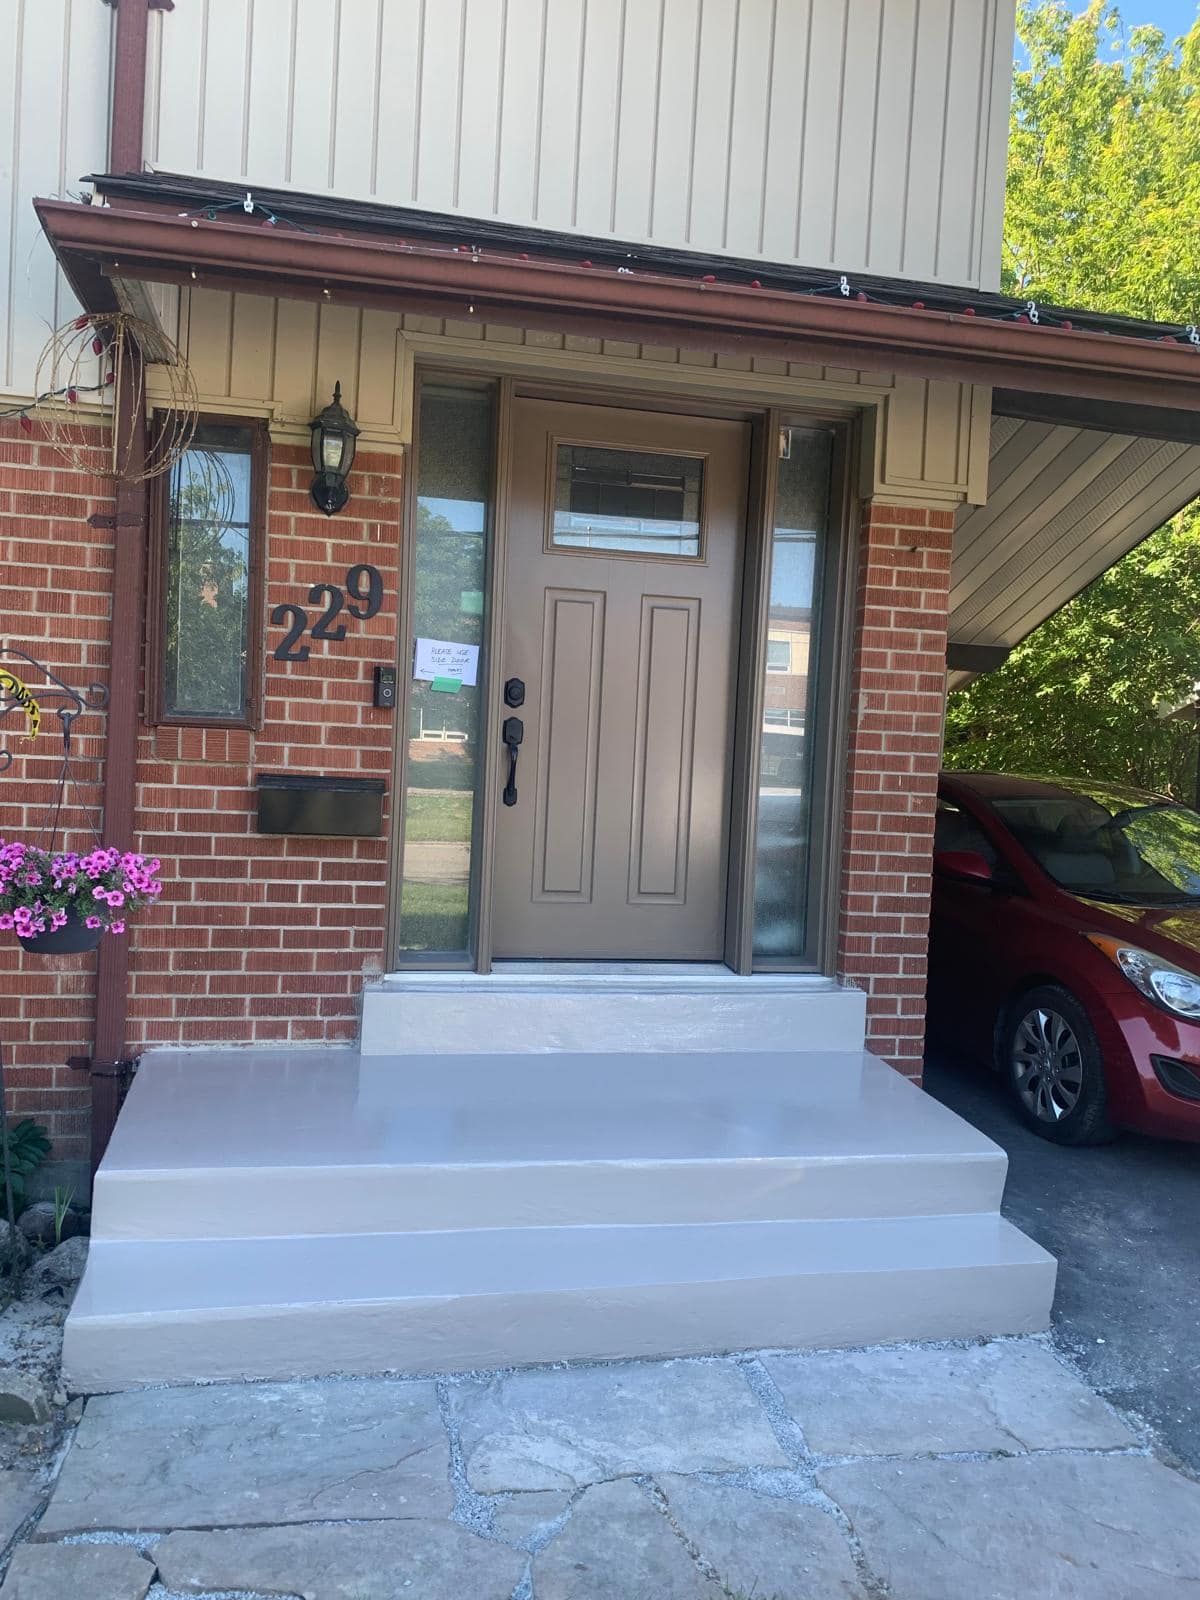

DIY masonry repairs can seem simple at first, but small mistakes can lead to cracked bricks, failed mortar joints, trapped moisture, uneven concrete, unsafe steps, and repairs that look worse after one winter. The most common mistakes happen when homeowners patch the visible problem without understanding why the masonry failed in the first place.
For Toronto and GTA homes, masonry repairs require extra care because brick, mortar, concrete, stone, chimneys, steps, and foundation areas face rain, snow, salt, and freeze-thaw cycles. A repair that looks fine in August can crack, flake, or separate by spring if you use the wrong material, method, or timing.
This guide explains the top mistakes in DIY masonry repairs, why they matter, what homeowners can safely handle themselves, and when professional help makes more sense.
For homeowners dealing with damage that goes beyond a simple maintenance issue, A&A Masonry’s masonry repair and restoration services cover brick, mortar, concrete, chimneys, stone and other exterior masonry problems across Toronto.
Mistake 1: Repairing the Surface Without Finding the Cause
The biggest DIY masonry repair mistake is fixing the surface without finding the cause. Cracked mortar, spalling brick, damp concrete, and stained walls usually happen for a reason. If the cause is still active, the repair may fail quickly.
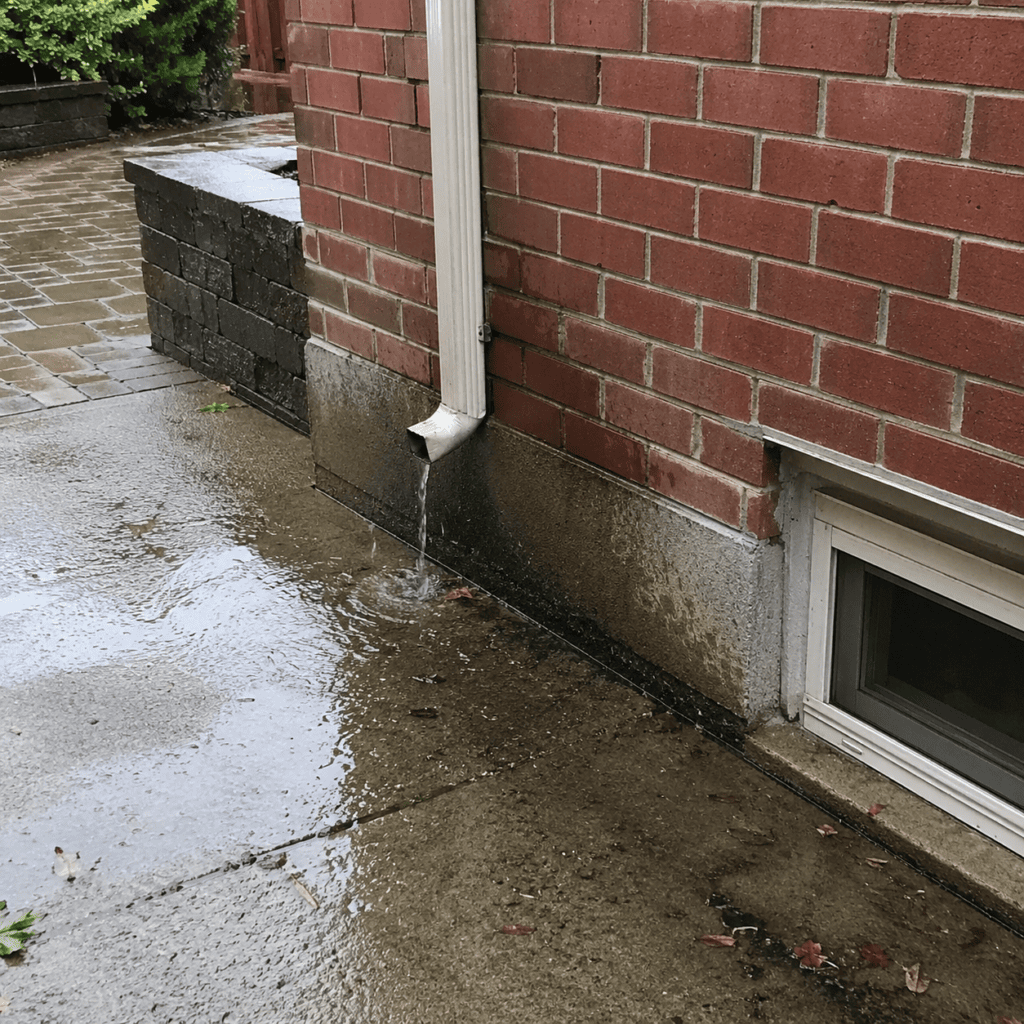
For example, a homeowner may patch a cracked brick wall, but the real issue is water from a short downspout soaking the lower wall. Another homeowner may fill a concrete crack, but the step is actually sinking because the base below it is unstable. A chimney may be repointed in one area, but water may still enter through a cracked crown or a missing cap.
Before repairing masonry, ask what caused the damage. Is water pooling nearby? Is the mortar old and crumbling? Is the concrete moving? Is there salt damage? Is the wall staying damp? These questions help separate a simple repair from a bigger moisture or movement problem.
If you are trying to identify the type of damage, A&A Masonry’s blog on common masonry repair issues in Toronto is a helpful starting point.
Mistake 2: Using the Wrong Mortar
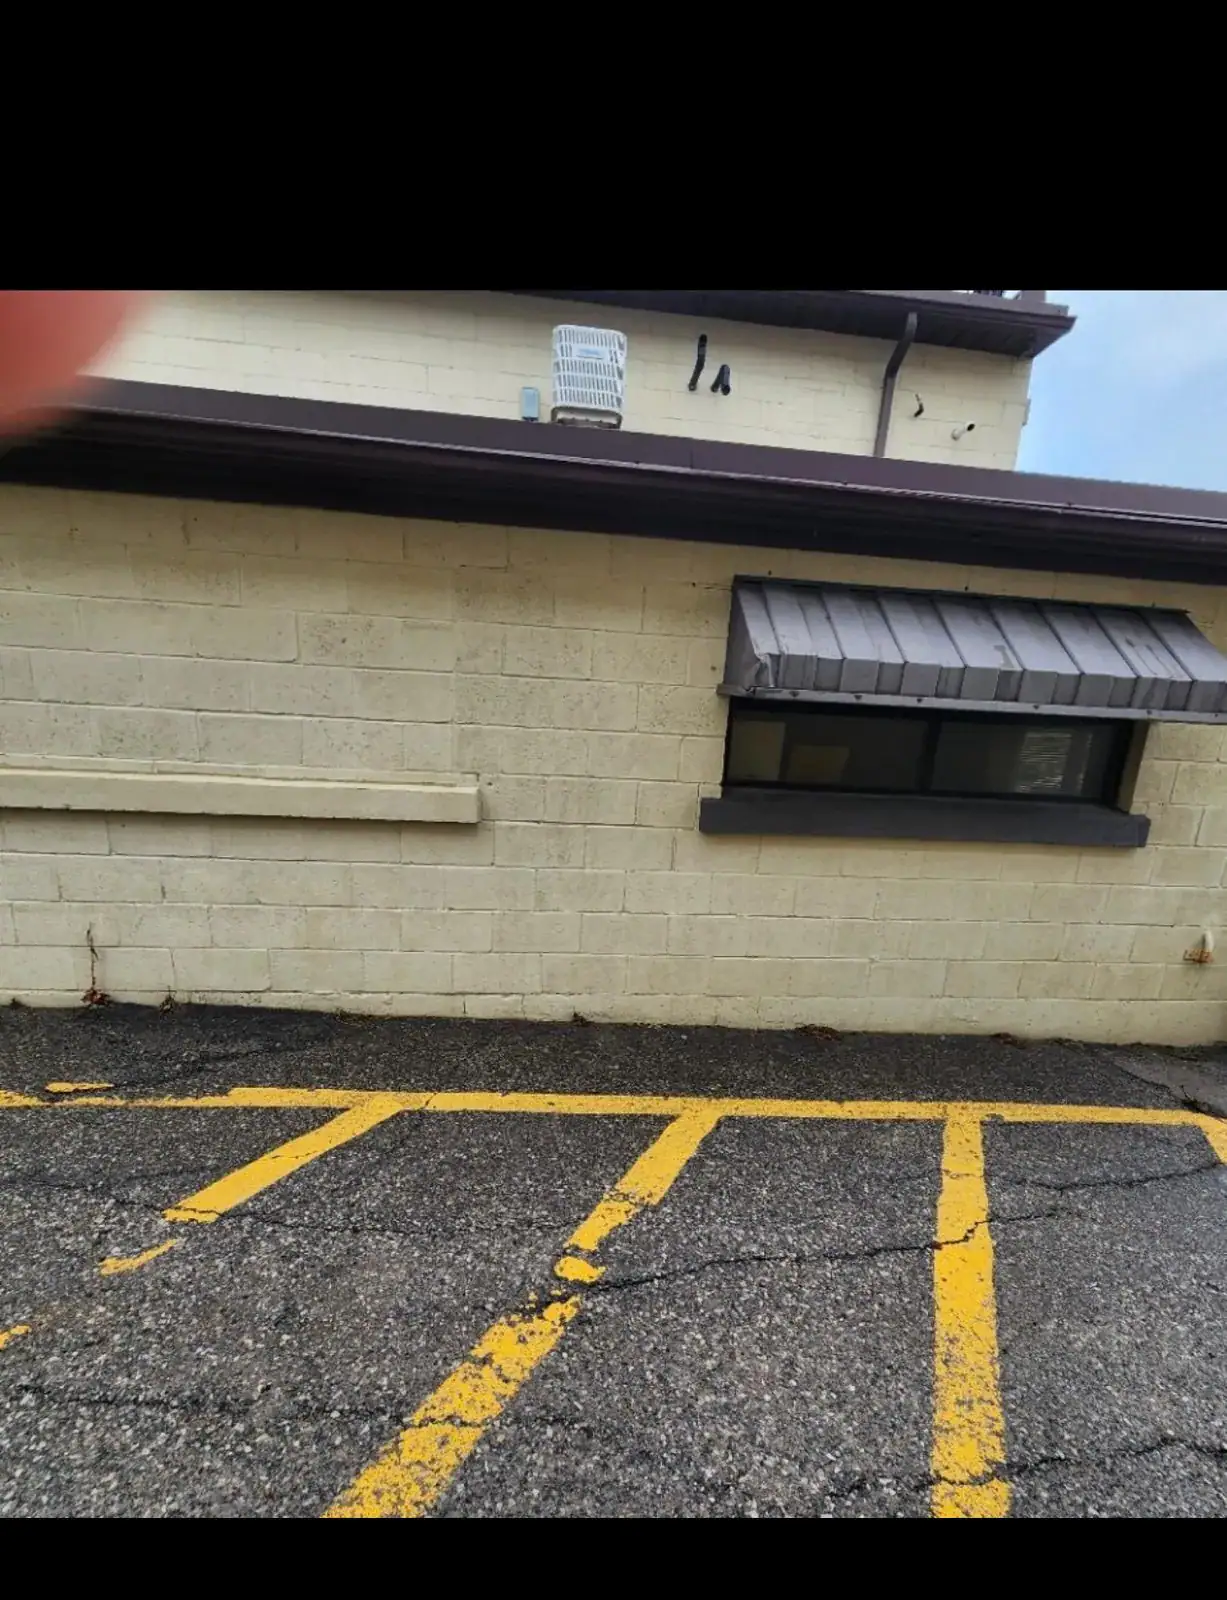
Using the wrong mortar is one of the most damaging DIY masonry mistakes, especially on older brick homes in Toronto. Mortar is not just filler between bricks. It helps support the wall, shed water, and allow the masonry system to move and breathe properly.
Many homeowners buy a pre-mixed bag and assume it will work for any brick repair. The problem is that older brick may be softer than modern brick. If the mortar is too hard, it can trap stress and moisture in the brick rather than in the joint. Over time, the brick face may crack, spall, or break apart.
Mortar colour and texture also matter. Even if the repair is technically solid, a poor match can stand out on a front wall, chimney, porch column, or visible facade. Mortar that is too smooth, too light, too dark, or too thick can make a repair look patched rather than restored.
For cracked or failing joints, A&A Masonry’s professional tuckpointing page explains why proper mortar removal, matching, and repointing matter for long-term masonry repair.
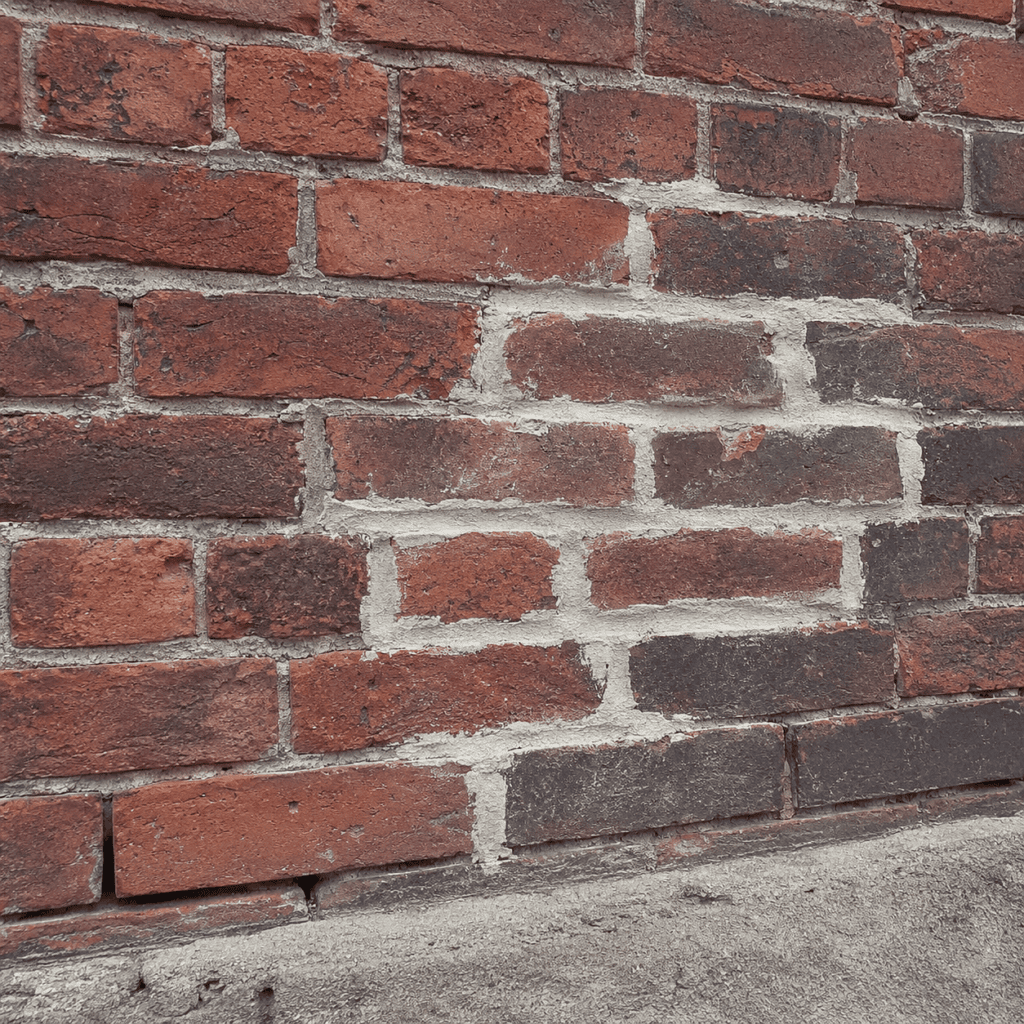
Mistake 3: Smearing Mortar Over Bad Joints
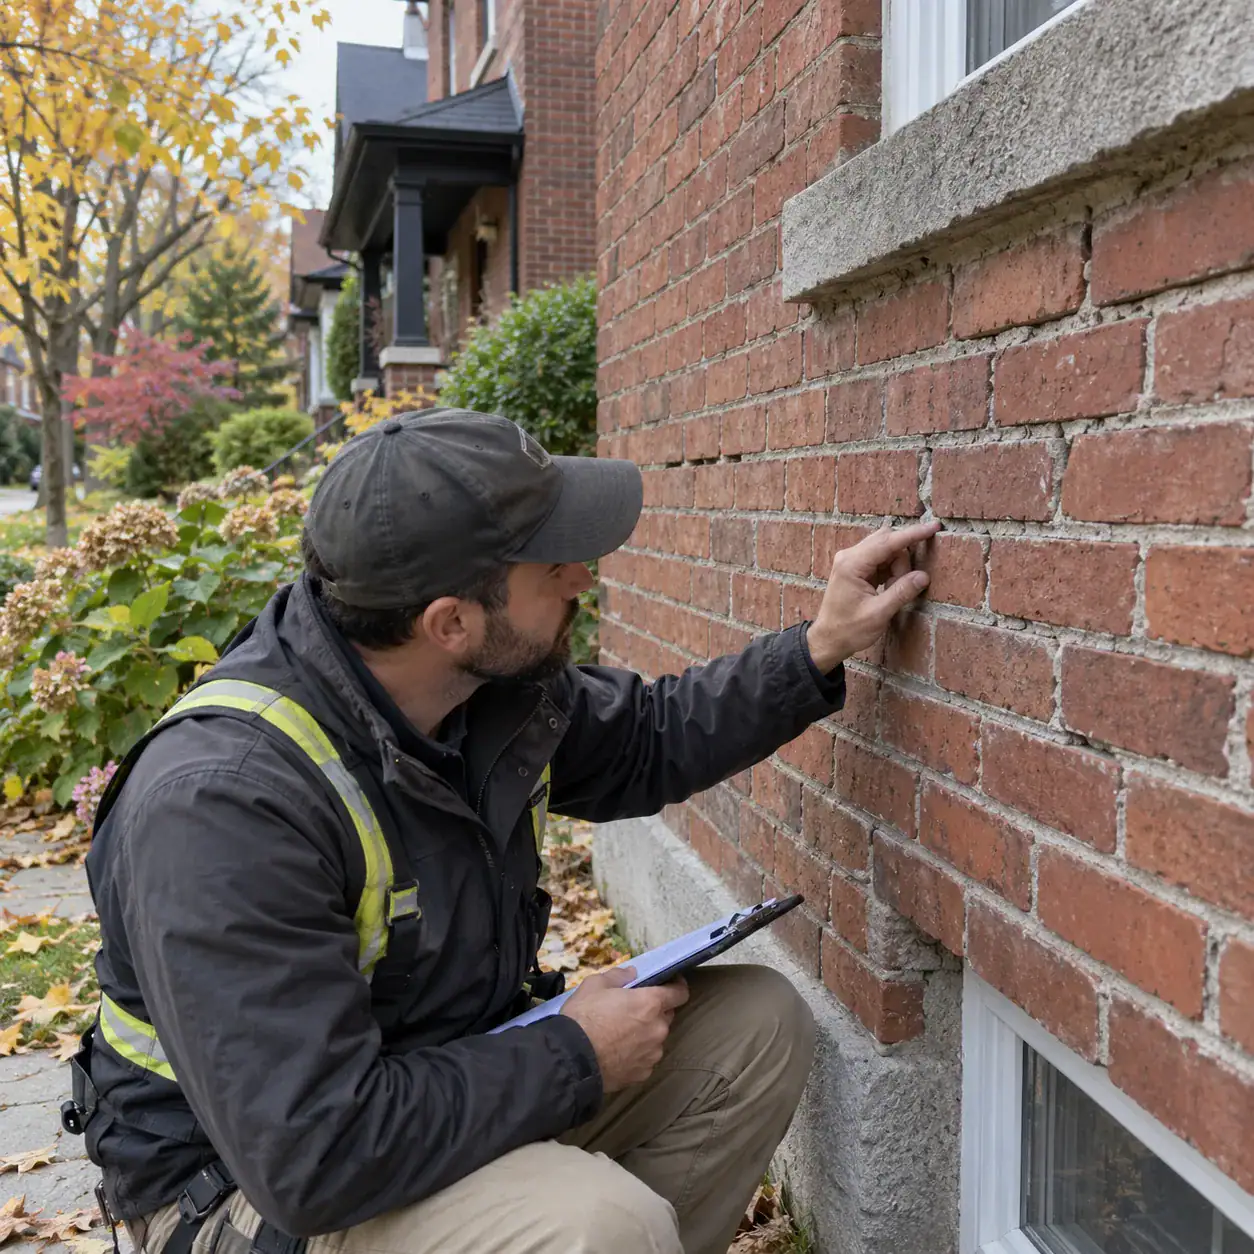
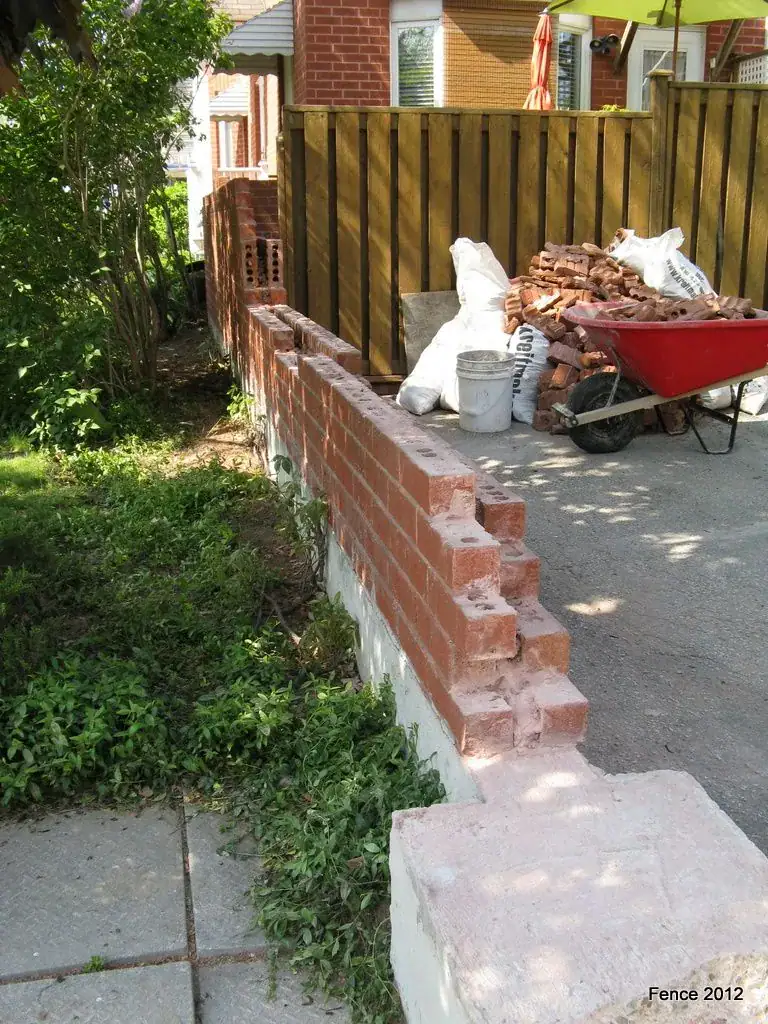
Smearing new mortar over old failing joints is a common shortcut, but it rarely creates a lasting repair. Mortar needs a clean, prepared joint to bond properly. If new mortar is spread thinly over loose, dusty, sandy, or shallow joints, it can crack and fall away.
This shortcut is sometimes called a face patch. It may briefly improve the appearance, but it does not restore the joint’s depth or strength. It can also trap moisture behind the surface if the old joint is already open or damp.
Proper tuckpointing usually involves removing failed mortar to a suitable depth, cleaning the joint, placing compatible new mortar, and finishing the joint to shed water. Skipping these steps may leave the wall just as vulnerable as before.
If the mortar is falling out, powdery, recessed, or cracked across several areas, a surface smear is not enough.
Mistake 4: Sealing Damaged Masonry Too Soon
Sealing damaged masonry too soon can trap moisture and make the problem worse. Masonry sealers can help in the right situation, but they should not be used over cracked mortar, spalling brick, damp walls, loose concrete, or active leaks.
Homeowners often want to seal brick or concrete before winter, hoping it will block water. But if water is already inside the wall or entering through open joints, sealing may lock in that moisture. Once temperatures drop, trapped water can freeze and expand, causing more damage.
The better order is usually repair first, correct drainage, allow the surface to dry, clean it properly, then consider a suitable breathable sealer if the material and location call for it.
A&A Masonry’s blog on masonry sealers explains when sealers can help, when they can hurt, and why breathability matters.
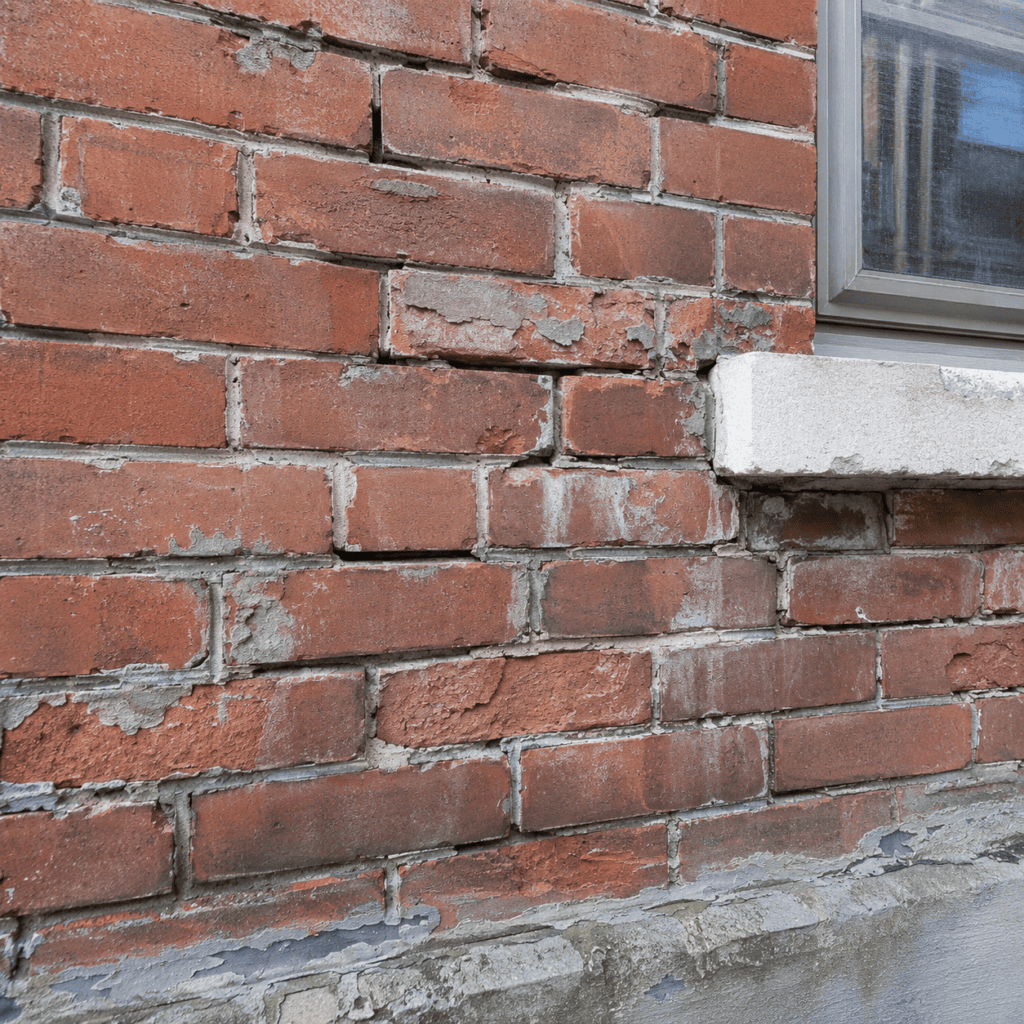
Mistake 5: Ignoring Drainage Around the Repair
Ignoring drainage around a masonry repair is one reason the problem keeps recurring. Water is often the real cause behind cracked mortar, spalling brick, efflorescence, damp foundations, and damaged concrete steps.
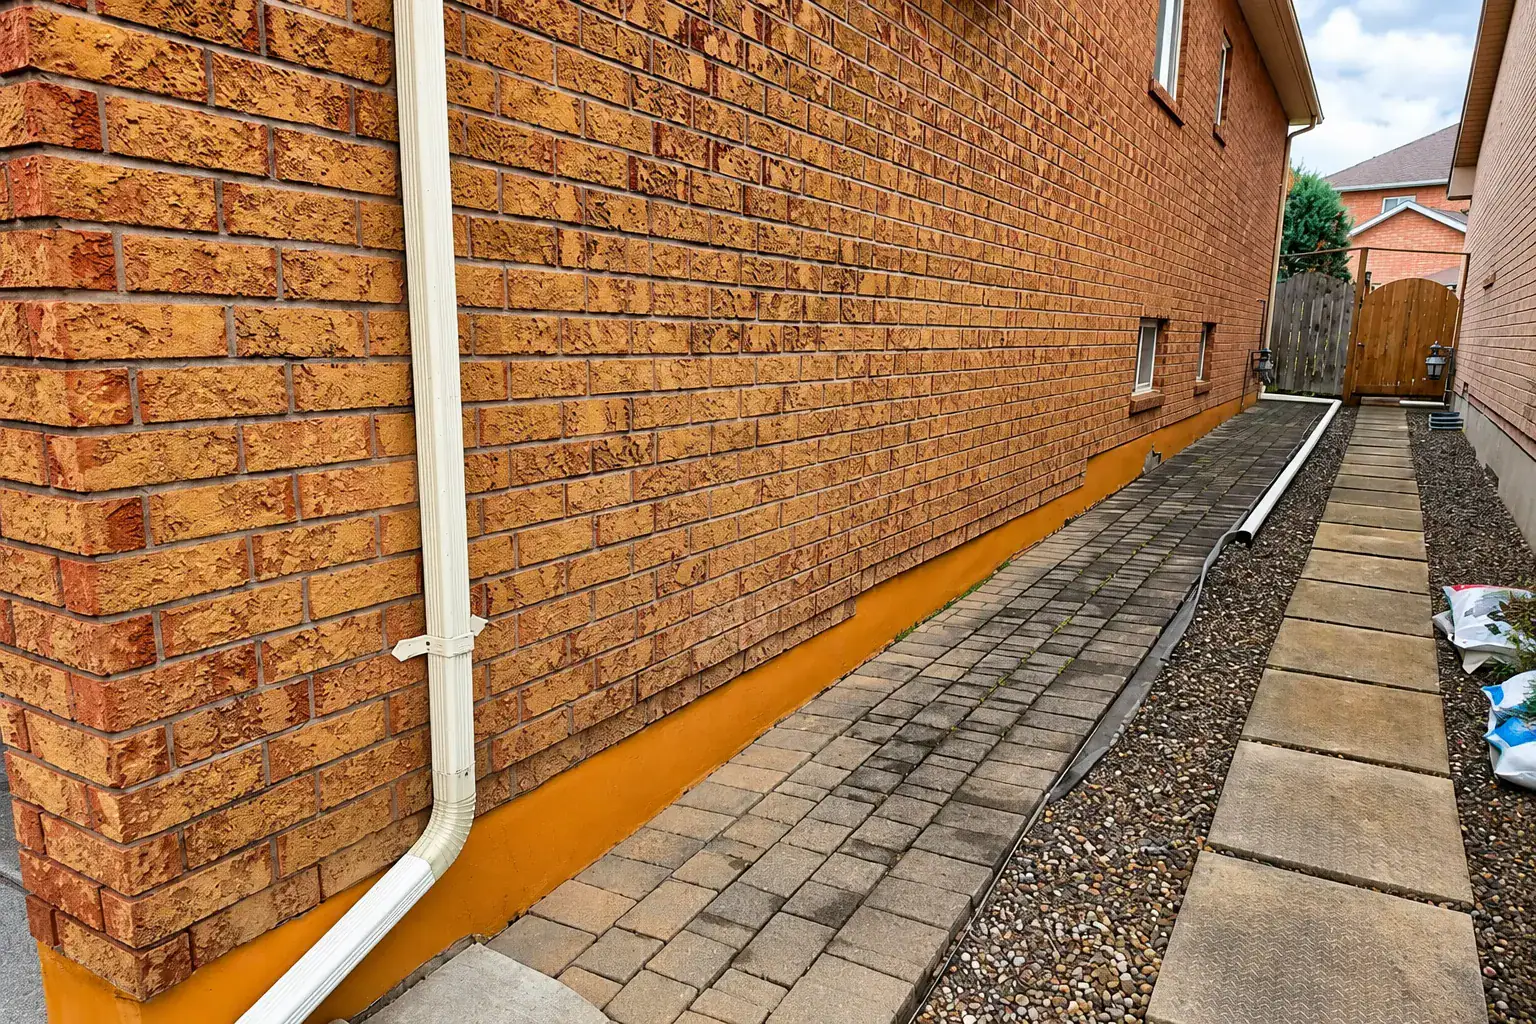
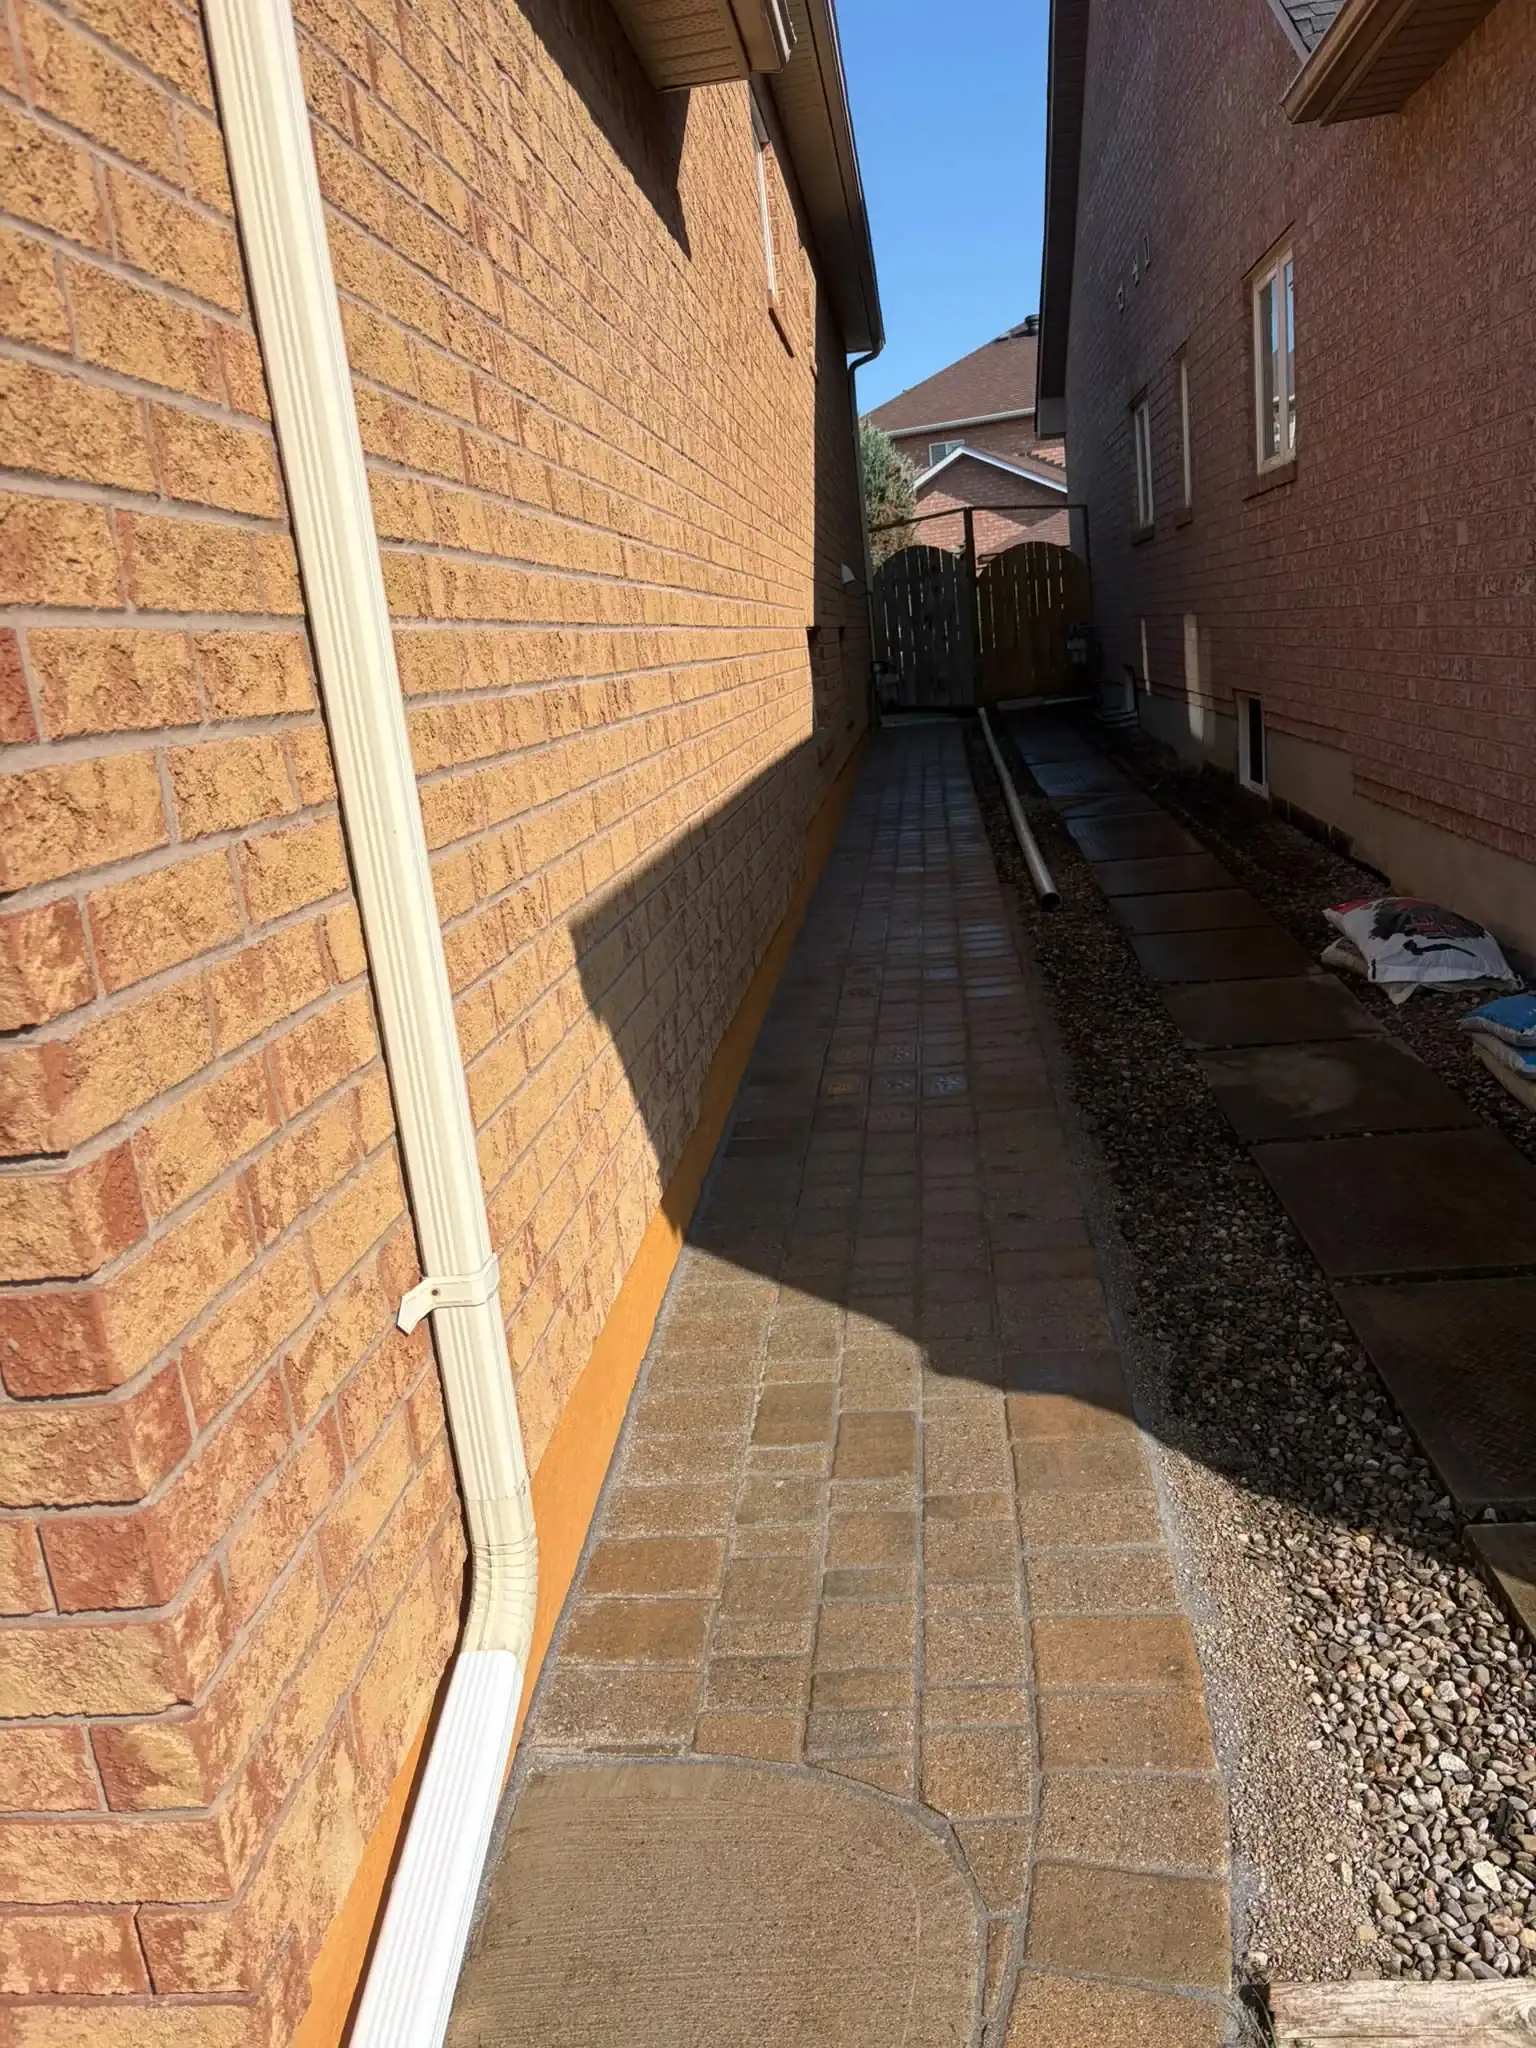
In Toronto homes, drainage issues can come from short downspouts, clogged gutters, soil sloping toward the foundation, walkways pitched toward the home, window wells full of debris, or patios that hold water. If these issues are not corrected, masonry repairs may fail even when the patch itself was done carefully.
The City of Toronto provides homeowner guidance on managing rain and melted snow. This is useful for masonry because controlling water around the home helps reduce recurring moisture damage.
If damp walls, basement leaks, or foundation moisture are part of the problem, A&A Masonry’s waterproofing Toronto page explains why exterior water management may need to be part of the repair plan.
Mistake 6: Pressure Washing Old Brick
Pressure washing old brick can damage the surface, force water into the wall, and weaken mortar joints. It may seem like a quick way to clean stains before repair, but older masonry can be more fragile than it looks.
High pressure can remove the hard outer face of softer brick. Once that face is damaged, the brick may absorb more water and become more vulnerable to freeze-thaw damage. Pressure washing can also drive water behind the wall, especially where mortar joints are already open.
Cleaning should match the masonry’s age and condition. Soft brushing, gentle water cleaning, low-pressure methods, and careful testing are often safer for older brick. Aggressive cleaning should be avoided unless the material is known to handle it.
If the goal is to clean older or stained brick, the cleaning method should be chosen before any repair or sealing work begins.
Mistake 7: Using Paint or Coating to Hide Problems
Using paint or coating to hide masonry damage can create bigger moisture problems. Paint may cover stains, cracks, and mismatched repairs, but it does not fix open joints, damaged brick, or water entry.
Some coatings can trap moisture inside the masonry. When trapped moisture freezes, it can push off the brick face, cause peeling, or lead to more spalling. This is especially risky on older brick walls that were designed to release moisture.
Painting may make sense in some specific exterior design situations, but it should not be used as a repair shortcut. If the wall is cracked, damp, spalling, or showing efflorescence, the cause should be handled first.
If the brick itself is cracked, loose, or damaged, A&A Masonry’s brick repair Toronto page explains common repair options before cosmetic updates are considered.
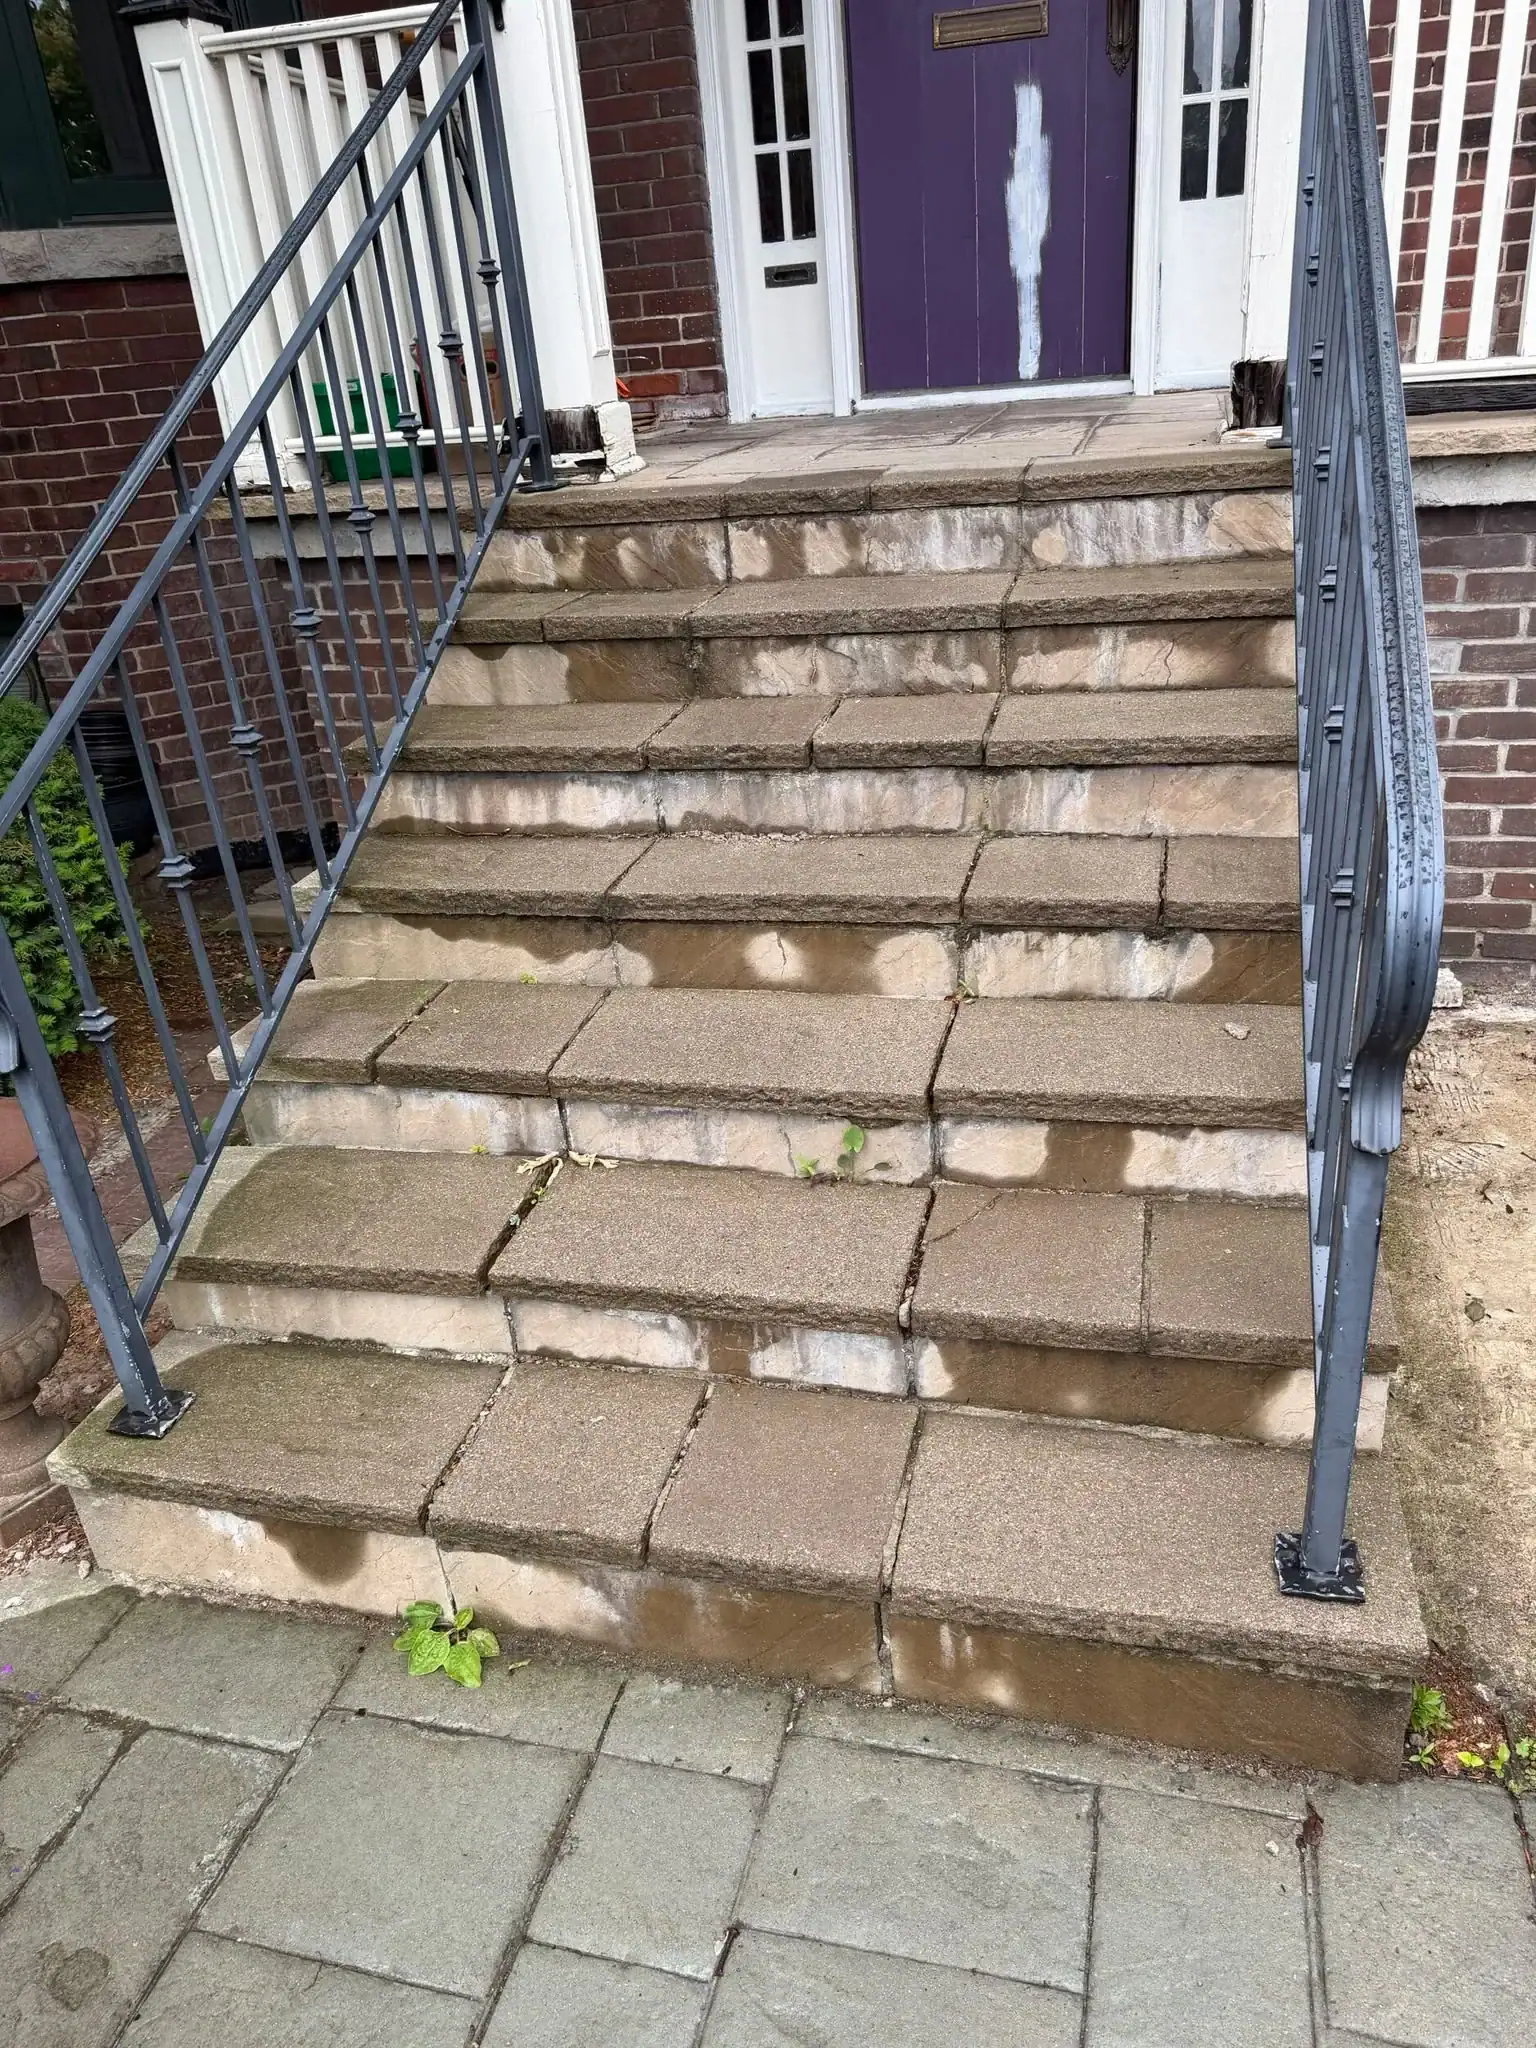
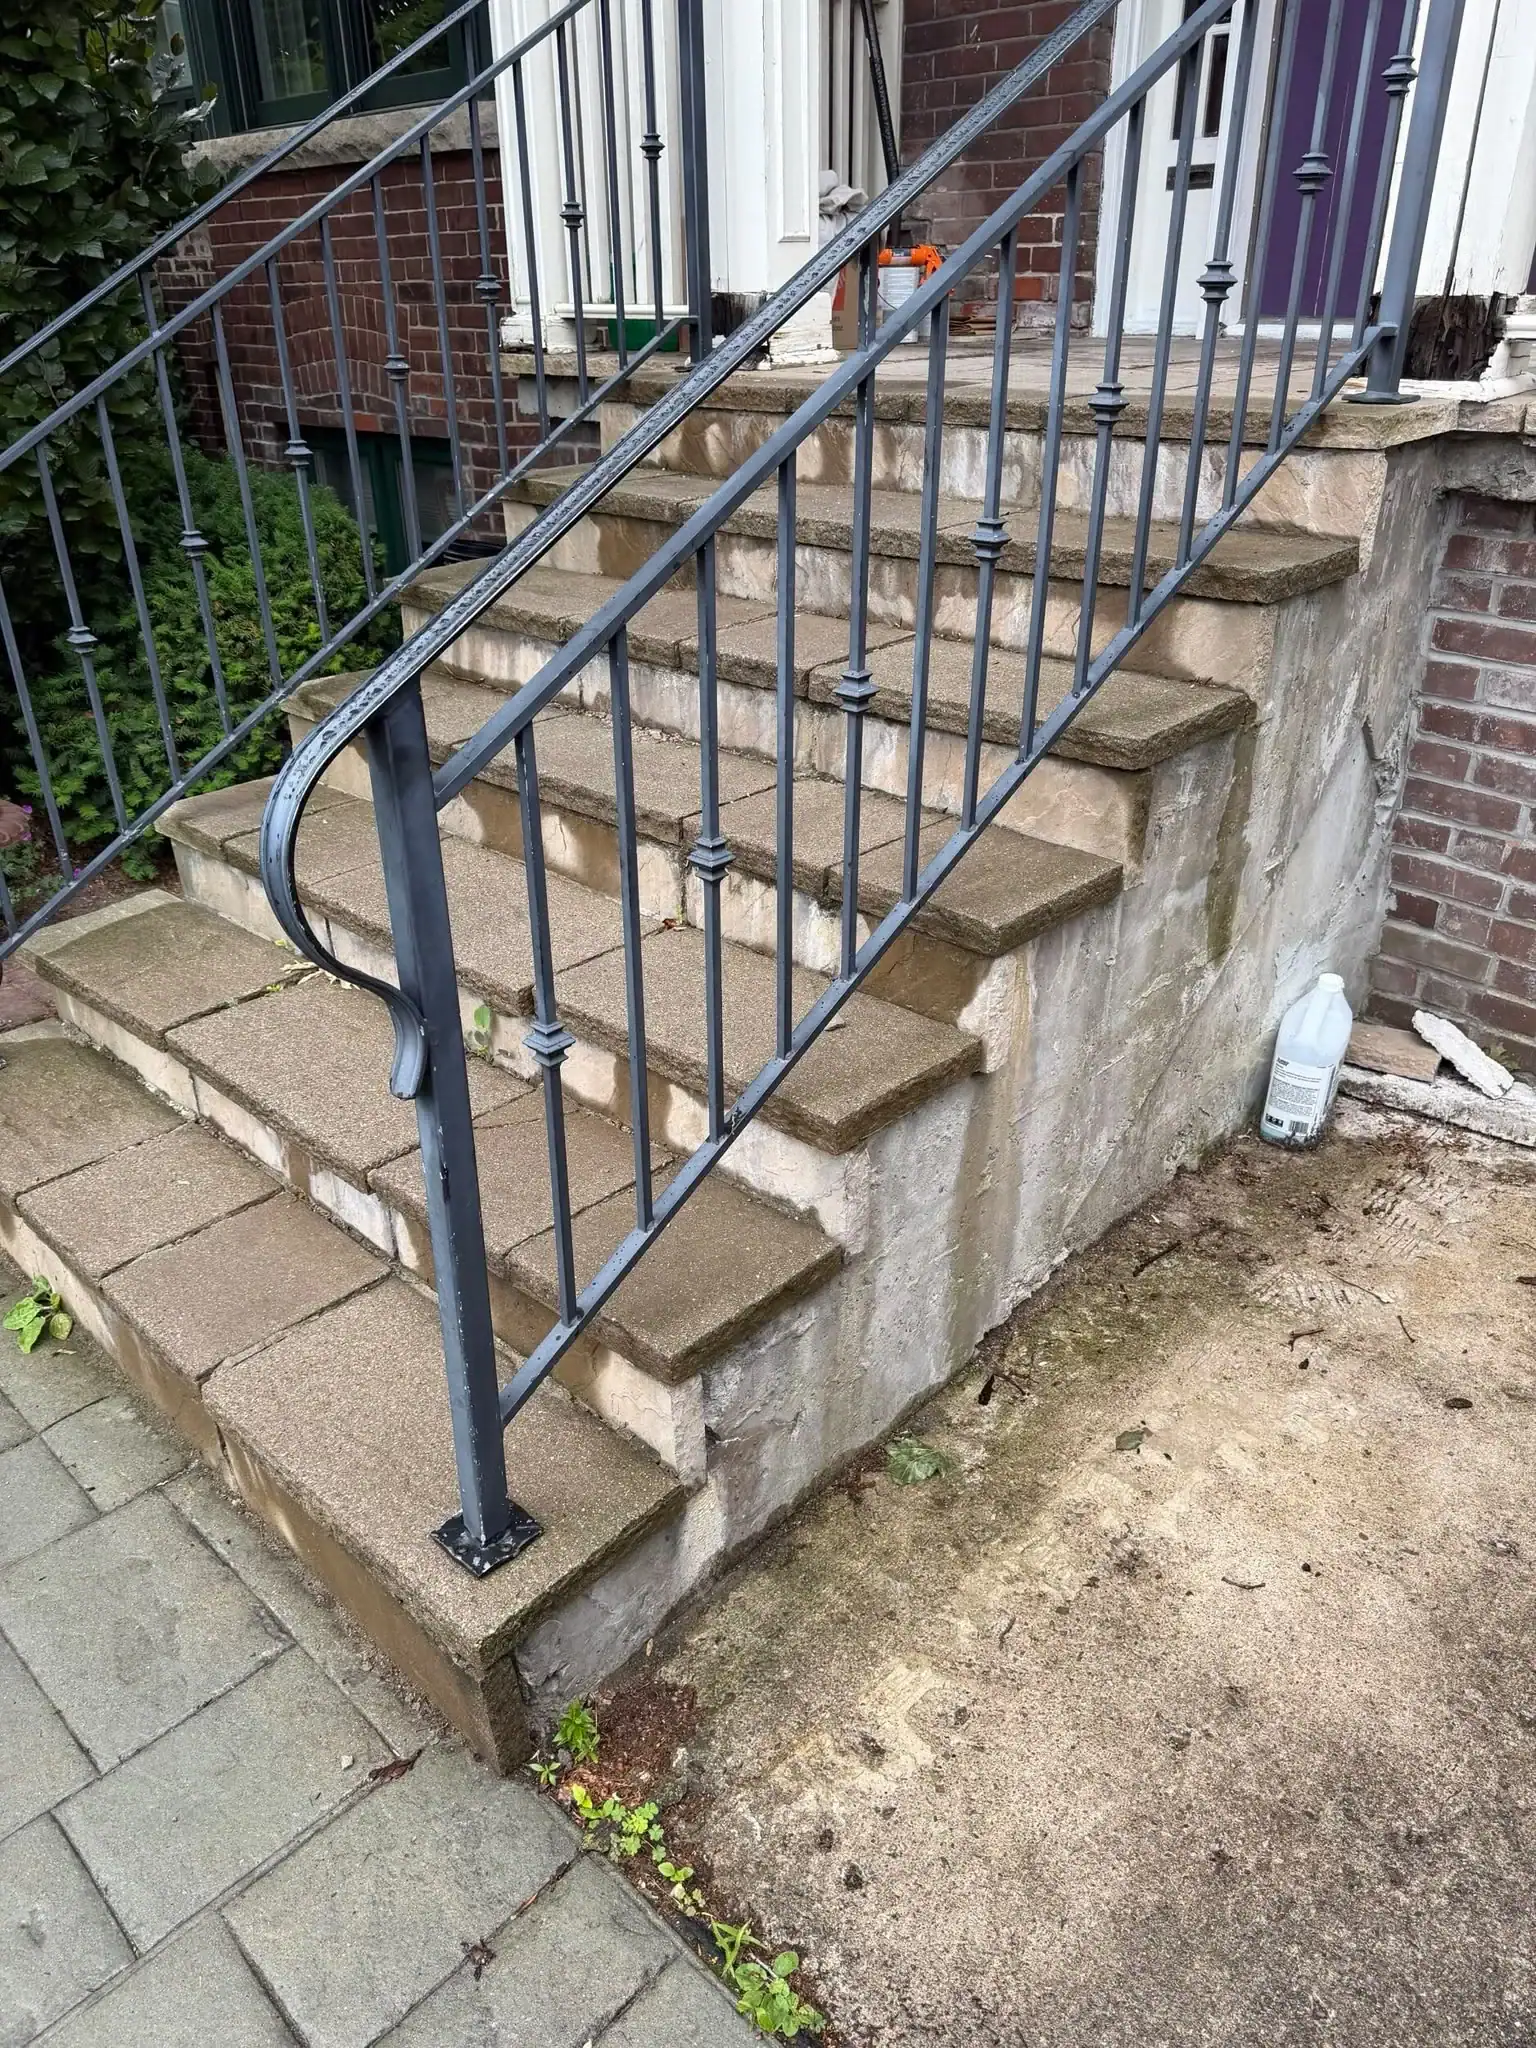
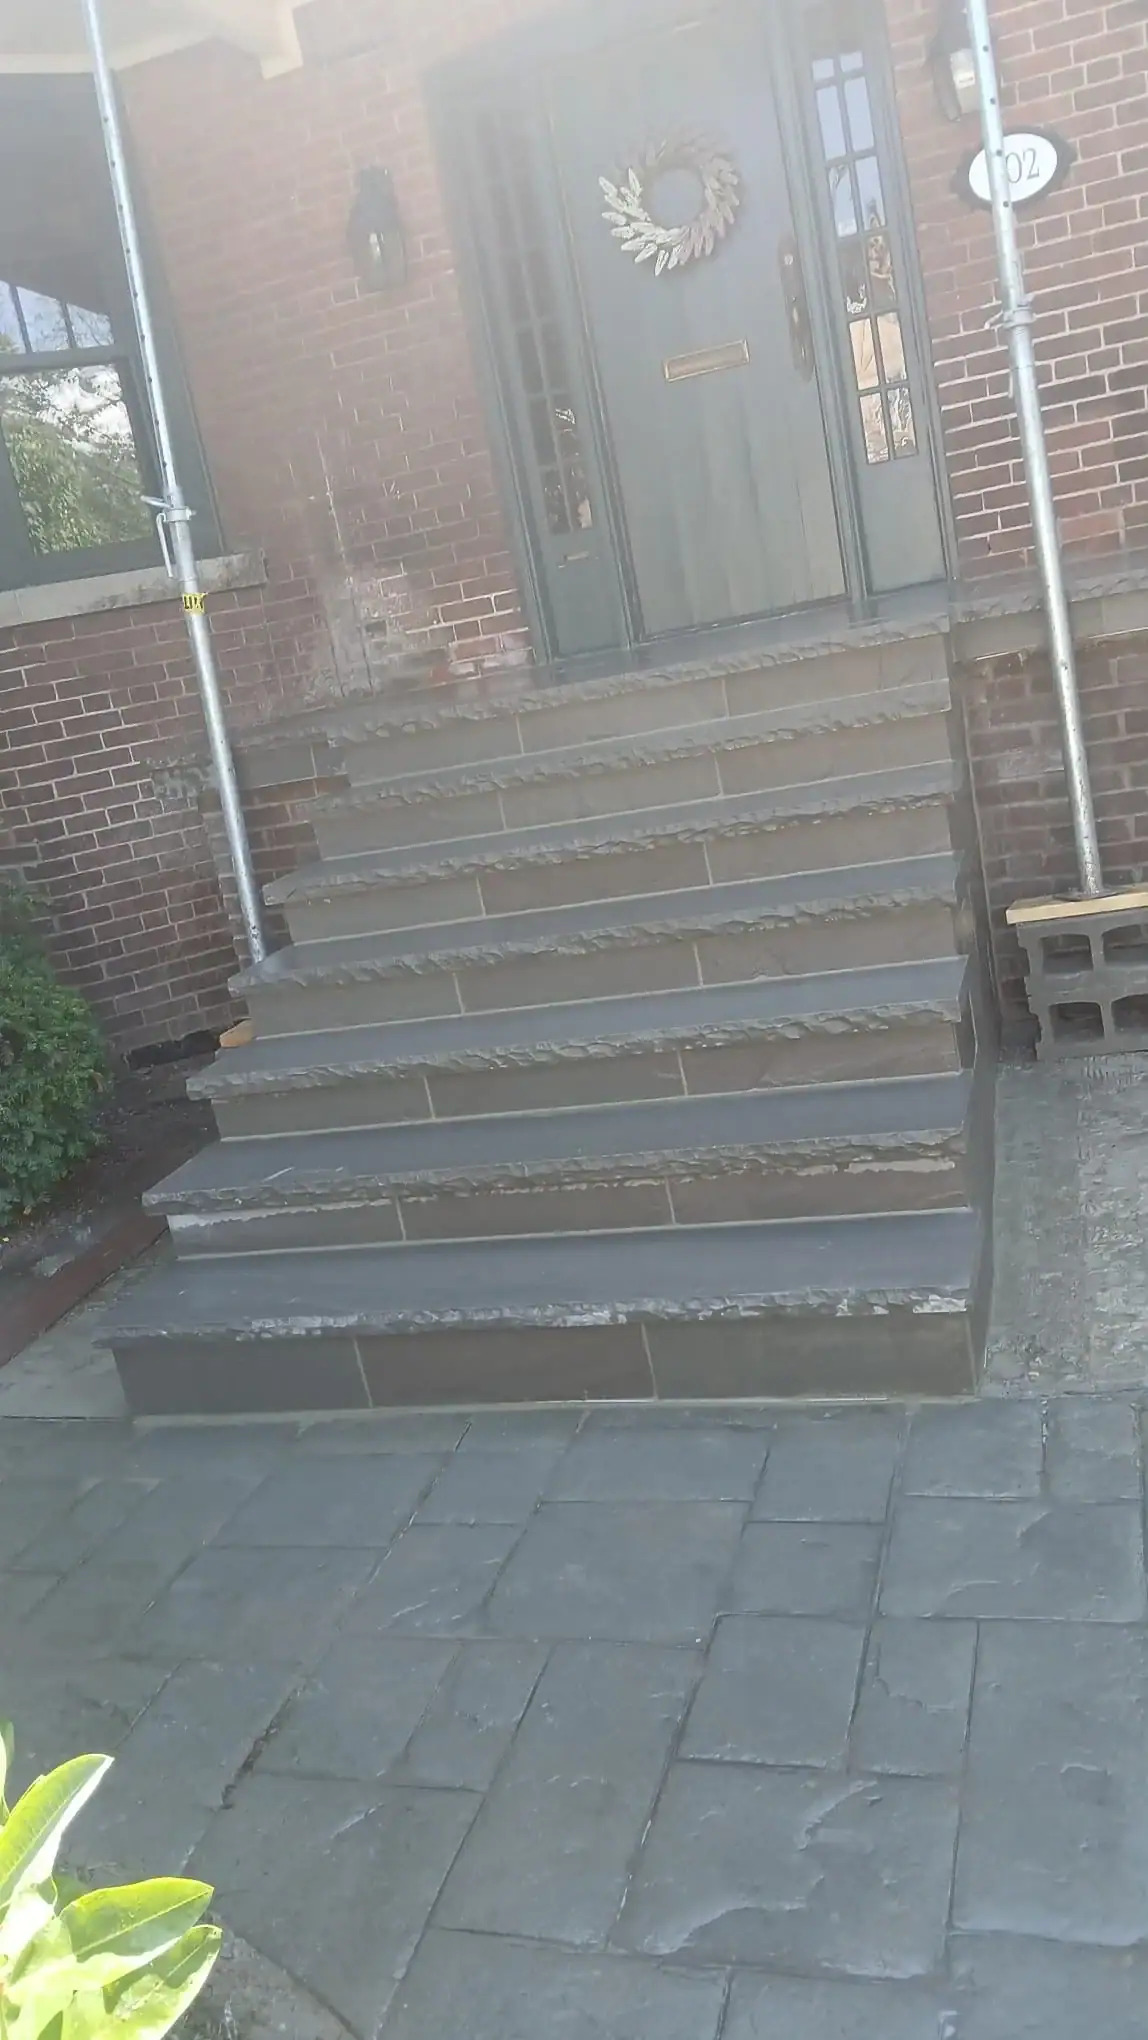
Mistake 8: Repairing Concrete Steps With the Wrong Patch
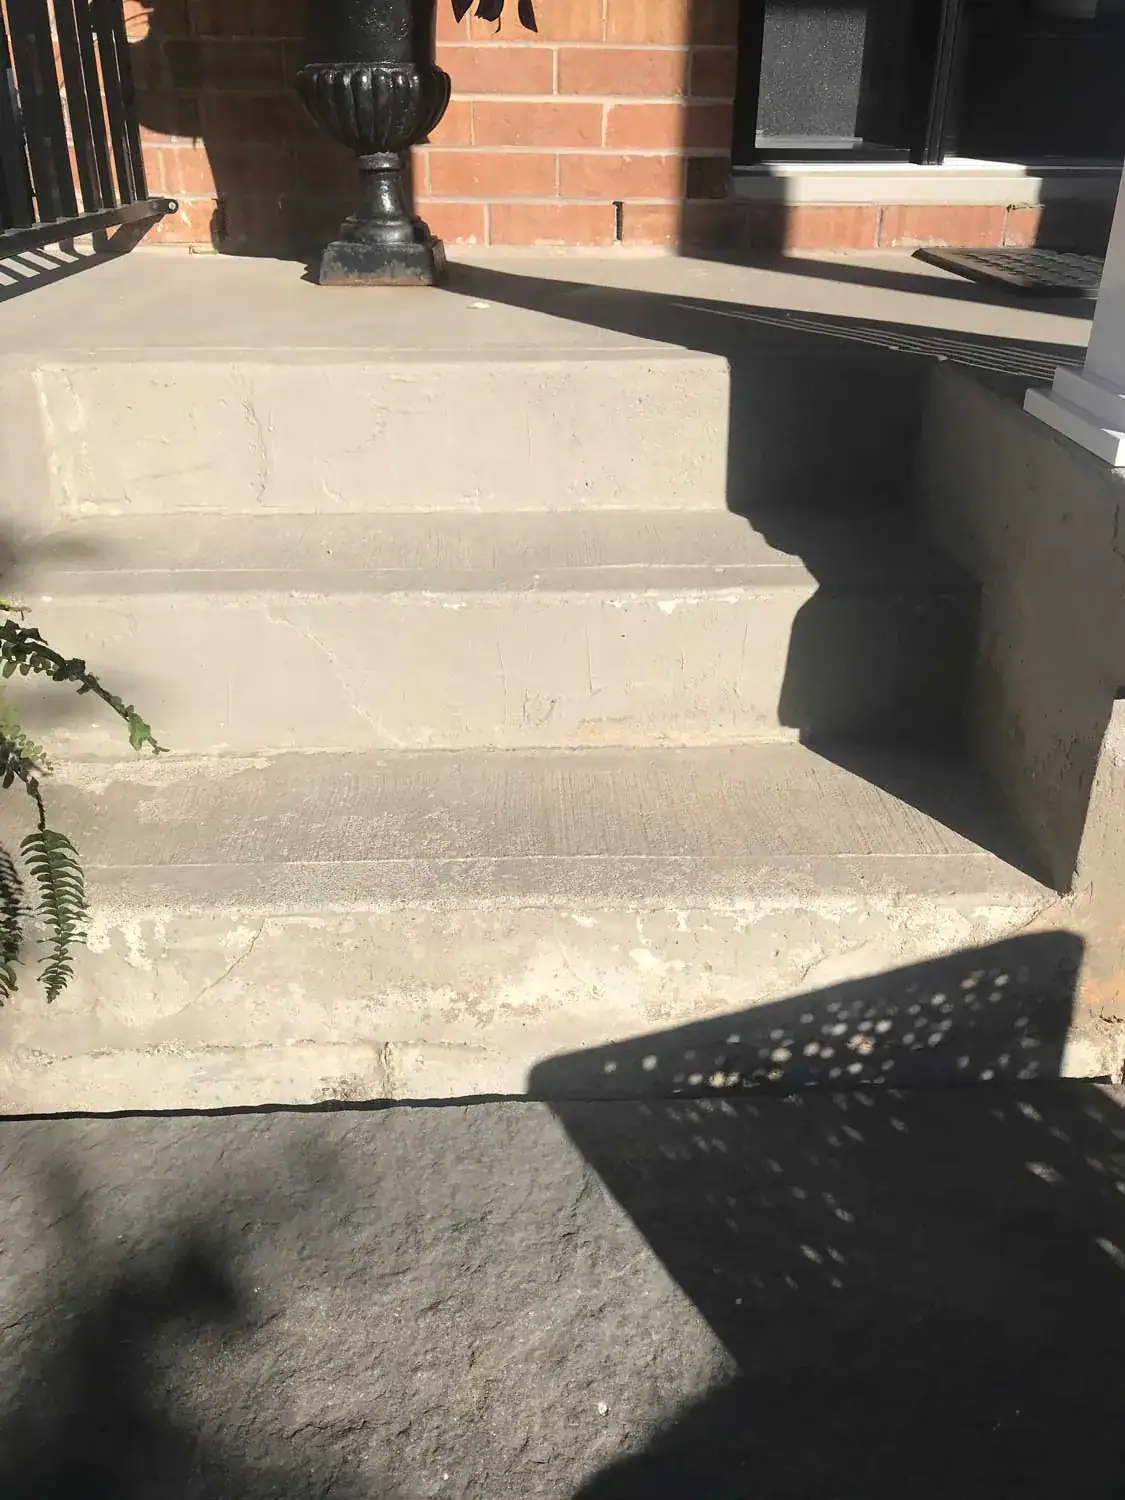
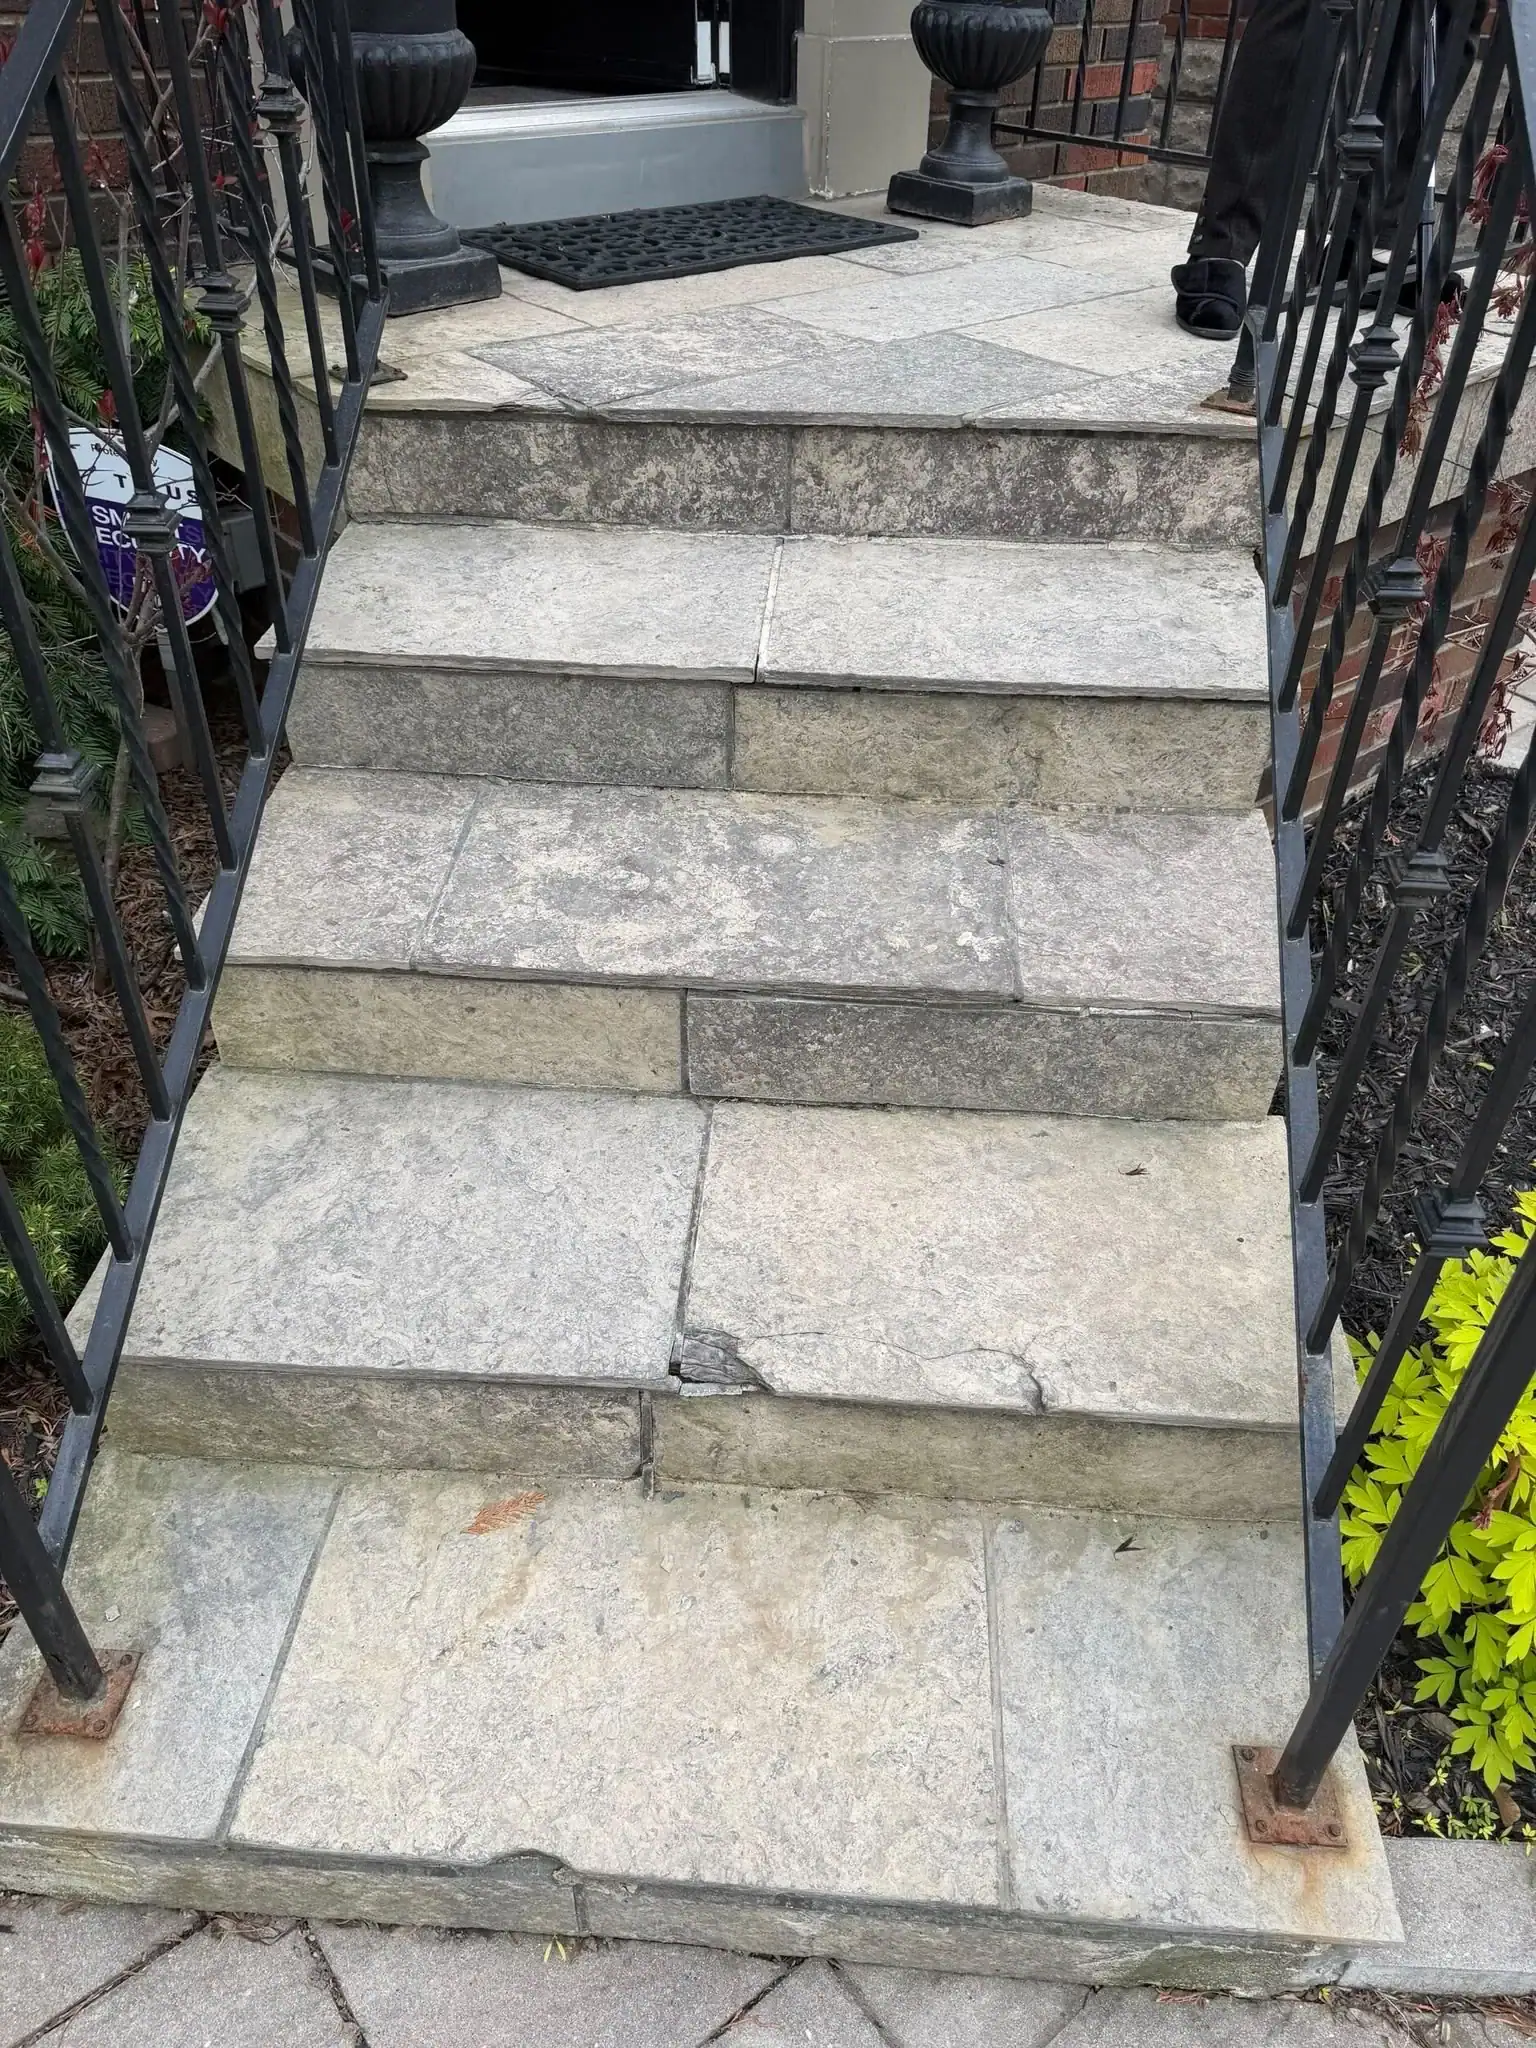
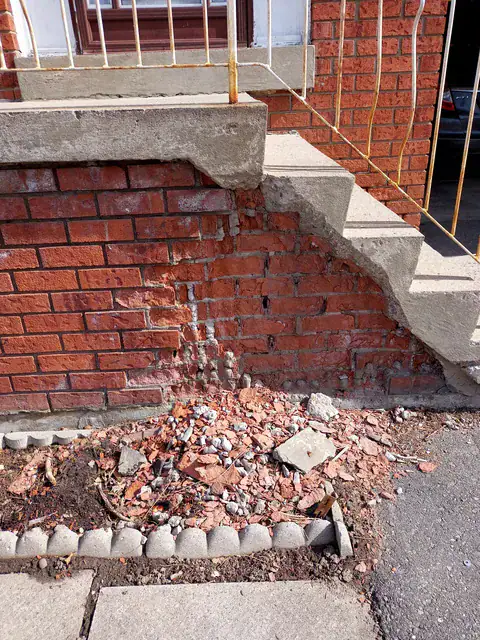
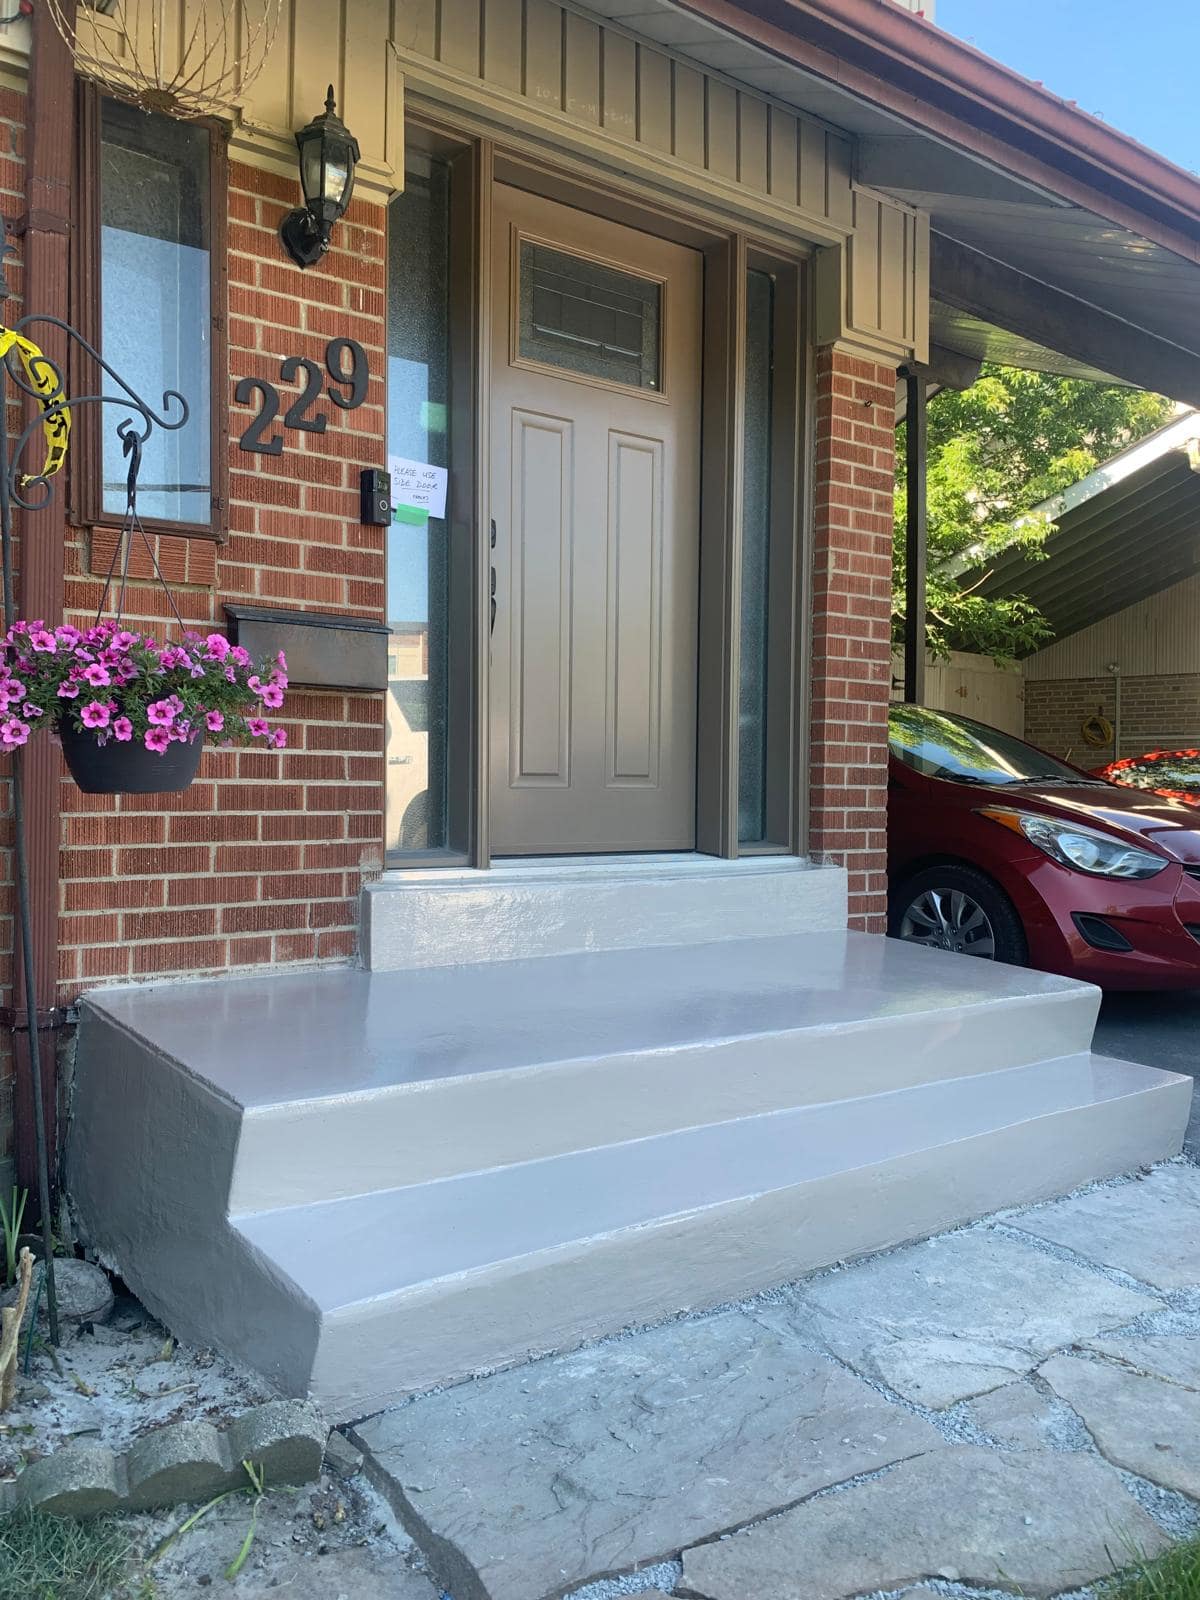
Concrete step repairs fail when the wrong patch material is used or the old concrete is not properly prepared. Exterior concrete steps need repair materials that can handle moisture, foot traffic, salt exposure, and freeze-thaw cycles.
A thin patch over dusty, loose, or crumbling concrete may break away quickly. A patch placed over a moving step will not stop the movement. A surface repair on a step that holds water may crack again after winter.
Concrete repair should start with the condition of the step. Is the damage only a small chip? Is the step solid? Is water pooling? Is the step sinking or tilting? Is the edge broken enough to create a trip hazard? The answer determines whether repair, resurfacing, partial rebuild, or replacement makes more sense.
If the steps are cracked, uneven, or weather-worn, A&A Masonry’s concrete repair Toronto page gives useful context for concrete repair planning.
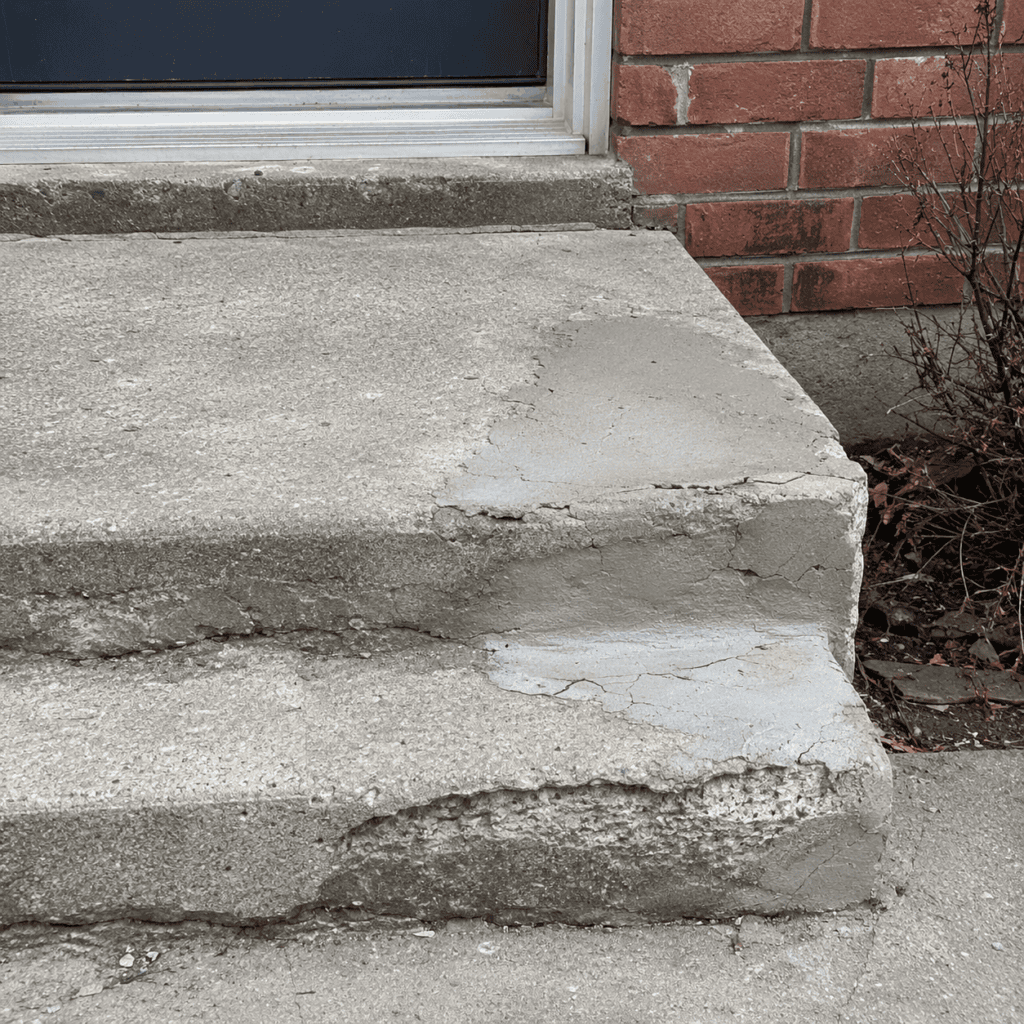
Mistake 9: Working in the Wrong Weather
Working in bad weather can cause masonry repairs to fail before they have a chance to cure properly. Mortar, concrete, patching materials, coatings, and sealers all need suitable temperature and moisture conditions.
Repairs done in freezing weather, heavy rain, extreme heat, or on wet surfaces may not bond or cure correctly. A repair may look finished on the surface but remain weak underneath. If temperatures drop before the material has cured, the repair can crack or crumble.
In Toronto, timing matters because fall and spring weather can change quickly. Homeowners may rush to finish a repair before winter, but applying mortar or sealer to damp masonry late in the season can create more problems.
The safer approach is to plan repairs during mild, dry weather and follow the product requirements for temperature, moisture, and curing time.
Mistake 10: Not Protecting Yourself From Dust and Silica
DIY masonry repairs can create dust that is not safe to breathe. Cutting, grinding, drilling, or chipping brick, concrete, stone, or mortar can release respirable crystalline silica dust. This is a serious health concern, especially when work is done without proper dust control and protection.
The Ontario government provides guidance on silica on construction projects, and the Canadian Centre for Occupational Health and Safety has information on crystalline silica. Homeowners should treat masonry dust carefully, even during small projects.
A basic dust mask may not be enough for grinding or cutting masonry. Dust control, proper respirators, eye protection, gloves, safe cleanup, and tool selection all matter. If the repair requires cutting, grinding, or heavy removal, professional help is often safer.
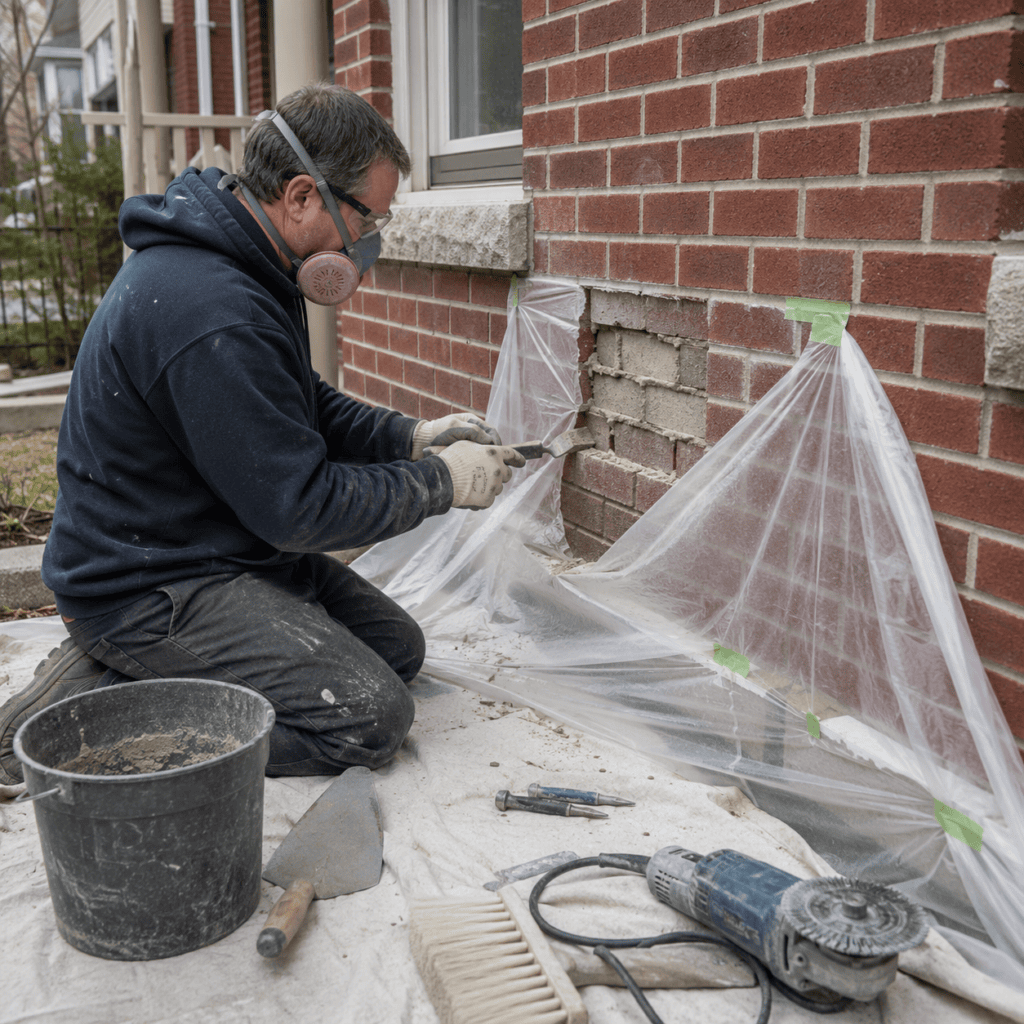
Mistake 11: Removing Too Much Material
Removing too much material can weaken the repair area and damage surrounding masonry. This can happen when a homeowner grinds too deeply into mortar joints, chips away sound brick, over-cuts concrete, or removes stones without understanding how the wall is built.
Mortar removal should be controlled. Grinding too deeply or carelessly can damage the edges of the brick and make the finished joint look rough. Chipping away loose concrete without checking the full extent of the damage may create a larger repair area than expected.
This mistake is common when homeowners start a repair and discover the damage is more serious than it looked. At that point, it is better to pause and reassess rather than keep removing material.
If the wall, step, chimney, or stone feature starts to loosen while you are working, stop. Movement usually means the problem is larger than a surface patch.
Mistake 12: Replacing Brick Without Matching Size, Texture, and Absorption
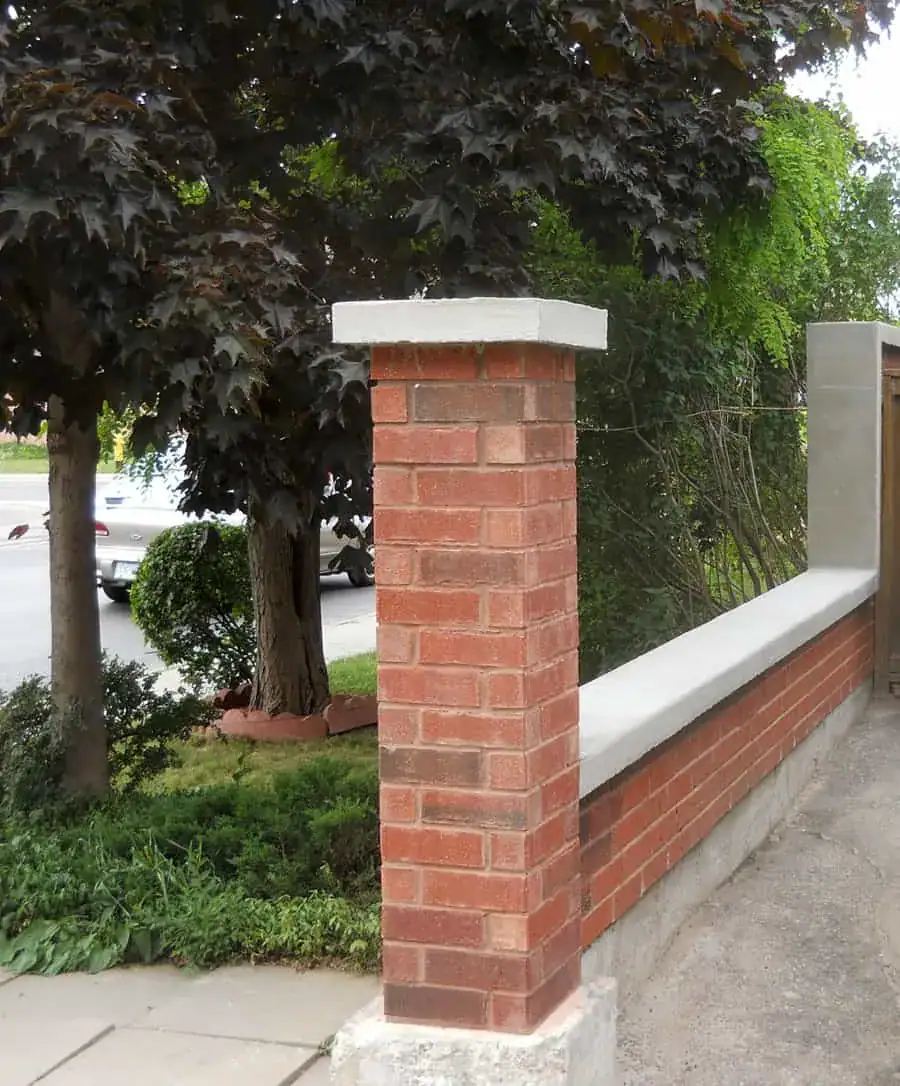
Replacing brick without matching size, texture, colour, and absorption can make the repair stand out and perform poorly. Matching brick is not only about choosing a similar red or brown shade. Brick size, face texture, age, hardness, and moisture behaviour also matter.
A new brick that is too smooth may stand out on an older wall. A brick that is too hard or too absorbent may behave differently from the surrounding units. A brick that is slightly different in size can change the joint spacing and make the repair obvious.
This is especially important on front facades, chimneys, porch columns, window areas, and older Toronto homes. A poor match can make a repair look like a patch forever.
A&A Masonry’s brick replacement Toronto page explains why matching and proper installation matter when damaged brick units need to be replaced.
Mistake 13: Treating Chimney Repairs Like Regular Wall Repairs
Chimney repairs need special care because chimneys are exposed to weather from all sides and may also serve a fireplace or fuel-burning appliance. A chimney repair is not always the same as a simple wall repair.
Common DIY mistakes include patching only the visible cracks, ignoring the crown, leaving the cap damaged, using the wrong mortar, sealing over damp brick, or missing signs of liner and water-entry problems. A chimney may also have damage that is hard to see from the ground.
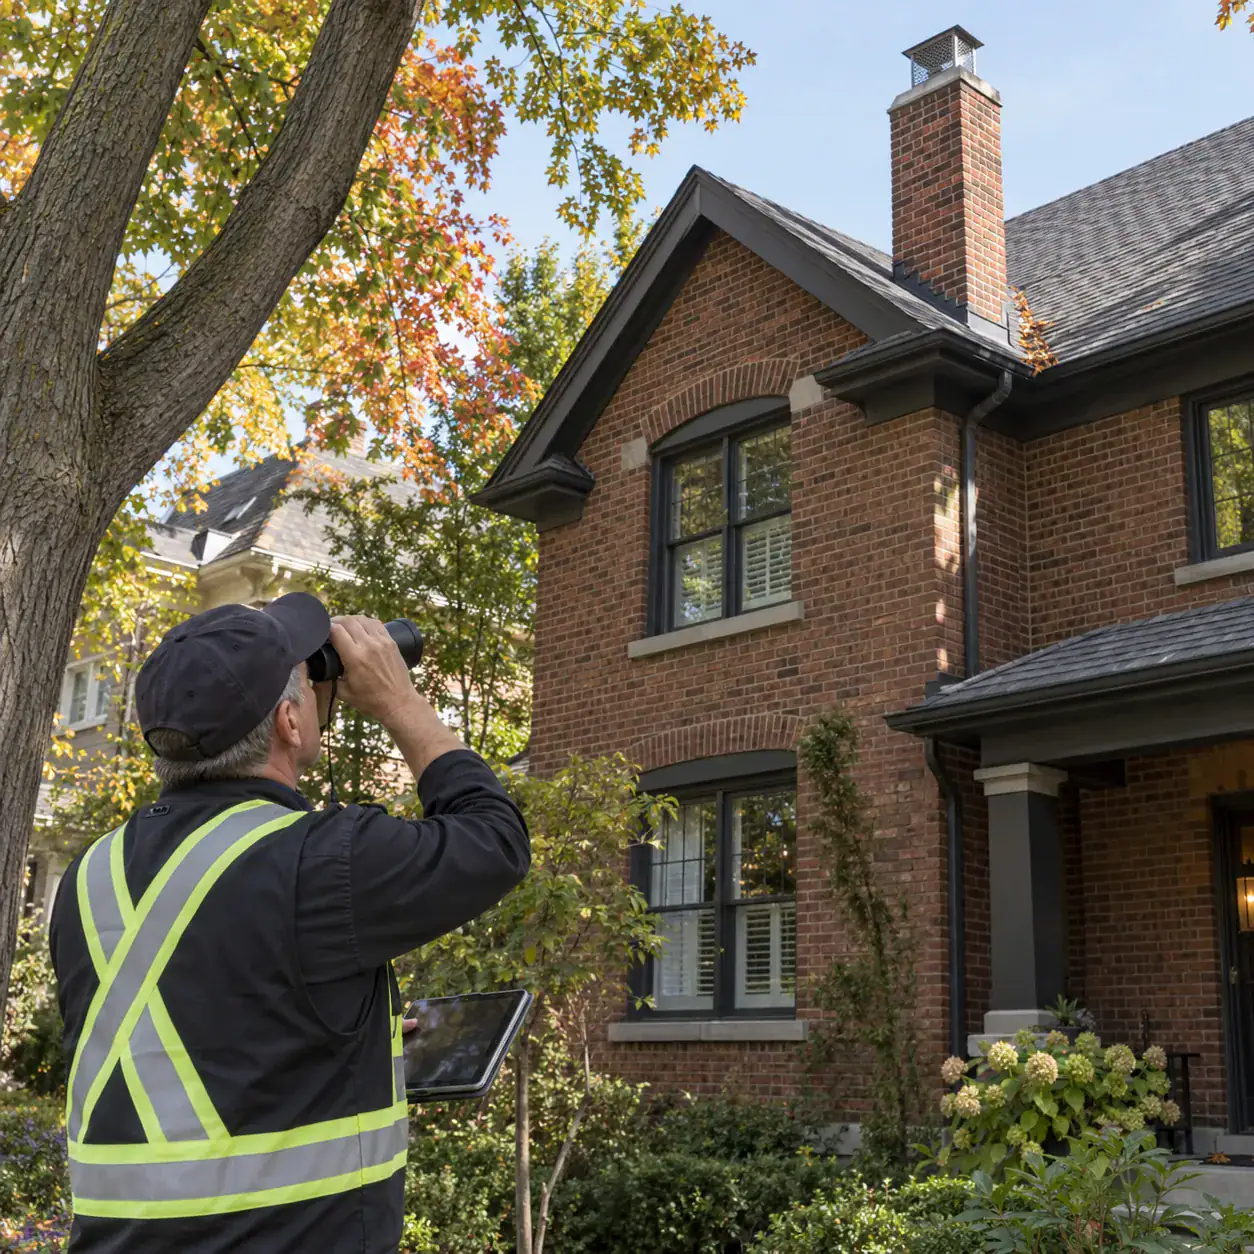
Loose chimney brick, cracked crowns, missing caps, leaning sections, rust stains, and water stains near the fireplace should be taken seriously. Roof work also increases fall risk, making chimney DIY repairs especially risky.
If the chimney shows visible damage, A&A Masonry’s chimney repair Toronto page explains common chimney repair needs such as tuckpointing, brick replacement, cap repair, crown repair, water damage, and rebuild concerns.
Mistake 14: Ignoring Permits, Code, and Structural Concerns
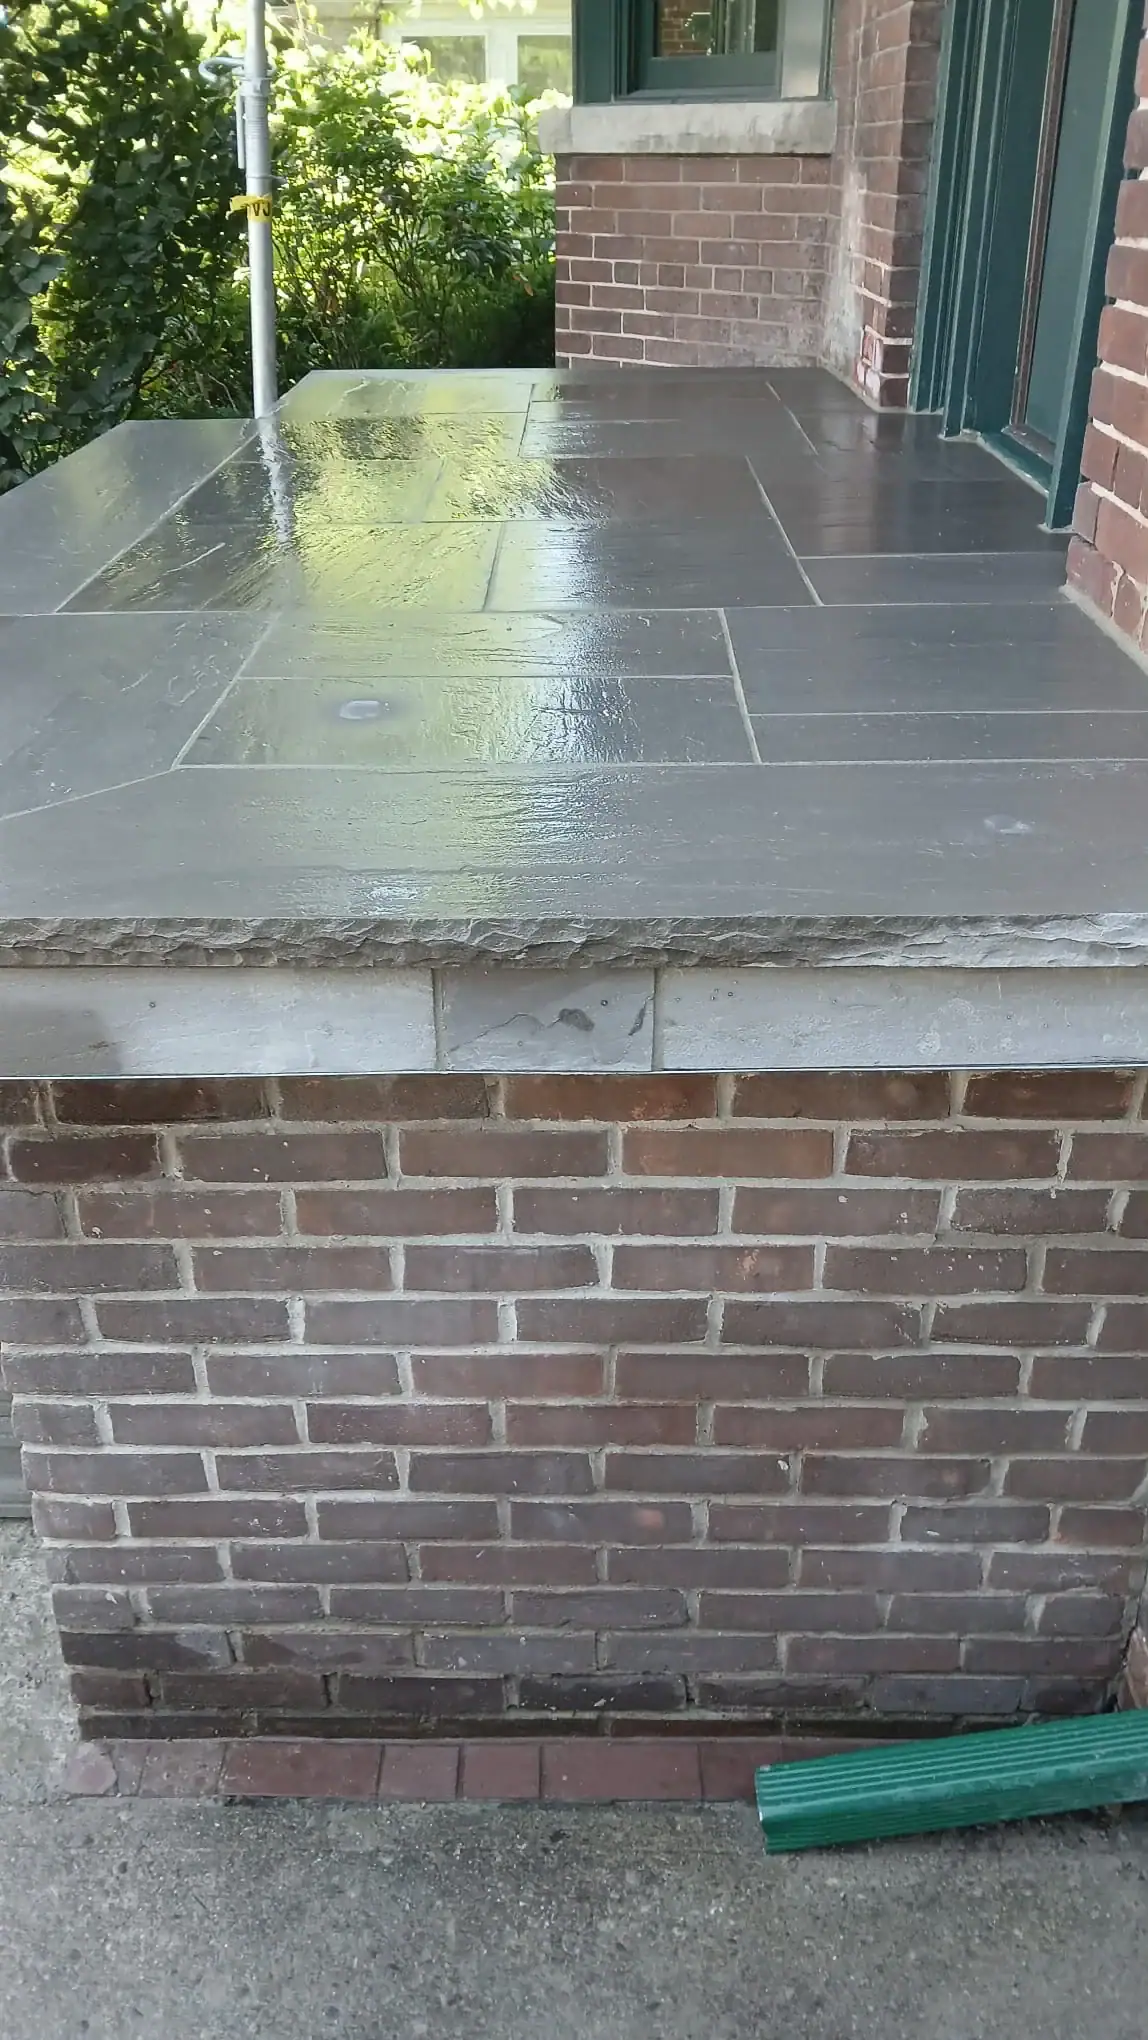
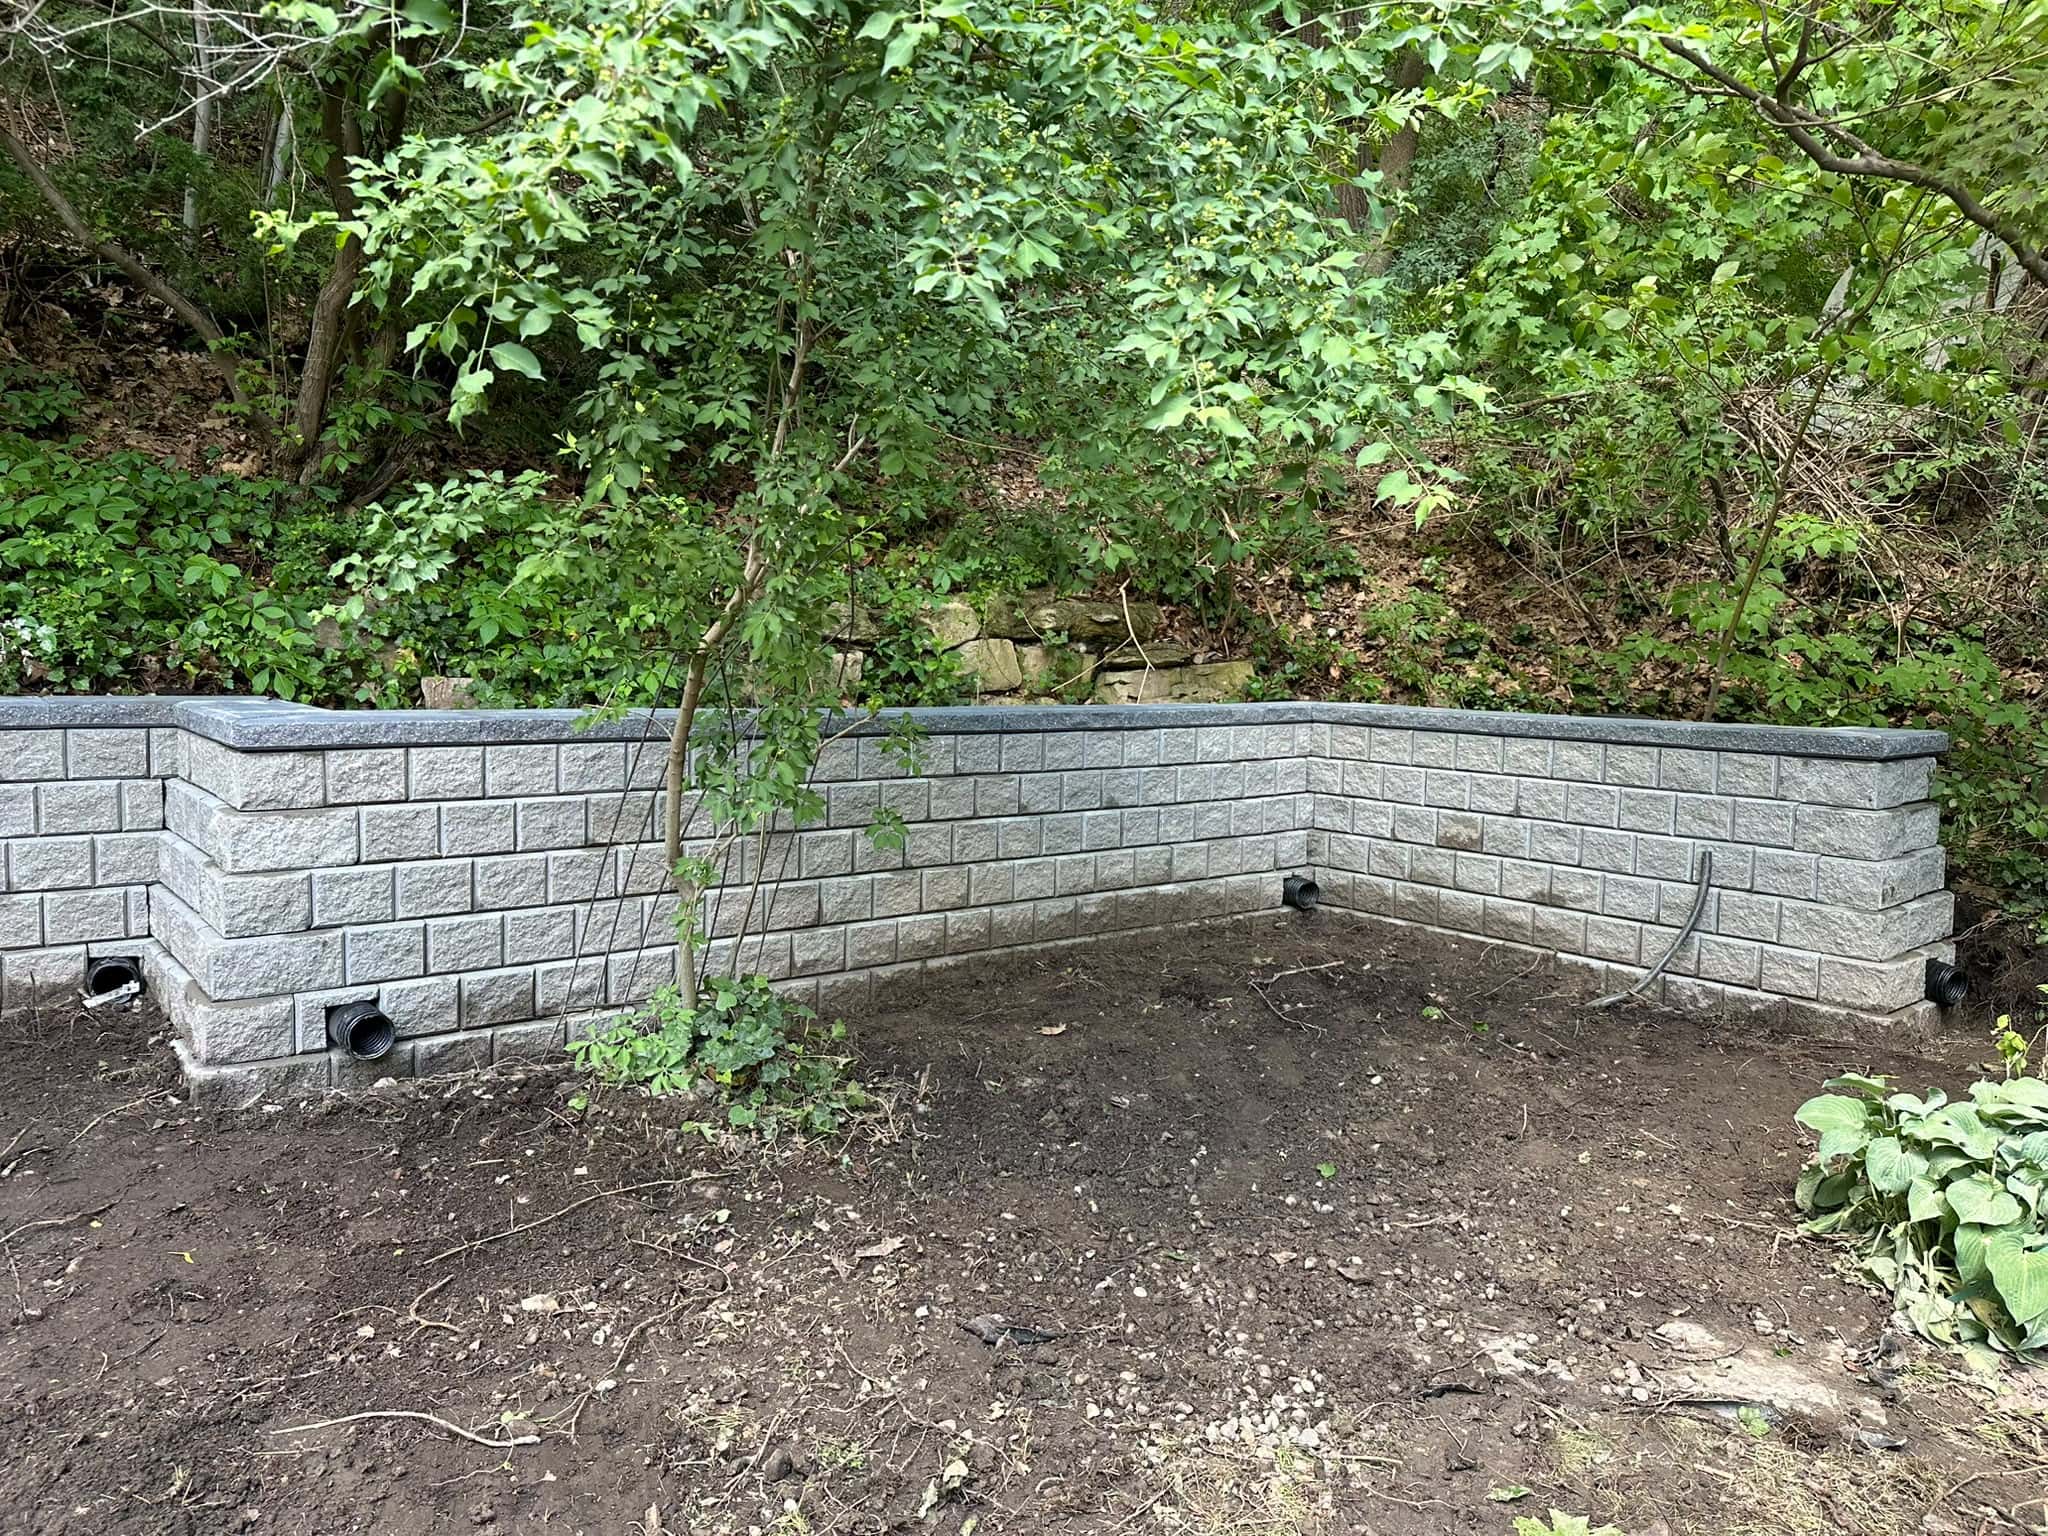
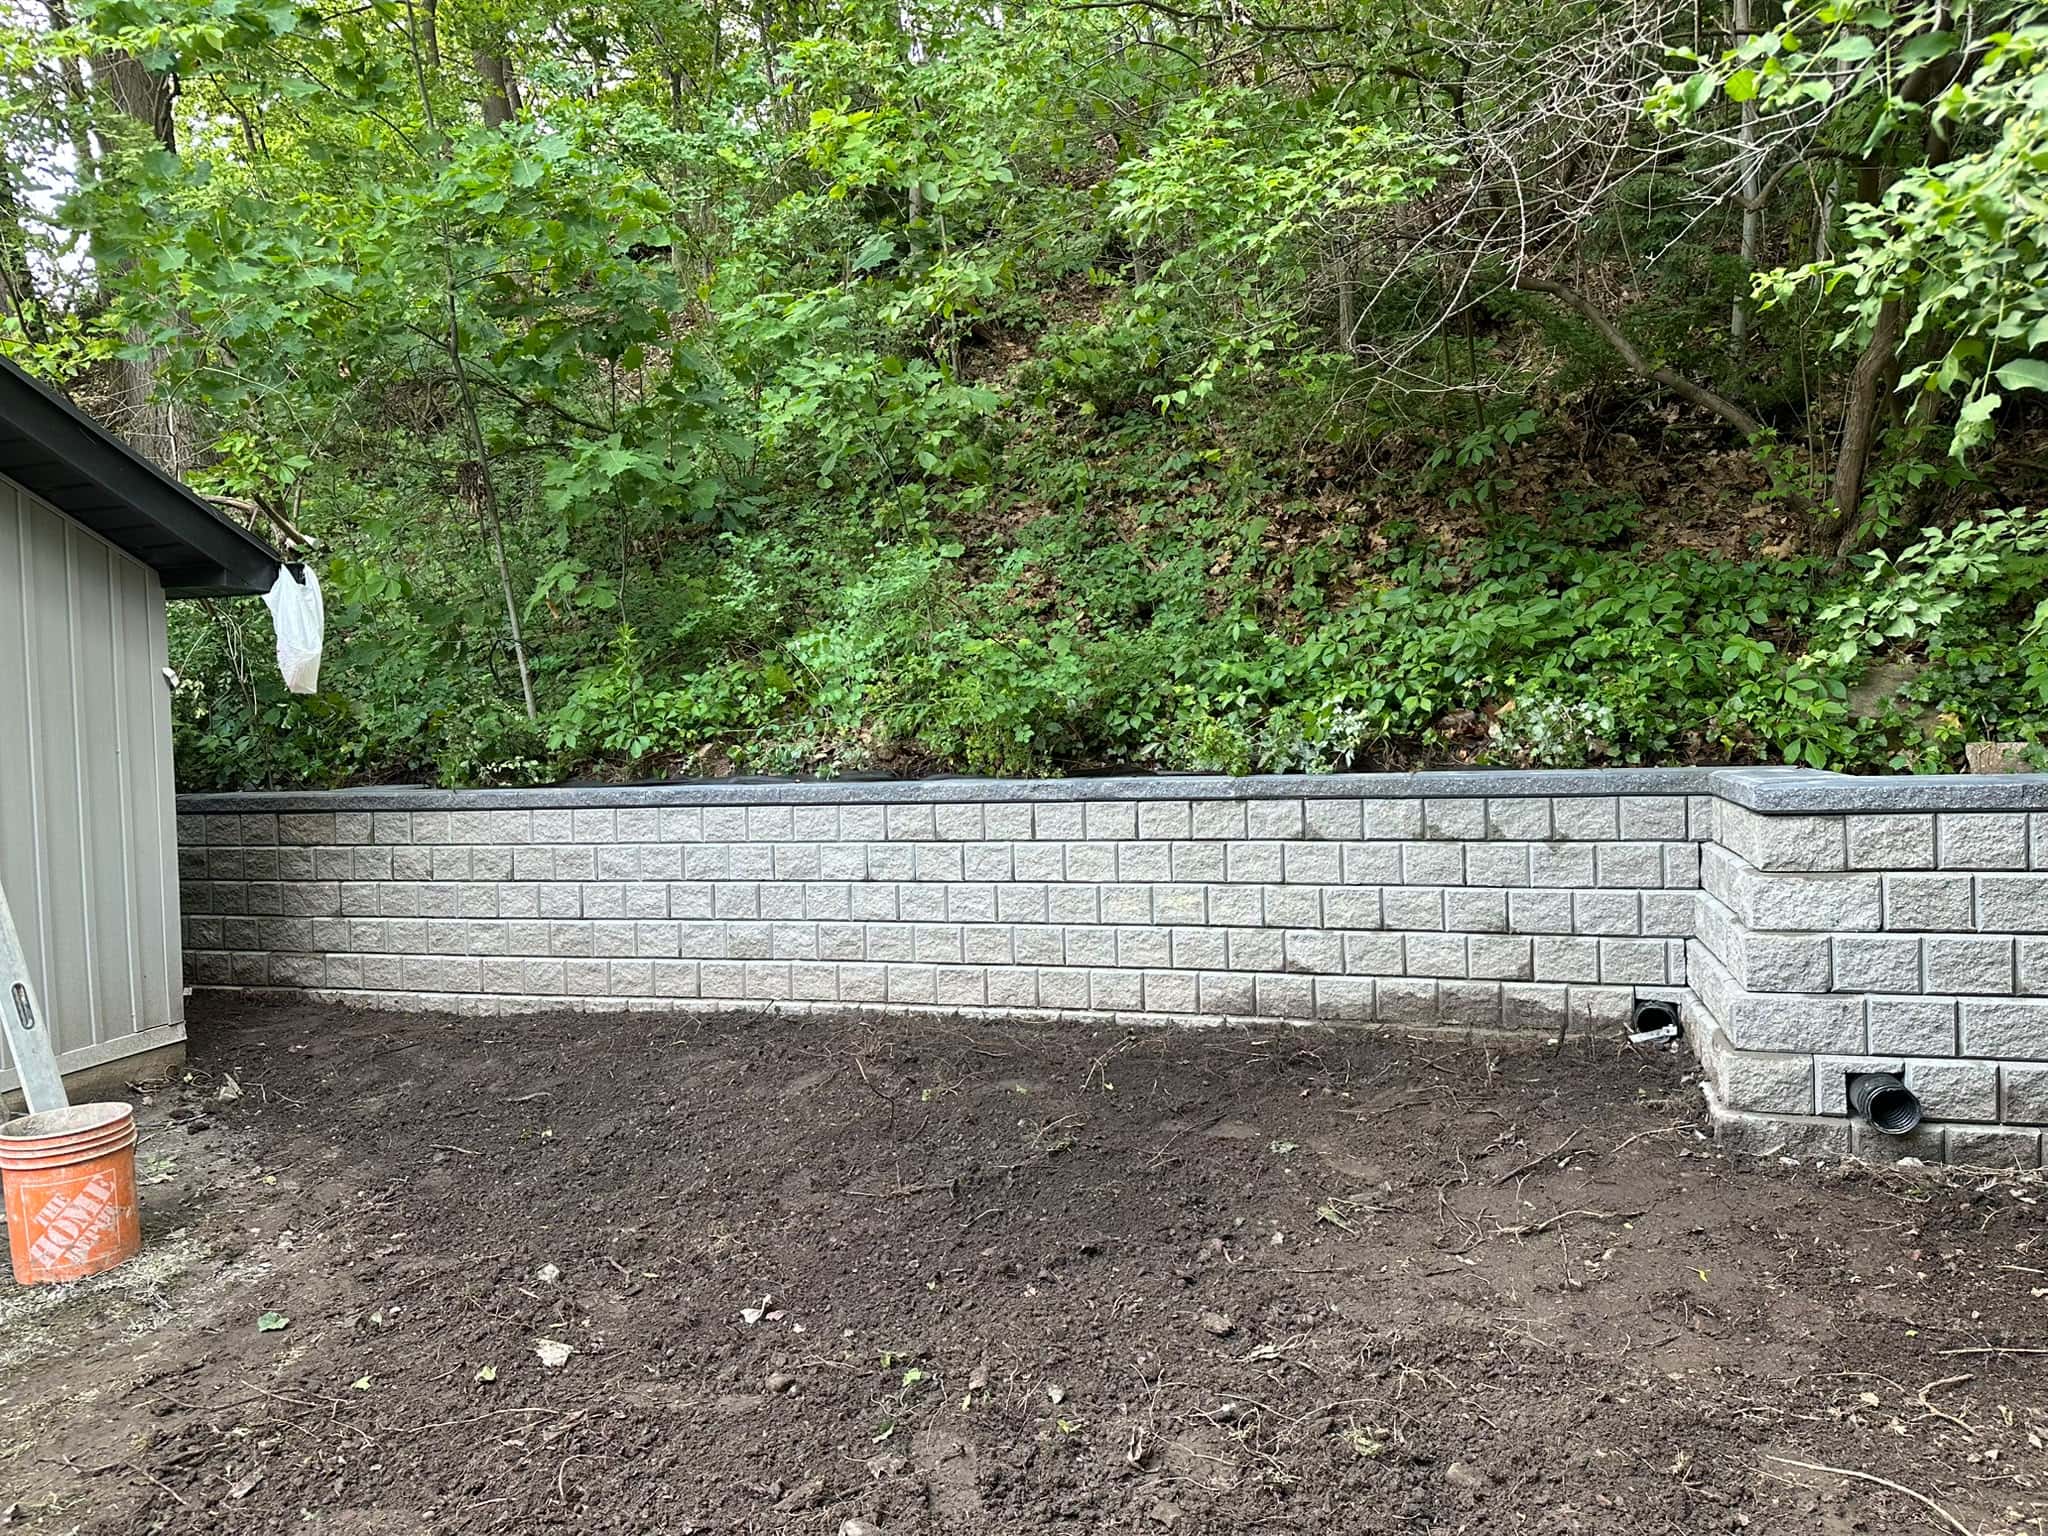
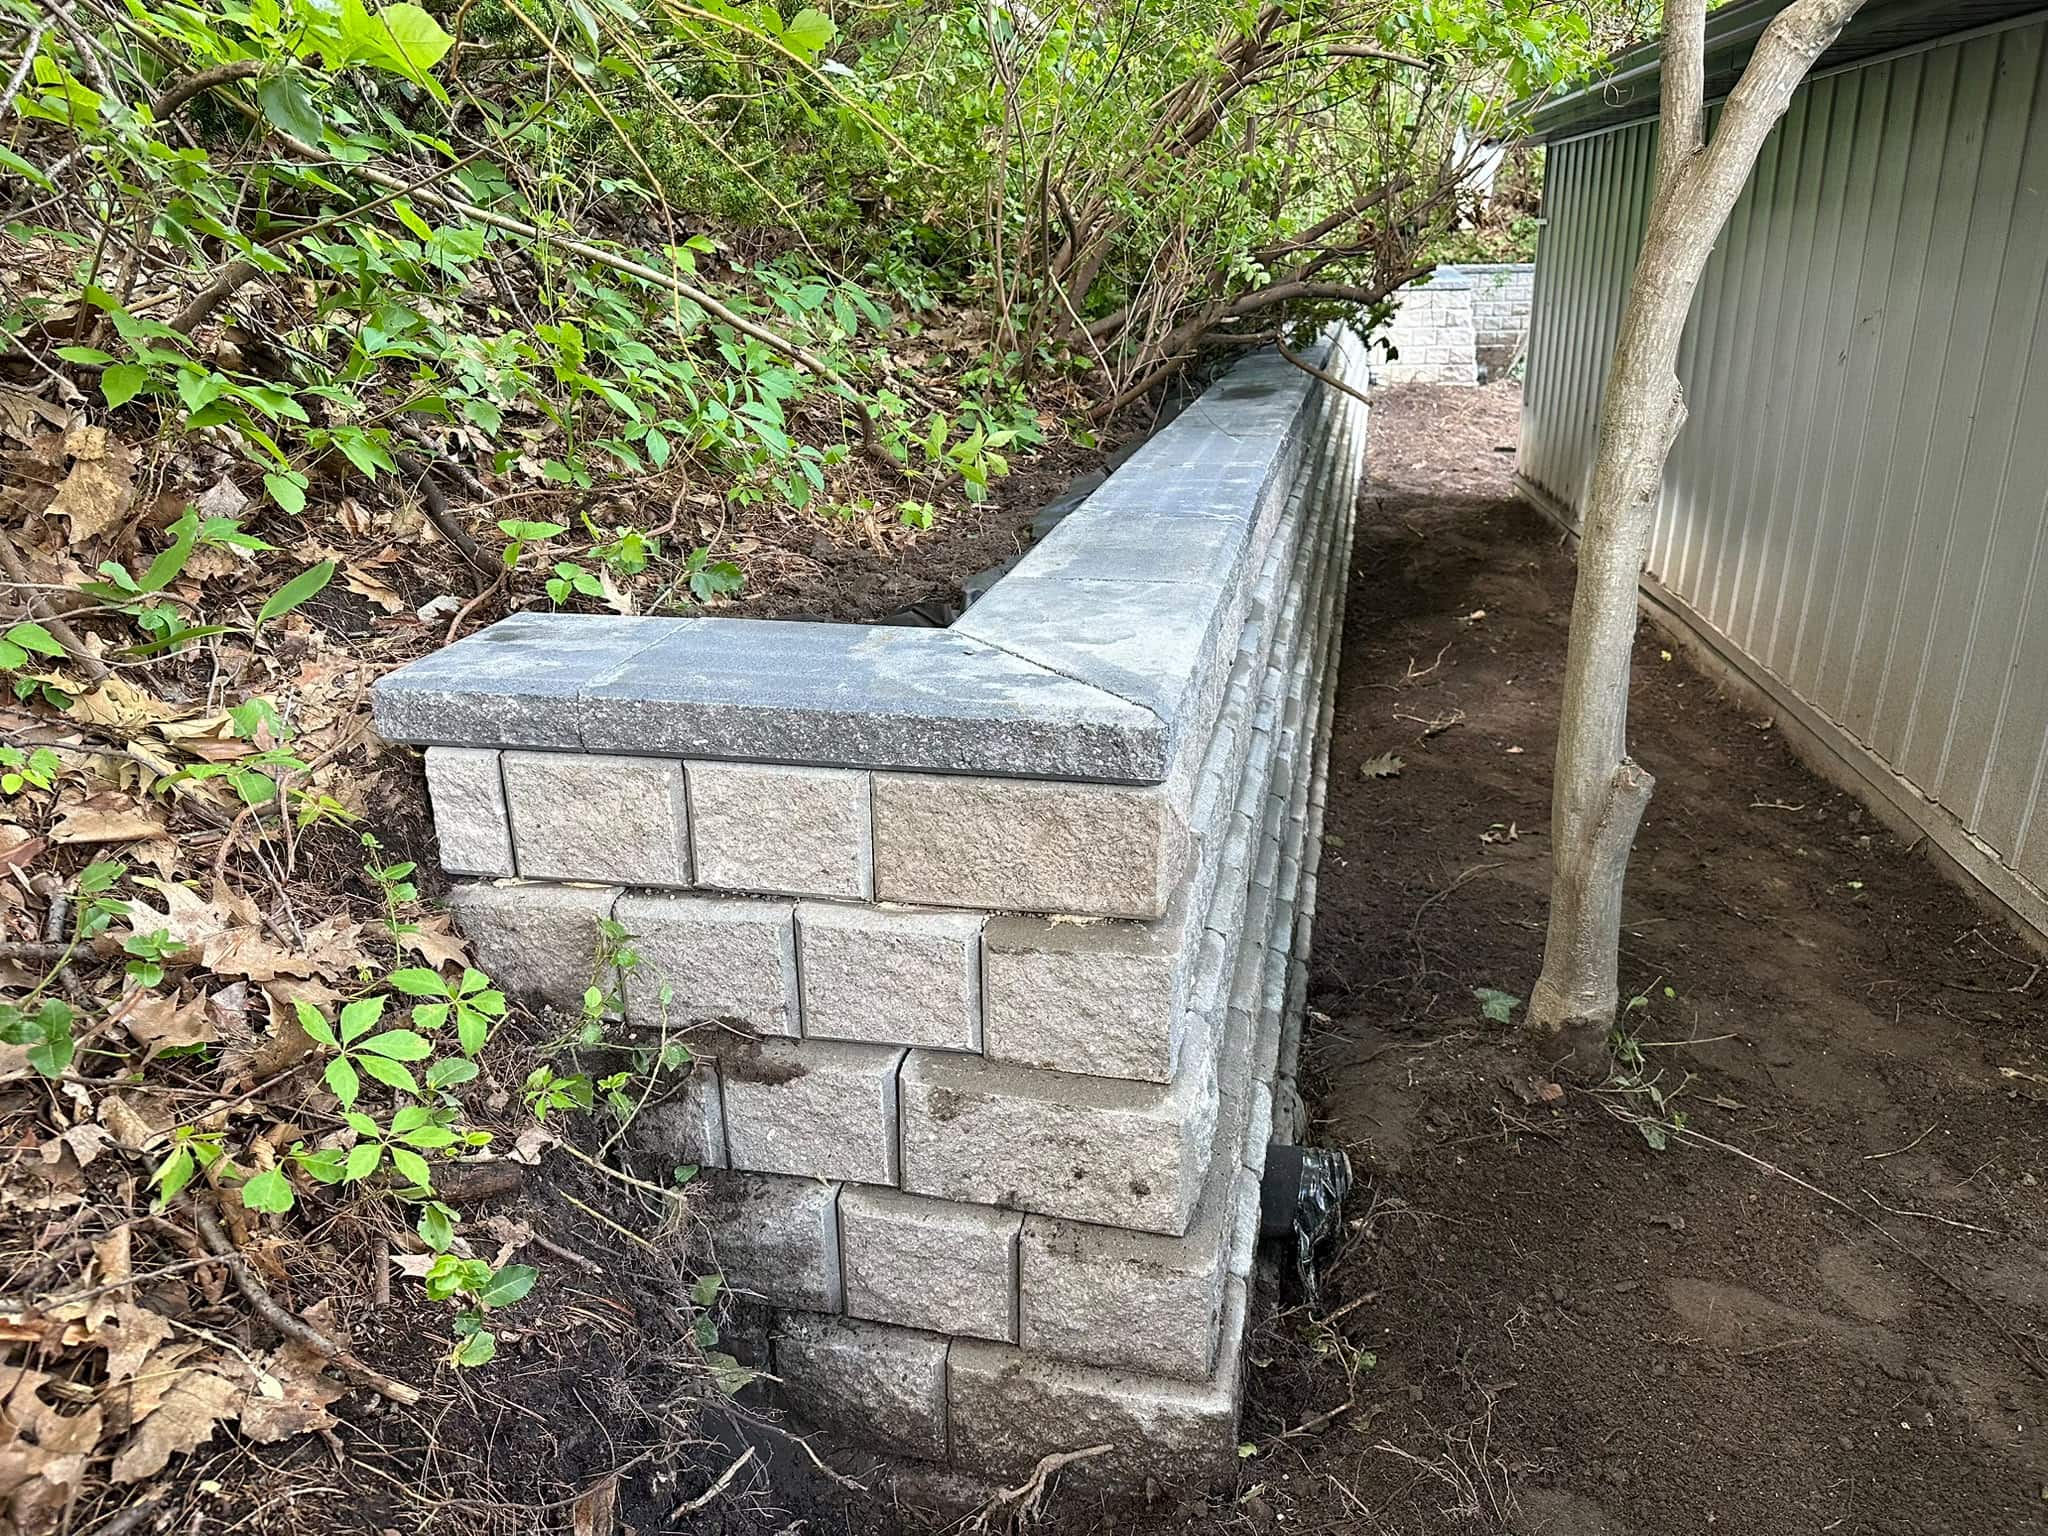
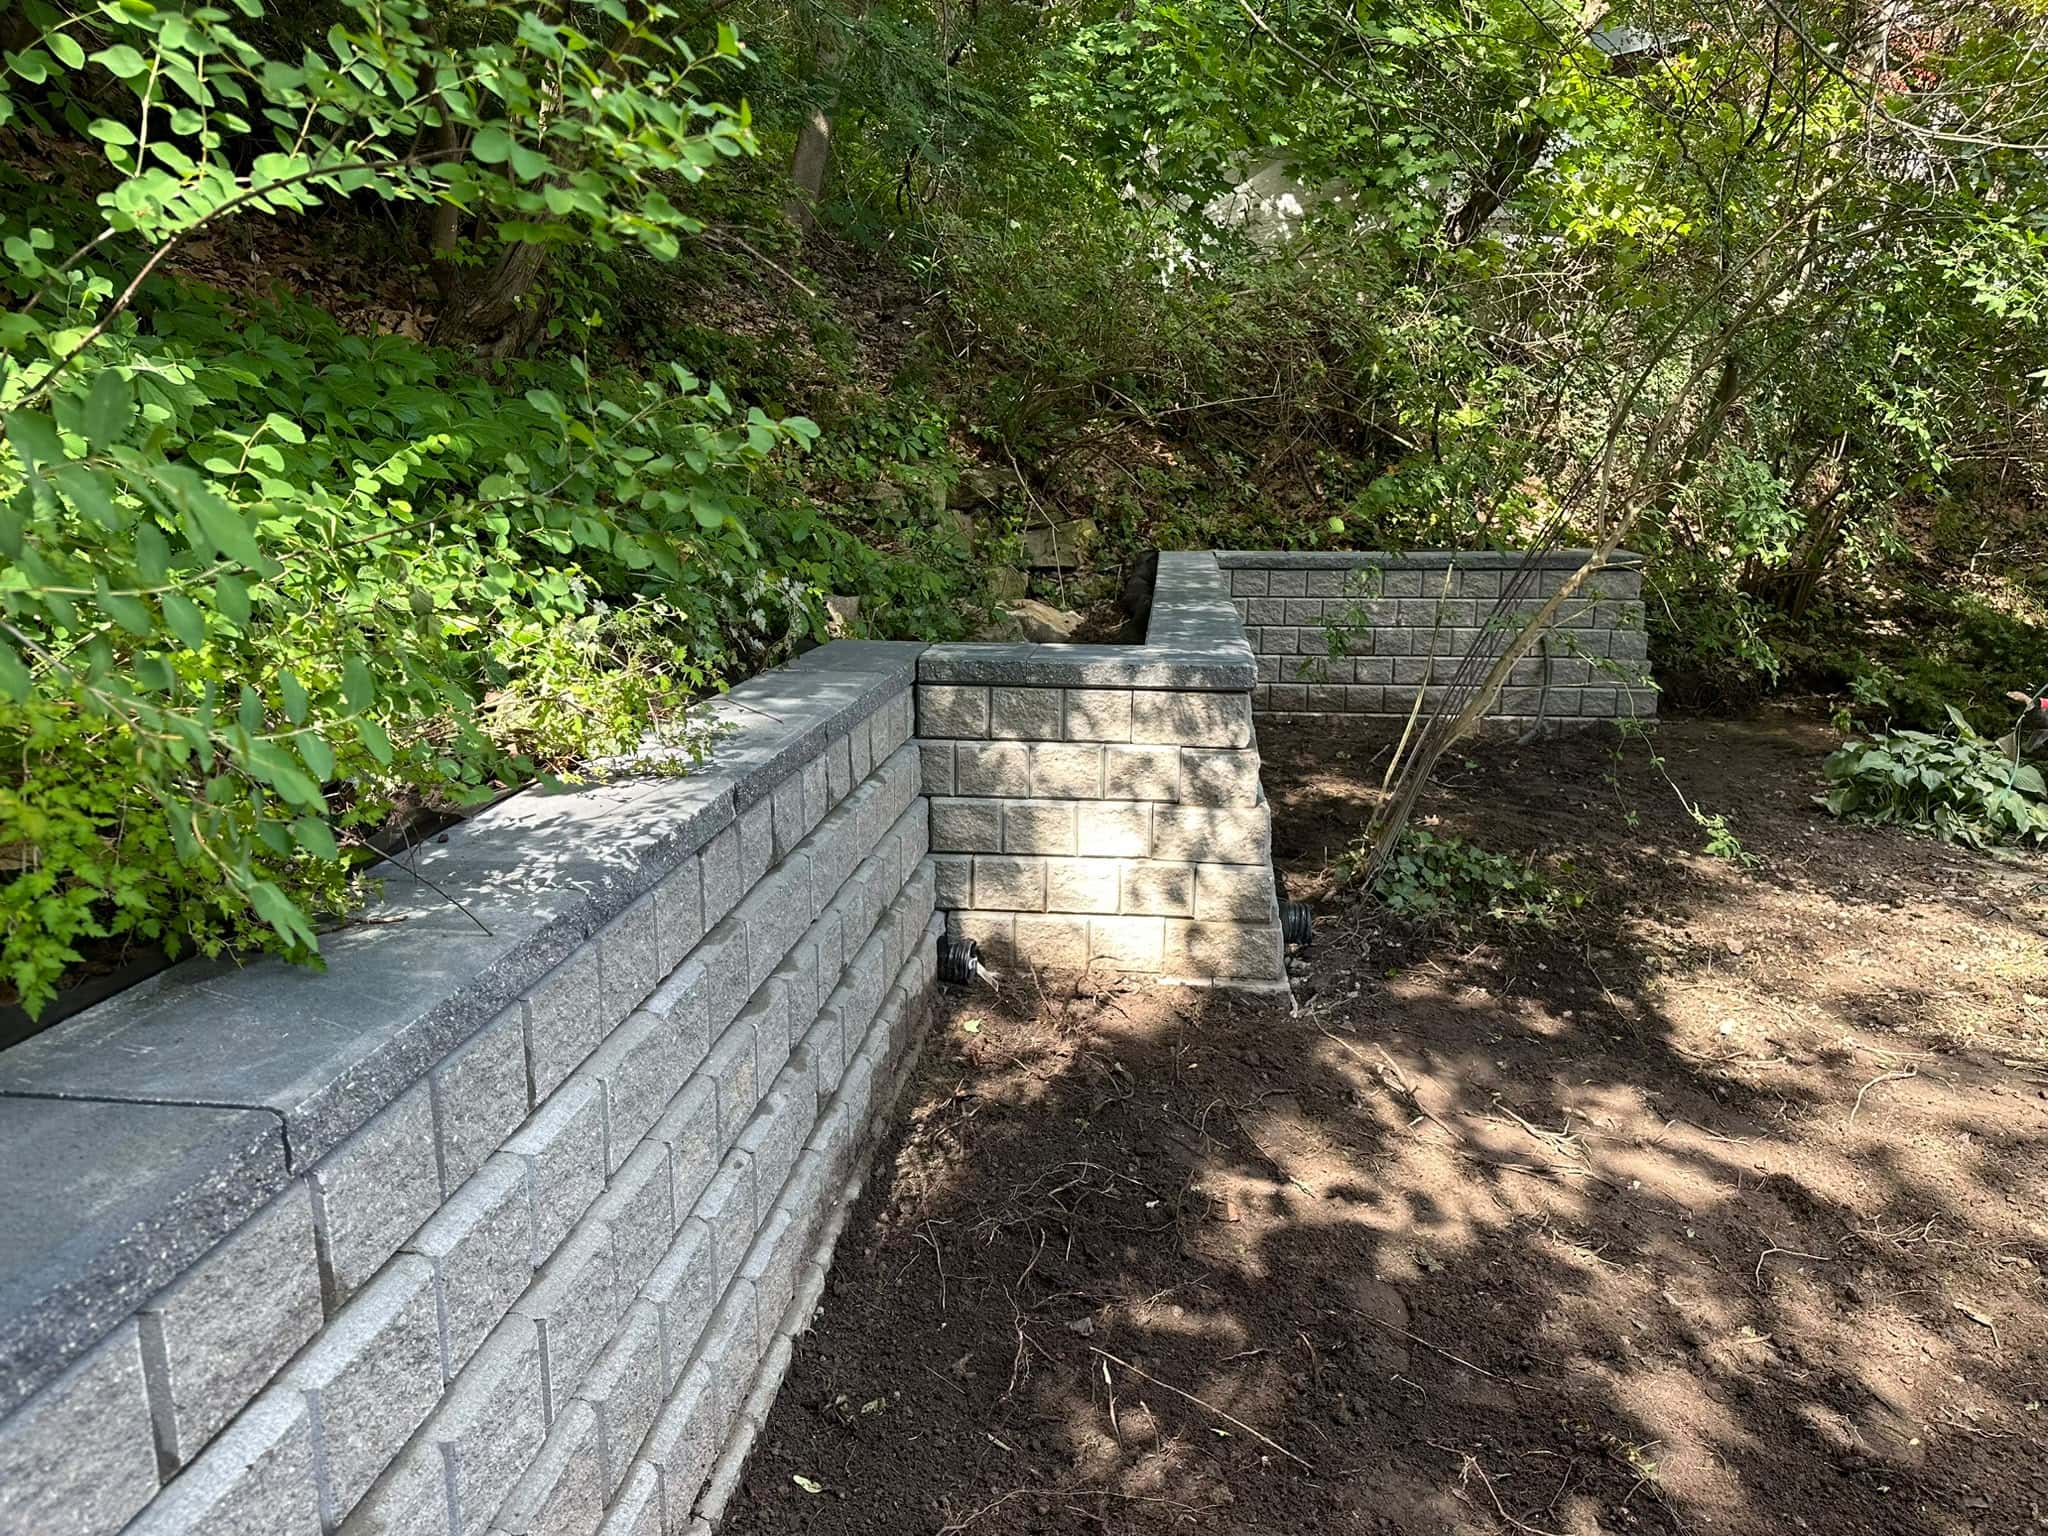
Ignoring permits, code, and structural concerns can turn a repair into a bigger problem. Not every masonry repair requires a permit, but some work should be checked before starting, especially when structural elements, retaining walls, openings, foundations, chimneys, stairs, or major exterior changes are involved.
The City of Toronto provides information about building permits. Ontario’s official Building Code page is also the preferred provincial reference for building requirements.
For homeowners, the simple rule is this: if the repair affects structure, support, drainage, safety, height, entrances, retaining walls, or major exterior features, check official guidance before starting. A small cosmetic patch is different from rebuilding steps, altering a wall, or repairing a retaining wall that holds soil.
What Homeowners Can Safely Do Themselves
Homeowners can safely do simple checks and light maintenance when the masonry is stable, and the work does not involve height, structural movement, cutting, grinding, or major removal.
- Walk around the home and photograph cracks, stains, loose mortar, or damp areas.
- Clear leaves, soil, and debris from steps, window wells, and drainage areas.
- Check that downspouts are directing water away from masonry and foundations.
- Dry brush light efflorescence from brick or concrete without soaking the wall.
- Monitor small cracks to see whether they widen after winter or heavy rain.
- Clean minor dirt with gentle methods on sound masonry.
- Keep snow piles away from lower brickwork where practical.
- Stop immediately if brick, stone, concrete, or mortar begins to loosen.
The safest DIY approach is observation, basic cleaning, and moisture prevention. Professionals should handle repairs involving structural movement, high areas, active water entry, or major material removal.
When Professional Help Makes More Sense
Professional help makes more sense when the masonry is loose, high, water-damaged, structurally cracked, repeatedly failing, or difficult to diagnose. Many DIY repairs fail because the visible damage is only the symptom.
A professional mason can assess whether the home needs tuckpointing, brick replacement, concrete repair, chimney repair, waterproofing, parging, stone repair, or drainage correction. They can also match materials, properly prepare joints, choose the right repair method, and avoid trapping moisture in the wall.
For broader repair planning, A&A Masonry’s masonry services in Toronto page outlines services such as brick repair, tuckpointing, chimney repair, concrete repairs, waterproofing, stone masonry, parging, and exterior restoration.
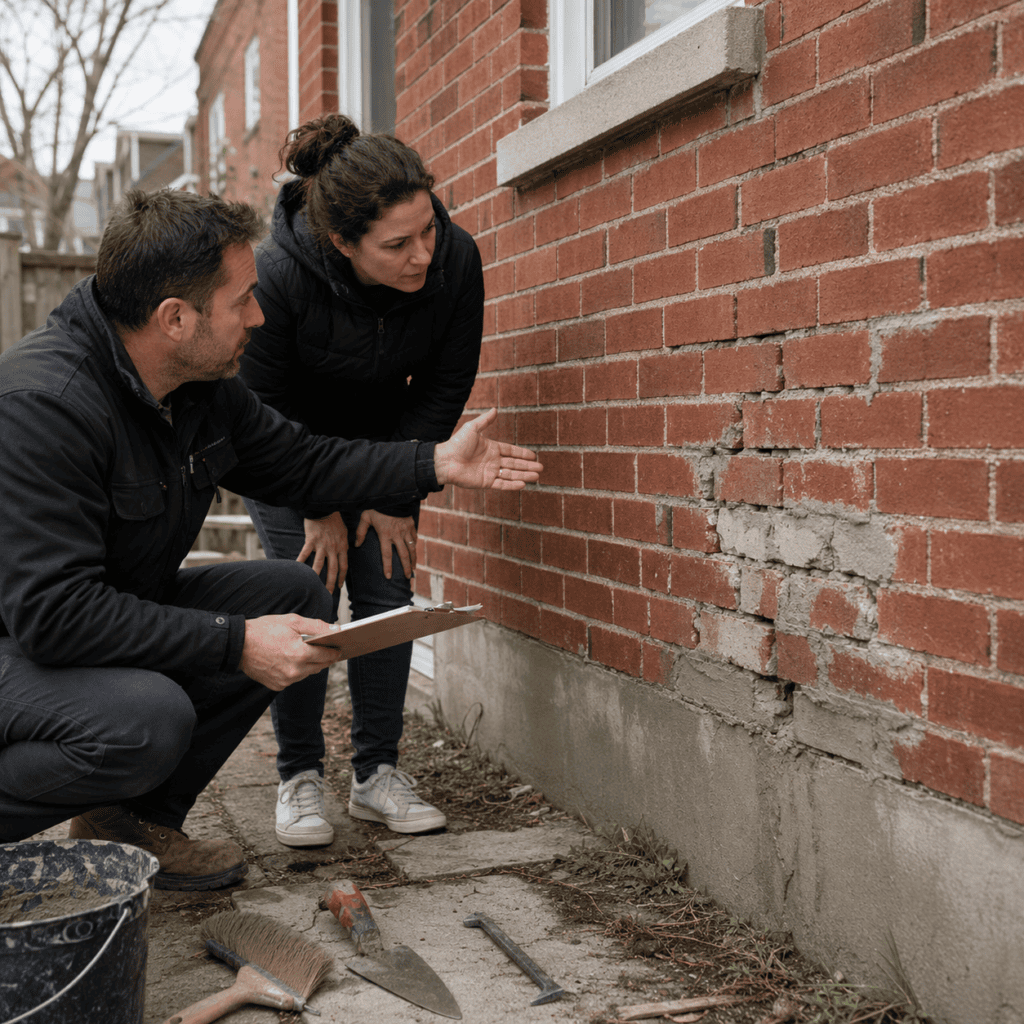
Quick Guide: DIY Masonry Repair Mistakes to Avoid
A quick guide can help homeowners avoid the most common repair mistakes.
- Do not patch first: Find the cause before covering the damage.
- Do not use random mortar: Match the mortar to the masonry and the repair.
- Do not smear over bad joints: Failed mortar needs proper removal and repointing.
- Do not seal damaged masonry: Repair and dry the surface first.
- Do not ignore drainage: Water control often decides whether the repair lasts.
- Do not pressure-wash old brick; it can damage the surface and force water inside.
- Do not grind without protection: Masonry dust can contain silica.
- Do not repair in poor weather: Temperature and moisture affect curing.
- Do not treat chimneys casually: Height, water, fire safety, and venting concerns may be involved.
- Do not ignore permits: Larger structural repairs may need official review.
The best DIY decision is sometimes knowing when not to DIY the repair.
Final Thoughts on DIY Masonry Repair Mistakes
The top mistakes in DIY masonry repairs usually come from moving too fast, using the wrong material, ignoring water, or treating all masonry problems the same way. Brick, mortar, concrete, stone, chimneys, steps, and foundations each require a repair method suited to the material and the cause of the damage.
For Toronto and GTA homes, freeze-thaw cycles make these mistakes more noticeable. A weak patch, trapped moisture, open joint, or wrong mortar can fail quickly once winter weather arrives. Repairs should be planned around drainage, material compatibility, curing conditions, safety, and long-term performance.
Homeowners can safely inspect, document, clean lightly, and improve drainage. But when masonry is cracked, loose, high up, water-damaged, or structurally involved, professional help can prevent a small repair from becoming a larger problem.