A chimney masonry inspection before winter can help Toronto homeowners find cracked crowns, deteriorated mortar, spalling brick, failed flashing, missing caps, and other water-entry problems before repeated freezing and thawing begins.
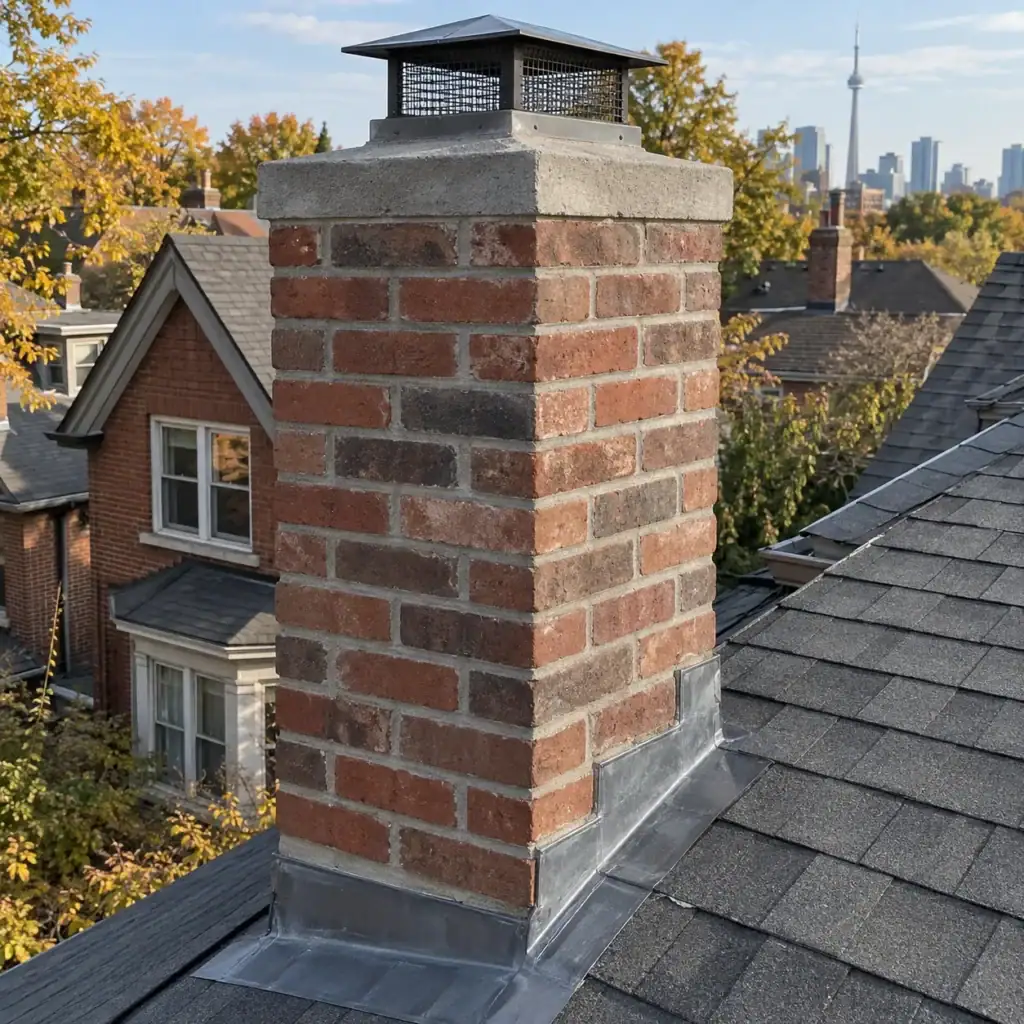
Chimneys deserve special attention because they are among the most exposed masonry features on a house. Unlike a brick wall protected by roof overhangs, a chimney projects above the roof and receives rain, snow, wind, and changing temperatures from several directions.
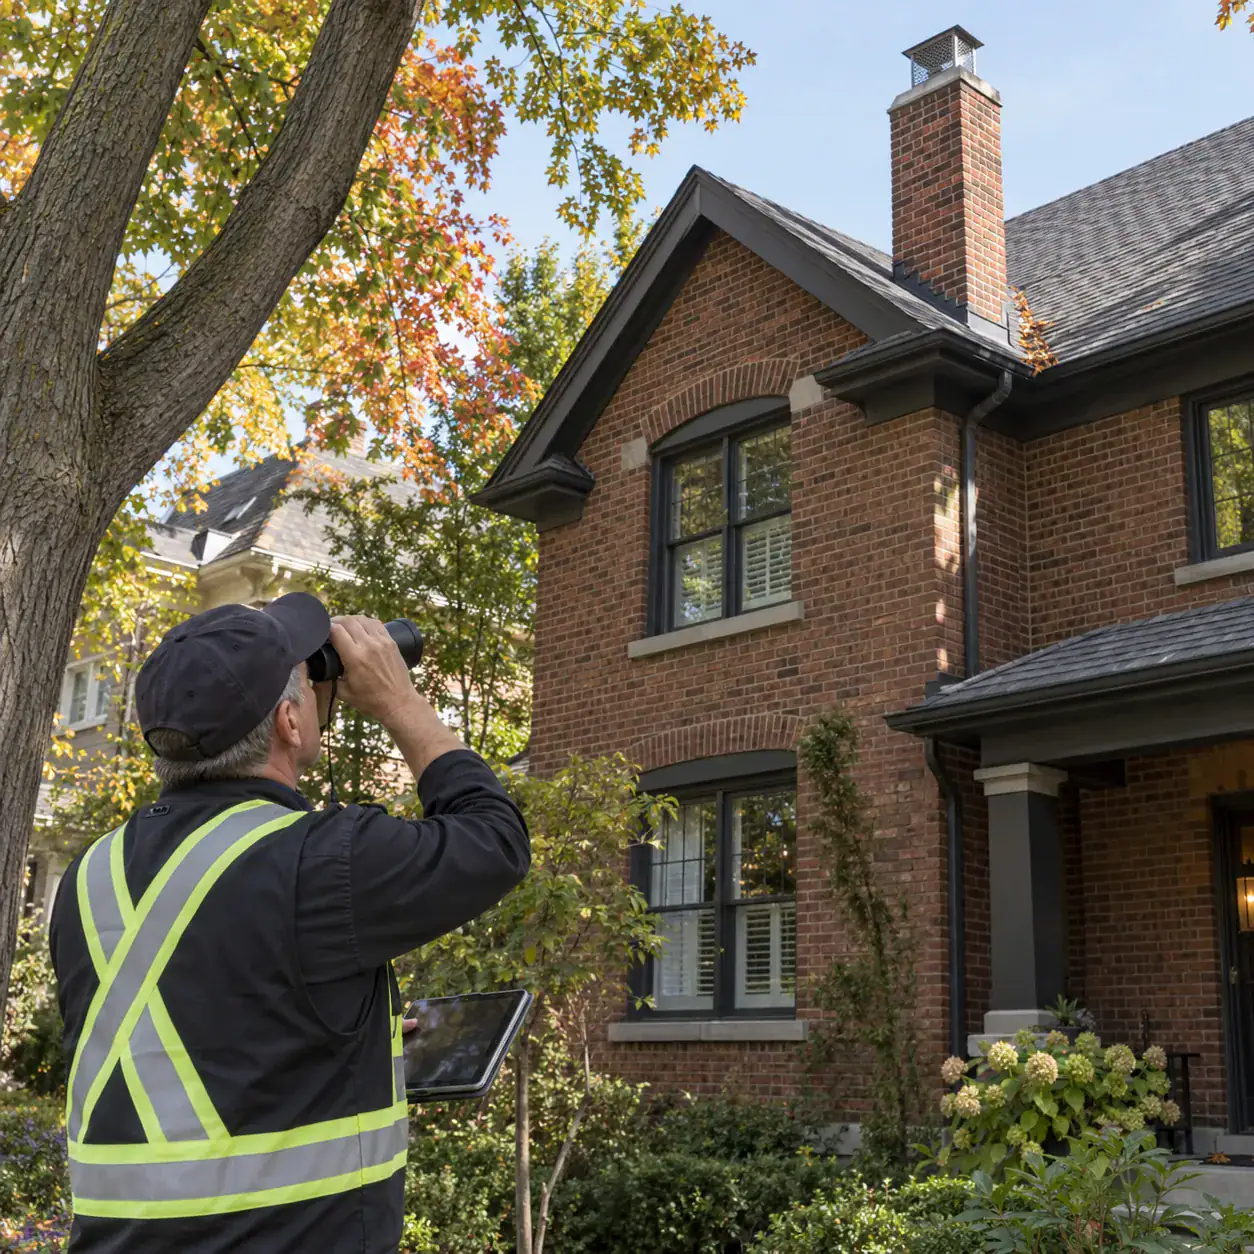
You do not need to climb onto the roof to perform a useful first check. Many warning signs can be seen safely from the ground with binoculars or a camera with a zoom lens. If something looks wrong, a closer professional assessment can determine whether the chimney needs localized masonry repair, repointing, crown work, flashing repair, or more extensive rebuilding.
This guide focuses on the exterior masonry condition of a chimney. If you use a wood-burning fireplace, flue and combustion-system inspection is also important and should be treated as a separate part of chimney maintenance.
Why Inspect Chimney Masonry Before a Toronto Winter?
The main reason is moisture.
Brick and mortar are designed for exterior exposure, but damaged masonry can absorb more water than a sound chimney. Cracked crowns, open mortar joints, spalled bricks, failed flashing, and missing caps can all create or contribute to water-entry problems.
Once colder weather arrives, moisture within vulnerable masonry may freeze and thaw repeatedly. Existing cracks and damaged surfaces can become worse over time.
A fall inspection does not guarantee that every winter problem can be prevented. It does give you an opportunity to find visible weaknesses while the chimney is accessible and before snow makes roof-level conditions harder to assess.
A&A Masonry’s chimney repair services in Toronto cover chimney tuckpointing, brick replacement, crown repair, cap work, flashing problems, leak investigation, freeze-thaw damage, and rebuilding where required.
Start With a Ground-Level Chimney Inspection
Homeowners should begin from a safe location on the ground rather than climbing onto the roof.
Walk around the property and view the chimney from several angles. Binoculars or a camera with optical zoom can make upper sections easier to inspect.
Look for obvious changes in shape, colour, and surface condition.
Useful things to photograph include:
- the entire chimney from each visible side;
- the top of the chimney and crown;
- the chimney cap;
- areas where the chimney meets the roof;
- dark or stained brick;
- cracked or flaking bricks;
- missing mortar;
- areas that appear to lean or bulge.
Keep these photographs. Comparing them with photos taken next spring can help show whether cracks or deterioration have changed.
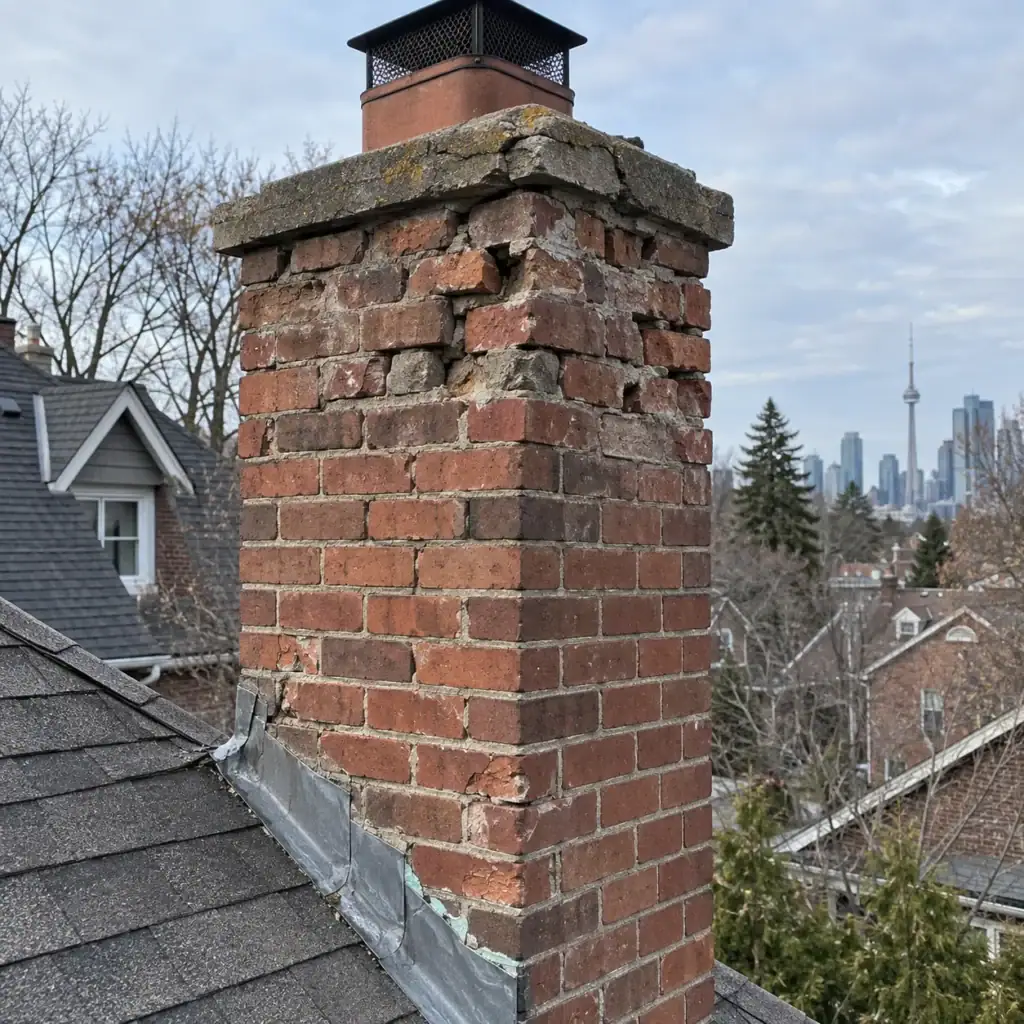
1. Look for Spalling Chimney Bricks
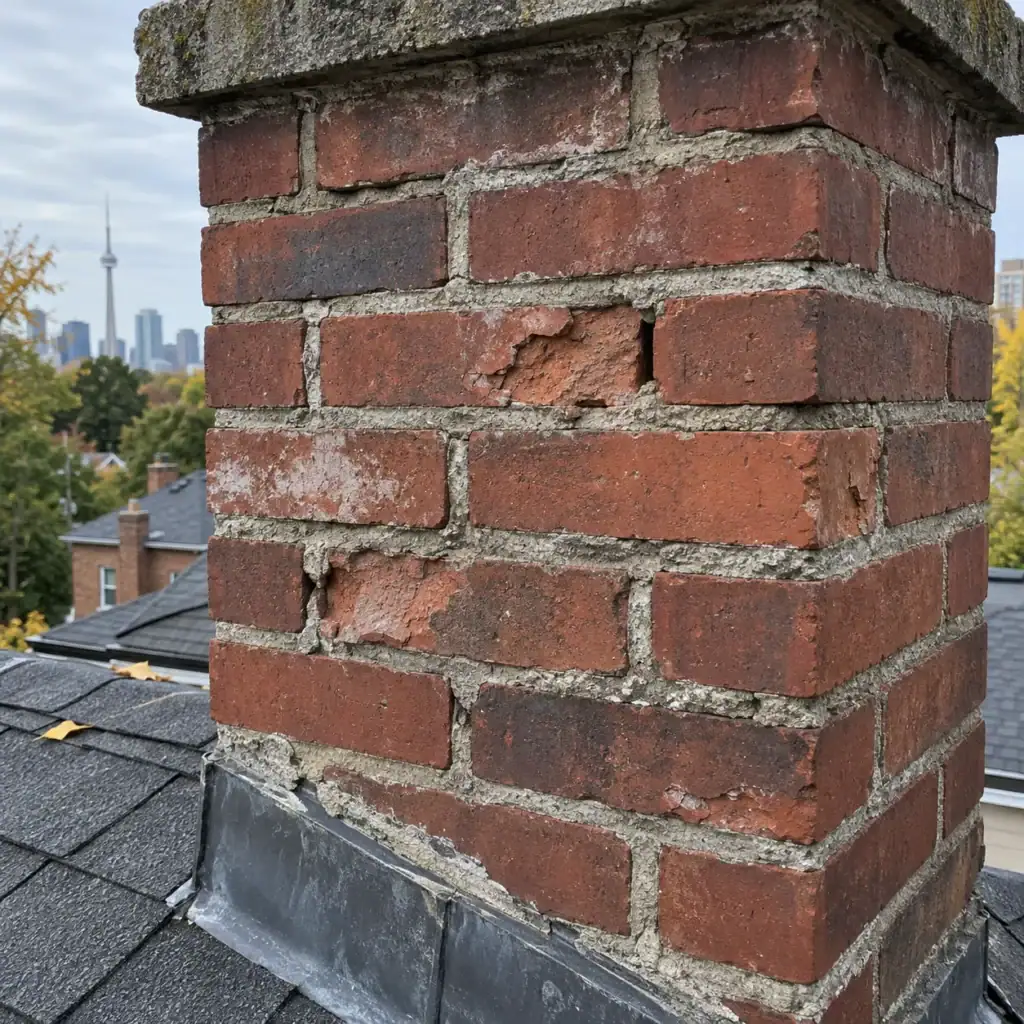
Spalling is one of the clearest visible signs of chimney masonry deterioration.
A spalled brick may have a face that is:
- flaking;
- peeling;
- cracked;
- chipped away;
- rougher than surrounding bricks;
- missing a significant portion of its outer surface.
One damaged brick does not automatically mean the chimney needs rebuilding. Localized brick replacement may be possible when most of the surrounding masonry remains sound.
Widespread spalling deserves more investigation, particularly when several bricks in the same area are deteriorating.
The important question is not only which bricks need replacing. You also need to ask why those particular bricks are failing.
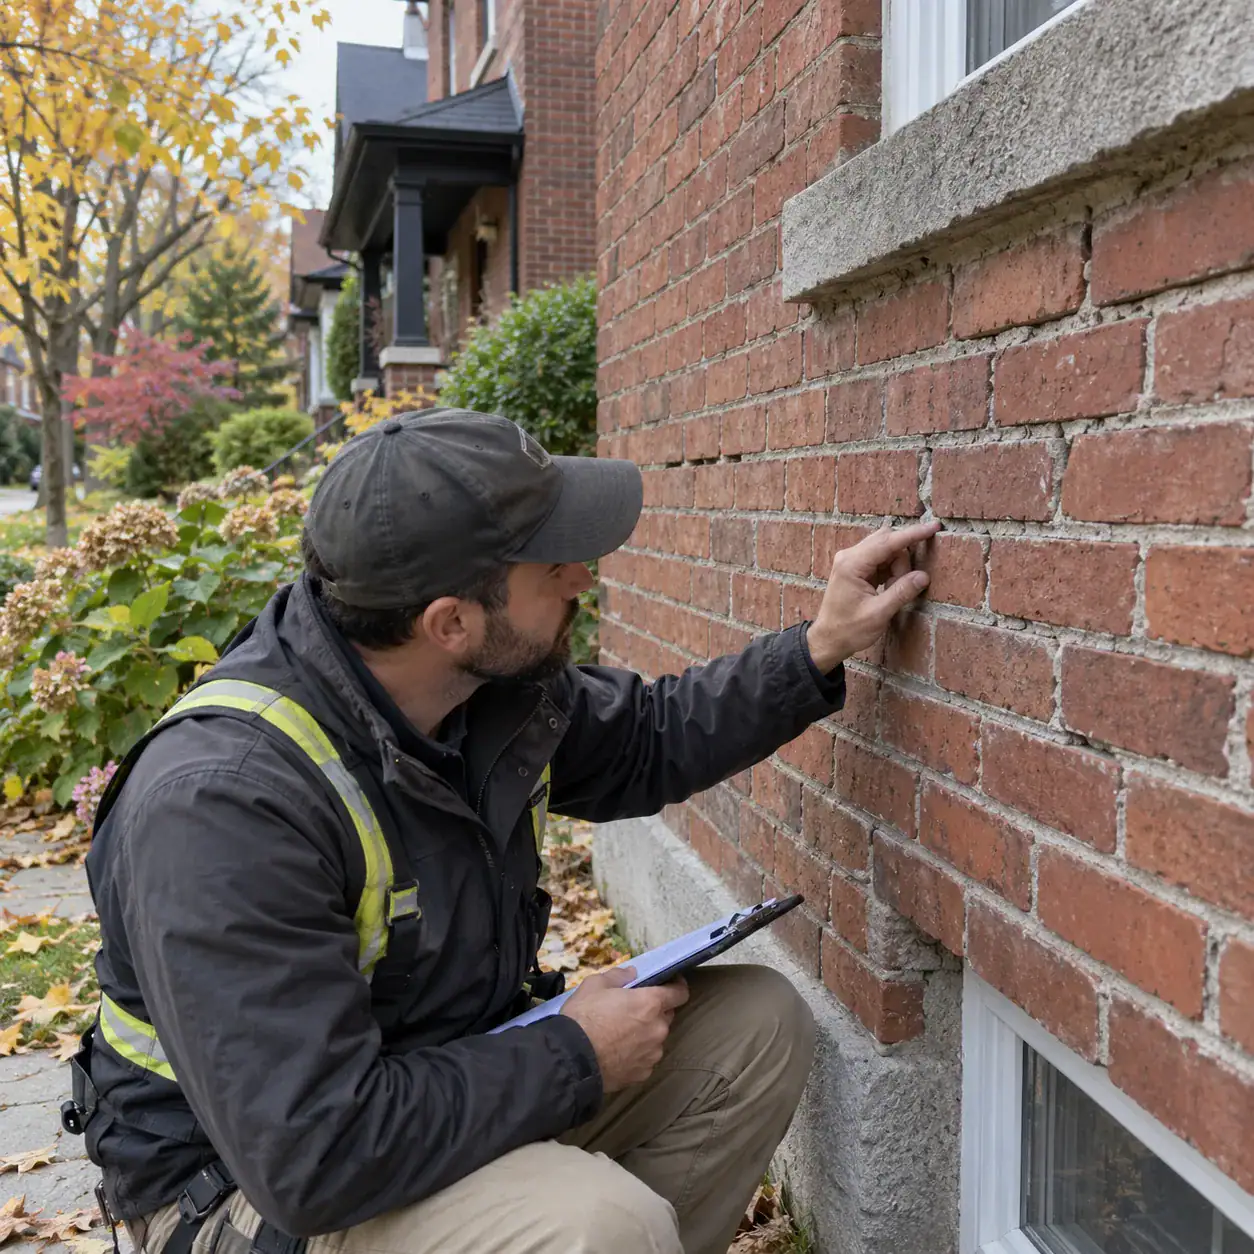
2. Check the Mortar Joints
Mortar often deteriorates before the bricks themselves.
From the ground, look for joints that appear unusually deep, cracked, broken, or completely missing. You may also see small pieces of mortar collecting on the roof below the chimney.
Deteriorated mortar can create additional paths for water to enter the masonry.
If the bricks remain serviceable and the problem is mainly within the joints, repointing may be more appropriate than replacing otherwise sound brick.
A&A Masonry’s Toronto tuckpointing services explain how deteriorated mortar is removed and replaced with compatible new mortar while retaining usable masonry.
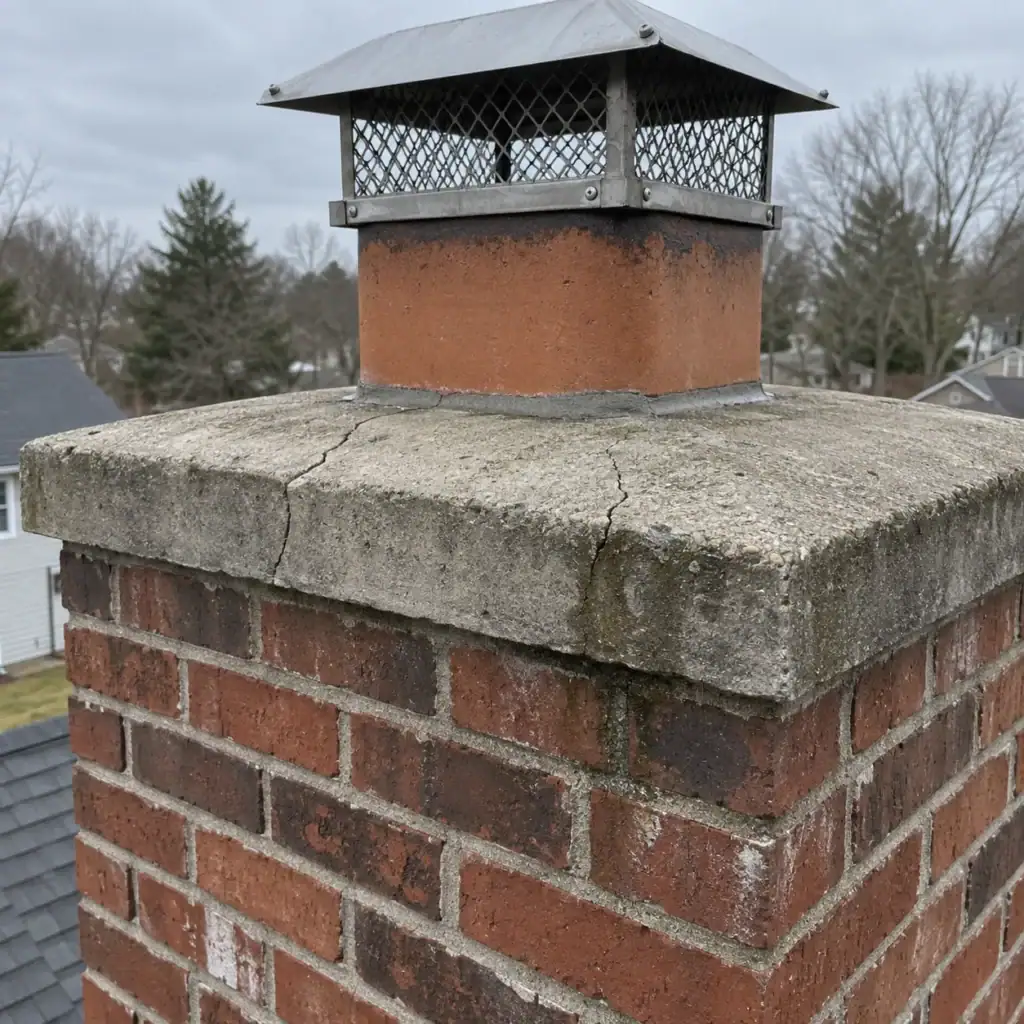
3. Look Closely at the Chimney Crown
The chimney crown is one of the most important areas to check before winter because it helps direct water away from the top of the masonry.
The crown sits around the flue at the top of a masonry chimney. When it develops cracks or deteriorated sections, water can enter from above and reach masonry below.
Look for:
- visible cracks;
- missing pieces;
- surface deterioration;
- open gaps around flues;
- sections that appear broken or uneven;
- vegetation growing from cracks.
Small crown cracks may not be easy to see from the ground, which is one reason a closer assessment can be useful when other moisture symptoms are present.
Replacing spalled bricks without addressing a failed crown can leave the new masonry exposed to the same water source.
4. Check Whether the Chimney Has a Cap
A chimney cap and a chimney crown are different components.
The crown protects the top surface of the masonry. A cap typically covers the flue opening and helps limit direct entry of rain, snow, debris, and animals.
From the ground, check whether the cap appears:
- present;
- secure;
- straight;
- rusted or deteriorated;
- partially detached;
- damaged after previous storms.
A missing or damaged cap does not explain every chimney leak, but it is one part of the water-management system that should be checked.
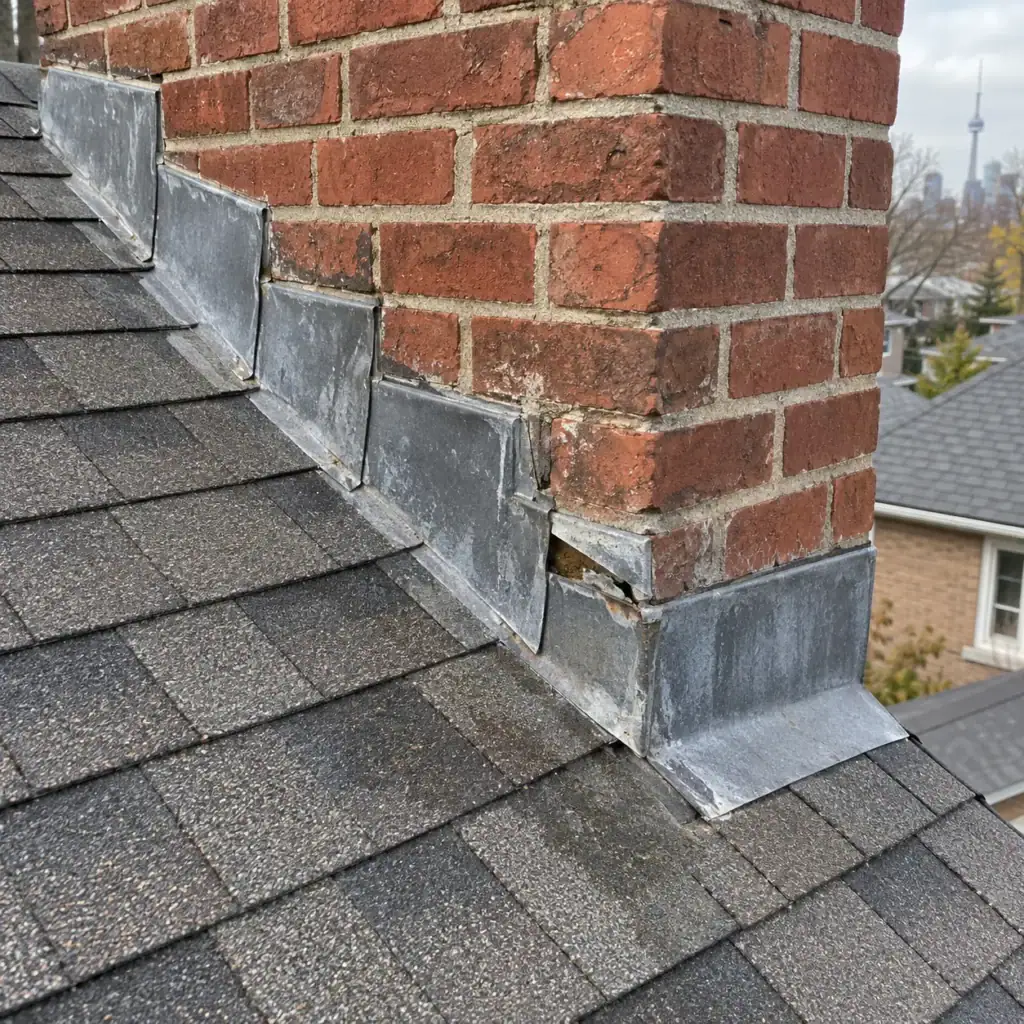
5. Inspect the Roof-to-Chimney Connection
The point where the chimney passes through the roof is another common place to investigate when water appears around a fireplace, ceiling, or attic.
Flashing manages water at this junction.
Visible warning signs can include:
- loose metal;
- rust;
- gaps;
- sealant that is cracked or separating;
- water staining below the flashing;
- previous patching that is pulling away.
Don’t assume wet brick means the brick itself is the source of the leak. Water can enter around flashing and appear somewhere else inside the building.
A&A Masonry’s chimney services include assessment of flashing issues associated with chimney leaks.
6. Look for Dark or Slow-Drying Masonry
You can also perform a useful chimney inspection after rainfall.
Look at the chimney while surrounding masonry is beginning to dry. One section remaining much darker than the rest may indicate that it is staying wet longer.
Pay particular attention to:
- brick immediately below the crown;
- areas around the flashing;
- one side of the chimney that consistently remains damp;
- mortar surrounding damaged bricks;
- areas below visible cracks.
Dark brick alone is not a diagnosis. Different exposures can dry at different rates. The pattern becomes more useful when it repeatedly appears in the same location or occurs beside visible deterioration.
7. Check for White Deposits
White powdery or crystalline material on chimney masonry may be efflorescence.
Efflorescence forms when moisture moves through masonry, carries soluble salts toward the surface, and evaporates.
The deposit itself does not automatically mean the chimney is structurally damaged. It is more useful as evidence that moisture has been moving through that area.
If white deposits keep returning, investigate the moisture source rather than repeatedly cleaning the surface.
Possible contributing areas include the crown, cap, mortar joints, flashing, and damaged bricks.
8. Look for Vertical, Horizontal, and Stair-Step Cracks
Not every chimney crack has the same cause or level of concern.
A small crack limited to one mortar joint is different from a crack passing through several bricks or a section of masonry that has visibly shifted.
Photograph cracks and note their pattern.
More concerning signs include:
- cracks passing through bricks rather than only mortar;
- long cracks extending through several courses;
- gaps that appear to be widening;
- cracks accompanied by bulging;
- separation between the chimney and adjacent construction;
- several cracks concentrated in one area.
Simply filling a moving crack with mortar does not explain or correct the movement that caused it.
9. Check Whether the Chimney Appears to Lean
A chimney should not visibly lean away from its expected alignment.
View it from more than one direction because roof slopes and perspective can make a straight chimney appear tilted from certain angles.
If the chimney appears genuinely out of alignment, compare it with older photographs if available.
Do not treat a leaning chimney as an ordinary tuckpointing problem. Movement can involve the masonry, the support below, deterioration, or other structural conditions that need to be understood before choosing repairs.
Do not attempt to dismantle or stabilize a leaning chimney yourself.
10. Look for Loose or Displaced Bricks
Loose chimney bricks deserve prompt attention because they are located above the roof and may create a falling-material hazard.
Signs can include:
- bricks sitting out of alignment;
- large open mortar joints;
- pieces visibly separating from the chimney;
- brick fragments on the roof or ground;
- sections of masonry that look uneven compared with older photographs.
Do not stand directly below visibly loose masonry or climb onto the roof to test whether a brick moves.
Arrange an assessment instead.
11. Check the Chimney From Inside the House Too
Exterior masonry can provide only part of the story.
Inside the house, look around the fireplace, chimney breast, nearby ceiling, attic access, and upper walls for evidence of moisture.
Possible signs include:
- brown or yellow water stains;
- peeling paint;
- damaged plaster or drywall;
- musty smells;
- damp masonry;
- white mineral deposits;
- water appearing after heavy rain.
The location of an interior stain does not necessarily identify the exact exterior entry point because water can travel before becoming visible.
This is another reason a chimney leak should be investigated rather than treated by applying sealant to the nearest visible exterior crack.
12. Do Not Confuse Chimney Sweeping With Masonry Inspection
Chimney sweeping and exterior masonry repair address different problems.
Sweeping removes soot, creosote, debris, and other material from the flue. A masonry inspection looks at the condition of the brick, mortar, crown, cap, flashing, and related exterior components.
A clean flue does not mean the exterior masonry is in good condition. Likewise, sound-looking brick does not confirm that the flue is clean and safe to use.
If you use a wood-burning fireplace or stove, both areas deserve attention.
A&A Masonry’s chimney sweeping guide explains the cleaning and inspection side of fireplace maintenance separately.
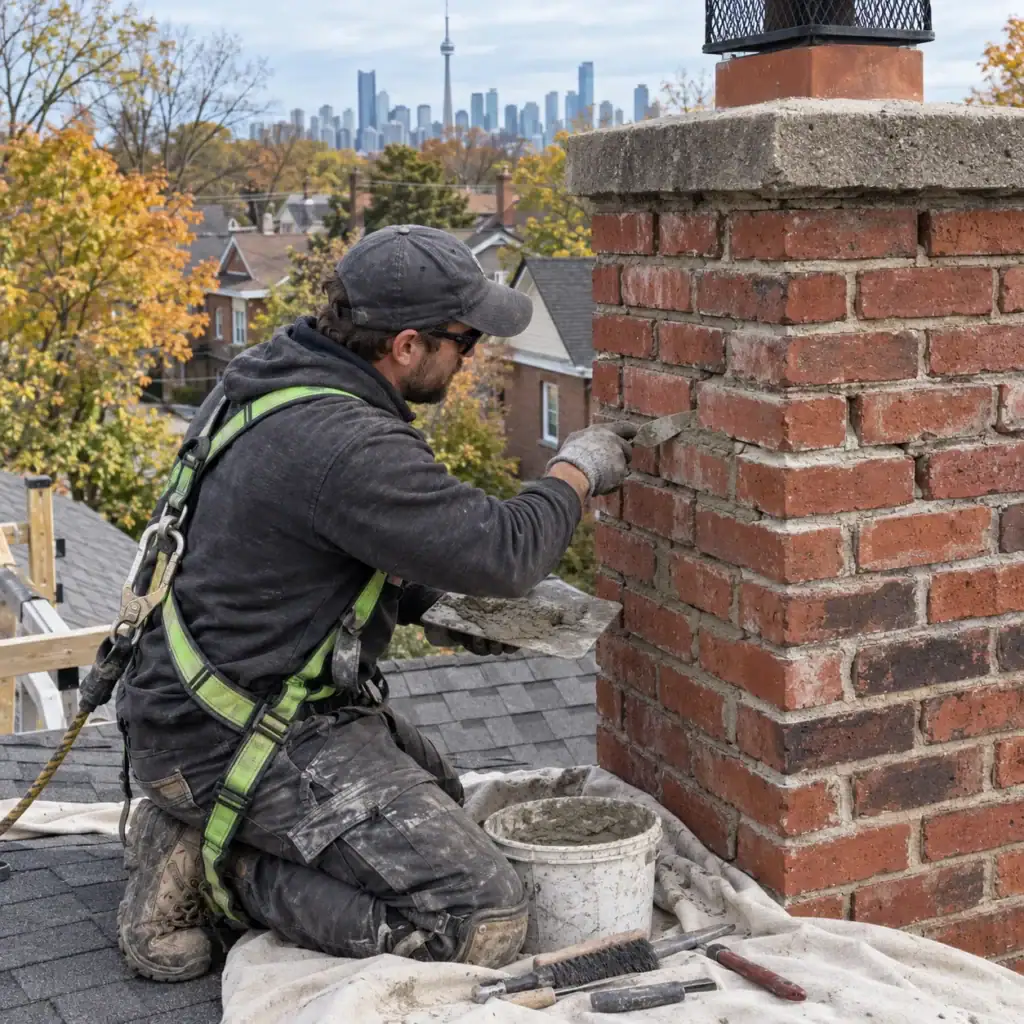
13. Decide Whether the Chimney Needs Repointing
Repointing may be appropriate when mortar joints are deteriorated, but much of the surrounding brick remains sound.
The process involves removing failed mortar to a suitable depth and replacing it with compatible new mortar.
Localized chimney repointing may make sense where:
- mortar is cracked or missing;
- joints have become deeply recessed;
- bricks remain reasonably sound;
- the chimney is not significantly moving;
- the moisture source can also be addressed.
Do not use repointing to disguise badly spalled brick or structural movement.
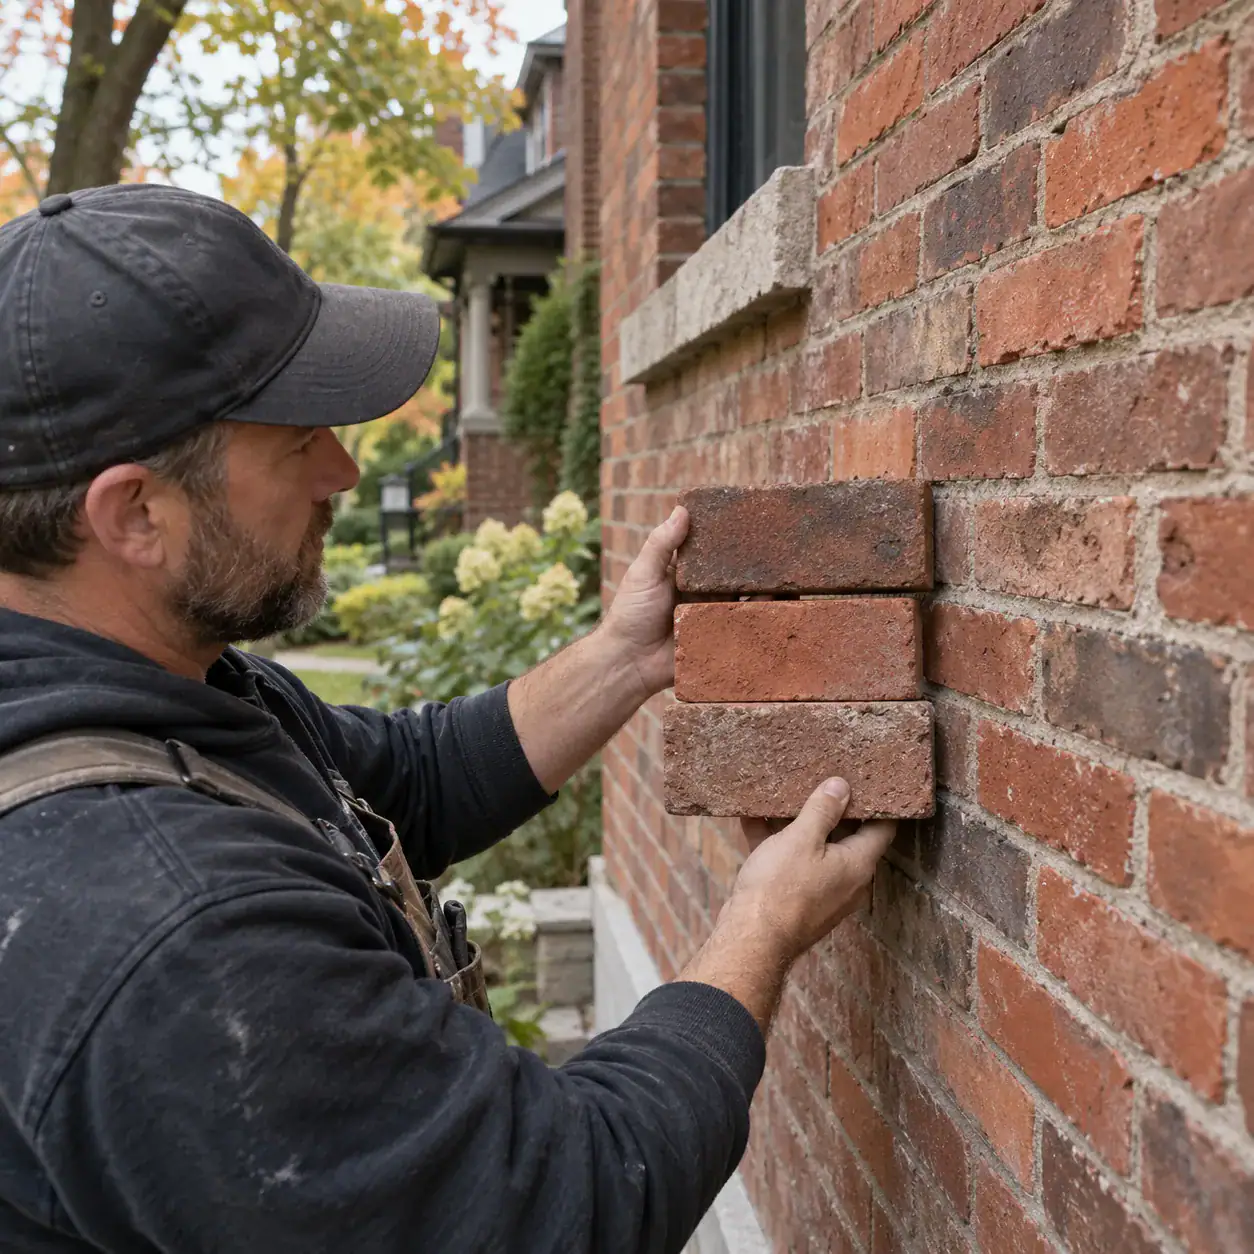
14. Decide Whether Individual Bricks Need Replacement
Selective brick replacement can be appropriate when only some chimney bricks have failed.
Replacement may be considered for bricks that are:
- deeply cracked;
- badly spalled;
- crumbling;
- missing significant portions;
- too deteriorated to remain serviceable.
Sound original bricks should normally be preserved where practical.
Replacement units should also be selected to work with the existing masonry rather than simply choosing a brick that looks similar from a distance.
15. When a Chimney Crown Repair May Be the Priority
Sometimes the bricks showing moisture damage are not the first component that needs attention.
If the crown is badly cracked, repairing only the brick below may leave water entering from the top.
A crown repair may therefore need to be completed as part of the same project.
The correct scope depends on whether the crown has localized cracking, widespread deterioration, poor geometry, separation around the flue, or other defects.
A surface coating should not be assumed to solve every crown problem. A badly deteriorated crown may need a more substantial repair.
16. Repair or Rebuild?
One of the most important chimney decisions is whether damaged areas can be repaired or whether part or all of the masonry above the roof needs rebuilding.
Repair is more likely to make sense when:
- deterioration is localized;
- most bricks remain sound;
- the chimney is stable;
- failed mortar can be repointed;
- damaged bricks can be replaced individually;
- crown or flashing problems can be corrected.
More extensive rebuilding may need to be considered when:
- large sections of brick are badly deteriorated;
- masonry is loose across a broad area;
- the chimney is visibly leaning or unstable;
- previous repairs have failed repeatedly;
- several connected components are seriously damaged.
Base the decision on the chimney’s actual condition rather than assuming every old chimney needs rebuilding.
17. Why Painting or Sealing Is Not an Automatic Fix
A wet chimney can tempt homeowners to apply a waterproof coating over the exterior.
That should not be the first step.
Before any protective treatment is considered, identify whether water is entering through a failed crown, missing cap, flashing, damaged brick, or open mortar joints.
Applying a coating over deteriorated or wet masonry may hide symptoms without correcting the source.
If a protective masonry treatment is appropriate after repairs, it should be compatible with the existing brick and mortar.
18. Older Chimneys Need Compatible Mortar
Older Toronto homes may have bricks and mortar that differ from modern masonry products.
Using the hardest available mortar is not automatically better.
Select new mortar to match the existing masonry in strength, composition, appearance, and joint profile.
This matters because the goal is to repair the joint without unnecessarily damaging the surrounding brick.
Where chimney deterioration is part of a larger exterior problem, A&A Masonry’s masonry restoration services in Toronto cover brick replacement, repointing, chimney restoration, stone repair, and other connected masonry work.
19. Check the Chimney Again After Heavy Rain
A dry-weather inspection tells you about physical damage. A rain event can tell you more about water movement.
After steady rain, look for:
- one face remaining much wetter than the others;
- dark areas directly below the crown;
- water staining near flashing;
- new interior staining;
- water entering around the fireplace or chimney breast.
Photograph the chimney during wet and dry conditions if possible. The comparison can help when the source of a leak is not obvious.
20. What Can Wait Until Spring?
Not every chimney imperfection requires immediate fall repair.
Minor cosmetic staining, small stable surface imperfections, and sound masonry that has simply weathered with age may be suitable for monitoring.
Waiting can also be better than rushing masonry work when weather conditions no longer allow the selected materials to be installed and cured properly.
However, active leaks, loose masonry, unstable sections, significant crown damage, missing mortar, and widespread spalling deserve more attention.
Prioritize based on safety, water entry, and the rate of deterioration rather than appearance alone.
21. When to Stop Inspecting and Call a Professional
A homeowner inspection should stop when safe ground-level observation is no longer enough.
Arrange a professional assessment when you see:
- loose bricks above the roof;
- a visibly leaning chimney;
- large cracks;
- widespread spalling;
- major mortar loss;
- a badly cracked crown;
- repeated interior water entry;
- damaged or missing flashing;
- sections that appear unstable;
- deterioration that has progressed noticeably since the previous year.
Roof access creates fall hazards, particularly when surfaces are wet, icy, steep, or covered with leaves. Do not climb onto the roof simply to get a closer photograph.
22. Check Permit Requirements for Major Chimney Work
Localized maintenance and major reconstruction are not necessarily treated the same way.
If a chimney project involves substantial rebuilding, structural alteration, fireplace construction, or other significant work, check current requirements before construction begins.
The City of Toronto’s official building permit information explains that permits are required for most construction, demolition, additions, and major renovations.
Ontario’s current Building Code information is the provincial reference for current building requirements.
Confirm the requirements for the actual project rather than assuming that every chimney repair either requires or does not require a permit.
A 15-Minute Pre-Winter Chimney Masonry Checklist
From a safe ground-level position:
- Photograph the chimney from several sides.
- Look for spalling or cracked bricks.
- Check for missing or recessed mortar.
- Look for visible crown cracks.
- Confirm that a chimney cap appears present and secure.
- Look at the flashing where the chimney meets the roof.
- Check for dark or stained masonry.
- Look for white mineral deposits.
- Photograph visible cracks.
- Check whether the chimney appears straight.
- Look for displaced or loose bricks.
- Inspect interior ceilings and walls for moisture stains.
- Check the same areas after heavy rain.
- Compare the condition with older photographs.
- Arrange an assessment if anything appears loose, unstable, or actively leaking.
Final Thoughts on Pre-Winter Chimney Masonry Inspections
A chimney masonry inspection before winter is mainly about finding water-entry points and physical deterioration while there is still time to plan the right repair.
Start from the ground. Check the bricks, mortar joints, crown, cap, flashing, cracks, staining, and overall alignment. Then look inside the house for signs that water may already be getting through.
Do not assume that every chimney problem requires rebuilding. Localized repointing, selective brick replacement, crown repair, cap work, or flashing repair may be enough when most of the chimney remains sound.
At the same time, do not treat loose masonry, movement, or repeated leaks as cosmetic problems. The visible damaged brick may be only one part of the issue.
For Toronto homeowners, the best pre-winter chimney repair is the one that identifies where the water is coming from, preserves sound masonry where practical, and corrects the actual cause before another season of snow, moisture, and freeze-thaw exposure.