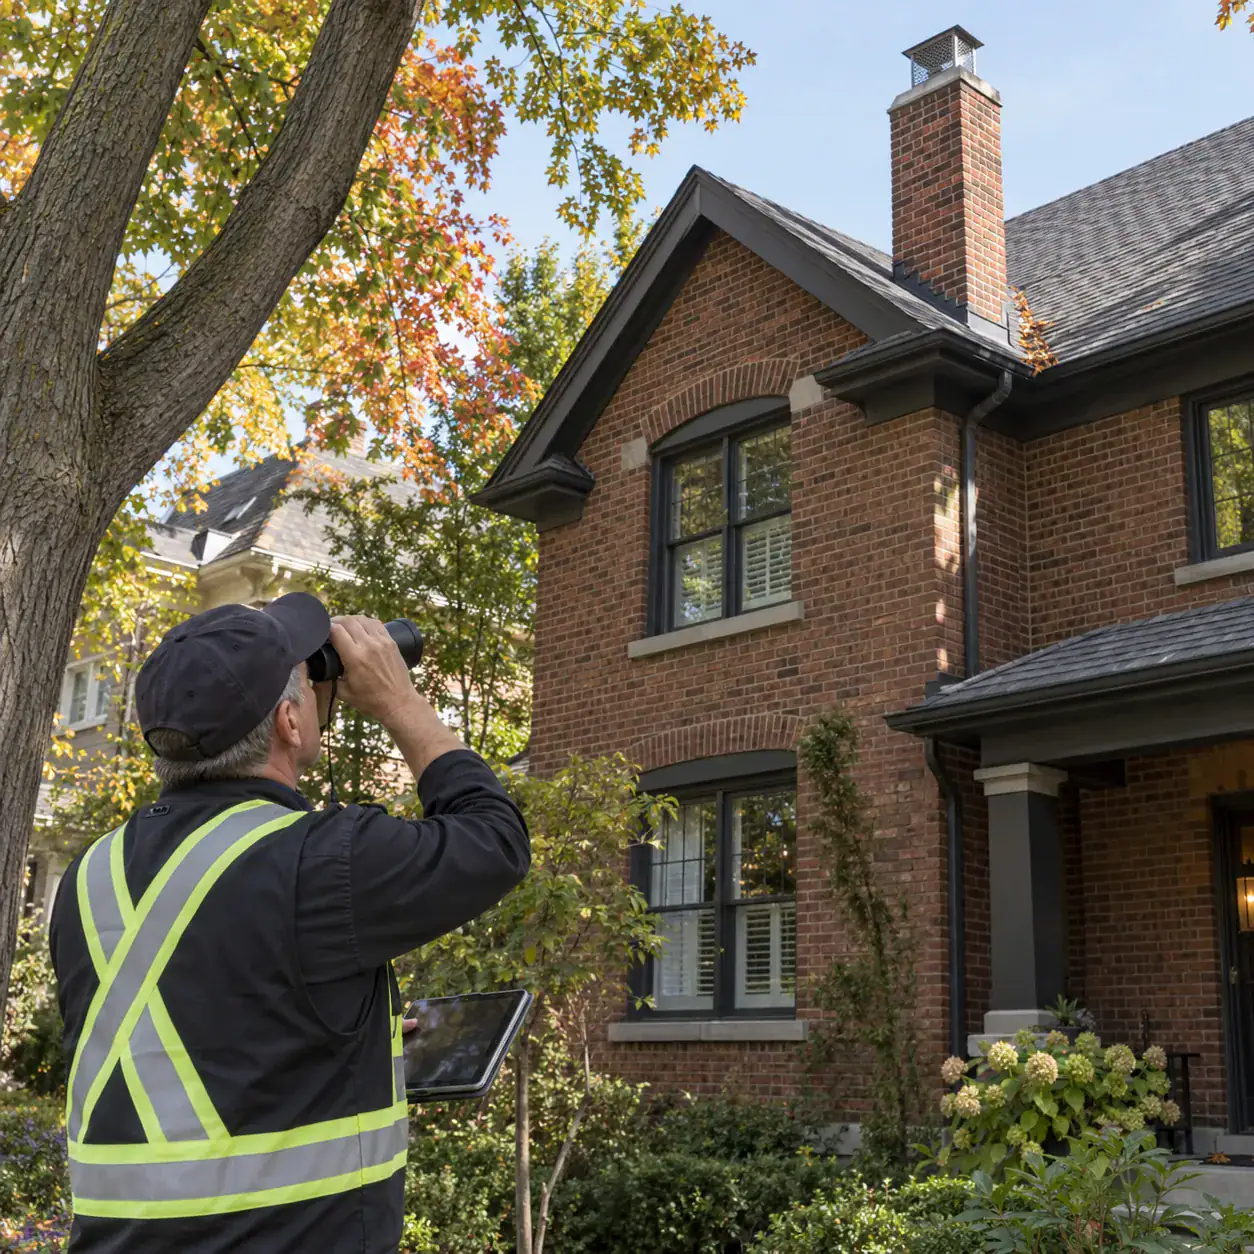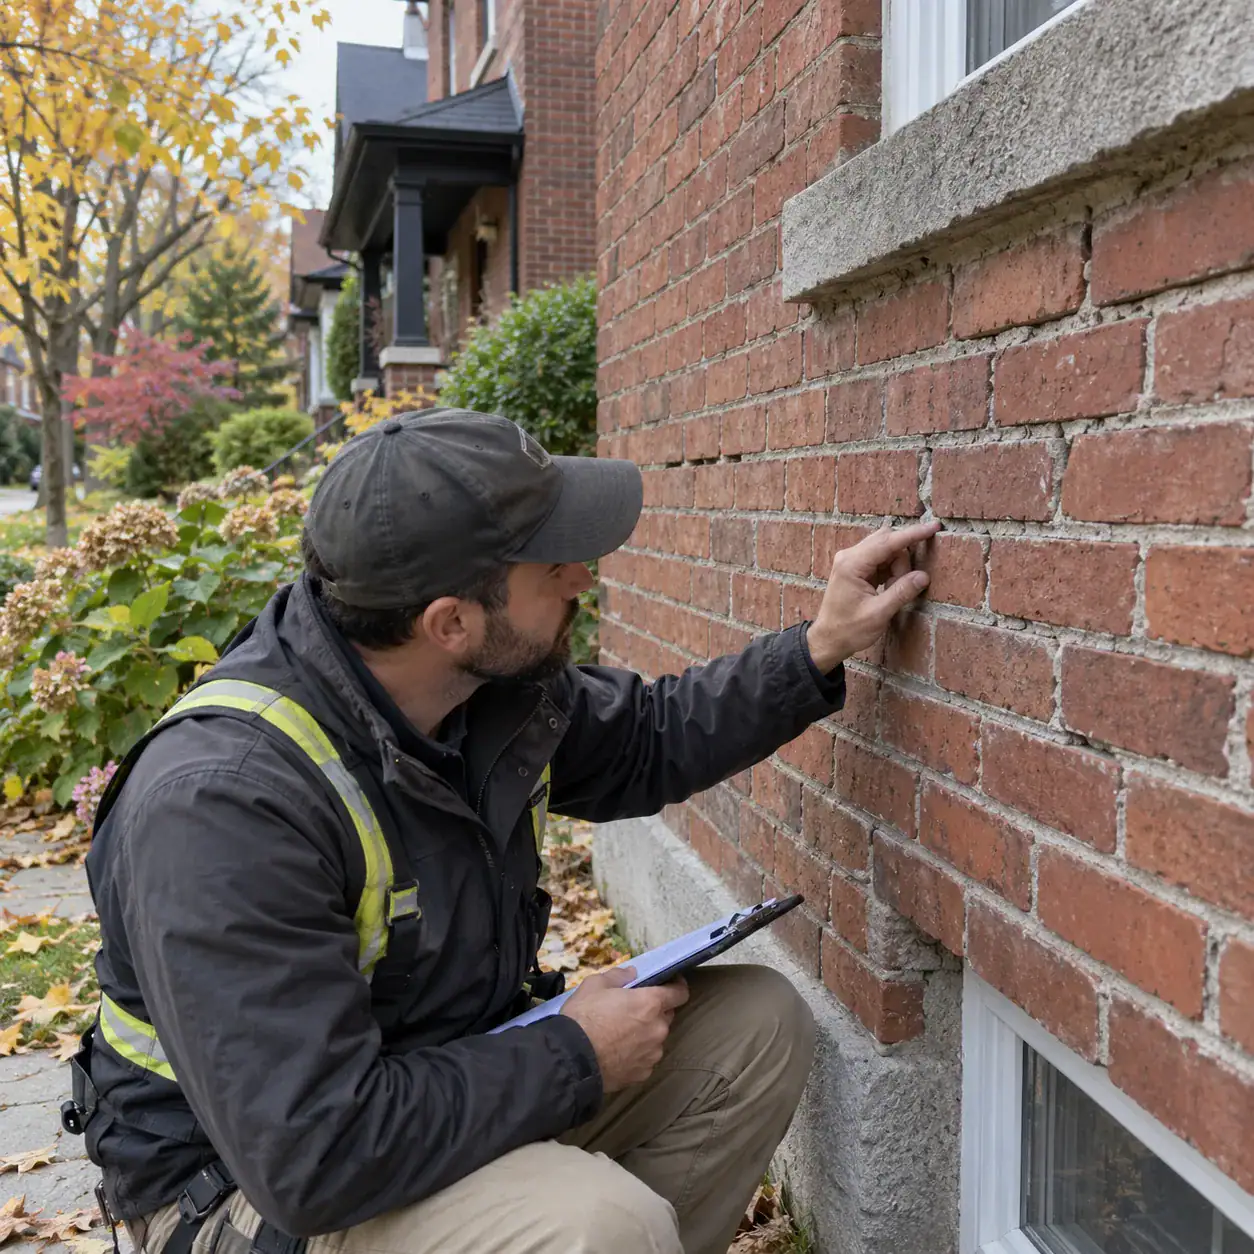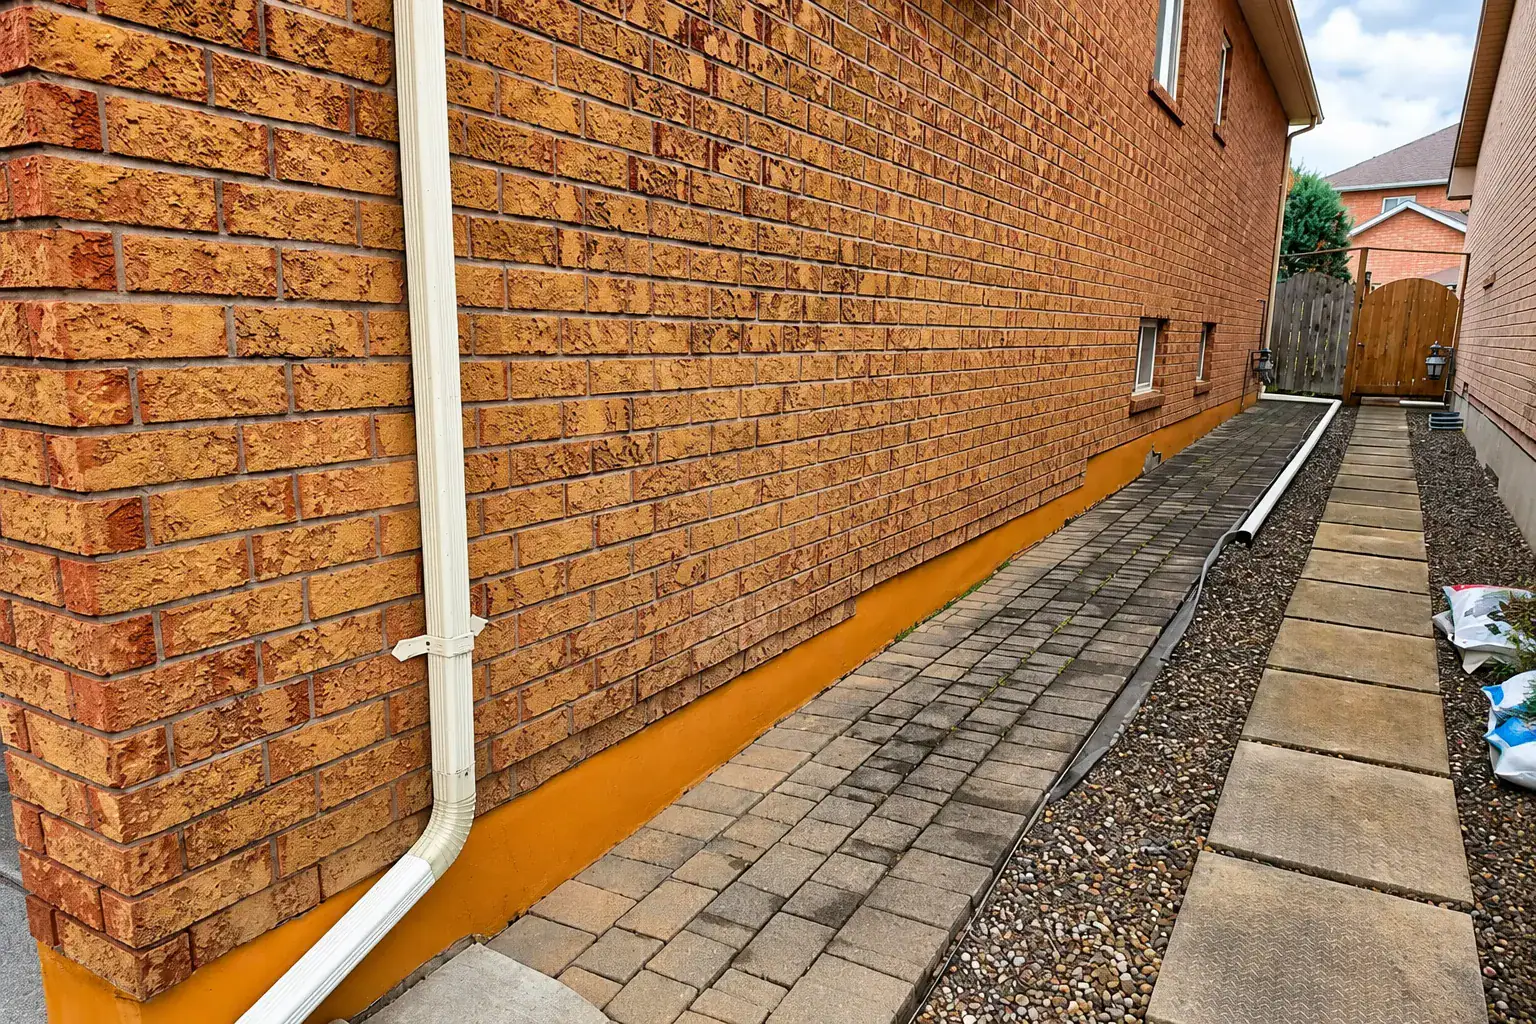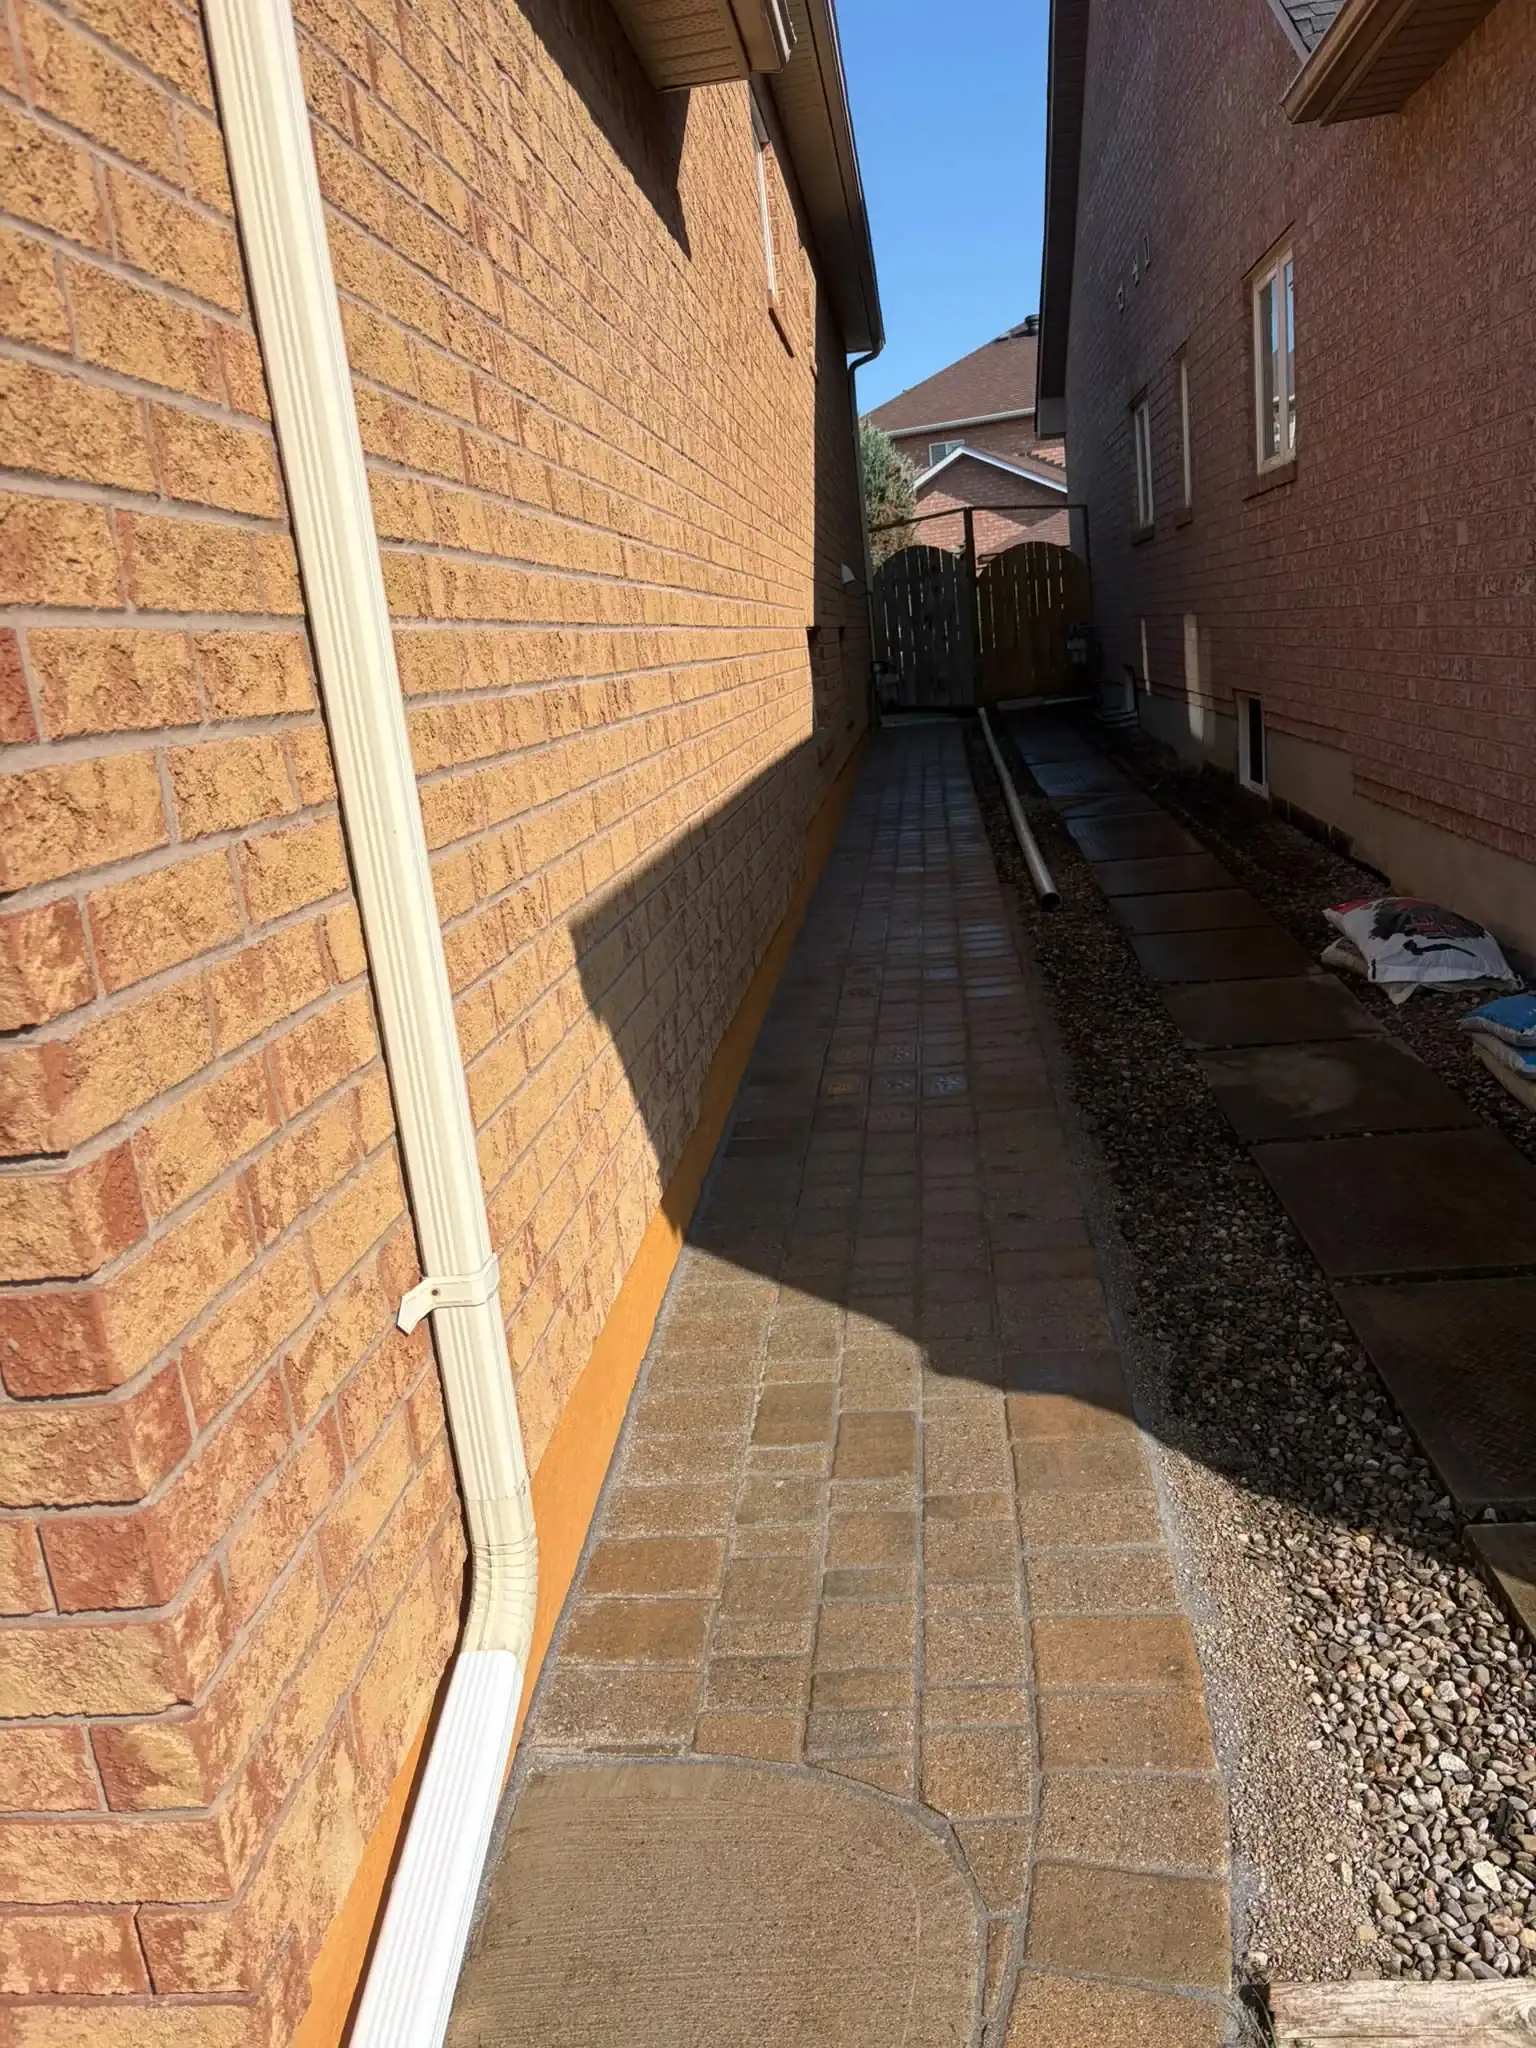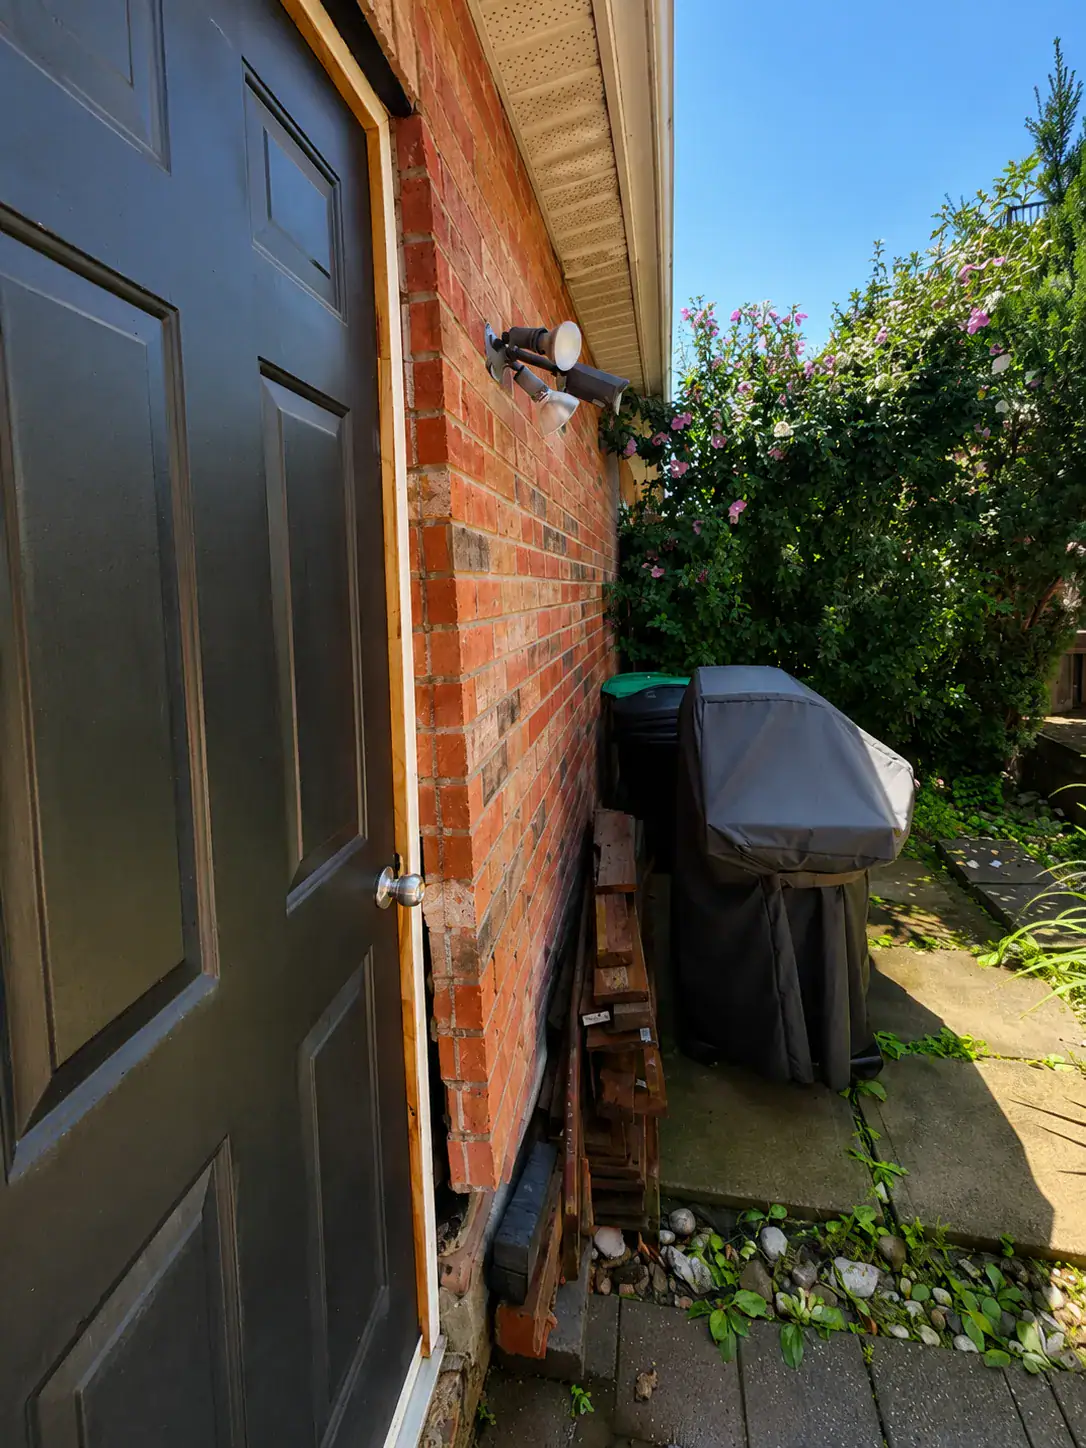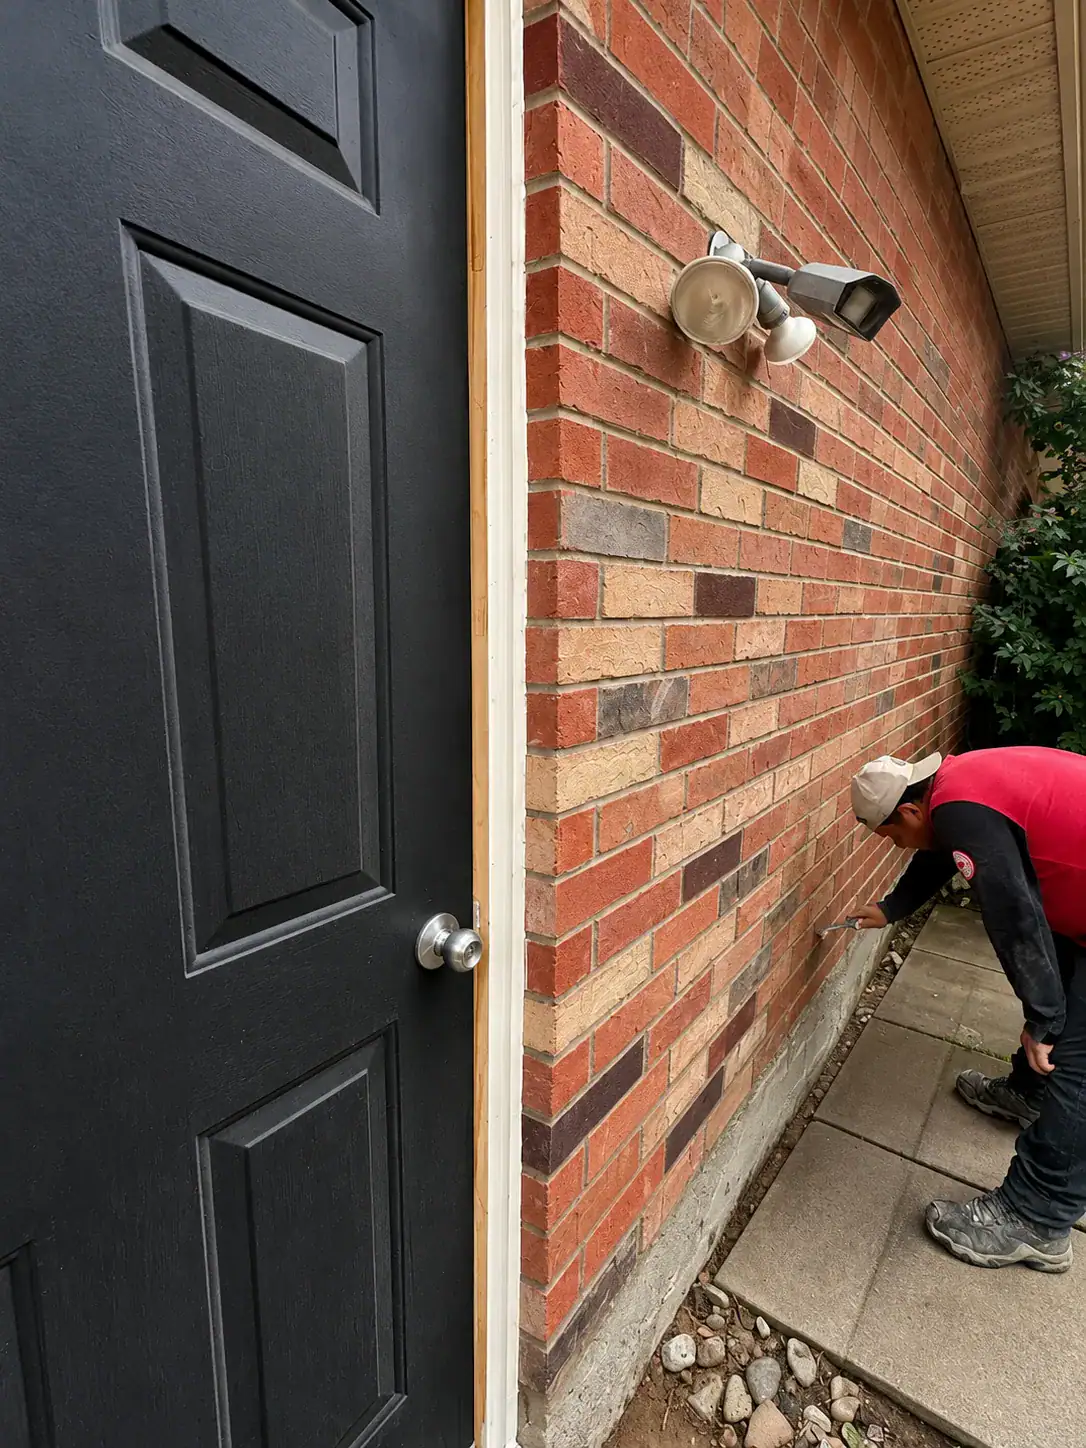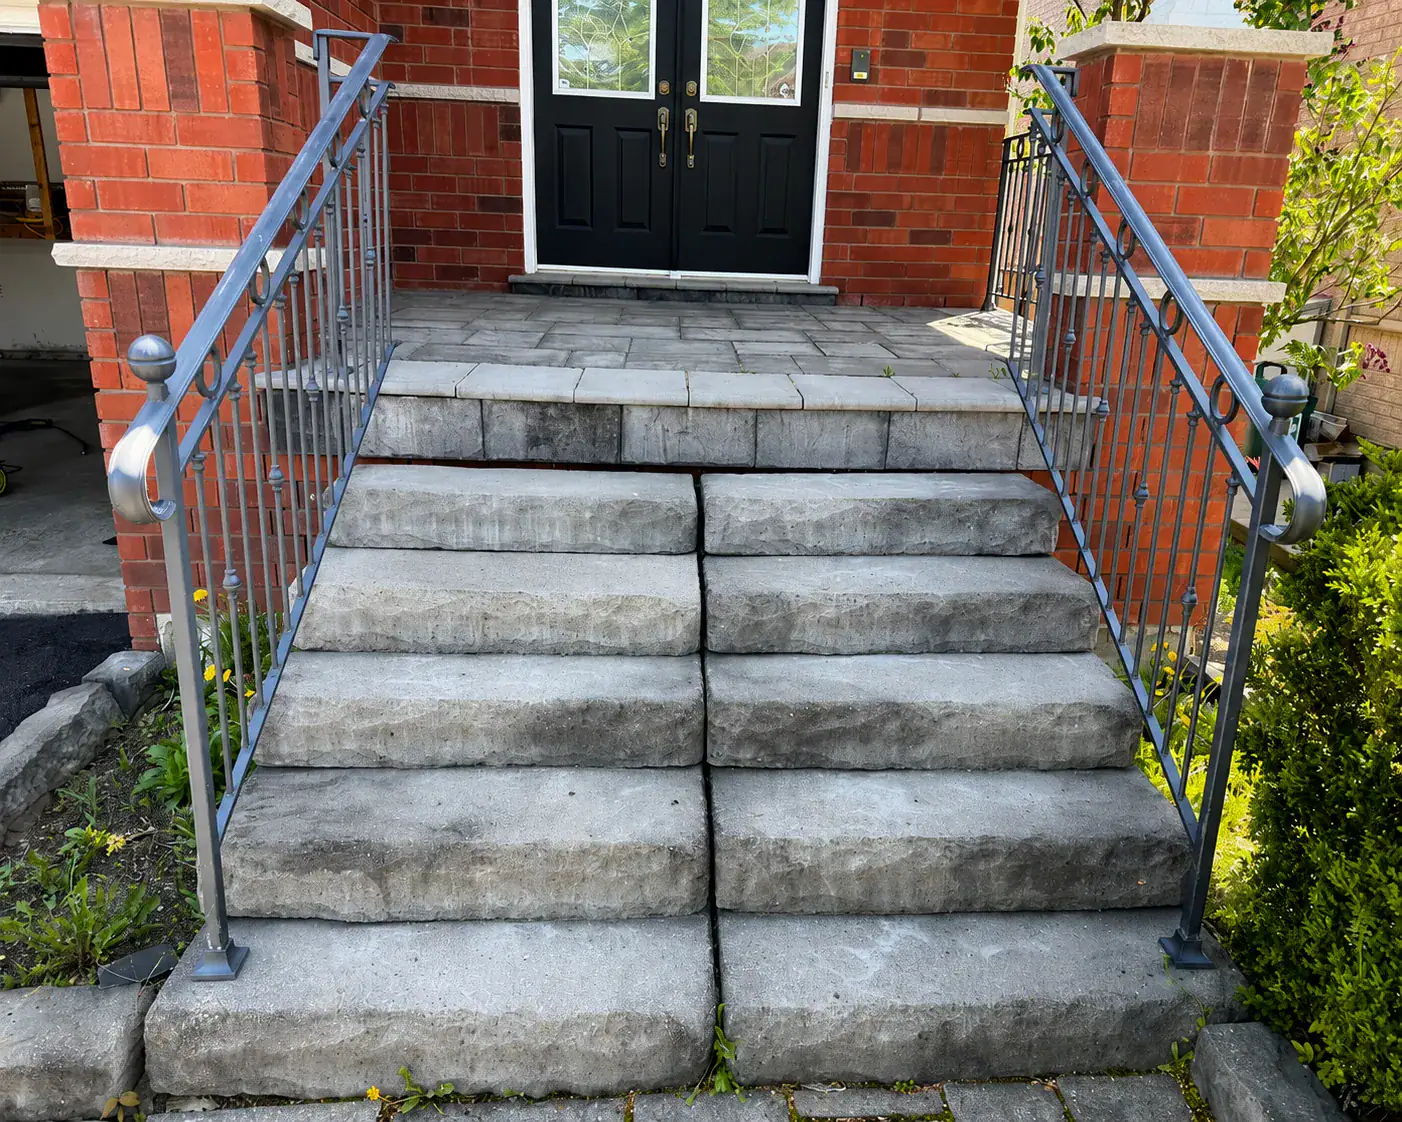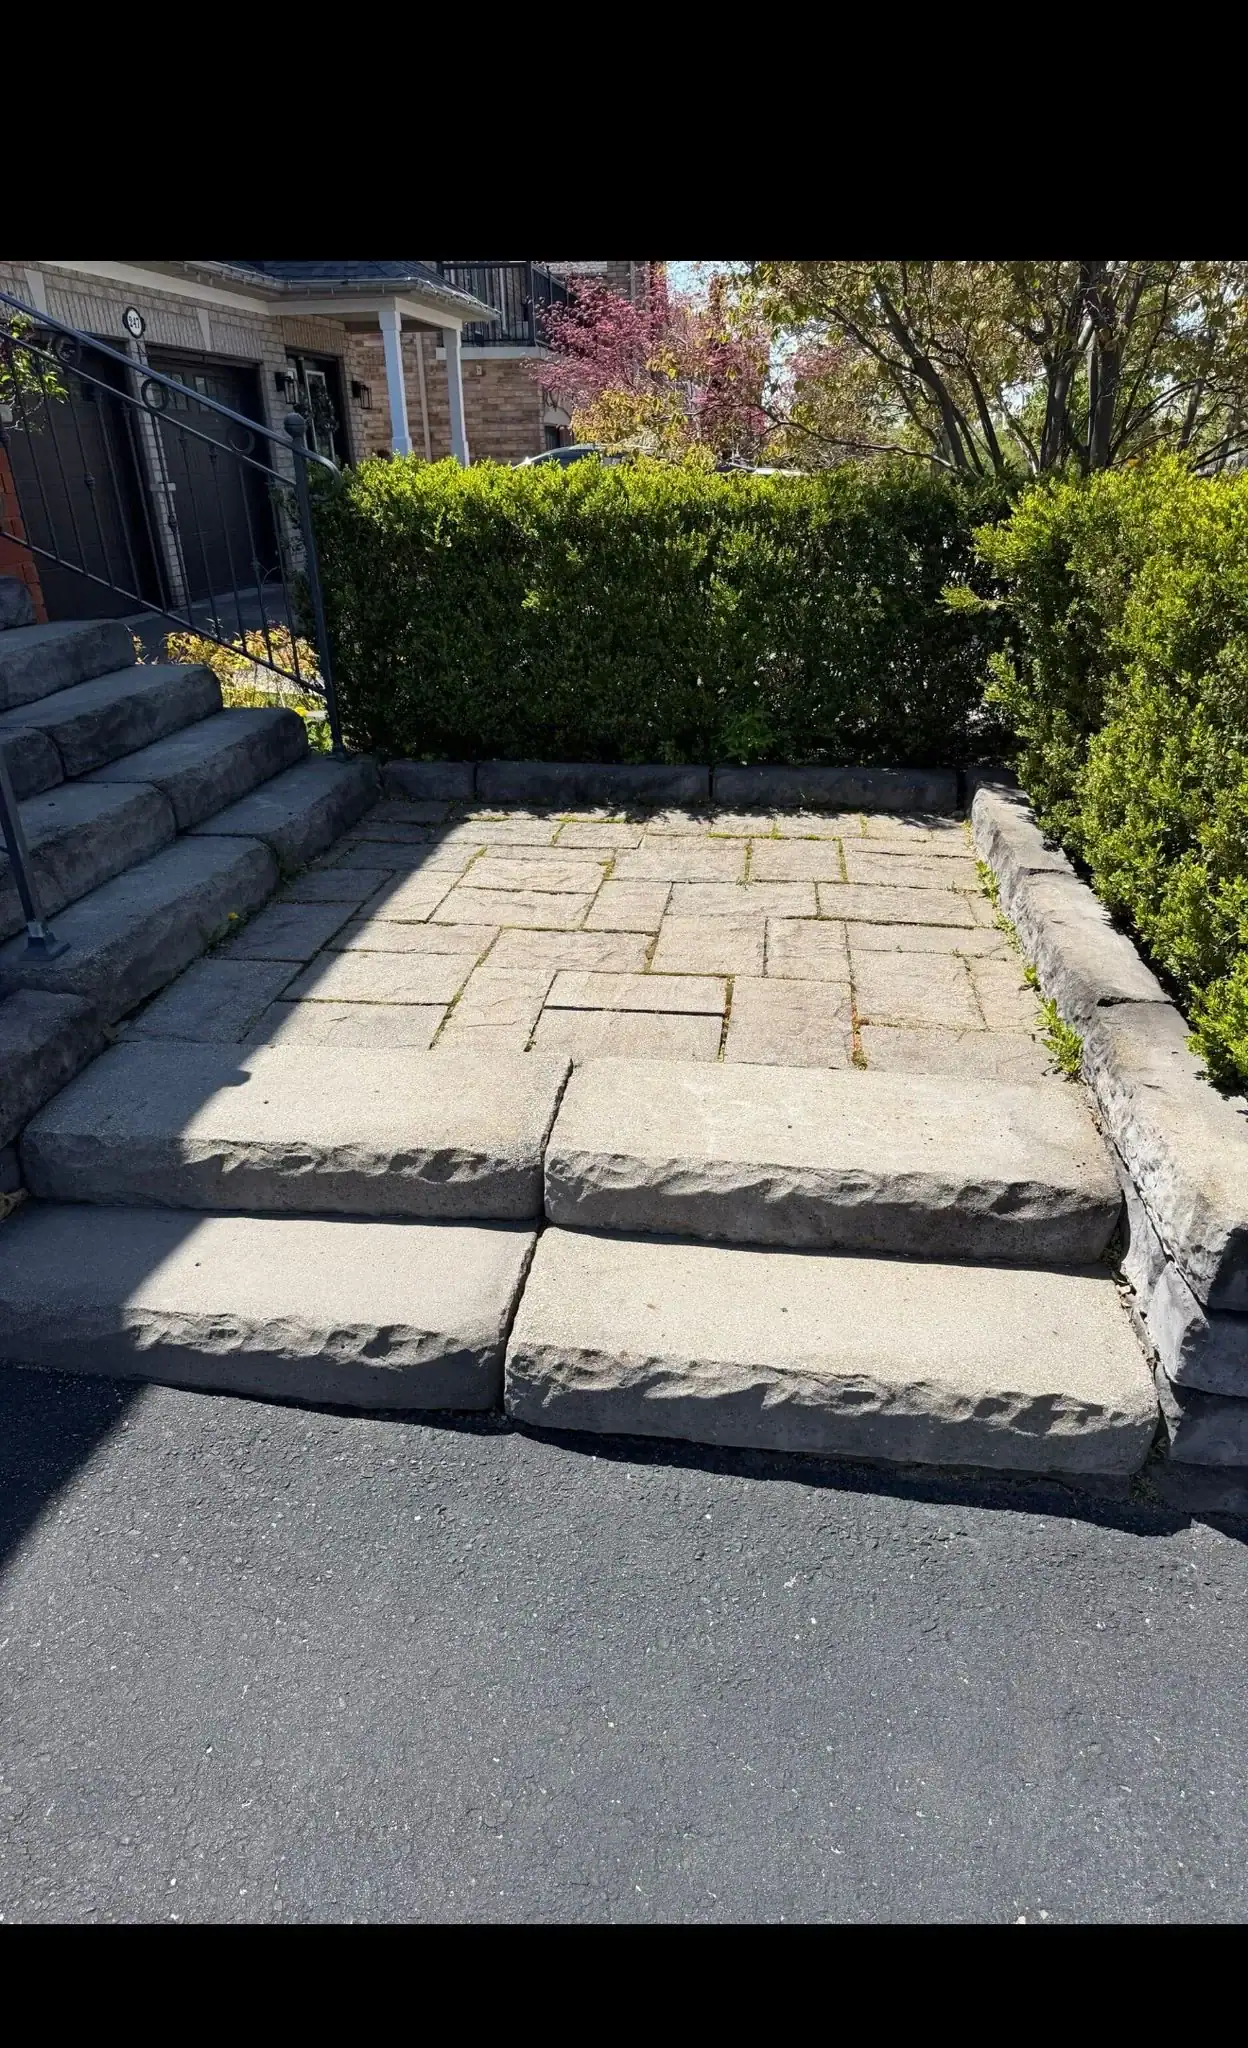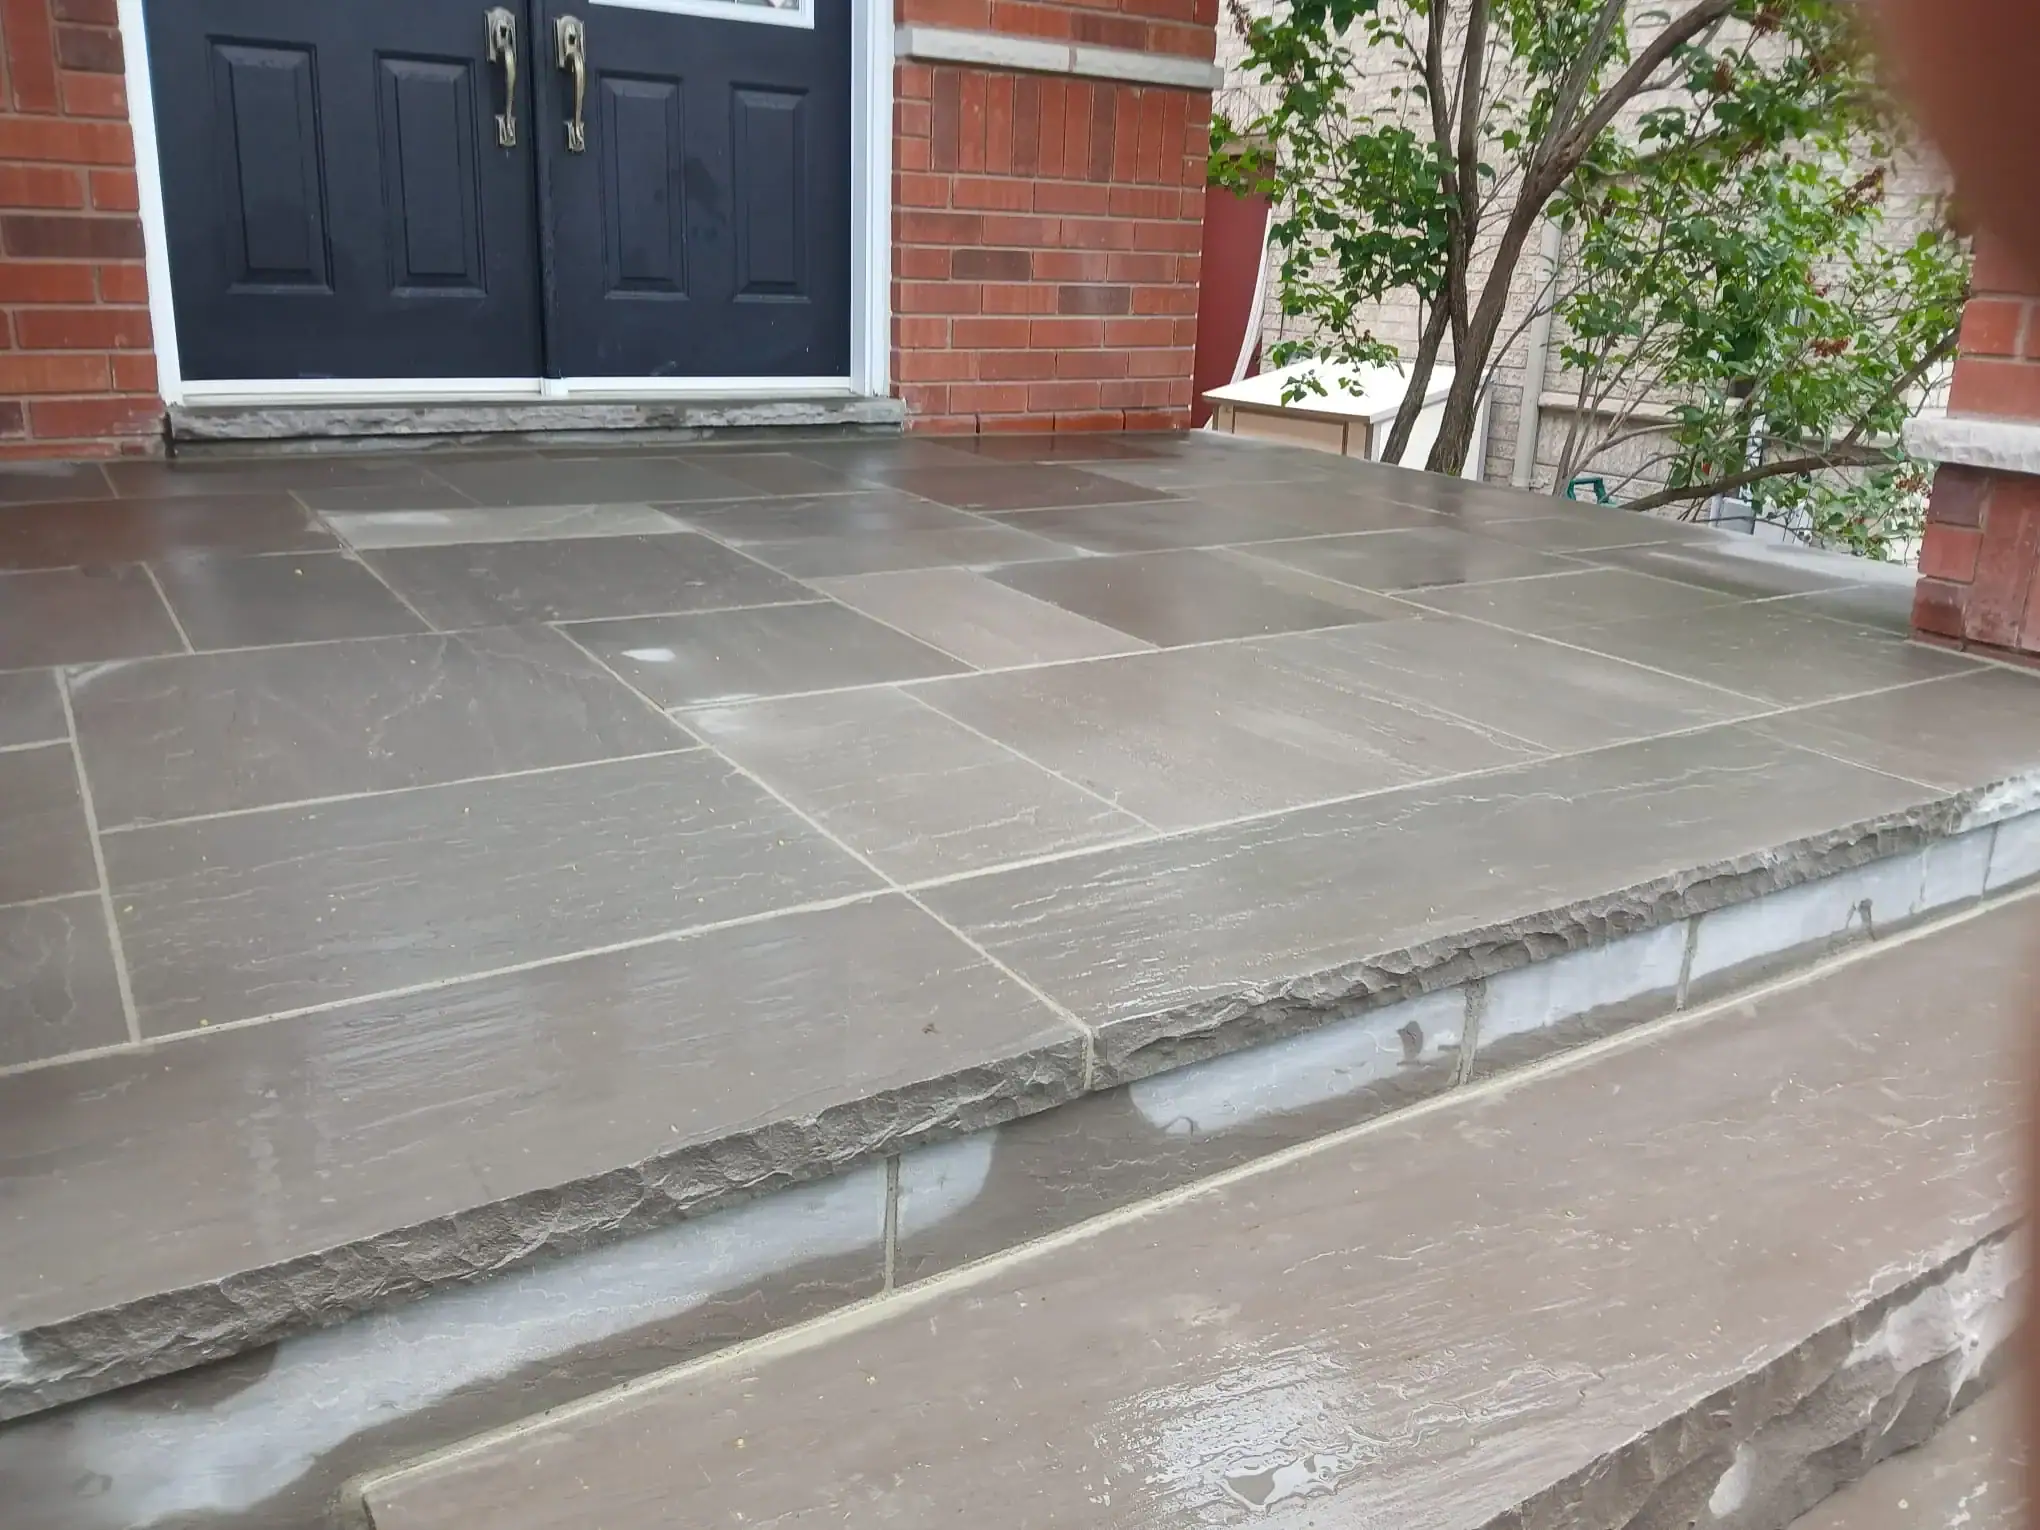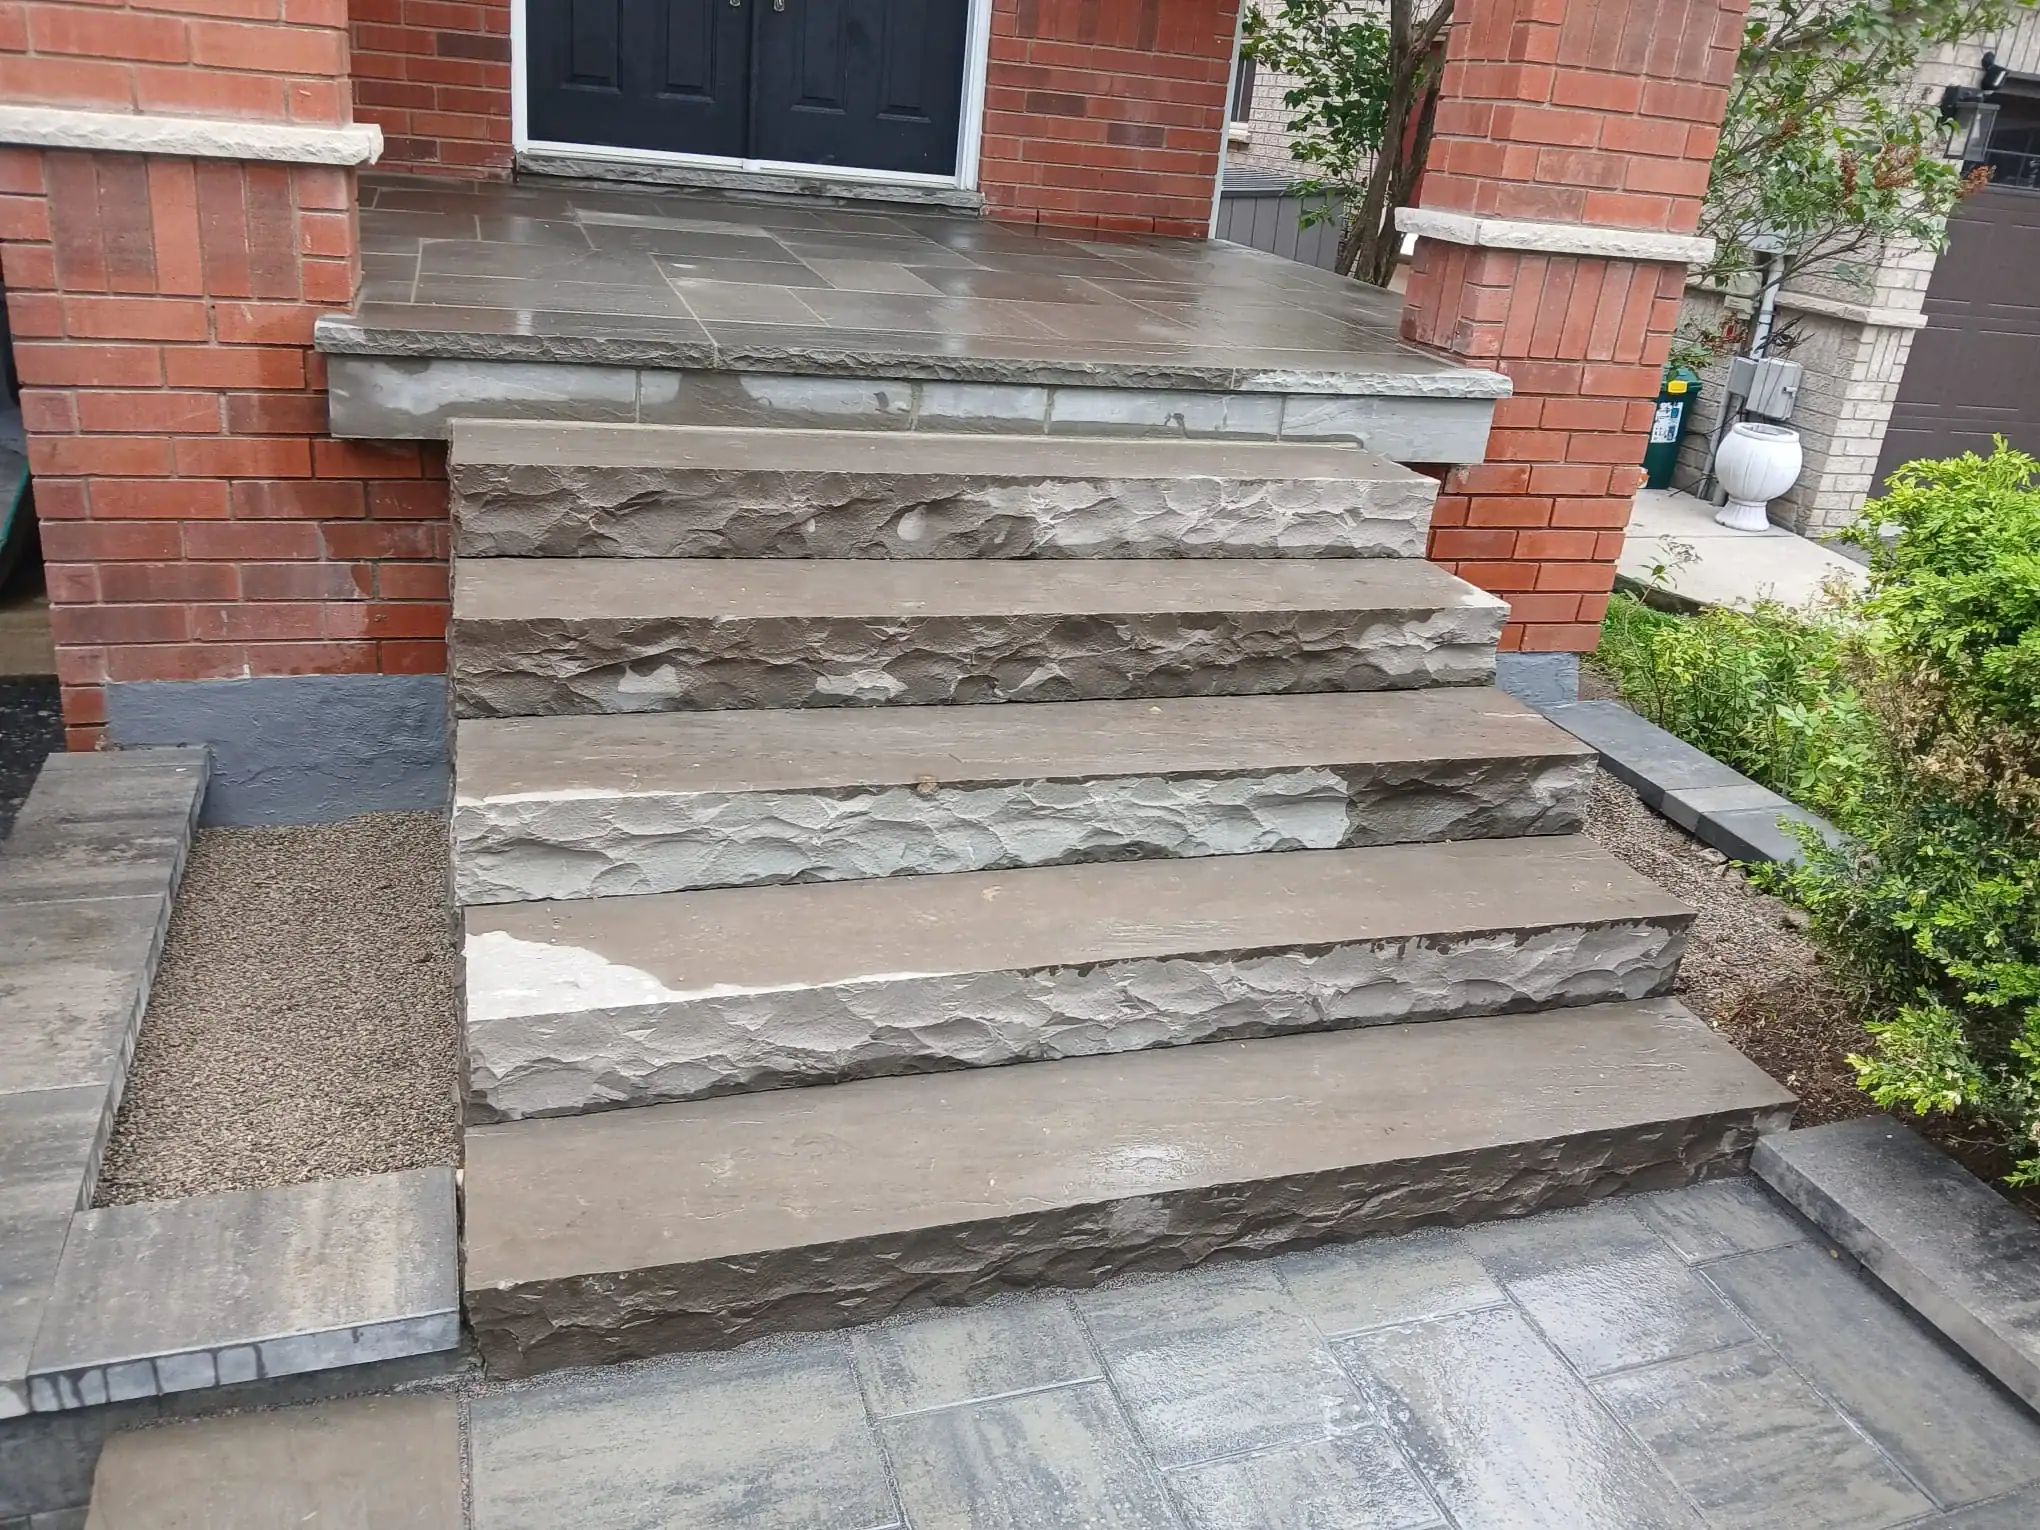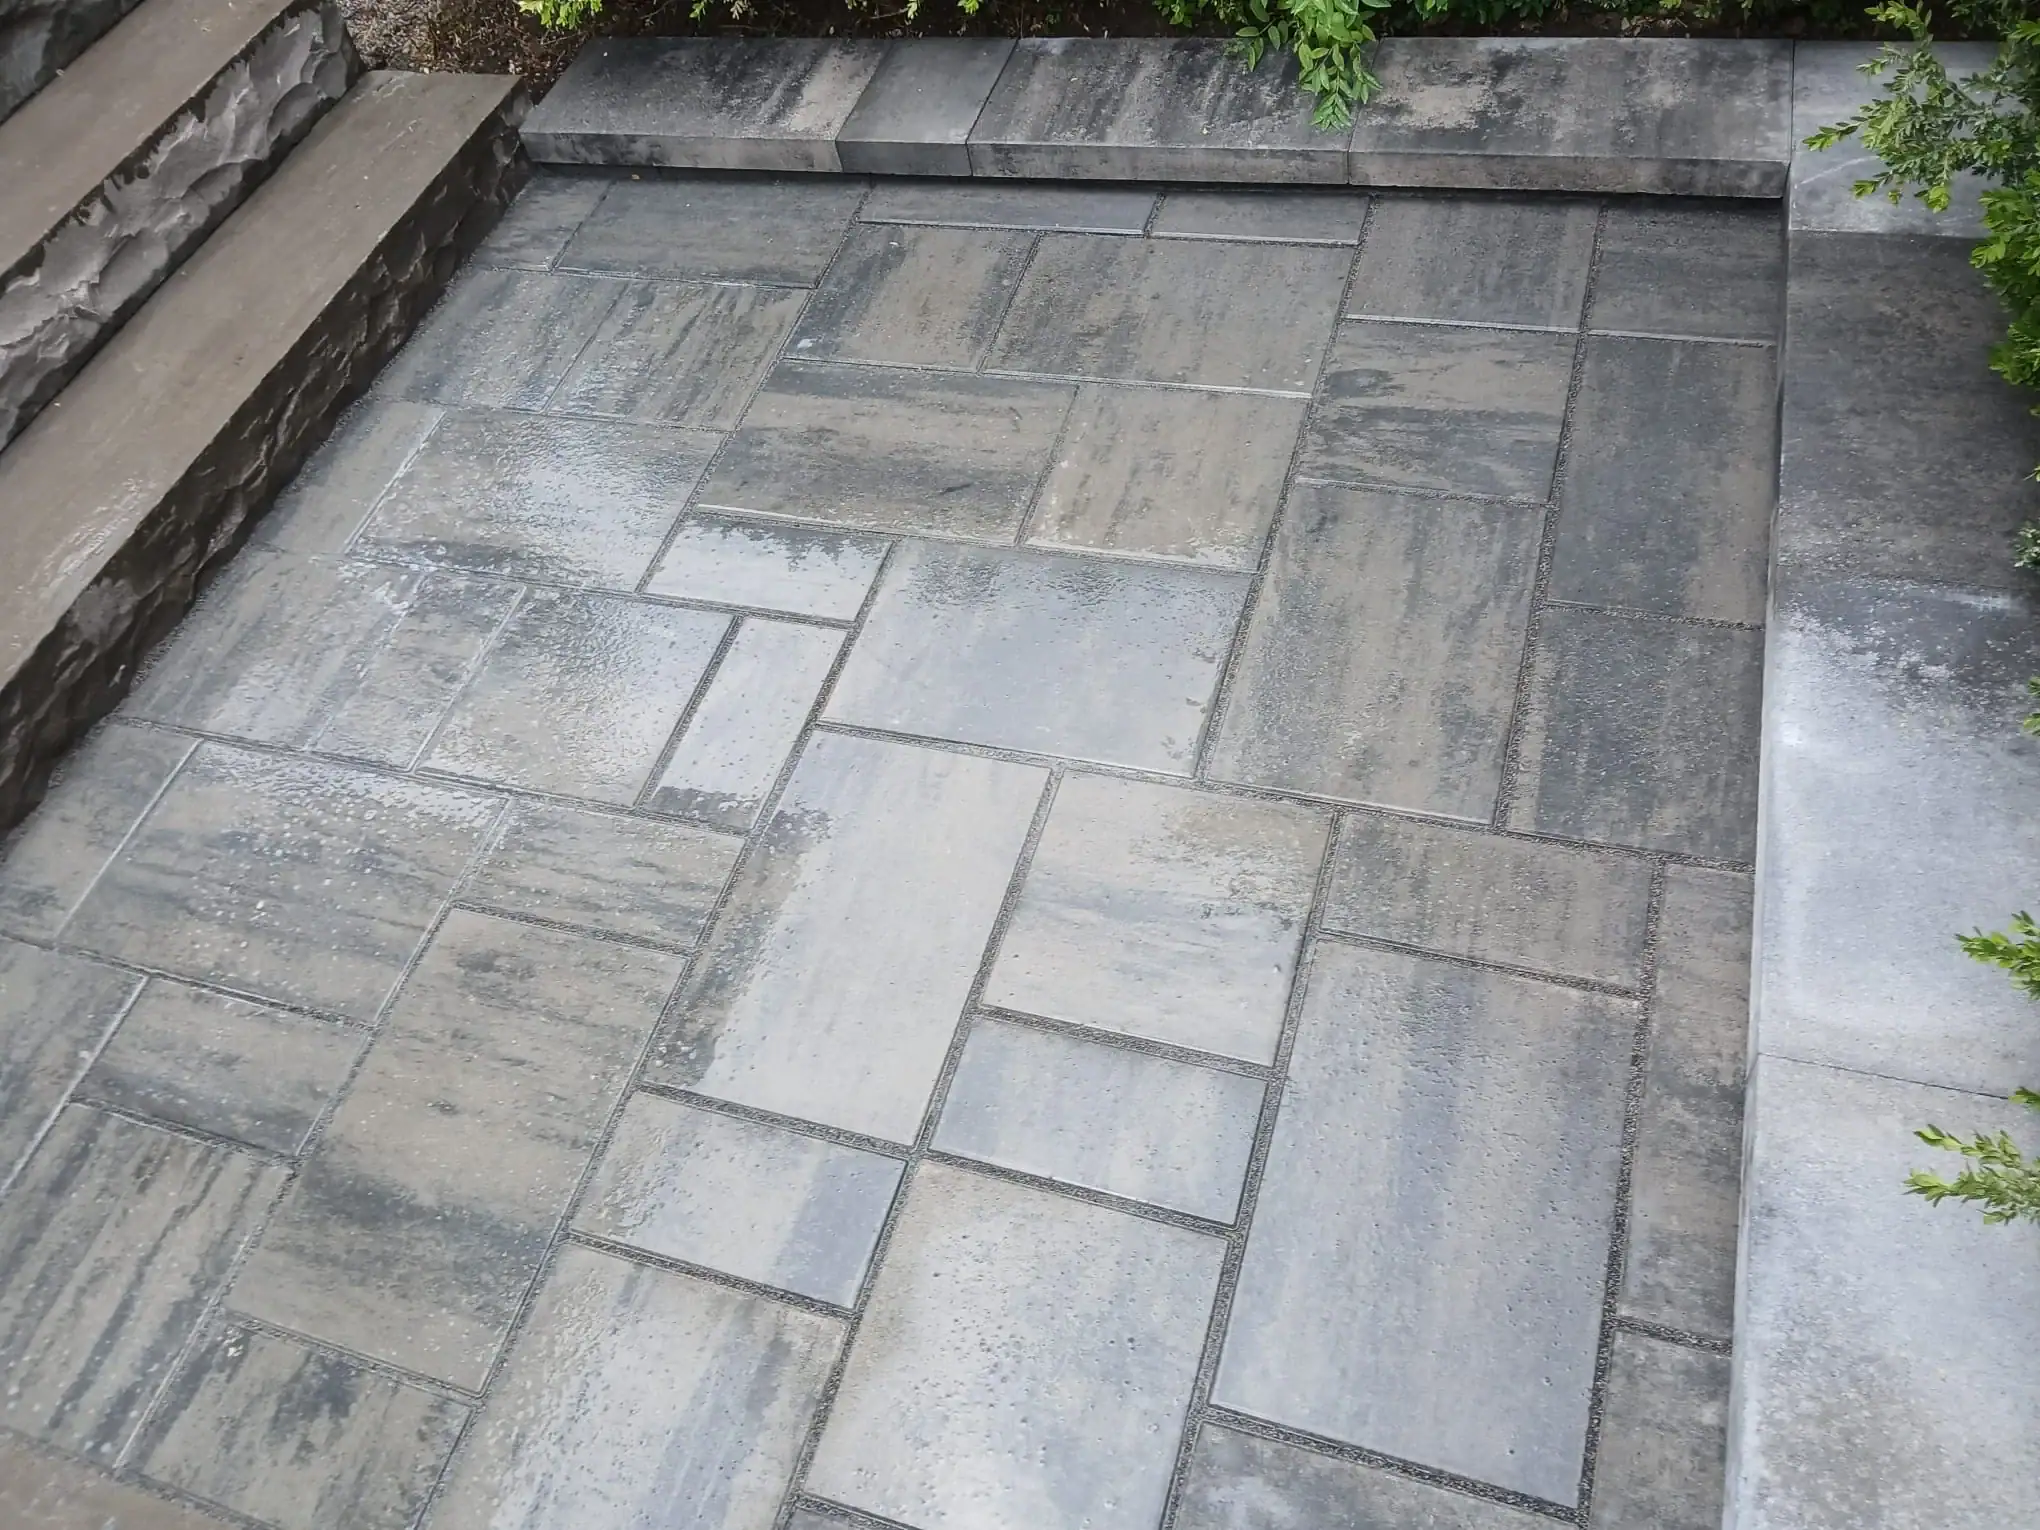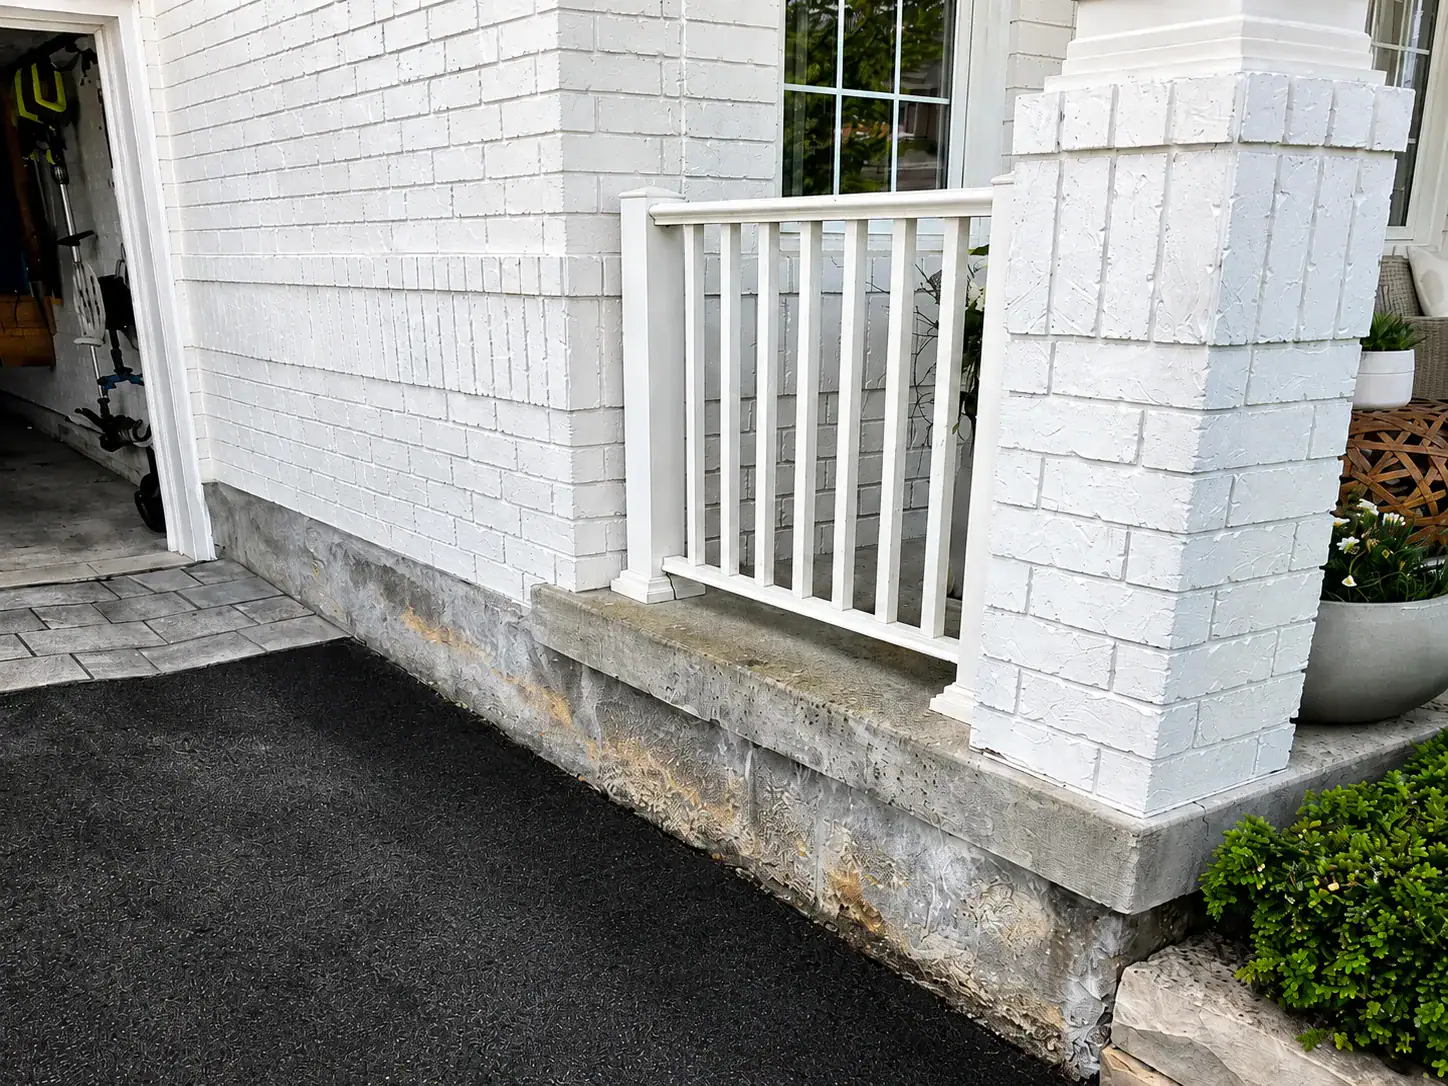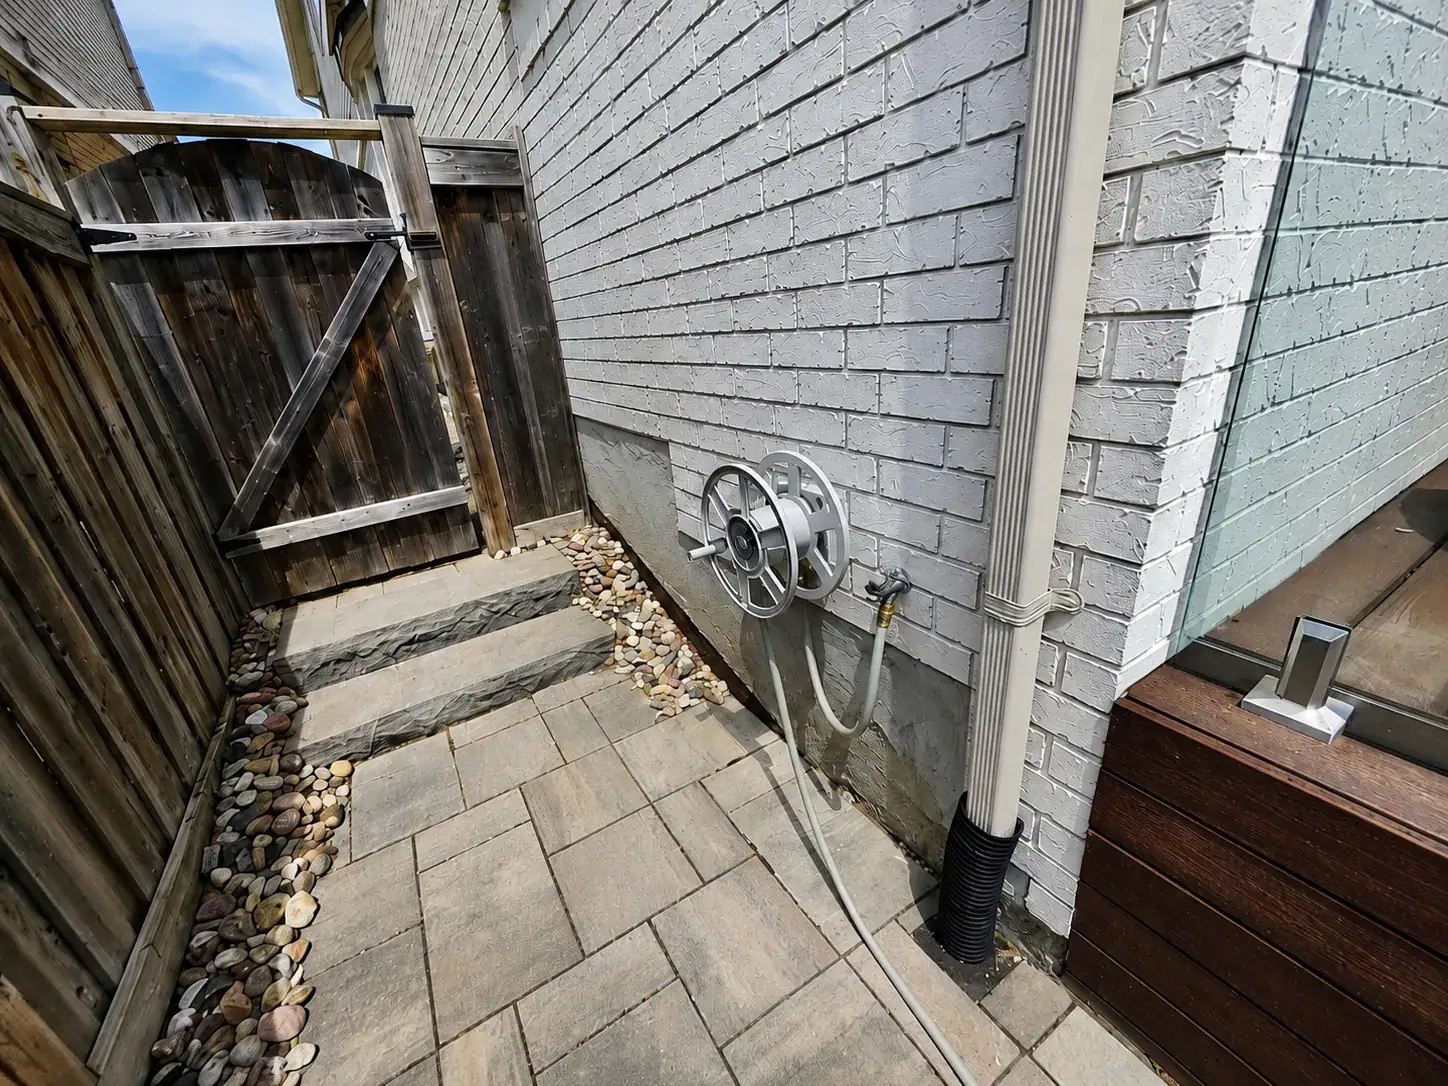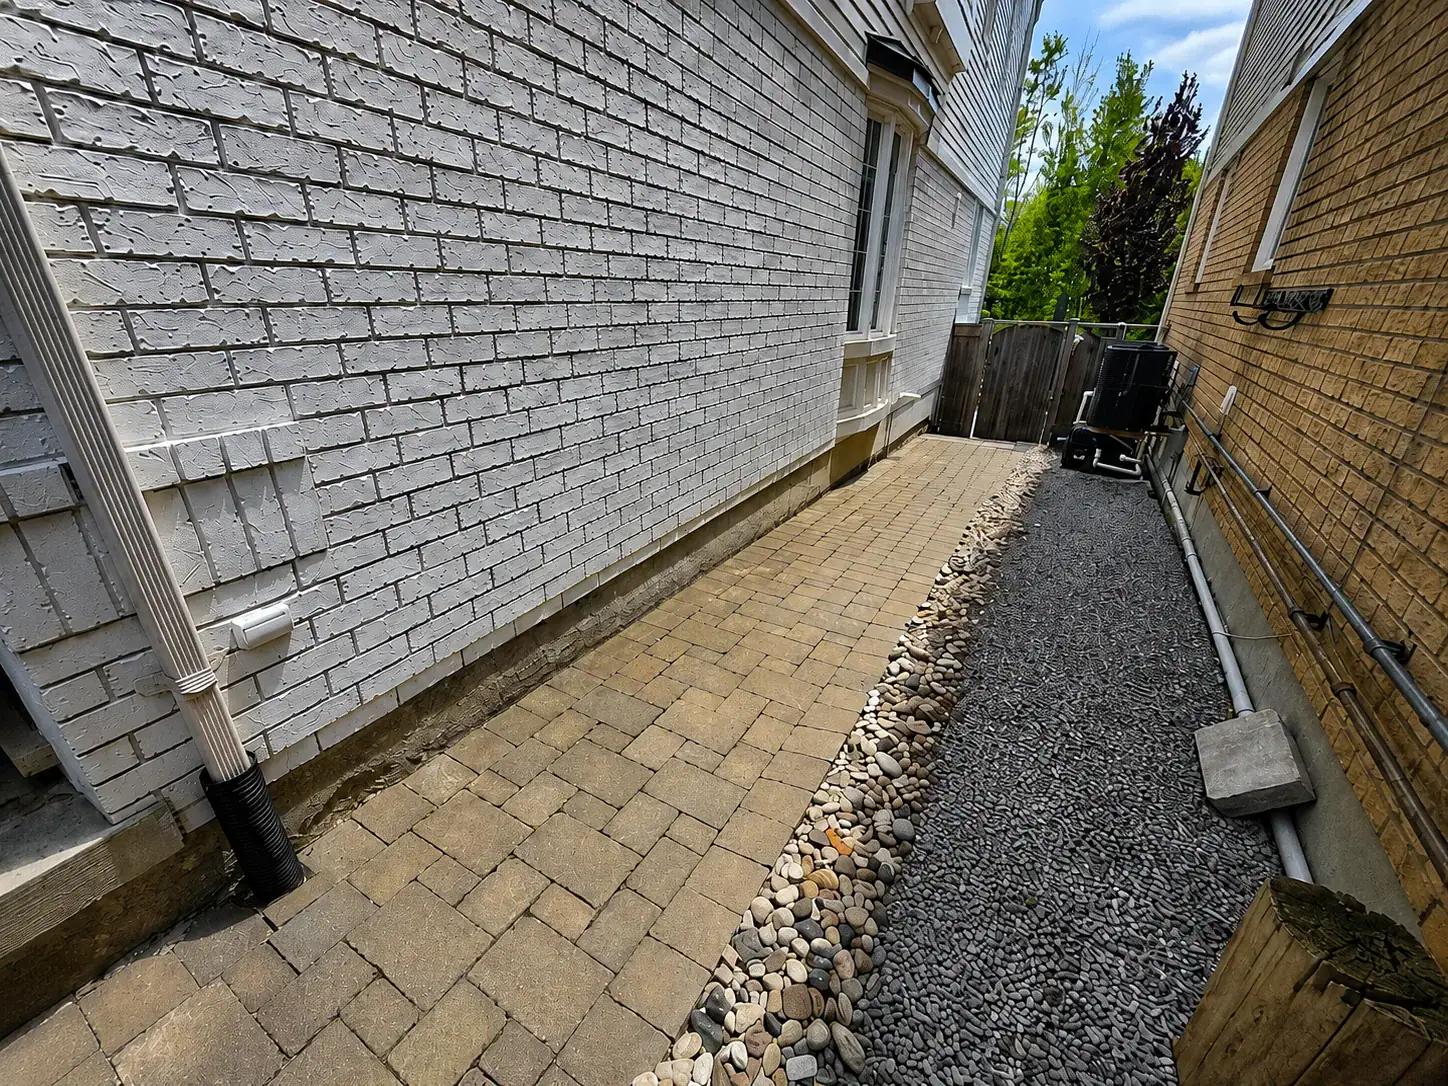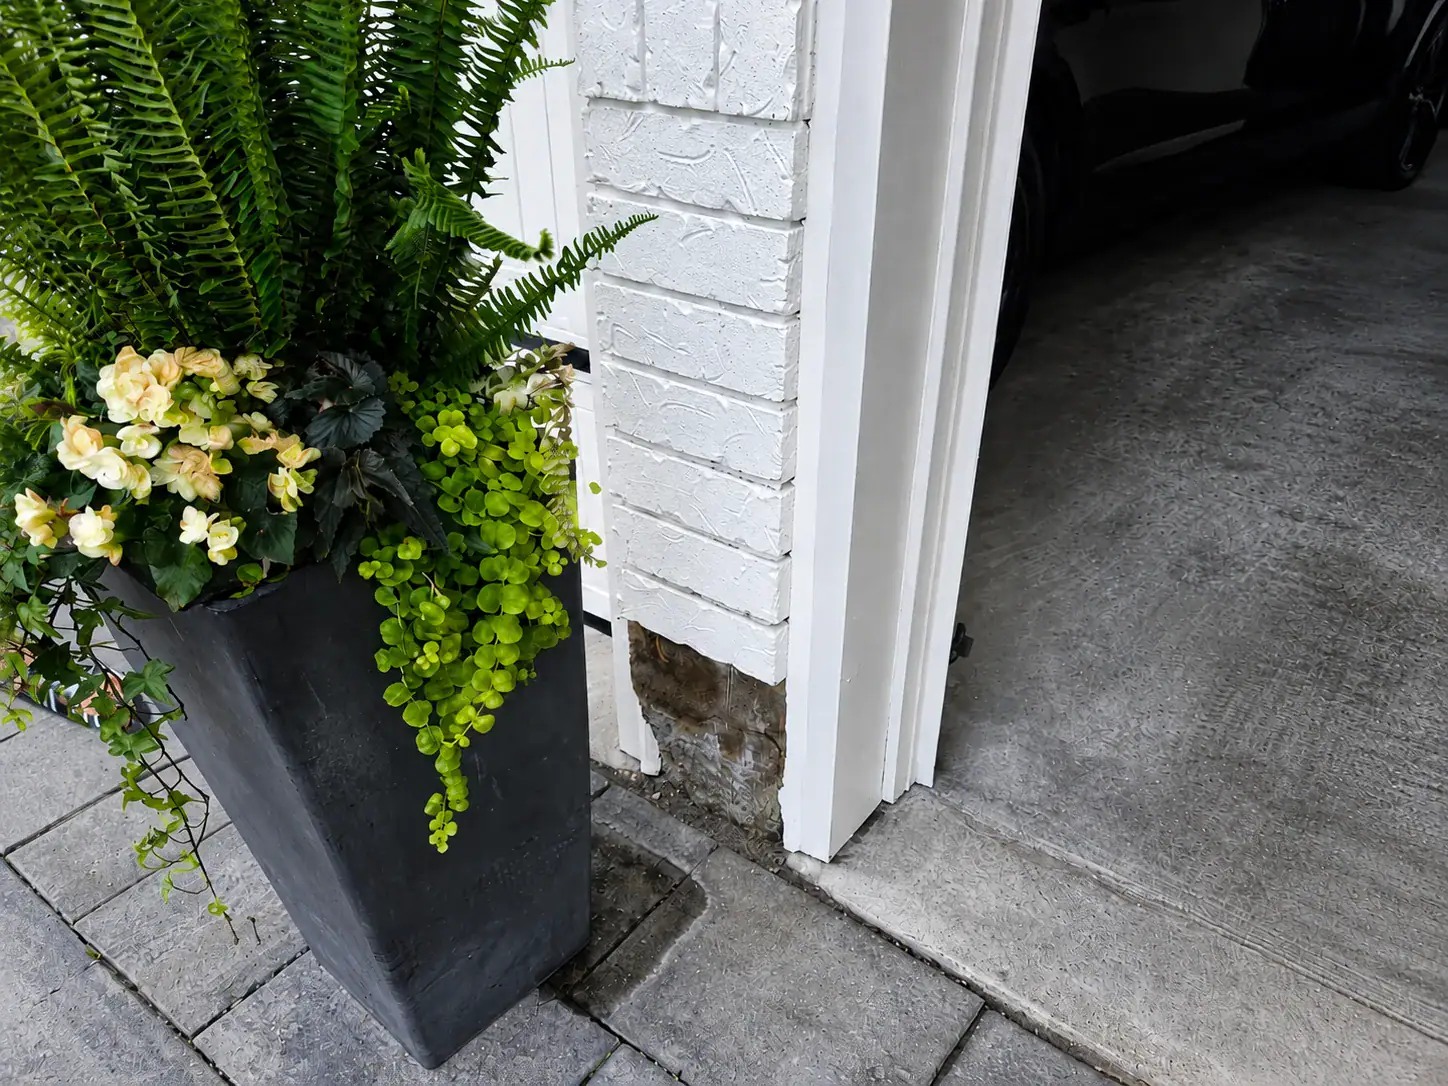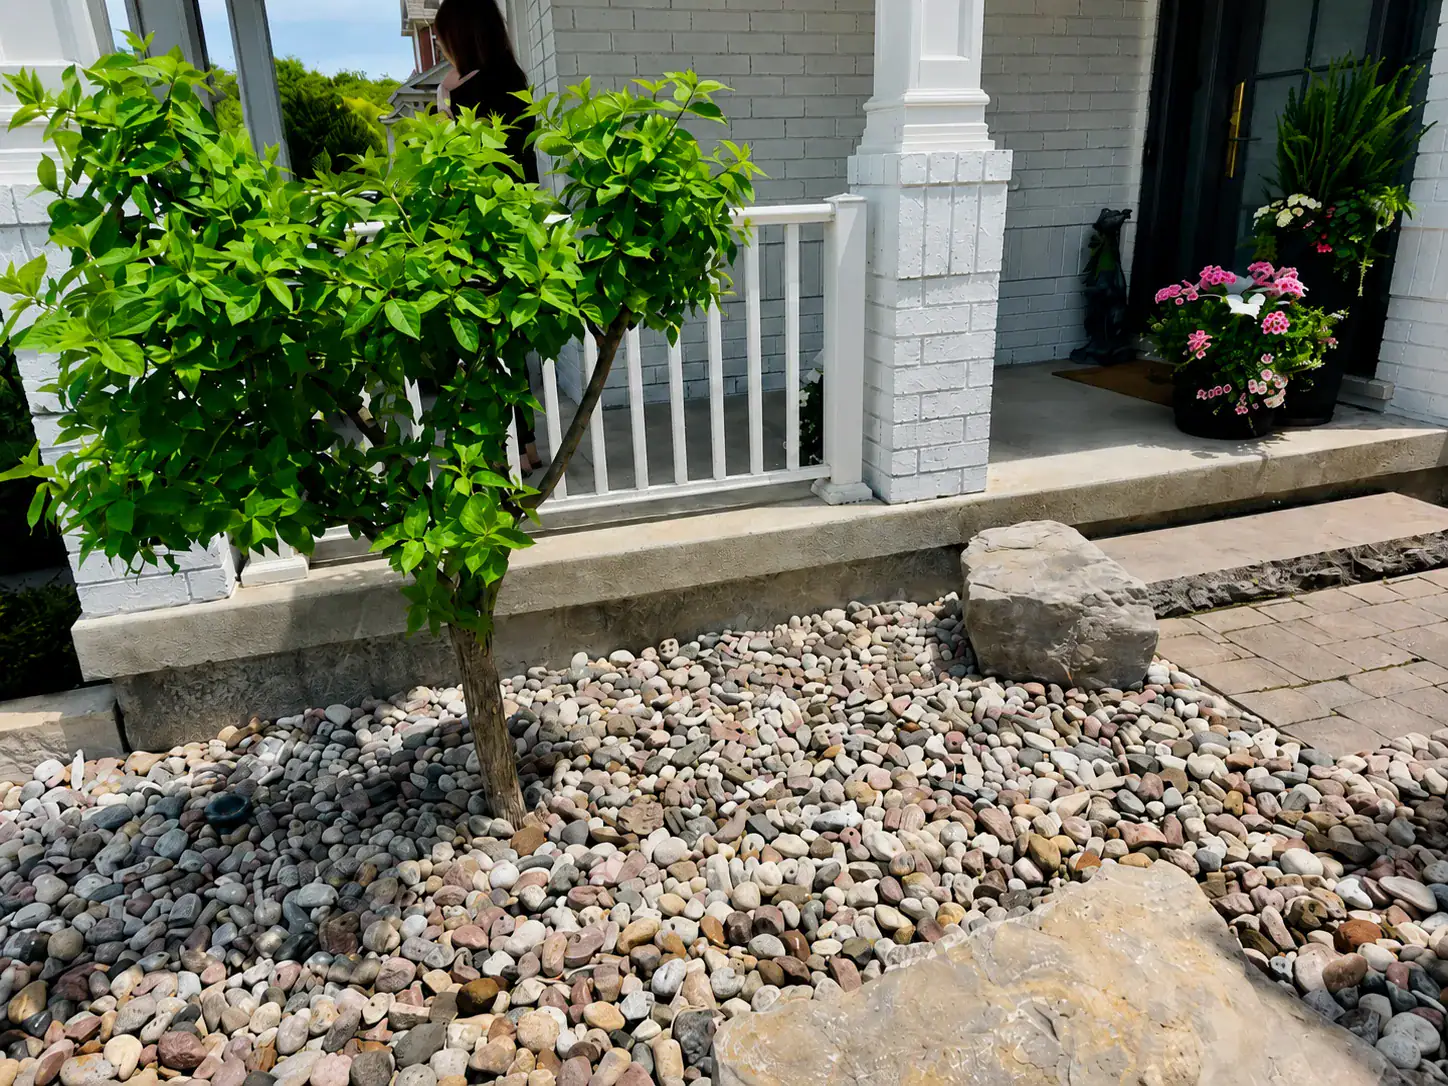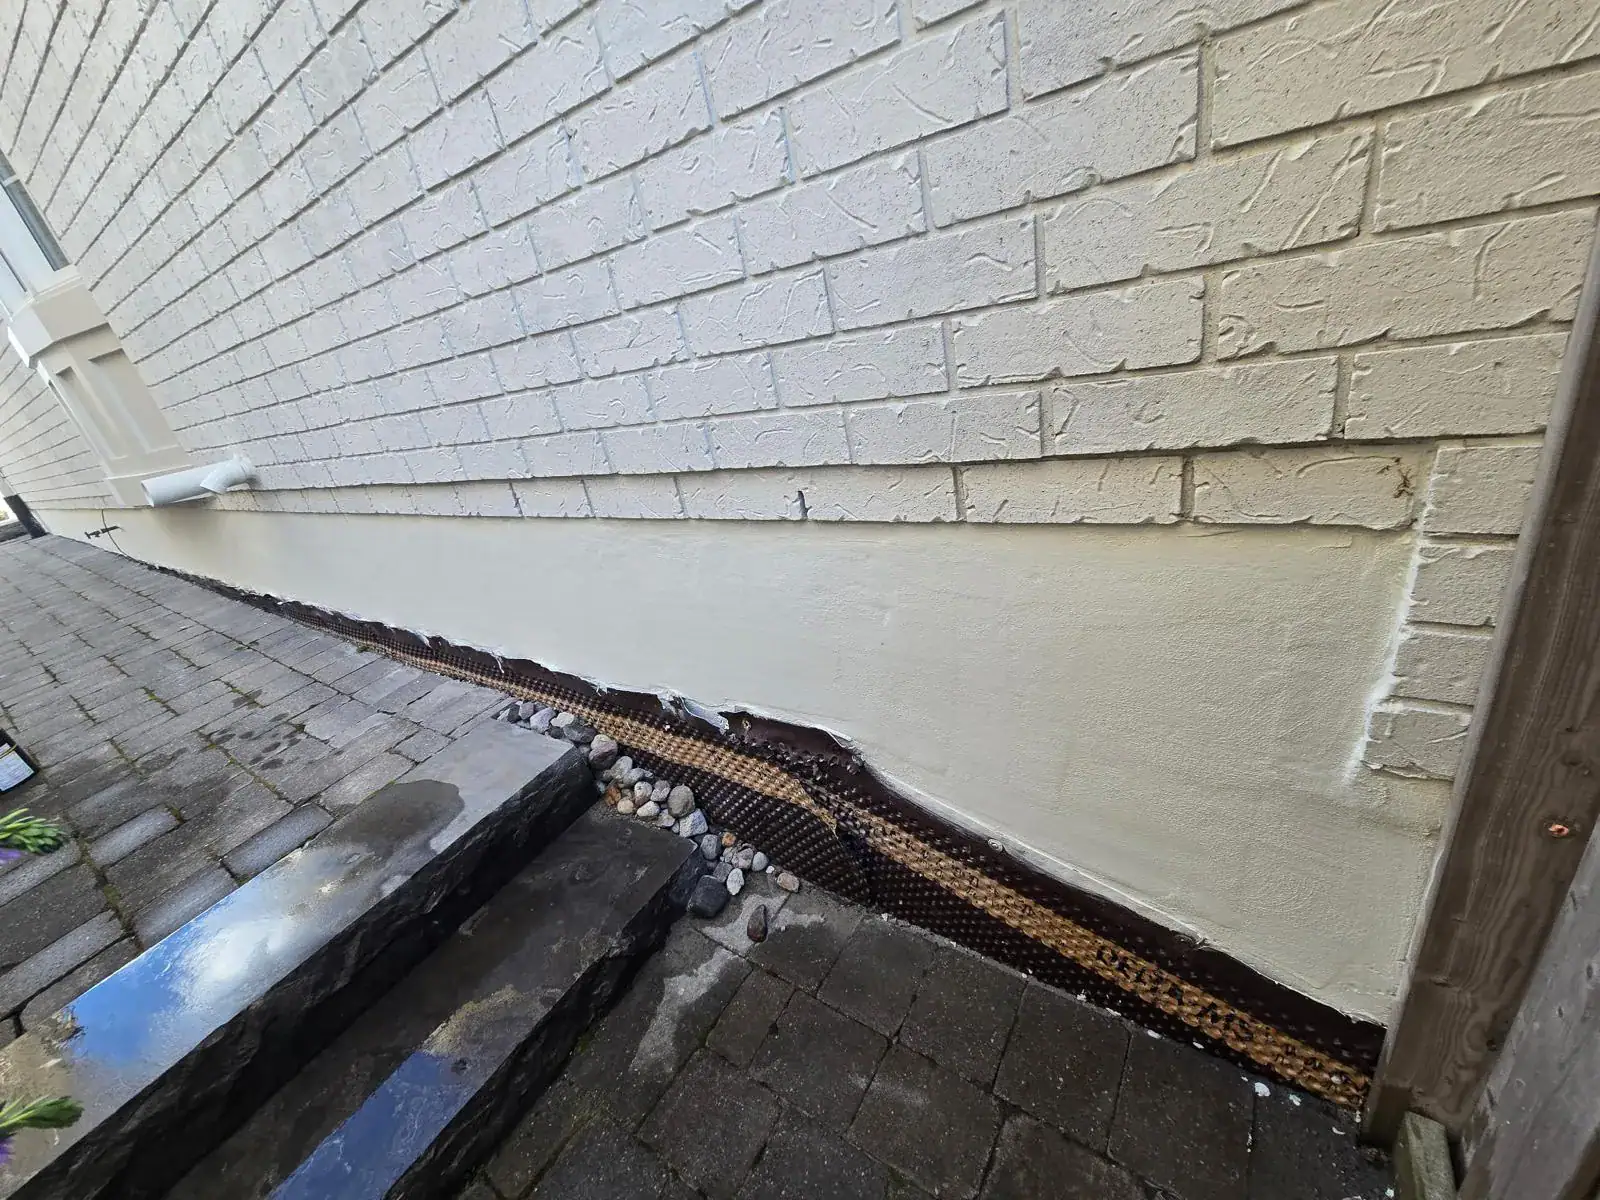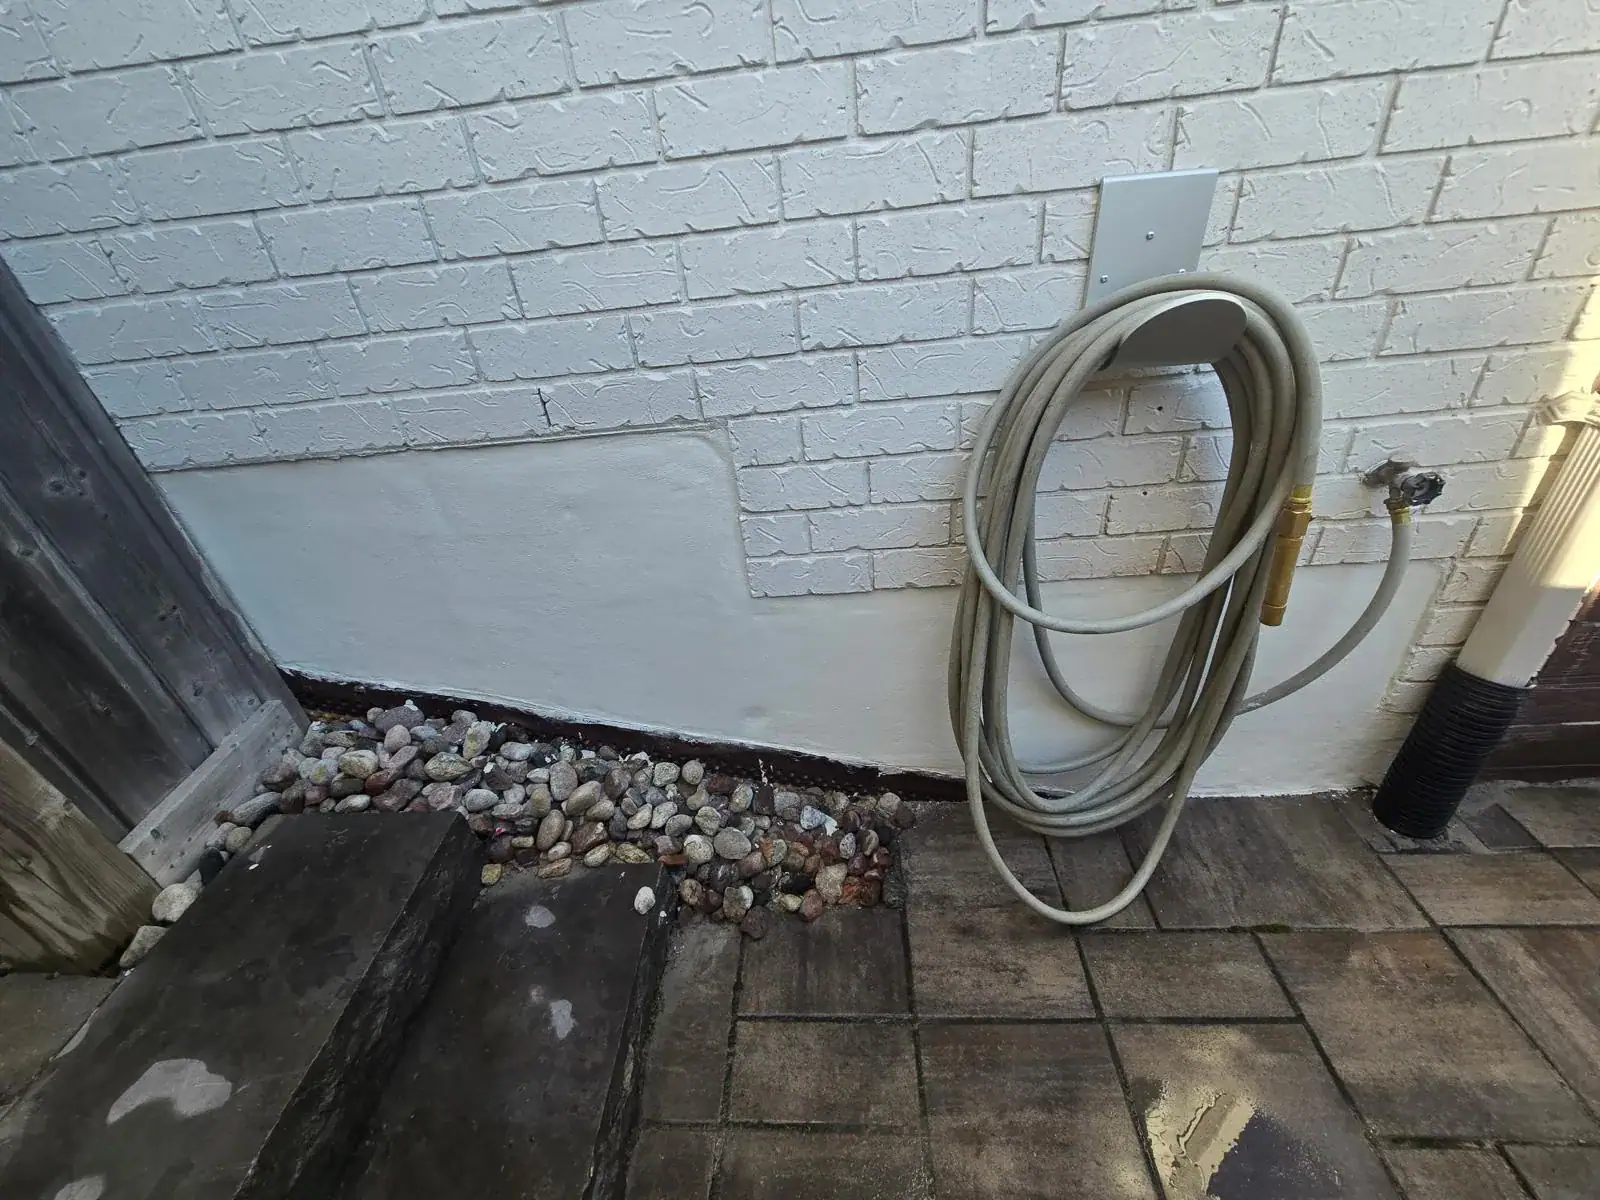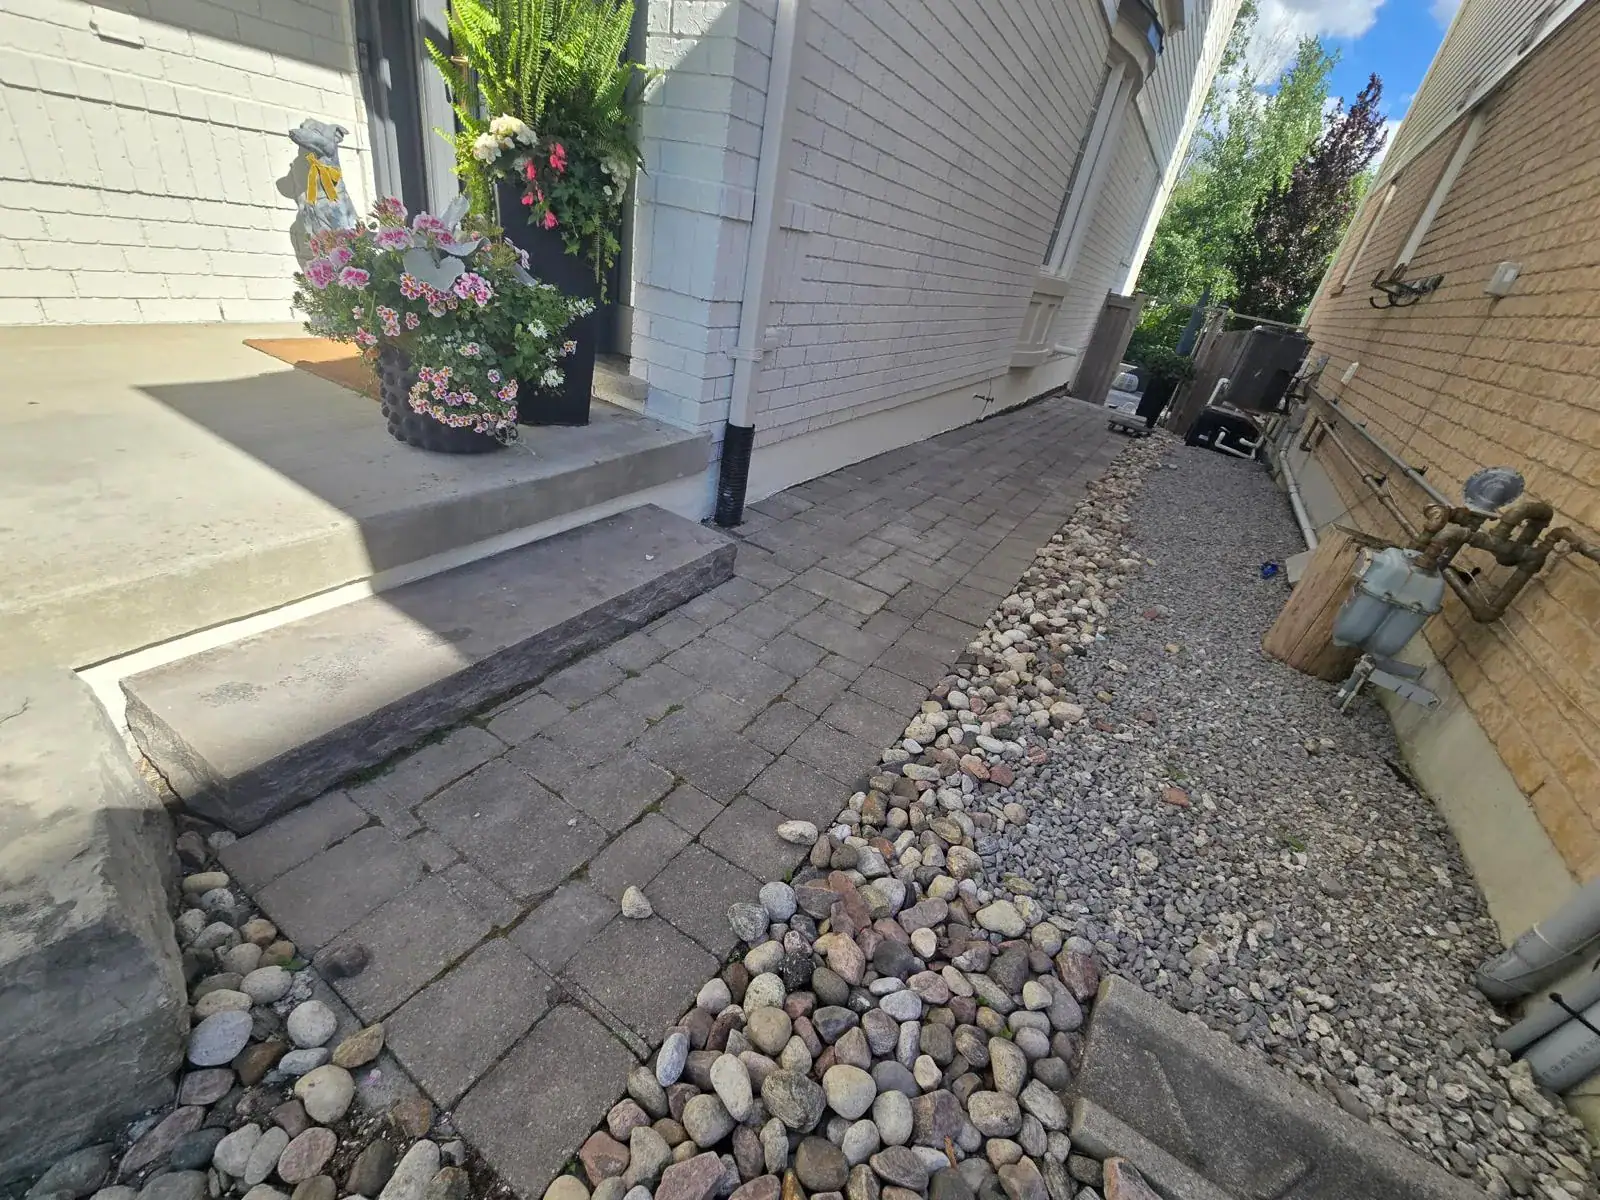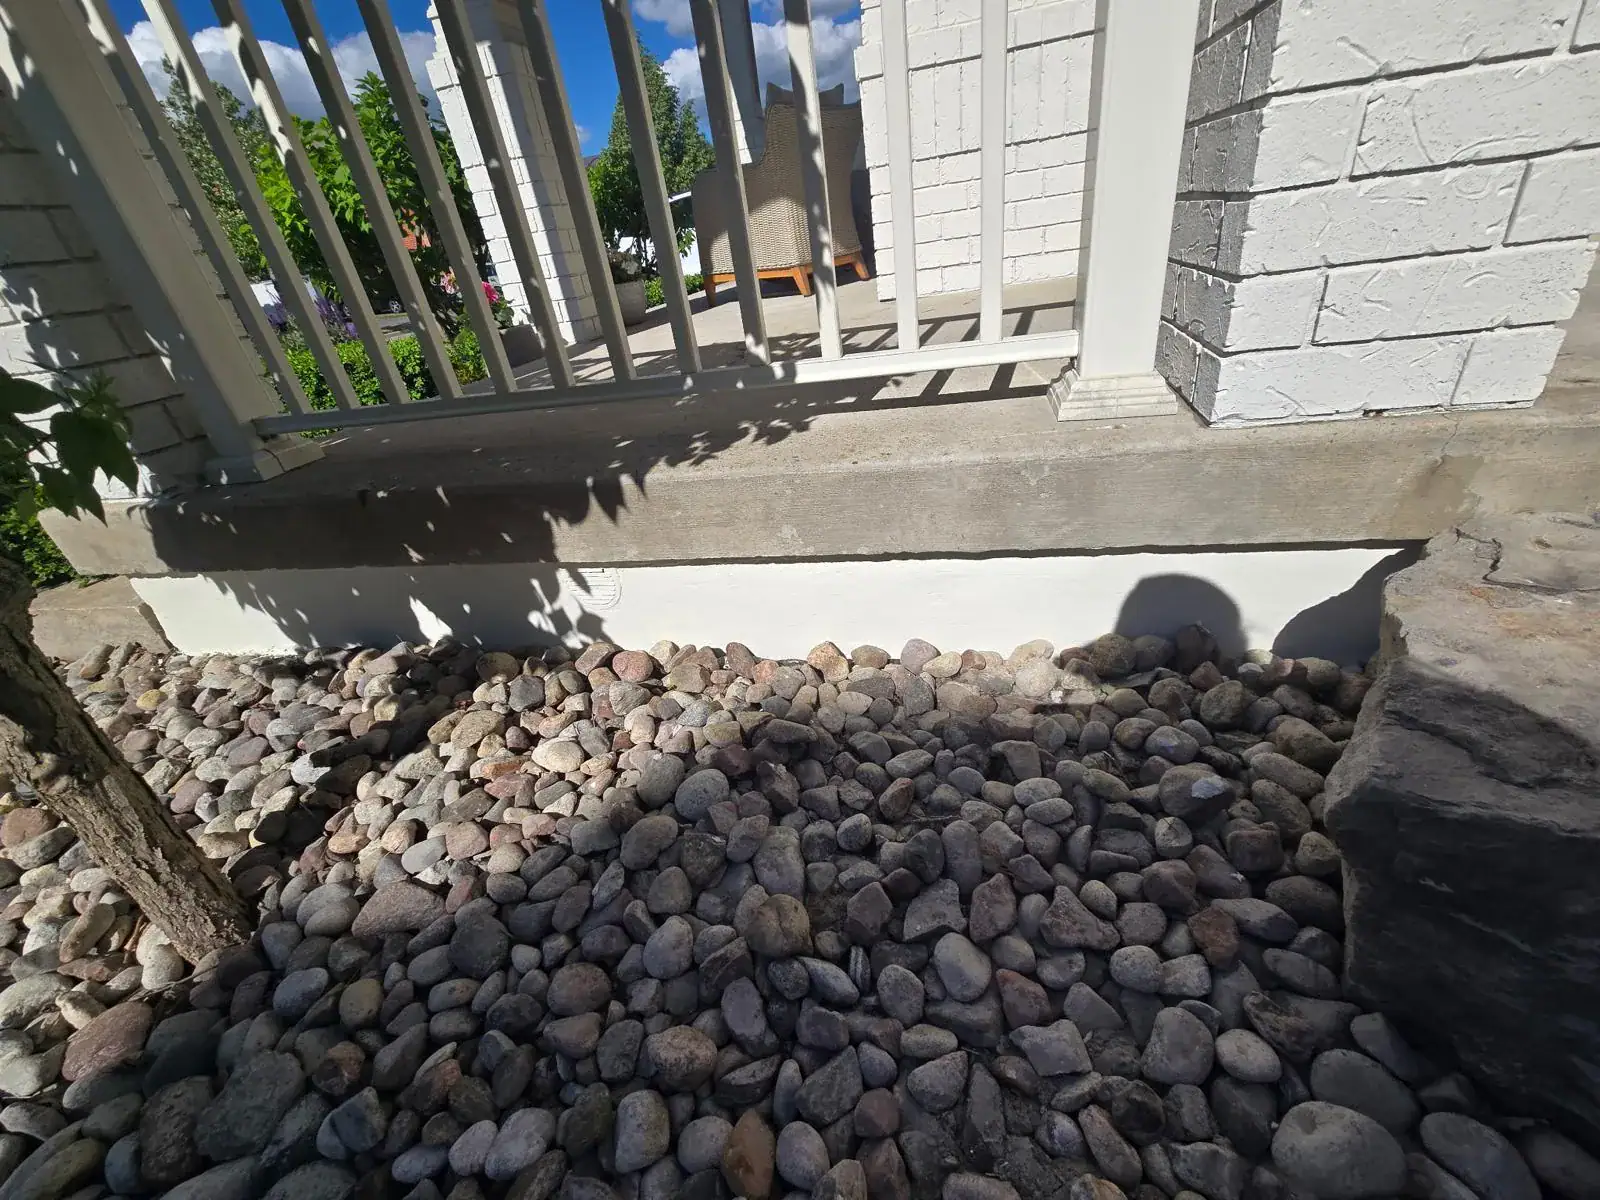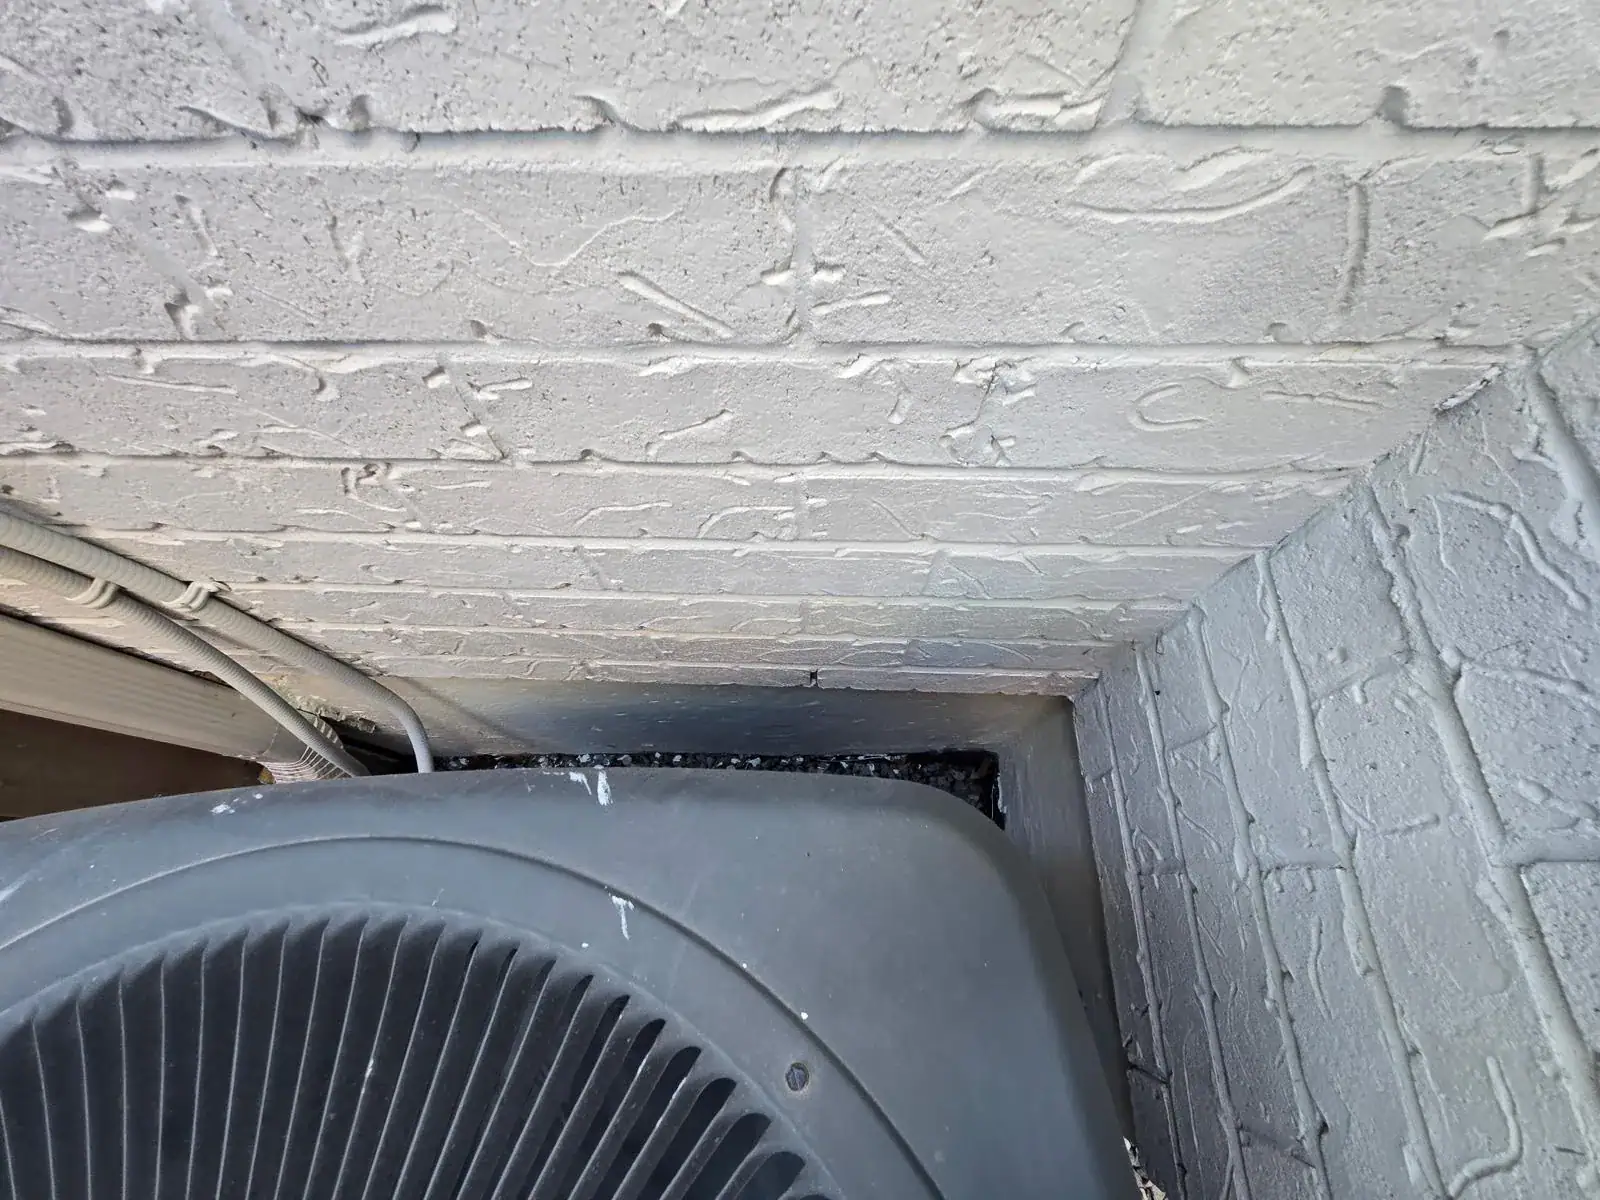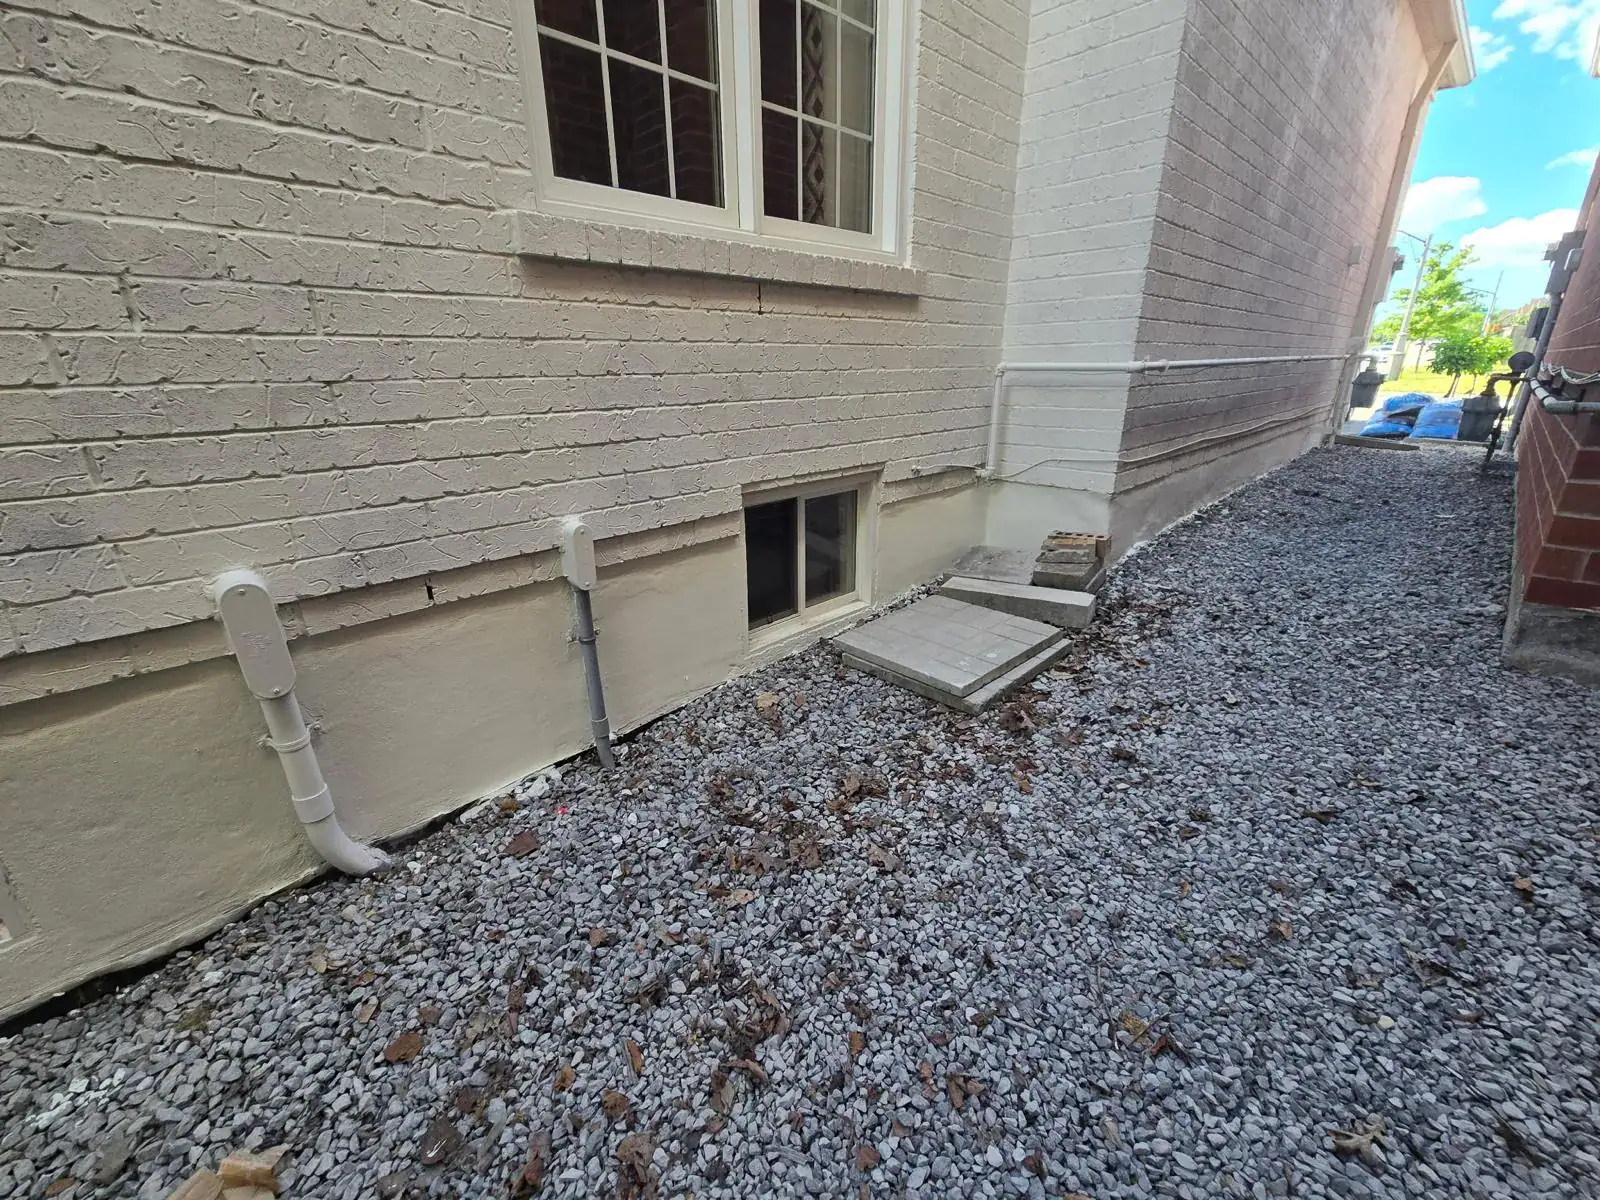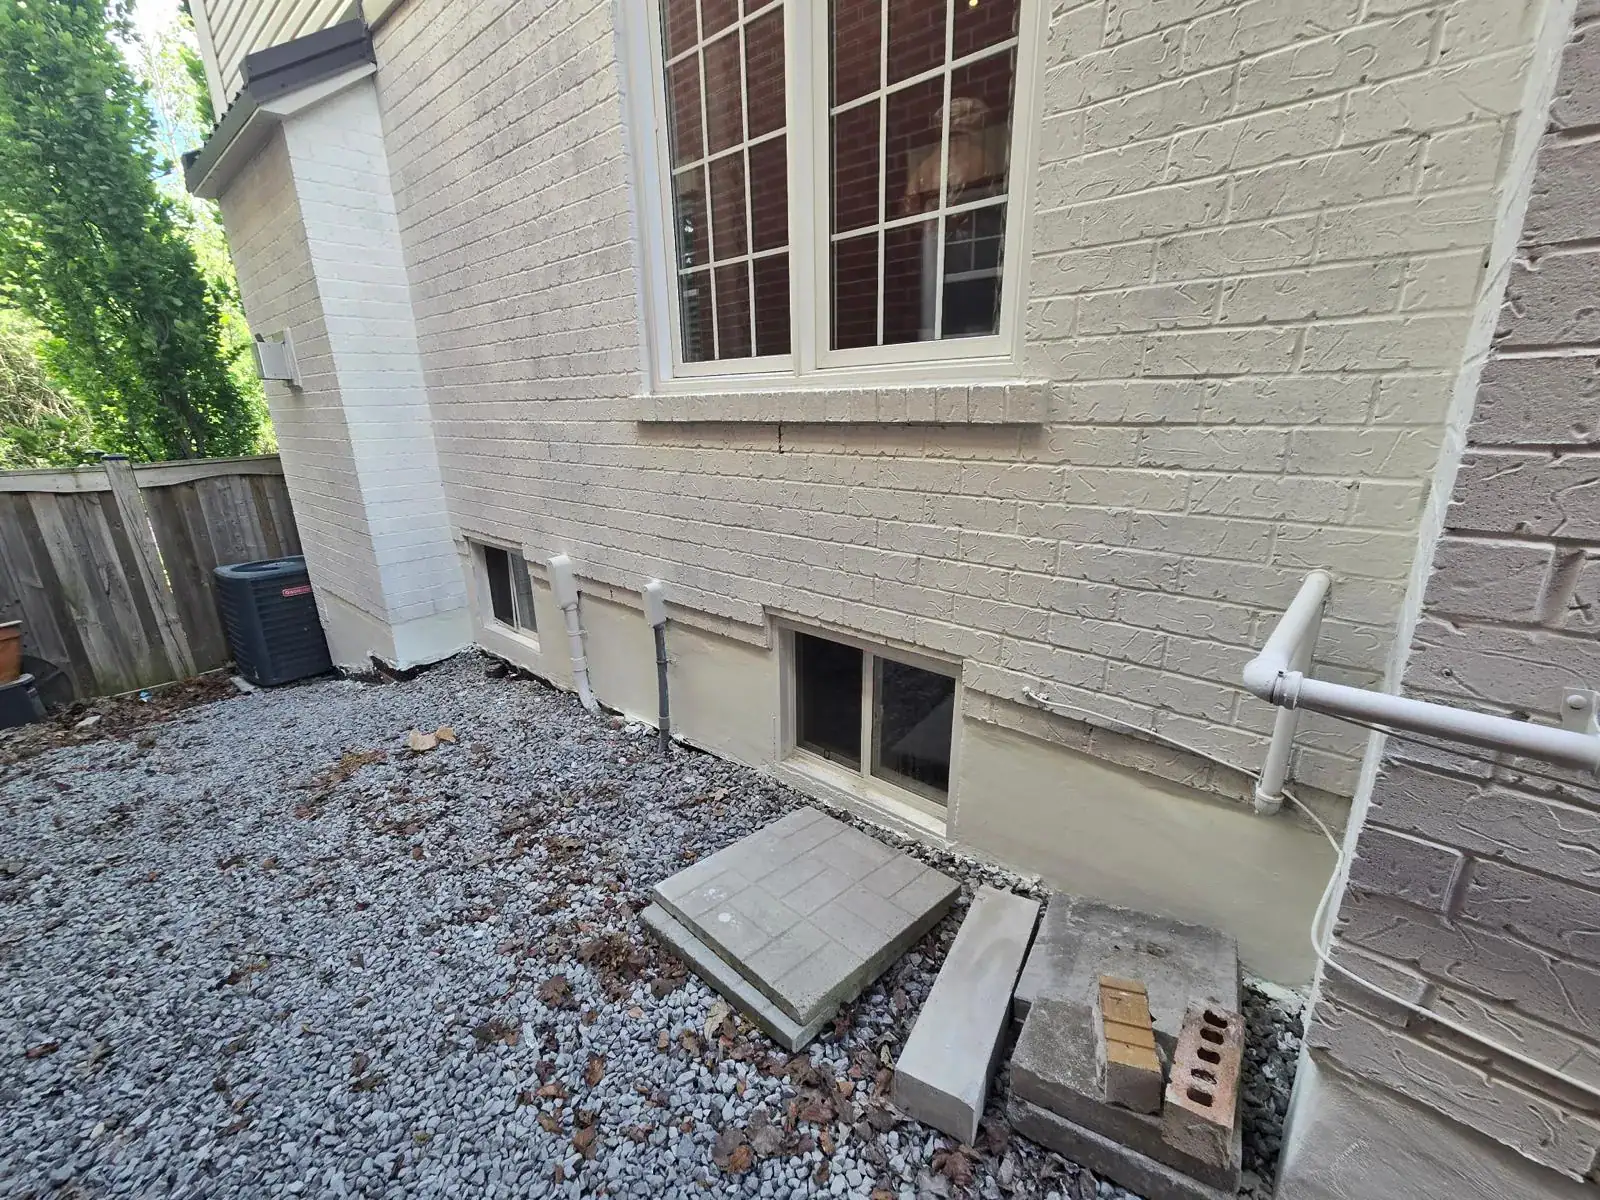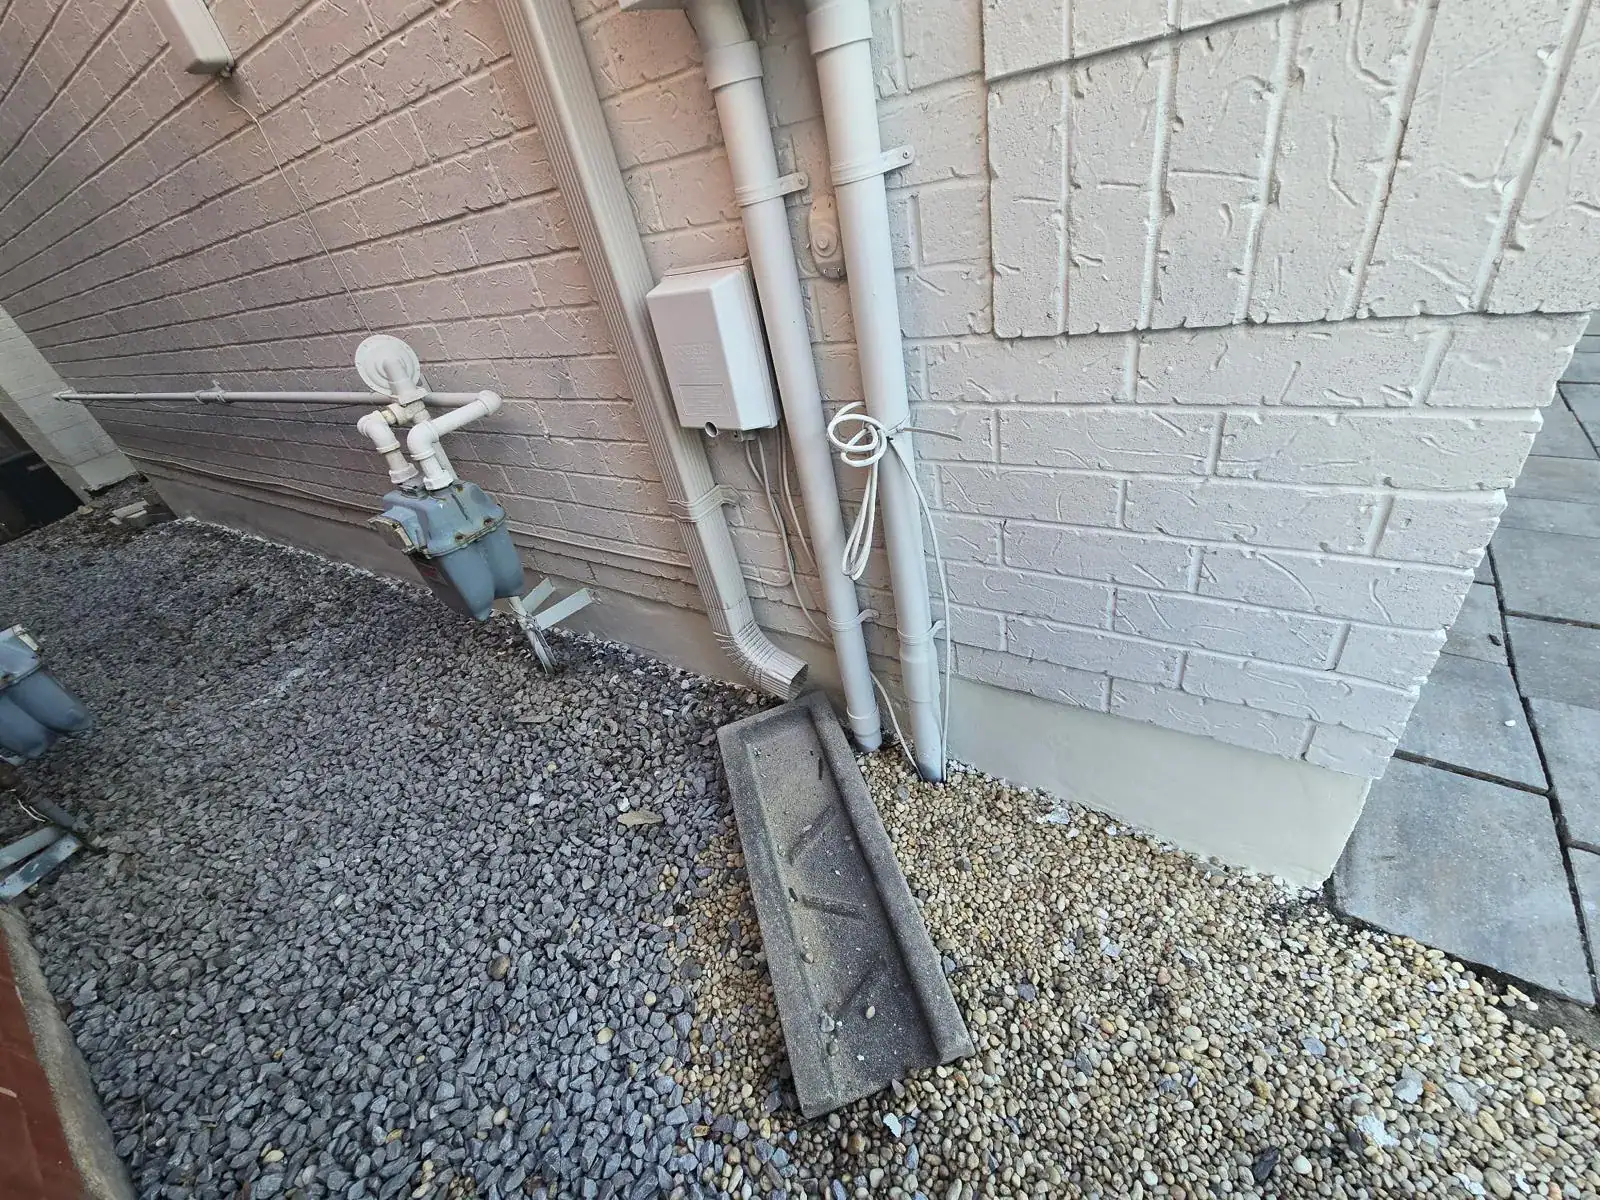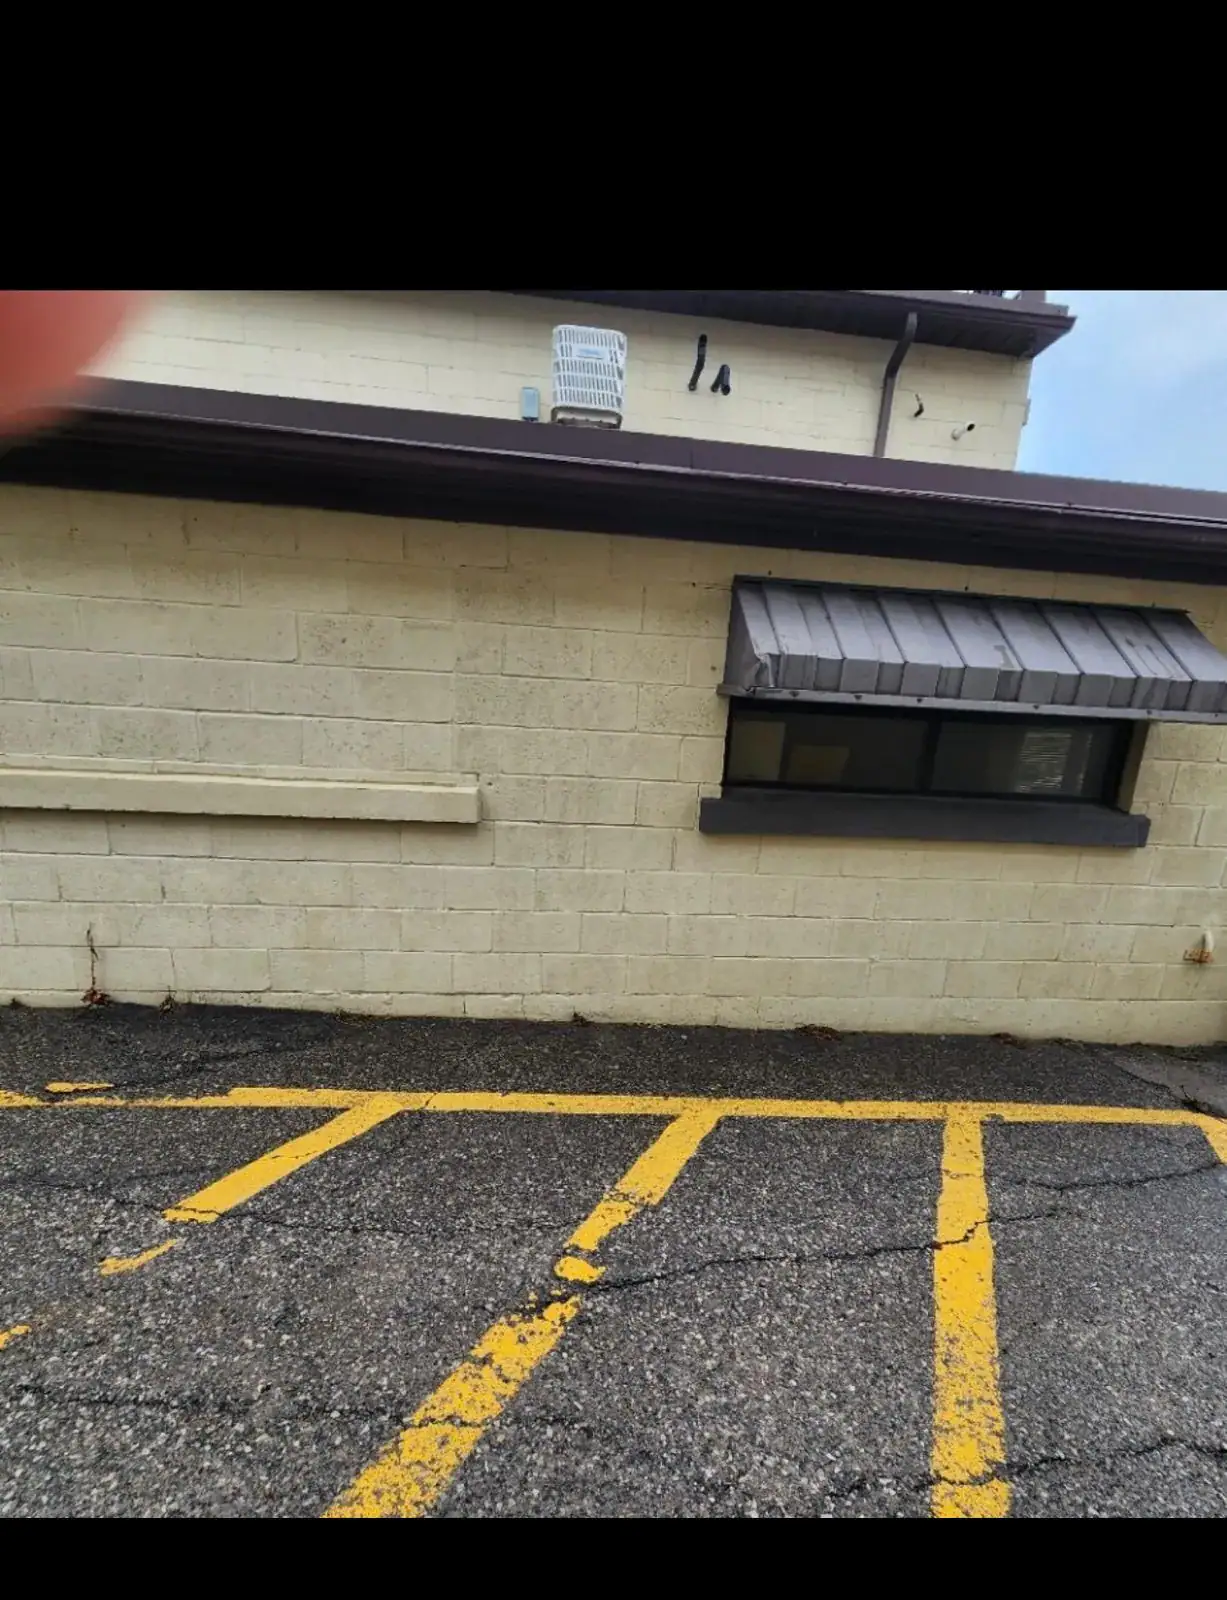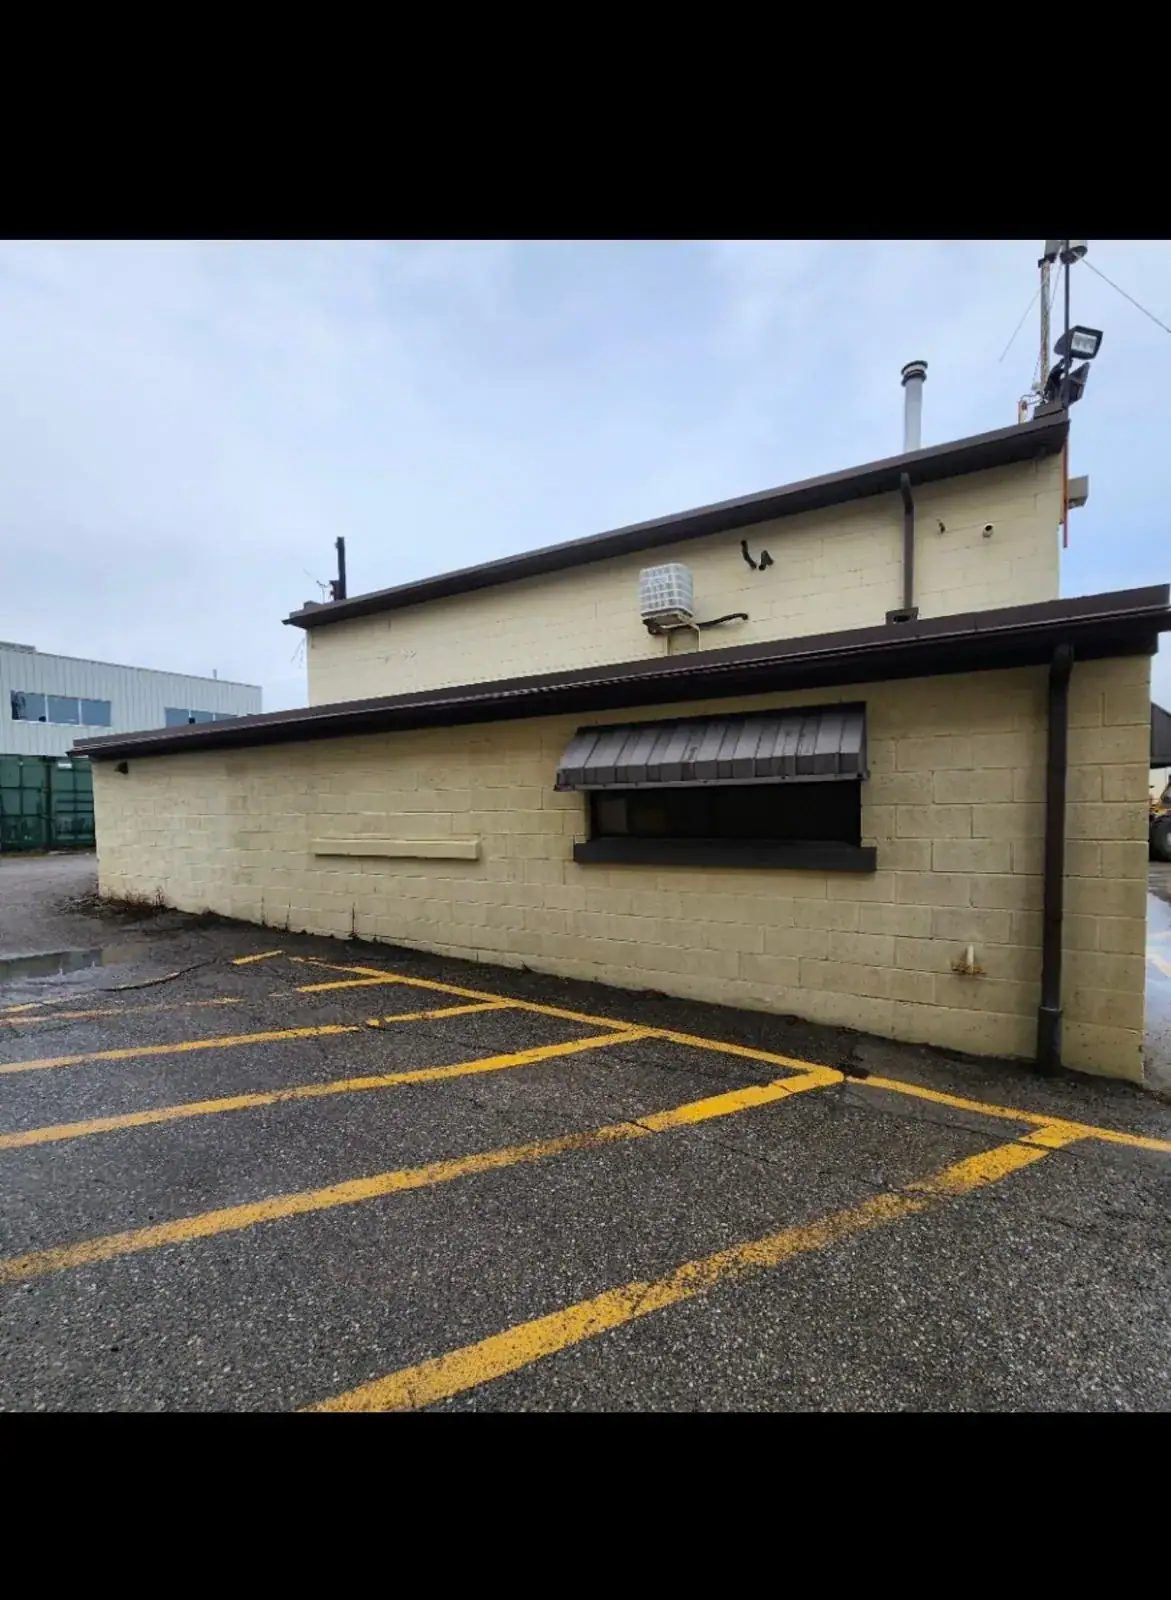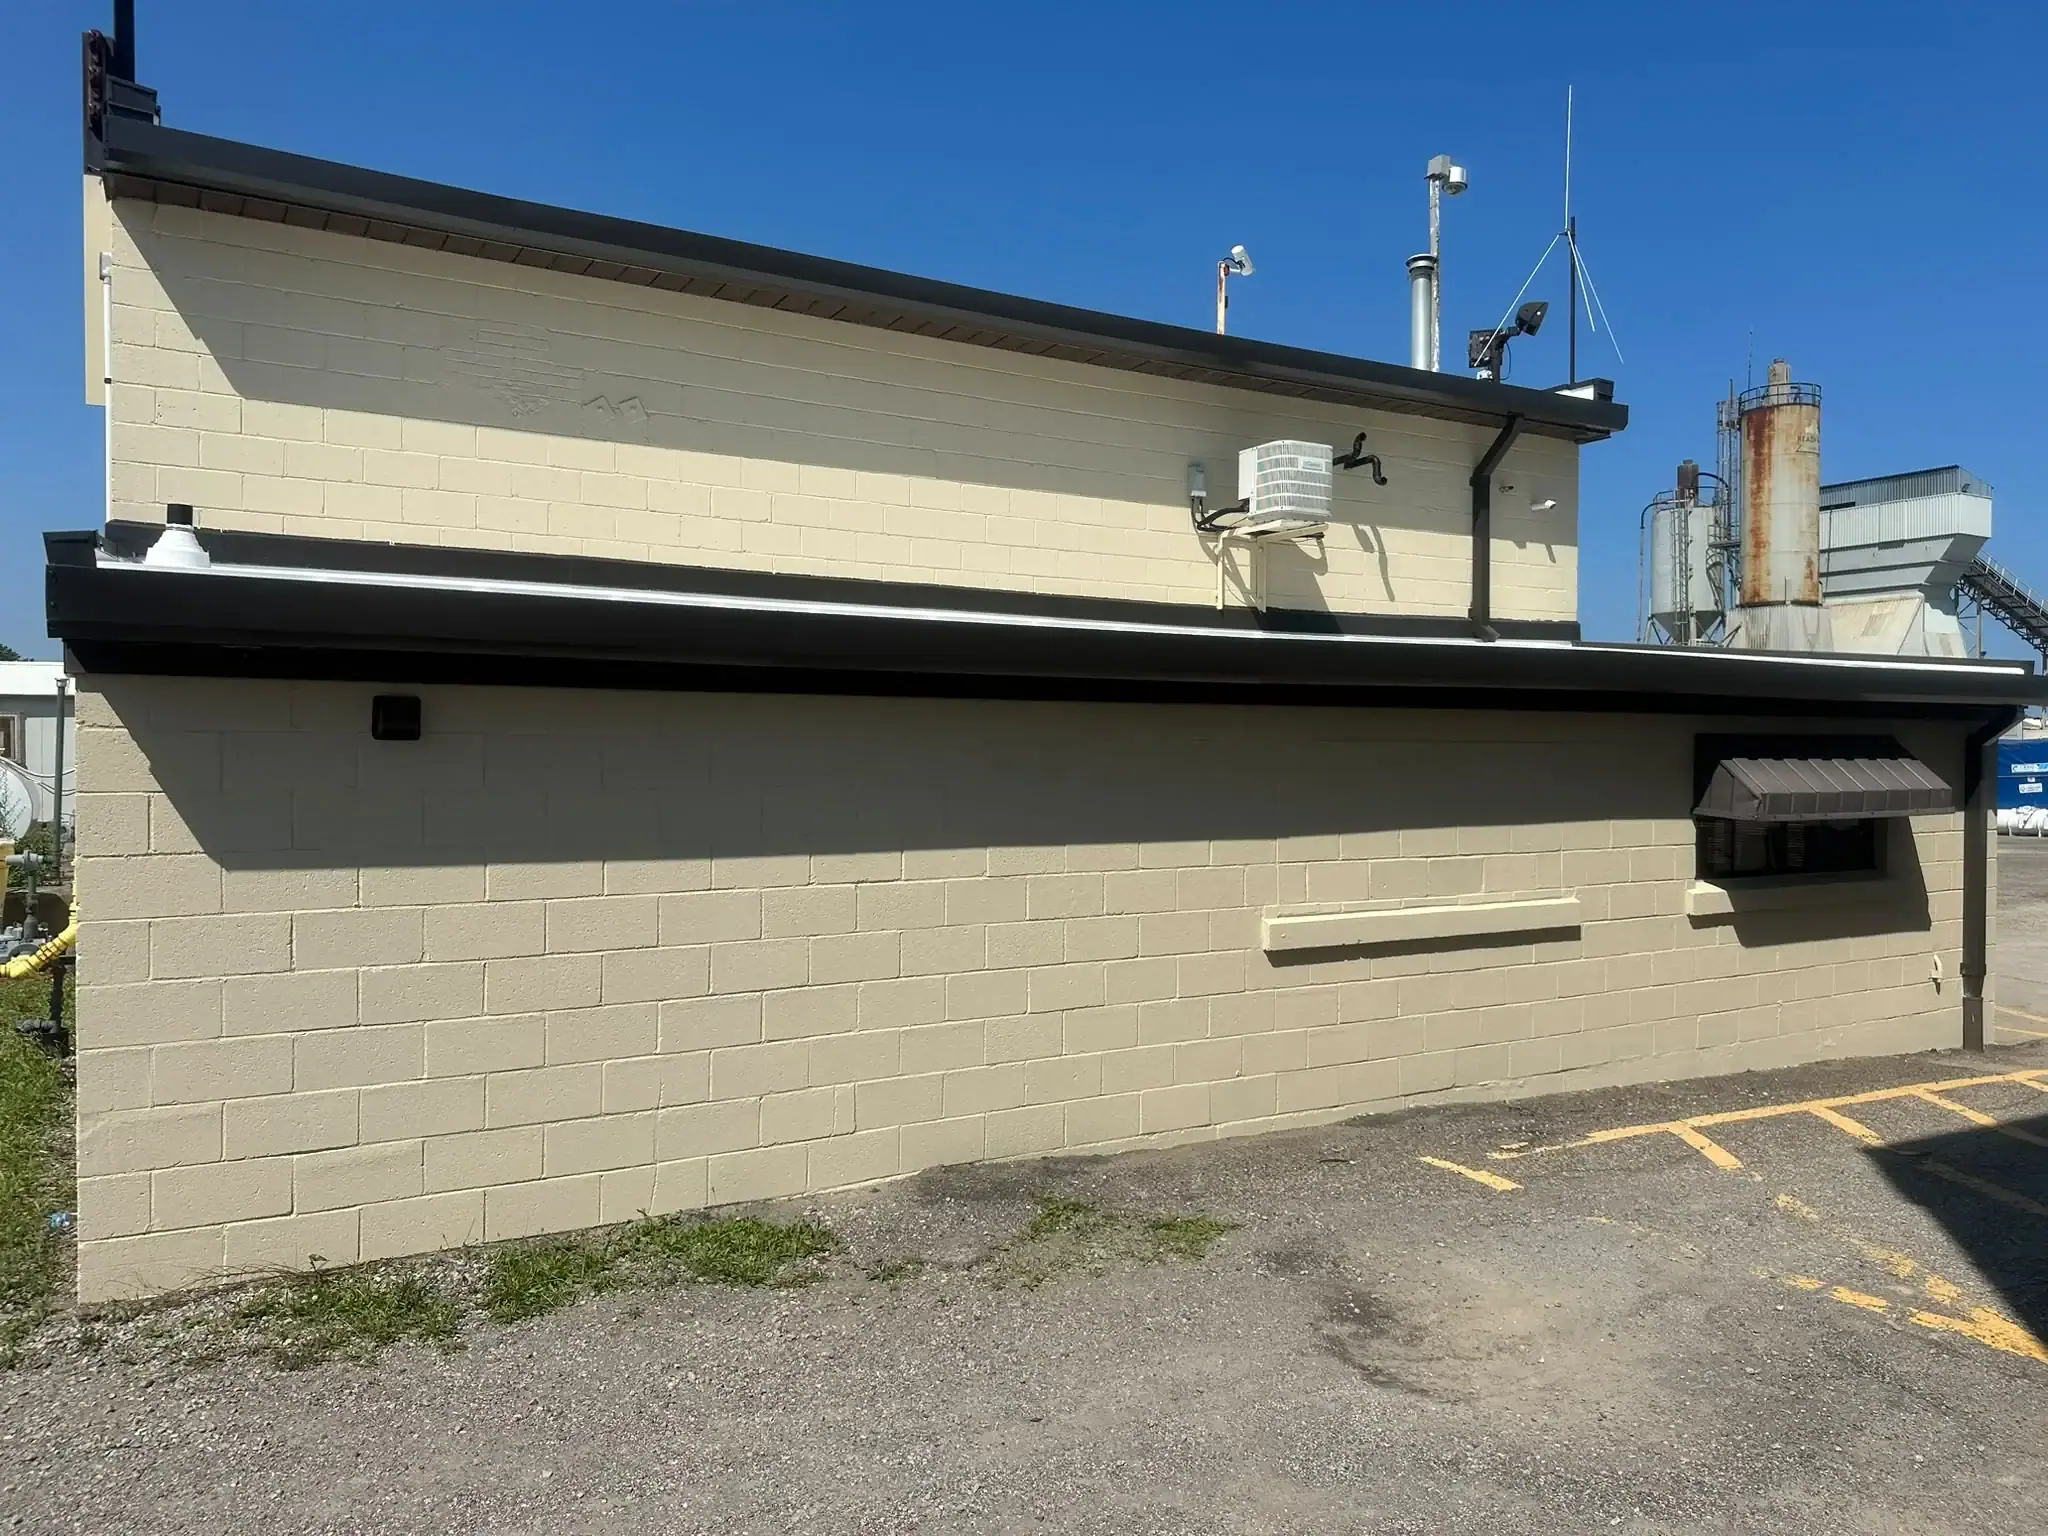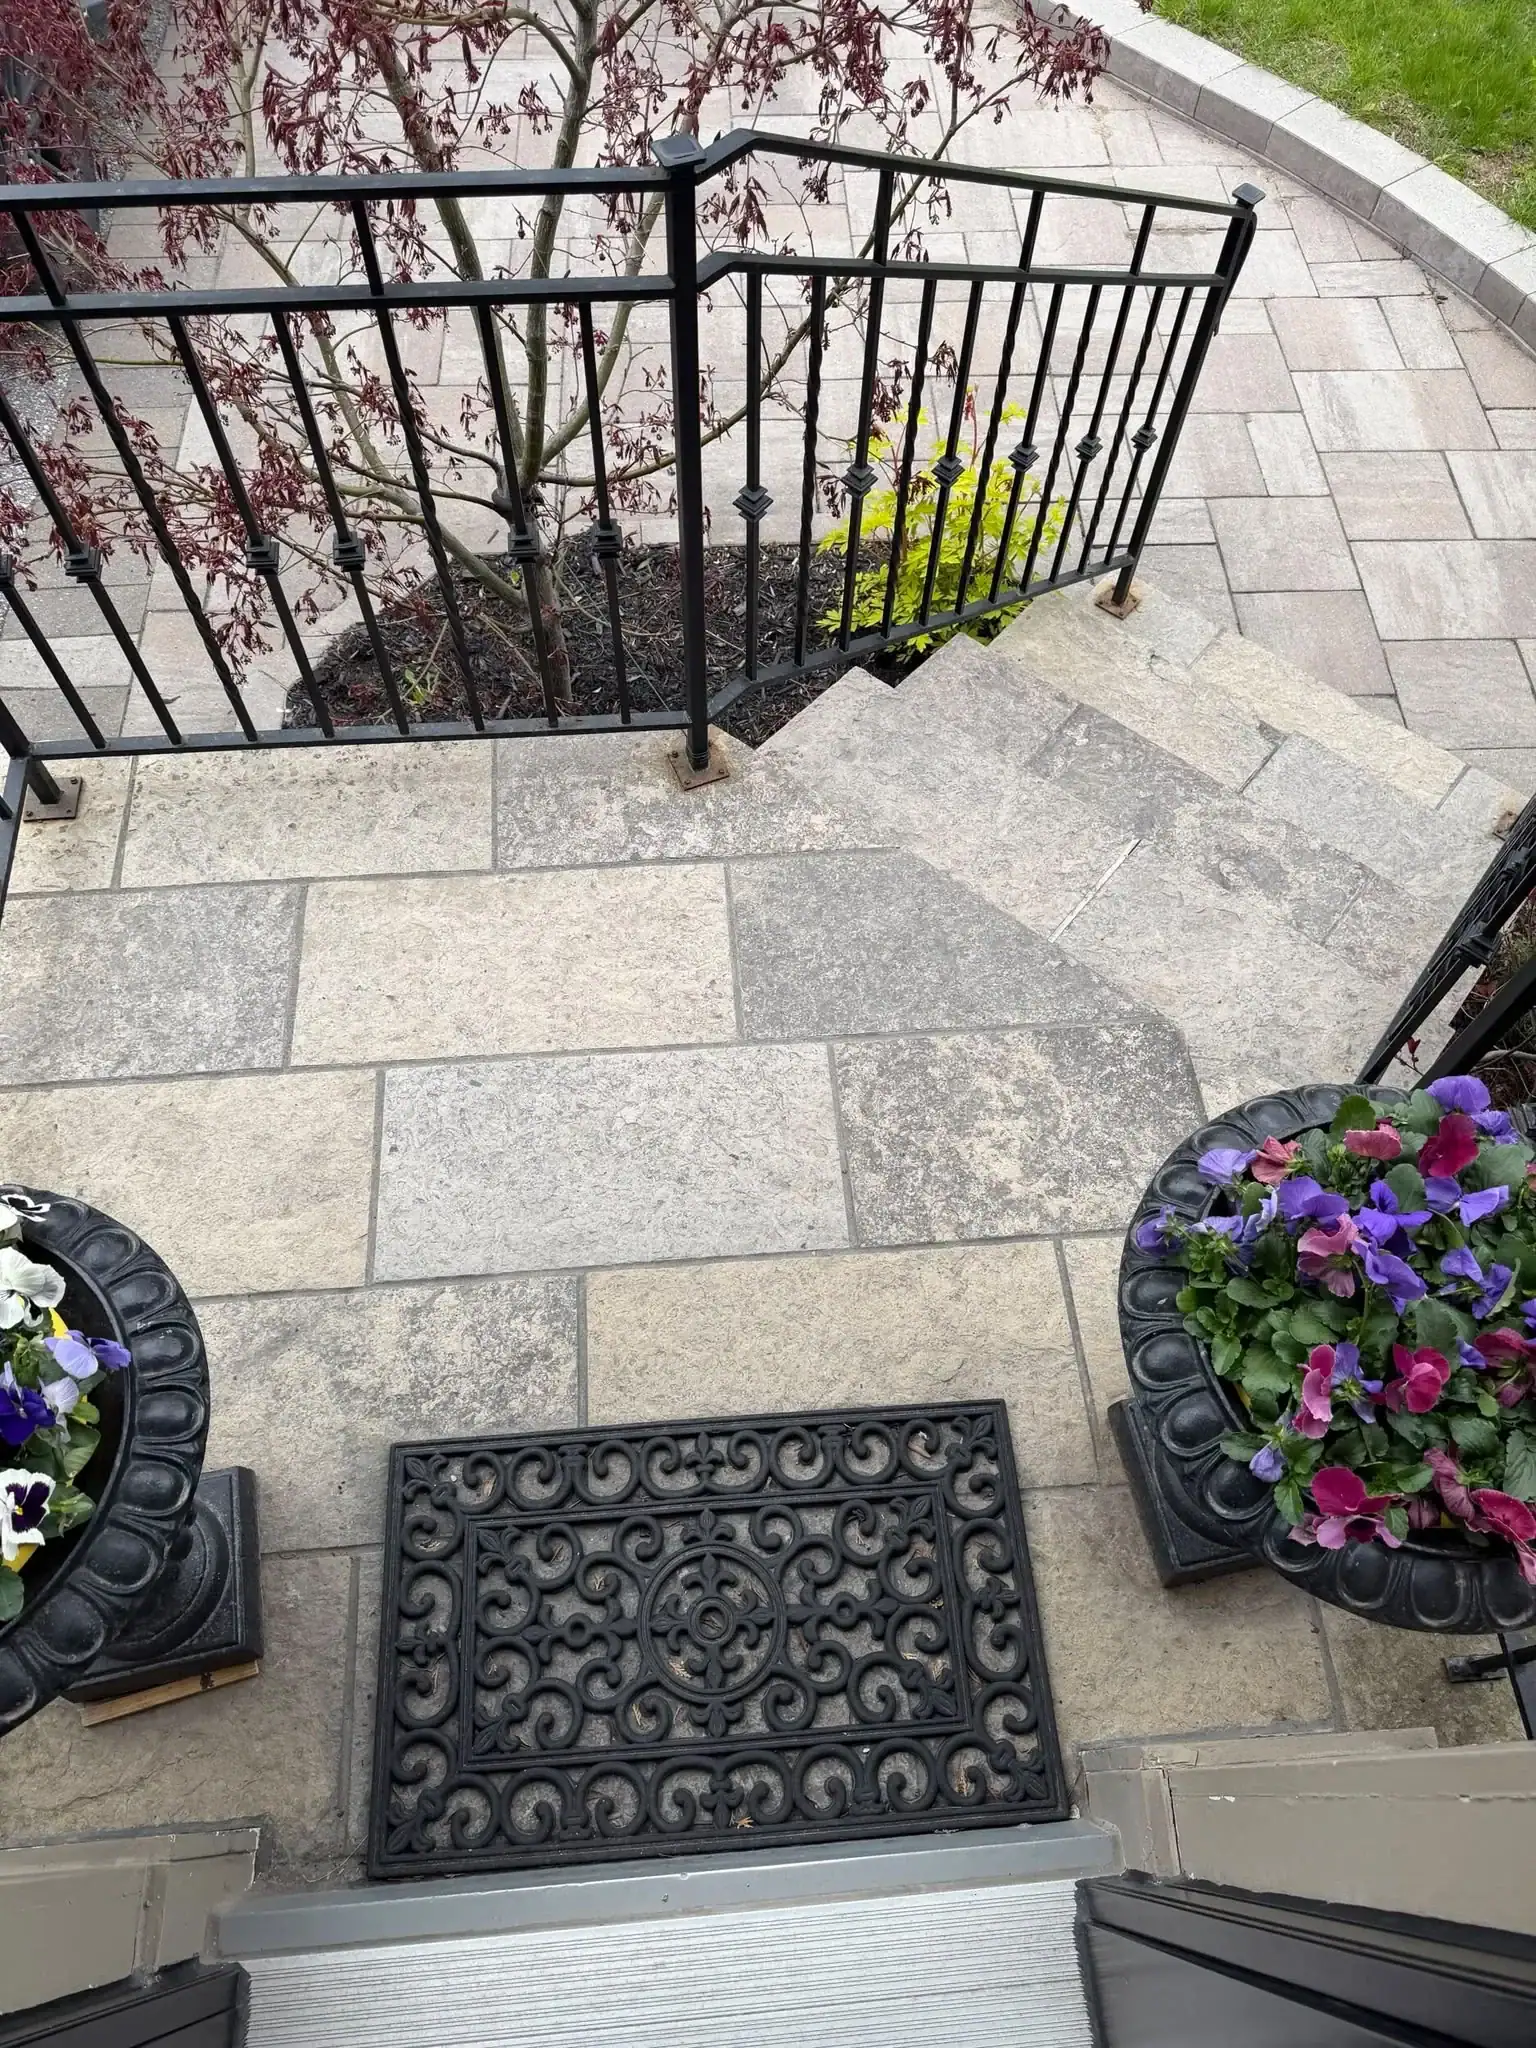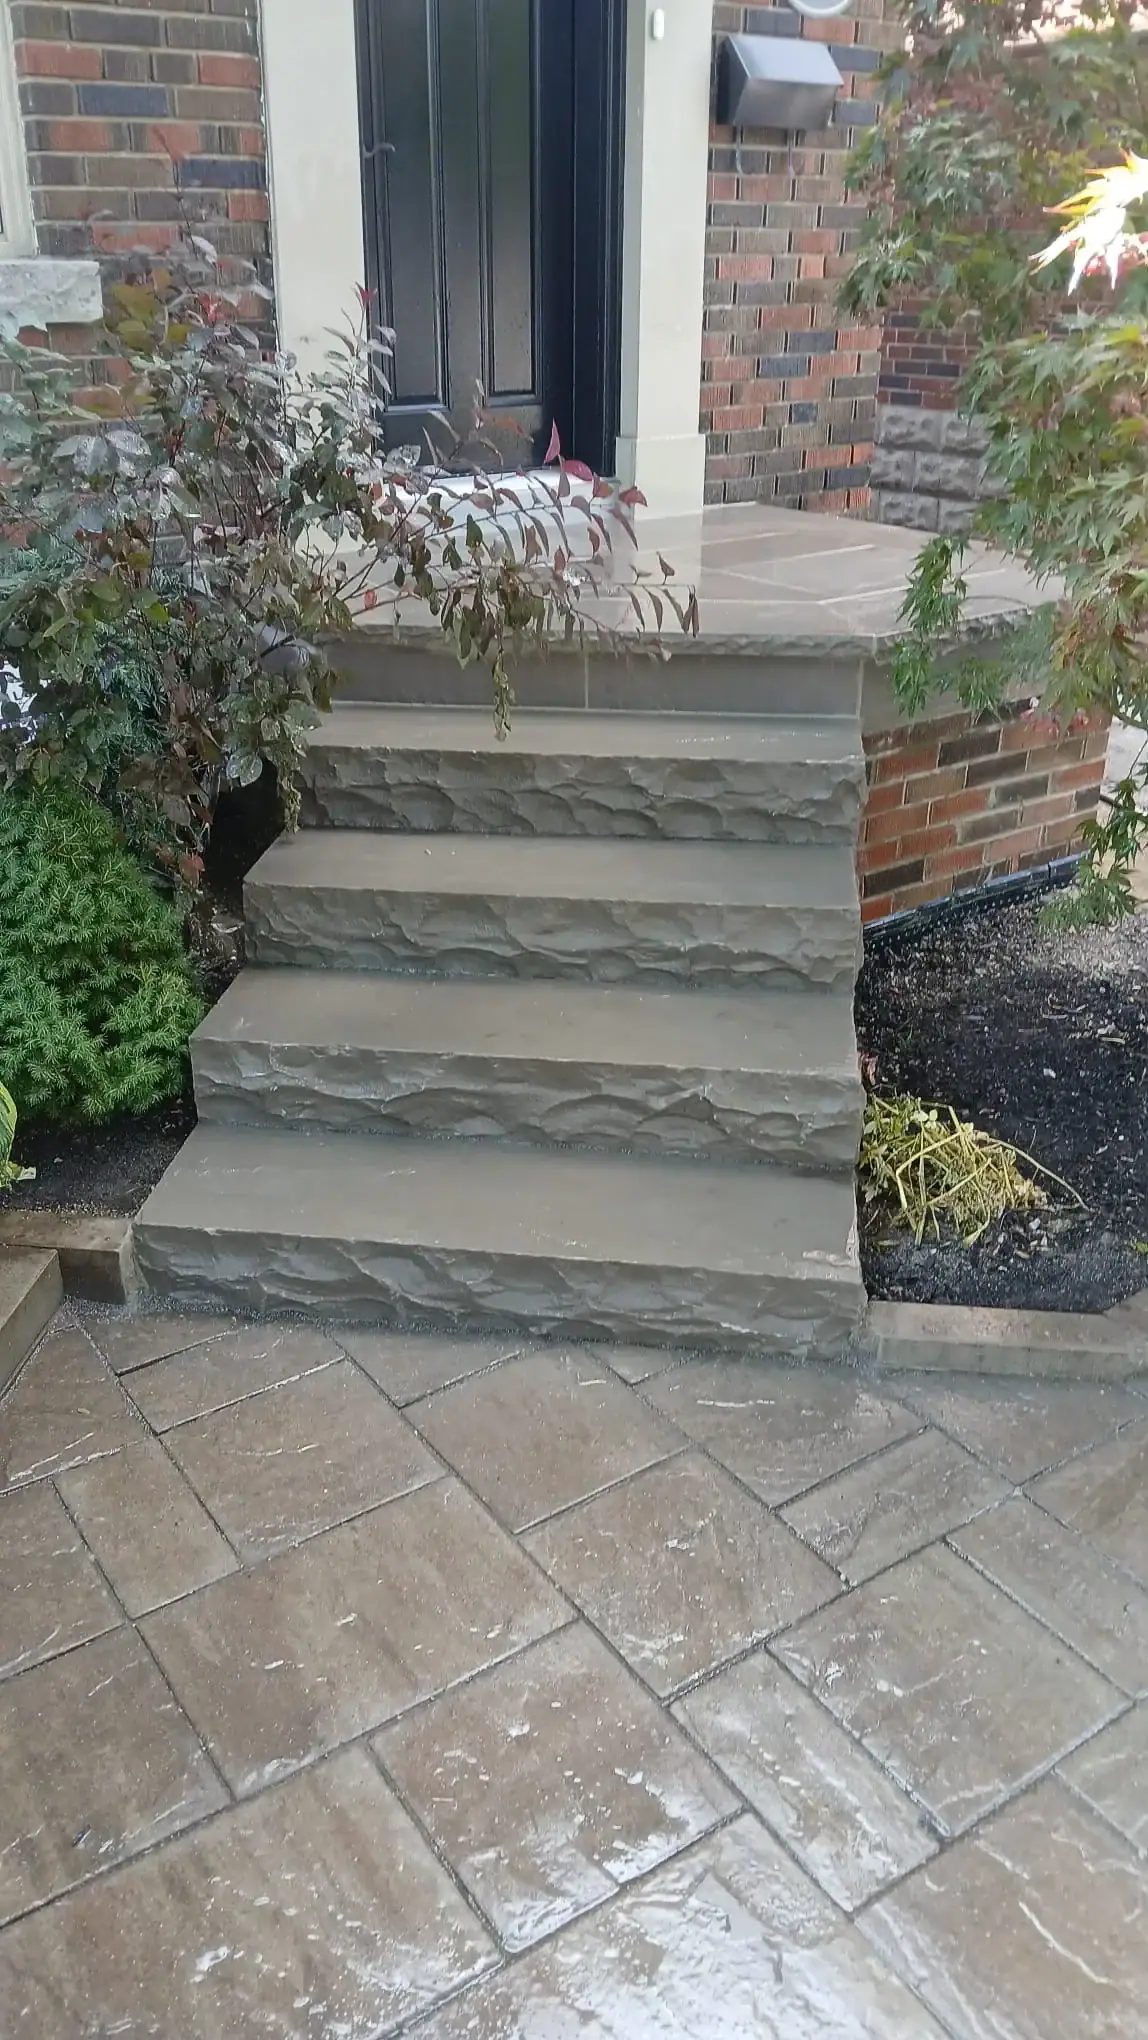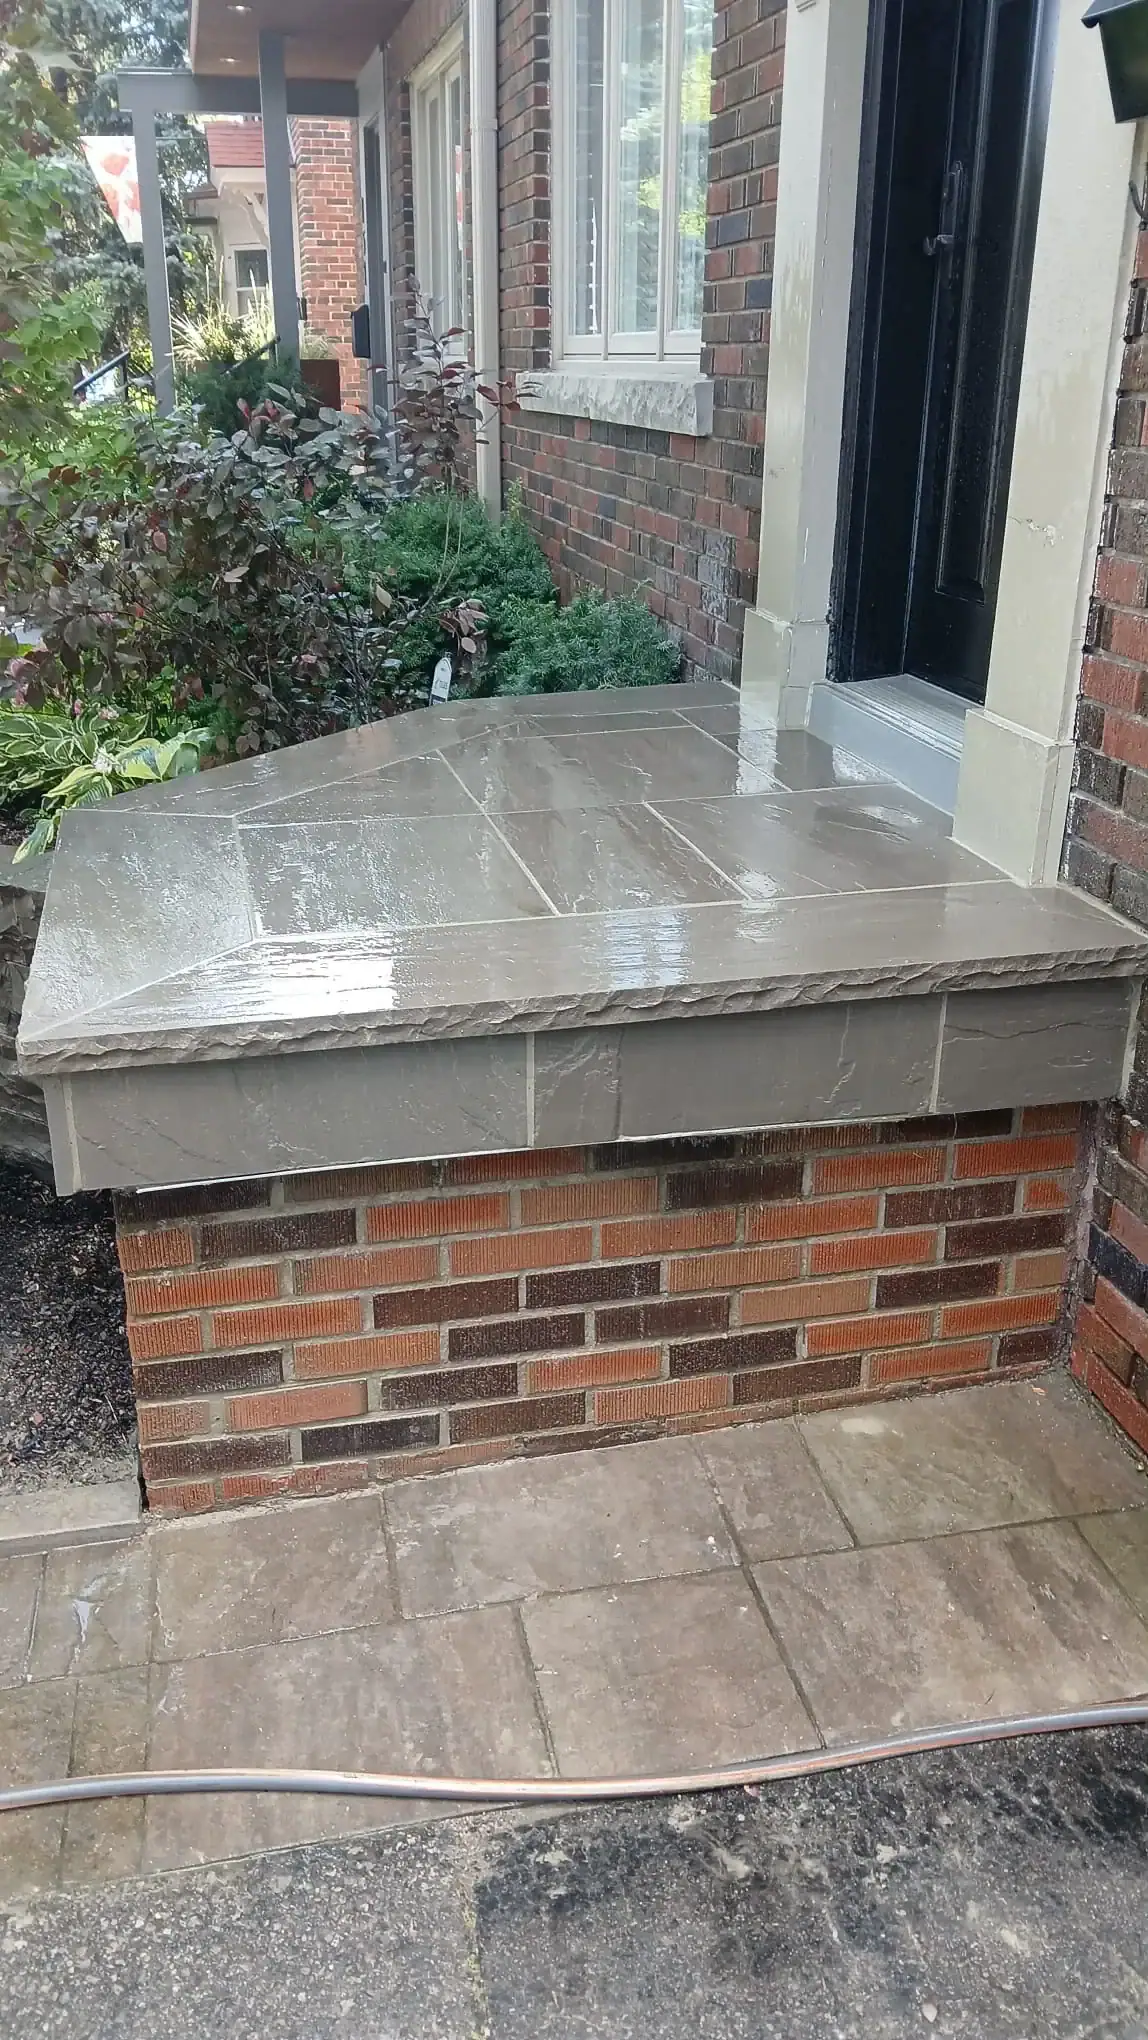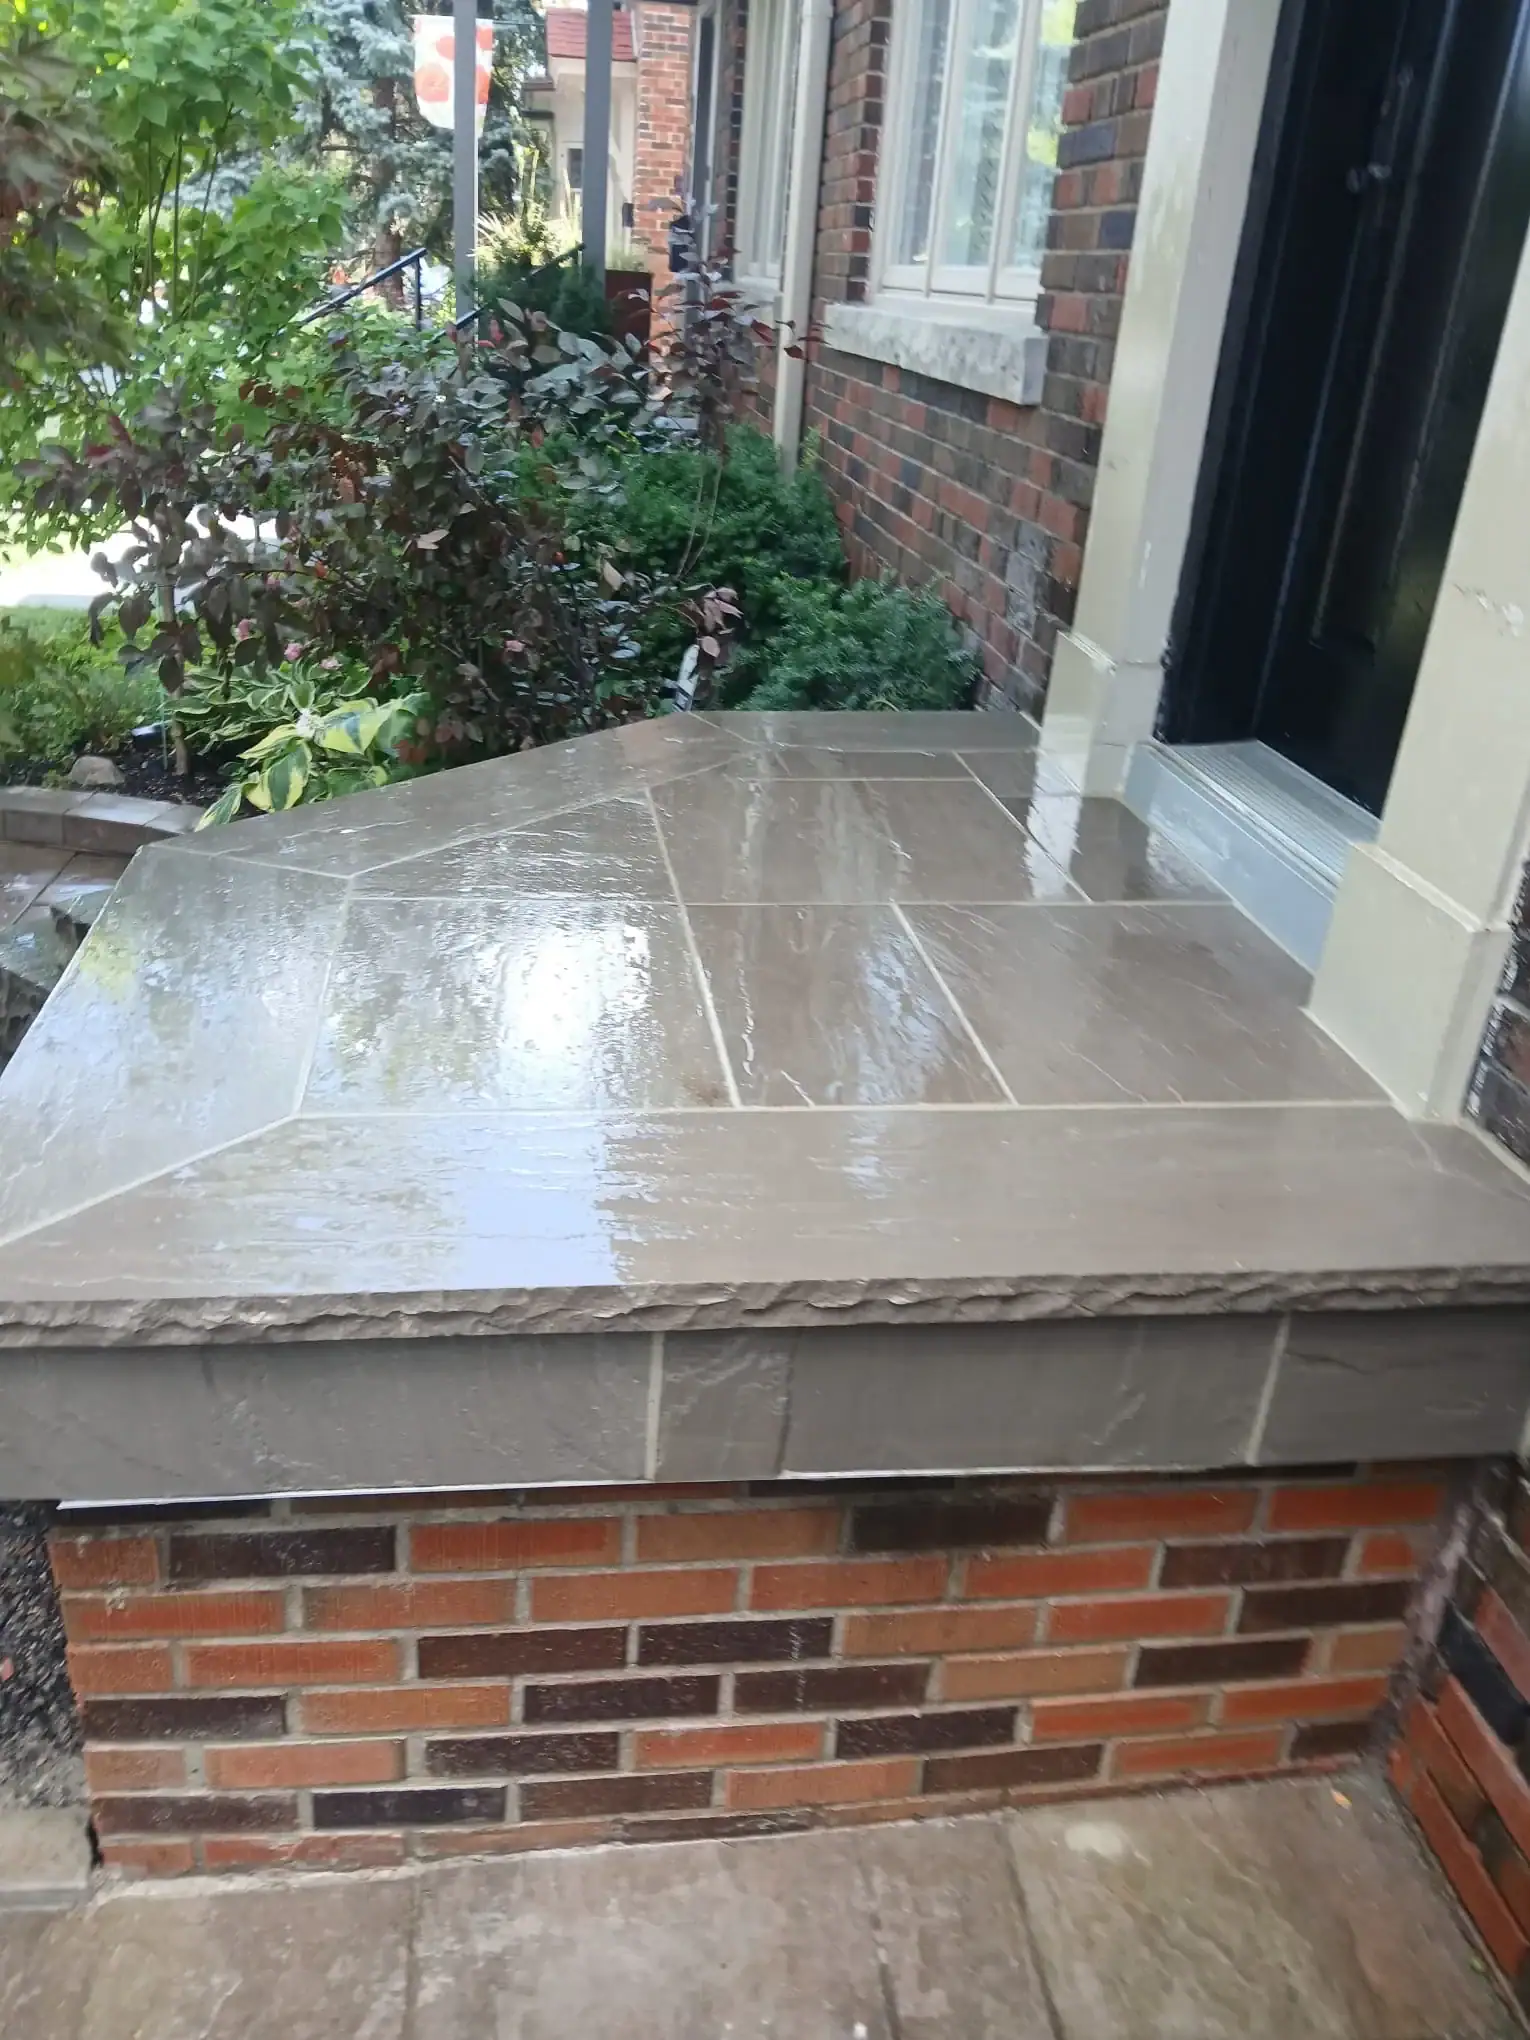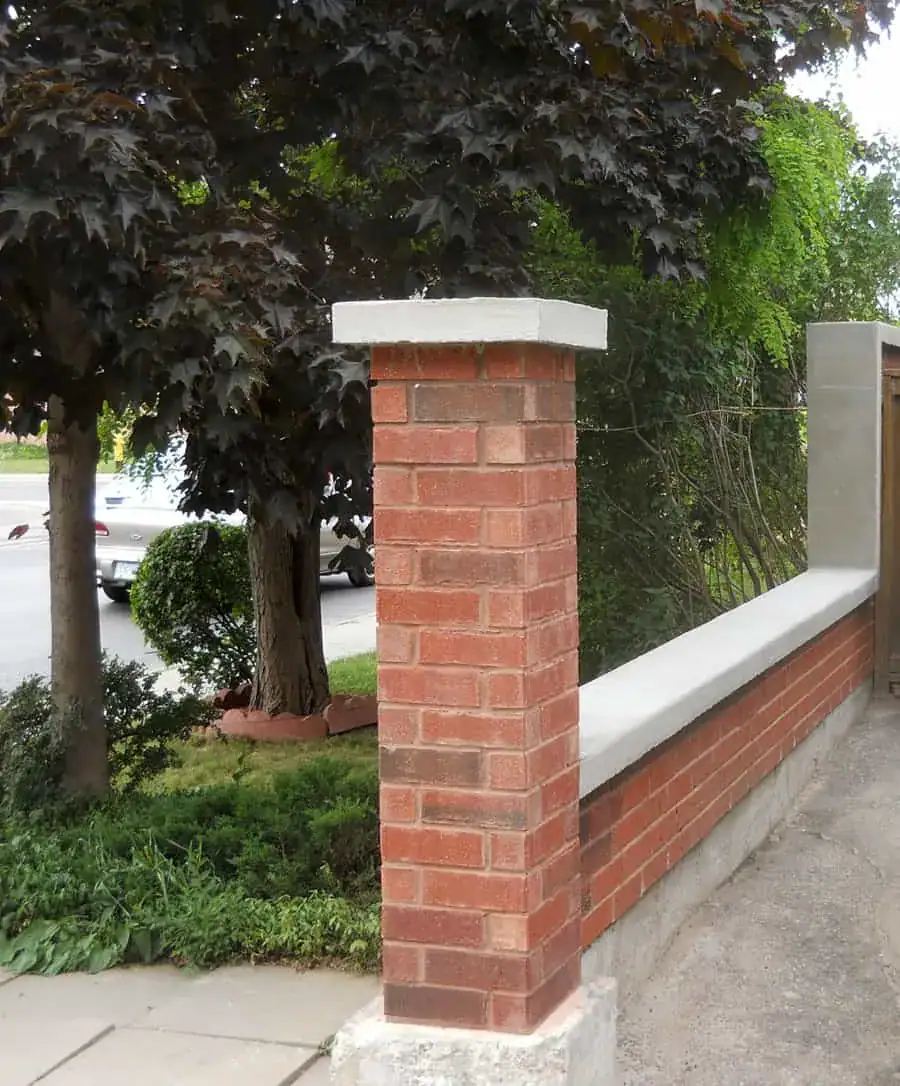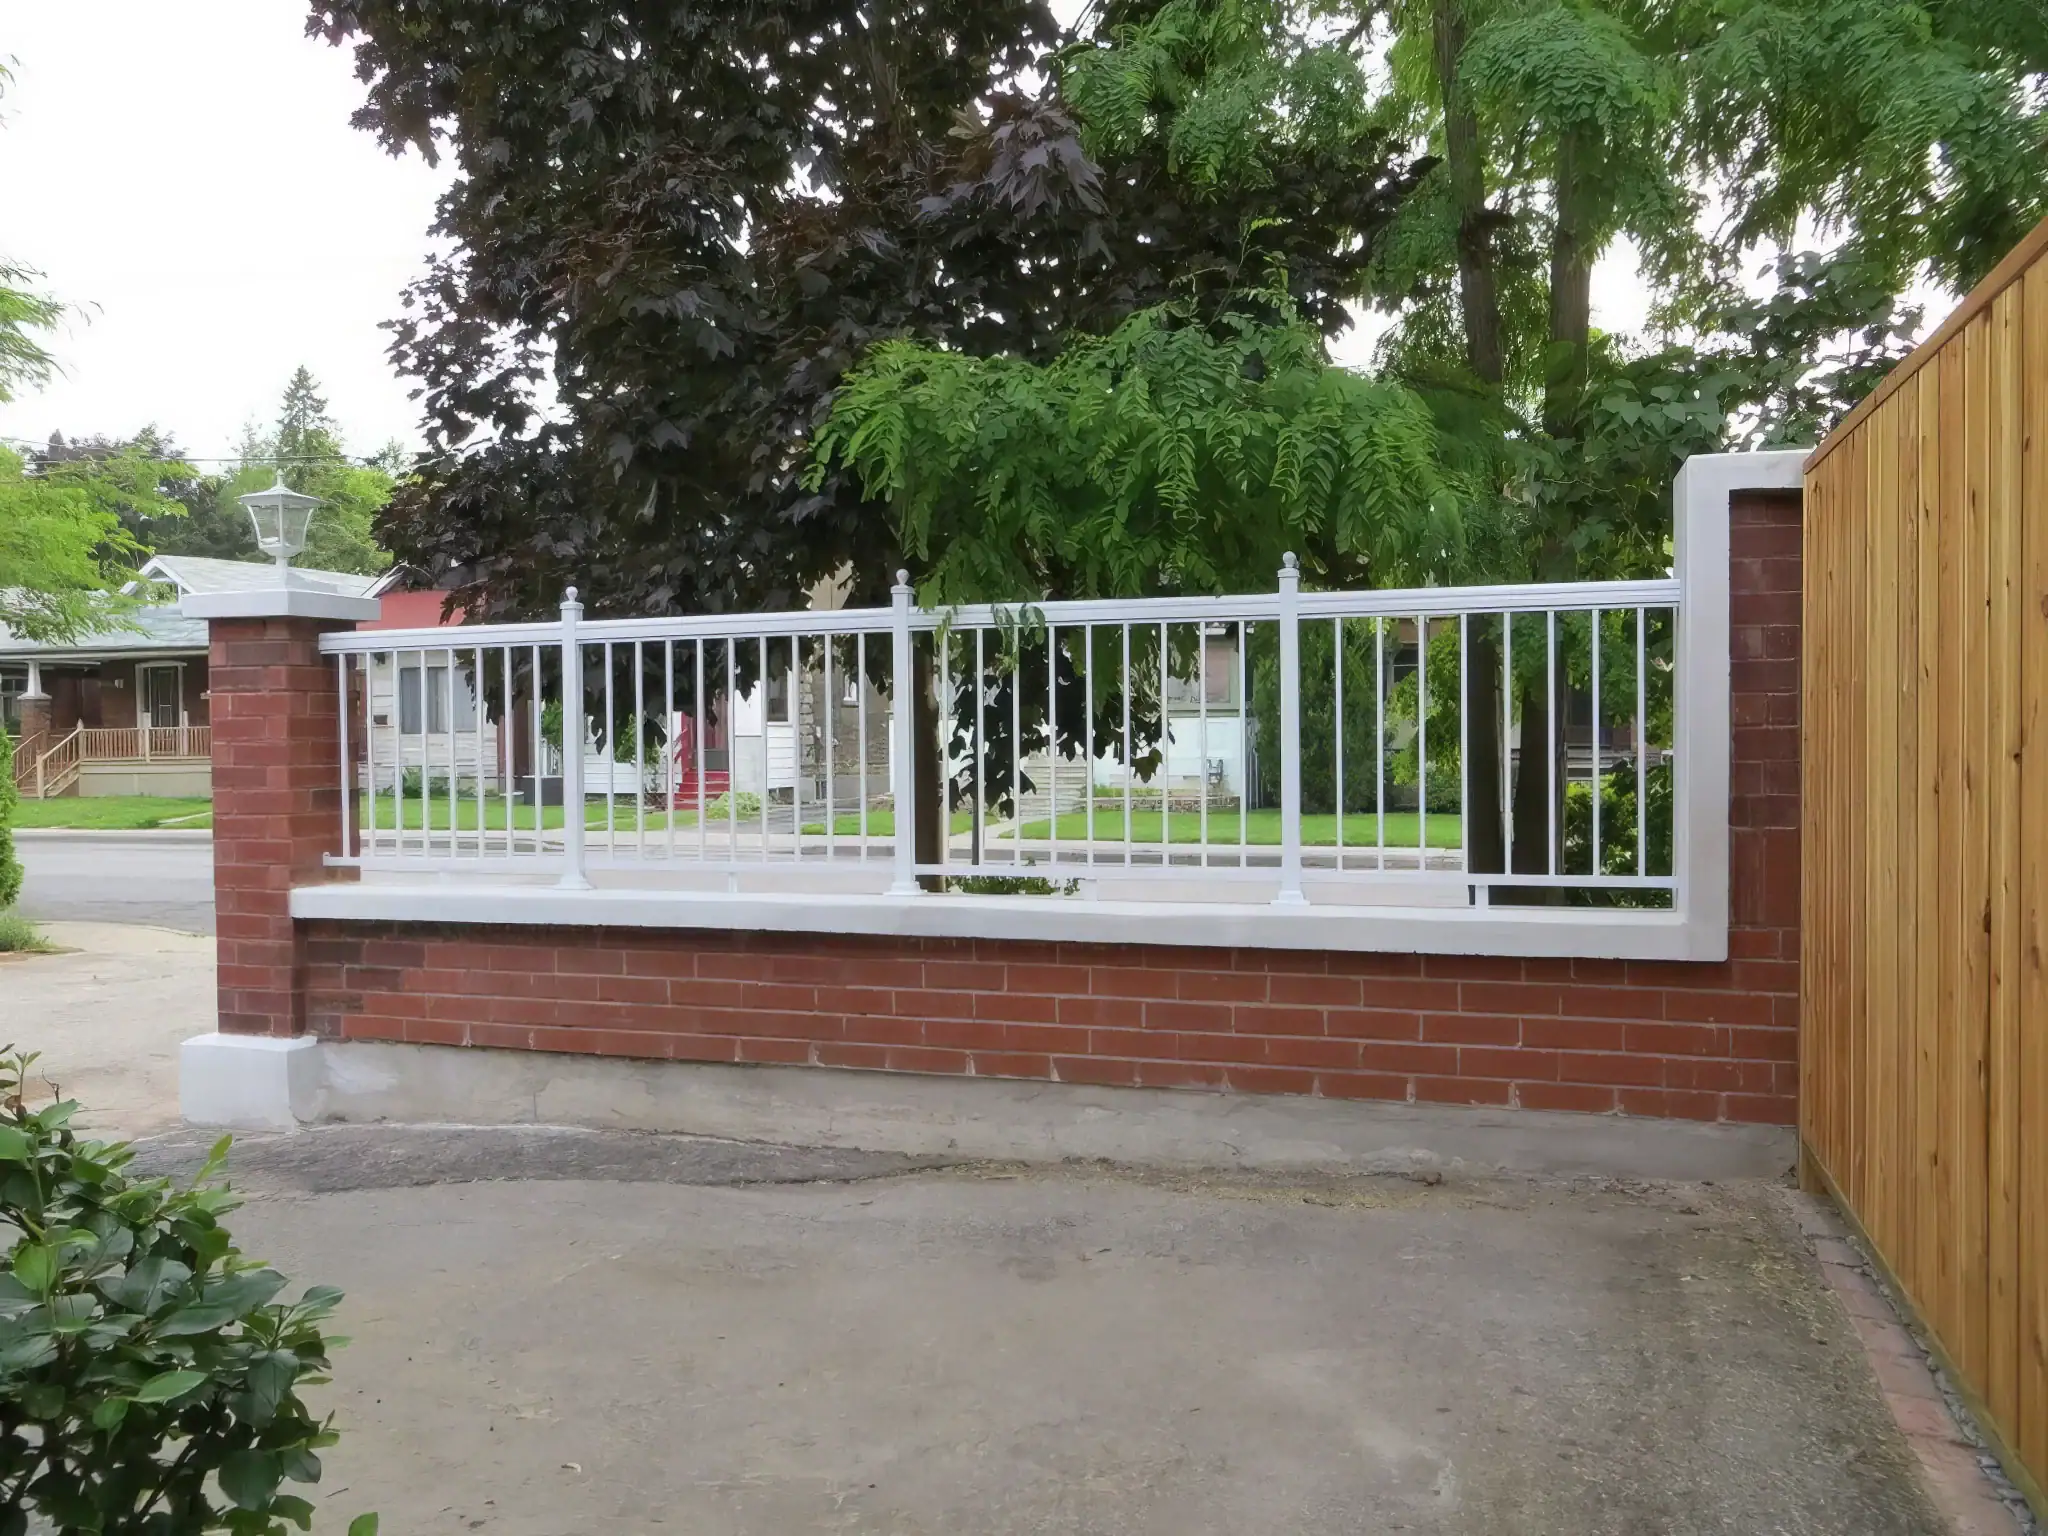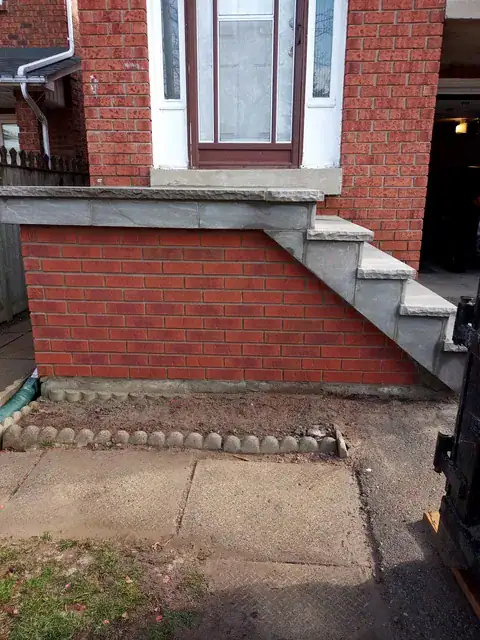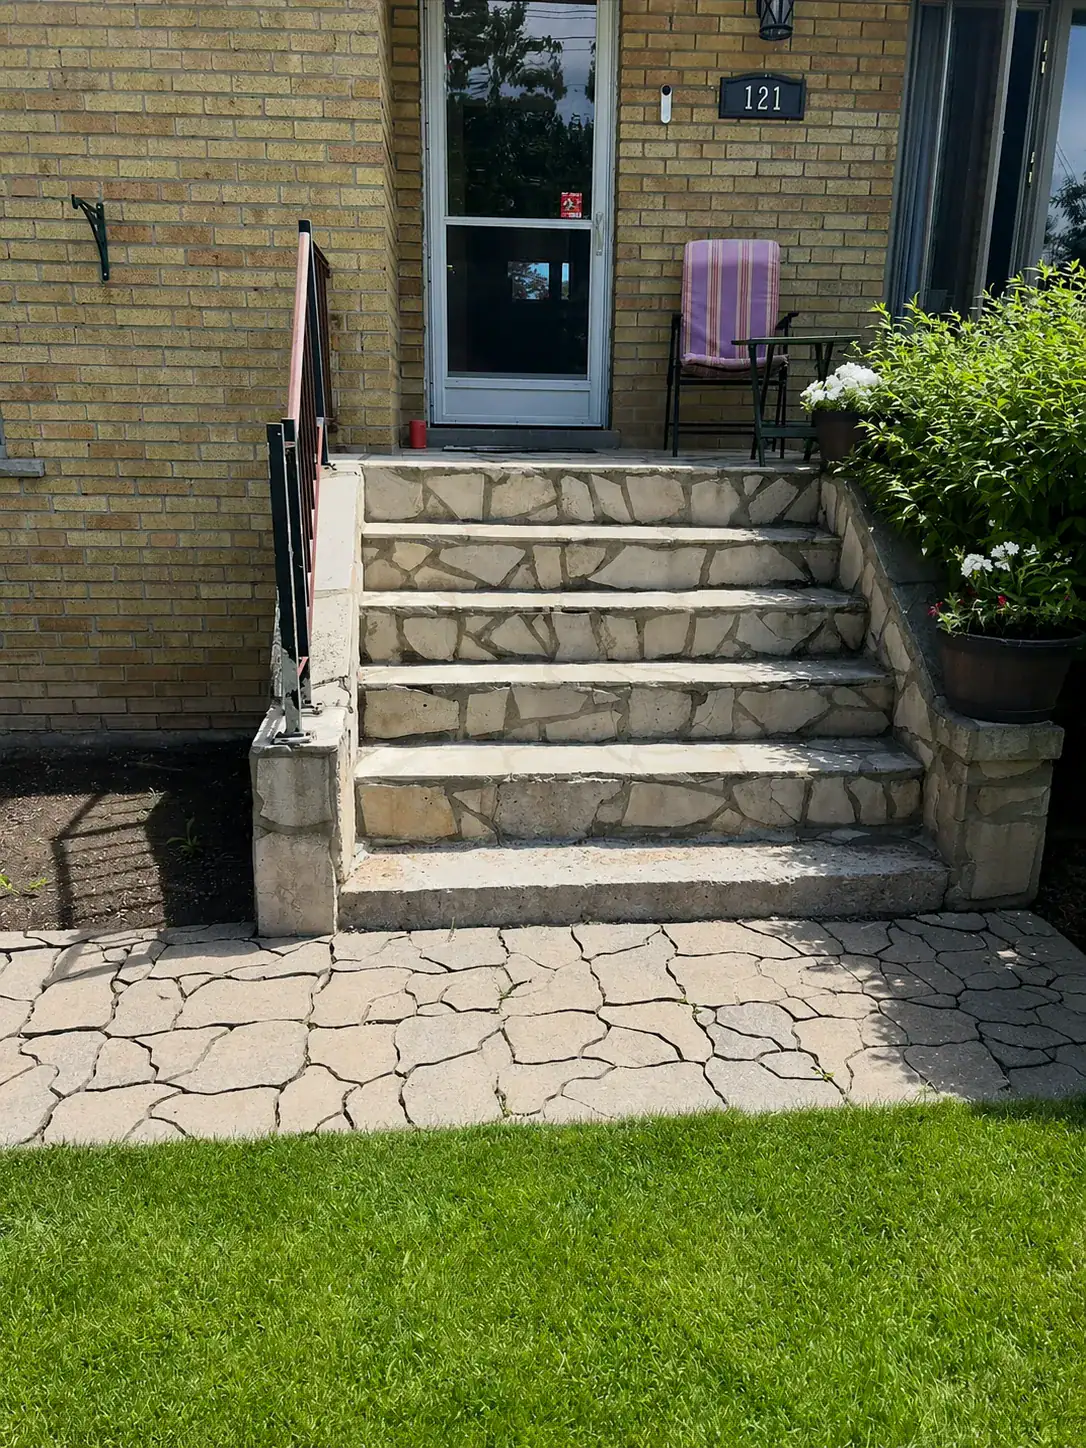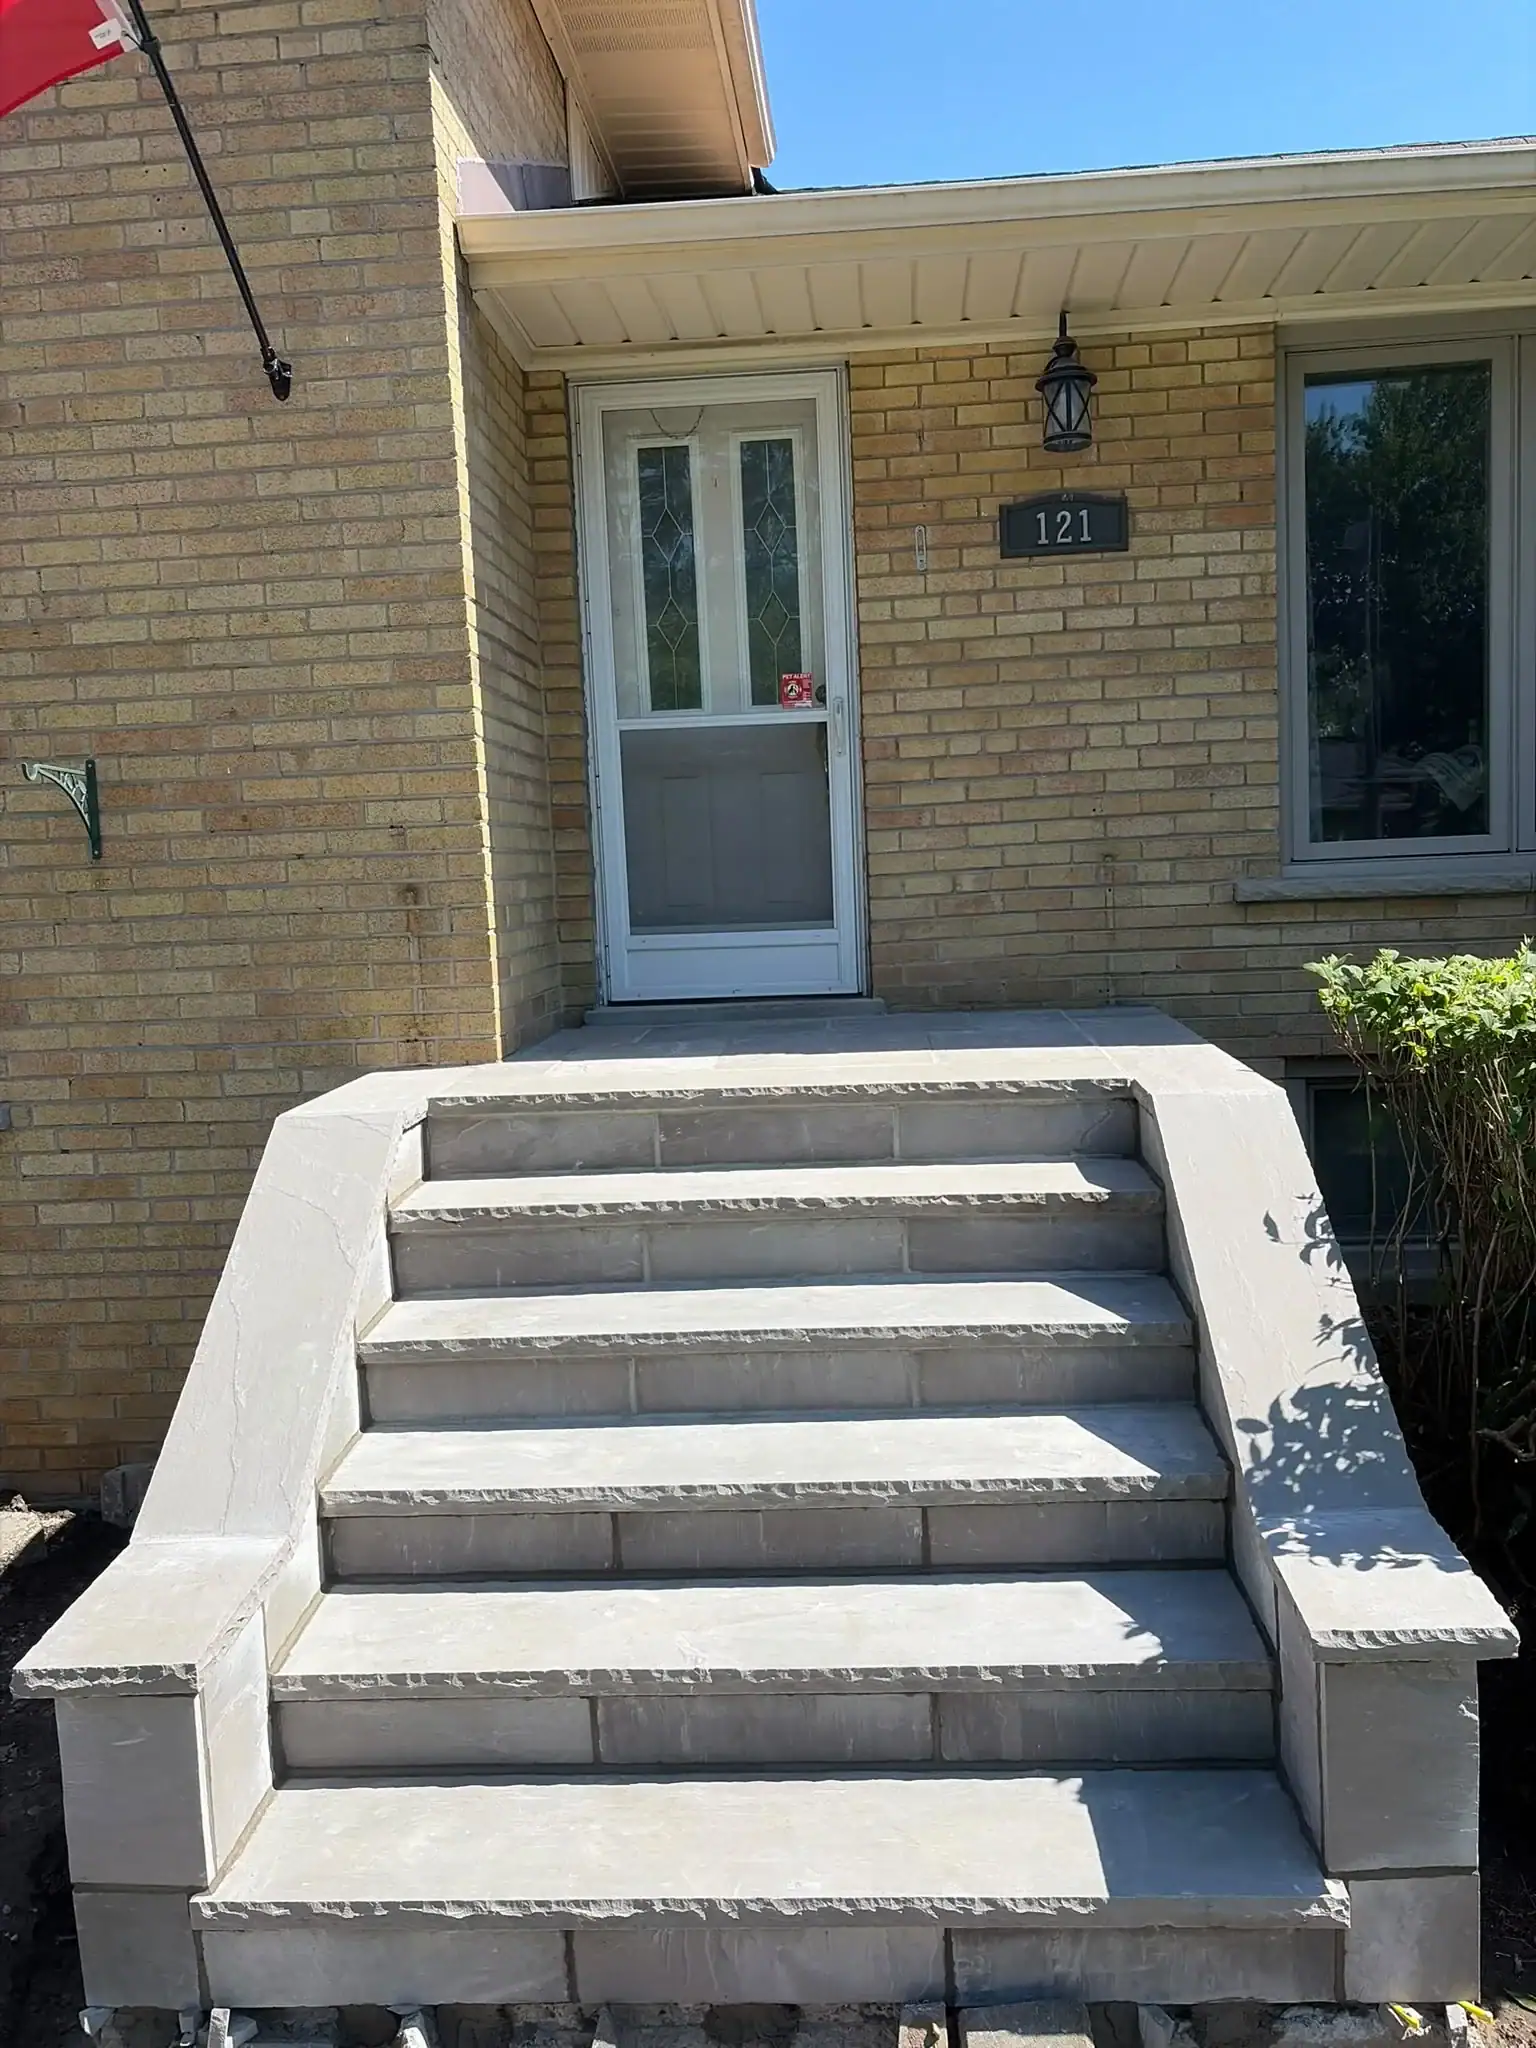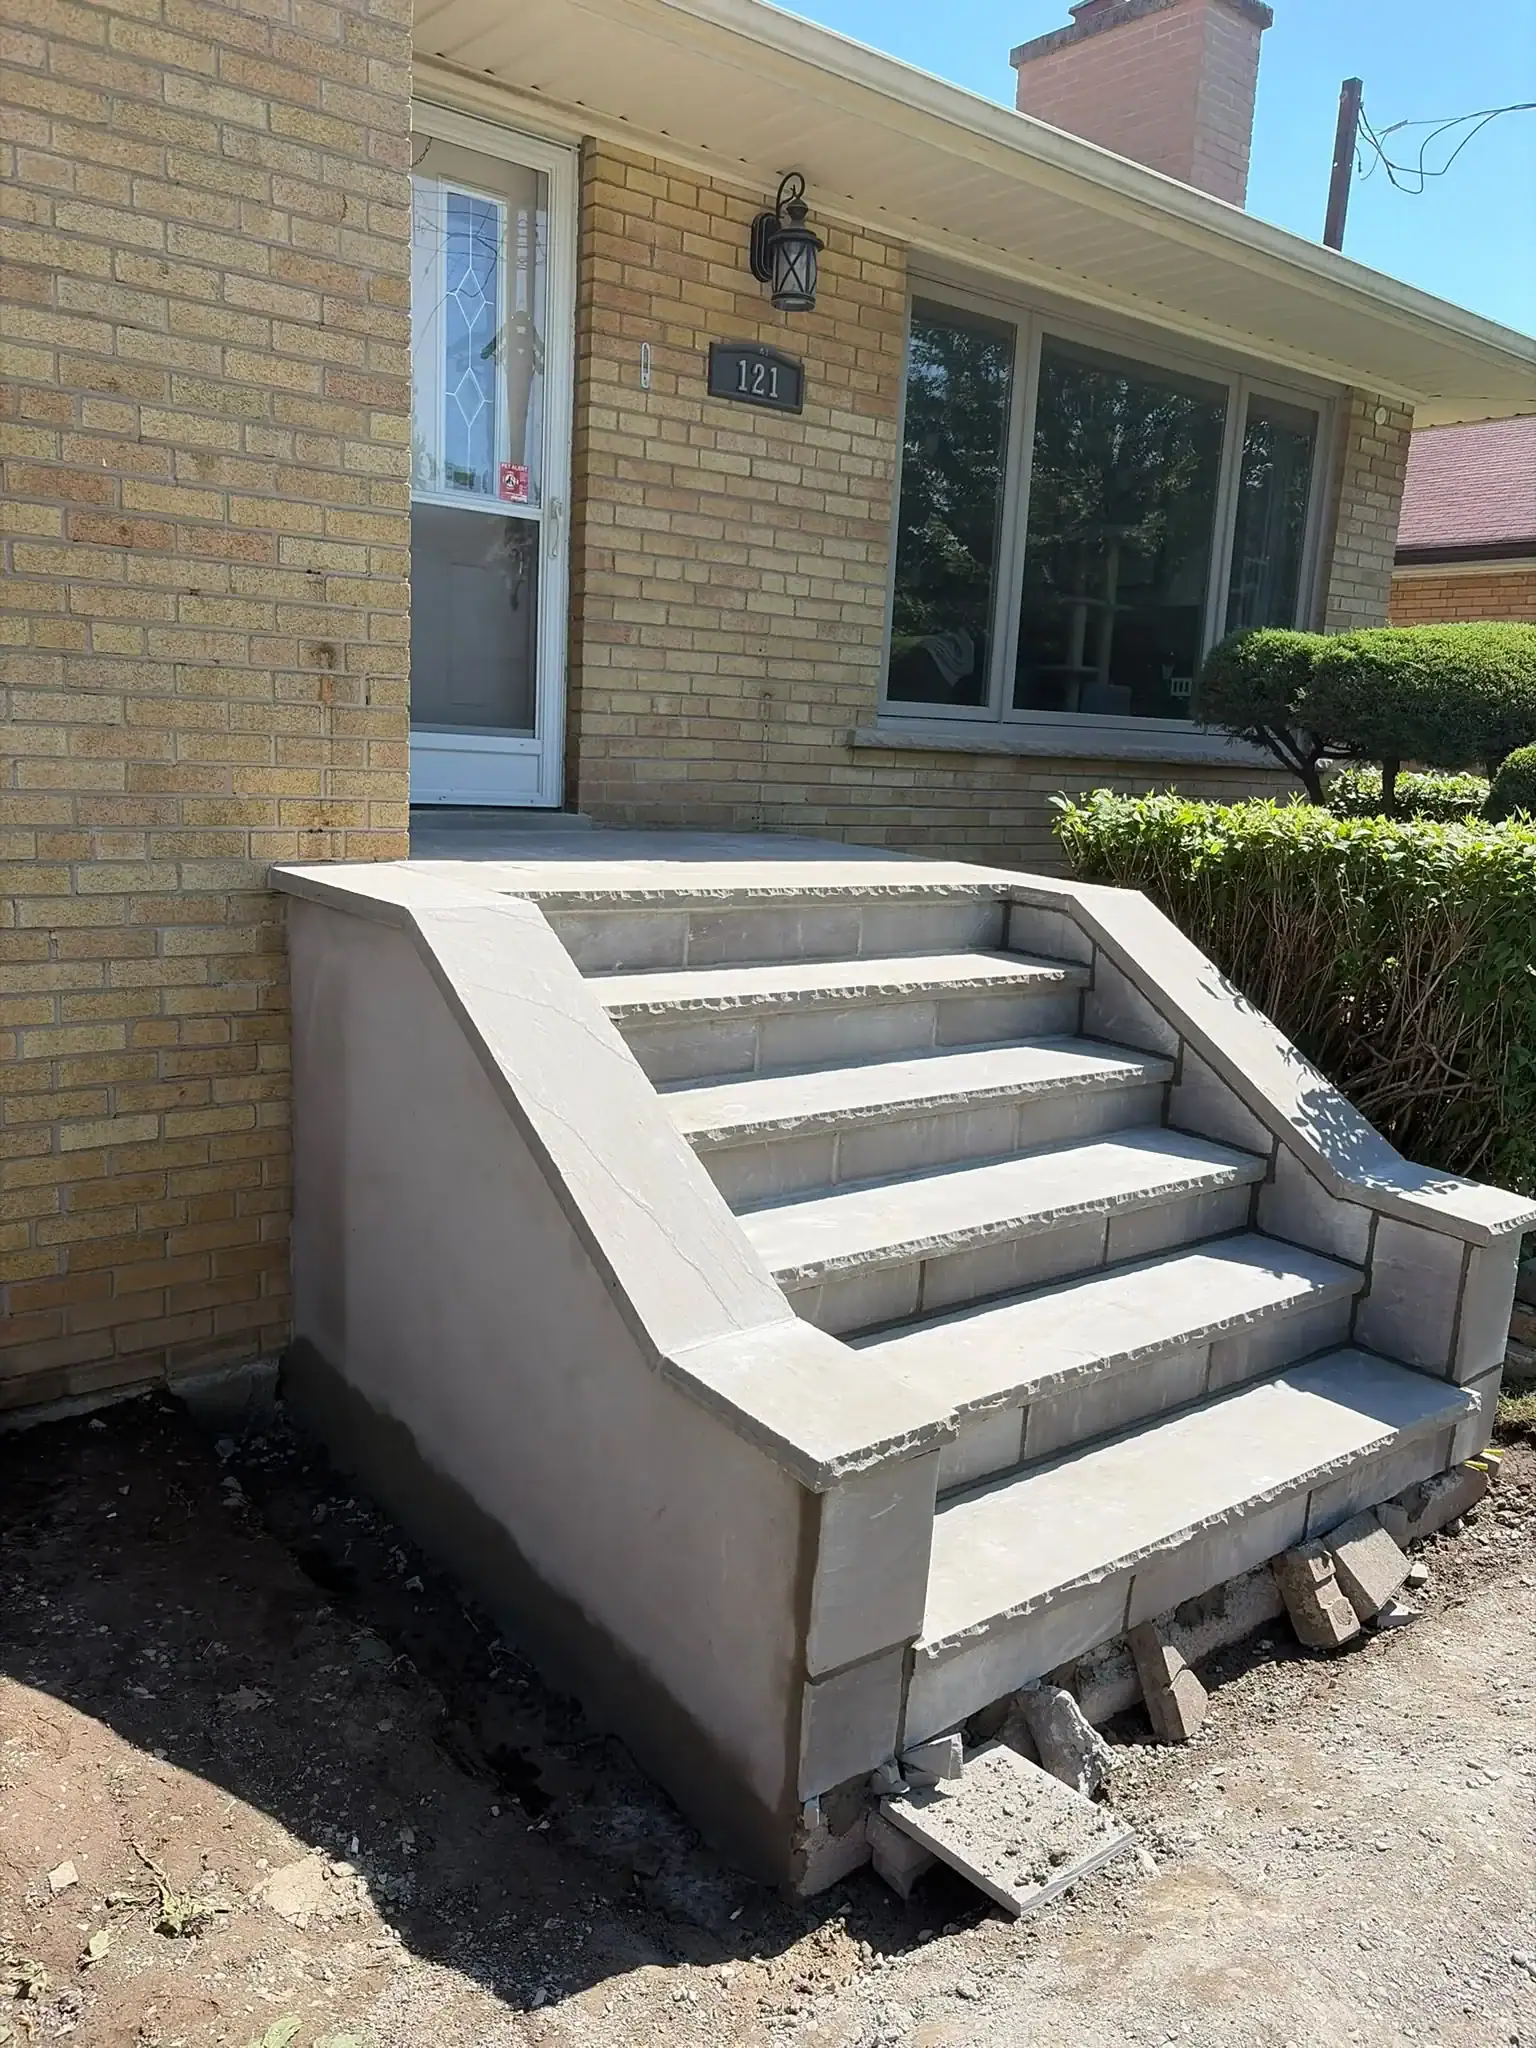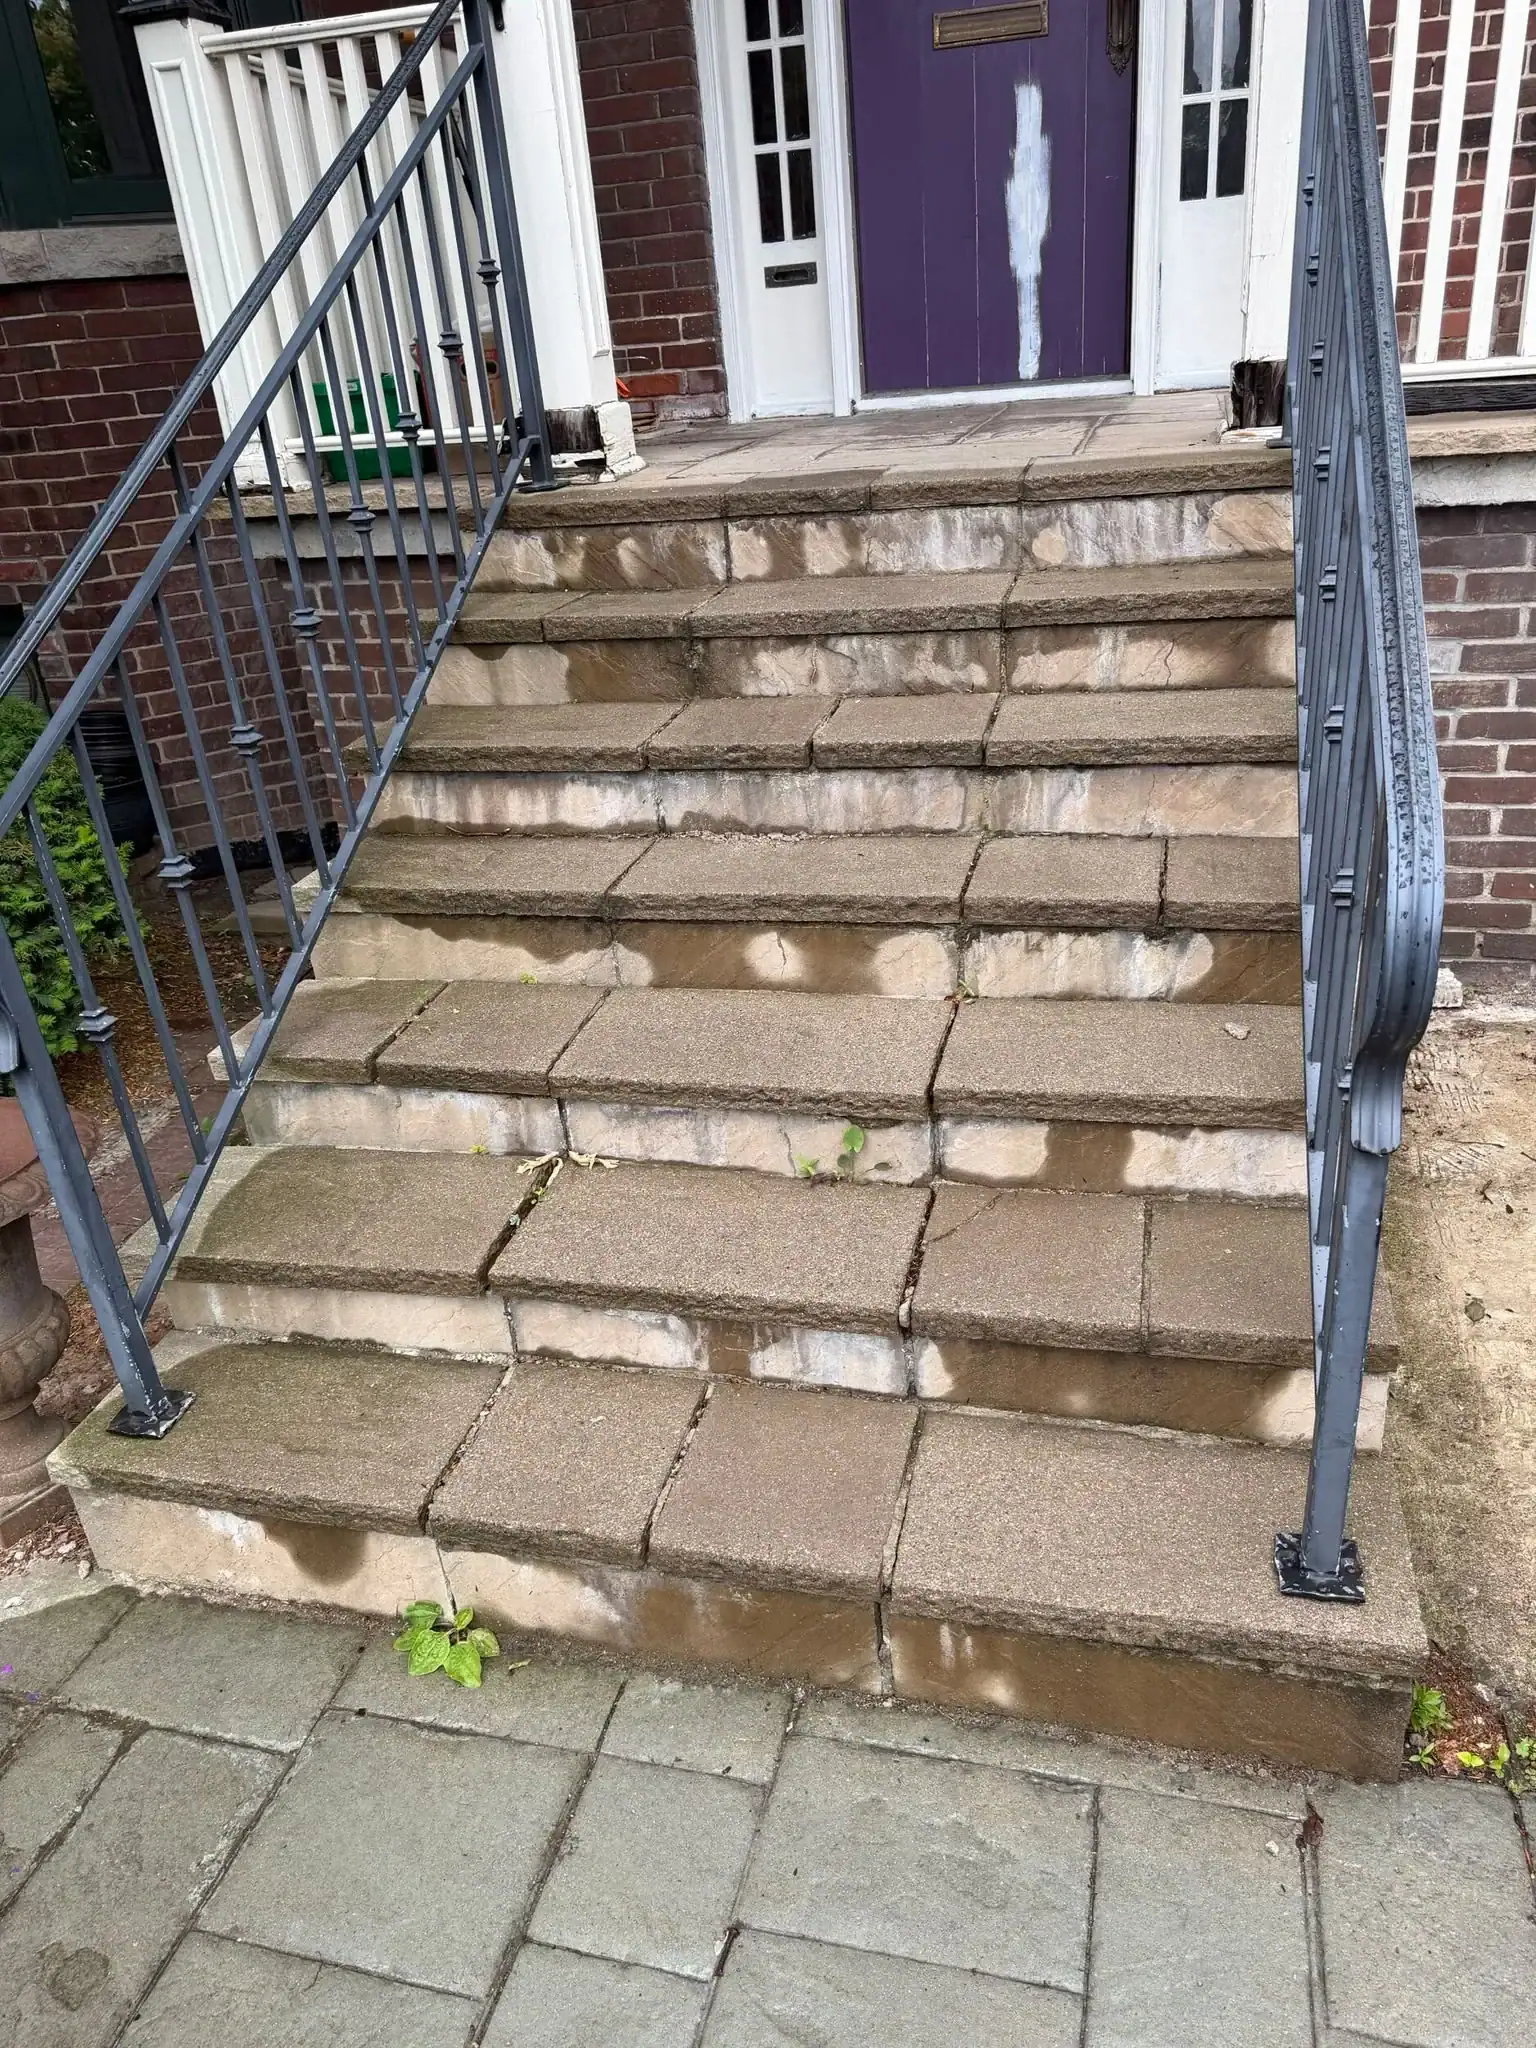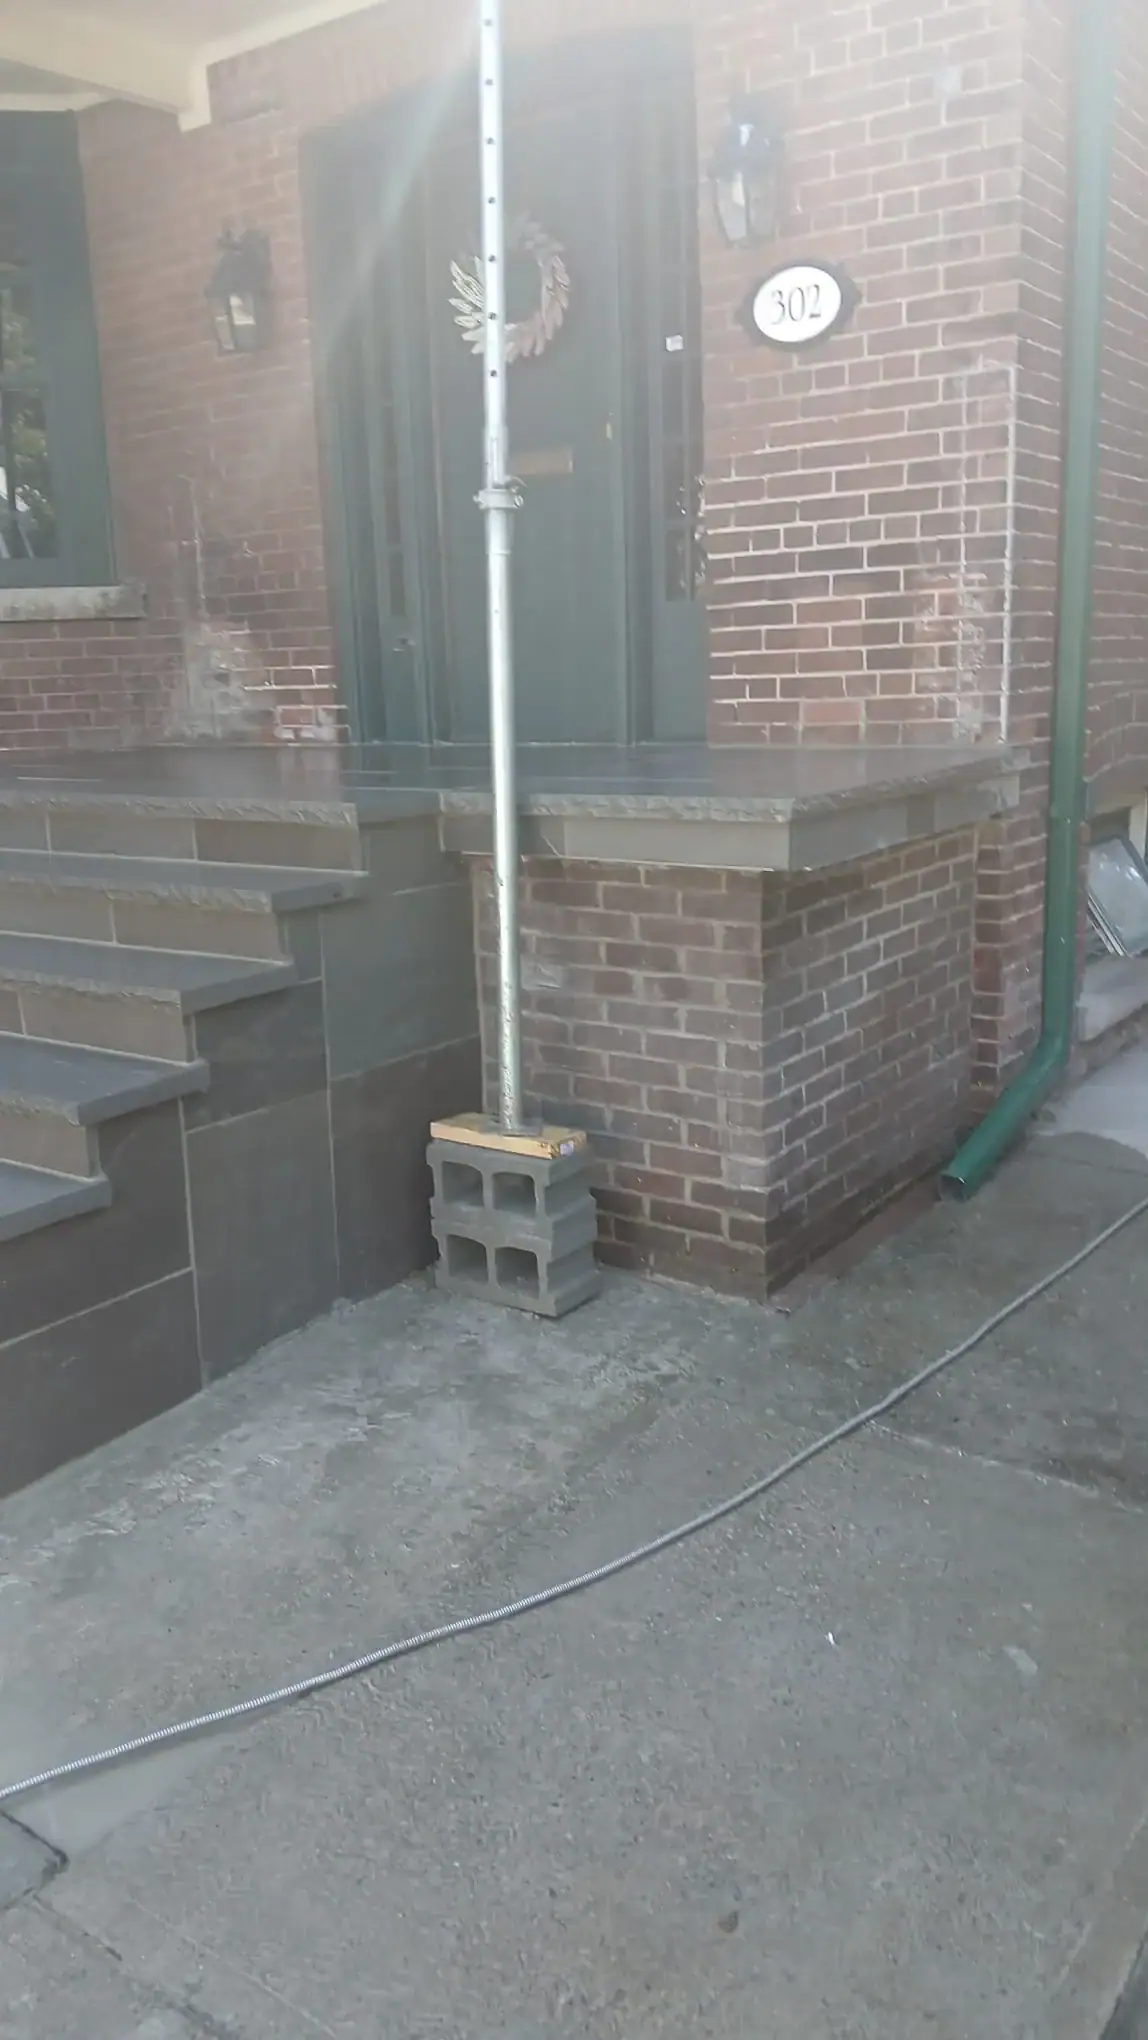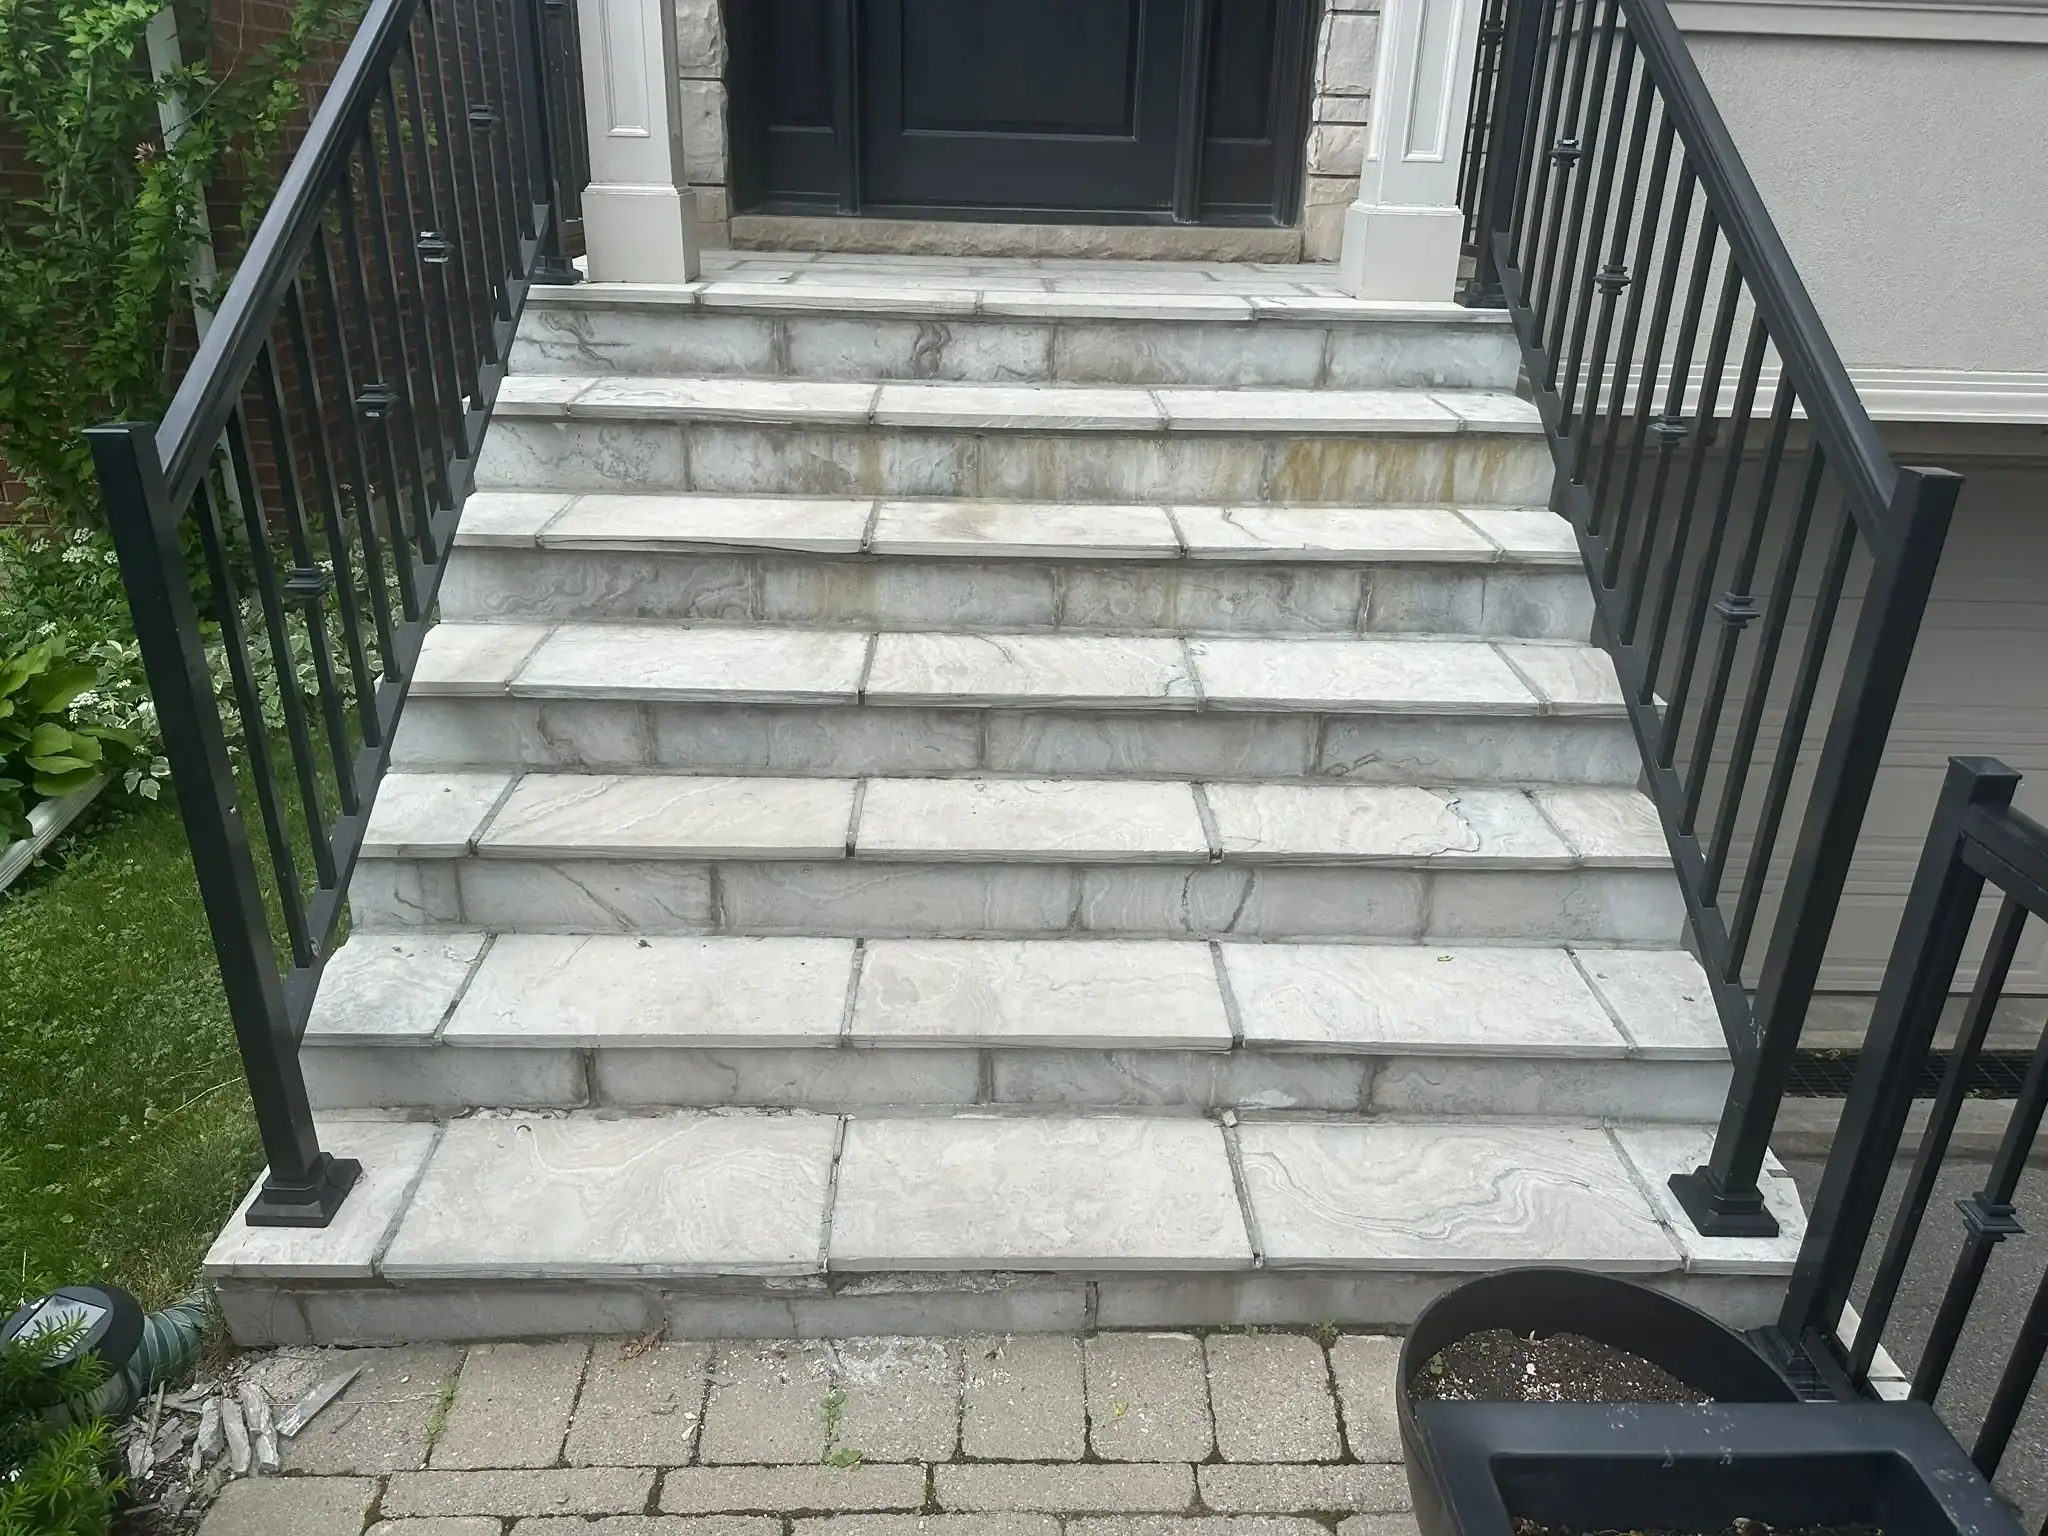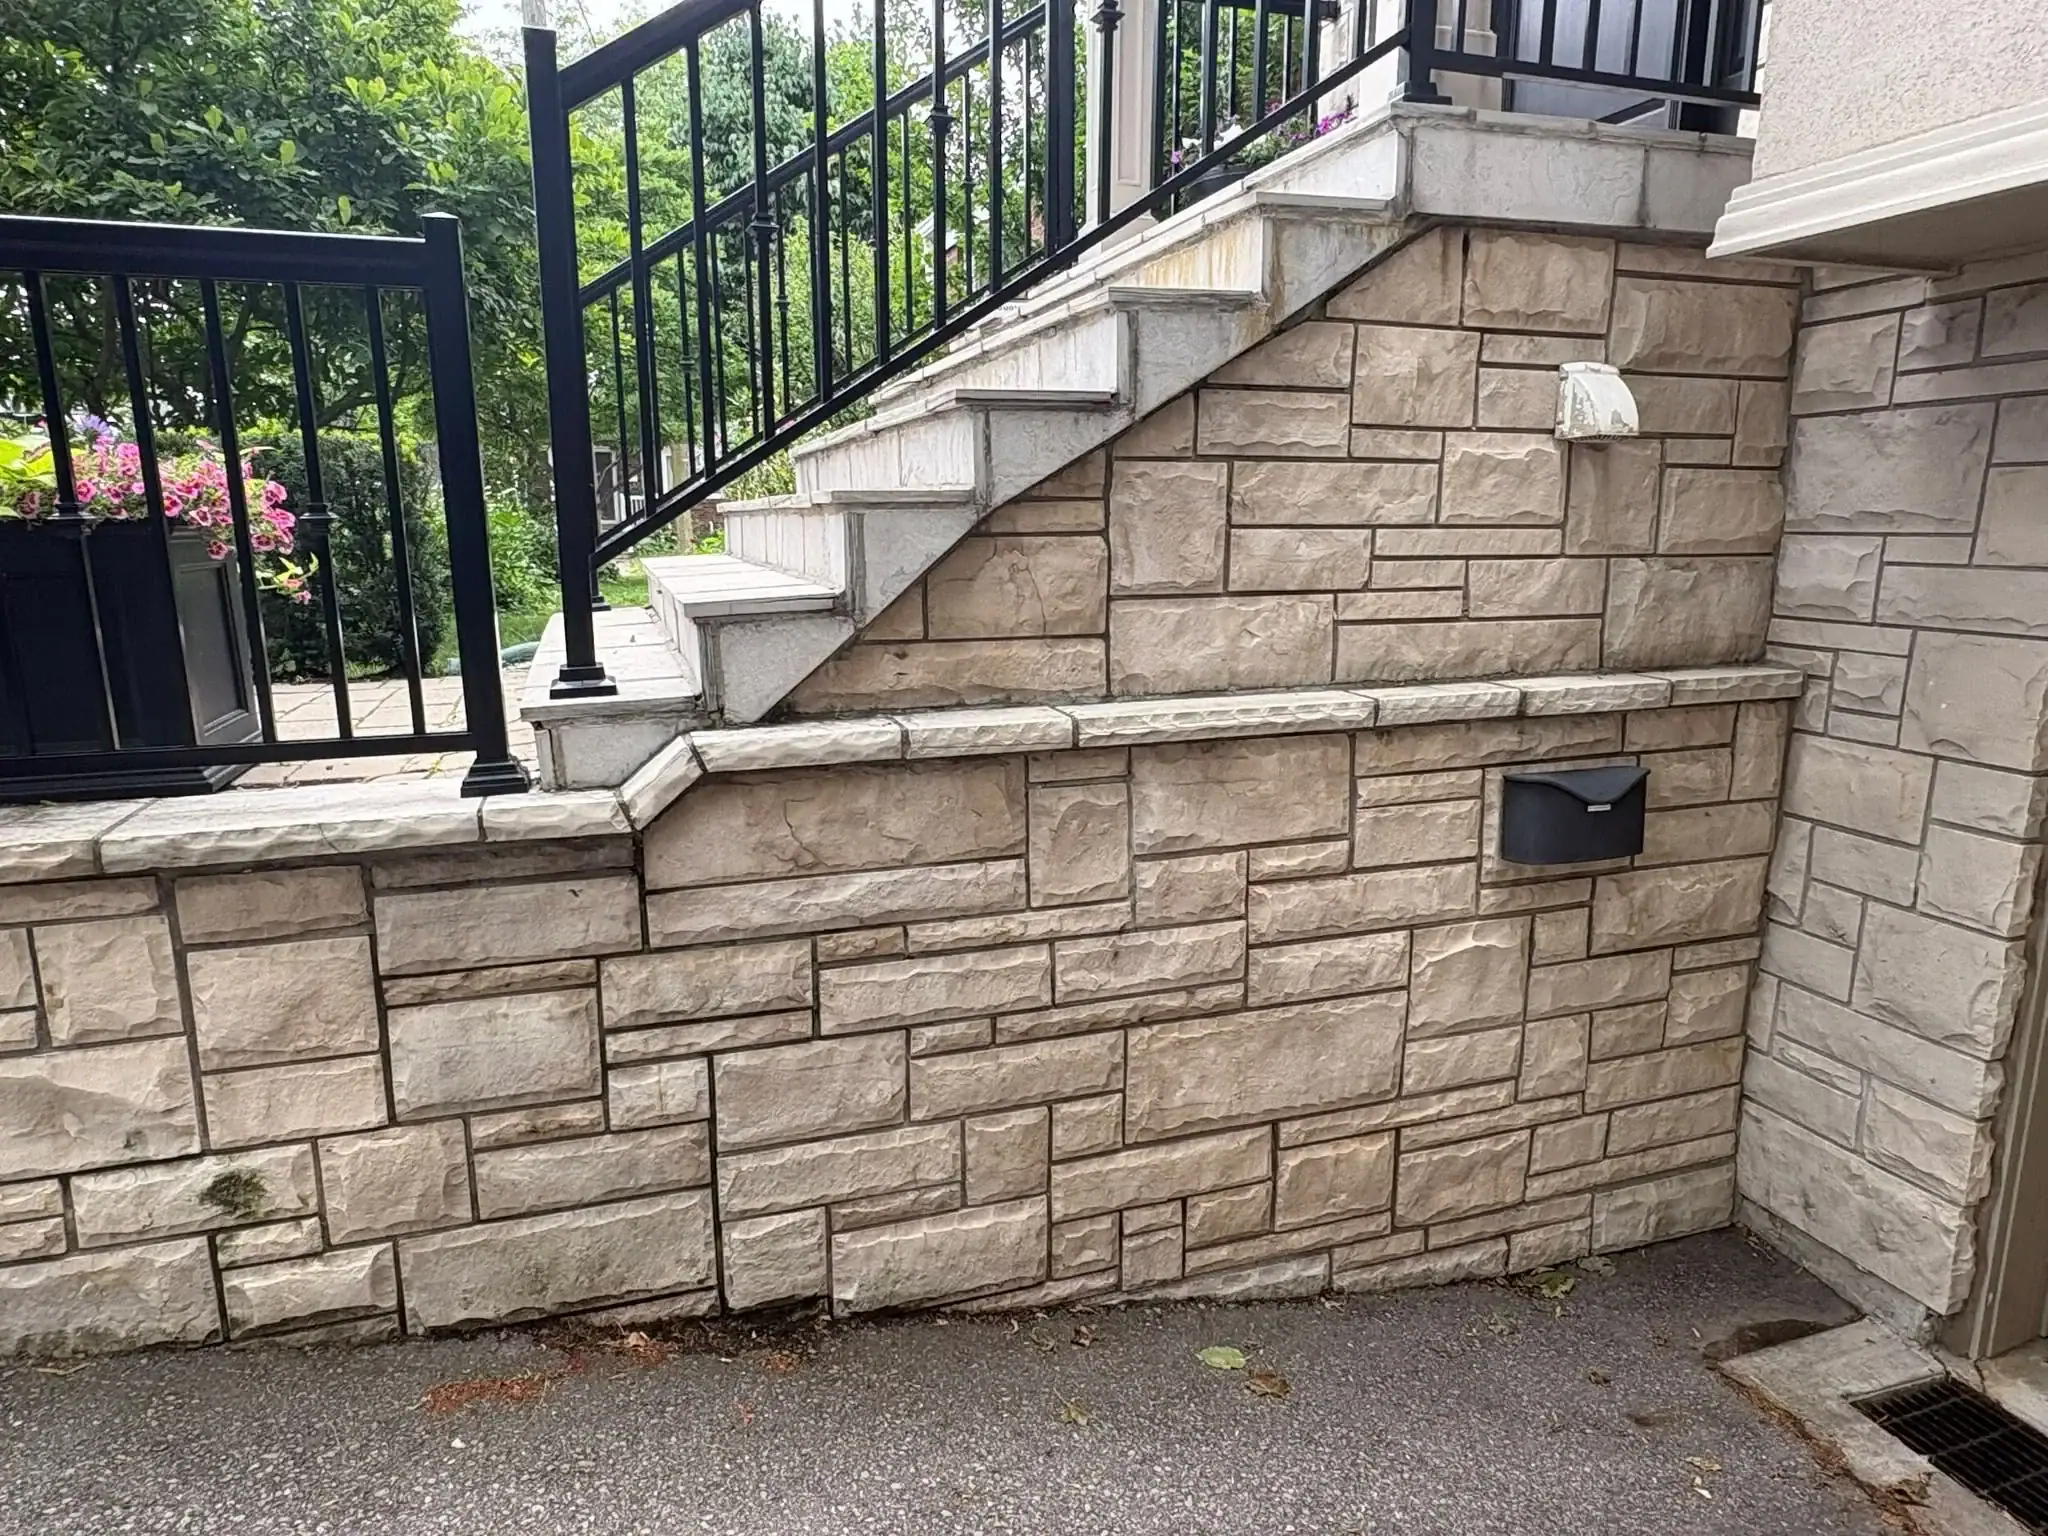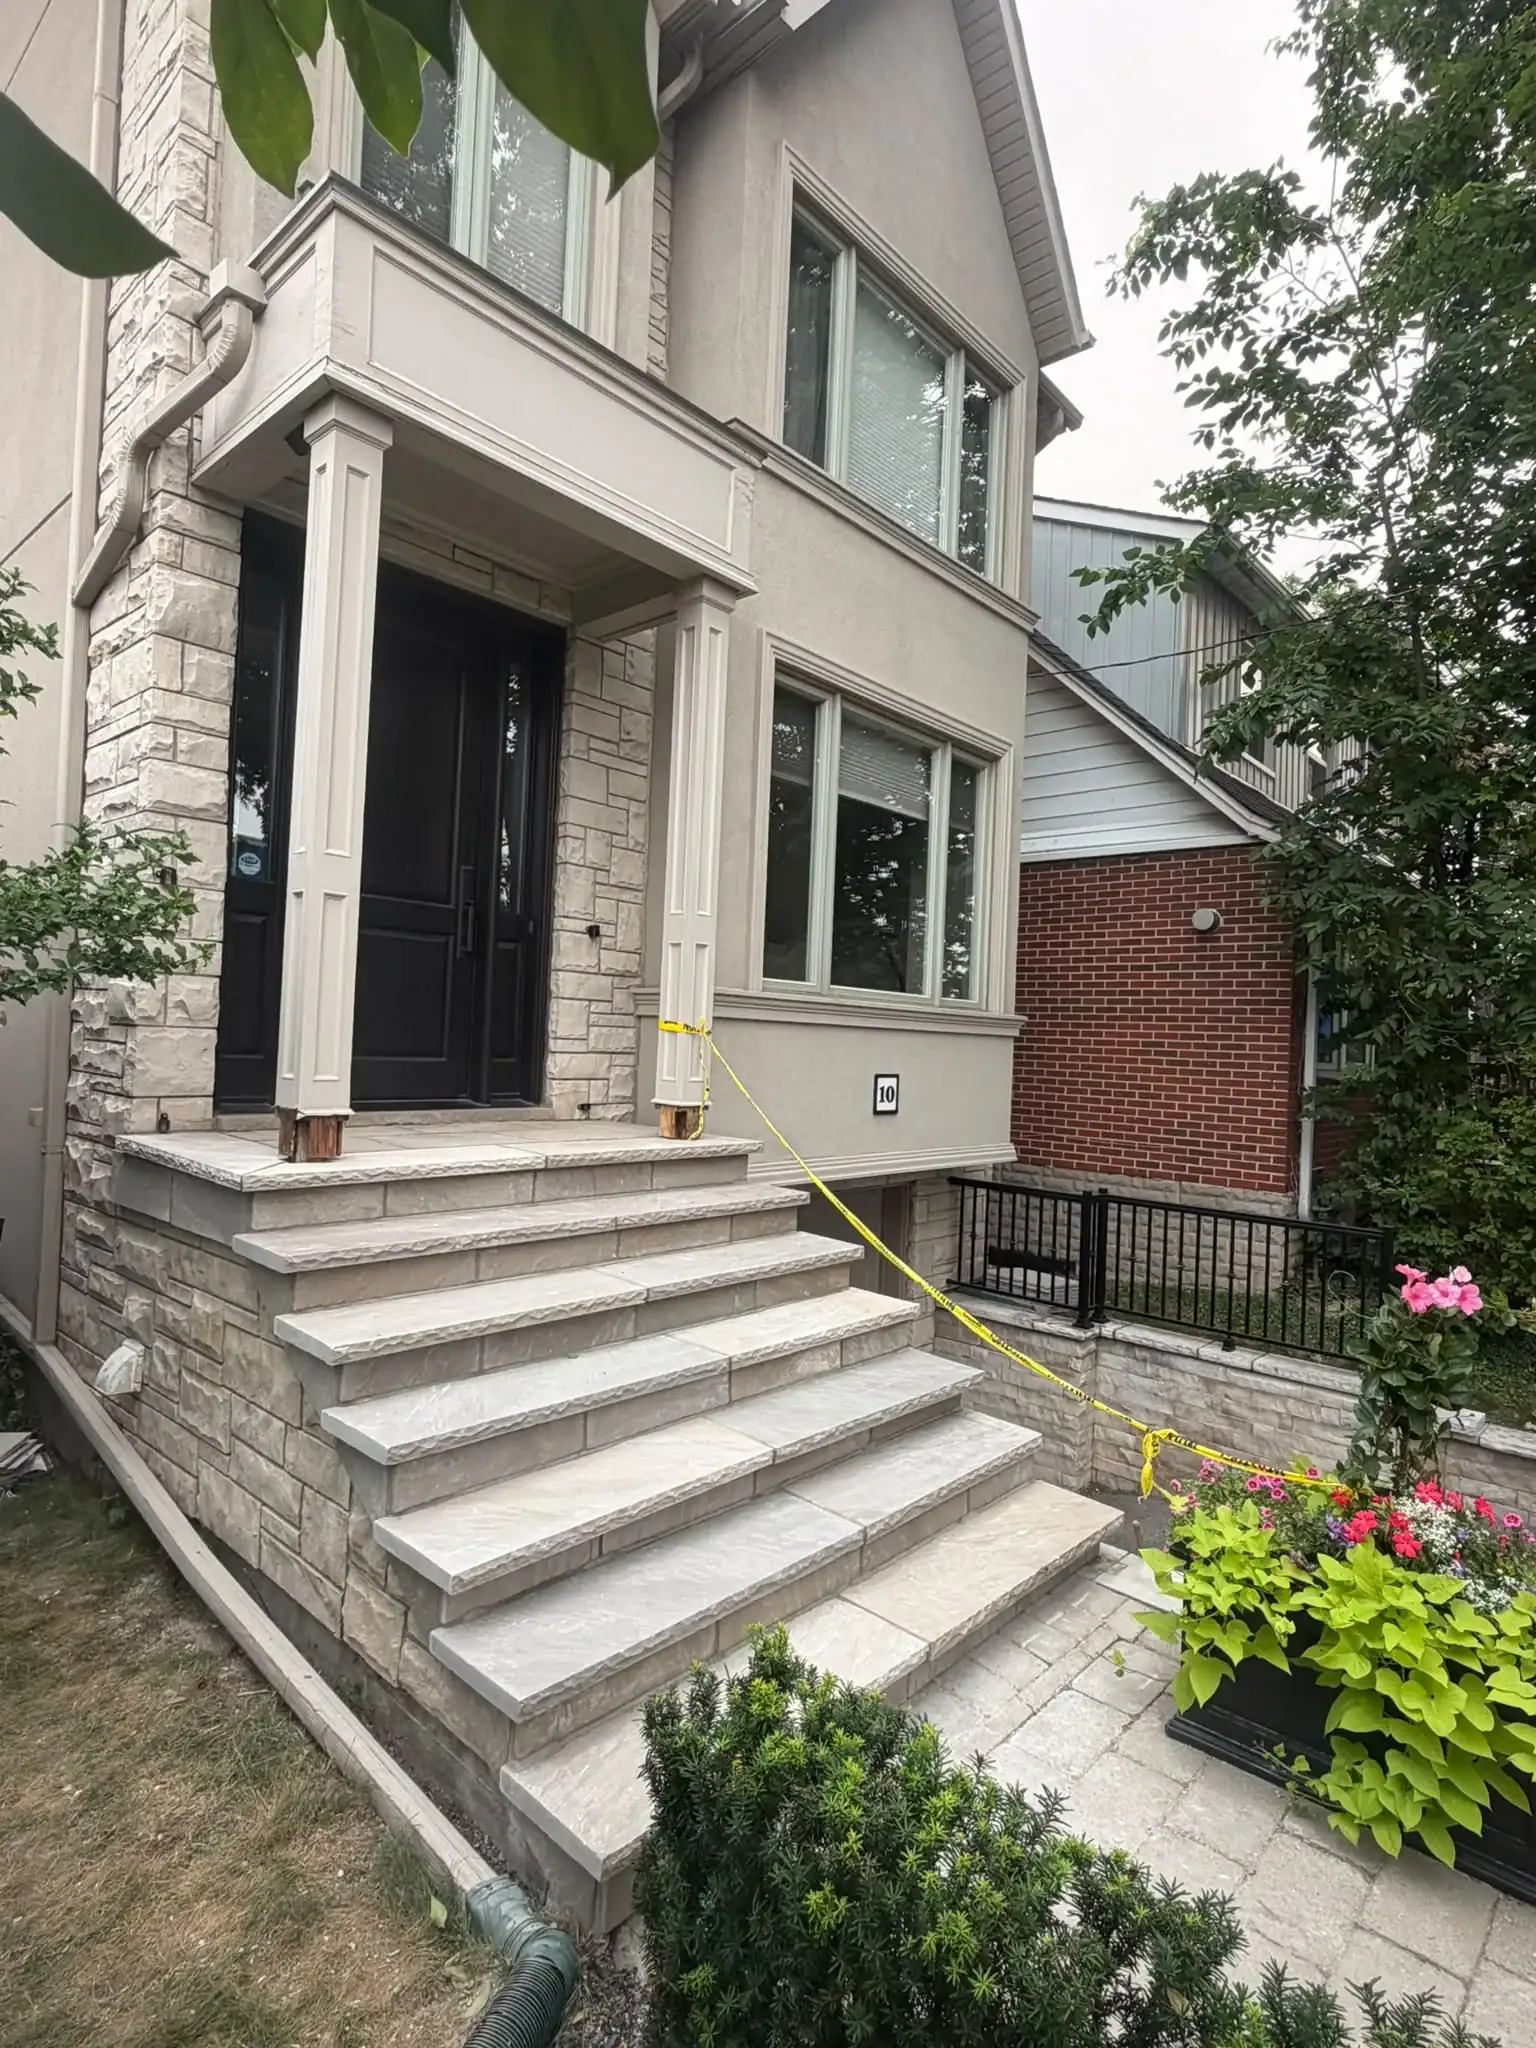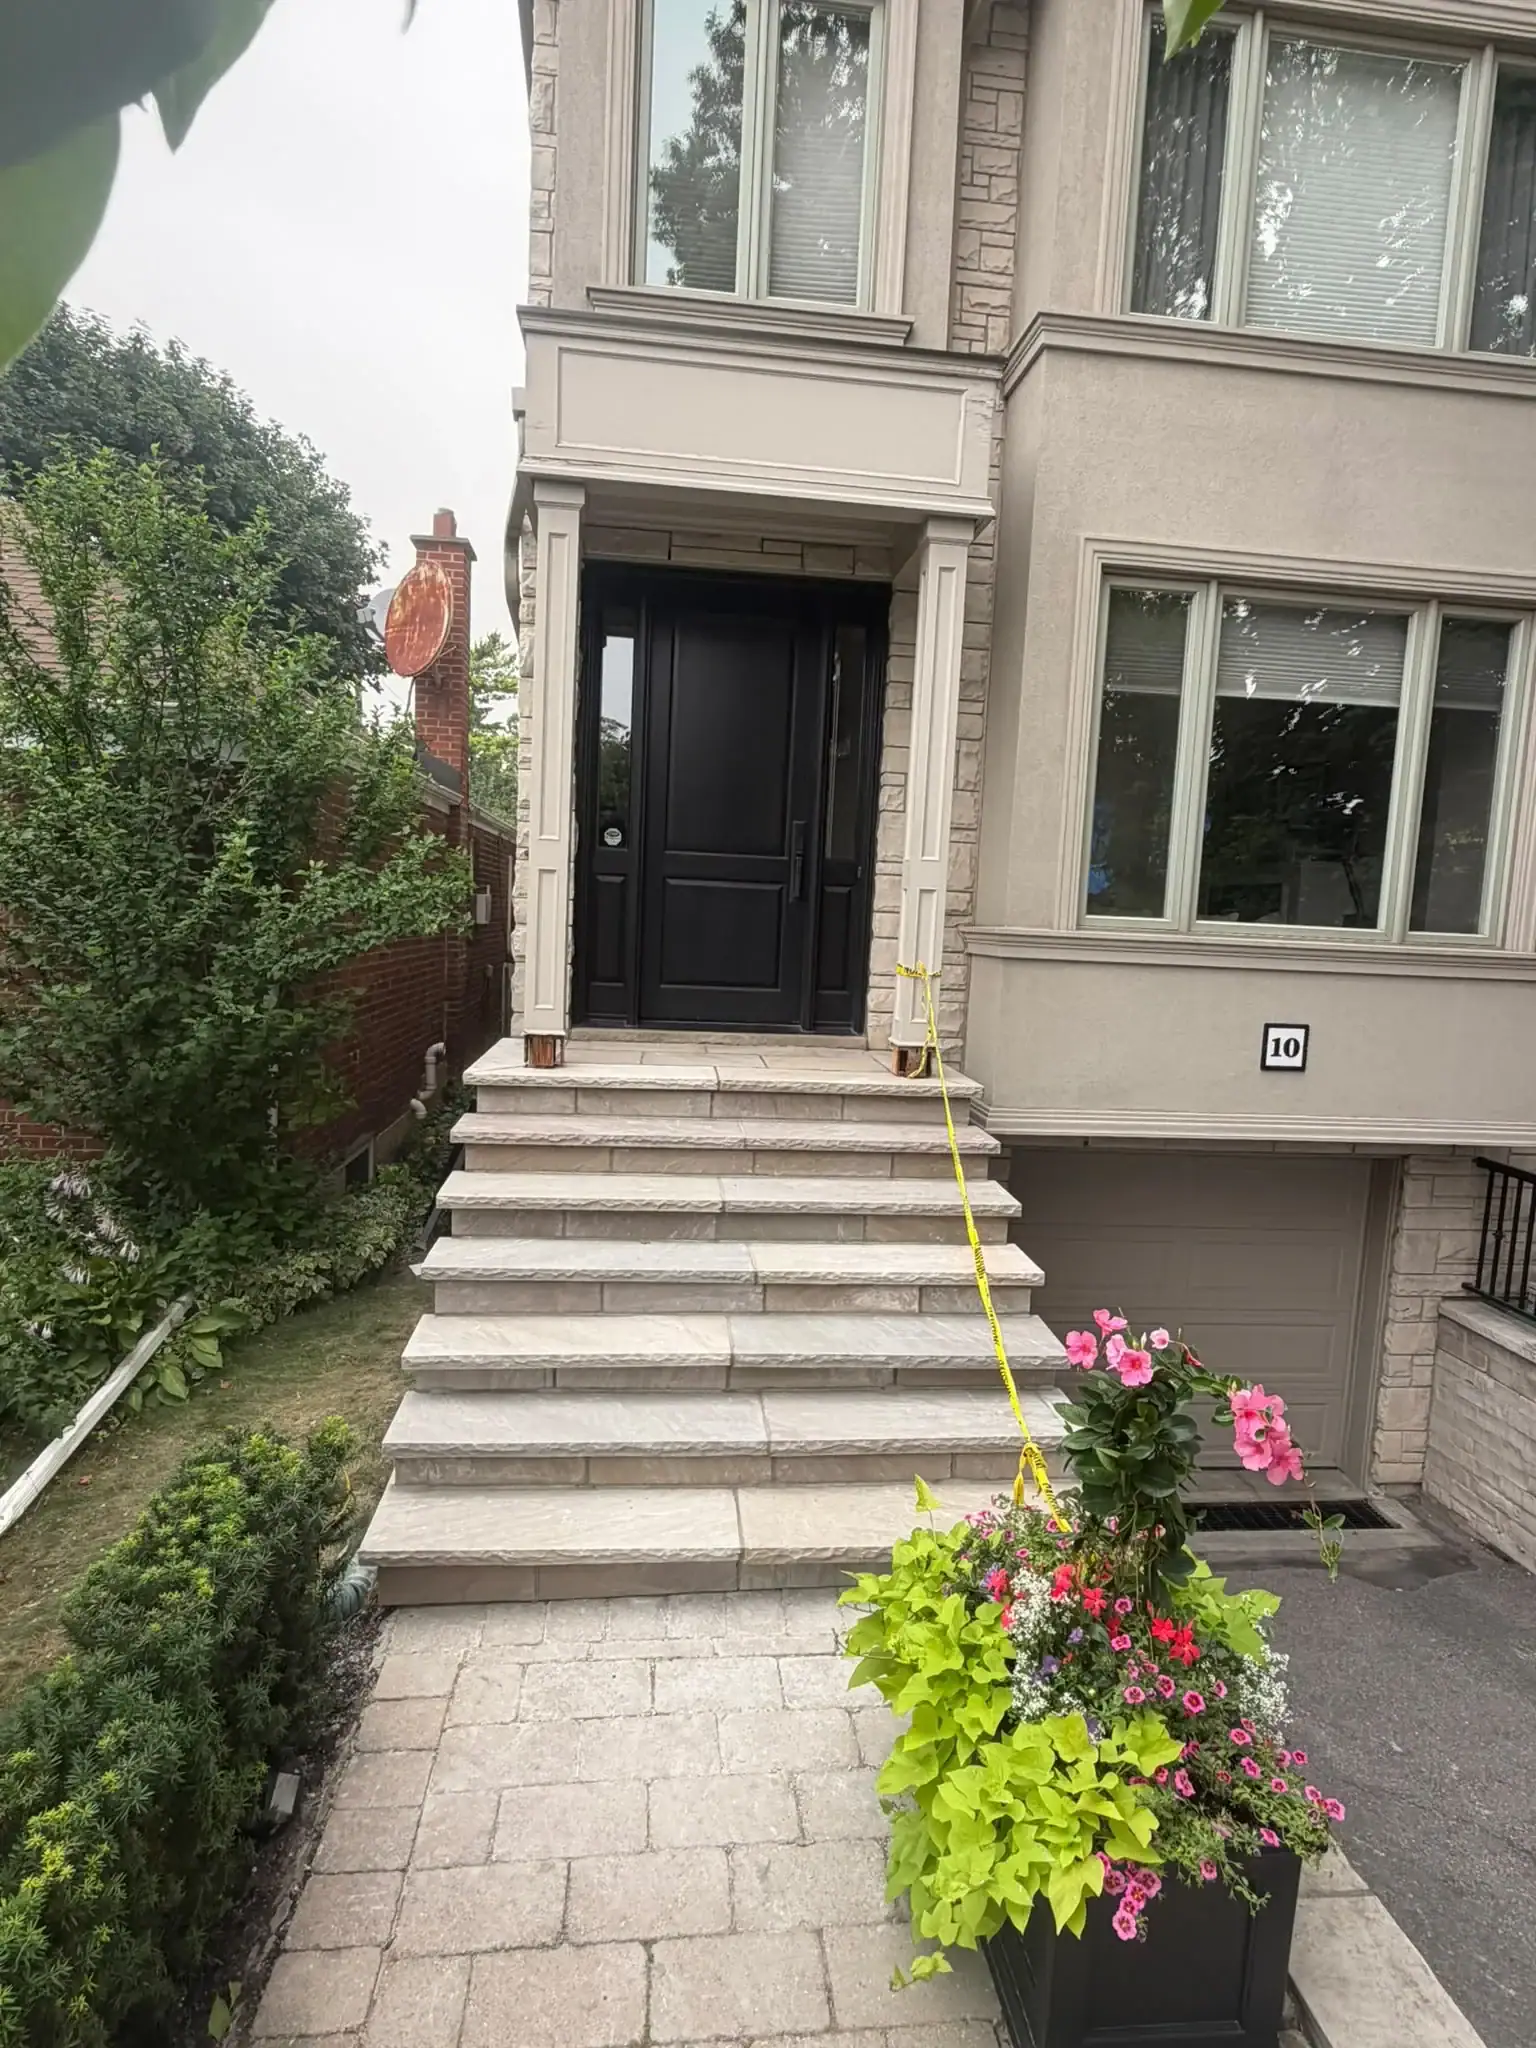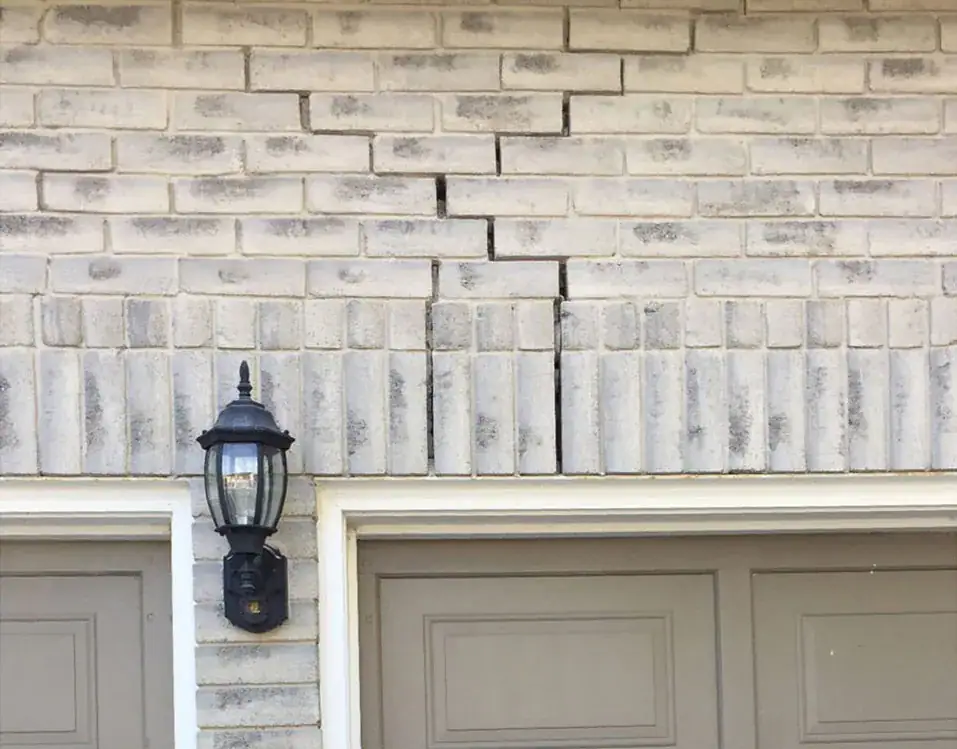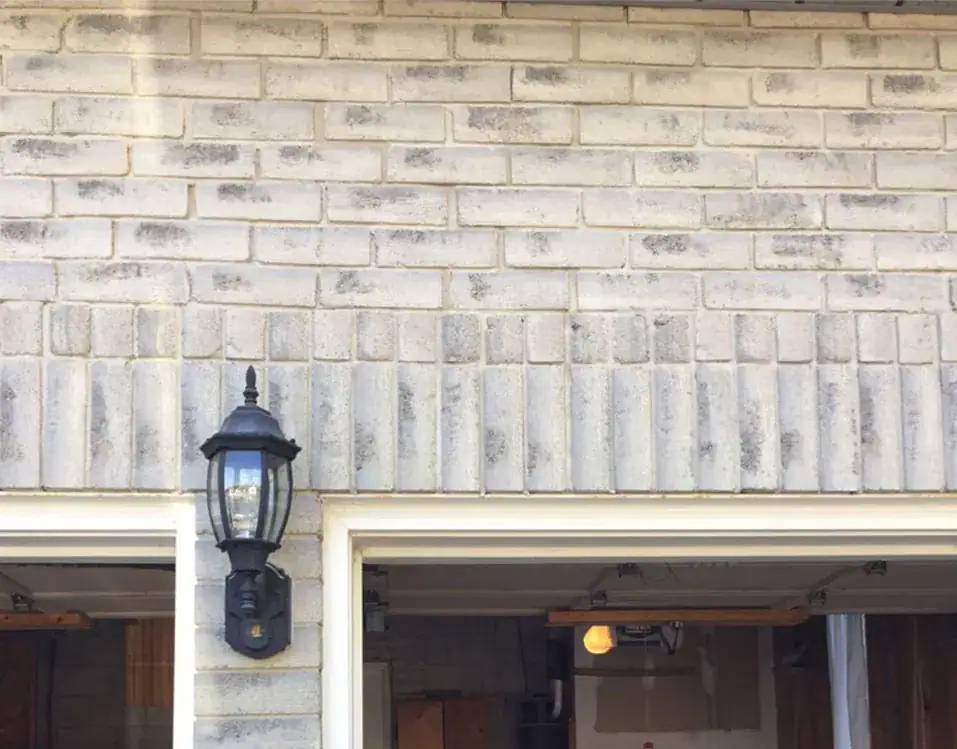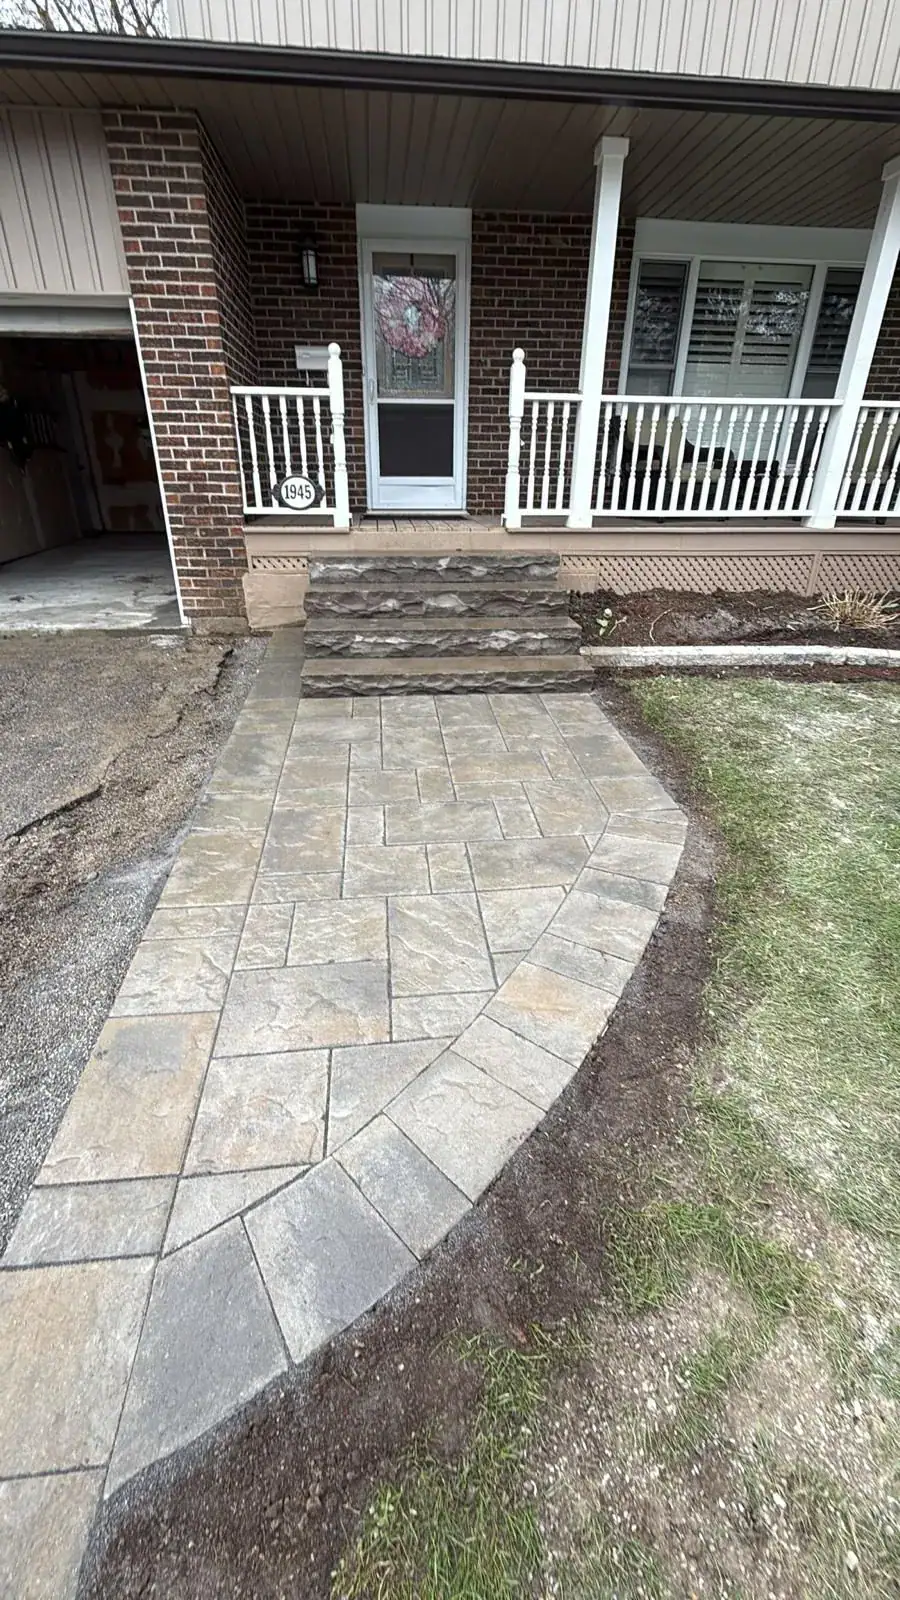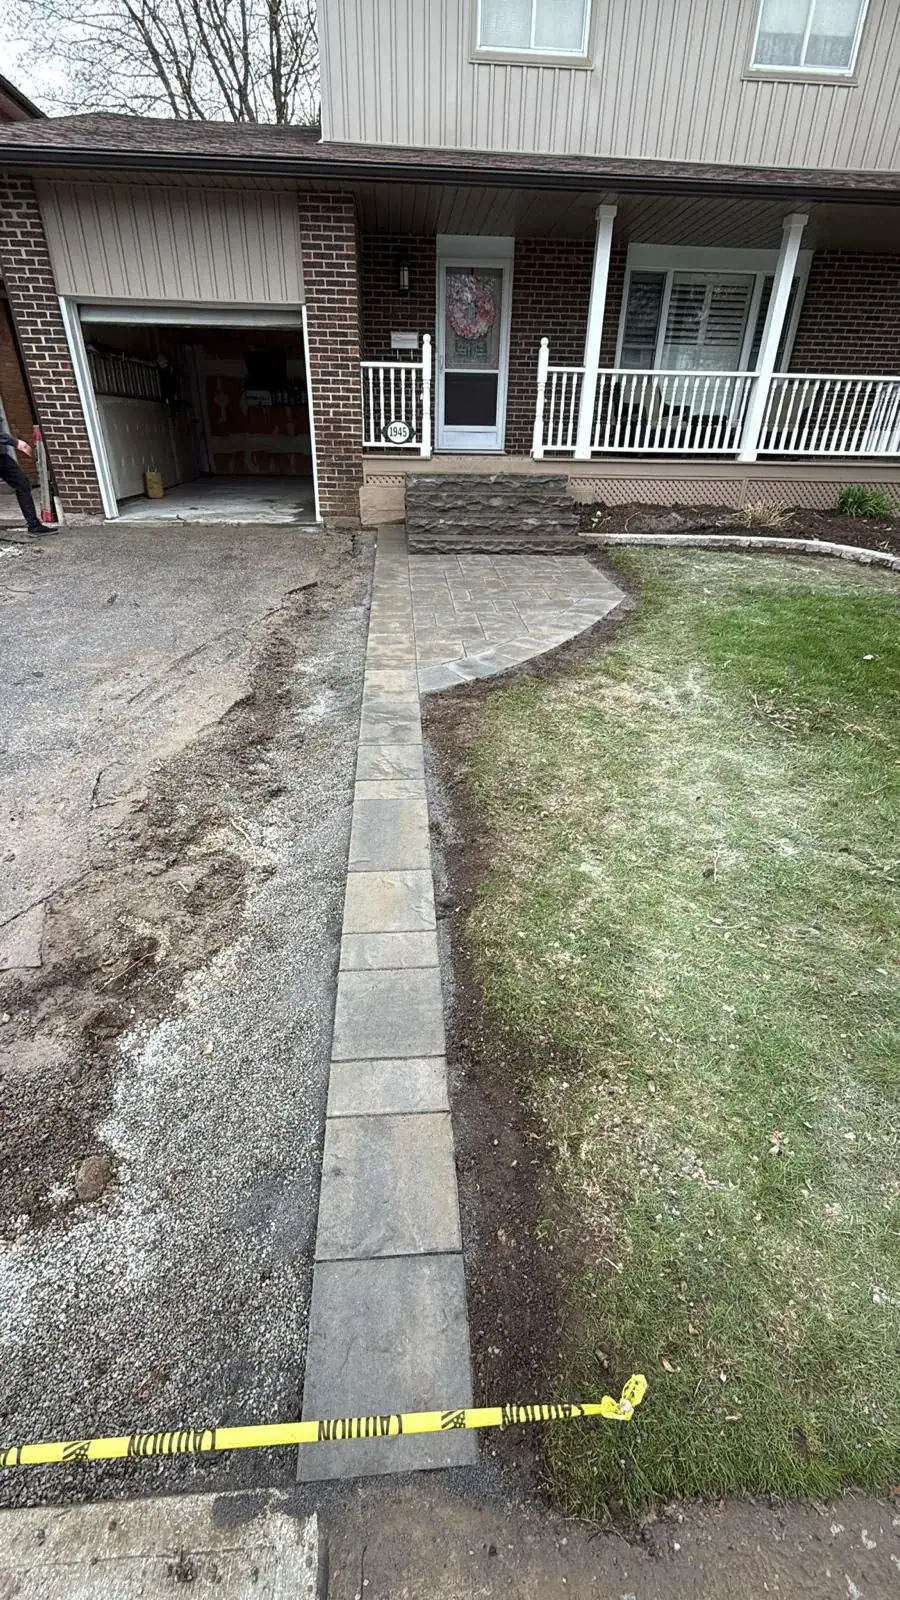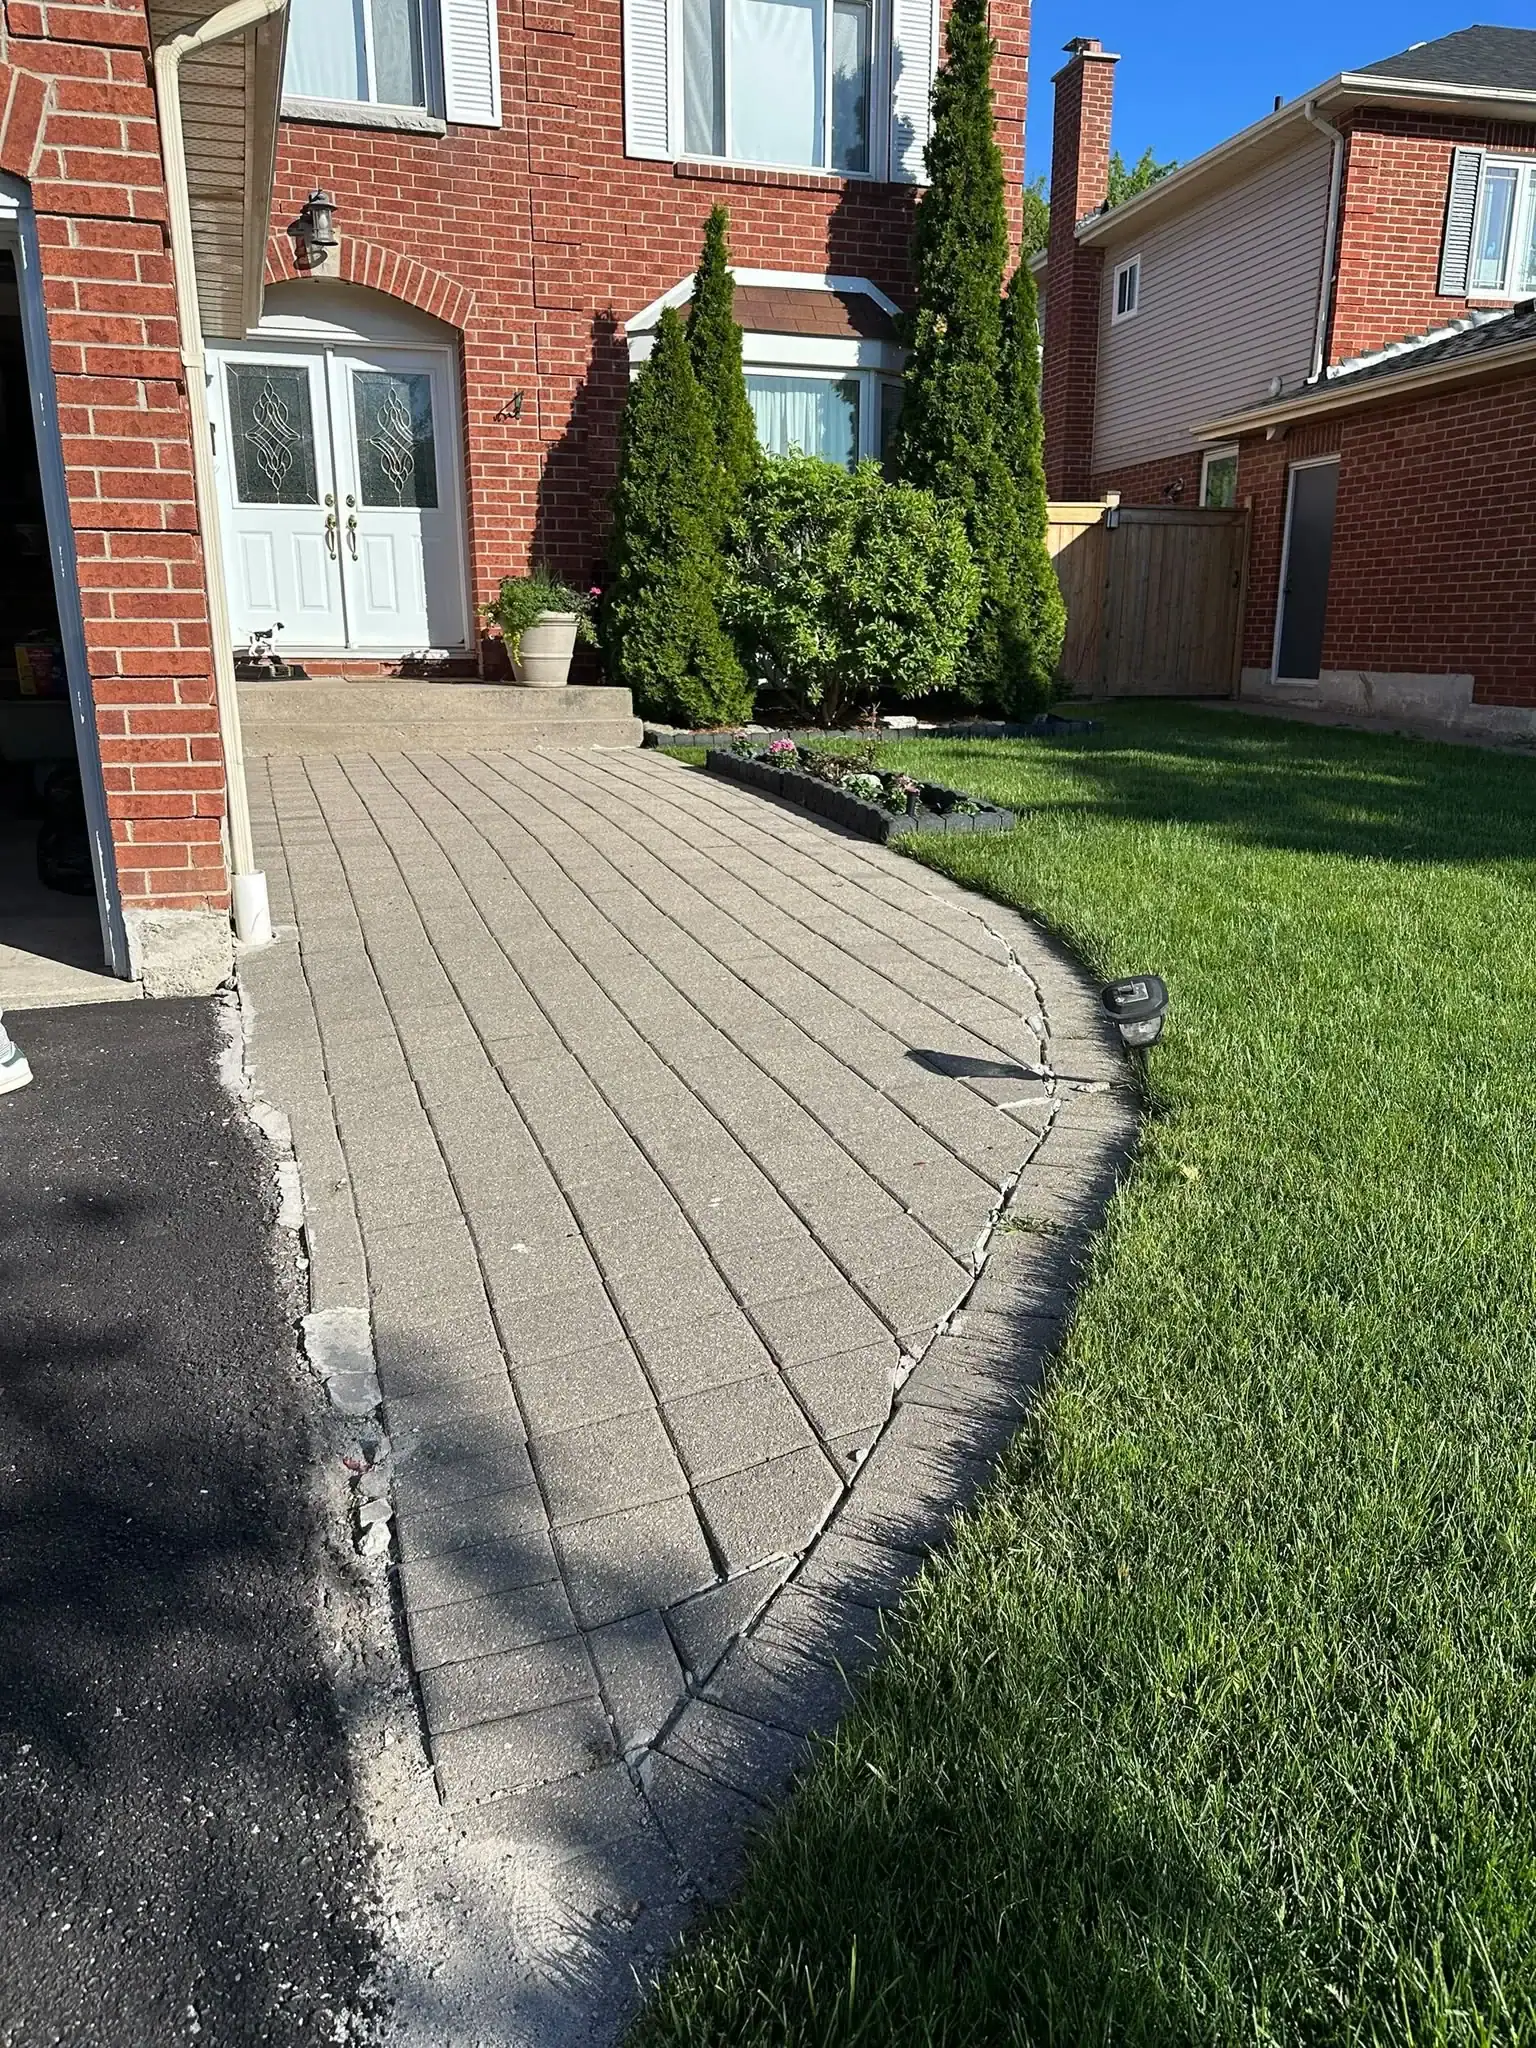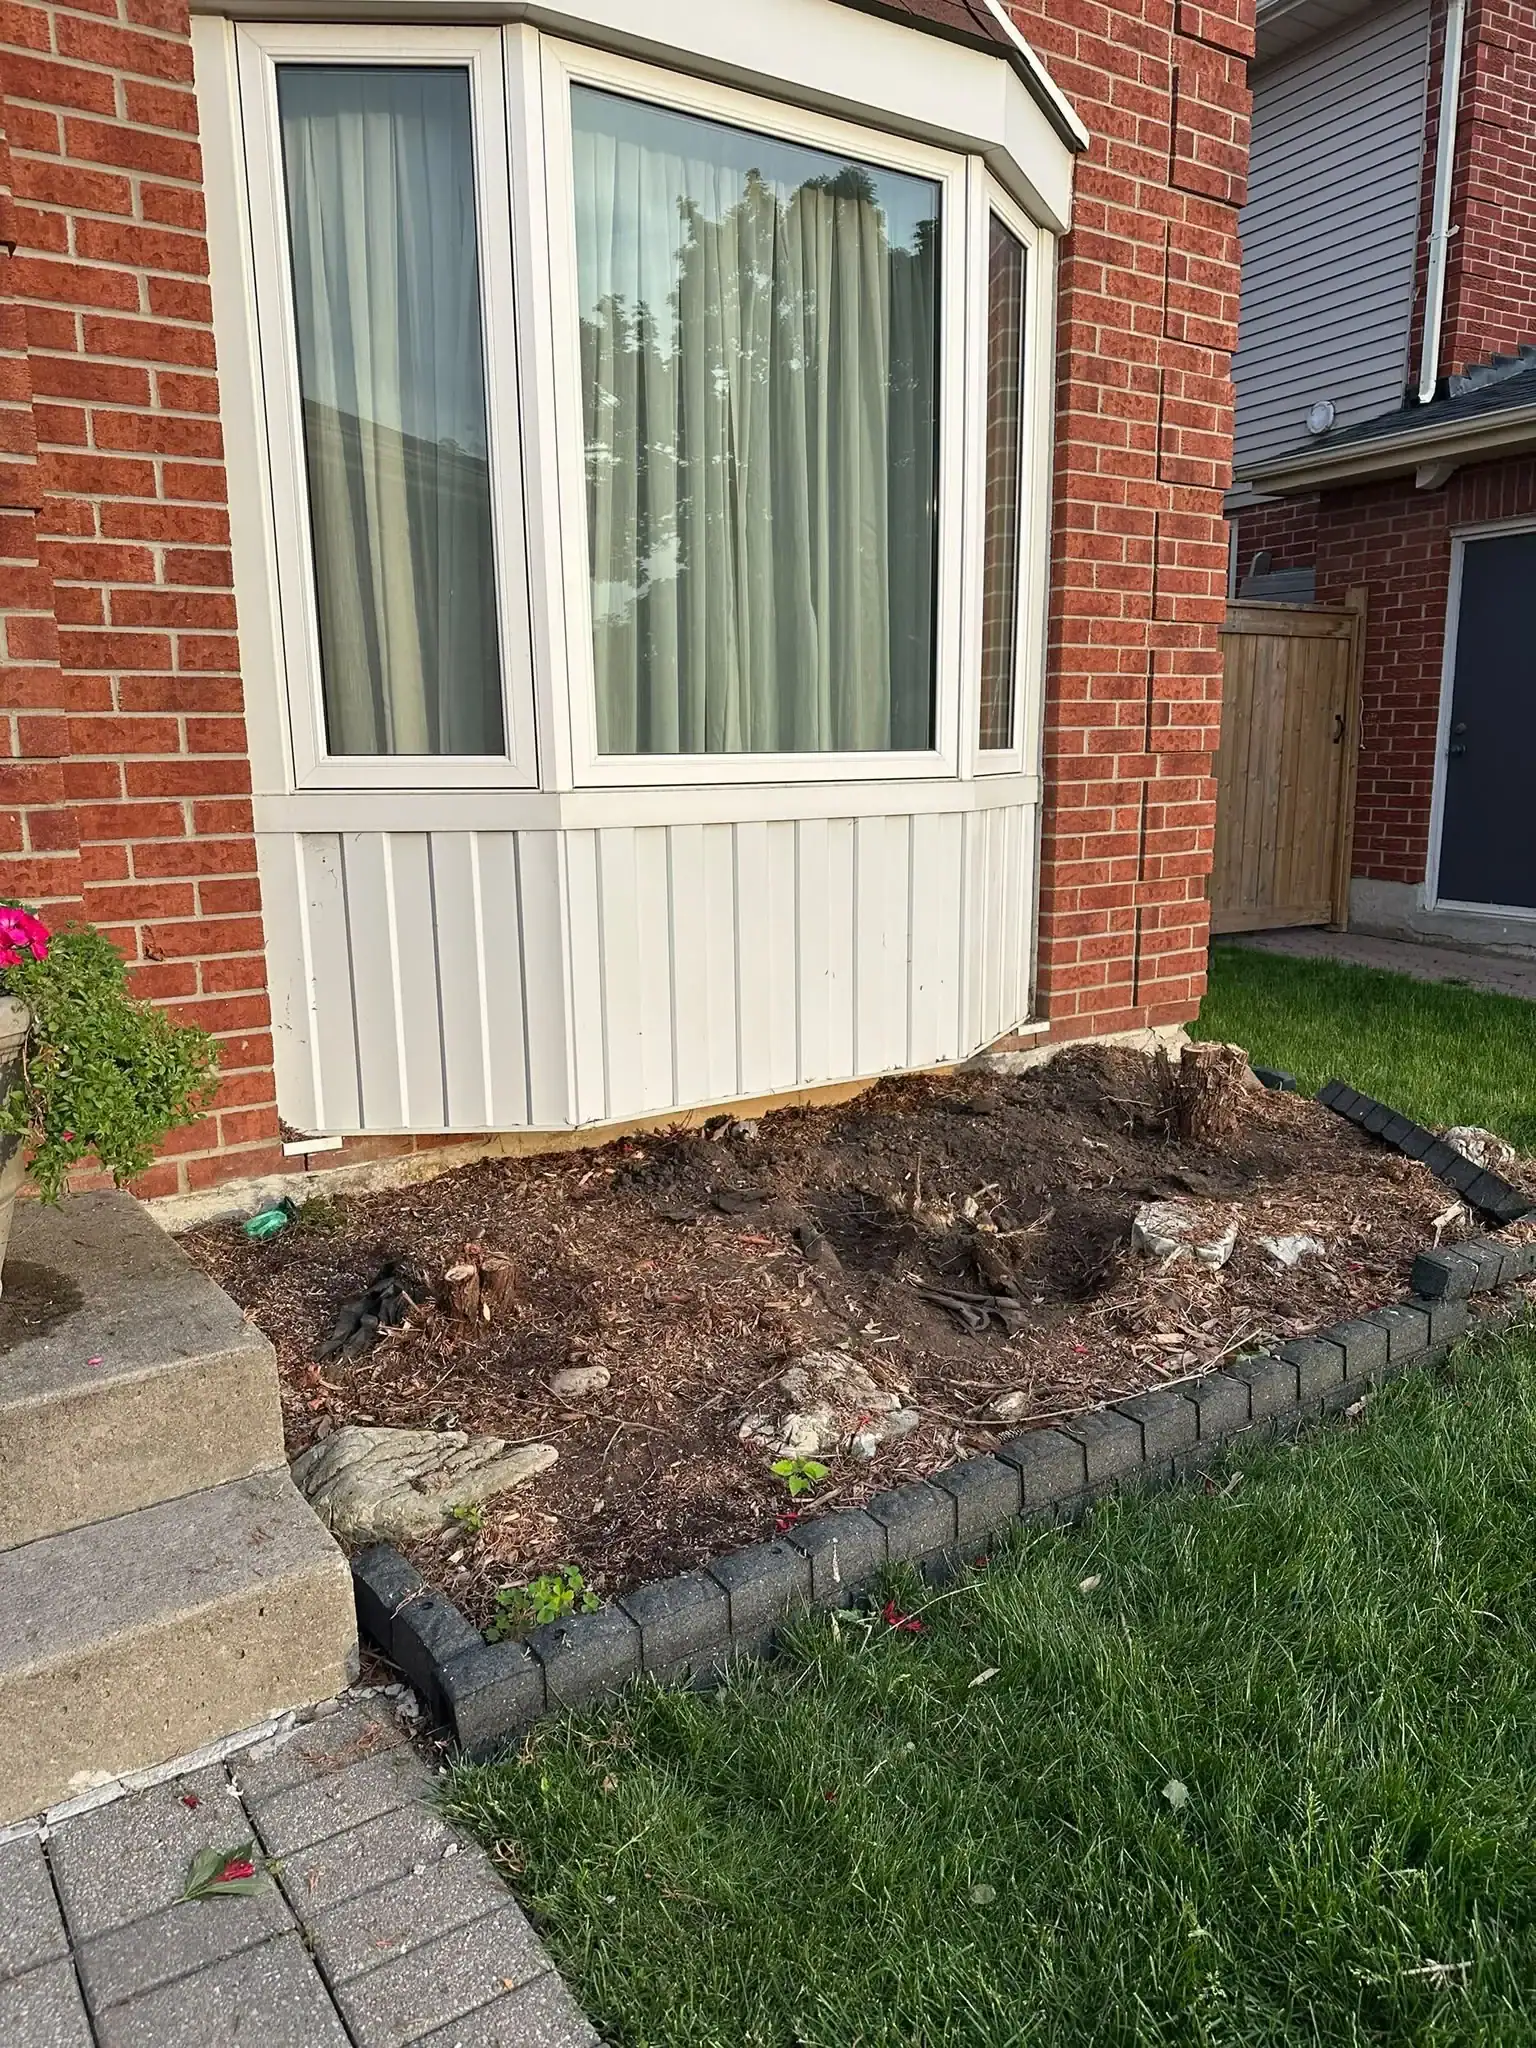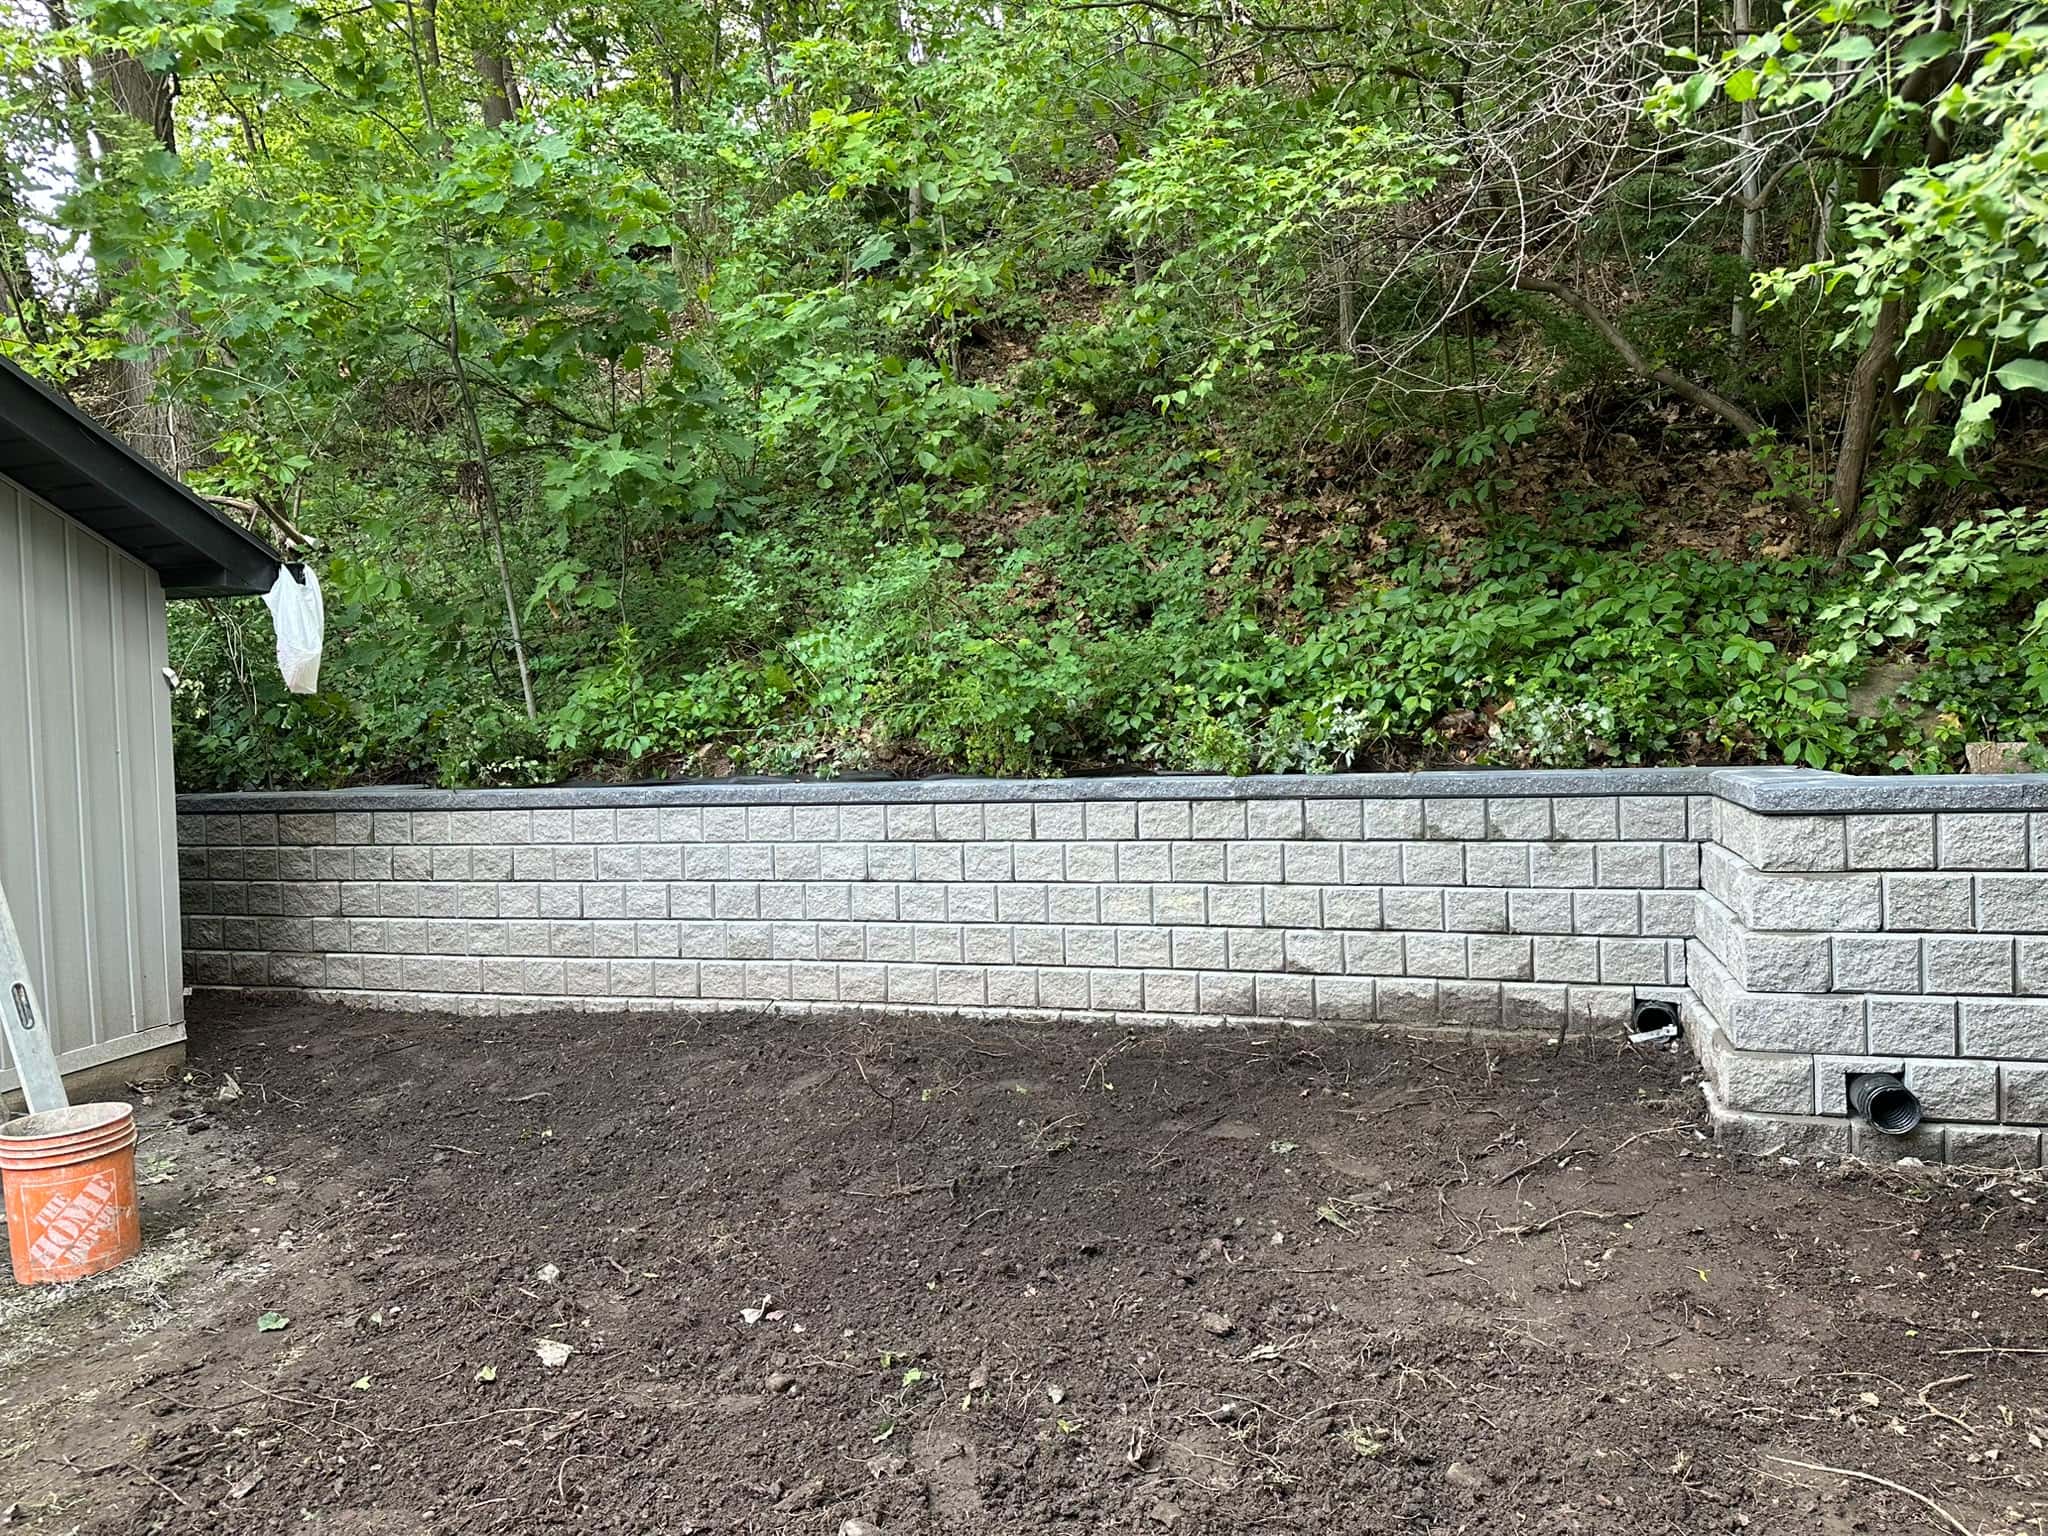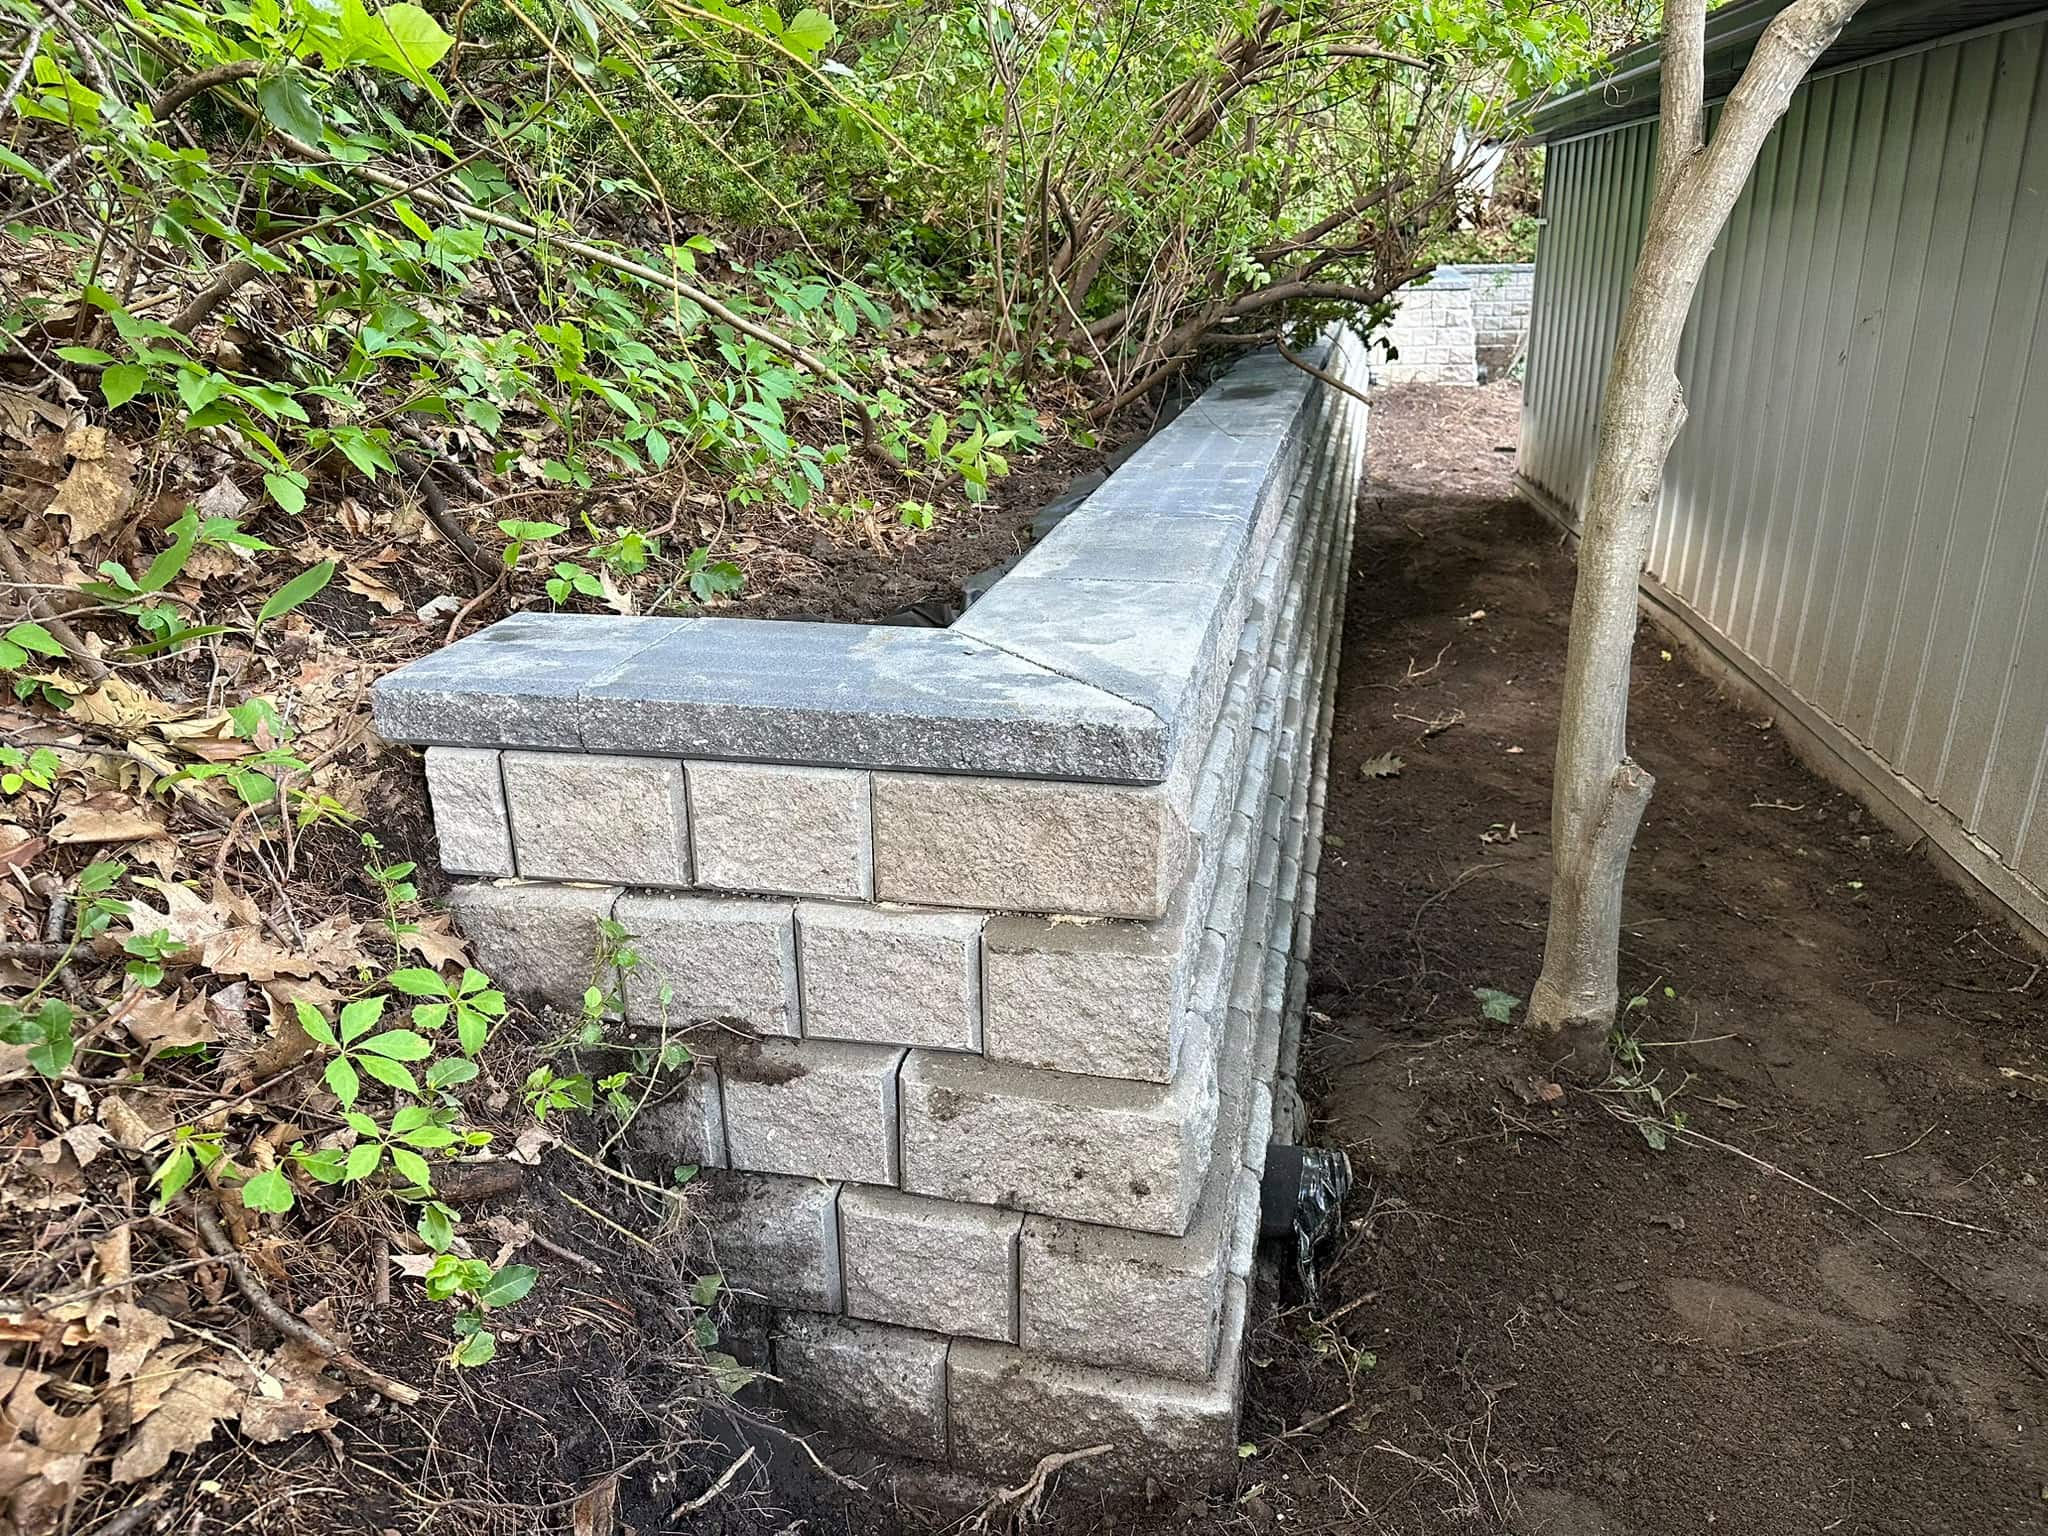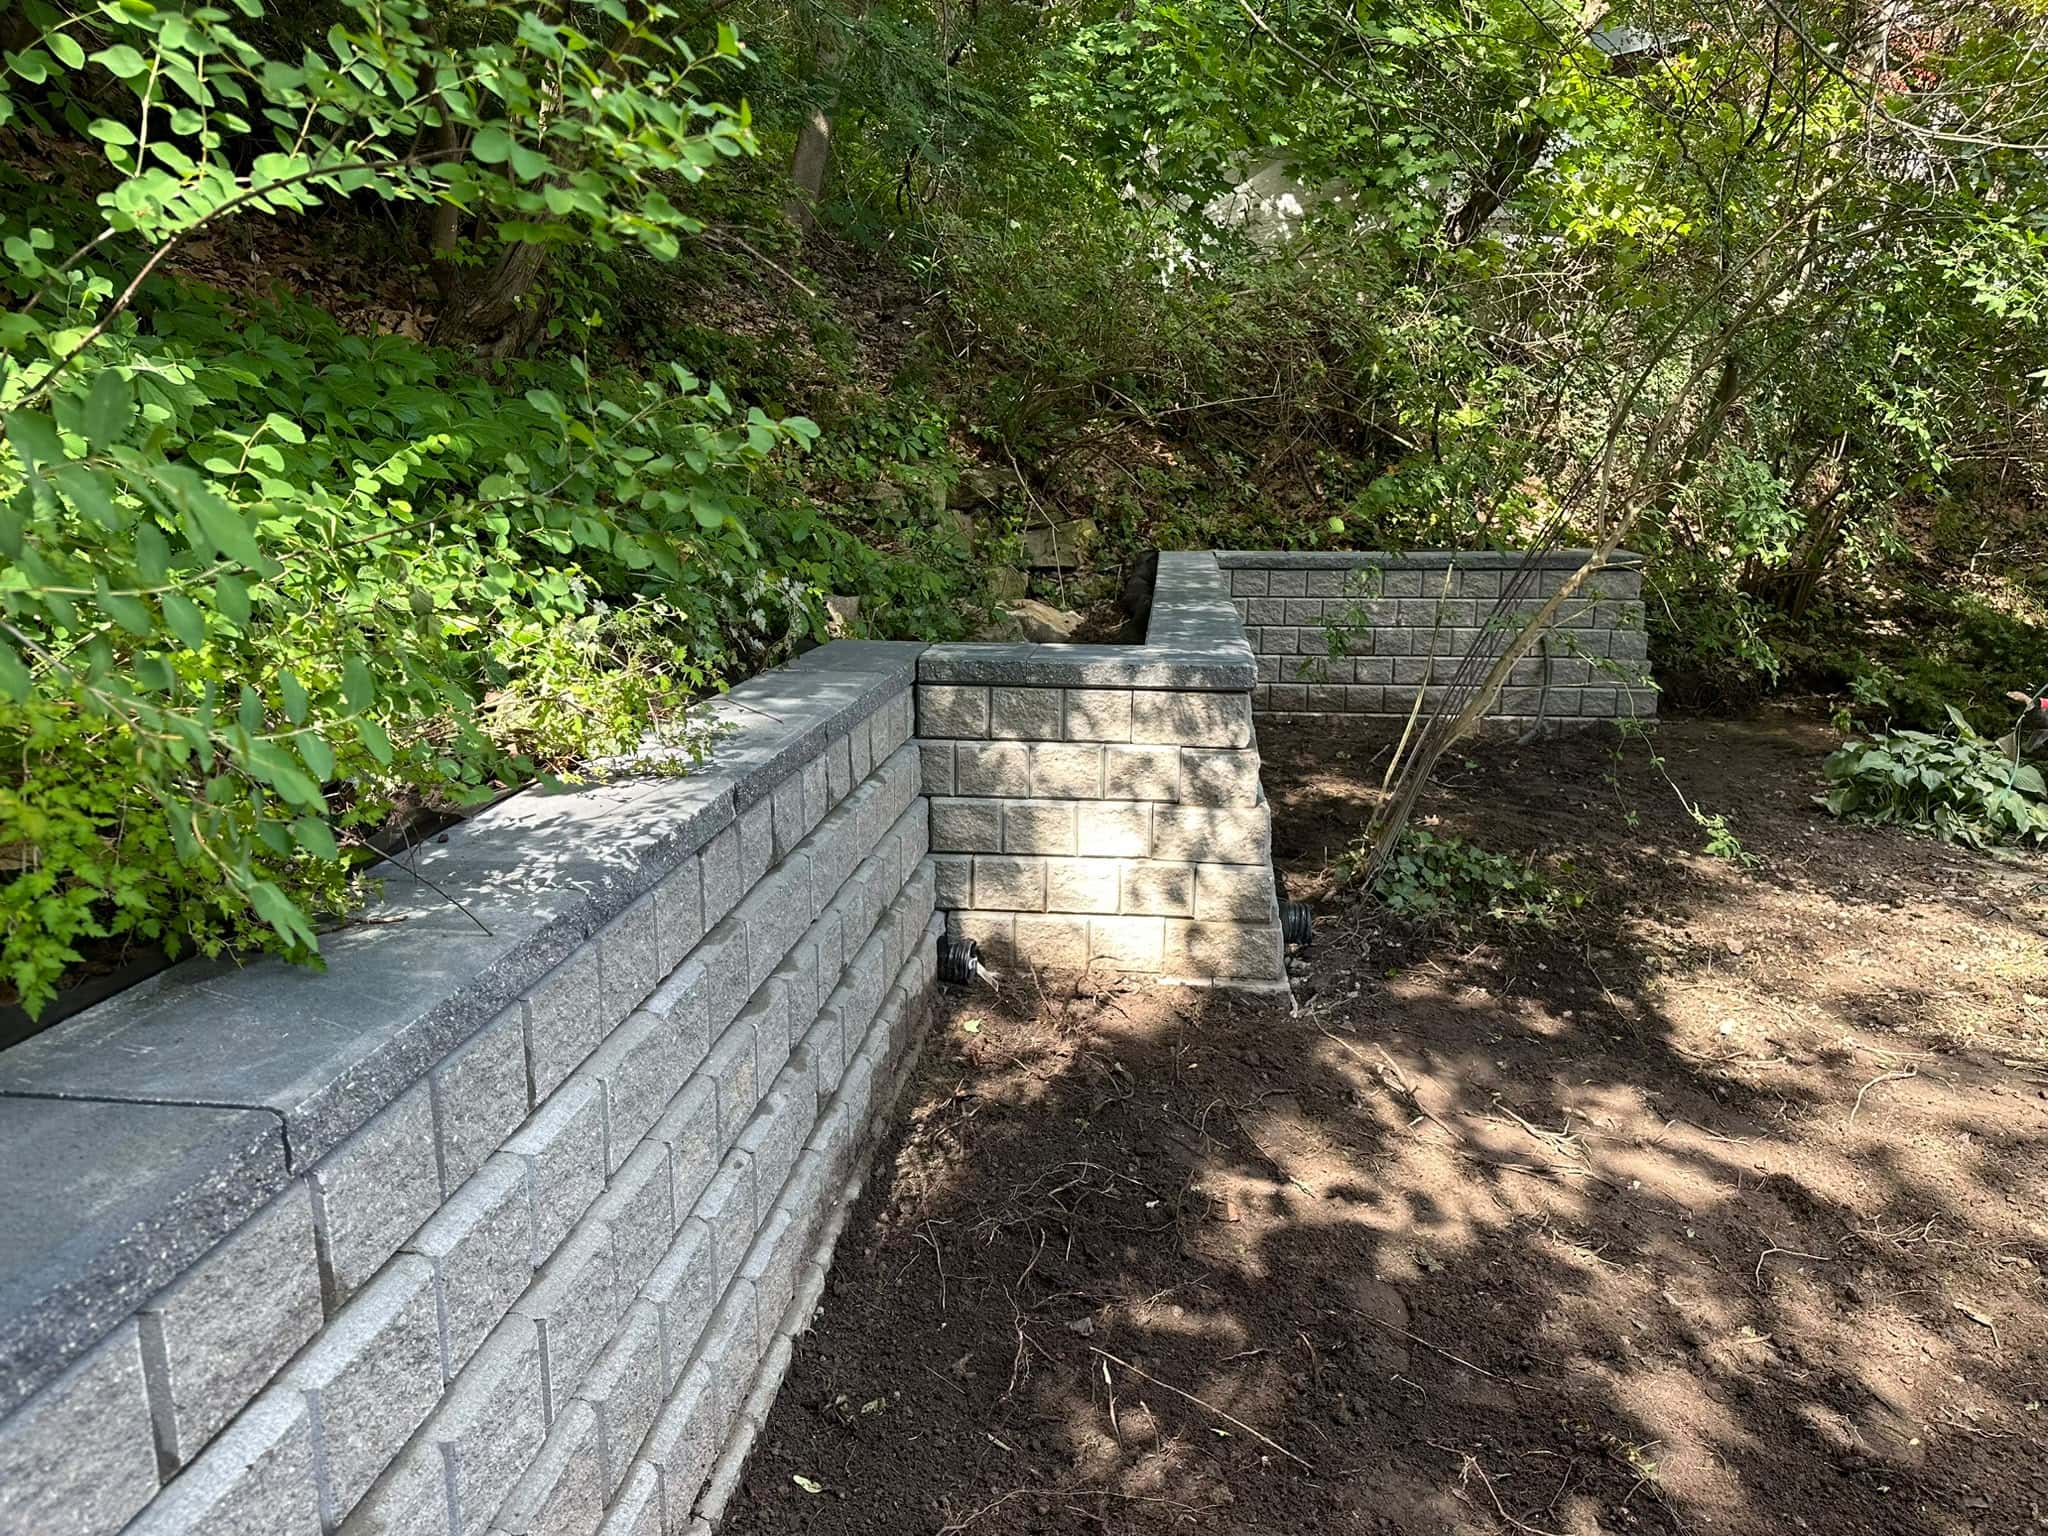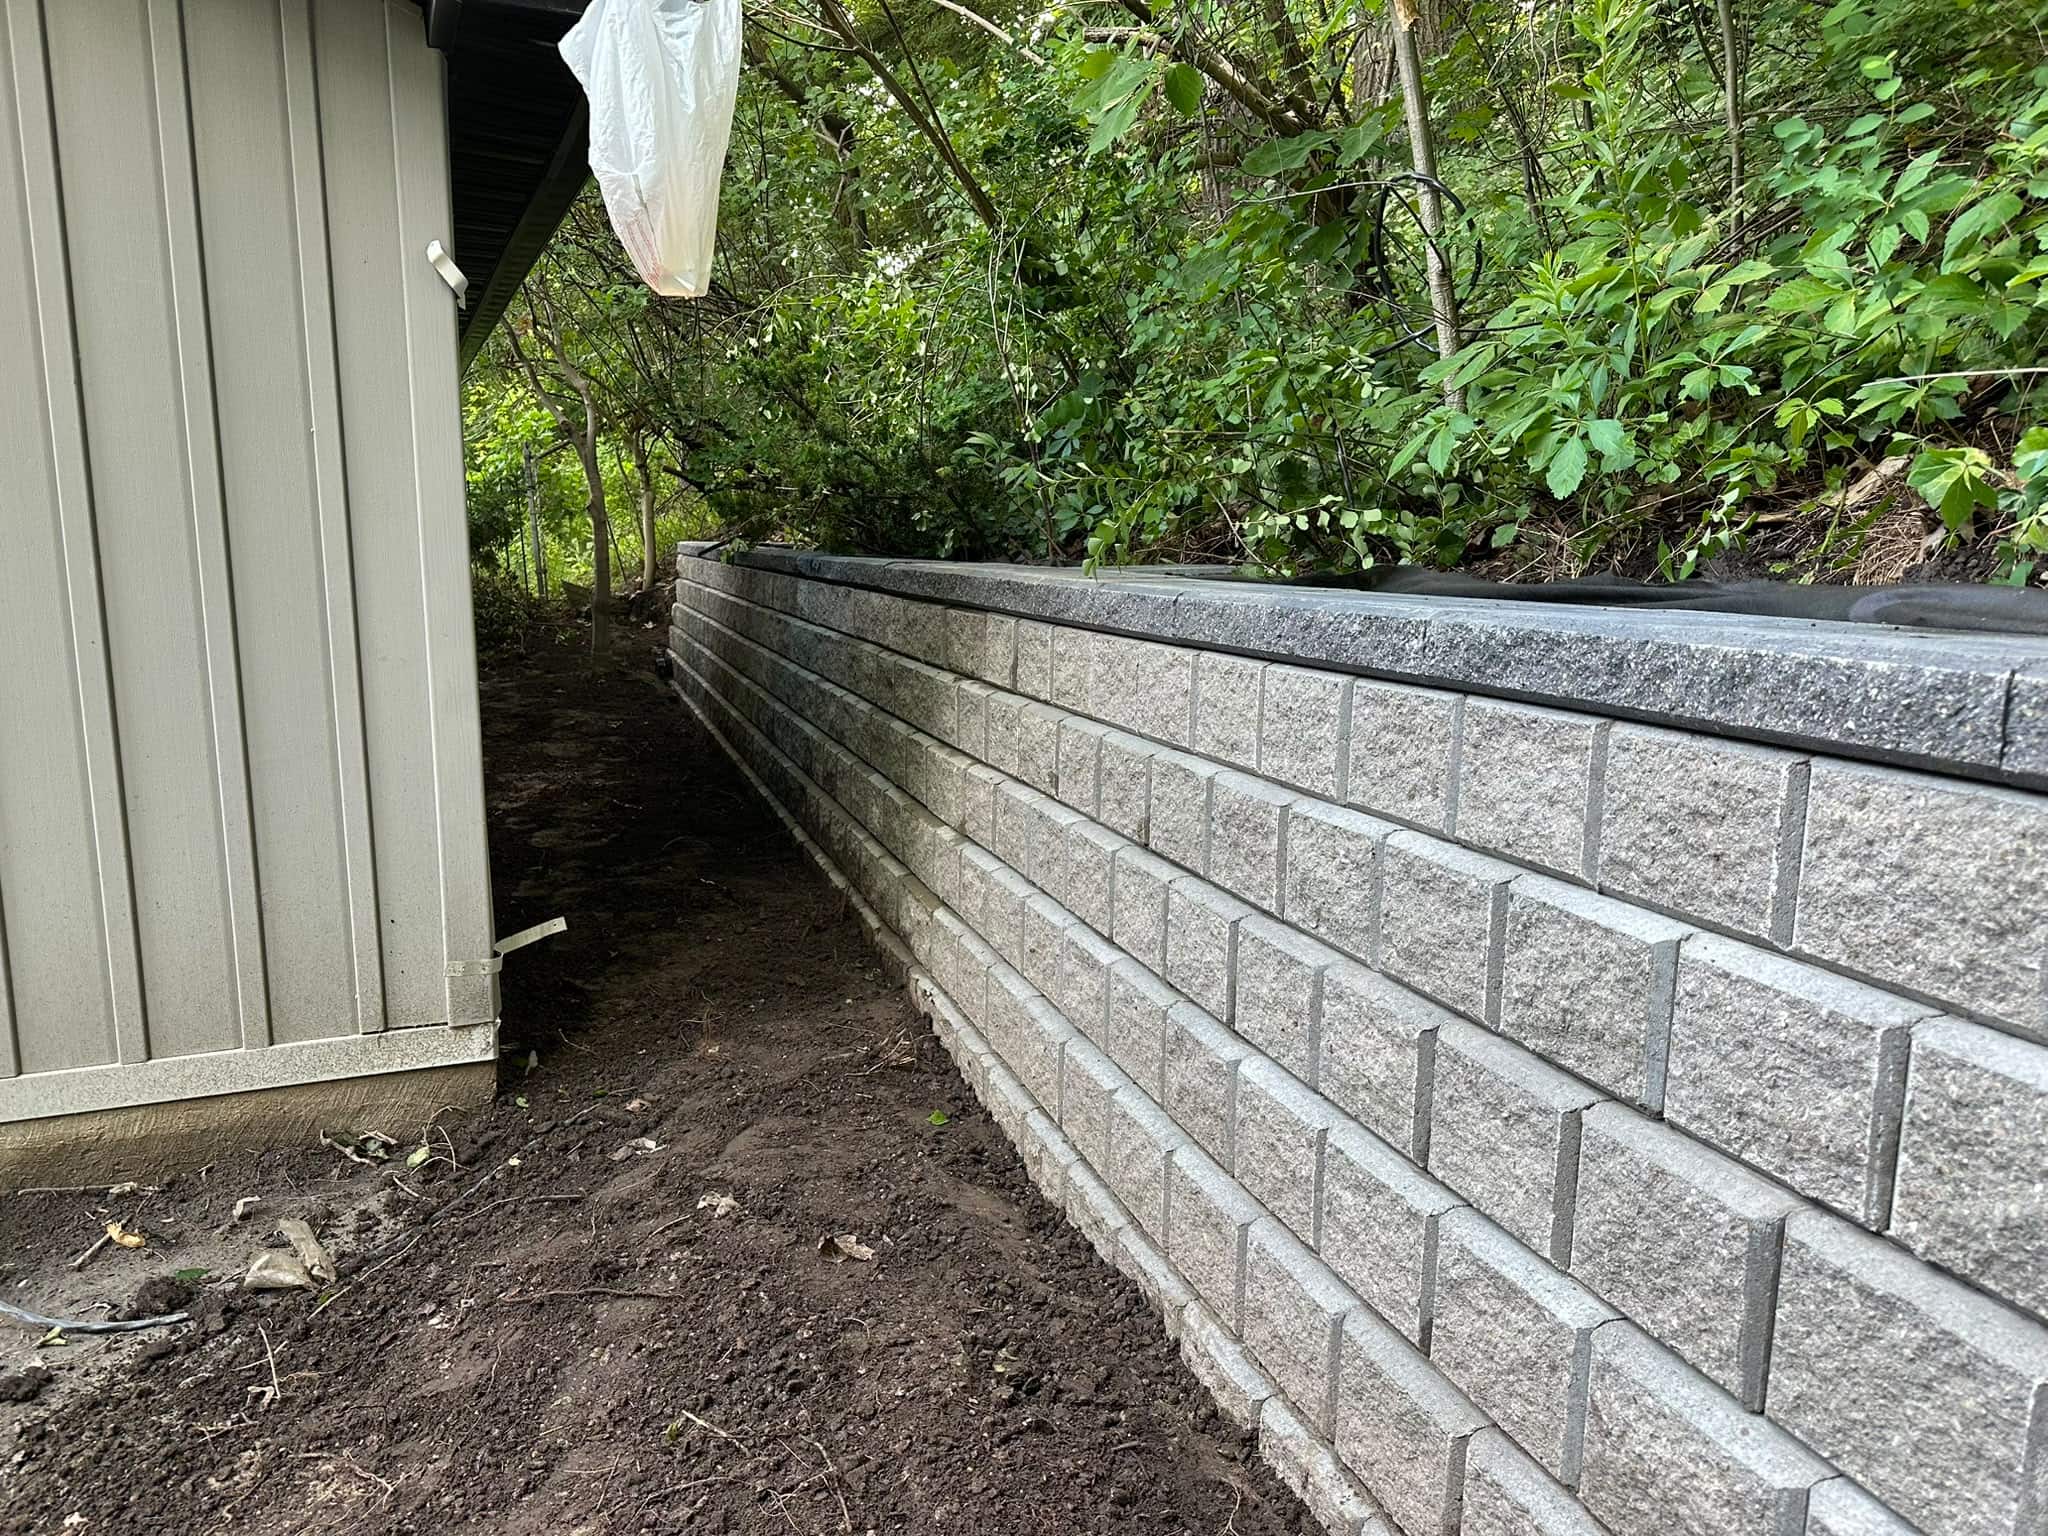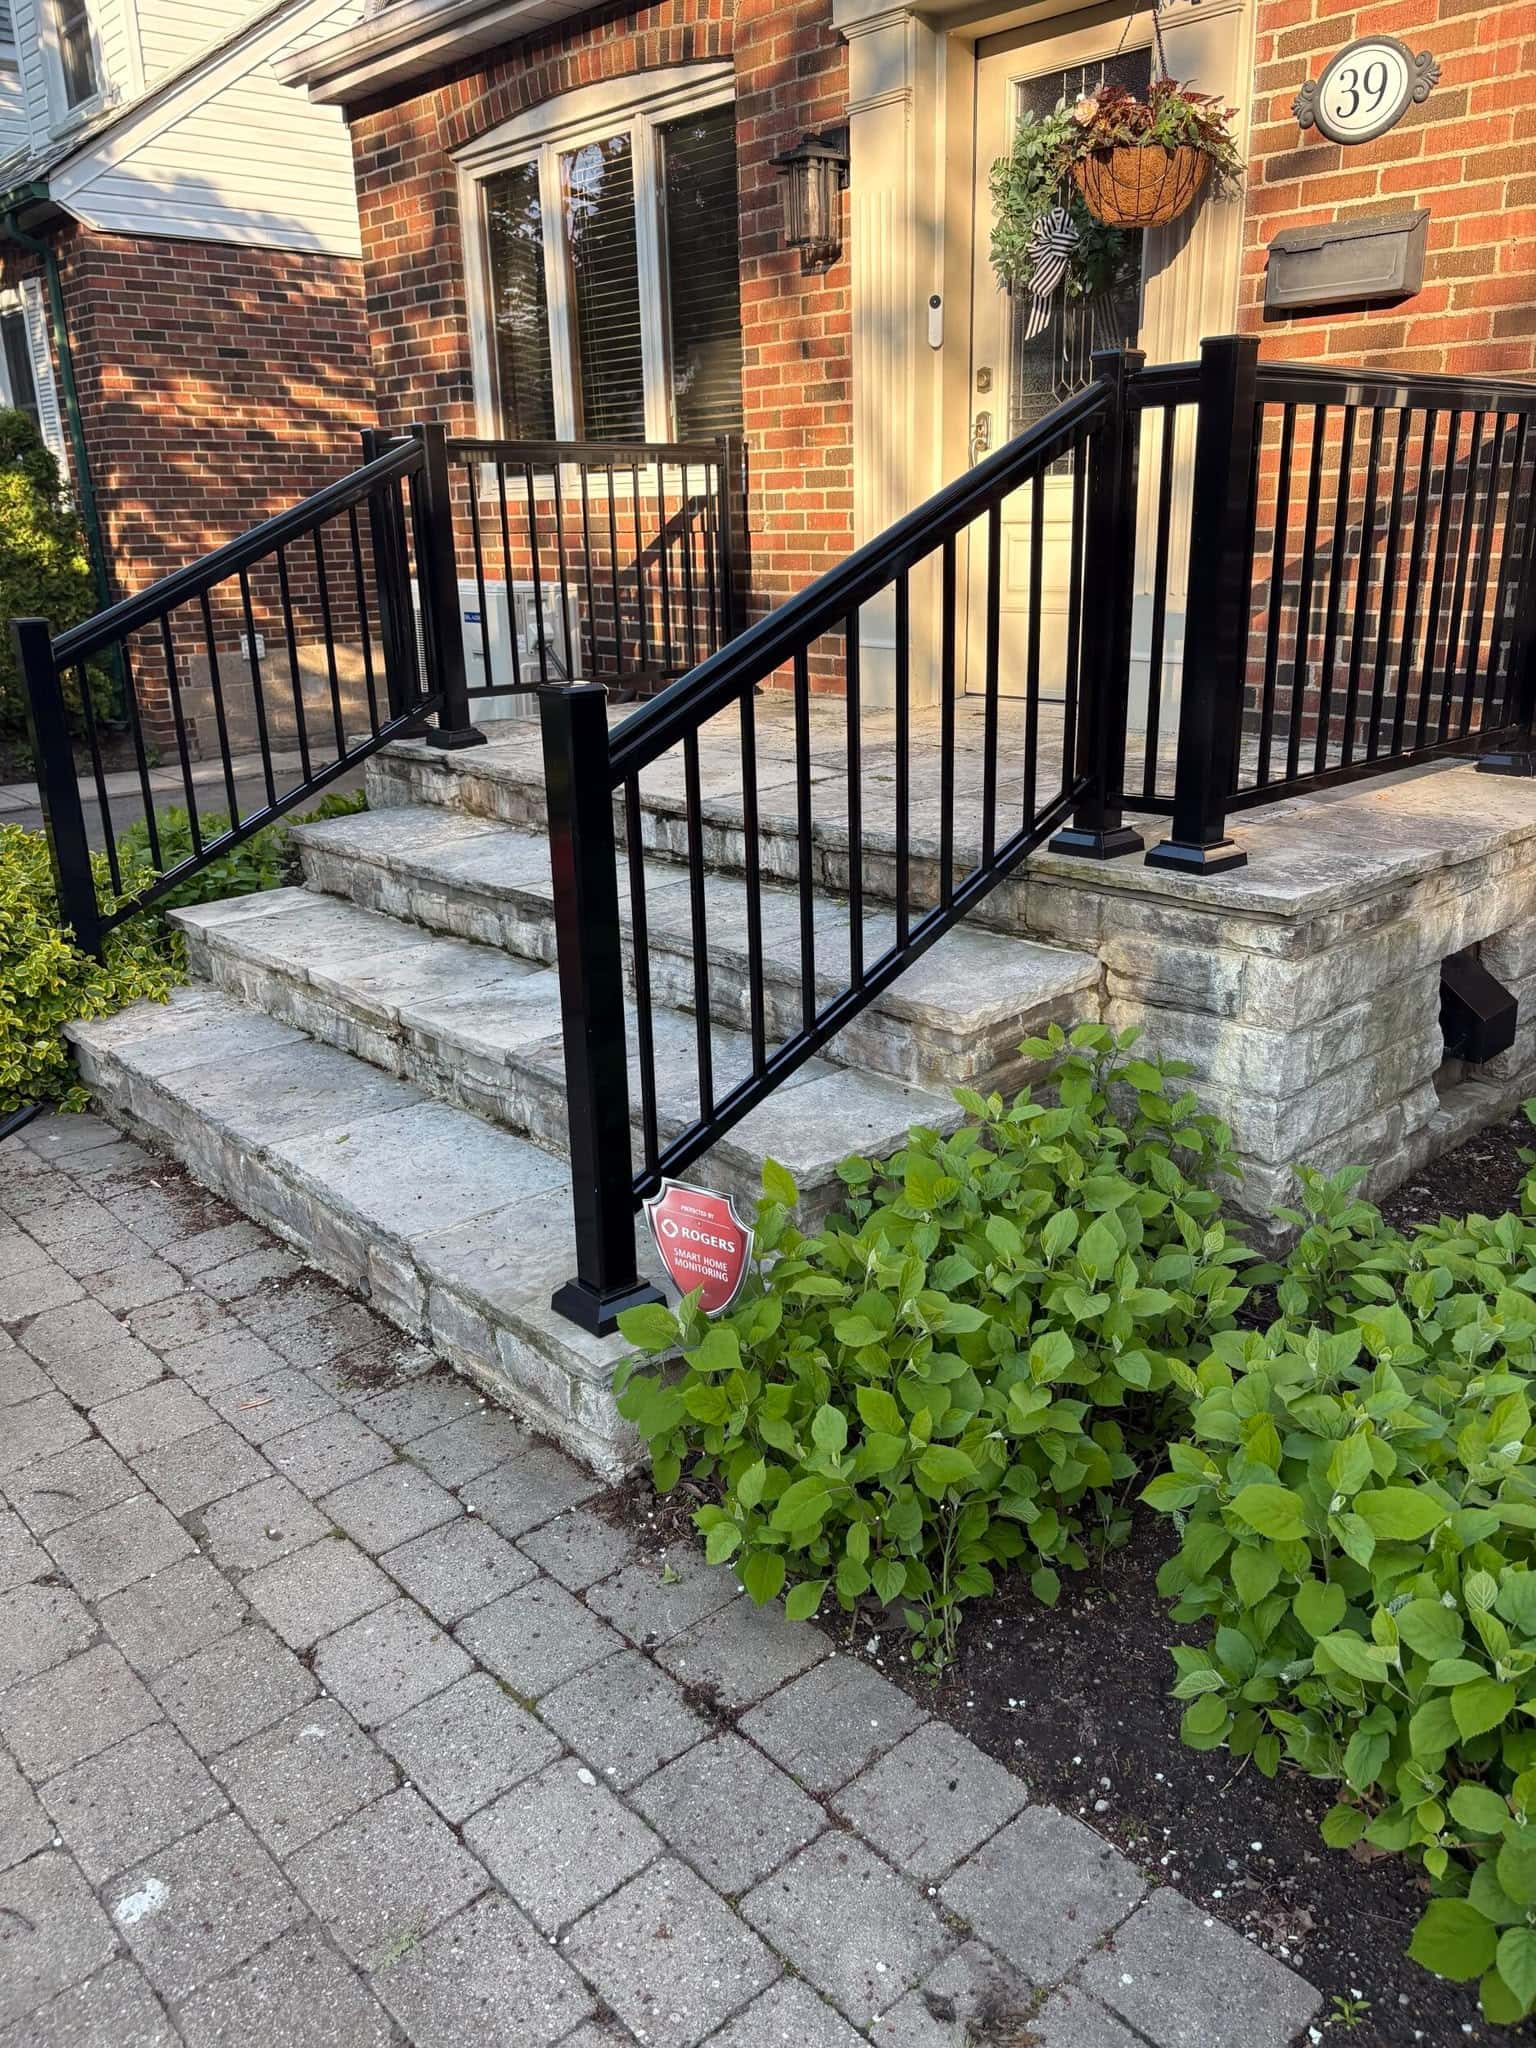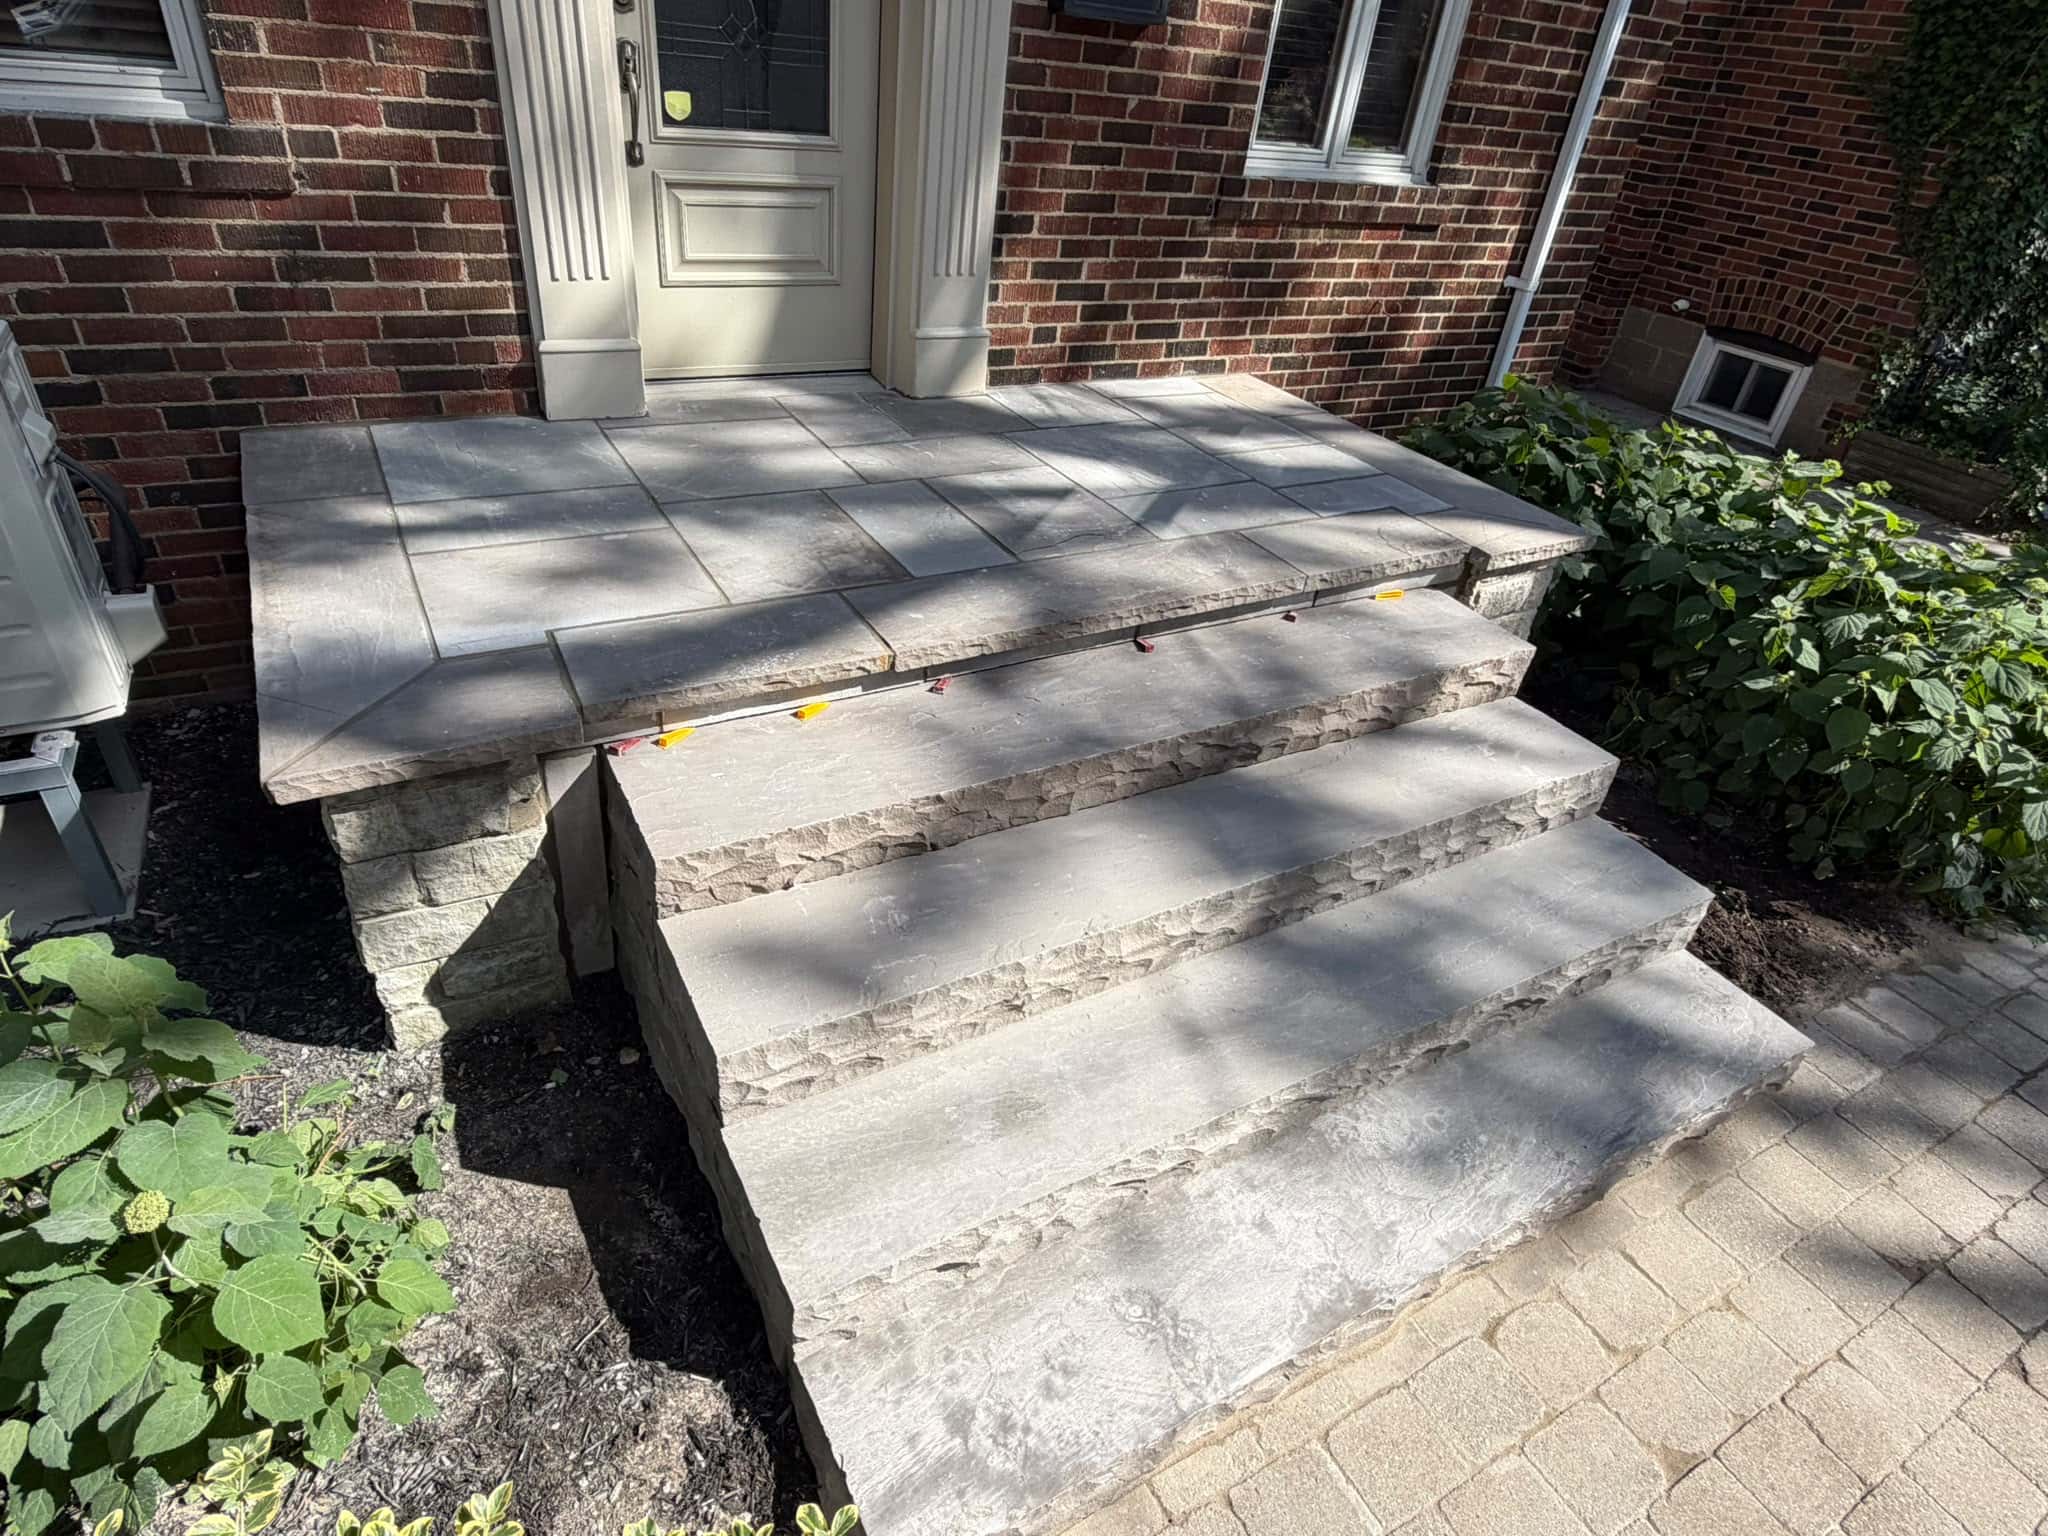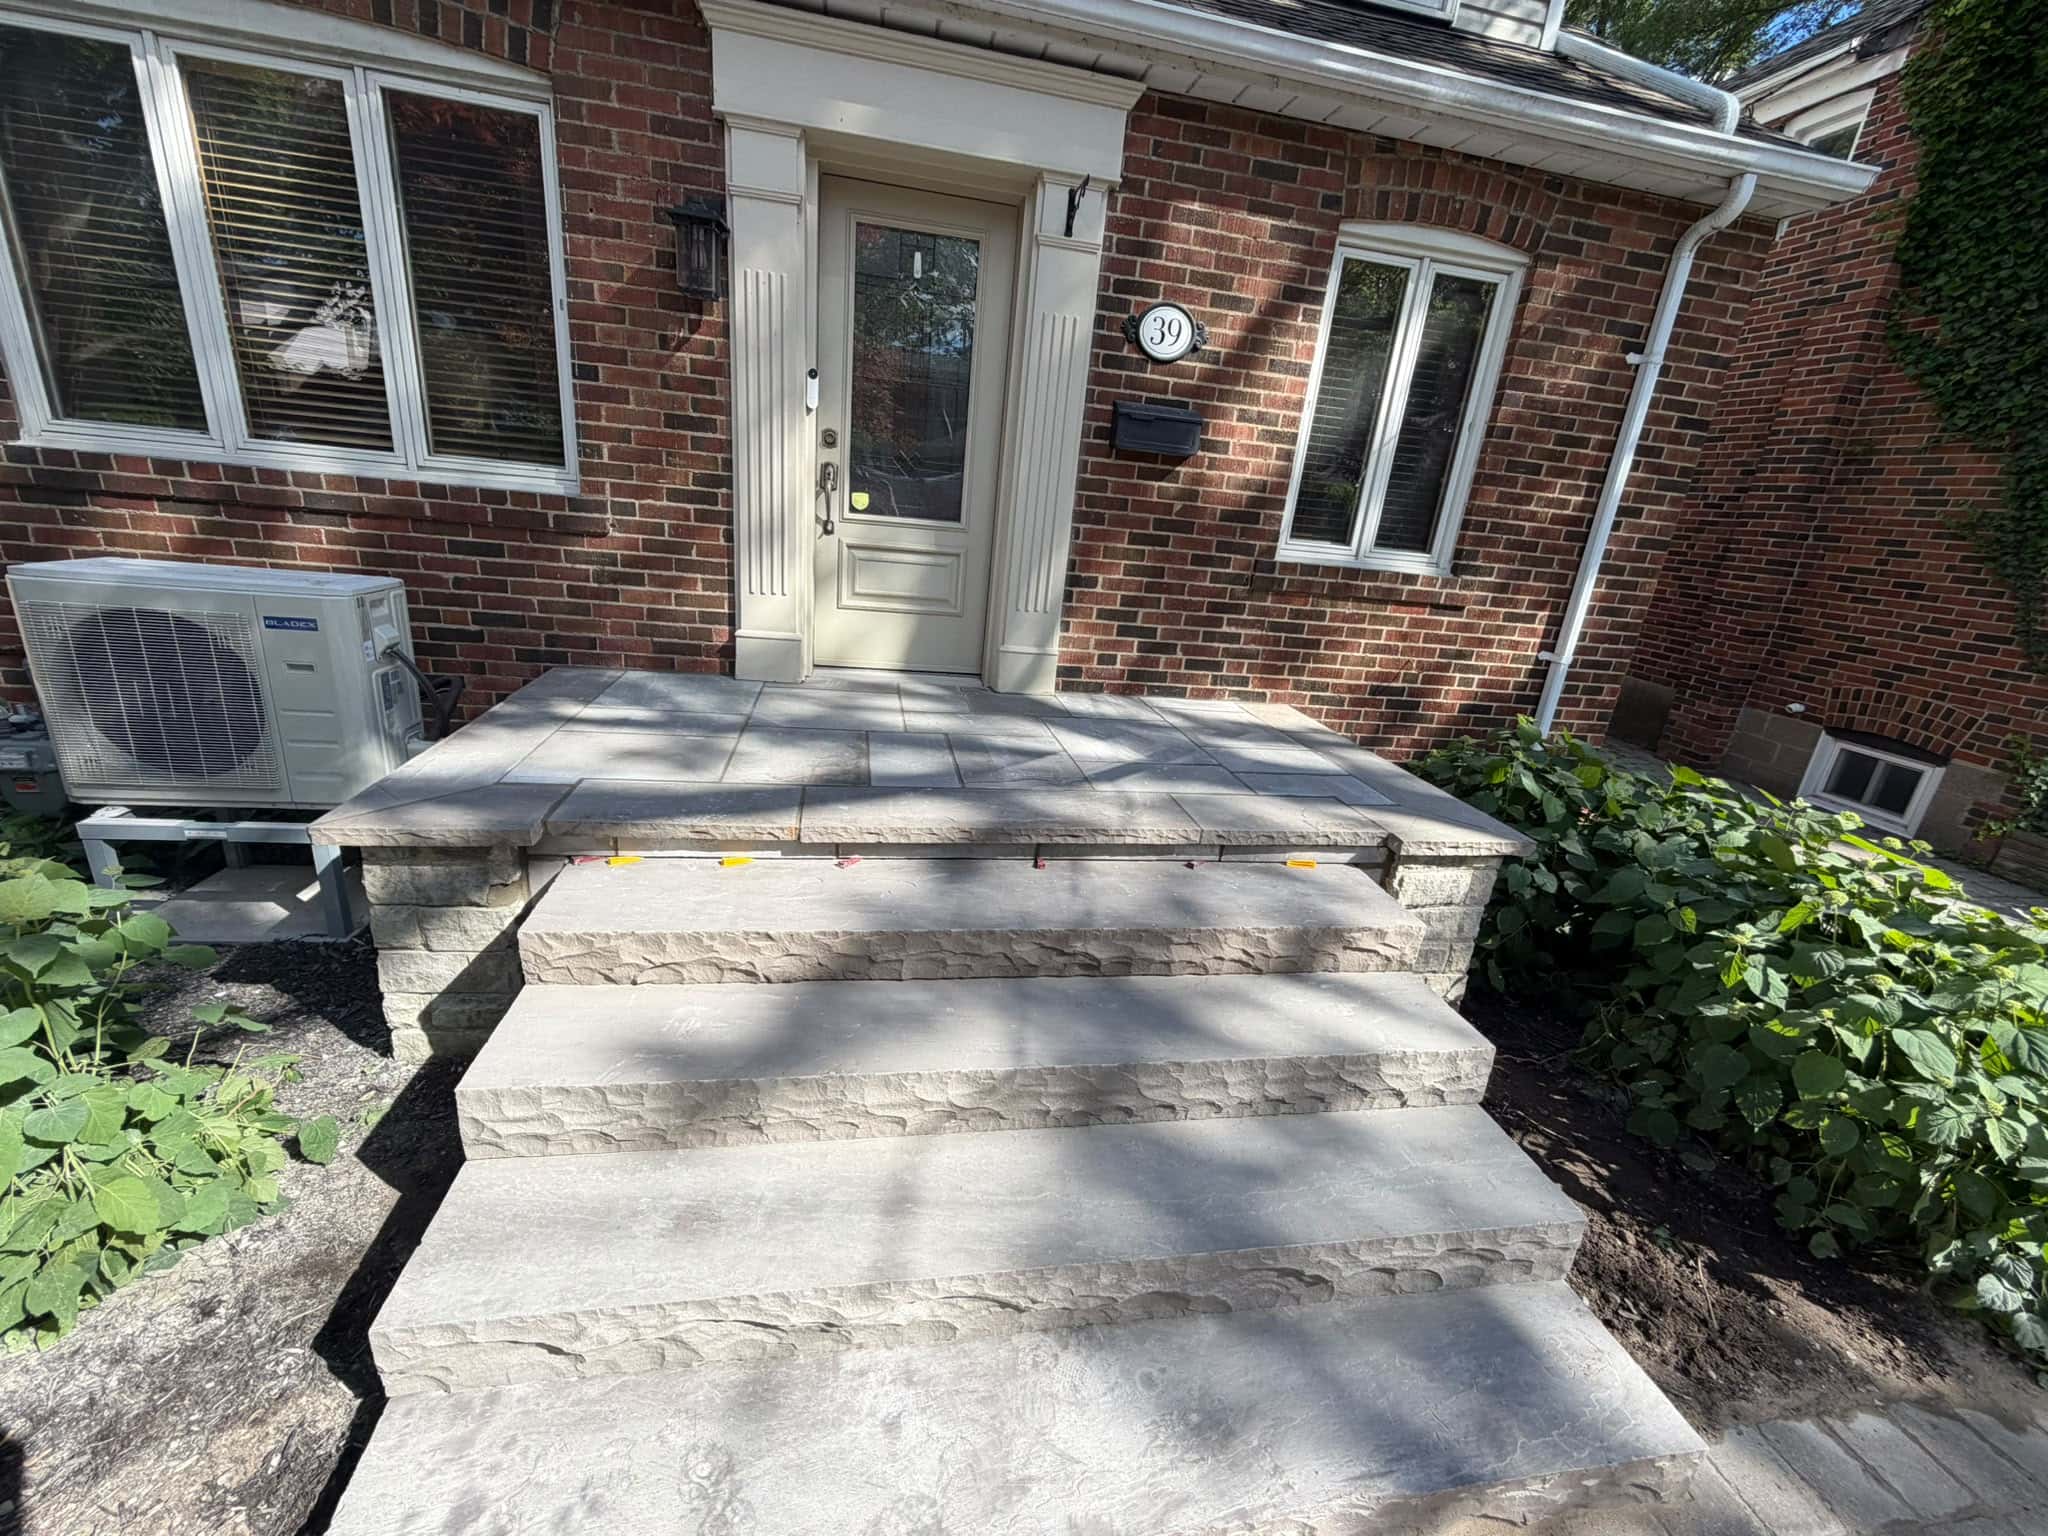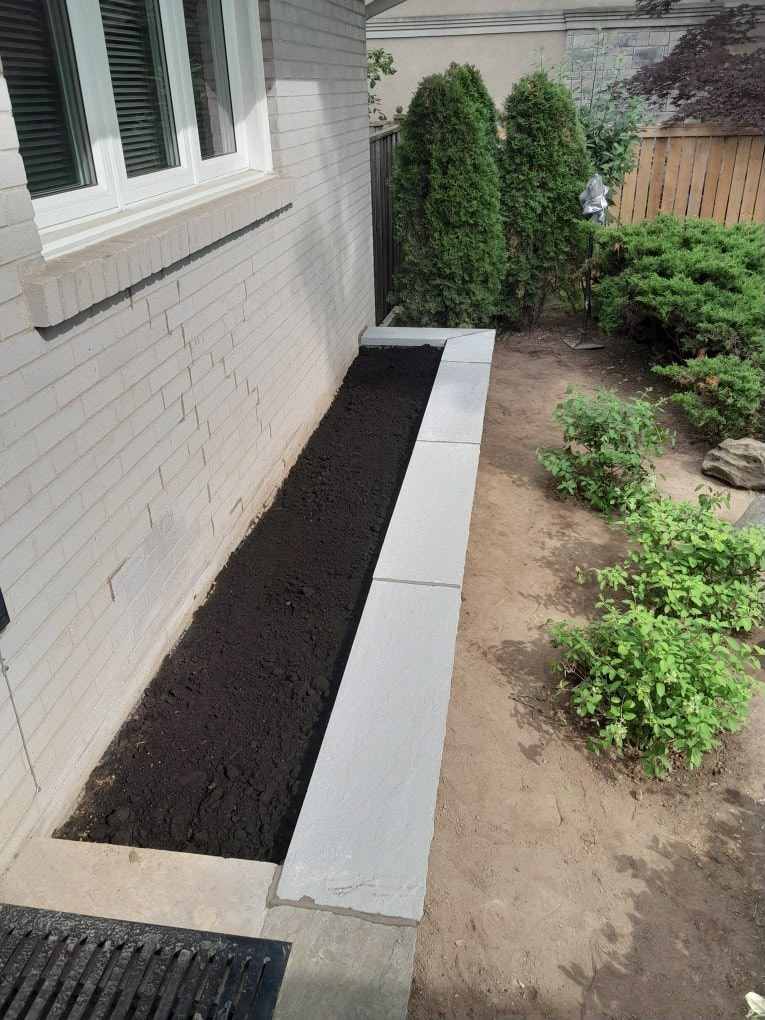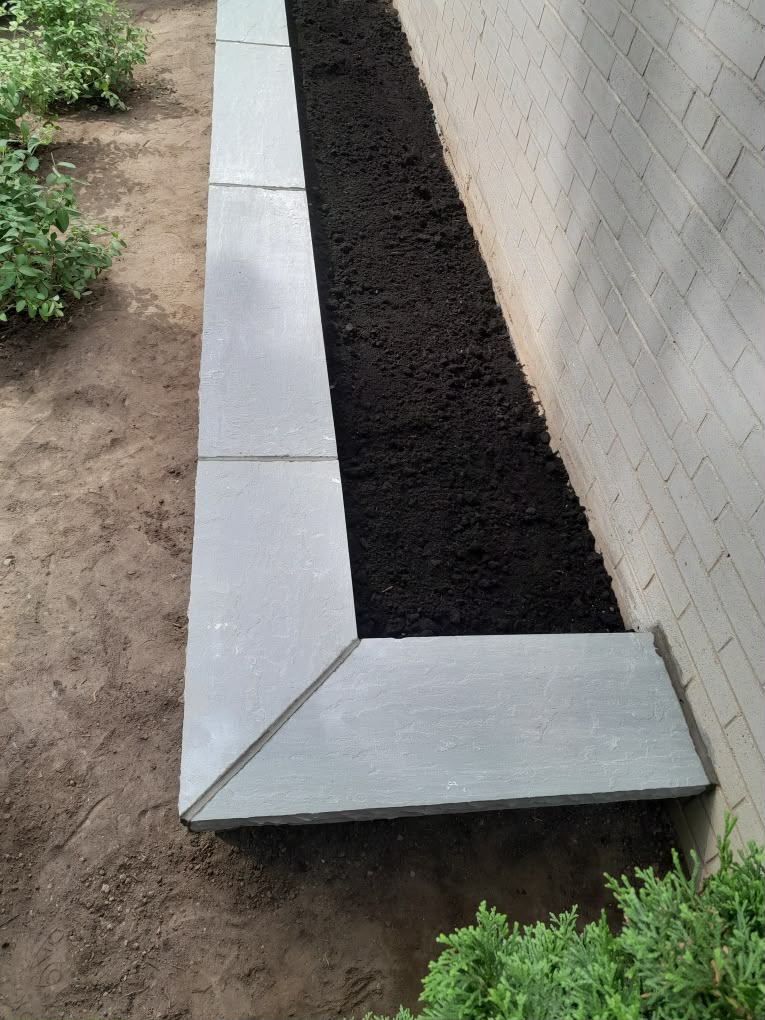

Masonry safety on DIY projects starts with knowing the difference between small maintenance and work that can put your home, health, or personal safety at risk. Cleaning light surface dirt, checking for cracks, photographing damage, or removing loose debris at ground level may be reasonable for many homeowners. Cutting brick, grinding mortar, working on chimneys, repairing structural cracks, lifting heavy stone, or using ladders around exterior walls is a different matter.
For Toronto and GTA homeowners, DIY masonry can be tempting because small cracks, loose mortar, damaged steps, or spalled brick may look simple from the outside. The problem is that masonry often hides deeper issues. Water damage, freeze-thaw movement, failed mortar, weak foundations, and unsafe chimneys can all appear to be minor surface problems at first.
This guide explains what homeowners can safely check, what hazards to take seriously, when DIY work may make sense, and when a professional mason should inspect the issue before repairs begin.
Why Masonry Safety Matters Before Any DIY Repair
Masonry safety matters because brick, stone, concrete, mortar, and chimney materials are heavy, dusty, and often integral to the home’s structure. A mistake can create more than an ugly repair. It can weaken a wall, trap water, damage surrounding materials, or create a fall, dust, or impact hazard.
Many DIY masonry mistakes begin with a reasonable idea. A homeowner sees a crack and wants to fill it. They see missing mortar and want to patch it. They see a loose brick and want to reset it. The risk is that the visible problem may be a symptom rather than the cause. If water is still entering, the crack may return. If the wall is moving, patching will not solve it. If mortar is failing across a wider area, filling only the obvious gap may leave weak joints behind.
Before starting any project, ask whether the work is cosmetic, maintenance-based, repair-based, or structural. If the work affects stability, water entry, rooflines, foundations, chimneys, steps, or load-bearing masonry, treat it as higher risk.
DIY Masonry Tasks That Are Usually Lower Risk
Some masonry-related tasks are lower risk when done carefully from ground level and without cutting, grinding, heavy lifting, or disturbing structural materials. These tasks can help homeowners understand the condition of their masonry before deciding what to do next.
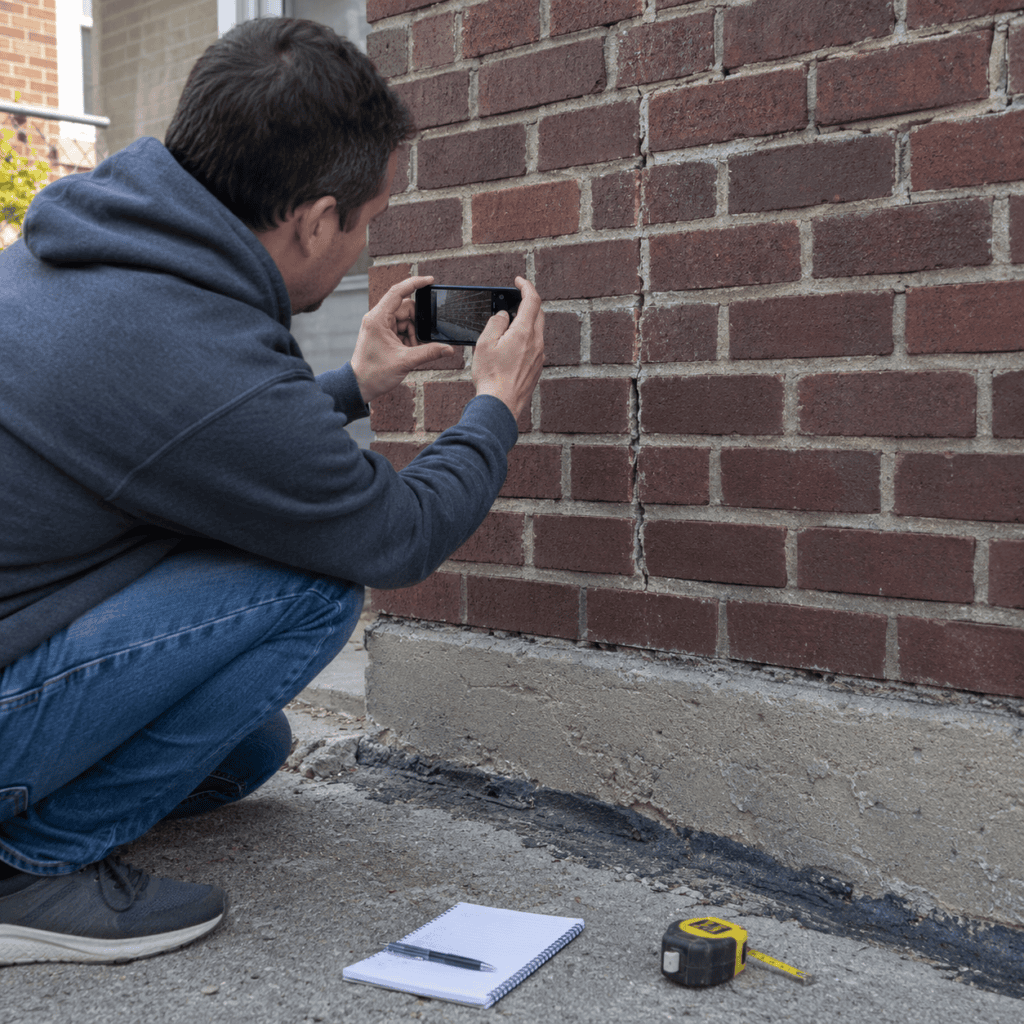
- Visual inspection: Walk around the home and look for cracks, open joints, loose brick, staining, spalling, or movement.
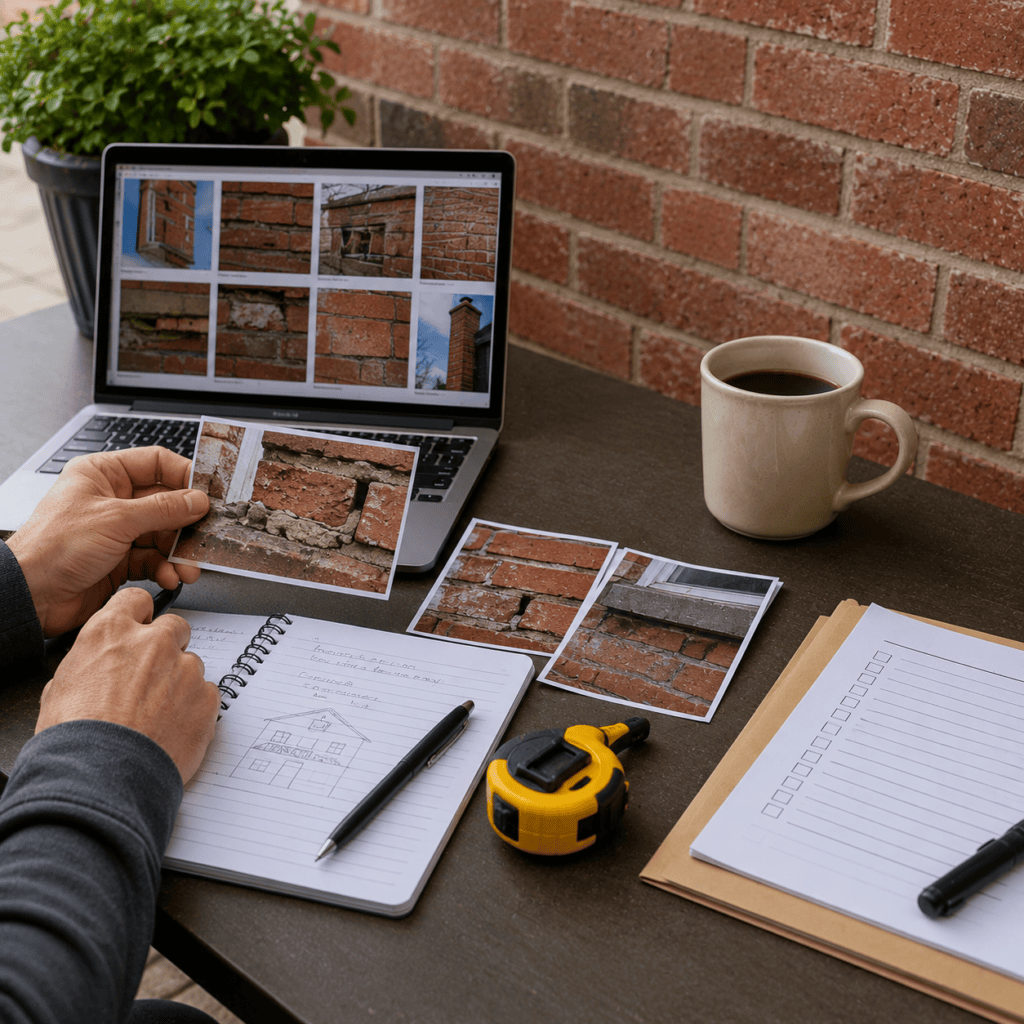
- Photo documentation: Take clear photos of damaged areas from close up and farther back to track changes over time.
- Basic cleaning: Remove light dirt, leaves, or debris from steps, walkways, or lower masonry surfaces without harsh chemicals or pressure washing.
- Checking water flow: Watch where rainwater runs after a storm, especially near foundations, steps, retaining walls, and lower brickwork.
- Clearing nearby obstructions: Trim vegetation that traps moisture against masonry, while avoiding damage to brick or mortar.
- Noting seasonal changes: Track whether cracks widen after winter, after heavy rain, or after freeze-thaw cycles.
These tasks help homeowners gather useful information without taking on repair risks. If you notice active damage, A&A Masonry’s guide to common masonry repair issues in Toronto can help you understand whether the problem may be more than cosmetic.
Silica Dust Is a Serious Masonry Hazard
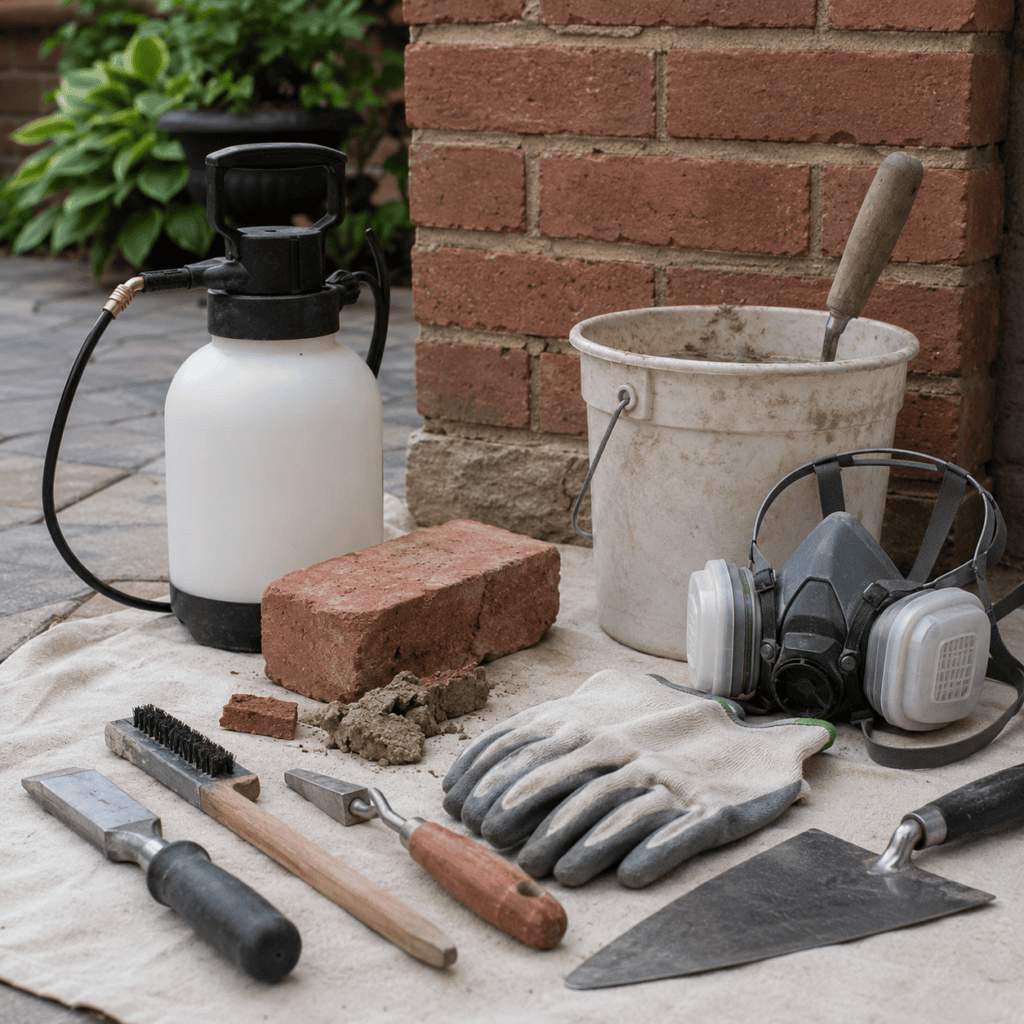
Silica dust is one of the biggest safety concerns in DIY masonry because cutting, grinding, drilling, chipping, or breaking concrete, brick, stone, and mortar can release respirable crystalline silica. This fine dust can be harmful when inhaled, especially during dry cutting or grinding.
Ontario’s official guidance on silica on construction projects explains that silica hazards are a concern in construction work. CCOHS also notes that silica dust can be created when working with materials such as concrete, mortar, and sandstone. For homeowners, the practical lesson is simple: avoid dry cutting, grinding, or drilling masonry unless you fully understand dust control, respiratory protection, ventilation, and cleanup requirements.
A basic dust mask is not the same as proper respiratory protection. Sweeping dry dust can also put particles back into the air. If the project involves grinding out mortar joints, cutting concrete, drilling brick, or removing old masonry materials, it is no longer a simple weekend repair. The health risk is real, and professional help is usually the safer choice.
Ladders, Heights, and Chimneys Raise the Risk Quickly
Any masonry work above ground level becomes more dangerous because it adds fall risk, awkward tool handling, and heavier materials. Chimneys, upper brick walls, second-storey masonry, and roofline repairs should not be treated like ground-level patching.
CCOHS provides ladder safety information covering inspection, setup, and safe use. Ontario also provides guidance on ergonomics for ladder and step stool use. These resources are useful because many homeowners underestimate how quickly ladder work can become unsafe, especially while holding tools, reaching sideways, working near a roof edge, or handling masonry materials.
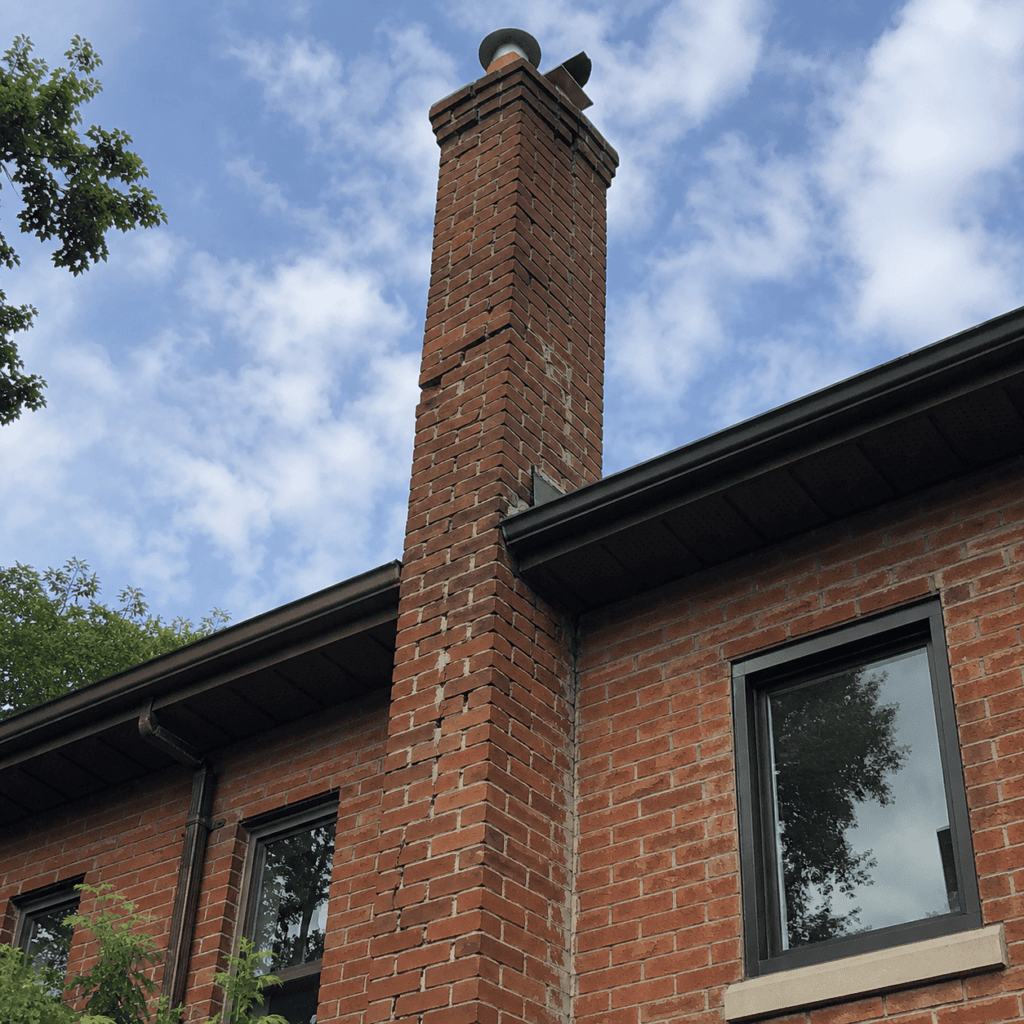
Chimney work is especially risky. Chimneys are exposed to the weather, may have loose bricks or mortar joints, and often require work near the roofline. A loose brick, unstable footing, or sudden shift in balance can create a serious hazard. If your chimney shows signs of damage, it is safer to visit A&A Masonry’s chimney repair Toronto page and request an inspection rather than trying to patch the issue from a ladder.
Heavy Materials Can Cause Injuries and Poor Repairs
Masonry materials are heavy, and that weight creates safety risks. Brick, stone, concrete block, pavers, mortar bags, and broken demolition debris can strain the back, crush fingers, damage surfaces, or fall unexpectedly if handled poorly.
Heavy materials also make mistakes harder to correct. If a stone step is not supported properly, it may rock, crack, or shift. If a concrete block is set unevenly, it can affect the wall or feature above it. If a paver base is not compacted properly, the surface may settle after winter. What looks like a simple placement job often depends on base preparation, alignment, drainage, and load support.
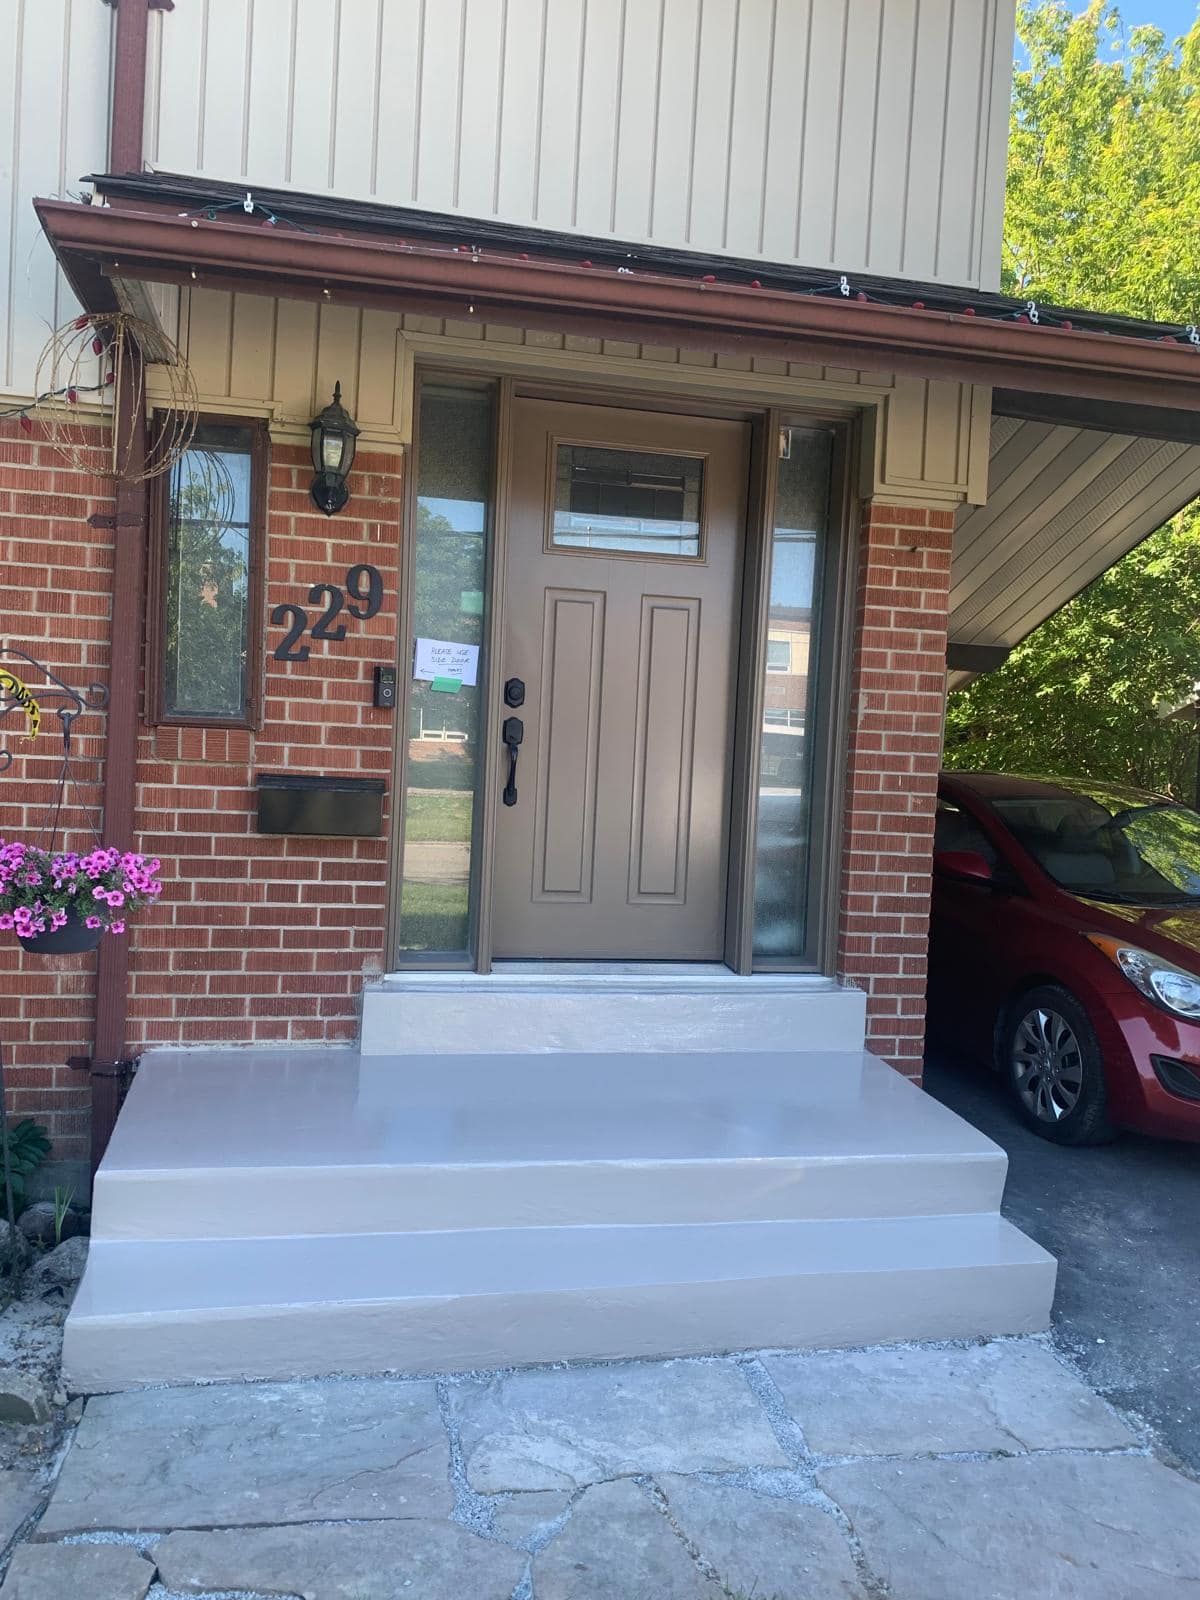
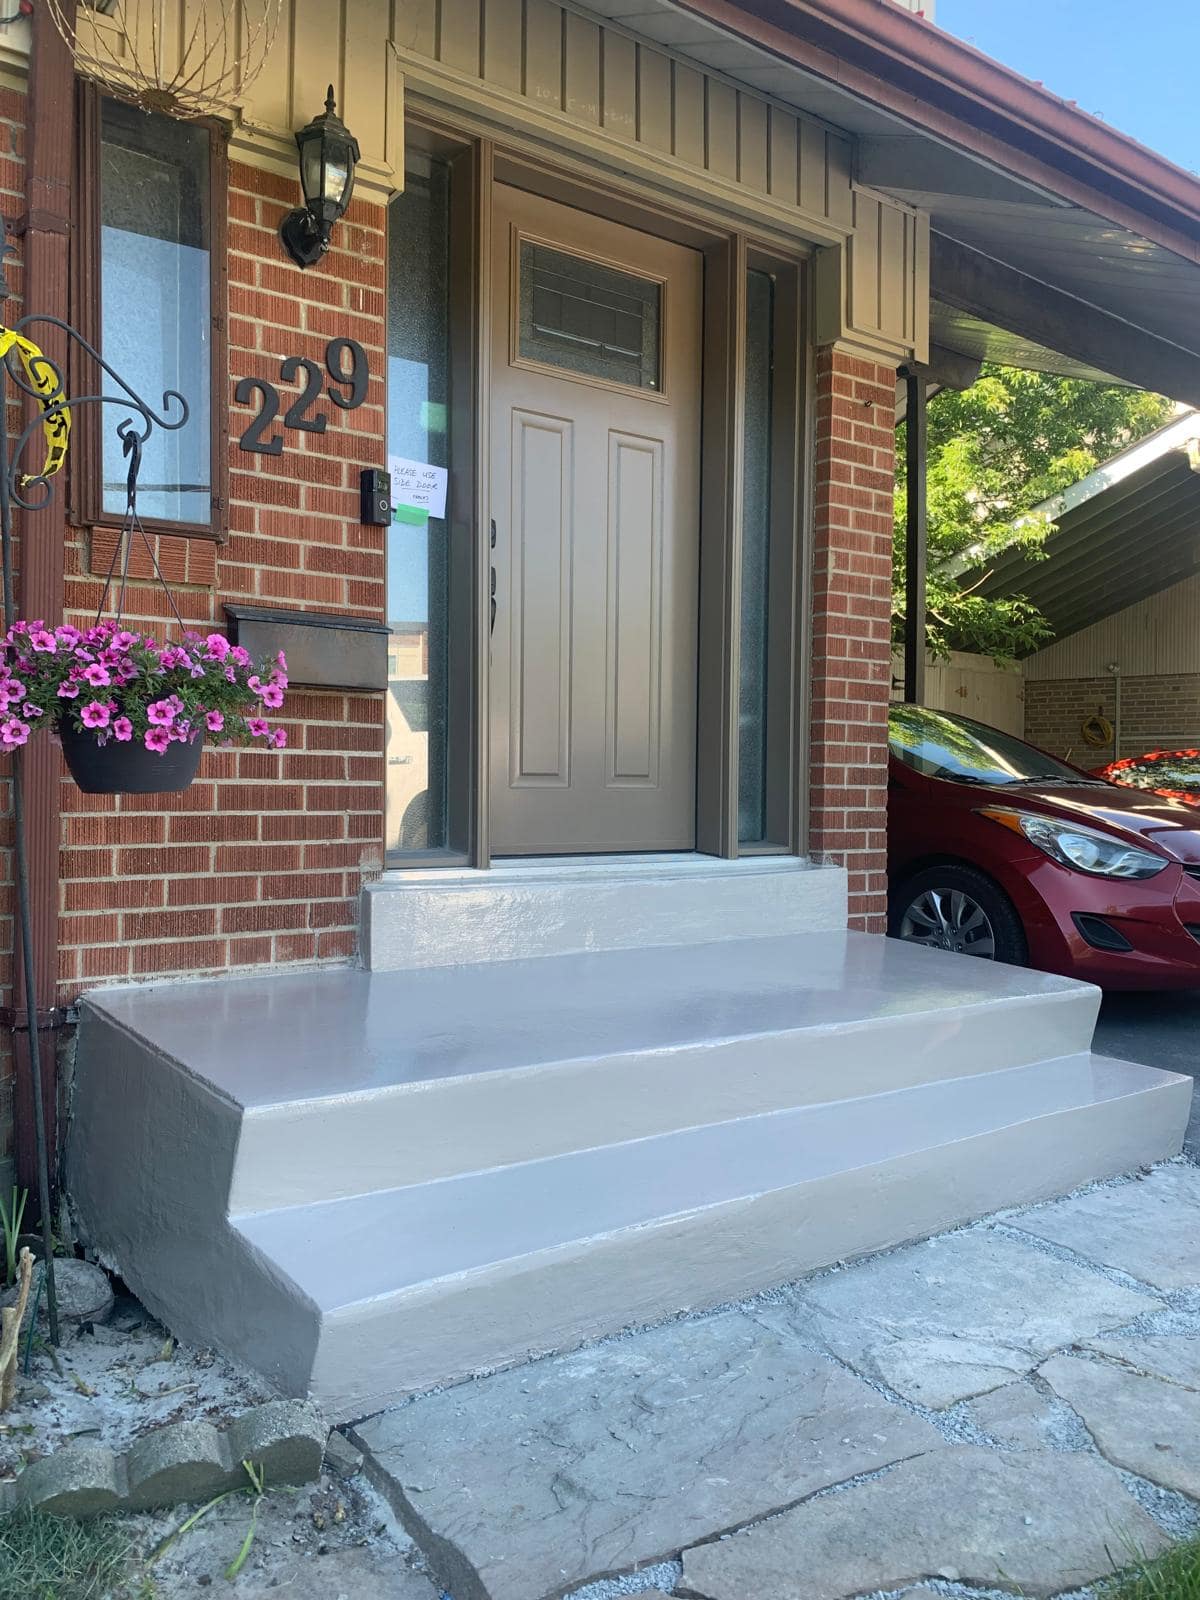
This is why DIY masonry should be approached with caution when the project involves steps, retaining walls, concrete repairs, stone features, or driveway areas. If the work involves cracked or uneven concrete, A&A Masonry’s concrete repair Toronto page can help homeowners understand the kinds of problems that may need more than surface patching.
Mortar Repairs Are Not Just Filling Gaps
Mortar repair may look simple, but good repointing or tuckpointing requires more than just pressing fresh mortar into visible cracks. The old failing mortar must usually be removed to the right depth, the joint must be cleaned, the new mortar must be compatible with the existing masonry, and the joint must be finished so it sheds water properly.
Using the wrong mortar can damage older brick. If the new mortar is too hard, the brick may become the weaker part of the wall. If the joint is not prepared well, the new mortar may not bond properly. If the repair traps moisture, freeze-thaw damage can continue behind the surface.
For small, non-structural gaps in low-risk areas, homeowners may be able to monitor the issue and ask for advice. But grinding out joints, repairing large areas, working on older brick, or repairing mortar near windows, chimneys, foundations, or structural openings is not a casual DIY task. A&A Masonry’s tuckpointing services in Toronto page explains why mortar joint repair is important for protecting brickwork from water and movement.
Water Damage Can Make DIY Repairs Misleading
Water damage is one of the main reasons DIY masonry repairs fail. A homeowner may patch a crack or seal a joint, but if water is still entering from above, behind, or below, the repair may not last. Worse, the patch may trap moisture and accelerate the deterioration of the surrounding masonry.
Toronto homes deal with rain, melting snow, ice, and freeze-thaw movement. Water can enter through open mortar joints, damaged flashing, poor grading, clogged gutters, cracked concrete, missing caps, or foundation issues. A surface crack may only be the place where the problem became visible.
Before repairing masonry, check how water moves around the area. Does the water pool near the steps? Does a downspout discharge near a wall? Is the soil sloped toward the foundation? Are there stains below a window, chimney, or roofline? If water is part of the issue, the repair should address the source of the water, not just the visible damage.
When Permits or Code Questions Should Stop the DIY Plan
Permit and code questions should stop a DIY masonry plan when the work affects the structure, major exterior changes, entrances, foundations, openings, additions, or significant alterations. Not every repair needs a permit, but homeowners should not guess when the scope becomes larger or more structural.
The City of Toronto explains that building permits are required for construction, demolition, additions, and material alterations. Its page on when a building permit is needed is a practical place to start if a project goes beyond basic maintenance.
For homeowners, the safe rule is this: if the masonry work changes the structure, supports weight, affects an entrance, changes a window or door opening, involves a retaining wall, or connects to foundation work, check official requirements before starting. A seemingly small repair can become a problem if it affects safety or compliance.
Red Flags That Mean You Should Not DIY the Repair
Some masonry warning signs should prompt you to move the project out of DIY territory. These signs suggest the issue may involve structure, water, safety, or hidden damage.
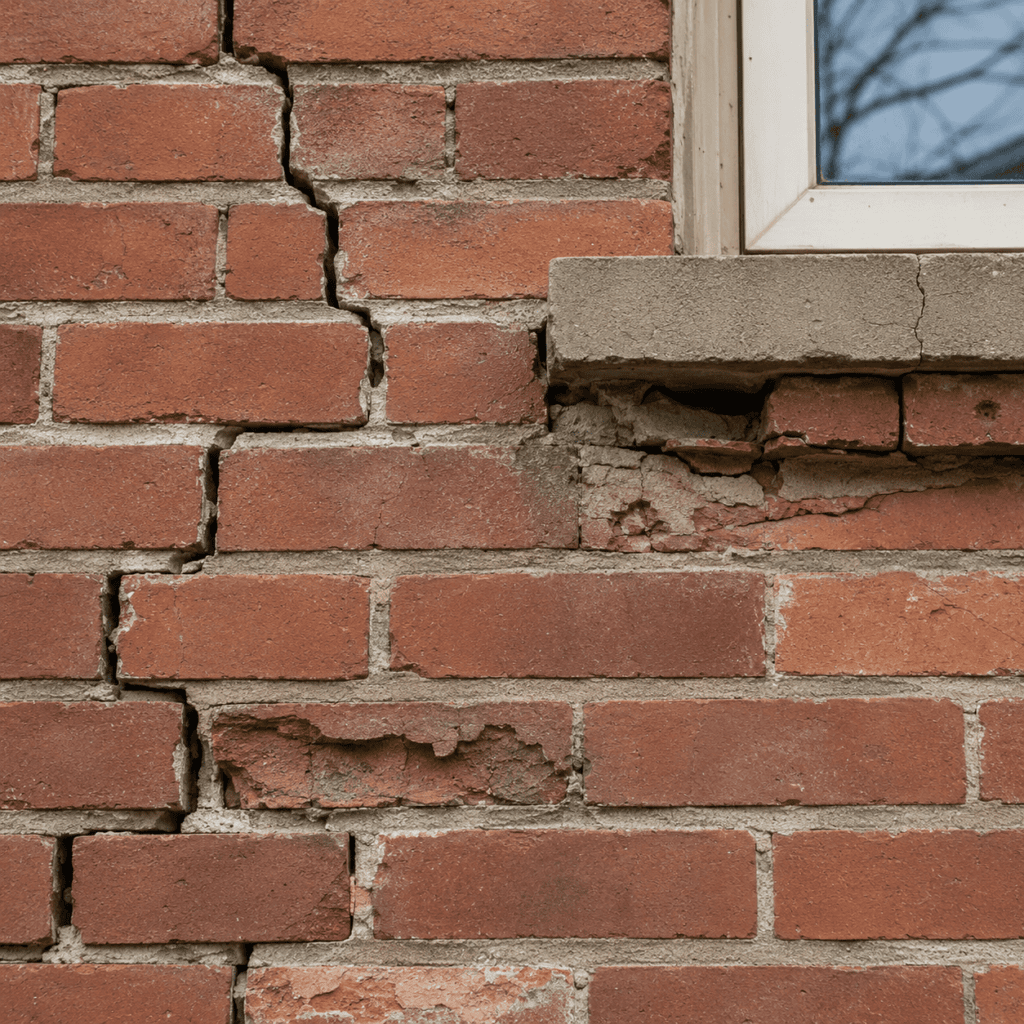
- Bulging, leaning, or separating brick walls
- Loose bricks near windows, doors, rooflines, or chimneys
- Cracks that are widening or stair-stepping through brickwork
- Spalling brick across a large area
- Water entering the home near masonry surfaces
- Damaged chimney brick, crown, cap, or flashing
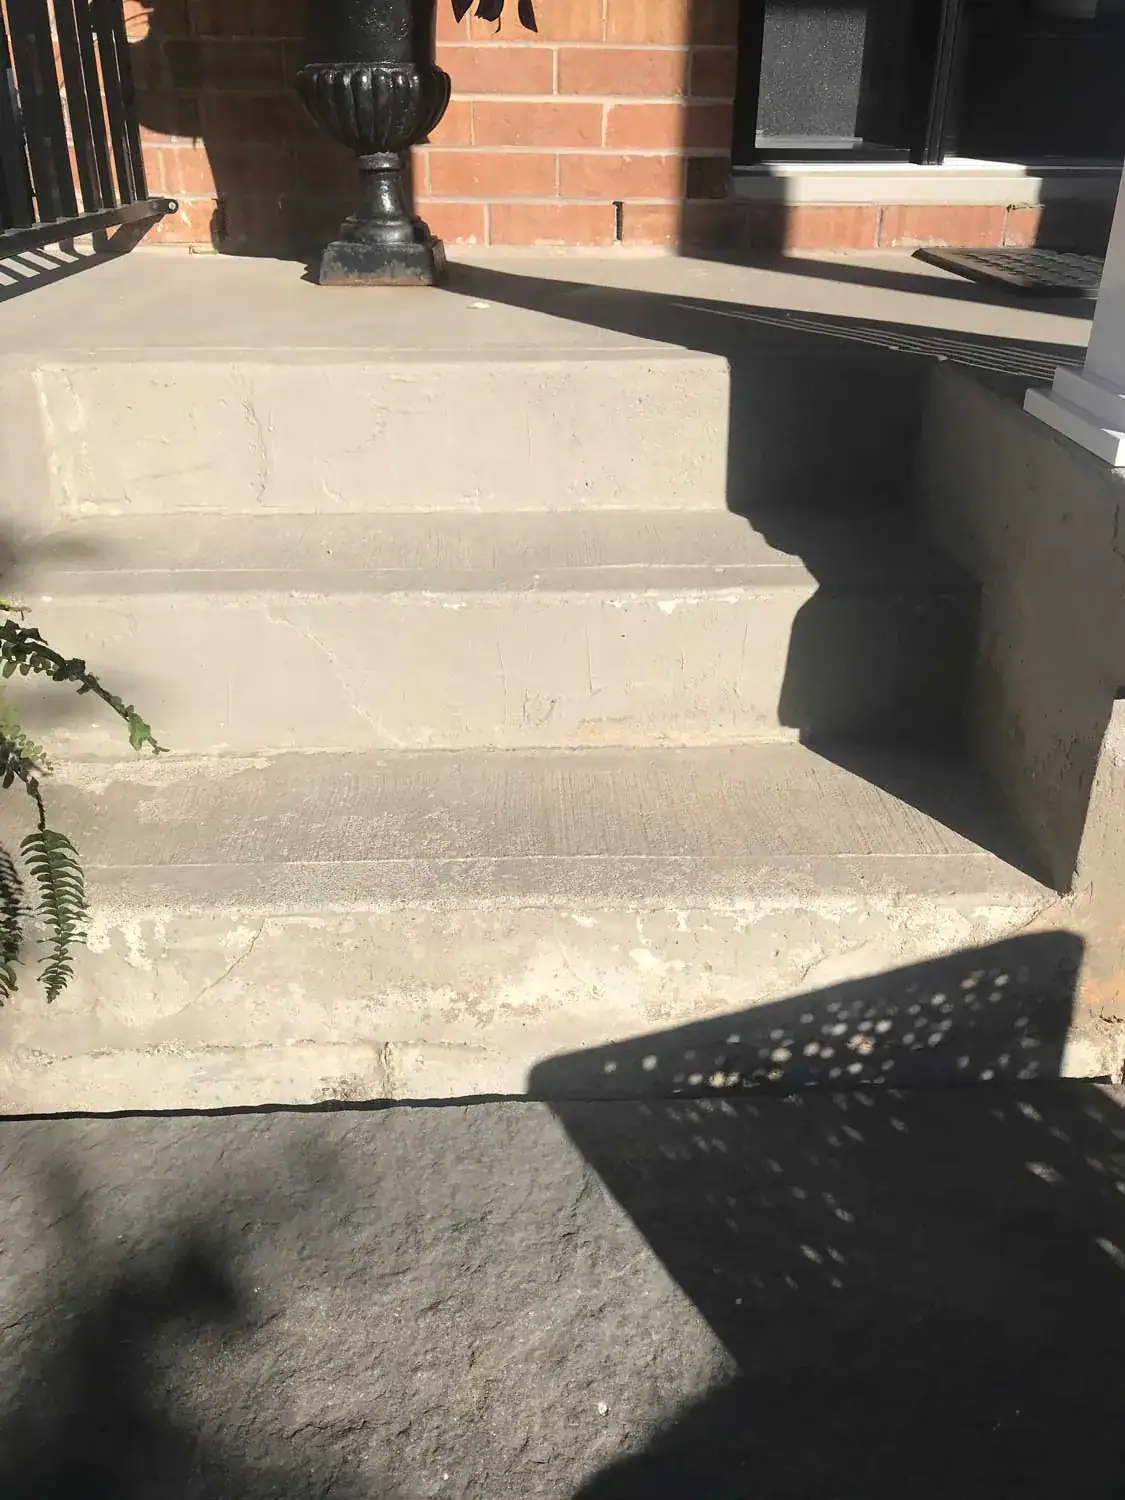
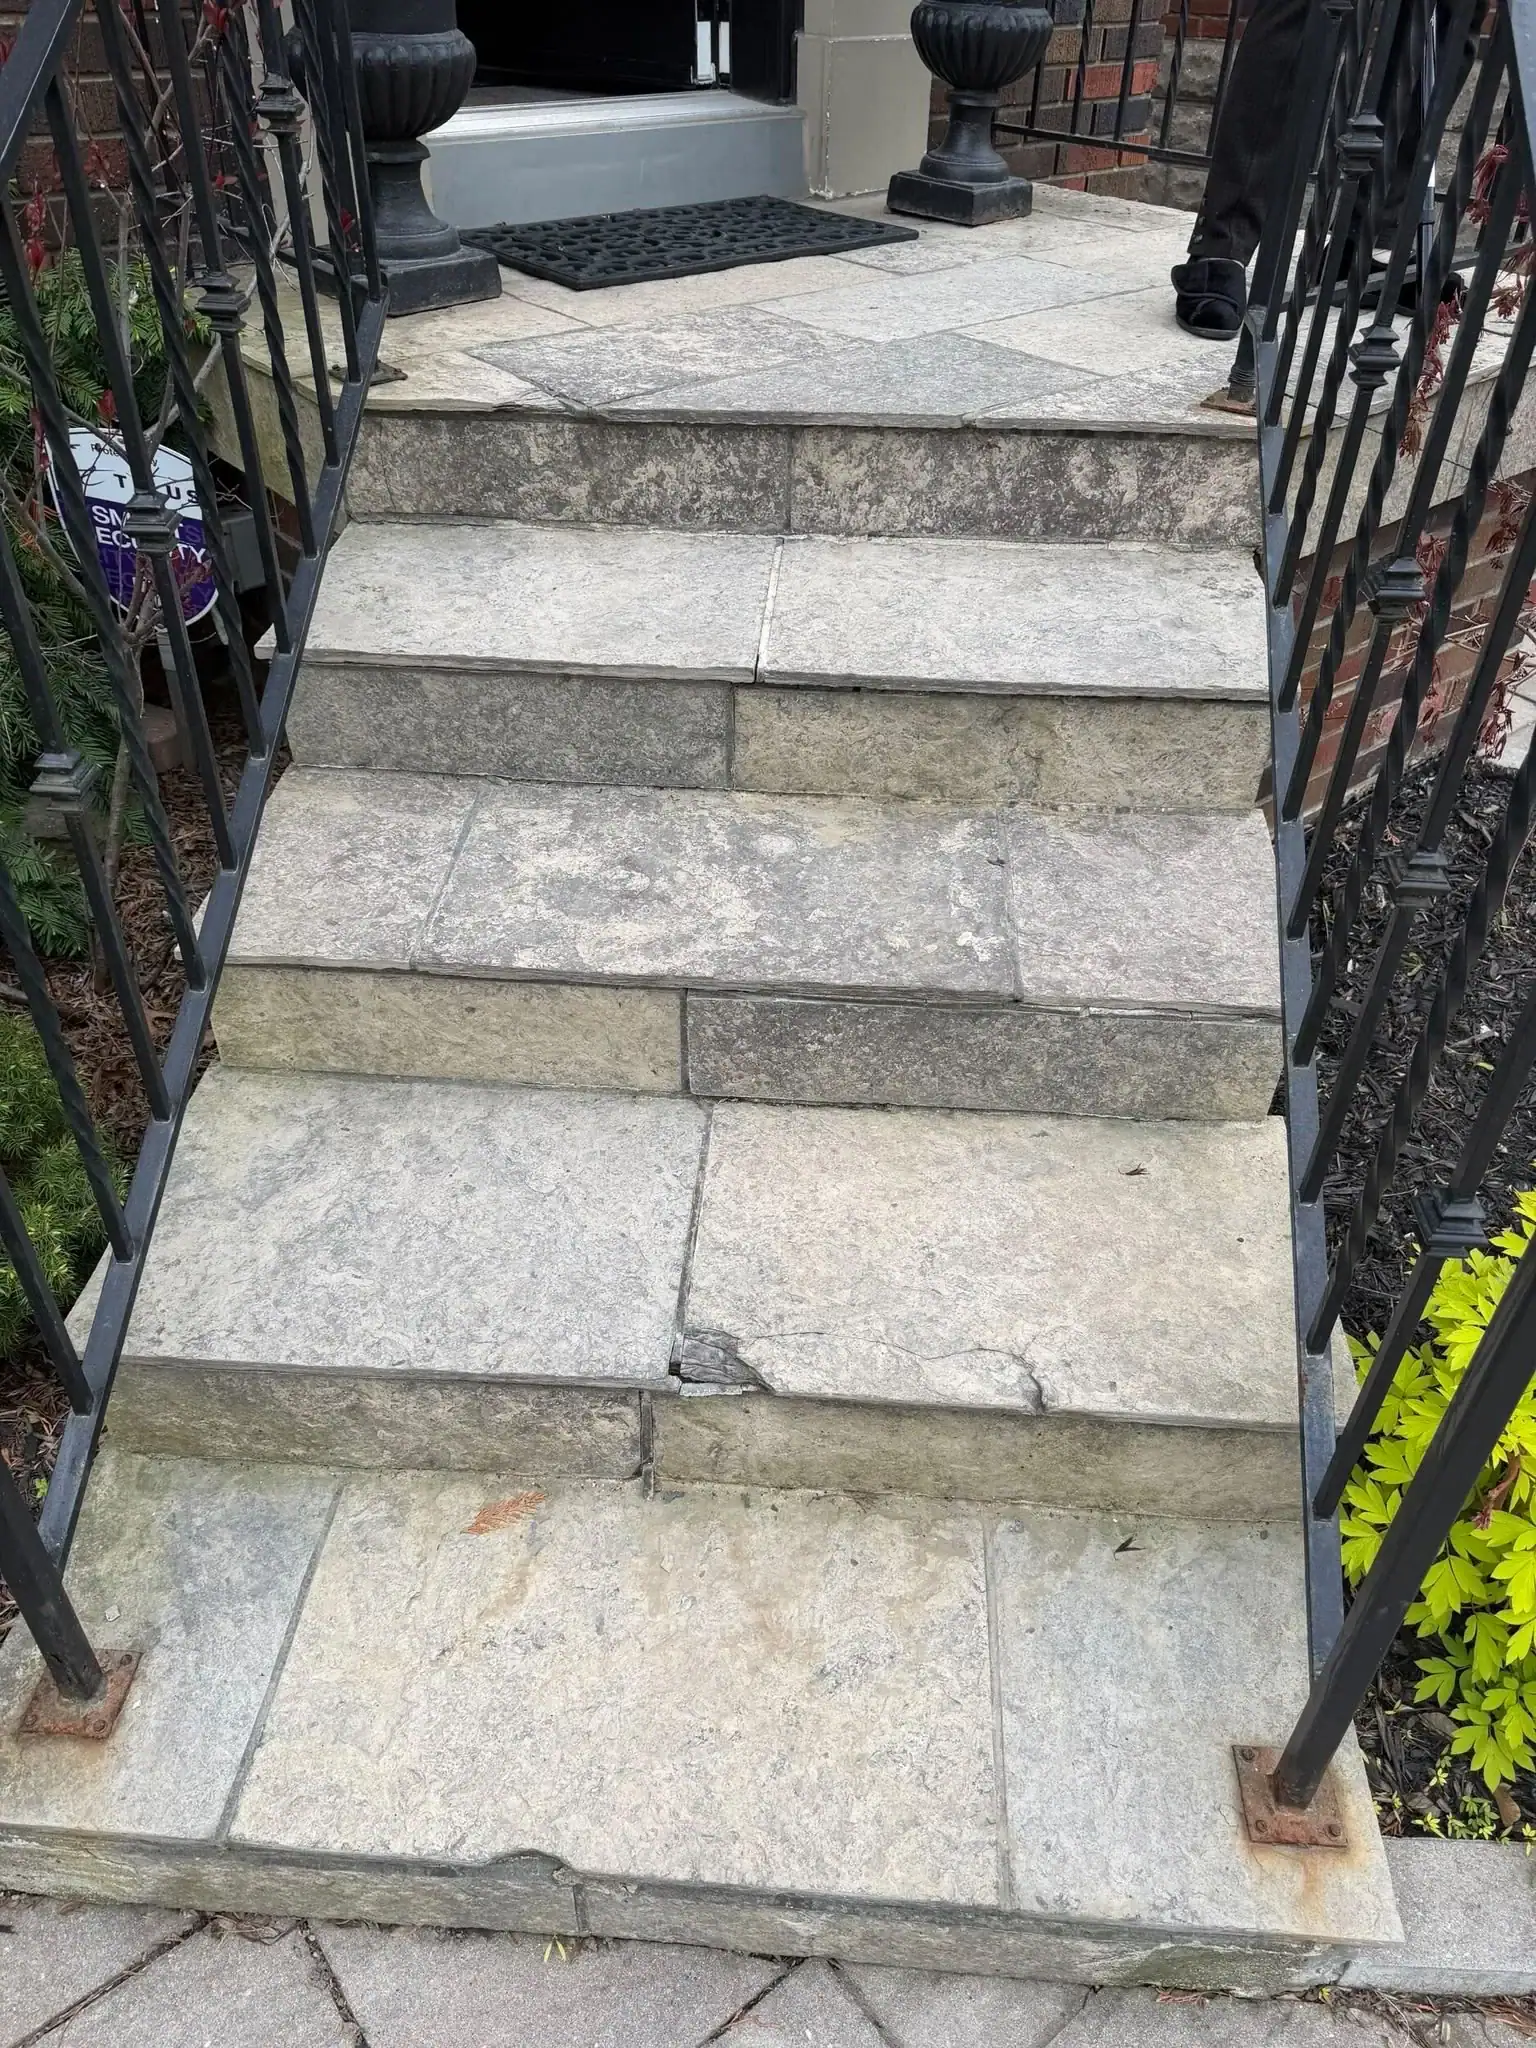
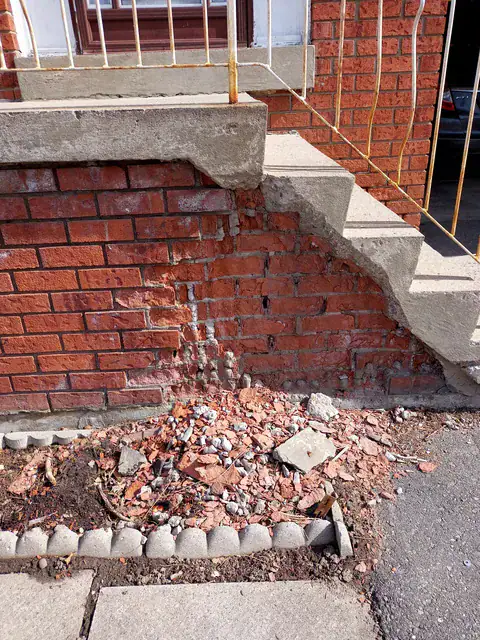
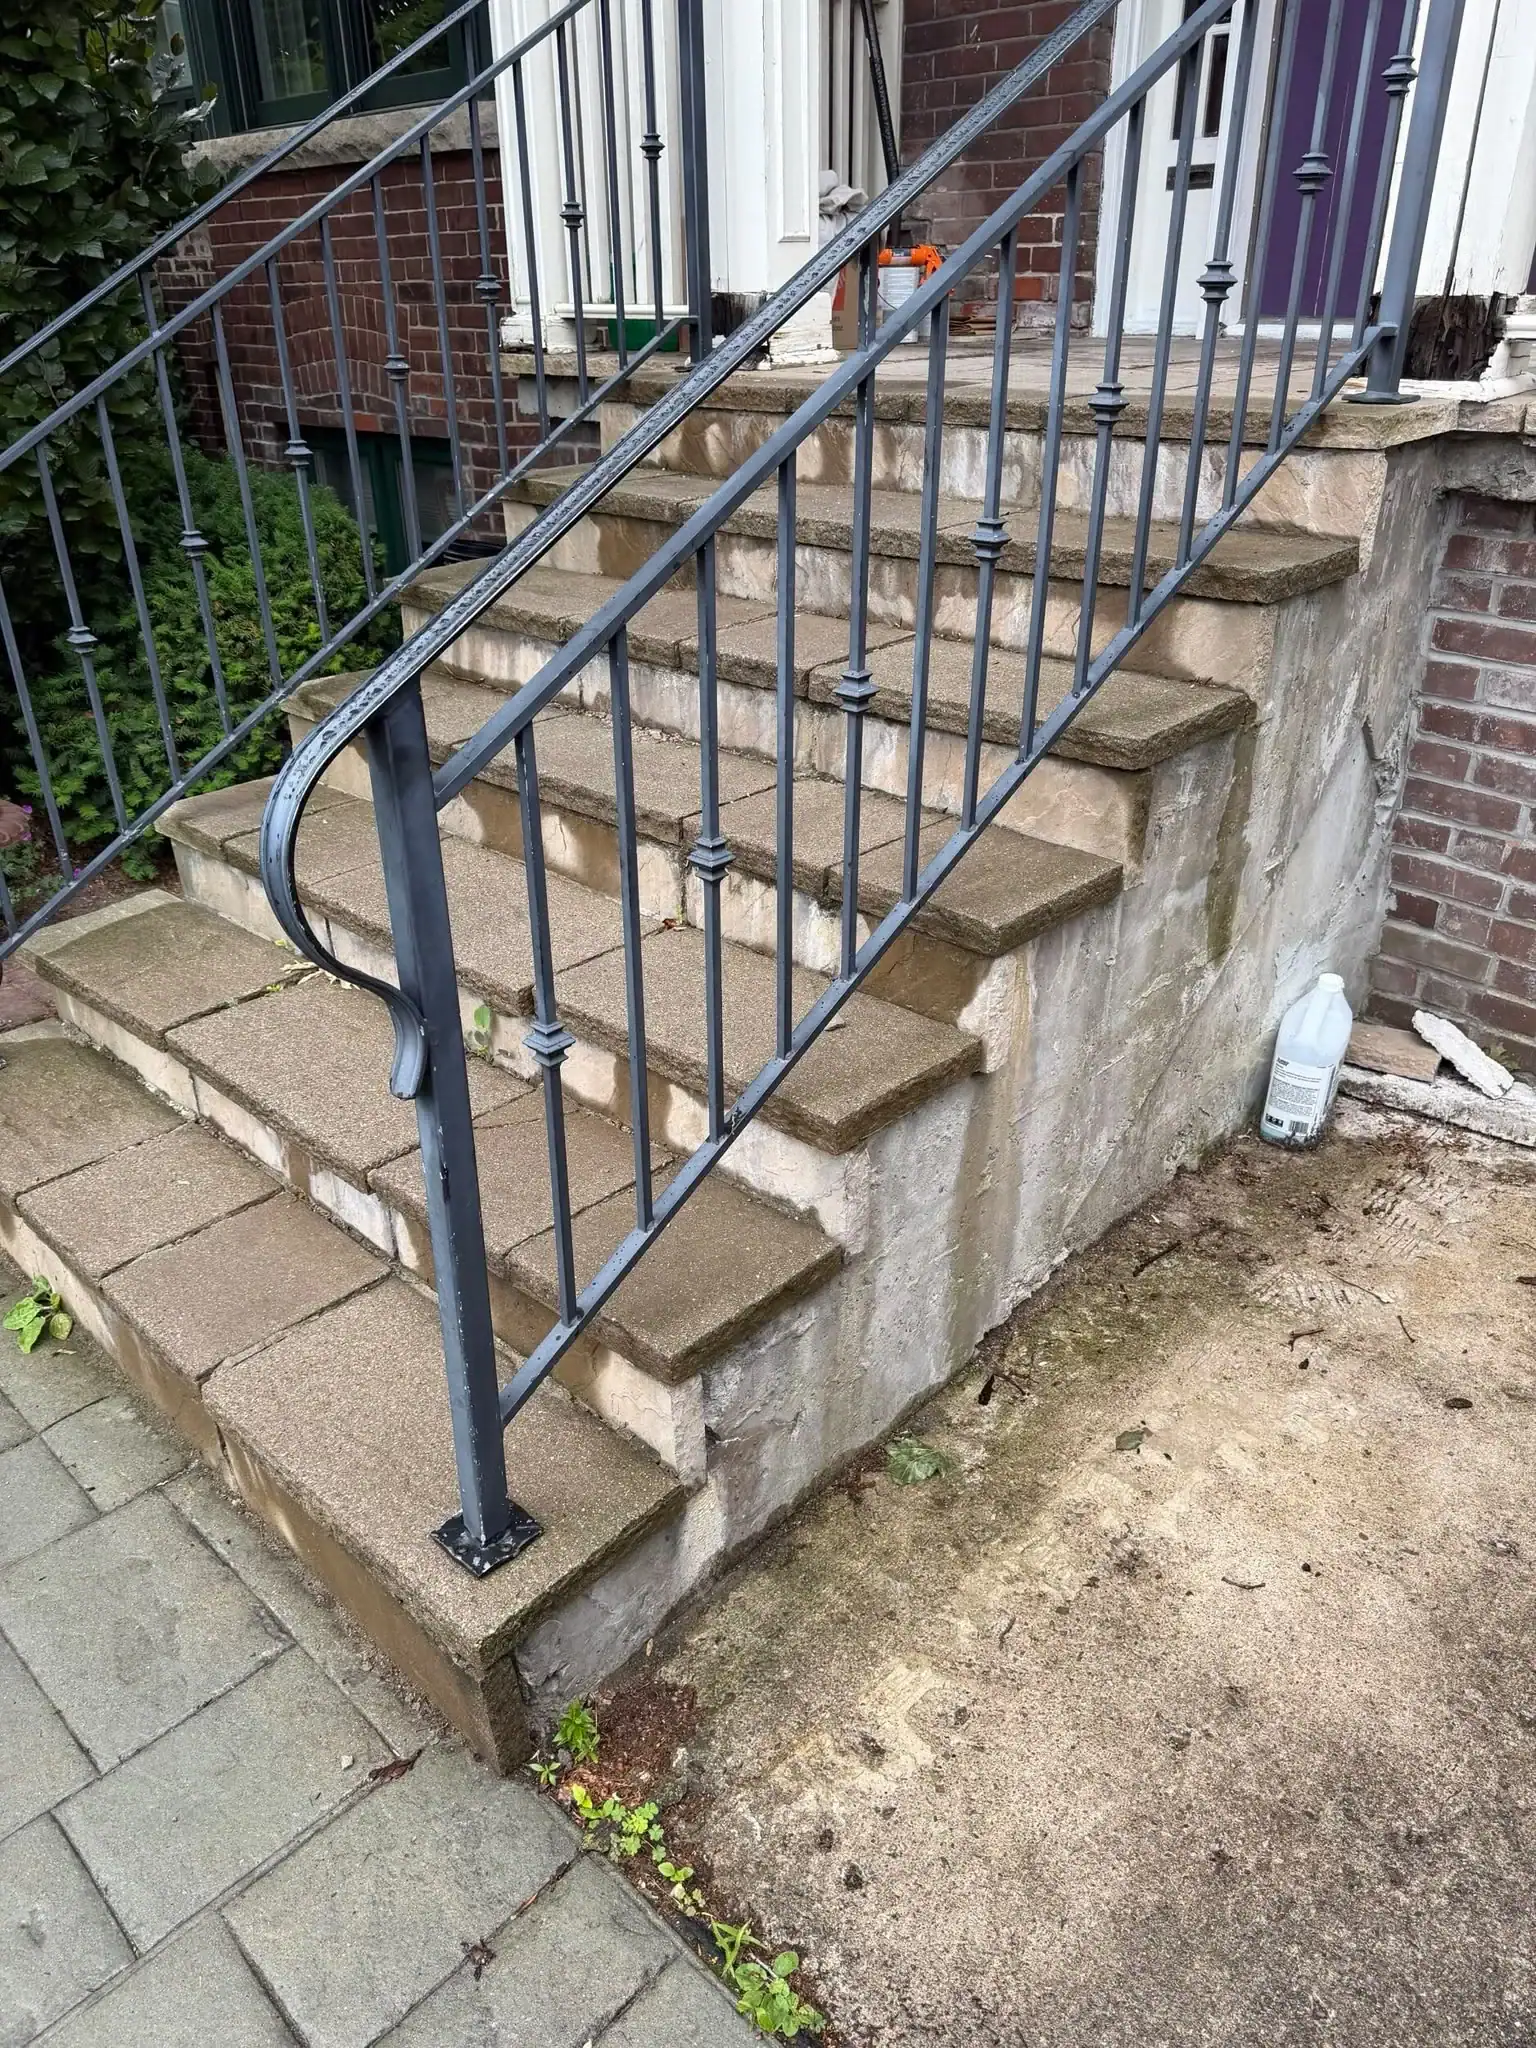
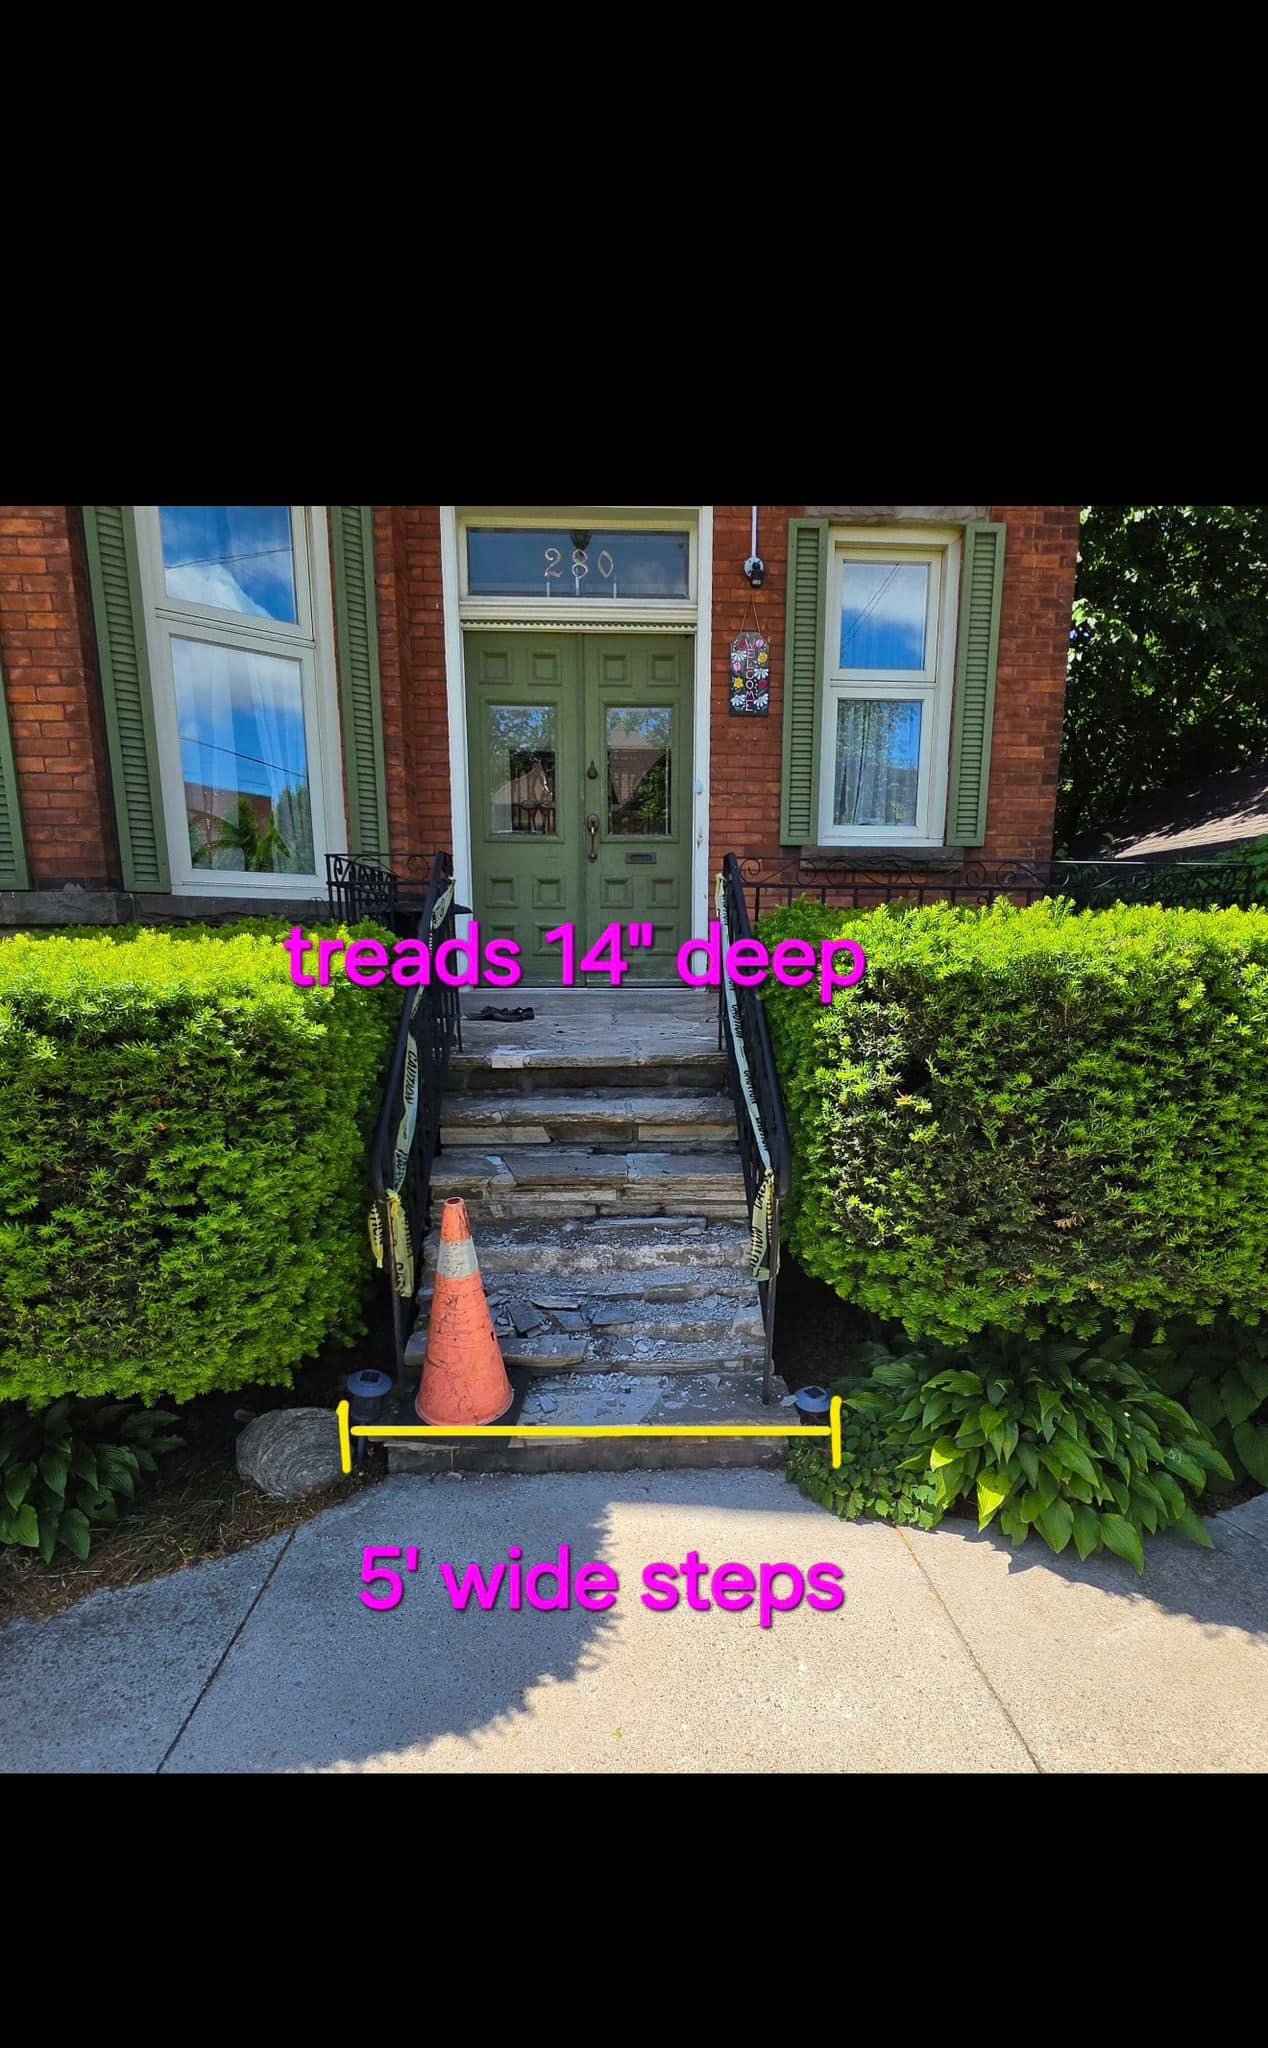
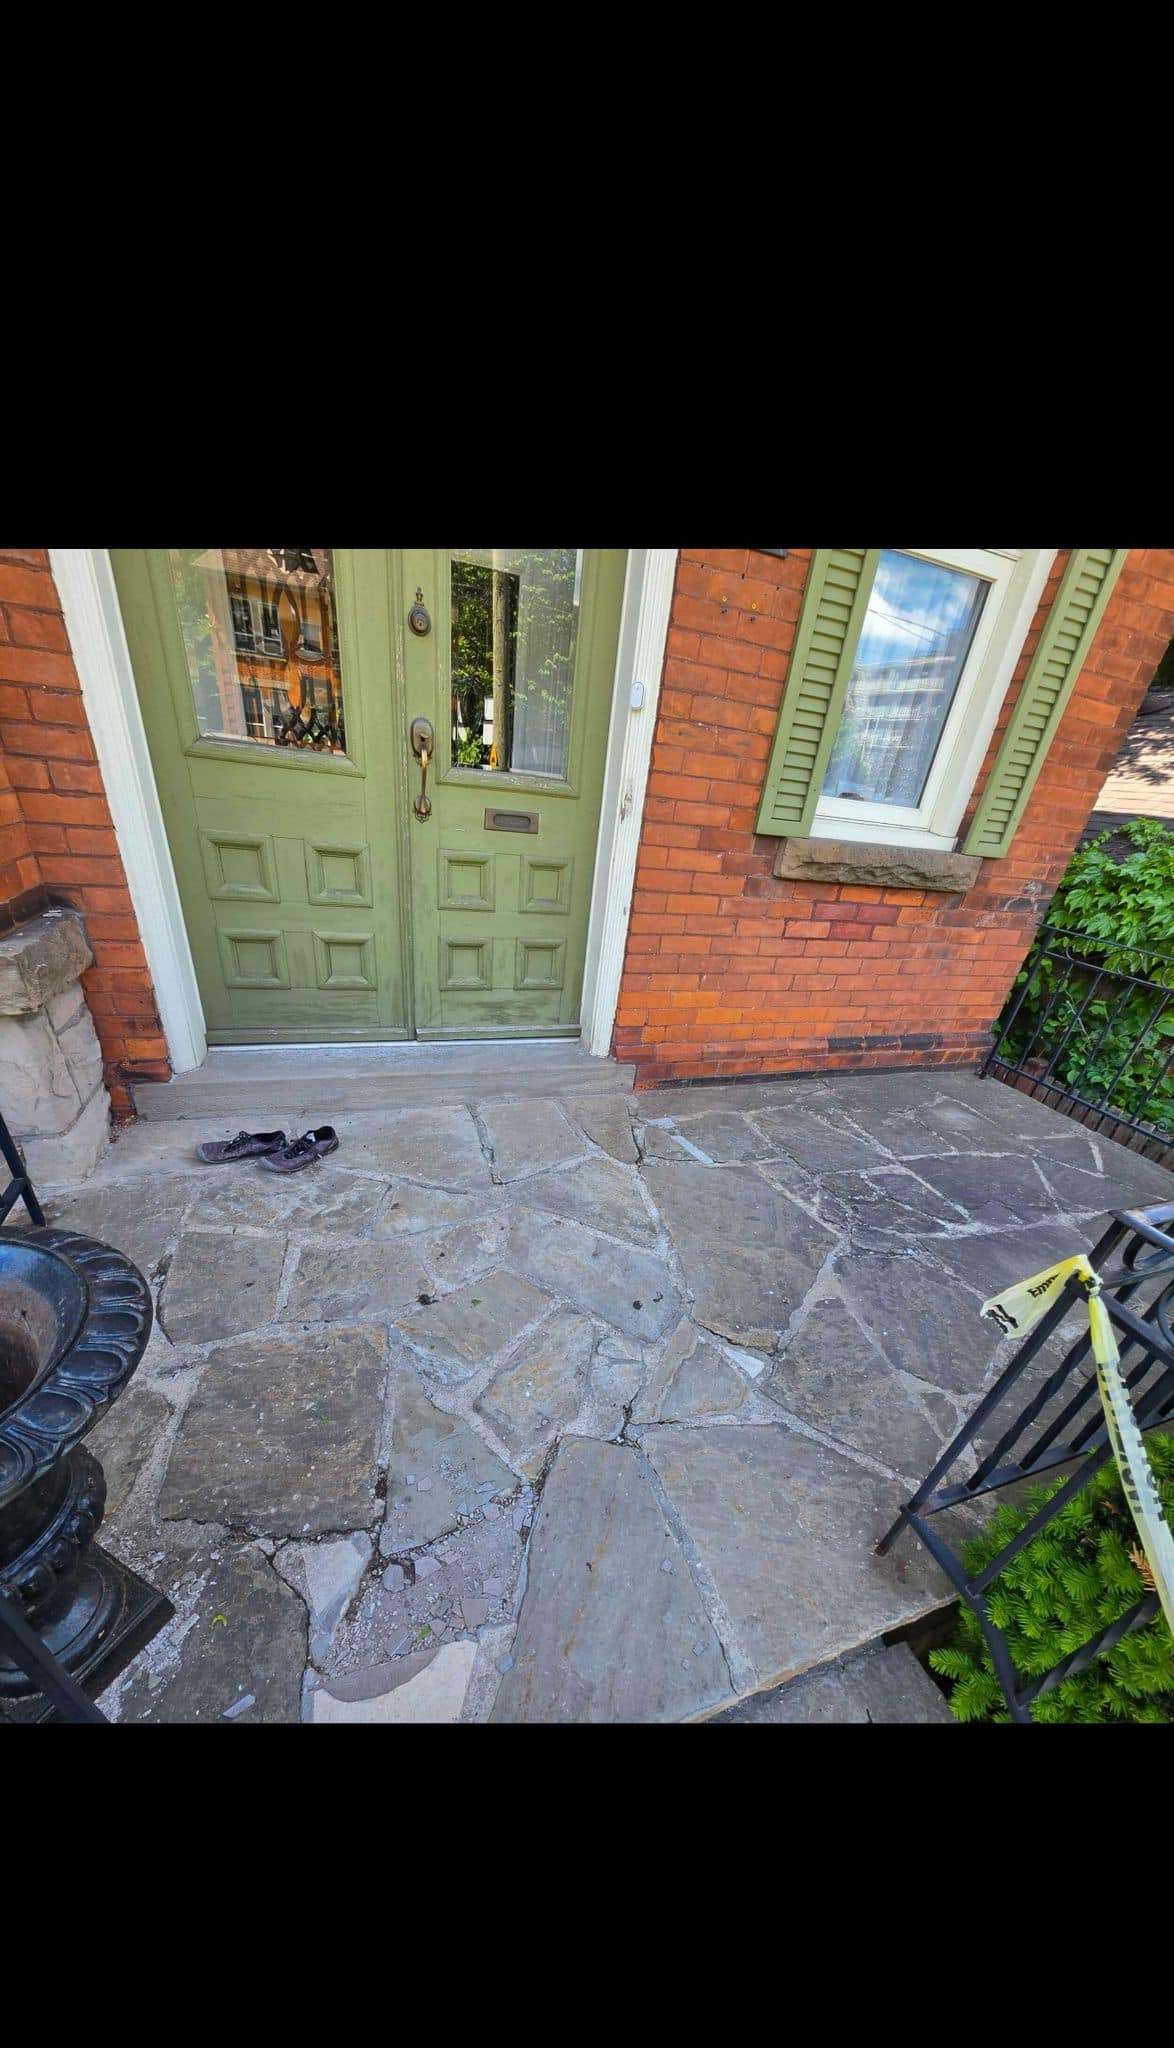
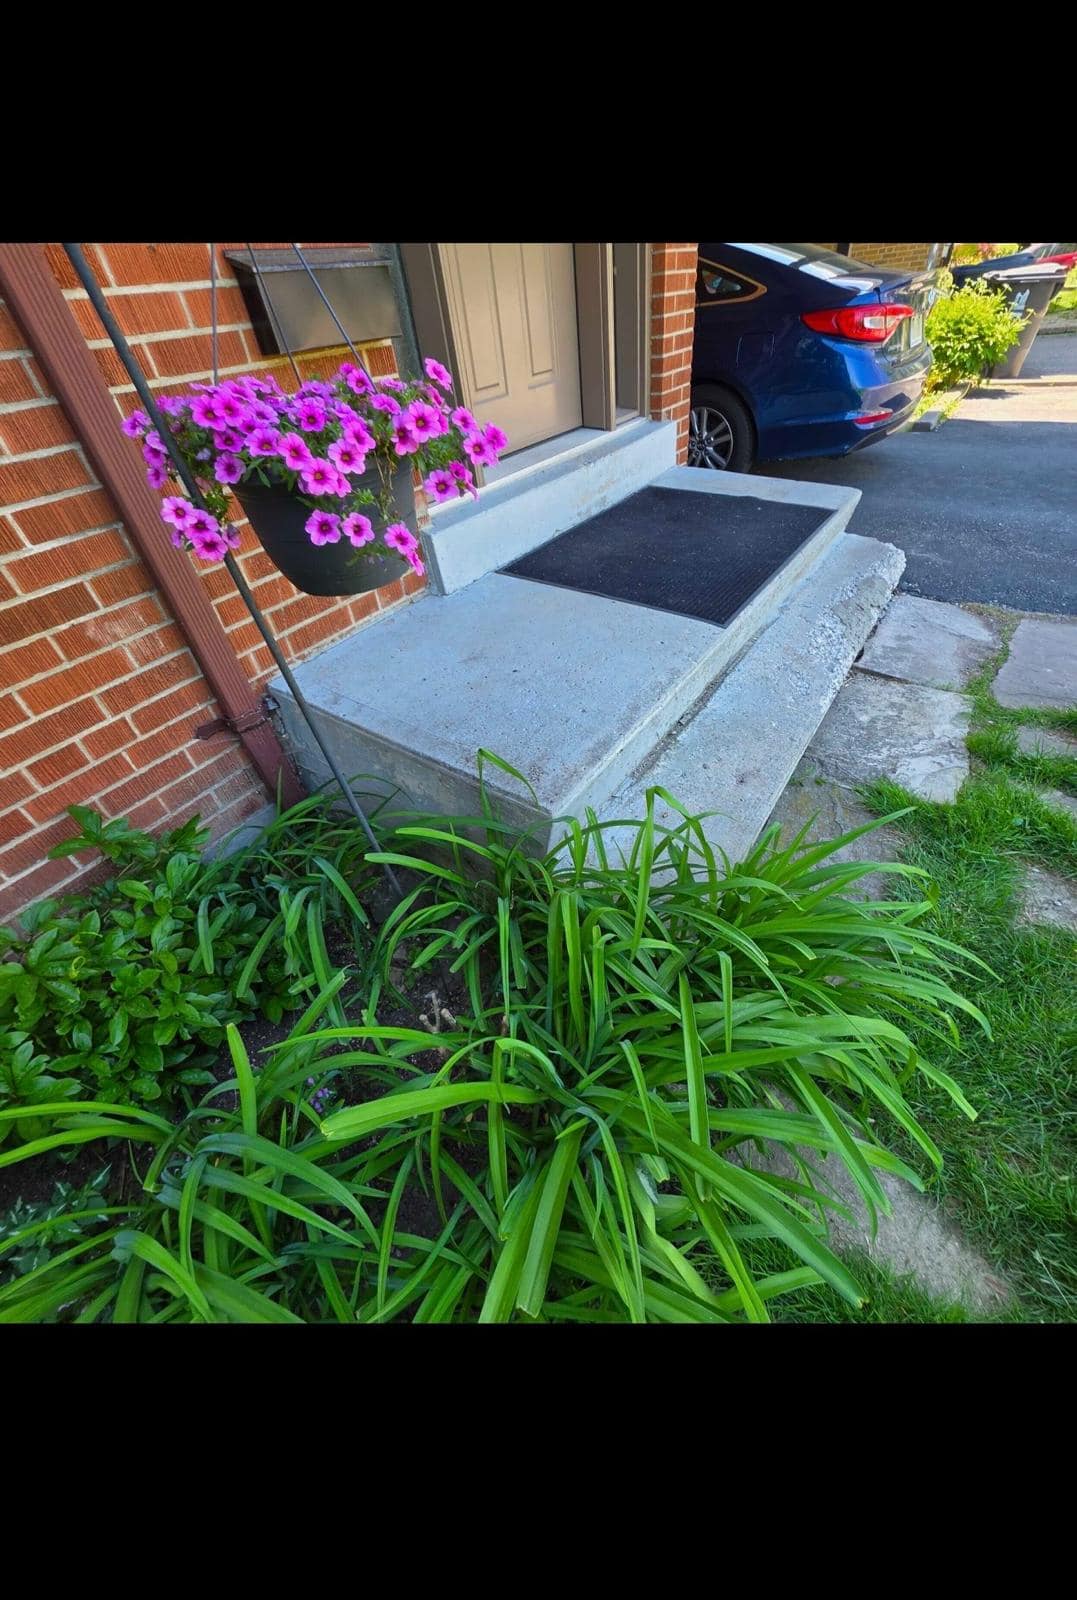
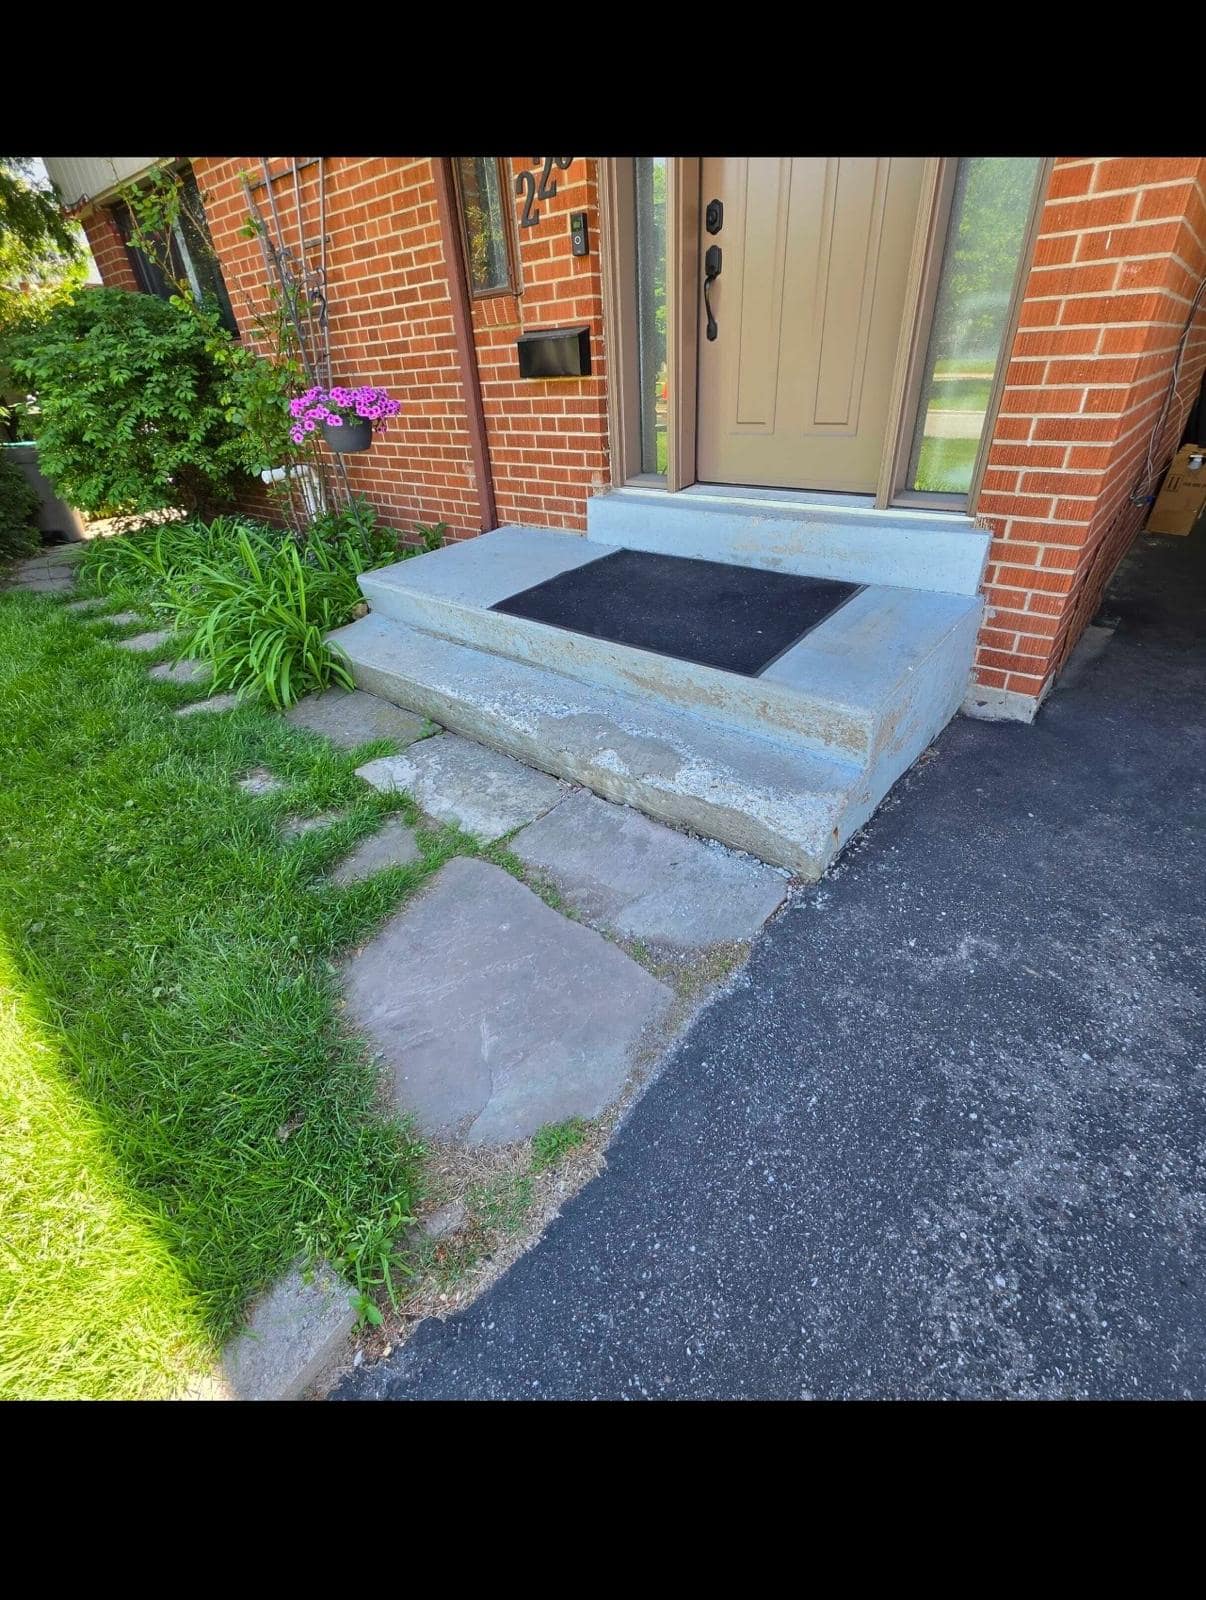
- Uneven, loose, or sinking steps
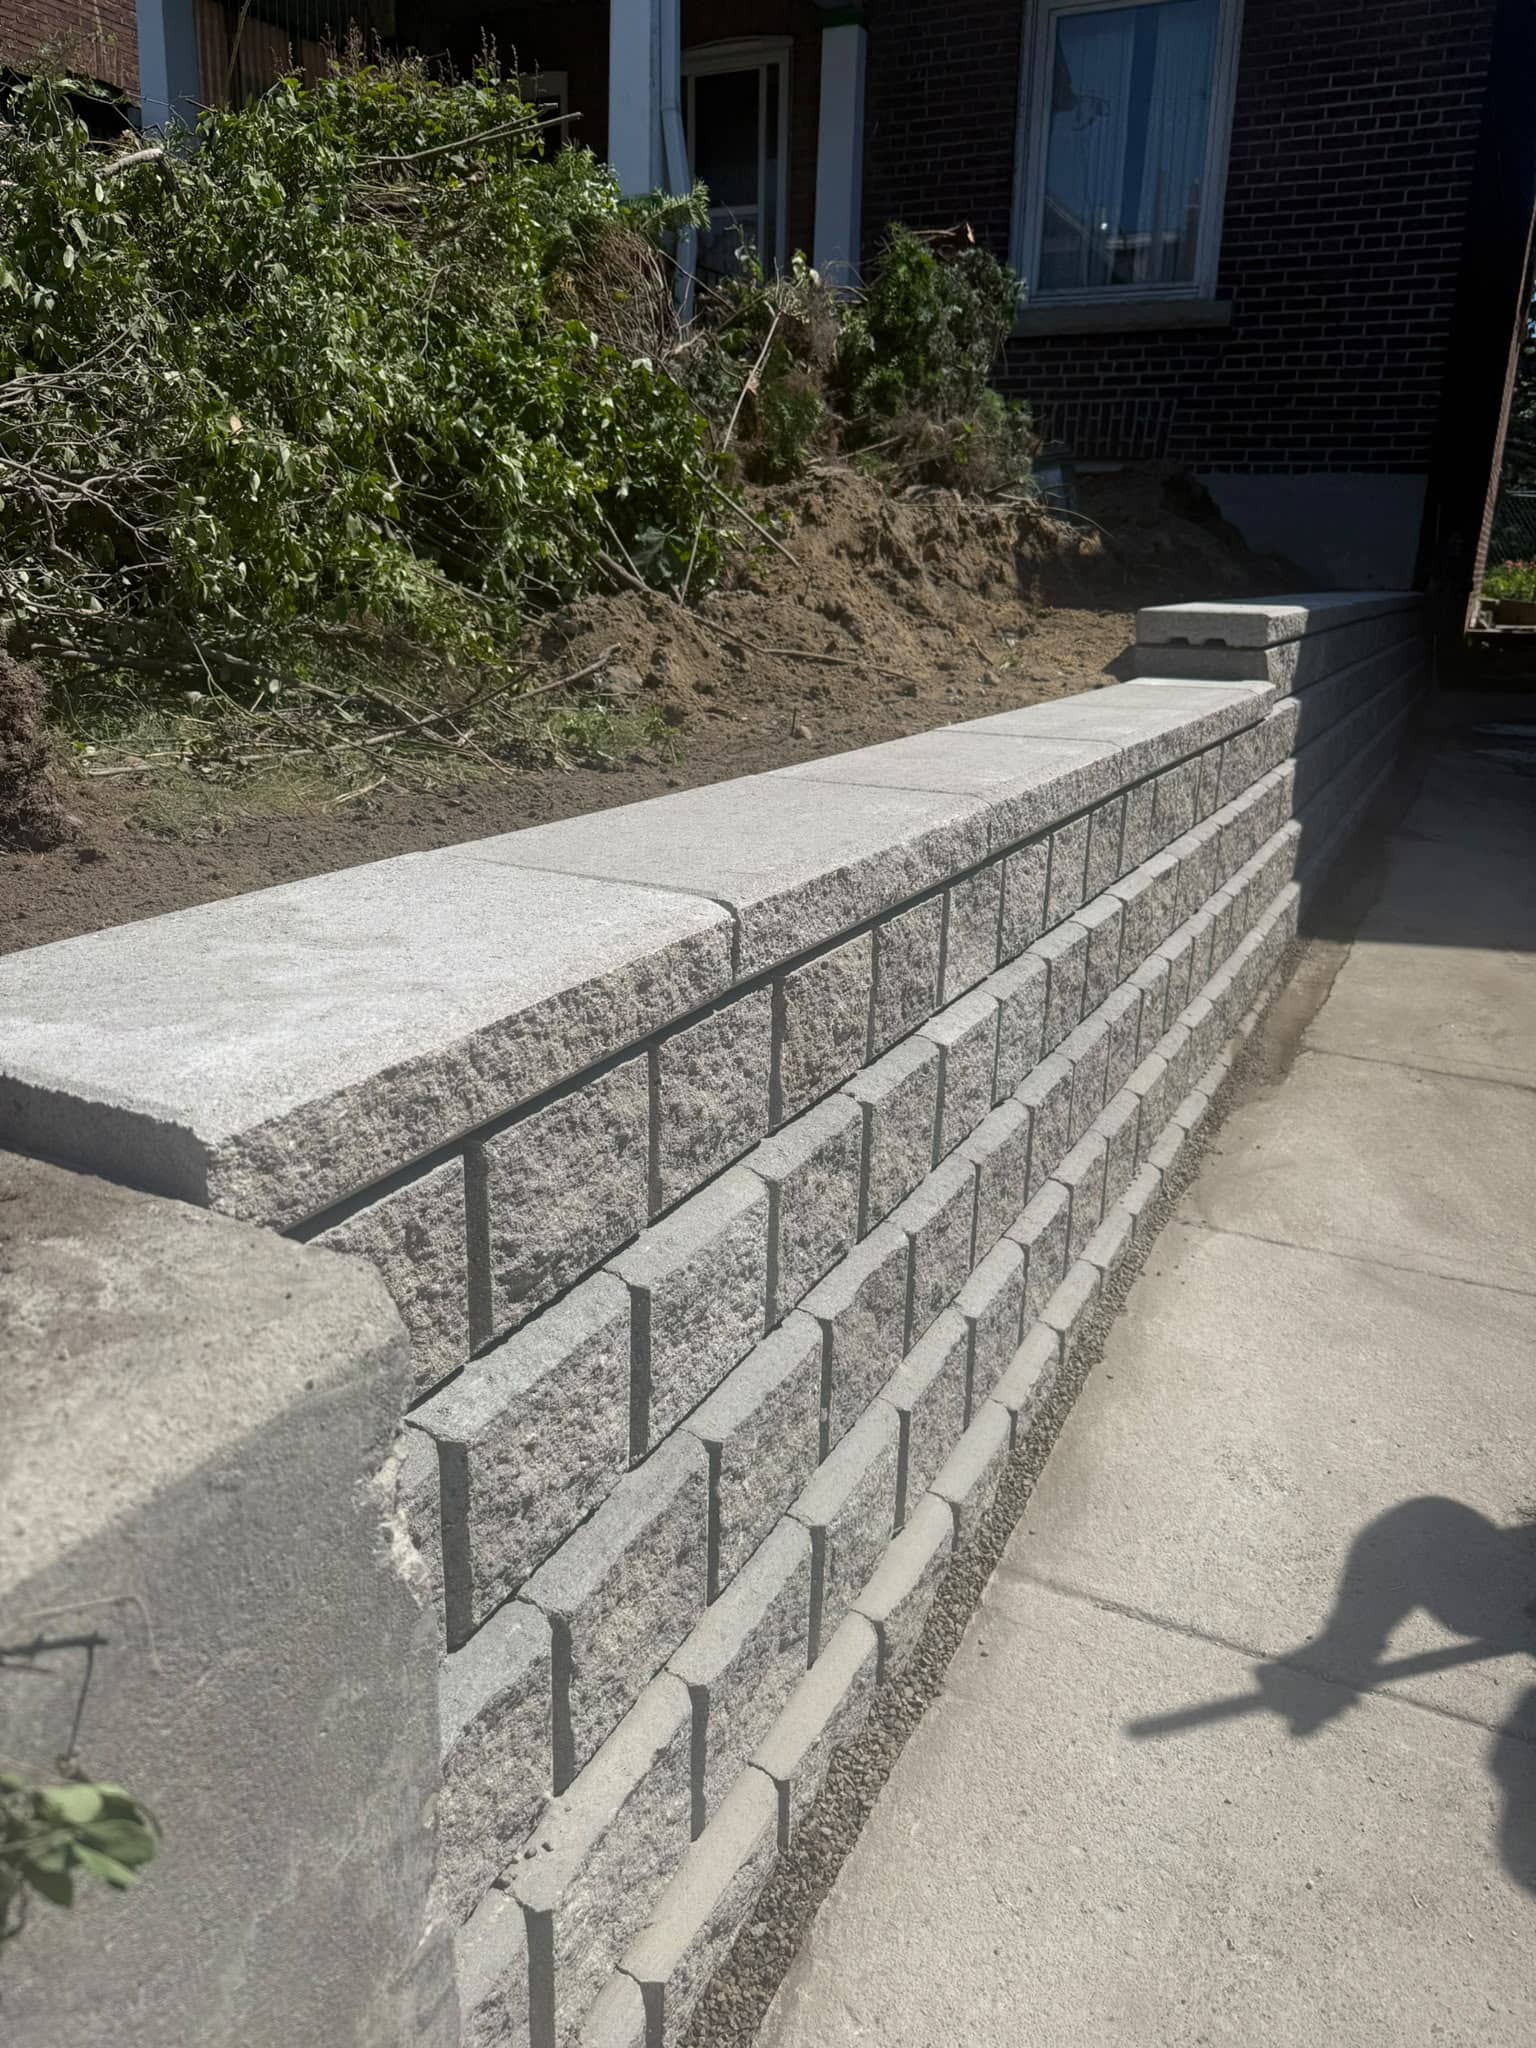
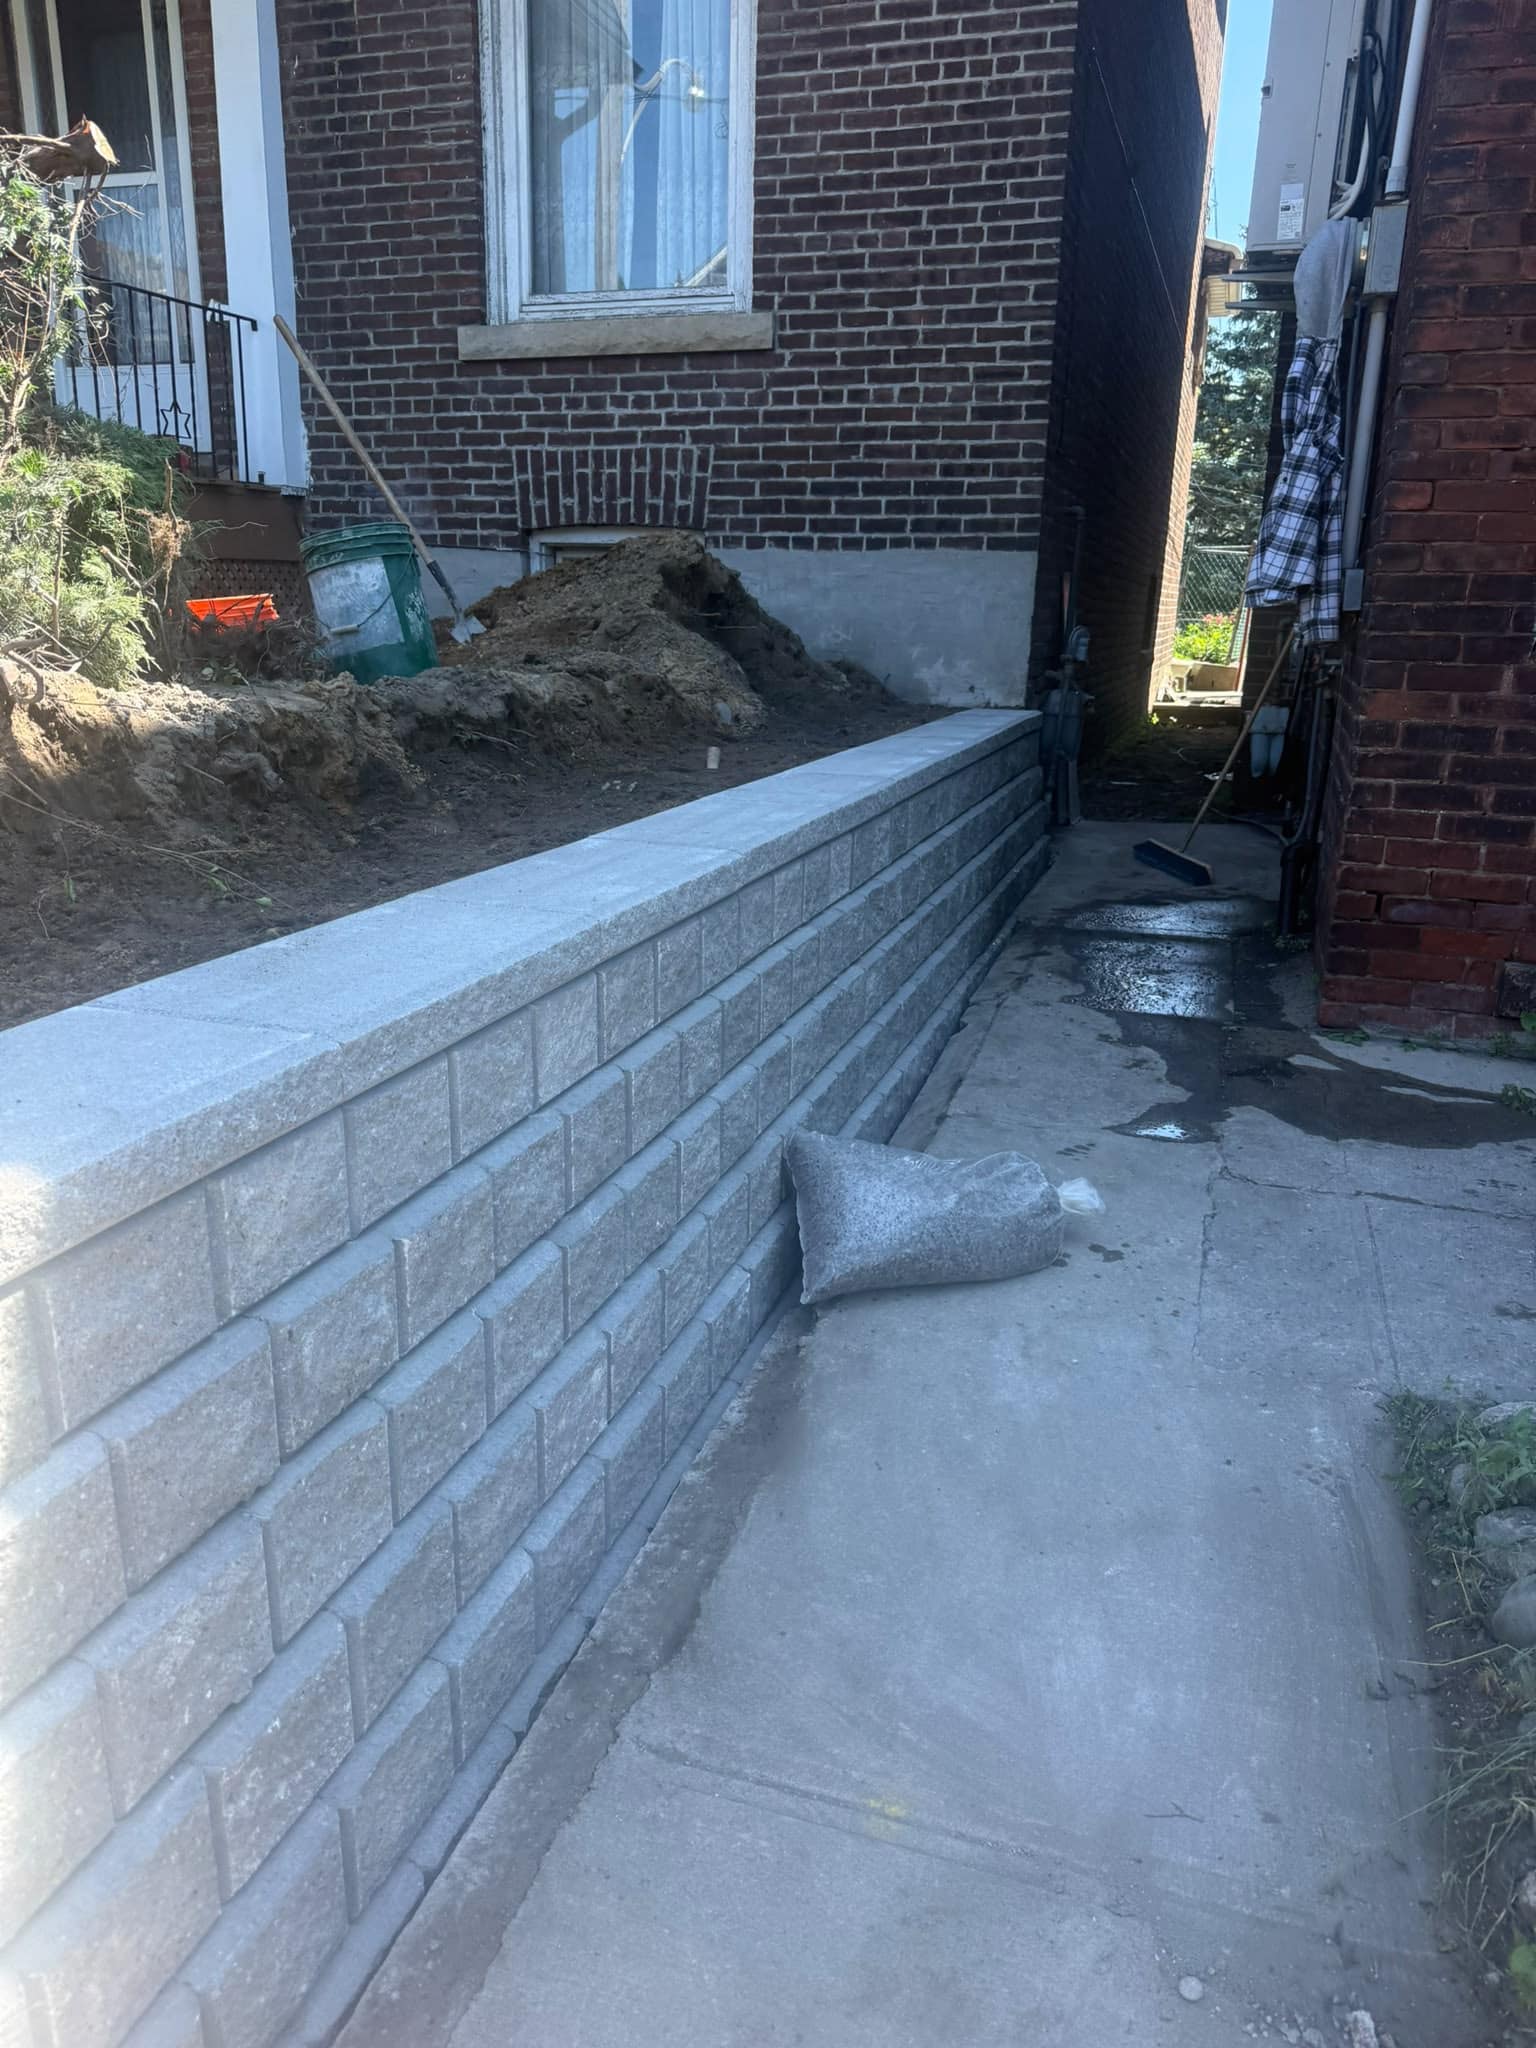
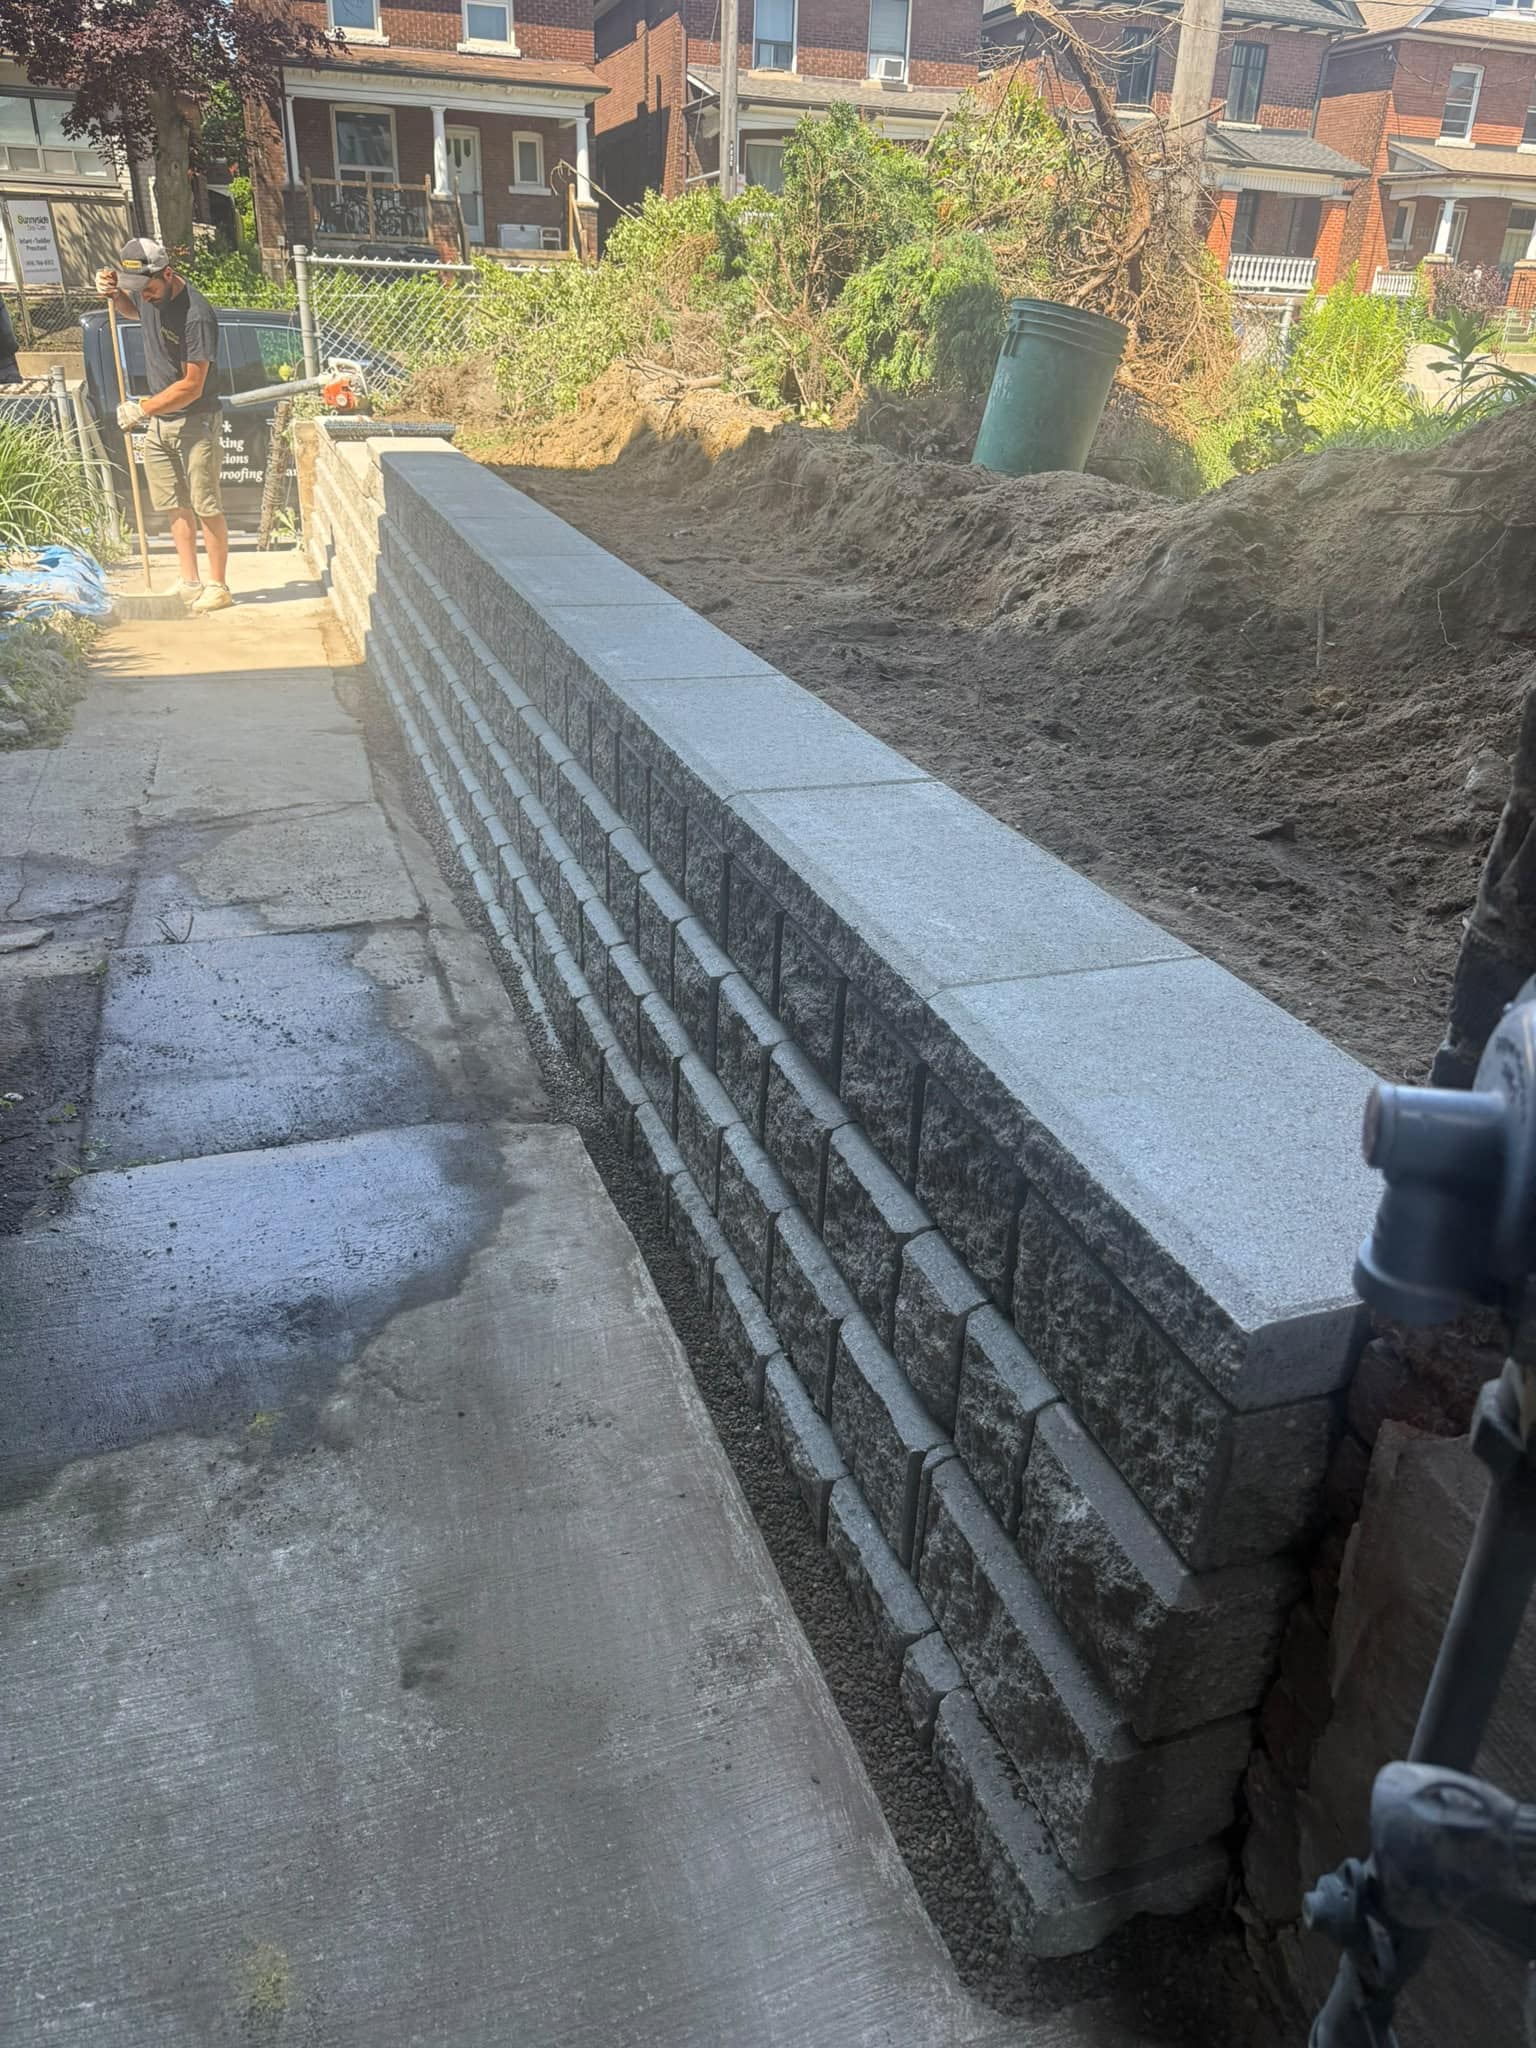
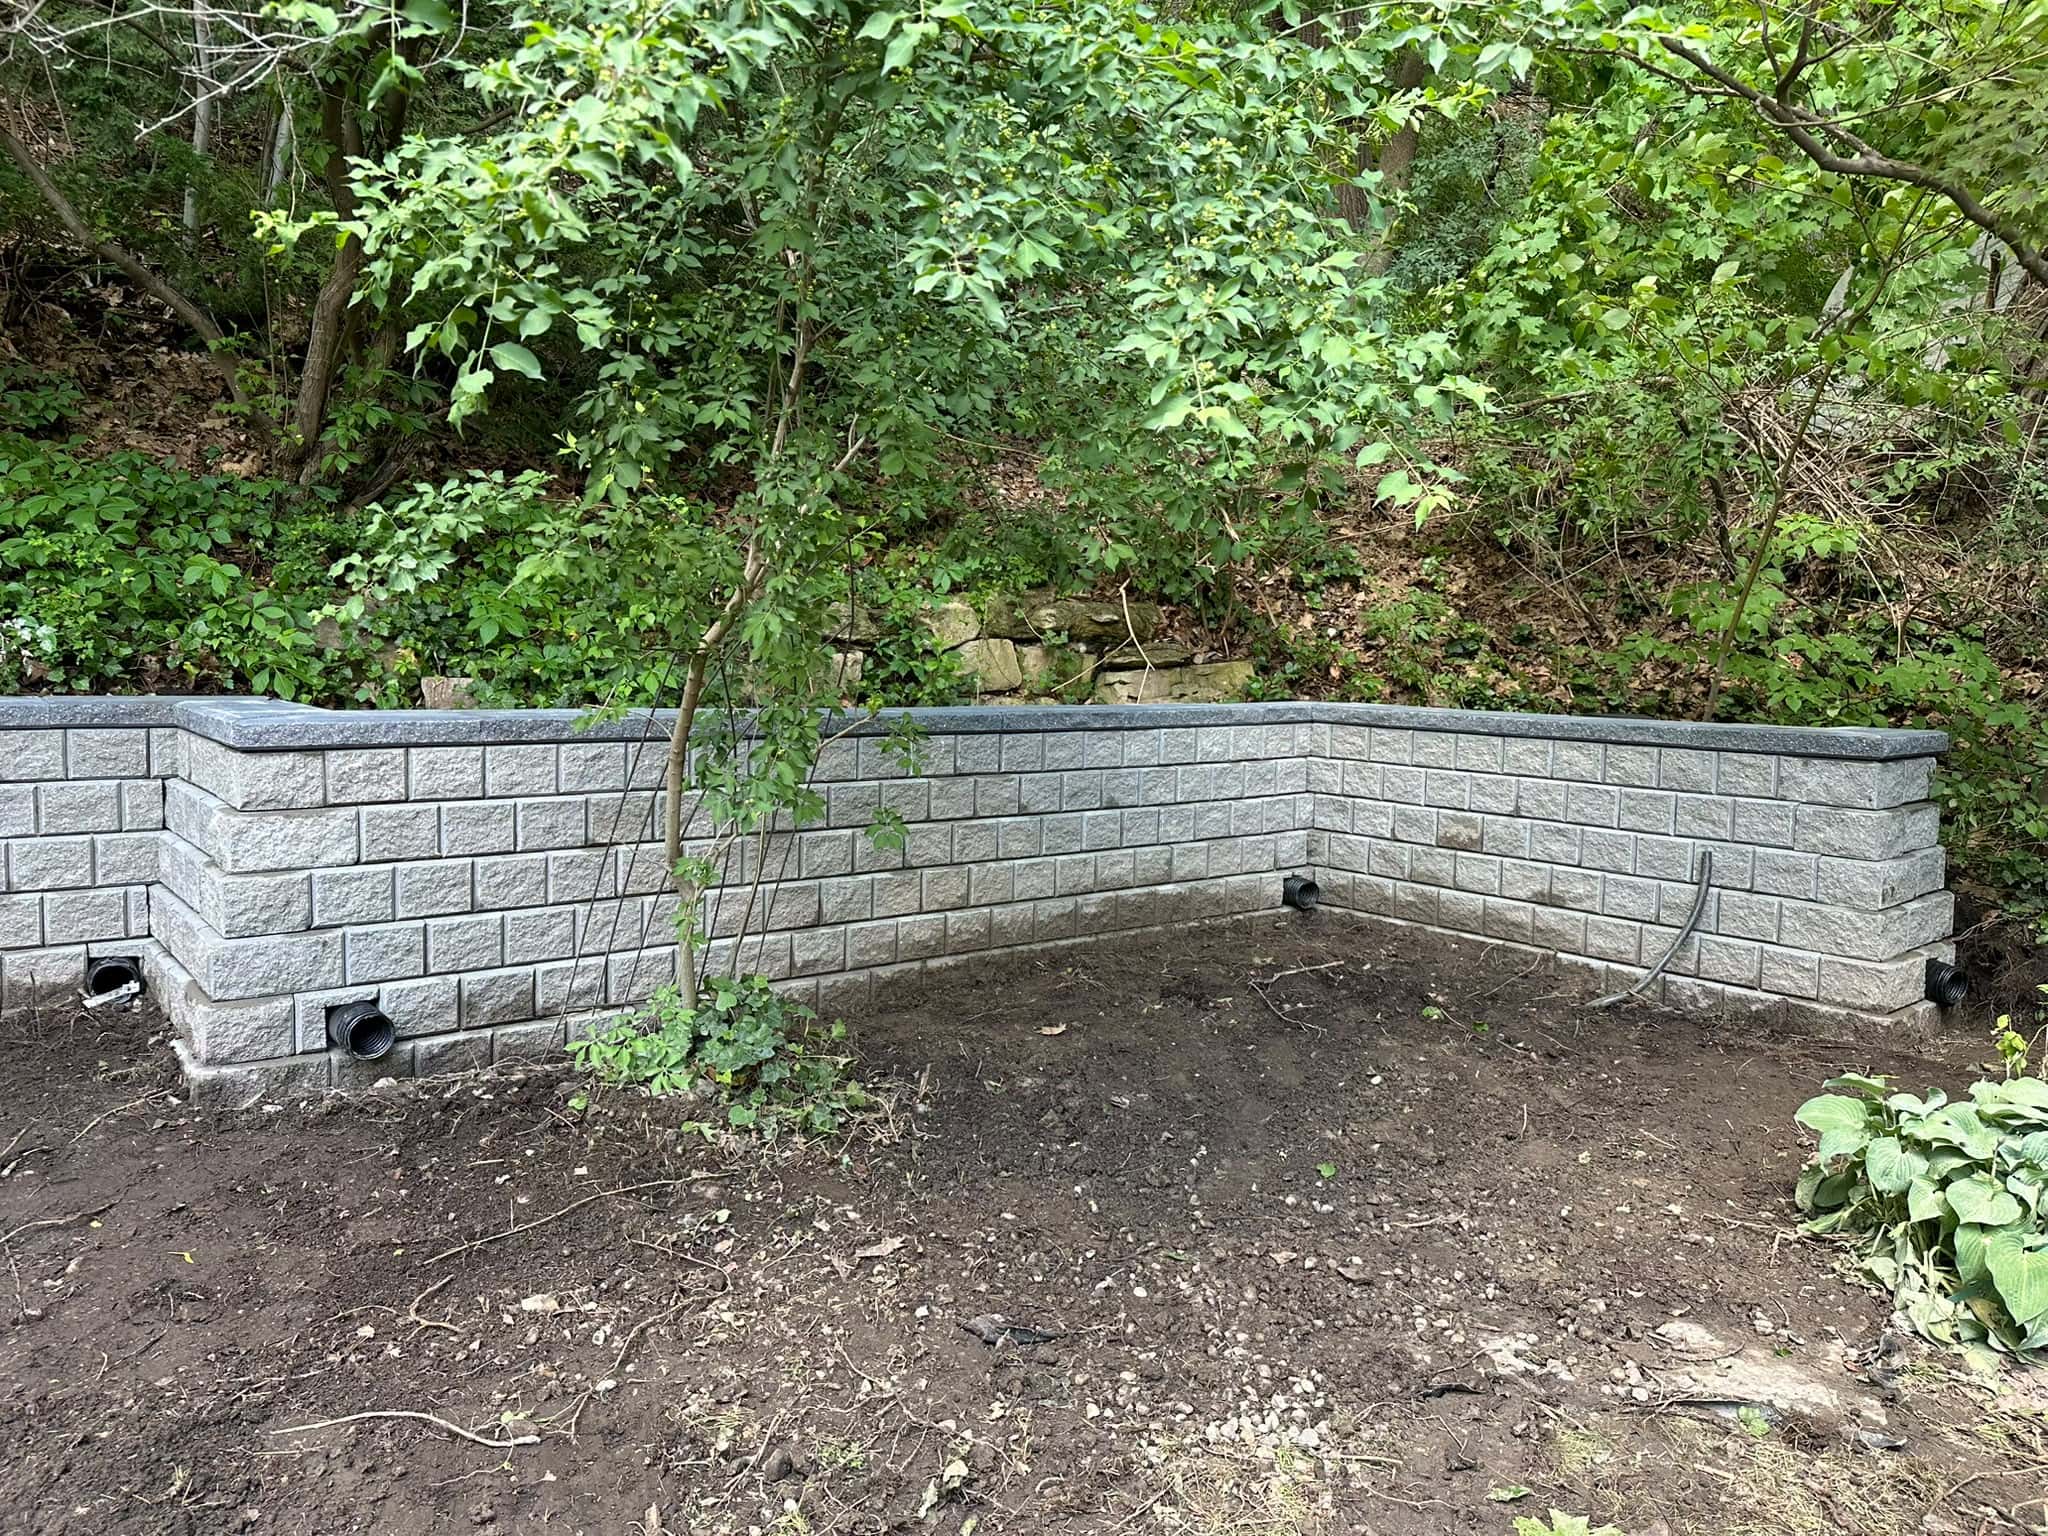
- Retaining walls that are leaning, cracking, or holding back a slope
- Foundation cracks with moisture, movement, or interior staining
- Any repair requiring grinding, cutting, drilling, roof access, or heavy lifting
If you see these issues, the safer path is professional inspection. A&A Masonry’s brick repair Toronto page explains how damaged brickwork can involve water, mortar failure, structural concerns, and matching issues.
What Homeowners Can Do Before Calling a Mason
Homeowners can still take useful steps before calling a mason. The goal is to document the issue and reduce obvious risks without disturbing damaged materials.
- Take clear photos: Include close-ups and wider shots that show the location and surrounding conditions.
- Note timing: Record whether damage appears after rain, snowmelt, winter, or heavy use.
- Check drainage: Look for water pooling near the damaged area.
- Keep the area clear: Remove leaves, soil buildup, or debris that traps moisture against masonry.
- Avoid sealing over damage: Do not cover cracks or open joints before the cause is understood.
- Keep people away from unsafe areas: Mark loose steps, falling brick risks, or areas near unstable walls.
- Write down questions: Ask whether the issue is cosmetic, repair-based, water-related, or structural.
These steps make the inspection more productive and help prevent rushed decisions. They also keep homeowners from making a repair that hides evidence a mason needs to diagnose the problem properly.
DIY Masonry Safety Checklist
A simple checklist can help homeowners decide whether a masonry task is reasonable or too risky.
- Is the work at ground level? If not, the risk of falling increases quickly.
- Will you cut, grind, drill, or chip masonry? If yes, silica dust becomes a serious concern.
- Is the area structural? Walls, chimneys, foundations, retaining walls, and steps need caution.
- Is water involved? Leaks, stains, dampness, and efflorescence usually need diagnosis first.
- Are materials loose or heavy? Falling brick, stone, and concrete can cause injury.
- Could the repair trap moisture? Sealants and patches can make the problem worse if used incorrectly.
- Could a permit apply? Check before changing structure, openings, entrances, or major exterior features.
- Do you know why the damage happened? If not, repair may be premature.
If several answers raise concern, the project is probably not a safe DIY repair.
When Professional Help Makes More Sense
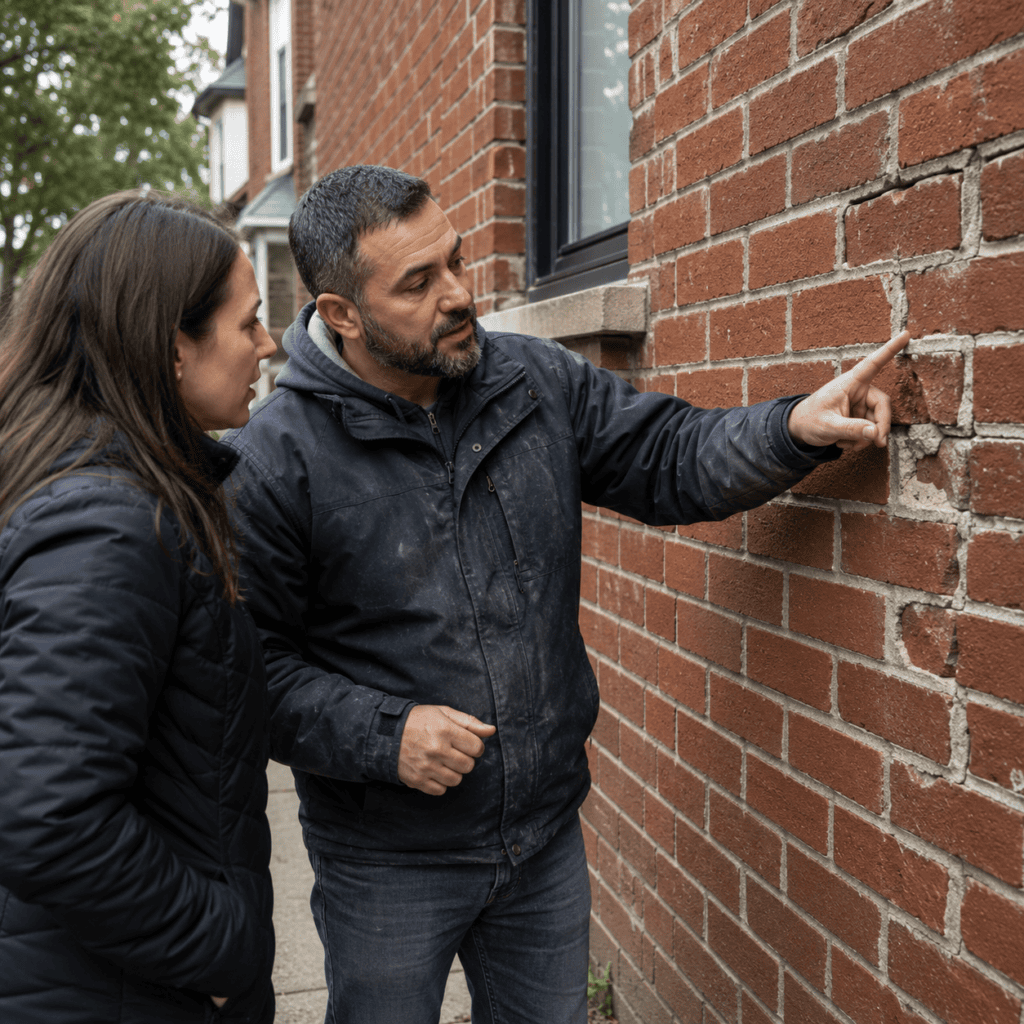
Professional help makes more sense when masonry work involves structural integrity, safety, water intrusion, height, heavy materials, silica dust, older brick, or recurring damage. A mason can identify whether the problem is cosmetic, moisture-related, structural, or due to poor prior repairs.
A professional can also properly match materials, safely remove damaged mortar, assess hidden water paths, repair brick or stone without weakening surrounding areas, and recommend whether repair, repointing, replacement, or rebuilding is the right choice.
For homeowners comparing repair options, A&A Masonry’s masonry services in Toronto page gives a broader view of brick repair, stone masonry, concrete repair, chimney repair, tuckpointing, parging, waterproofing, and exterior restoration services.
Final Thoughts on Masonry Safety on DIY Projects
Masonry safety on DIY projects comes down to knowing your limits before the work begins. Some homeowner tasks are useful, especially visual inspection, photo documentation, light cleaning, and checking drainage from the ground. But cutting, grinding, roofline work, chimney repair, structural cracks, heavy stone, loose steps, and water-damaged masonry carry risks that should not be underestimated.
For Toronto and GTA homes, freeze-thaw cycles, older brickwork, rain, snow, and hidden moisture can make masonry problems more complex than they first appear. A small crack may be a simple issue, but it may also indicate movement, water entry, failed mortar, or a need for deeper repair.
The safest approach is to inspect carefully, avoid disturbing risky materials, document what you see, and know when to bring in a professional. A good masonry repair should protect the home, not create a bigger problem behind the surface.