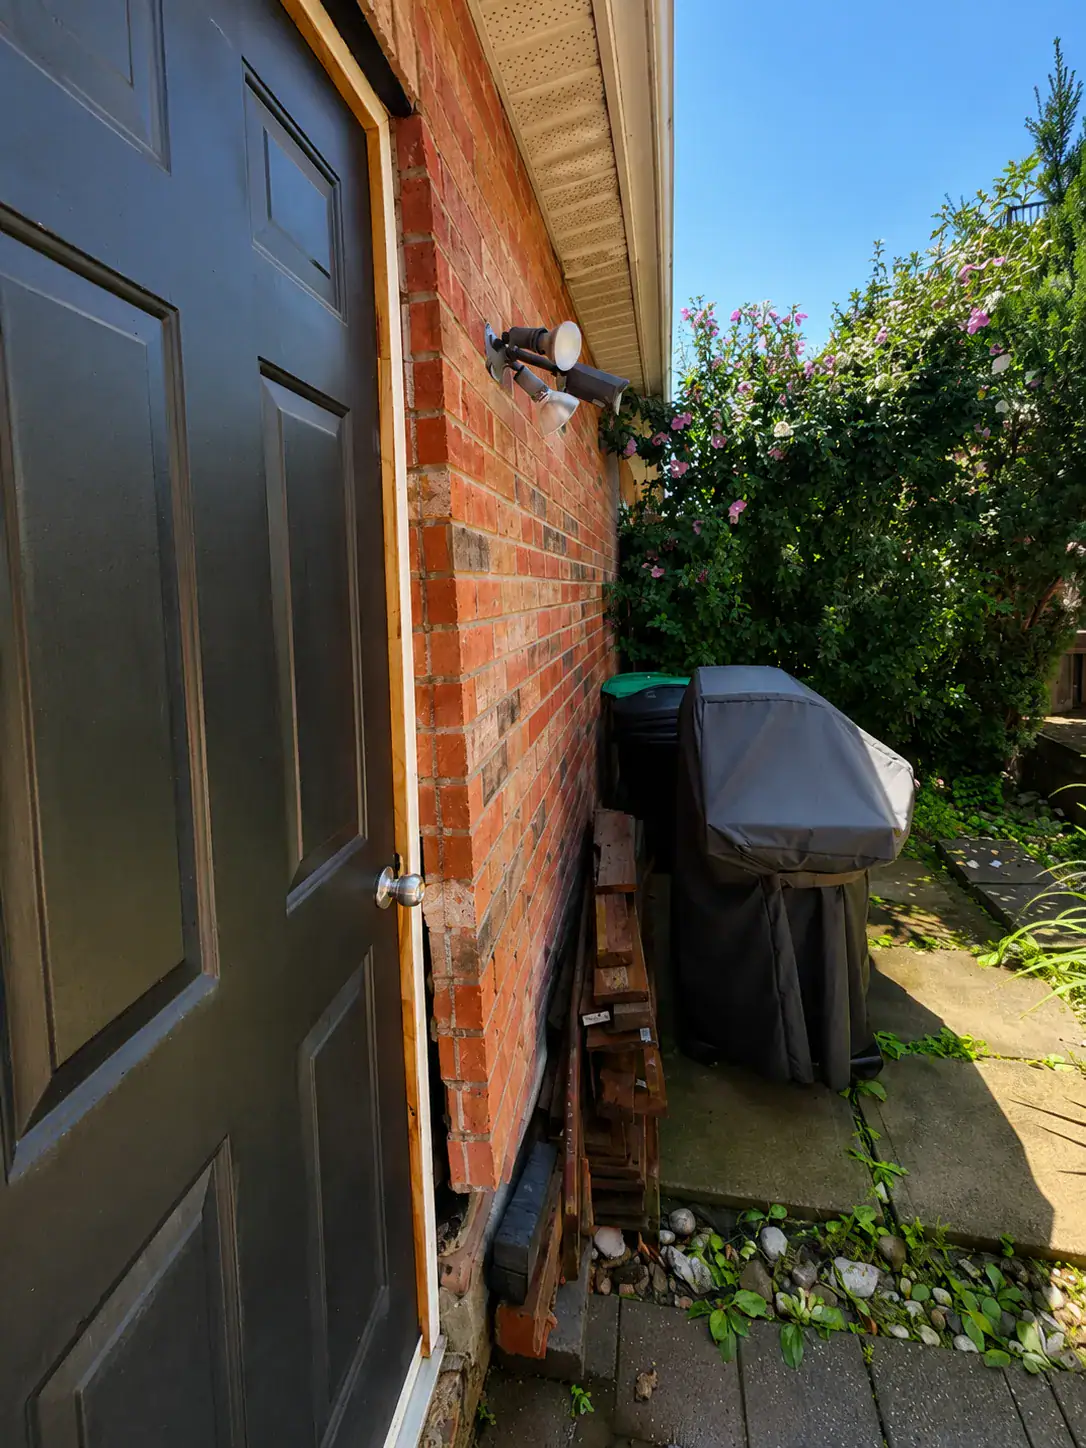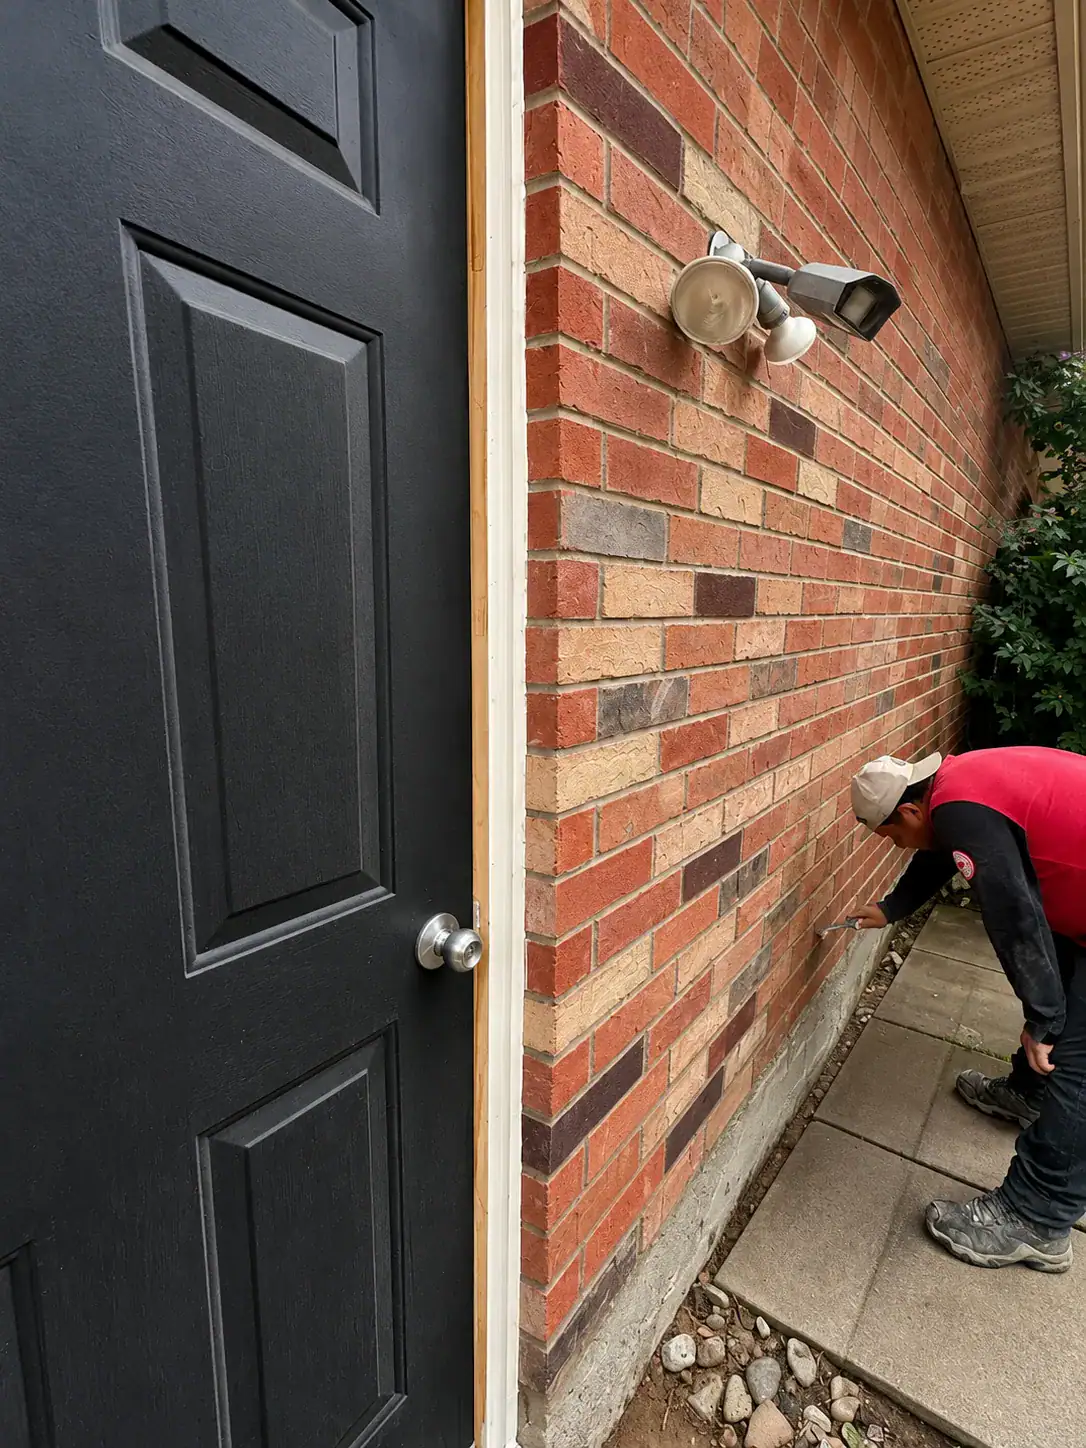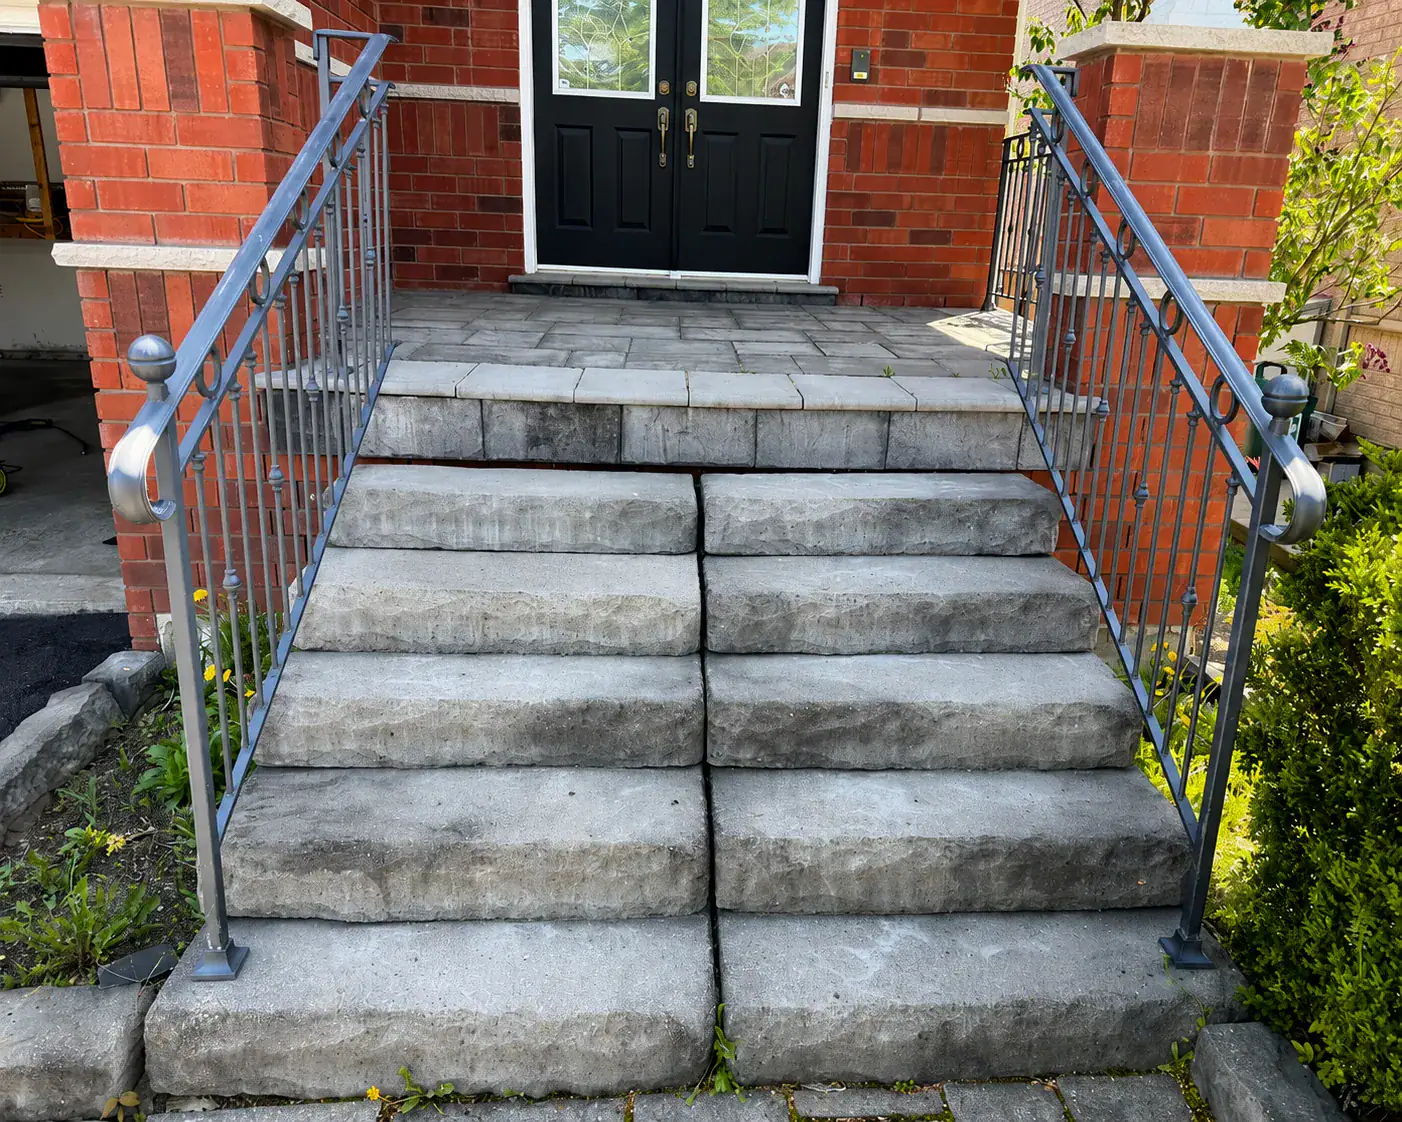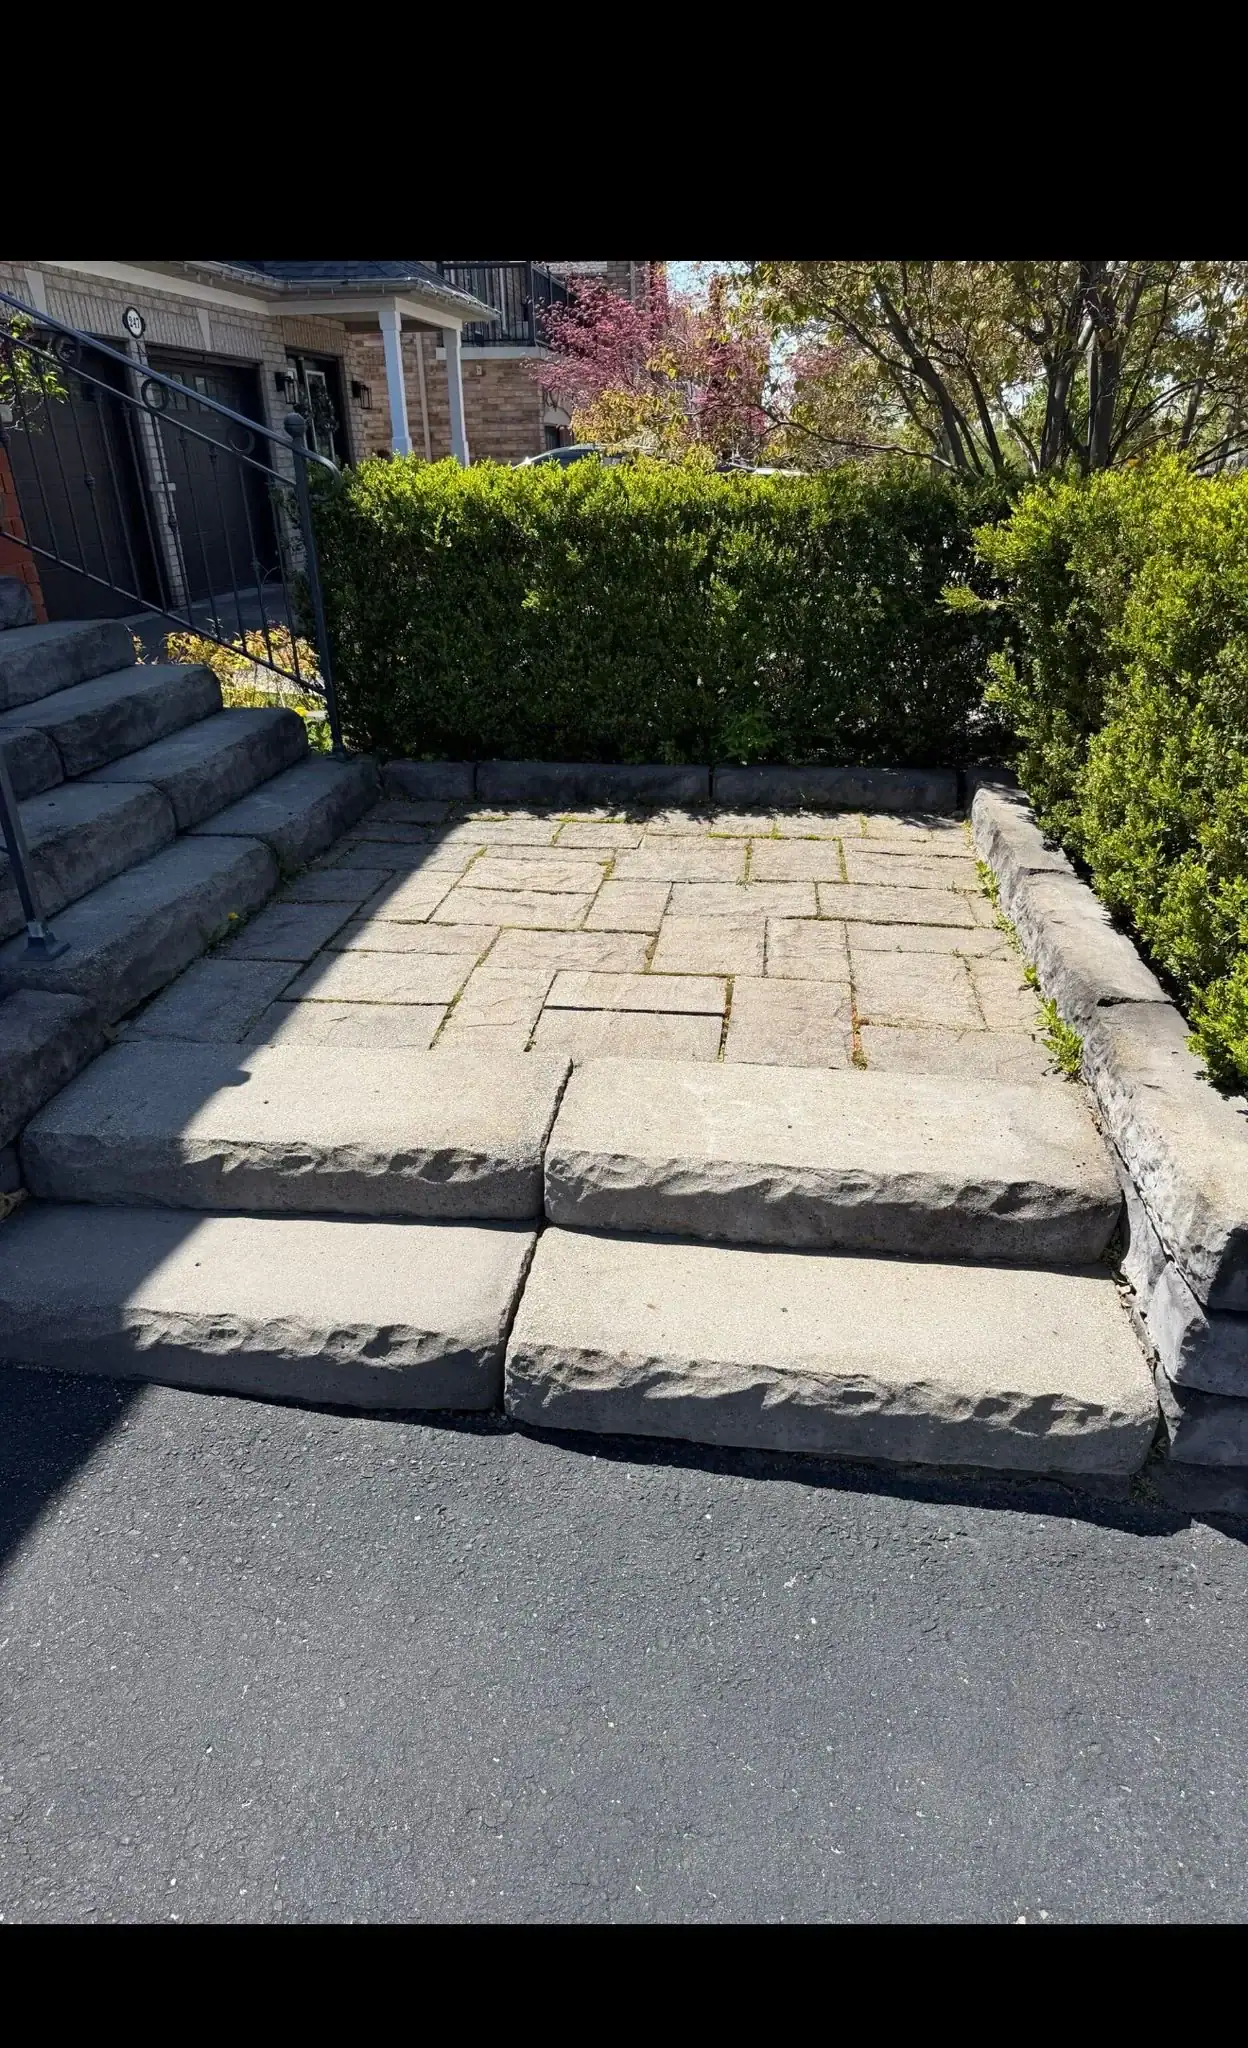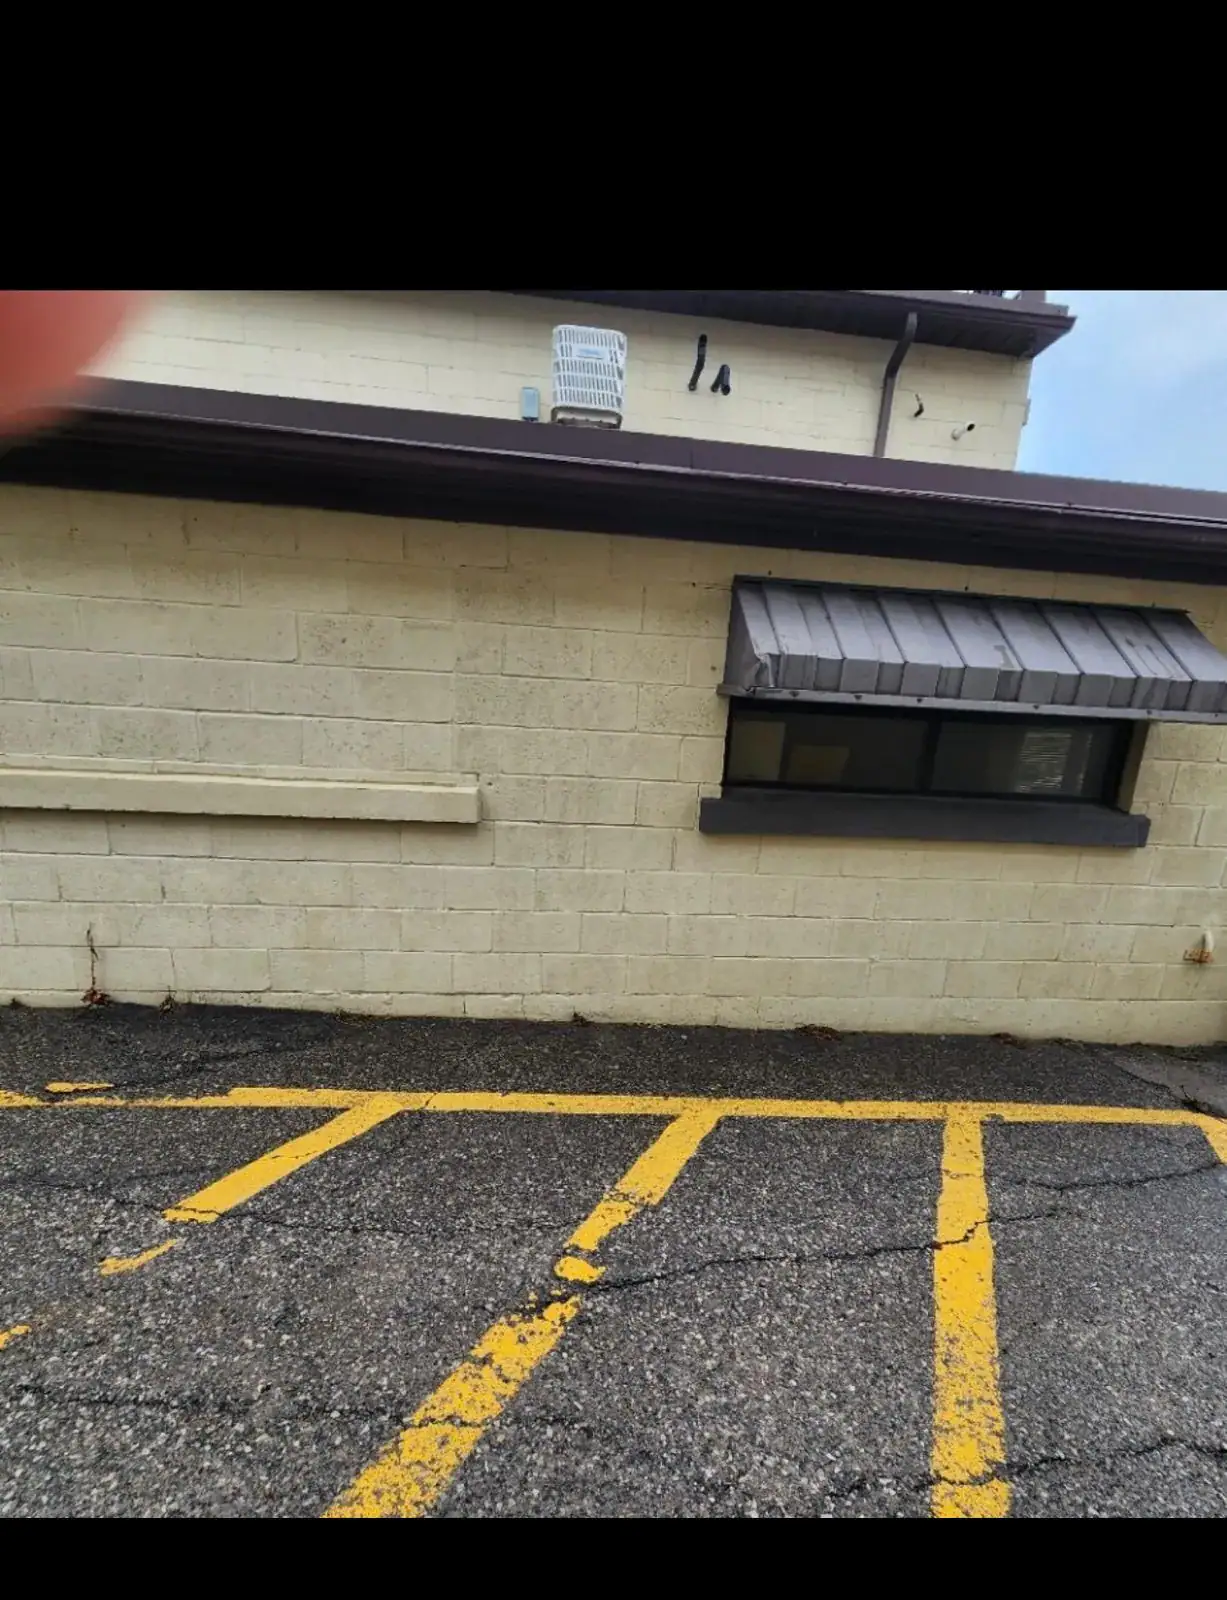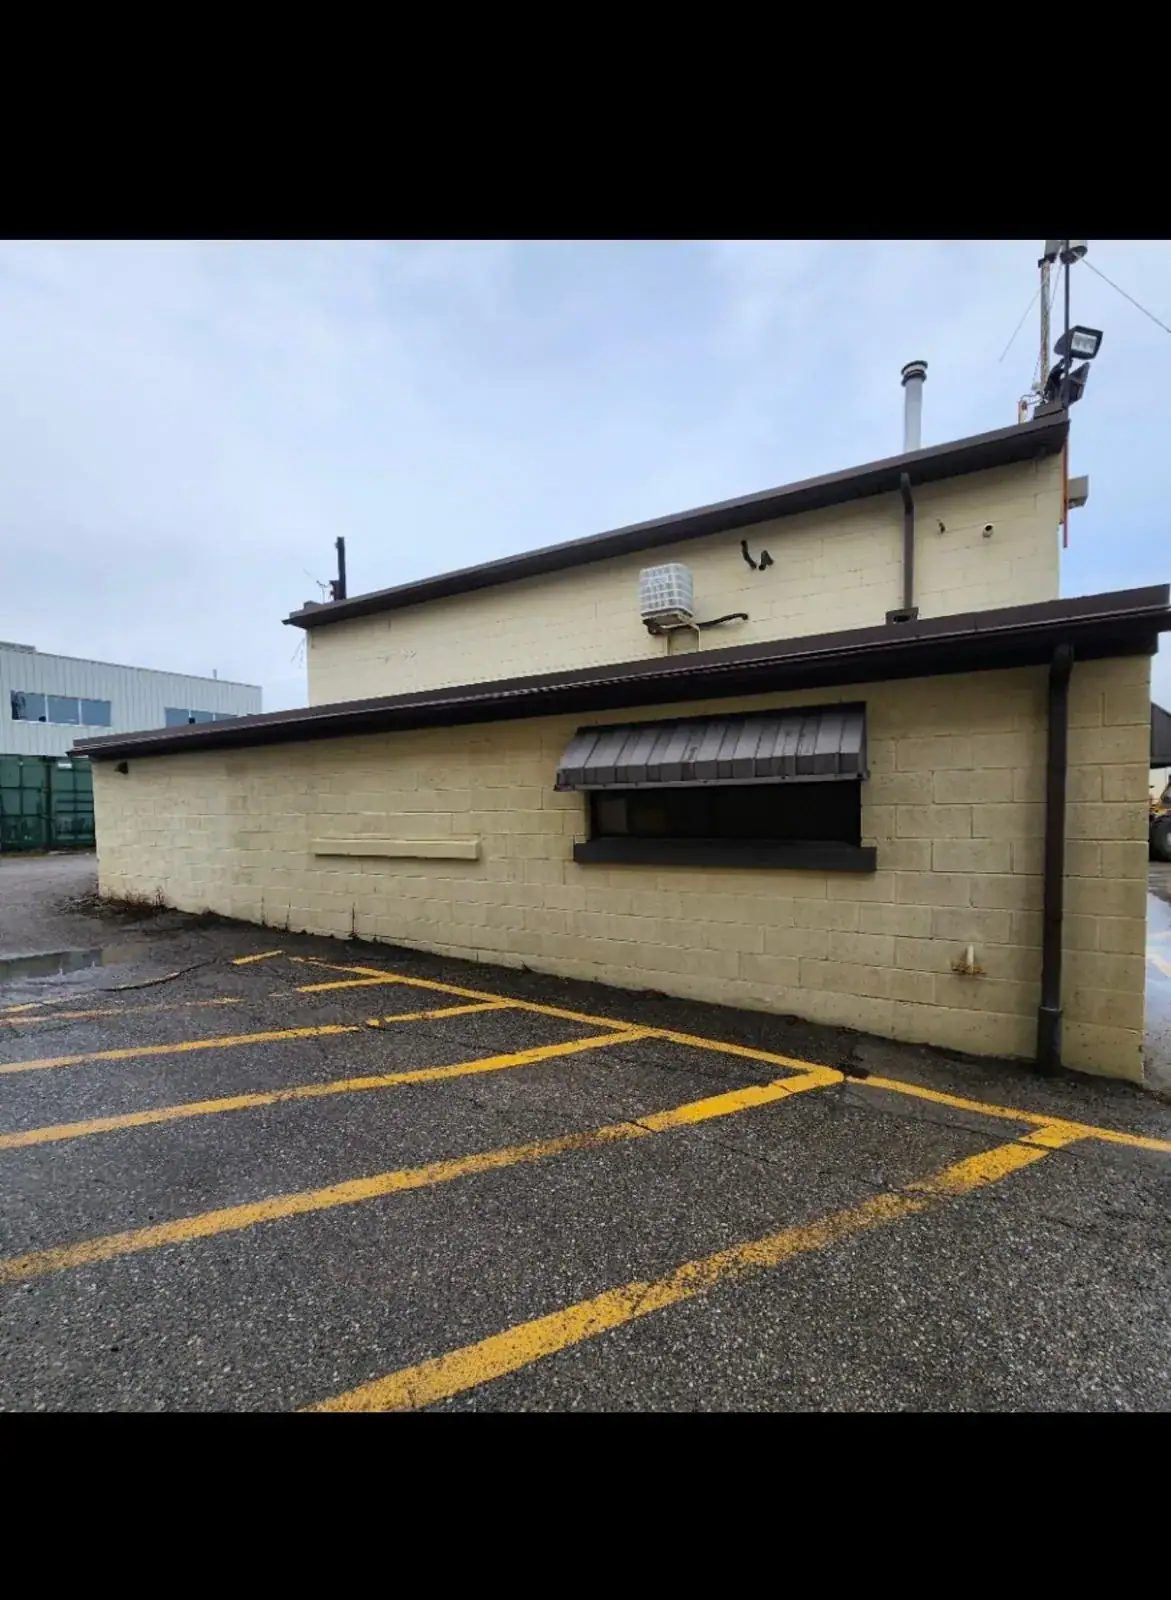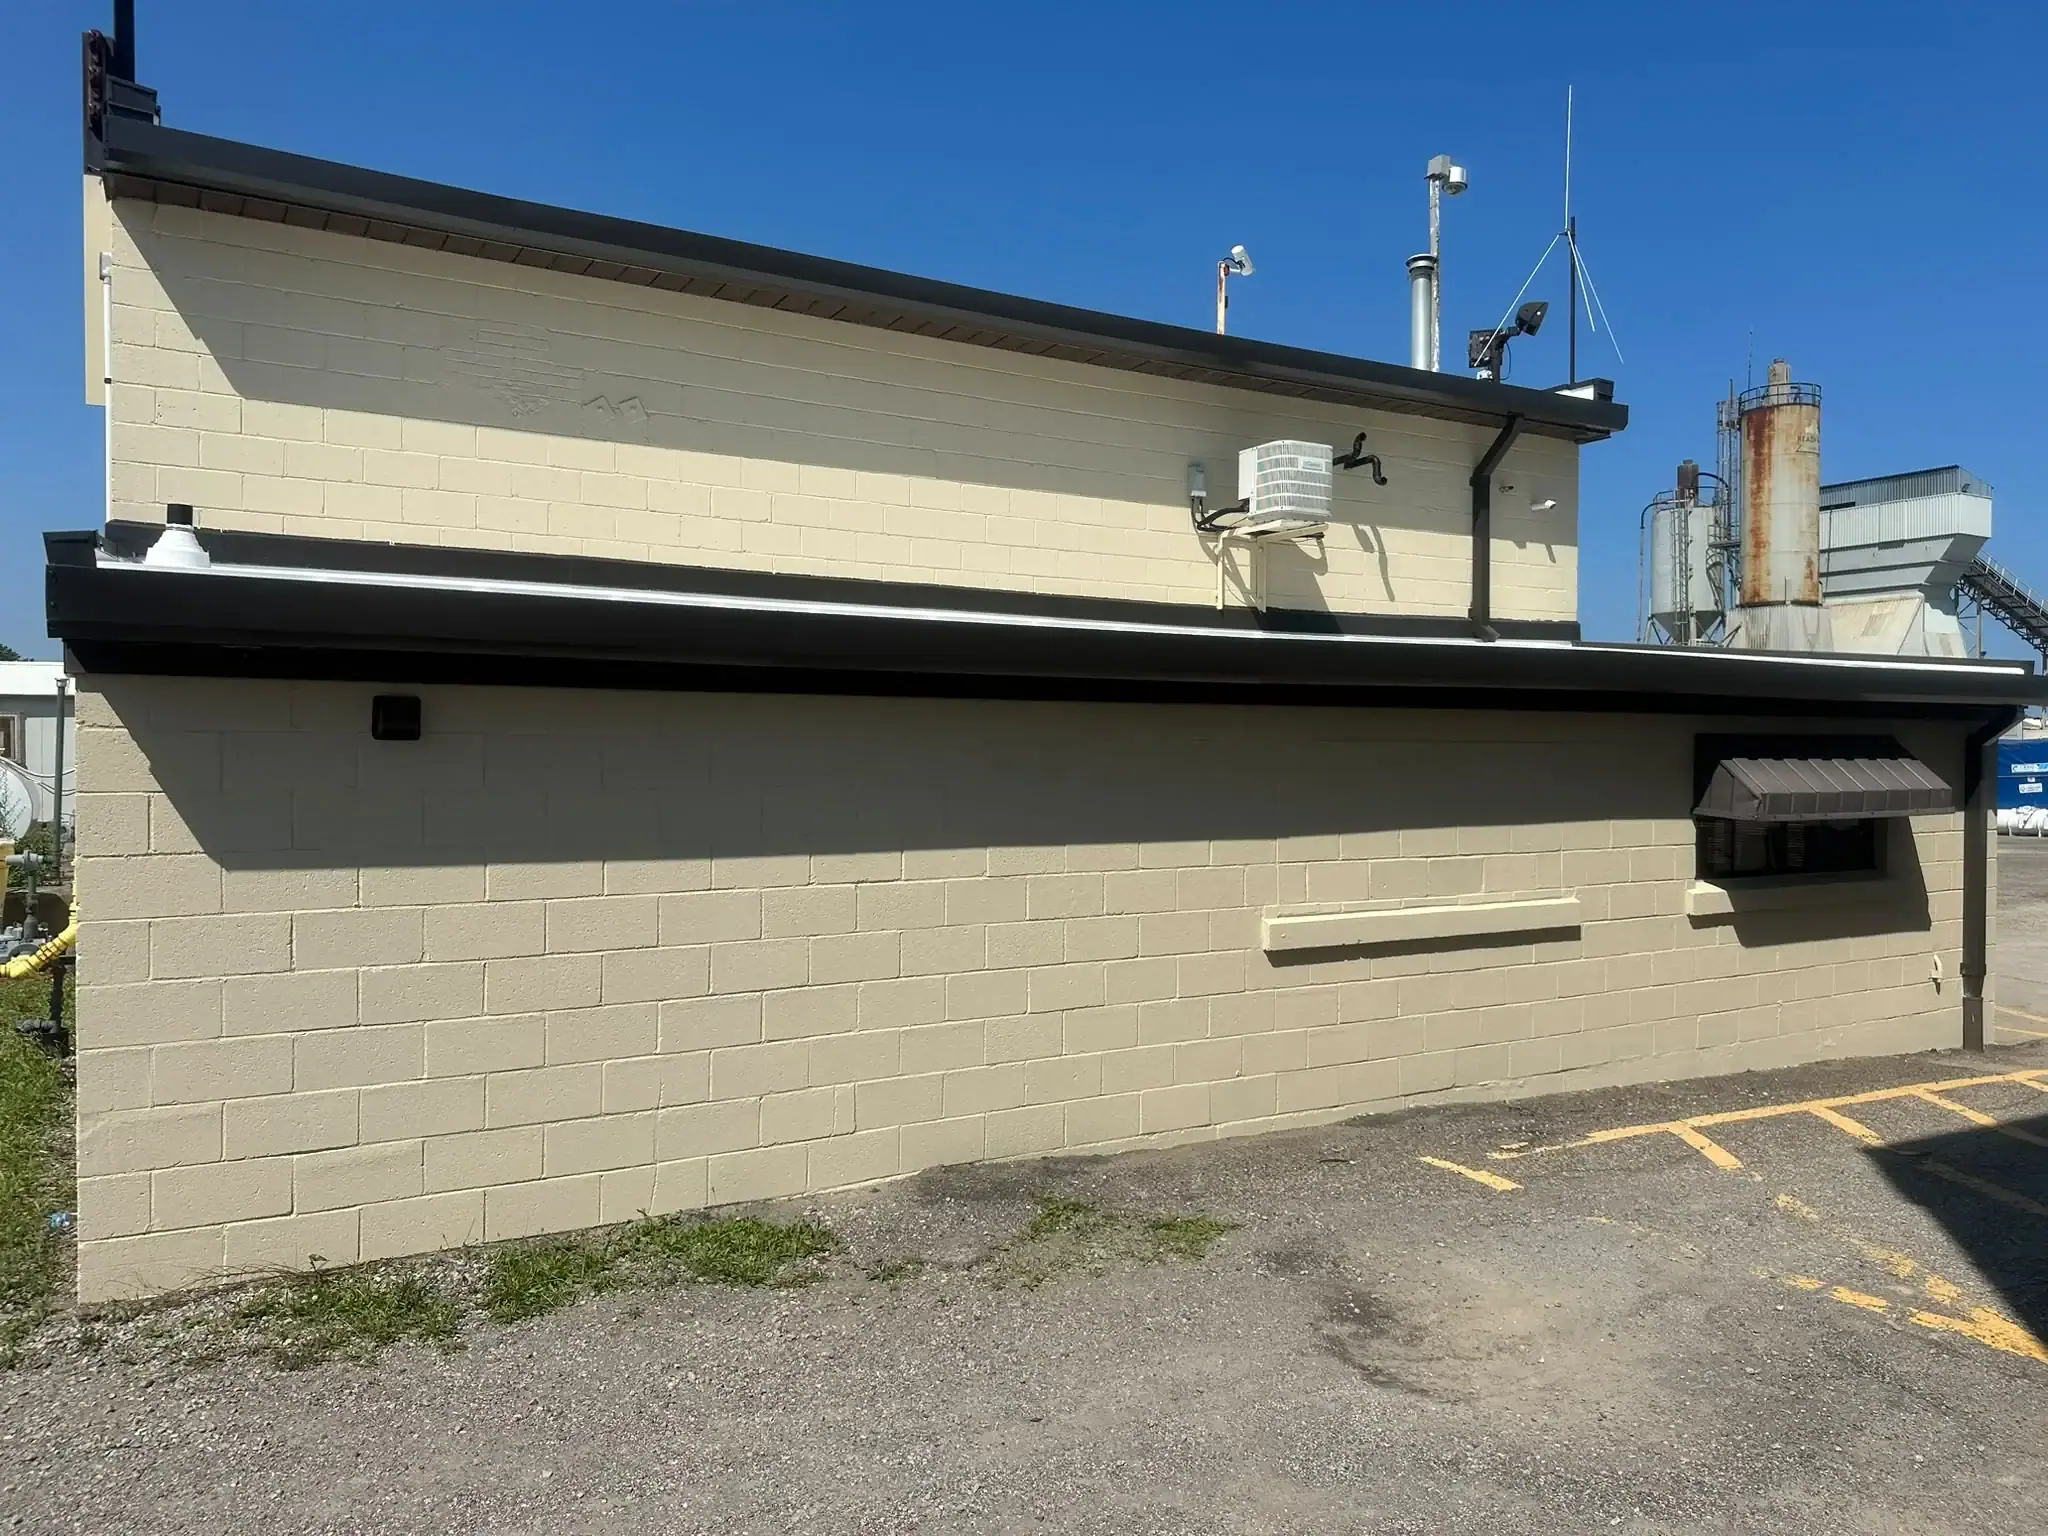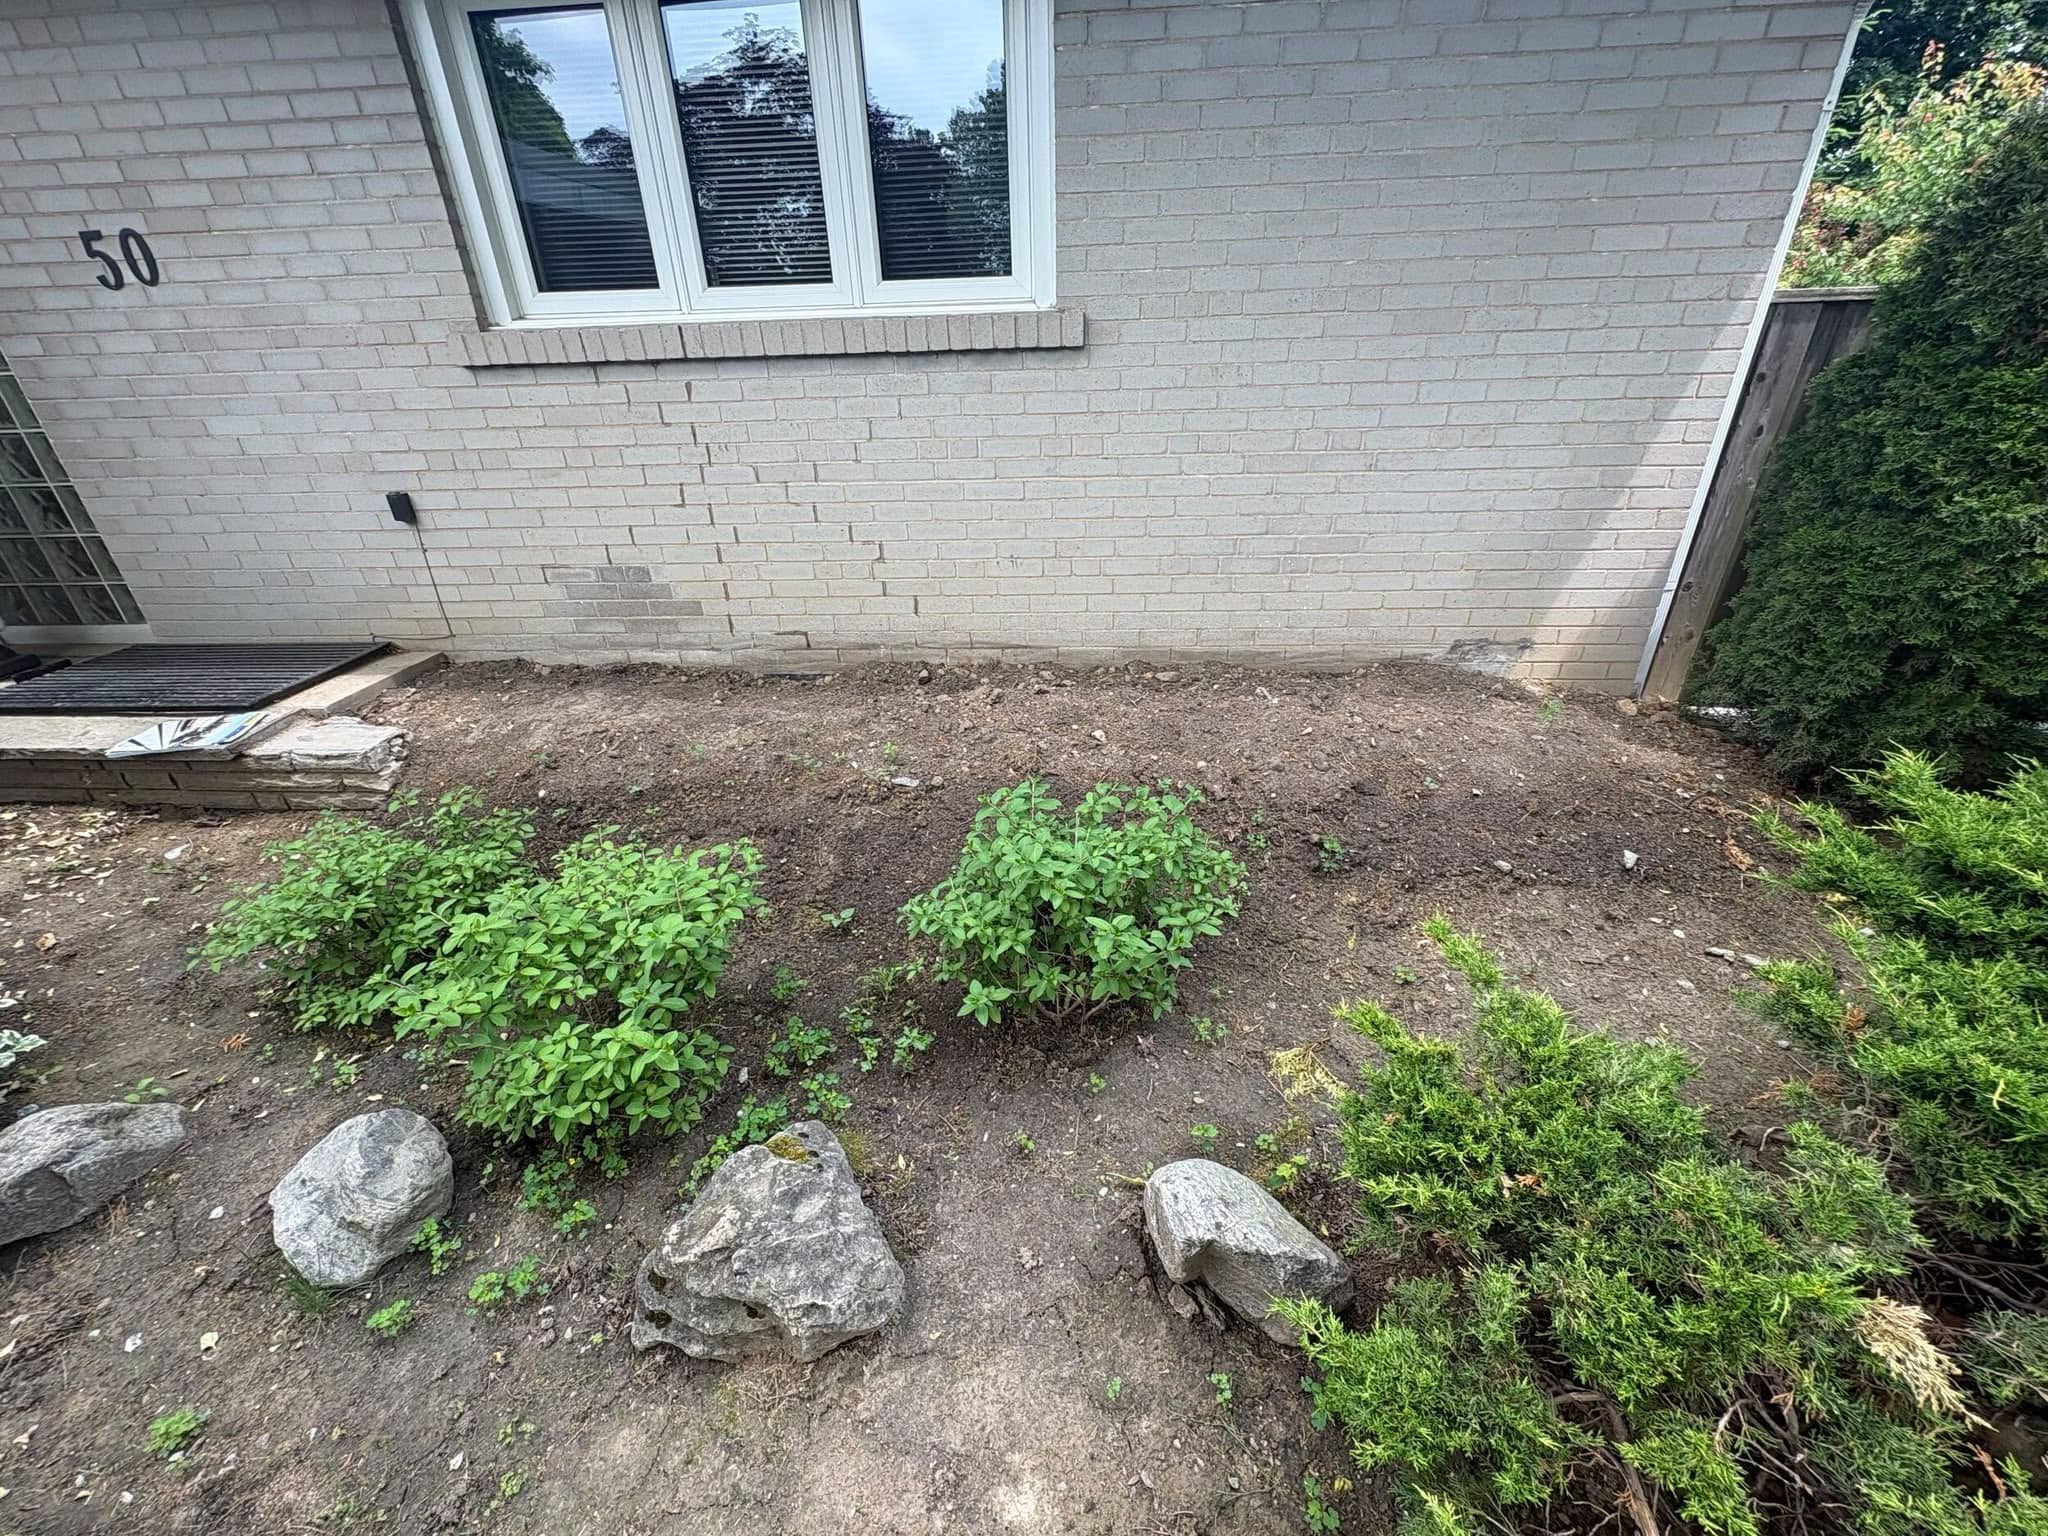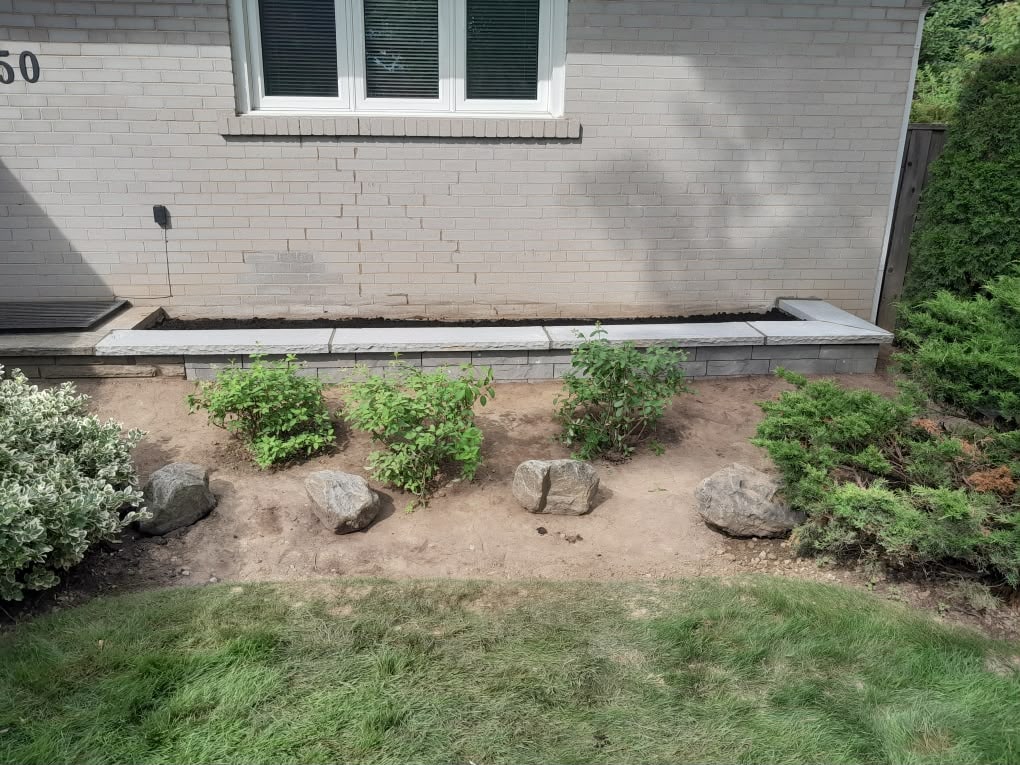

Tuckpointing and repointing are closely related terms, but they do not always mean exactly the same thing.
Technically, repointing means removing deteriorated mortar from masonry joints and replacing it with compatible new mortar. Traditional tuckpointing is a decorative technique that creates the appearance of very fine joints using contrasting mortar.
In everyday Canadian contractor and homeowner language, however, “tuckpointing” is also commonly used to describe mortar-joint repair. A&A Masonry’s professional tuckpointing and mortar-joint repair services use this familiar term to repair deteriorated joints on brick homes, chimneys, and exterior masonry.
Quick answer: If your mortar joints are crumbling, missing, or deeply deteriorated, you generally need mortar-joint repair or repointing. Traditional decorative tuckpointing is mainly relevant when sound masonry needs a specific historic or fine-joint appearance.
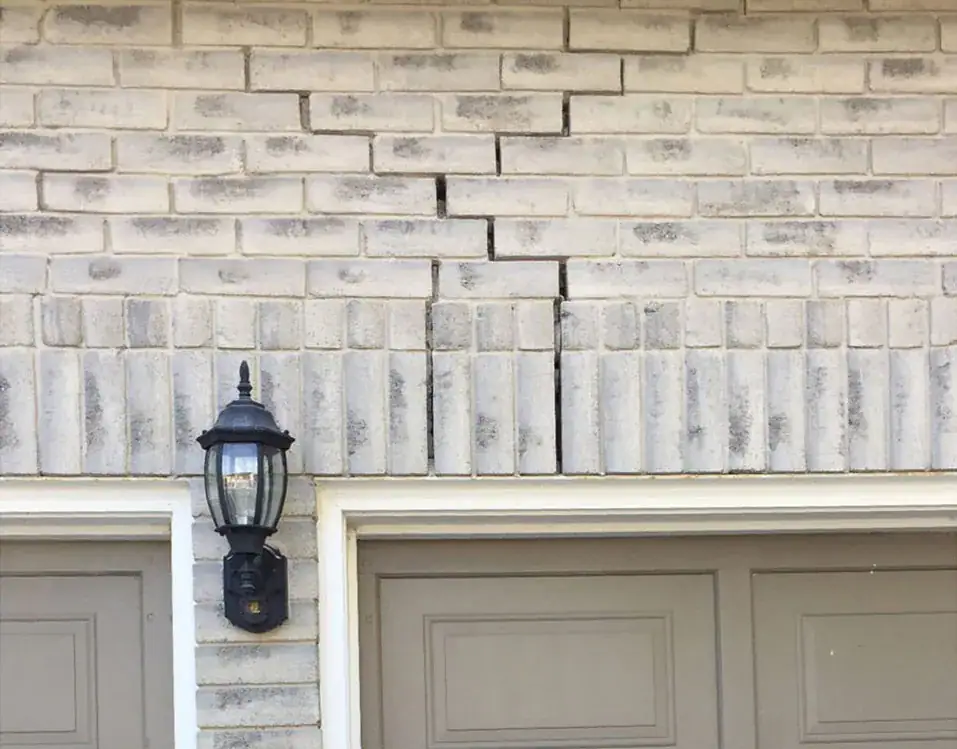
Is the Mortar Between Your Bricks Cracking or Crumbling?
Deteriorating mortar can allow moisture into your brickwork, leading to further damage and costly repairs.
A&A Masonry provides professional tuckpointing, repointing and brick restoration throughout Toronto and the GTA. Our experienced masonry team can assess the condition of your brickwork and recommend the right restoration approach.
Request a Consultation–>
Understanding the Basics: What Your Brickwork and Mortar Joints Really Need
Healthy mortar is the unsung hero of any masonry wall. It resists weather, keeps out moisture, and ties units together. Deterioration often starts slowly but speeds up when water reaches the joint and freezes.
How mortar deterioration starts: weather, age, and water
Temperature swings, wind-driven rain, and freeze-thaw cycles force water into mortar. When that moisture freezes, it expands, causing granular loss and separation. If mortar erosion exceeds 6mm, you should plan a repair.
Brick, stone, and mixed masonry: where issues tend to appear first
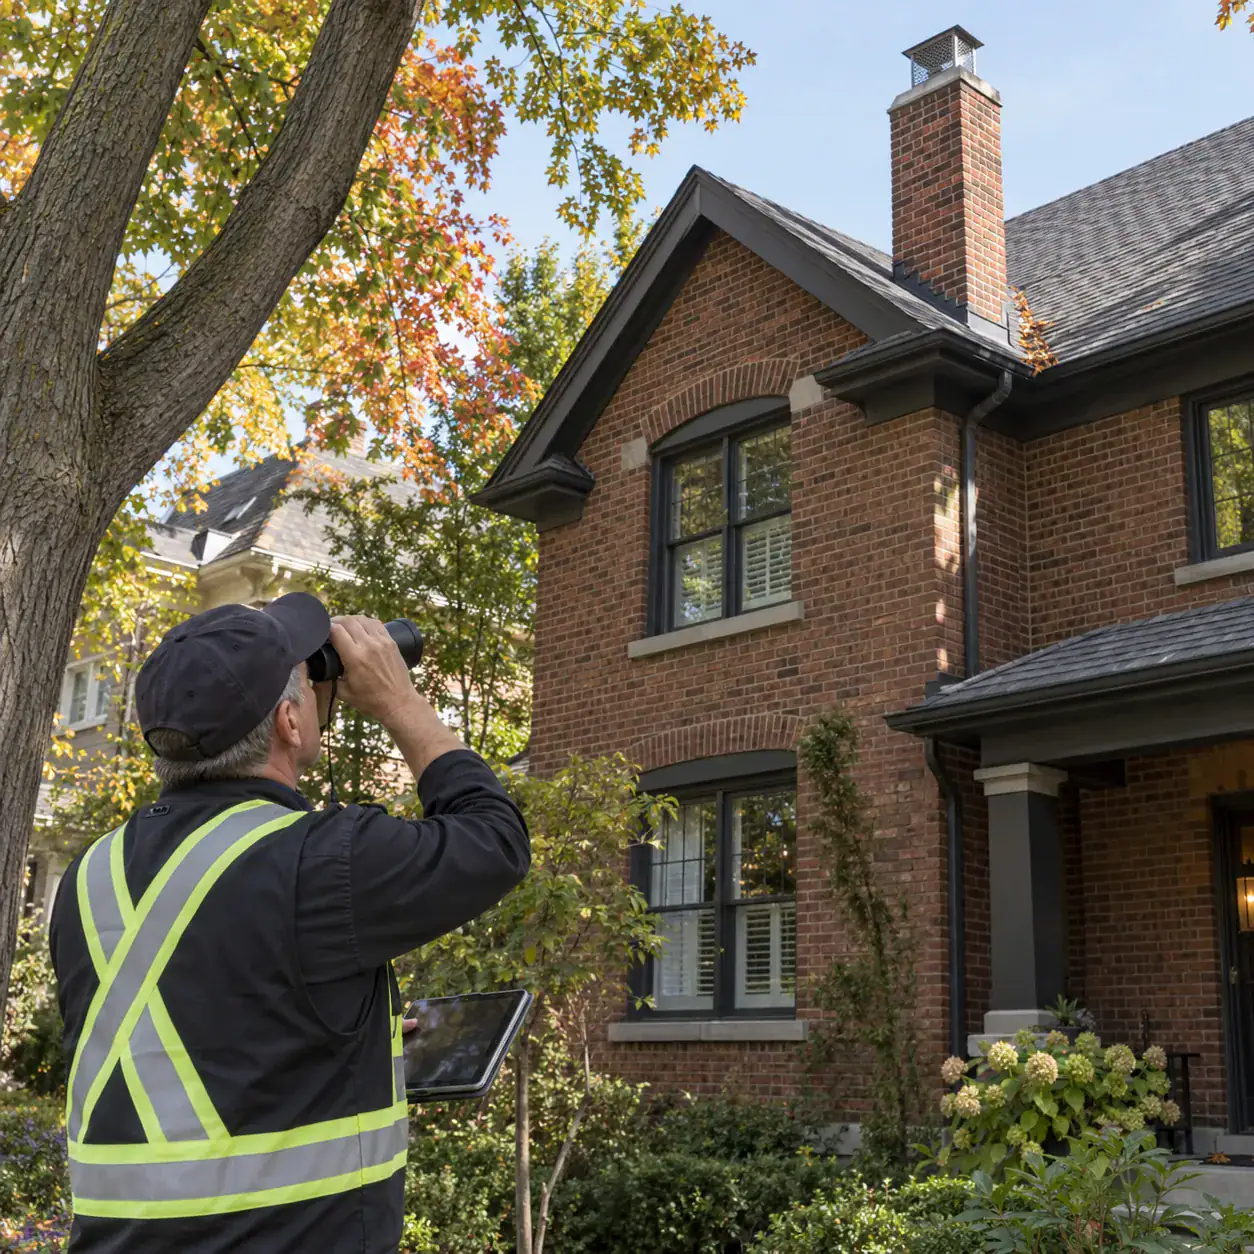
Problems often begin where exposure is highest—chimneys, parapets, corners, and walls facing south and west. Efflorescence, that white staining, flags water ingress. Even sound brick can fail when the surrounding mortar weakens.
“Early checks and small actions protect original materials and avoid invasive repairs.”
- Watch for receding mortar joints and crumbly texture.
- Check rooflines, wall caps, and where brick meets stone for early signs.
- Routine exterior maintenance—clearing weeps and keeping flashing sound—keeps water off the envelope.
What Is Repointing?
Repointing is the repair process used when mortar joints have deteriorated but much of the surrounding brick or stone remains serviceable.
The damaged mortar is removed back to sound material to a depth appropriate for the joint dimensions, masonry condition and repair specification. The joints are then cleaned and filled with compatible replacement mortar.
Proper repointing helps restore deteriorated joints and reduce pathways for water entry through failed mortar. It does not correct underlying wall movement, failed lintels, severely damaged brick, or other structural problems.
Where deterioration extends across larger wall areas, A&A Masonry’s exterior wall repointing service covers broader mortar-joint restoration.
Depth, tooling, and joint profiles that protect your wall
Getting back to sound material ensures the new mortar bonds tightly. We use concave, flush, or matched finishes so joints shed water and protect brick edges.
Structural benefits: water resistance, stability, and longevity
Why it matters: proper joint preparation—cleaning dust, pre-wetting, and packing lifts—stops water entry, stabilizes units, and can extend the building’s service life by decades.
- We remove old mortar and install fresh mortar that is compatible with the wall.
- Choose mortar strength slightly lower than the brick to protect the structure.
- Toronto pricing typically runs $10–$25 per sq ft depending on condition and access.
| Step | Typical Depth | Outcome |
| Remove deteriorated mortar | ¾–1 inch | Reach sound substrate for good bonding |
| Clean and pre-wet joints | N/A | Improve adhesion and reduce shrinkage |
| Pack new mortar and tool | N/A | Match profile, shed water, and blend texture |
“Well-executed joints keep water out and bricks where they belong.”
What Is Traditional Tuckpointing?
Traditional tuckpointing is a decorative joint-finishing technique associated with historic masonry.
A mortar colour similar to the surrounding brick is used to create the background joint, followed by a narrow contrasting line that creates the appearance of very fine, uniform joints.
The technique is primarily visual. It should not be used as a substitute for removing and replacing deteriorated mortar where the joints themselves have failed.
Today, the word “tuckpointing” is also commonly used by homeowners and contractors to describe ordinary mortar-joint repair. That is why the terms may appear interchangeable in service descriptions, even though their traditional technical meanings differ.
When appearance matters
We favor this method for heritage façades and design-driven projects where curb appeal and authenticity matter most.
- Base mortar sets the field color; a contrasting pinstripe sharpens the visual grid.
- Typical Toronto pricing runs about $15–$30 per sq ft, depending on access and complexity.
- Limitations: if mortar joints are failing, structural repointing and tuckpointing should follow a repair-first approach.
“On heritage brickwork, careful layout and crisp lines deliver an elevated look without losing character.”
Tuckpointing & Repointing: Key Differences, Use Cases, and Results
| Question | Repointing | Traditional Tuckpointing |
|---|---|---|
| Main purpose | Repair deteriorated mortar joints | Create a fine decorative joint appearance |
| Existing mortar | Failed mortar is removed and replaced | Best suited to sound masonry or after required repair work |
| Homeowner terminology | Often called tuckpointing in everyday use | More precise historical meaning of tuckpointing |
Signs That Mortar-Joint Repair May Be Needed
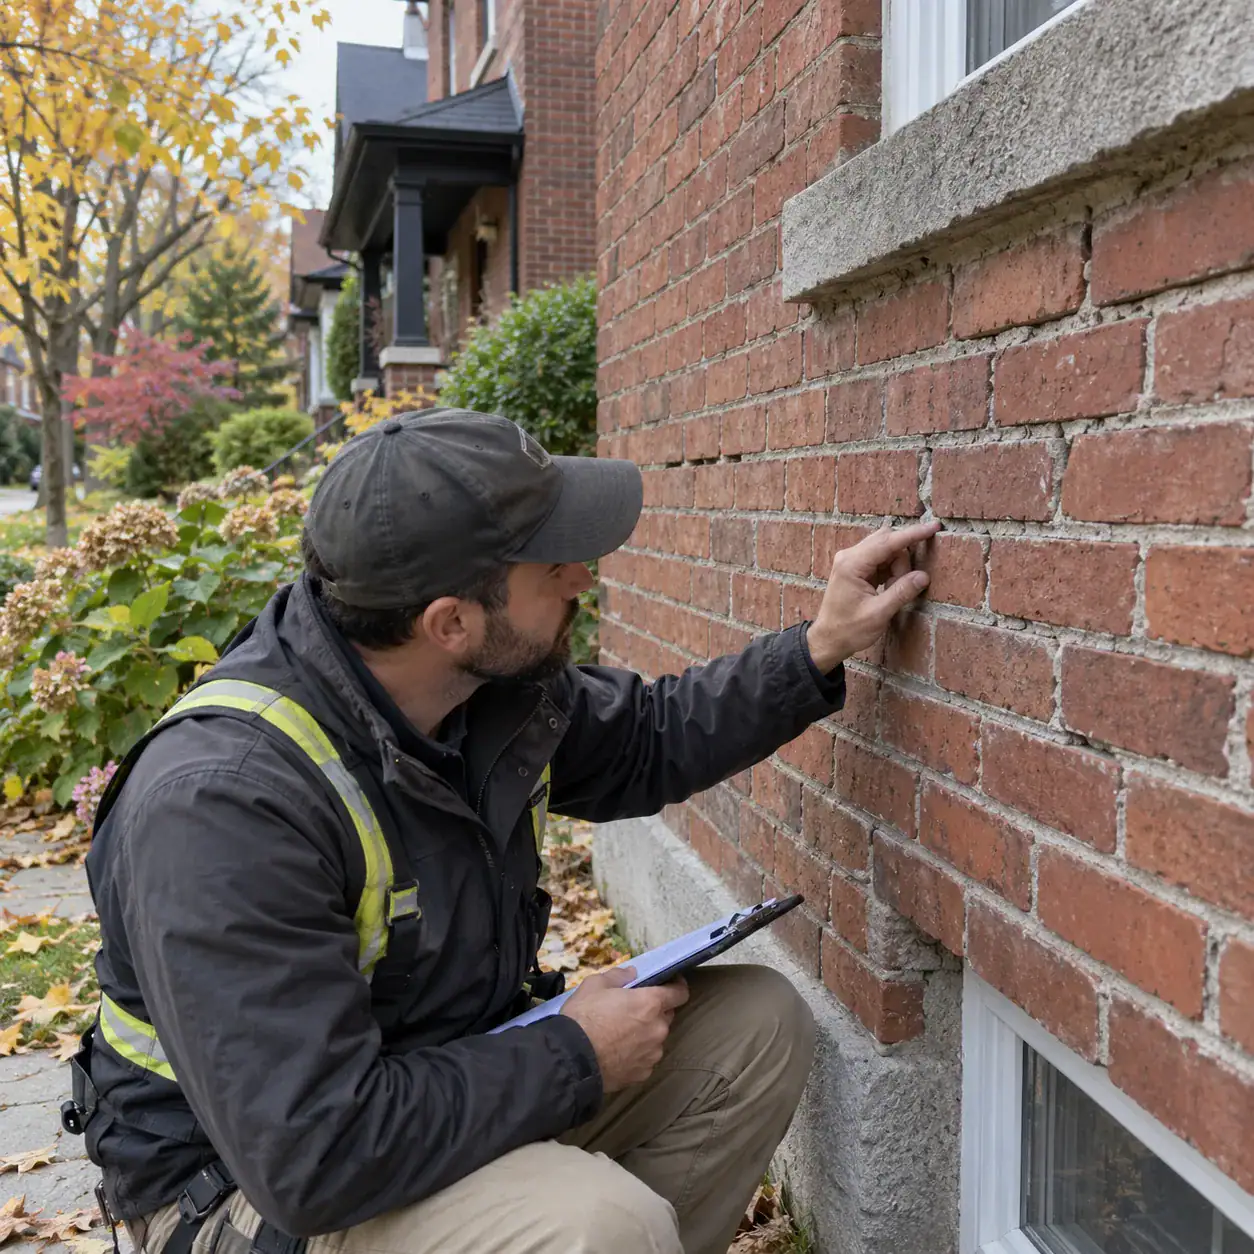
Have the masonry assessed when you notice conditions such as:
- Mortar that crumbles or feels sandy
- Deeply recessed or missing joints
- Cracks extending through several joints
- Loose or moving bricks
- Recurring moisture staining or efflorescence
- Repeated failure of previous mortar patches
- Chimney, parapet or exposed-wall mortar deterioration
Efflorescence indicates moisture movement through masonry but does not by itself identify the source. Mortar joints, flashing, caps, drainage and other possible moisture paths may need to be reviewed.
Bulging walls, displaced masonry, significant movement cracks or falling brick should not be treated as routine repointing problems without a broader assessment.
Why Mortar Compatibility Matters
Replacement mortar should be compatible with the existing masonry rather than simply being as strong as possible.
The appropriate mortar depends on the existing brick or stone, original mortar, exposure and building age. Strength, composition, permeability, colour and joint profile can all affect whether the repair performs properly and blends with the surrounding masonry.
Mortar that is too hard or poorly matched can contribute to deterioration of older brickwork.
What Affects the Cost of Tuckpointing or Repointing?
Cost varies significantly from project to project.
Important factors include:
- Size of the repair area
- Depth and extent of mortar deterioration
- Building height and access
- Scaffolding or staging requirements
- Mortar matching
- Joint profile and tooling
- Historic or decorative detailing
- Whether brick replacement or other masonry repair is also required
- Localized repair versus full-wall repointing
A site assessment is the most reliable way to establish the repair scope before pricing is confirmed.
Which One Do You Need?
If the mortar itself is crumbling, missing or deeply deteriorated, the priority is repairing the failed joints with compatible new mortar.
If the masonry is sound and the goal is a historically accurate fine-joint appearance, traditional decorative tuckpointing may be appropriate.
Because “tuckpointing” is commonly used today as a general term for mortar-joint repair, homeowners do not need to diagnose the terminology before requesting help. The important question is whether the existing mortar is still serviceable and whether there are signs of moisture, brick damage or wall movement.
FAQ
What’s the main difference between tuckpointing and repointing?
Repointing replaces damaged mortar with full-strength mortar to restore structural integrity and water resistance. Tuckpointing is mainly cosmetic: it creates the look of narrow, precise mortar joints—often using a two-color approach—without addressing deep mortar loss or structural issues.
How do I know if my mortar joints need repair or just a cosmetic refresh?
Look for loose or missing mortar, gaps larger than about 6mm, crumbling joints, water penetration, or shifting bricks. If mortar has significant depth loss or the wall feels unstable, you need repointing. If joints are mostly intact but unattractive, a tuckpointing-style finish can improve appearance.
What causes mortar deterioration in brick and stone walls?
Weathering, water infiltration, freeze-thaw cycles, salt exposure, age, and poor original mortar all erode joints. Water is the biggest offender—once it penetrates joints, it accelerates breakdown and can cause efflorescence, cracks, and spalling.
Will repointing prevent water damage and improve structural stability?
Yes. Proper repointing removes deteriorated mortar to the correct depth, installs matching structural mortar, and tools the joint profile so the wall sheds water and regains strength, reducing long-term water damage risk.
Can tuckpointing be used on heritage or historic brickwork?
Yes—when done carefully. Traditional tuckpointing with a two-color effect can restore a historic appearance, but it must respect original joints and materials. For true preservation, pair aesthetic work with any needed structural repointing first.
How deep should mortar be removed during repointing?
Standard practice is to remove deteriorated mortar to a depth of roughly two to three times the joint width or until sound mortar is reached. Proper depth ensures new mortar bonds well and provides lasting protection.
What are common signs to call a masonry professional right away?
Call a pro if you see loose or falling bricks, large gaps or cracks, active water leaks, bulging walls, extensive efflorescence, or chimney and parapet damage. Early intervention prevents more costly structural repairs.
How do freeze-thaw cycles affect mortar and brickwork?
Water trapped in joints freezes and expands, causing mortar to crack and loosen. Repeated cycles accelerate deterioration, especially in climates with harsh winters. Timely repointing protects against this damage.
What influences the cost of repointing or tuckpointing in Toronto and the GTA?
Costs depend on wall condition, joint depth, mortar type, access and scaffolding needs, historic matching requirements, and project size. Typical ranges often quoted are repointing at about $10–$25 per sq ft and tuckpointing around $15–$30 per sq ft, but actual quotes vary by scope.
How important is choosing the right mortar mix?
Very important. Mortar must match the original in strength, porosity, and color to avoid damage. Hard, cement-heavy mixes can cause brick spalling; lime-based or blended mortars are preferable for many historic and older masonry walls.
Can tuckpointing hide structural problems if used alone?
No. Tuckpointing improves appearance but does not replace weakened mortar or address underlying water infiltration or movement. A professional assessment should determine if repointing is needed before any cosmetic work.
How long does a typical repointing project take?
Time varies with size and complexity. A small wall may take a day or two; larger facades and chimneys can take several days to a couple of weeks. Proper curing time for new mortar is also essential to long-term performance.
What maintenance should I do after repointing or tuckpointing?
Keep gutters and flashing in good repair, clear vegetation from walls, inspect joints annually for cracks or erosion, and address any water leaks quickly. Routine checks extend the life of repairs and protect building value.
How do contractors match mortar color and joint profiles?
Experienced masons analyze original mortar composition, color, and tooling. They use pigments, aggregate blends, and matching joint tooling to recreate the historic joint profile and ensure the repair blends with existing brickwork.
Are there parts of a building that usually need more frequent attention?
Yes. Chimneys, parapets, ledges, below-roof walls, and walls exposed to driving rain or splash-back often deteriorate faster. These areas are common entry points for water and should be inspected regularly.
Not sure whether your brickwork needs tuckpointing or repointing? Explore our professional tuckpointing and mortar joint repair services in Toronto to learn how A&A Masonry restores deteriorating brickwork.