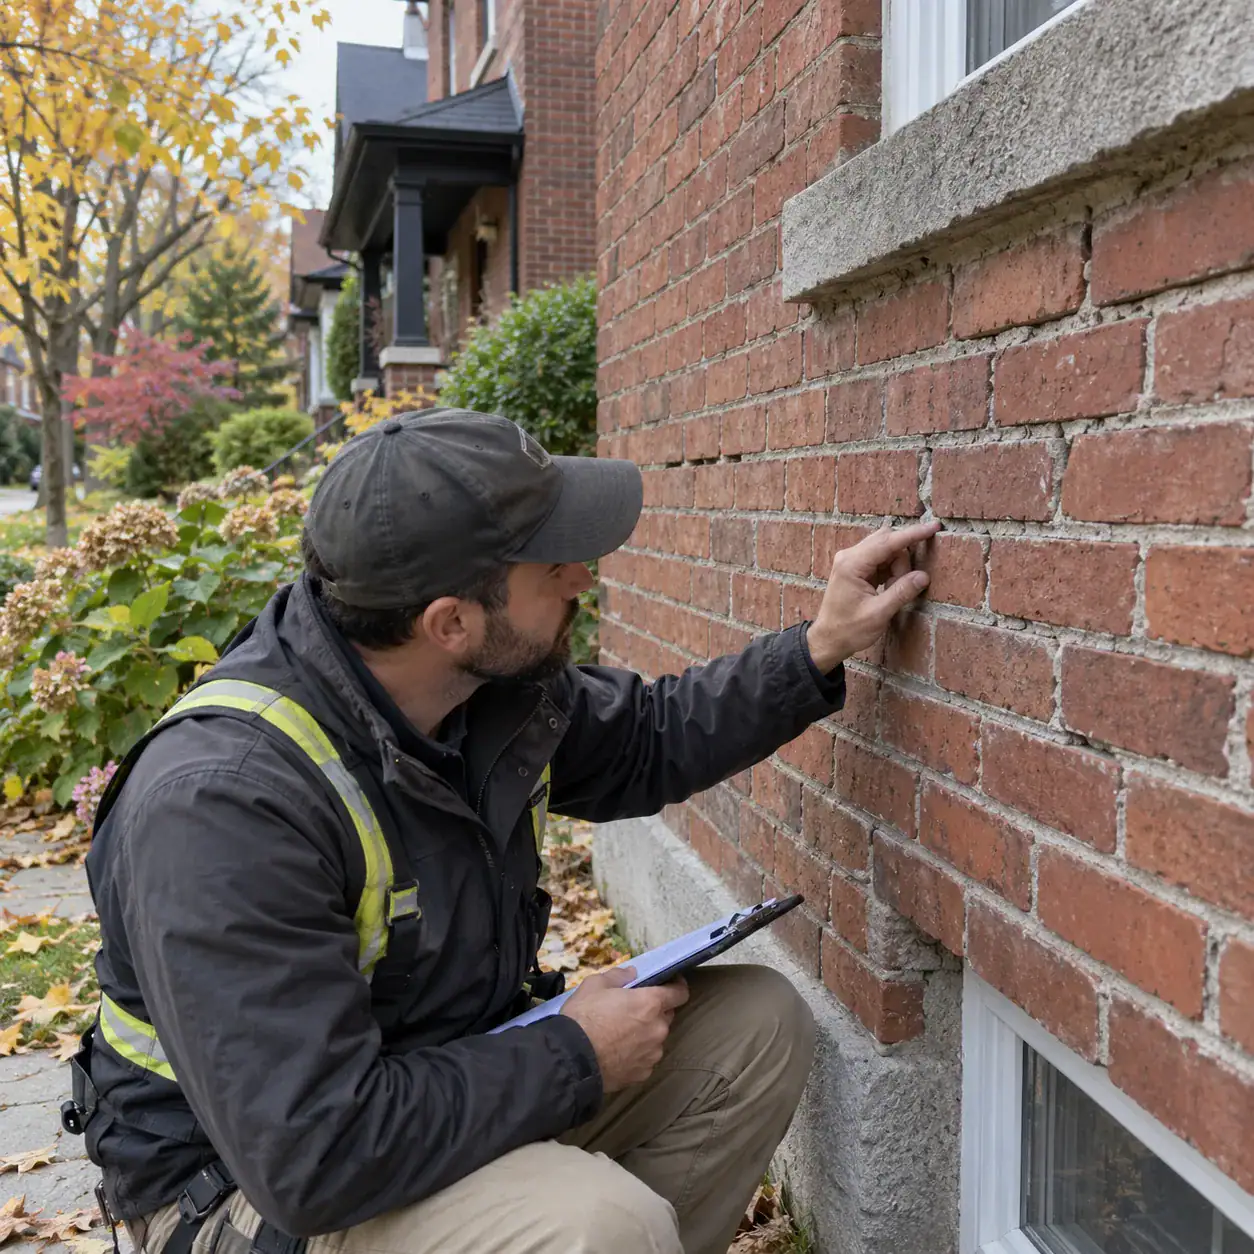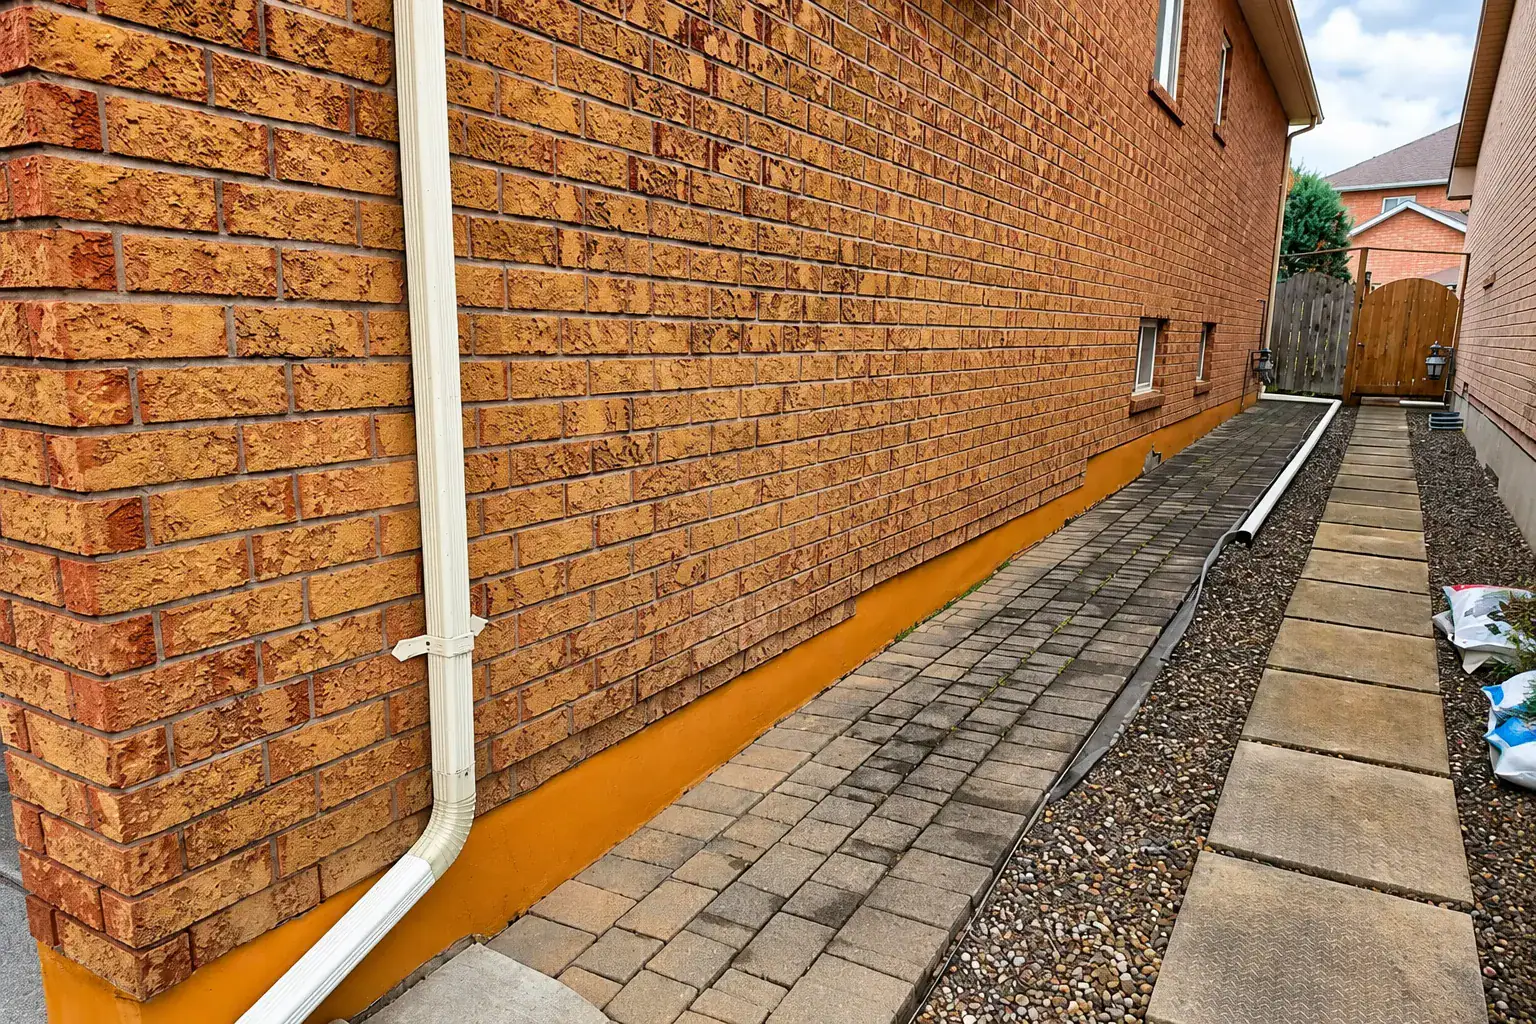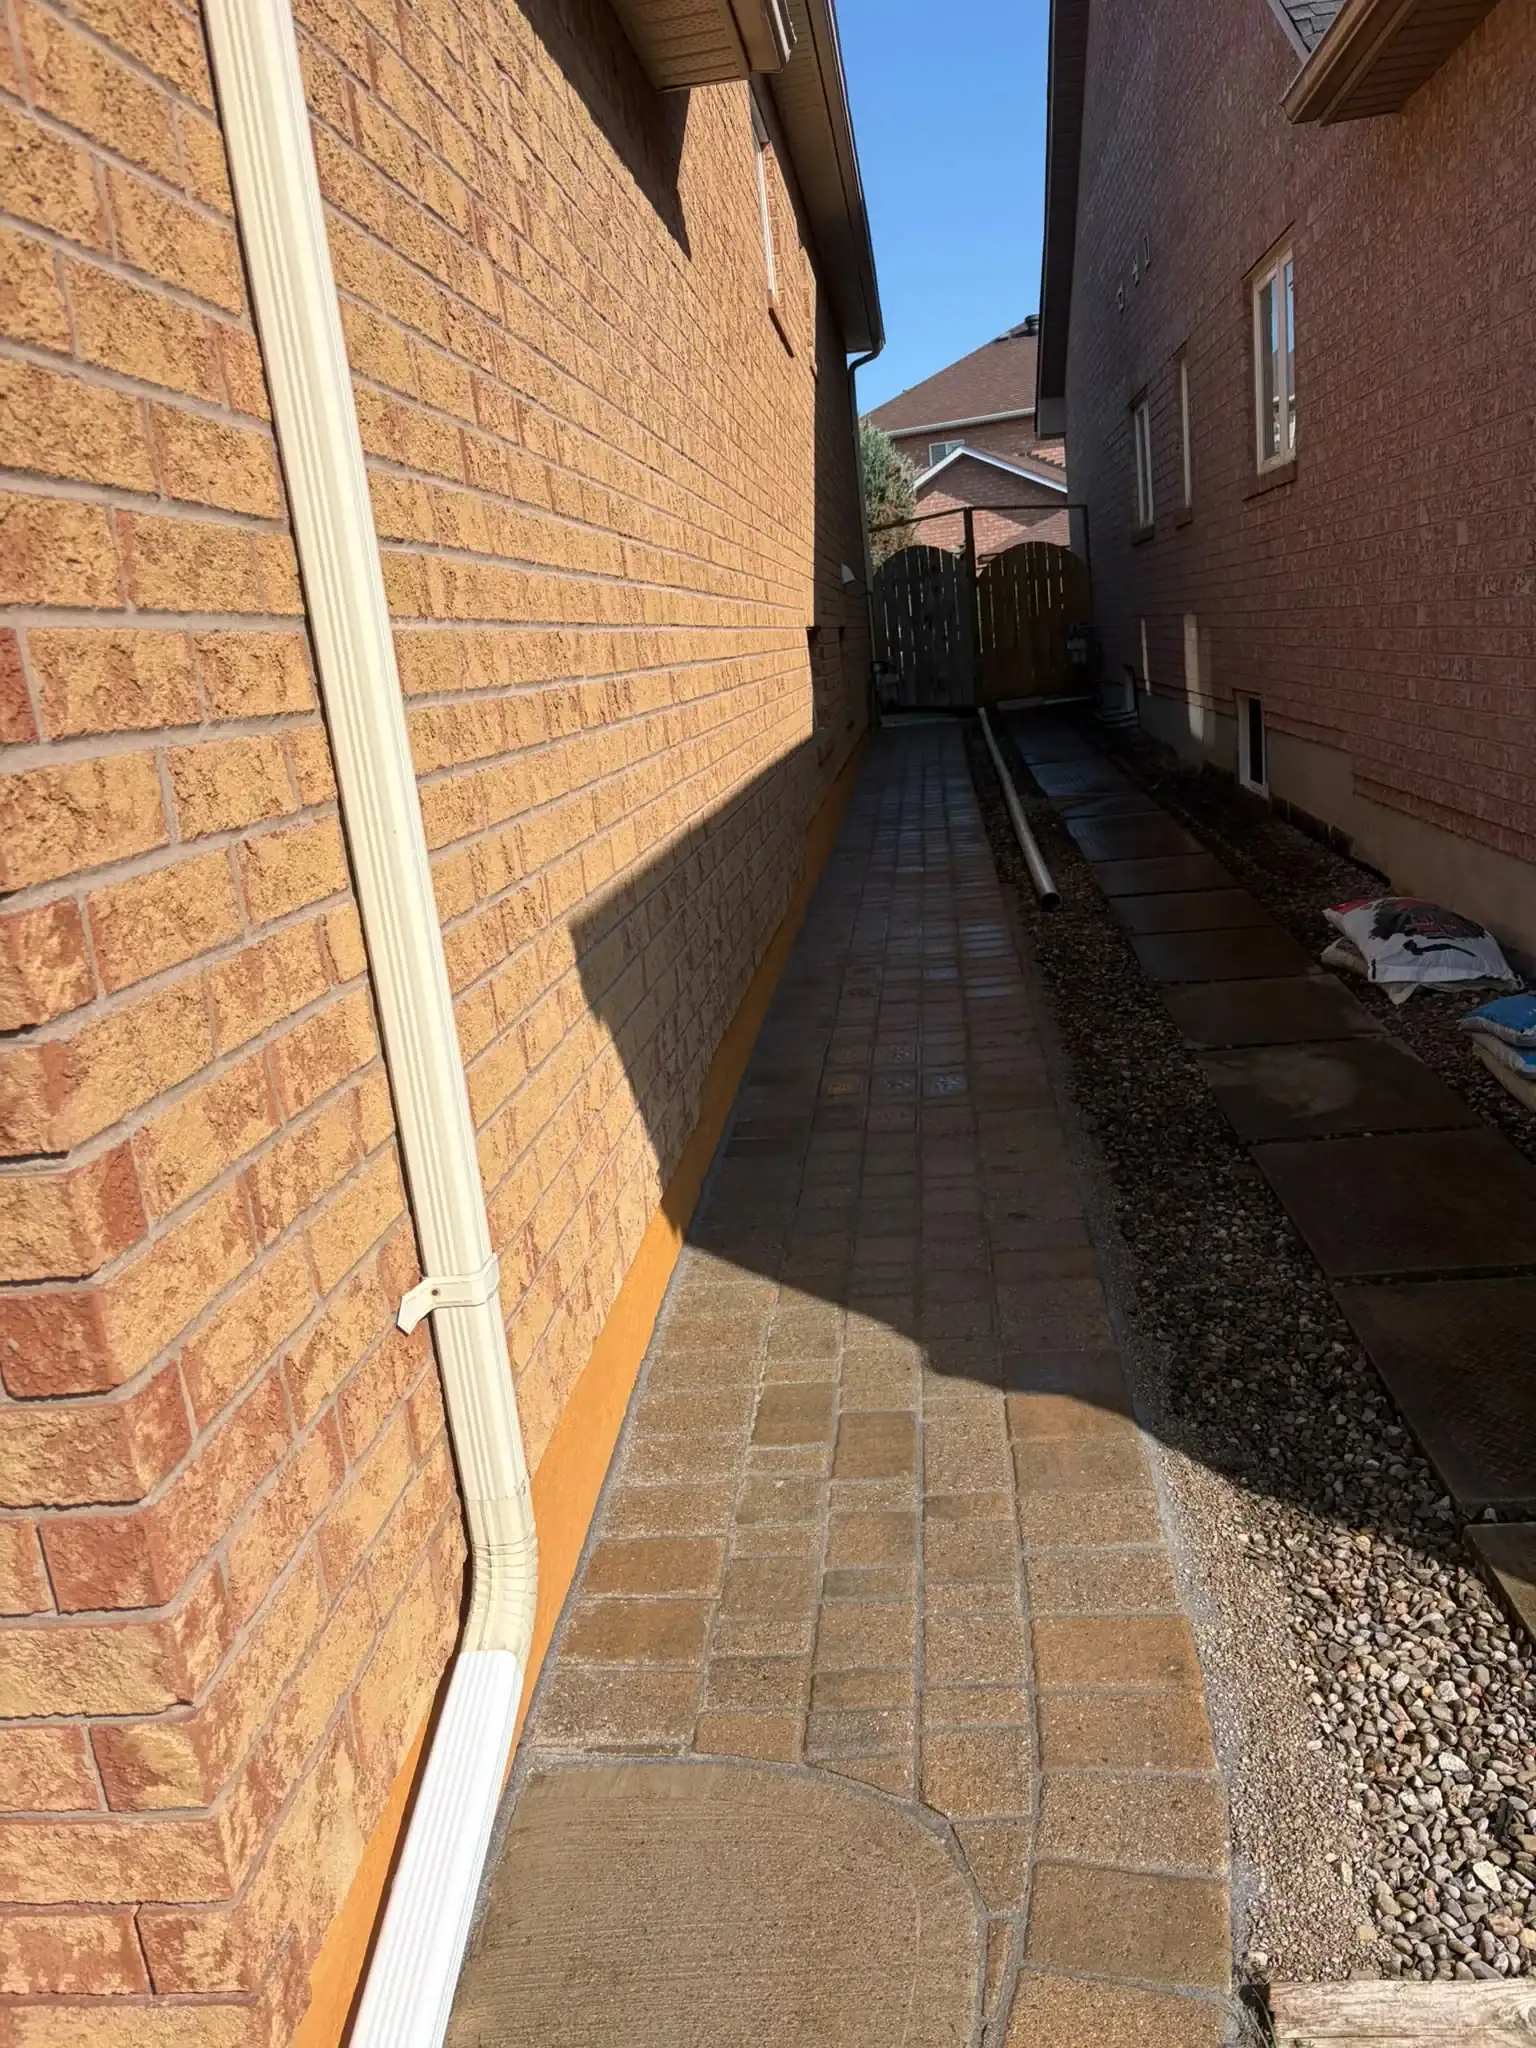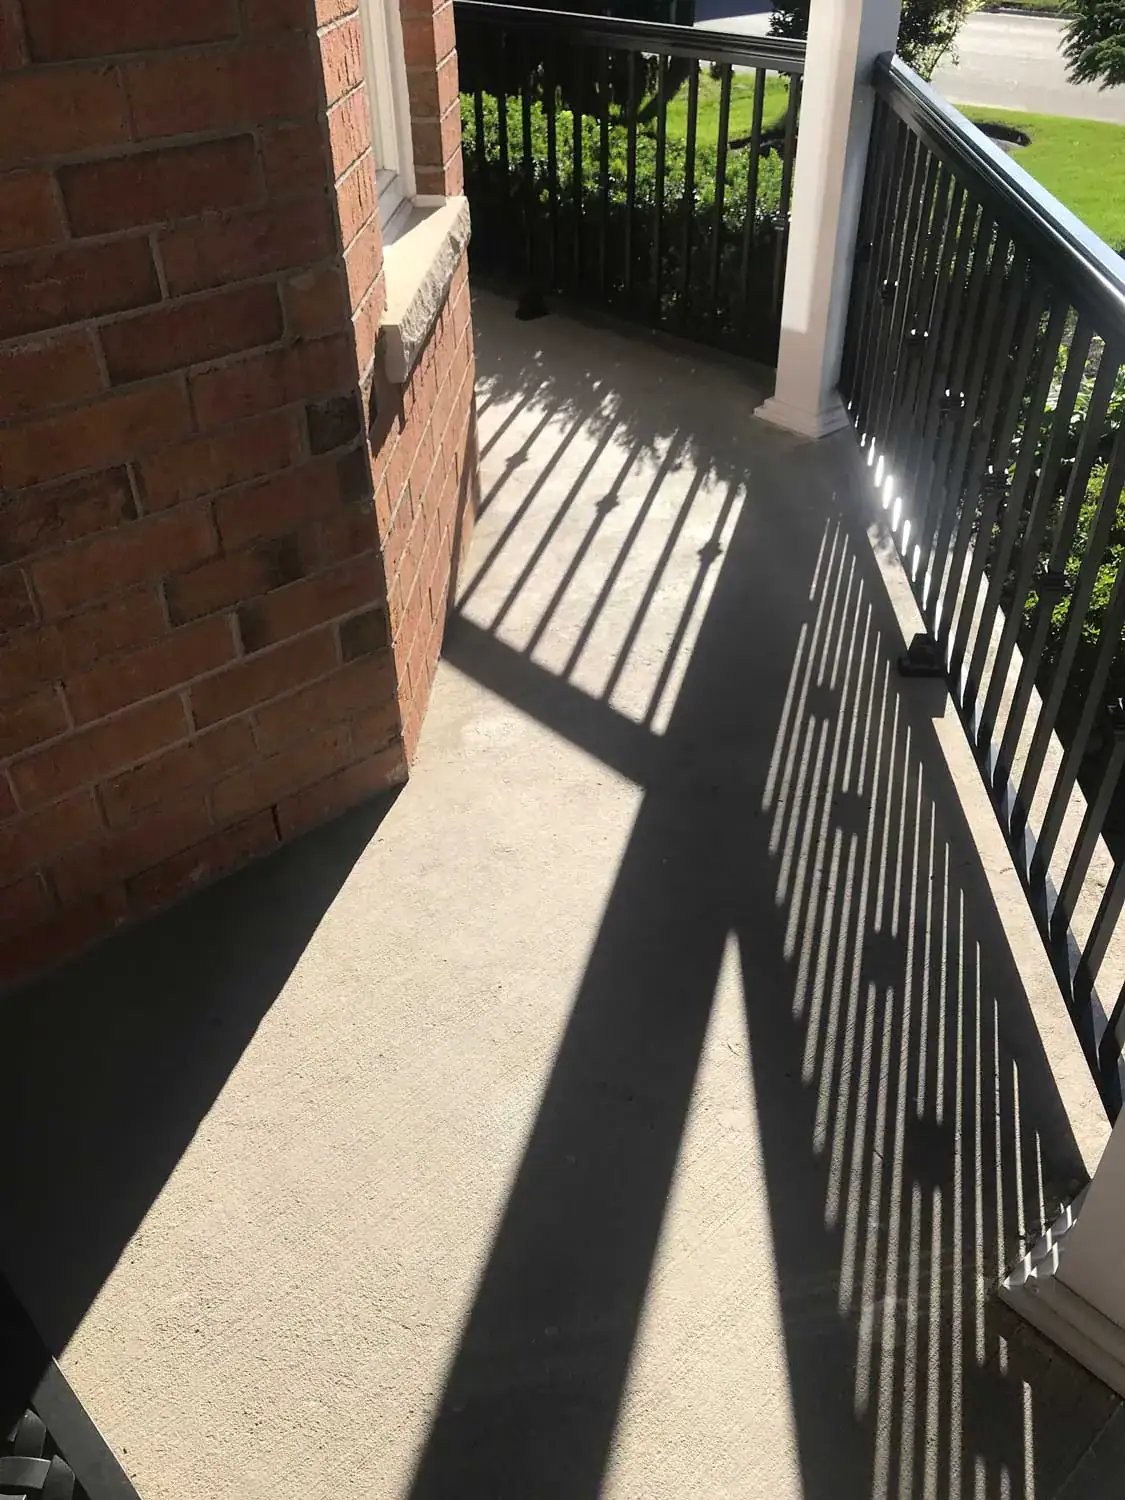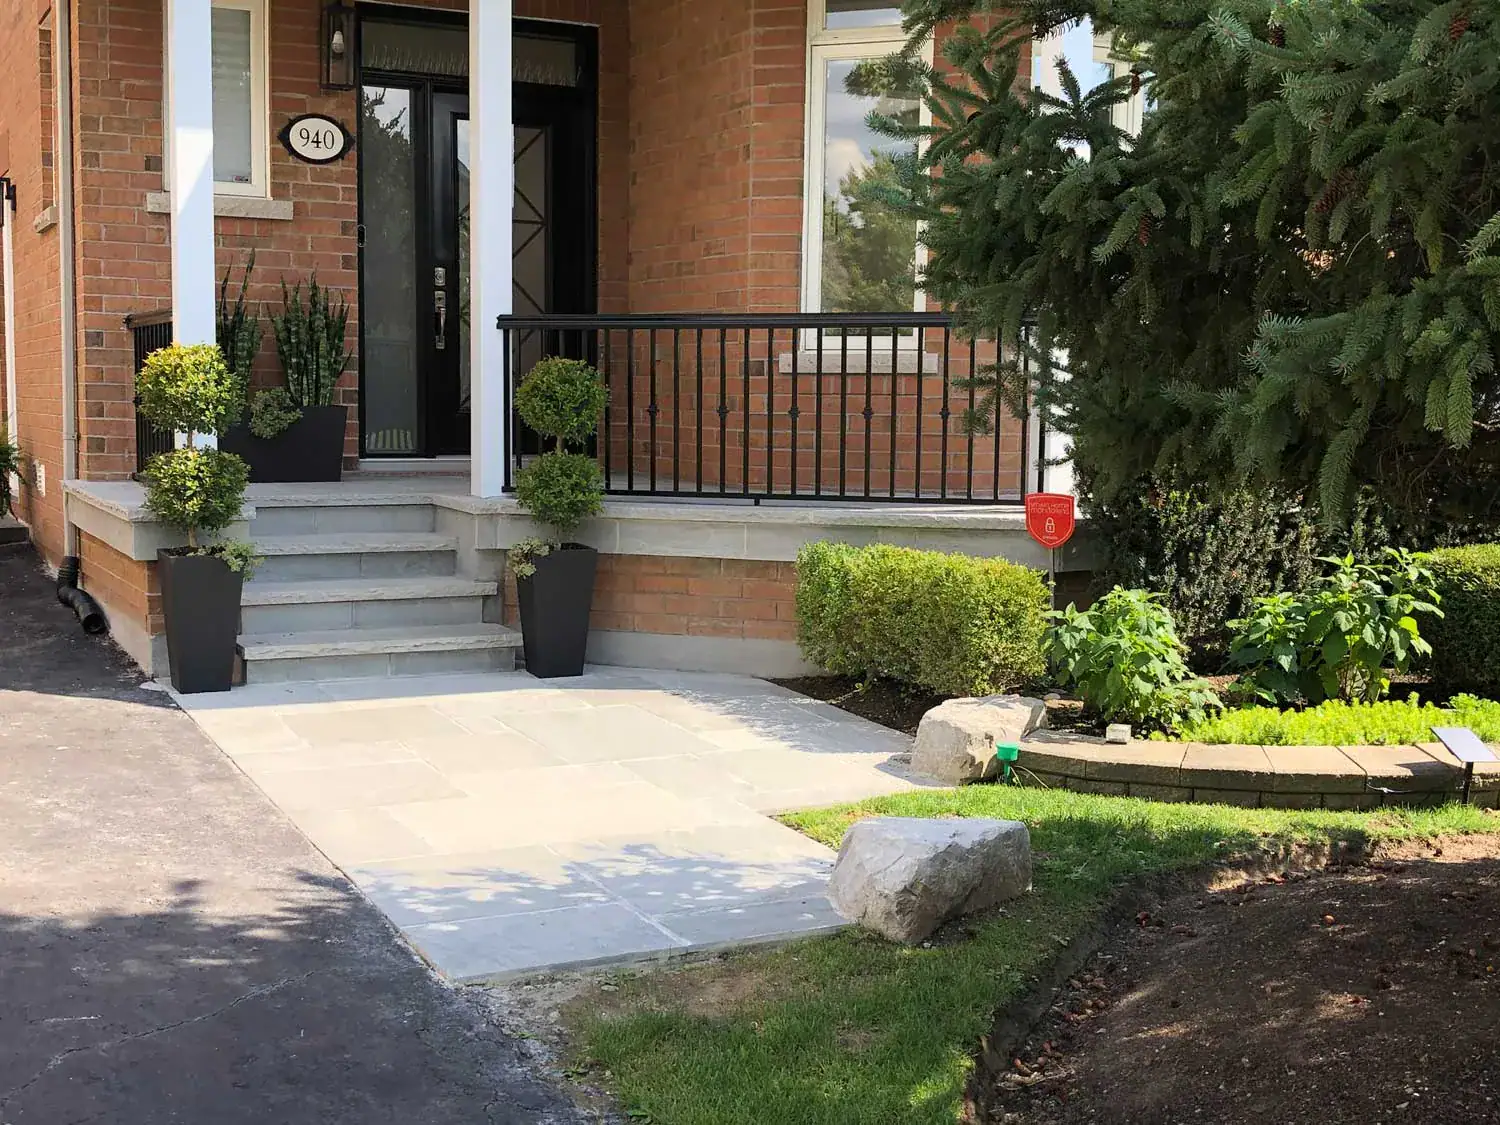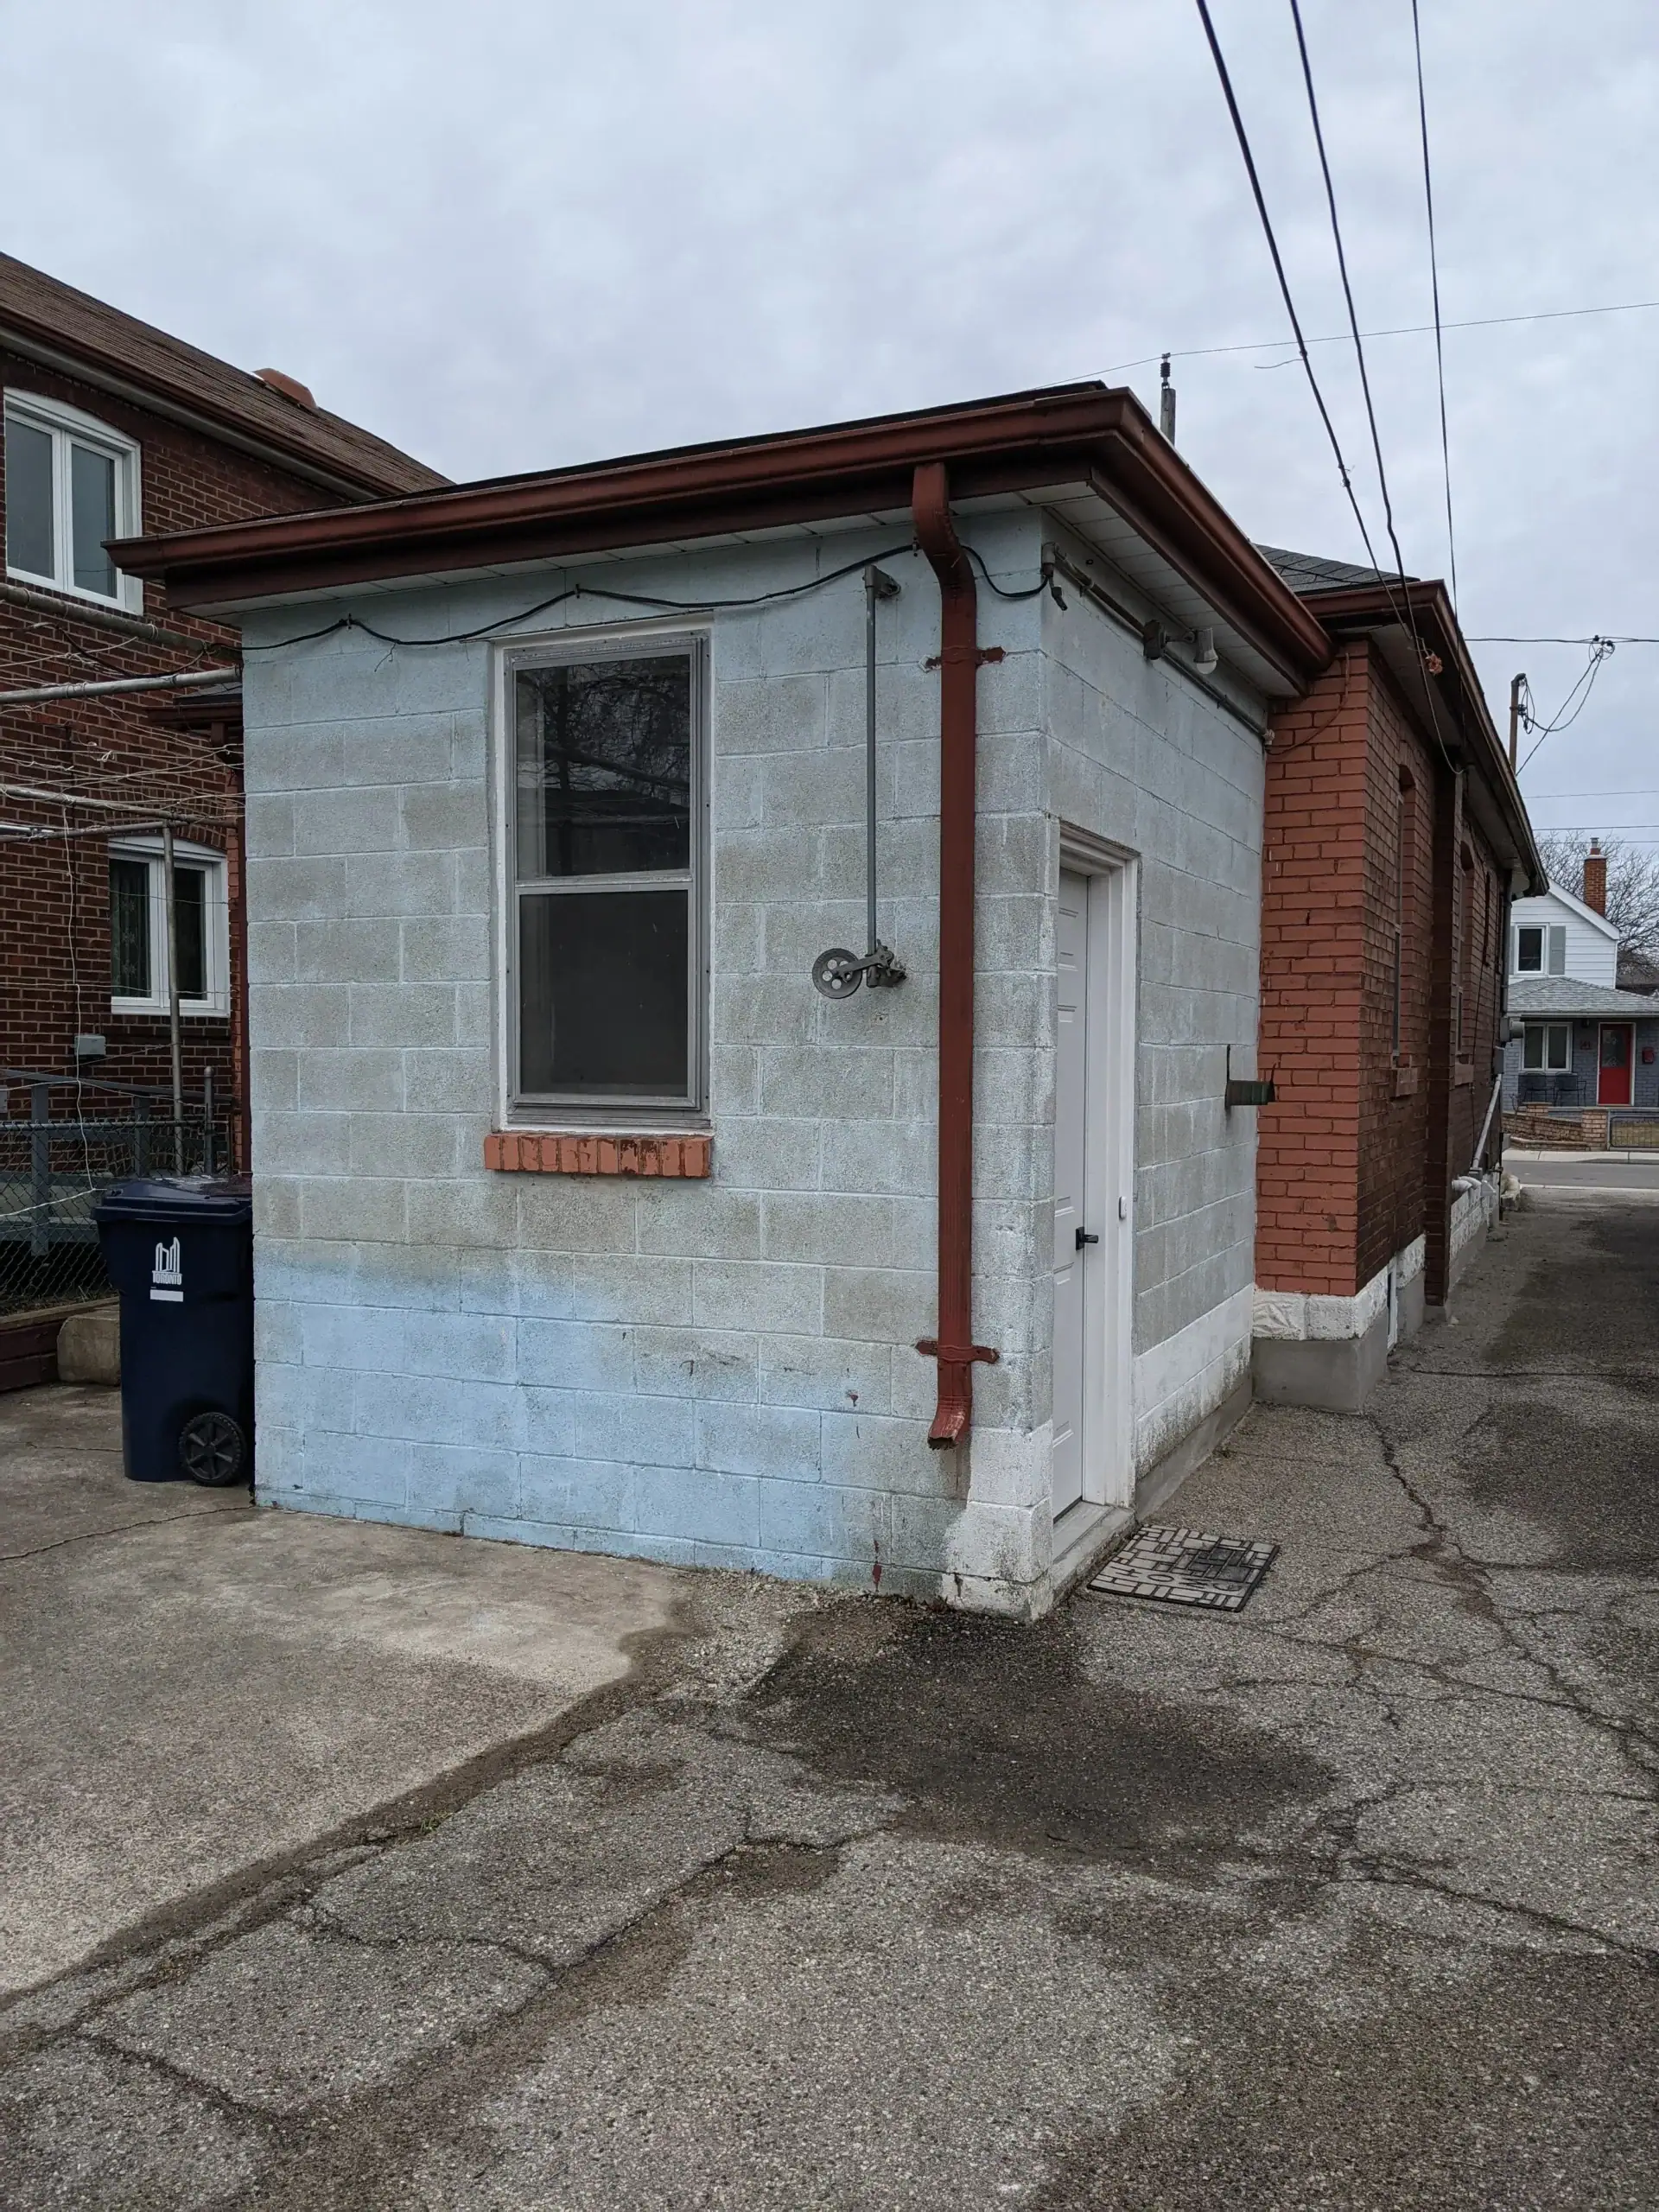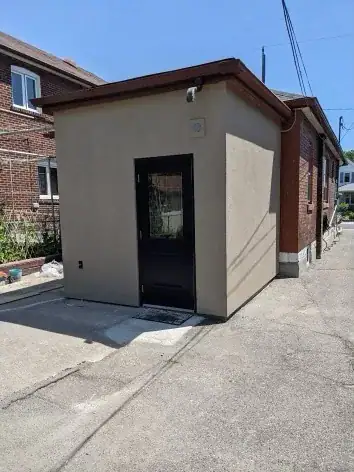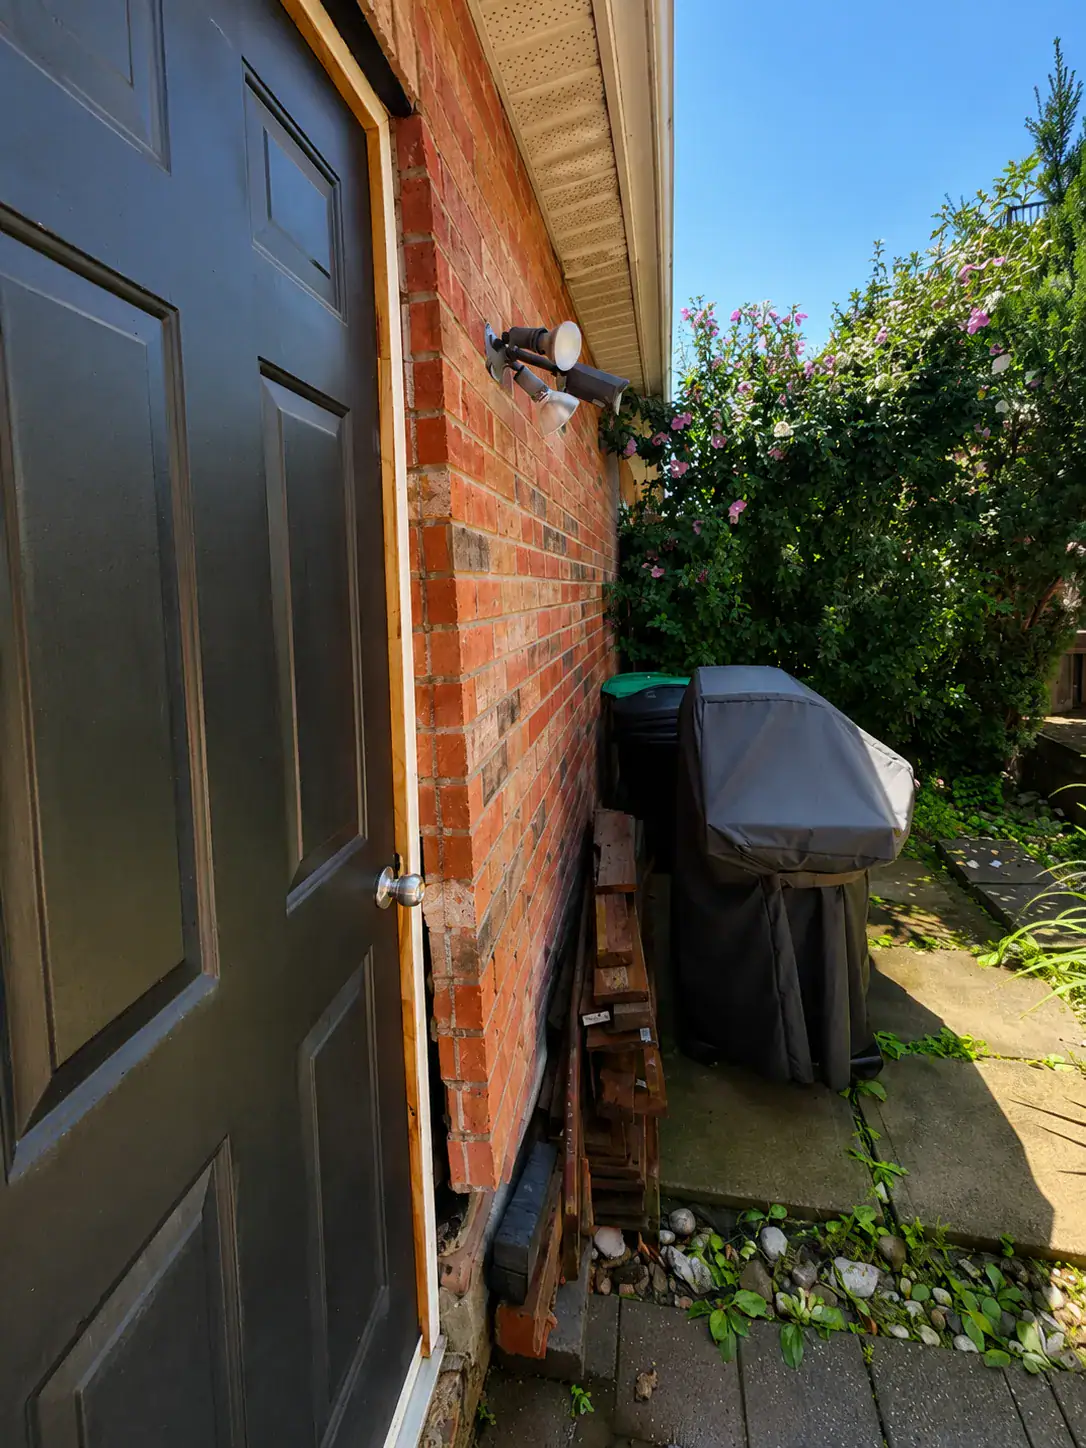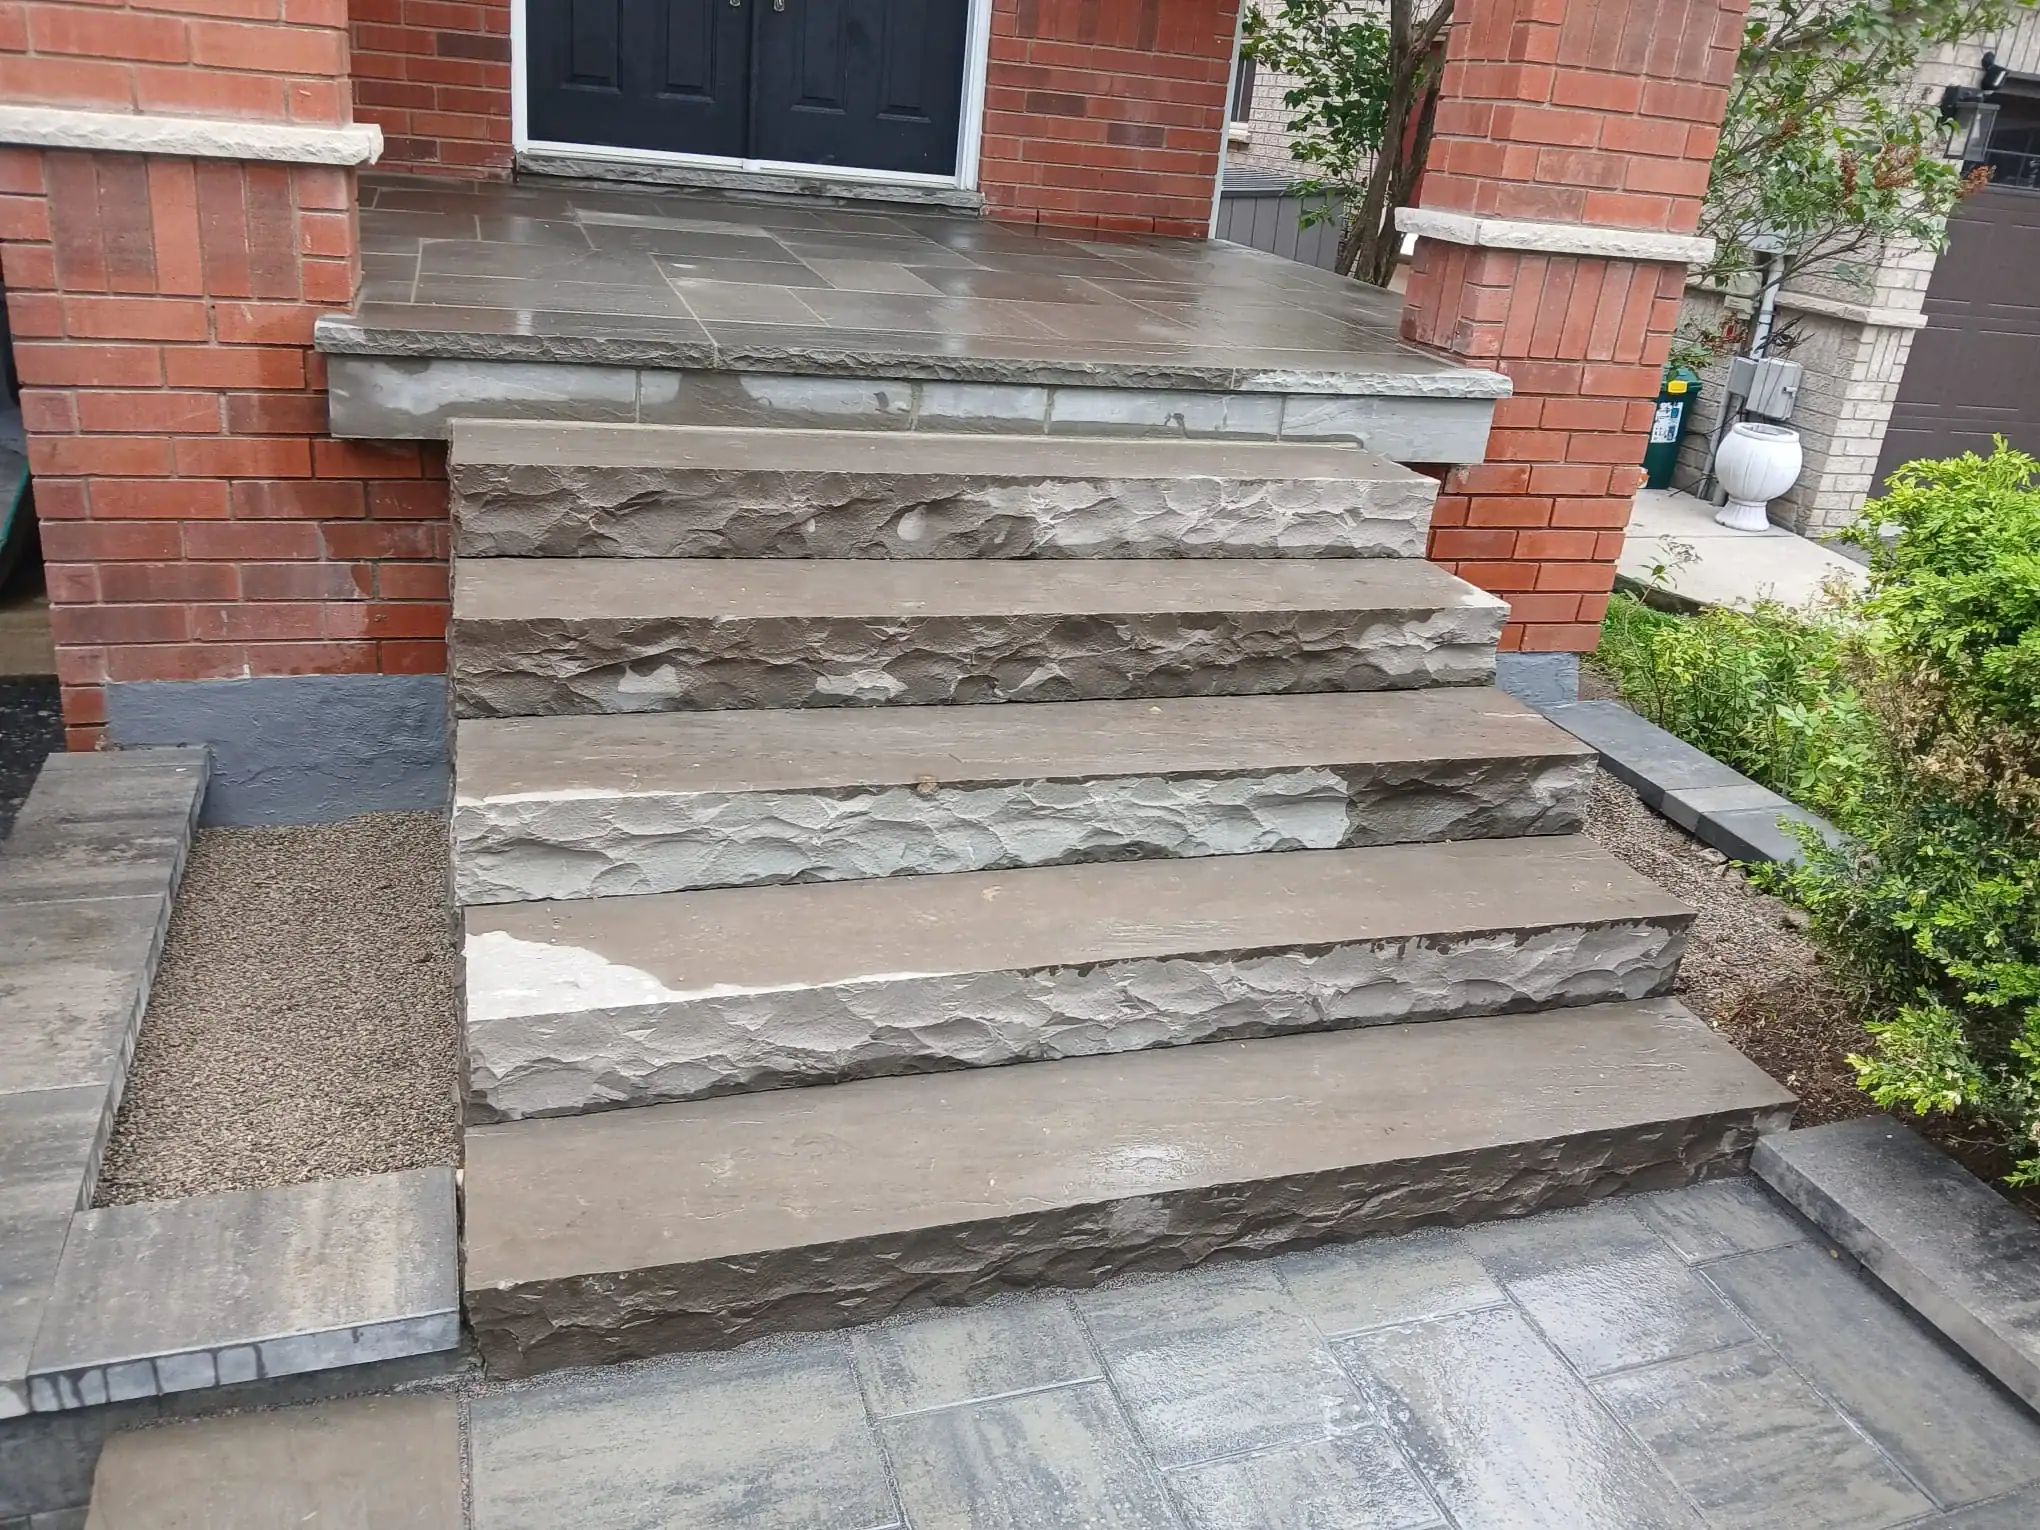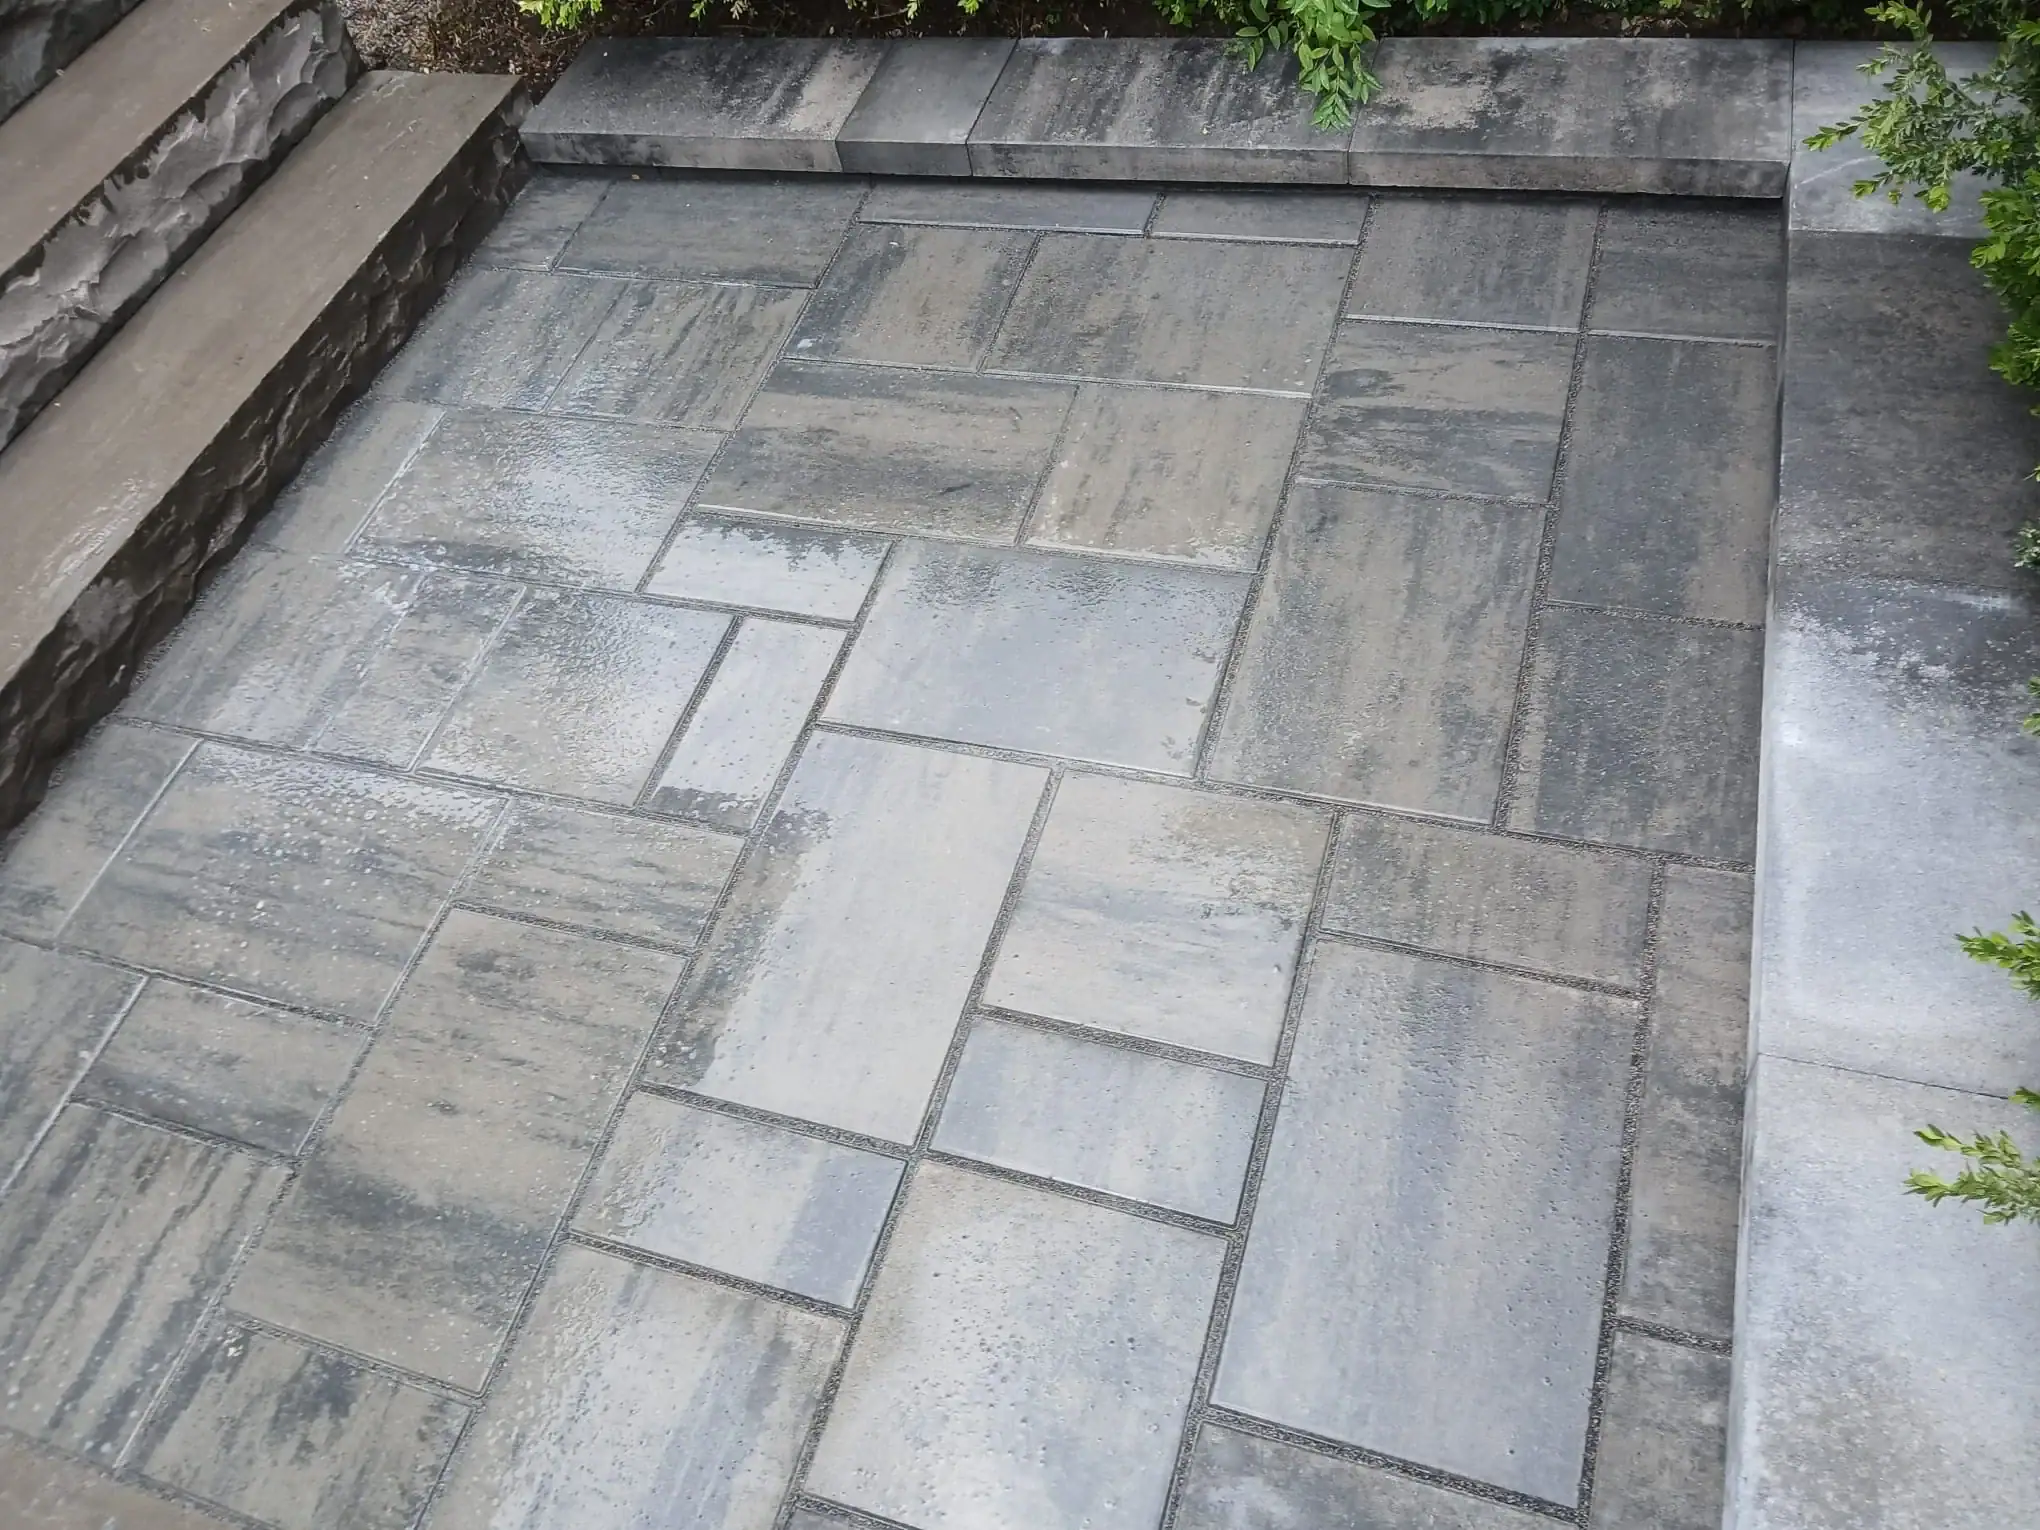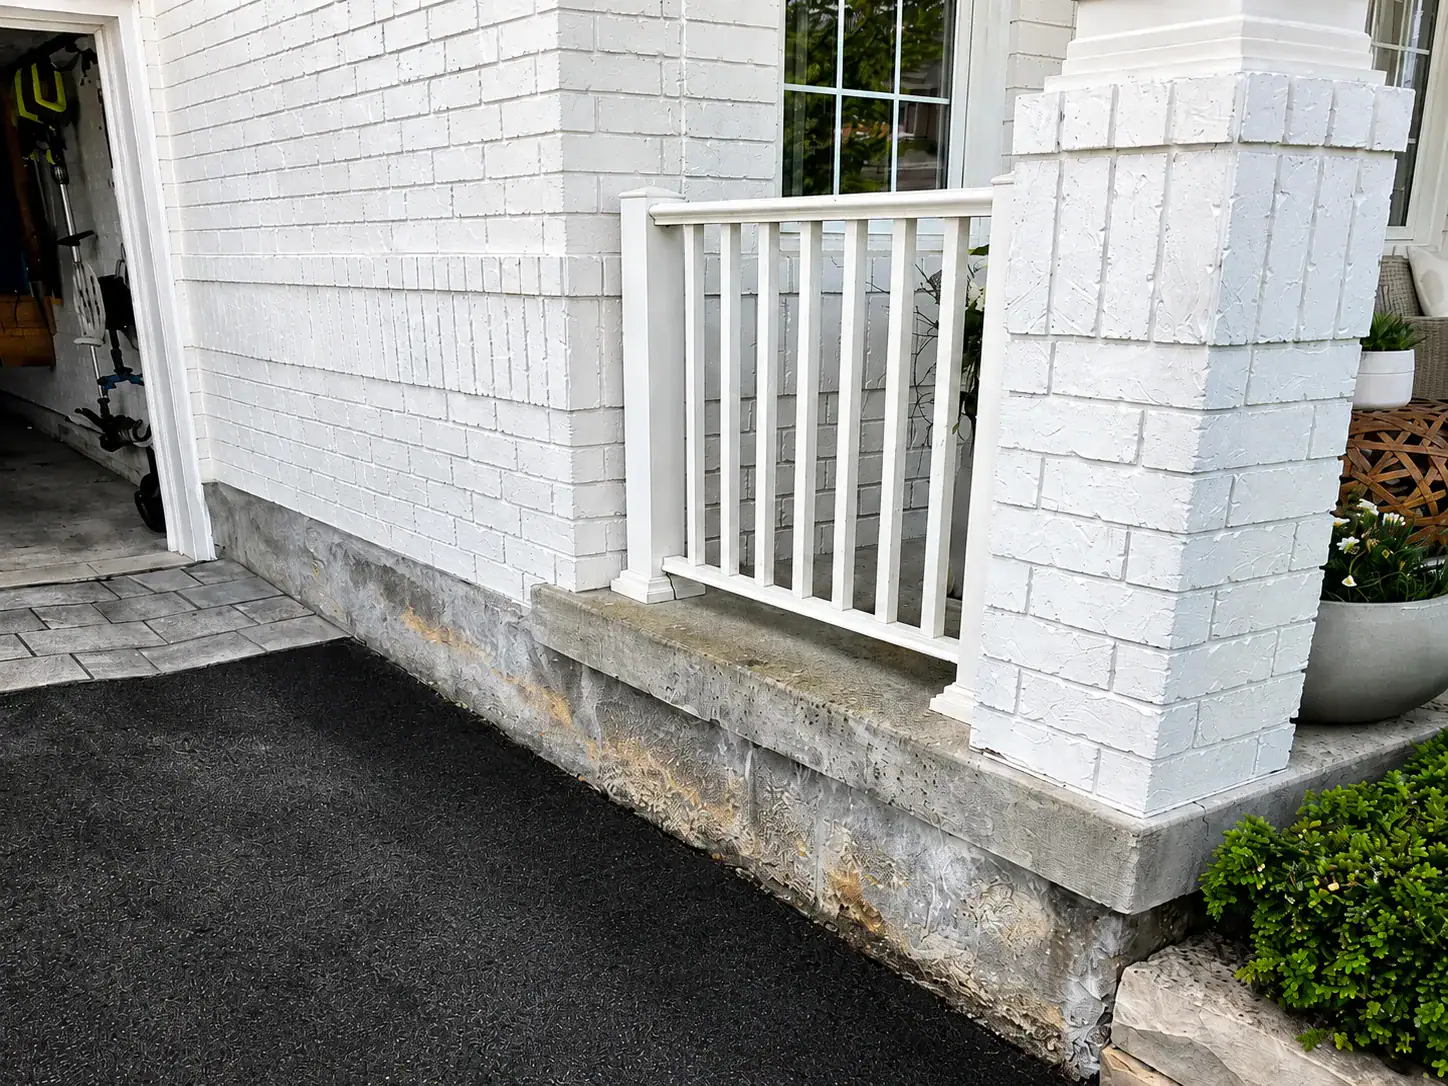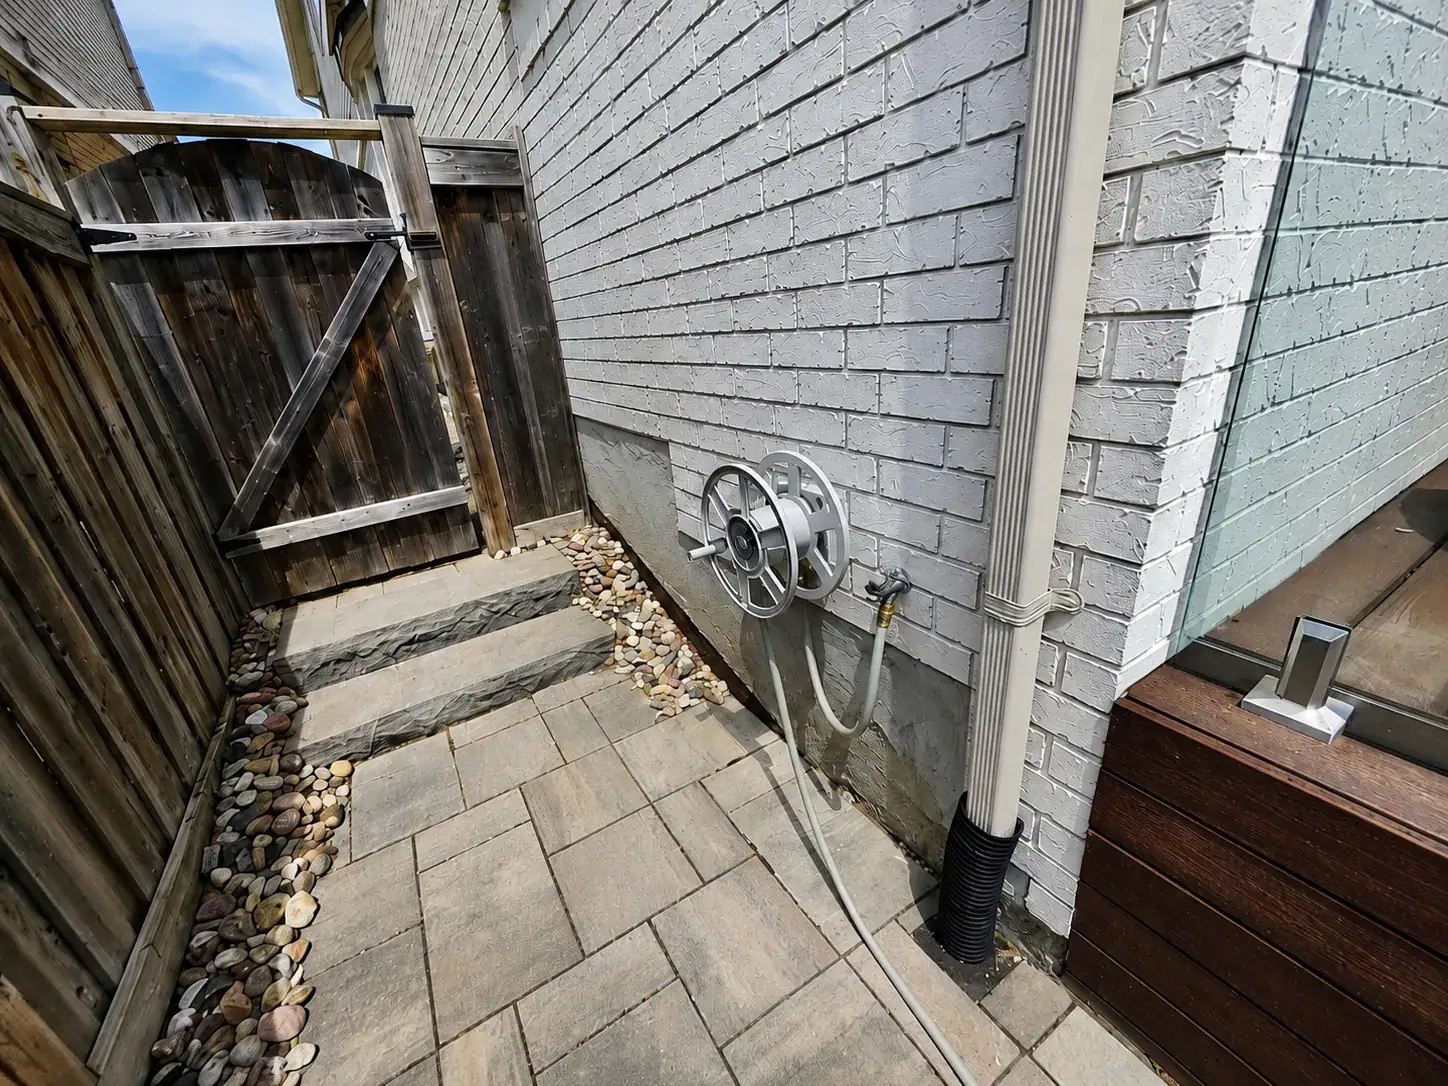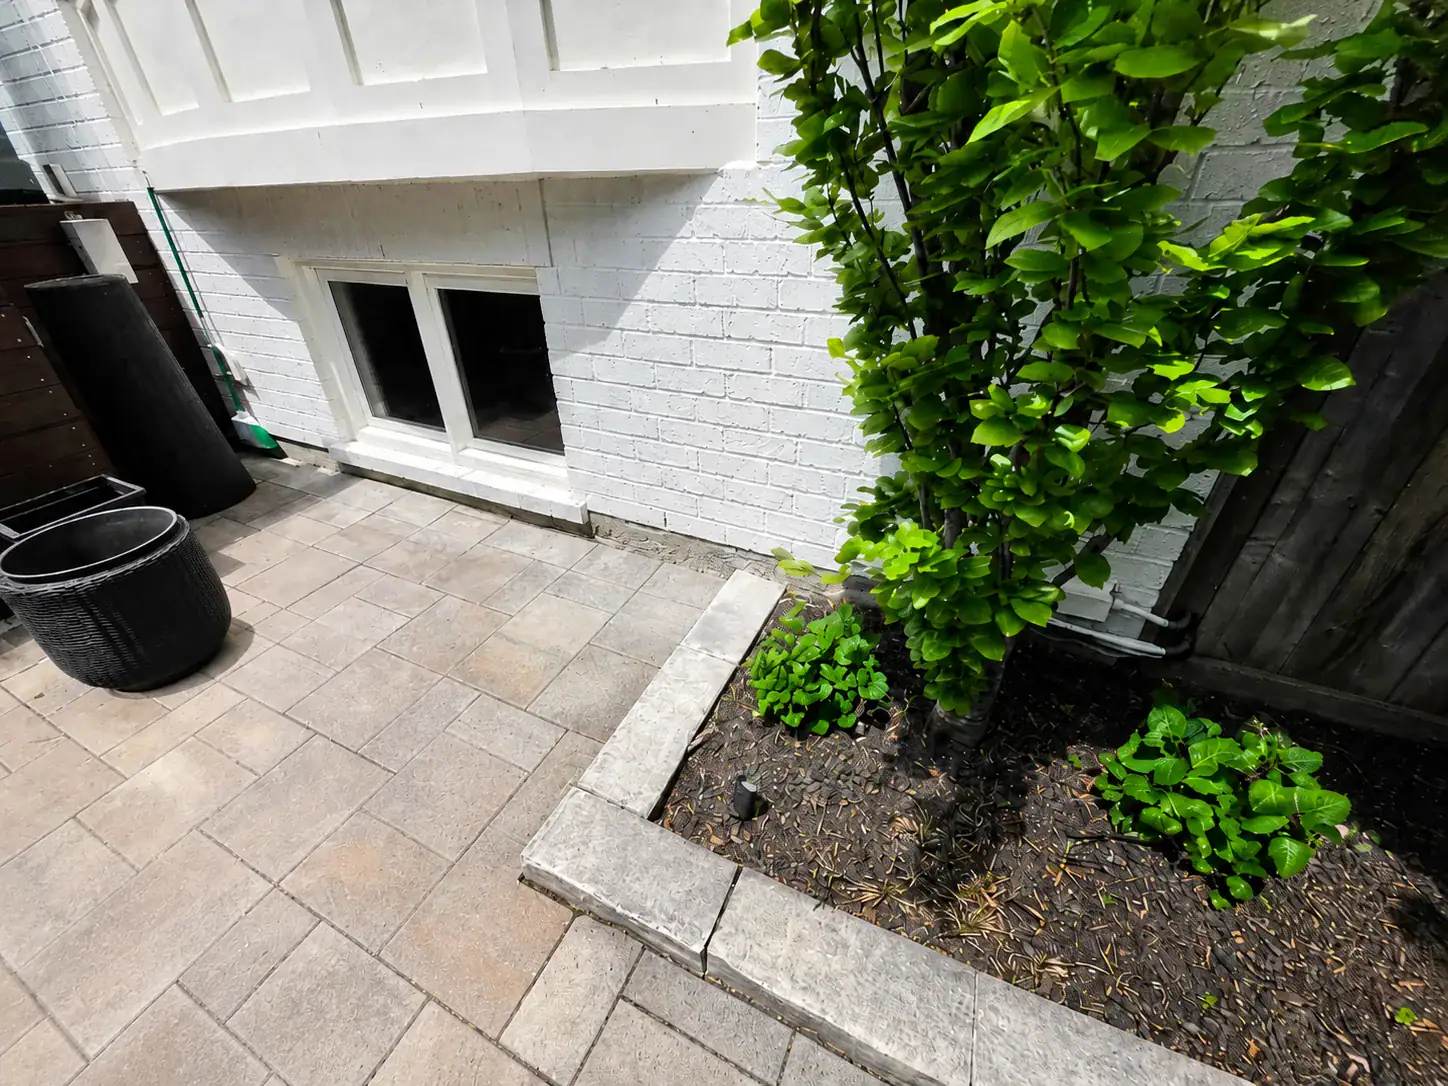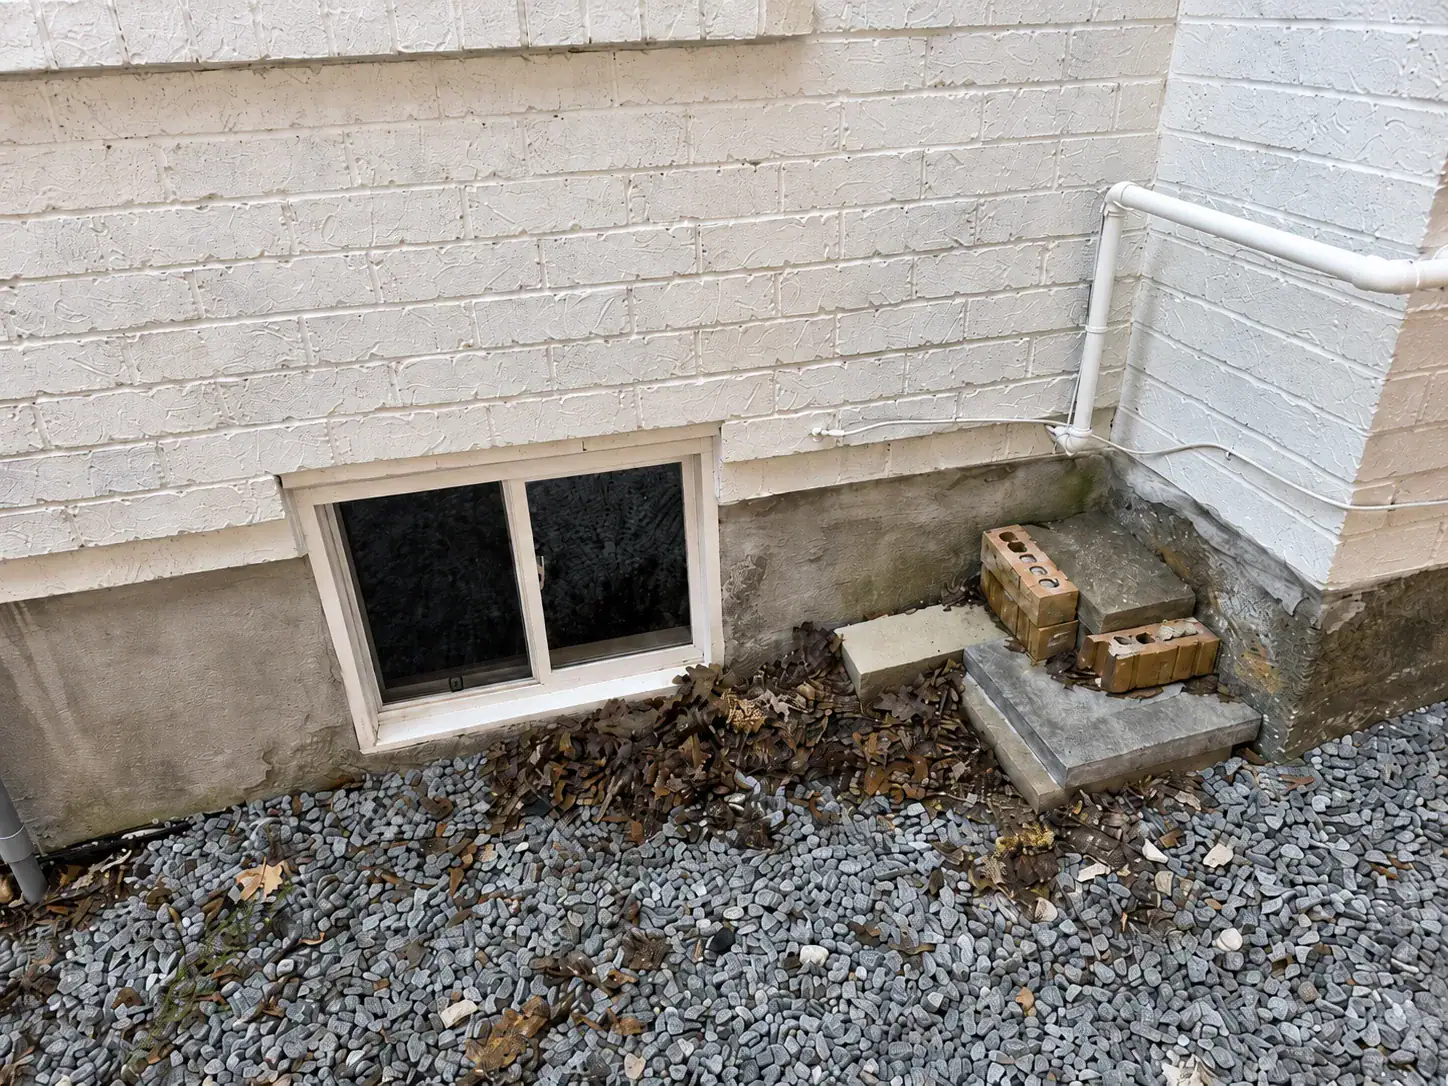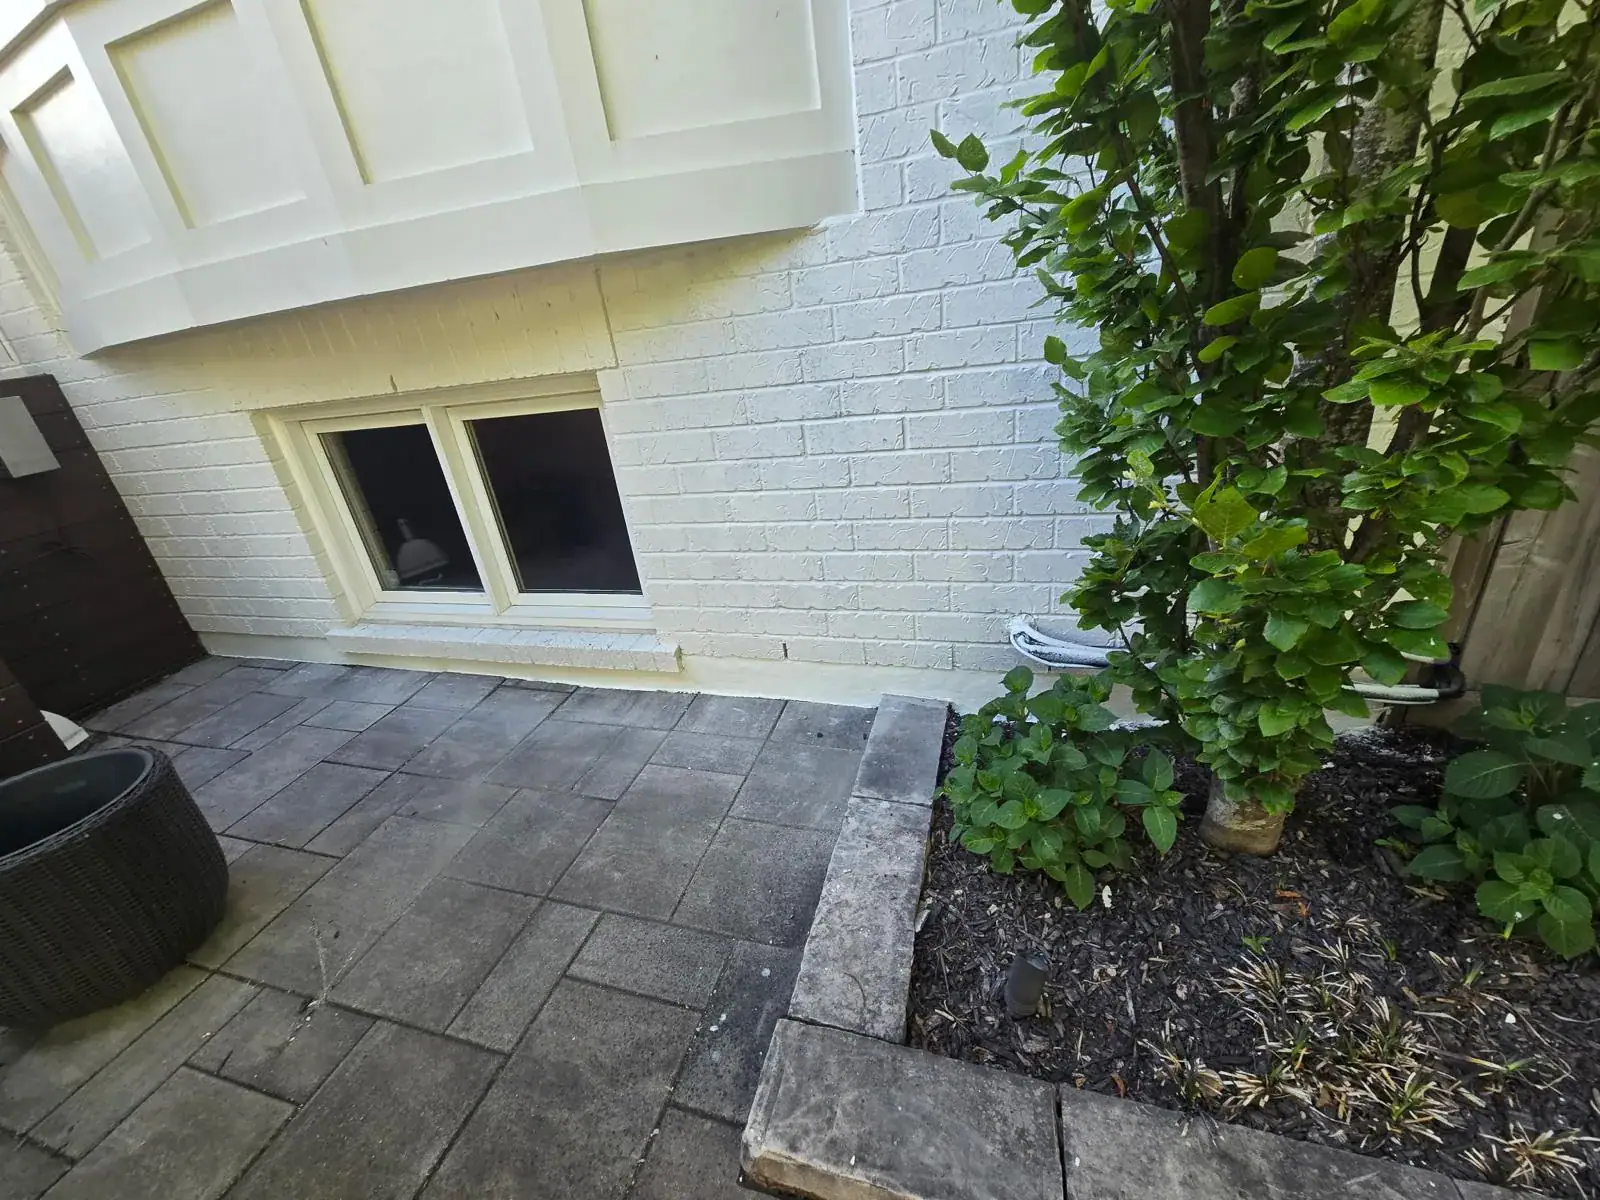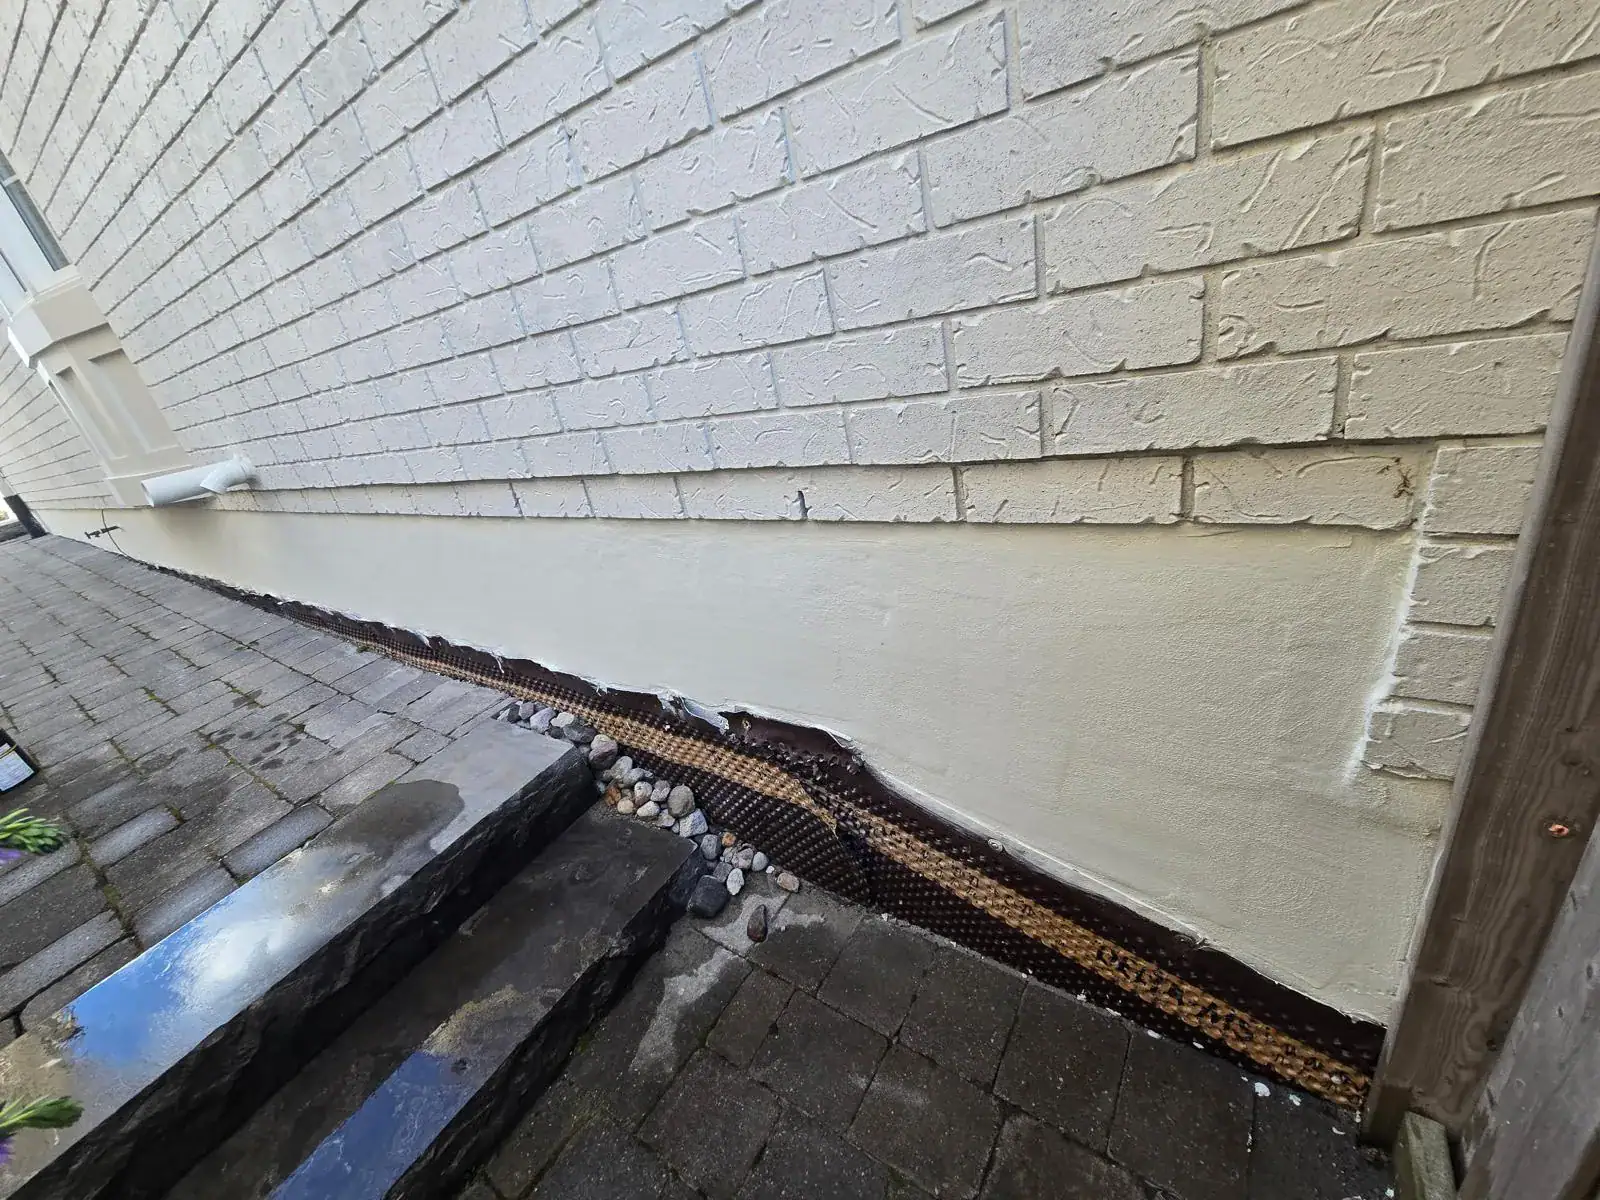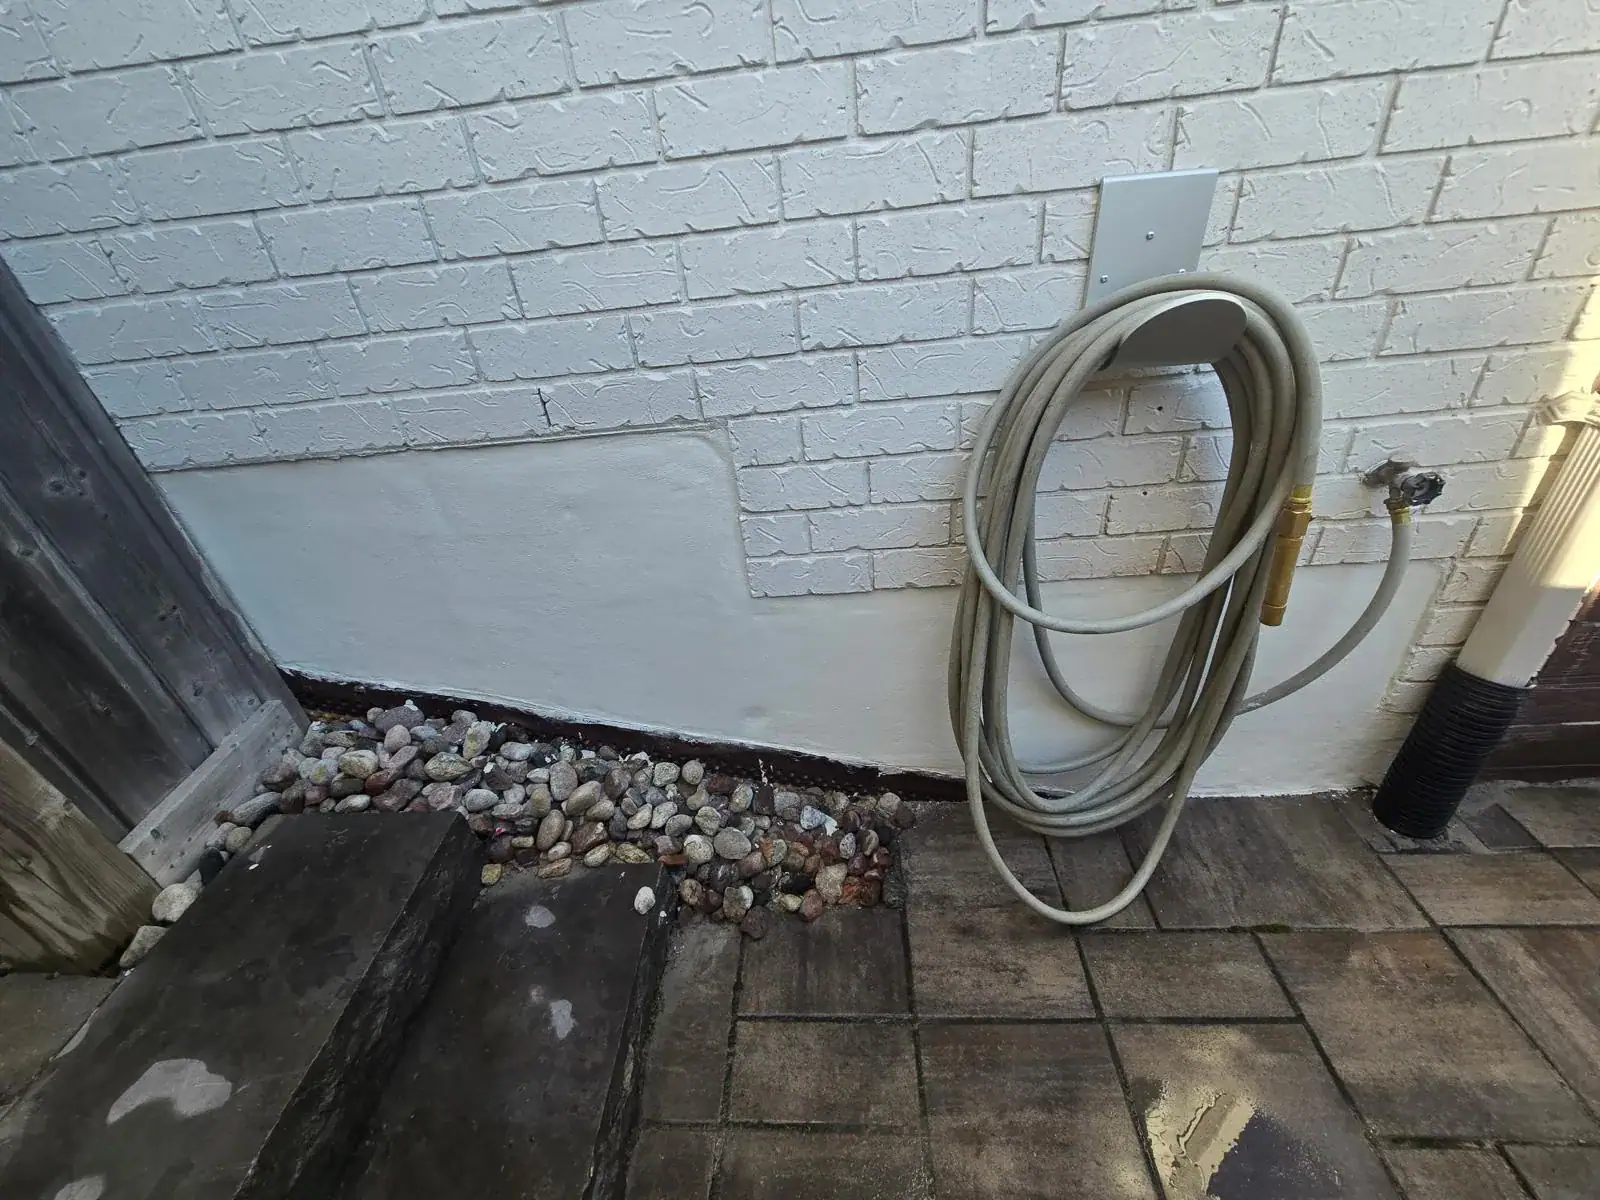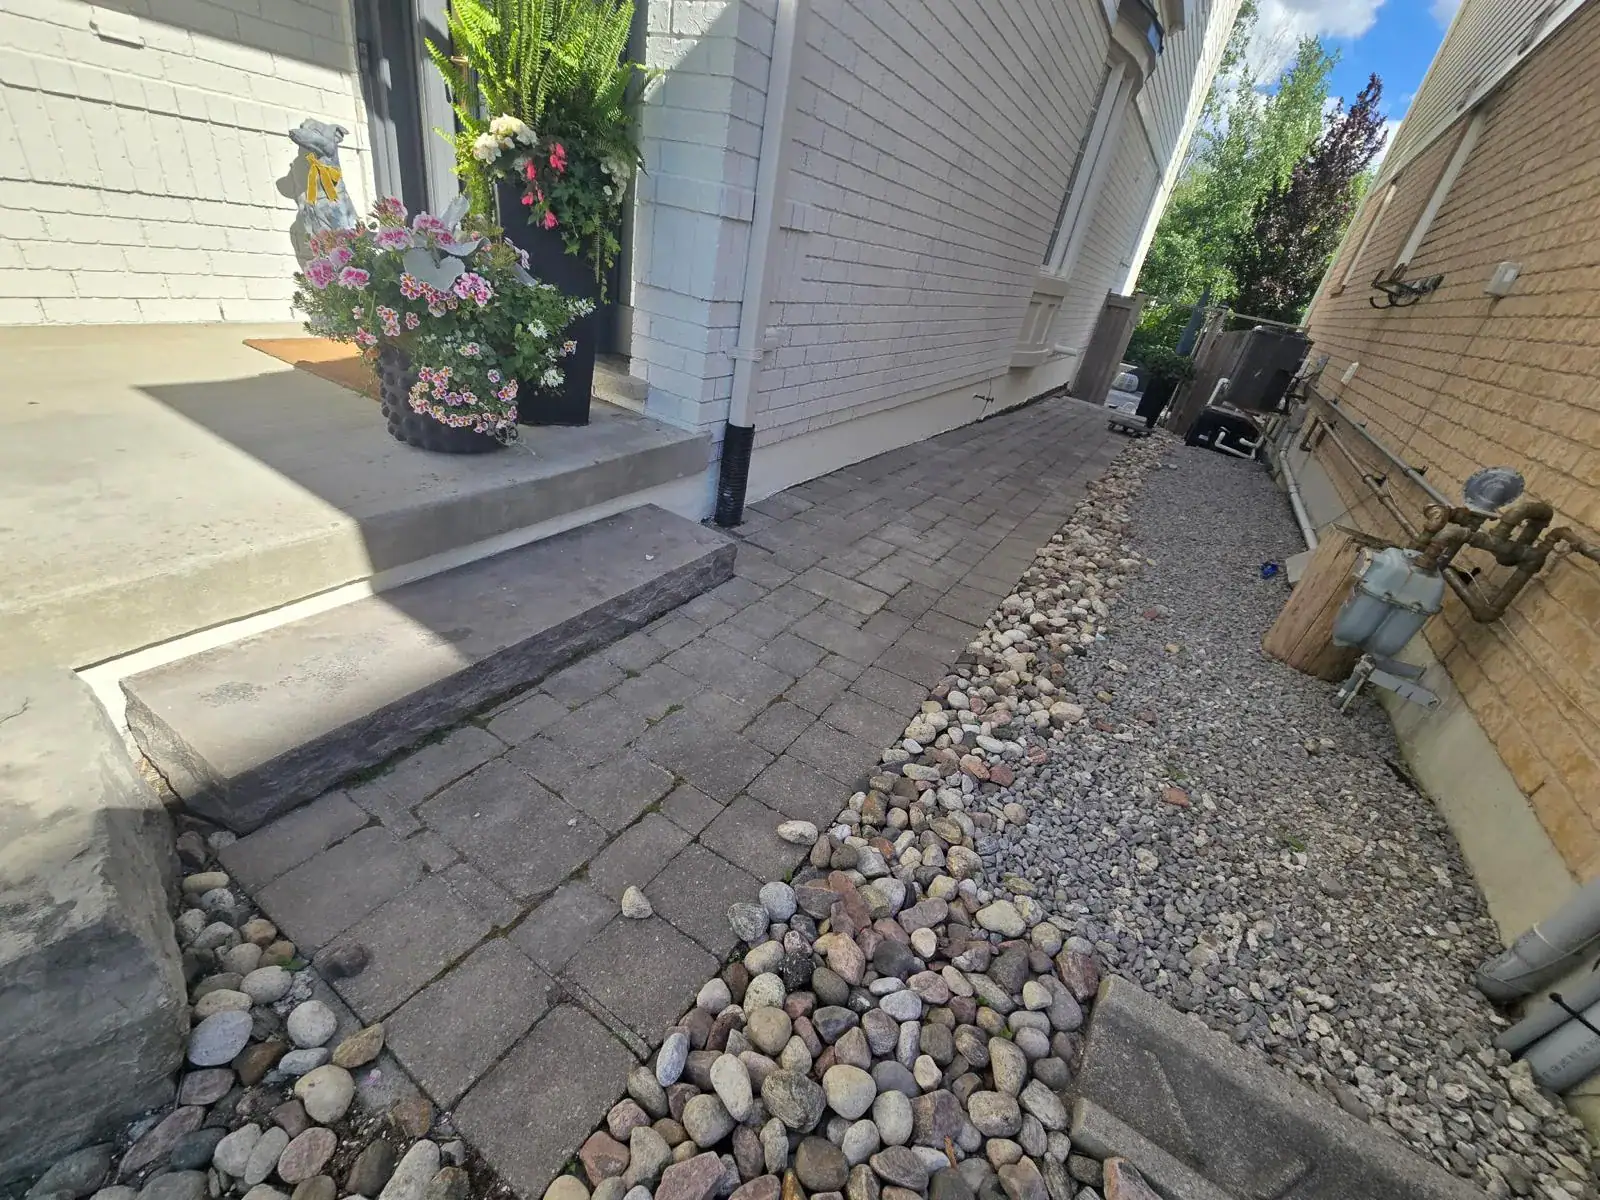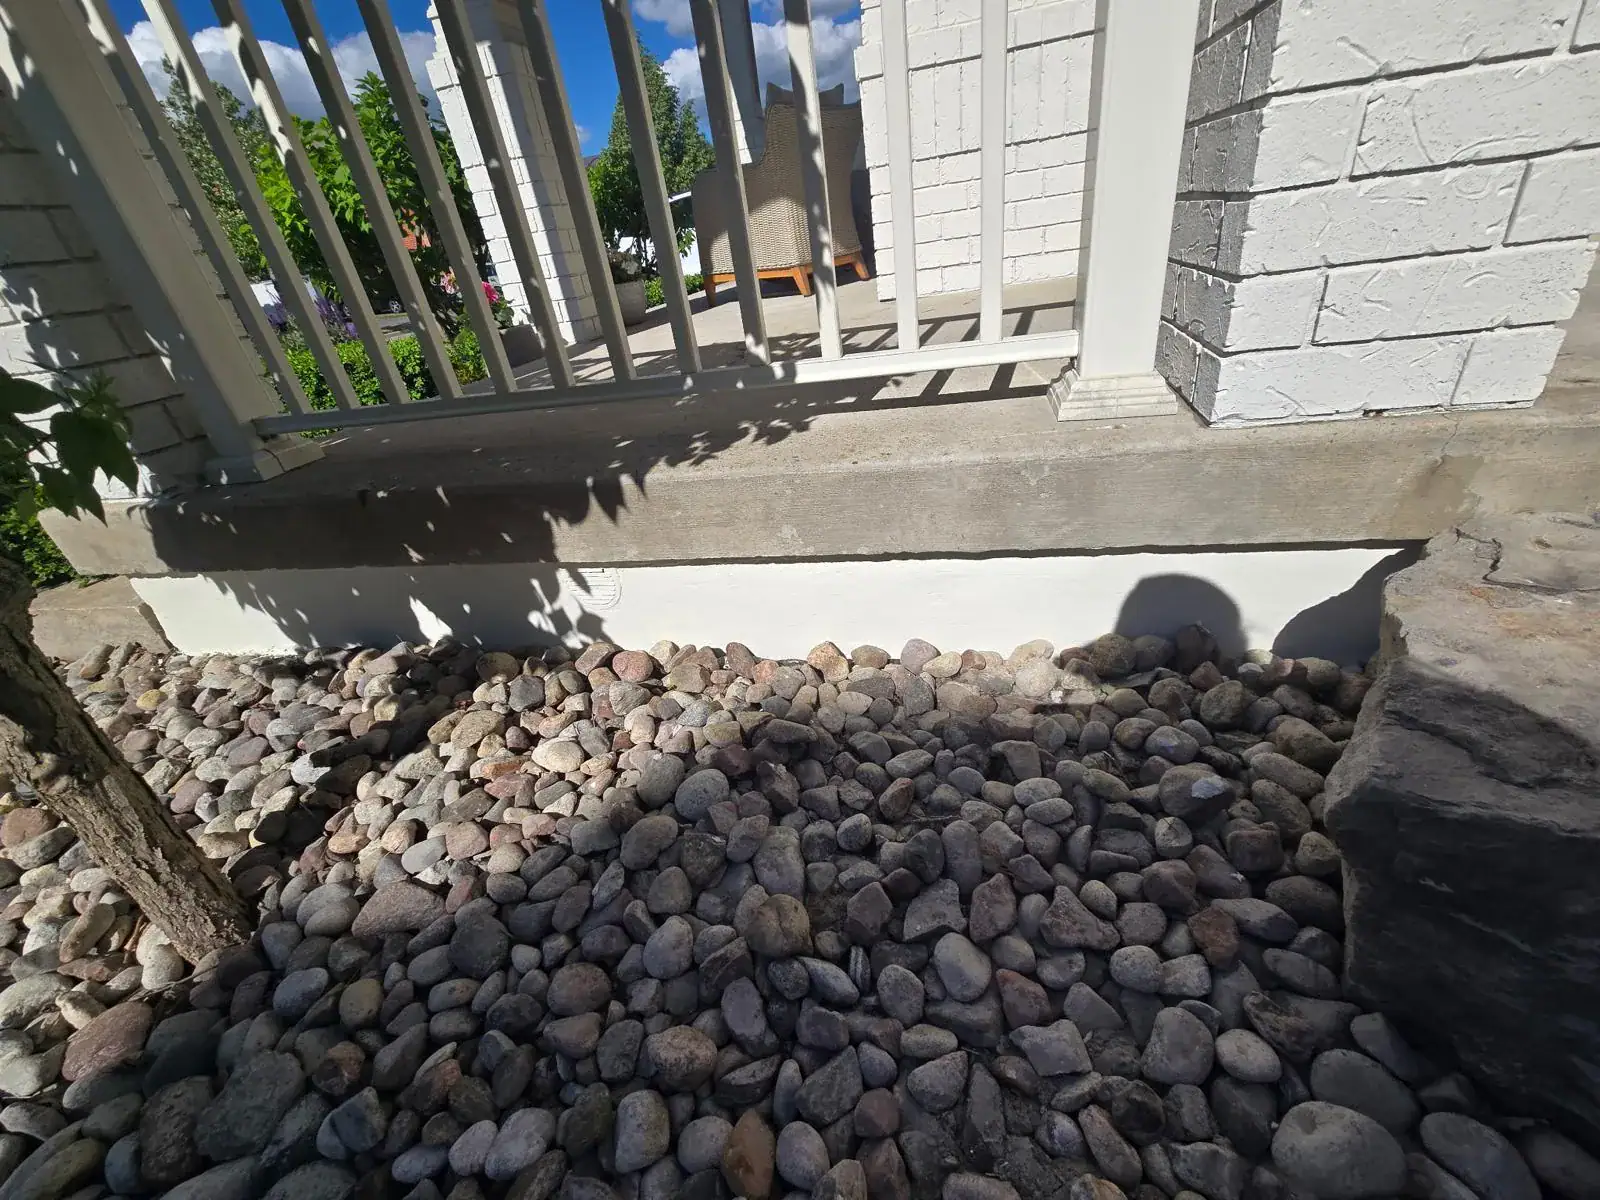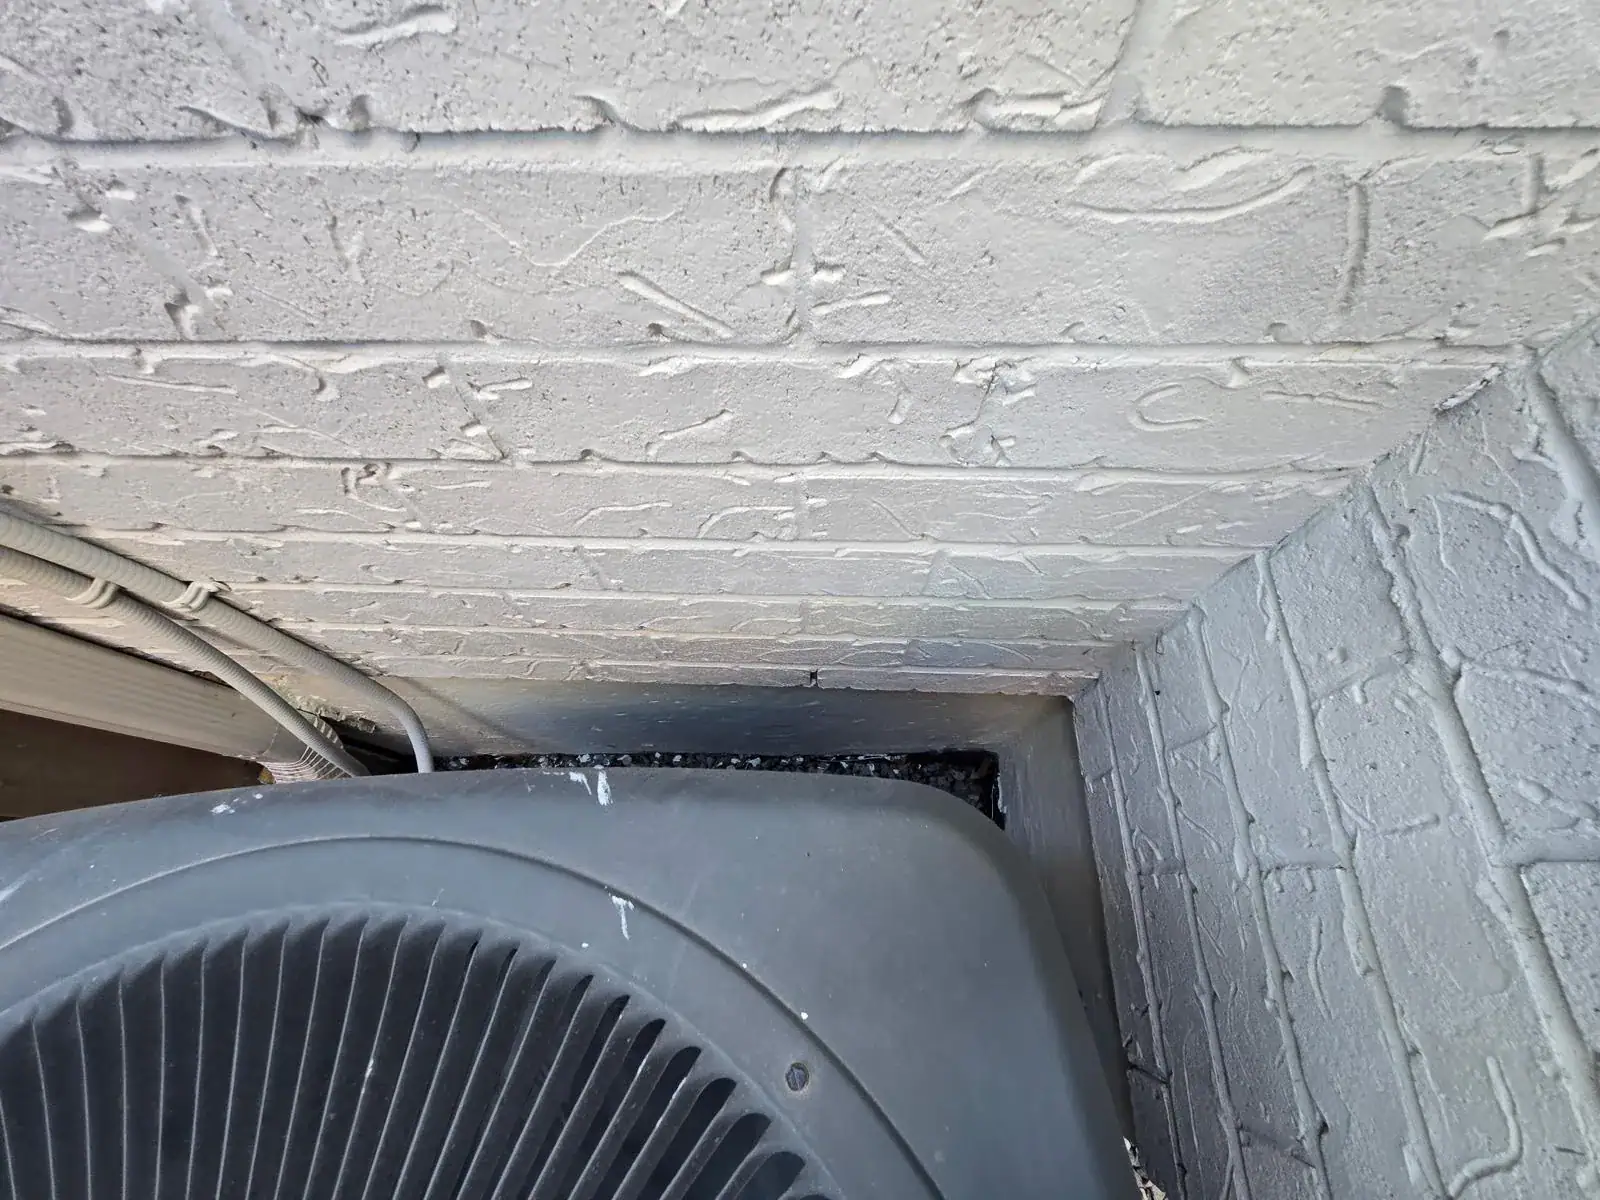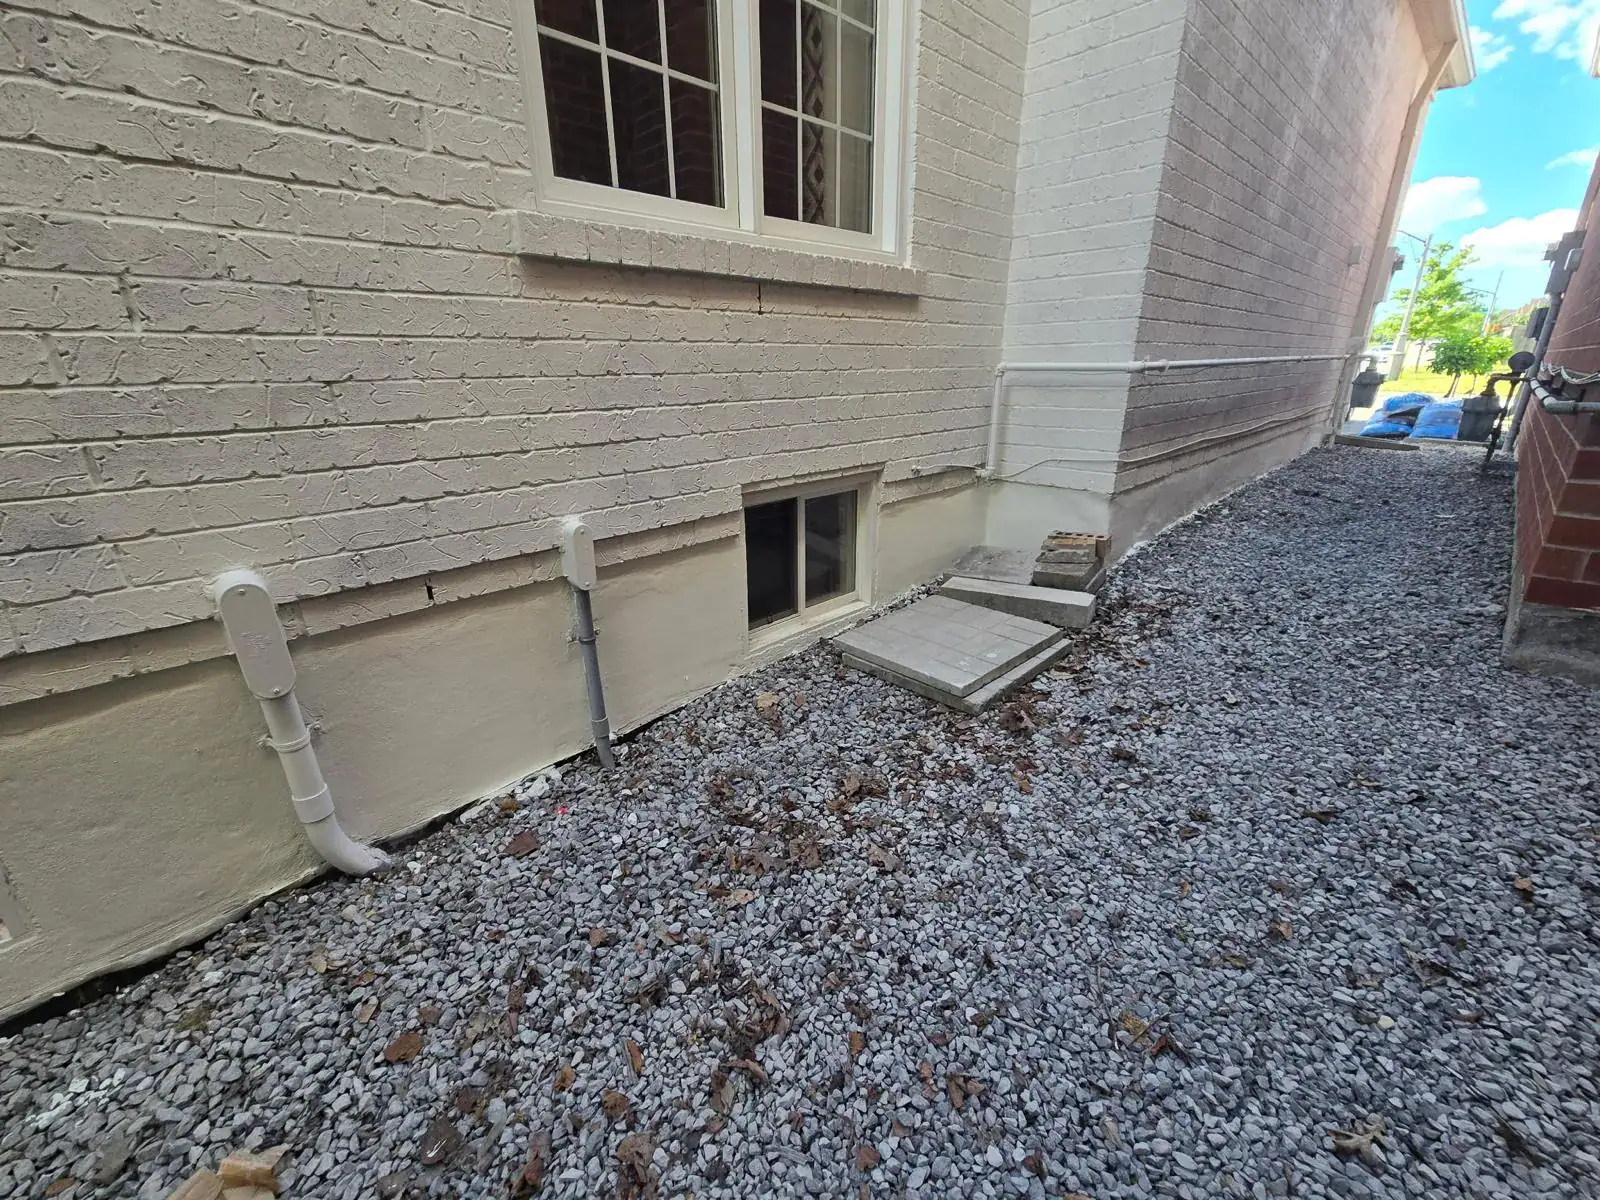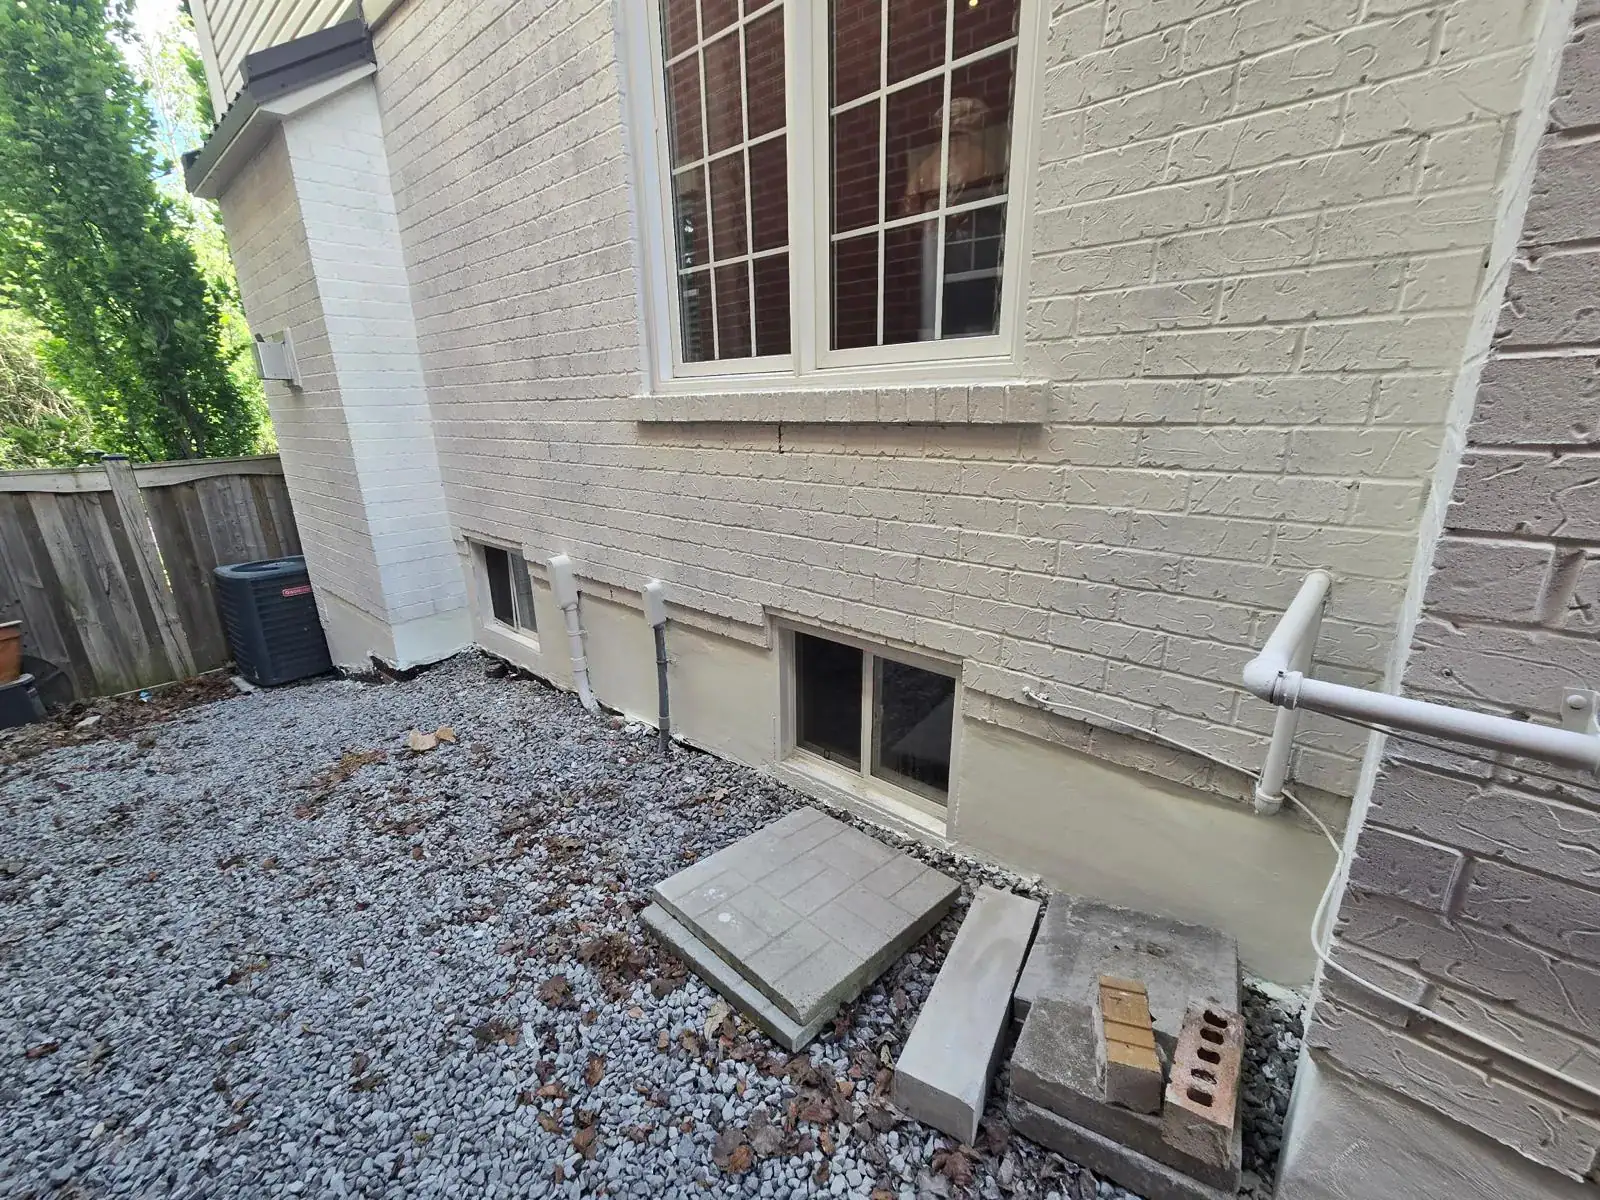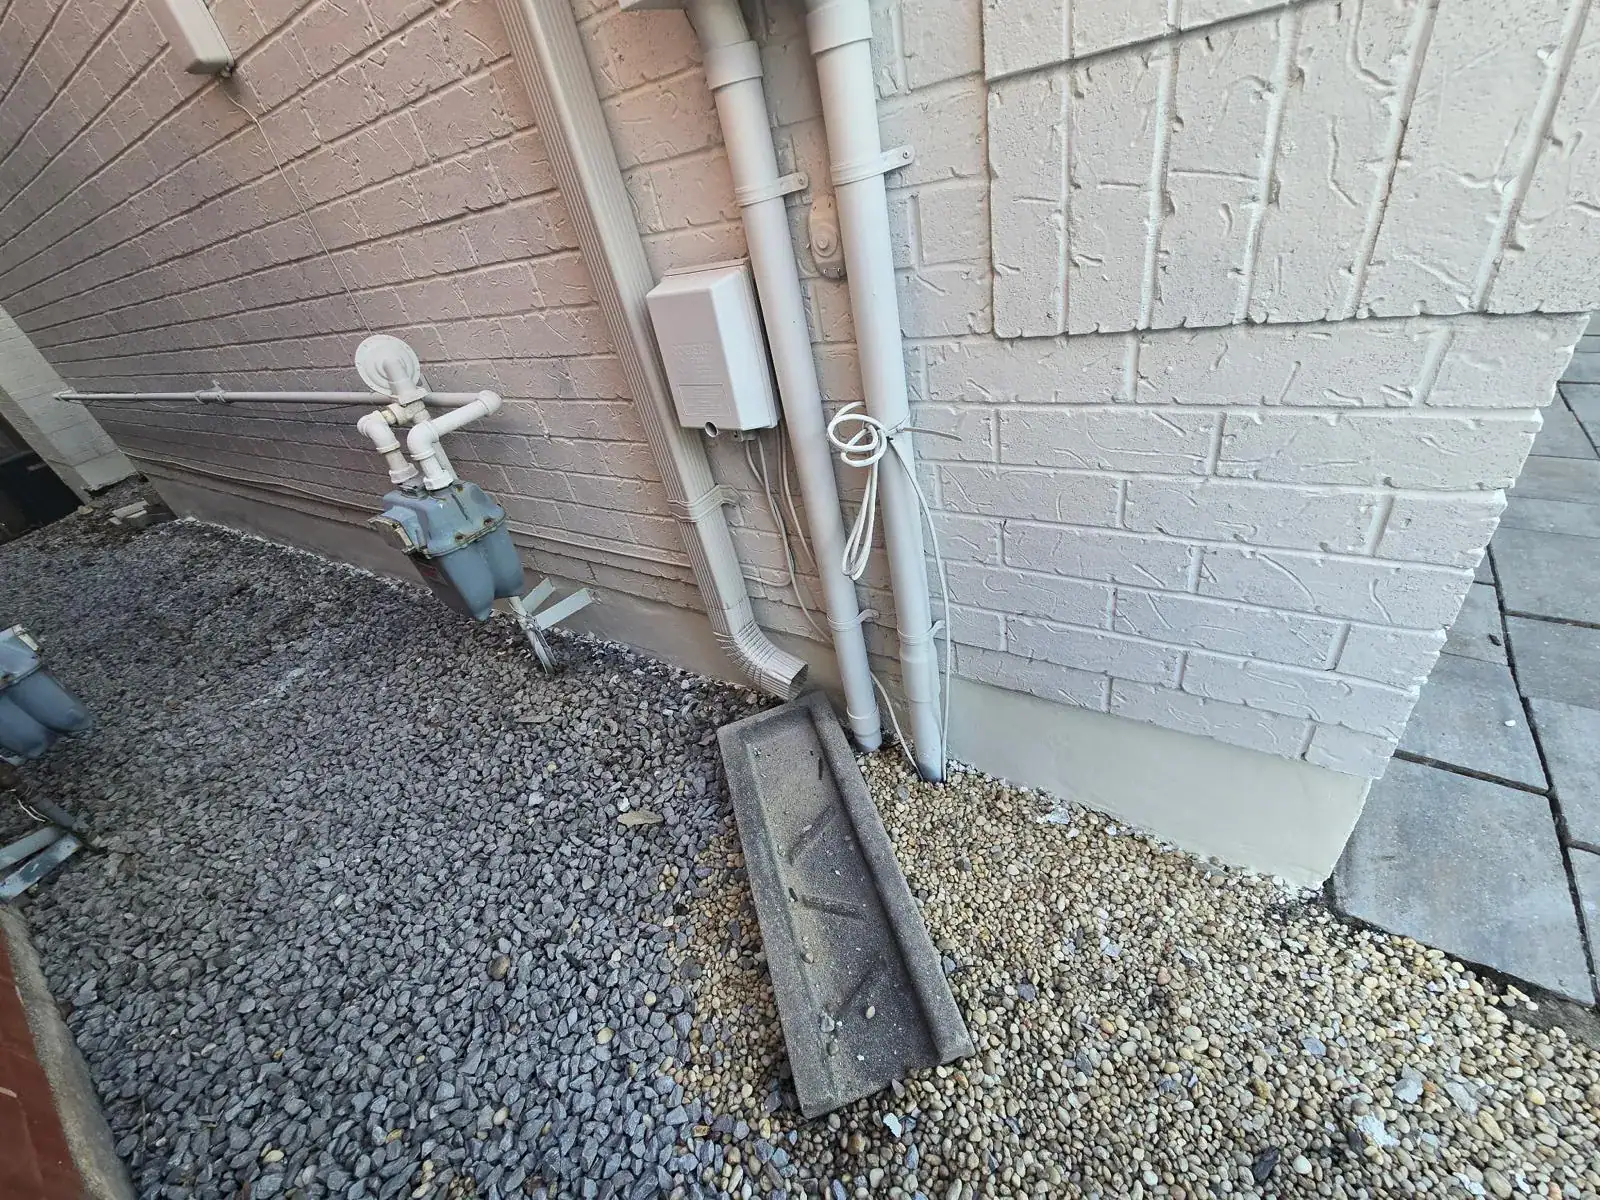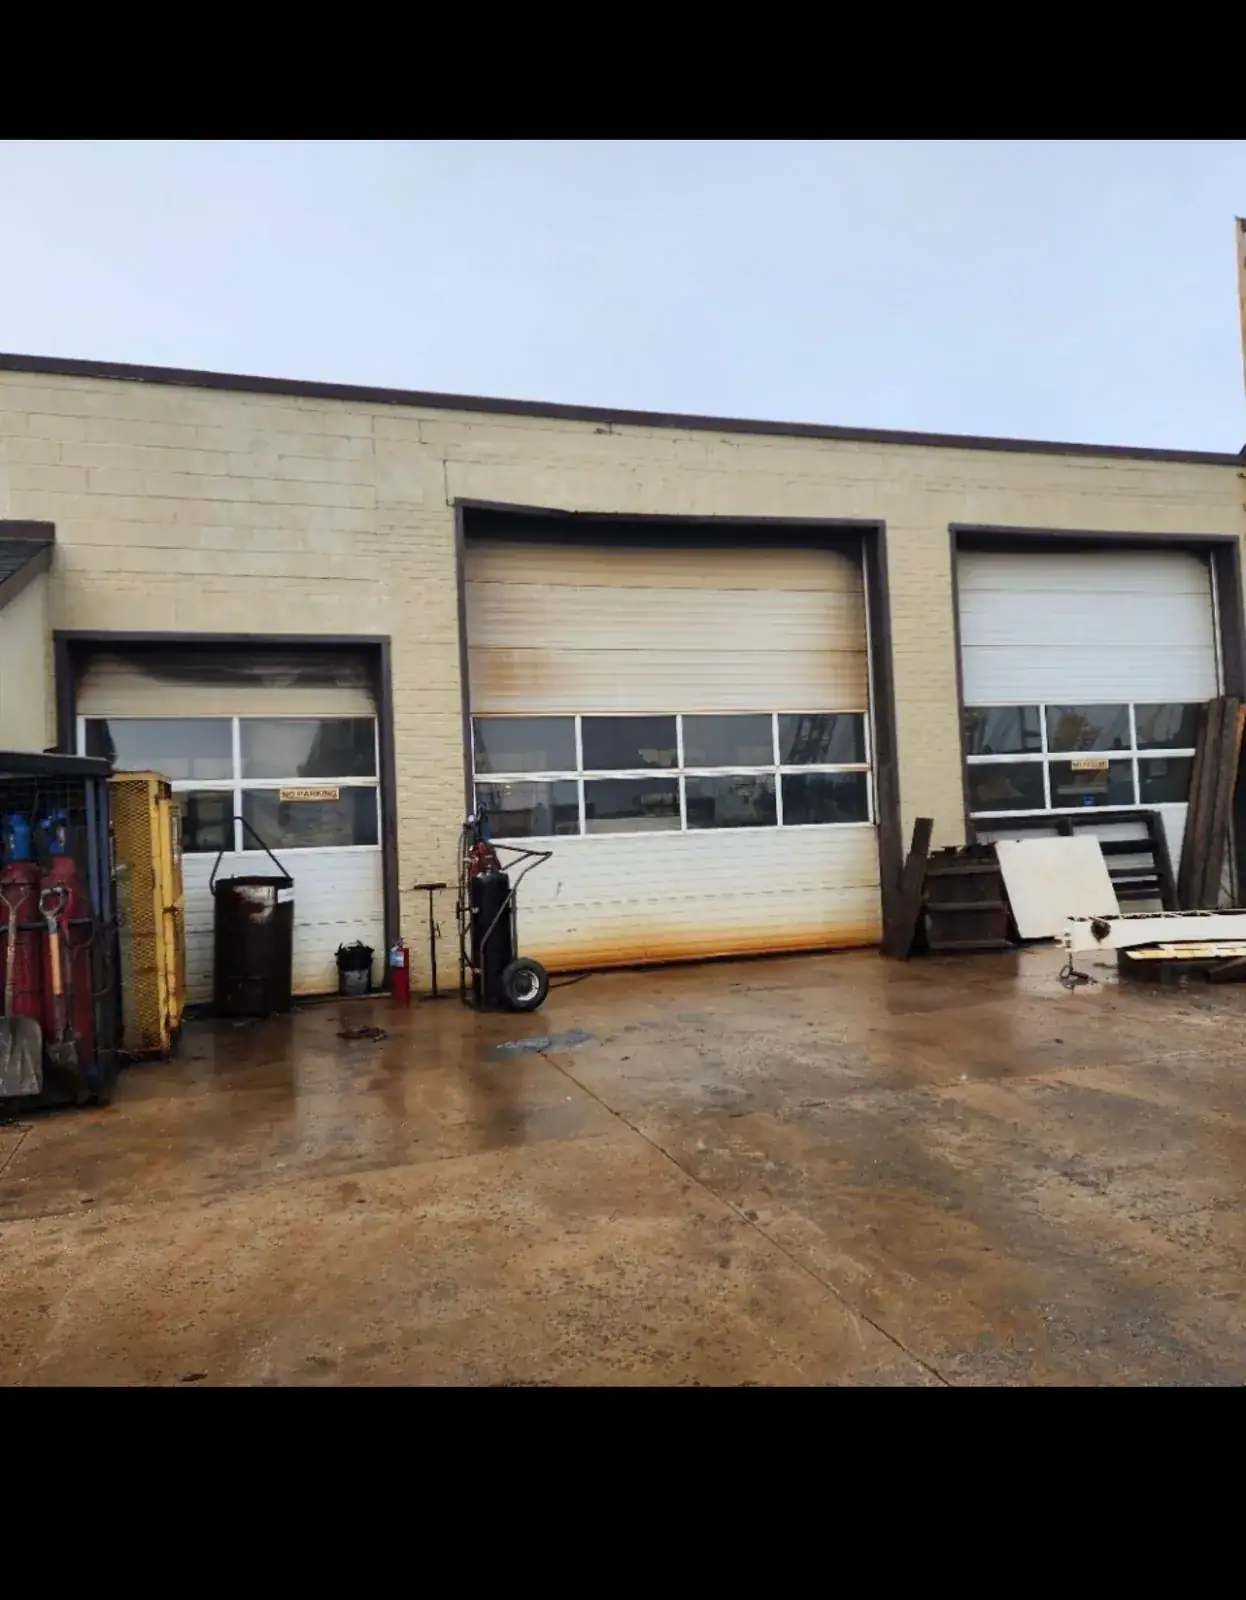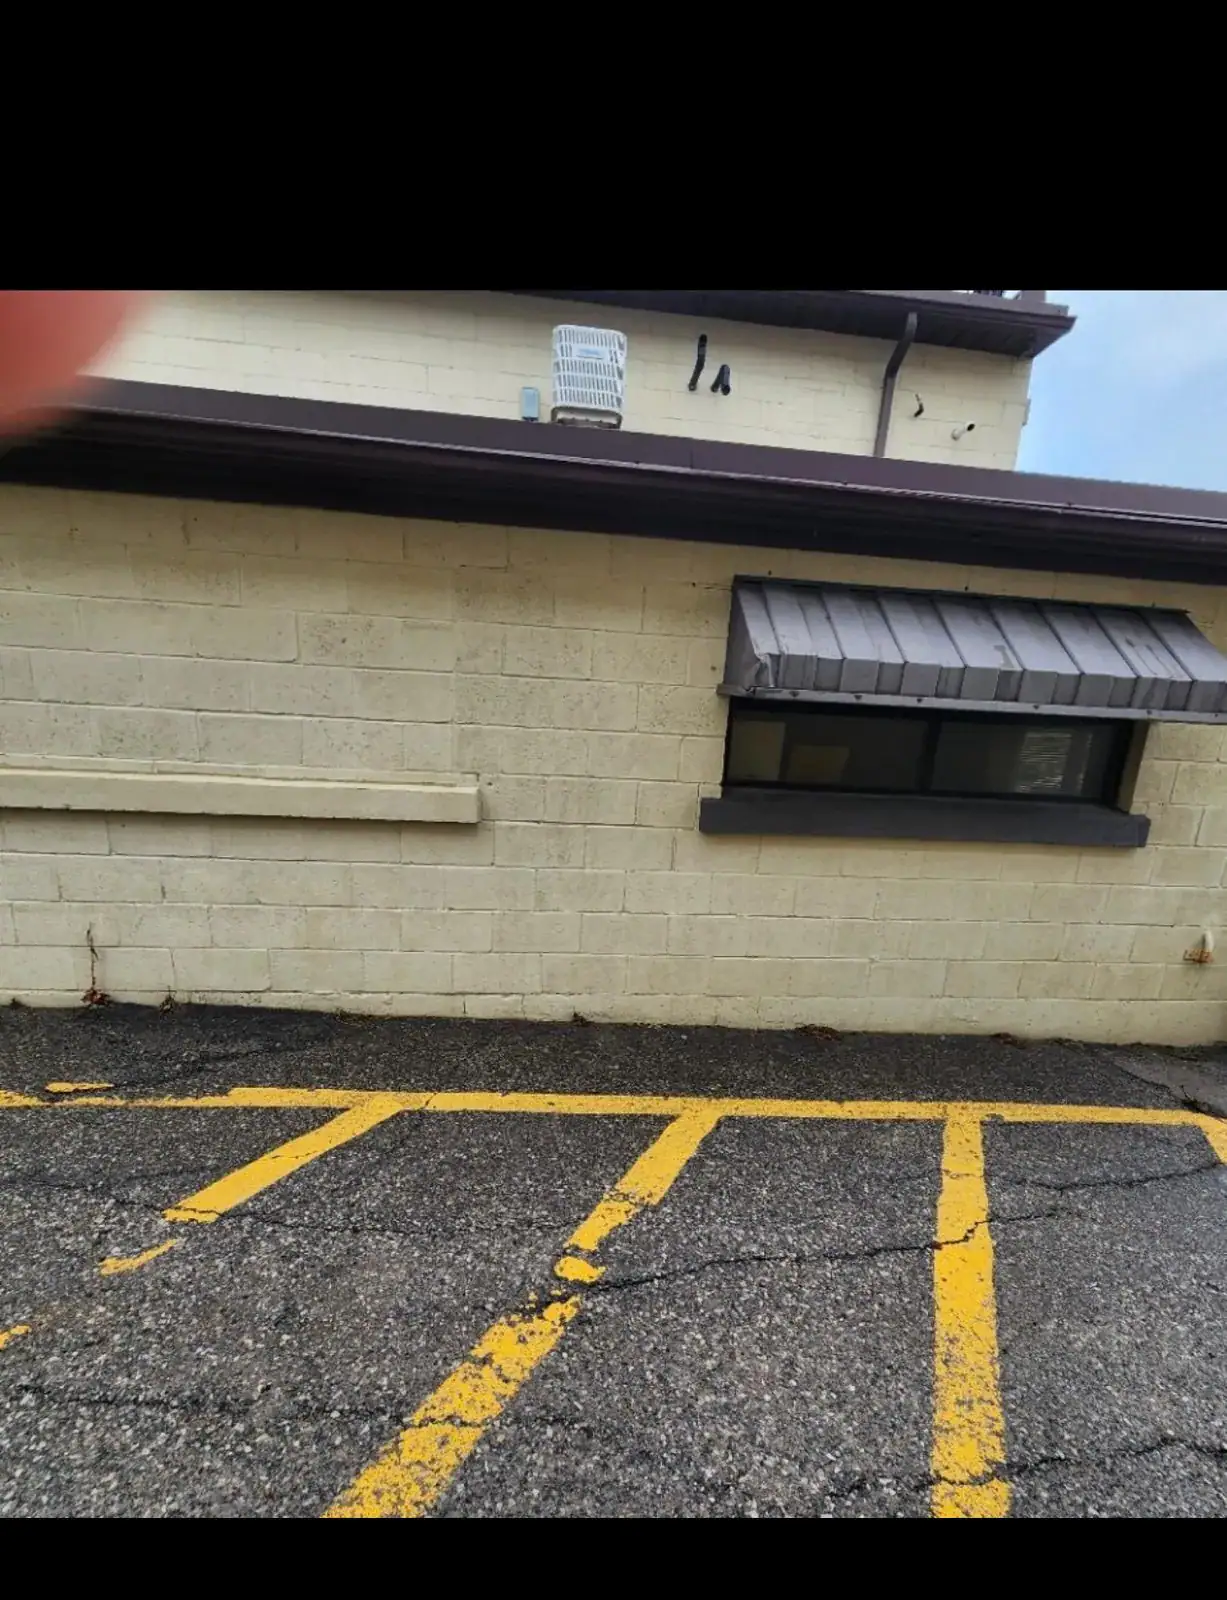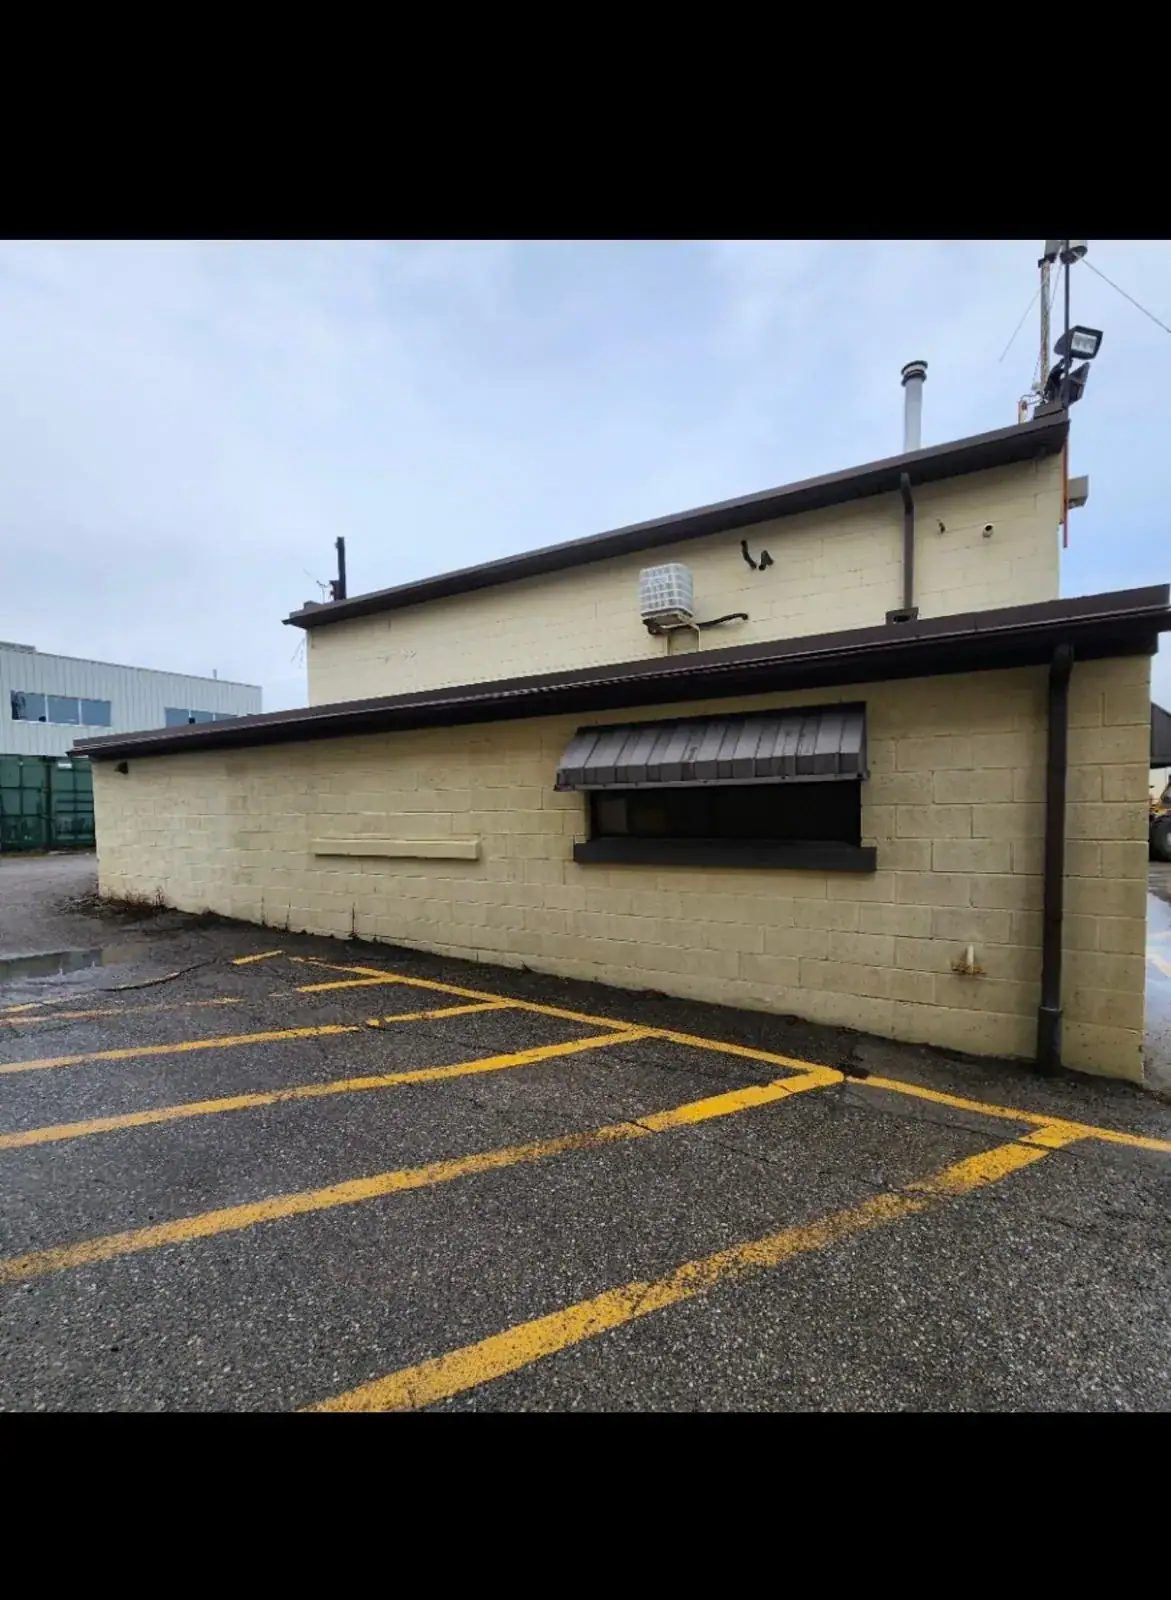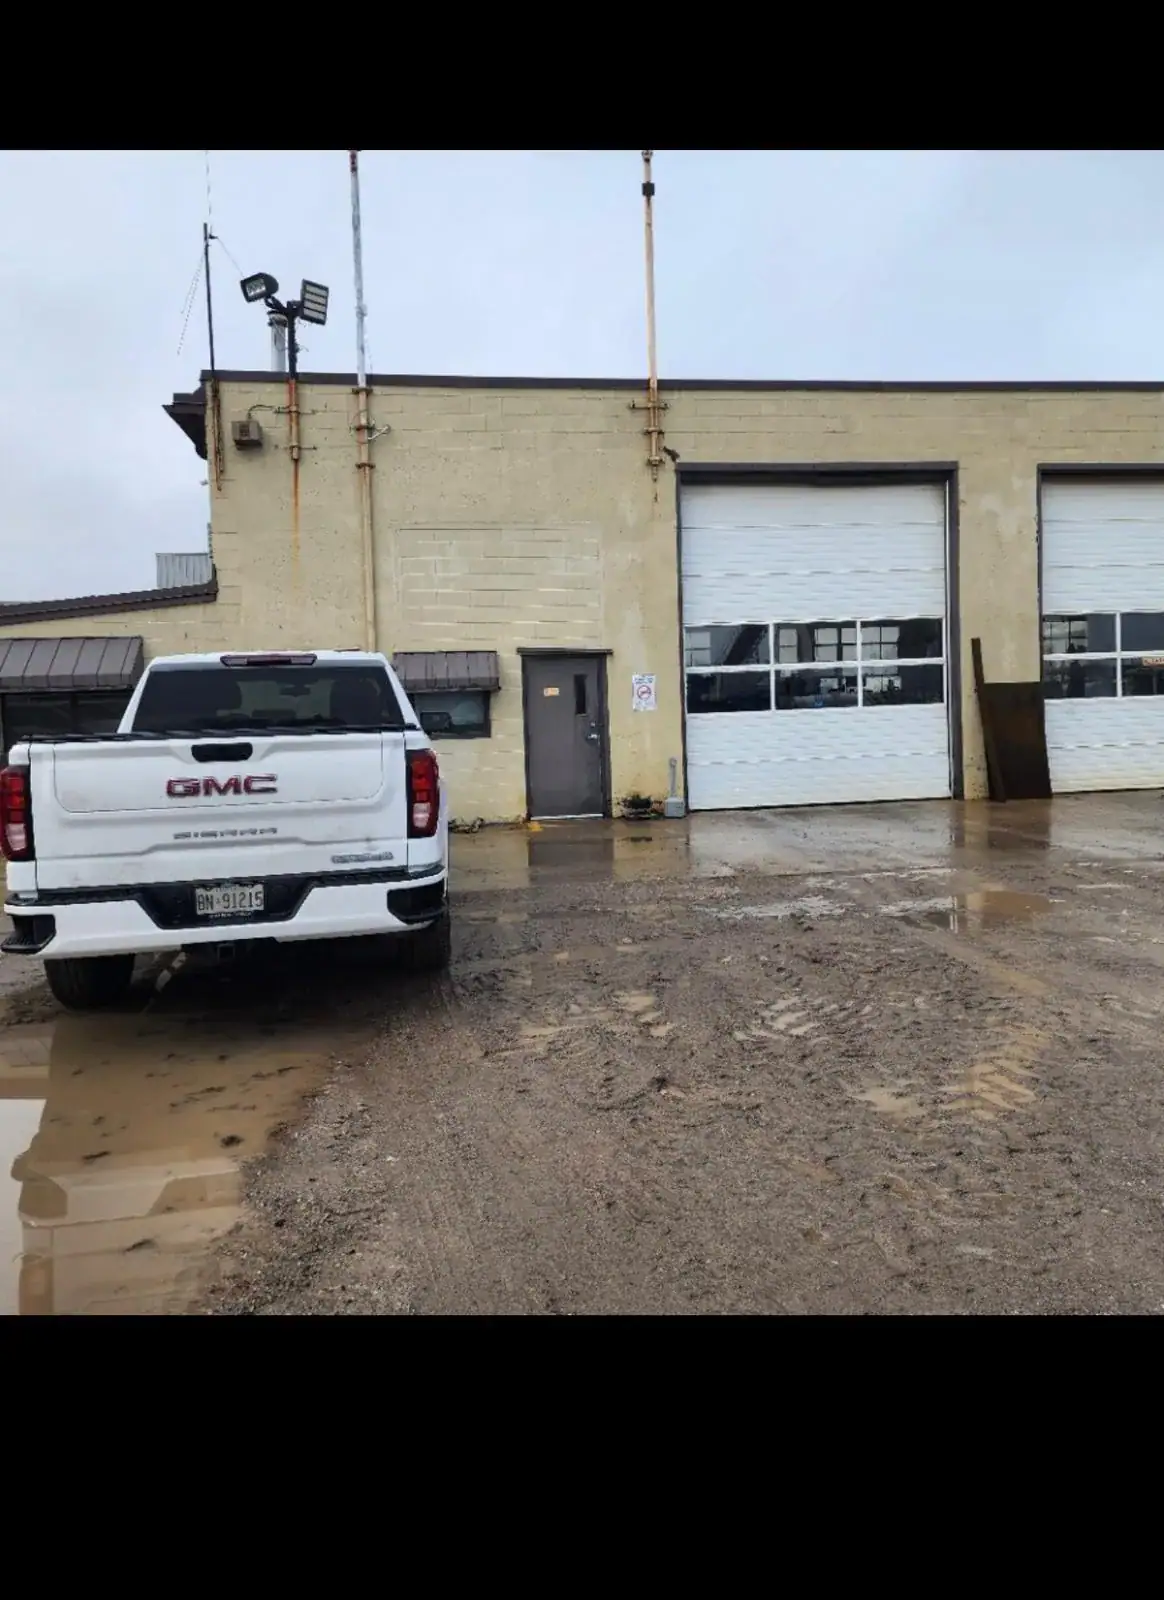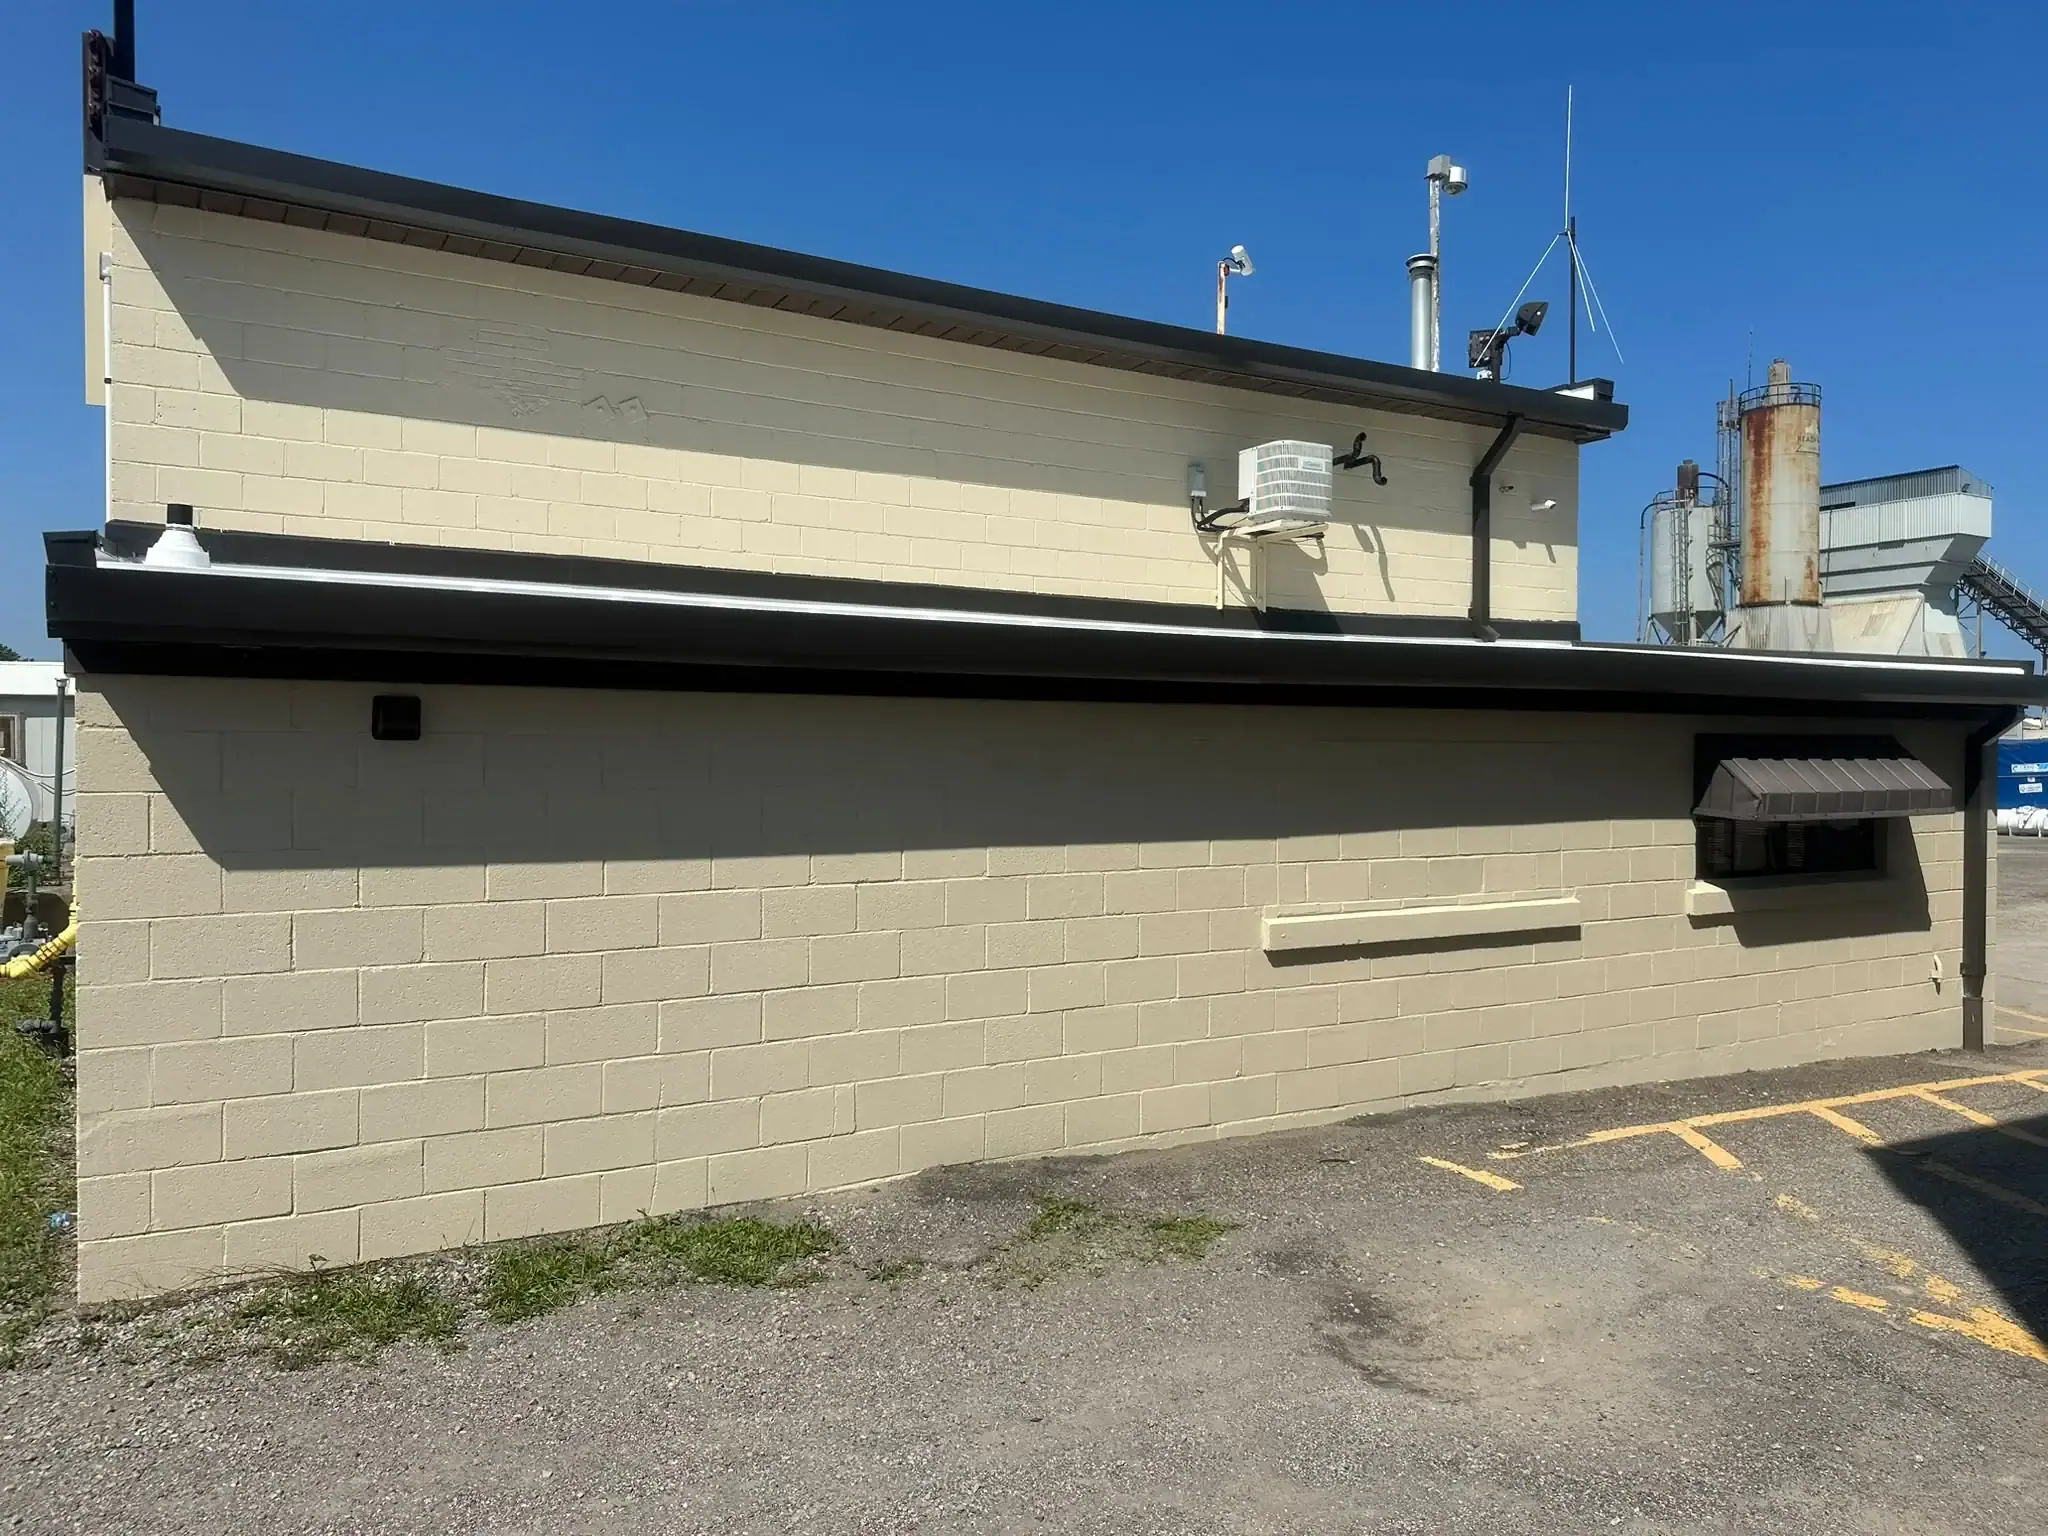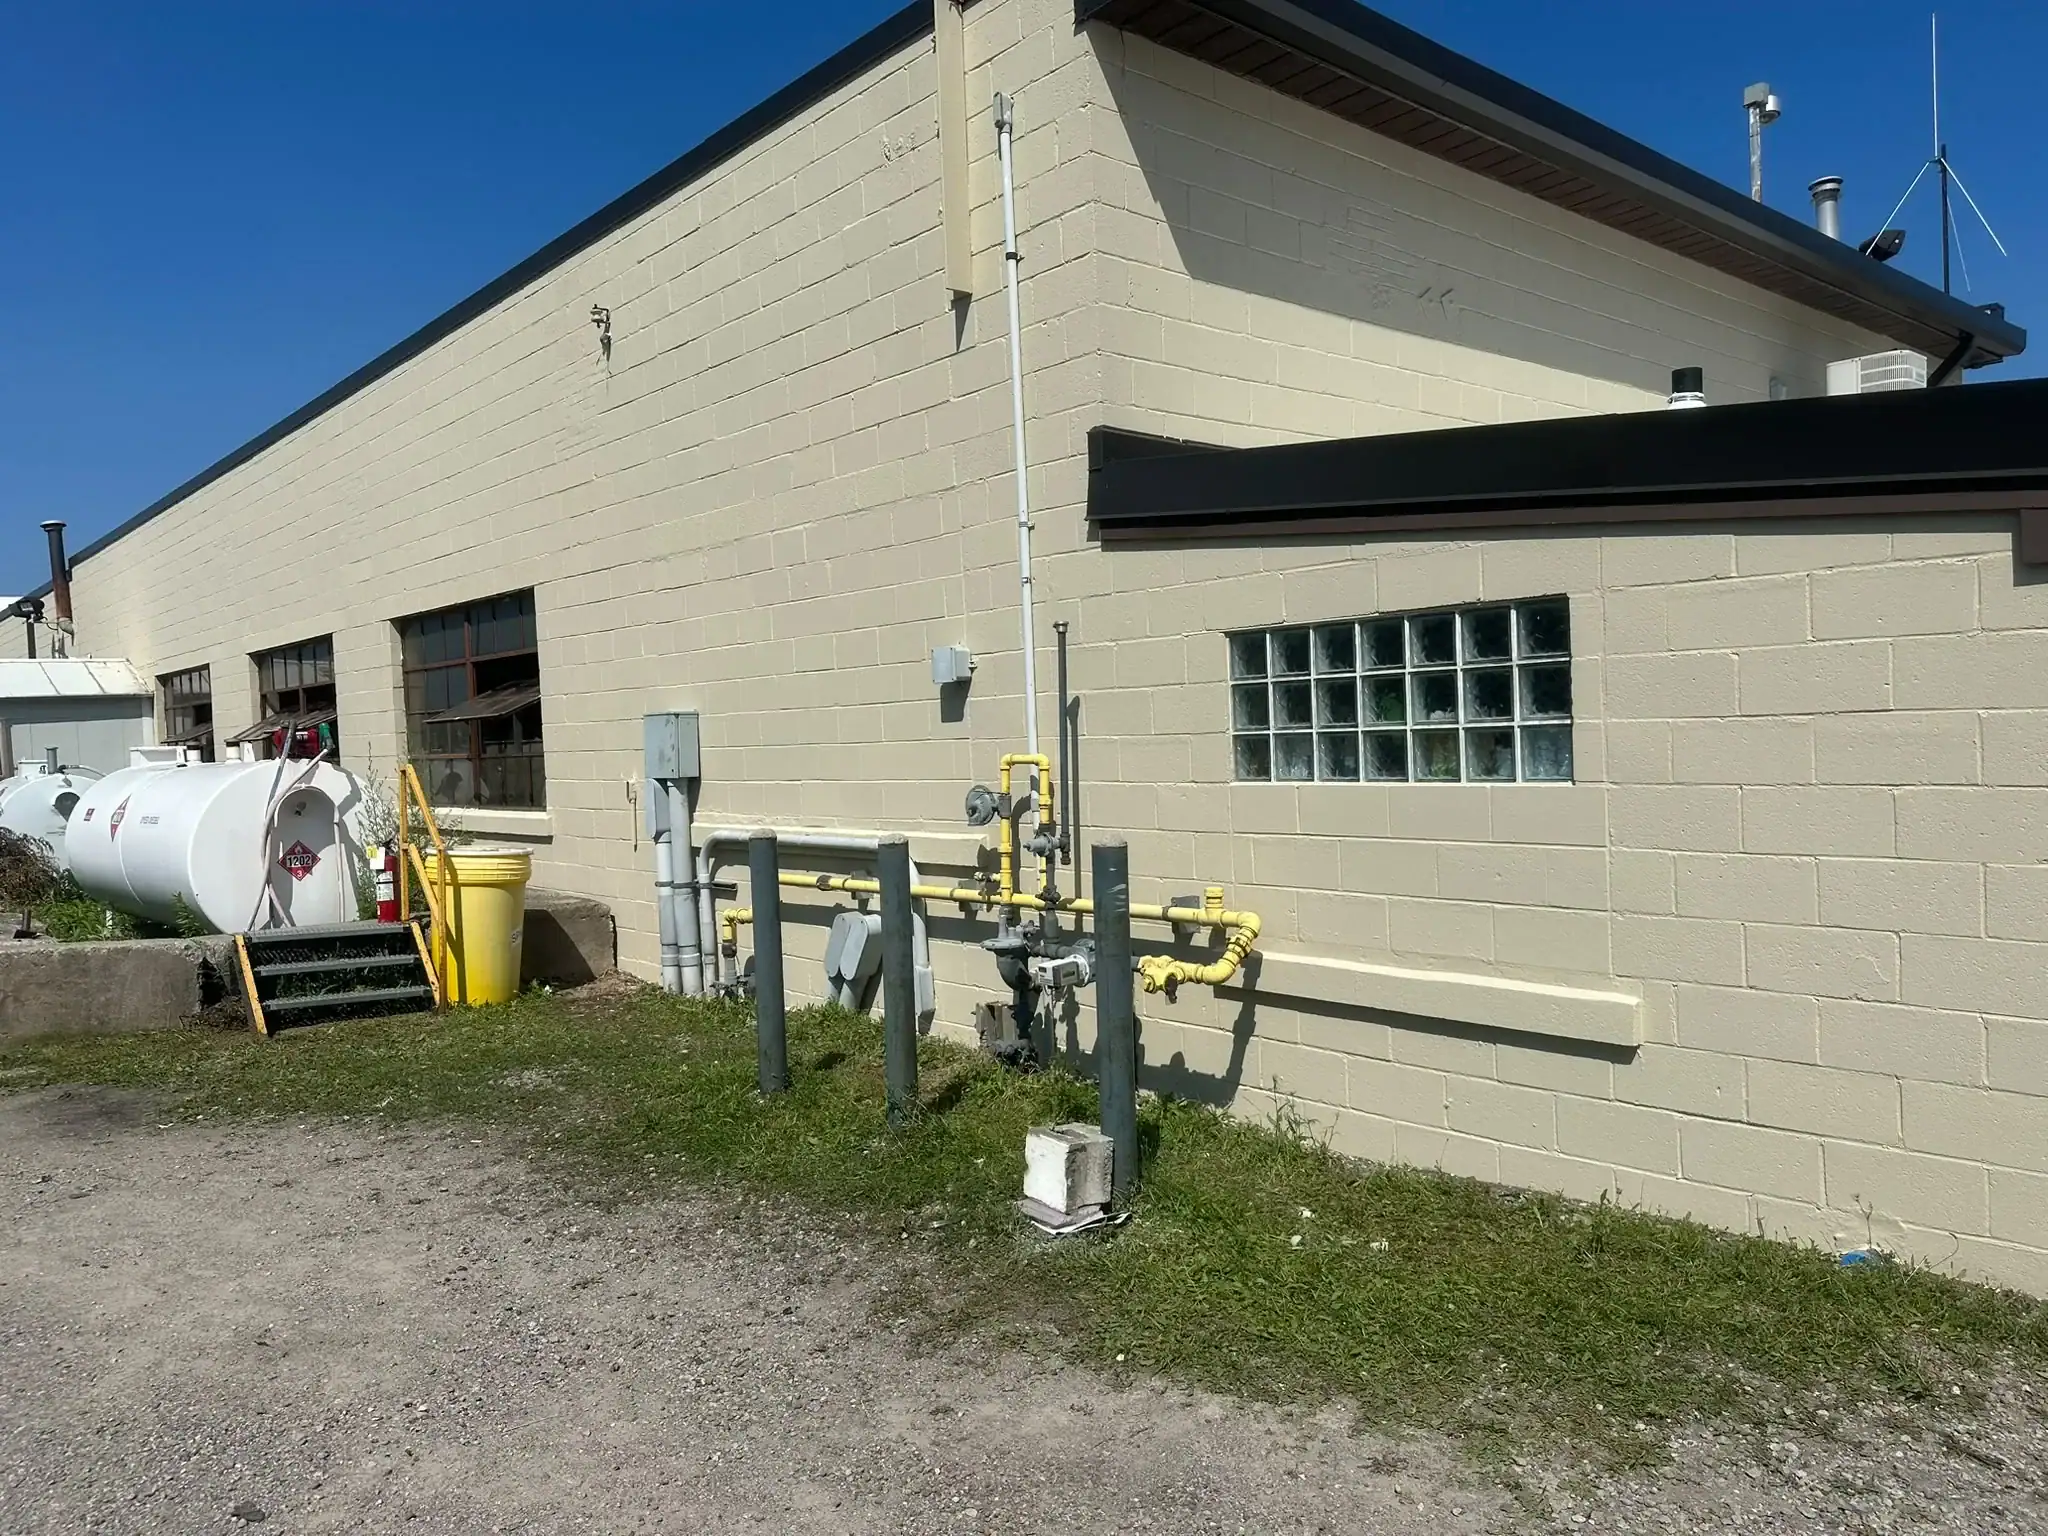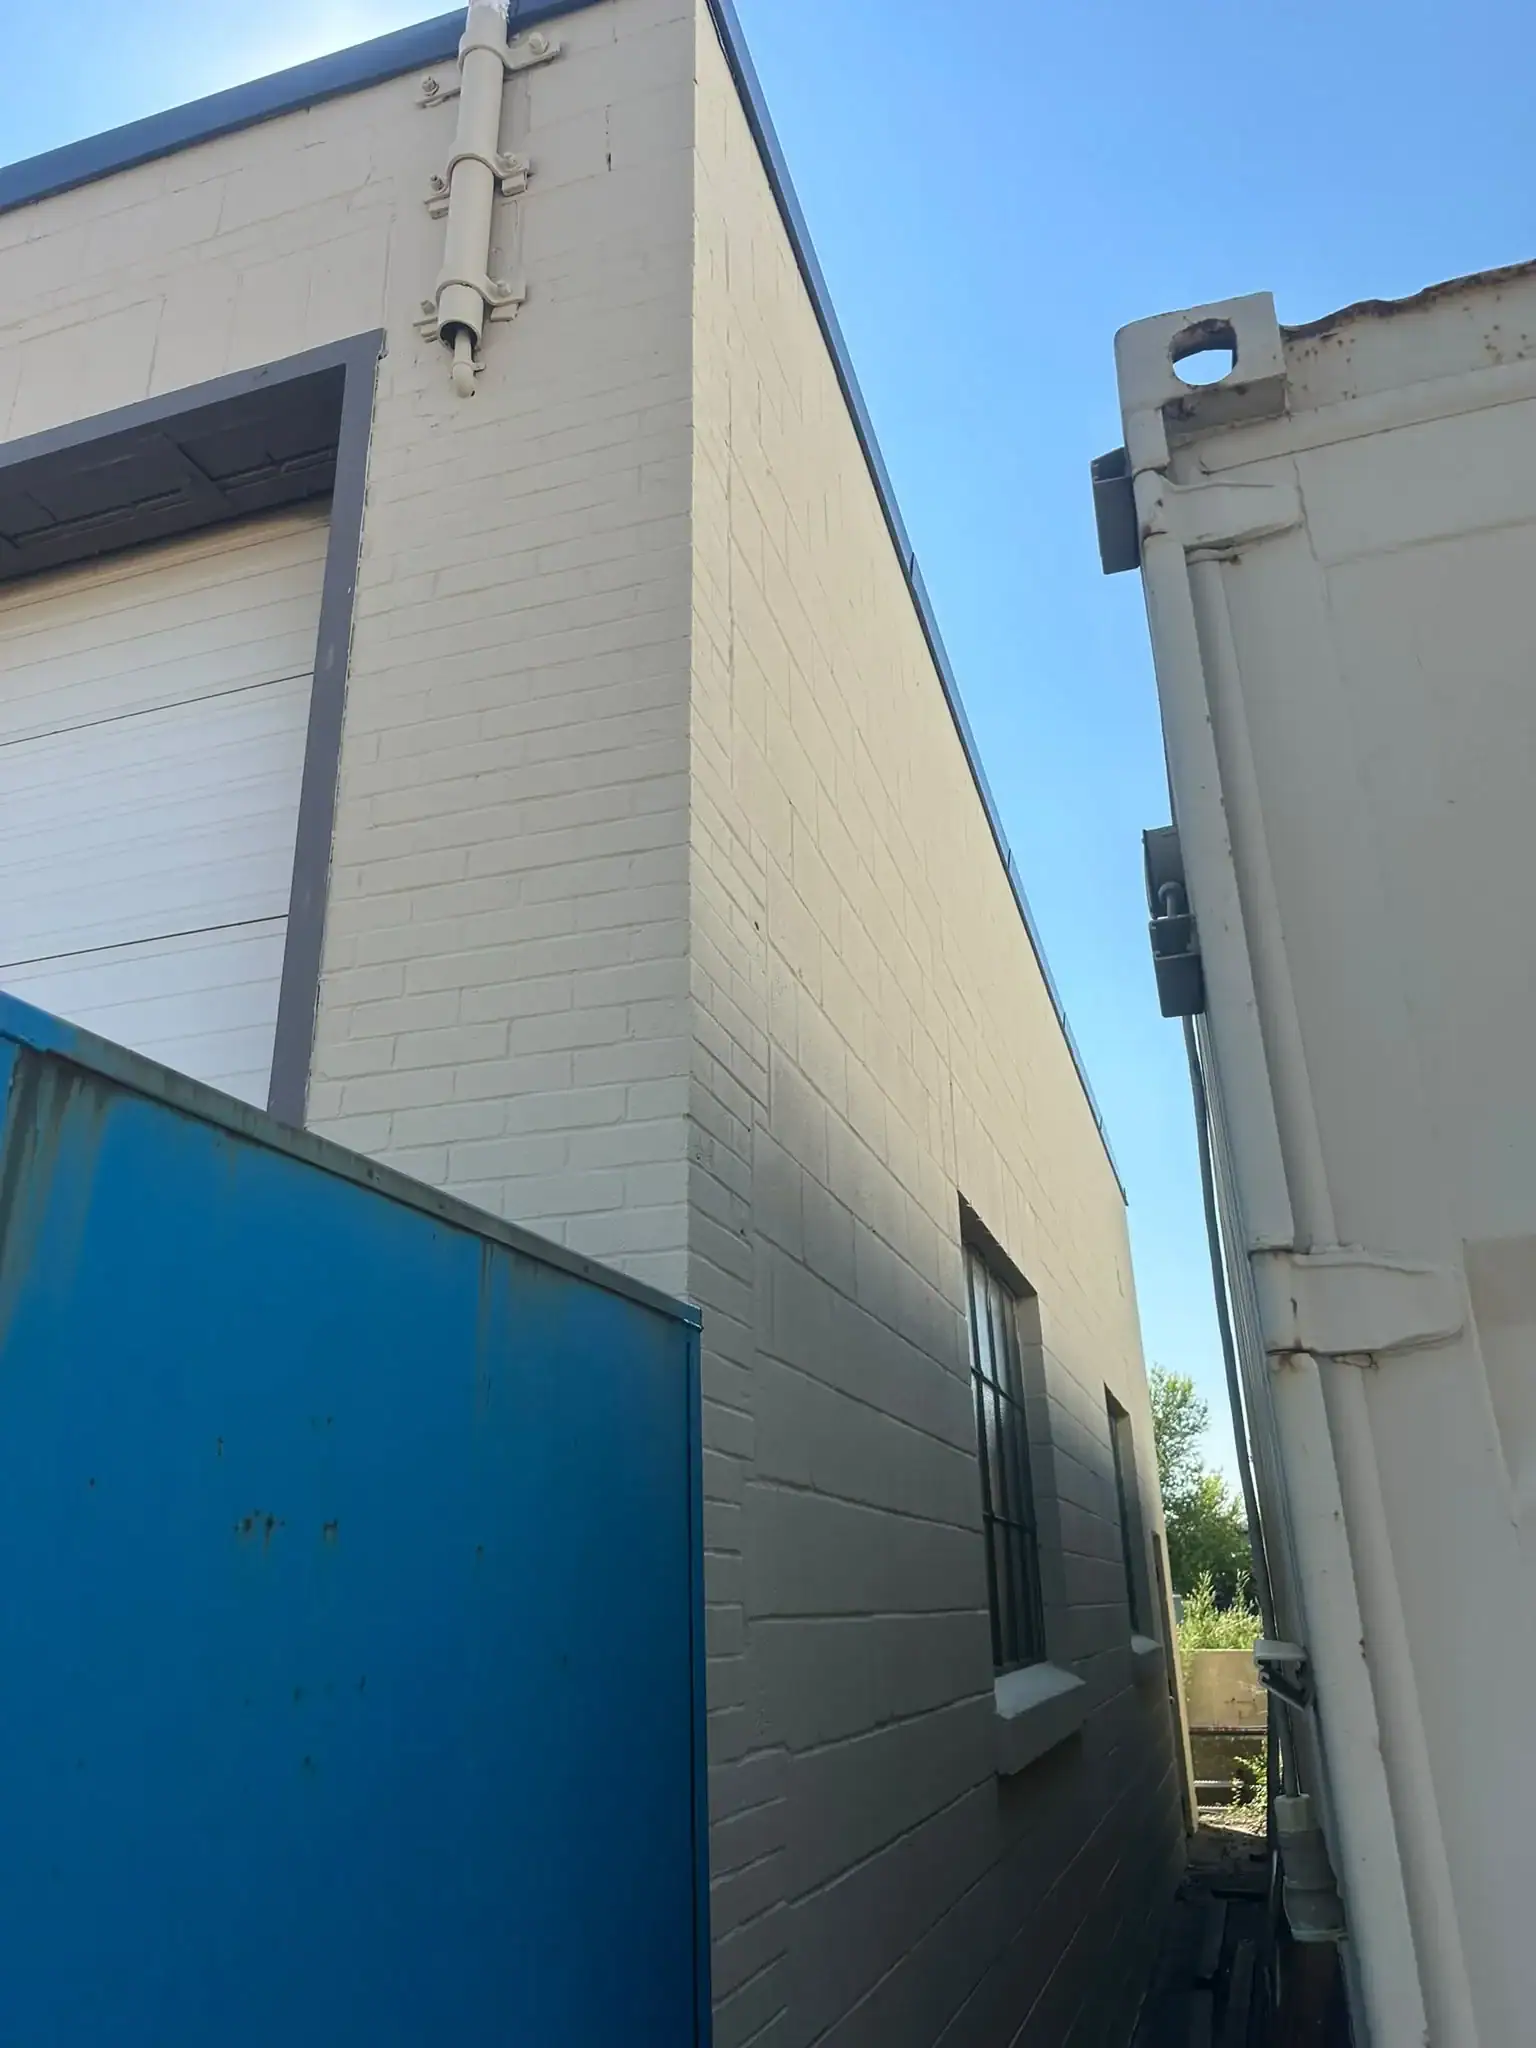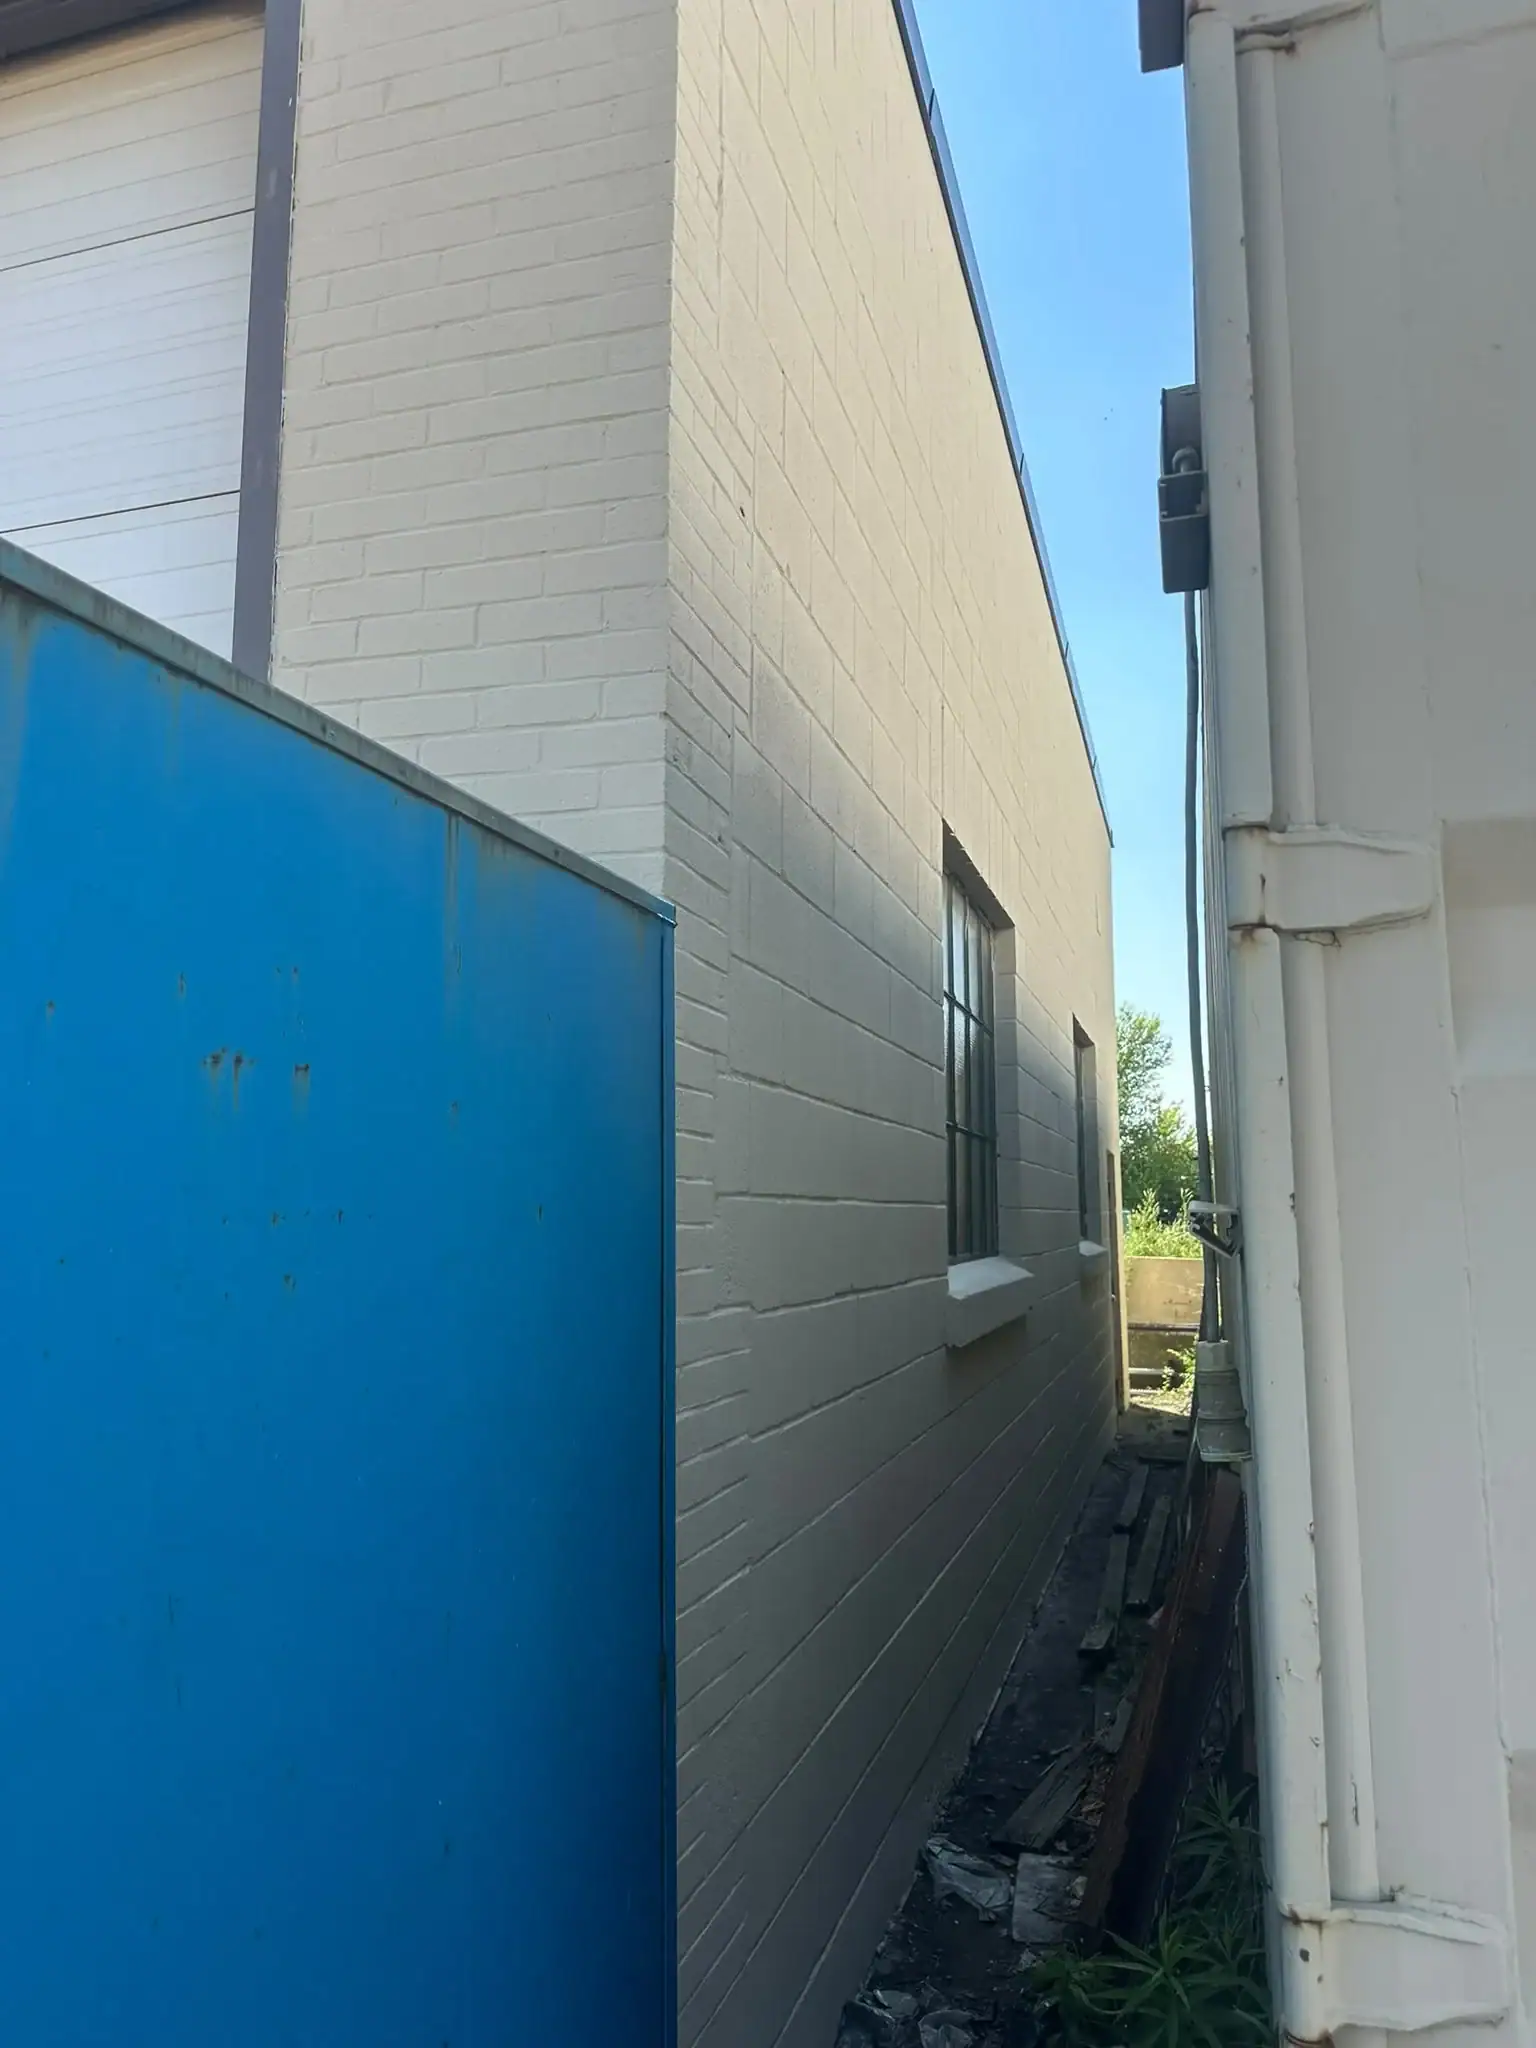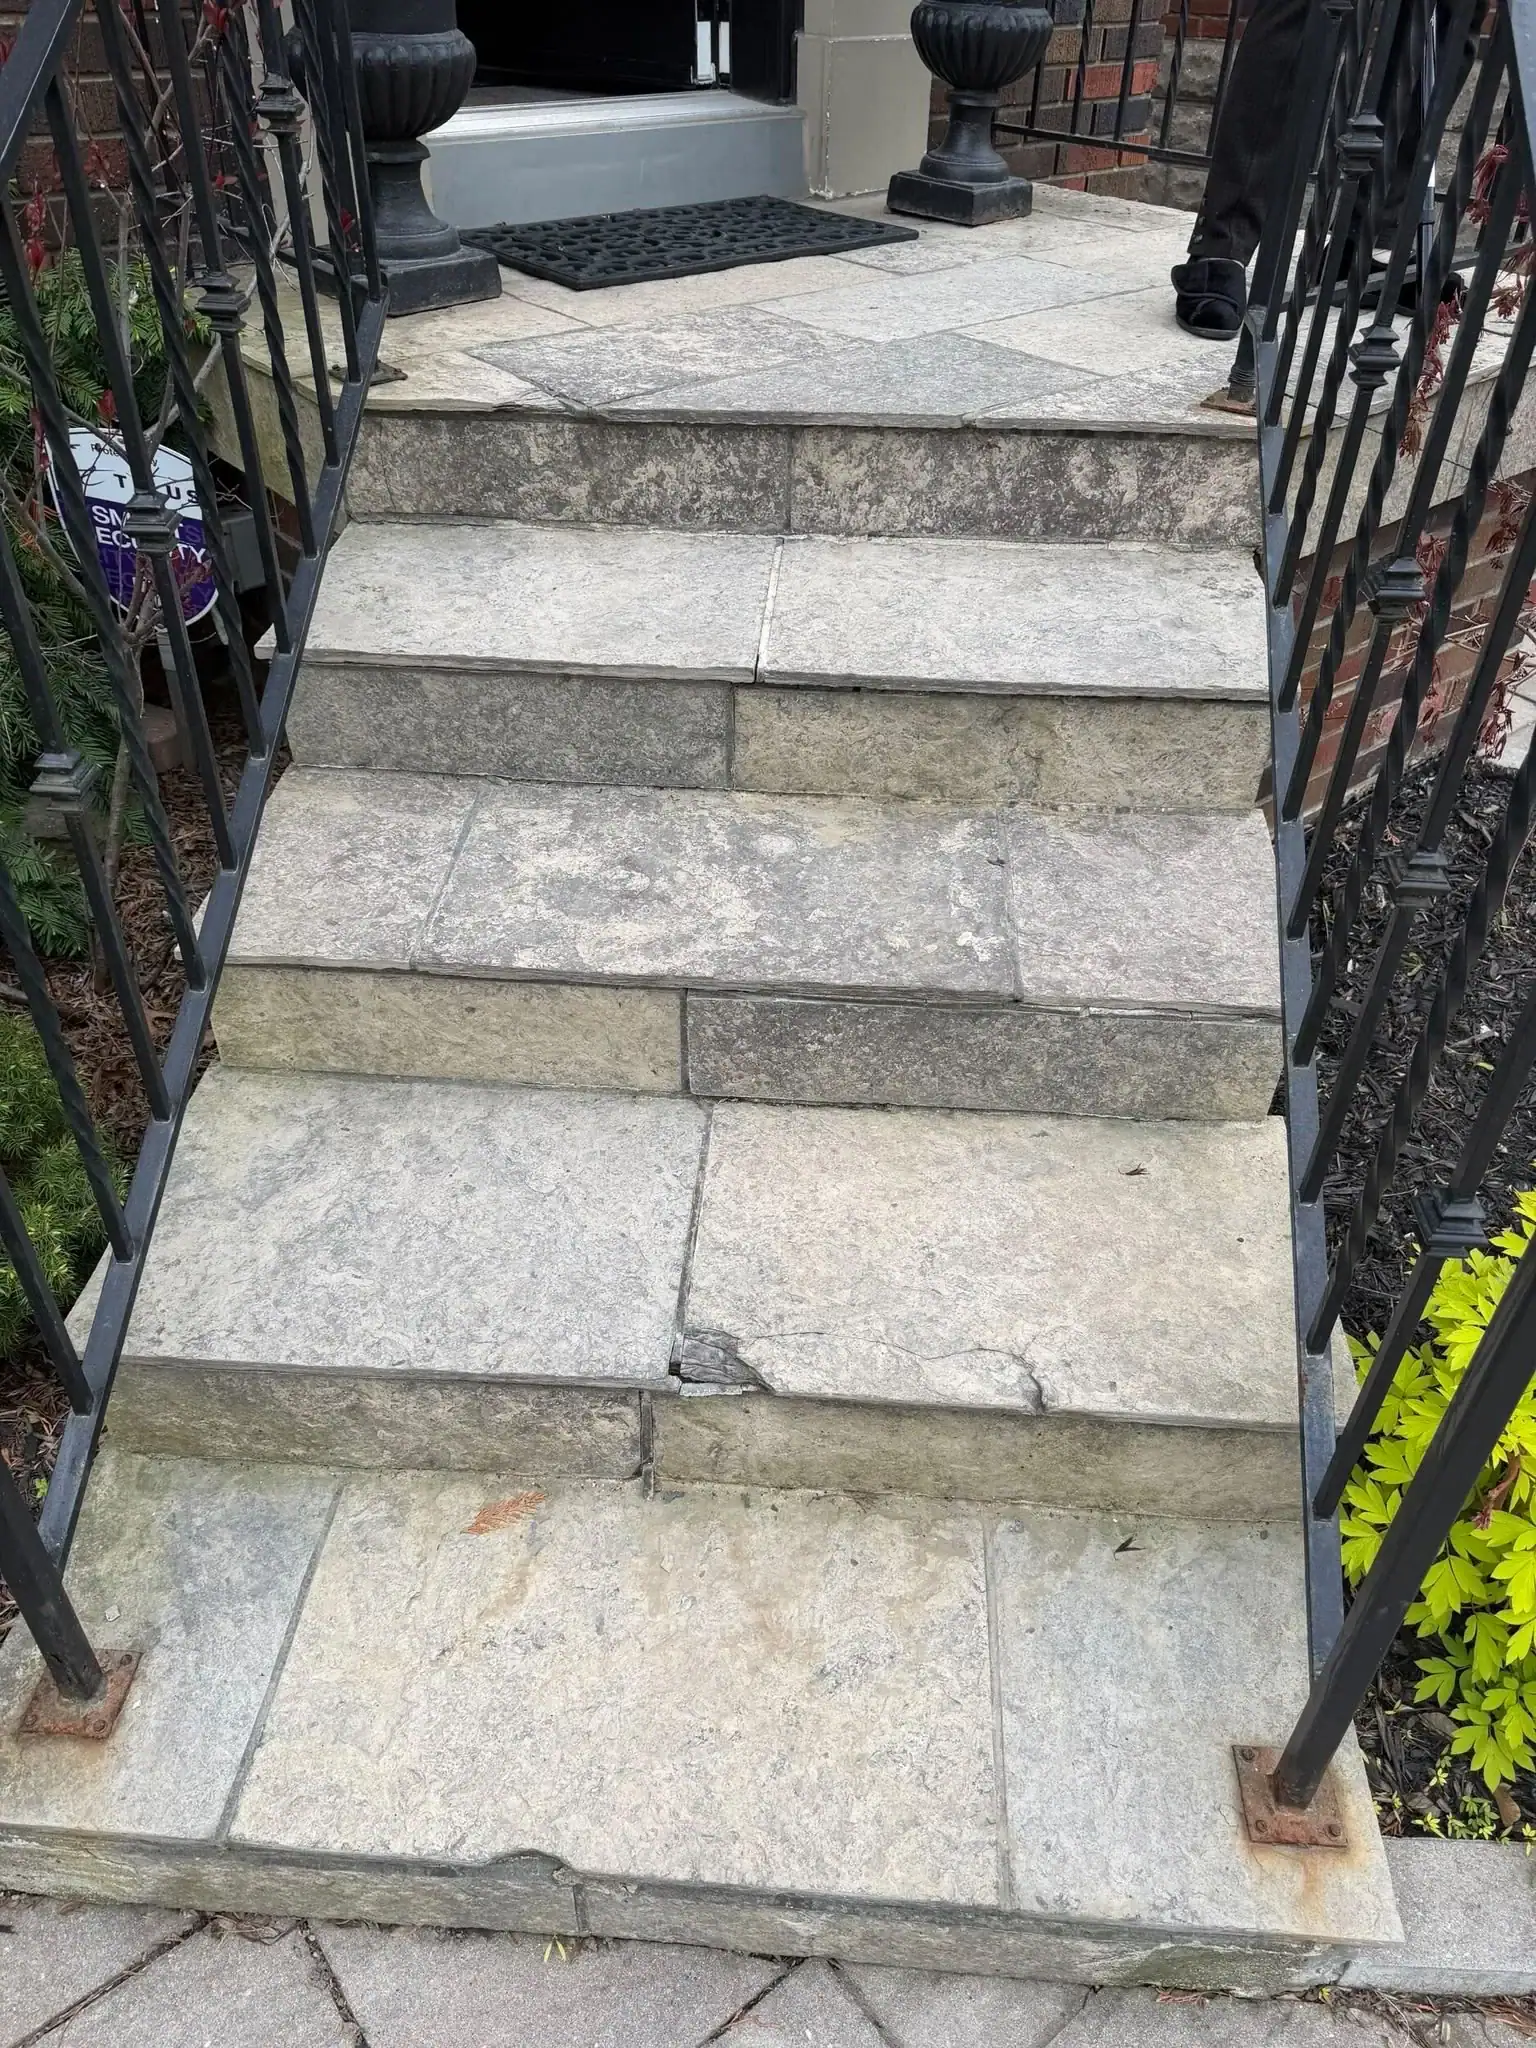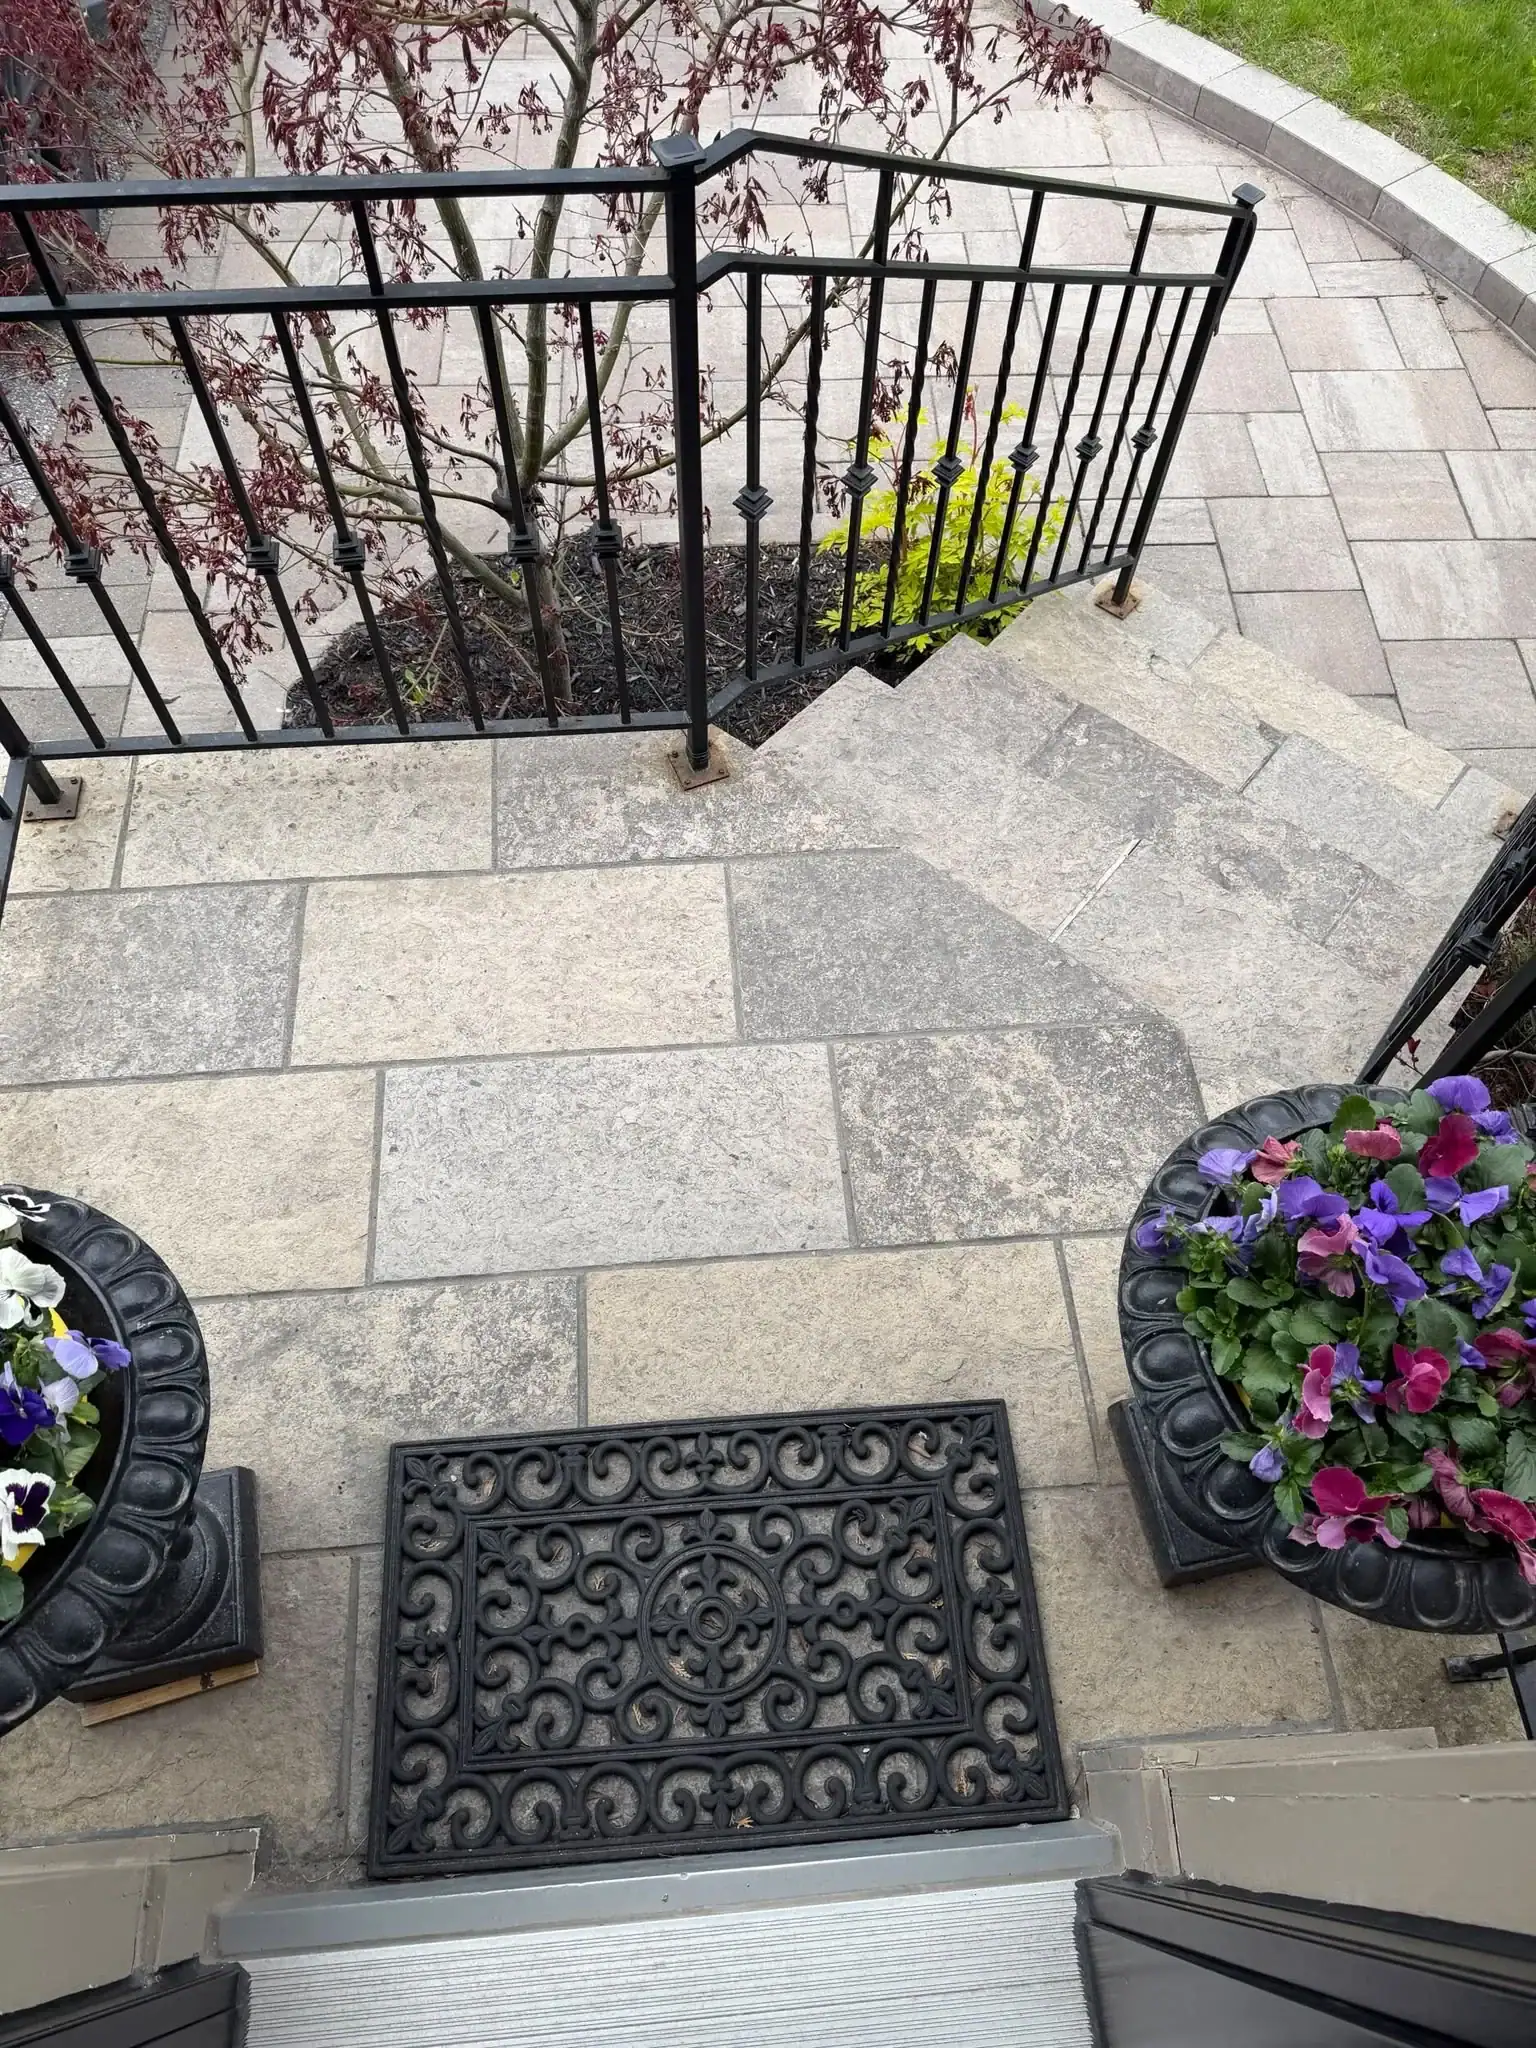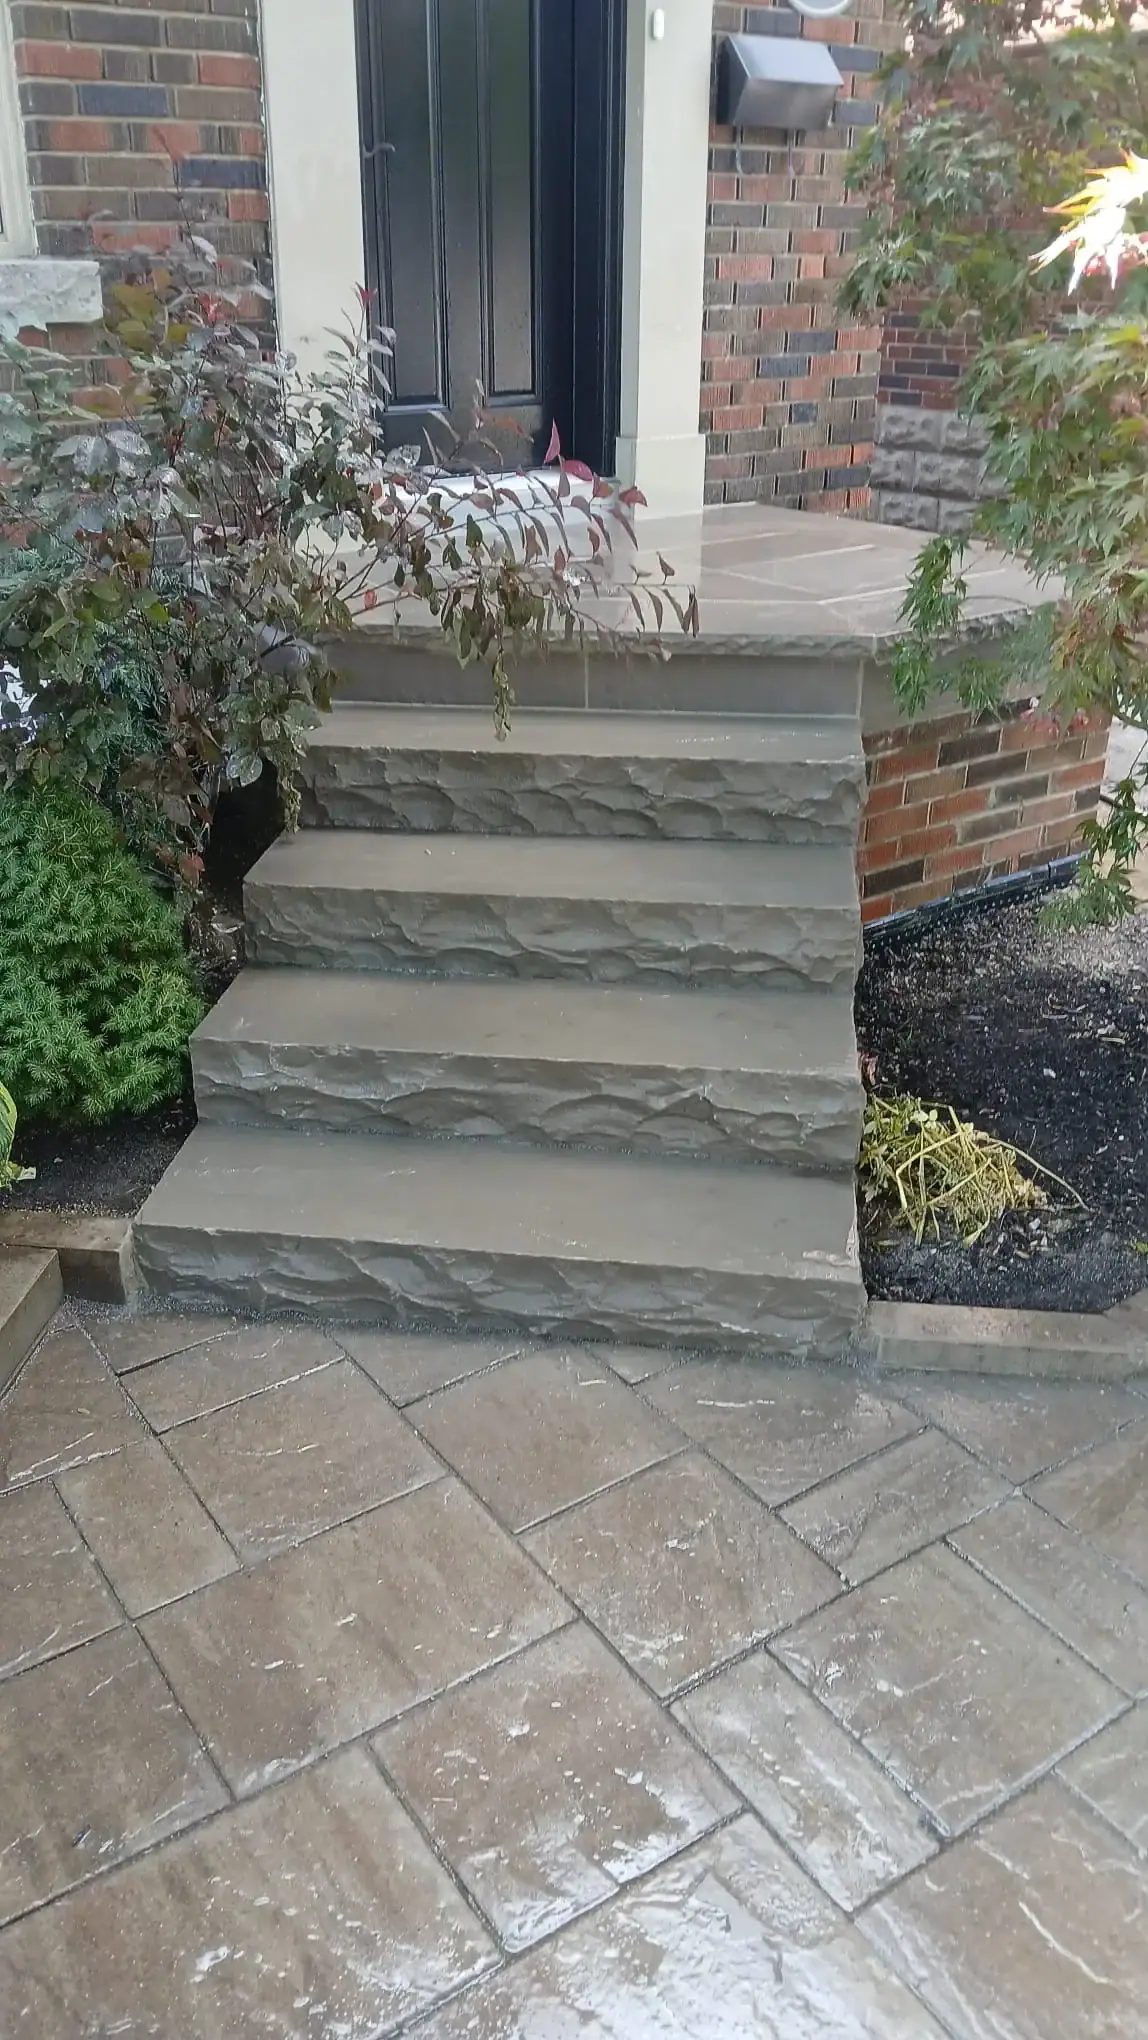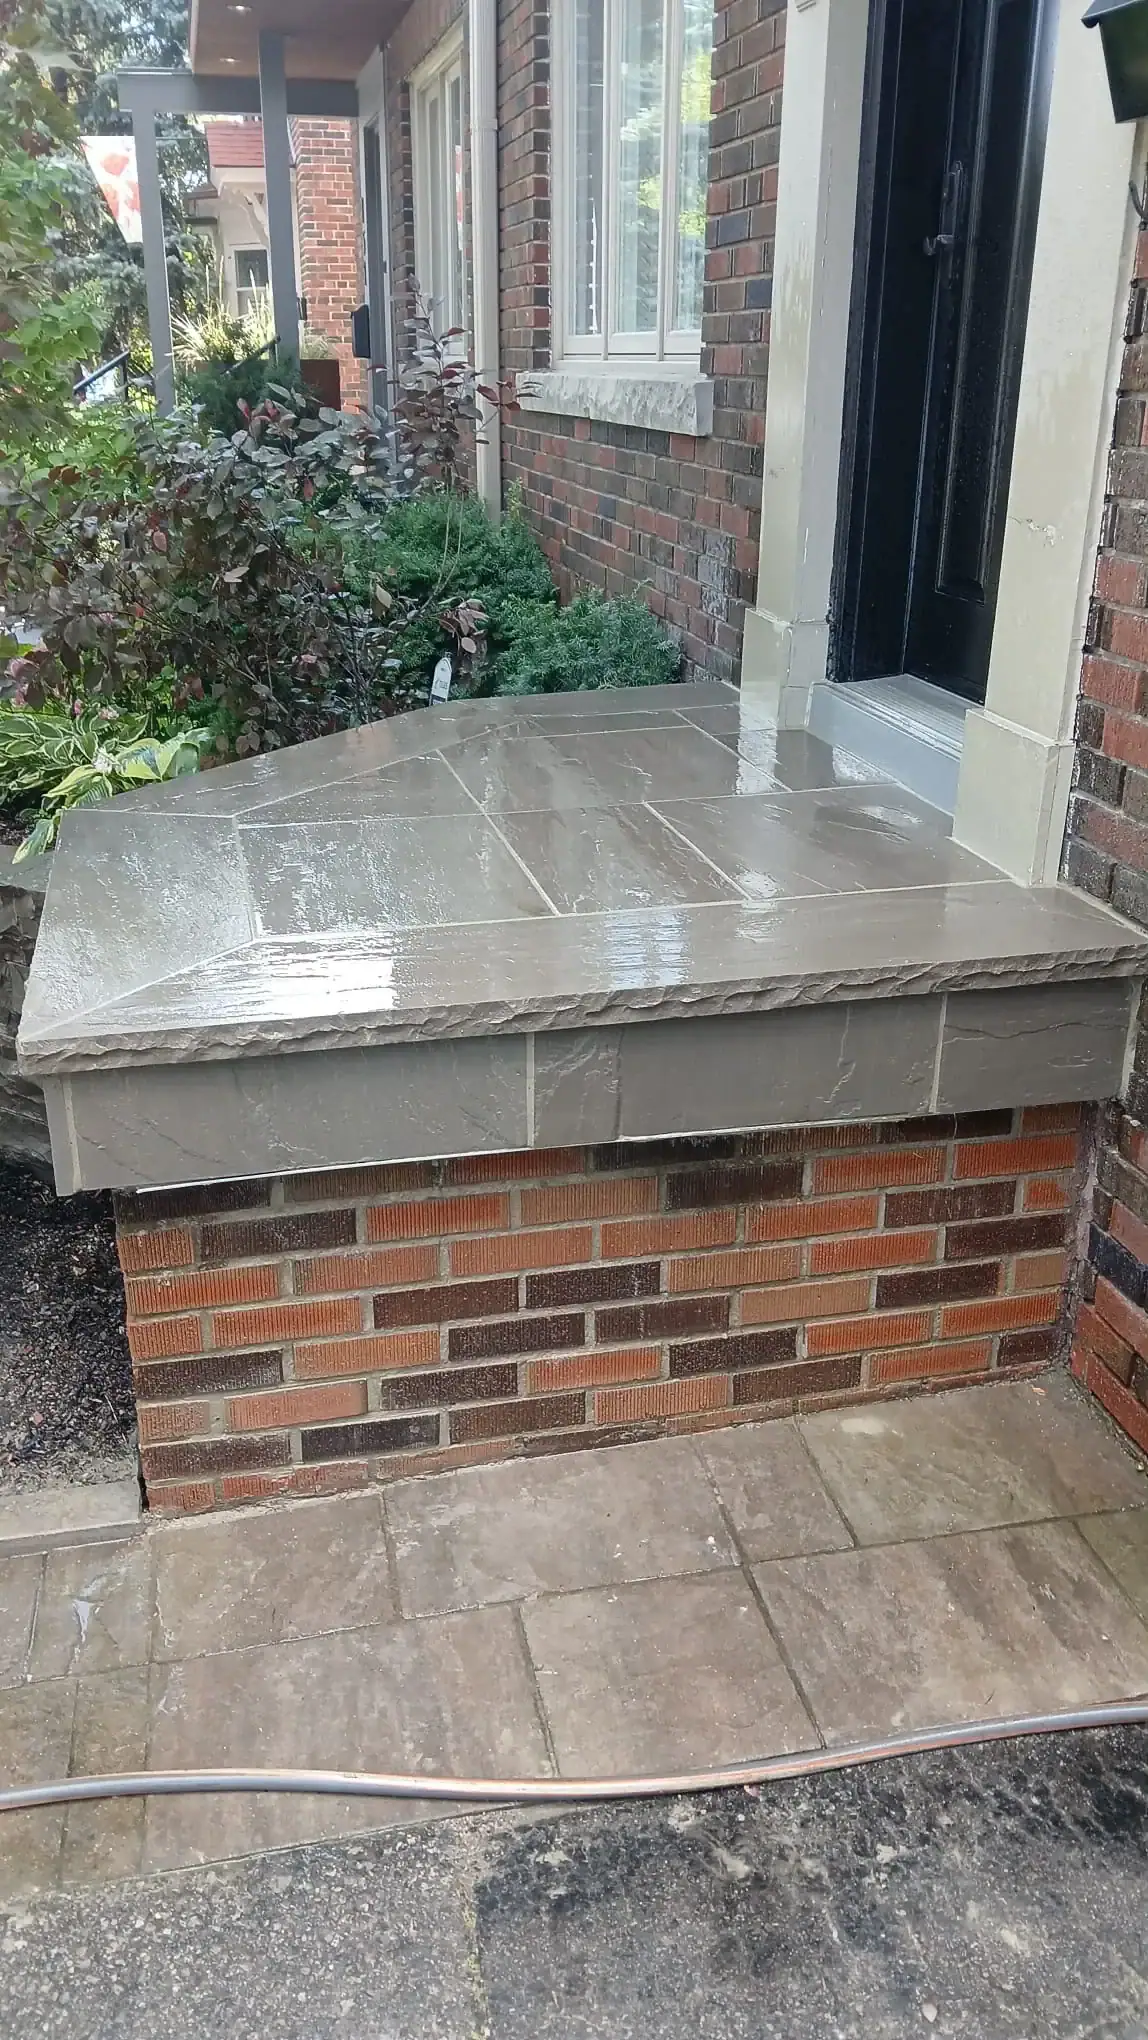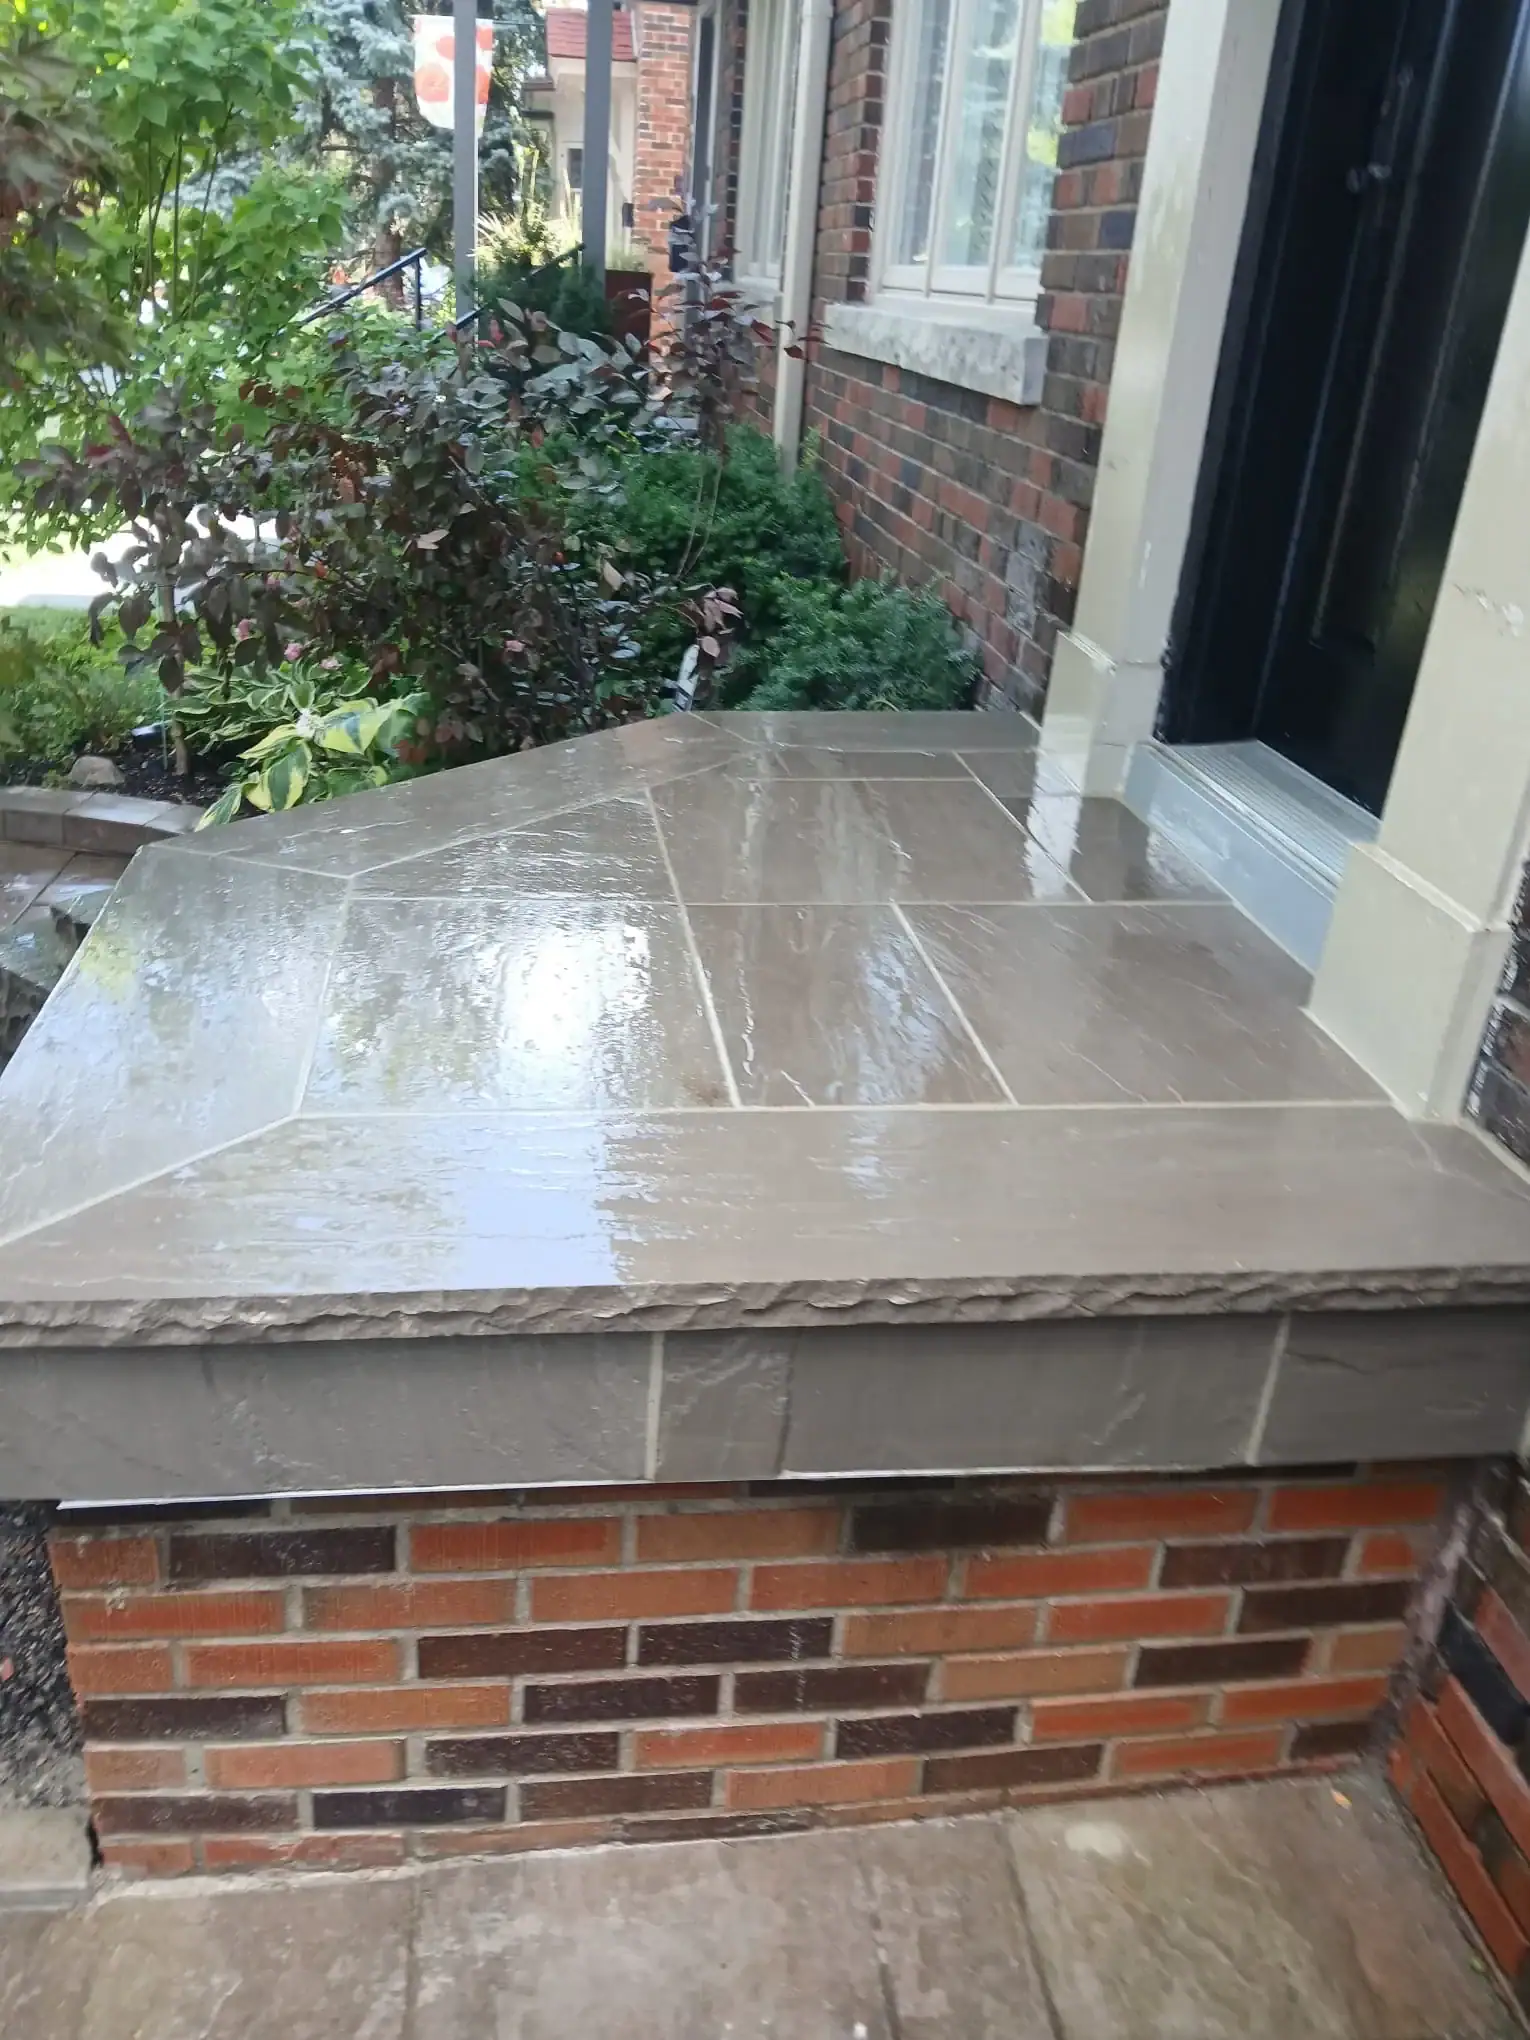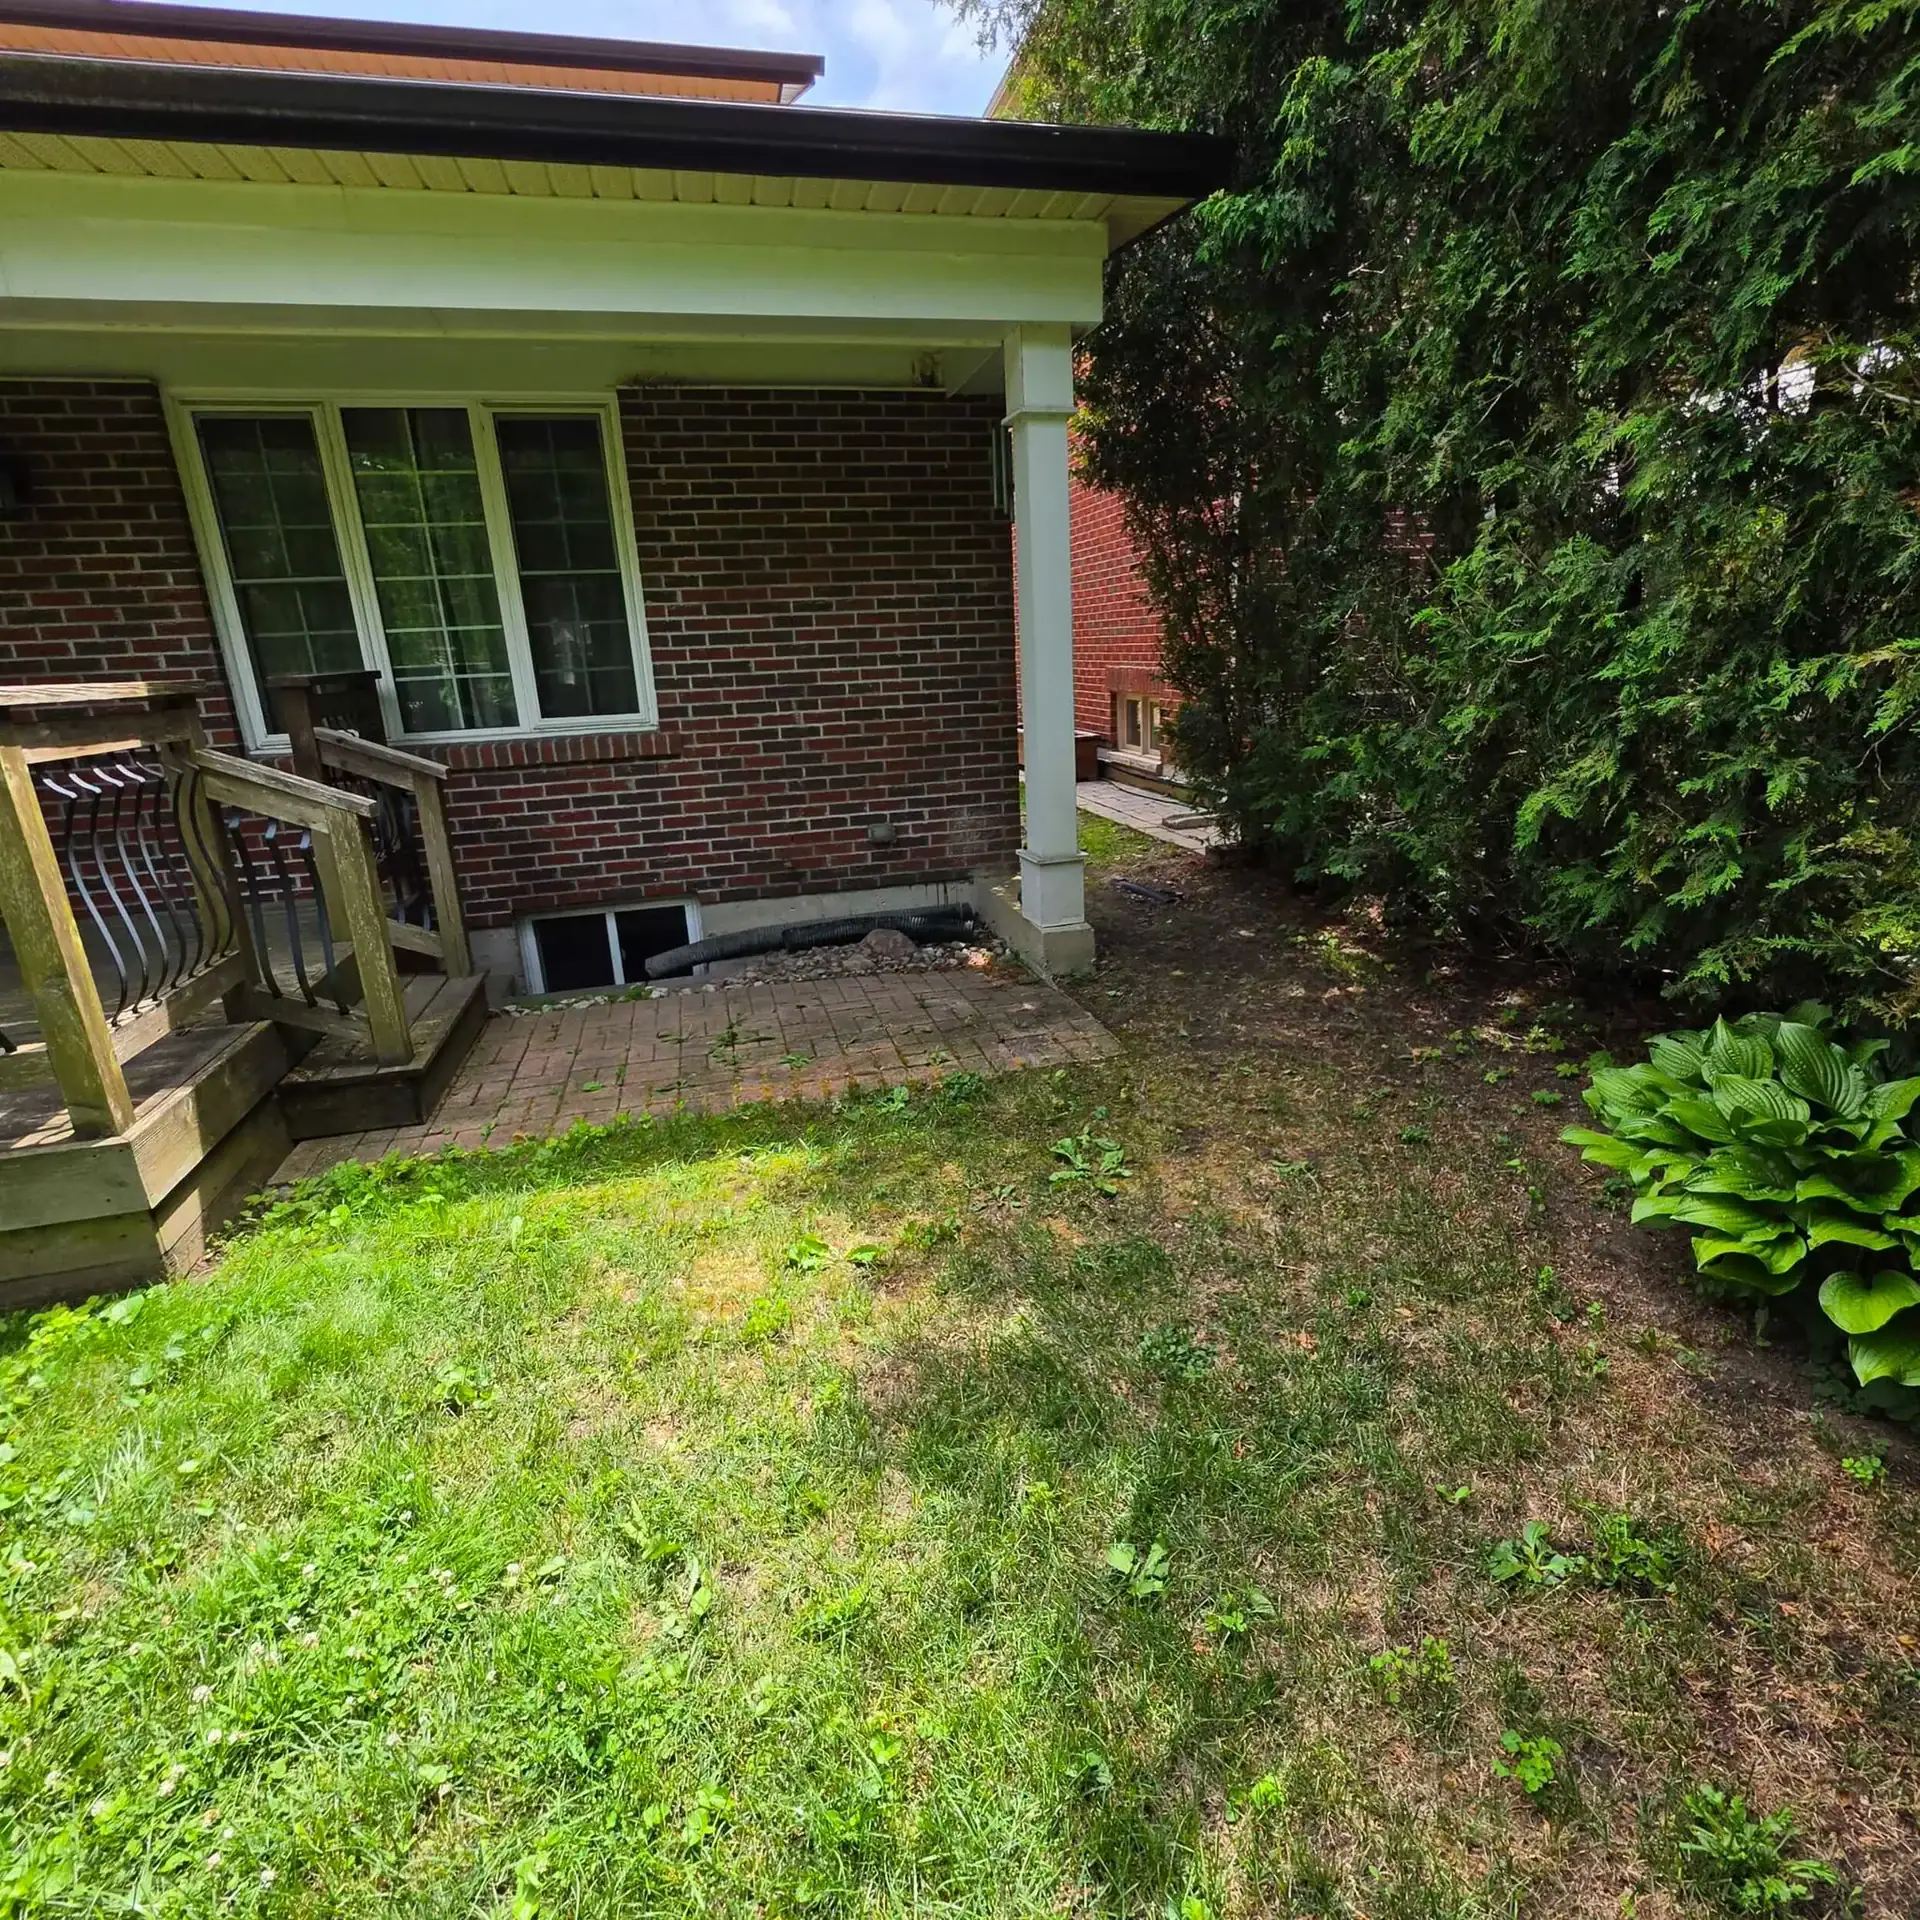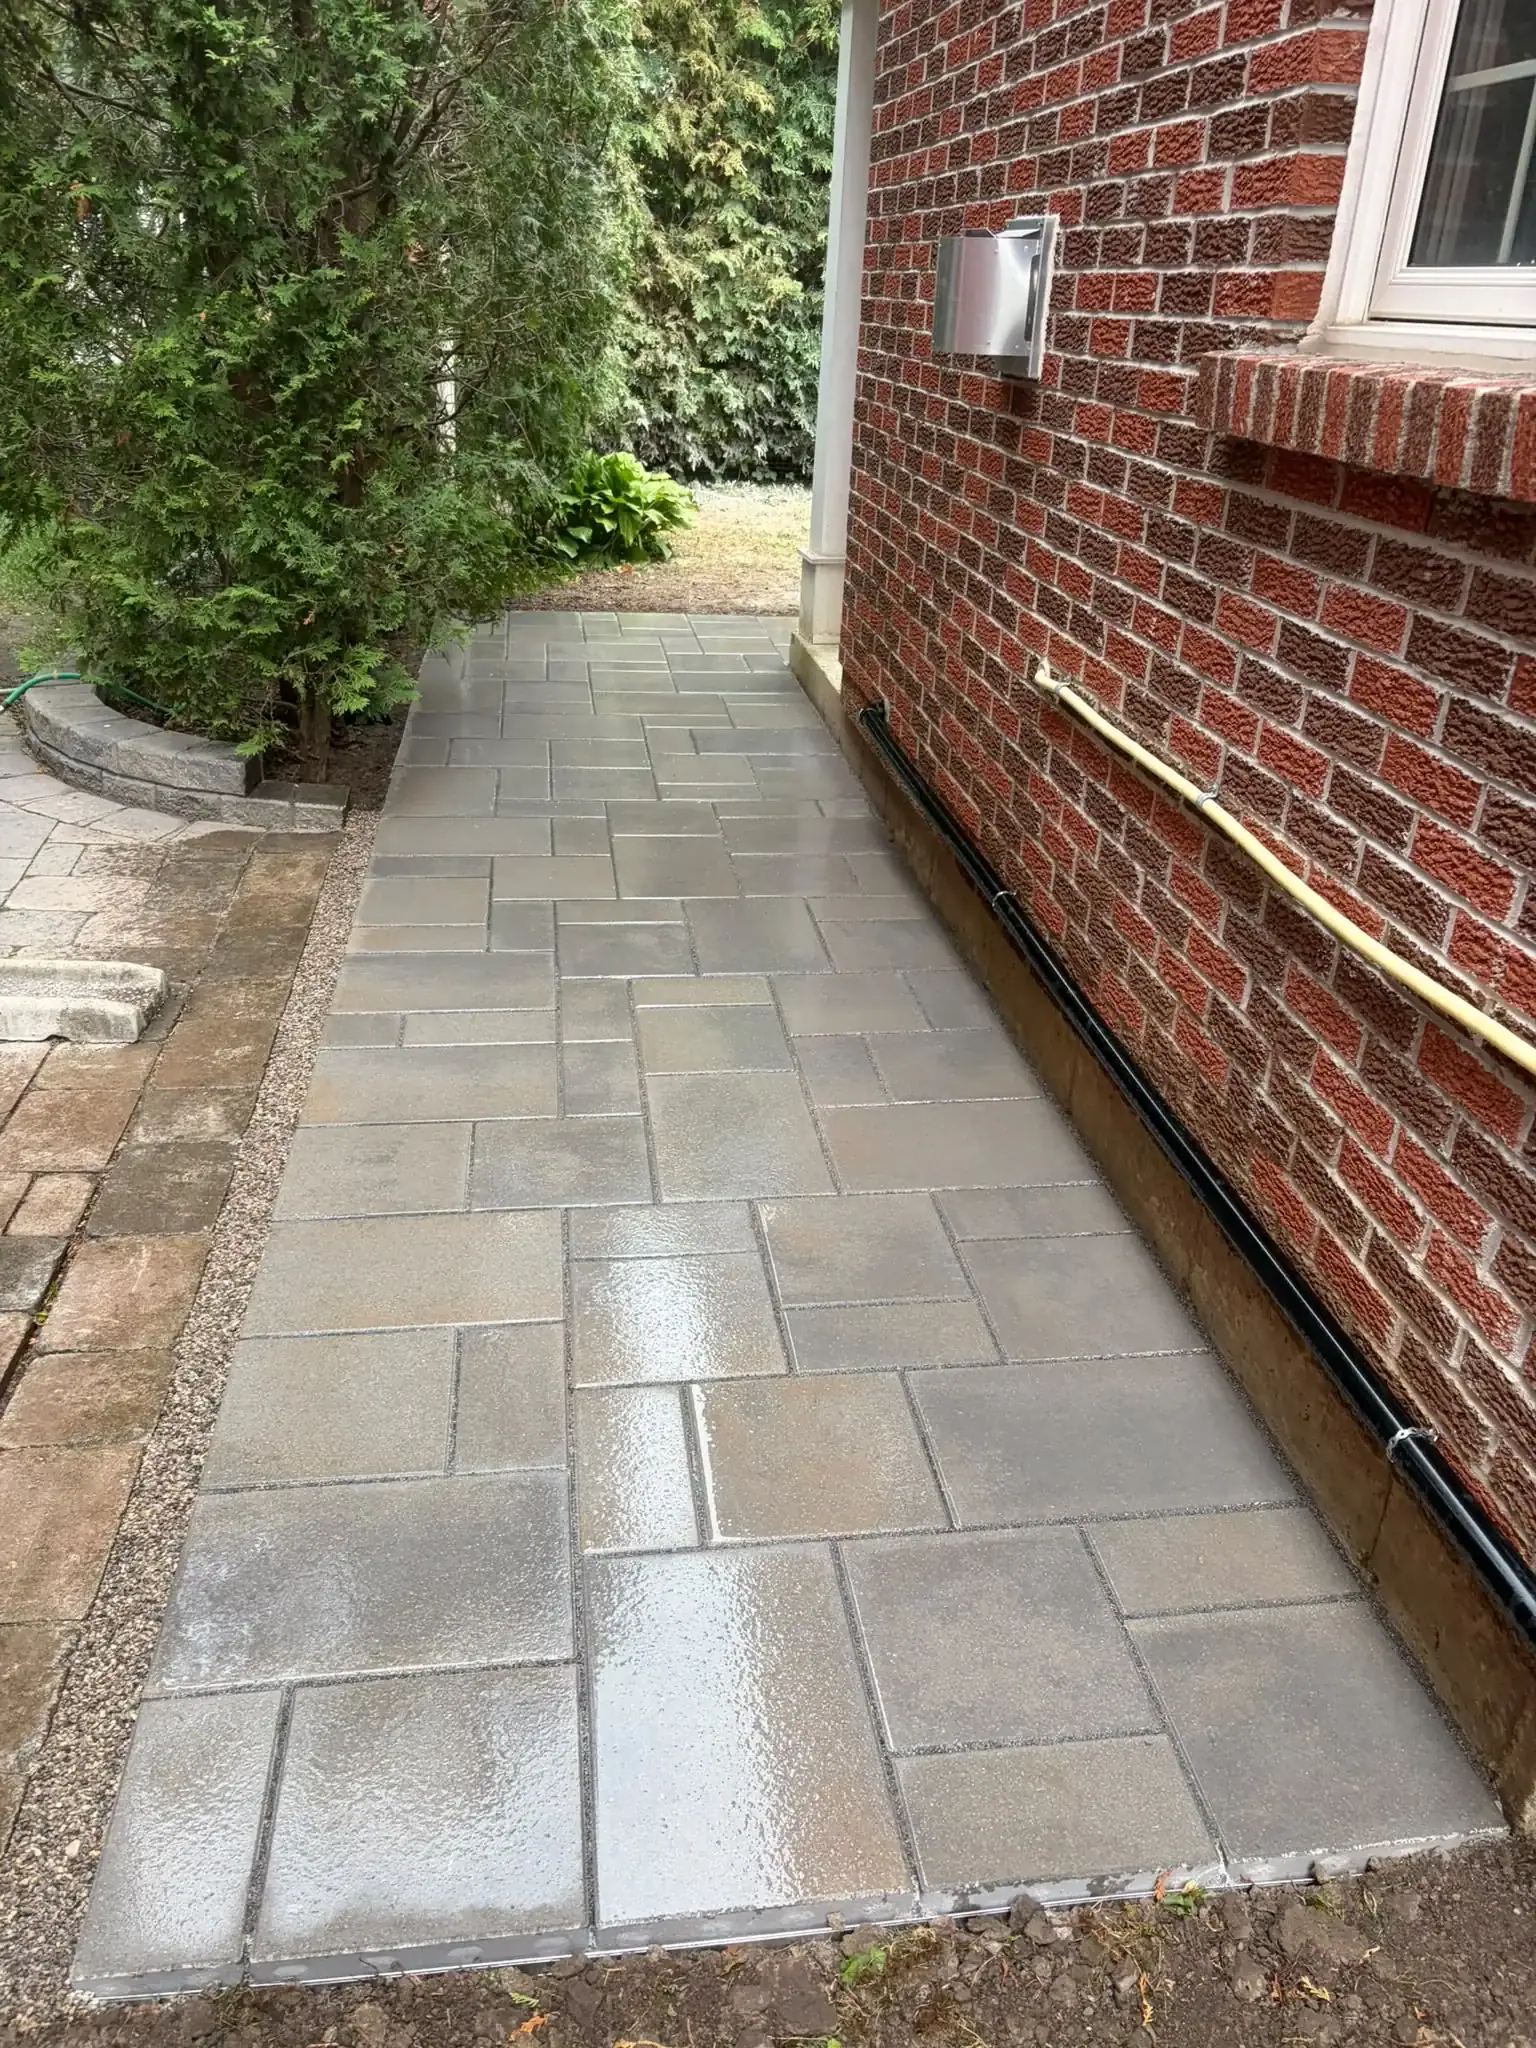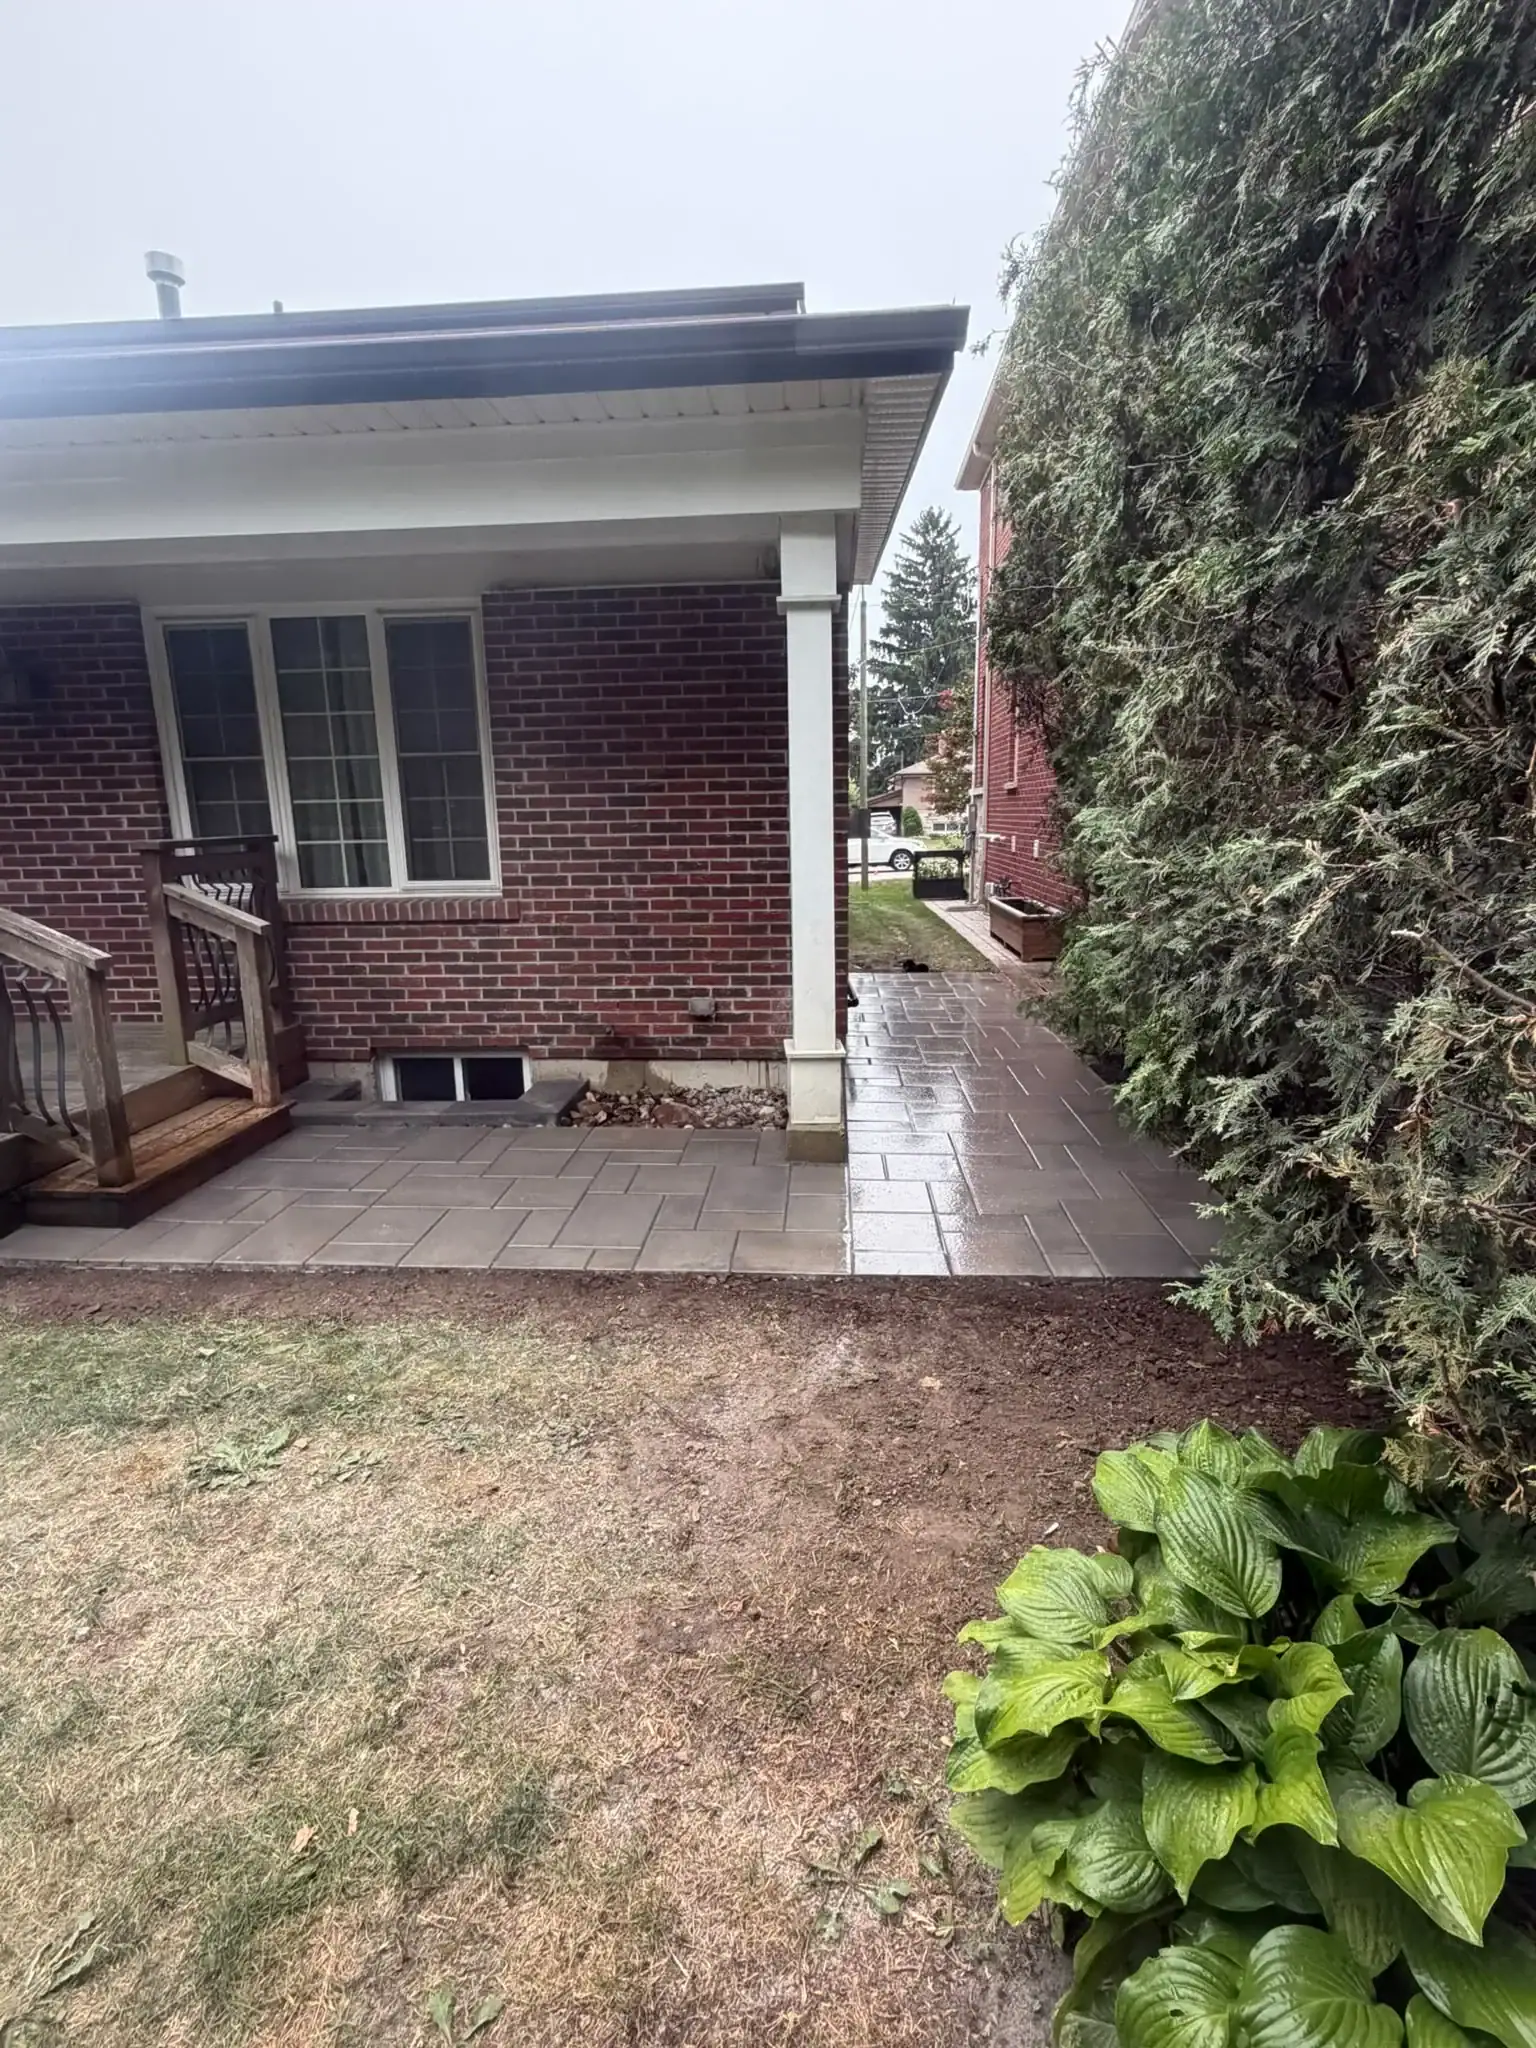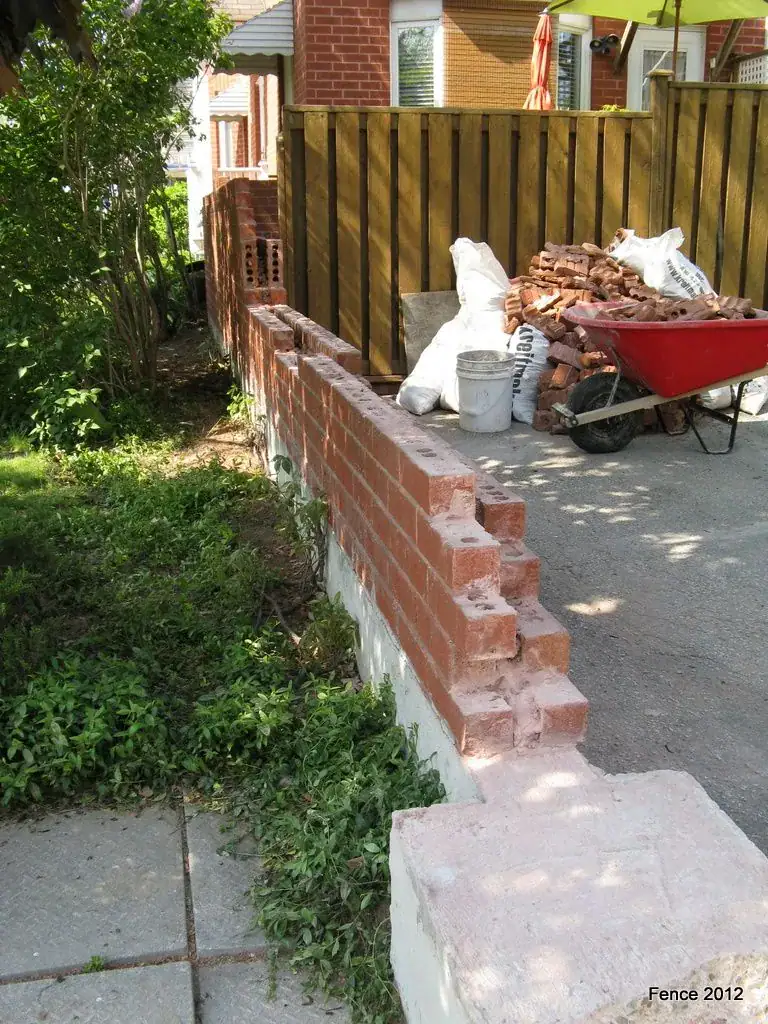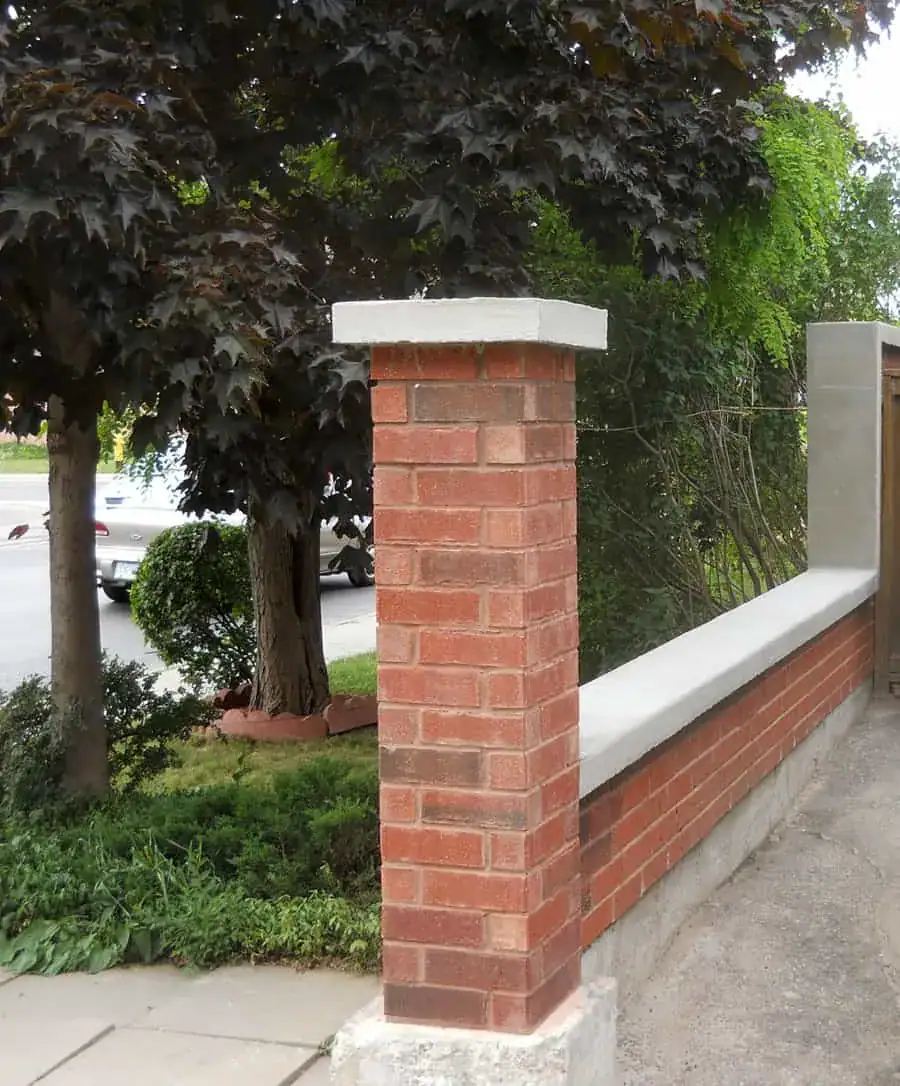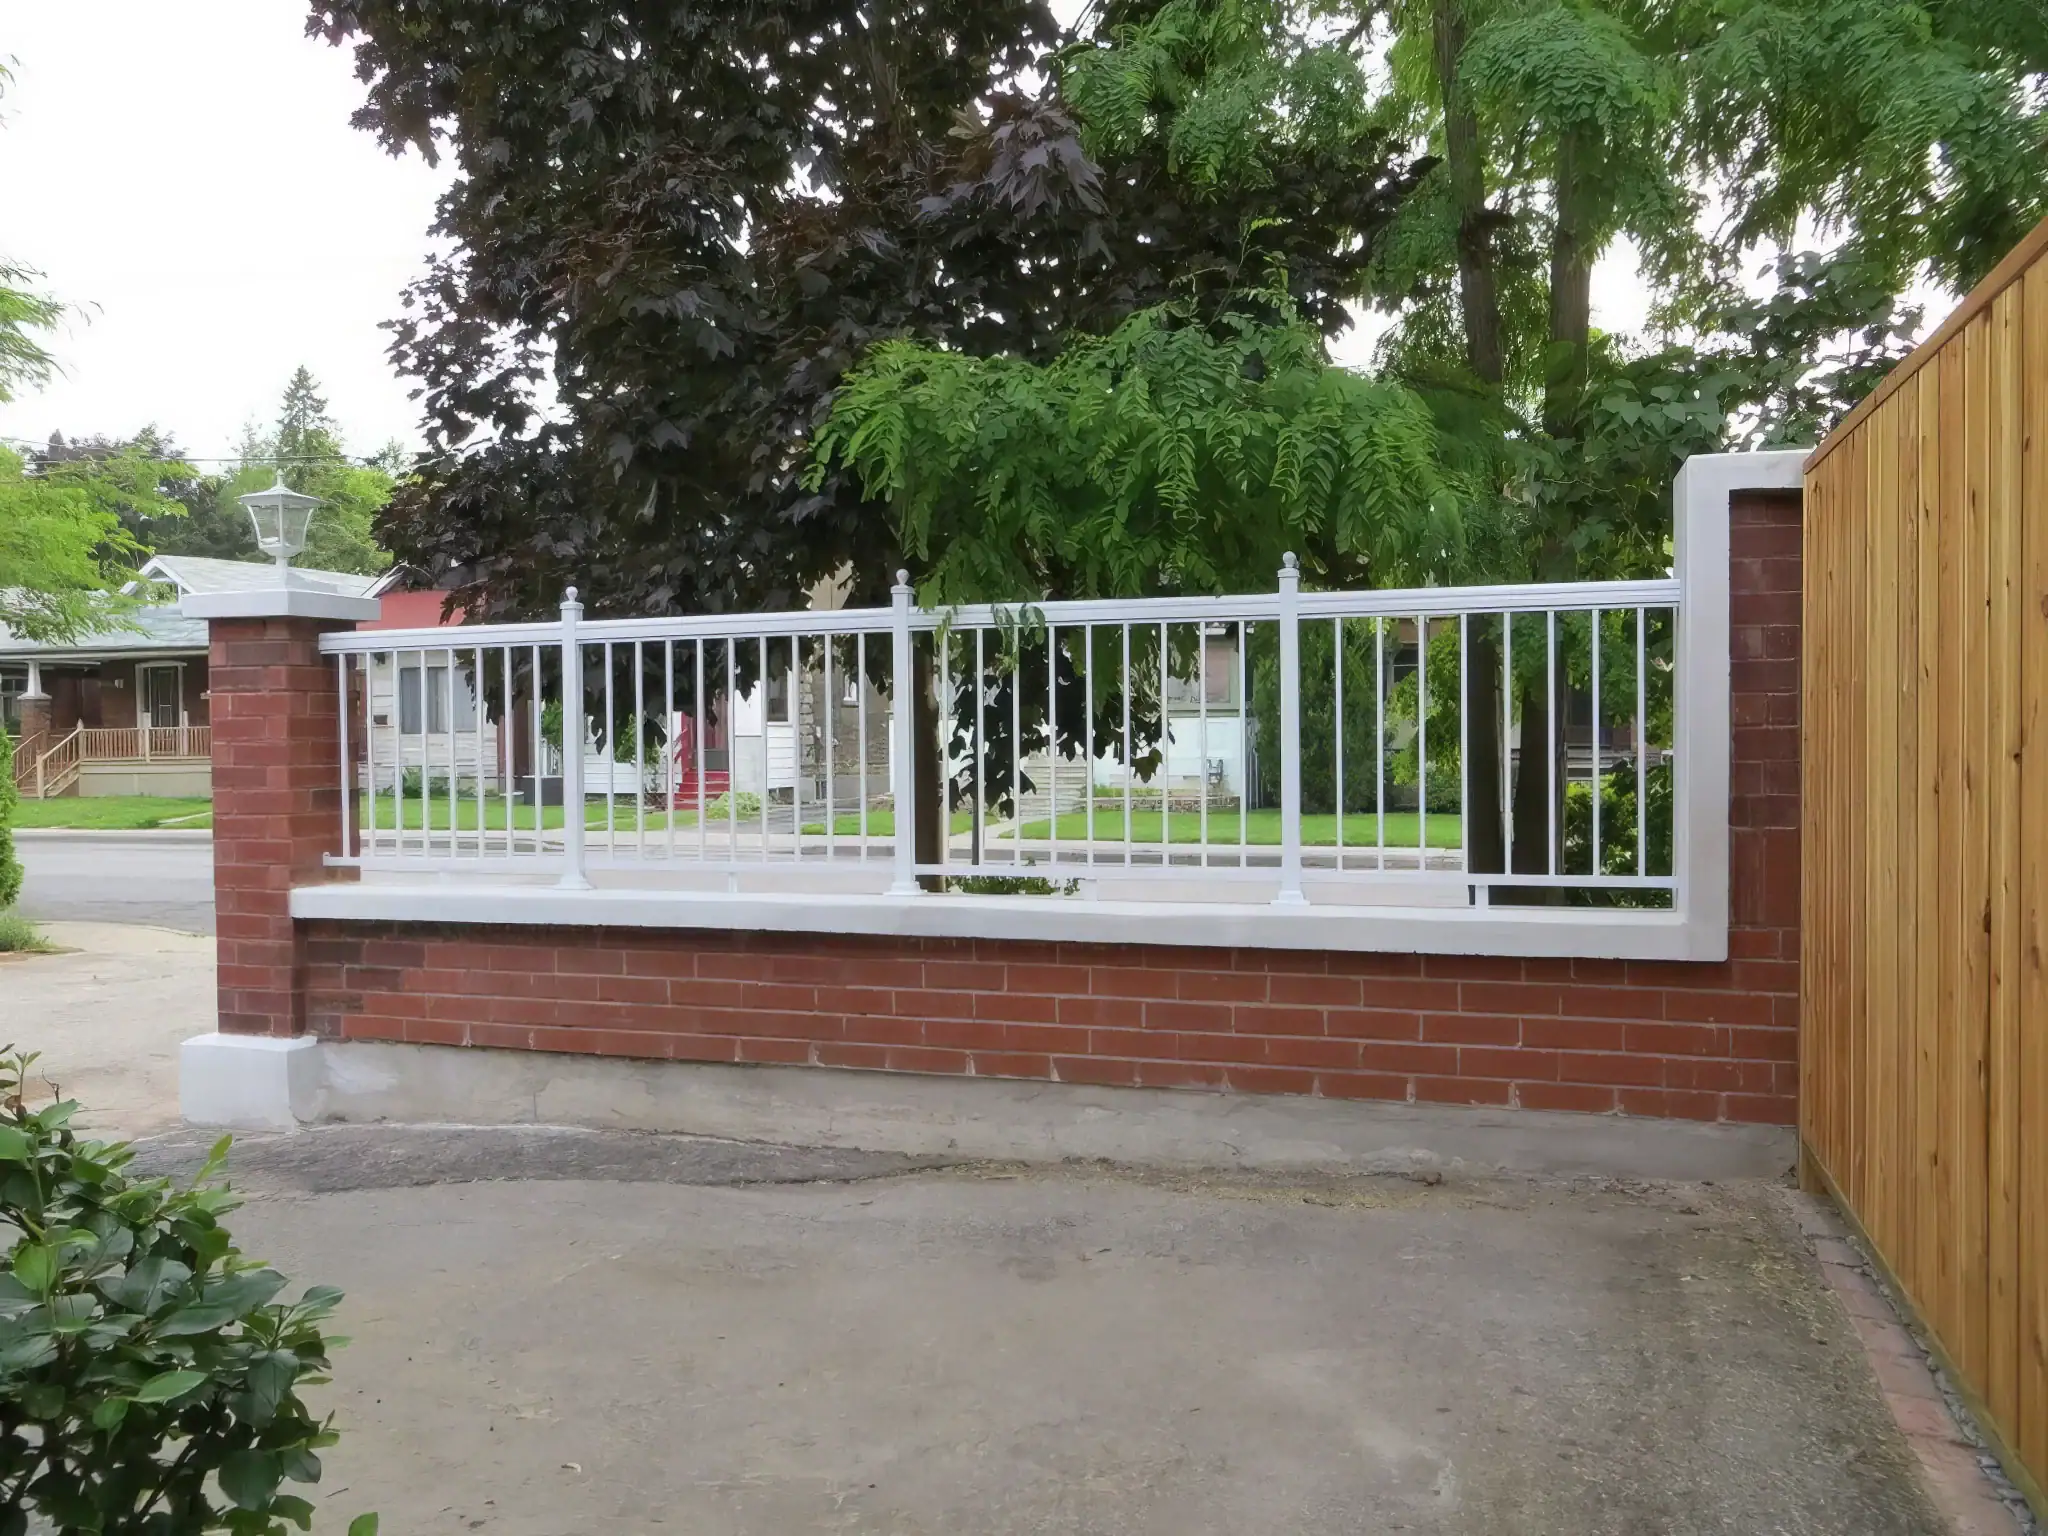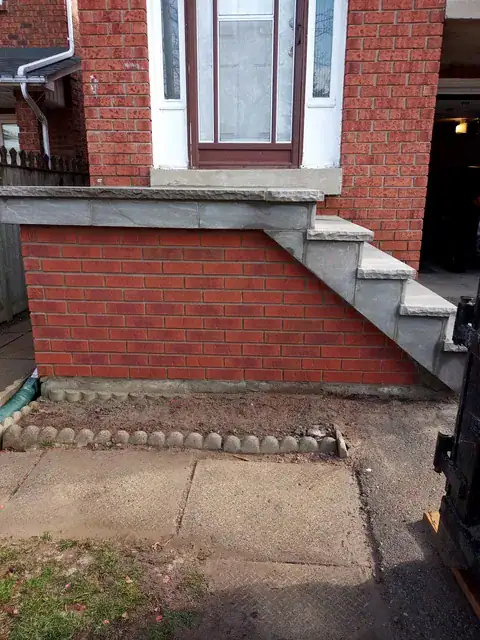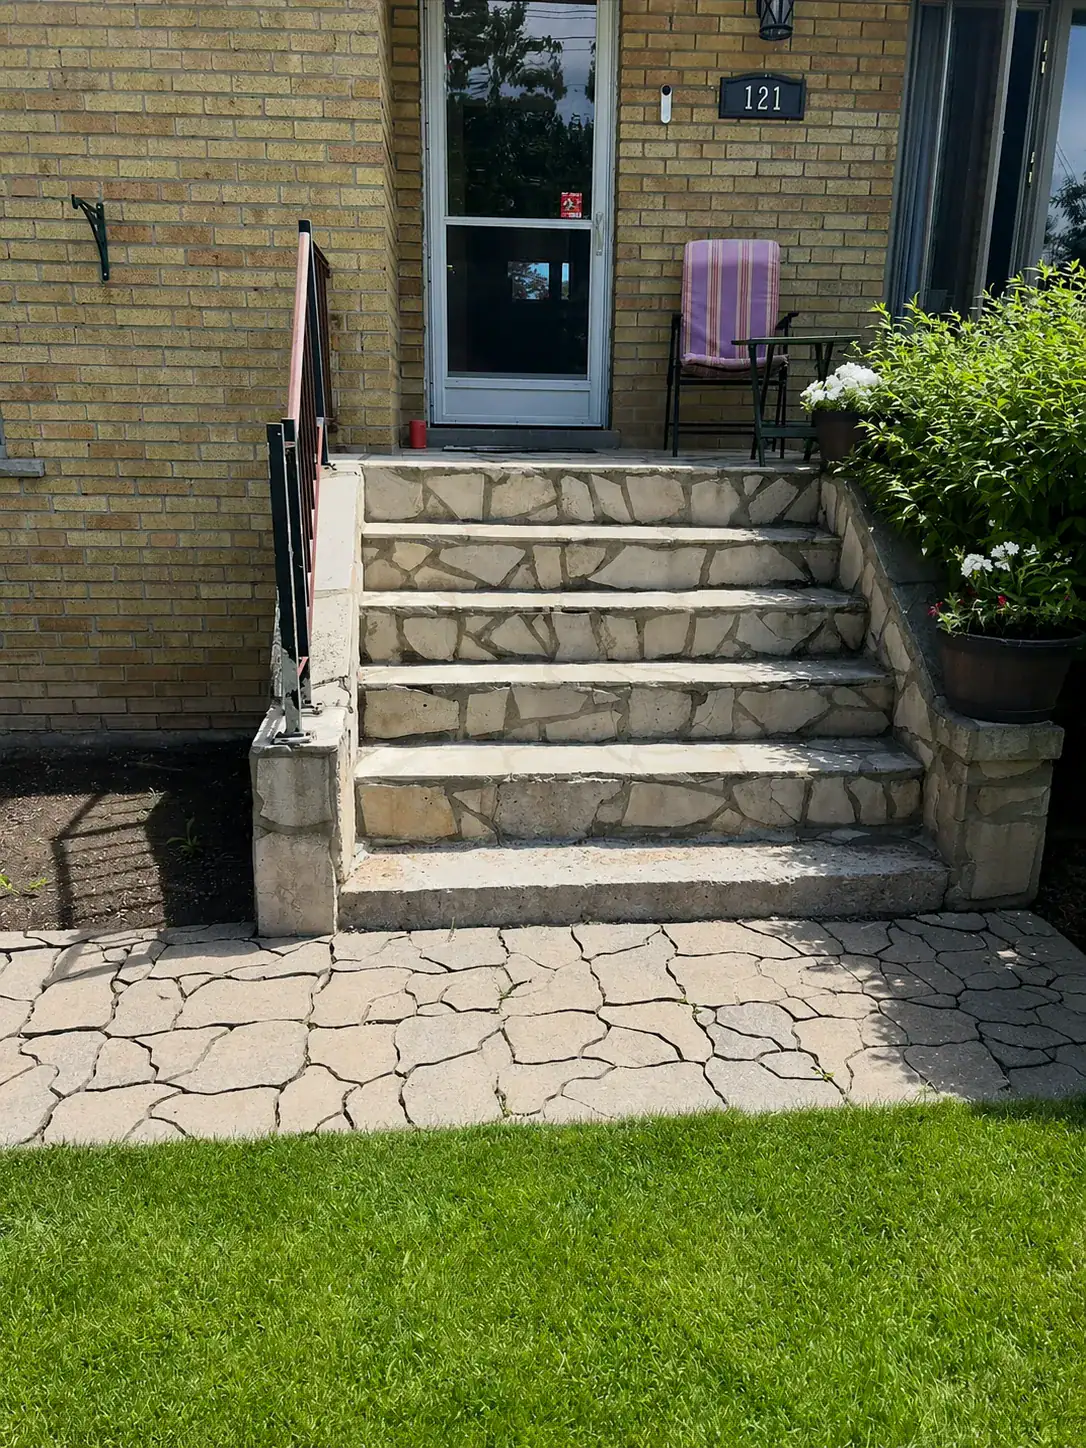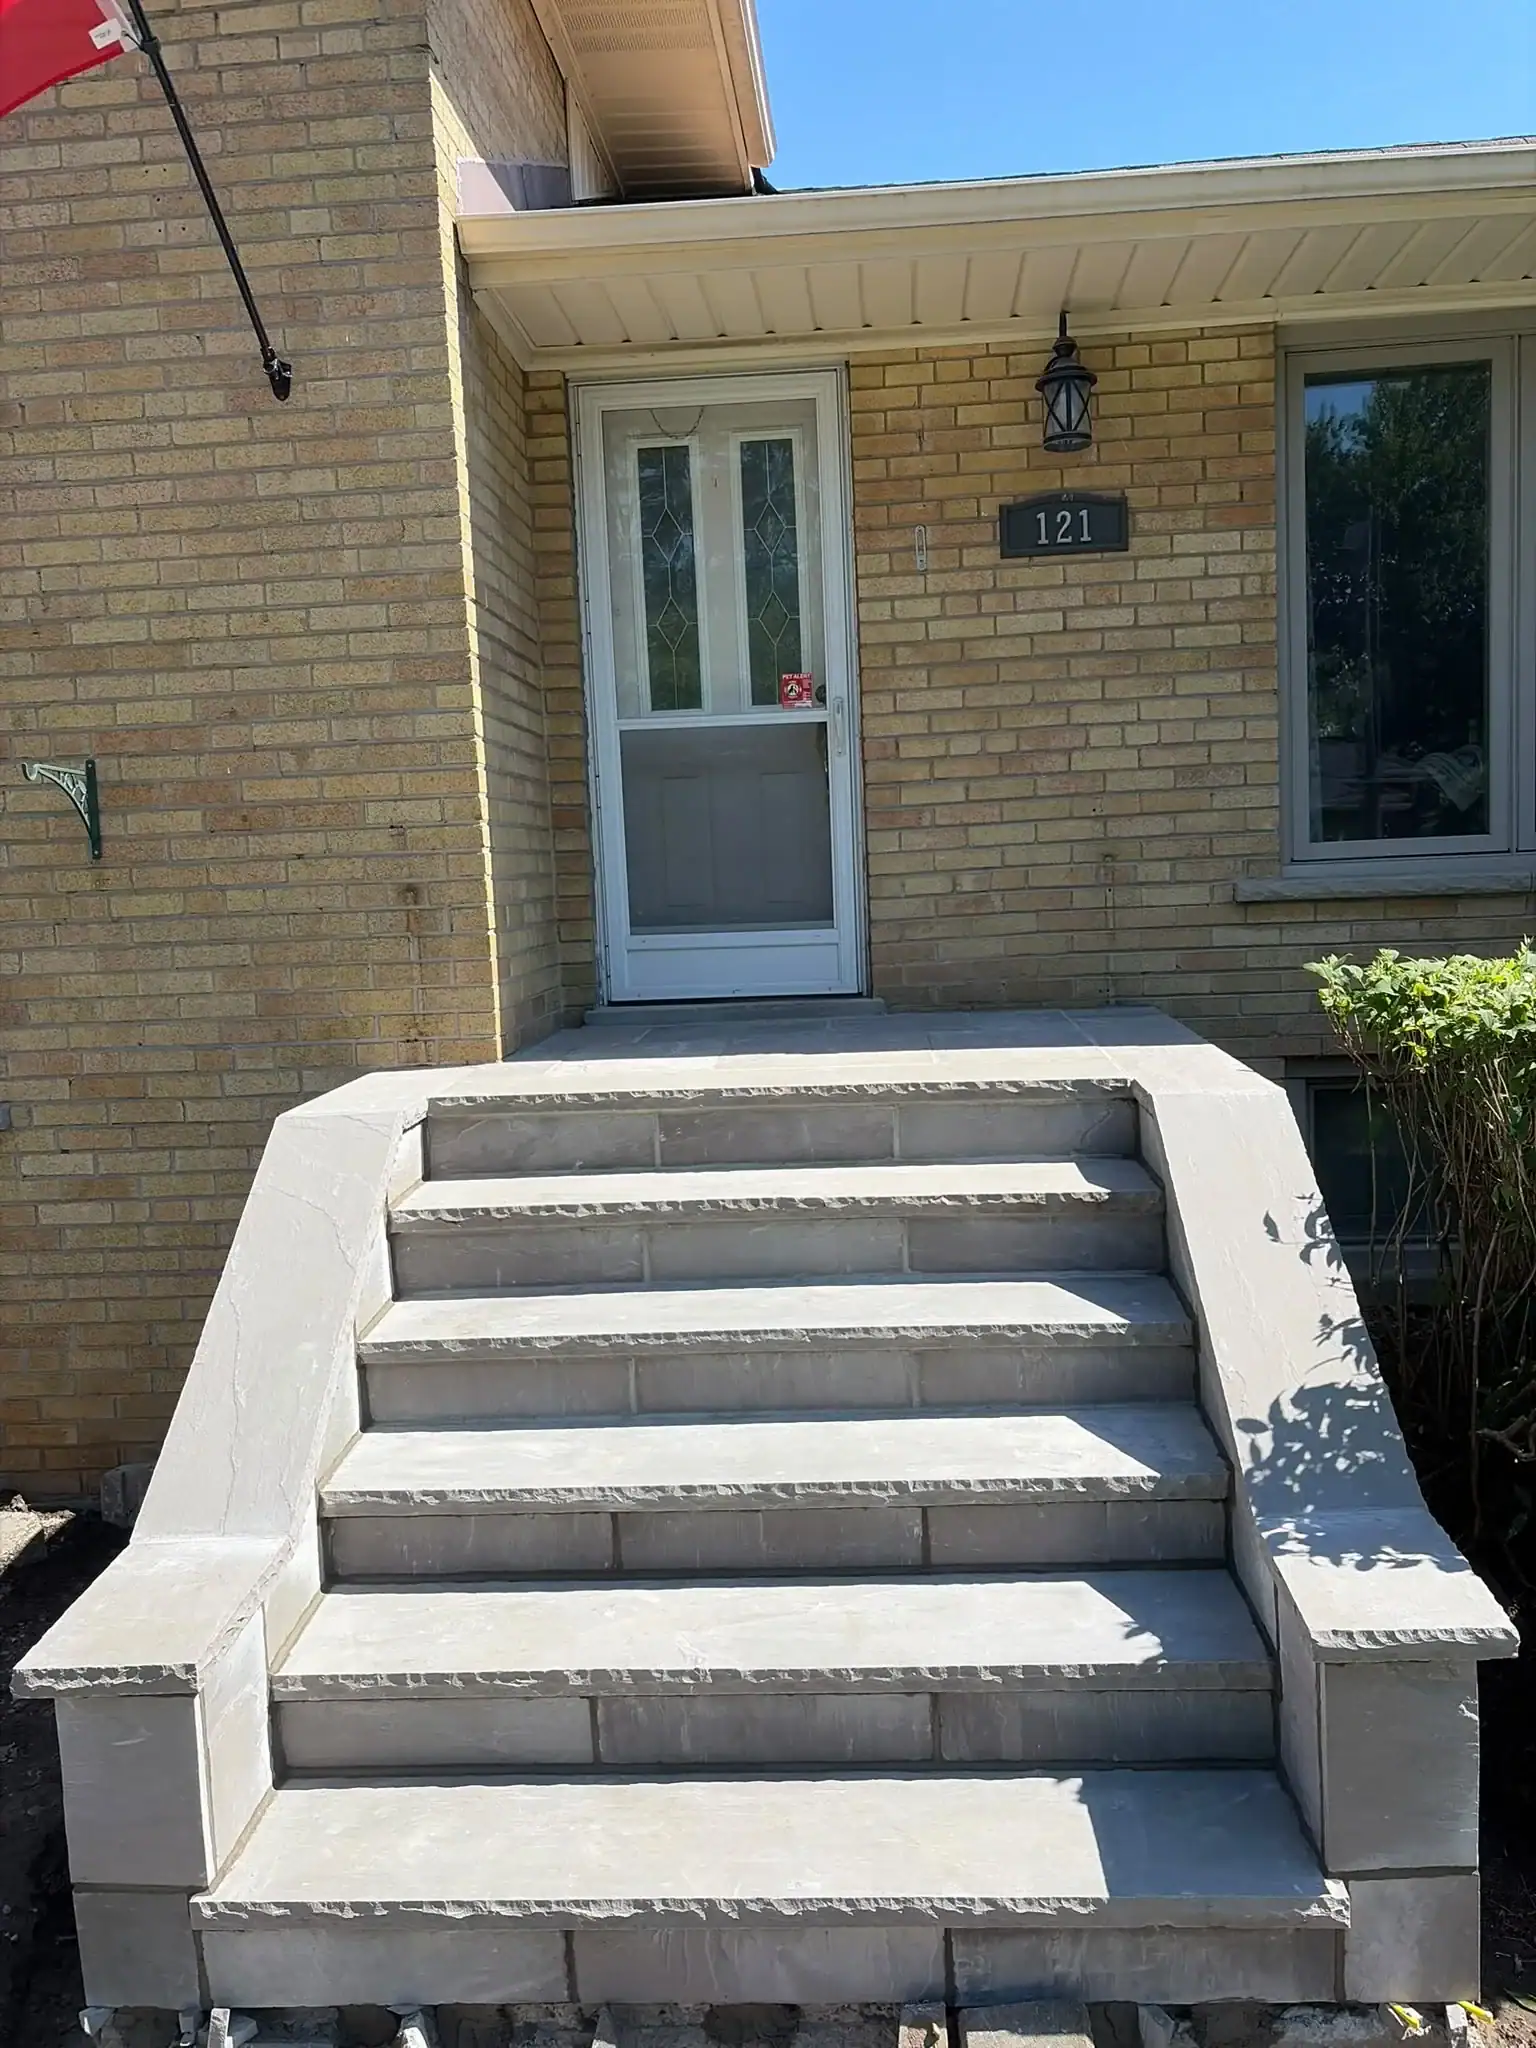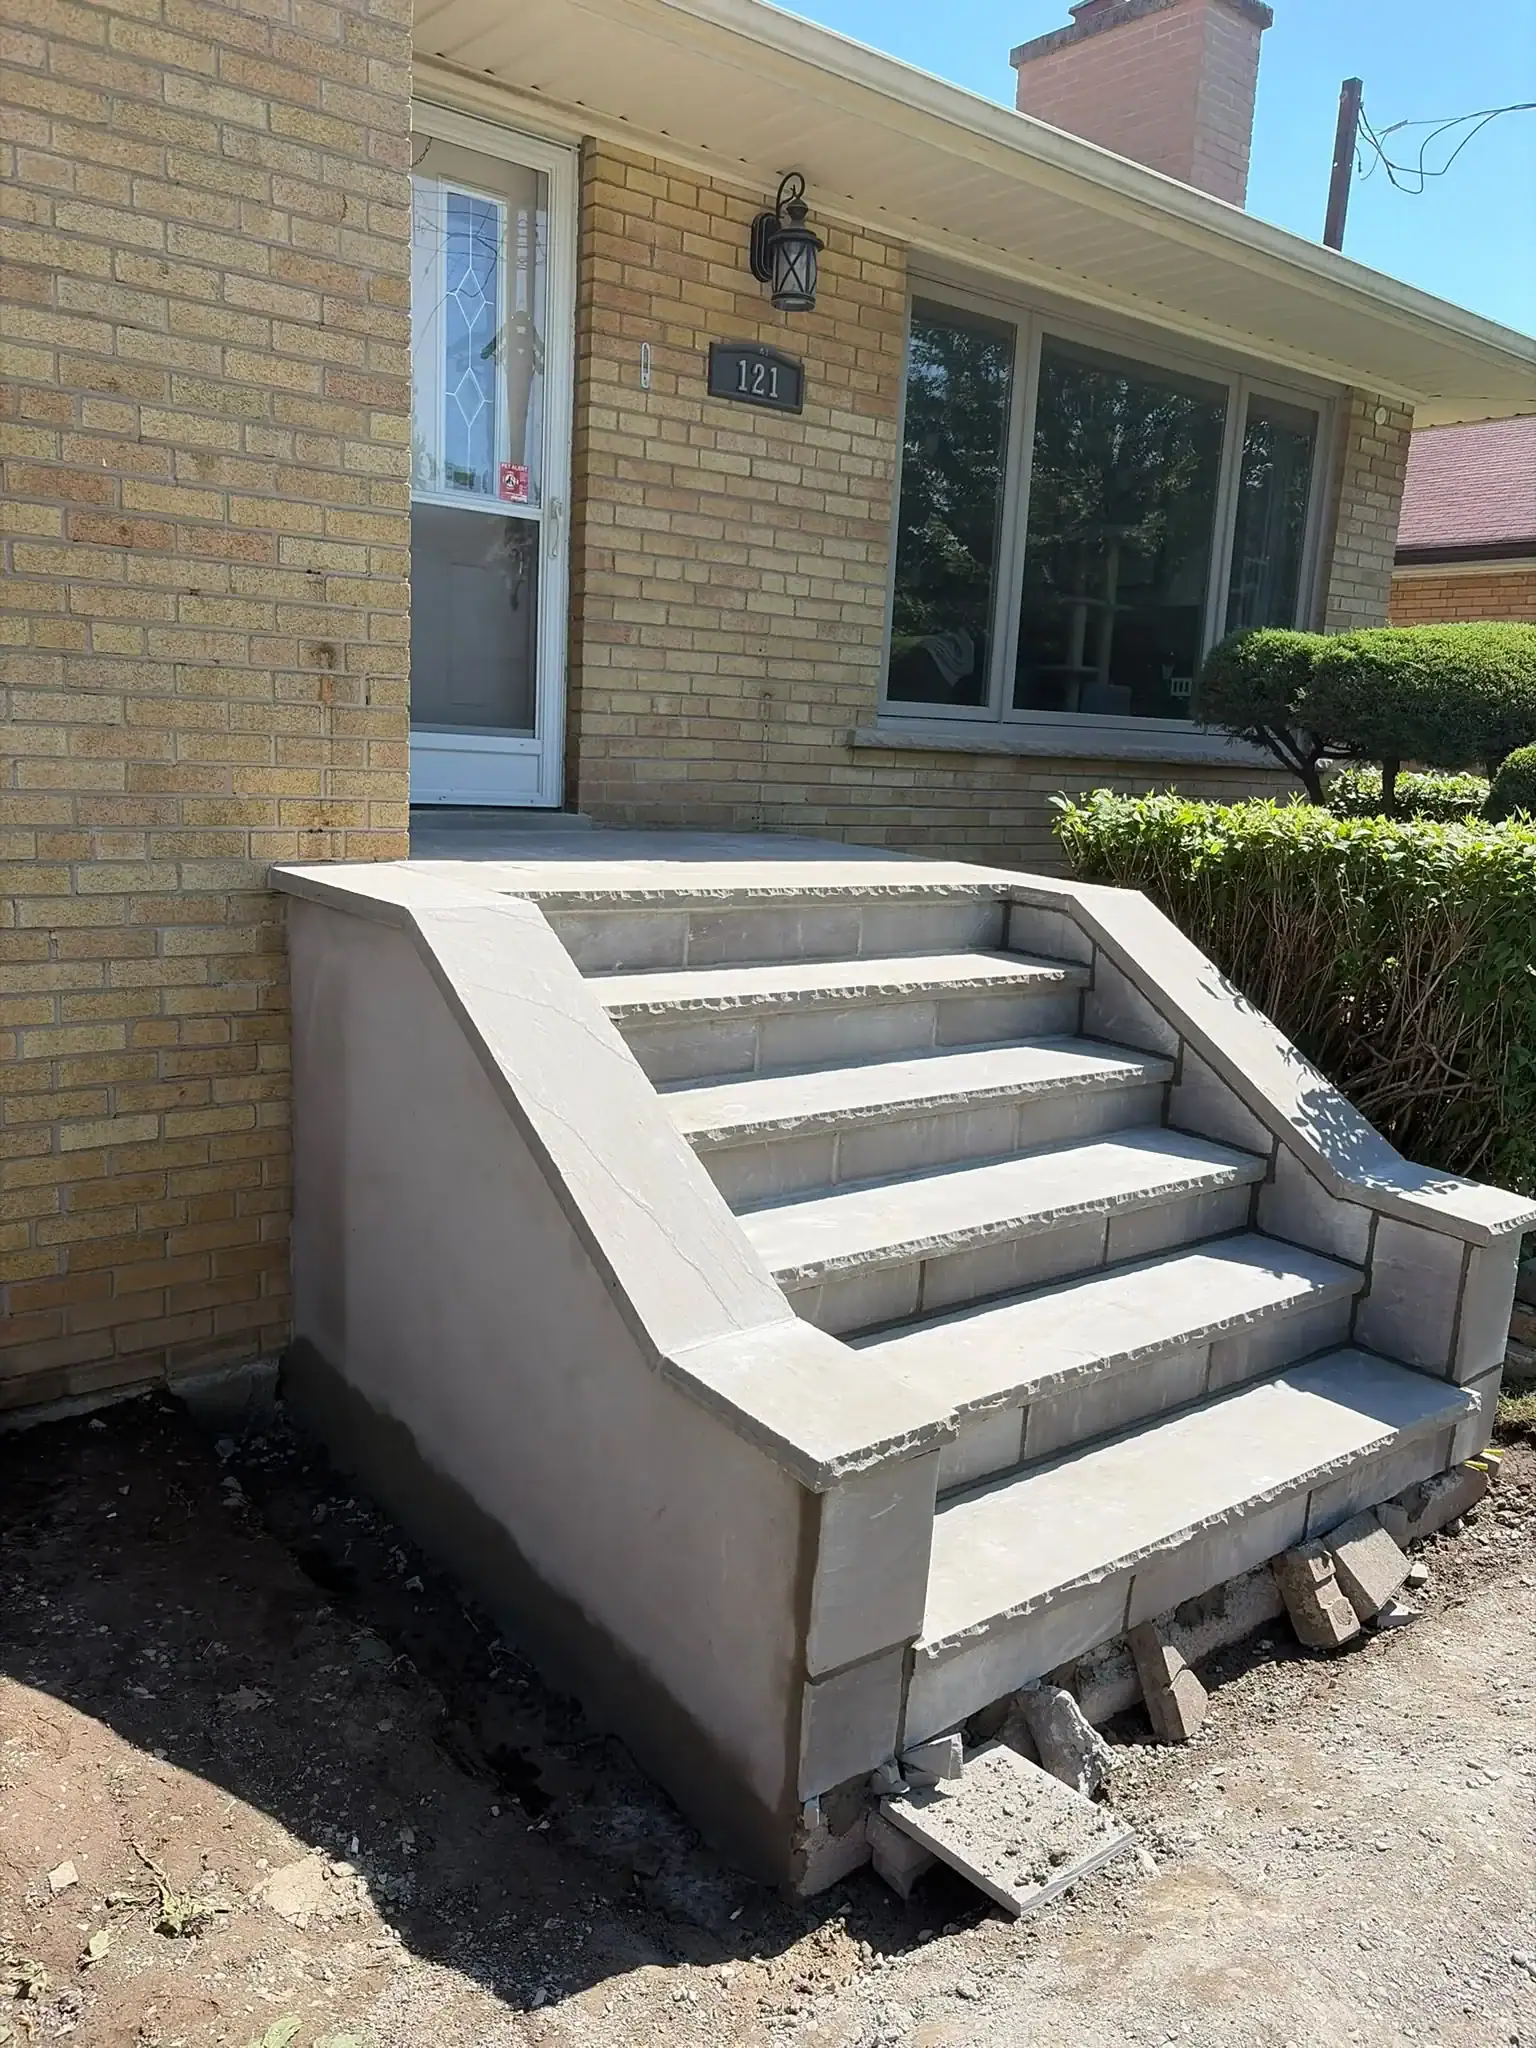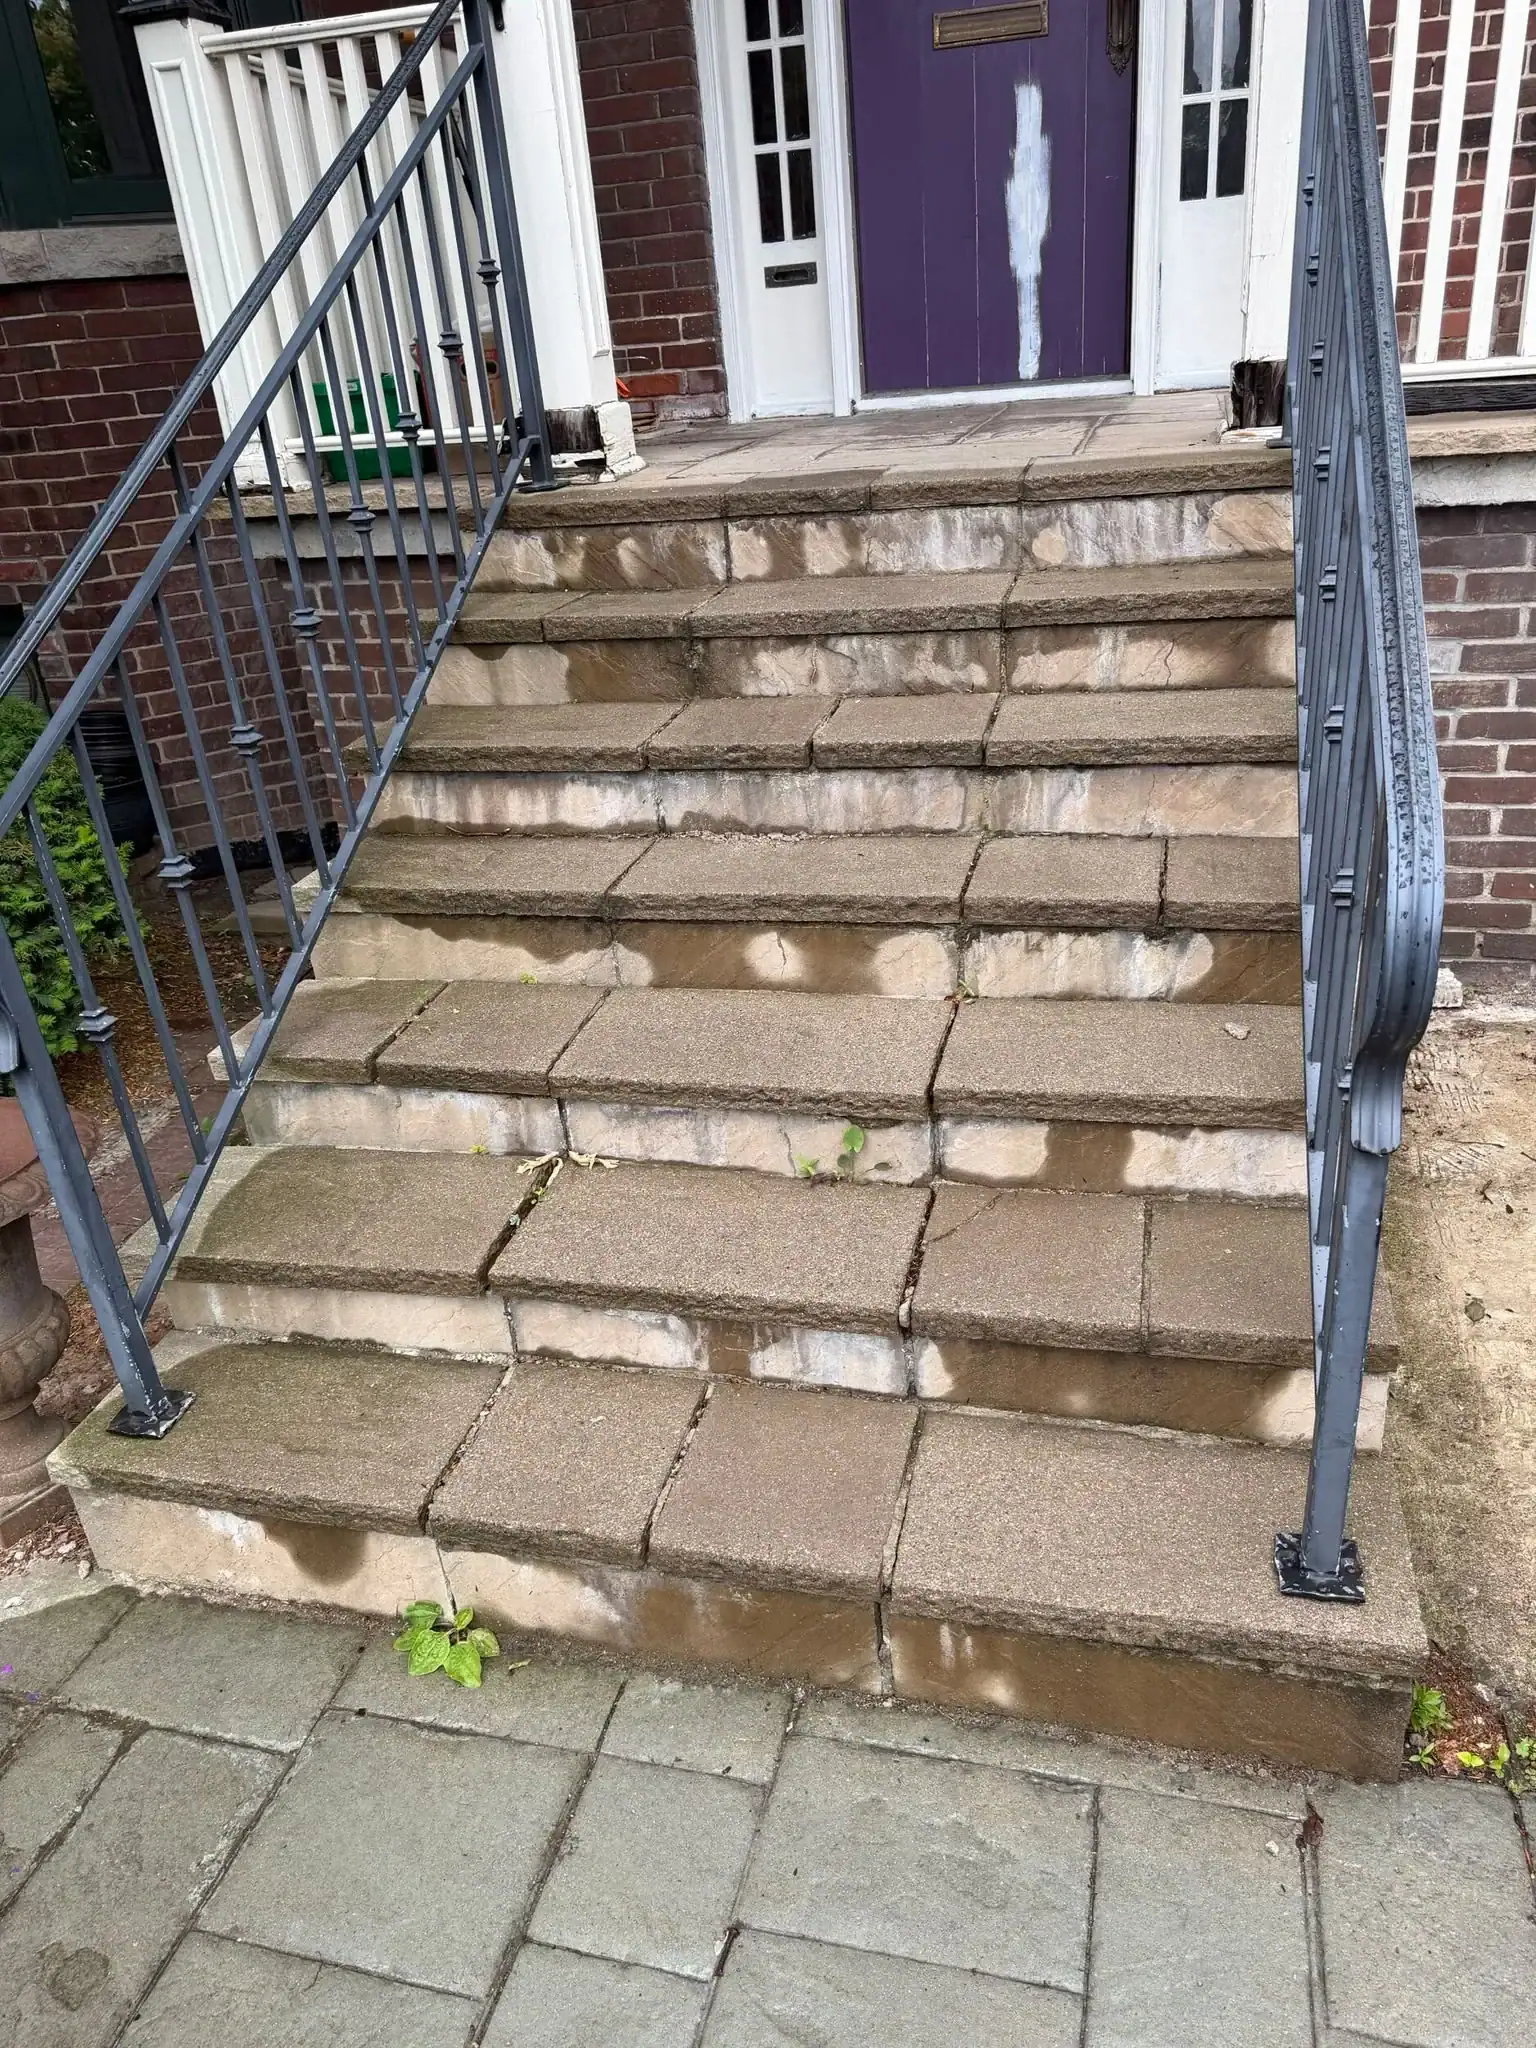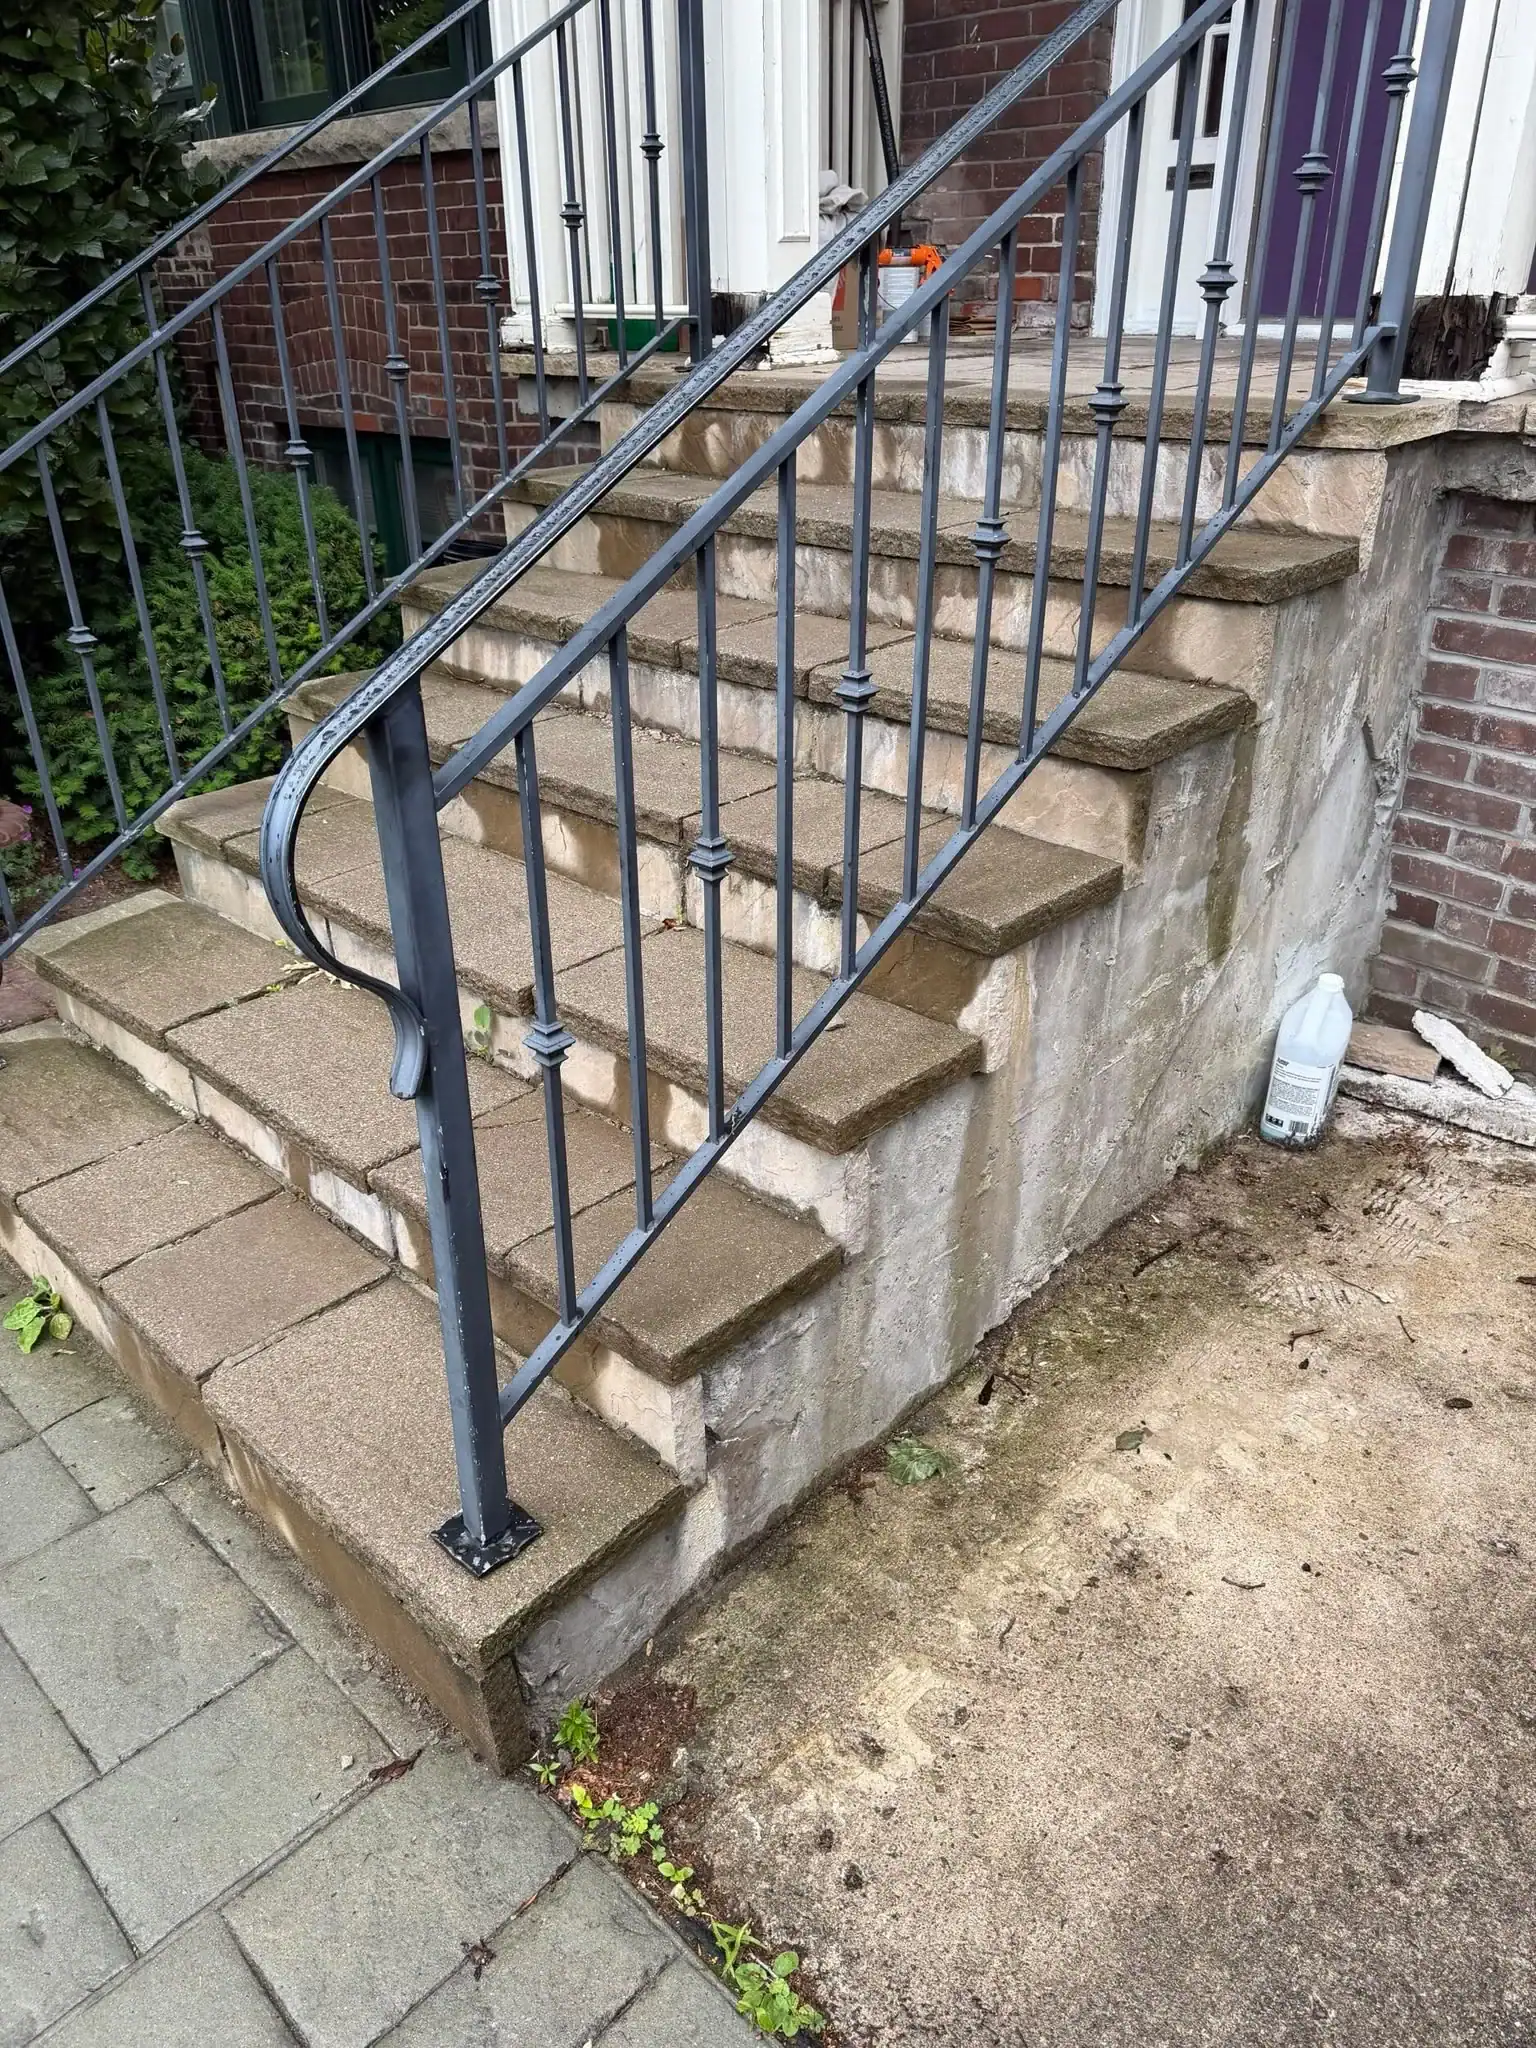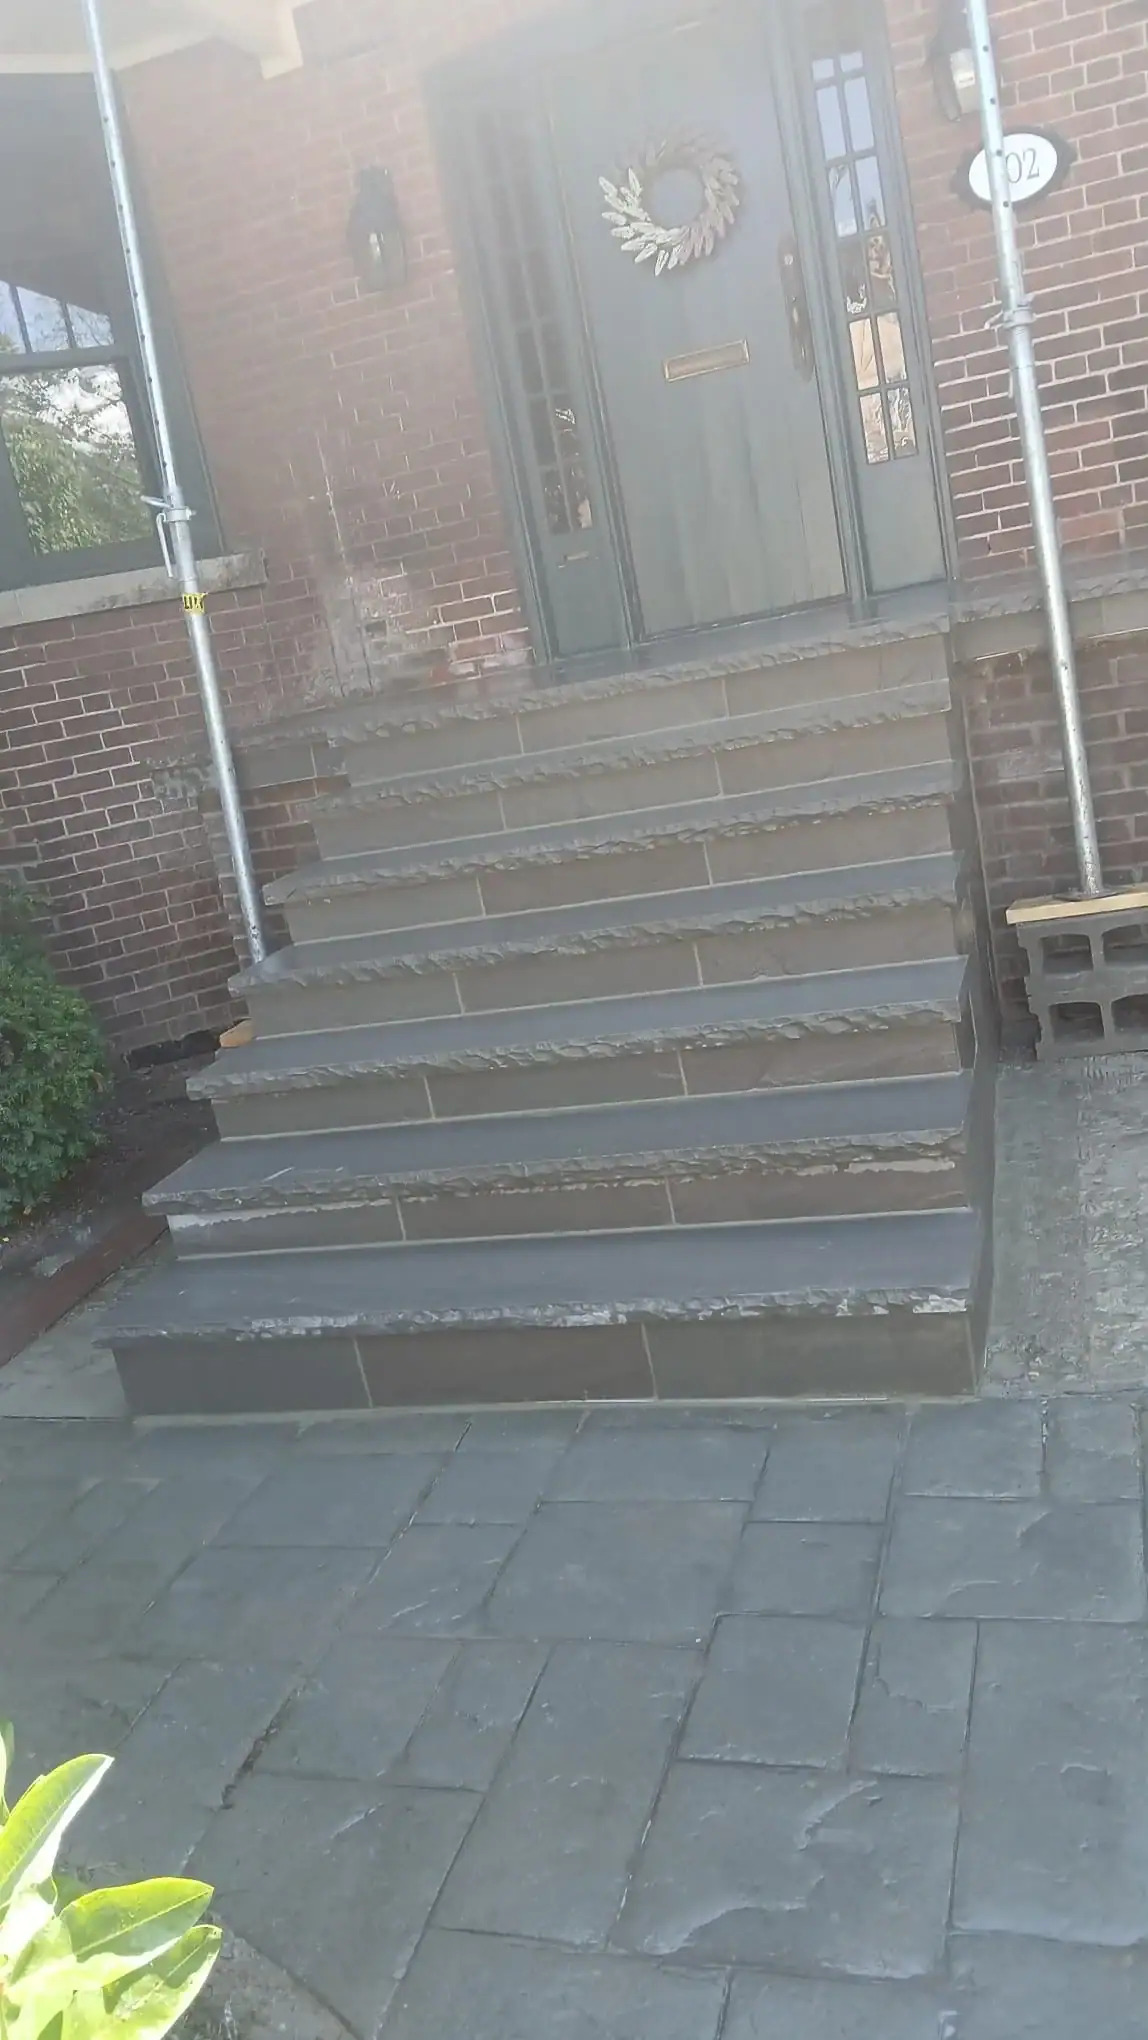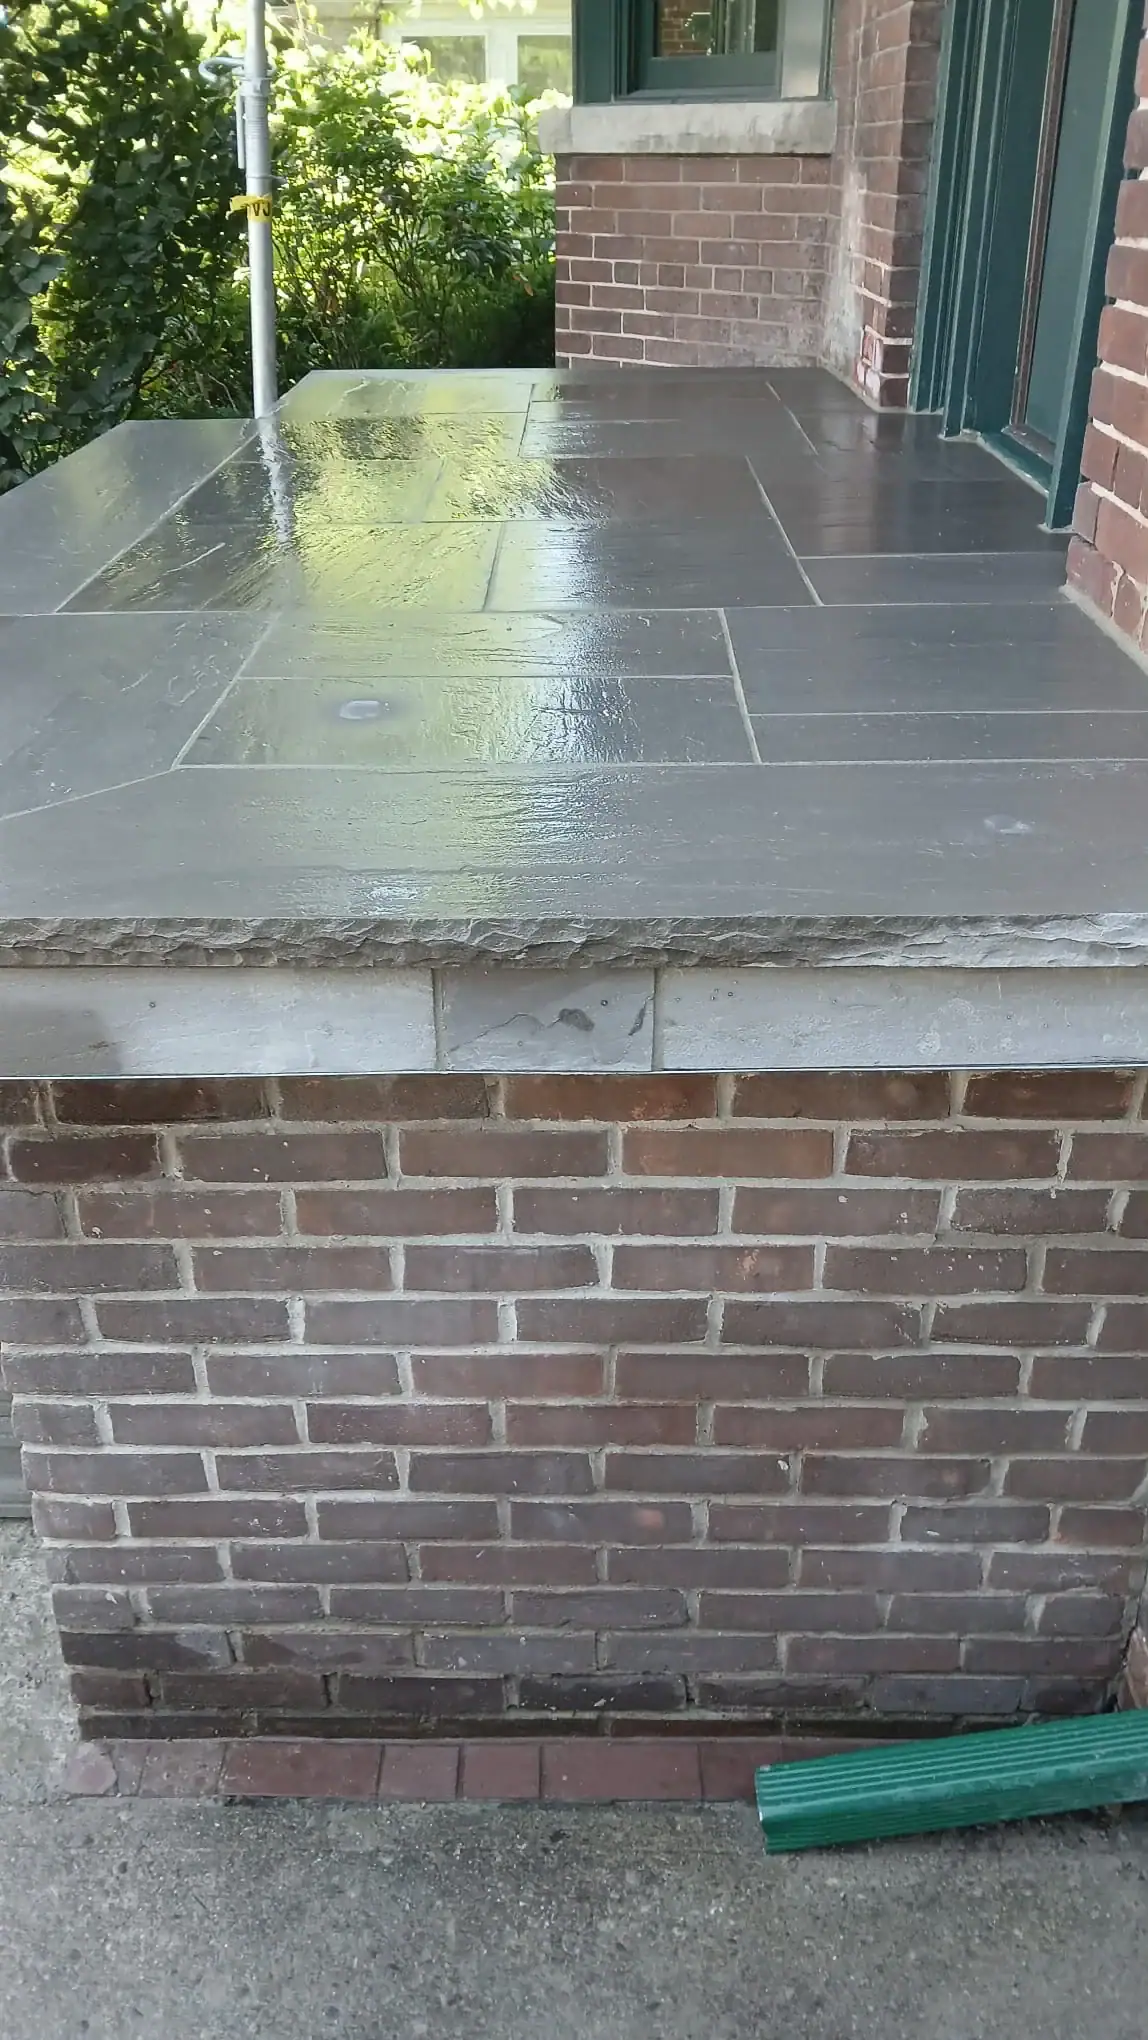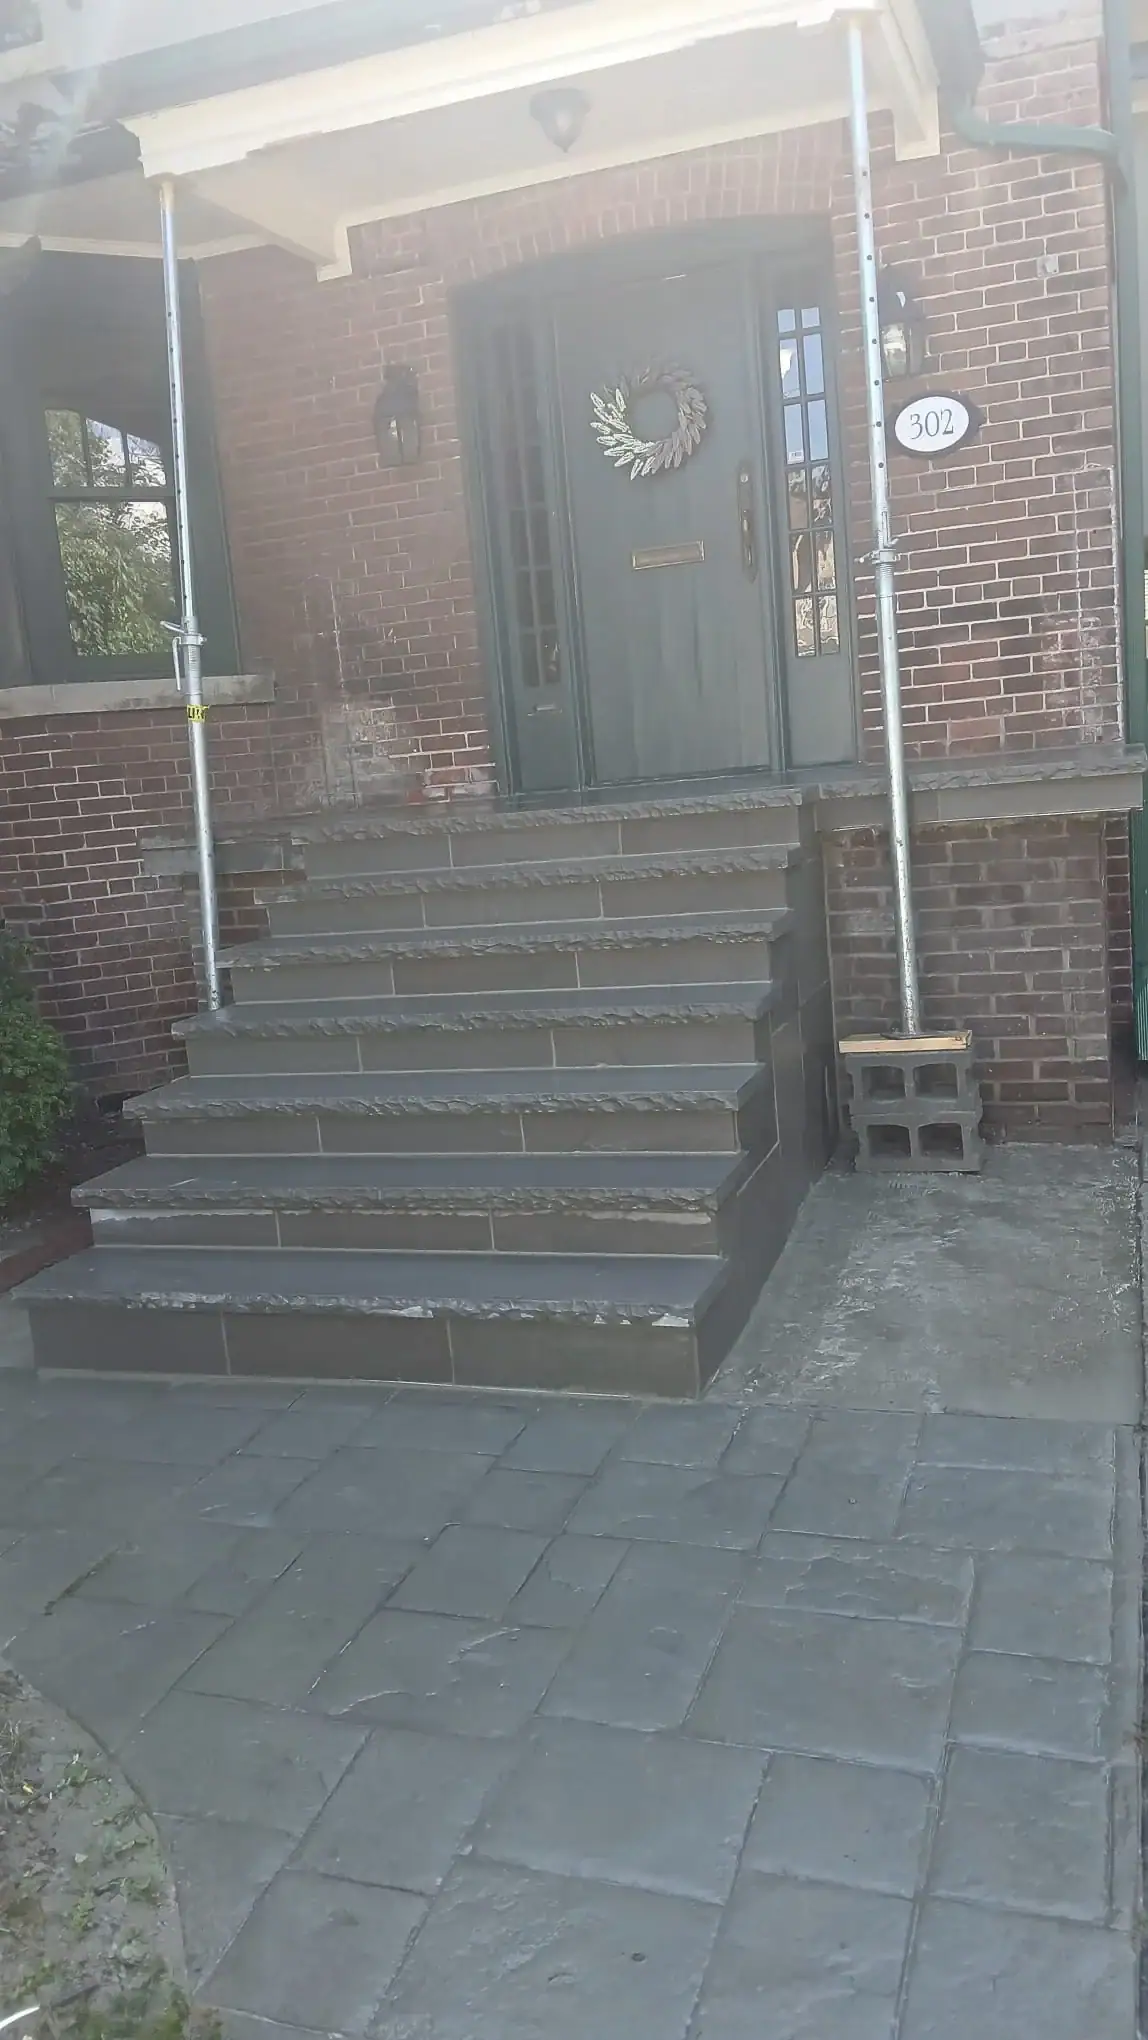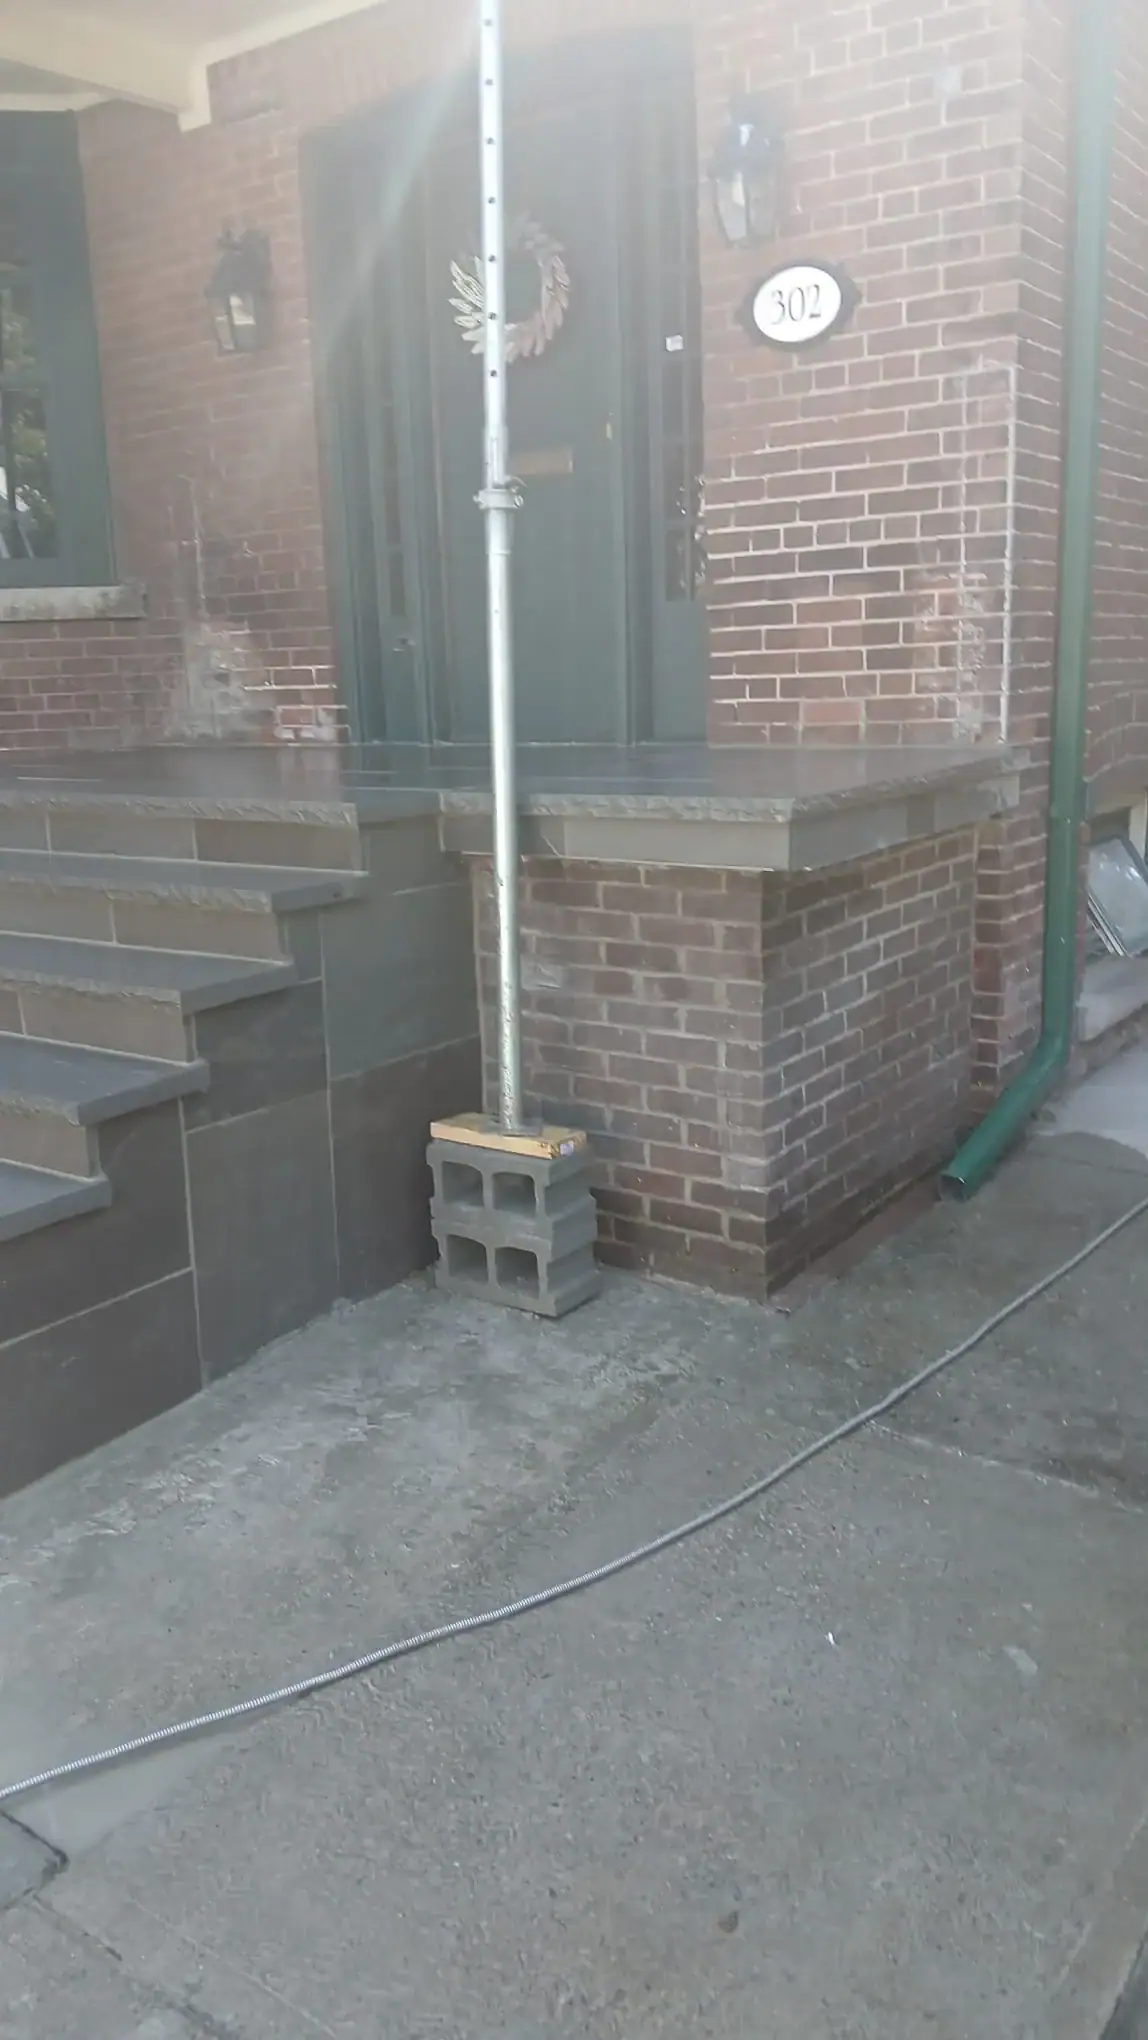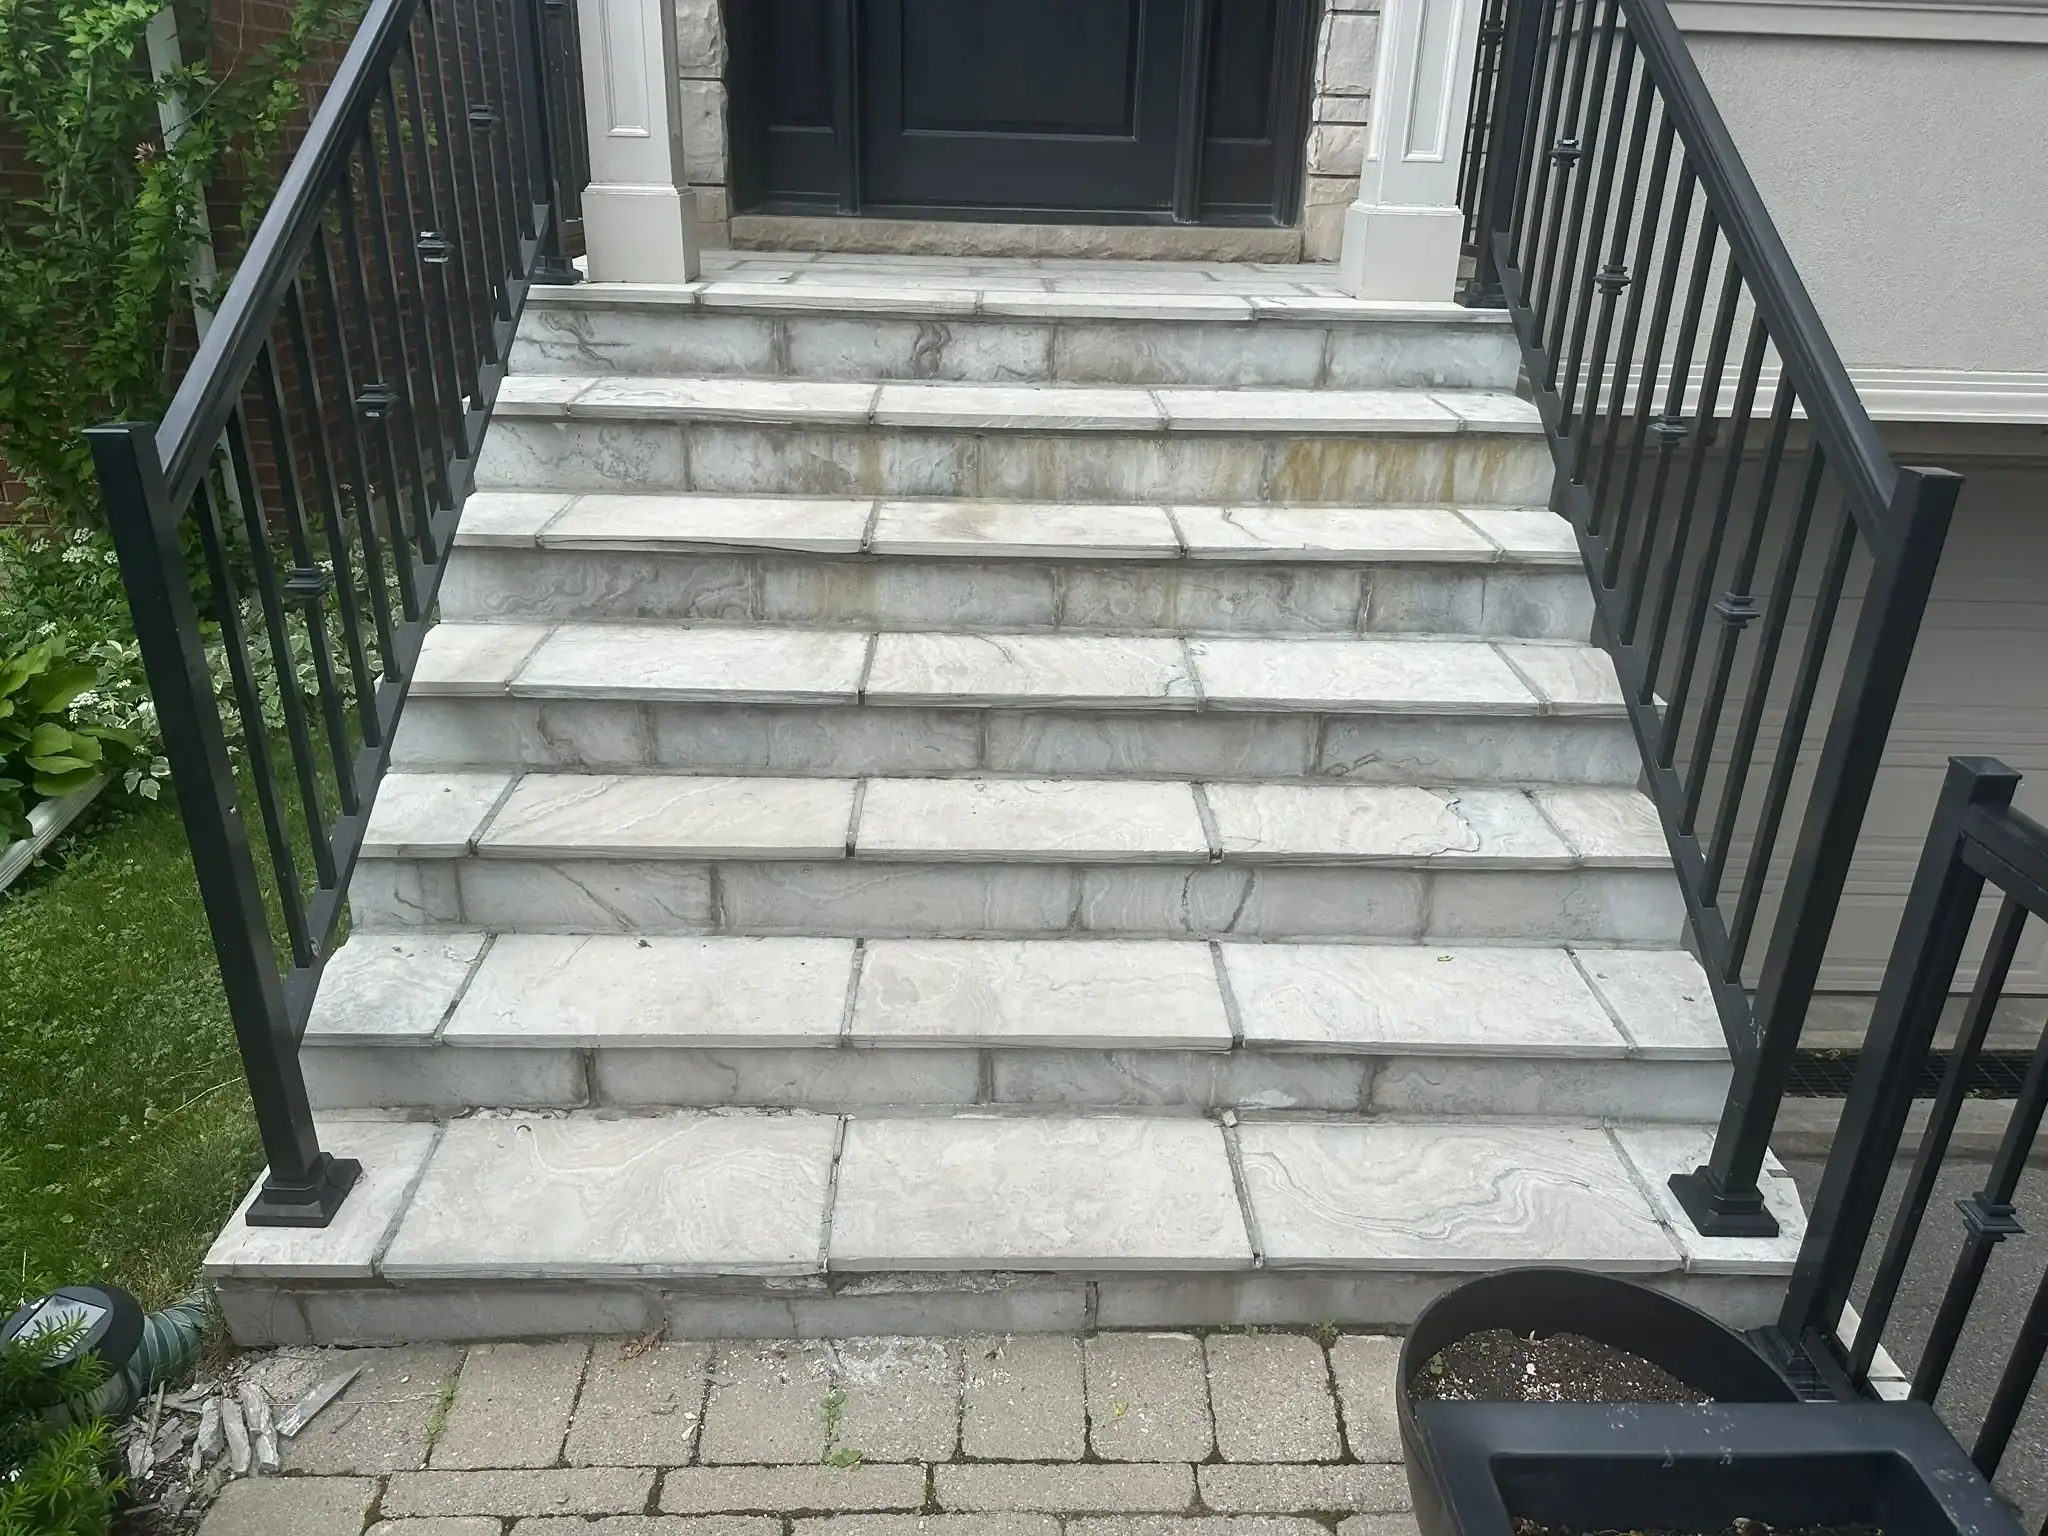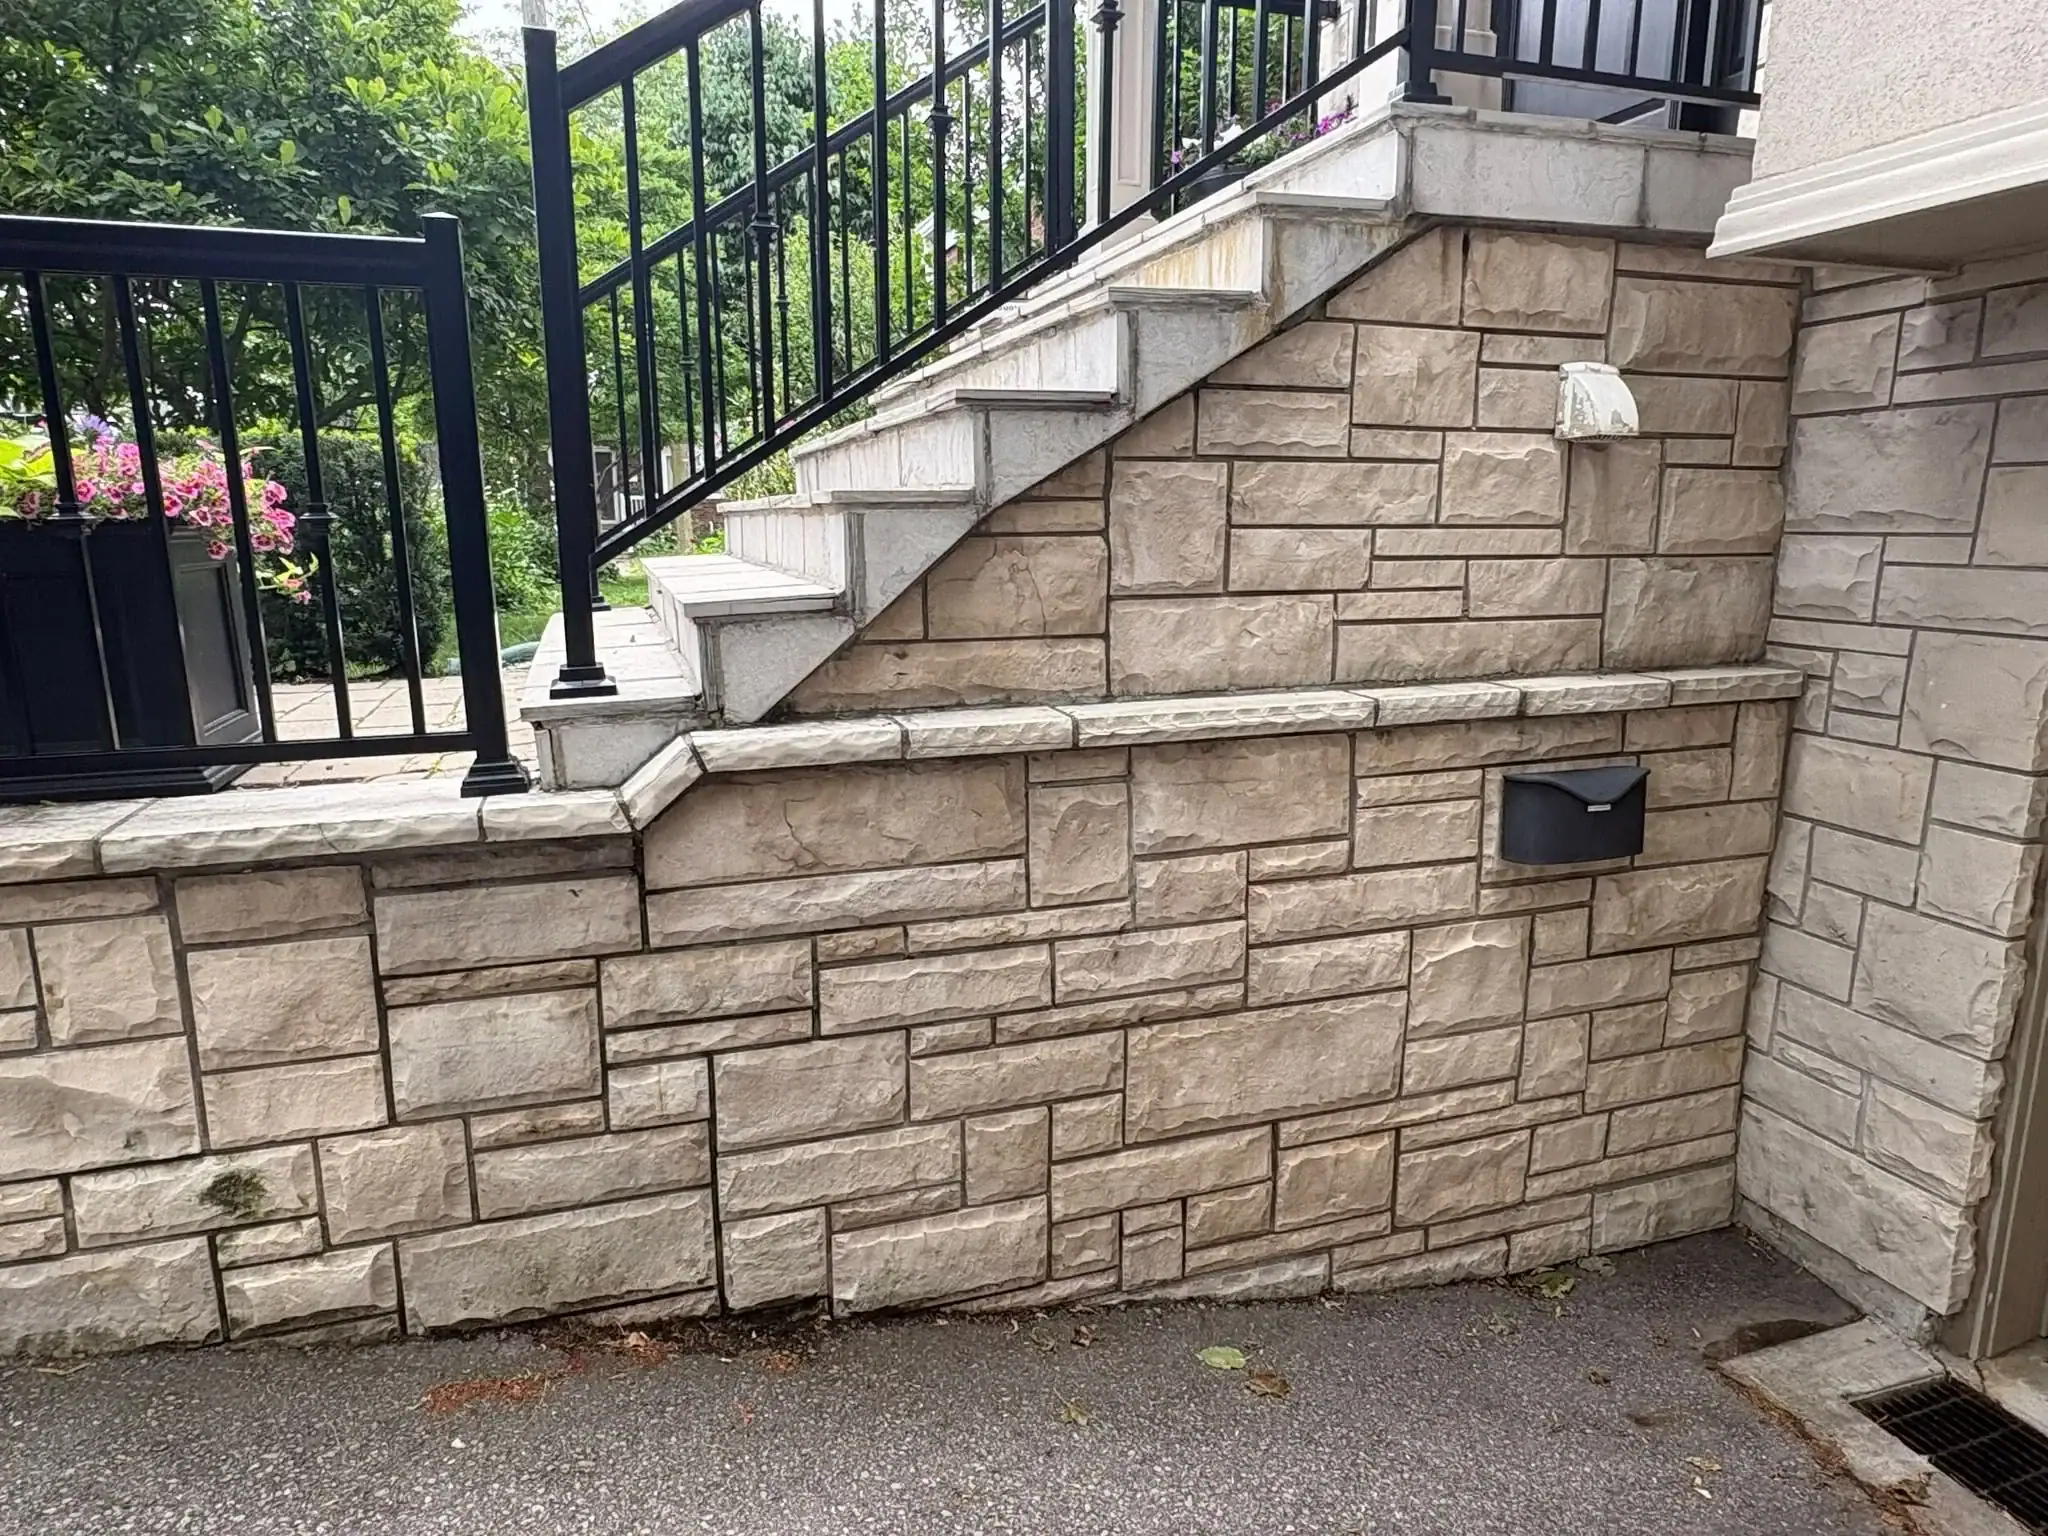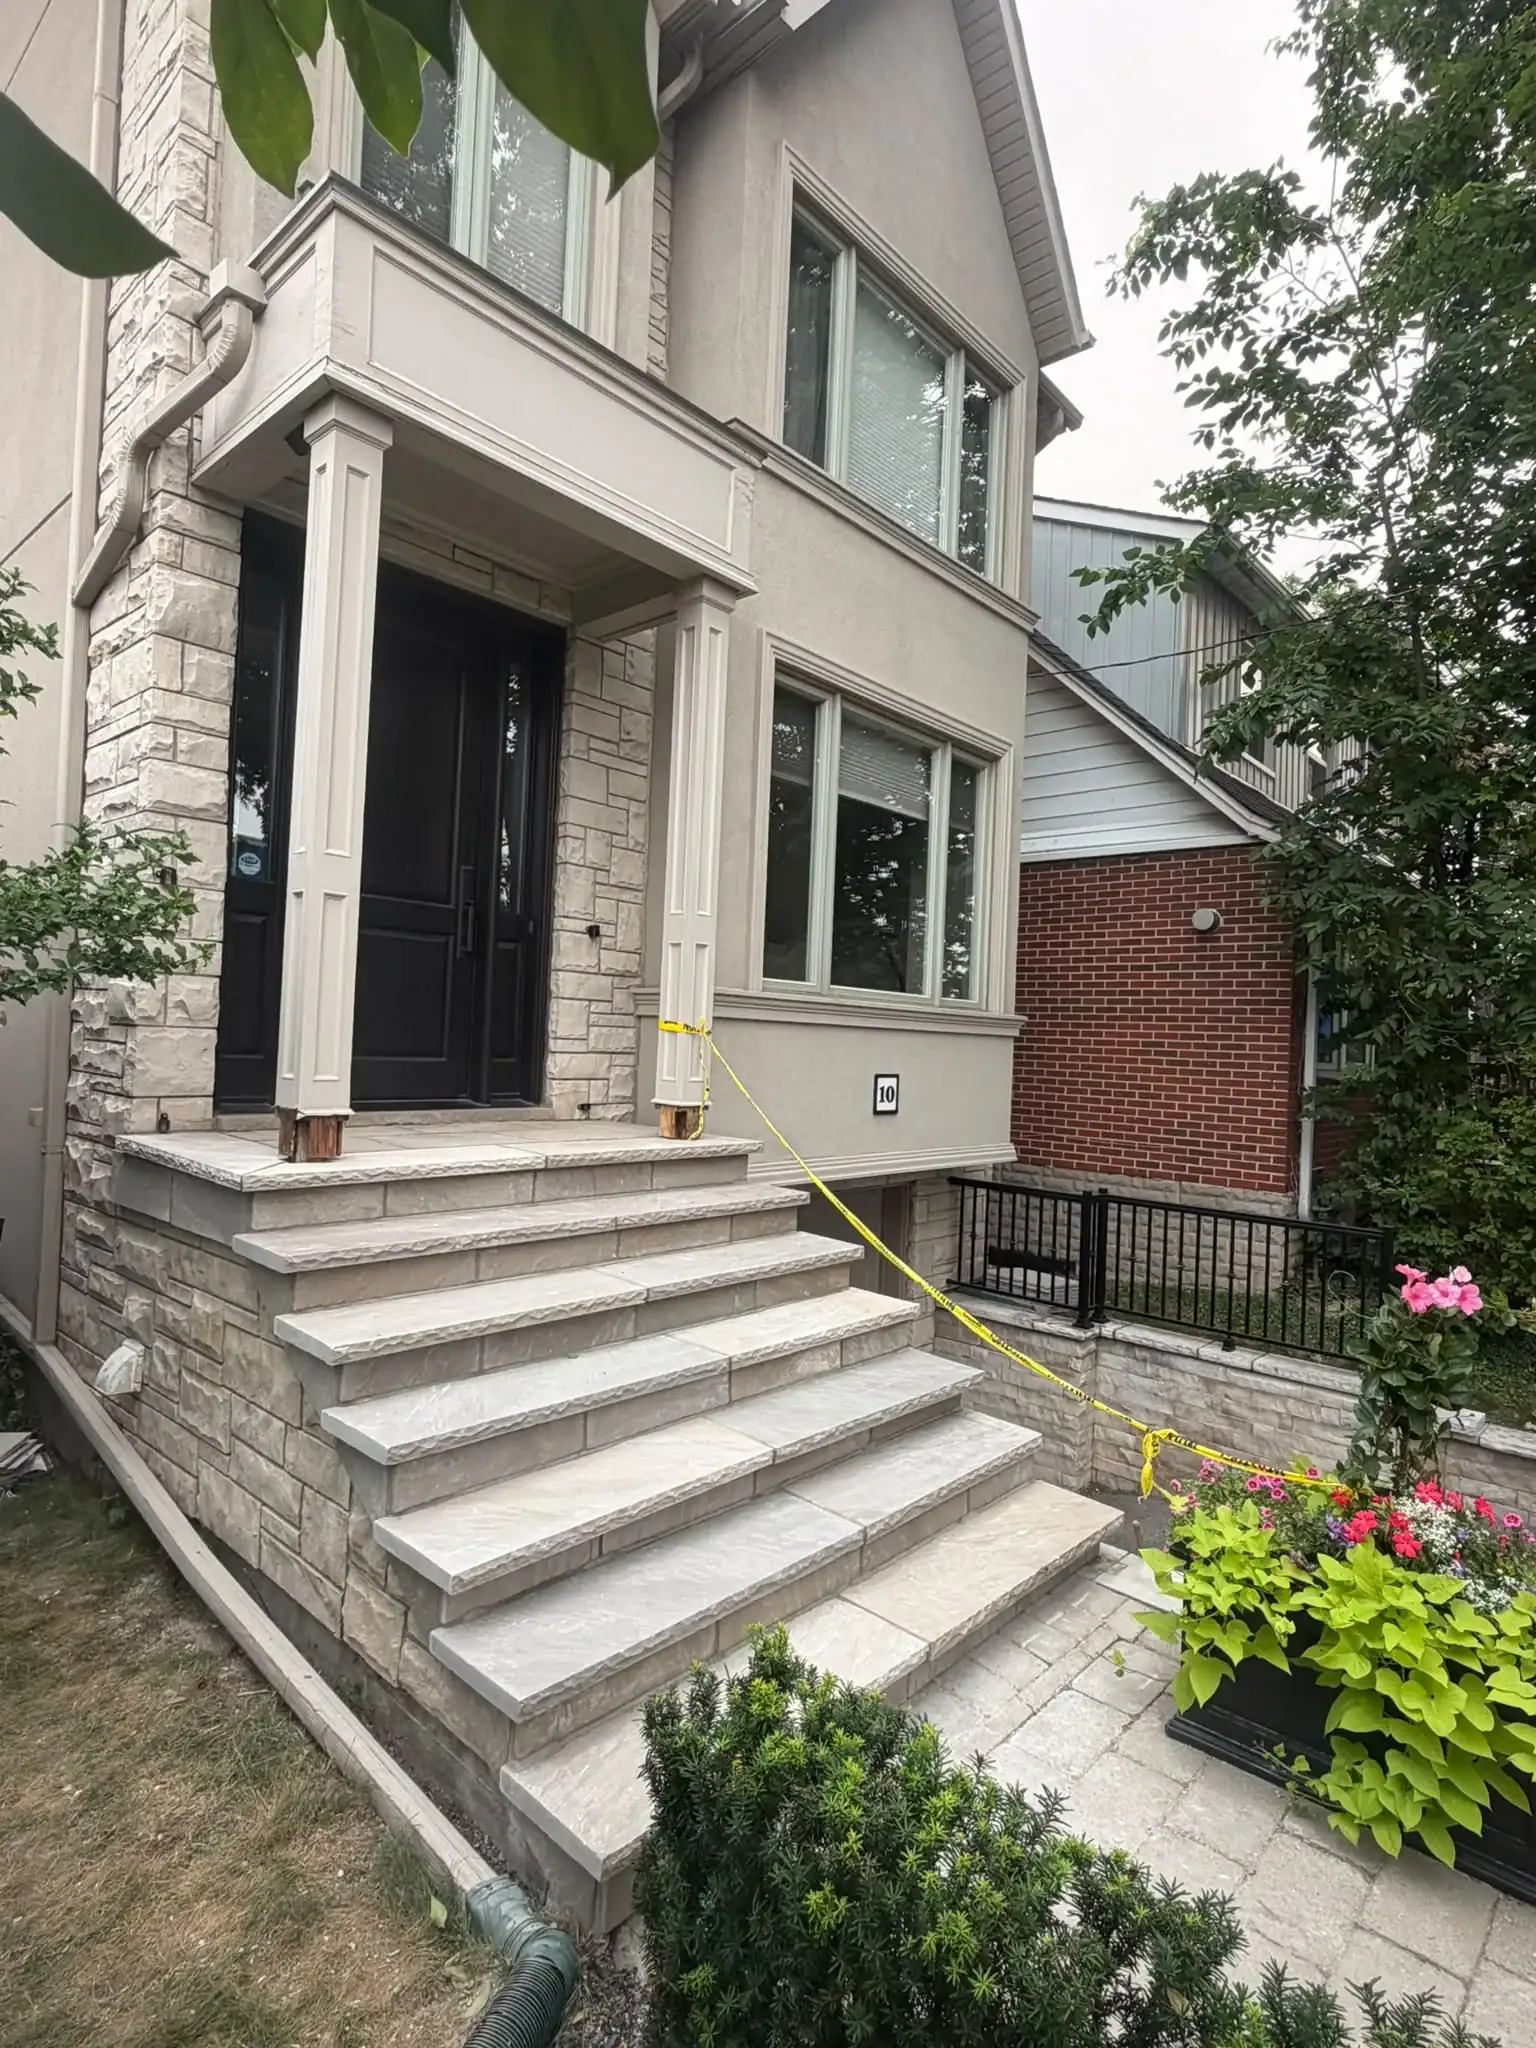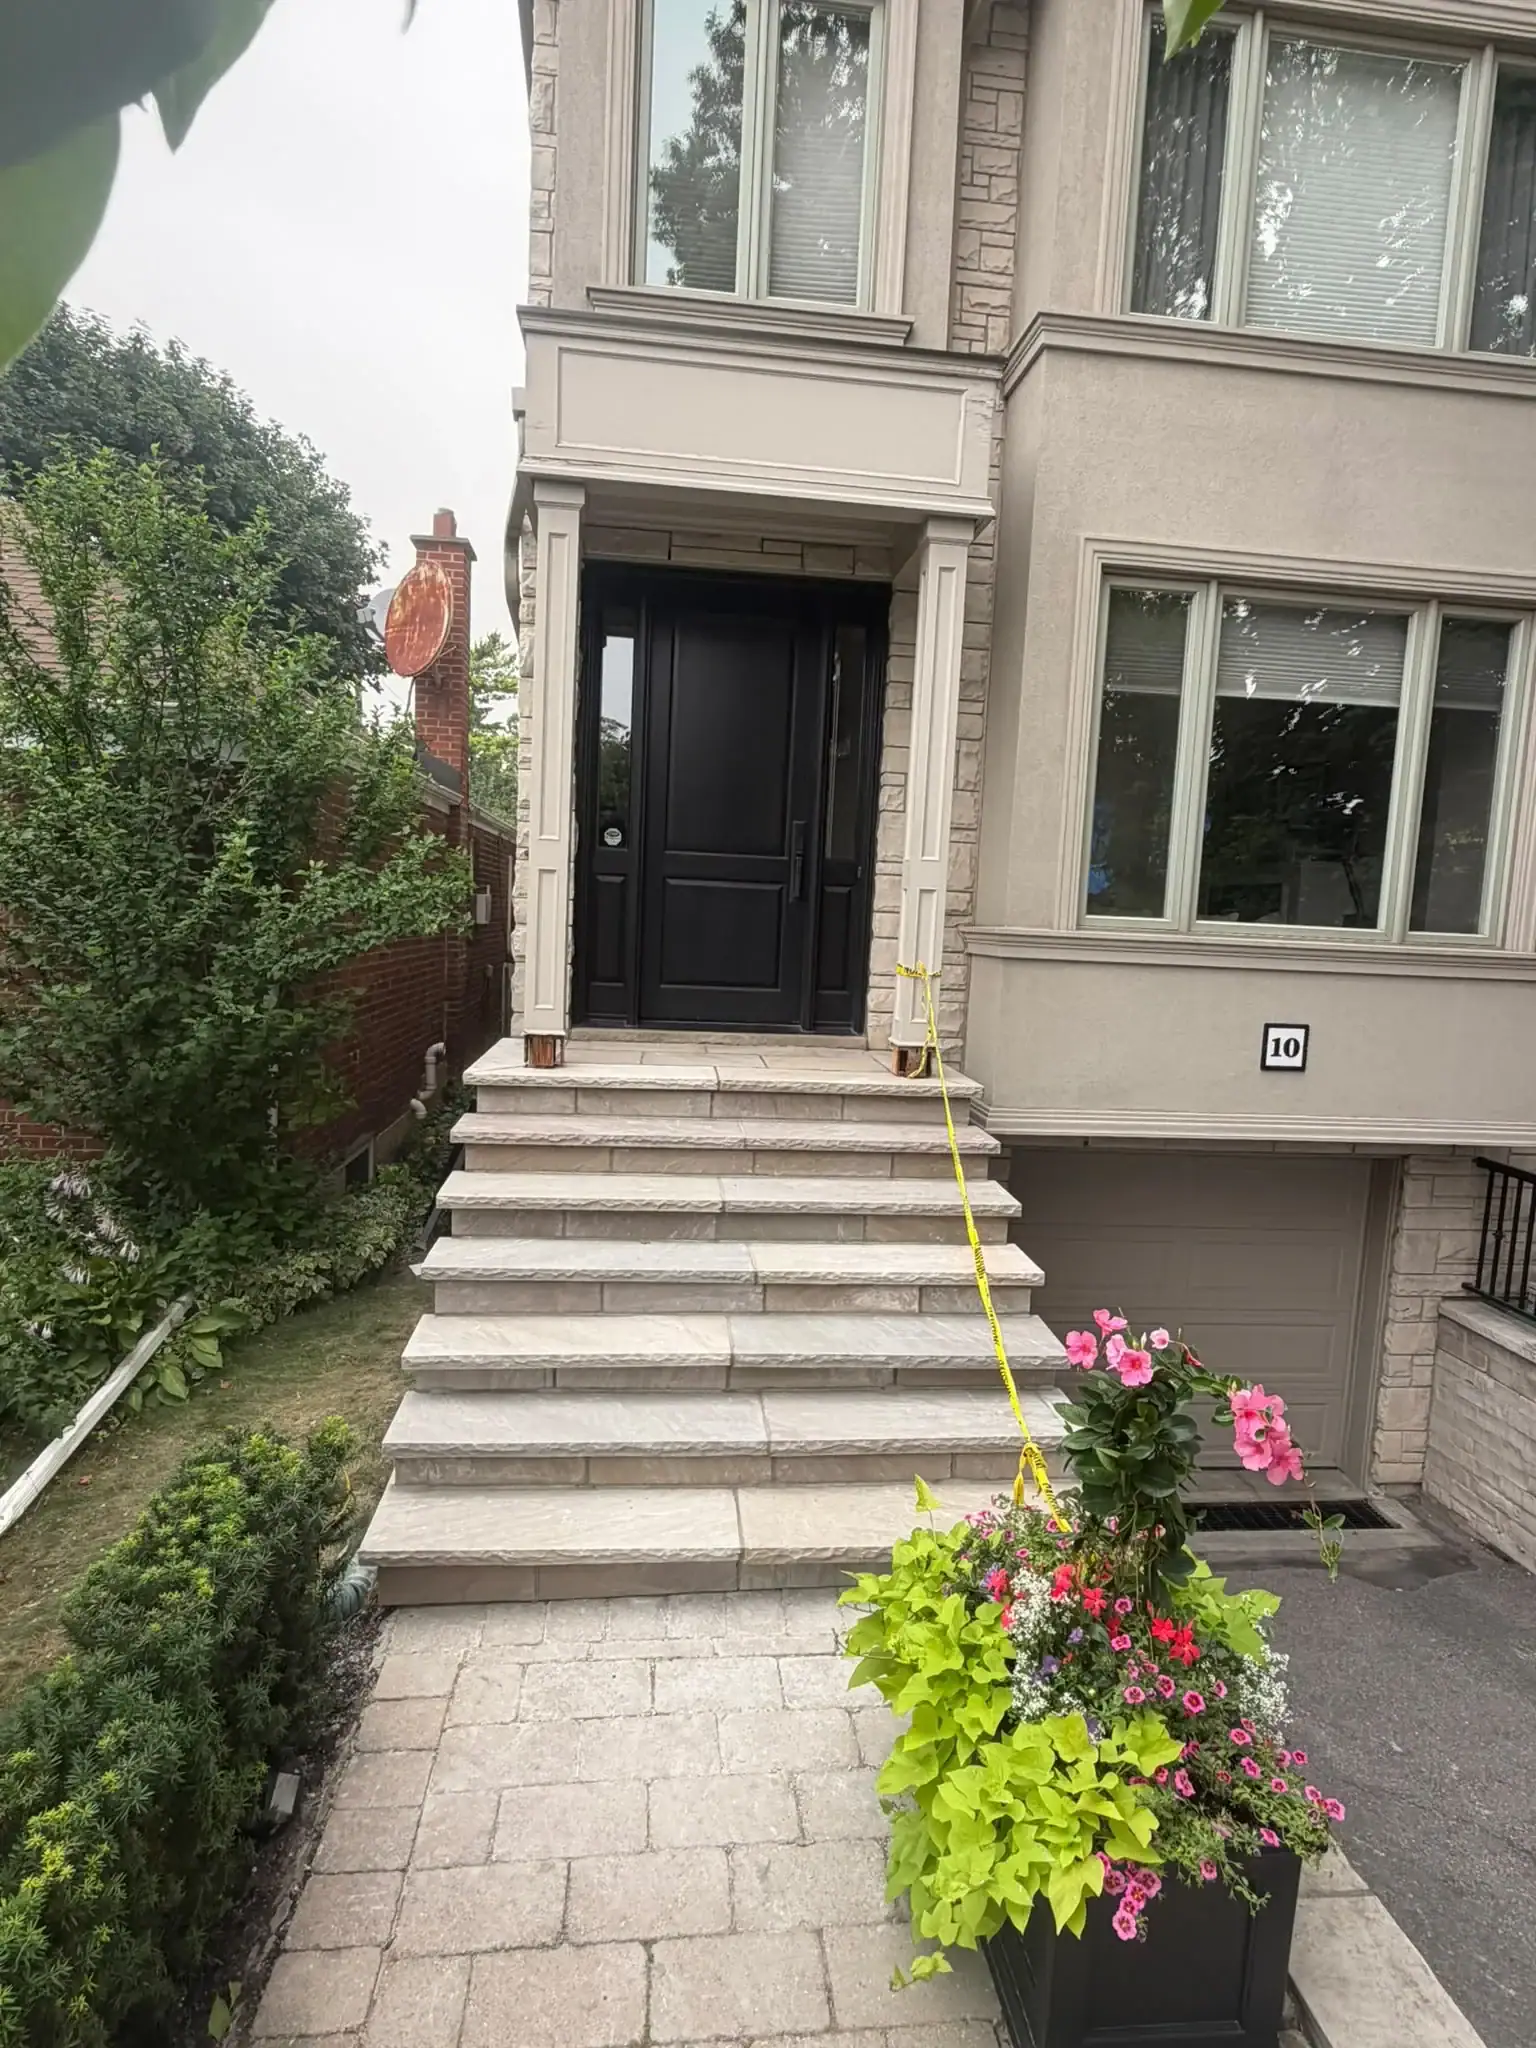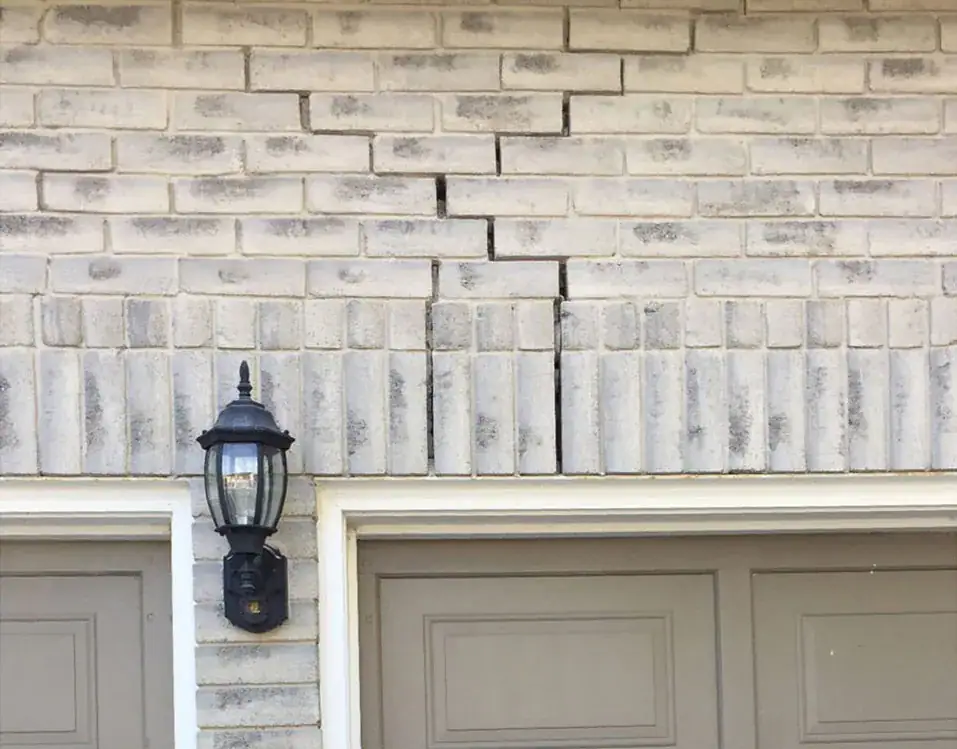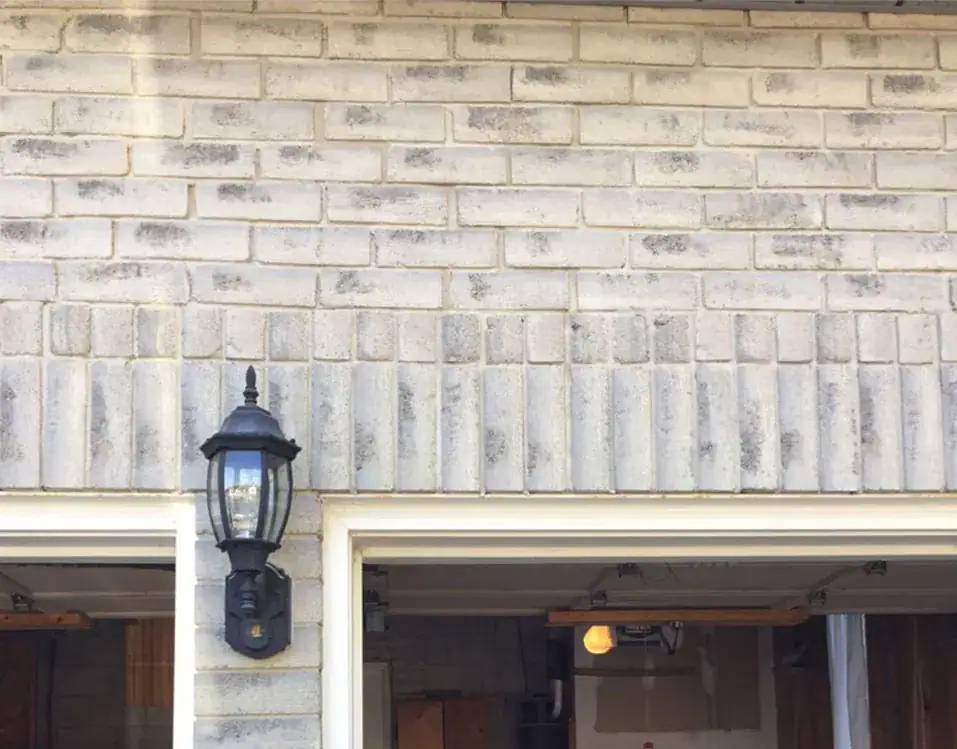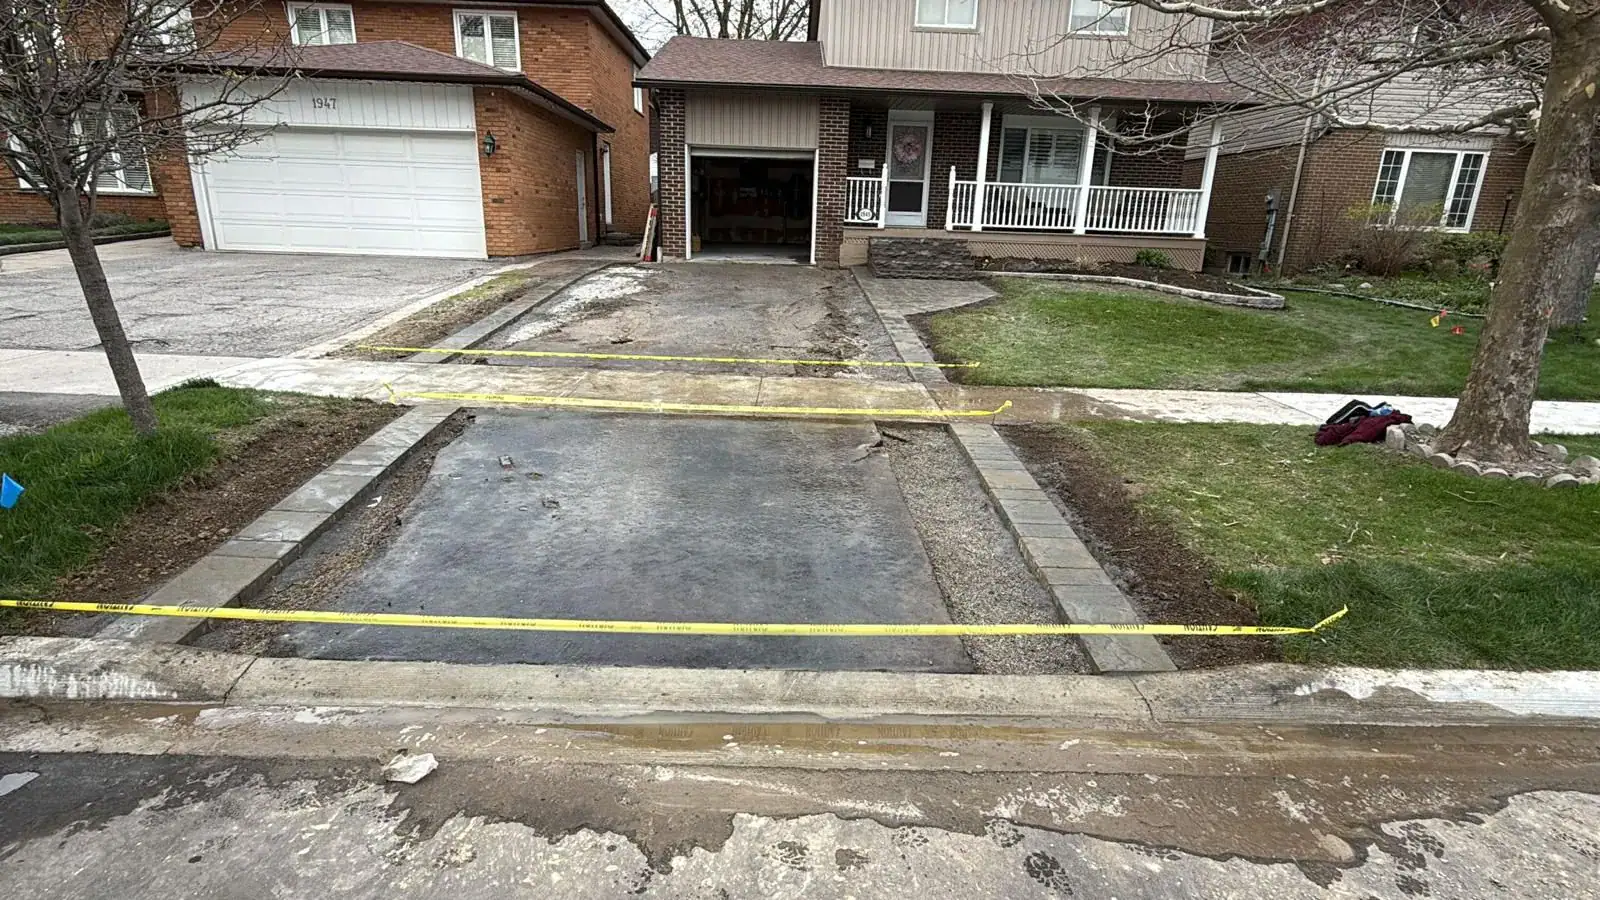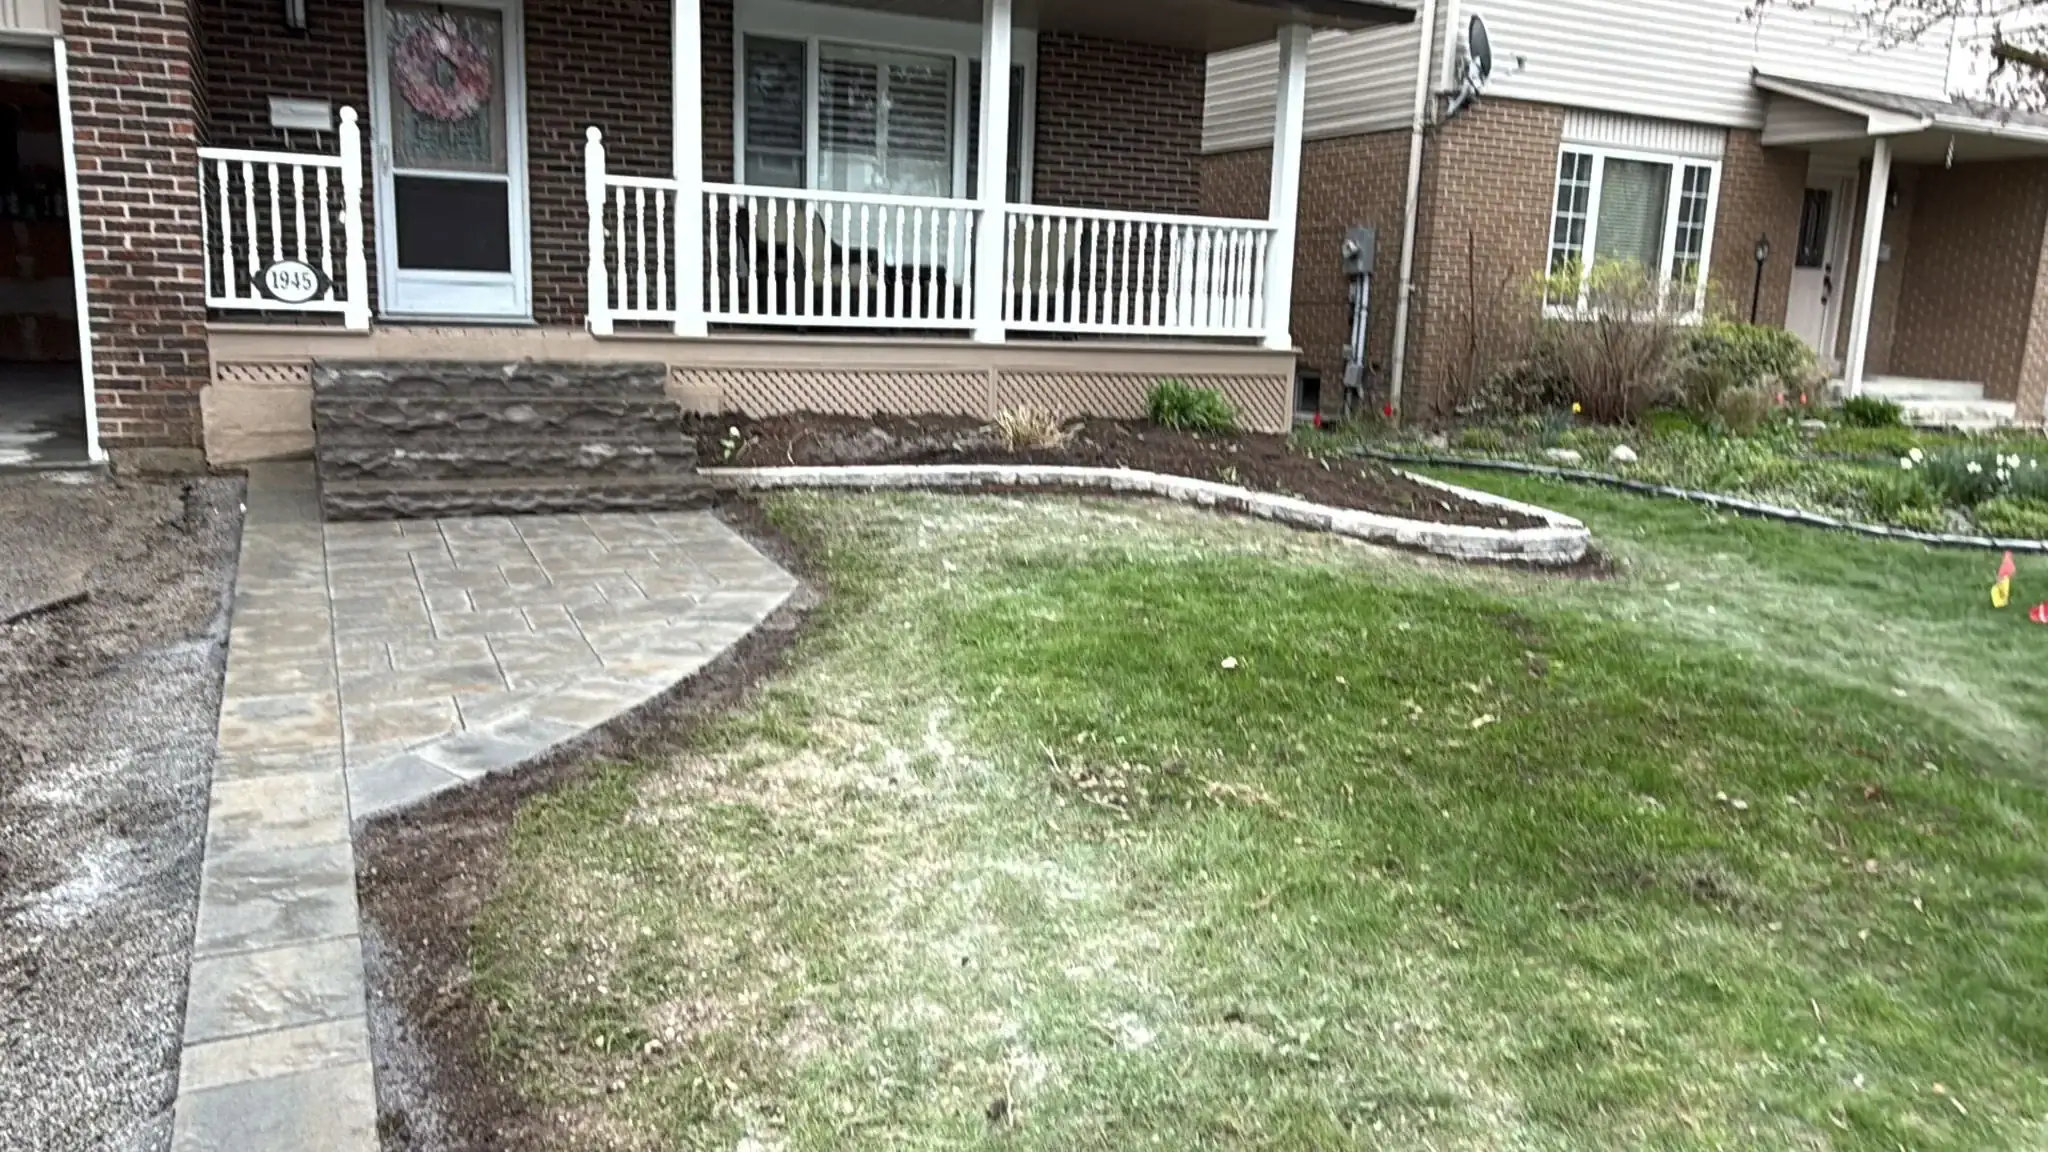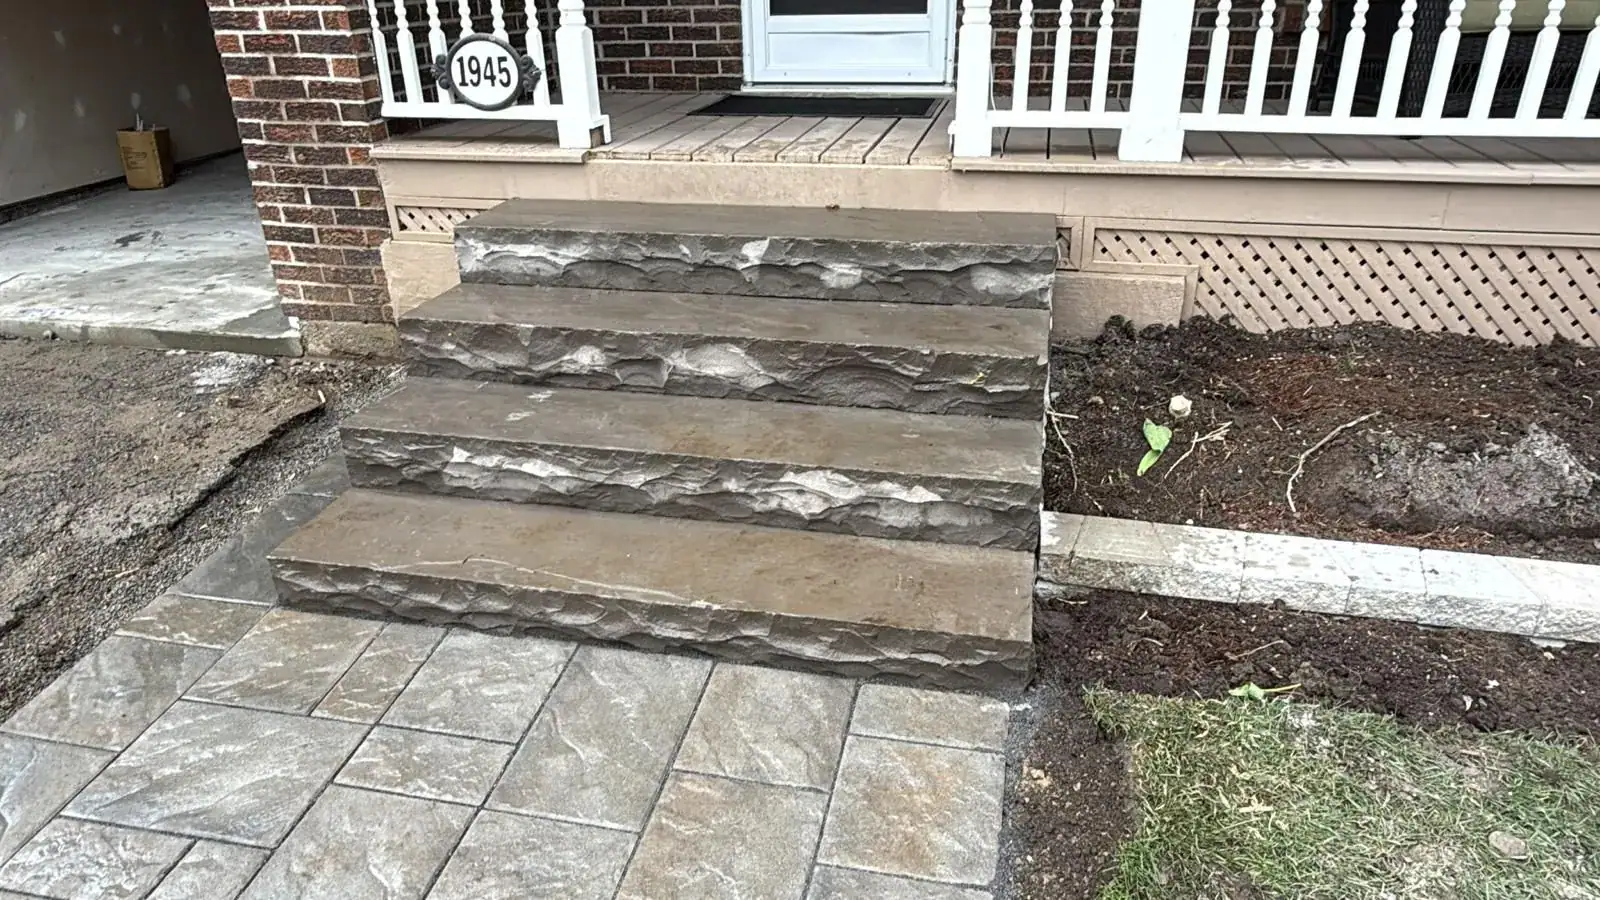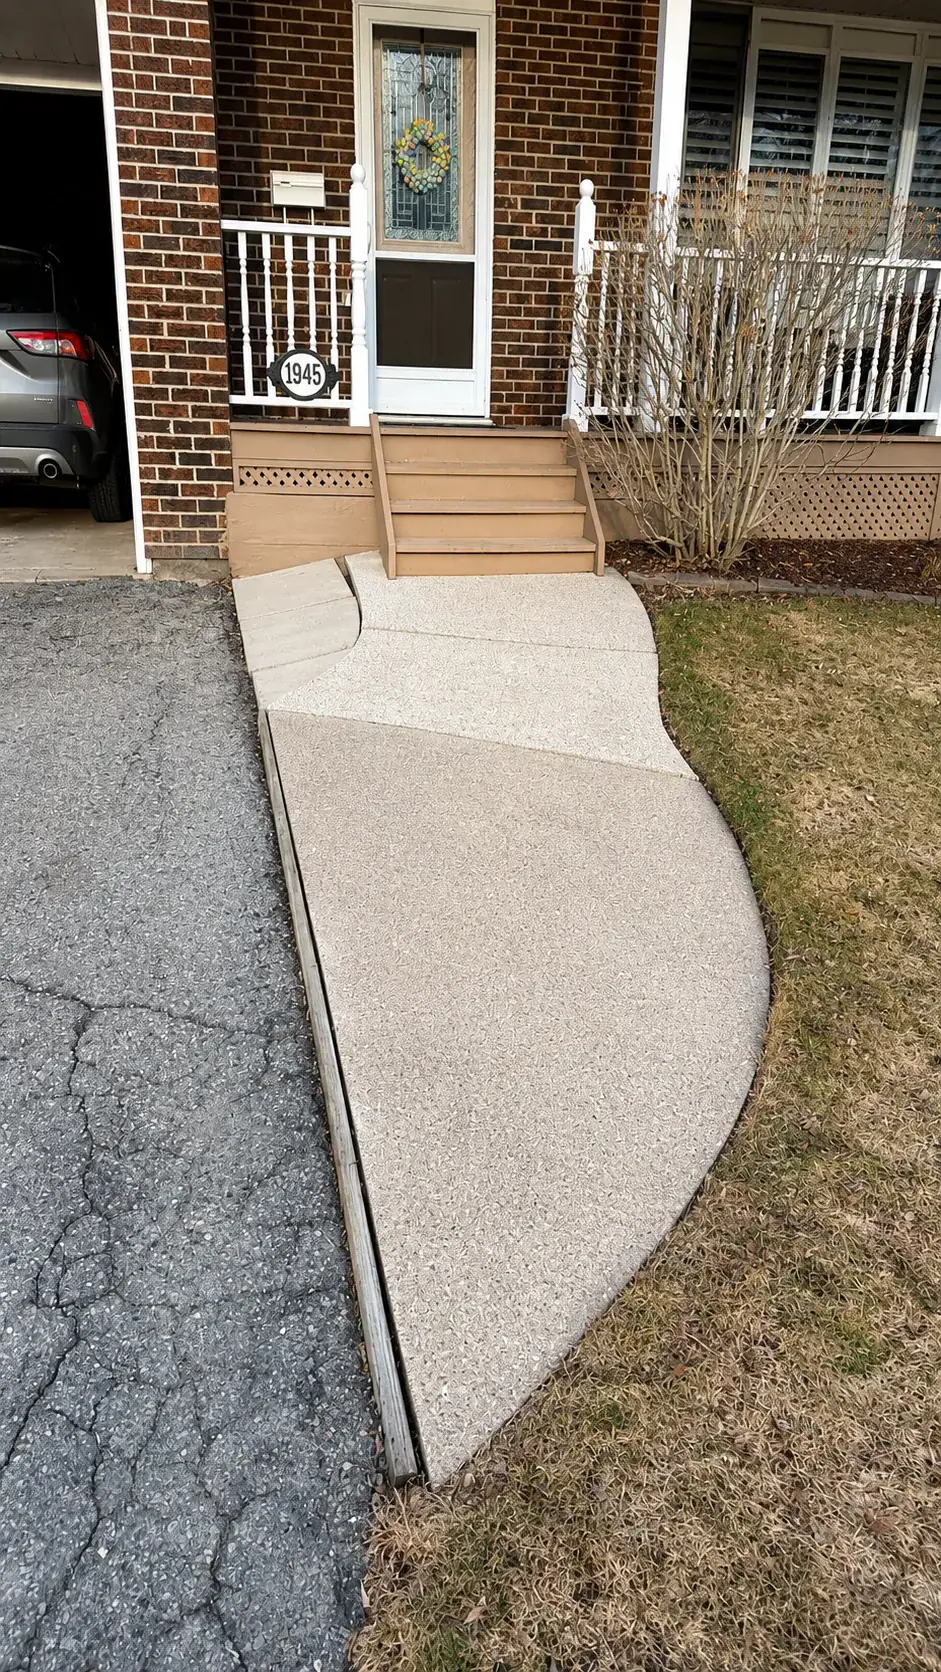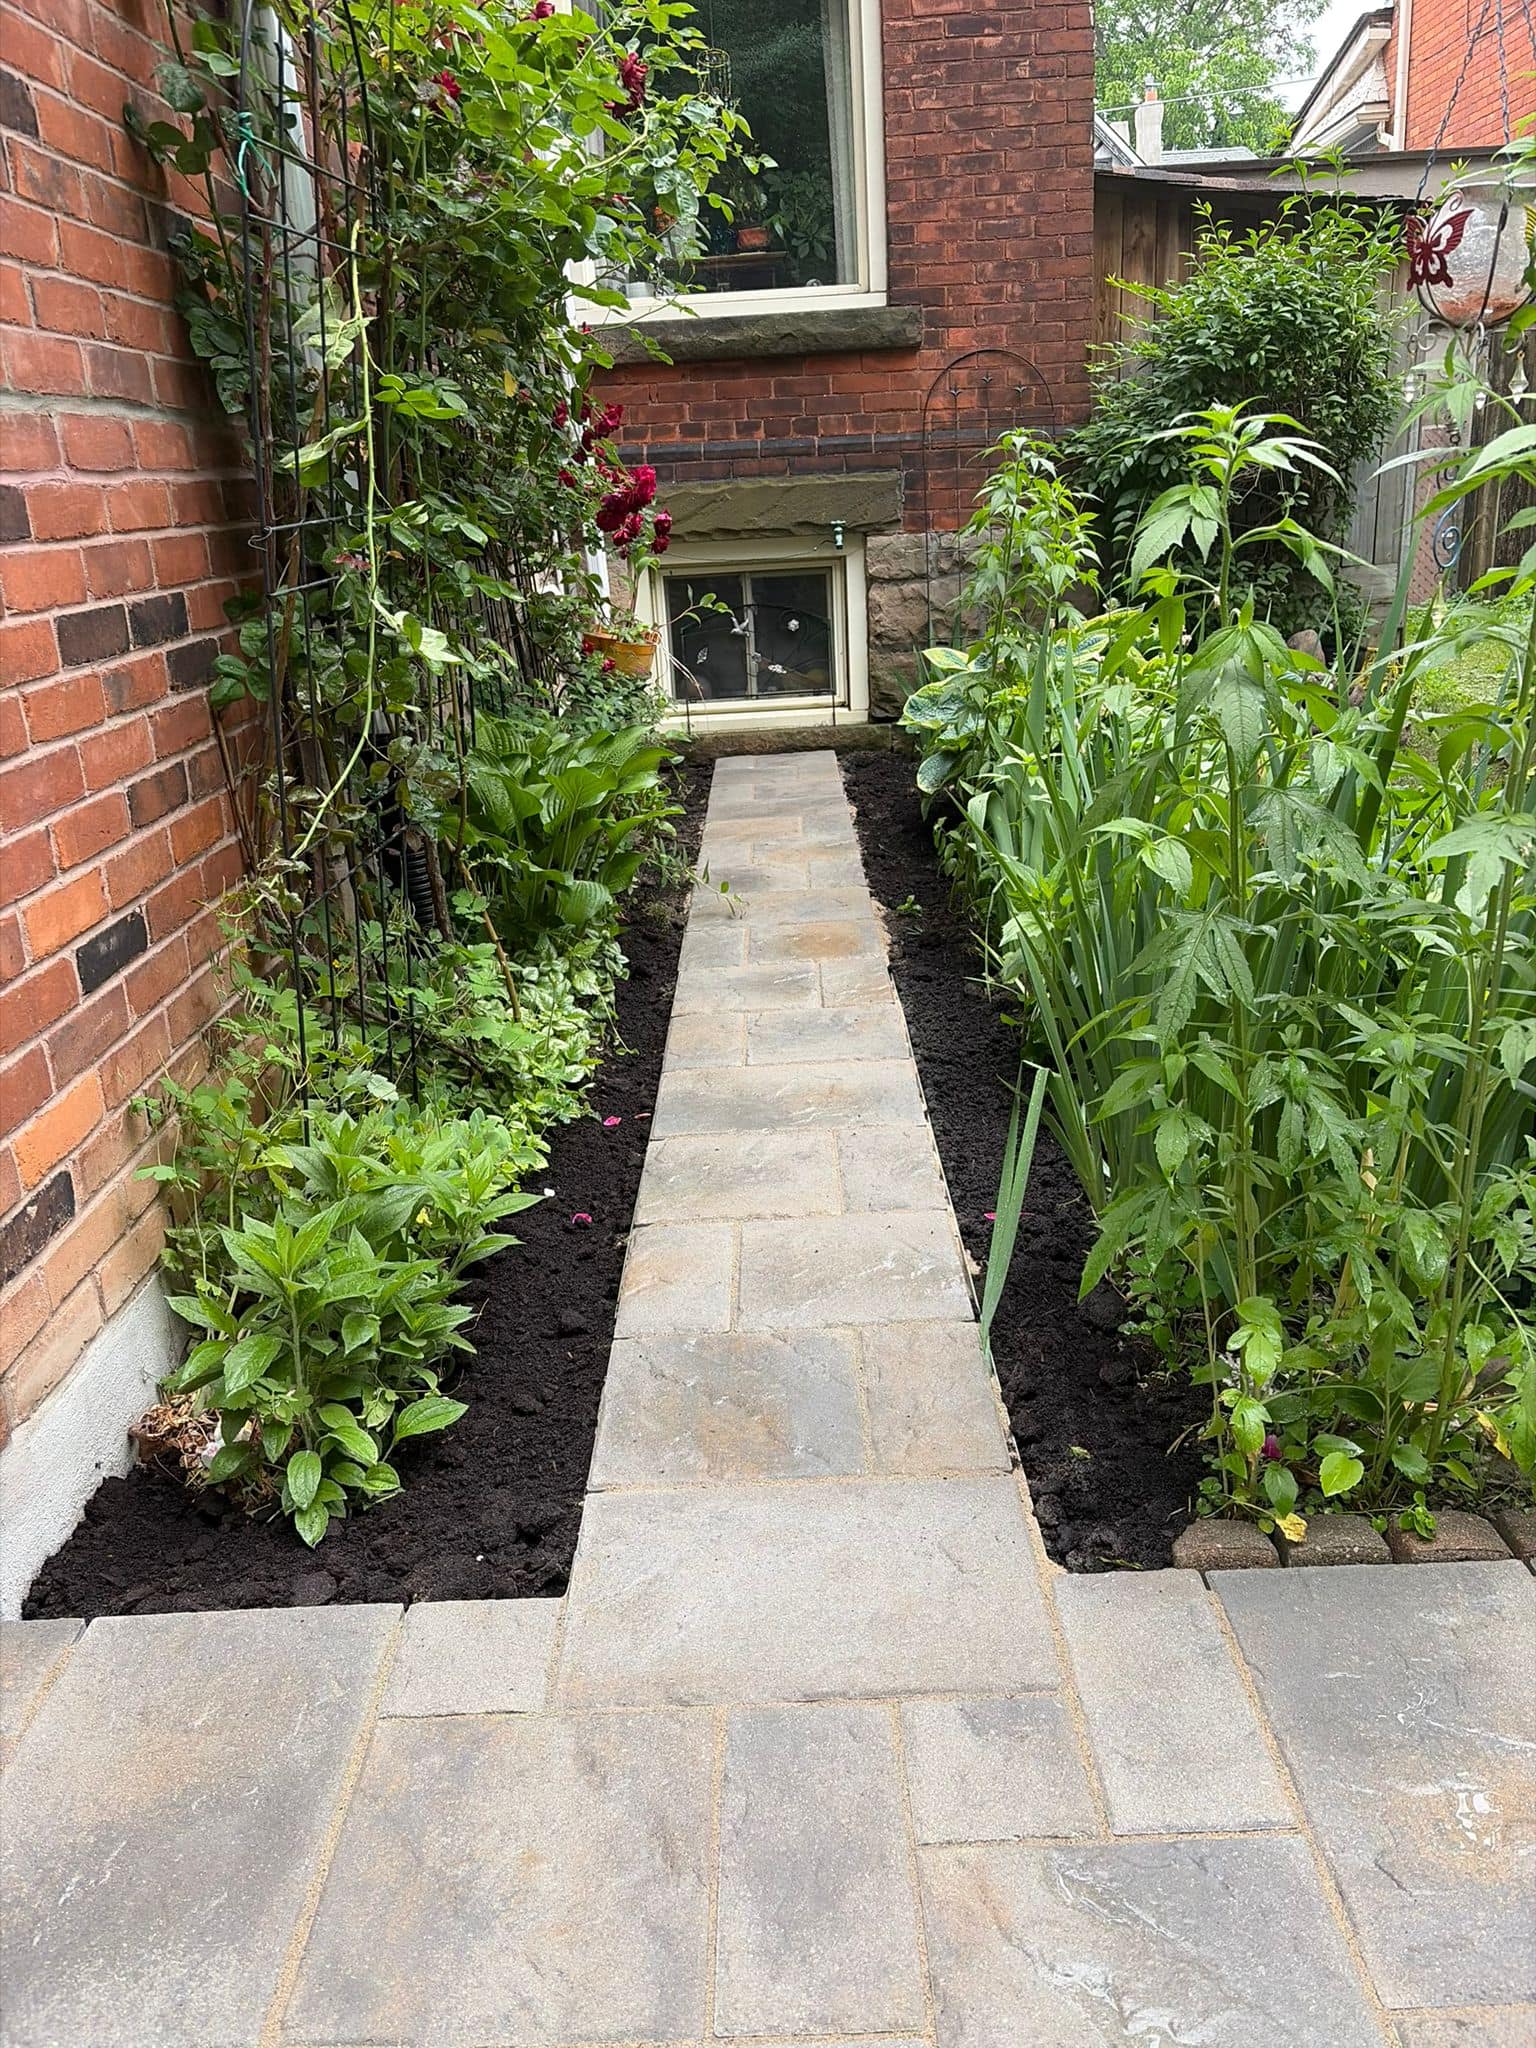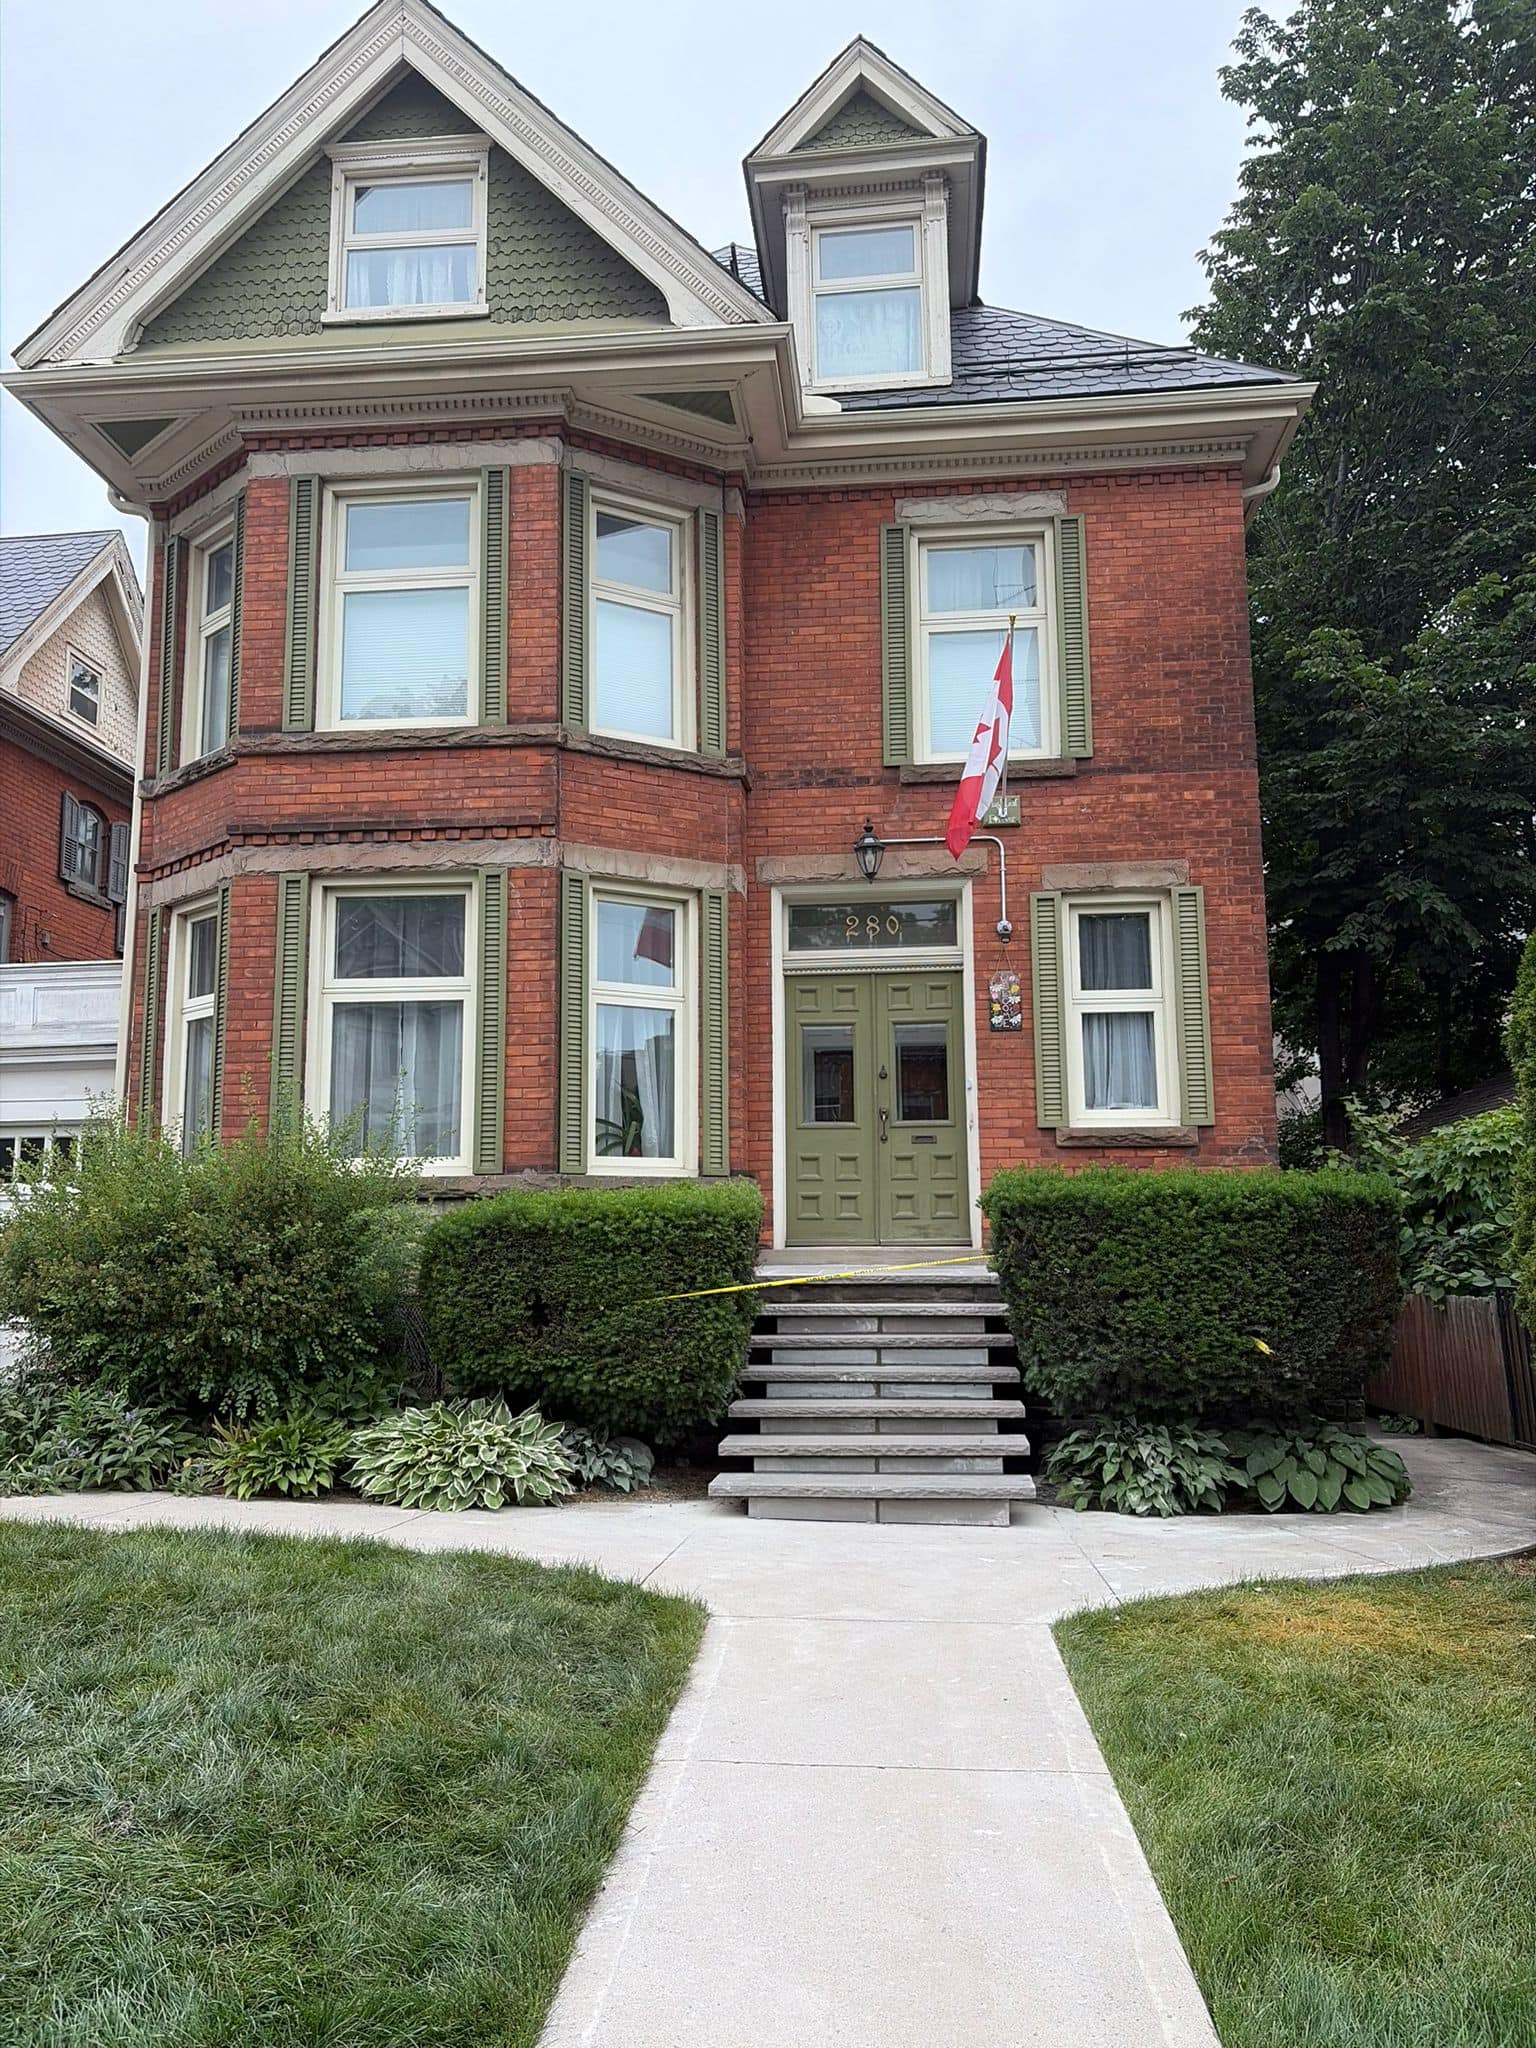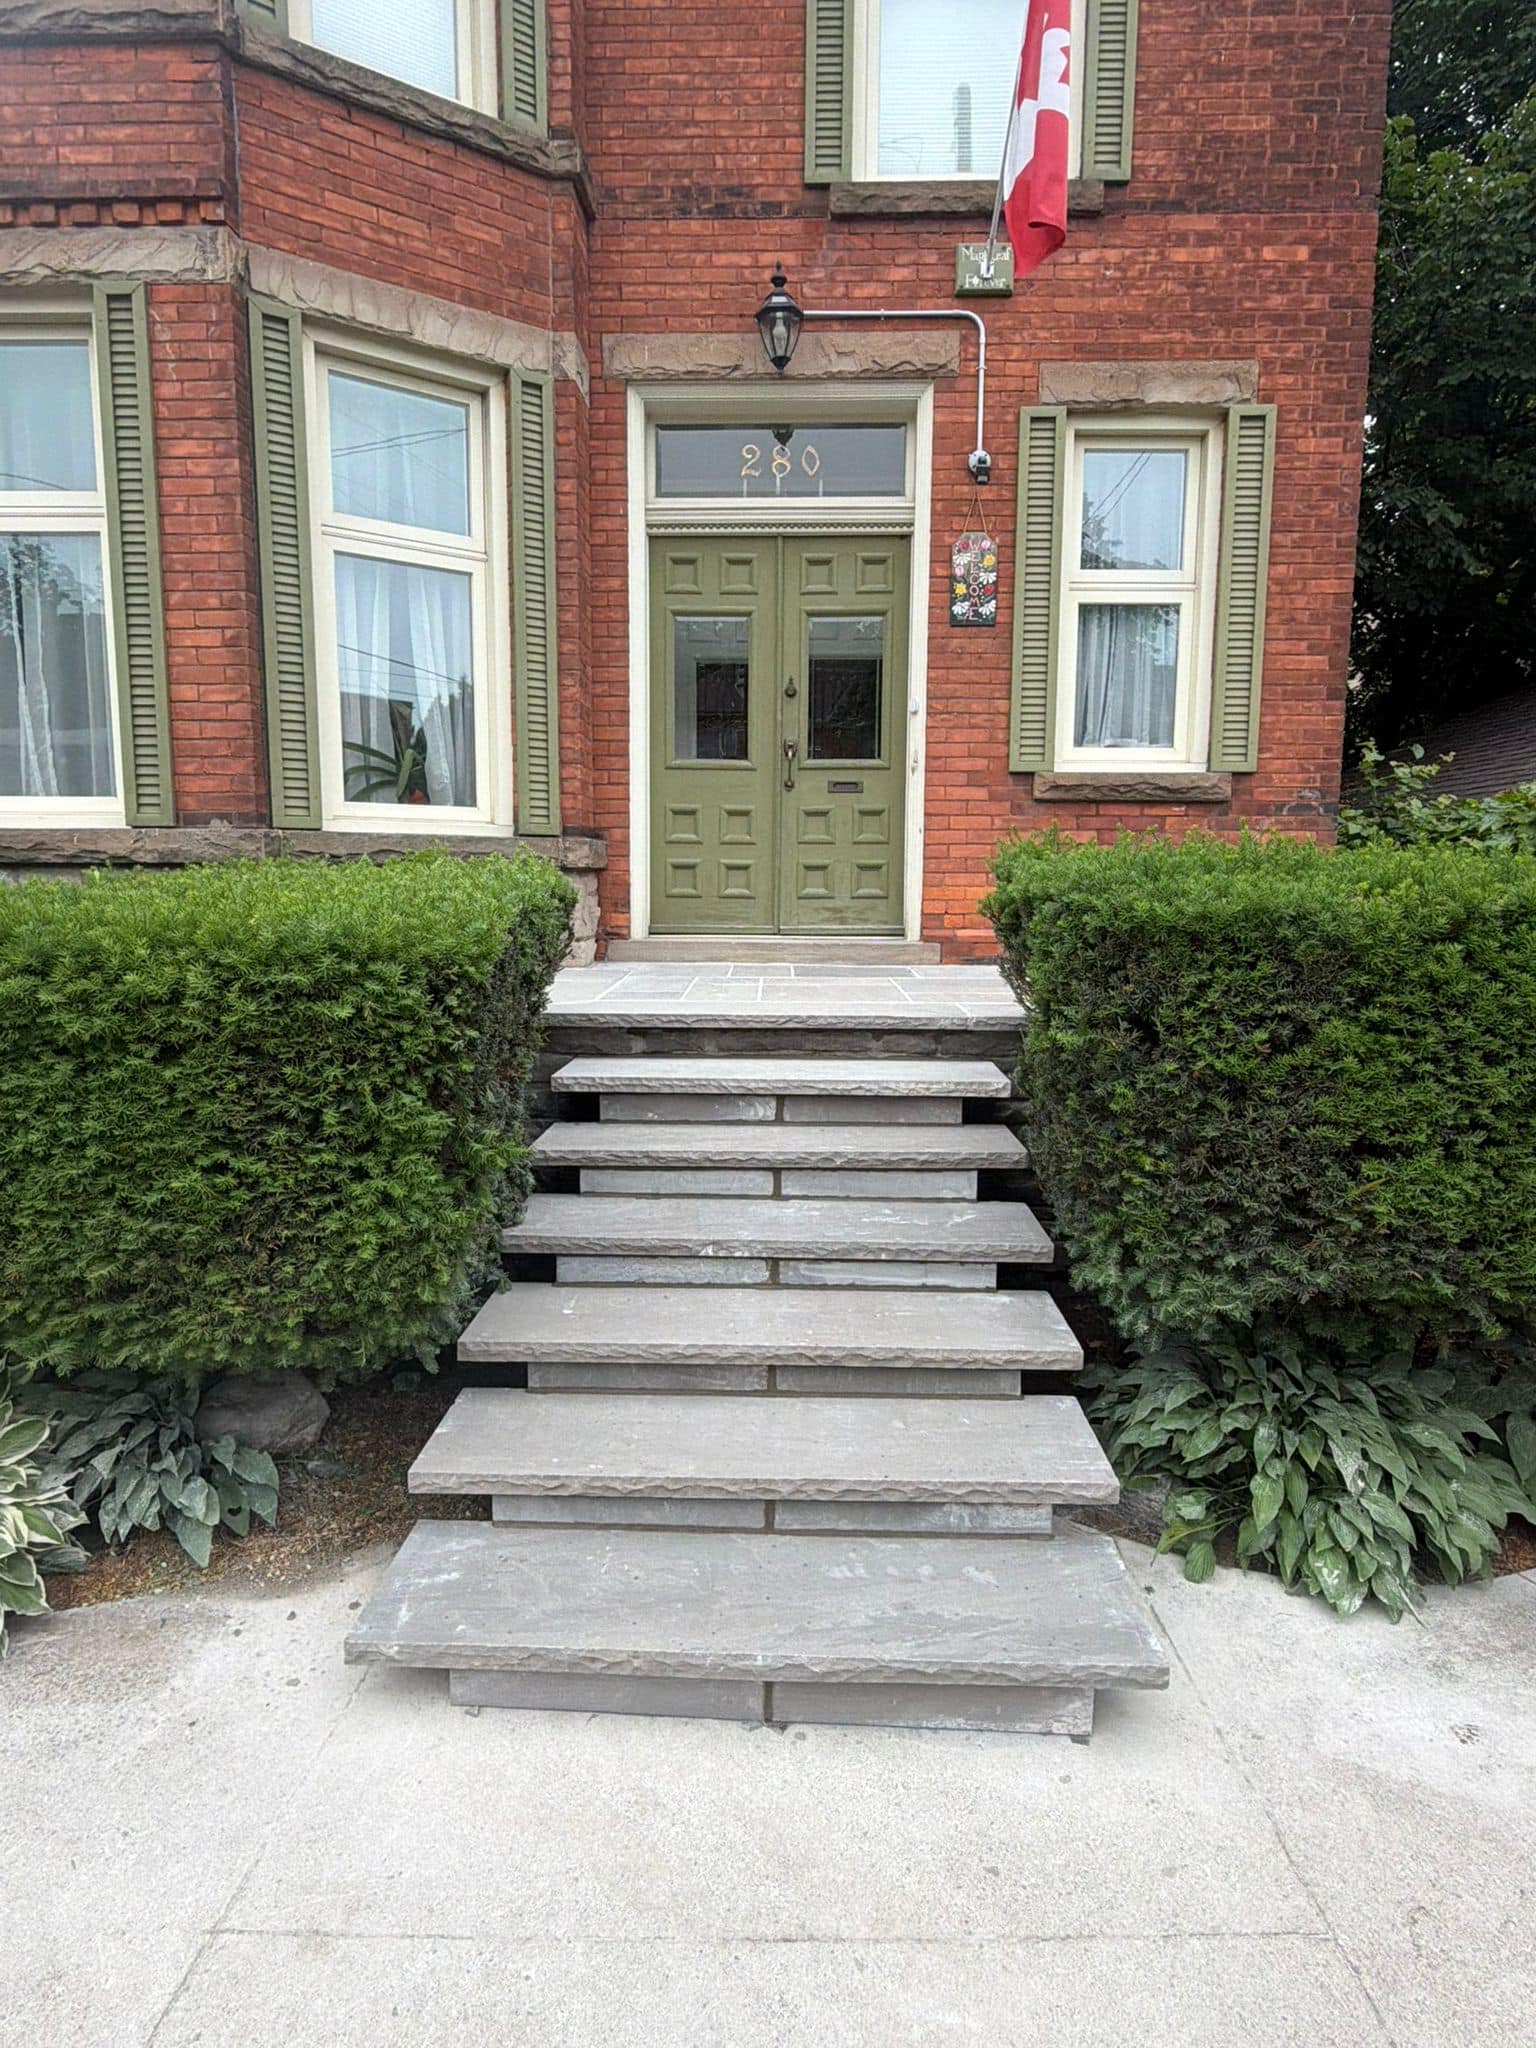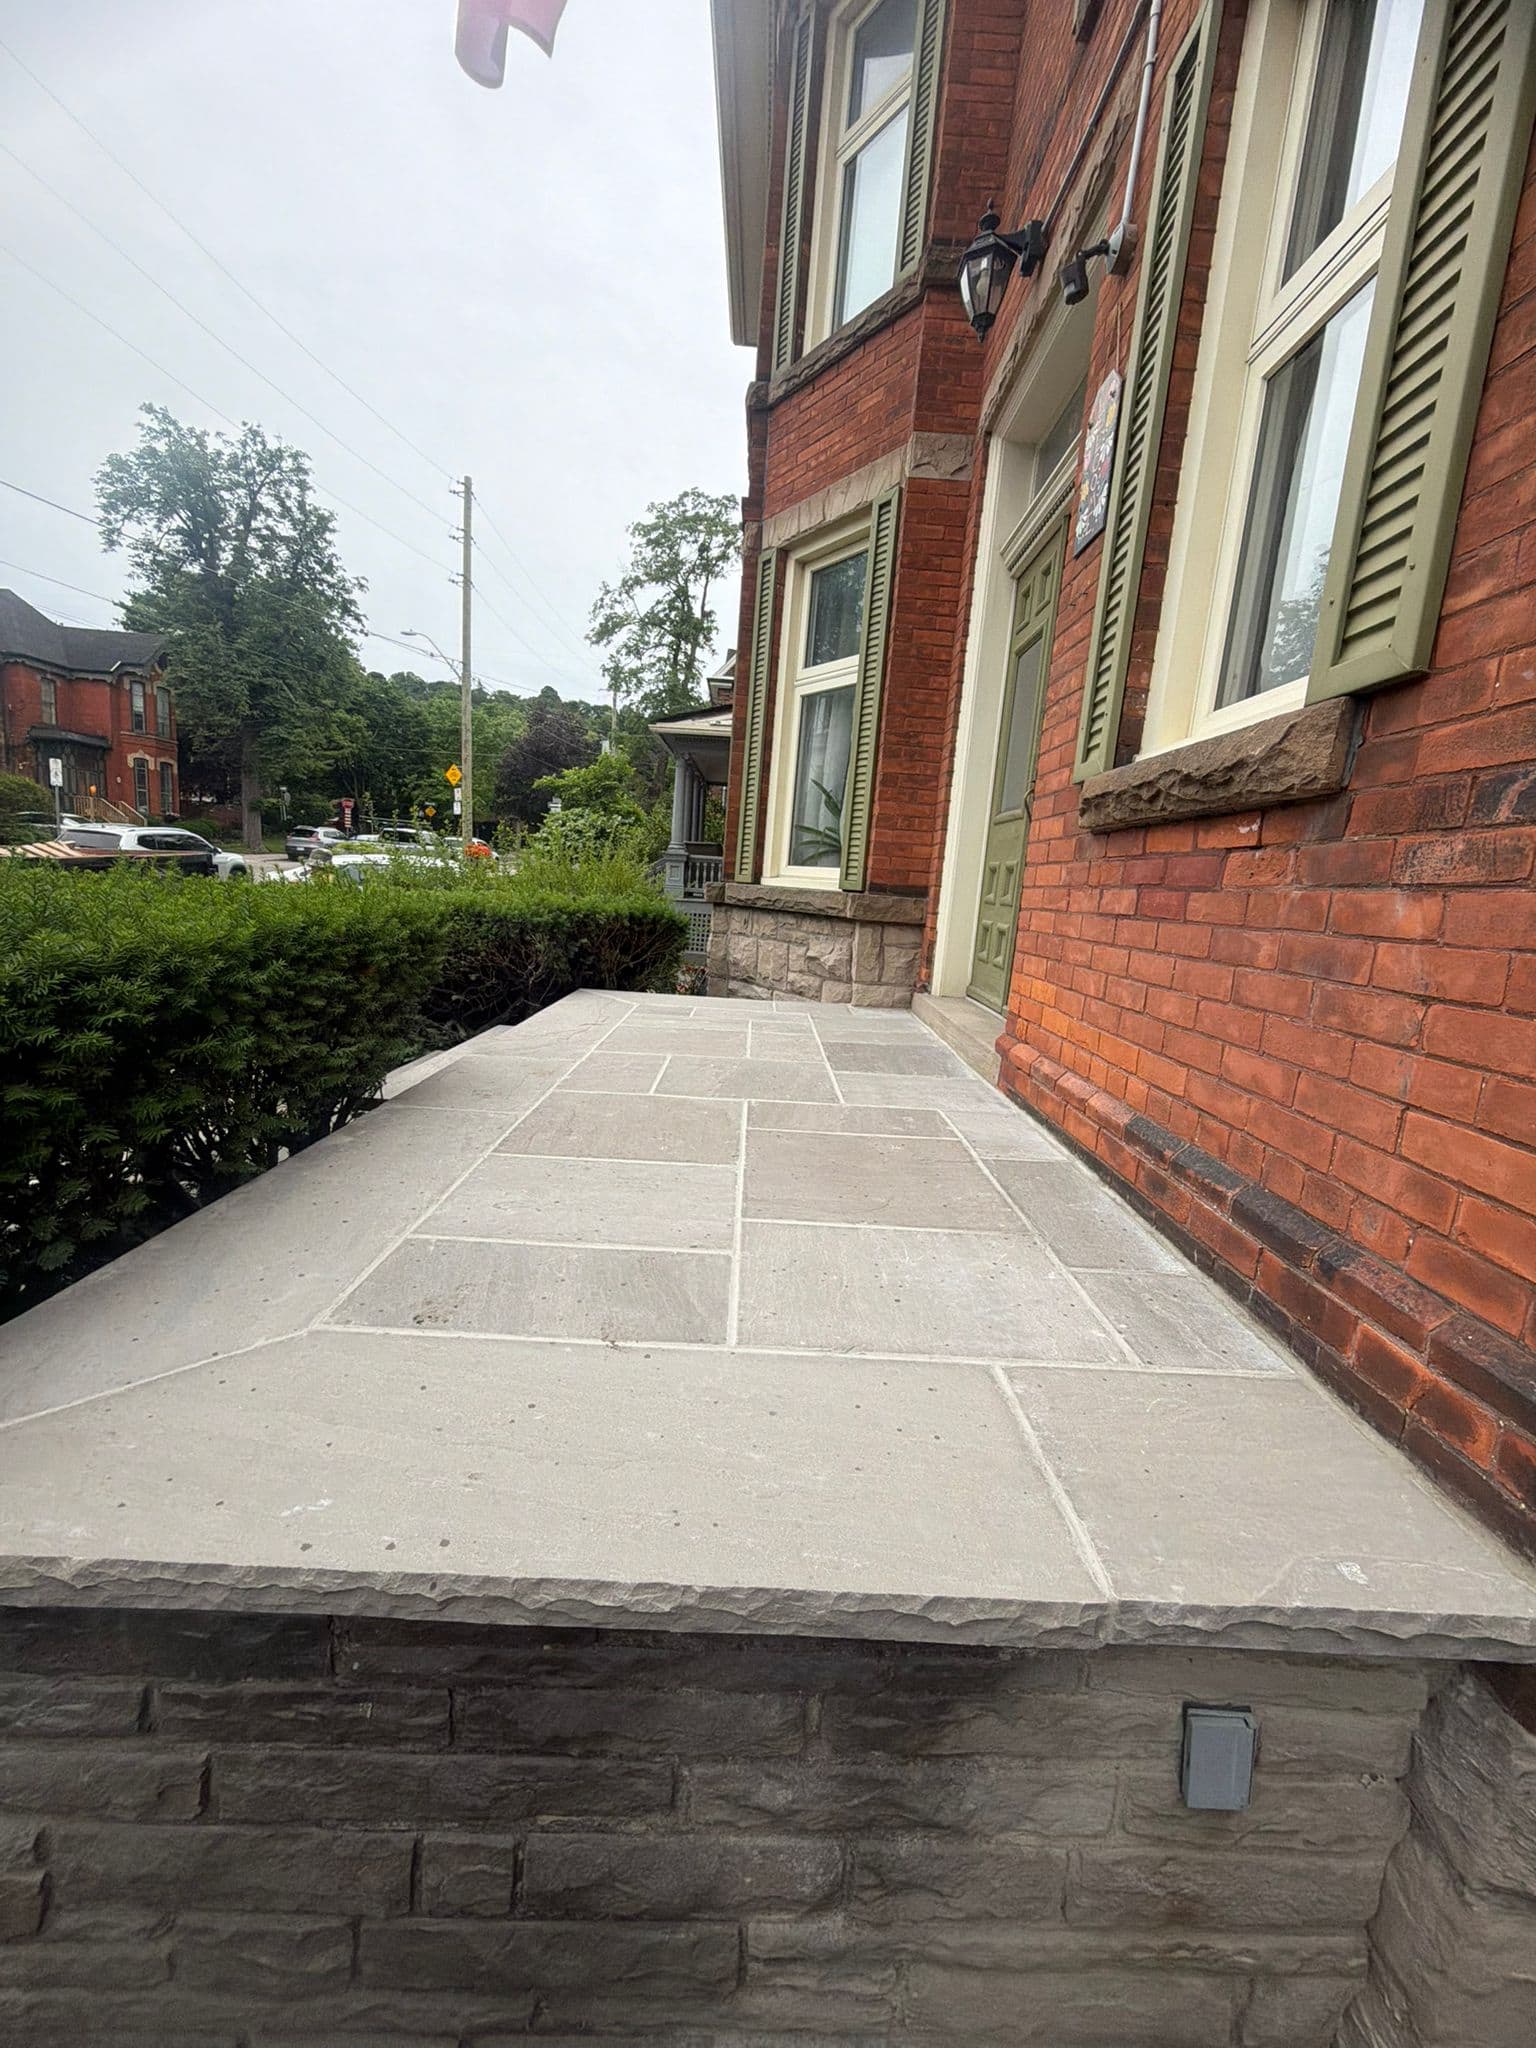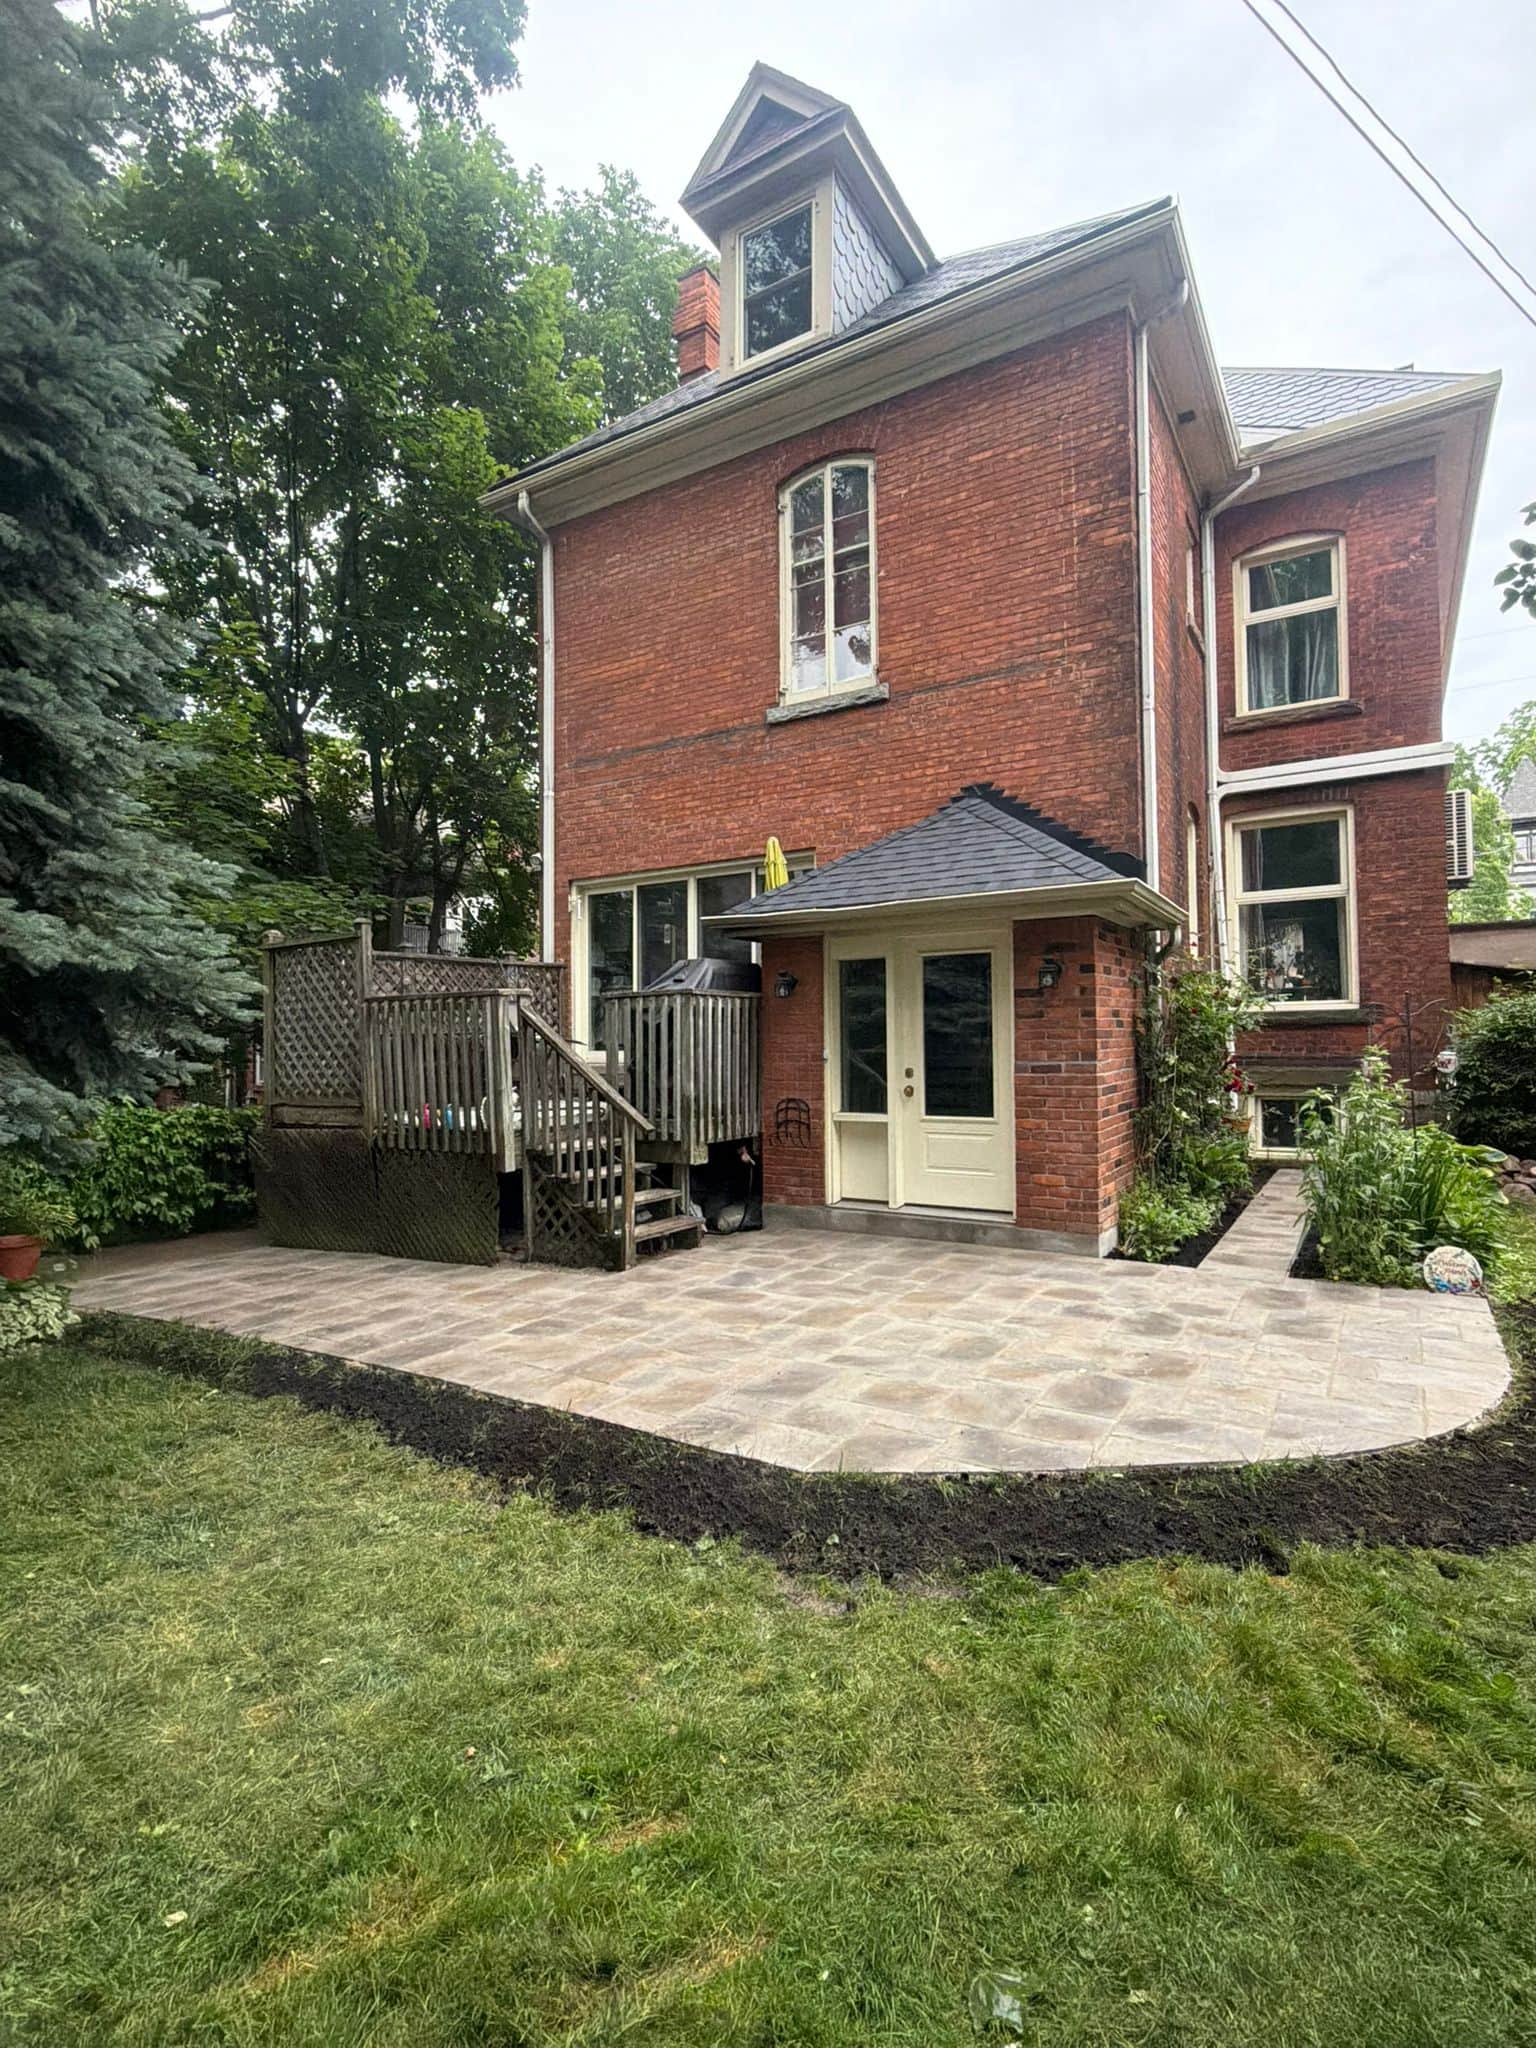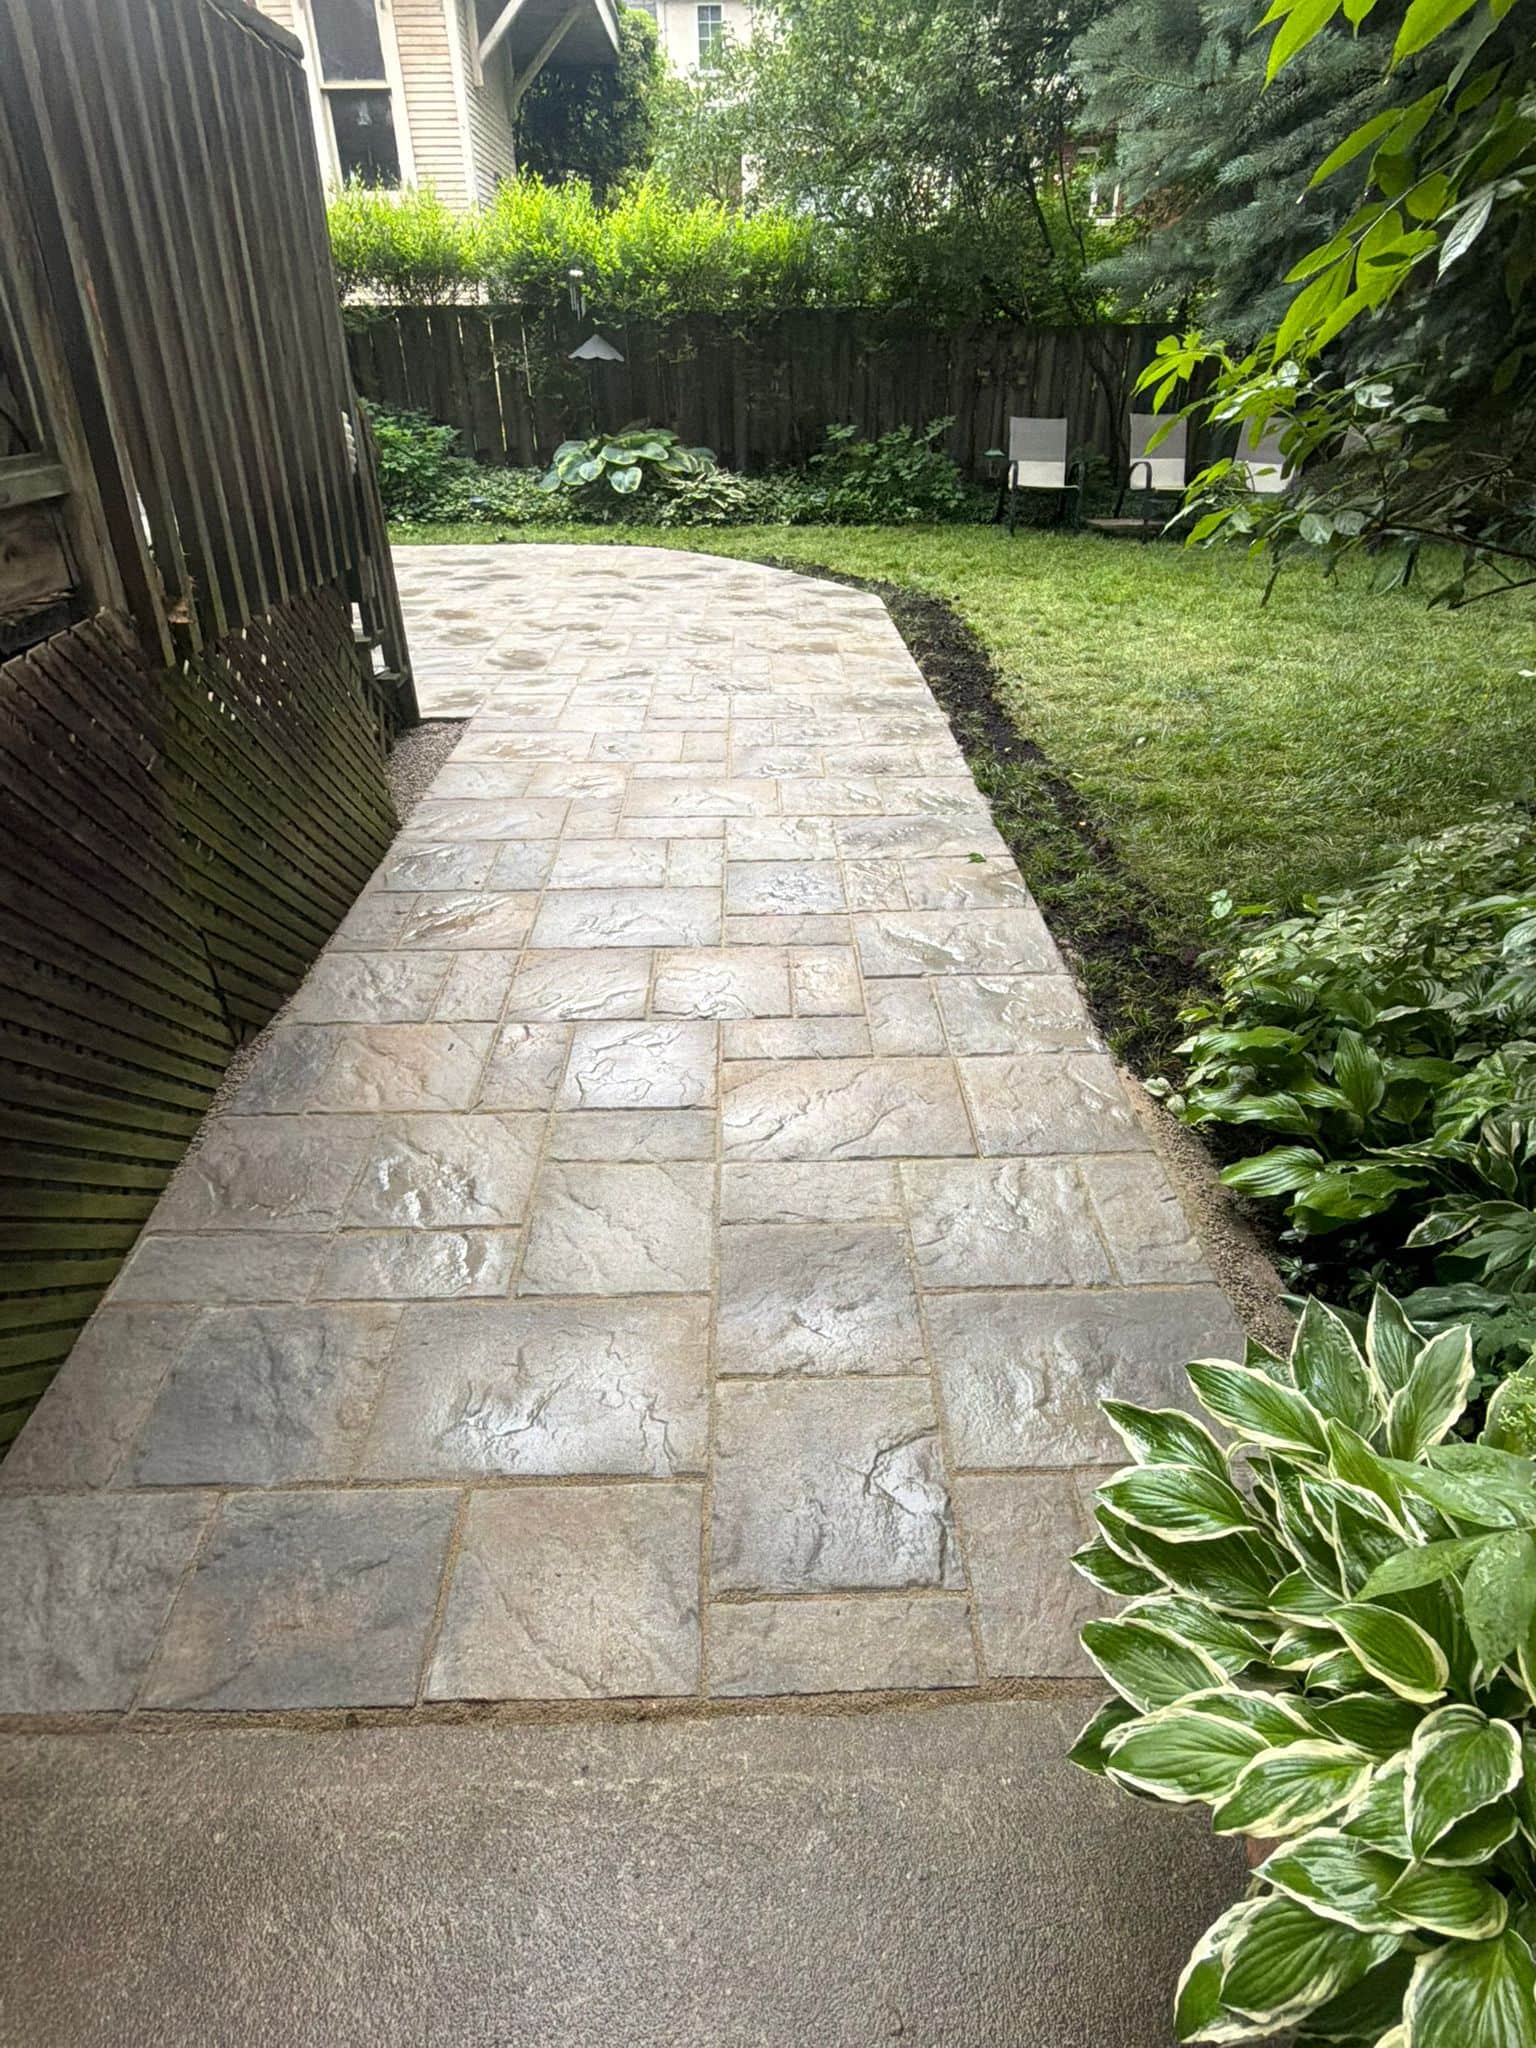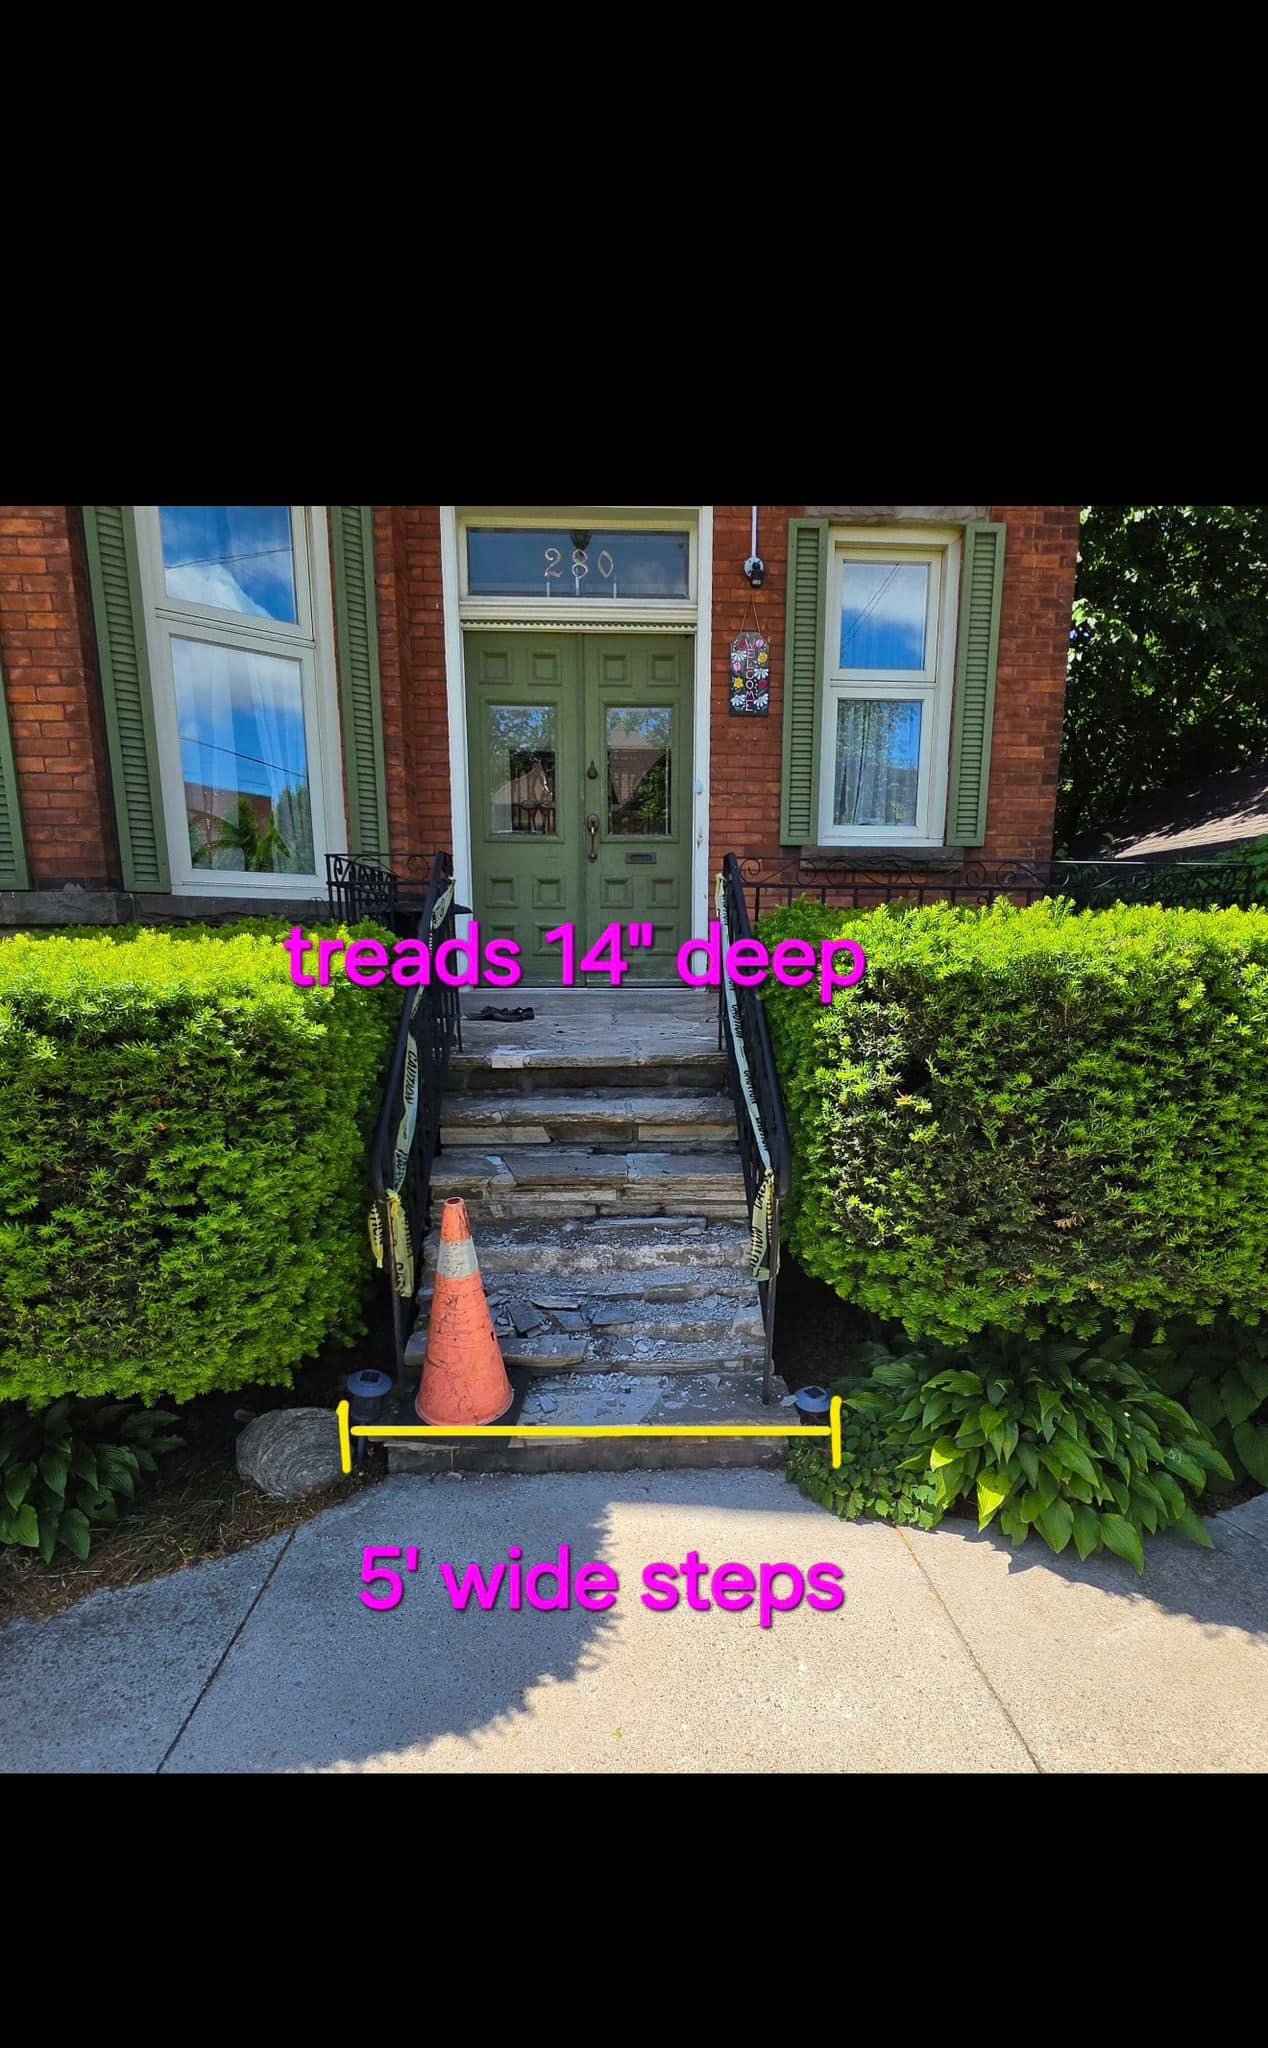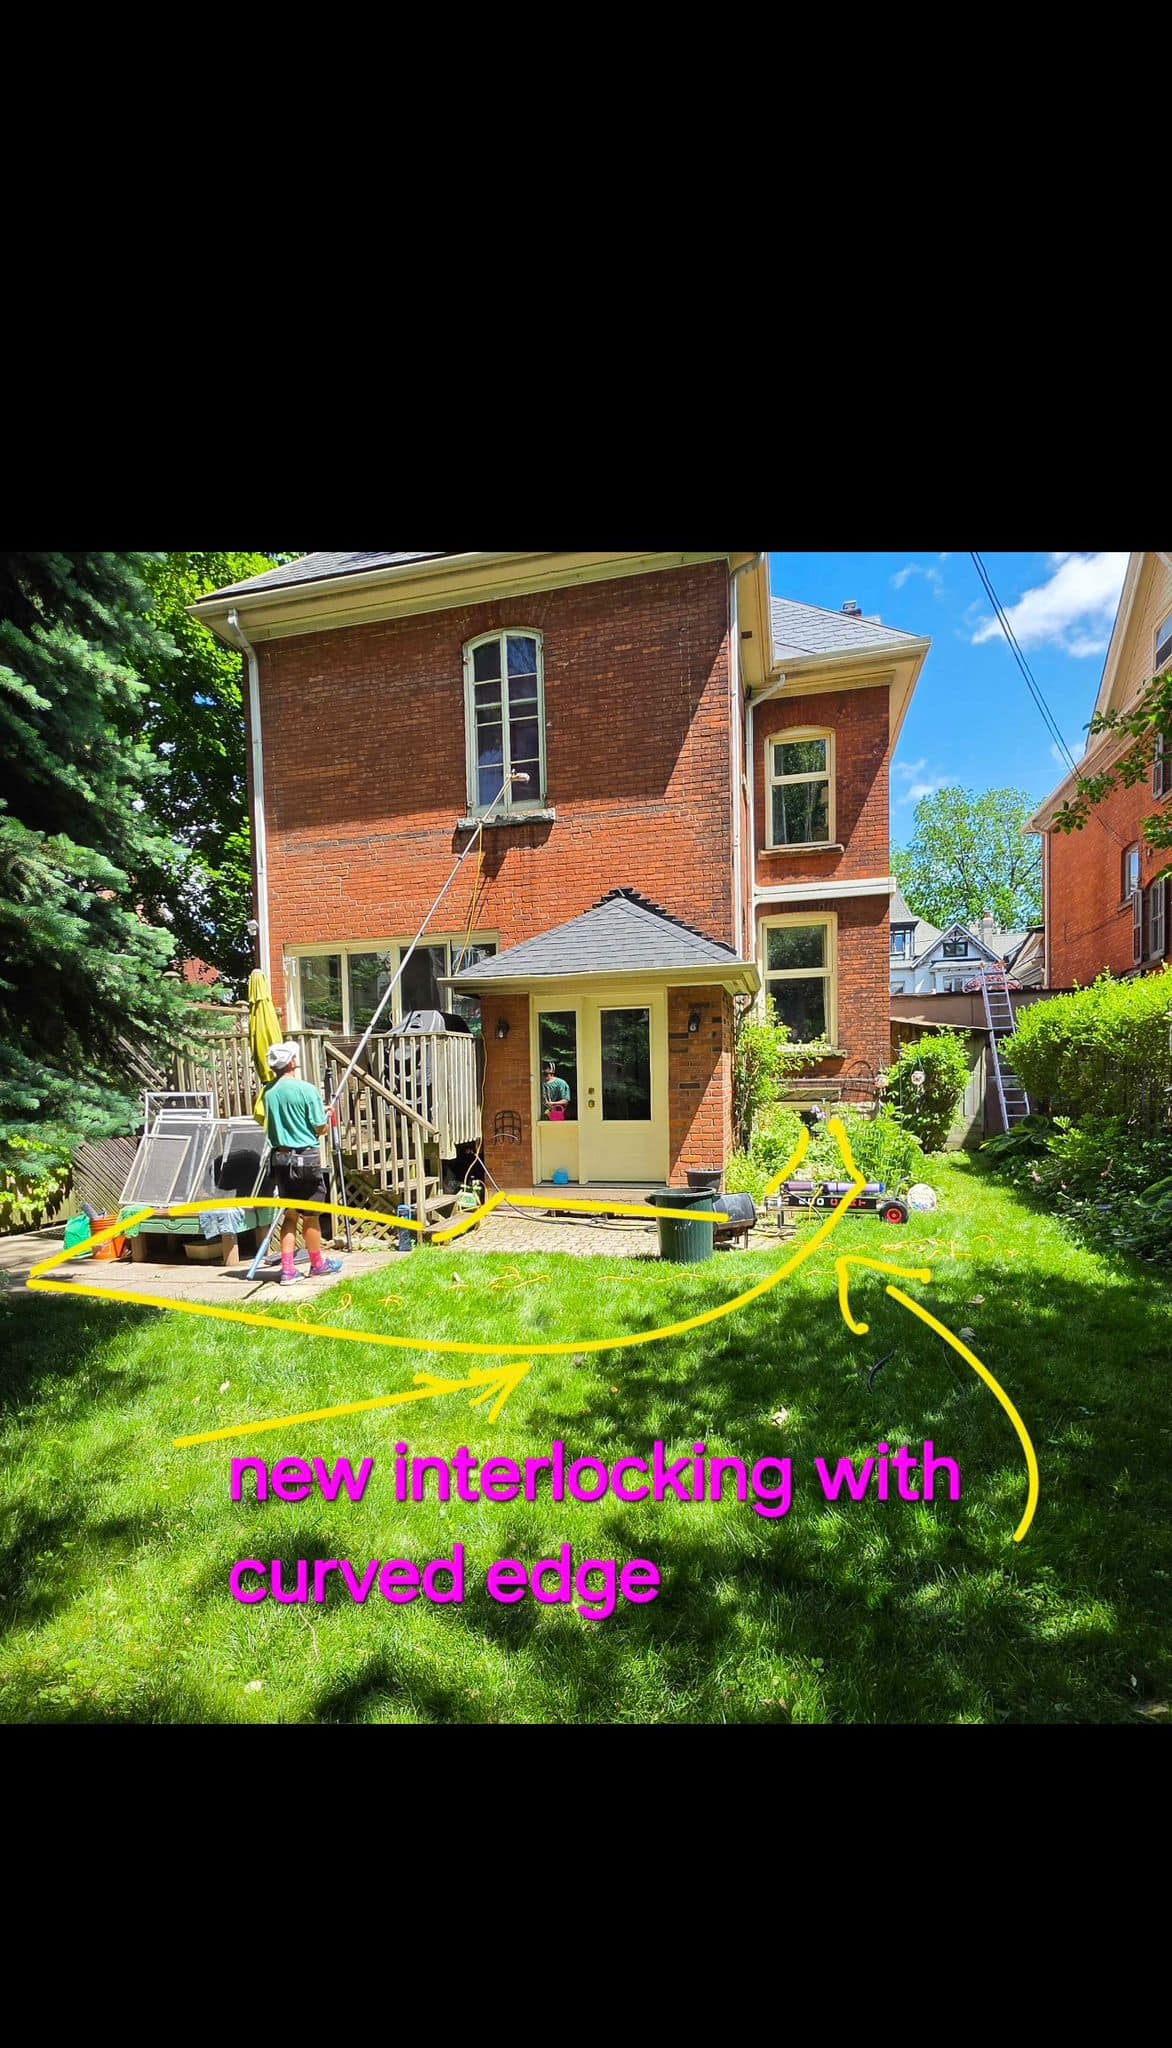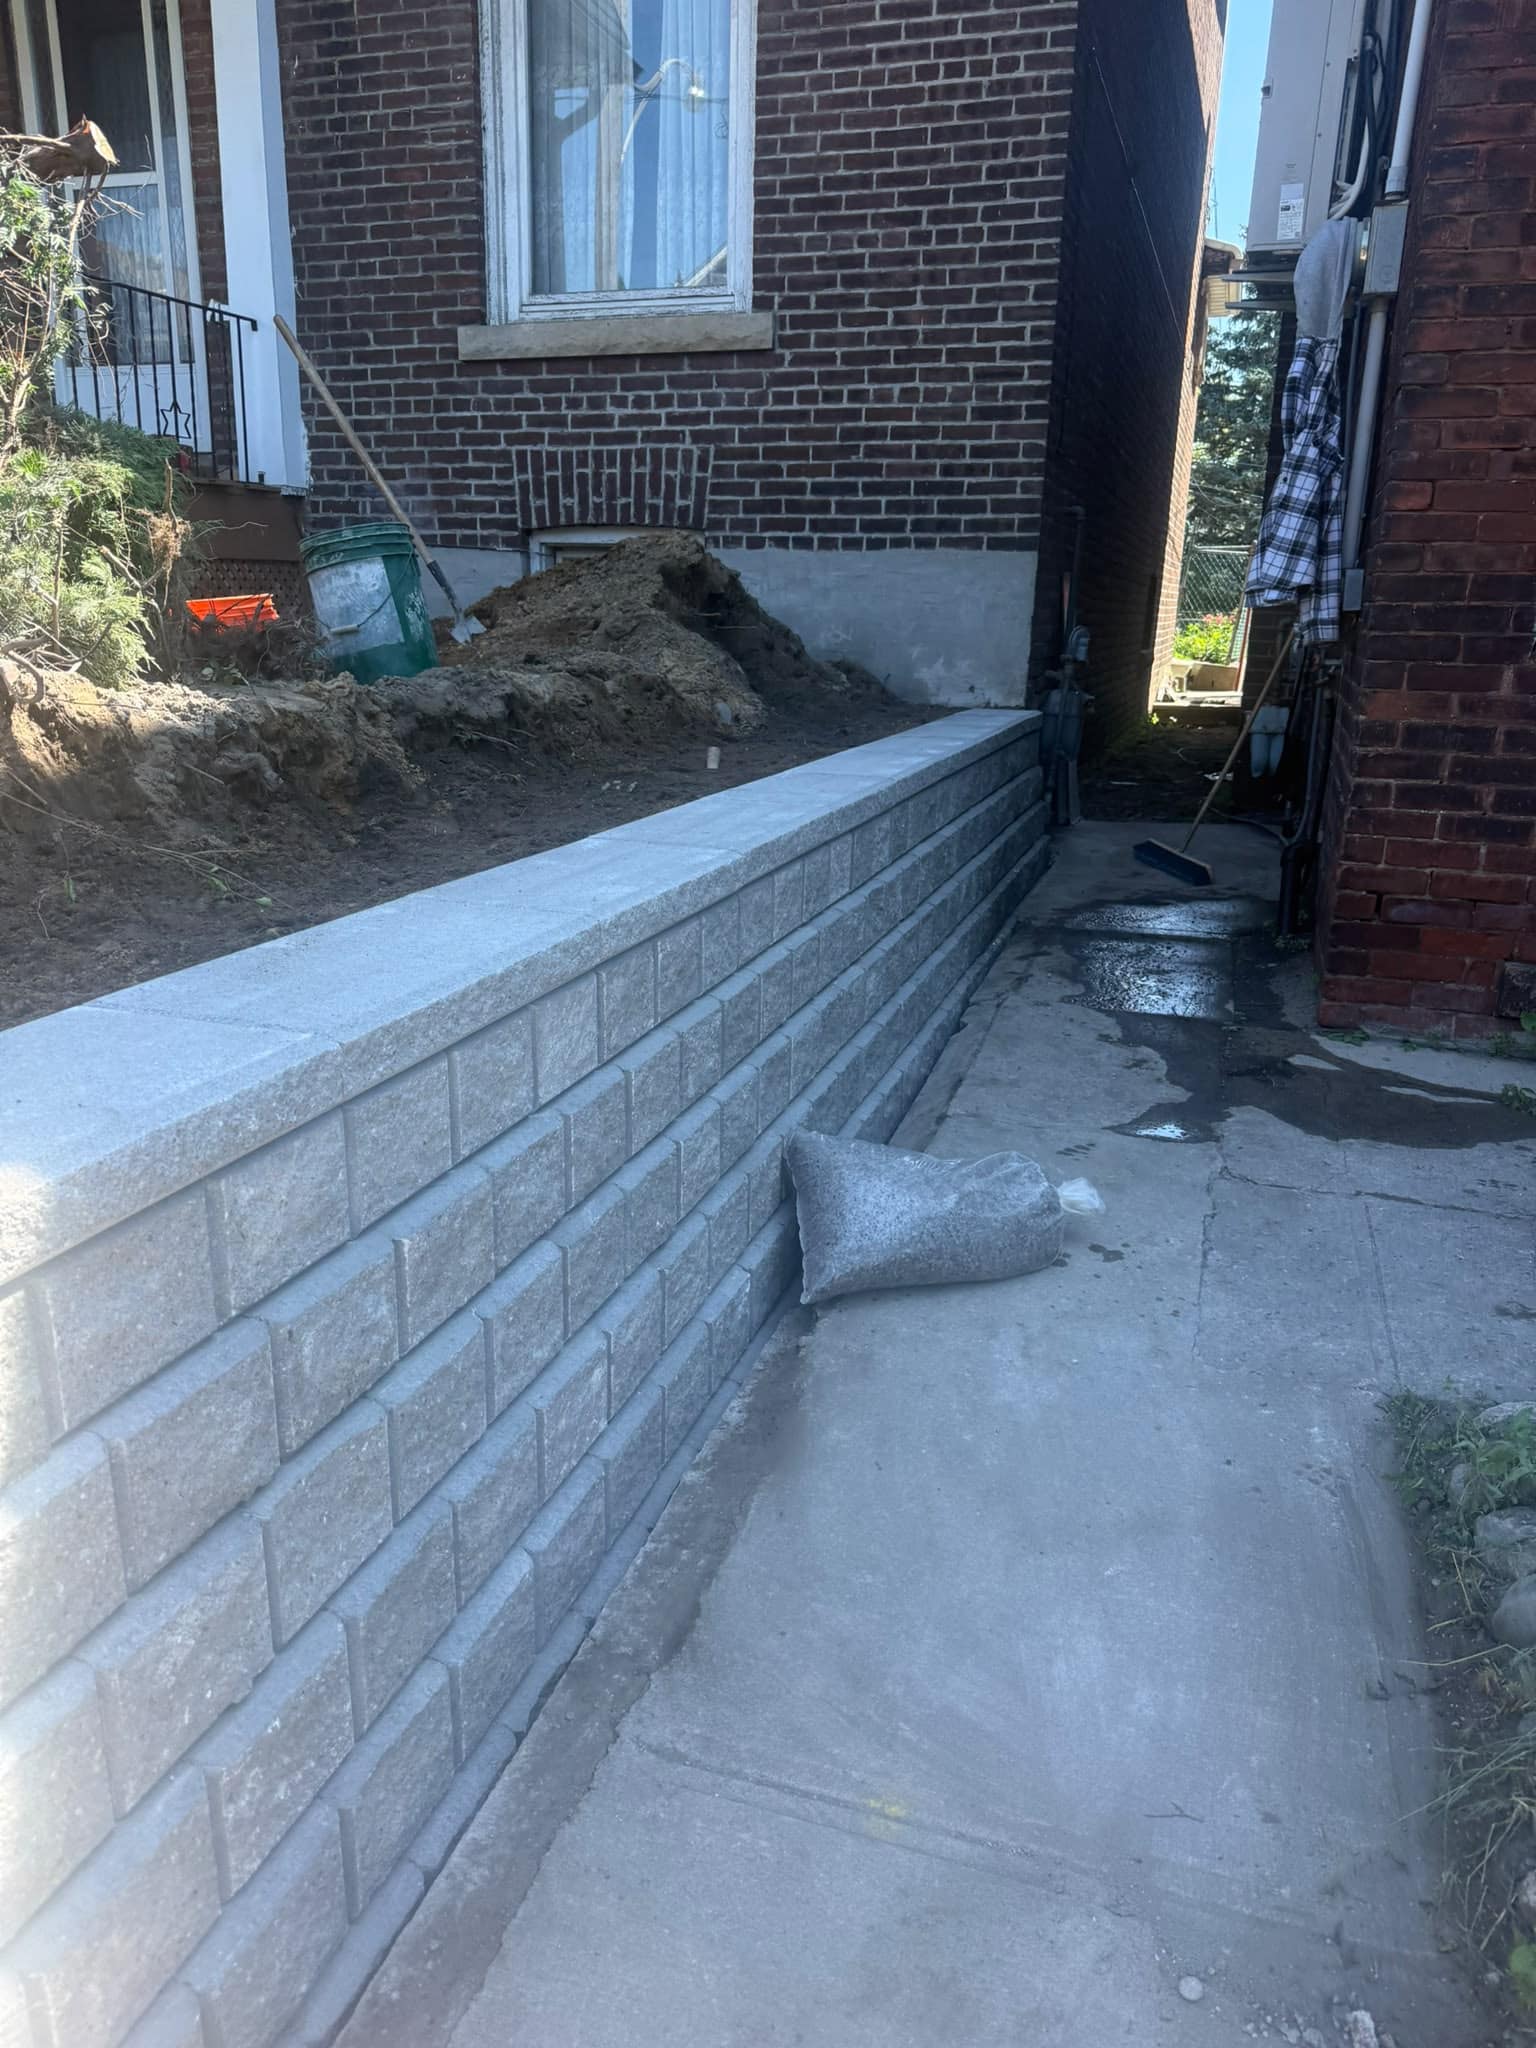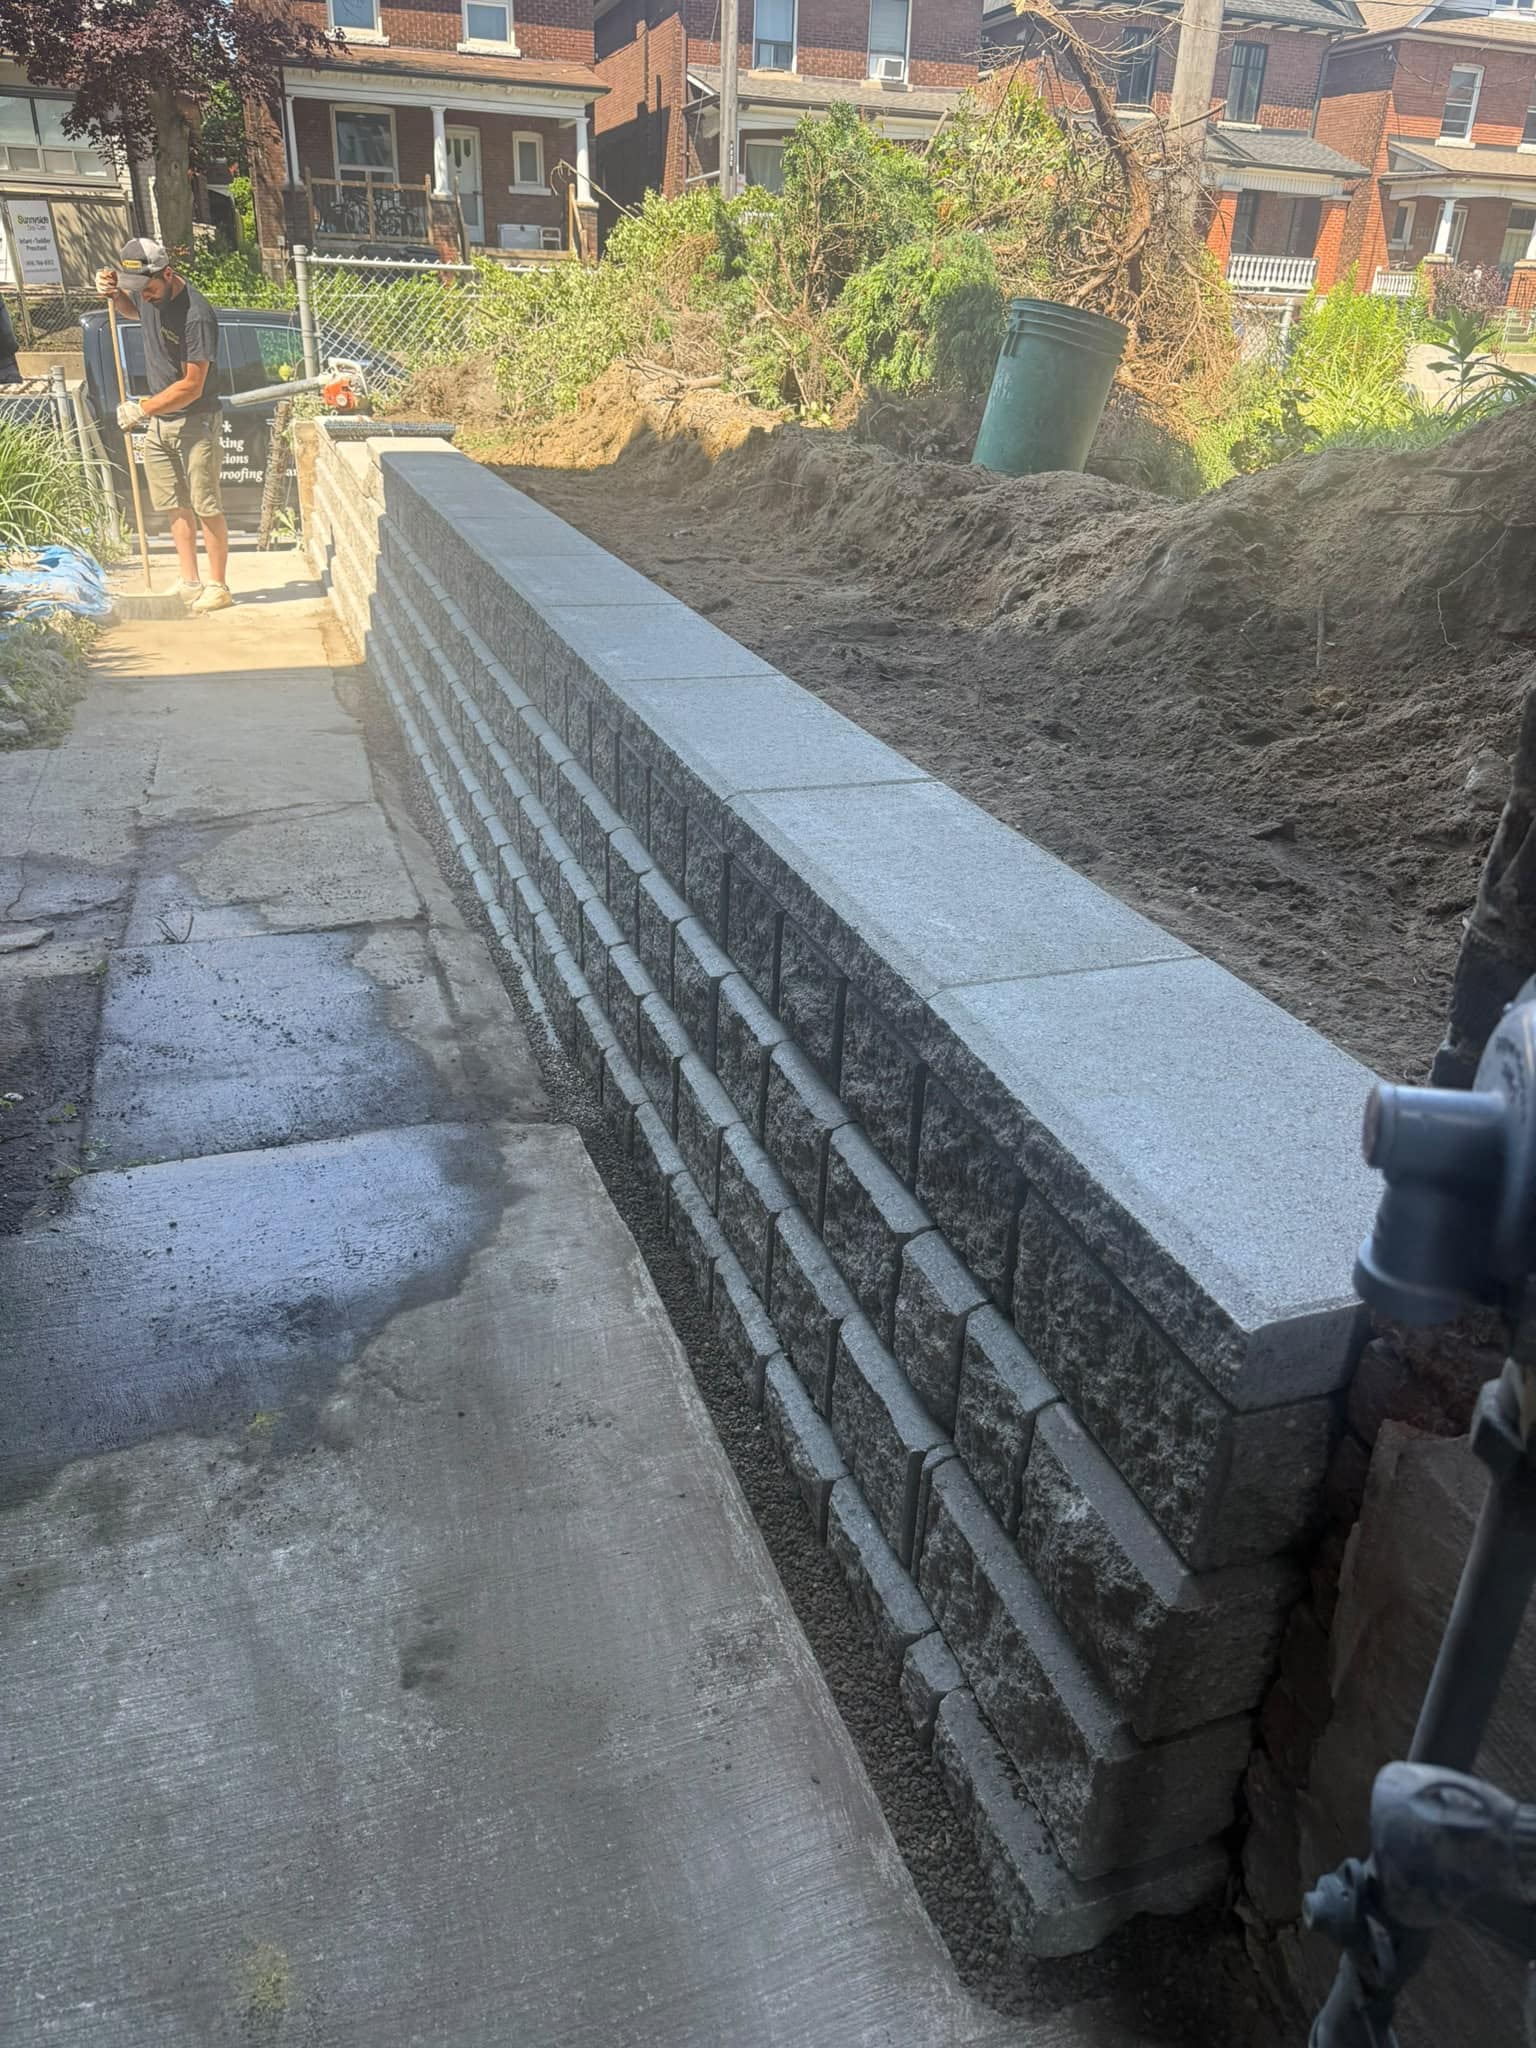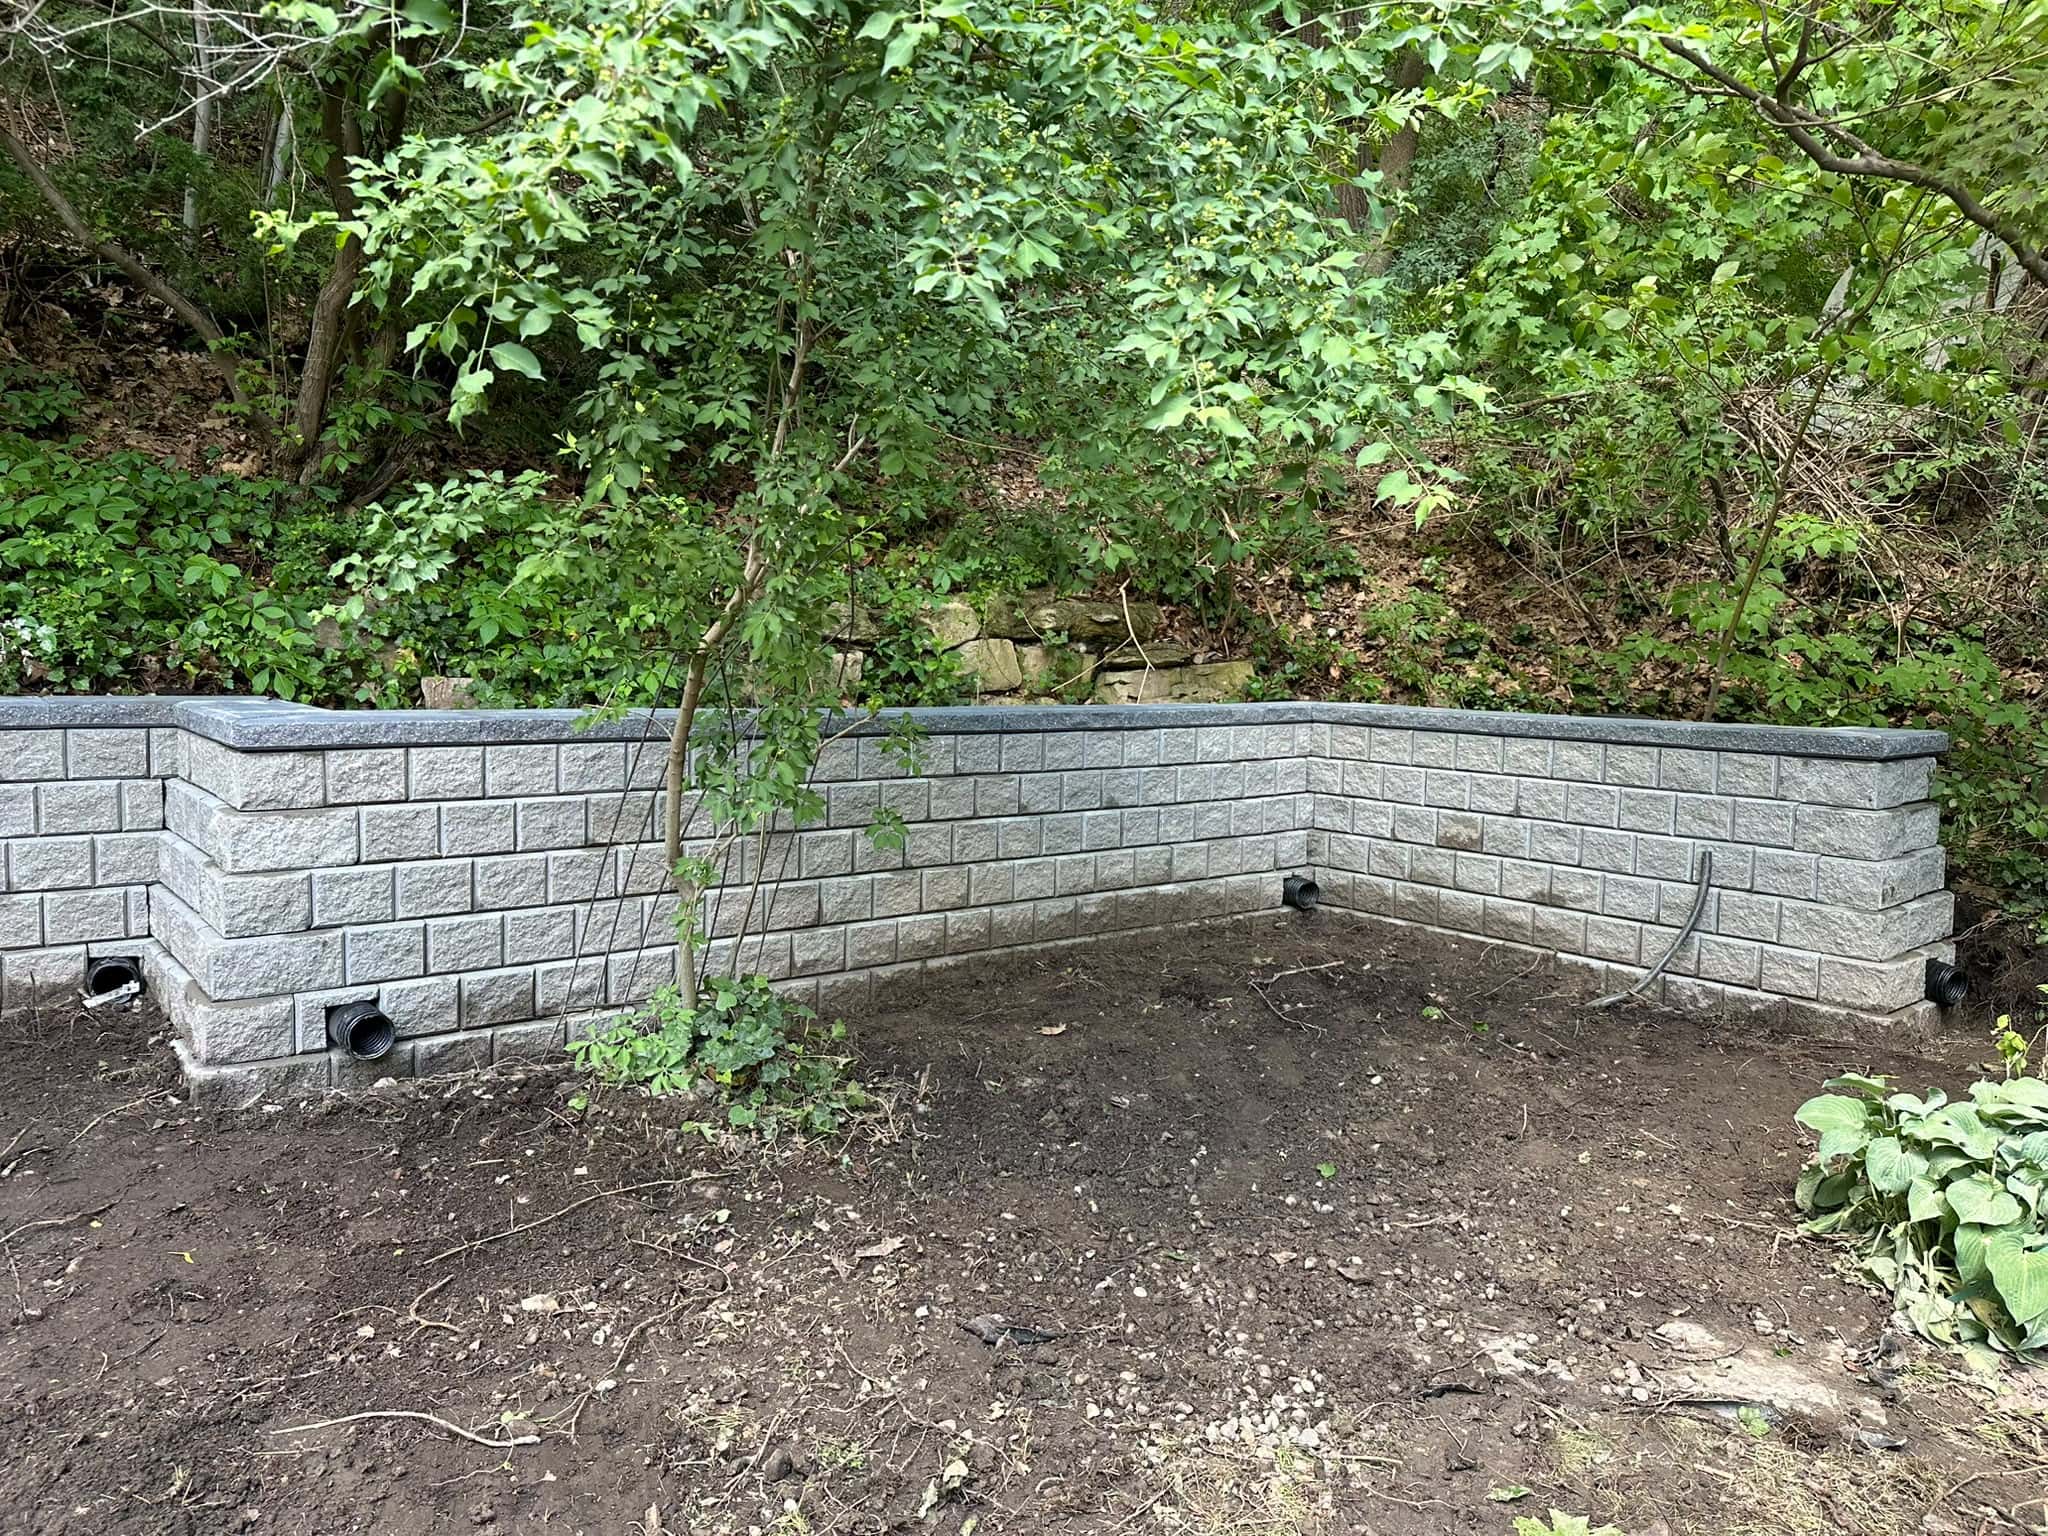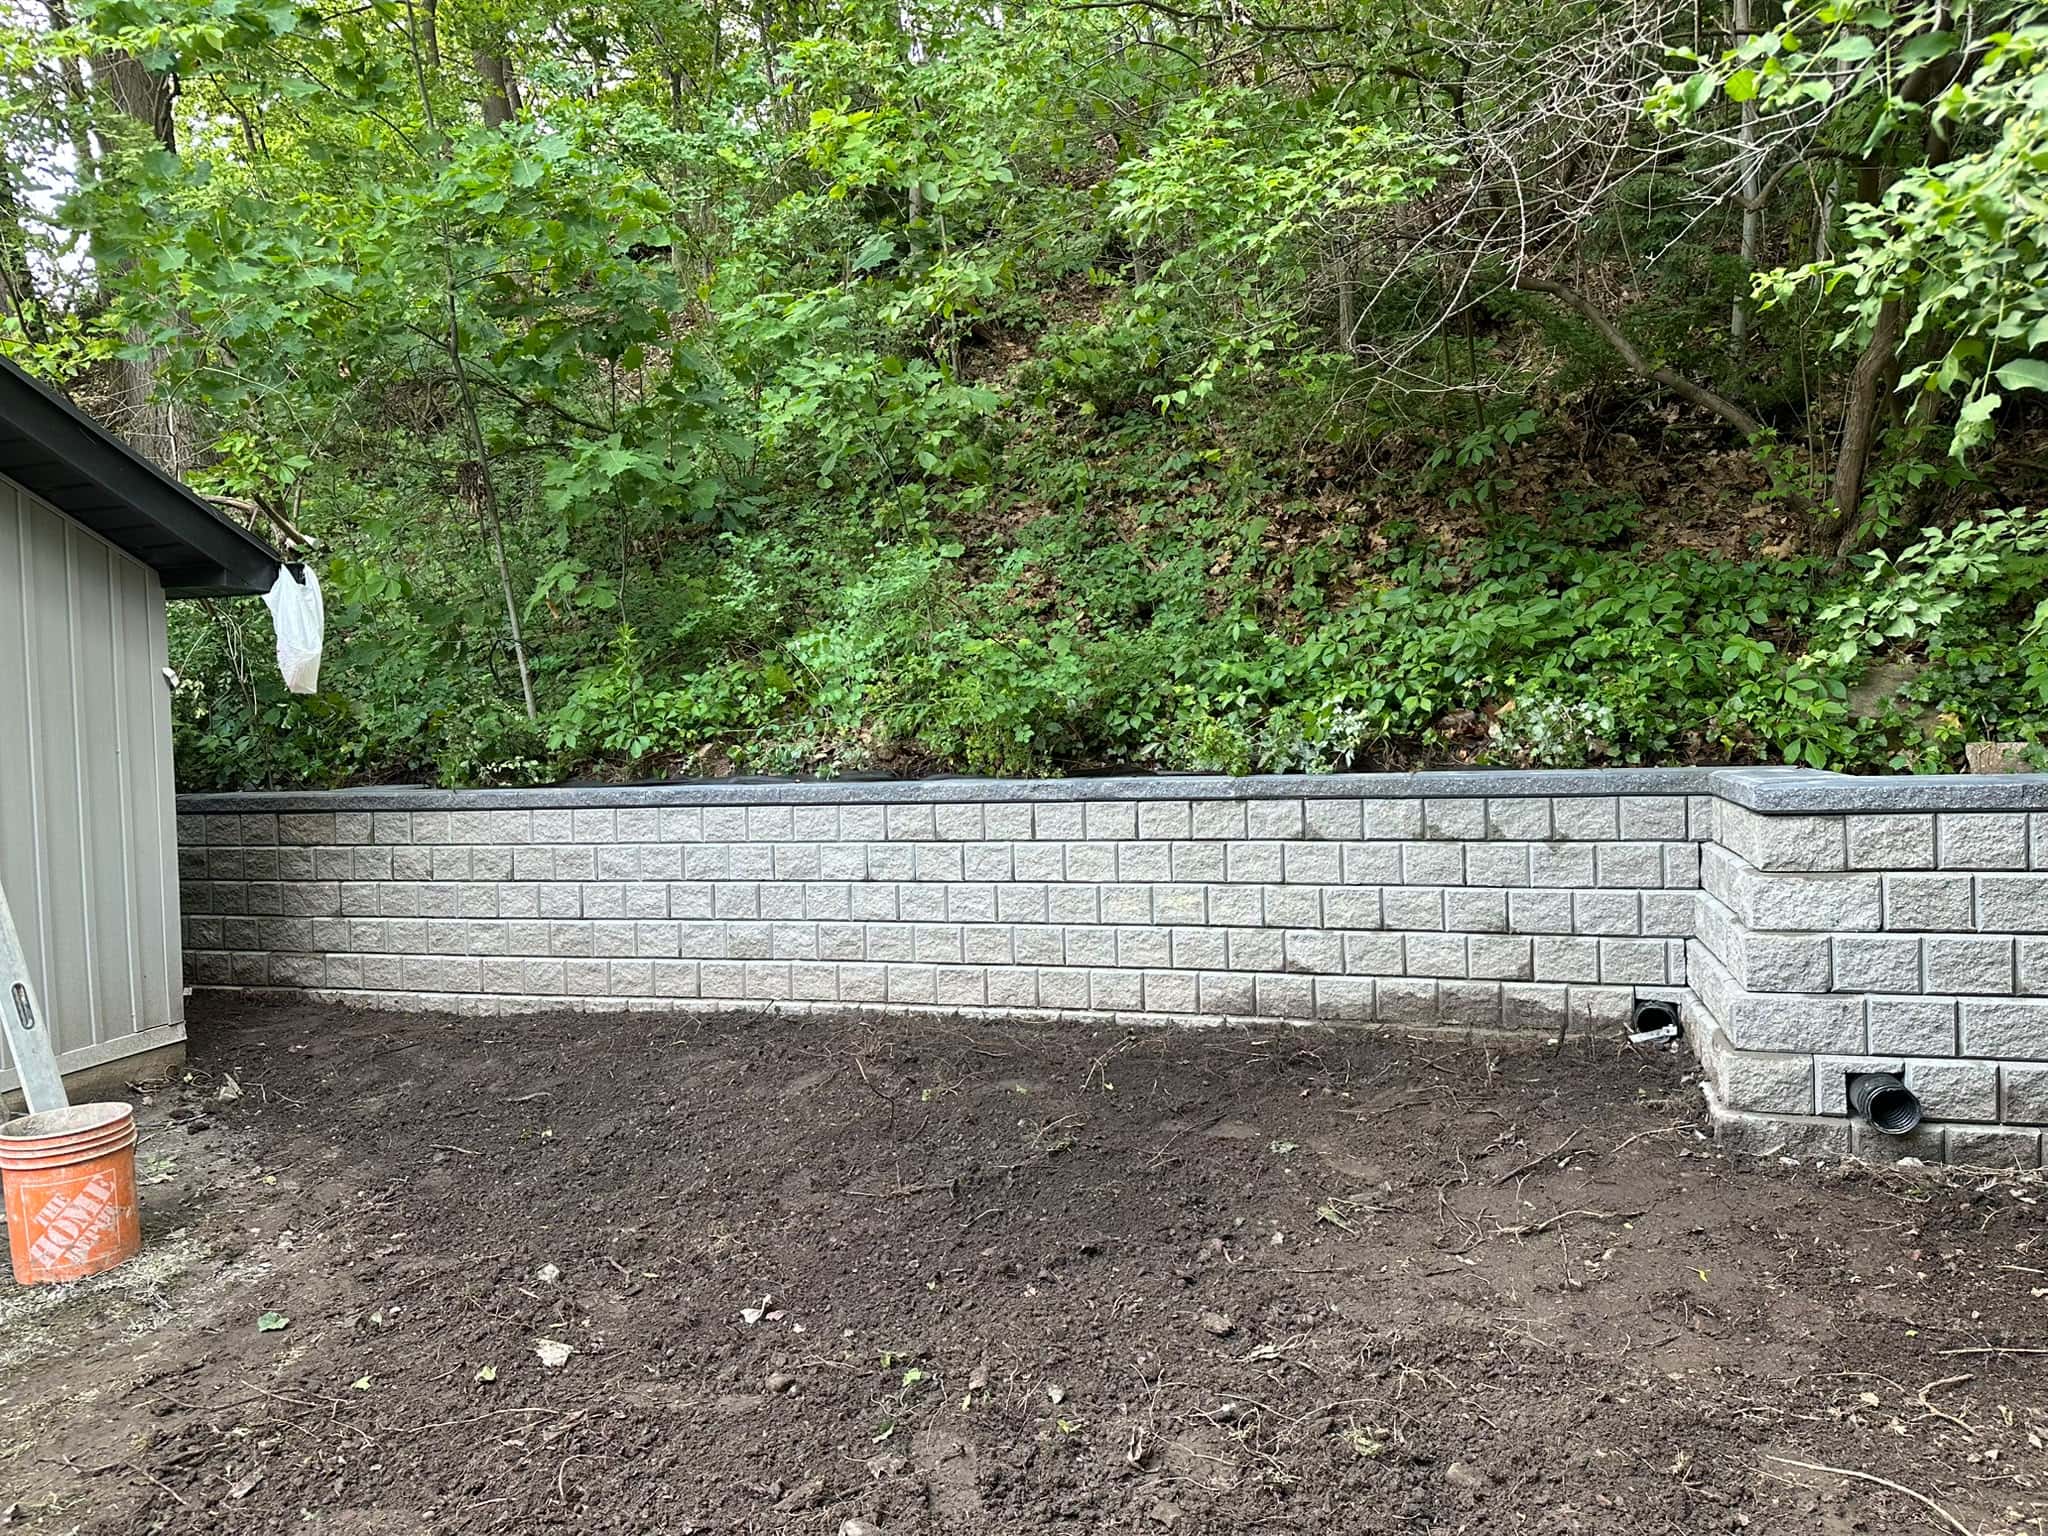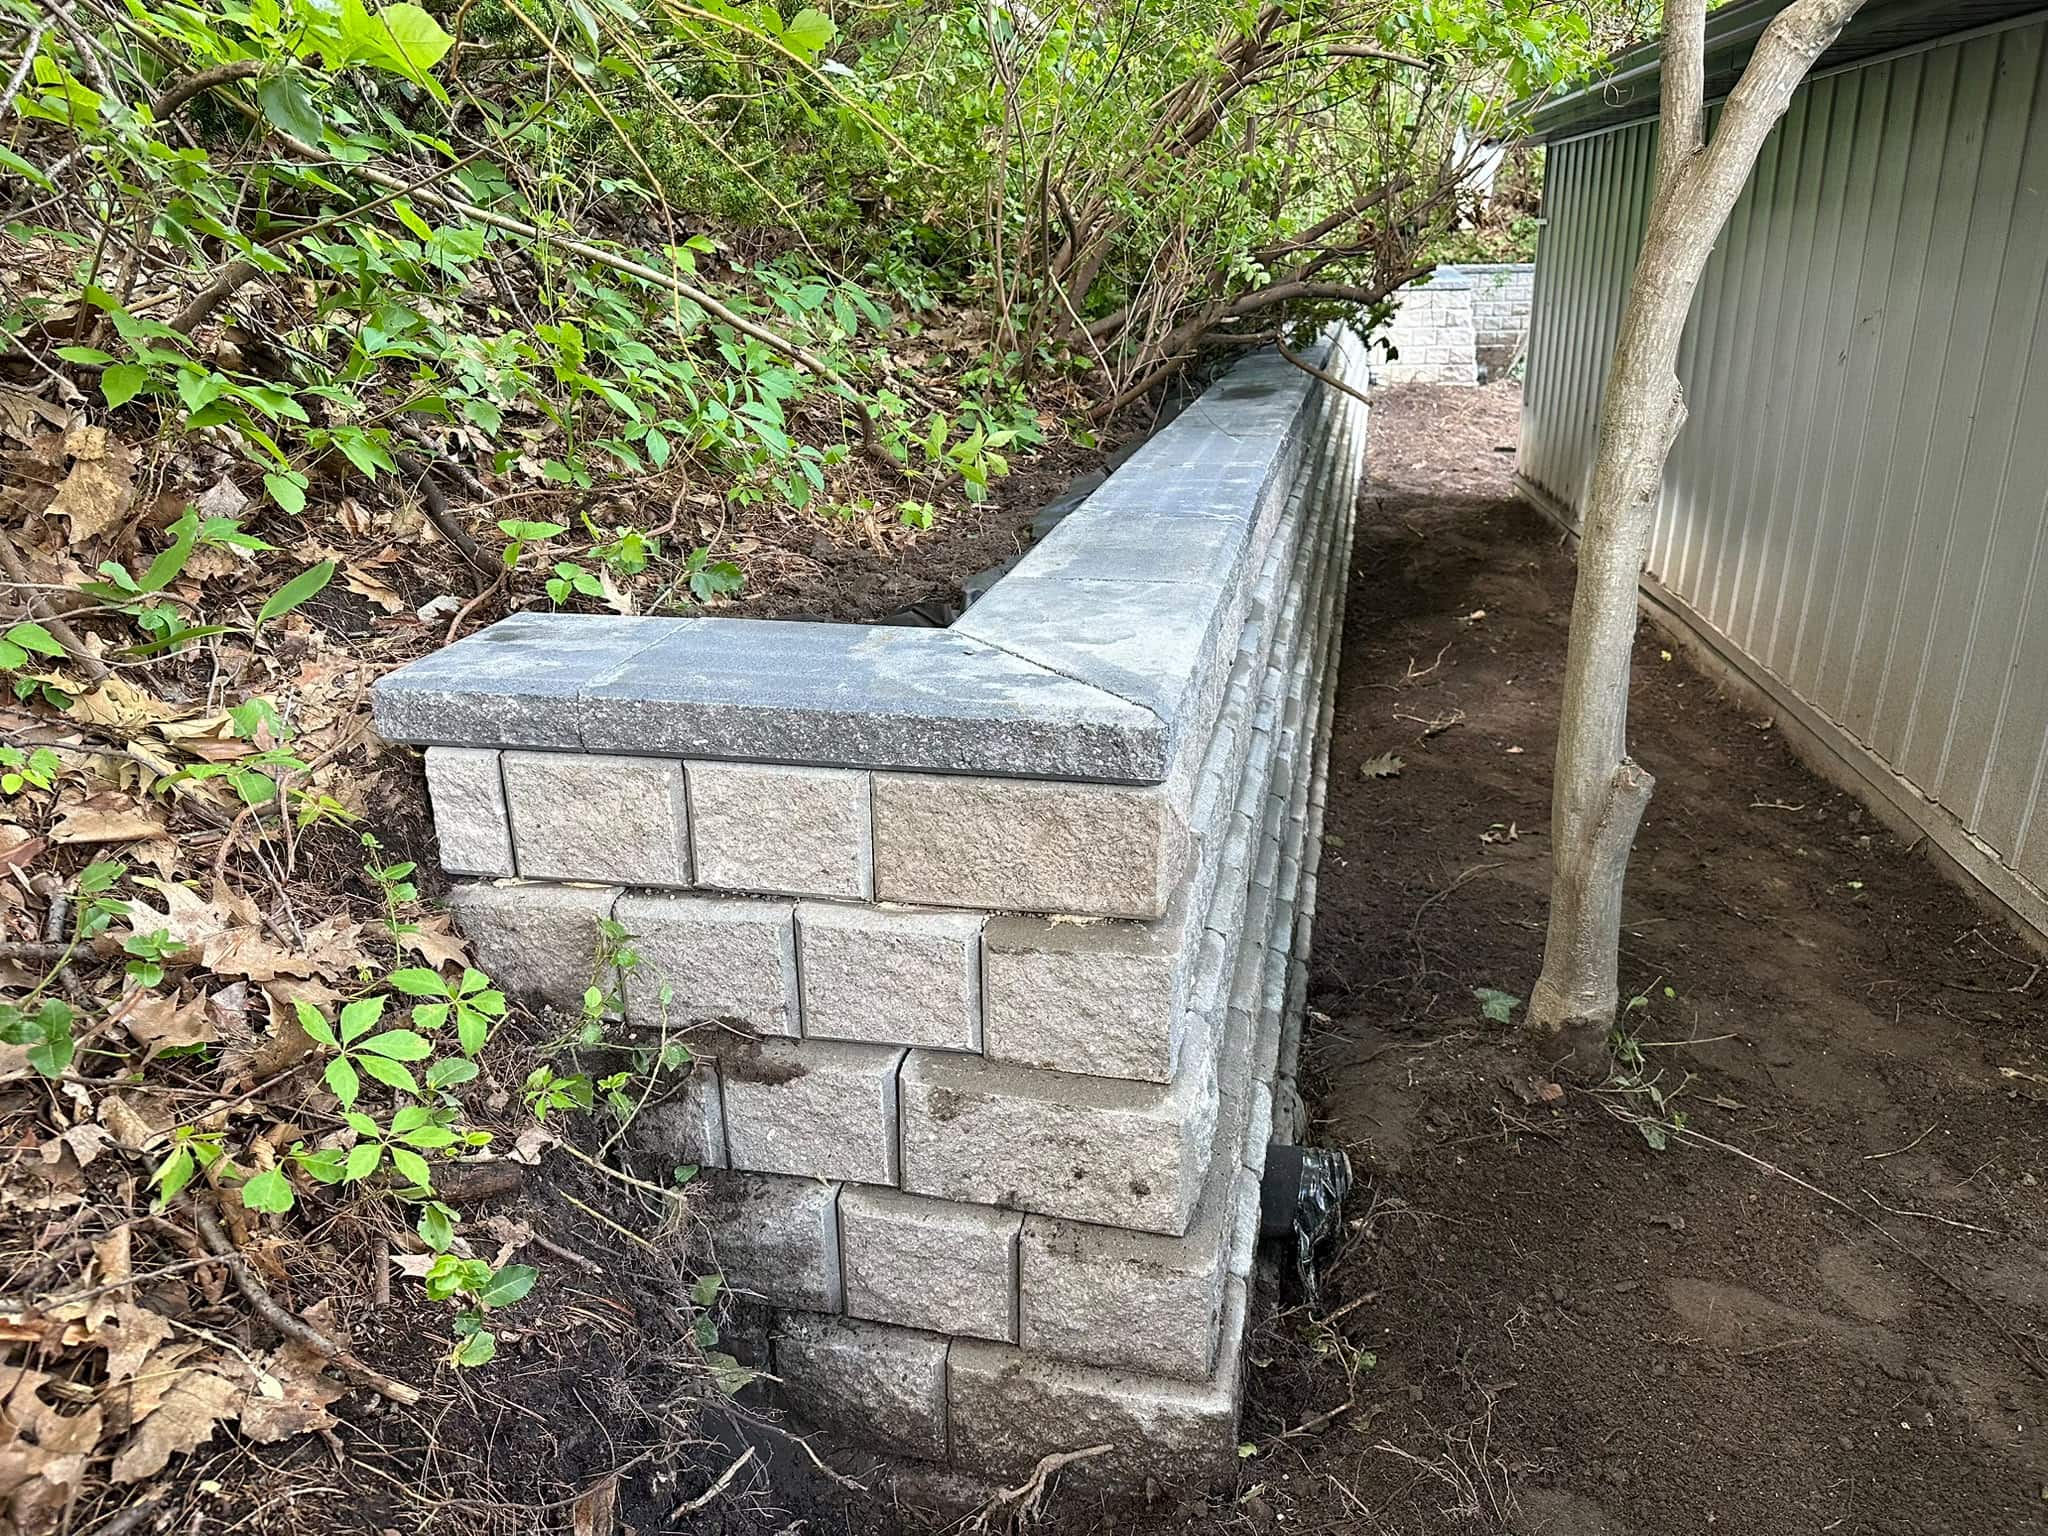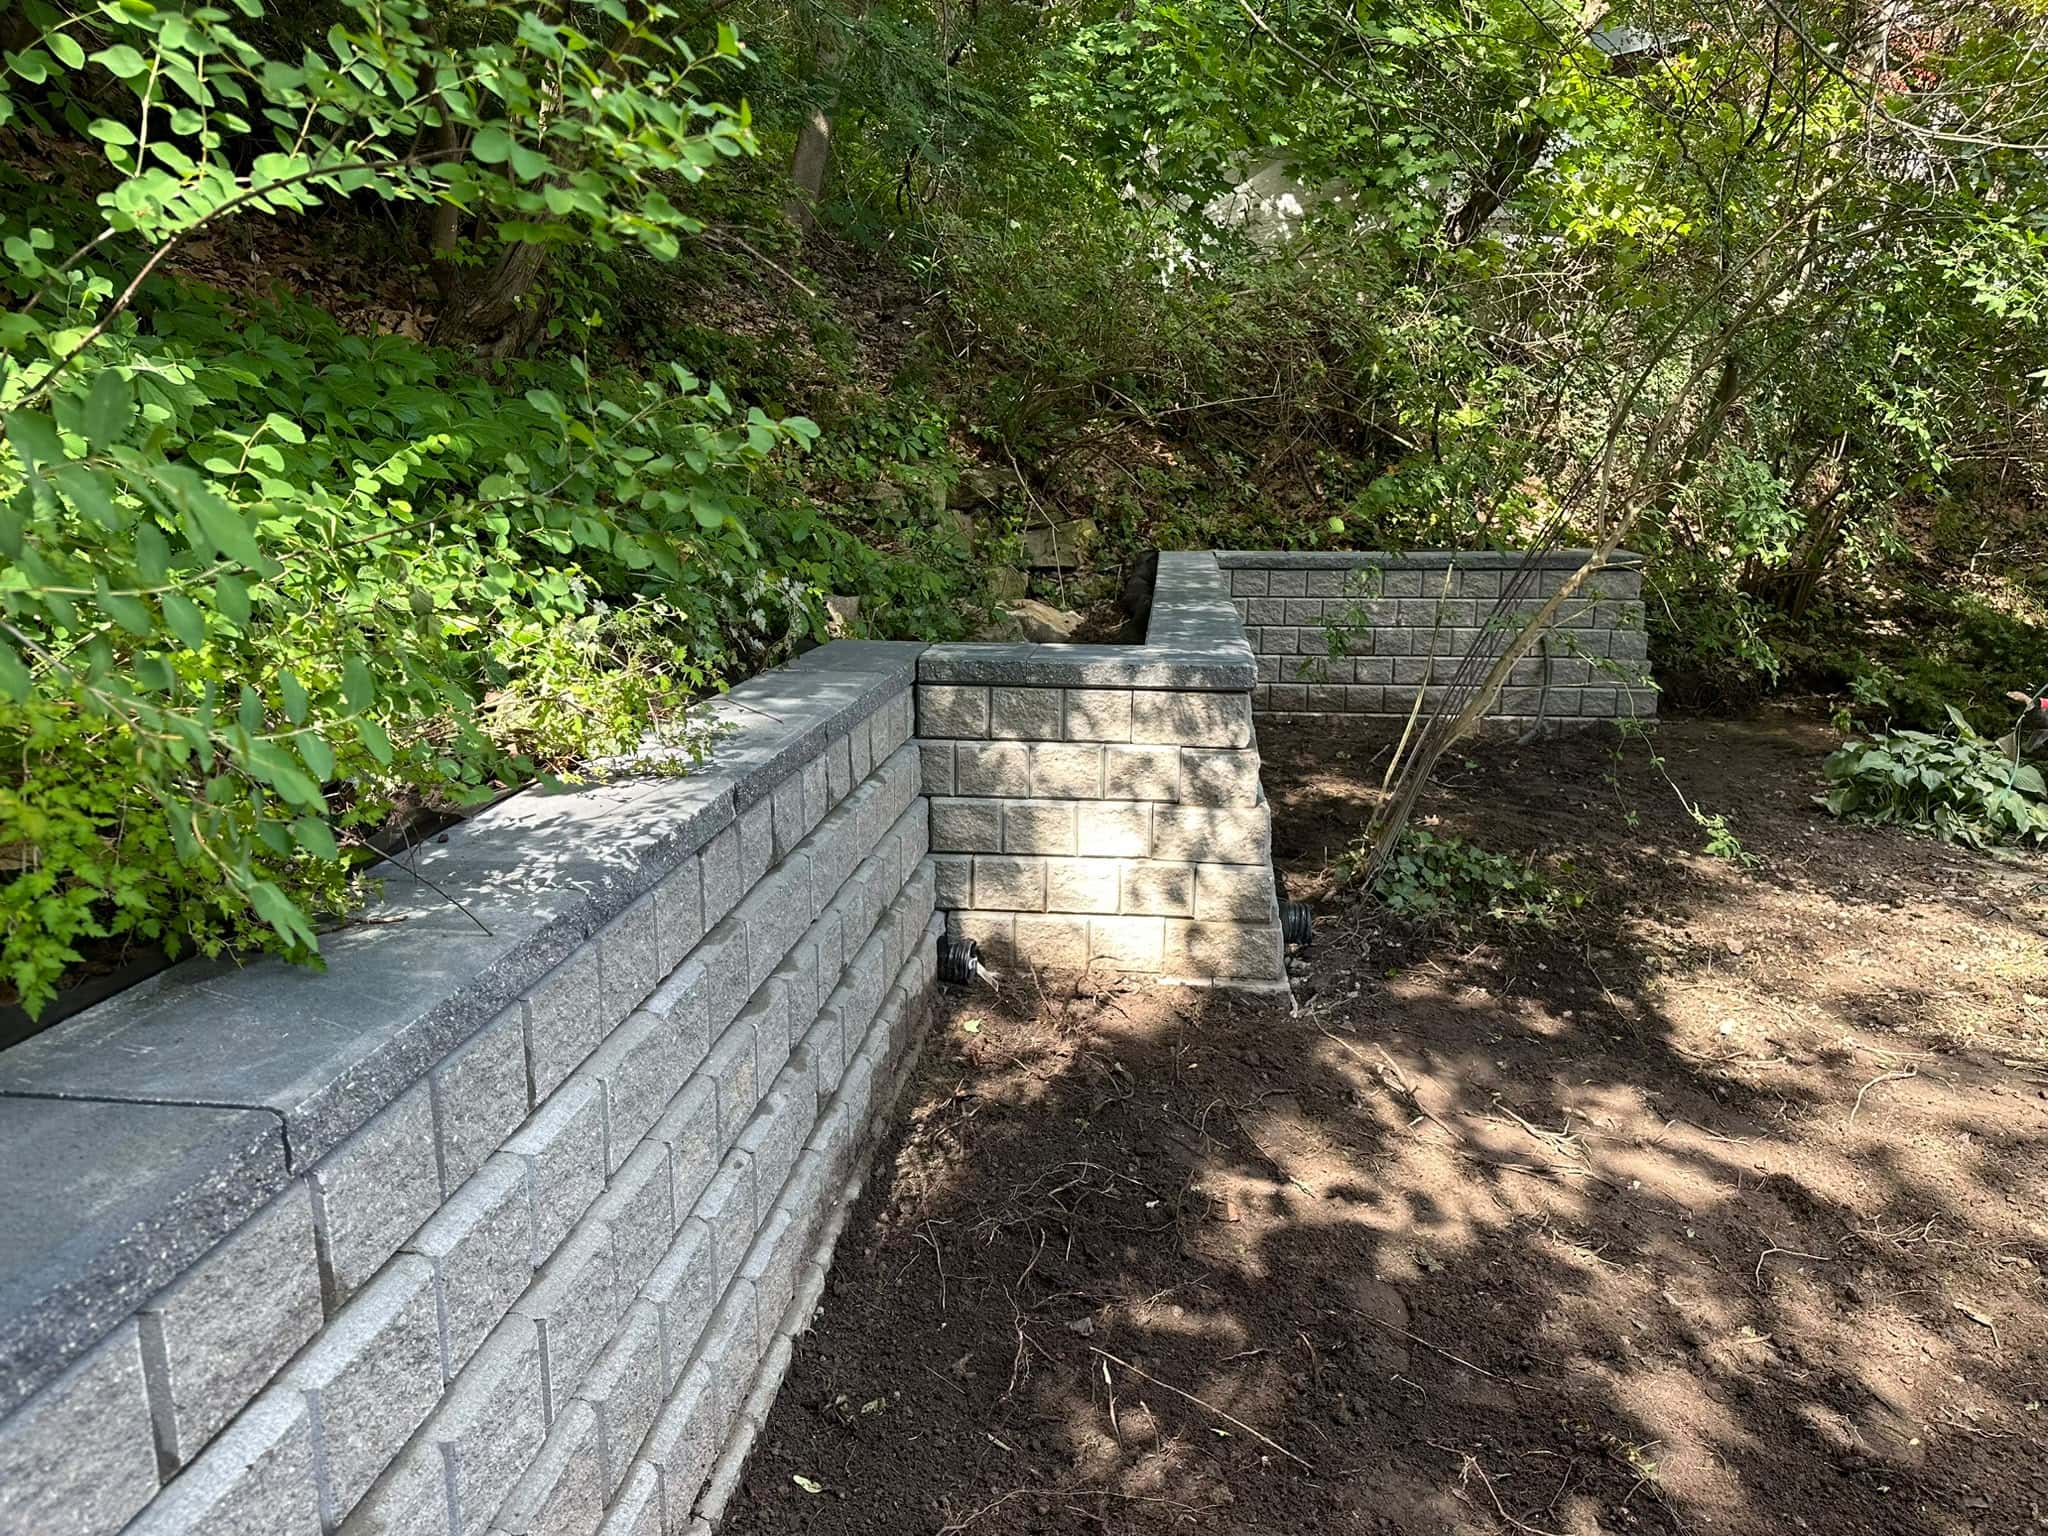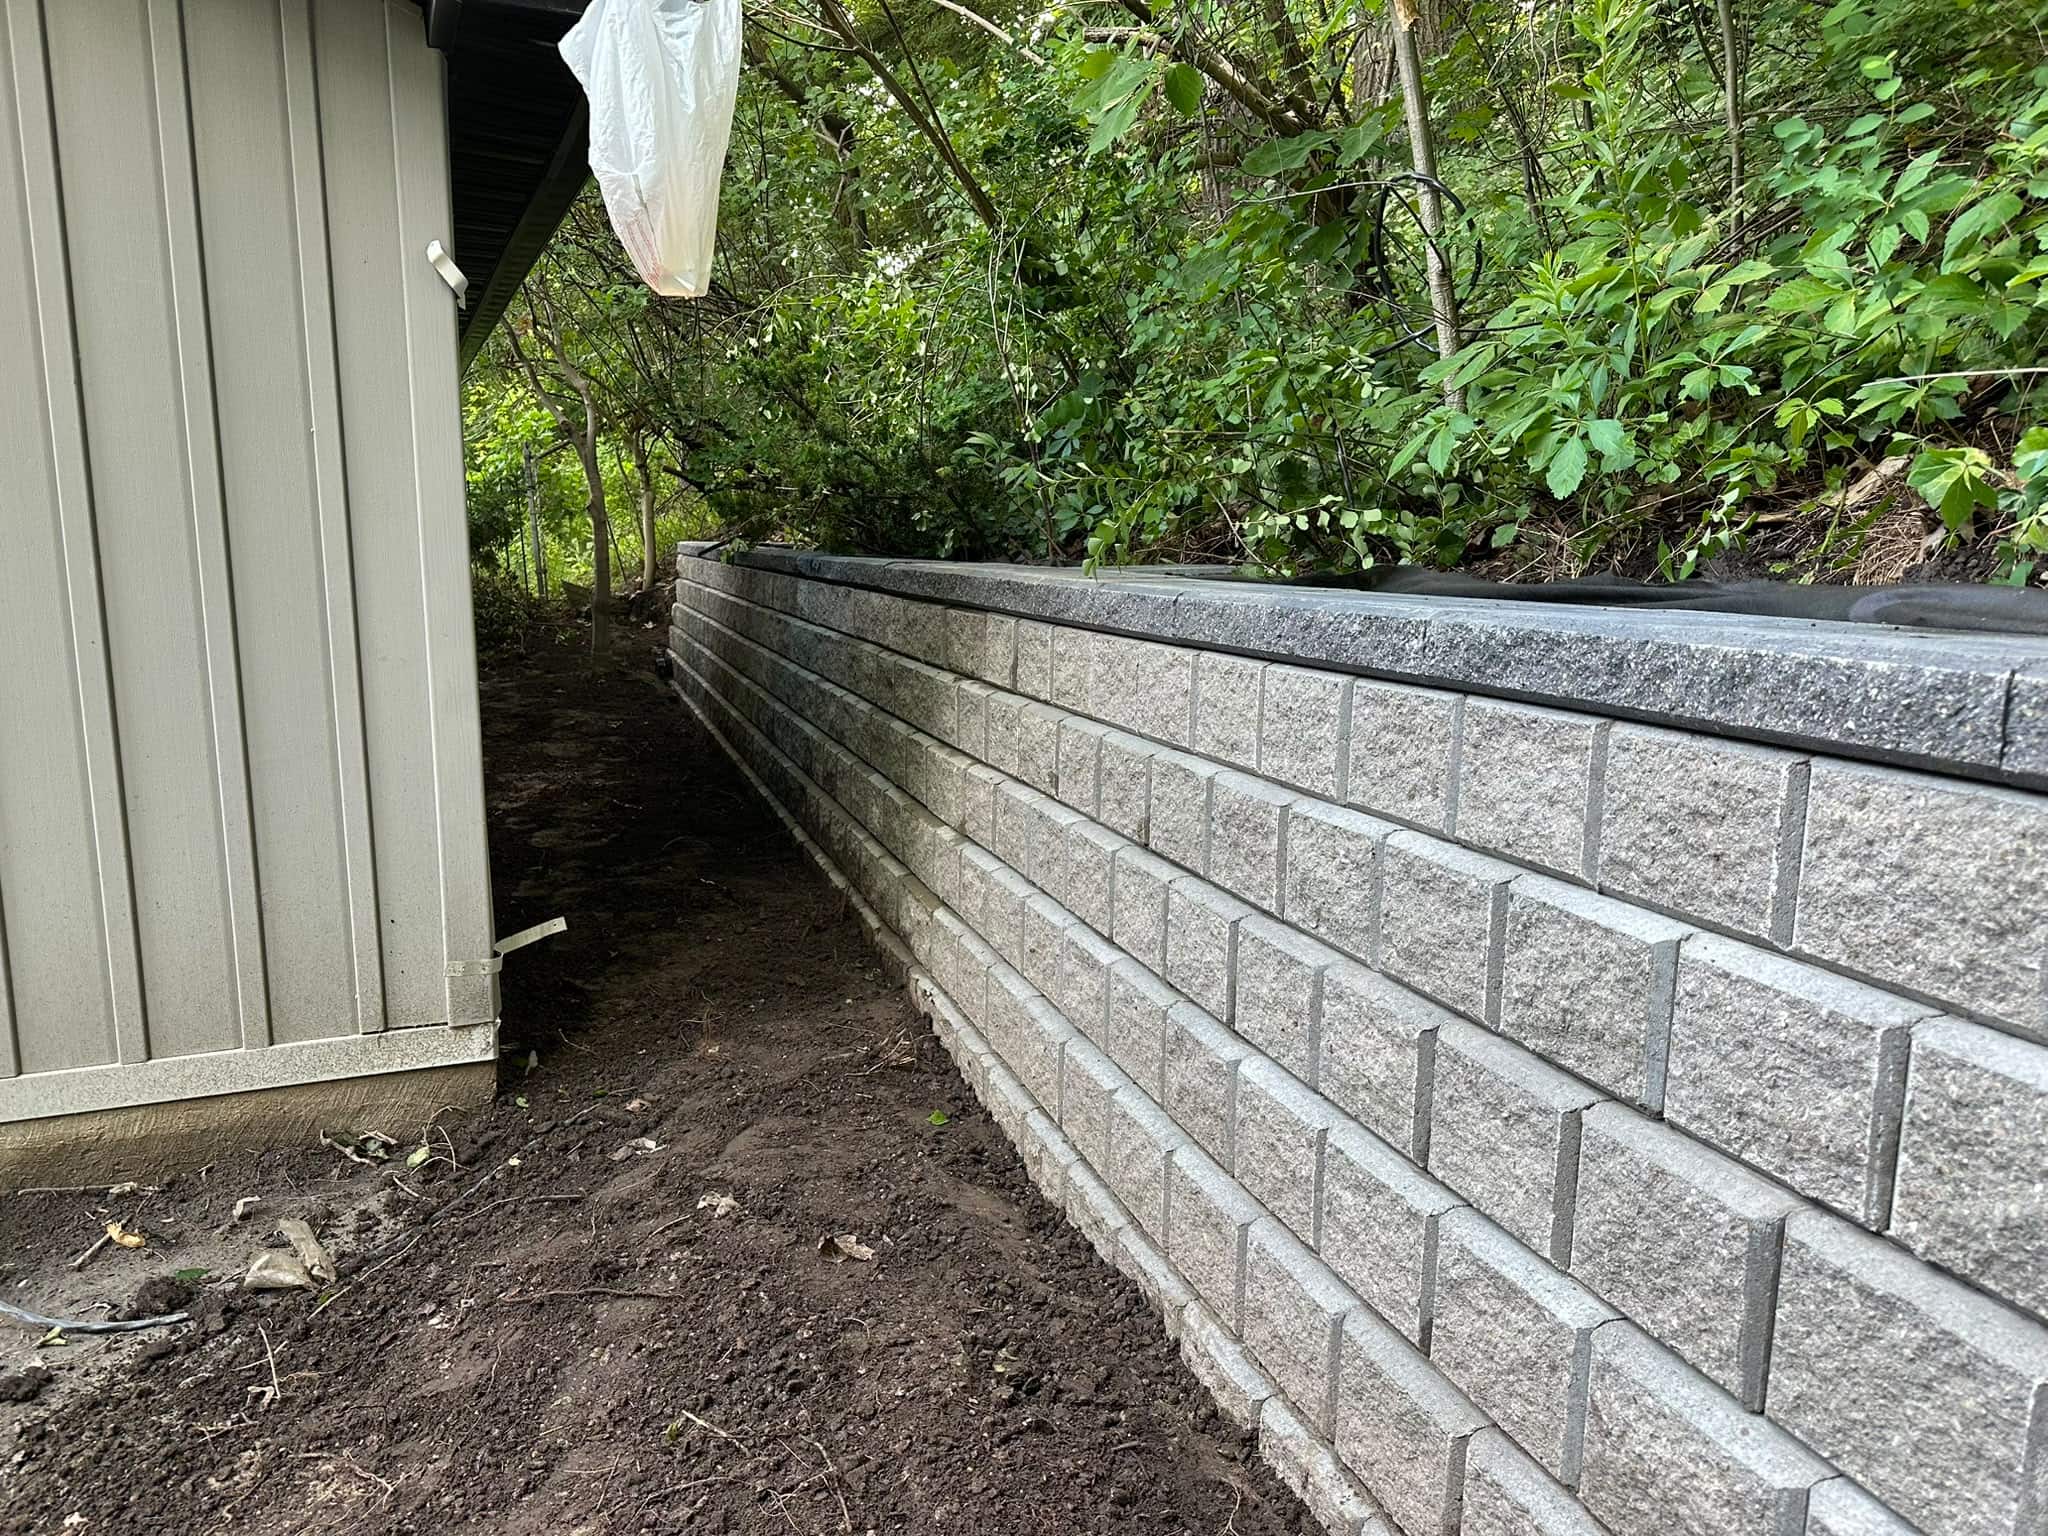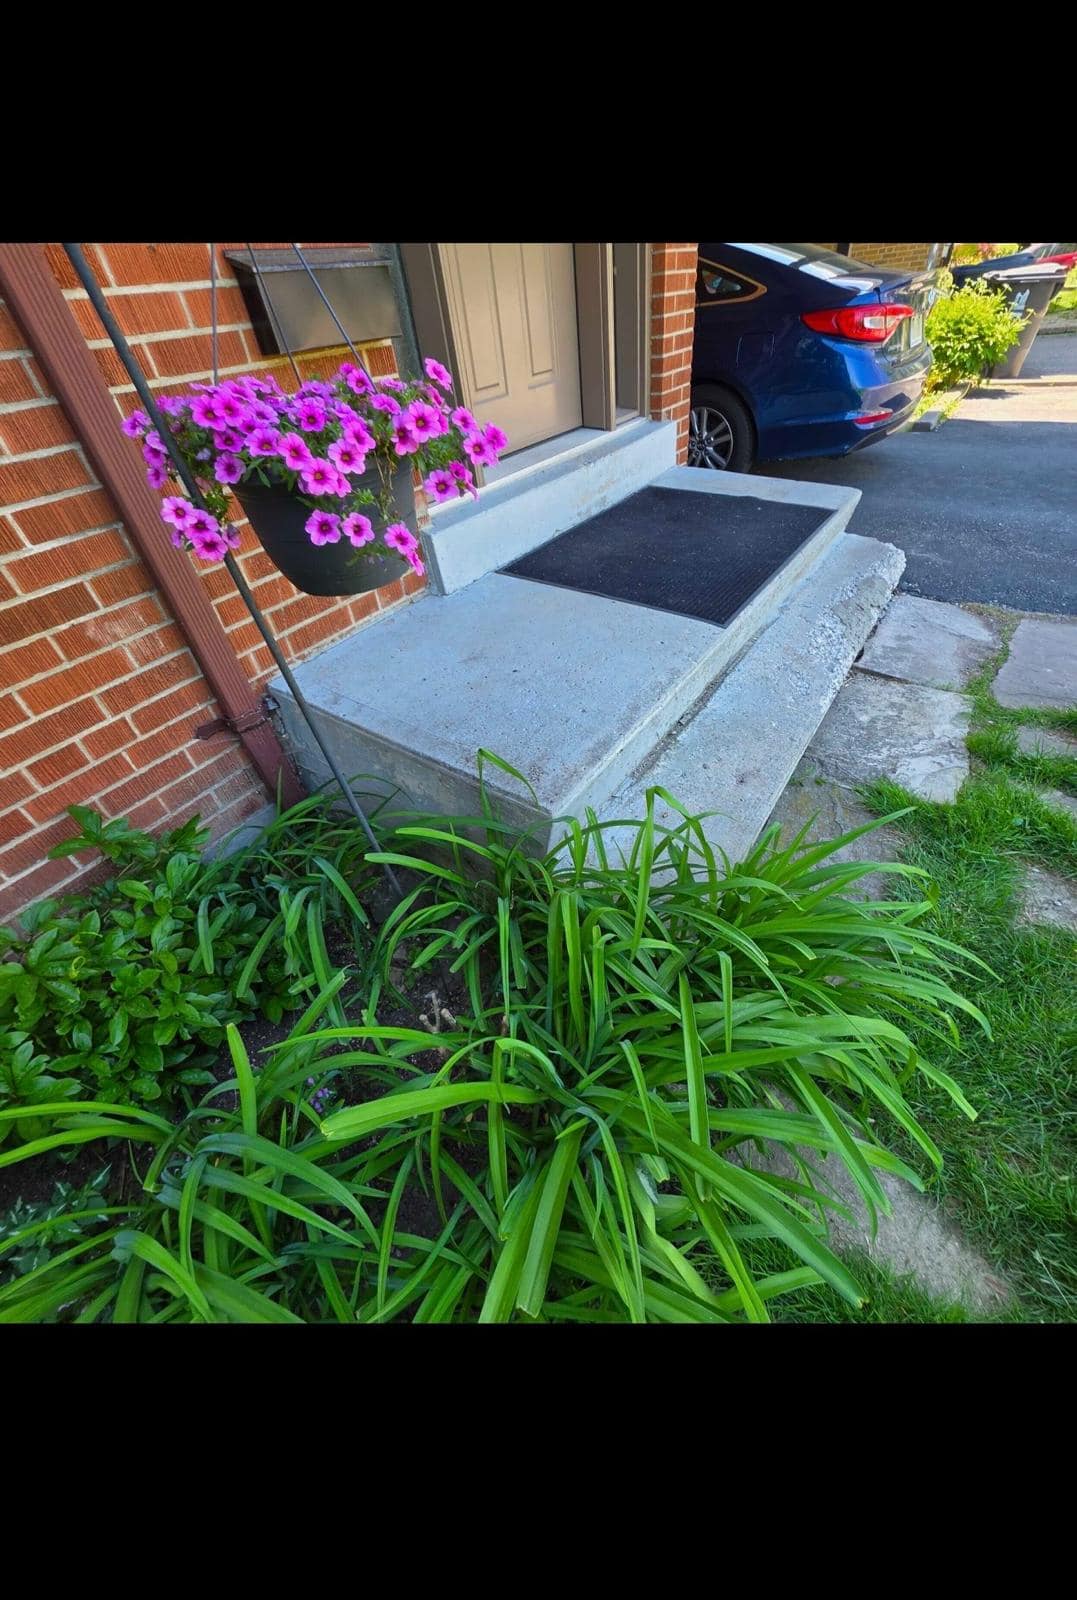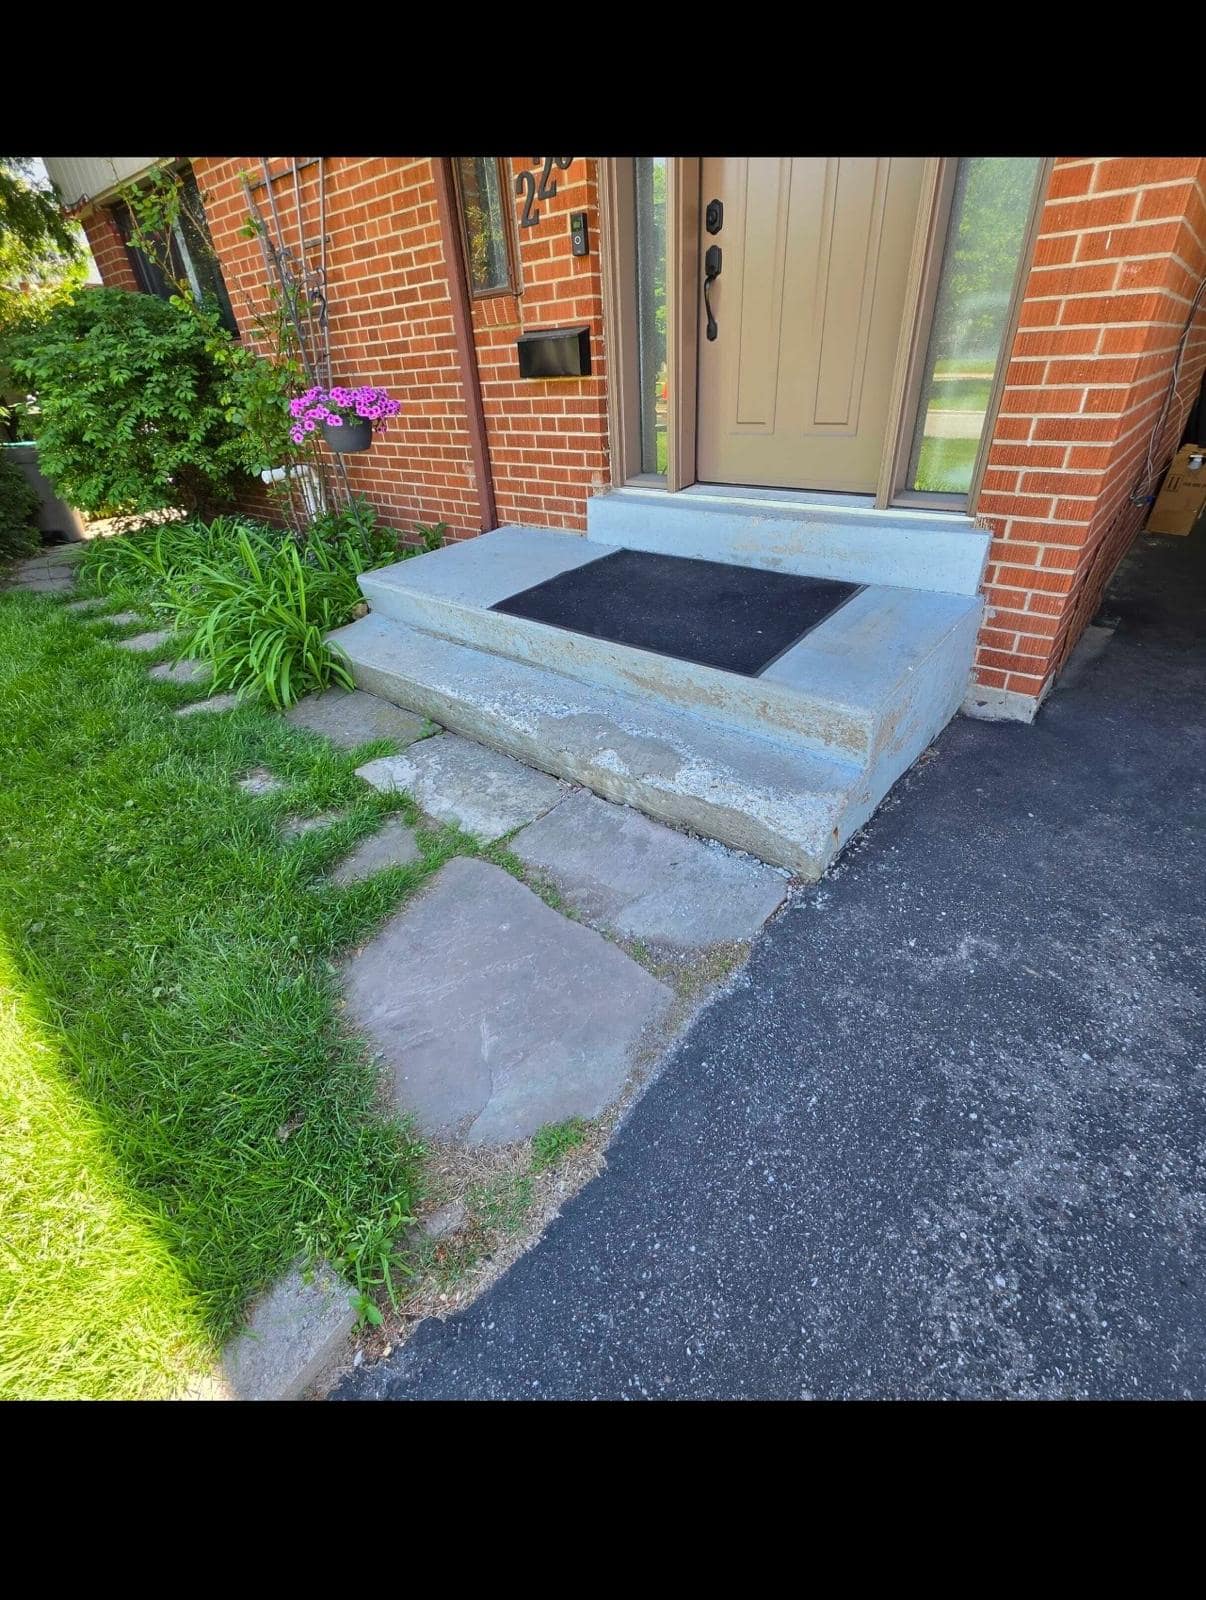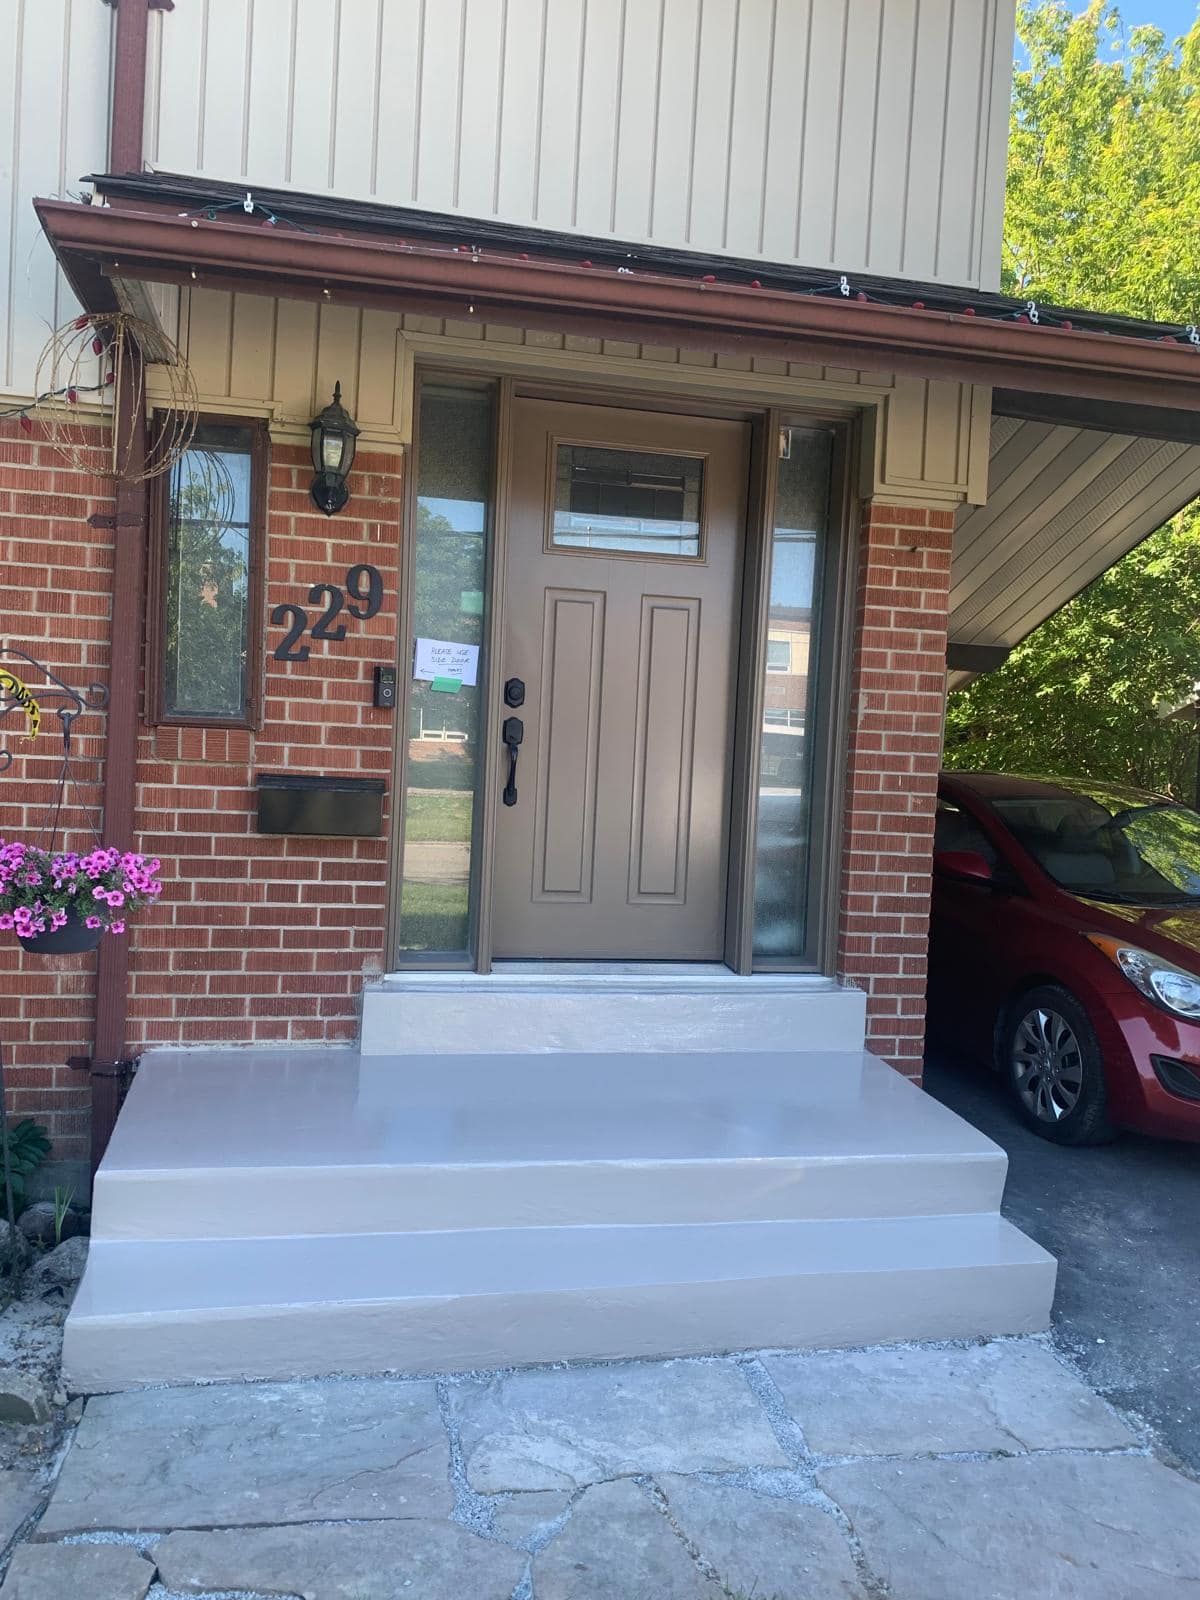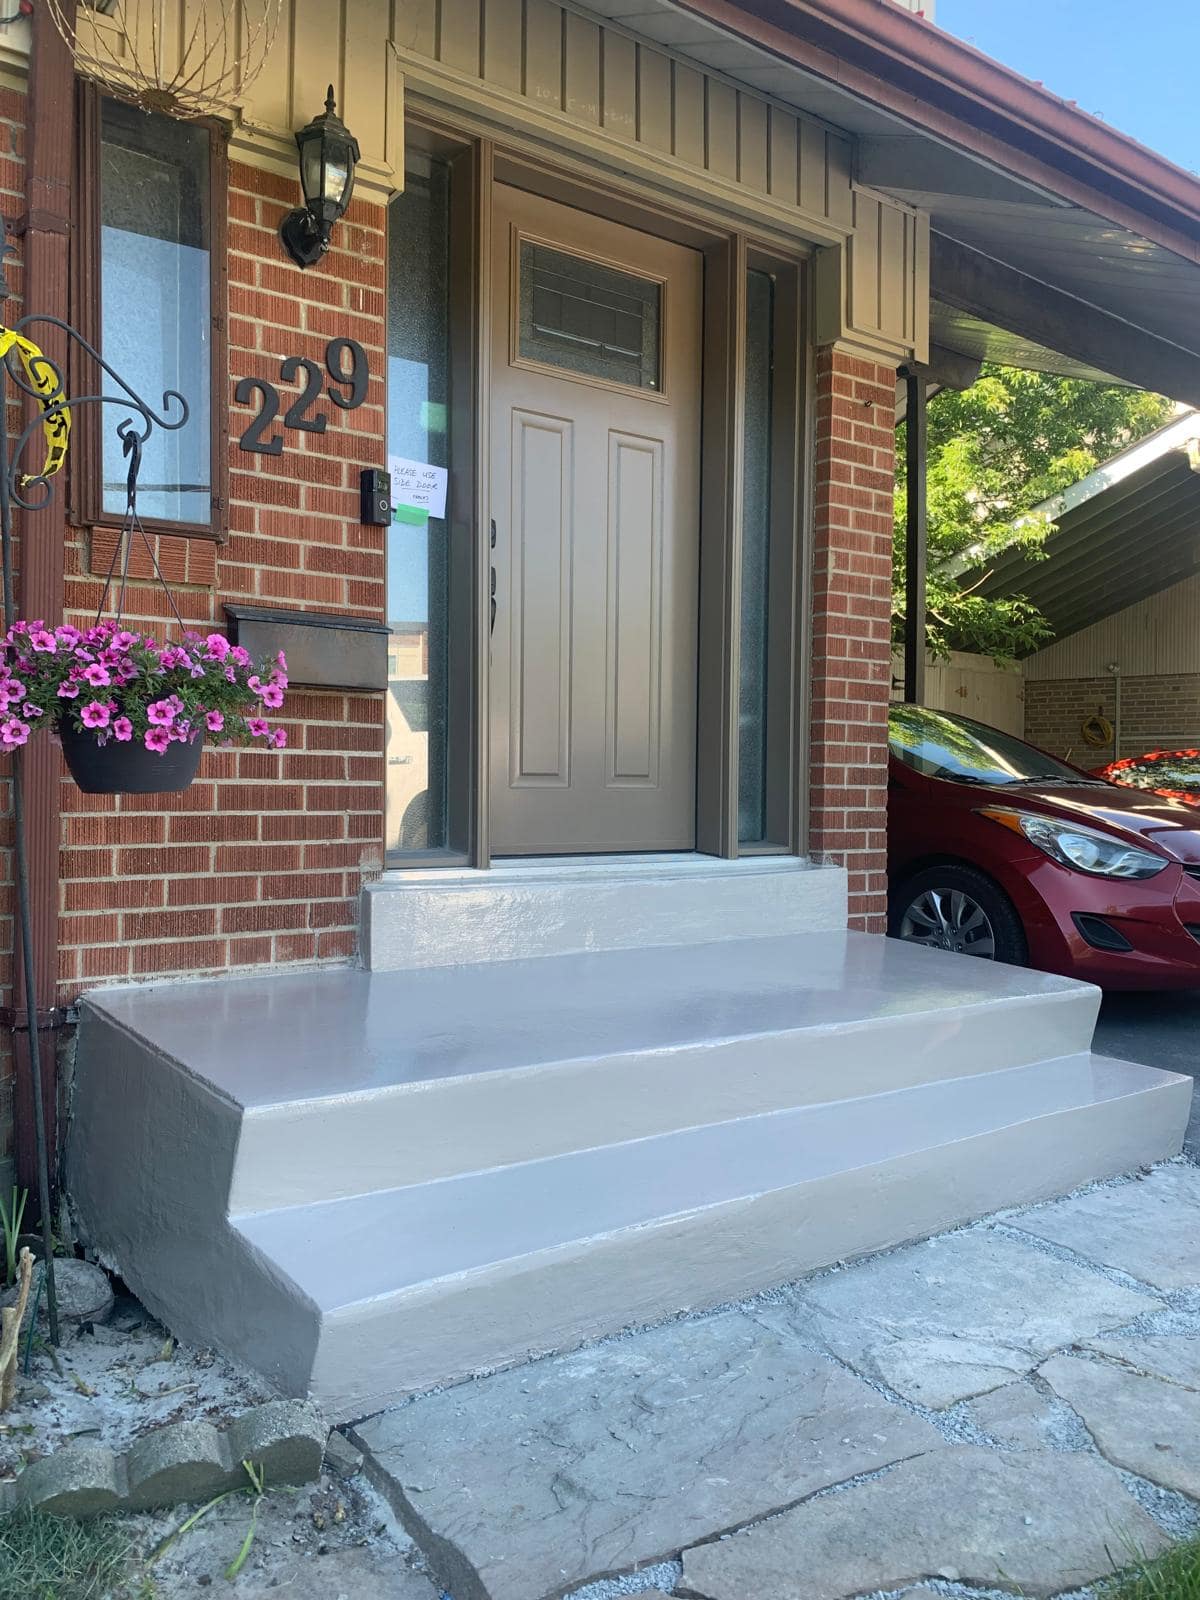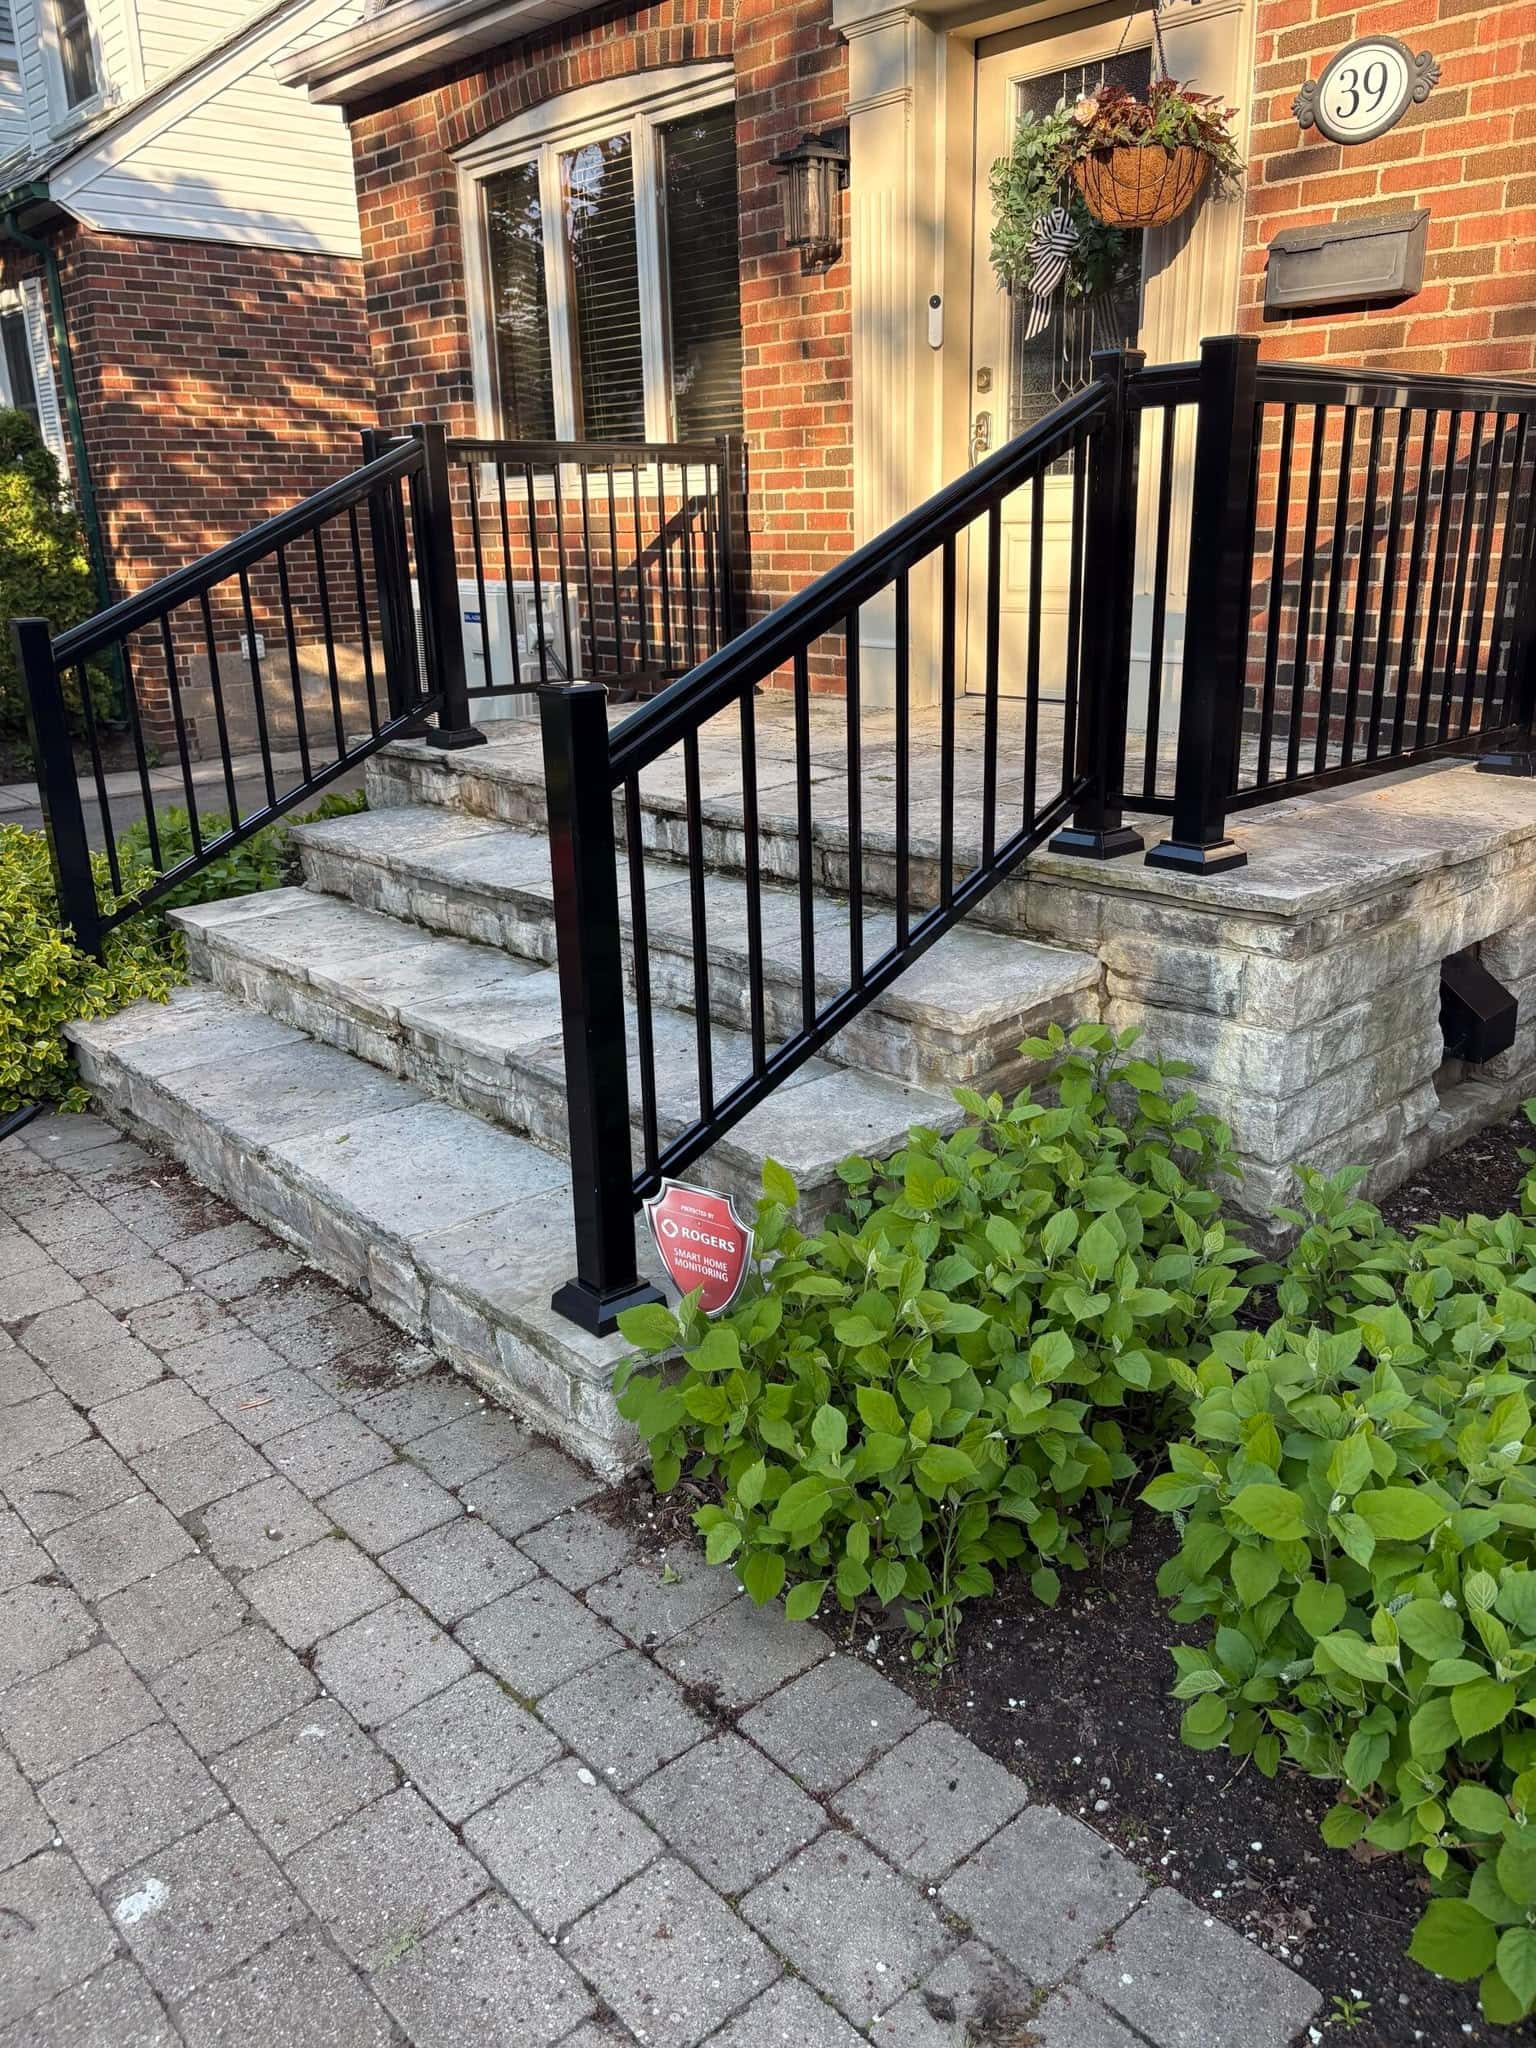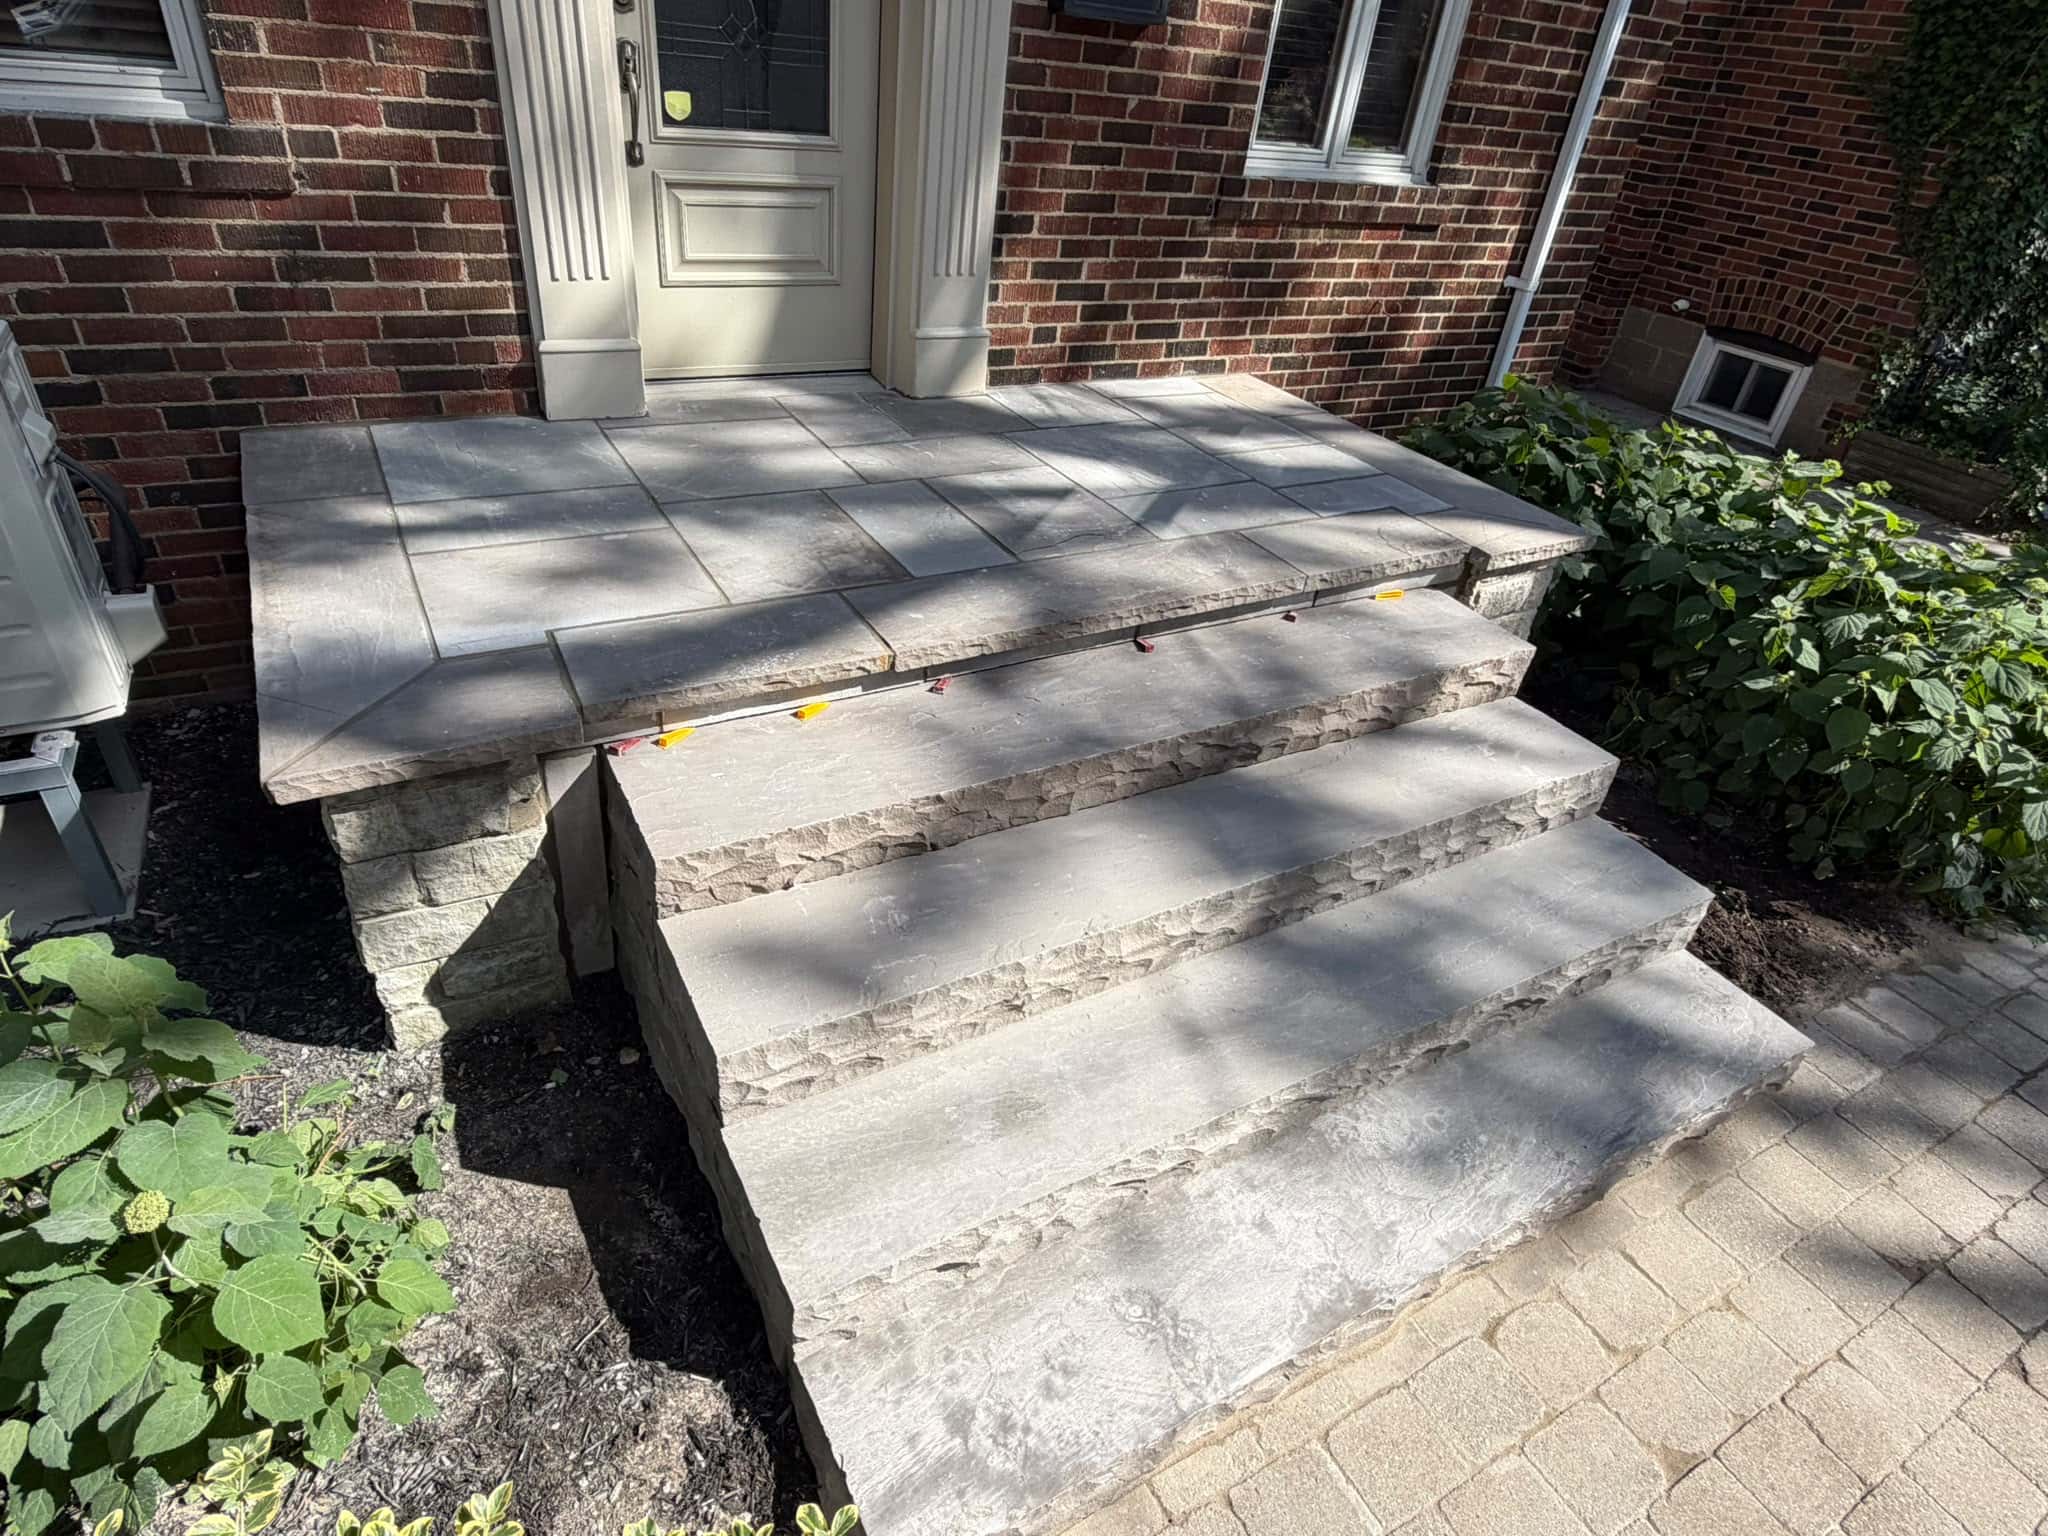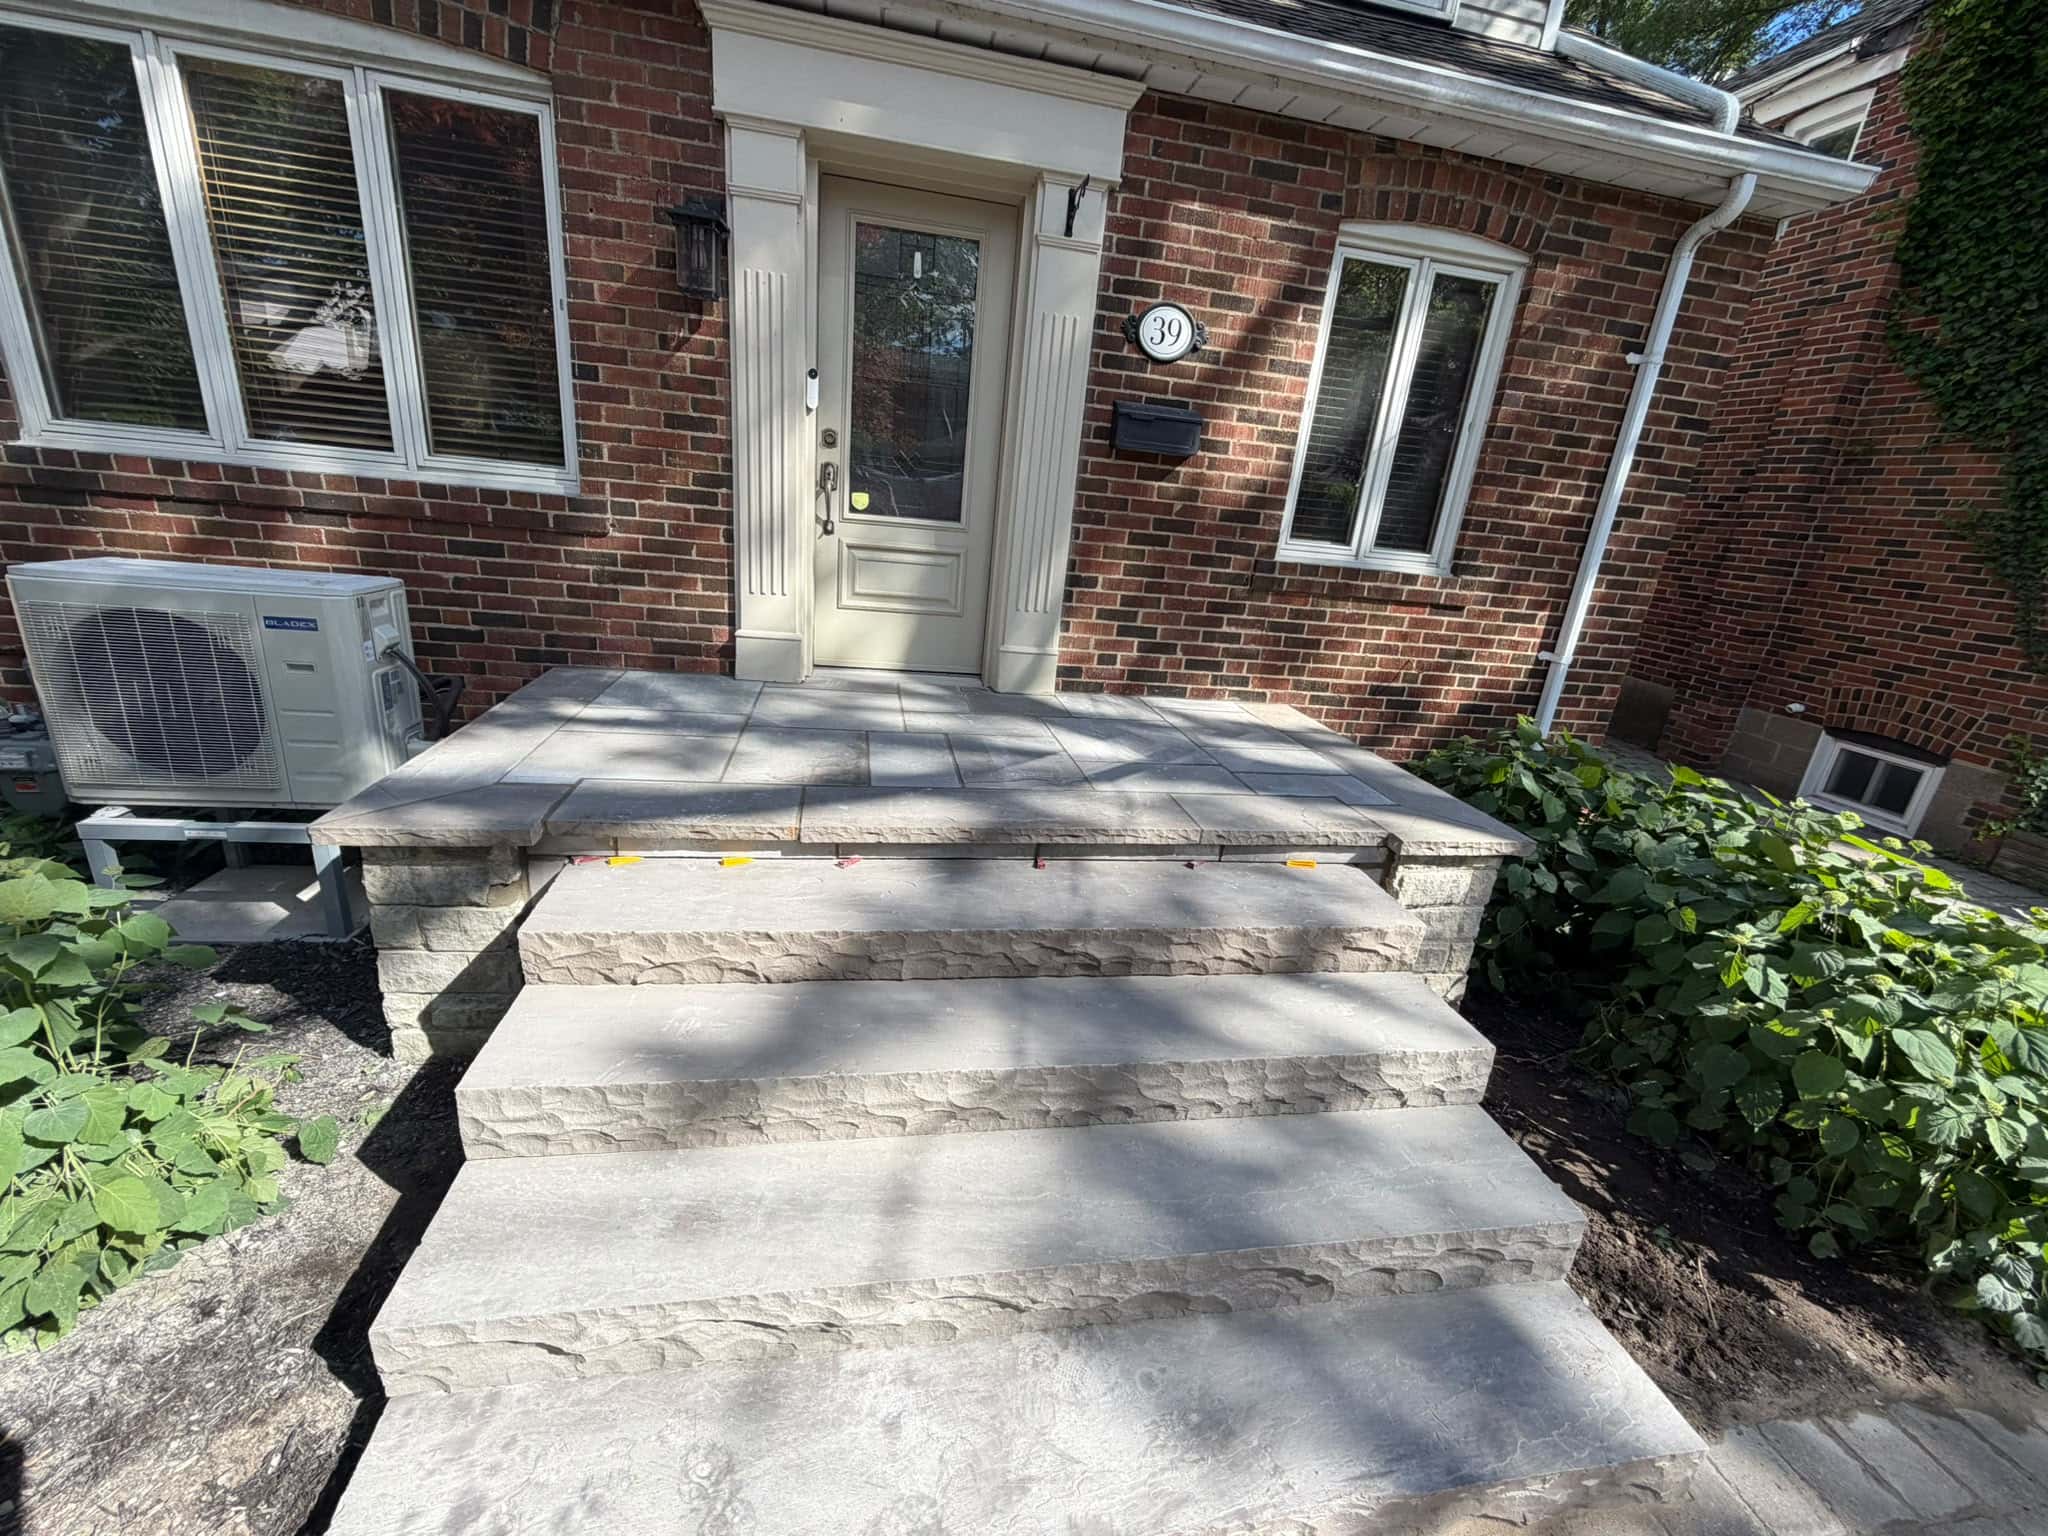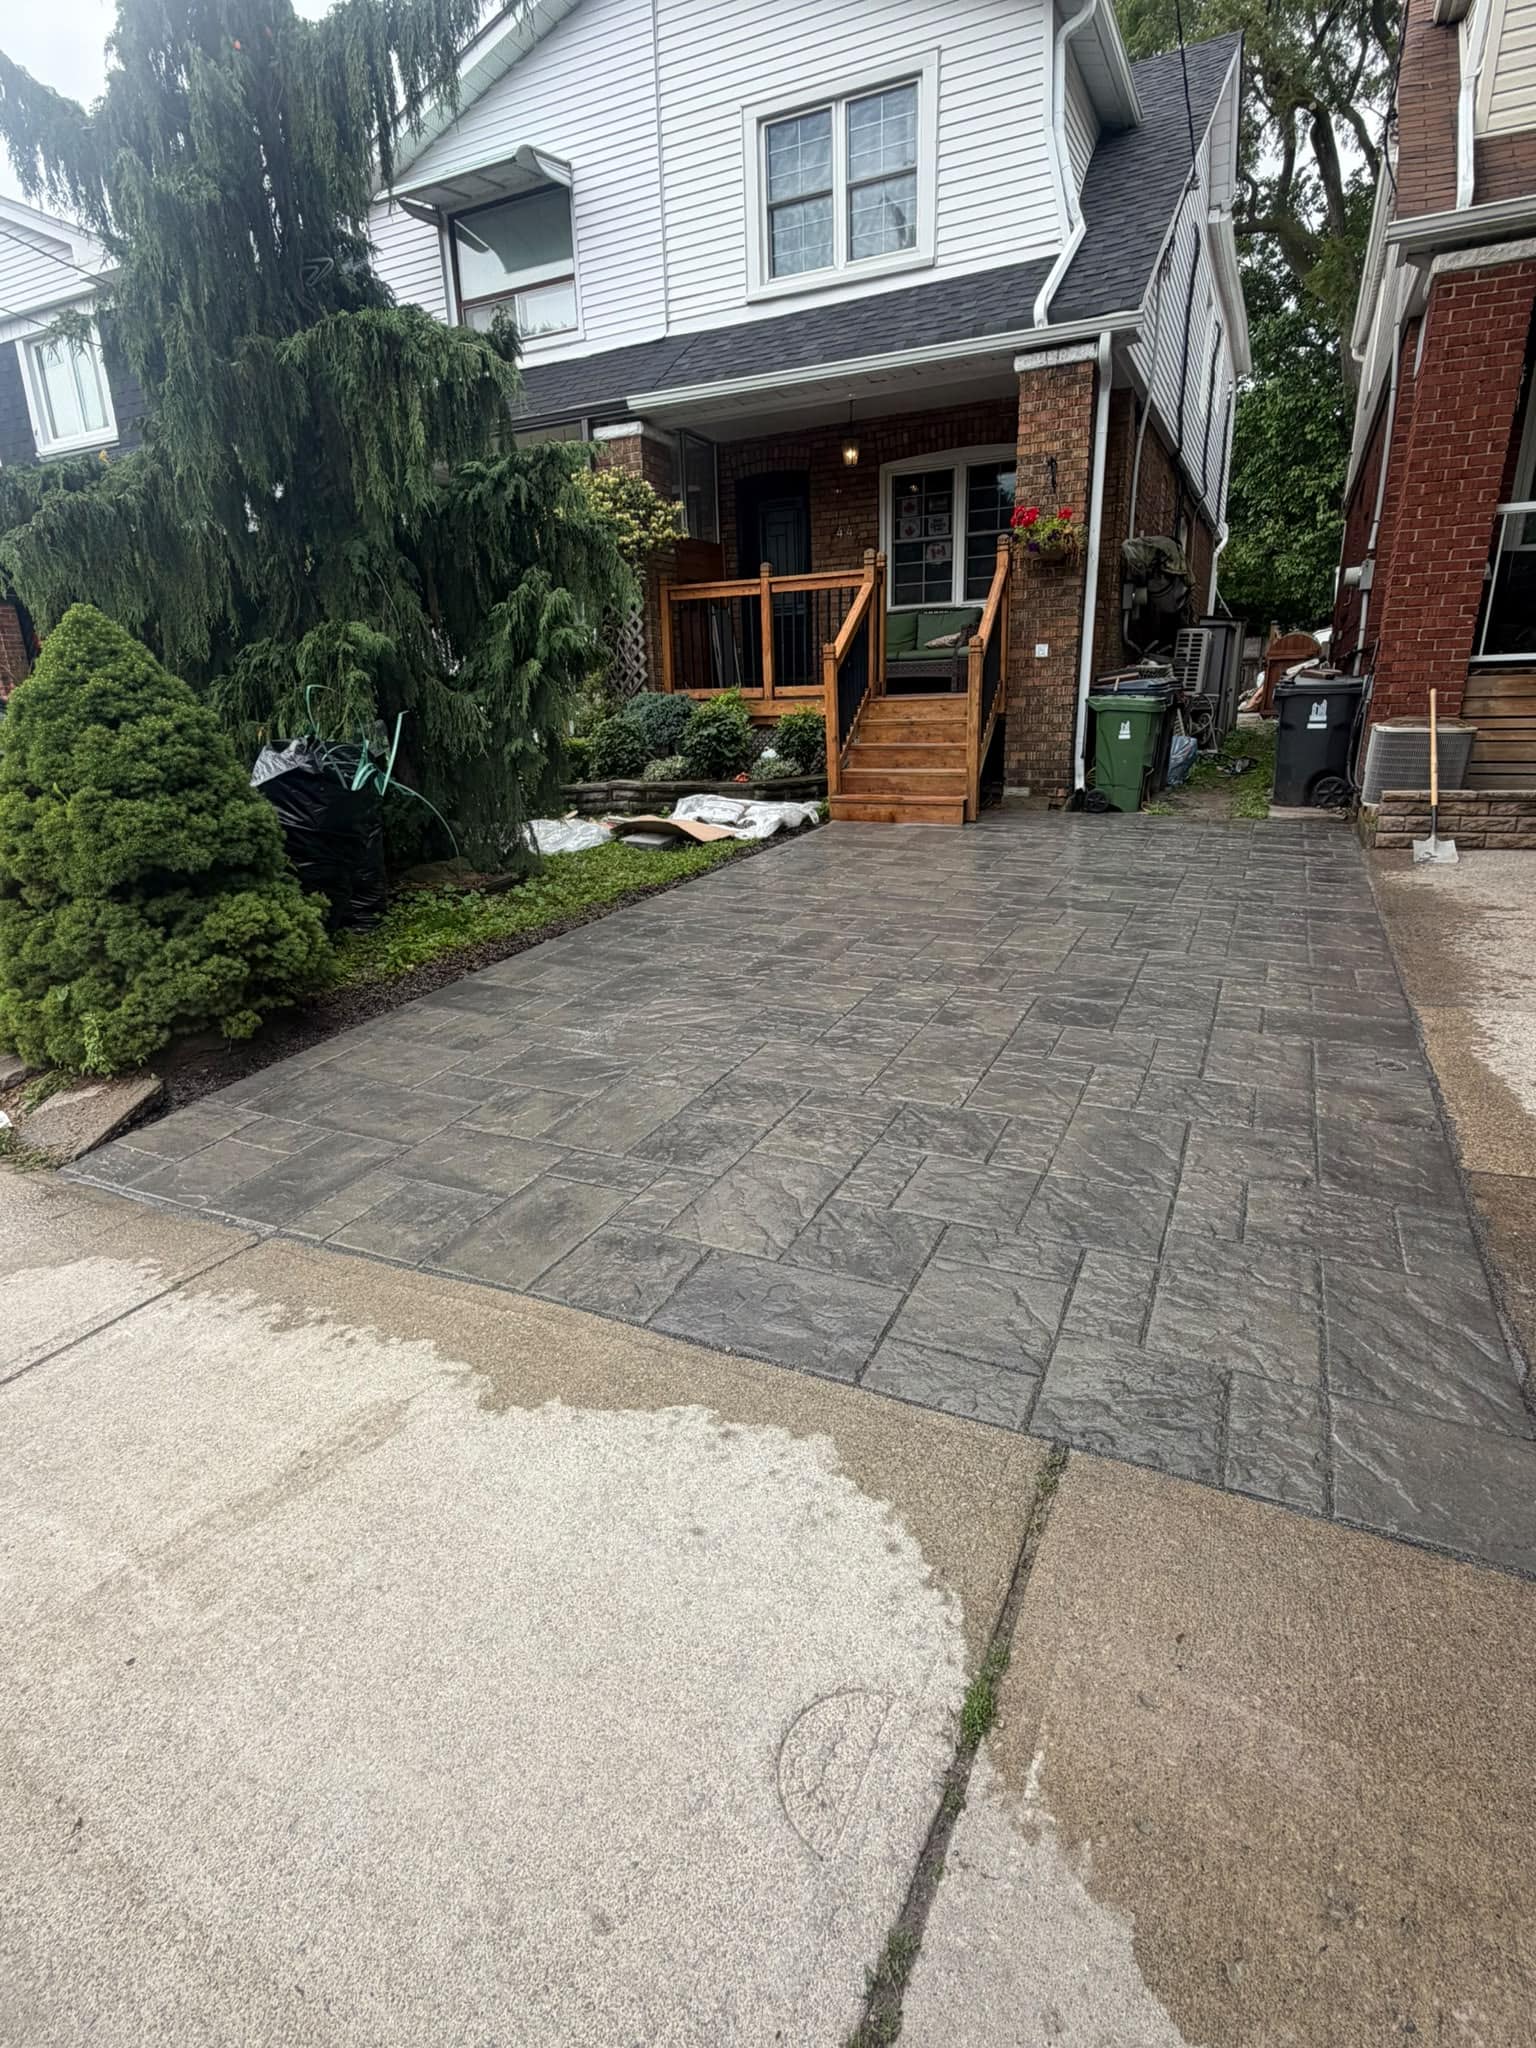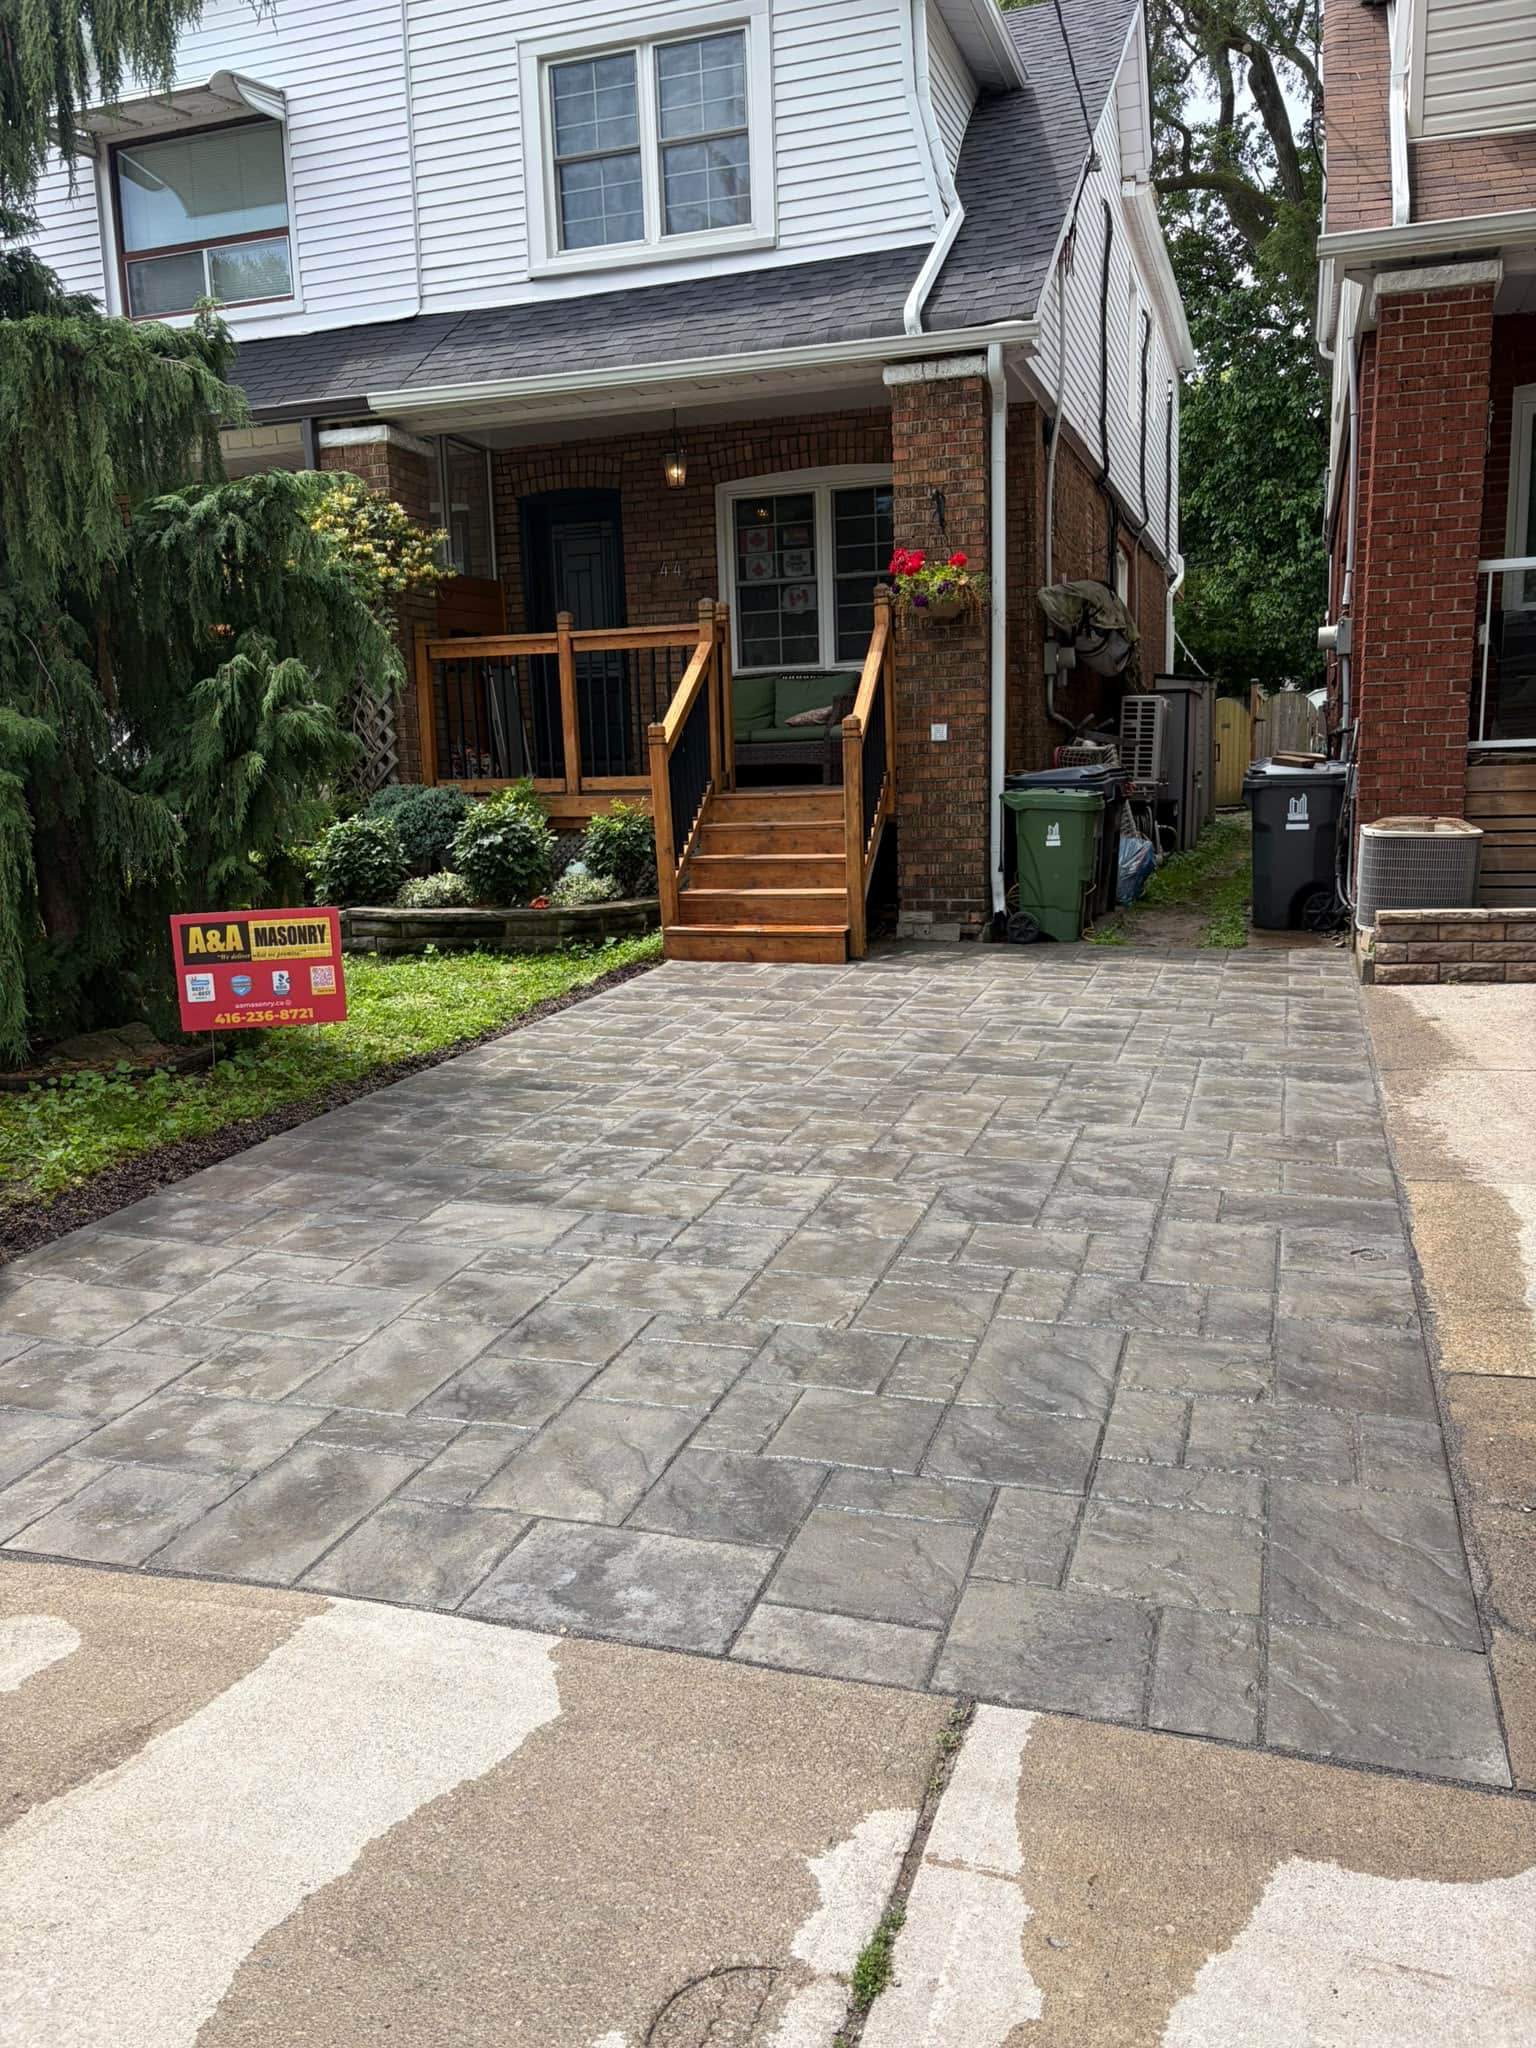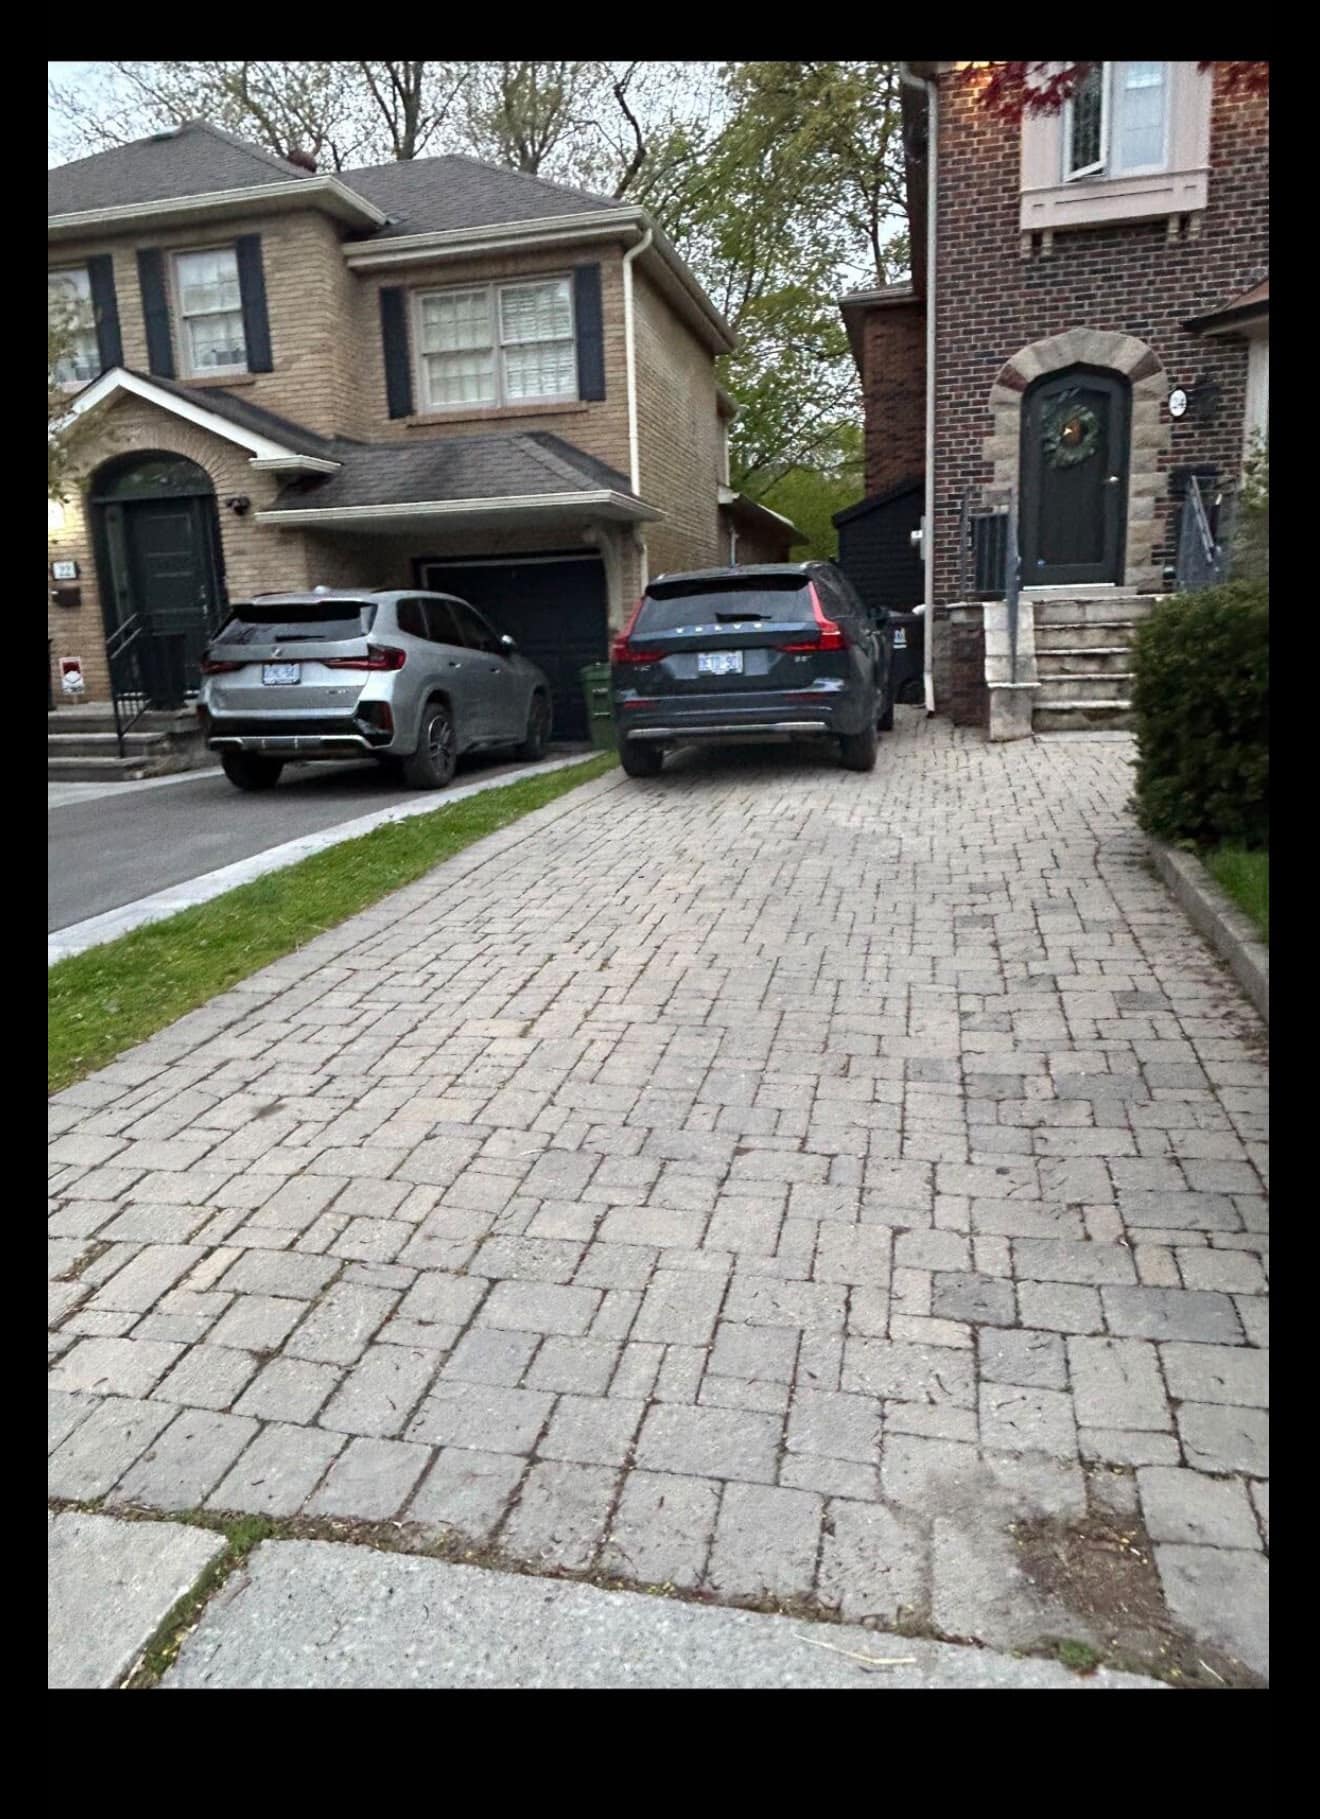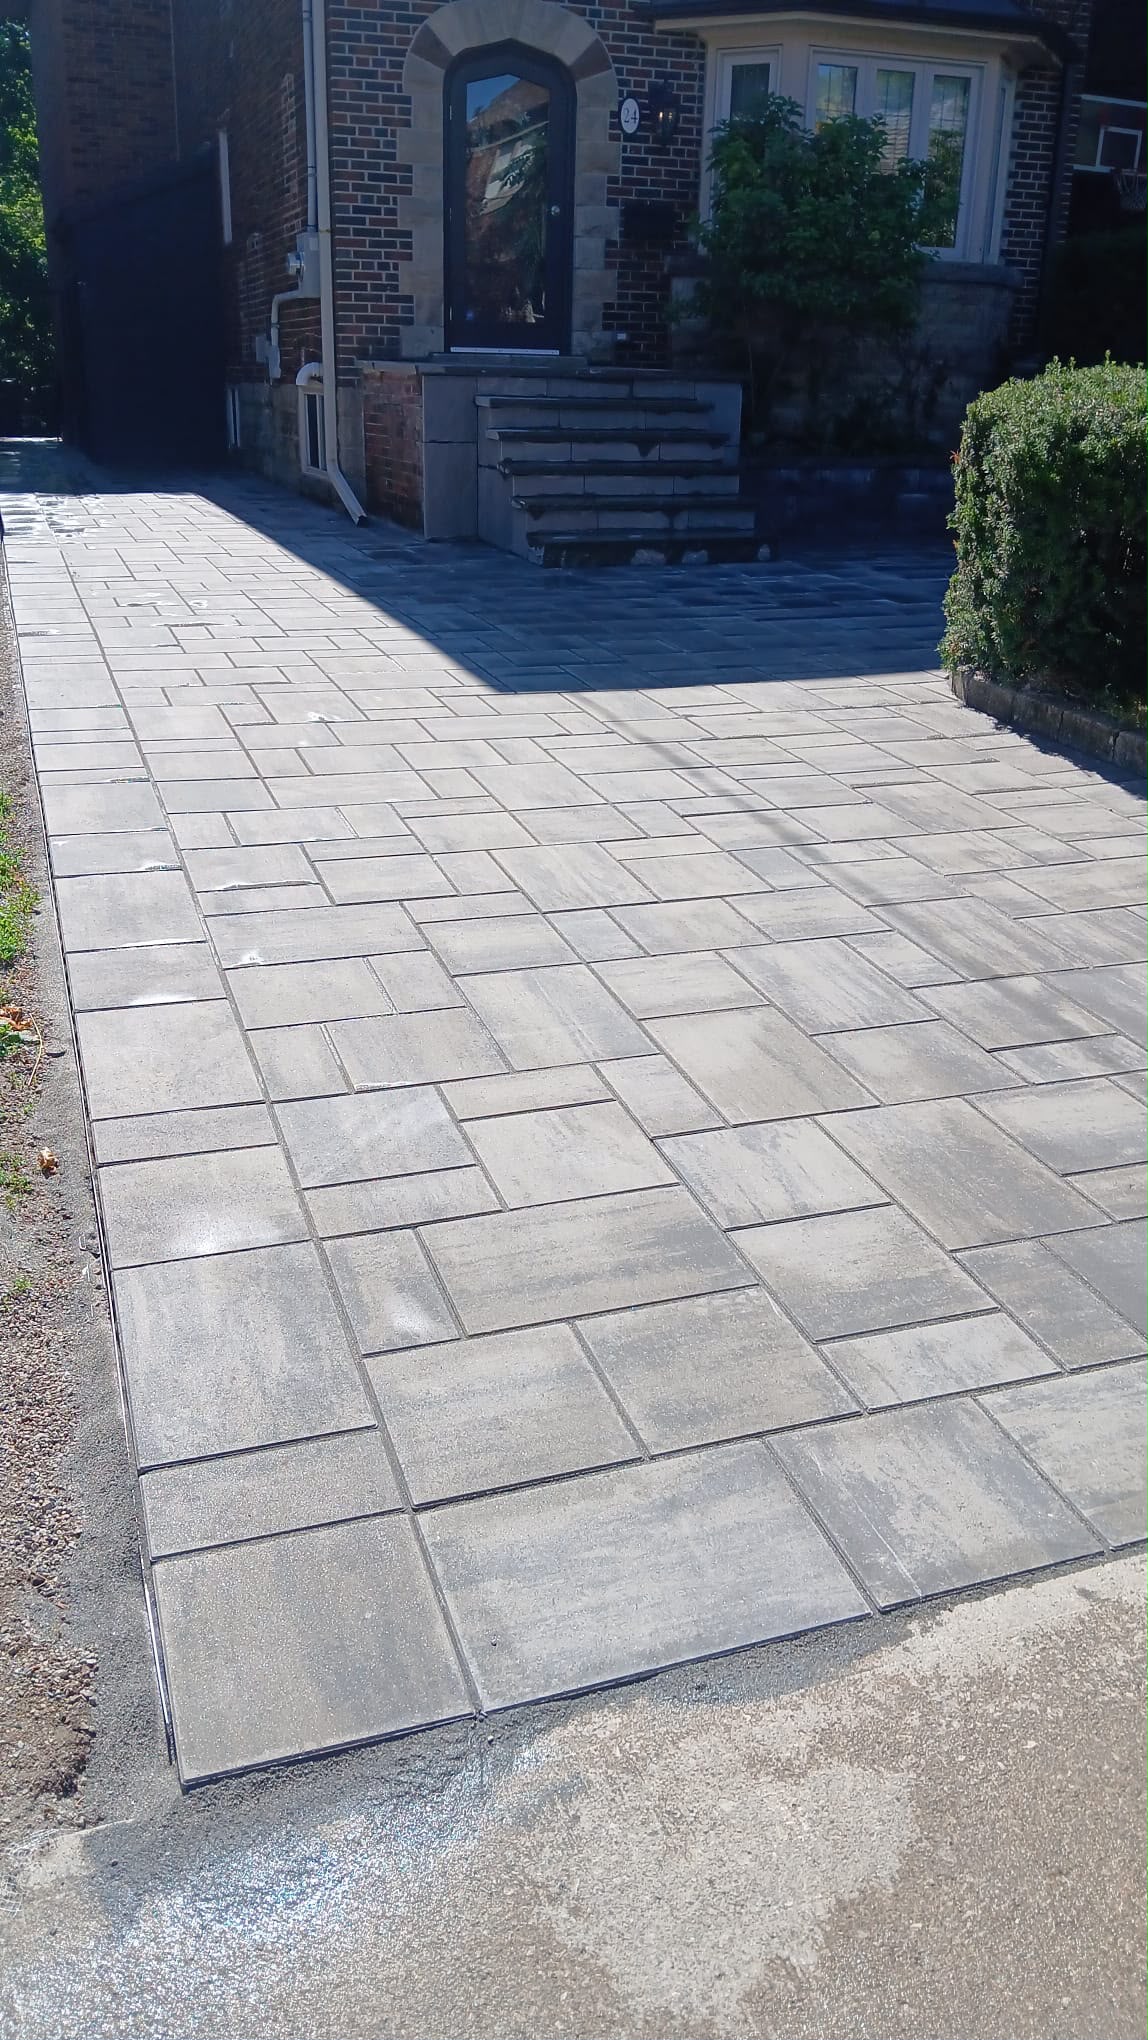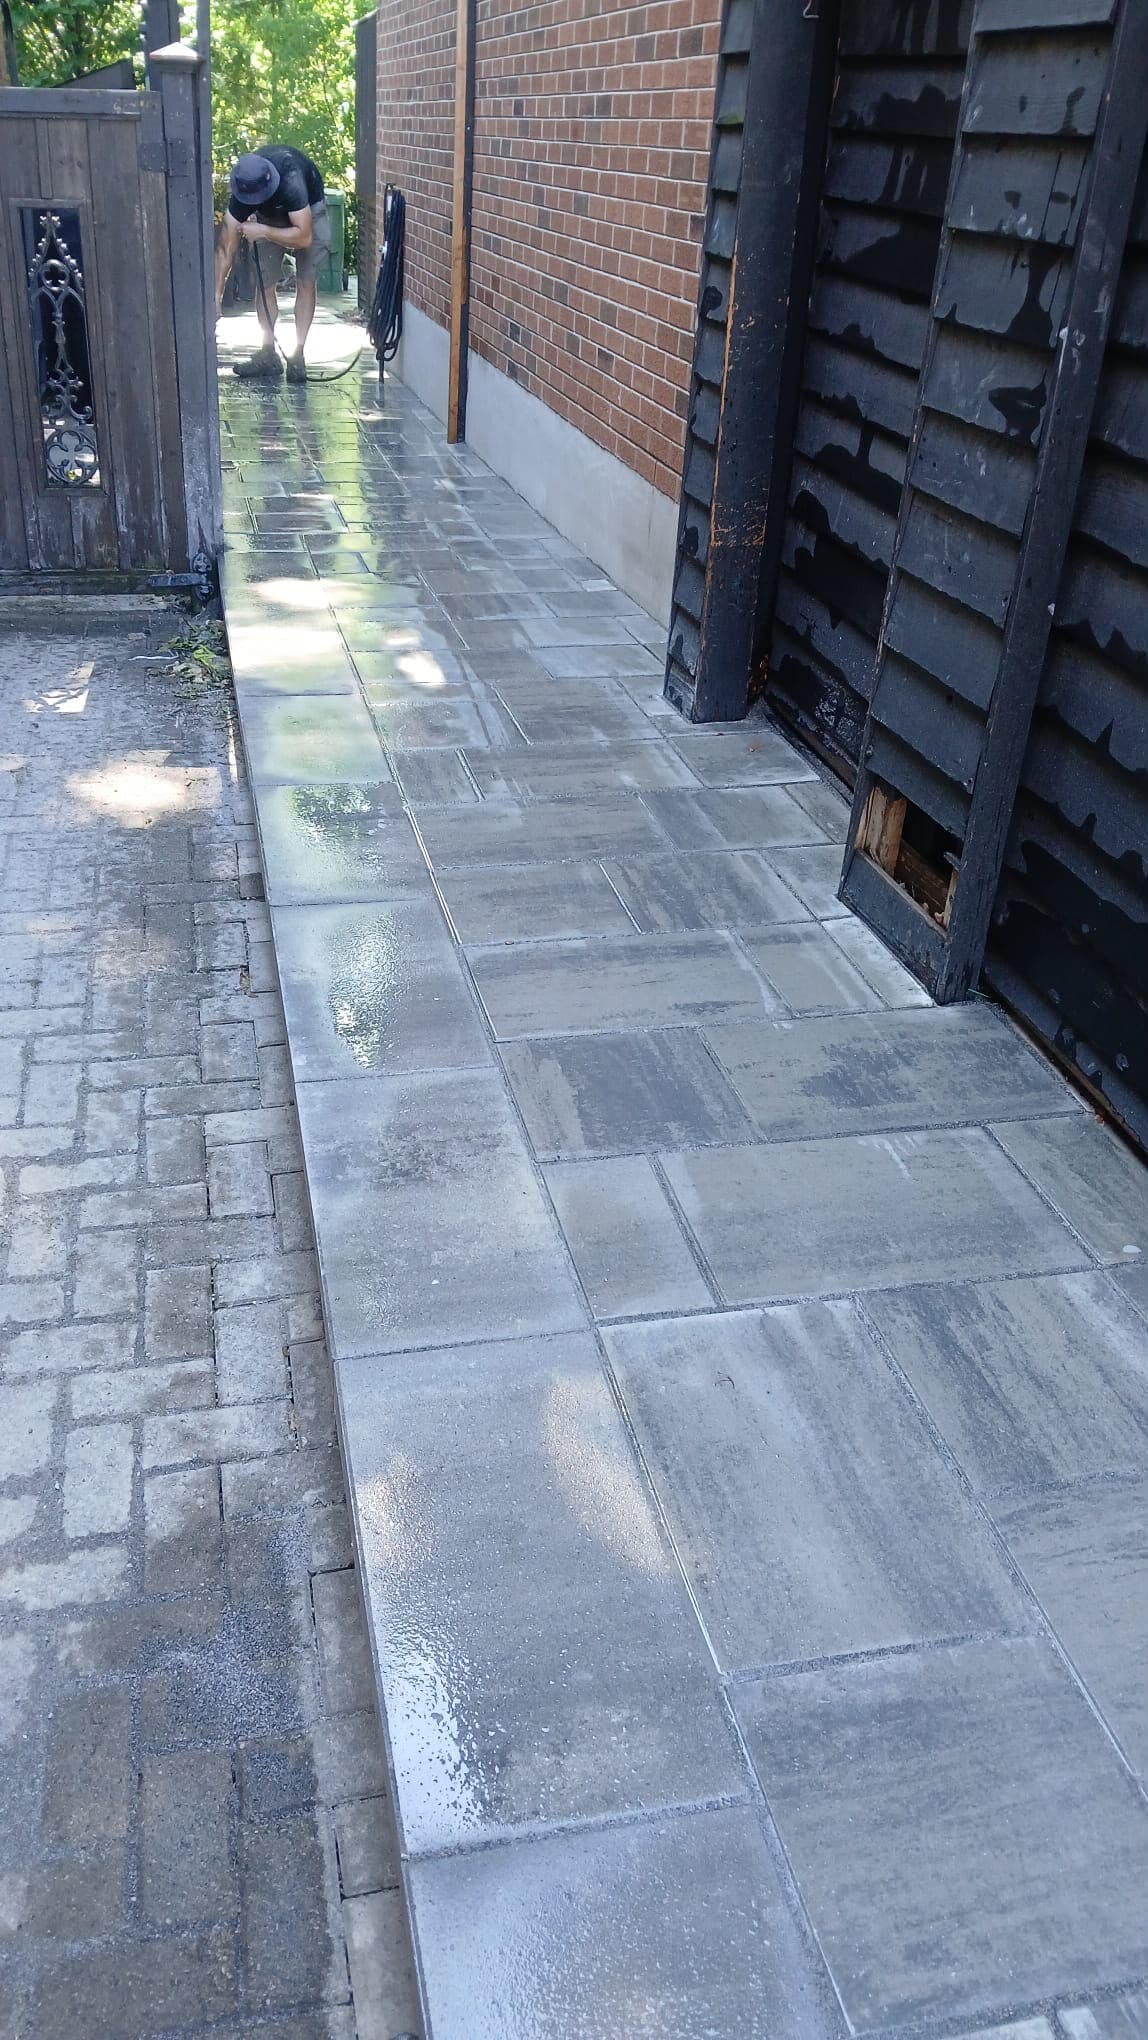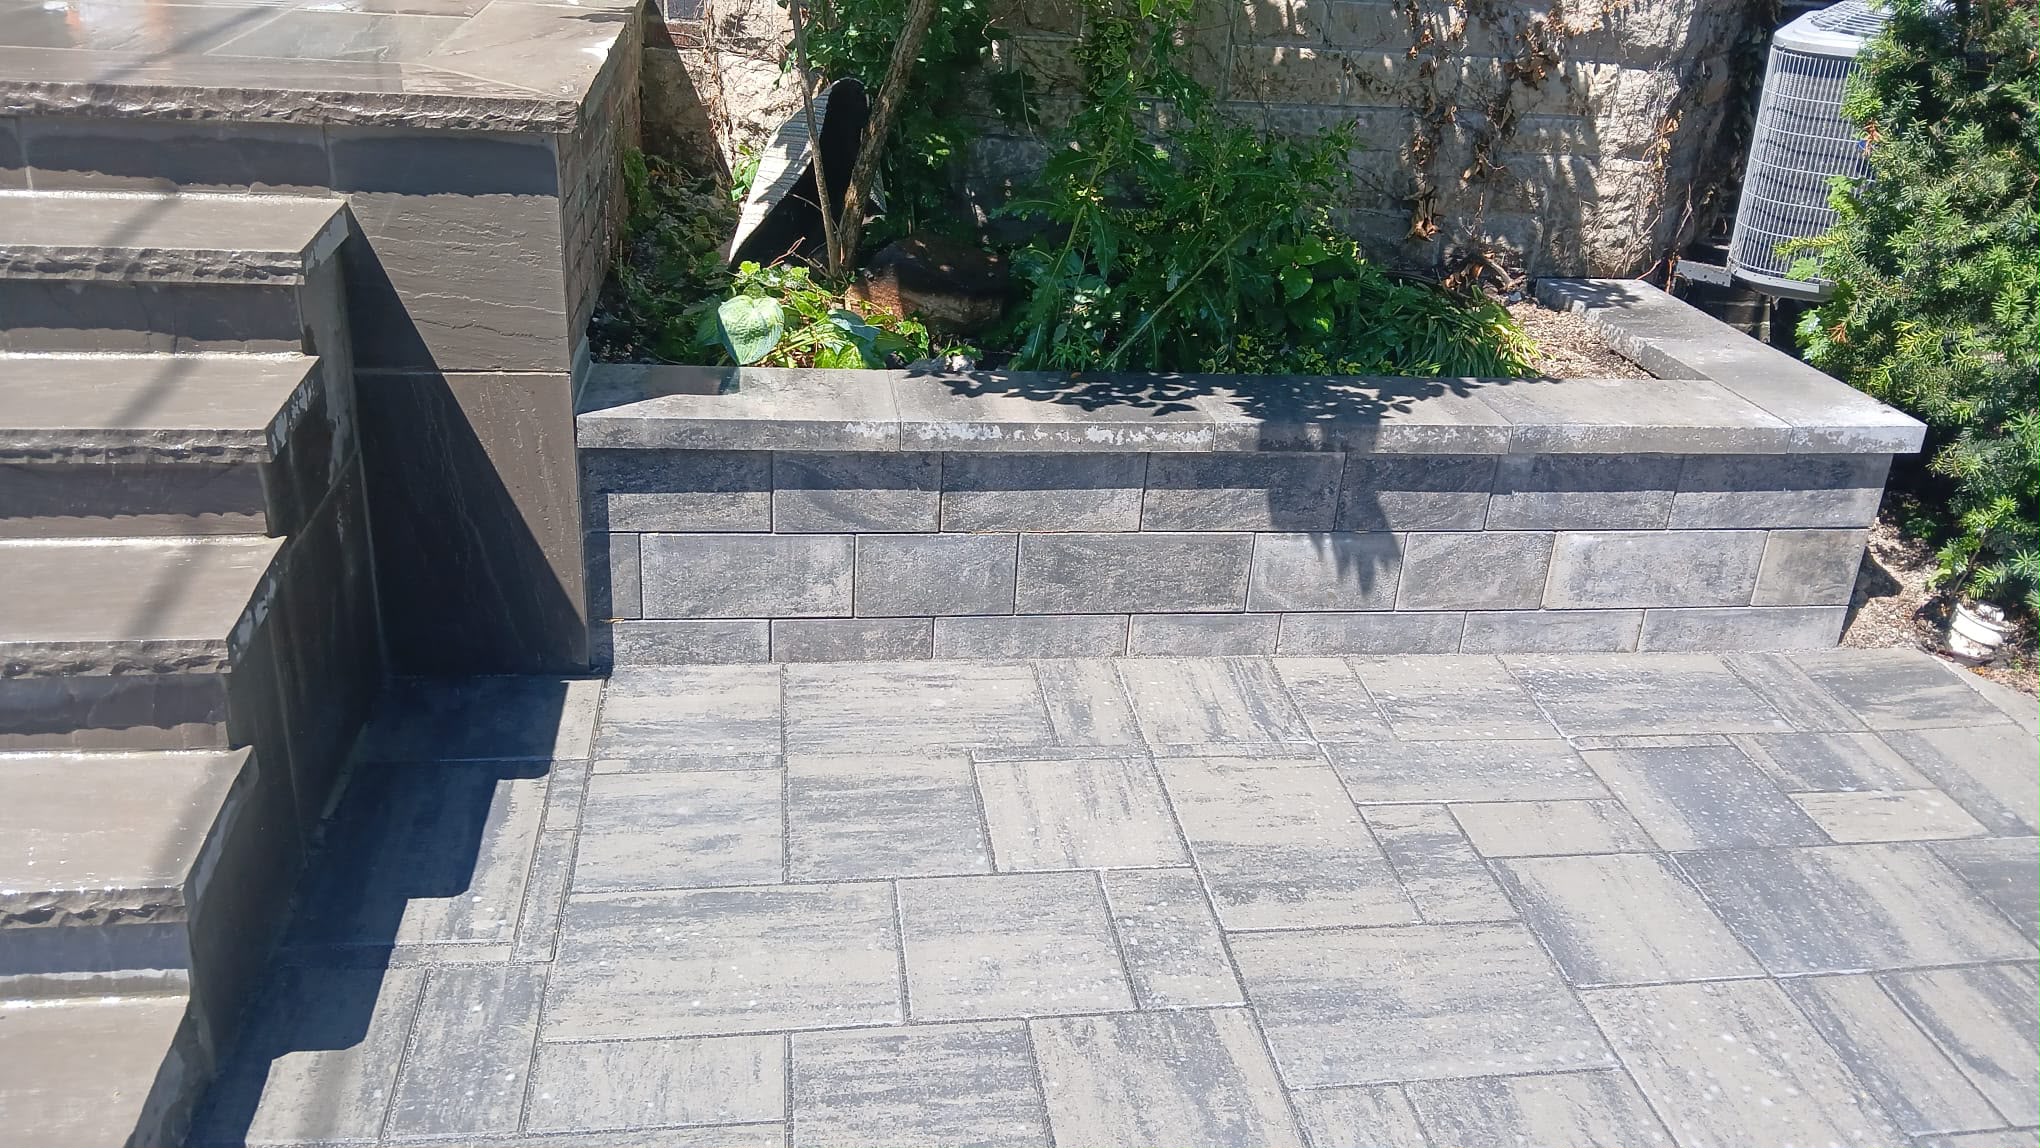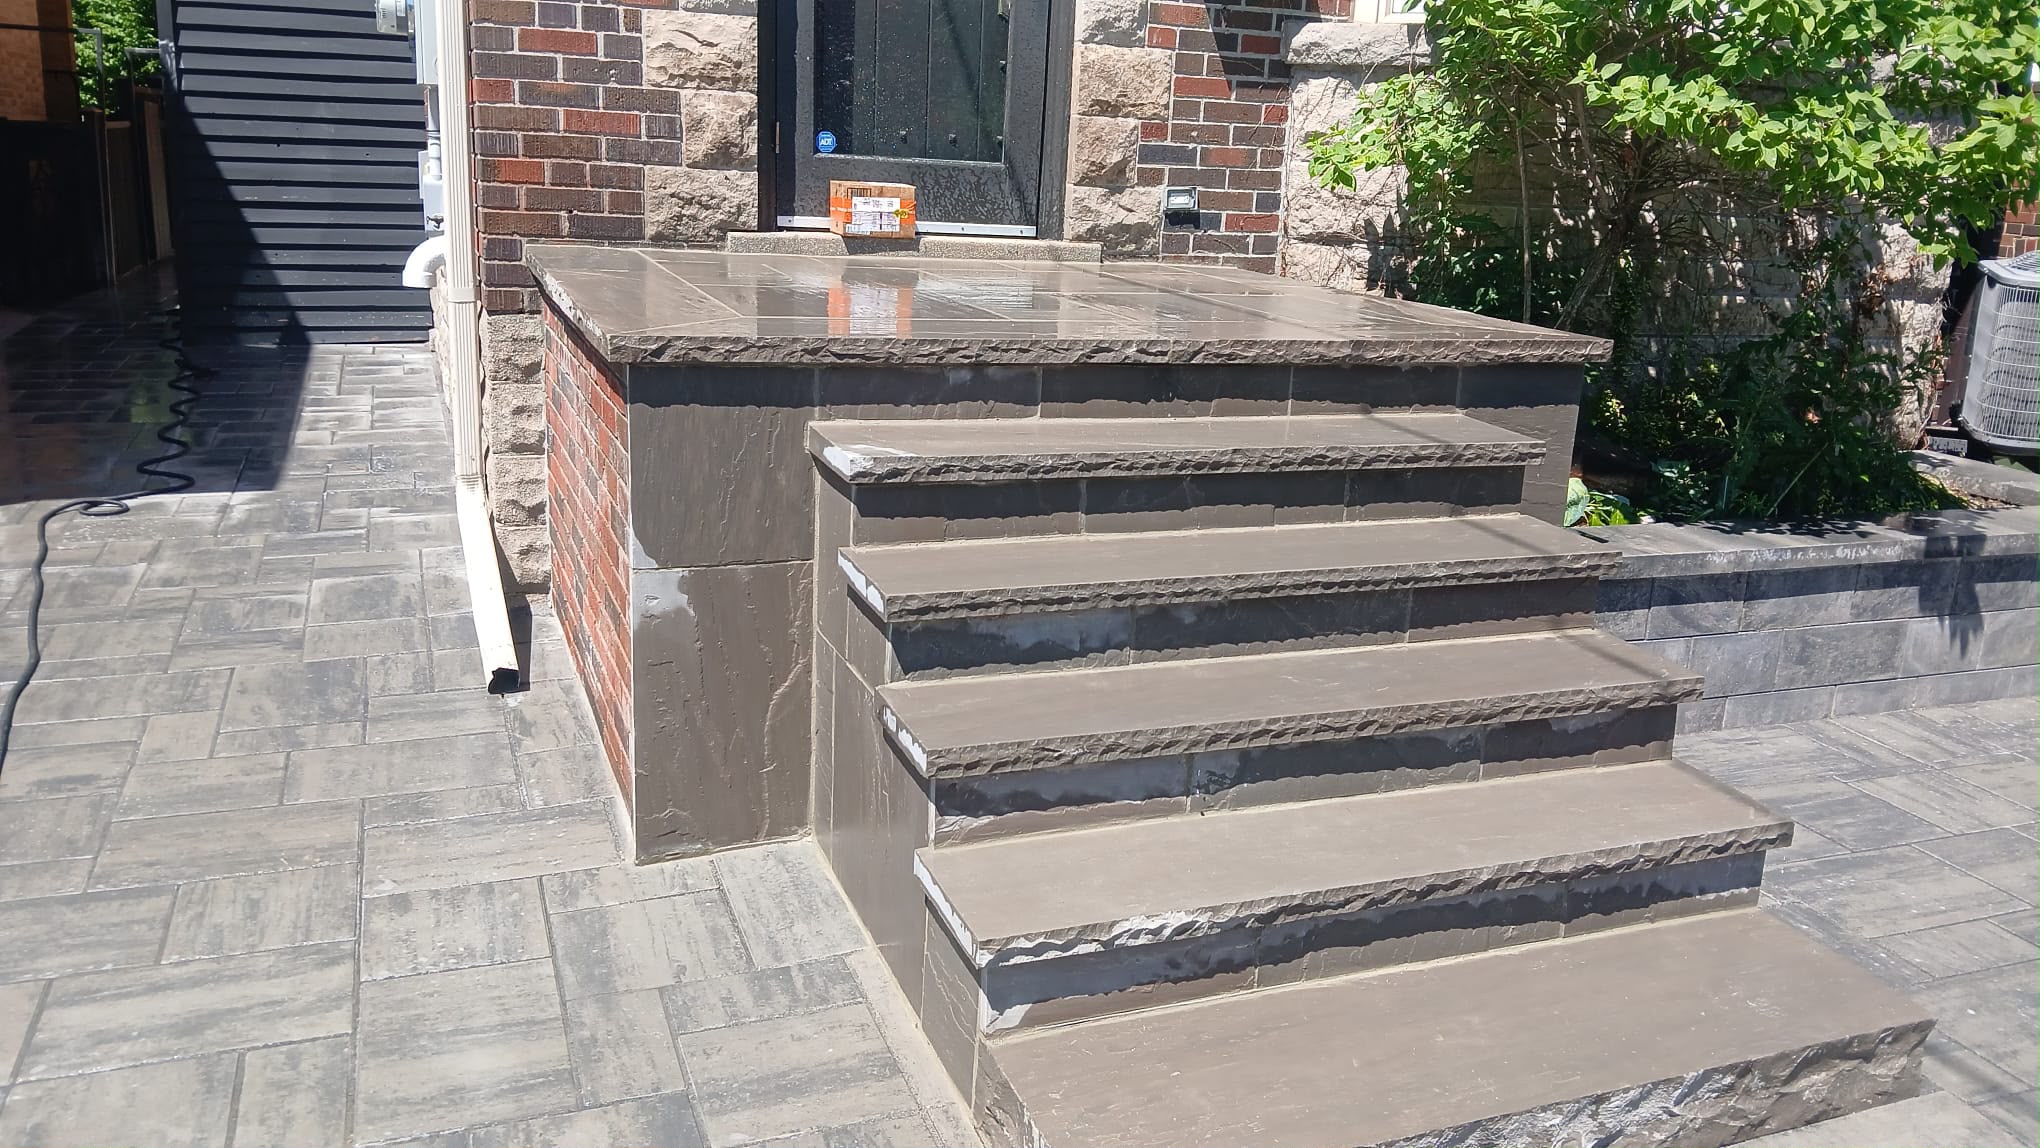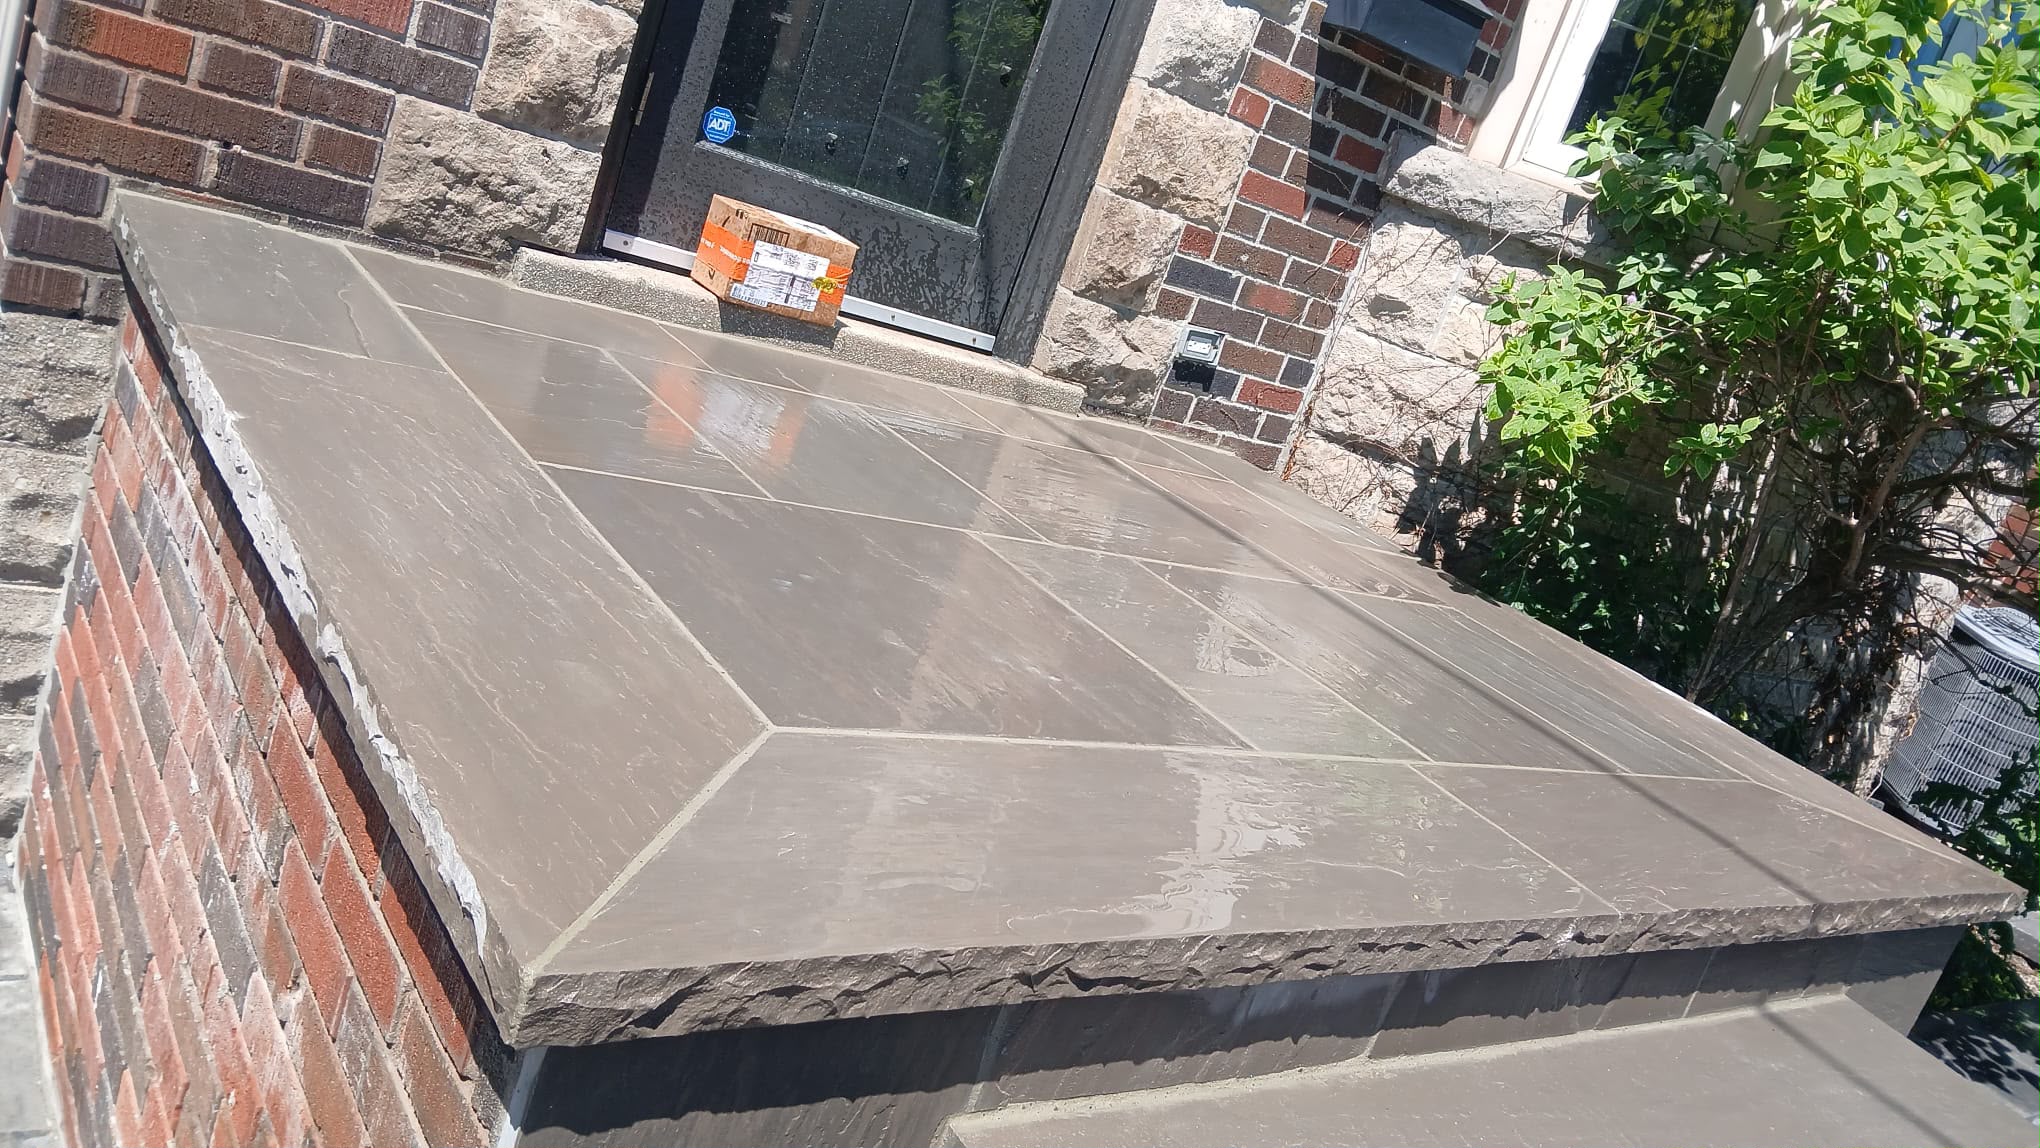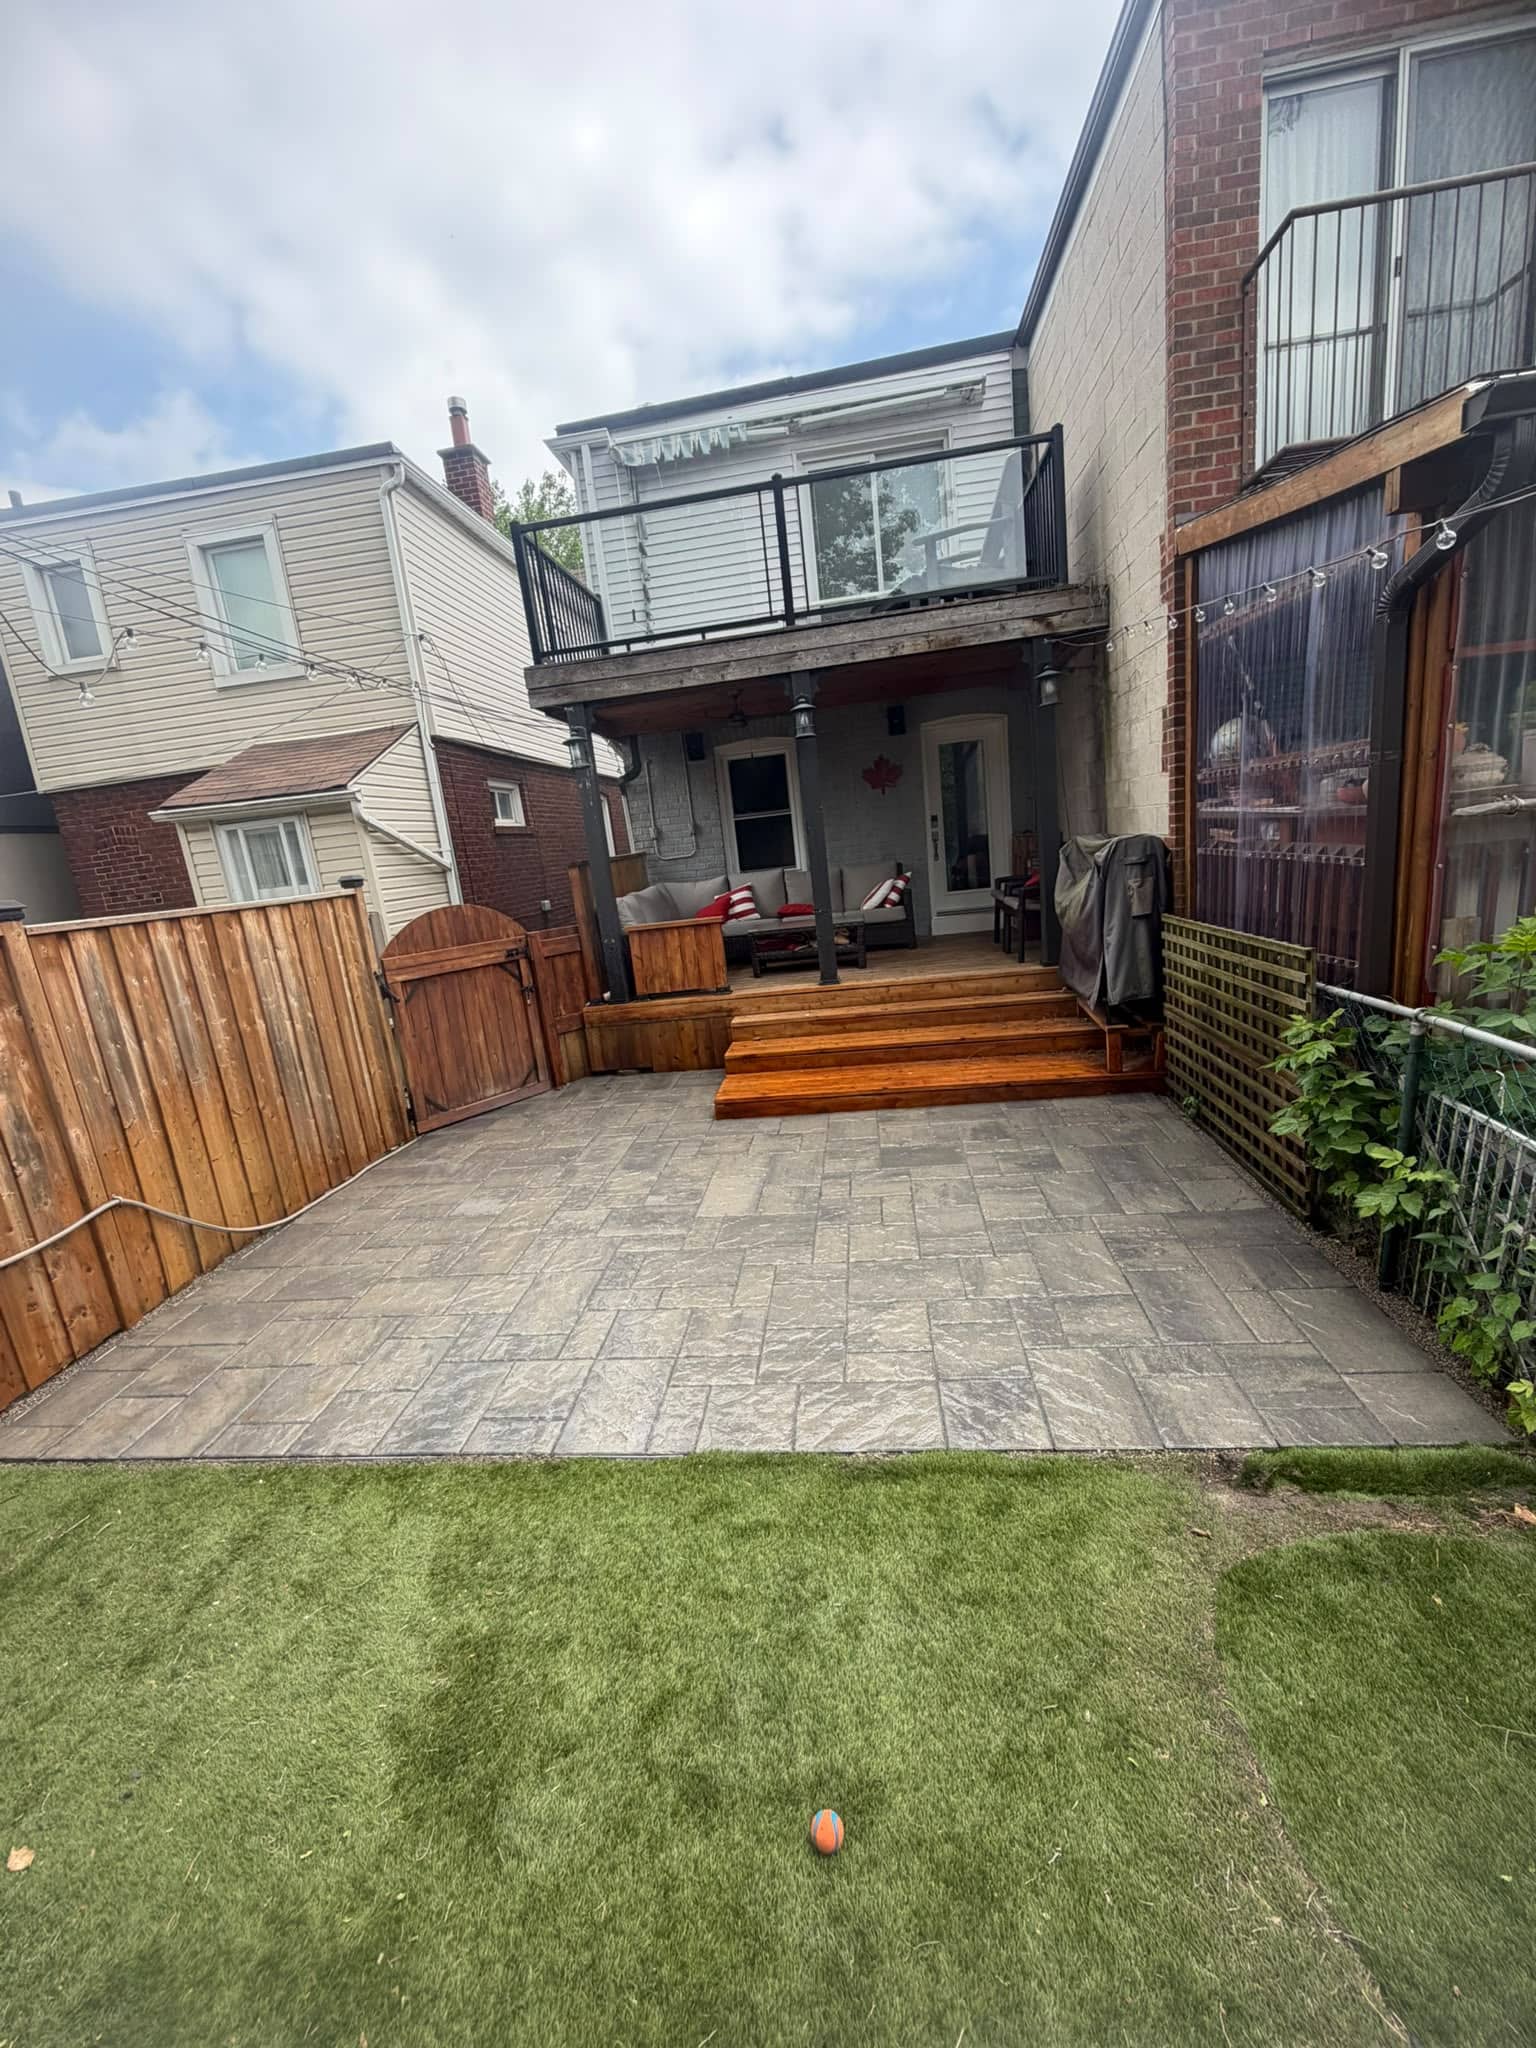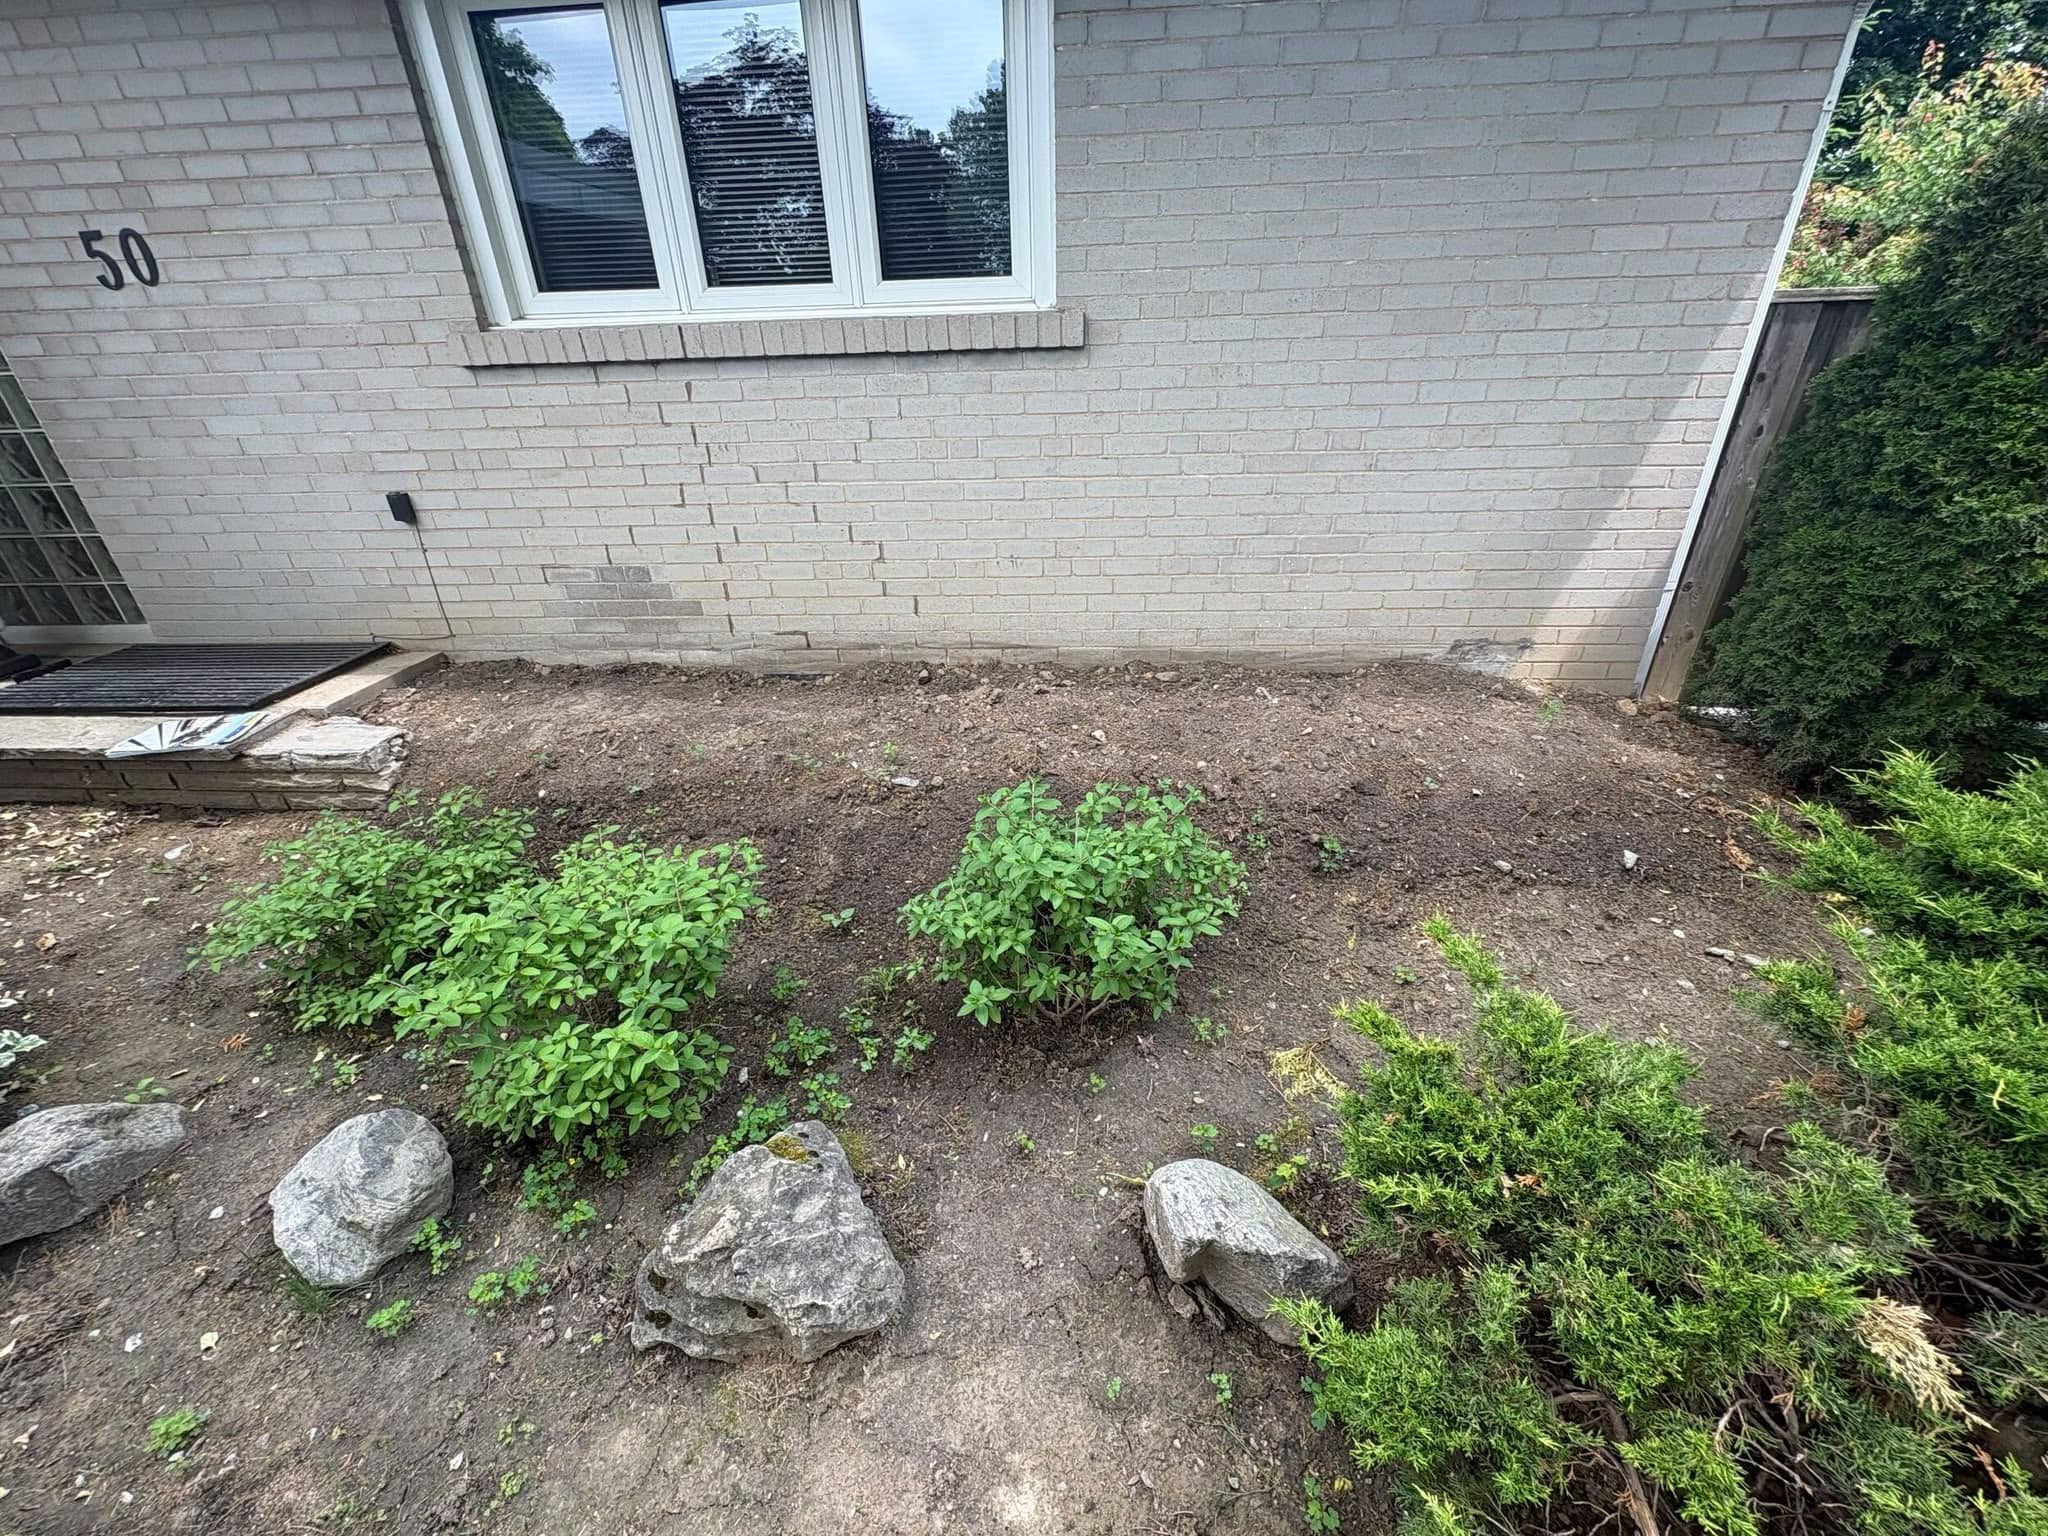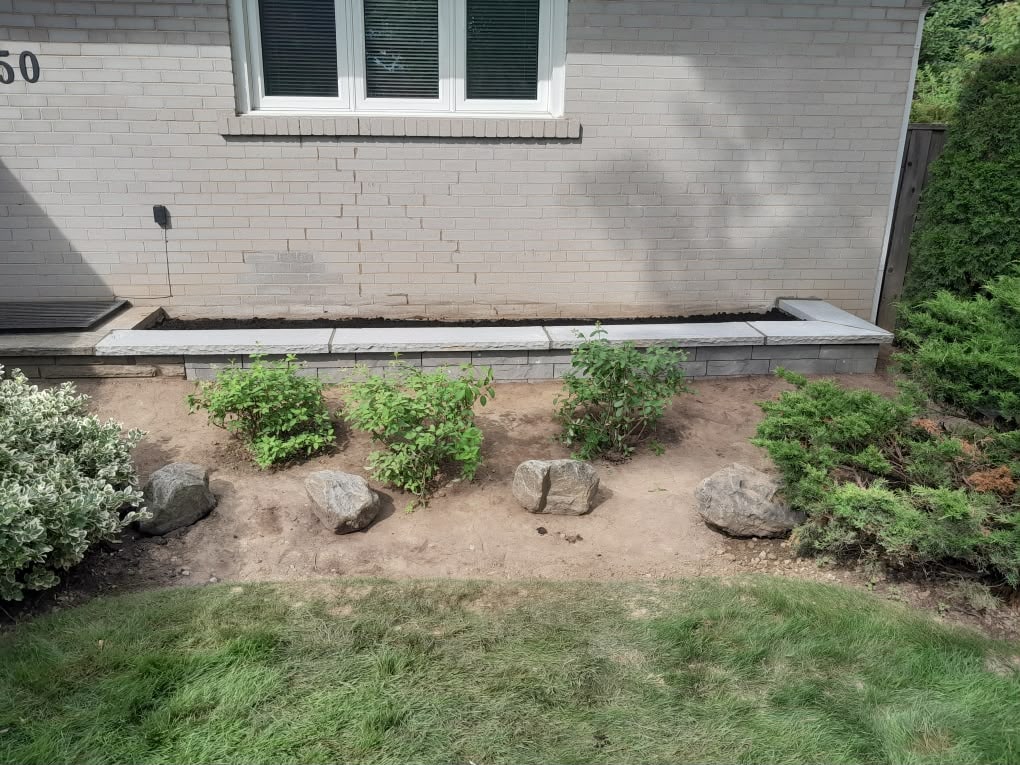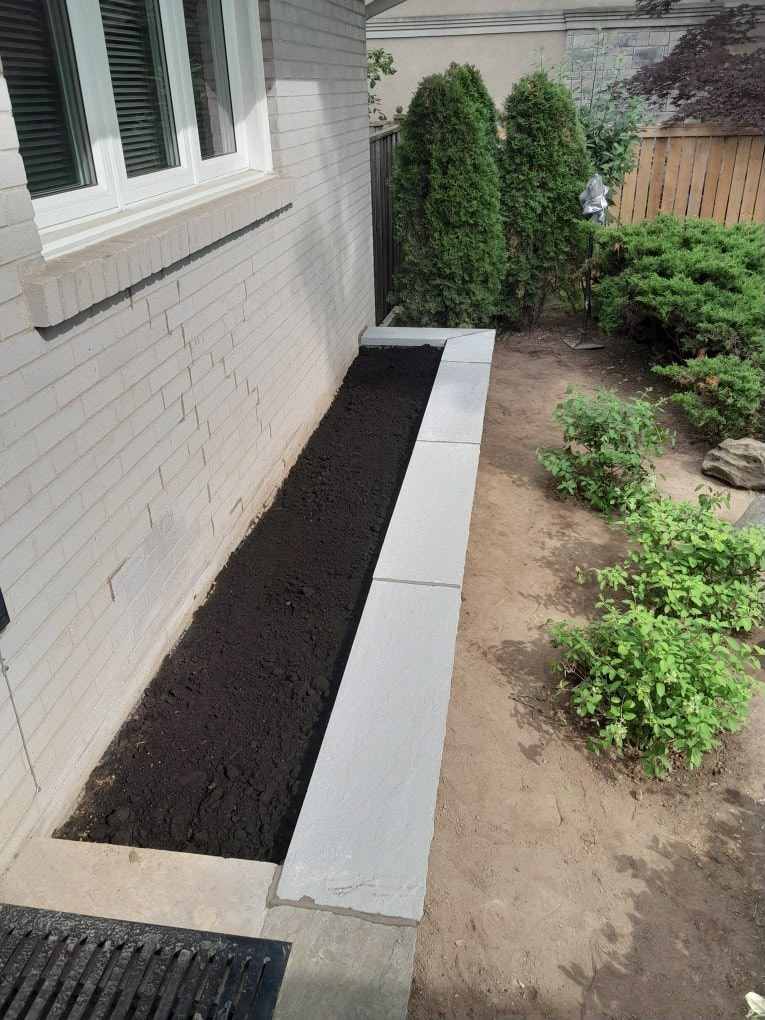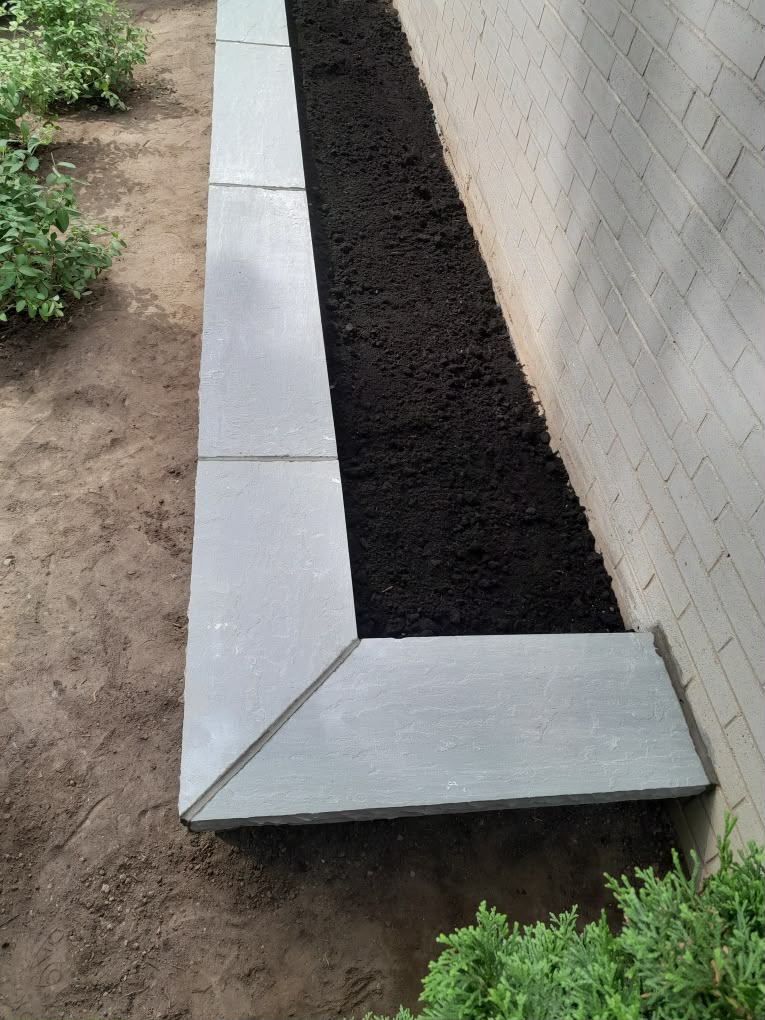
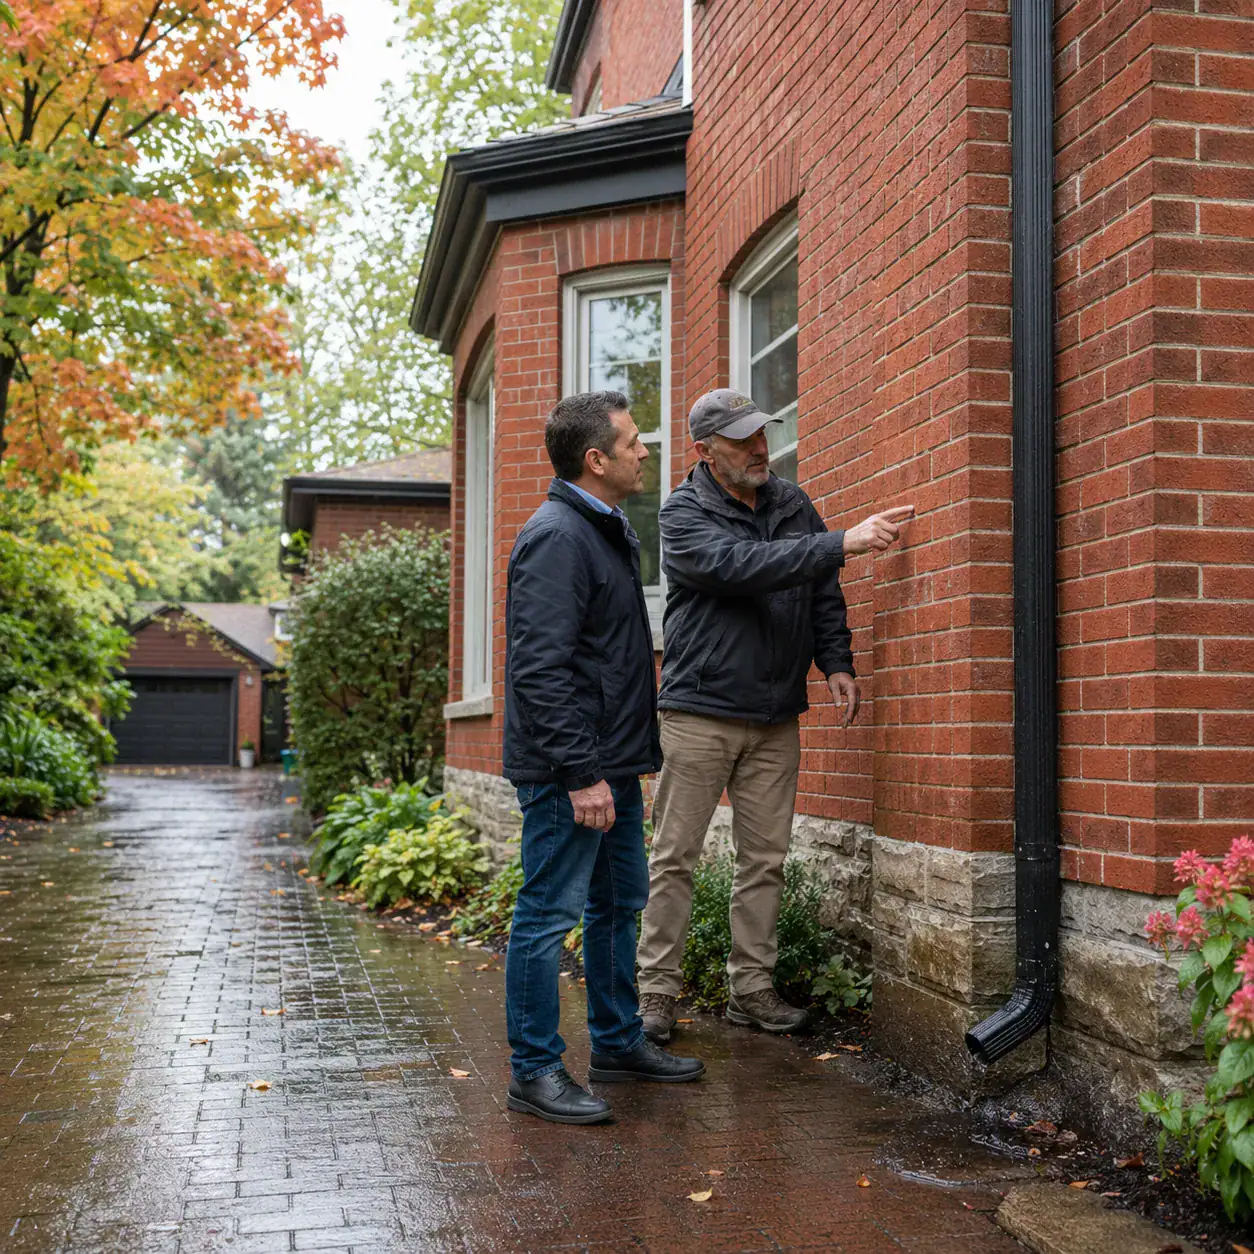
A fall masonry moisture check can help Toronto homeowners find areas where brick, mortar, stone, concrete, or foundation walls stay wetter than they should before freezing weather arrives. The goal is not simply to look for cracks. It is to find where water comes from, where it travels, and where it remains trapped long enough to contribute to masonry deterioration.
This matters because many winter masonry problems begin as moisture problems. A small mortar gap, leaking gutter, poorly directed downspout, low spot beside the foundation, cracked window sill, or patio sloping toward the house may not seem urgent during warm weather. Once repeated freezing and thawing begins, the same wet area can become more vulnerable.
September and early fall are good times to do this check because homeowners can observe the property during rain while still having time to address drainage and masonry concerns before sustained cold weather.
Why Moisture Matters Before Toronto’s Freeze-Thaw Season
Moisture matters because water that enters cracks, open mortar joints, damaged brick, concrete, or other porous masonry can freeze when temperatures fall. As water freezes, it expands and can place additional stress on already weakened materials.
The problem is rarely one cold night. Repeated wetting, freezing, thawing, and drying can gradually enlarge existing defects. Toronto winters regularly move above and below freezing, so vulnerable exterior masonry may experience this cycle many times.
That does not mean every wet brick wall will fail. Sound masonry is designed to handle normal weather exposure. The bigger concern is masonry that stays saturated because water enters through damaged areas or repeatedly collects in the same spot.
That distinction is important. Instead of trying to make every exterior surface completely waterproof, homeowners should first ask why a particular area is getting unusually wet.
Start Your Fall Masonry Moisture Check After Rain
The easiest time to find exterior moisture patterns is during or shortly after a steady rainfall. Water paths that are invisible on a dry afternoon often become obvious once the roof, walls, patios, walkways, and soil are wet.
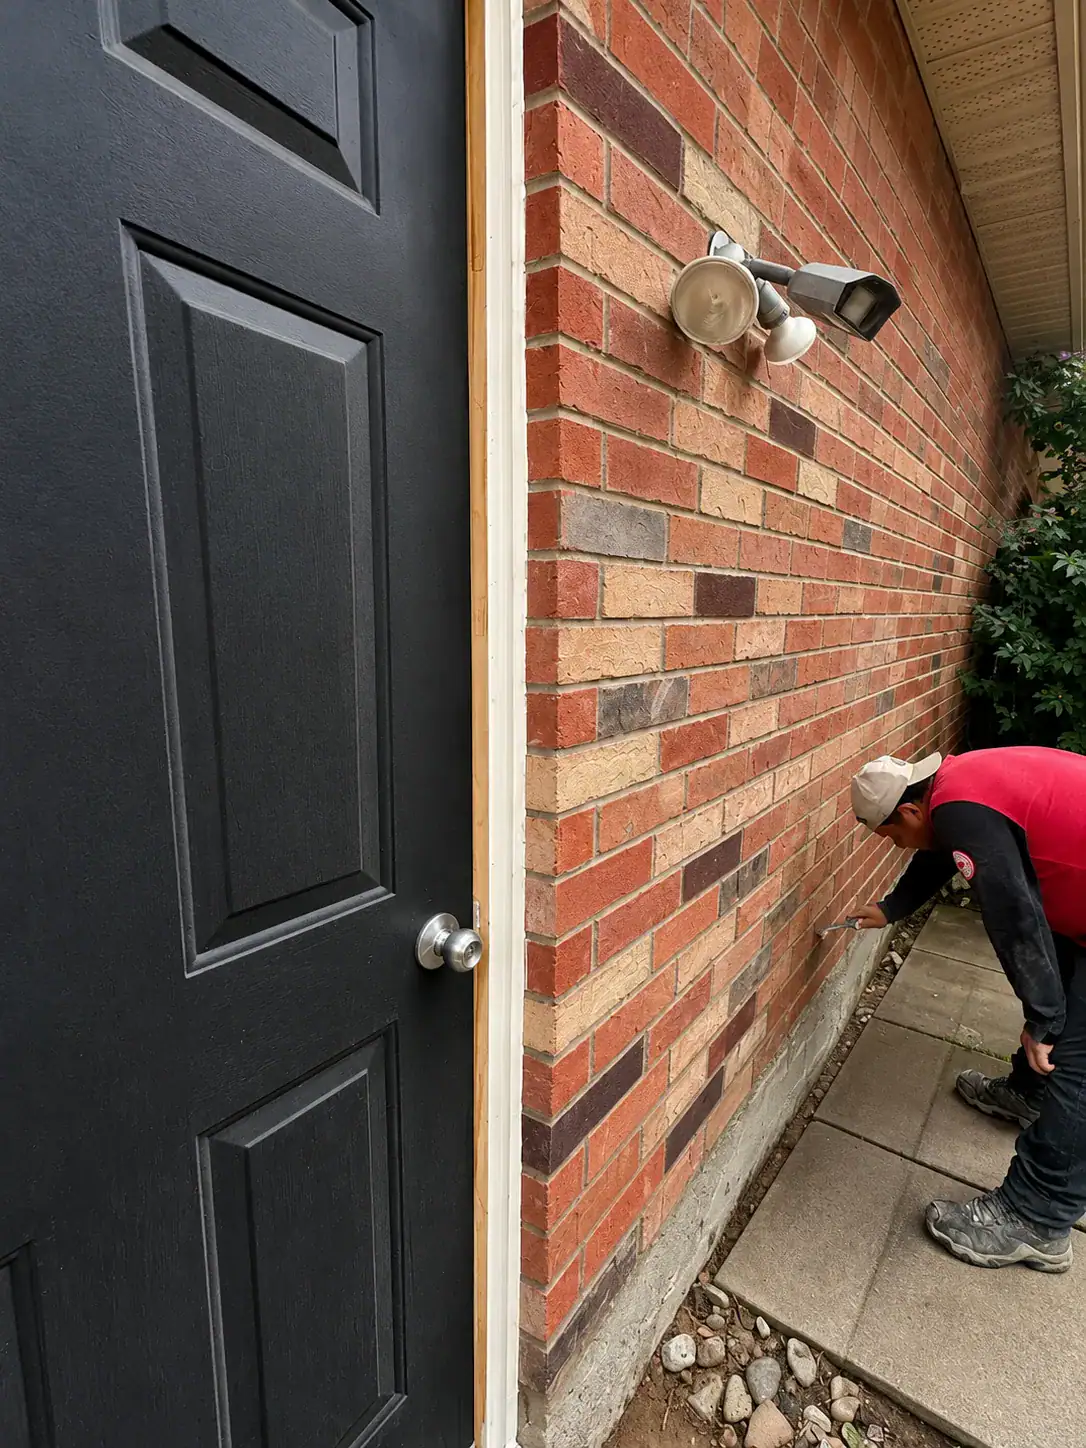
Walk around the property from ground level and compare different areas. Look for one section of brick that is much darker than the surrounding wall, water running down the face of masonry, overflowing gutters, pooling beside steps, or downspouts releasing water close to the foundation.
Then check the same areas several hours later. If most of the wall has dried but one section remains noticeably damp, investigate what is different about that location.
Take photographs. A wide photo shows where the problem sits on the building, while a close-up records the condition of the brick, mortar, concrete, or stone. These images can also help you compare the area after another storm.
1. Check Eavestroughs and Downspouts First
Roof drainage is one of the first places to inspect because a large amount of rainwater can concentrate in a small area around the house.
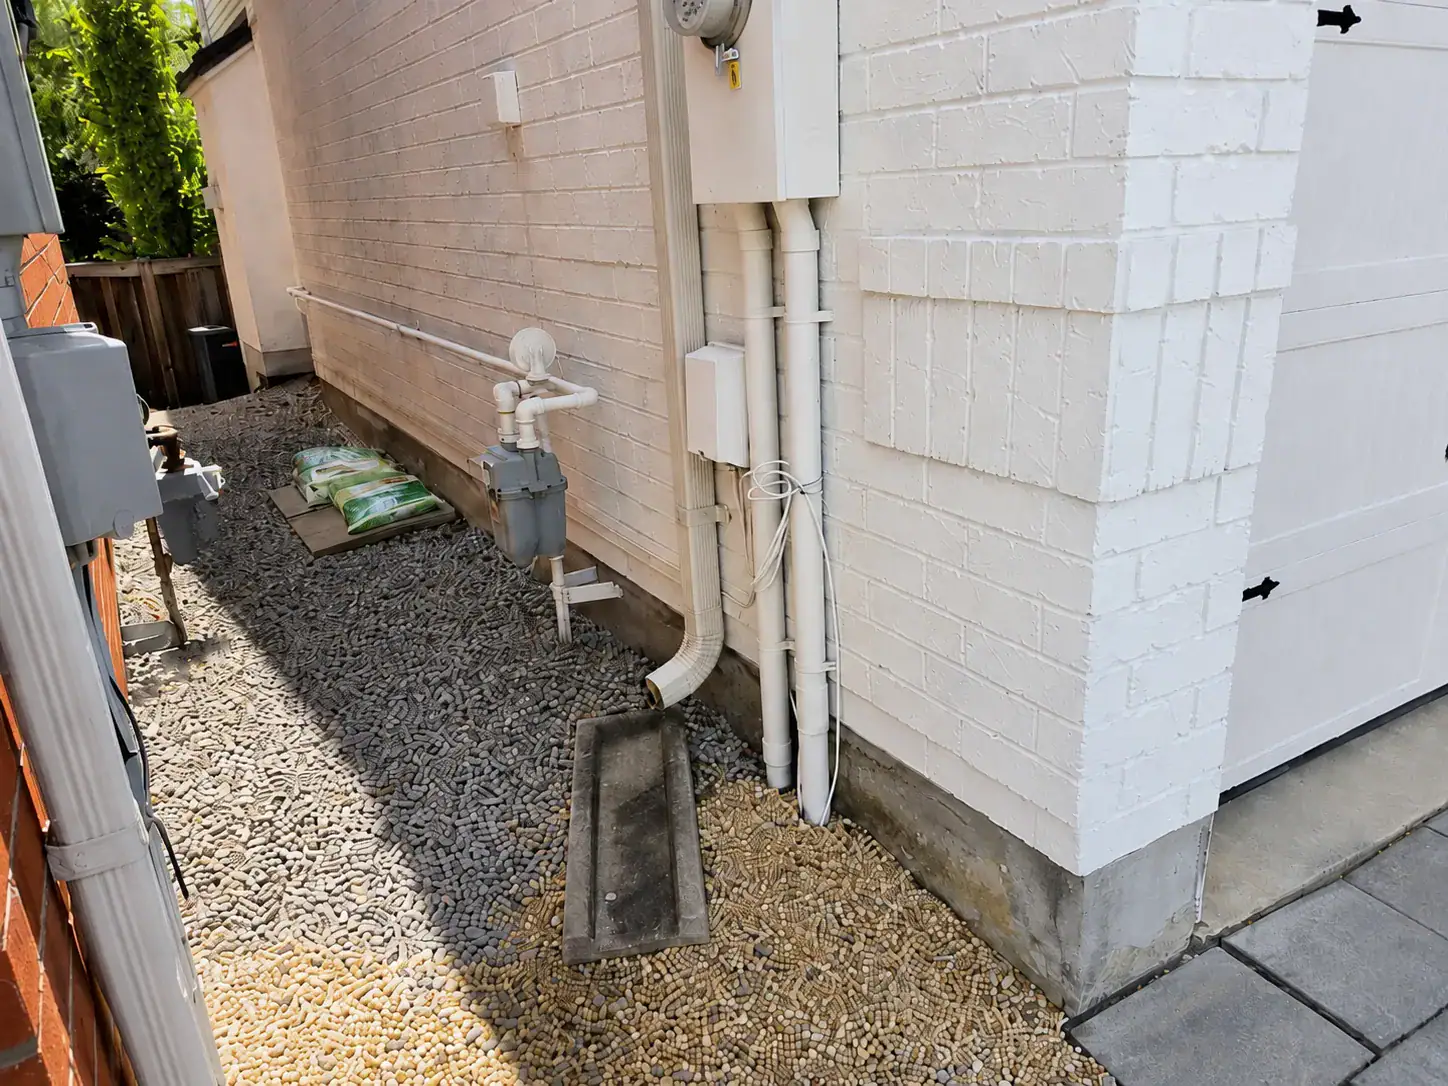
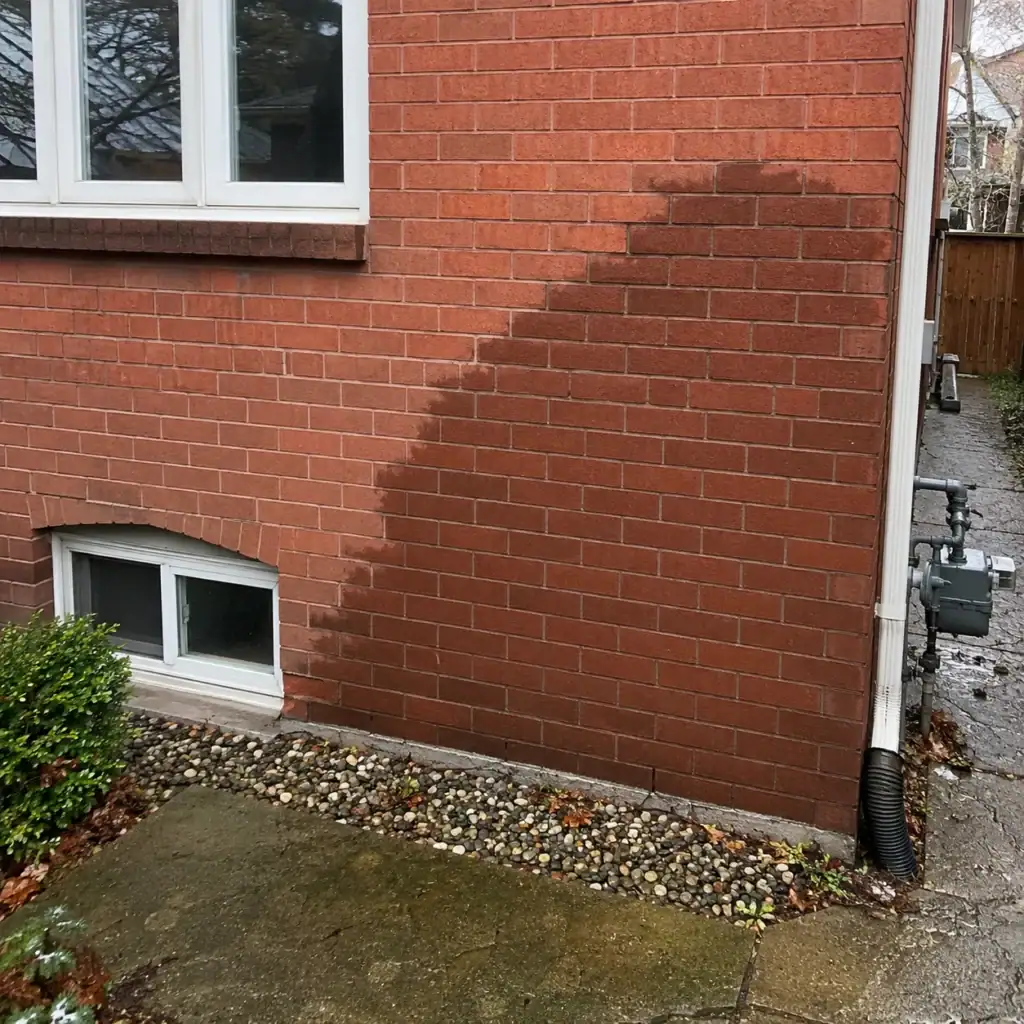
Look for gutters that overflow, sag, leak at joints, or release water behind the eavestrough. Check downspout elbows and connections for leaks. At ground level, see where each downspout actually sends the water.
The City of Toronto’s downspout guidance says water should flow away from foundation walls without creating problems on neighbouring properties, sidewalks, or driveways. The City also recommends maintaining eavestroughs and downspouts and keeping them clear of debris.
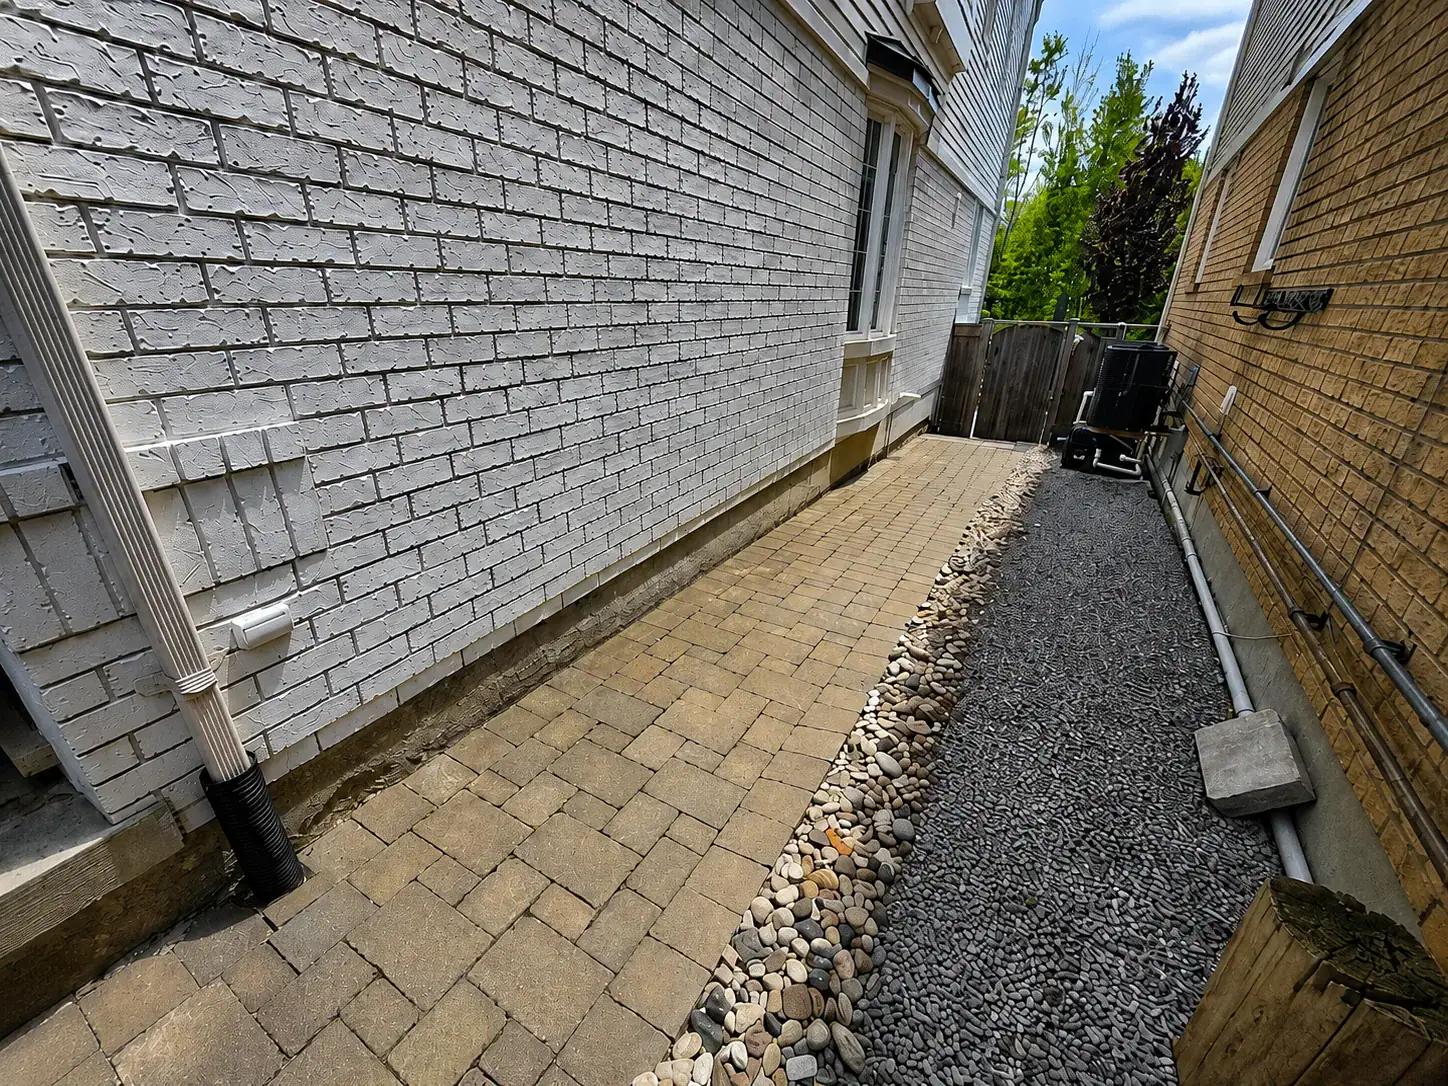
This is directly relevant to masonry. A downspout that repeatedly empties beside a brick wall, foundation, concrete step, or stone feature can keep that area wetter than the rest of the property.
2. Look for Dark or Slow-Drying Brick
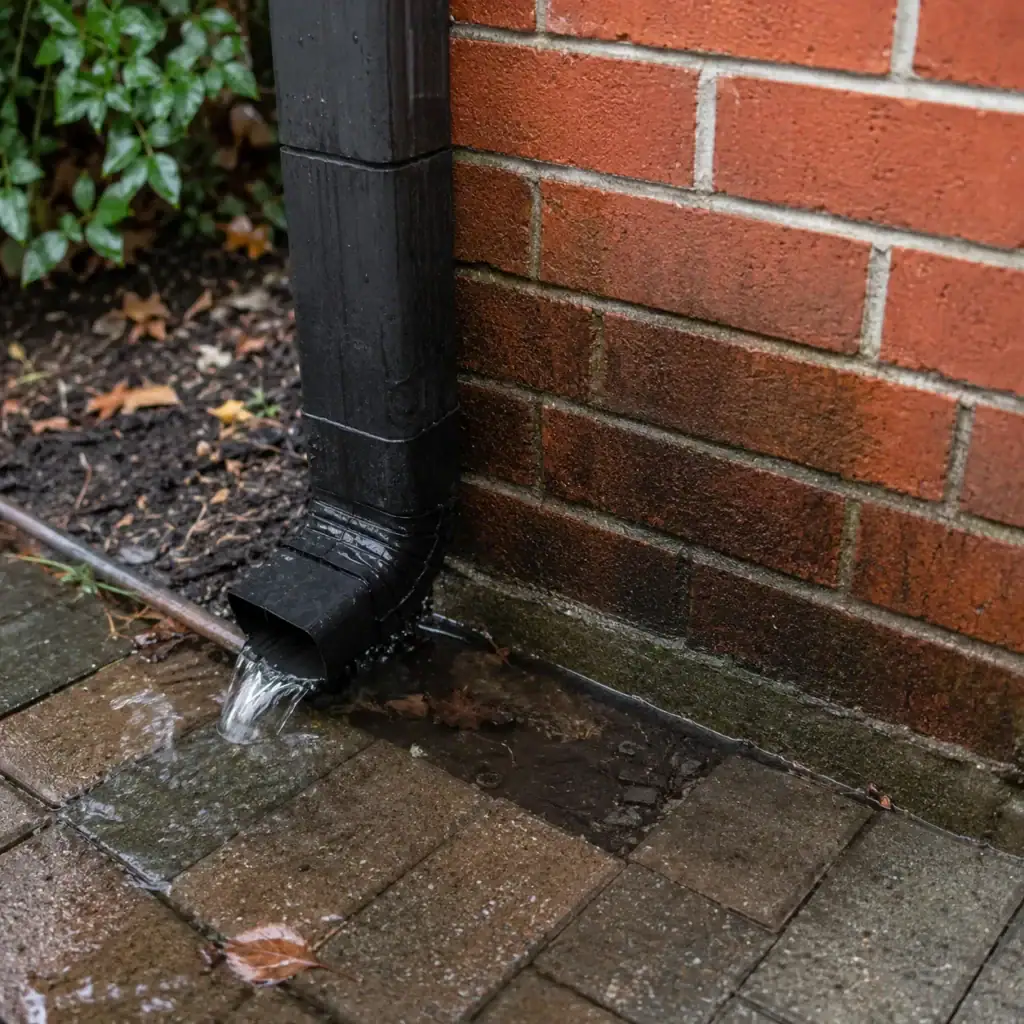
Brick that remains dark long after nearby areas have dried deserves attention. The colour difference does not automatically mean the brick is damaged, but it can reveal a repeated moisture path.
Common locations include:
- Walls below leaking gutters.
- Brick beside downspouts.
- Areas below window sills.
- Lower walls beside garden beds.
- Brick next to patios and walkways.
- Walls shaded by dense vegetation.
- Chimneys and roofline masonry.
Also compare mortar condition. If the wet area also contains recessed, sandy, cracked, or missing joints, water may have an easier path into the masonry.
Mortar deterioration can often be repaired through tuckpointing and mortar-joint repair, but the repair plan should address the moisture source.
3. Check for Spalling or Flaking Brick
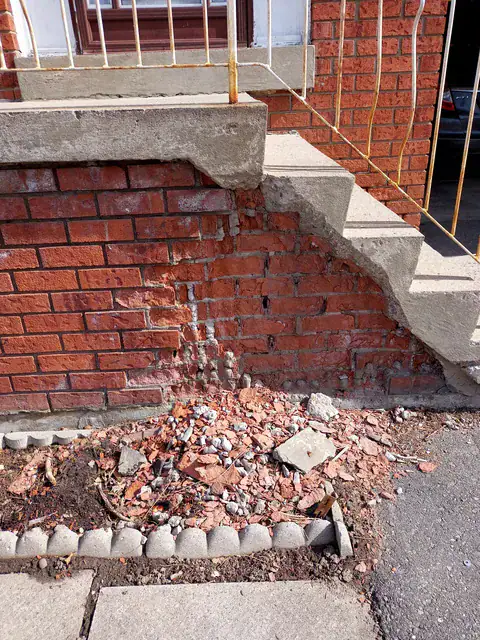
Identify spalling brick before winter because the damaged face can expose more absorbent material inside the brick. Spalling may appear as flaking, peeling, shallow chips, popped faces, or sections that have begun to crumble.
Moisture is not the only possible cause, but repeated wetting and freezing can contribute to deterioration.
Pay particular attention to brick near ground level, chimneys, porches, window openings, downspouts, and areas that receive splashback from hard surfaces.
If only a few bricks are affected and the surrounding wall remains sound, you may be able to replace them selectively. If many bricks are deteriorating in the same wet area, investigate the water source before replacing them.
A&A Masonry’s brick repair Toronto page explains common conditions involving cracked, spalled, loose, and deteriorated brickwork.
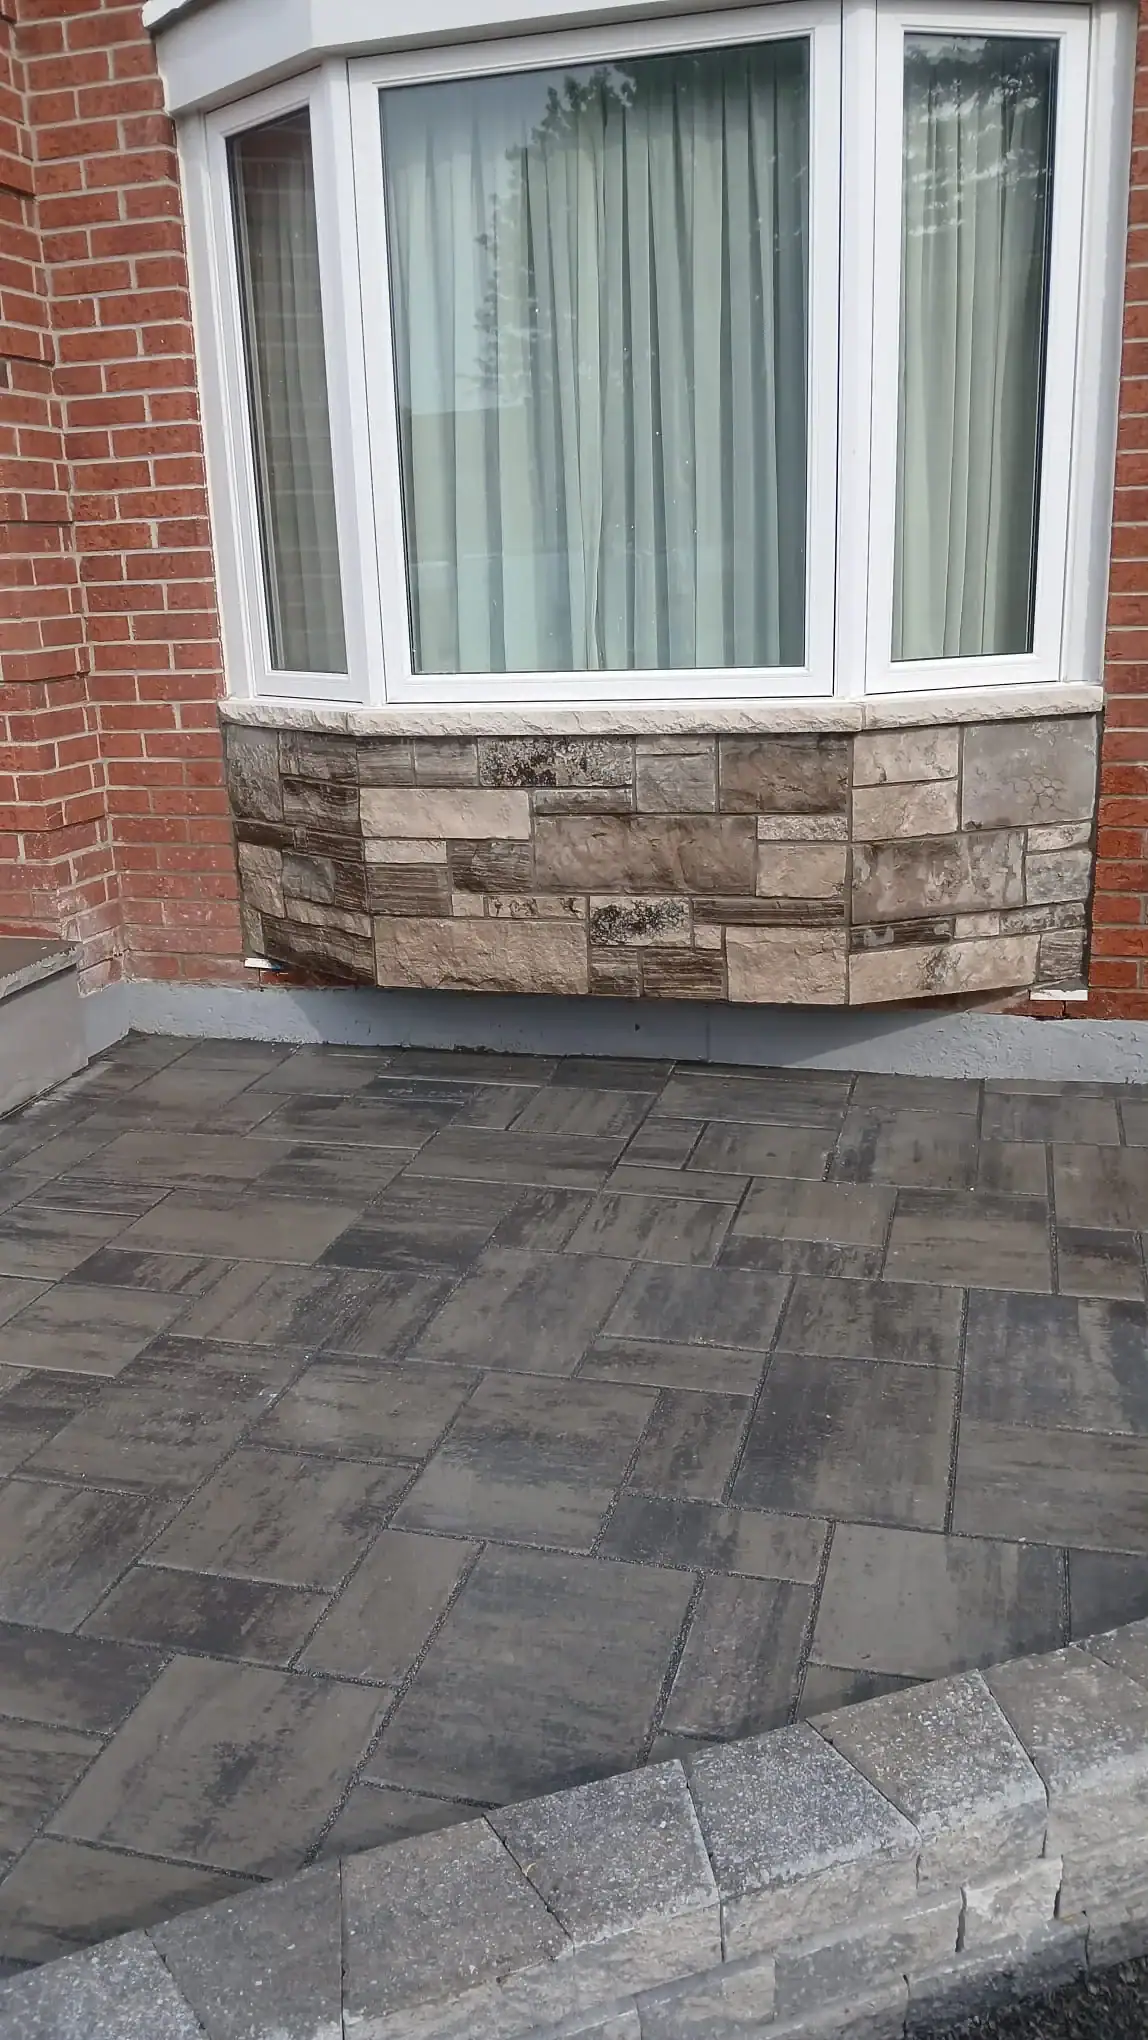
4. Watch What Happens at Window Sills
Window sills should move rainwater away from the wall. When a sill is cracked, poorly sloped, deteriorated, or has failed joints around it, water can remain close to the masonry below the opening.
After rain, look for dark streaks directly below windows. Compare them with nearby sections of wall. Some temporary wetting is normal, but concentrated staining or moisture that repeatedly follows the same route may indicate a problem.
Check the ends of the sill and joints where different materials meet. Failed sealant or mortar around openings can create water-entry points even when the bricks themselves remain in good condition.
Do not assume that applying a clear sealer to the bricks will solve this type of issue. If water is entering at a sill or joint, you need to address the entry point.
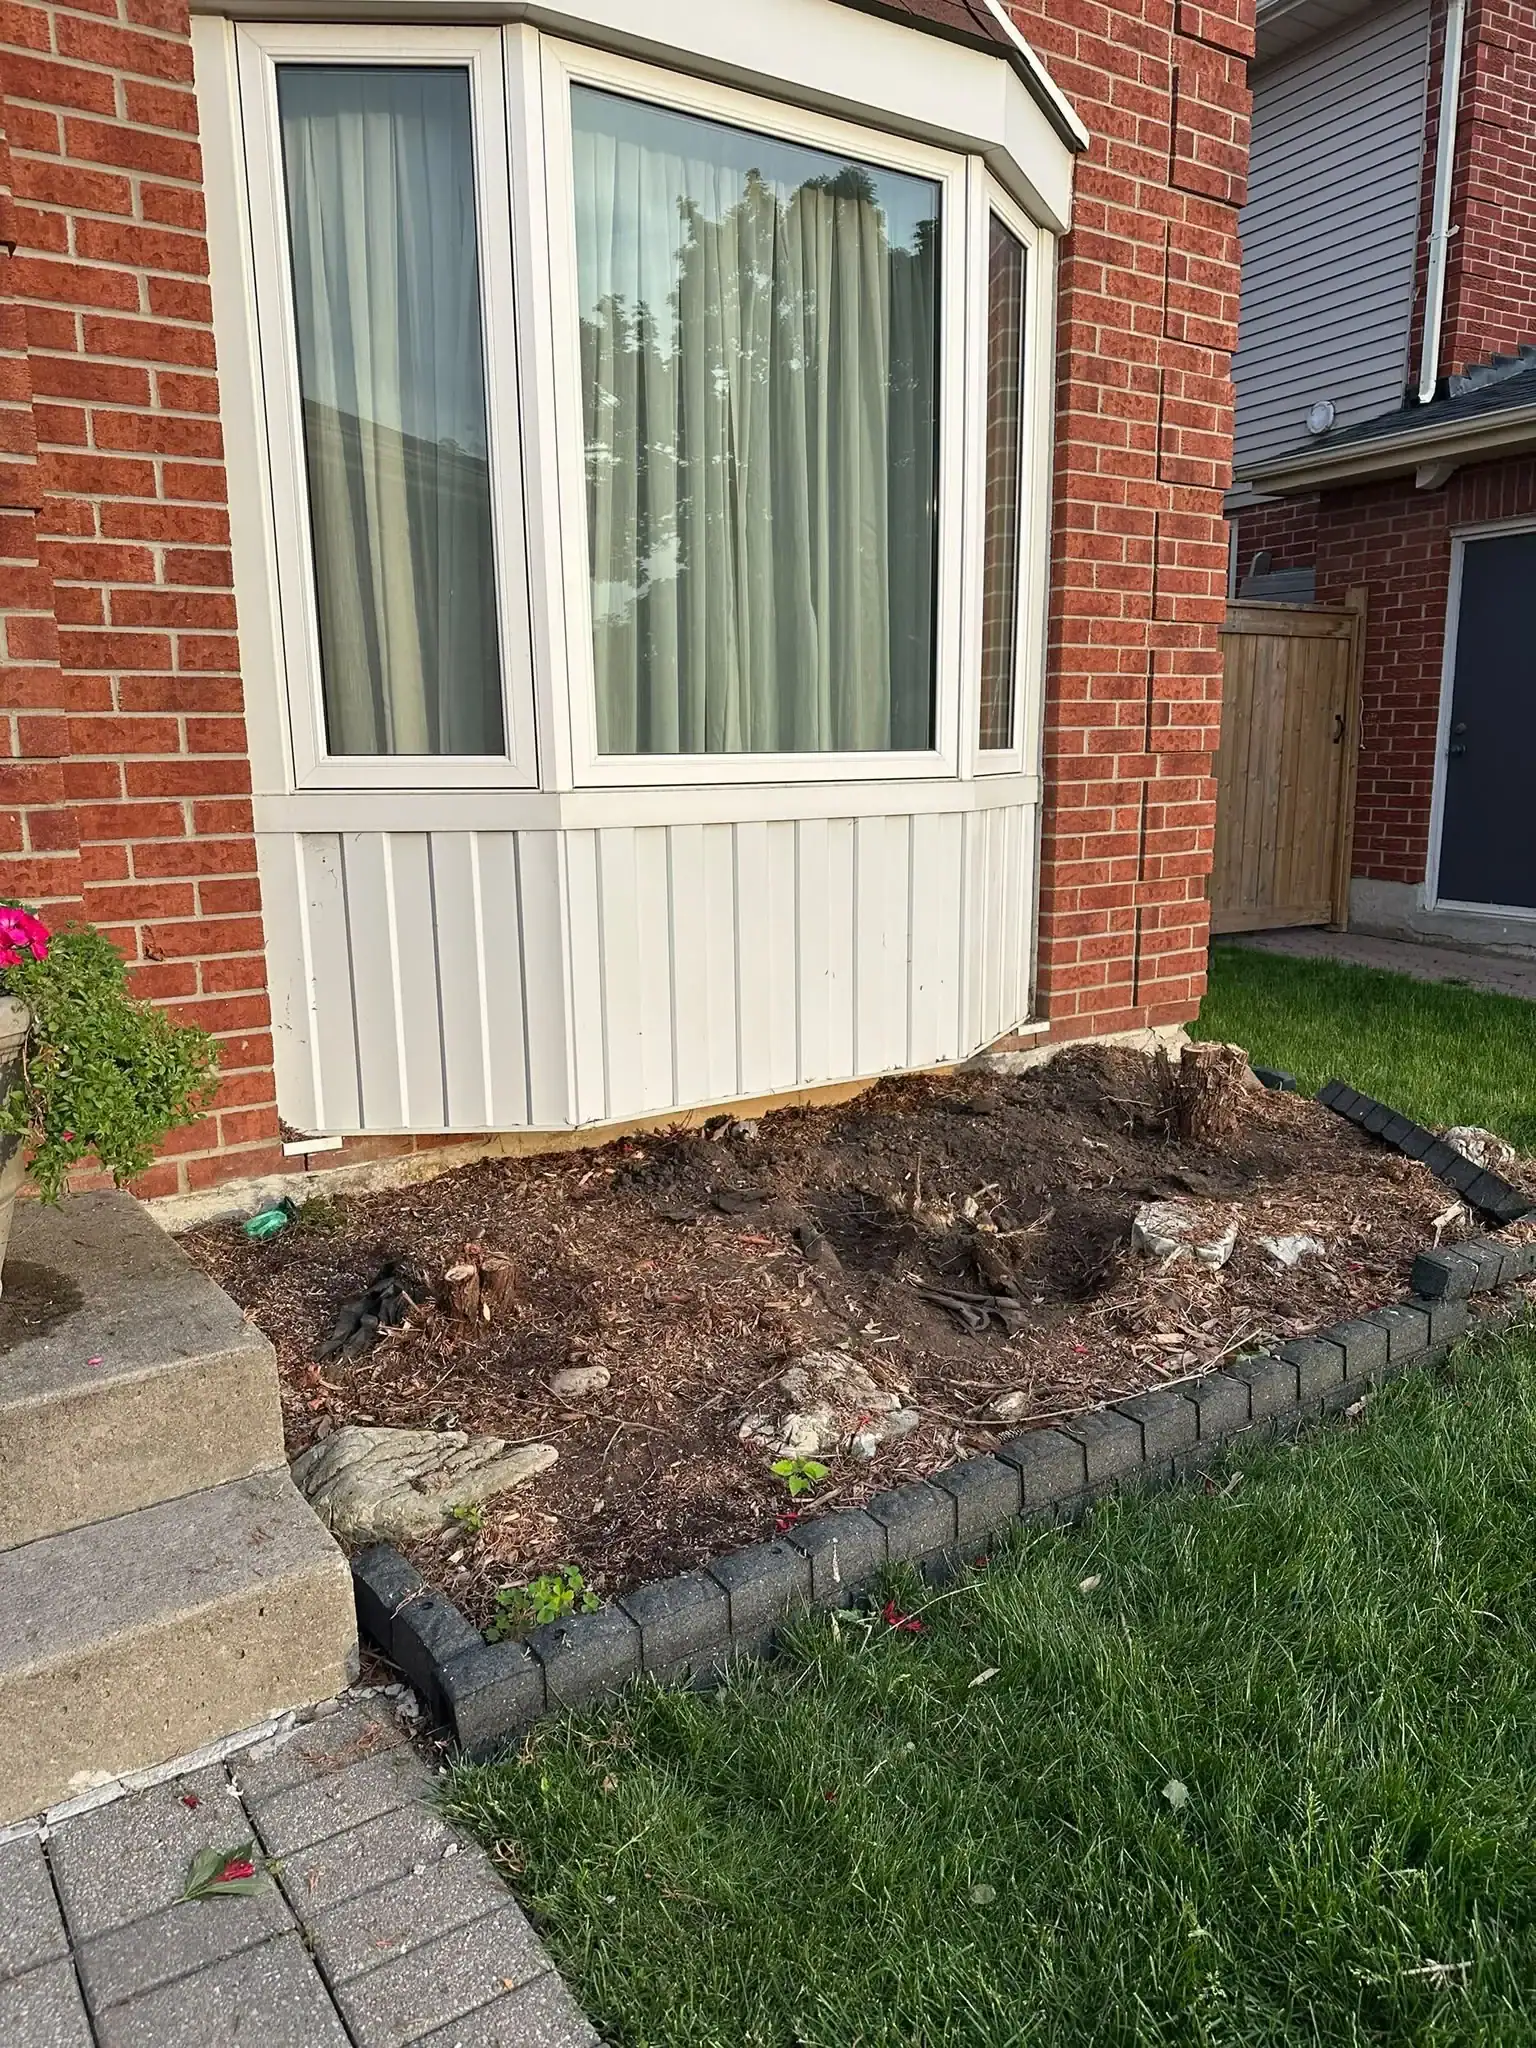
5. Inspect the Bottom of Exterior Walls
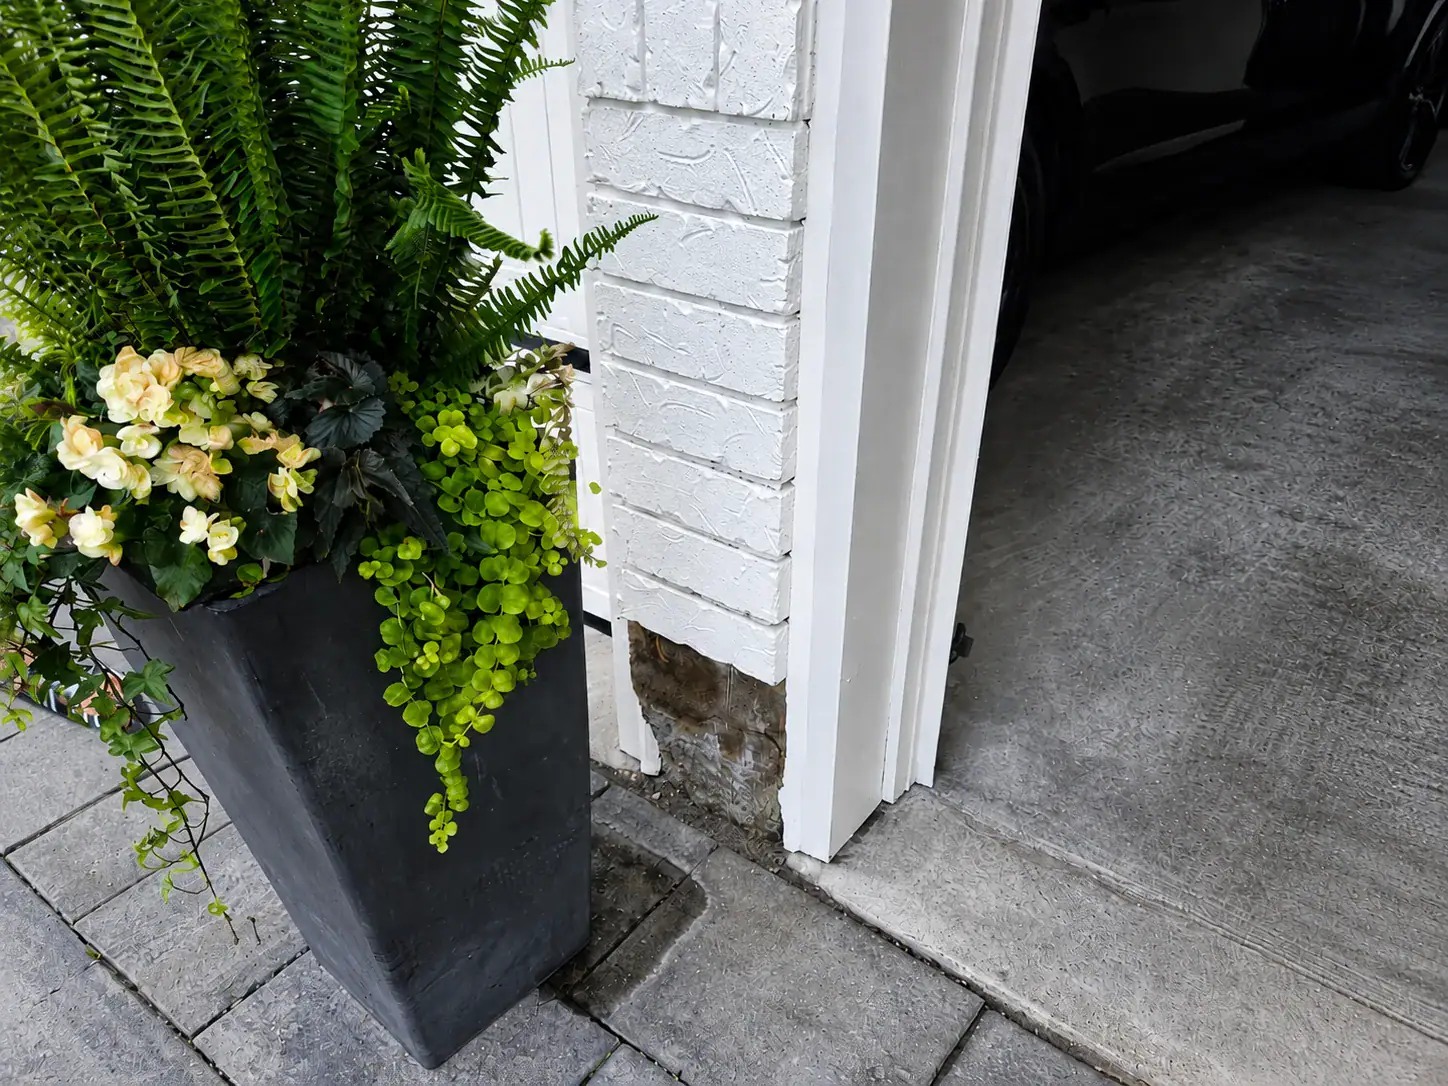
Lower masonry often receives more moisture than the rest of the wall because it is exposed to rain splash, snow accumulation, garden irrigation, wet soil, and runoff from nearby paving.
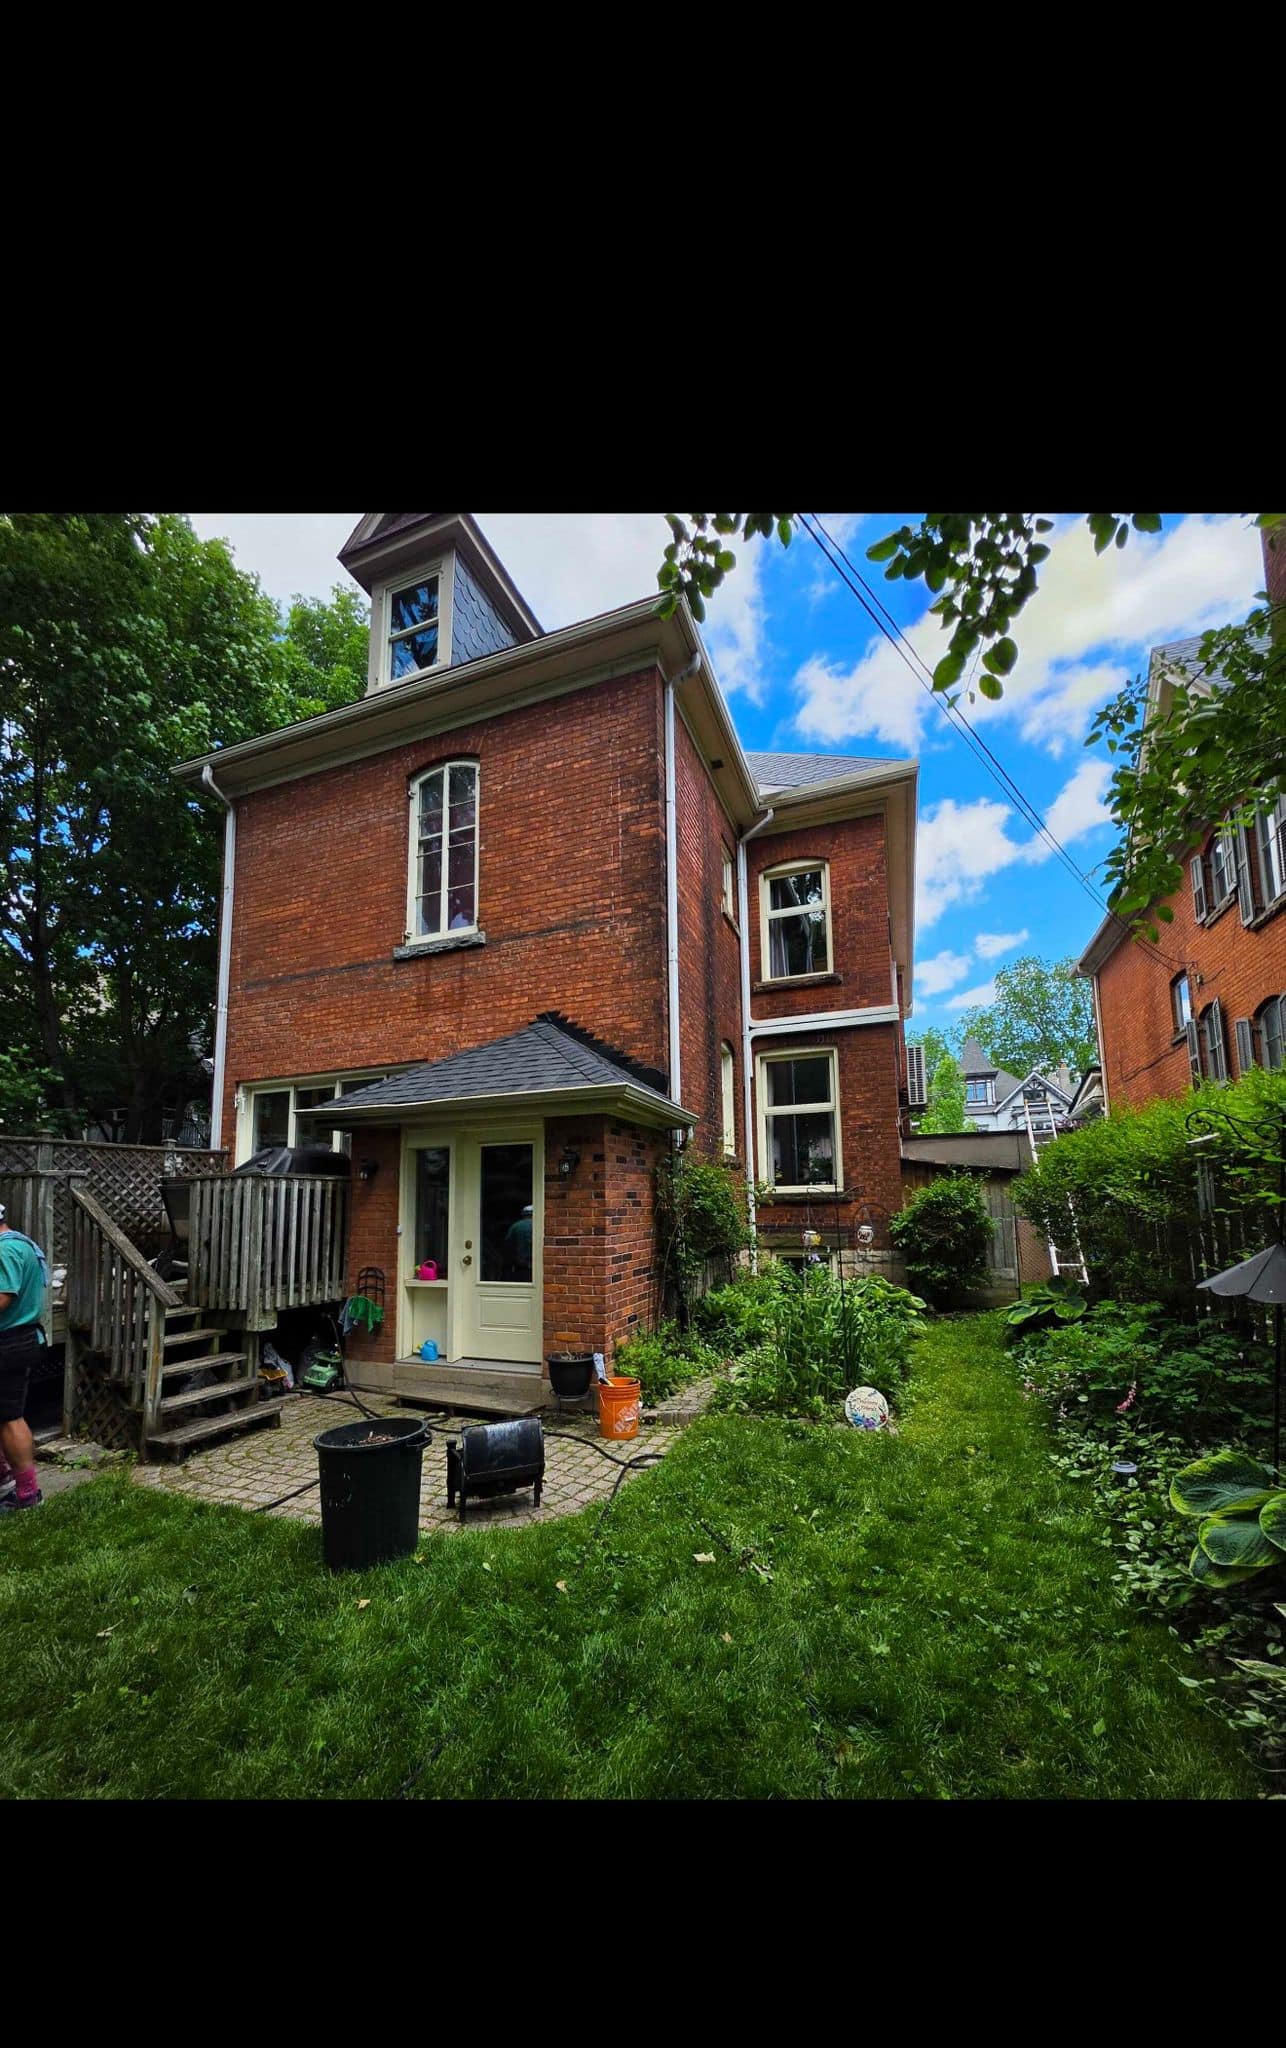
Look at the first several courses of brick above grade. Watch for dark staining, green growth, white deposits, deteriorated mortar, spalling, or sections hidden behind soil and mulch.
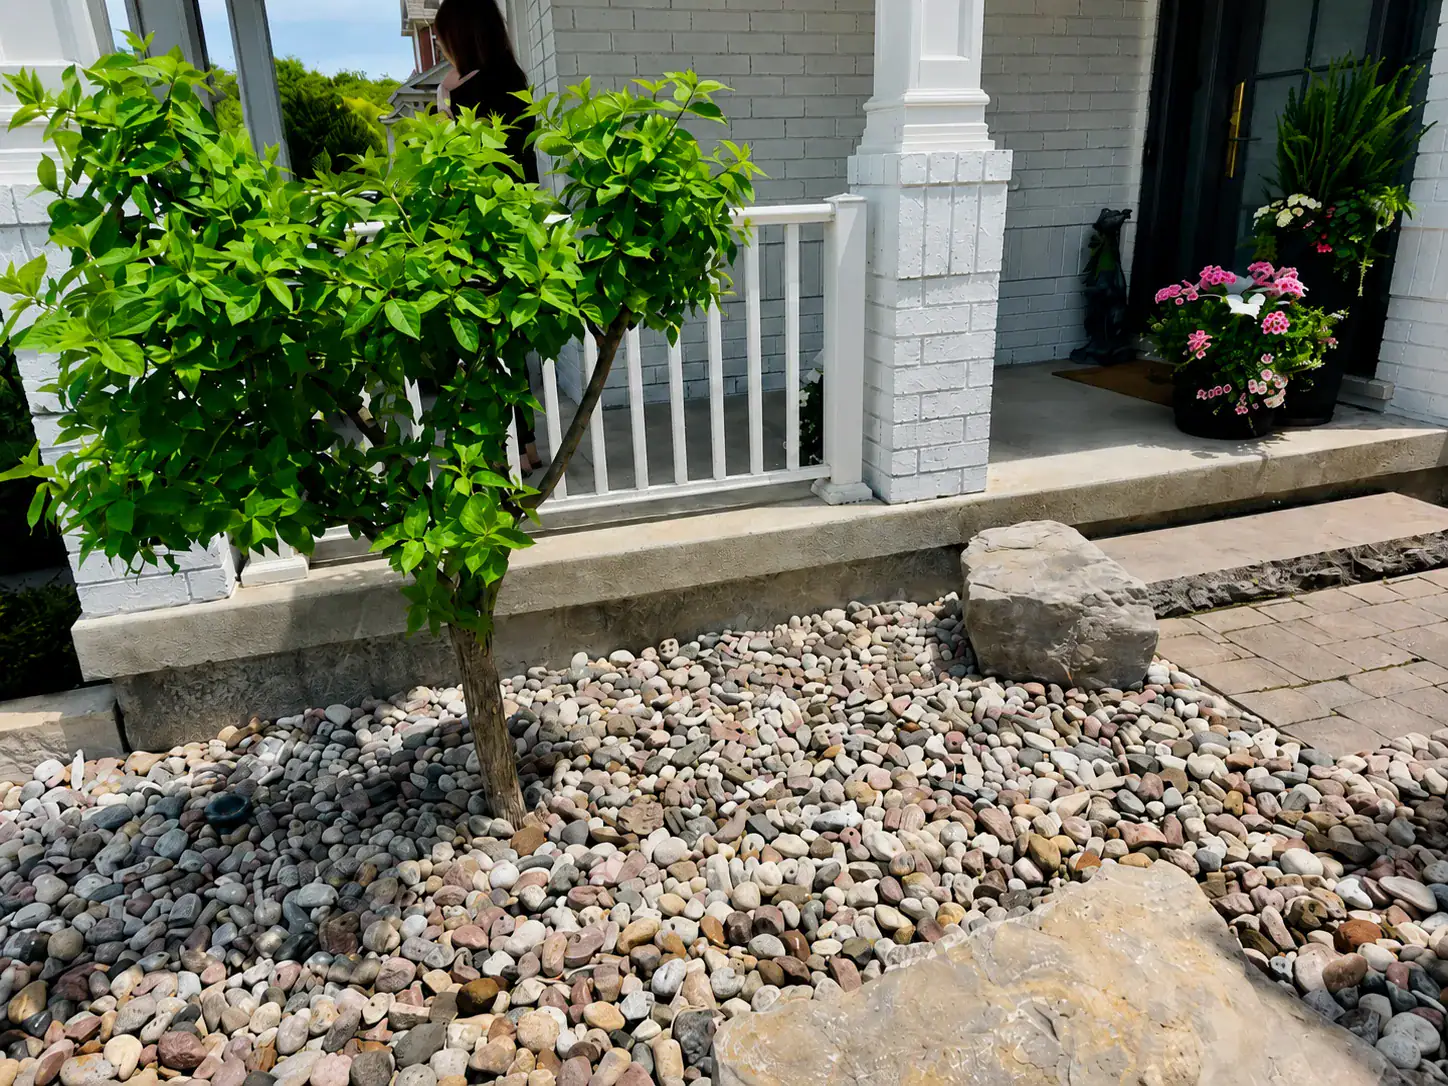
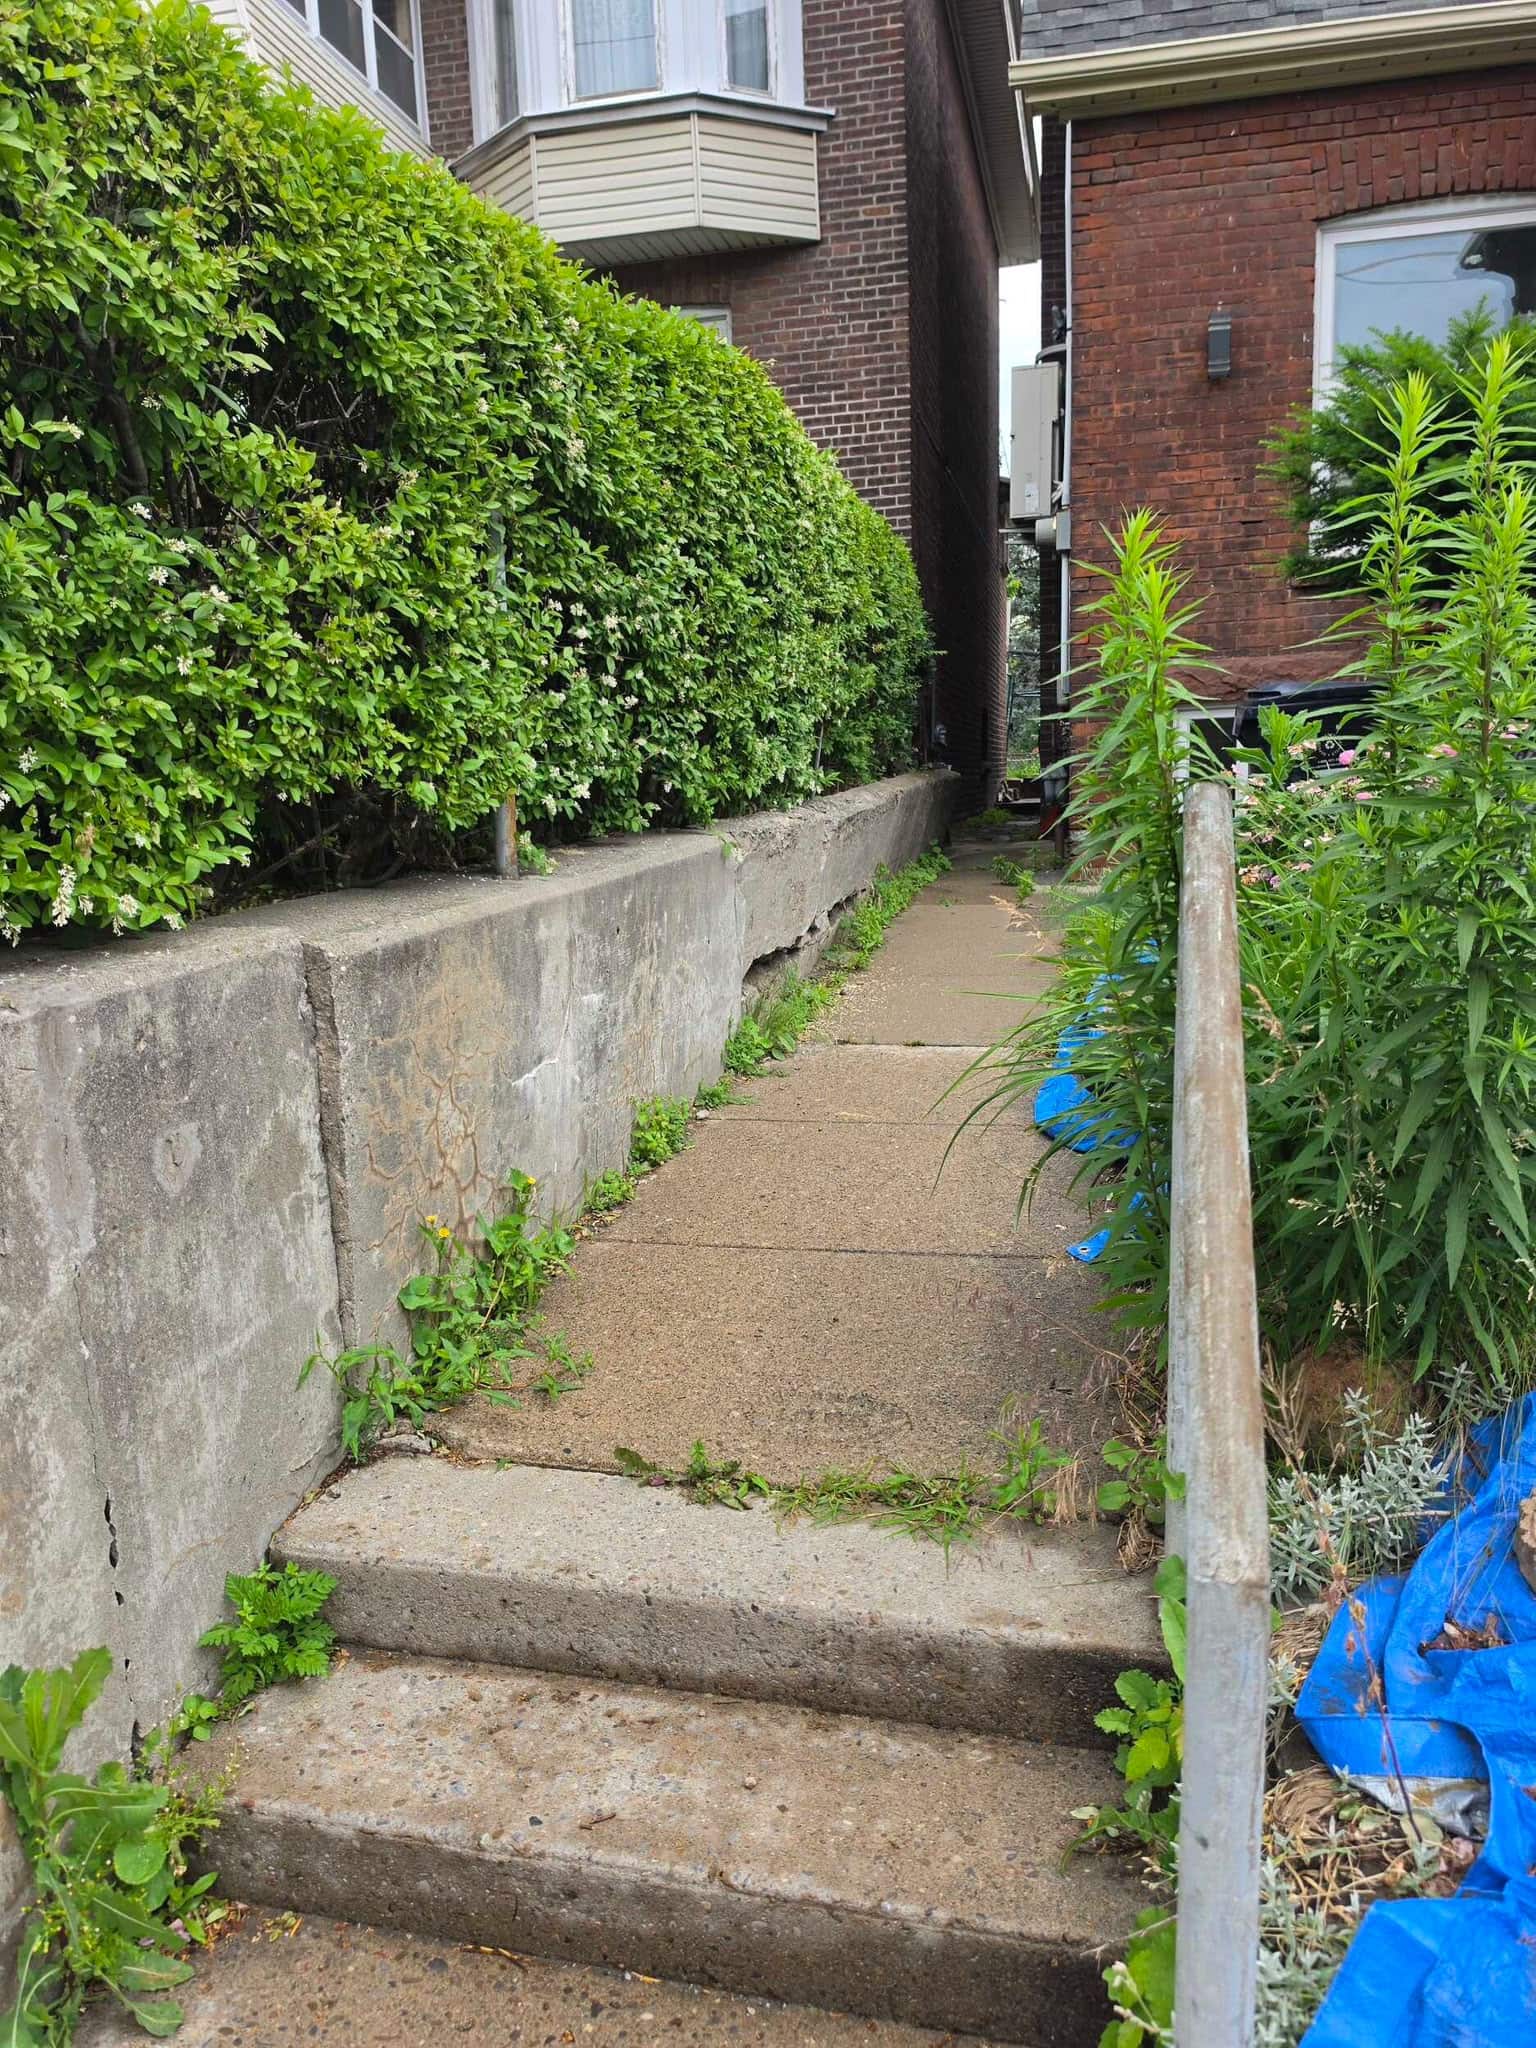
Do not pile soil unnecessarily high against exterior brickwork. Arrange garden beds so irrigation and runoff do not continuously soak the wall.
In winter, snow storage becomes another consideration. Large piles against the house can create prolonged moisture exposure as they melt.
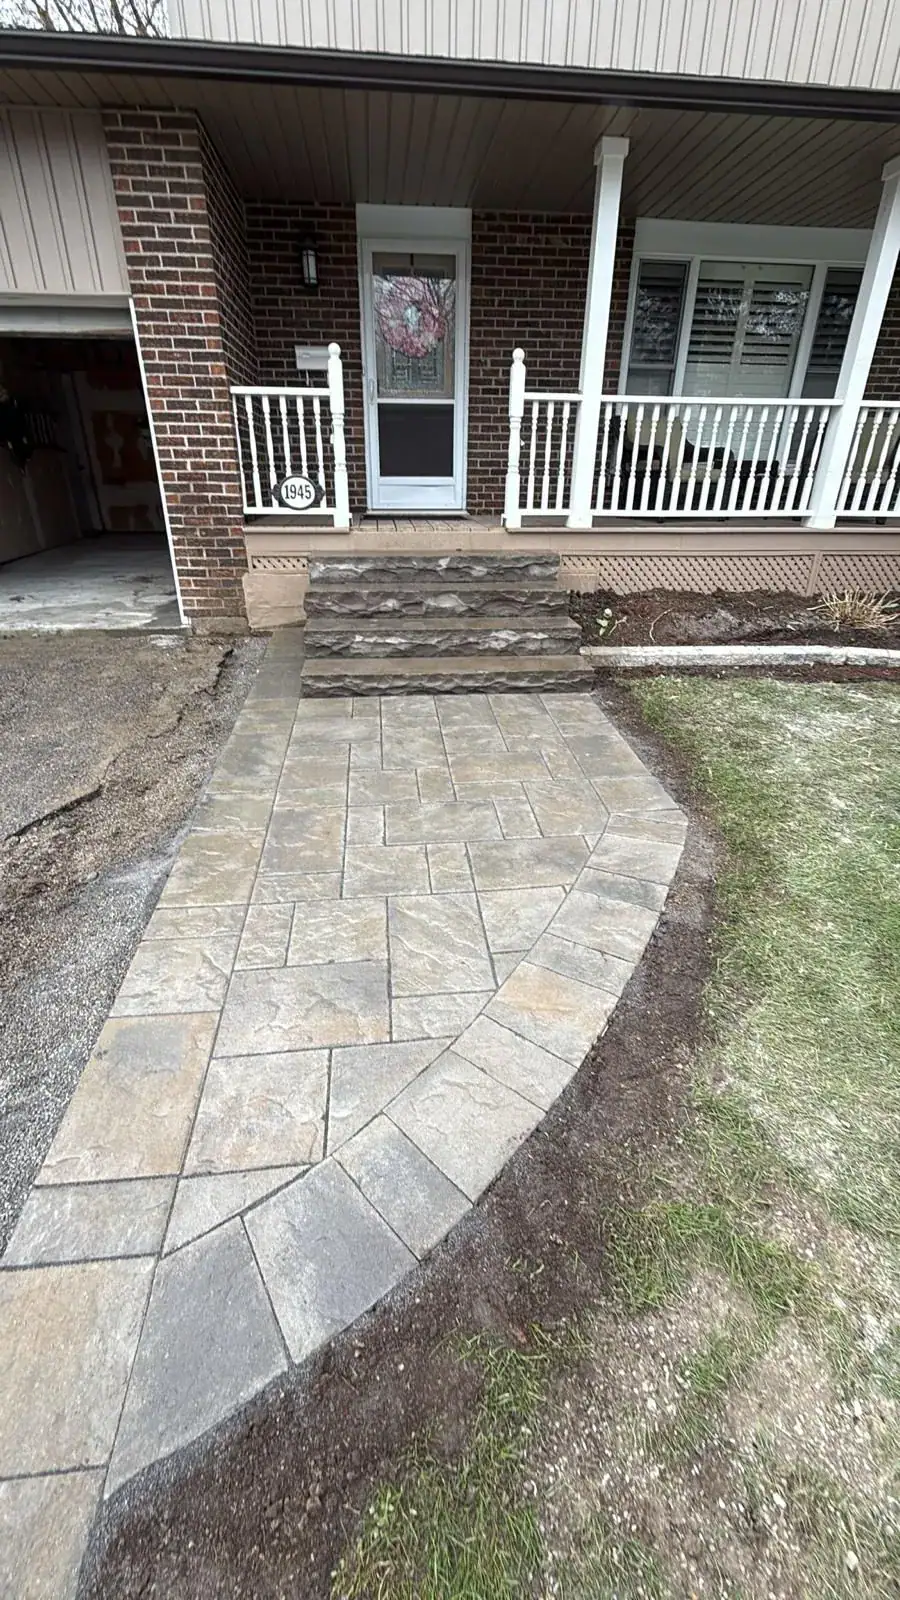
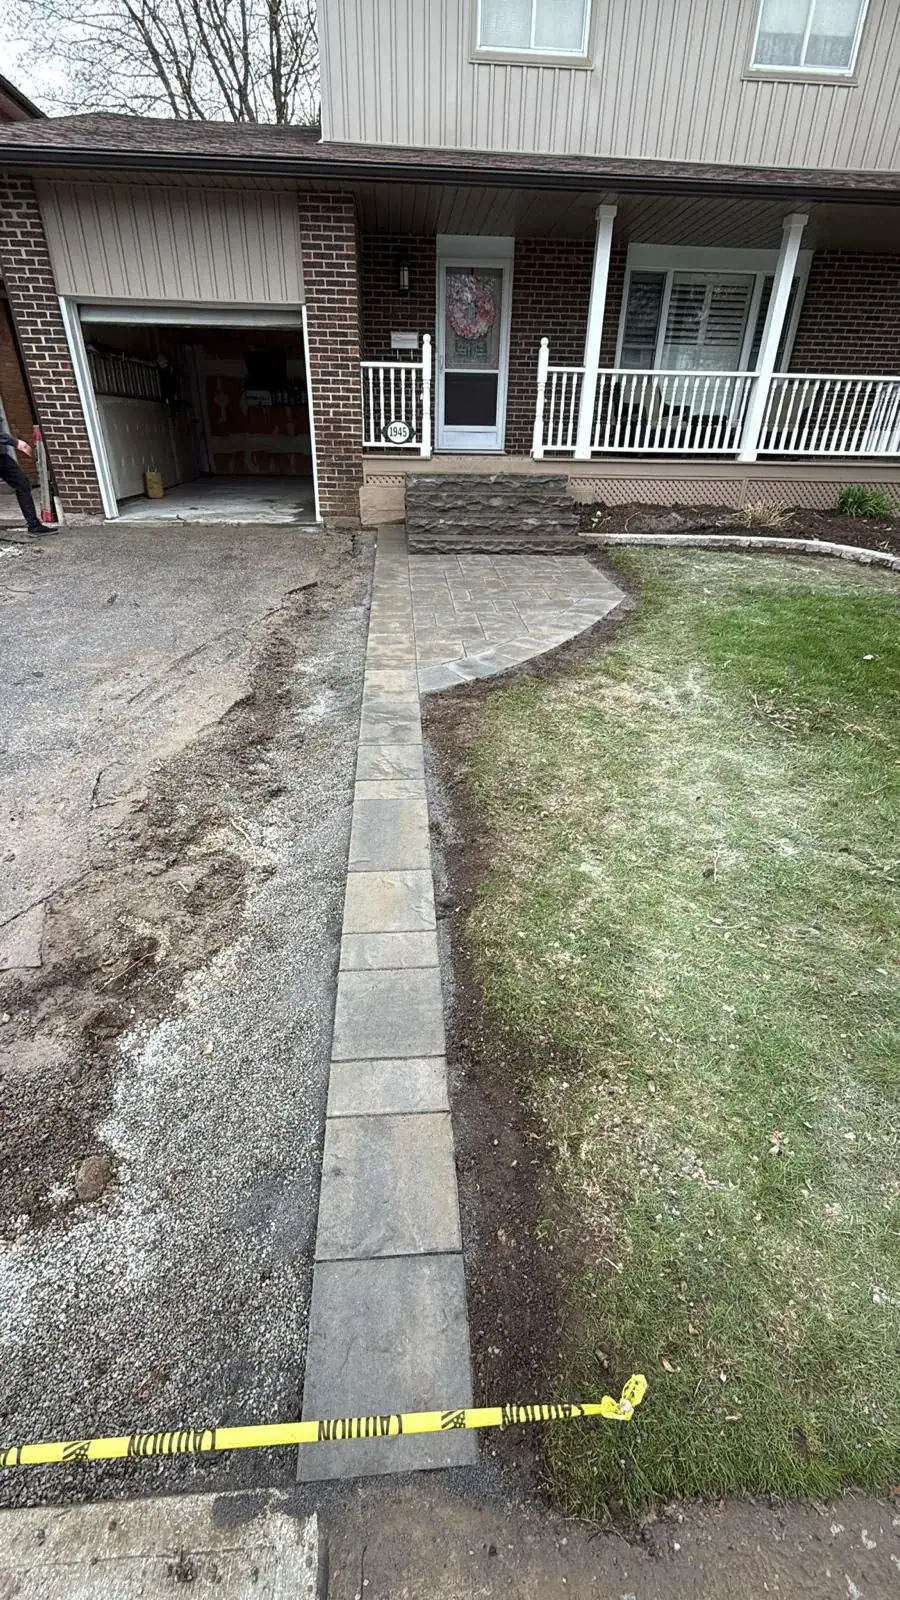
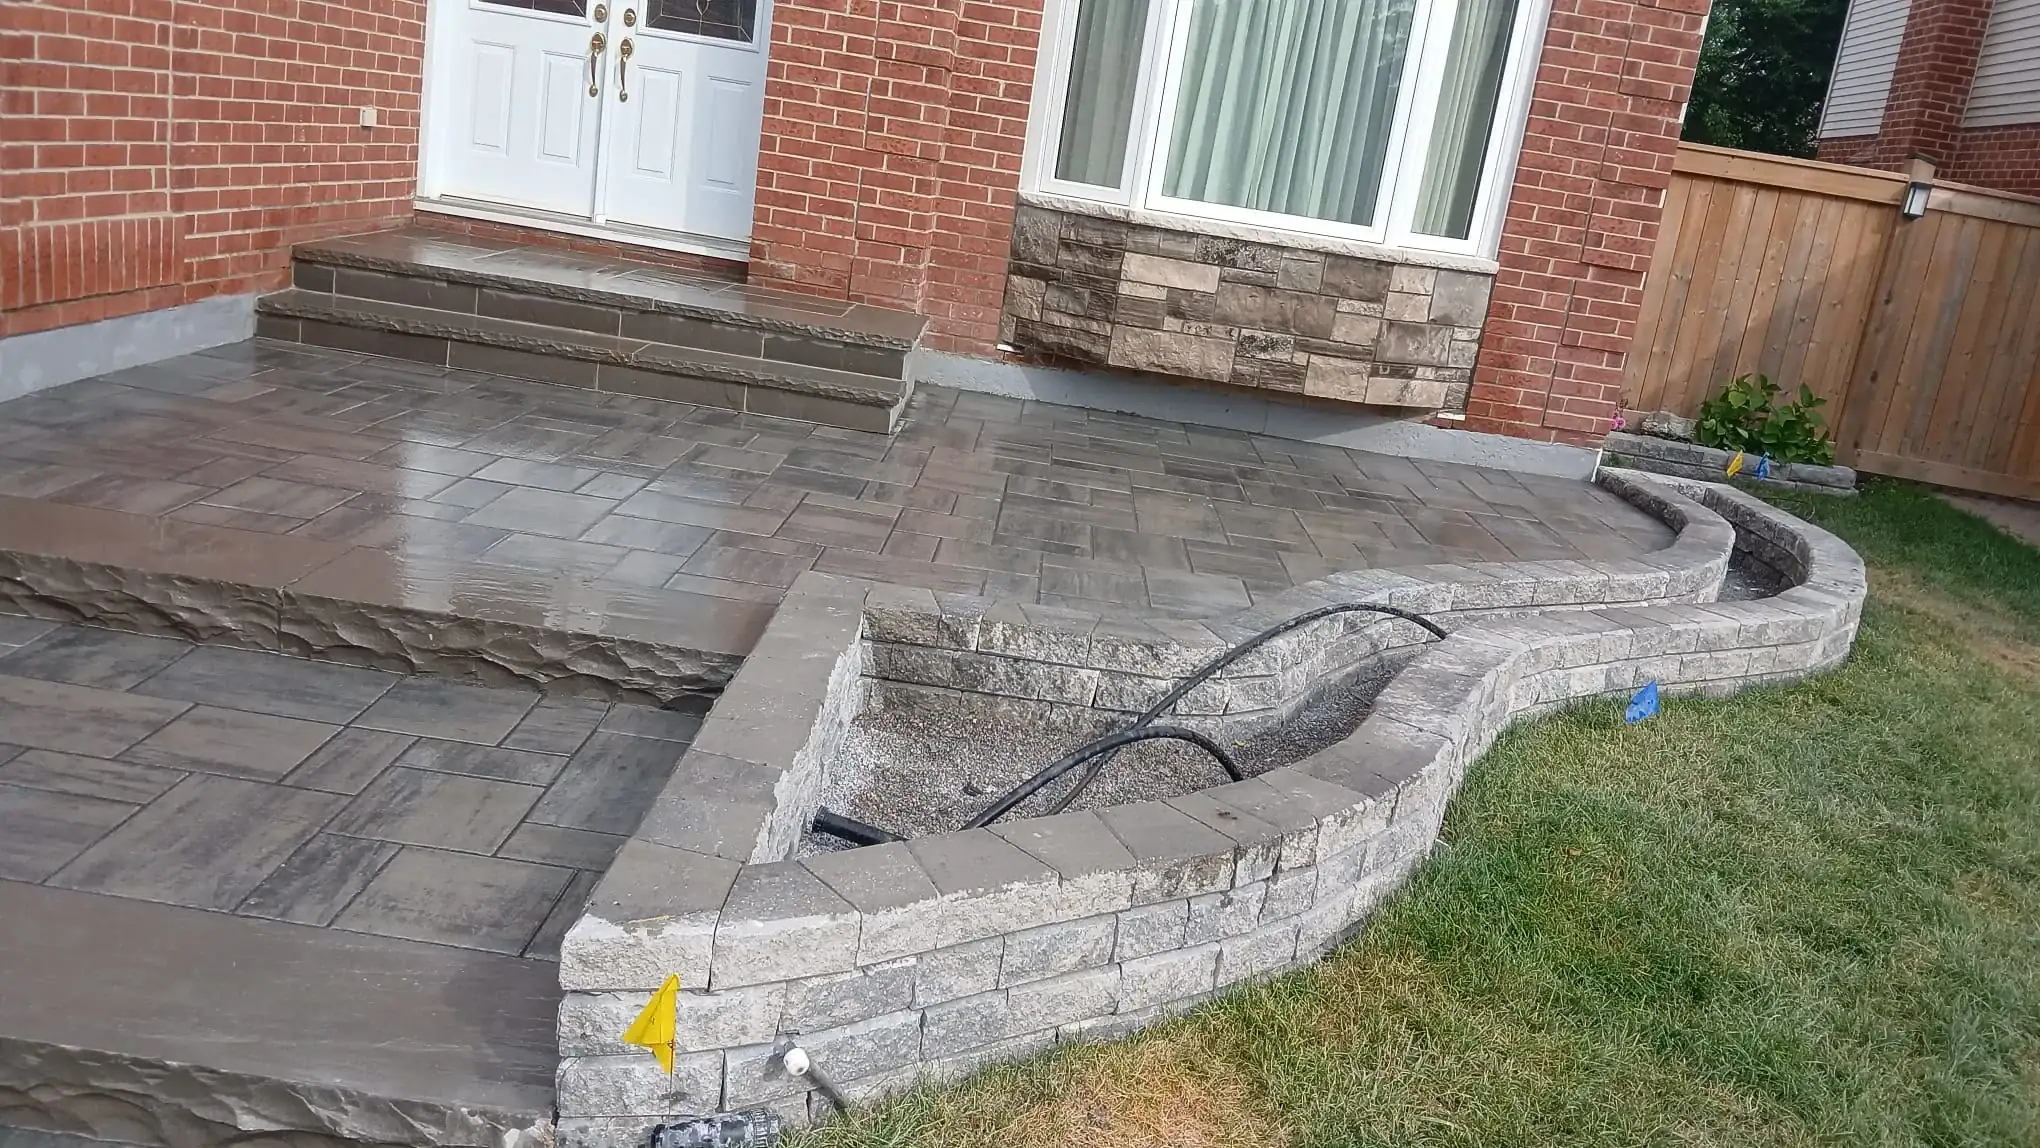
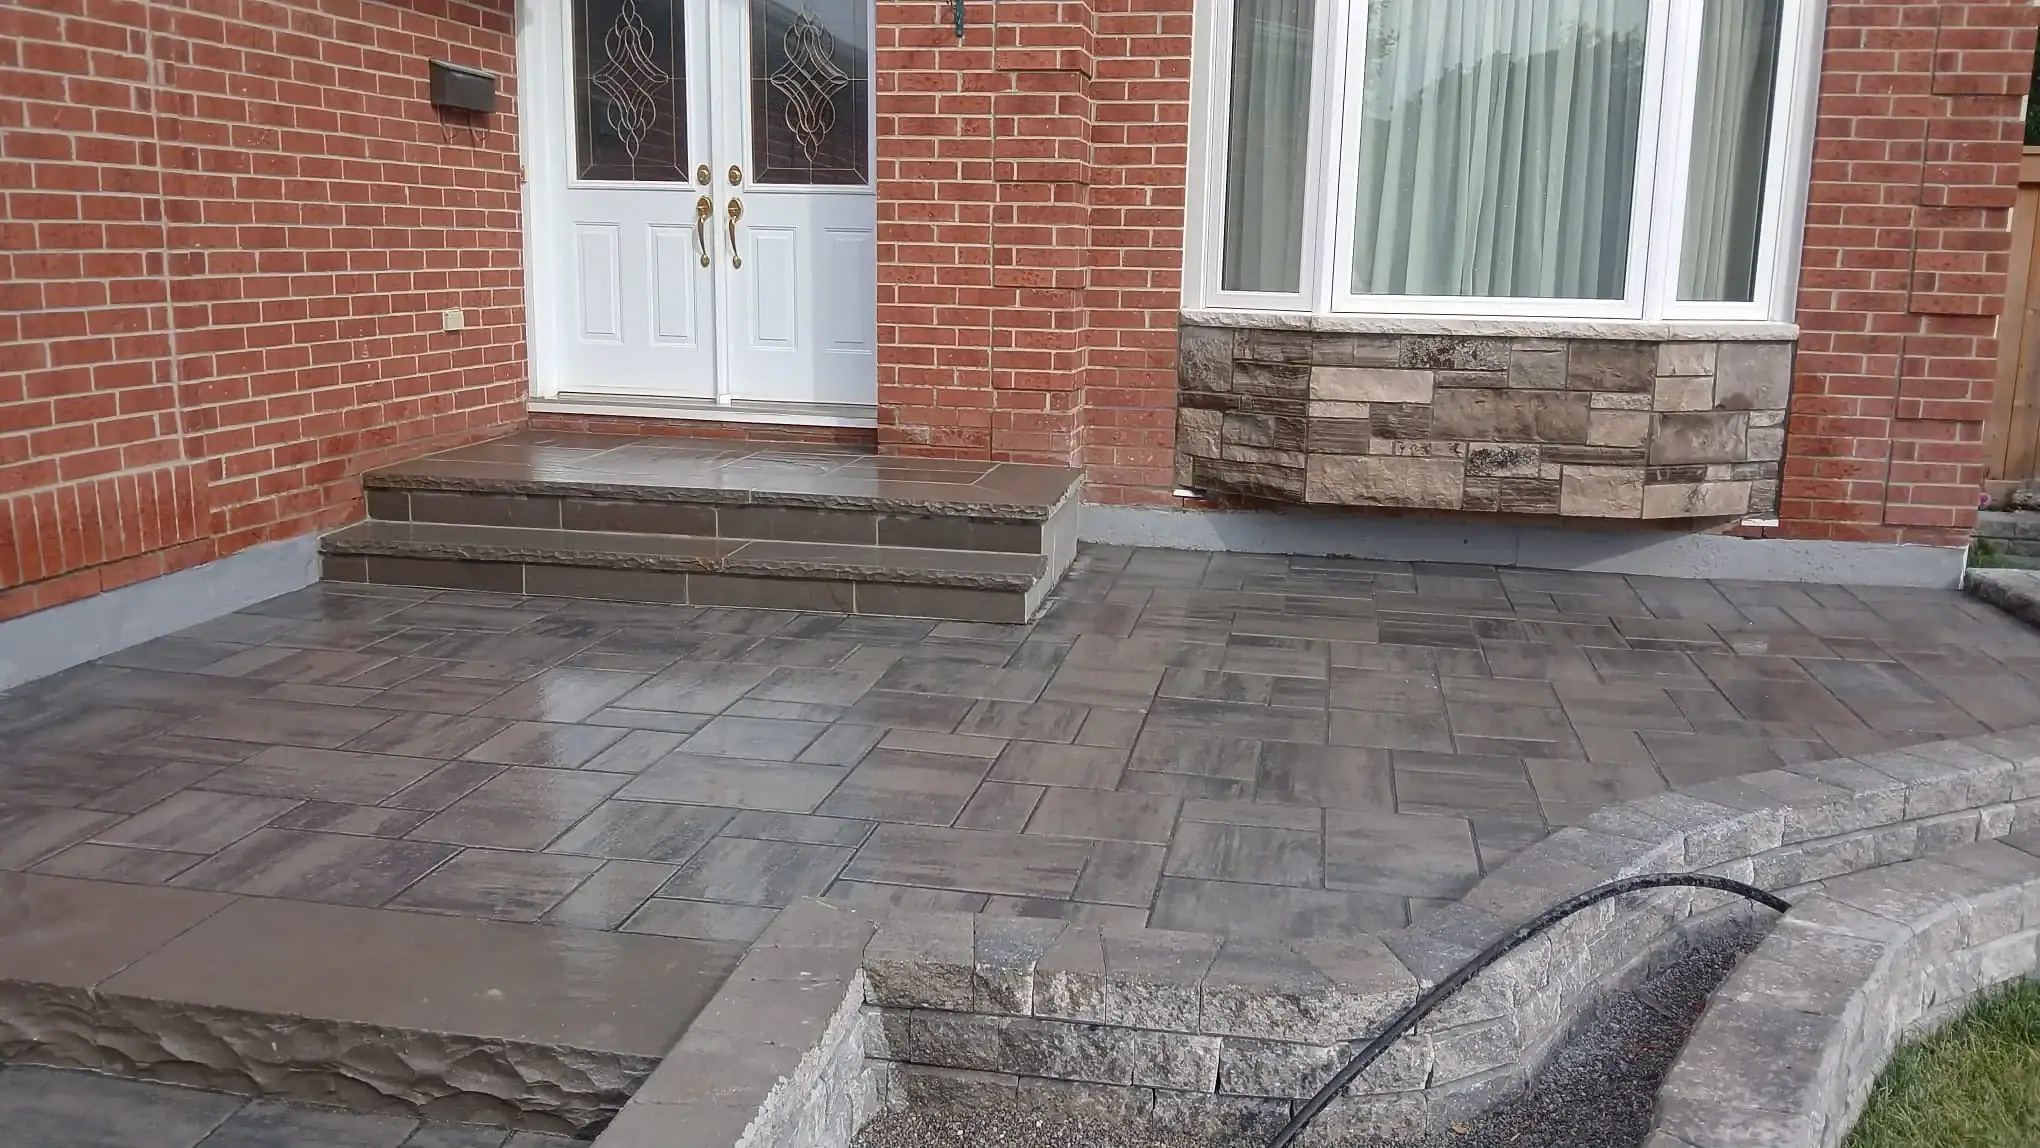
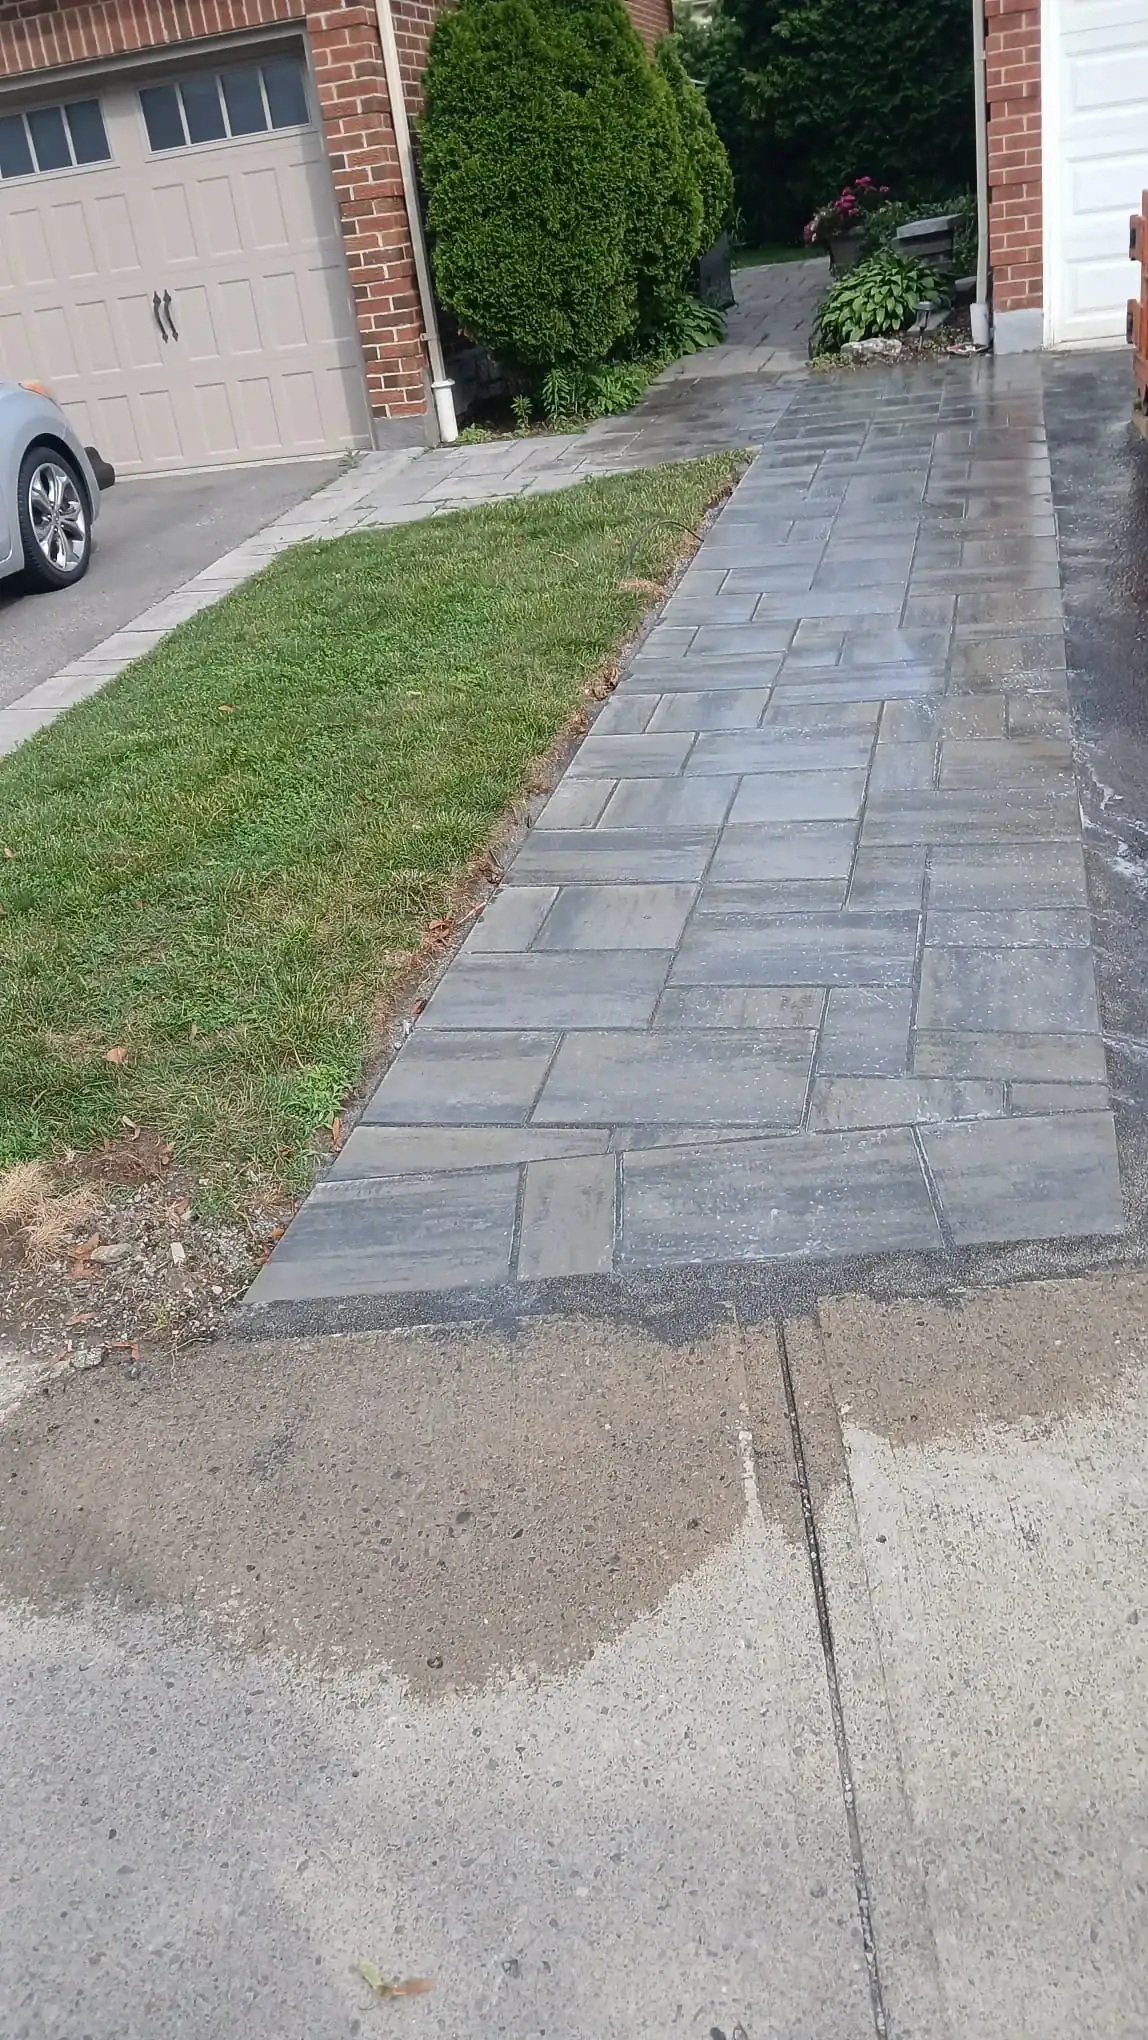
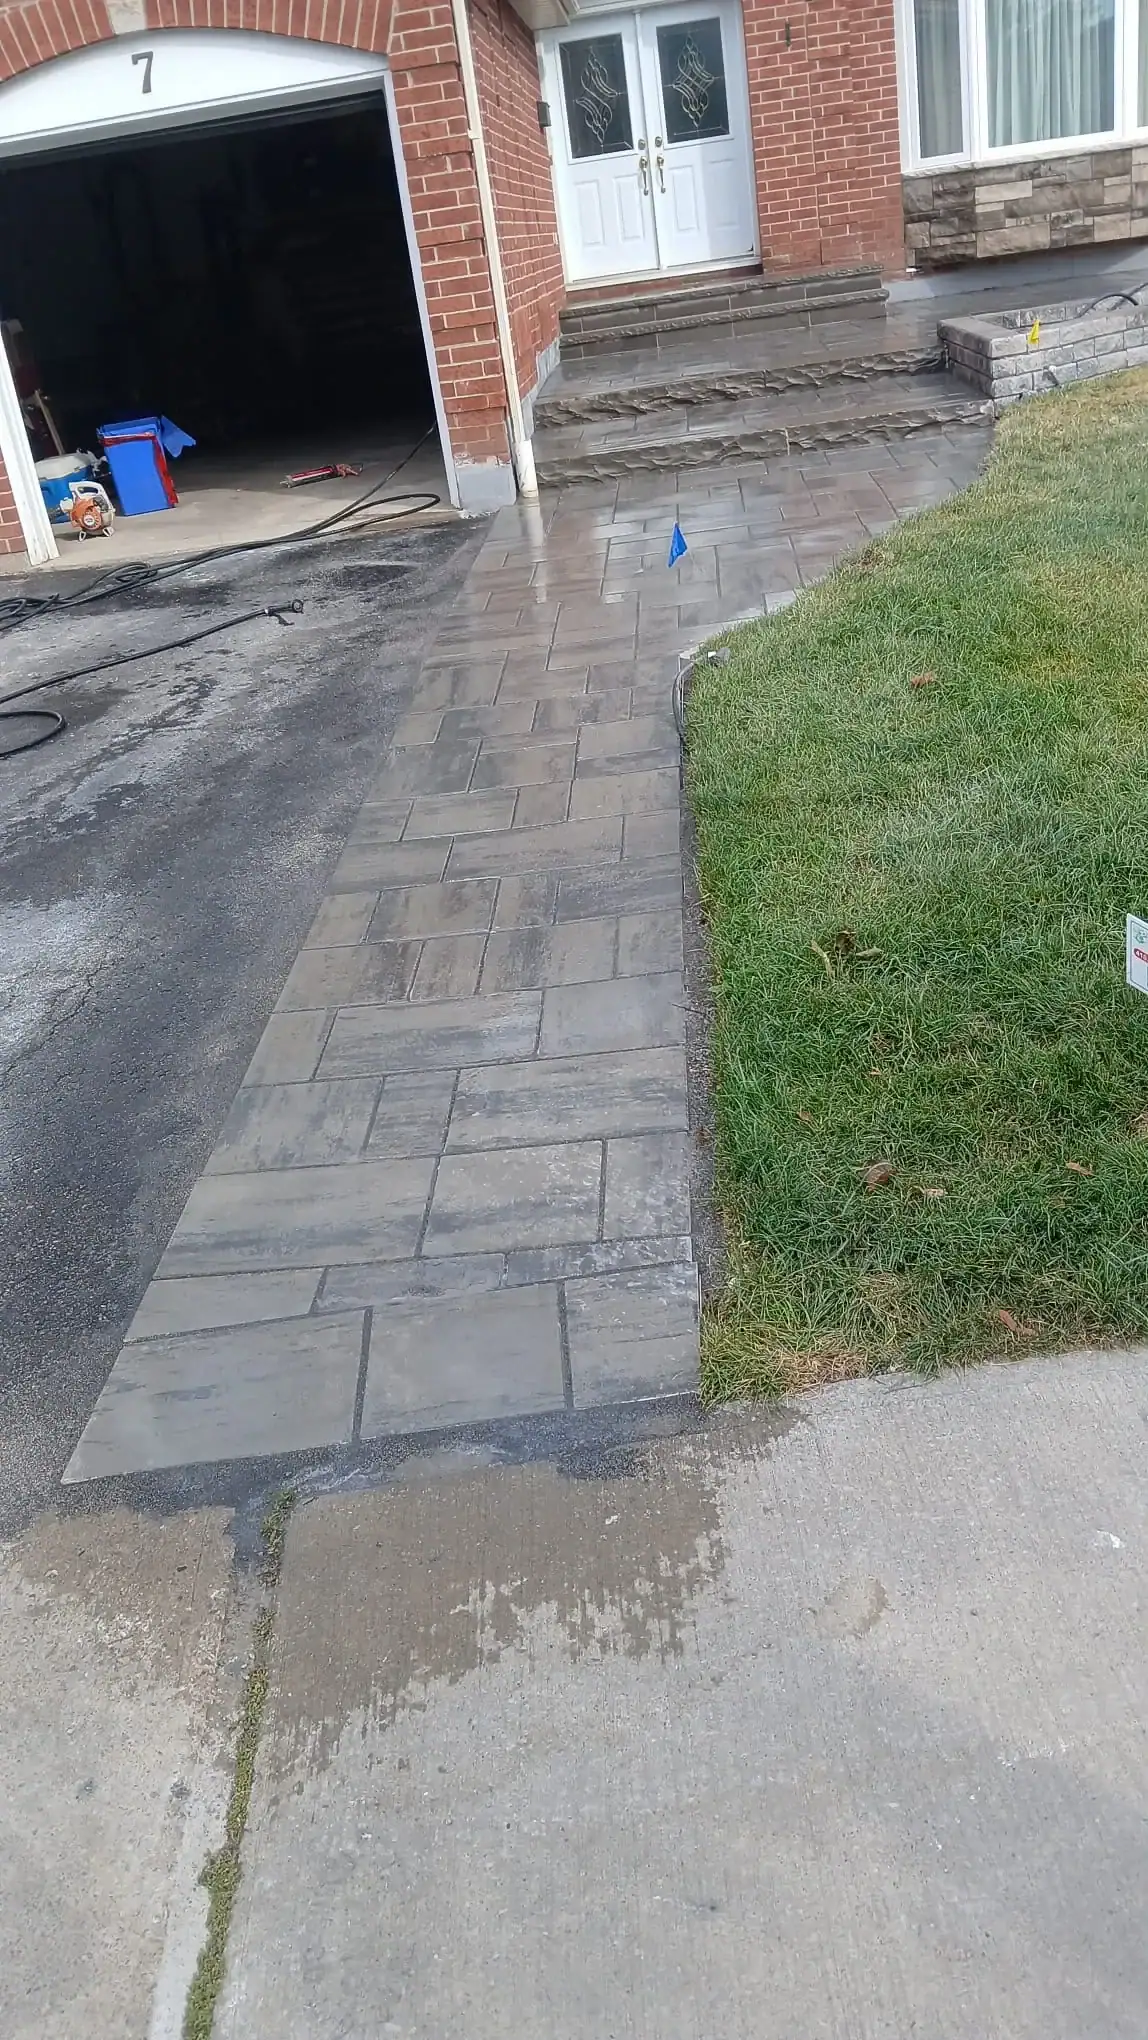
6. Check Patios and Walkways Beside the House
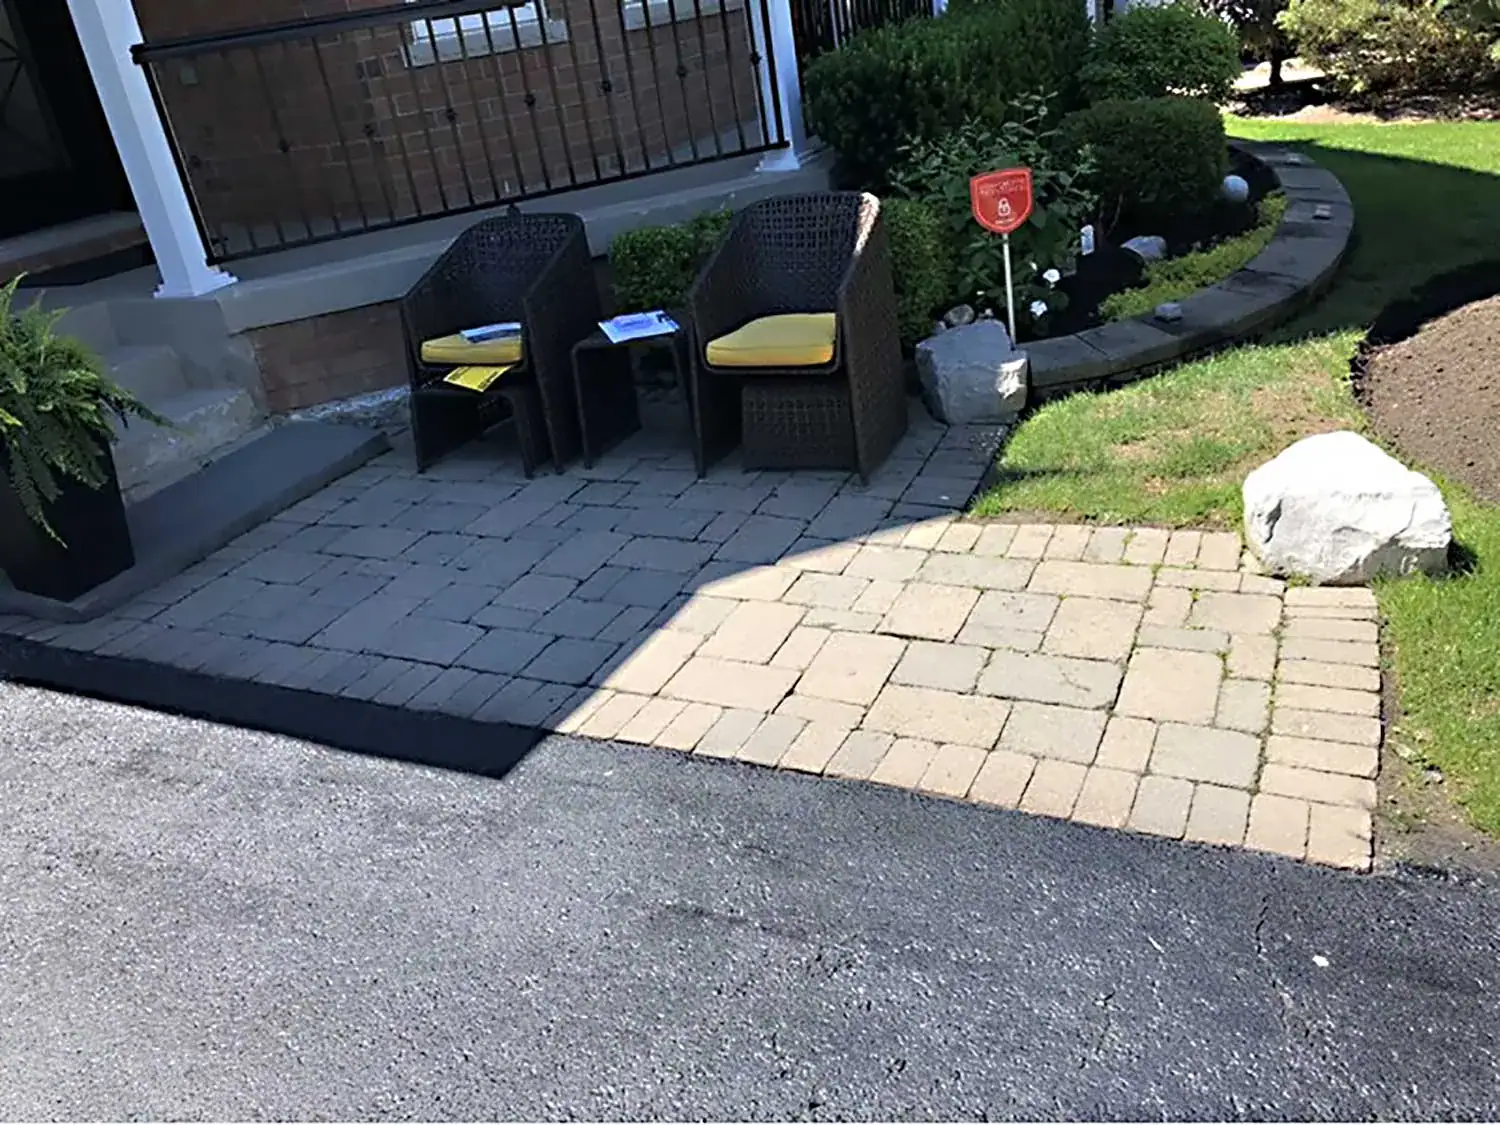
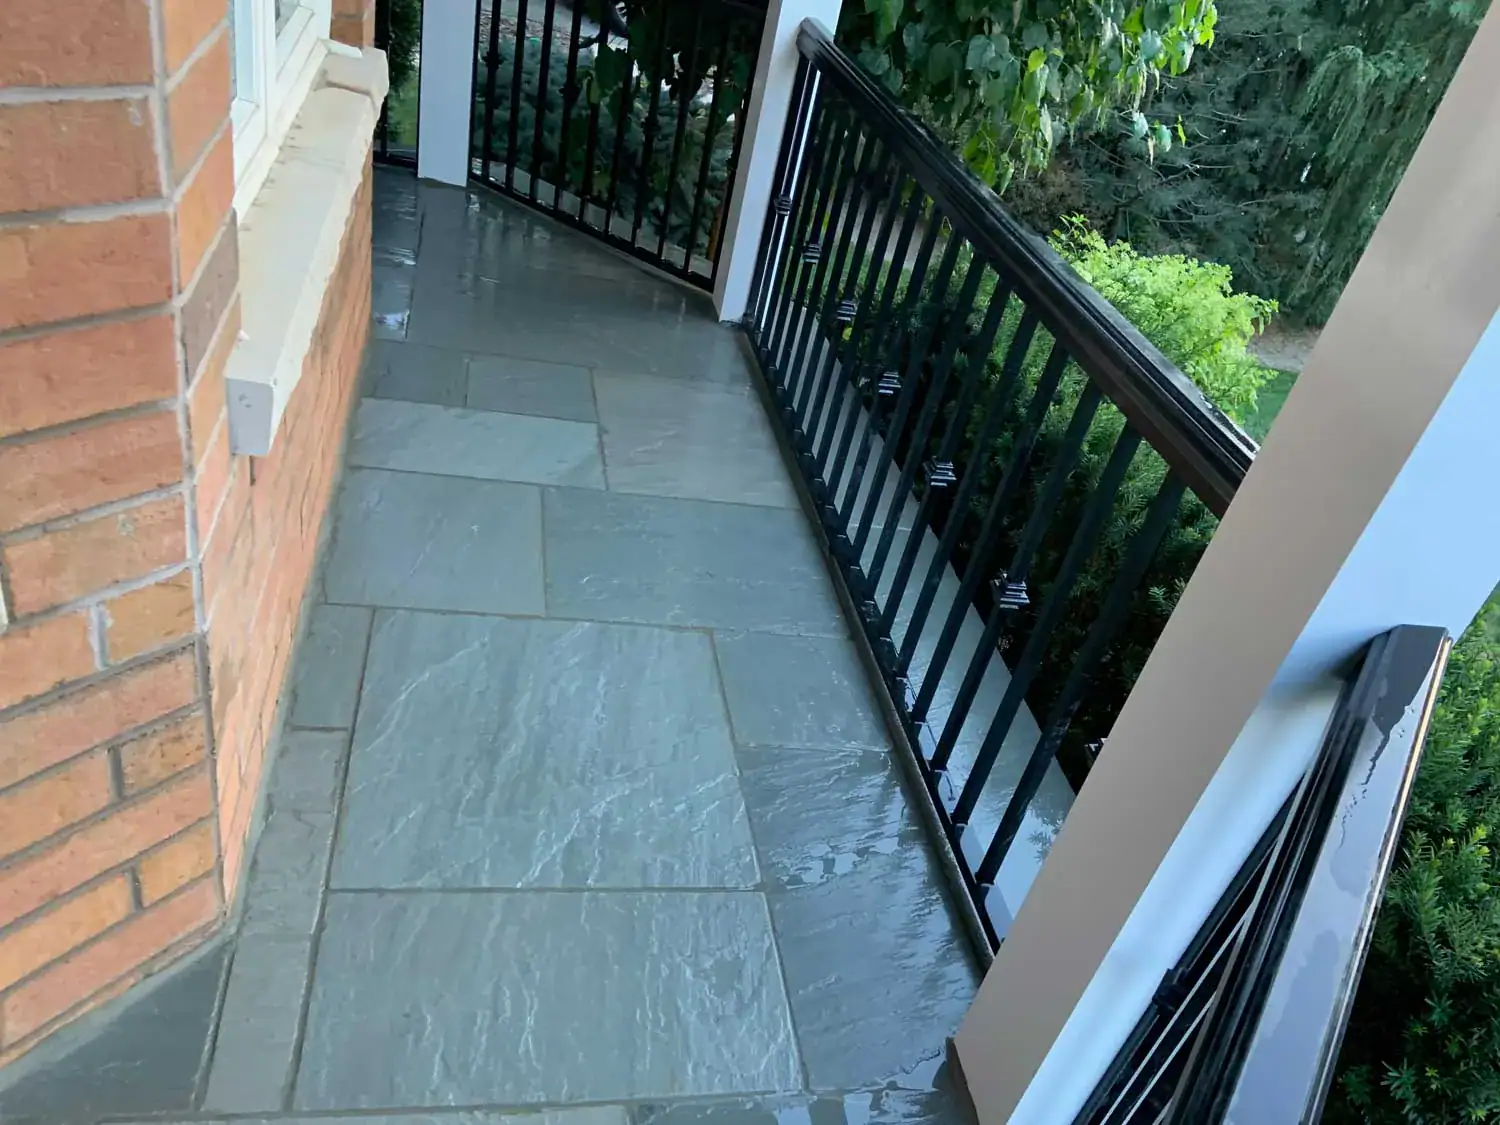
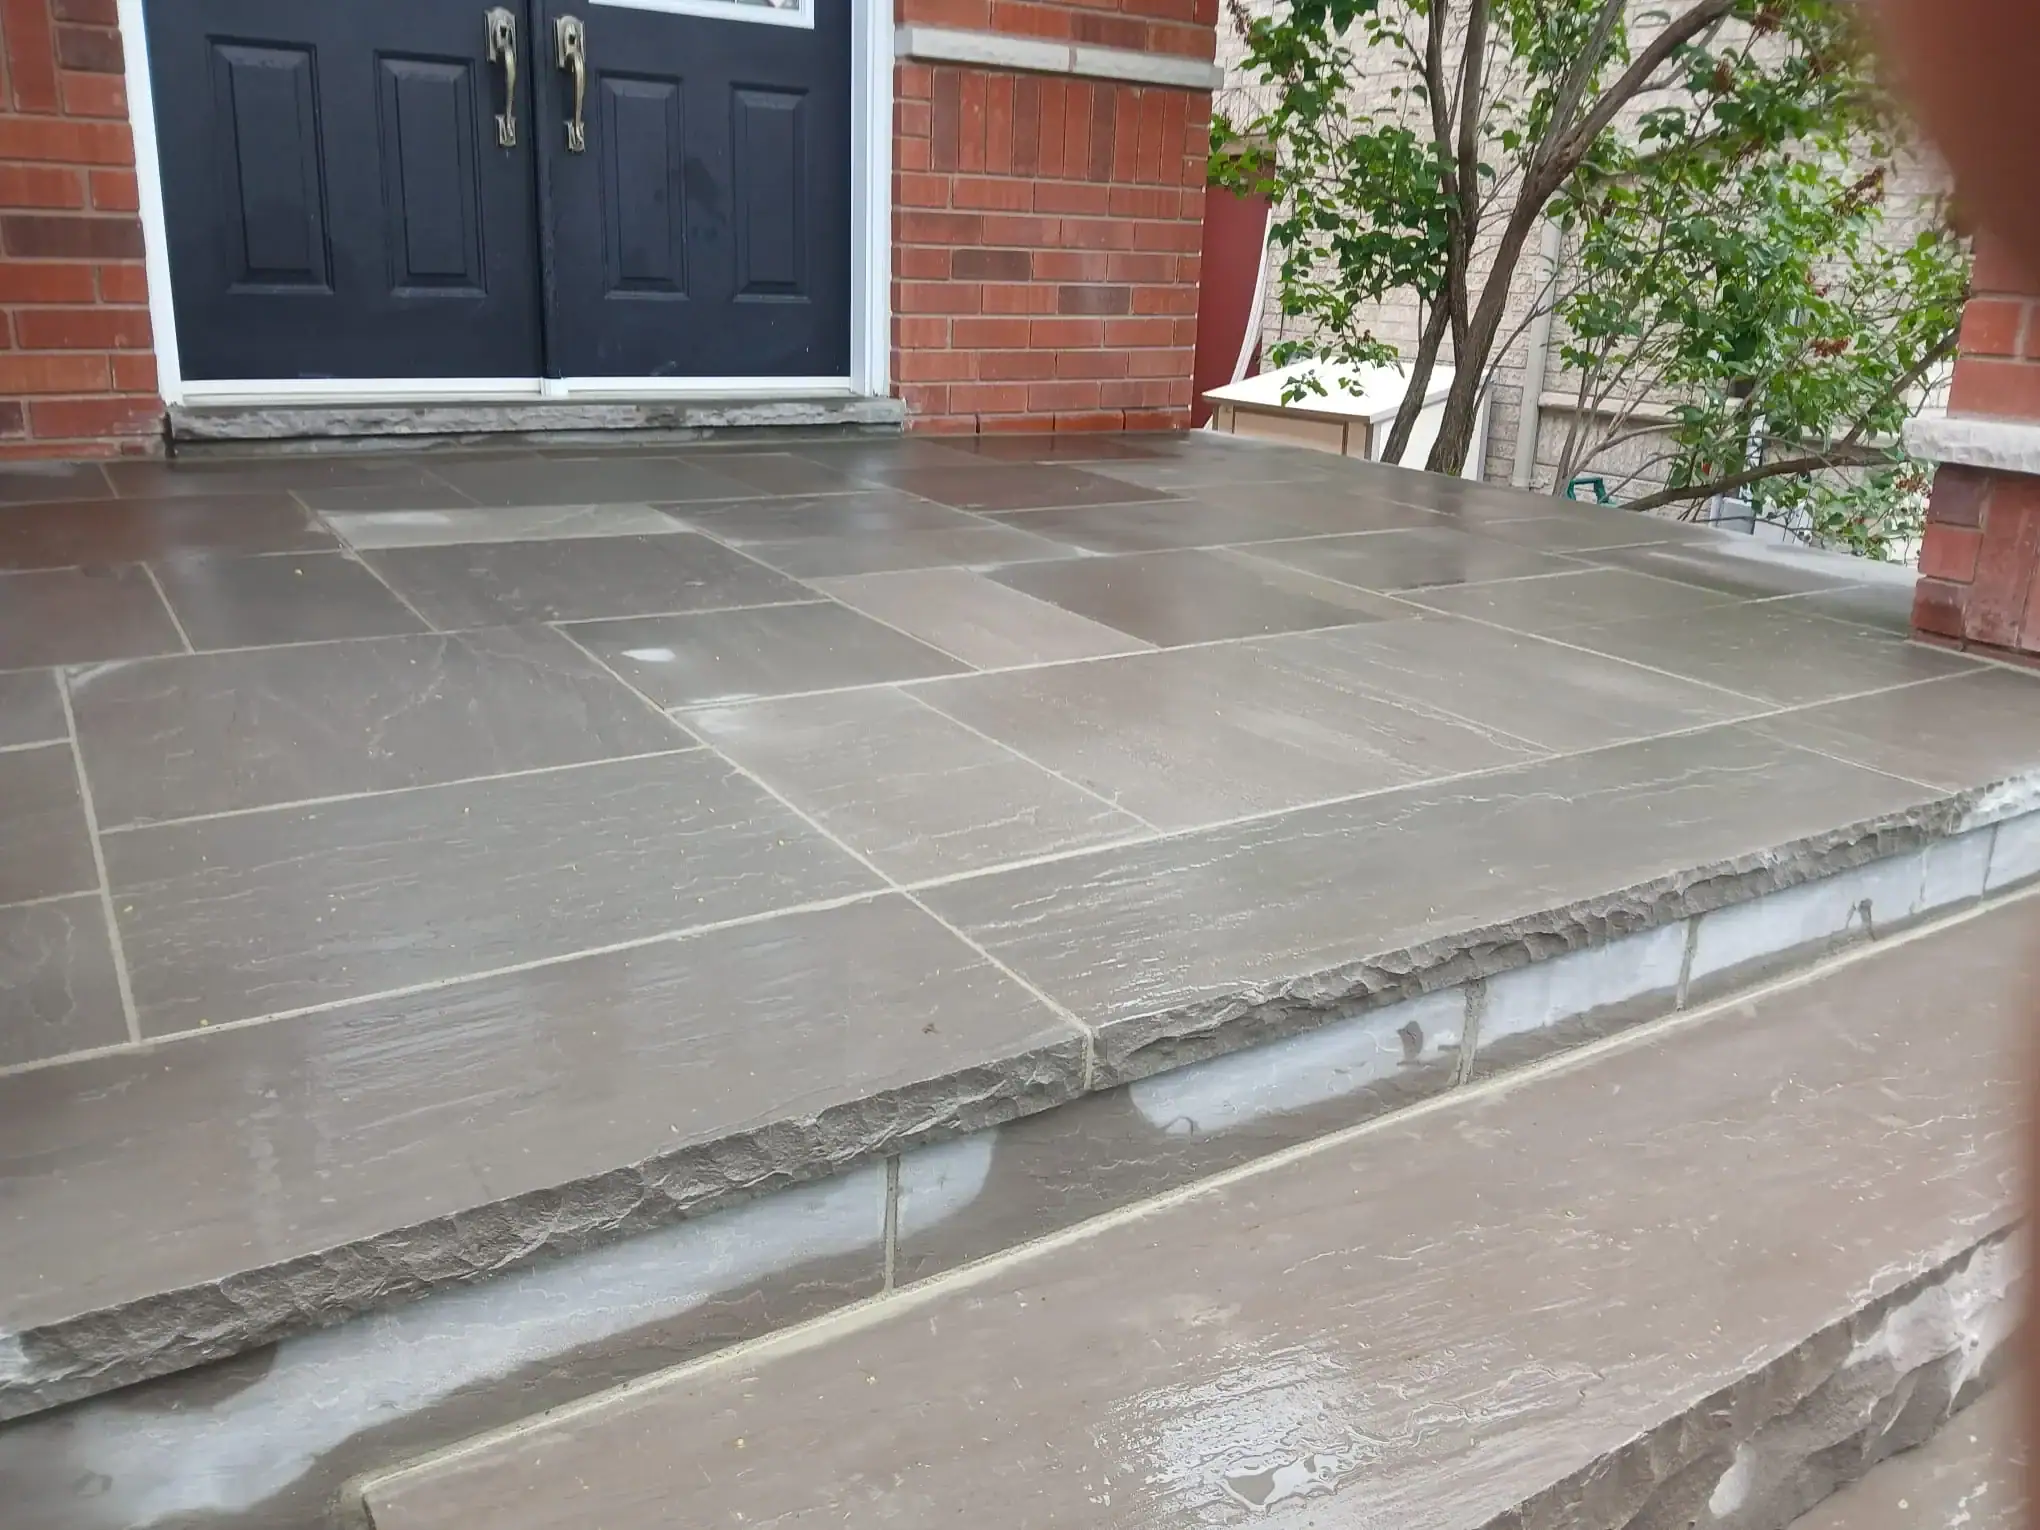
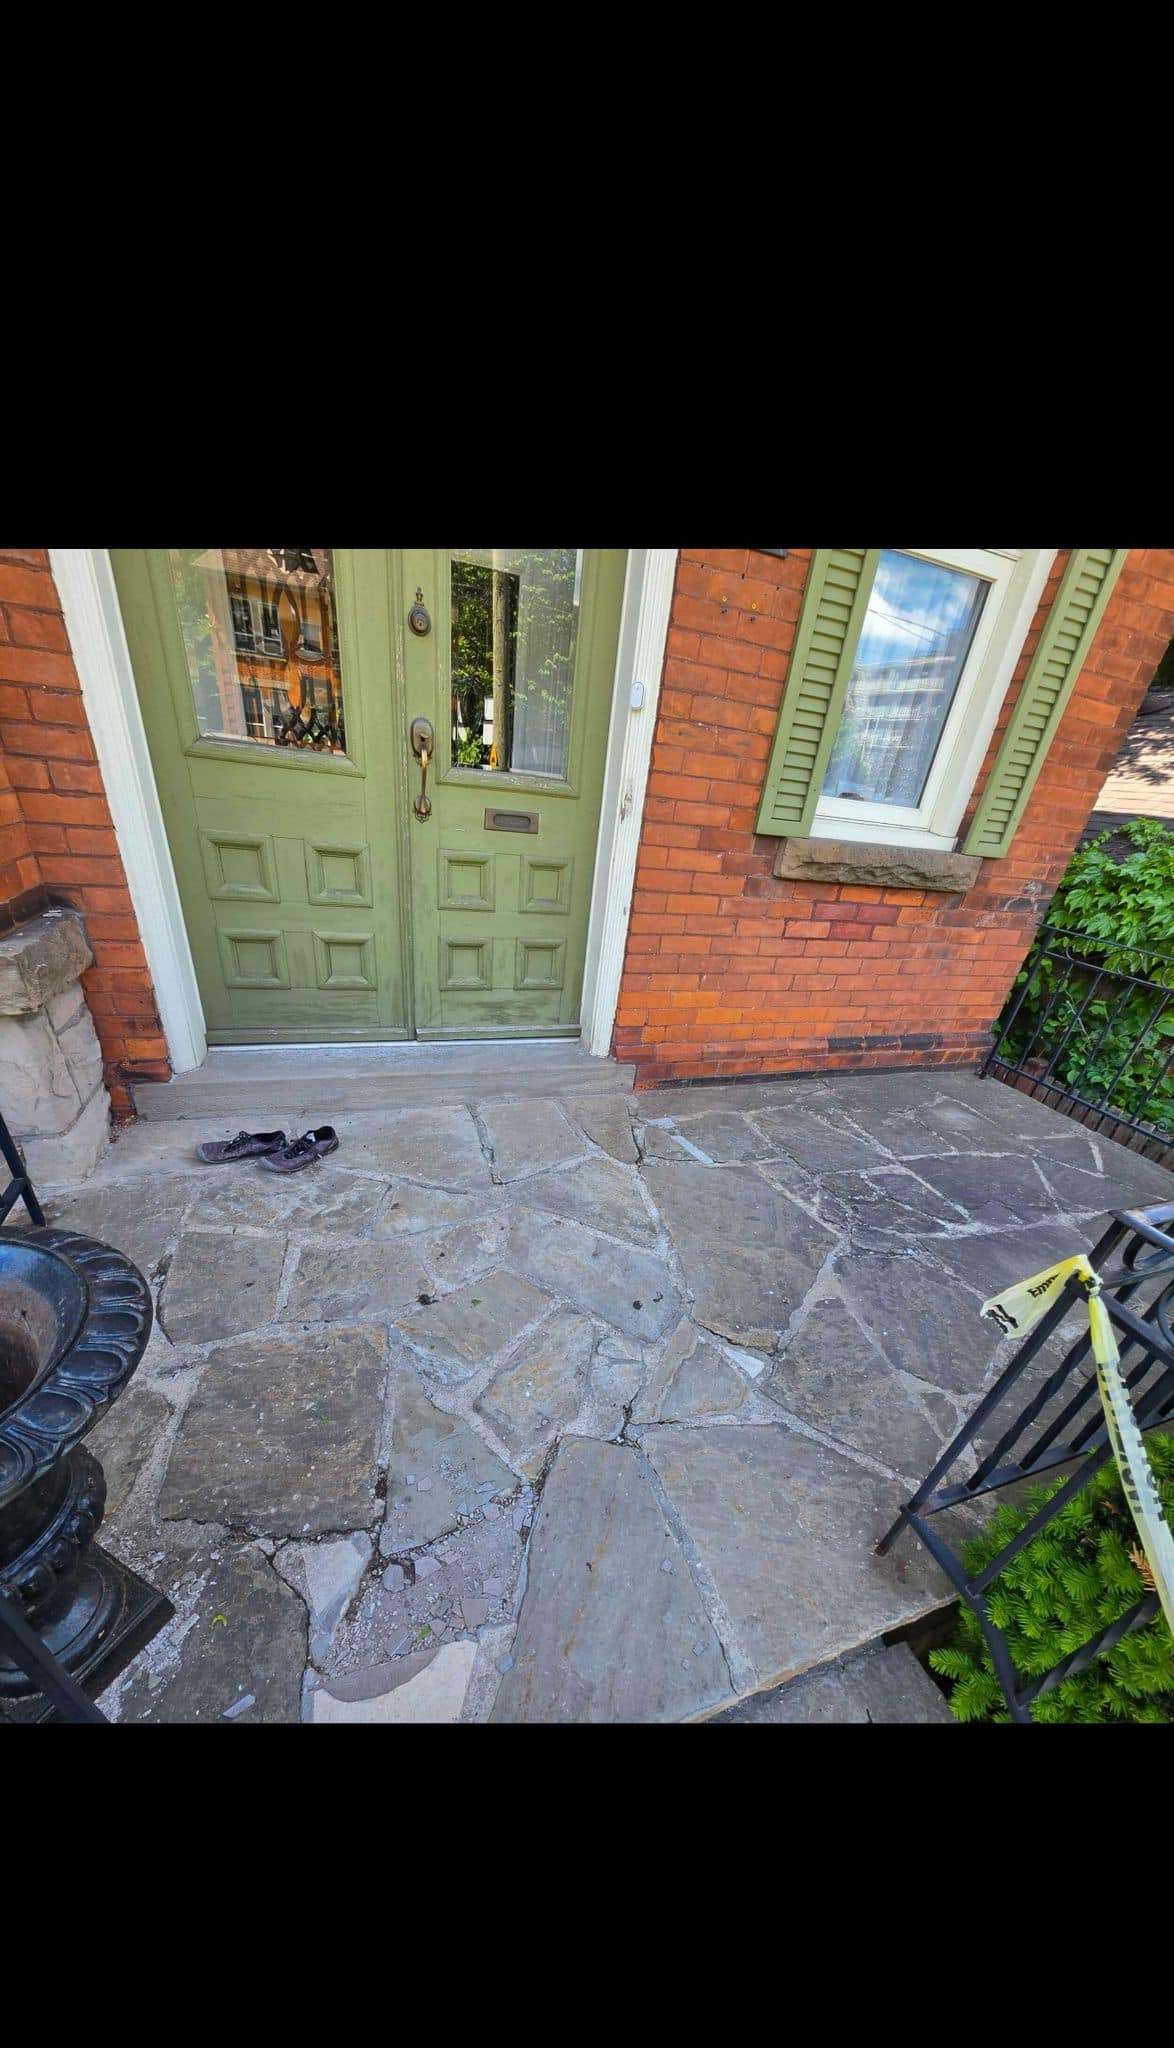
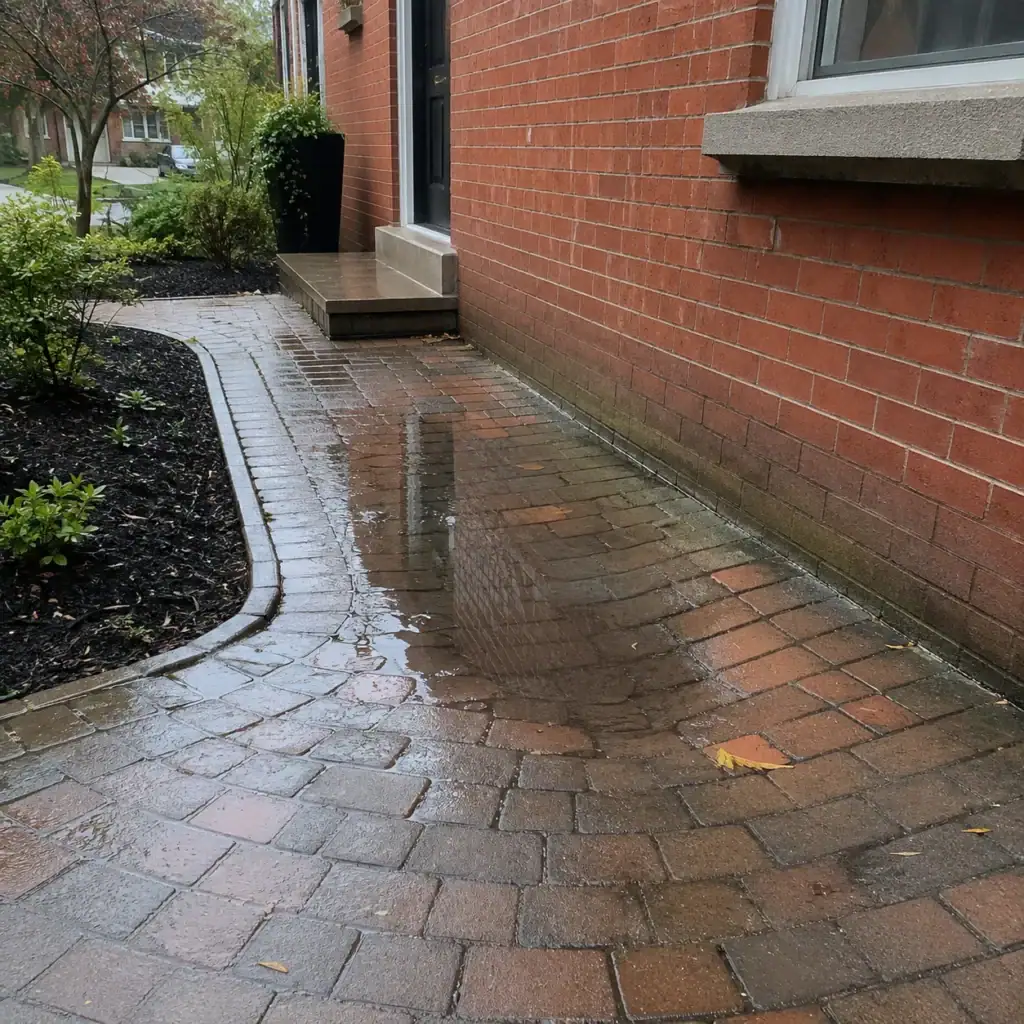
Check patios and walkways because their slope affects where rain and snowmelt travel. A paved surface that directs water toward the foundation can cause repeated moisture exposure, even if the masonry was originally built correctly.
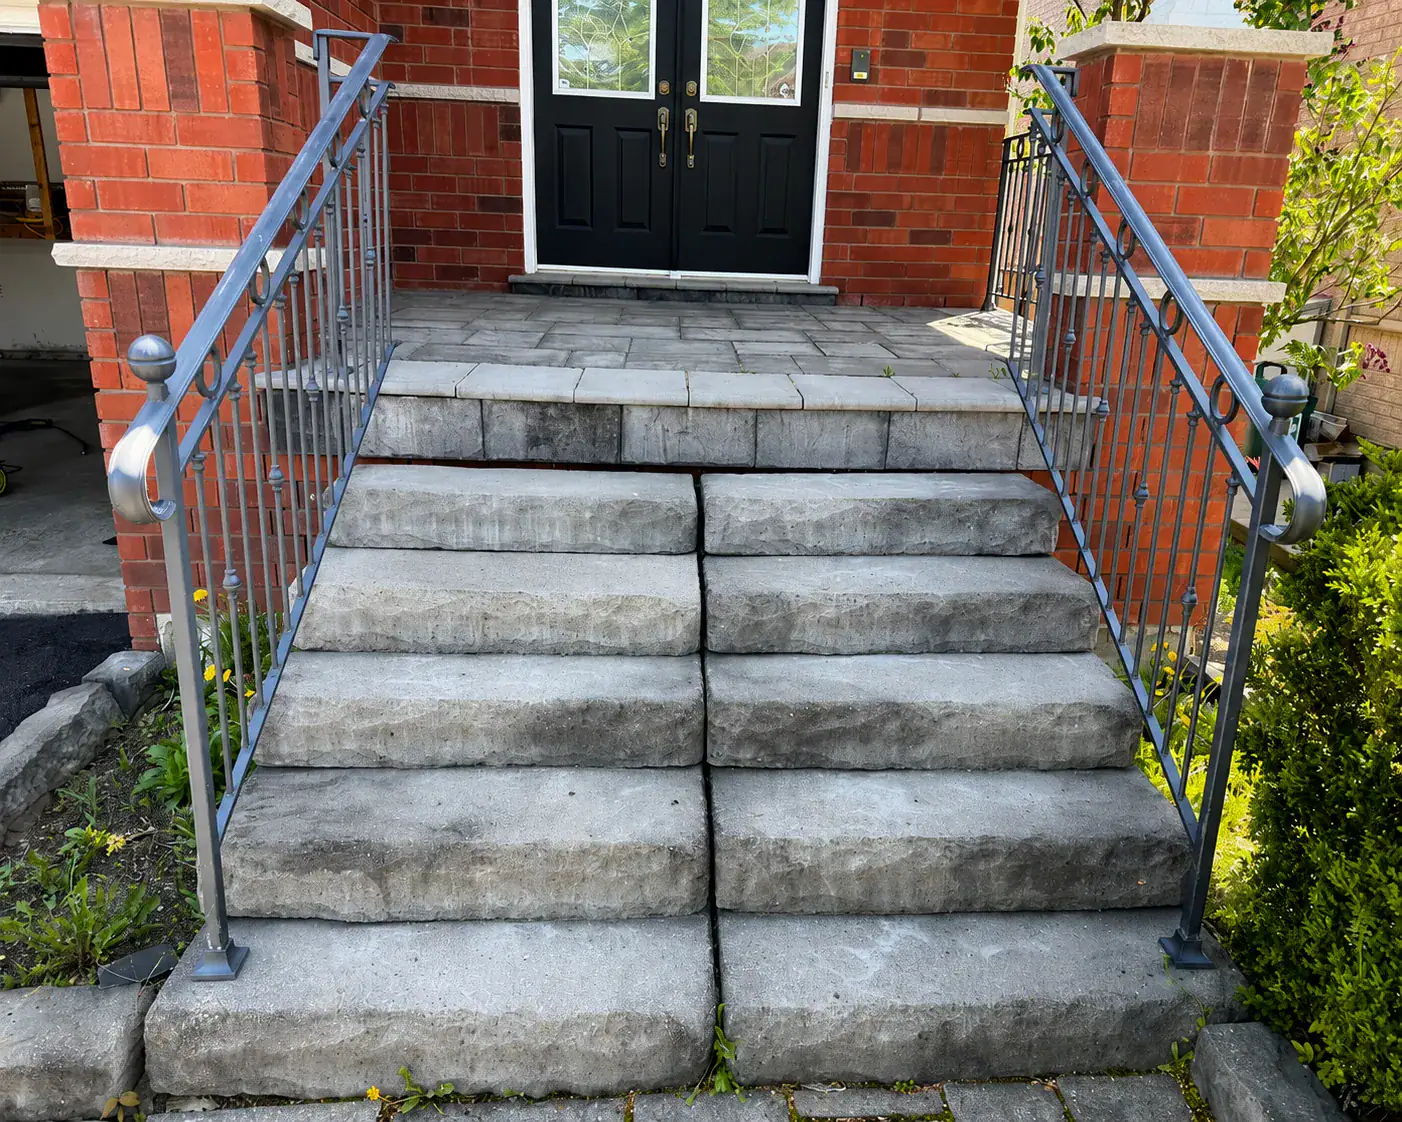
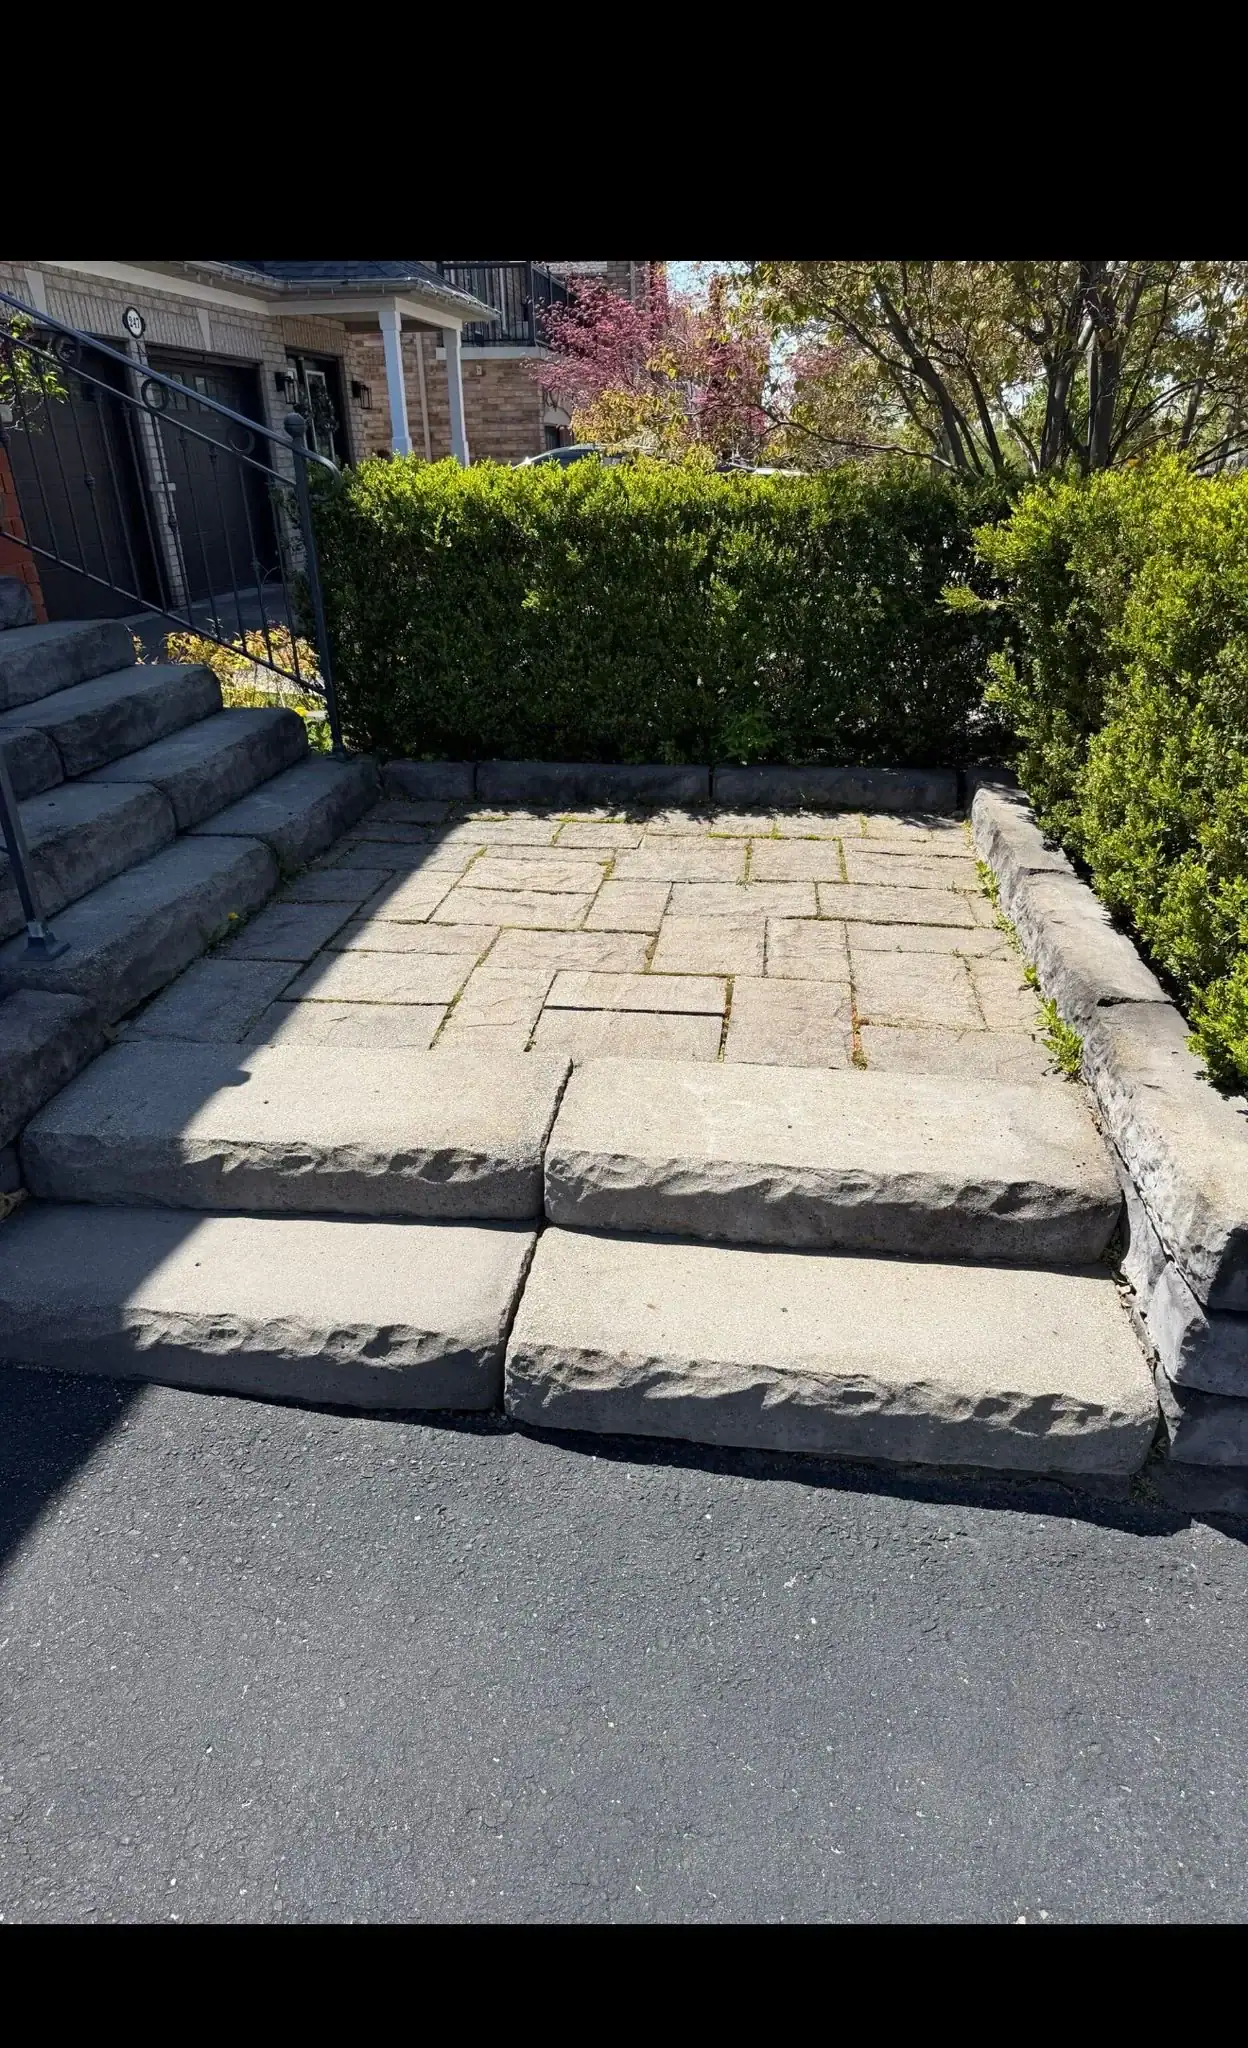
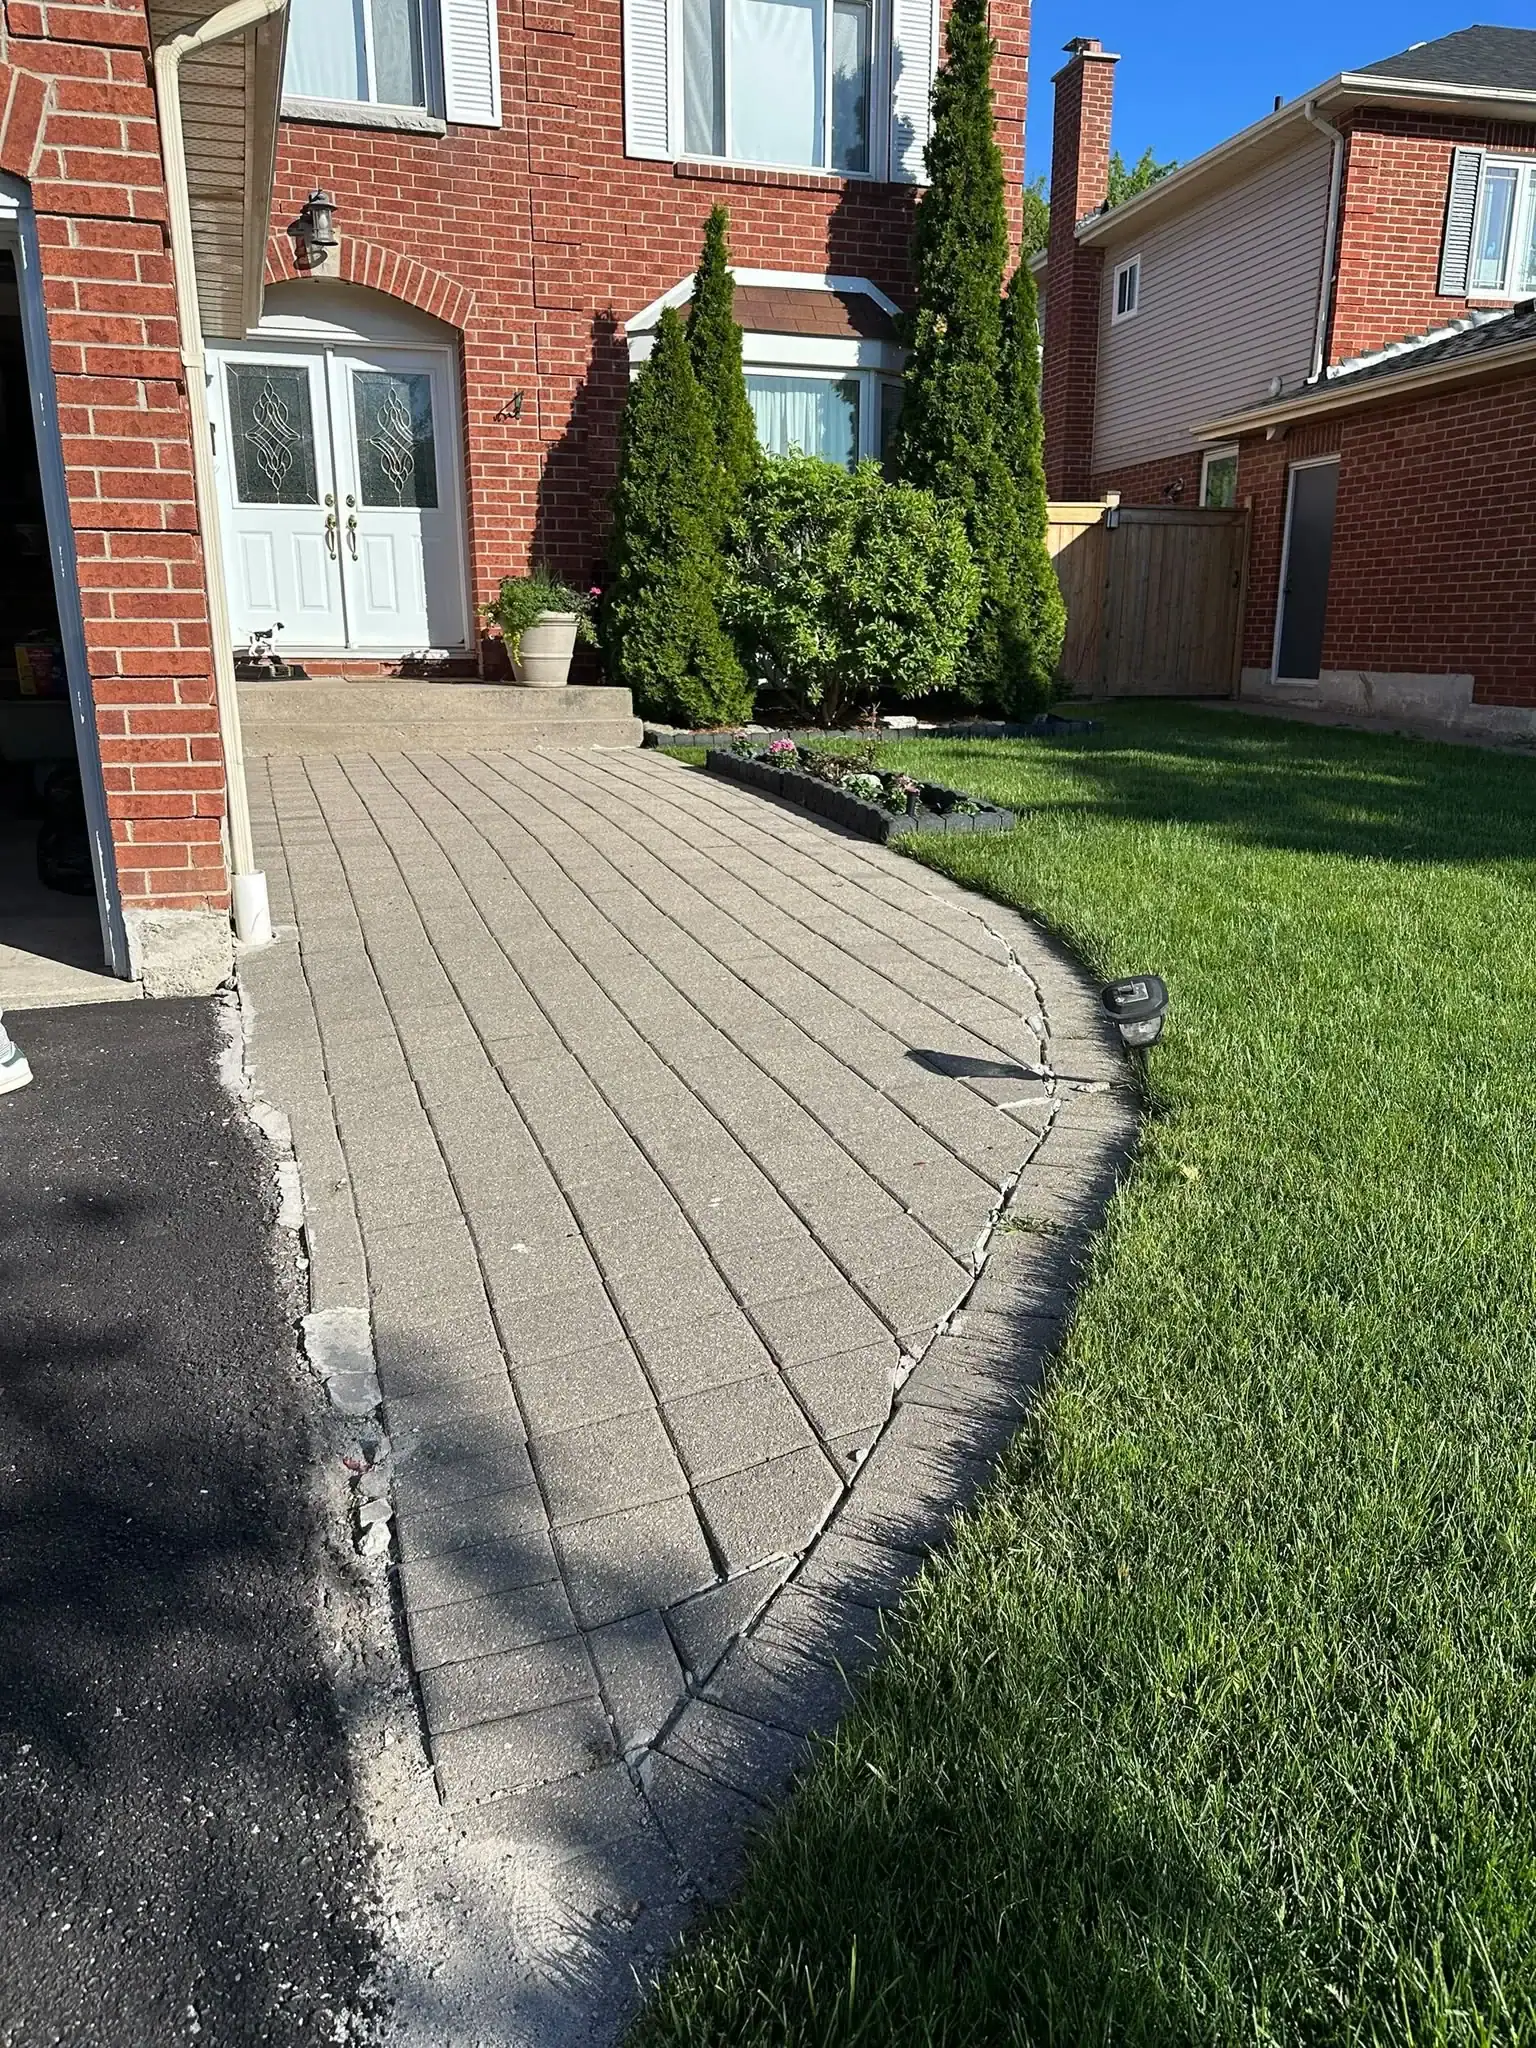
After rain, look for puddles beside the house and areas where water collects between paving and the foundation. Sunken interlocking pavers can create low spots that did not exist when the surface was first installed.
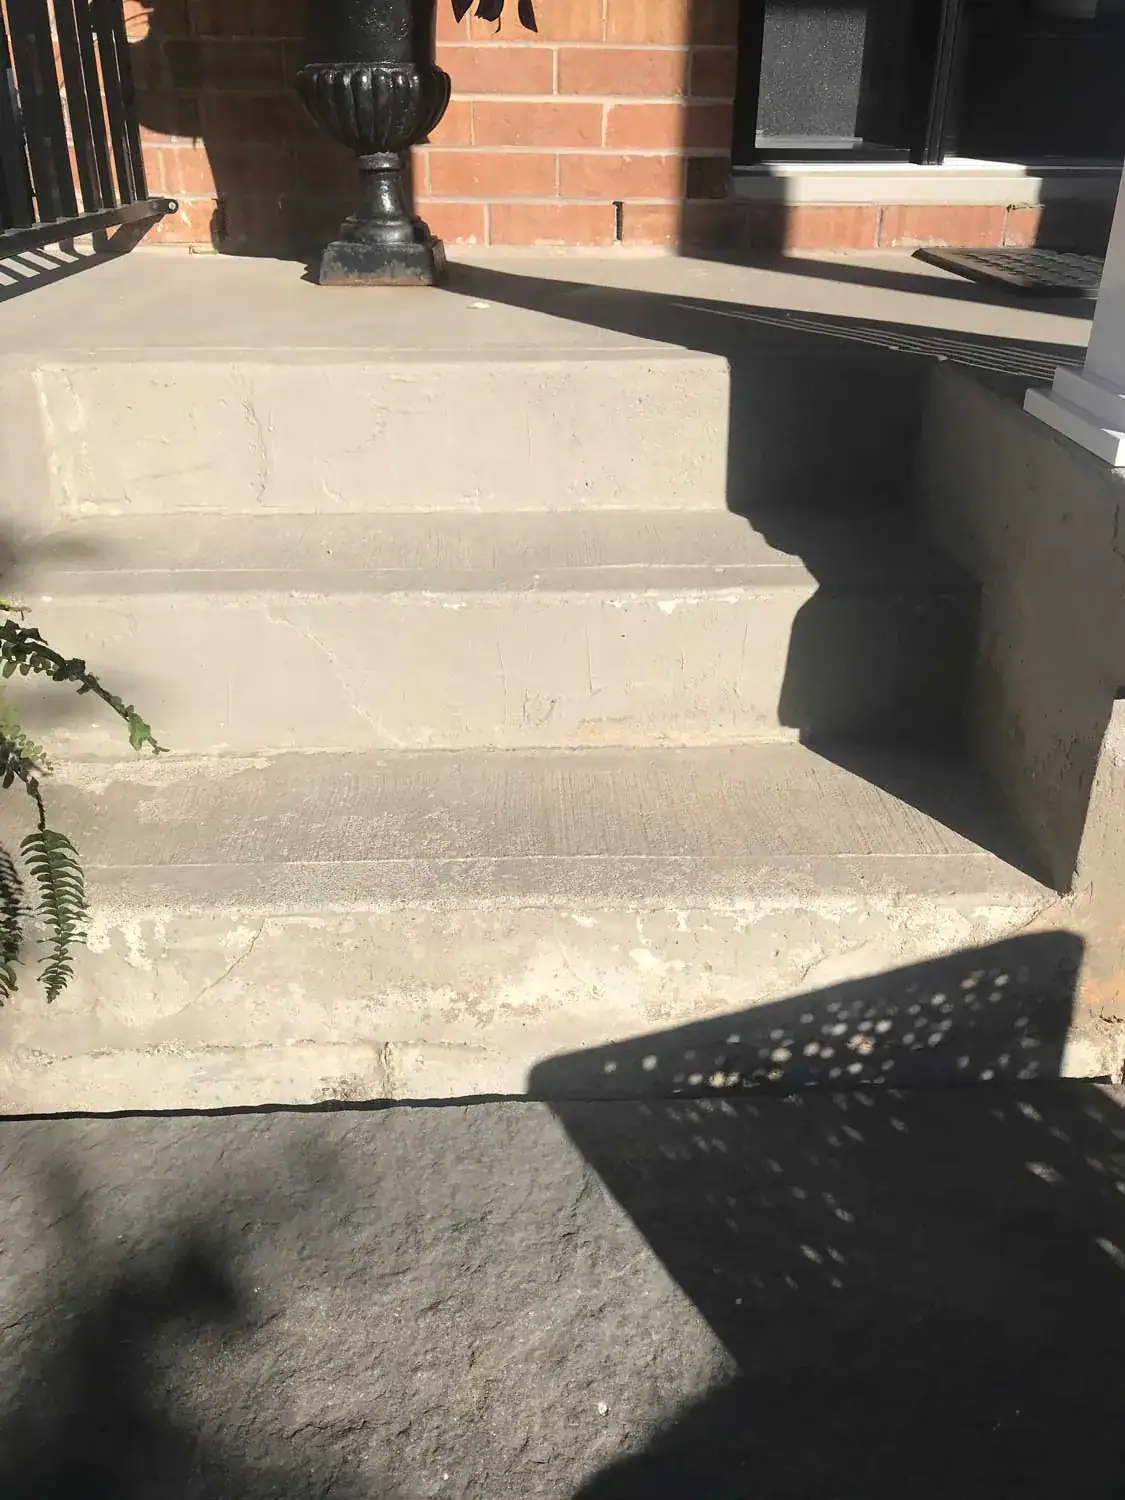
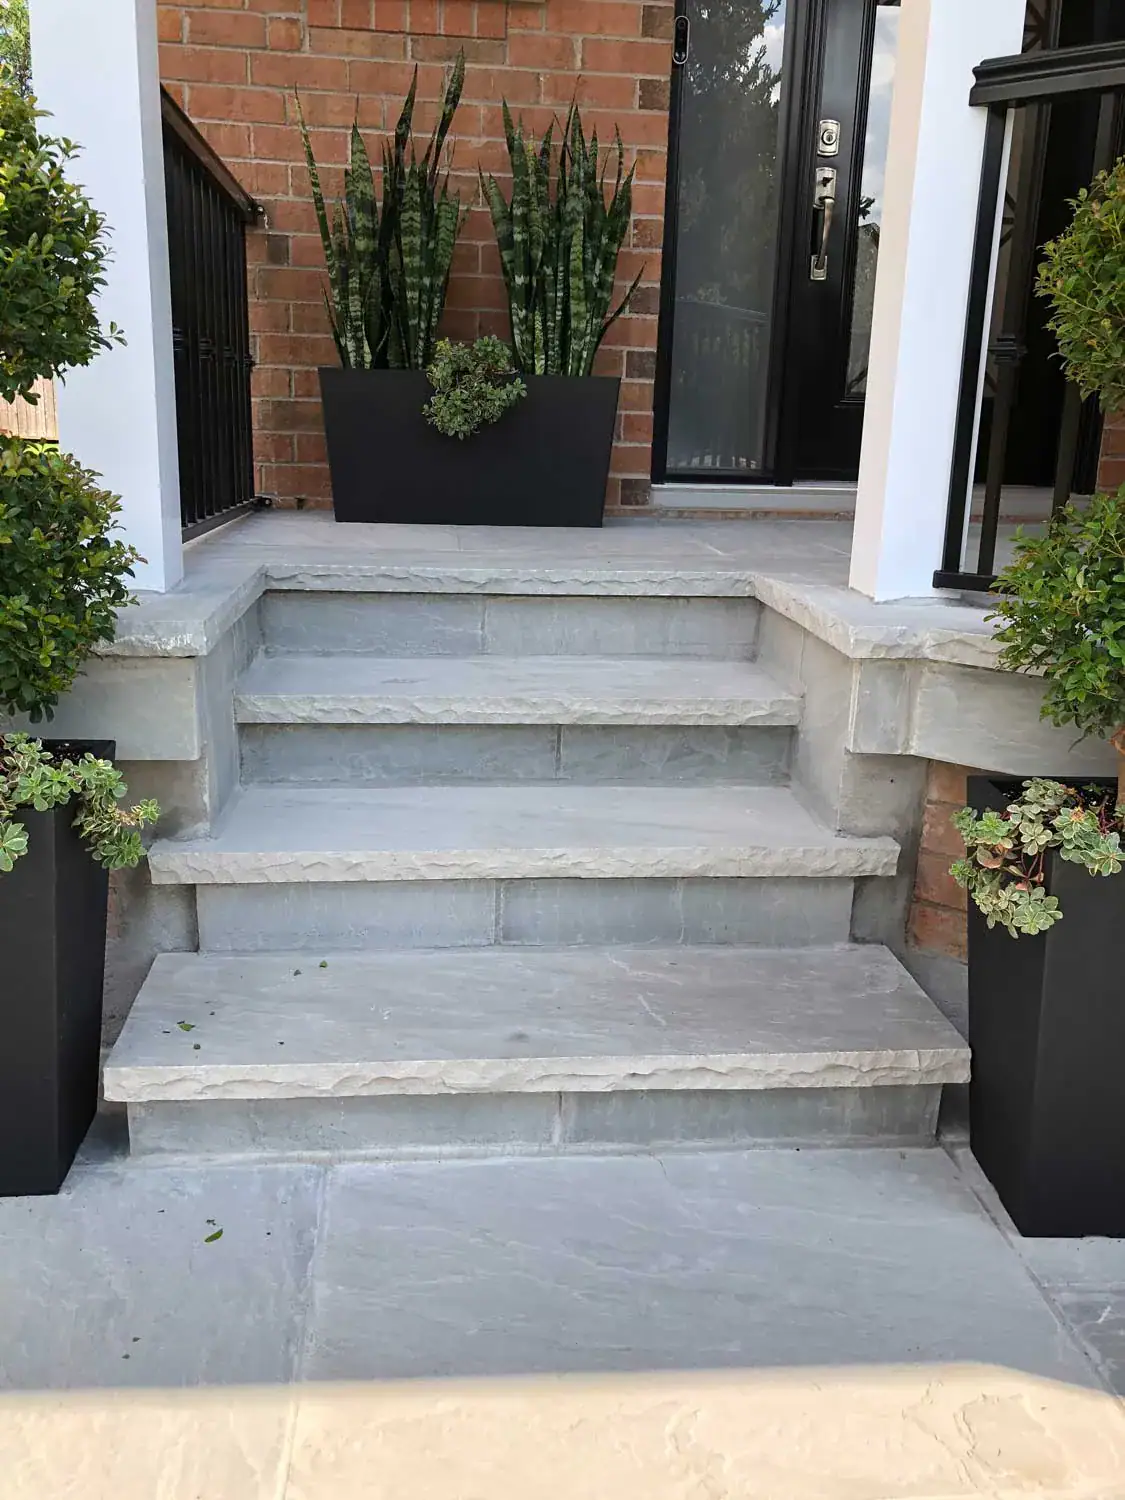
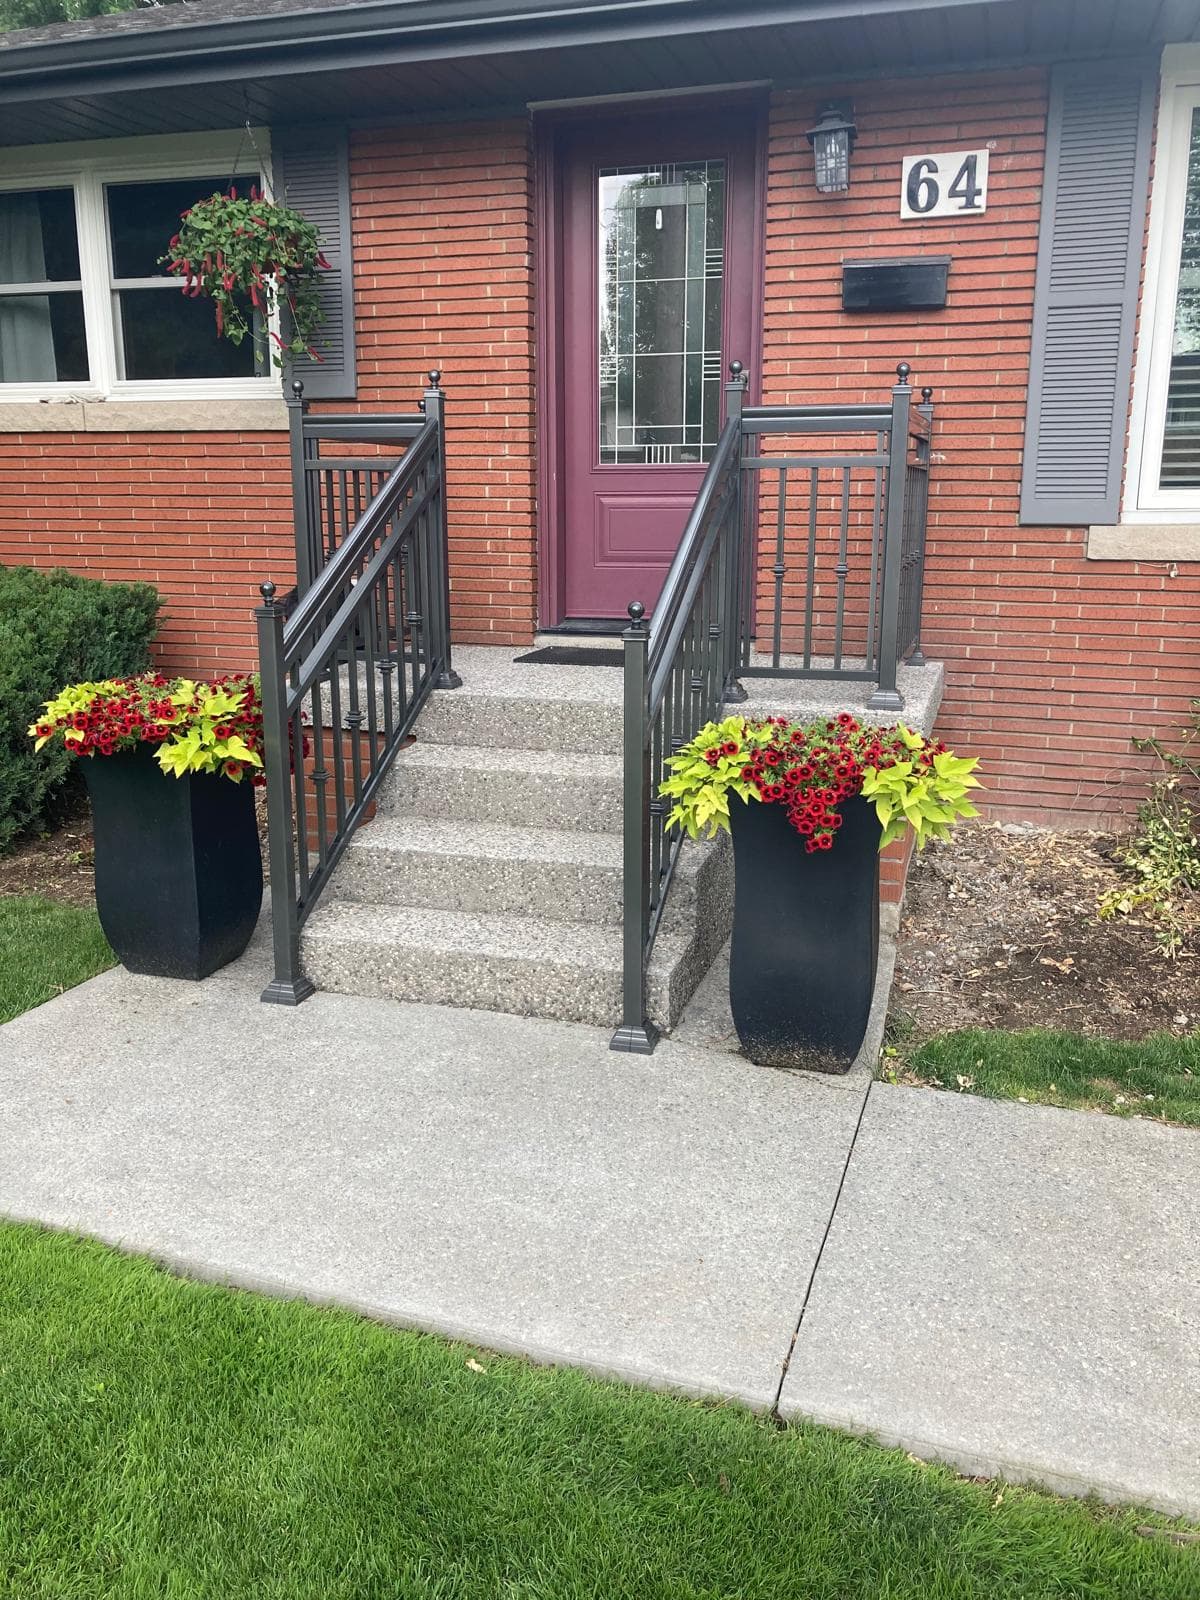
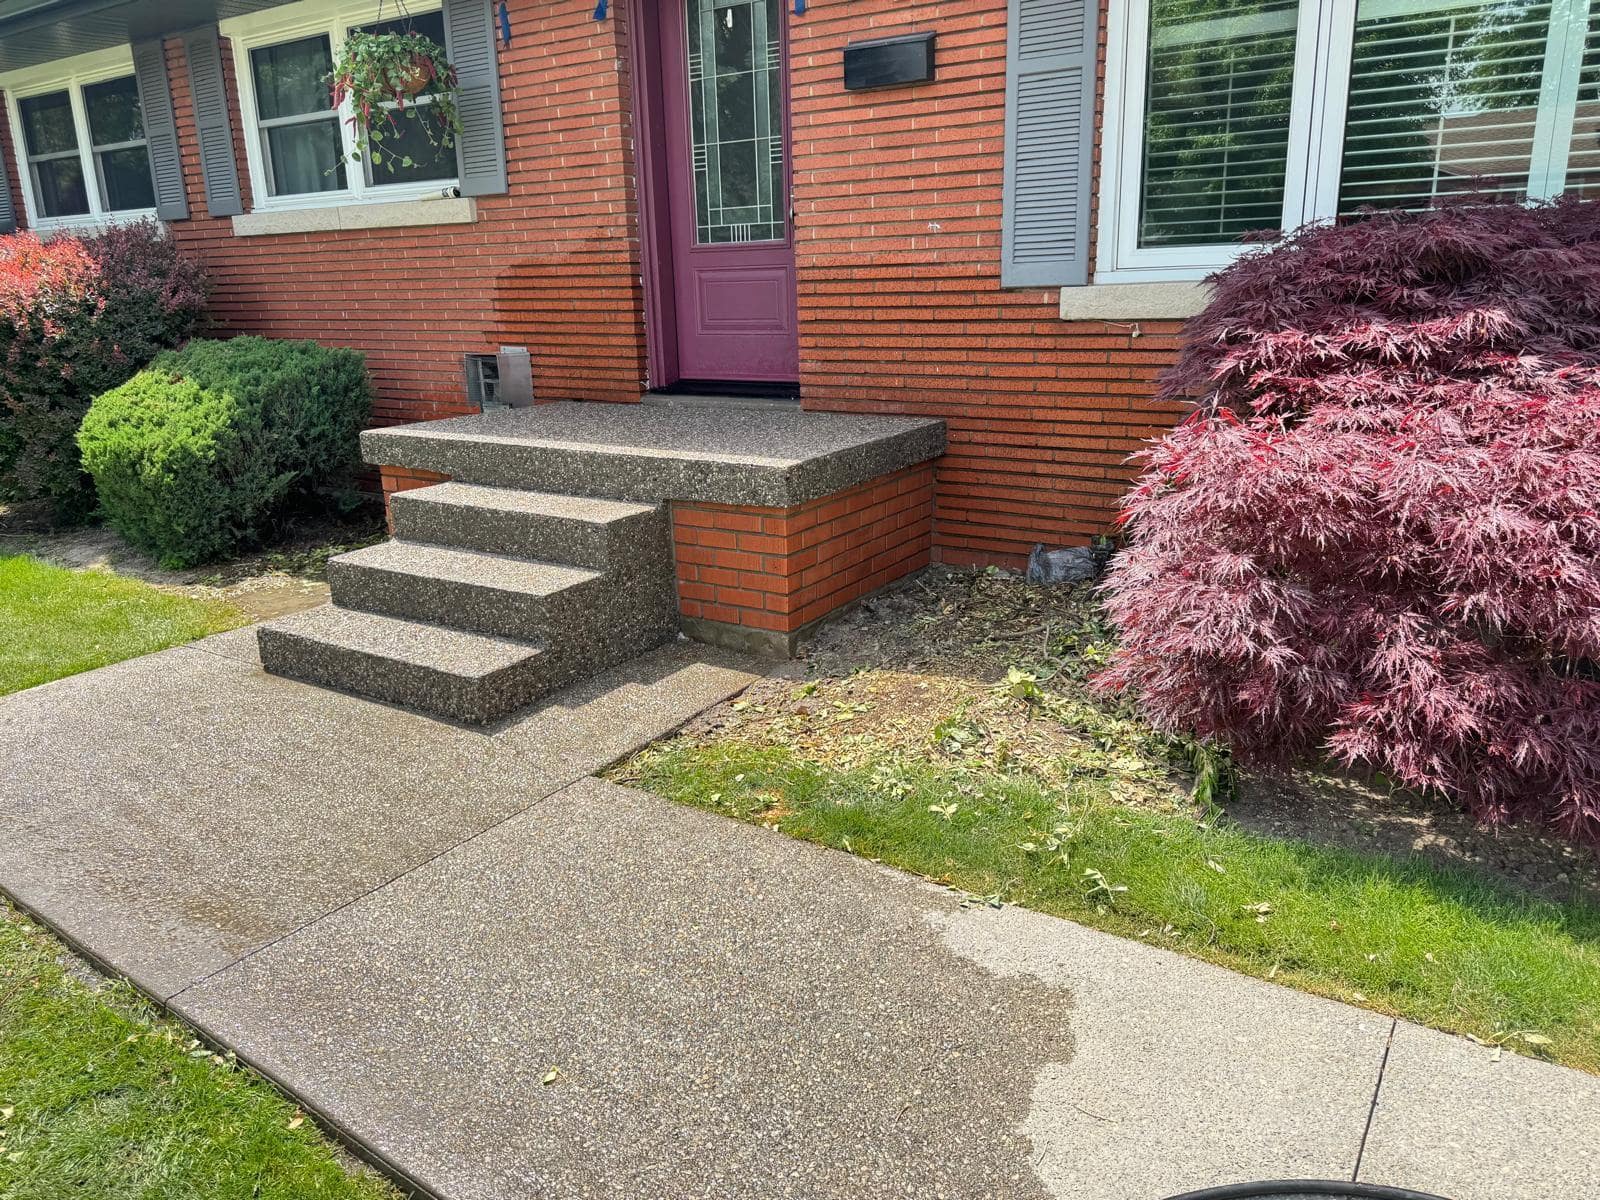
Also look at transitions between steps, porches, driveways, and foundation walls. These junctions can collect water when settlement changes the original slope.
The City of Toronto recommends grading property so water drains away from foundation walls and suggests using more permeable landscaping where practical. Its stormwater guidance also discusses porous surfaces and managing melted snow.
7. Look Behind Dense Vegetation
Shrubs, vines, and dense planting can hide masonry moisture problems. Plants themselves are not necessarily harmful, but vegetation touching the wall can reduce airflow and make inspection difficult.
Move branches aside where practical and inspect the masonry behind them. Look for damp areas, algae, deteriorated mortar, loose brick, or soil built up against the wall.
Pay extra attention to north-facing and heavily shaded areas because they may dry more slowly after rain.
Fall pruning can make these areas easier to monitor through winter while also preventing leaves and debris from accumulating against walls and drainage points.
8. Check Chimney Masonry From the Ground
Chimneys are especially exposed to moisture because they sit above the roof and take on rain, snow, wind, and temperature swings from several directions.
From a safe ground-level position, look for spalling brick, missing mortar, dark staining, leaning sections, damaged caps, or cracks in the crown.
Binoculars or a camera with zoom can help. Avoid climbing onto the roof for a seasonal inspection.
Water entering through the top of a chimney can affect the masonry below, so deterioration near the upper courses shouldn’t automatically be treated as an isolated brick problem.
If you see visible damage, A&A Masonry’s chimney repair Toronto resource explains common chimney masonry, crown, cap, and moisture concerns.
9. Look for Efflorescence, but Find the Water Source
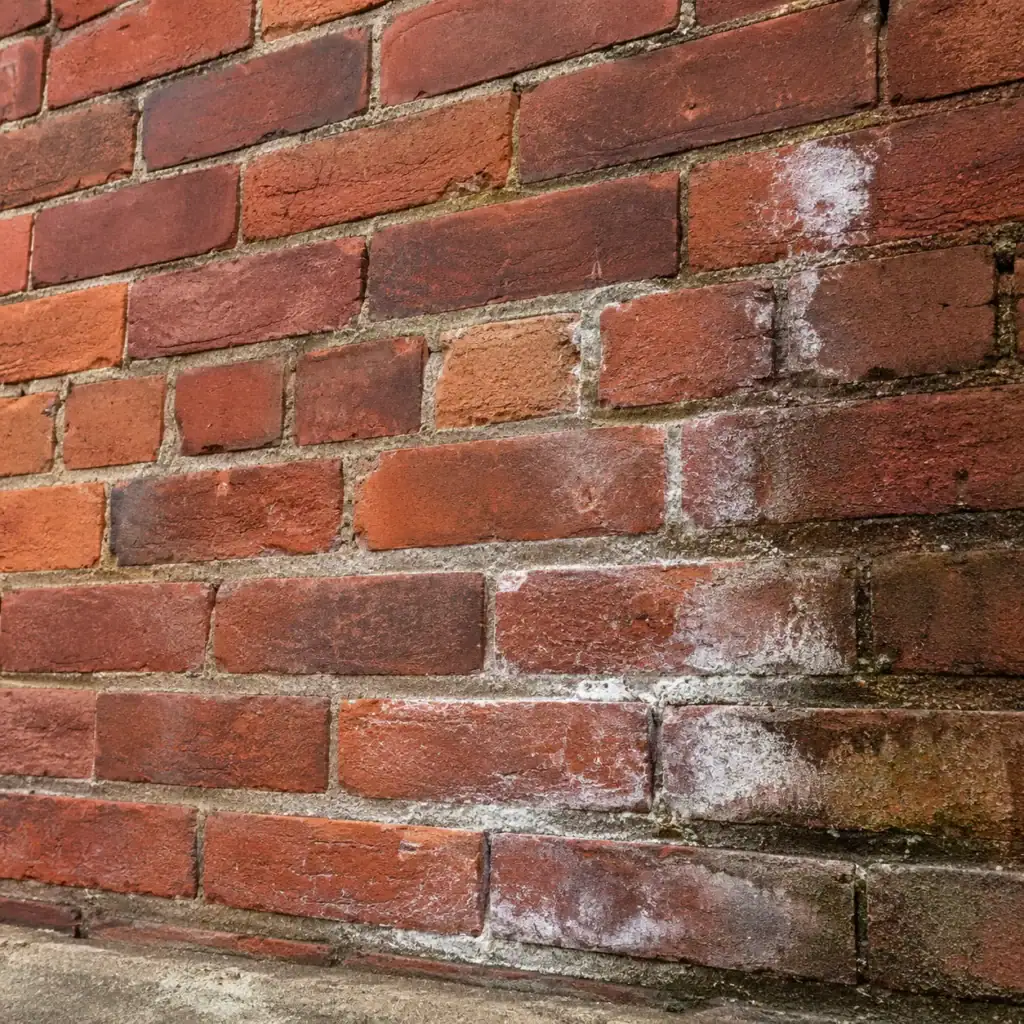
Efflorescence appears as a white powdery or crystalline deposit on masonry. It develops when moisture moves through masonry, dissolves soluble salts, and leaves those salts at the surface as the water evaporates.
Light efflorescence does not automatically mean the wall is failing. The useful question is whether it keeps returning and why moisture is moving through that location.
Repeated deposits beside a downspout, below a sill, near a foundation crack, or around a consistently damp section of wall deserve more attention than a one-time surface deposit.
Avoid covering the area with paint or sealer right away. Doing so can hide the evidence without addressing the moisture path.
10. Inspect Parging and Visible Foundation Walls
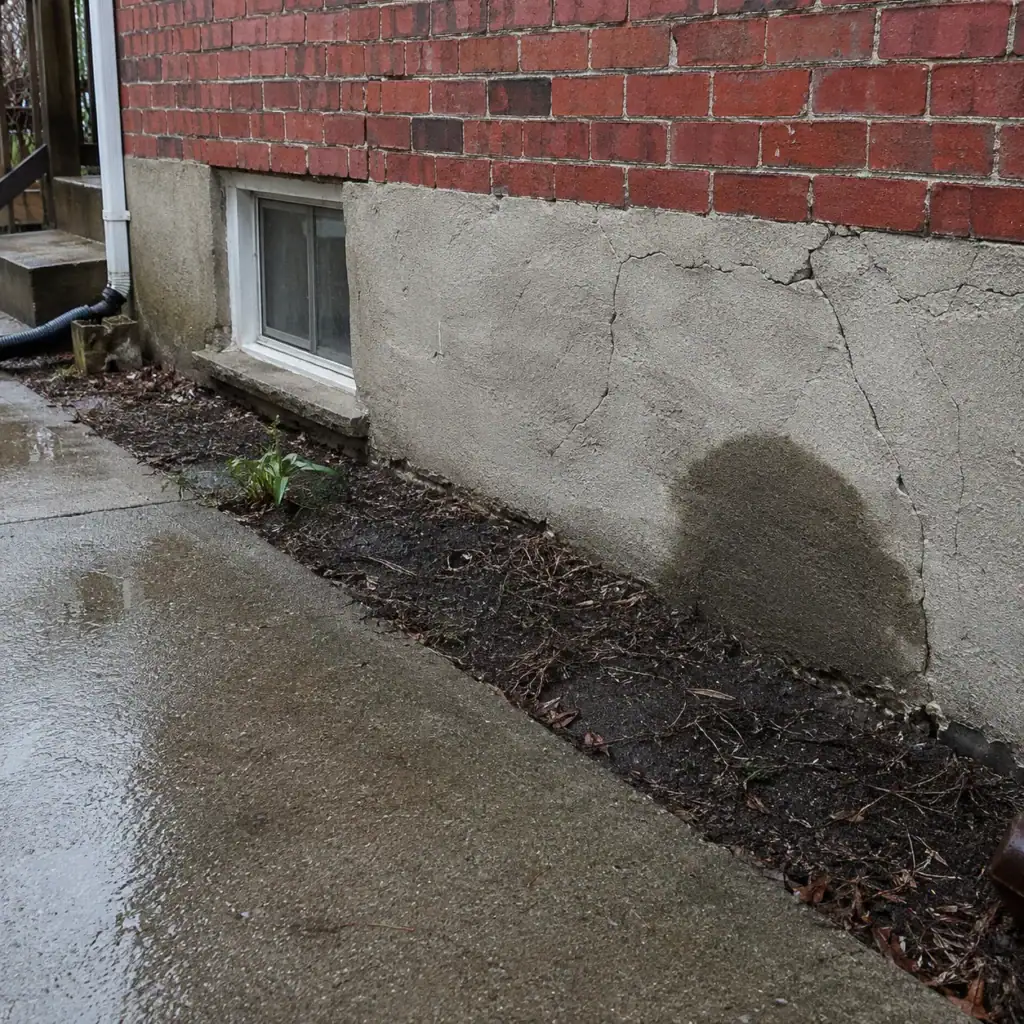
Parging and exposed foundation areas can provide clues about water movement near the base of the house. Look for cracks, flaking surfaces, hollow sections, dark staining, and areas that remain damp after rain.
A small parging crack is not necessarily the source of a basement leak, and parging itself is not a substitute for a proper waterproofing system. However, visible deterioration can indicate repeated moisture exposure in the foundation area.
If water is also appearing inside the basement, you should assess the problem more broadly. Foundation cracks, grading, drainage, window wells, weeping tiles, and exterior waterproofing may all be relevant.
A&A Masonry’s Toronto waterproofing guide explains how basement and foundation moisture problems can involve several exterior conditions rather than one visible crack.
11. Check Inside the Basement After Heavy Rain
Interior basement conditions can help confirm an exterior moisture problem. After a significant rainfall, check unfinished foundation walls, basement corners, window areas, and the floor-wall junction.
Look for:
- New damp patches.
- Water staining.
- Efflorescence.
- Peeling finishes.
- Musty odours.
- Visible seepage.
- Moisture around basement windows.
The City of Toronto notes that basement flooding and moisture can be connected to foundation cracks, poor grading, failed drainage, overflowing eavestroughs, plugged downspouts, and melting snow. Its basement flooding prevention guidance offers practical homeowner steps to manage these risks.
If the basement is actively flooding, treat that as a water-management and safety issue rather than simply a masonry maintenance problem.
12. Do Not Automatically Seal Wet Masonry
Don’t treat sealer as the first answer to every moisture problem. A coating applied over damaged, saturated, or poorly draining masonry may not address the actual source of water.
Before considering a masonry sealer, determine whether open mortar joints, damaged brick, leaking gutters, failed sills, foundation cracks, drainage problems, or another source of repeated wetting are present.
Repairing the cause usually comes first. The masonry should then have enough time to dry before considering any compatible protective treatment.
This is particularly important on older Toronto homes, where brick and mortar assemblies need to manage moisture rather than simply covering the exterior face with the least permeable product available.
Which Moisture Problems Should Be Addressed Before Winter?
Problems that repeatedly saturate masonry or allow water into damaged areas deserve the most attention before freezing weather.
Higher-priority conditions include:
- Open or missing mortar joints that receive direct rain.
- Spalling bricks that continue getting wet.
- Downspouts emptying beside foundations or masonry walls.
- Leaking or overflowing gutters.
- Loose chimney masonry.
- Cracked chimney crowns or caps allowing water entry.
- Patios or walkways directing water toward the house.
- Foundation cracks with active seepage.
- Recurring basement moisture after rain.
- Standing water beside exterior masonry.
Minor colour differences, isolated old stains, and sound masonry that dries normally may simply need monitoring. The pattern and cause matter more than appearance alone.
A Simple 20-Minute Fall Masonry Moisture Check
Homeowners can perform a useful first inspection without specialized tools.
- Walk around the house shortly after rain.
- Photograph unusually dark or wet masonry.
- Check every downspout discharge point.
- Look underneath gutters for overflow staining.
- Inspect mortar joints in wet areas.
- Look for spalling or flaking bricks.
- Check lower walls beside soil and paving.
- Look for puddles beside the foundation.
- Inspect chimney masonry safely from the ground.
- Check the basement for new moisture.
Repeat the walkaround once the property has had time to dry. Areas that remain wet while surrounding masonry becomes dry are worth investigating further.
When Professional Help Makes More Sense
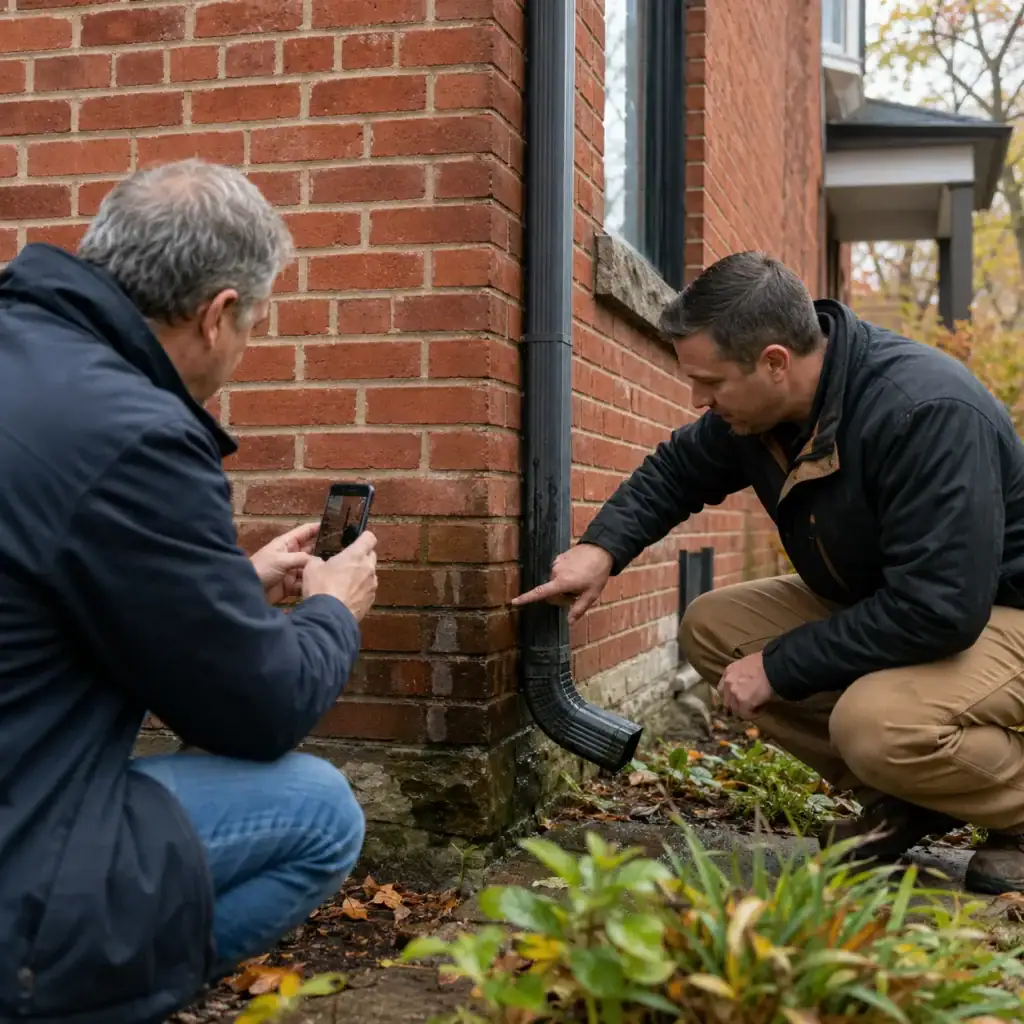
Professional assessment makes more sense when moisture is recurring, the source is unclear, masonry is physically deteriorating, or water is entering the building.
A masonry issue may require repointing, selective brick replacement, chimney repair, parging, waterproofing, drainage correction, or a combination of repairs. The visible wet spot is not always where the water first entered.
Professional help is especially important for loose upper-storey masonry, bulging walls, unstable chimneys, widening cracks, repeated basement leaks, and deterioration across multiple parts of the exterior.
For projects involving several exterior conditions, A&A Masonry’s masonry restoration services in Toronto provide context on repairing brick, mortar, stone, chimneys, and other weather-damaged masonry together.
Final Thoughts on Fall Masonry Moisture Checks
A fall masonry moisture check is one of the simplest ways to understand how water is interacting with your Toronto home before freeze-thaw season begins. Instead of looking only for visible cracks, watch what happens during rain and where the property stays wet afterward.
Start with gutters, downspouts, grading, patios, and walkways. Then inspect brick, mortar, window sills, chimneys, lower walls, parging, and the basement. A dark patch or white deposit is a clue, not a diagnosis. Follow the water path before deciding on the repair.
The most useful fall repairs address the cause of repeated moisture exposure. Keeping water away from vulnerable masonry, repairing open joints and damaged units, and correcting active leaks before winter can reduce the moisture available to cause trouble when temperatures move above and below freezing.