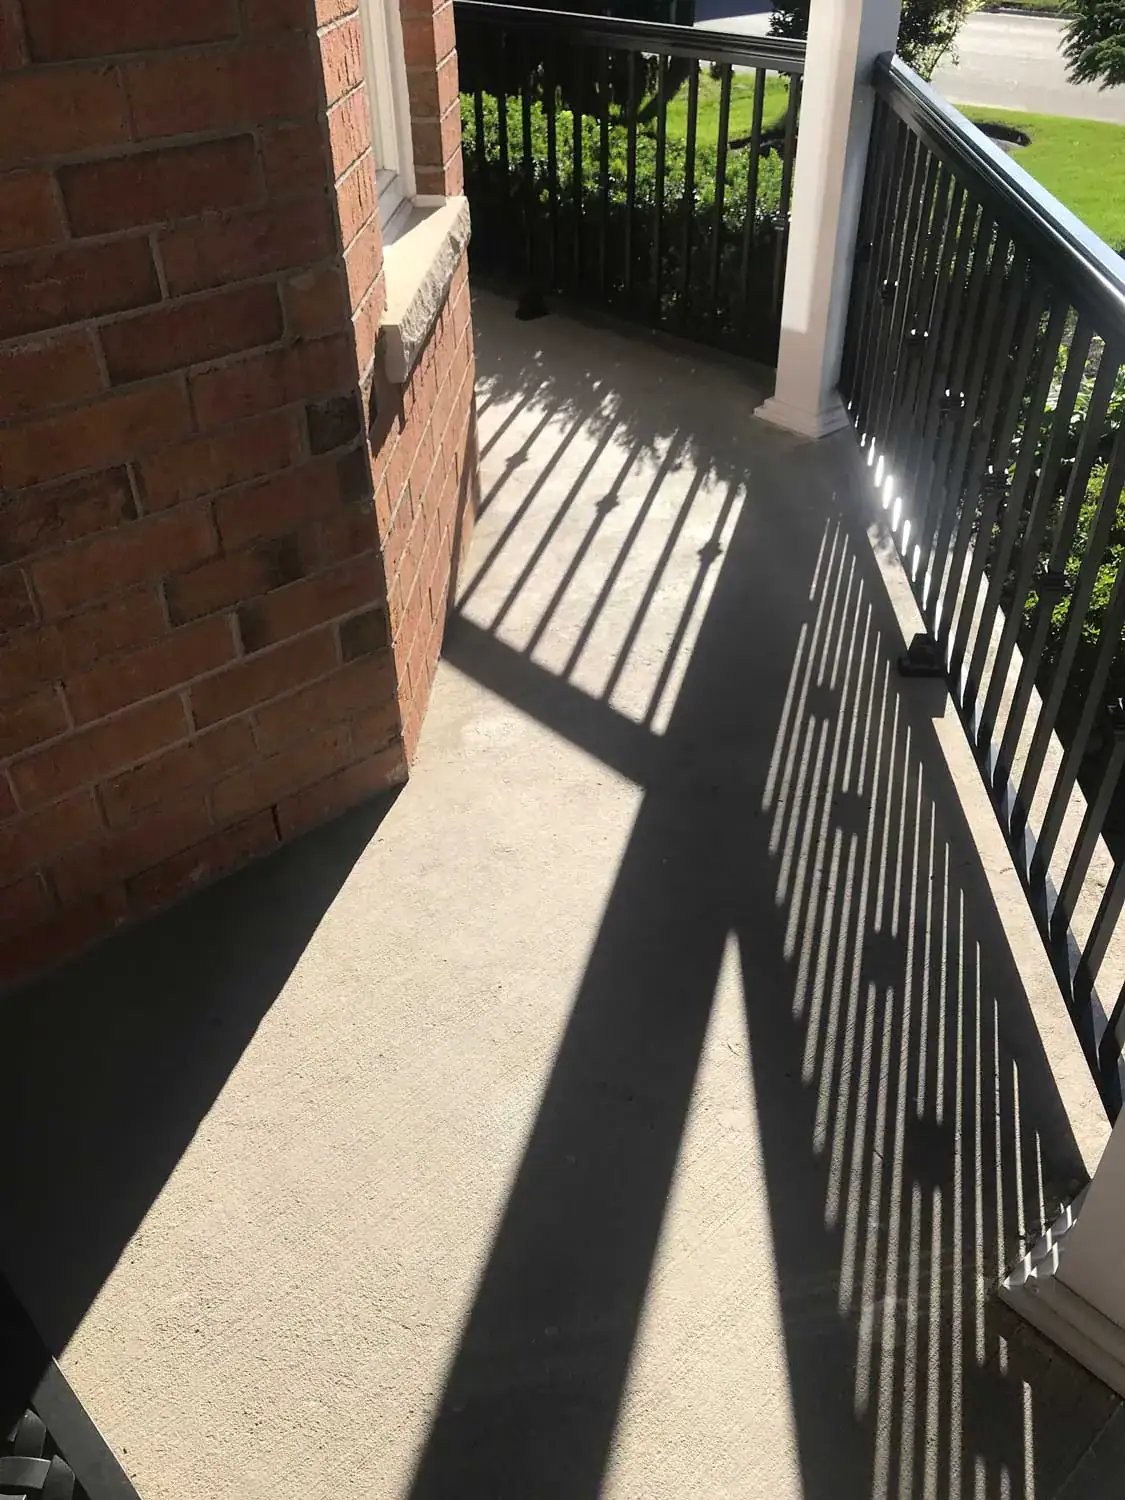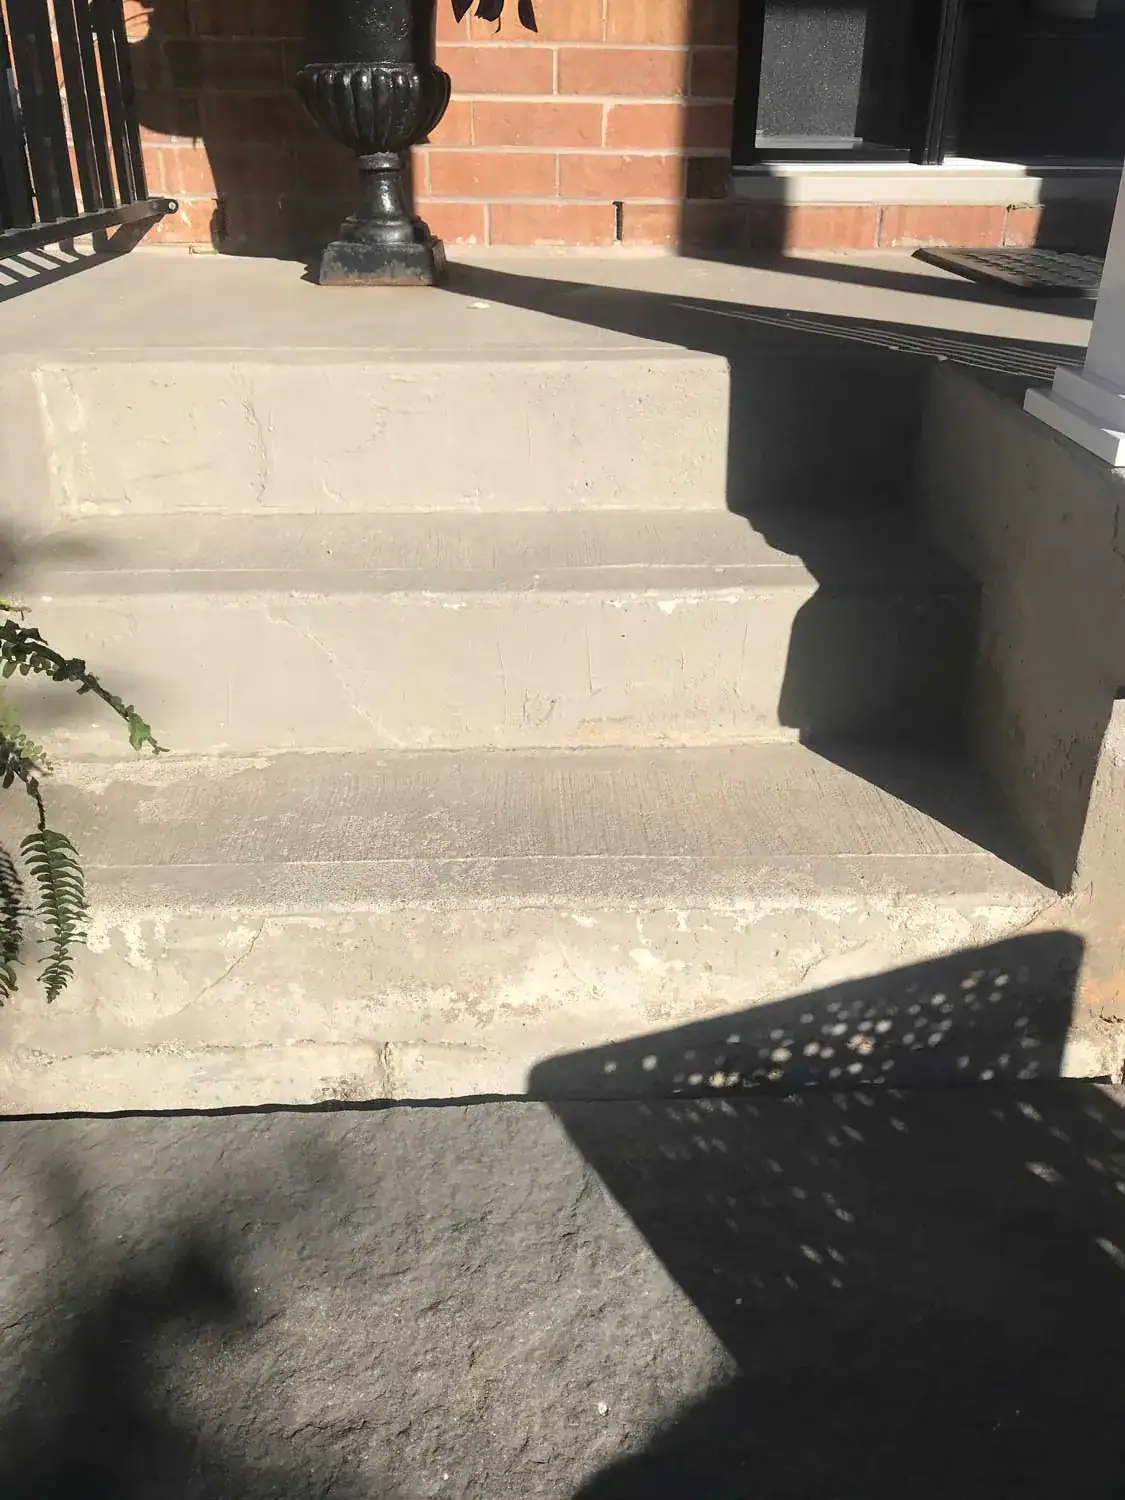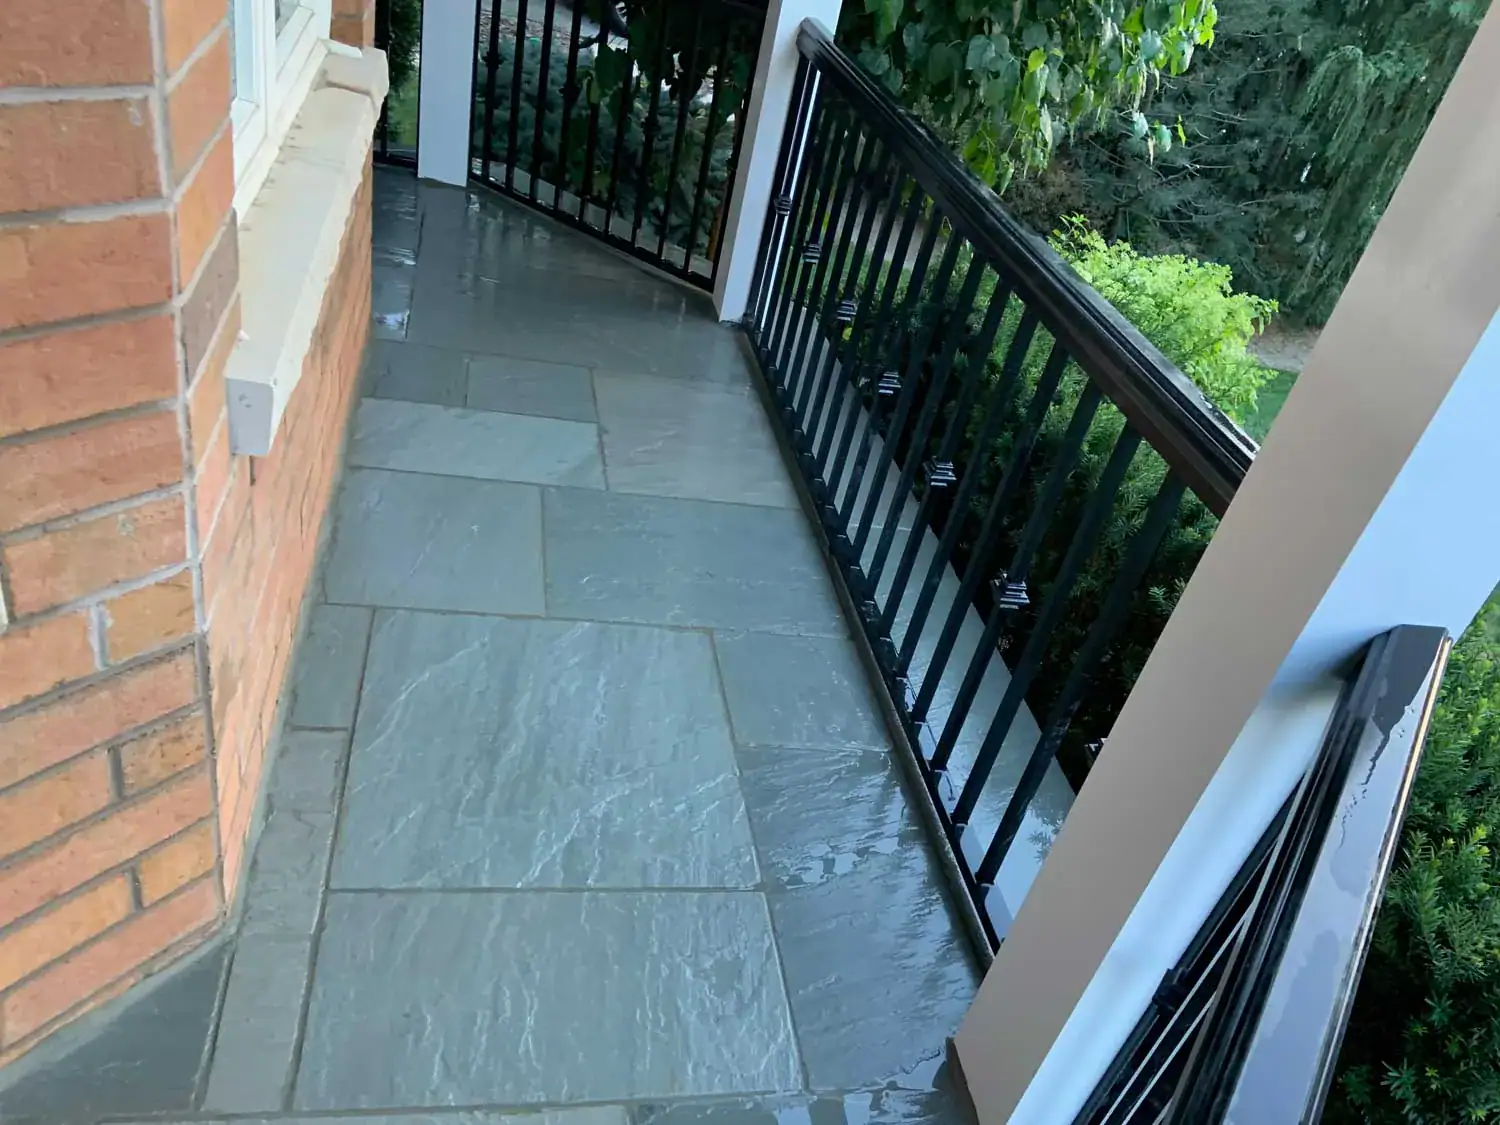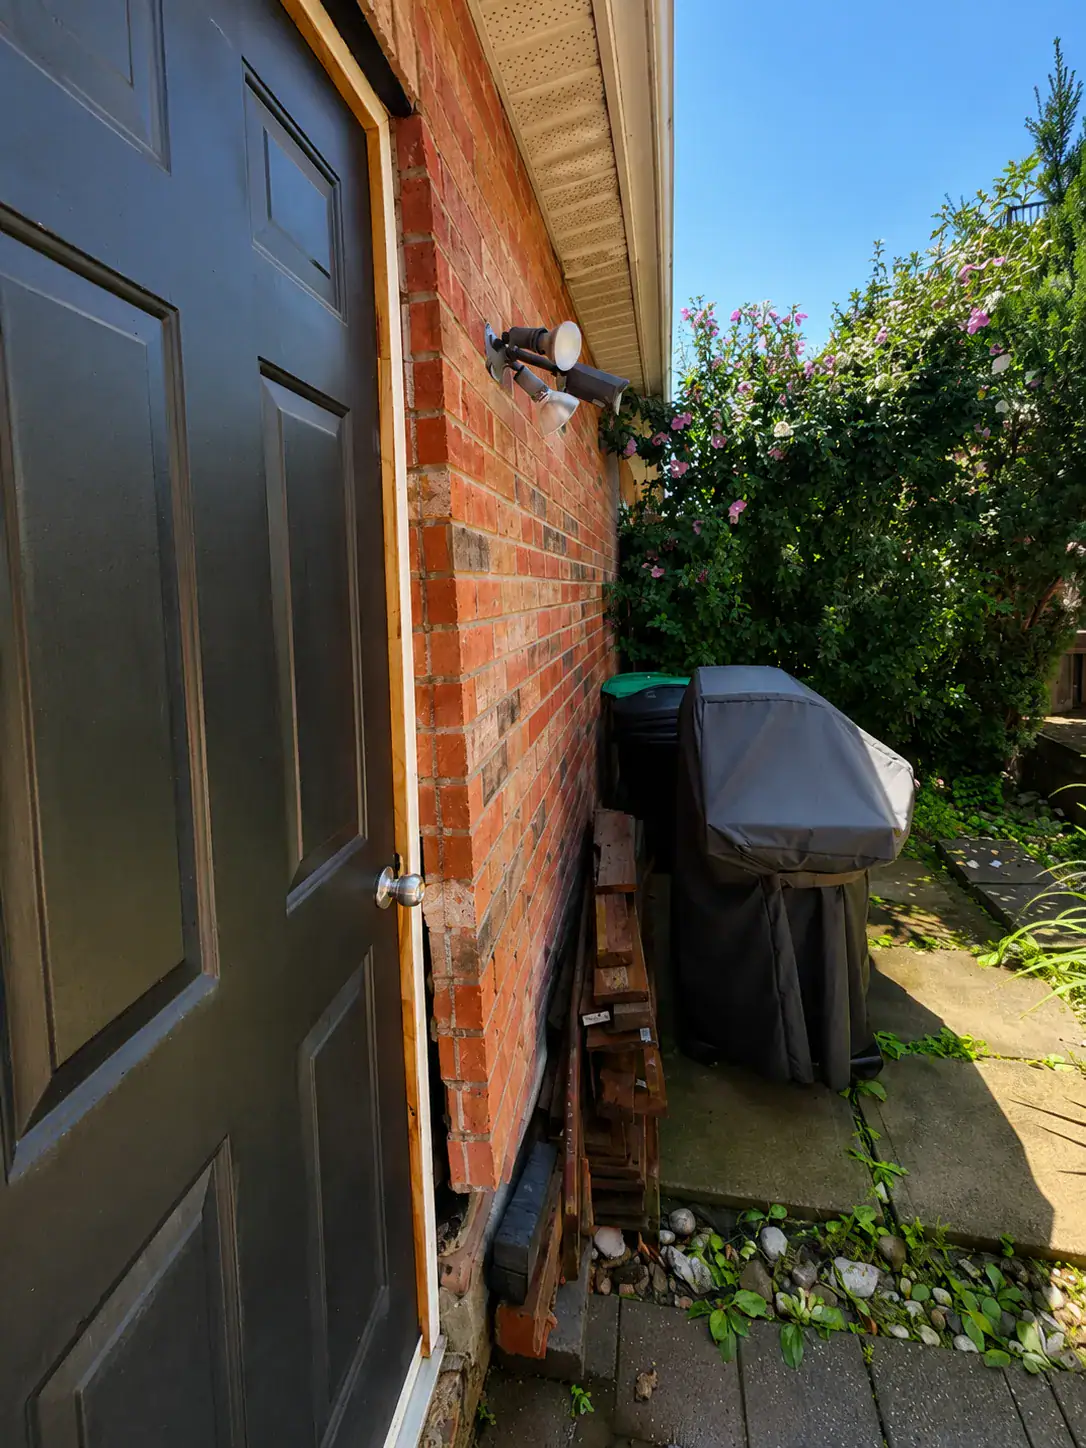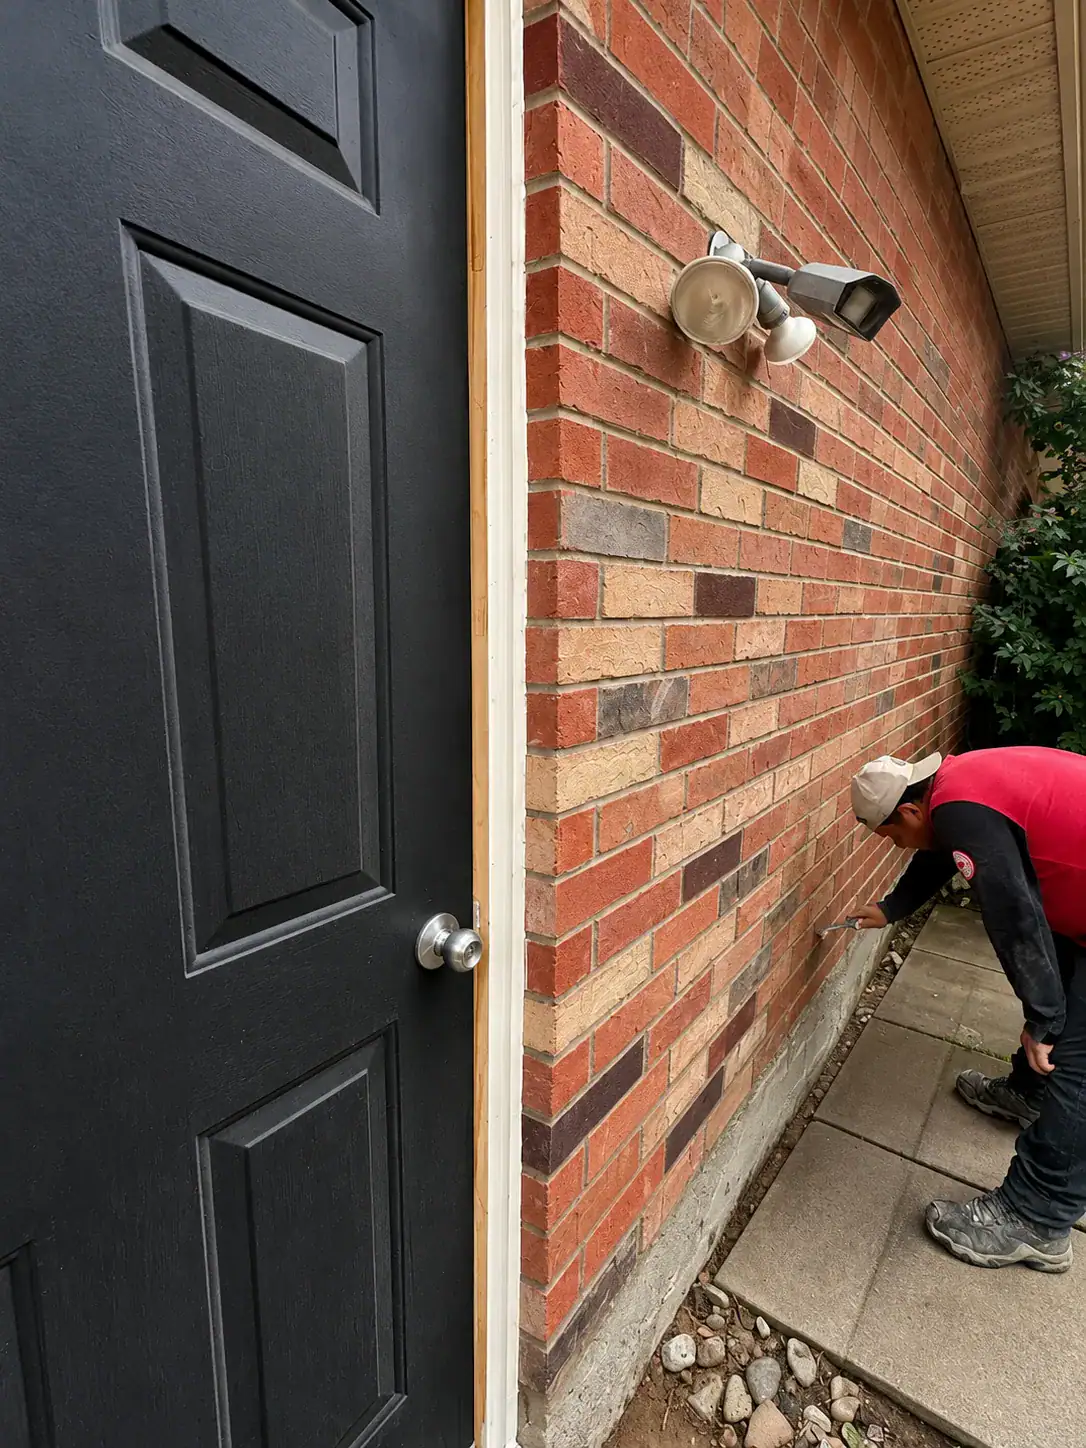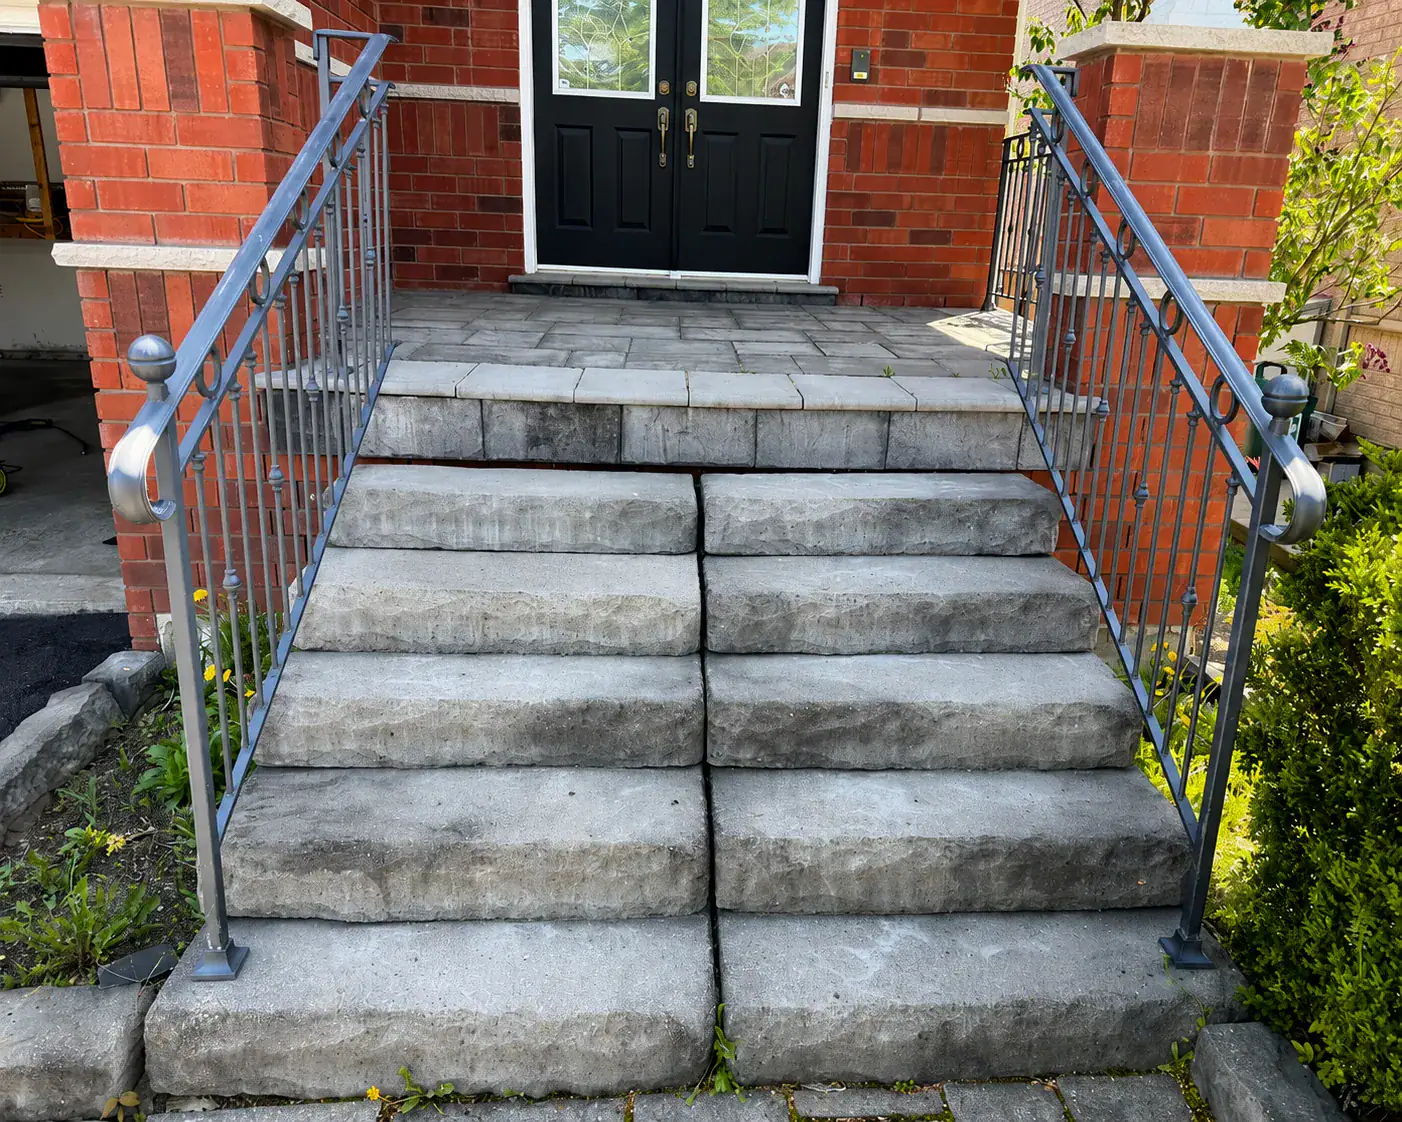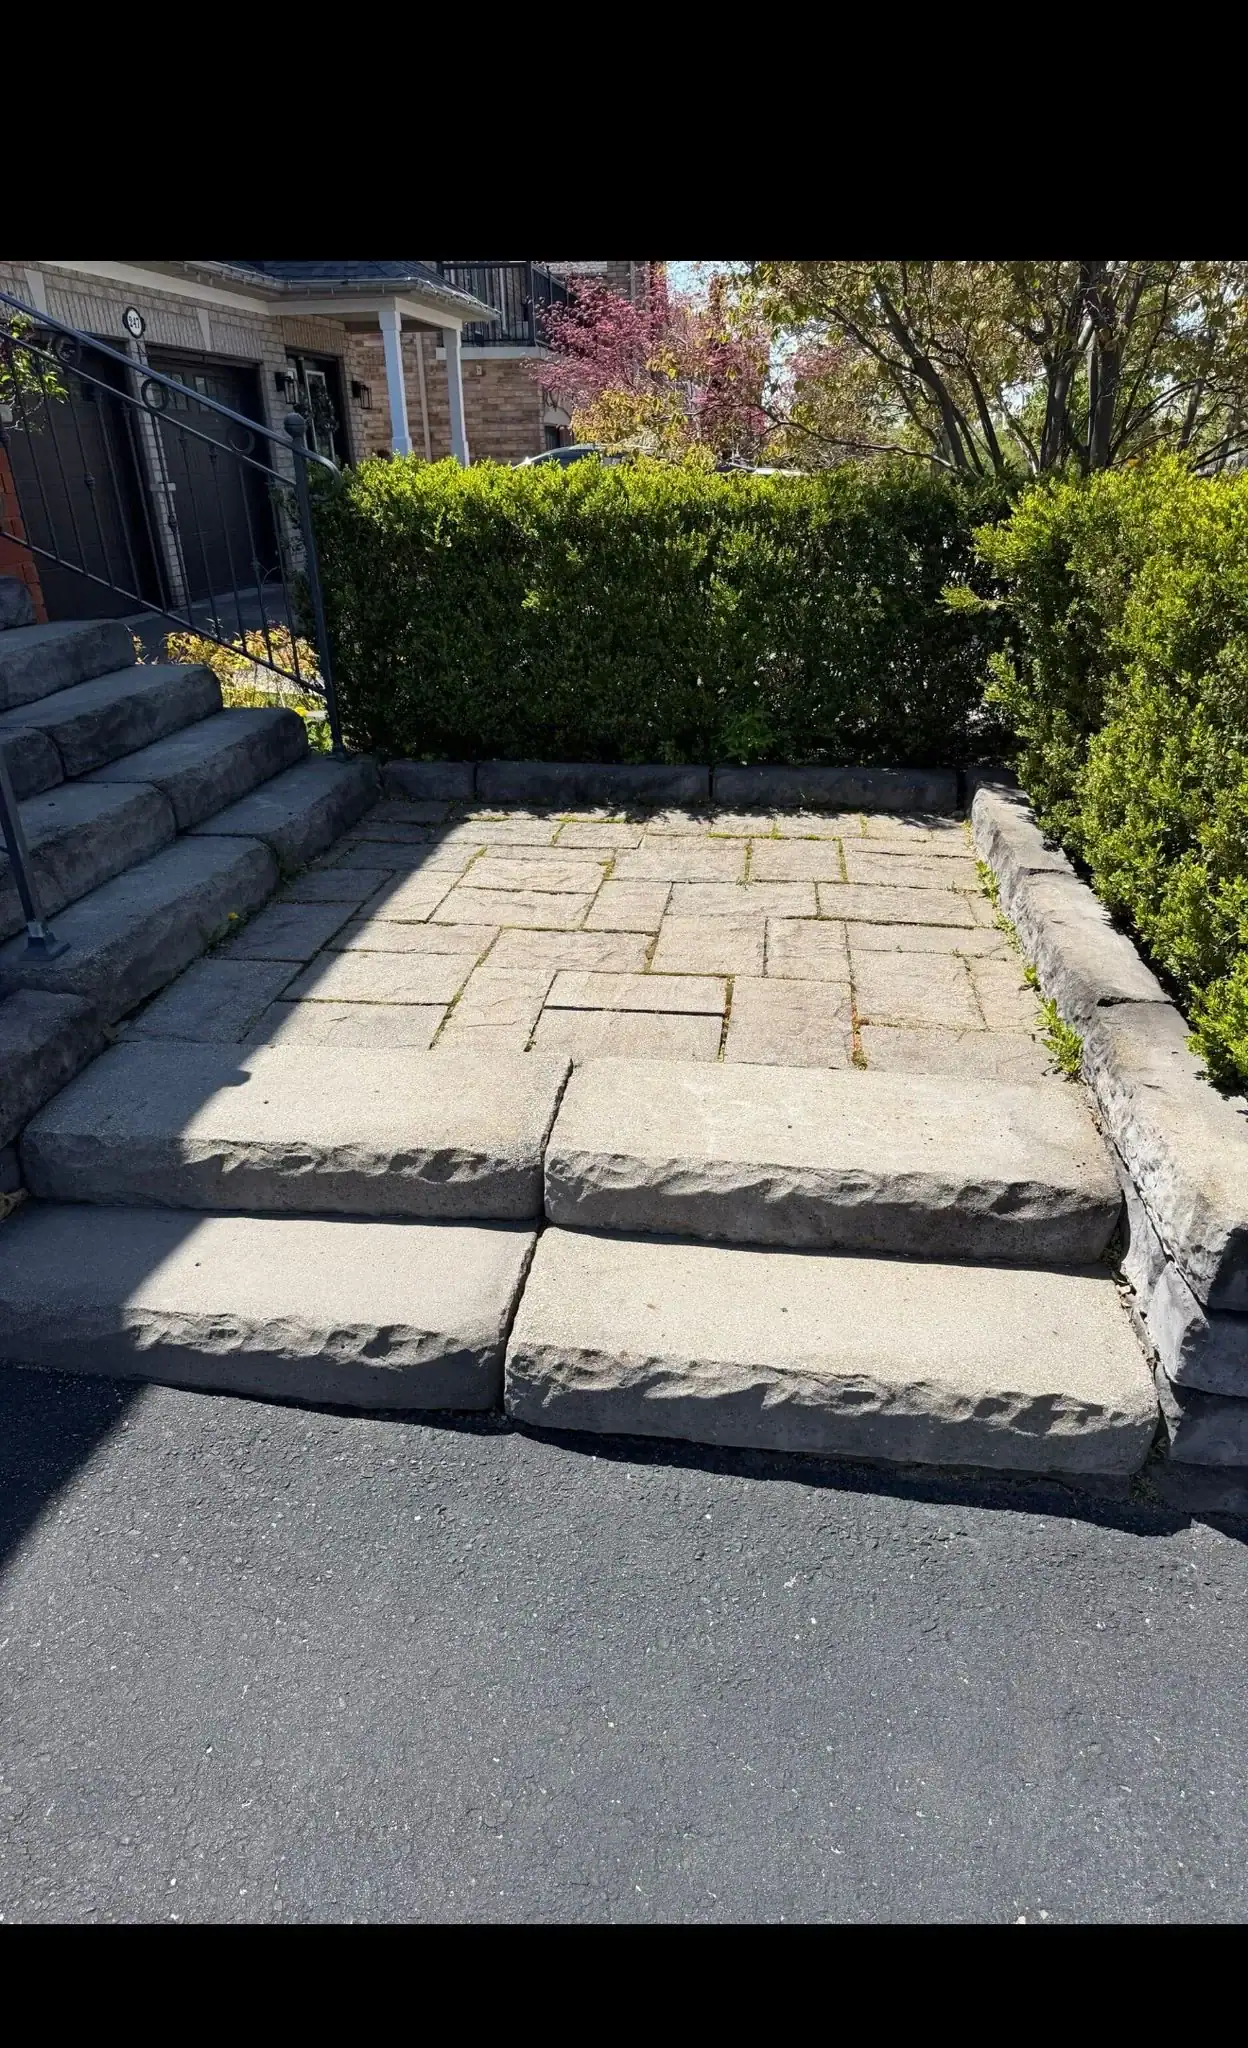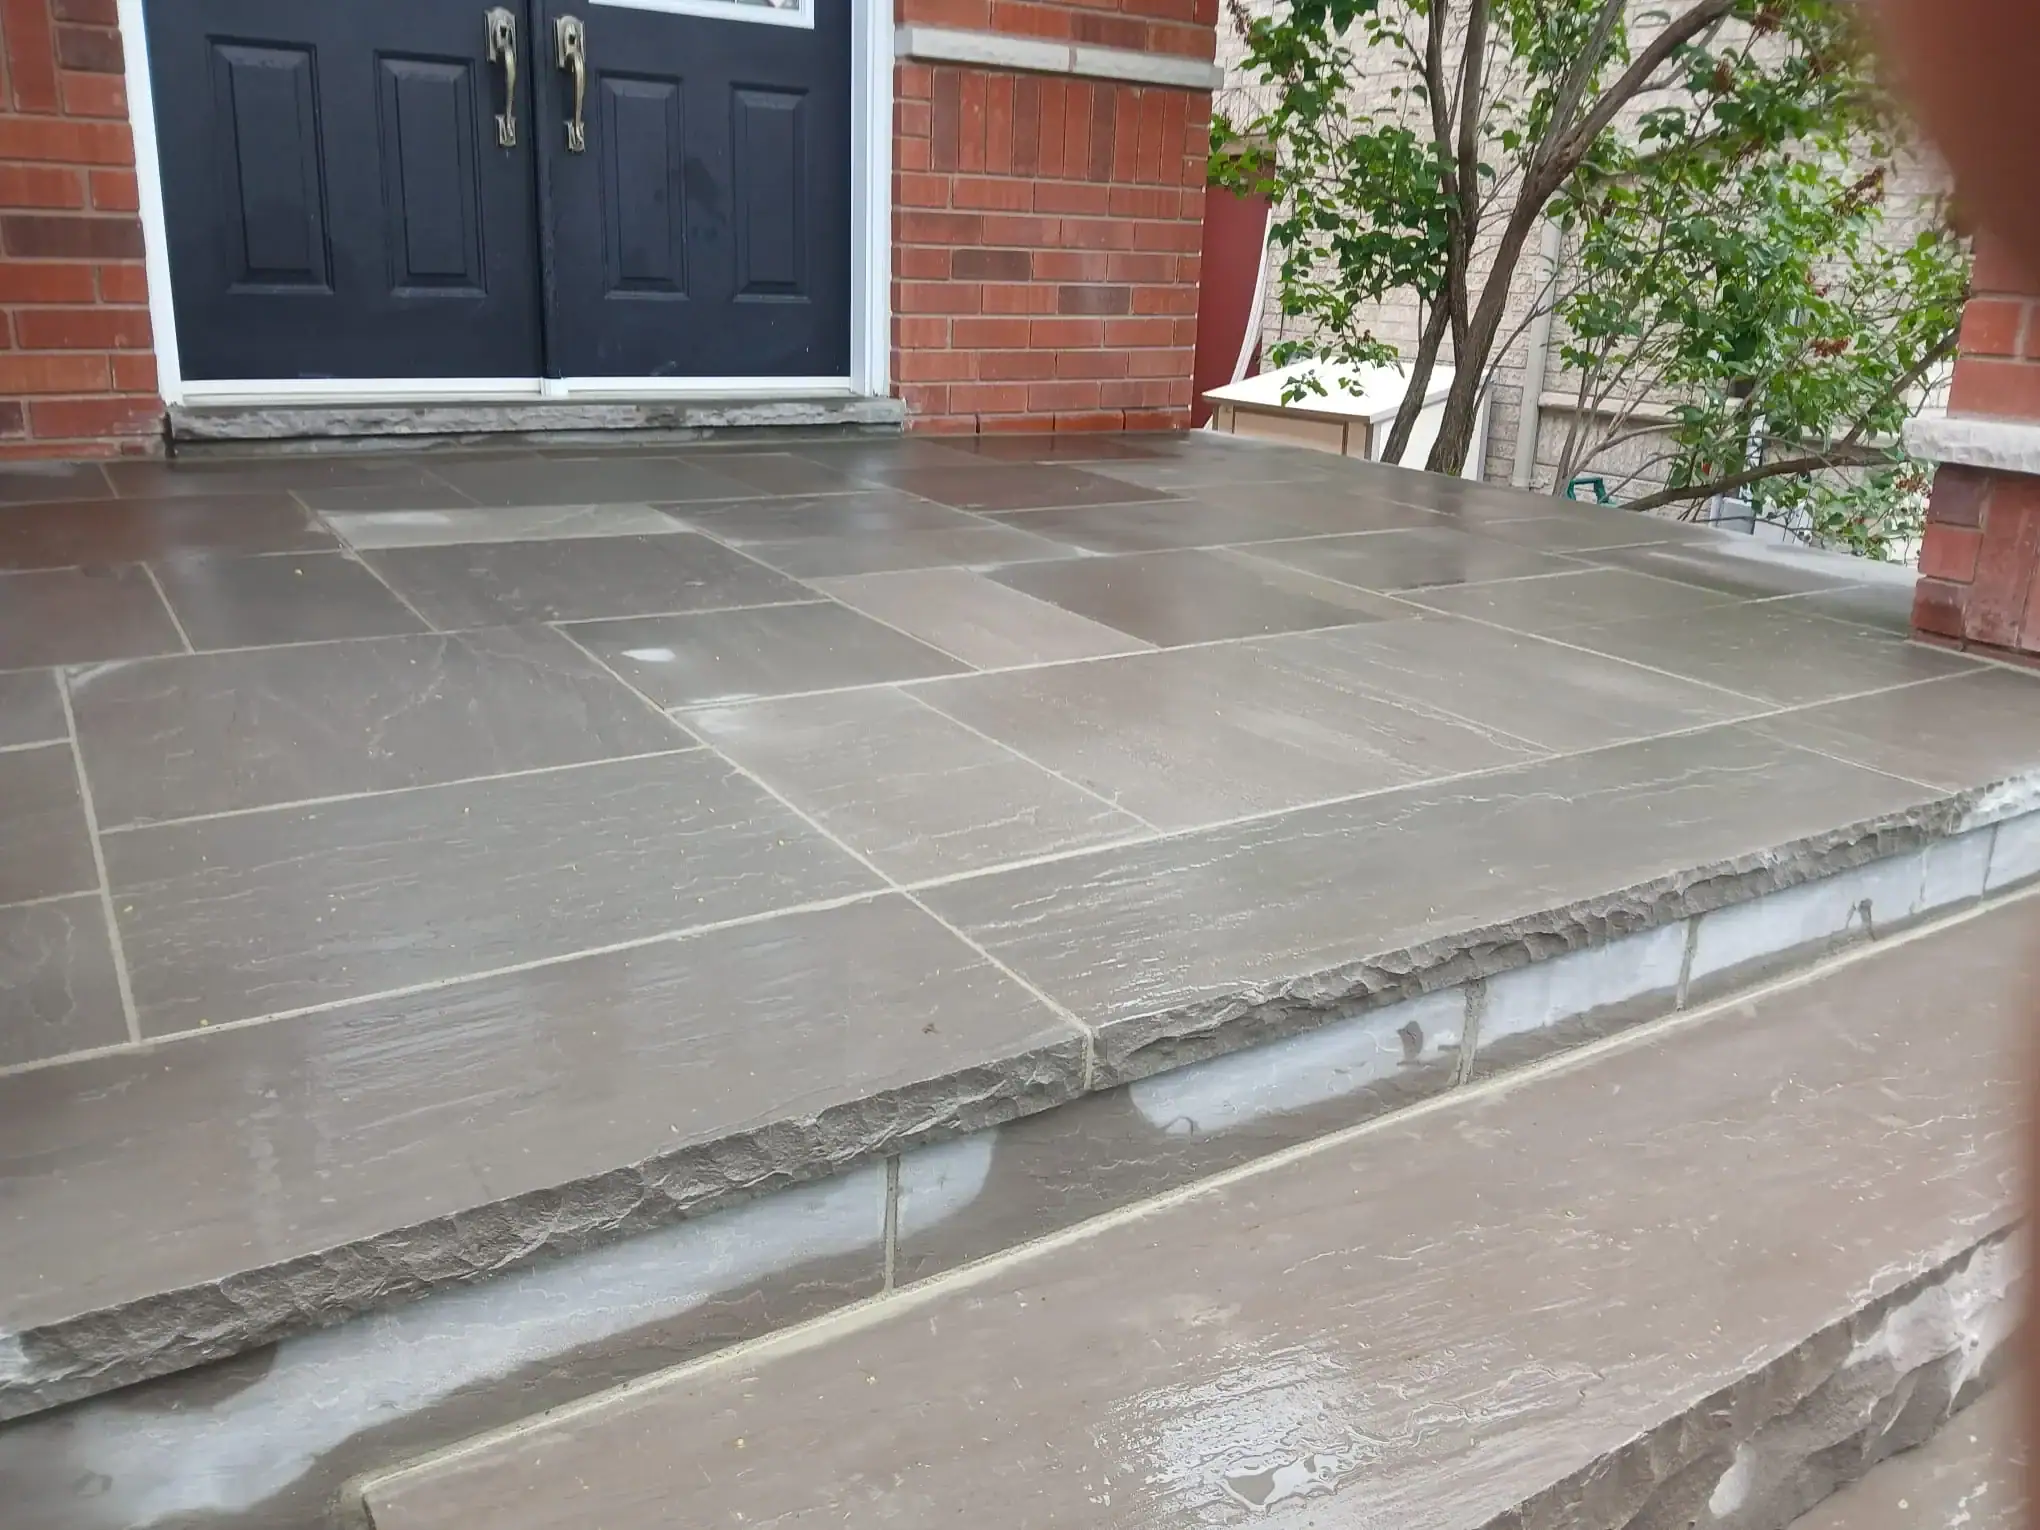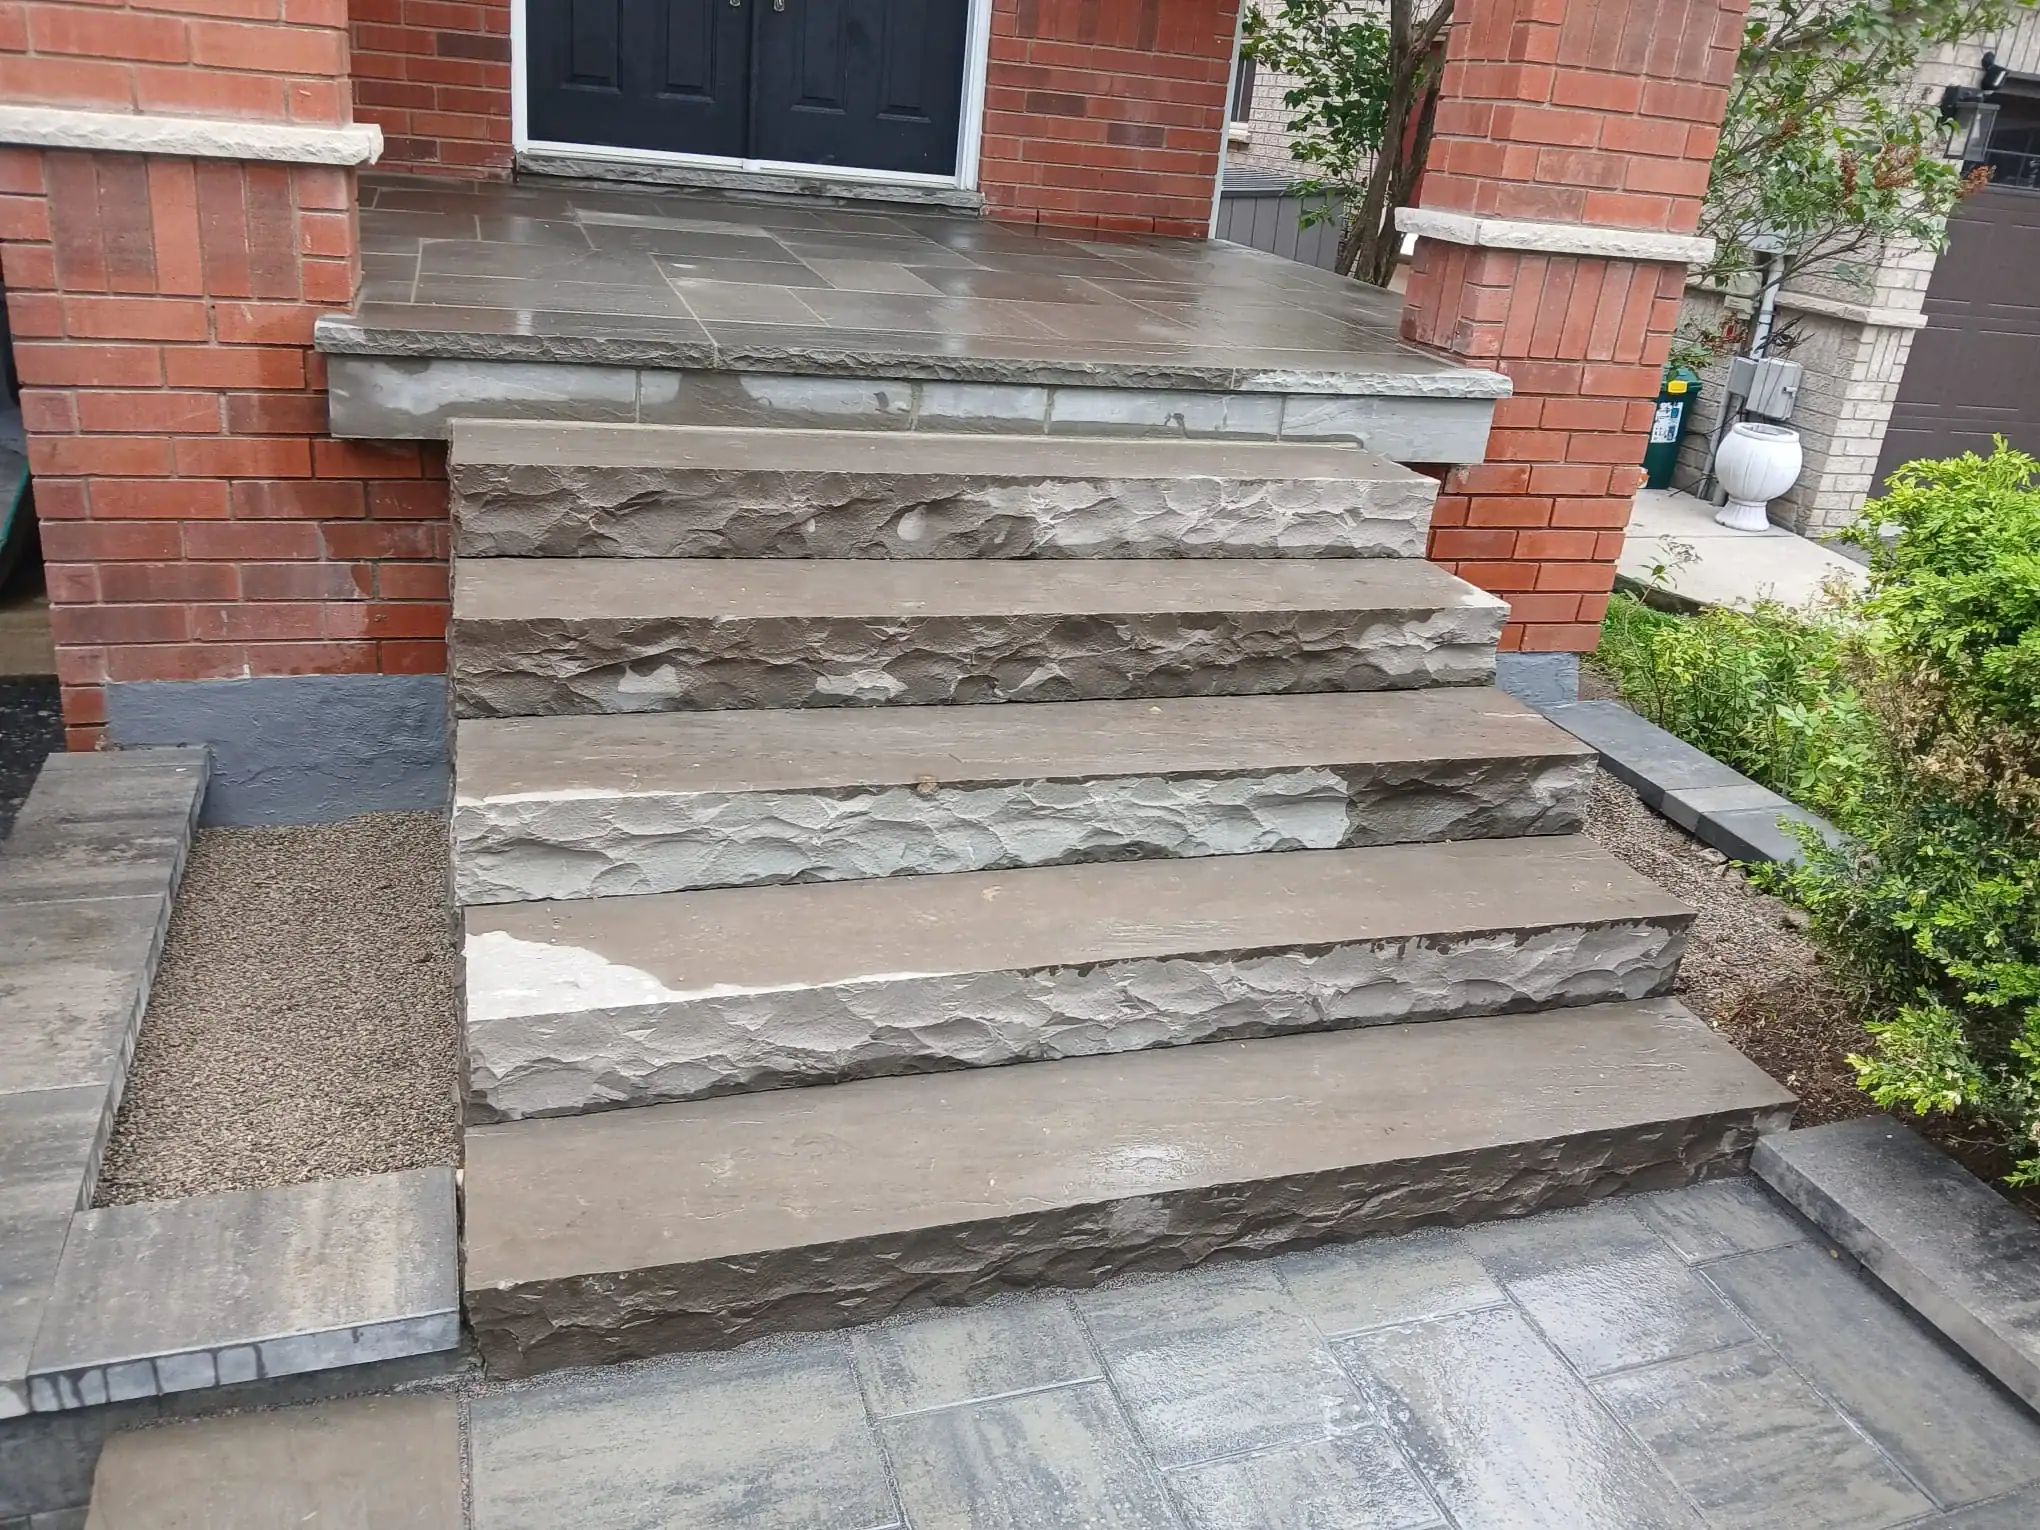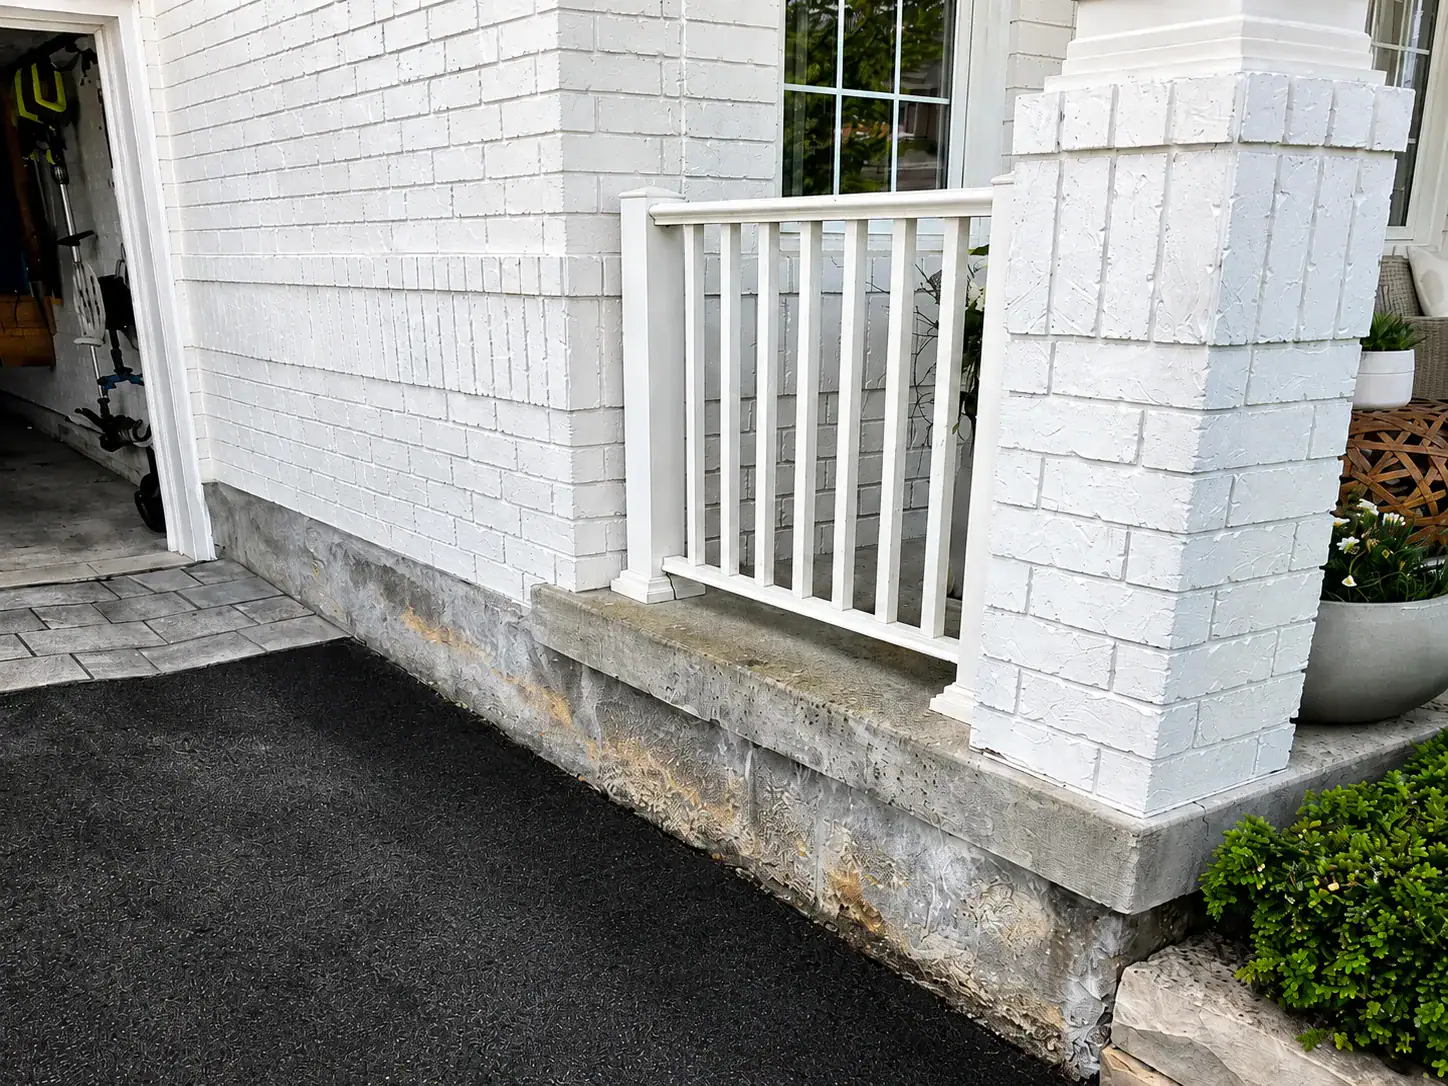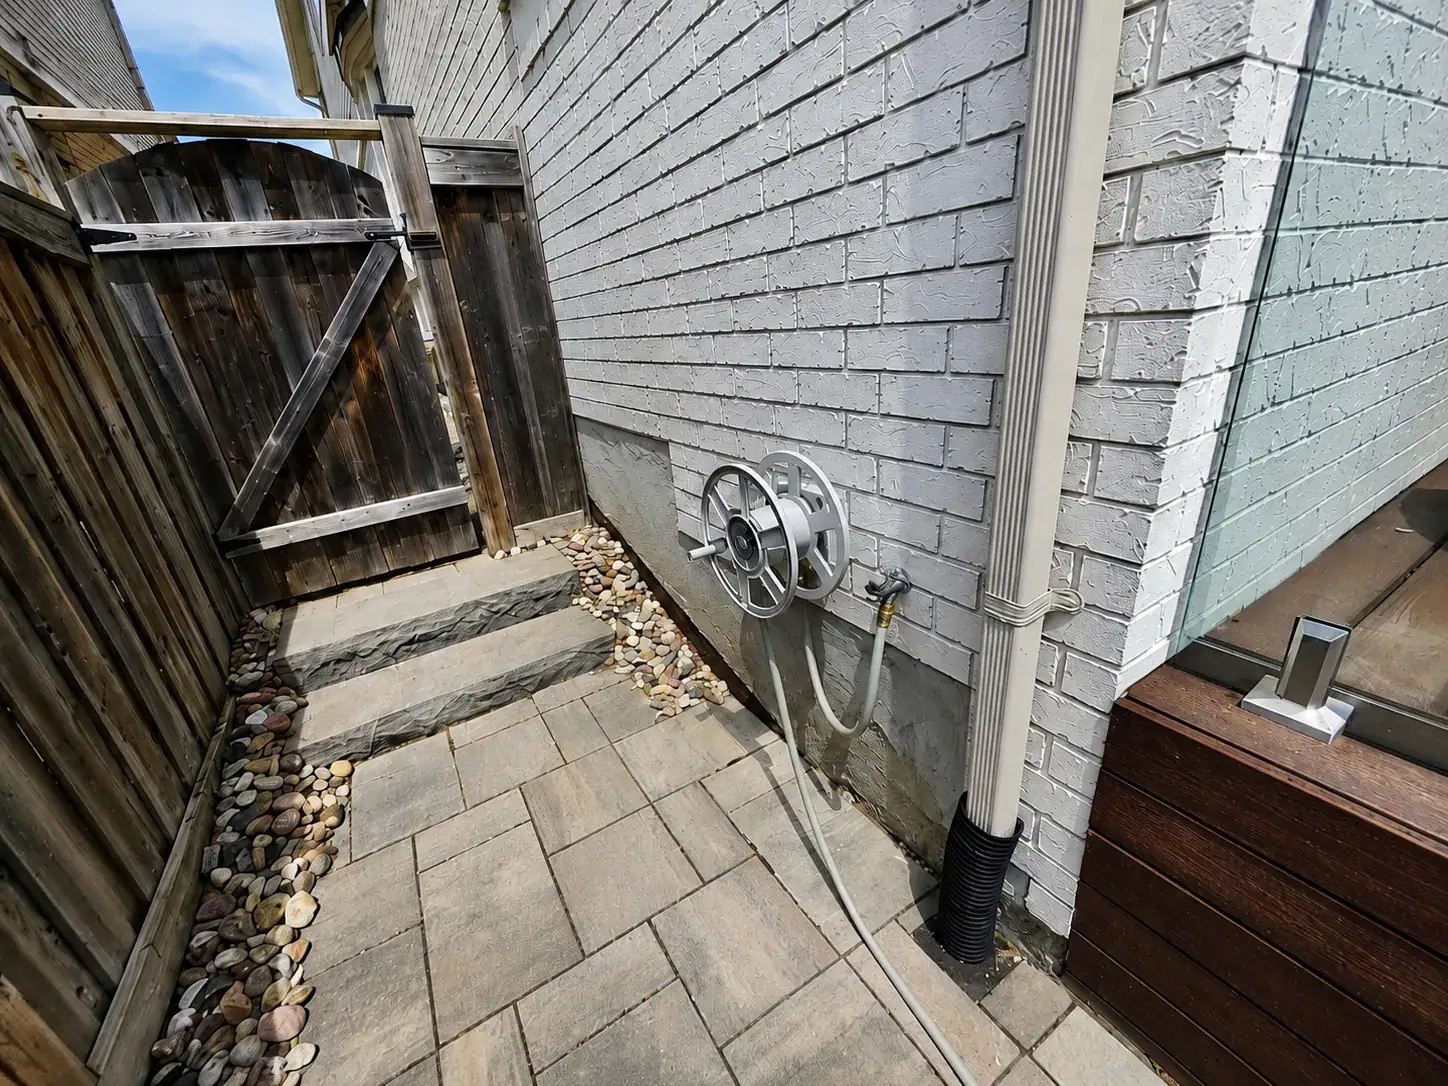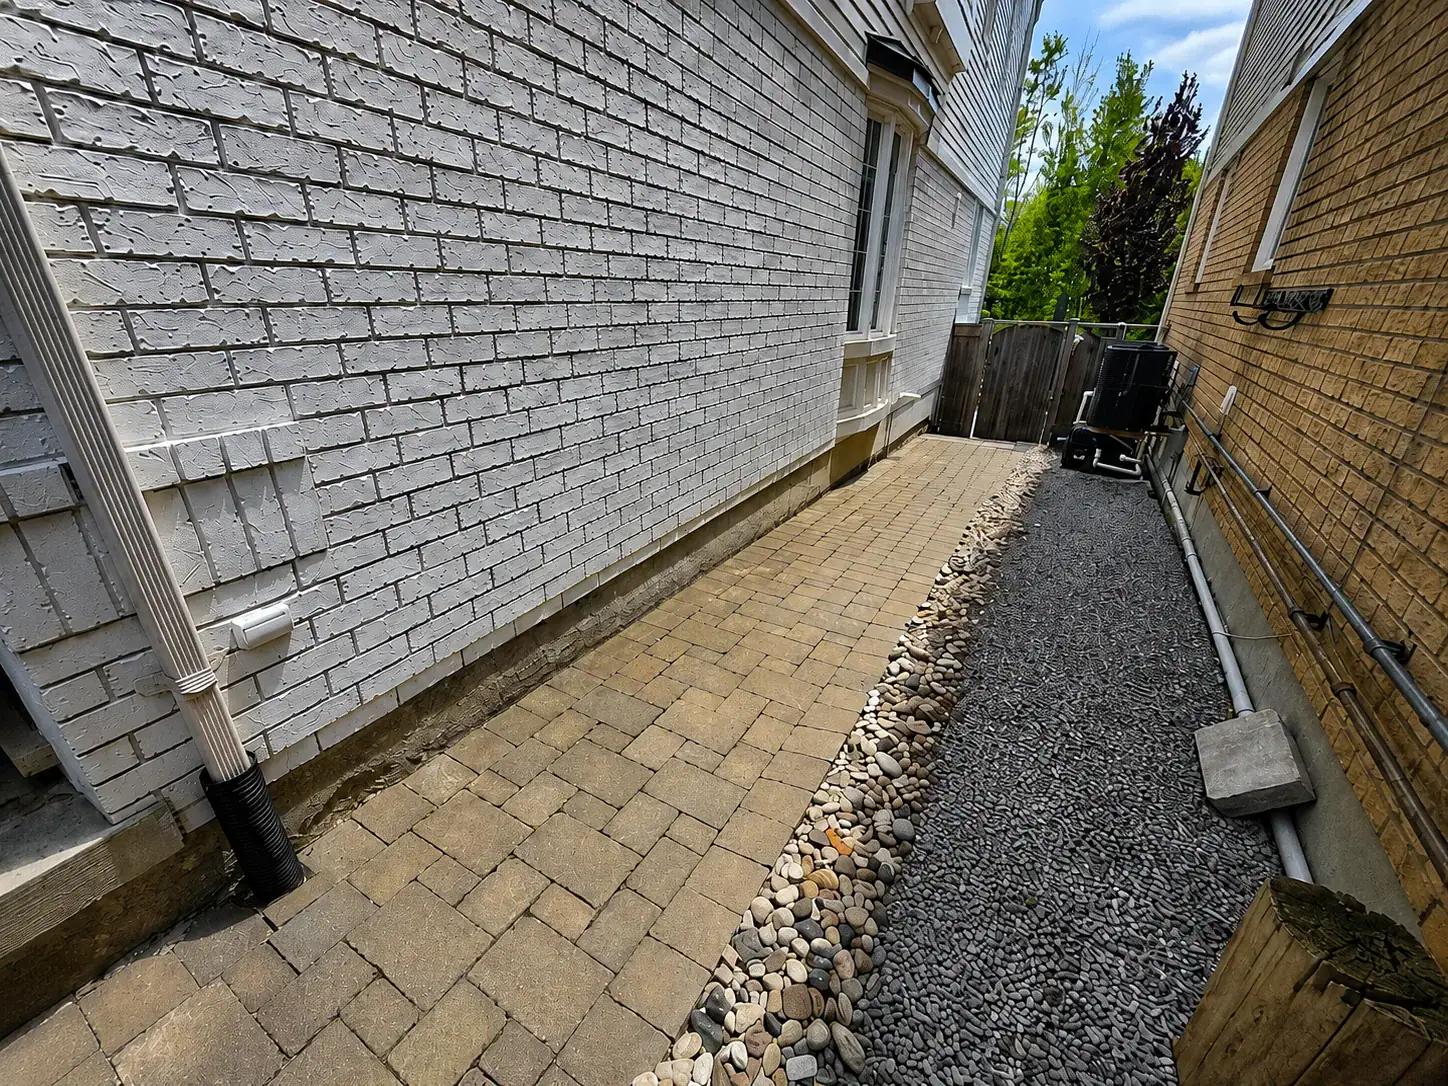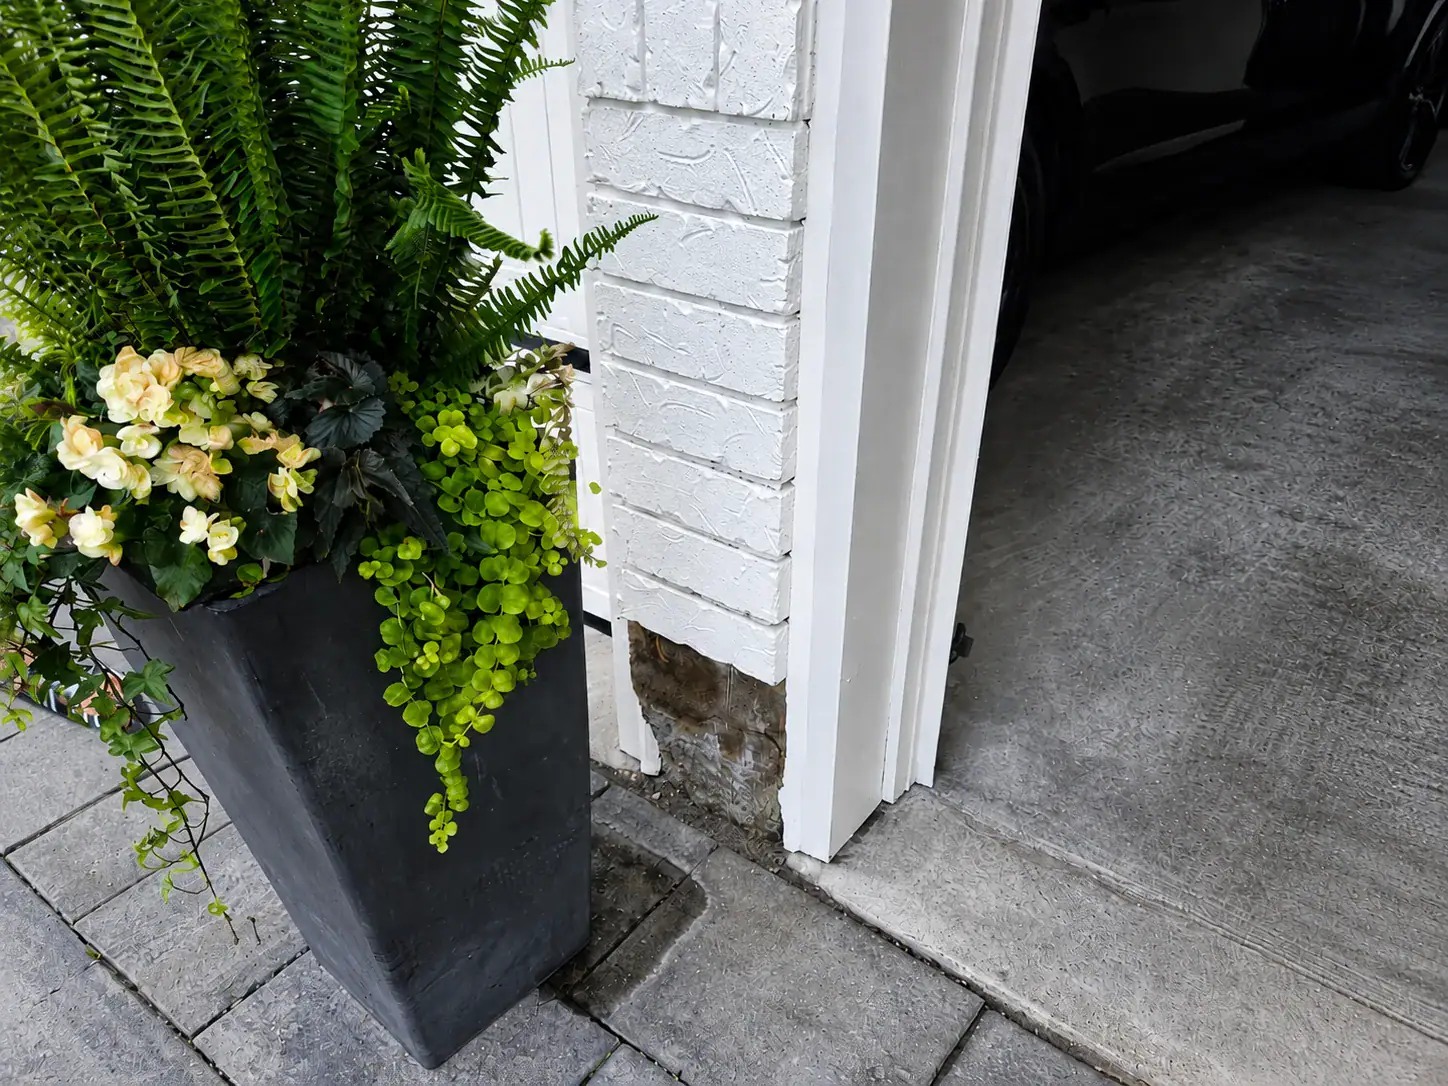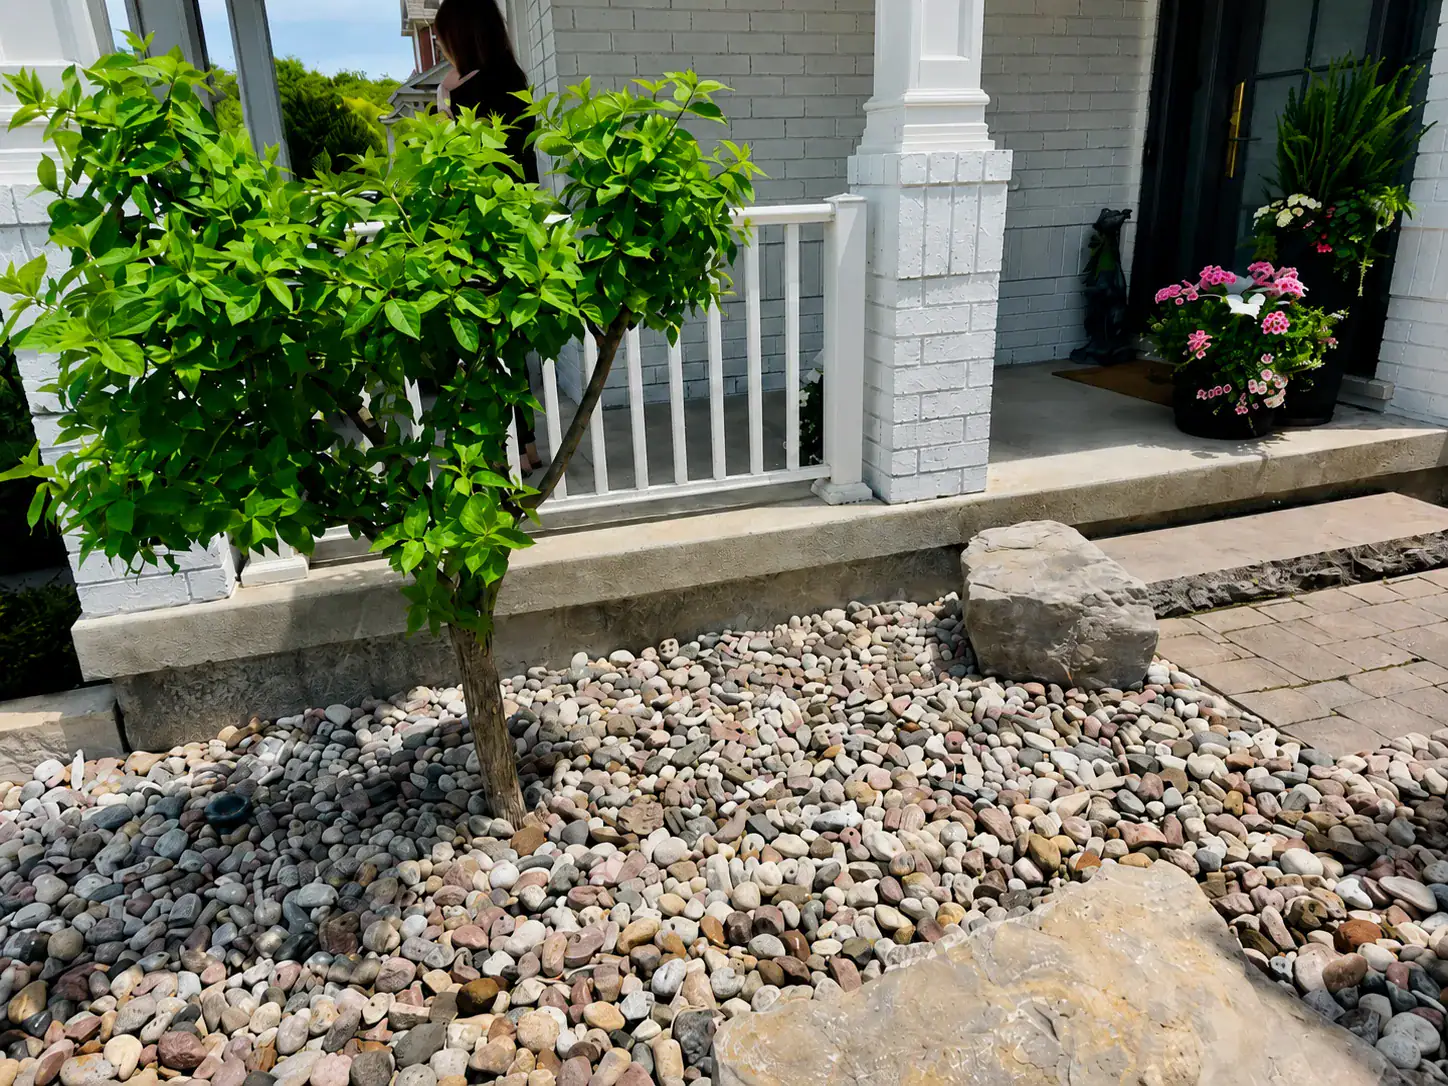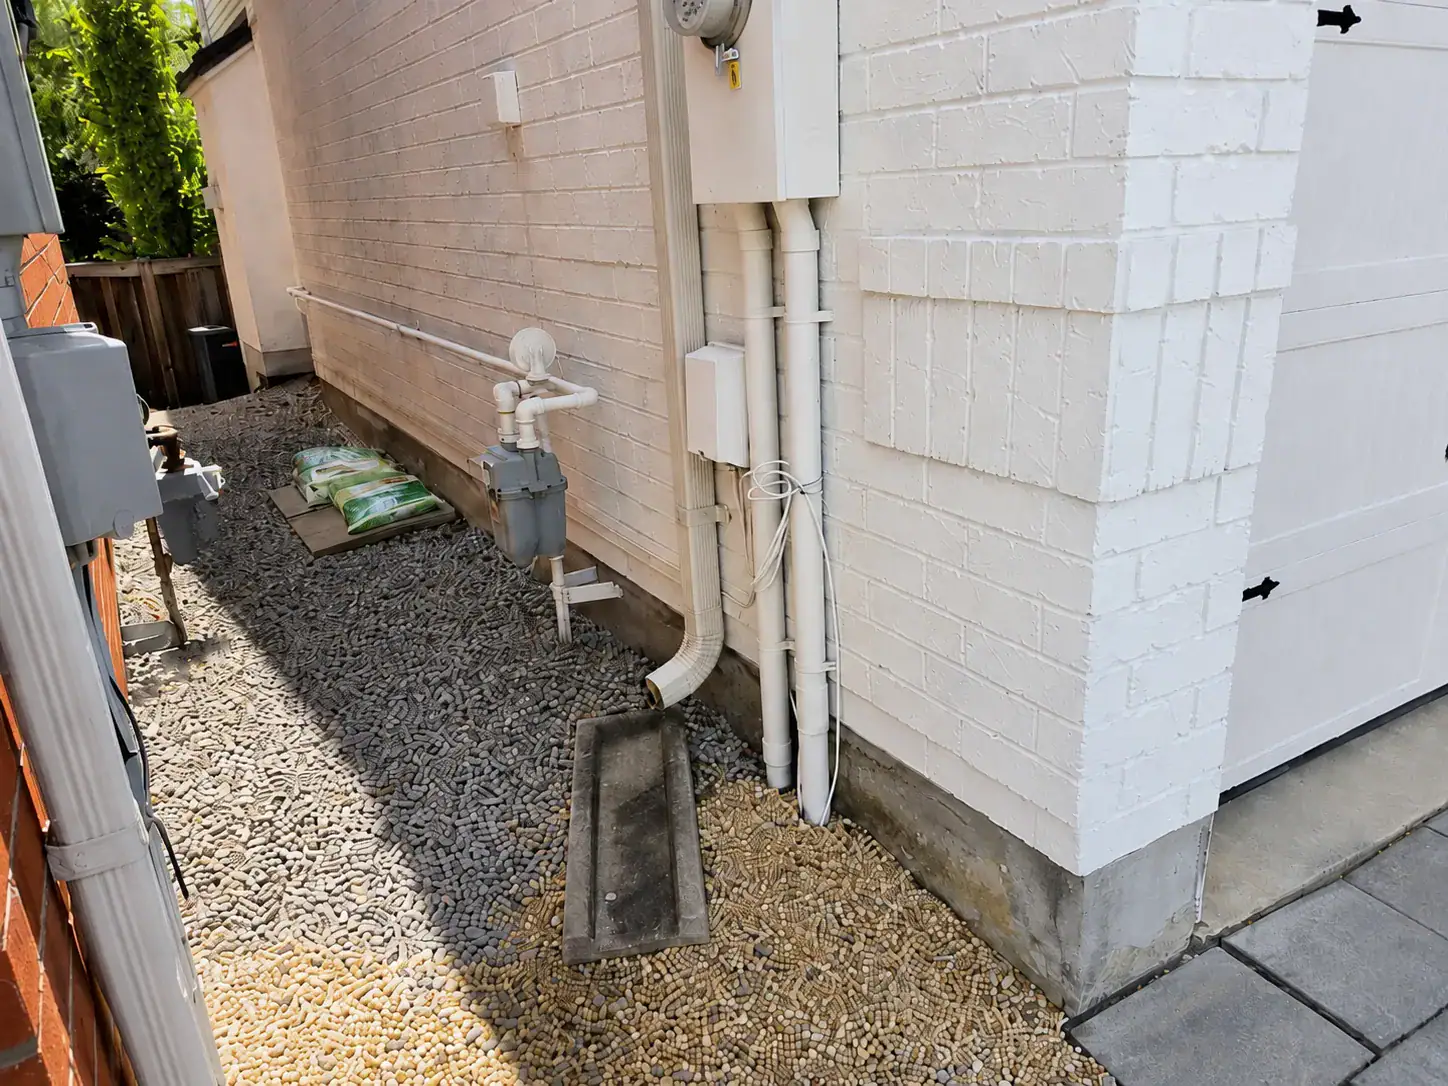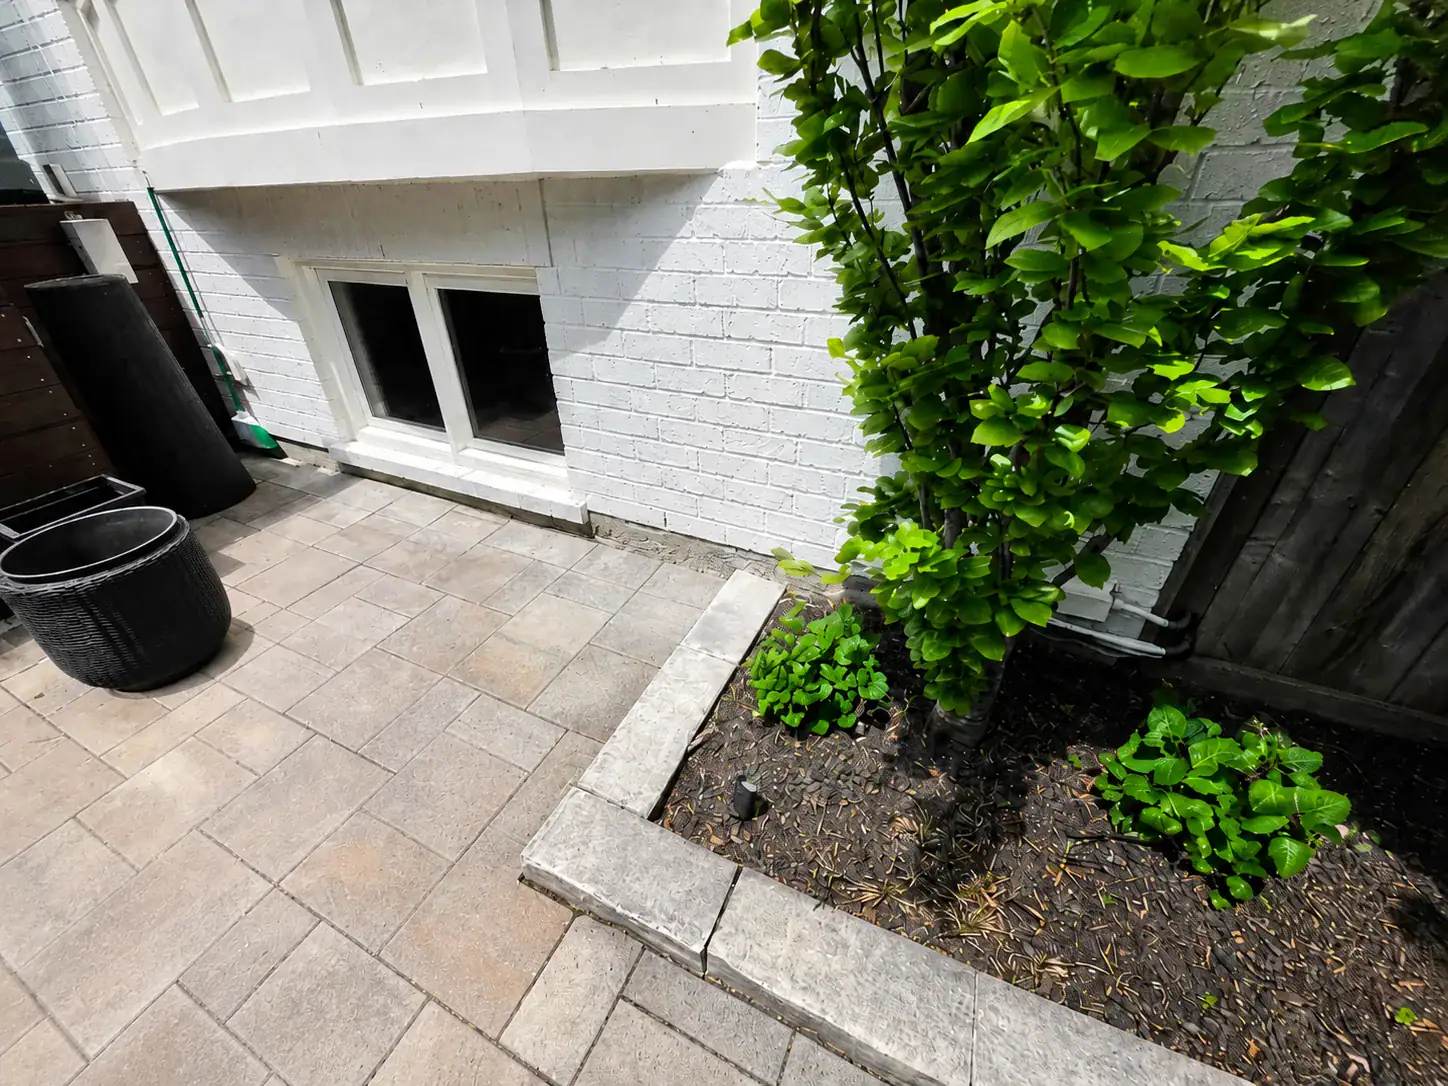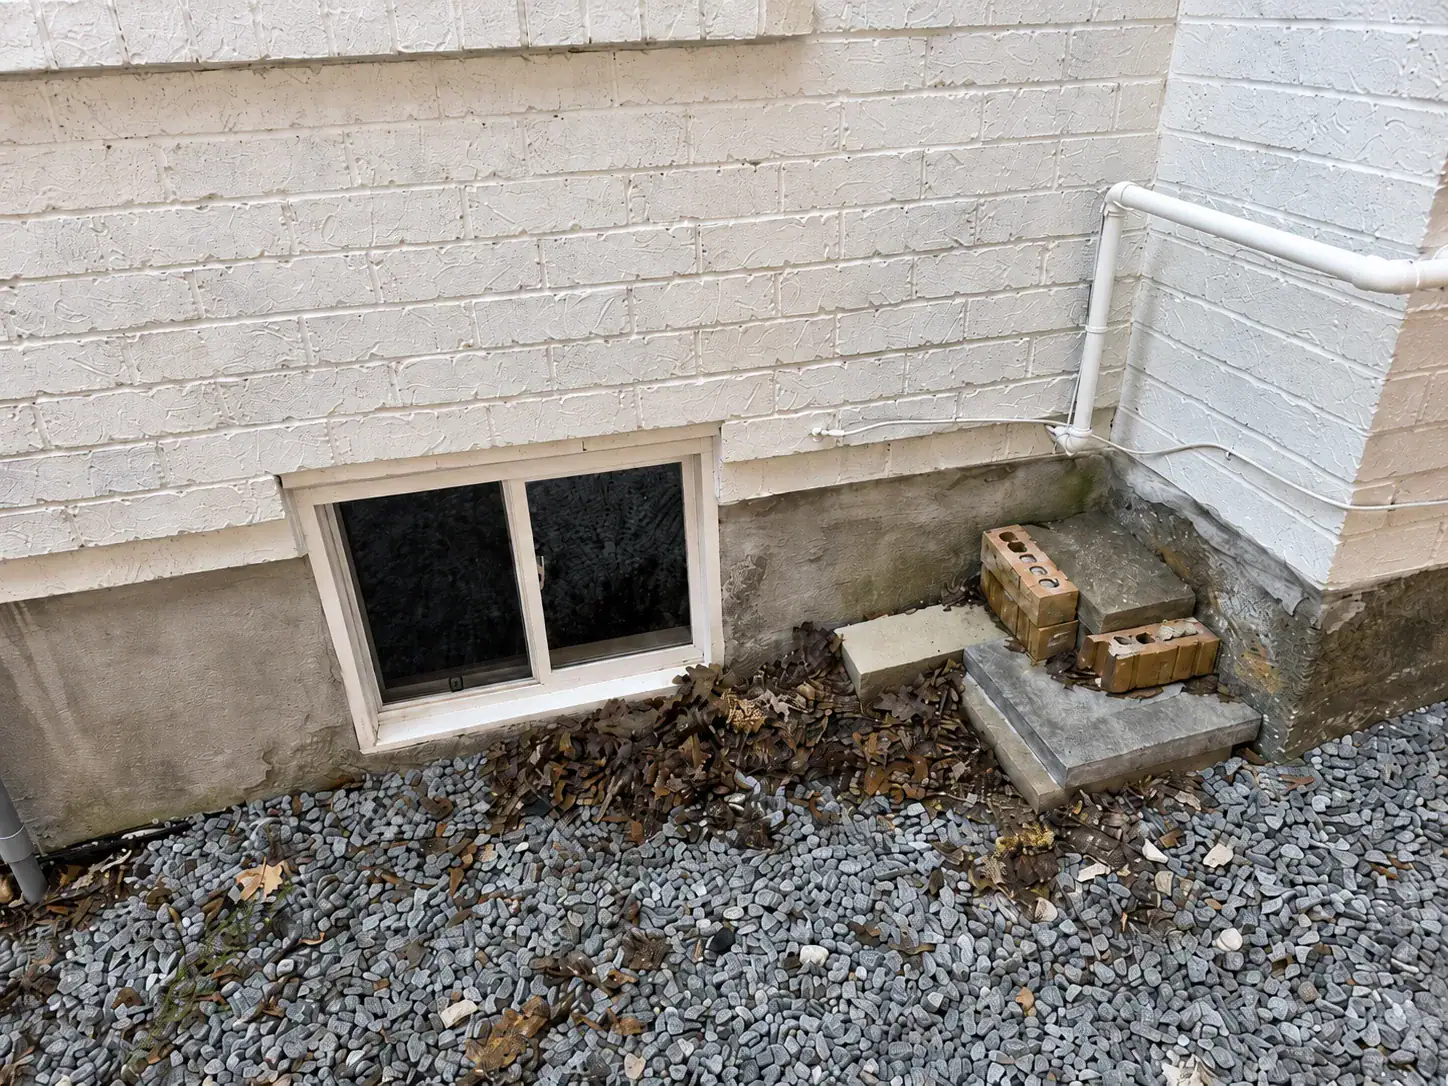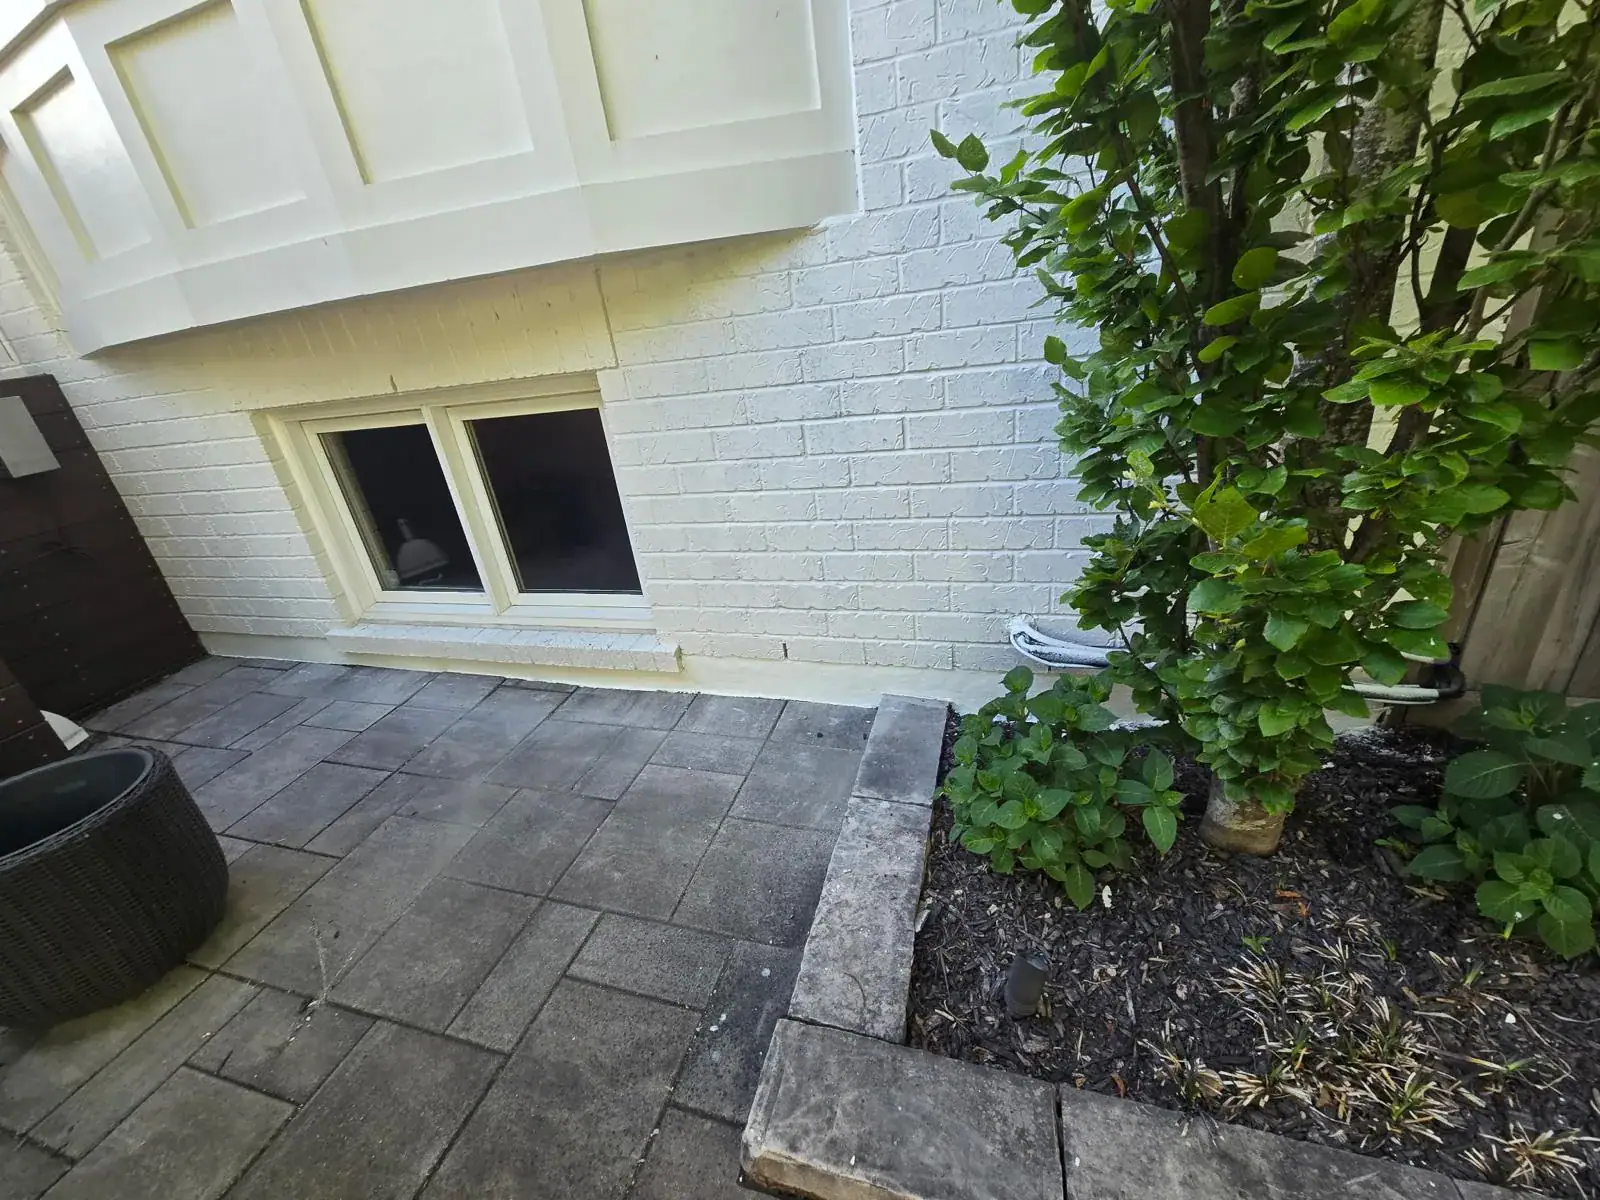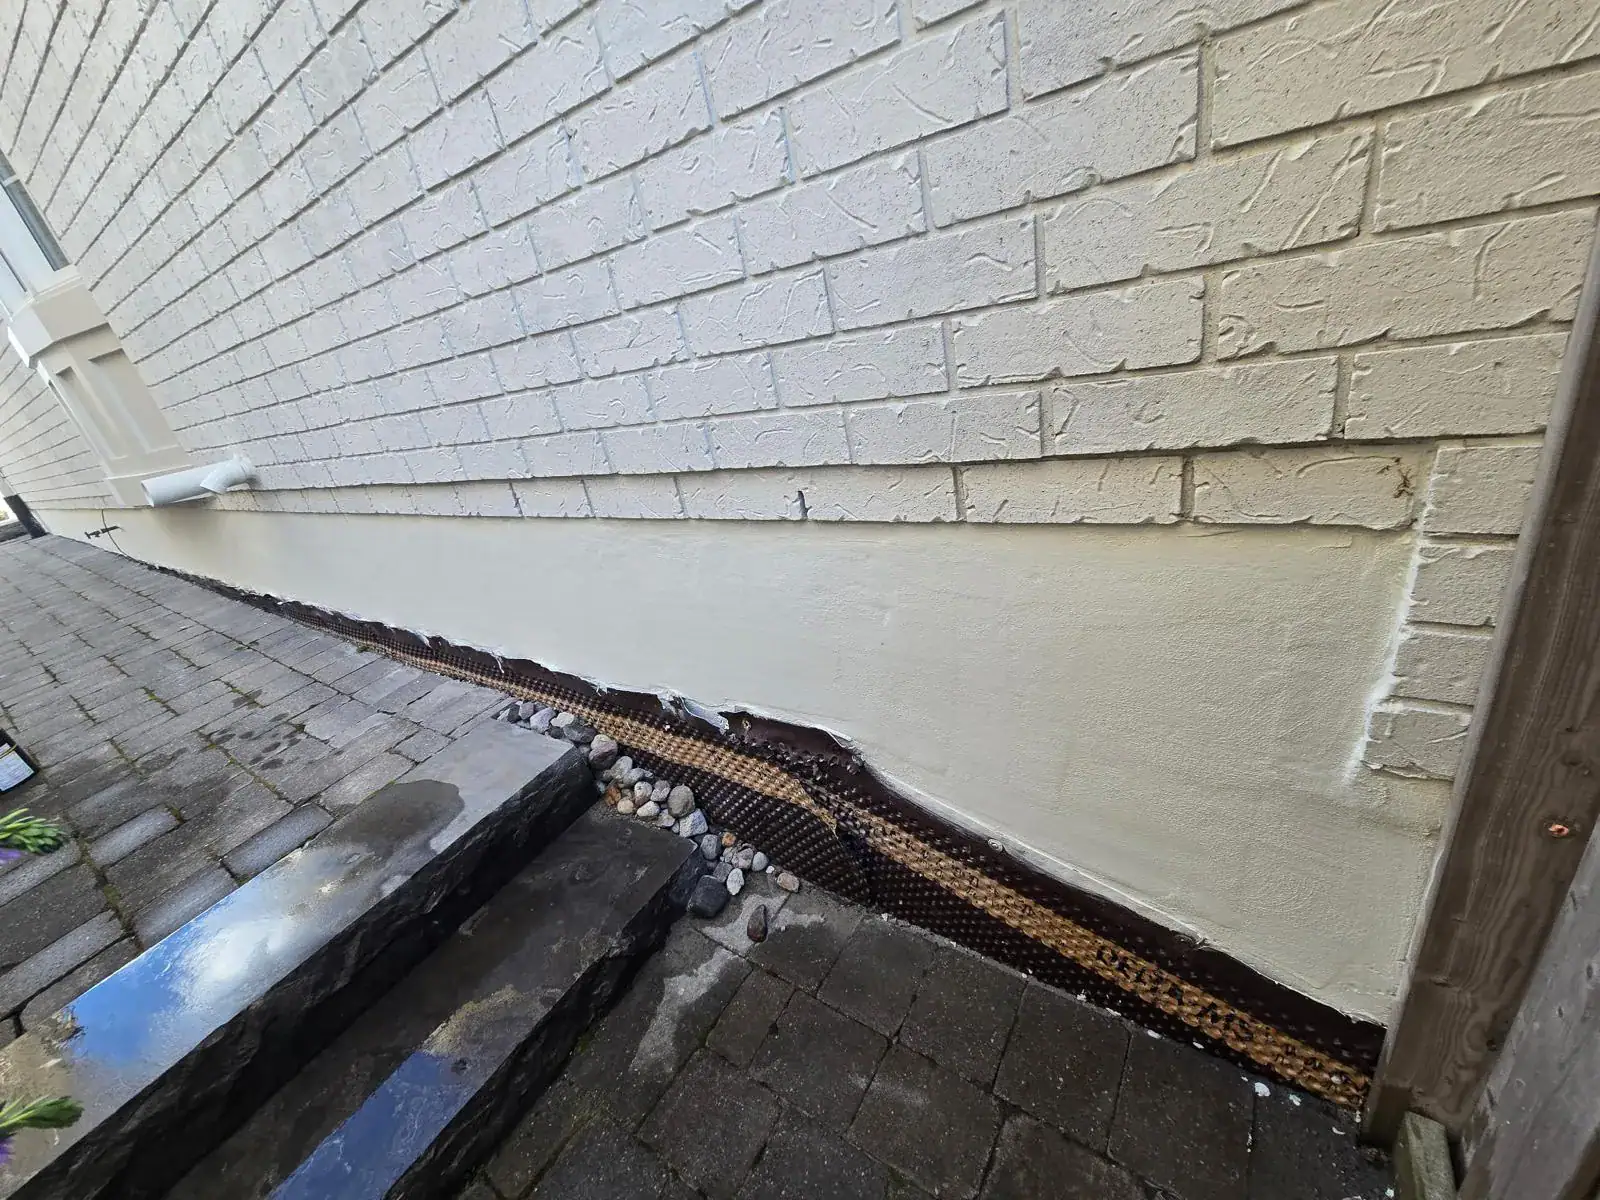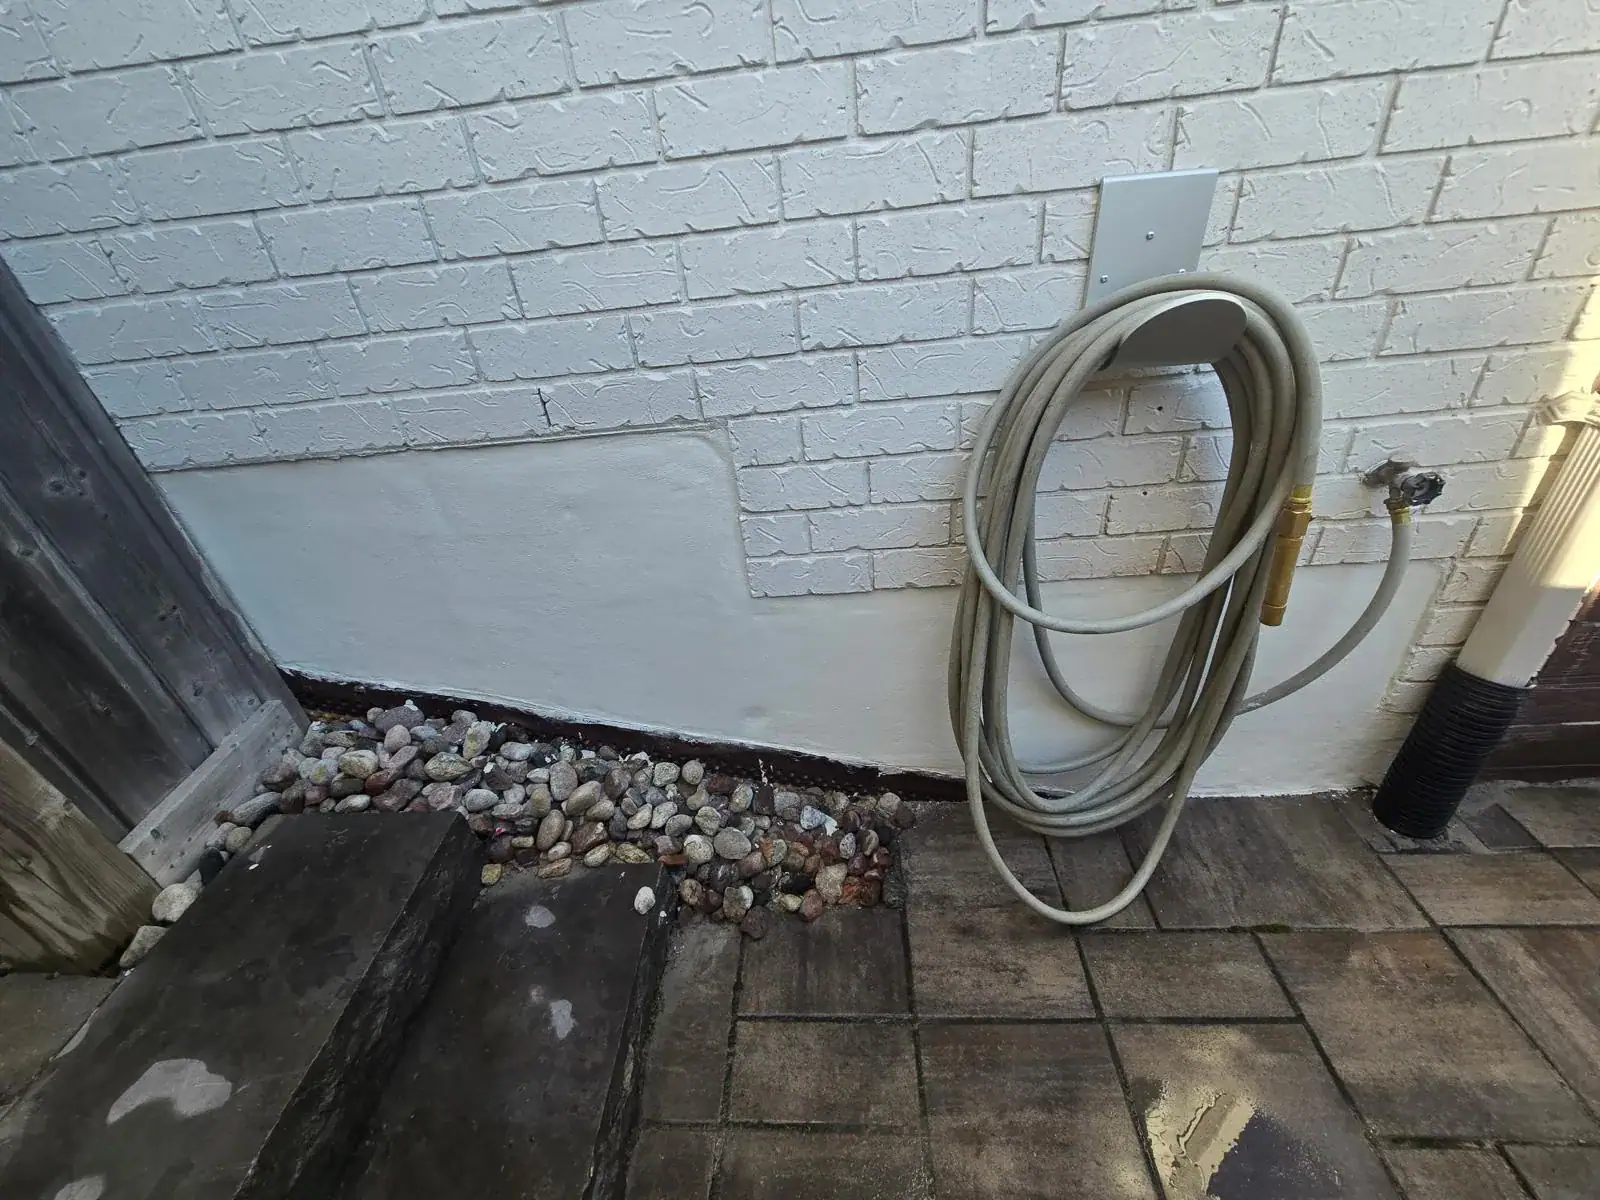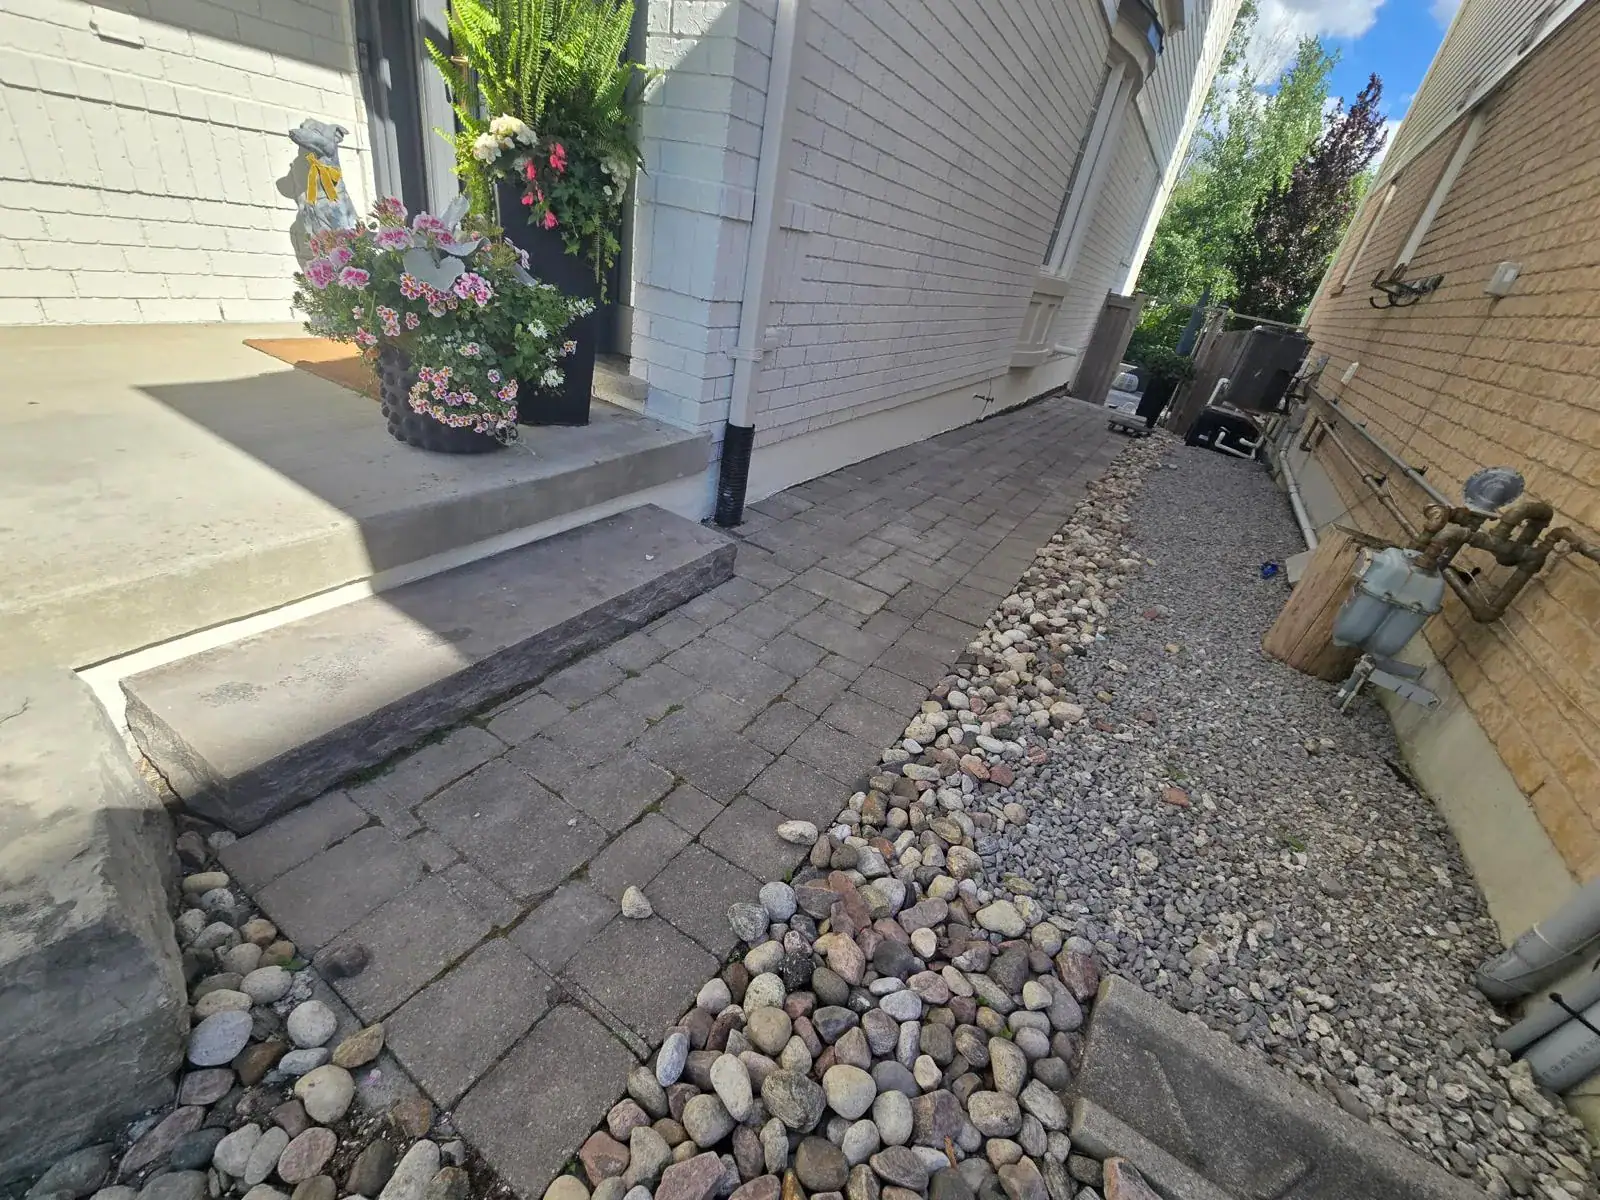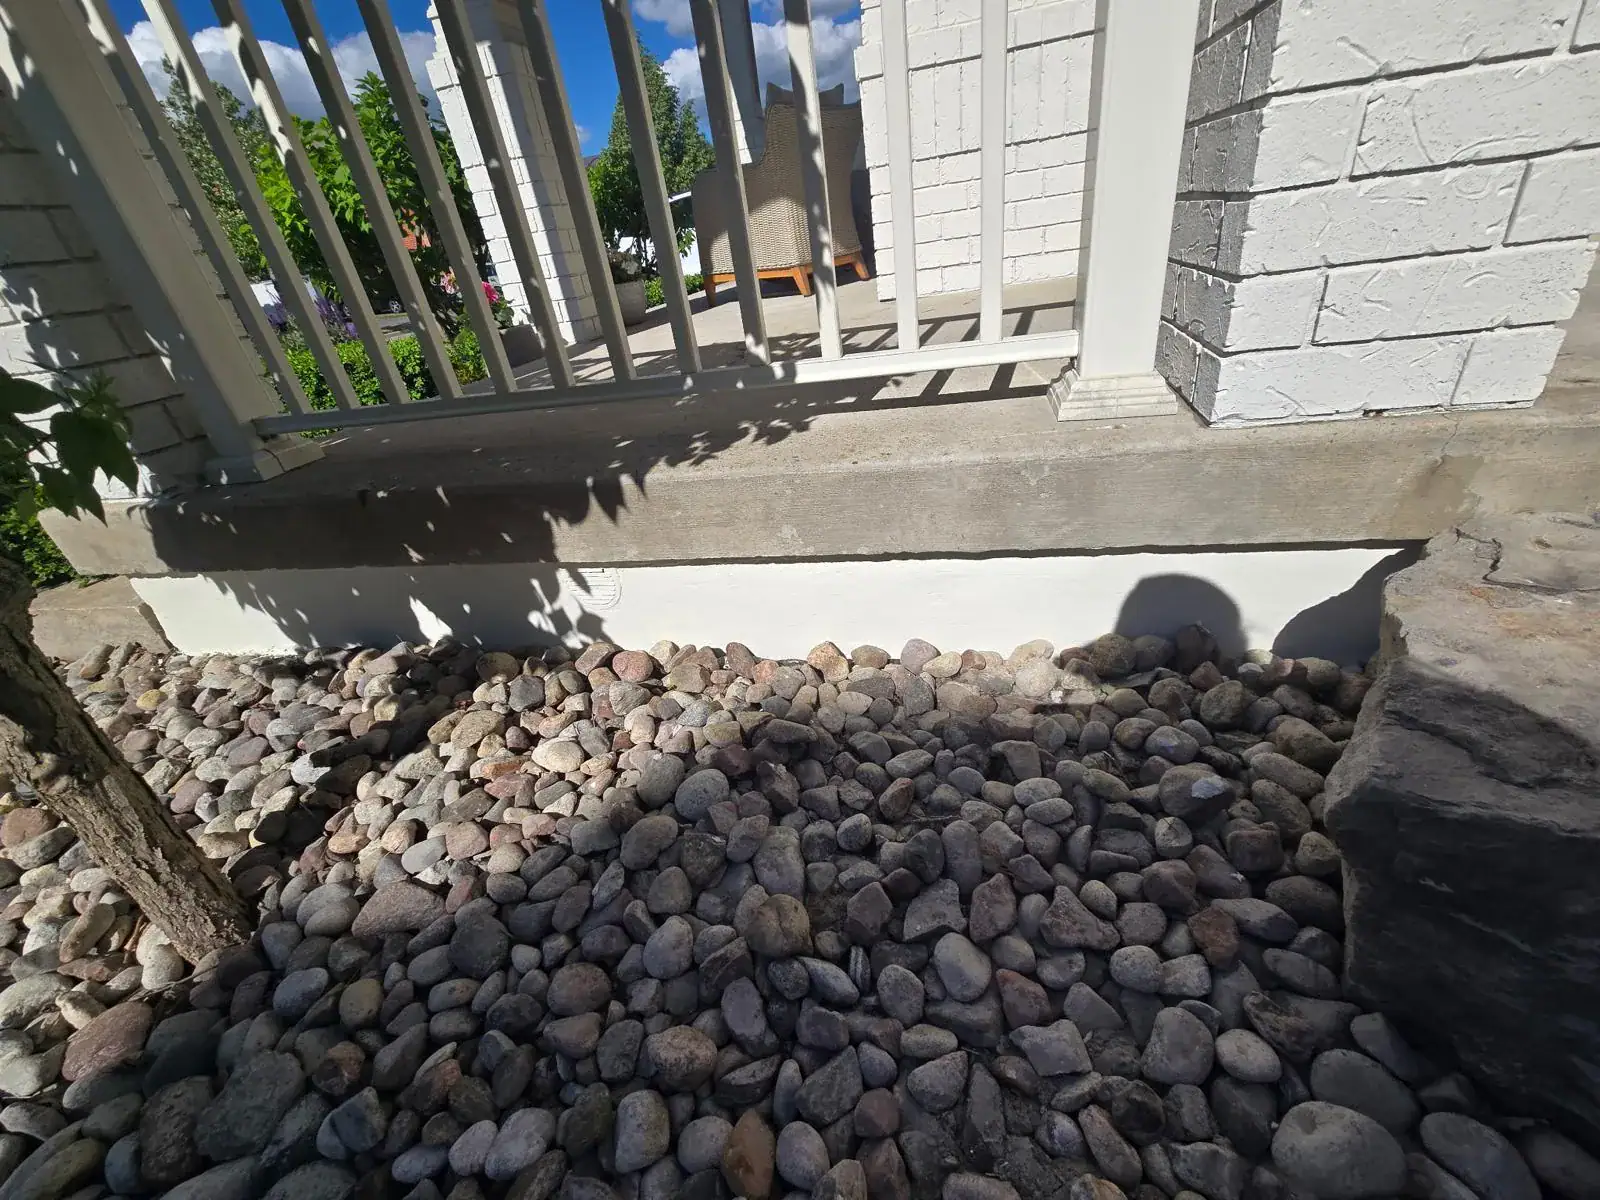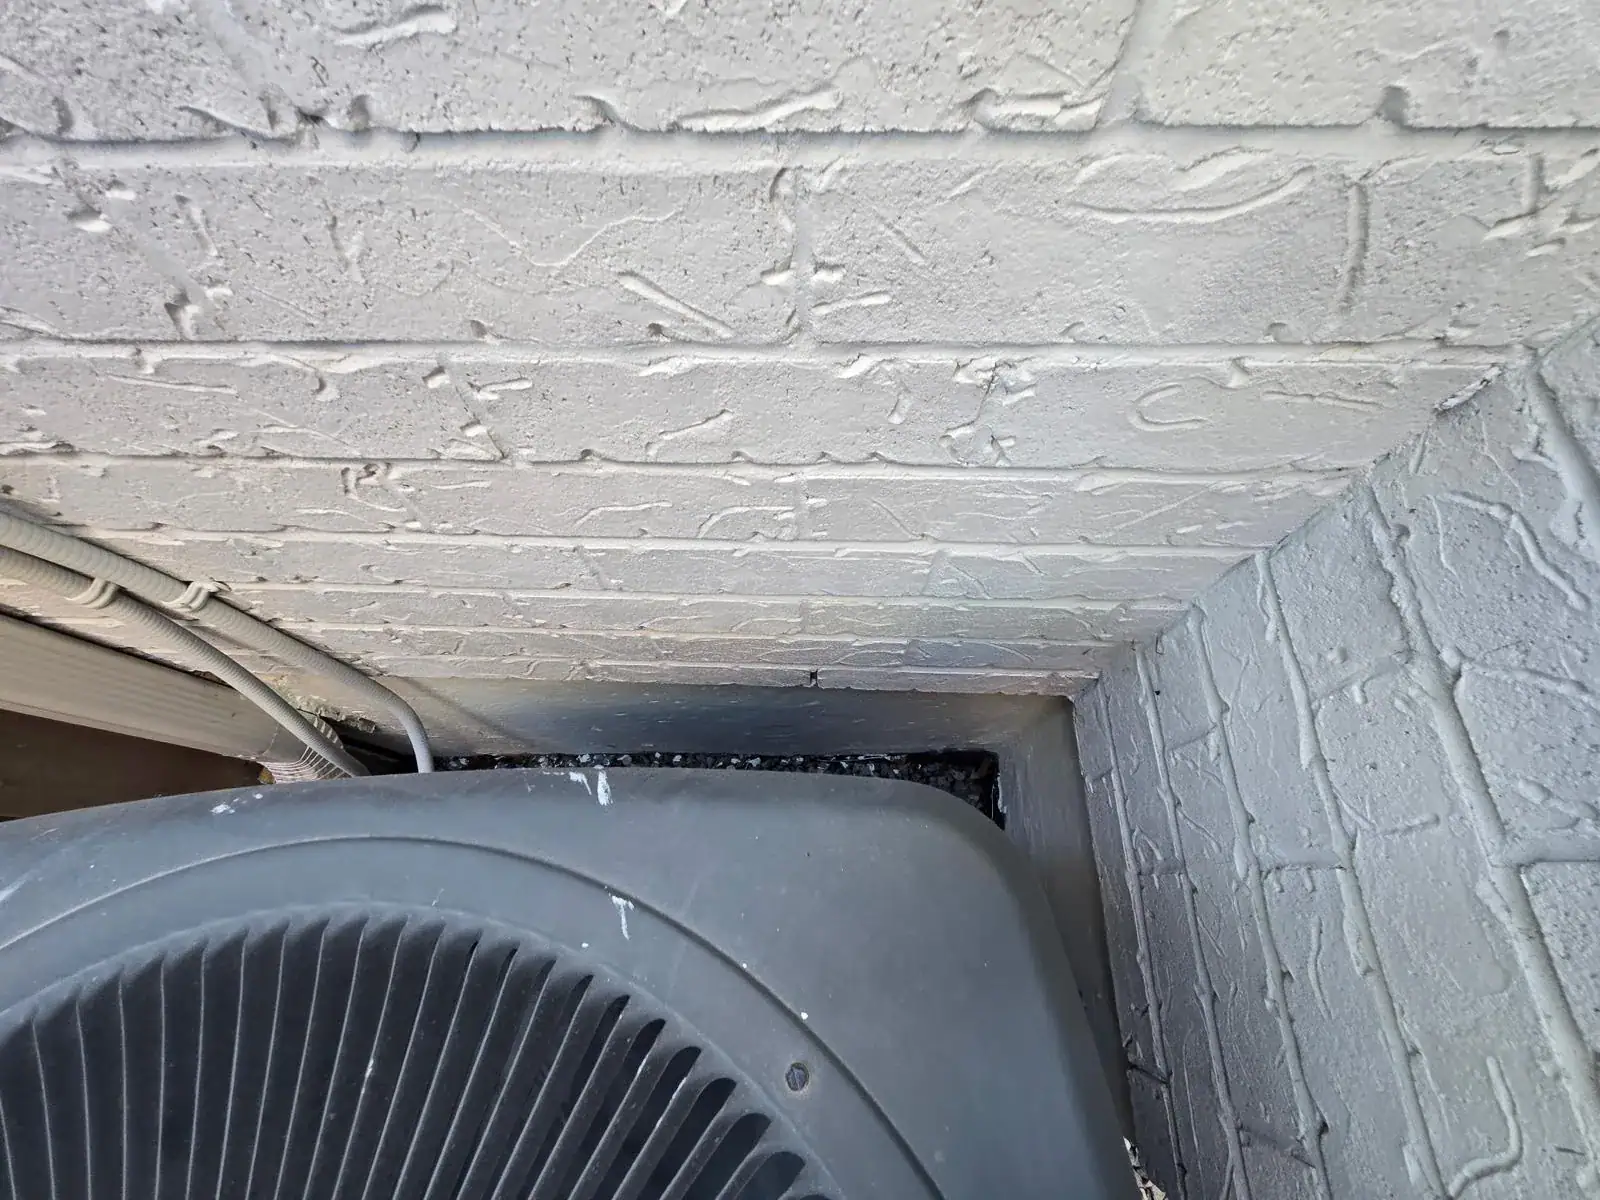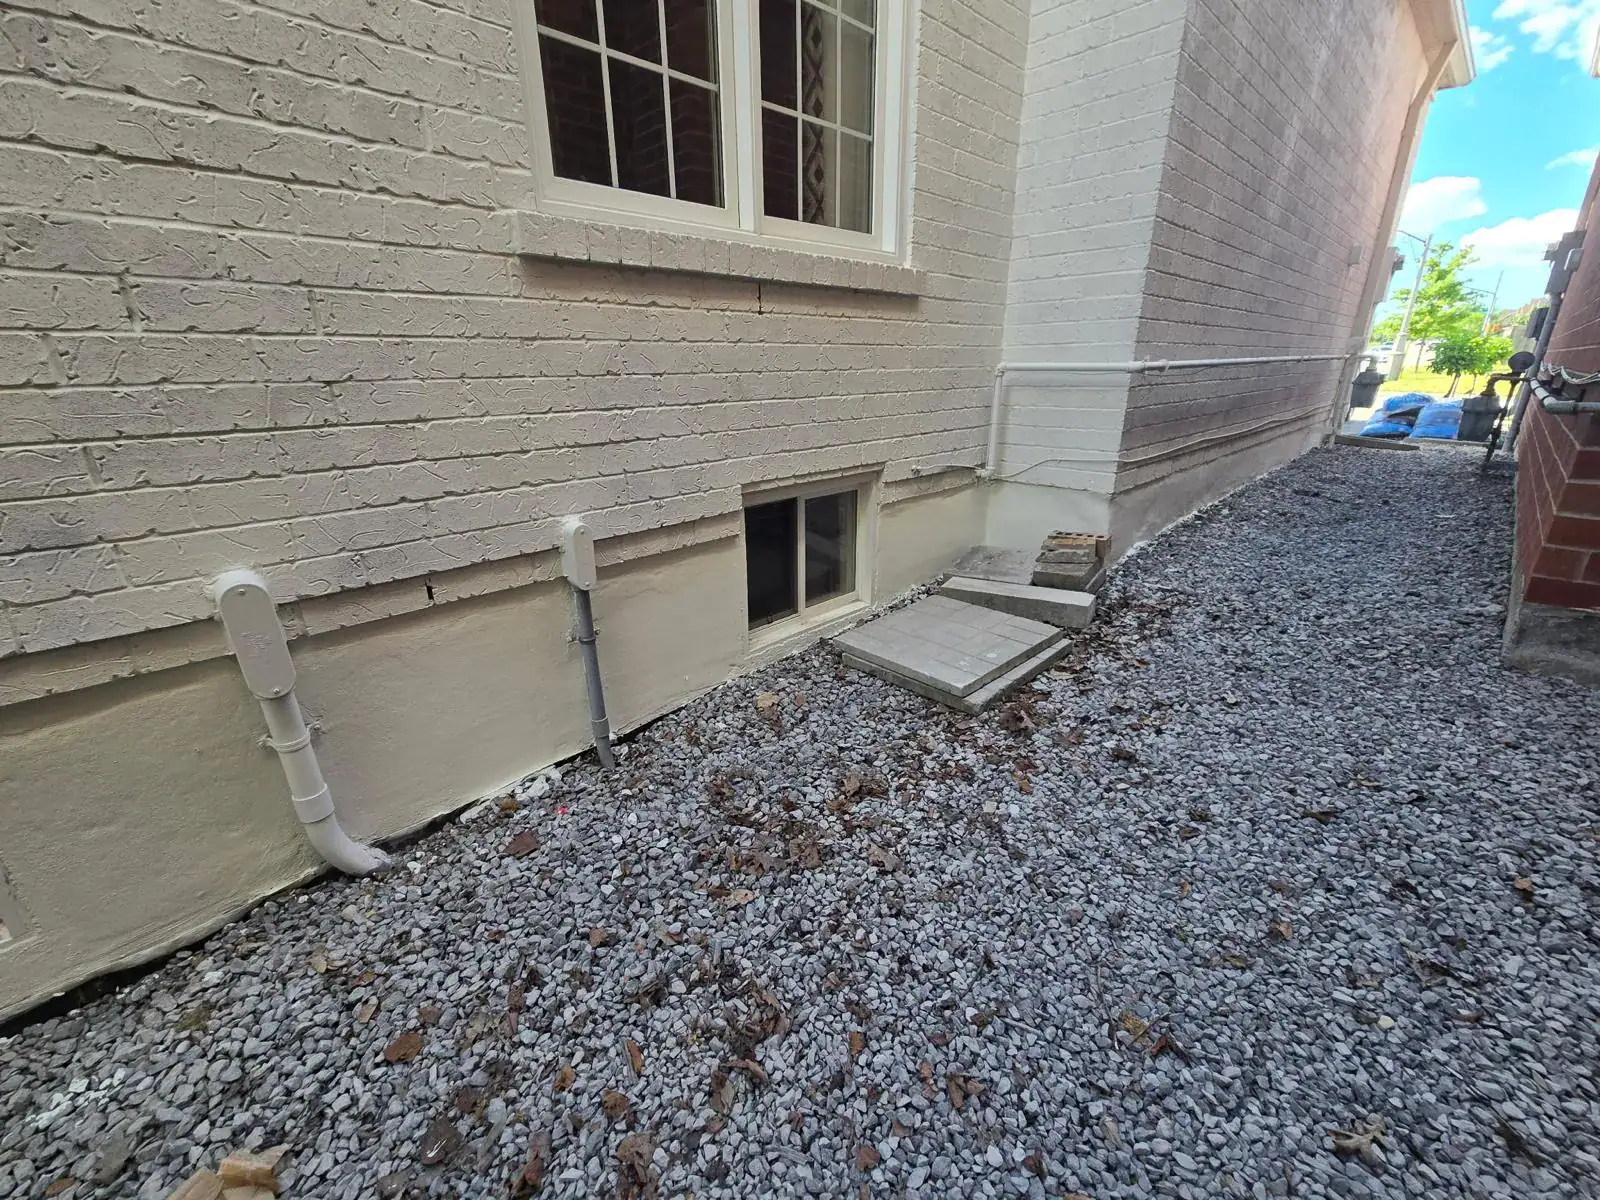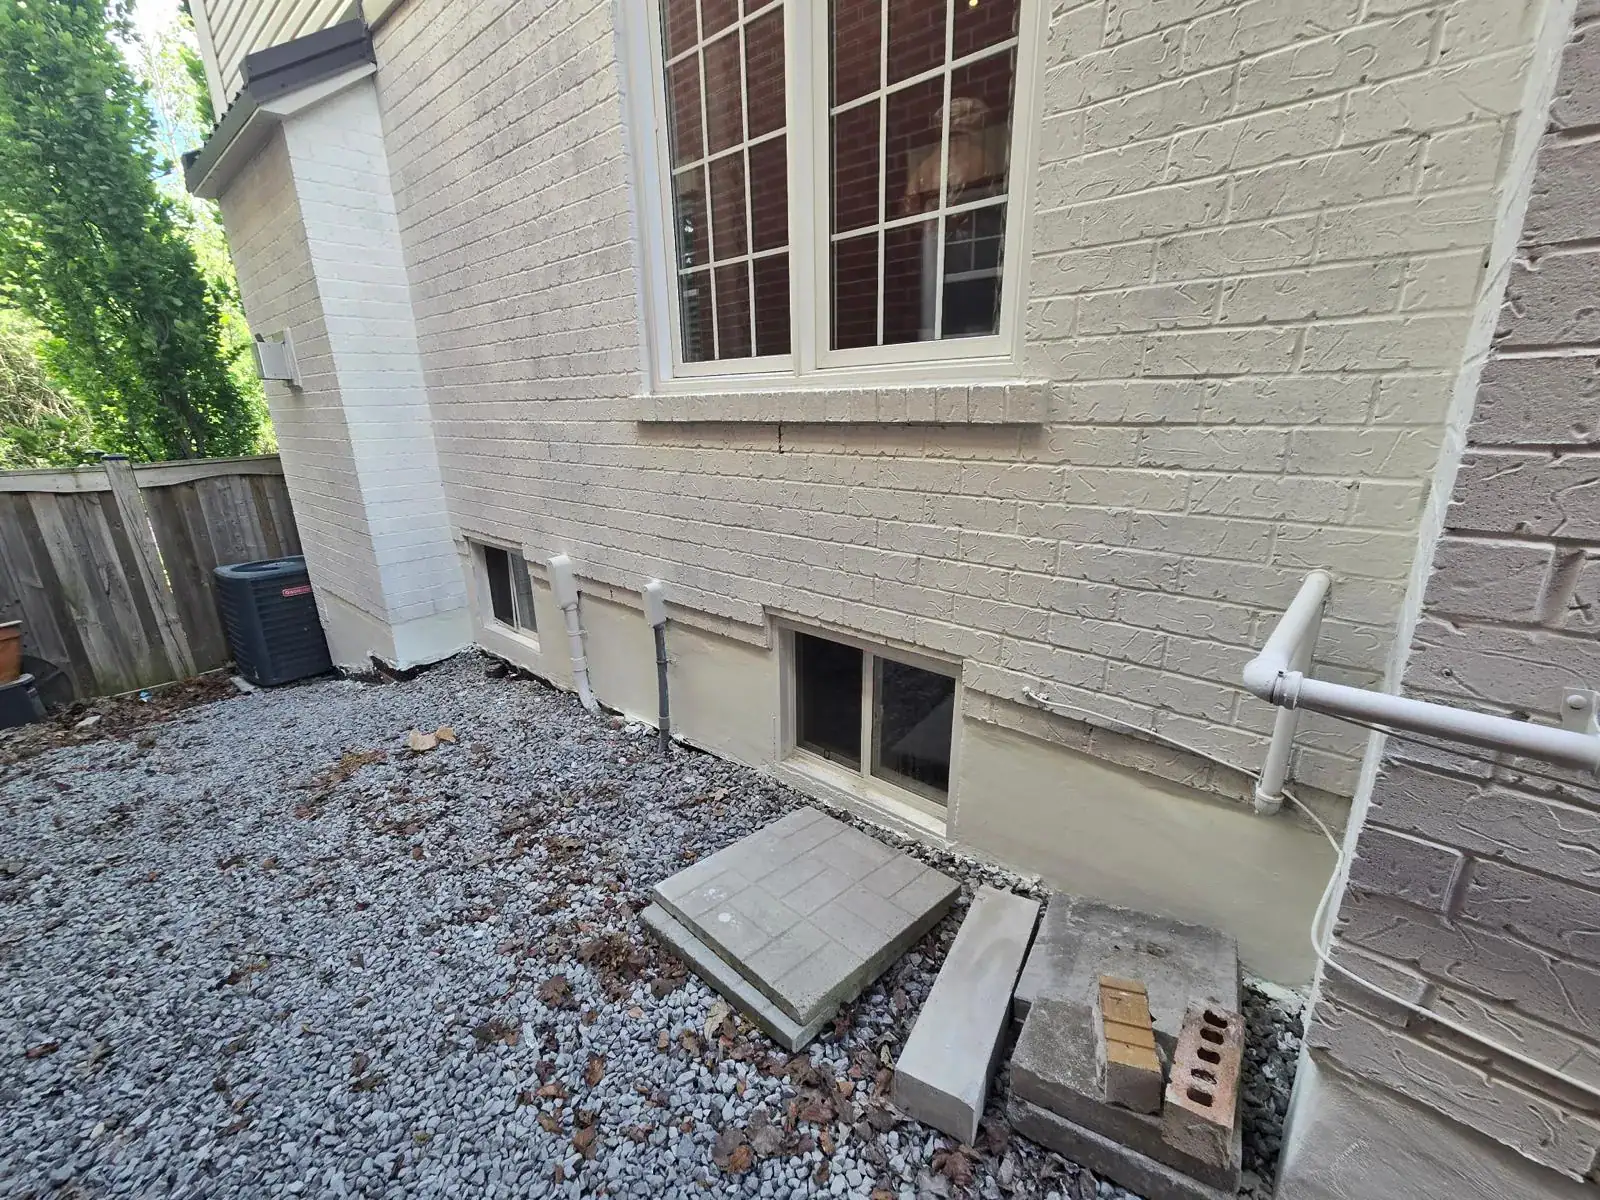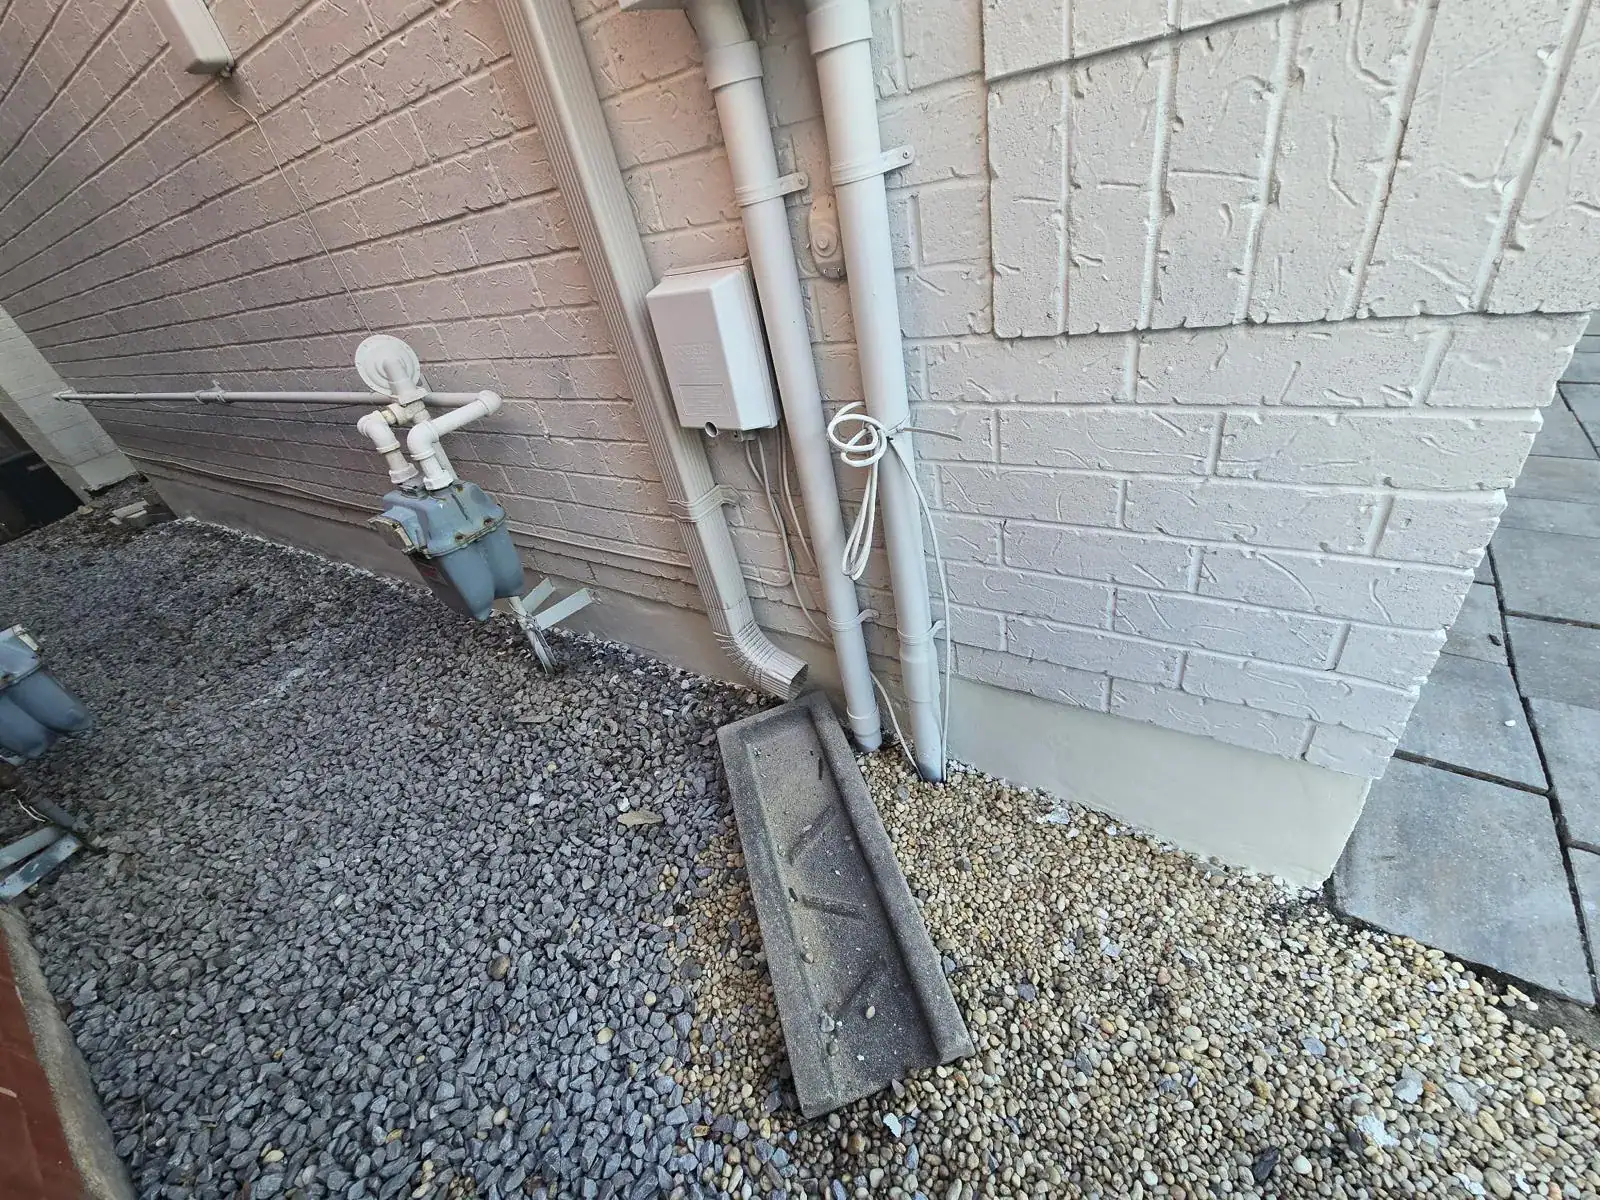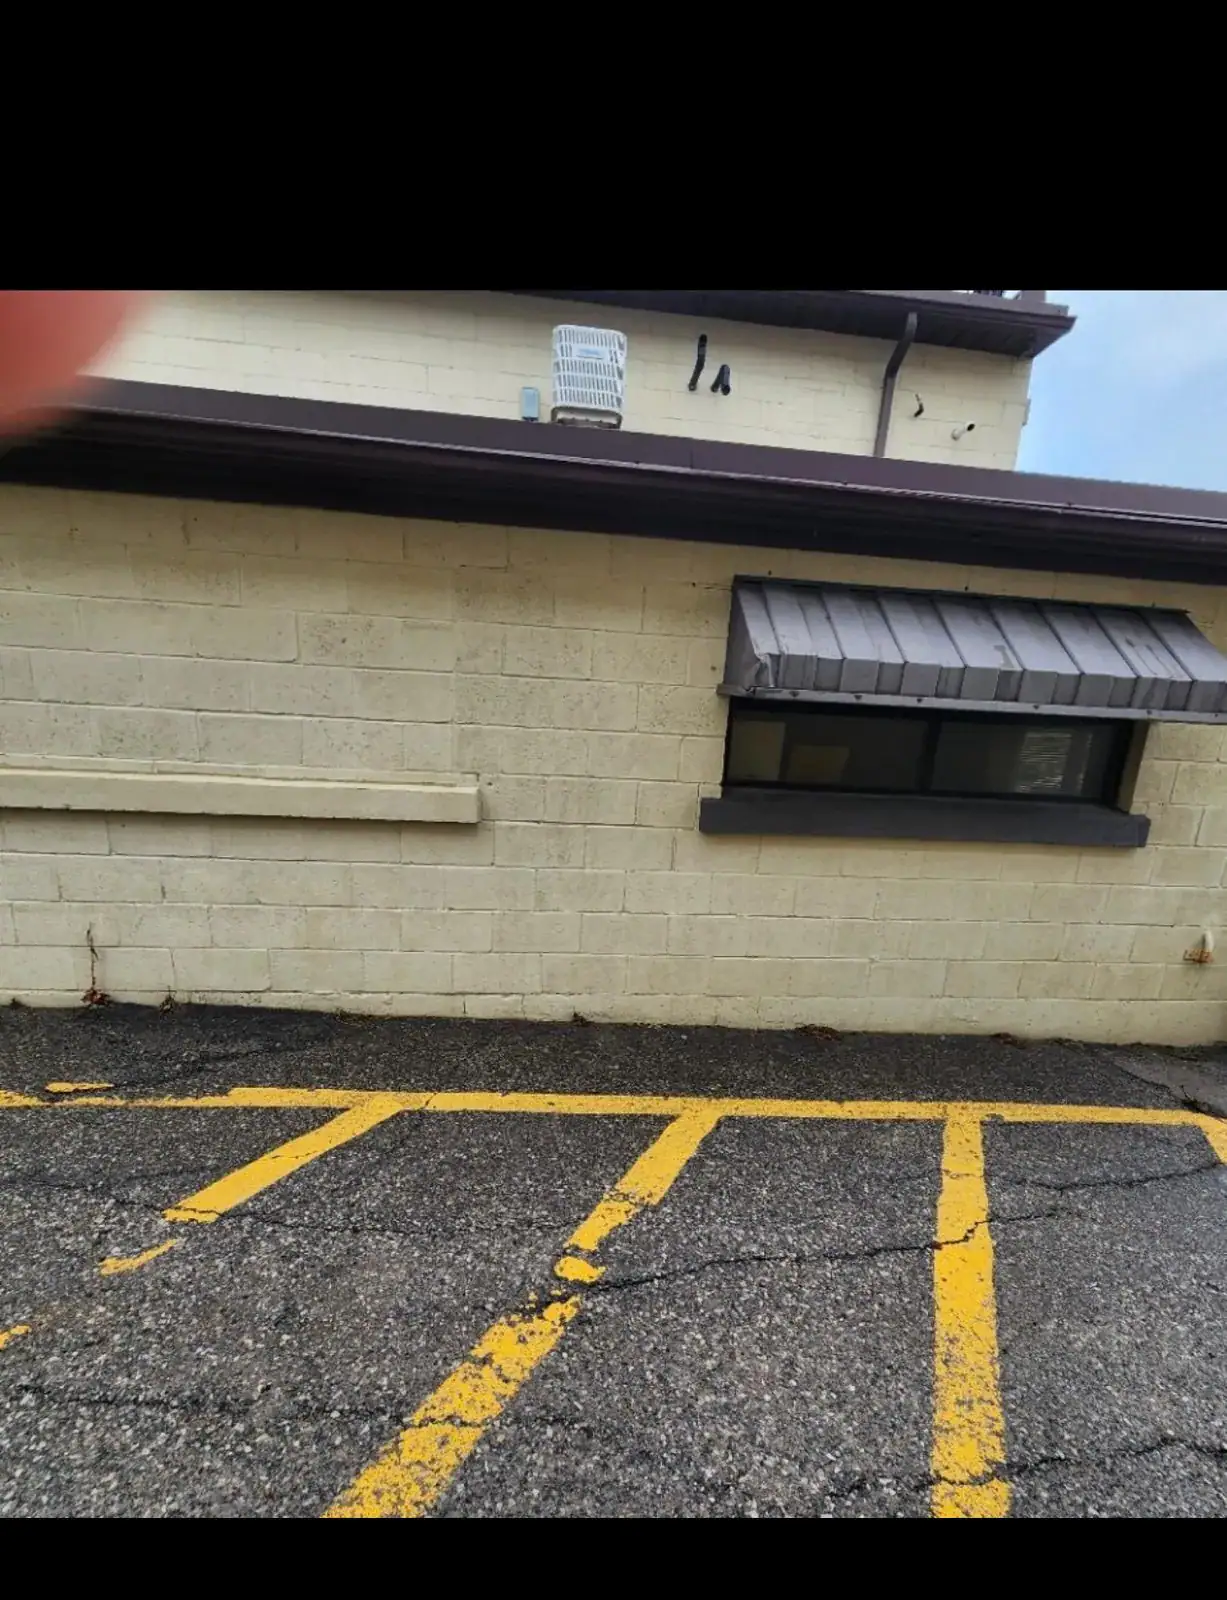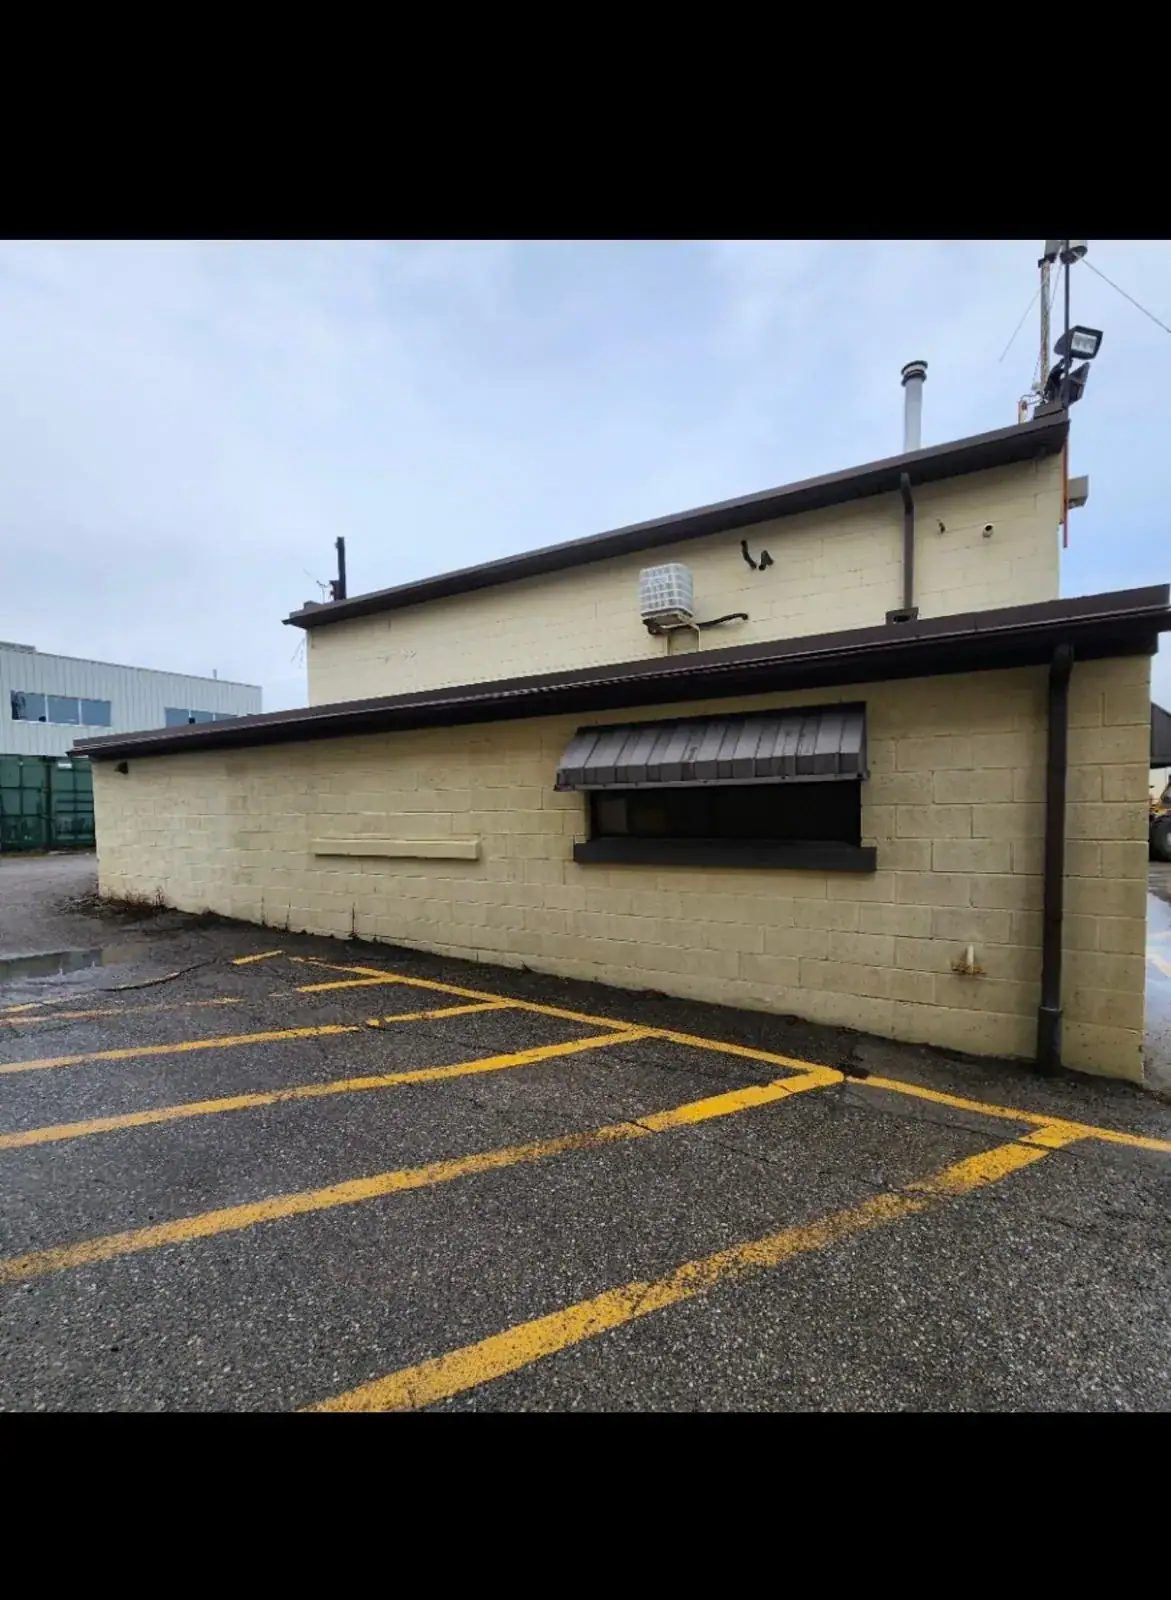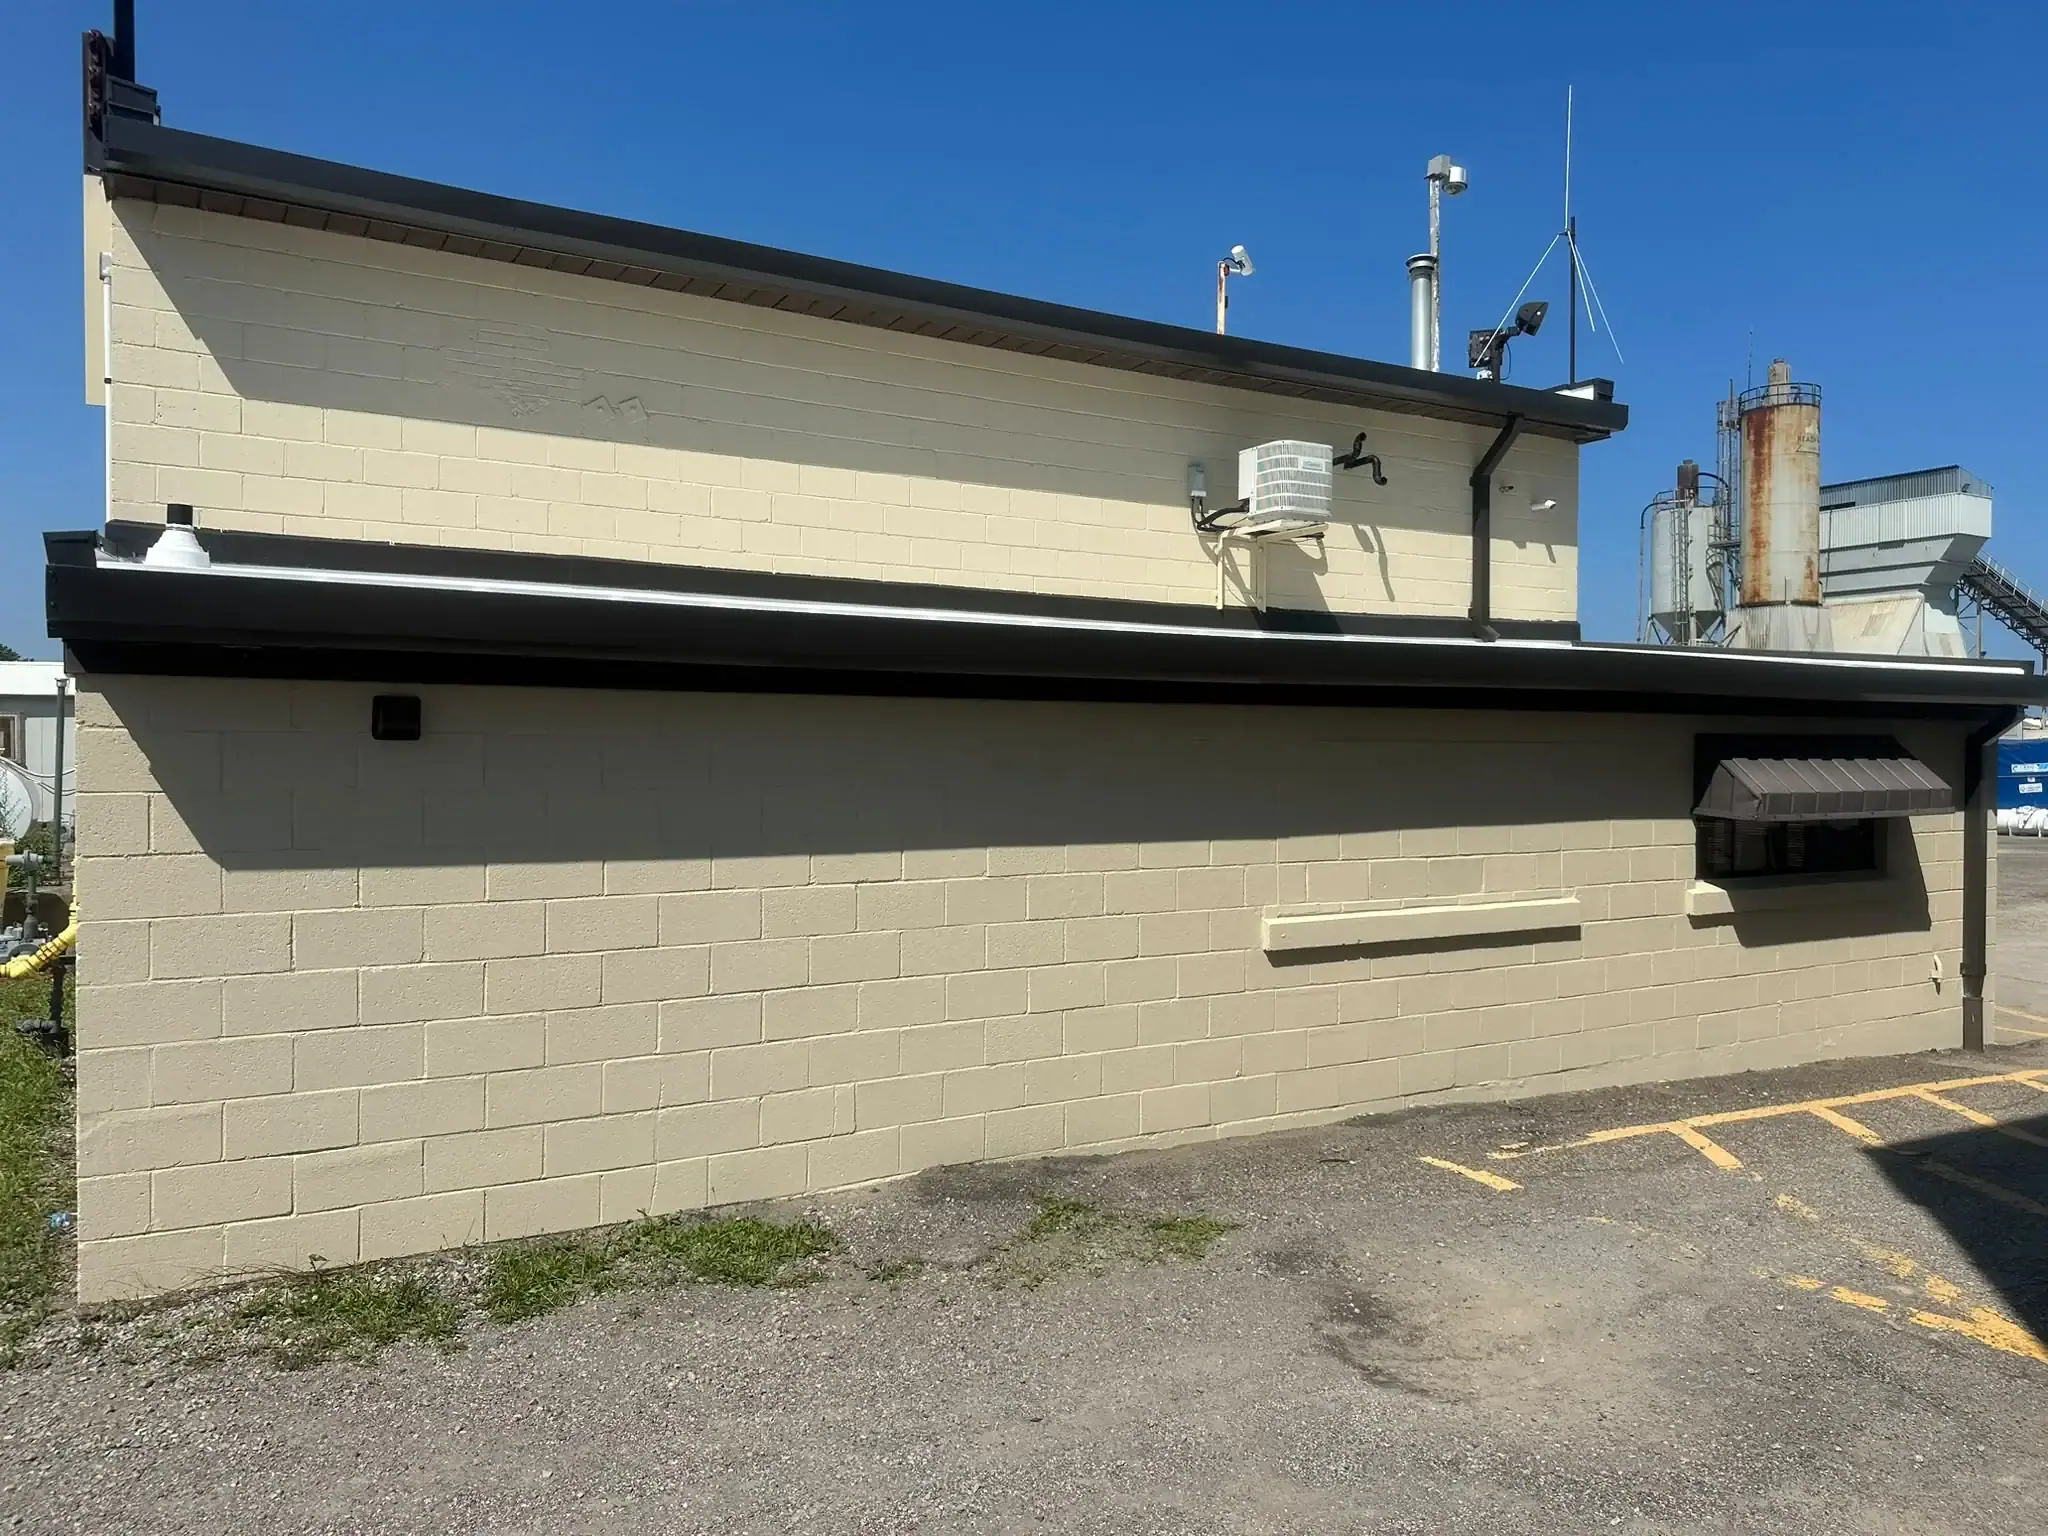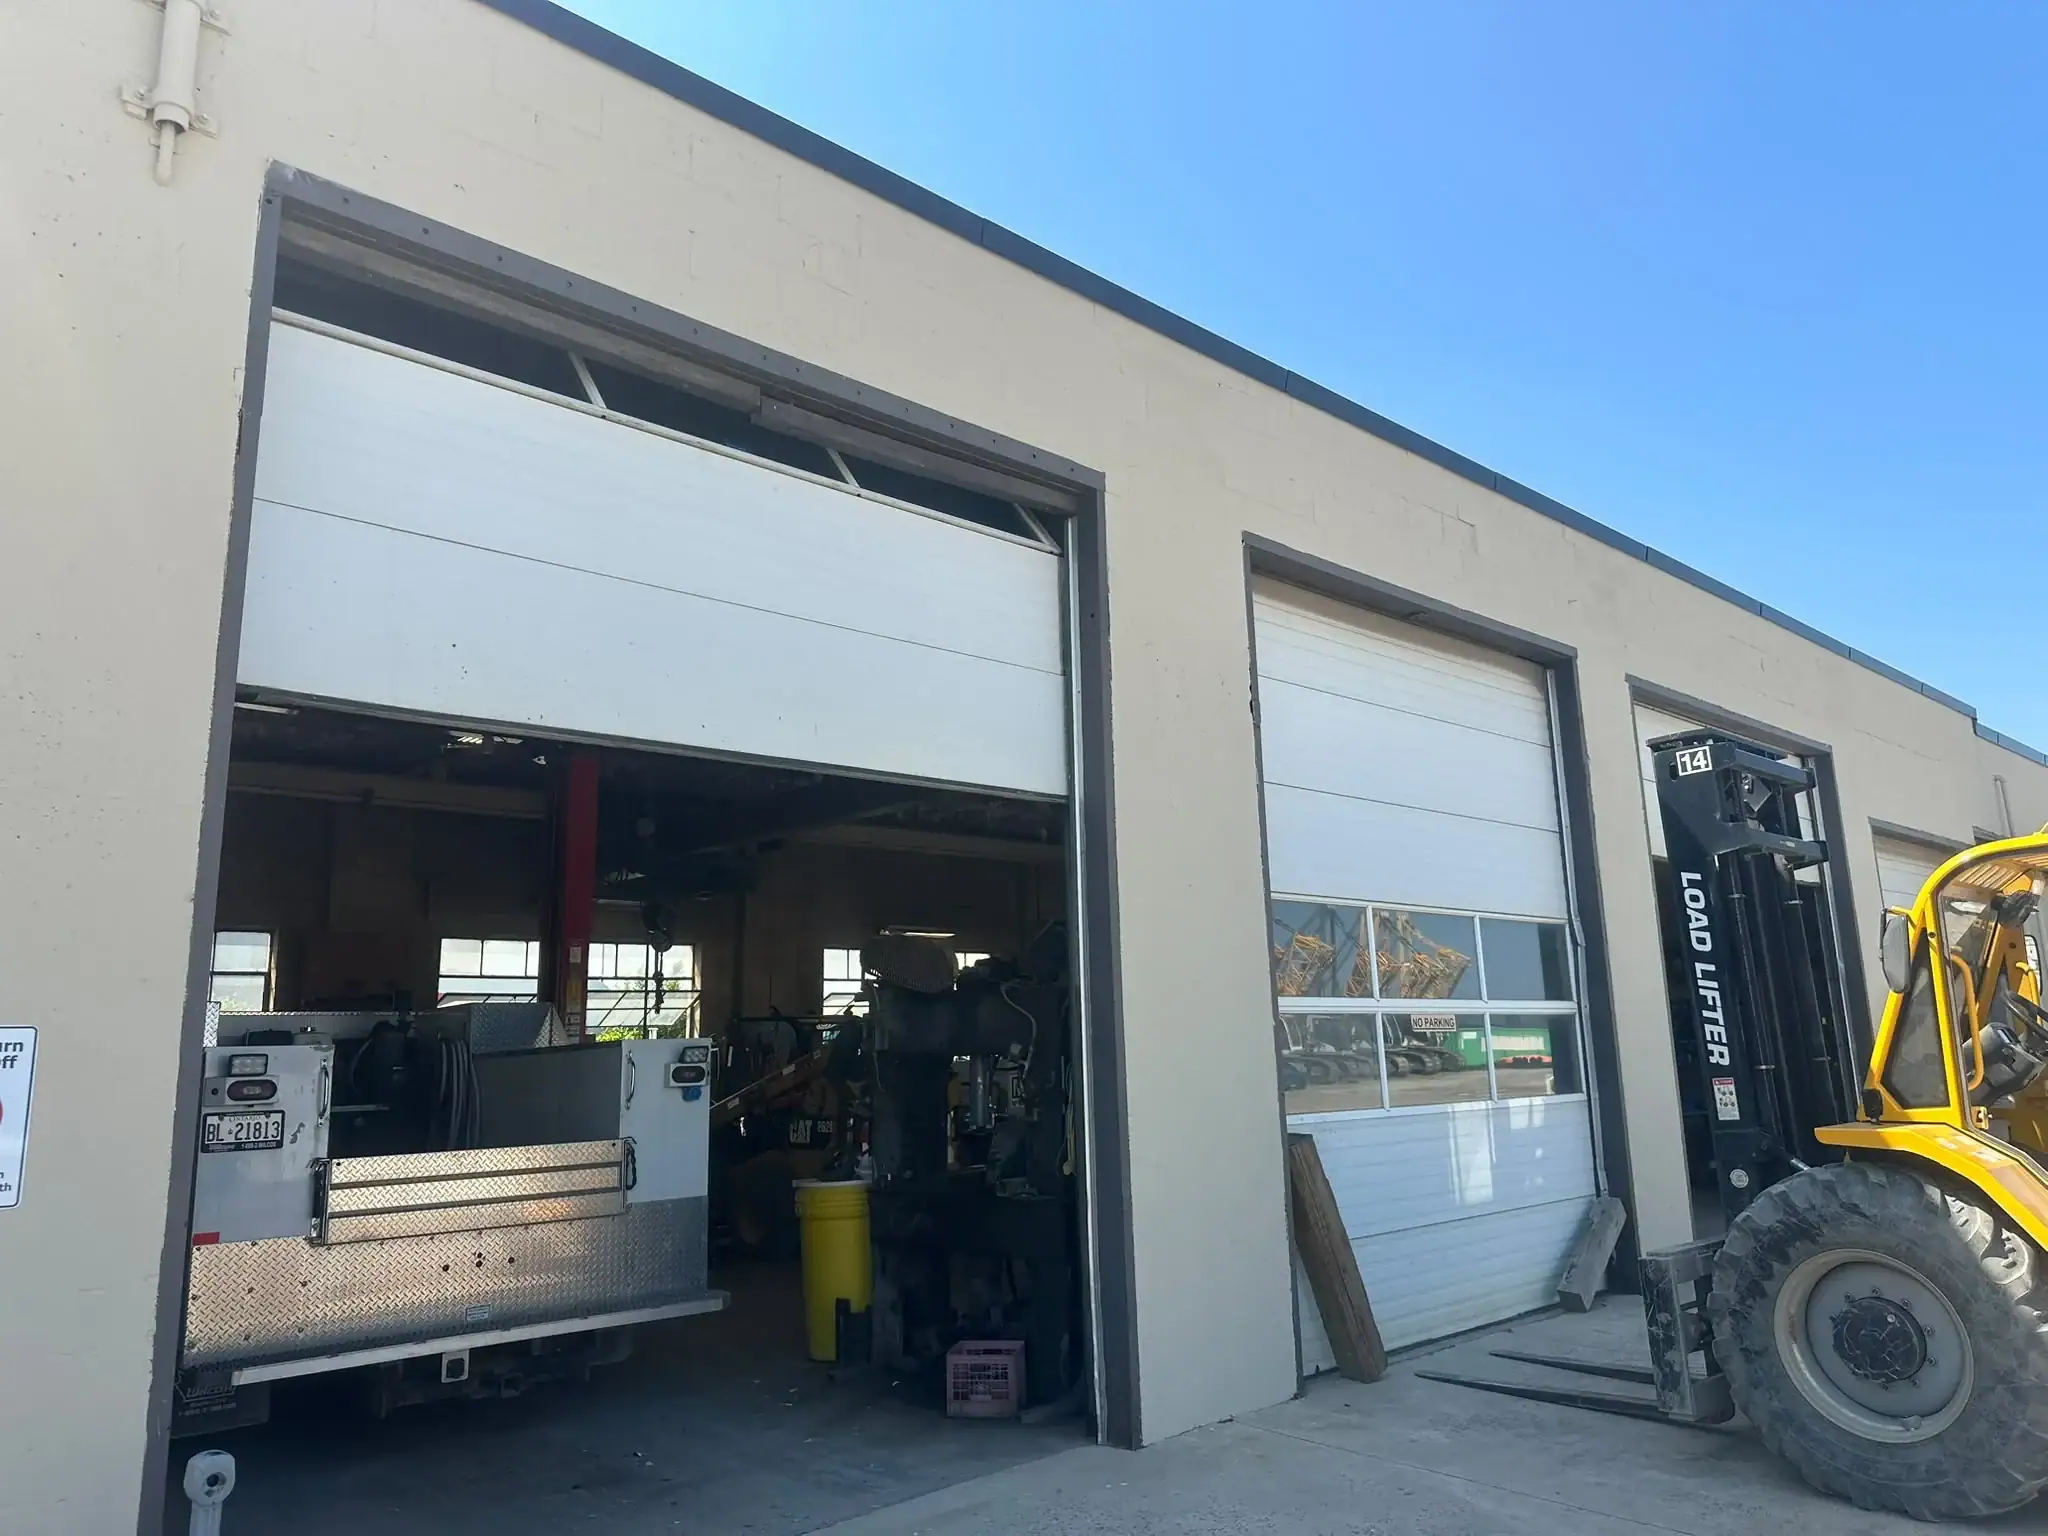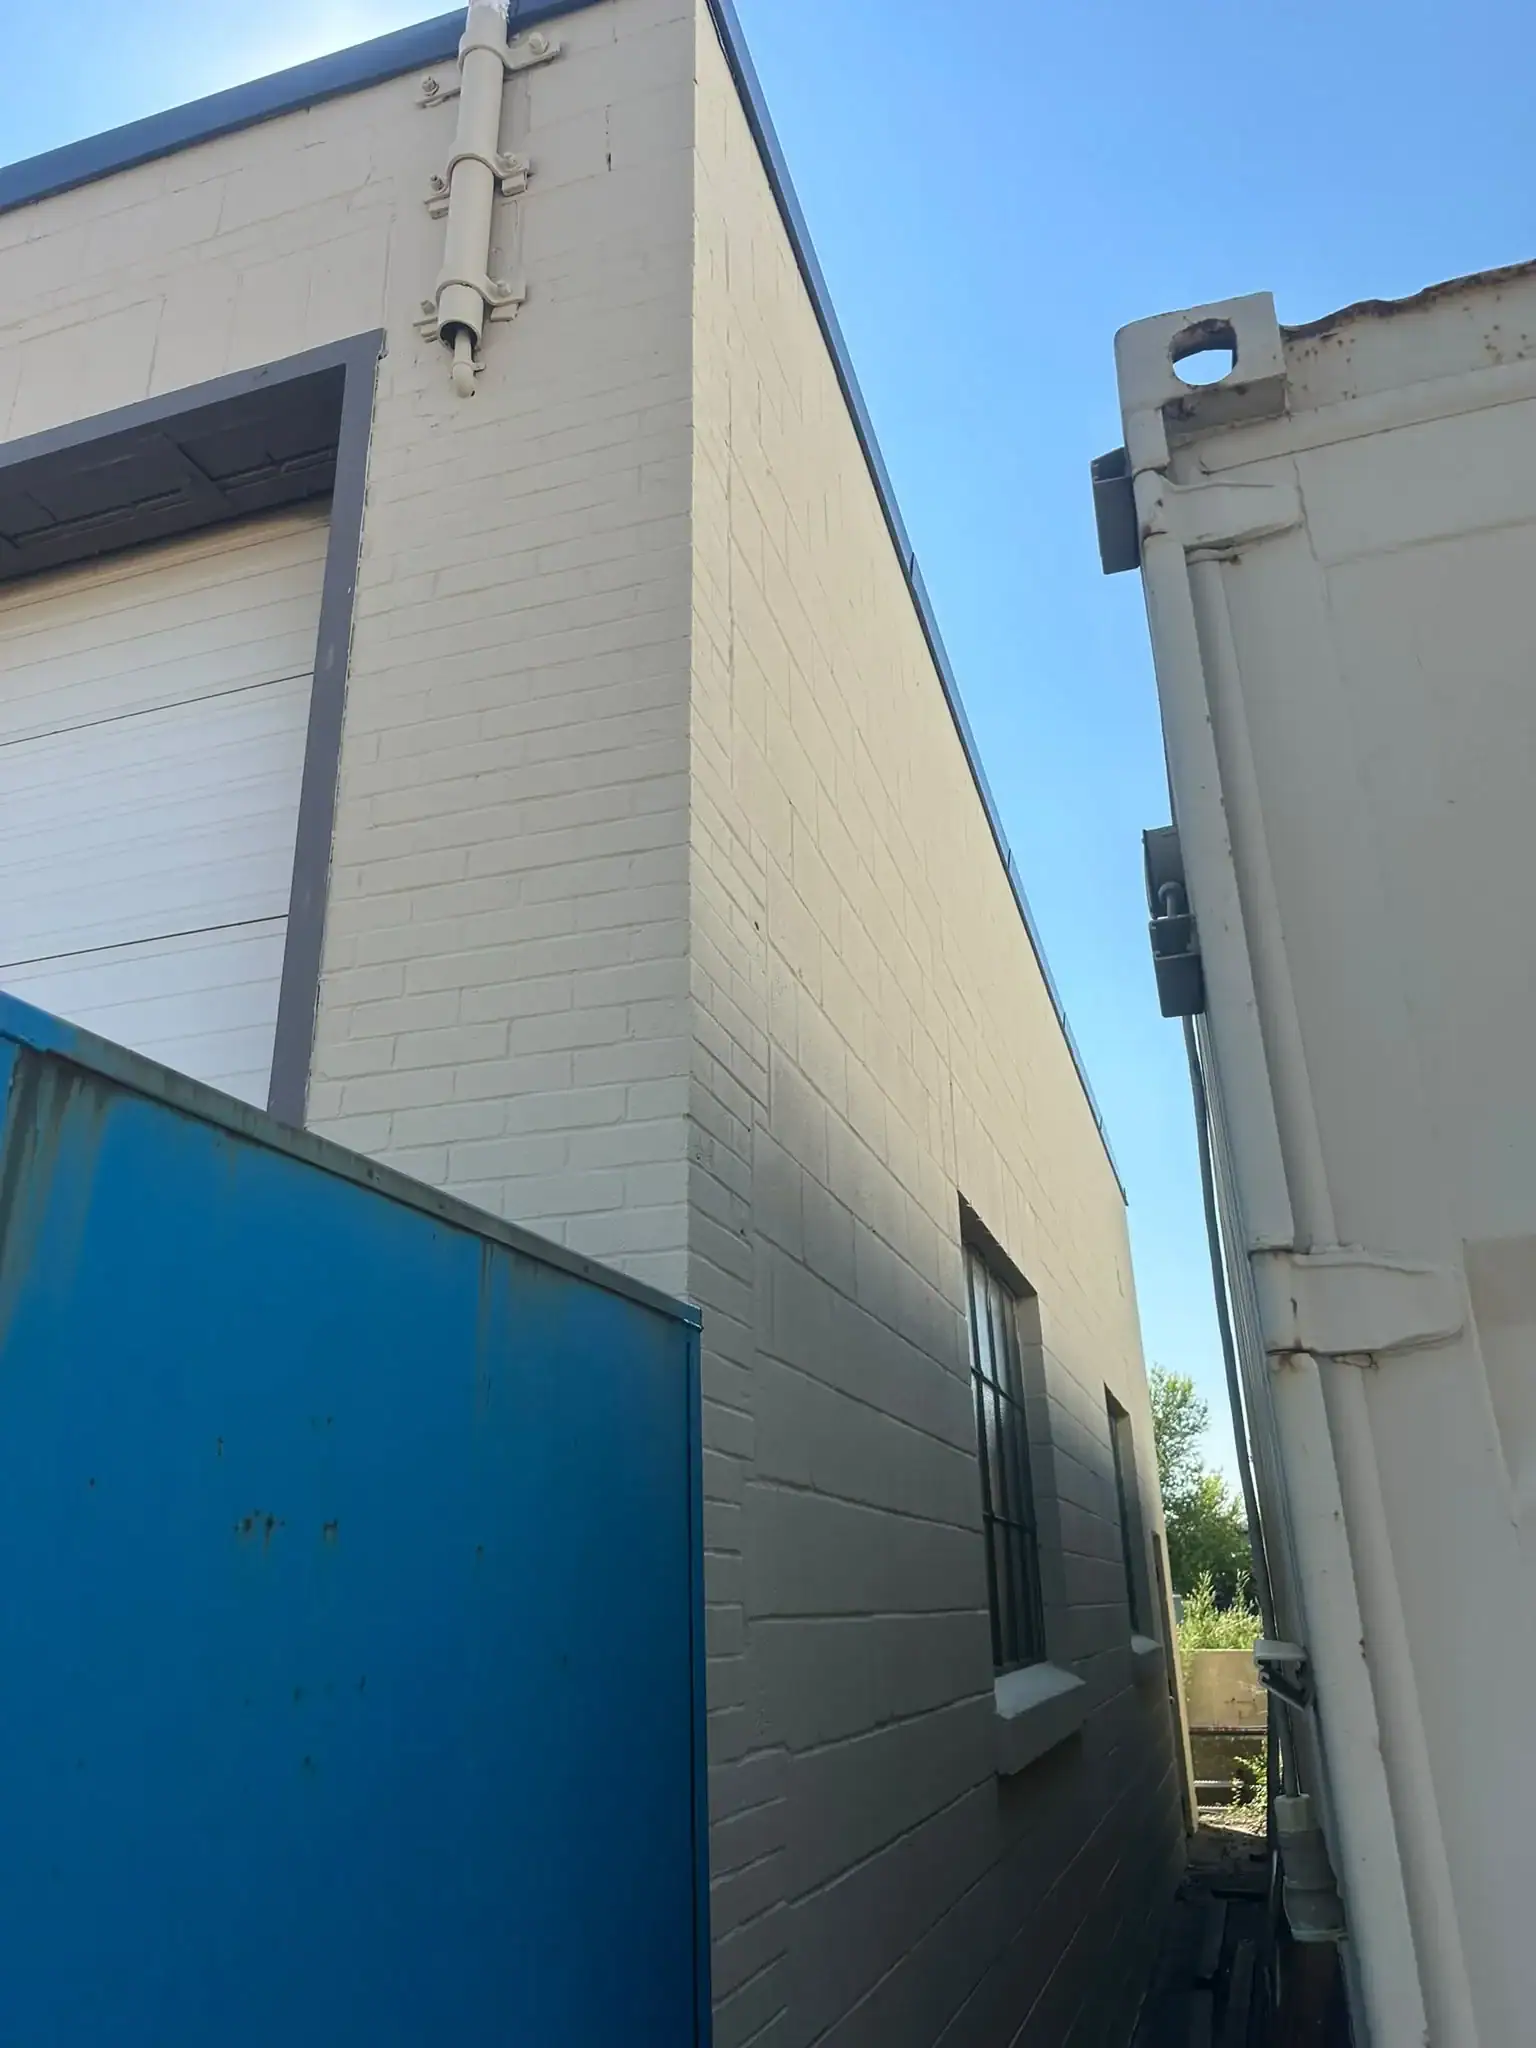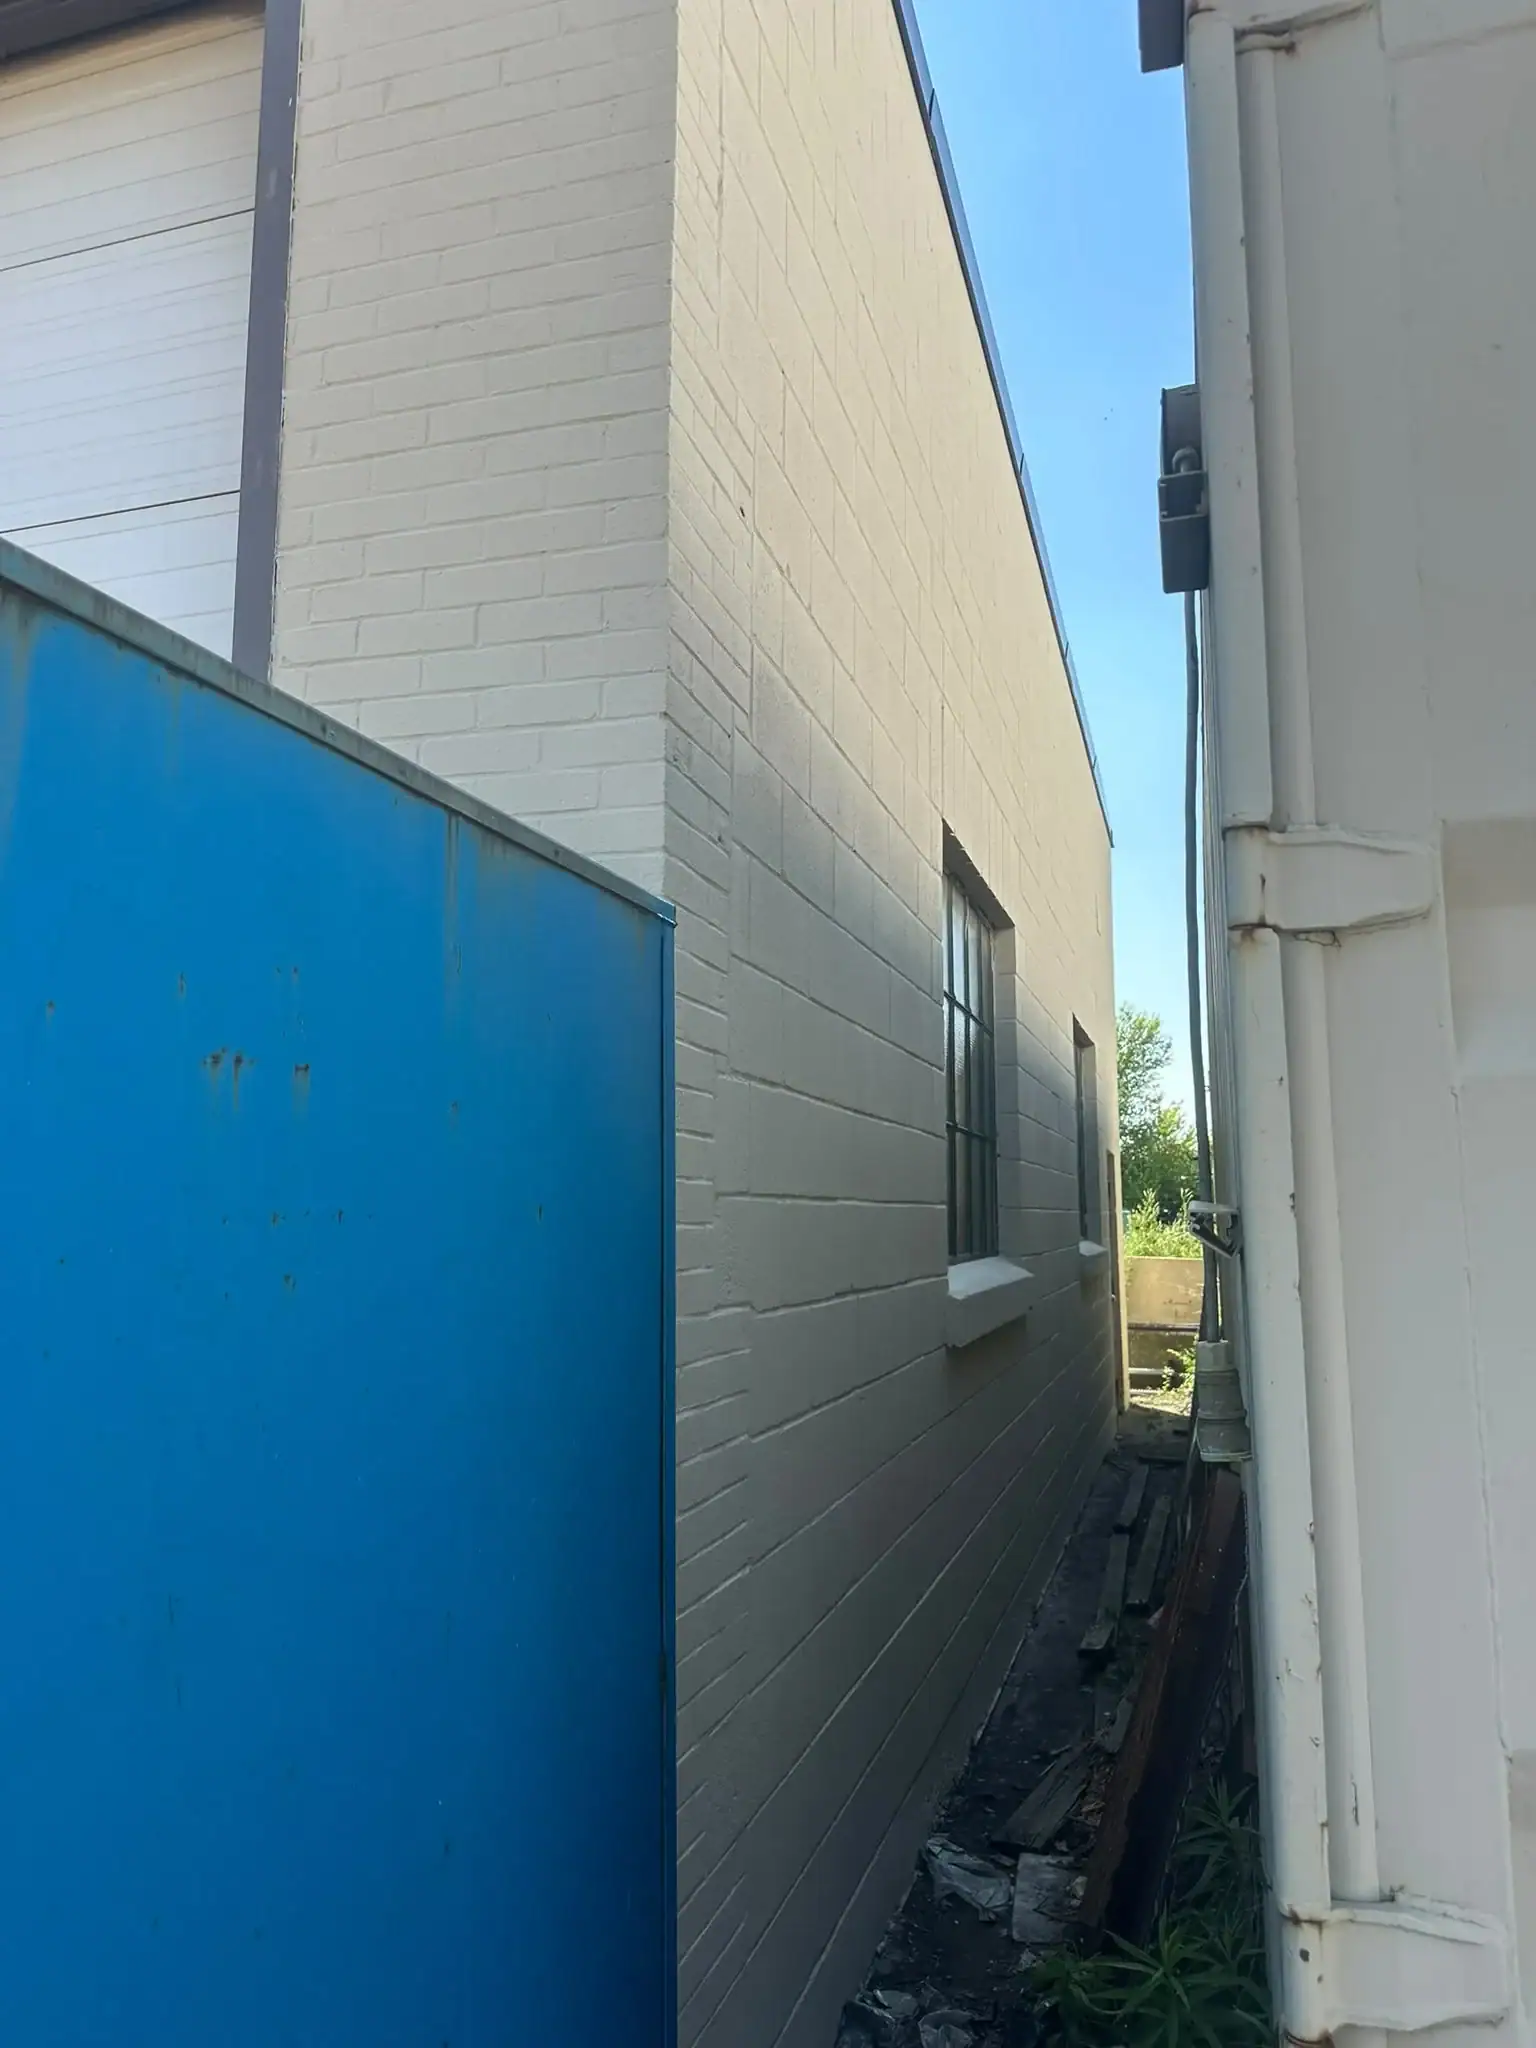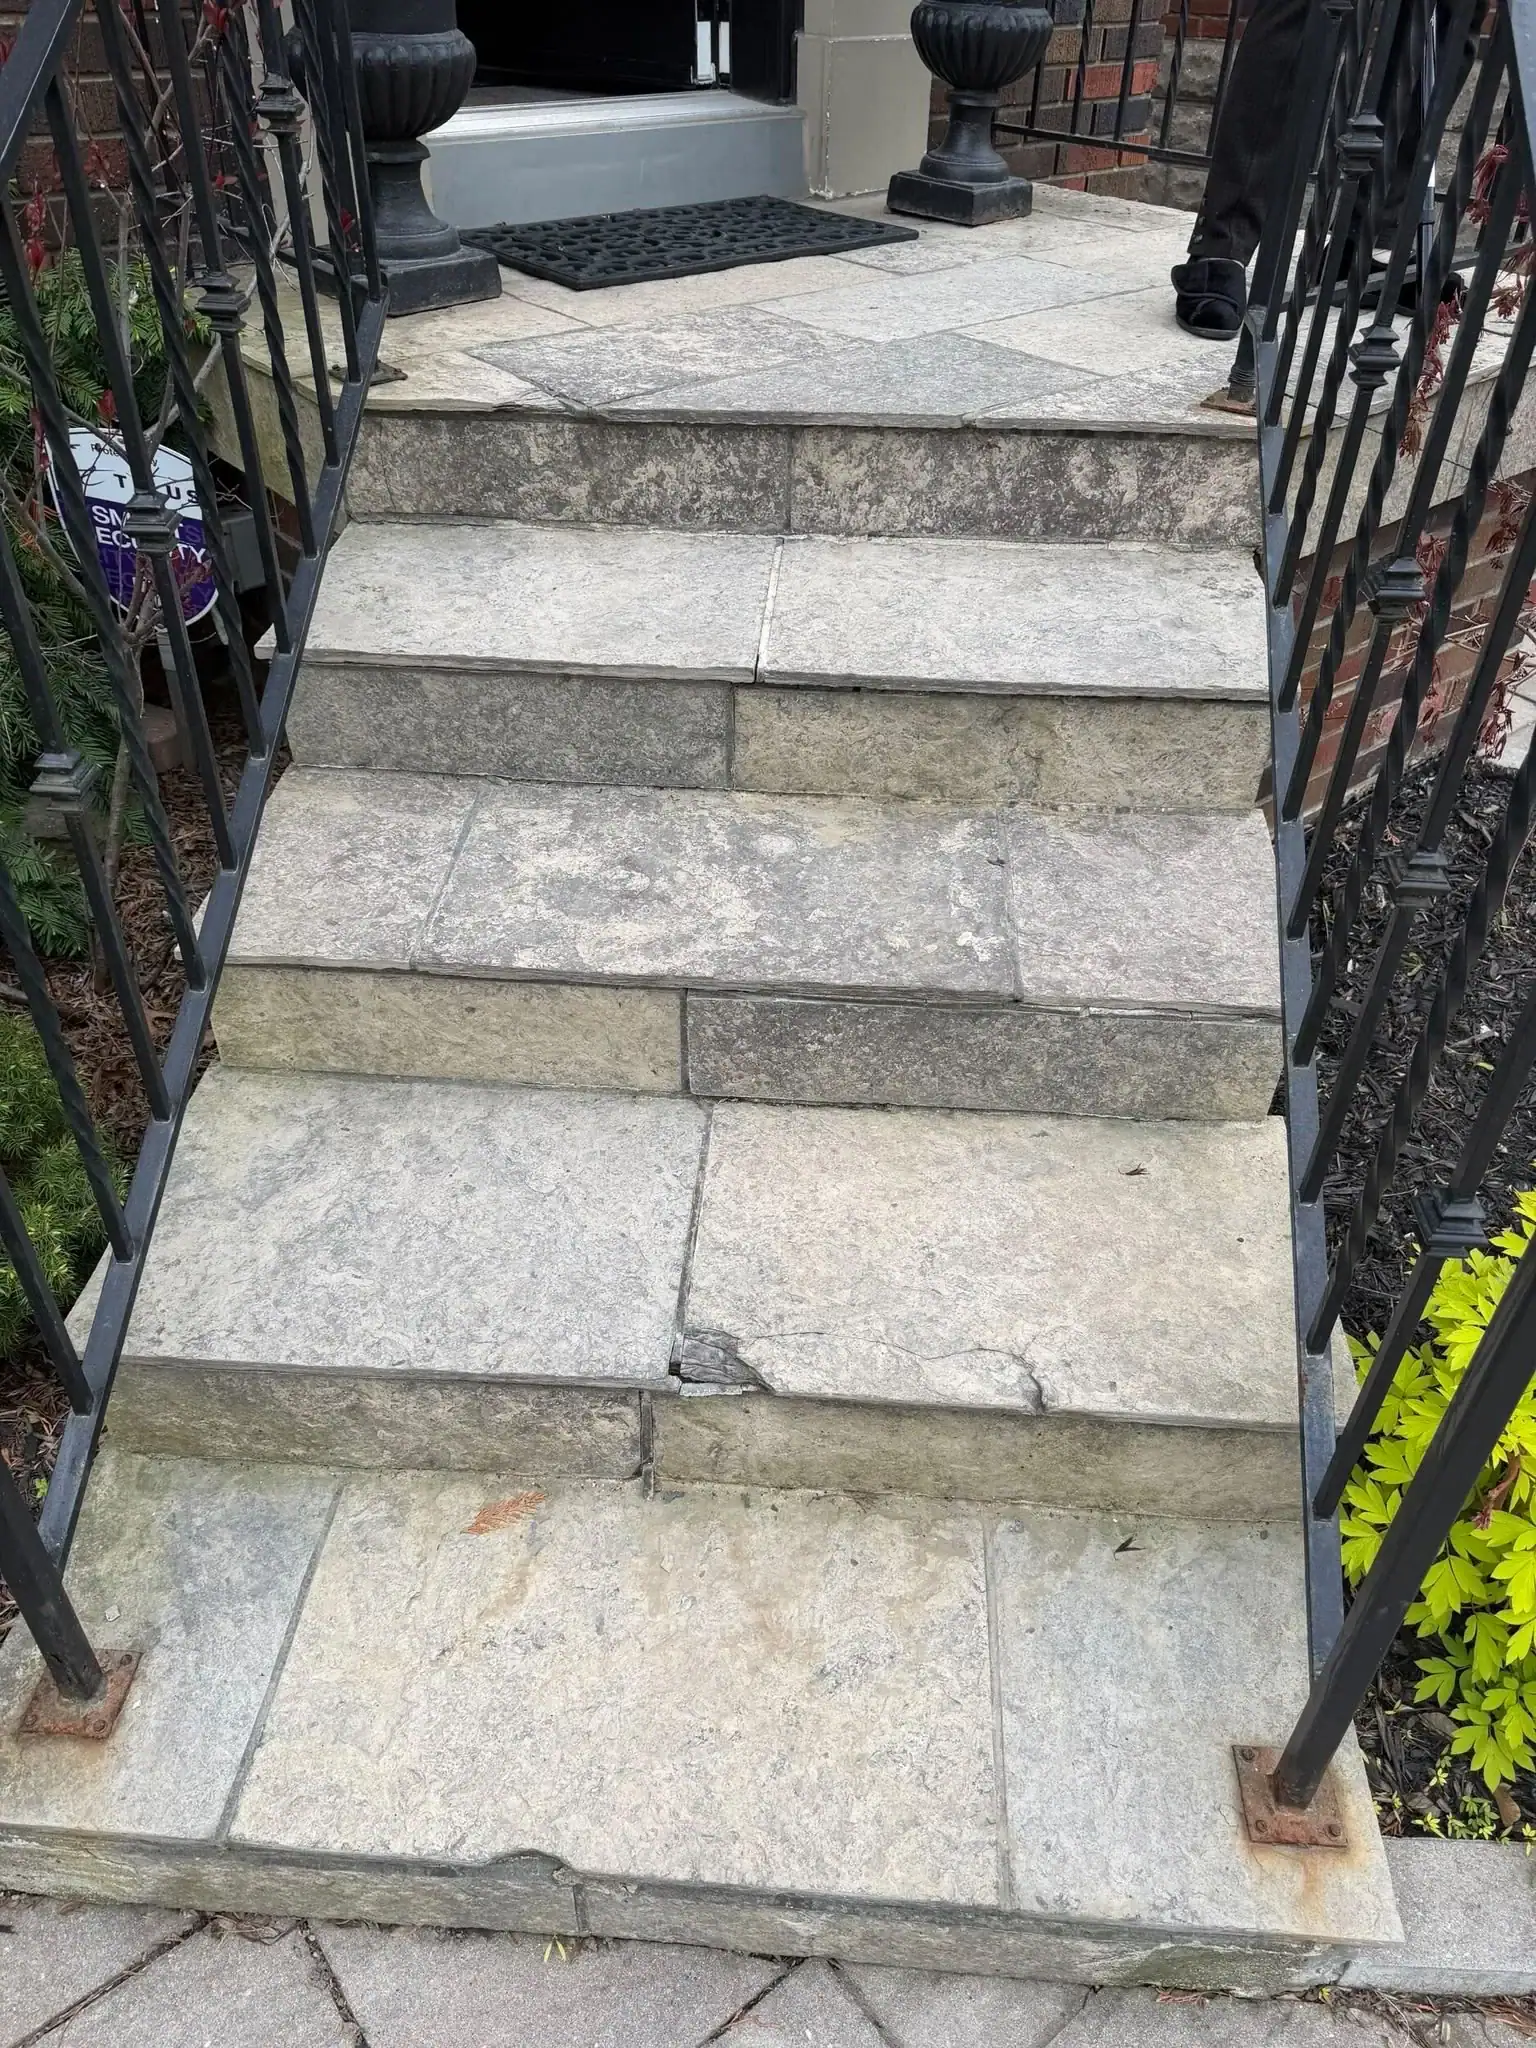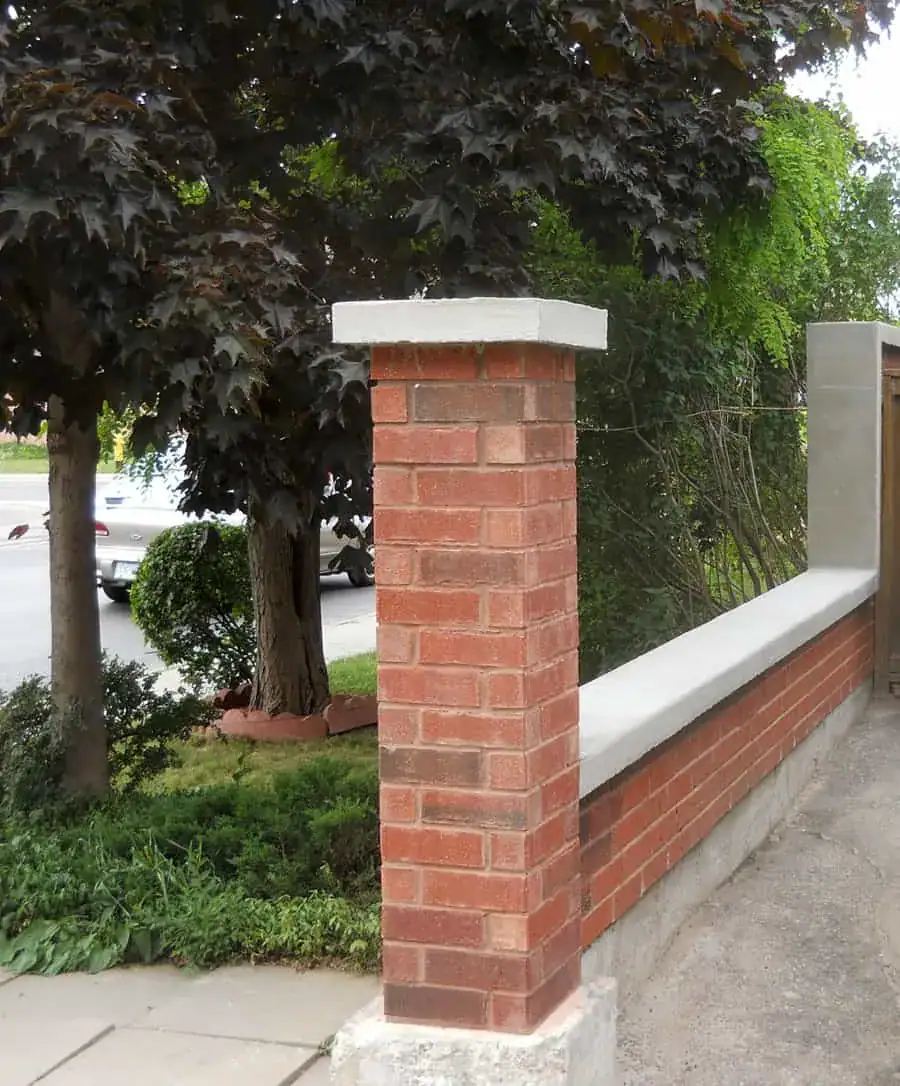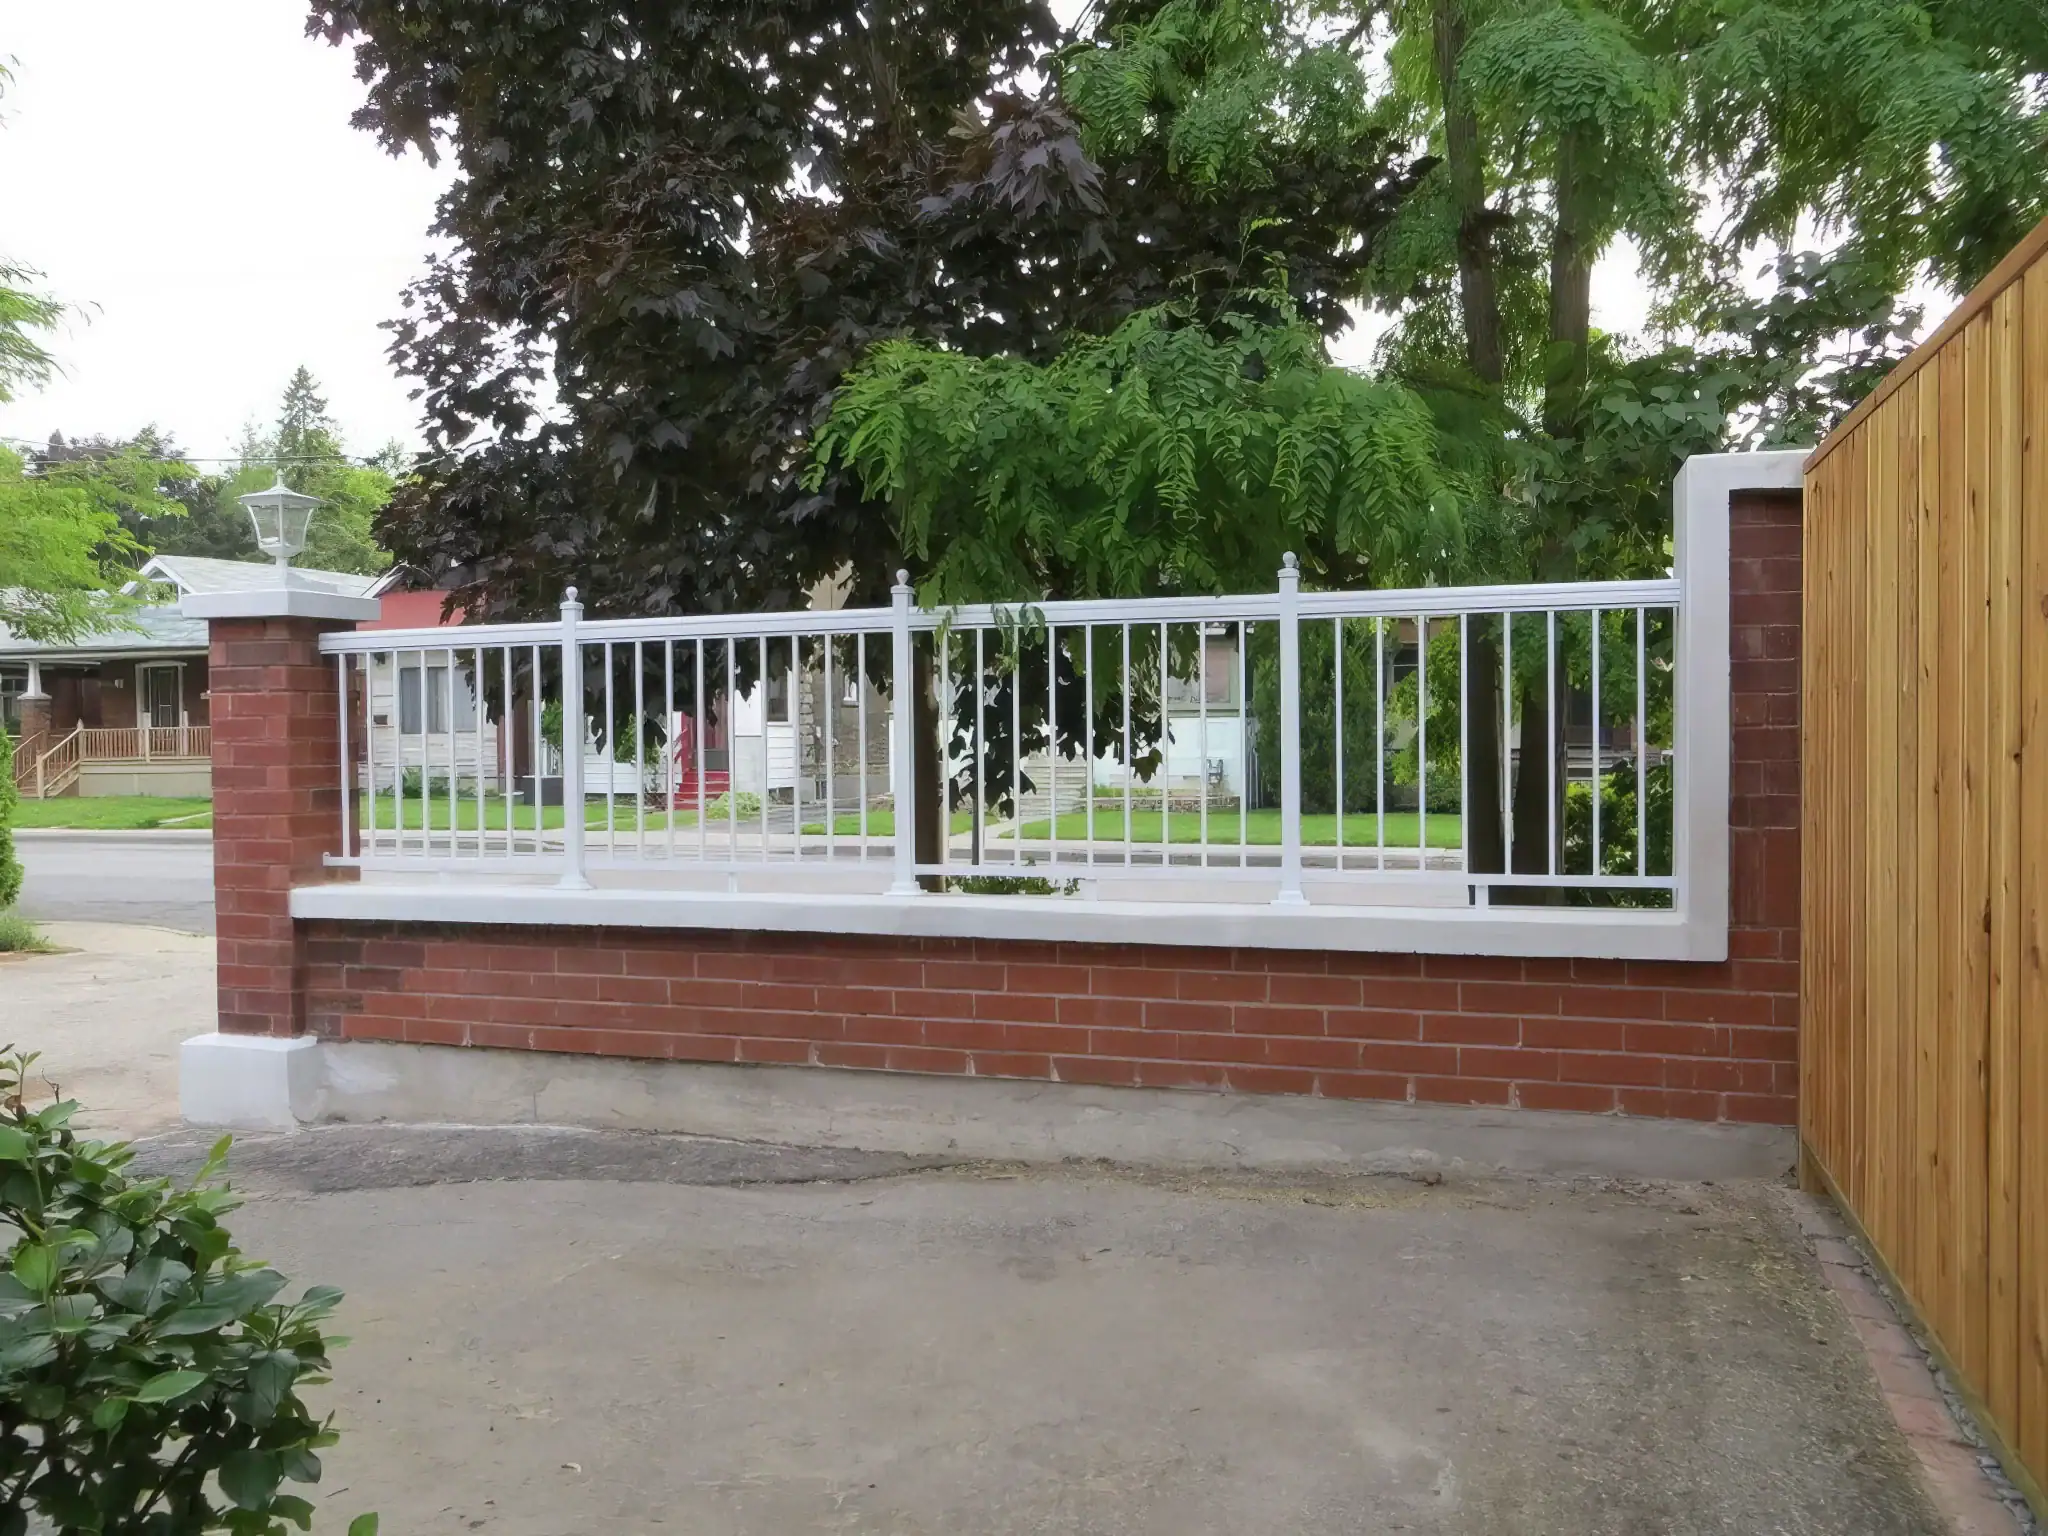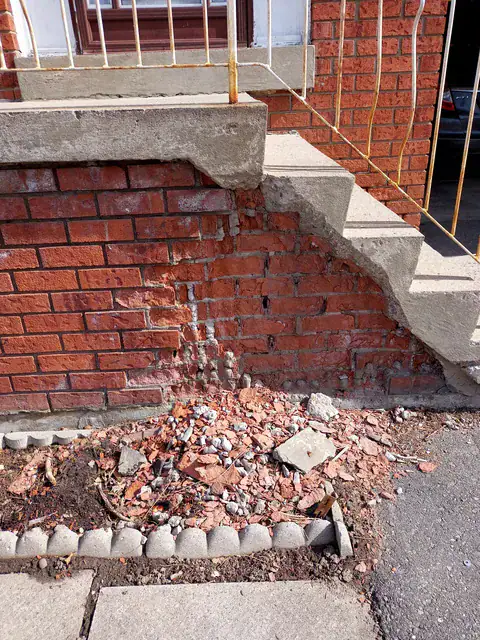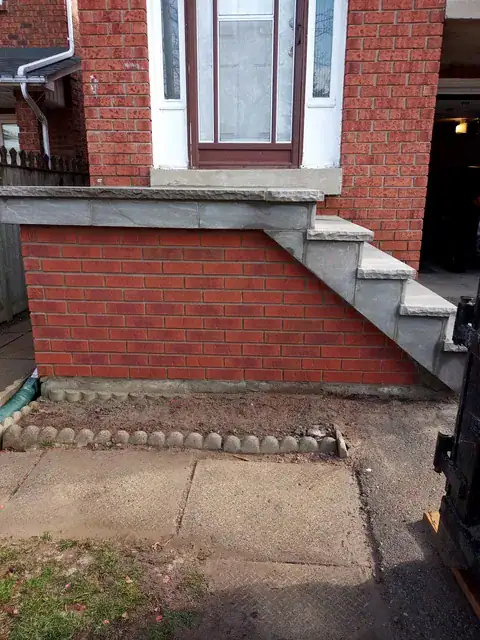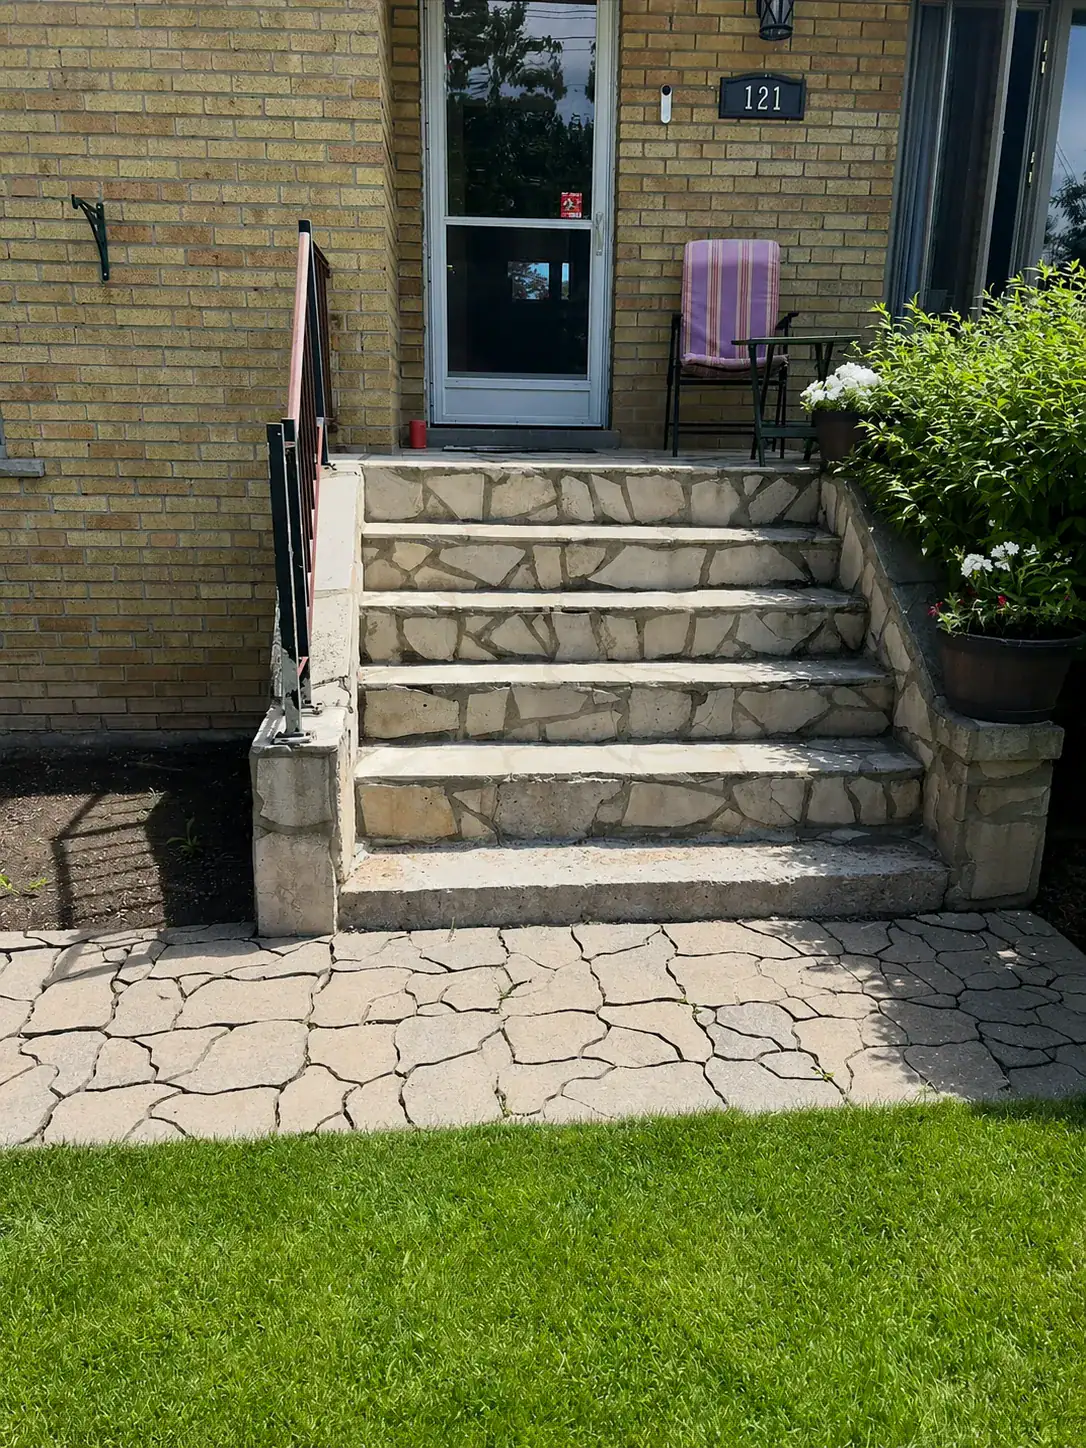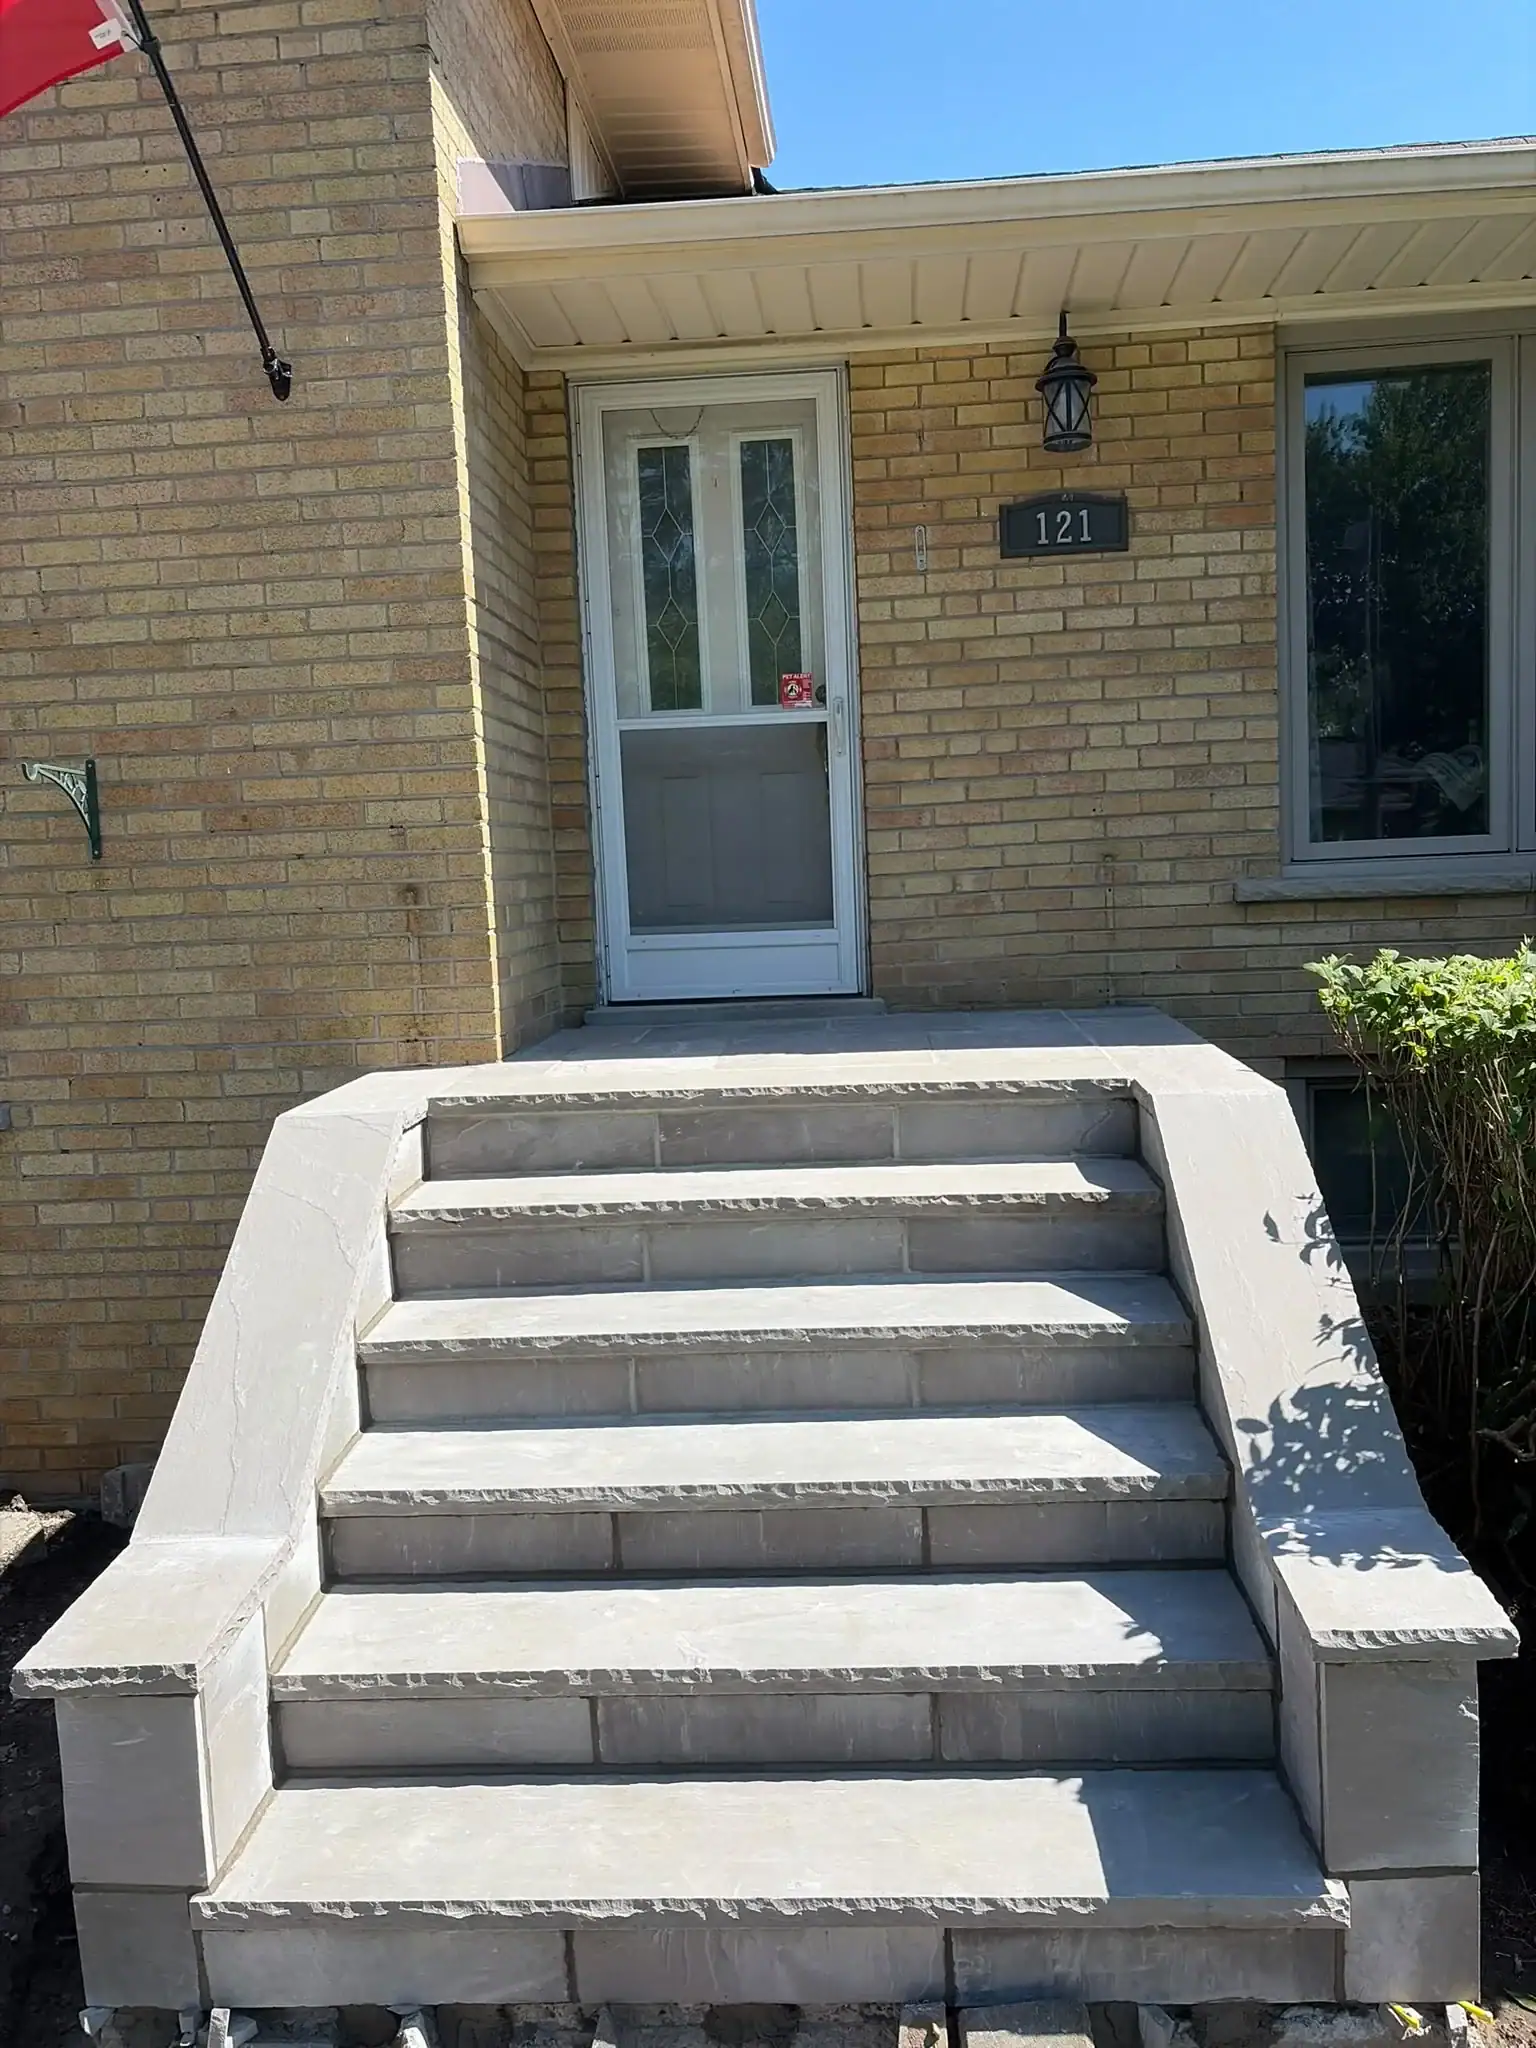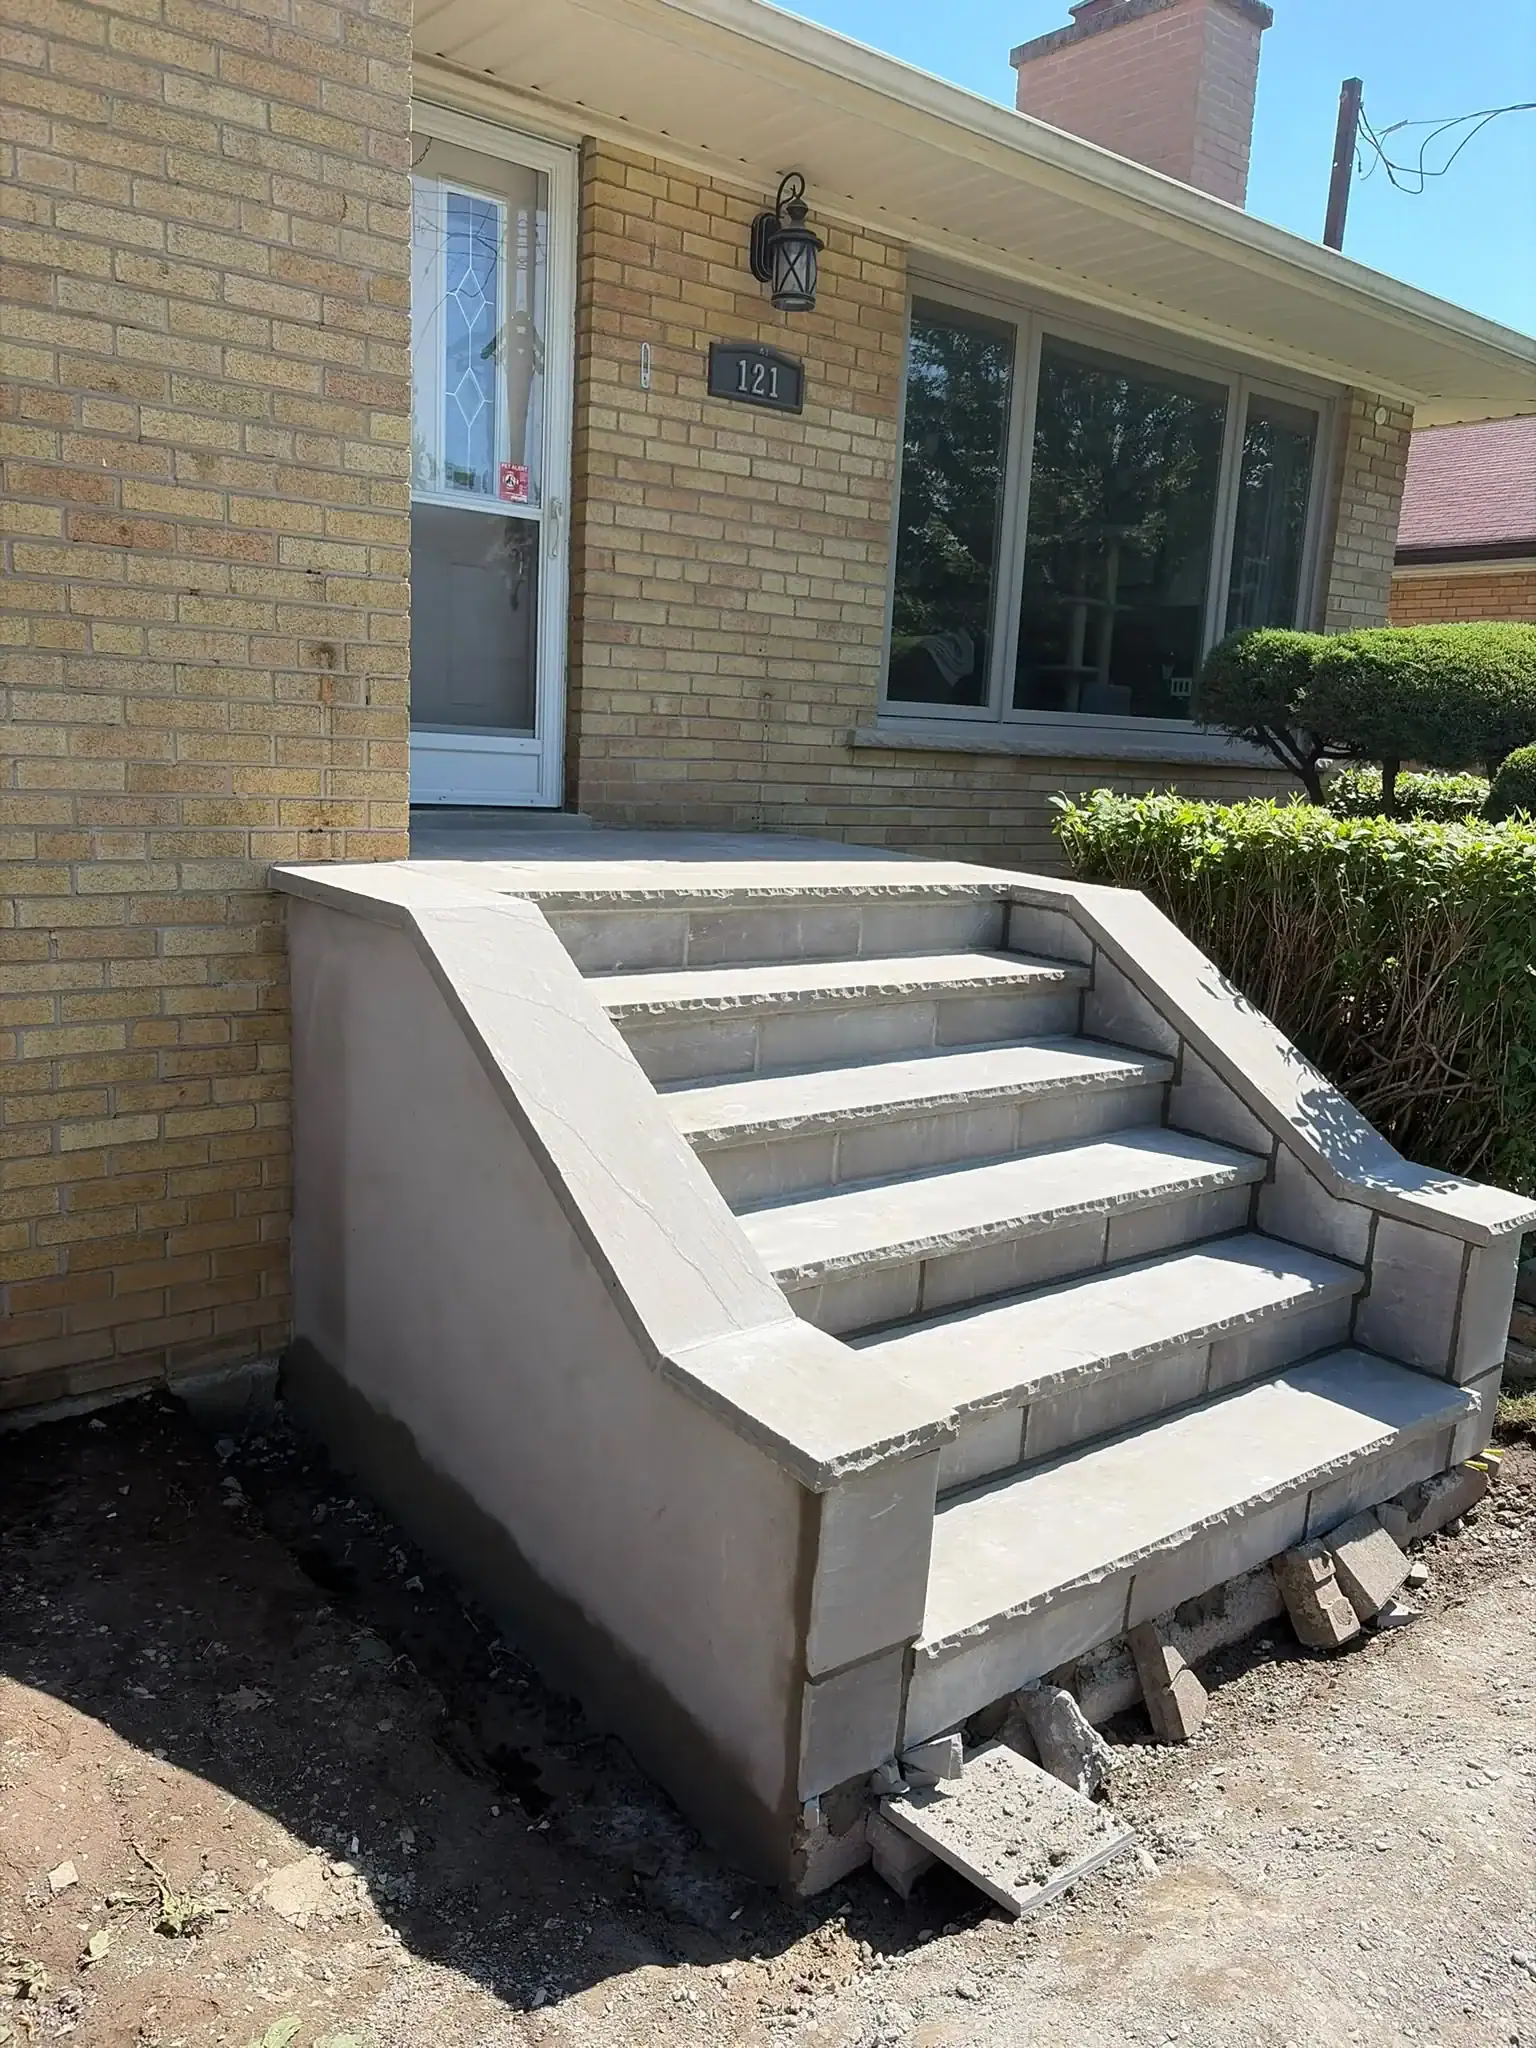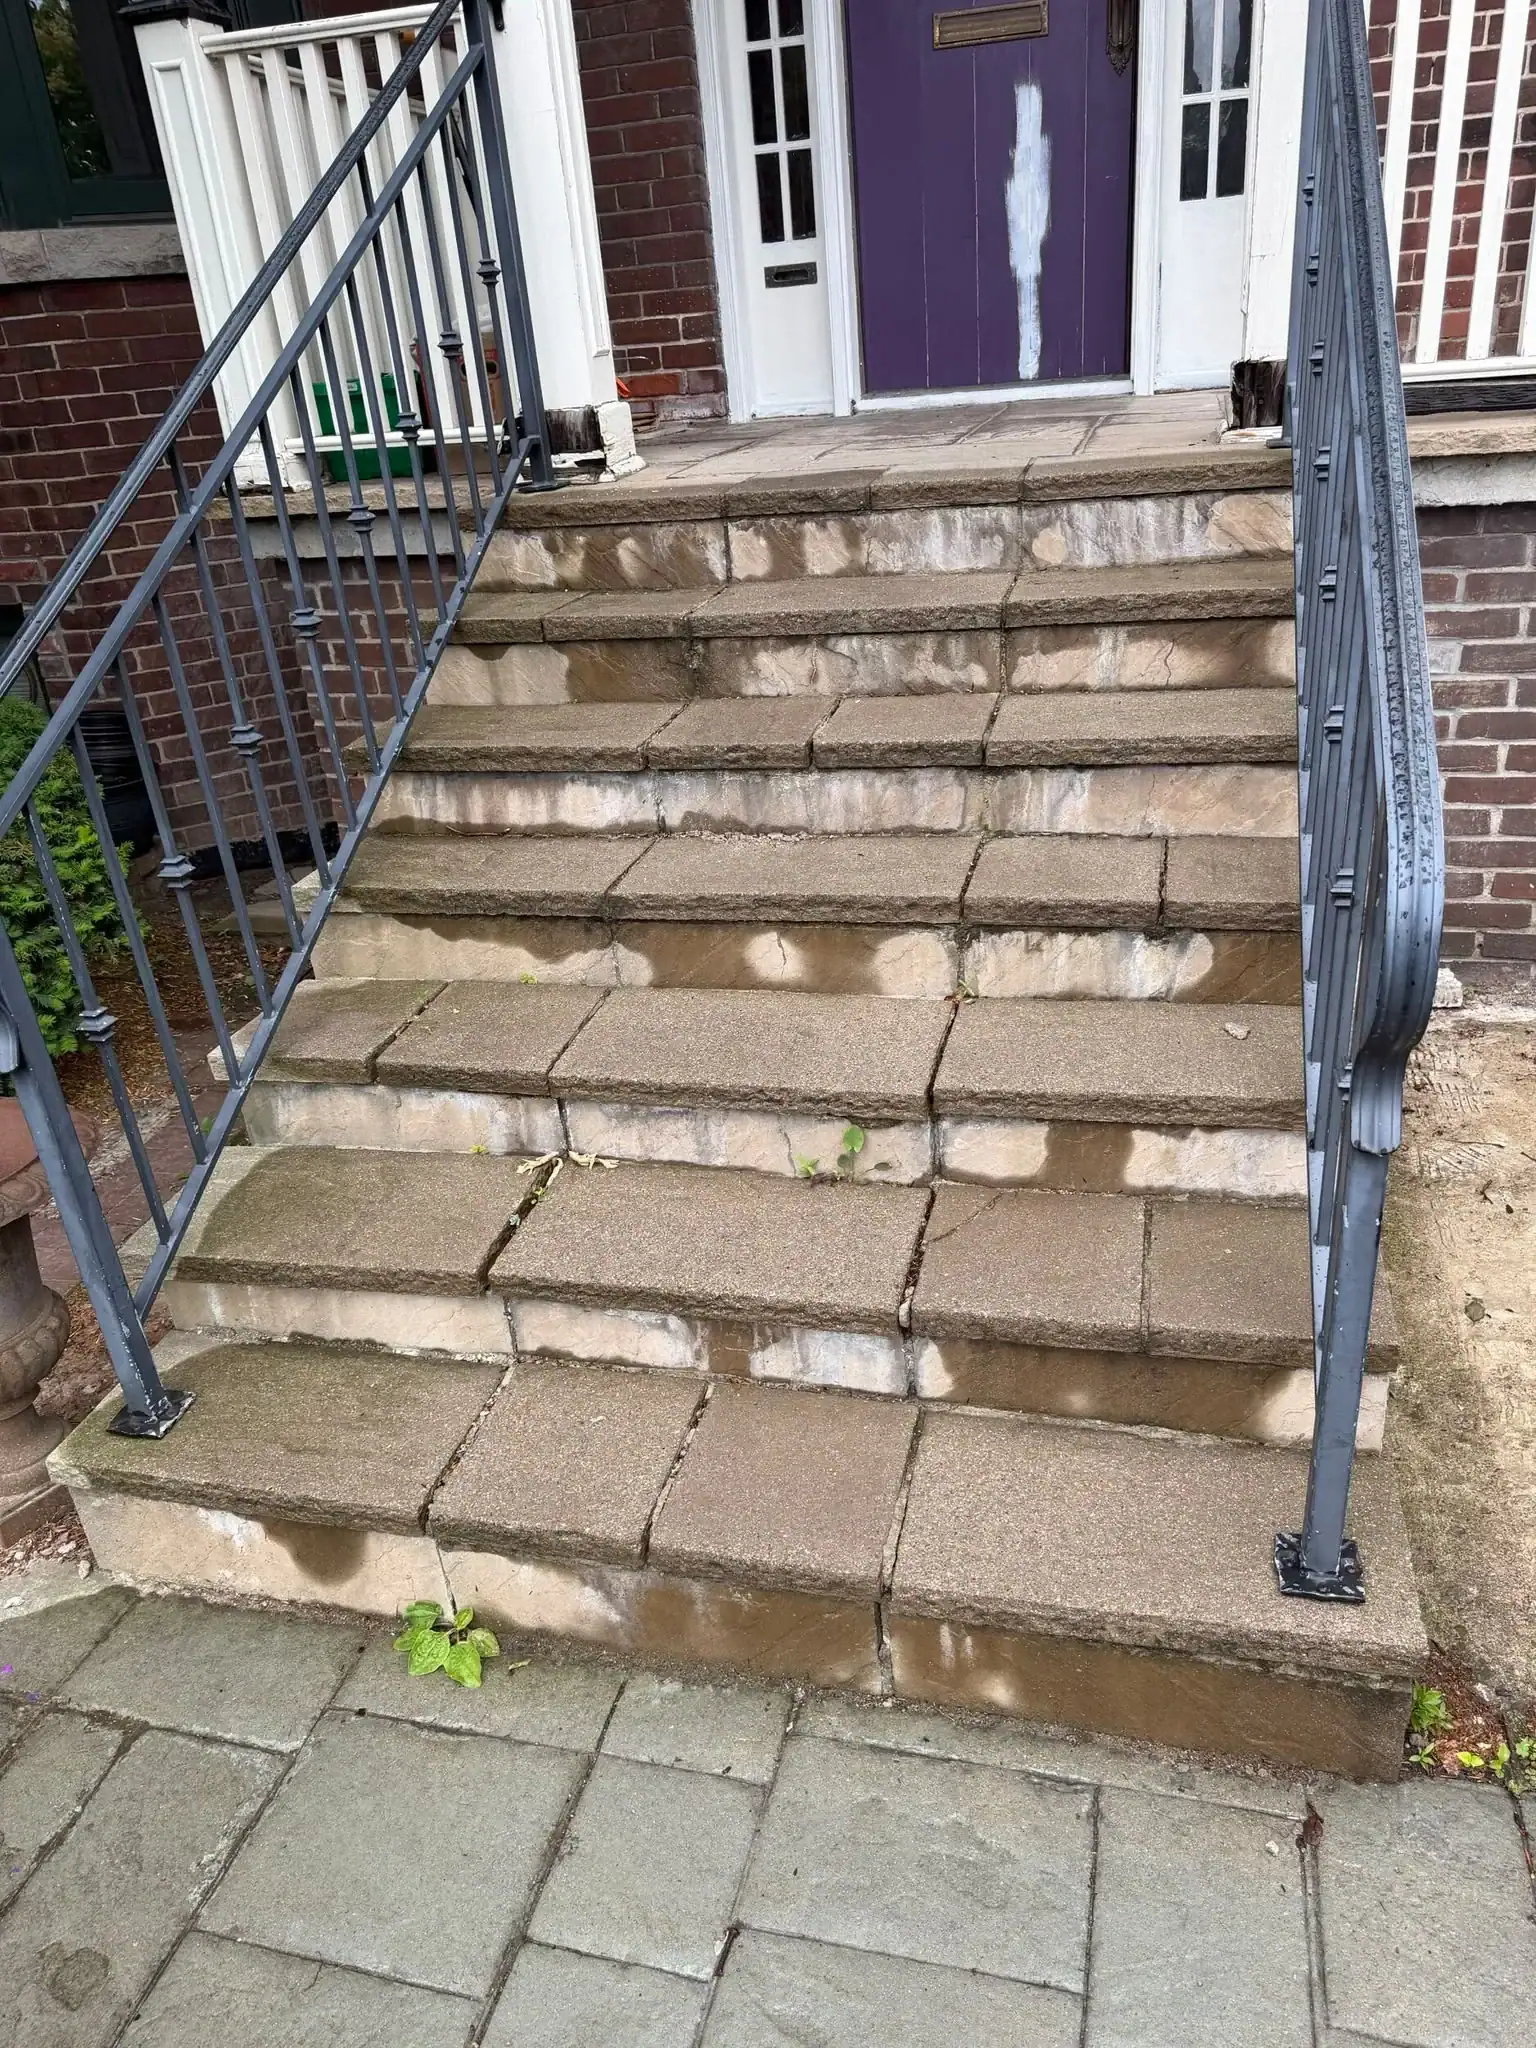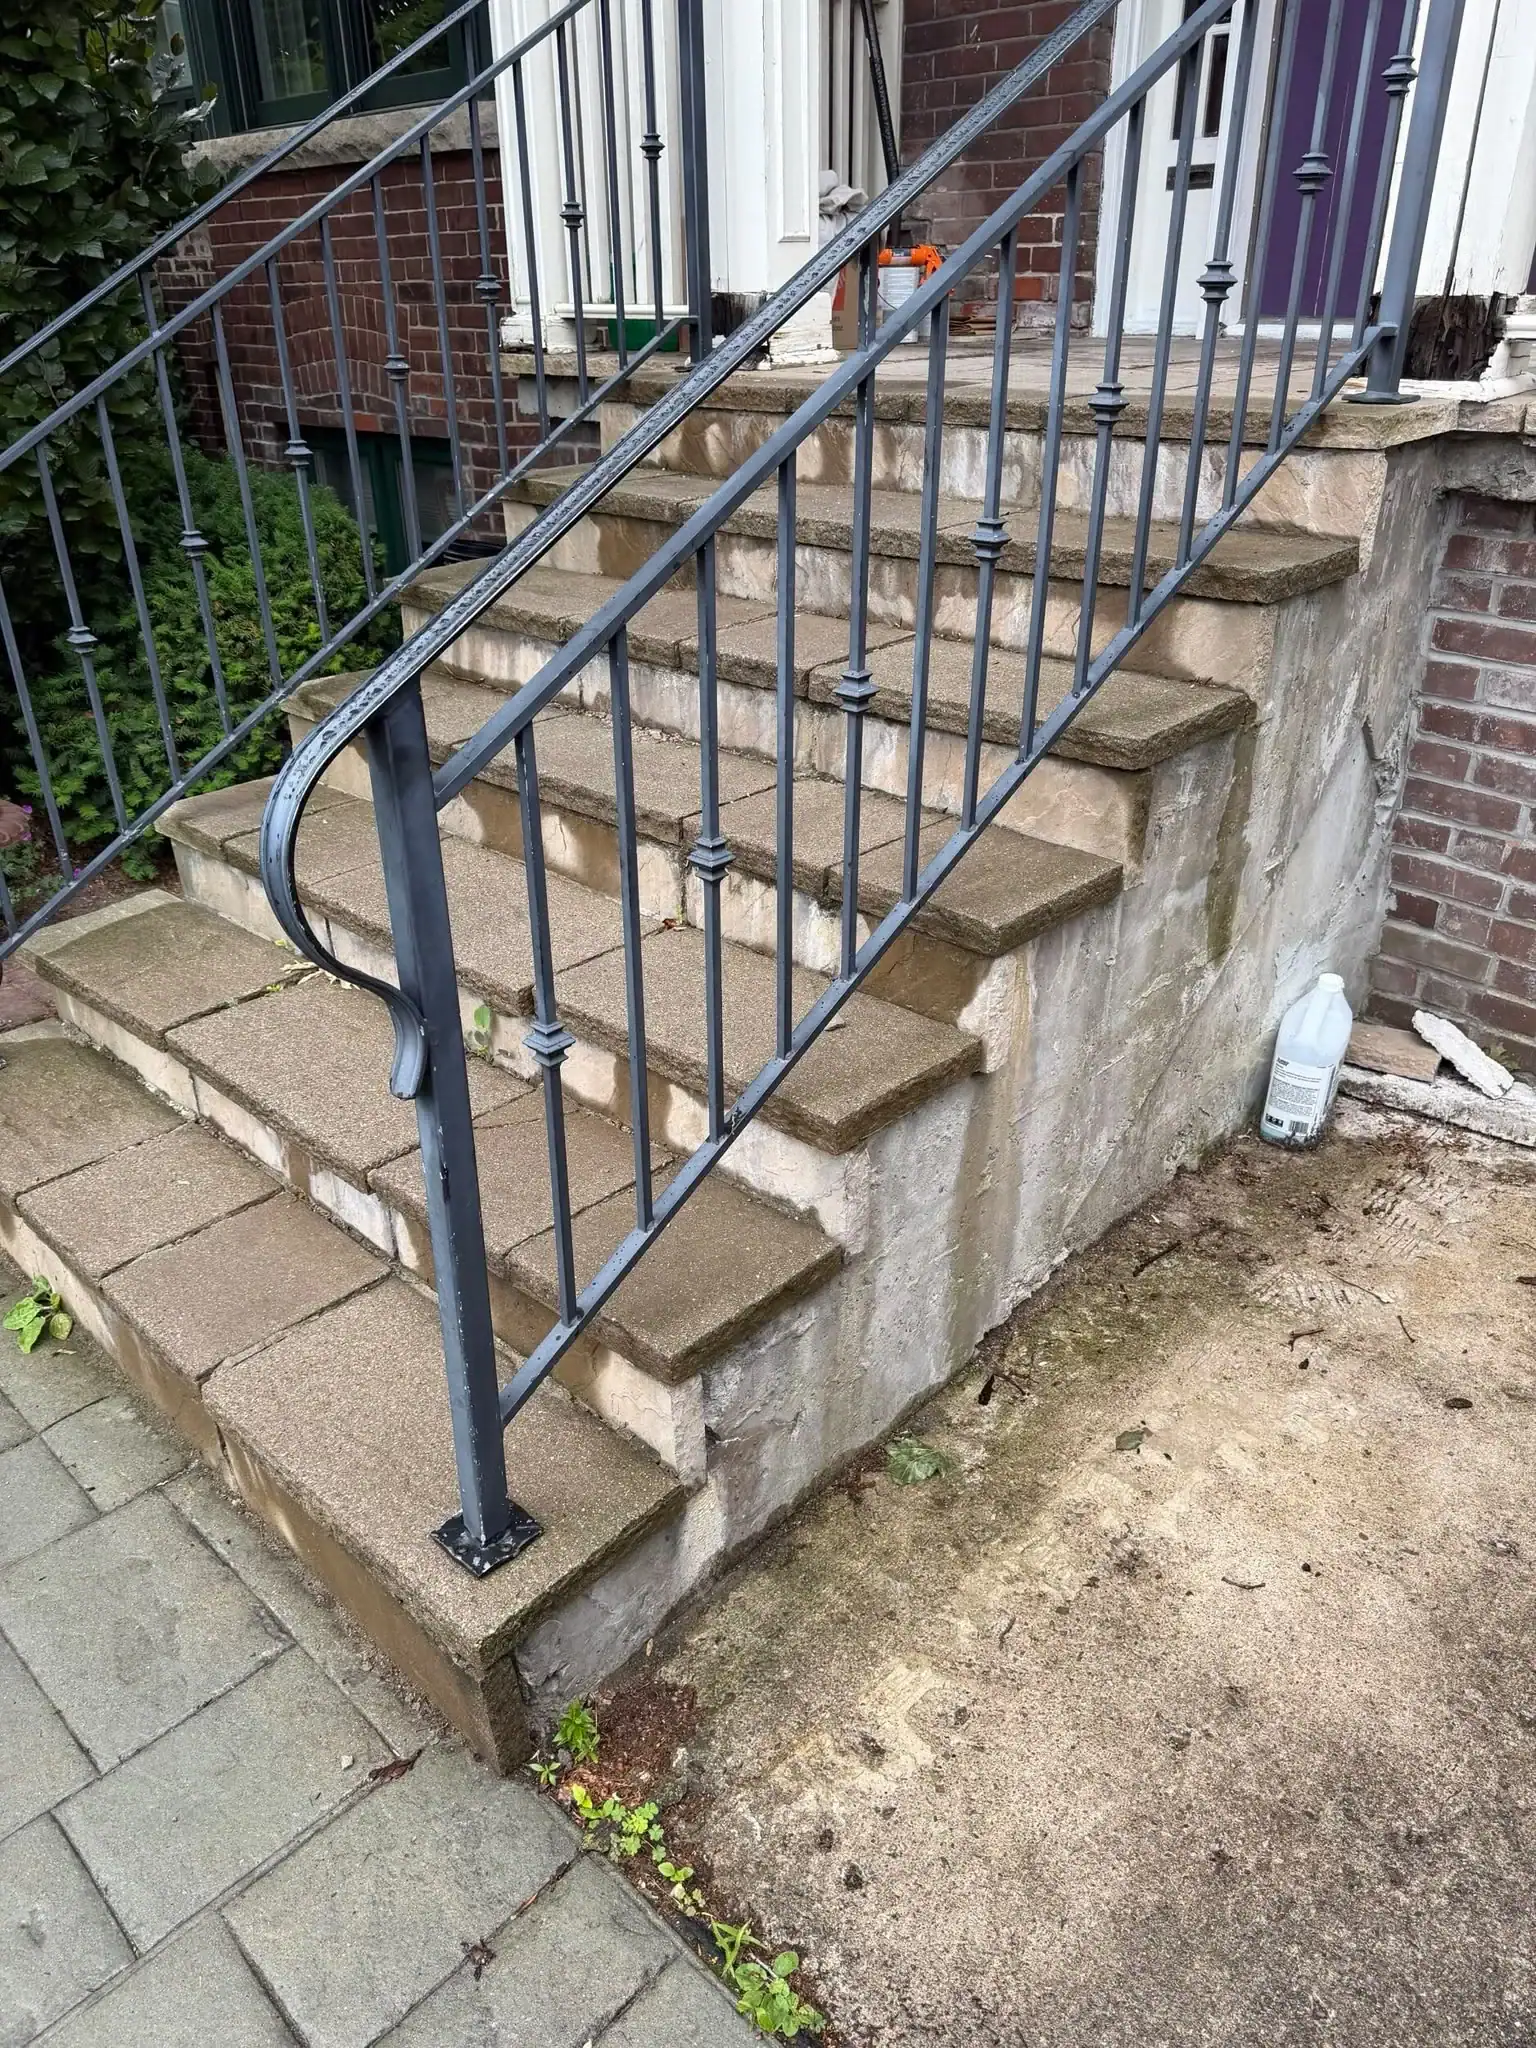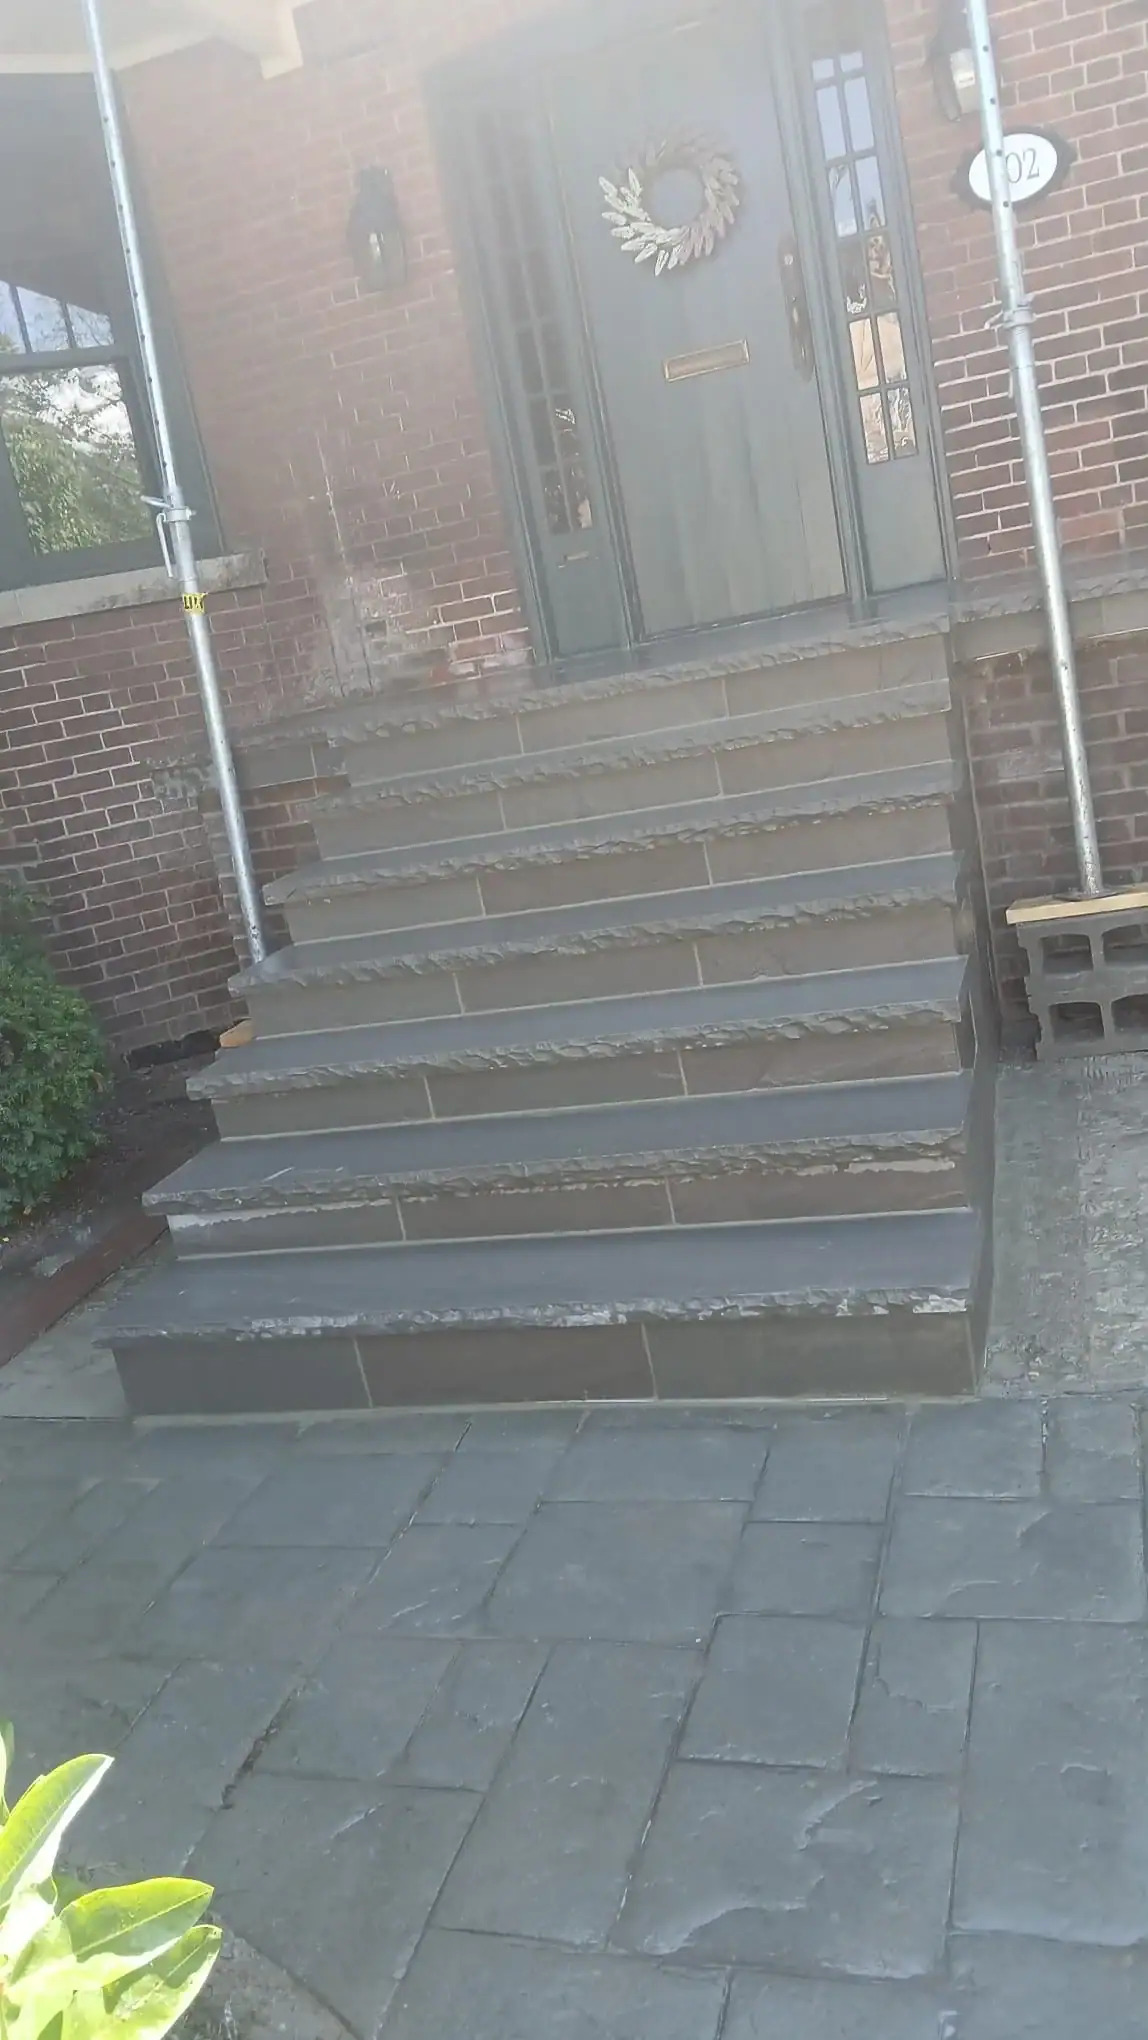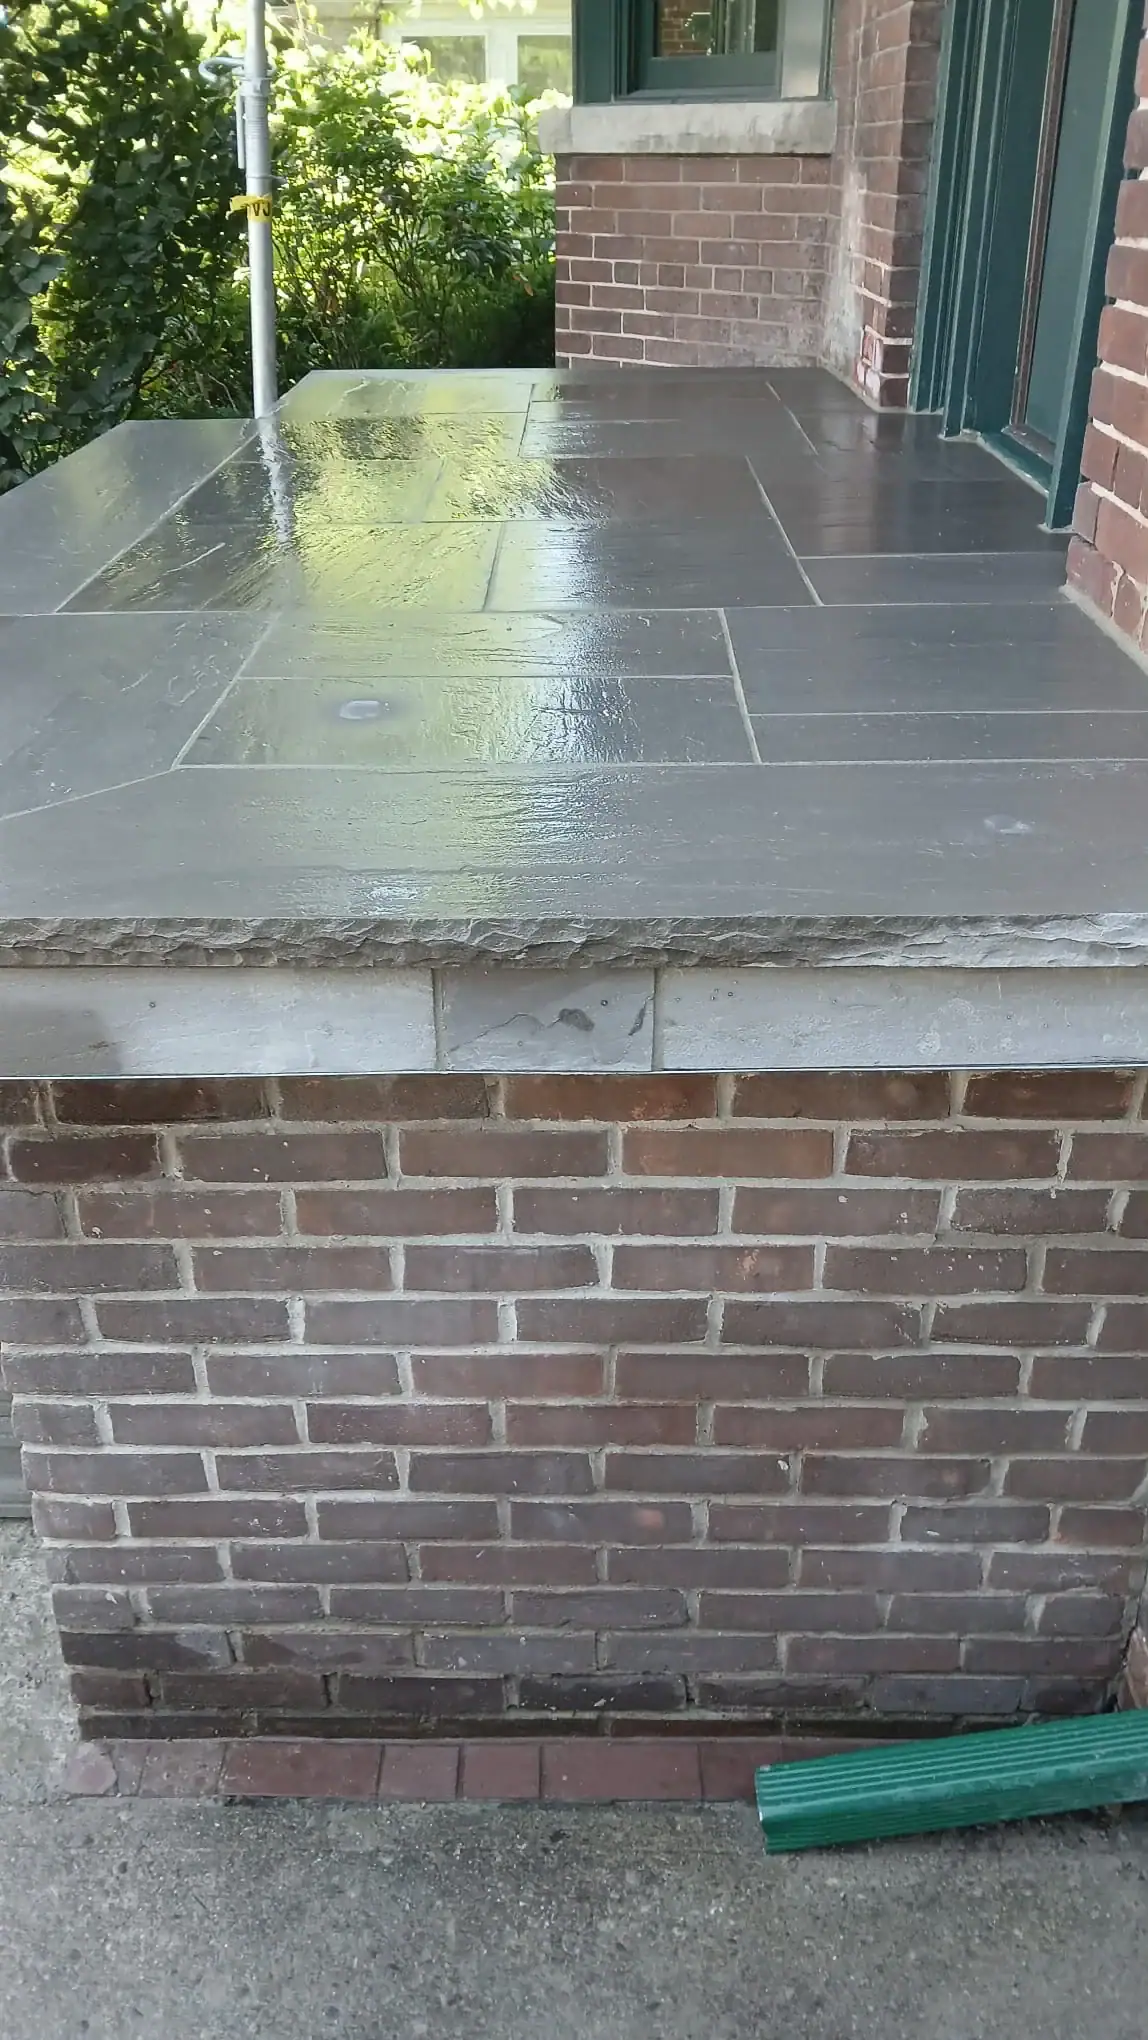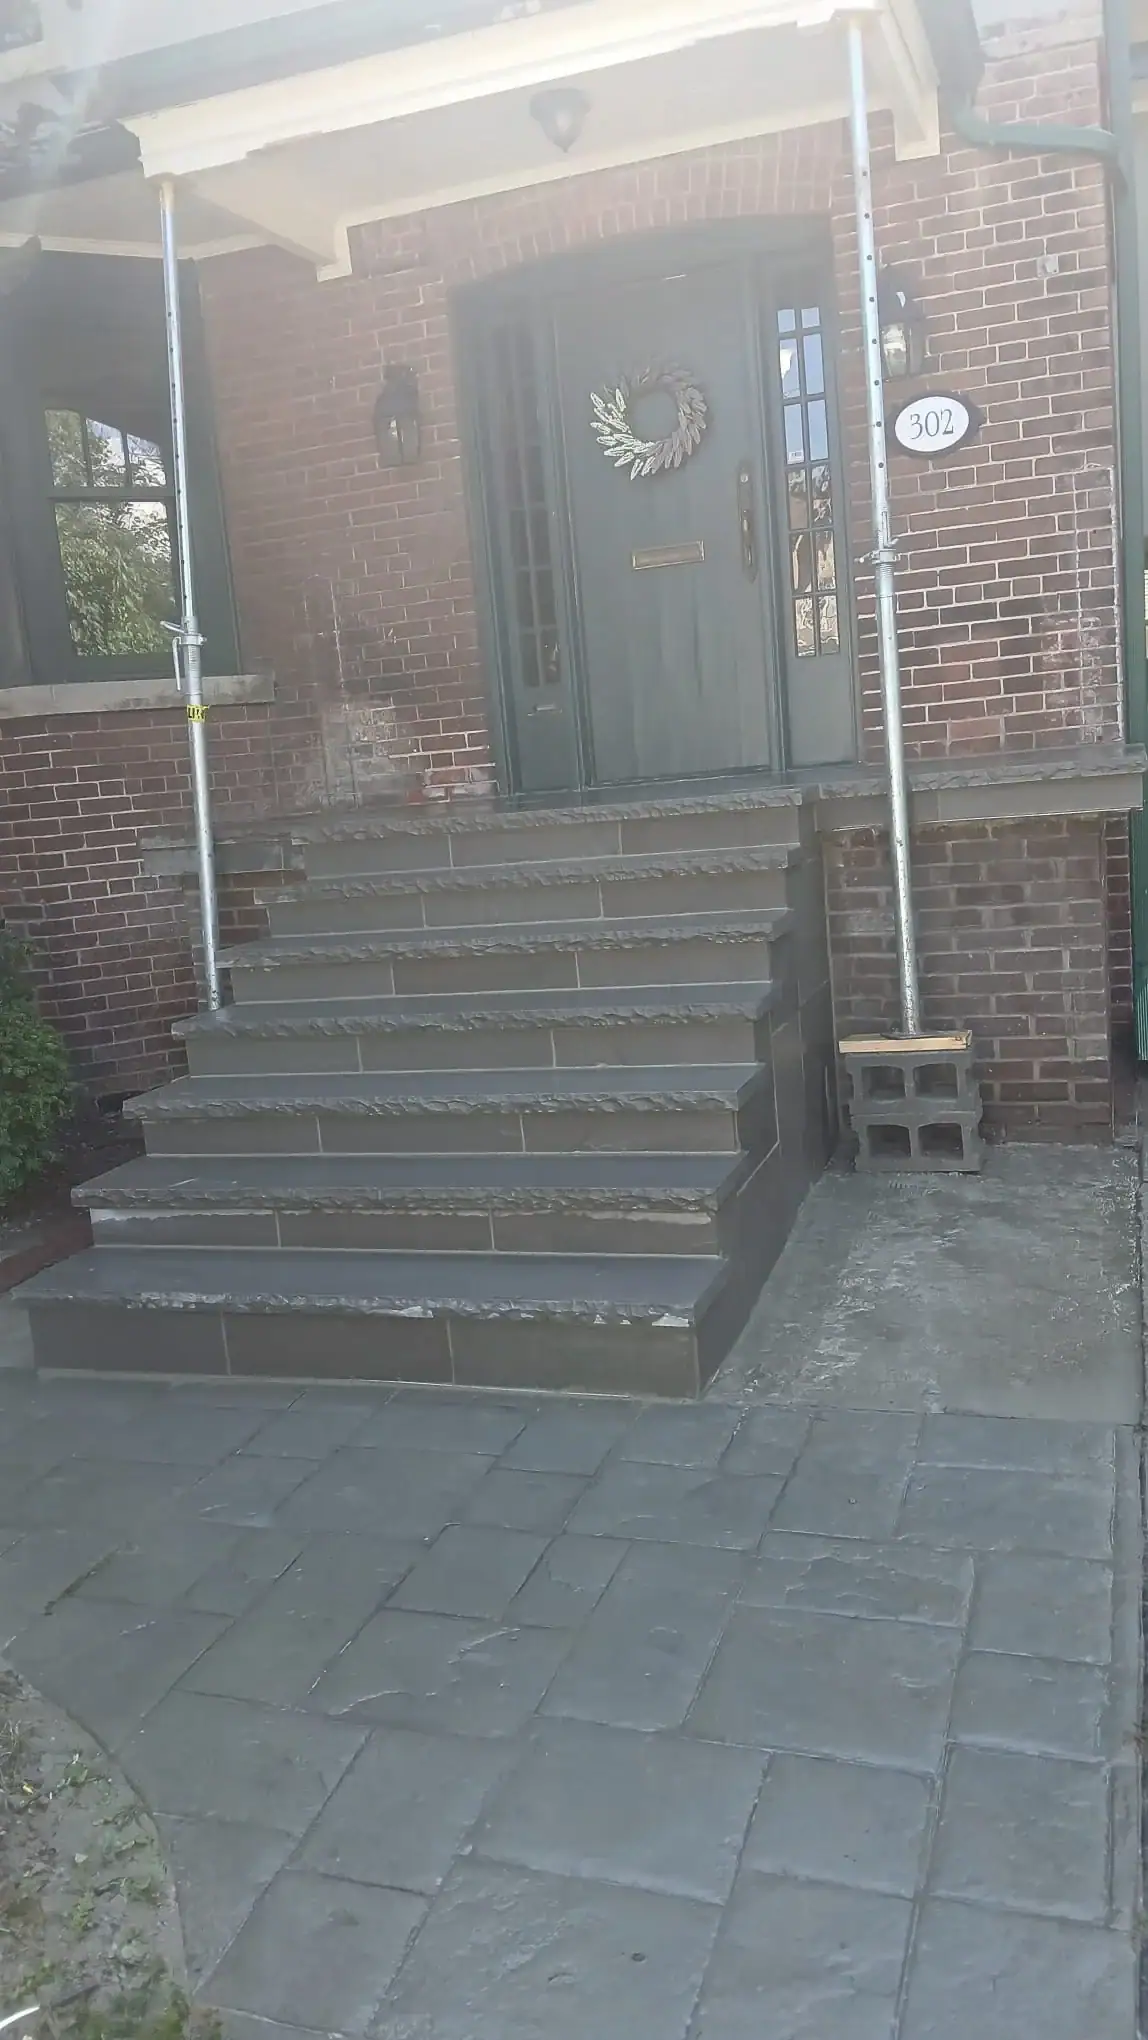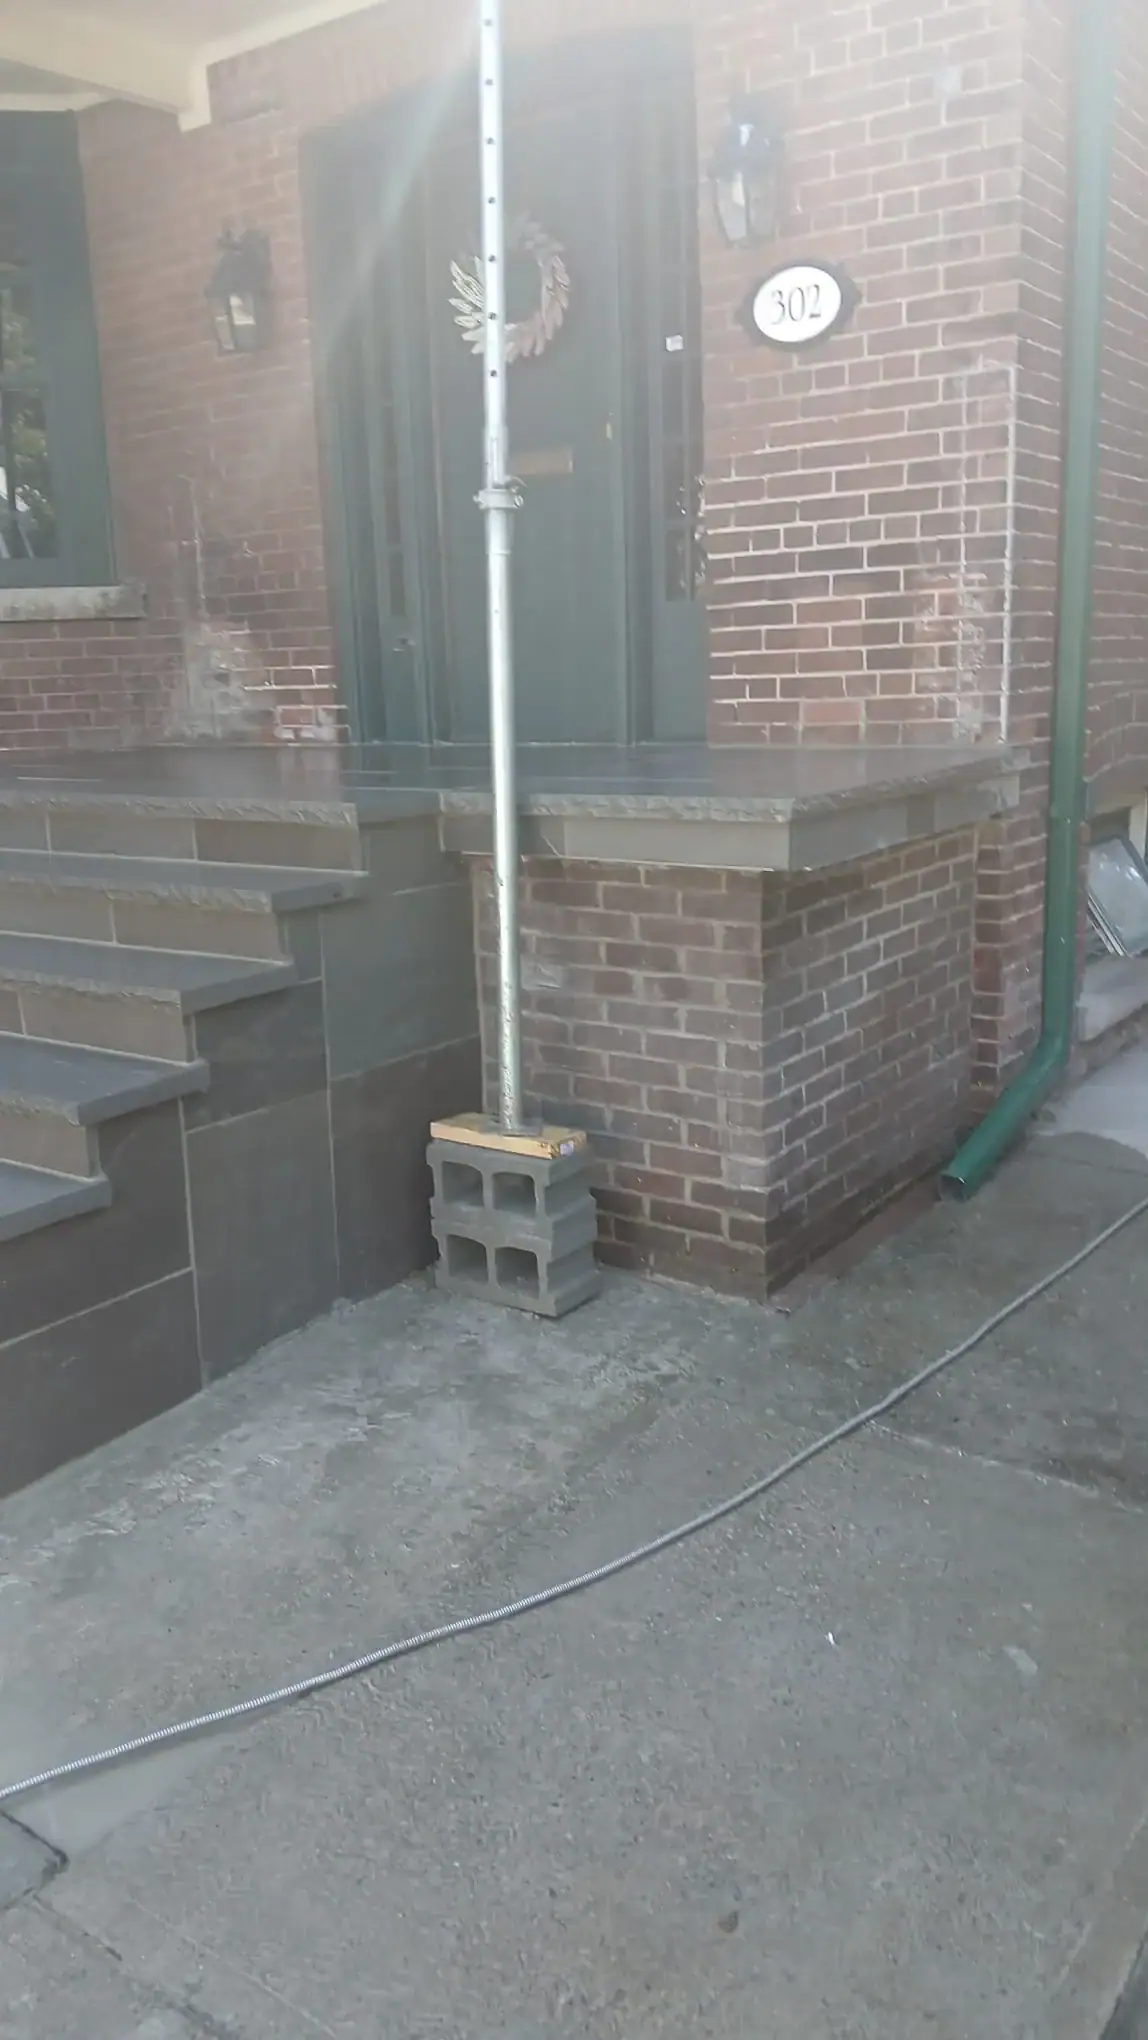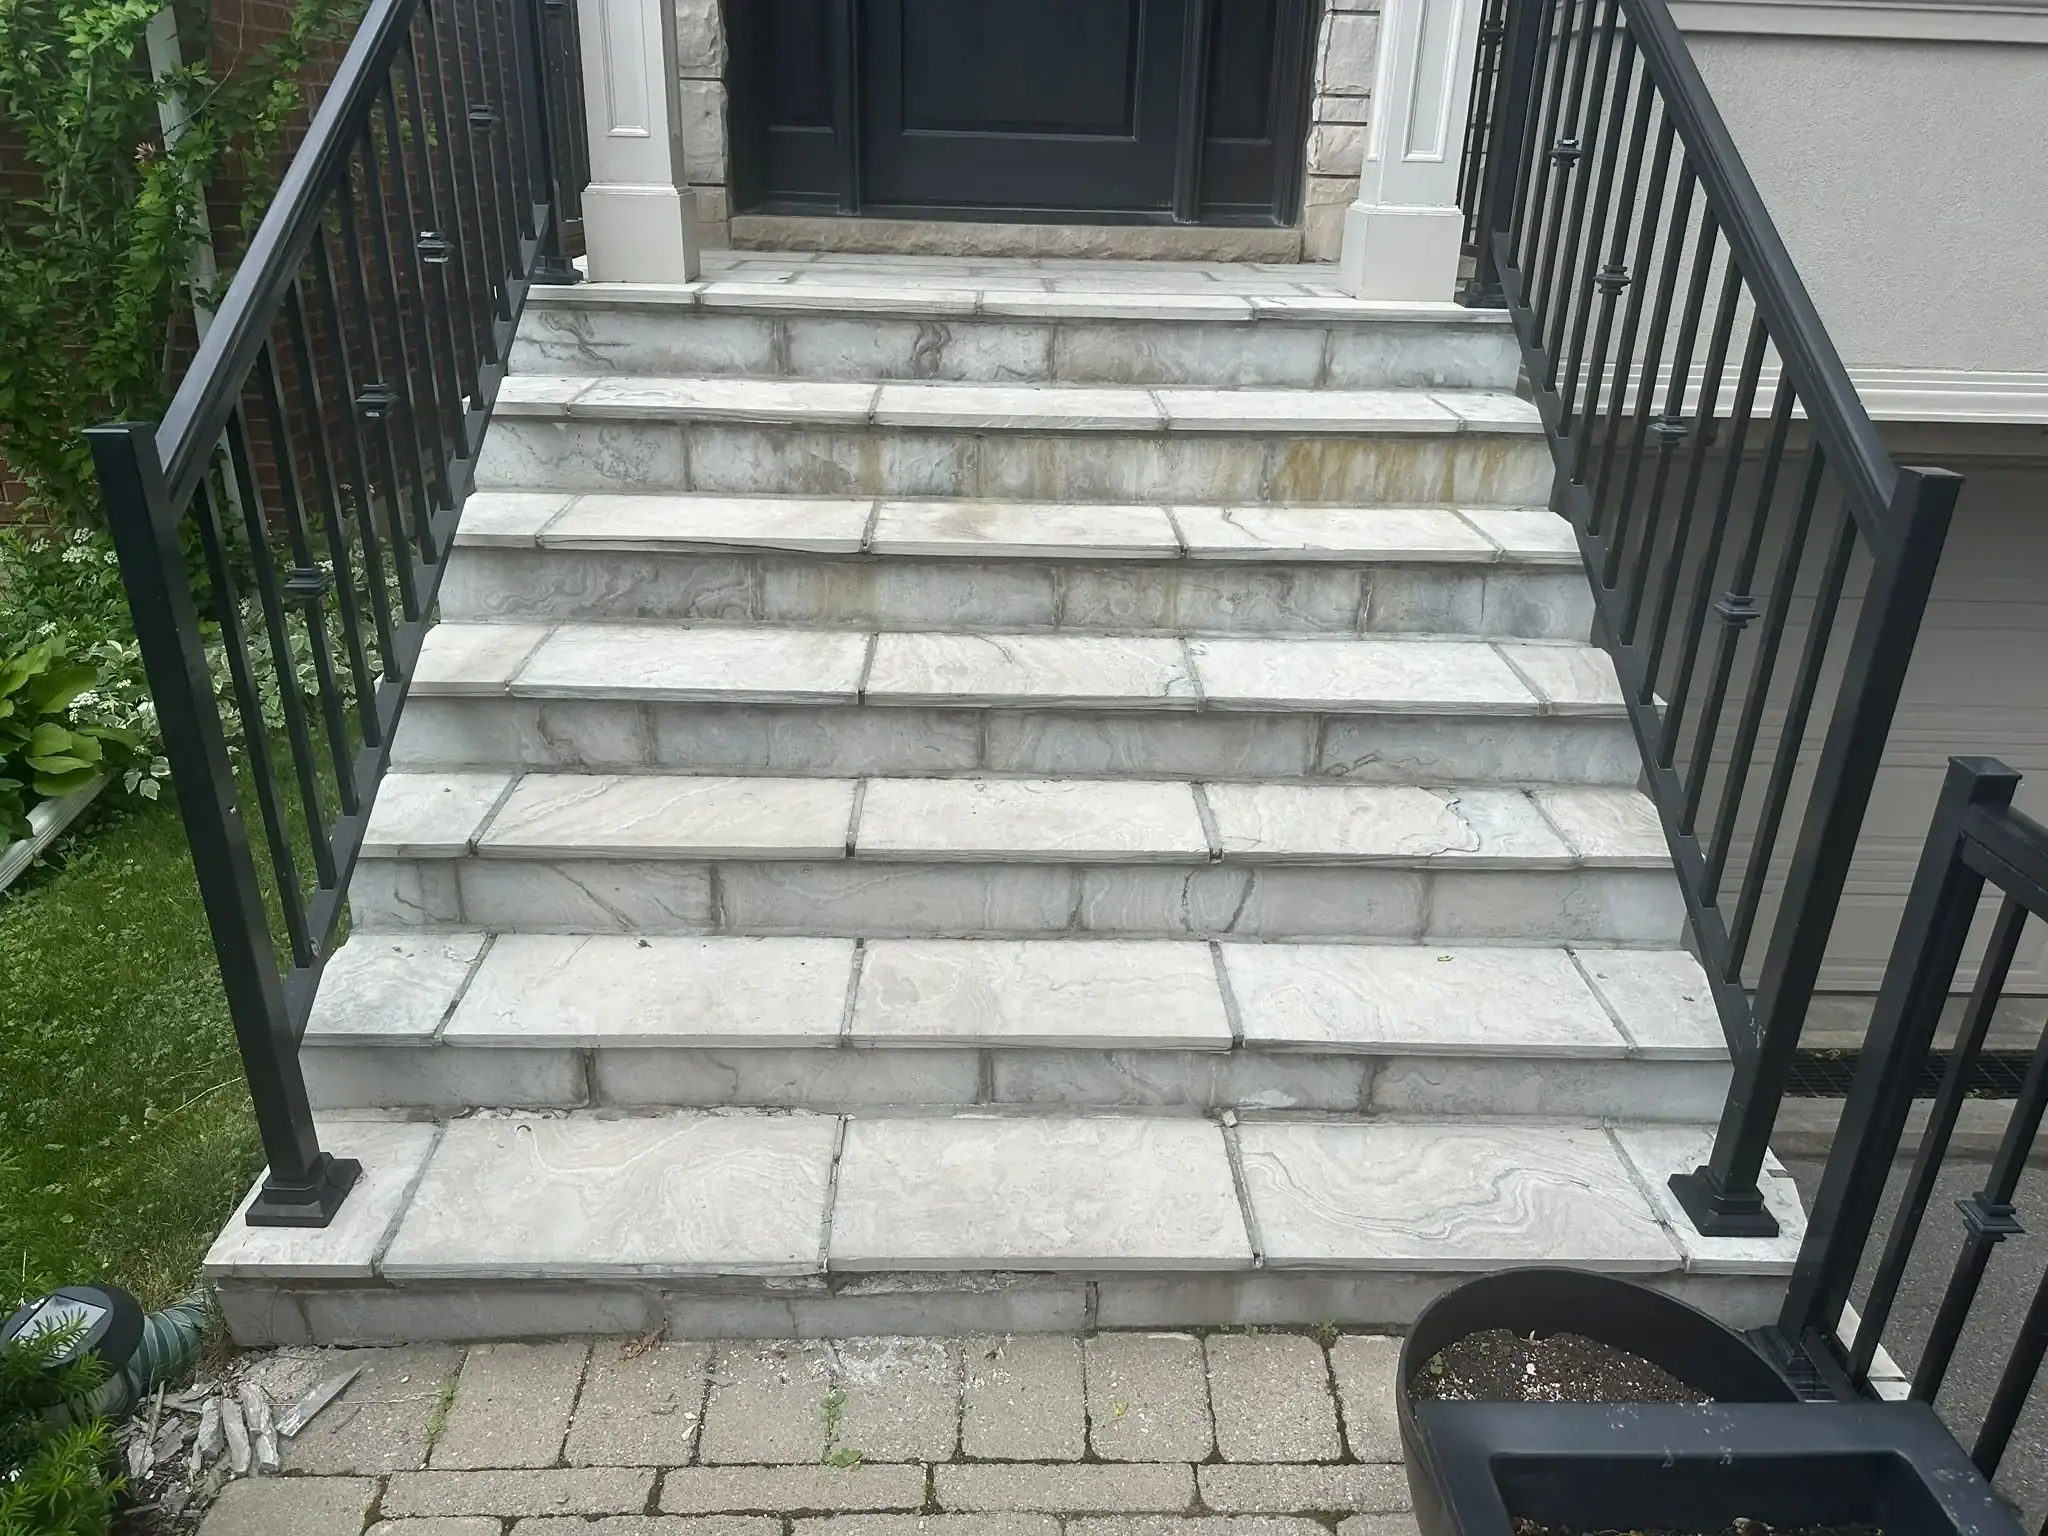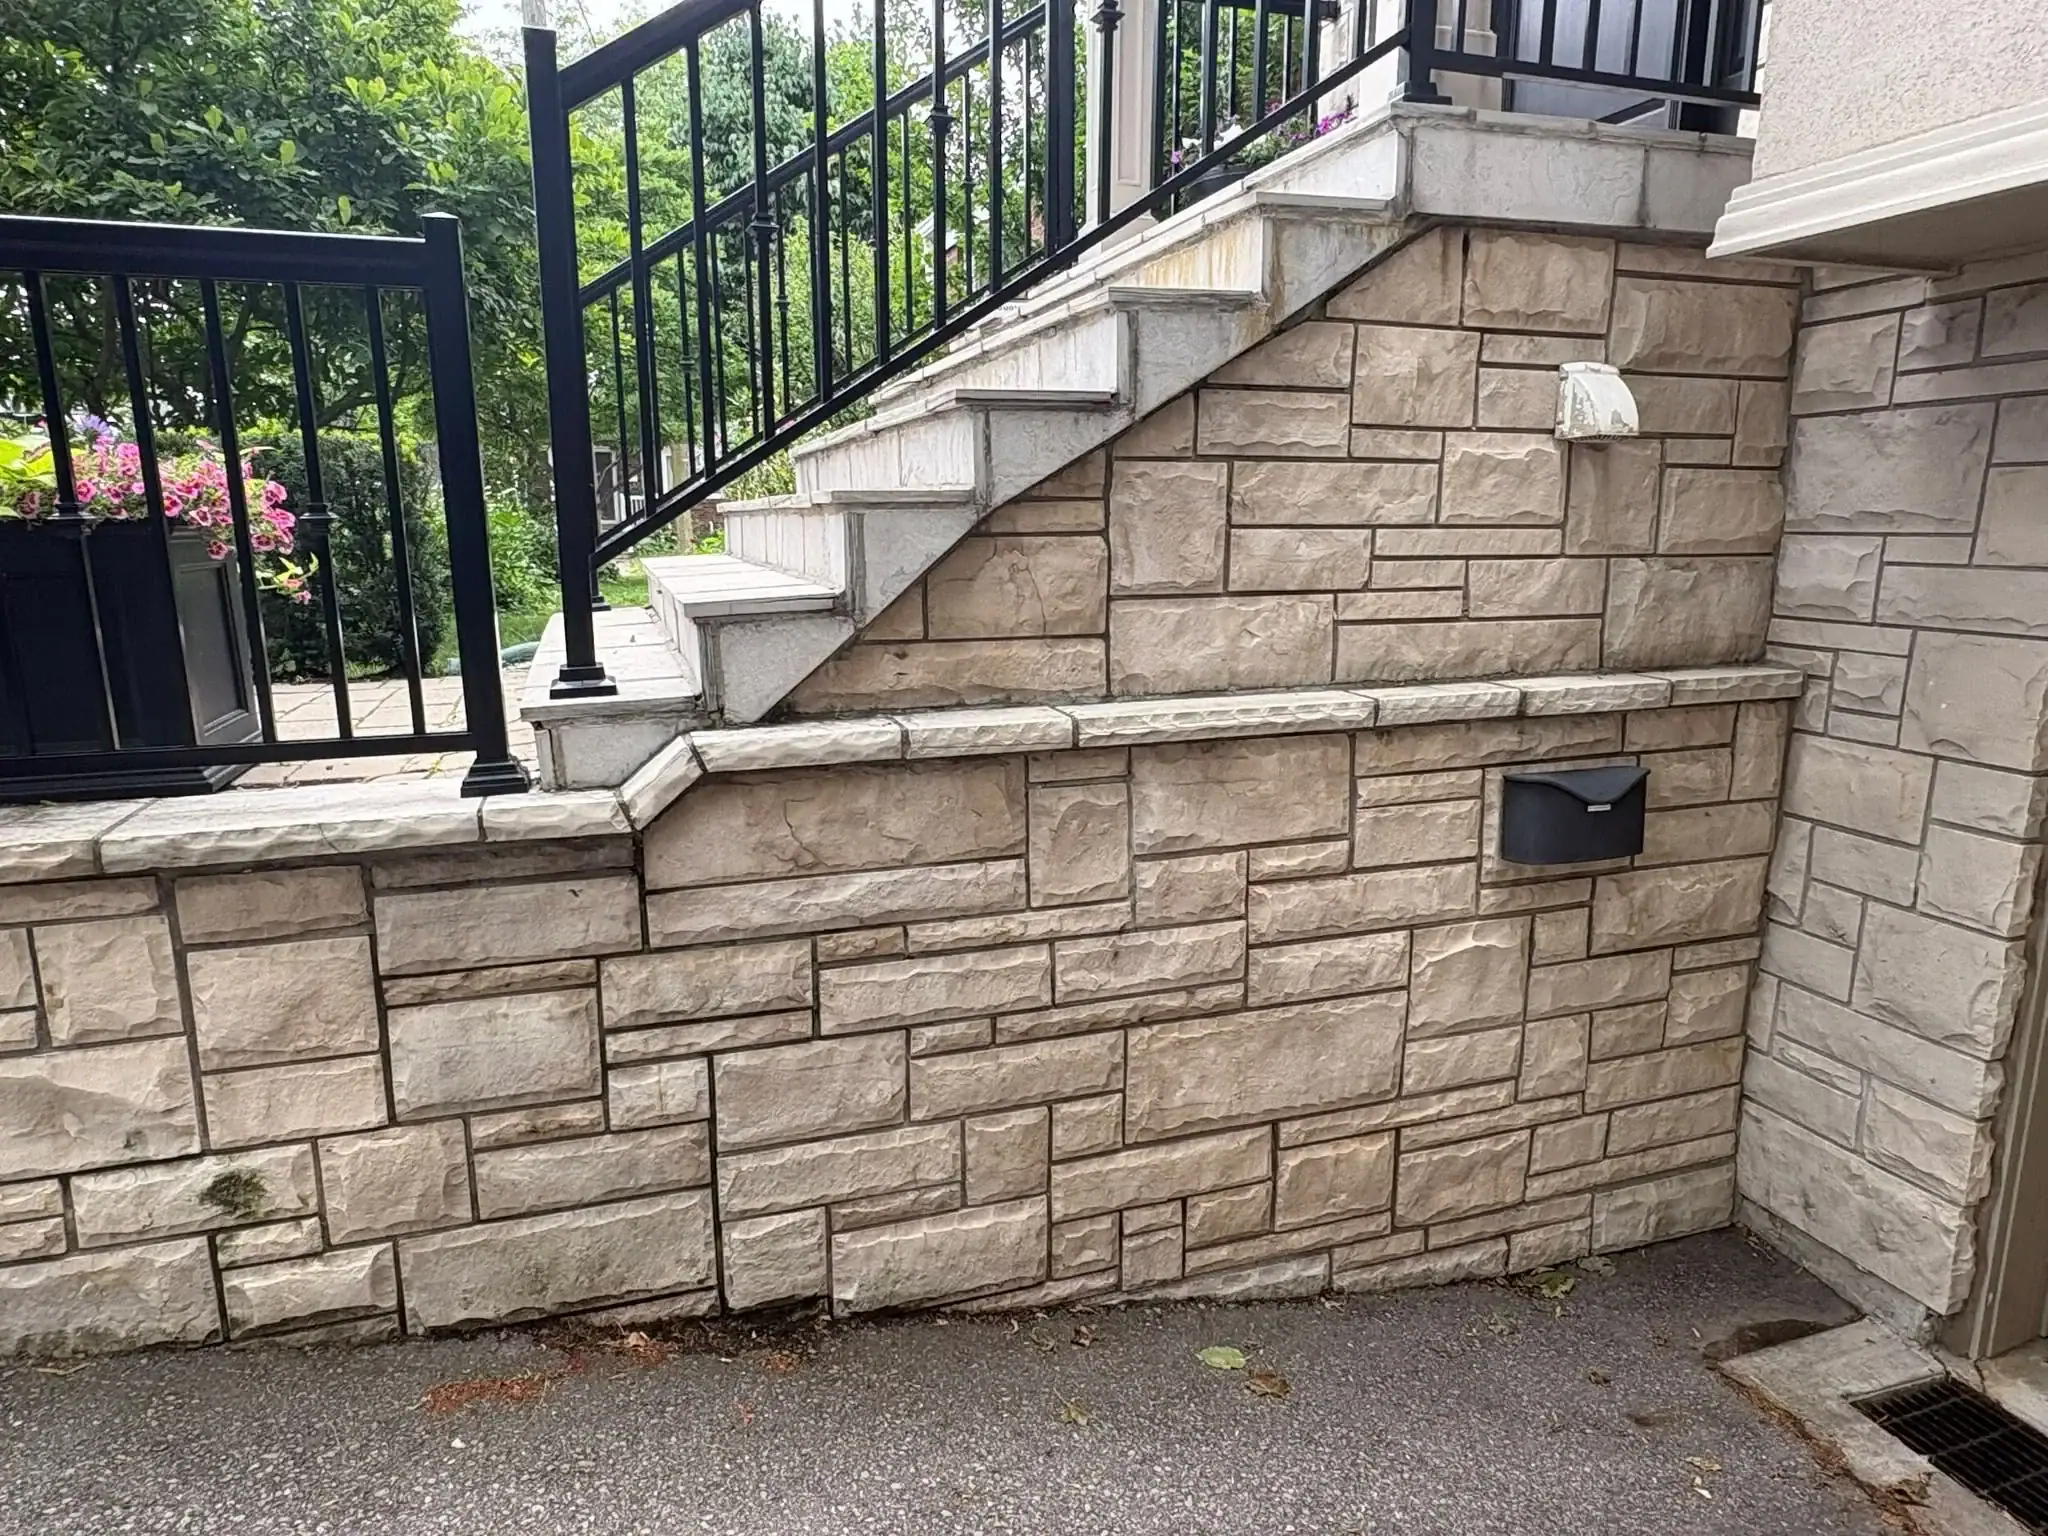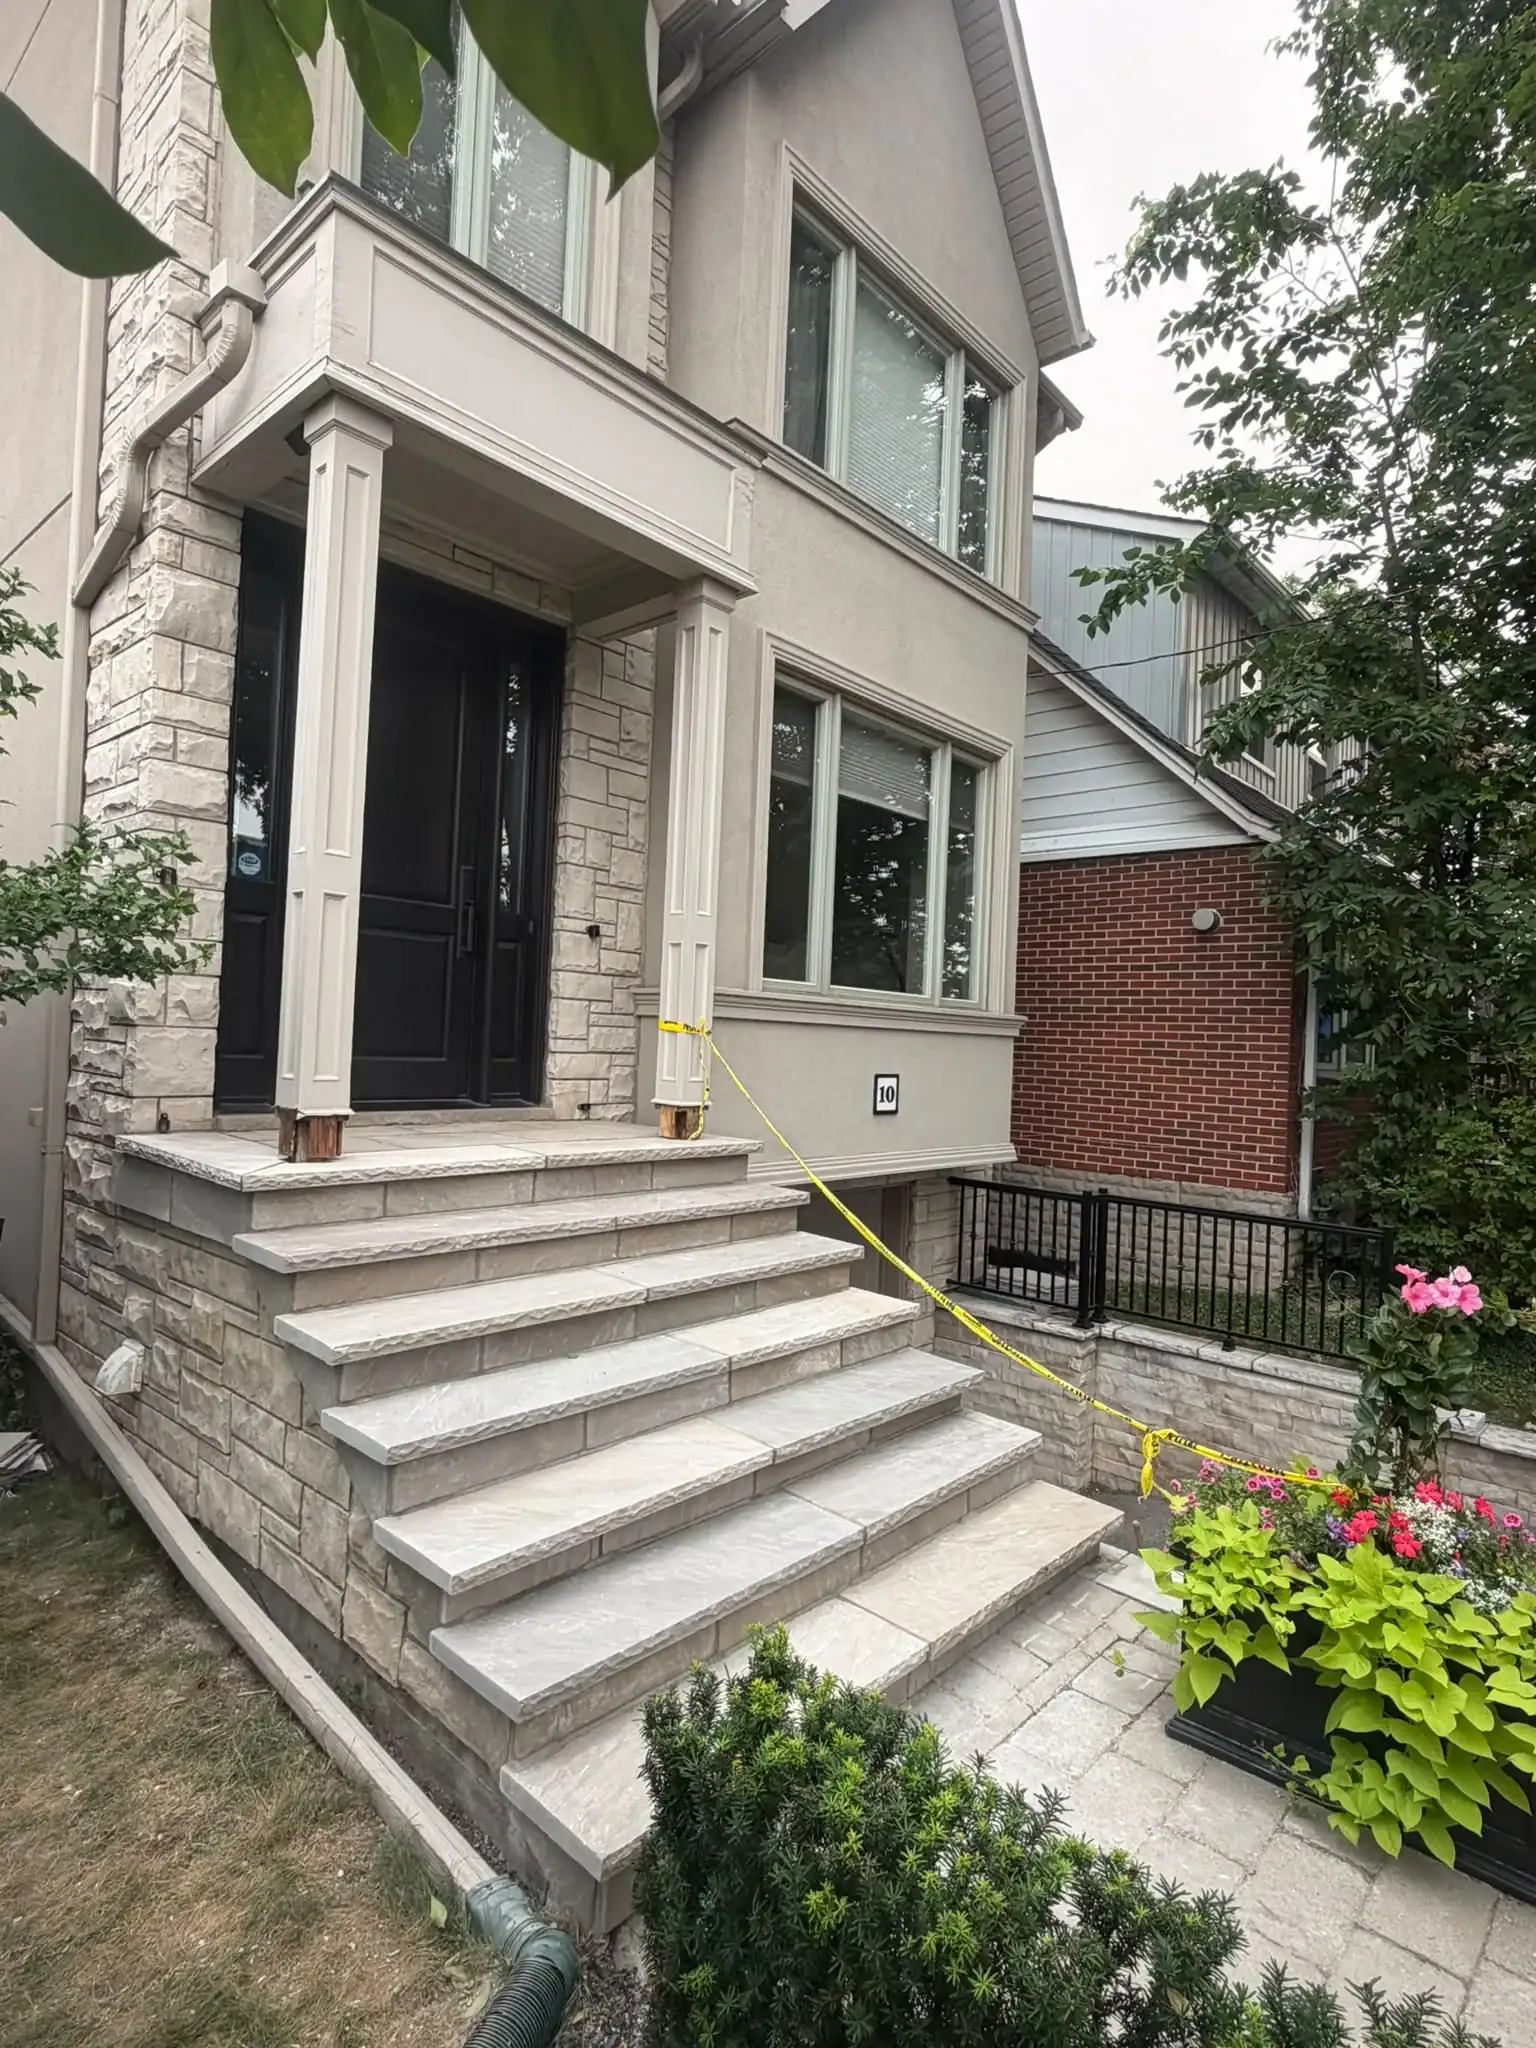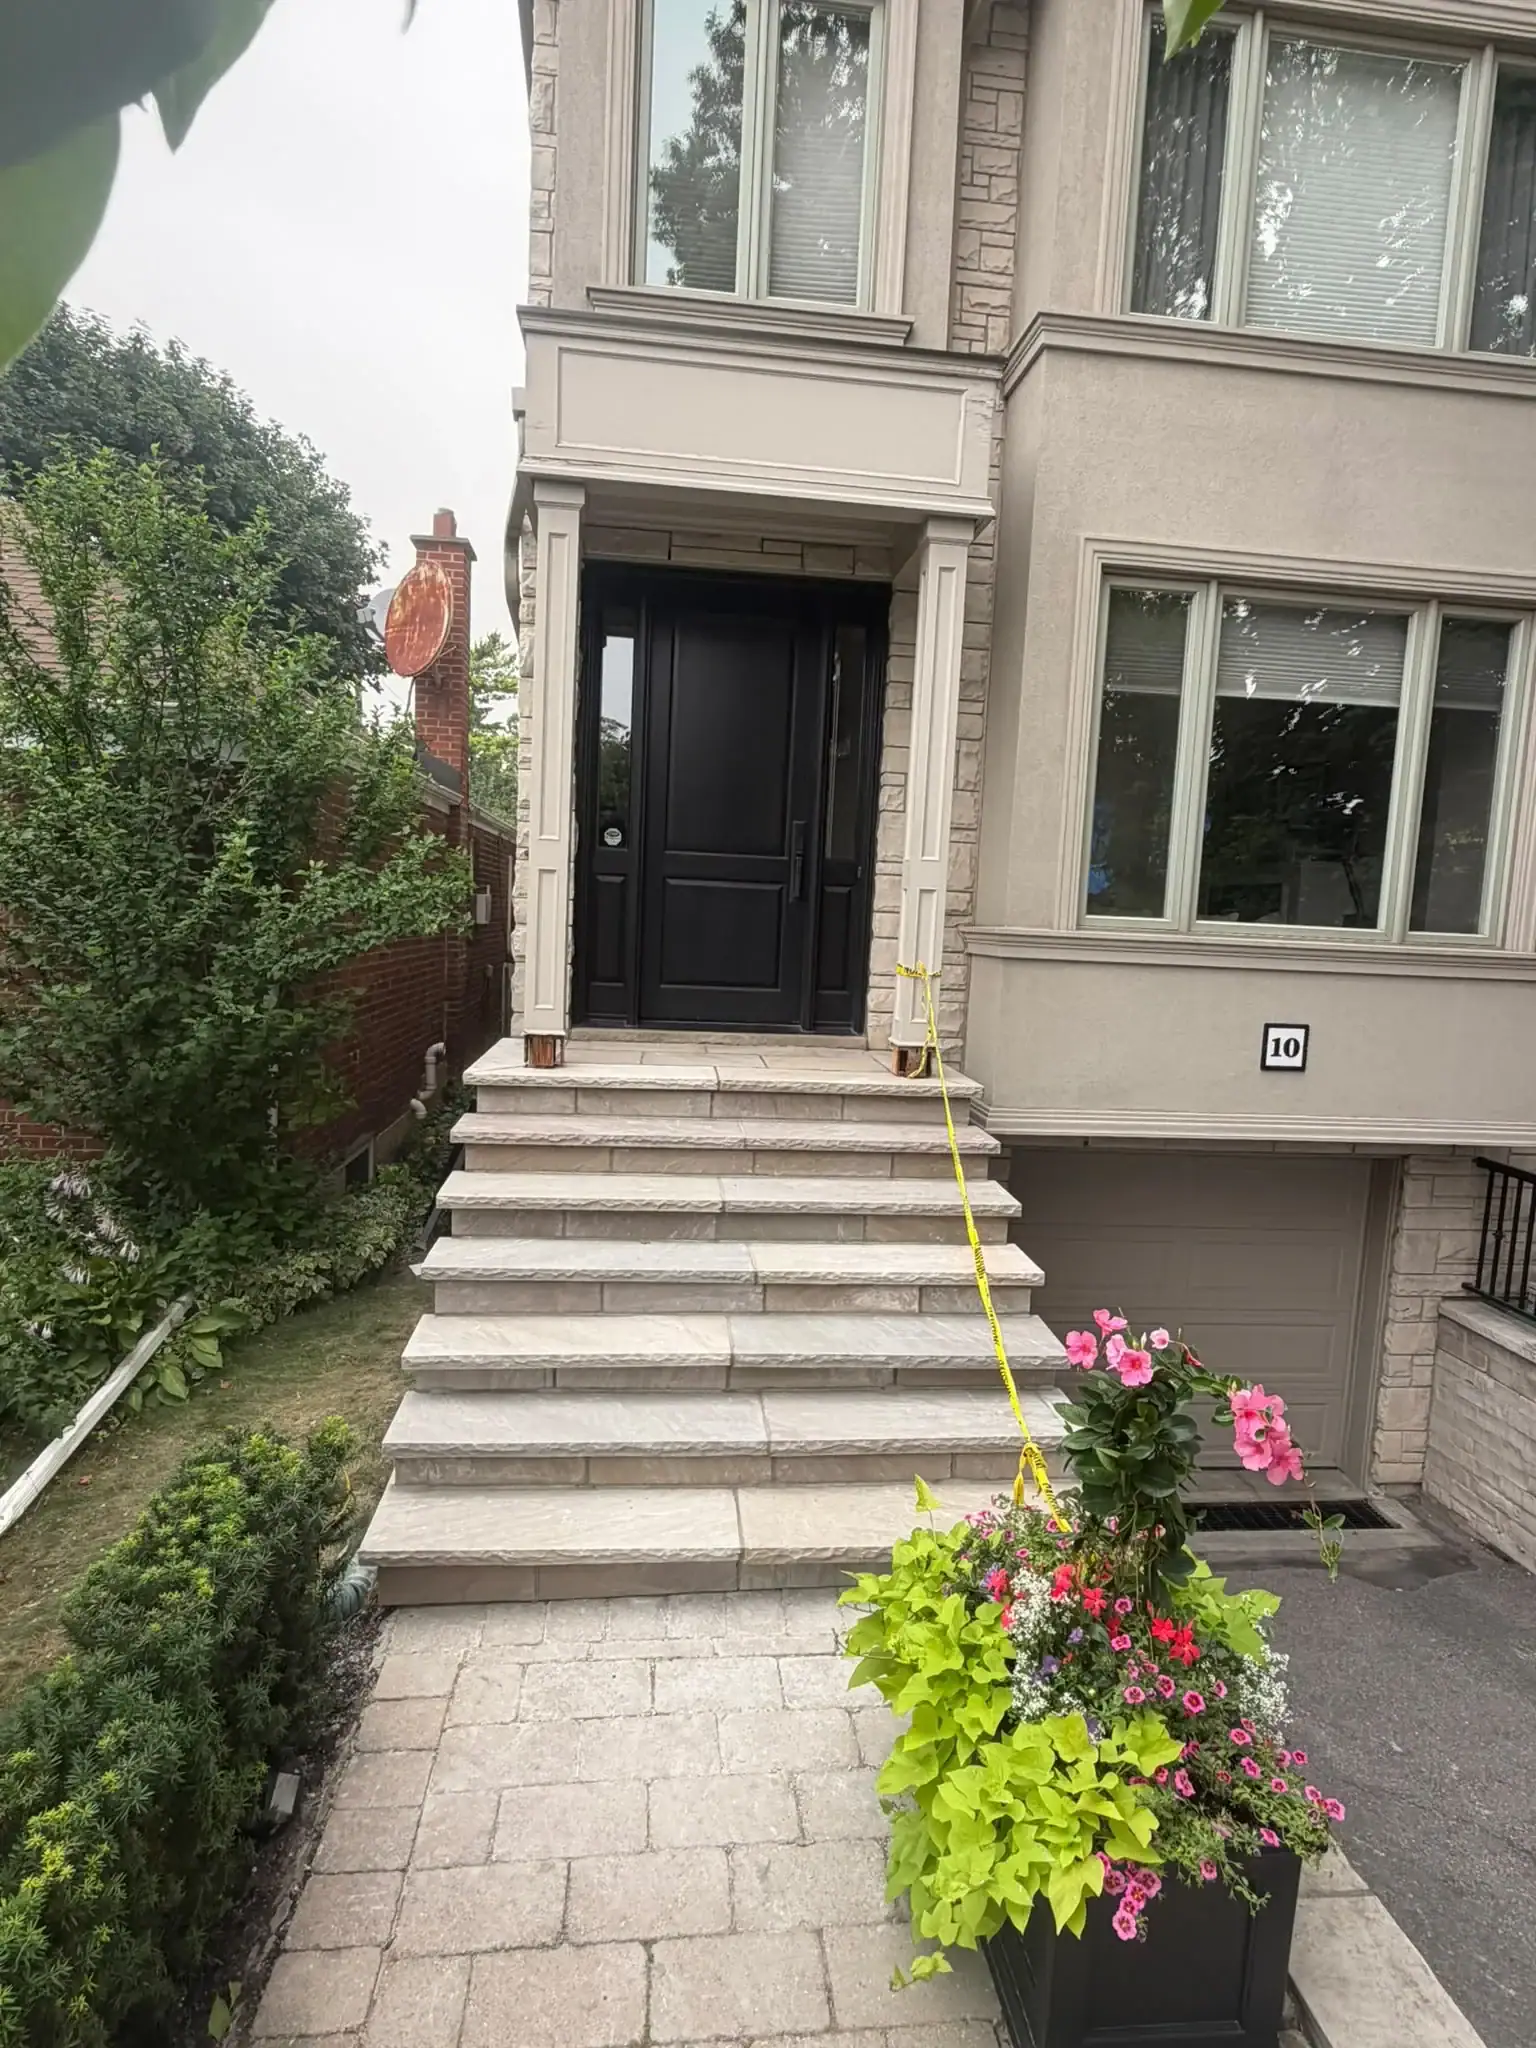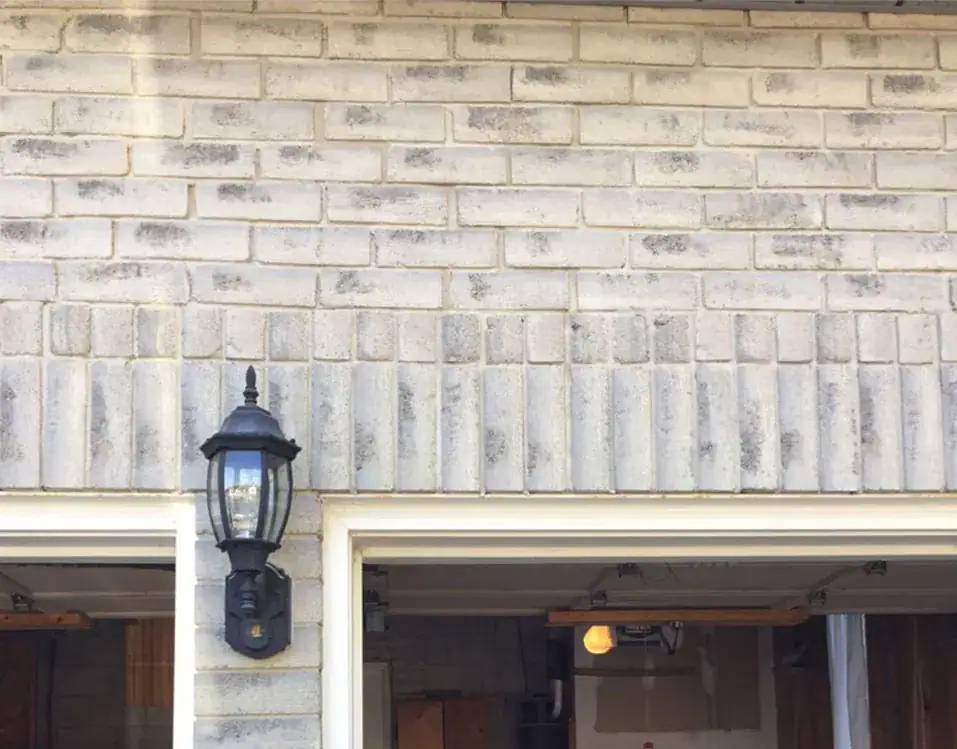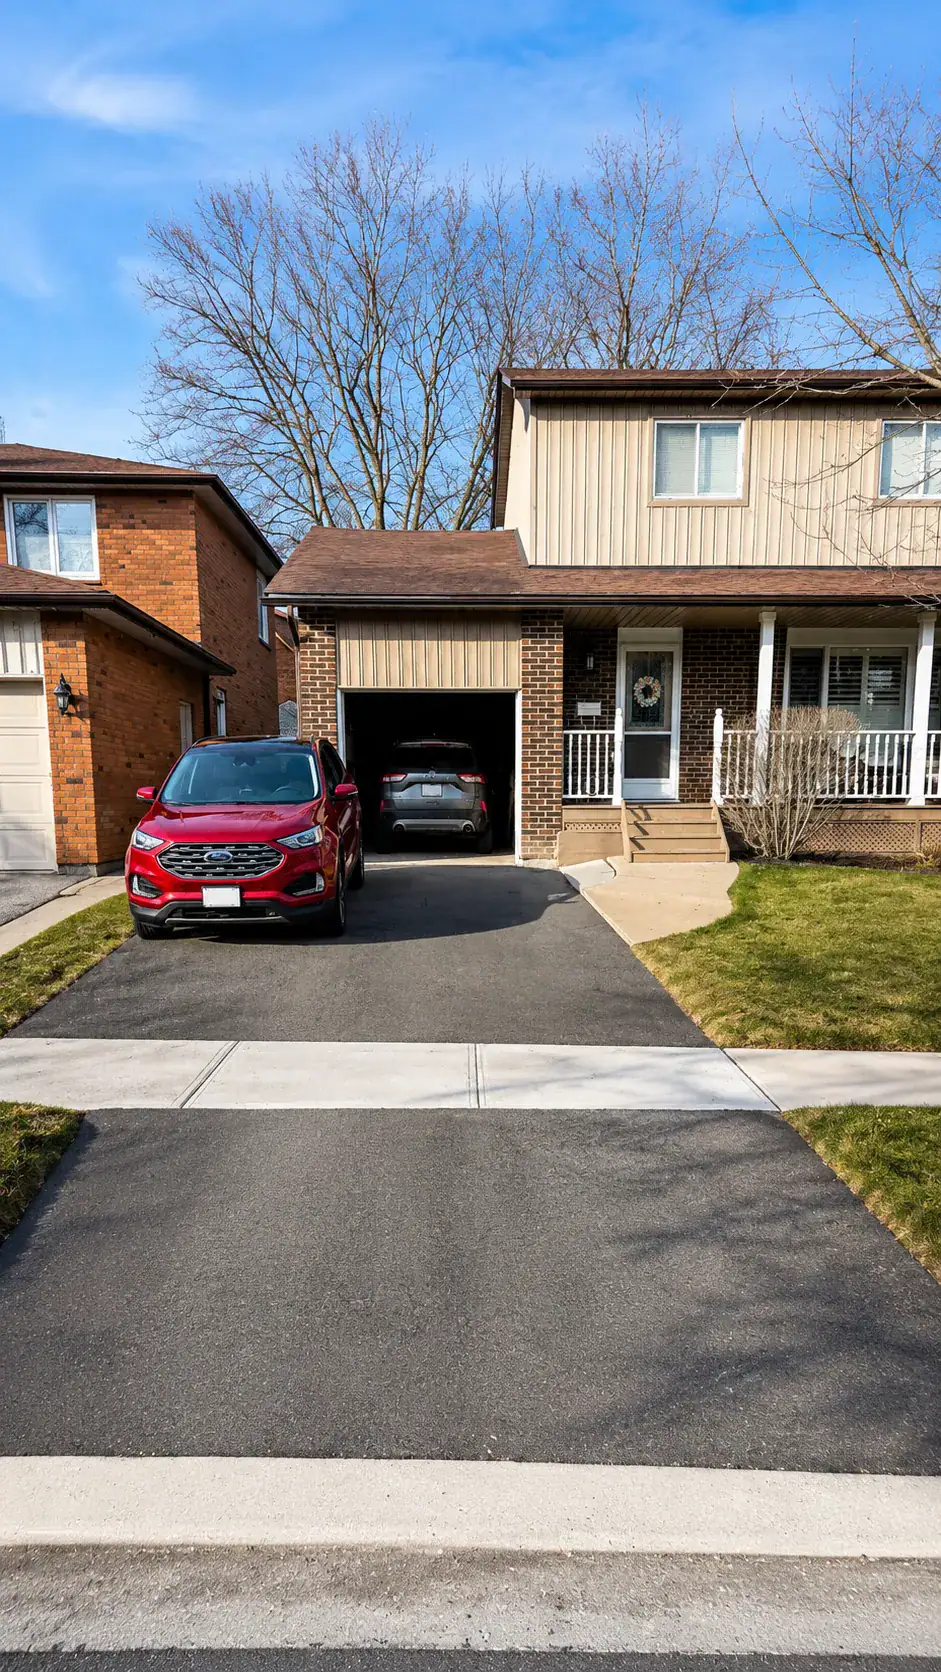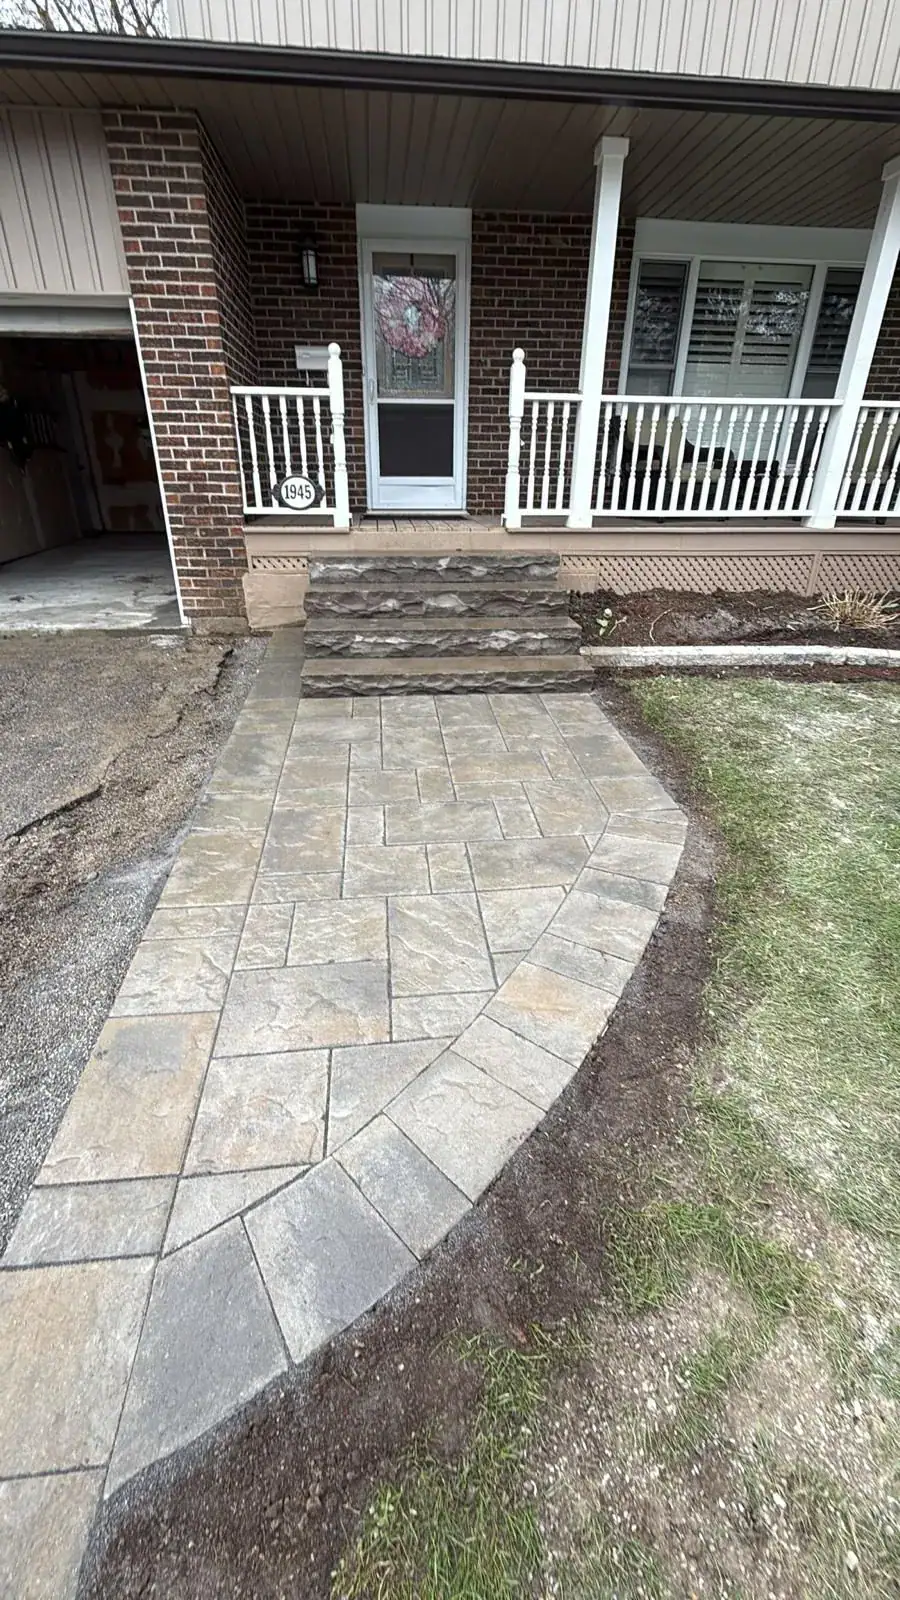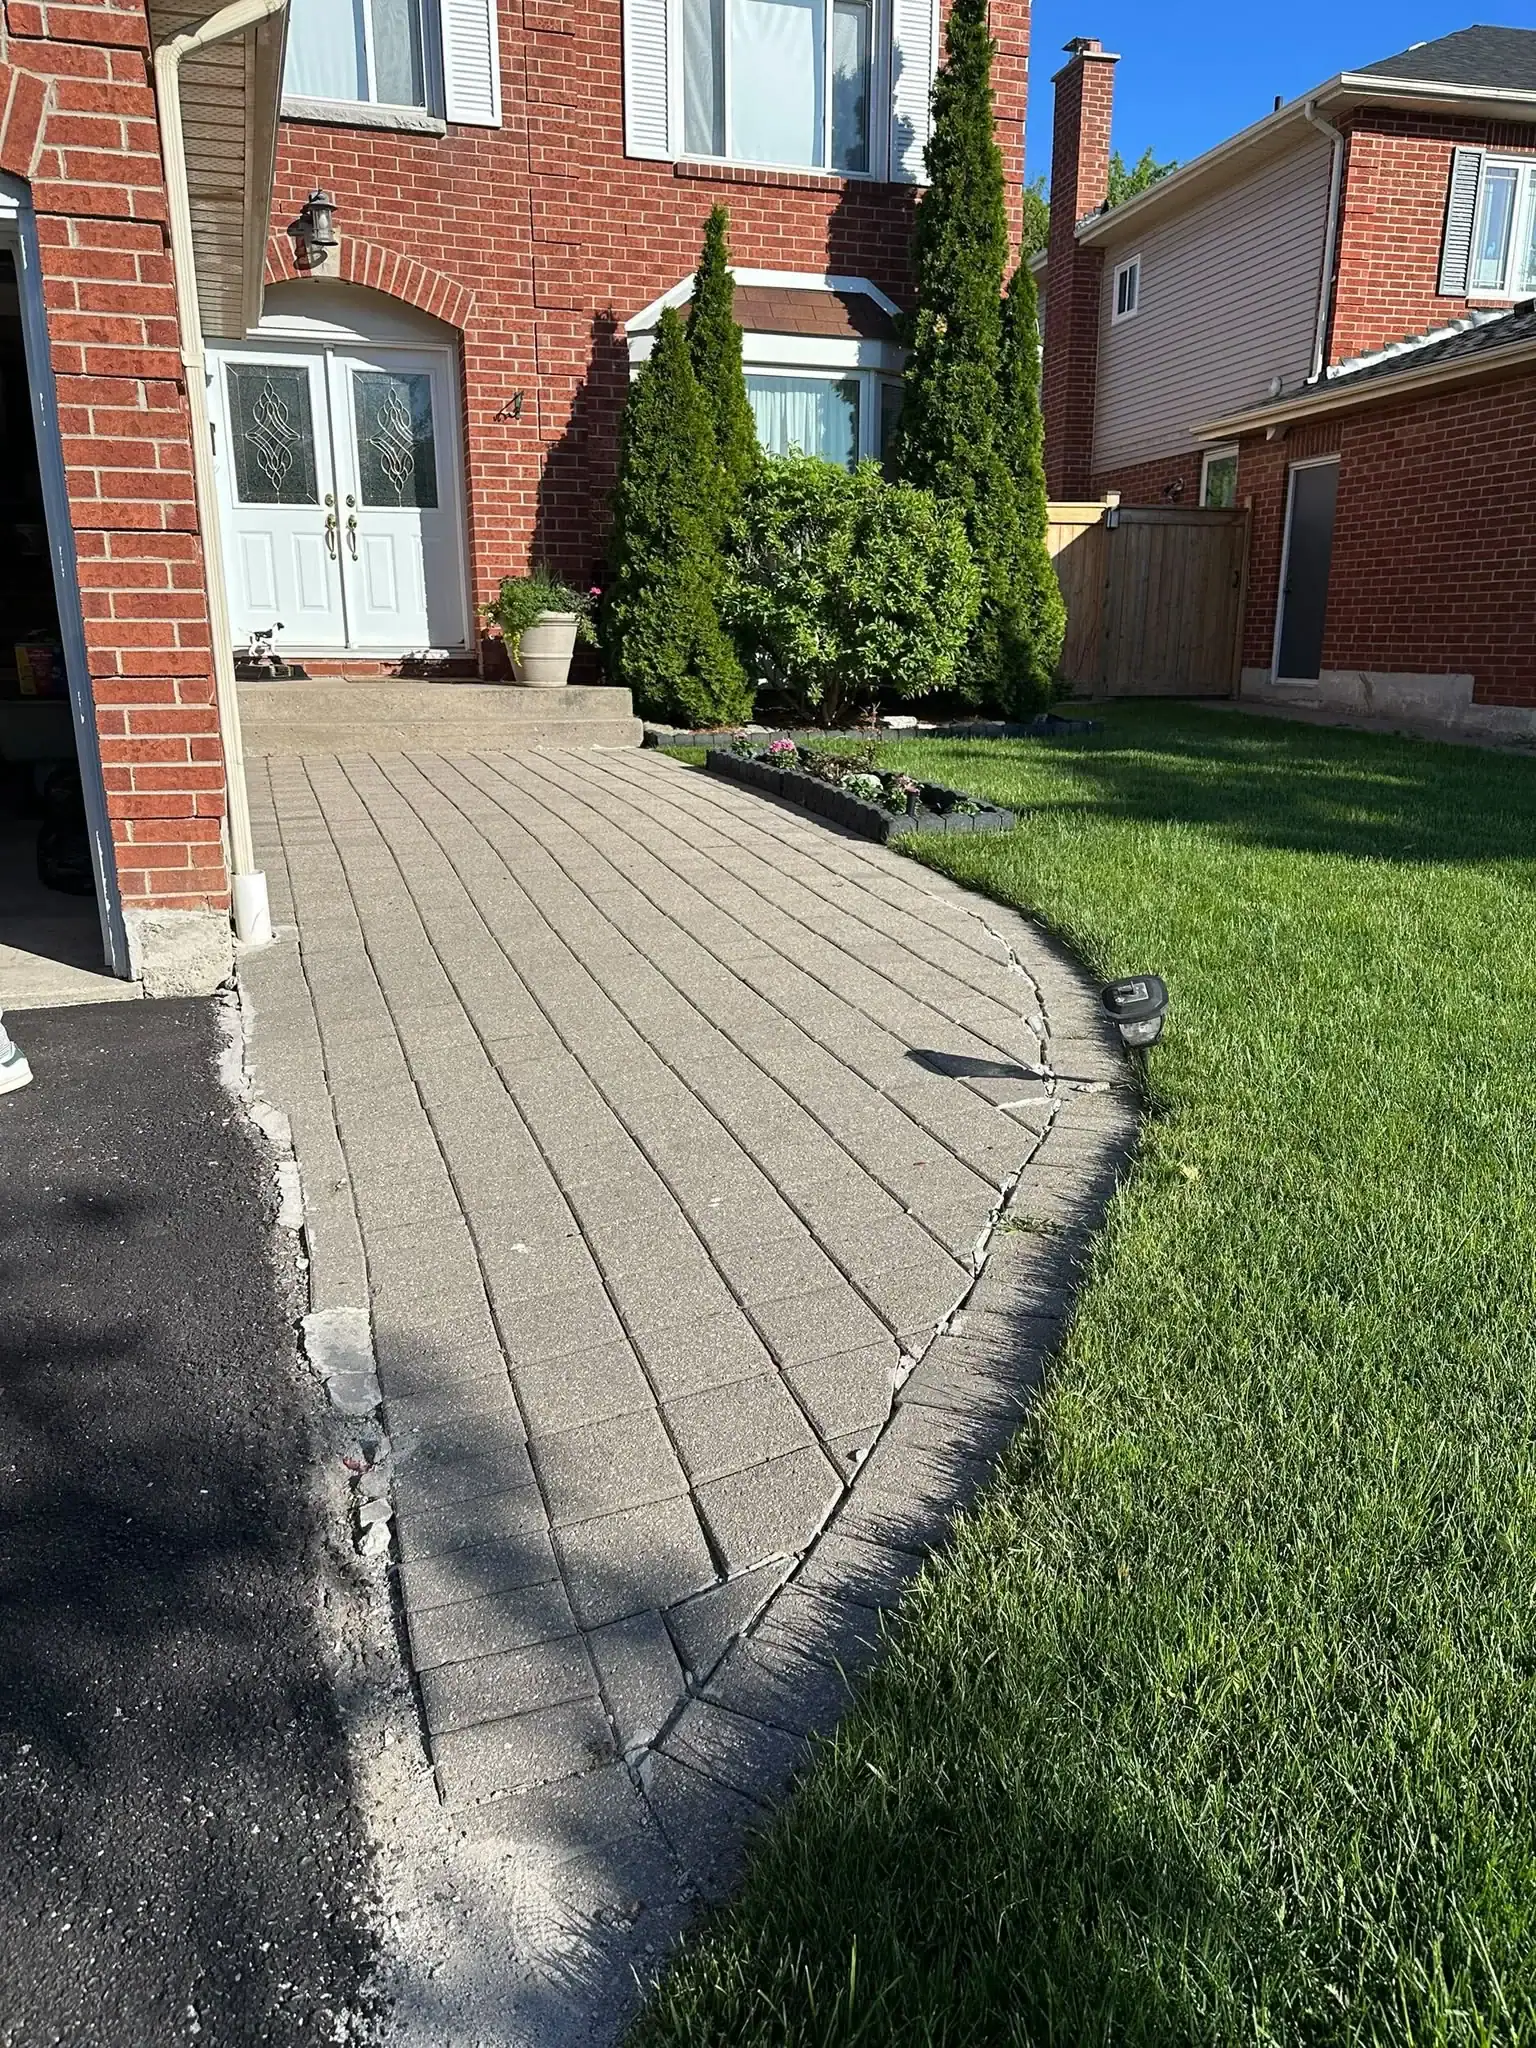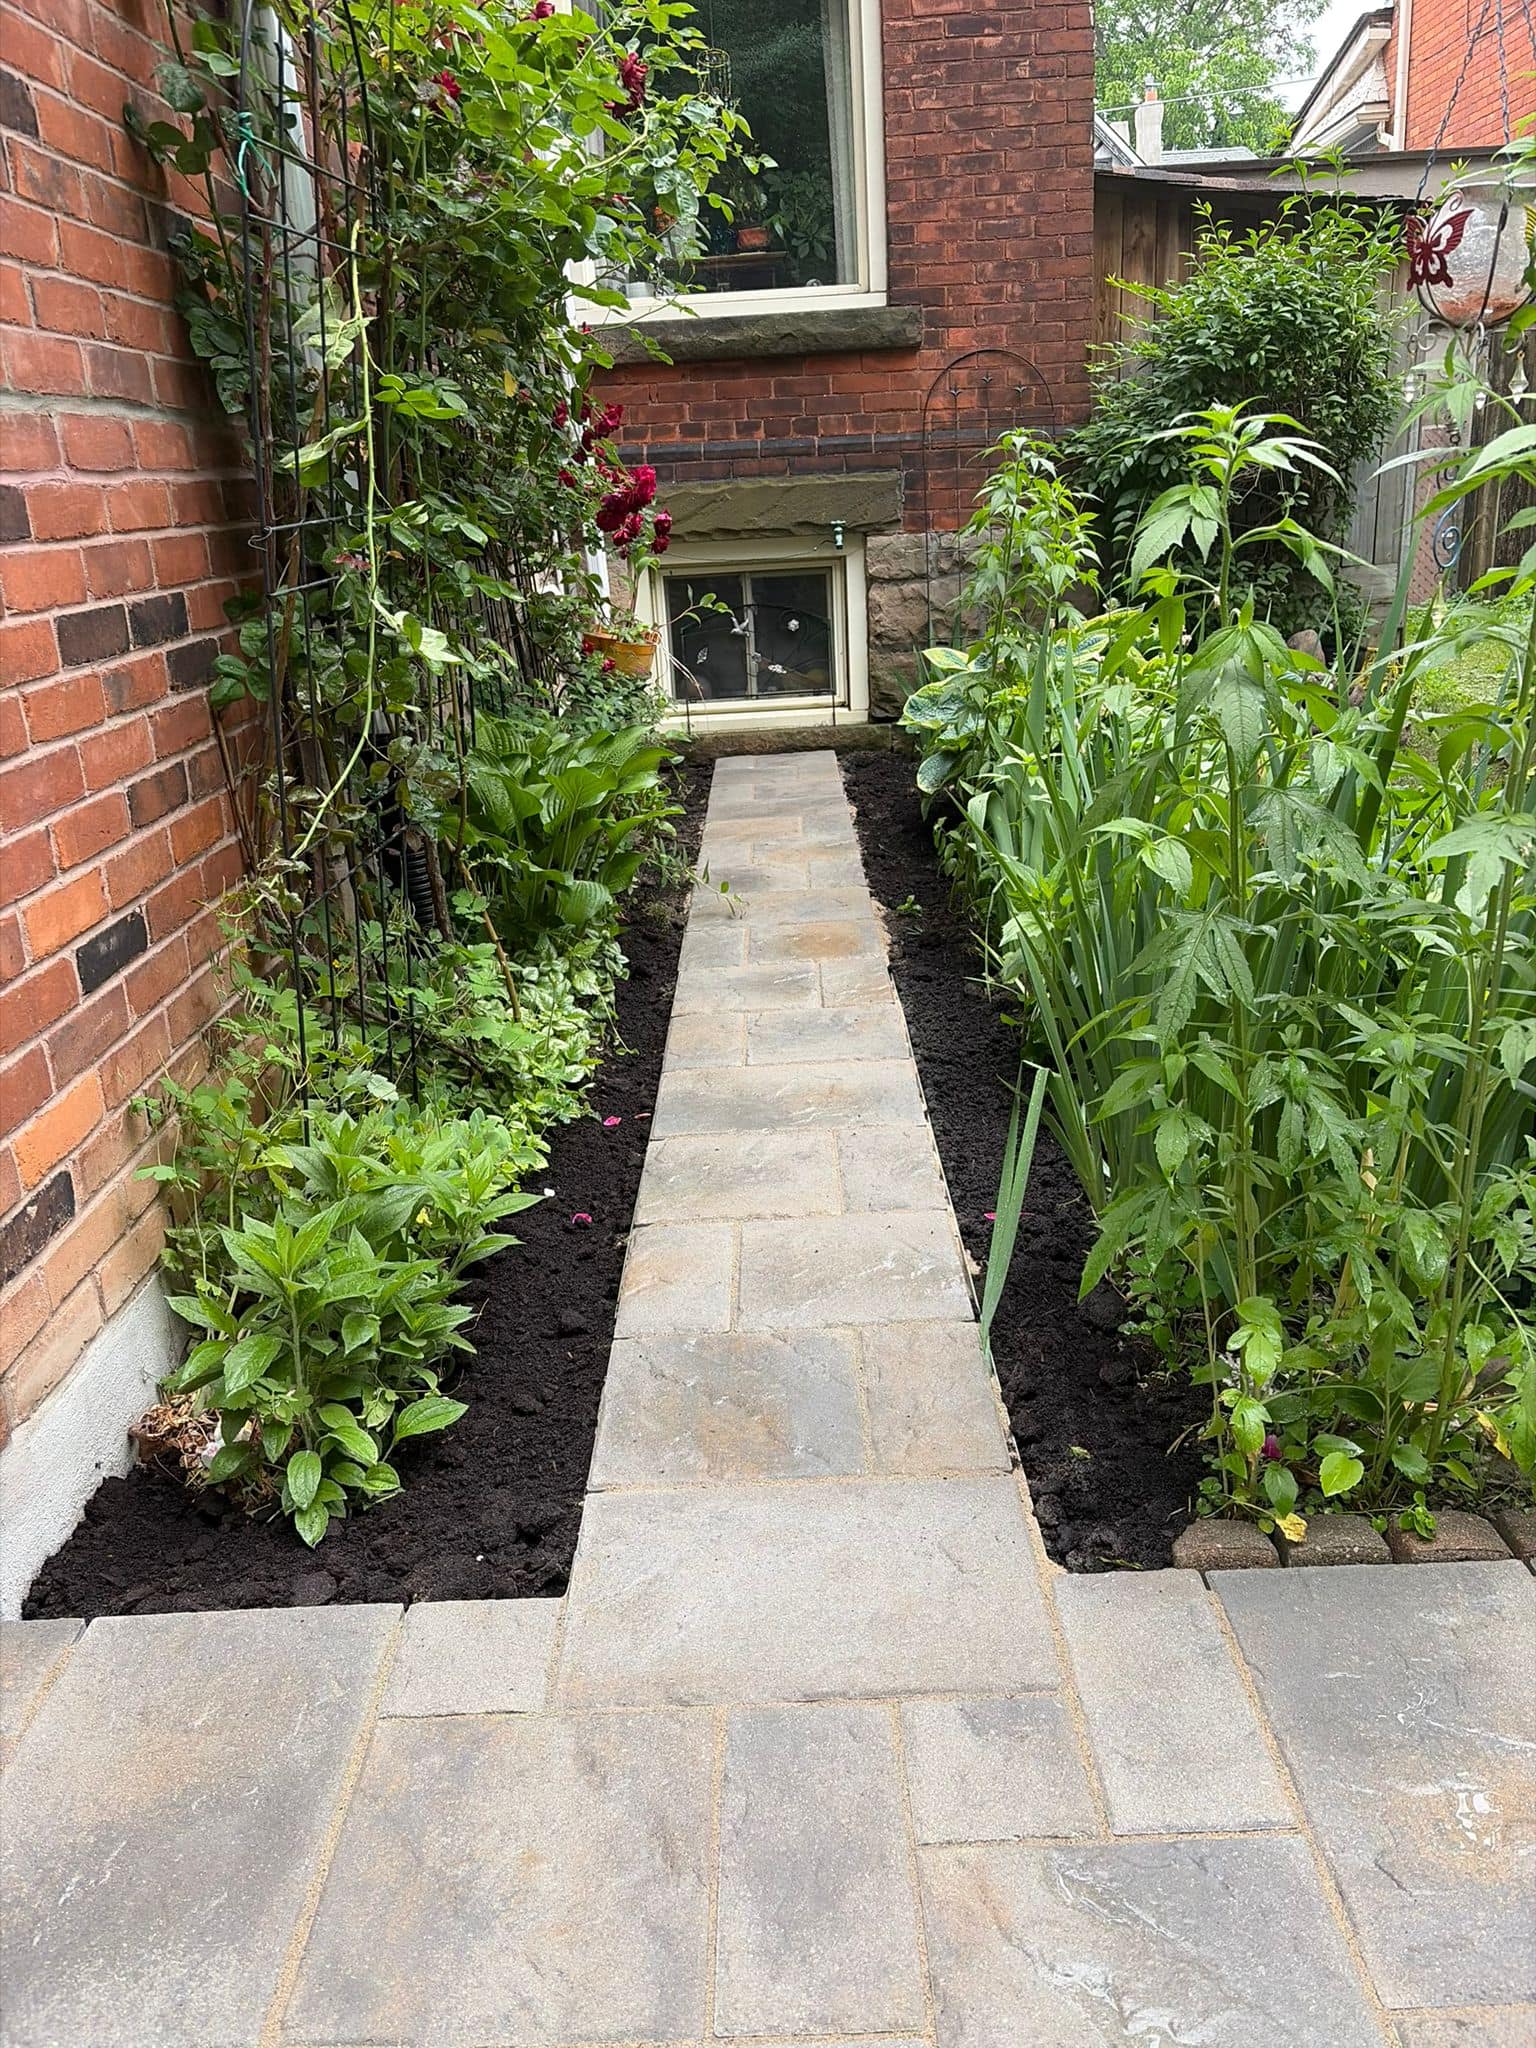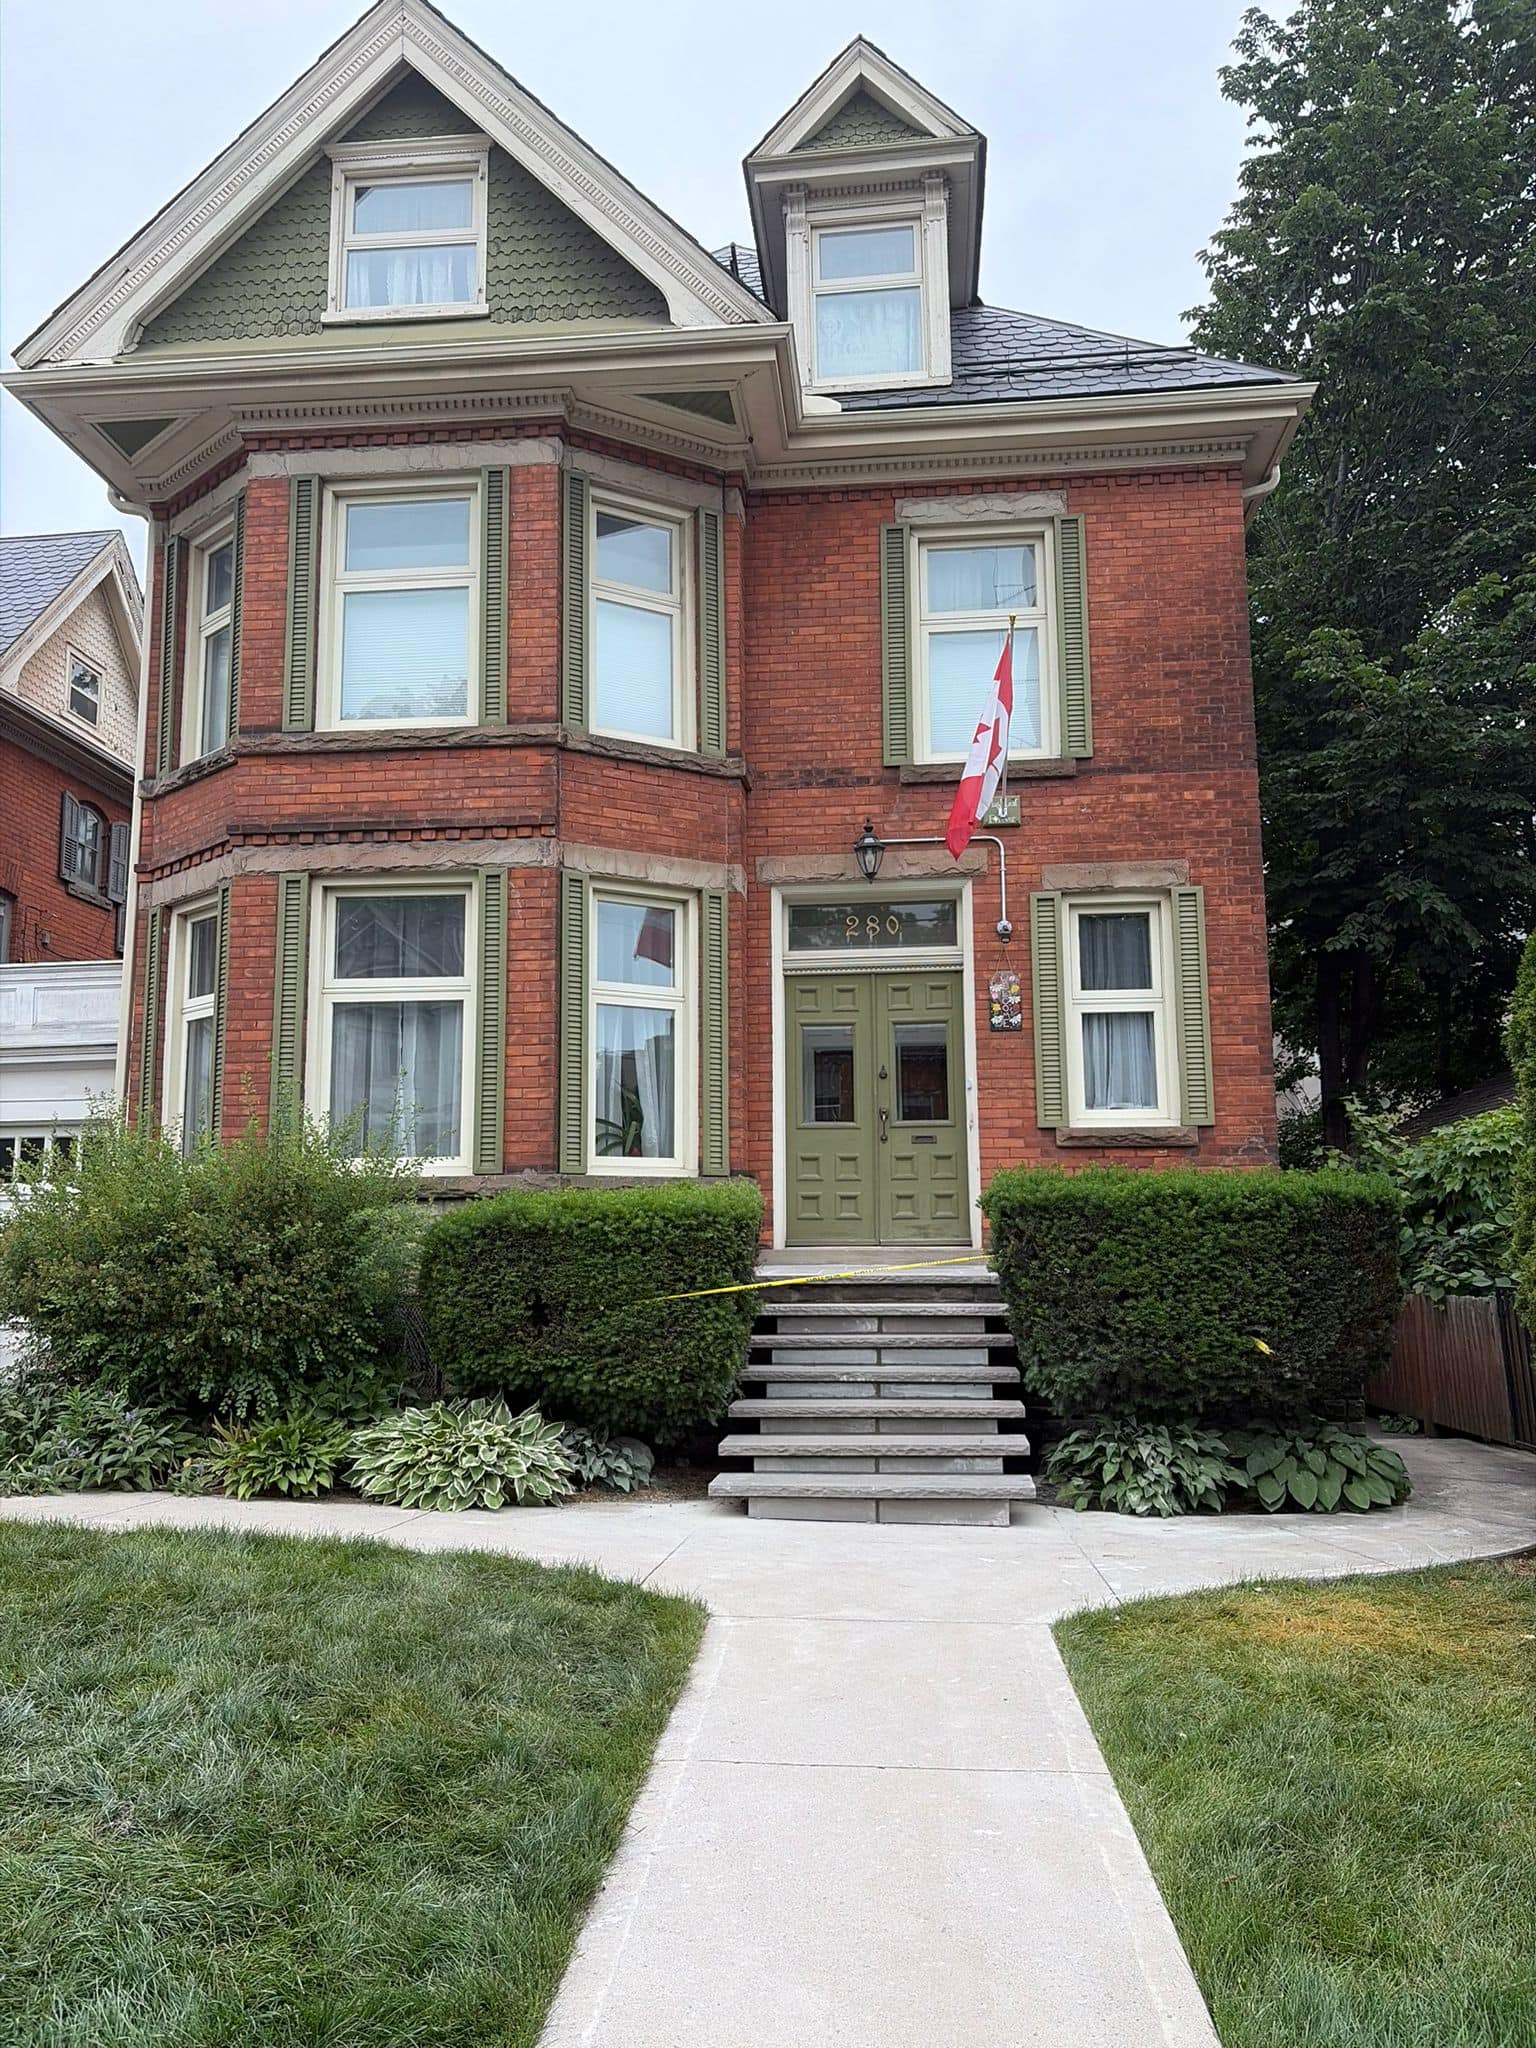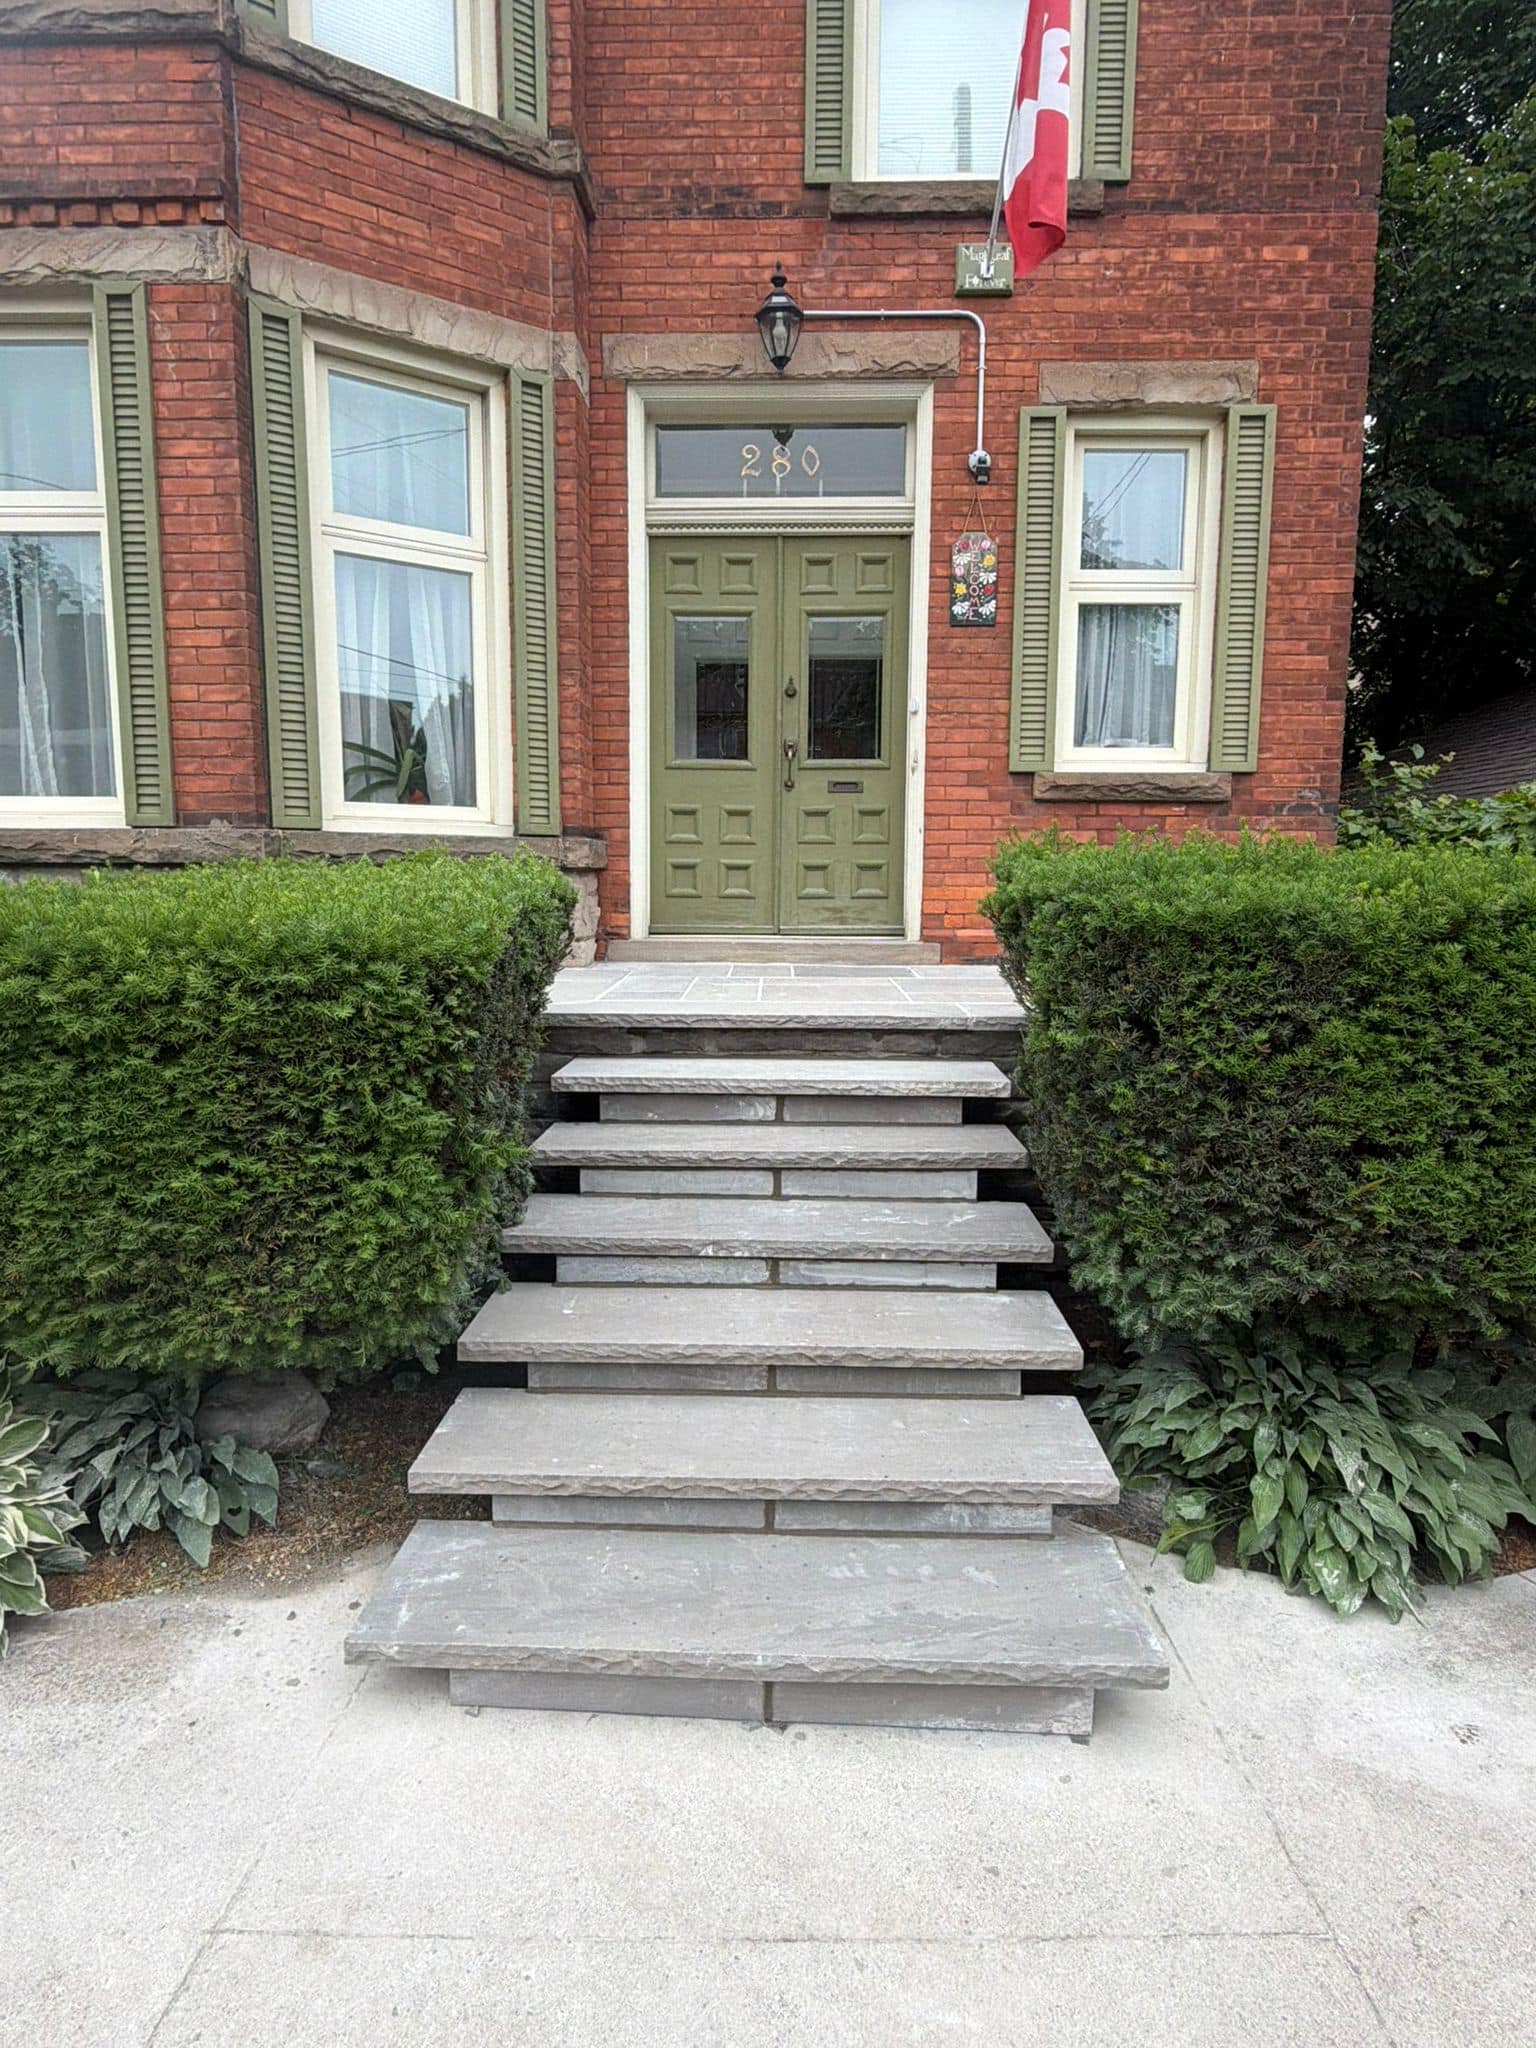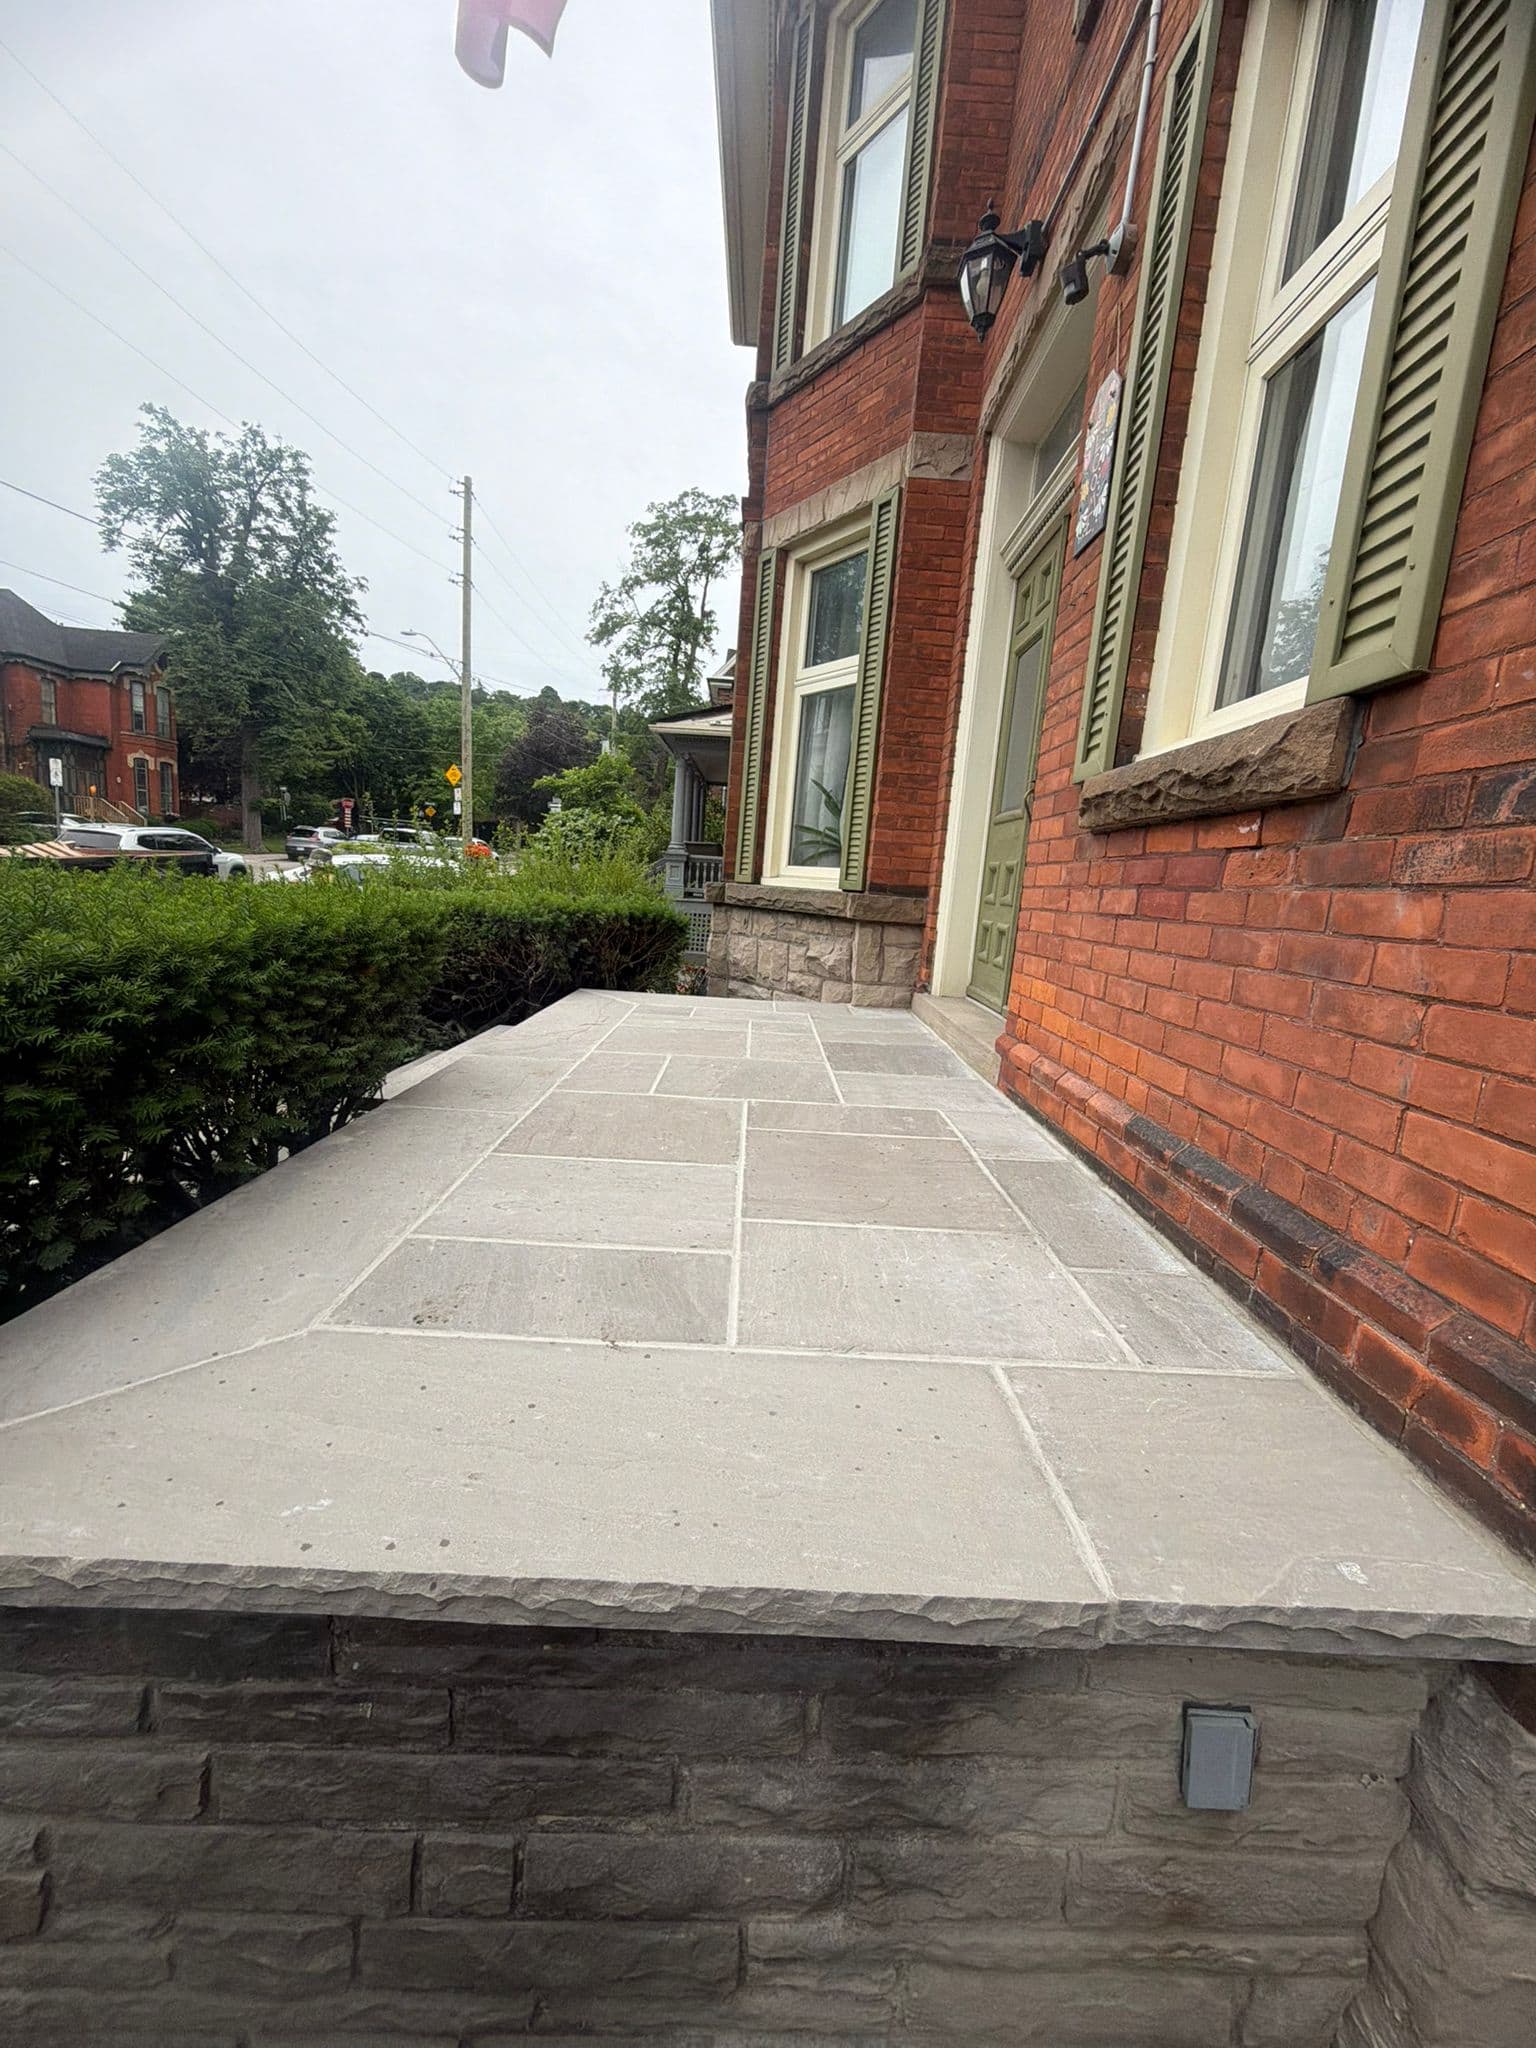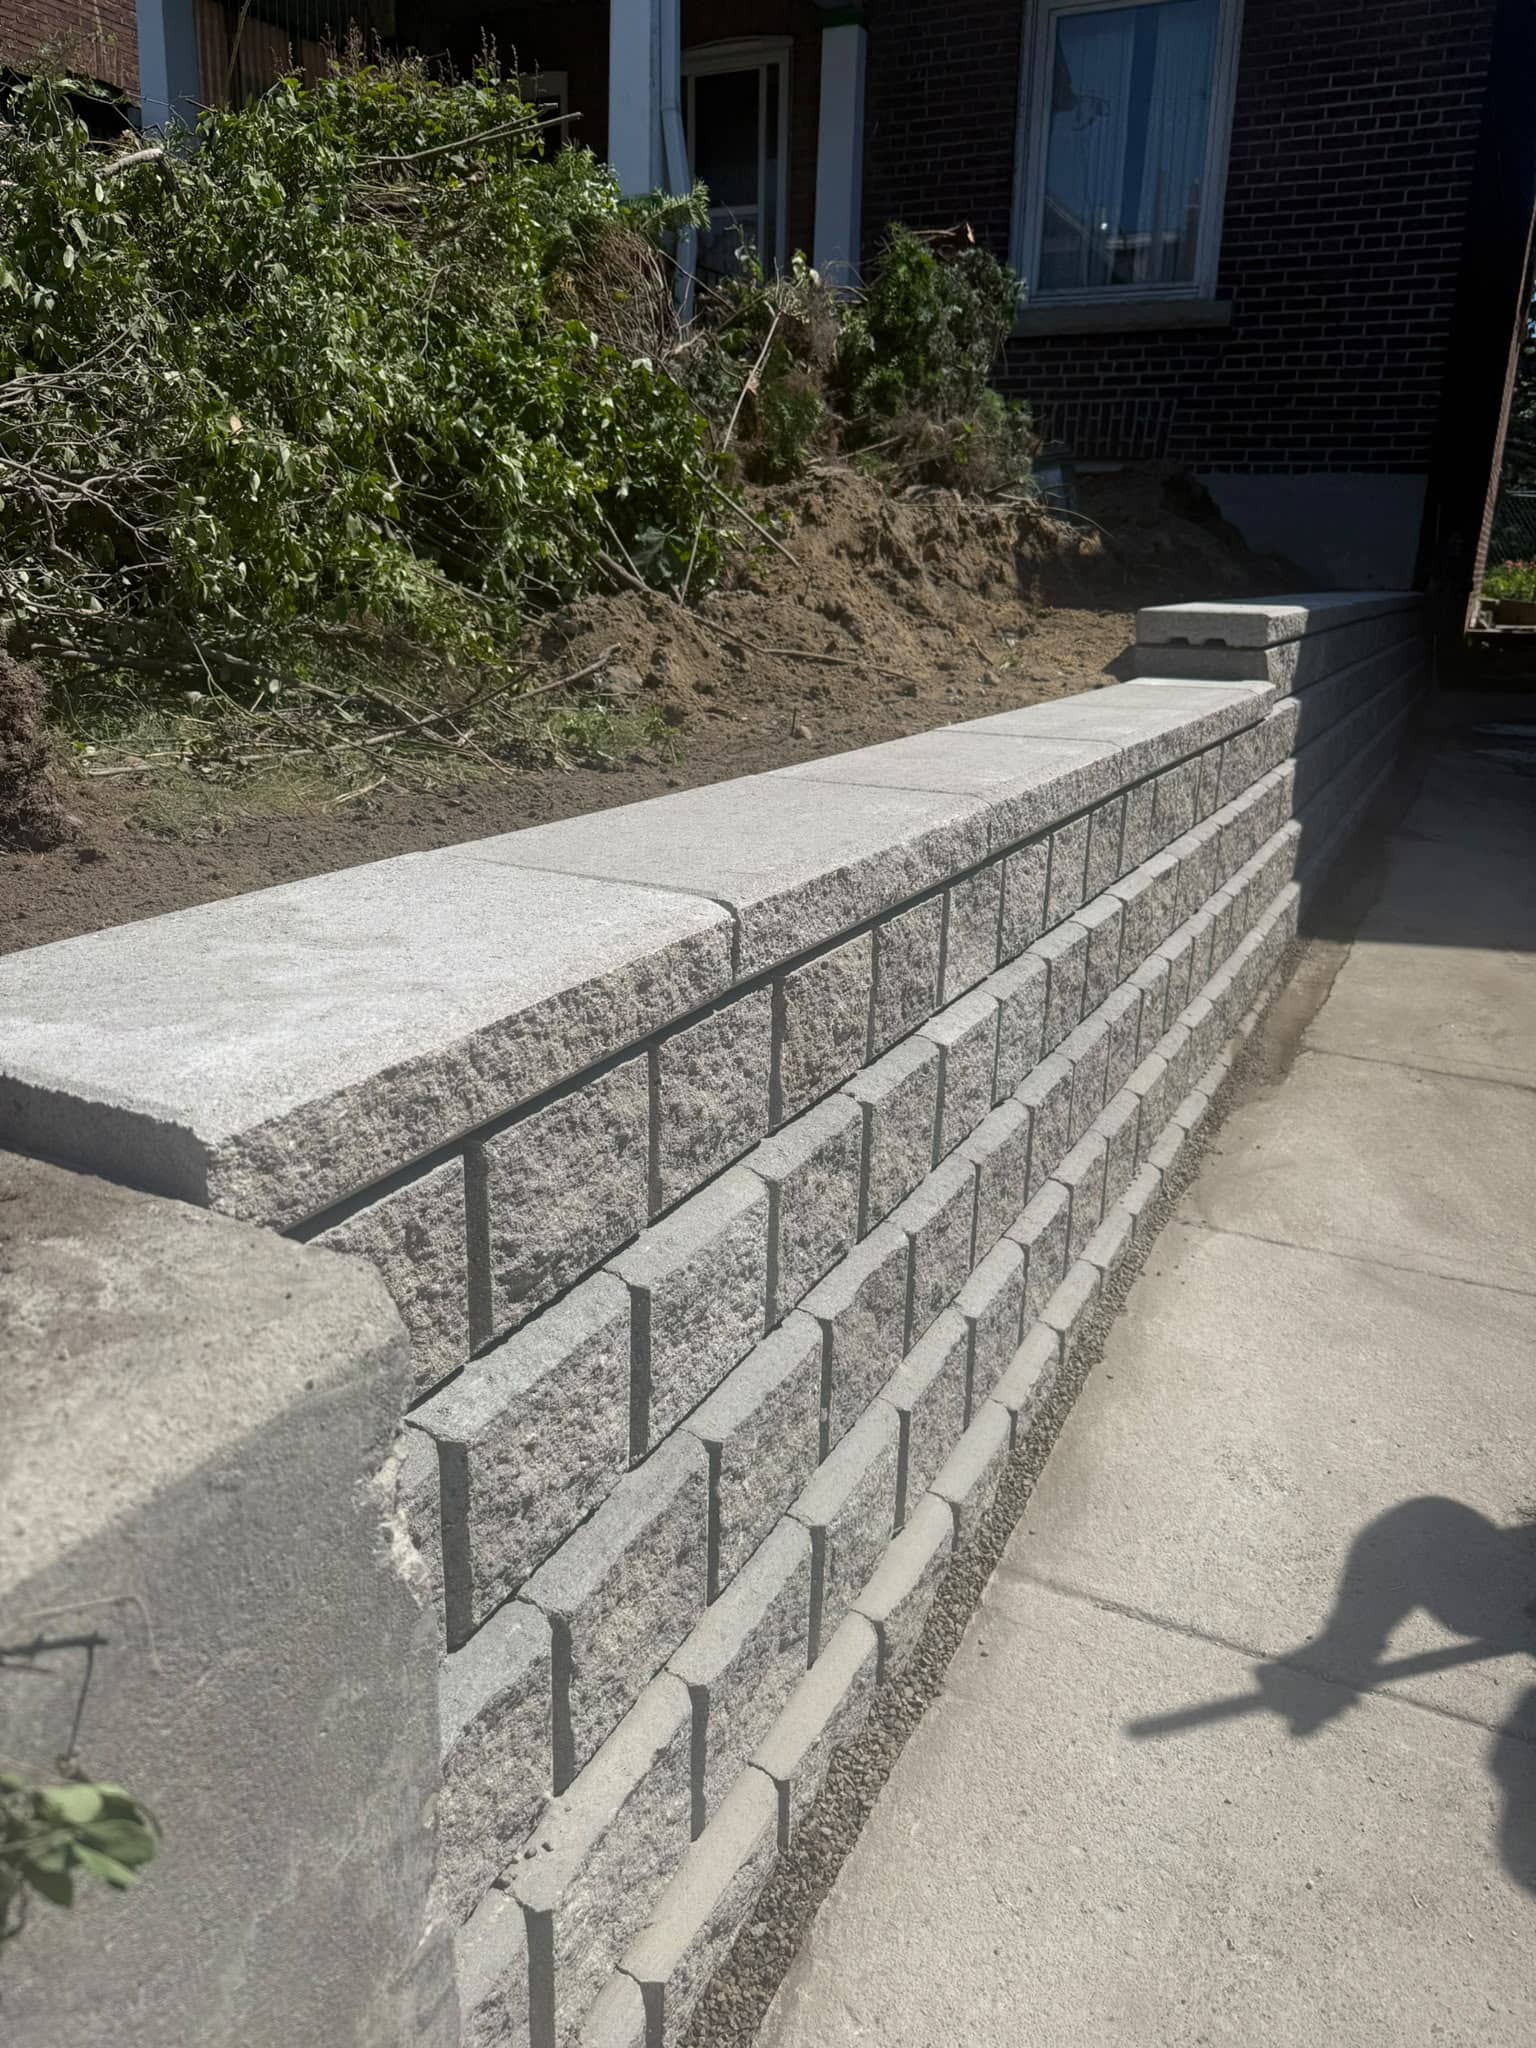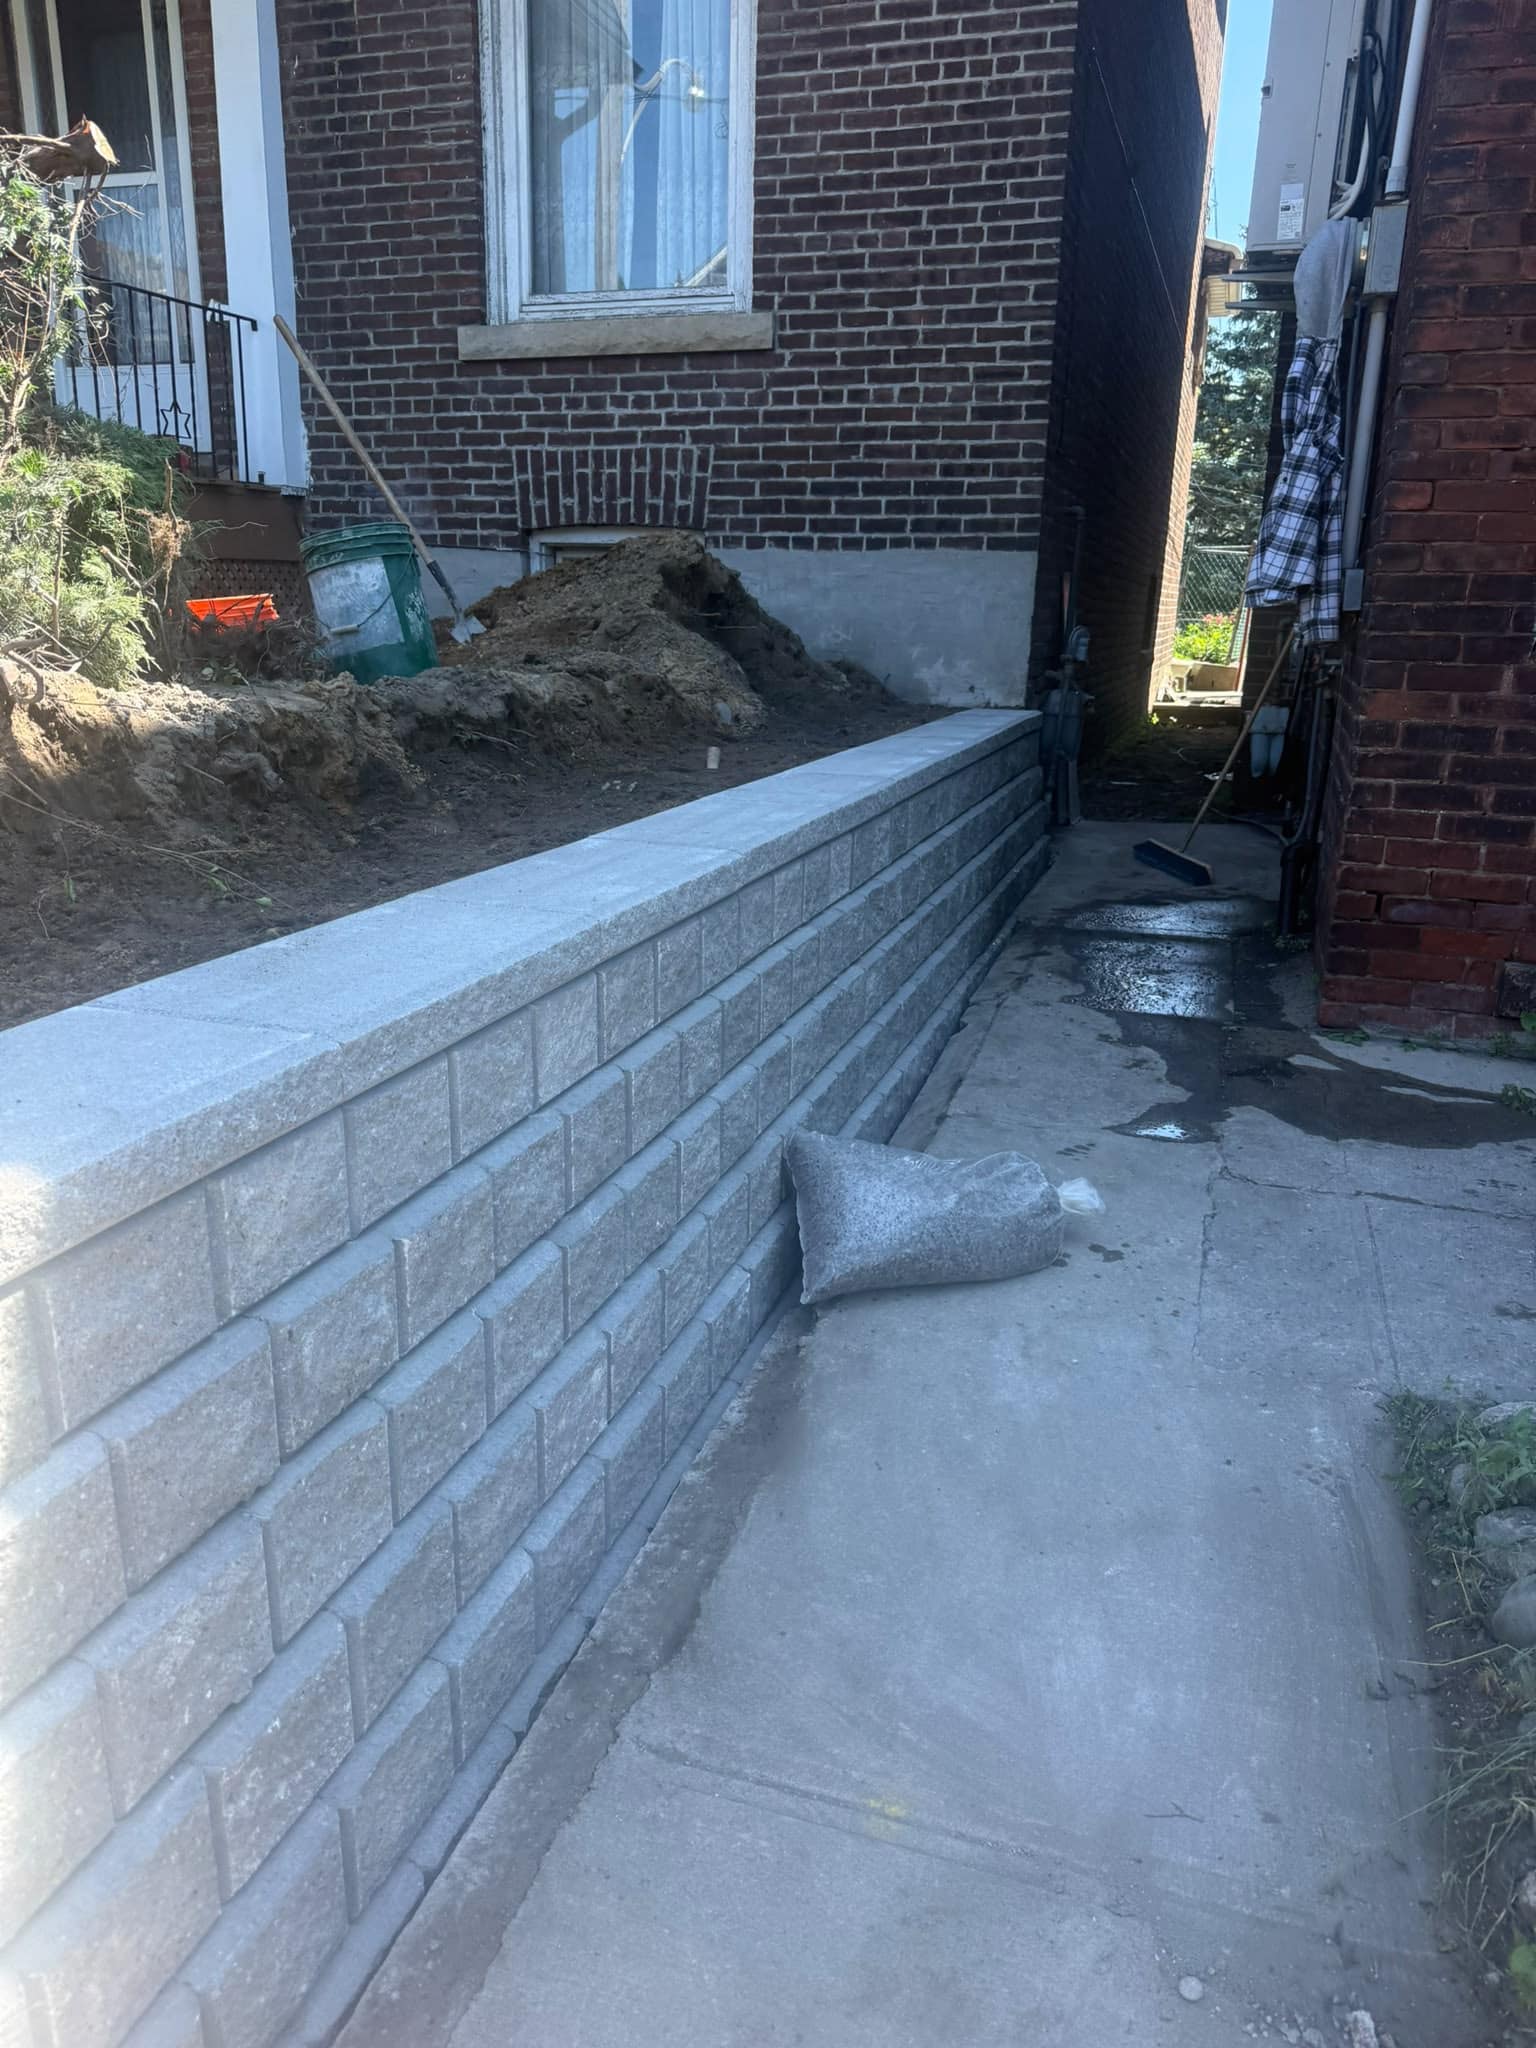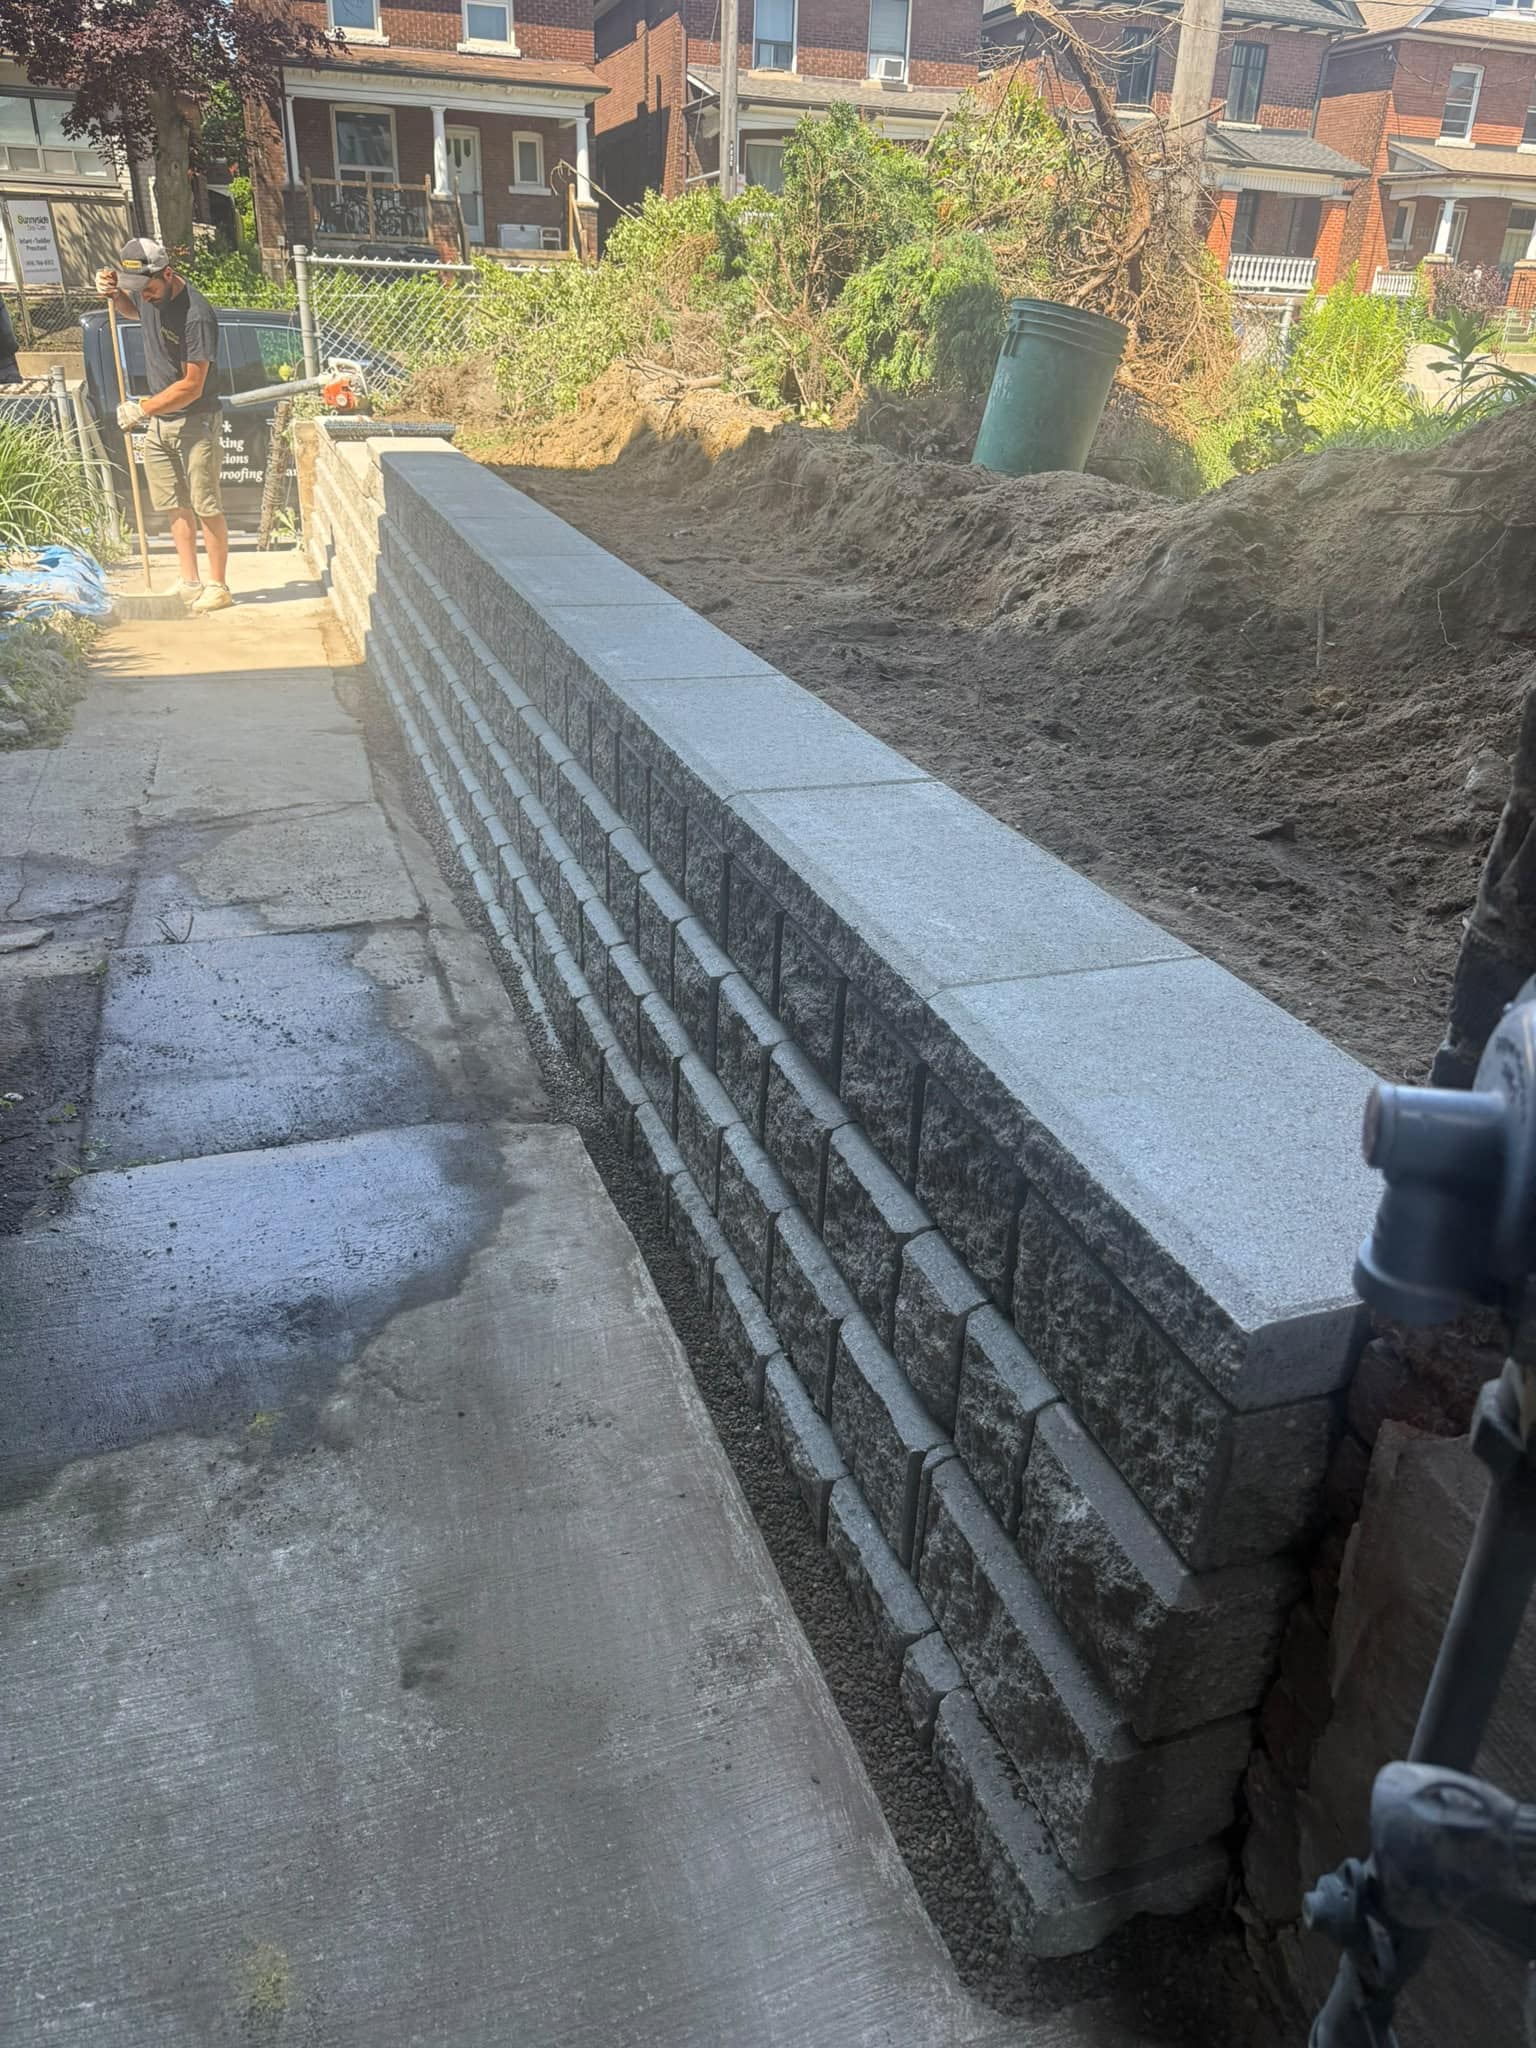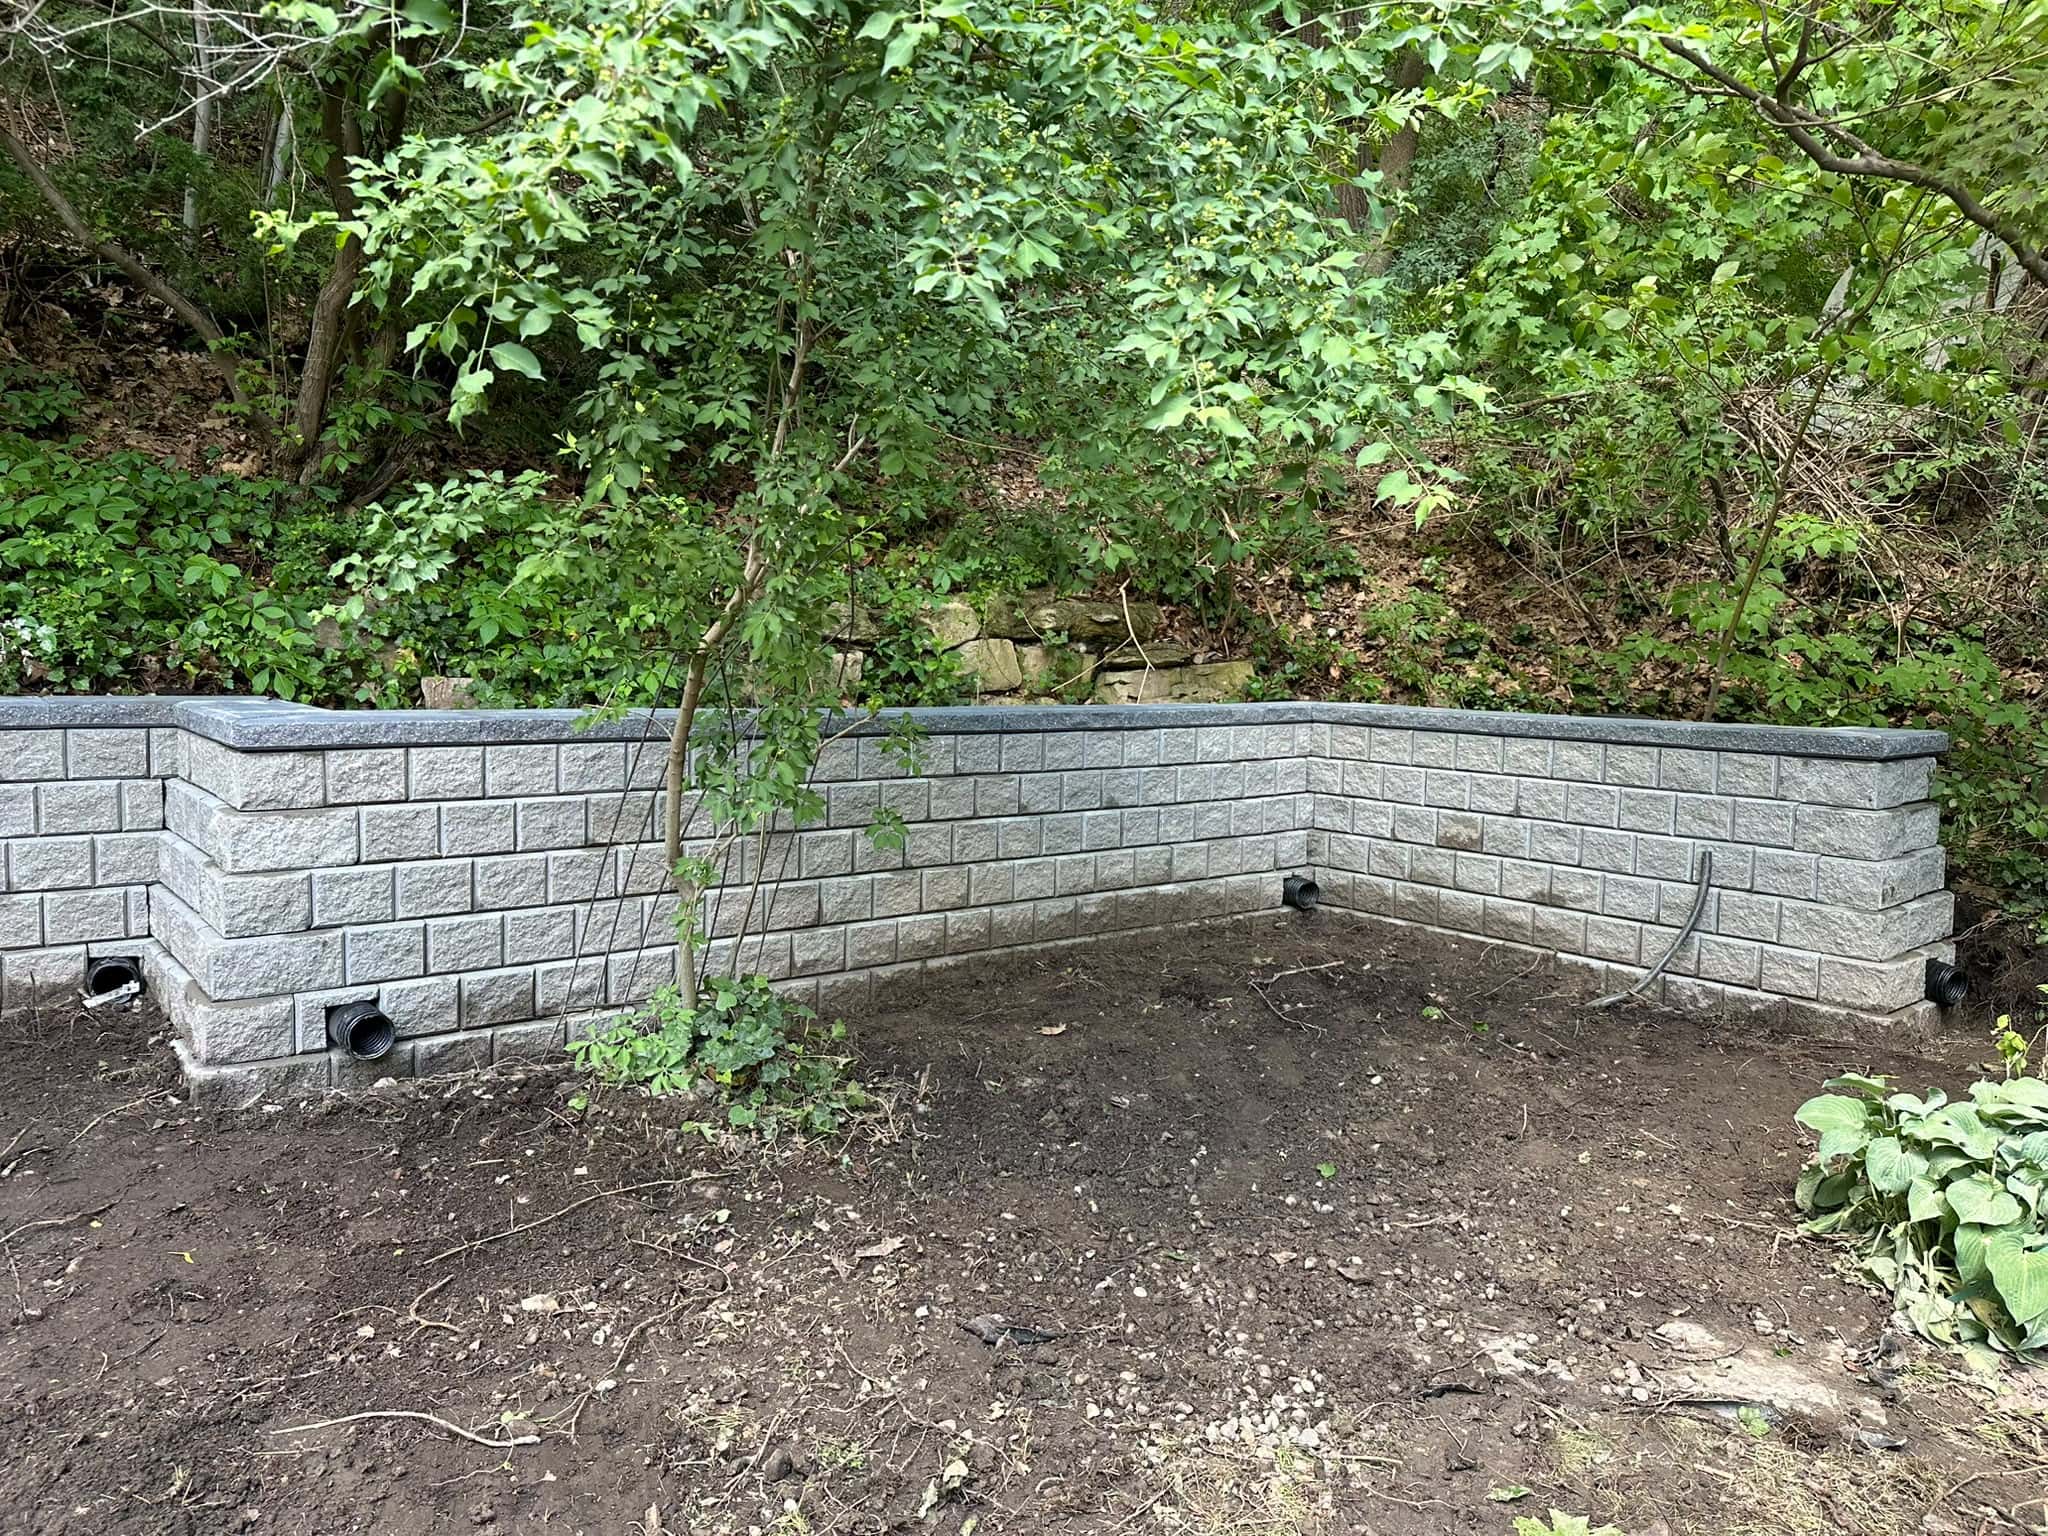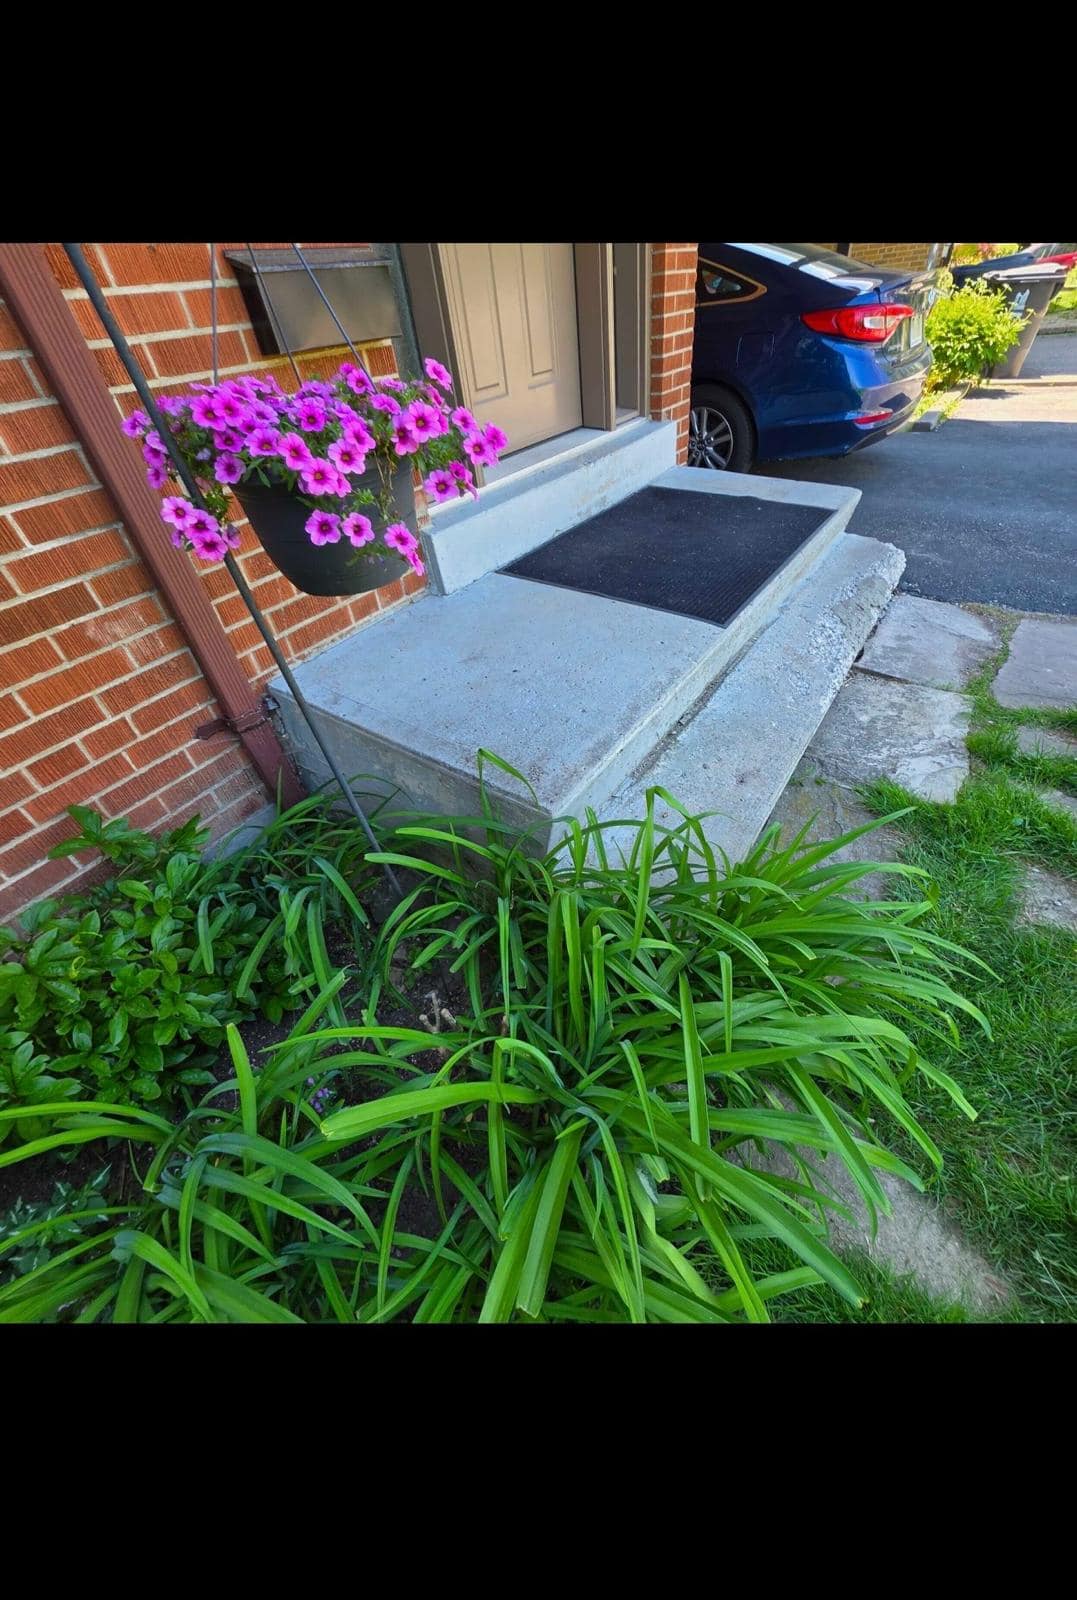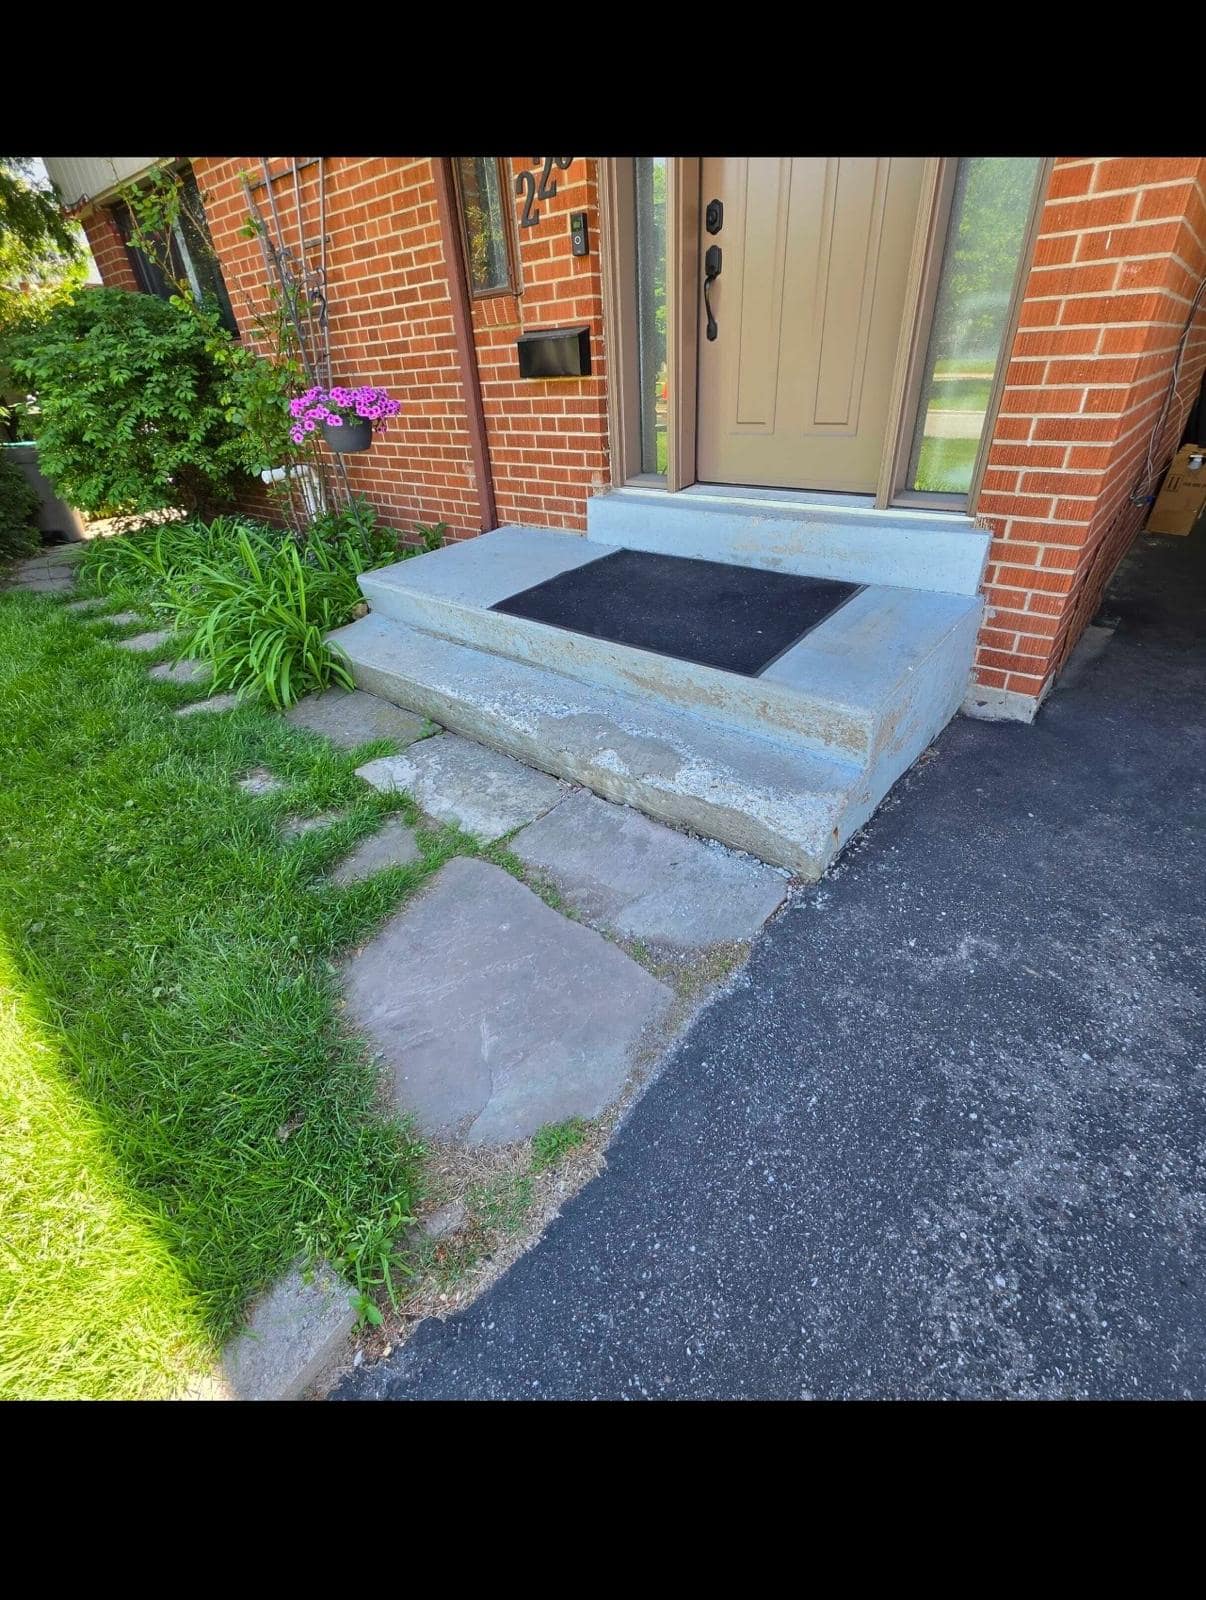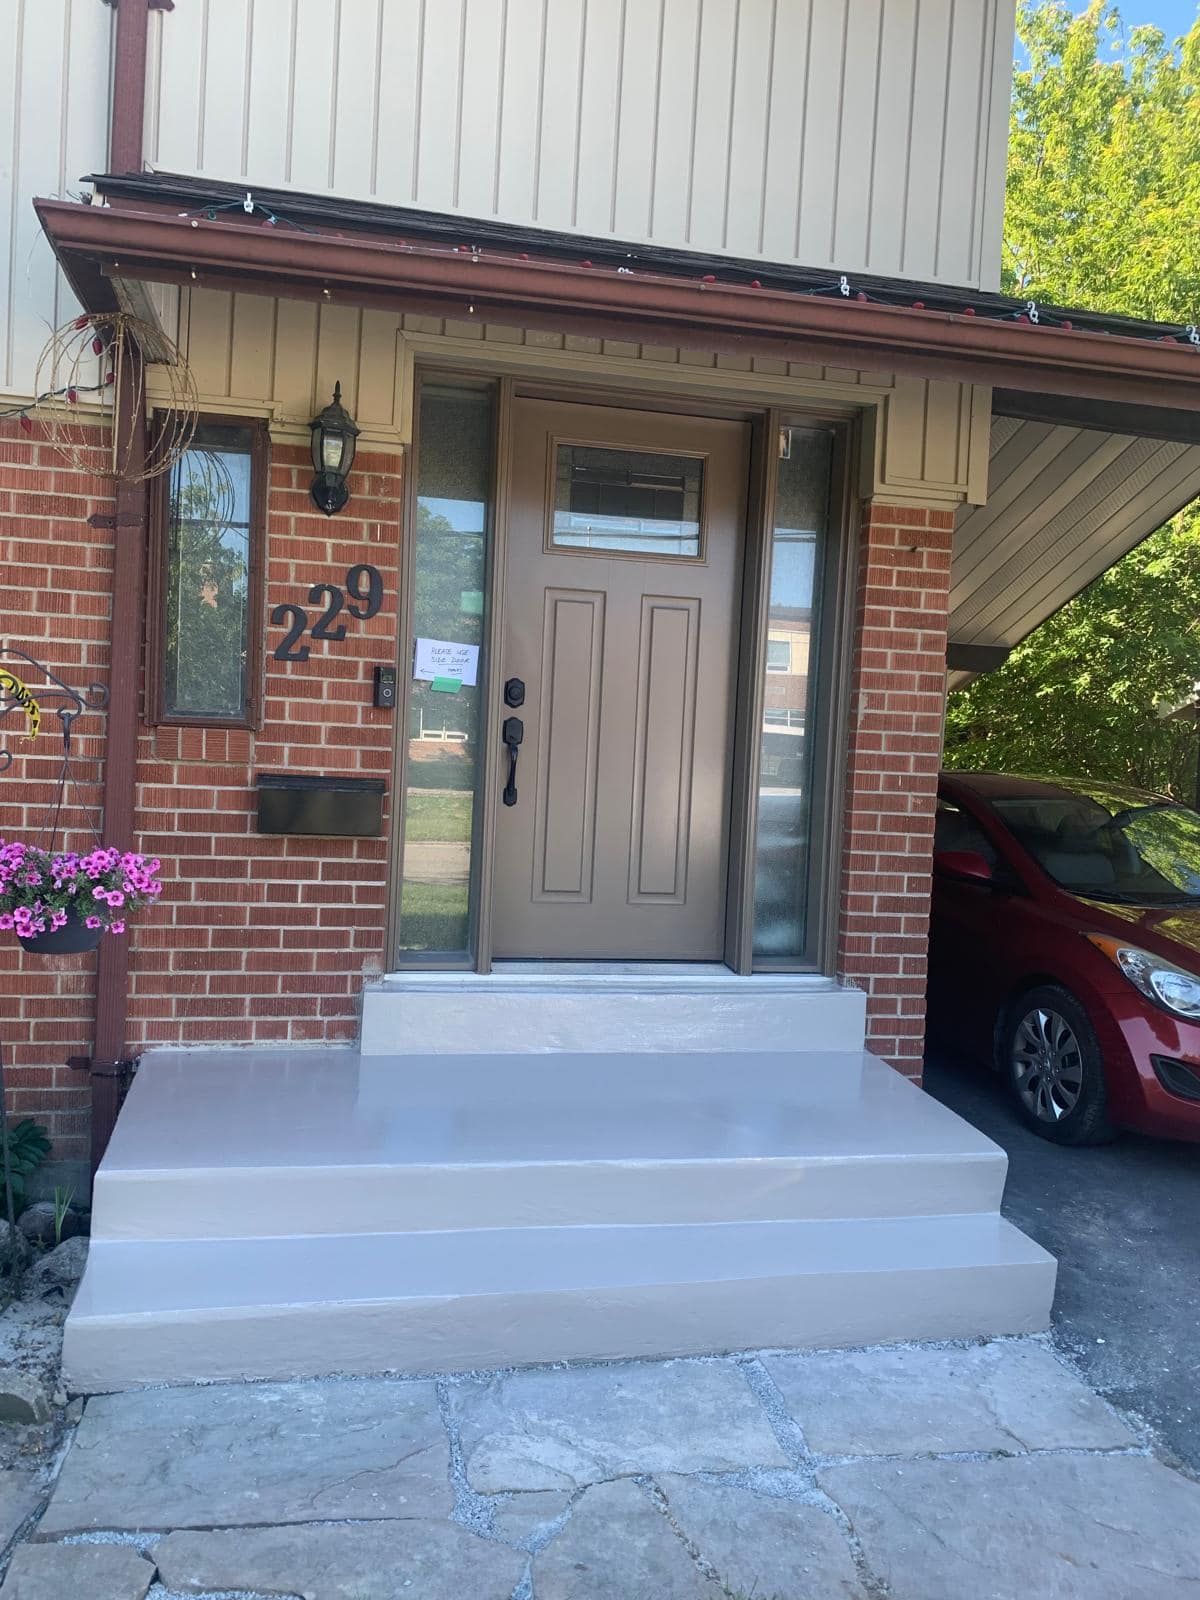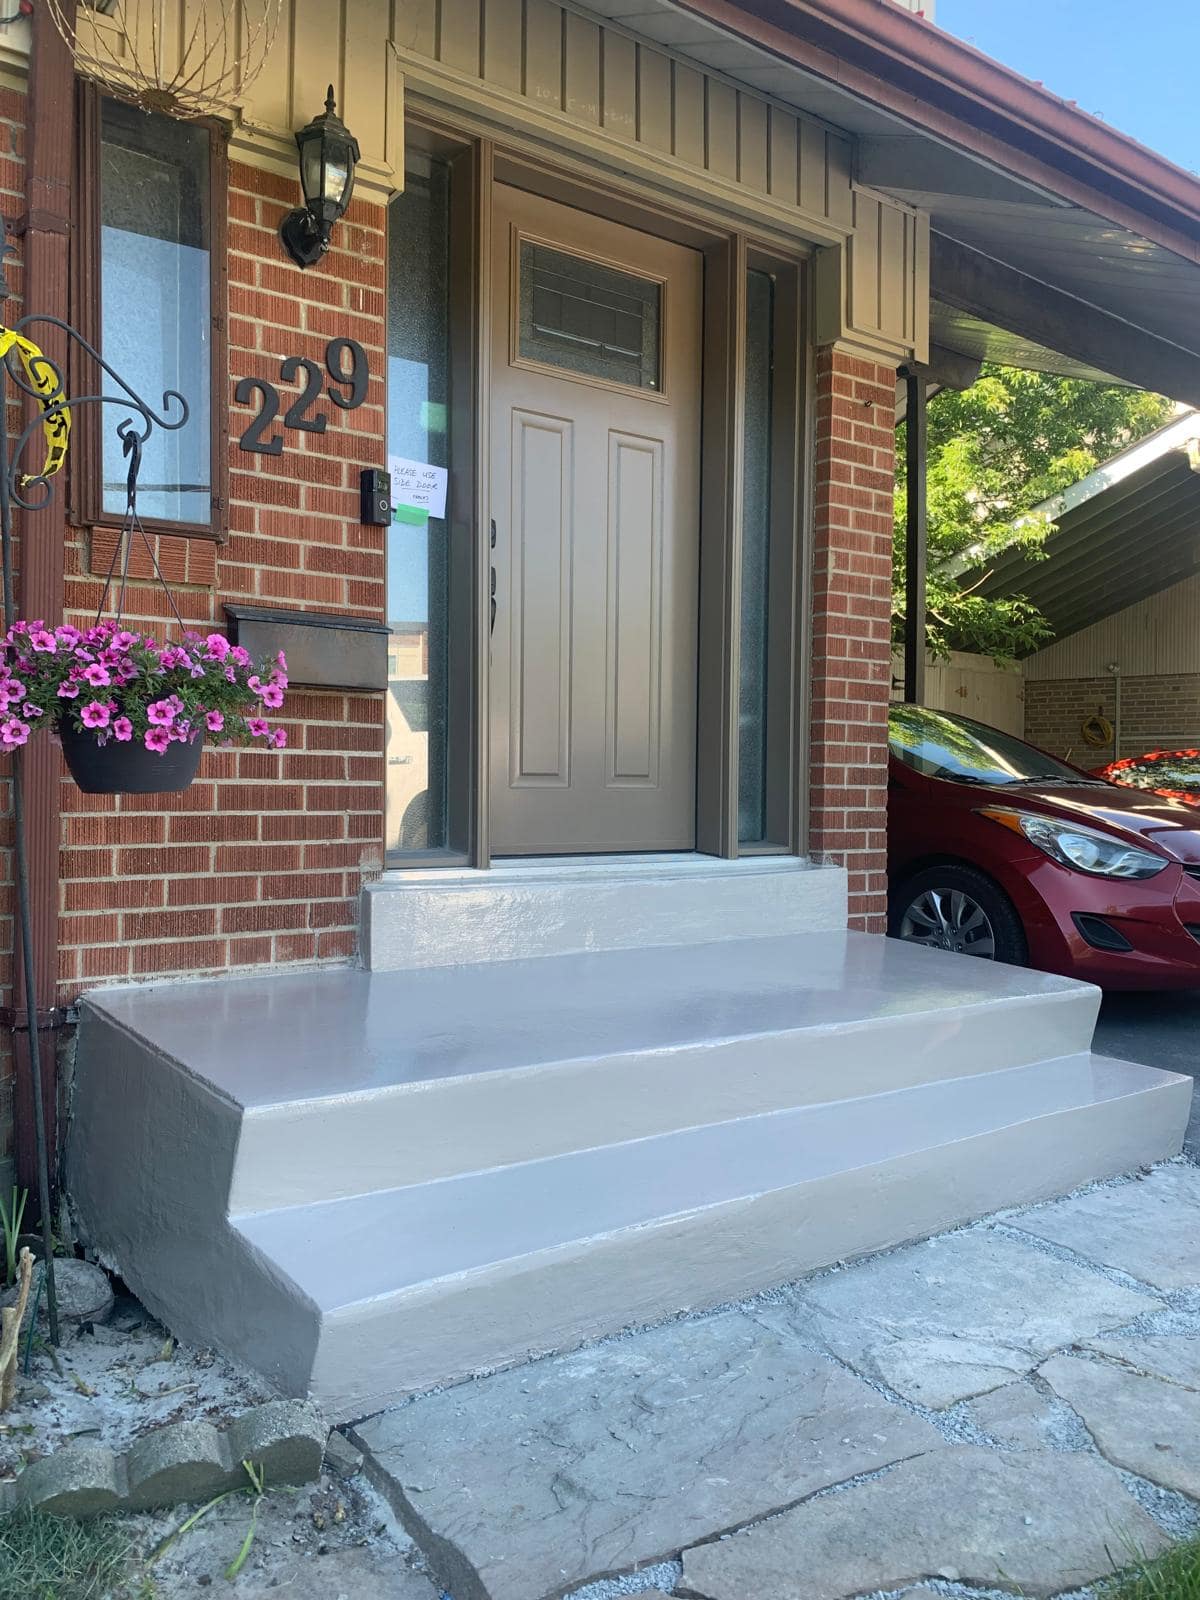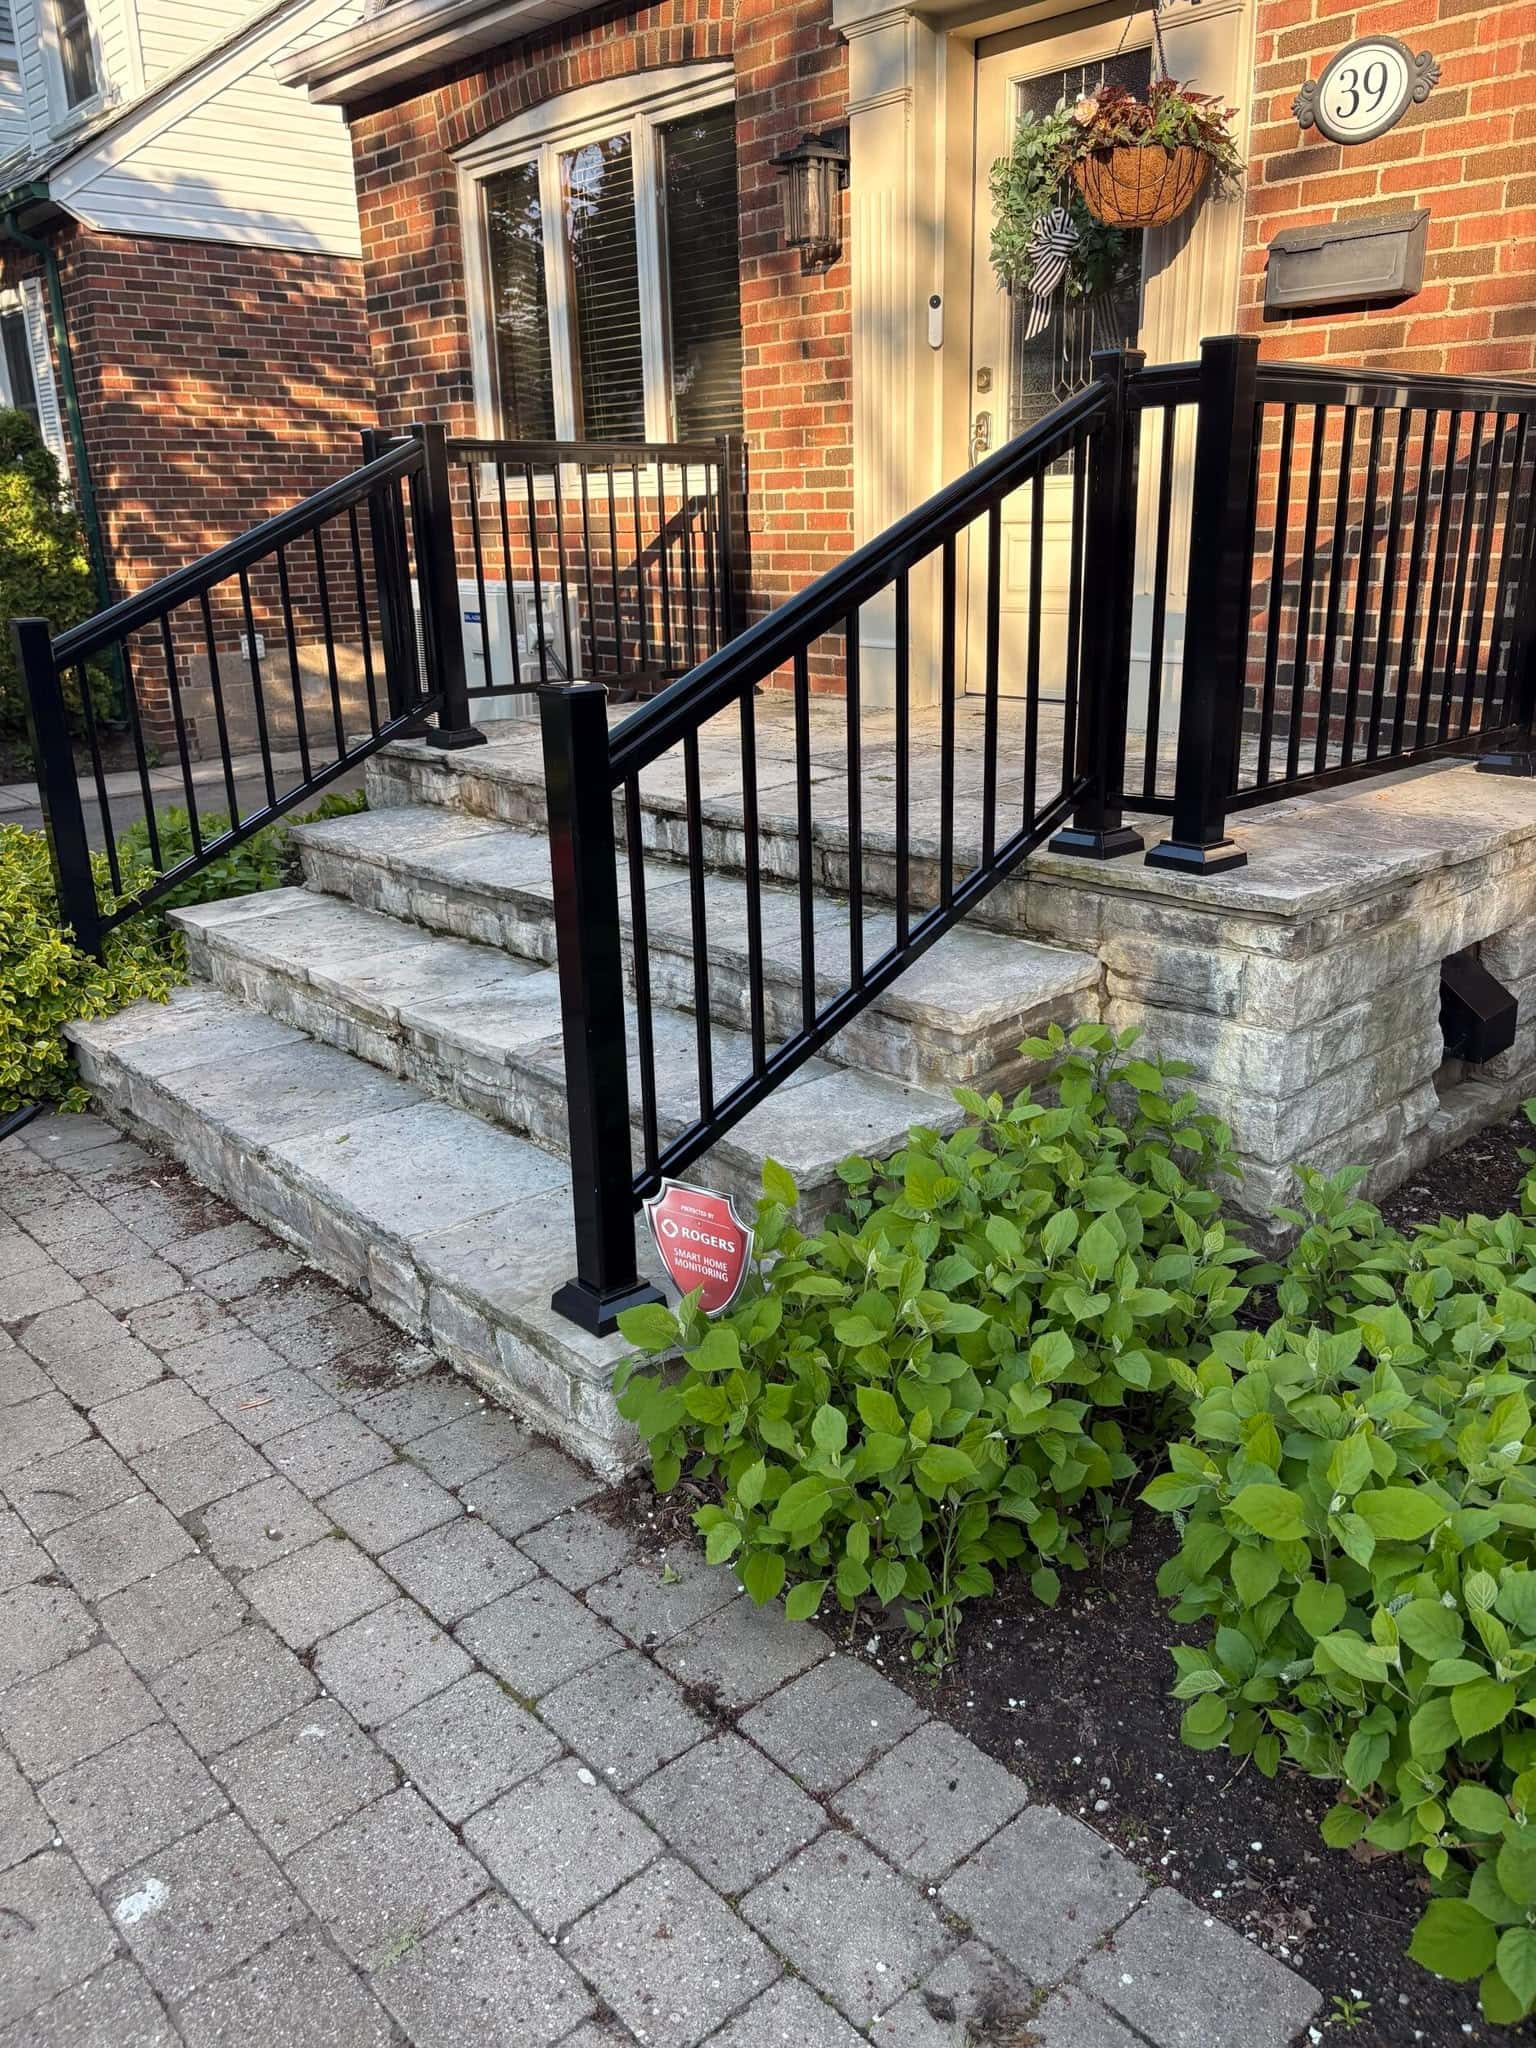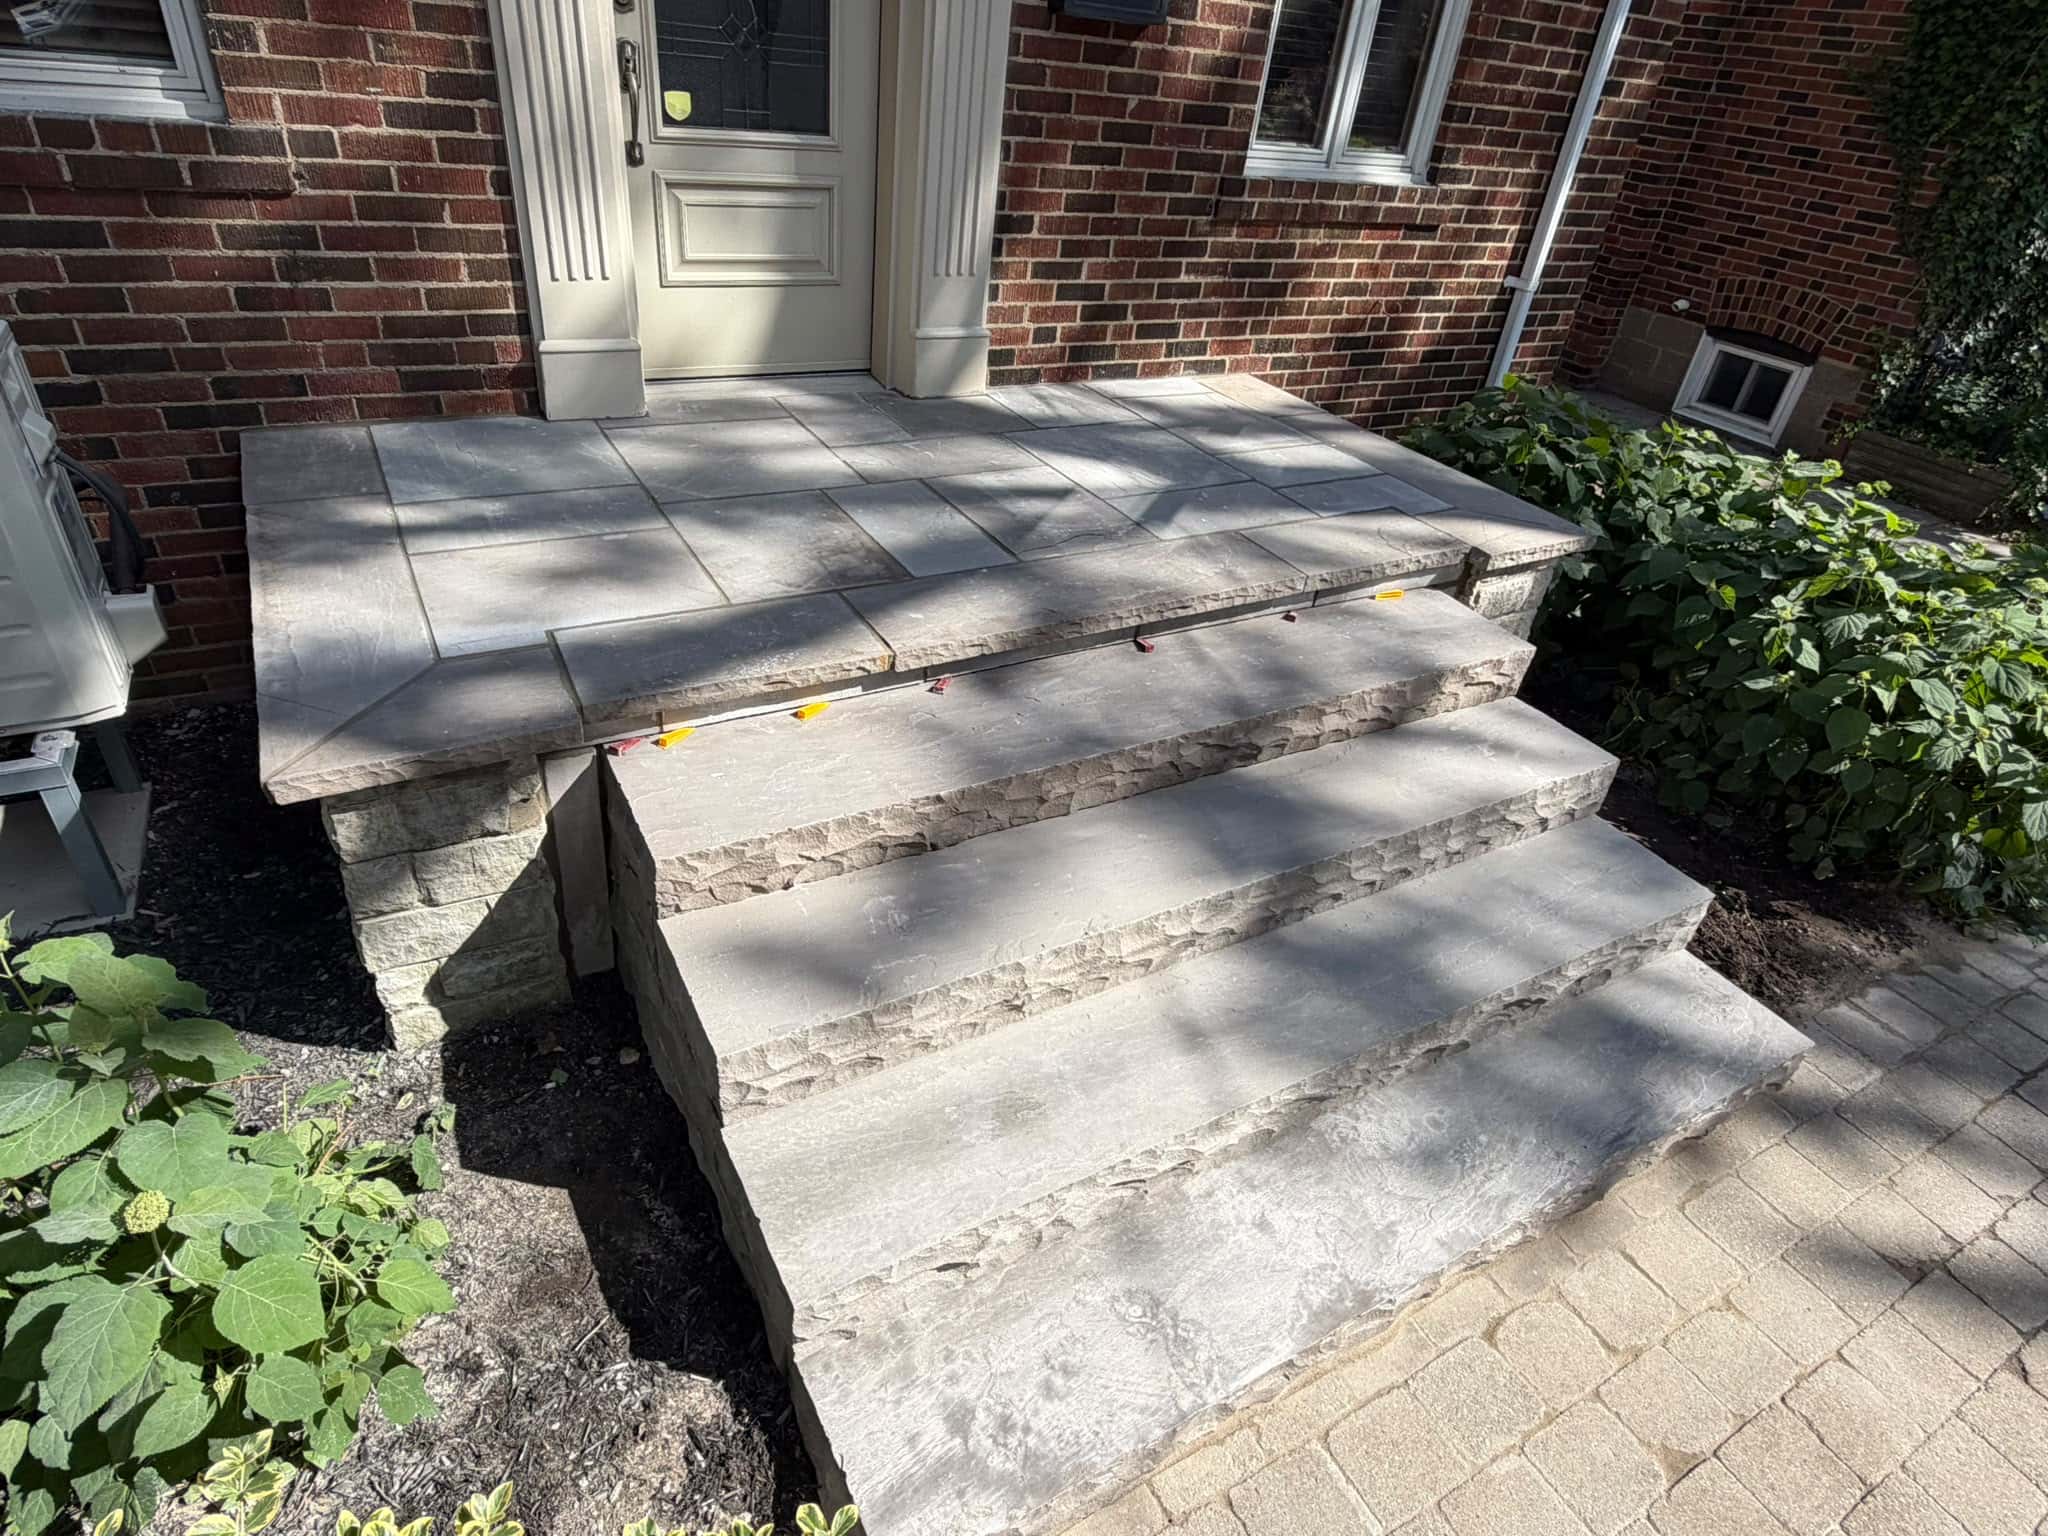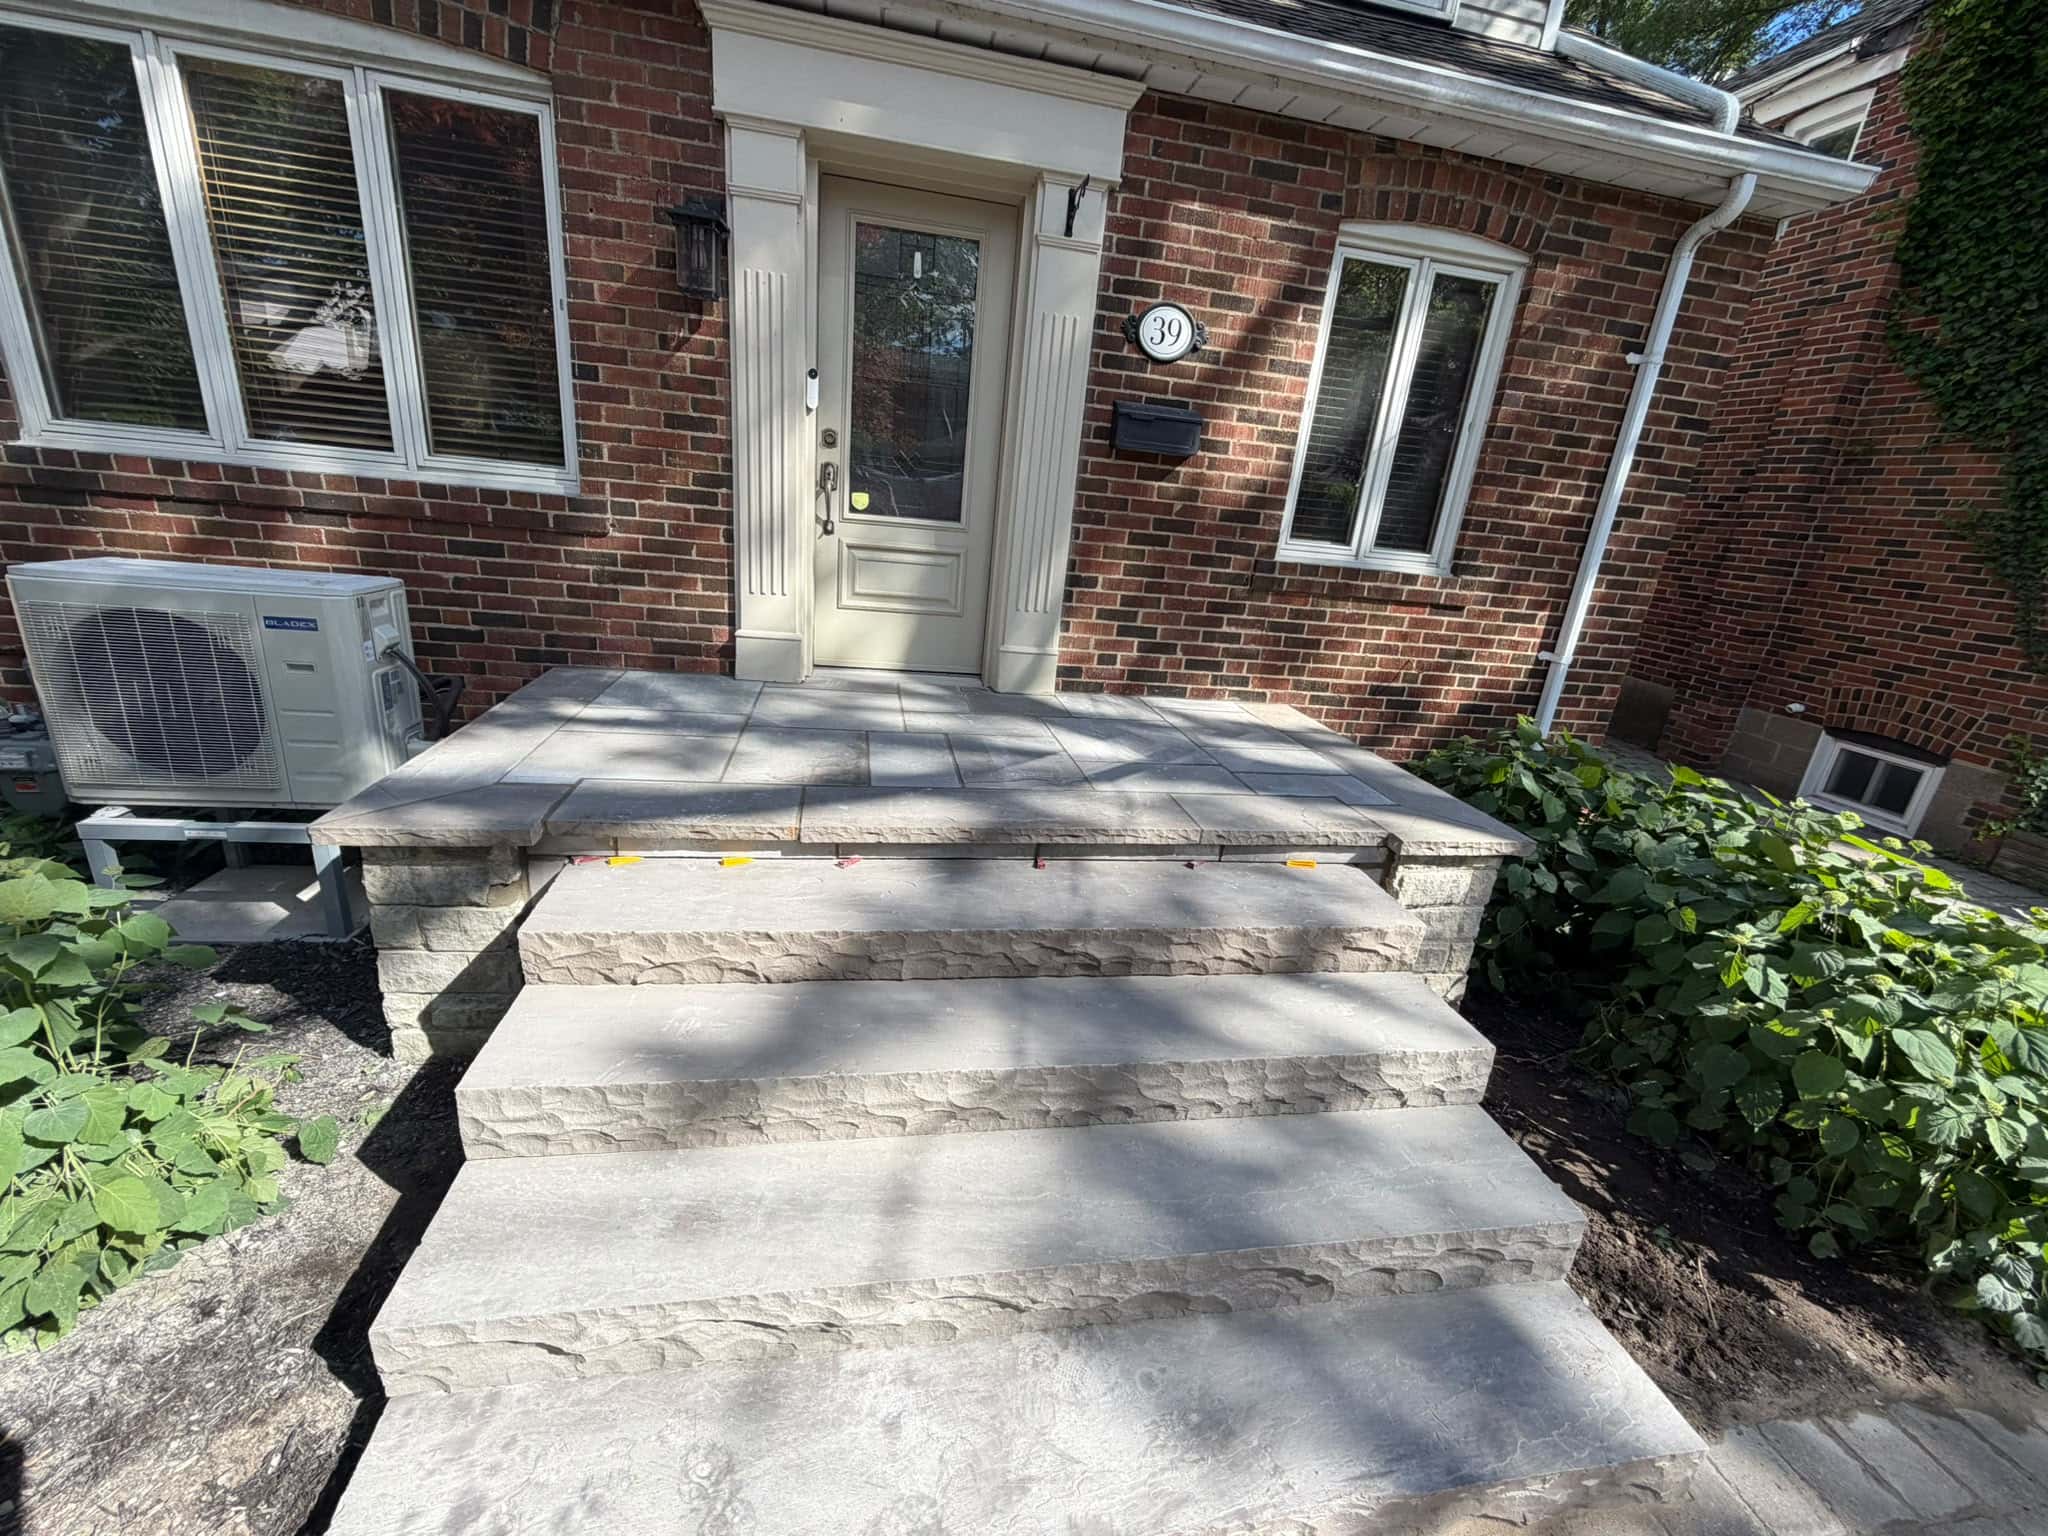
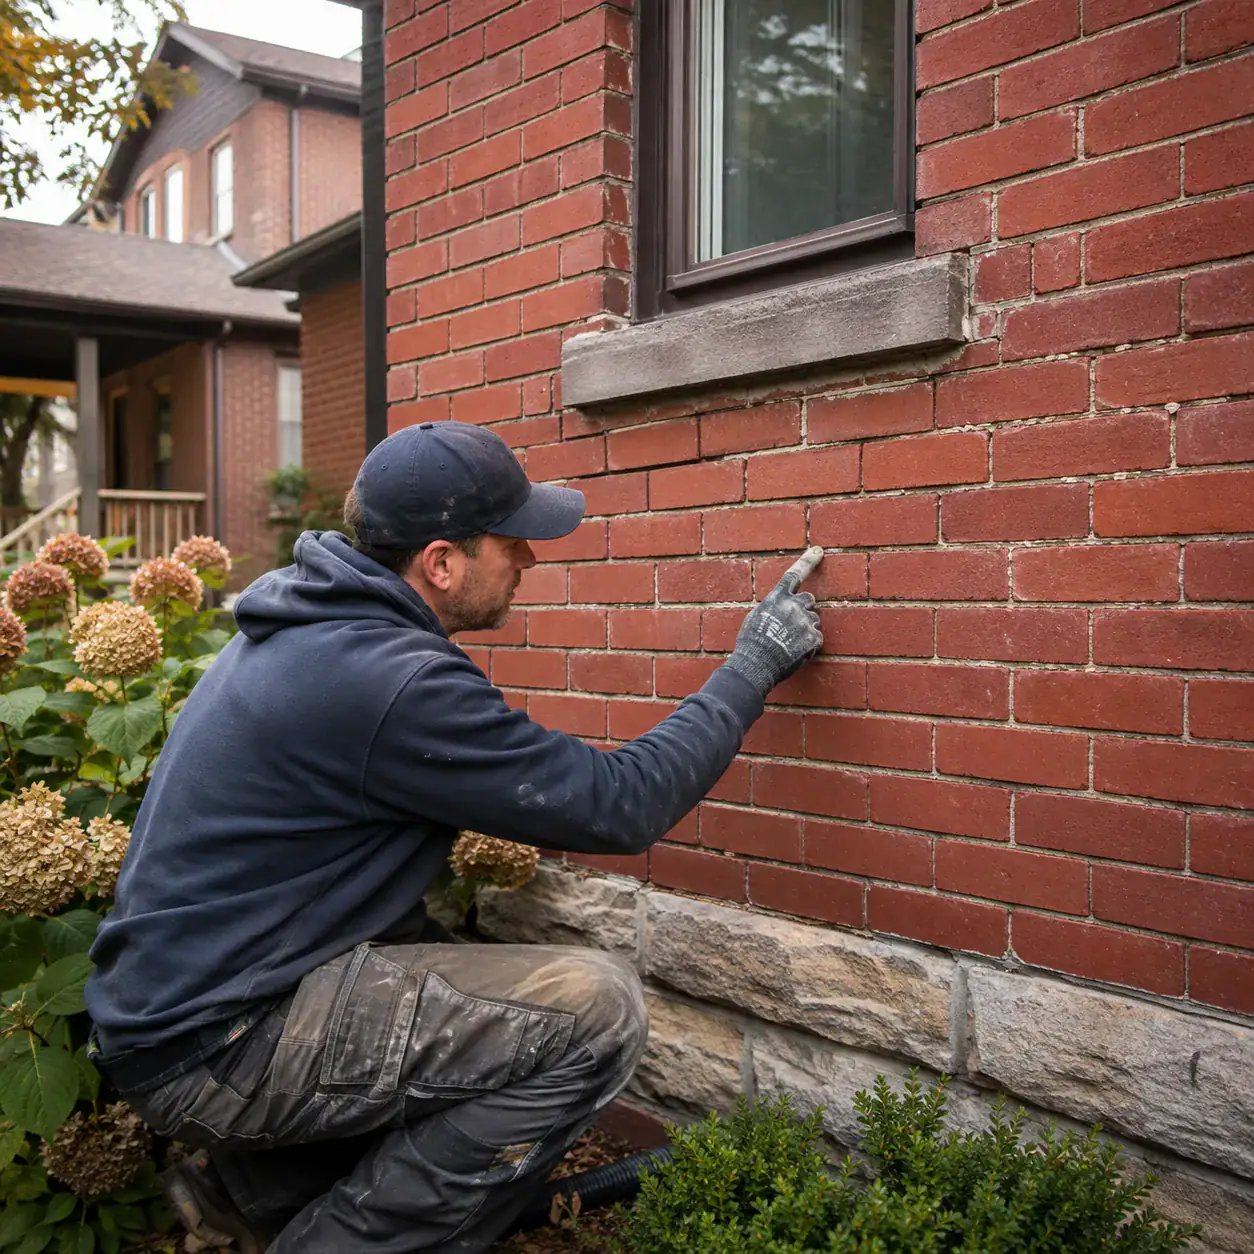
Repointing before winter can help protect brickwork when mortar joints are cracked, missing, recessed, loose, or allowing moisture into the wall. For Toronto homeowners, late summer and early fall are good times to inspect mortar because you still have time to identify weak areas before repeated rain, snow, and freeze-thaw cycles put them under more stress.
Not every old-looking mortar joint needs immediate repair. Some joints may be weathered but still sound. Others may have deteriorated deeply enough that water can enter the masonry or individual bricks can begin to loosen. The important part is knowing the difference.
This guide explains the signs that mortar joints may need repointing before winter, which areas deserve the closest attention, why moisture matters, what homeowners can safely inspect themselves, and when the problem may involve more than mortar.
What Is Repointing?
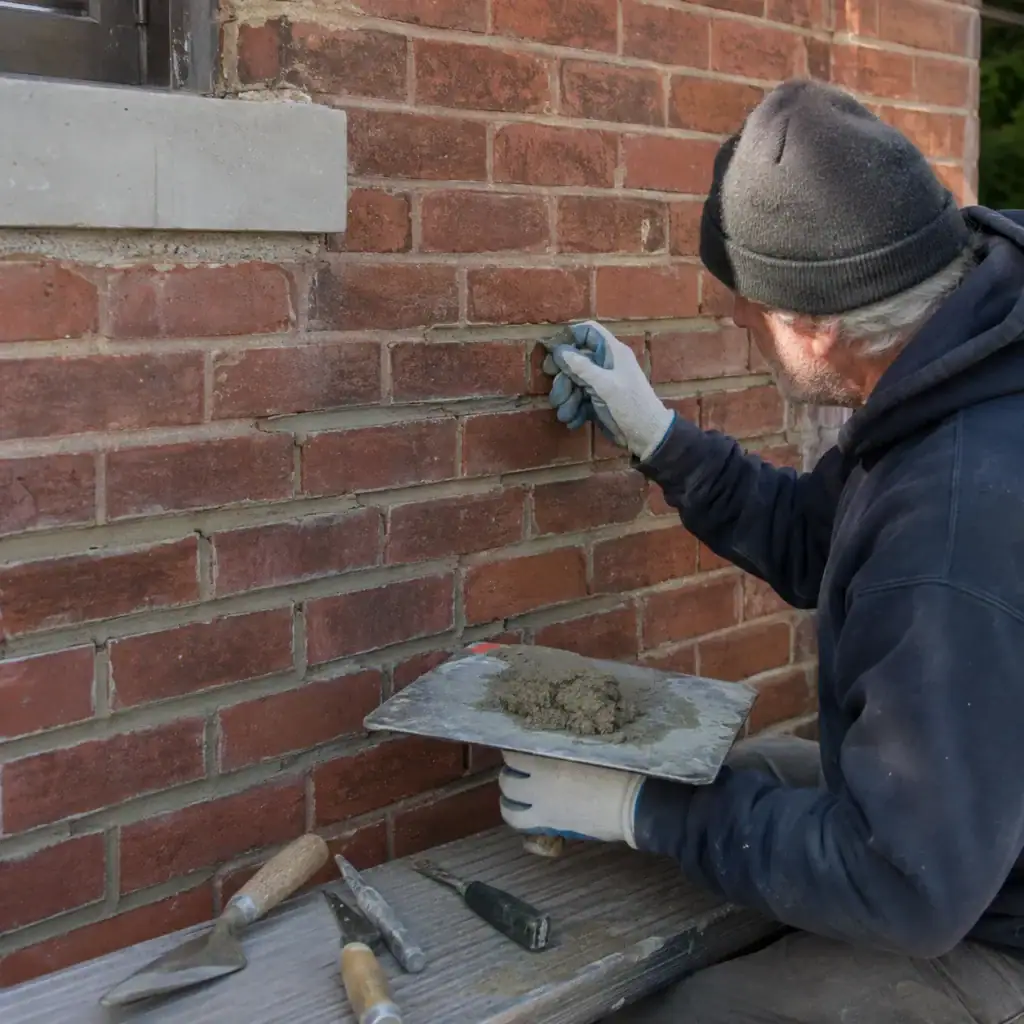
Repointing is the process of removing deteriorated mortar from masonry joints and replacing it with compatible new mortar. The goal is to restore the joint without removing sound brick or stone unnecessarily.
People often use the terms repointing and tuckpointing interchangeably in everyday conversation. Technically, repointing describes replacing deteriorated mortar, while traditional tuckpointing is a more decorative joint-finishing method. For most homeowners searching for mortar repair, however, both terms are commonly used to describe mortar-joint restoration.
A properly repointed wall should have deteriorated material removed to a suitable depth, clean joints, compatible replacement mortar, and a joint profile that works with the existing masonry.
A&A Masonry’s tuckpointing and mortar-joint repair in Toronto page explains the repair process and common signs of failing mortar in more detail.
Why Check Mortar Before a Toronto Winter?
Check mortar before winter because damaged joints can create easier paths for water to enter masonry. When temperatures fall below freezing, moisture within vulnerable areas can freeze and expand. Repeated freeze-thaw cycles can worsen joint deterioration and damage surrounding bricks.
Toronto’s winter conditions make moisture management particularly important. Fall rain, melting snow, changing temperatures, roof runoff, and poorly directed downspouts can repeatedly wet the same parts of a wall.
Mortar is also often more sacrificial than the masonry units around it. On many older brick walls, the mortar may deteriorate before the bricks themselves. Repairing failing joints at the right time can help preserve sound brickwork rather than waiting until both materials require attention.
Sign 1: Mortar Is Cracked
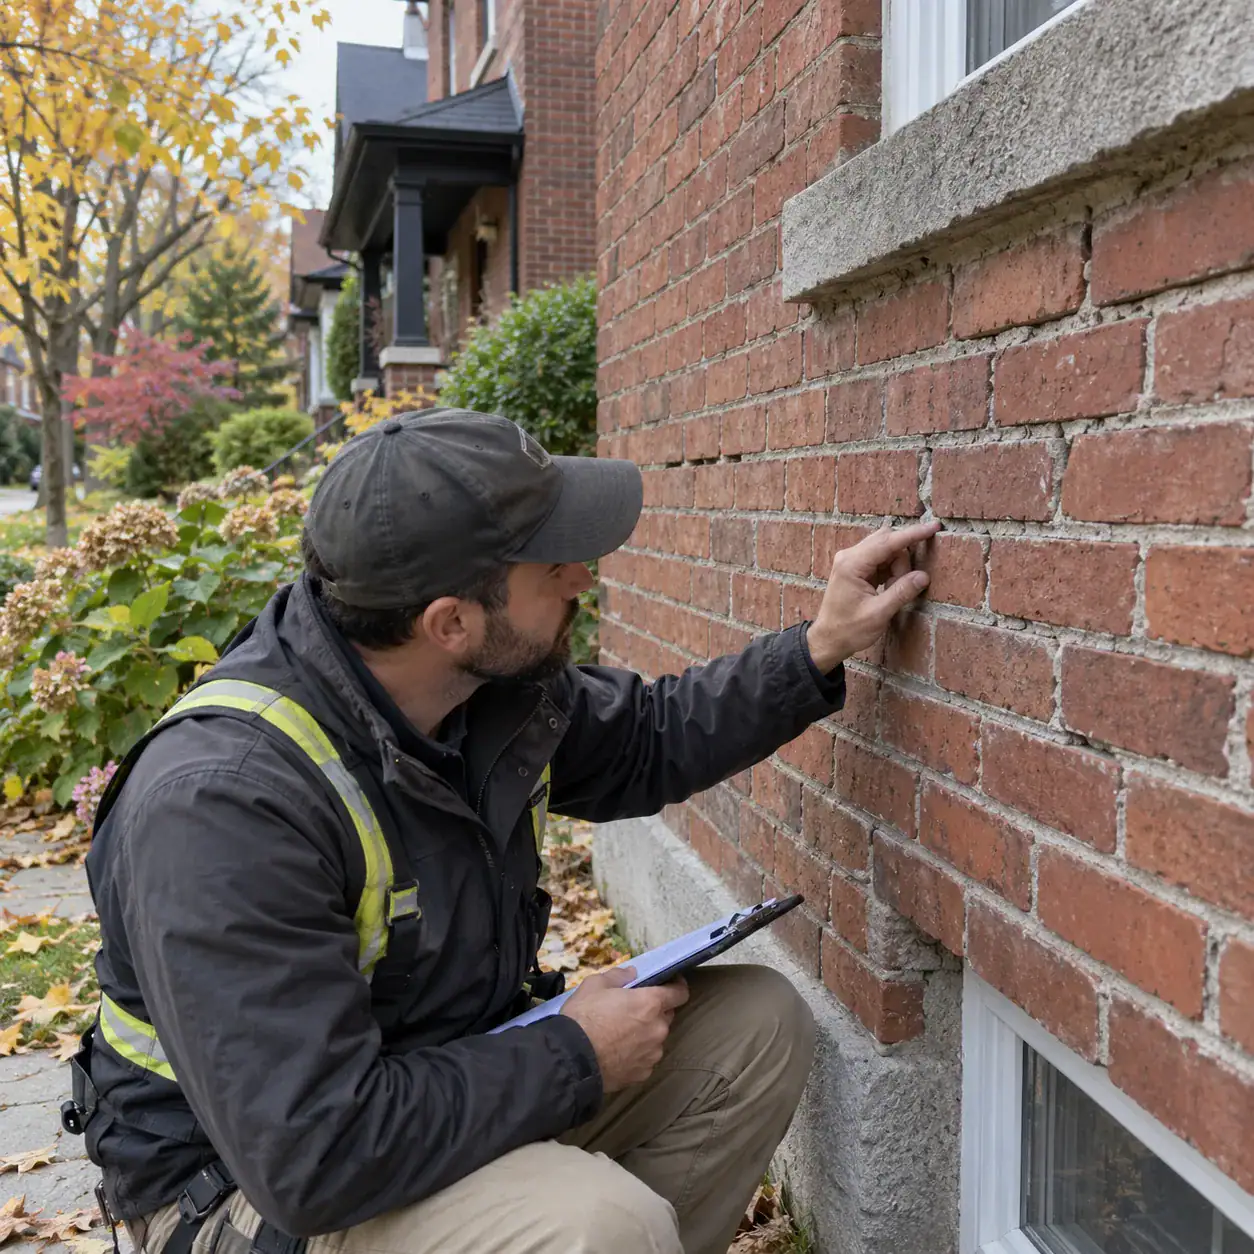
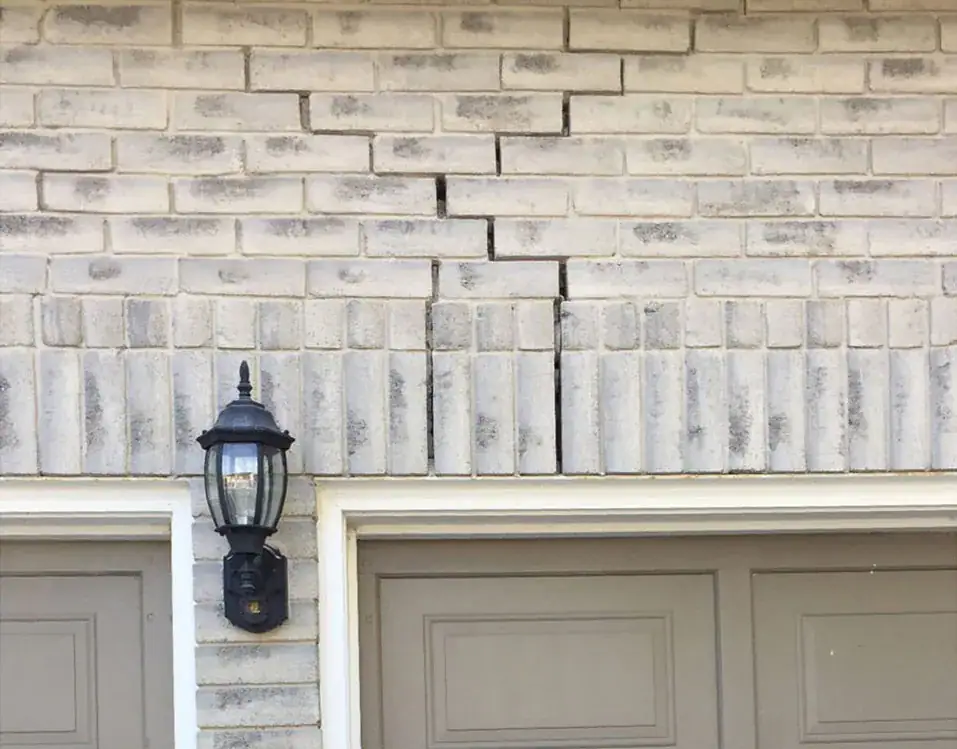
Cracked mortar is one of the easiest warning signs to identify. Small isolated cracks do not always mean a major problem, but widespread cracking or cracks that continue through many joints deserve closer inspection.
Mortar can crack because of age, weather exposure, movement, moisture, incompatible previous repairs, or stresses elsewhere in the wall.
Pay particular attention when cracks:
- Run through several horizontal or vertical joints.
- Appear around windows and doors.
- Return after previous repairs.
- Are wide enough to collect water.
- Occur beside loose or displaced bricks.
If cracks follow a larger pattern through the wall, do not assume repointing alone will solve them. Movement, lintels, settlement, or another underlying condition may need assessment first.
Sign 2: Mortar Has Receded Deep Into the Joint
Recessed mortar joints can indicate that weathering has removed a meaningful amount of the original mortar. A slight difference in joint depth may be normal depending on the original joint profile, but deeply eroded joints expose more brick edges.
Stand several metres from the wall and look for areas where the mortar lines appear noticeably darker or deeper than surrounding sections. Then inspect those areas more closely from ground level.
Deep joints can collect water and snow more easily. They can also expose more of the brick edges to weather.
Do not simply smear new mortar over the face of a recessed joint. Proper repointing requires removing deteriorated material and preparing the joint so the new mortar can bond durably.
Sign 3: Mortar Crumbles or Feels Sandy
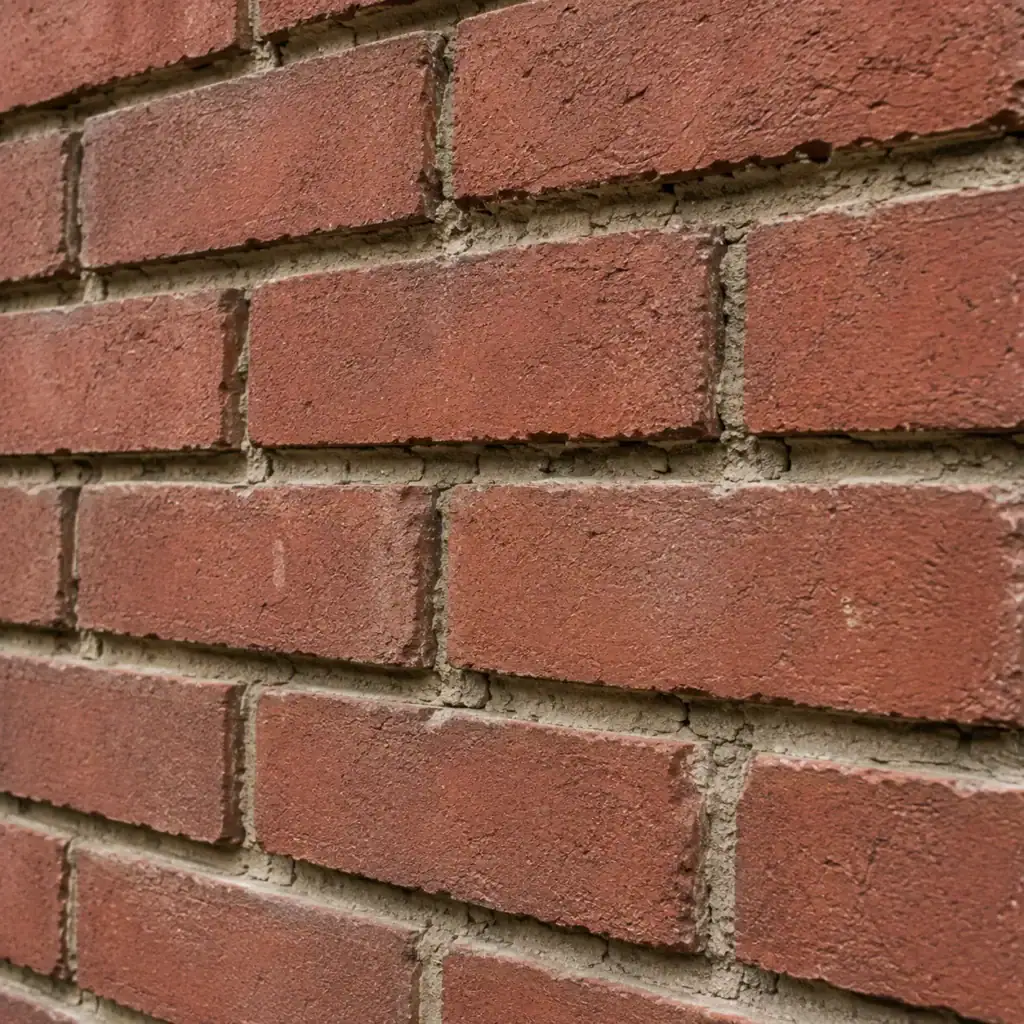
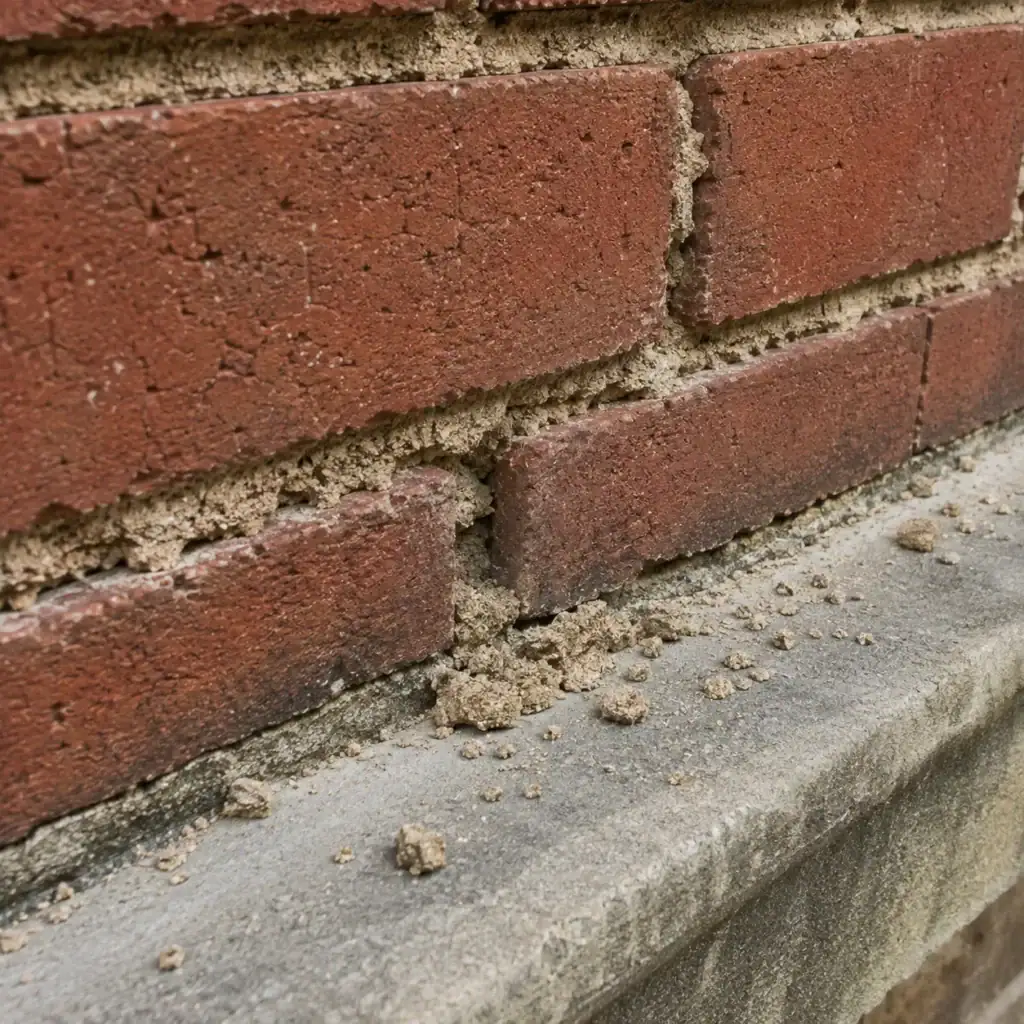
Mortar that powders, crumbles, or falls away easily may have lost enough strength to require repair. This is different from a solid joint that simply looks old or discoloured.
From an accessible ground-level area, homeowners may notice loose grains of mortar collecting on window sills, ledges, steps, or at the bottom of a wall. Sections may also look rough and washed out.
Avoid aggressively scraping joints with metal tools as a DIY test. The goal is to observe the condition, not damage material that may still be serviceable.
Widespread sandy mortar is especially important on older Toronto homes because a large percentage of the wall may still contain sound original brick worth preserving.
Sign 4: Pieces of Mortar Are Missing
Missing mortar creates open gaps where water can enter more easily. Even a relatively small opening can become a problem if it sits in an exposed location that receives frequent rain or snow.
Look closely around:
- Window and door openings.
- Chimneys.
- Parapets and upper walls.
- Porches and brick columns.
- Areas below roof edges.
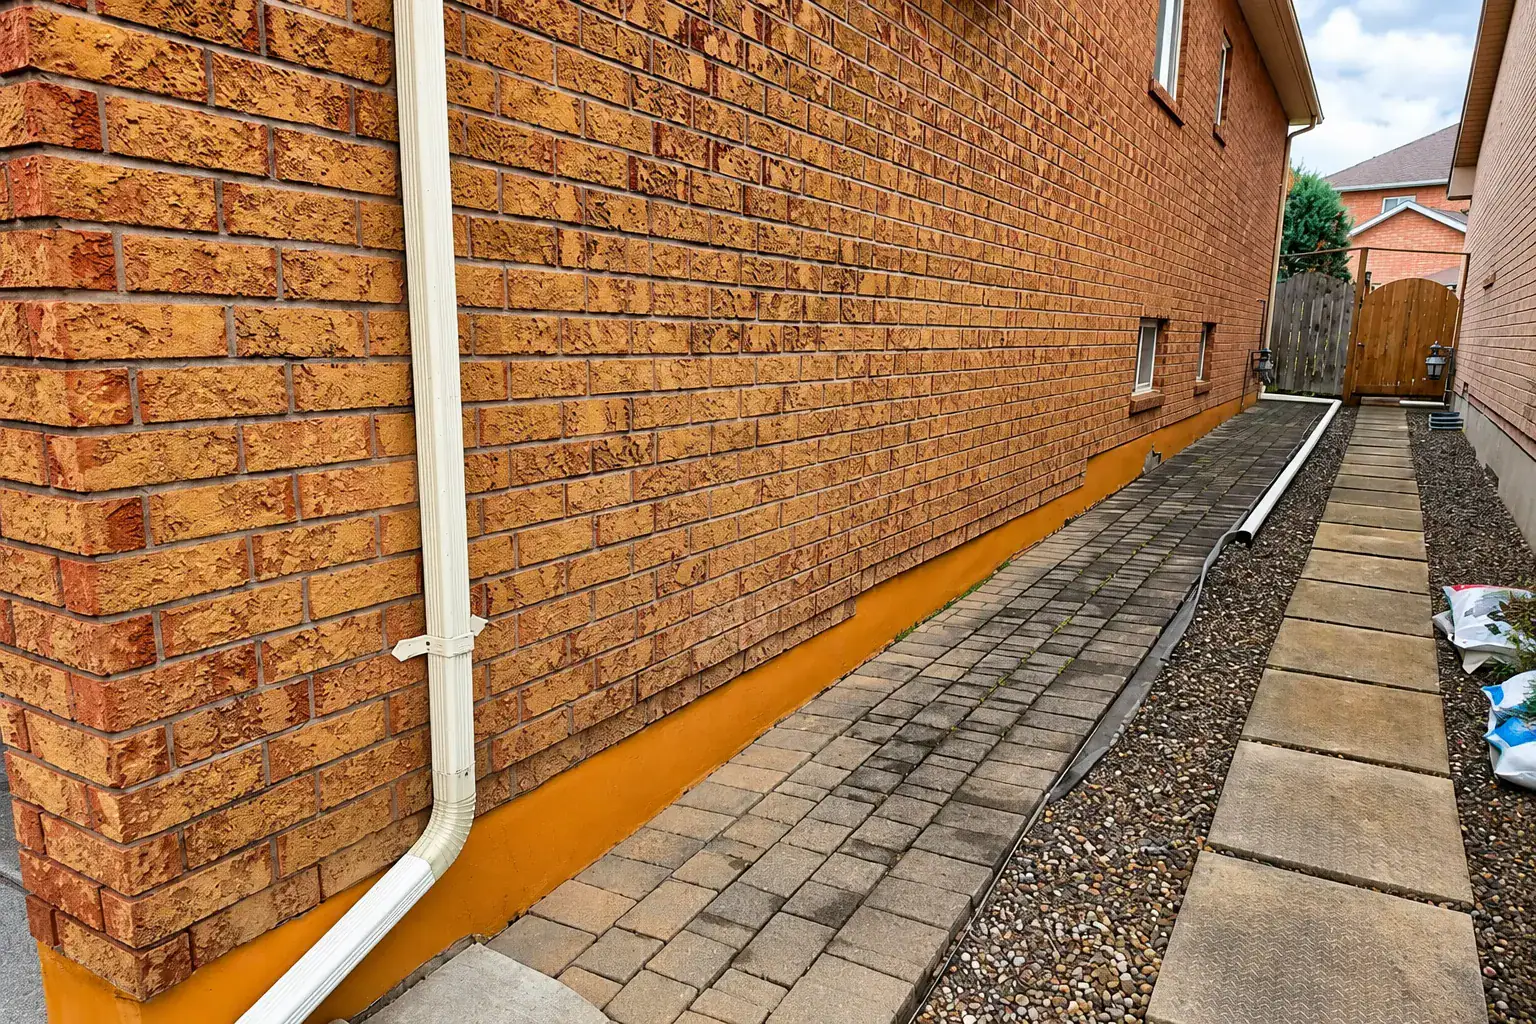
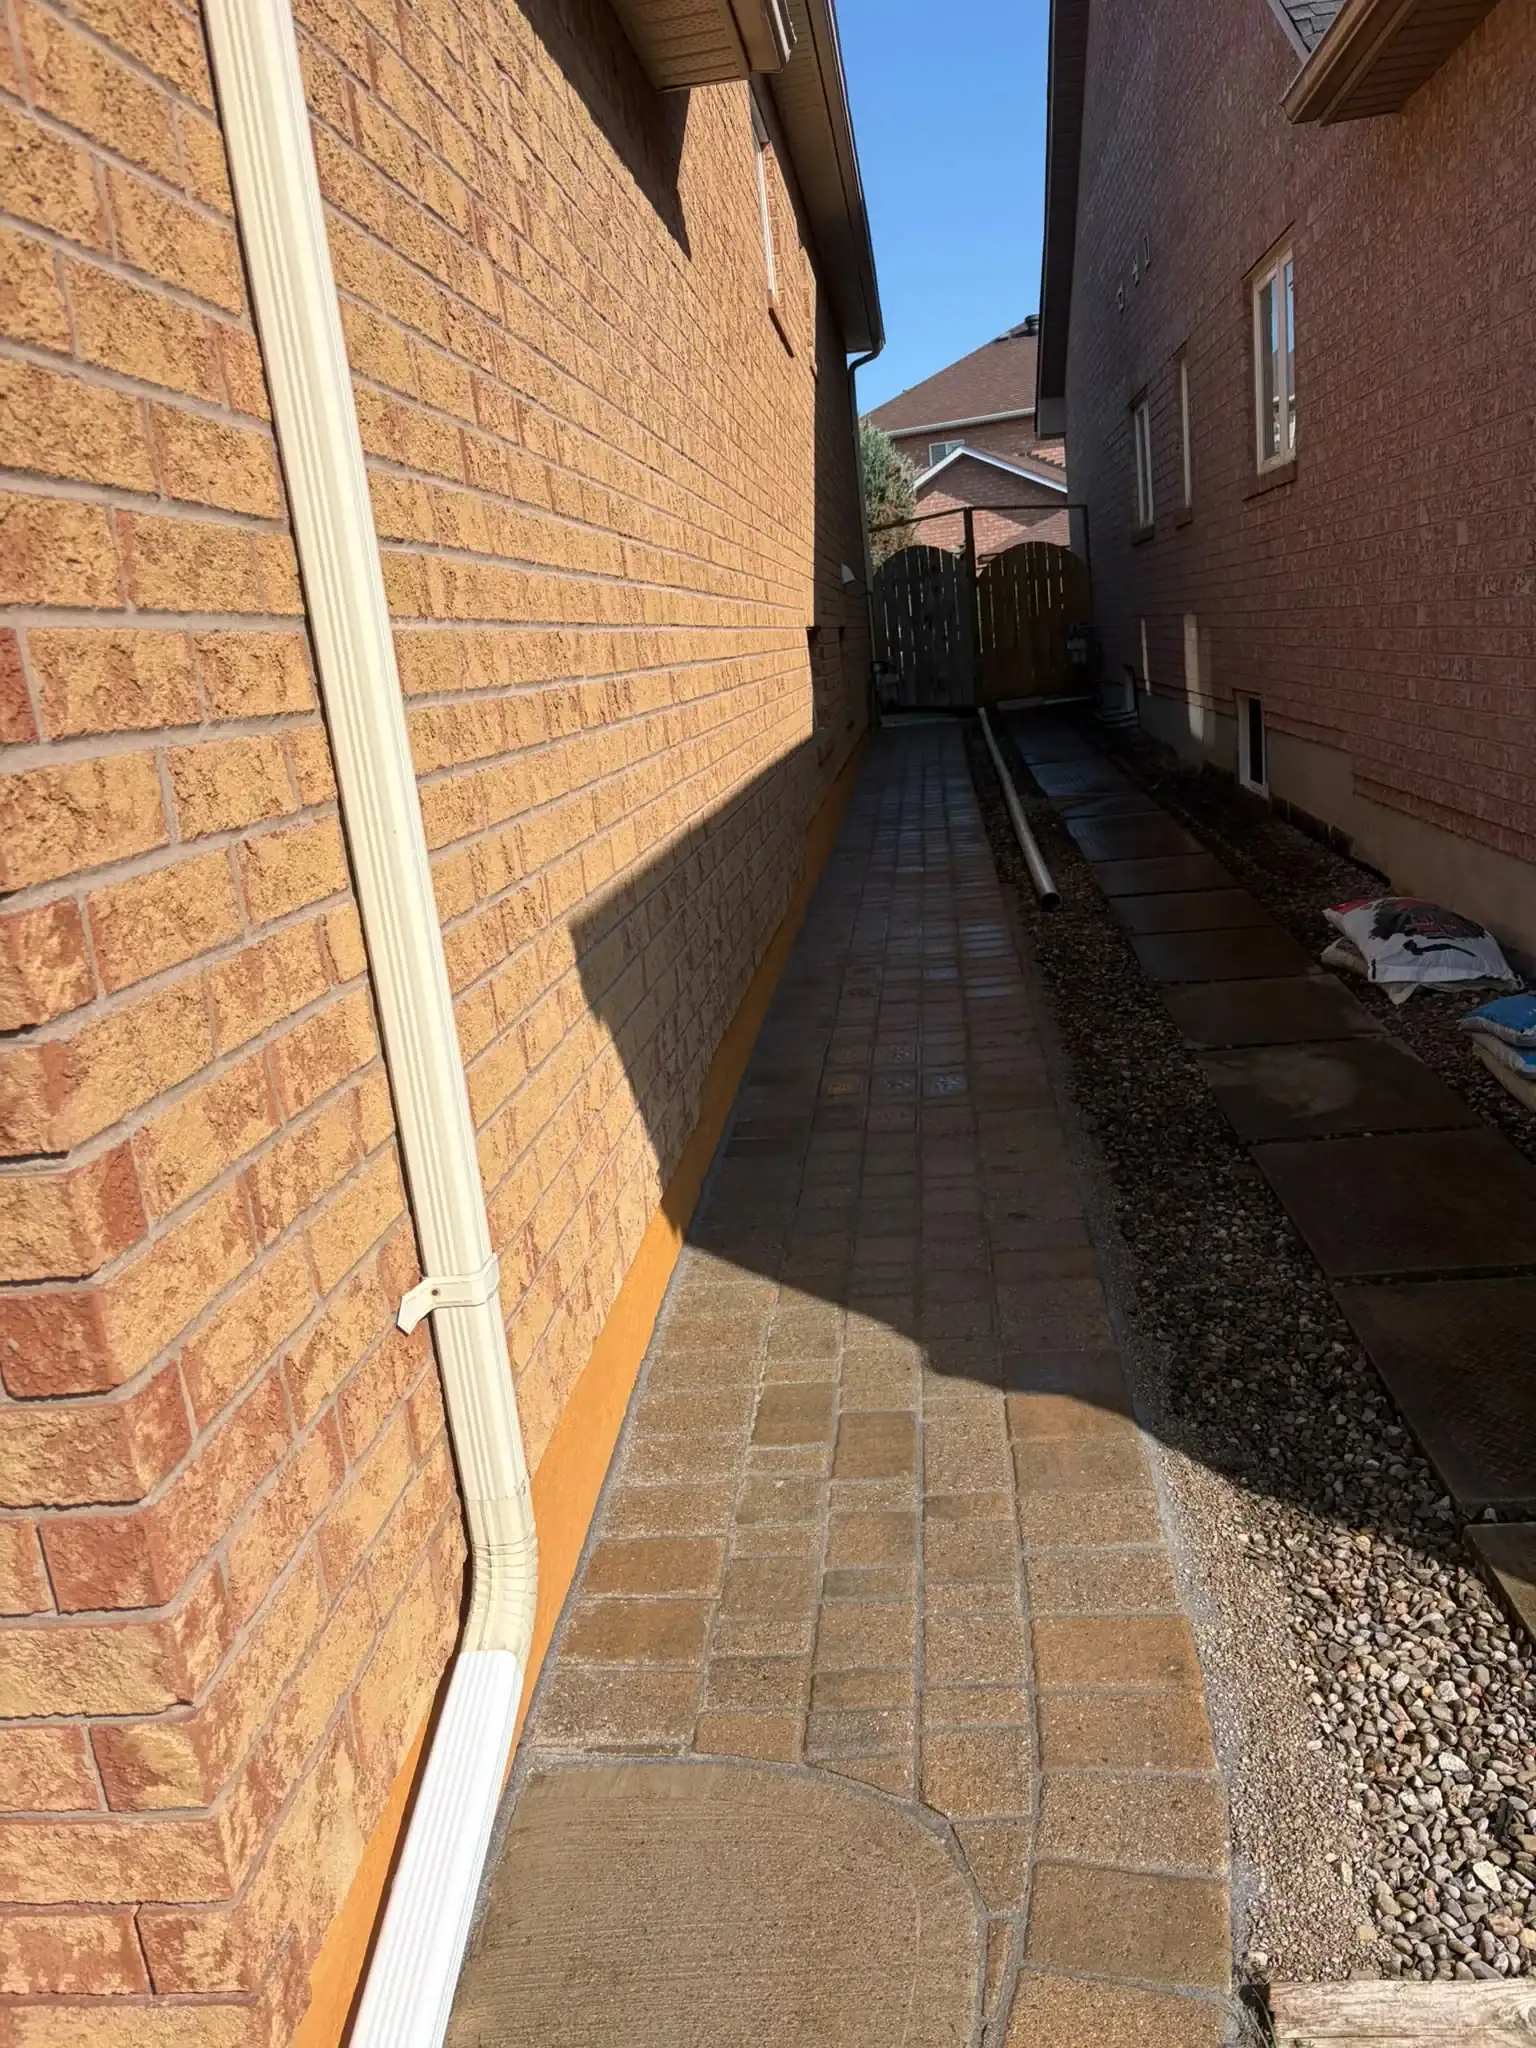
- Lower walls near driveways and walkways.
- Locations beside downspouts.
Missing mortar does not always mean the entire elevation needs repointing. Localized repair may be enough when surrounding joints remain sound.
Sign 5: Brick Edges Are Becoming Exposed
As mortar erodes deeper into a joint, the edges of the surrounding bricks receive more direct exposure to water and weather. This is especially true with older or softer brick.
If the mortar has worn significantly behind the brick face, assess the repair before simply applying a surface patch.
Compatible mortar matters because the brick and mortar need to work together. Unnecessarily hard mortar in older masonry can shift stresses to the bricks rather than behaving as the more repairable part of the wall.
If the bricks themselves are already flaking or crumbling, the project may need both repointing and selective brick replacement. A&A Masonry’s brick repair vs brick replacement guide explains how to separate mortar failure from brick failure.
Sign 6: Water Stains Appear Around Mortar Joints
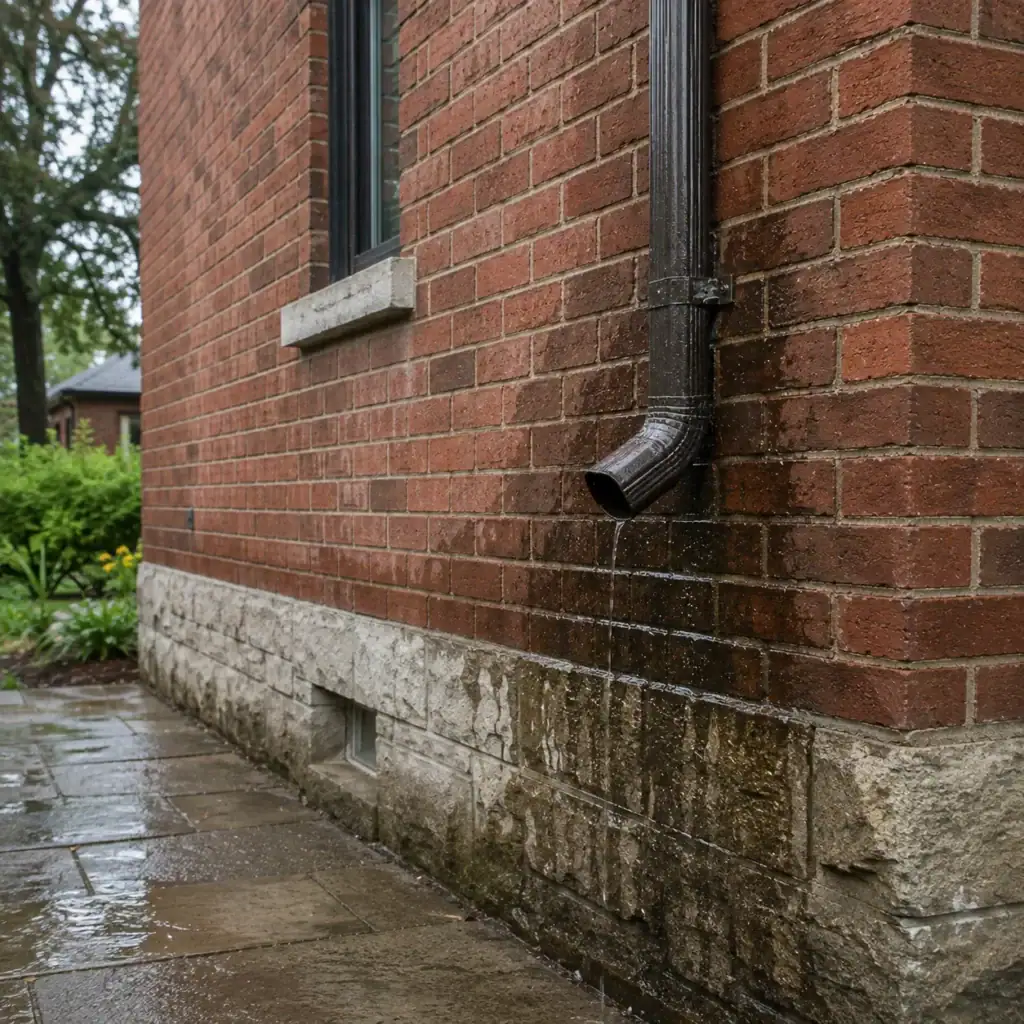
Water staining around mortar joints can indicate the wall stays wet or that moisture repeatedly enters the same area. Repointing may help, but you also need to address the water source.
Check whether the staining appears below a leaking gutter, beside a downspout, under a window sill, around a chimney, or near a roof-to-wall junction.
The City of Toronto advises homeowners to keep eavestroughs and downspouts clear and to direct disconnected downspouts away from foundation walls and areas where runoff can create problems.
Its stormwater guidance for homeowners also recommends keeping snowmelt away from foundations and ensuring downspouts are working properly.
Repointing deteriorated mortar without fixing repeated water exposure can shorten the life of the repair.
Sign 7: Bricks Are Starting to Move or Feel Loose
Loose bricks suggest that mortar deterioration may have progressed beyond a cosmetic issue. Mortar helps keep individual masonry units properly supported and connected within the wall.
Do not pull or push loose bricks to test them, particularly around chimneys, upper walls, steps, or areas above entrances.
When bricks have already moved, repointing alone may not be enough. Some units may need to be reset or replaced, and you should check the surrounding masonry for the cause of the movement.
If loose masonry is above a walkway, entrance, driveway, or neighbouring property, address the safety risk promptly rather than waiting for routine seasonal maintenance.
Sign 8: Previous Mortar Patches Are Separating
Previous mortar repairs that crack, separate, fall out, or look noticeably harder than the surrounding joints may indicate that the earlier repair did not address the underlying problem.
Common reasons repairs fail include:
- New mortar was applied too shallowly.
- The old joint was not cleaned properly.
- The replacement mortar was incompatible.
- The wall continued to receive excessive moisture.
- Movement in the wall was never corrected.
- The repair was completed under unsuitable conditions.
Repeatedly covering a failed patch with more mortar usually does not improve the underlying joint.
For a broader explanation of why joints deteriorate, see A&A Masonry’s guide to what causes mortar joint failure.
Chimney Mortar Deserves Extra Attention Before Winter
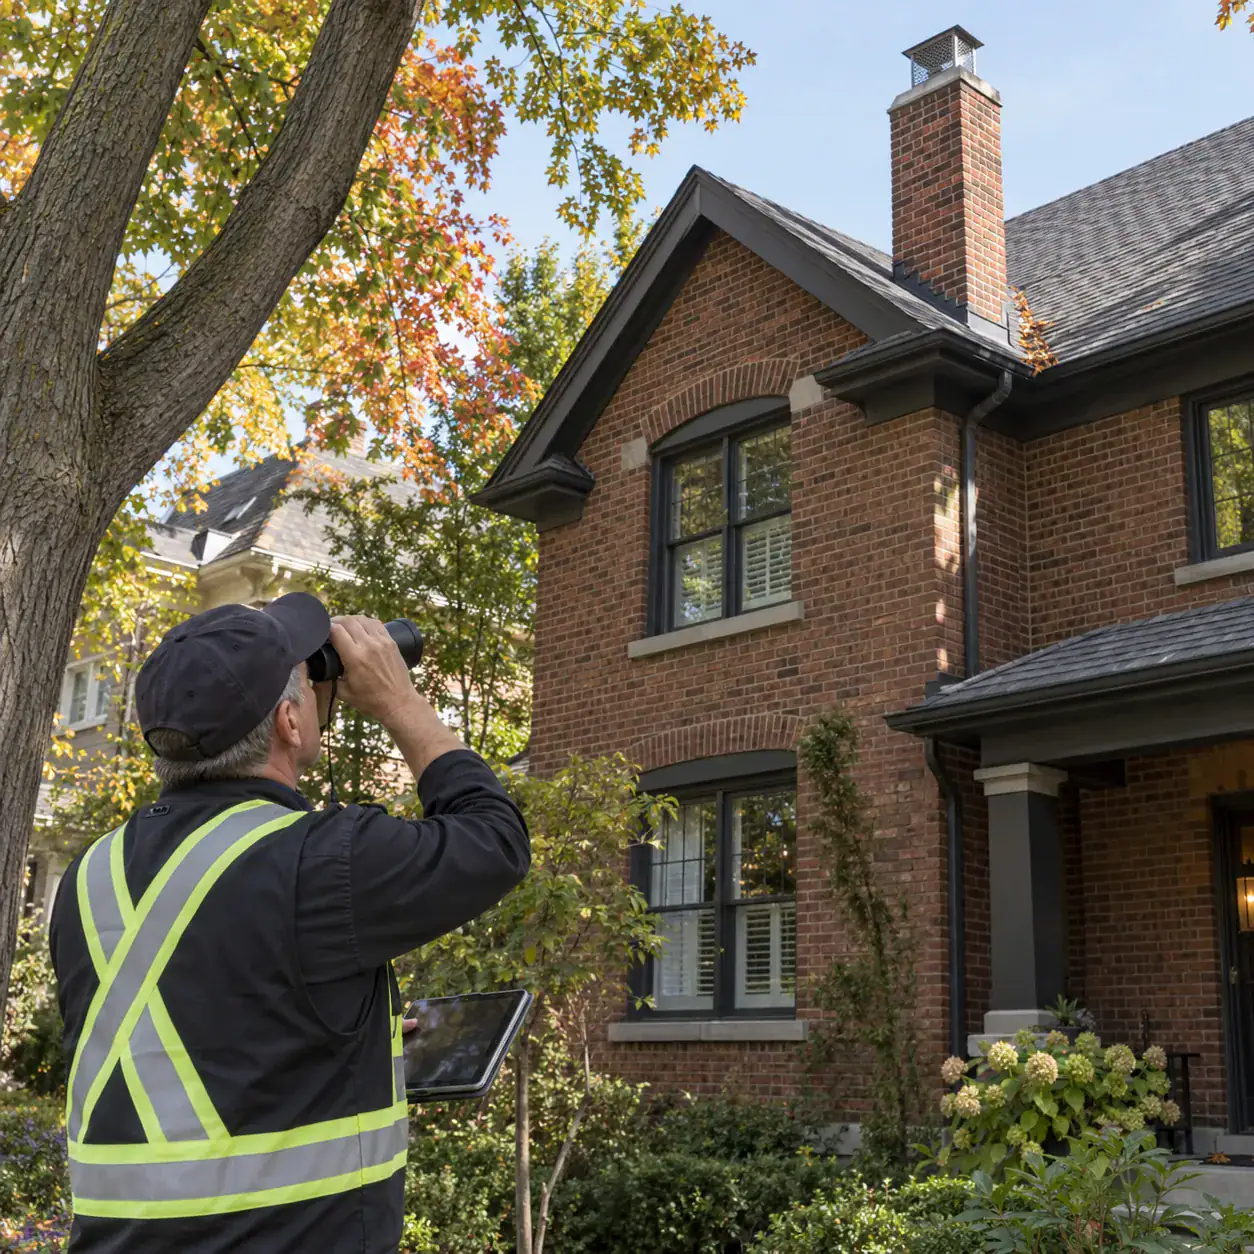
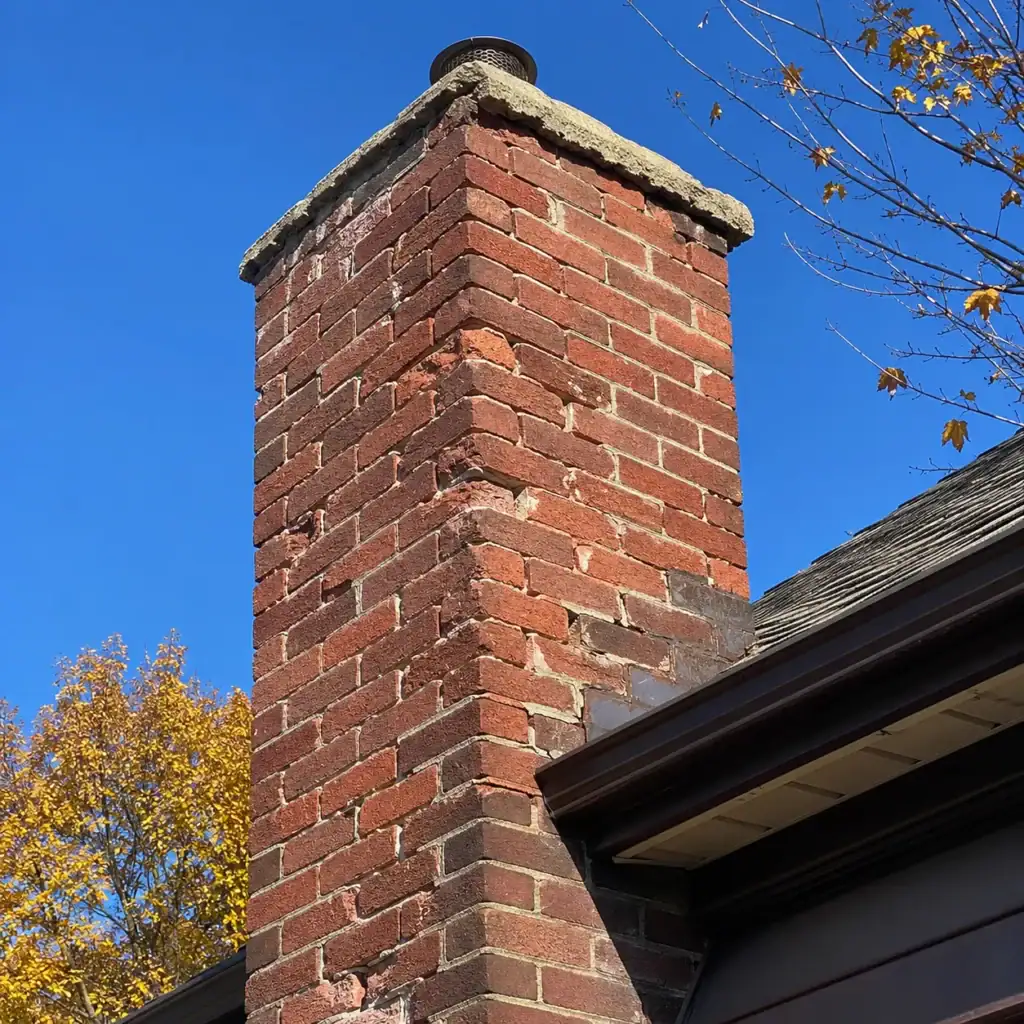
Chimney mortar deserves close inspection because chimneys receive heavy exposure to rain, snow, wind, and temperature changes. Unlike many exterior walls, a chimney can be exposed on several sides and from above.
Look from the ground for open joints, spalling bricks, missing mortar, cracks in the crown, leaning sections, or visible gaps near the top.
Do not climb onto an icy, steep, or unsuitable roof to inspect the chimney yourself.
Mortar repair may solve localized joint deterioration, but damaged crowns, caps, flashing, or severely deteriorated bricks may require additional work. A&A Masonry’s chimney repair Toronto page covers these related conditions.
Check Lower Brick Walls Near Snow and Salt Exposure
Lower masonry near driveways, sidewalks, steps, and entrances can experience different exposure from upper walls. Snow piles may remain against the brick, melting water may repeatedly wet the area, and de-icing salts can be carried onto nearby masonry.
Look for recessed joints, white deposits, spalling brick faces, damp areas, and mortar deterioration within the first several courses above grade.
If snow is routinely piled directly against a brick wall, consider changing where you store it when practical. Keeping large piles away from vulnerable masonry can reduce prolonged wetting during thaws.
Drainage Problems Can Make Mortar Failure Worse
Review drainage whenever mortar deterioration is concentrated in one area. A wall that stays unusually wet often has another contributing factor.
The City of Toronto states that disconnected downspouts should direct water away from foundation walls and should not create problems on neighbouring property, driveways, or sidewalks. Its guidance also recommends regular eavestrough and downspout maintenance.
Check for:
- Downspouts ending beside the wall.
- Leaking eavestroughs.
- Low spots where water collects.
- Snow stored against the foundation.
- Patios or walkways draining toward the house.
- Damaged window sills or caps.
Water management and mortar repair often need to be considered together.
Does Every Old Mortar Joint Need Repointing?
No. Age alone is not a reason to remove mortar. Sound original mortar can often remain in place even when it has weathered or changed colour.
This matters because unnecessary grinding removes original material and can damage brick edges if performed poorly.
A good repair scope distinguishes between sound joints, moderately weathered joints, and joints that have actually failed. On some homes, only one elevation or several exposed areas may need work. On others, deterioration may be widespread.
The objective should be to repair what needs repair, not automatically repoint every visible joint.
Why Mortar Matching Matters on Older Toronto Homes
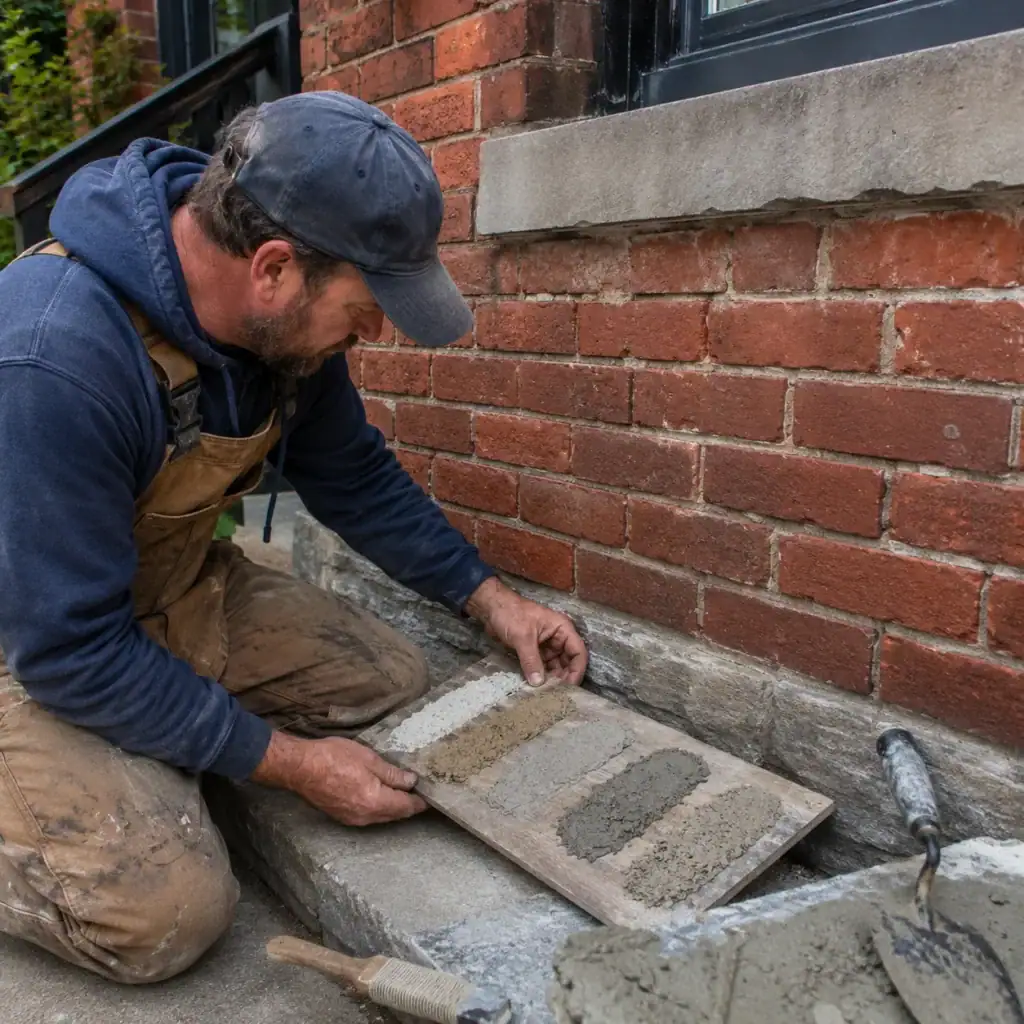
Mortar matching matters because replacement mortar must be compatible with the existing masonry and visually appropriate. Strength, composition, colour, texture, and joint profile can all affect the result.
This is particularly important on older Toronto brick homes where original bricks may be softer than many modern masonry units.
A mortar chosen only because it is strong is not automatically better. The repair needs to suit the wall that is already there.
Colour also matters. Mortar represents a noticeable percentage of a brick wall’s visible surface. Poorly matched joints can create a patchwork appearance even when the bricks themselves have not changed.
Can You Repoint Masonry in Cold Weather?
Cold-weather masonry work requires more planning because mortar needs suitable conditions to cure properly. Temperature, wind, moisture, substrate condition, protection, and the mortar system all matter.
This is one reason late summer and early fall can help identify needed work rather than waiting until sustained freezing conditions arrive.
Cold-weather masonry is not automatically impossible, but homeowners should not assume ordinary mortar can simply be applied to frozen masonry.
Emergency stabilization and planned repointing are also different situations. A loose masonry hazard may need immediate attention even if final restoration is scheduled for more suitable conditions.
What Homeowners Can Safely Check Themselves
A ground-level walkaround can reveal many mortar problems without specialized equipment.
- Look across the wall: Deep joints often show as darker lines or patches.
- Inspect exposed corners: Corners receive weather from more than one direction.
- Check around openings: Look above and below windows and doors.
- Look at lower walls: Check areas exposed to snow, splashback, and salt.
- Inspect after rain: Note areas that stay wet much longer than the rest.
- Check downspouts: Make sure water isn’t released directly beside deteriorated masonry.
- Photograph suspicious joints: Photos make it easier to see whether cracks or erosion change over time.
Avoid grinding joints, removing loose upper-storey bricks, climbing onto roofs, or applying sealers over damp or deteriorated mortar during an inspection.
When the Problem Is More Than Repointing
Repointing repairs mortar. It does not correct every masonry problem. Some warning signs suggest that another repair or a broader assessment may be needed.
These include:
- Bulging or leaning brick walls.
- Large stair-step cracks.
- Severely spalled bricks.
- Rust staining and movement above windows.
- Loose chimney sections.
- Repeated interior water entry.
- Cracks that reopen after previous repairs.
- Foundation movement affecting the wall above.
In these cases, replacing mortar without addressing the cause may only temporarily hide the problem.
A broader masonry restoration assessment may be more appropriate when brick, mortar, chimneys, foundations, or several exterior areas are deteriorating together.
Quick Pre-Winter Mortar Joint Checklist
Before colder weather arrives, walk around the property and look for the following conditions:
- Cracked mortar joints.
- Deep or recessed joints.
- Missing sections of mortar.
- Sandy or crumbling mortar.
- Loose bricks.
- Failed previous patches.
- Water staining around joints.
- Spalling brick beside failed mortar.
- Chimney joint deterioration.
- Downspouts or gutters repeatedly wetting the wall.
If the masonry looks sound and dry, routine monitoring may be enough. If joints are visibly failing, allowing water in, or affecting surrounding bricks, repair before winter may make sense.
When Professional Repointing Makes More Sense
Professional repointing makes more sense when deterioration covers a significant area, involves older masonry, occurs high on the building, affects chimneys, includes loose bricks, or is associated with recurring moisture.
The work involves more than filling visible cracks. Proper repair requires determining which joints have failed, removing deteriorated material without unnecessarily damaging the brick, selecting compatible mortar, preparing the joints, placing the mortar properly, and finishing it to suit the existing masonry.
Homeowners planning several exterior repairs can also review A&A Masonry’s Toronto masonry services for related brick repair, chimney, stone, concrete, waterproofing, and restoration work.
Final Thoughts on Repointing Before Winter
Repointing before winter is worth considering when mortar joints are cracked, missing, deeply recessed, sandy, loose, or repeatedly exposed to water. The goal is not to replace every old joint. The goal is to identify mortar that has stopped doing its job and repair it before moisture and freeze-thaw cycles cause more damage.
For Toronto homeowners, late summer and early fall provide a useful opportunity to inspect brick walls, chimneys, porches, and other exposed masonry. Pay particular attention to areas below gutters, beside downspouts, around windows, near snow storage areas, and anywhere mortar deterioration is already visible.
Most importantly, look beyond the joint itself. If water, wall movement, damaged brick, or another defect caused the mortar to fail, address that condition in the repair plan. Proper repointing preserves sound masonry. Repeated surface patching only postpones the decision.