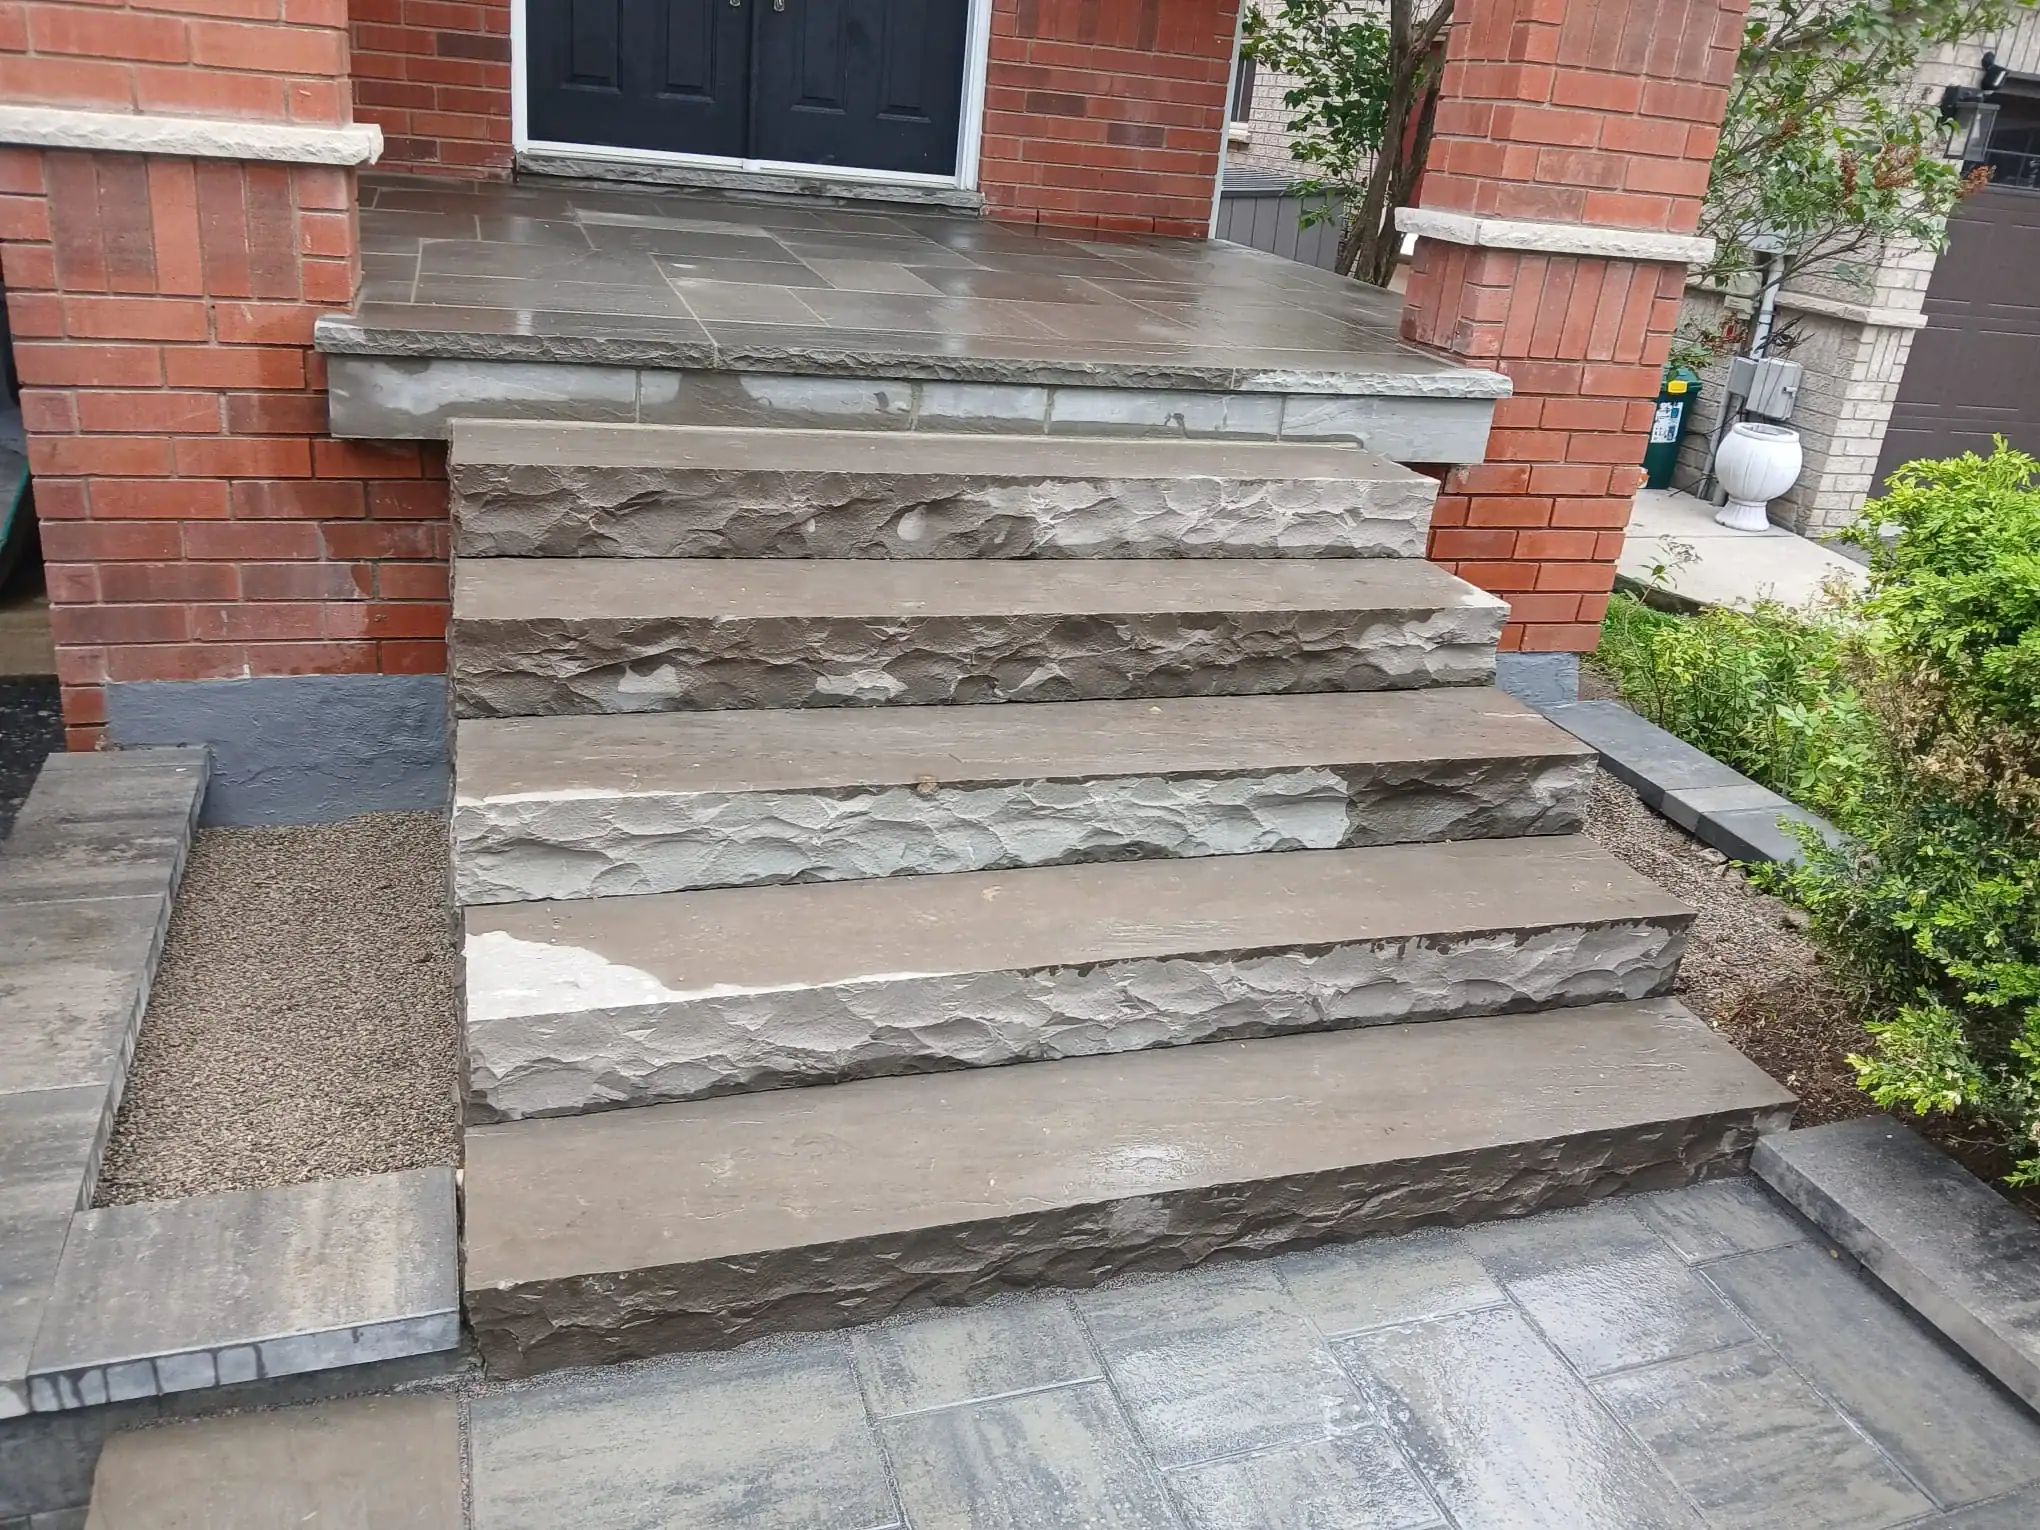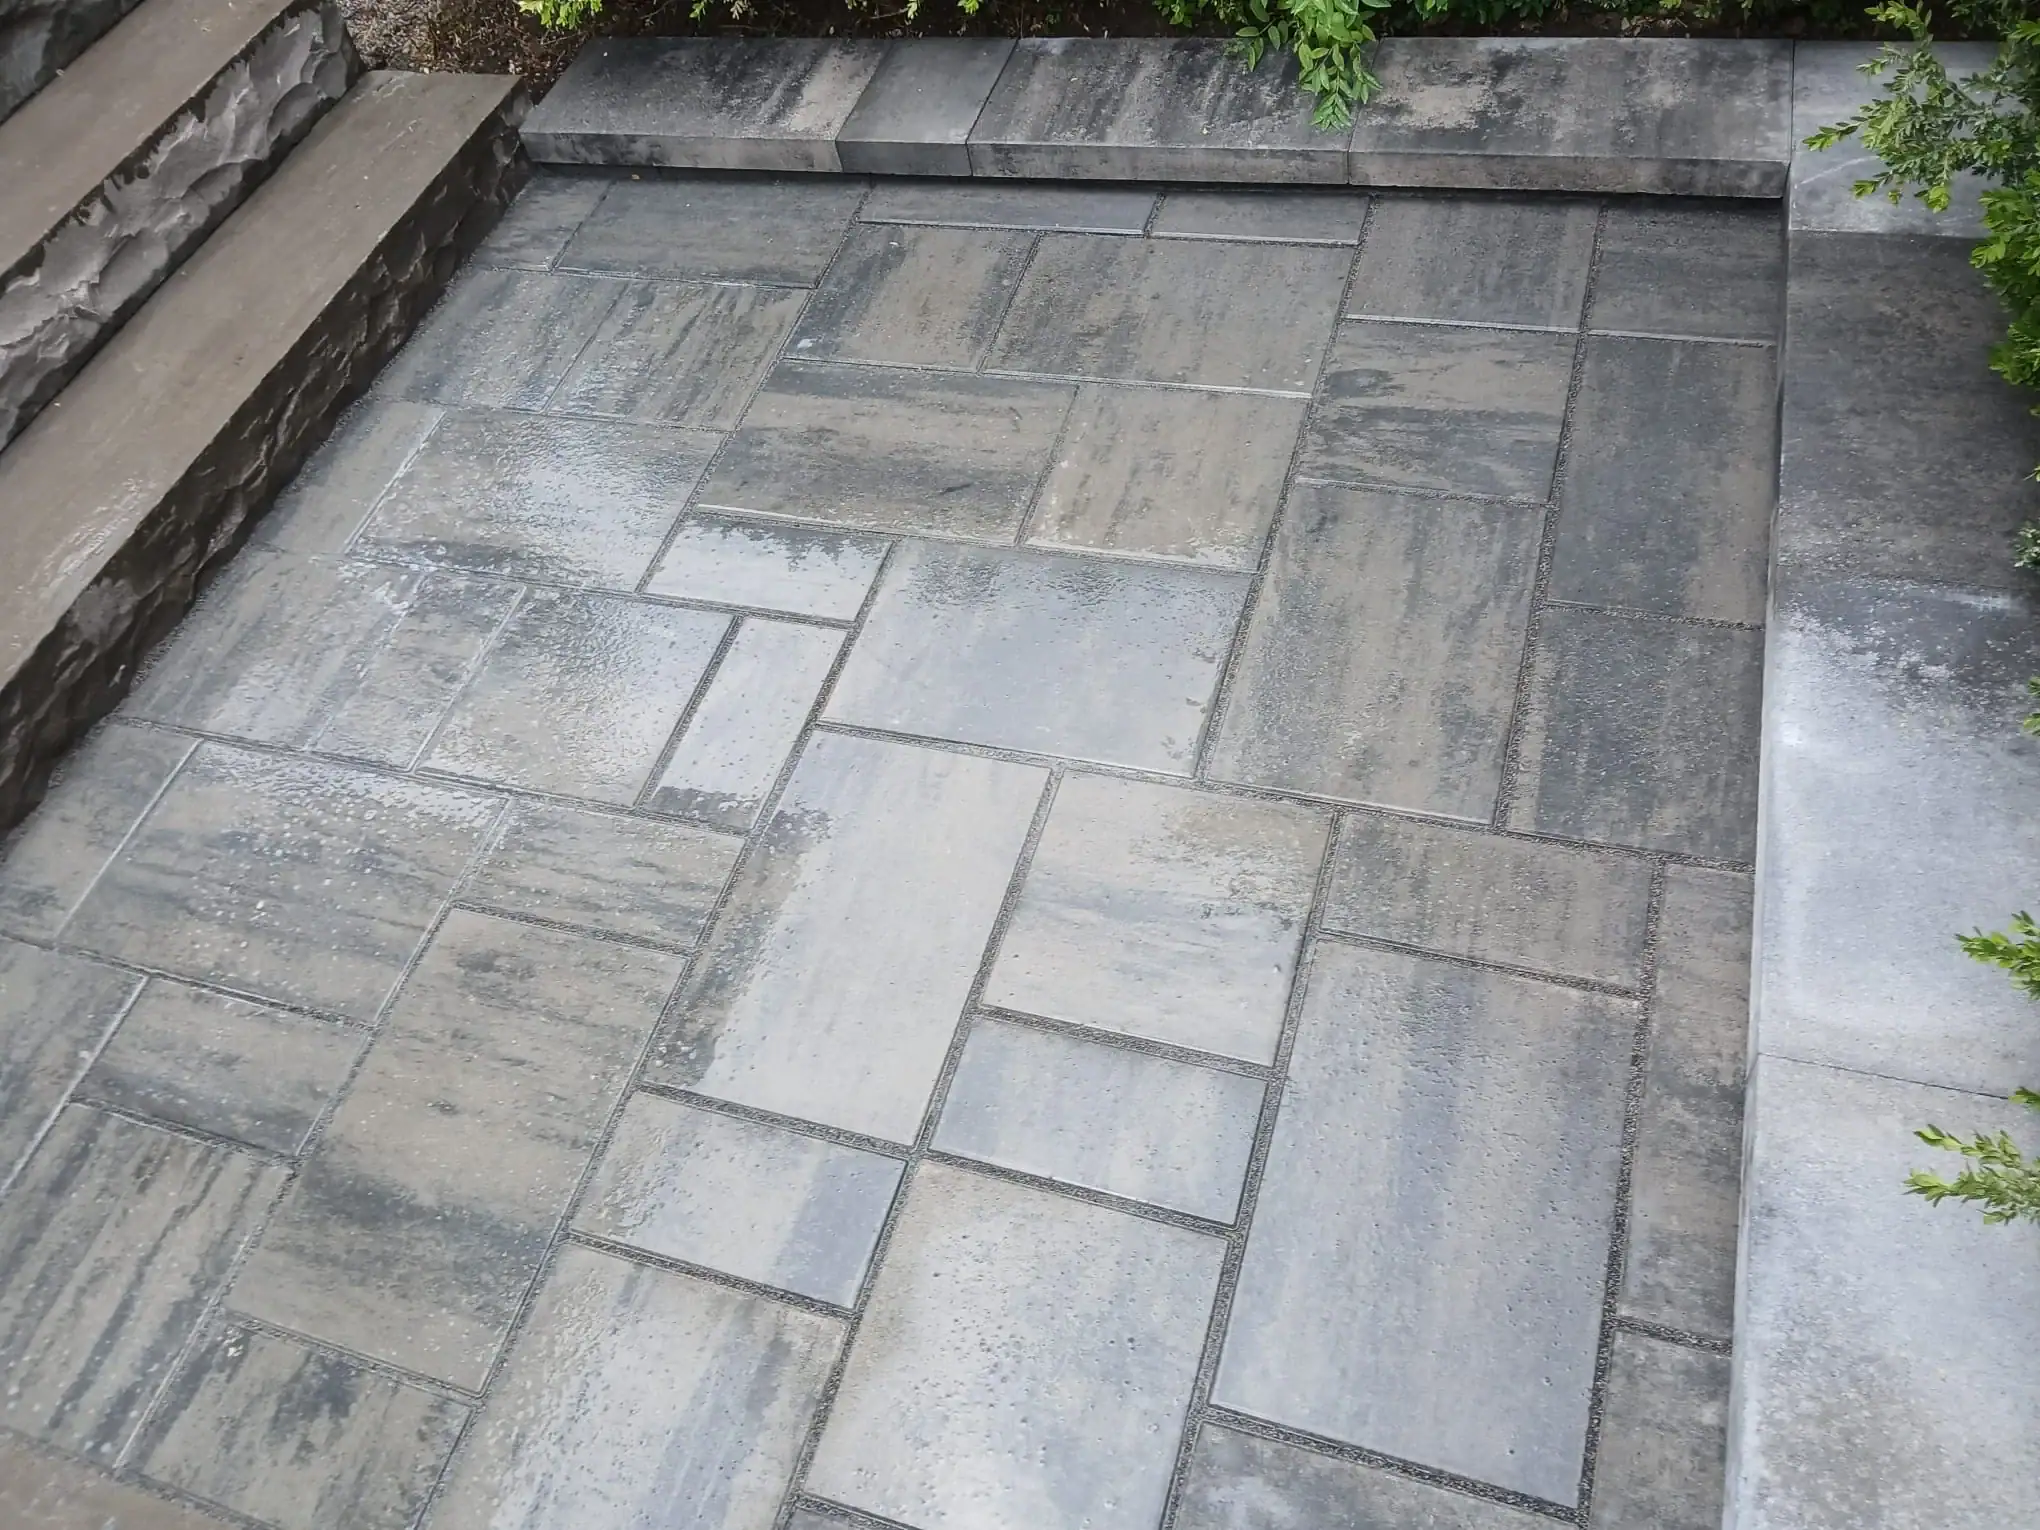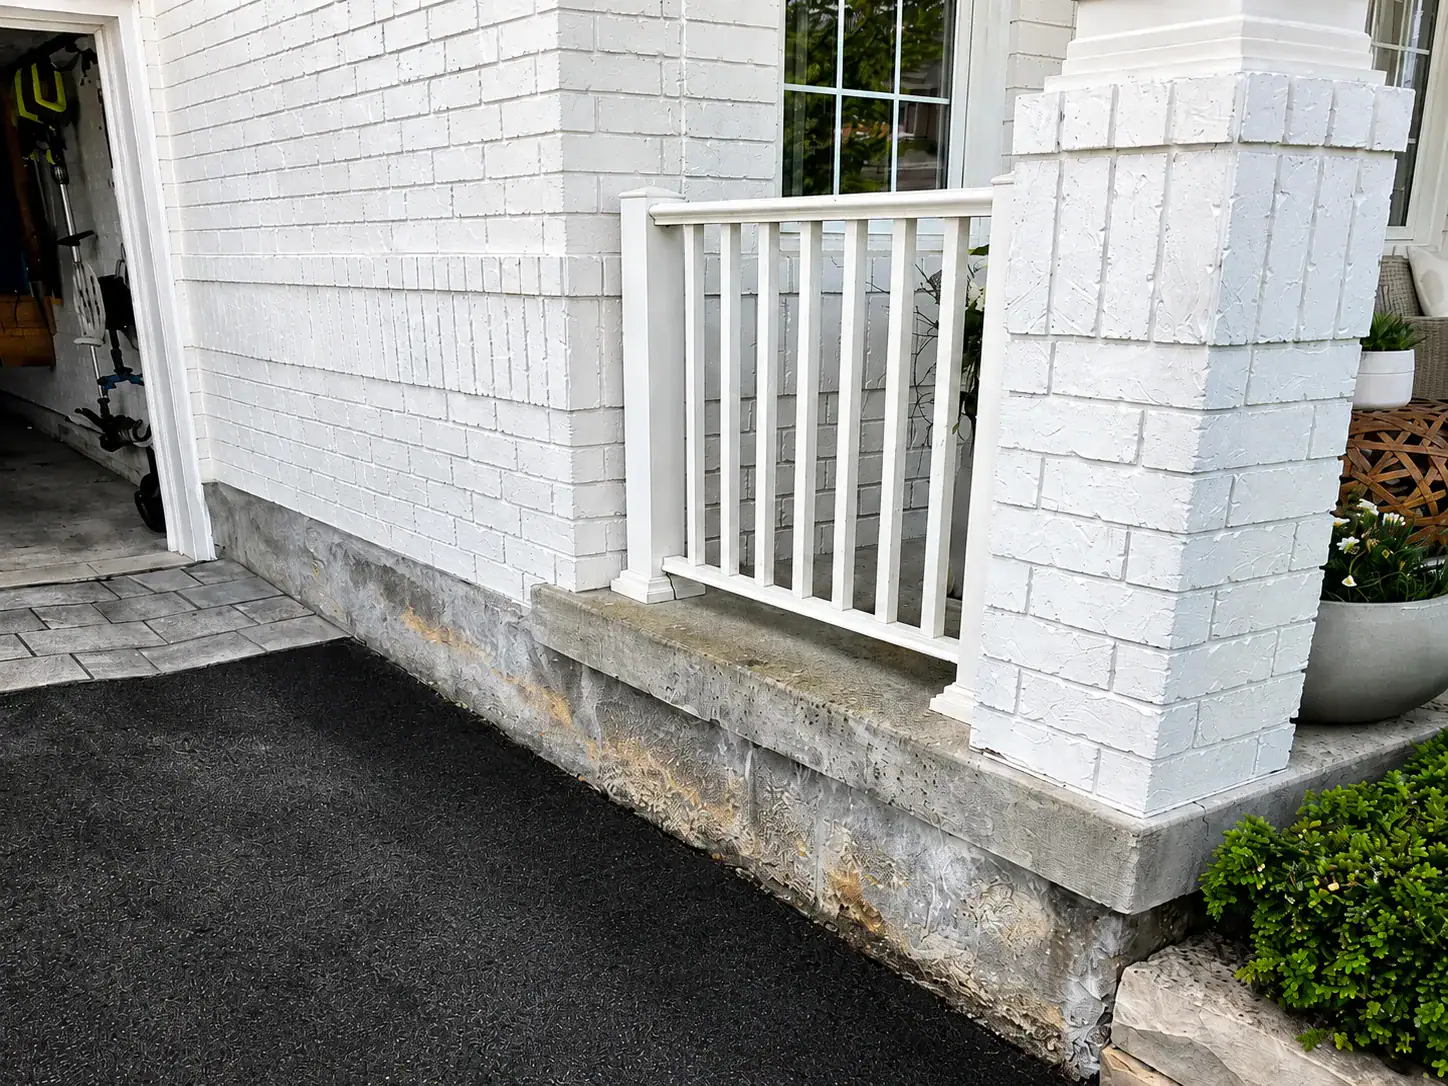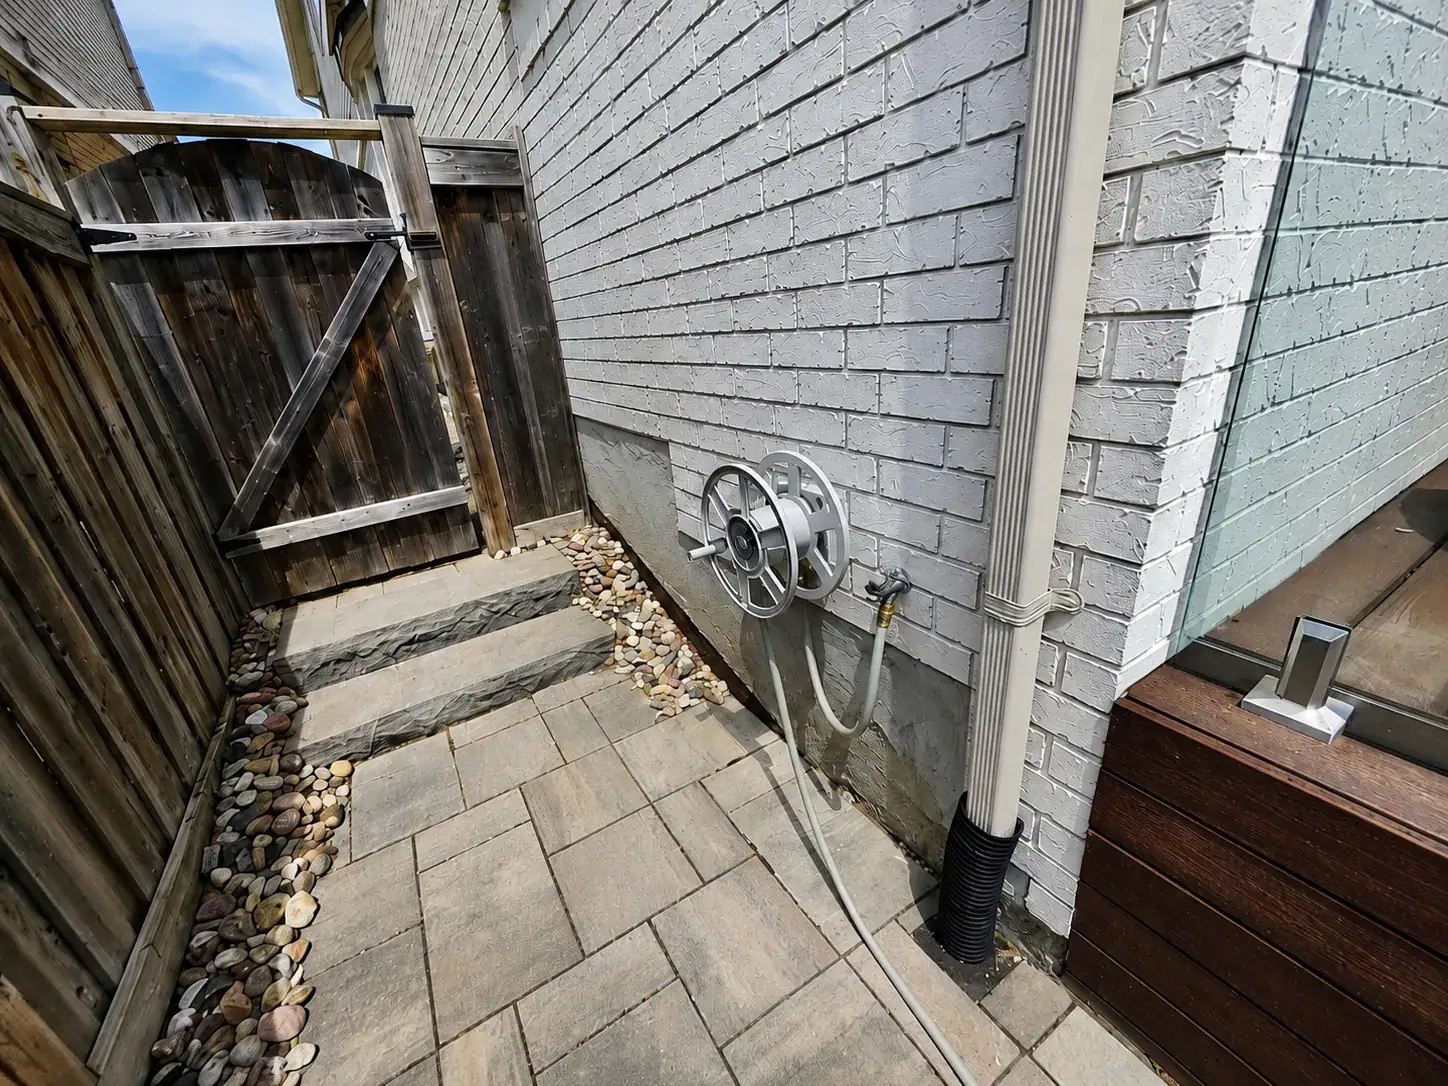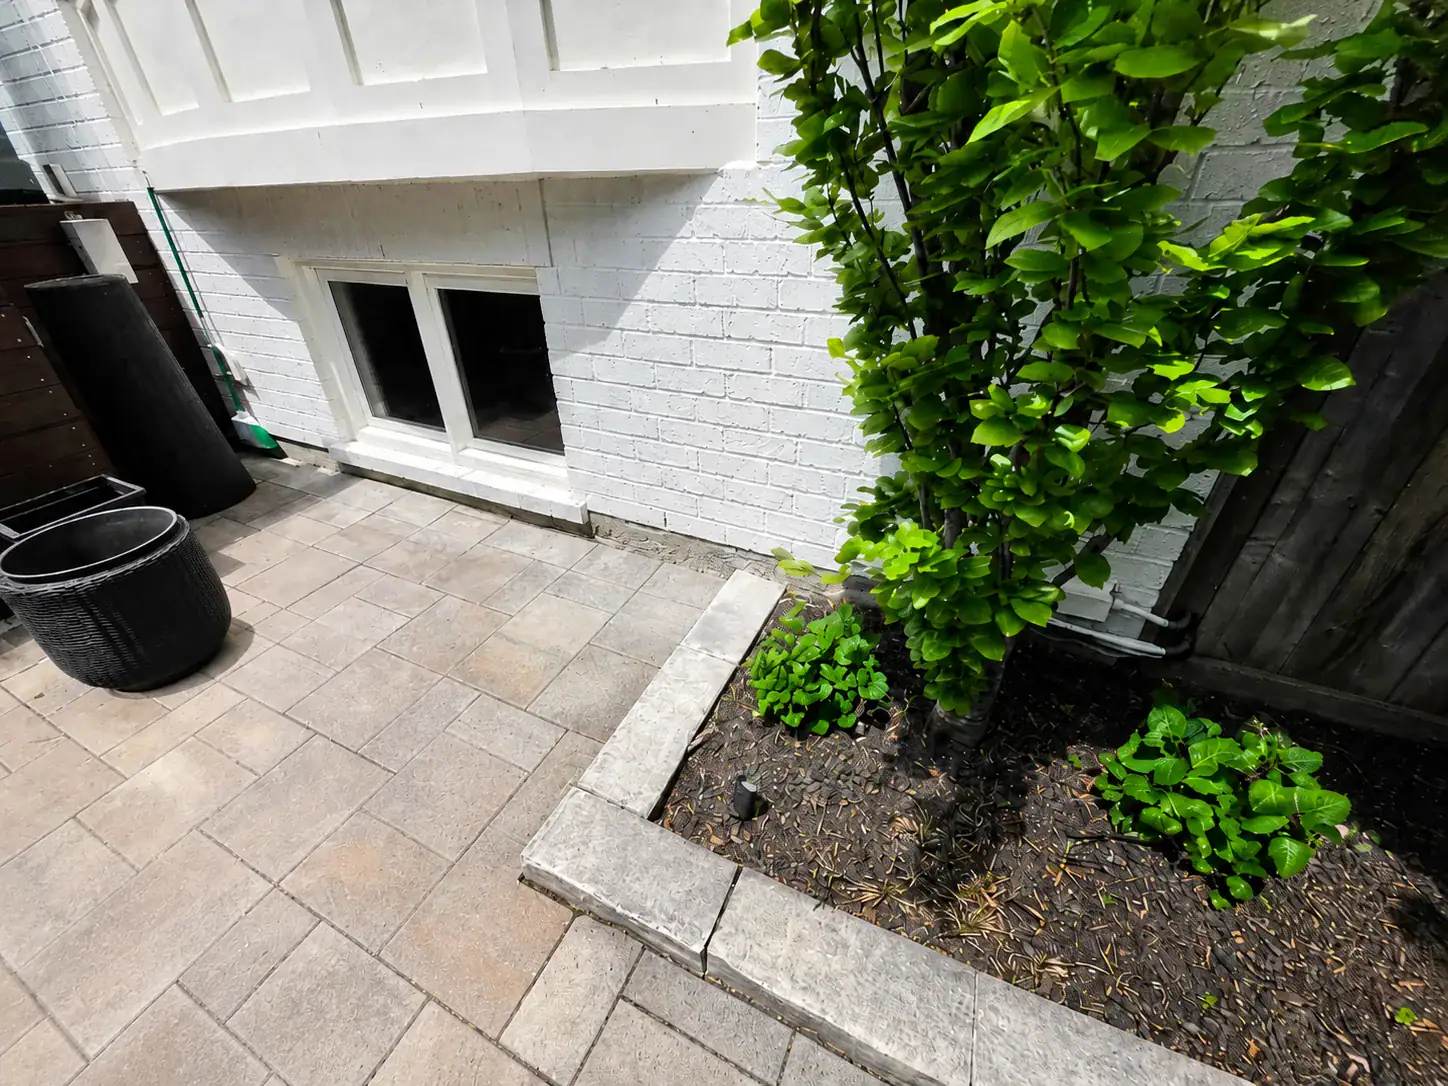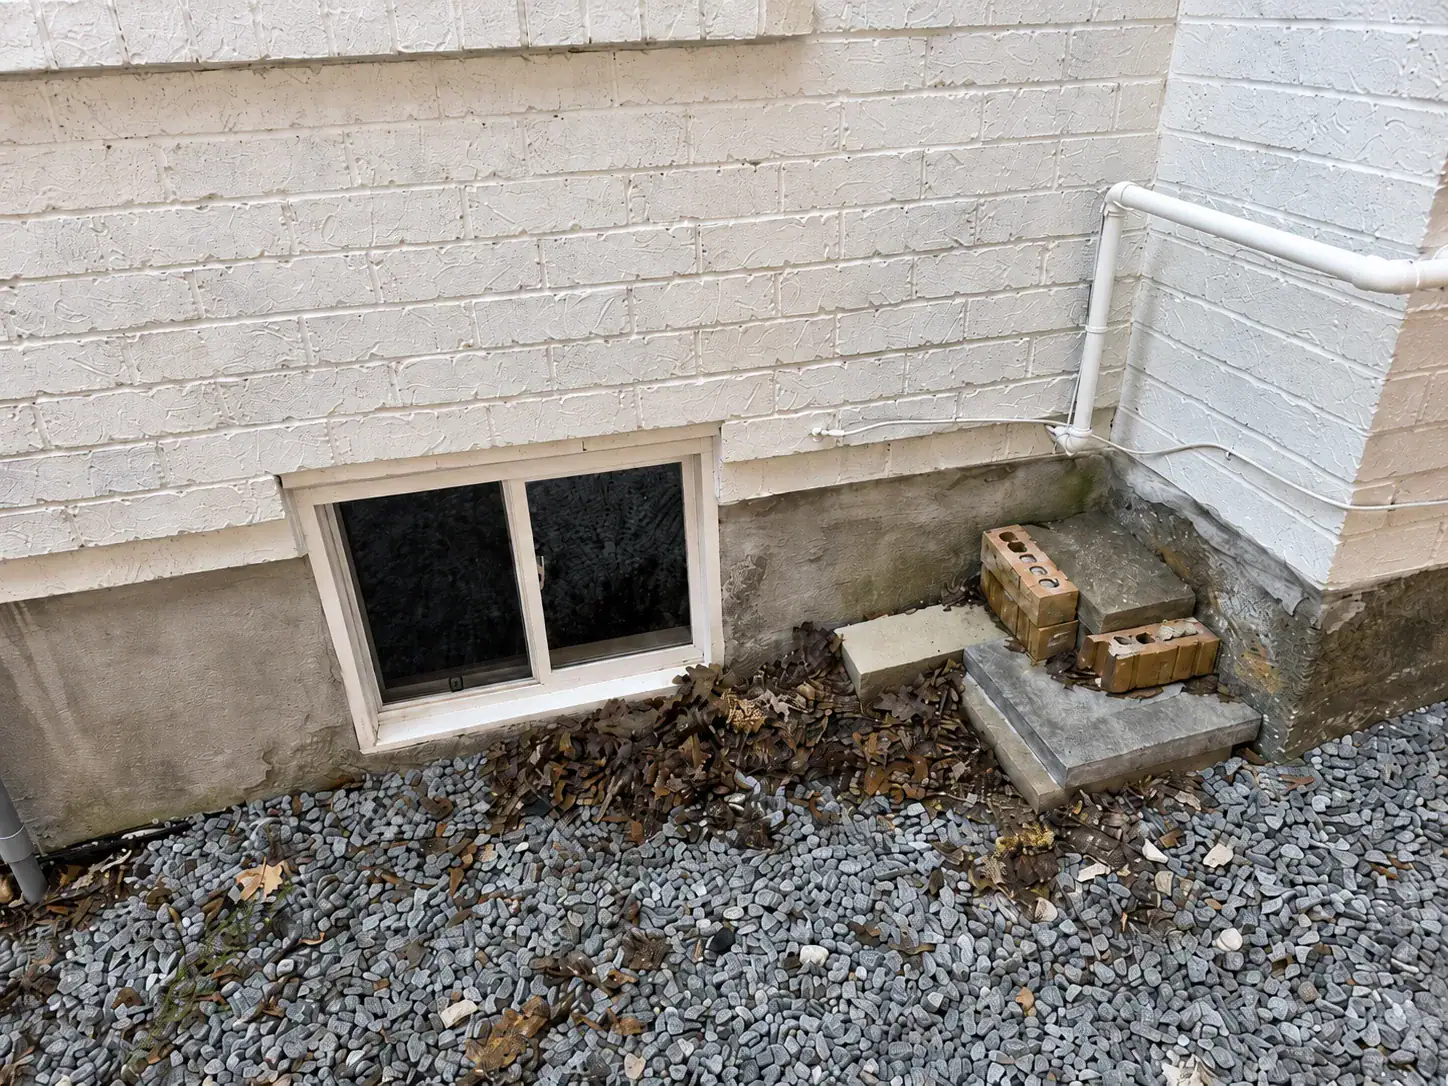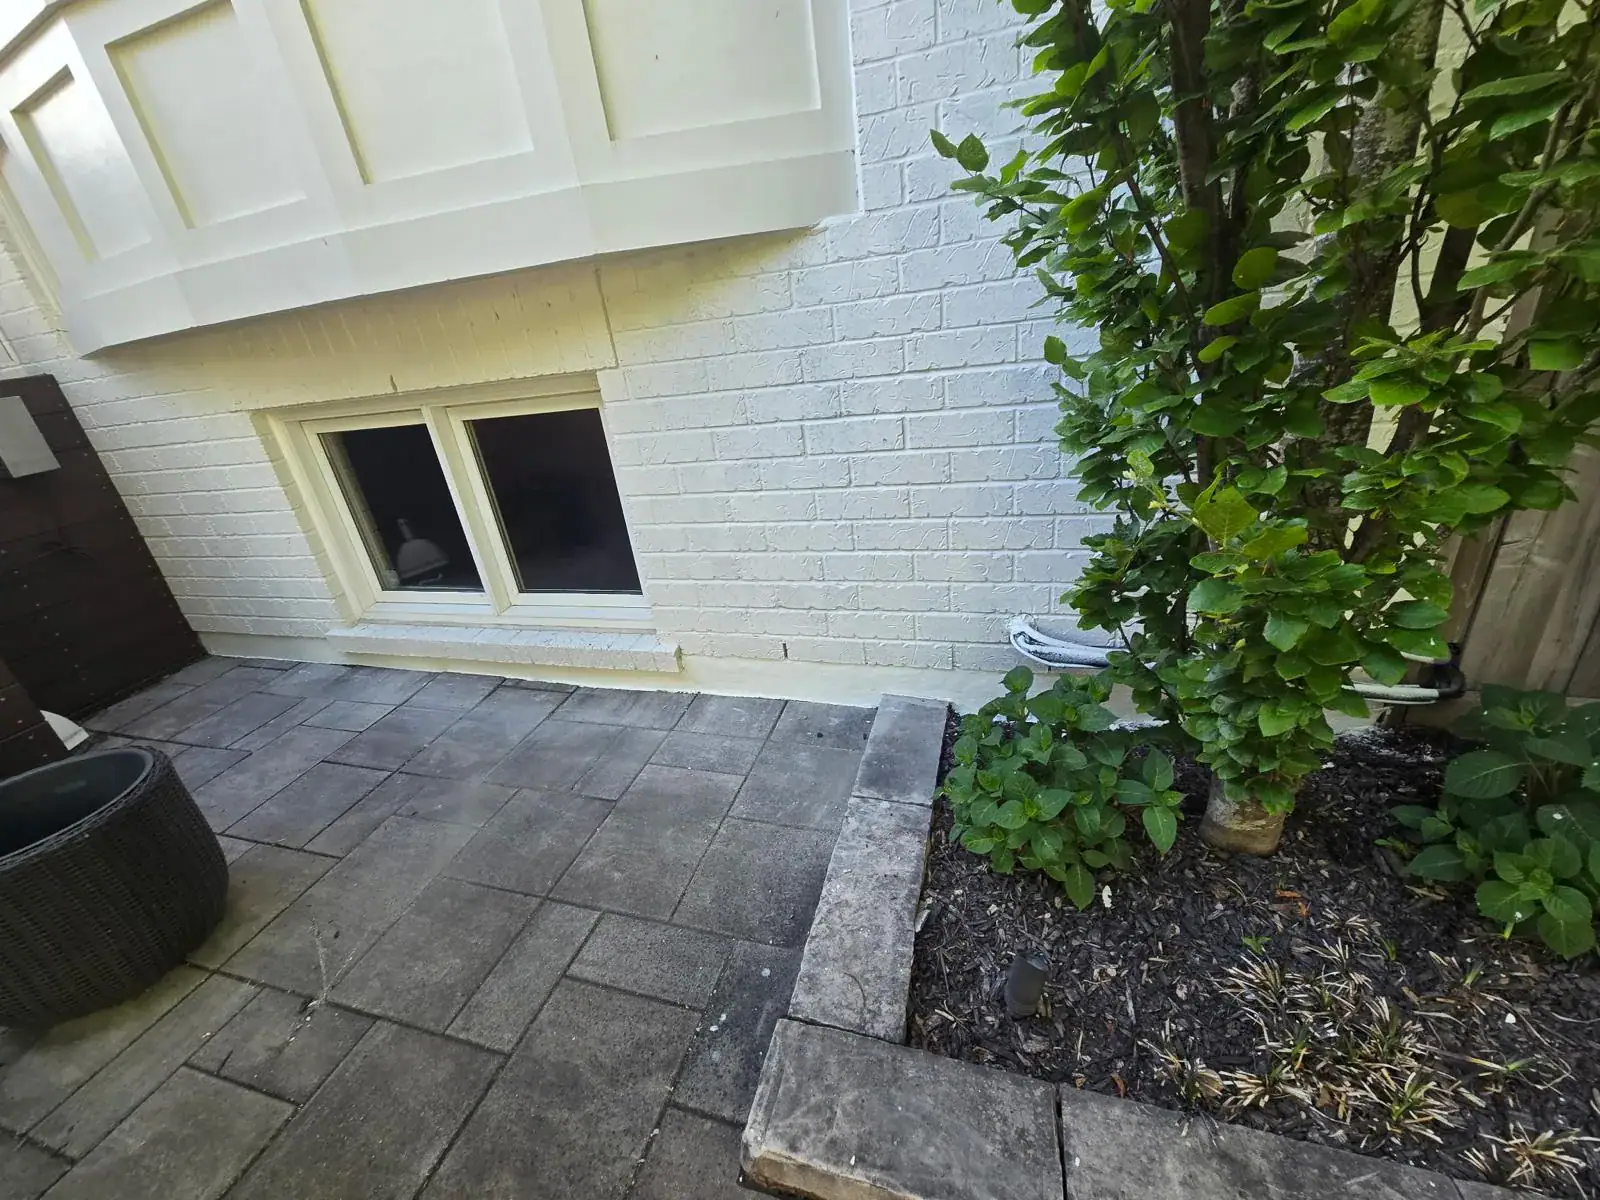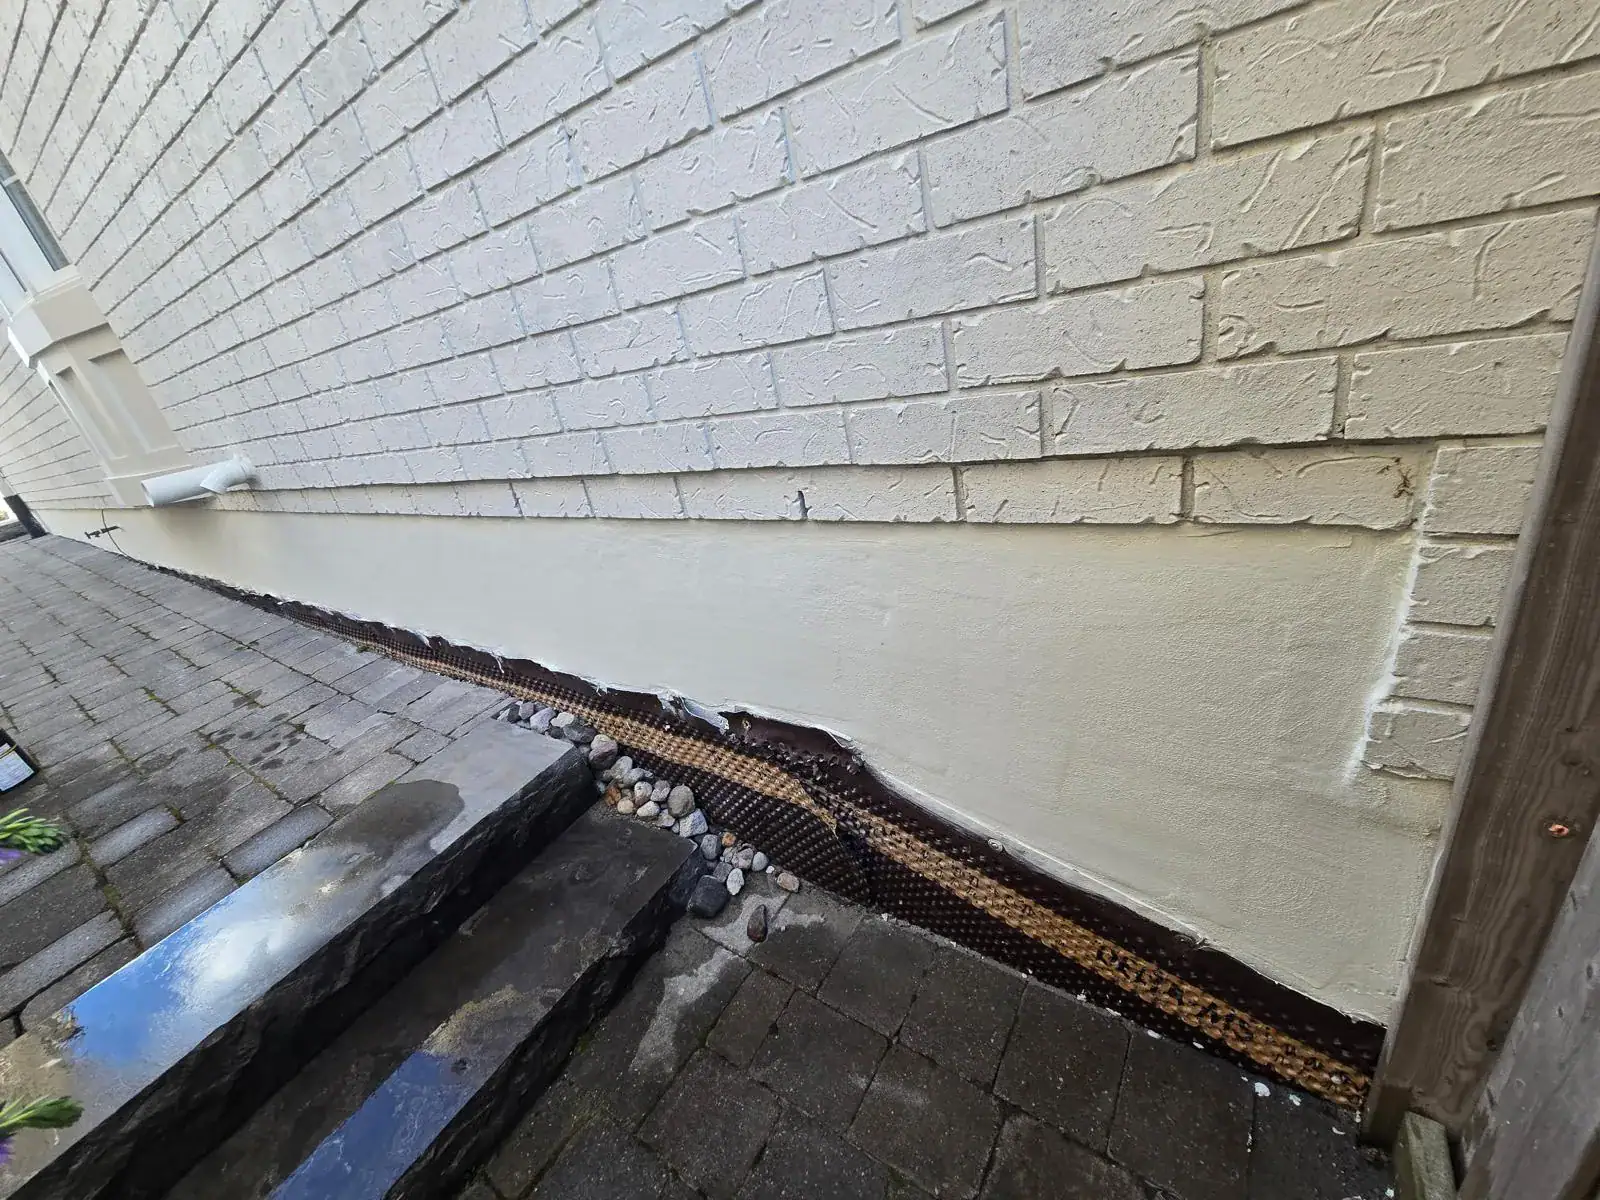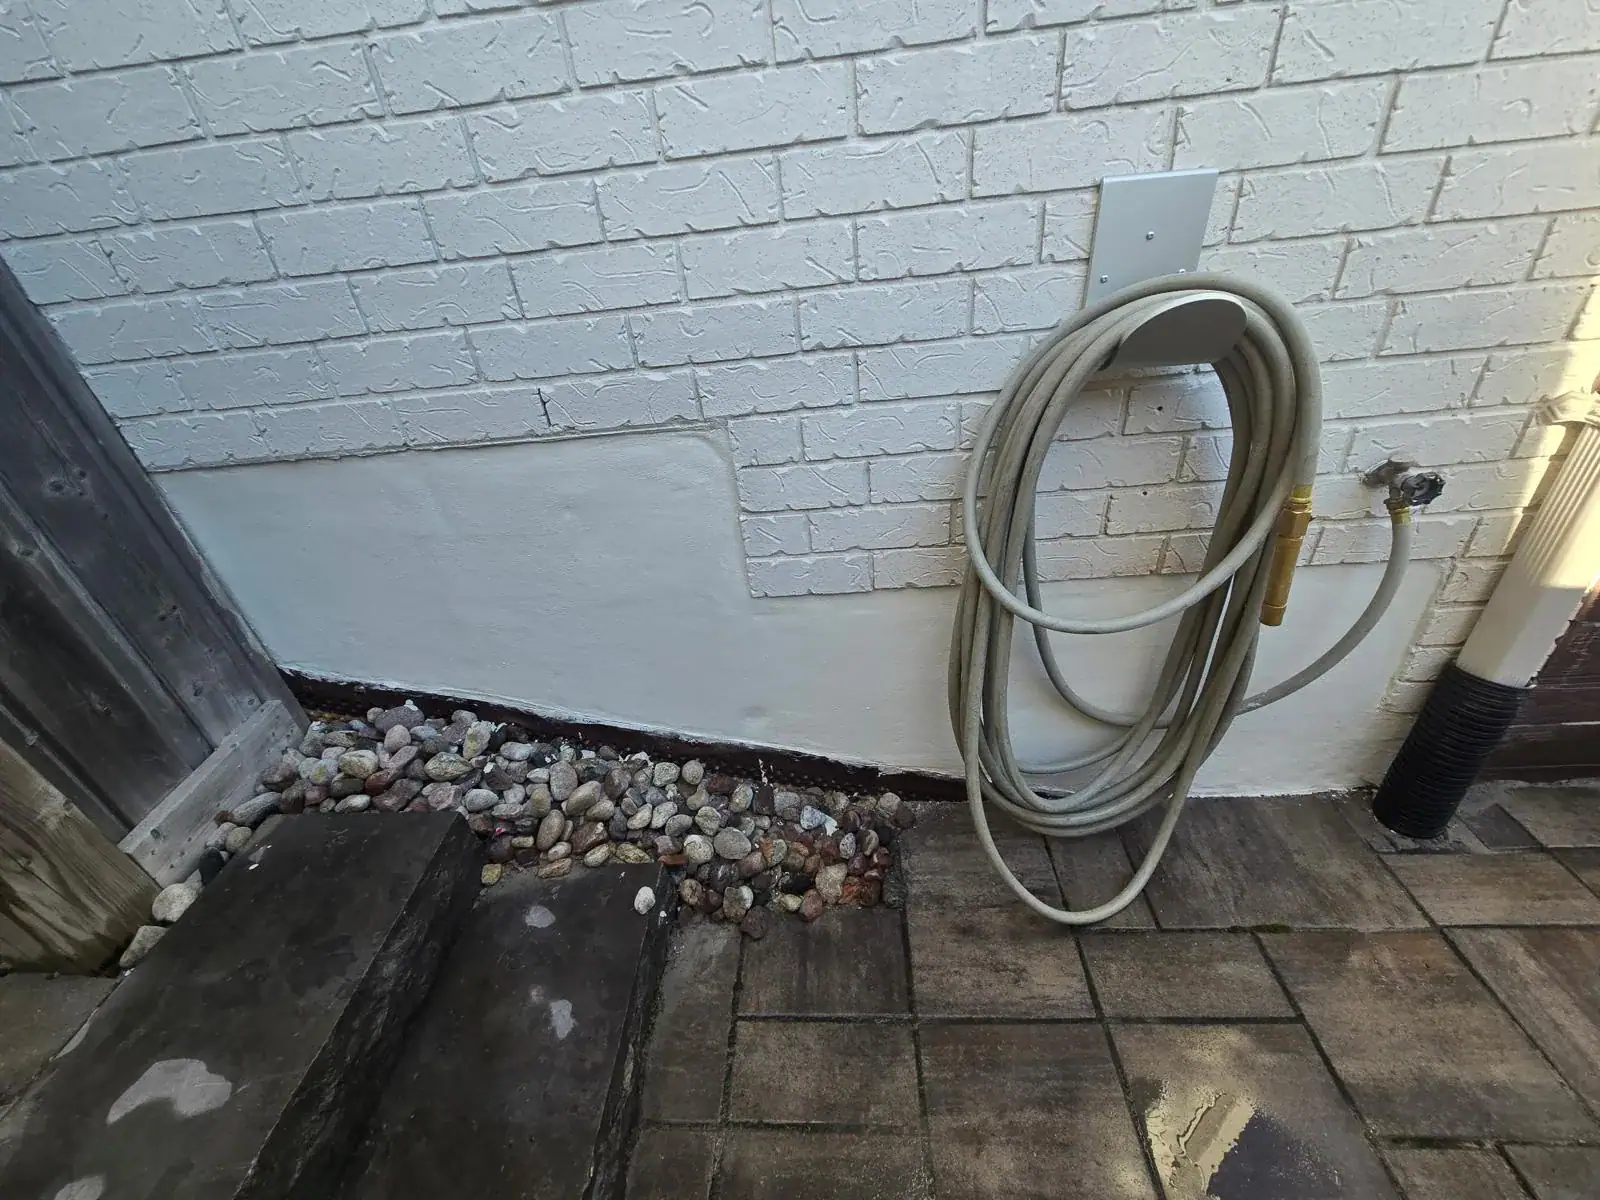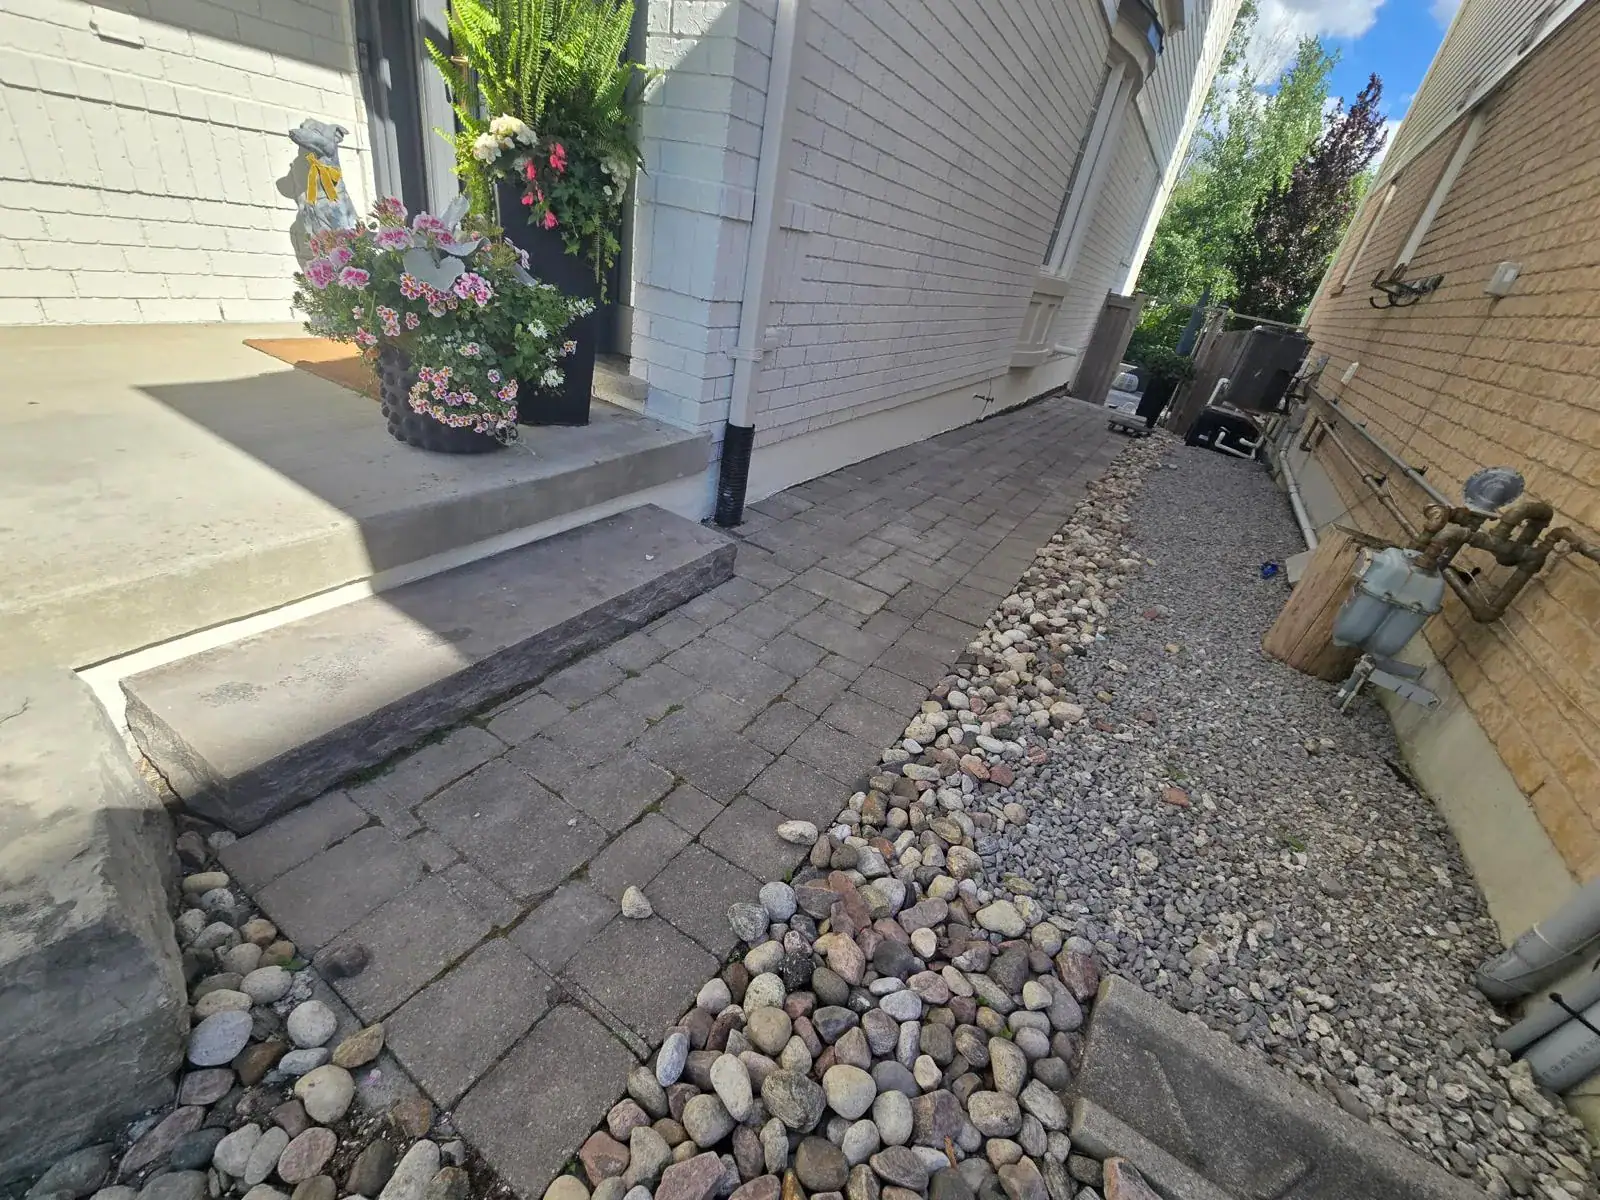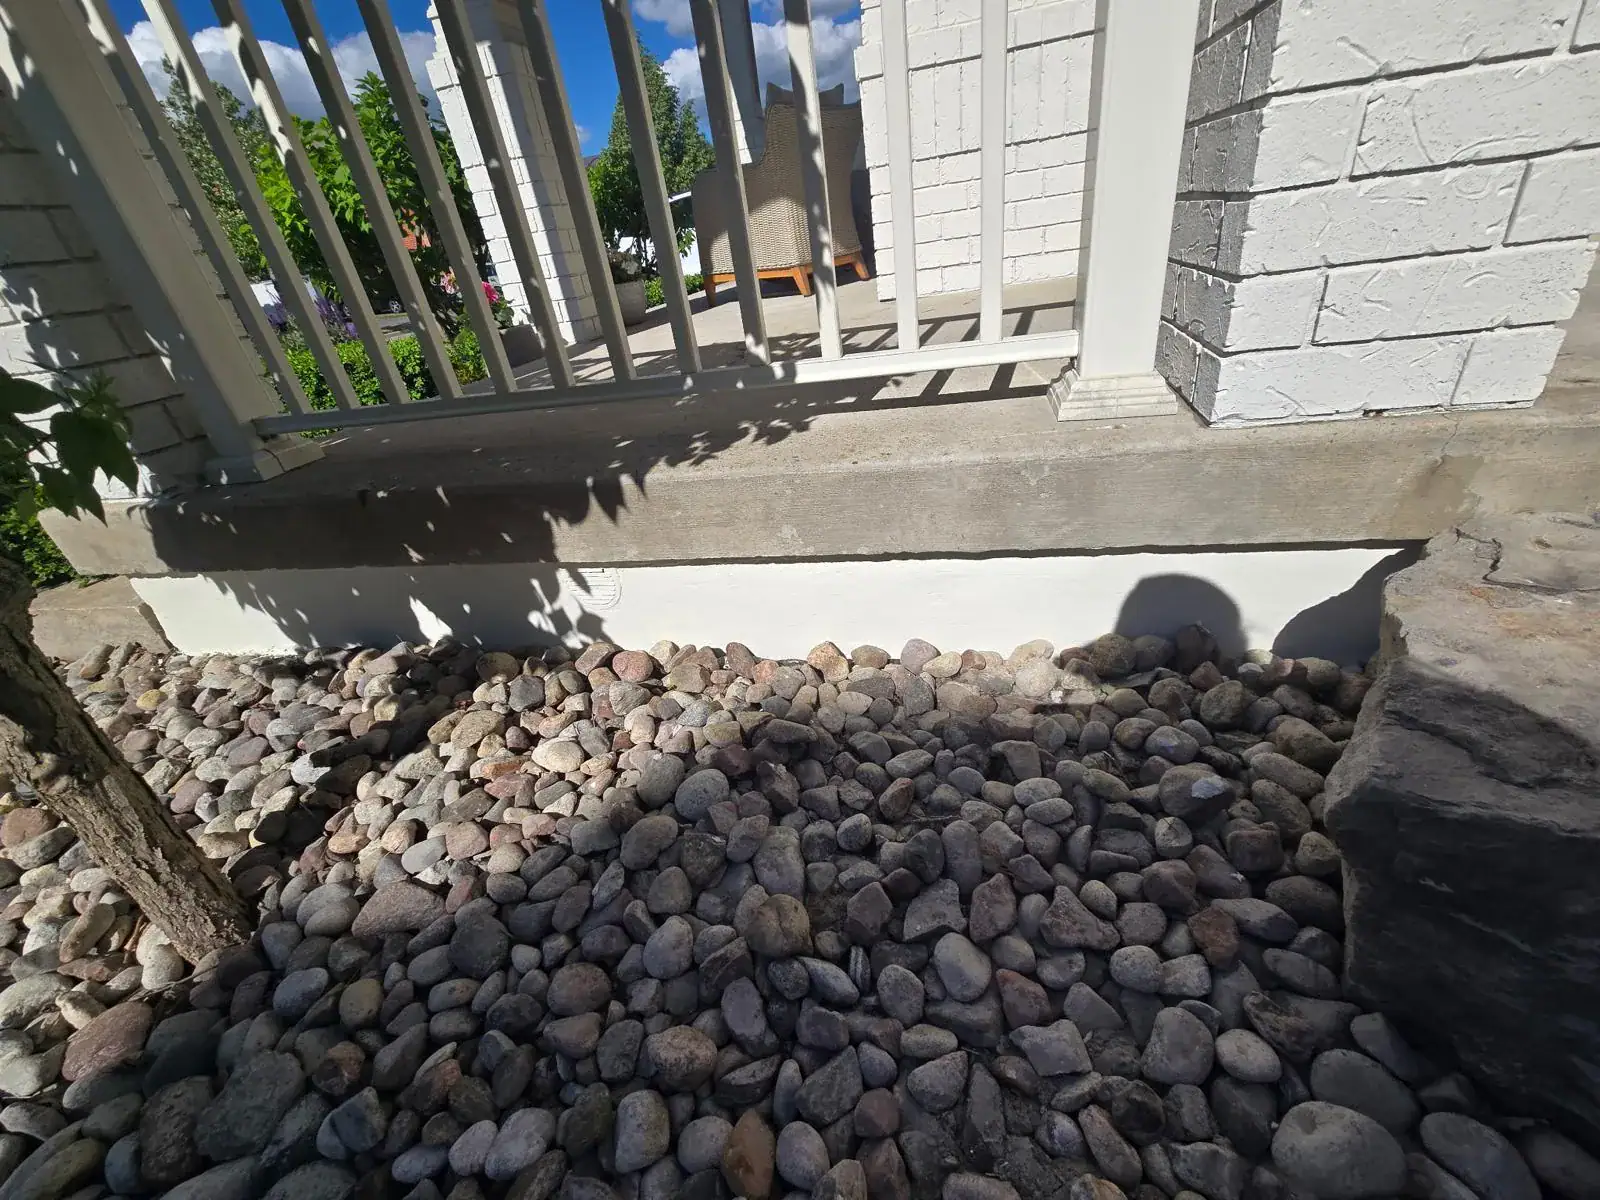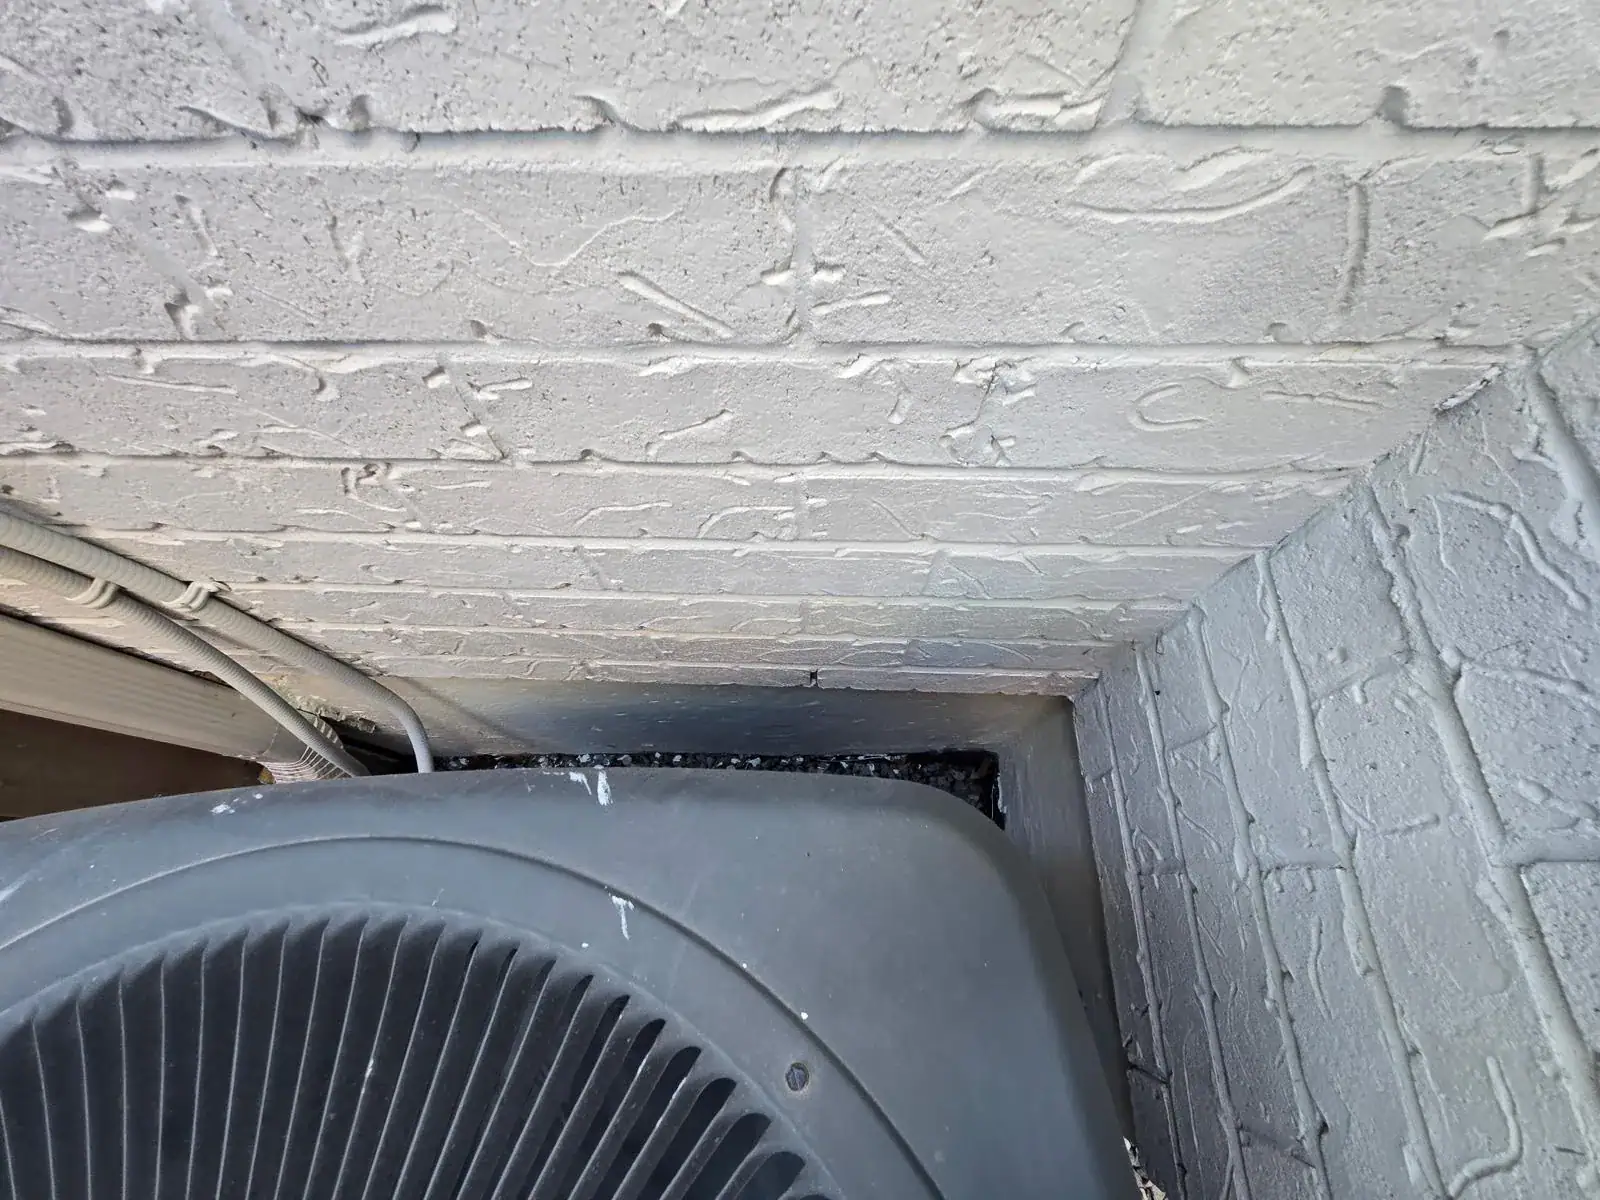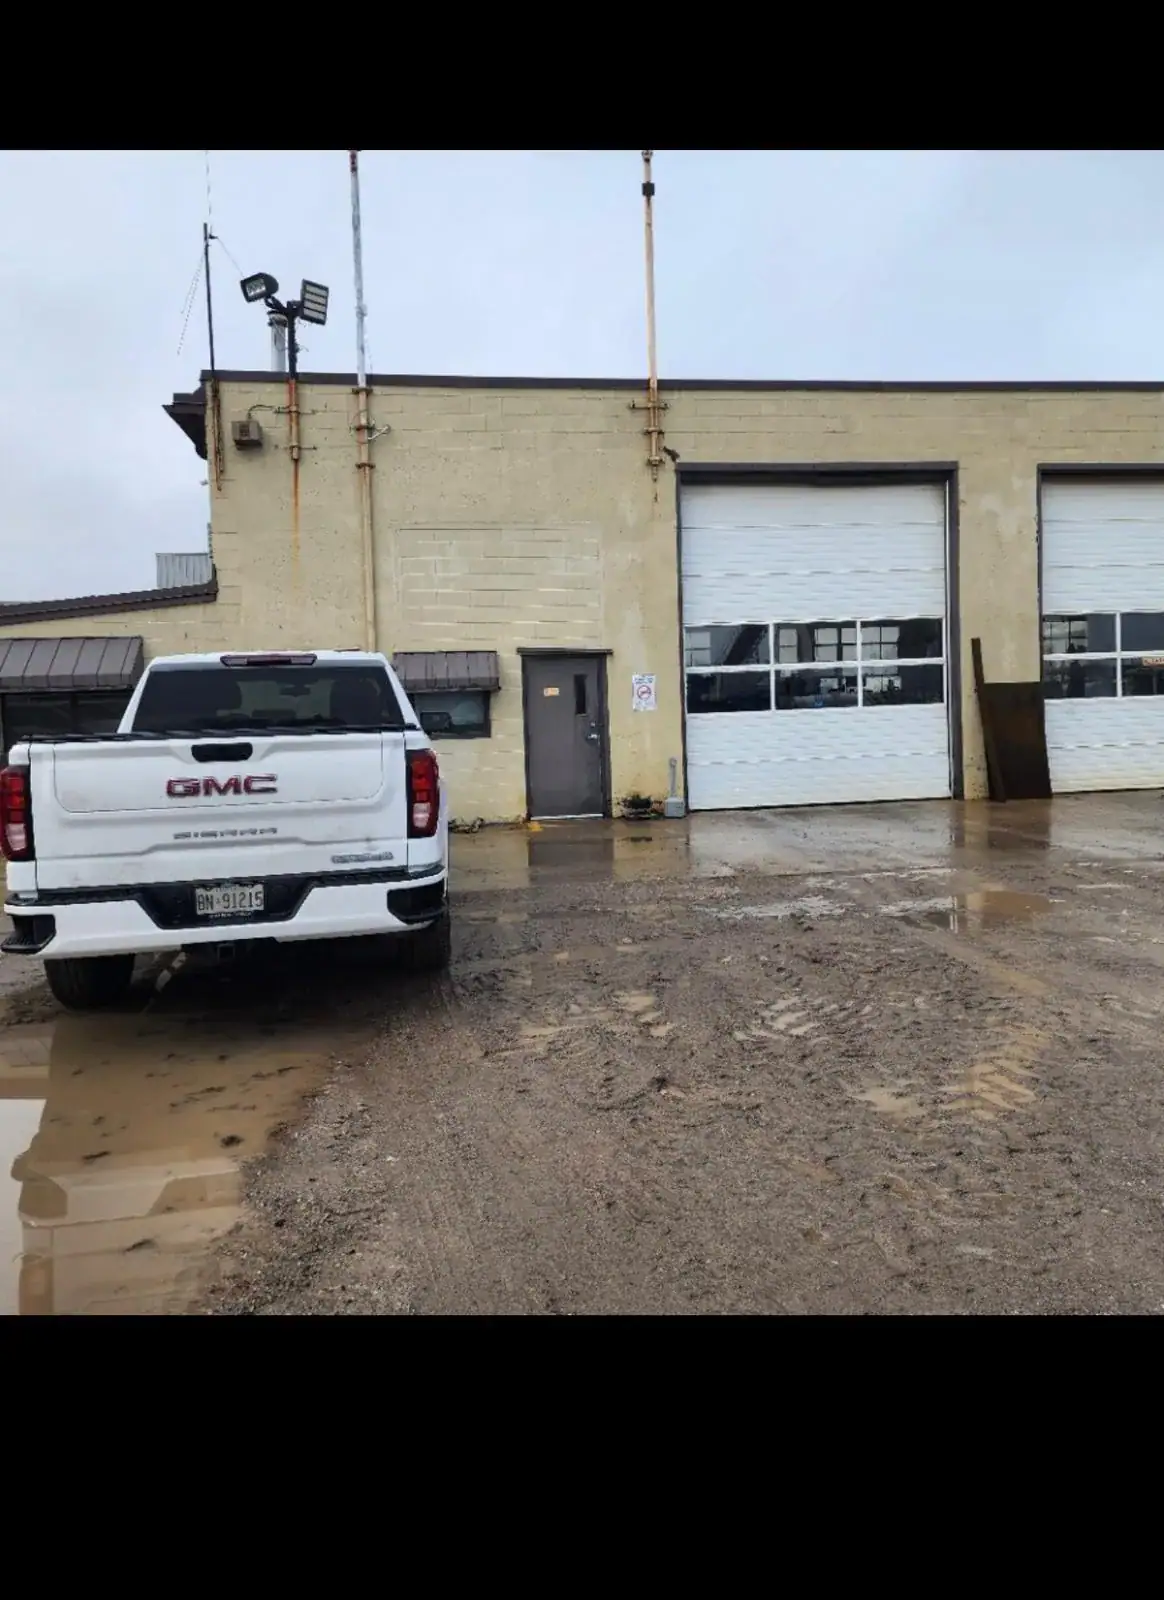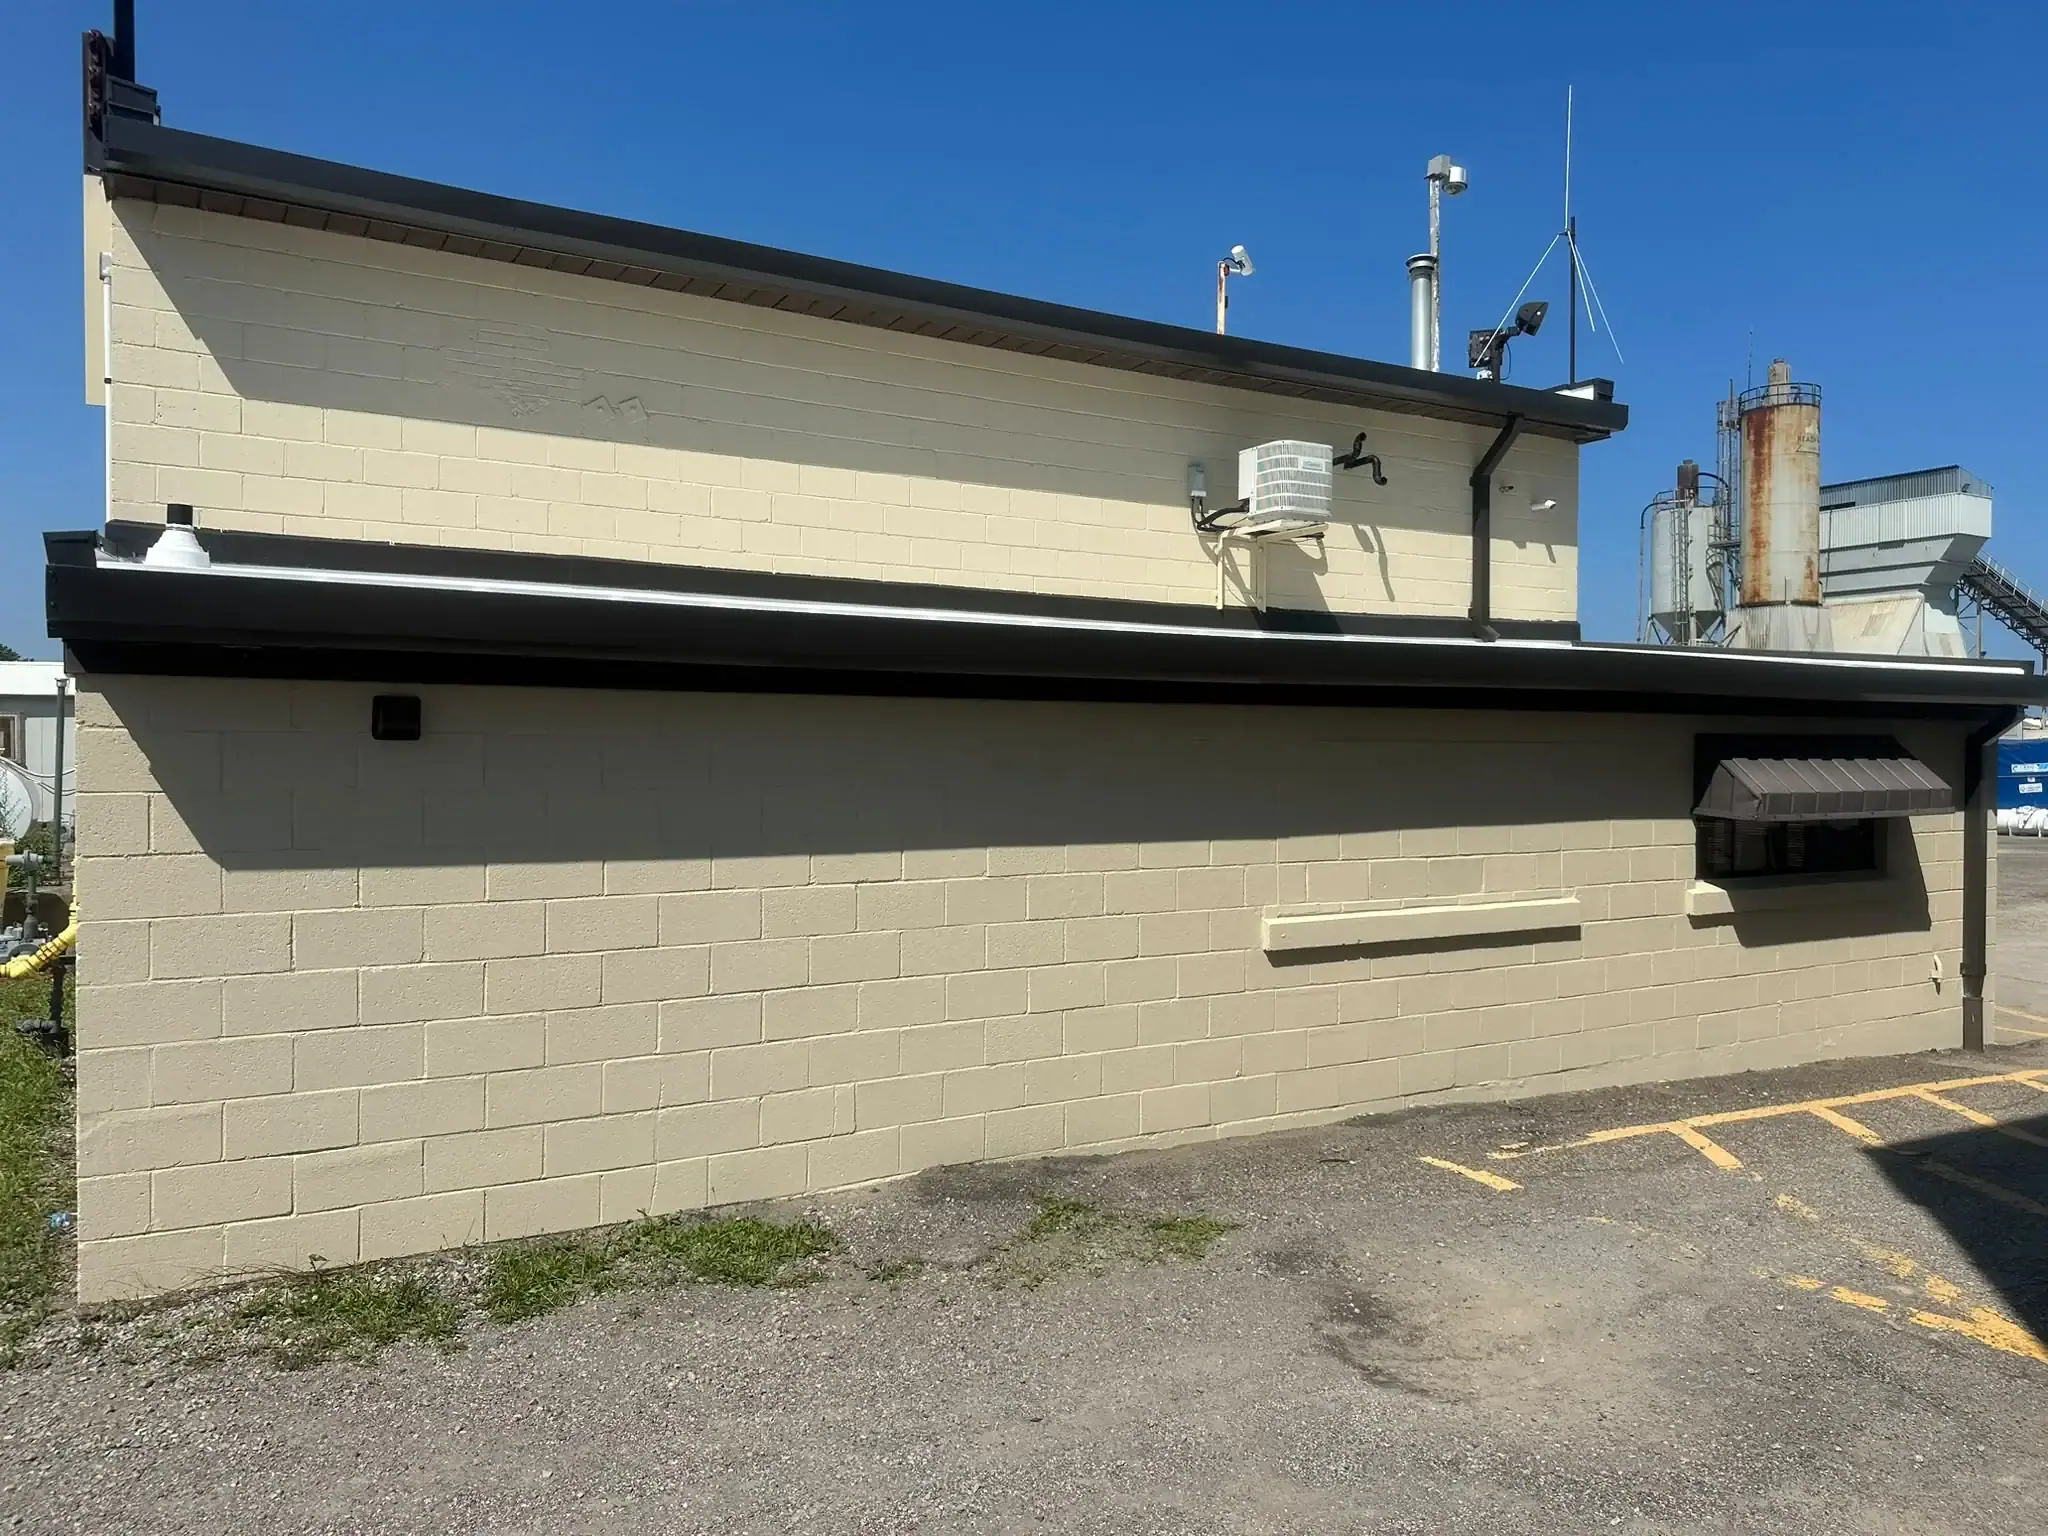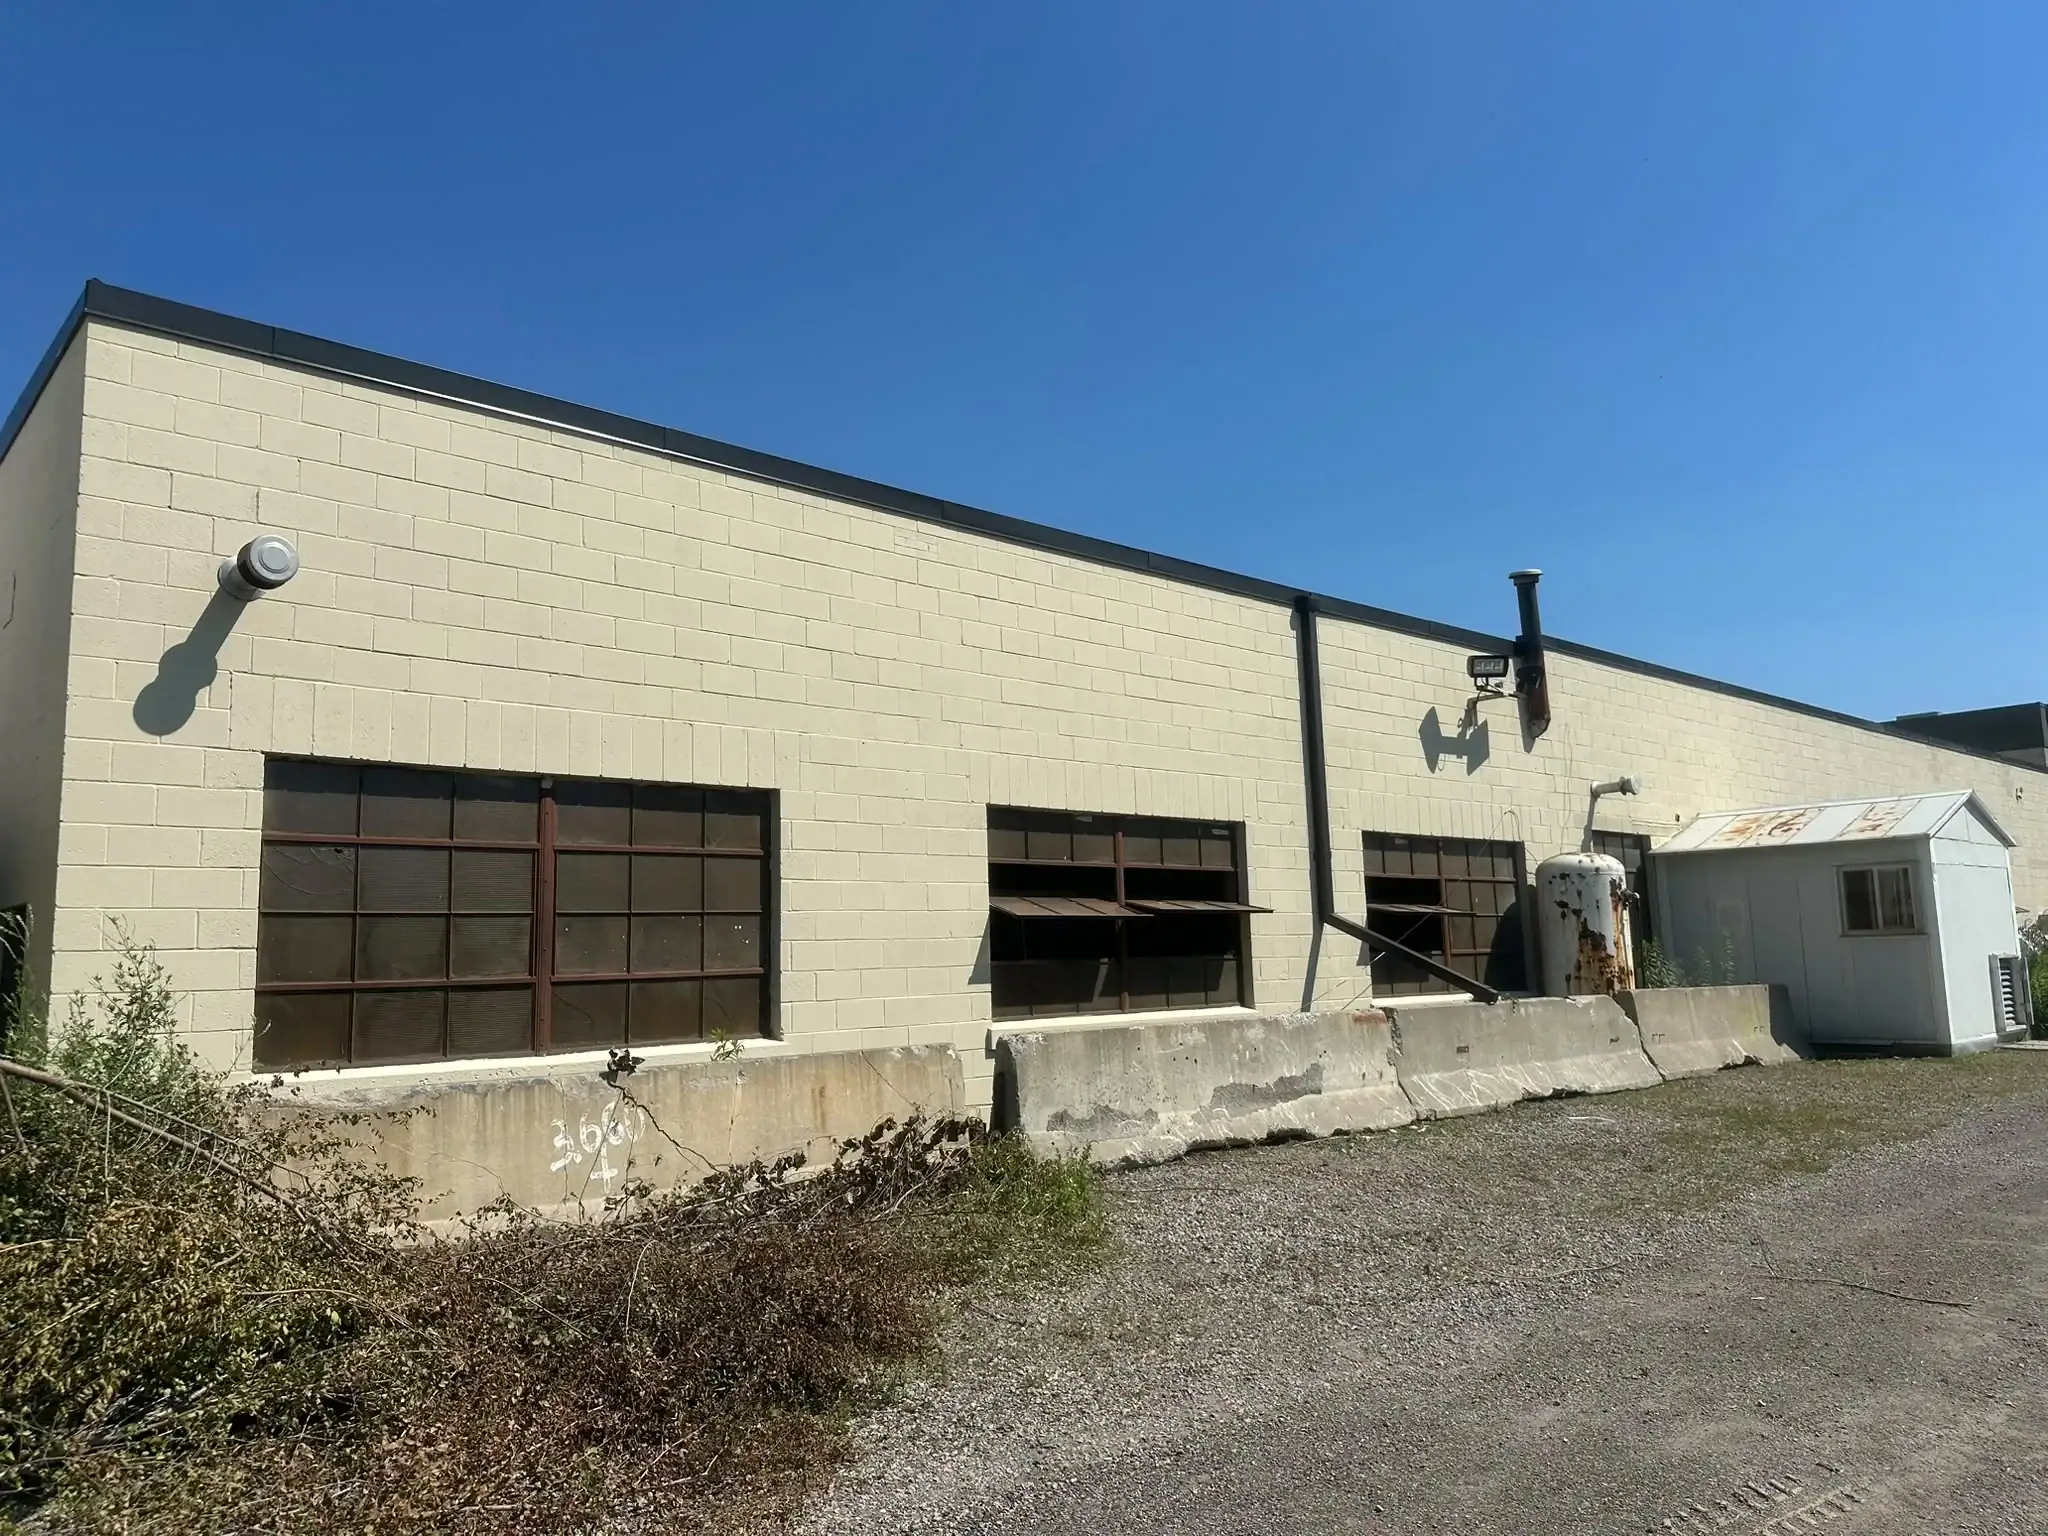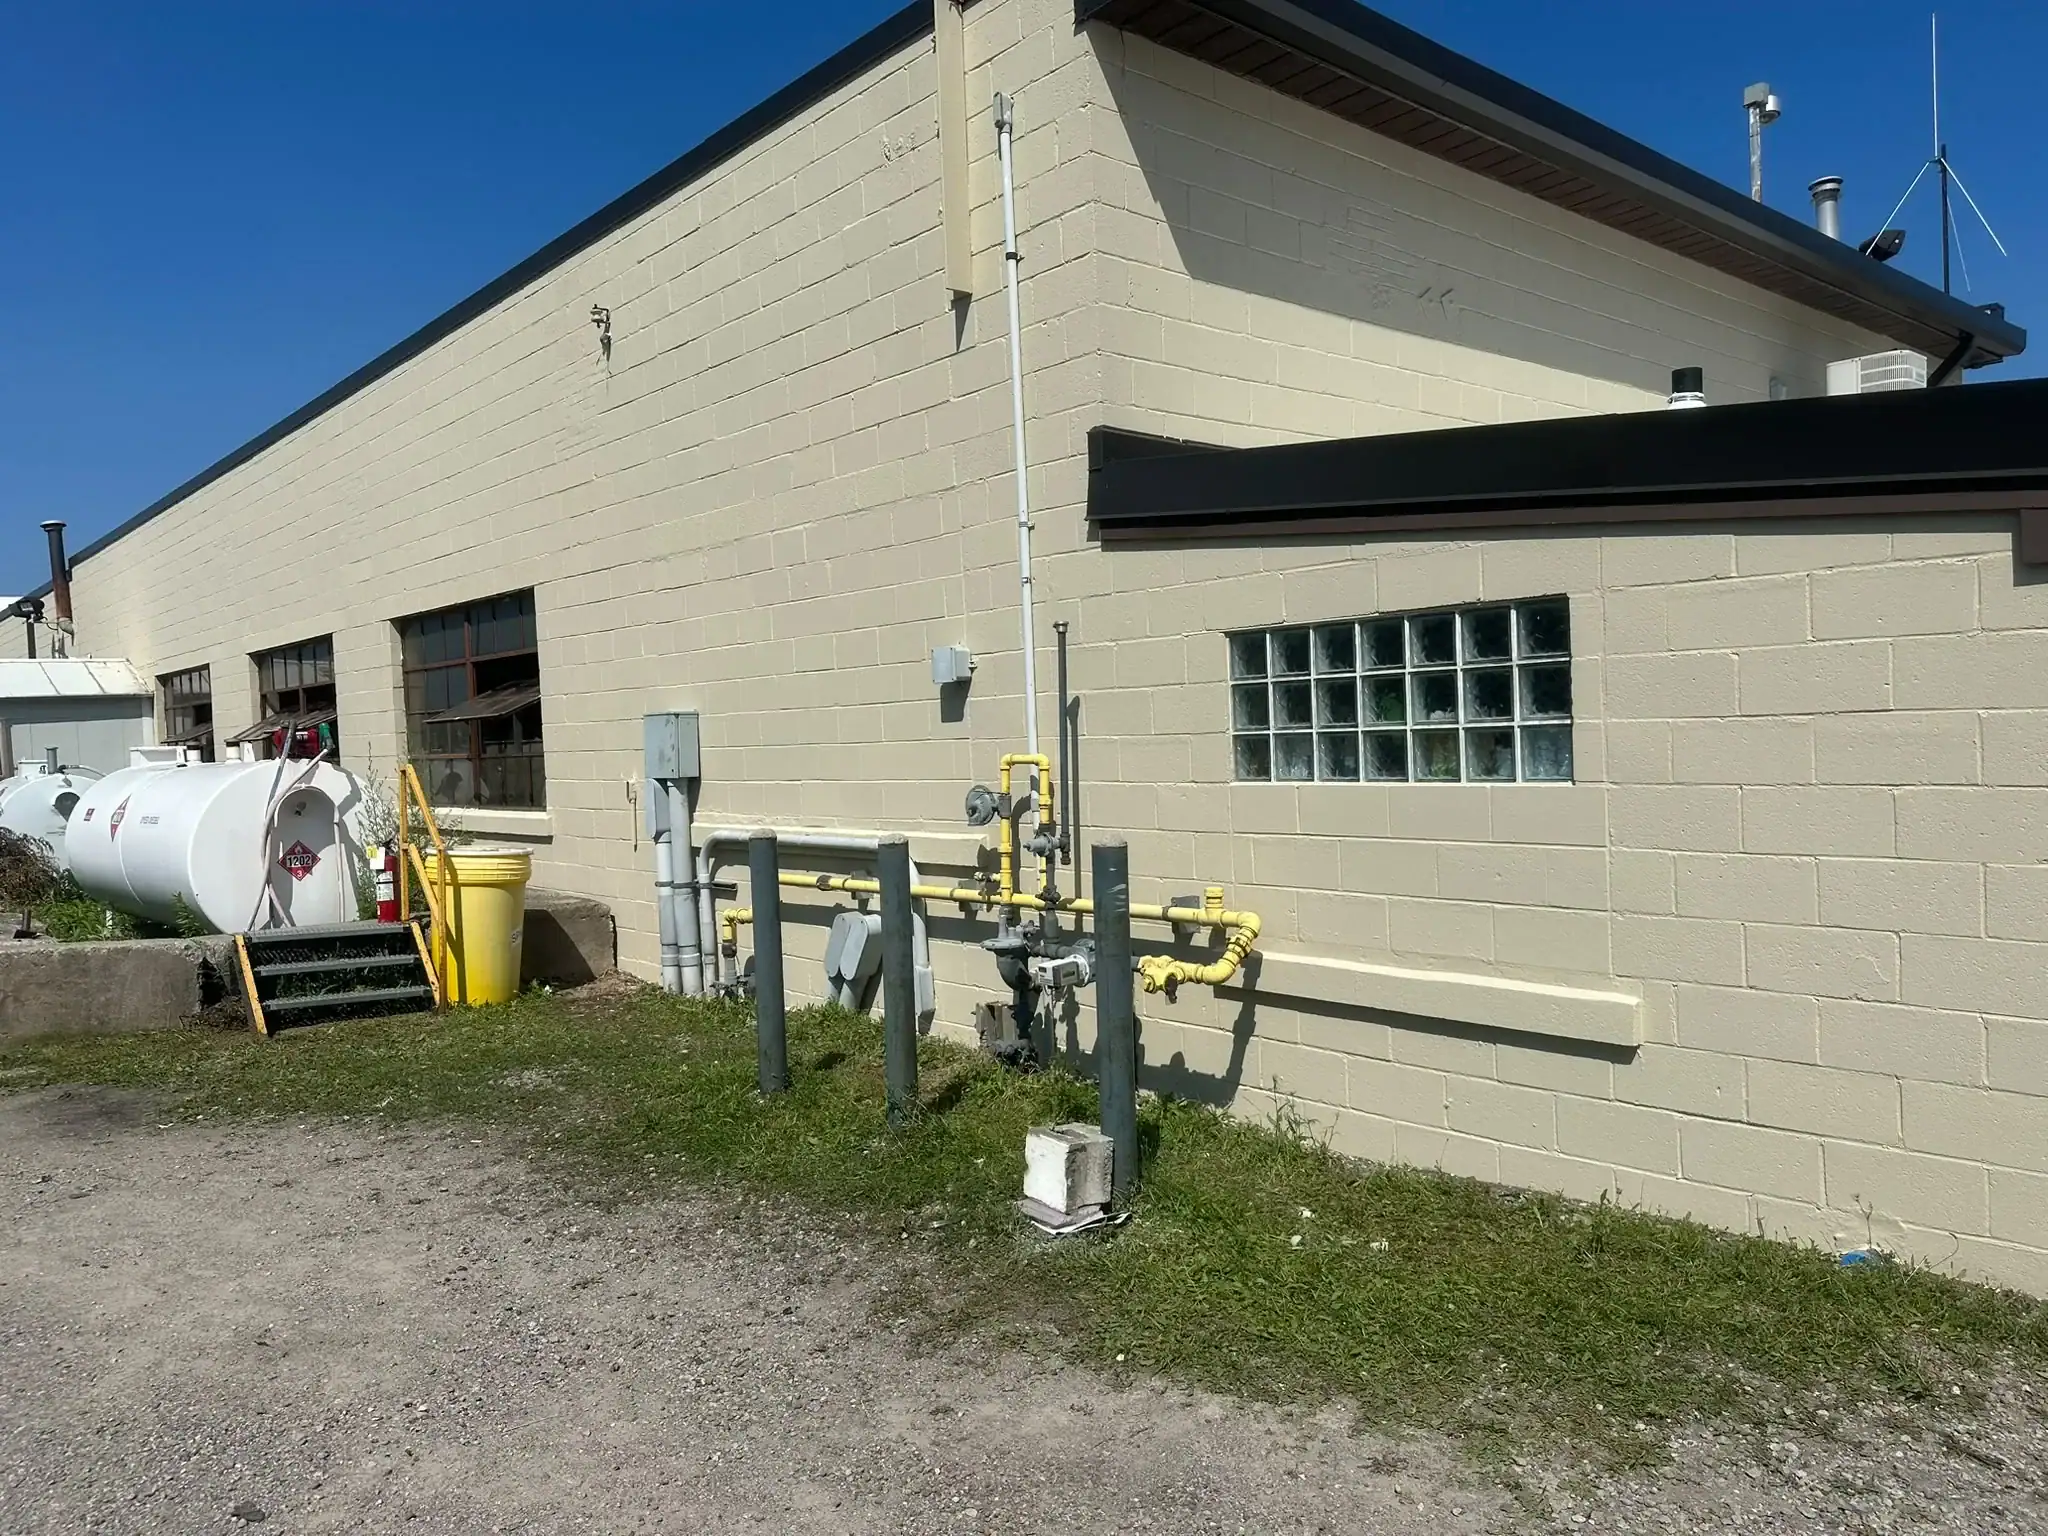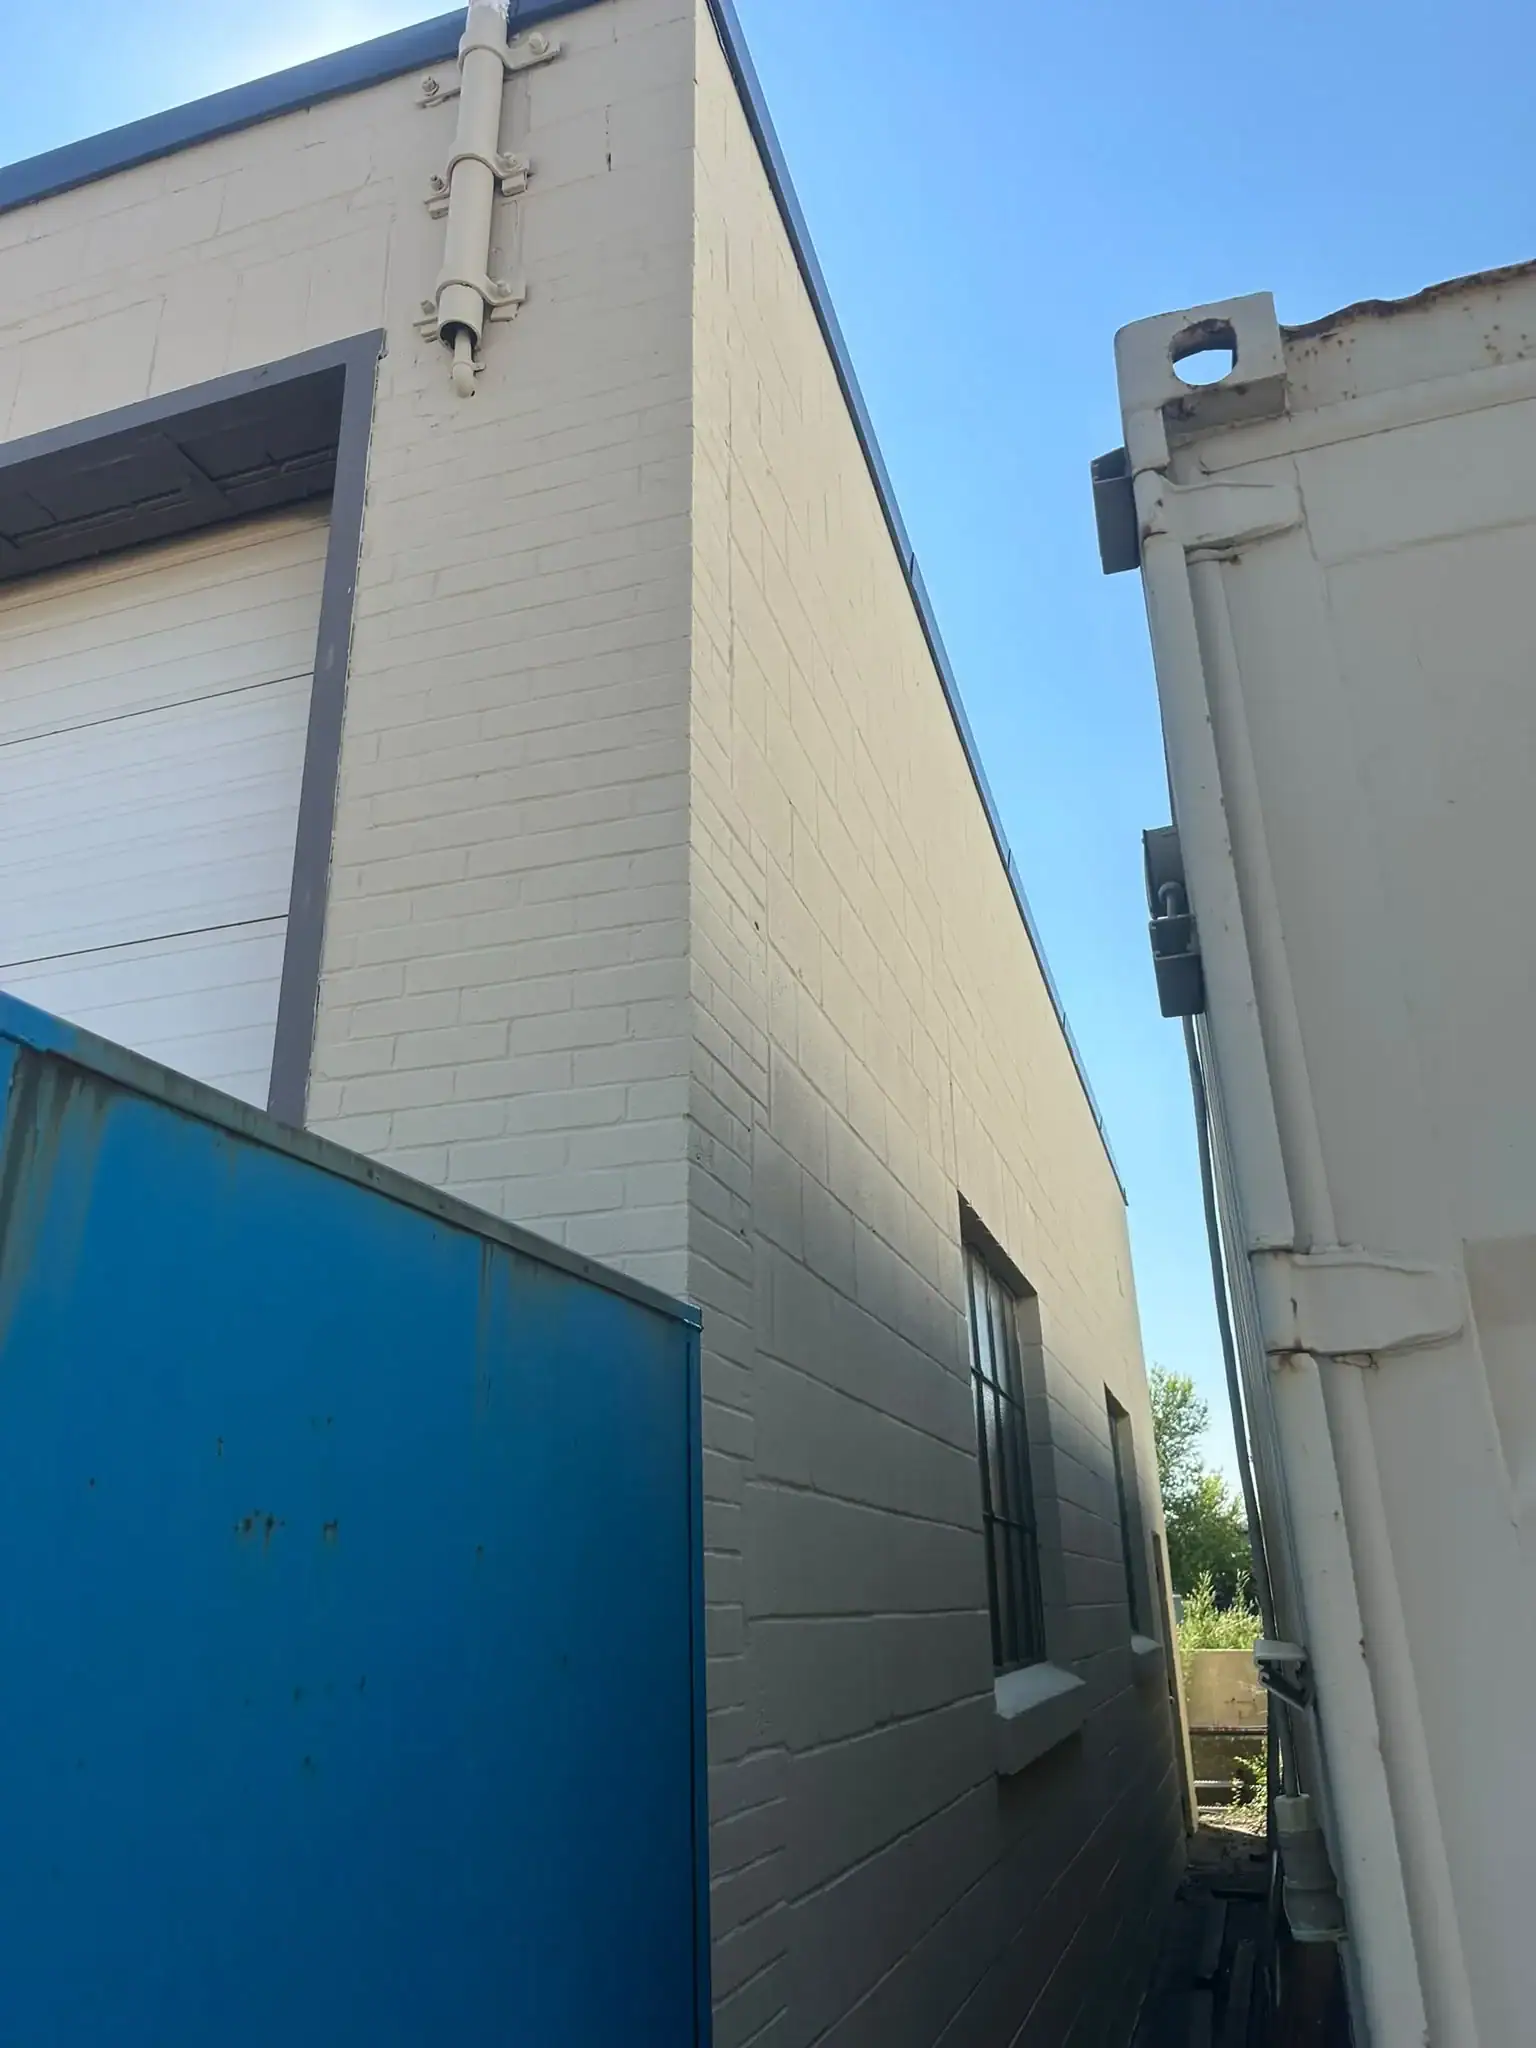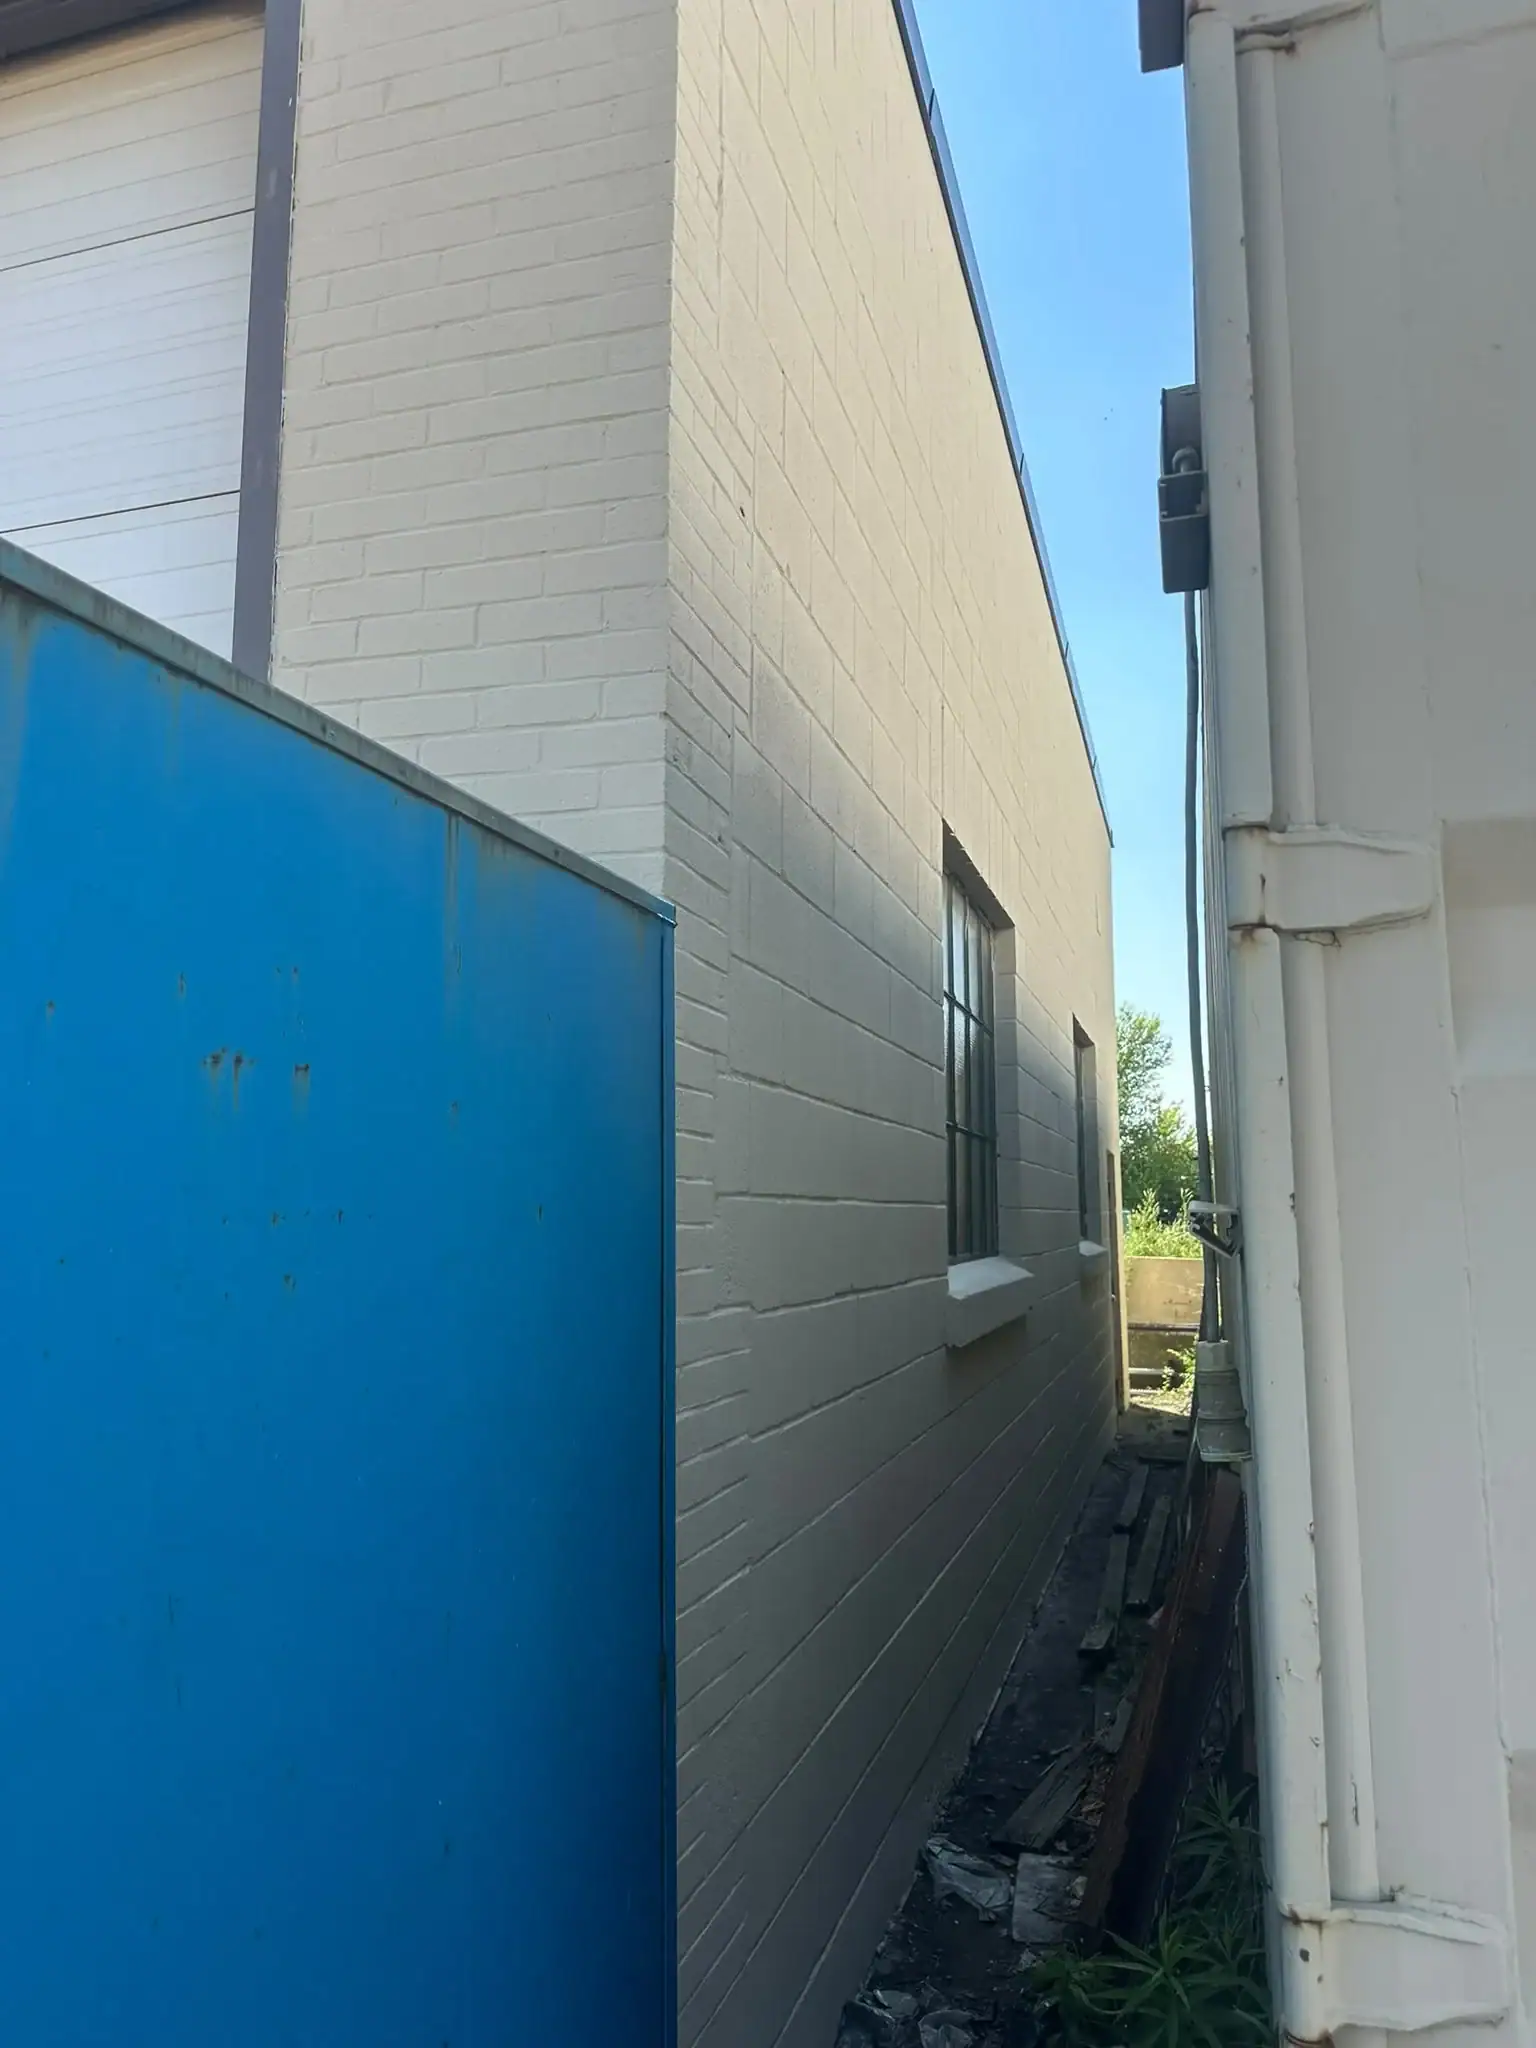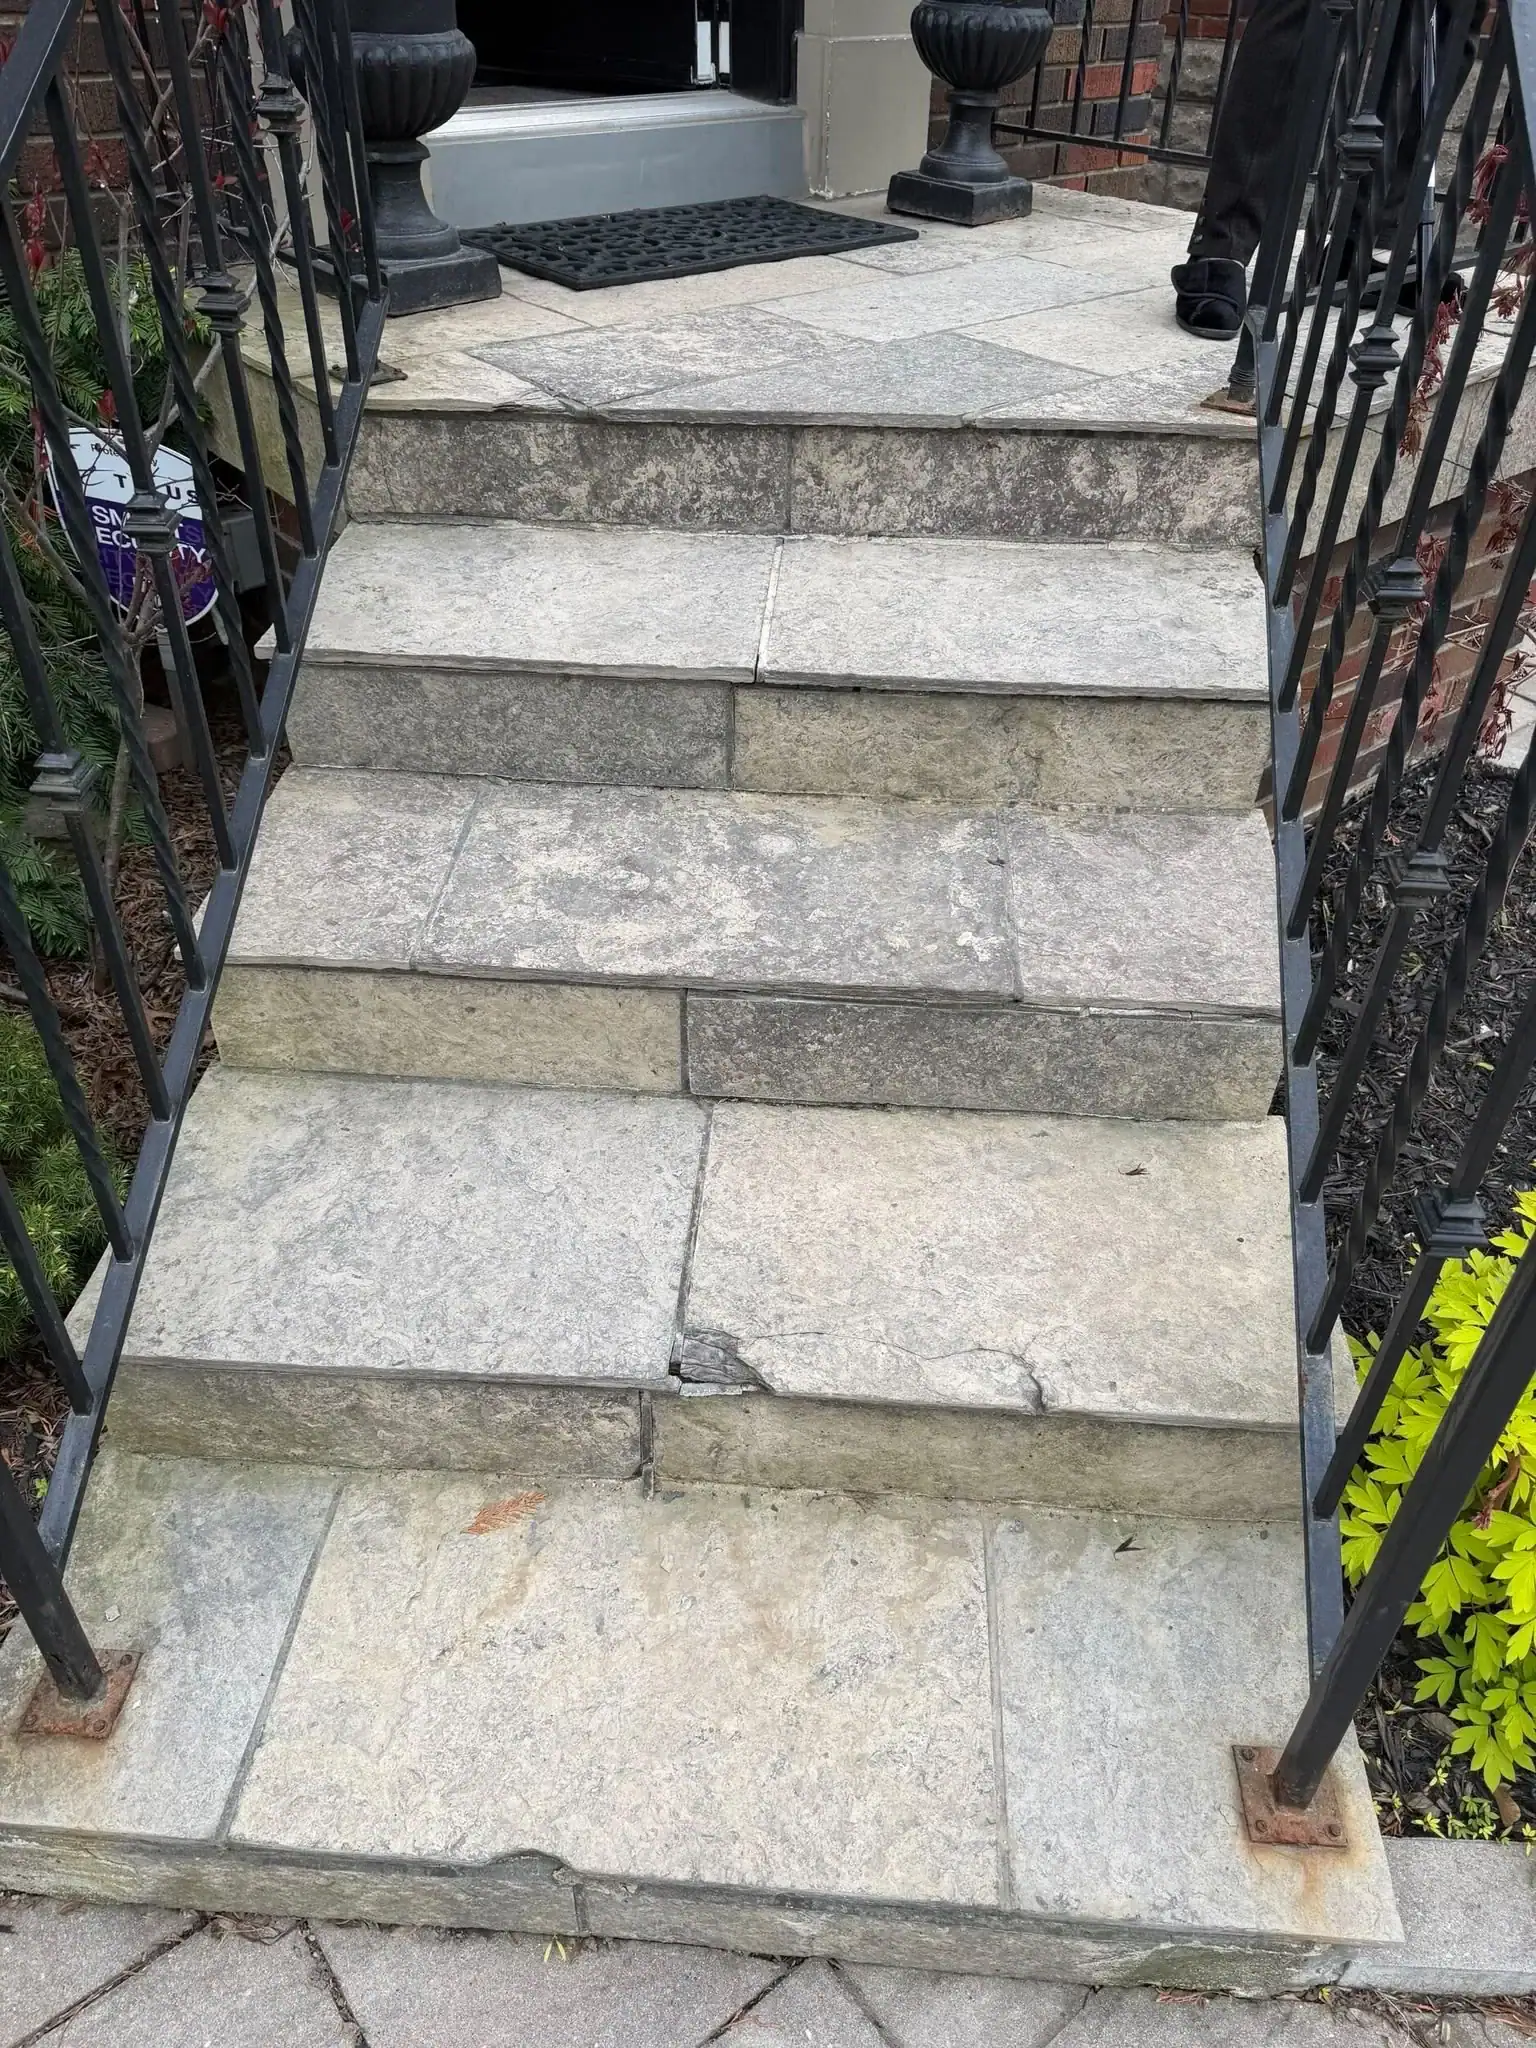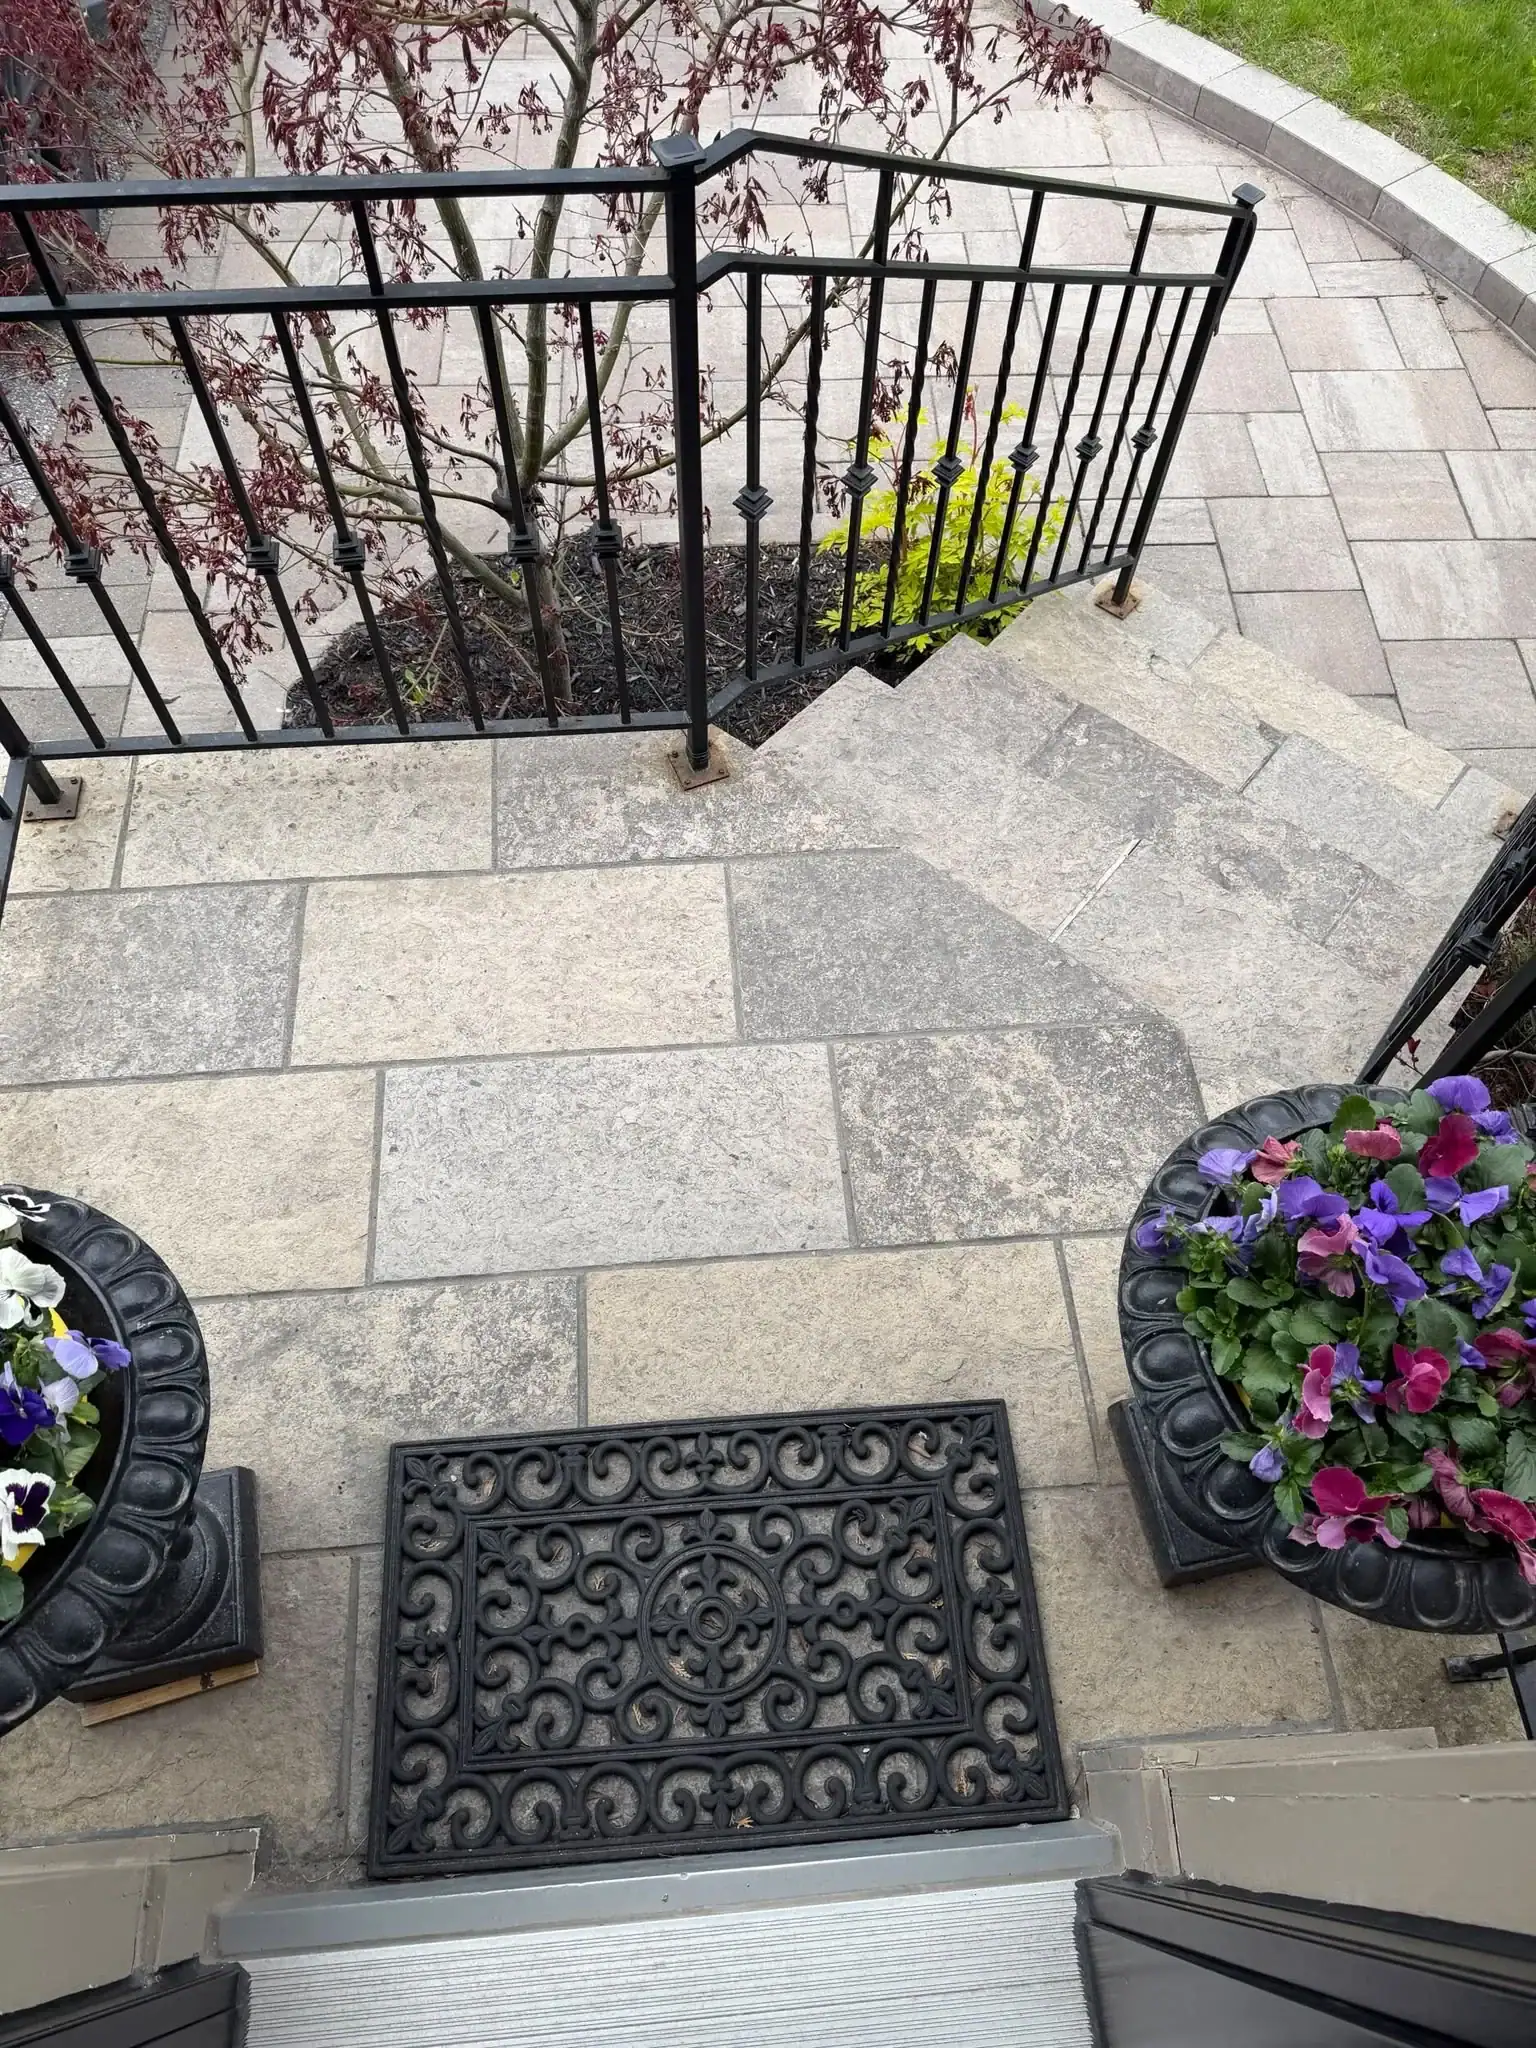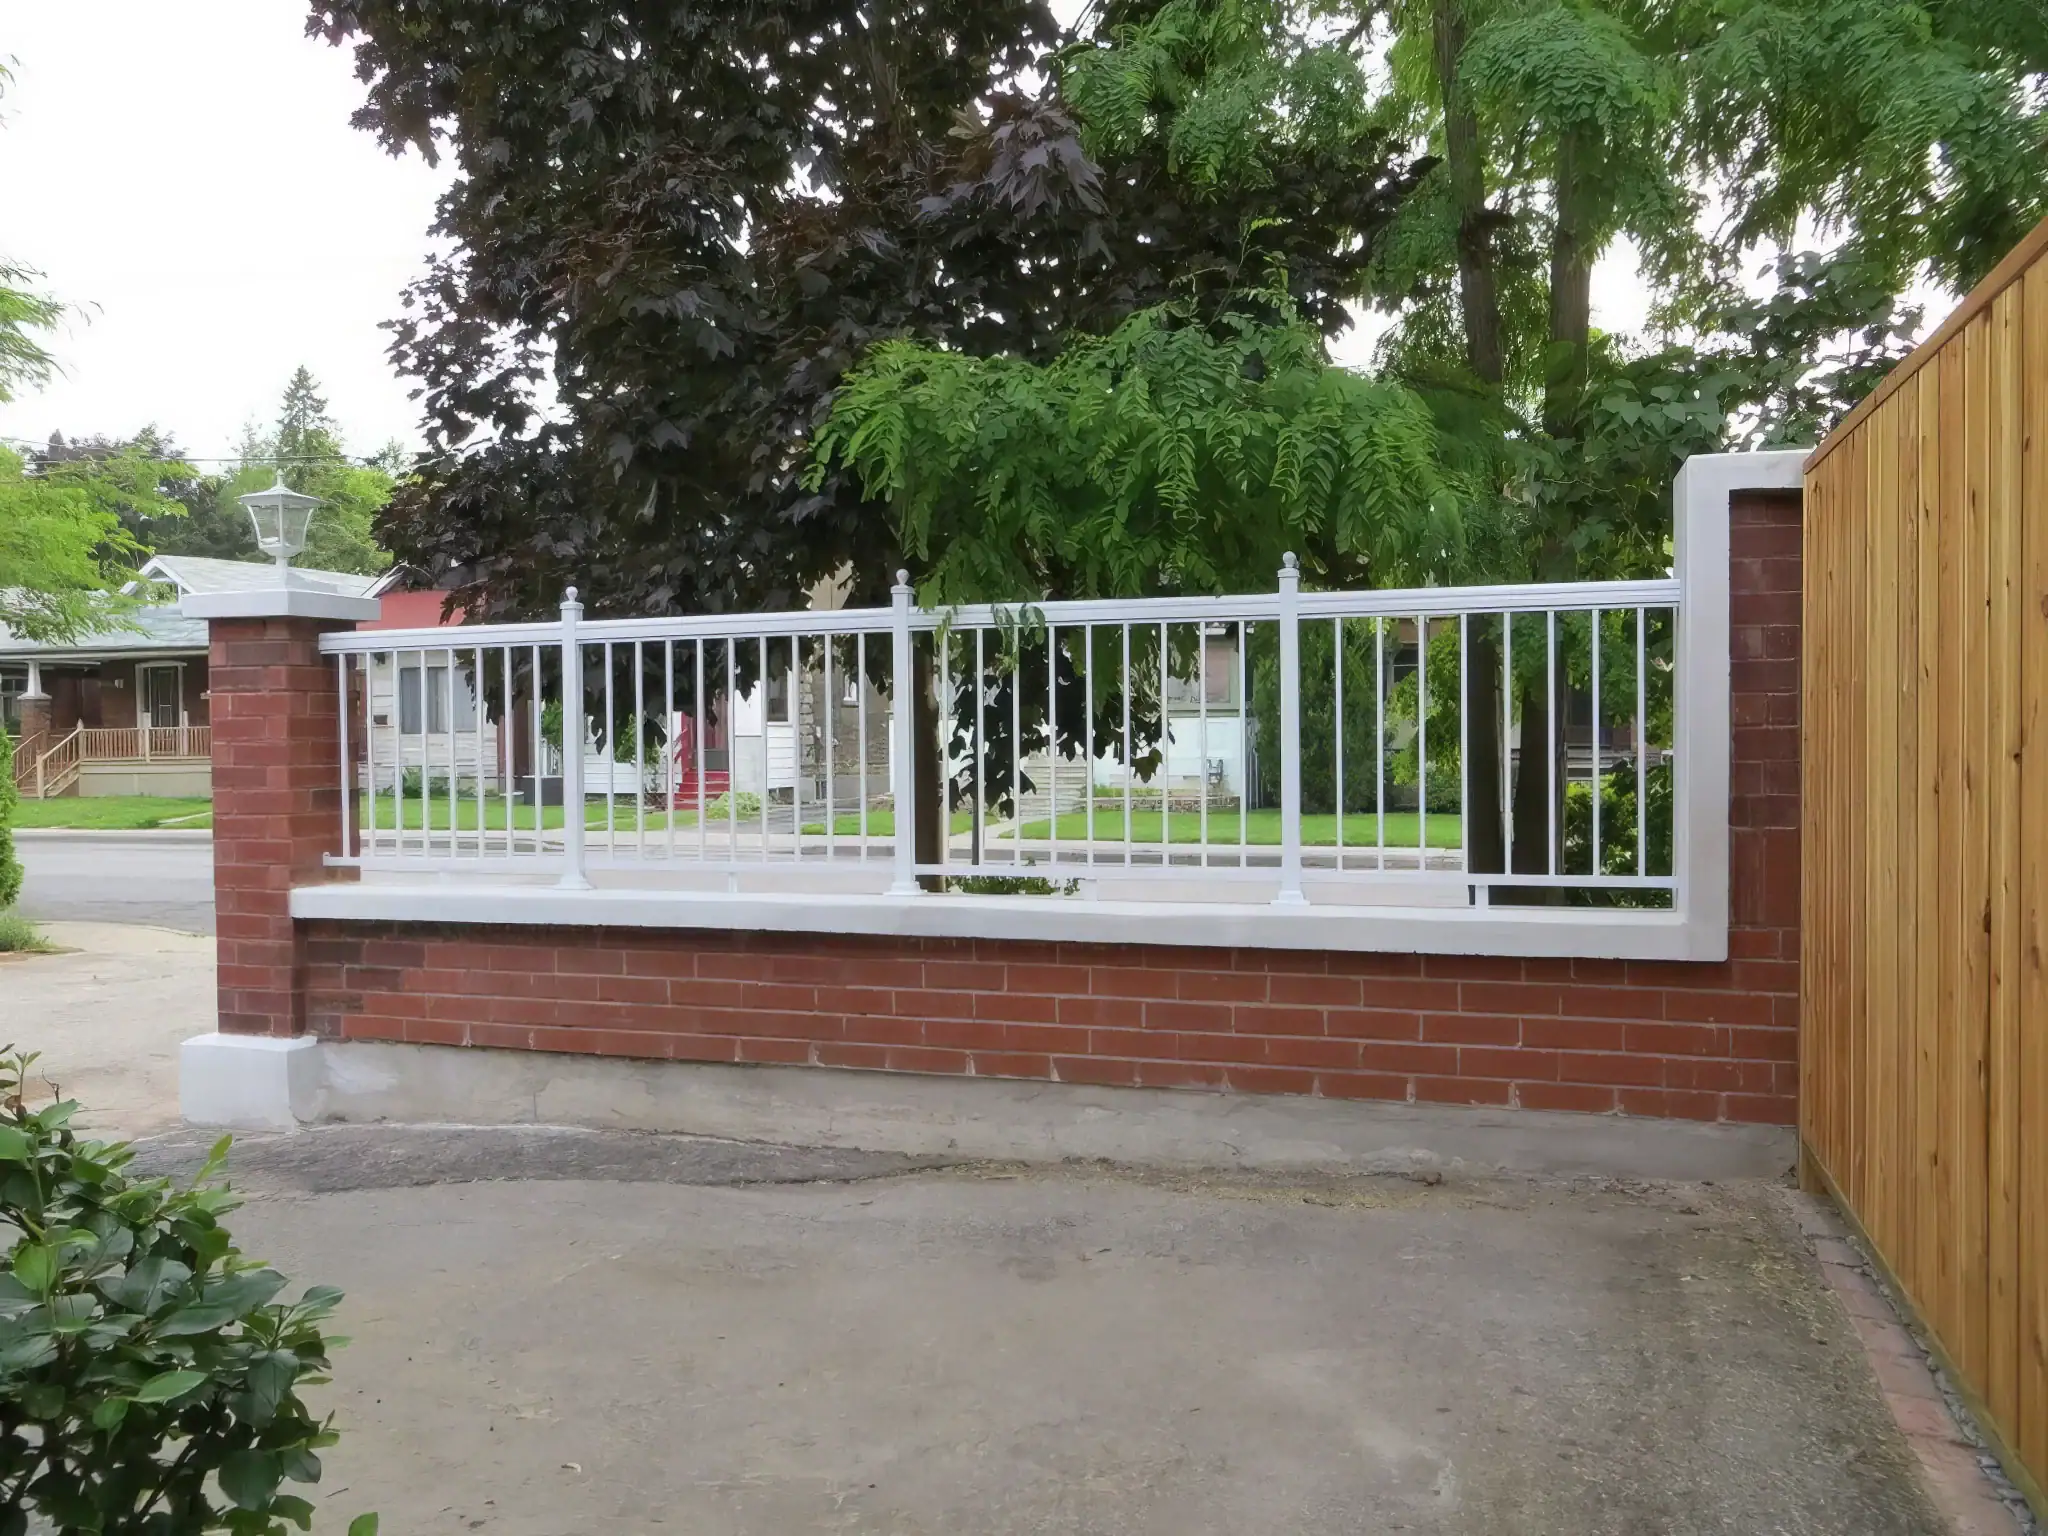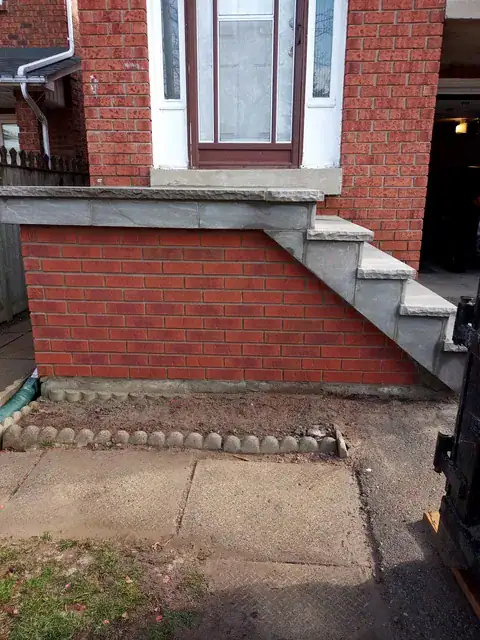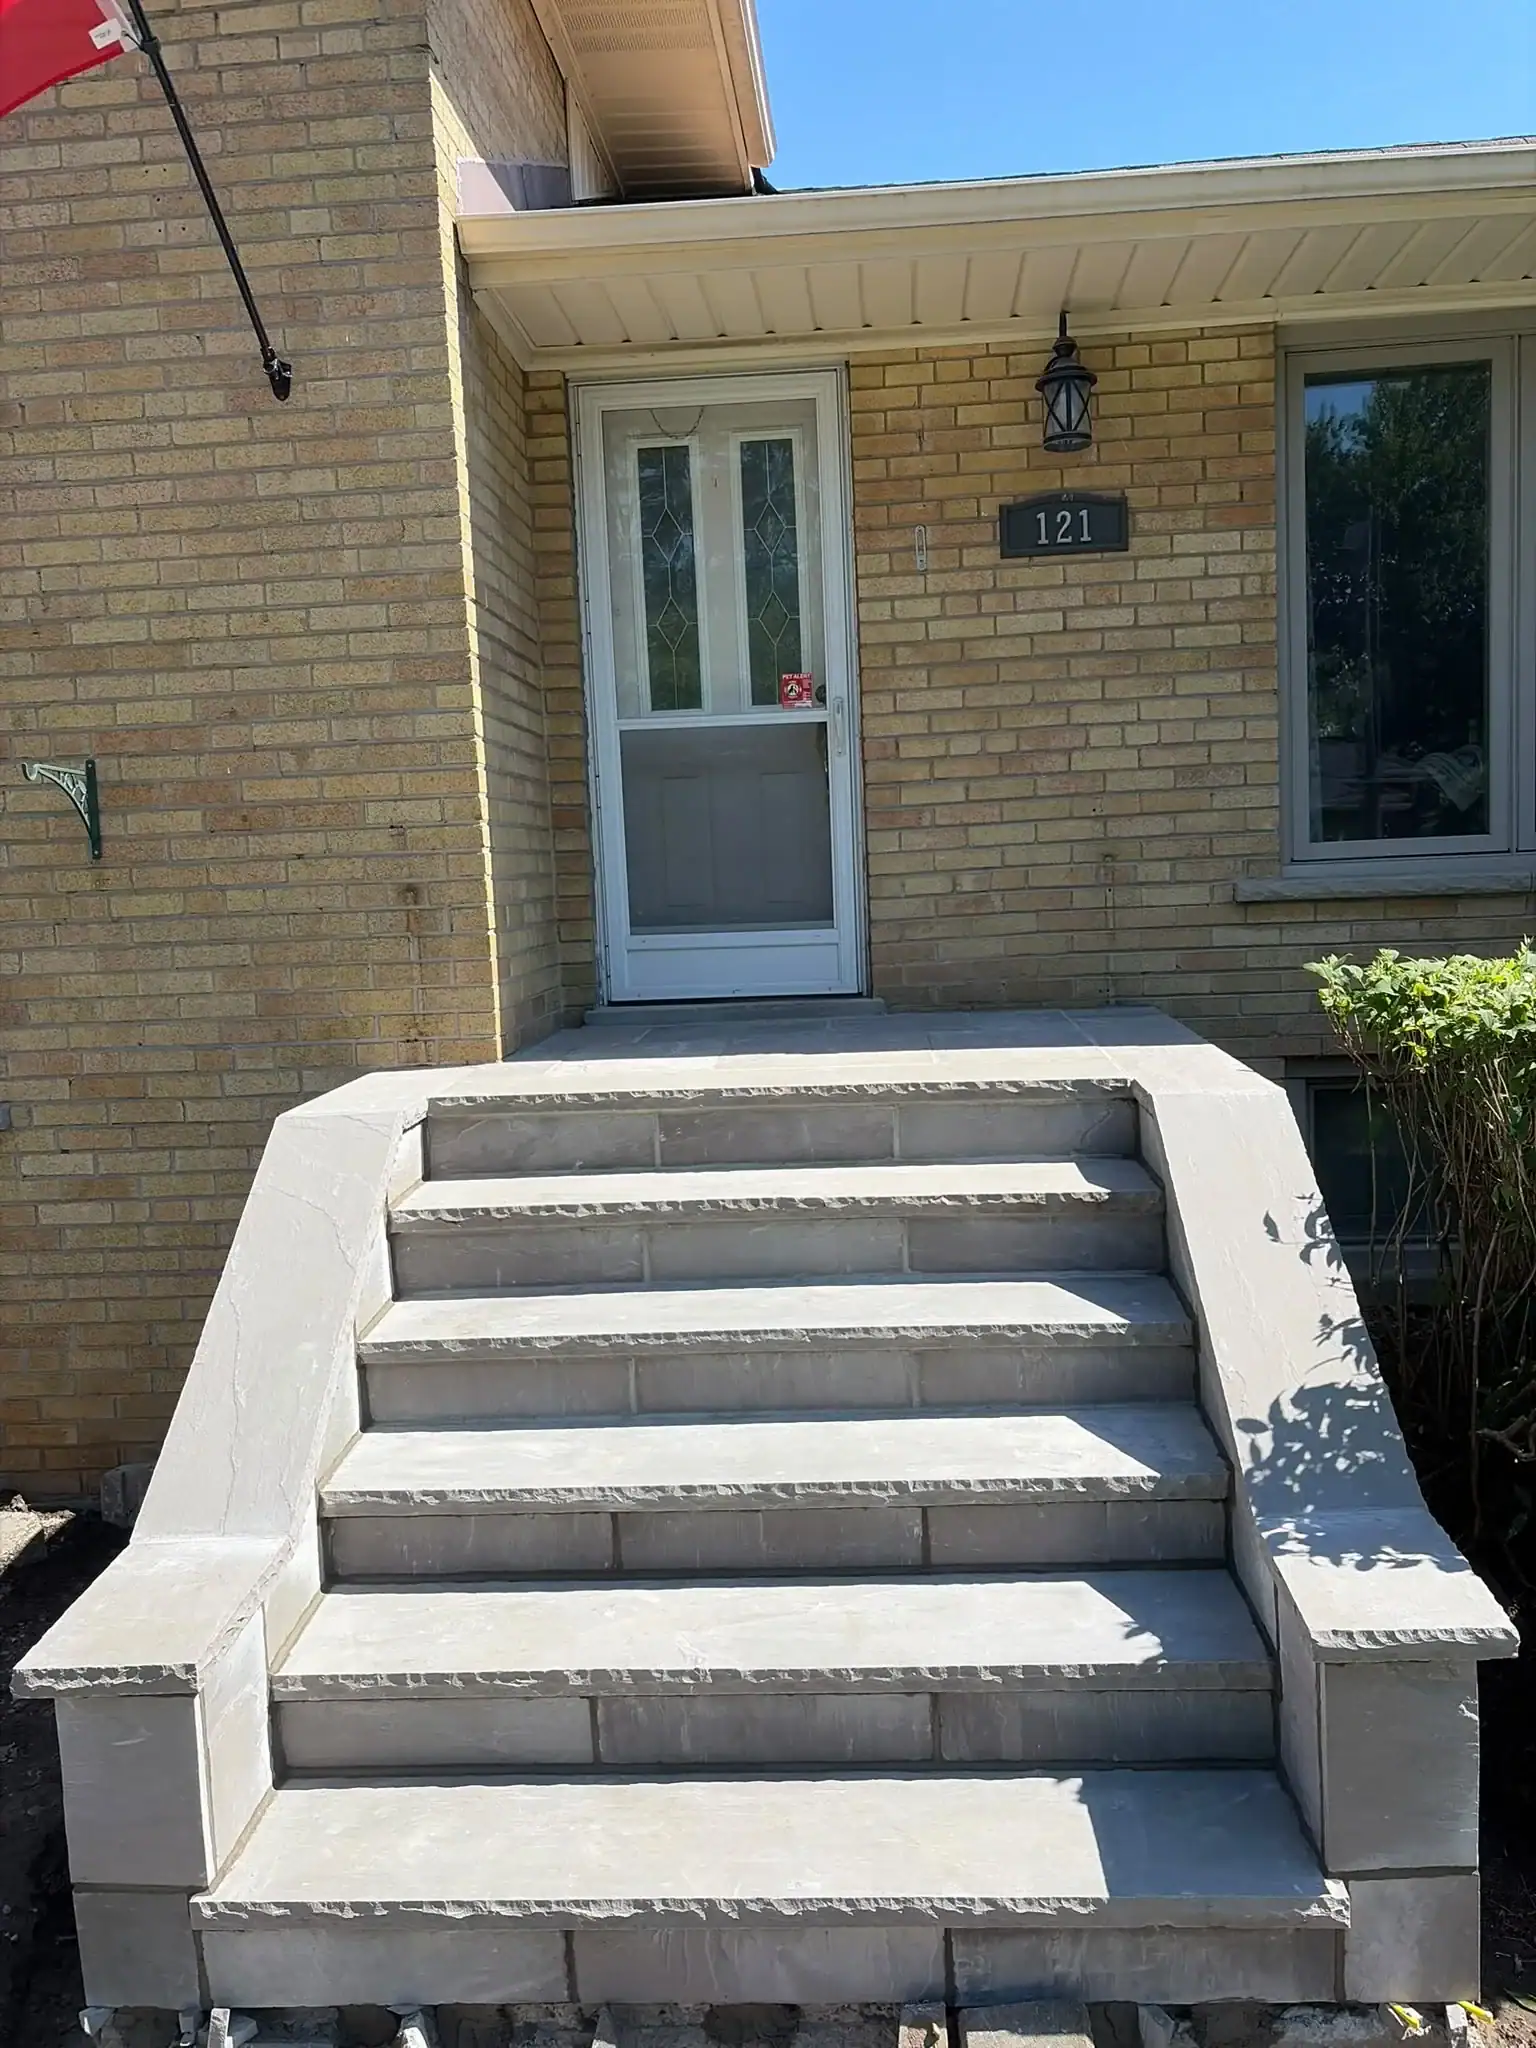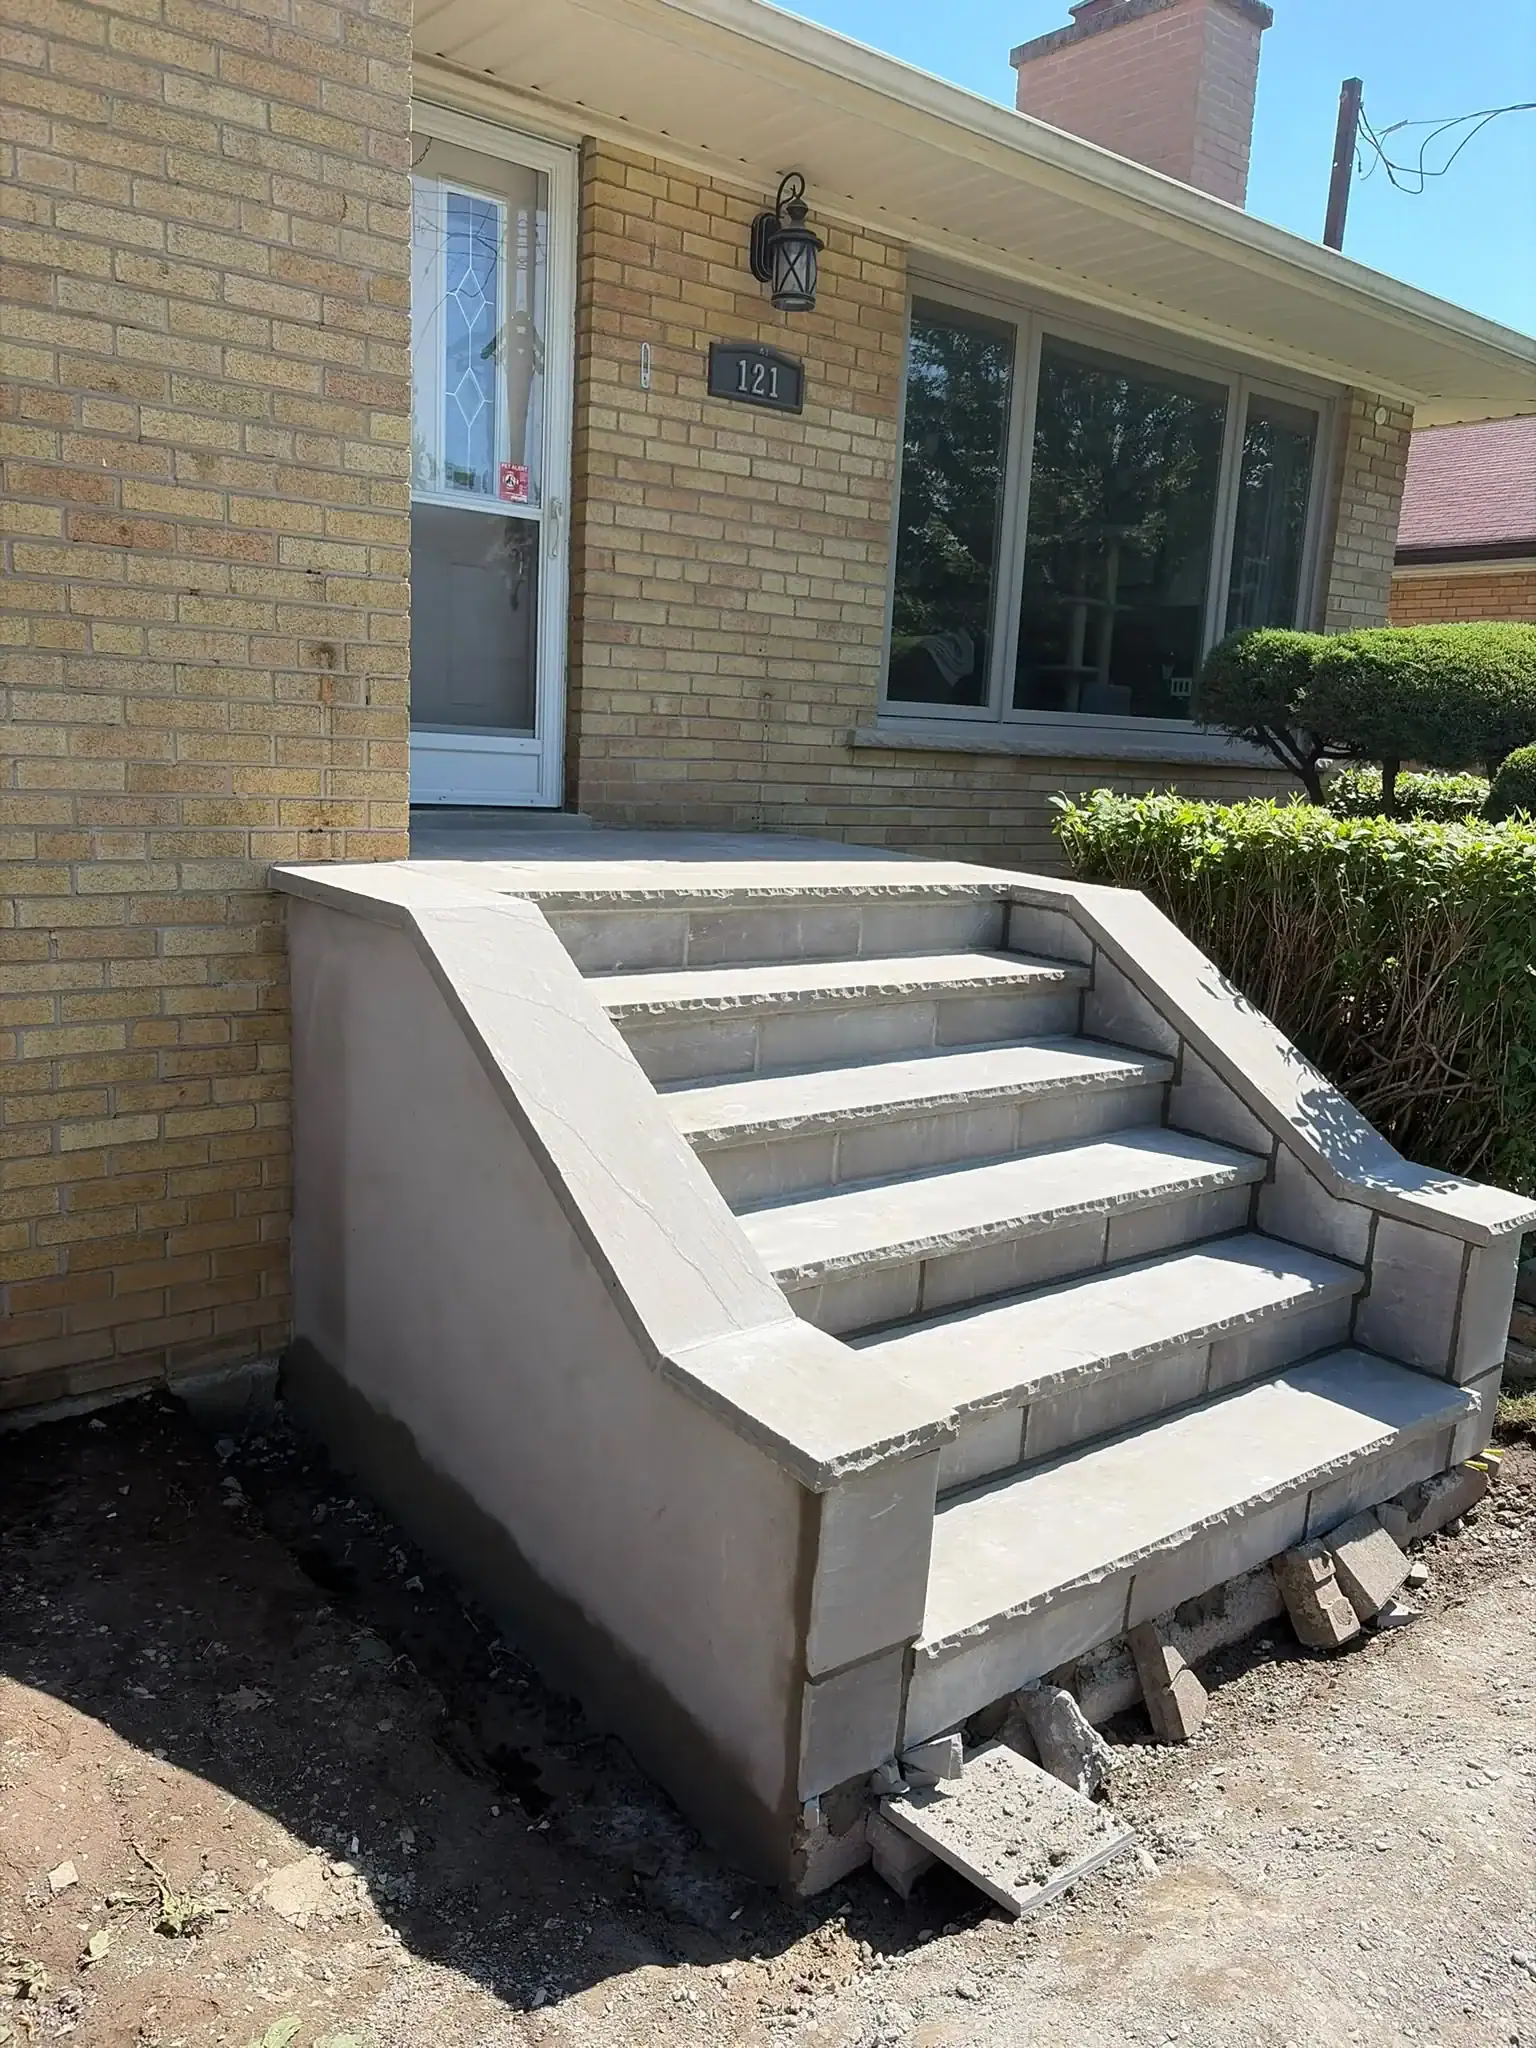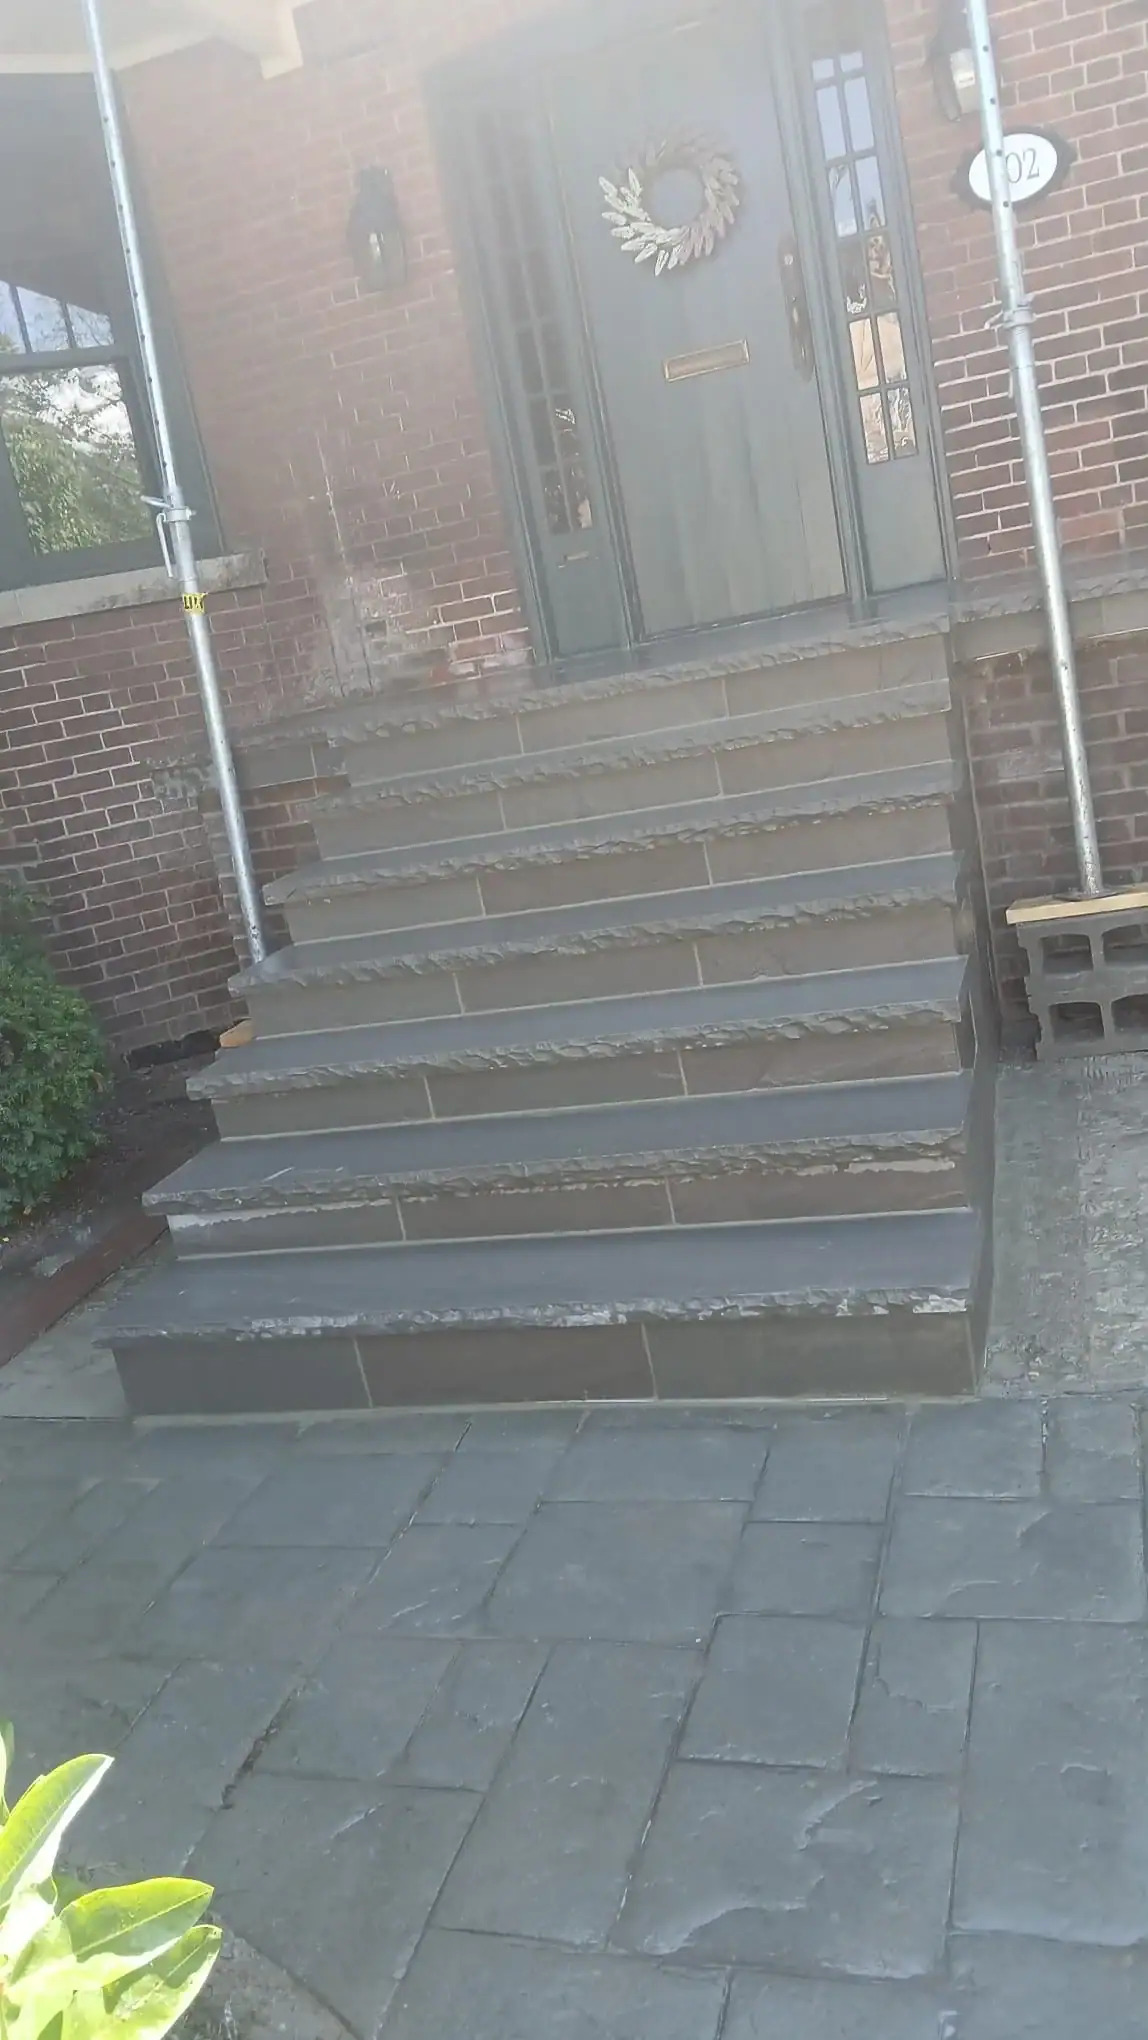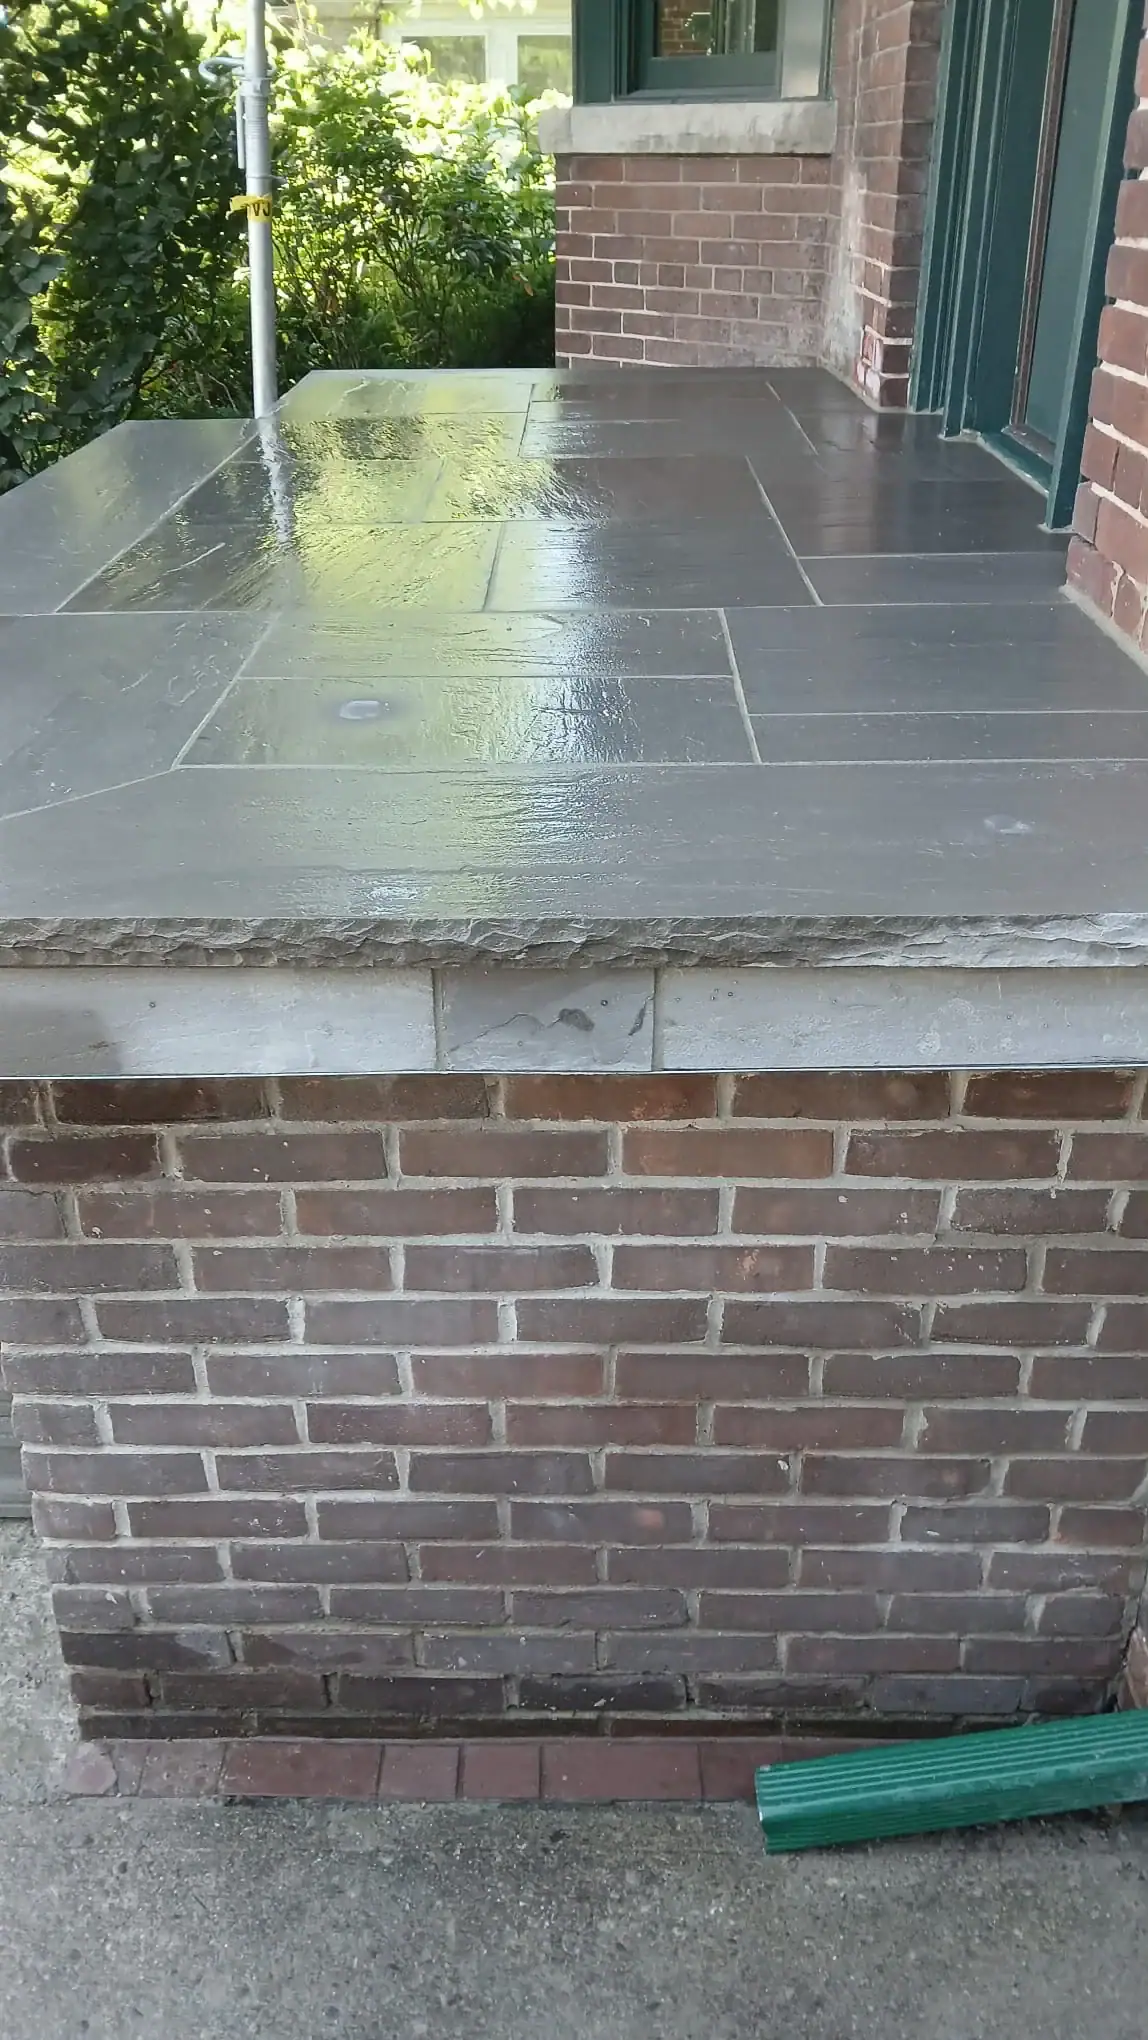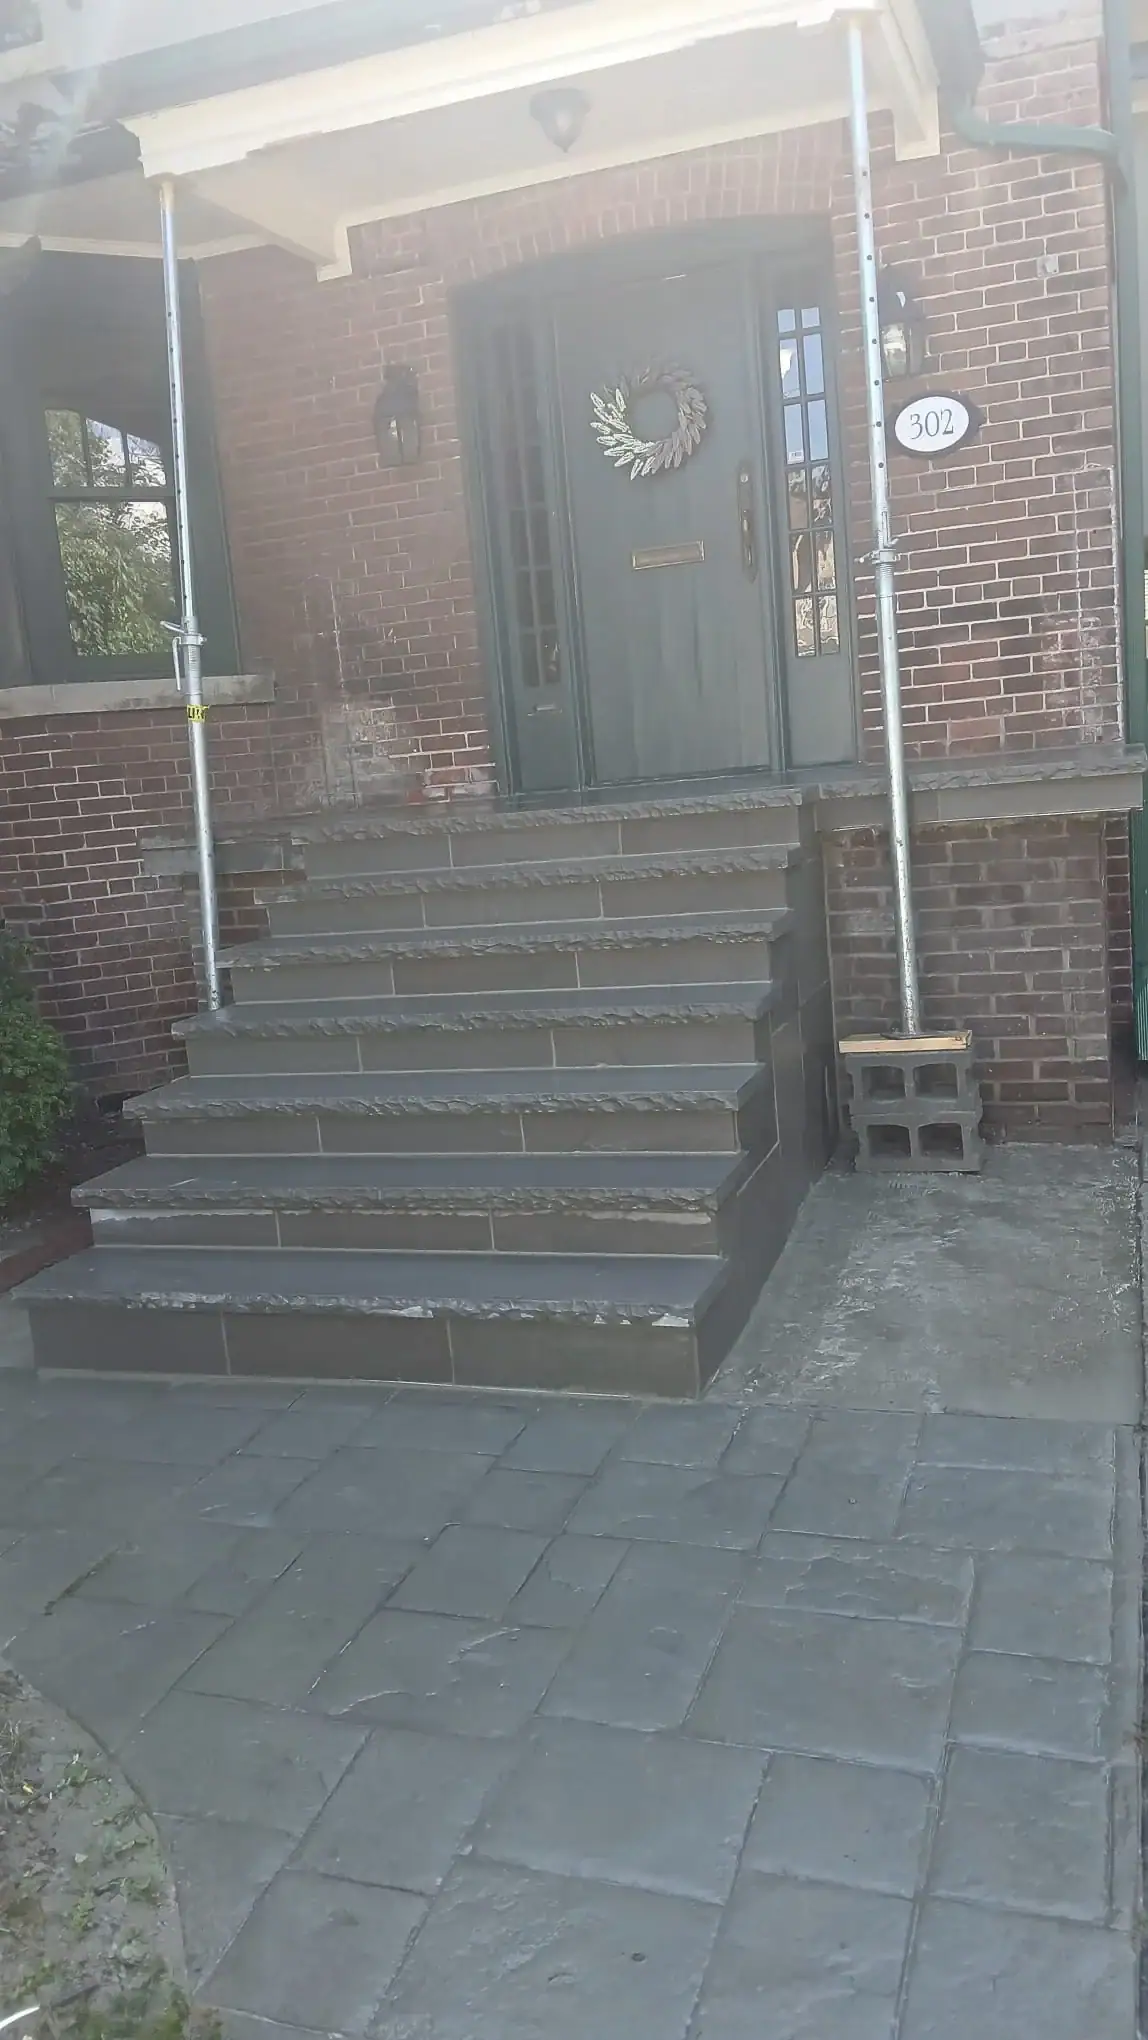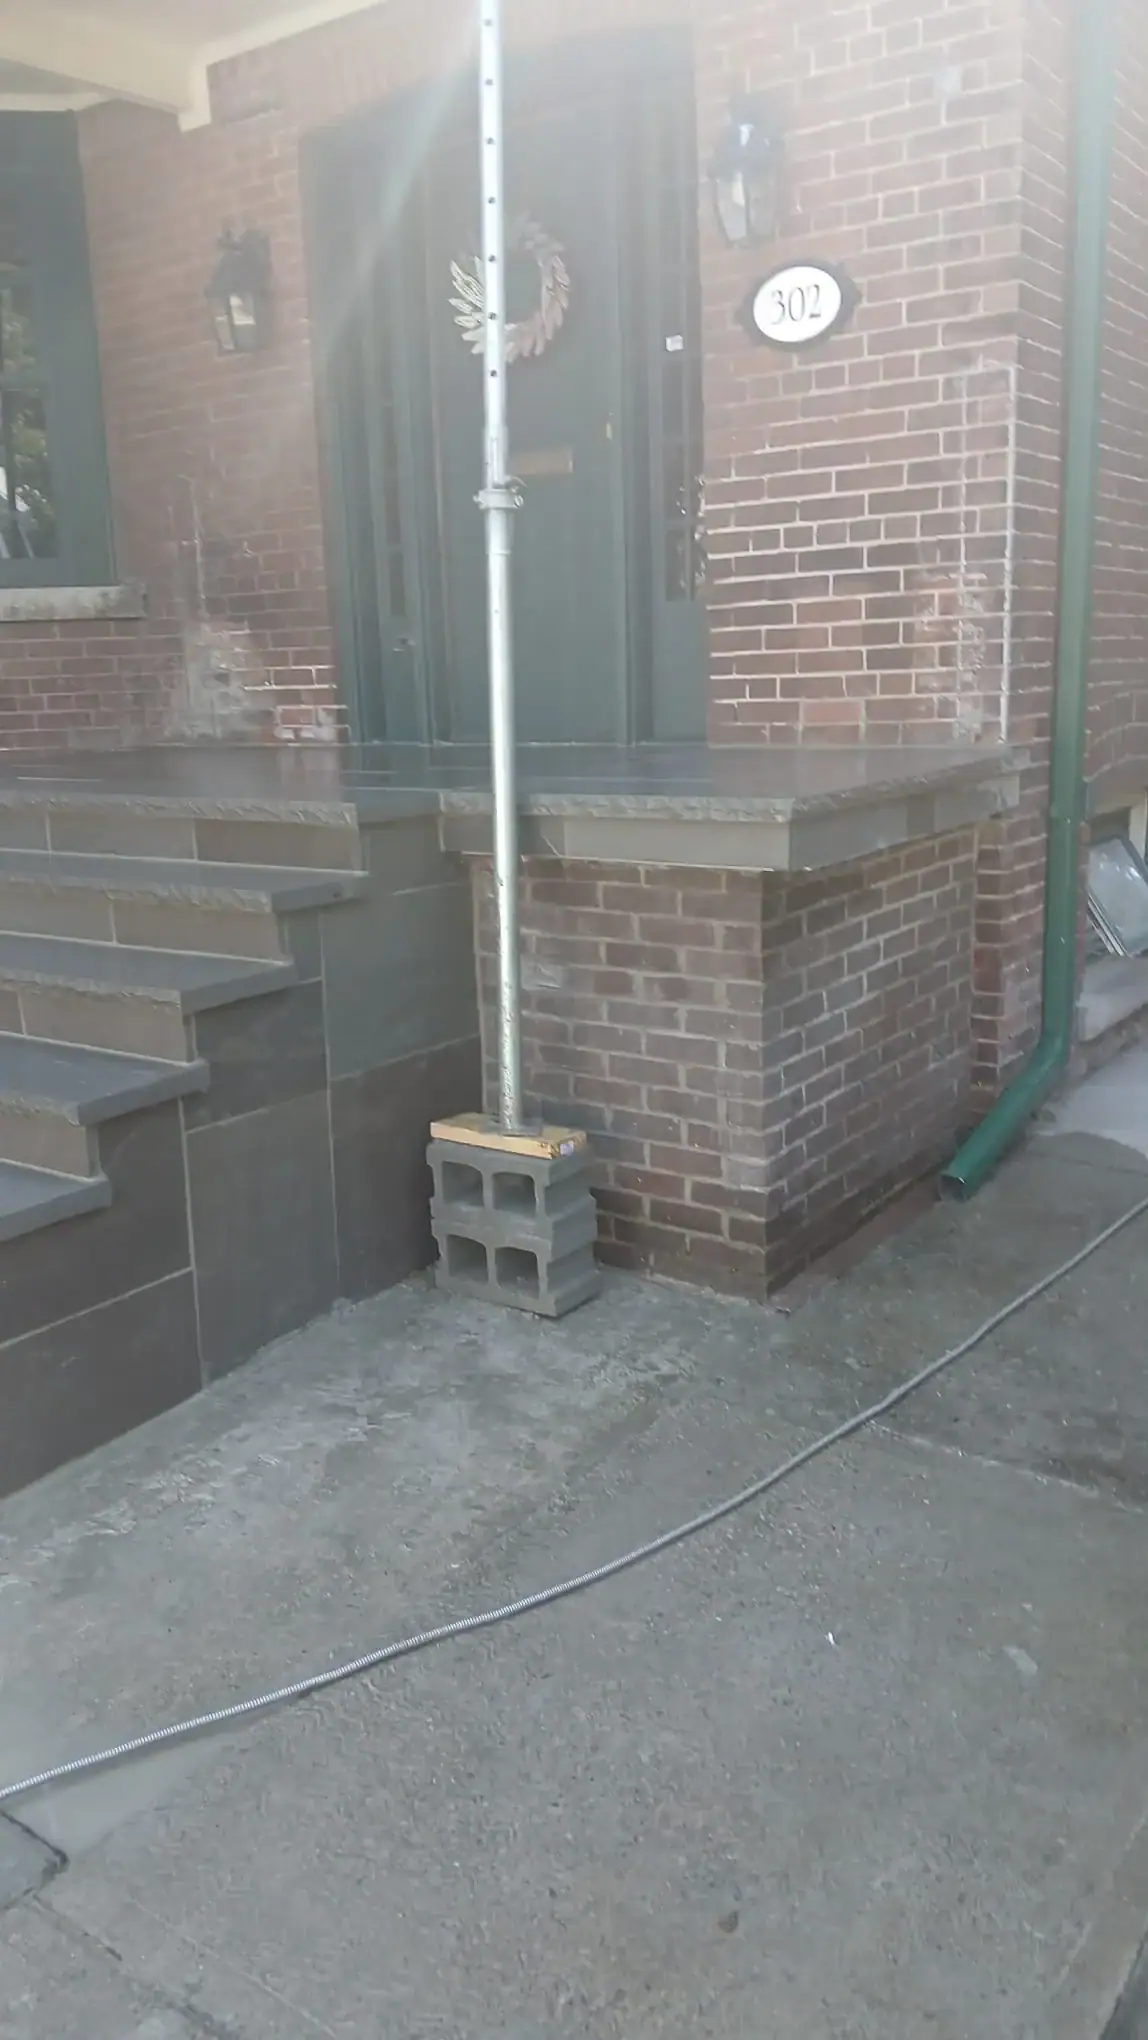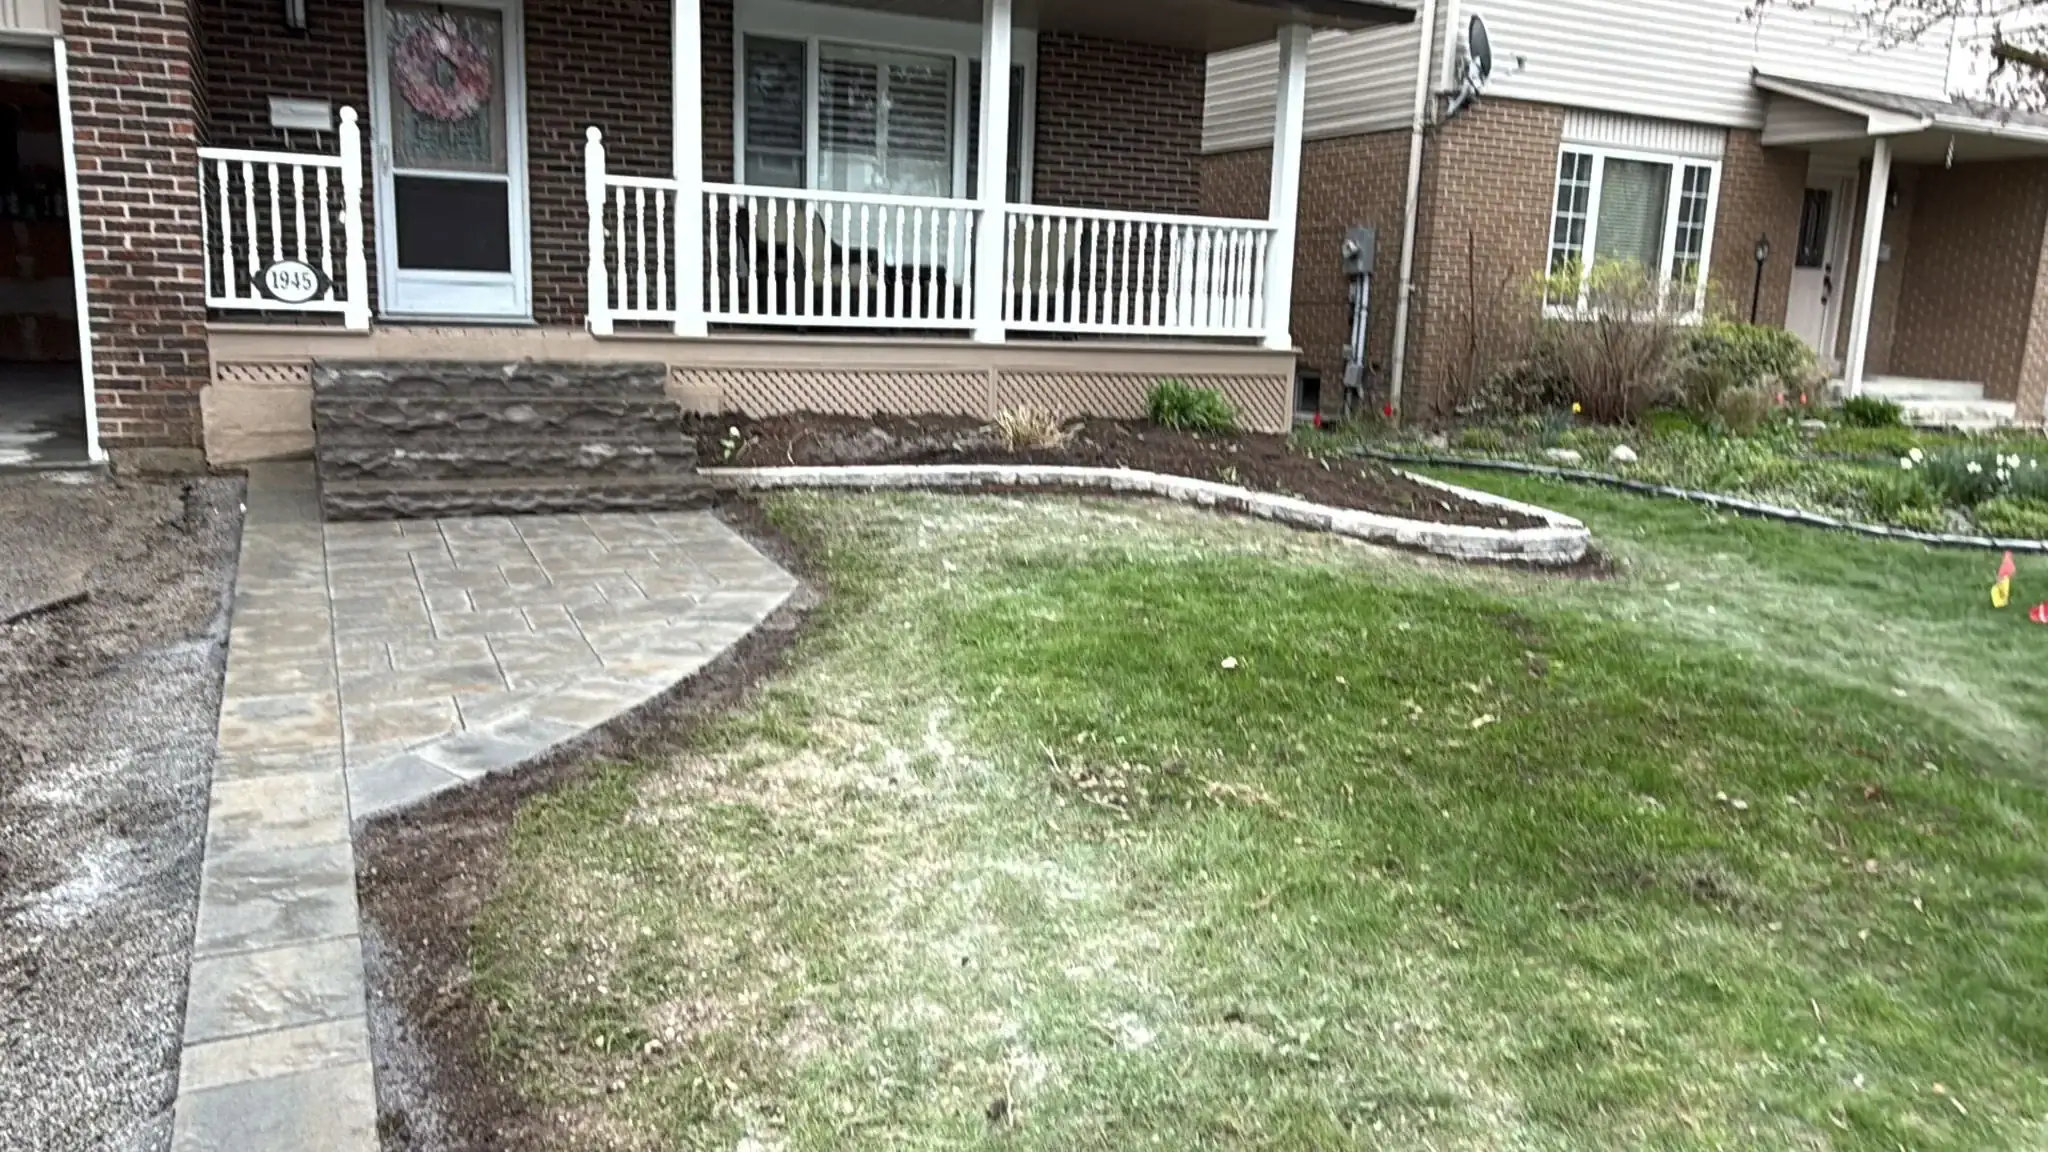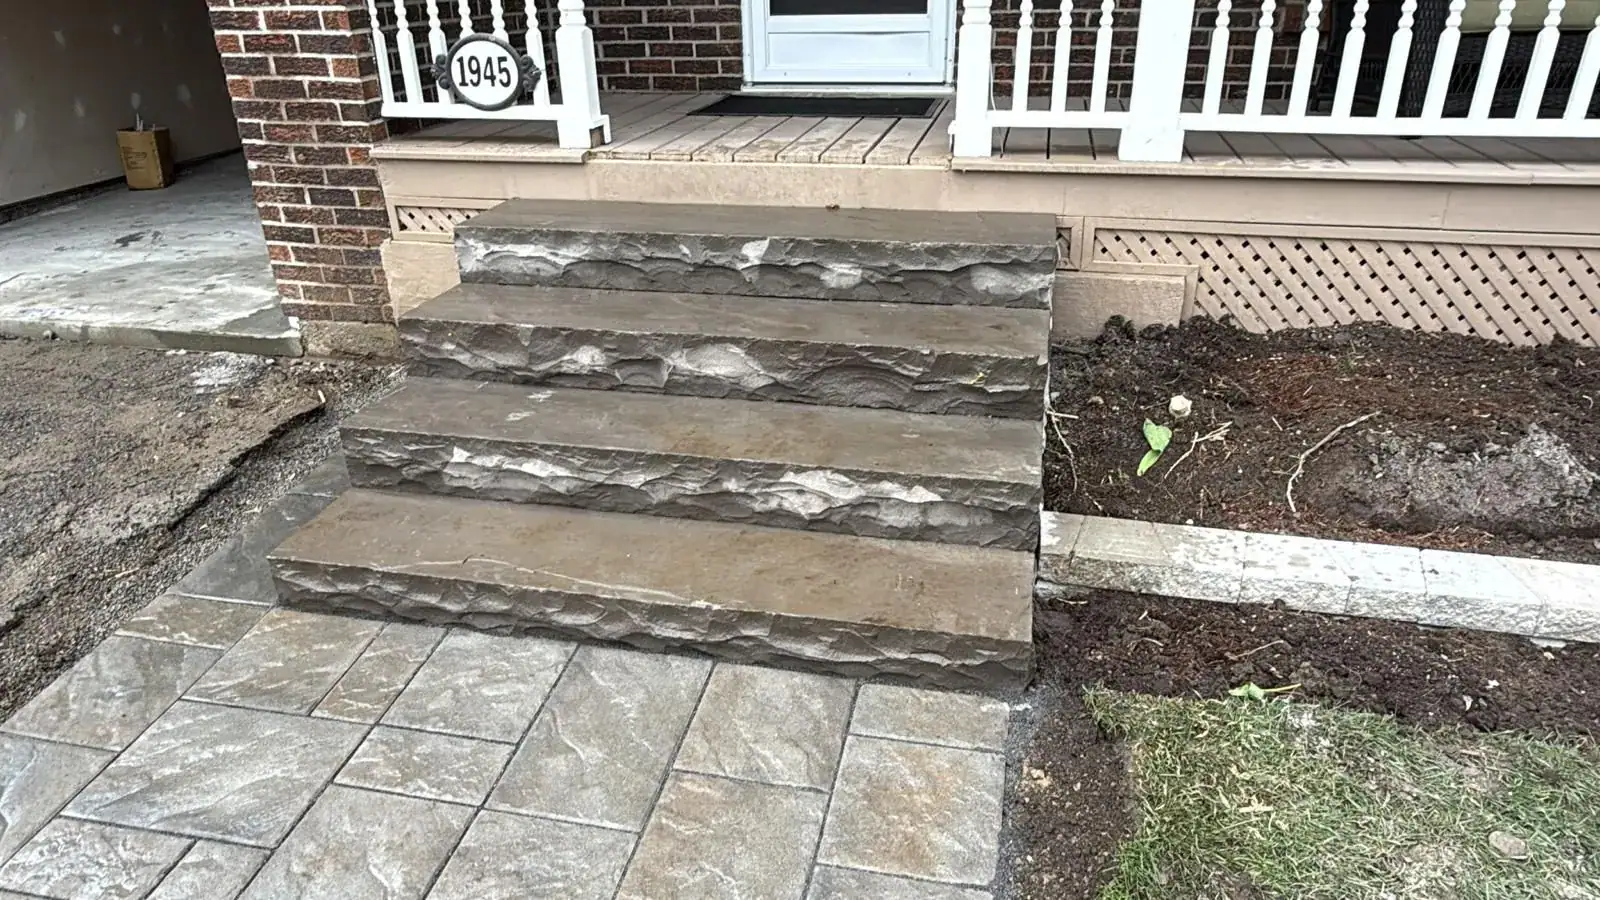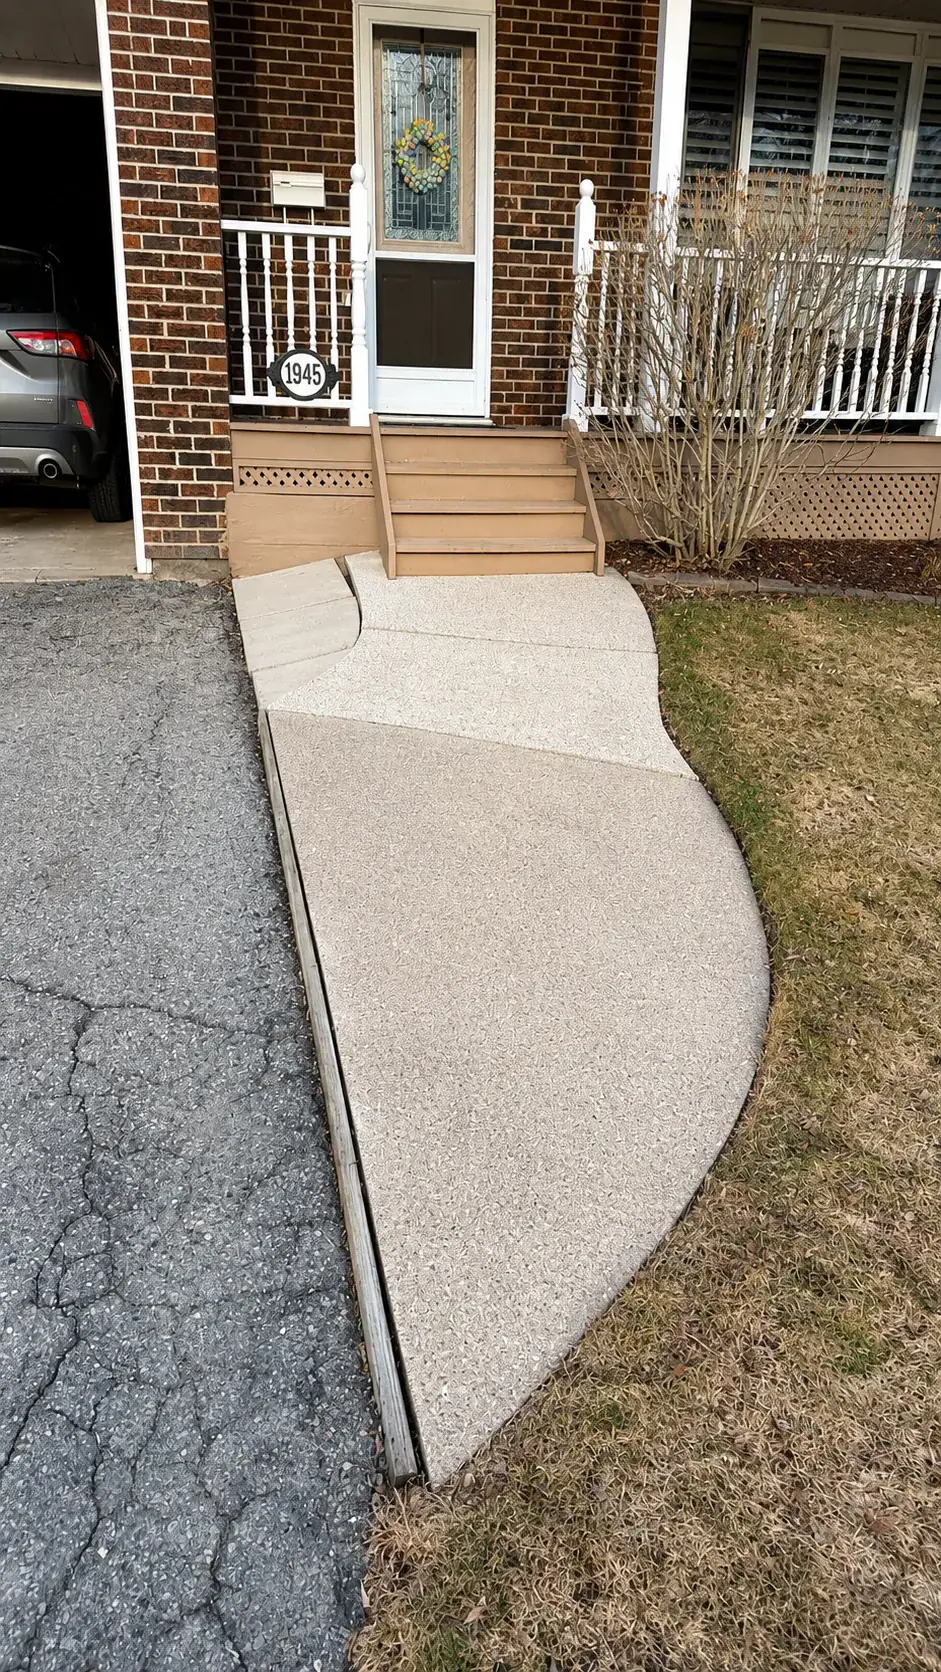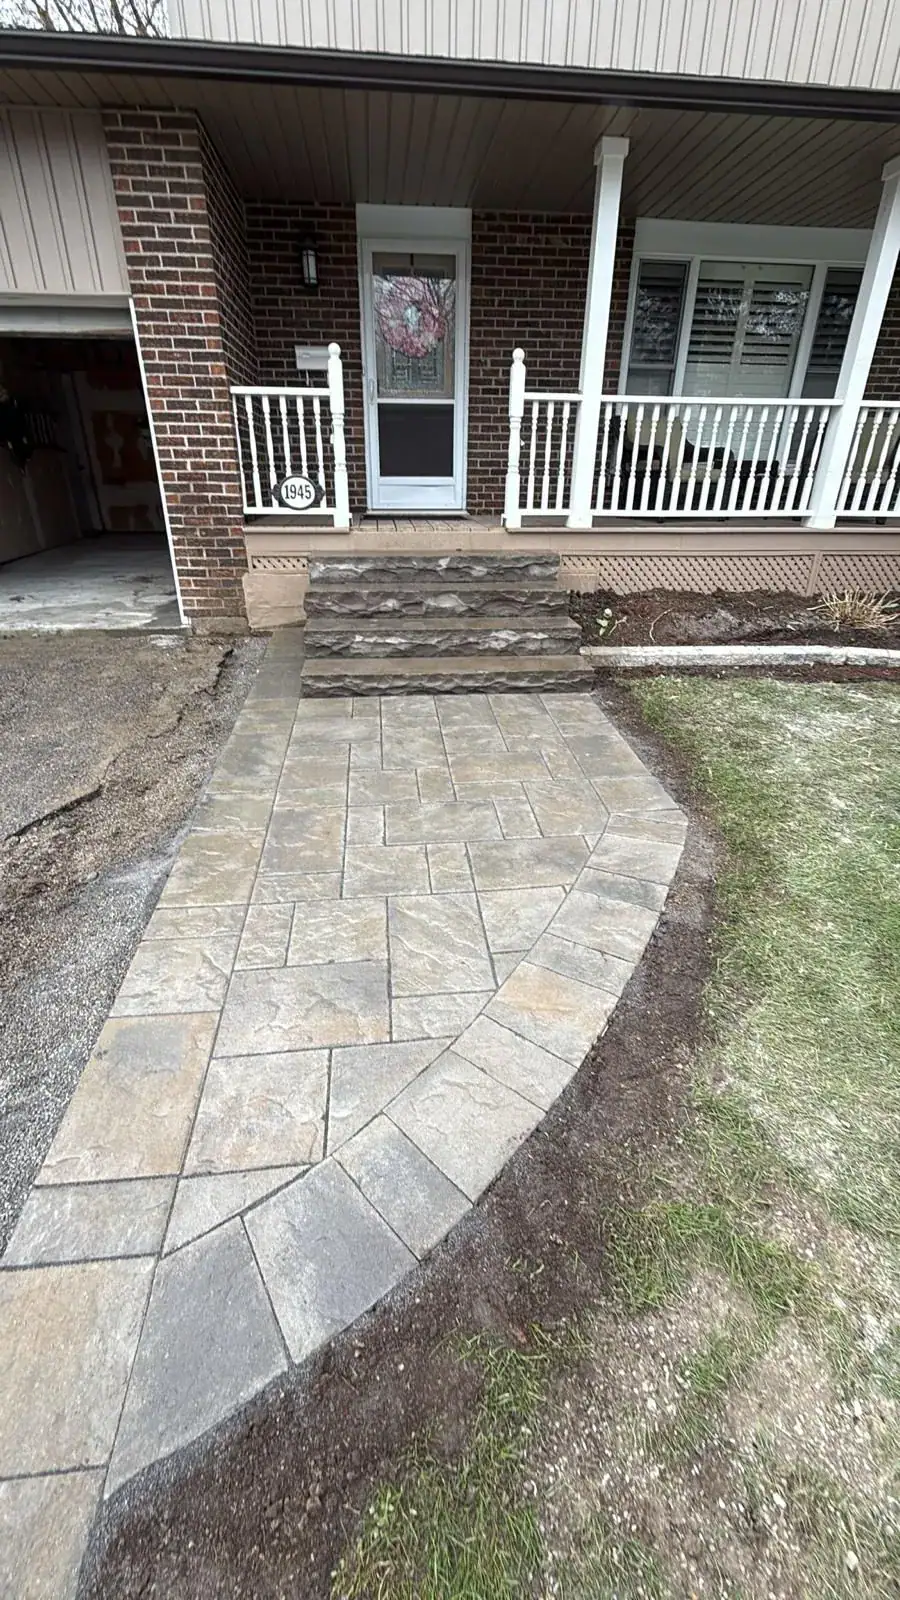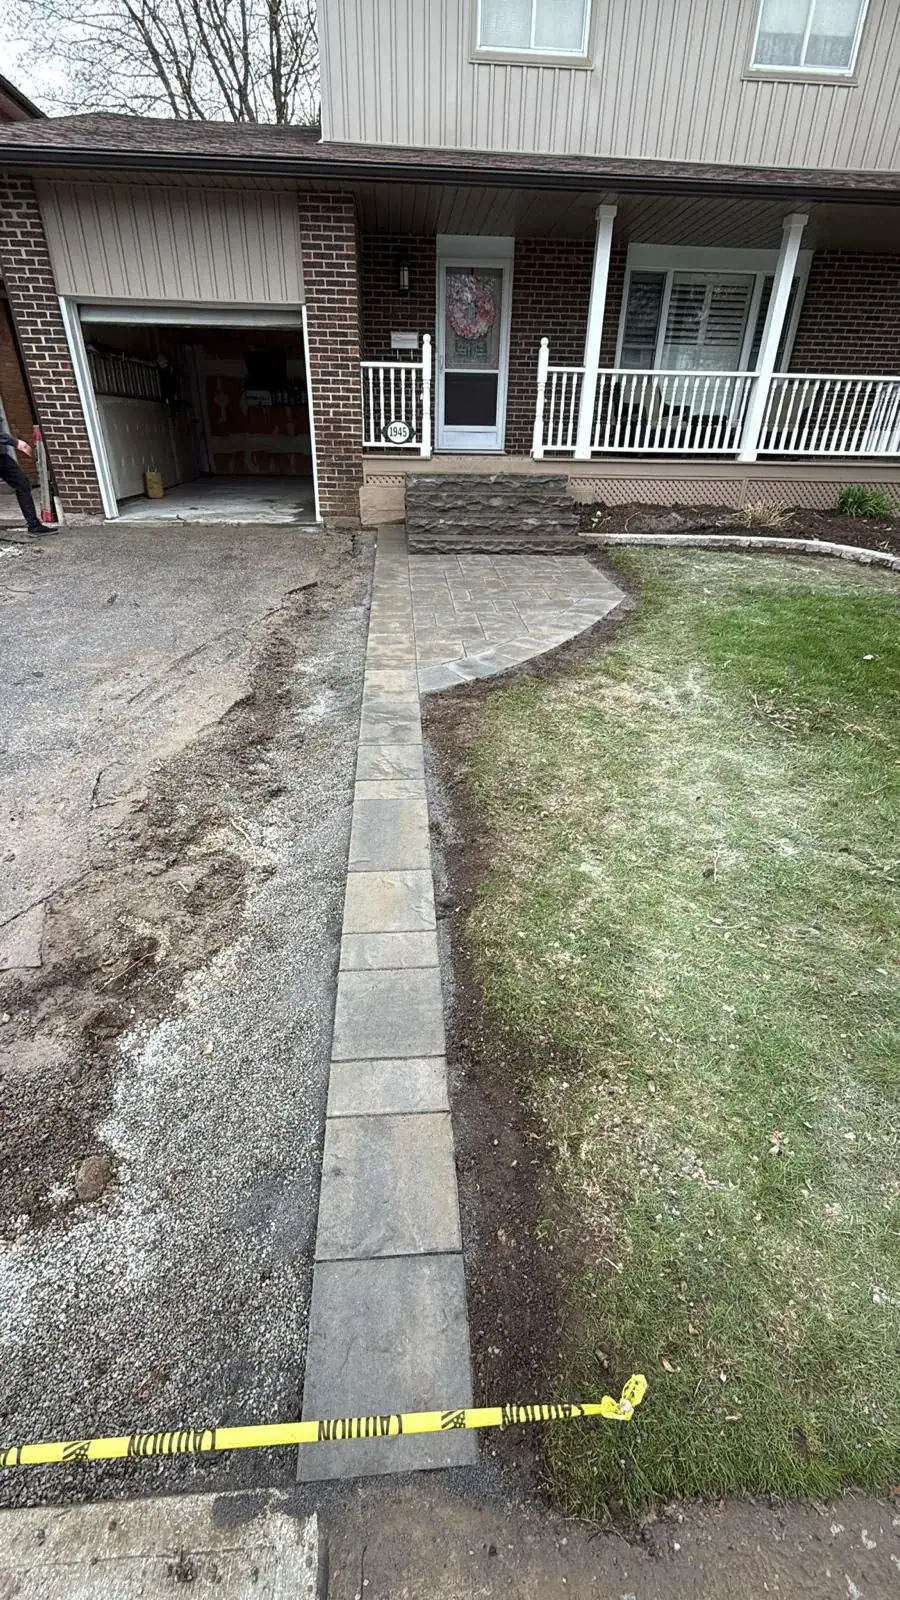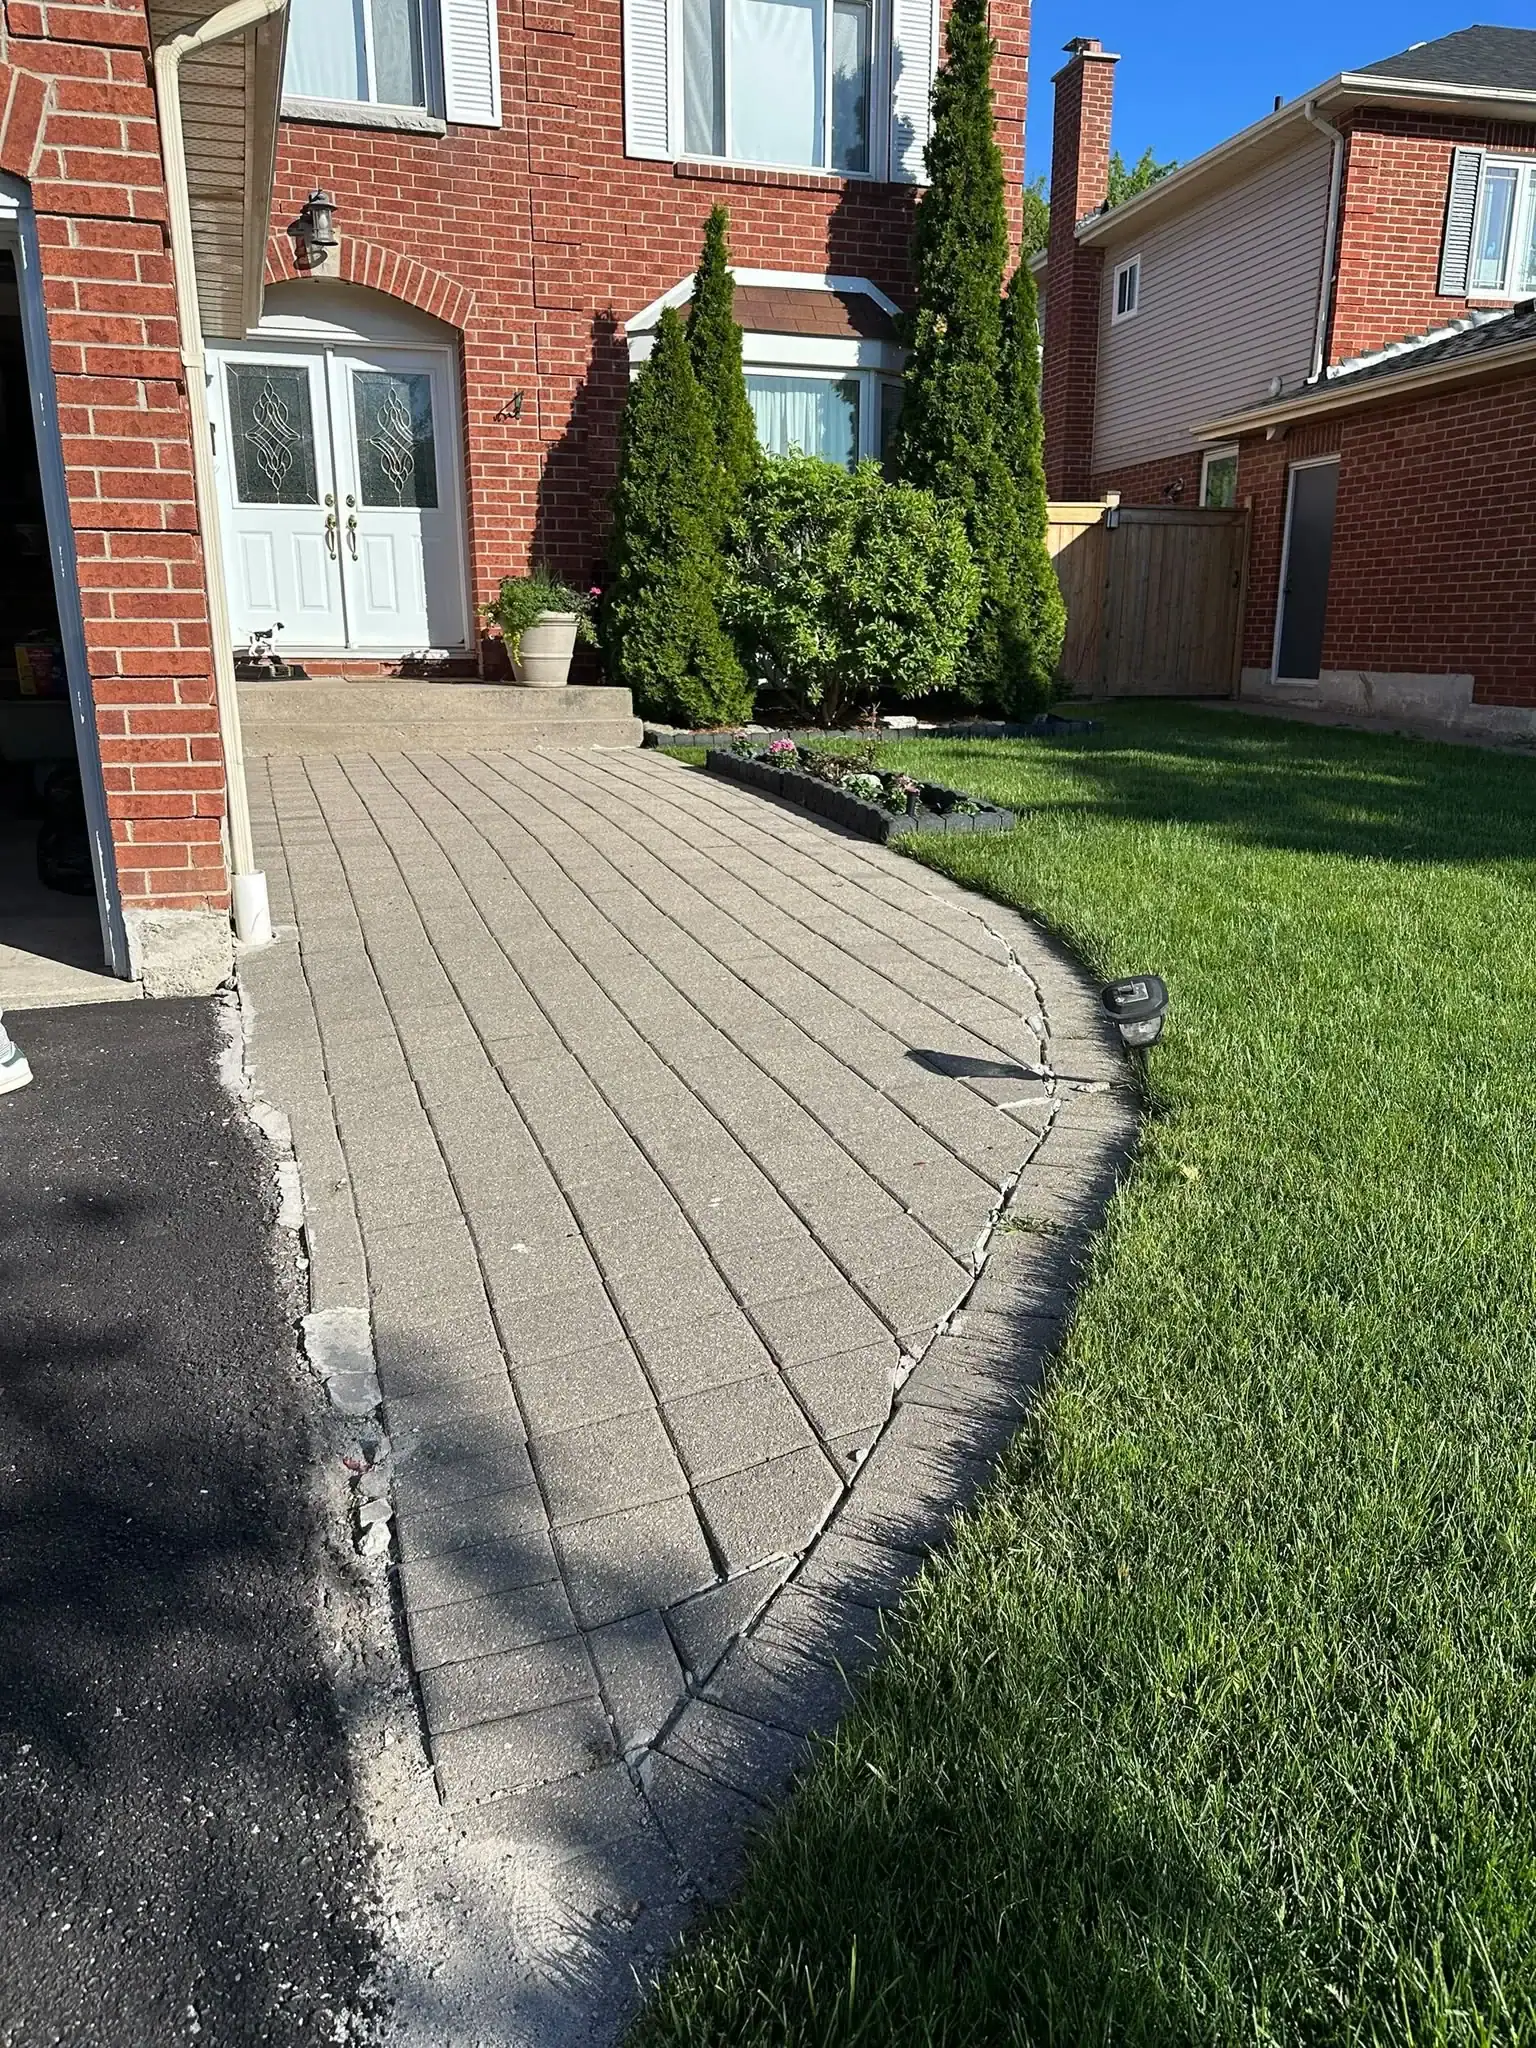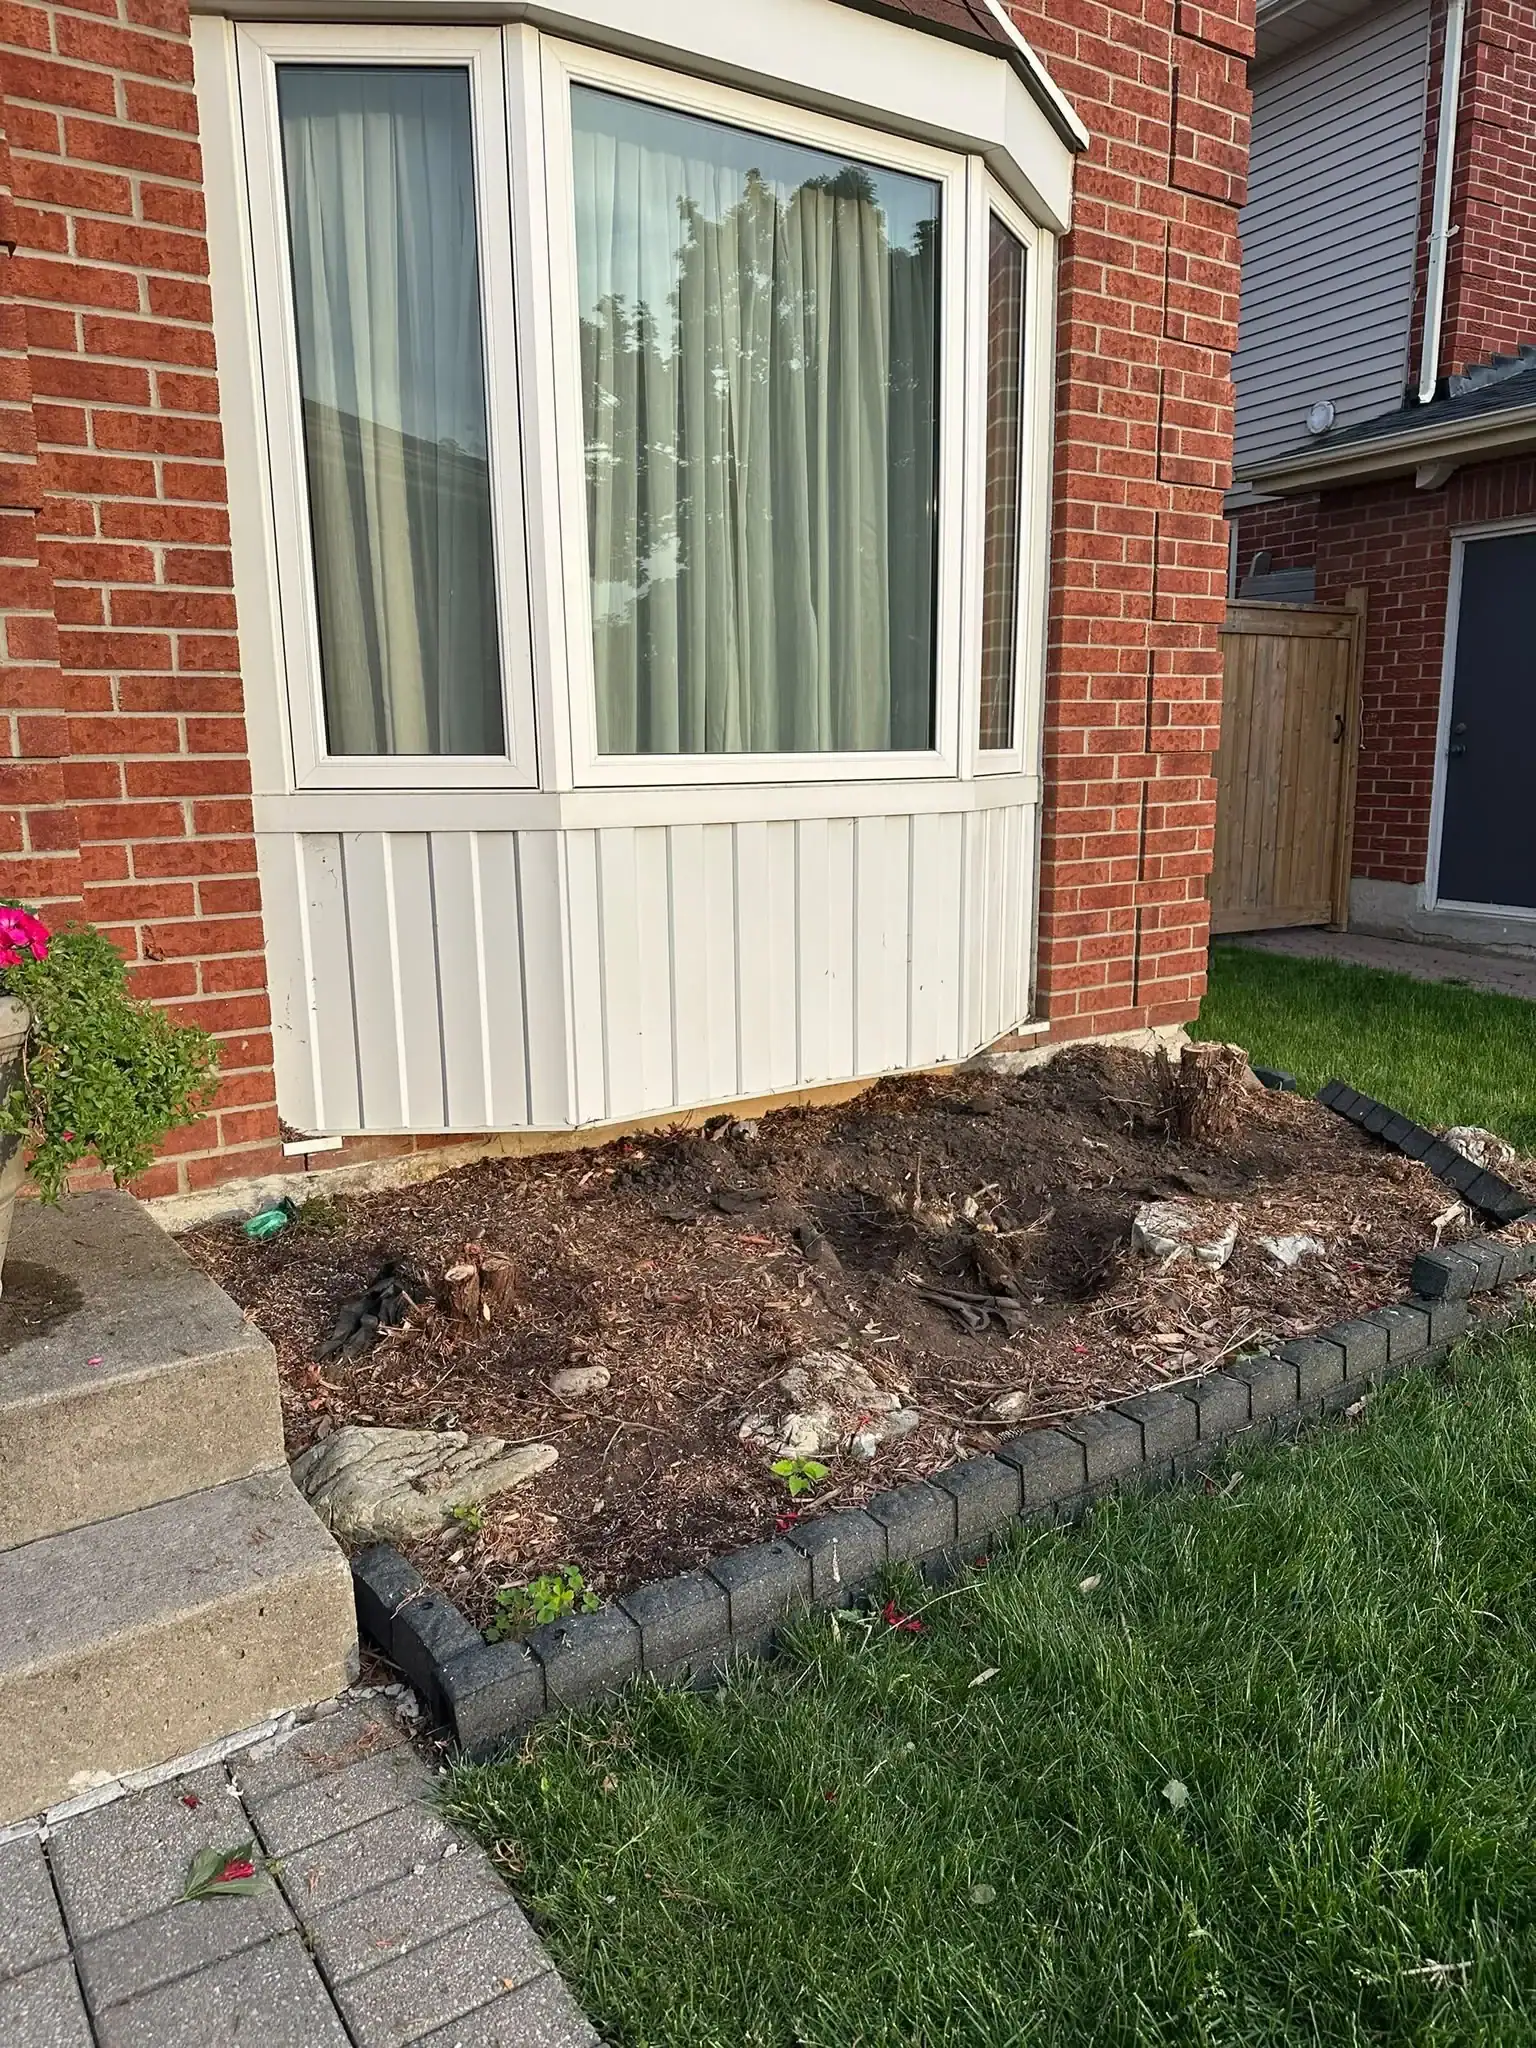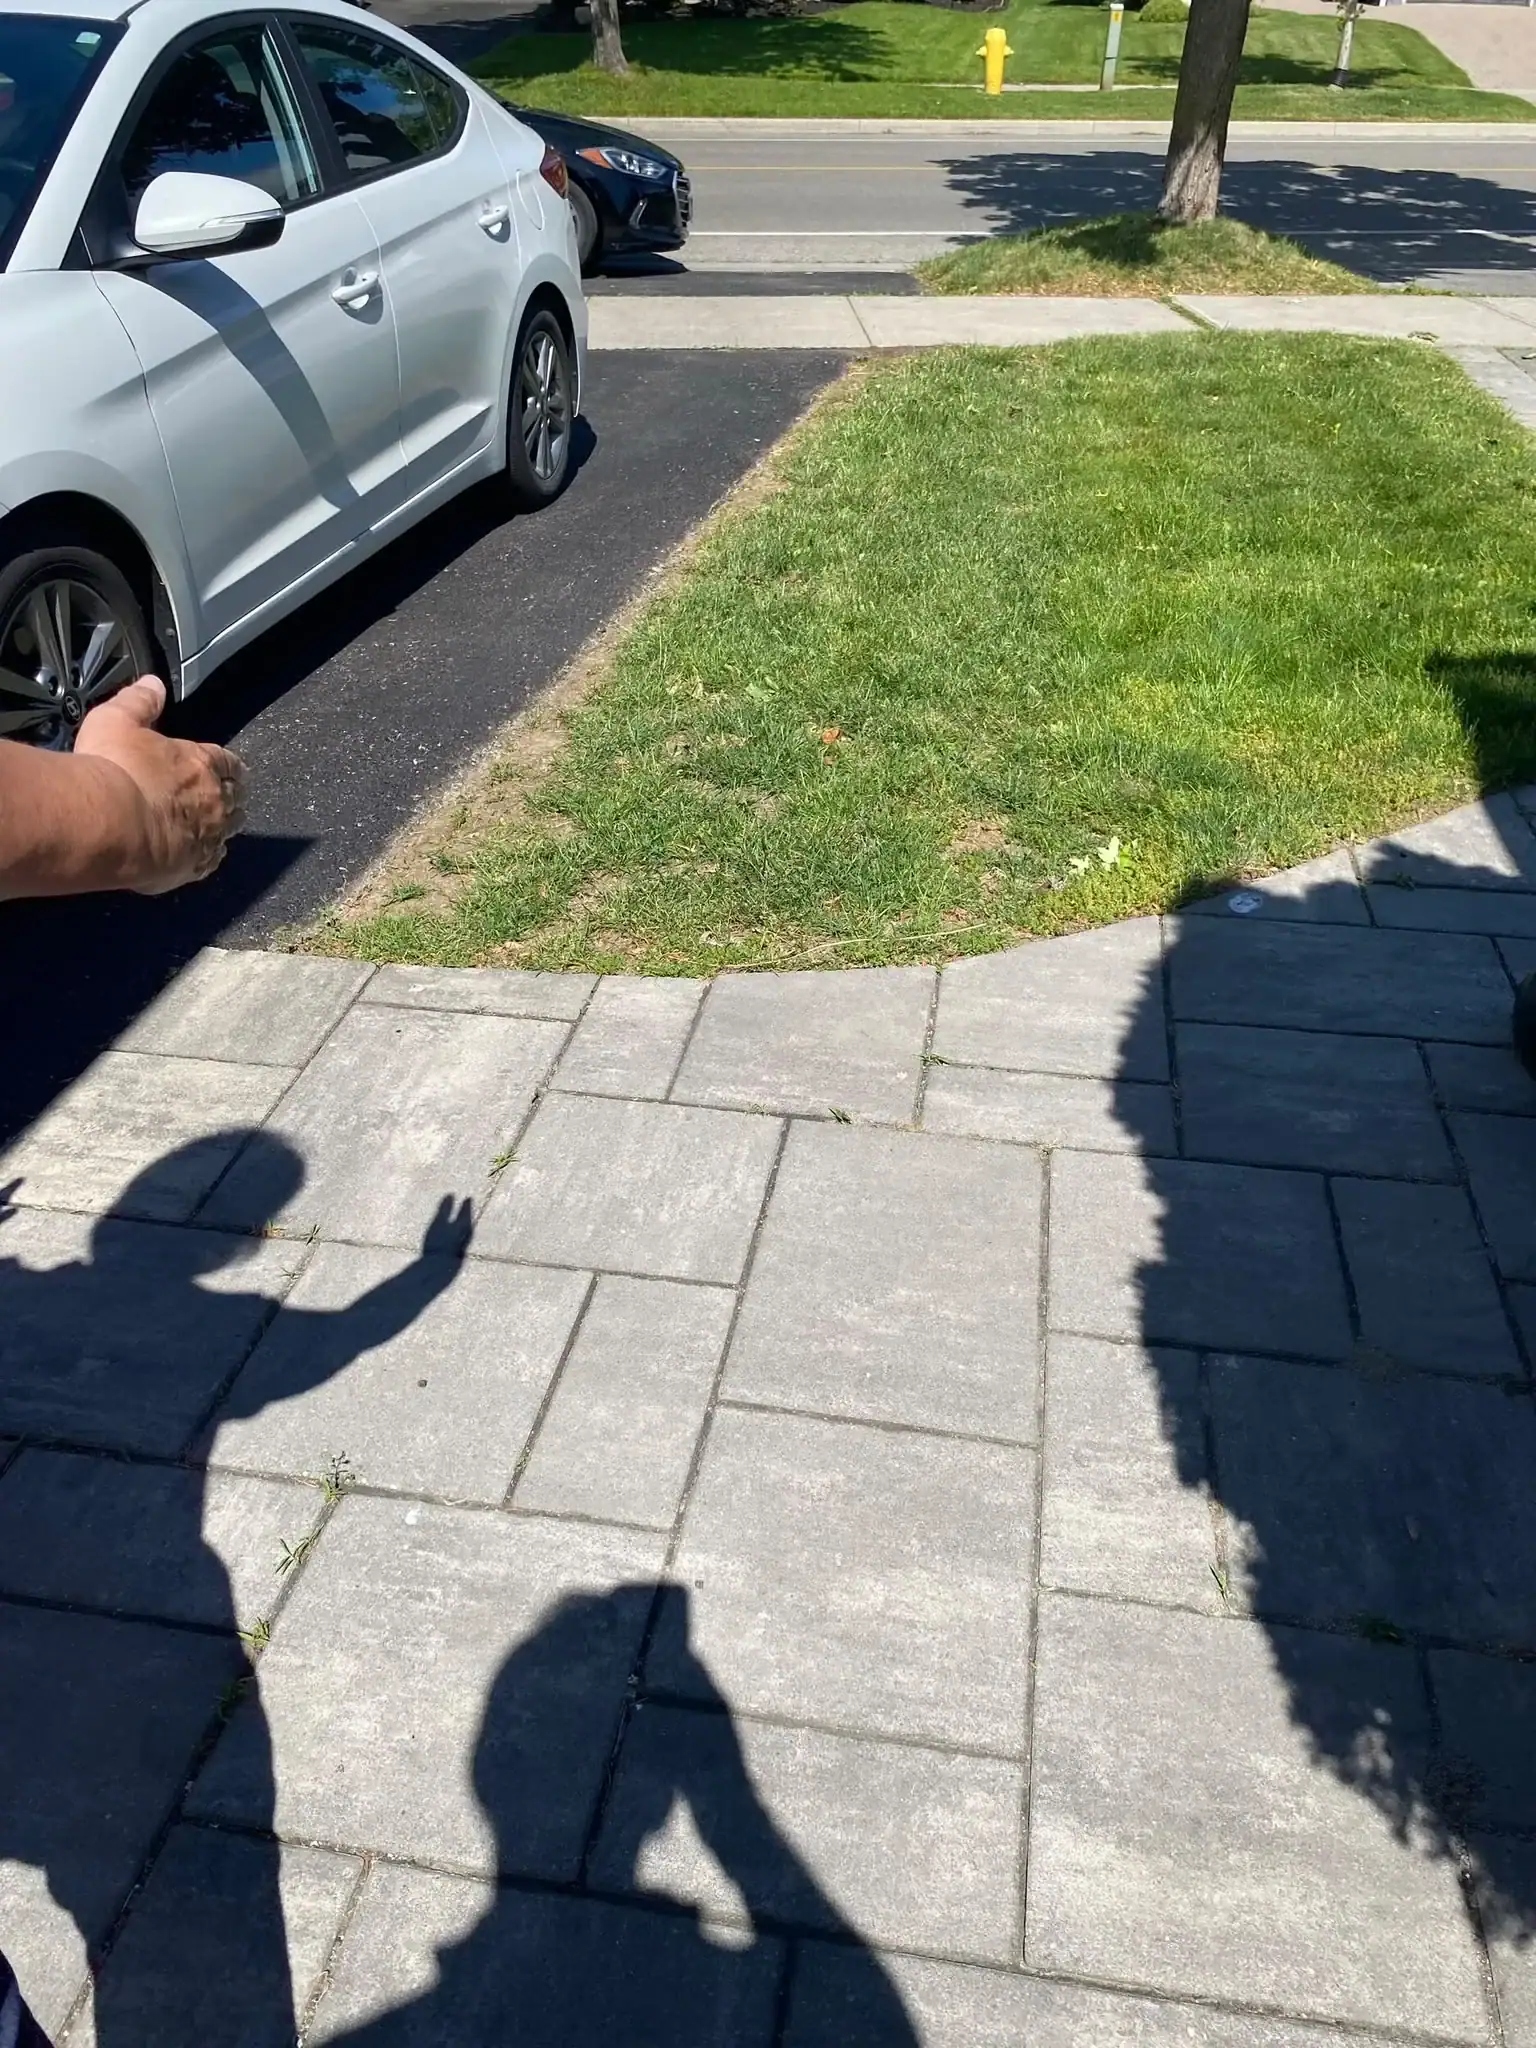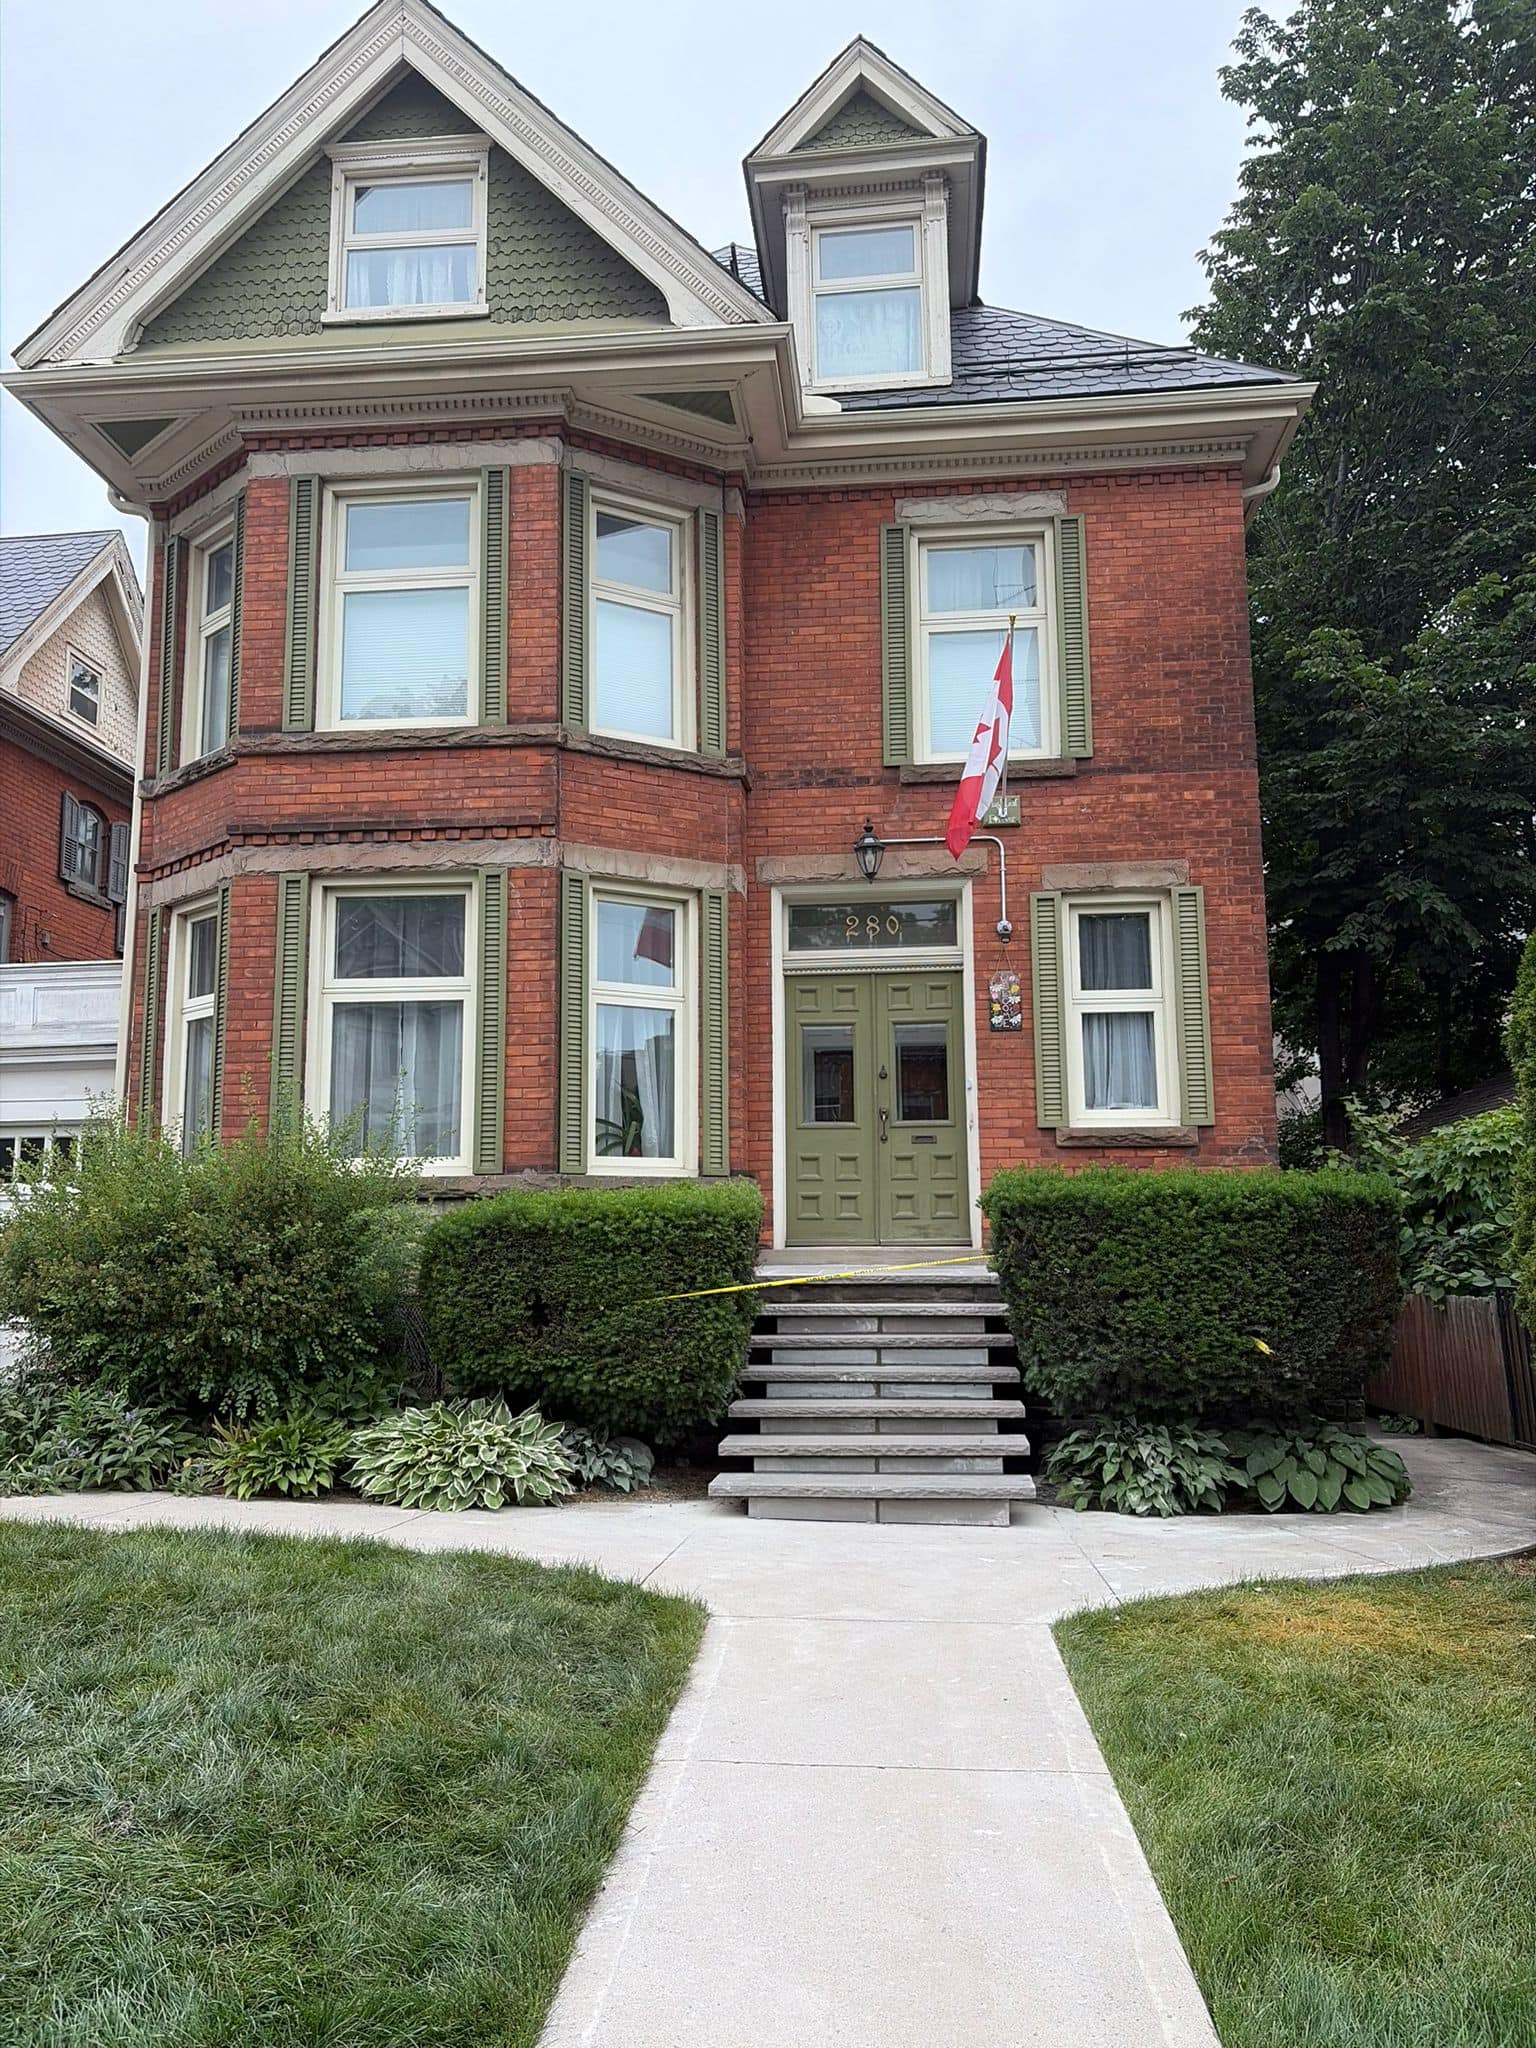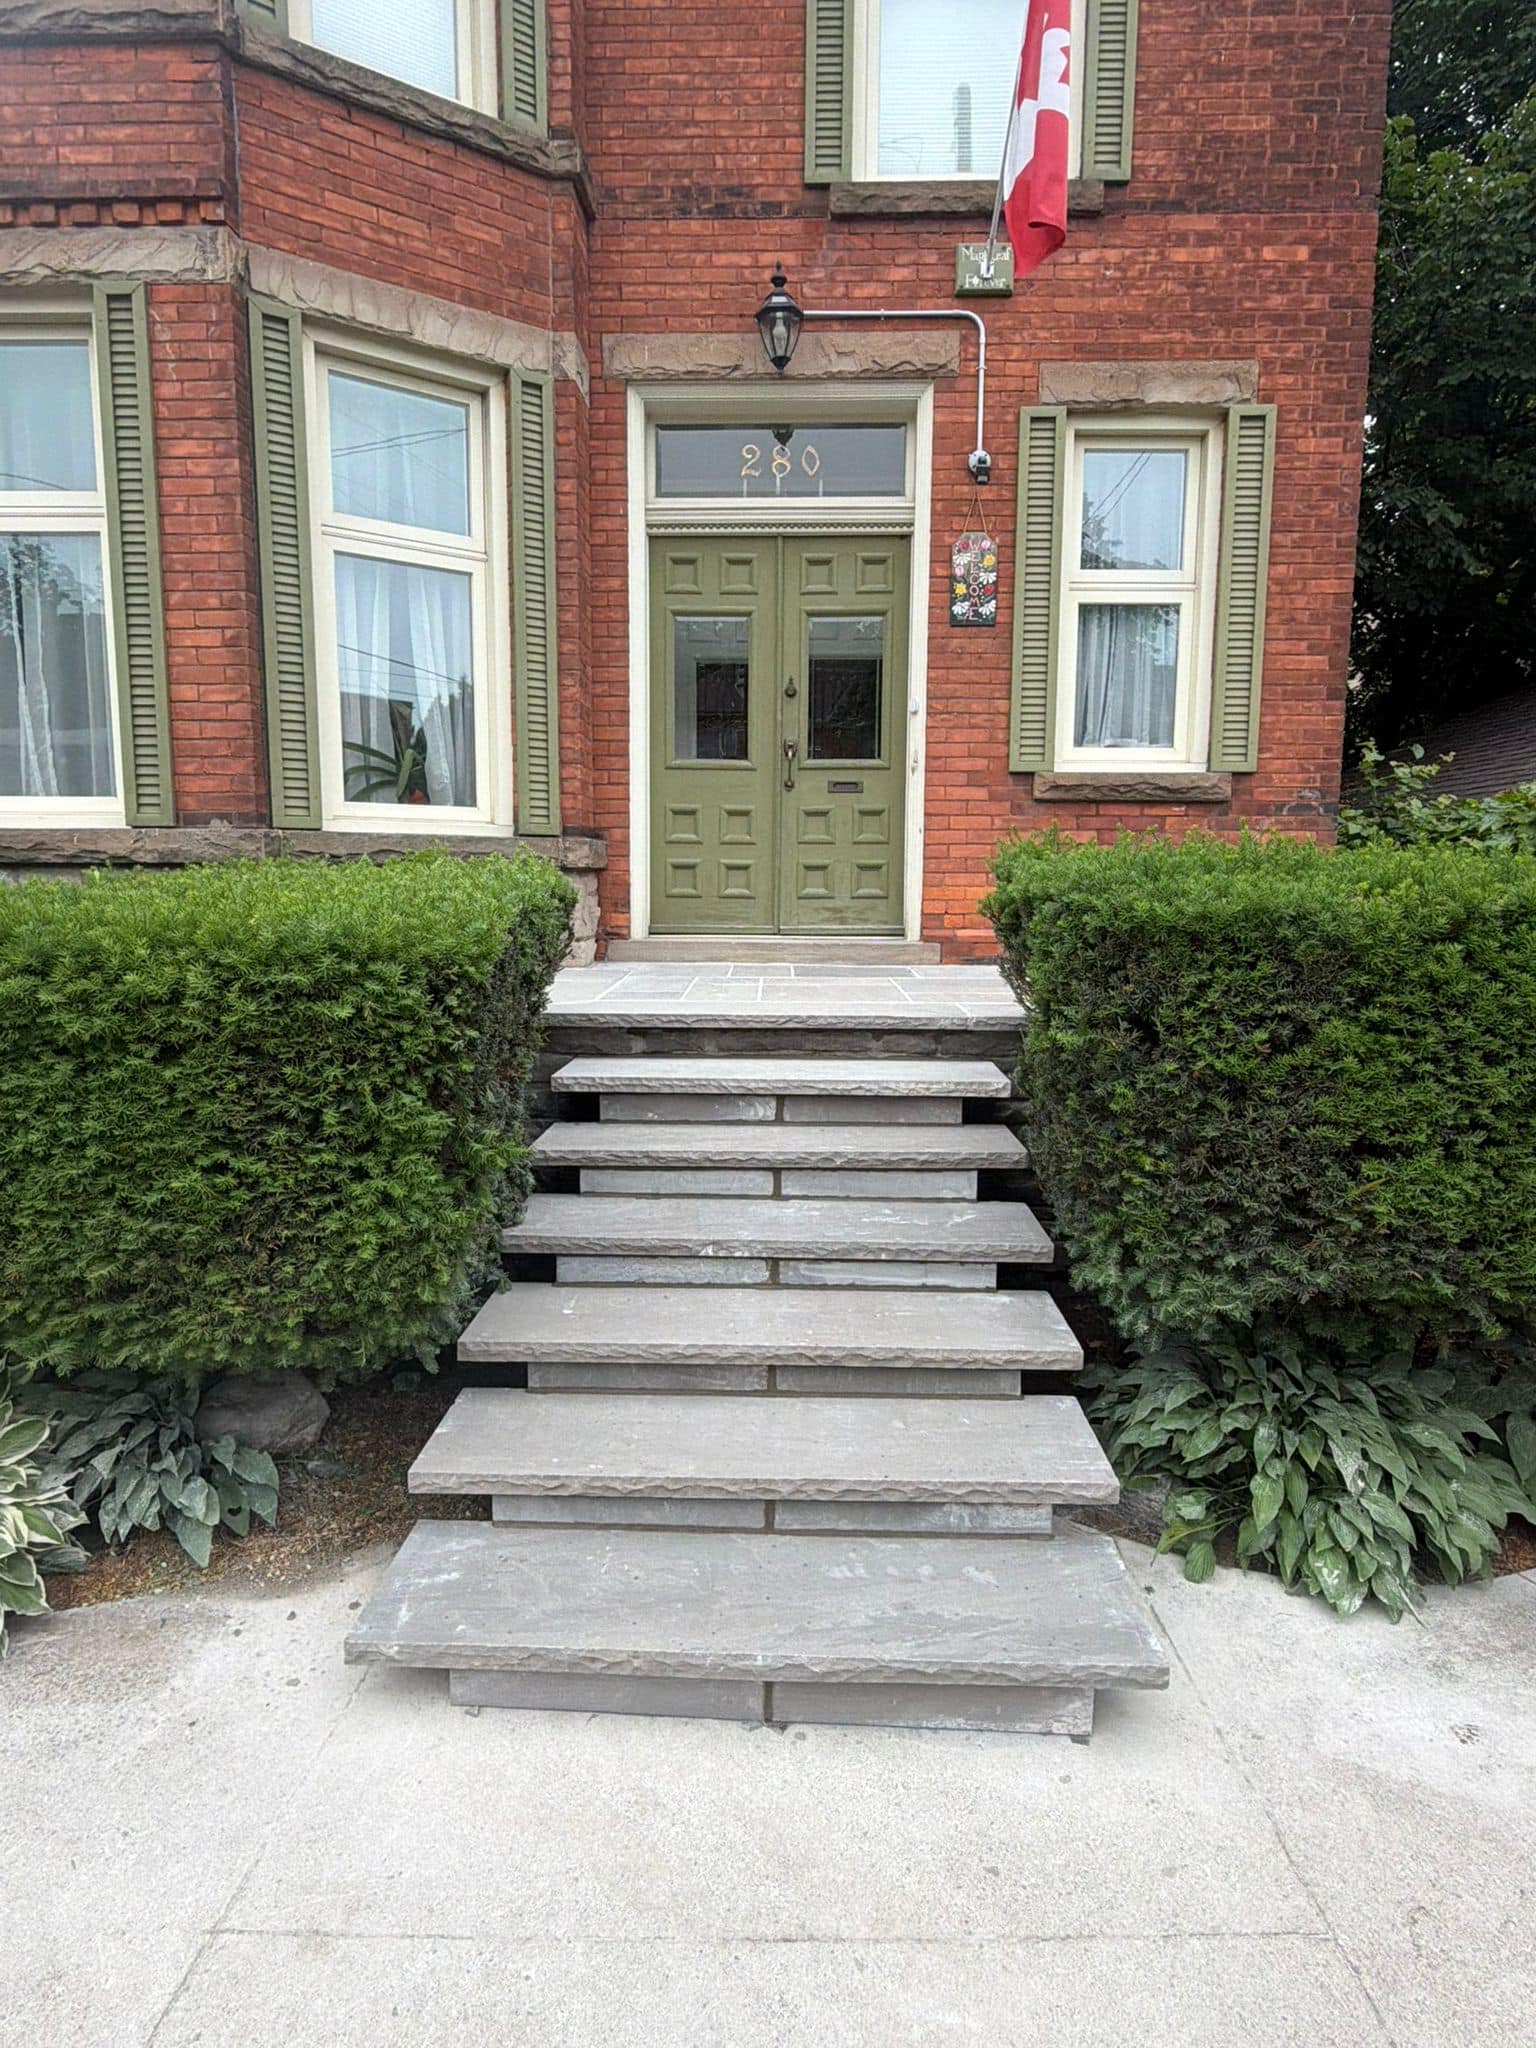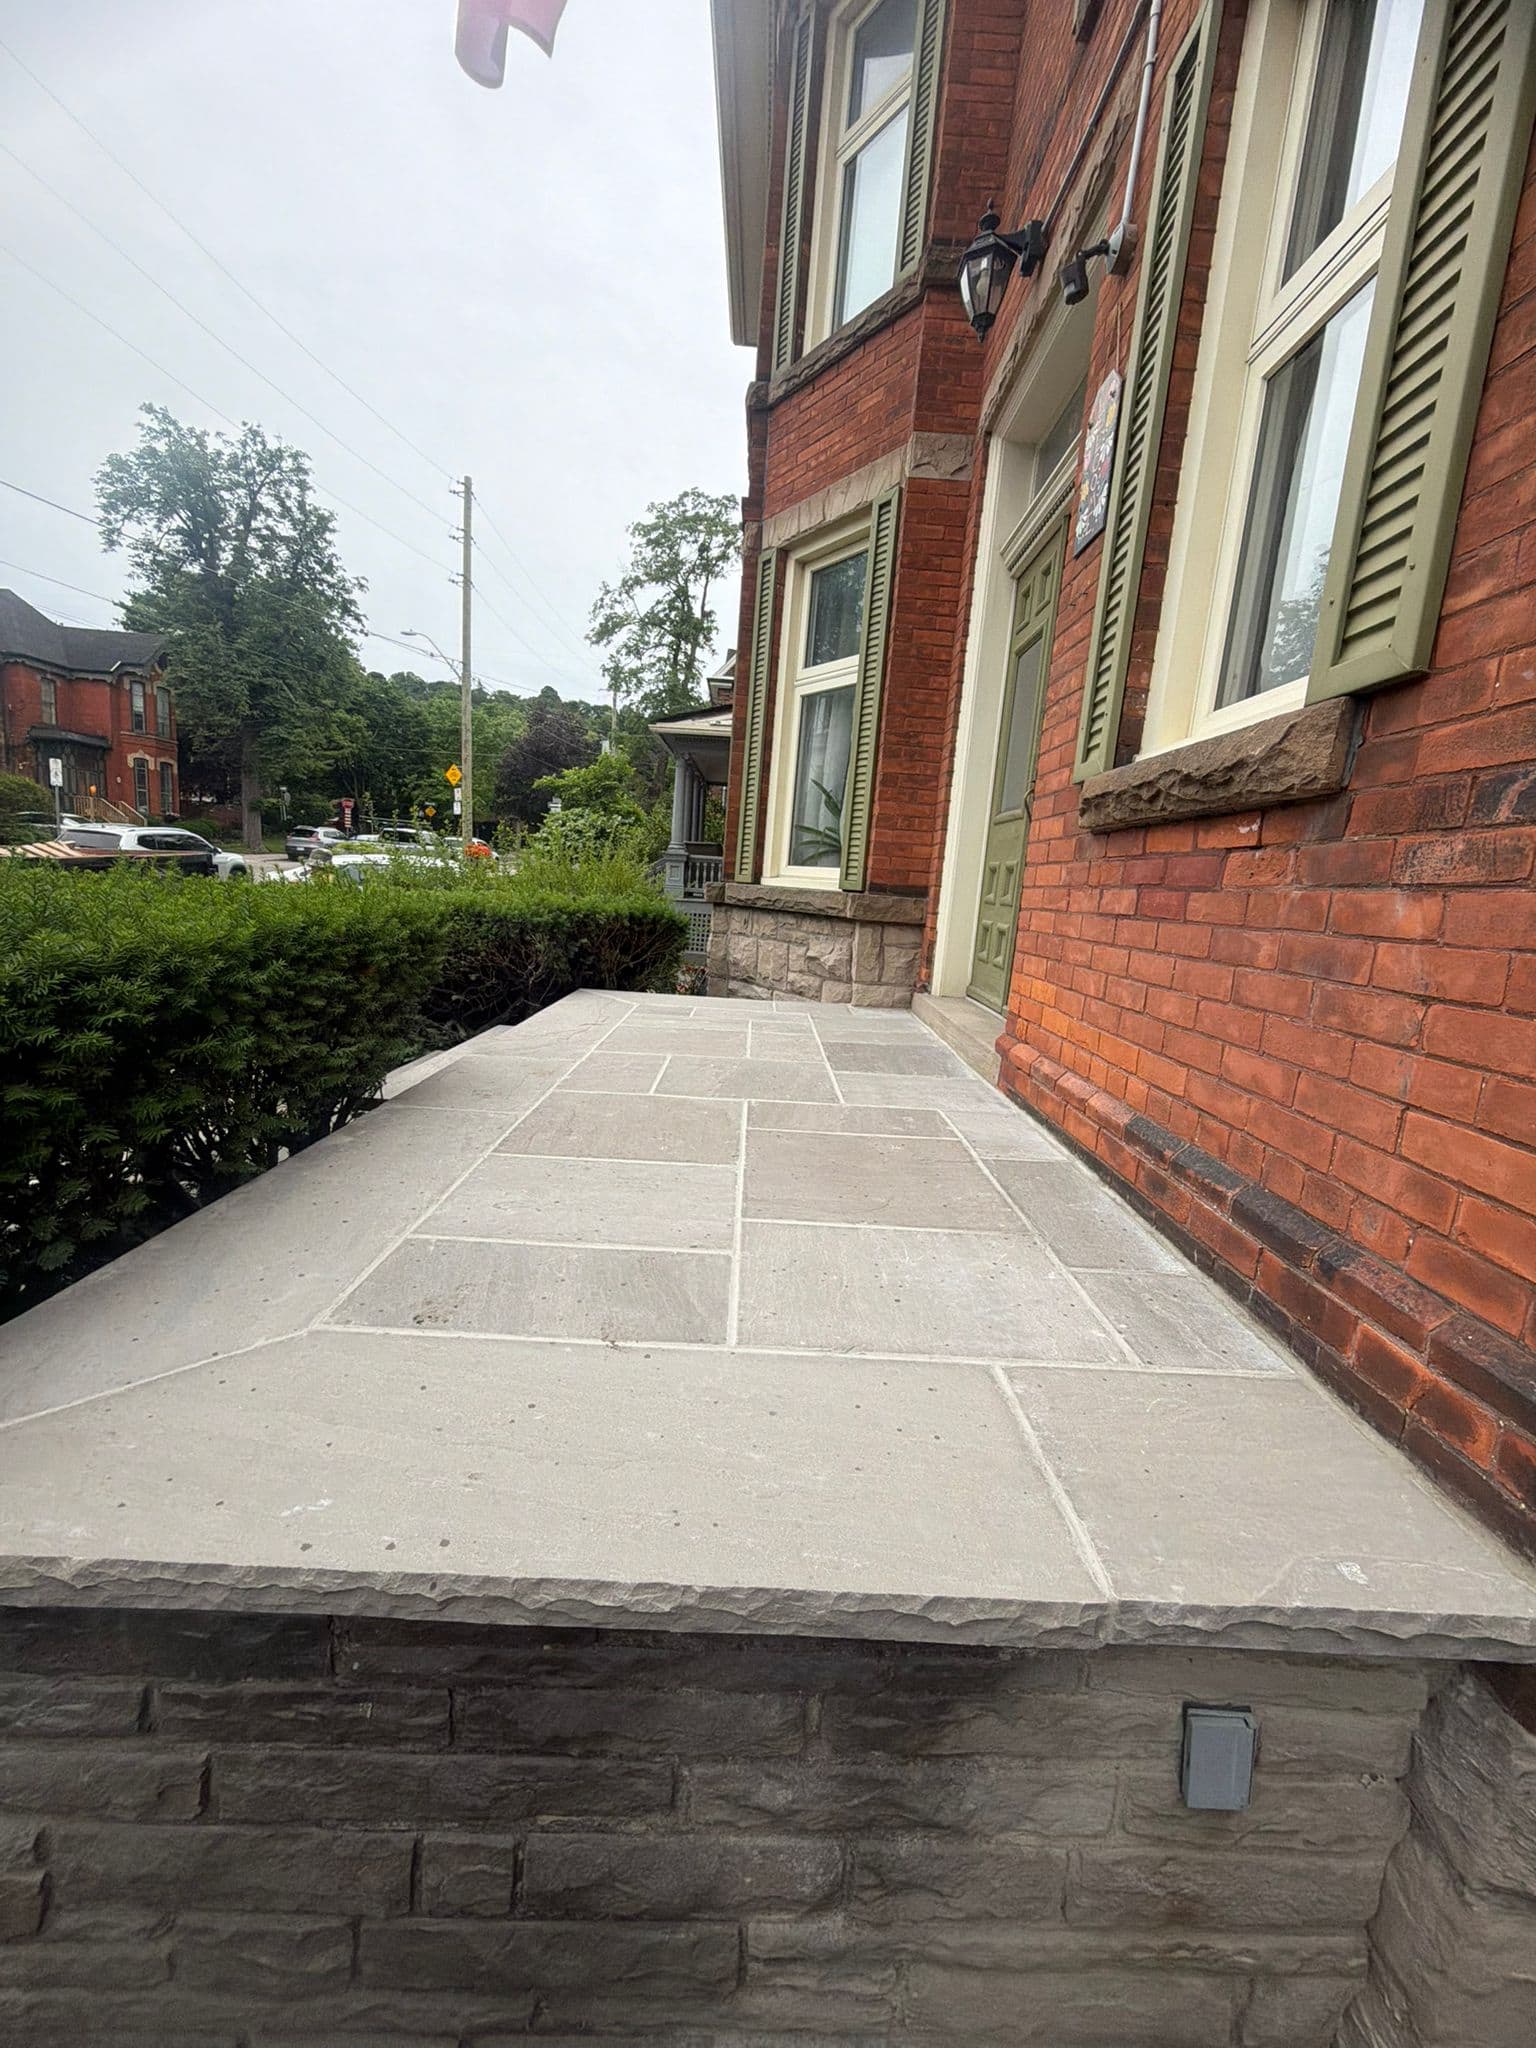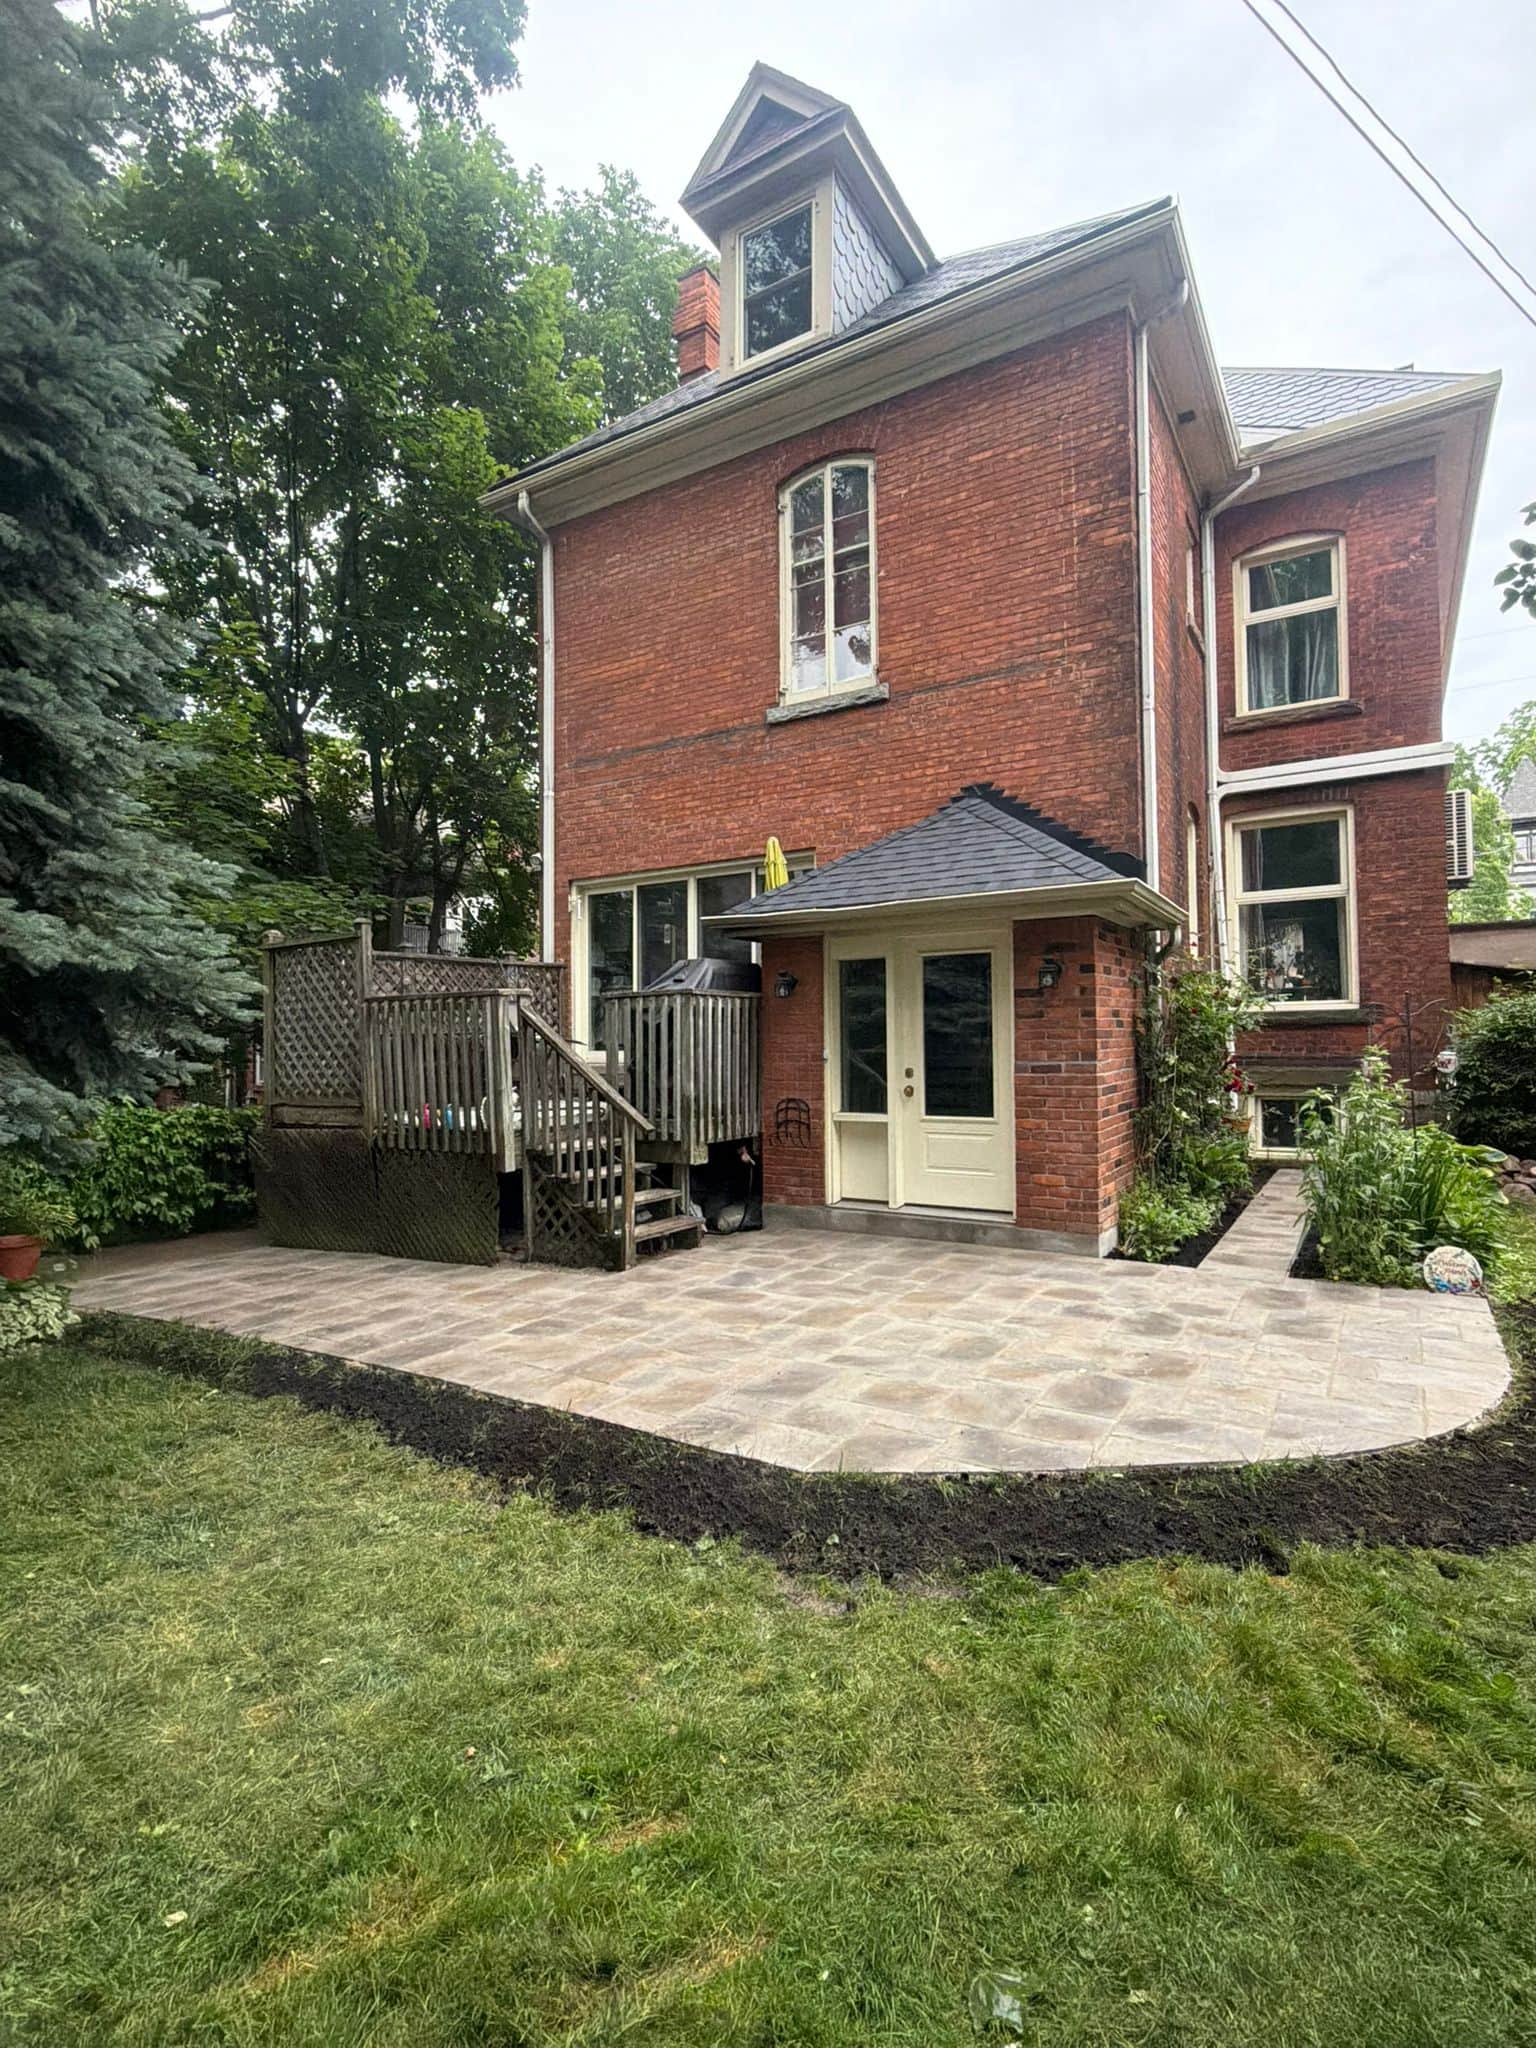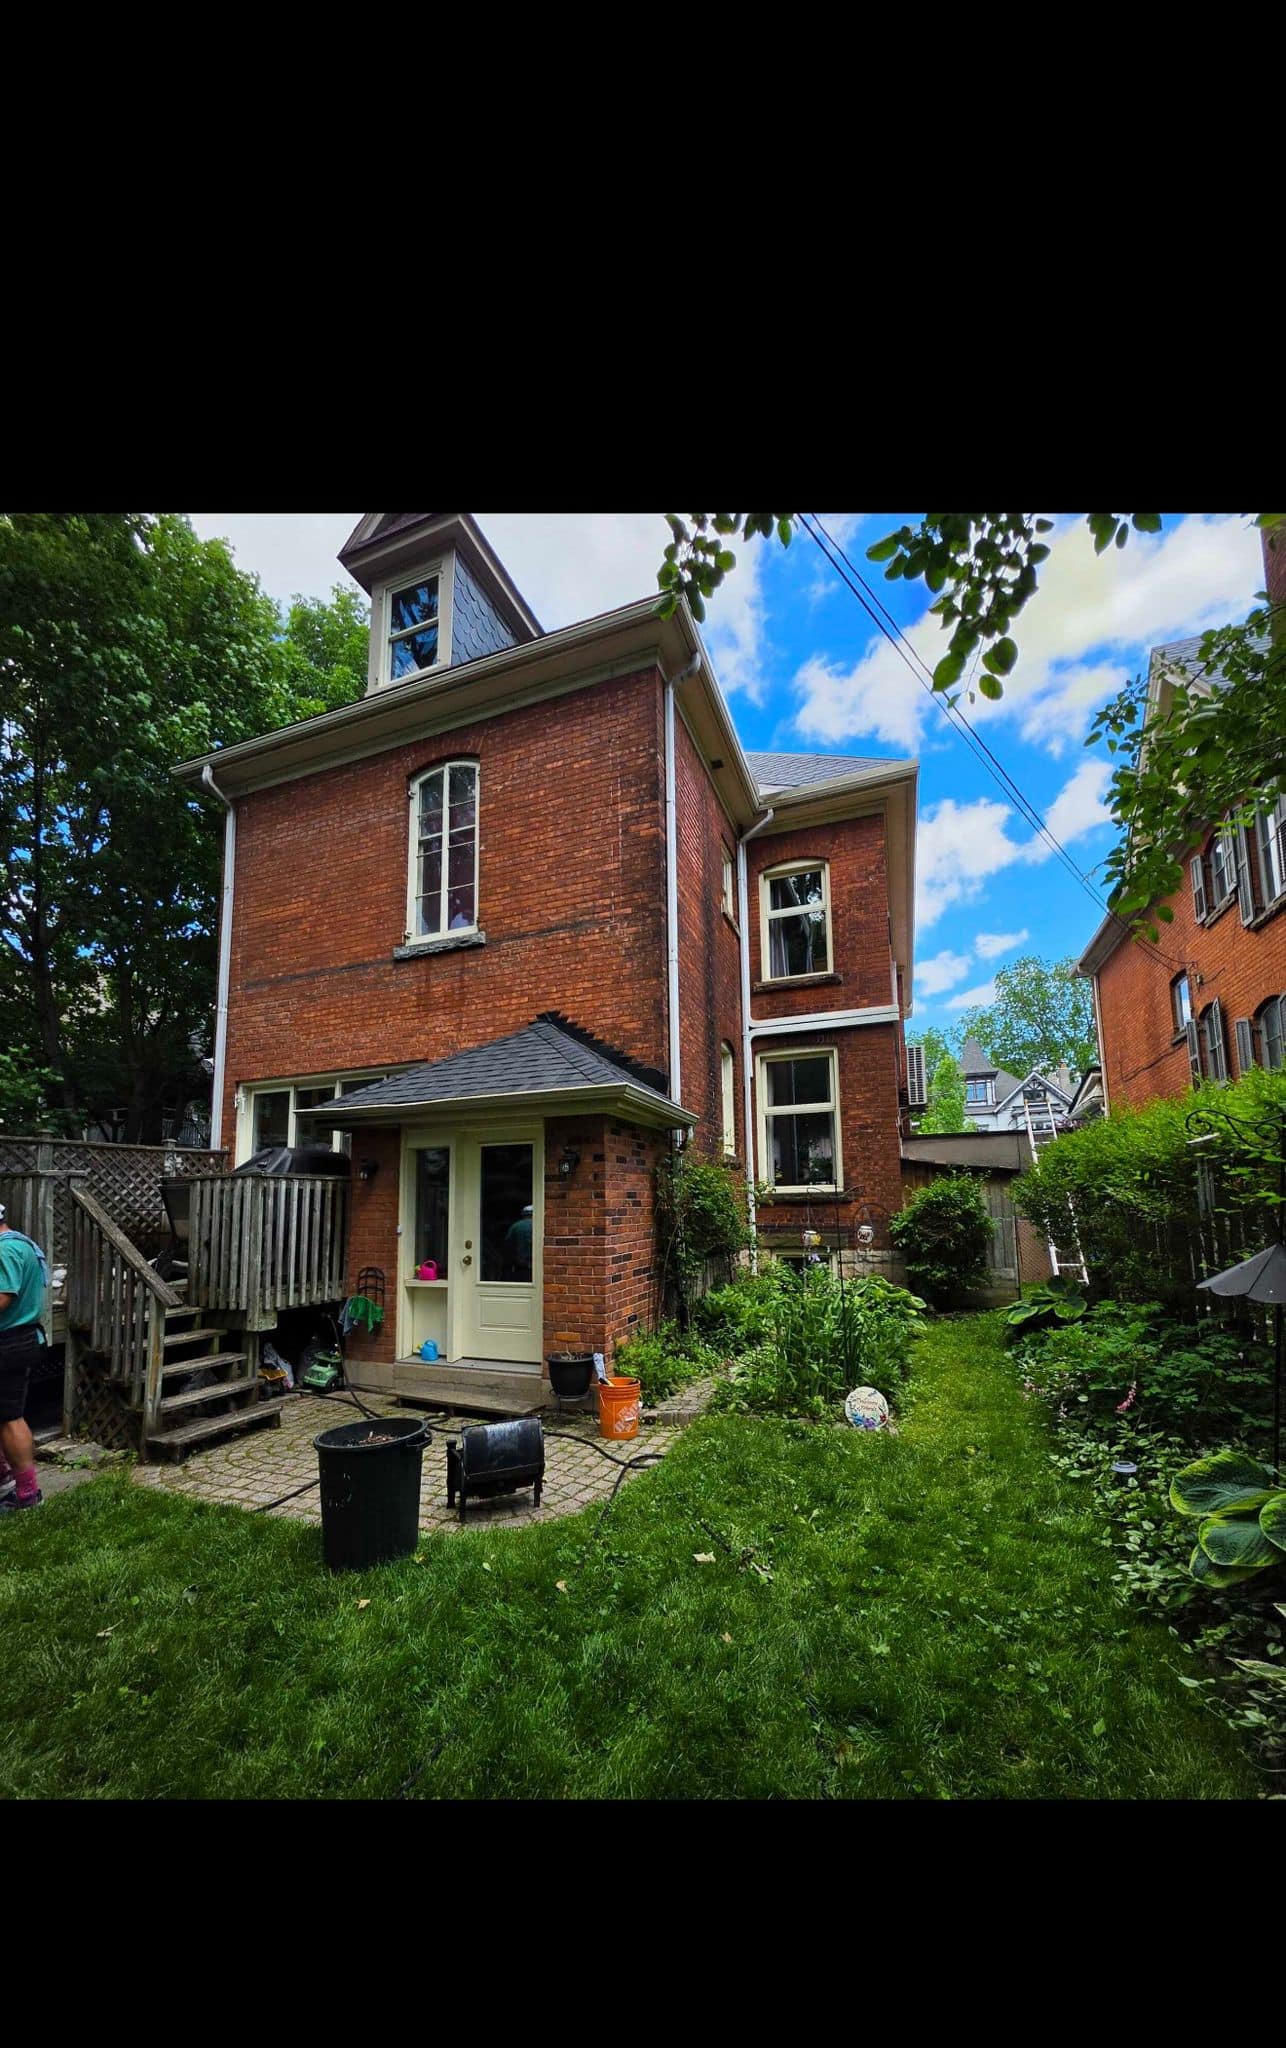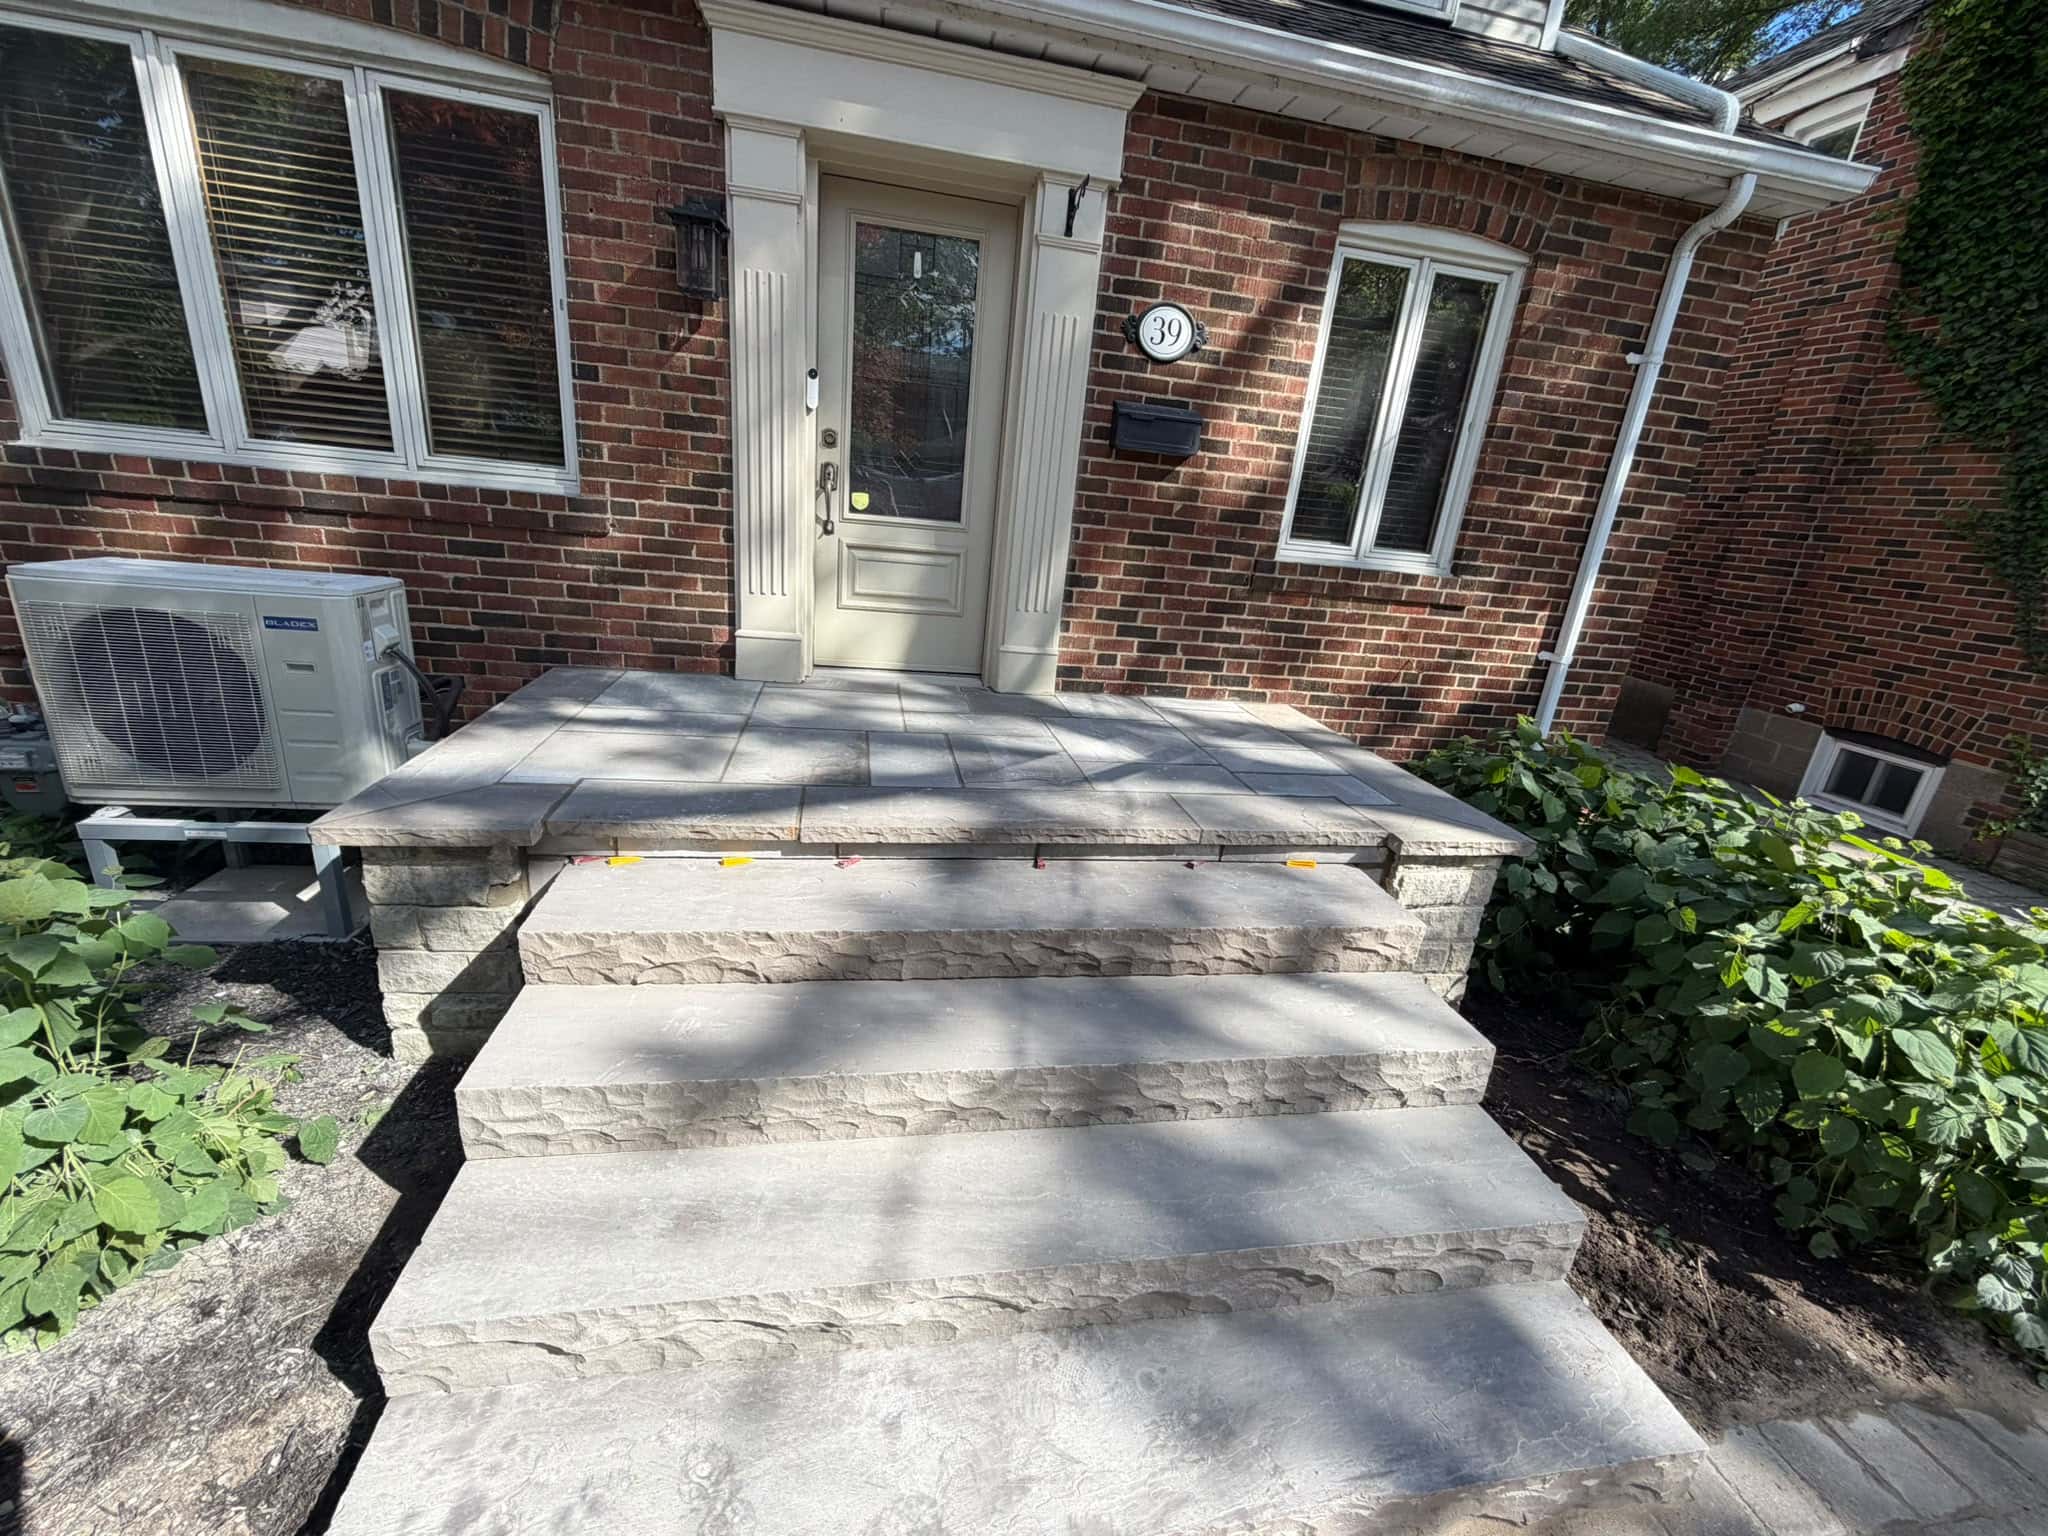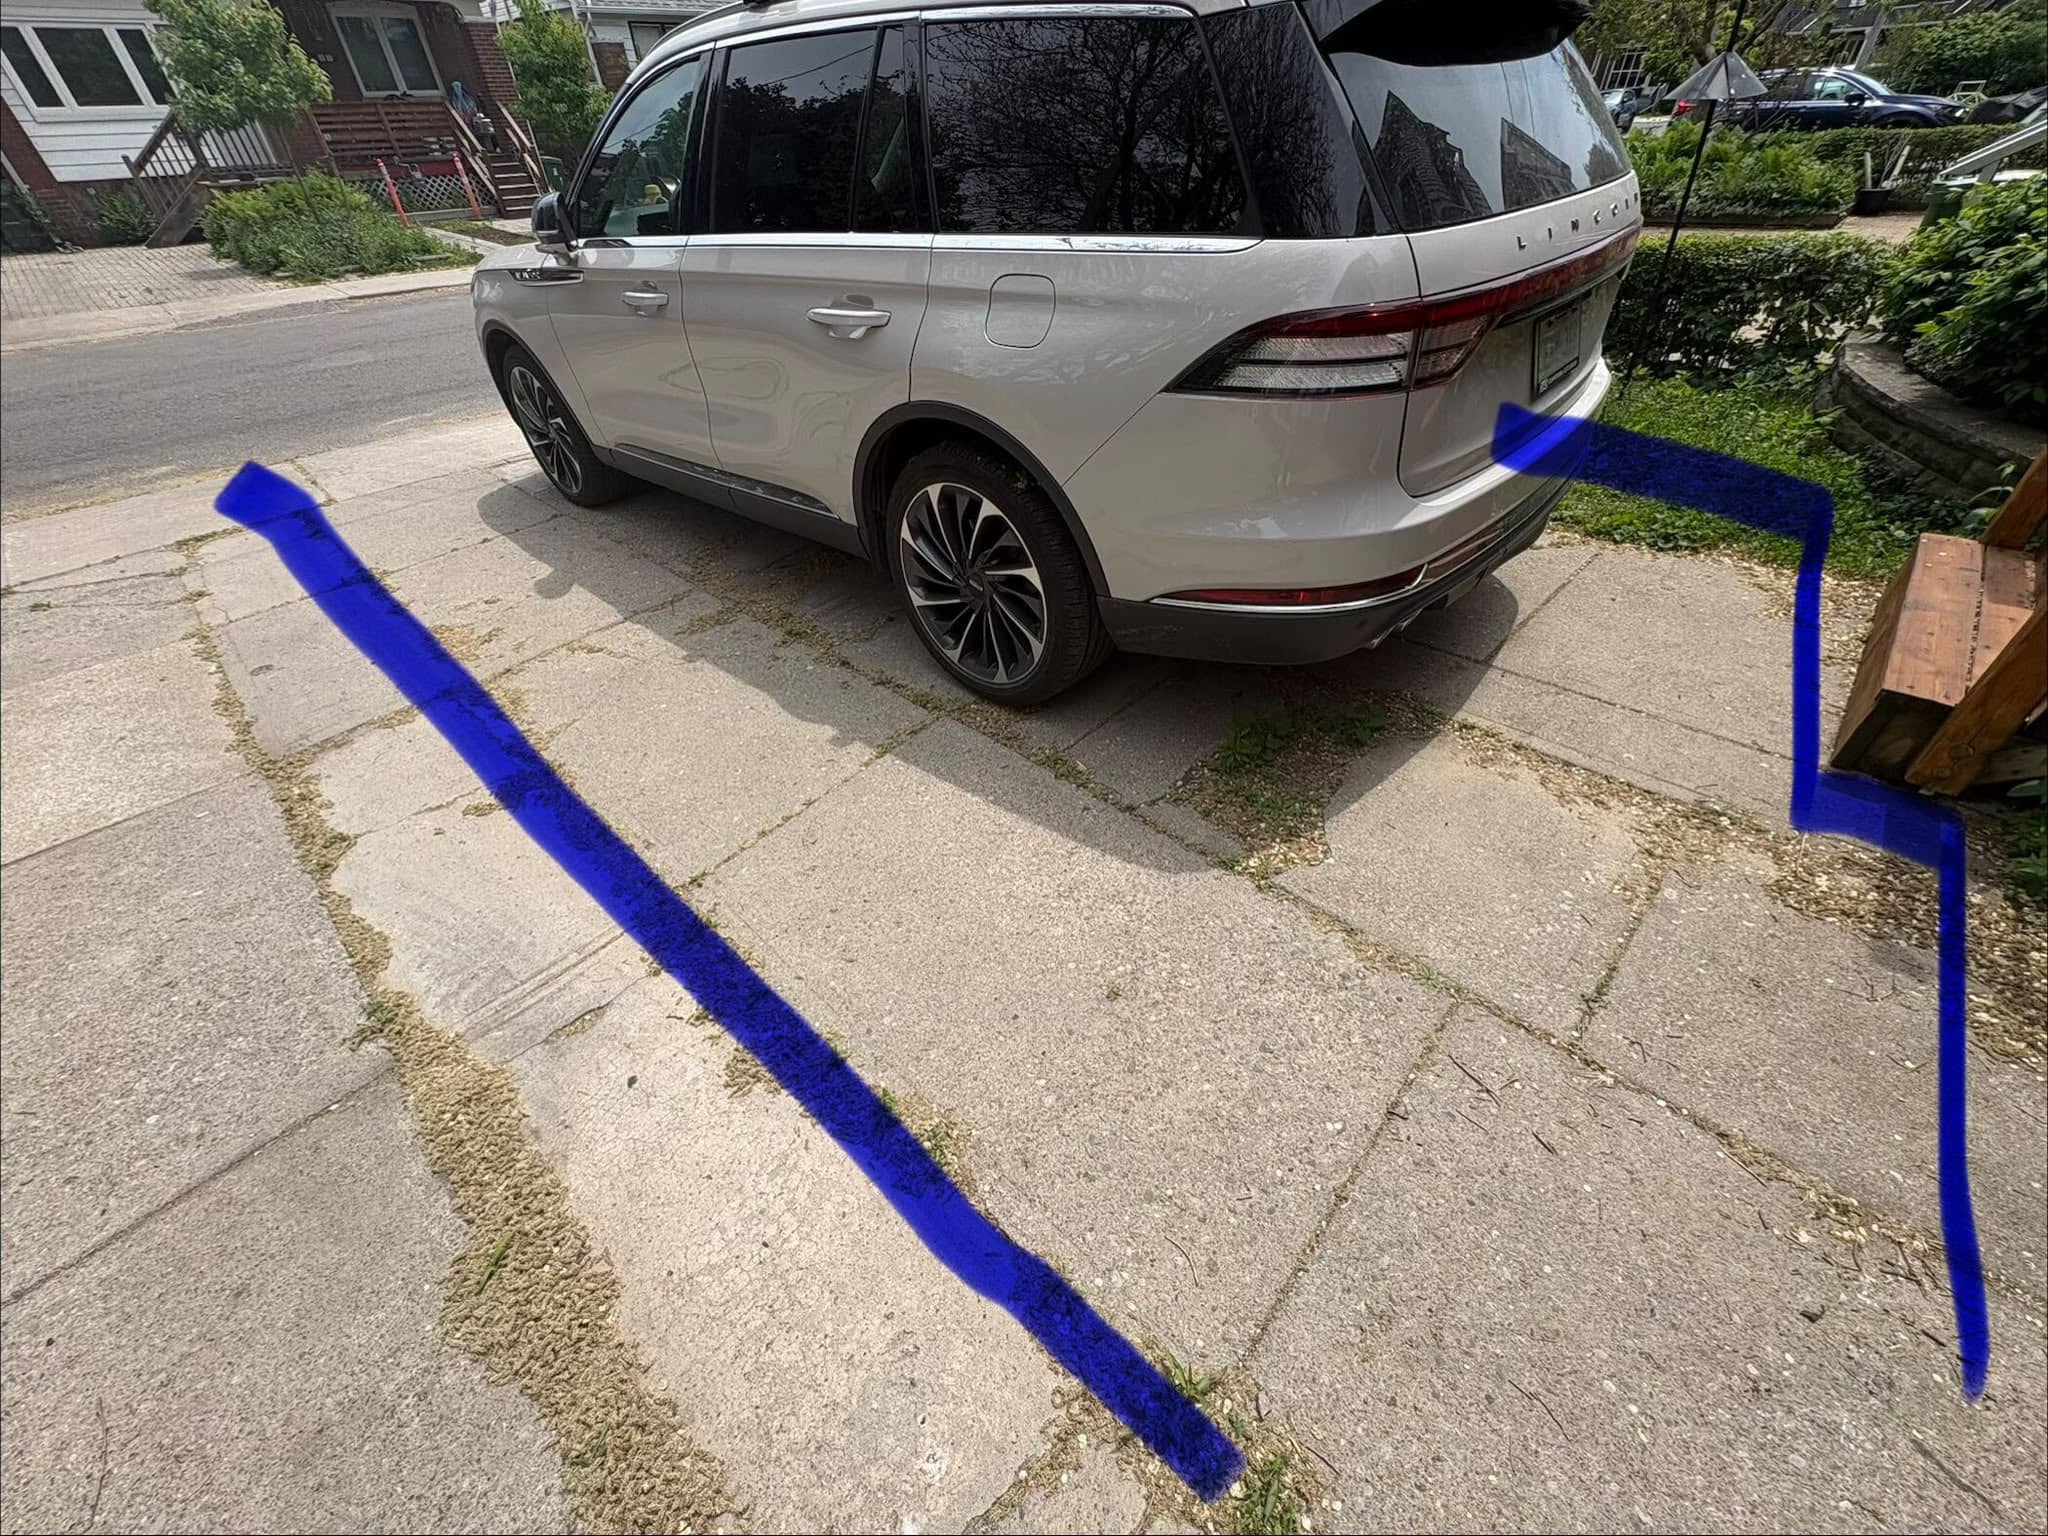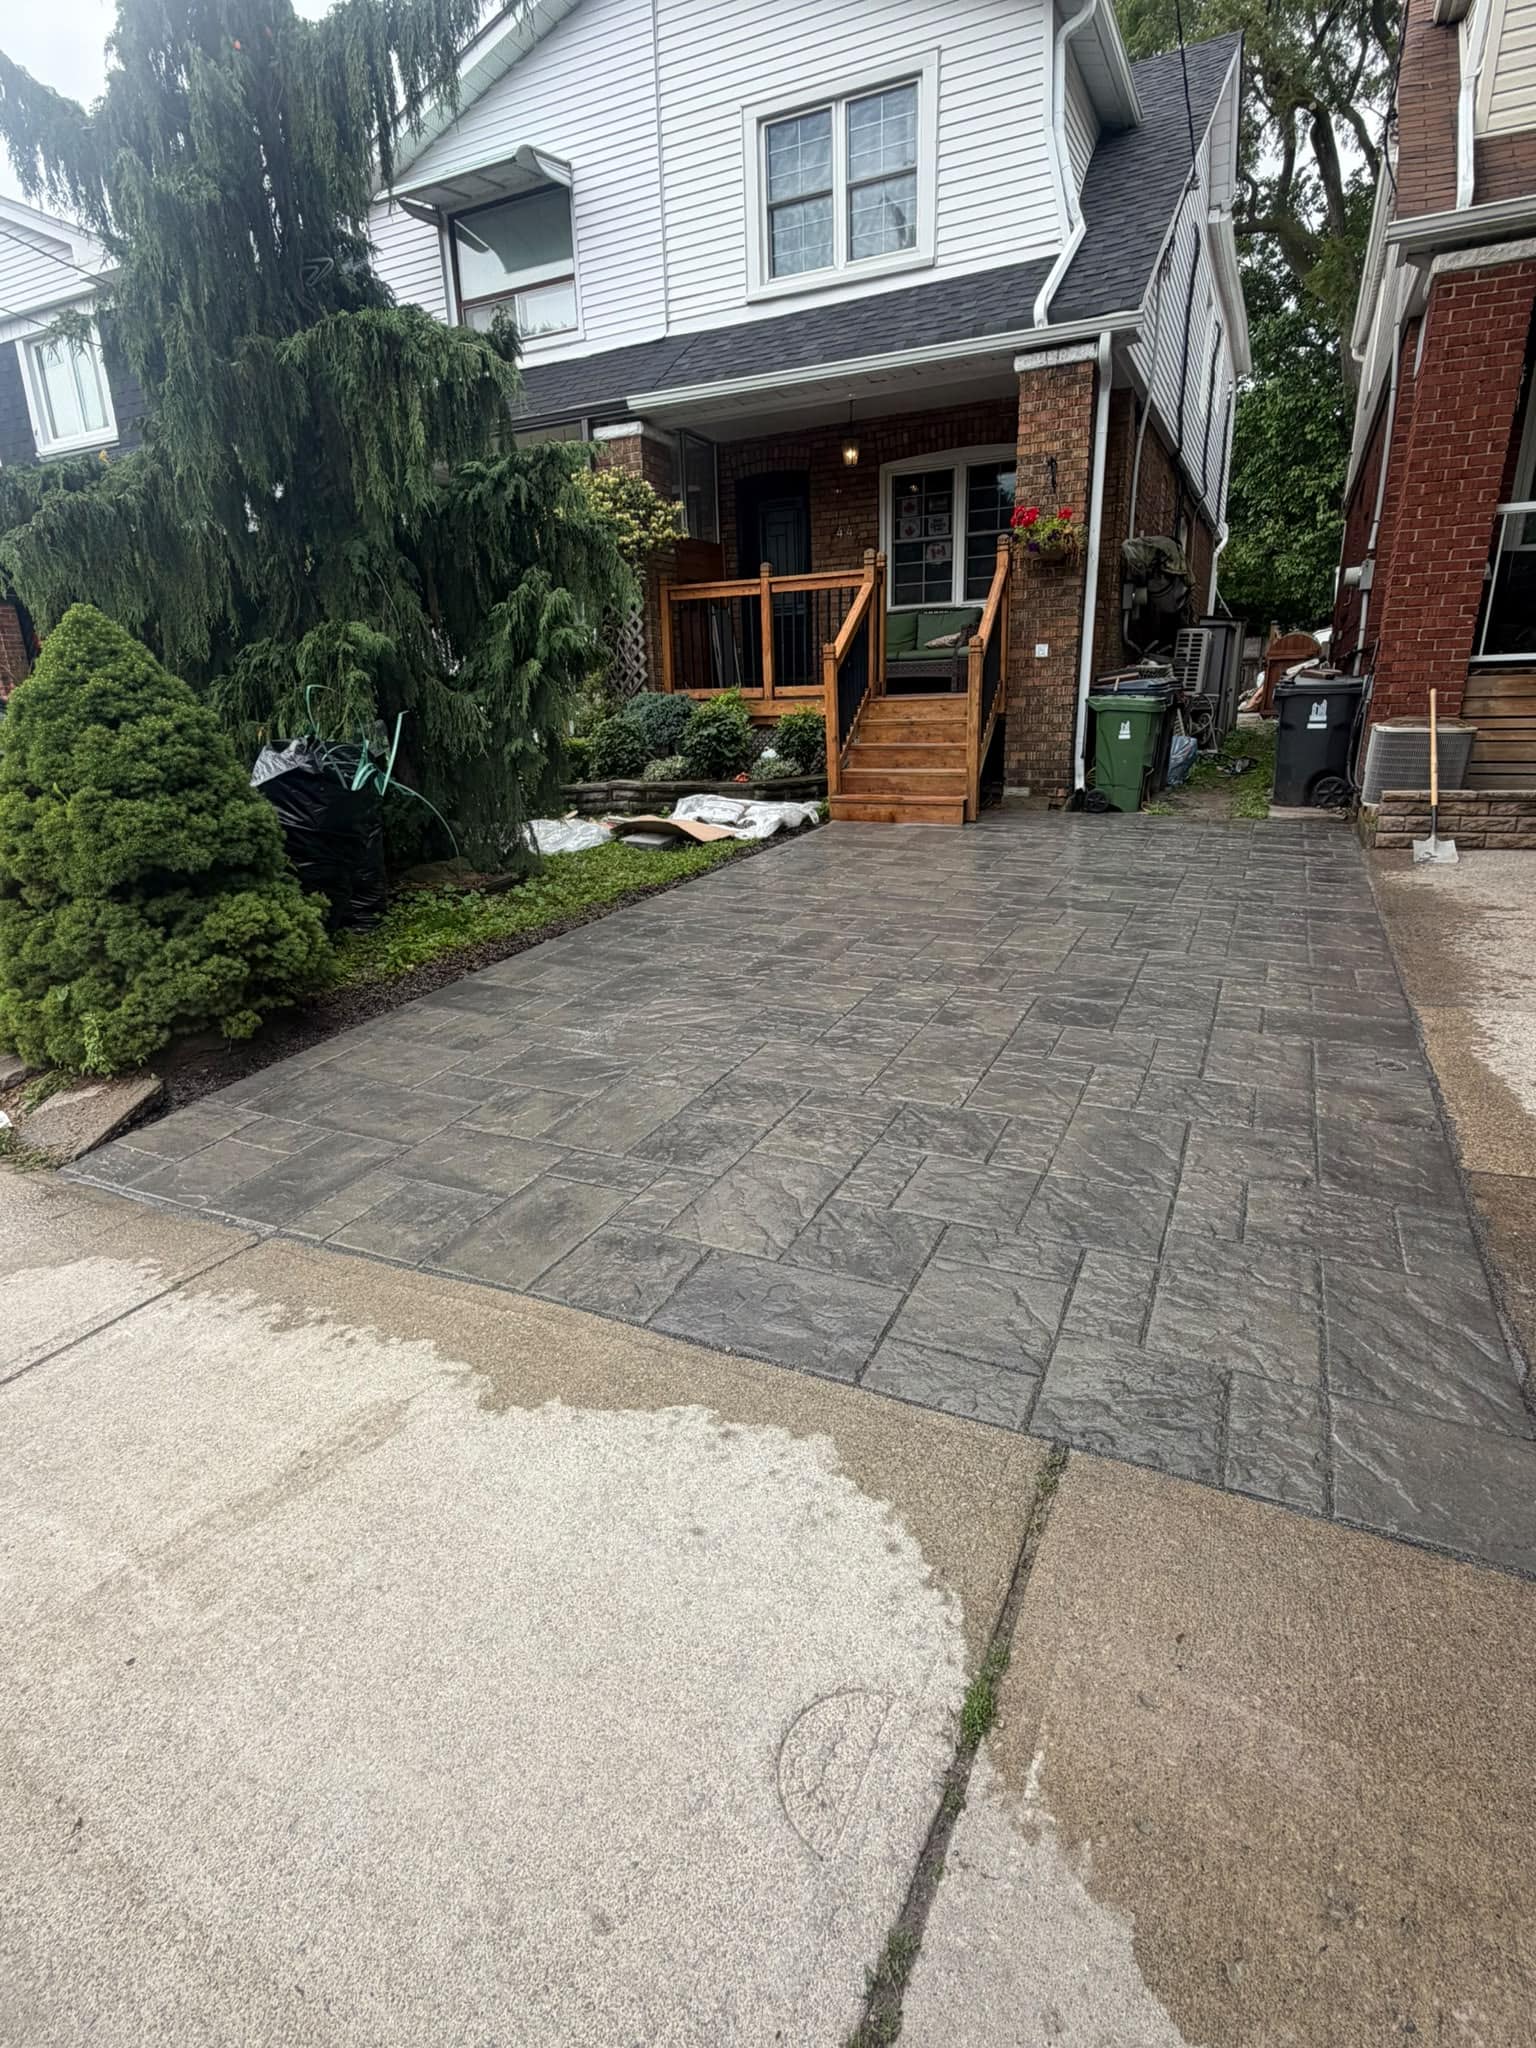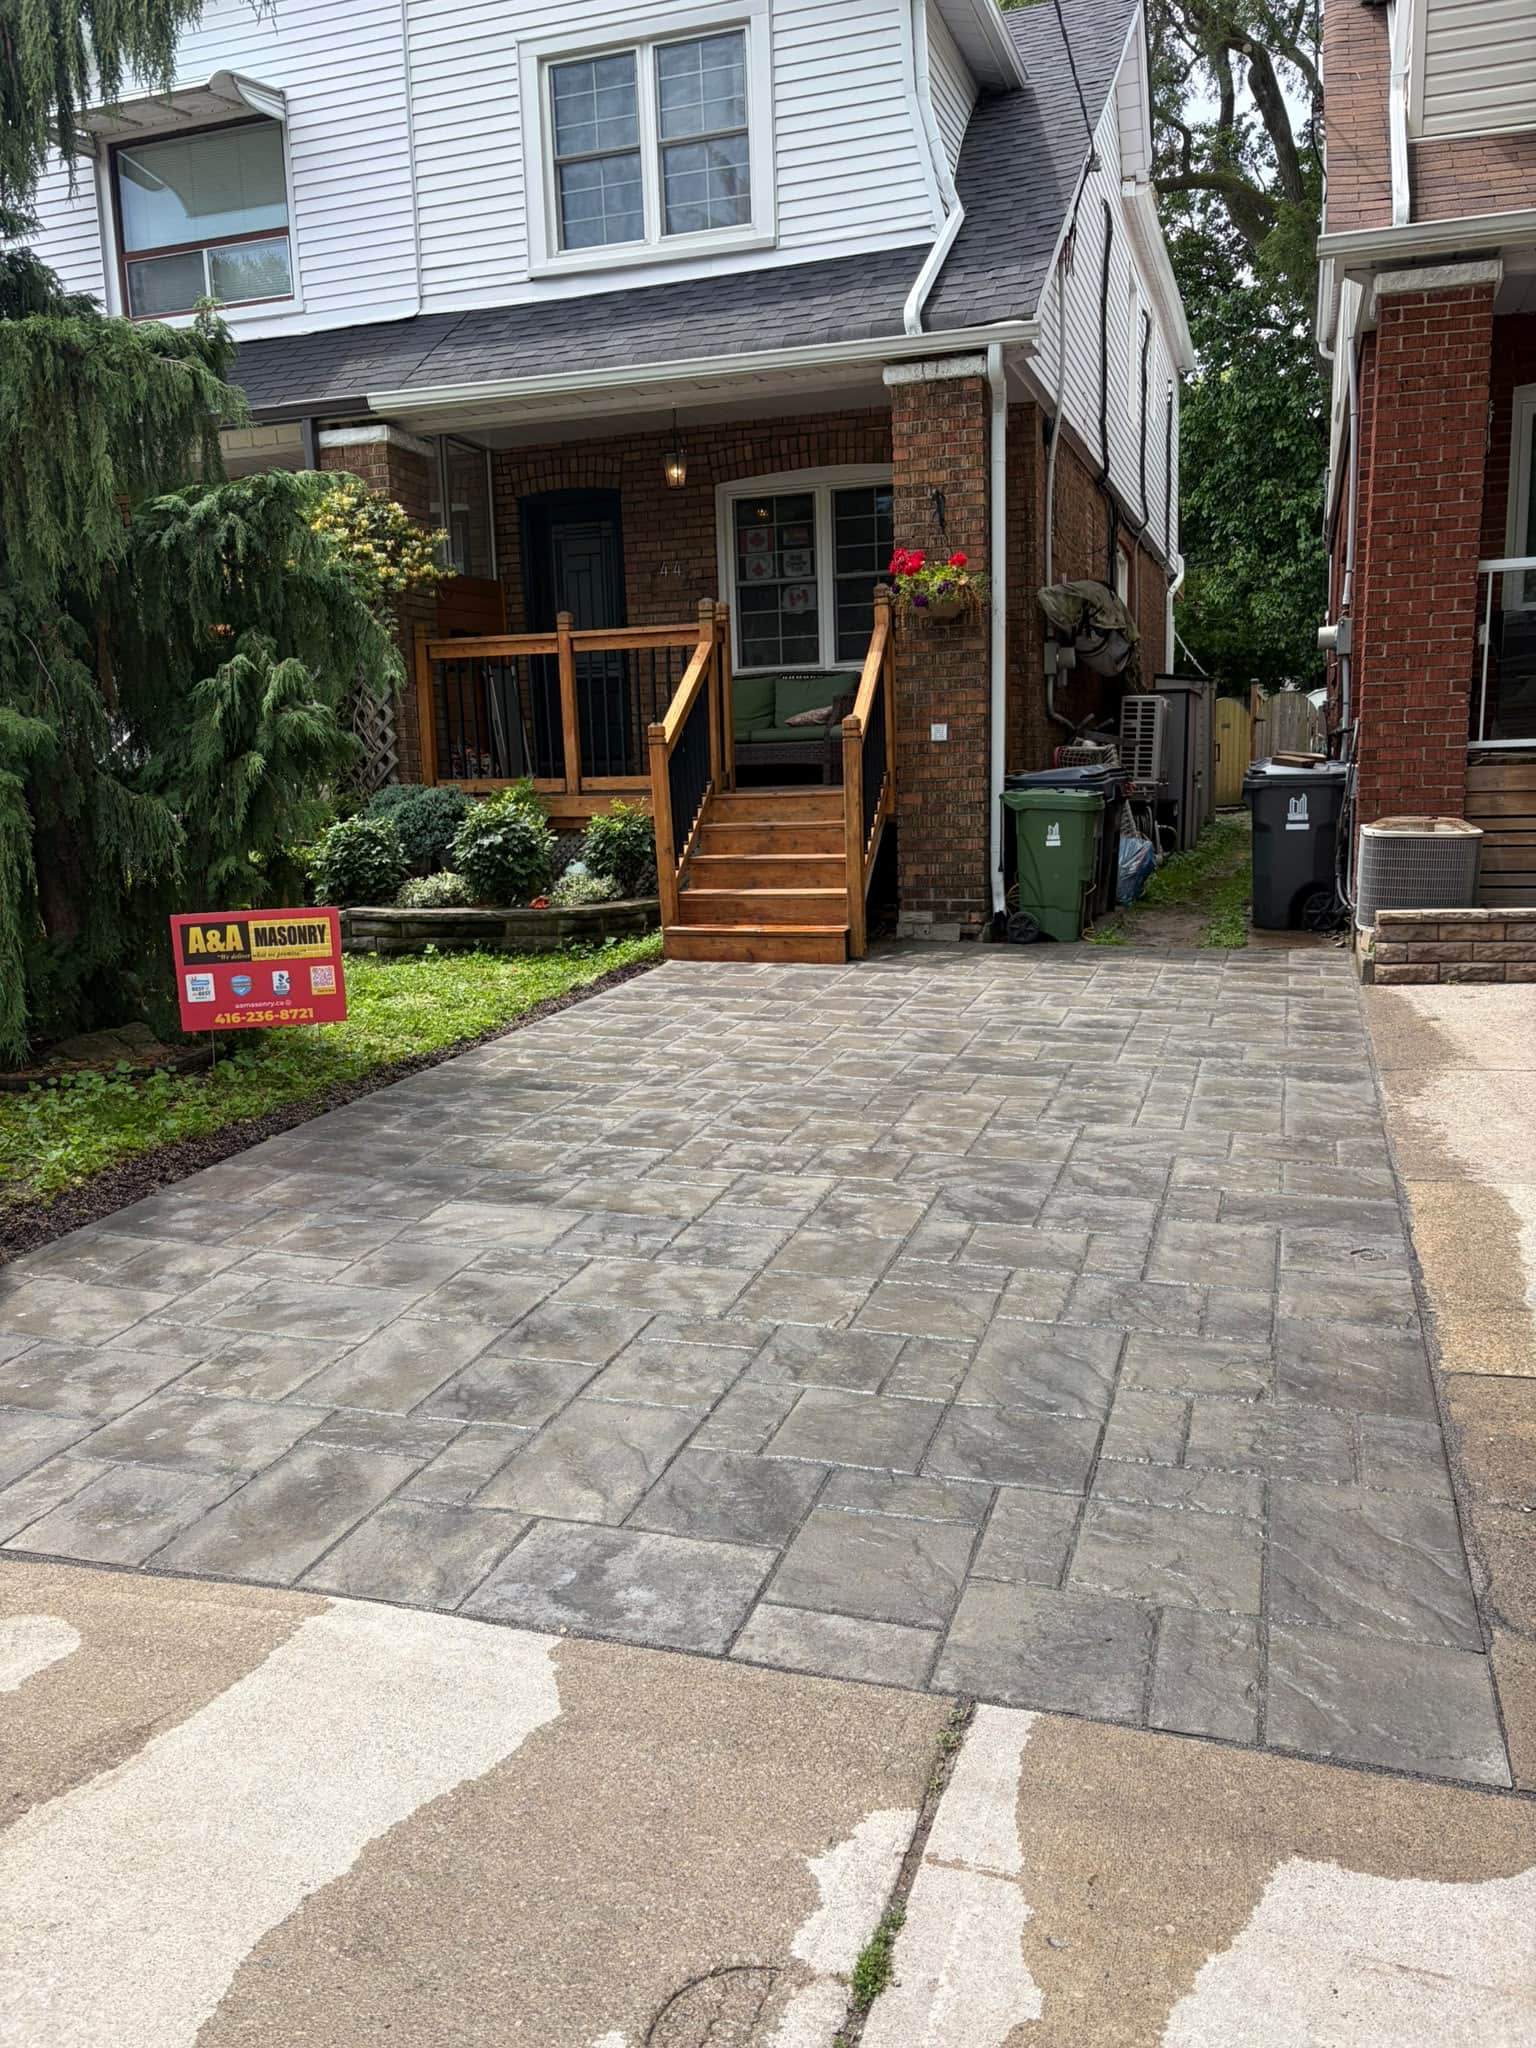

Winter-proofing your masonry means preparing brick, stone, concrete, mortar, chimneys, steps, walls, and hardscape areas before freezing weather makes small problems worse. In Toronto and the GTA, masonry is exposed to rain, snow, ice, salt, wind, and repeated freeze-thaw cycles. Water enters small cracks and open joints, freezes, expands, and can slowly break down the surface.
The goal is not to complicate masonry maintenance. The goal is to identify weak points before winter, control water, repair open joints, protect vulnerable surfaces, and reduce conditions that lead to spalling brick, crumbling mortar, cracked concrete, loose stone, and unsafe steps.
This guide explains how to winter-proof your masonry, what to check before cold weather sets in, which repairs matter most, what homeowners can safely do themselves, and when professional help makes more sense.
Why Winter Is Hard on Masonry
Winter is hard on masonry because water expands when it freezes. If water gets into cracks, mortar joints, brick faces, concrete pores, stone joints, chimney crowns, or step edges, freezing temperatures can widen the openings.
This is why small masonry damage often becomes more visible in spring. A hairline crack in fall can open after repeated freezing and thawing. A loose mortar joint can become a missing joint. A small chip on a concrete step can turn into a larger broken edge. A spalling brick can lose more of its face after another winter.
Toronto homes also deal with snow piles, road salt, roof runoff, downspout discharge, shaded side walls, older brickwork, and hard surfaces close to foundations. These details can keep masonry wet longer than expected.
If you already see signs of cracking, crumbling, or loose masonry, A&A Masonry’s common masonry repair issues in Toronto guide can help you understand what type of damage you may be seeing.
Start With a Fall Masonry Inspection
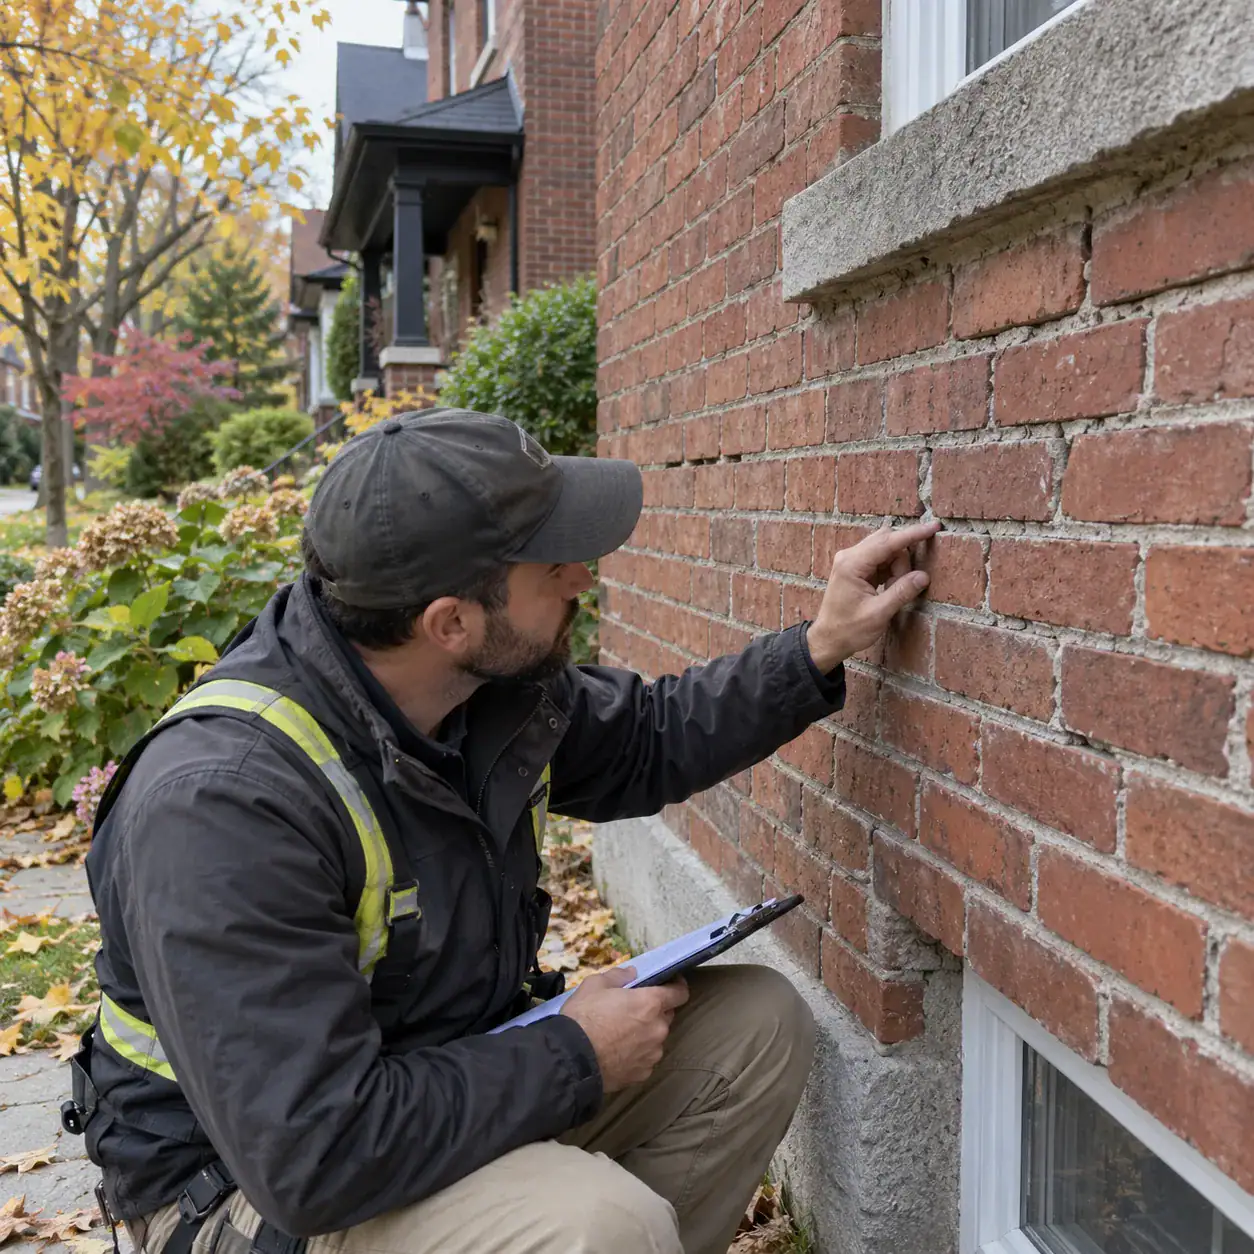
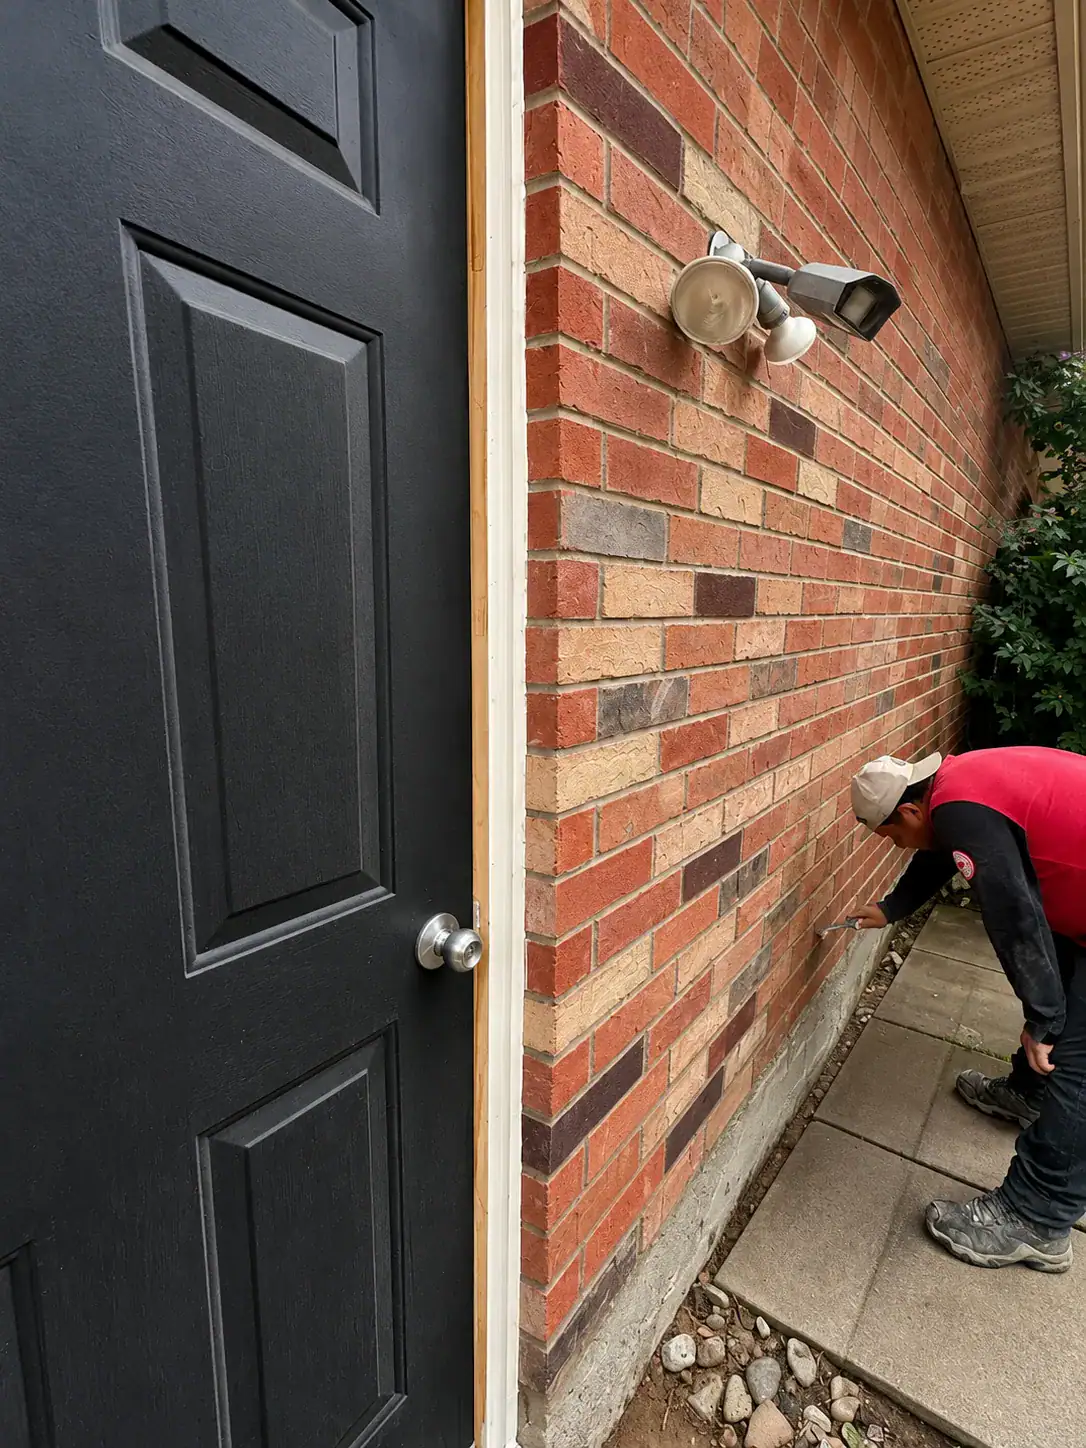
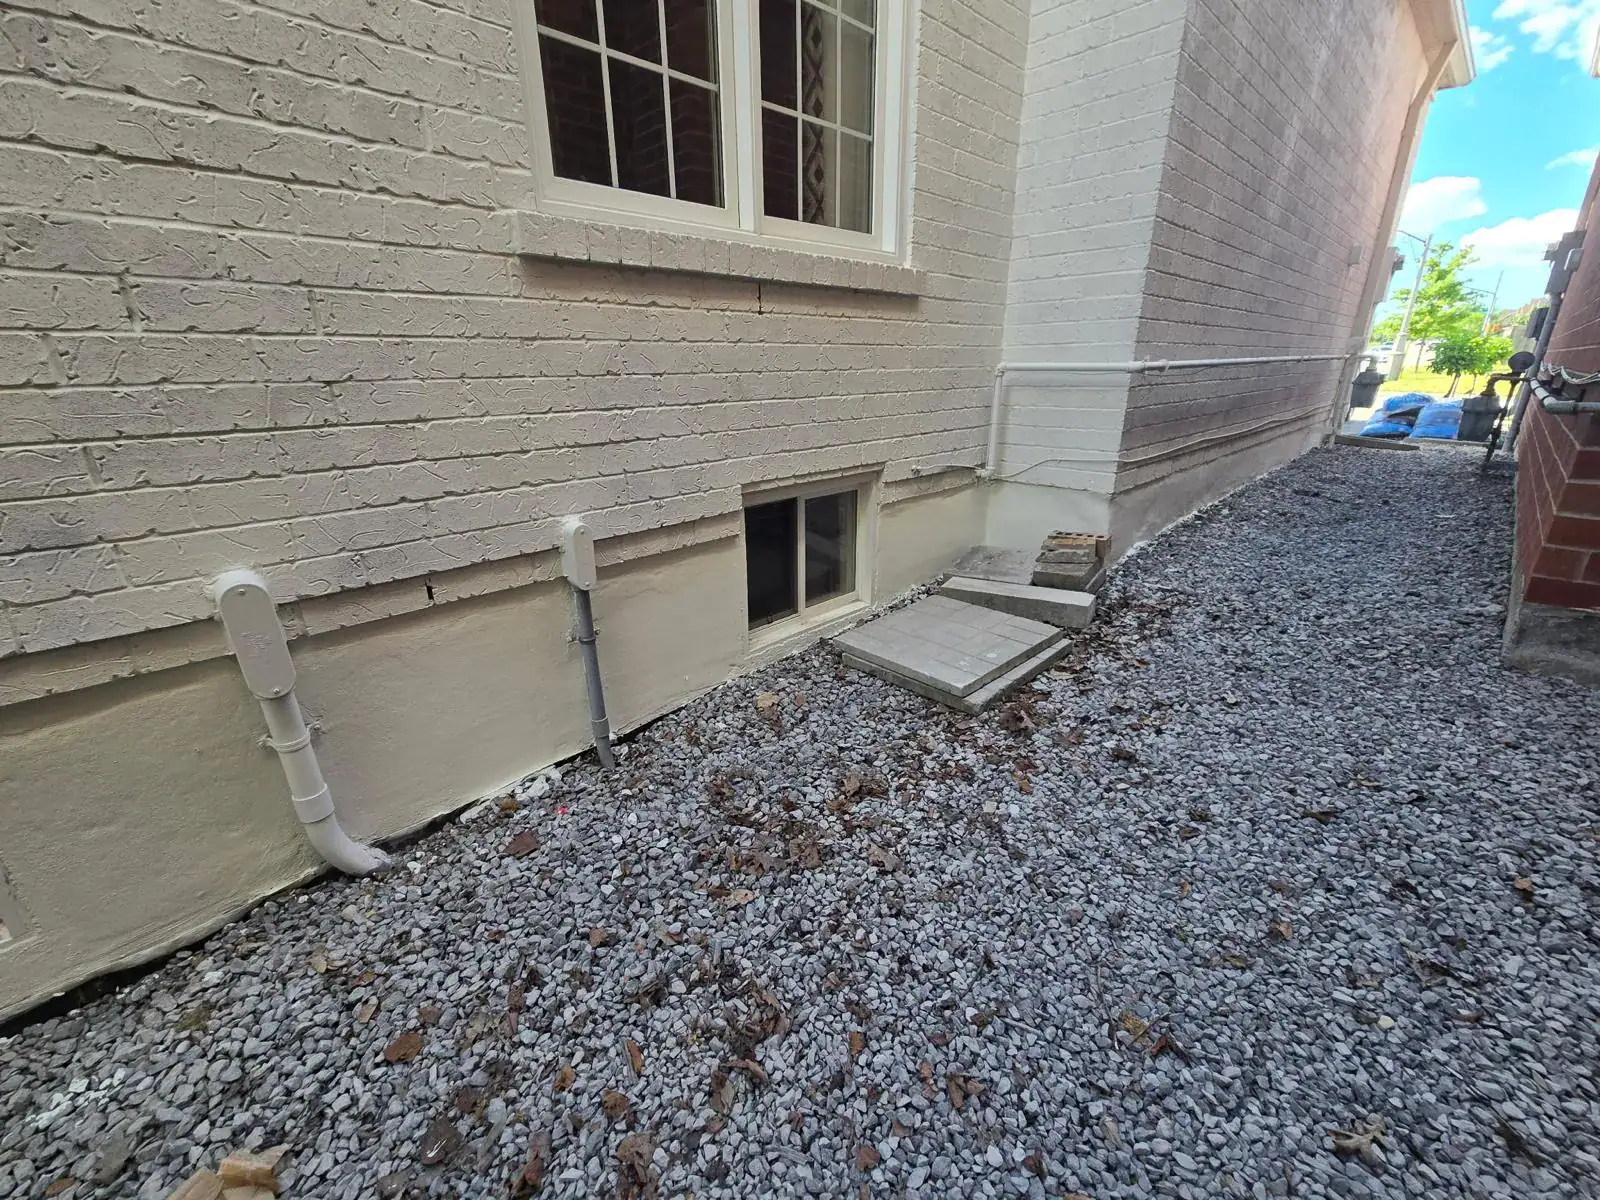
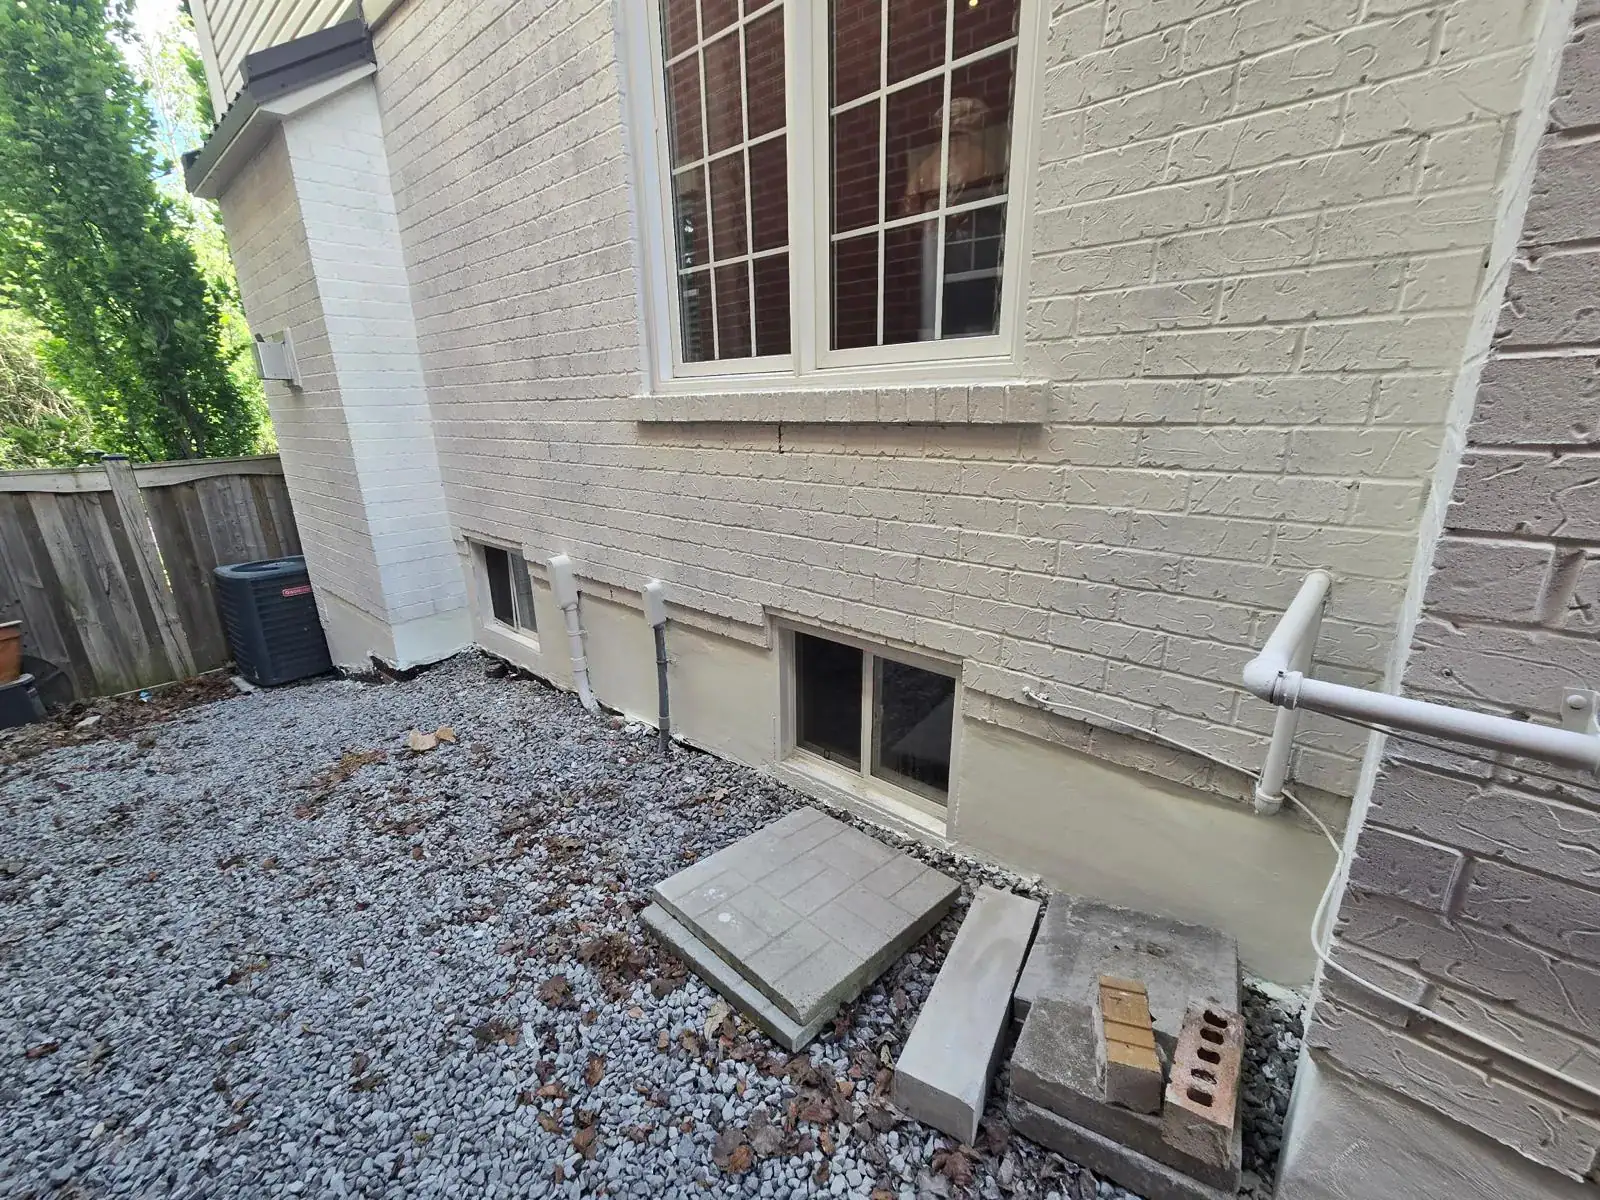
A fall masonry inspection is one of the best ways to winter-proof your masonry. The inspection does not need to be complicated. Walk around the home and look closely at areas that will be exposed to snow, ice, rain, and splashback.
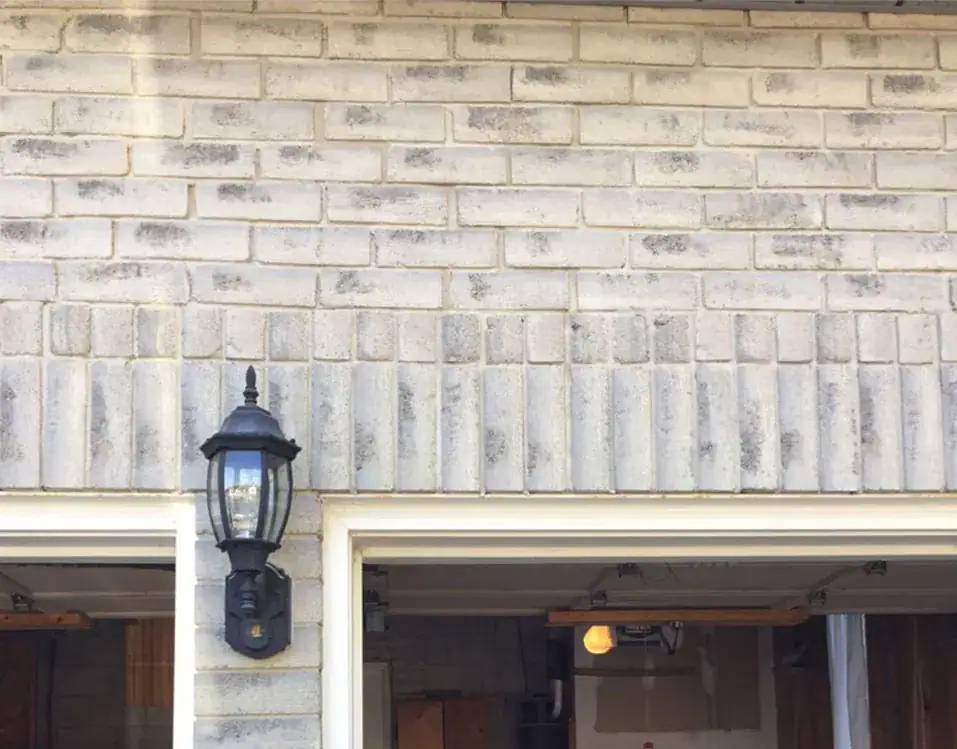
Check brick walls, chimneys, porch columns, steps, walkways, retaining walls, foundation-adjacent masonry, stone veneer, parging, and interlocking areas. Look for cracks, missing mortar, loose brick, spalling, stains, efflorescence, leaning walls, uneven steps, and water pooling.
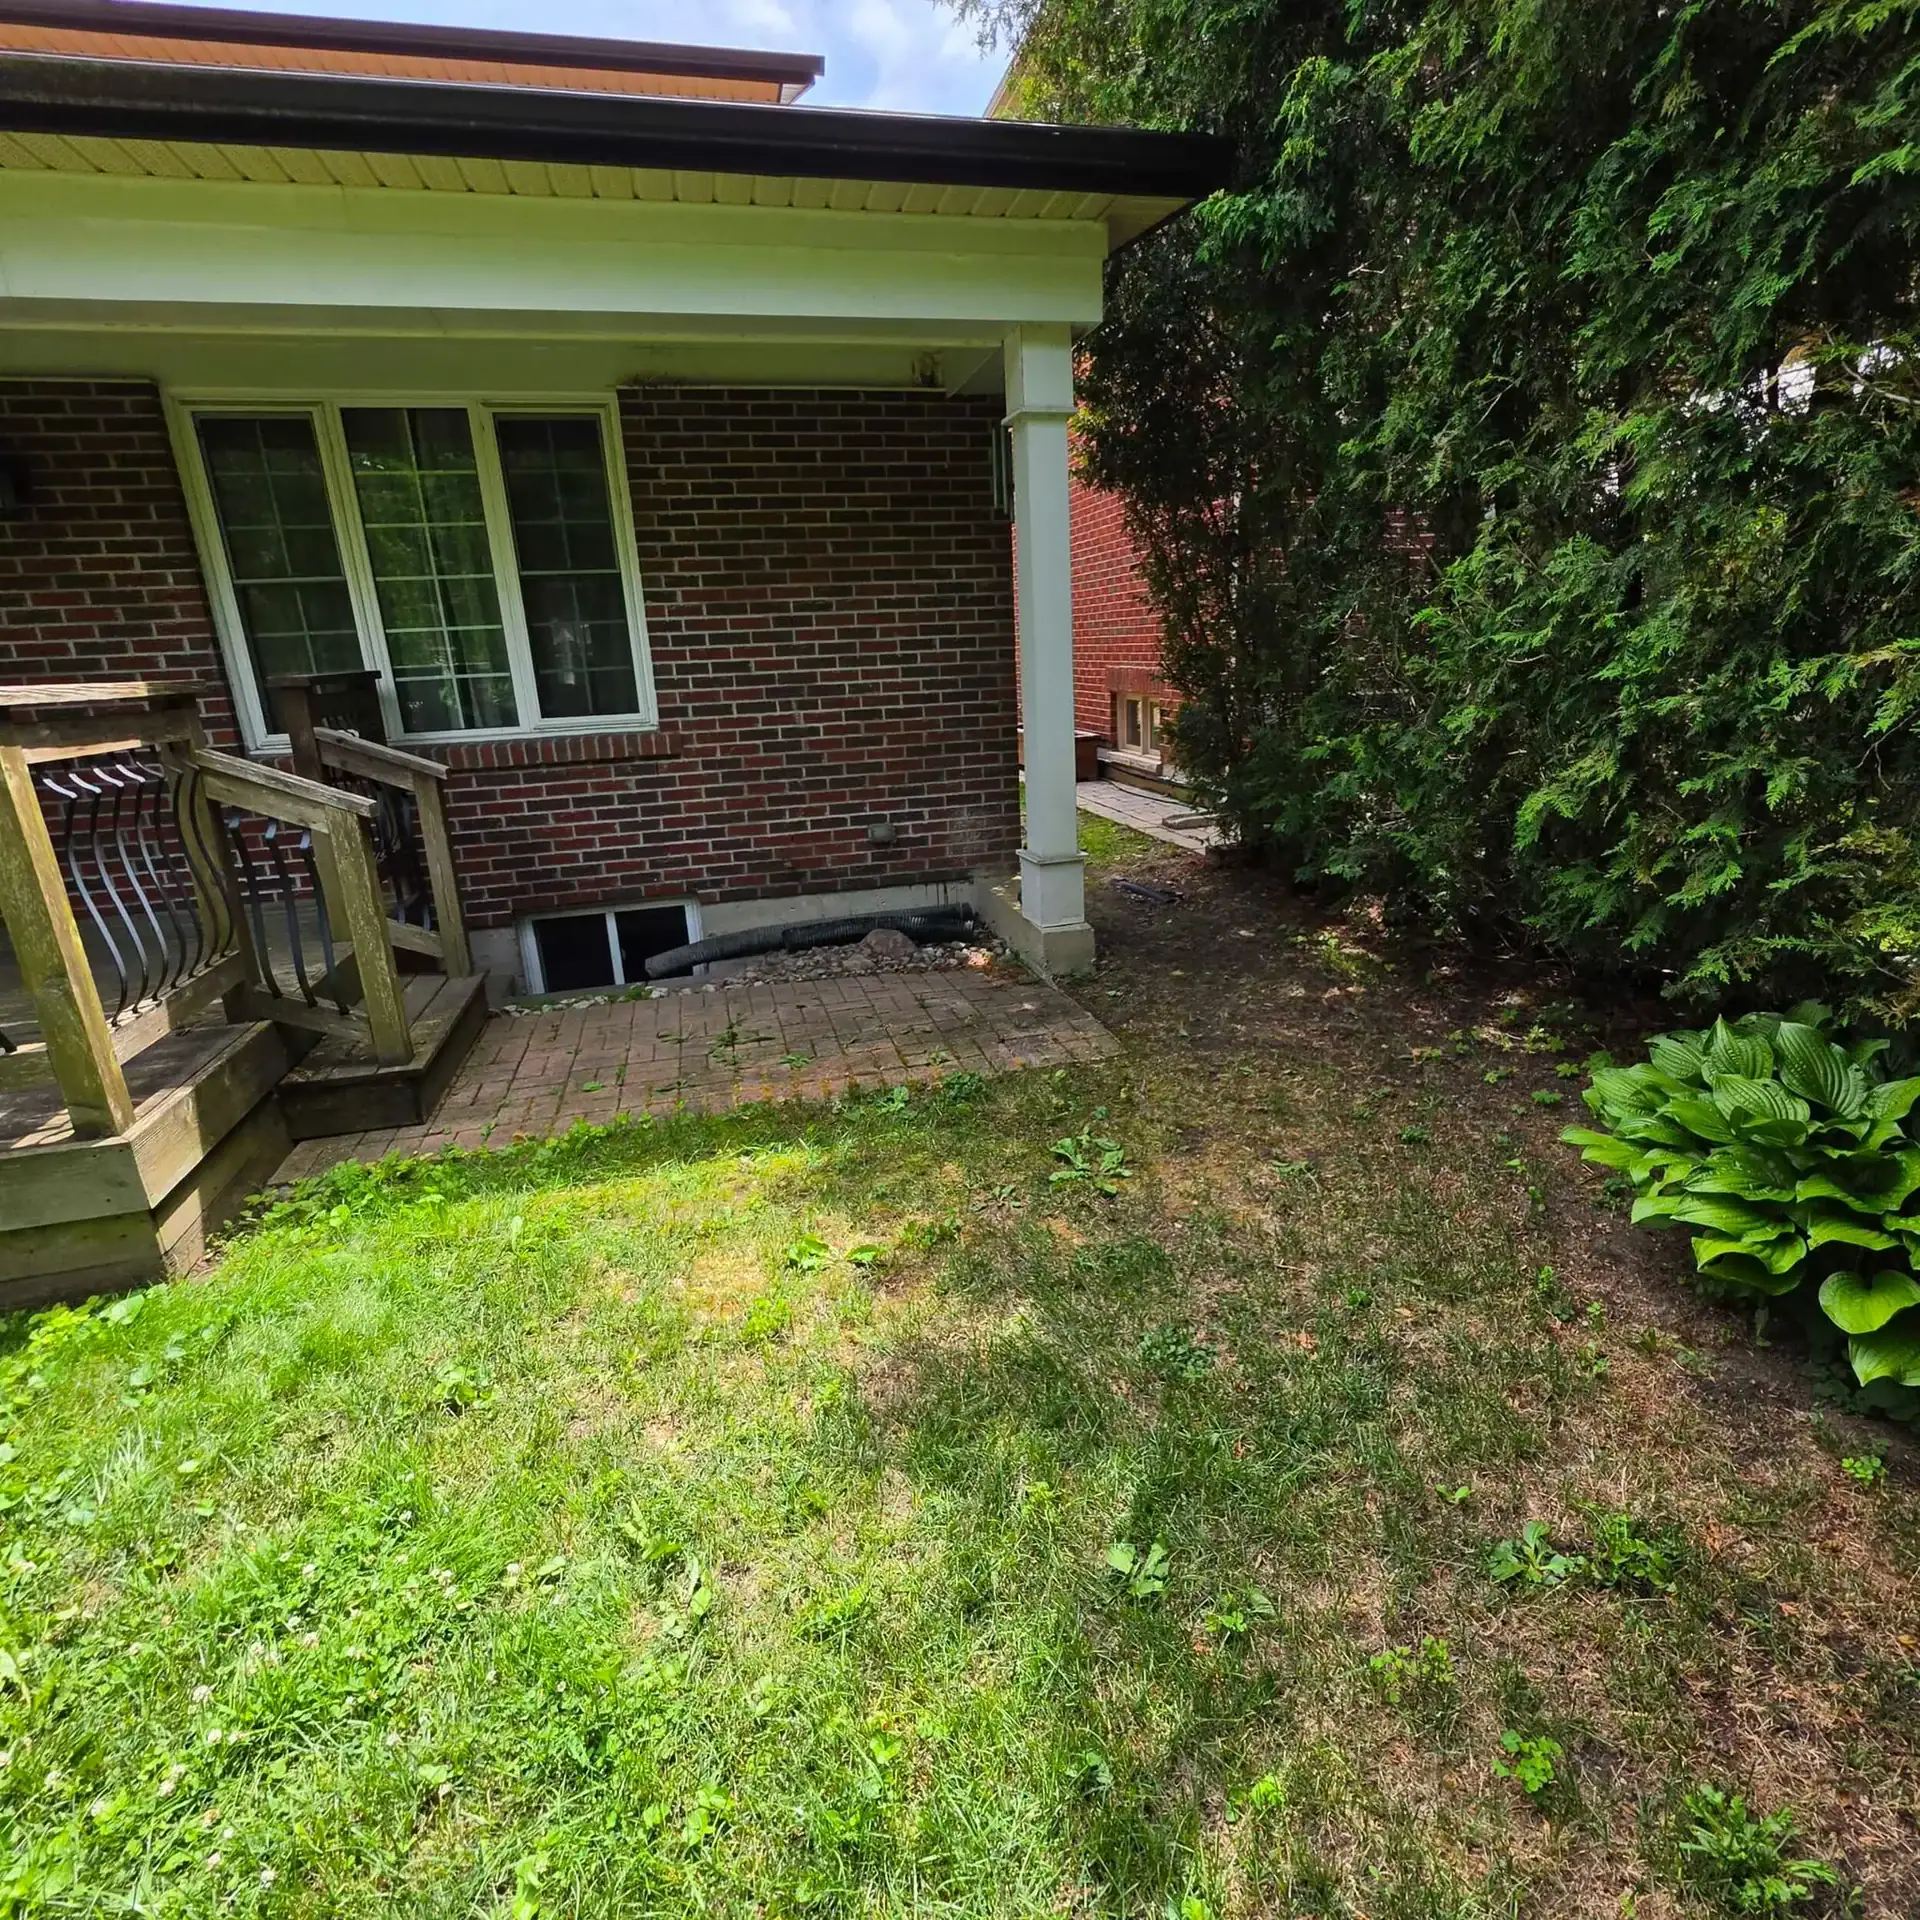
Pay extra attention to areas near downspouts, roof valleys, basement entrances, window wells, walkways, garden beds, and north-facing walls. These spots often stay damp longer and are more likely to suffer freeze-thaw damage.
Take photos of any damage. Photos help you track whether cracks widen, stains spread, or surfaces change after winter. This also makes it easier to explain the issue if you decide to get professional advice.
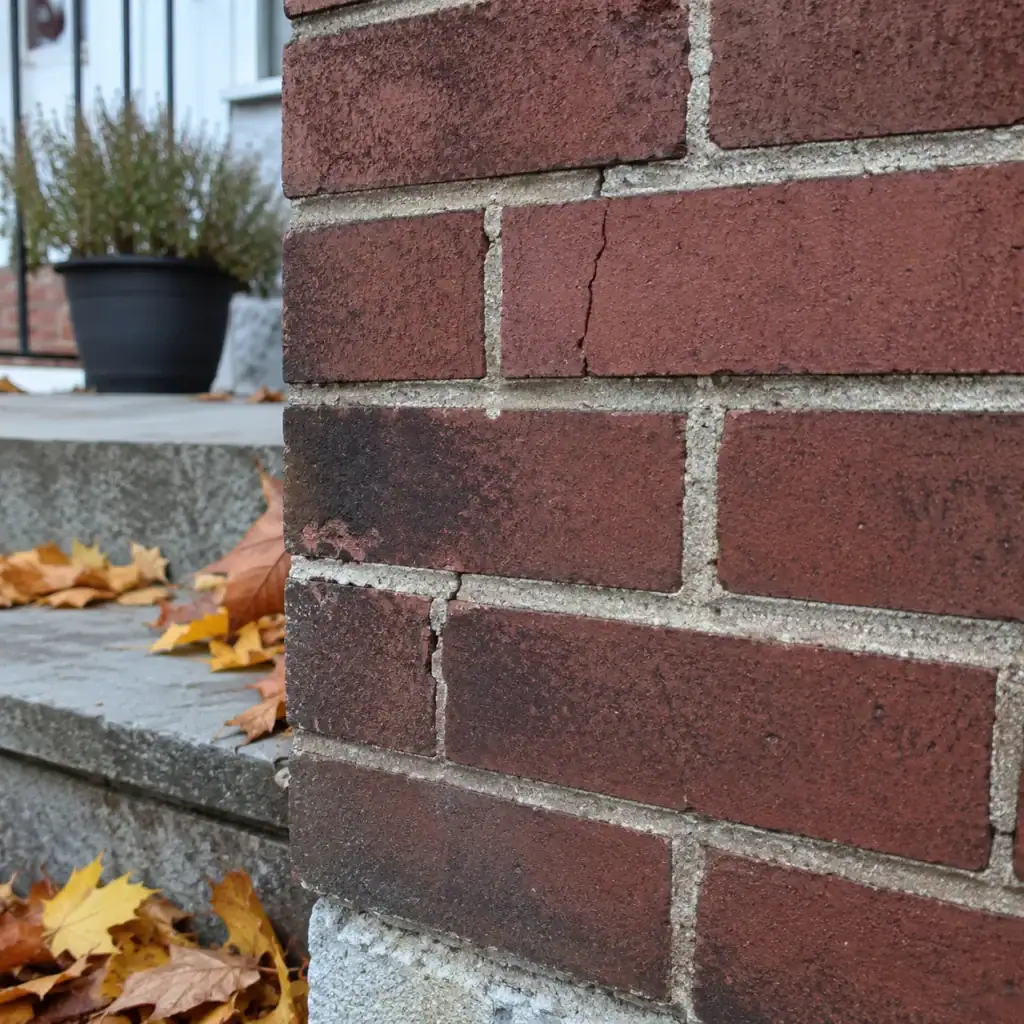
Fix Mortar Joints Before Freezing Weather
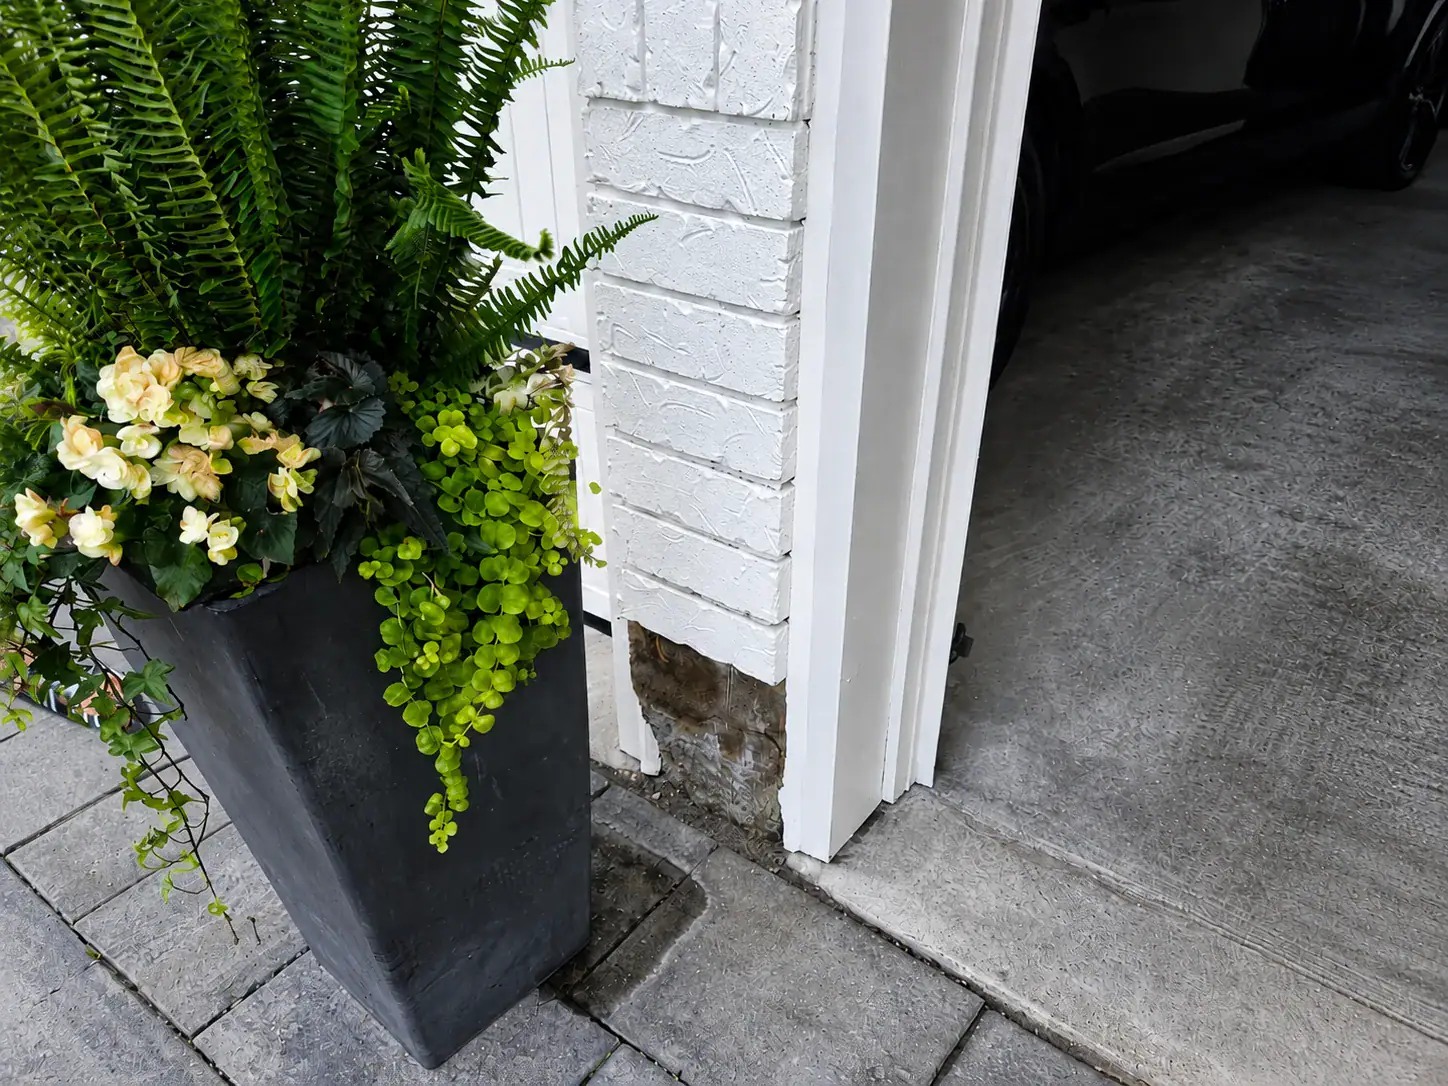
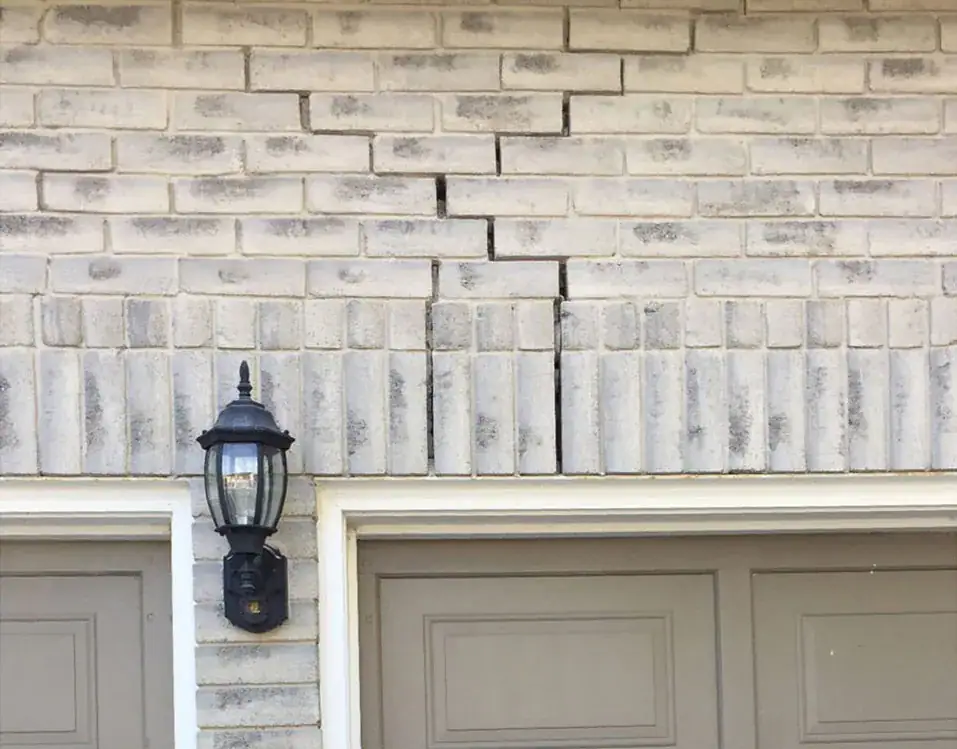
Open or failing mortar joints should be repaired before winter because they let water enter the masonry wall. Once water enters and freezes, it can widen joints, loosen bricks, and accelerate deterioration.
Mortar joints are often the first line of defence between brick units. When it cracks, recedes, or crumbles, the wall becomes more vulnerable to moisture. For older Toronto homes, this can be especially important because older brick may be softer and more prone to water retention.
Tuckpointing is the process of removing damaged mortar and replacing it with compatible new mortar. It should not be confused with smearing mortar over the surface. Thin surface patches usually fail because they do not bond deeply enough or address the open joint.
If you see missing, sandy, cracked, or recessed mortar, A&A Masonry’s tuckpointing services in Toronto page explains why proper joint repair helps protect brickwork from moisture and freeze-thaw cycles.
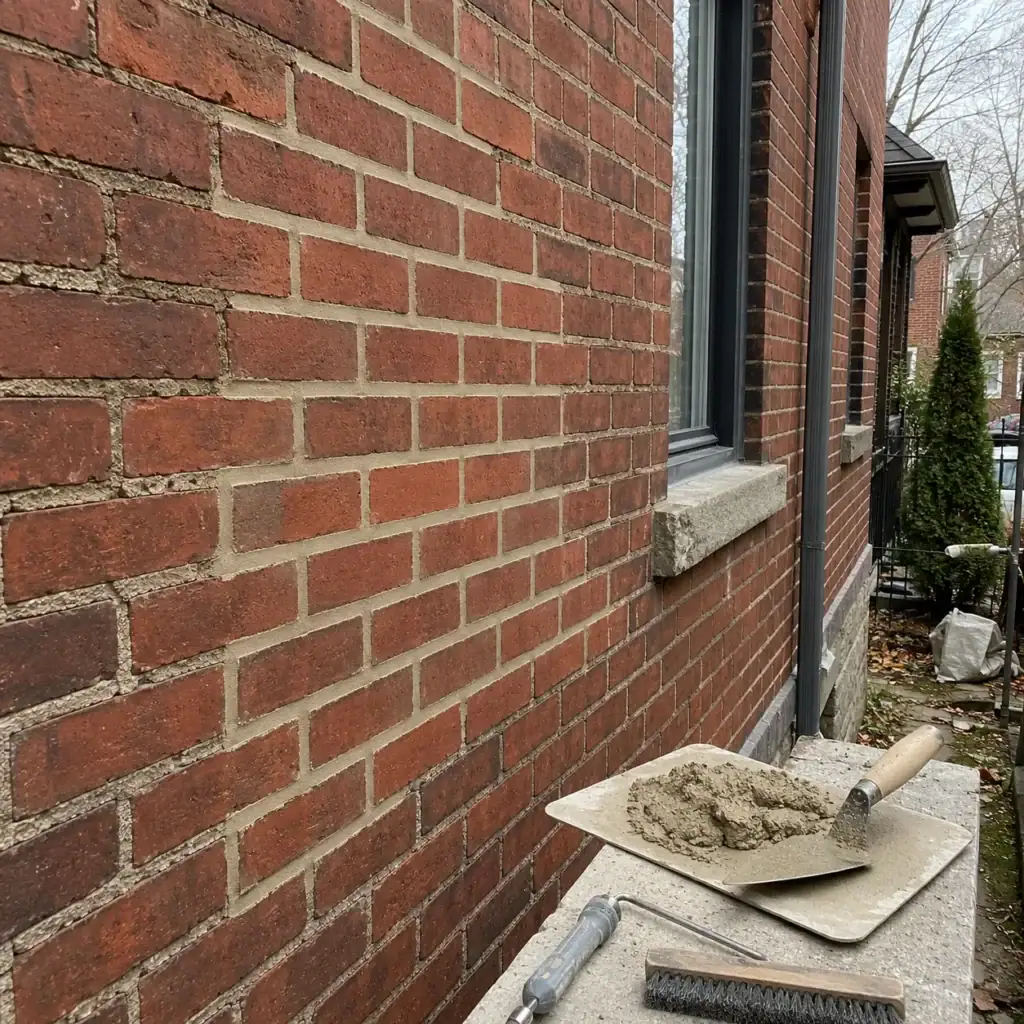
Repair Spalling or Cracked Brick Early
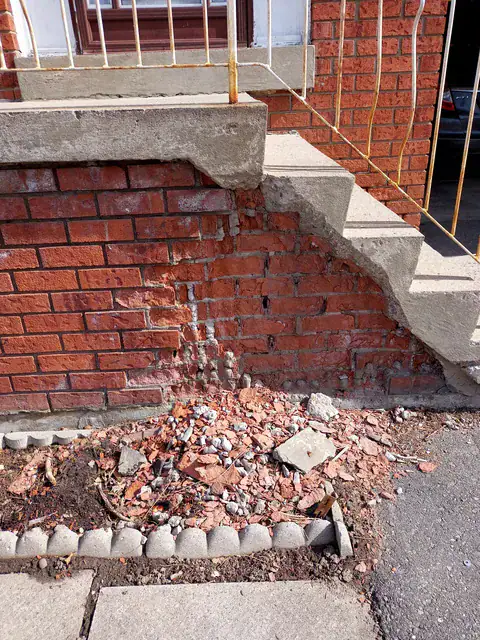
Spalling or cracked brick should be repaired before winter when possible. Spalling occurs when the brick’s face flakes, chips, breaks, or peels away. Once the protective outer face is damaged, the brick may absorb more water and deteriorate faster.
Brick damage is often connected to moisture. Water may be entering through open mortar joints, poor drainage, missing caps, damaged chimney crowns, high soil, or repeated splashback. If the moisture source remains, replacing a single brick may not solve the underlying issue.
Small brick damage may sometimes be monitored, but loose, crumbling, or heavily spalled units should be reviewed sooner. Winter can make these areas worse because the brick is already weakened.
If individual bricks are damaged, A&A Masonry’s brick repair Toronto page explains common repair concerns for cracked, spalling, and weather-damaged brickwork.
Check Chimneys Before Winter
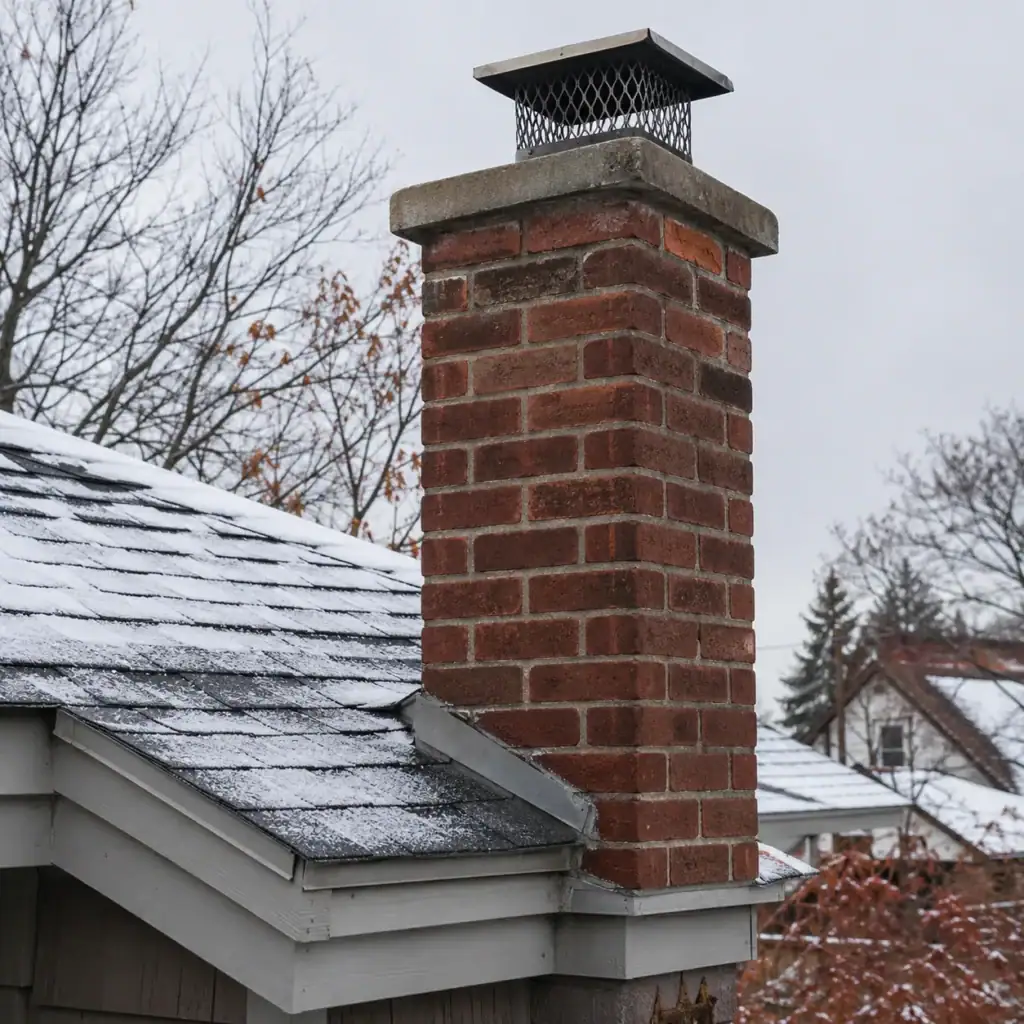
Chimneys should be checked before winter because they are exposed to the weather on all sides and often take more punishment than protected wall areas. Rain, snow, wind, ice, and freezing temperatures can affect brick, mortar joints, caps, crowns, flashing, and flue areas.
Look from the ground for cracked crowns, missing caps, loose brick, missing mortar, leaning sections, rust stains, white staining, and spalling. Inside the home, watch for water stains near the fireplace, musty odours, or damp areas near the chimney chase or attic.
A chimney cap helps reduce rain, snow, animals, and debris entering the flue. A sound crown helps shed water away from the top of the chimney. Tuckpointing helps close open joints. A breathable, water-repellent coating may help after the chimney is repaired, cleaned, and dry.
For chimney-specific moisture planning, A&A Masonry’s chimney waterproofing options guide explains caps, crowns, tuckpointing, brick repair, flashing review, and breathable water repellents.
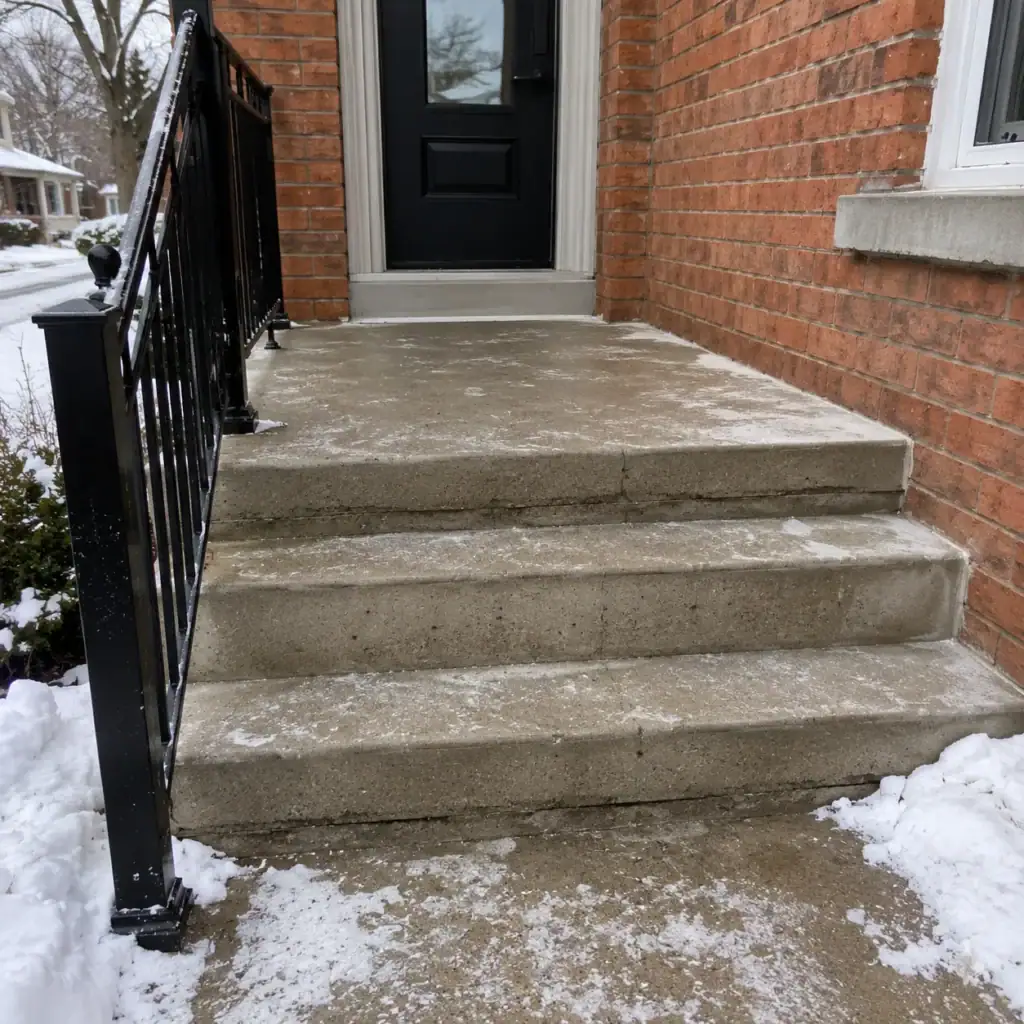
Protect Concrete Steps, Walkways, and Porches
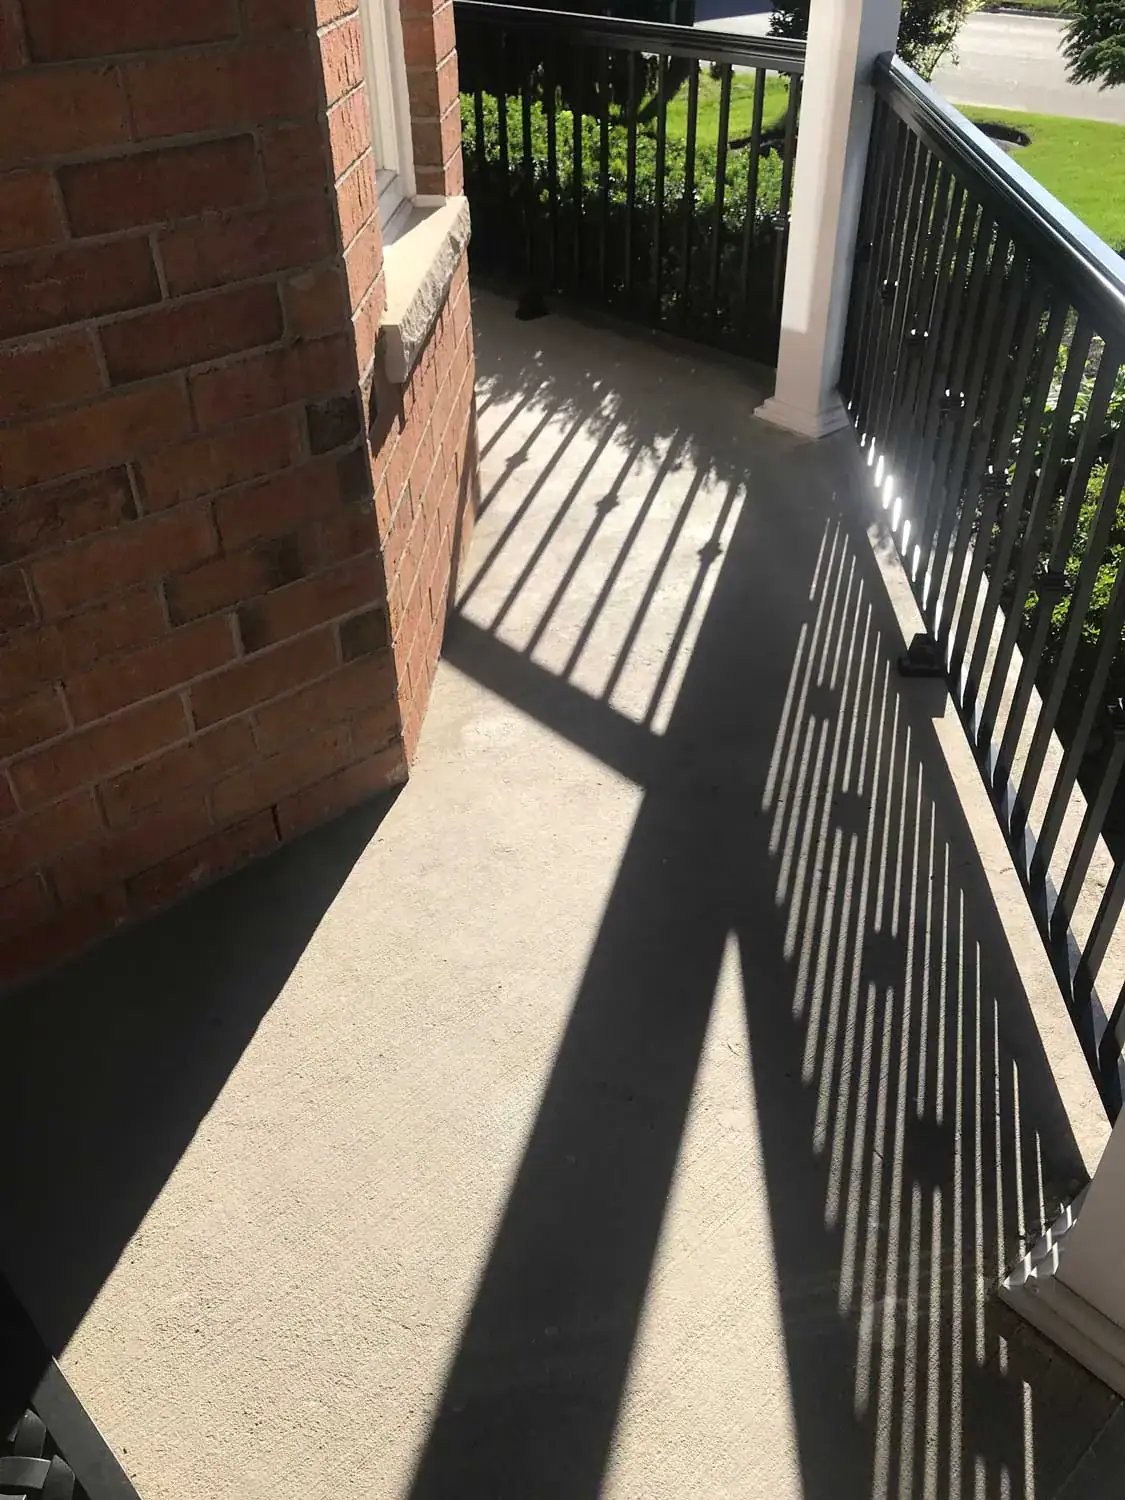
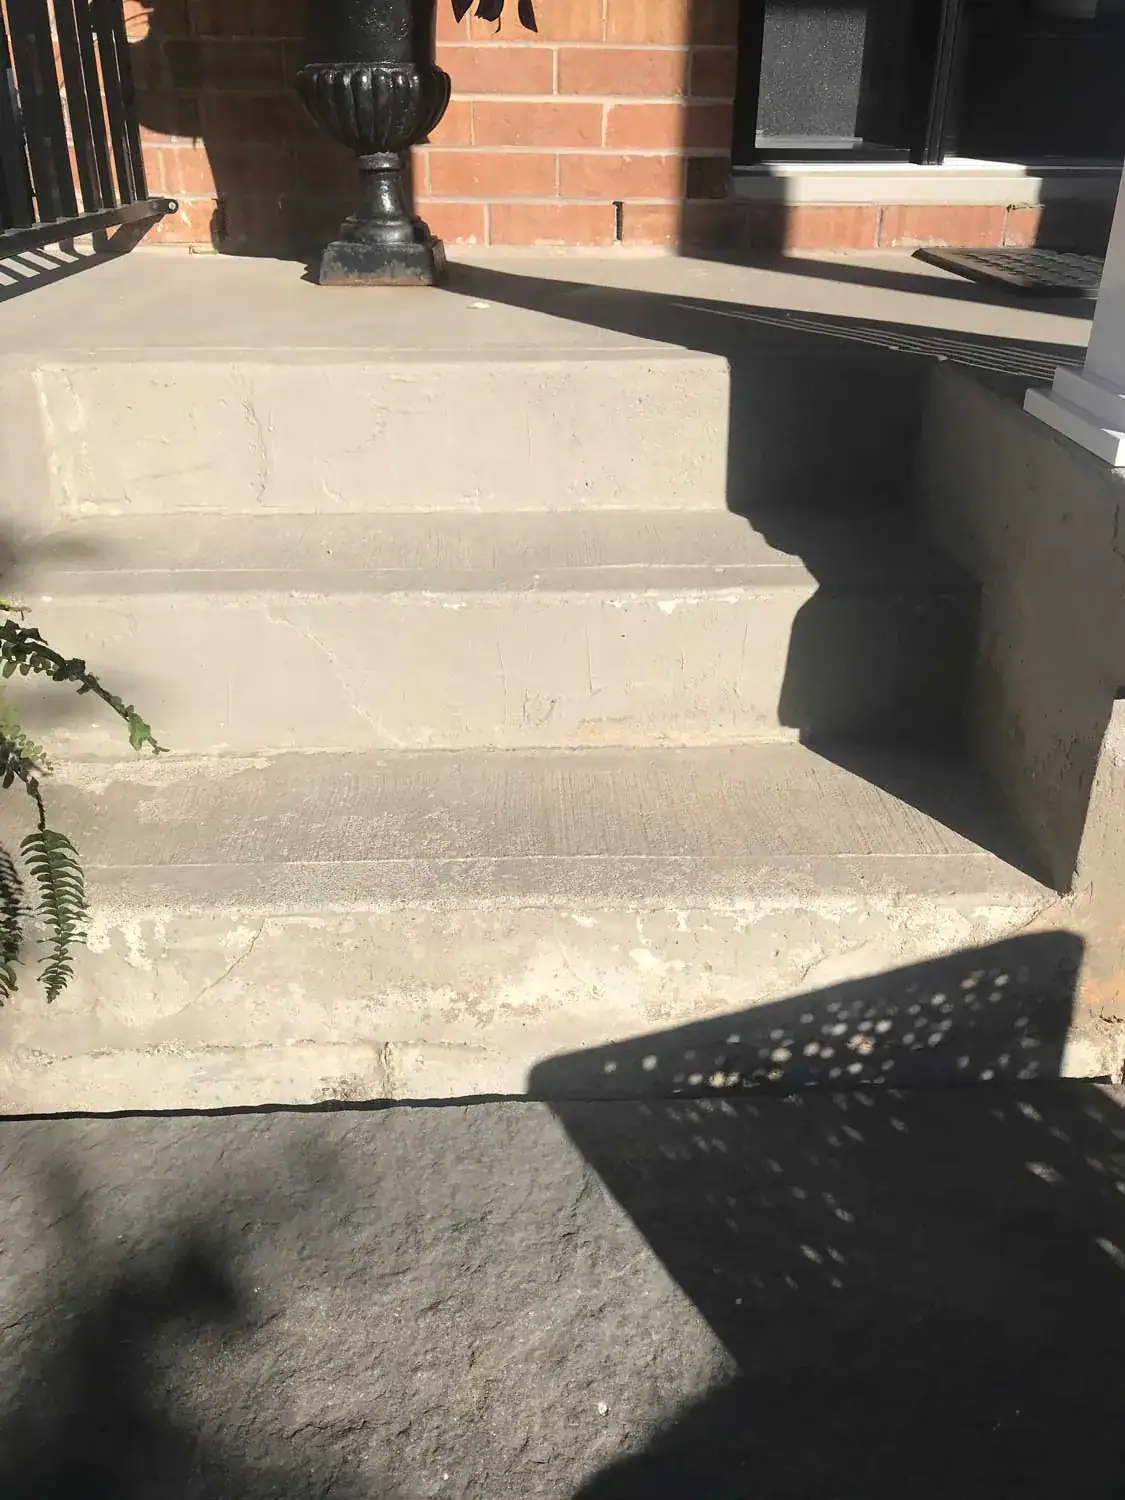
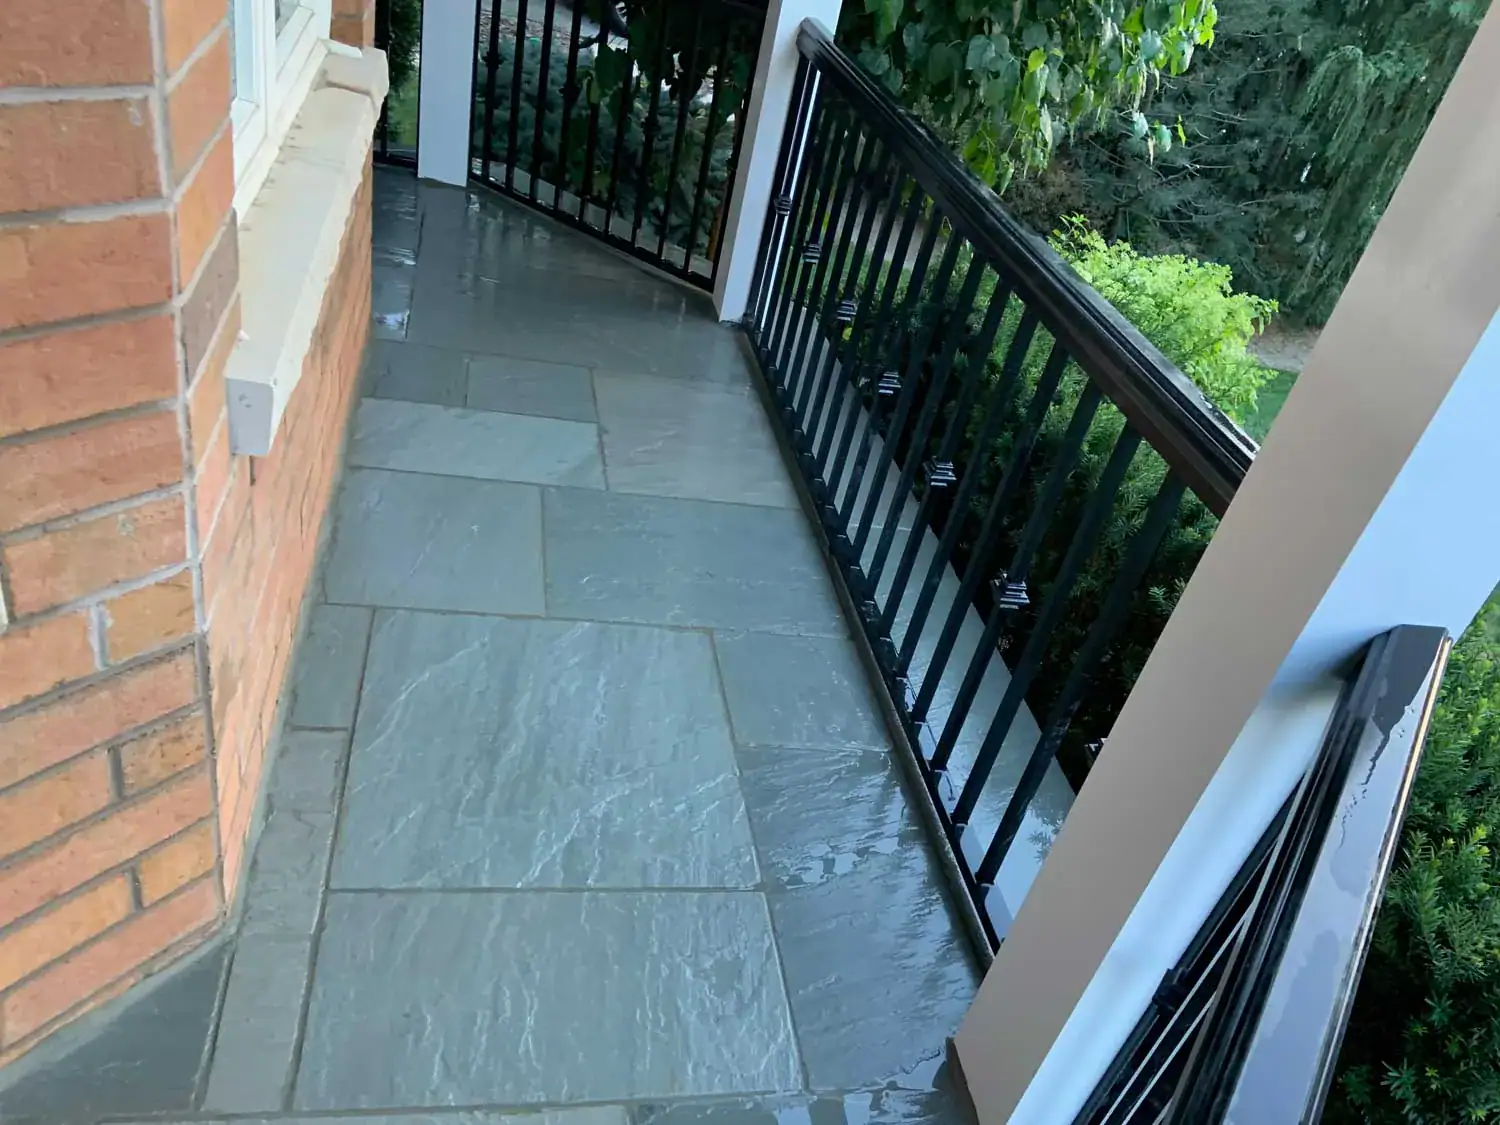
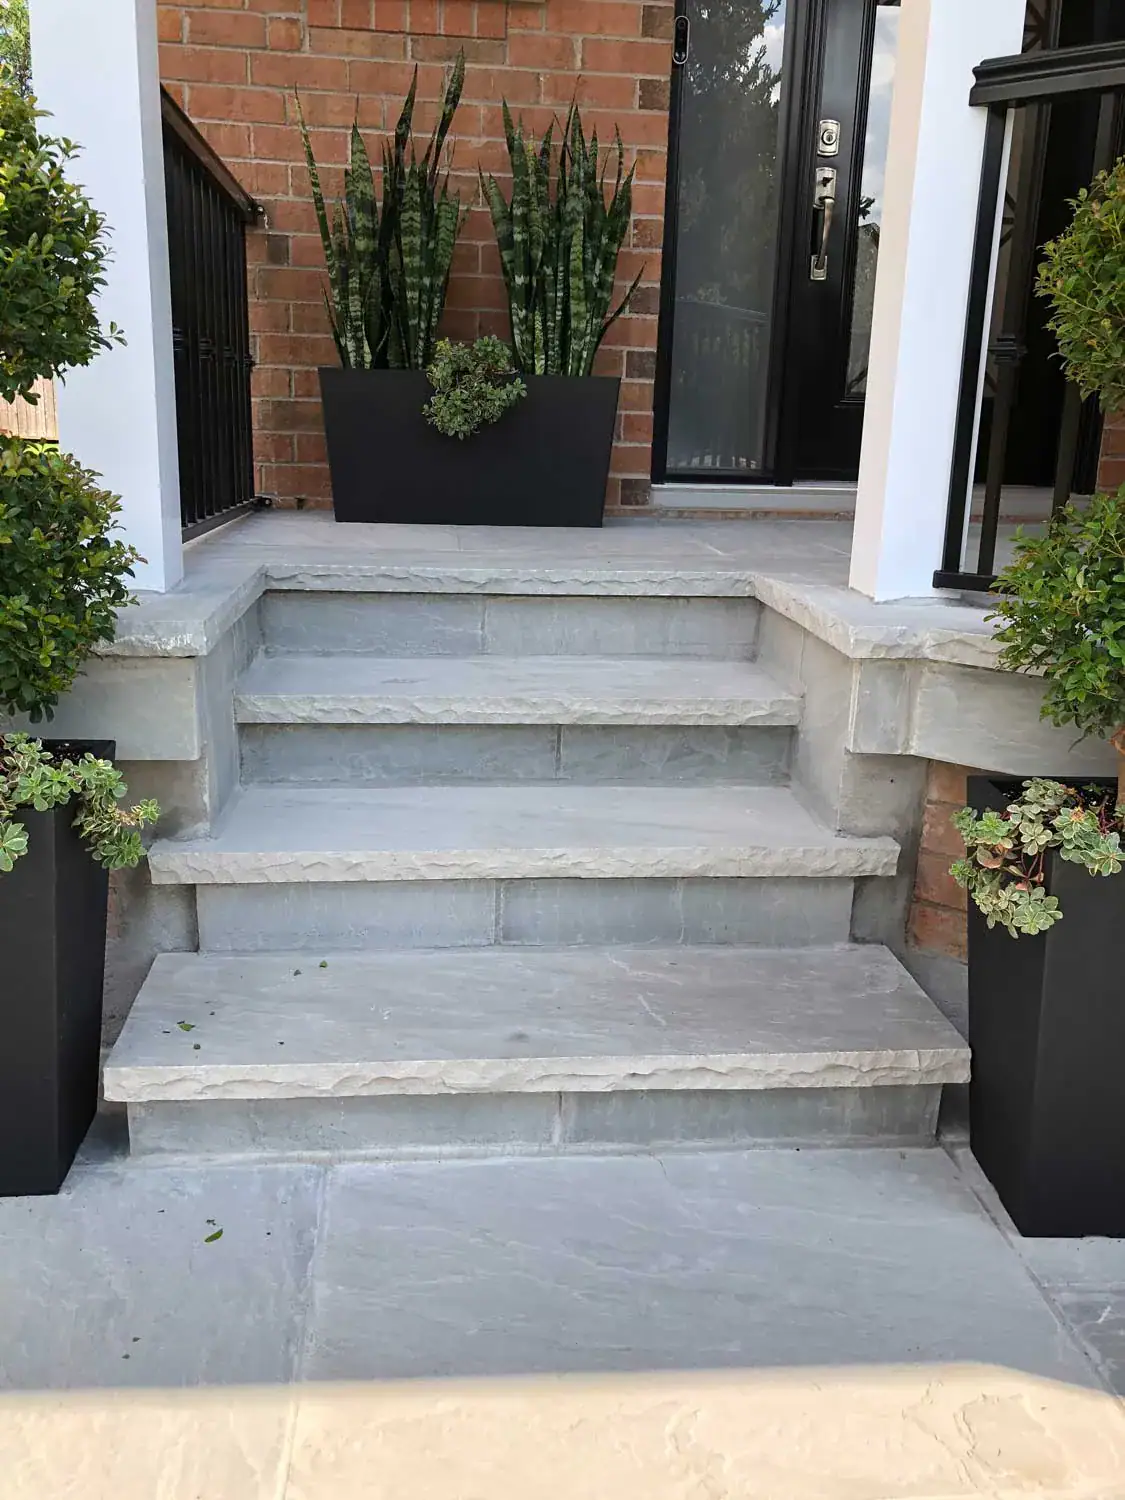
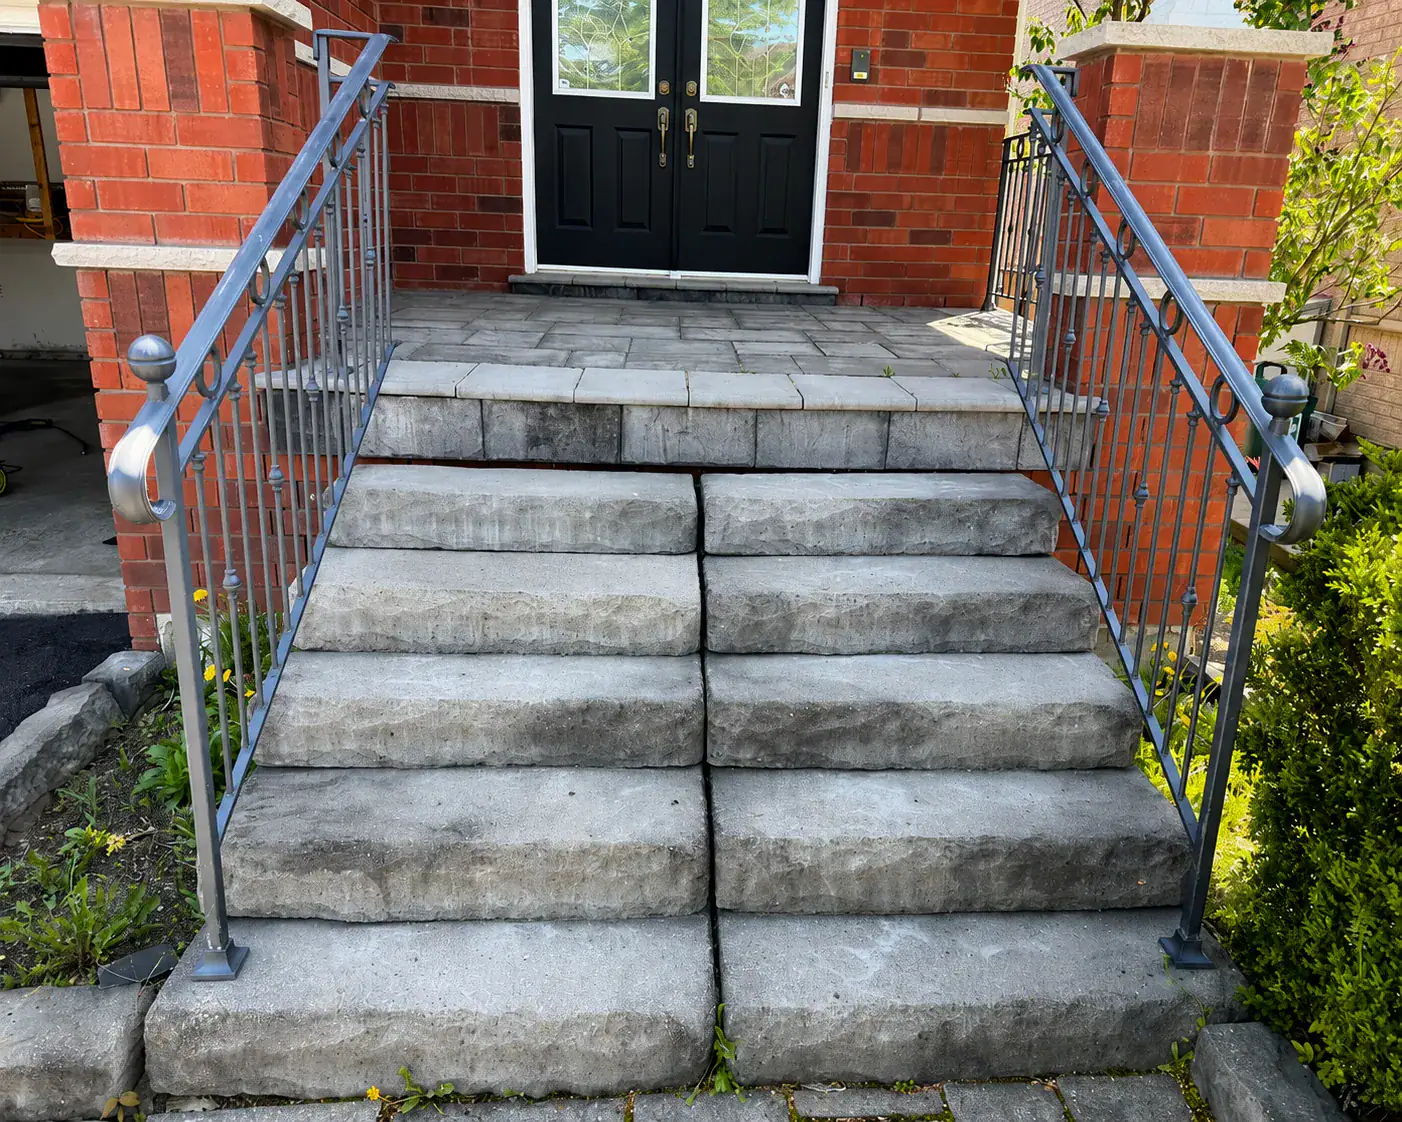
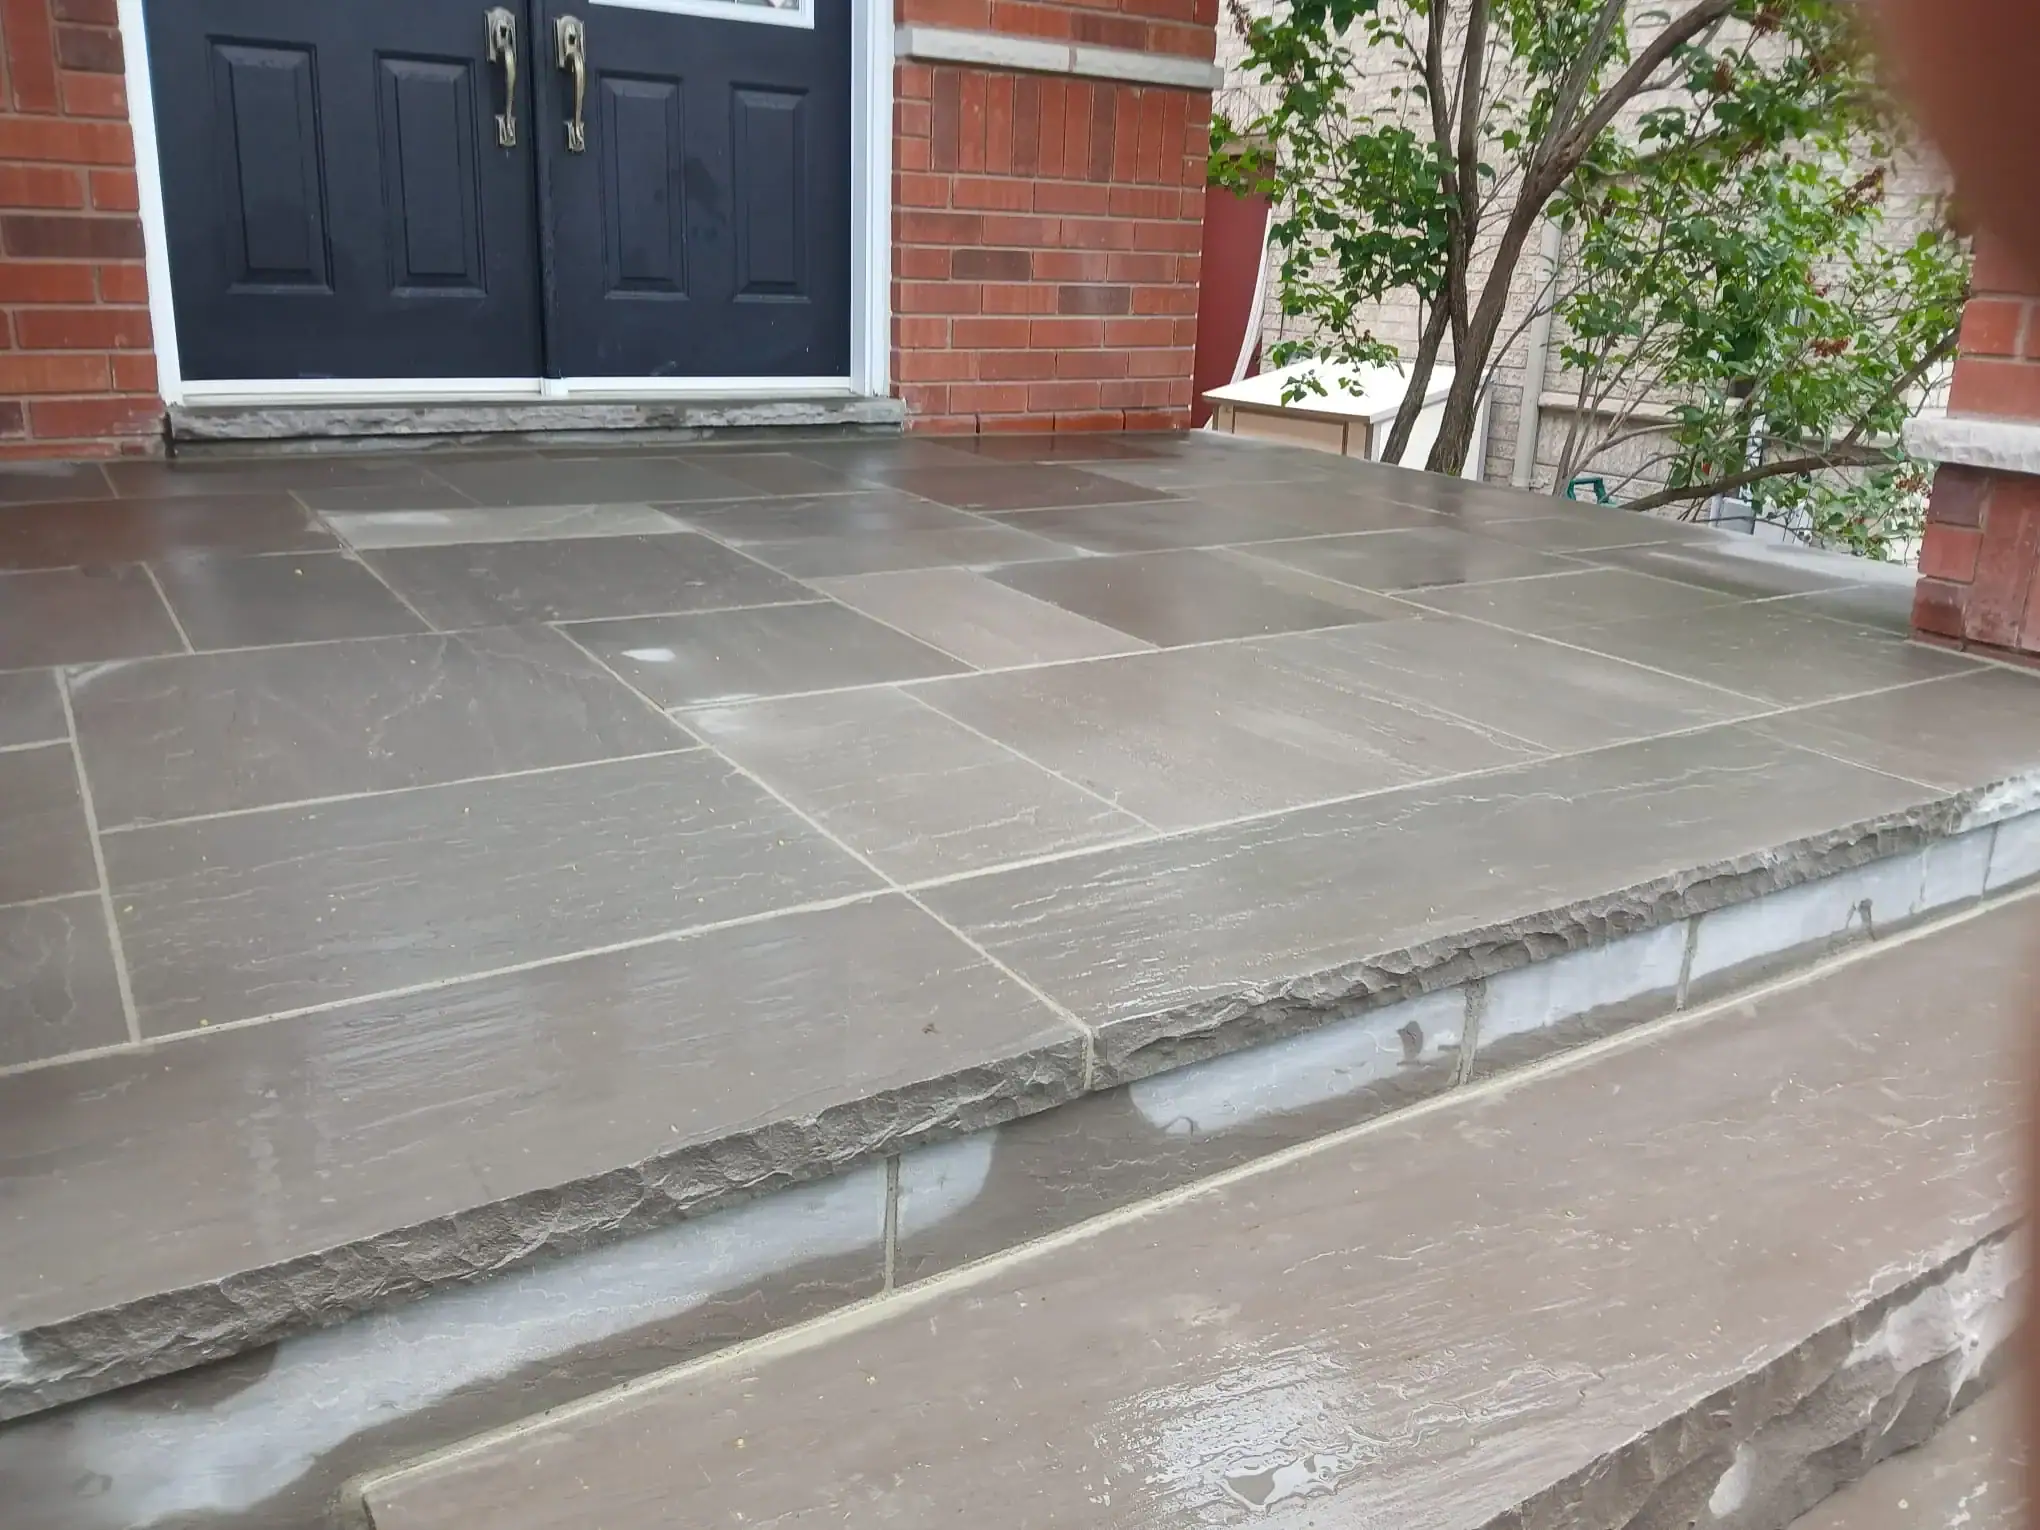
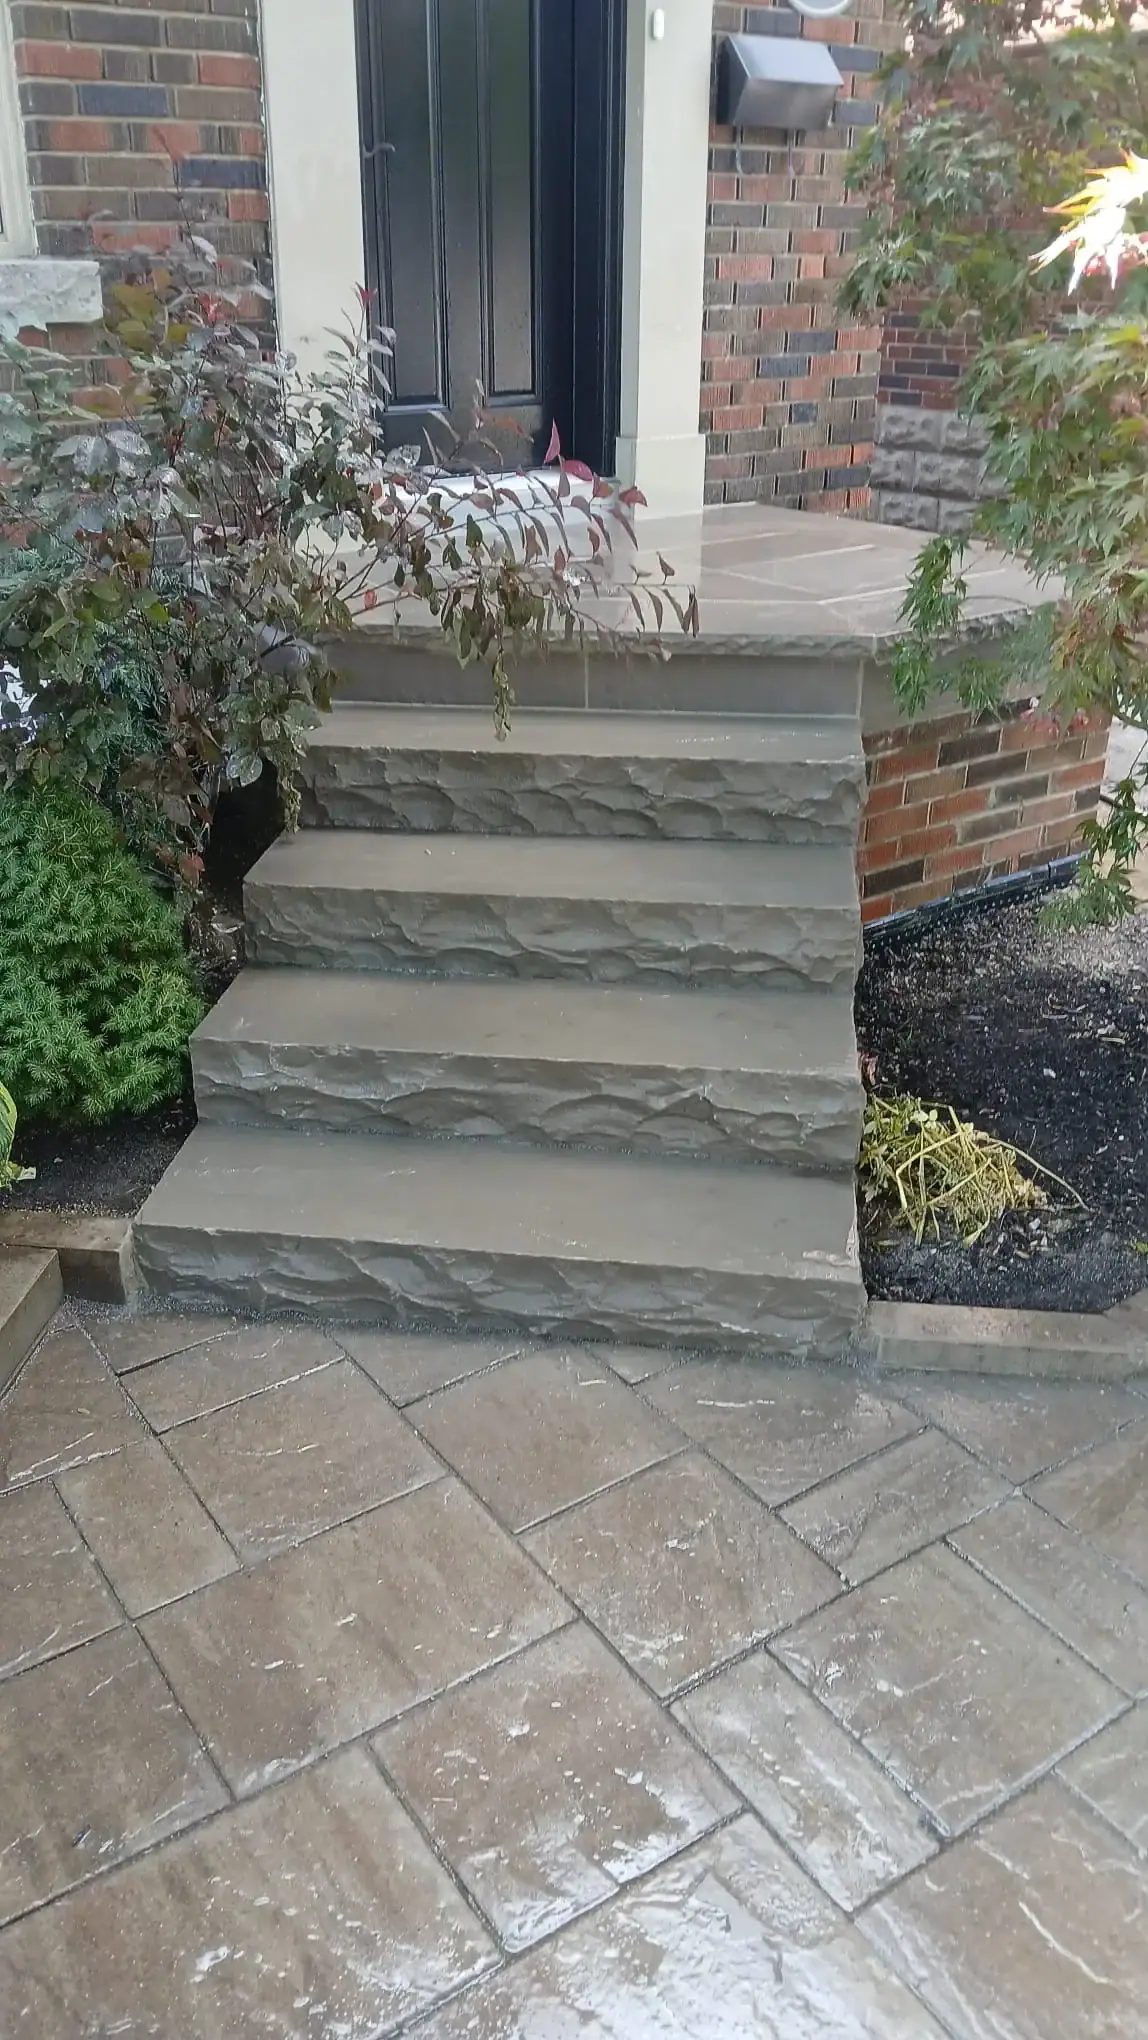
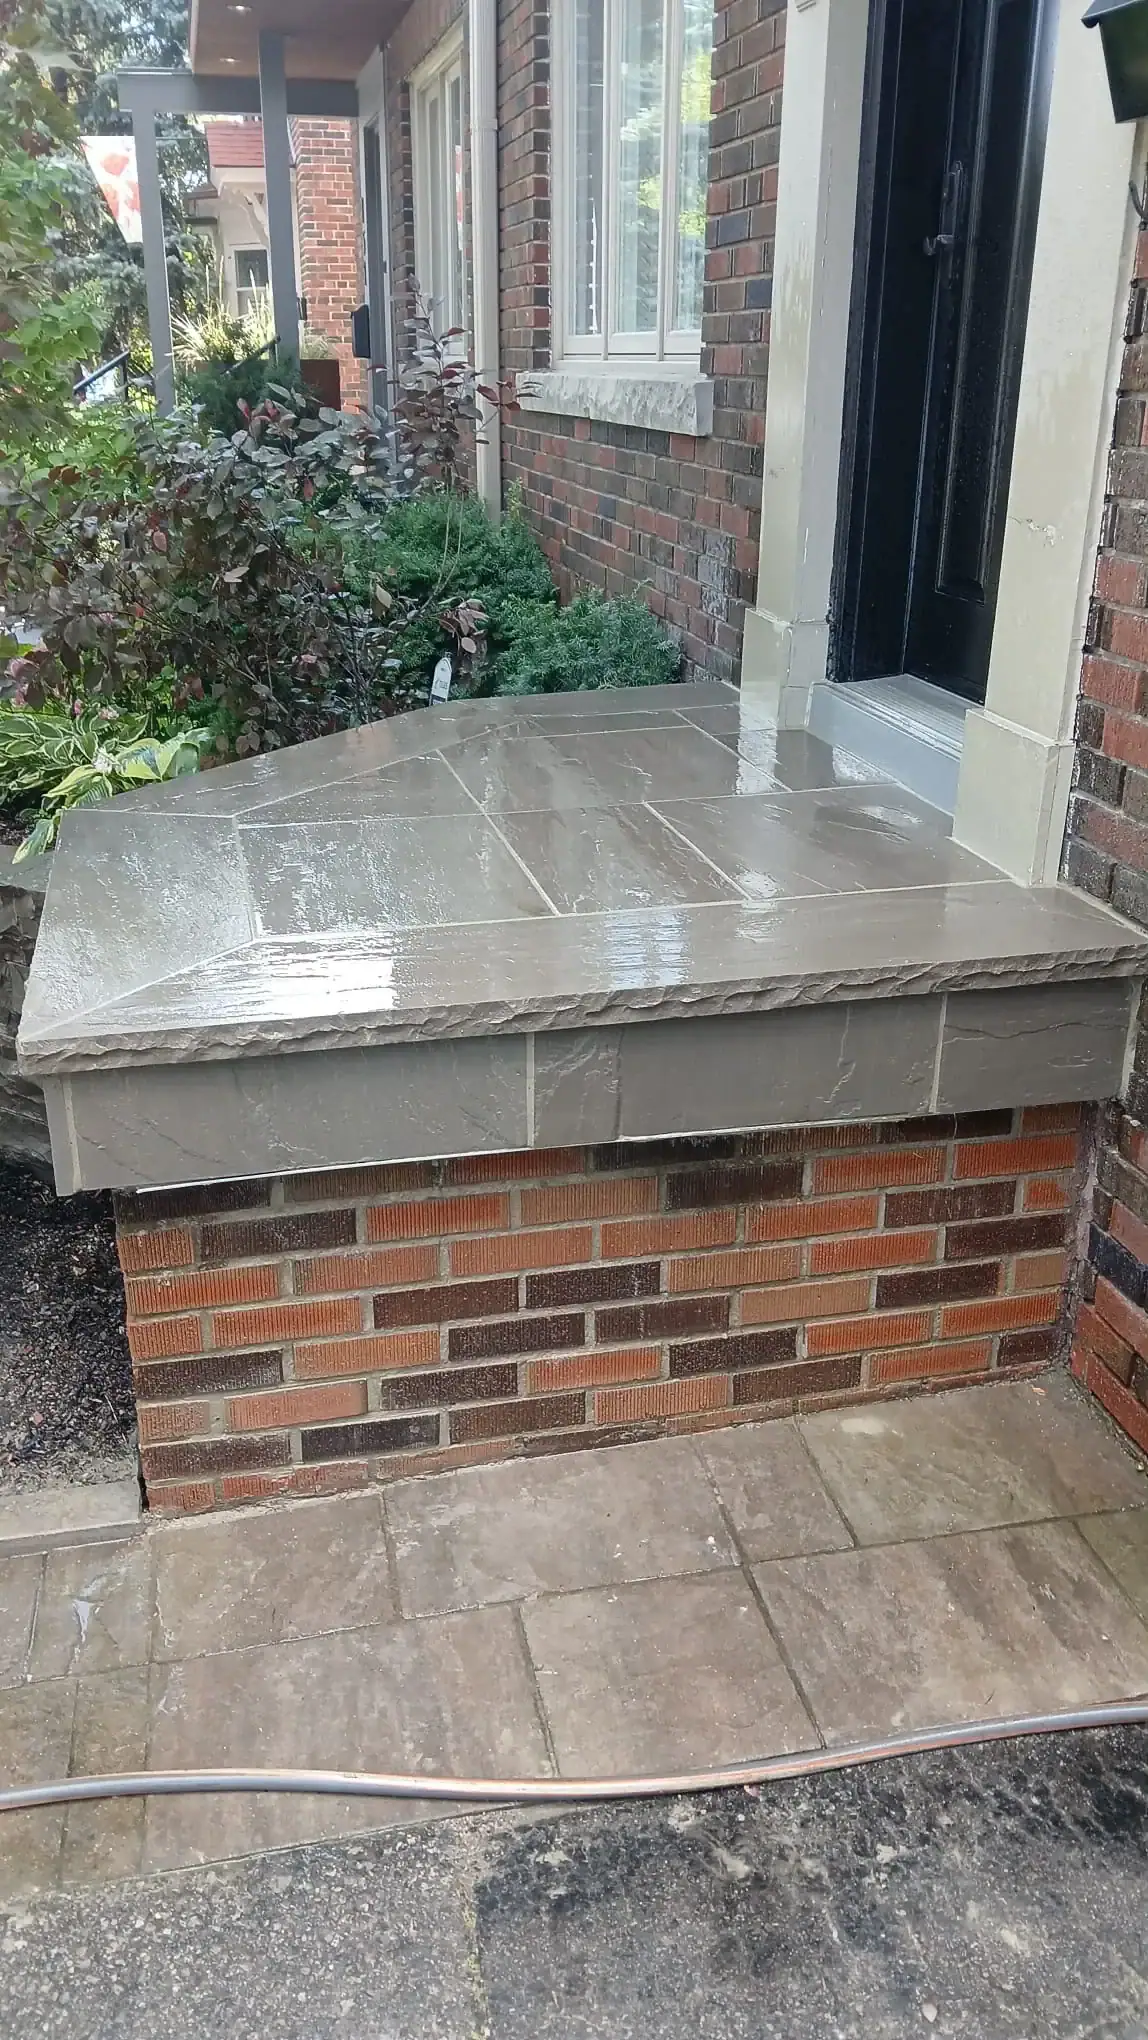
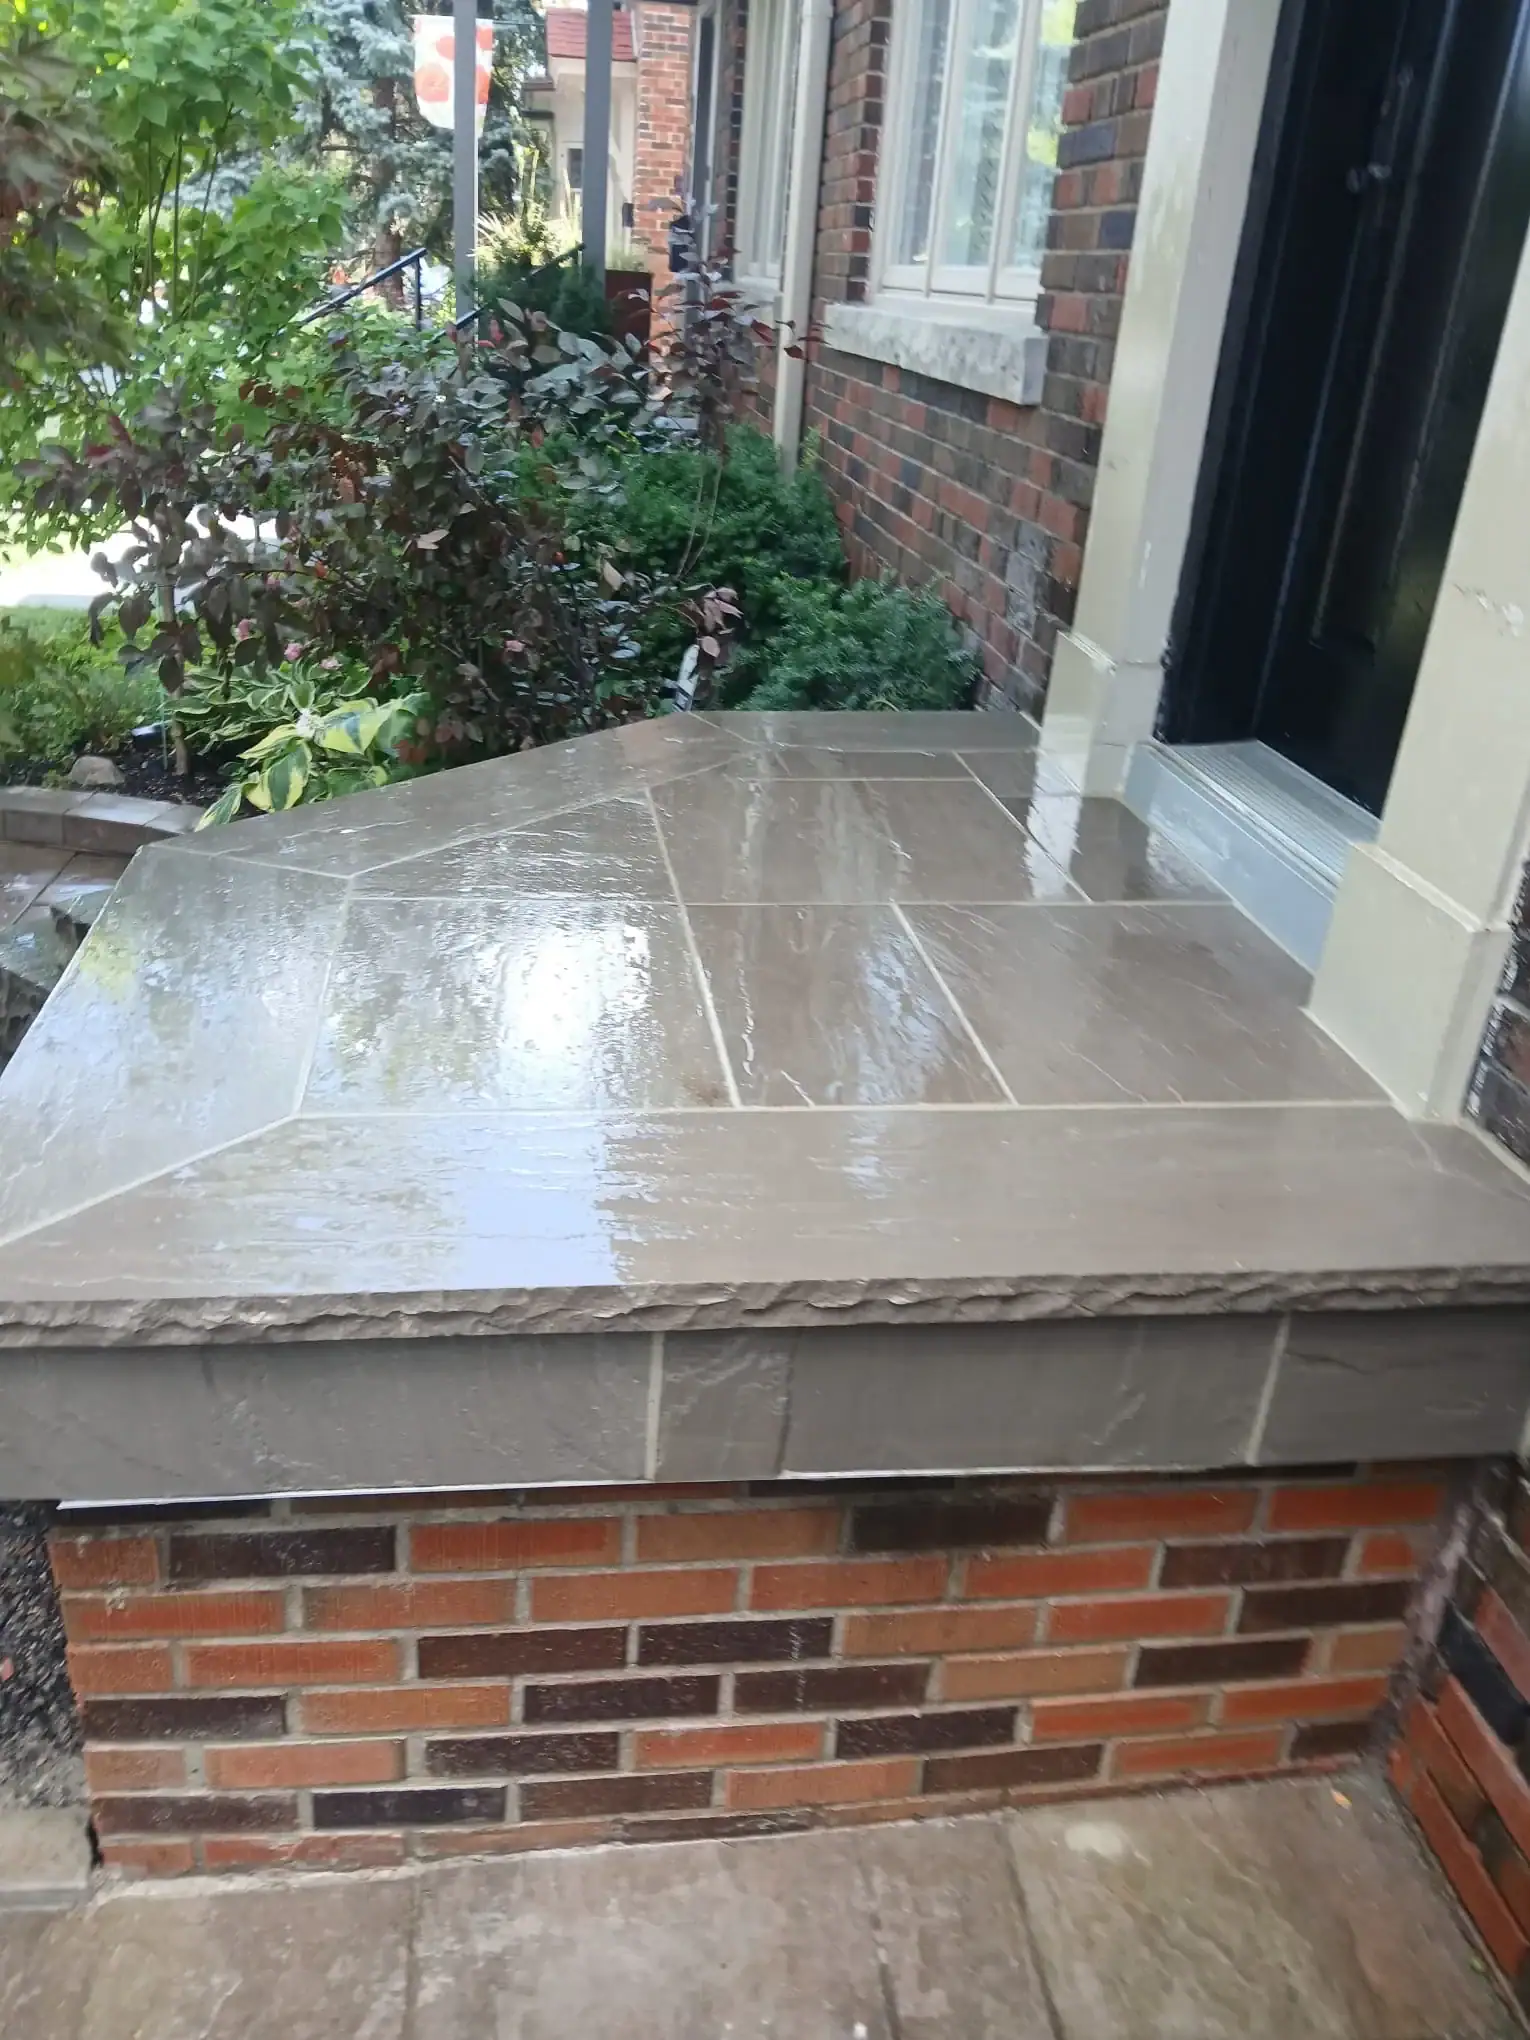
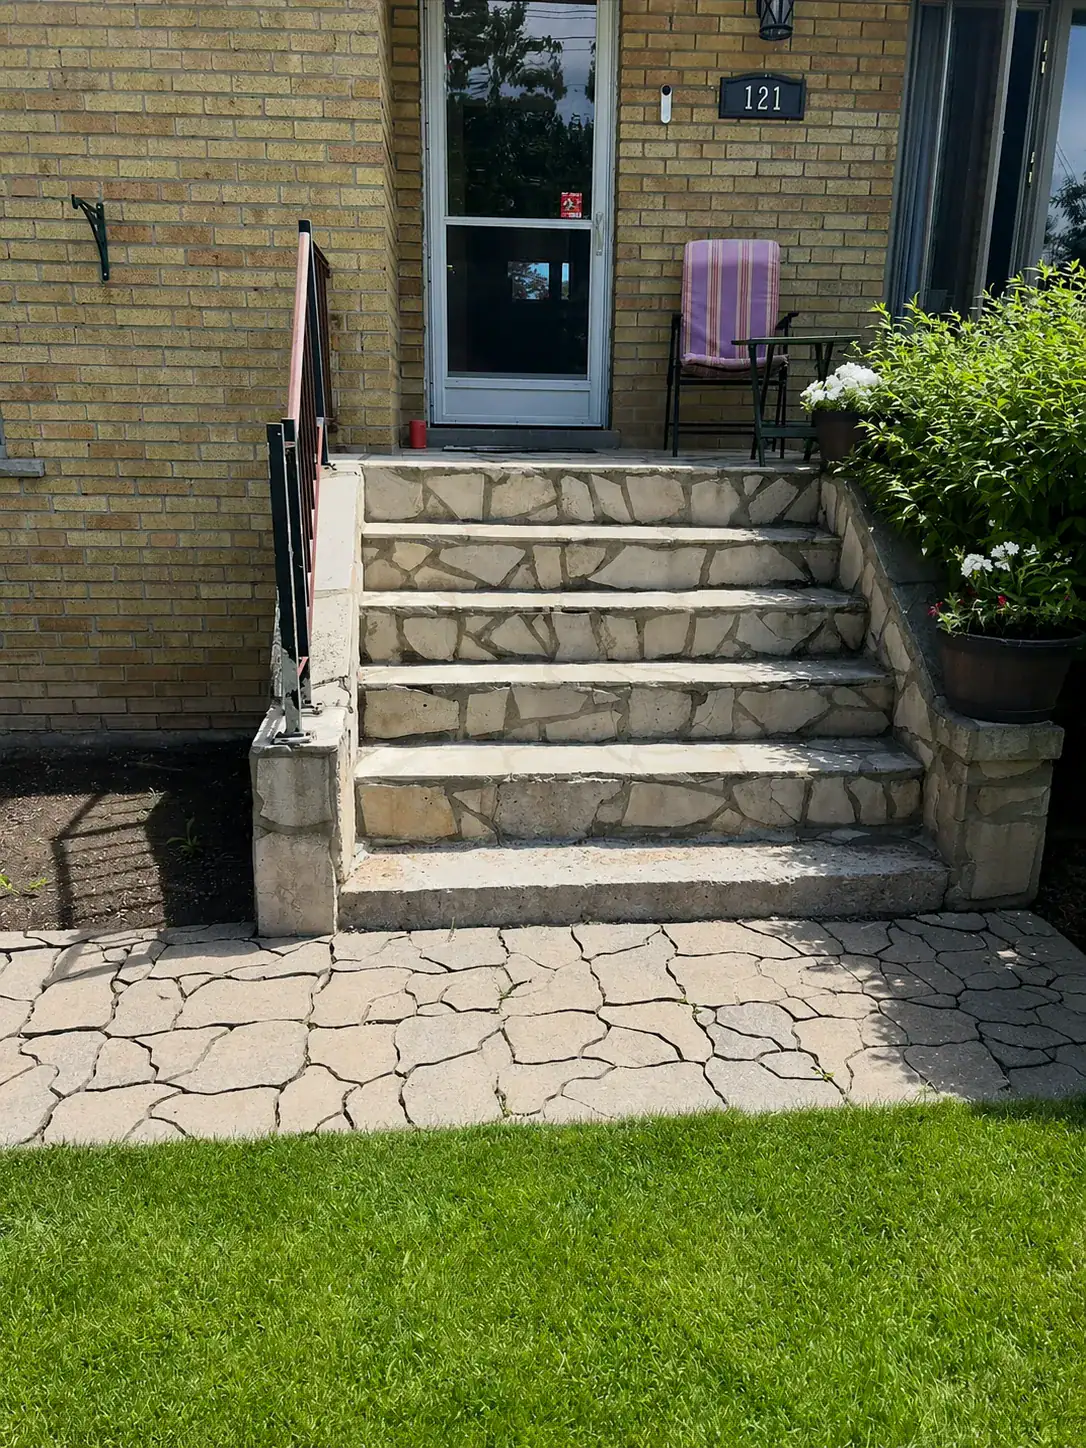
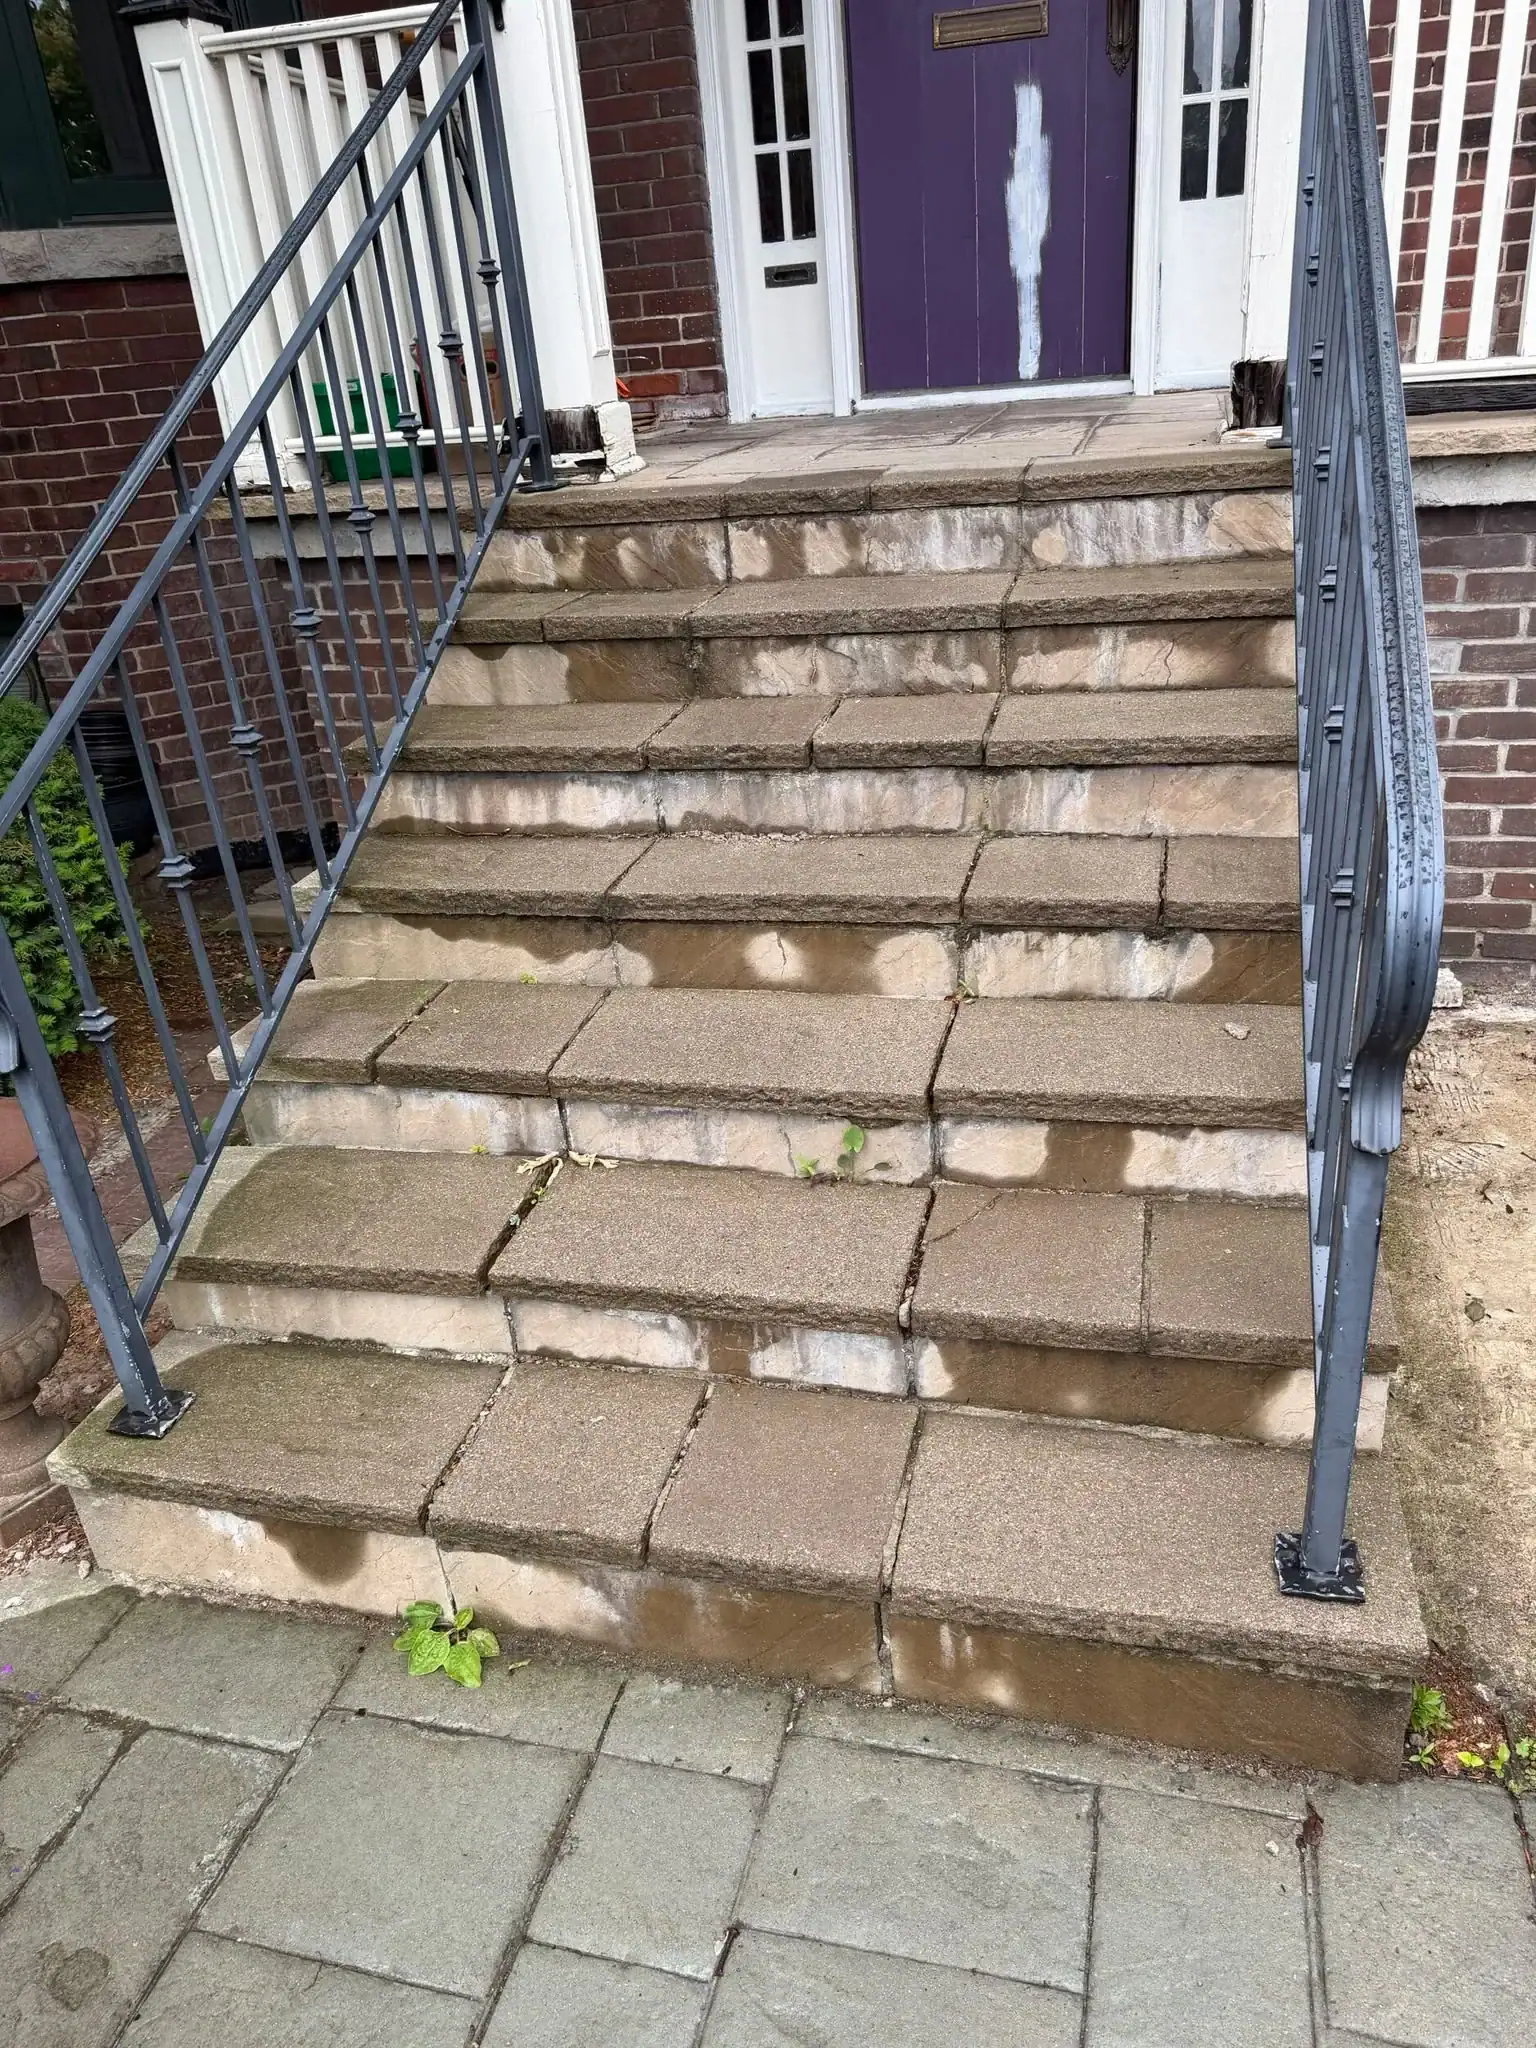
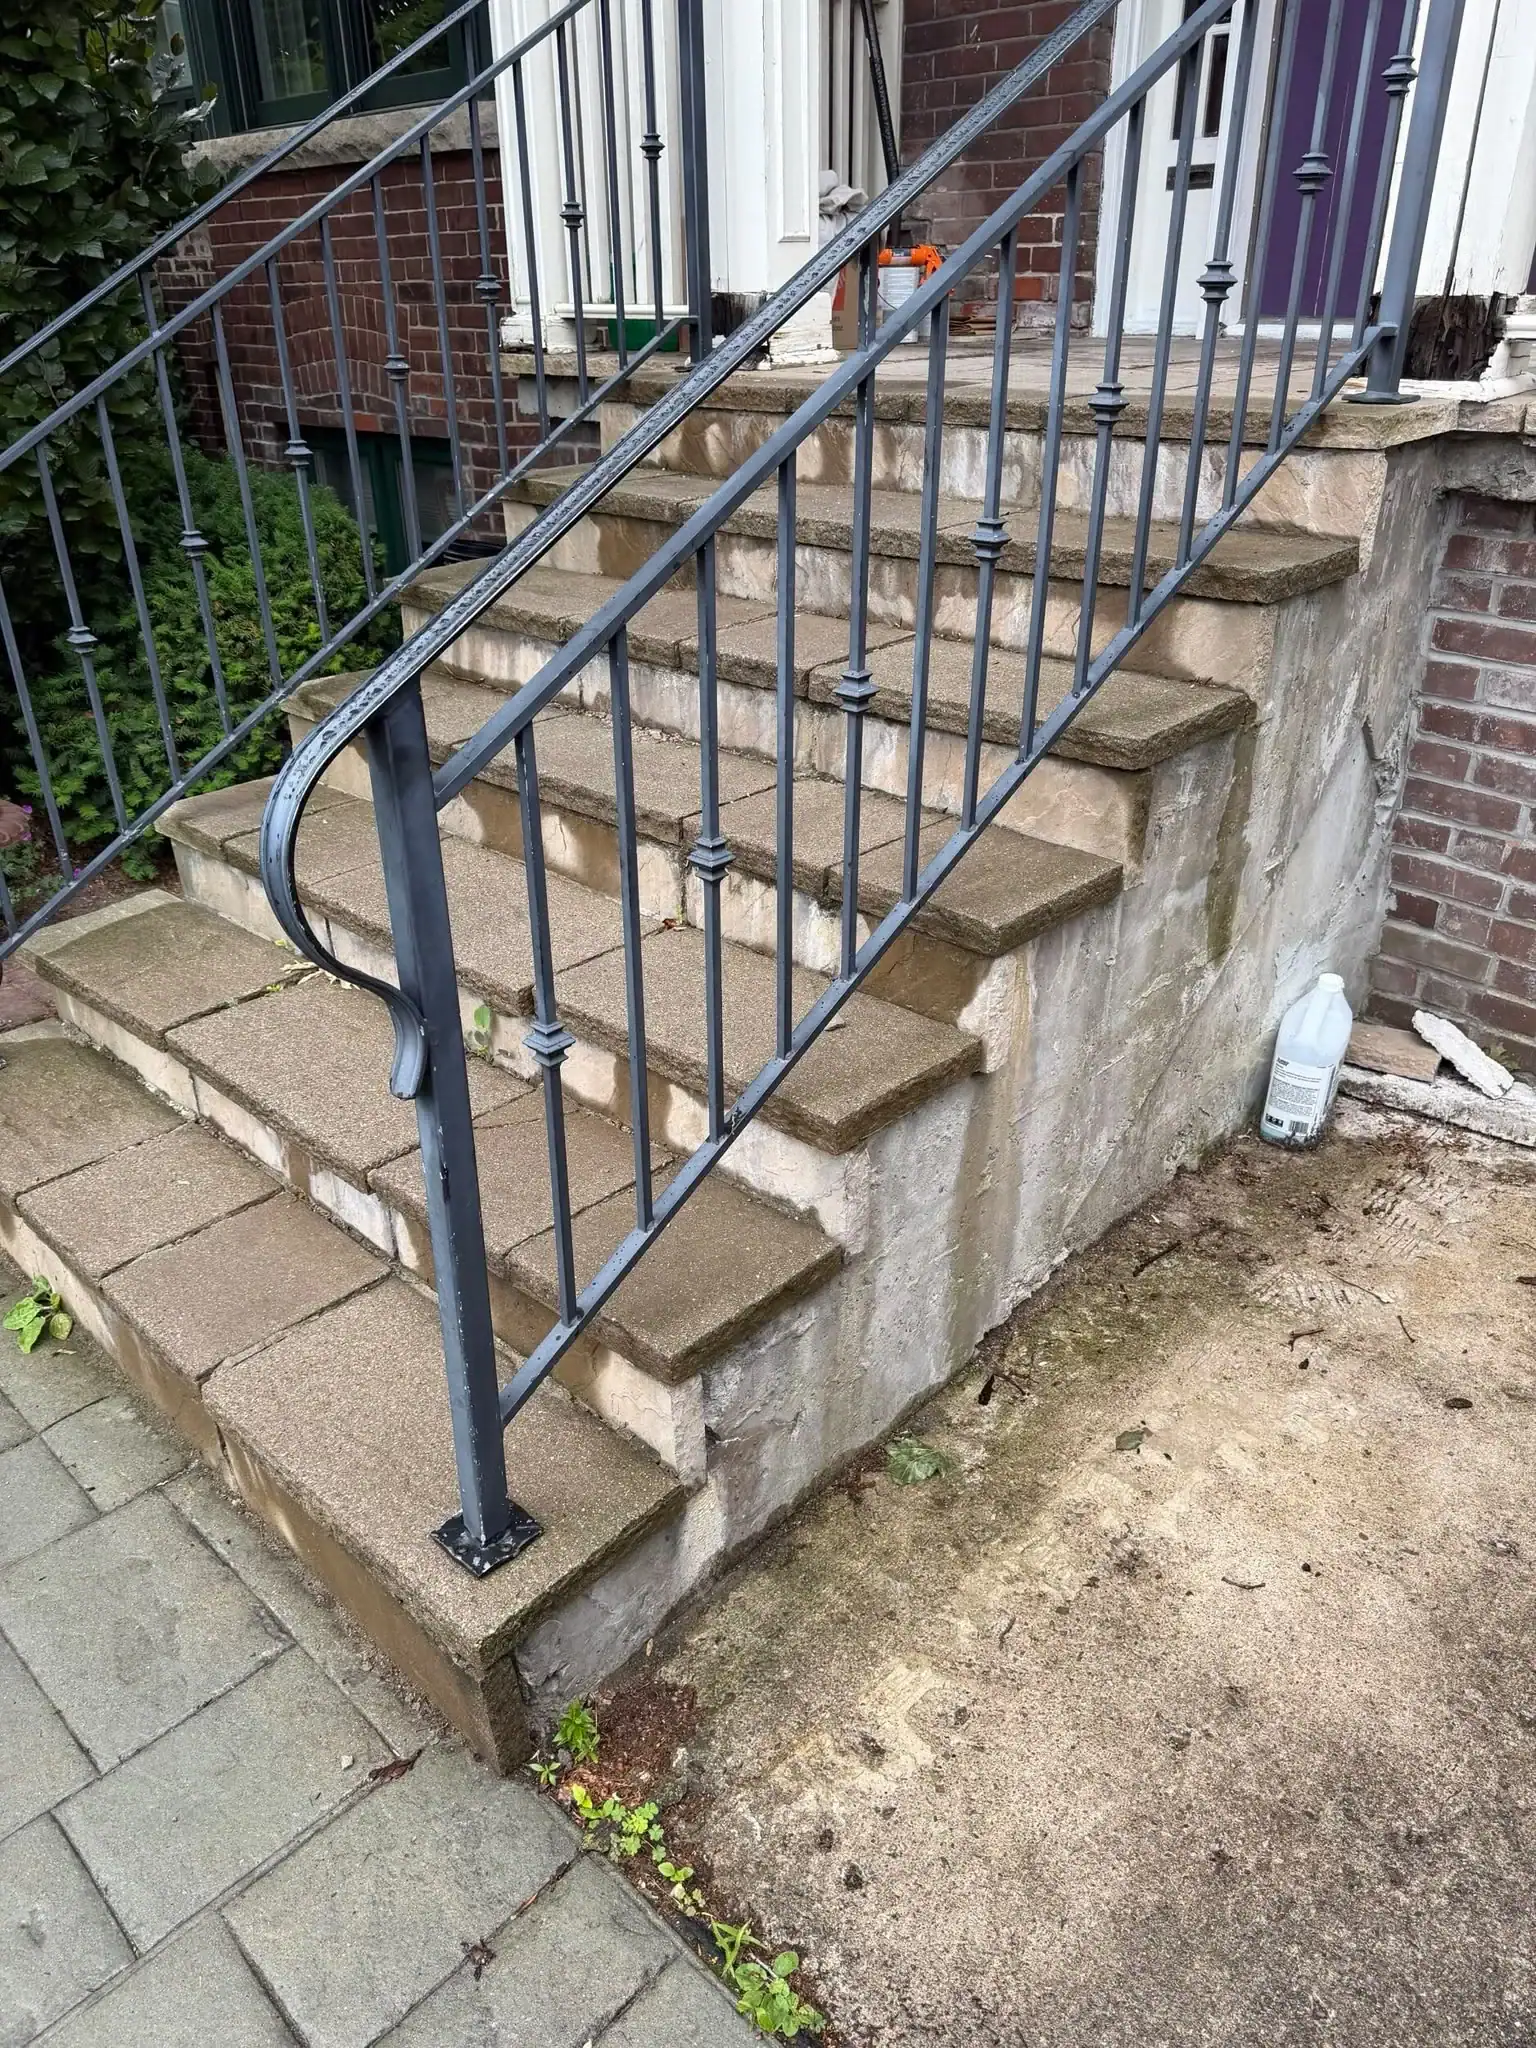
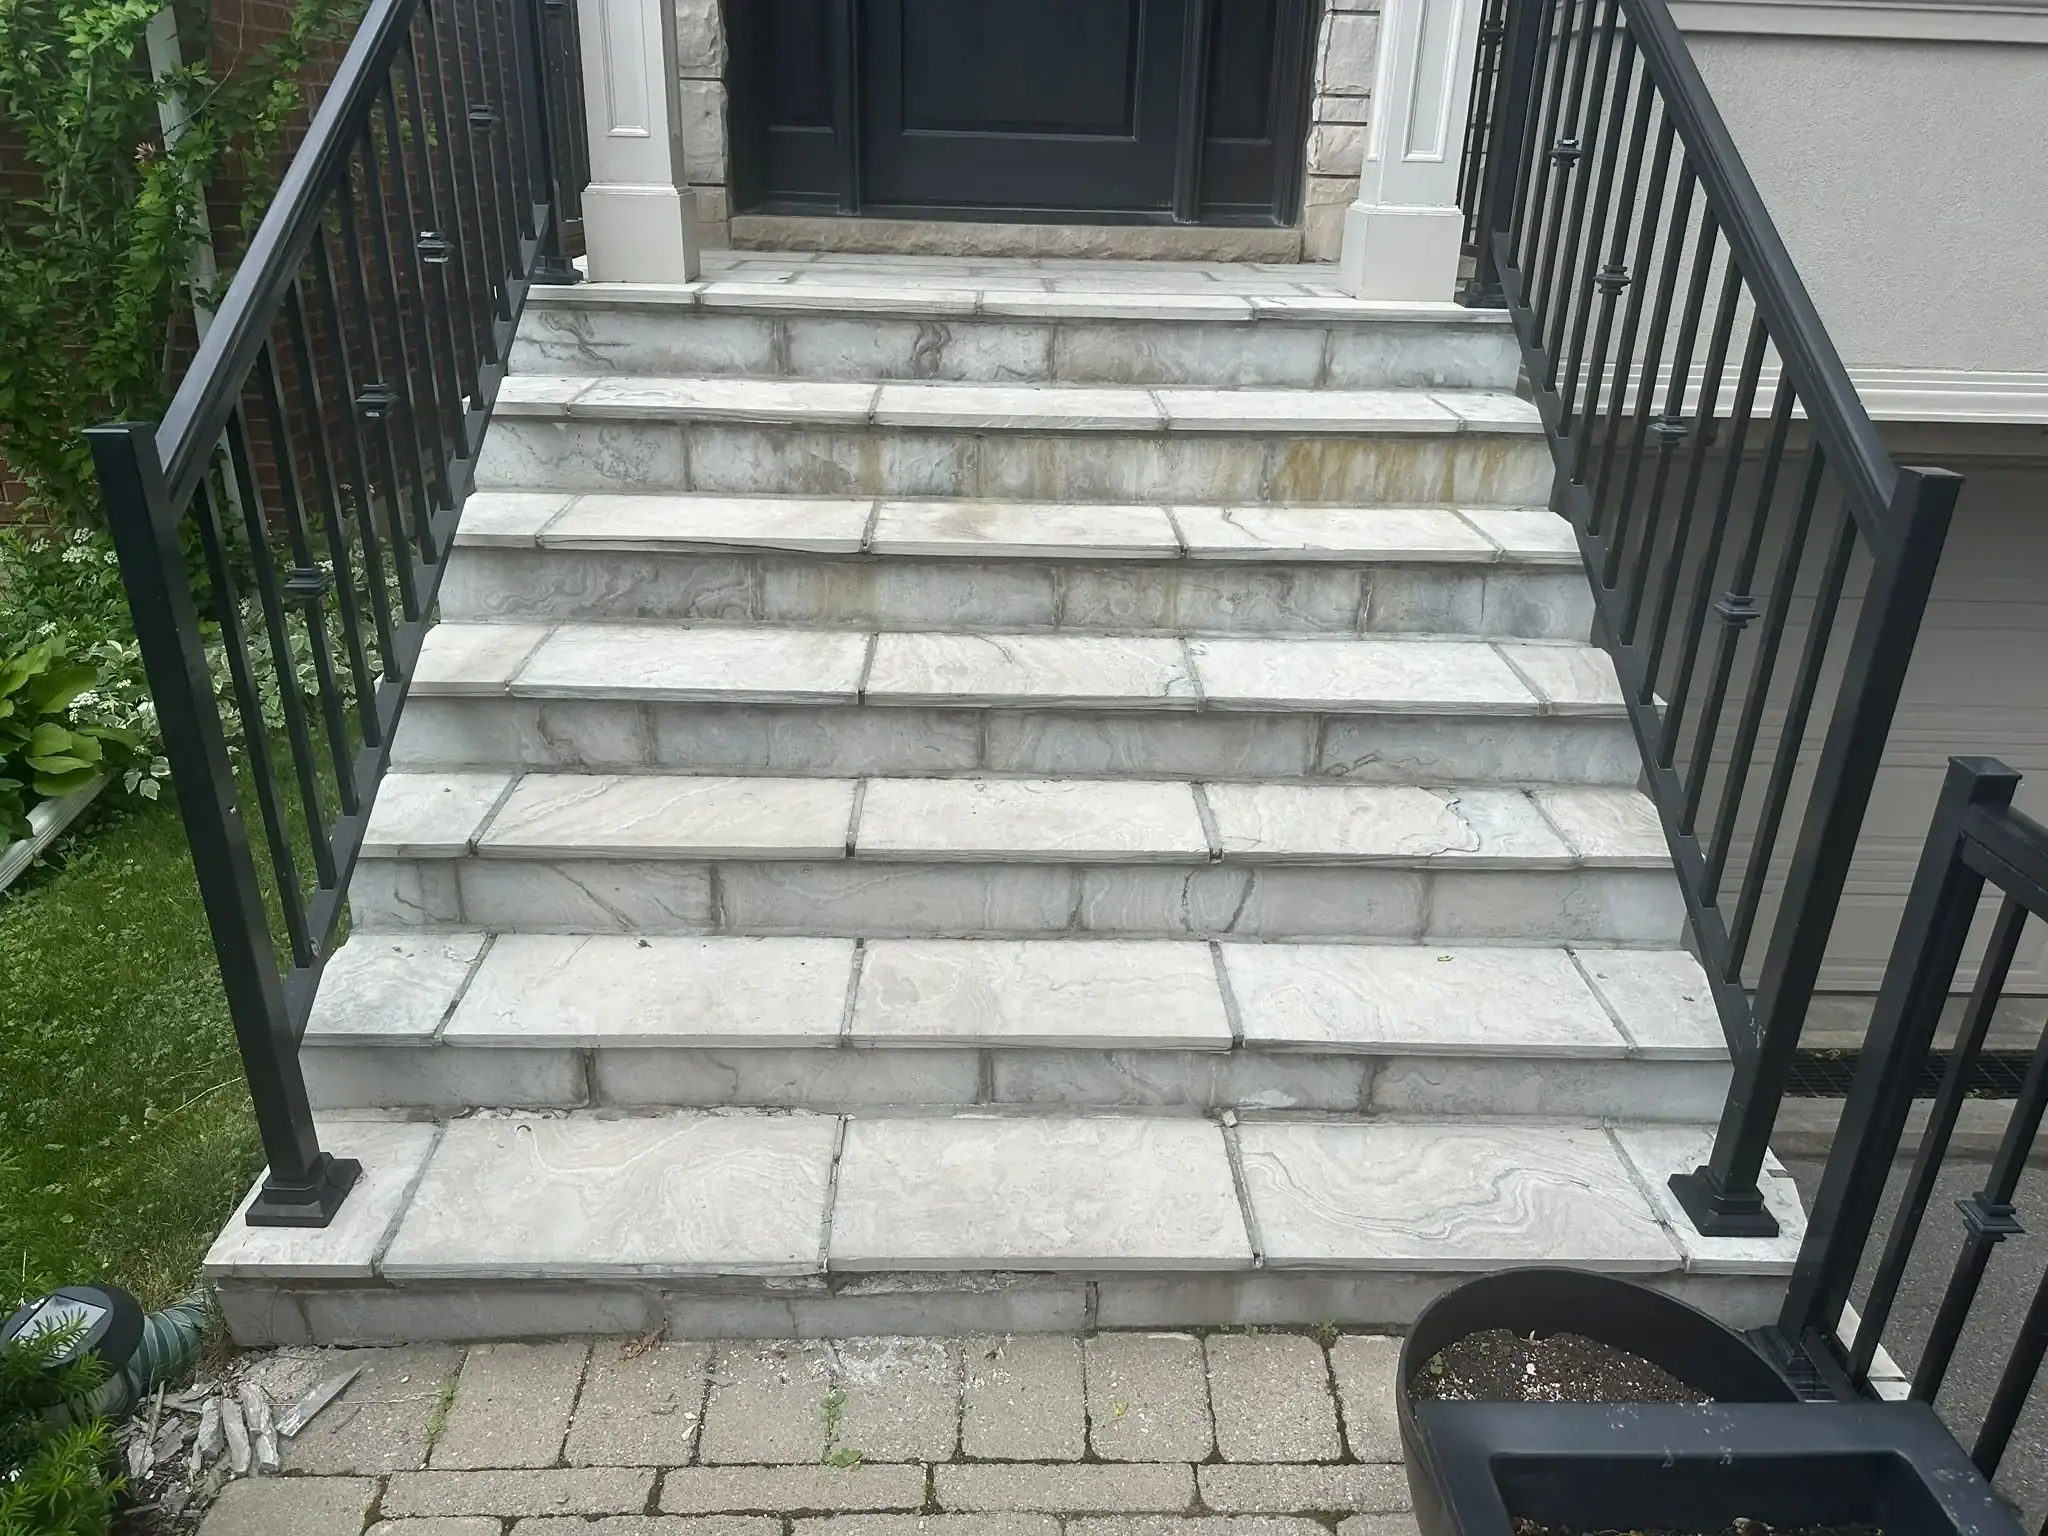
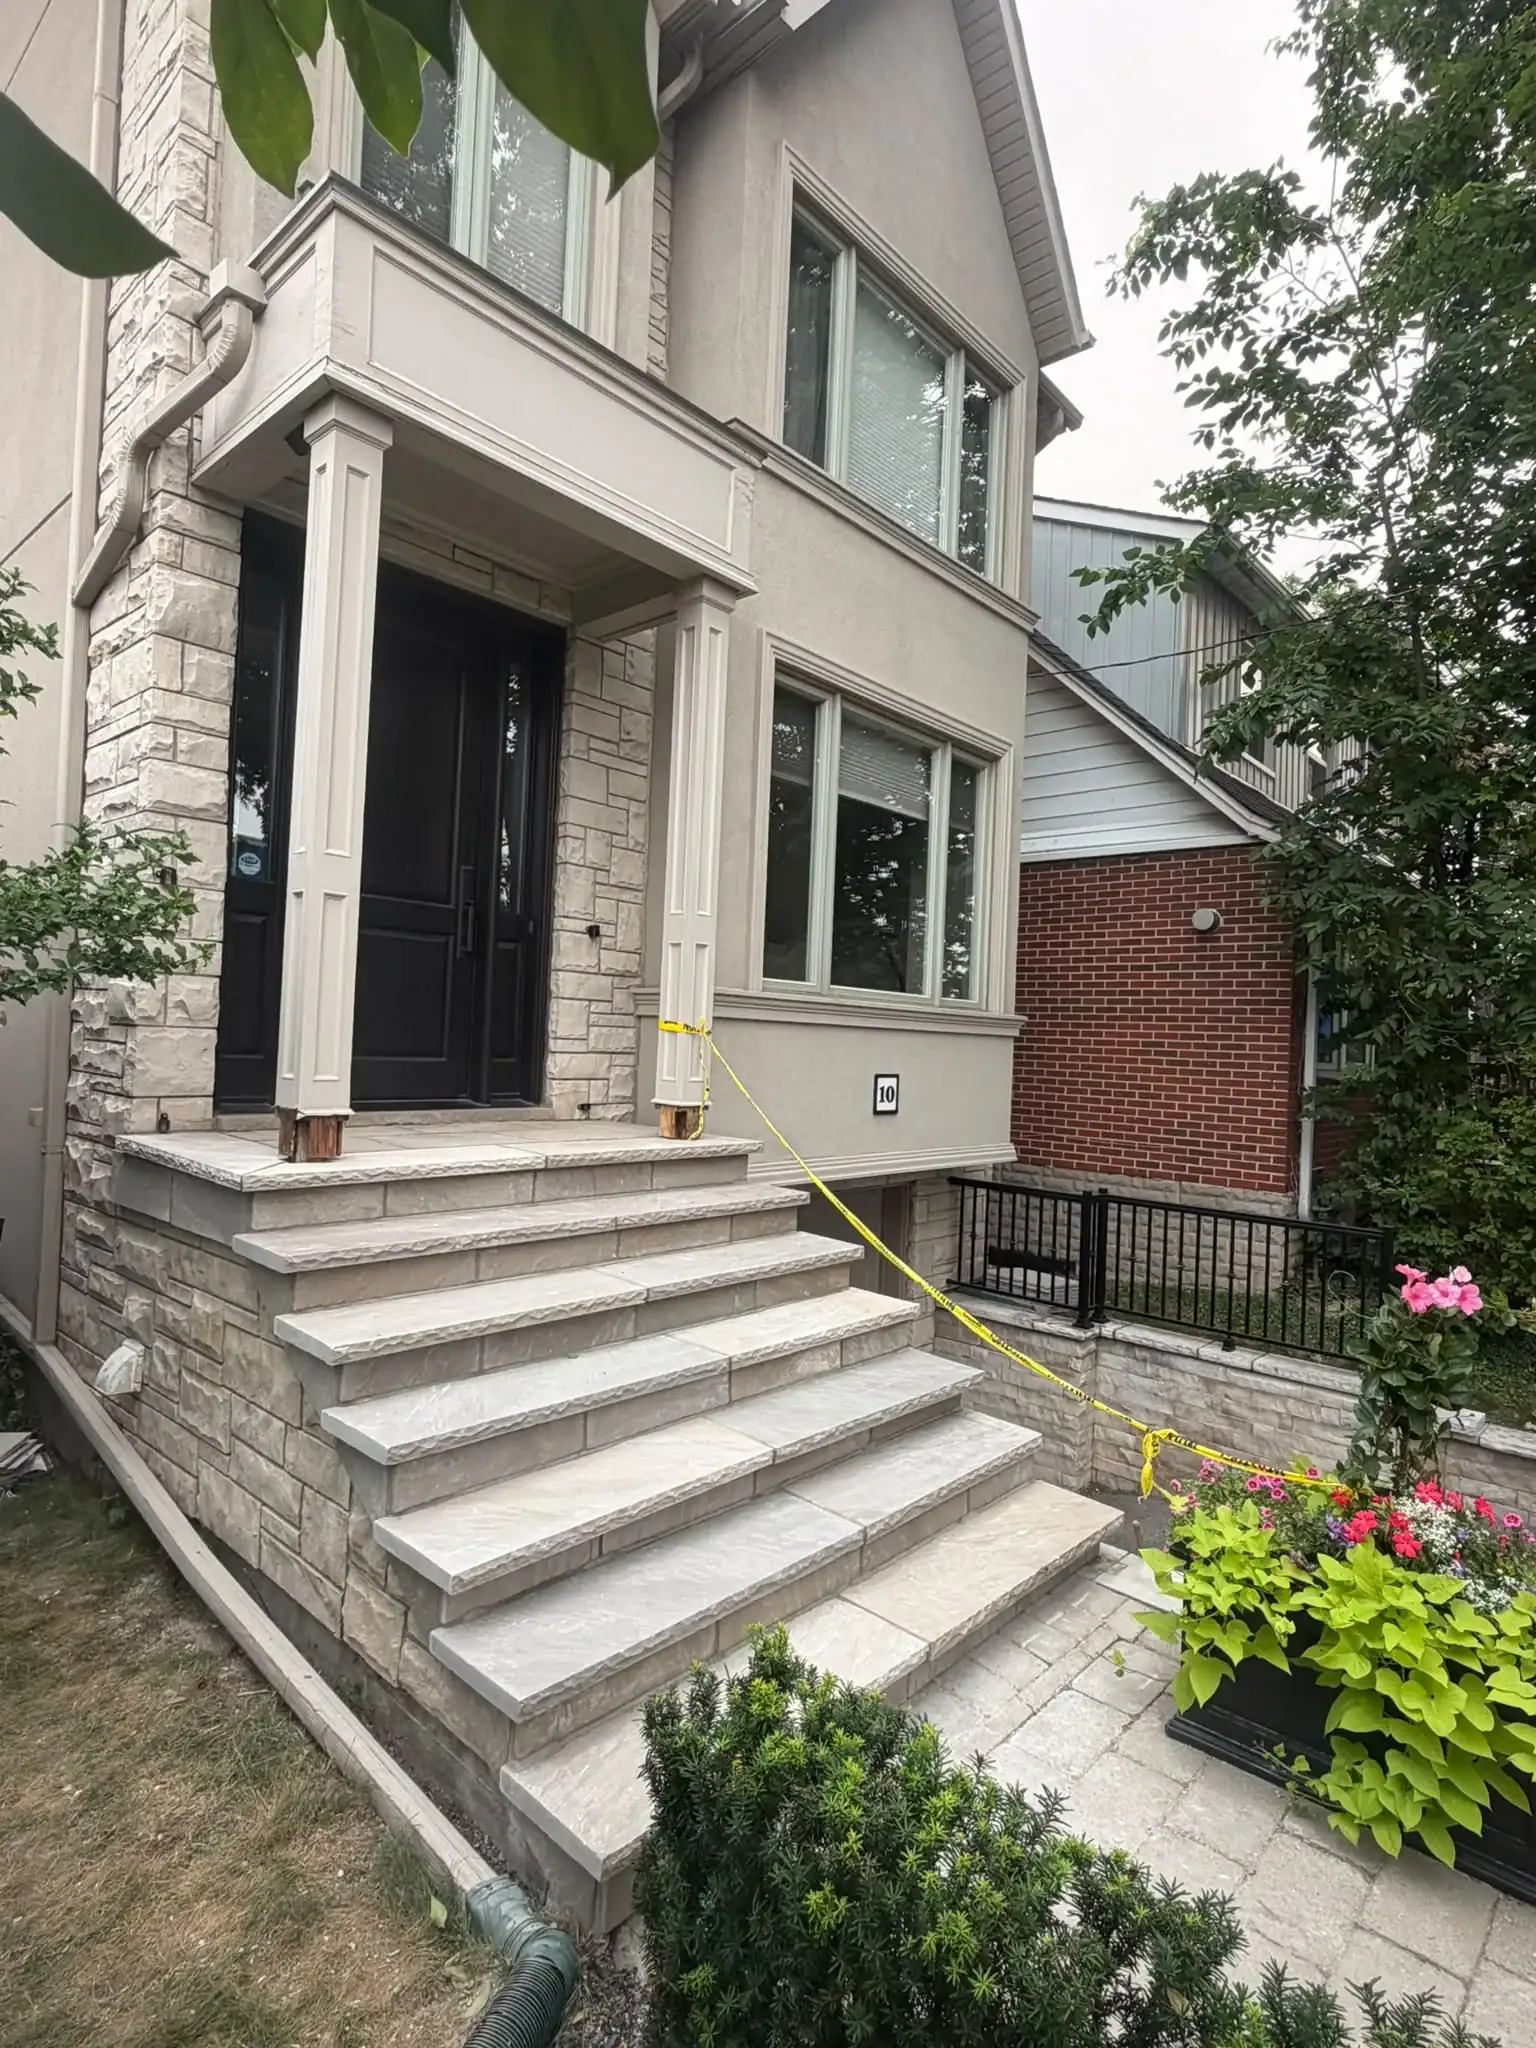
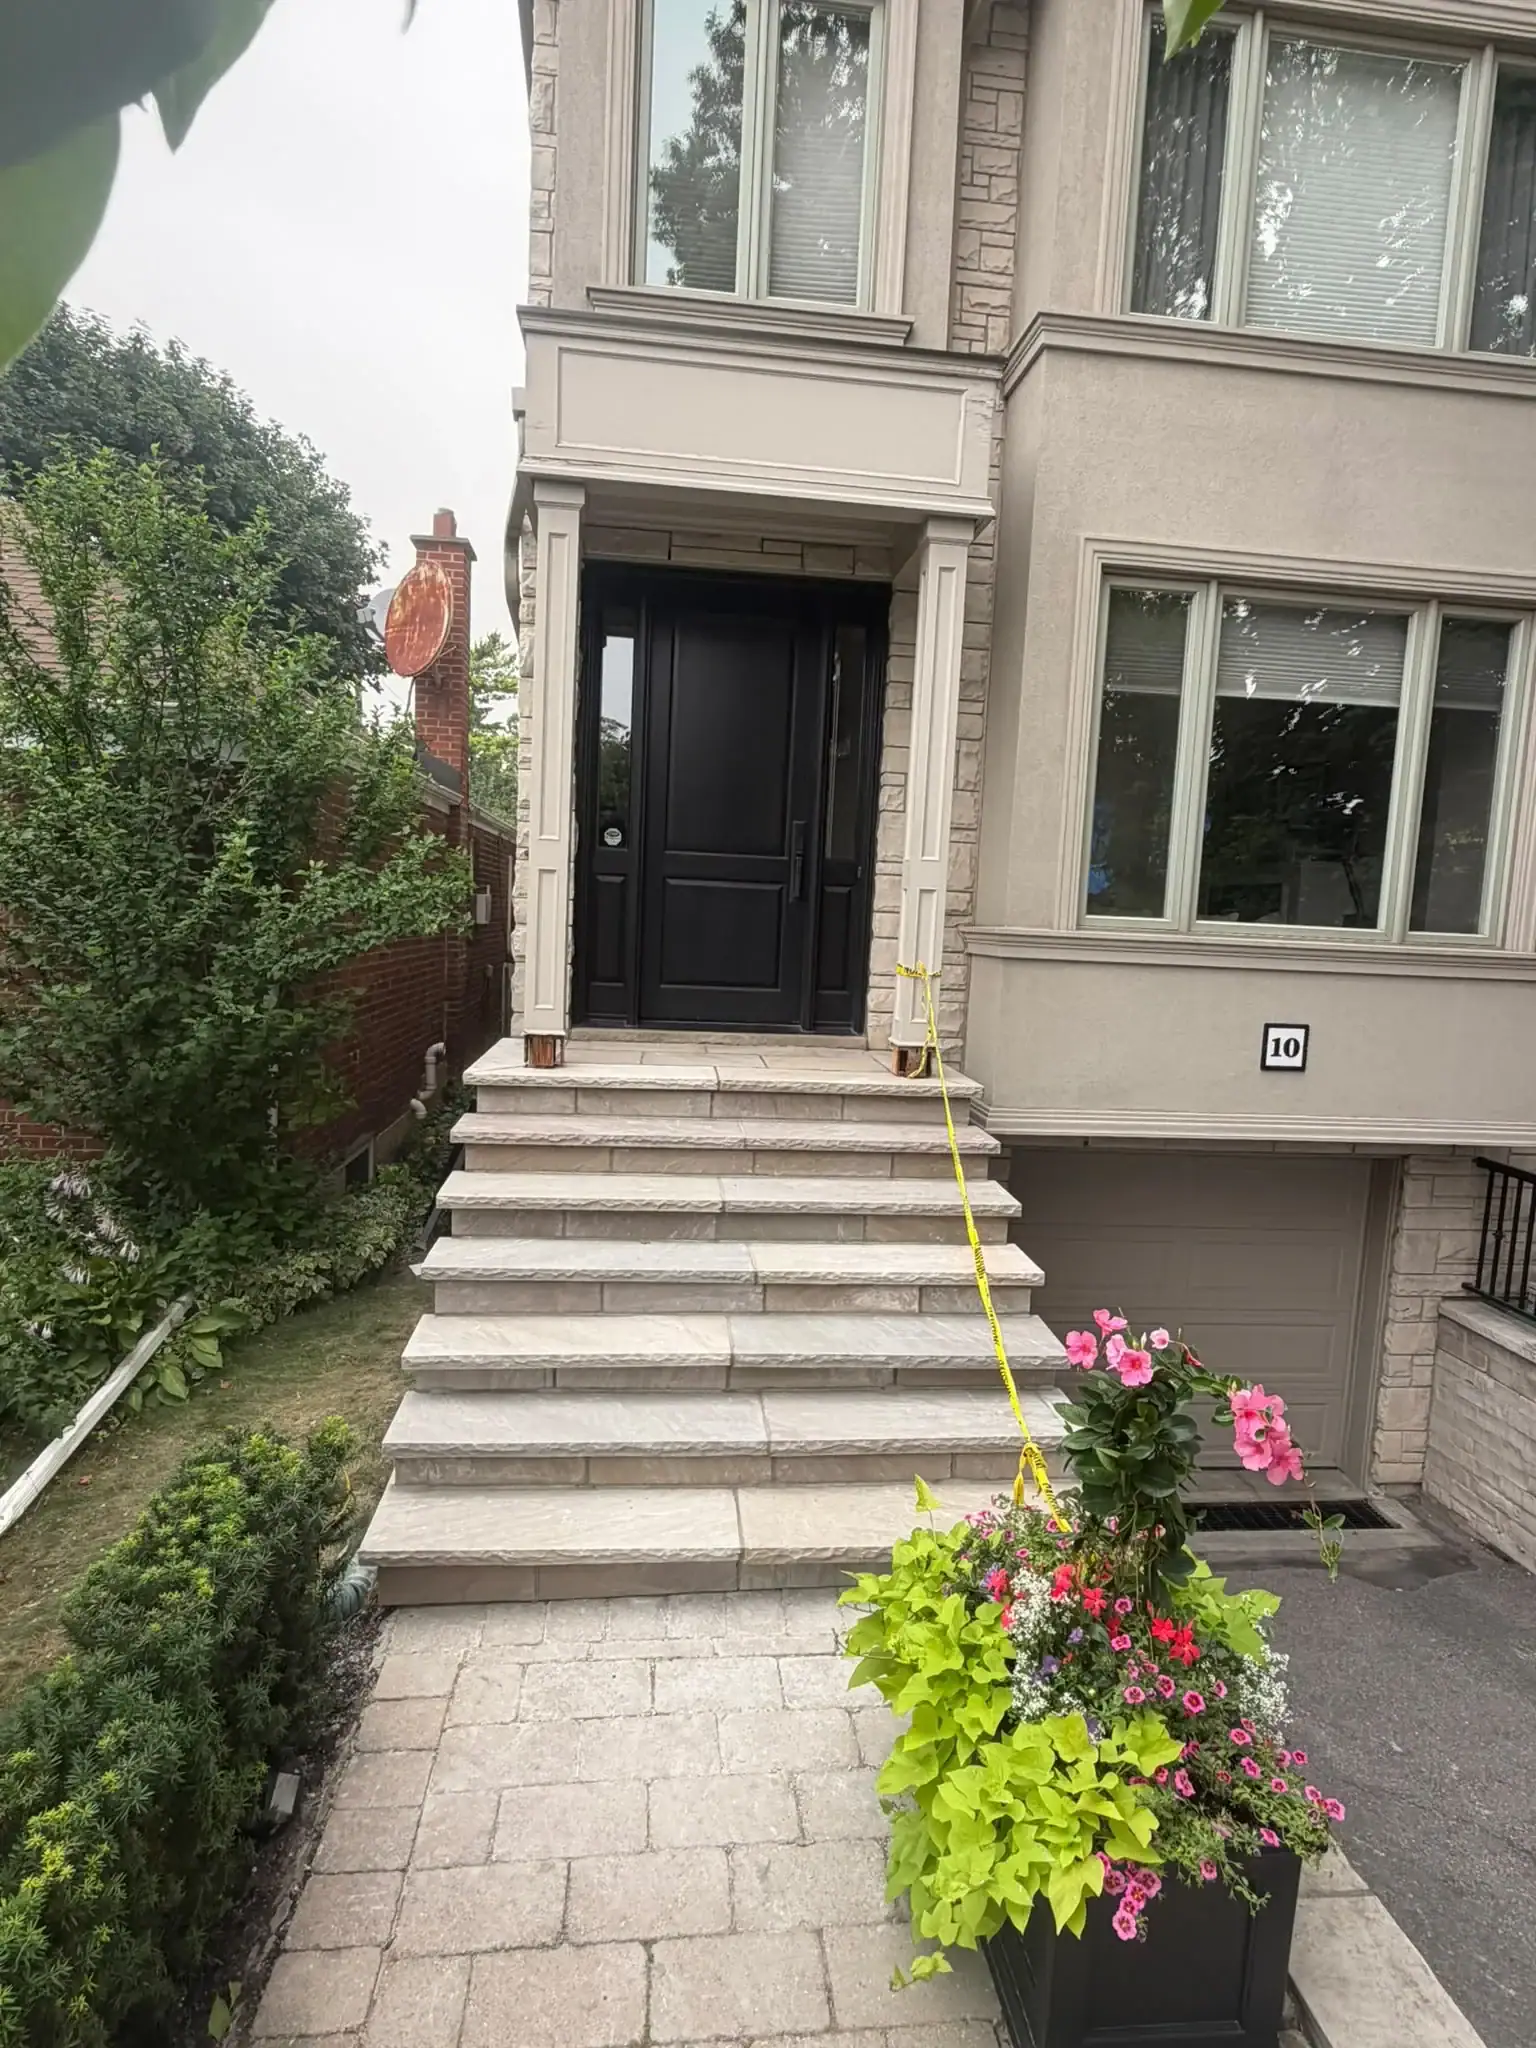
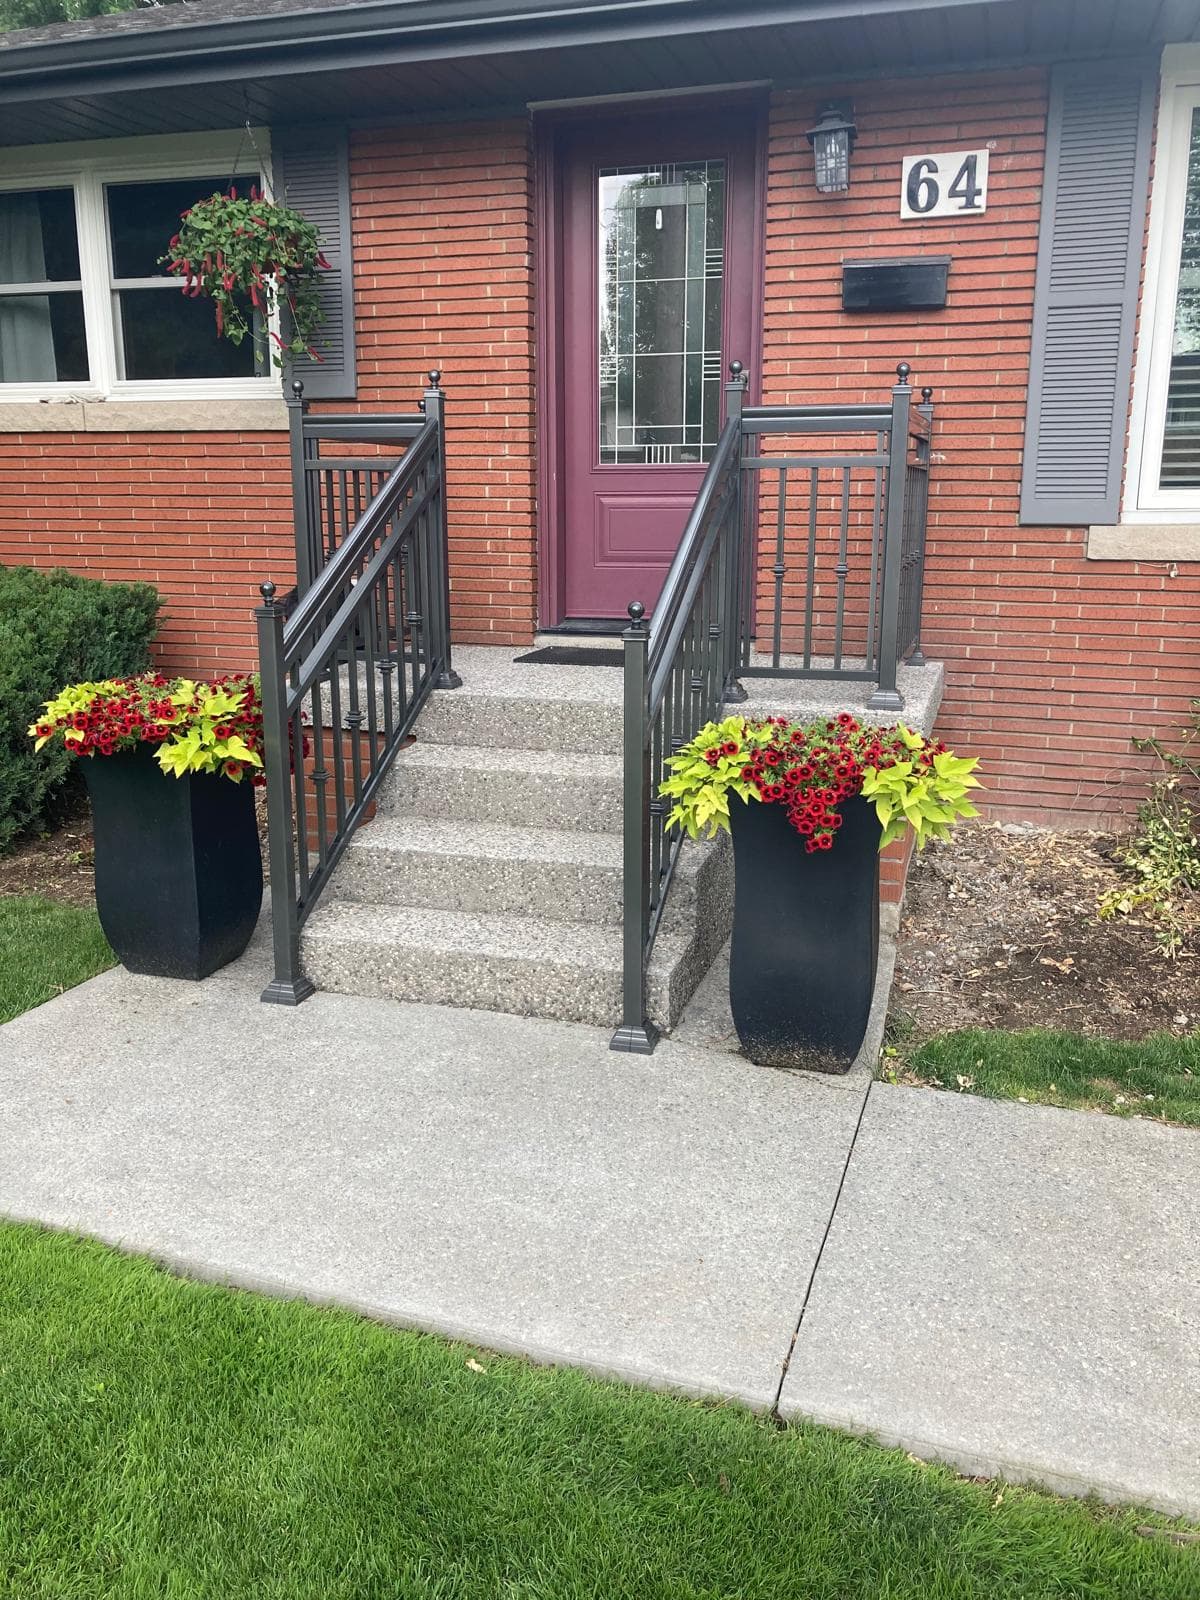
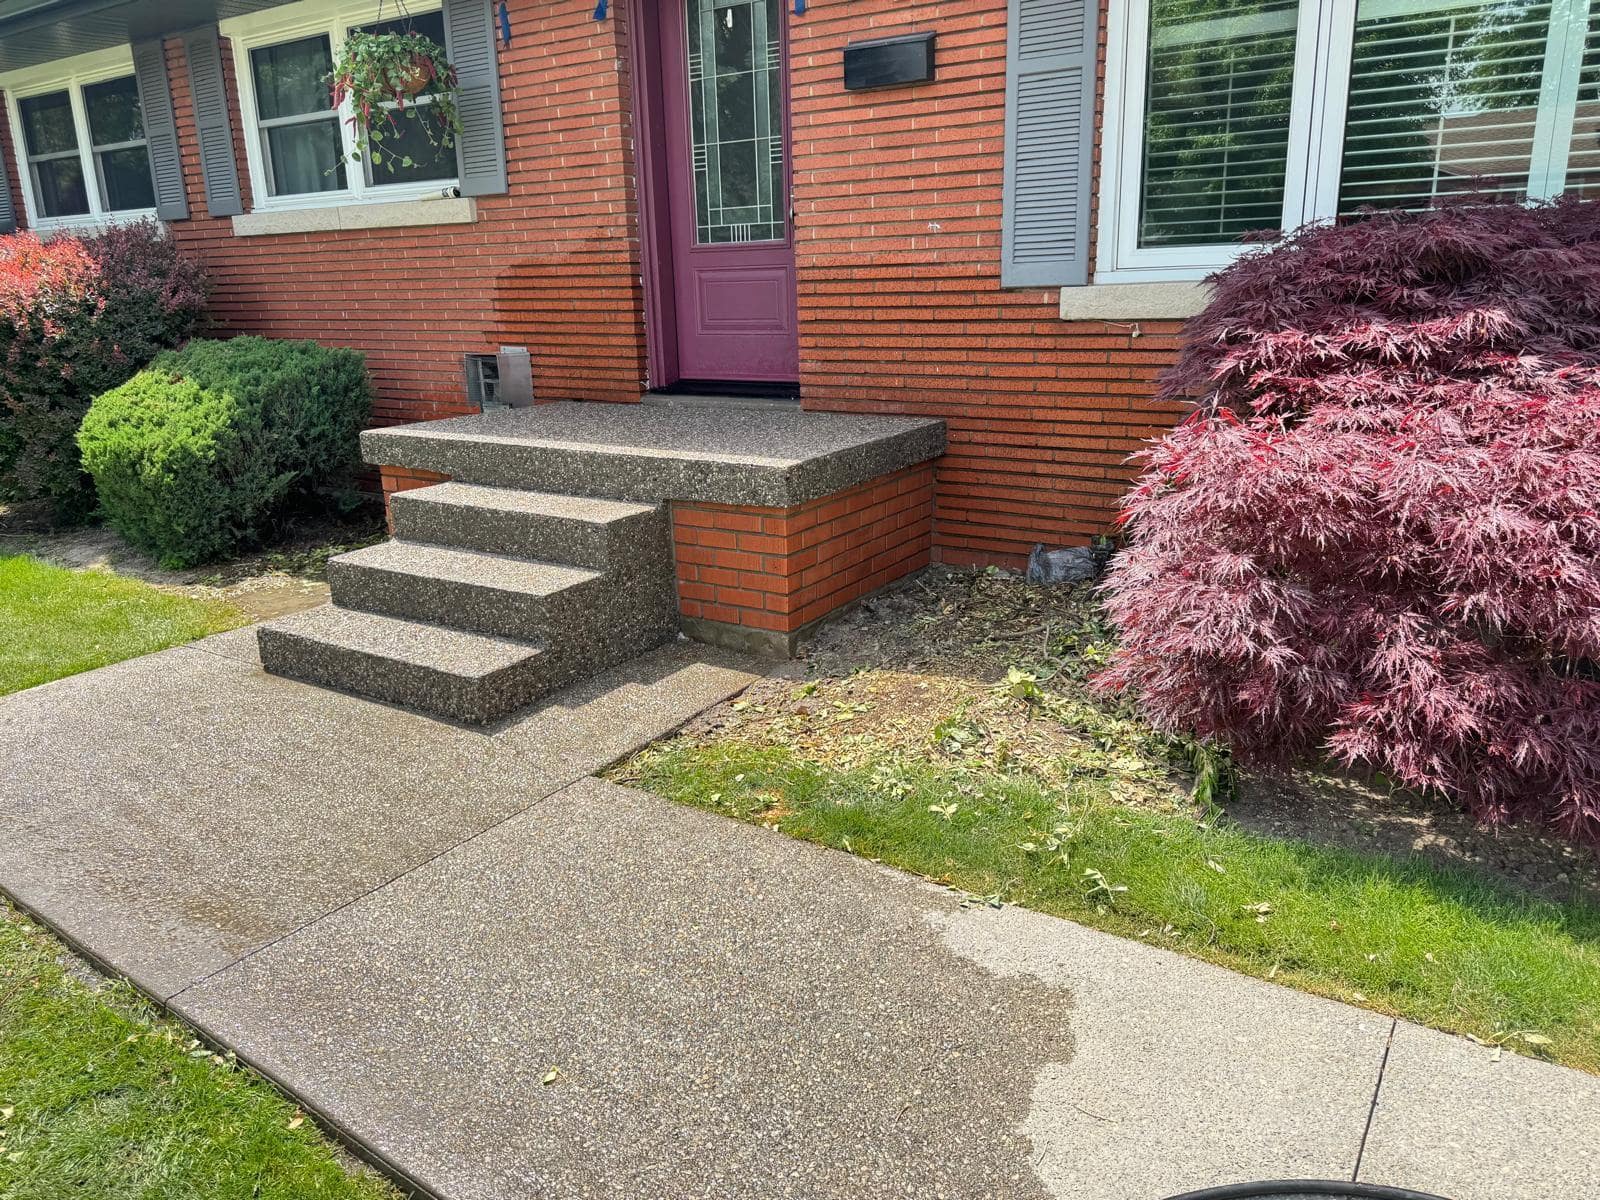
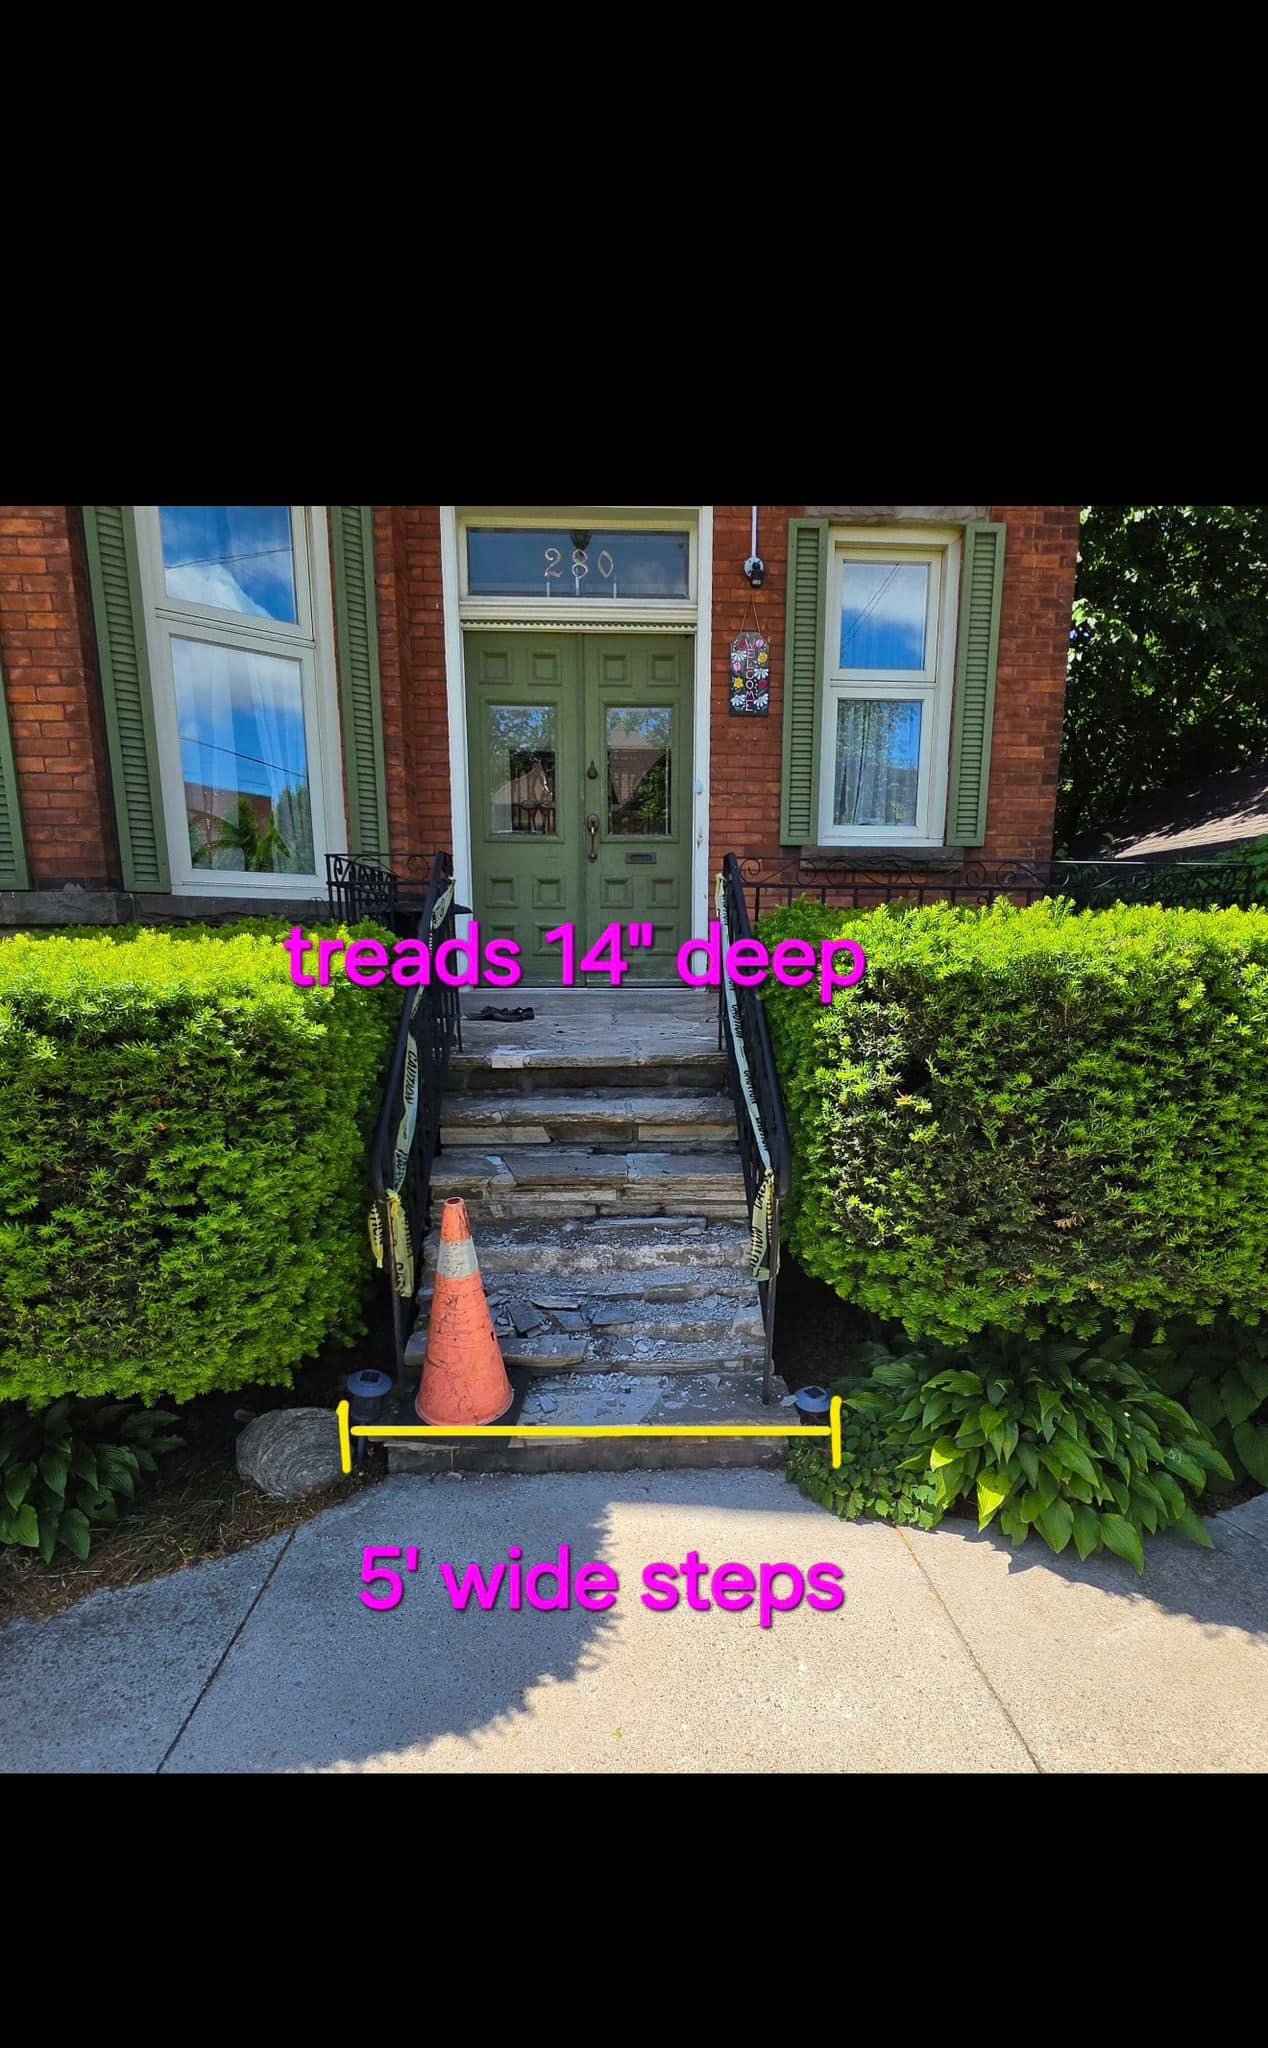
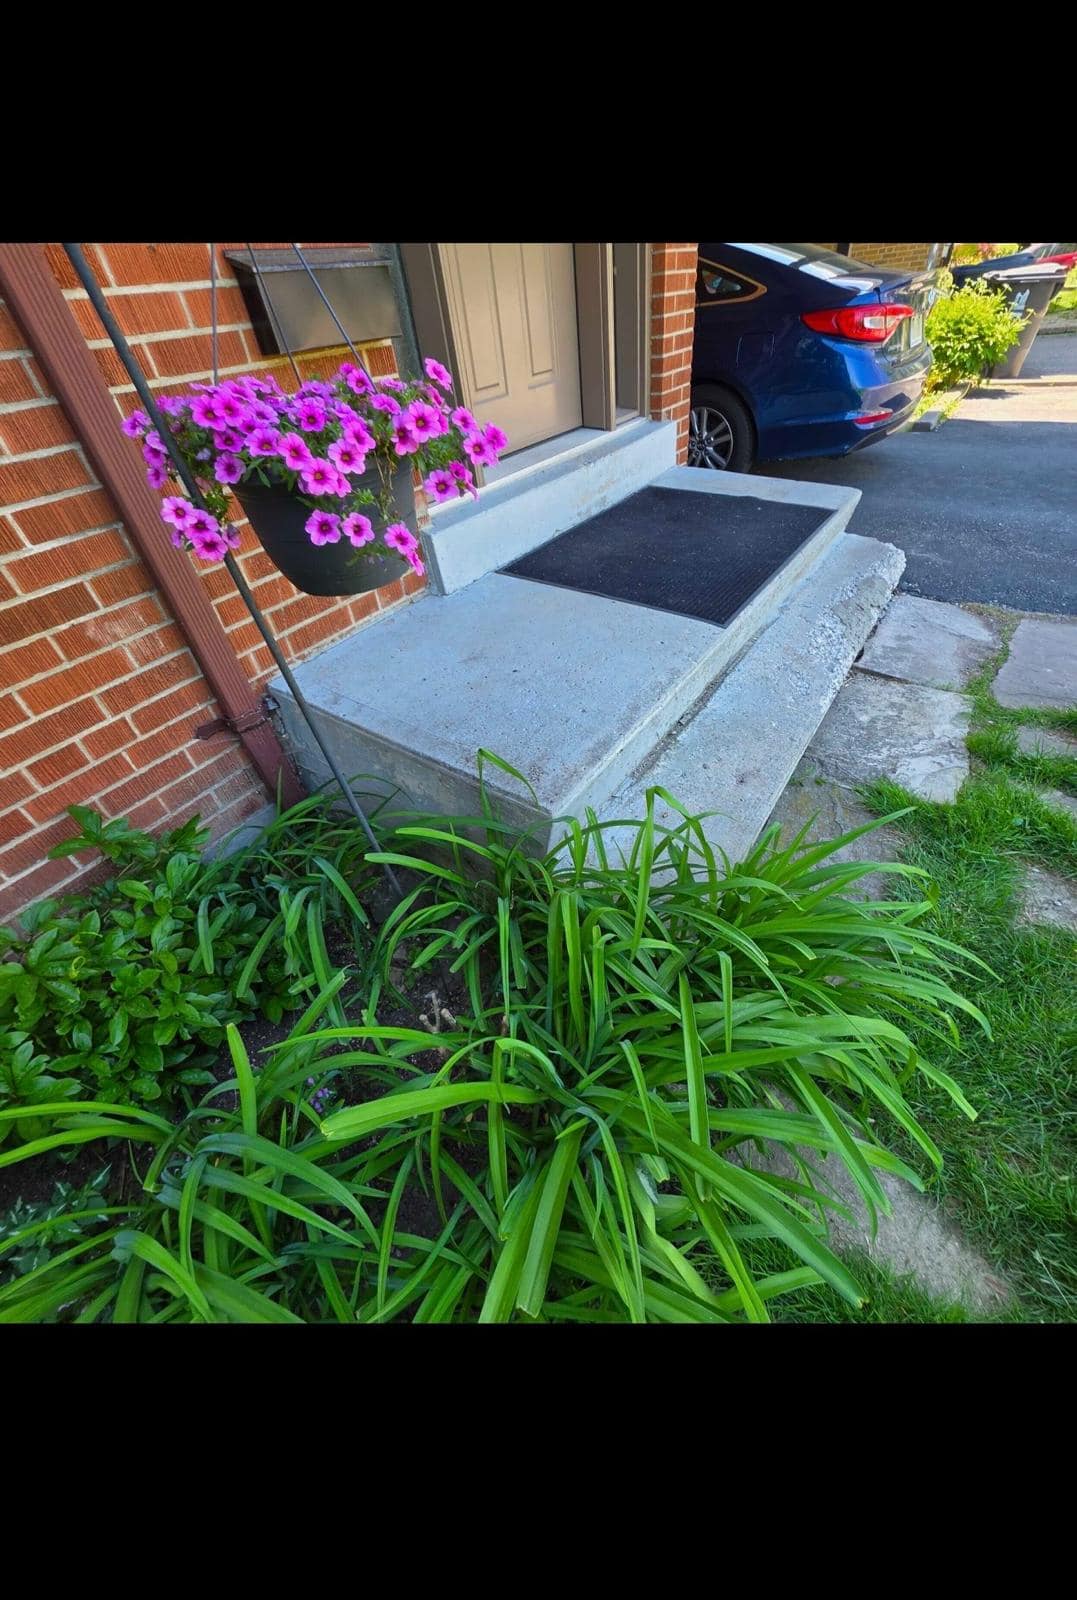
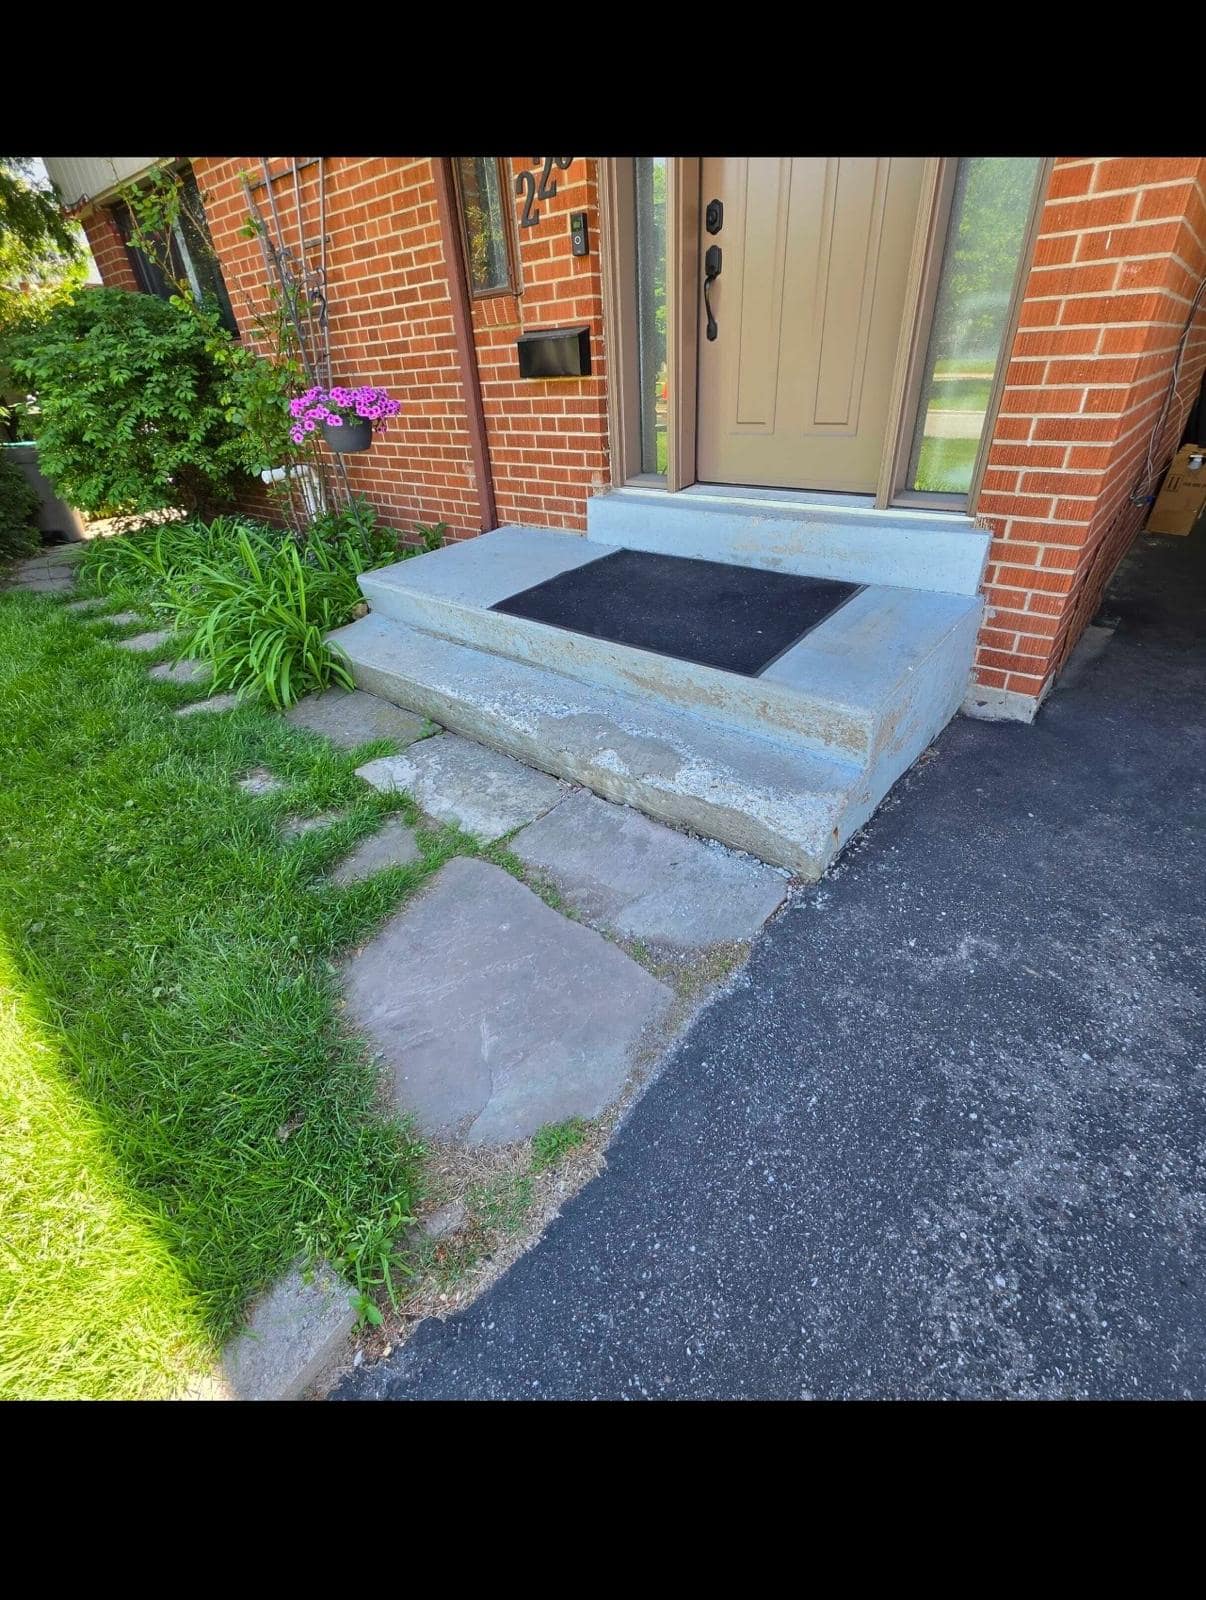
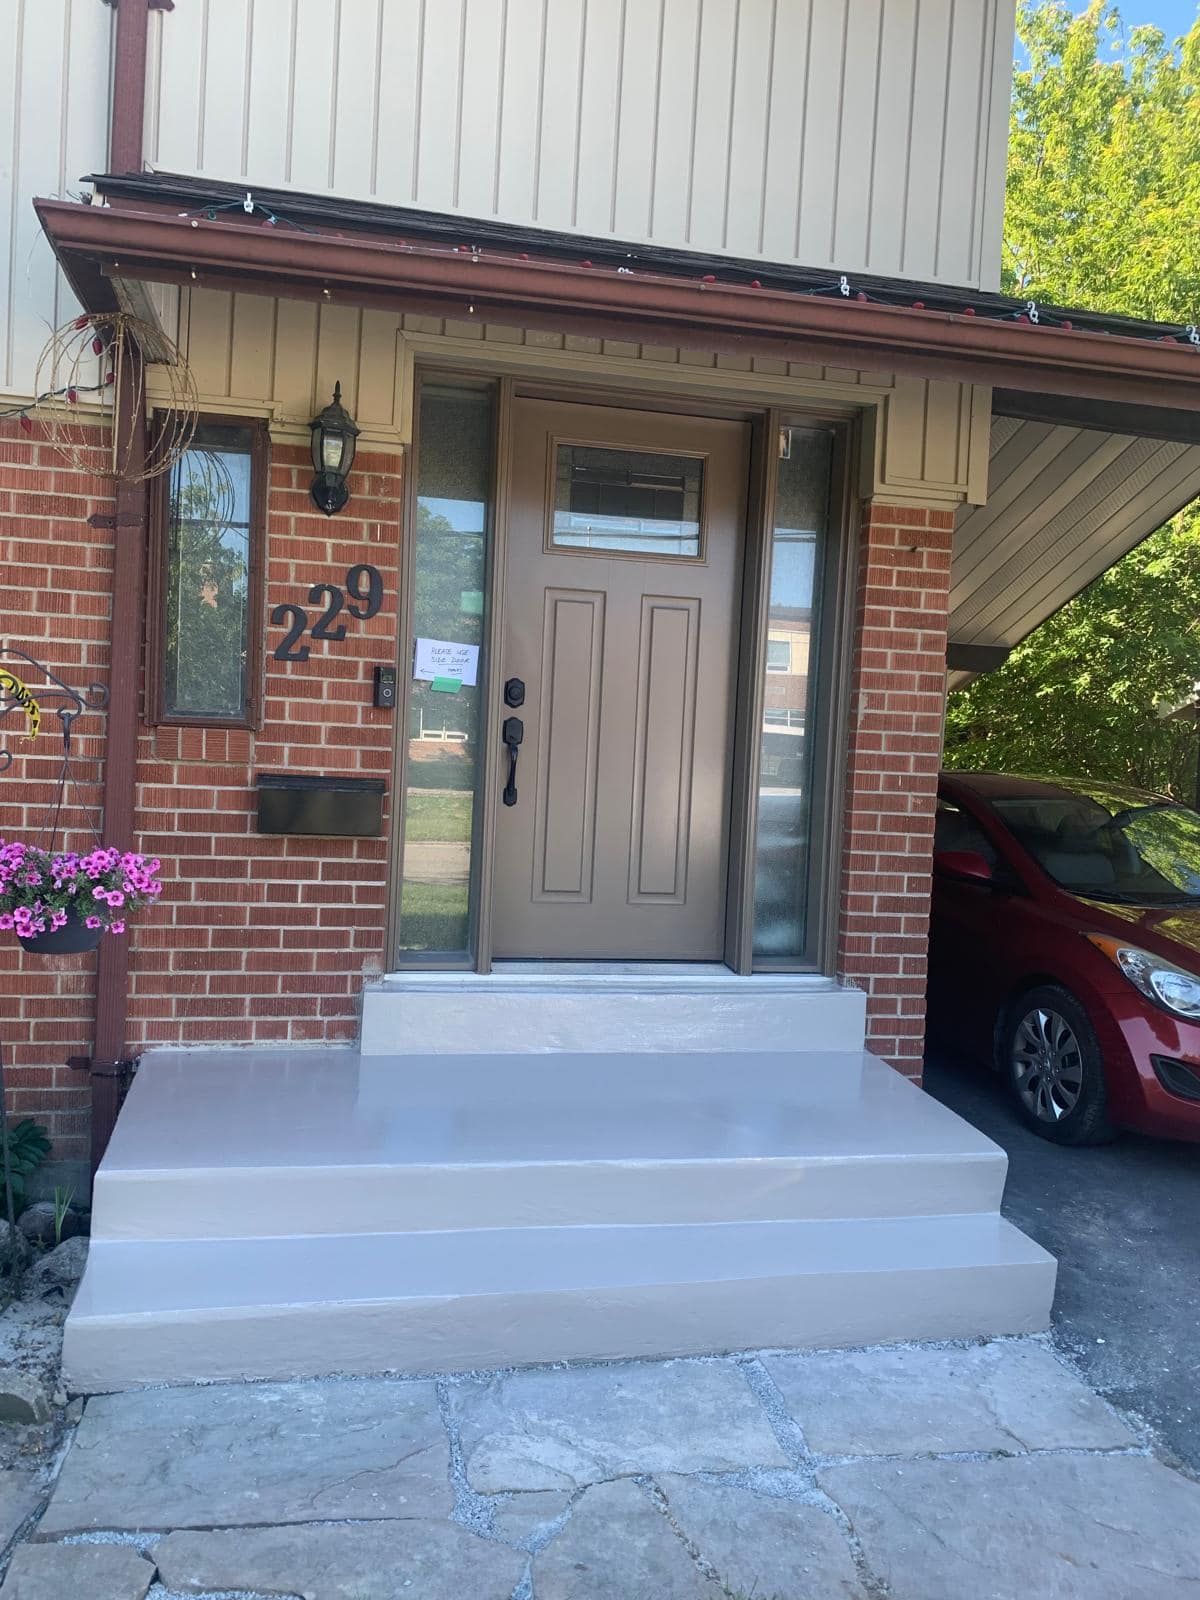
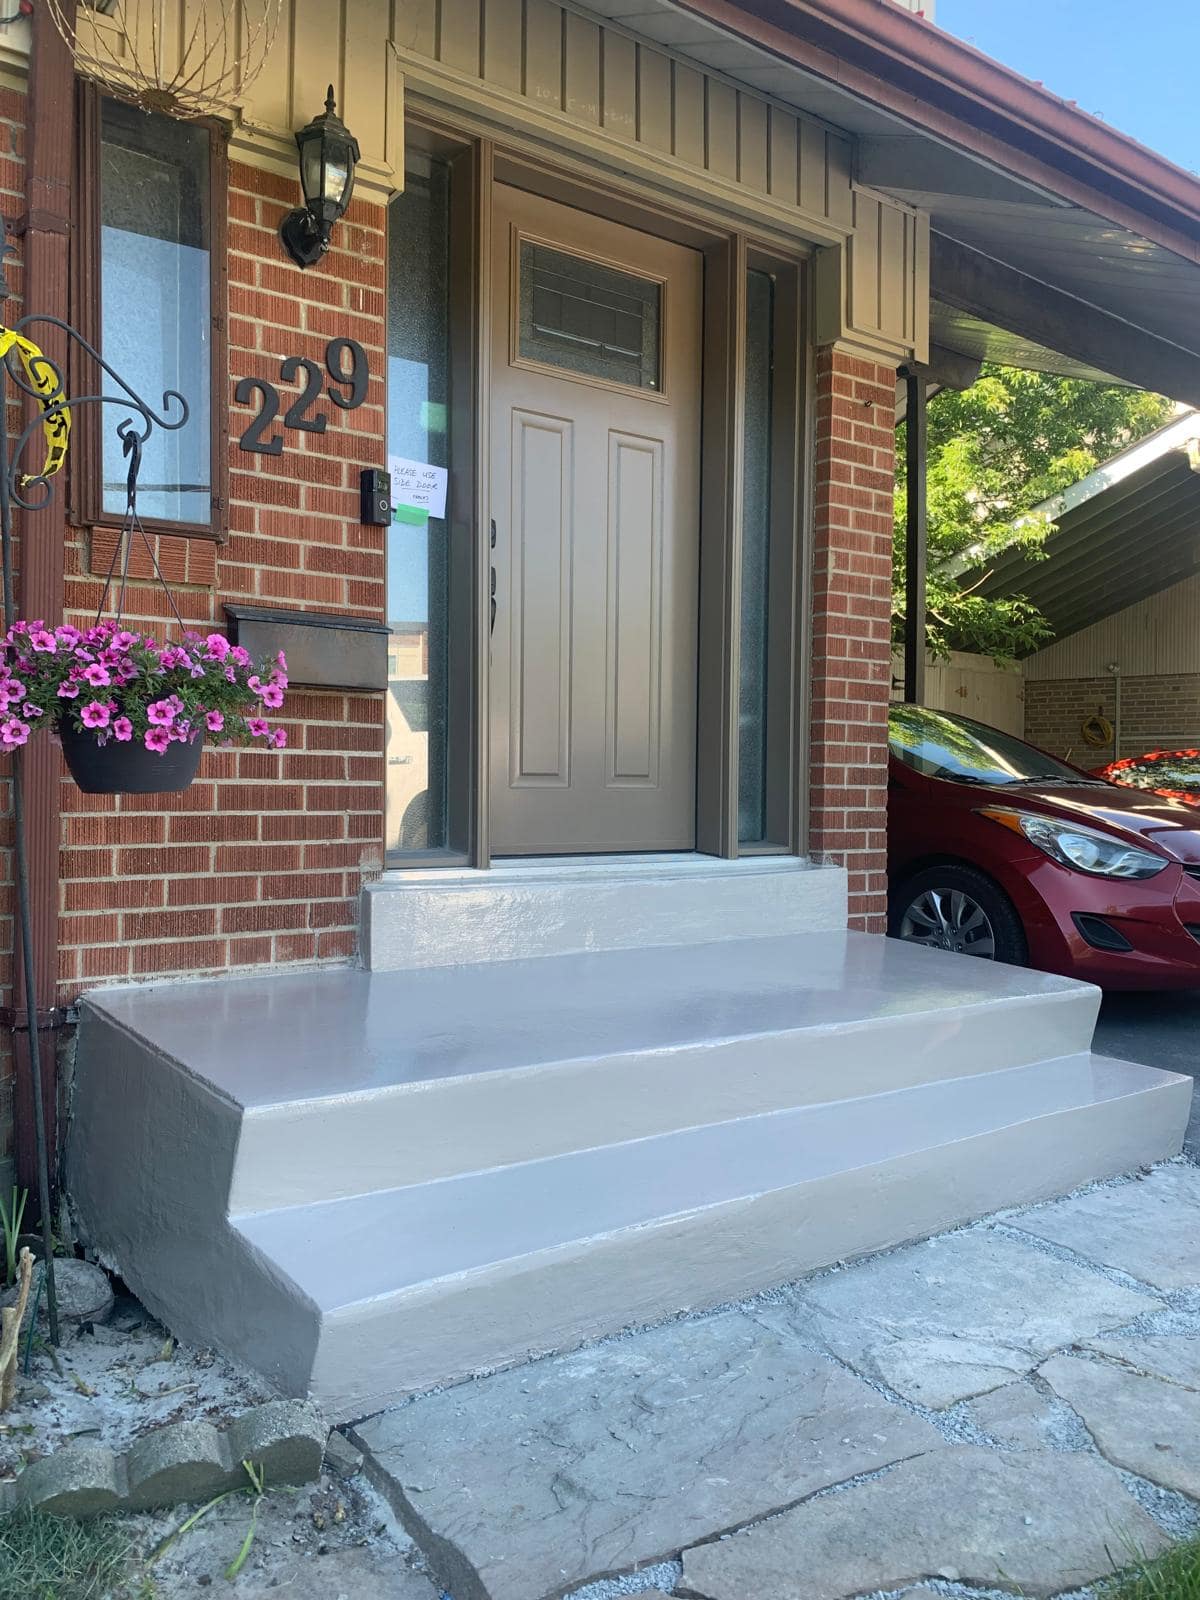
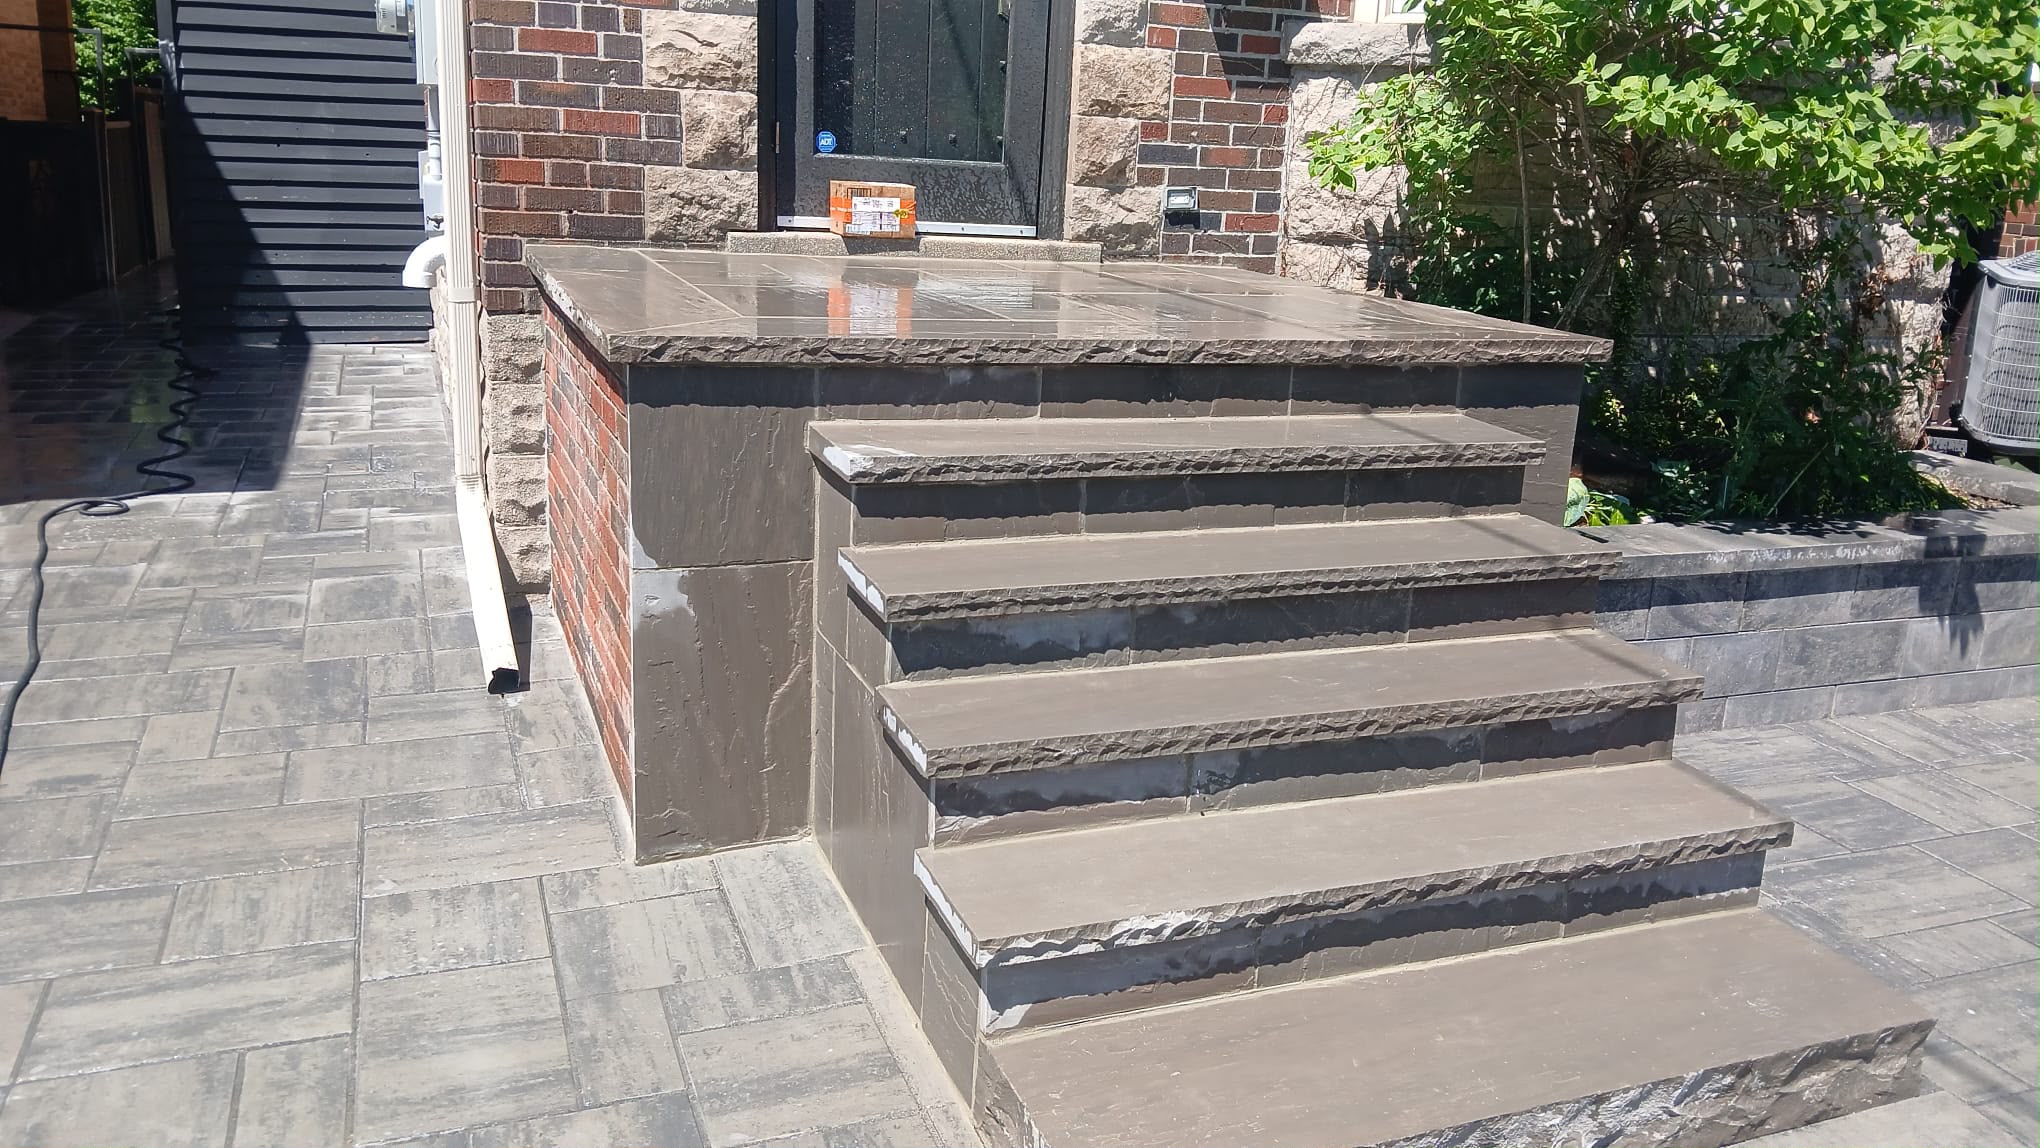
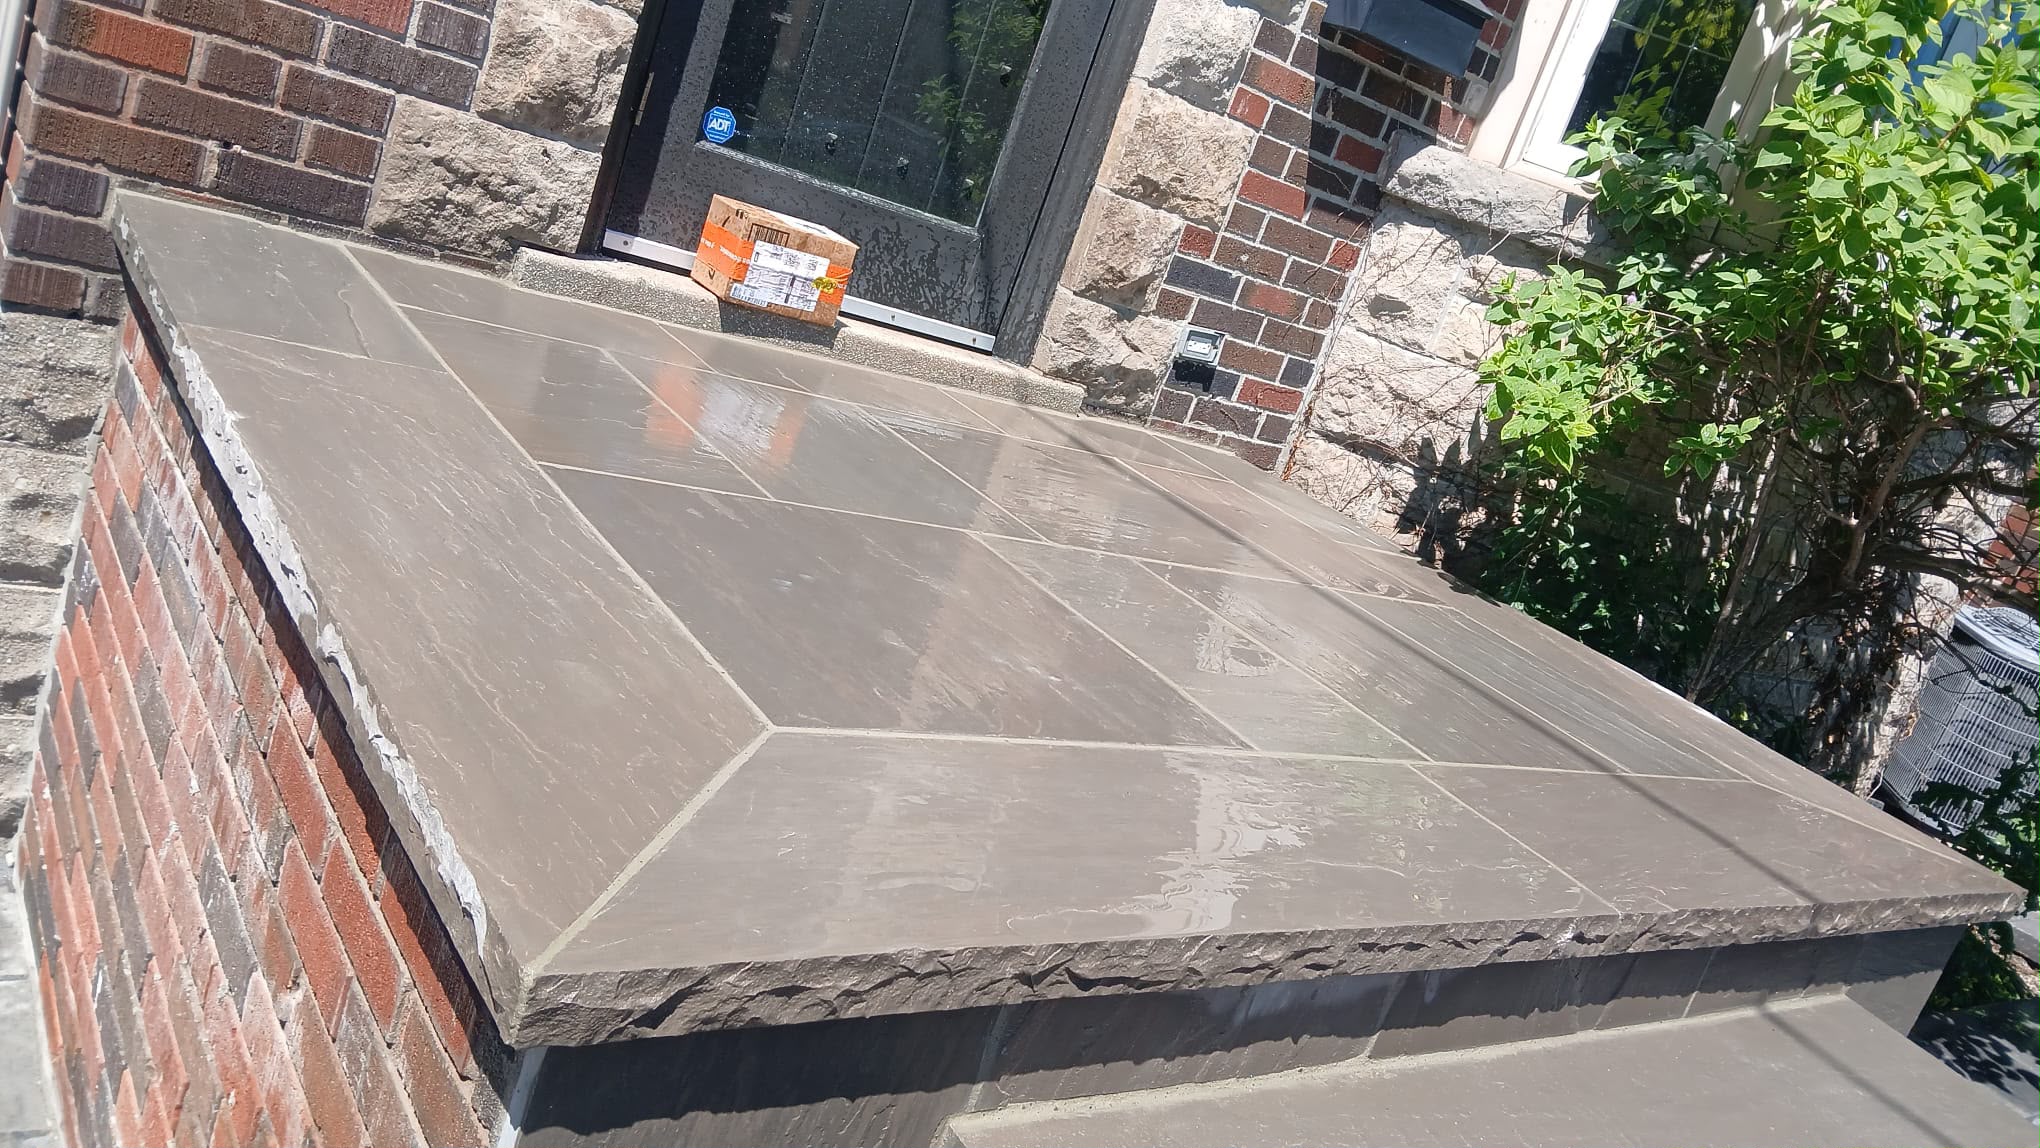
Concrete steps, walkways, and porches should be checked before winter because they are exposed to foot traffic, snow, ice, salt, and freeze-thaw cycles. Horizontal concrete surfaces are especially vulnerable because water and snow can sit on them.
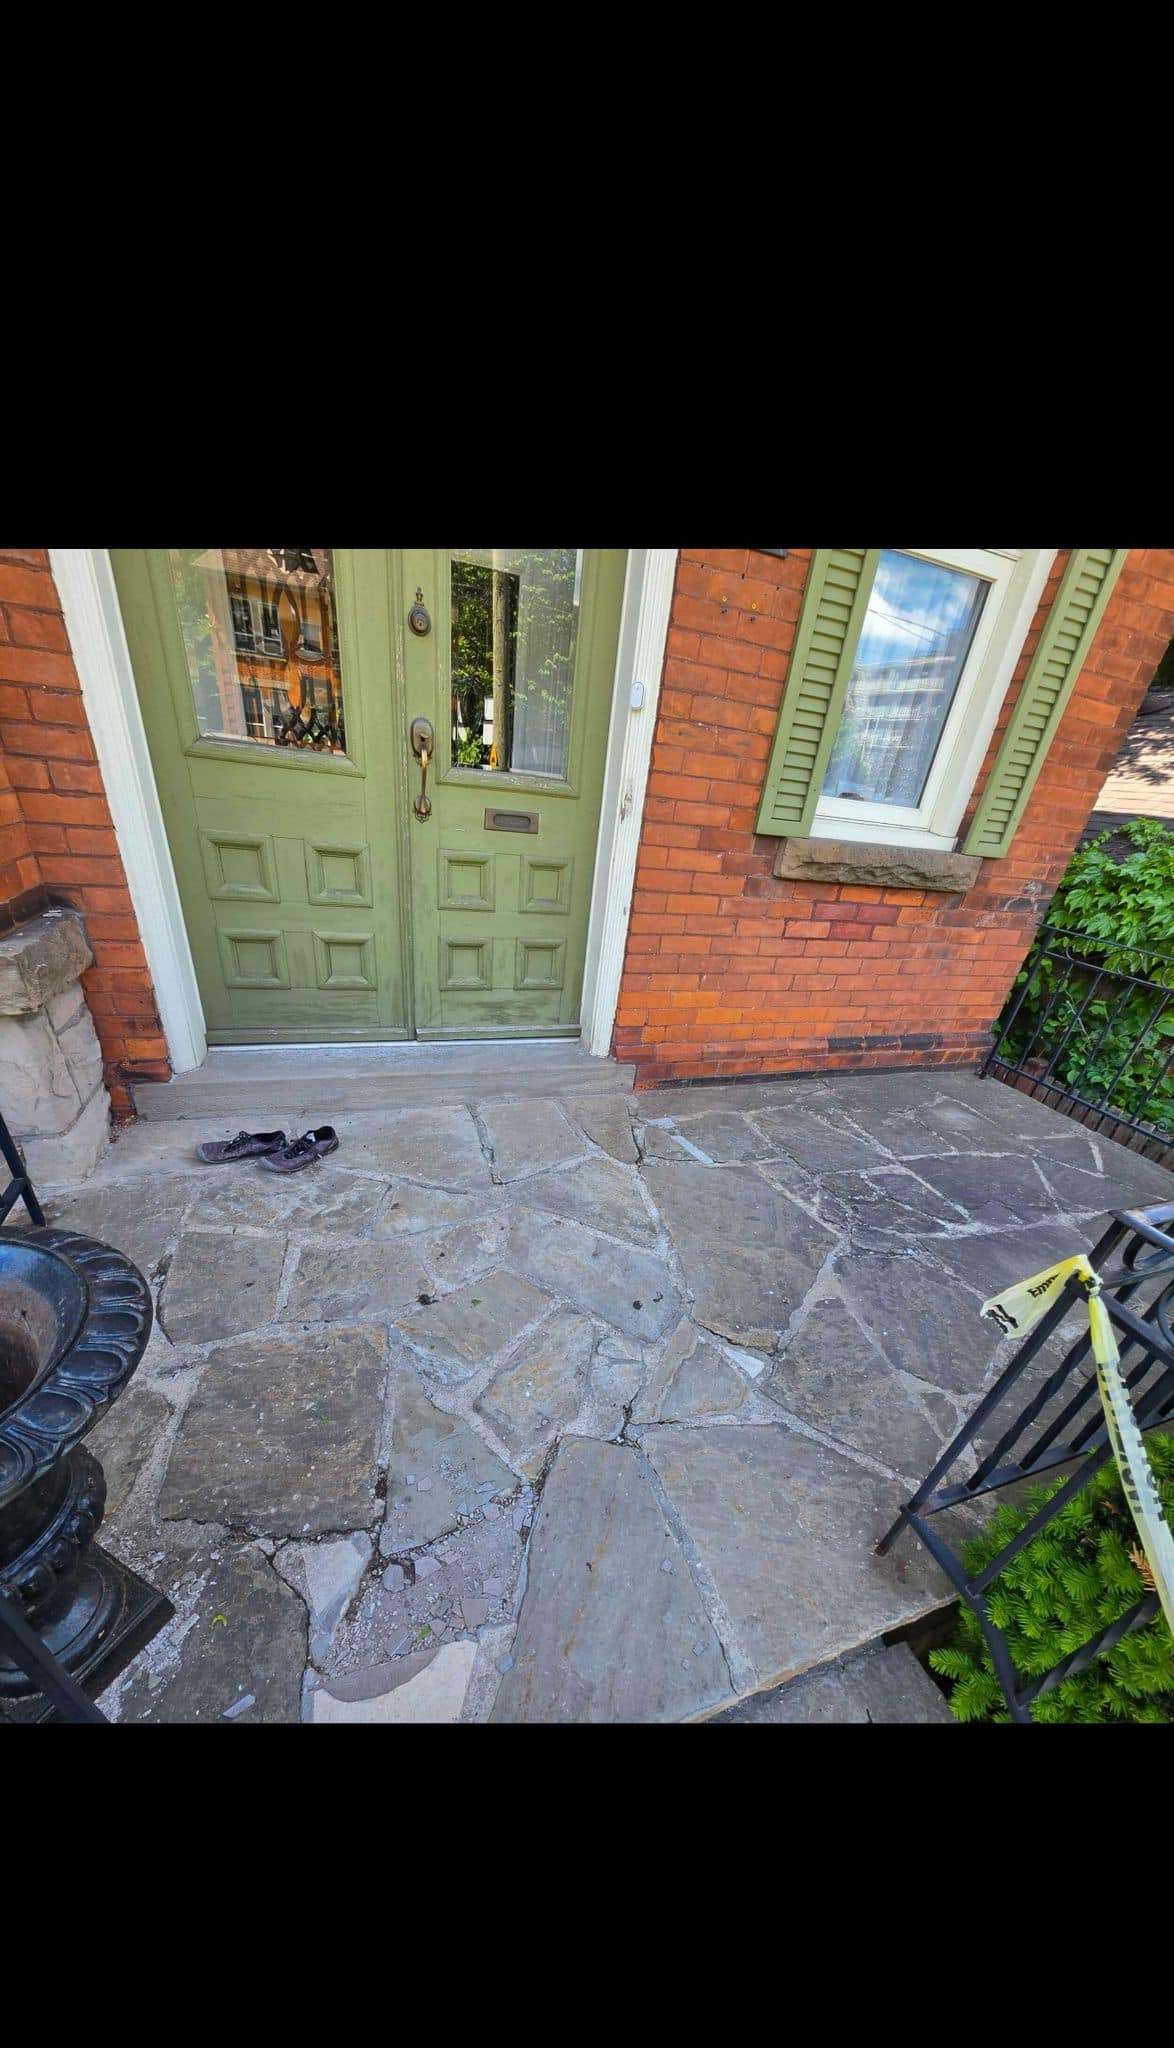
Look for cracks, scaling, flaking, broken corners, uneven surfaces, sinking sections, and areas where water pools. A small chip can become a larger broken edge if water enters and freezes. Uneven steps can also become a safety concern when covered with snow or ice.
Repair may be possible when damage is small, stable, and limited to the surface. Replacement may make more sense when steps are sinking, rocking, deeply cracked, or holding water near the home.
A&A Masonry’s concrete repair Toronto page is a useful resource for understanding when cracked or damaged concrete may need repair before winter.
Control Water Around the Home
Water control is one of the most important parts of winter-proofing masonry. If water keeps reaching the same brick, concrete, stone, or foundation area, winter damage becomes more likely.
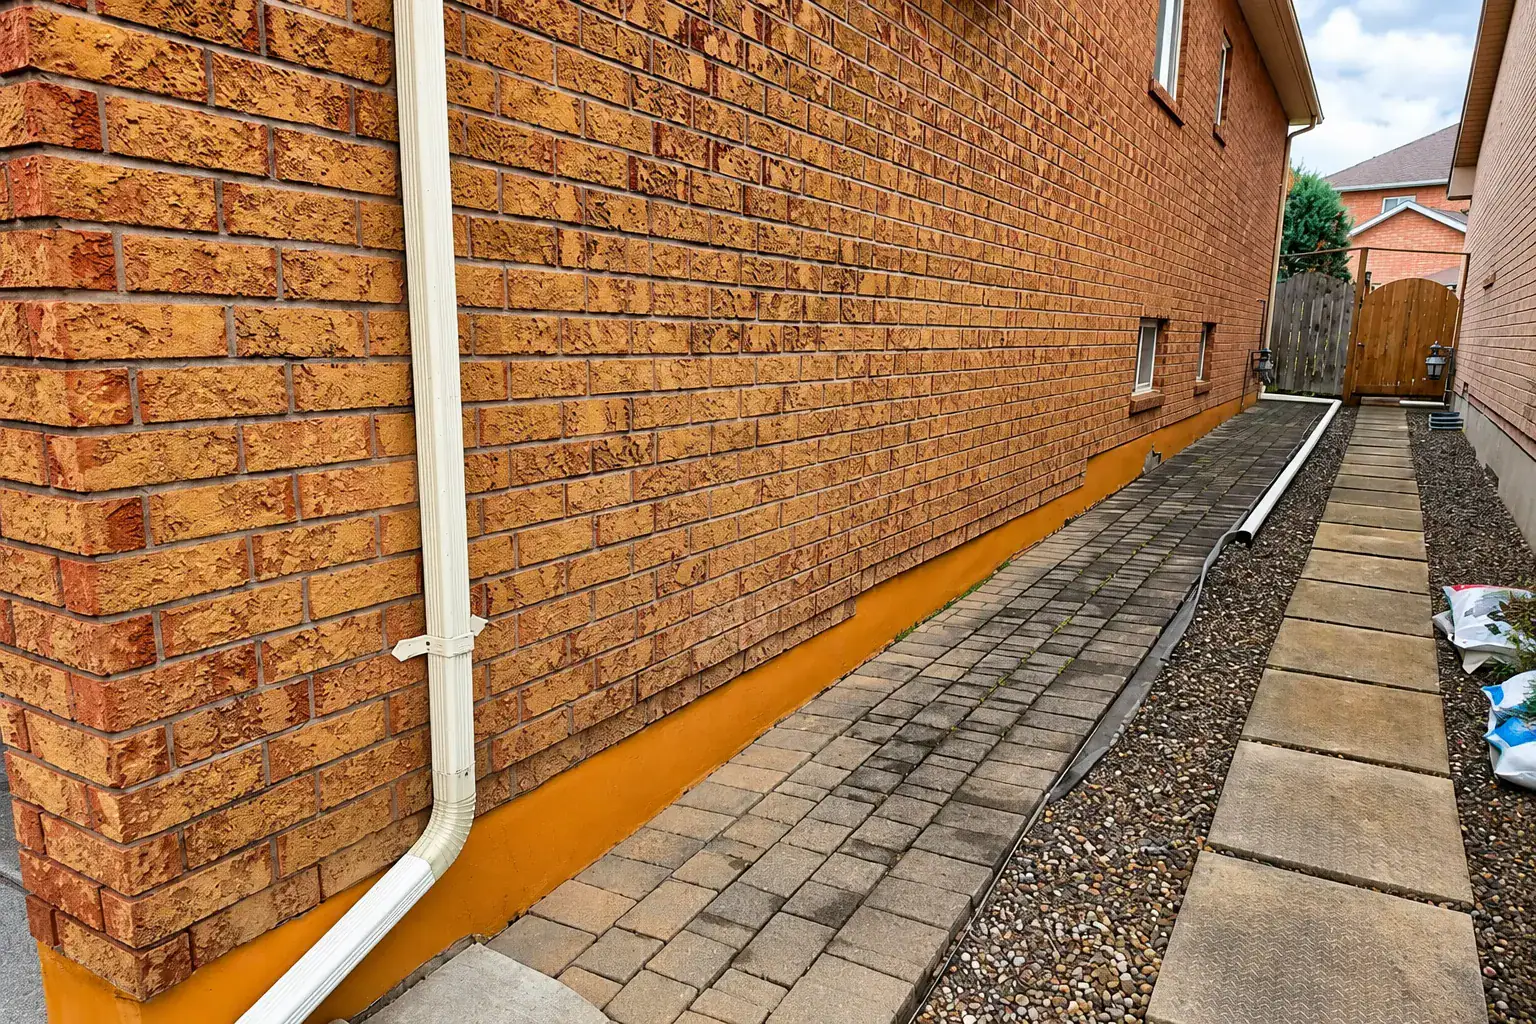
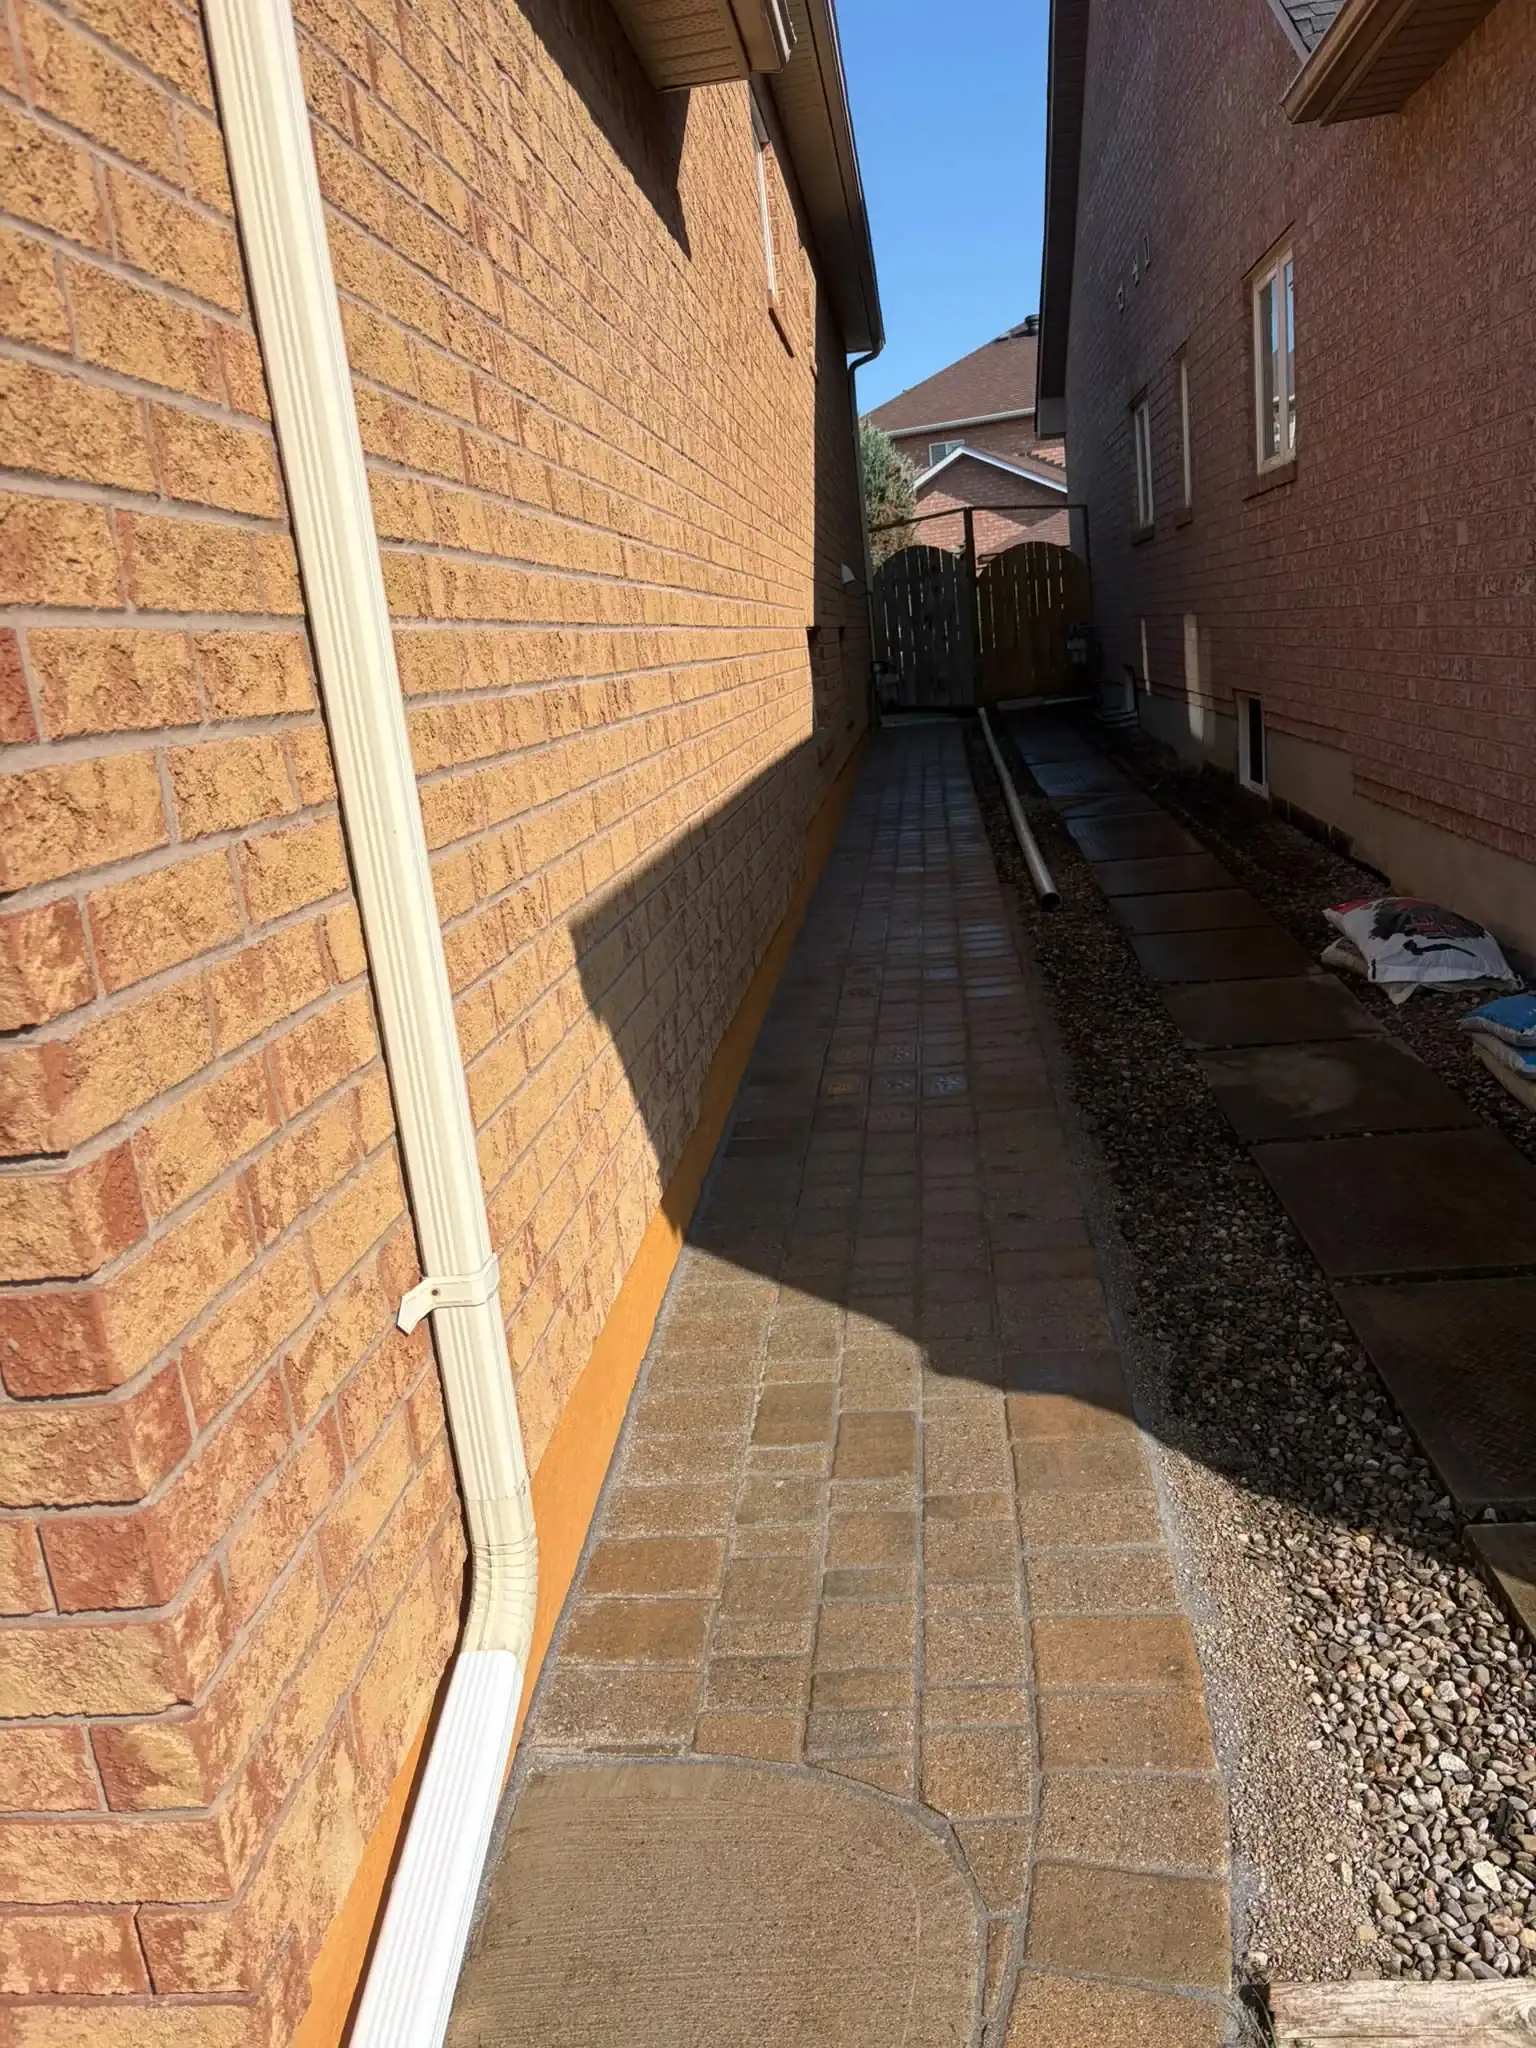
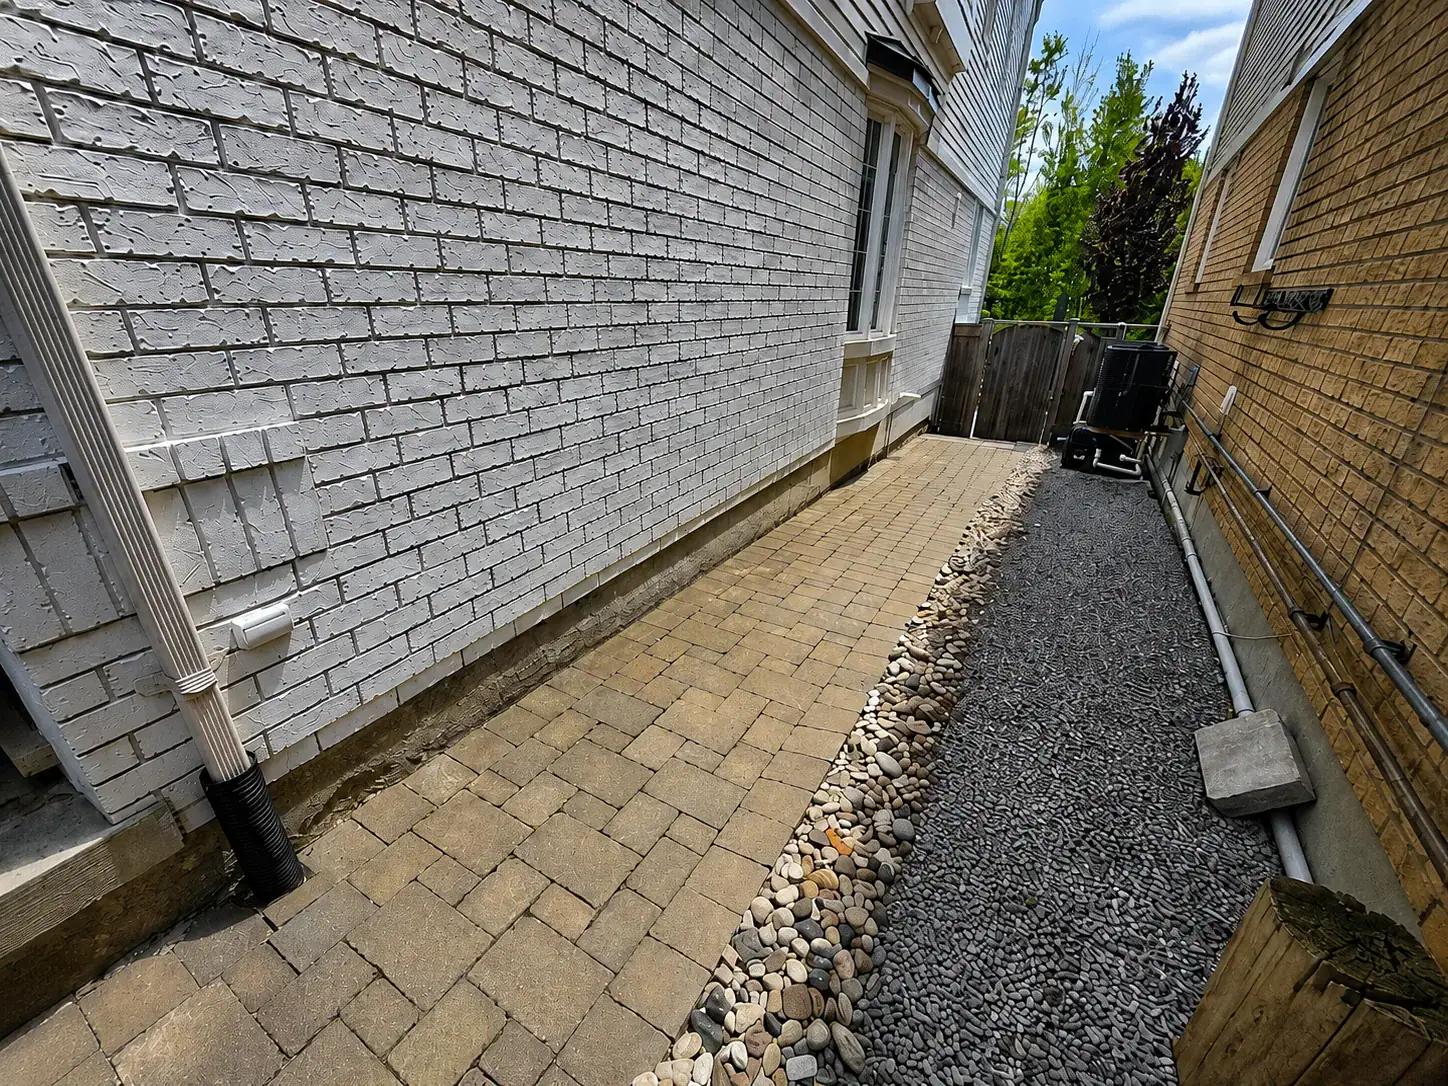
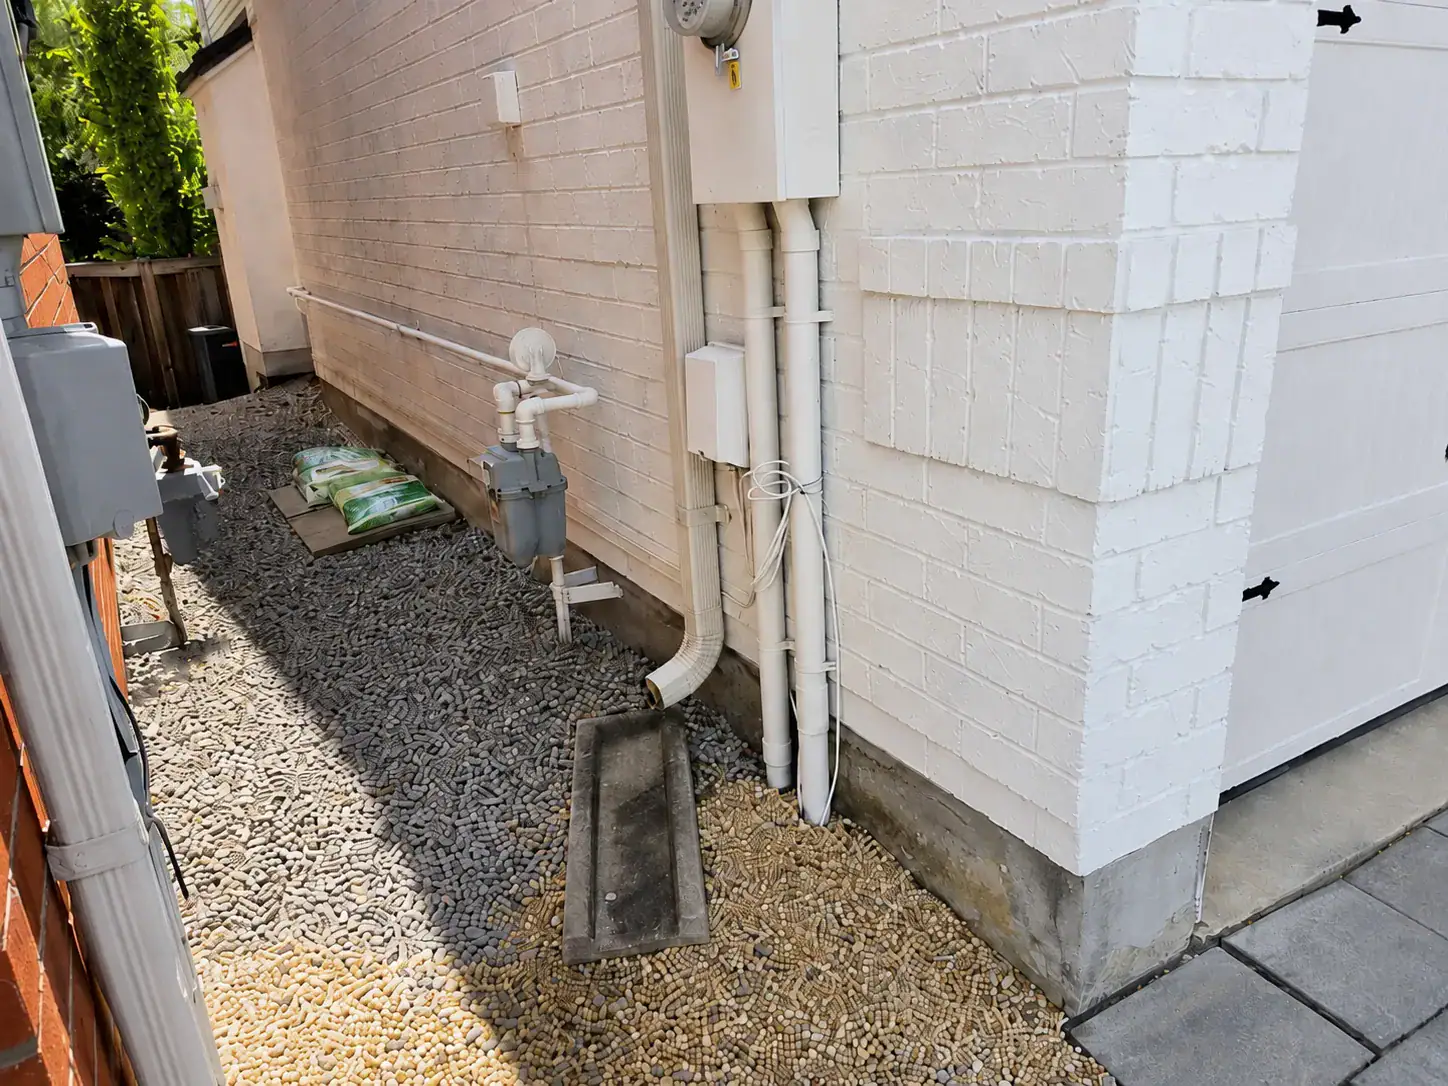
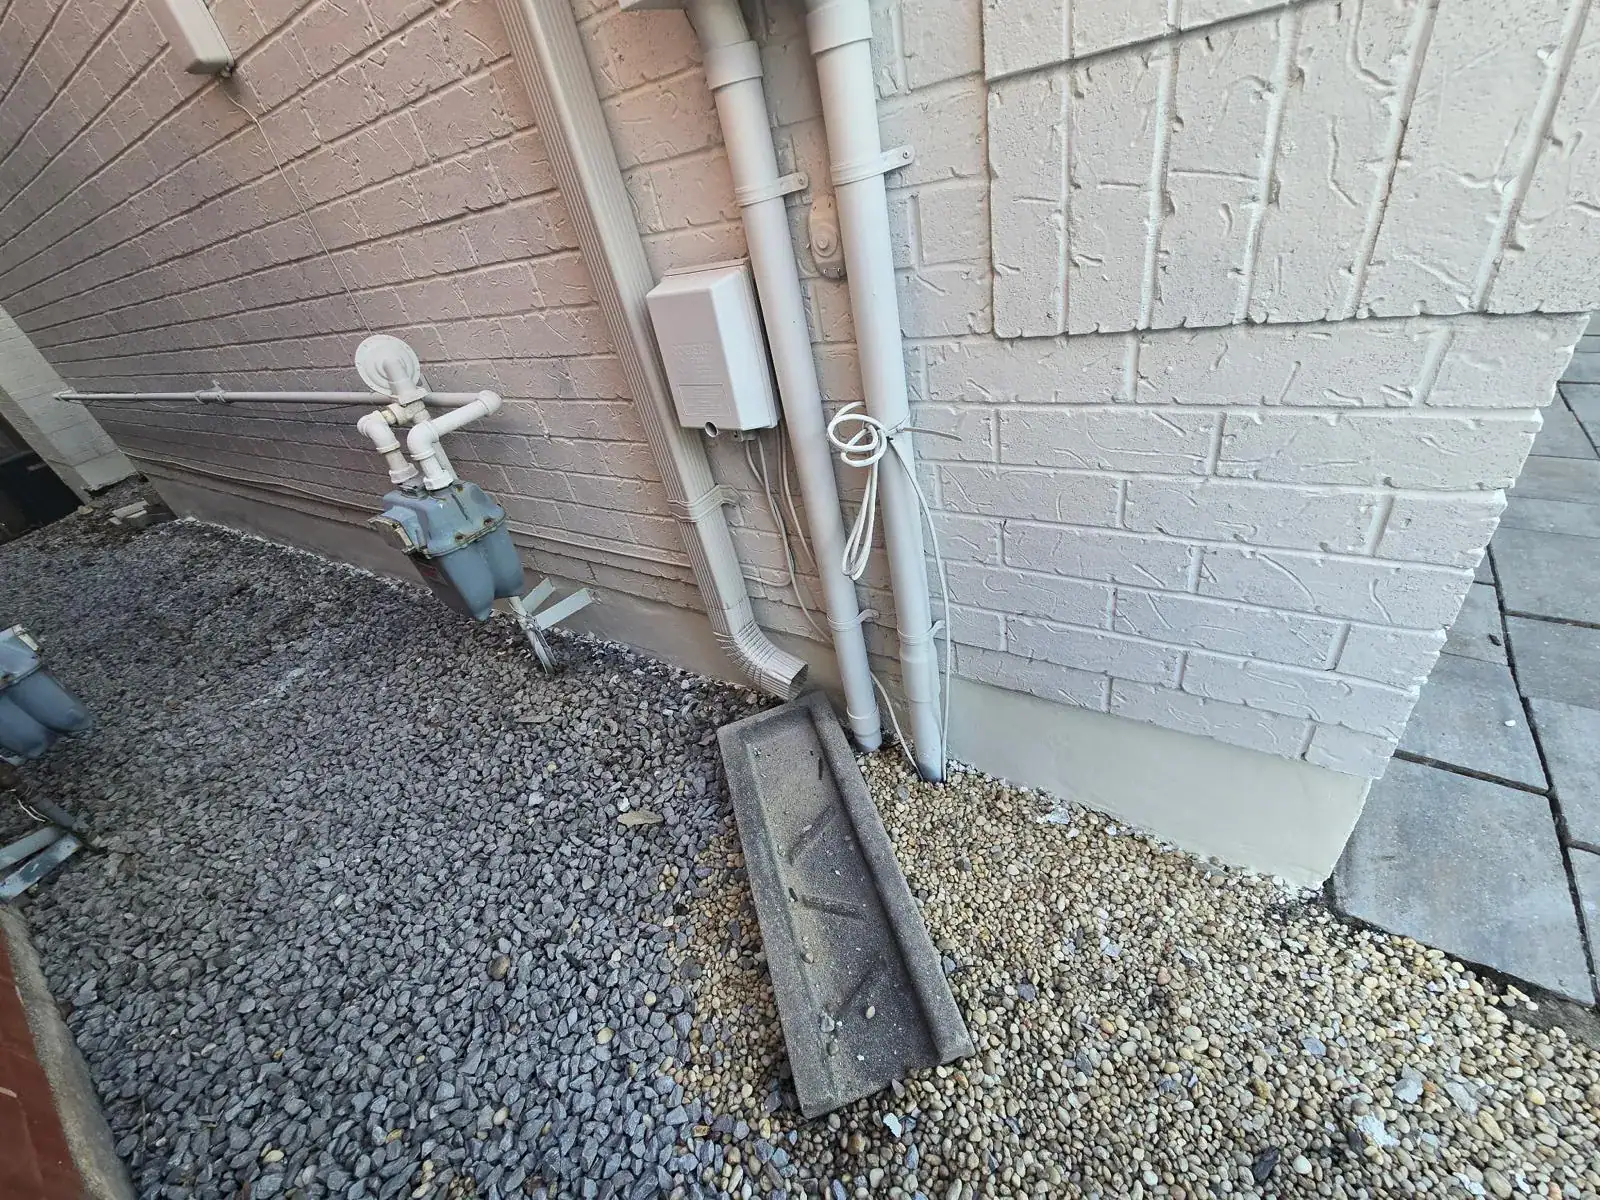
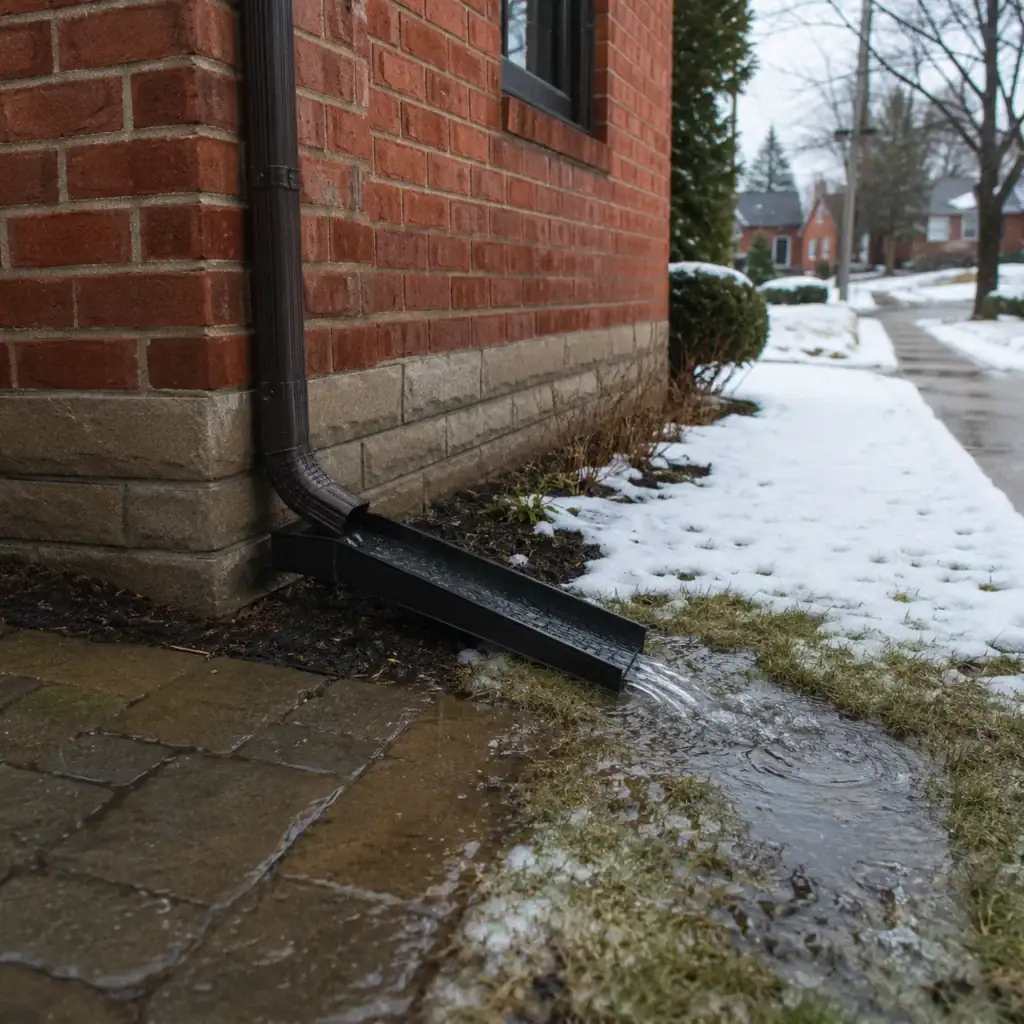
Check gutters, downspouts, grading, walkways, patios, window wells, garden beds, and driveway edges. Water should not be directed toward the foundation, lower brickwork, concrete steps, basement entrances, or retaining walls.
The City of Toronto explains that managing rainwater and meltwater is important for reducing the risk of basement flooding and protecting local waterways. The City also shares homeowner actions for stormwater management, including clearing snow and ice from catch basins when safe to do so and keeping water movement in mind around the property.
For masonry, this means downspouts should discharge safely away from the home, low areas should be corrected where possible, and snowmelt should not be trapped against vulnerable masonry.
Watch for Efflorescence Before Winter
Efflorescence should be checked before winter because it often indicates moisture moving through masonry. Efflorescence appears as a white powdery deposit on brick, stone, concrete, or mortar.
Light efflorescence can sometimes be brushed away dry with a soft brush. However, repeated or heavy efflorescence usually means water is entering or moving through the masonry. Sealing it over without addressing the source of moisture can trap water and make the issue worse.
Common areas for efflorescence include lower brick walls, chimneys, retaining walls, basement entrances, concrete steps, and stone veneer. If the white residue returns after cleaning, look for nearby water sources such as downspouts, poor grading, cracked mortar, or trapped snow.
Efflorescence is not only a cosmetic issue. It is a clue that the masonry may be staying wetter than it should.
Use Masonry Sealers Carefully
Masonry sealers can help in some winter-proofing situations, but they must be used carefully. A breathable, water-repellent coating may reduce water absorption in sound, clean, dry masonry. A non-breathable coating can trap moisture and cause more damage.
Sealer should not be used as a shortcut over damaged brick, open mortar joints, cracked concrete, damp walls, spalling surfaces, or active leaks. The correct order is usually repair first, correct drainage, clean the surface, allow proper drying, then consider a suitable breathable sealer if appropriate.
In Toronto’s freeze-thaw climate, trapped moisture is a serious concern. If water is locked inside masonry before winter, freezing temperatures can cause spalling, peeling, staining, or cracking.
If you are deciding whether sealing is useful, A&A Masonry’s blog on masonry sealing for high moisture areas explains when sealing helps and when repair or drainage should come first.
Keep Soil, Mulch, and Snow Away From Lower Brickwork
Soil, mulch, and snow should not sit directly against lower brickwork for long periods. These materials hold moisture, and moisture against brick or mortar can increase freeze-thaw damage.
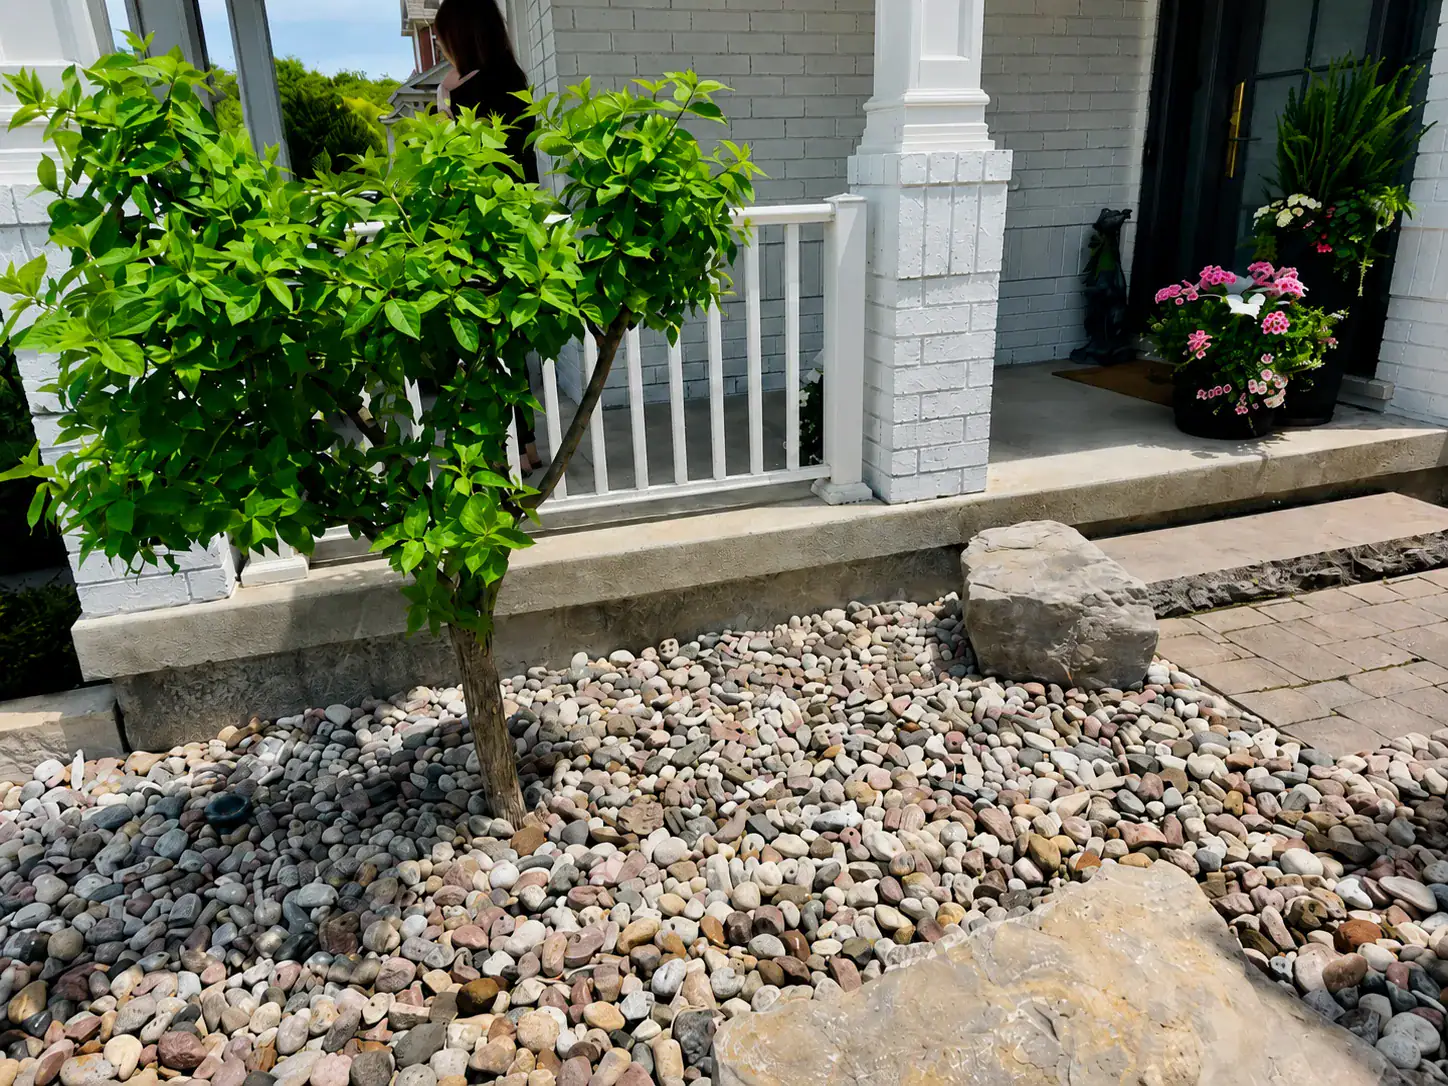
Garden beds are a common issue. Soil may be raised too high against the wall, mulch may cover lower brick courses, or plants may hold moisture against the surface. In winter, snow piles can create the same problem by keeping masonry wet as the snow melts.
Keep lower masonry visible where possible. Avoid piling snow against brick walls, porch columns, stone veneer, basement entrances, and foundation-adjacent masonry. If snow must be stored nearby, try to keep it away from vulnerable areas and allow the wall to dry.
This is especially important on older homes where lower brick and mortar may already be weathered.
Be Careful With Salt and De-Icing Products
Salt and de-icing products should be used carefully around masonry because they can contribute to surface wear, staining, and moisture movement. Concrete steps, walkways, brick edges, stone borders, and interlocking pavers can all be affected by repeated exposure to salt.
Safe winter access matters, so avoiding de-icer entirely may not be realistic. The better approach is to shovel early, use only what is needed, follow product directions, and avoid piling salty slush against brick, stone, or concrete.
The City of Toronto’s snow and ice clearing guidance reminds homeowners that clearing ice and snow helps keep communities safer. For masonry, early snow clearing also reduces the amount of ice and de-icer needed later.
Do not use de-icing products as the only solution to icy masonry surfaces. If the same area keeps icing over, look for drainage, slope, shade, or water runoff problems.
Winter-Proofing Stone Masonry and Stone Veneer
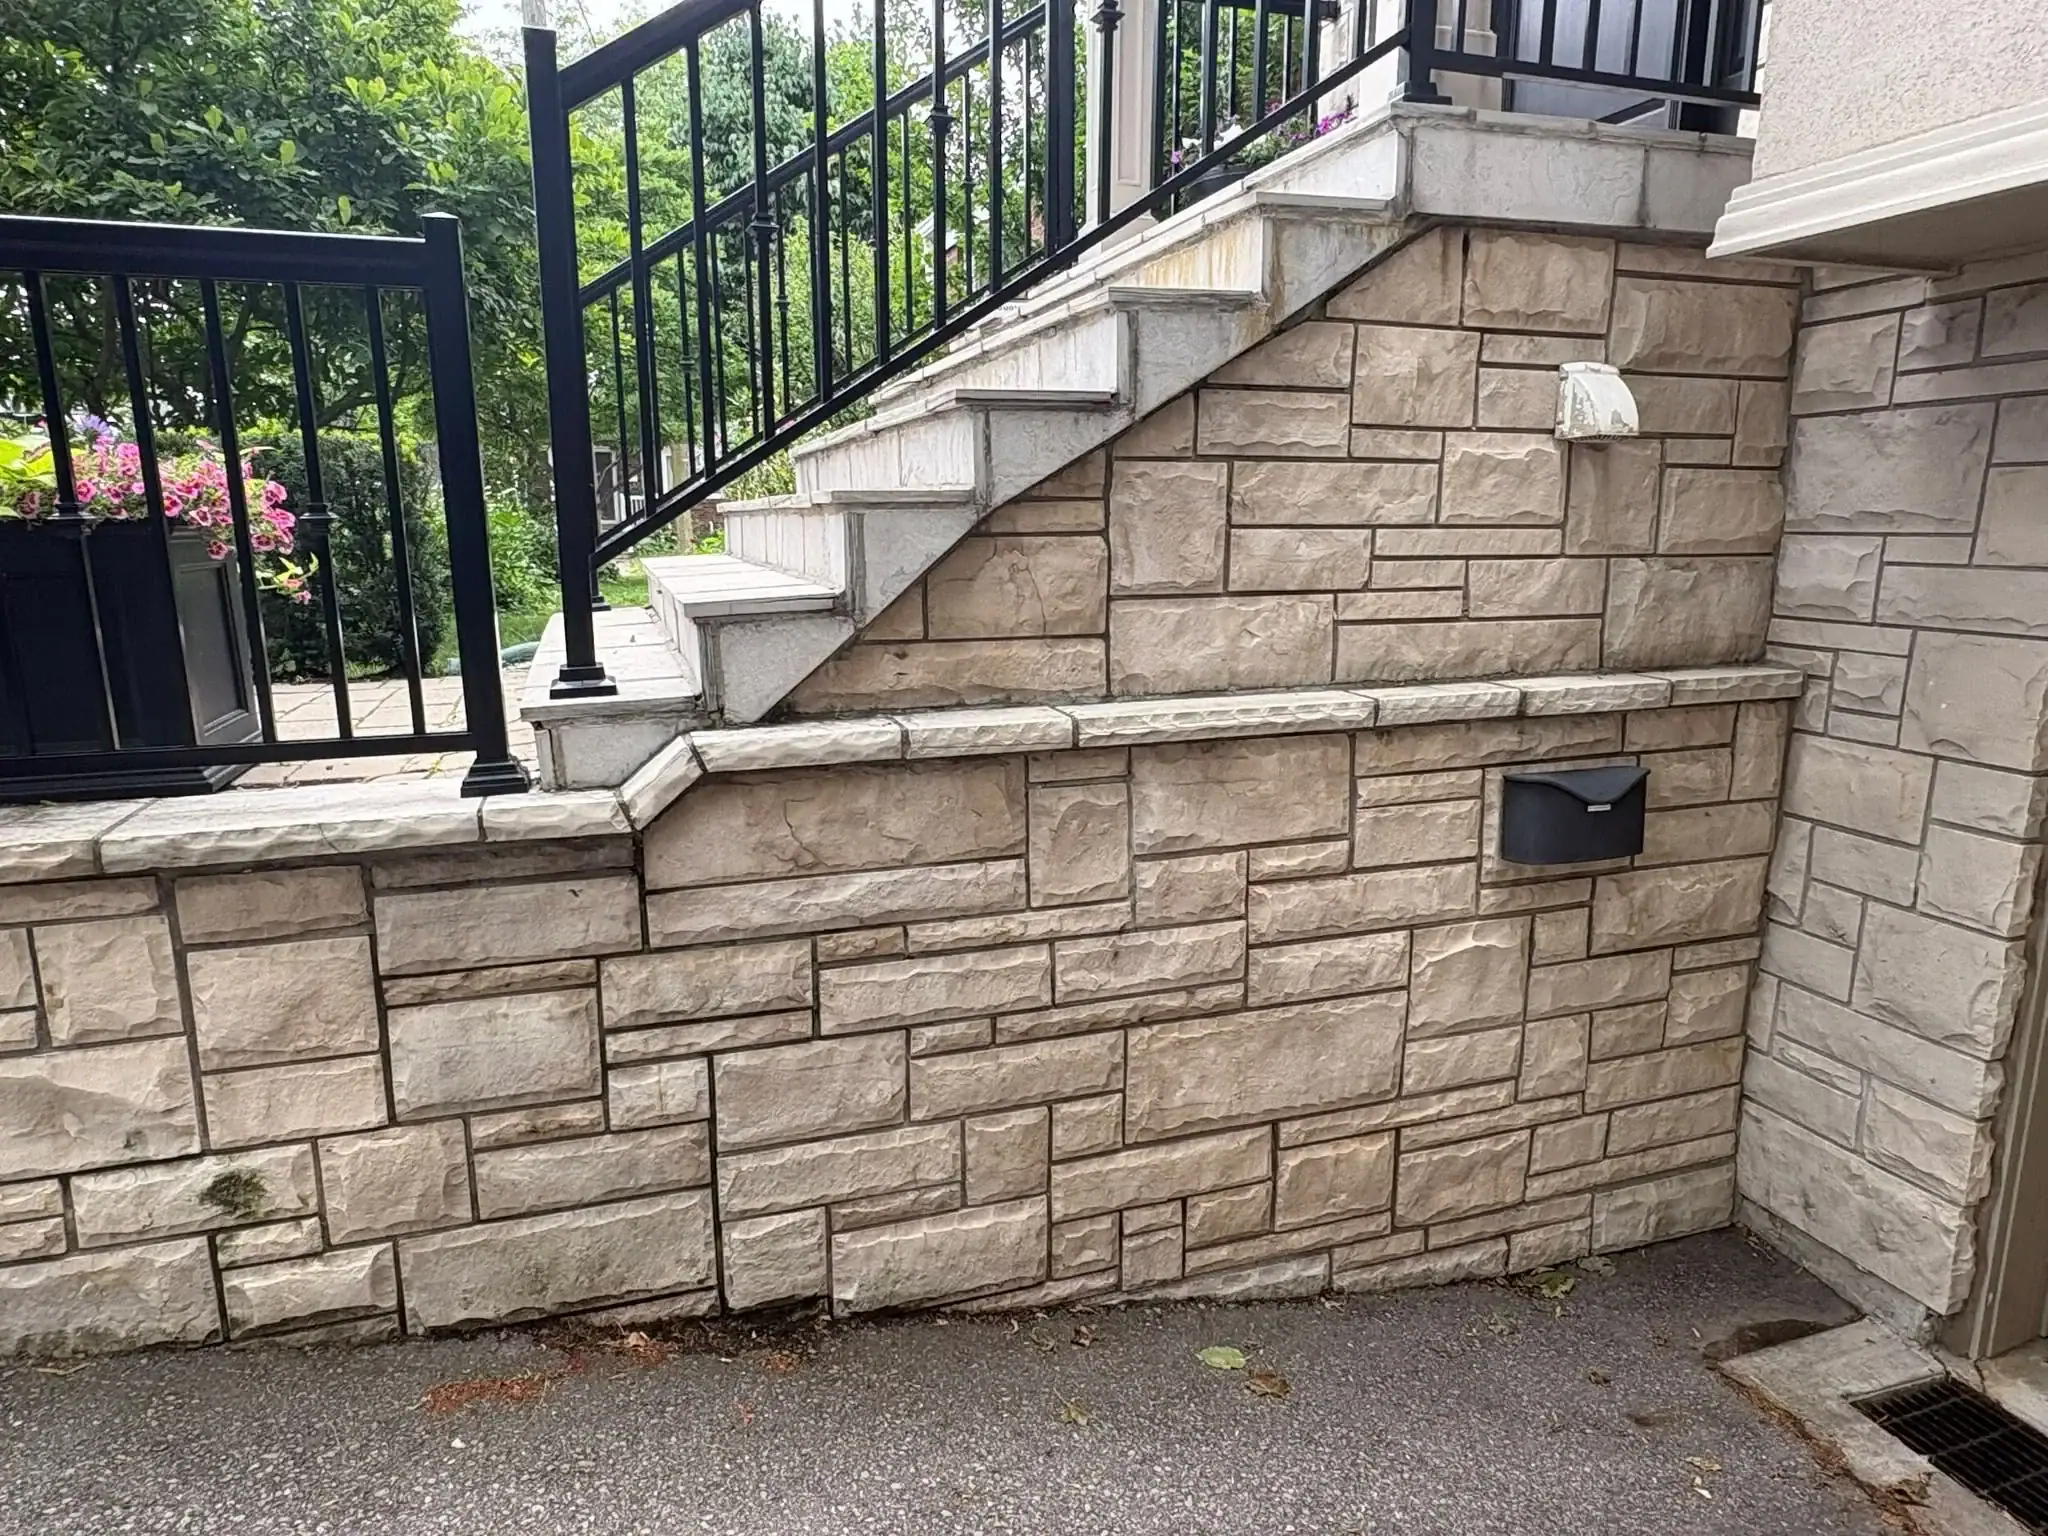
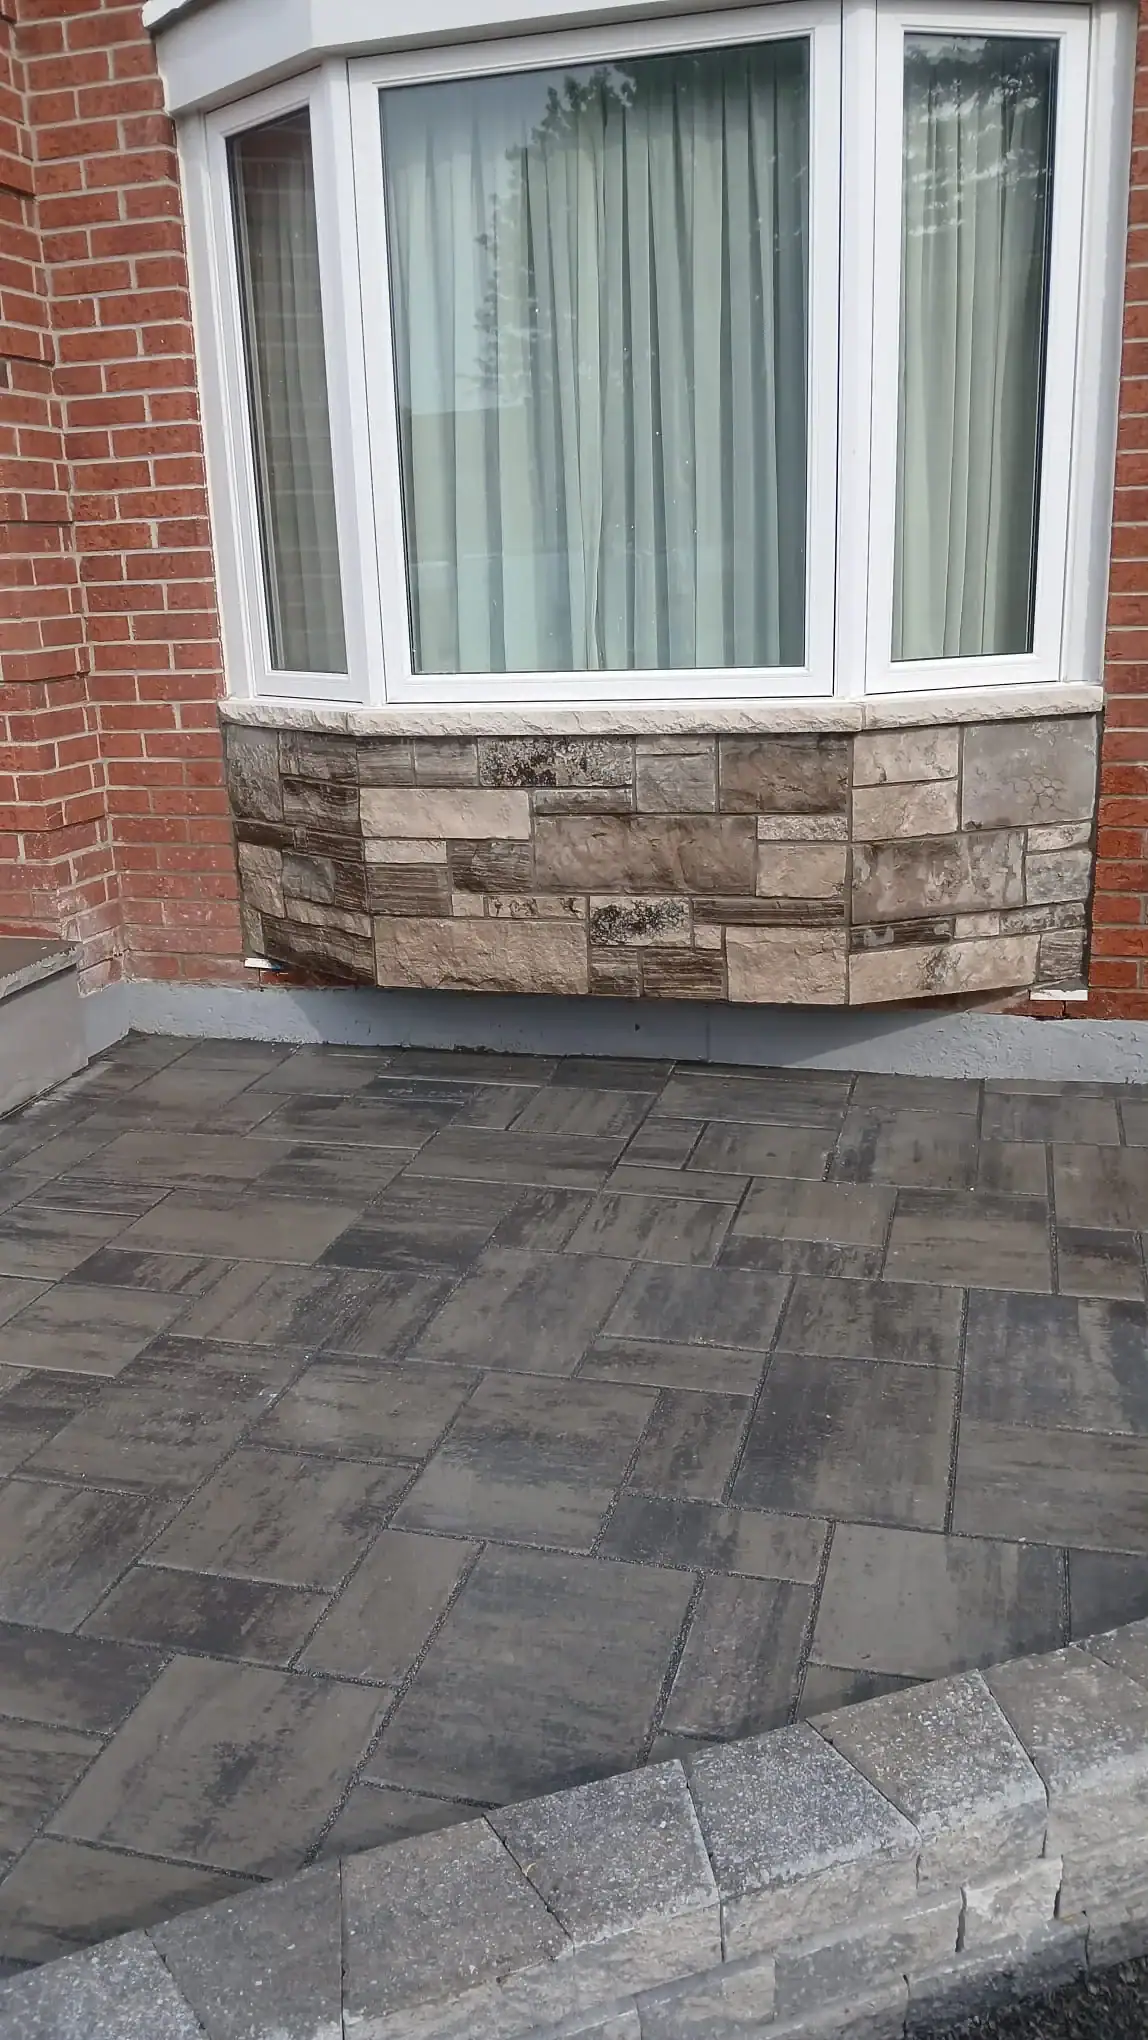
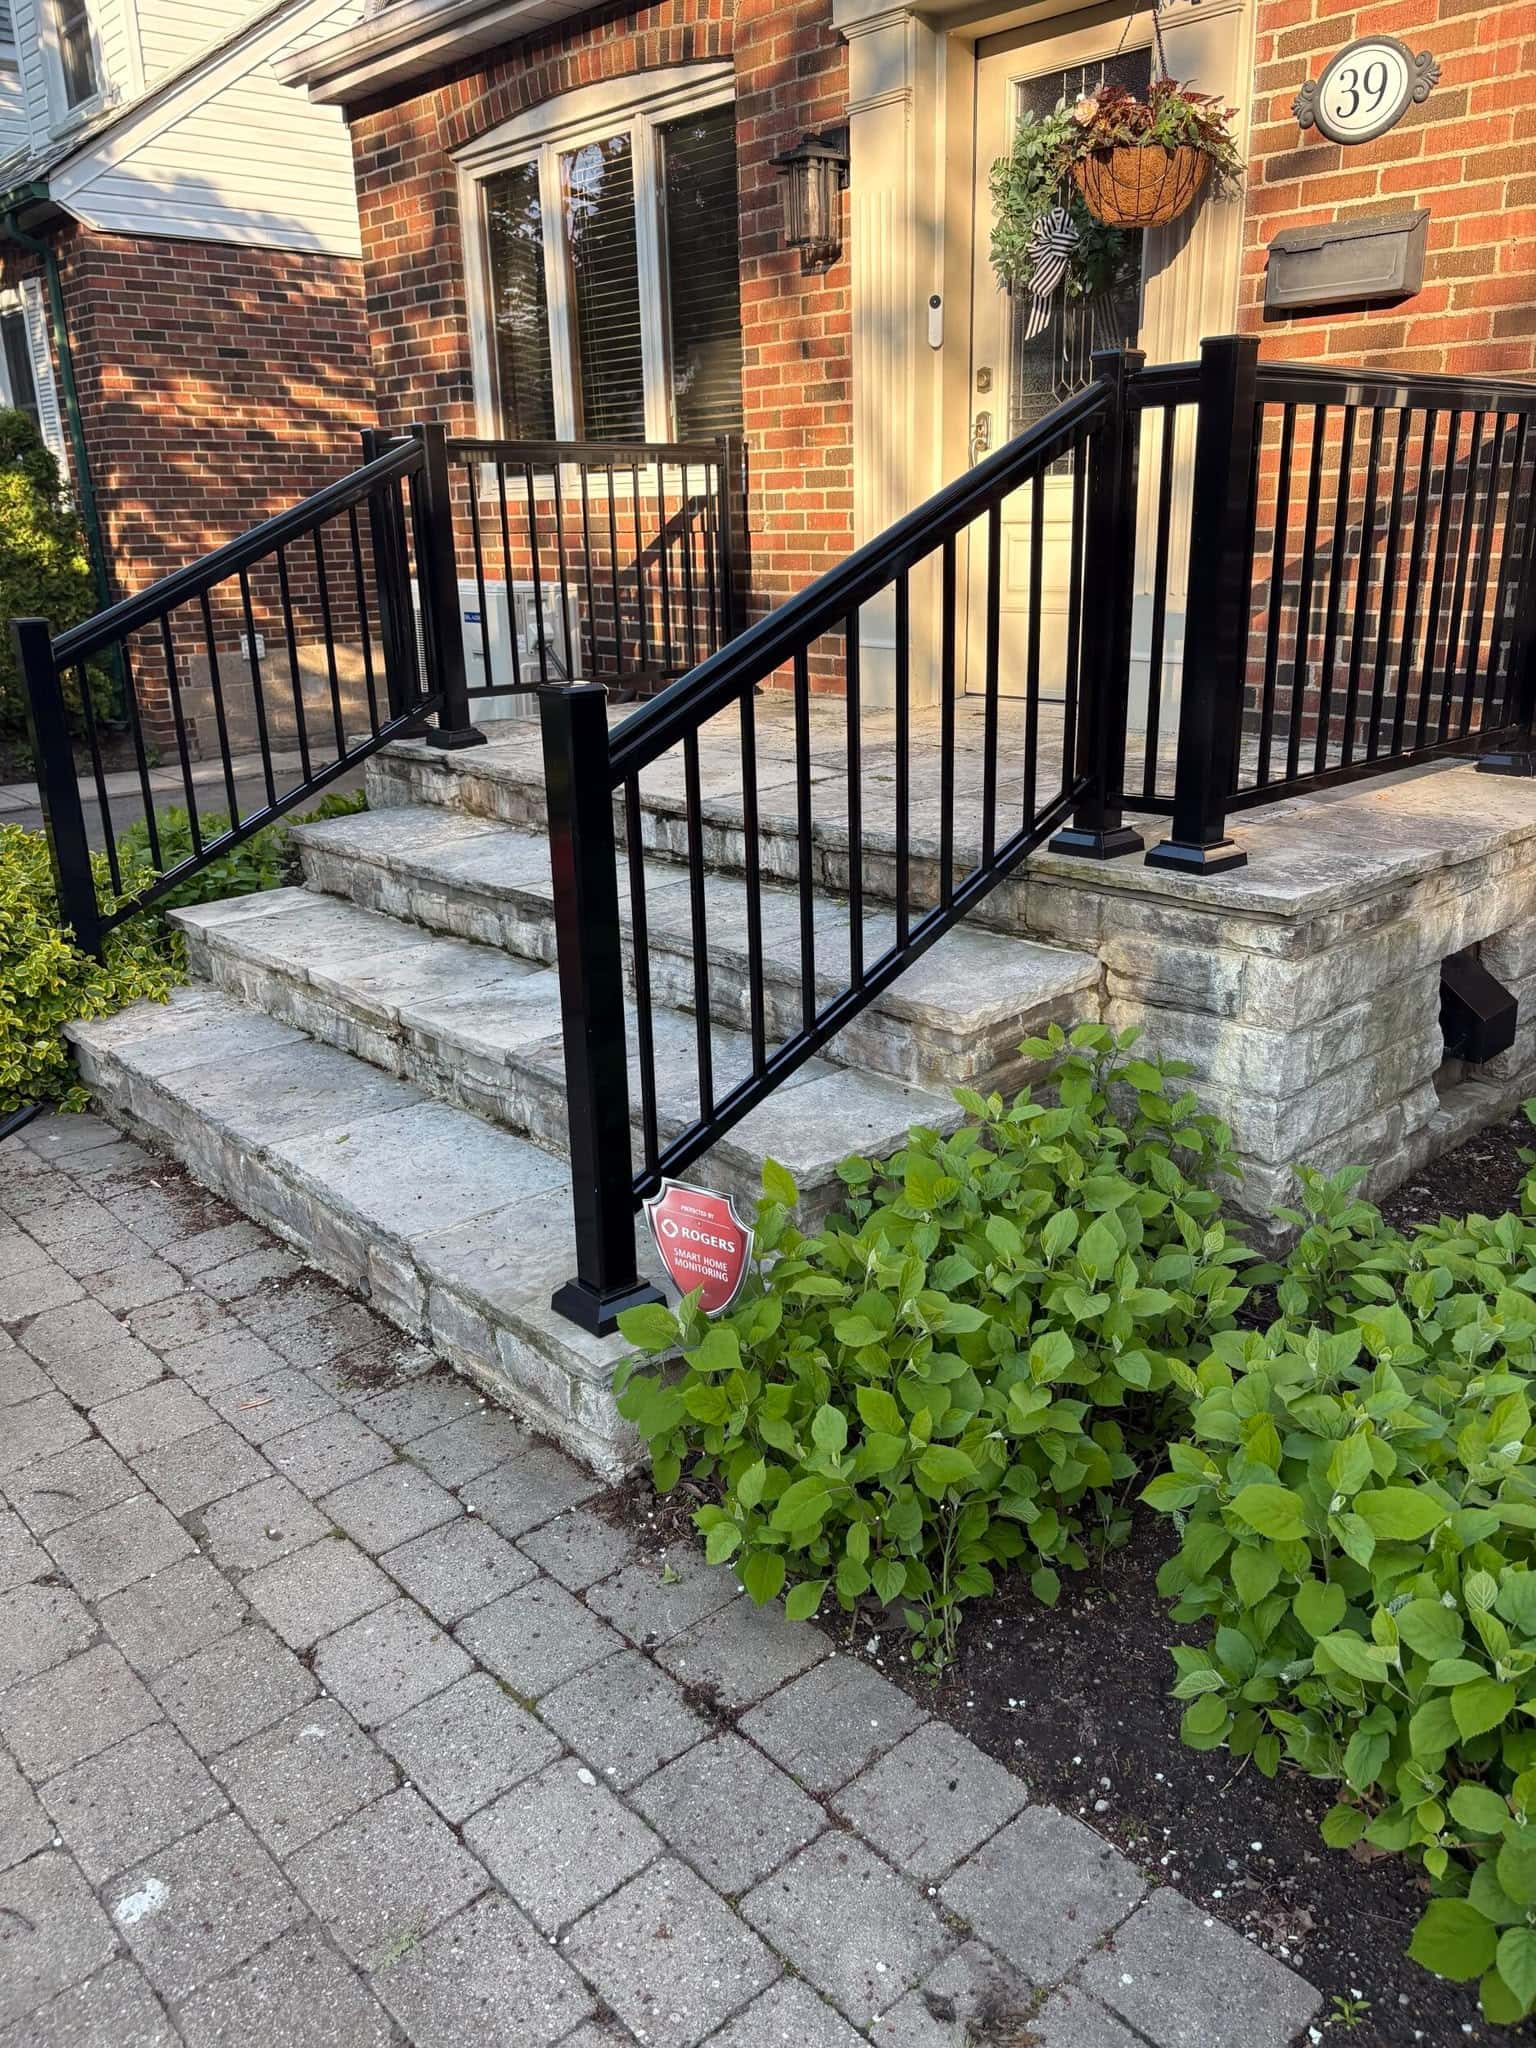
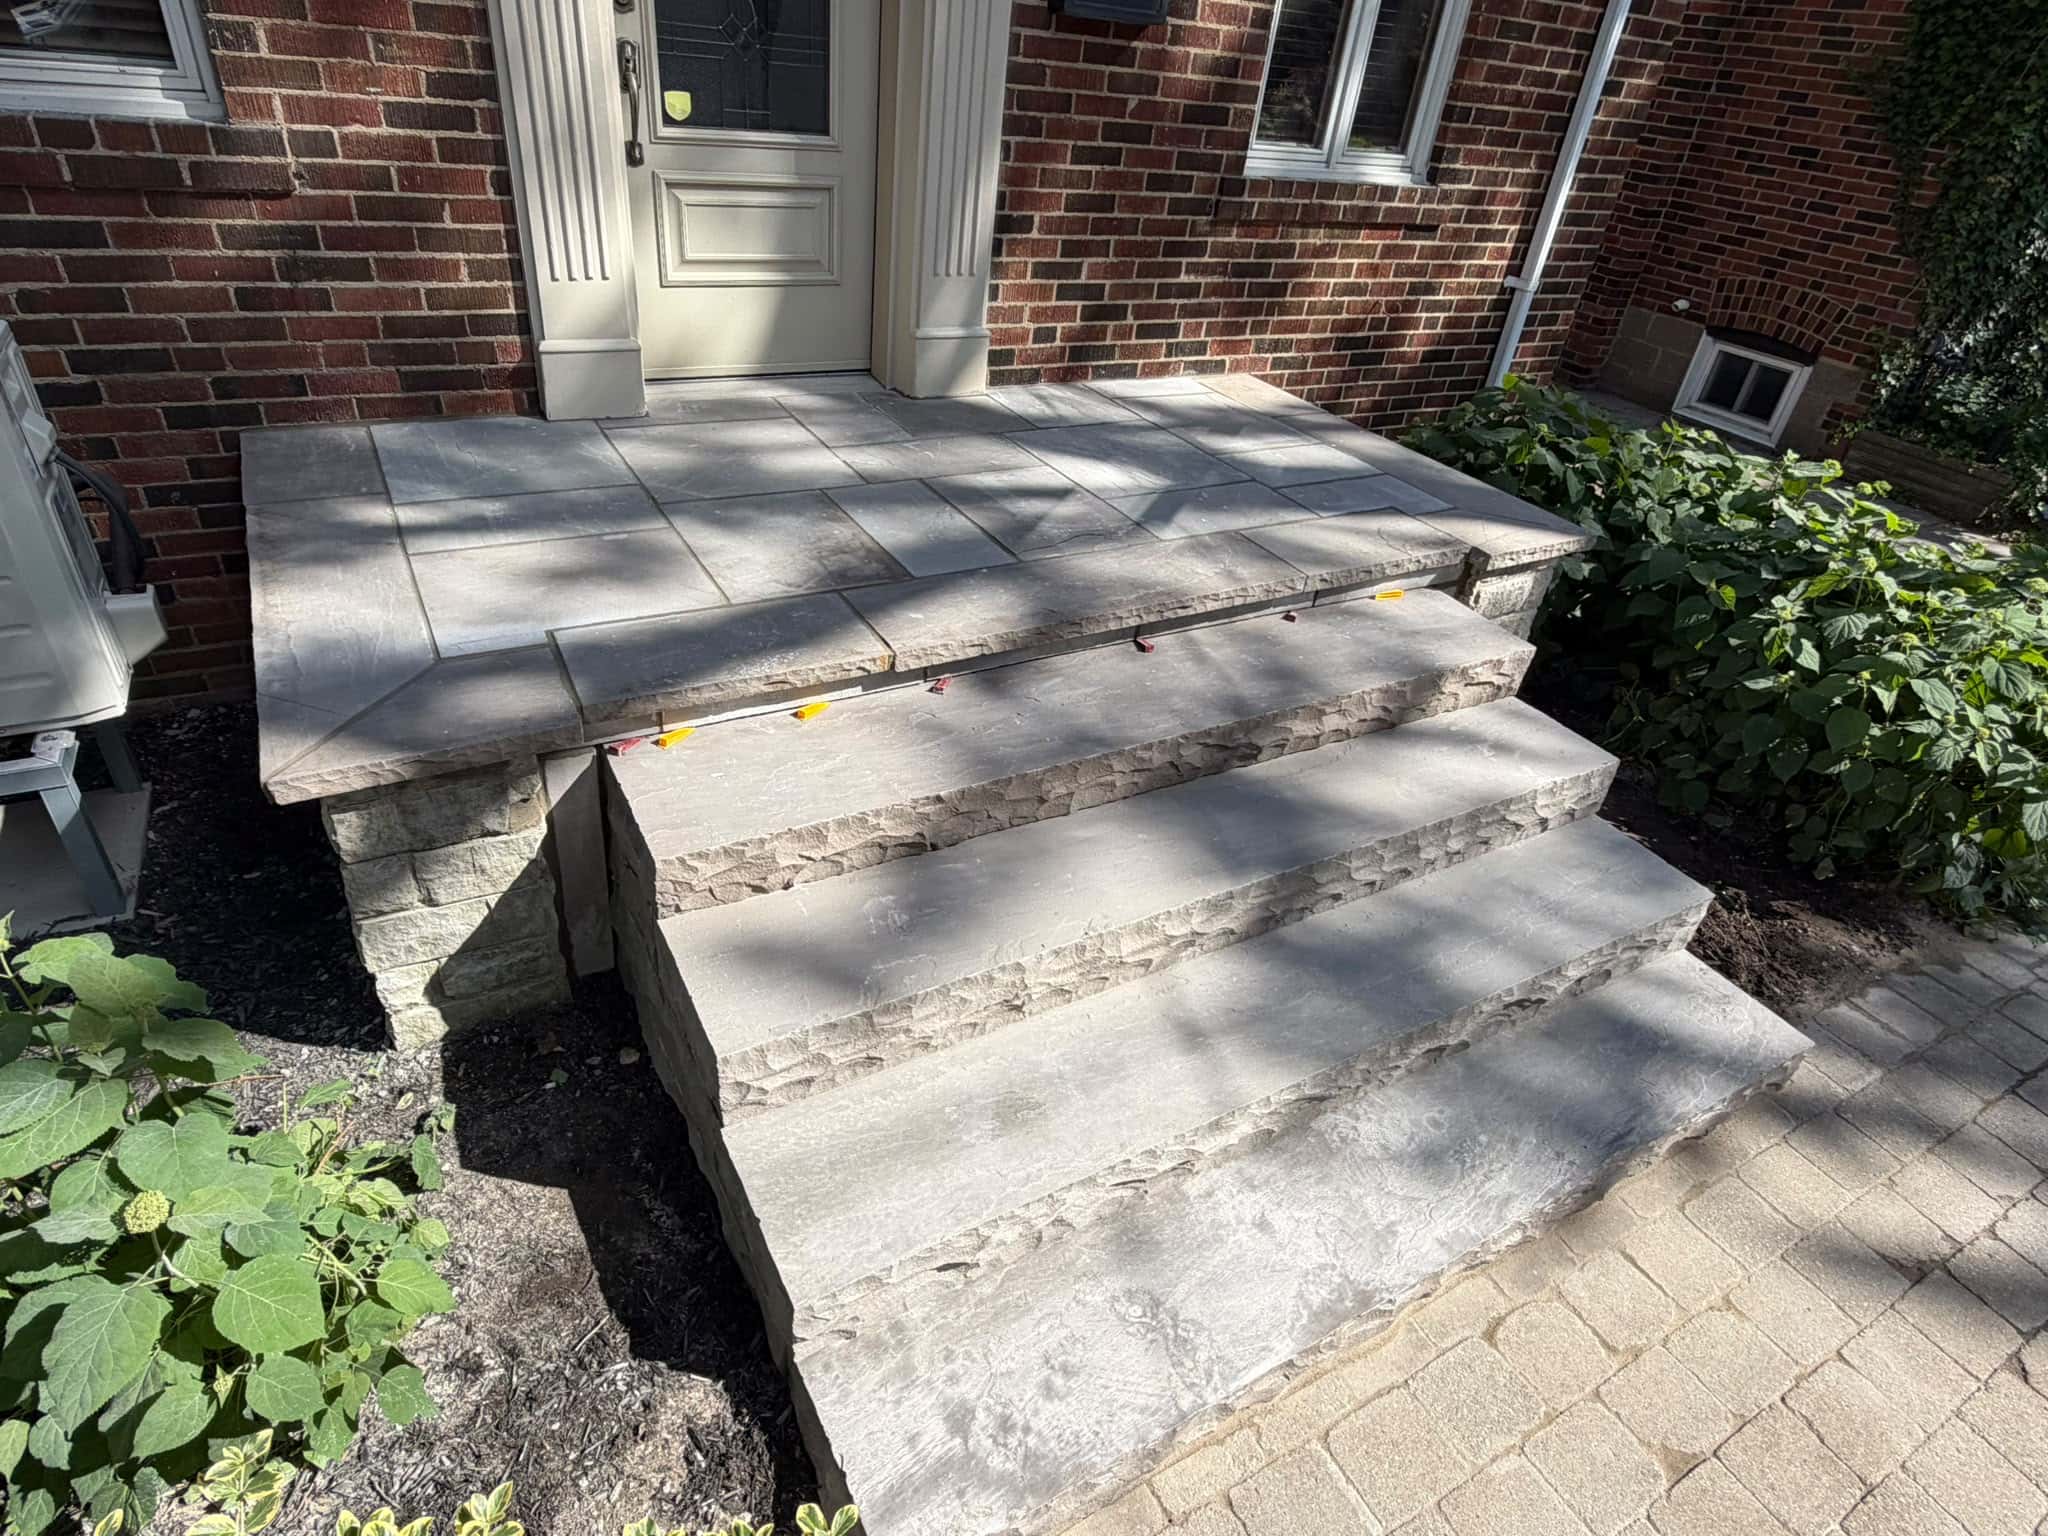
Stone masonry and stone veneer should be checked for cracks, loose units, open joints, staining, and water traps before winter. Stone can be durable, but the joints, backing, caps, and drainage details still matter.
Stone veneer near steps, garden beds, downspouts, and lower walls may be especially vulnerable if water gets behind the surface. Loose veneer should not be ignored because freeze-thaw cycles can widen gaps and increase separation.
Natural stone walls, garden walls, and retaining features should also be checked for leaning, missing mortar joints, loose caps, and drainage issues. A stone wall that holds back soil needs more than a good-looking face. It needs water pressure management.
If cracks appear in stone veneer before winter, A&A Masonry’s guide on how to handle cracks in stone veneer explains how to tell whether cracks may be cosmetic, moisture-related, or movement-related.
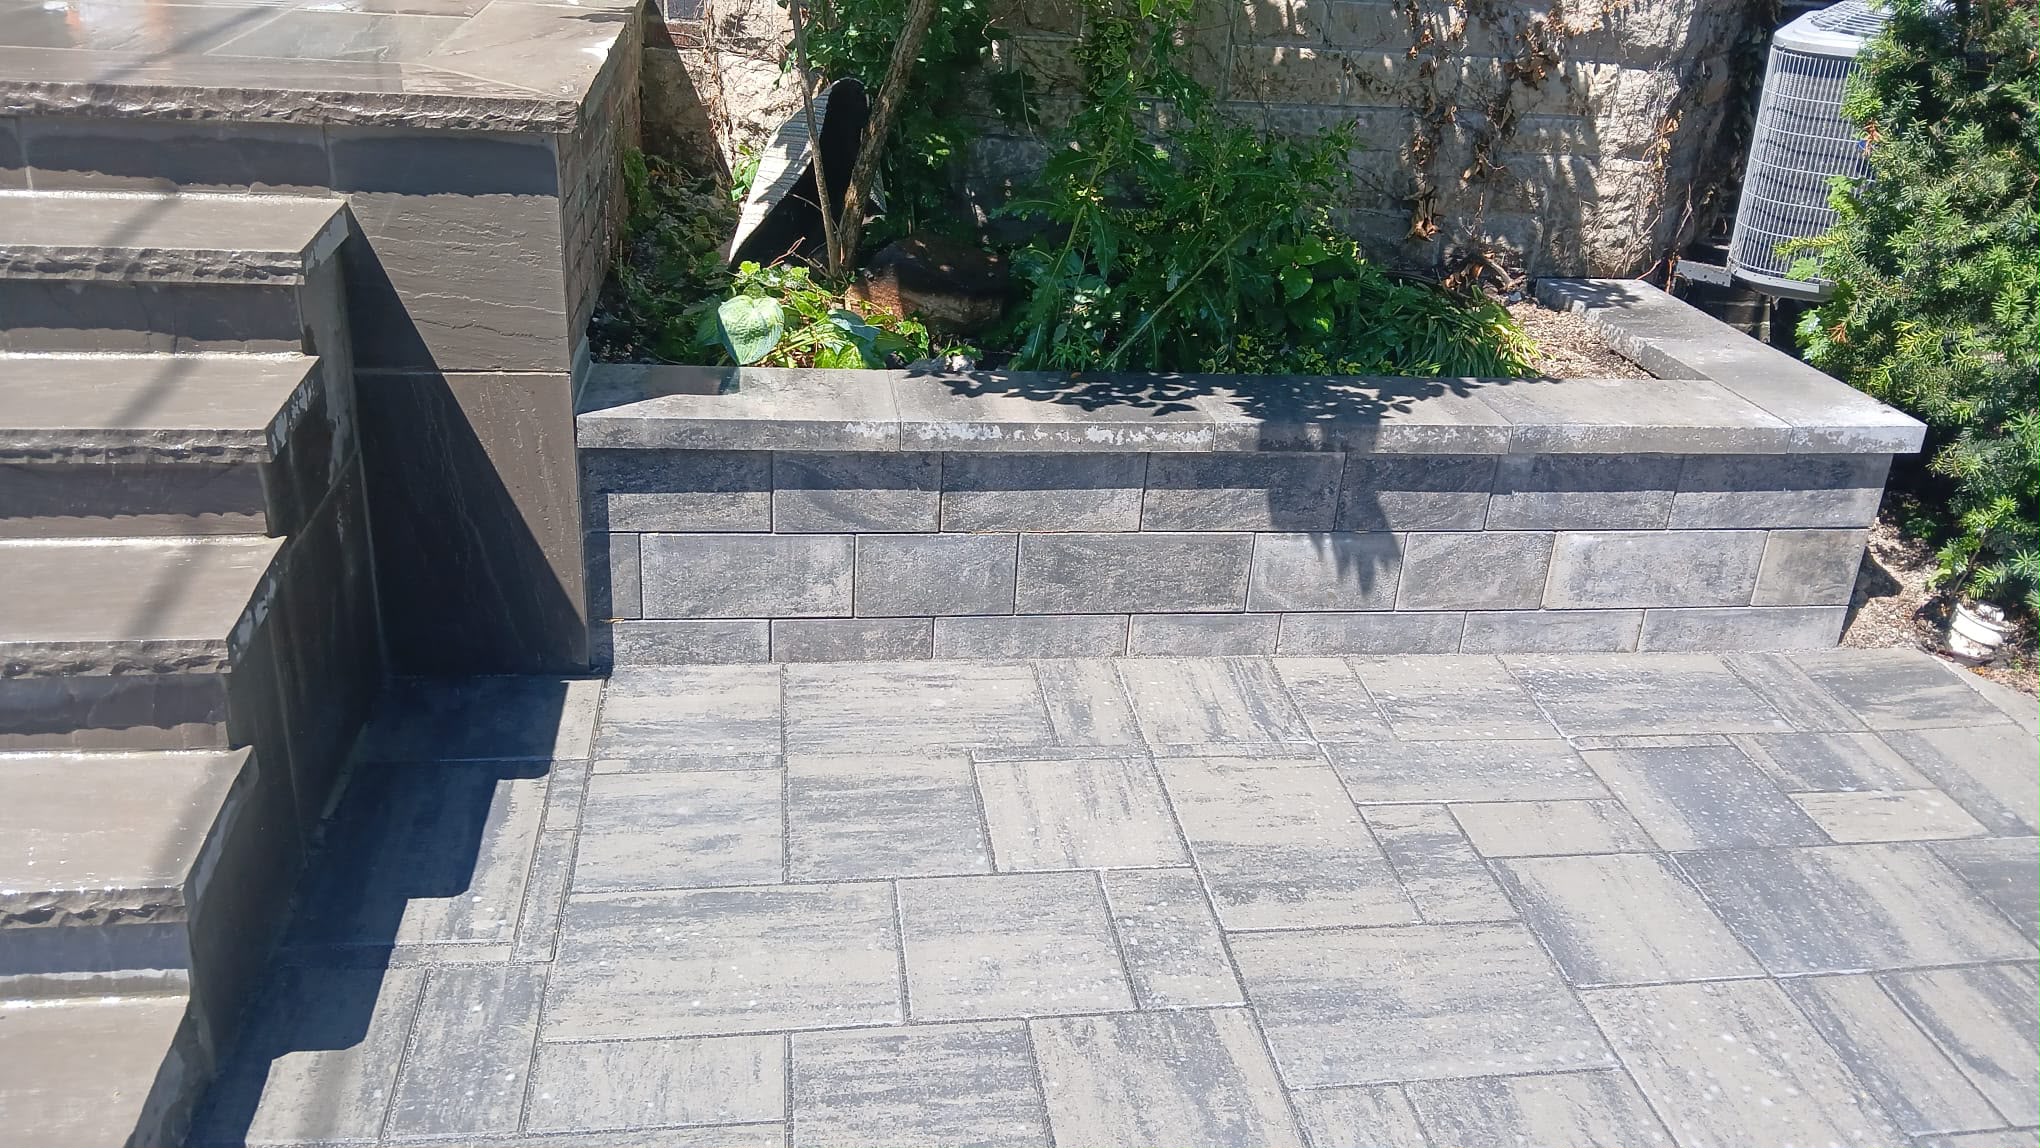
Check Retaining Walls and Garden Masonry
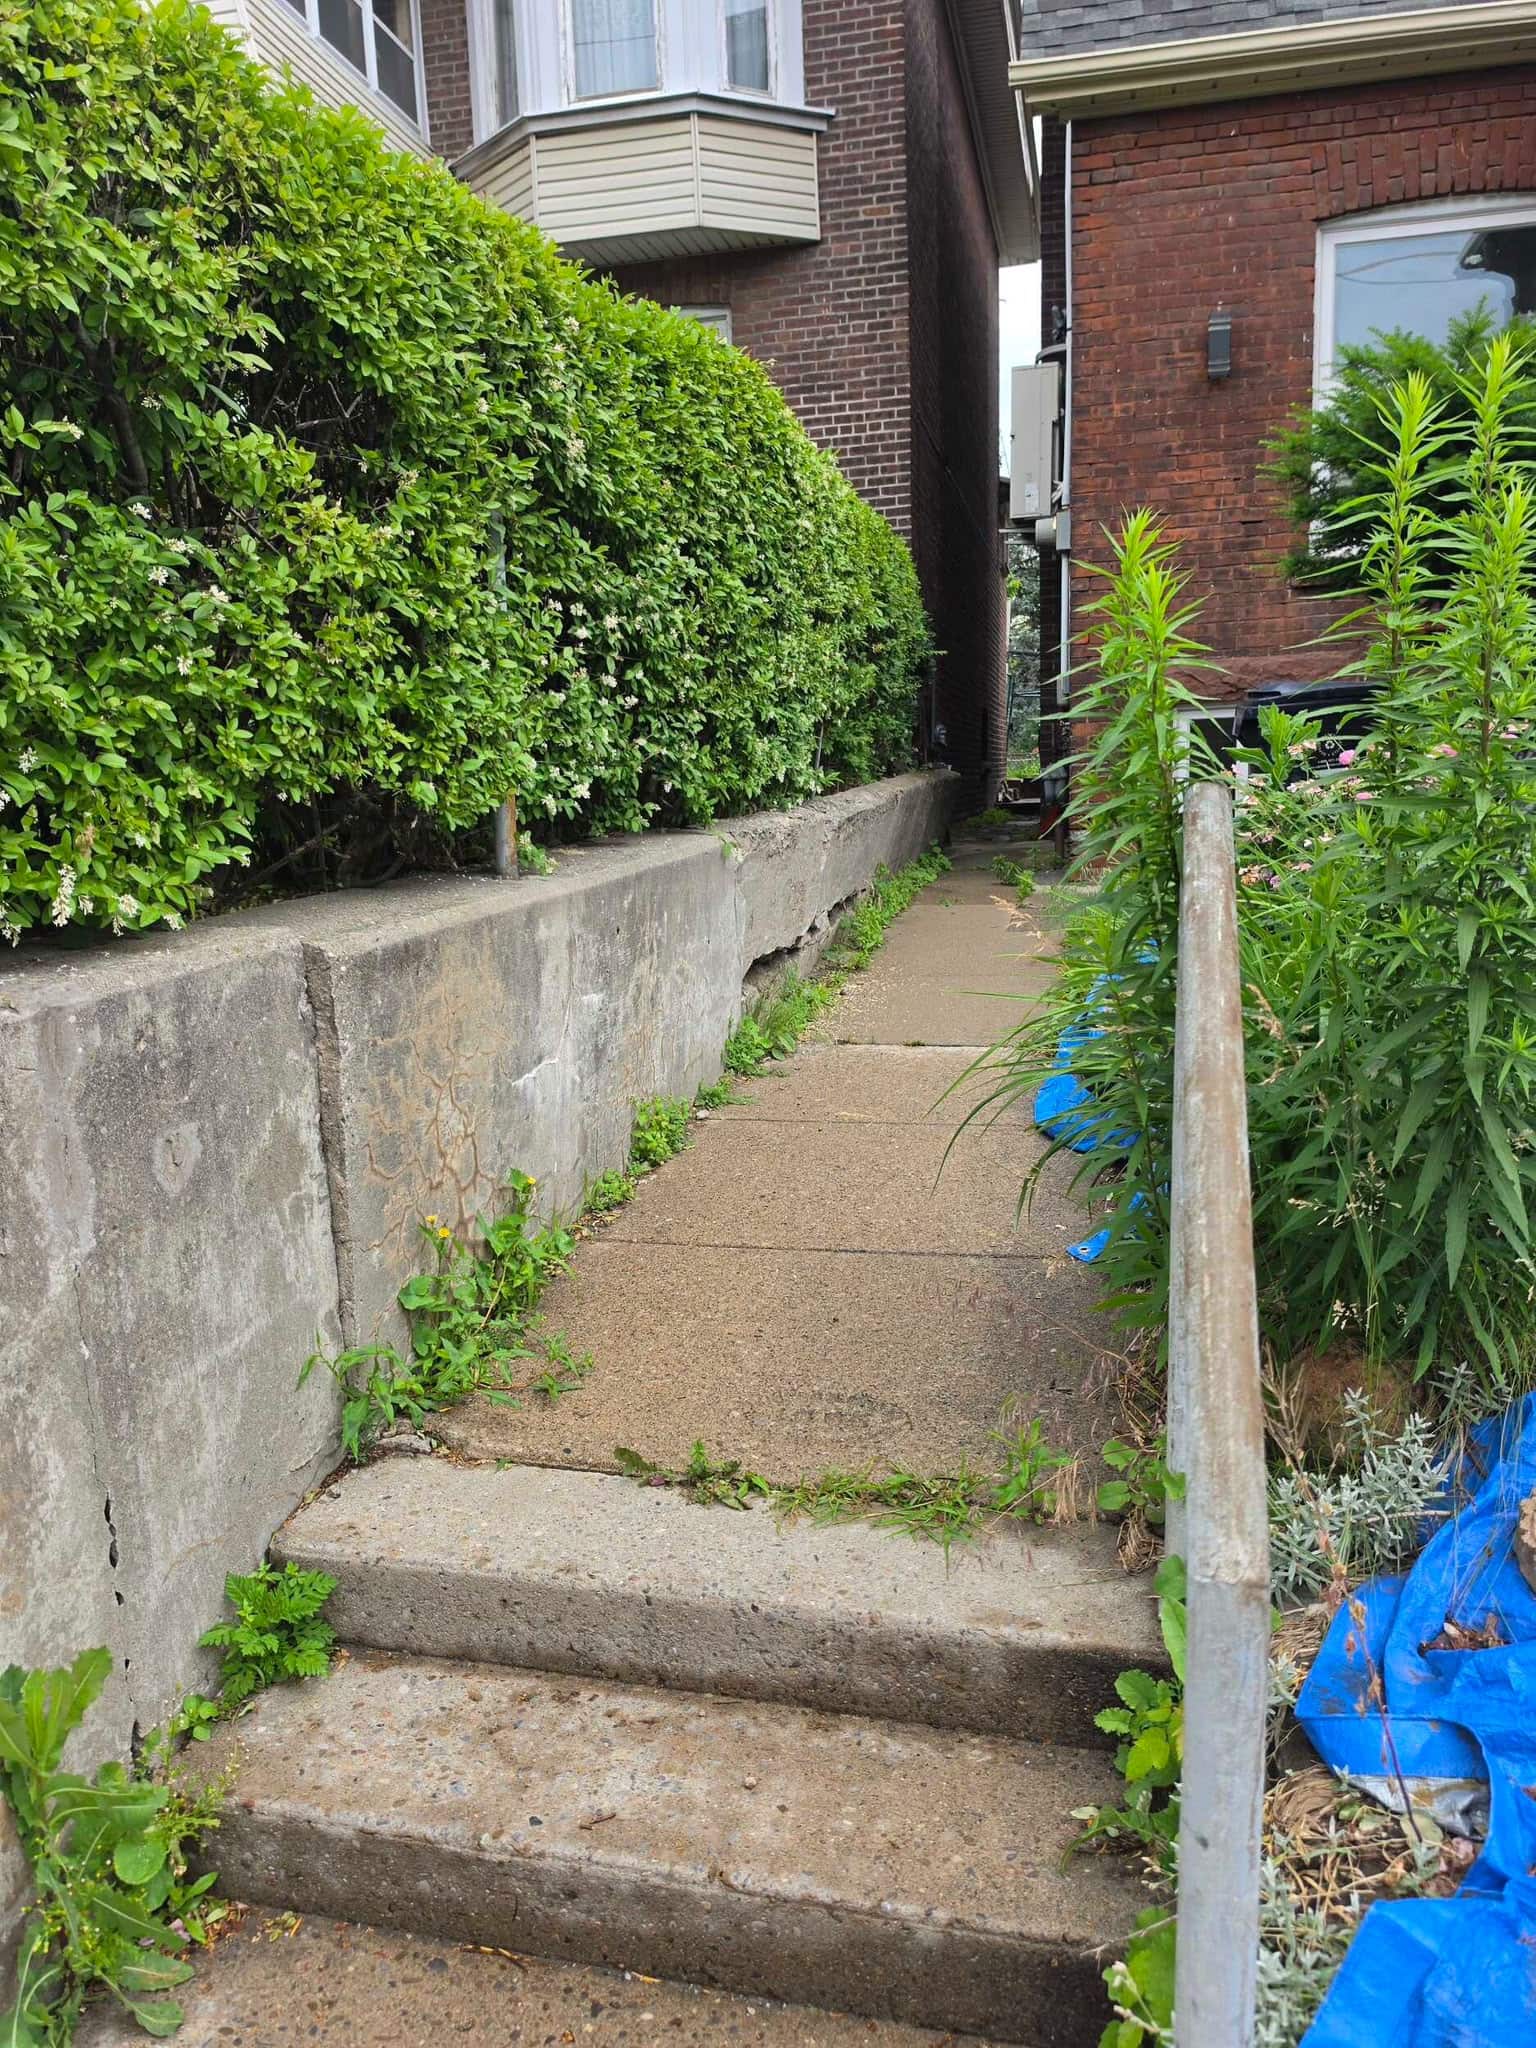
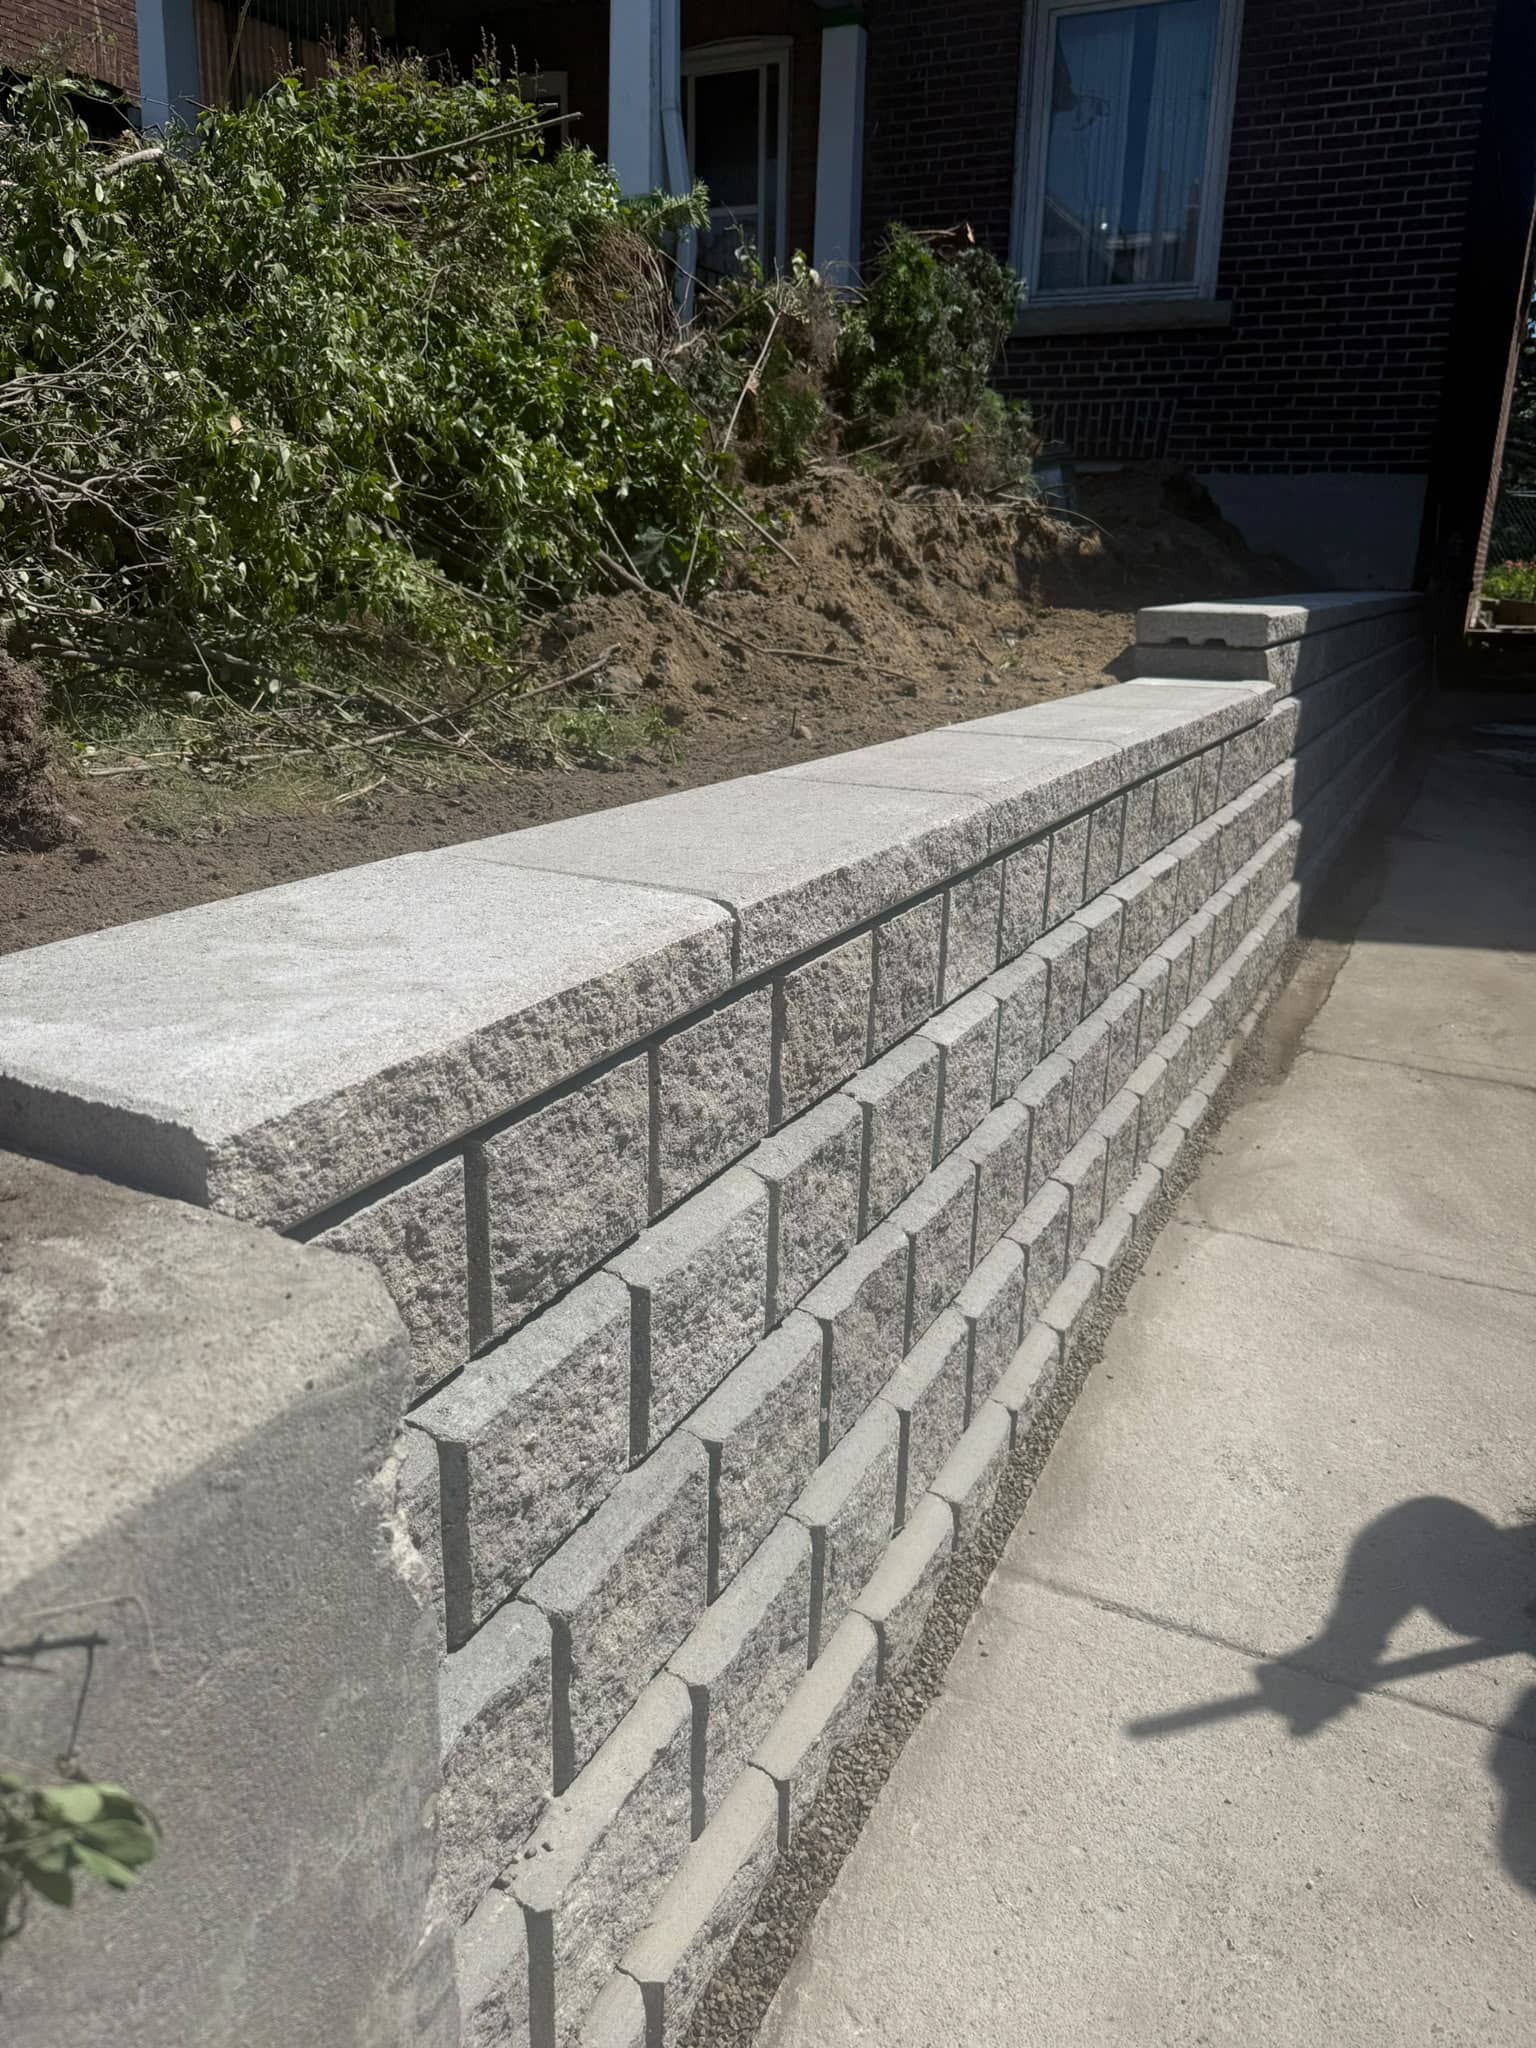
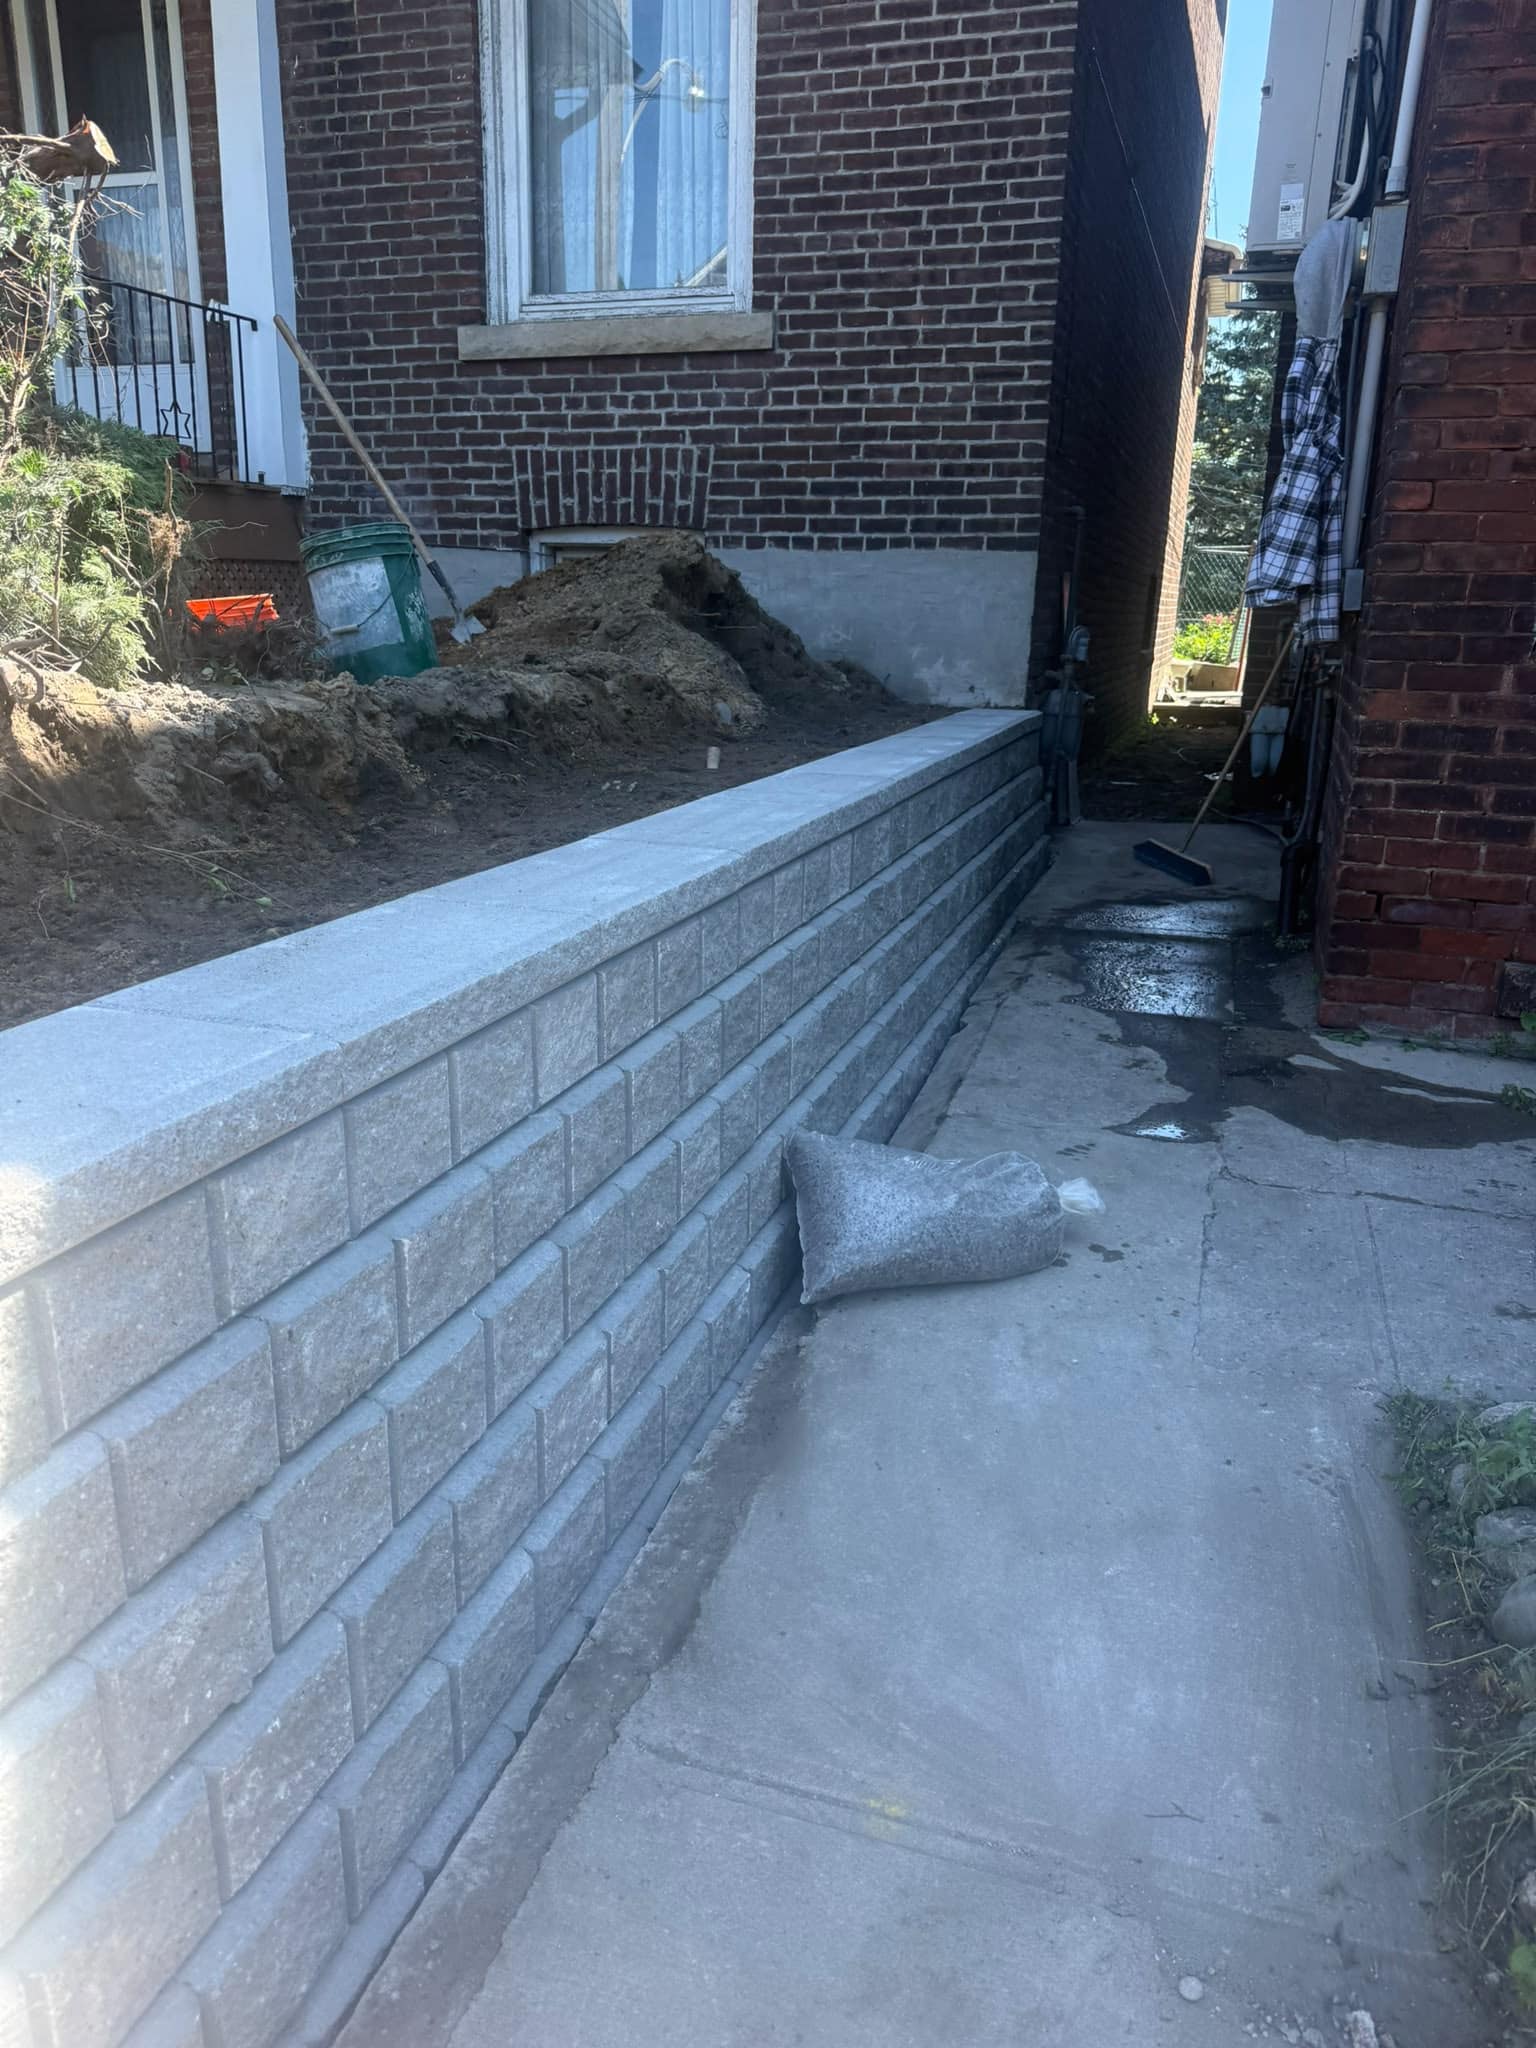
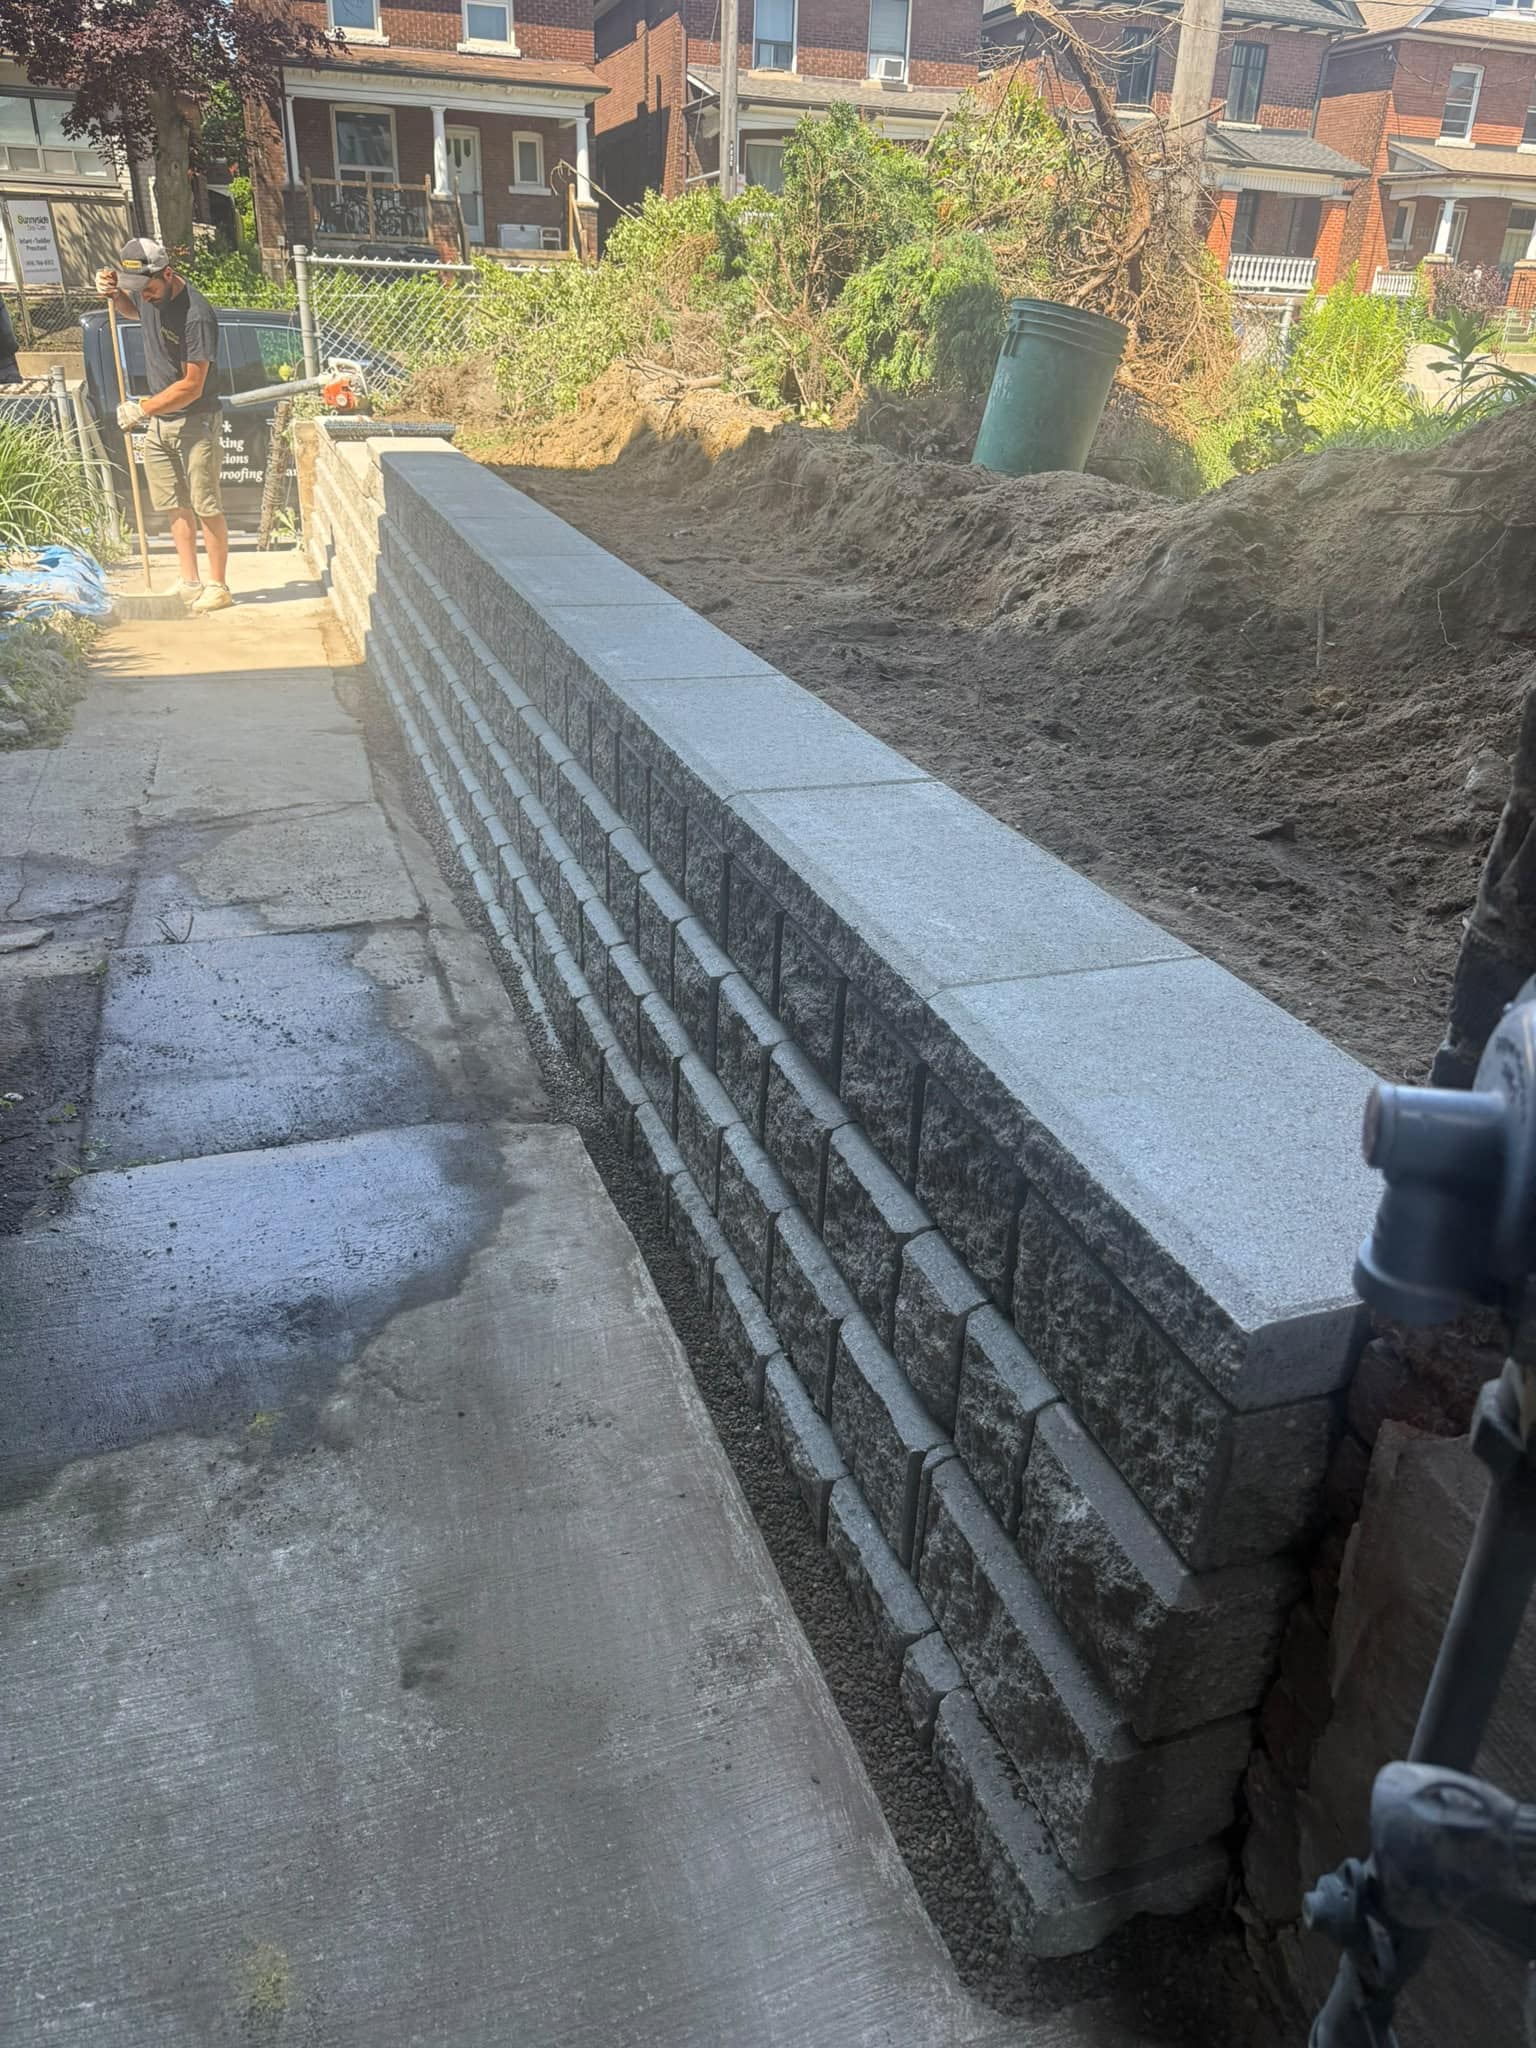
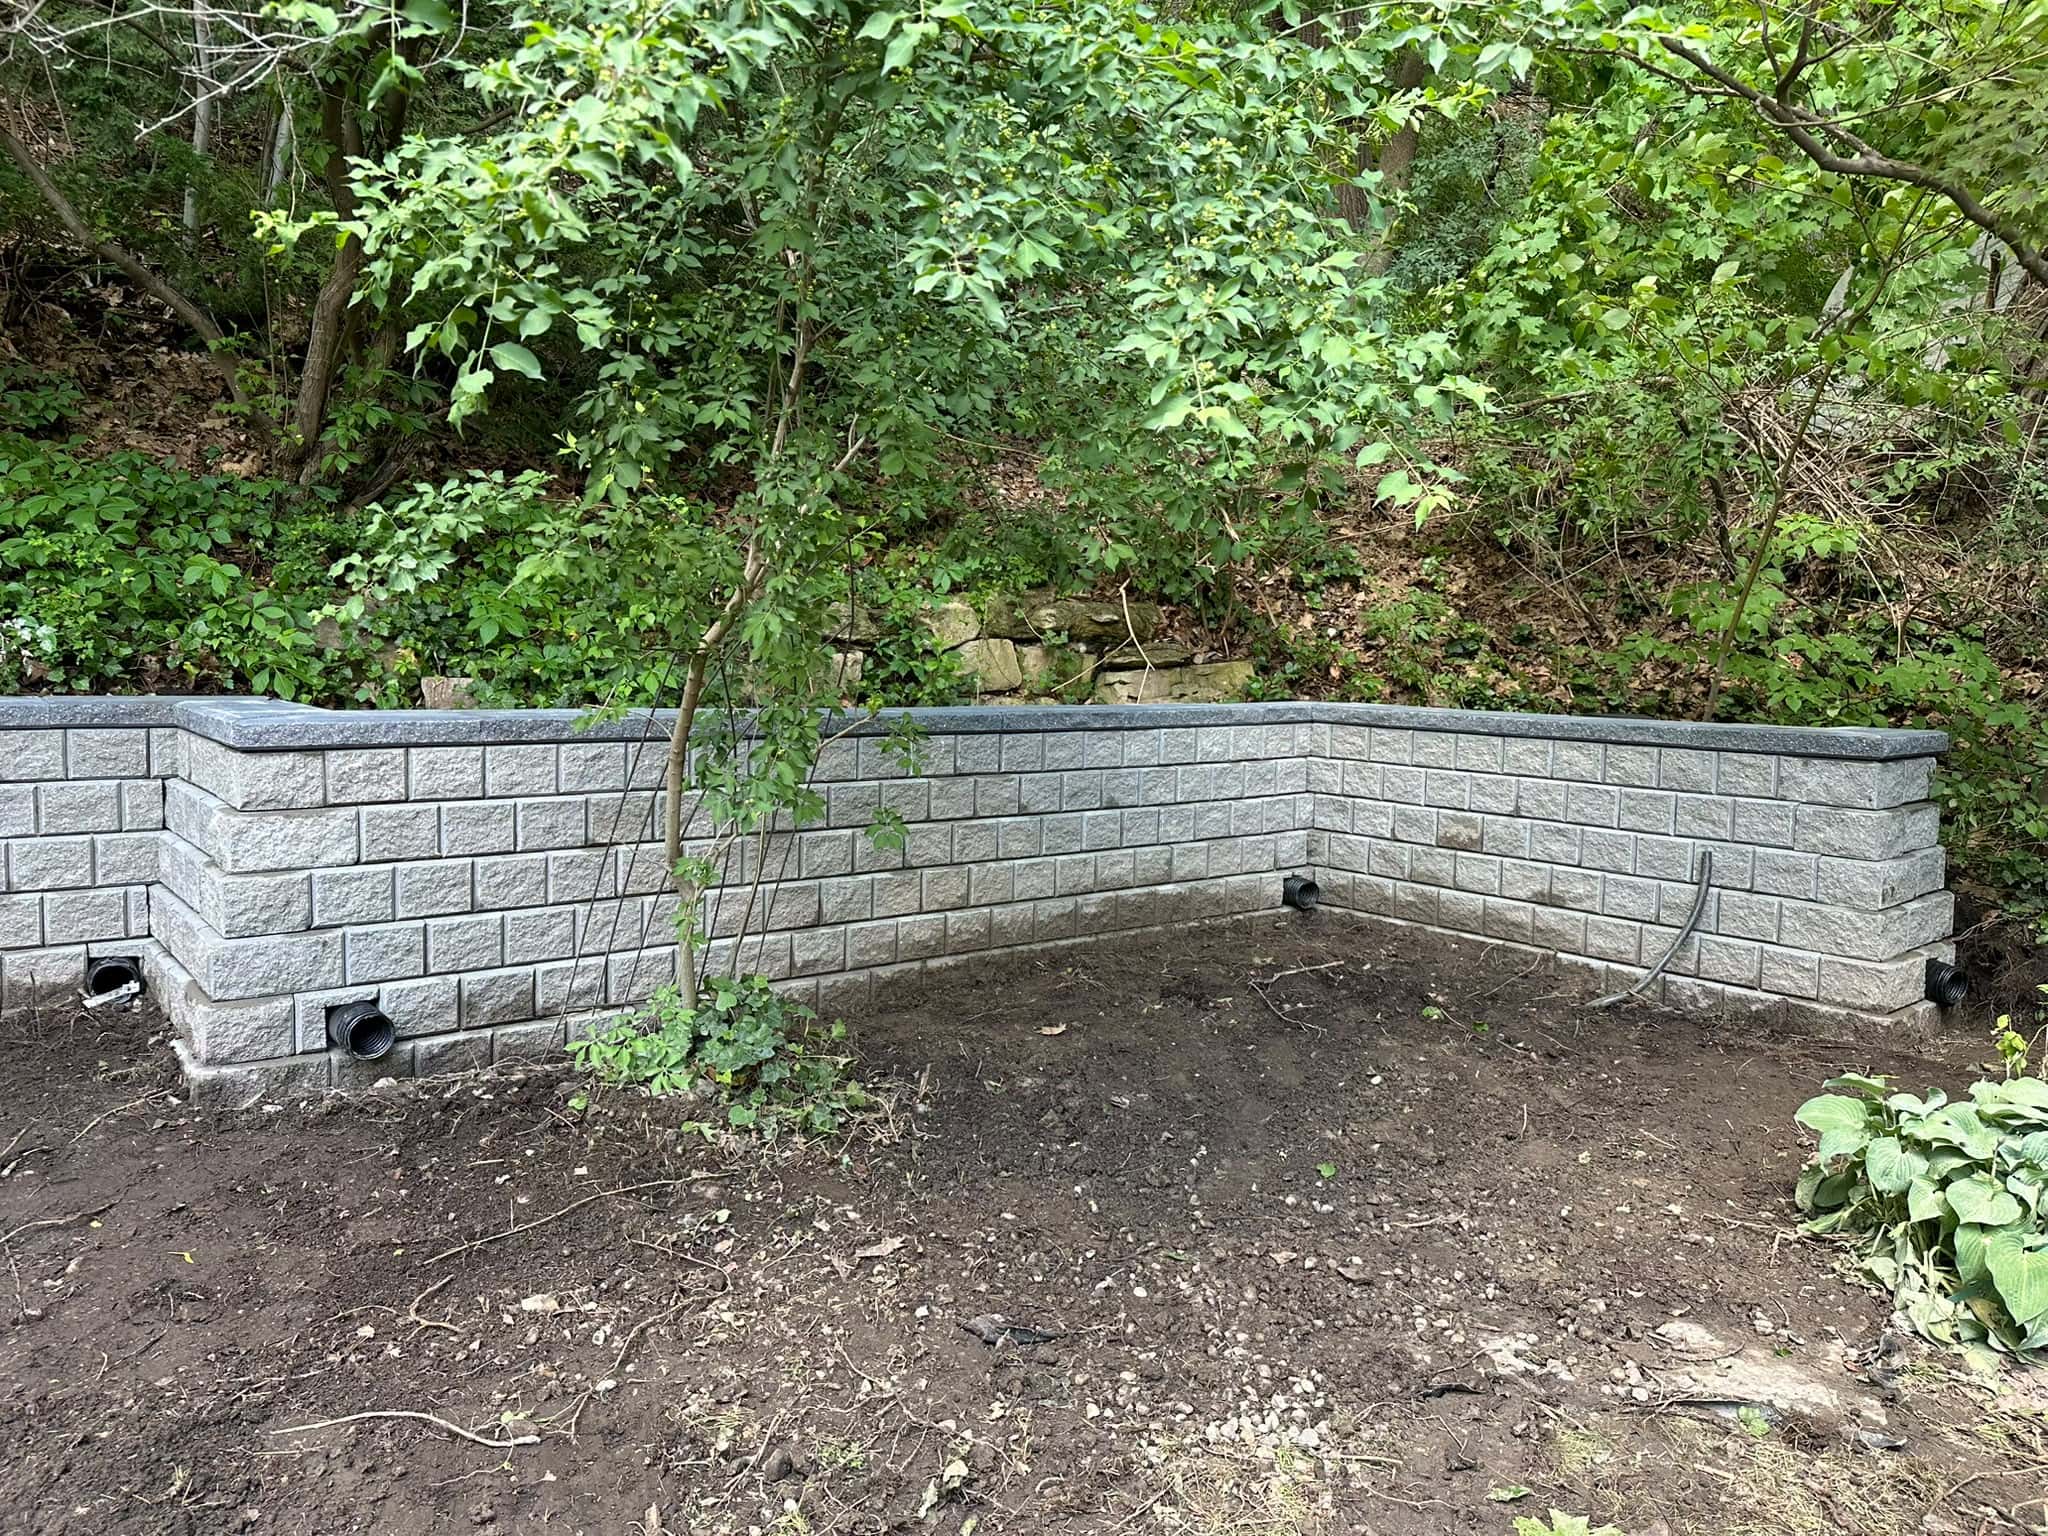
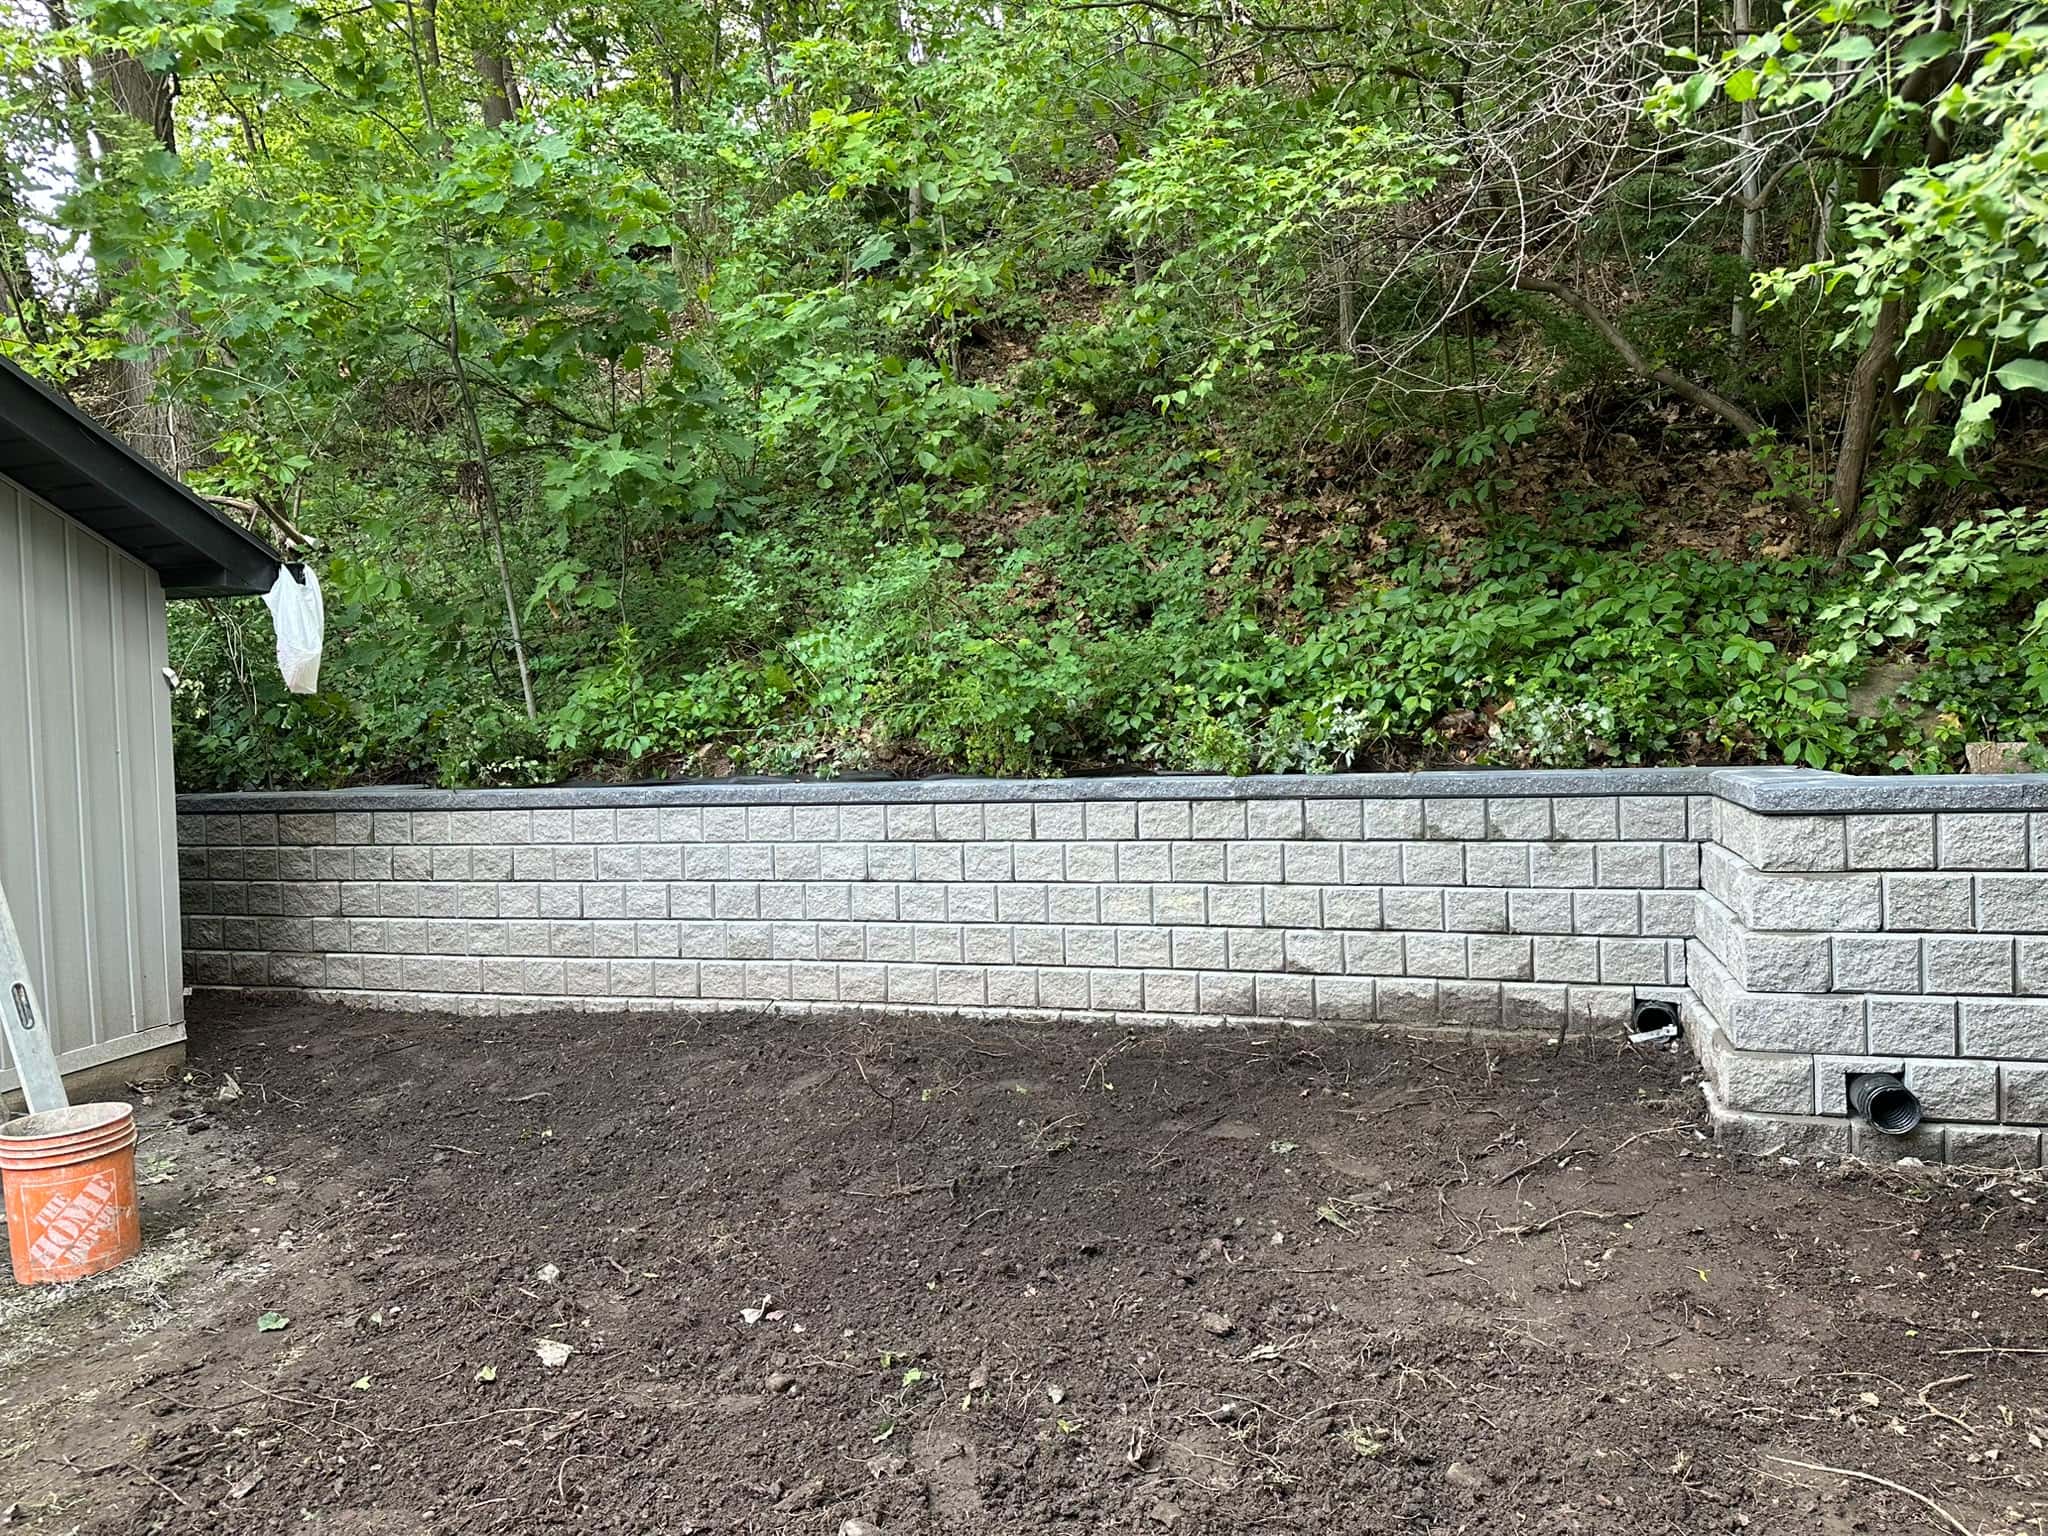
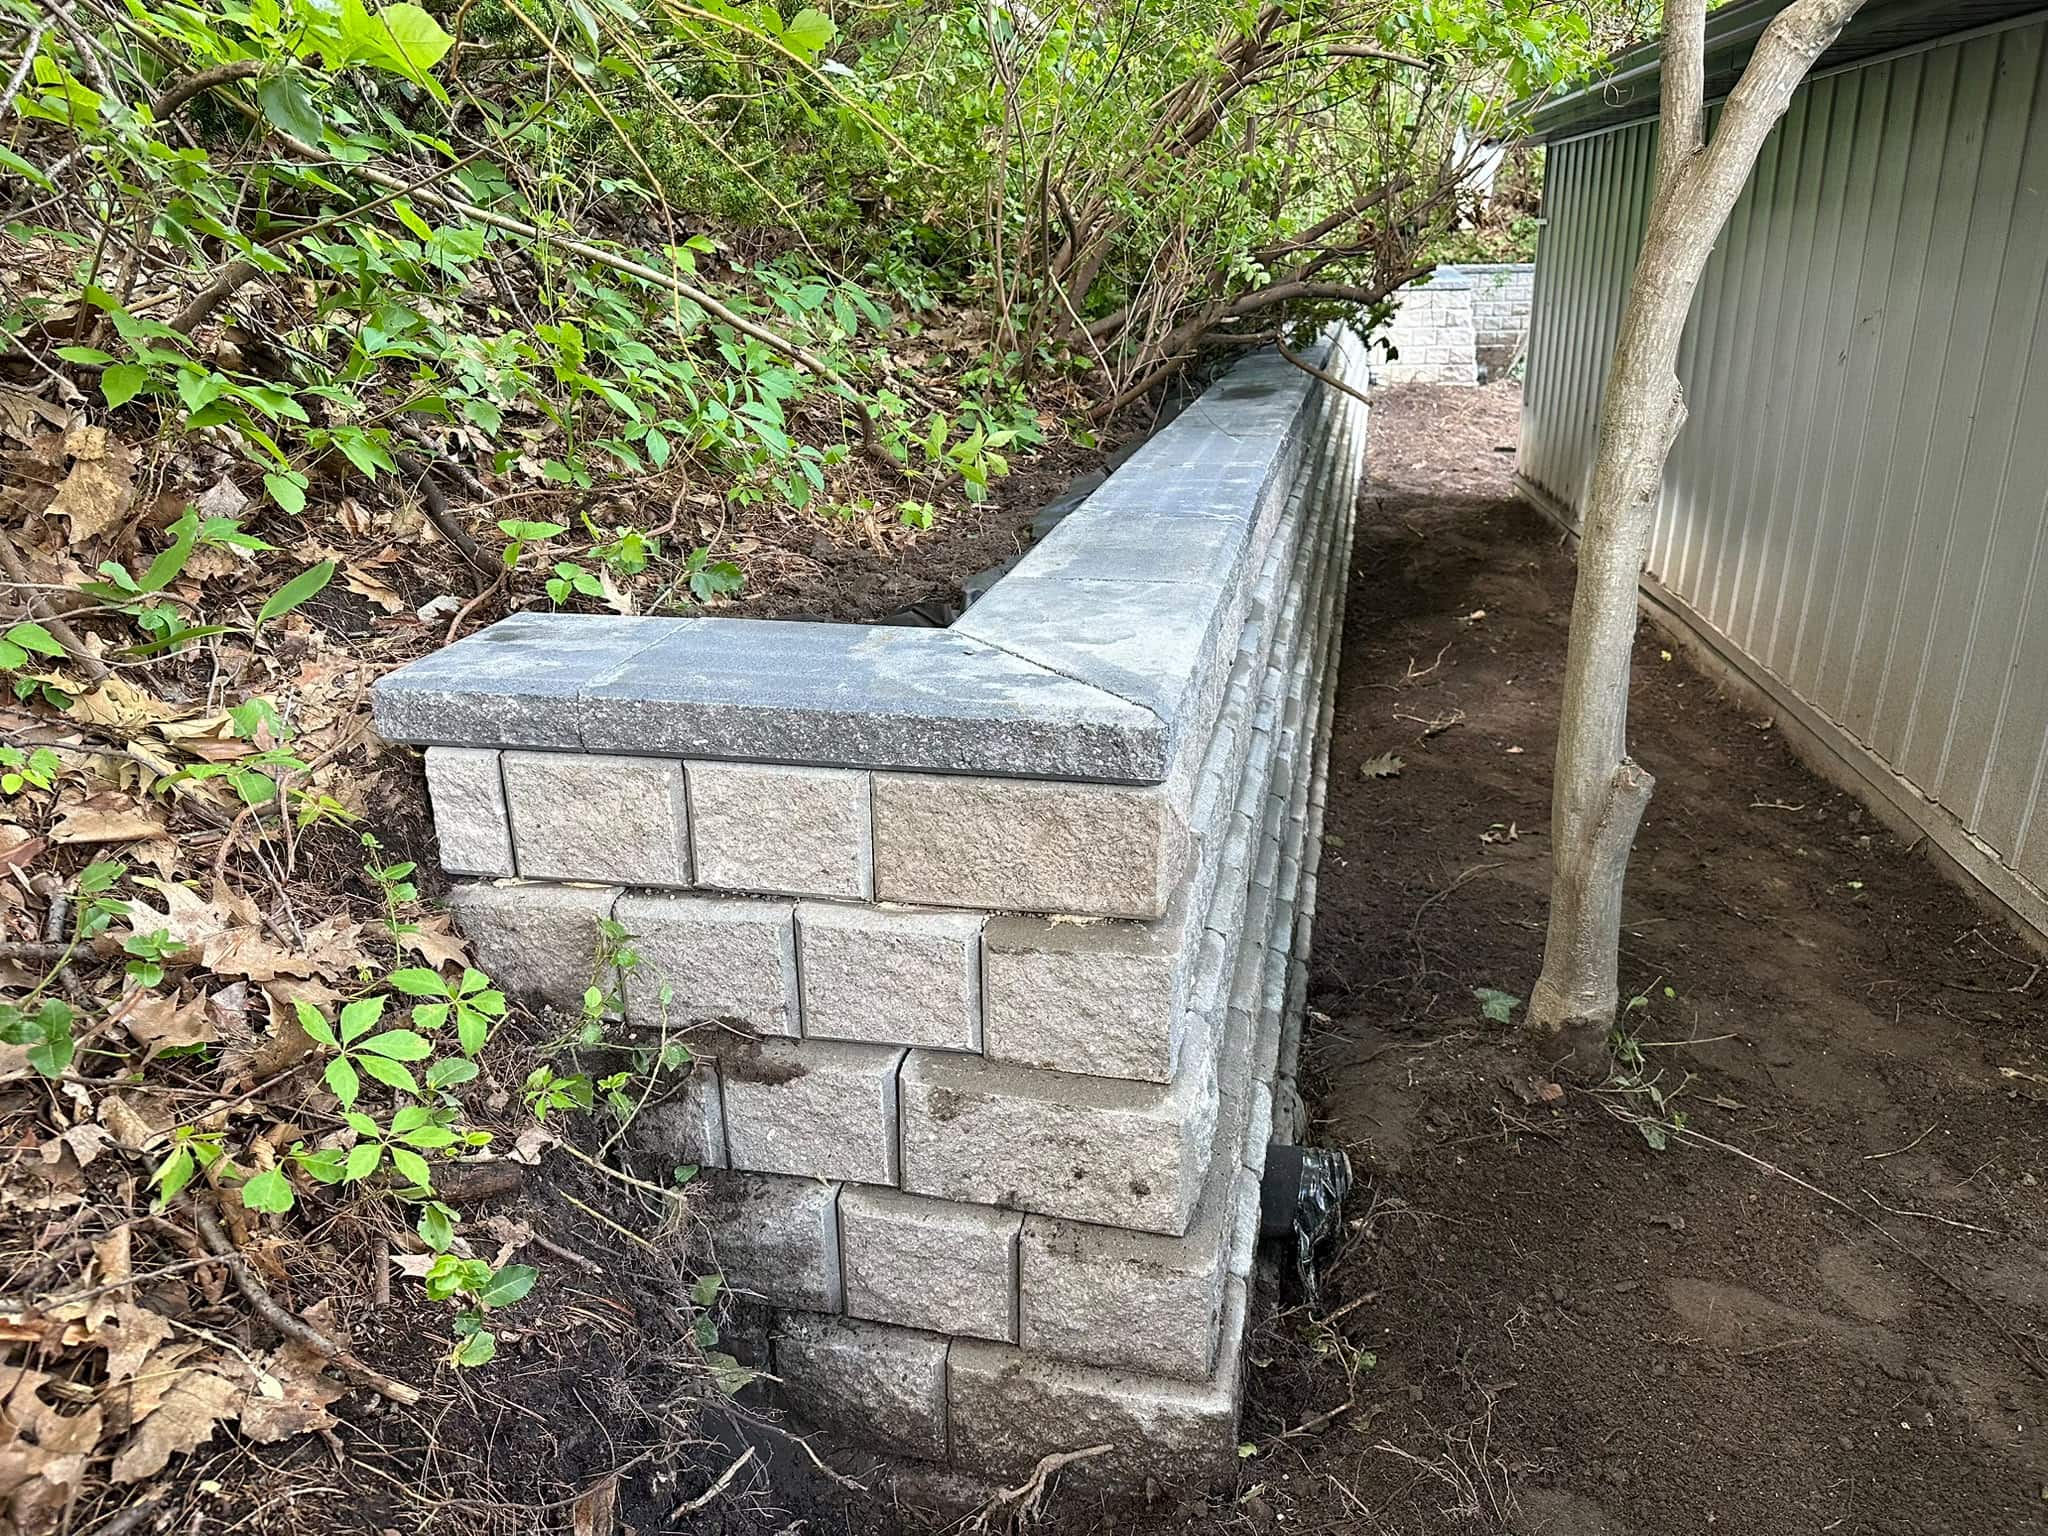
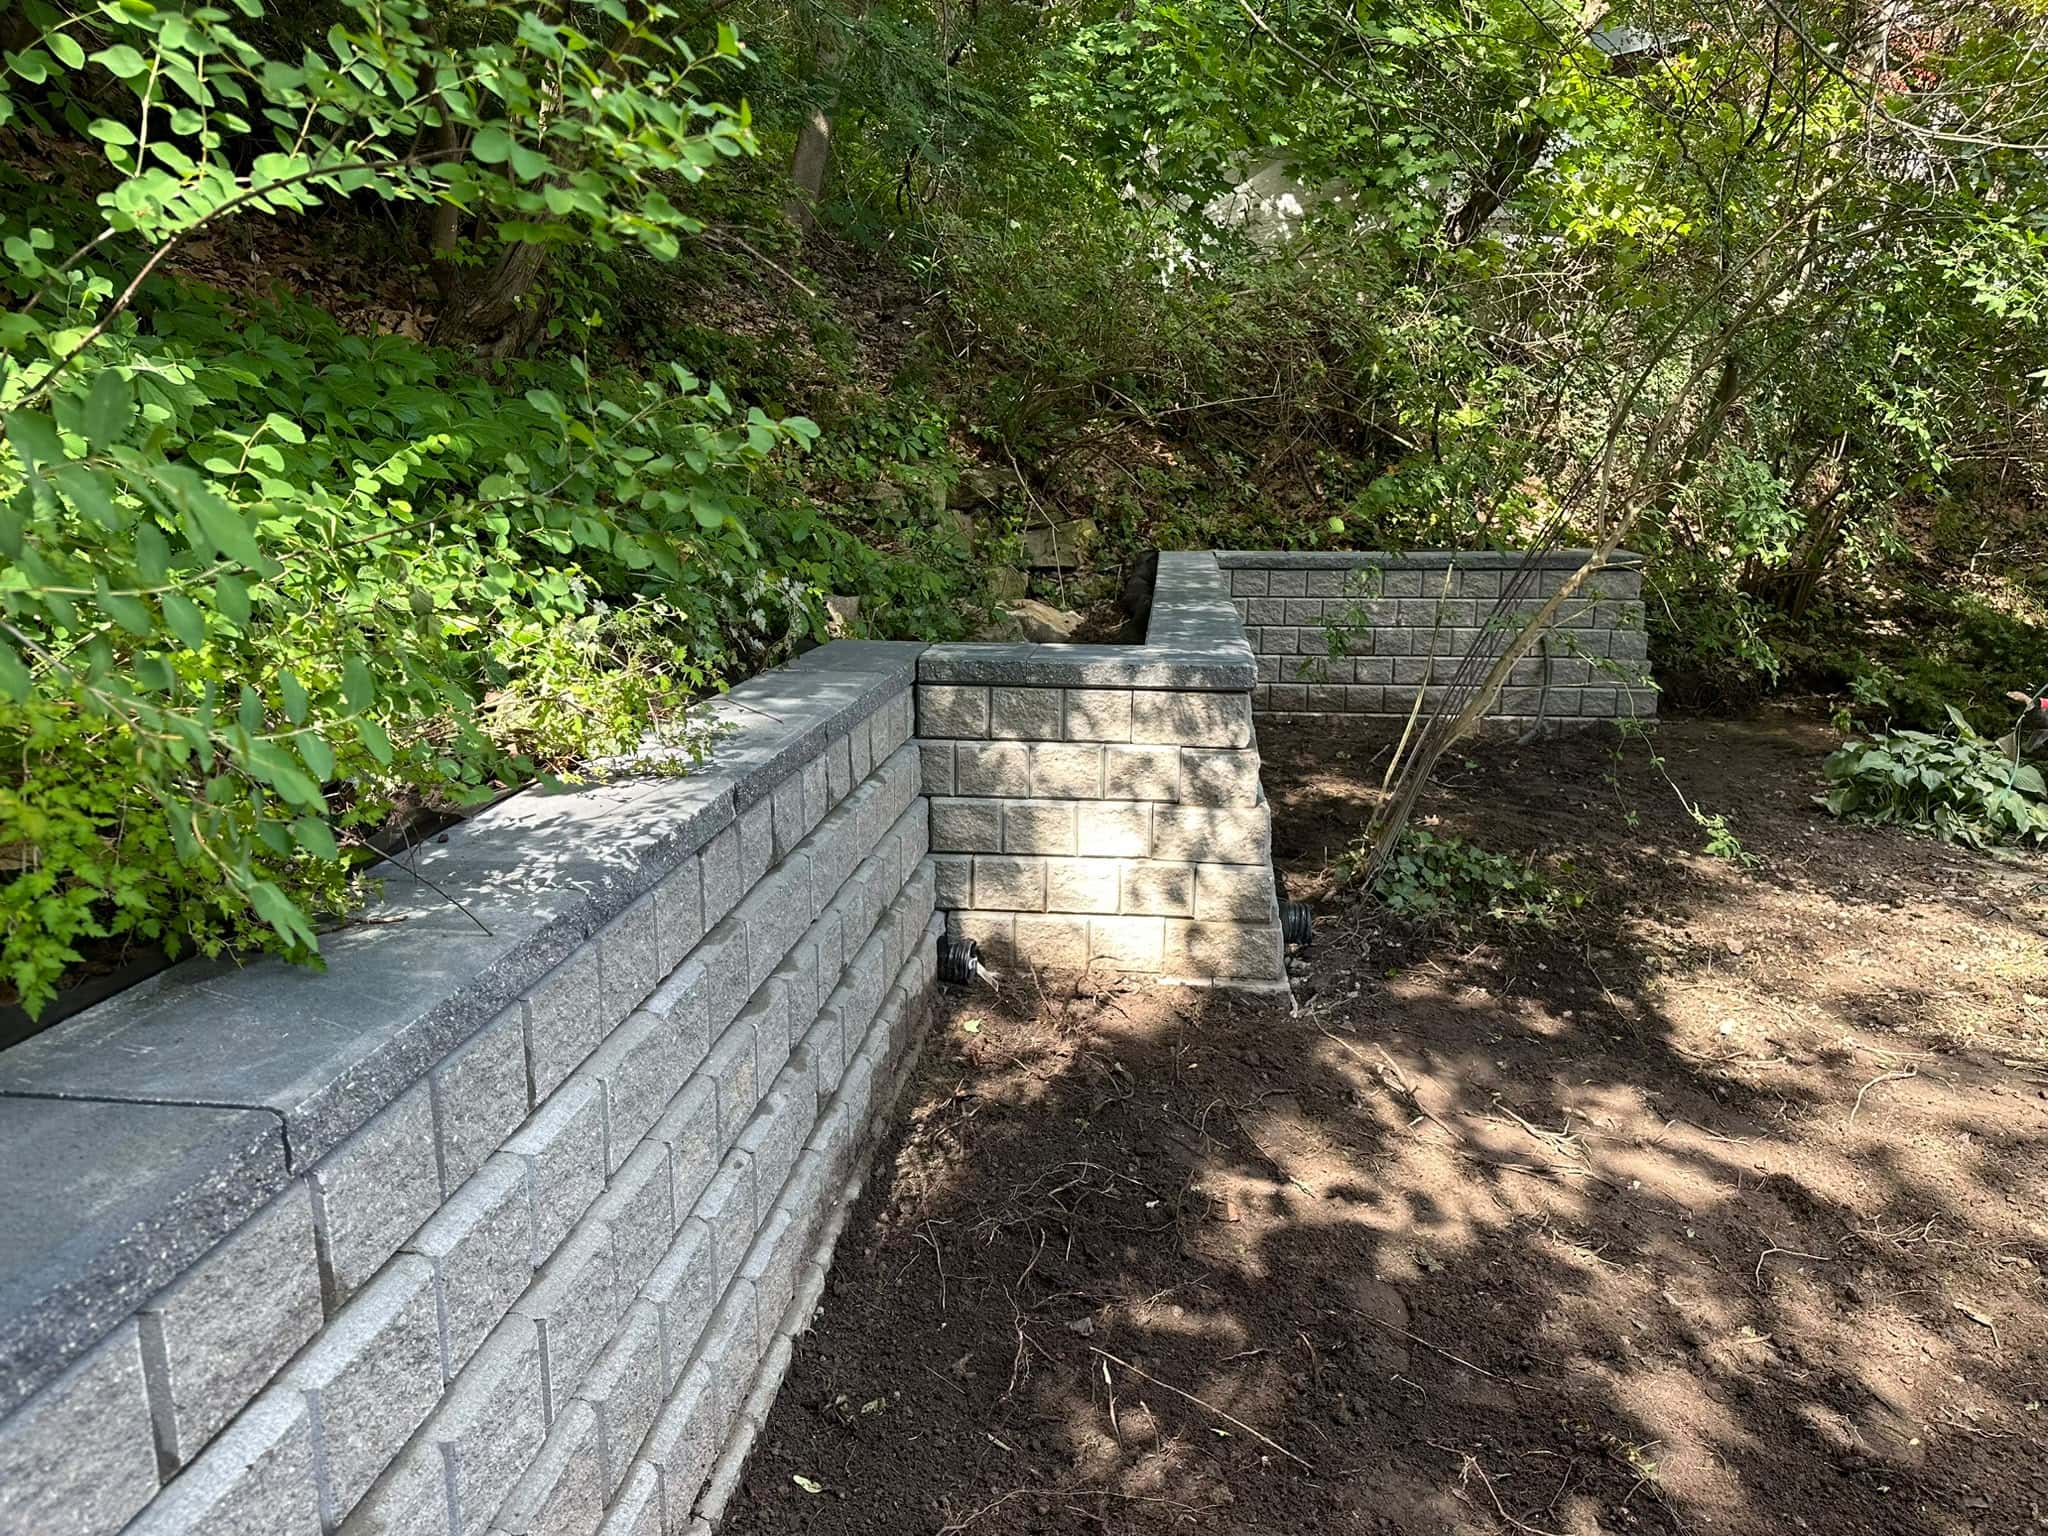
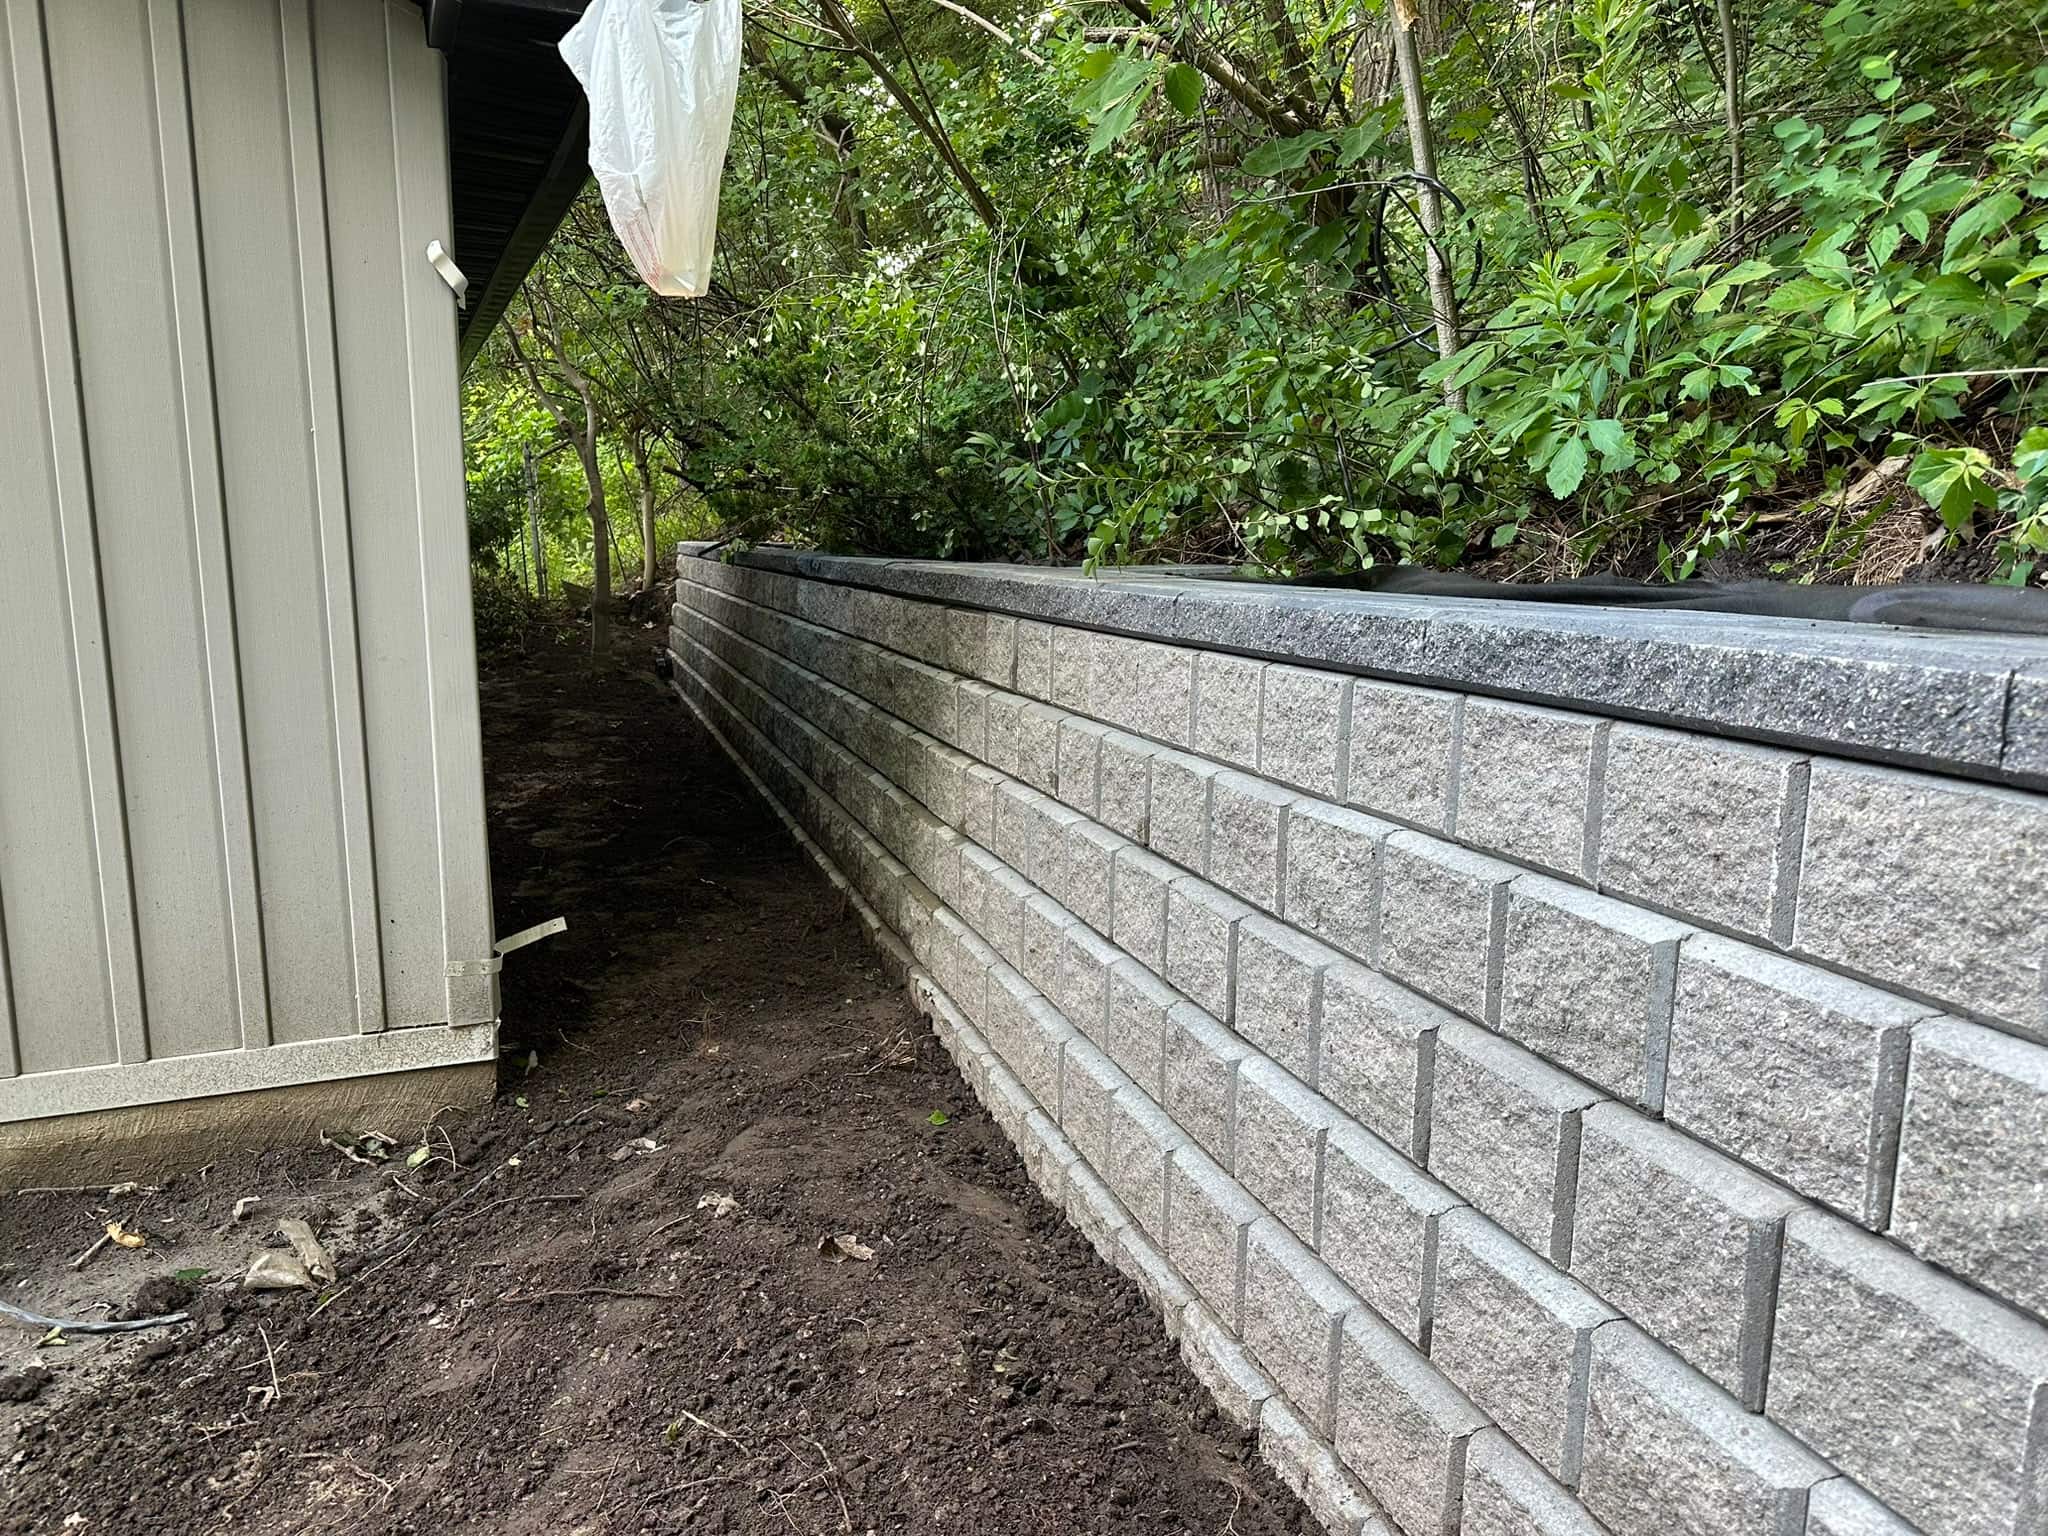
Retaining walls and garden masonry should be checked before winter, as wet soil and freezing temperatures can increase pressure behind the walls. If water cannot drain, the wall may lean, bulge, crack, or shift.
Look for leaning sections, loose caps, cracked mortar, soil washing out, pooling water, blocked weep holes, and signs of wall movement. Garden beds and raised planters should also be reviewed to ensure that wet soil does not sit against the house masonry.
Snowmelt can add more water behind retaining walls during winter thaws. If the drainage system is blocked by leaves, soil, ice, or debris, water pressure may build up.
Retaining walls that are already leaning or cracked should be reviewed before winter if possible. Small movement can become more noticeable after freeze-thaw cycles.
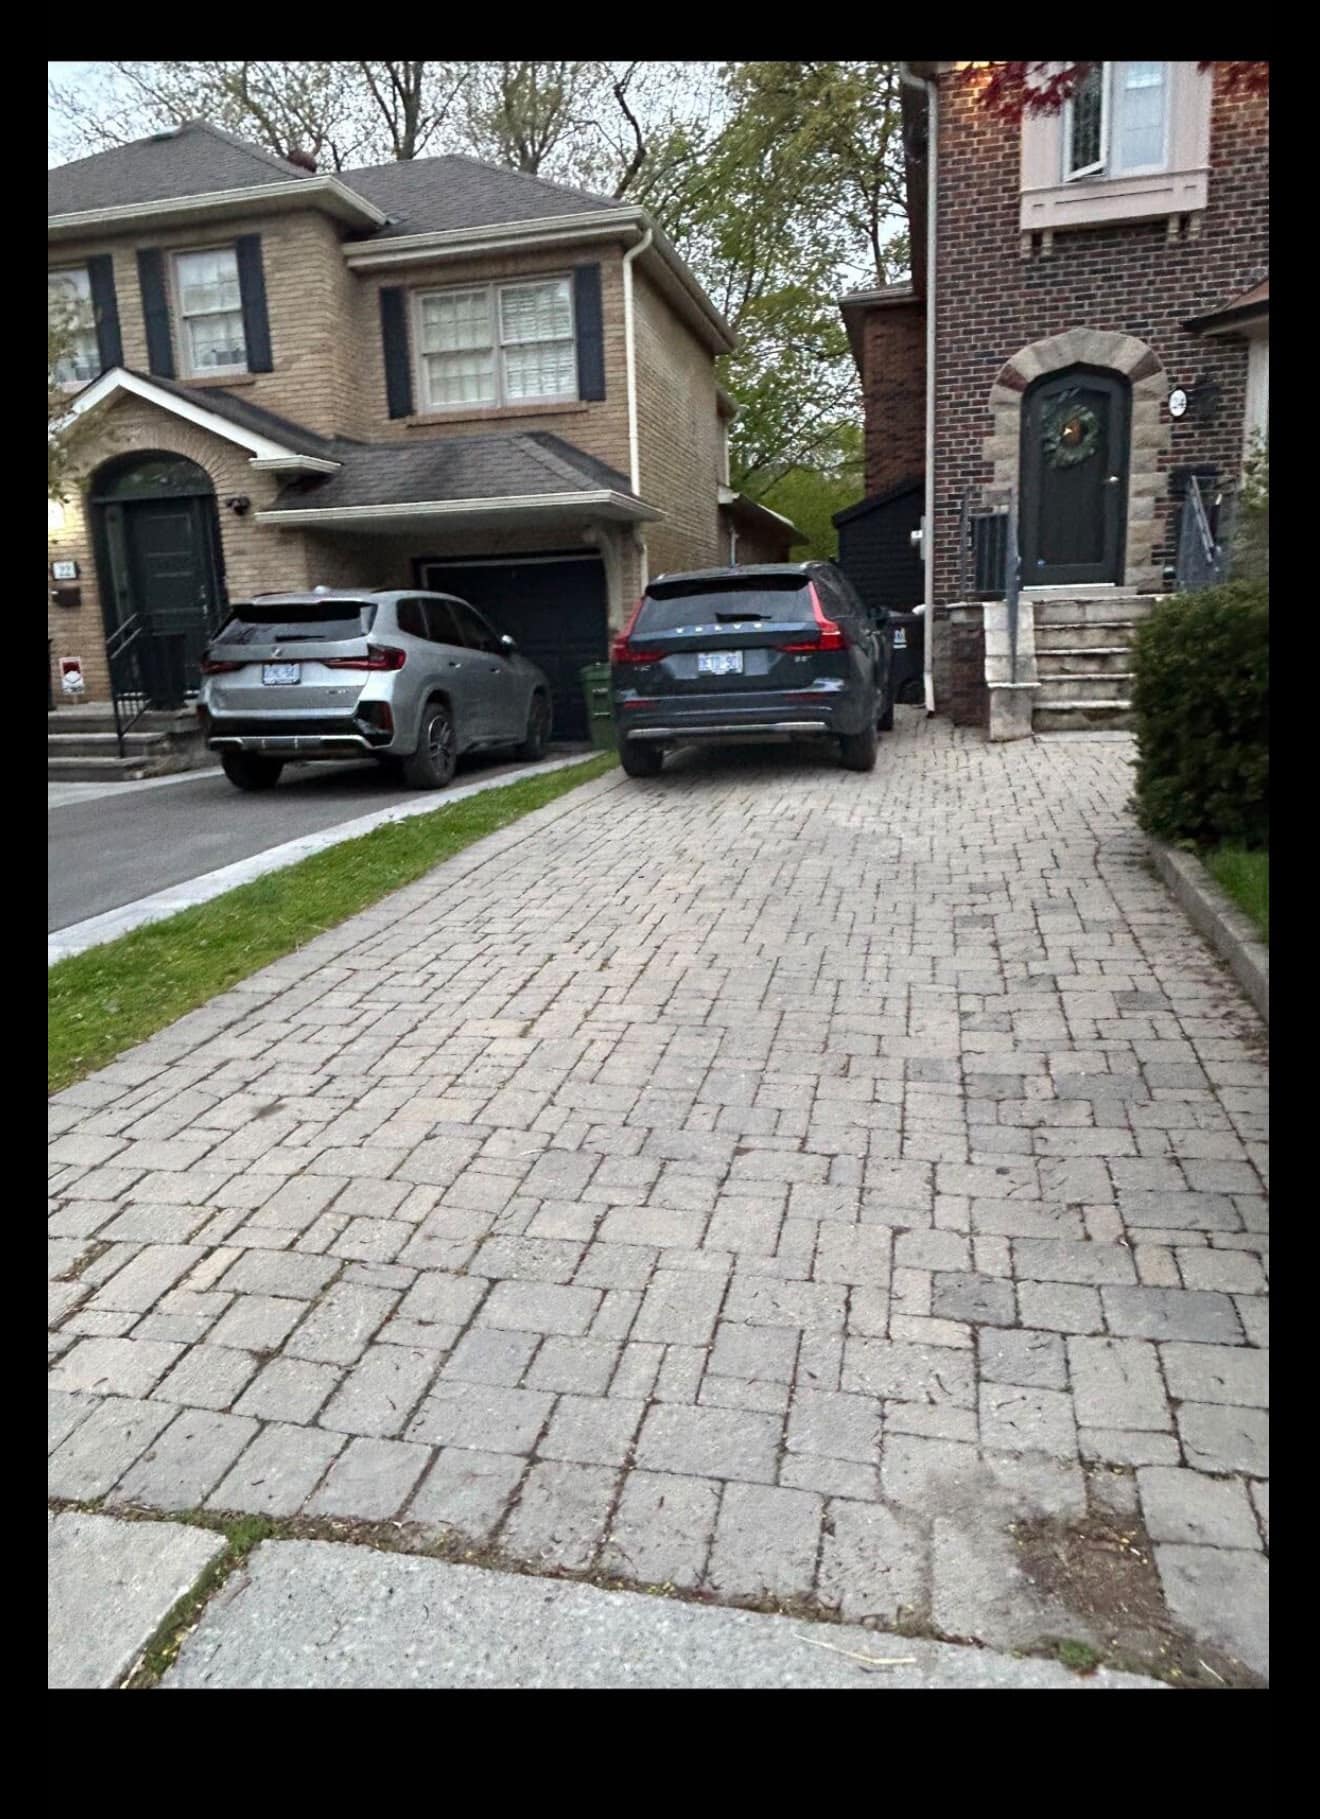
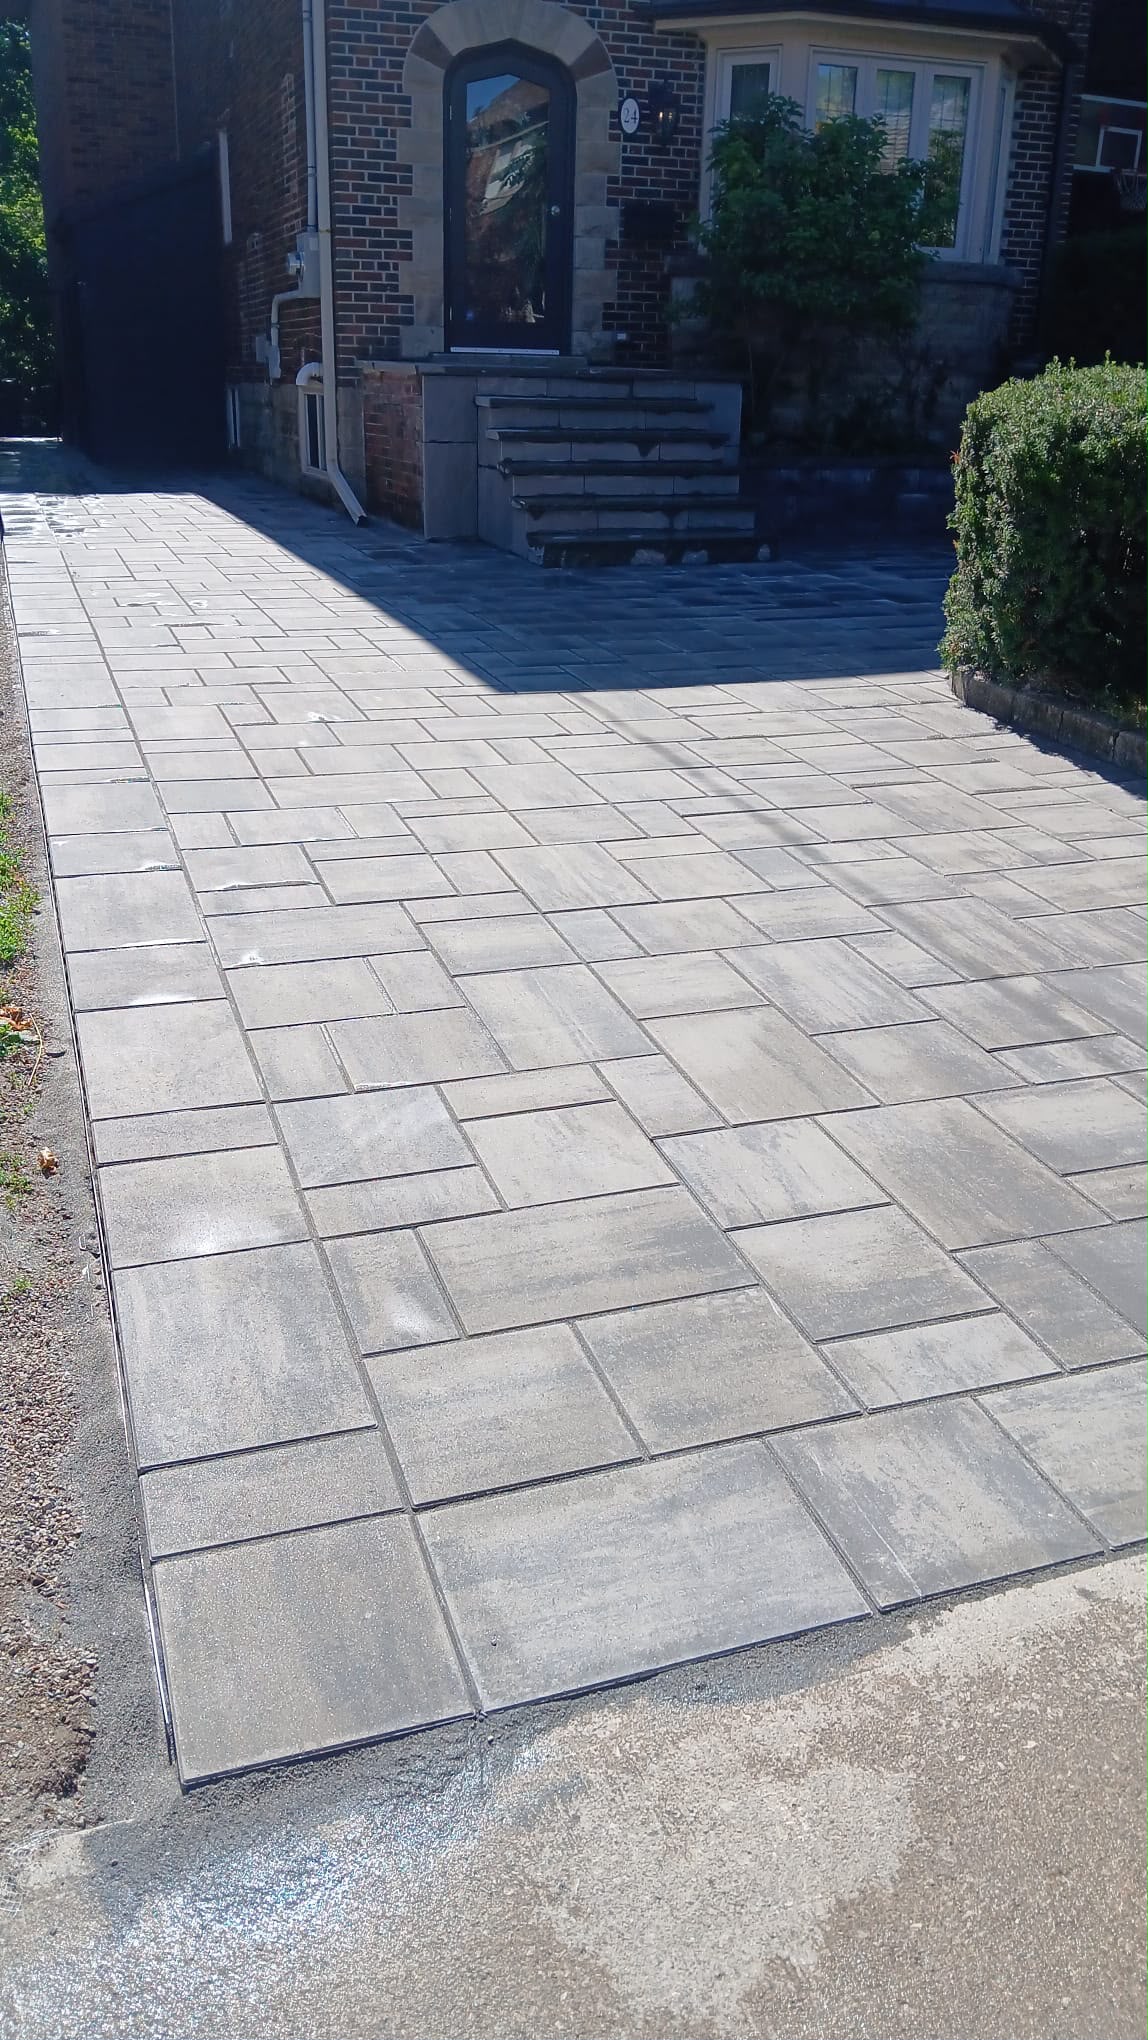
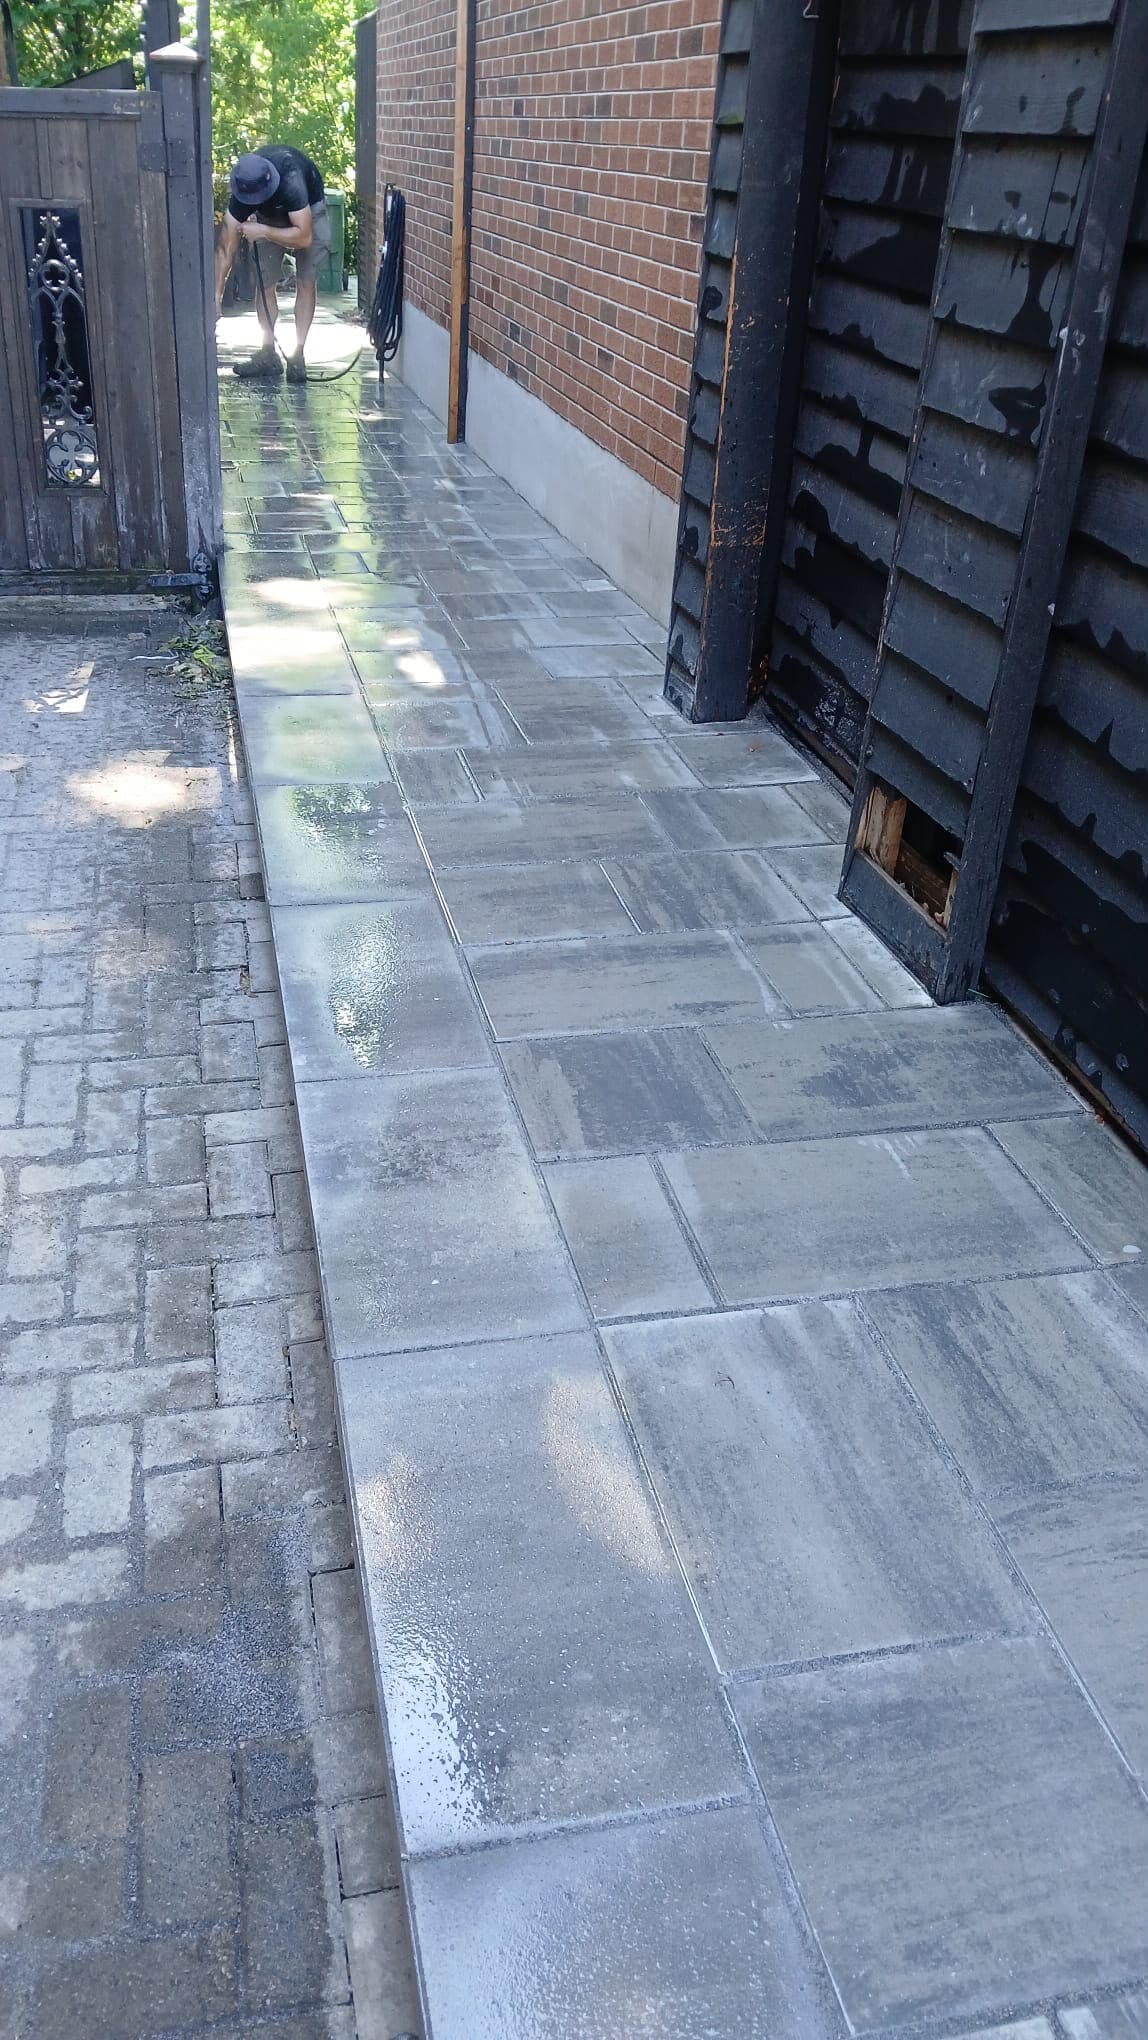
Prepare Interlocking Patios, Walkways, and Driveways
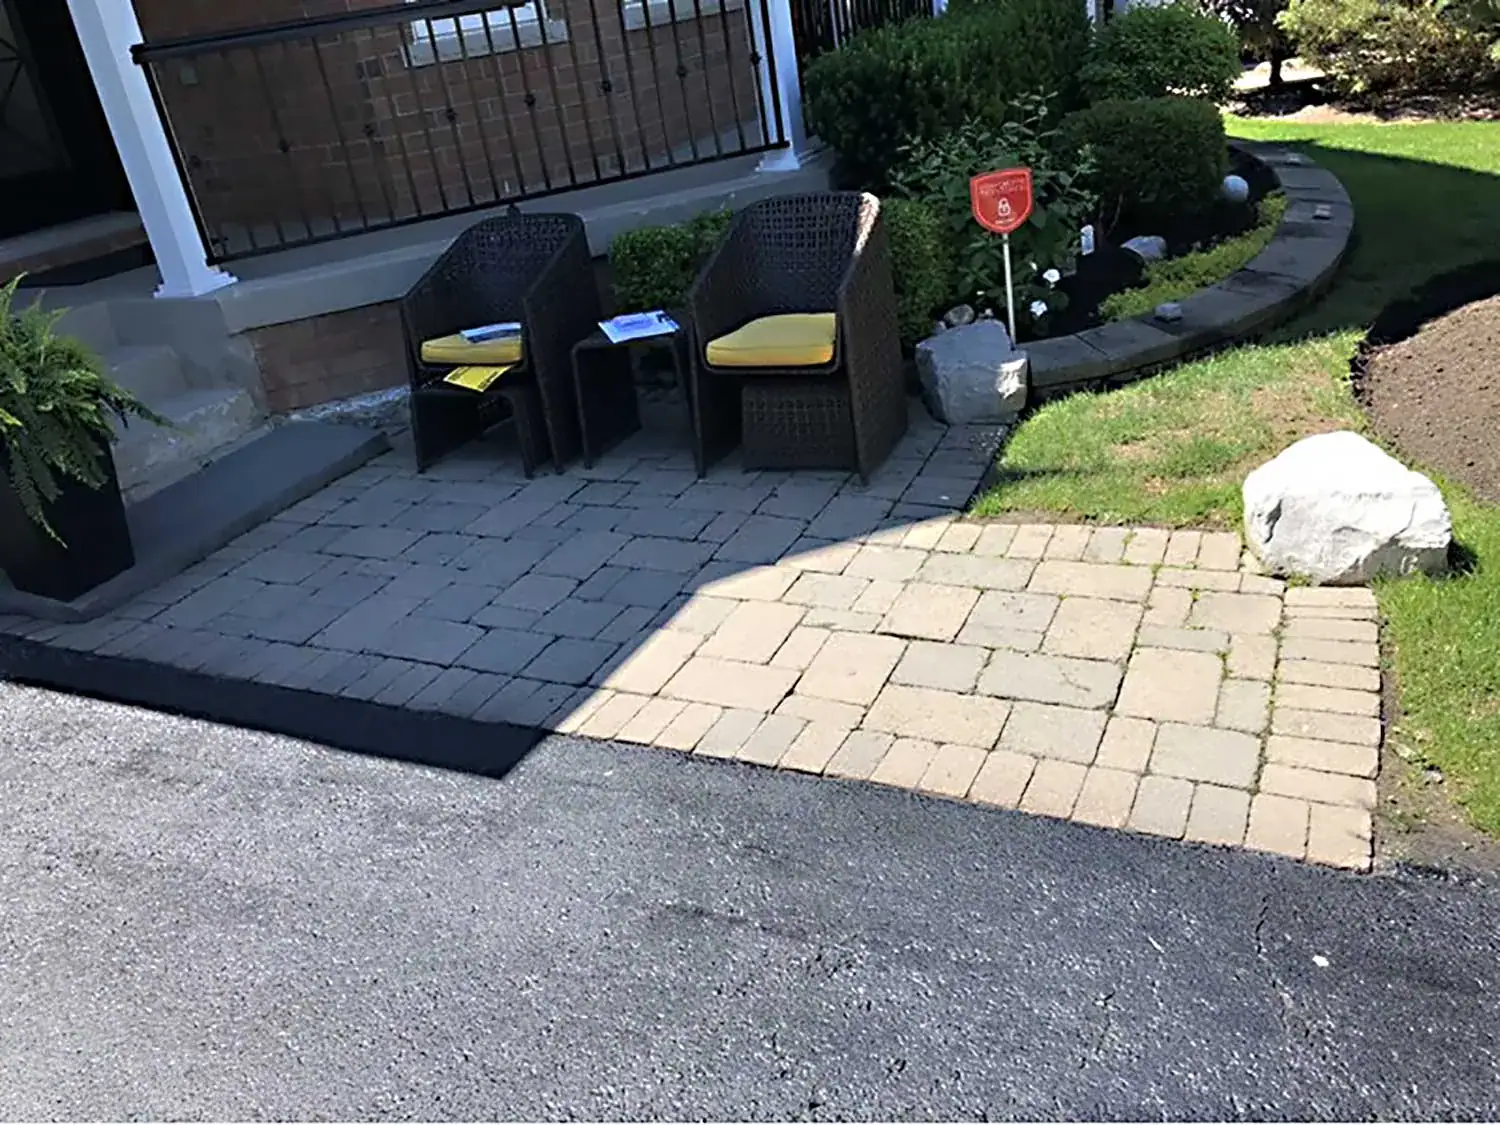
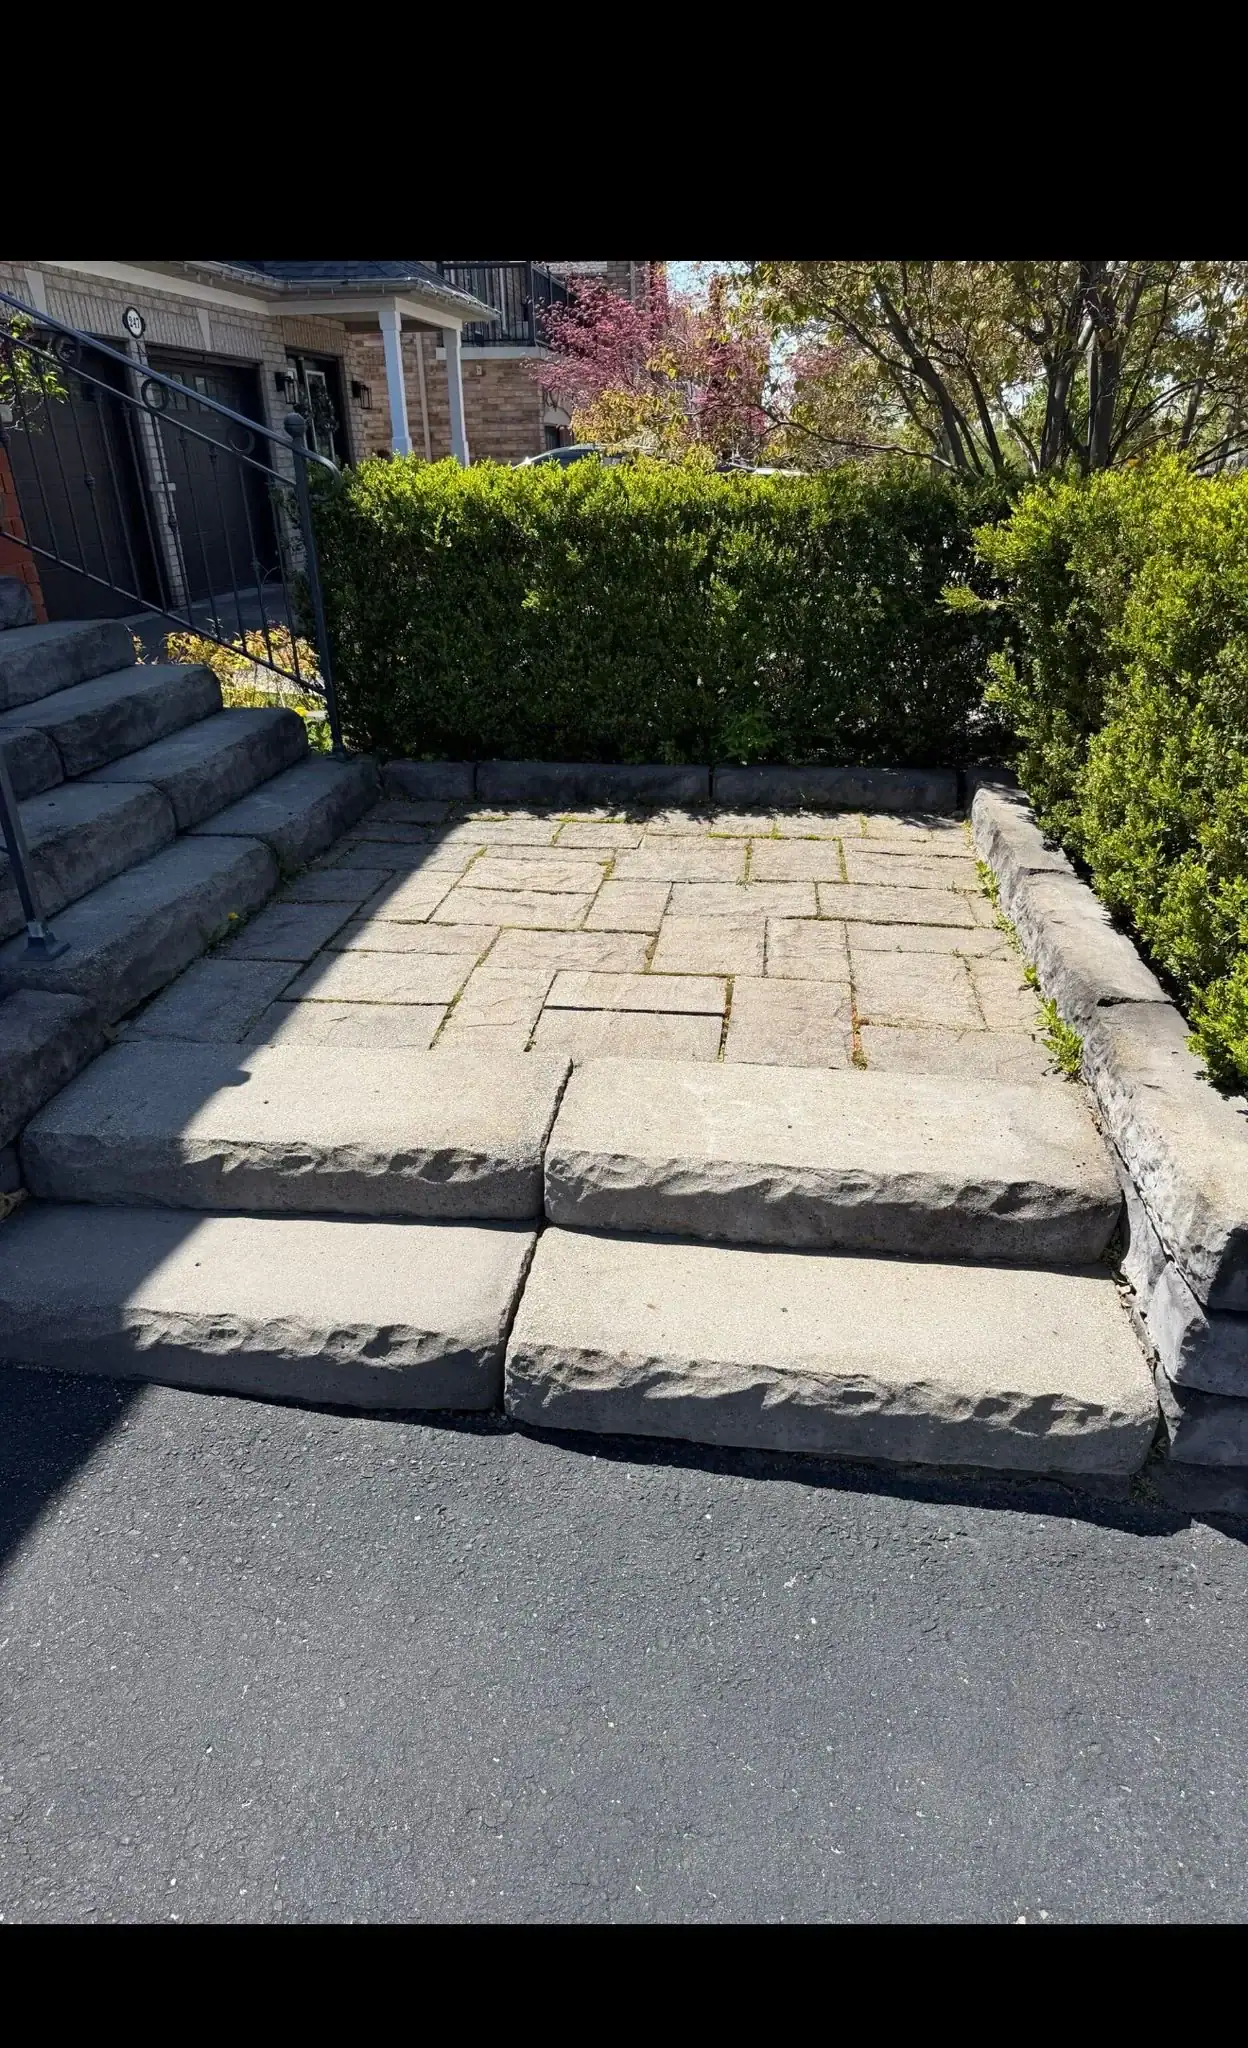
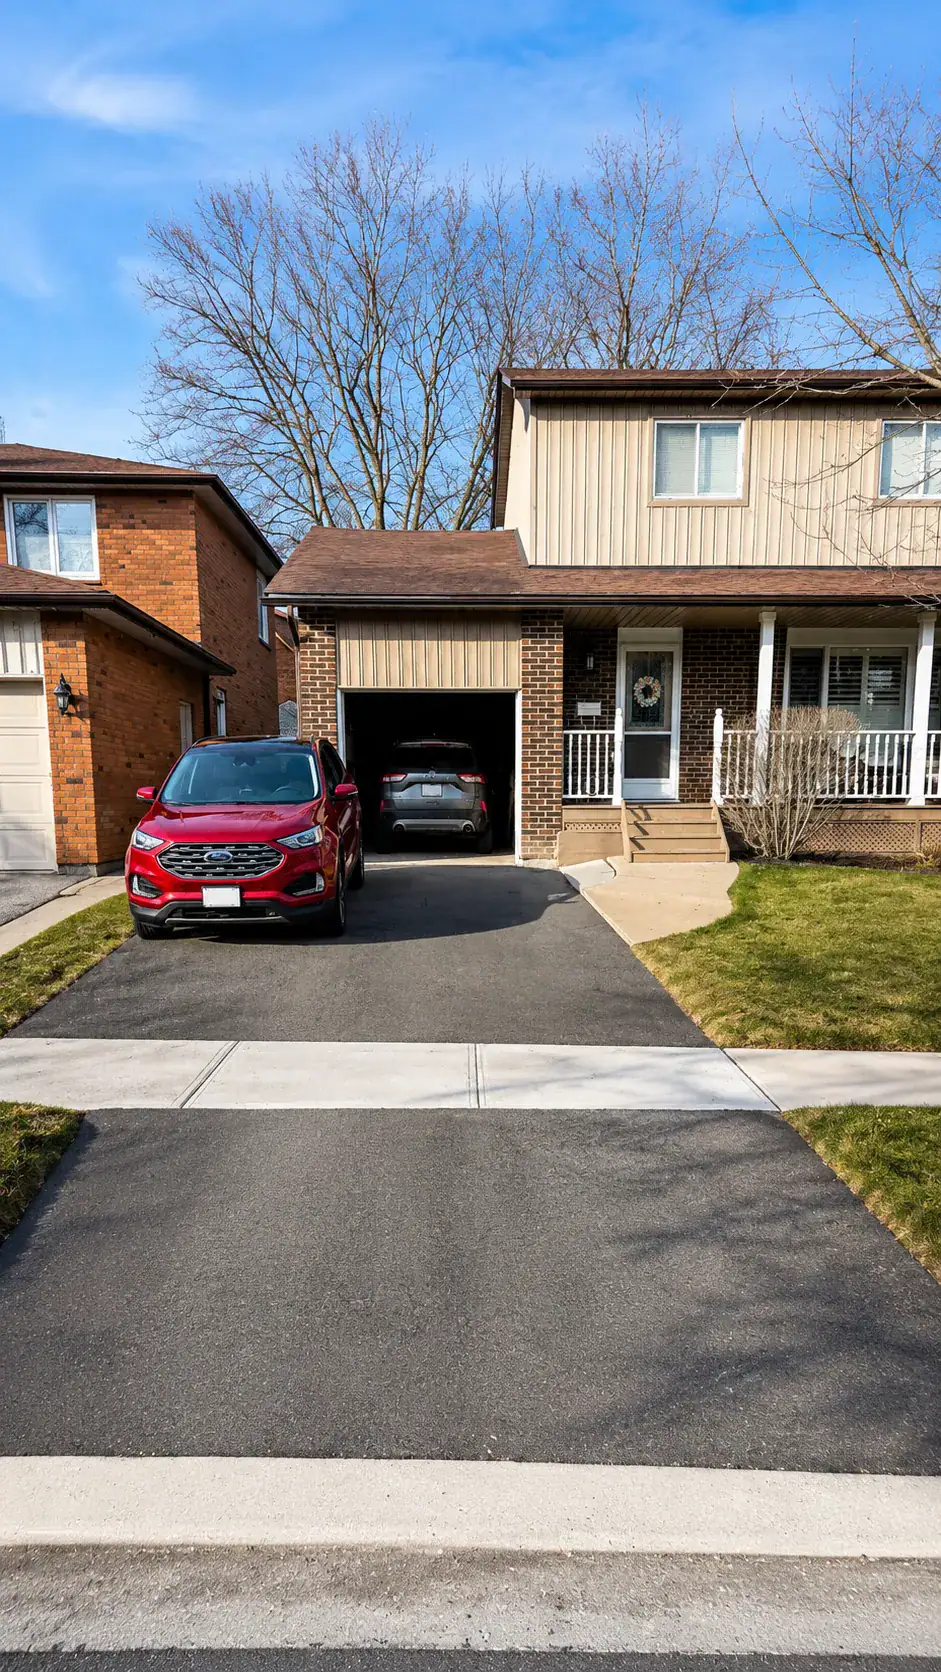
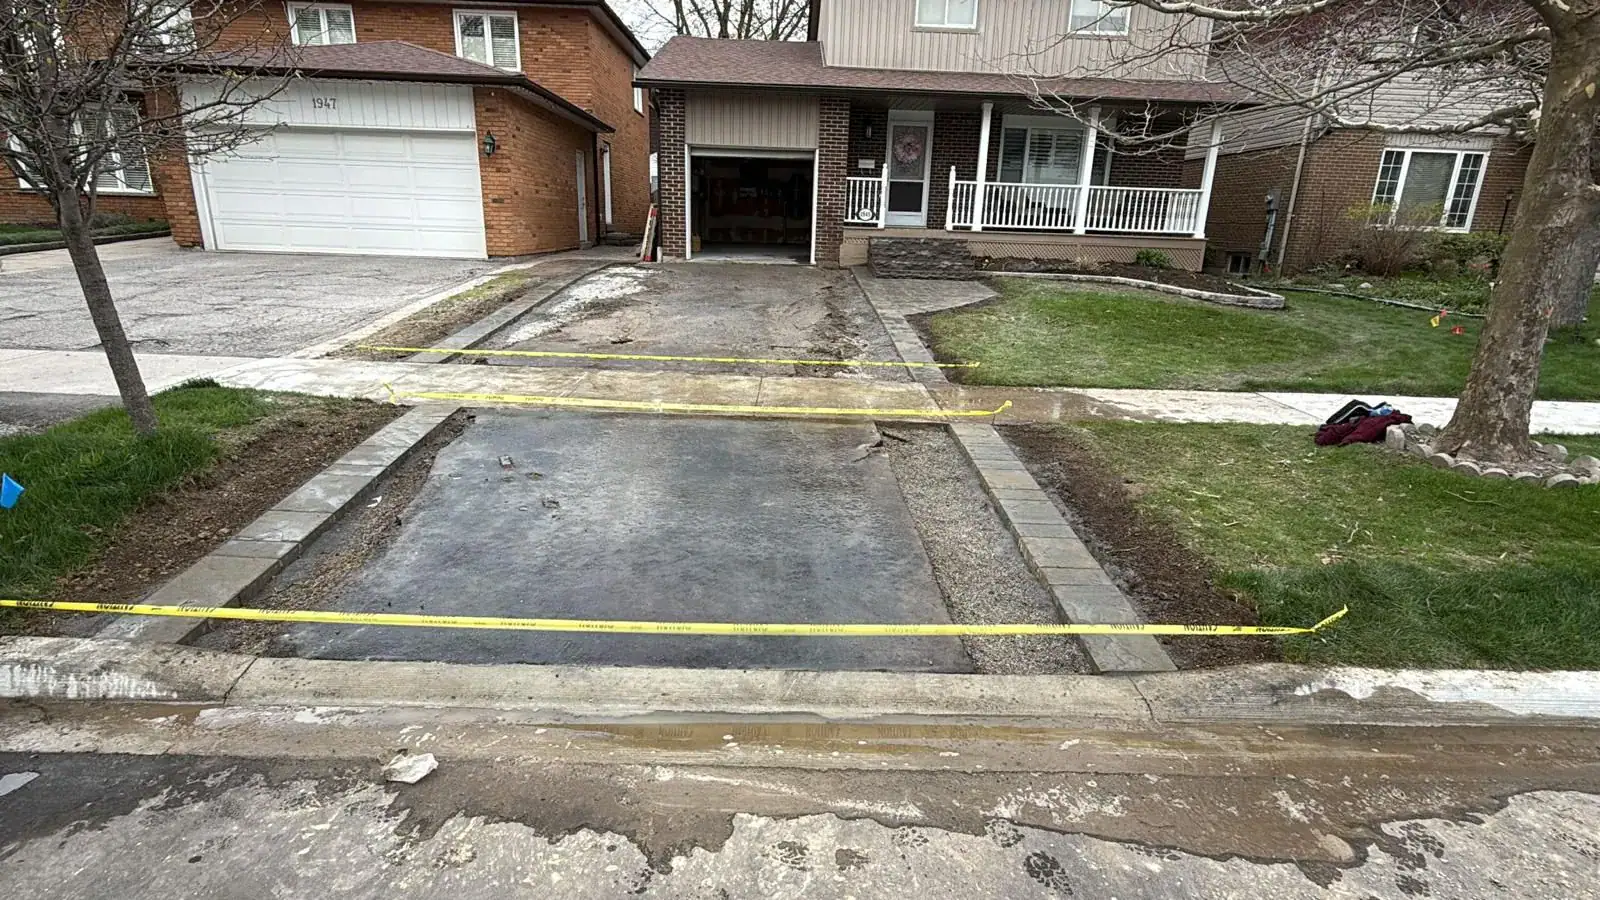
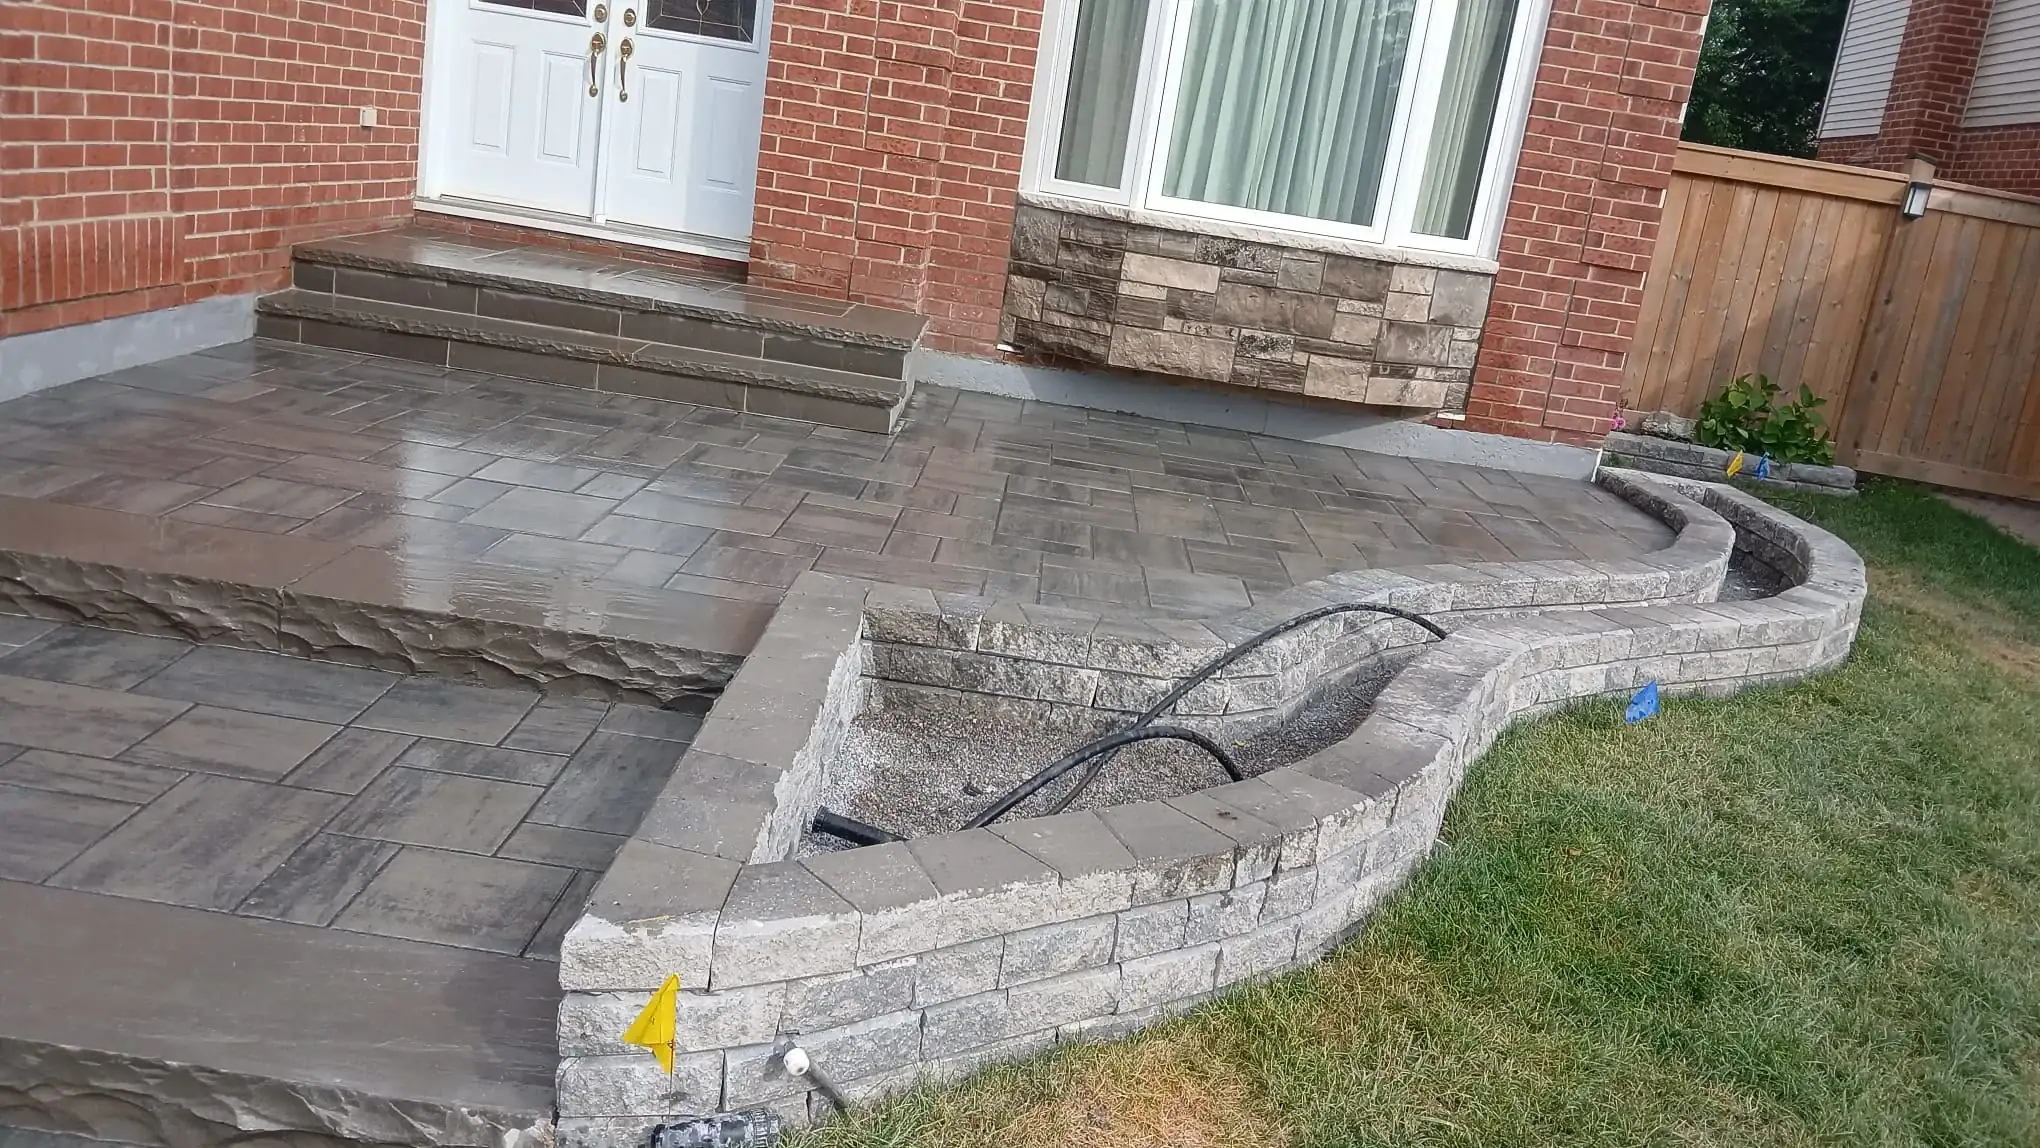
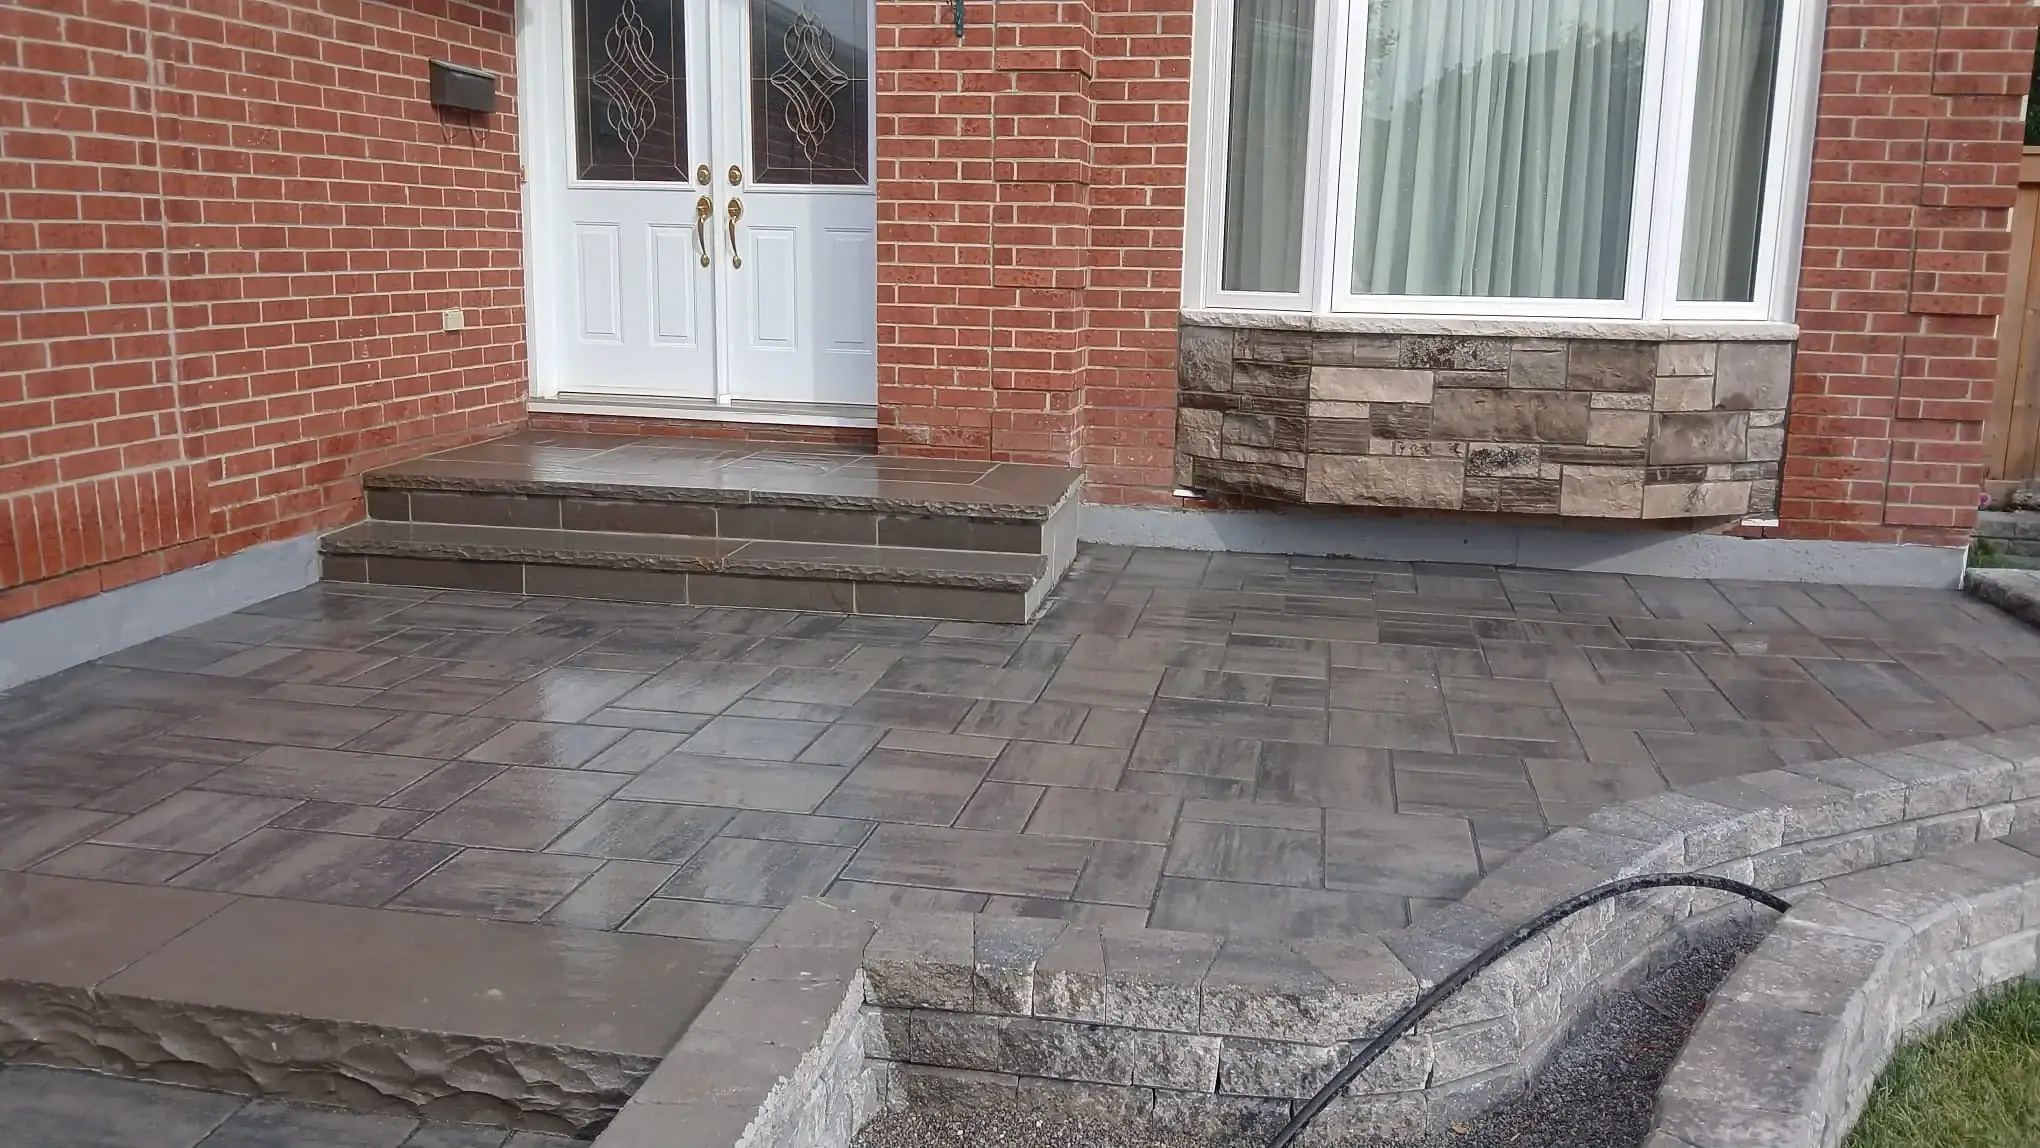
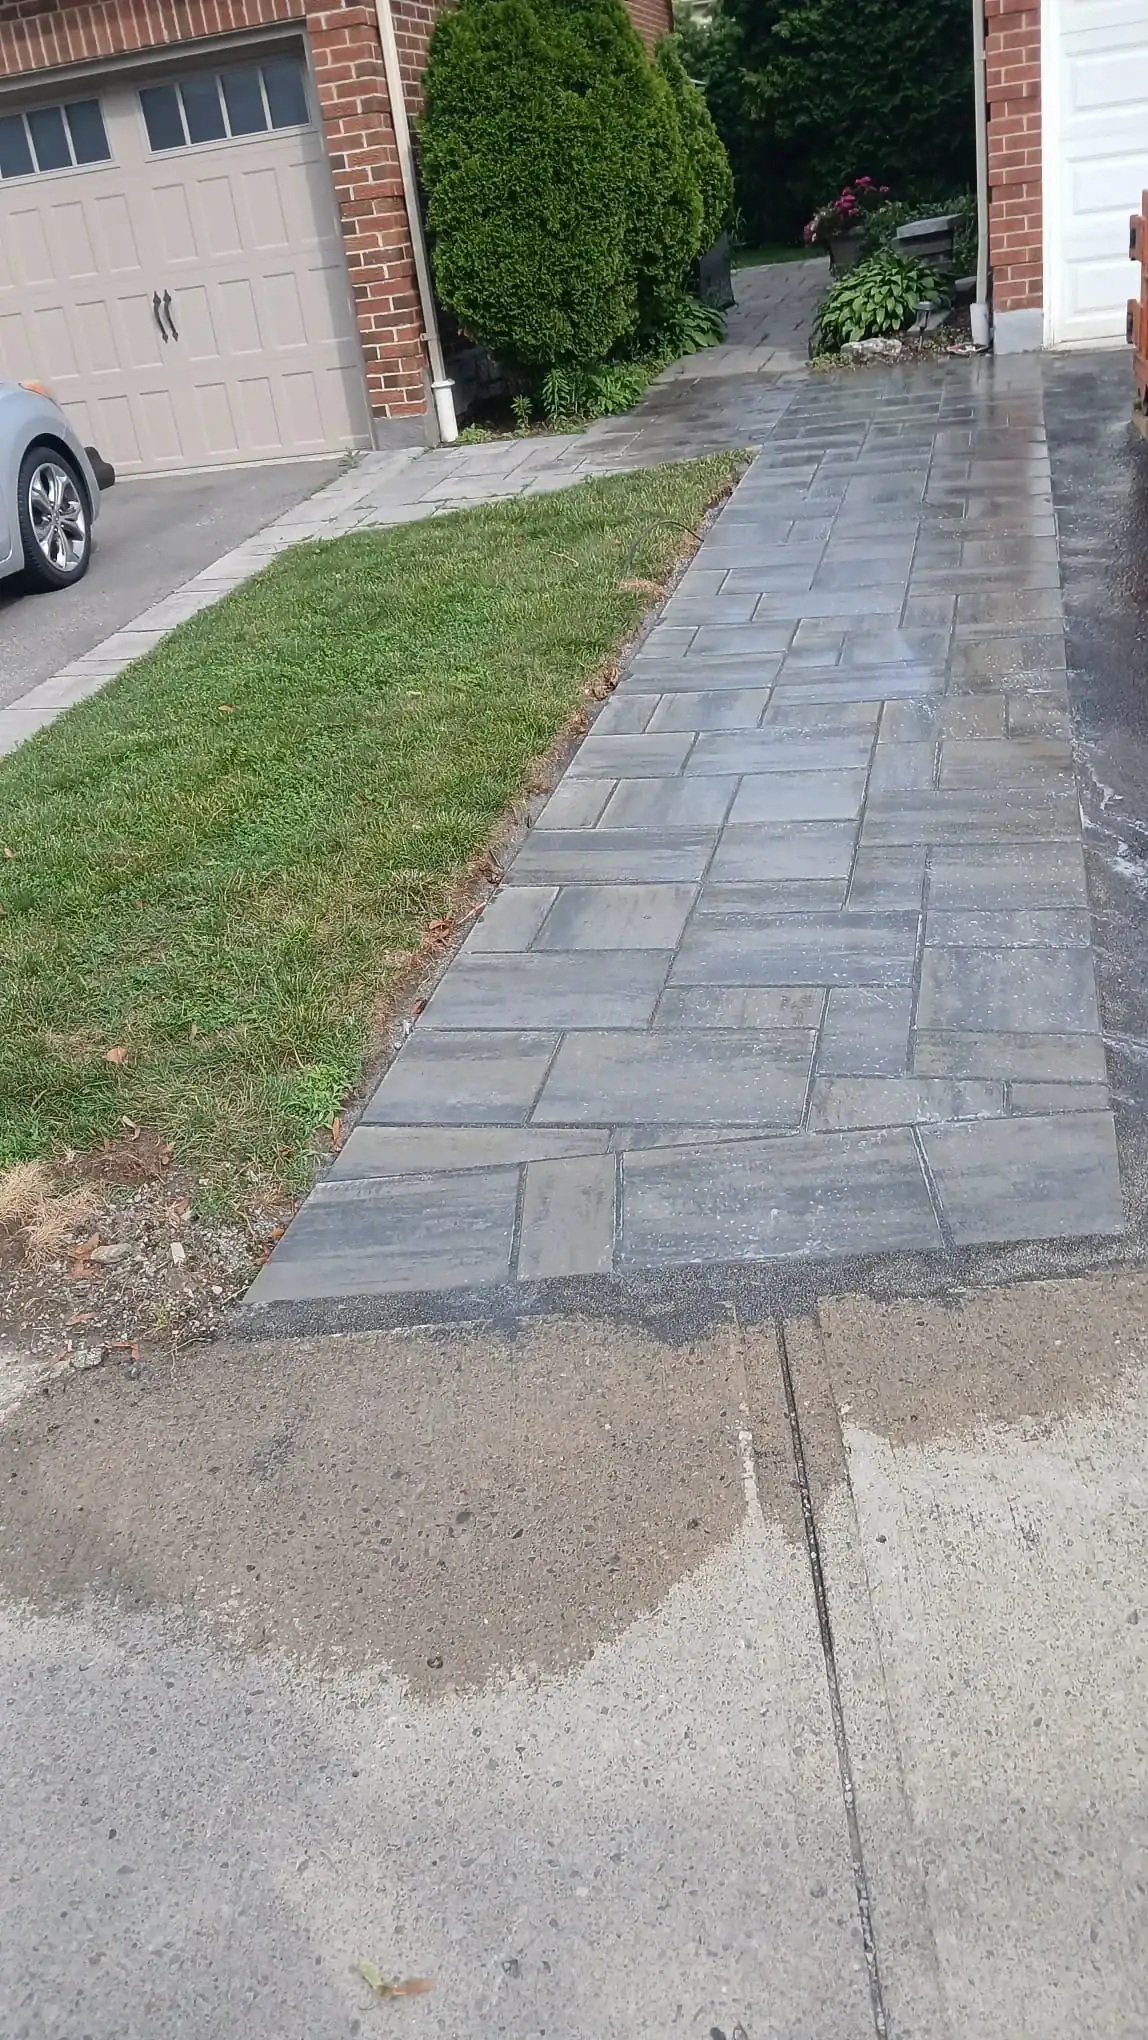
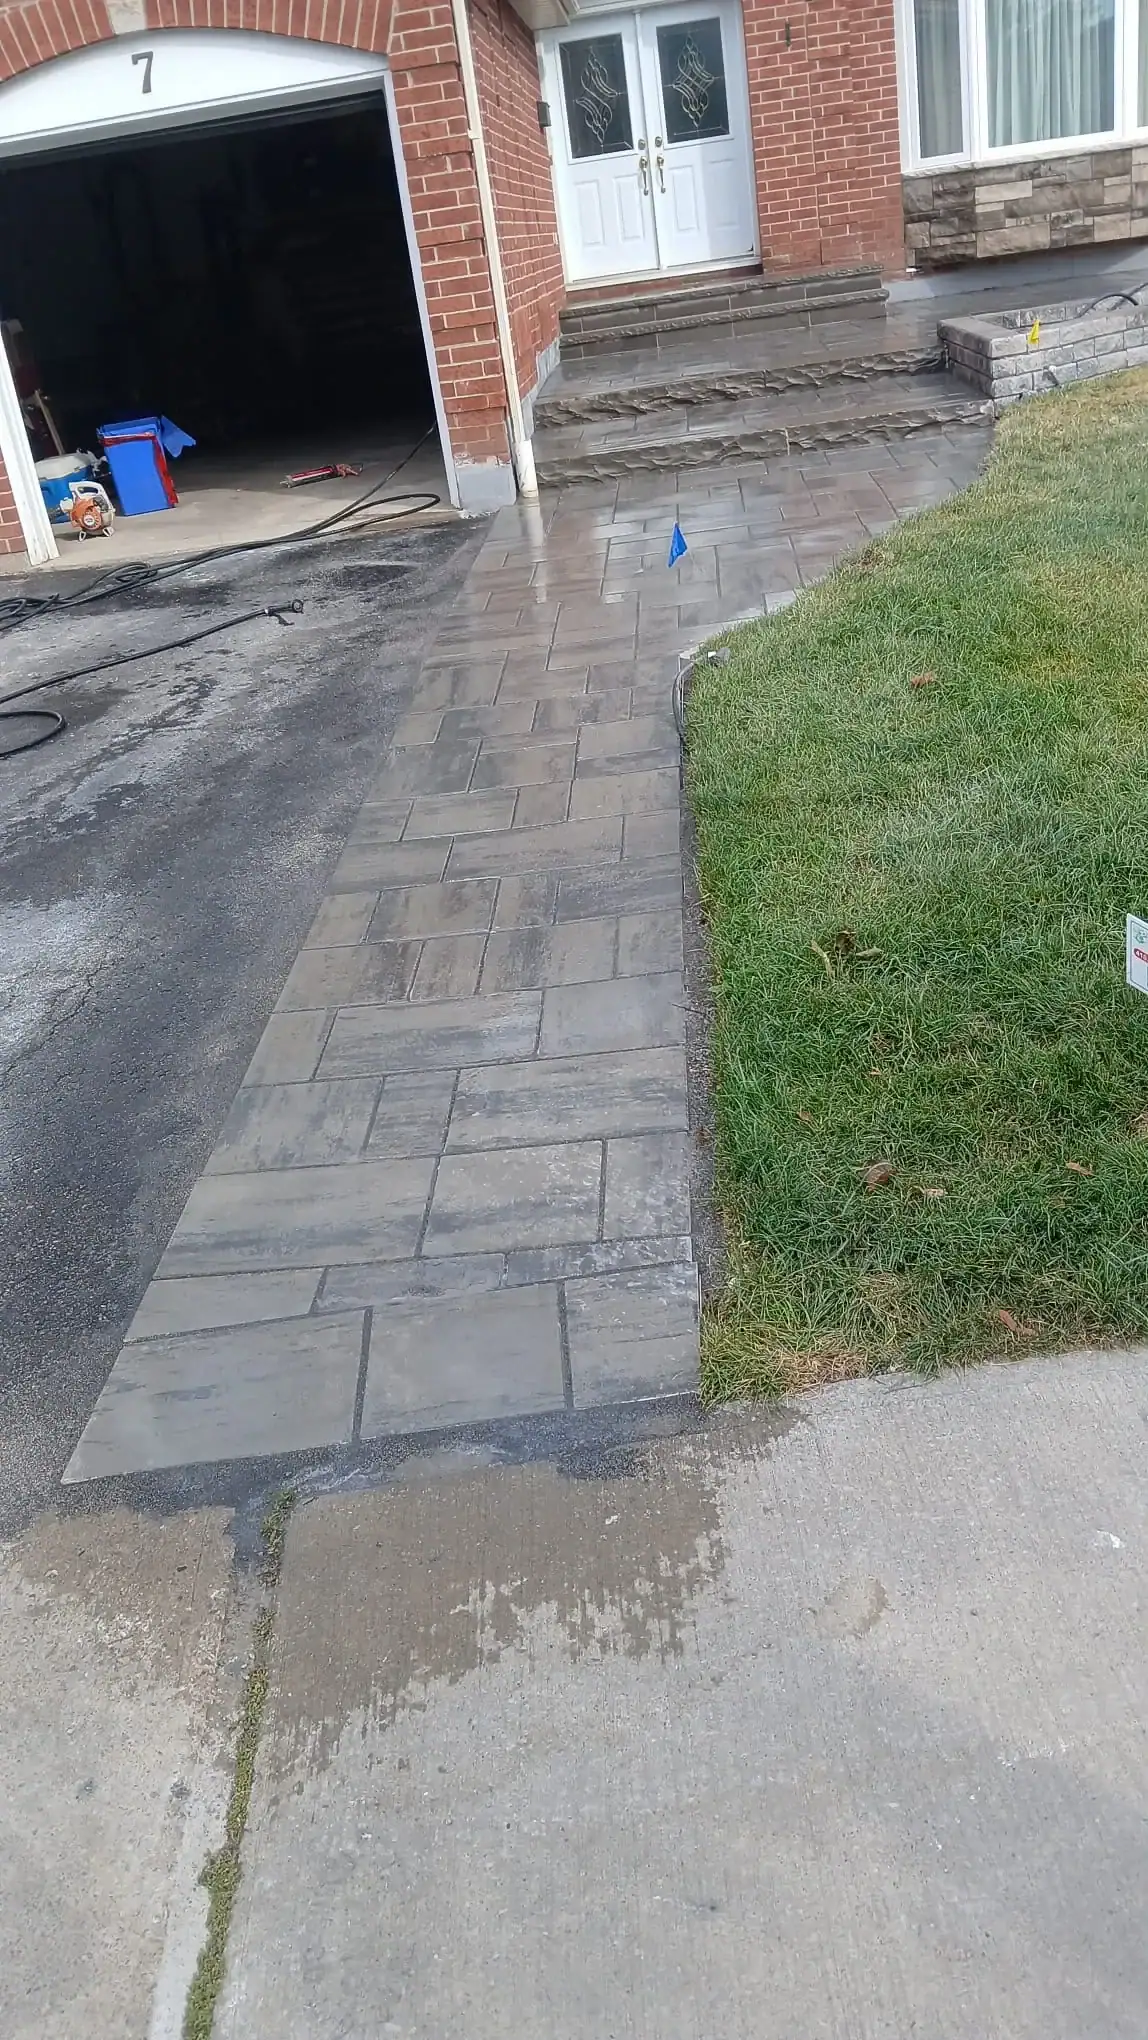
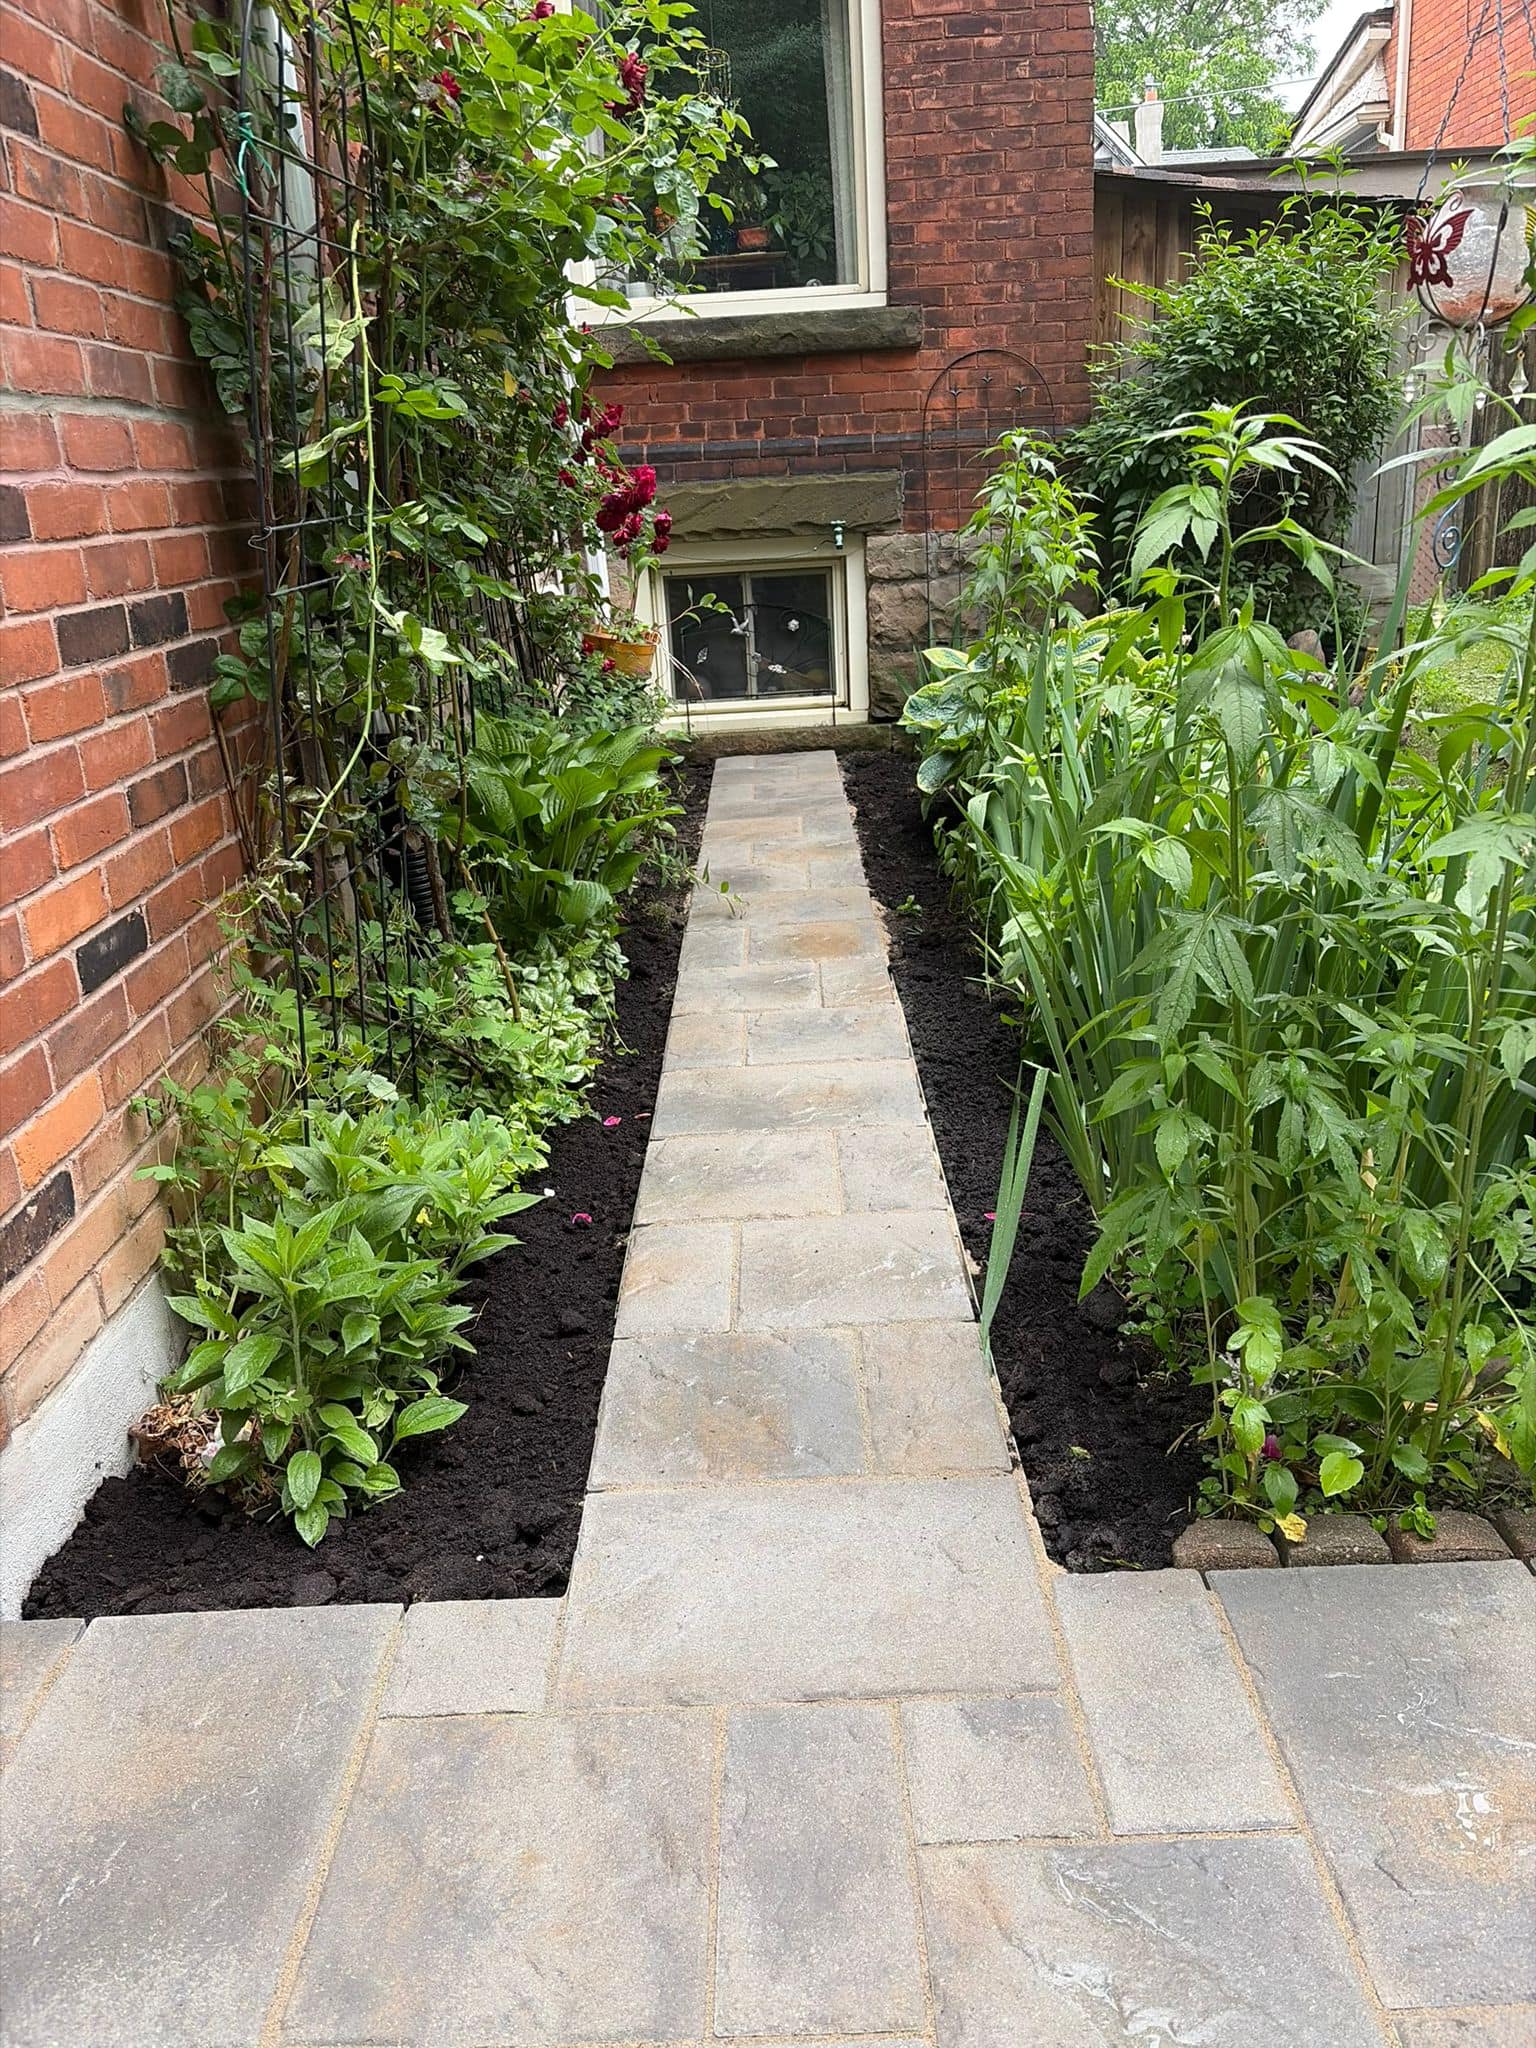
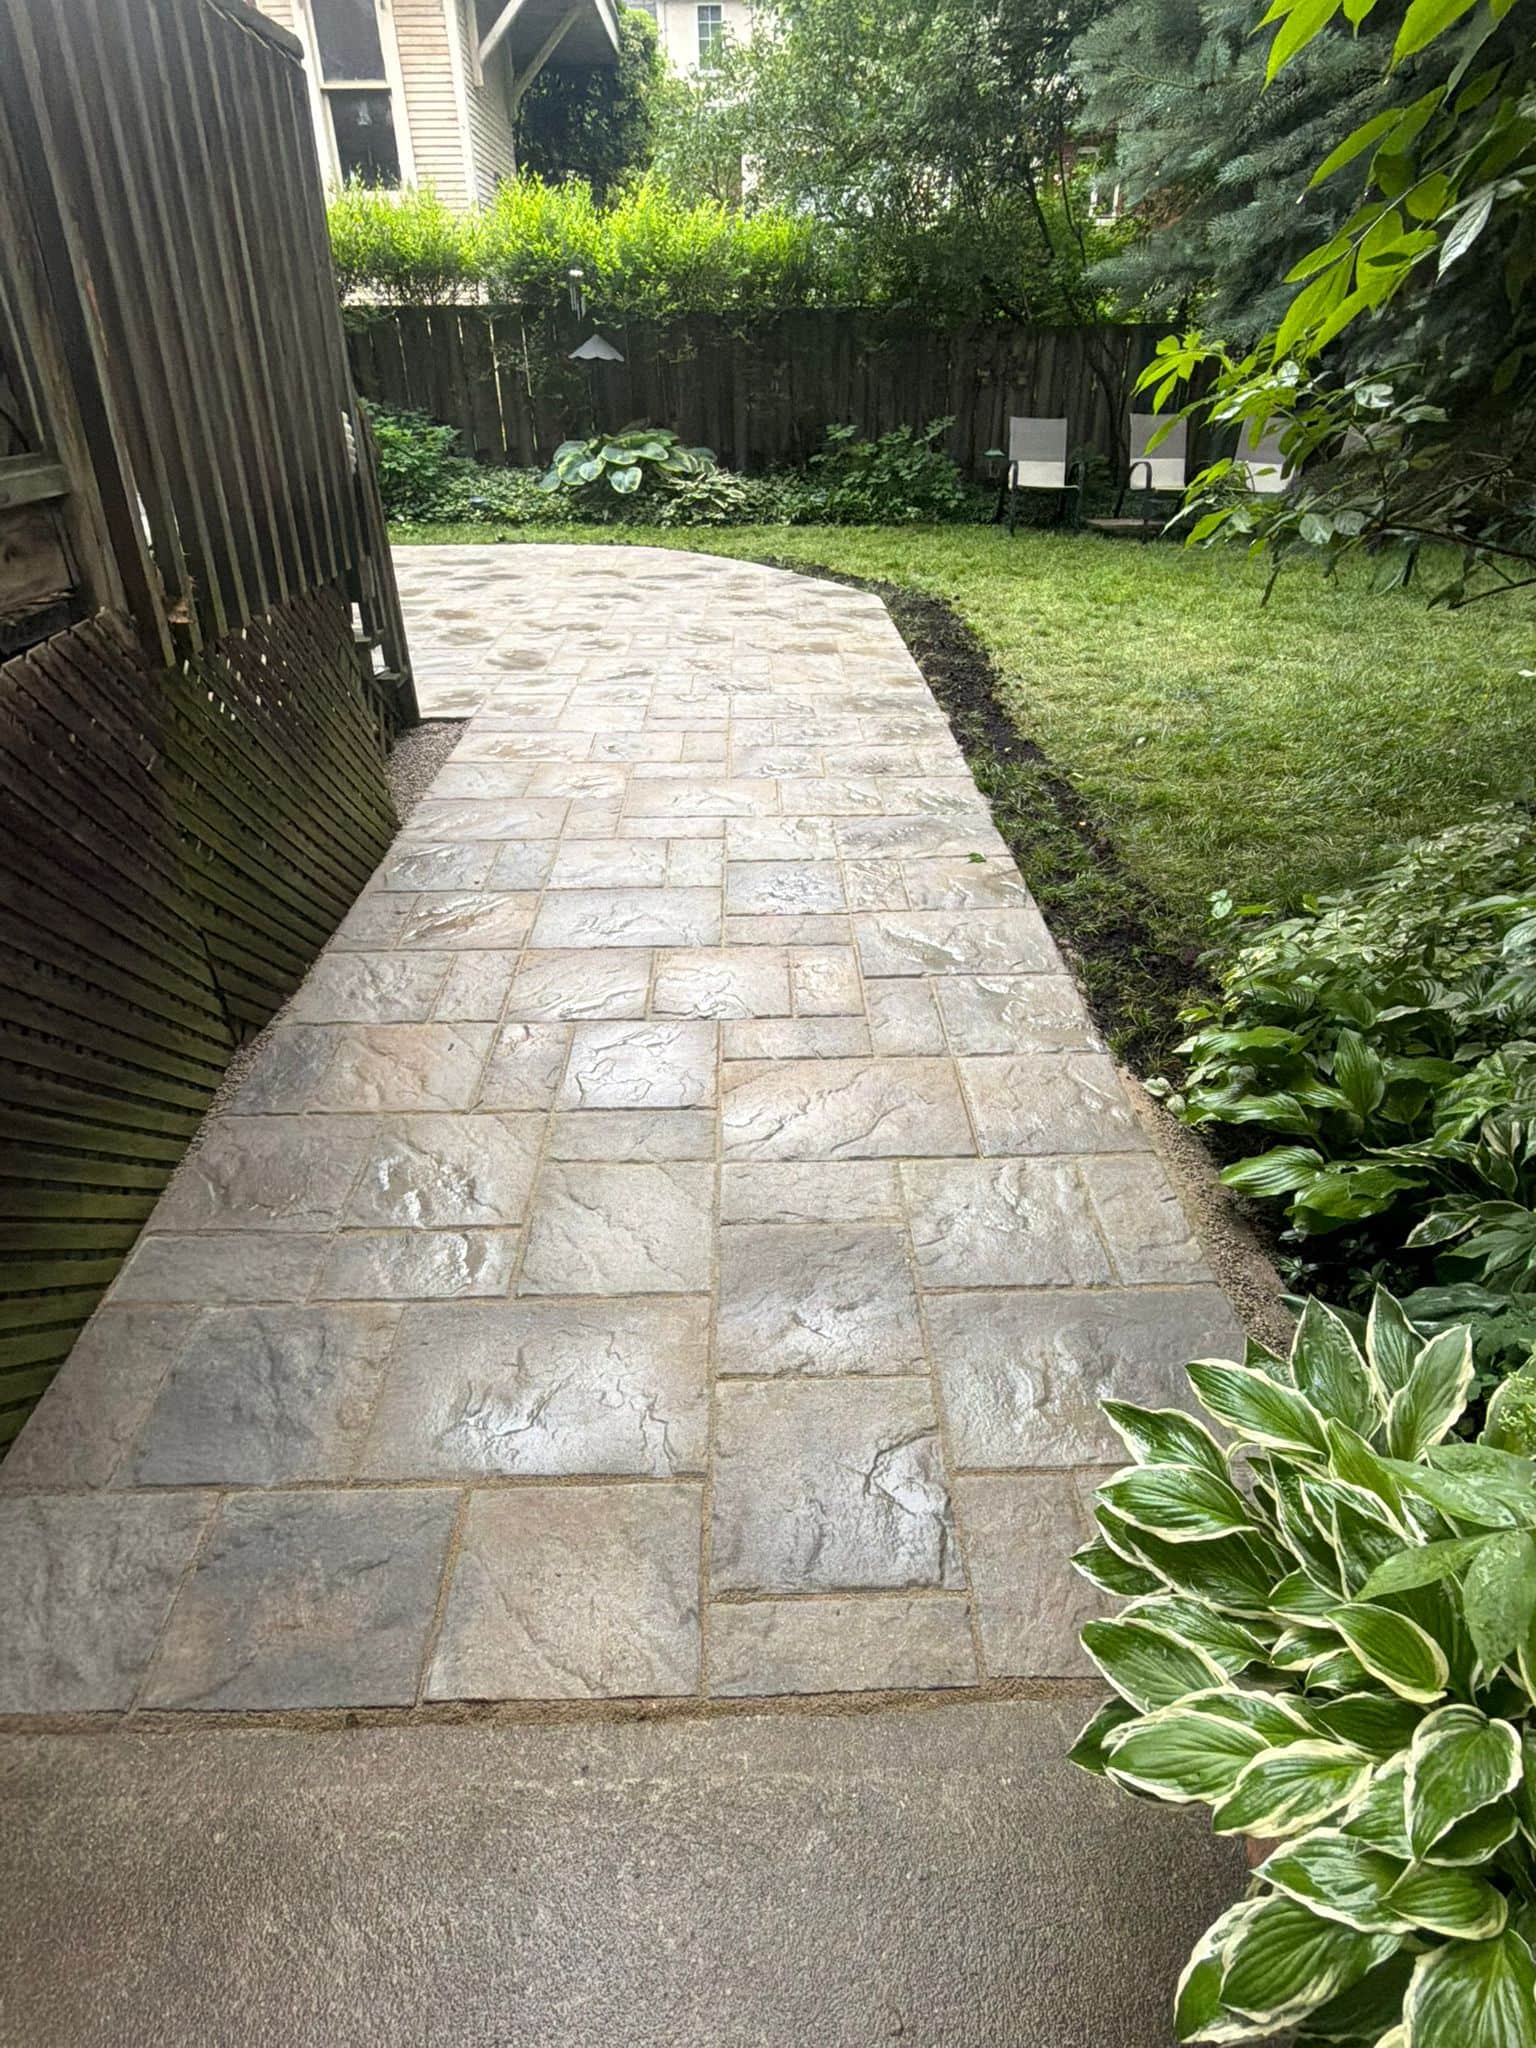
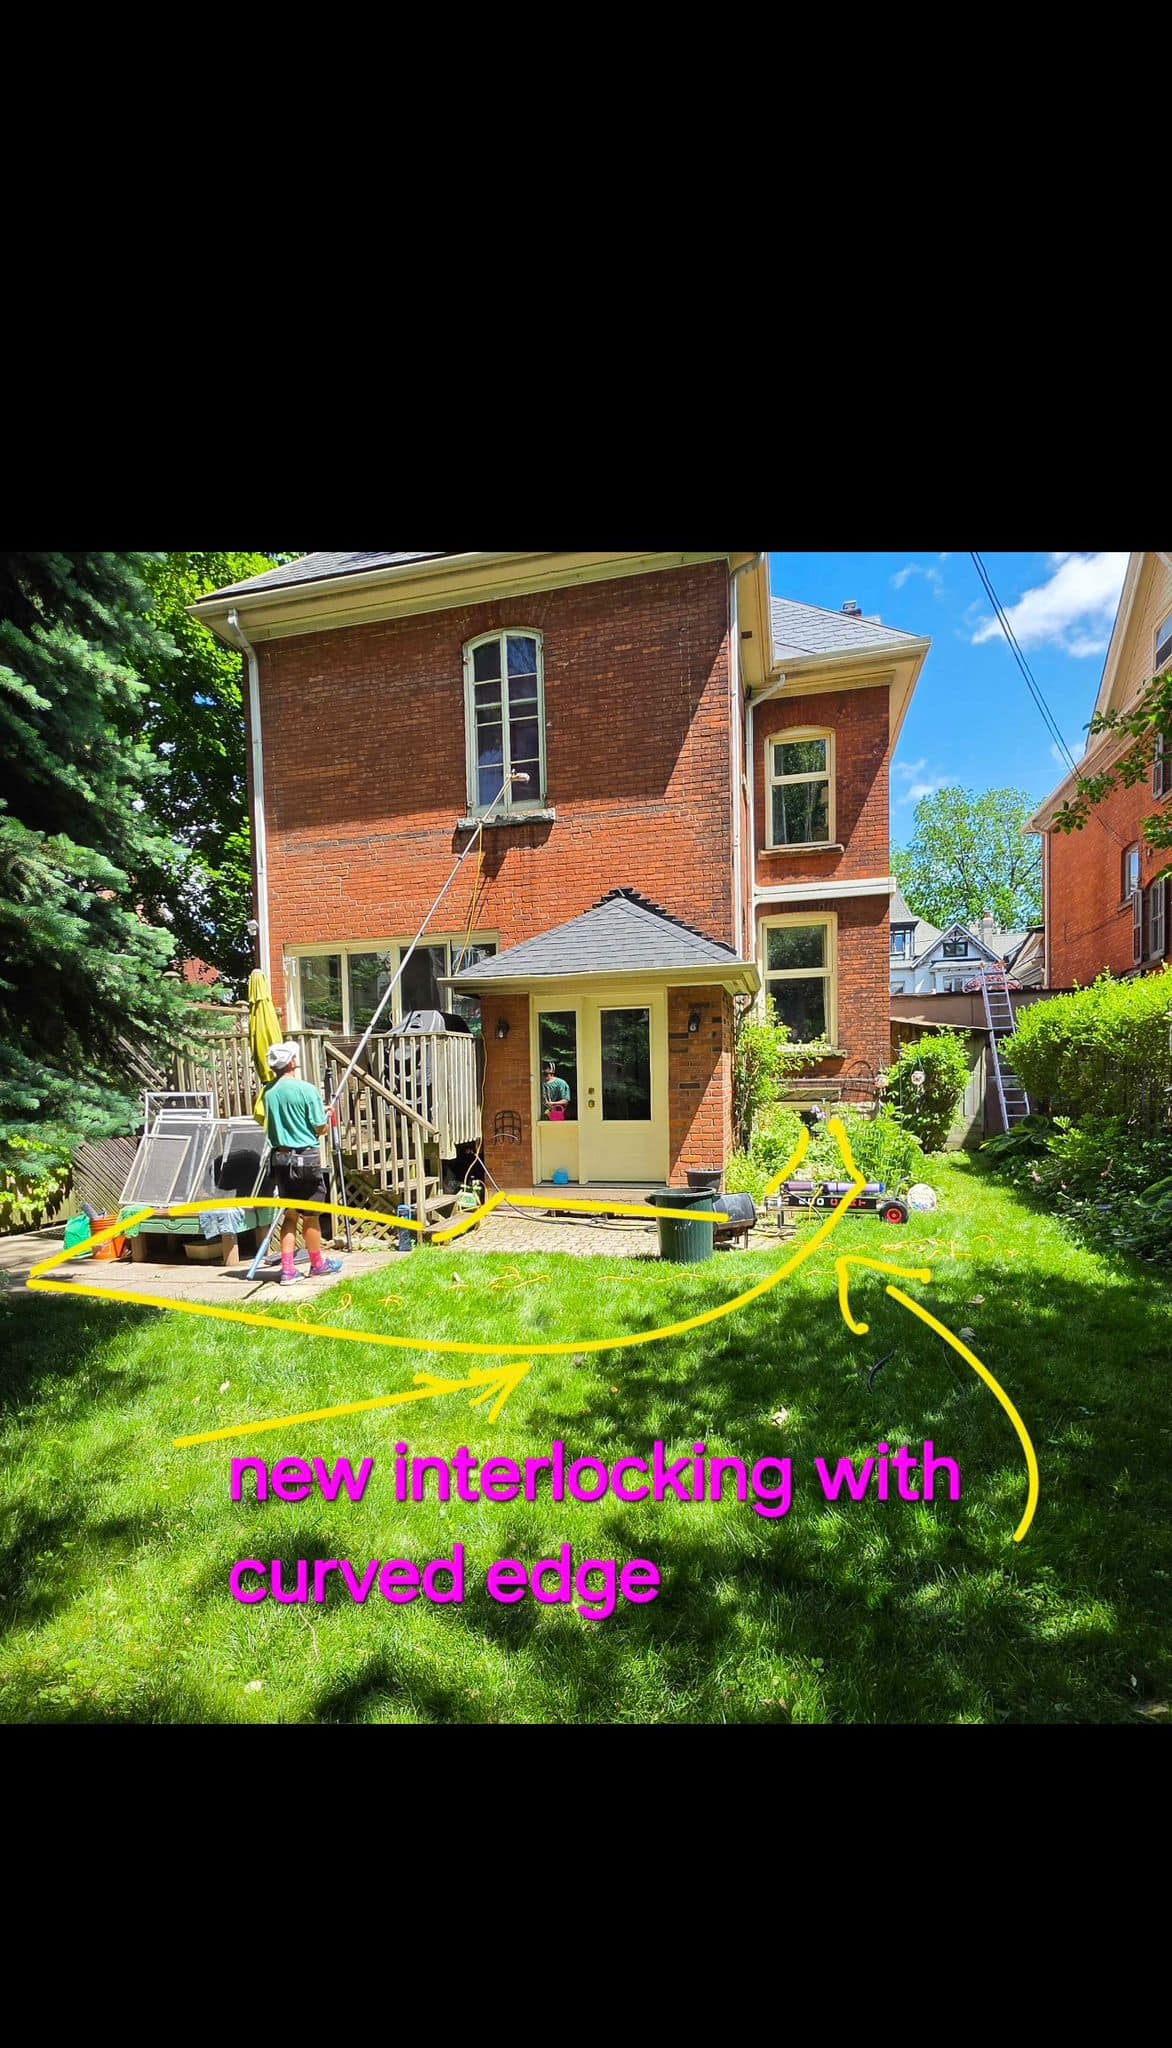
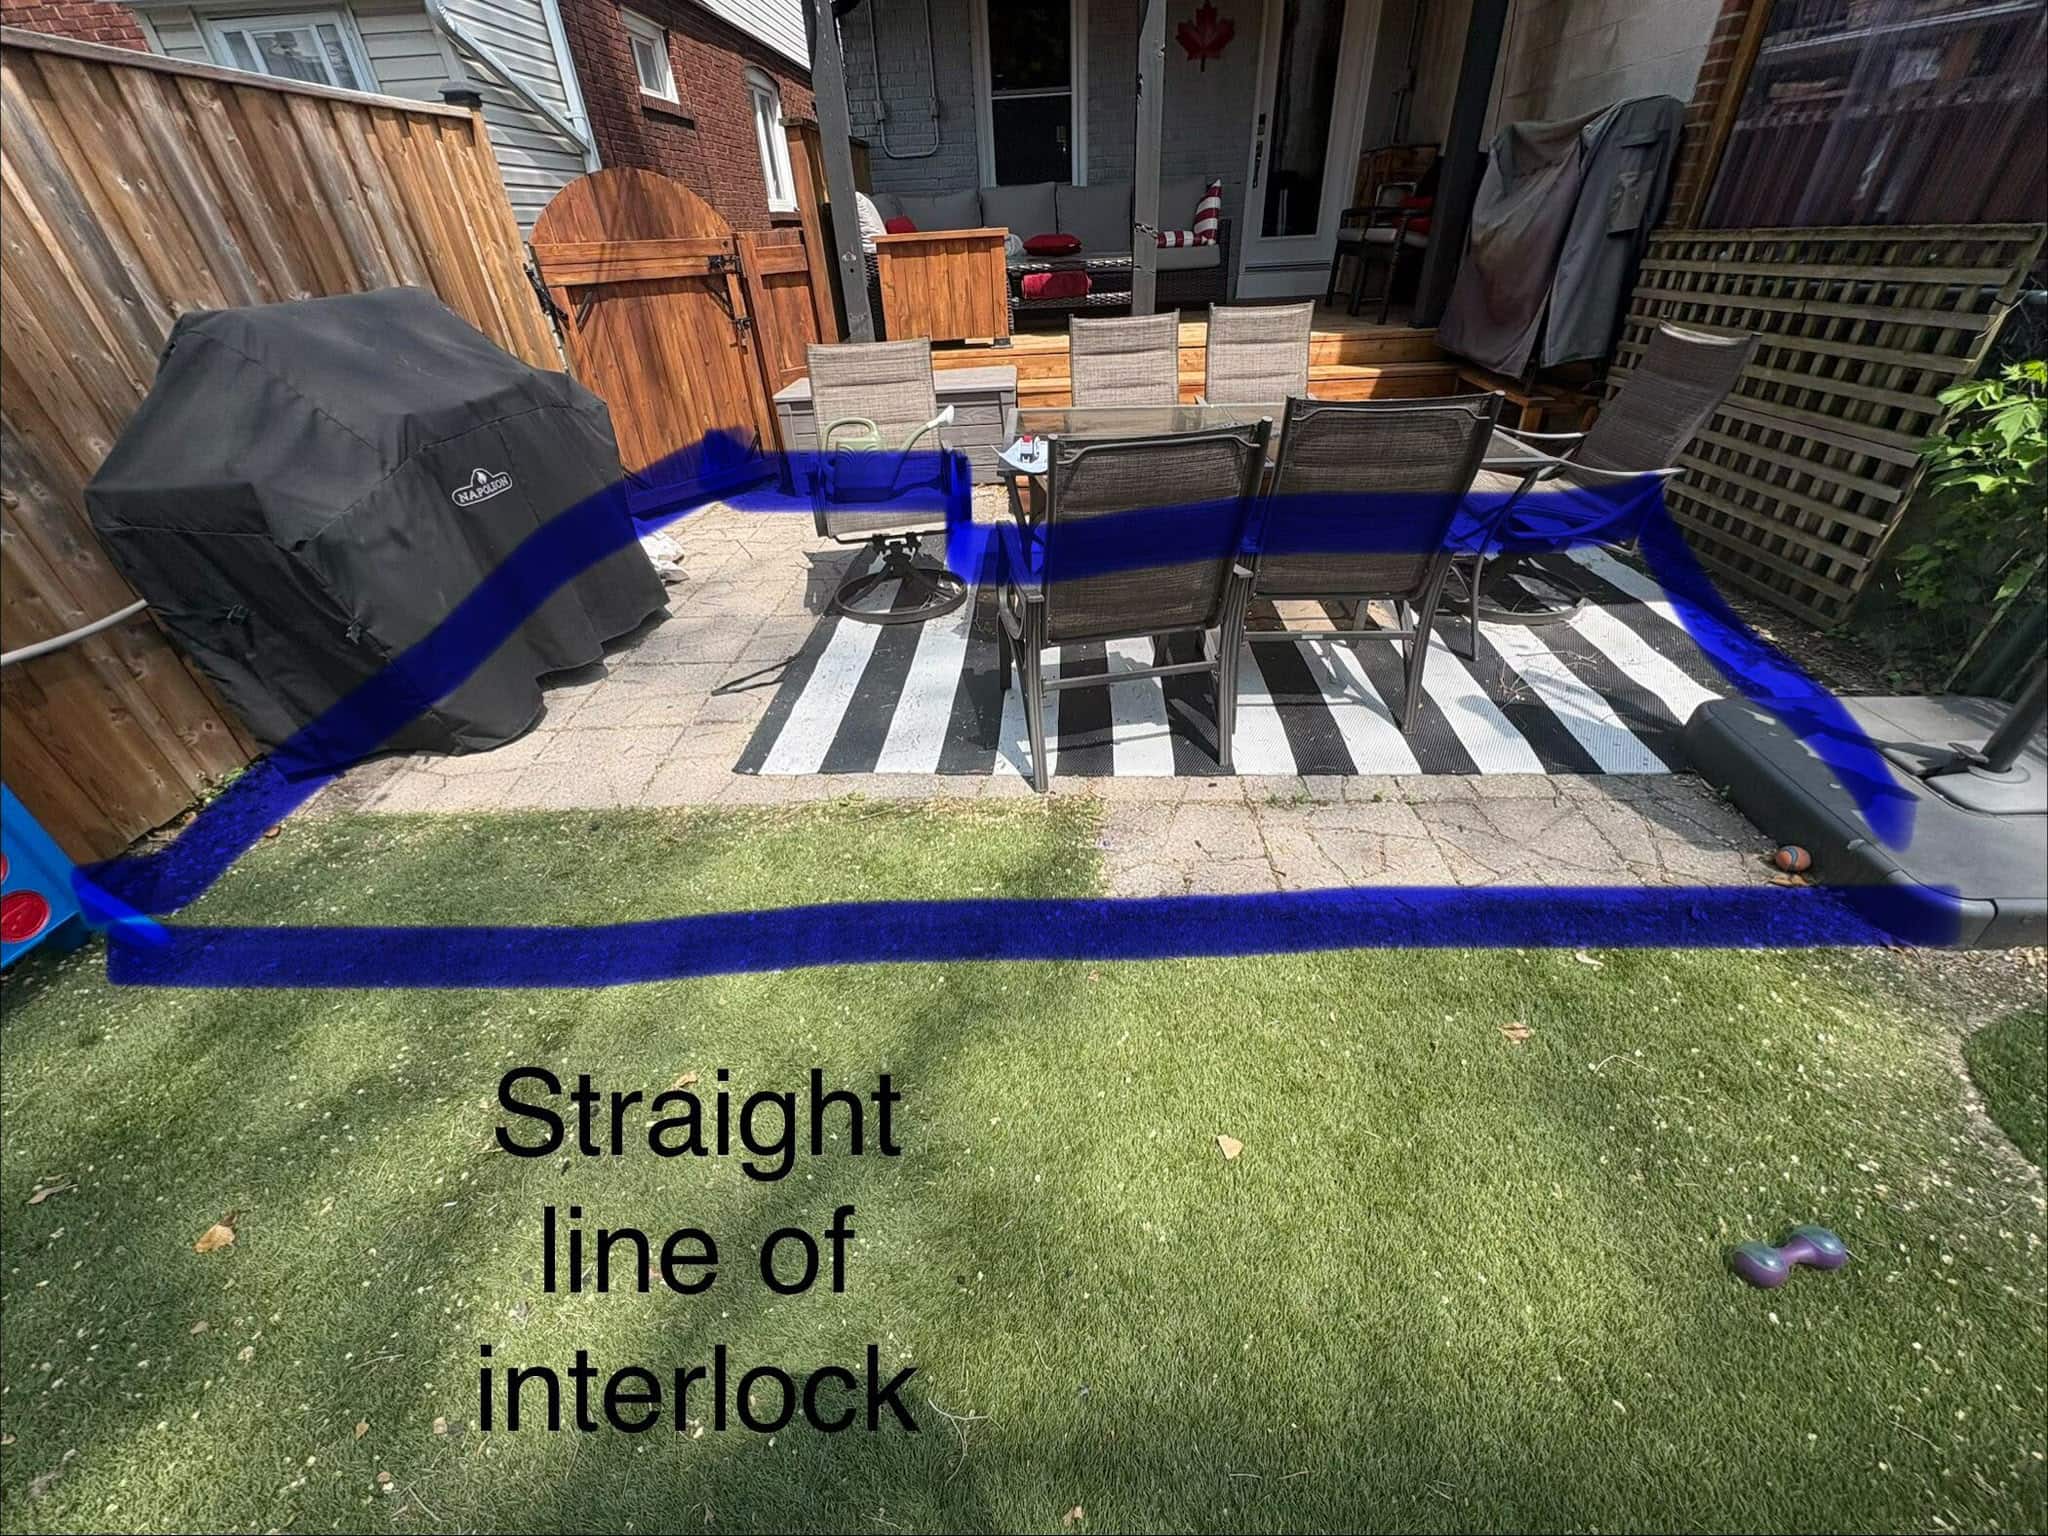
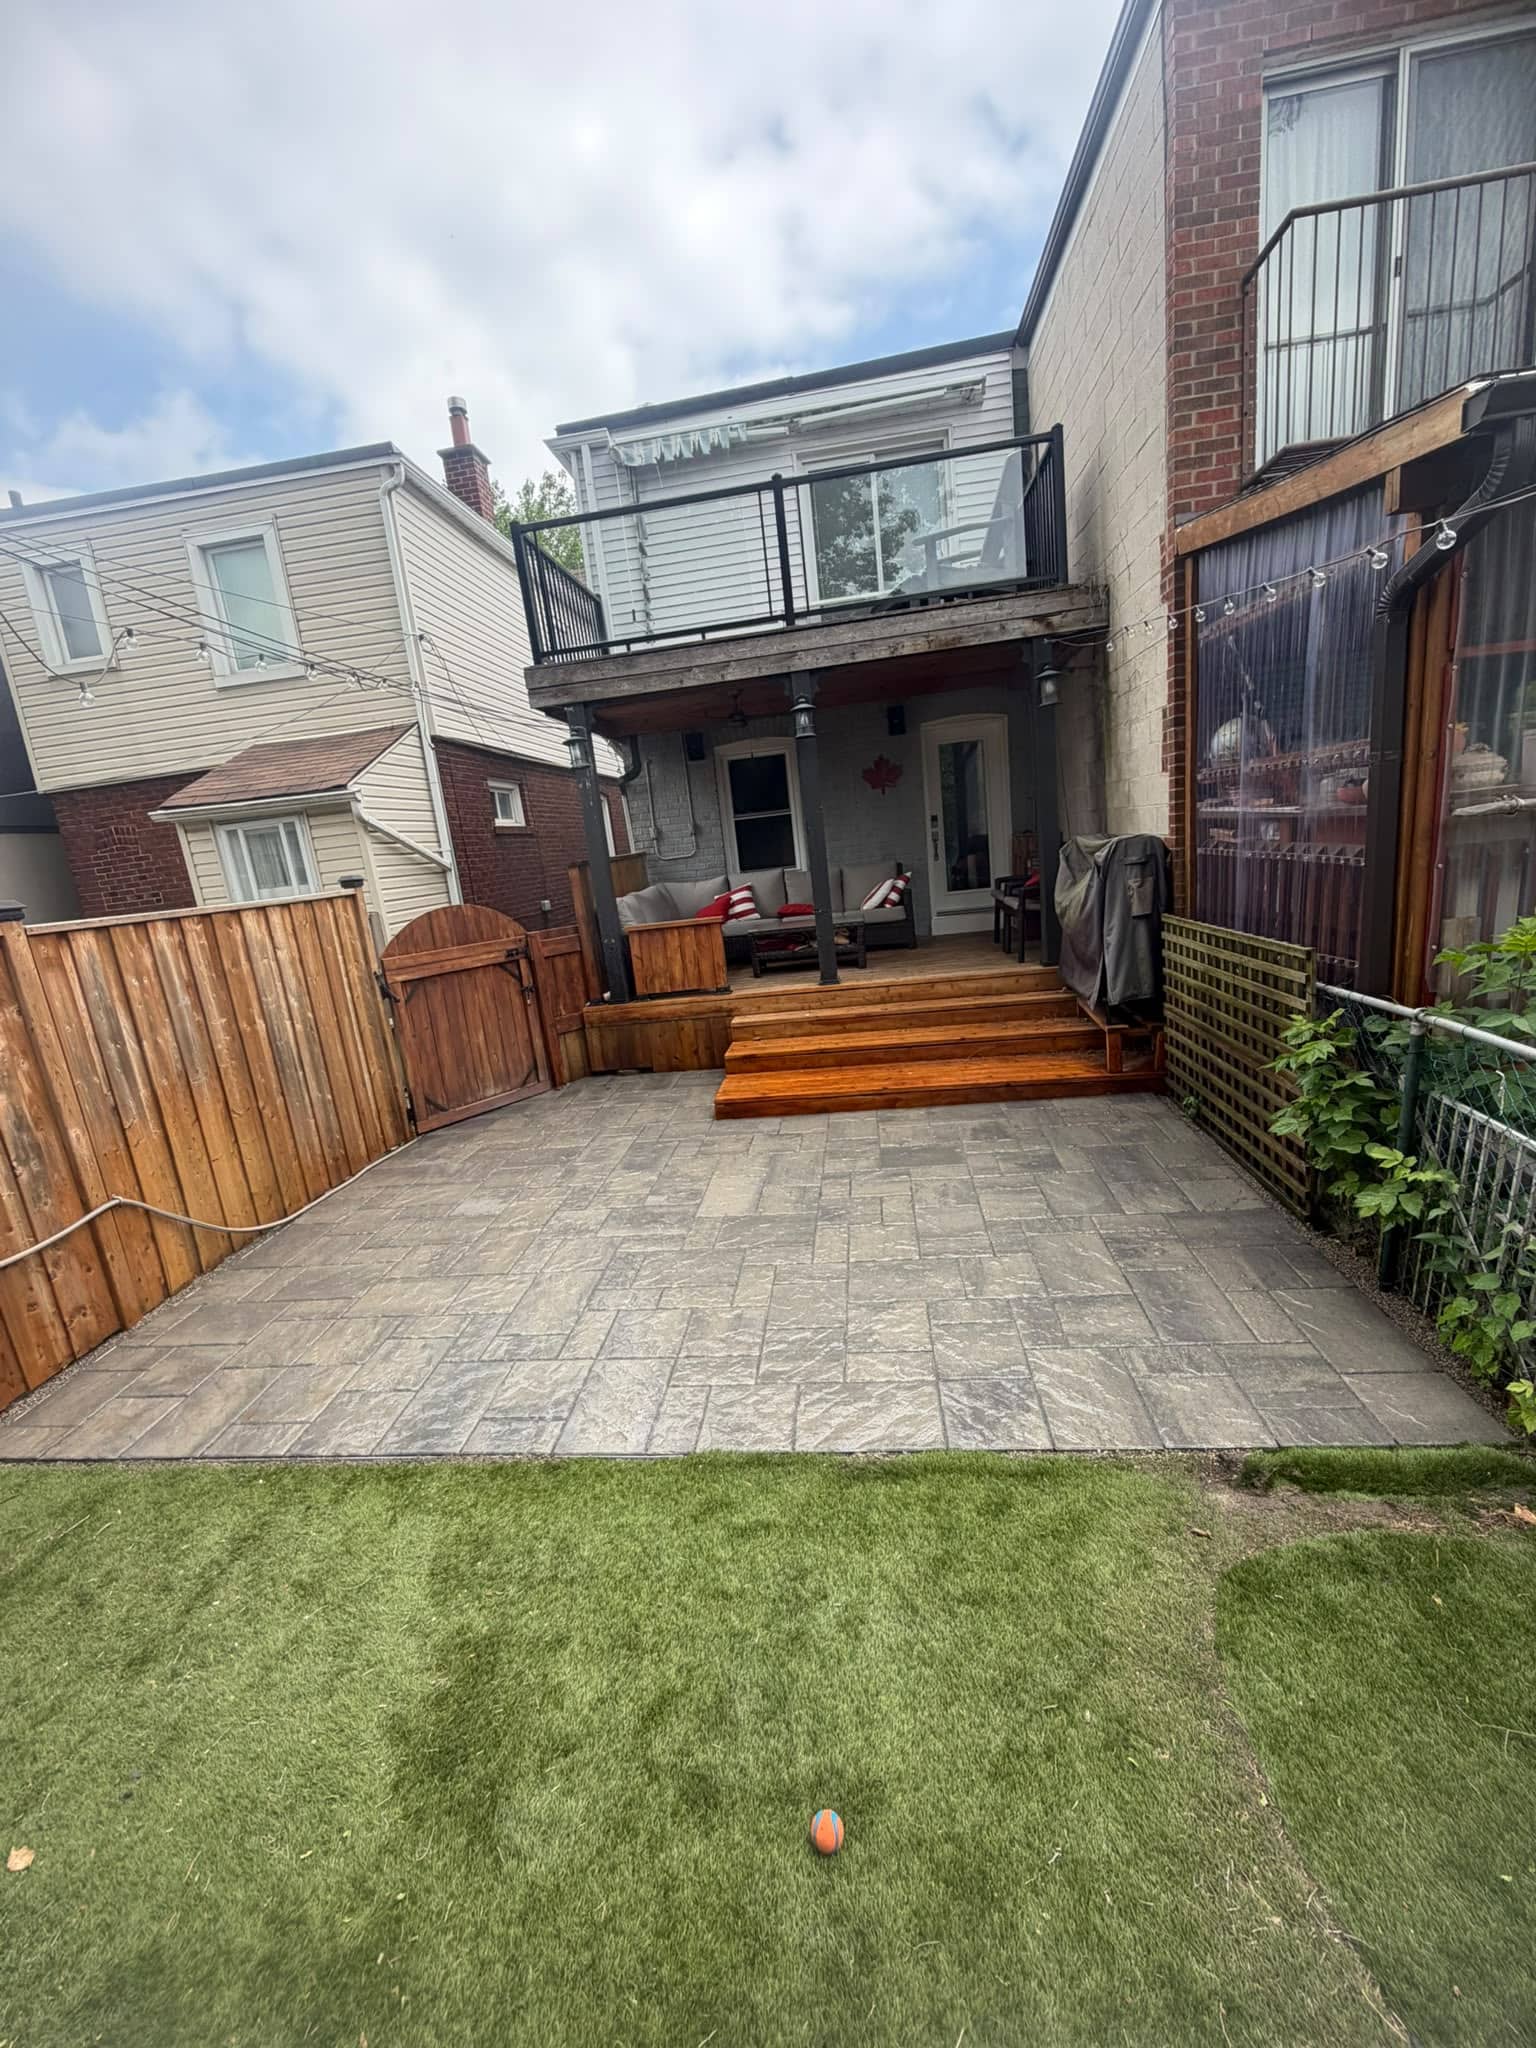
Interlocking patios, walkways, and driveways should be prepared for winter by checking drainage, edge restraint, joint material, low spots, and uneven areas. Pavers can shift when the base moves, water collects, or edges loosen.
Before winter, remove leaves and debris from joints and drainage areas. Look for sunken pavers where water may pool and freeze. Check steps and transitions so they remain safe when covered with snow.
Interlocking surfaces can perform well through winter when the base is sound, and water drains correctly. However, repeated puddling, ice, and salt exposure can shorten the life of nearby masonry and make the surface harder to maintain.
If your interlocking connects to steps, patios, garden walls, or the foundation, winter-proofing should cover the entire area, not just the pavers.
Do Not Ignore Basement and Foundation Moisture
Basement and foundation moisture should not be ignored before winter, as snowmelt and freeze-thaw cycles can worsen water entry problems. Damp foundation areas, cracked parging, lower wall staining, and basement leaks may point to water movement around the home.
The City of Toronto’s rain and melted snow guidance connects water management to reducing the risk of basement flooding. For homeowners, that means downspouts, grading, walkways, window wells, and hard surfaces should be reviewed before winter.
If water is reaching the foundation, surface masonry repairs may not be enough. The property may need drainage correction, waterproofing review, crack repair, parging repair, or other moisture-control work.
For foundation-adjacent masonry concerns, A&A Masonry’s waterproofing Toronto page explains common exterior moisture and foundation water-entry issues.
What Homeowners Can Do Before Winter
Homeowners can do several simple tasks before winter to reduce the risk of masonry damage. These tasks focus on observation, moisture control, and basic maintenance.
- Walk around the home and photograph cracks, stains, loose mortar, and damp areas.
- Clear leaves and debris from steps, walkways, window wells, gutters, and drainage paths.
- Make sure downspouts discharge away from masonry and foundations.
- Keep soil, mulch, and snow away from lower brickwork where possible.
- Brush off light efflorescence dry and watch whether it returns.
- Check for concrete steps with cracks, broken edges, or uneven surfaces.
- Look at chimneys from the ground for missing caps, cracked crowns, and spalling brick.
- Clear snow early to reduce ice buildup and the need for heavy de-icer use.
- Track areas where ice forms repeatedly, because they may have drainage or slope issues.
These tasks do not replace repair work, but they help homeowners spot problems early and avoid creating extra moisture around the masonry.
What Should Not Be Done Before Winter
Some winter-proofing mistakes can make masonry problems worse. Rushing a quick fix in poor weather can be just as risky as ignoring the damage.
- Do not seal damp masonry: Trapped moisture can freeze, damaging the surface.
- Do not smear mortar over failed joints: Thin patches often fail quickly.
- Do not pressure wash old brick before freezing weather: Water can enter the wall and remain there.
- Do not patch concrete over loose material: The repair may break away when it freezes.
- Do not pile snow against brick or stone walls: Melting snow can keep masonry wet.
- Do not ignore loose chimney brick: Height and weather exposure increase risk.
- Do not use random de-icers heavily: Some products can damage nearby masonry surfaces.
- Do not wait until deep winter for non-emergency repairs: Materials need proper weather and curing conditions.
Winter-proofing works best when repairs are planned early enough to allow proper preparation, drying, and curing, and to account for weather conditions.
Permits, Code, and Safety Considerations
Permits, code, and safety considerations may matter when winter masonry work involves structural repairs, chimneys, steps, retaining walls, foundations, entrances, or major exterior changes. Small maintenance tasks are different from rebuilding or altering masonry features.
The City of Toronto provides information about building permits. Ontario’s official Building Code page is also the preferred provincial reference for building requirements.
For homeowners, the practical rule is this: if the work affects structure, support, grade, safety, chimney systems, entrances, retaining walls, or foundation areas, check official guidance before starting.
Quick Winter-Proofing Checklist for Masonry
A quick checklist can help homeowners prioritize masonry before cold weather arrives.
- Brick walls: Check for spalling, cracks, staining, and missing mortar.
- Mortar joints: Repair open joints before water and ice widen them.
- Chimneys: Look for cracked crowns, missing caps, loose brick, and water stains.
- Concrete steps: Repair cracks, broken edges, and unsafe, uneven areas.
- Stone veneer: Watch for cracks, loose stones, staining, and gaps.
- Retaining walls: Check for leaning, blocked drainage, loose caps, and soil pressure.
- Interlocking: Fix low spots, loose edges, and unsafe transitions.
- Drainage: Direct water away from masonry, foundations, and walkways.
- Snow storage: Avoid piling snow against lower brick, stone, and foundation areas.
- Sealers: Use only on sound, dry, clean masonry with the right breathable product.
The most important winter-proofing step is controlling water before it freezes inside the masonry.
When Professional Help Makes More Sense
Professional help makes more sense when masonry is cracked, loose, water-damaged, high up, structurally involved, or repeatedly failing after winter. Many winter masonry issues are connected to hidden moisture paths or improper past repairs.
A professional mason can assess whether the home needs tuckpointing, brick repair, chimney repair, concrete repair, waterproofing, stone repair, parging repair, retaining wall repair, or drainage correction. They can also help decide whether sealing is appropriate after repairs are complete.
For broader winter repair planning, A&A Masonry’s masonry services in Toronto page outlines services such as brick repair, tuckpointing, chimney repair, concrete repairs, waterproofing, stone masonry, parging, retaining walls, and exterior restoration.

Final Thoughts on Winter-Proofing Your Masonry
Winter-proofing your masonry is mostly about preparation, moisture control, and timely repair. Brick, stone, concrete, mortar, chimneys, steps, retaining walls, and interlocking surfaces all last longer when water is kept out of cracks and away from vulnerable areas.
For Toronto and GTA homeowners, freeze-thaw cycles make small masonry problems more serious. Open mortar joints, spalling brick, cracked concrete, damp foundations, and missing chimney caps can all worsen after snow, ice, and winter moisture arrive.
The best approach is to inspect early, repair weak points, improve drainage, clear snow carefully, use de-icers with care, and avoid sealing over damage. When masonry is prepared before winter, it has a better chance of surviving the season without avoidable damage.