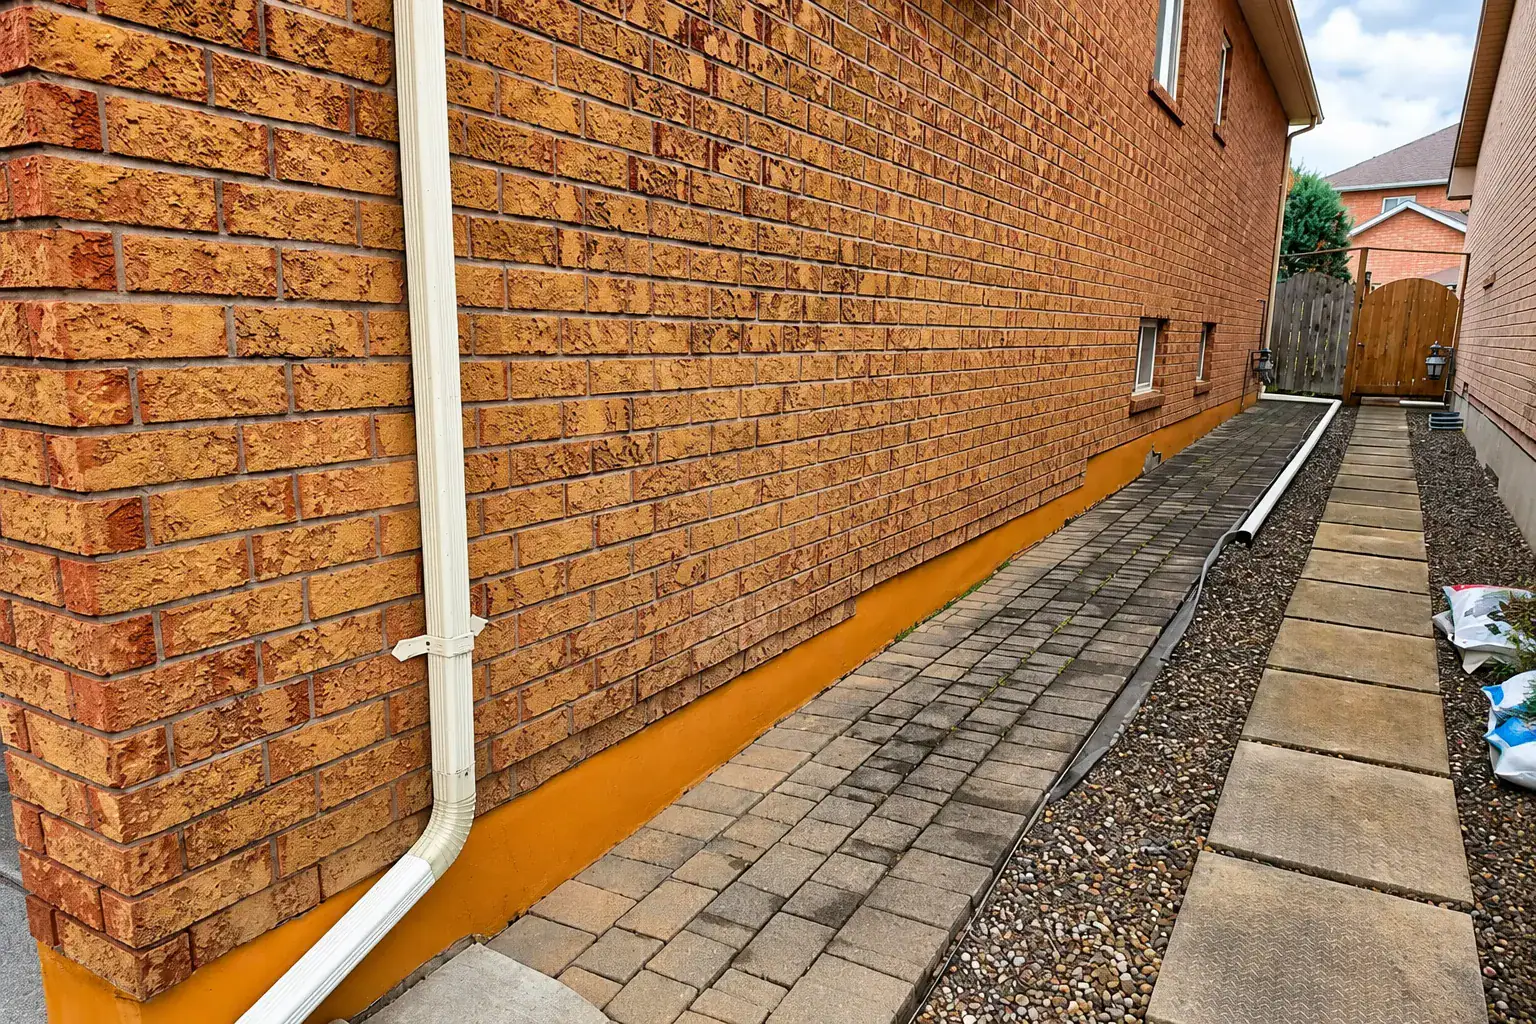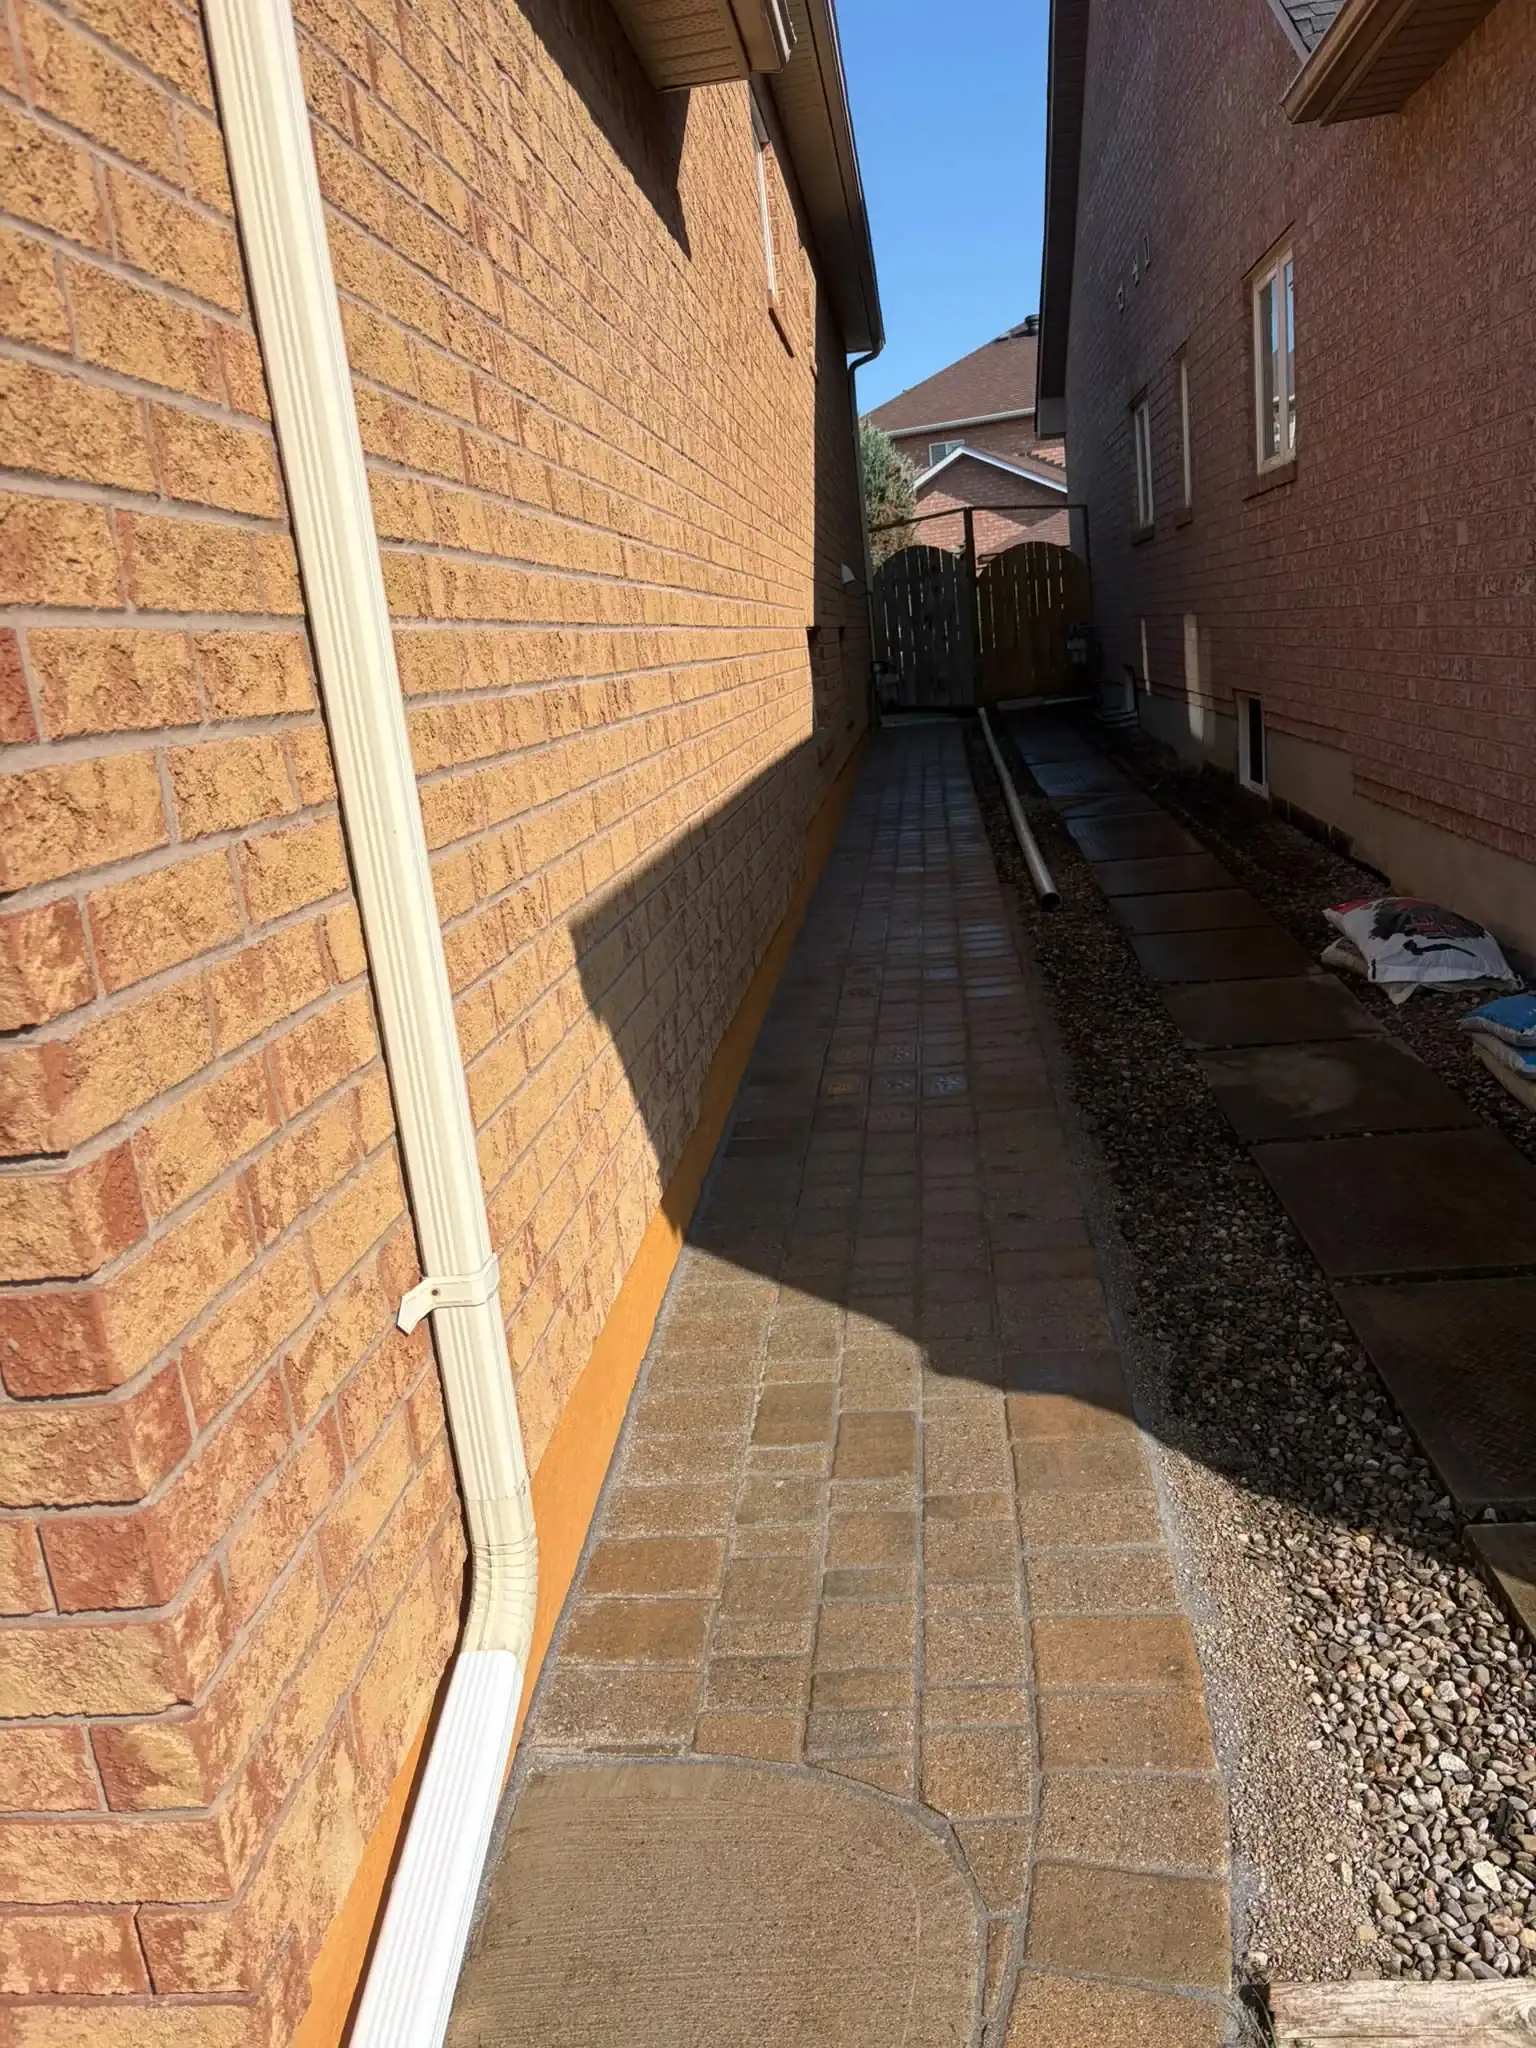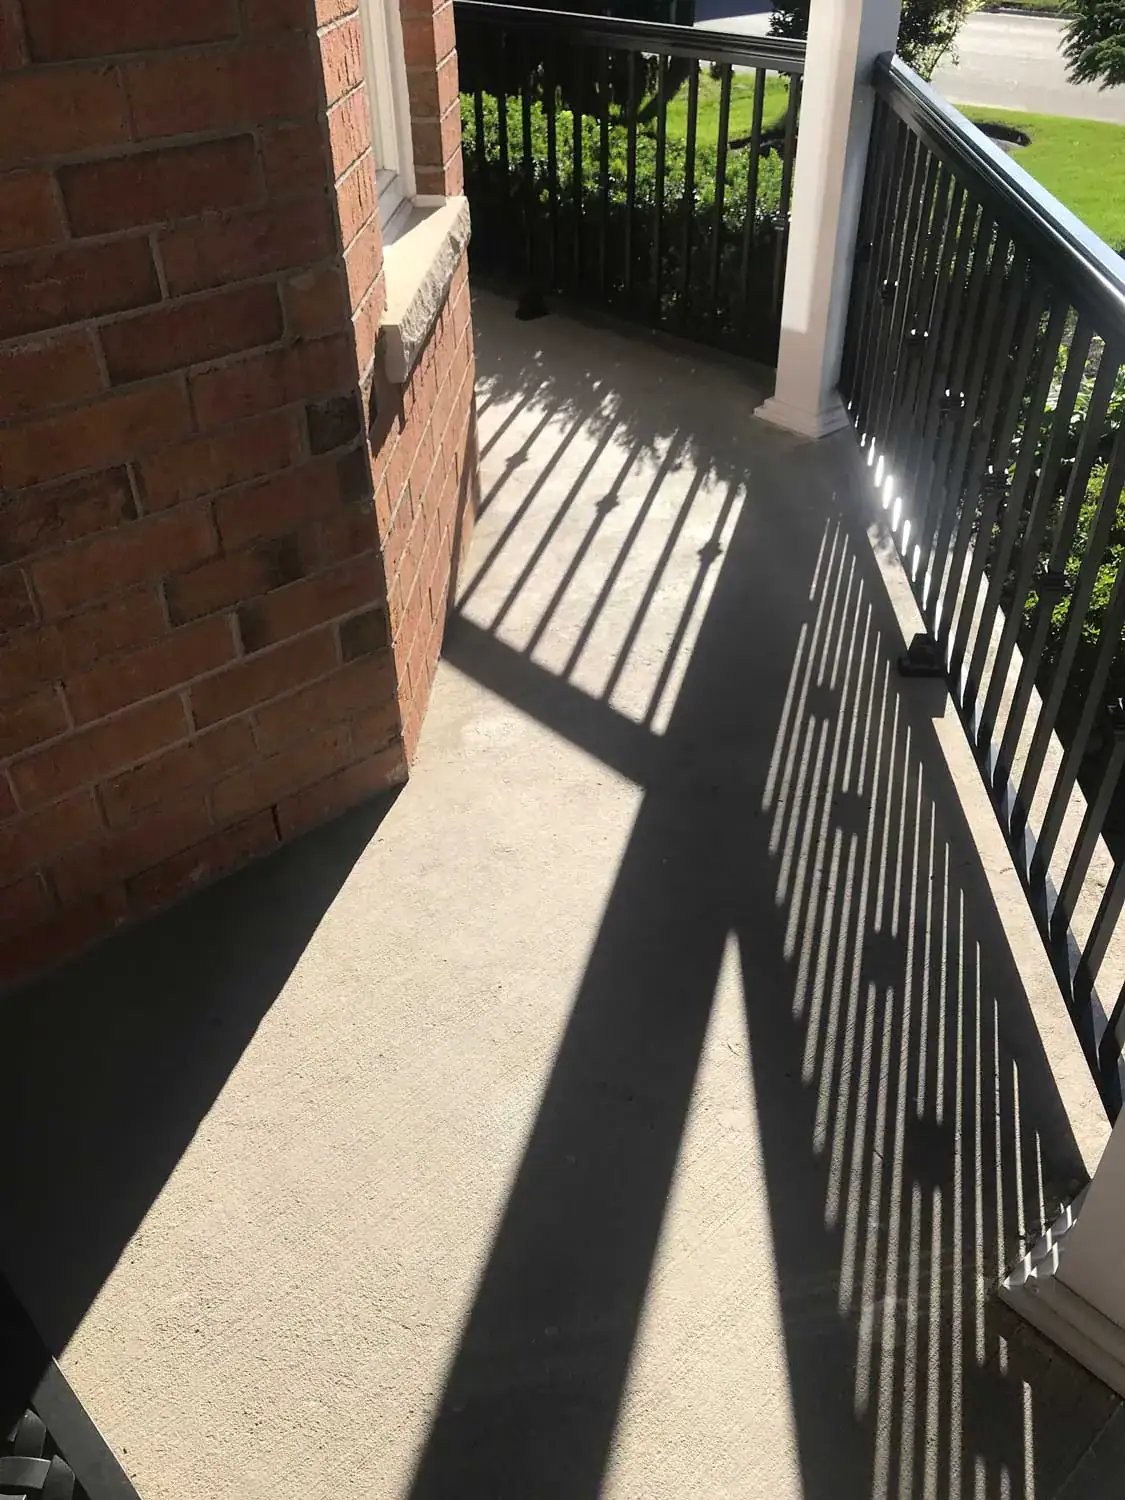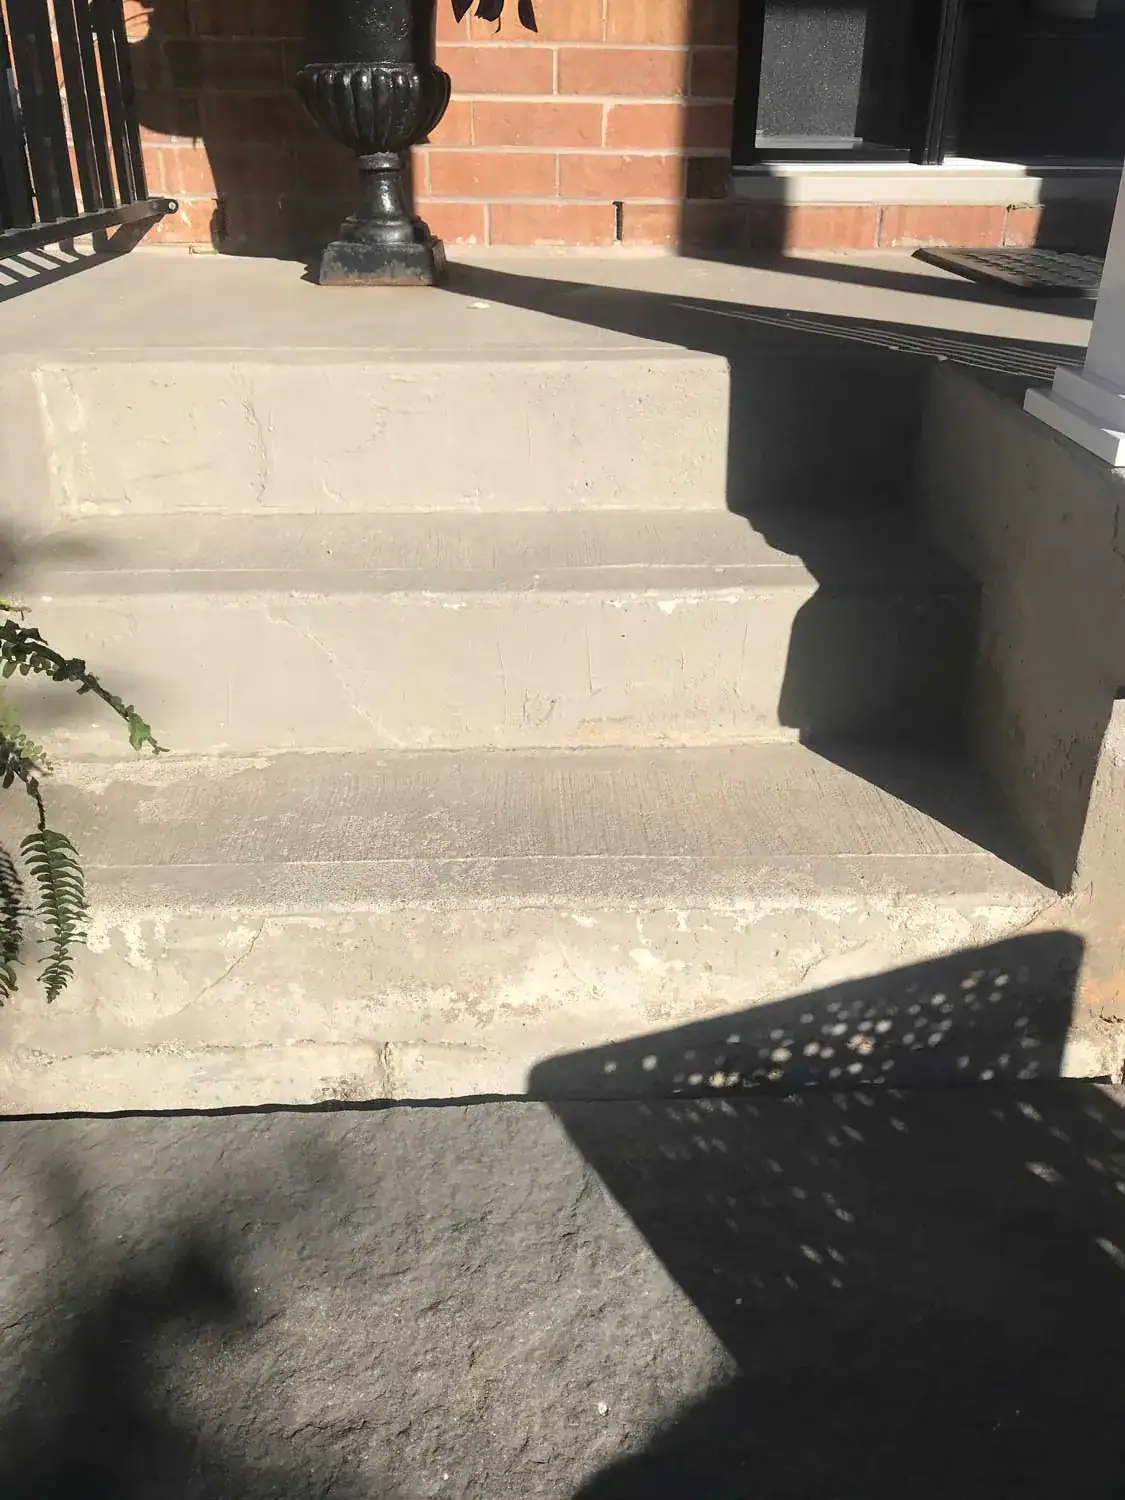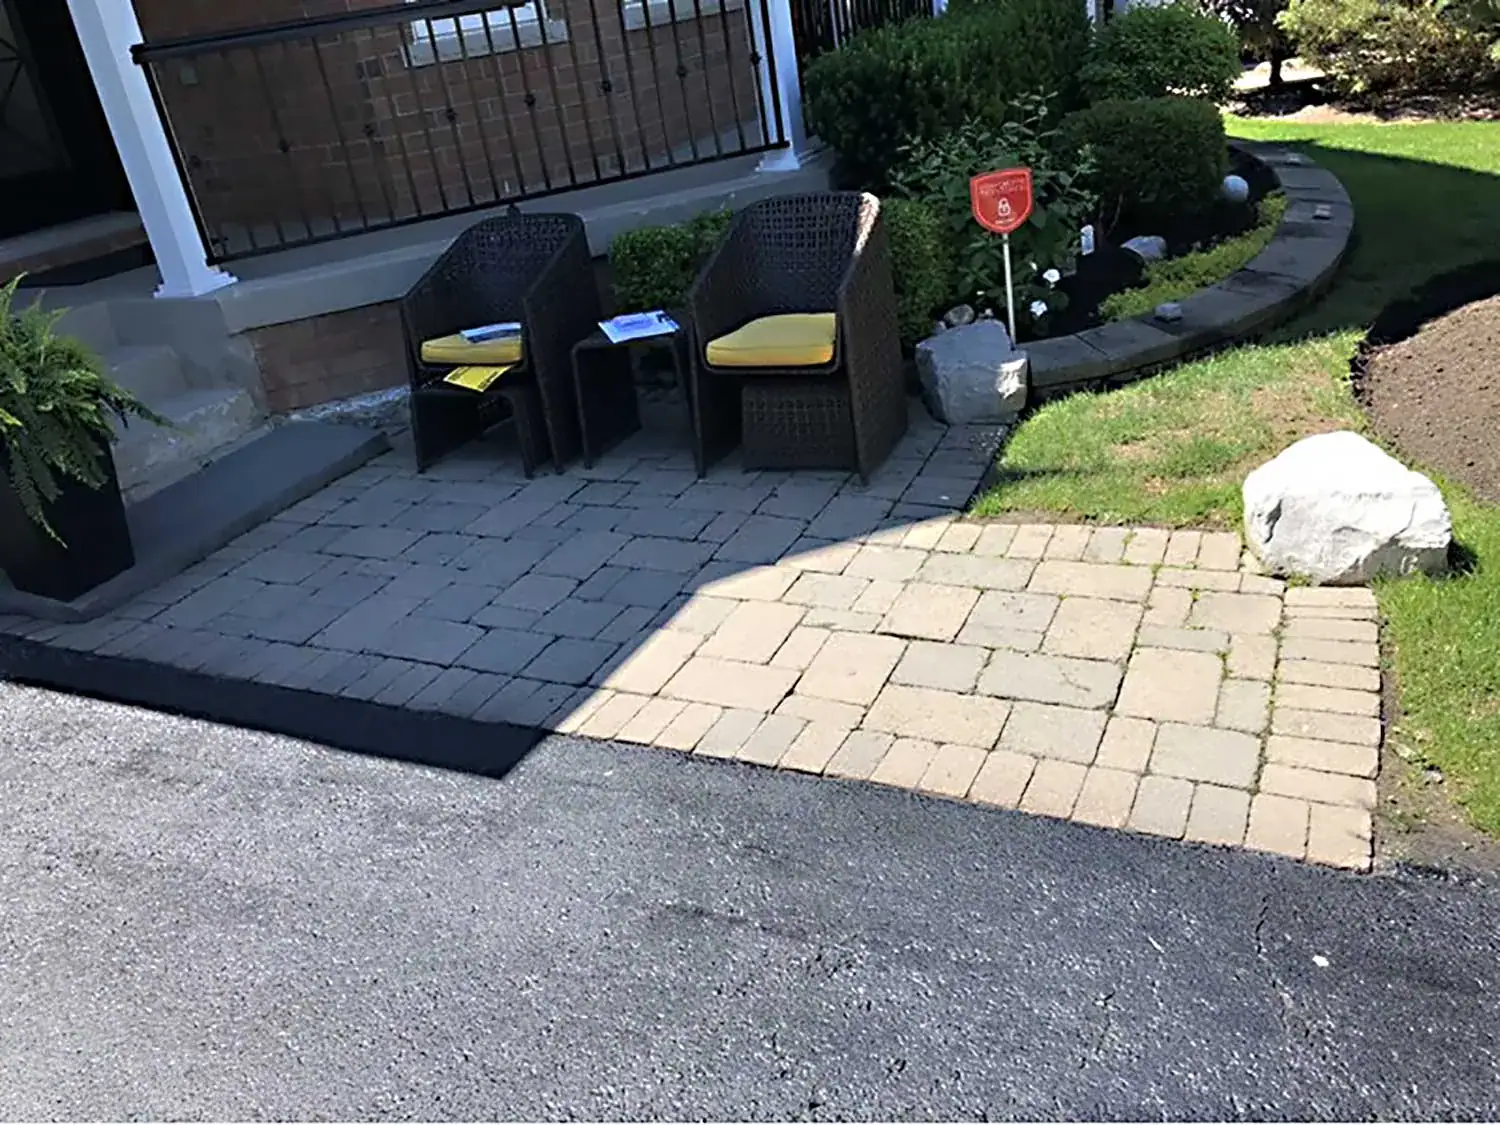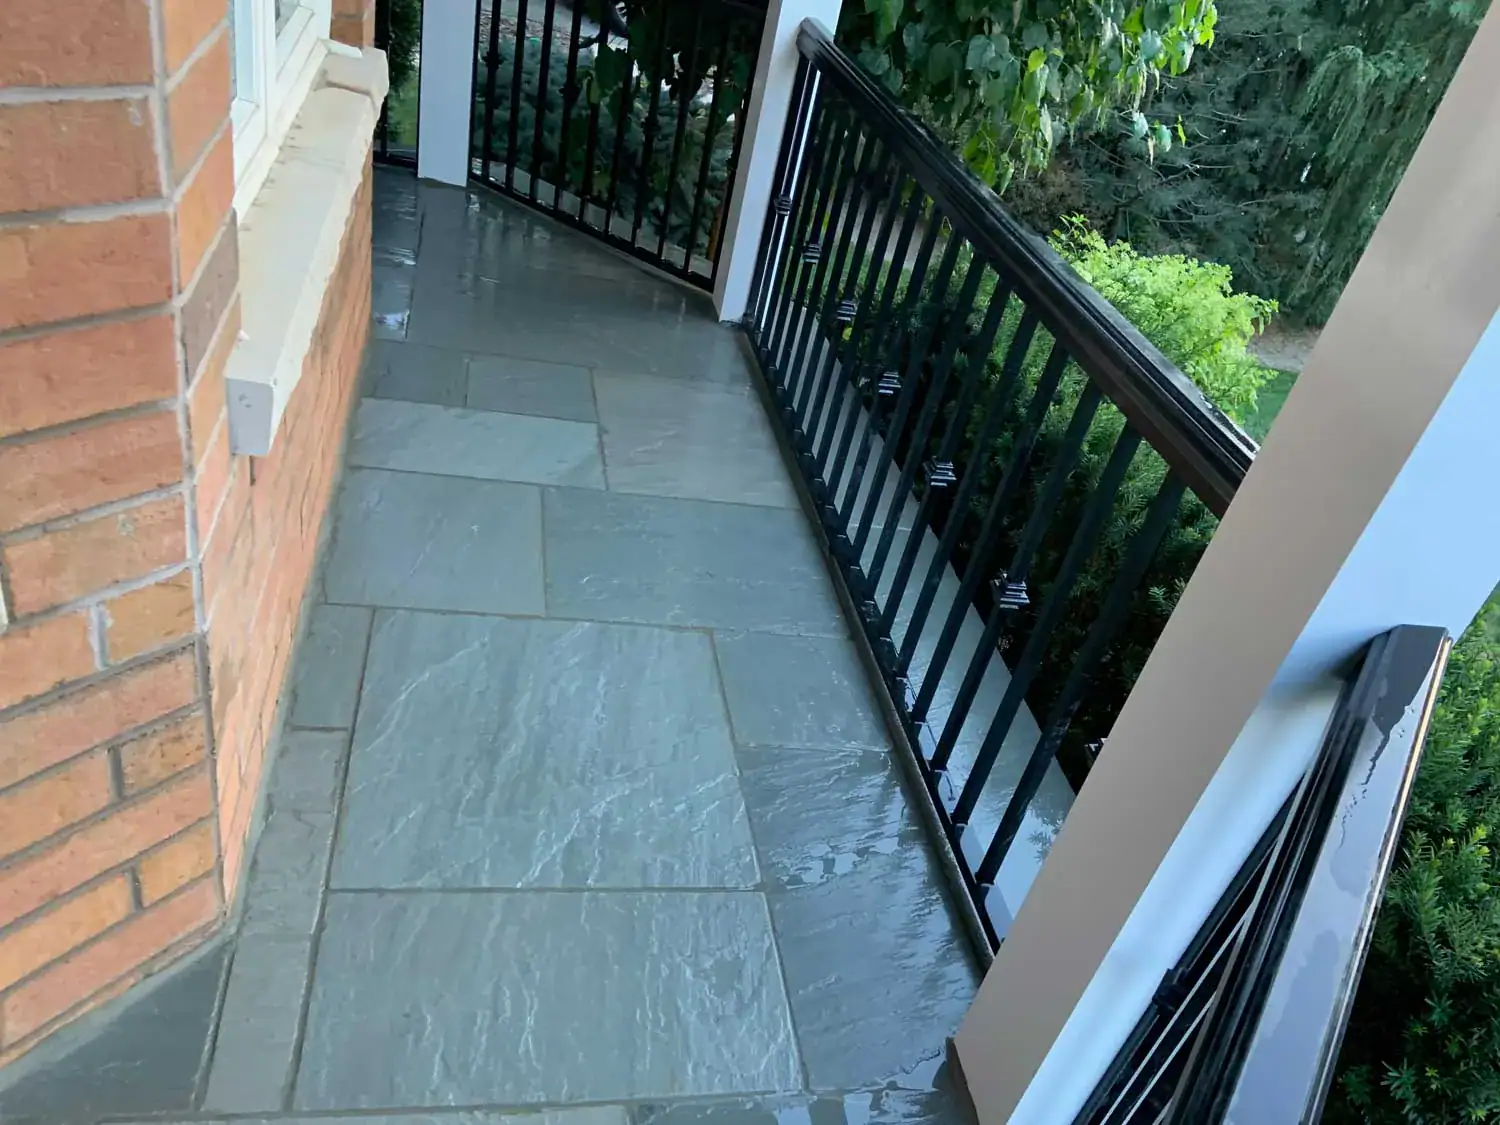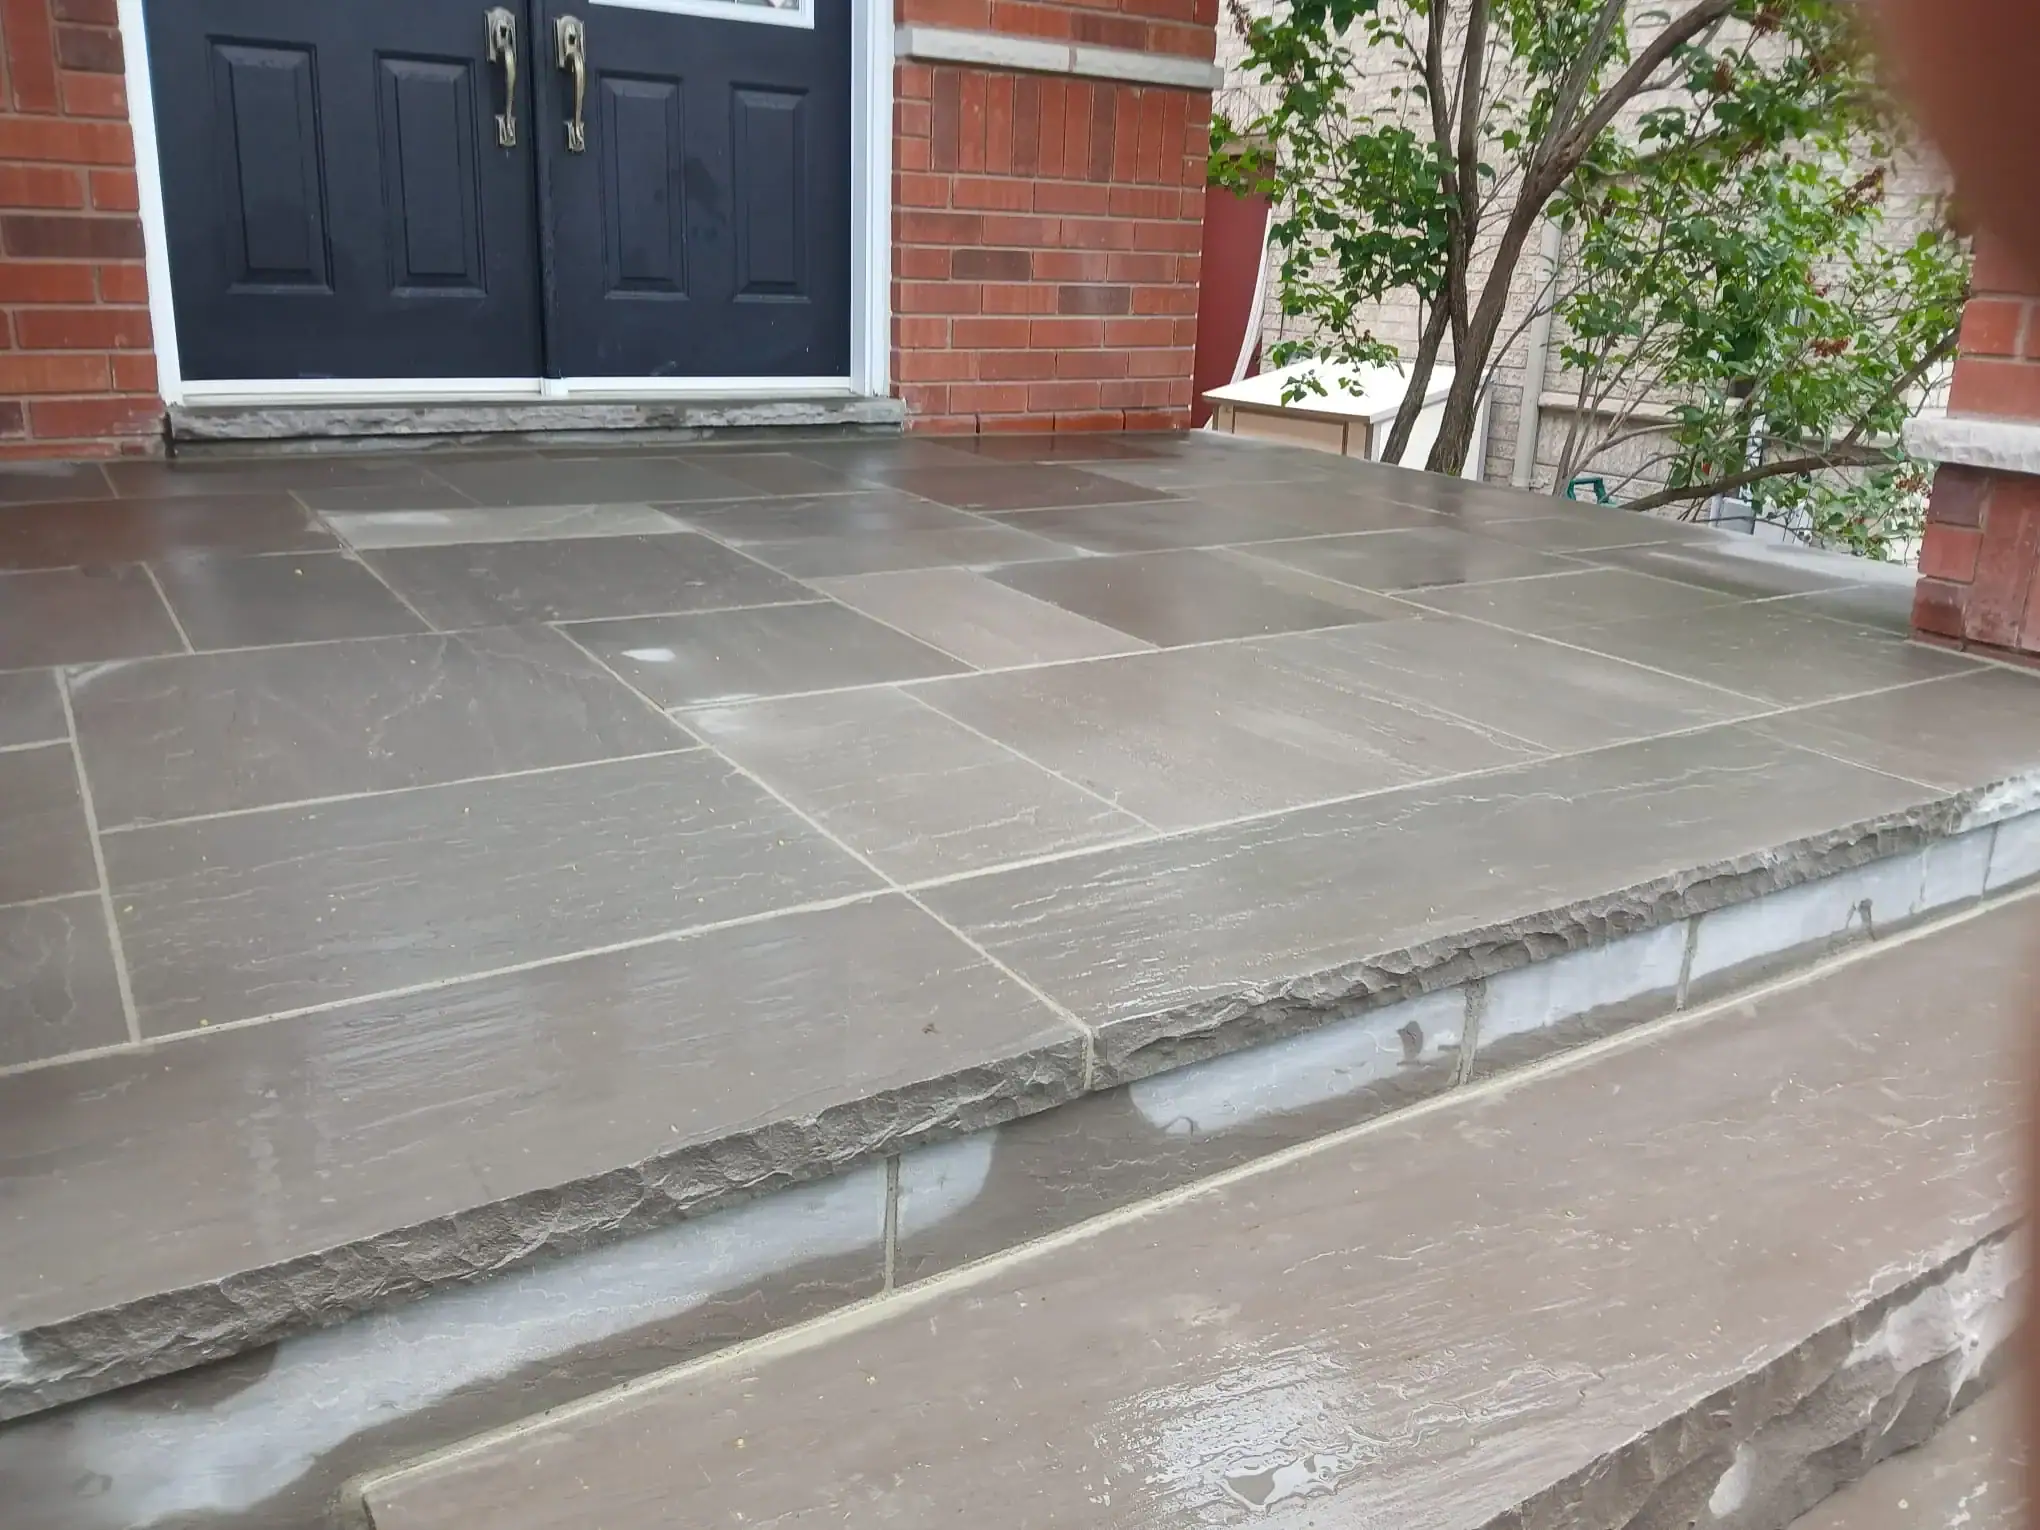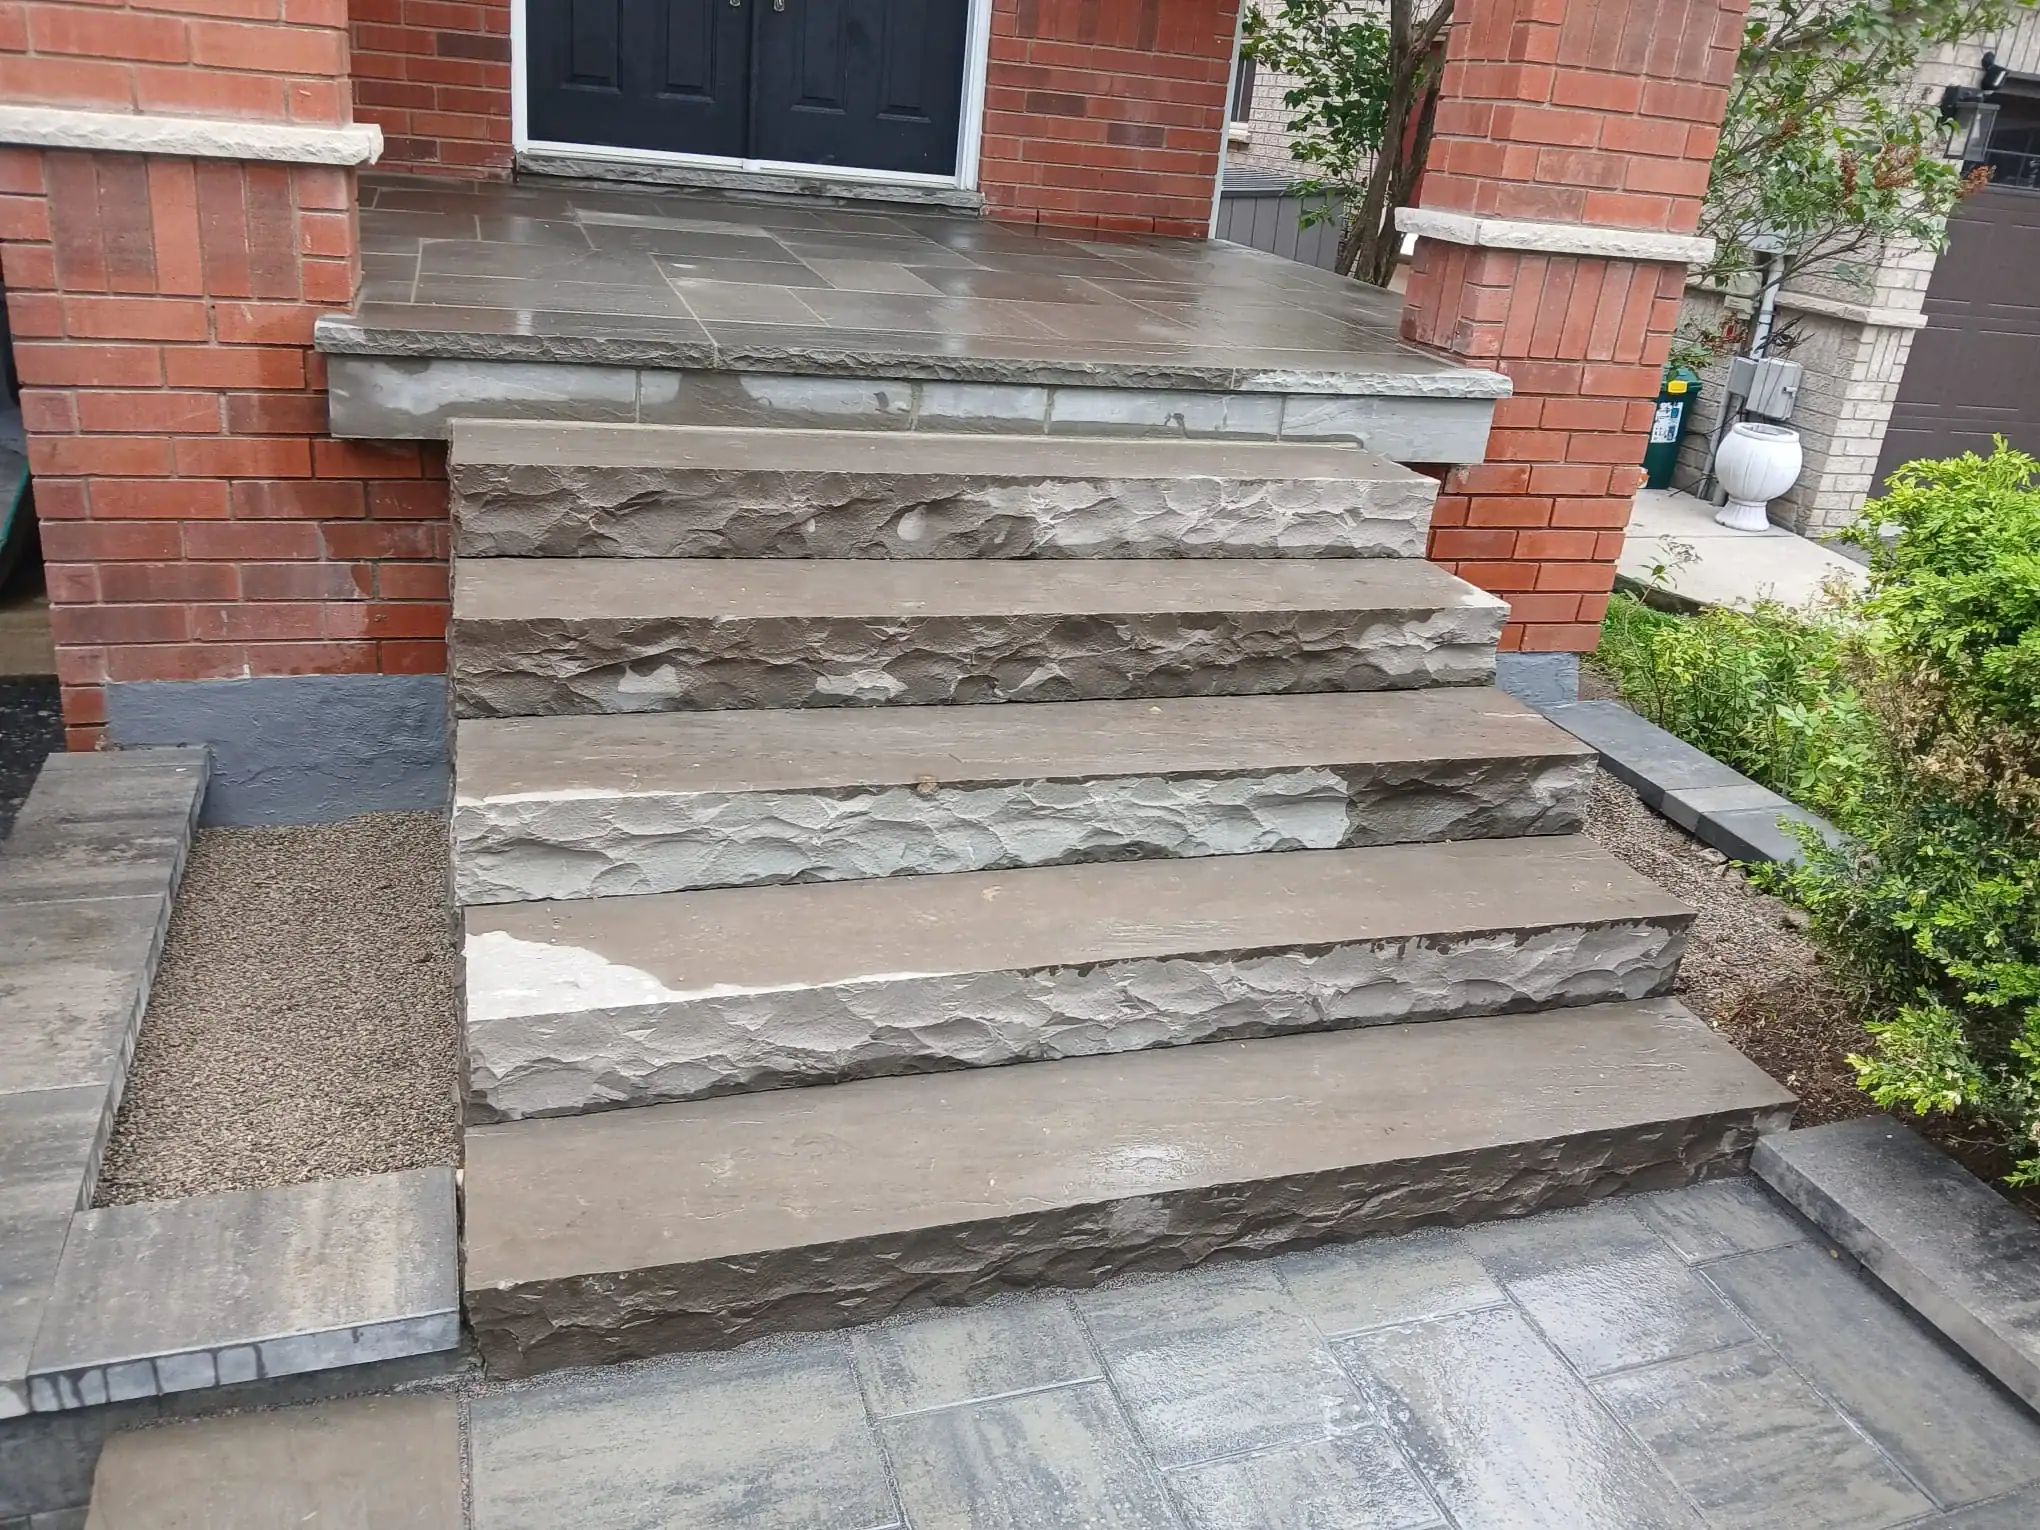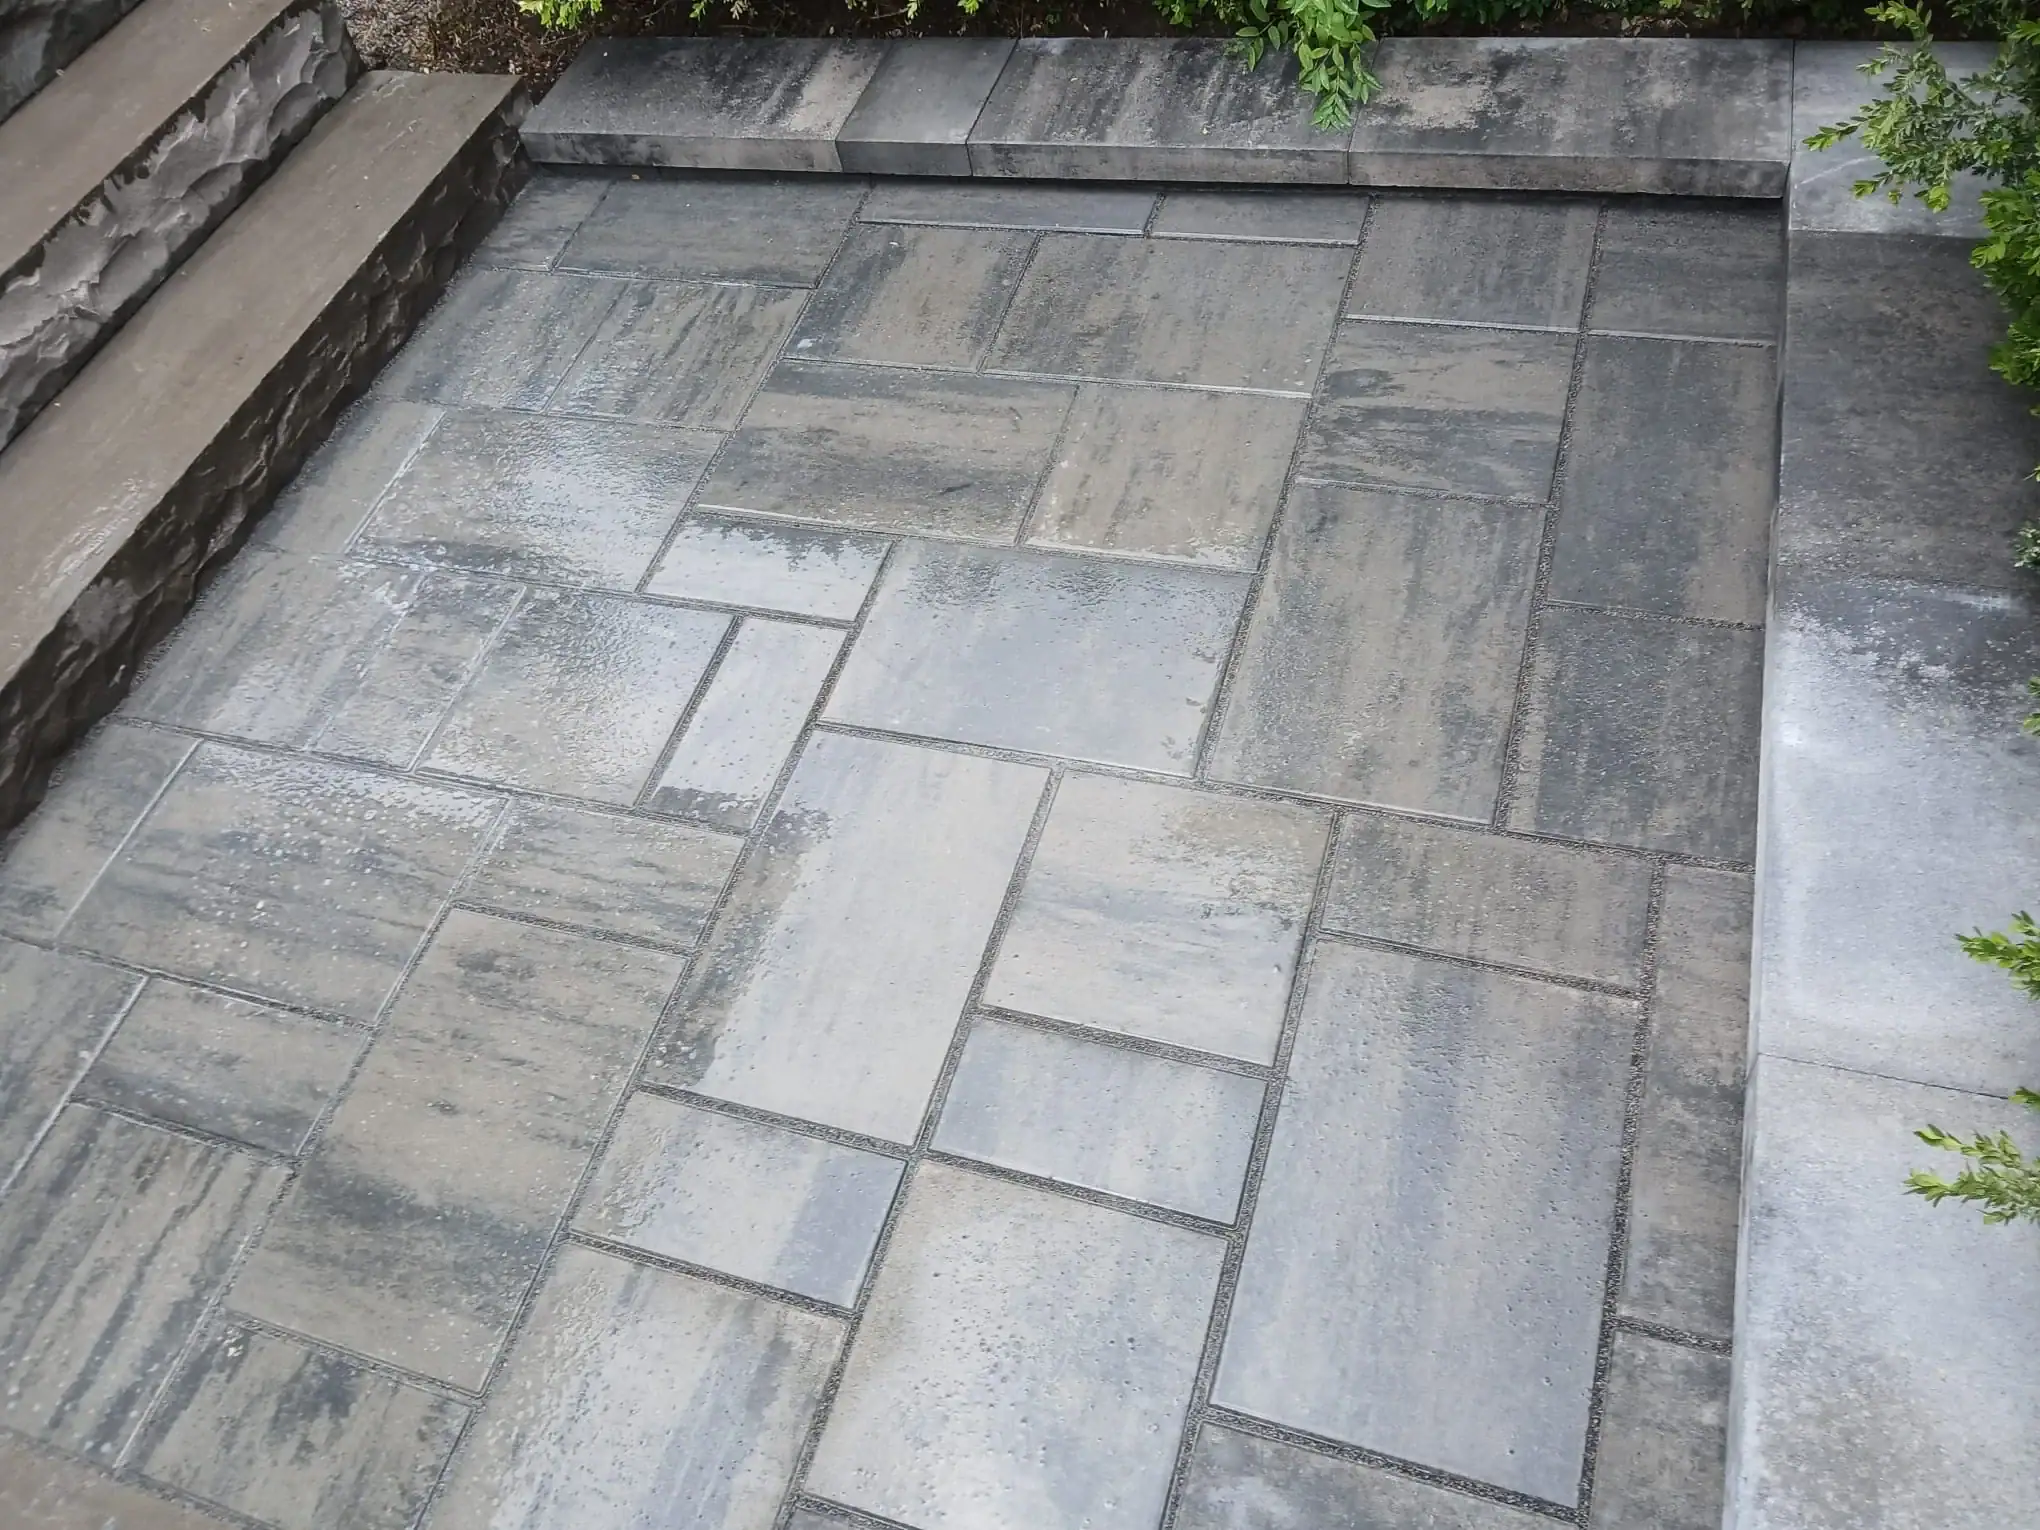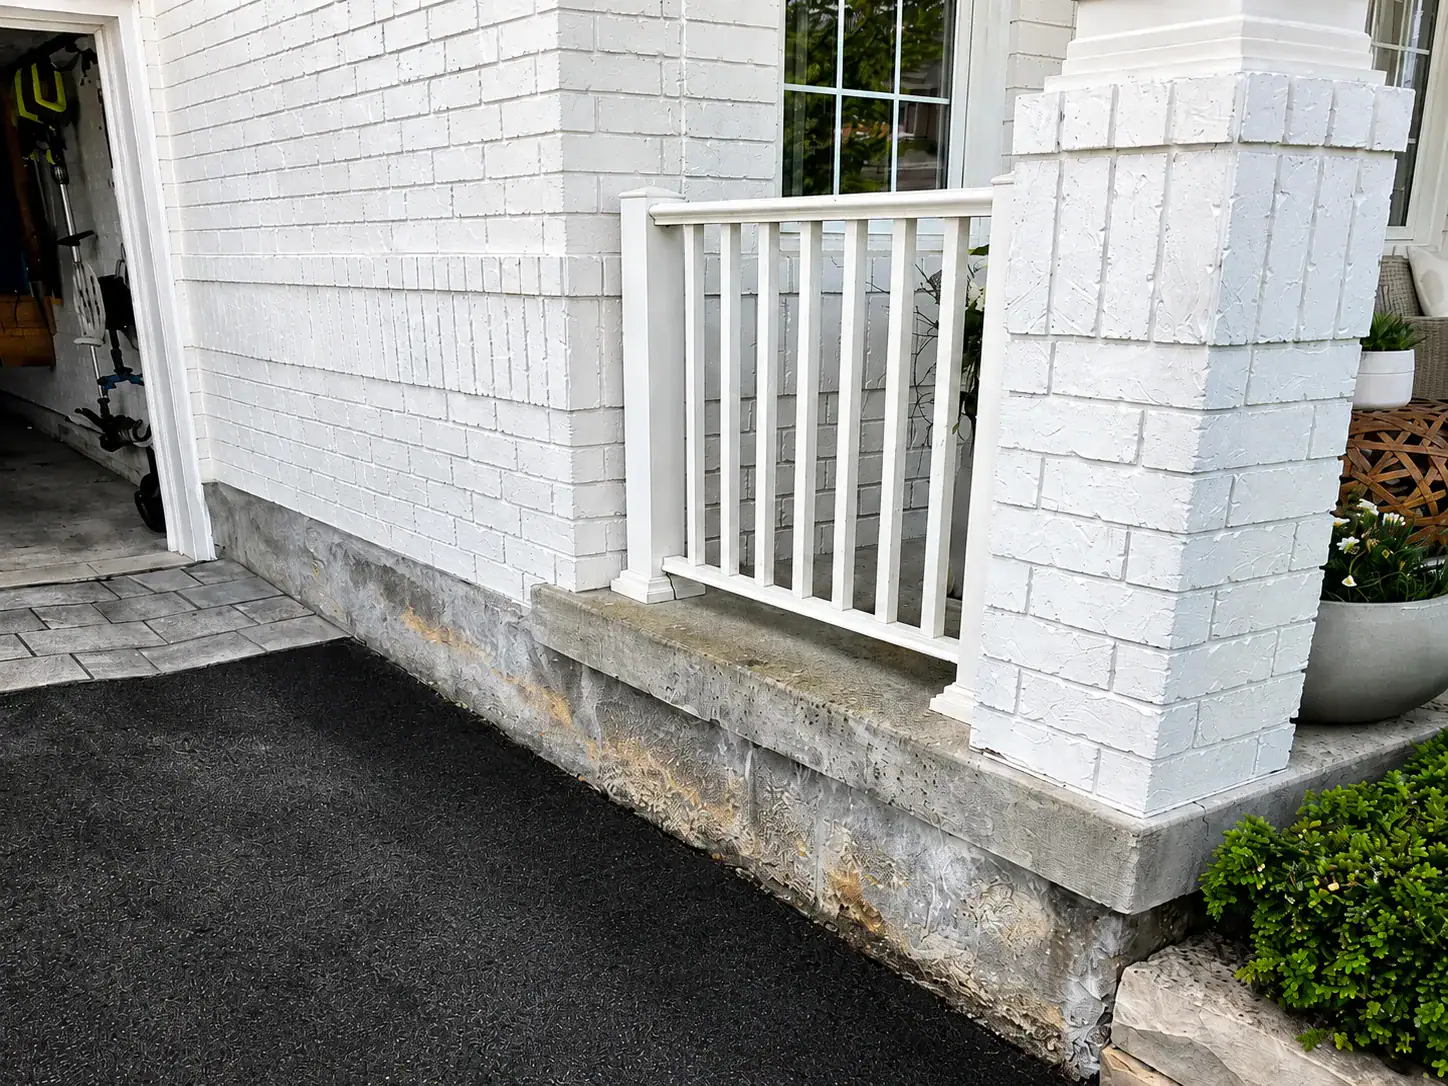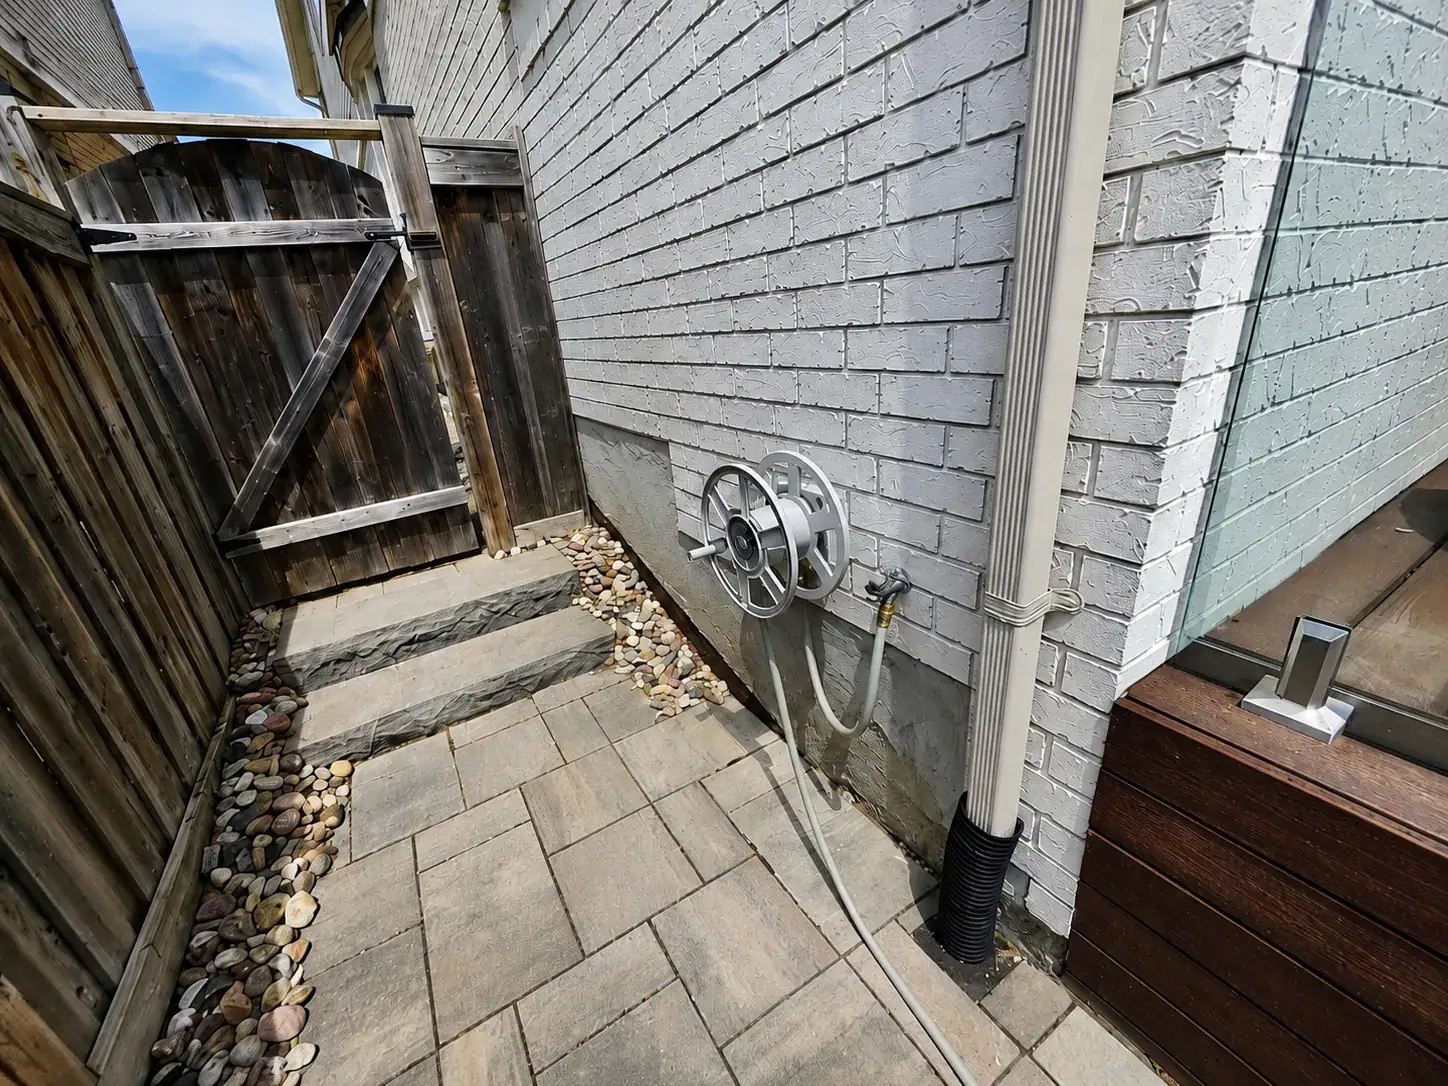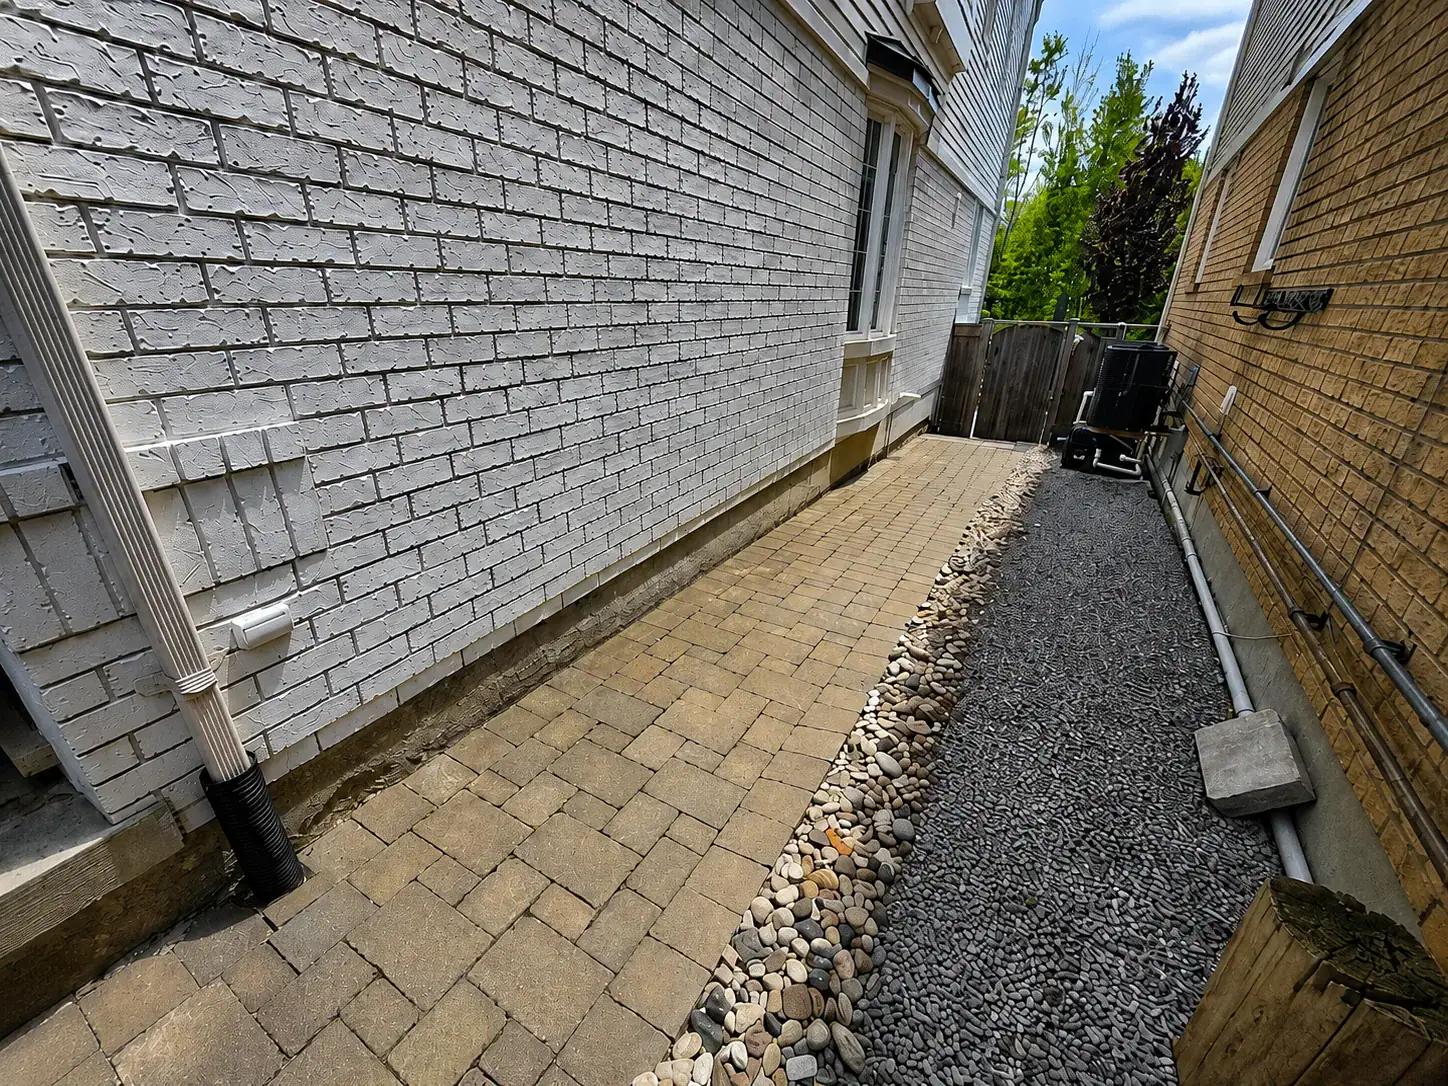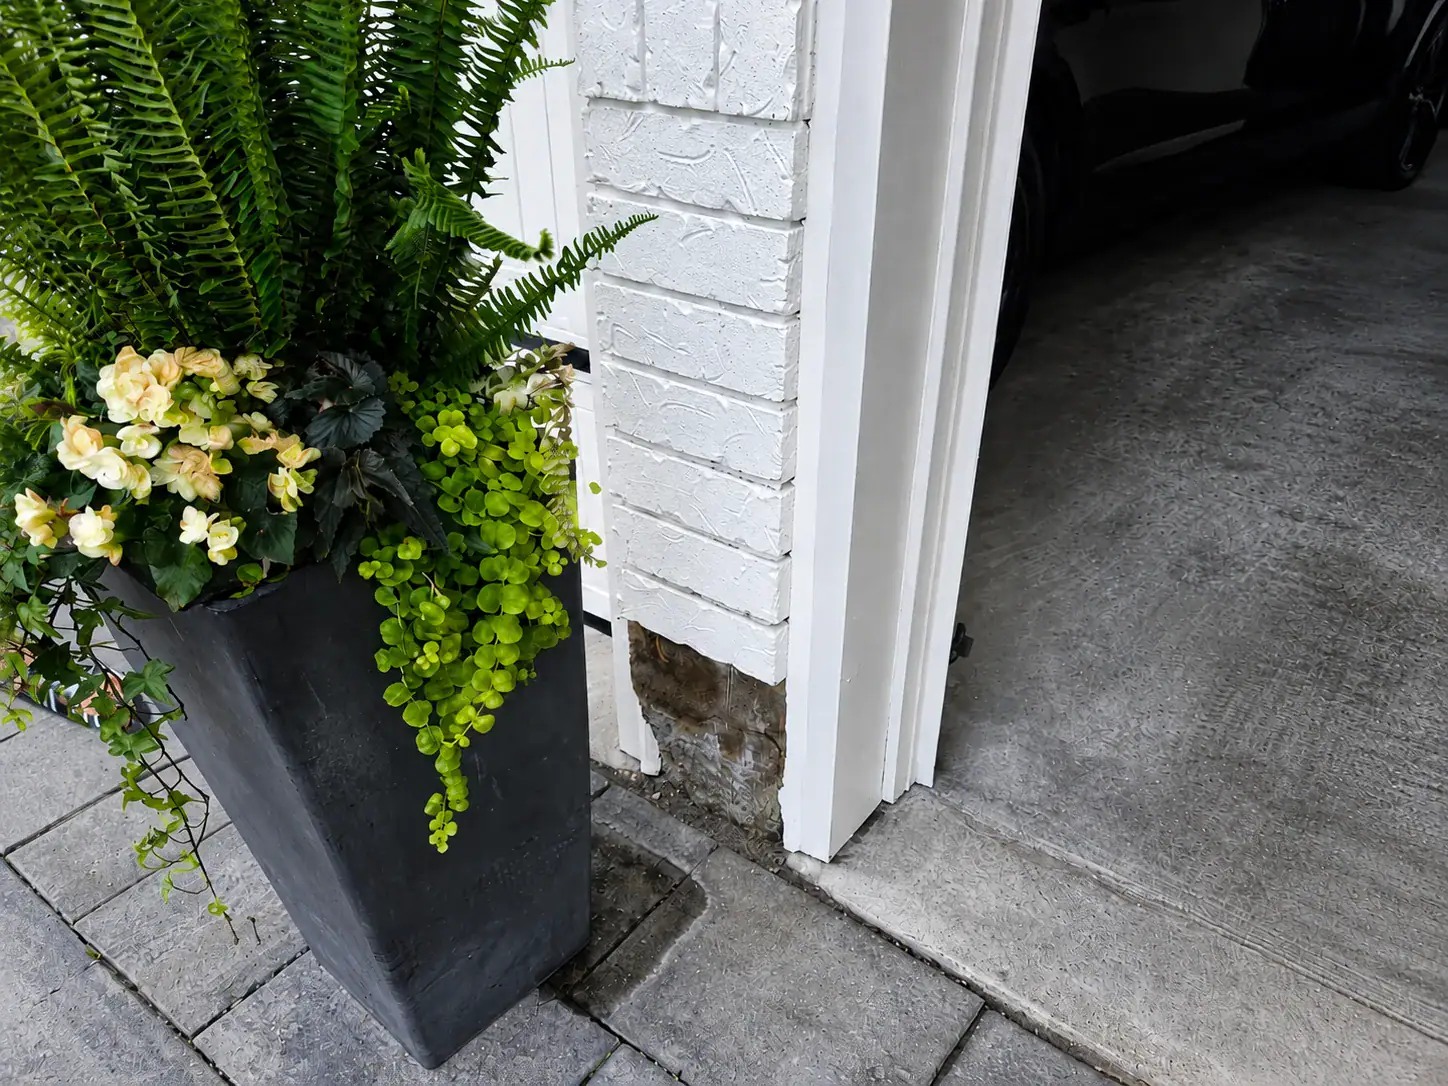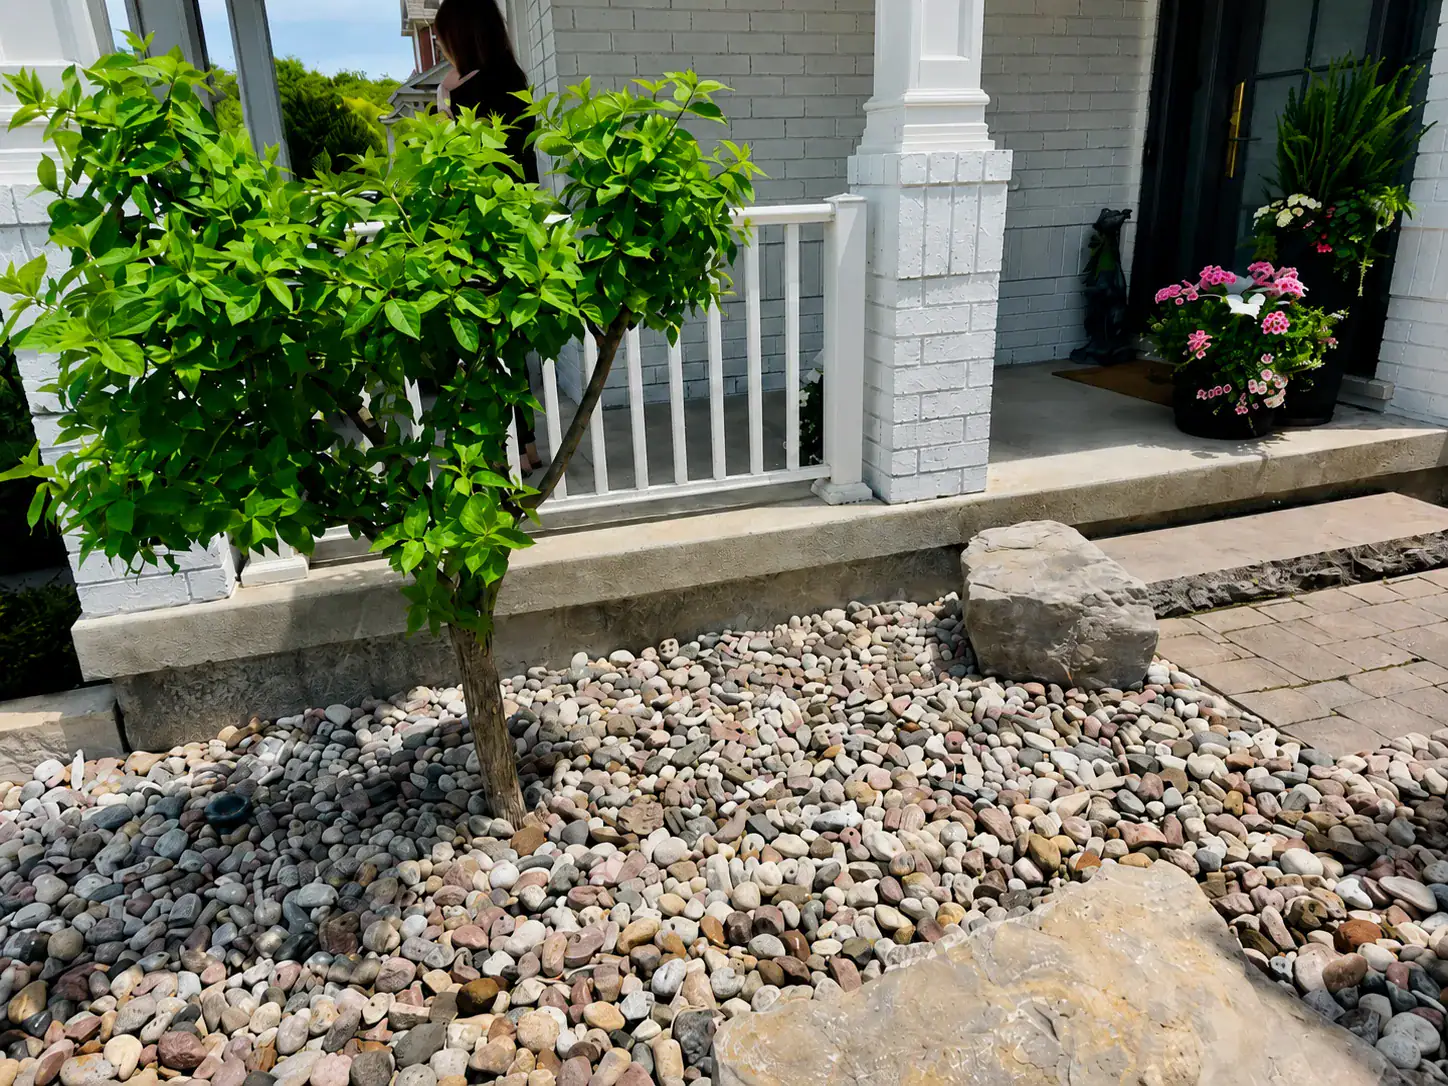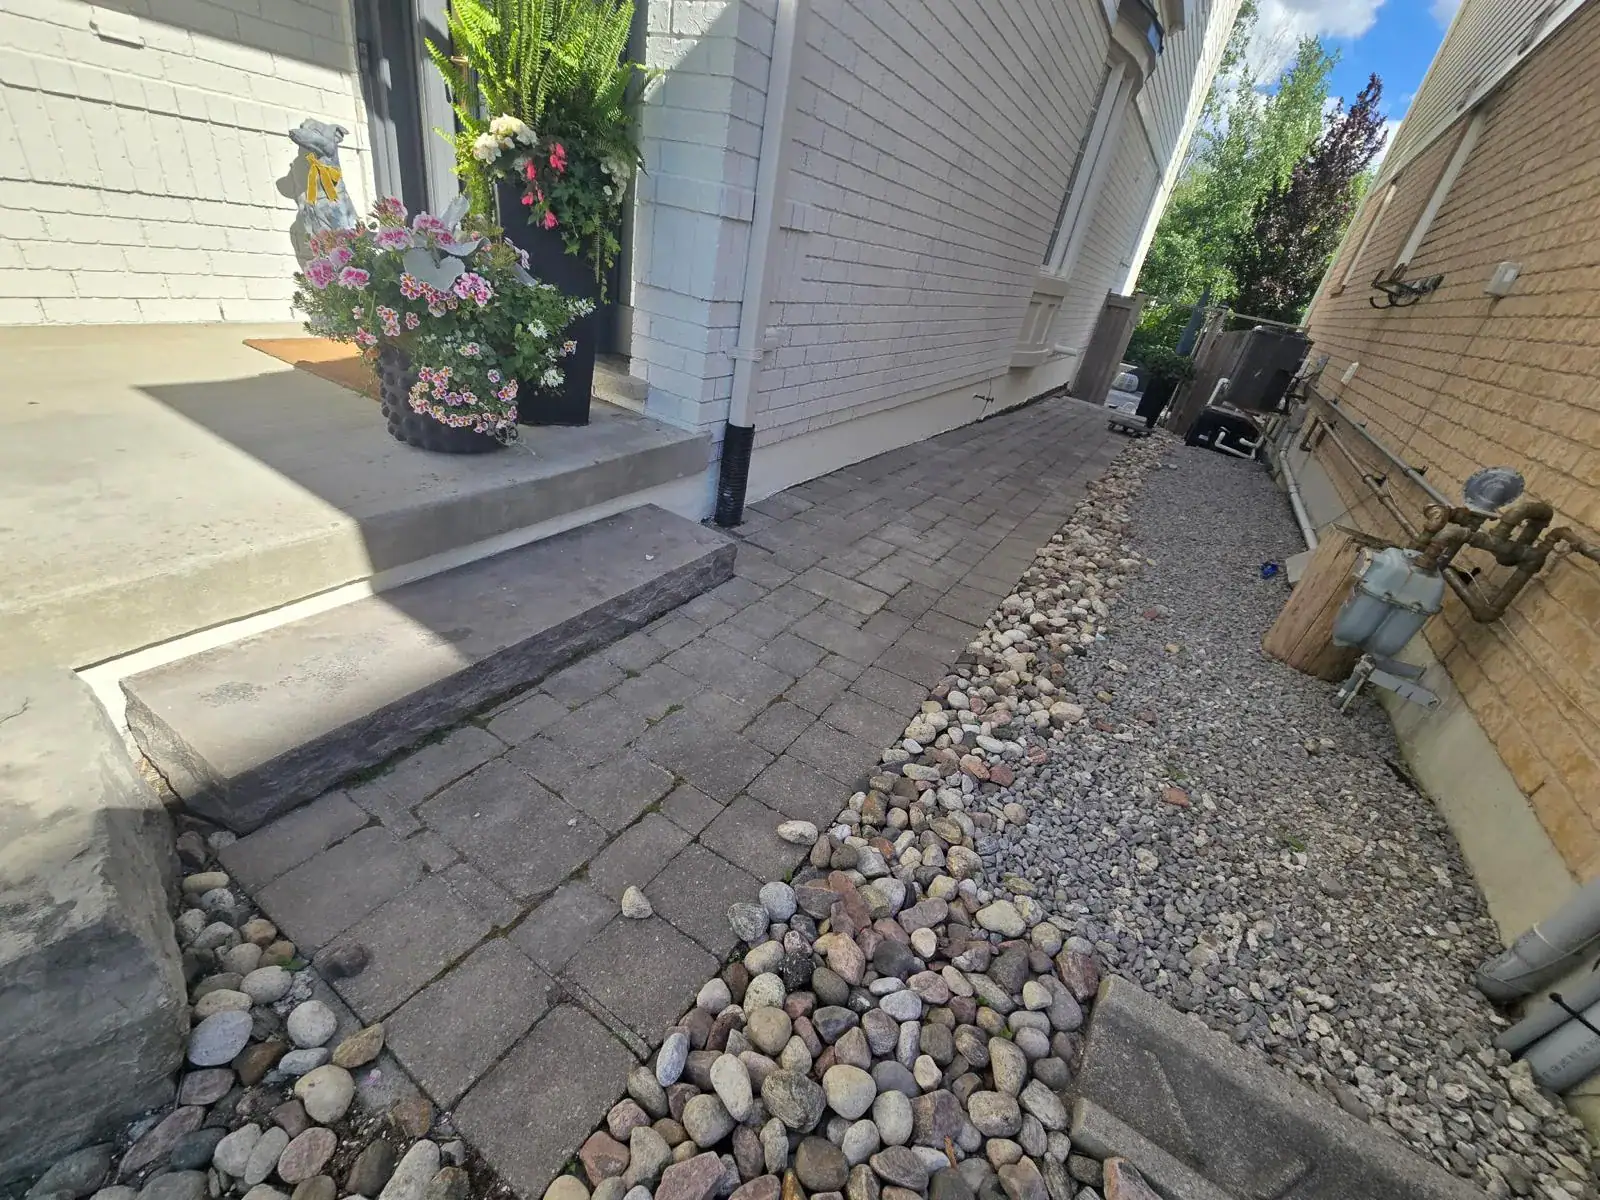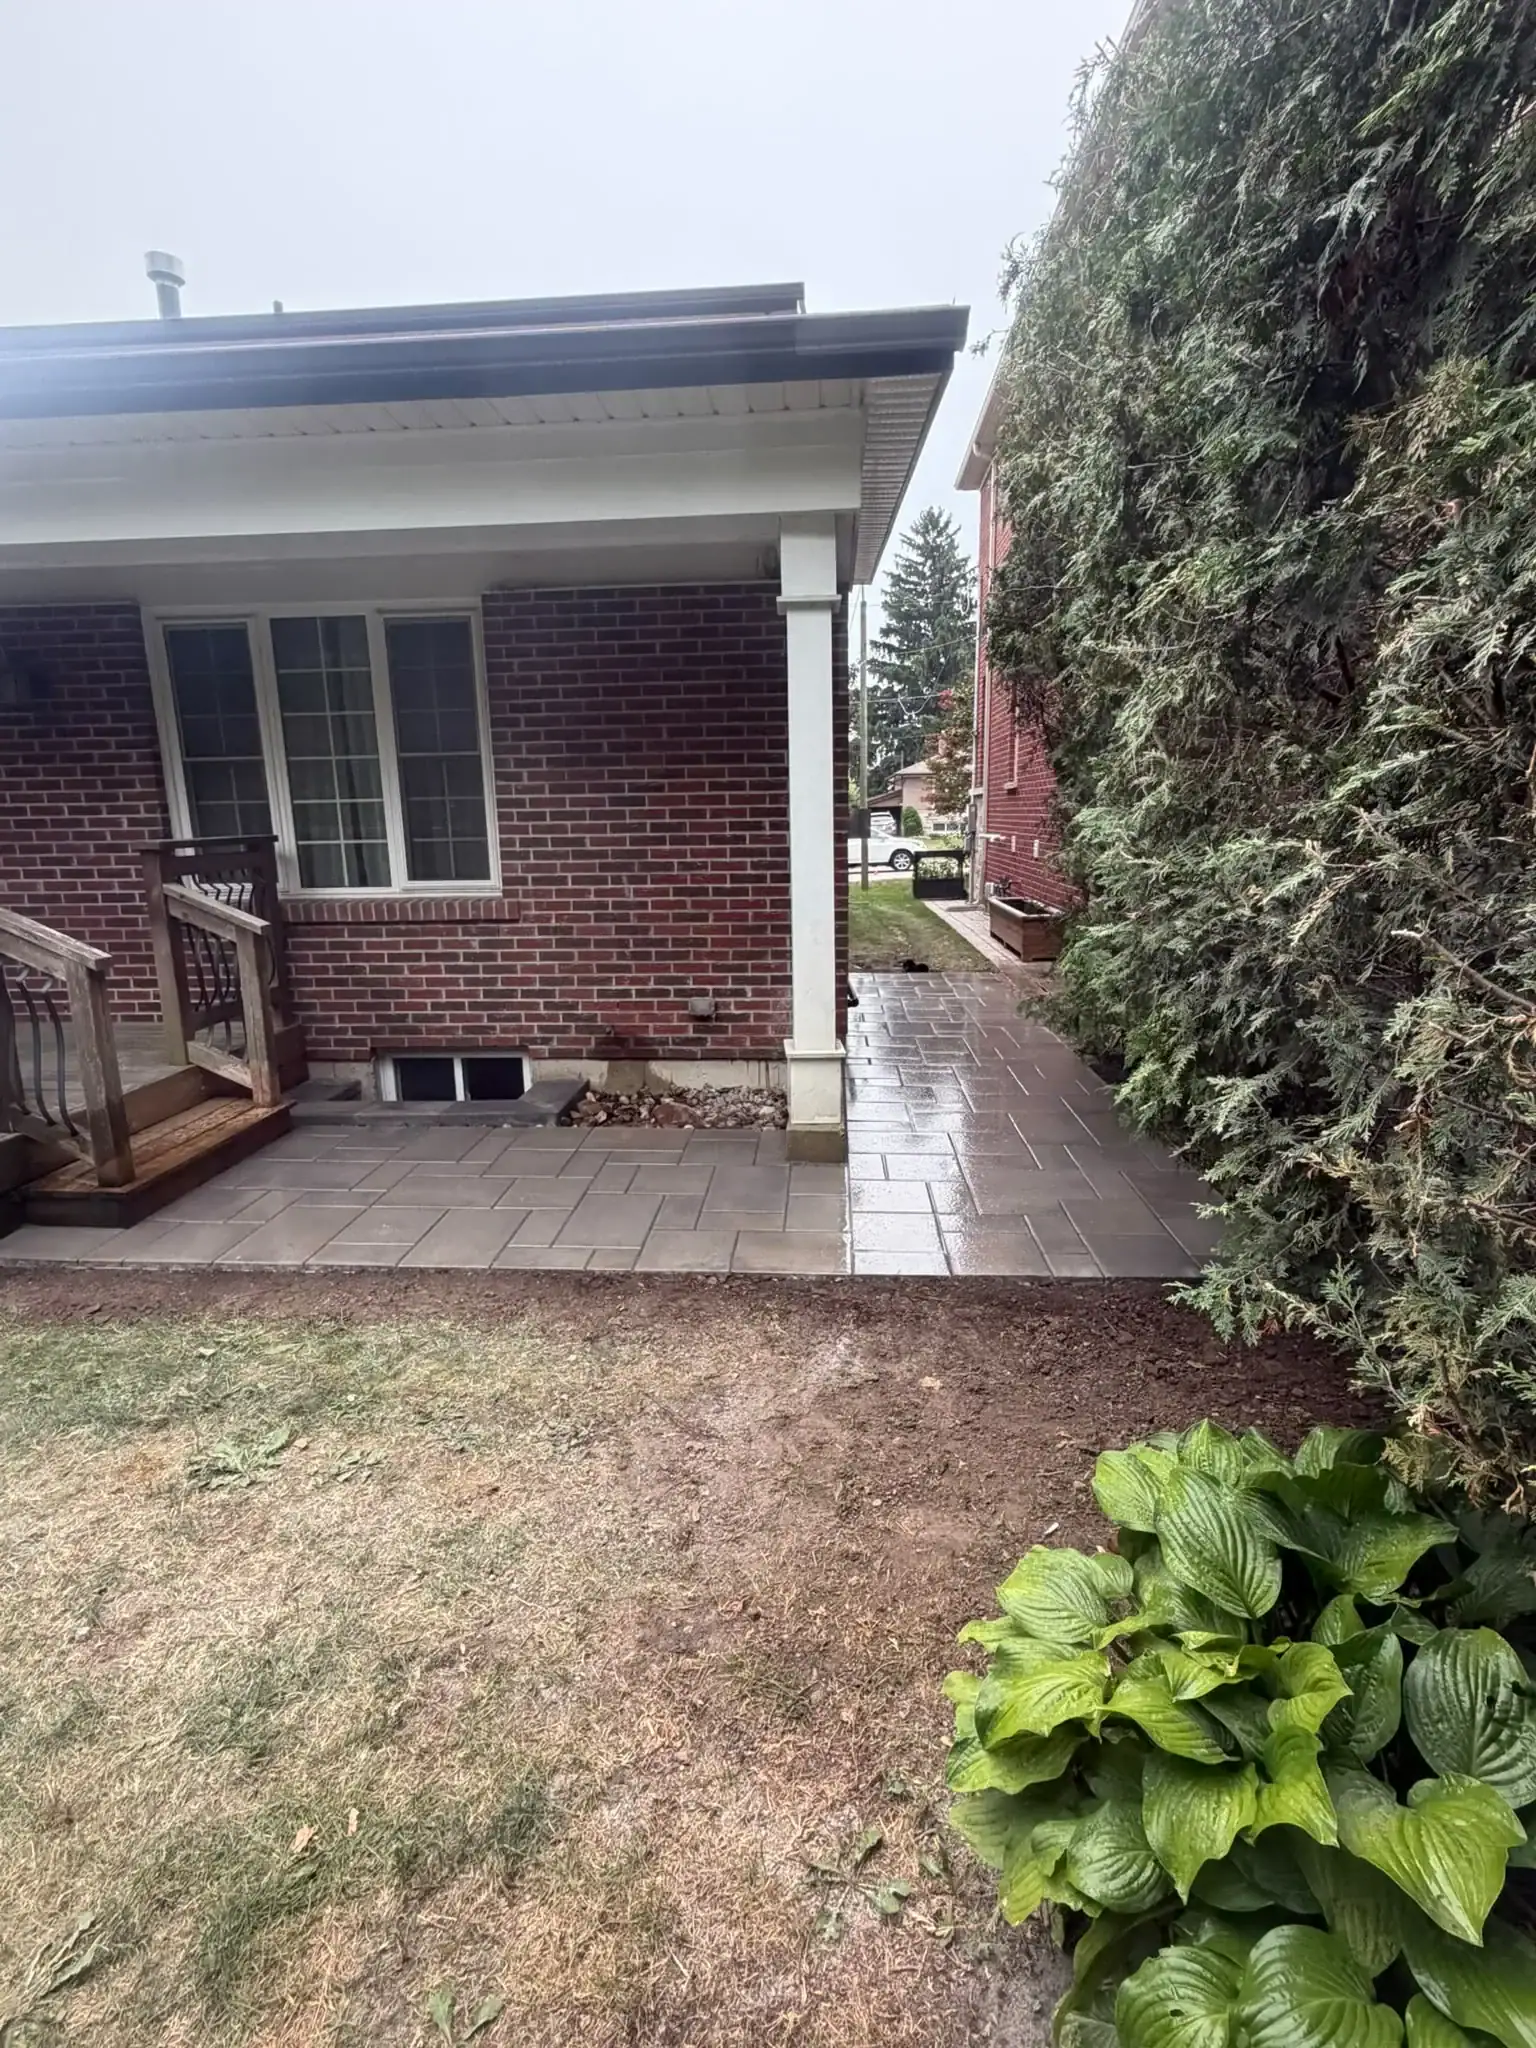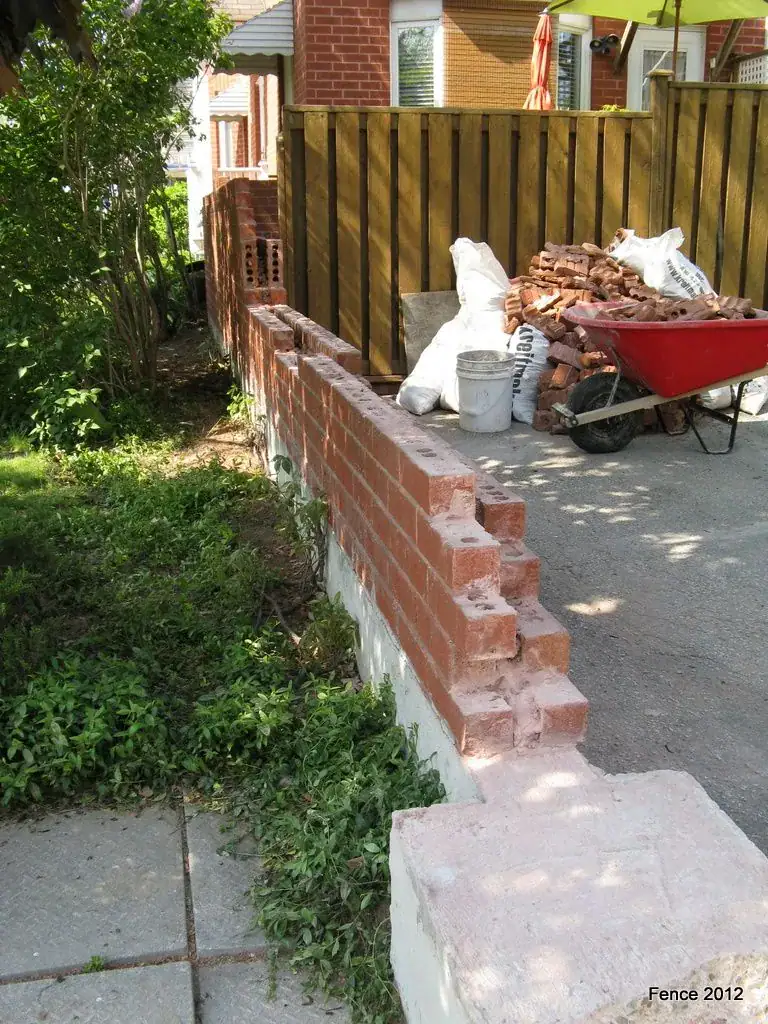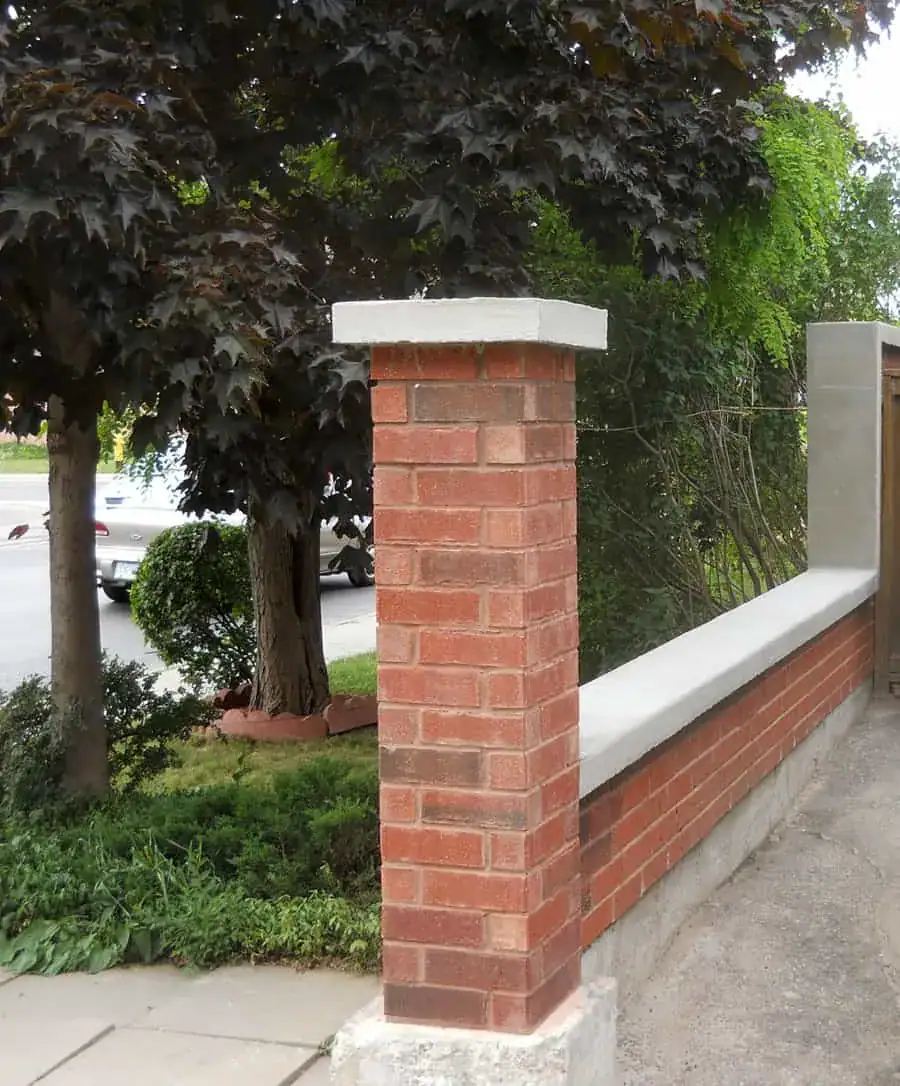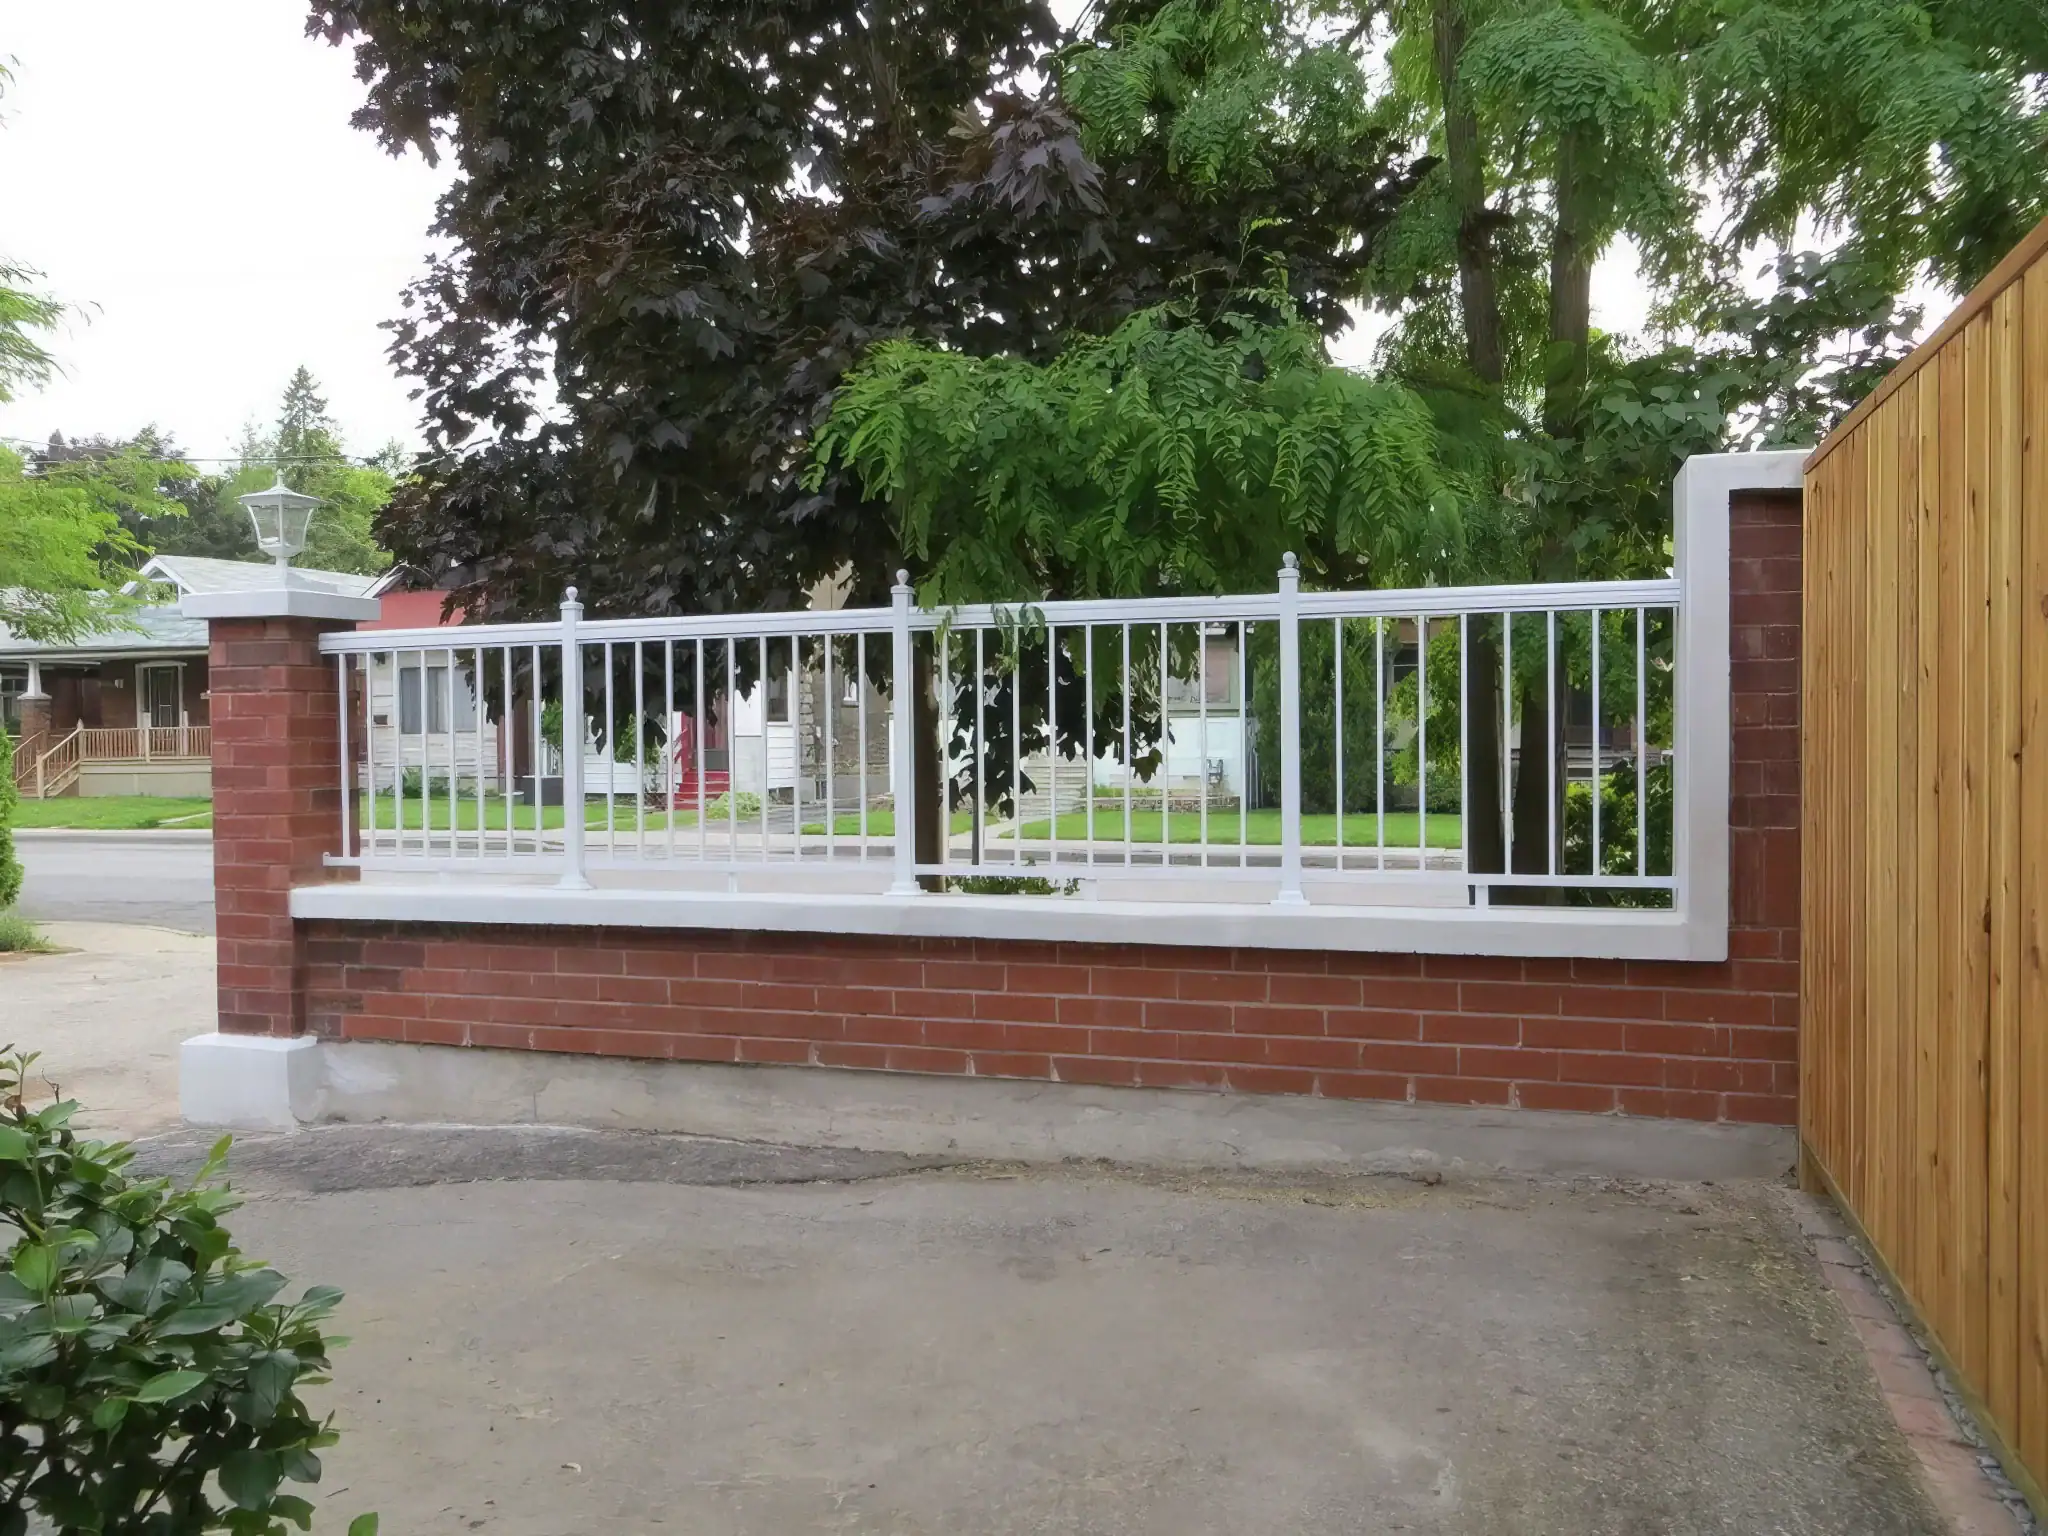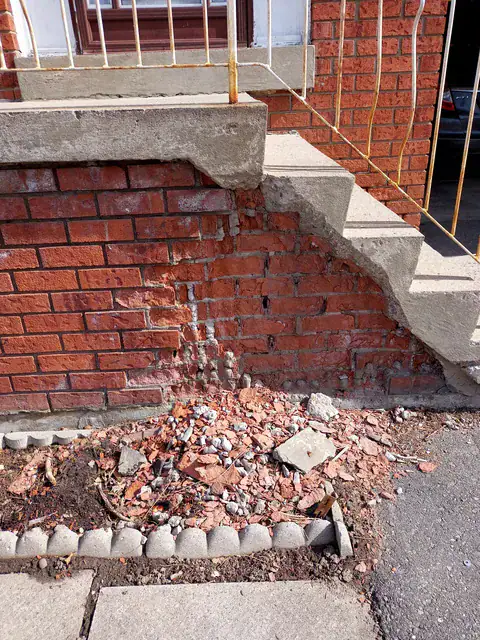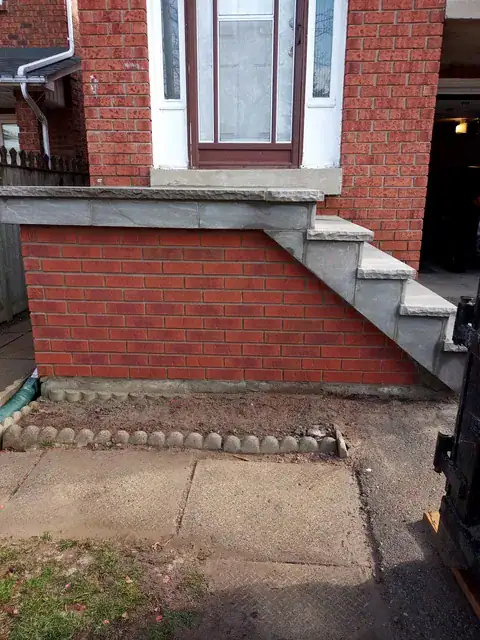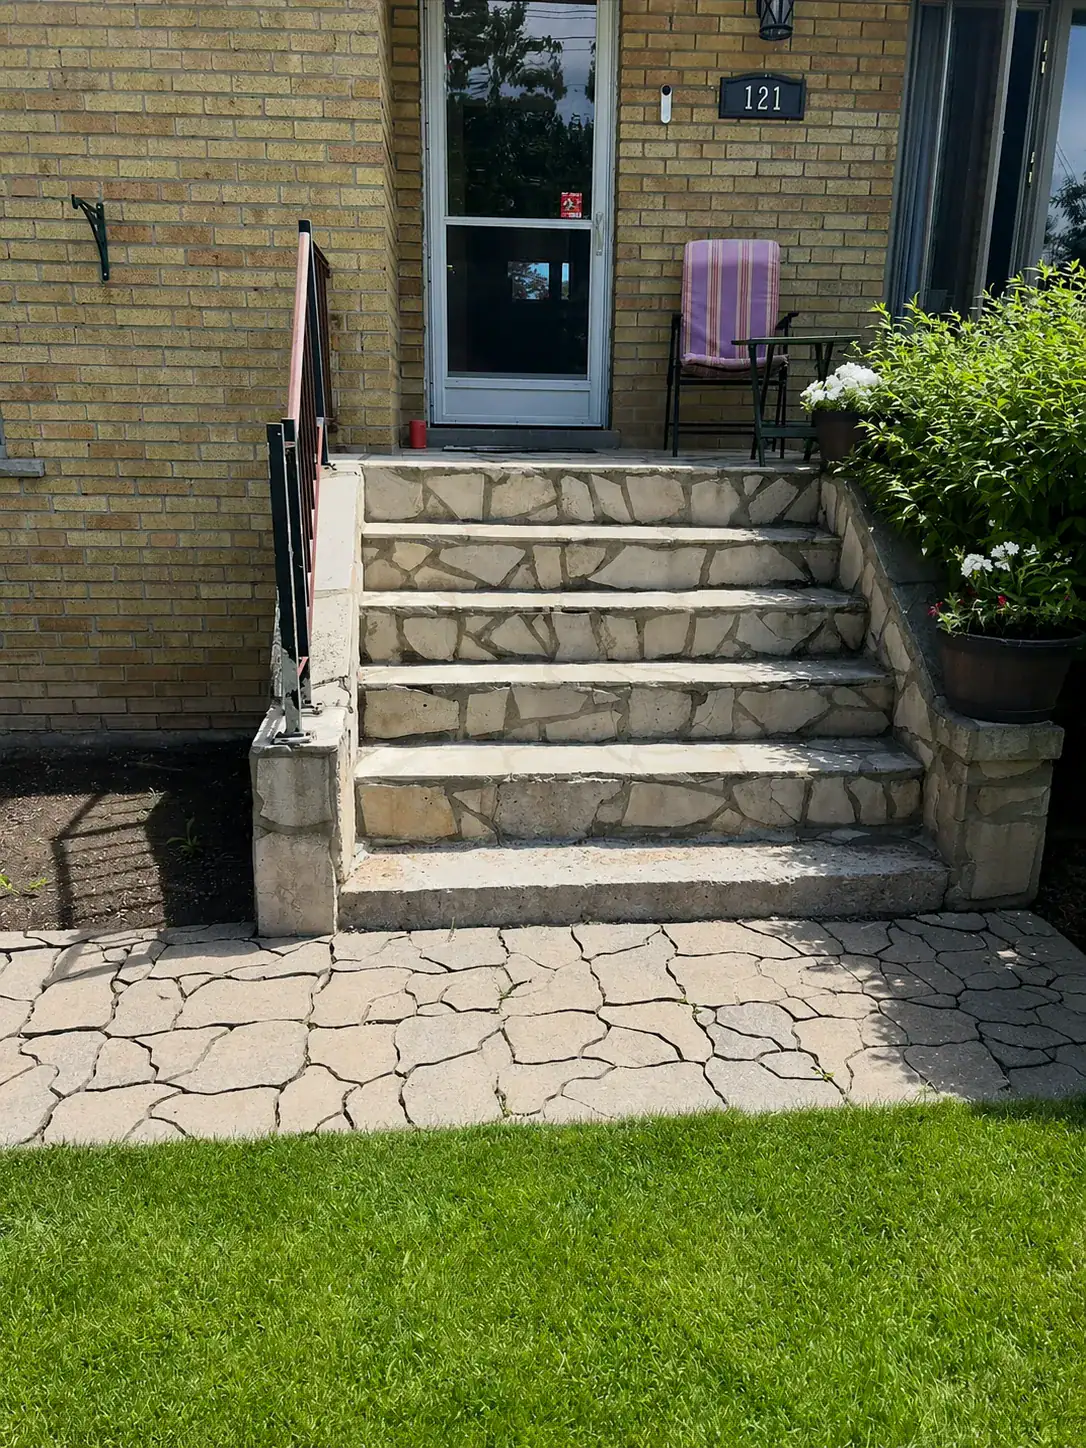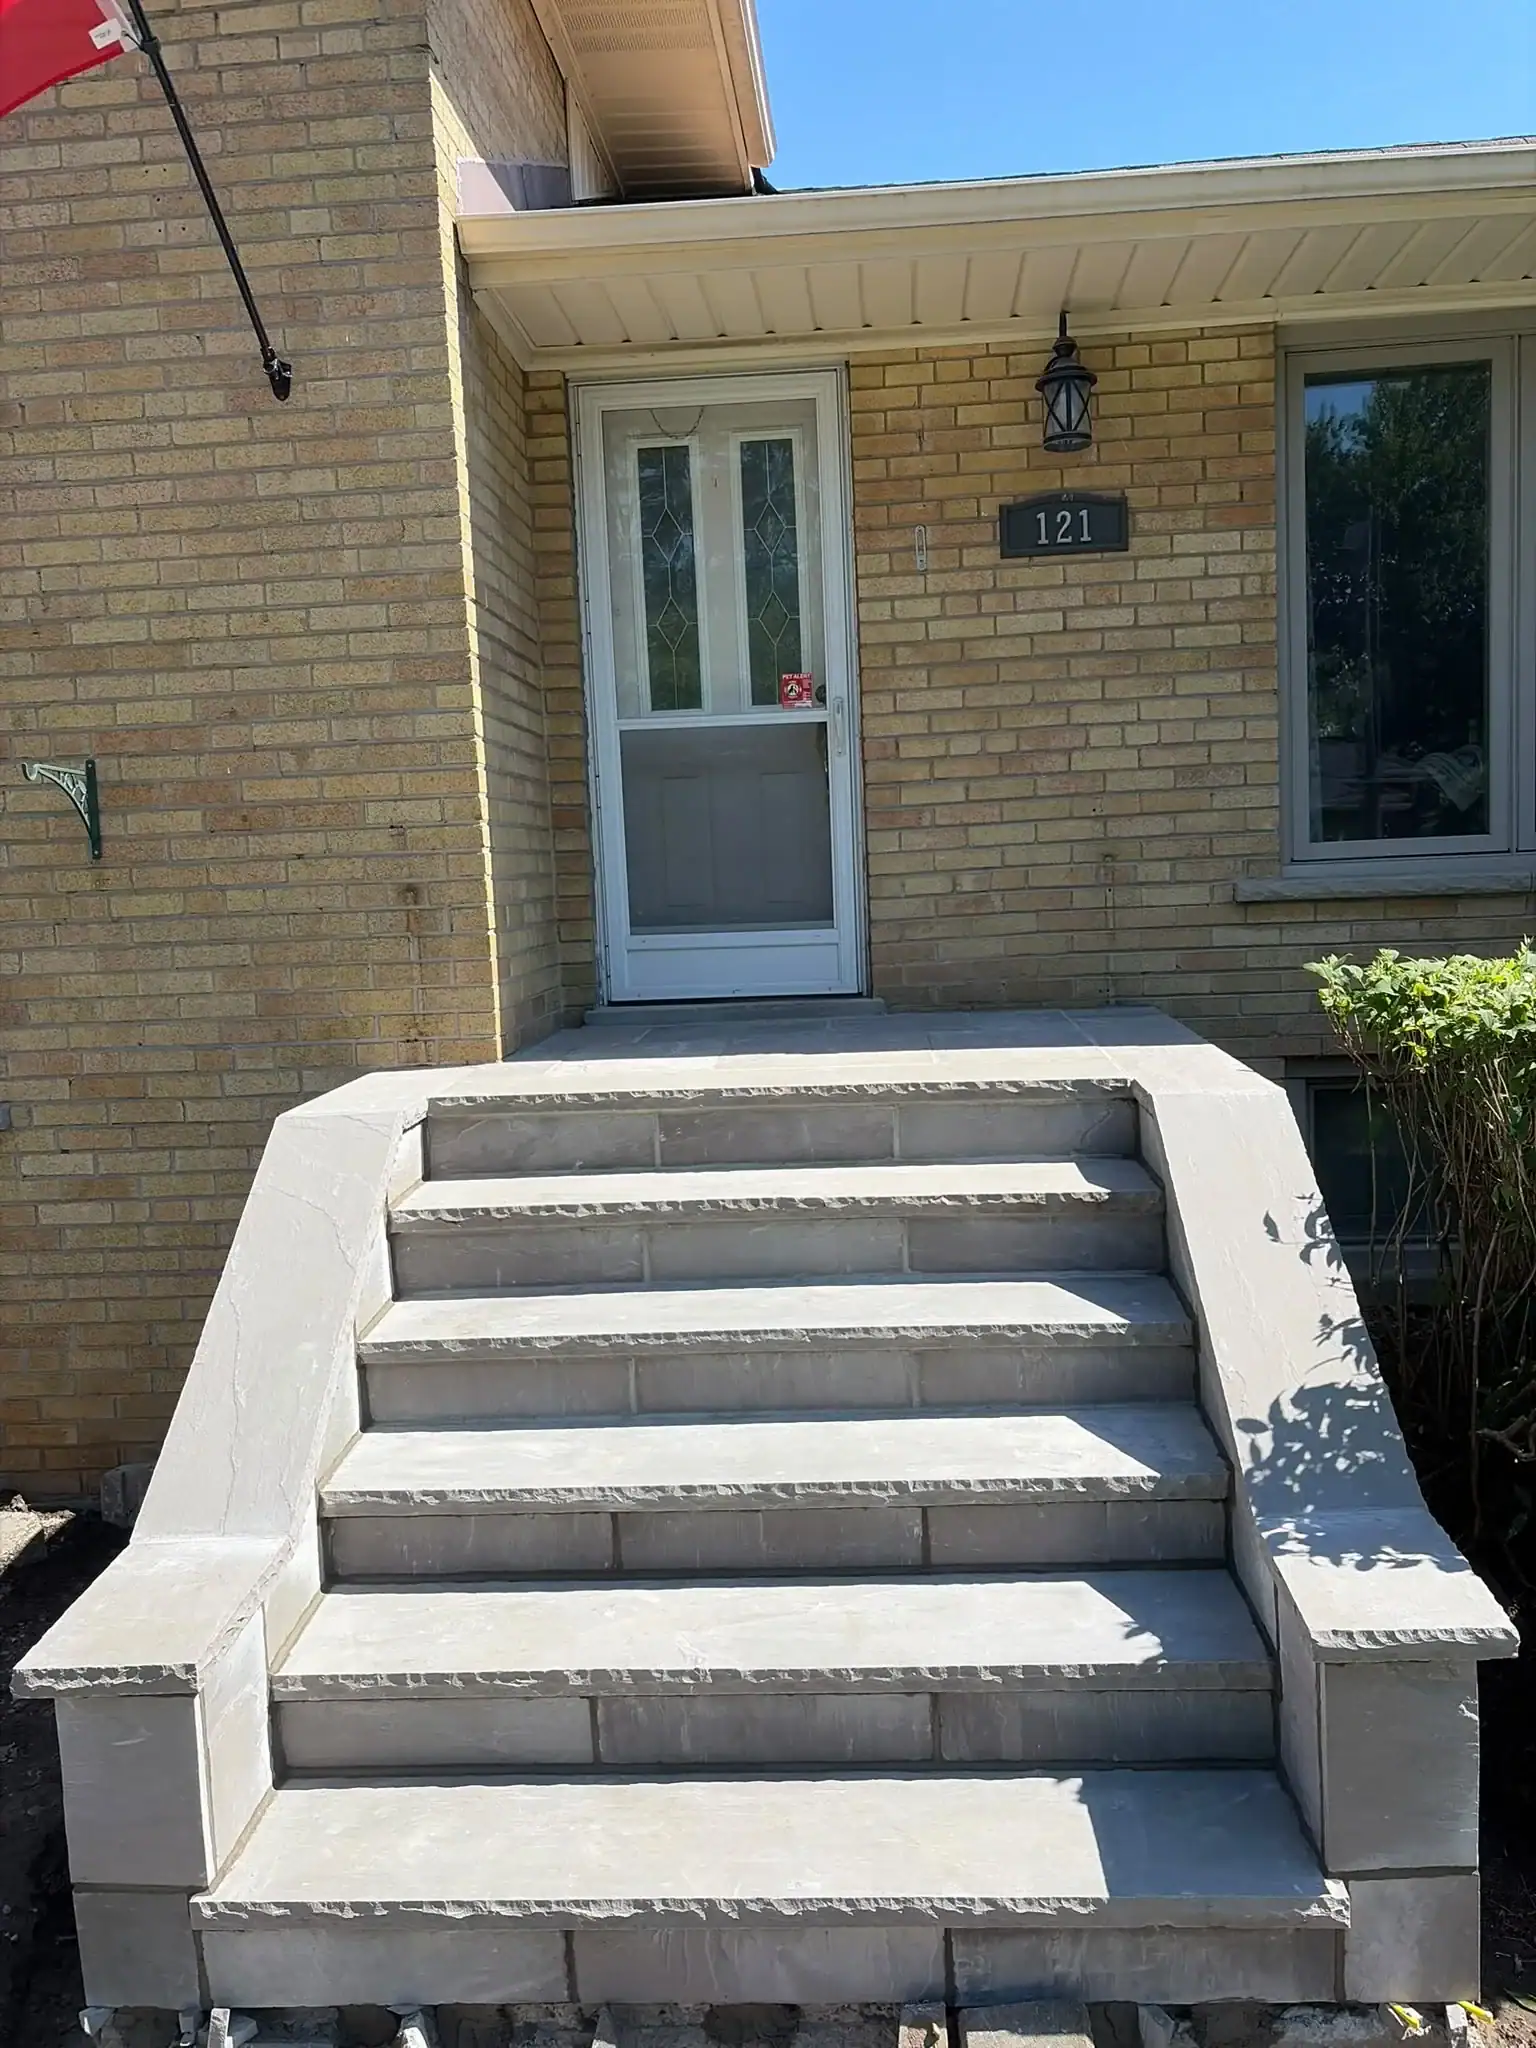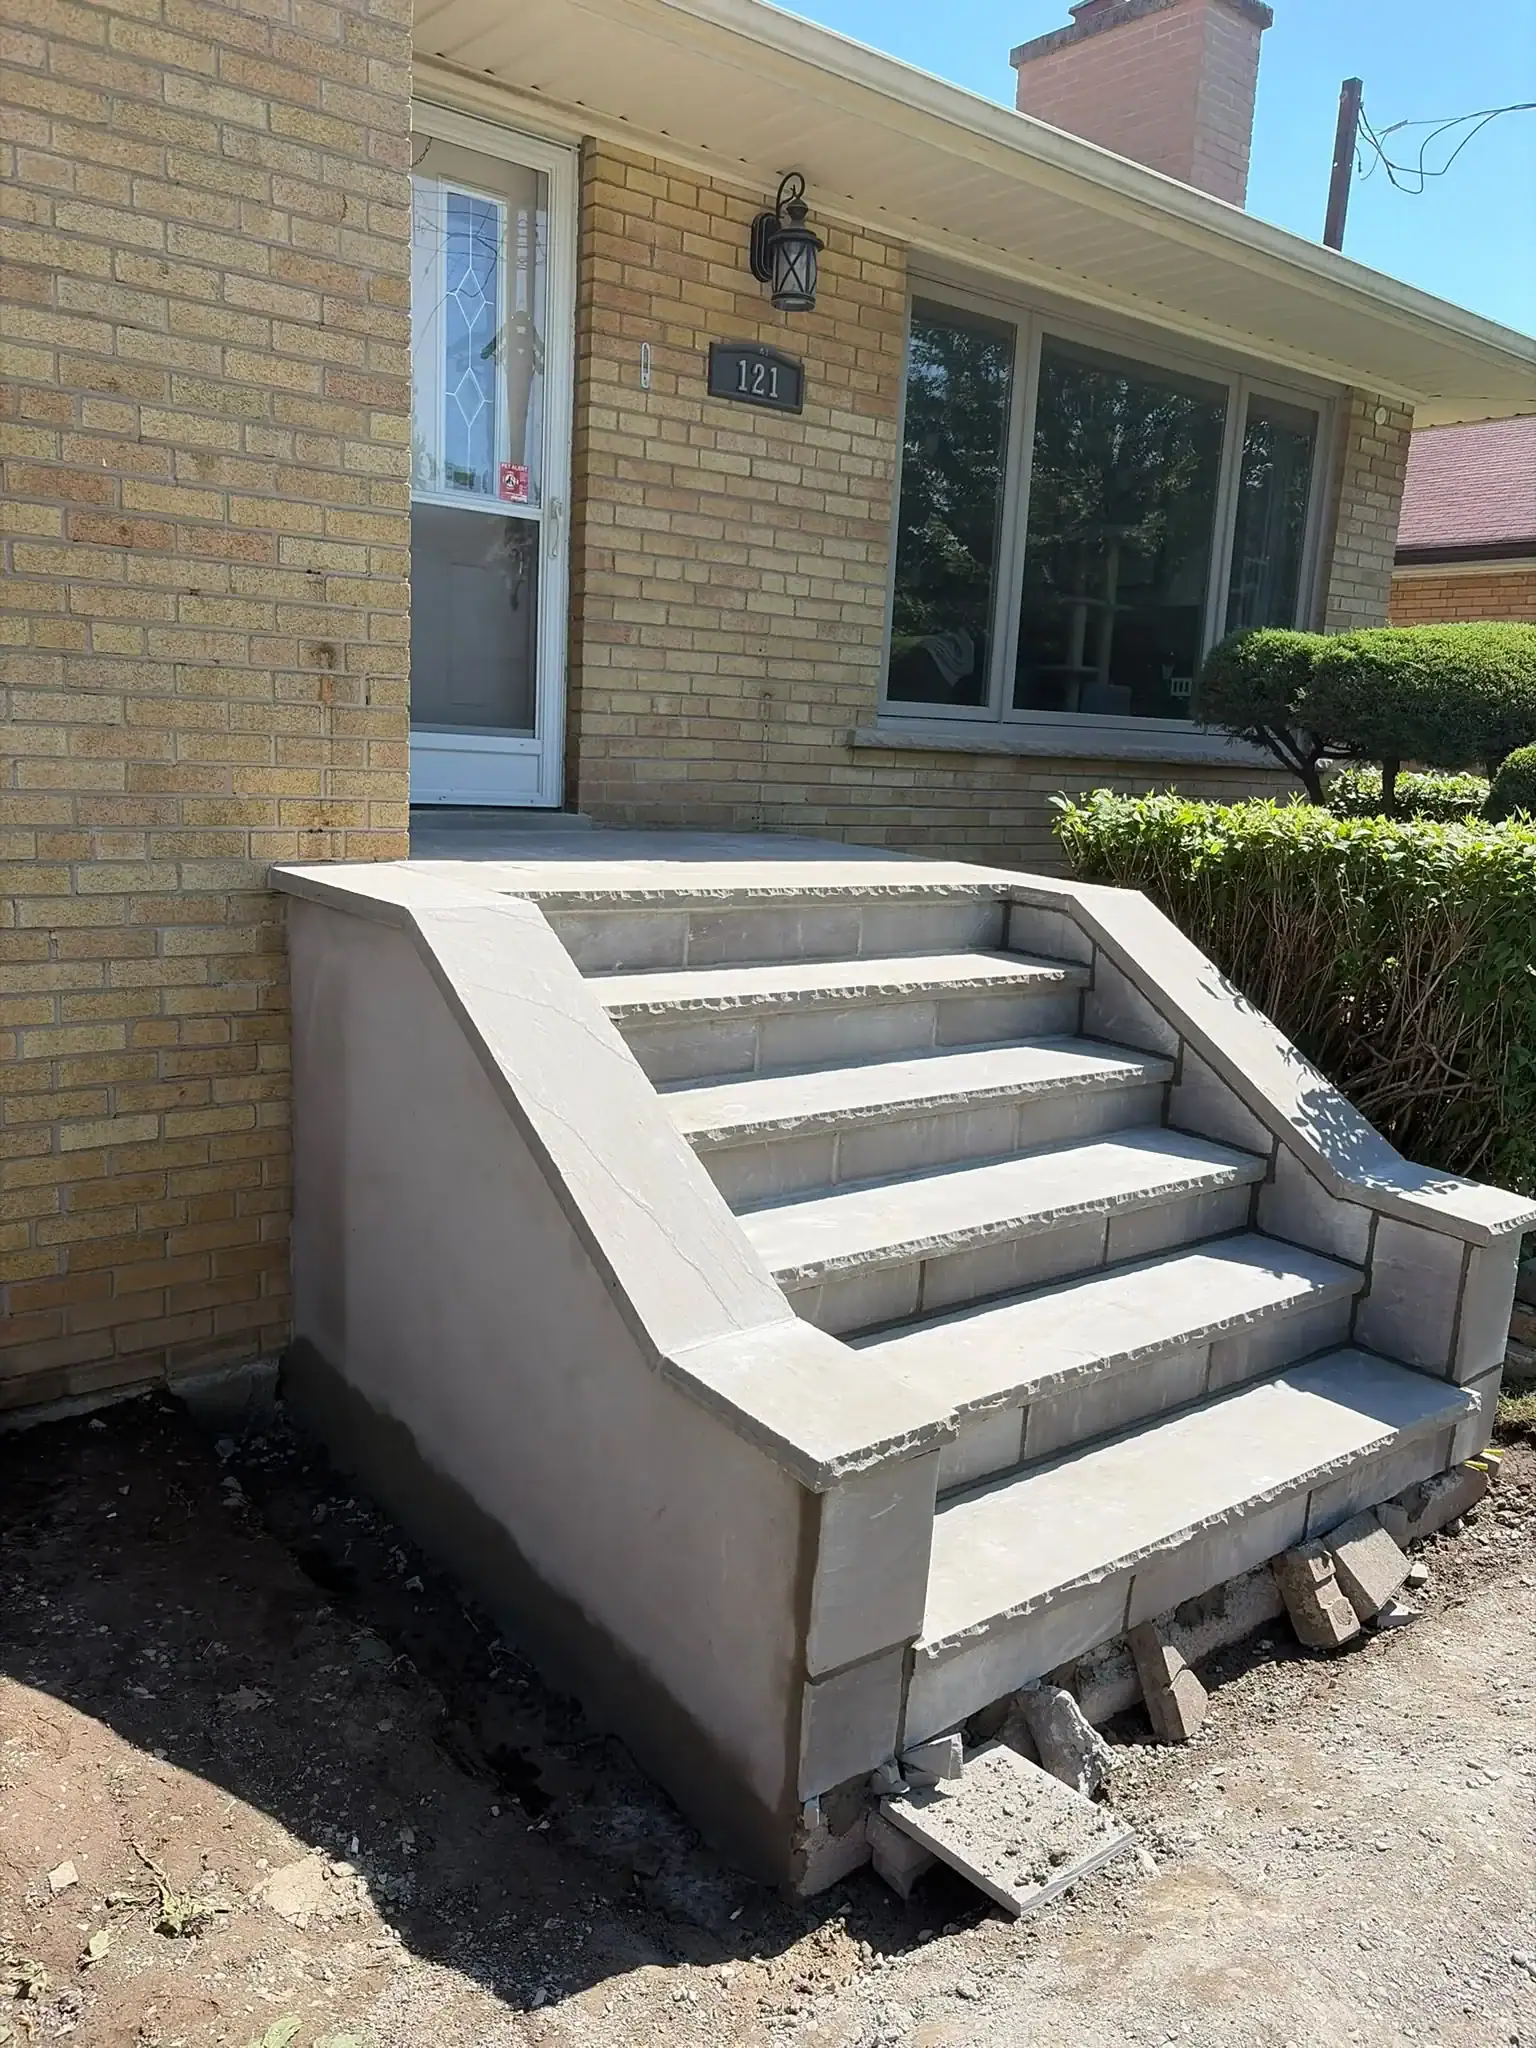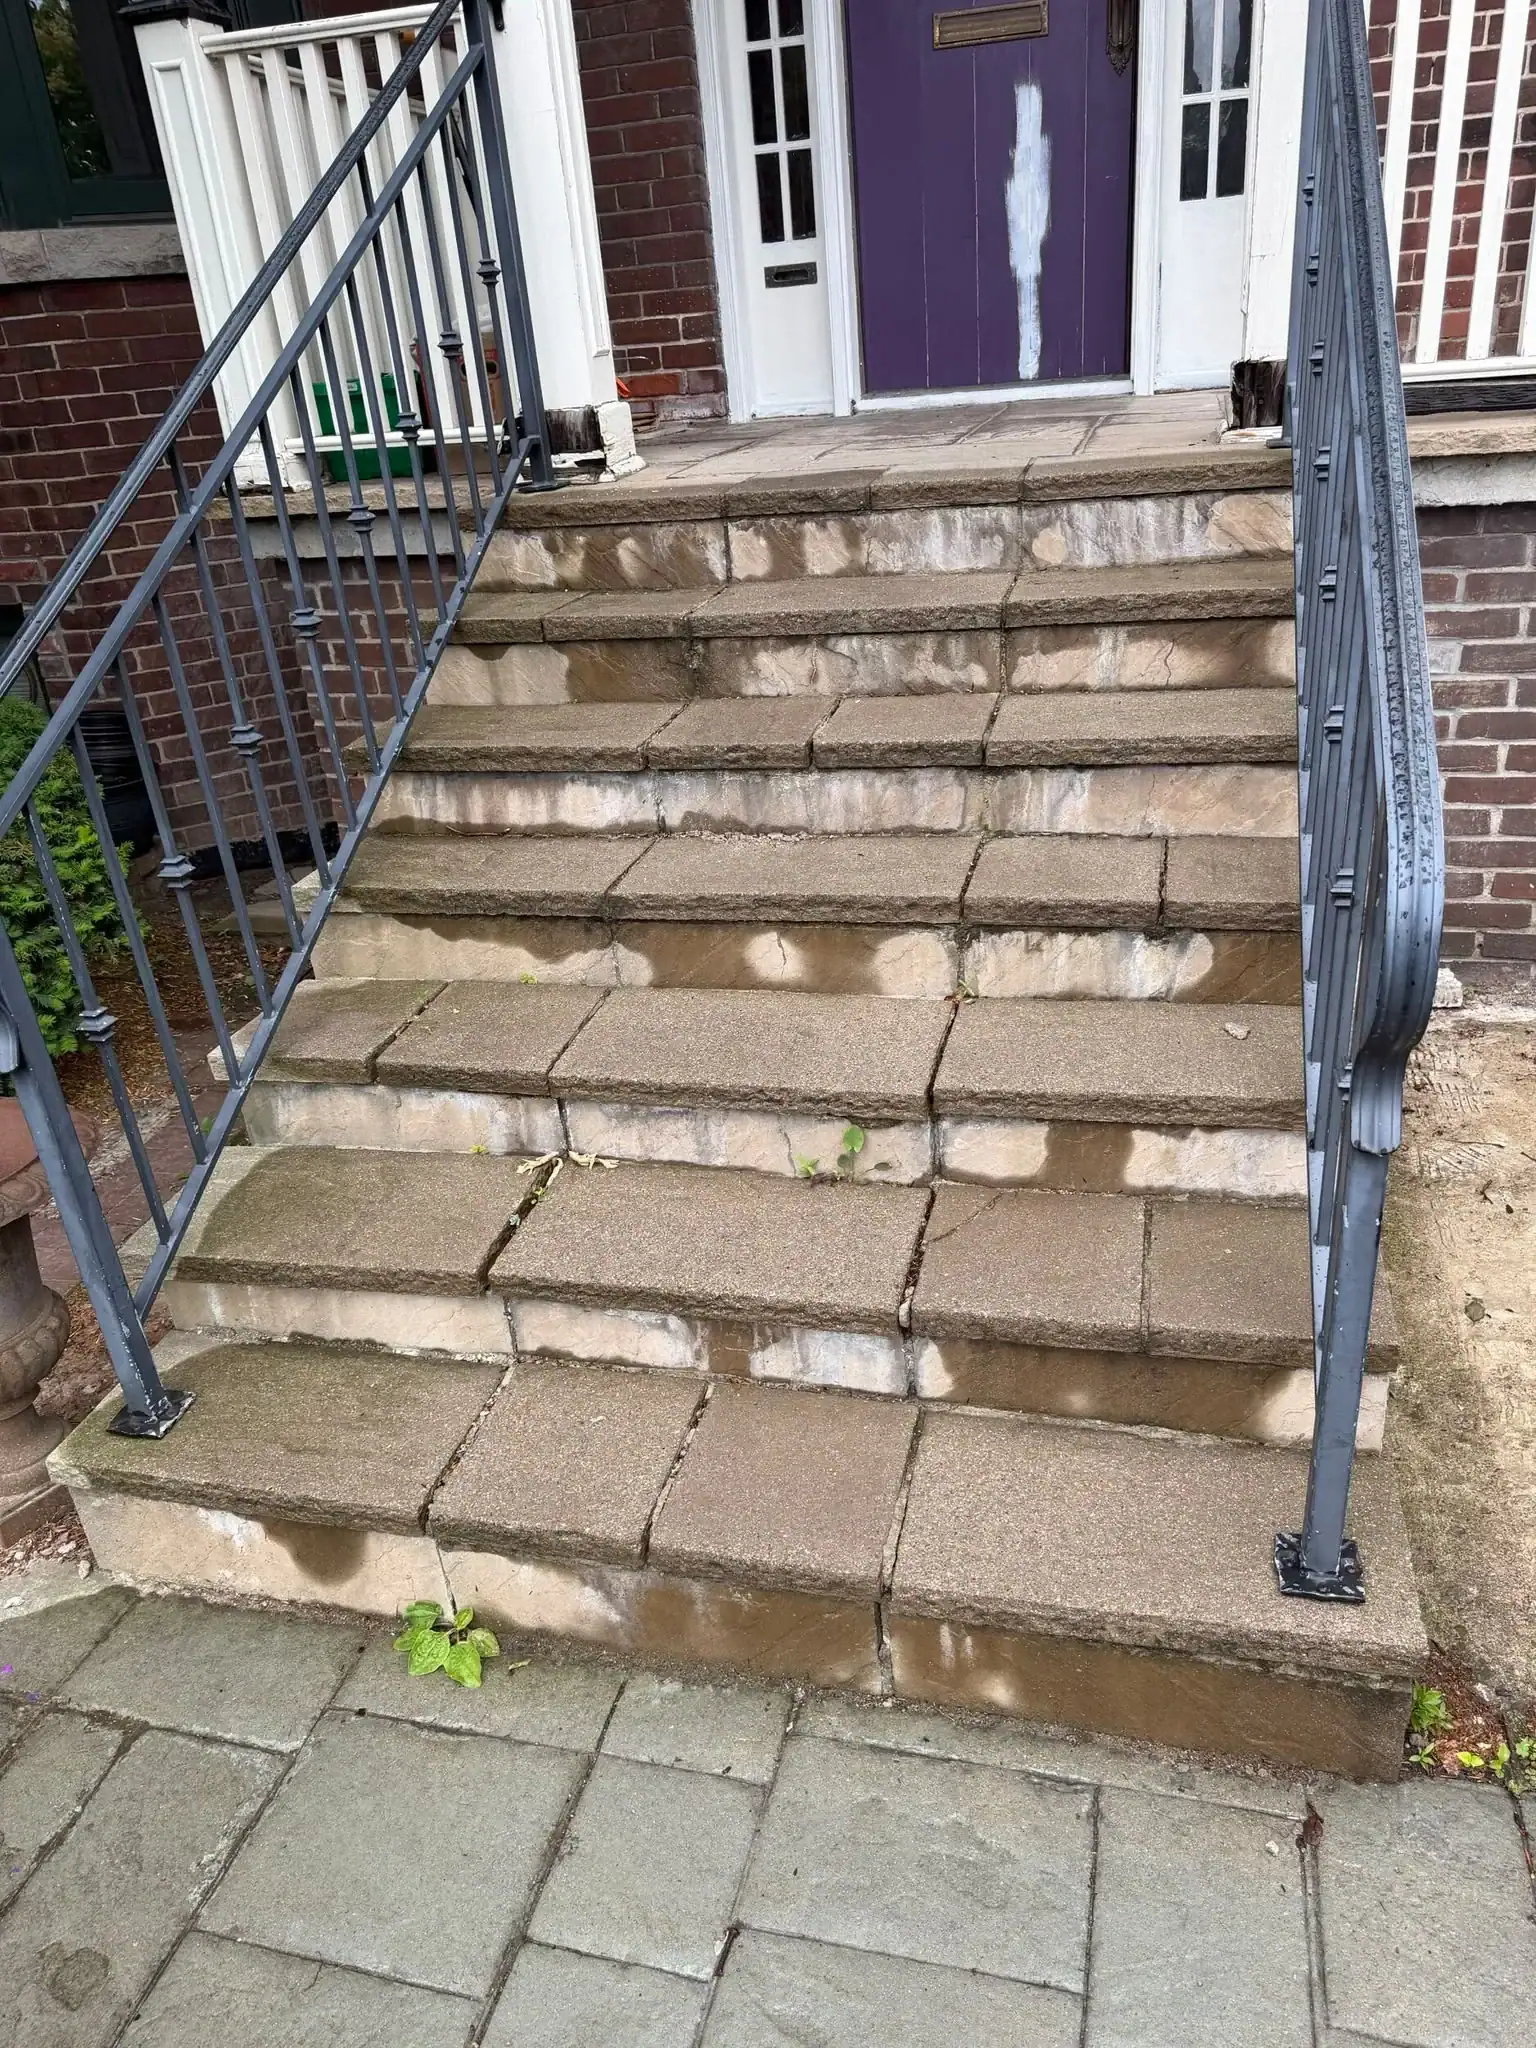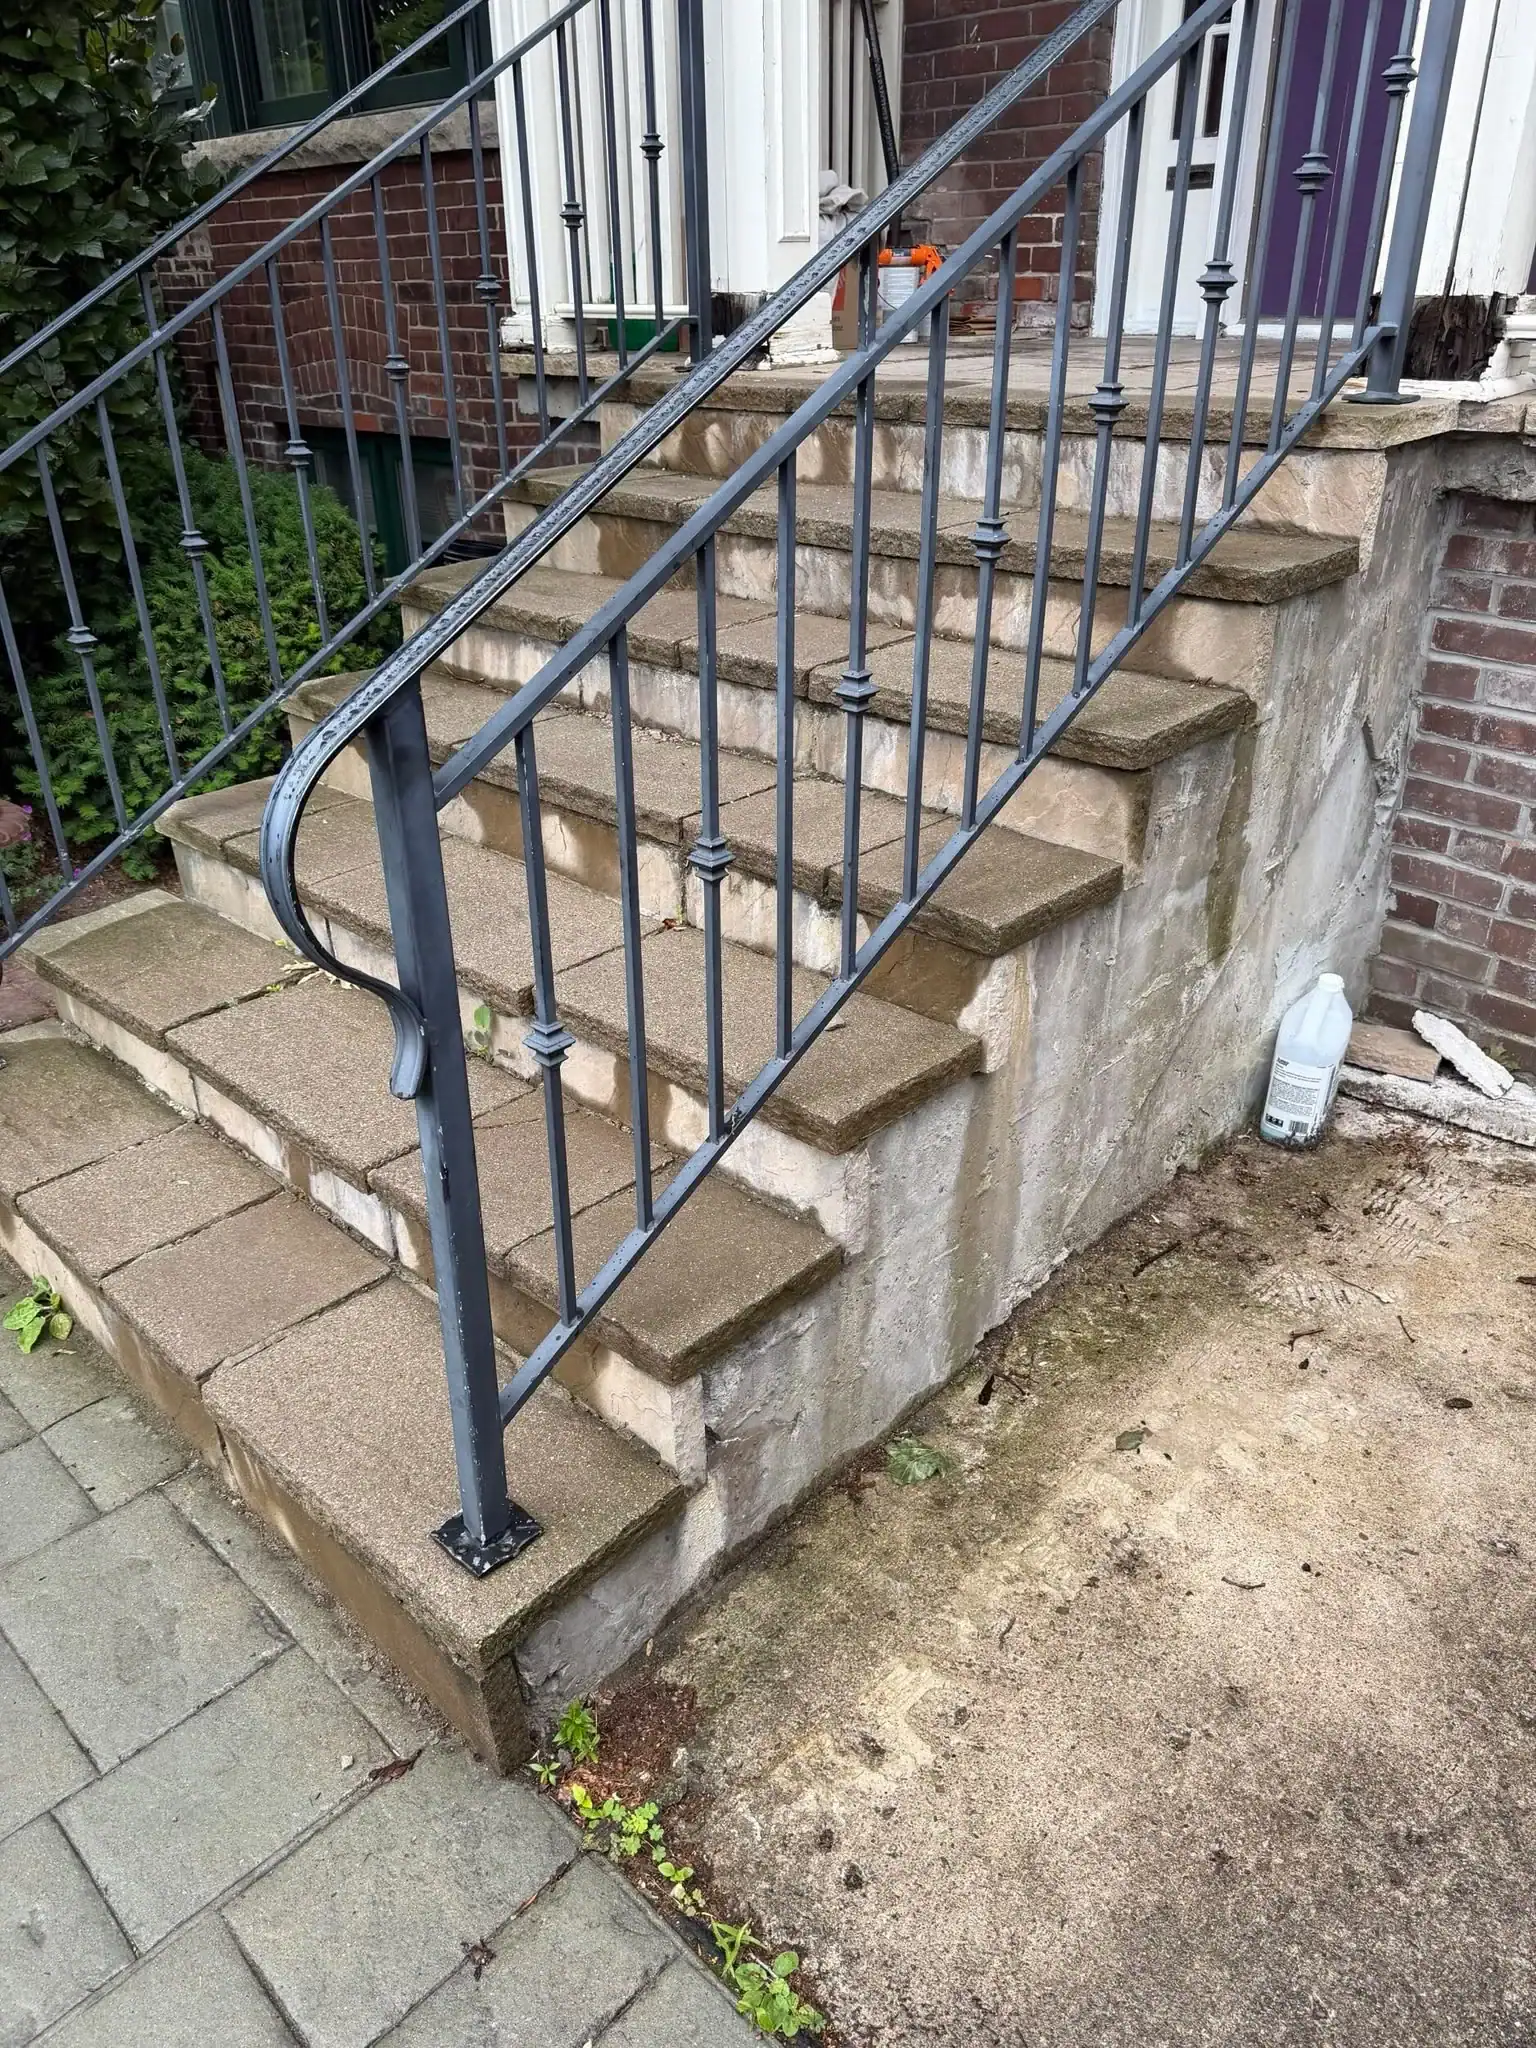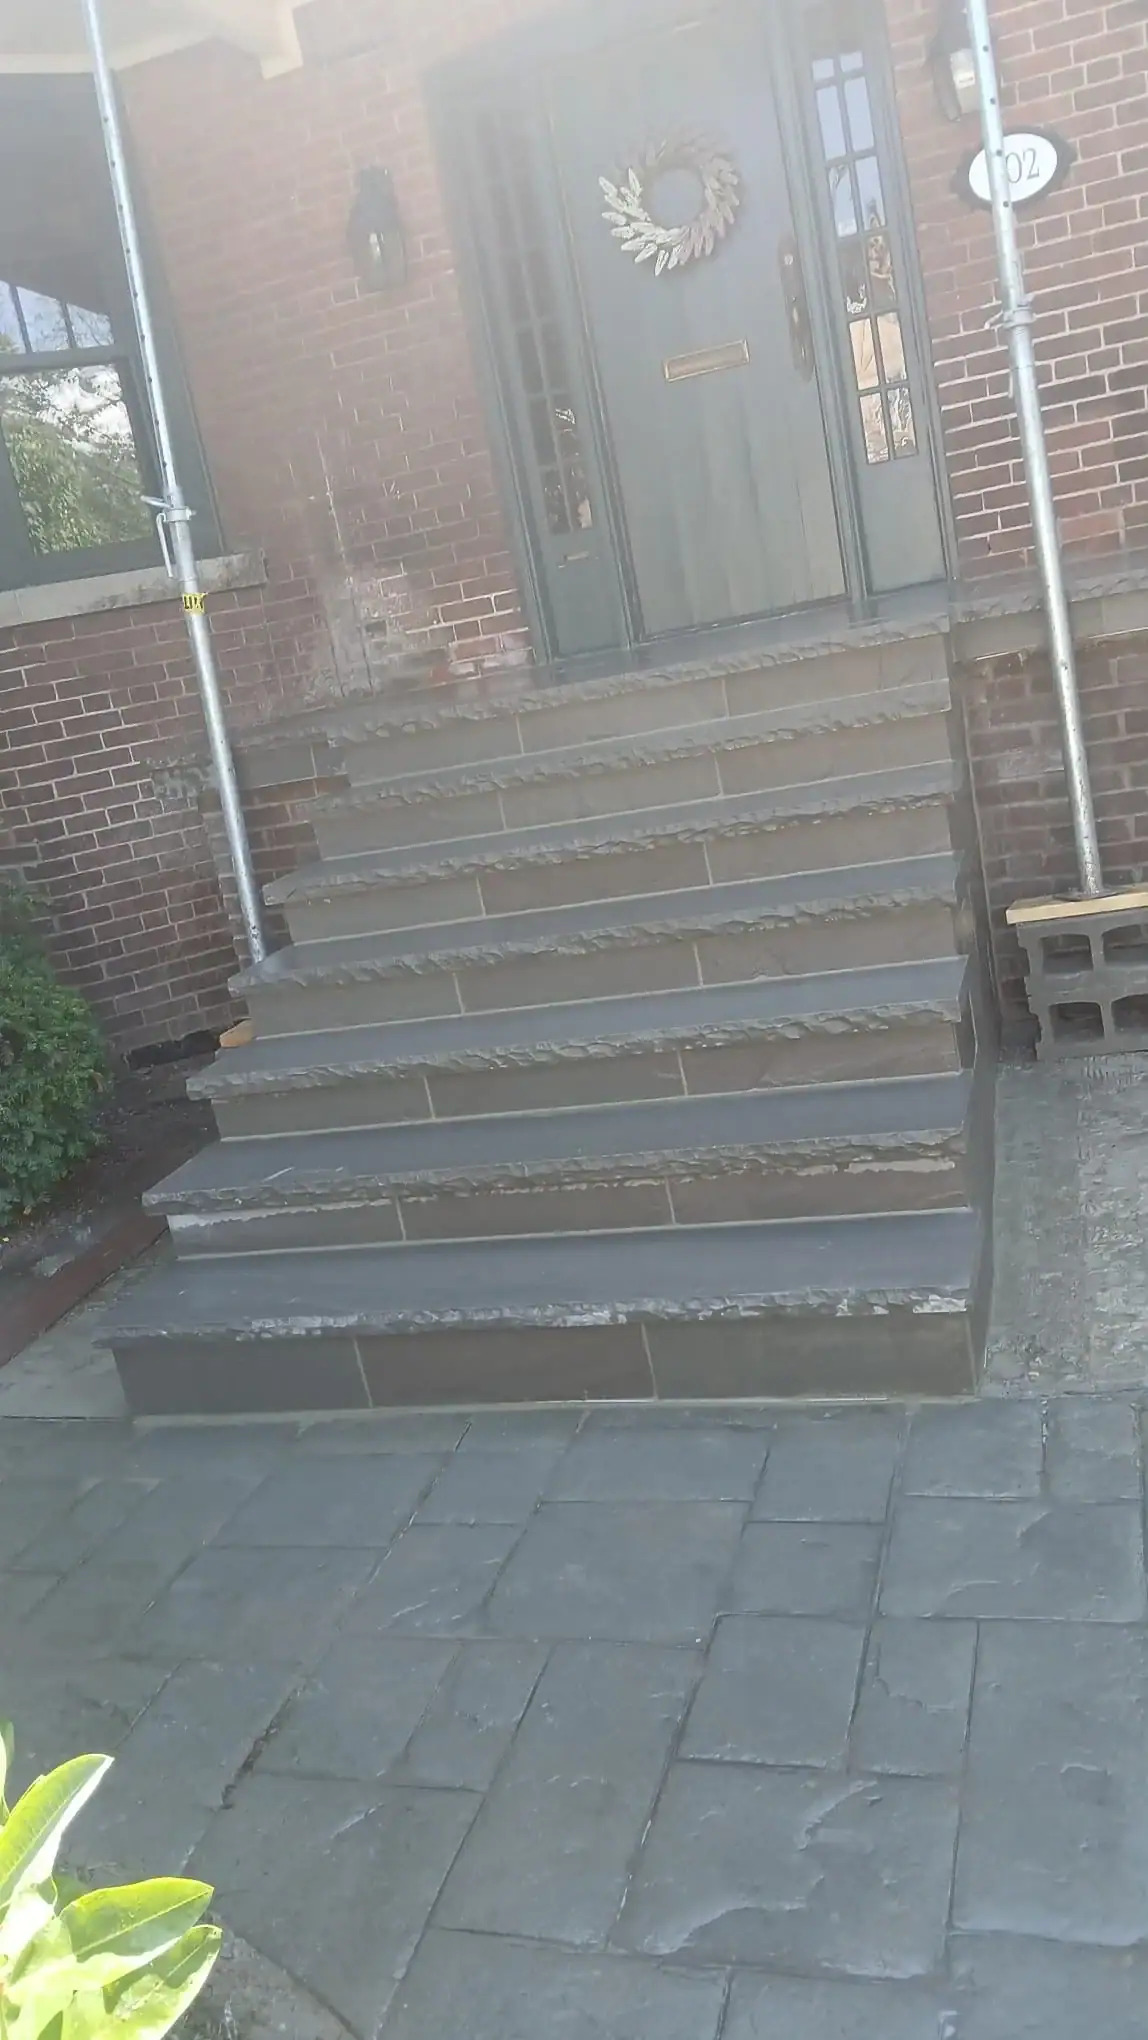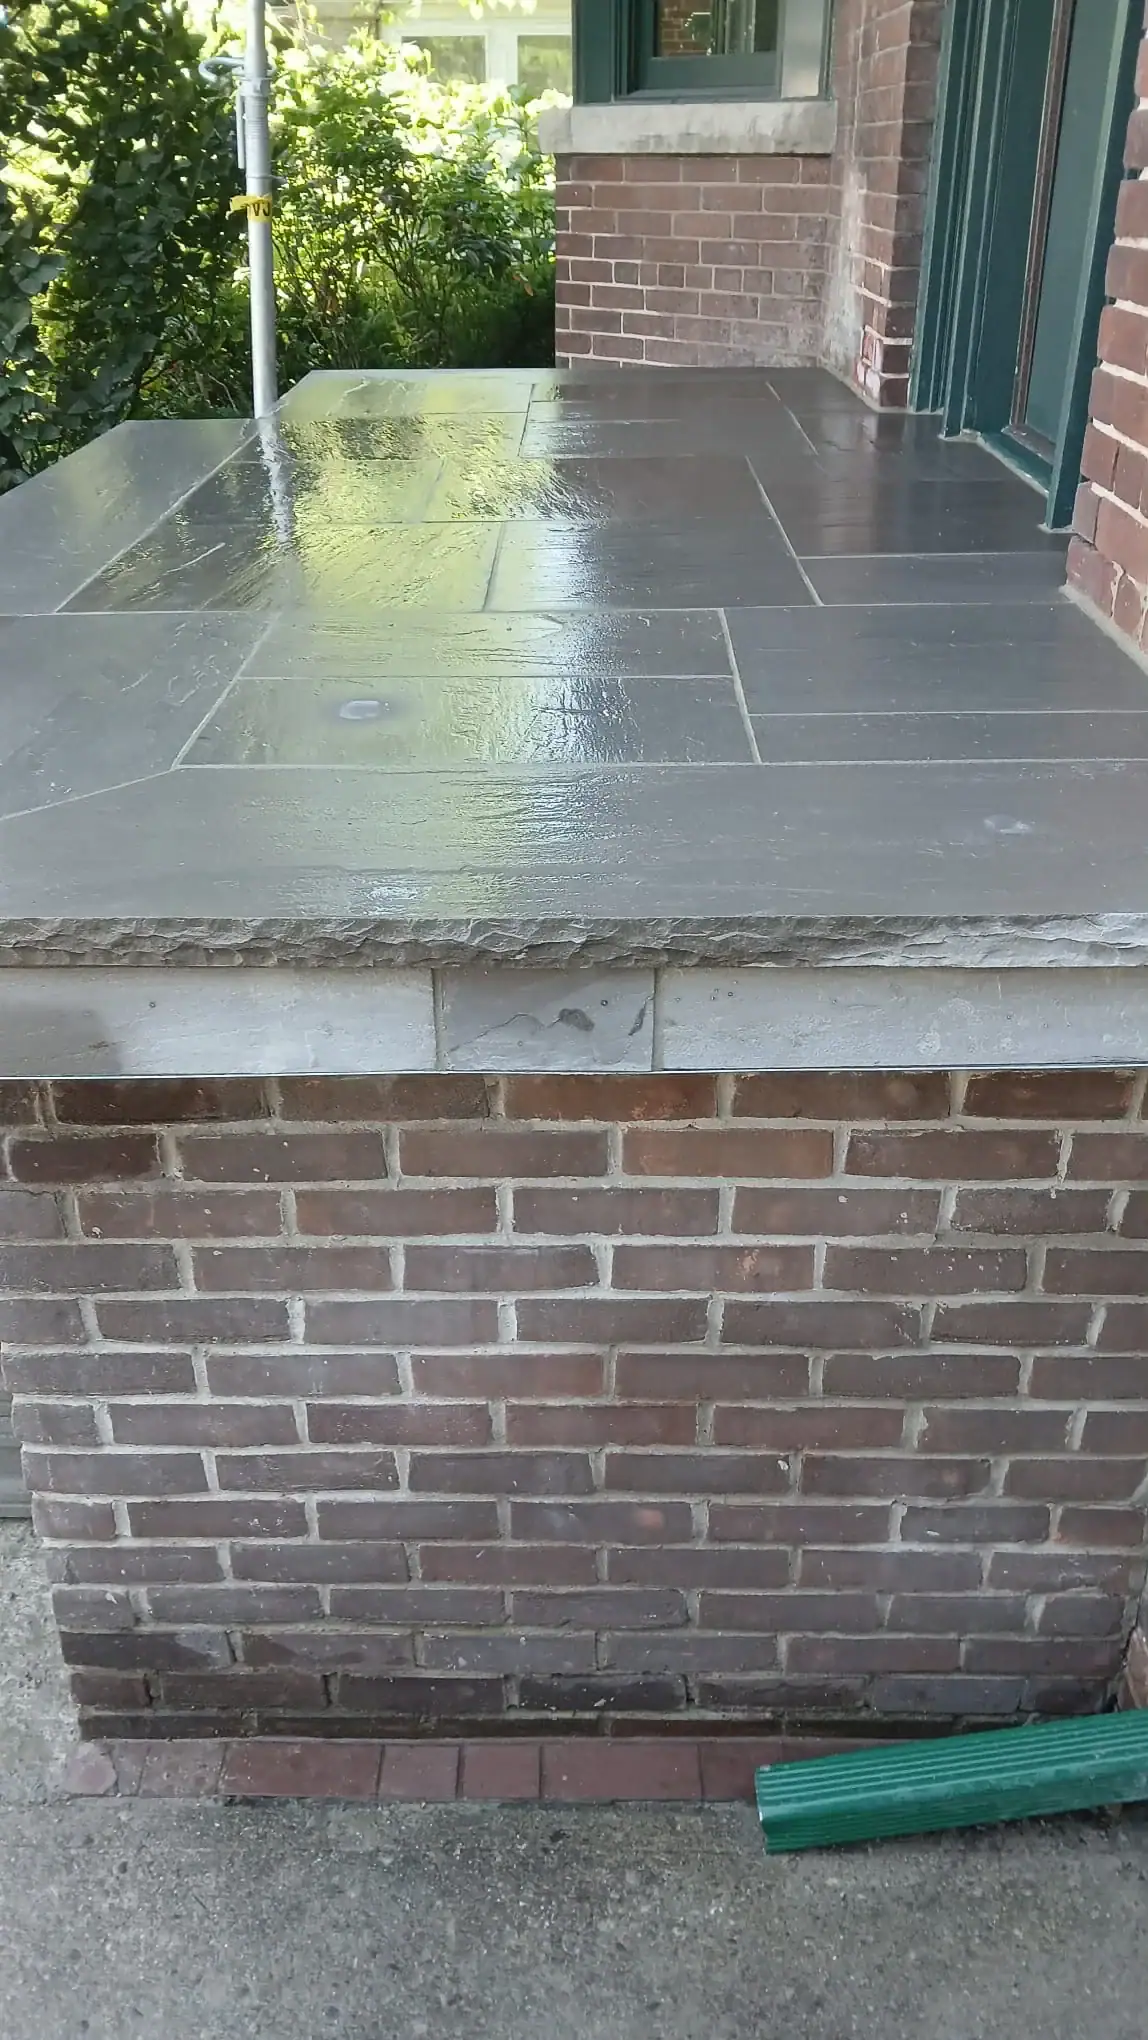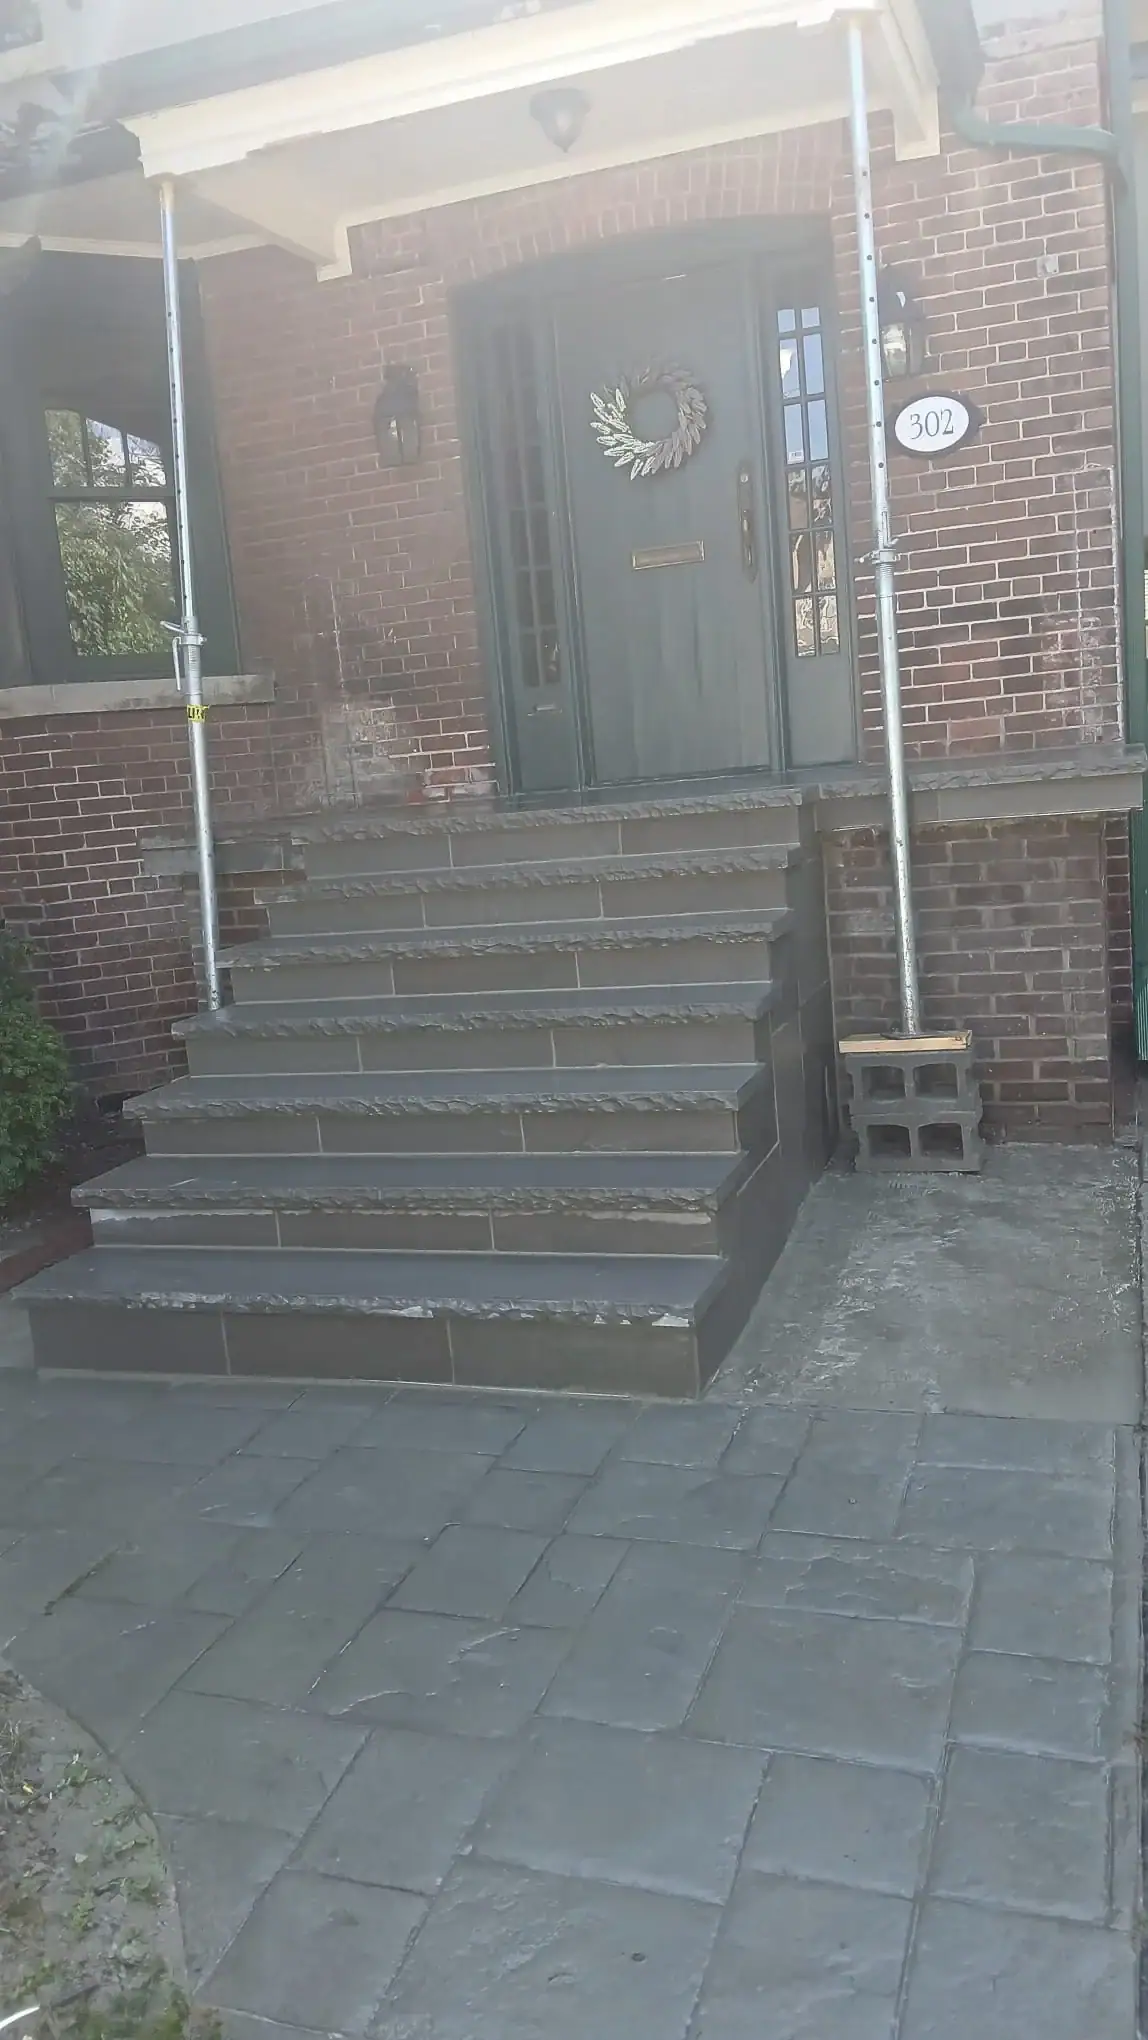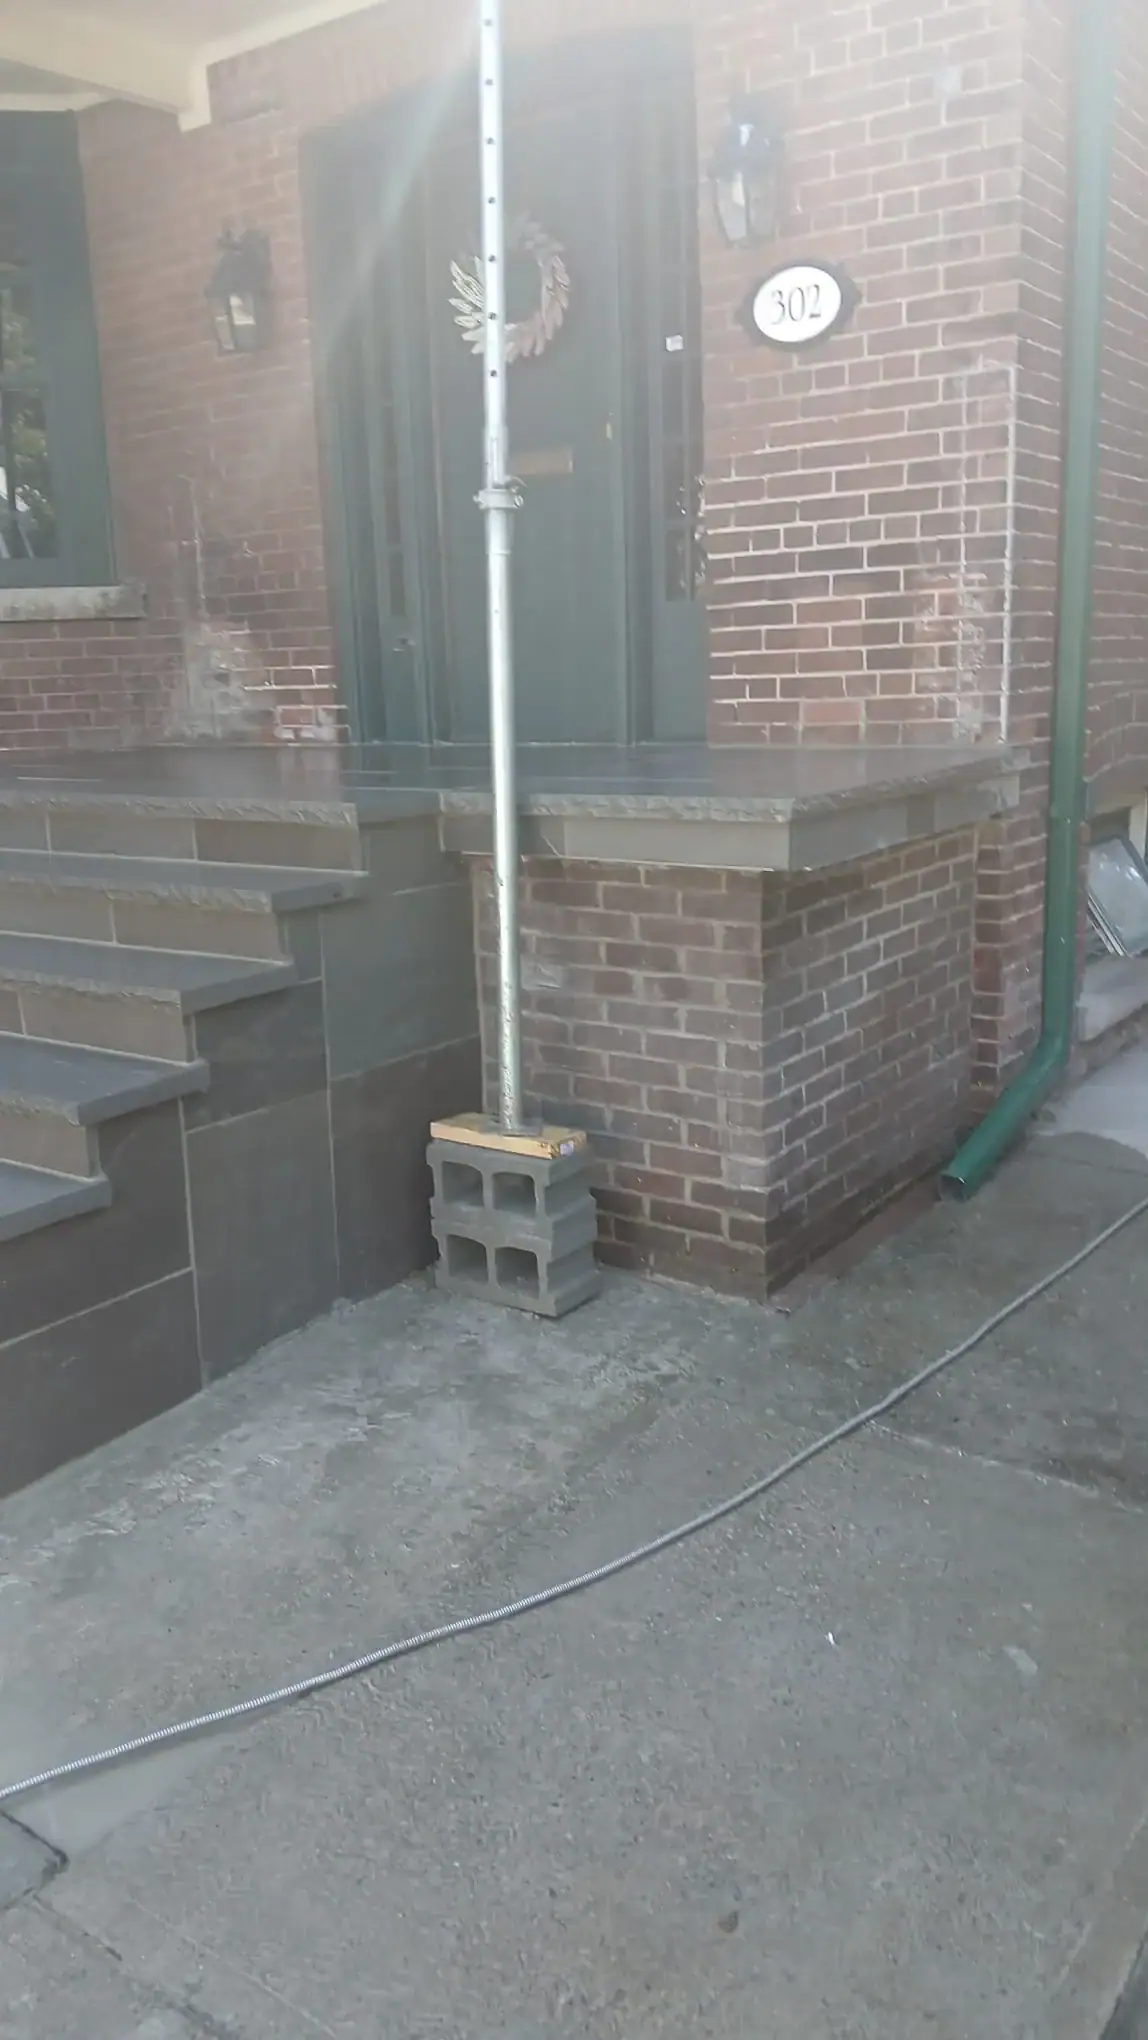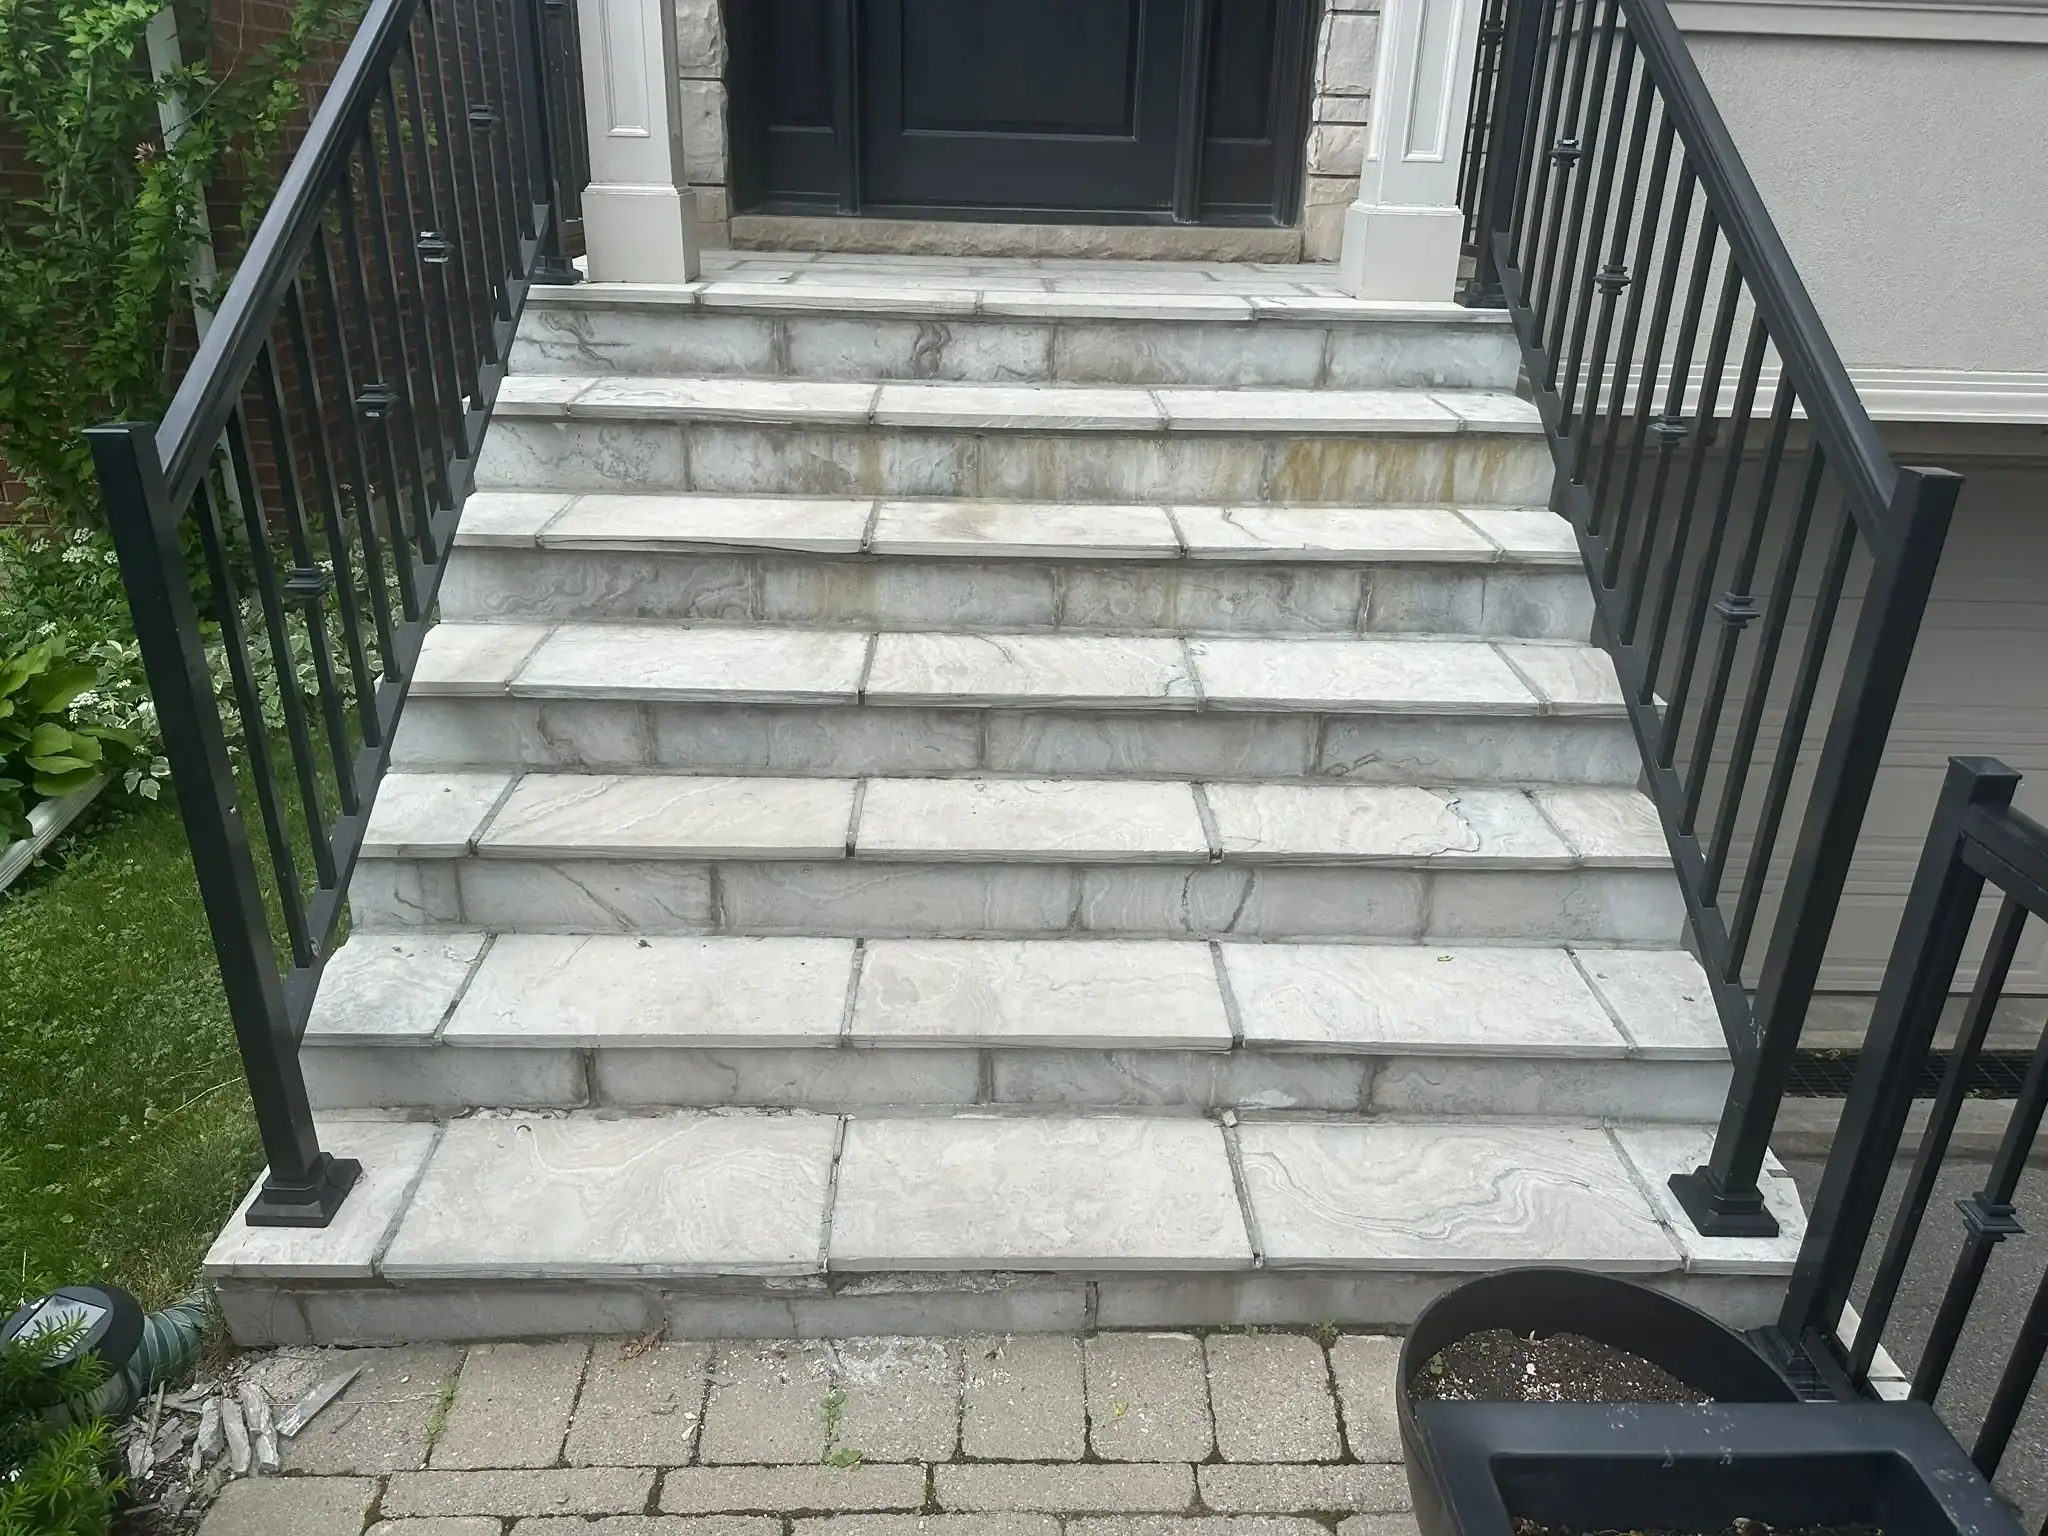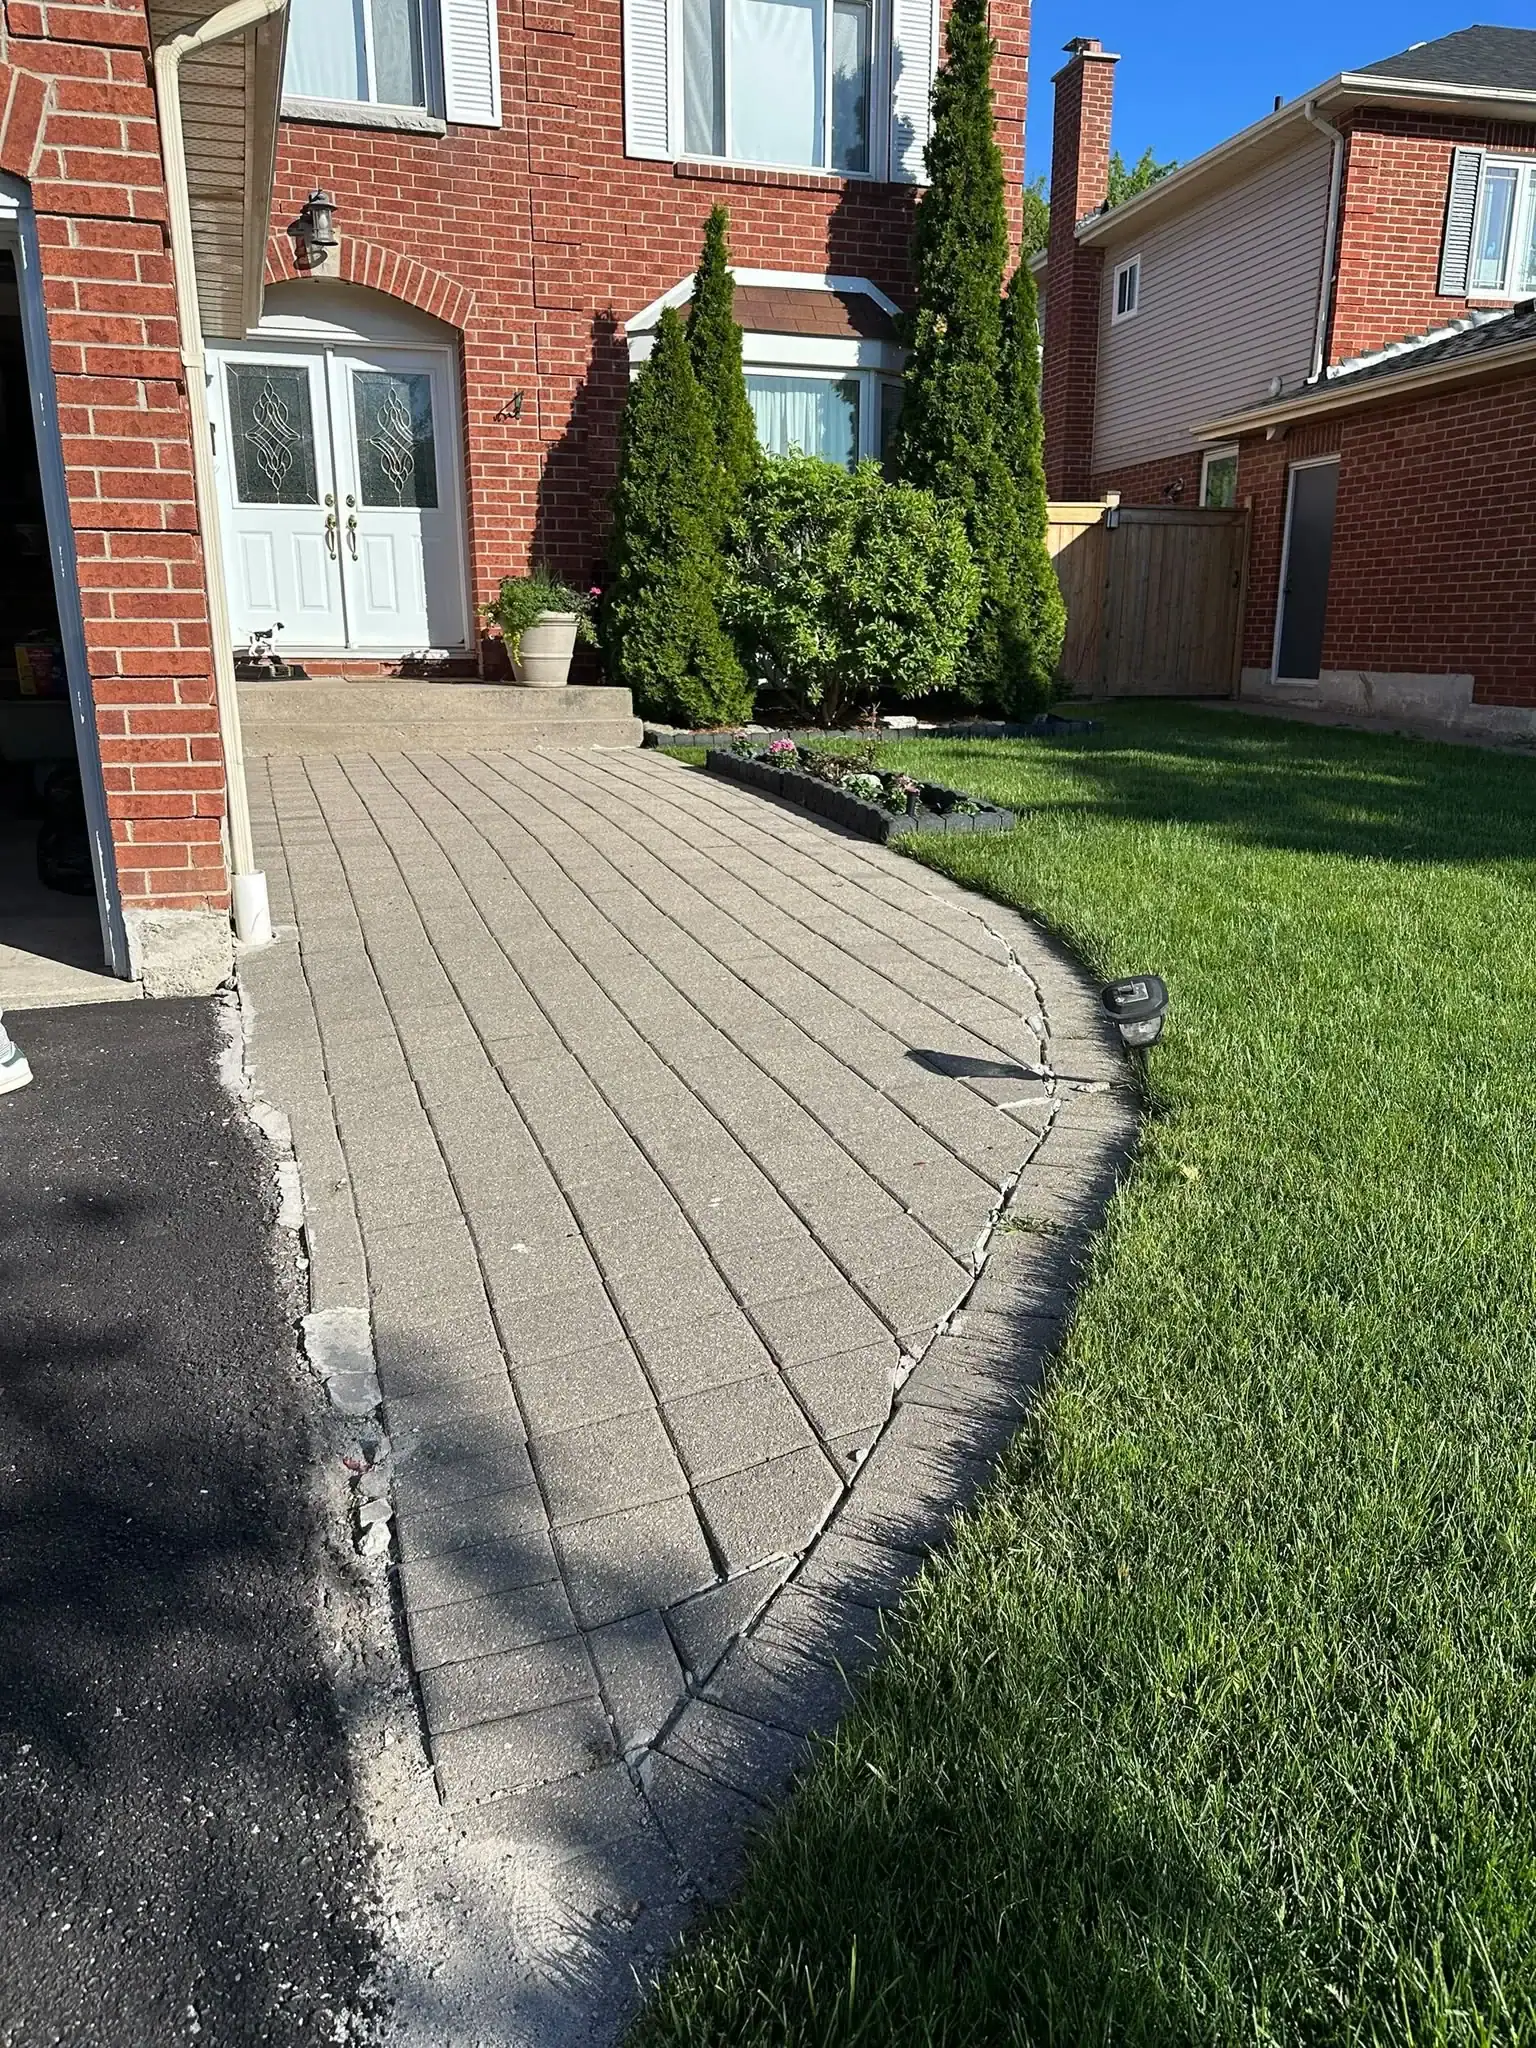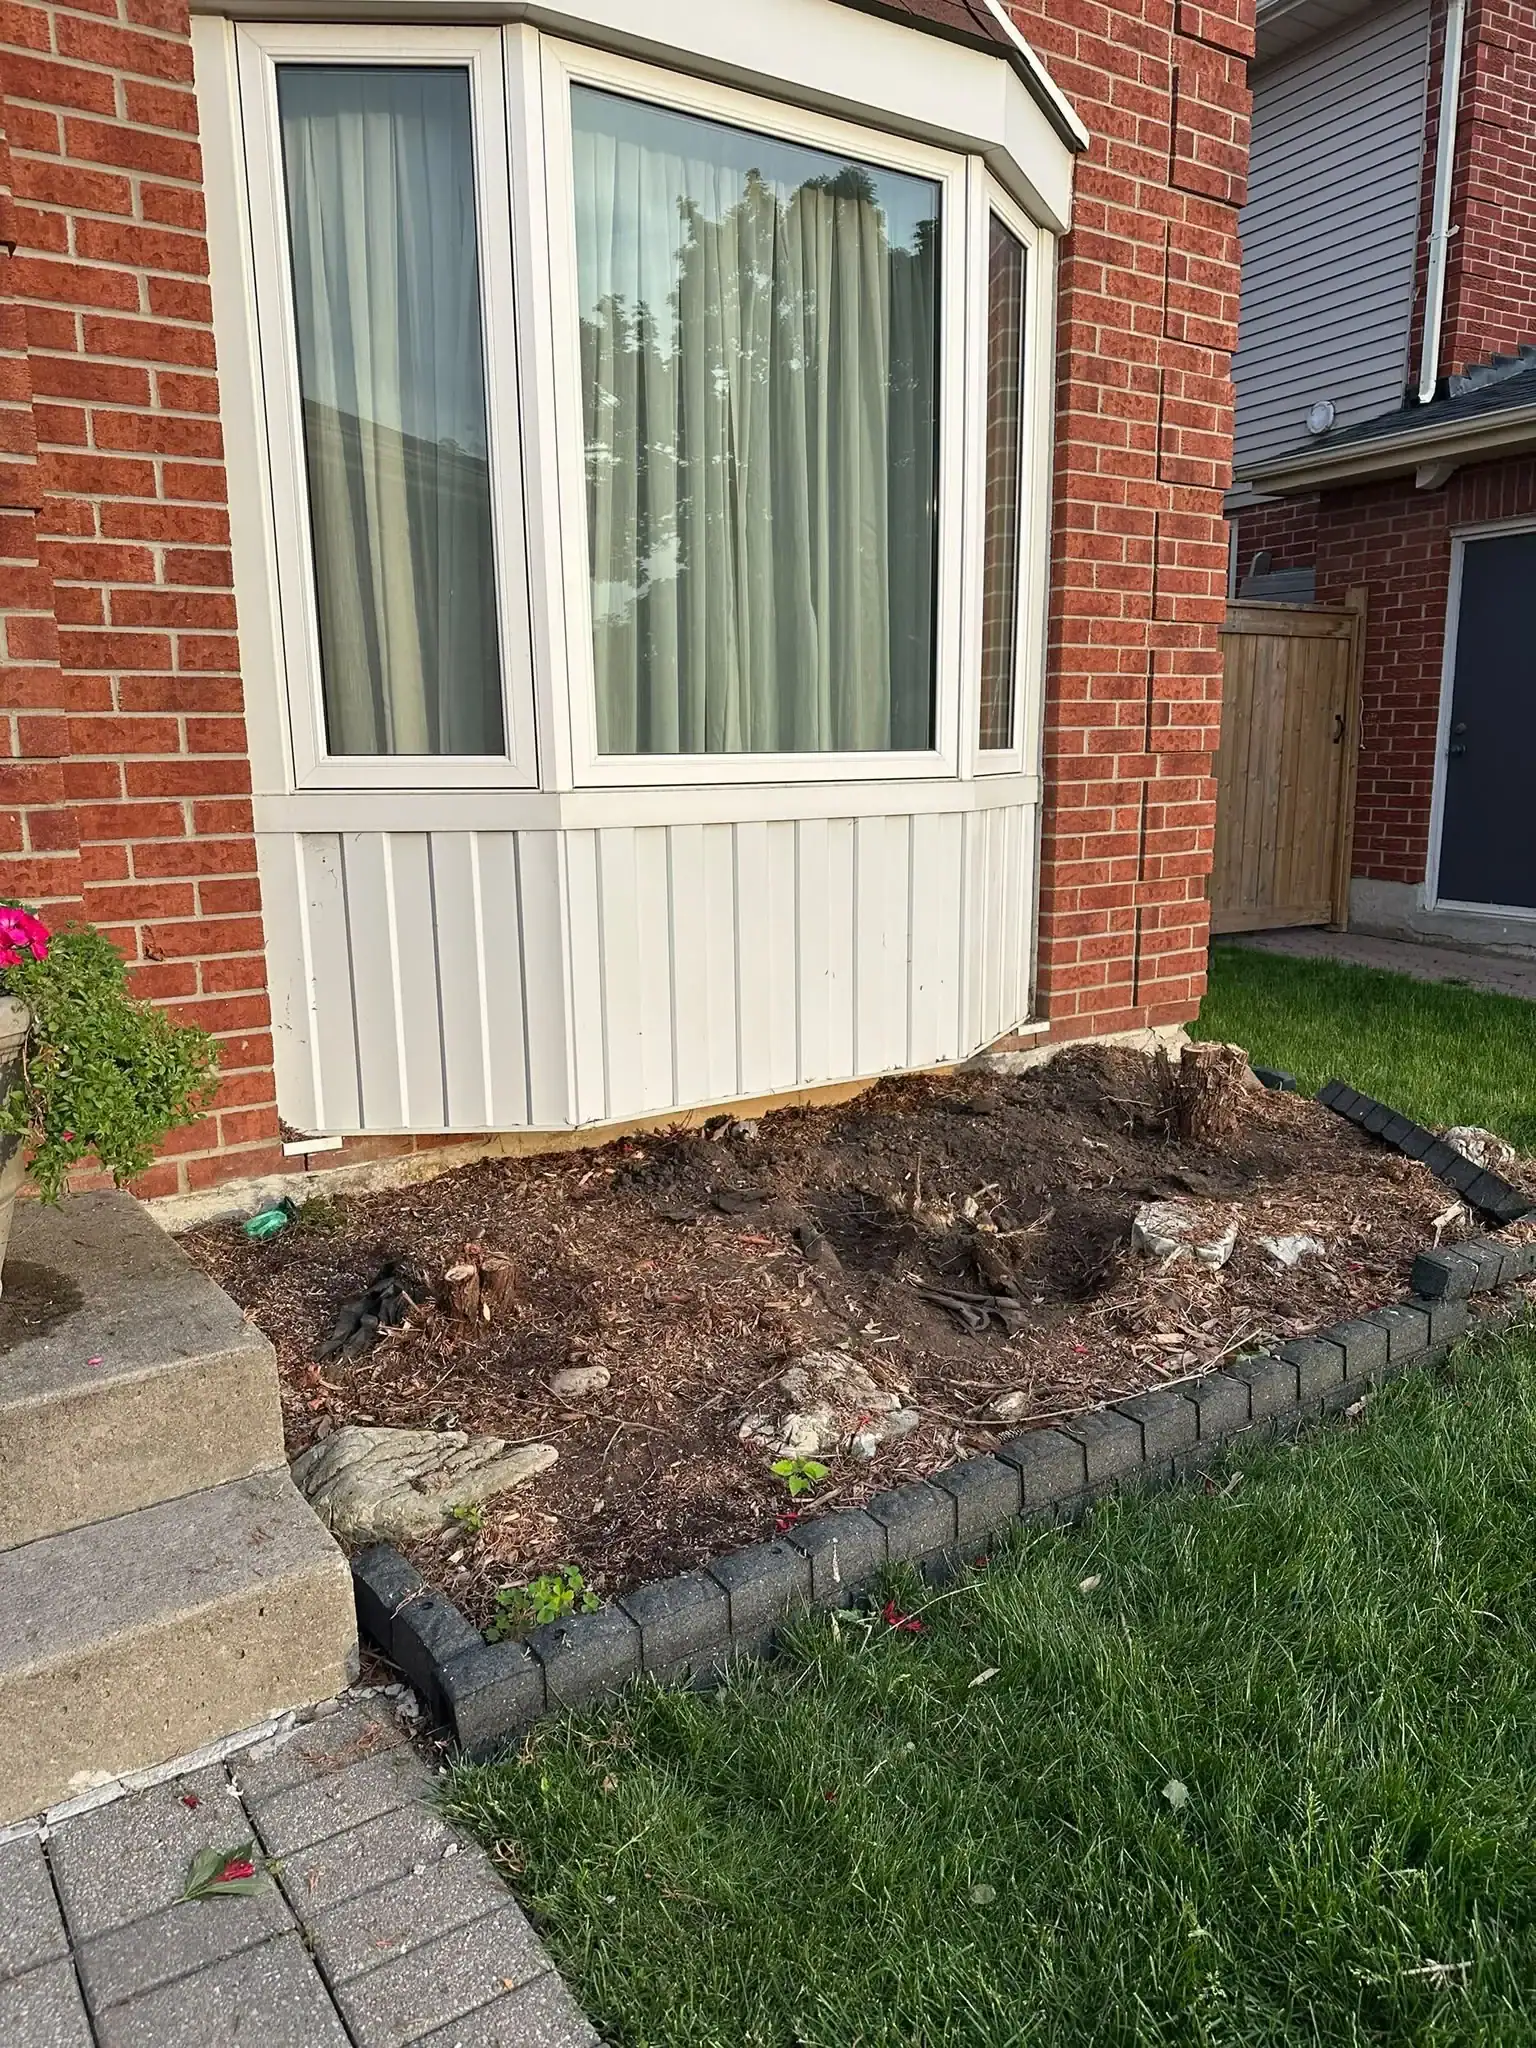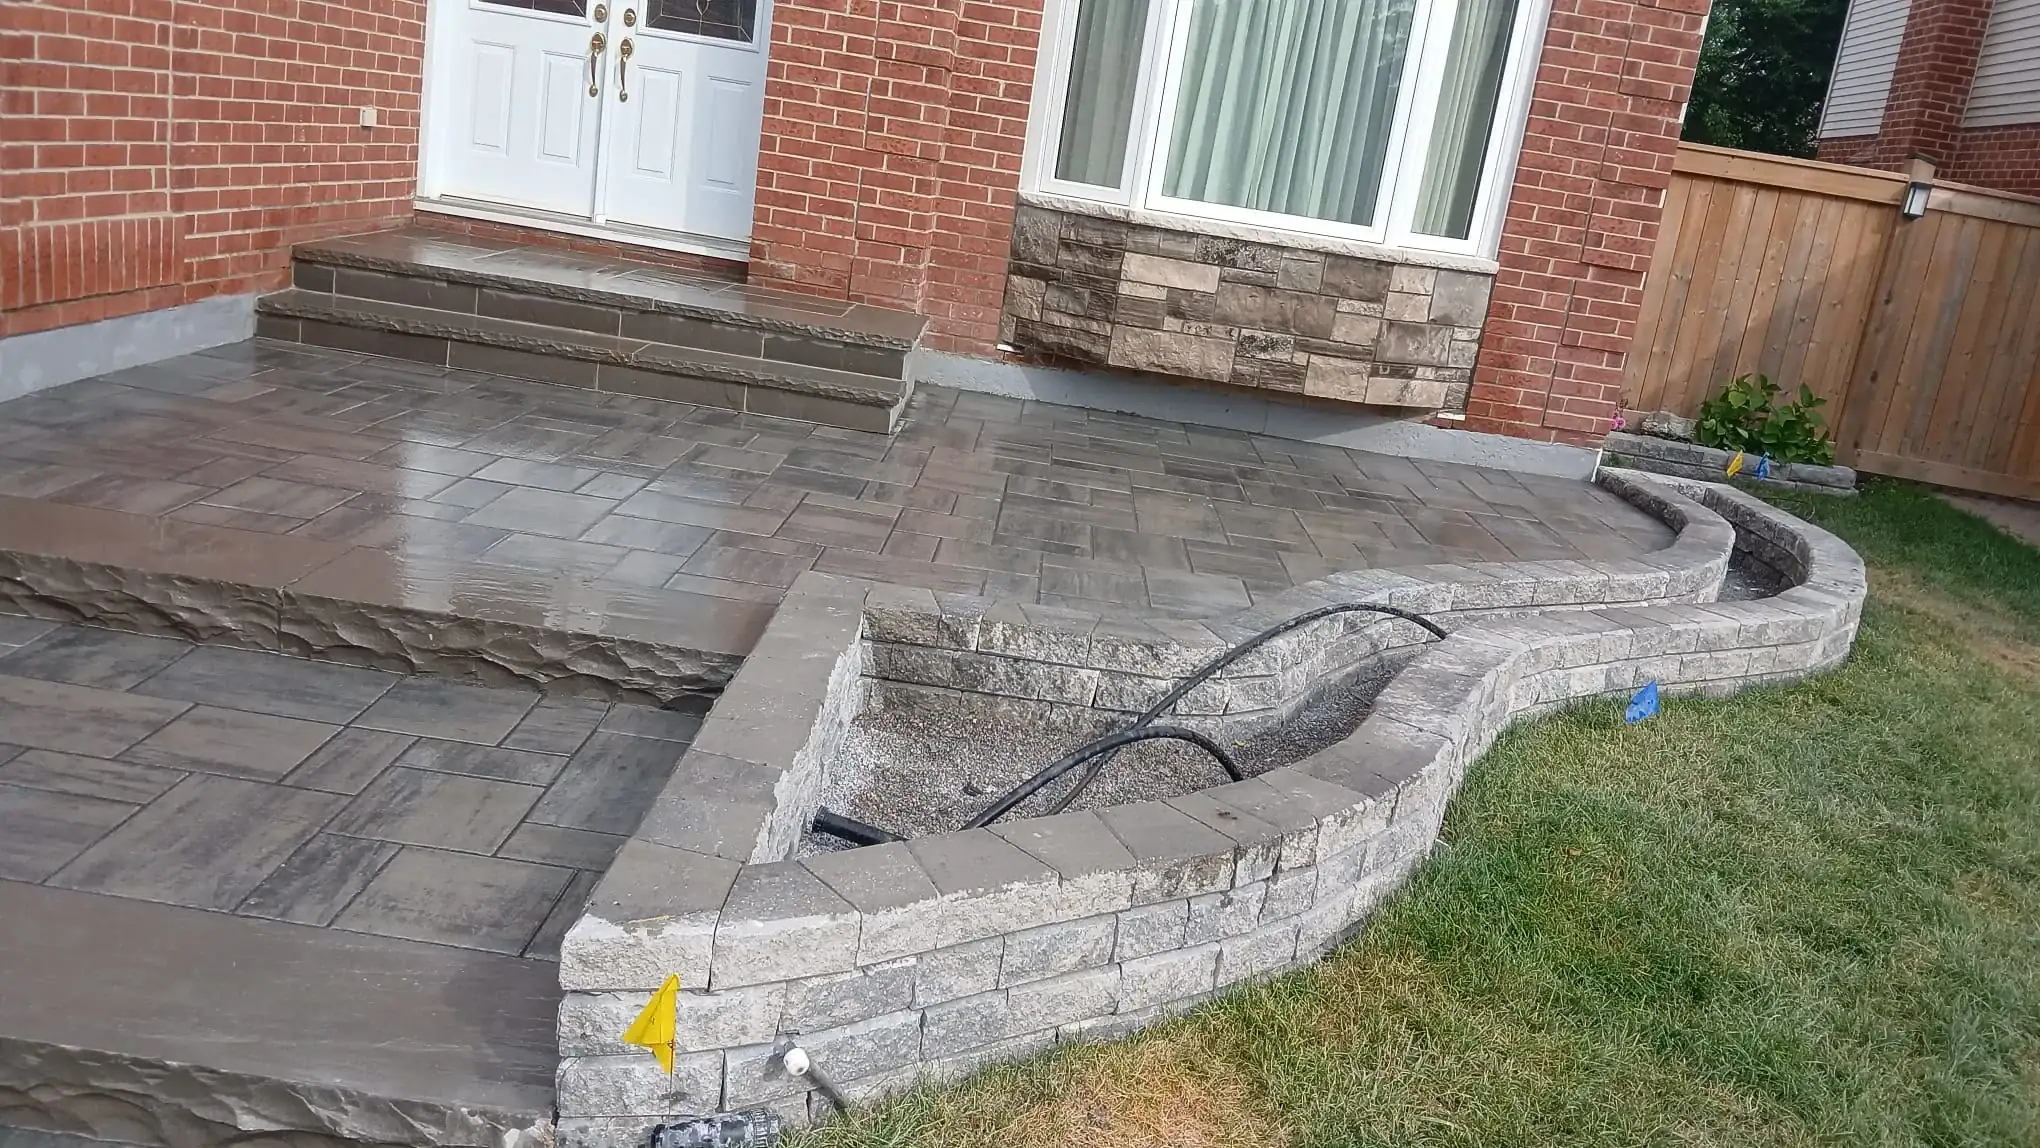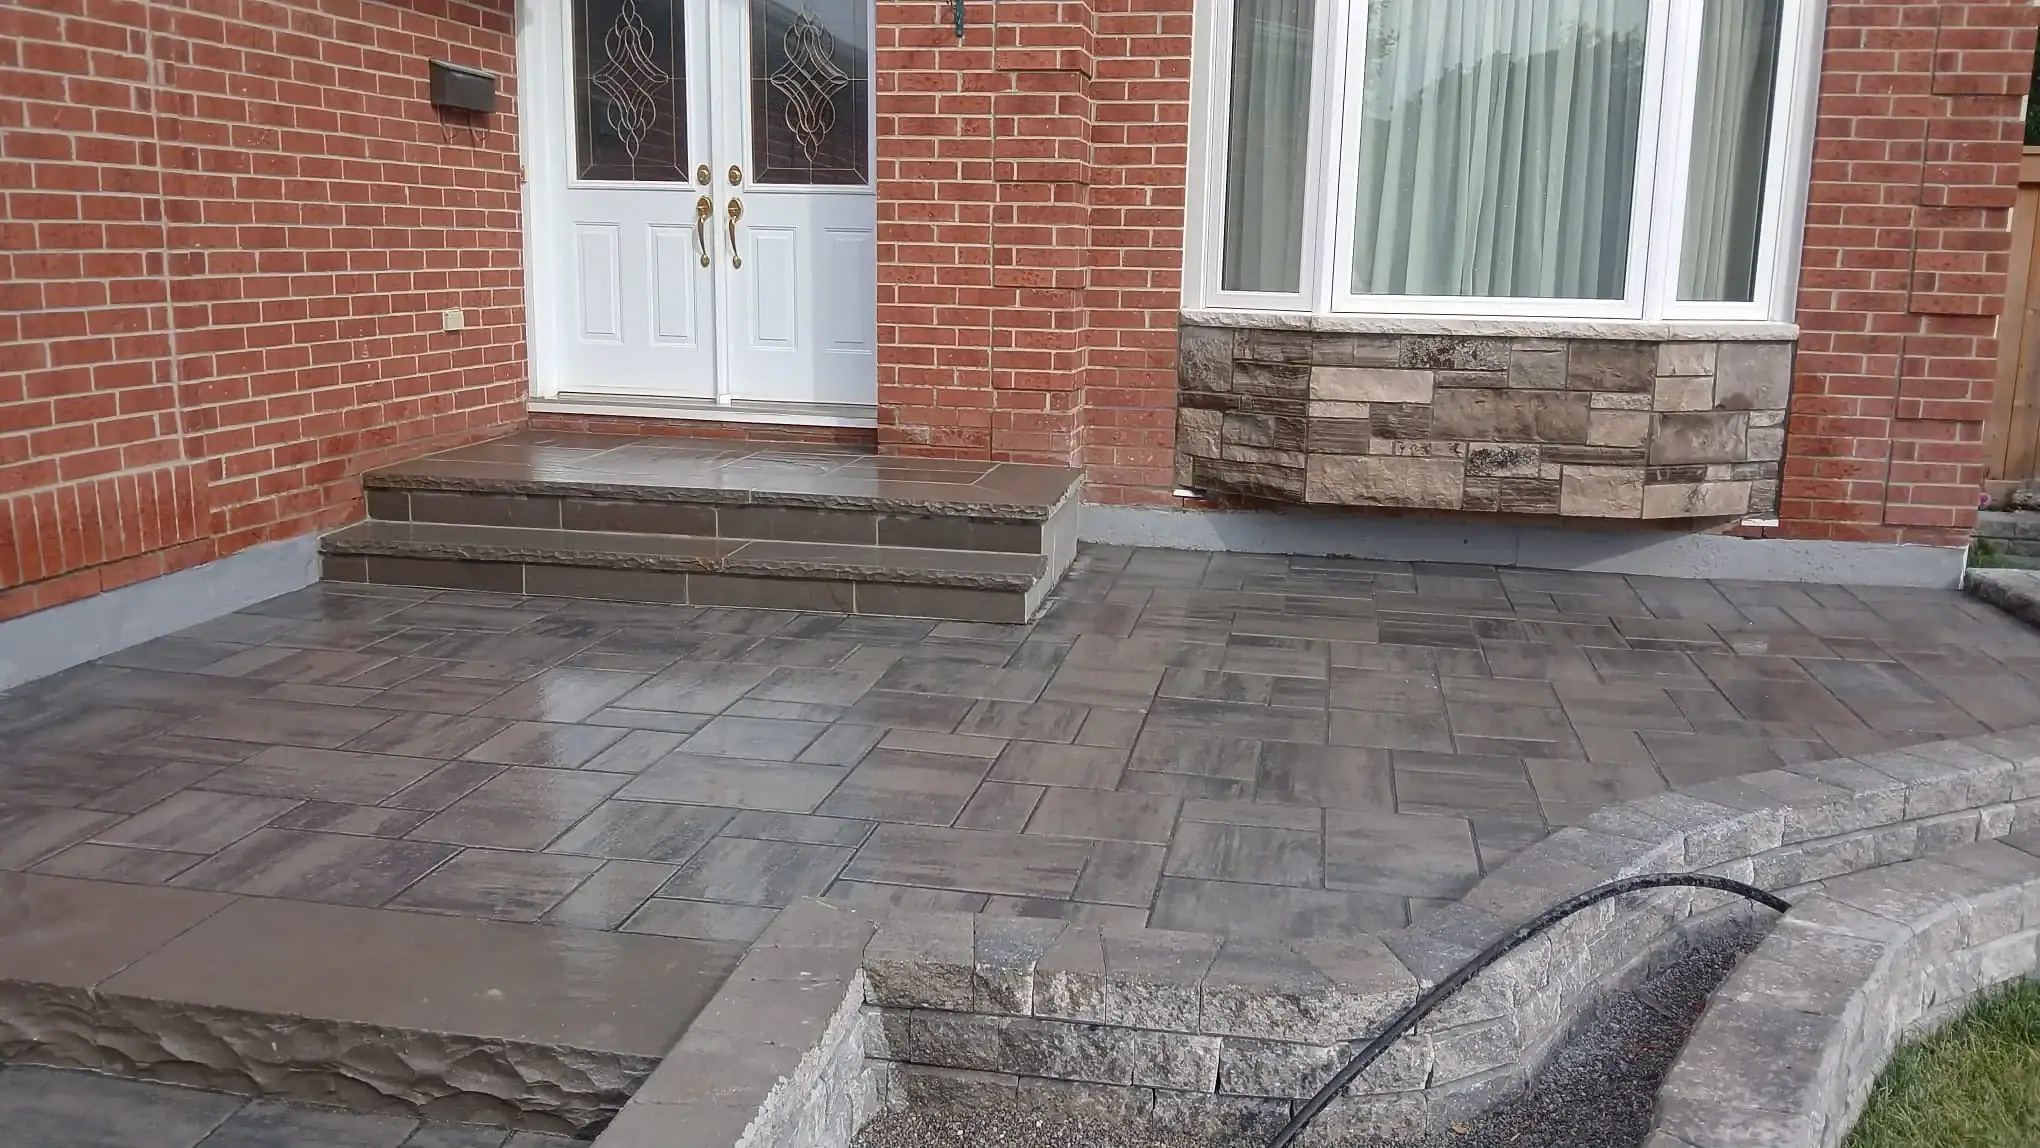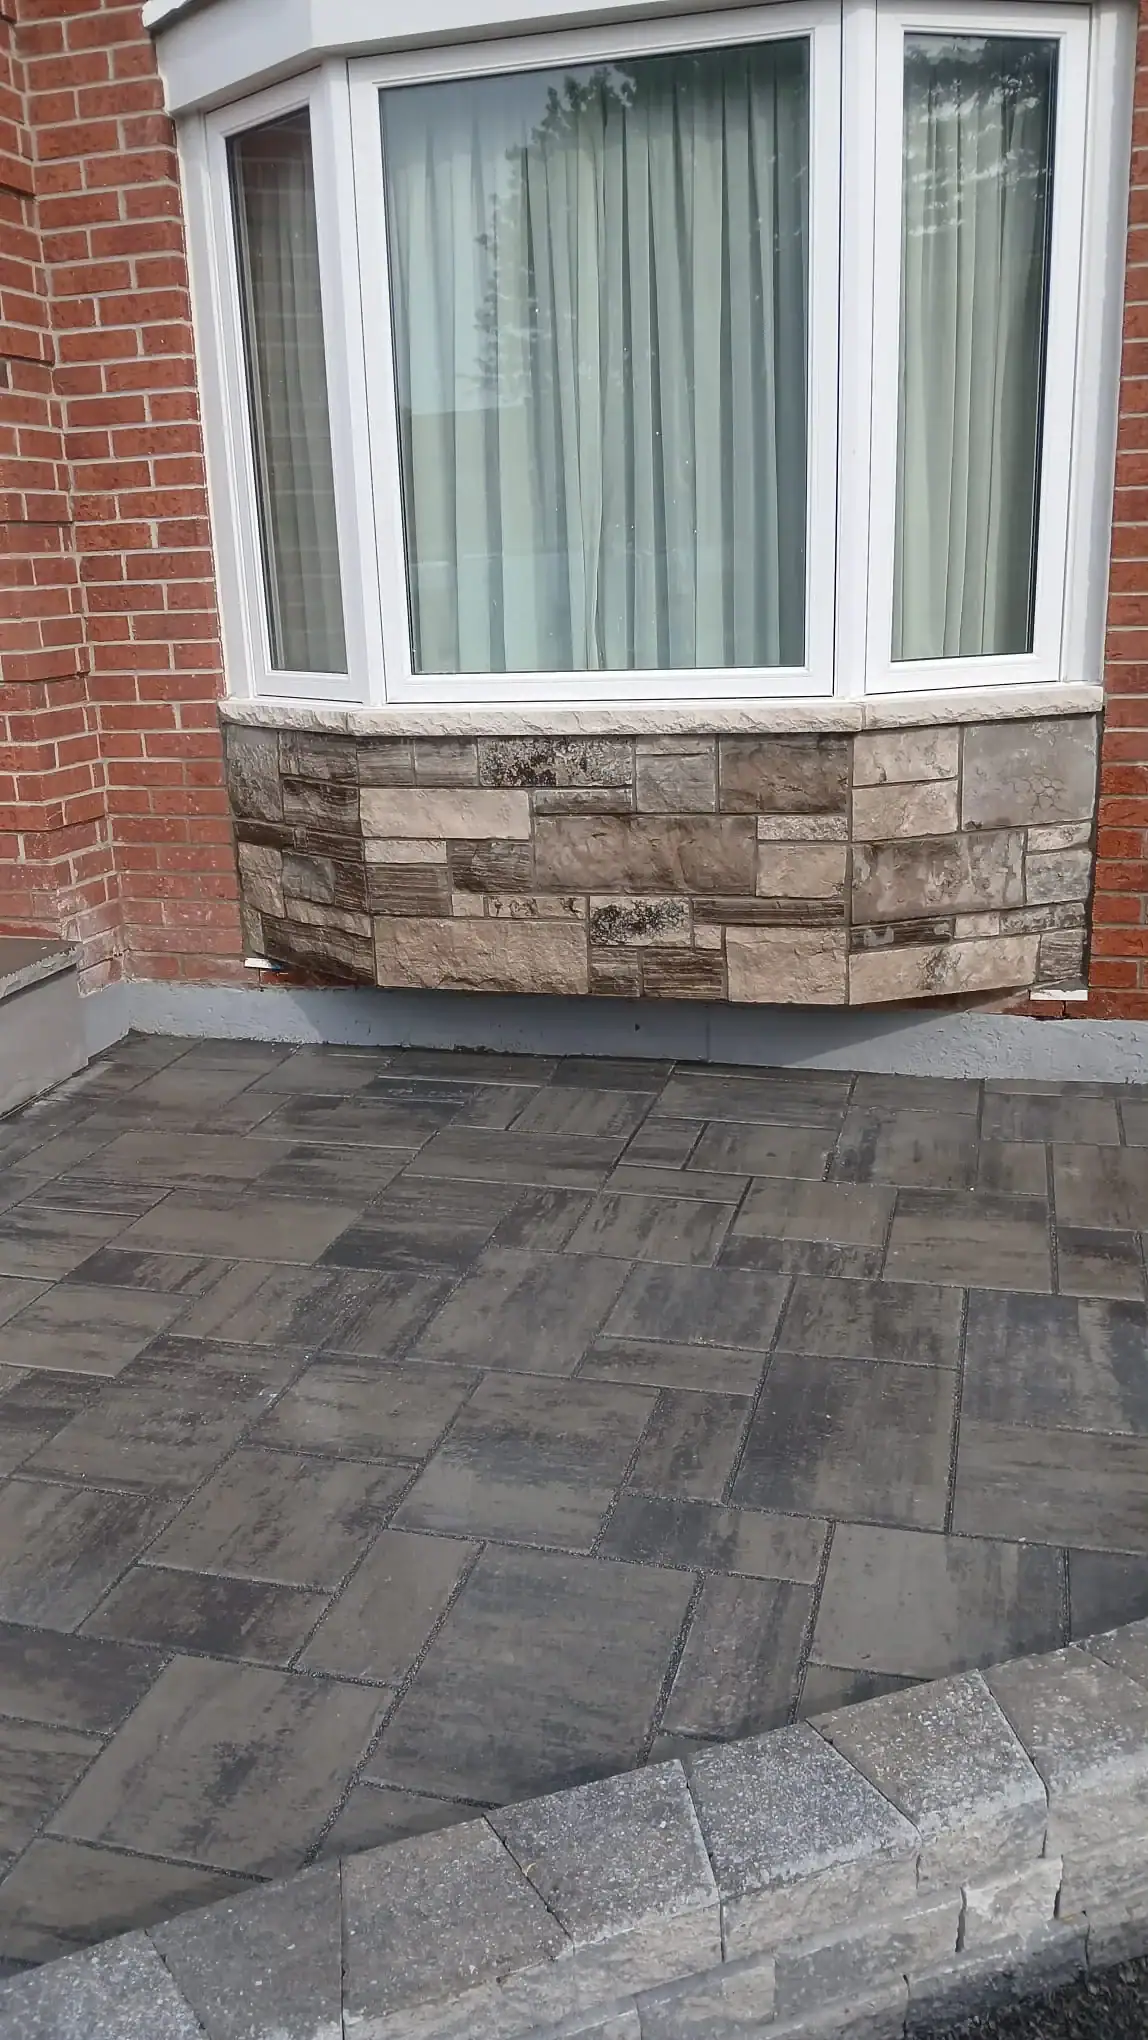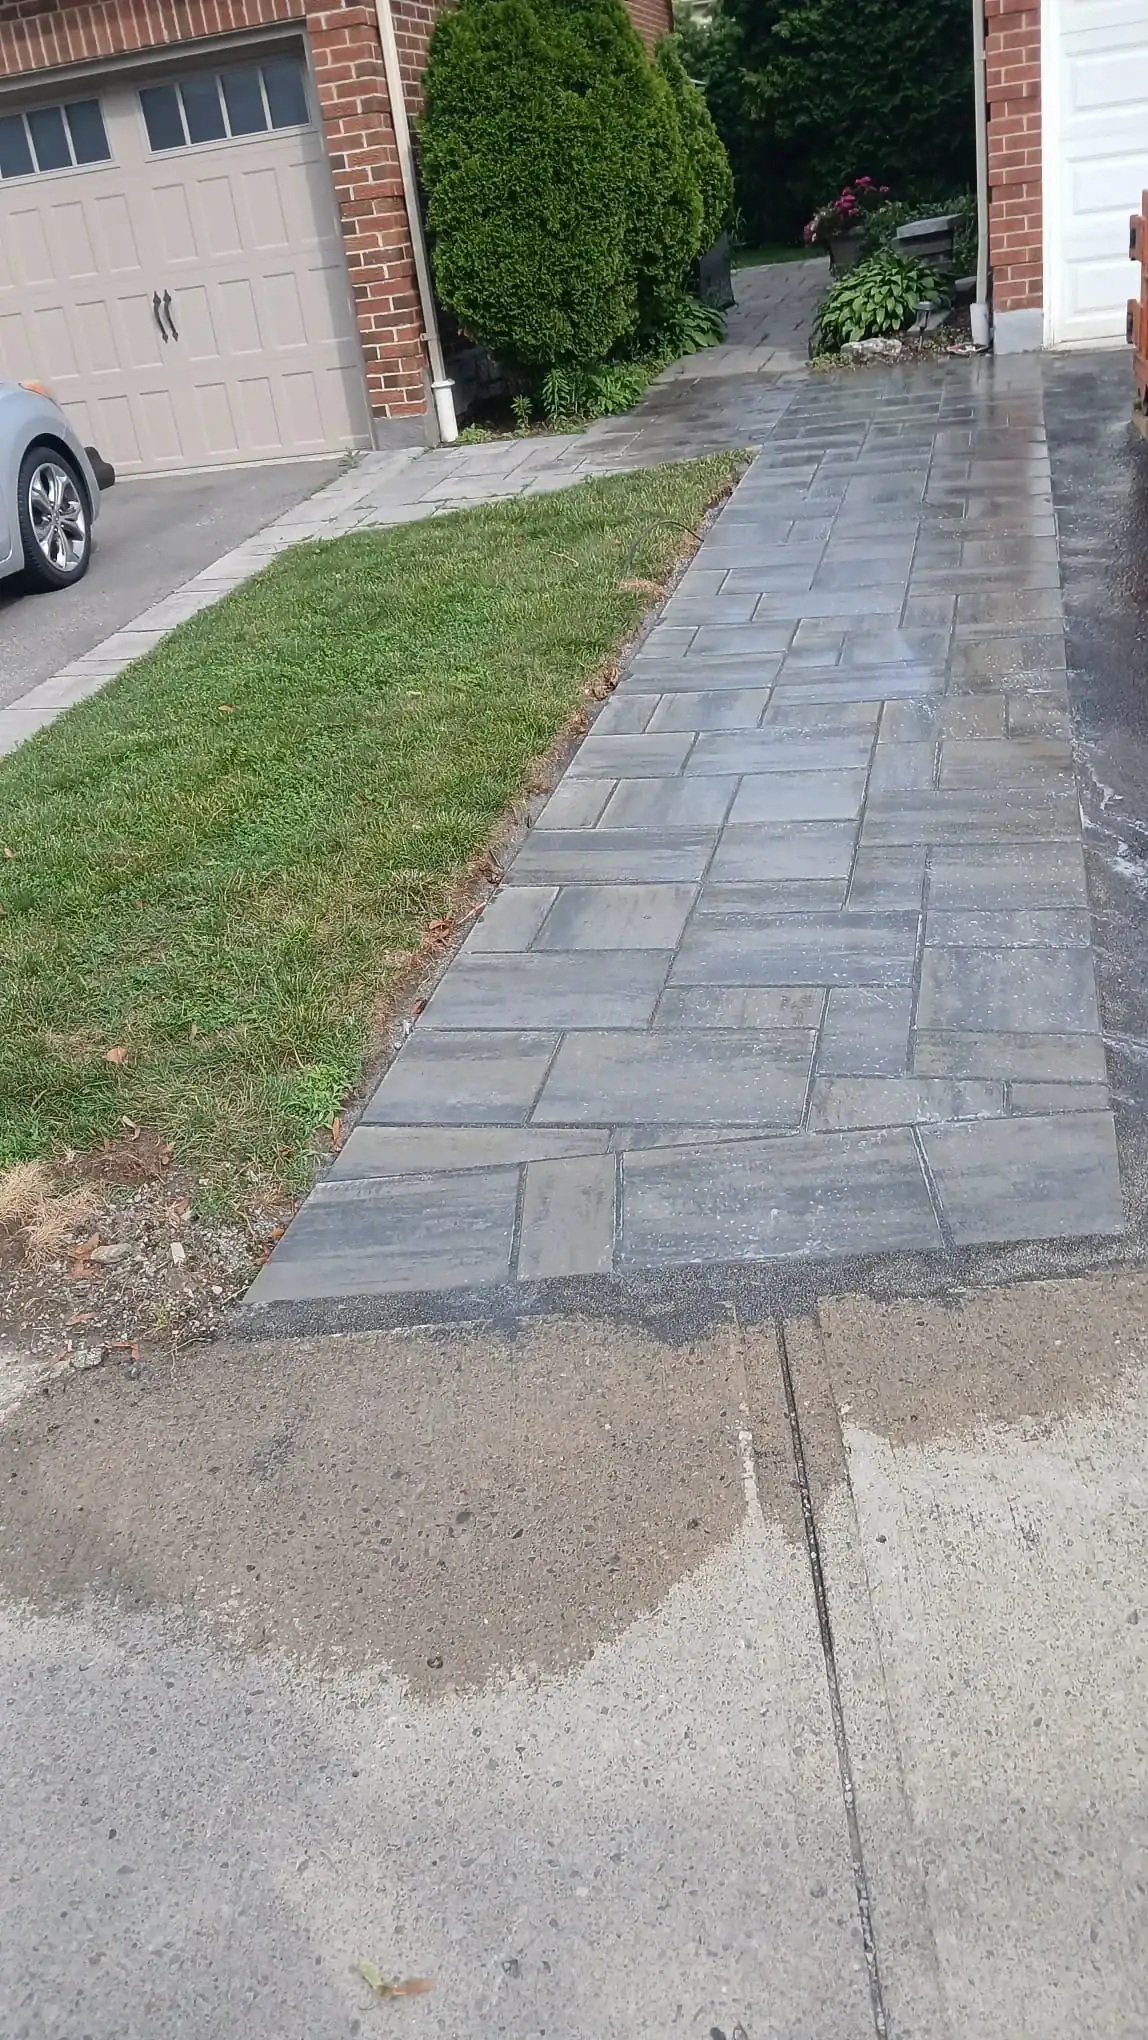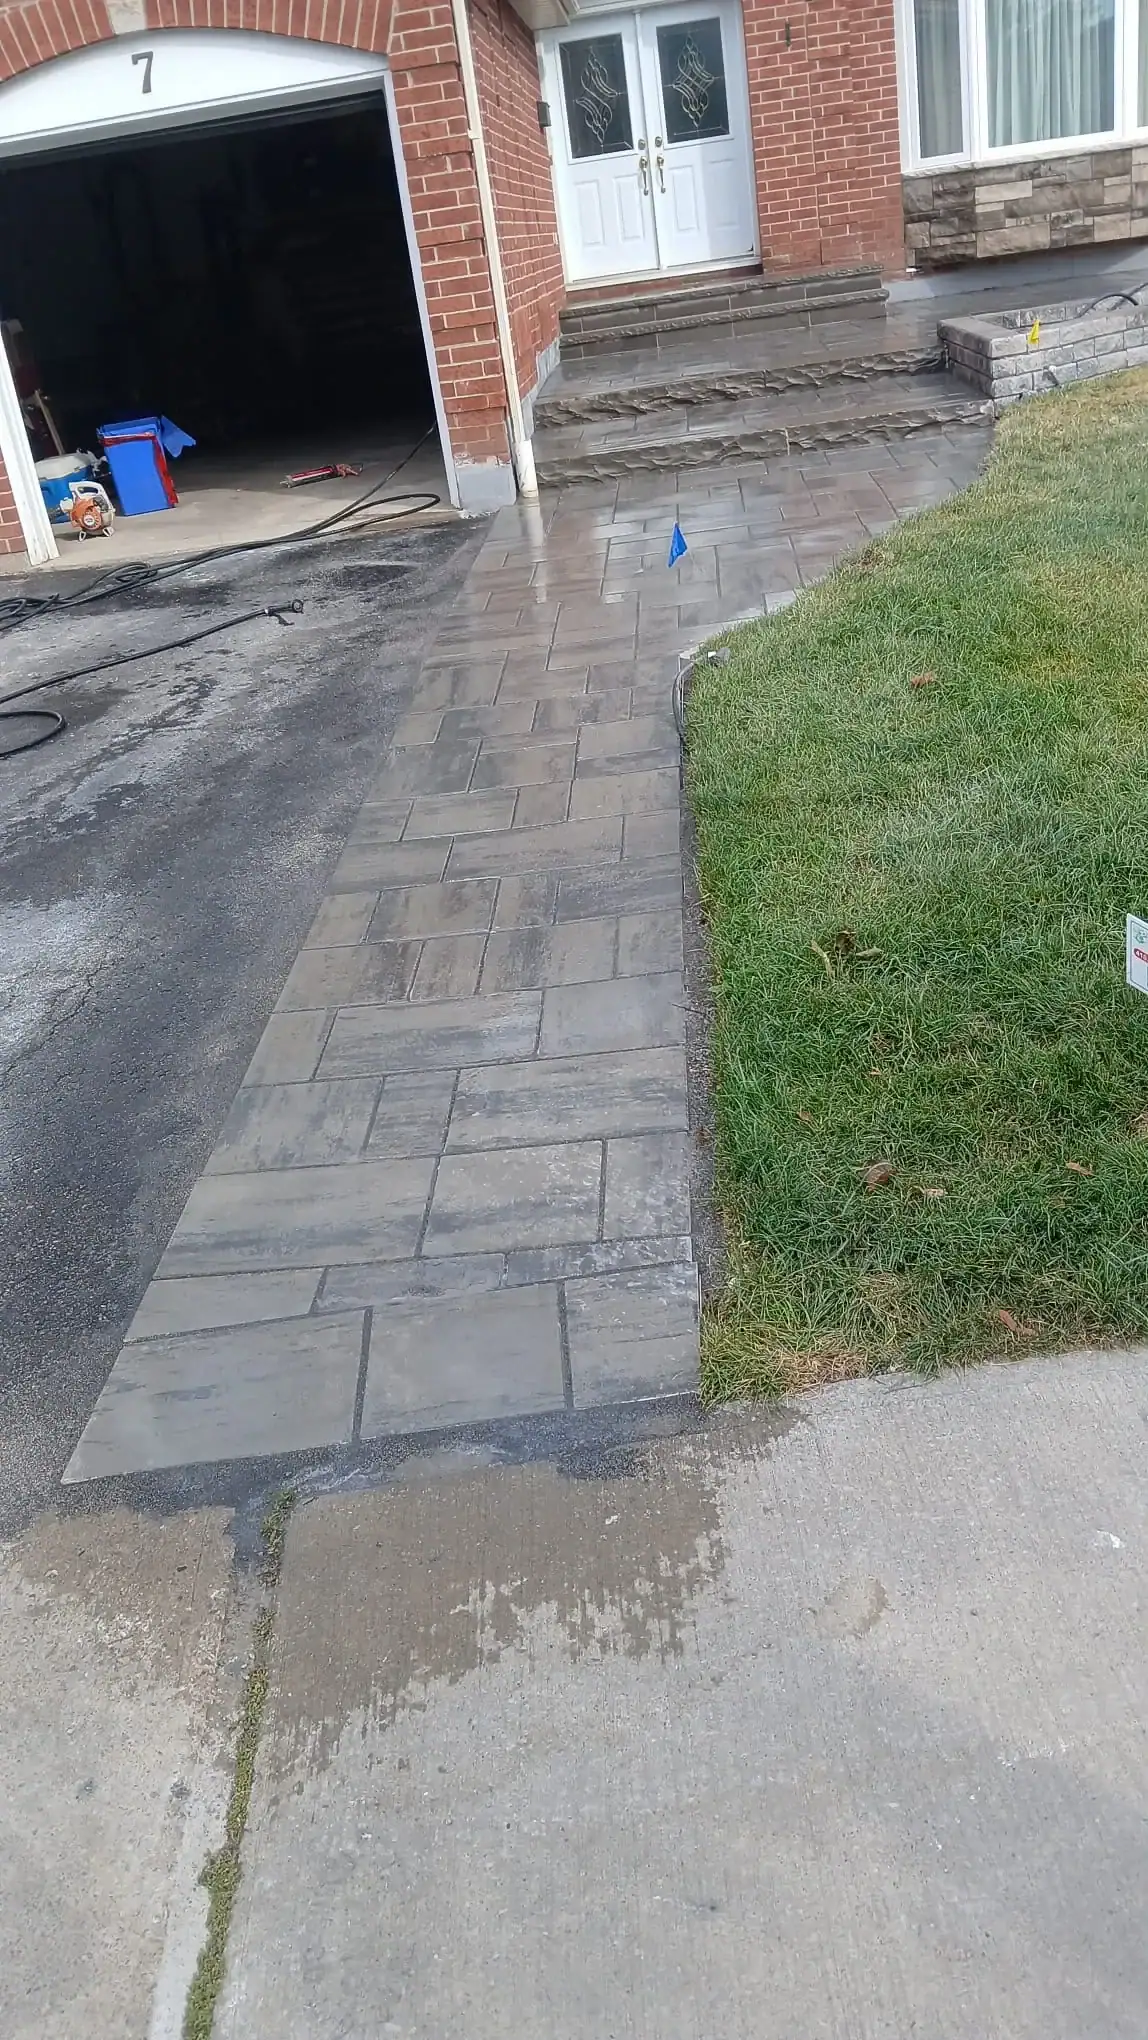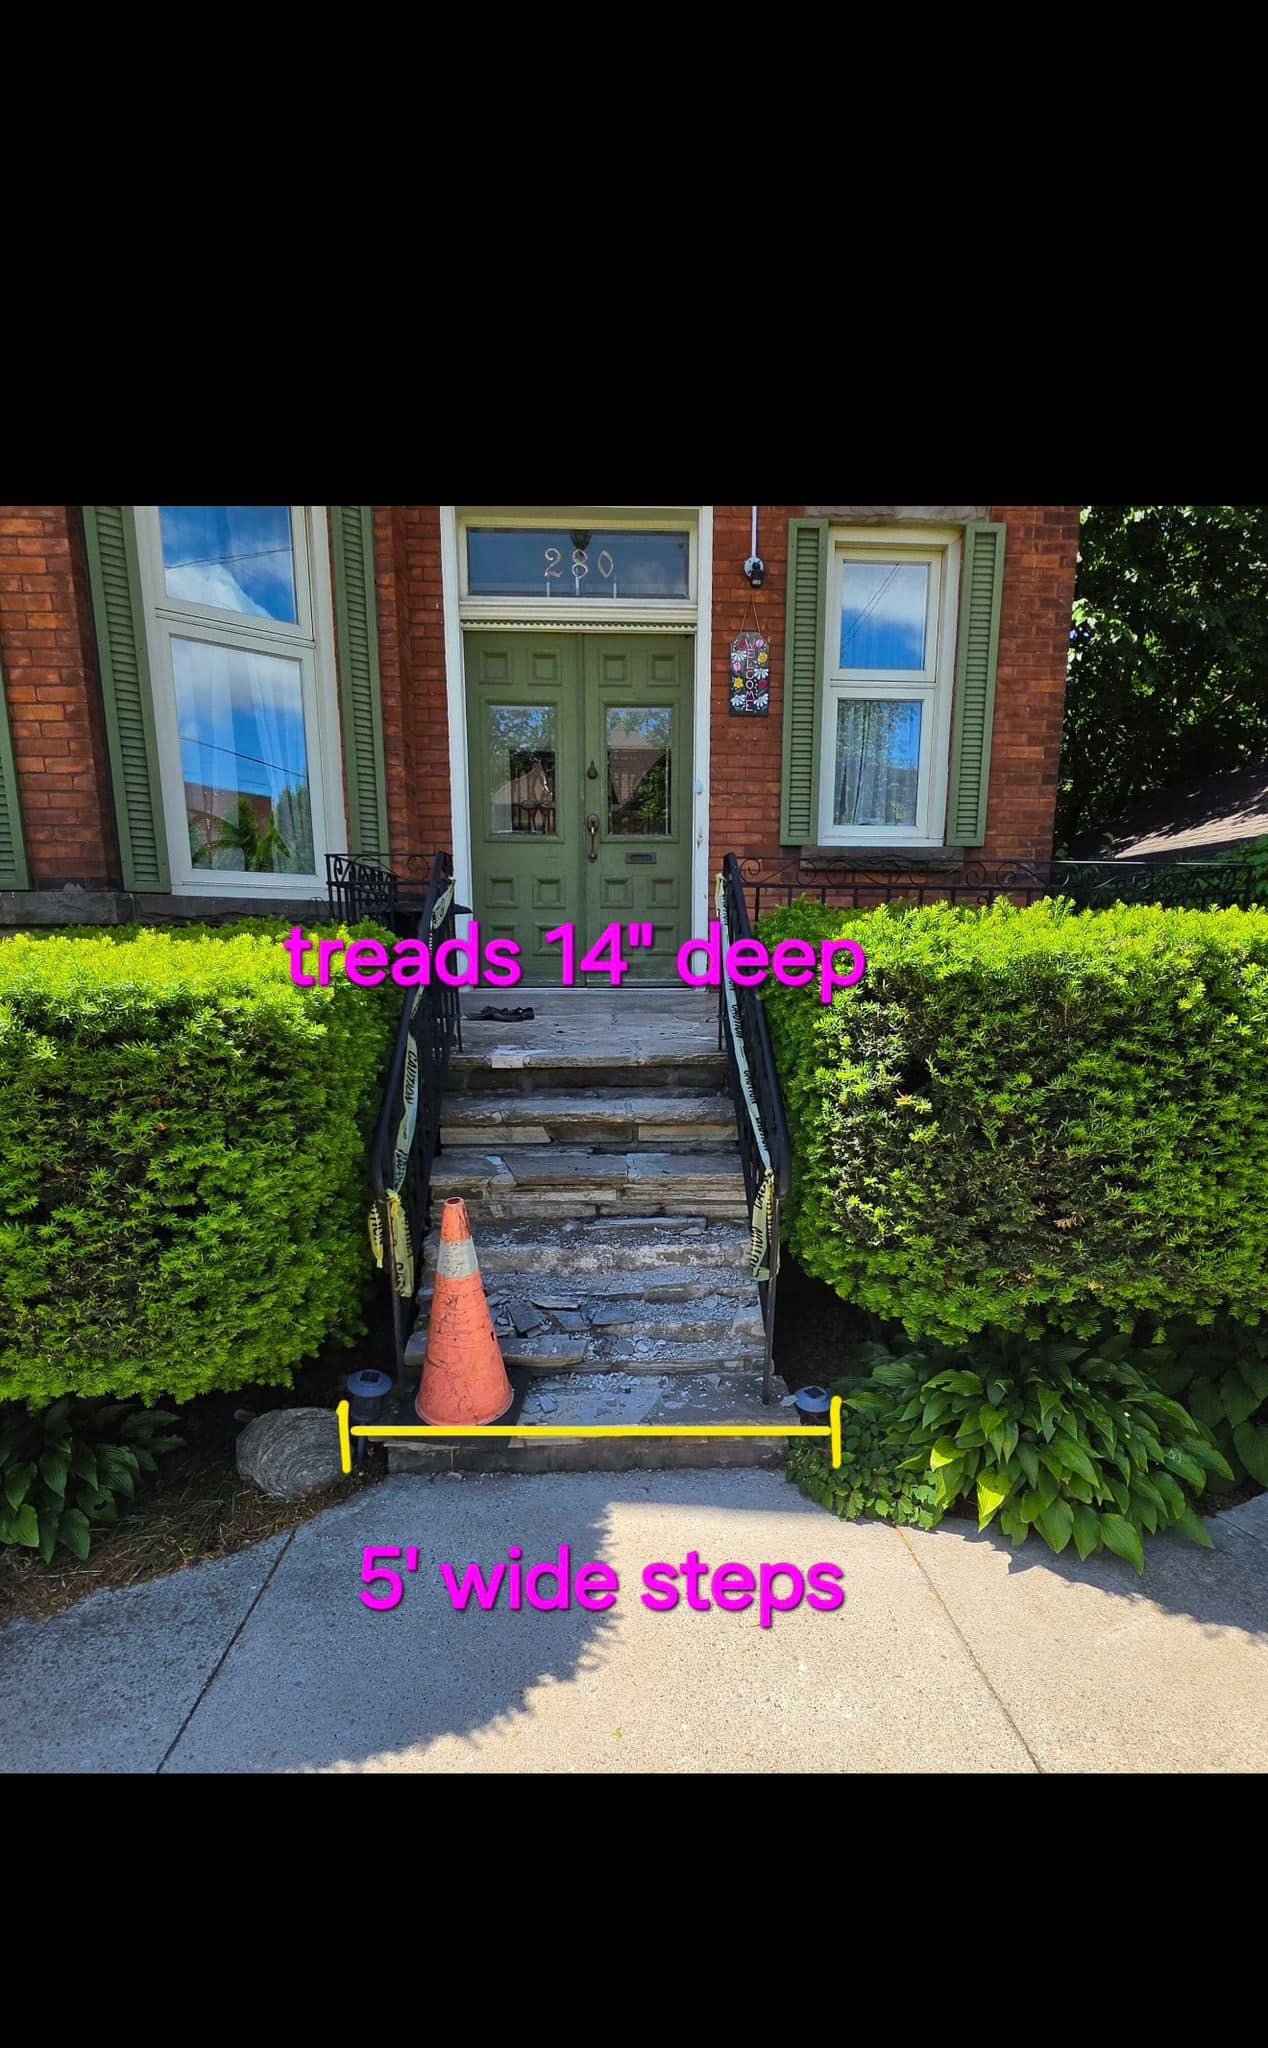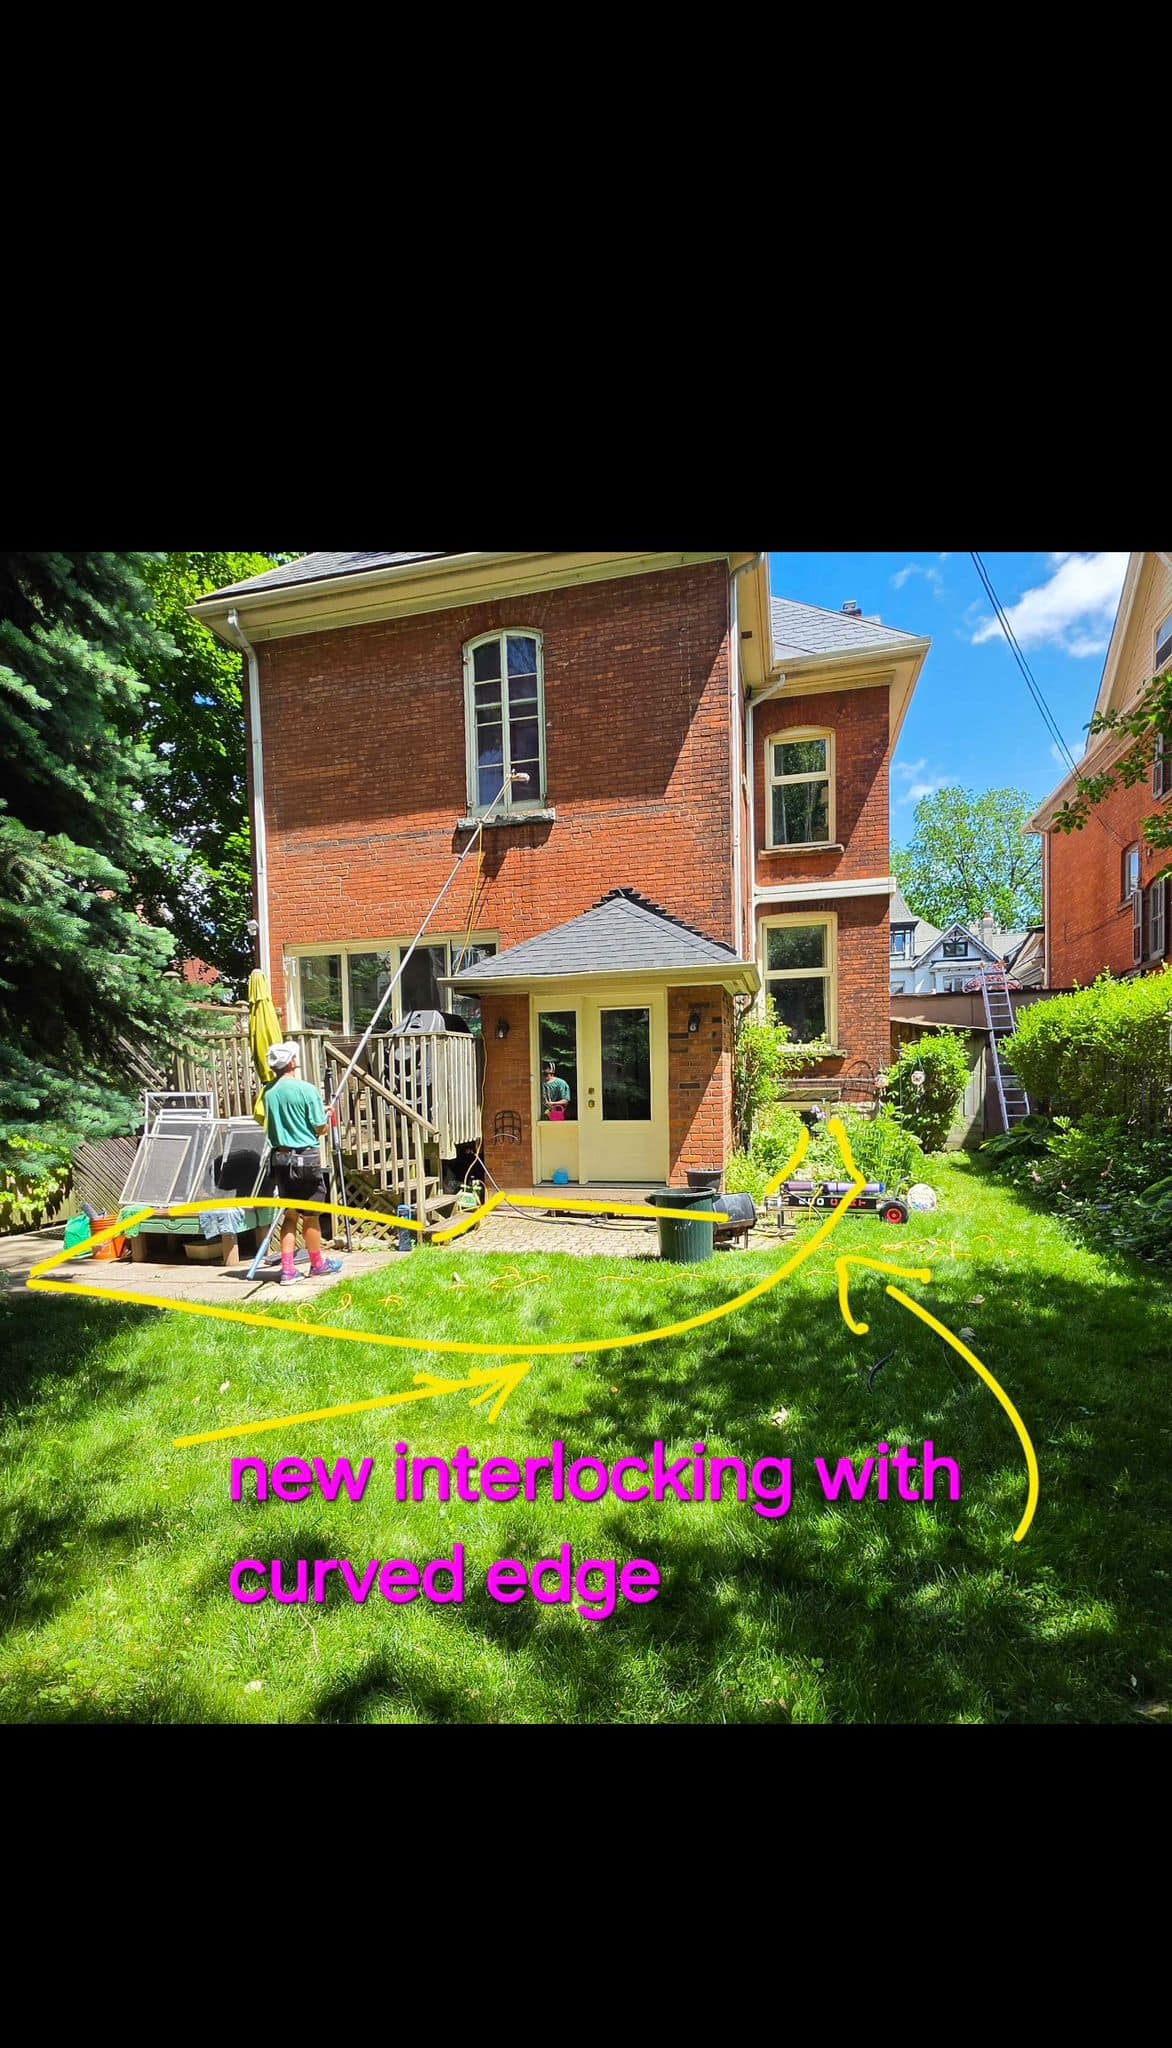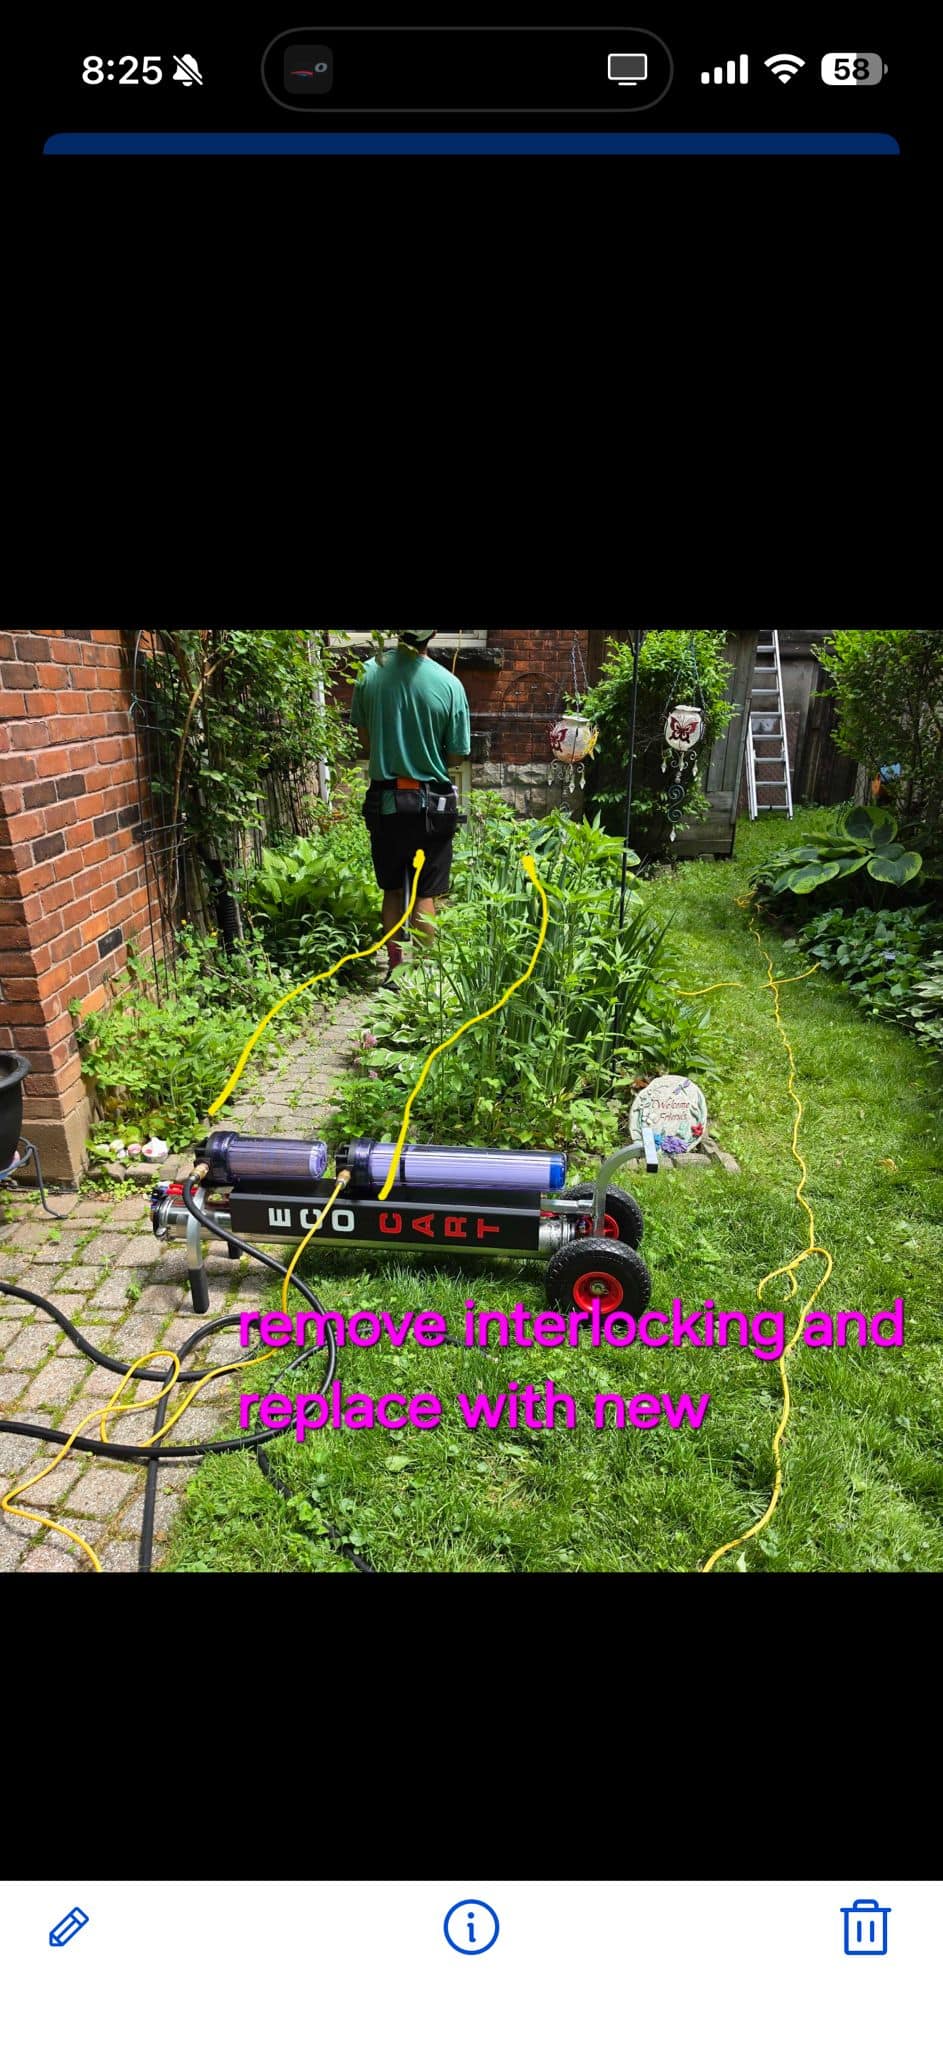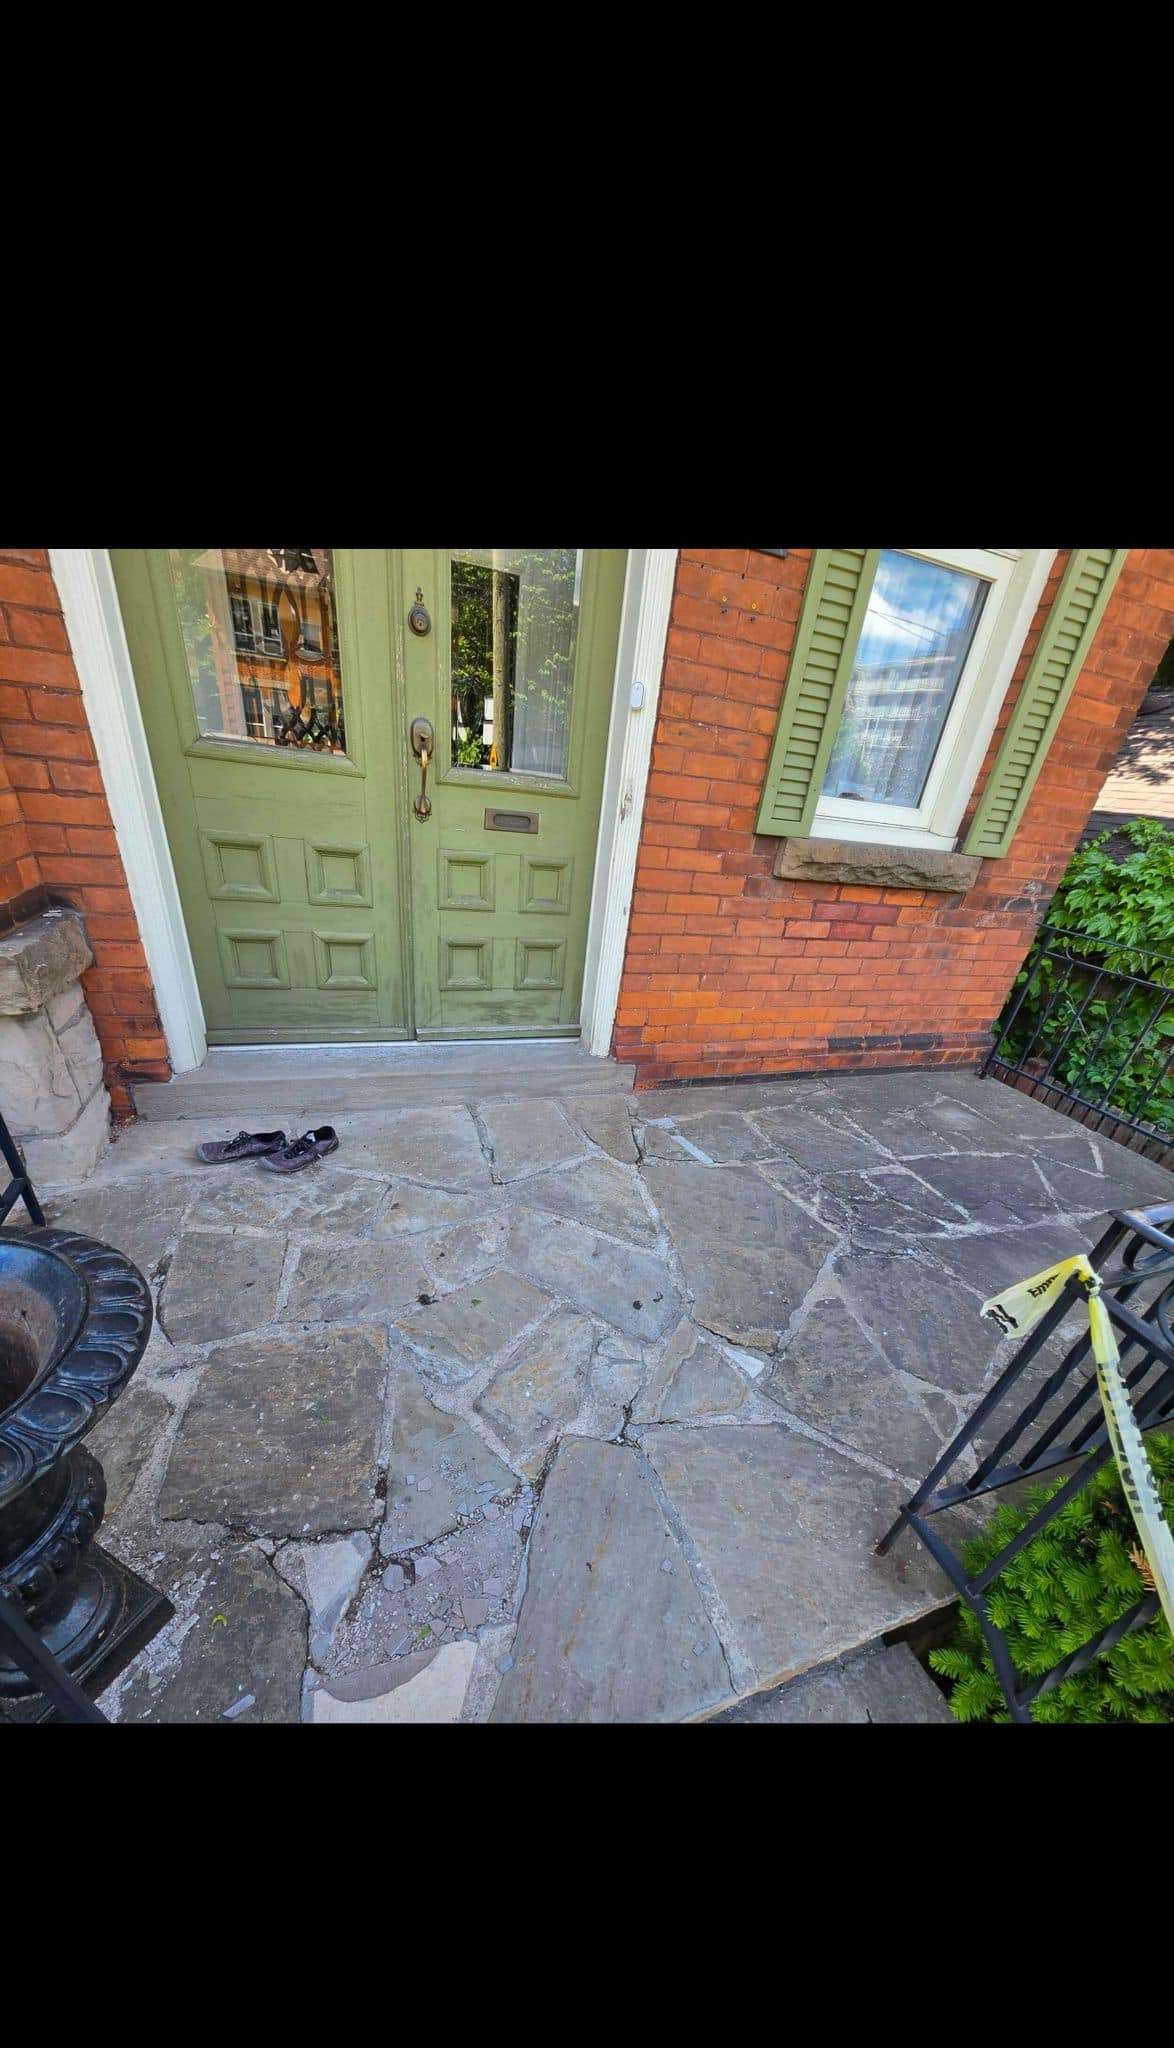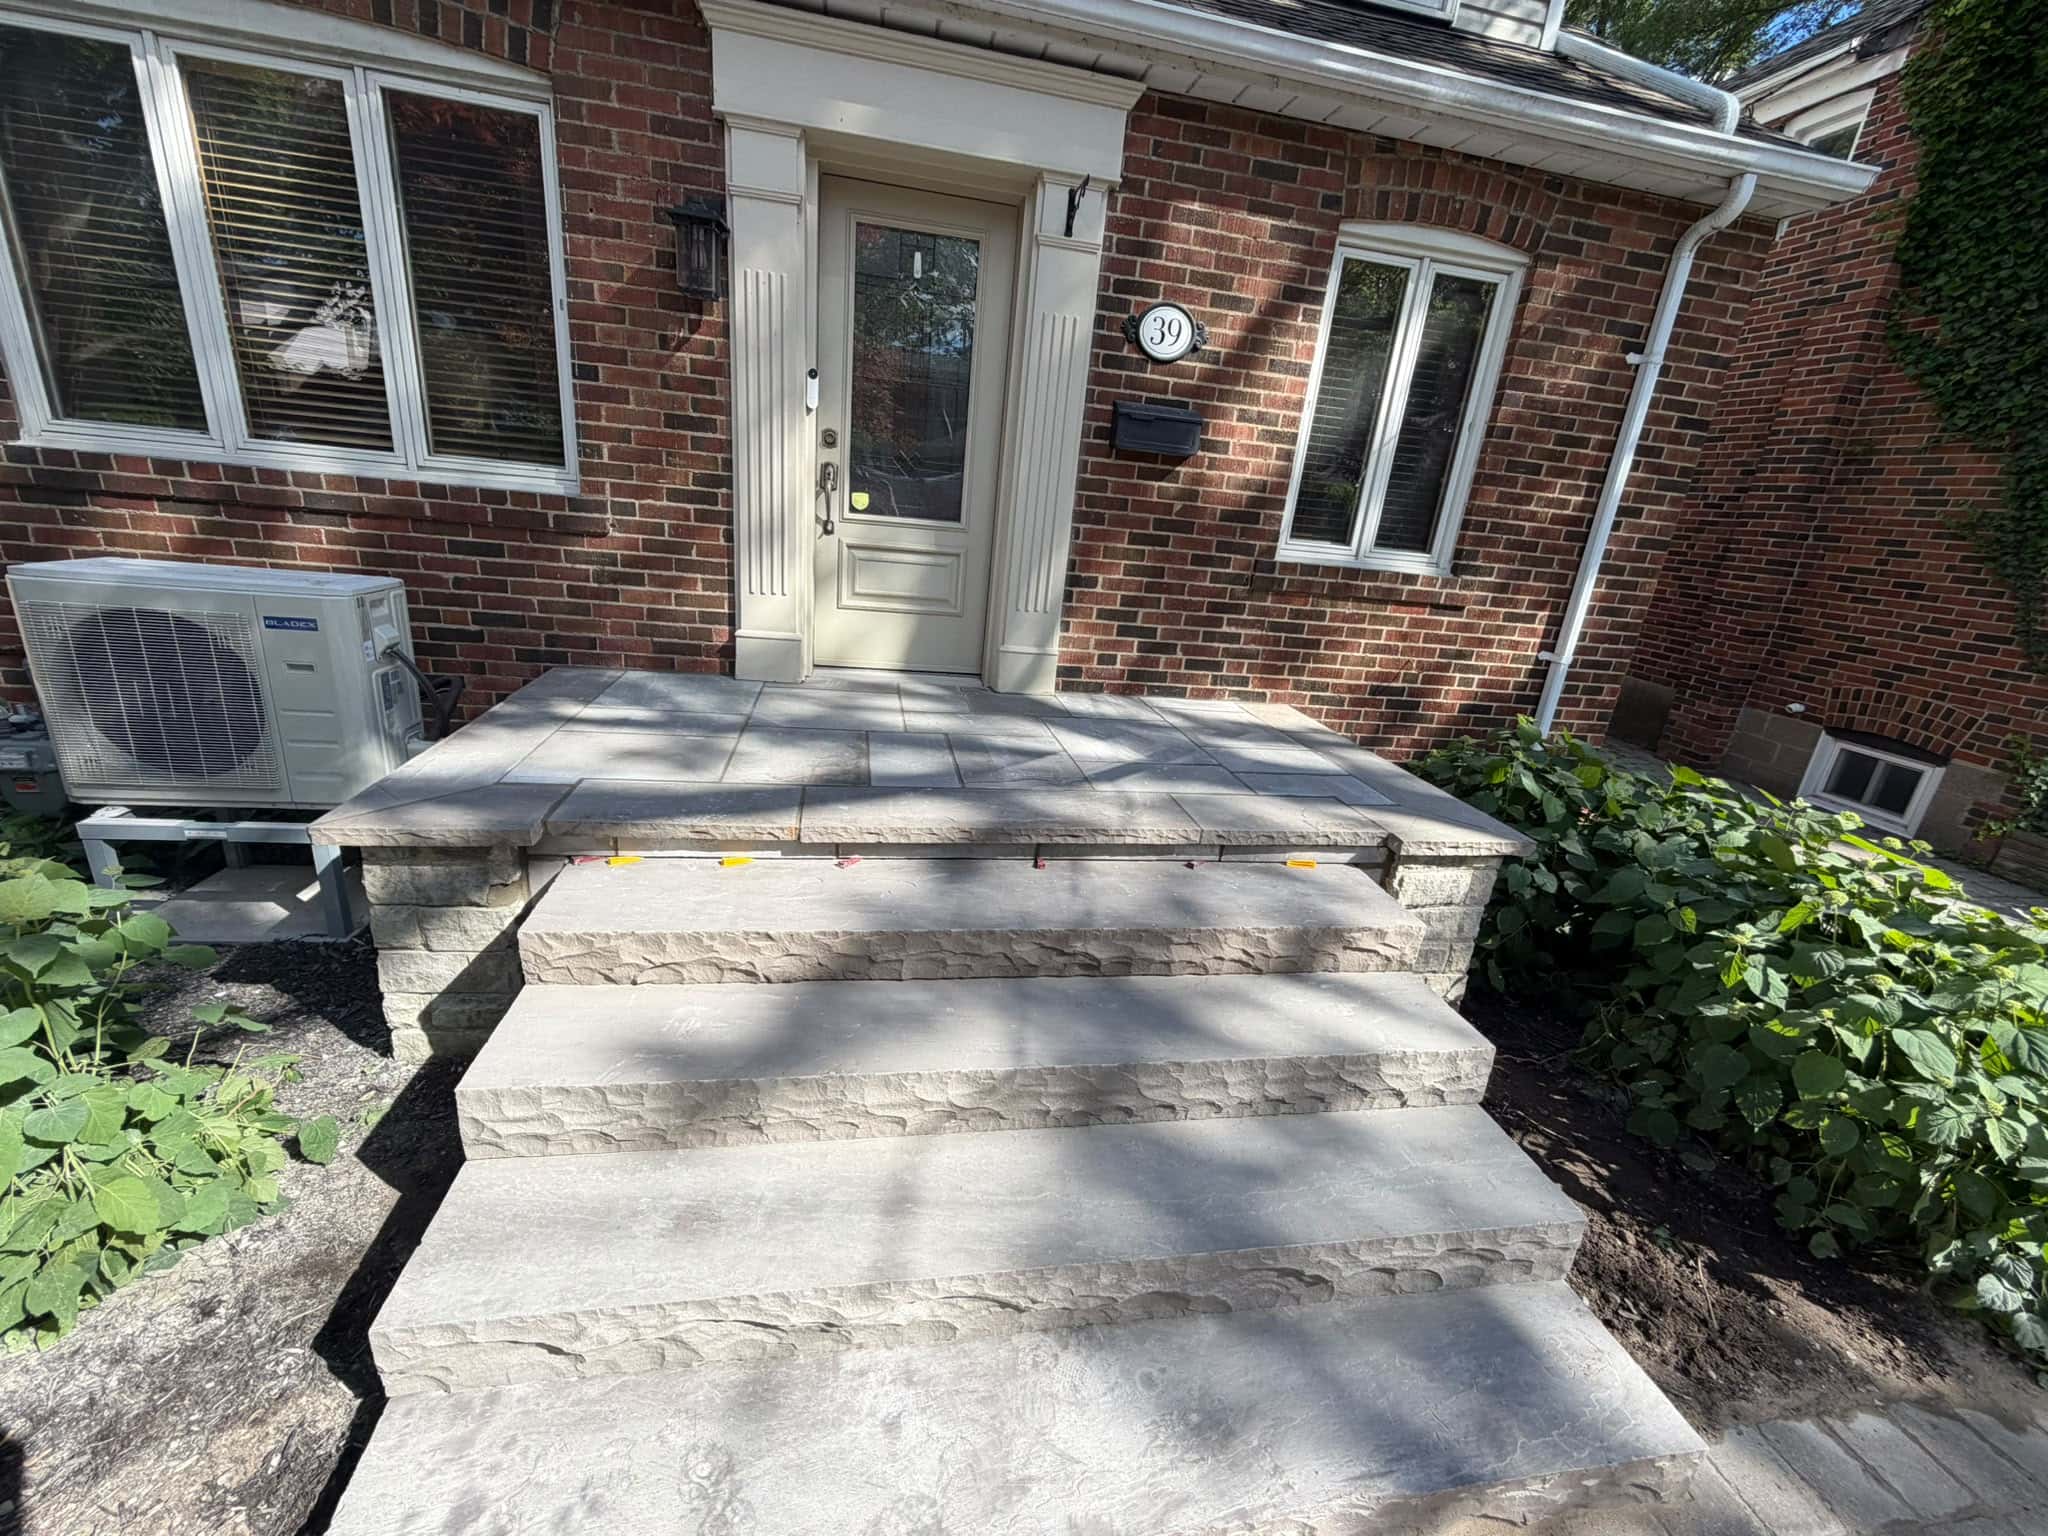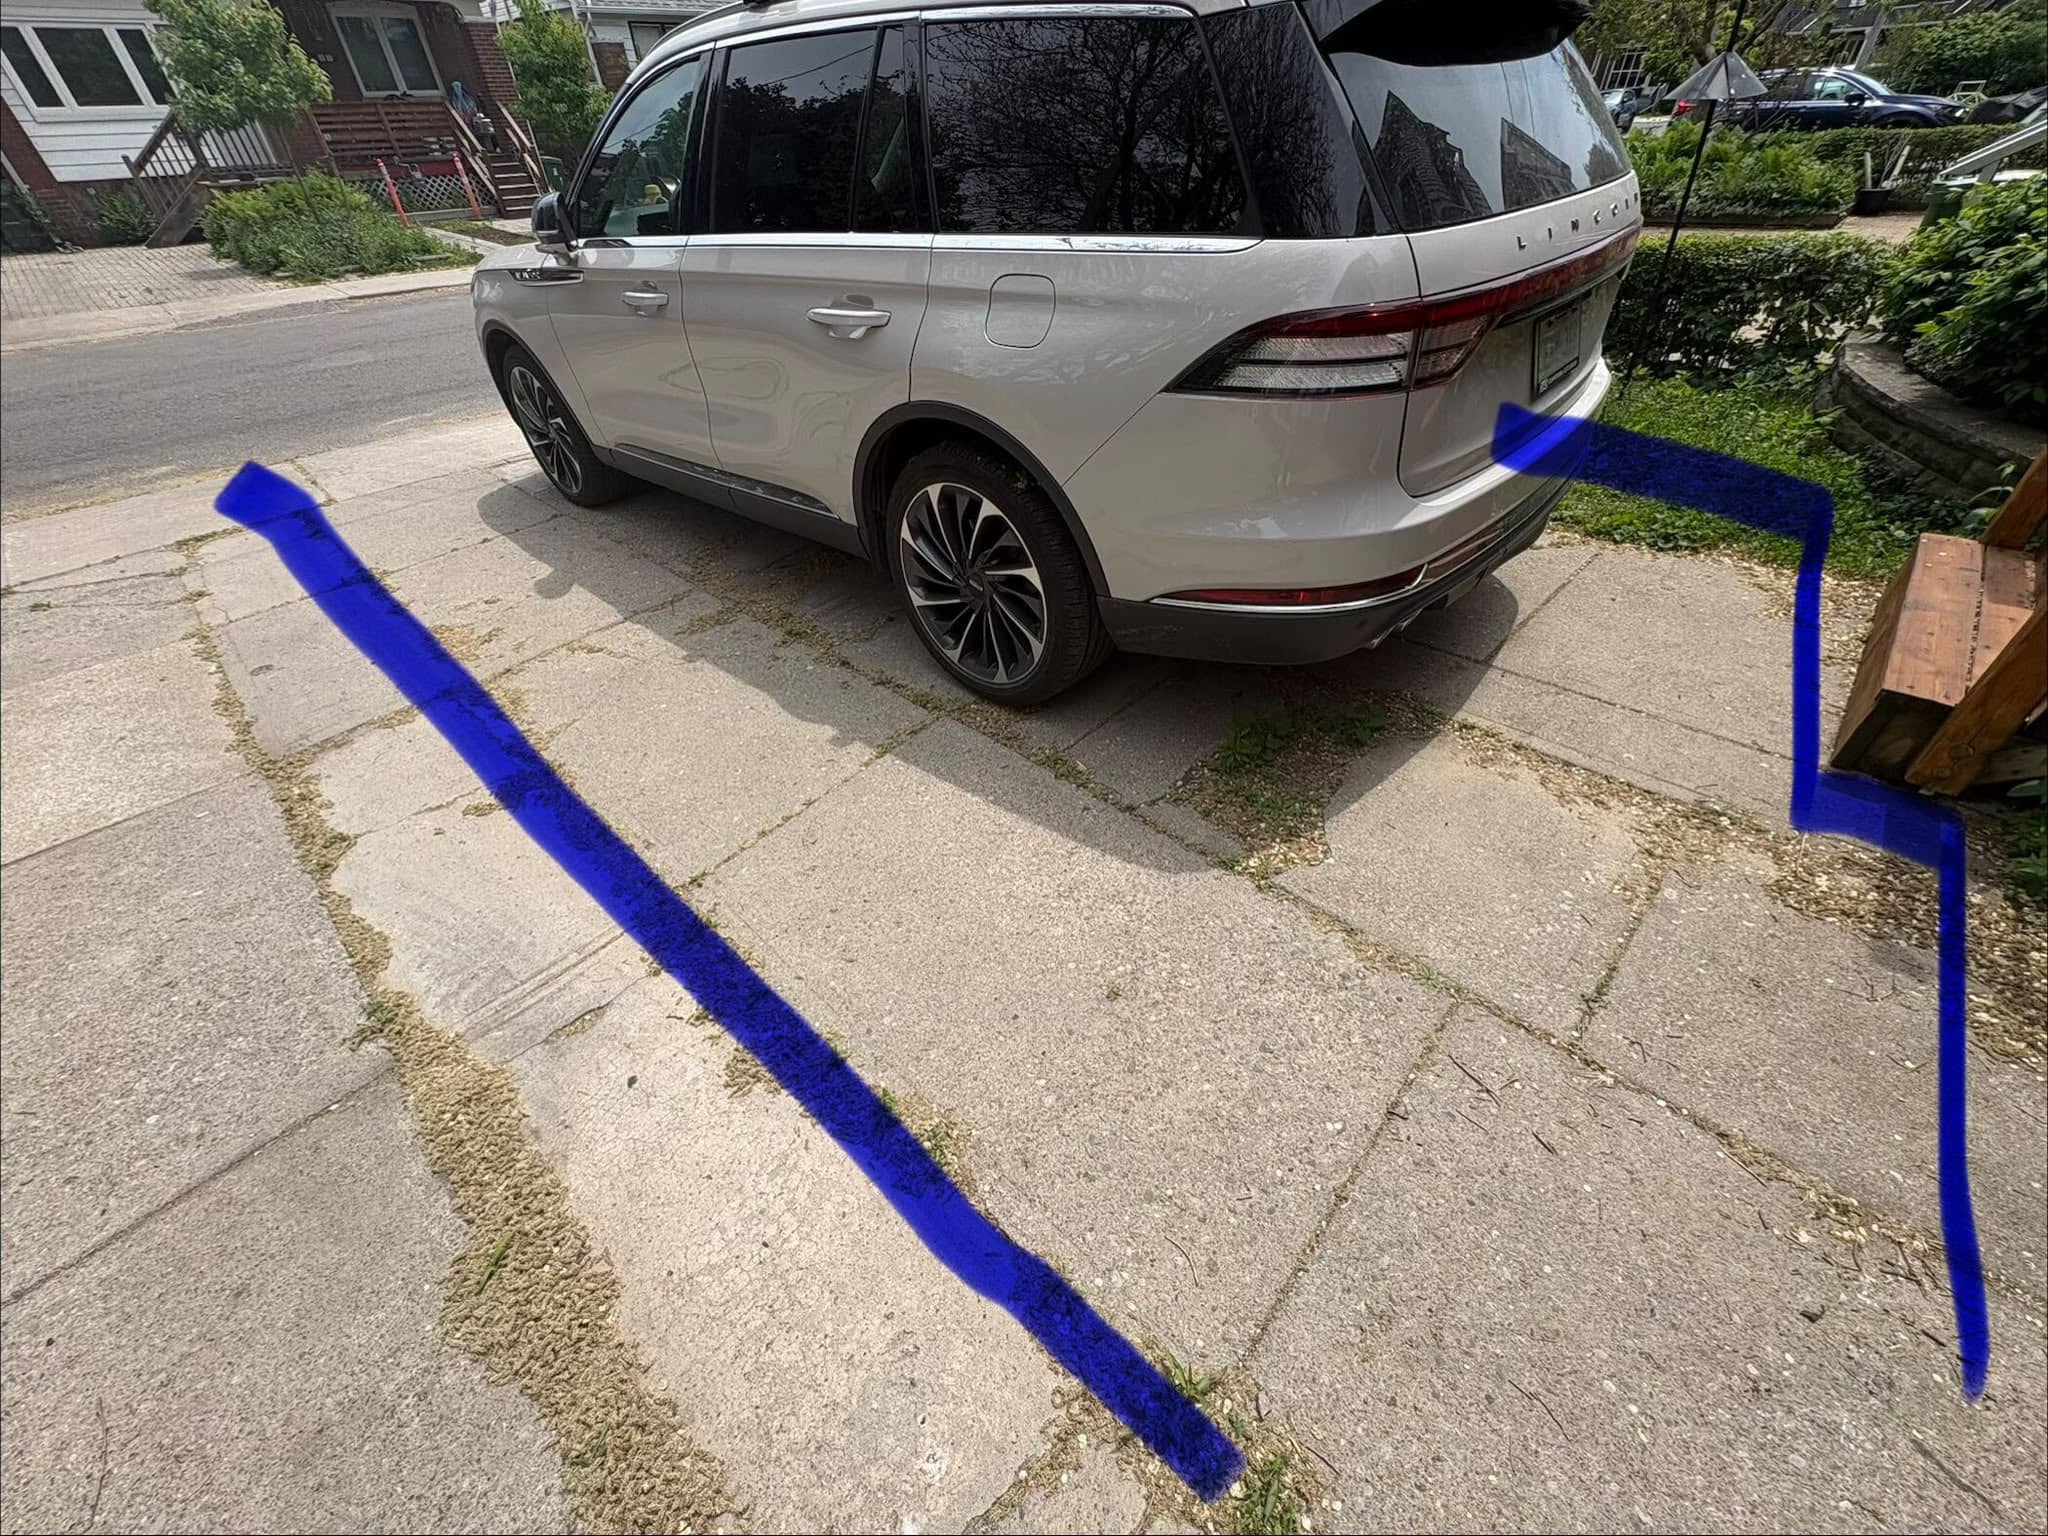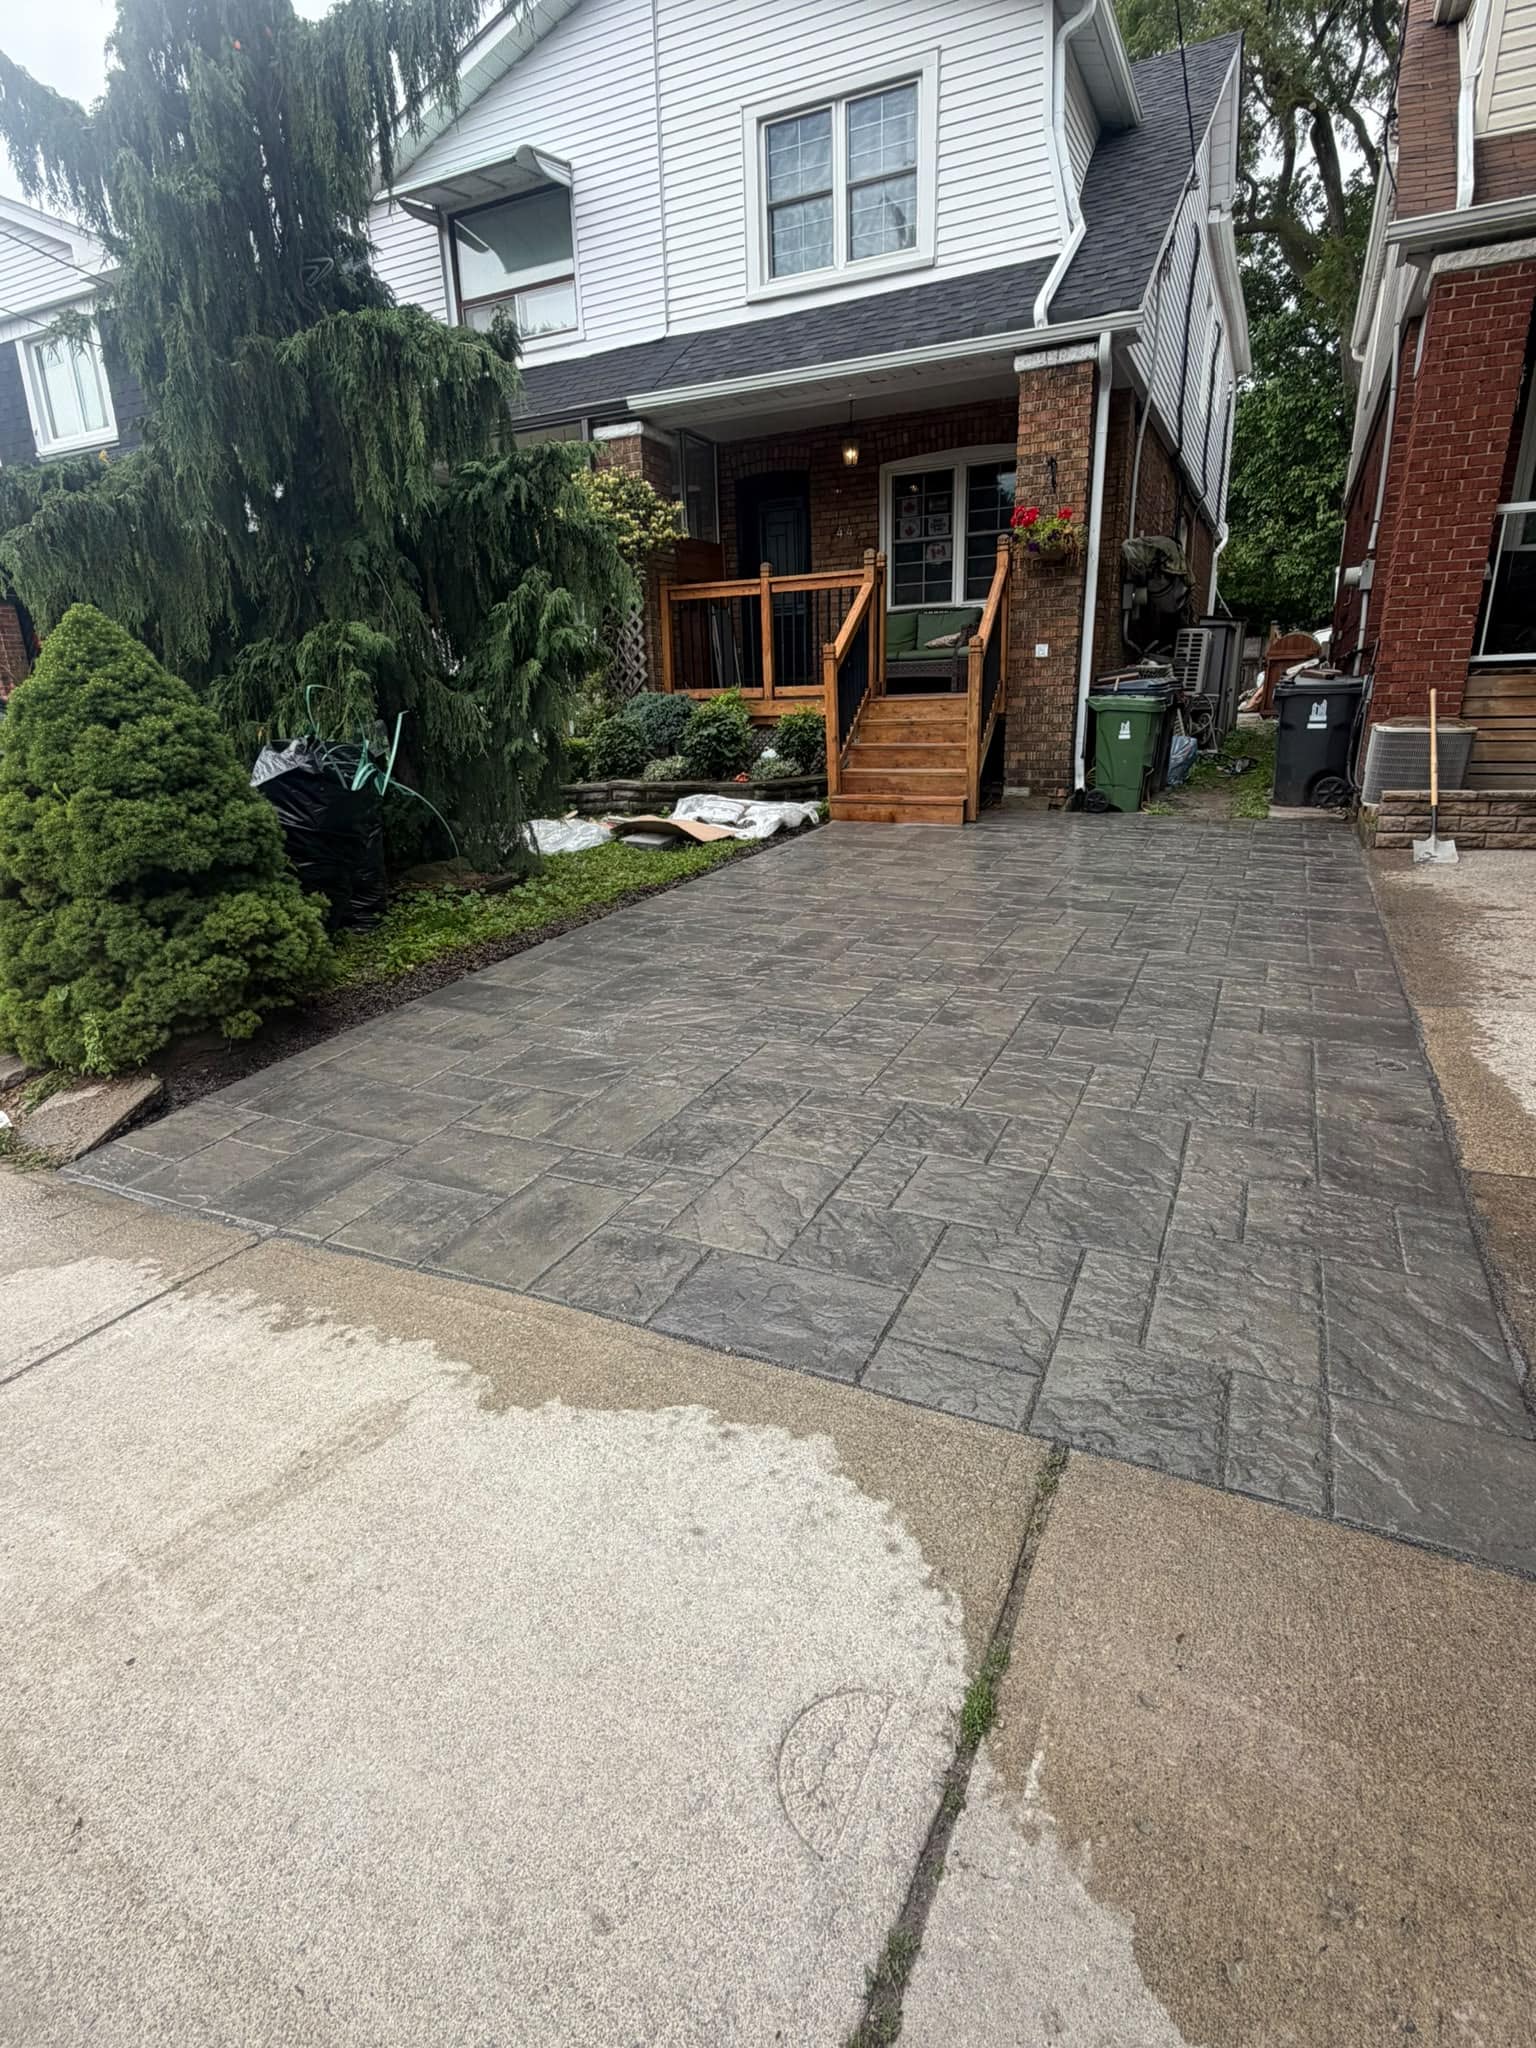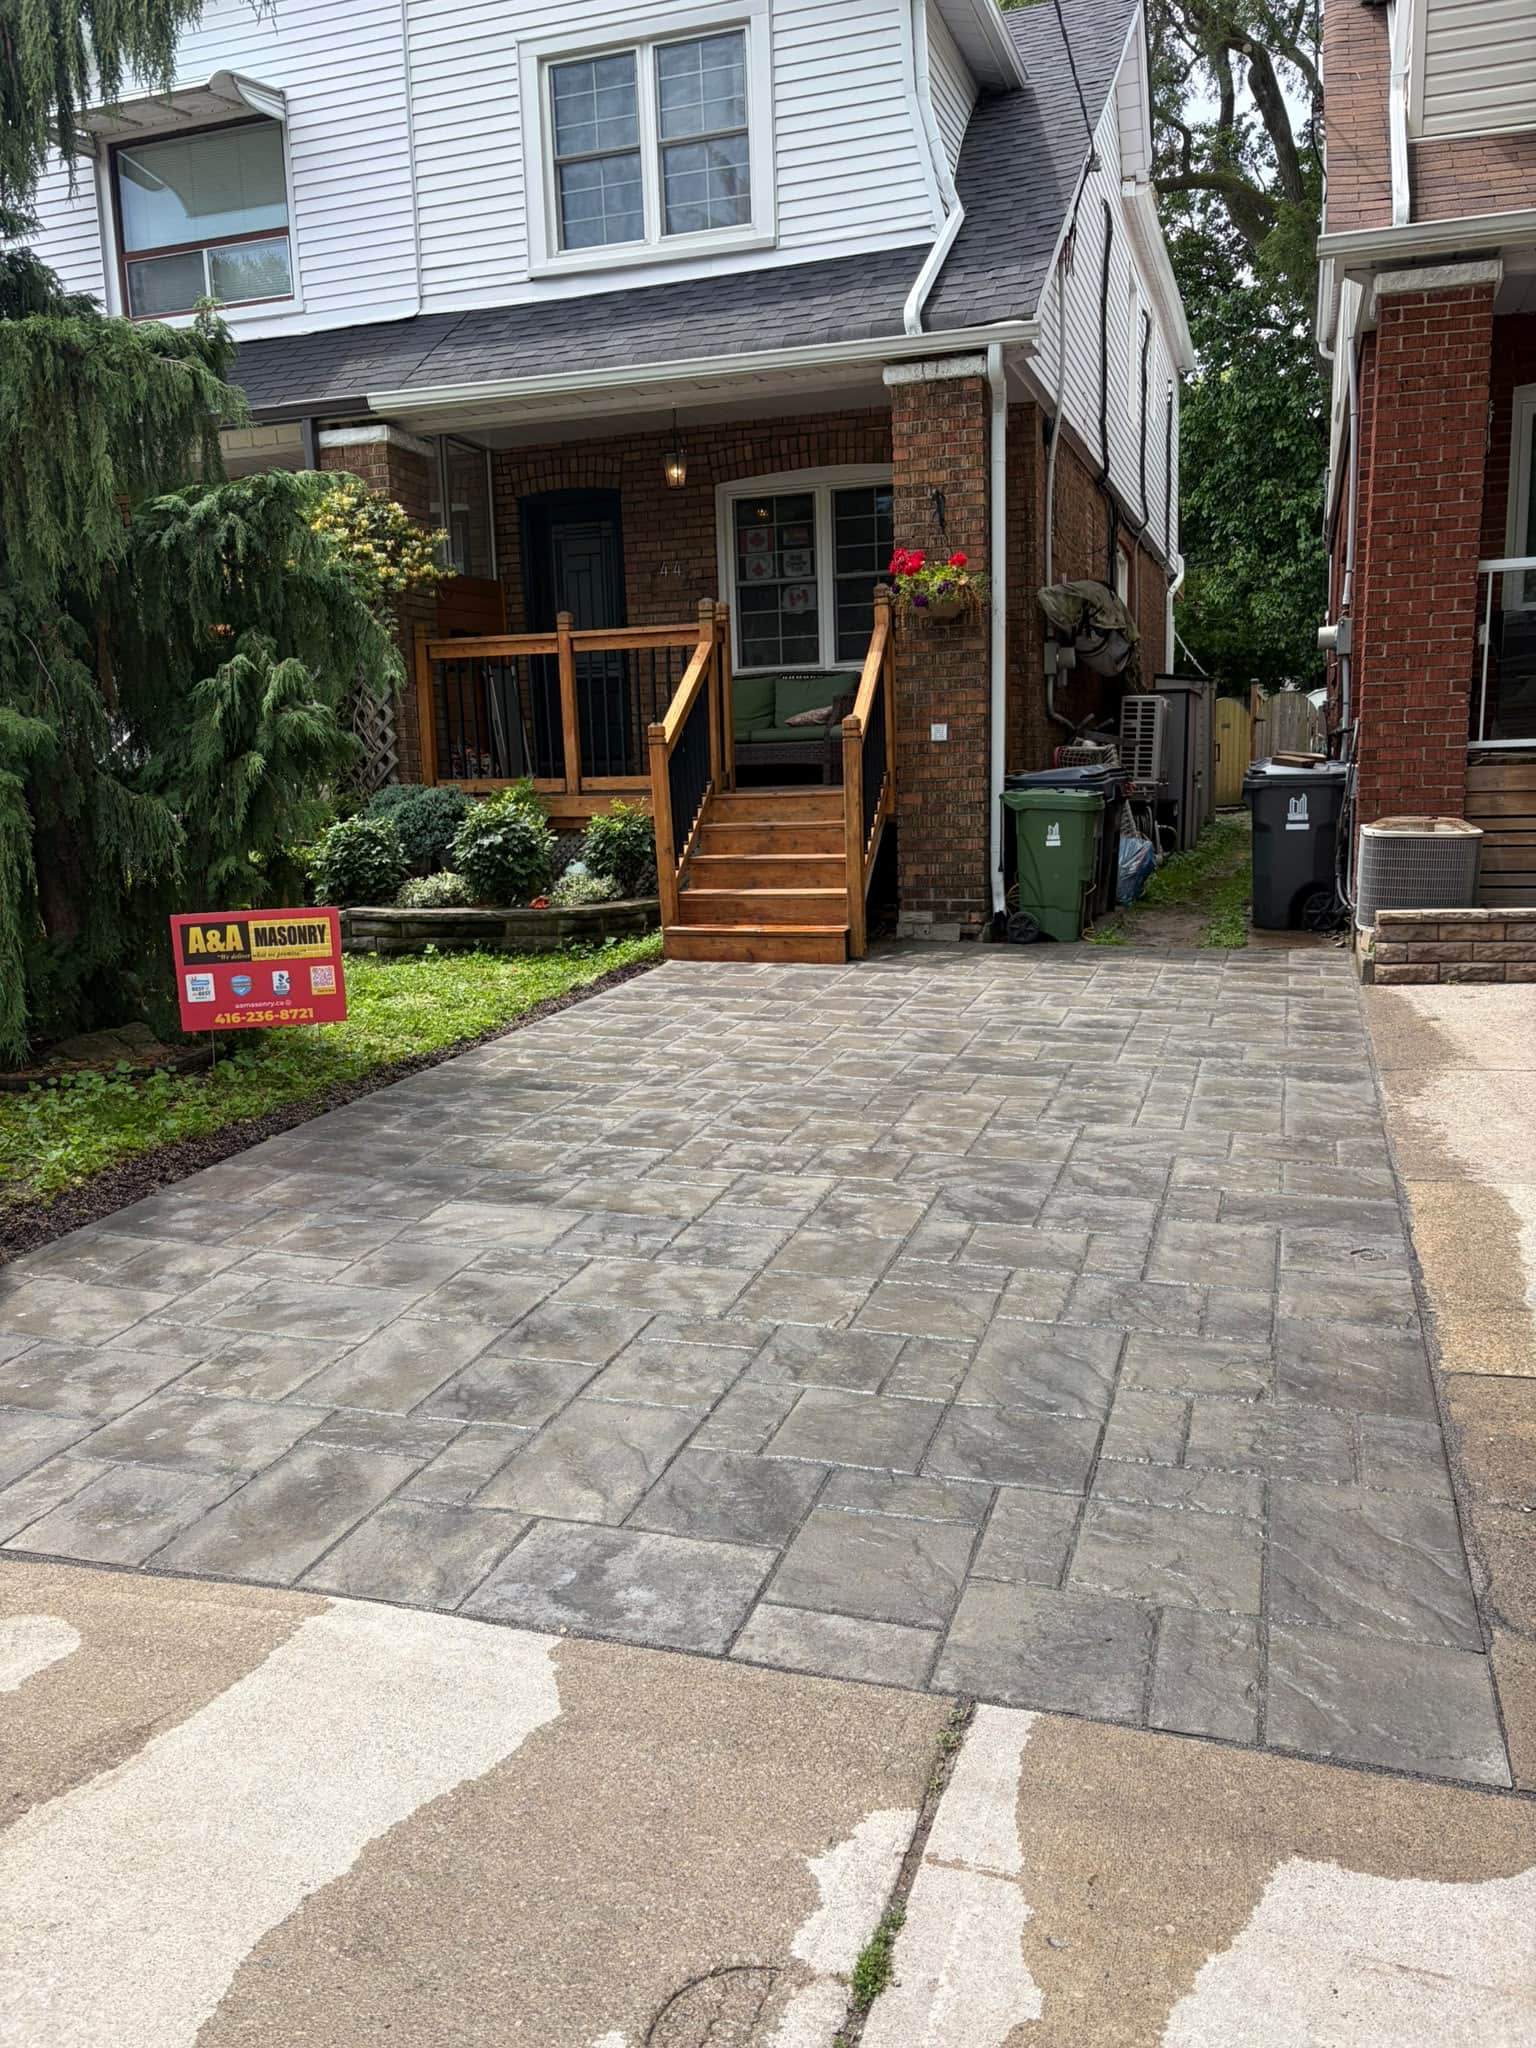
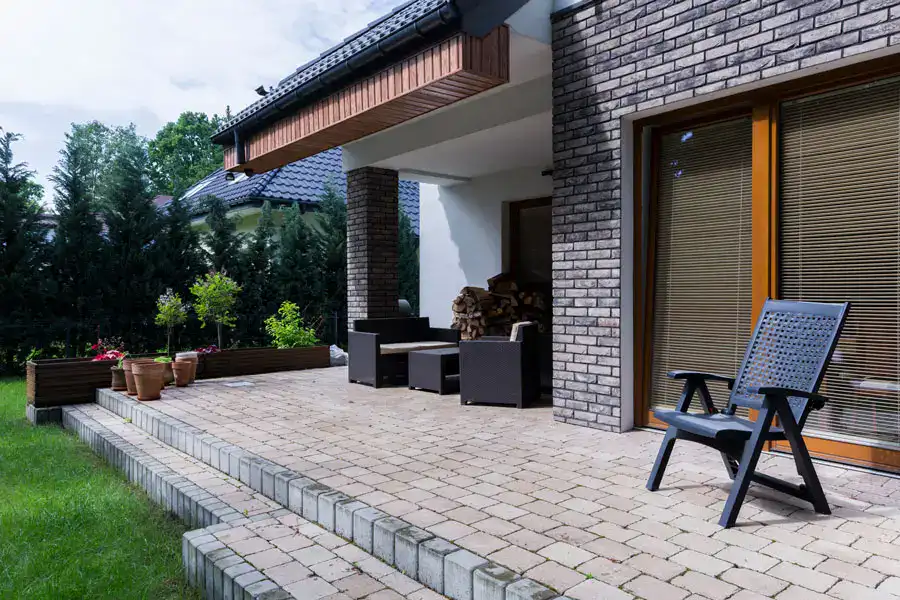
Natural stone tiles and pavers have stood the test of time in home construction and design. From ancient architecture to modern builds, natural stone remains a top choice for homeowners seeking durability, elegance, and timeless value. If you’re considering a home upgrade or new project, here are compelling reasons why natural stone tiles and pavers should be at the top of your list.
What Are Natural Stone Tiles and Pavers?
- Natural Stone Tiles: Cut from real stone, such as slate, granite, limestone, or travertine, these tiles are typically thinner and smoother, making them ideal for outdoor walls, feature elements, or covered patio floors.
- Natural Stone Pavers: Thicker, tougher stone pieces explicitly designed to withstand outdoor elements—used in driveways, patios, walkways, and pool surrounds.
Each type of stone brings its charm:
- Marble: Luxurious, elegant, perfect for high-end interiors
- Slate: Textured and slip-resistant, great for wet areas
- Granite: Extremely hard and durable, ideal for floors and kitchens
- Travertine: Earthy tones and a naturally porous surface, suitable for patios and pools
- Sandstone – Warm, rustic look with natural grip
Benefits of Natural Stone in Home Design
- Exceptional Durability
Natural stone can last decades, even centuries, when properly maintained. It’s resistant to scratches, heat, and general wear. - Timeless Beauty
Each piece of stone is unique, offering natural variations in colour and pattern. This gives your home an organic, high-end look. - Eco-Friendly Material
Unlike synthetic flooring, stone is sustainably sourced and doesn’t emit harmful VOCs. - Boosts Property Value
Homes with stone finishes often appraise at a higher value and attract more buyers. - Low Maintenance
With regular sealing and basic cleaning, stone tiles and pavers remain beautiful and intact for years.
Best Outdoor Applications for Natural Stone Pavers
1. Driveways
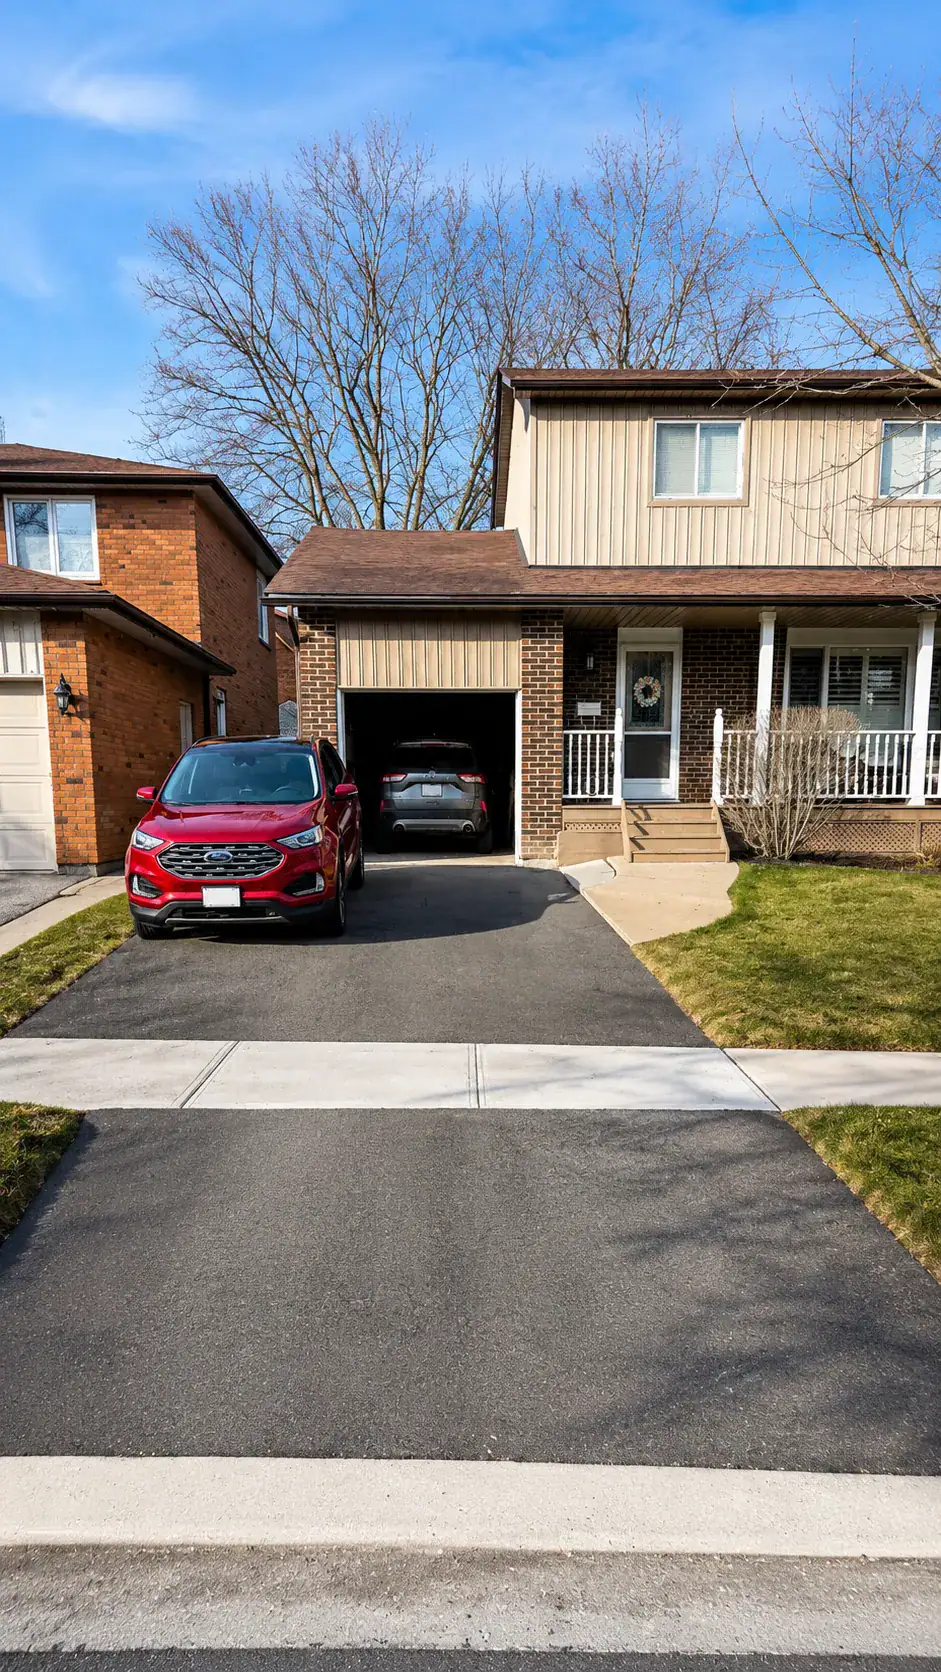
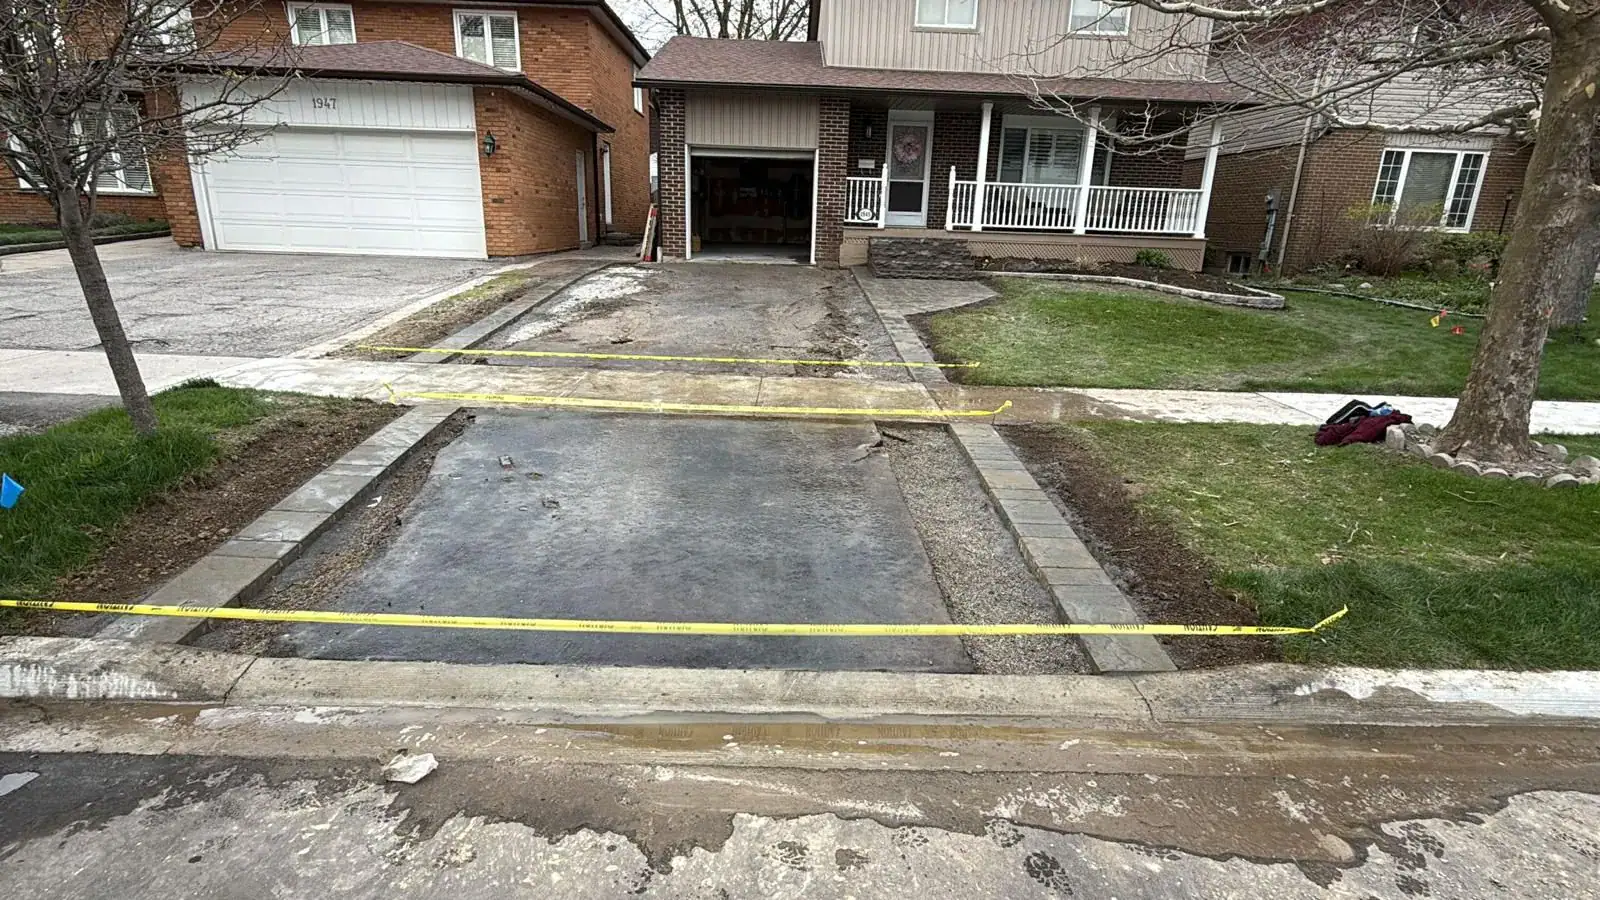
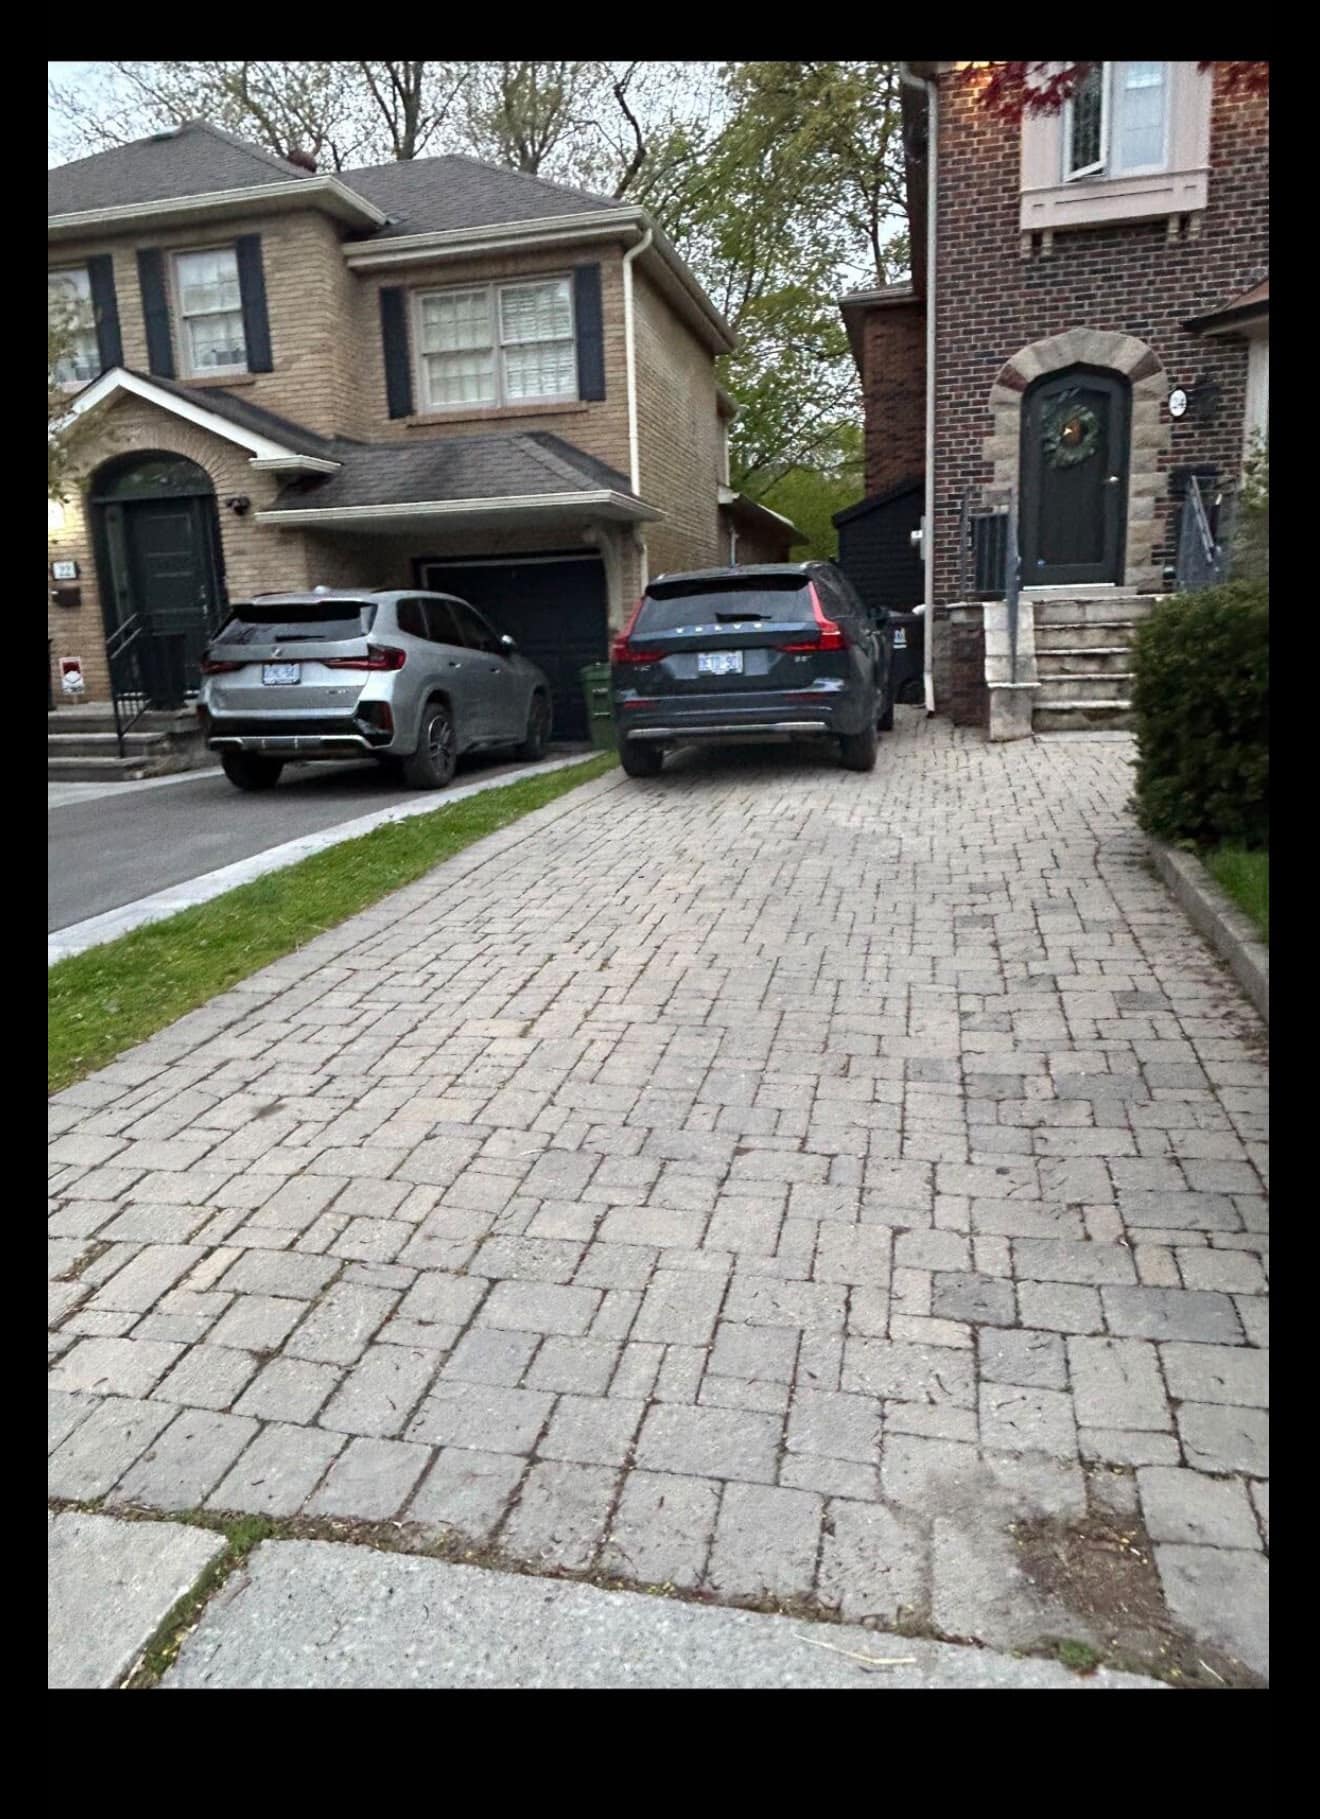
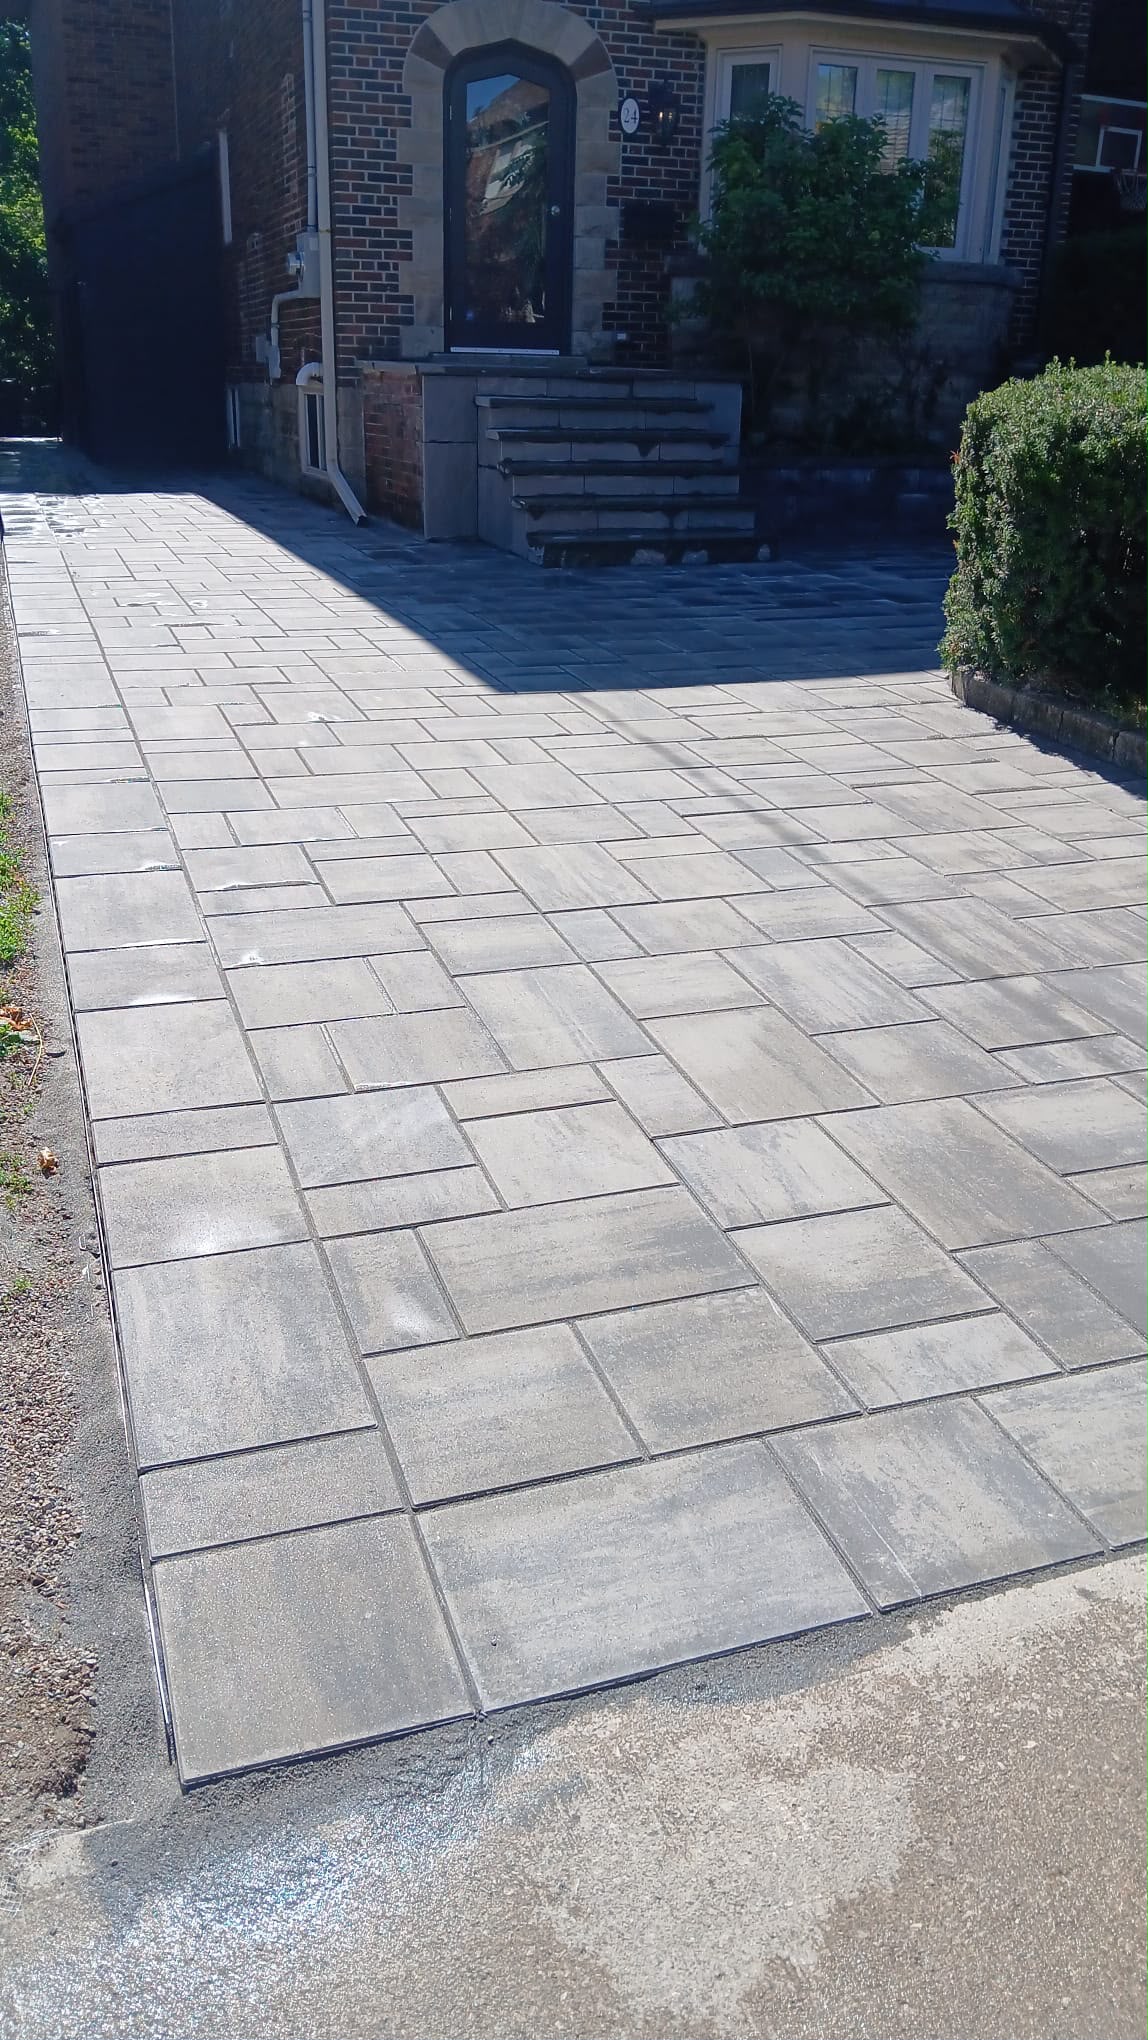
Pavers are ideal for driveways thanks to their strength and flexibility. Unlike concrete slabs, they won’t crack easily and can be repaired piece by piece.
Best stones: Granite, Bluestone, Basalt
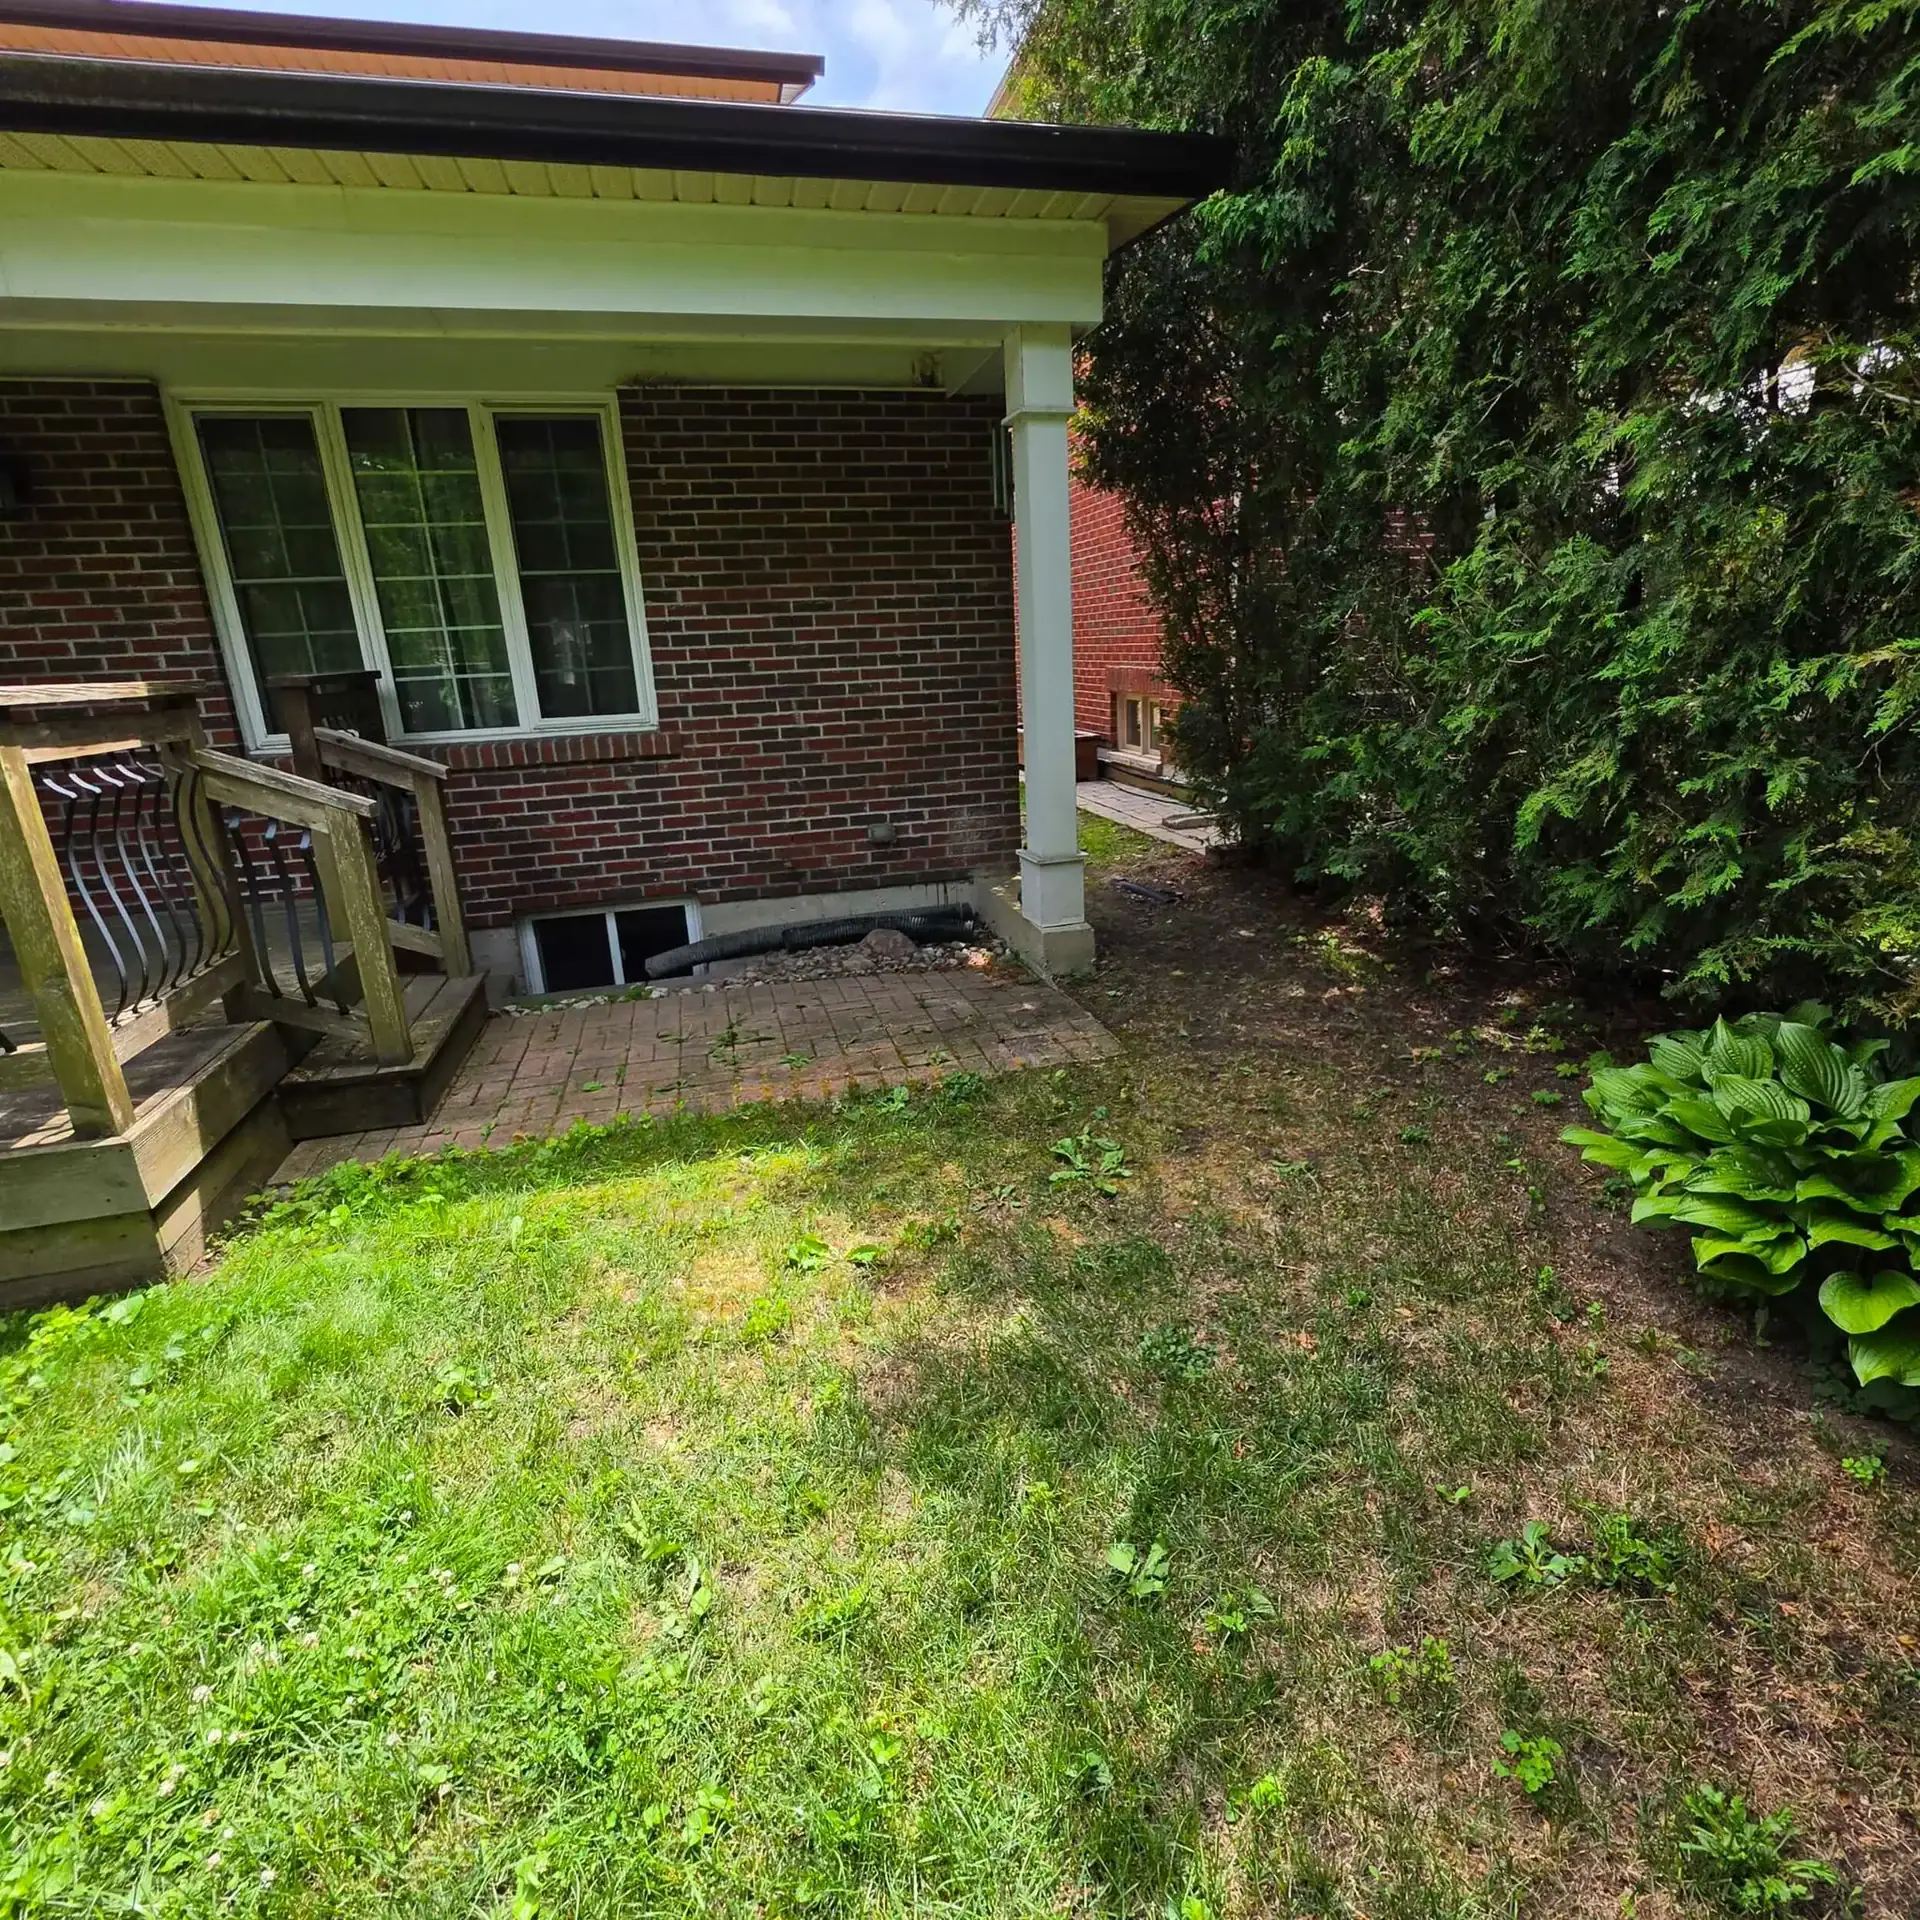
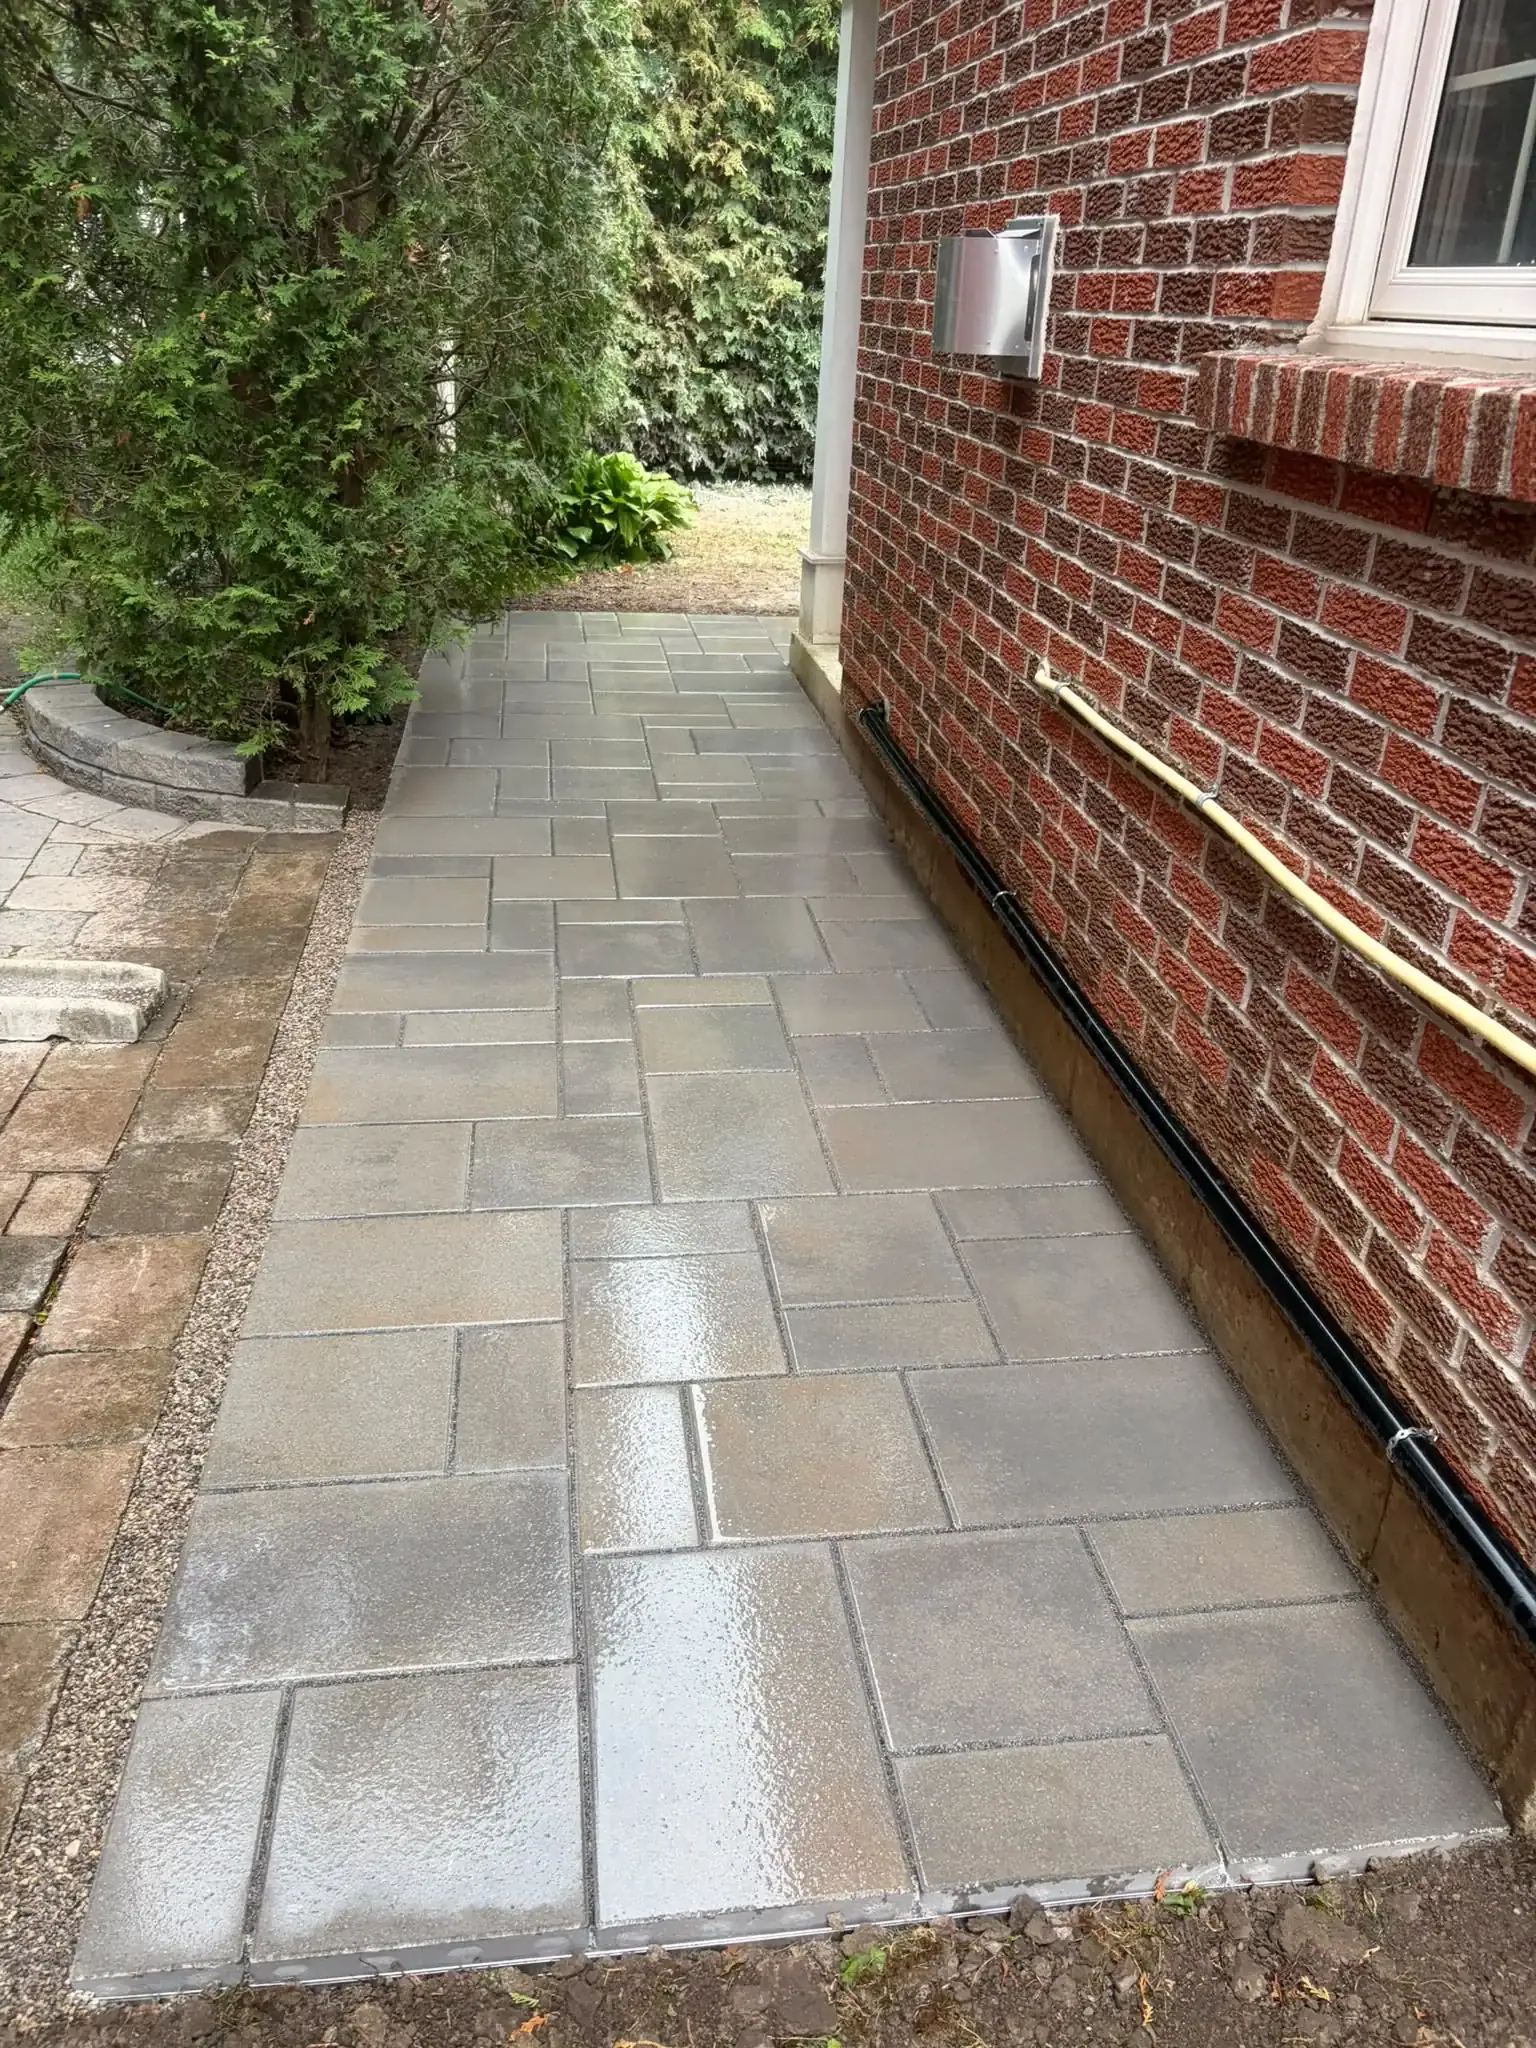
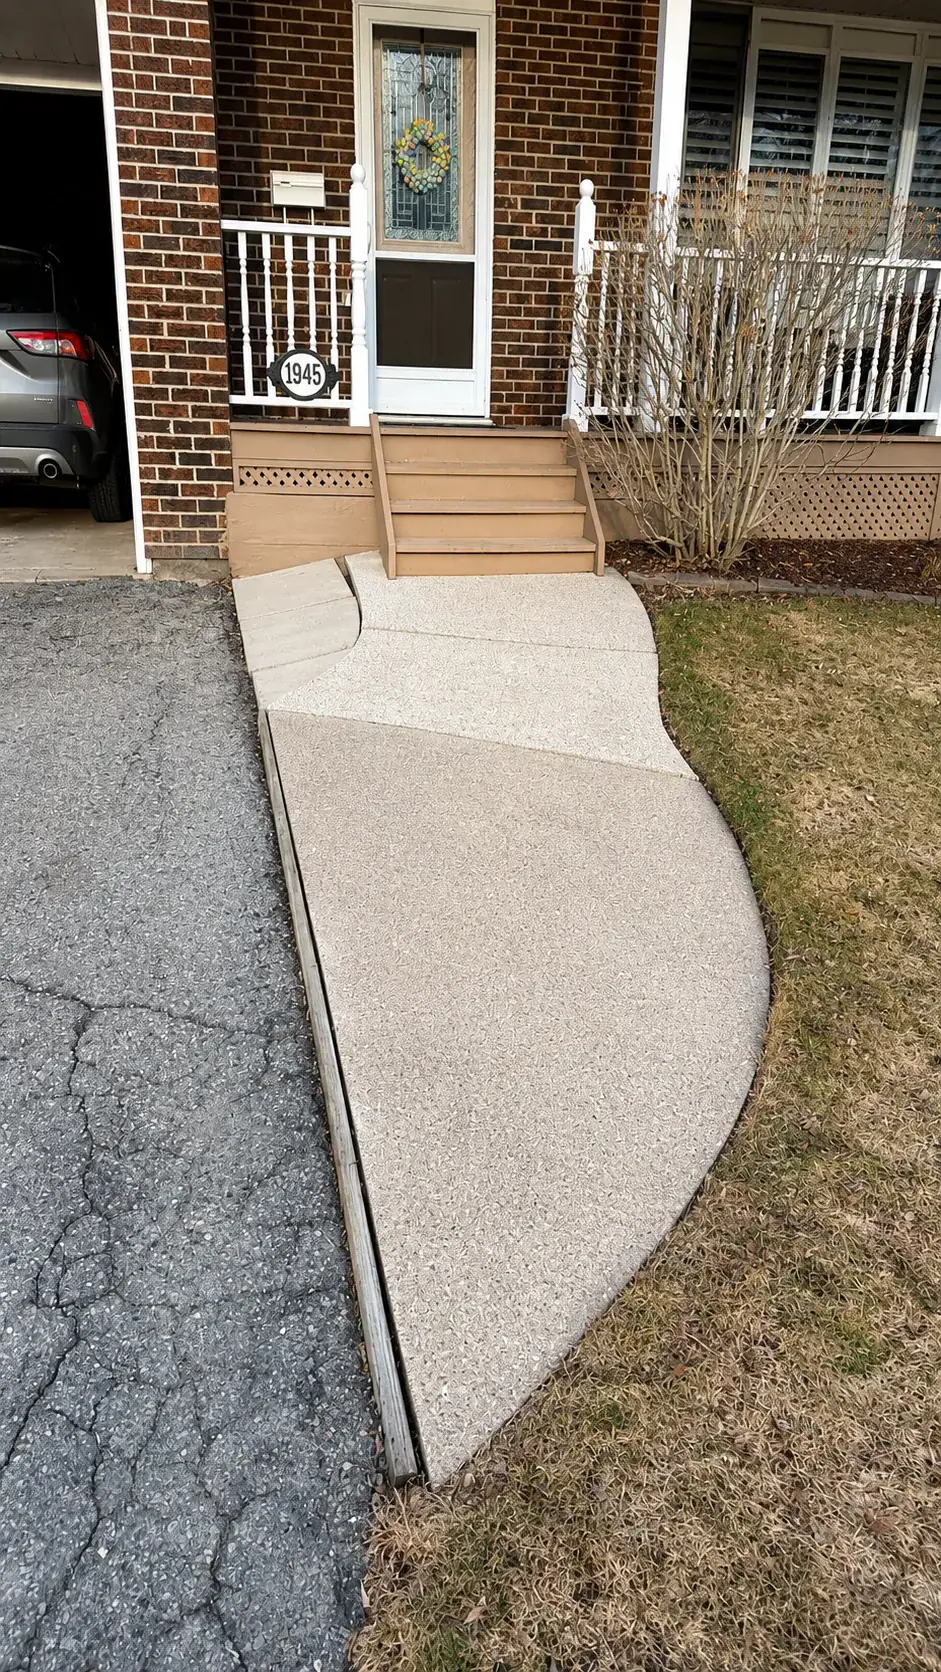
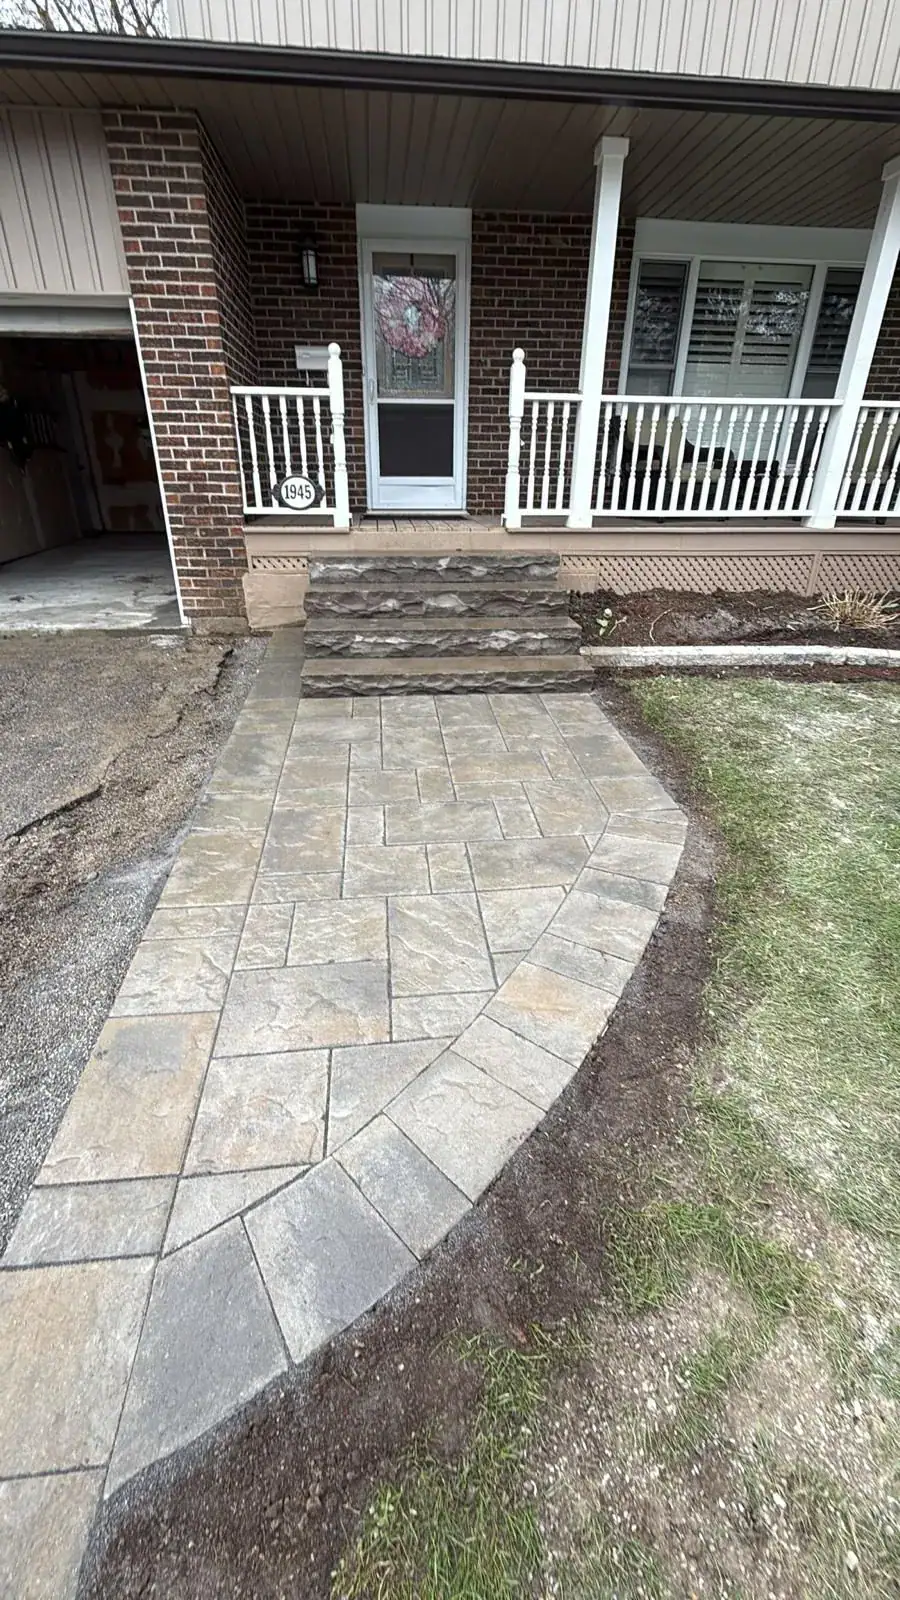
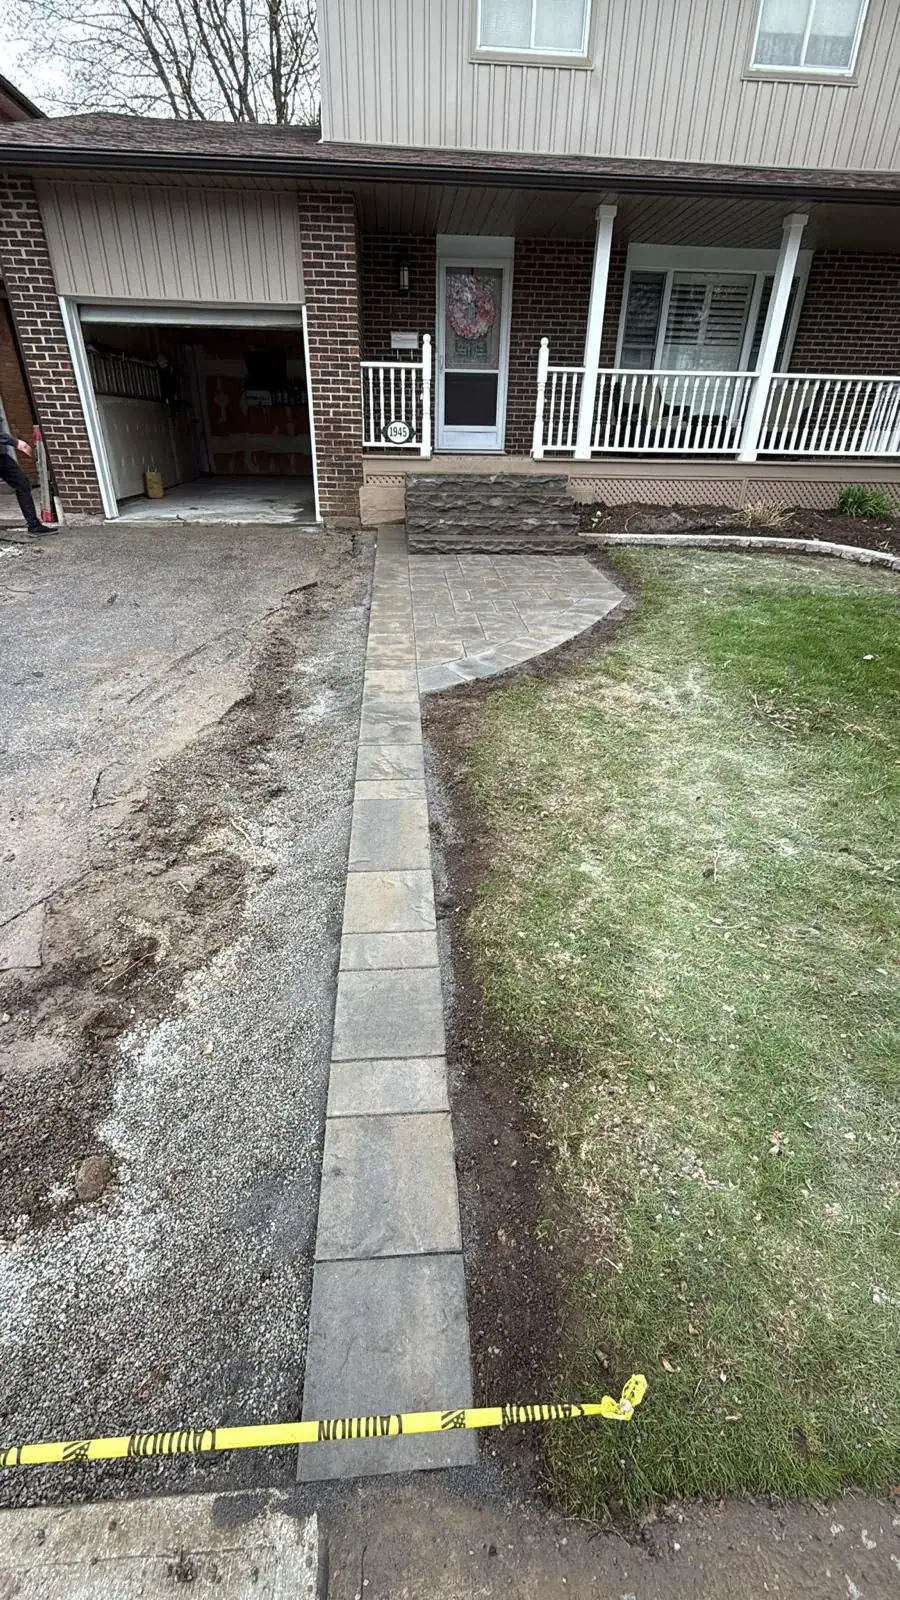
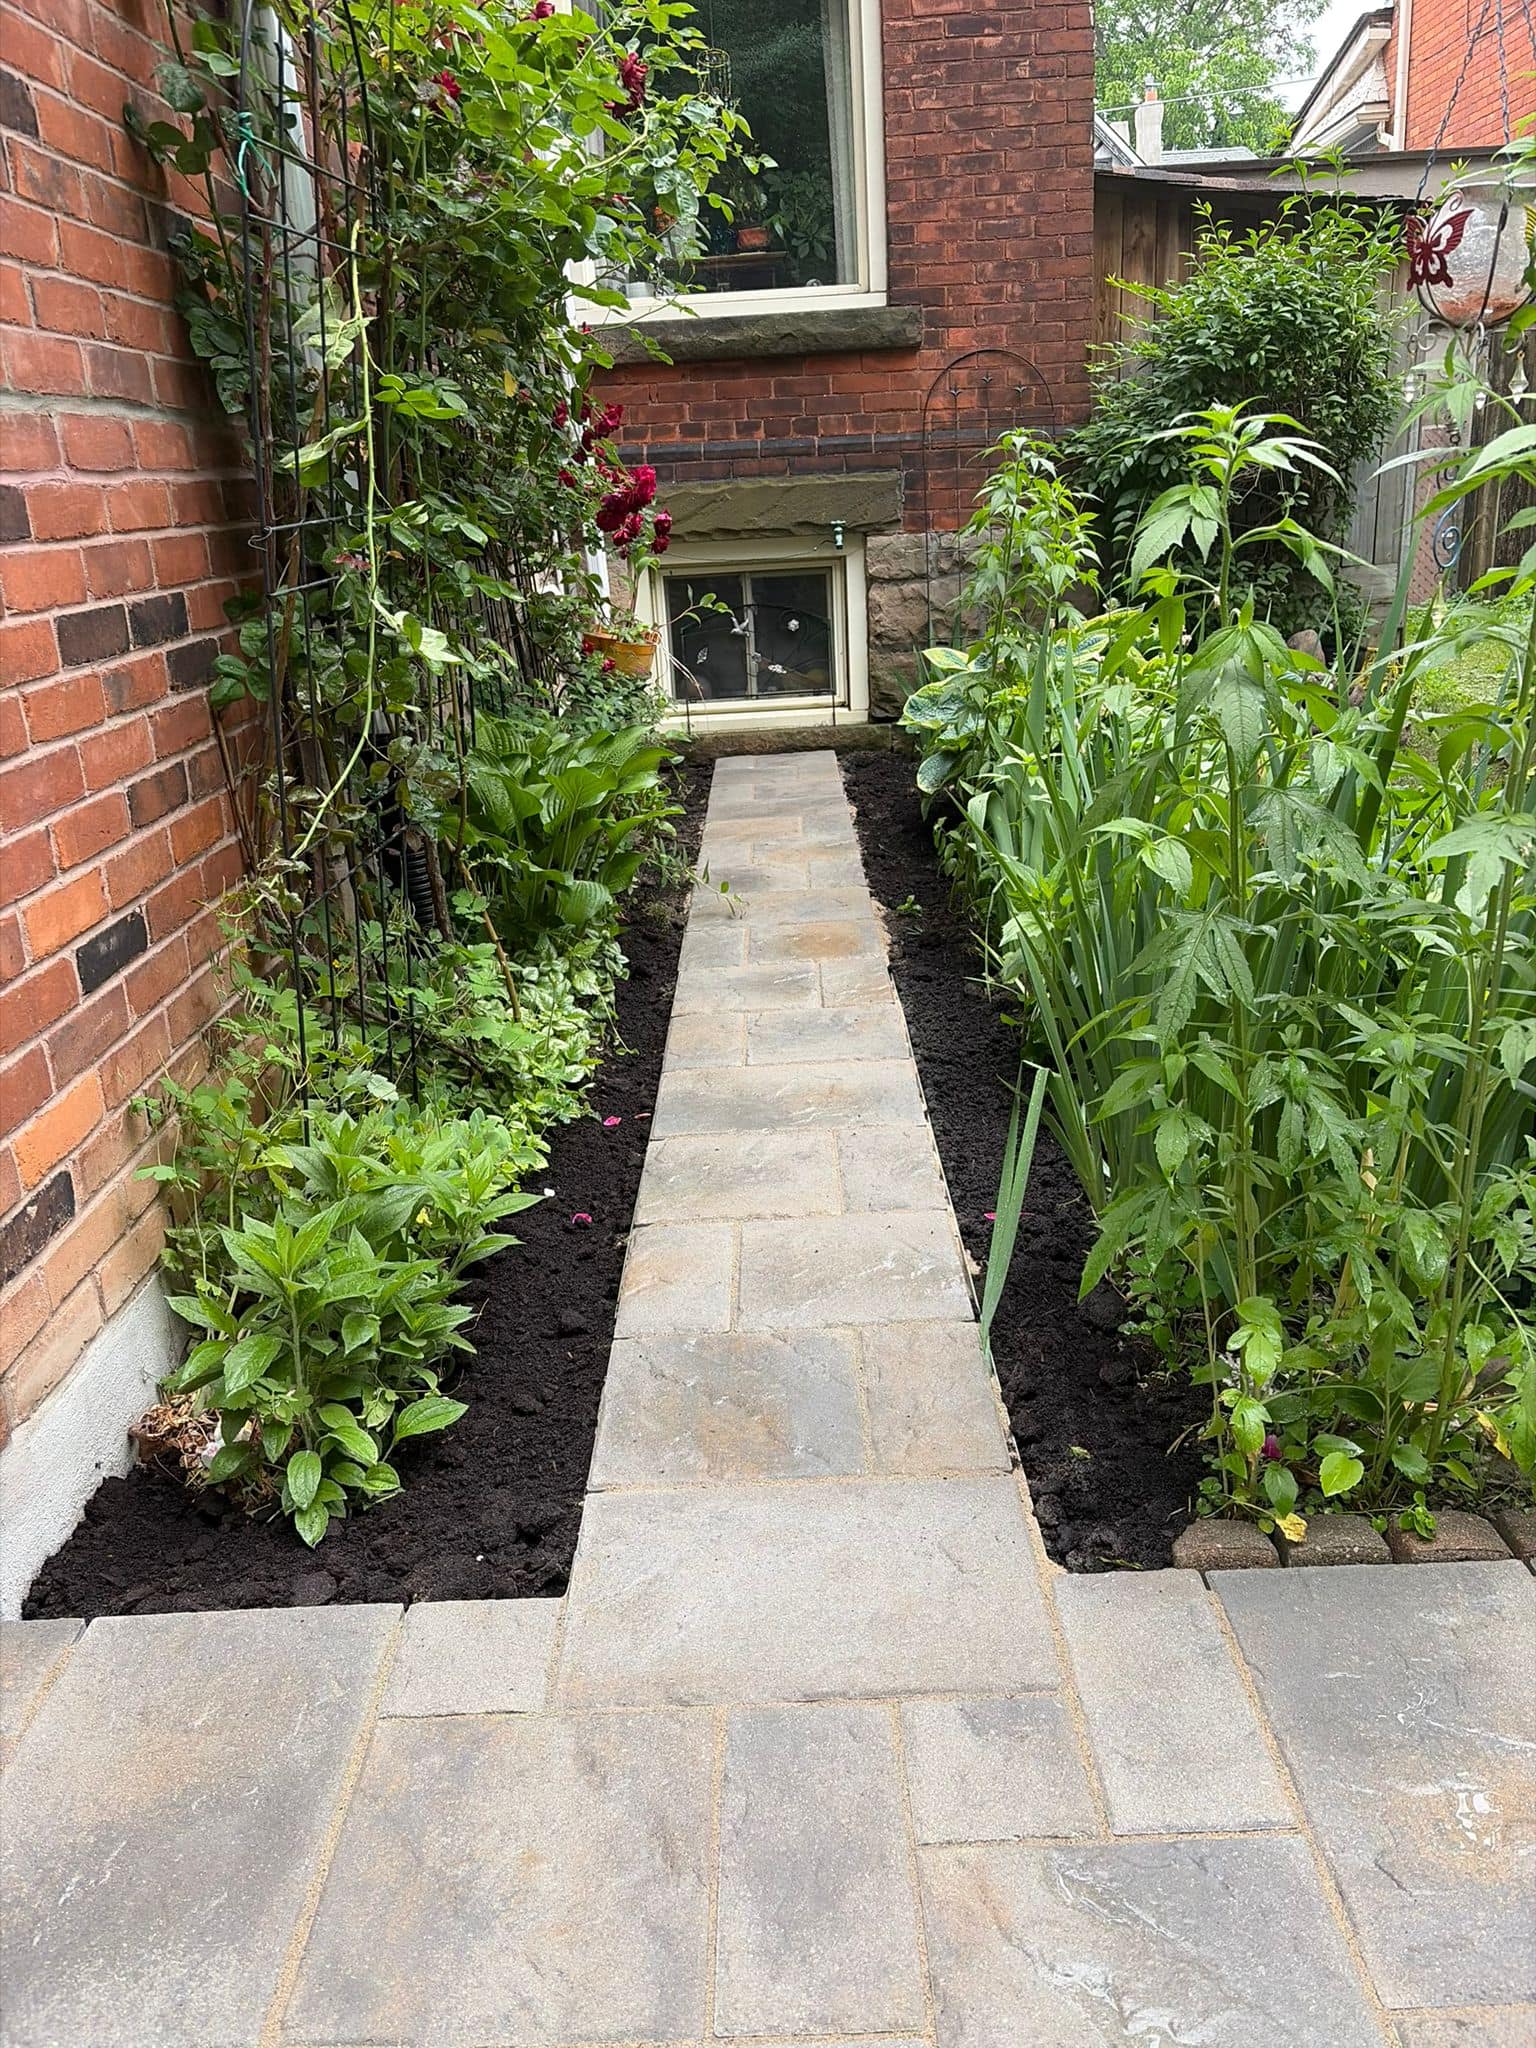
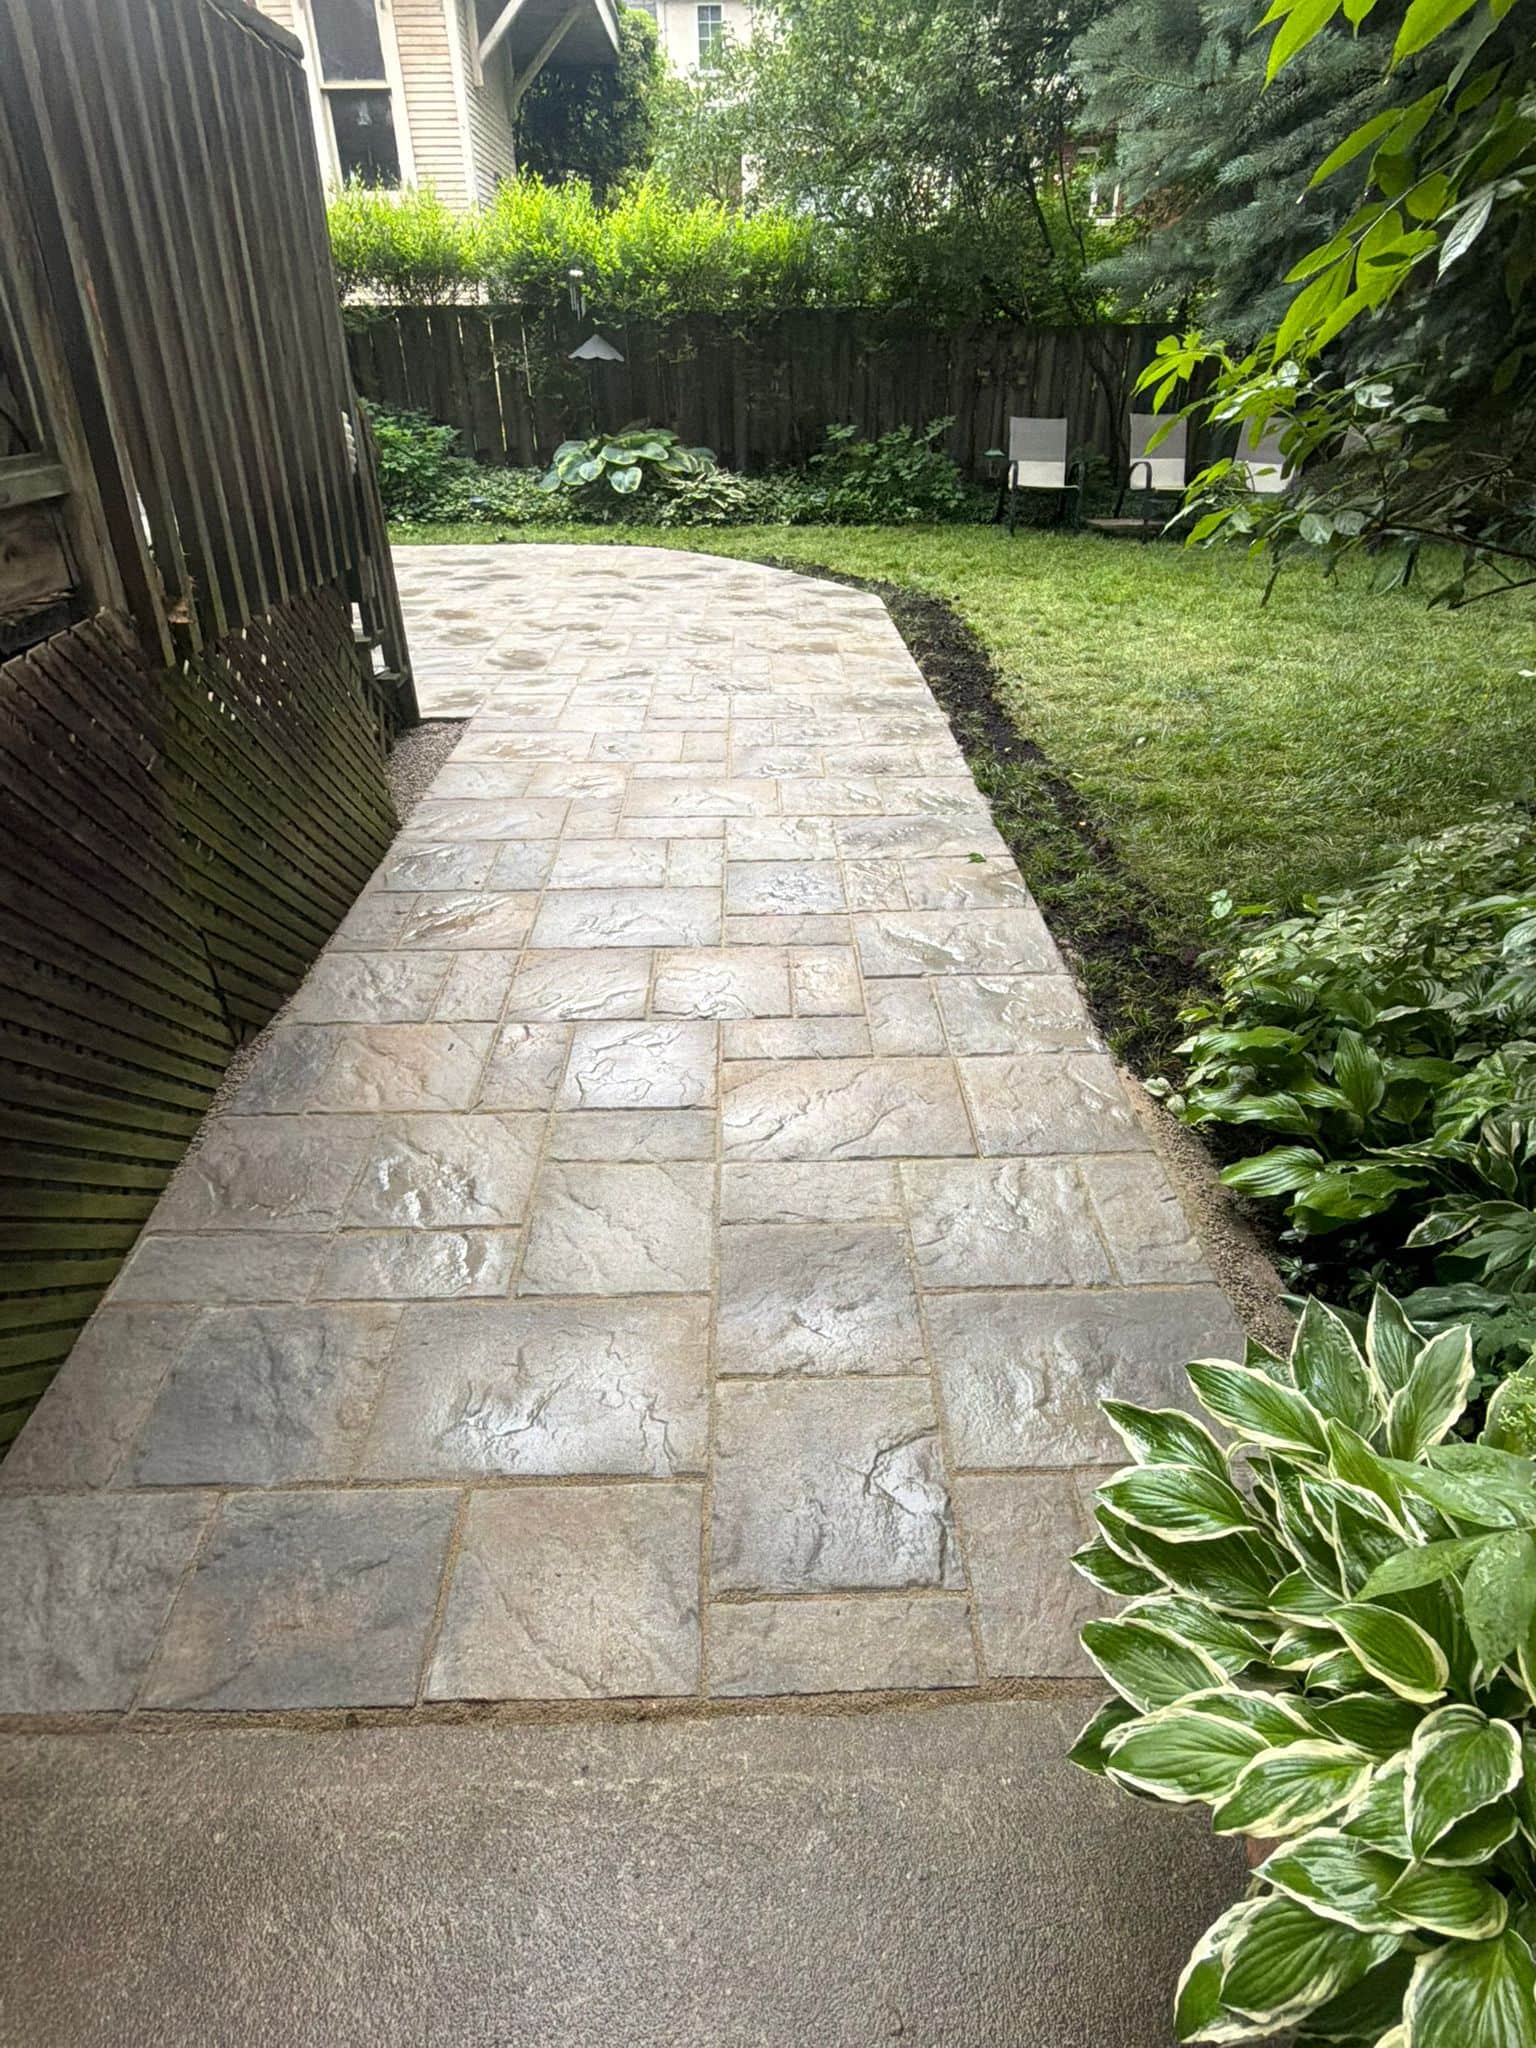
2. Walkways and Garden Paths
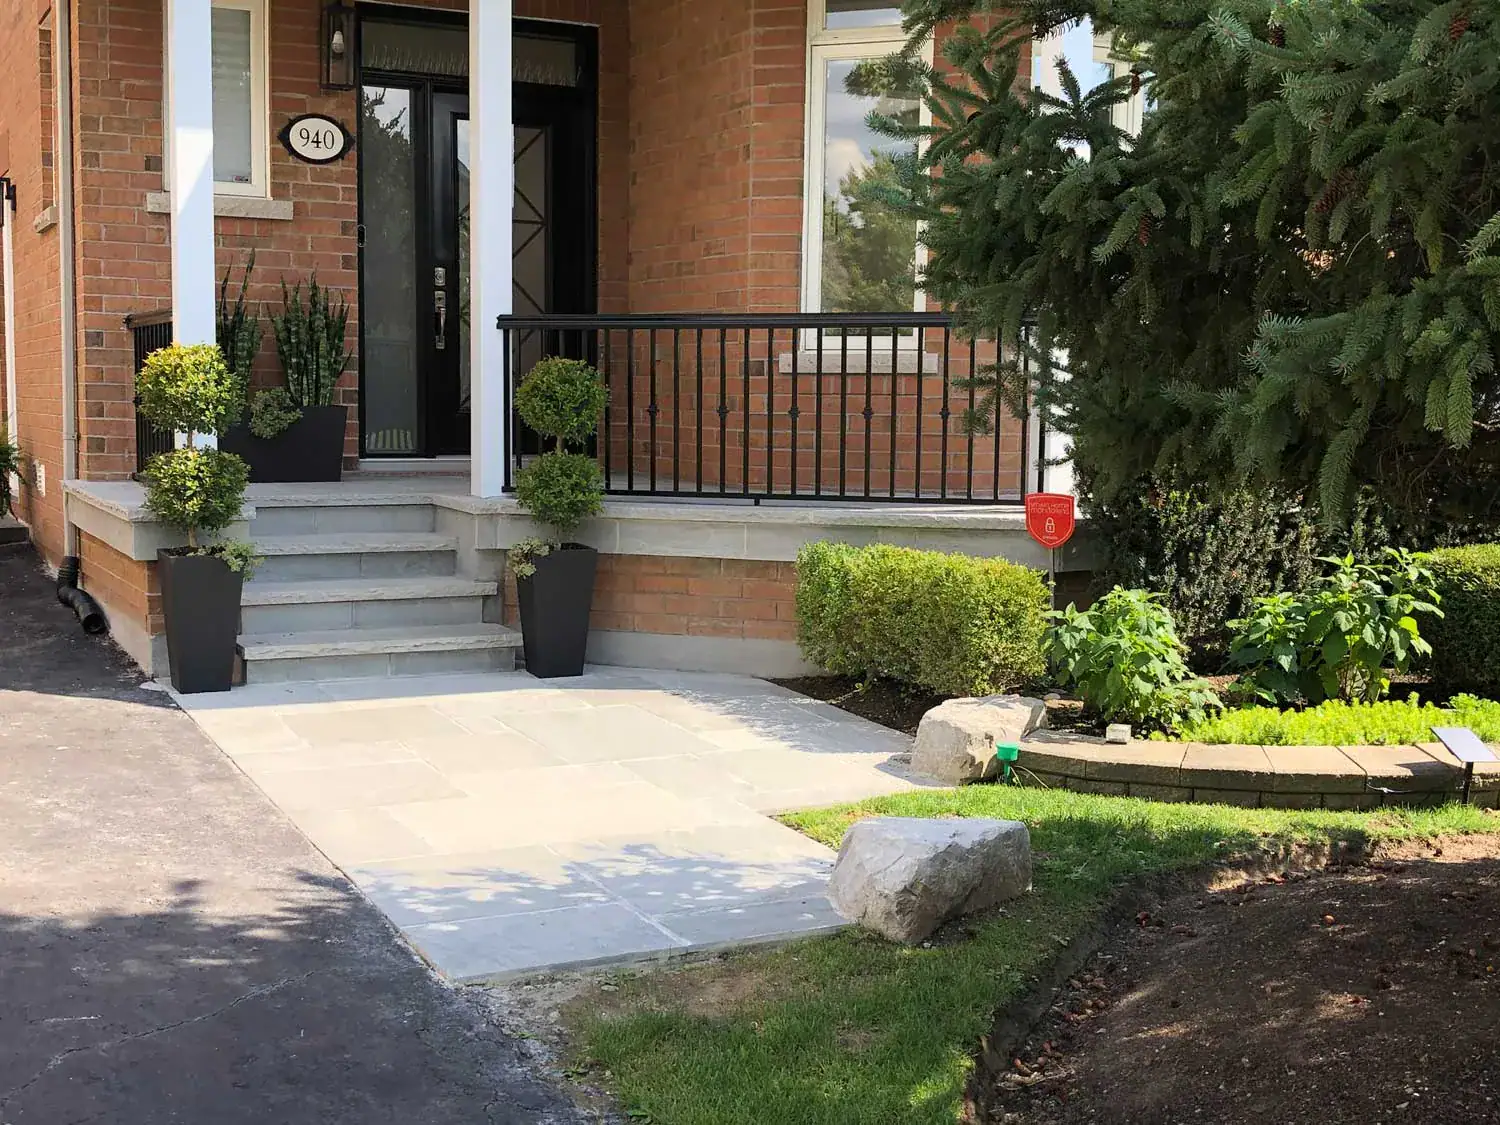
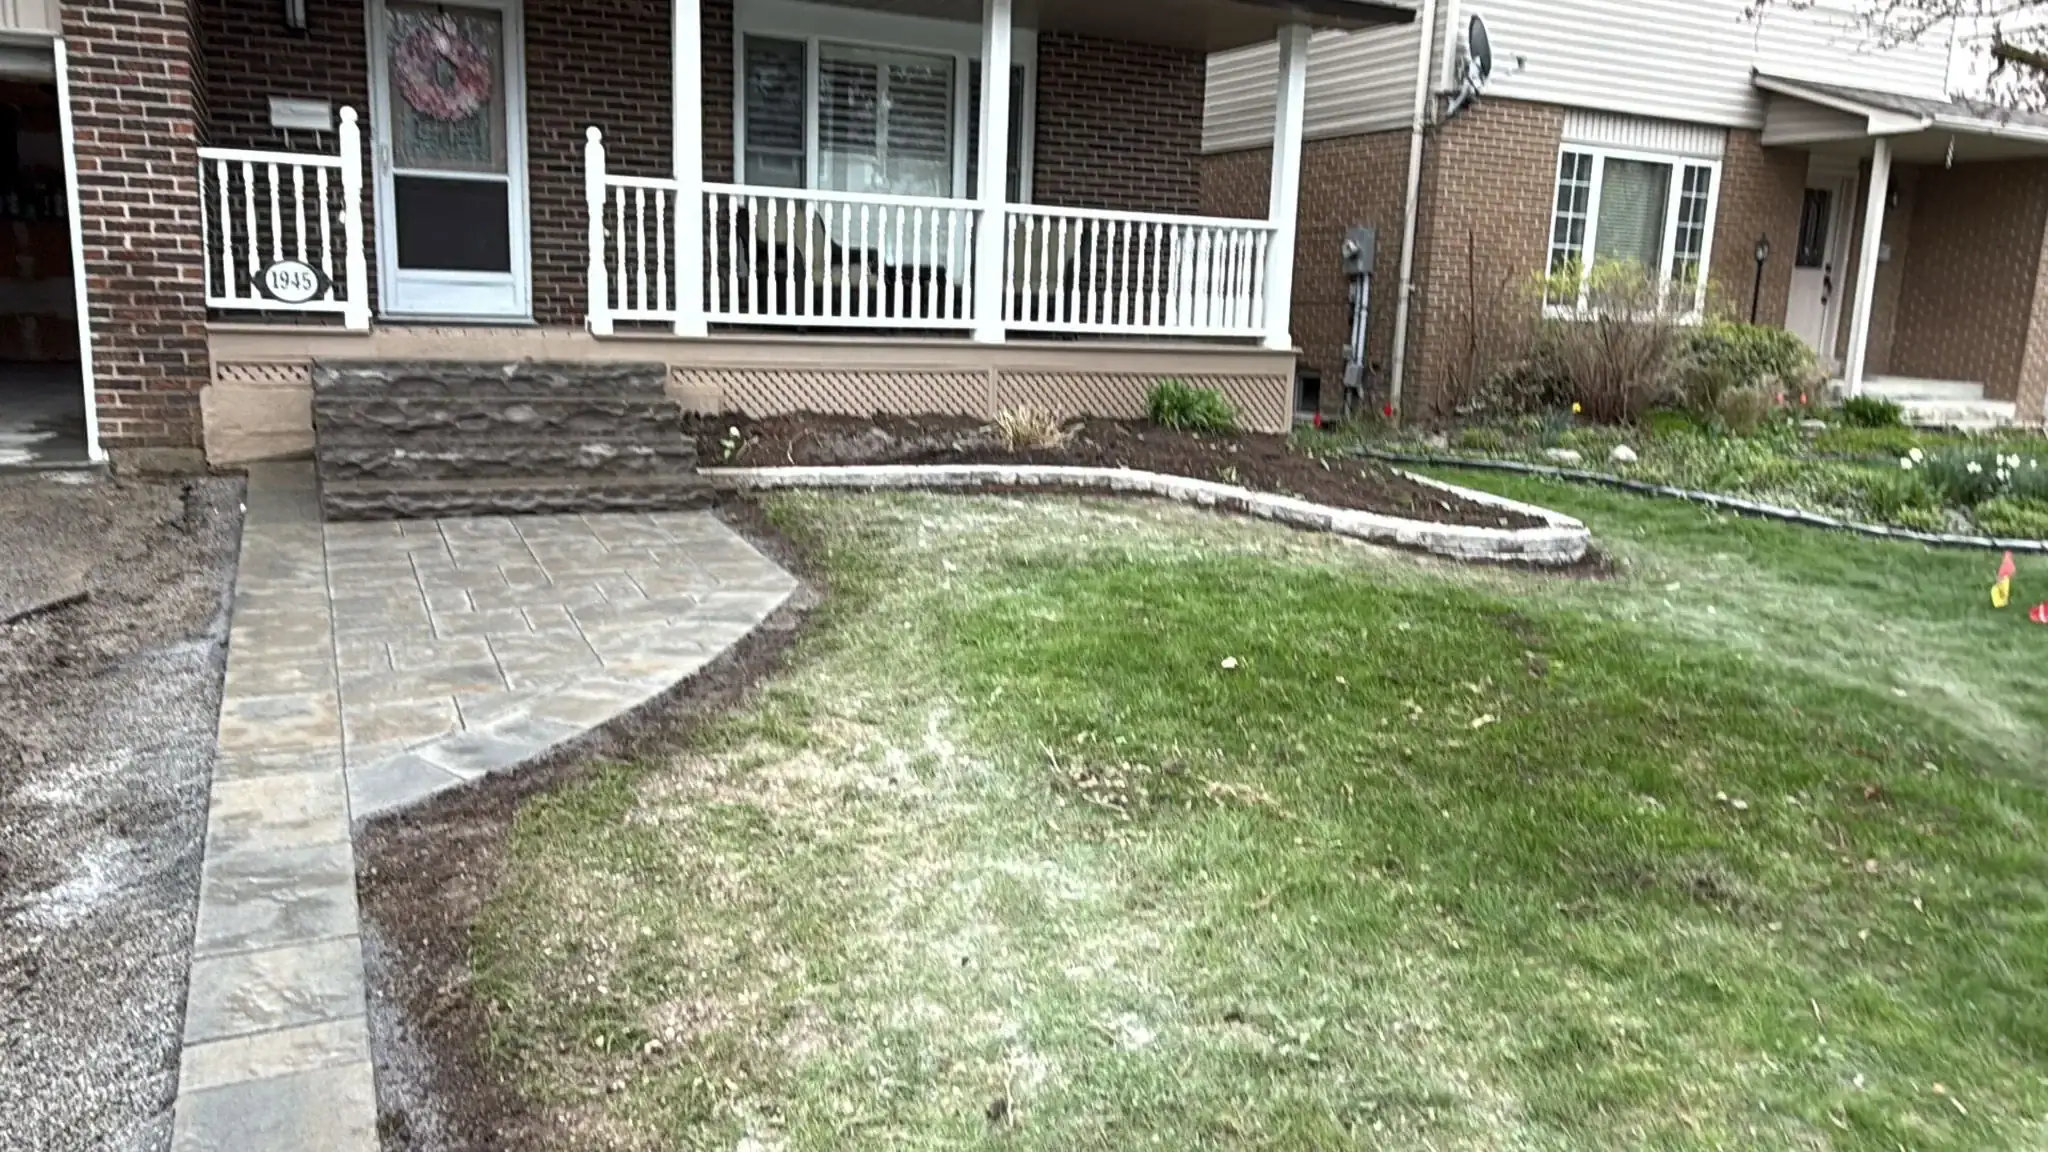
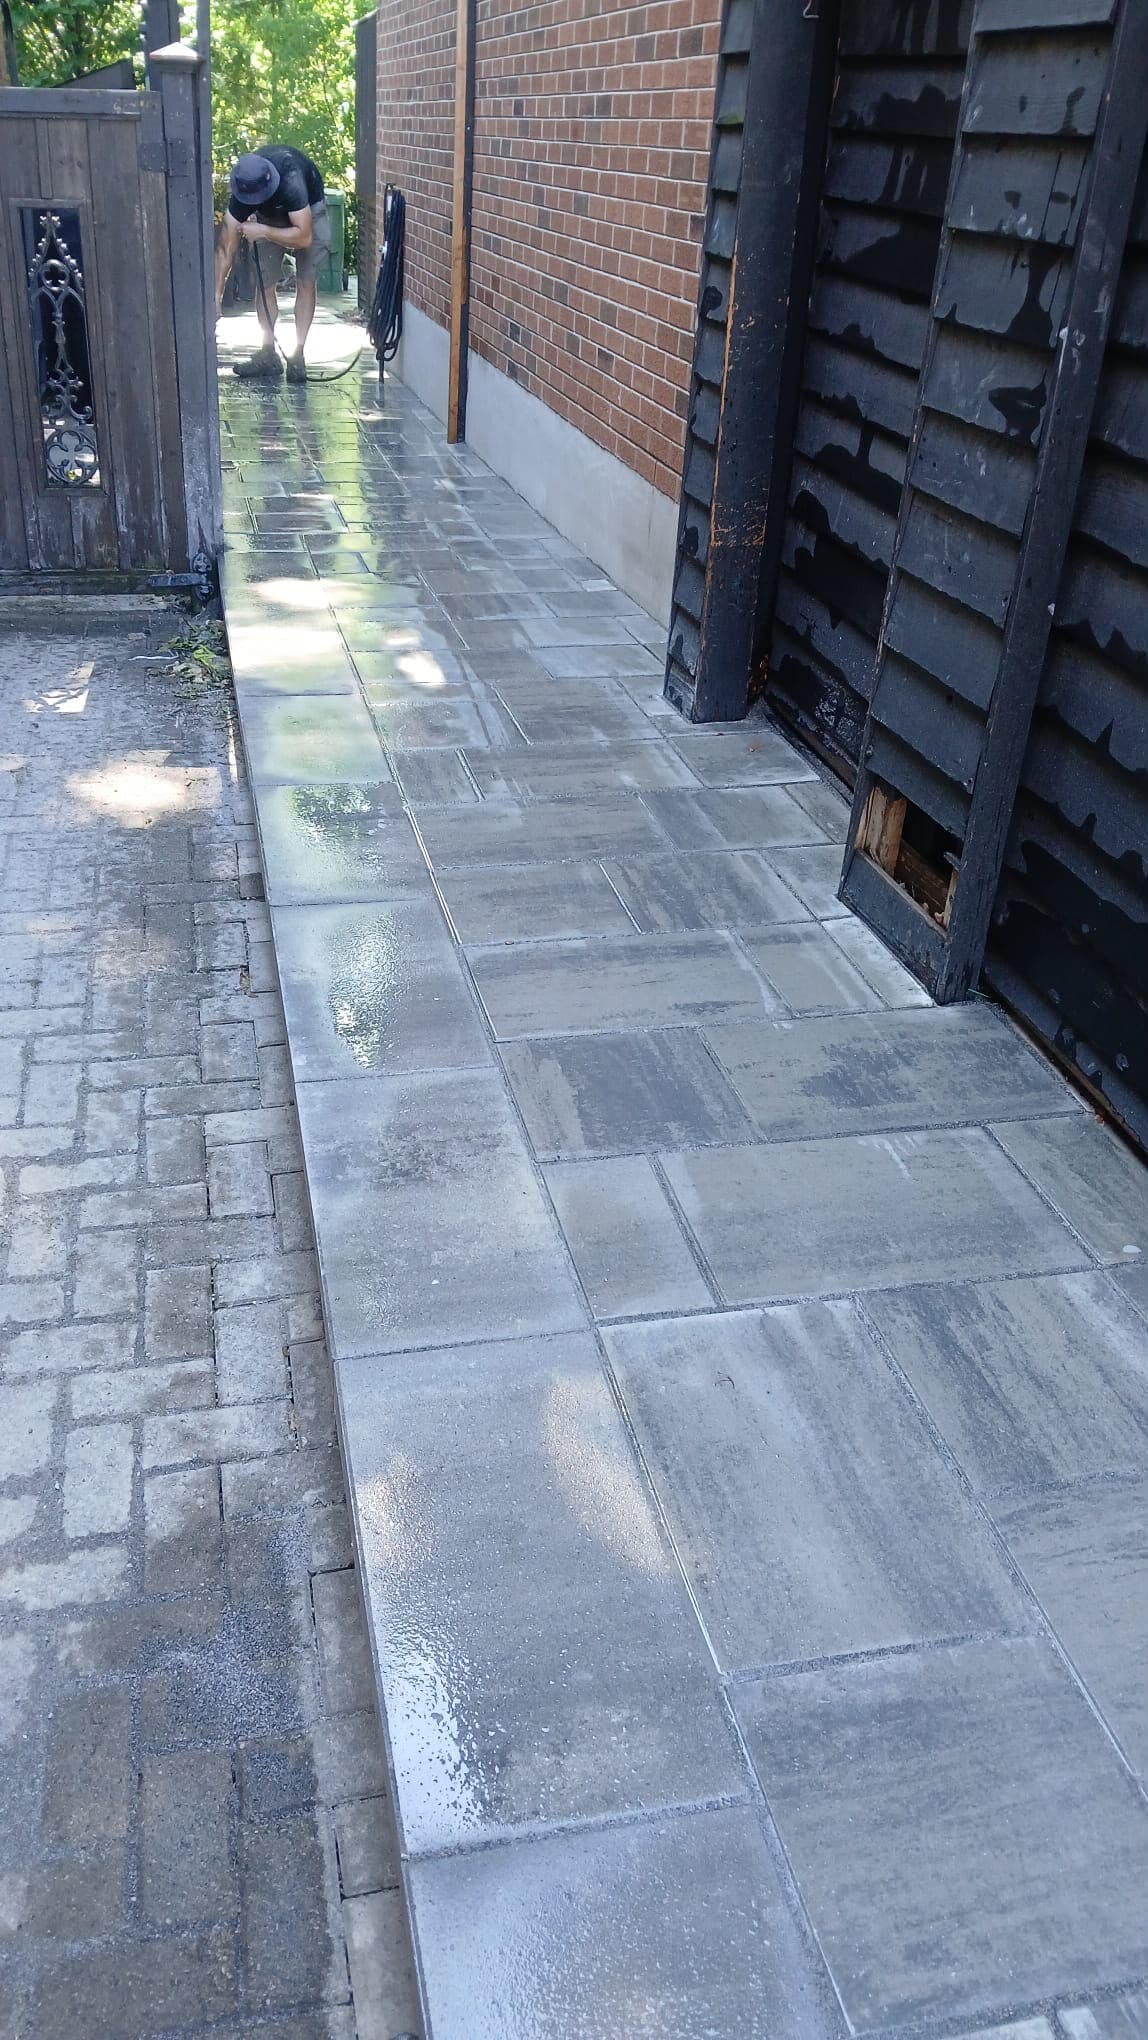
Stone pavers guide foot traffic beautifully while blending seamlessly with the landscape. They also provide excellent drainage and slip resistance.
Recommended stones: Slate, Limestone, Sandstone
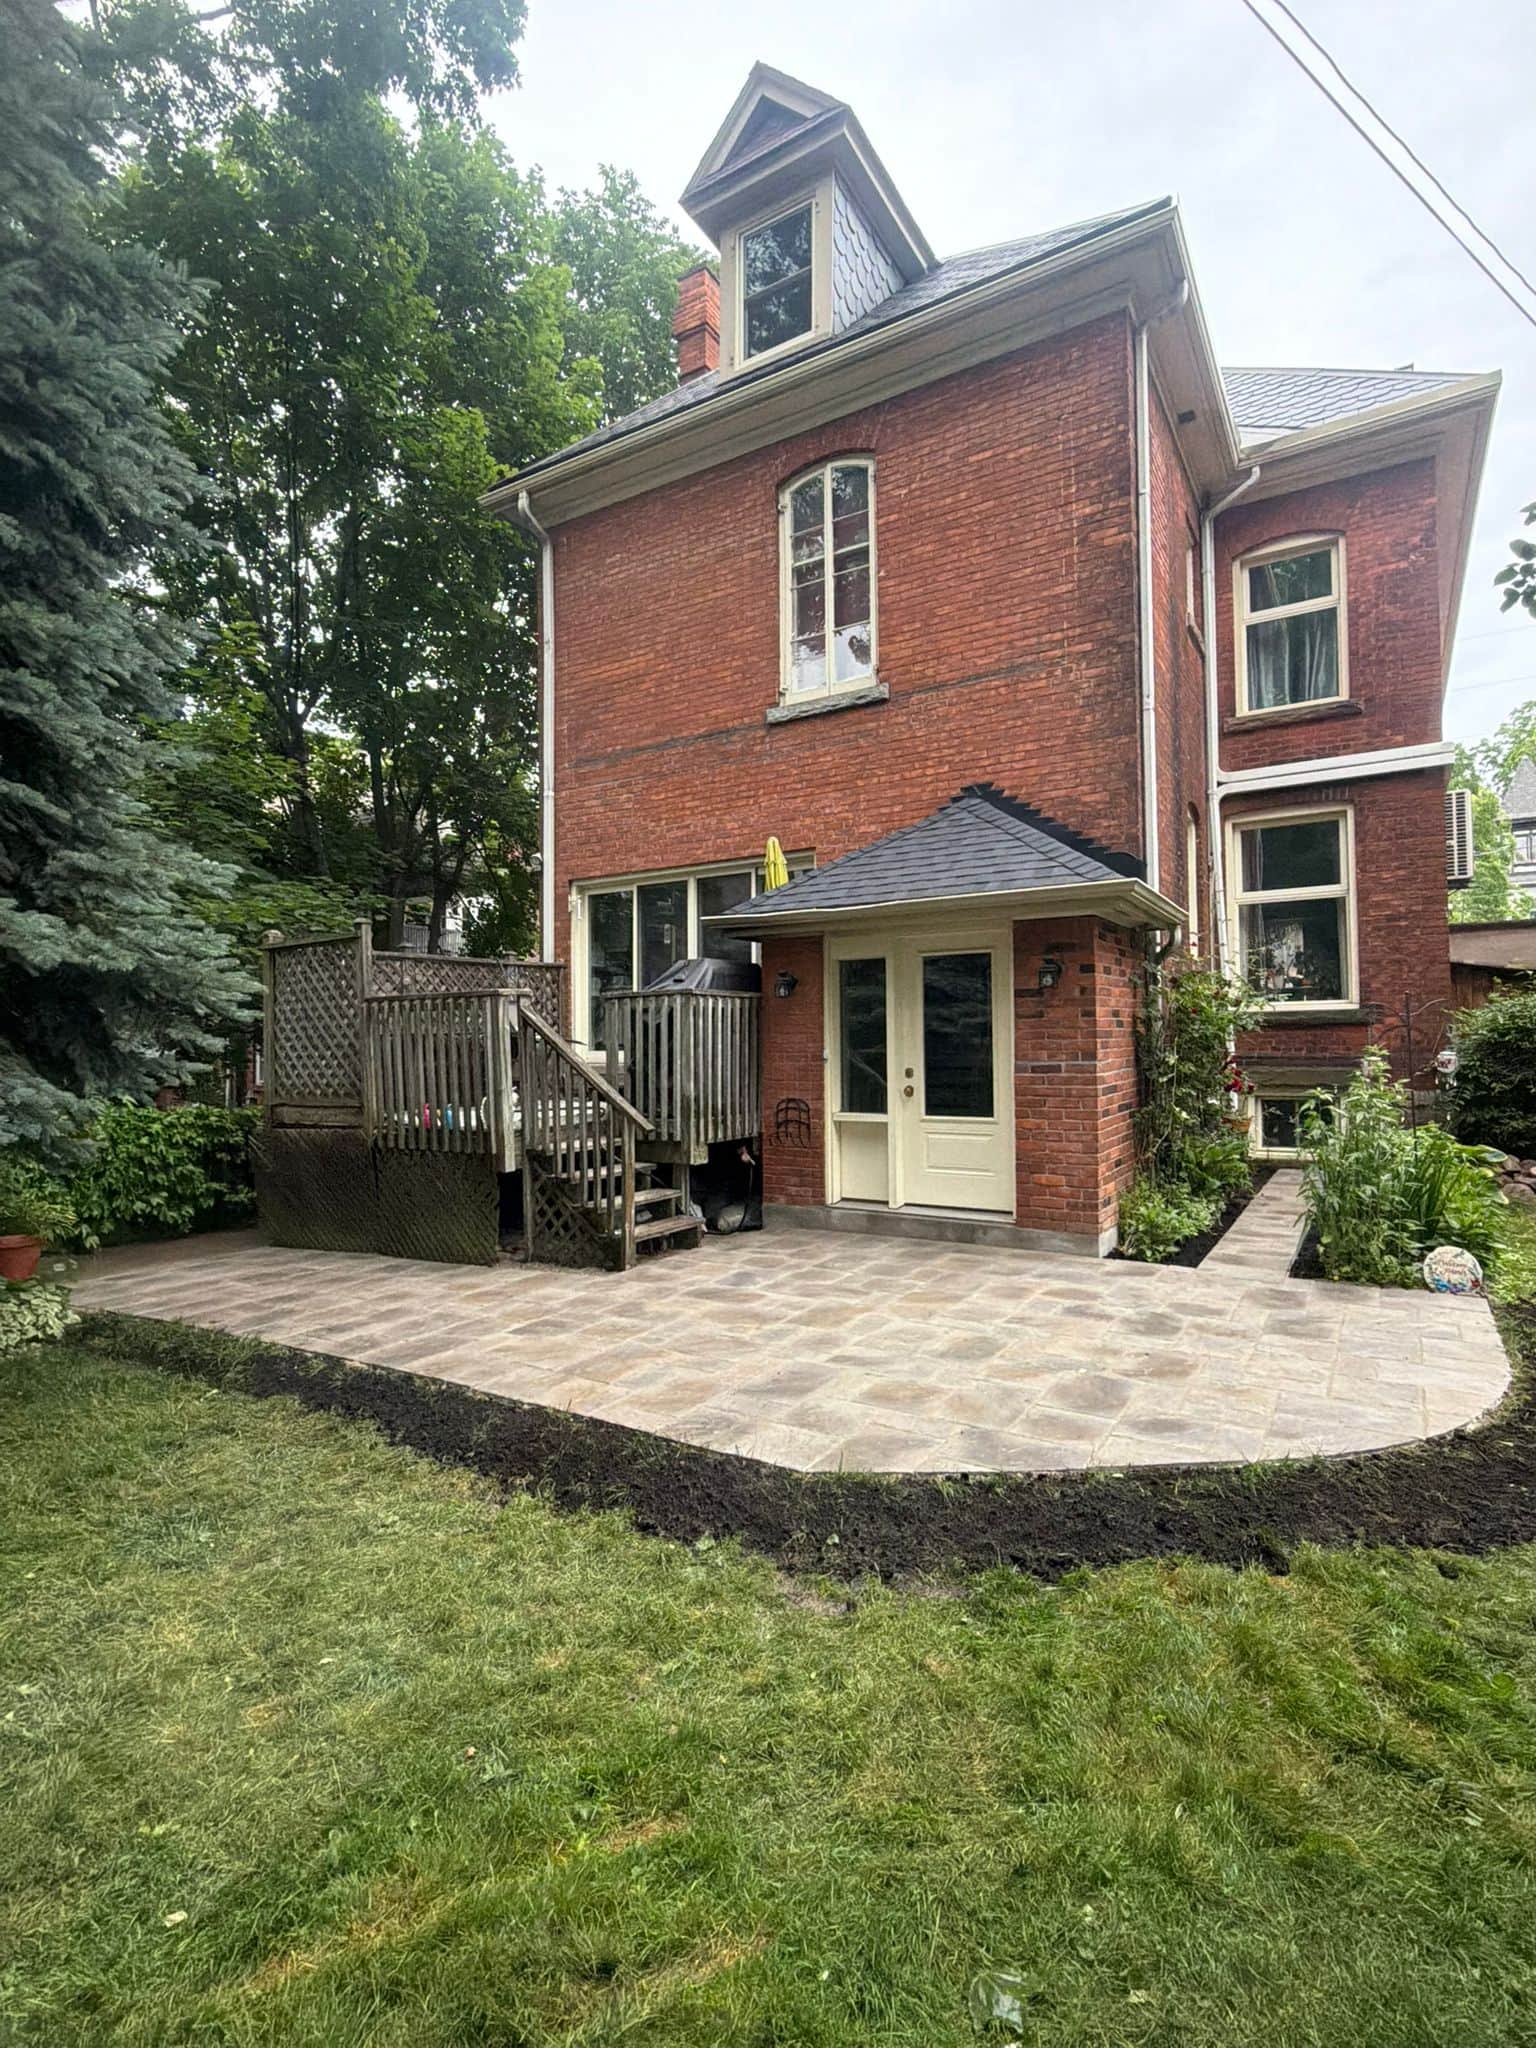
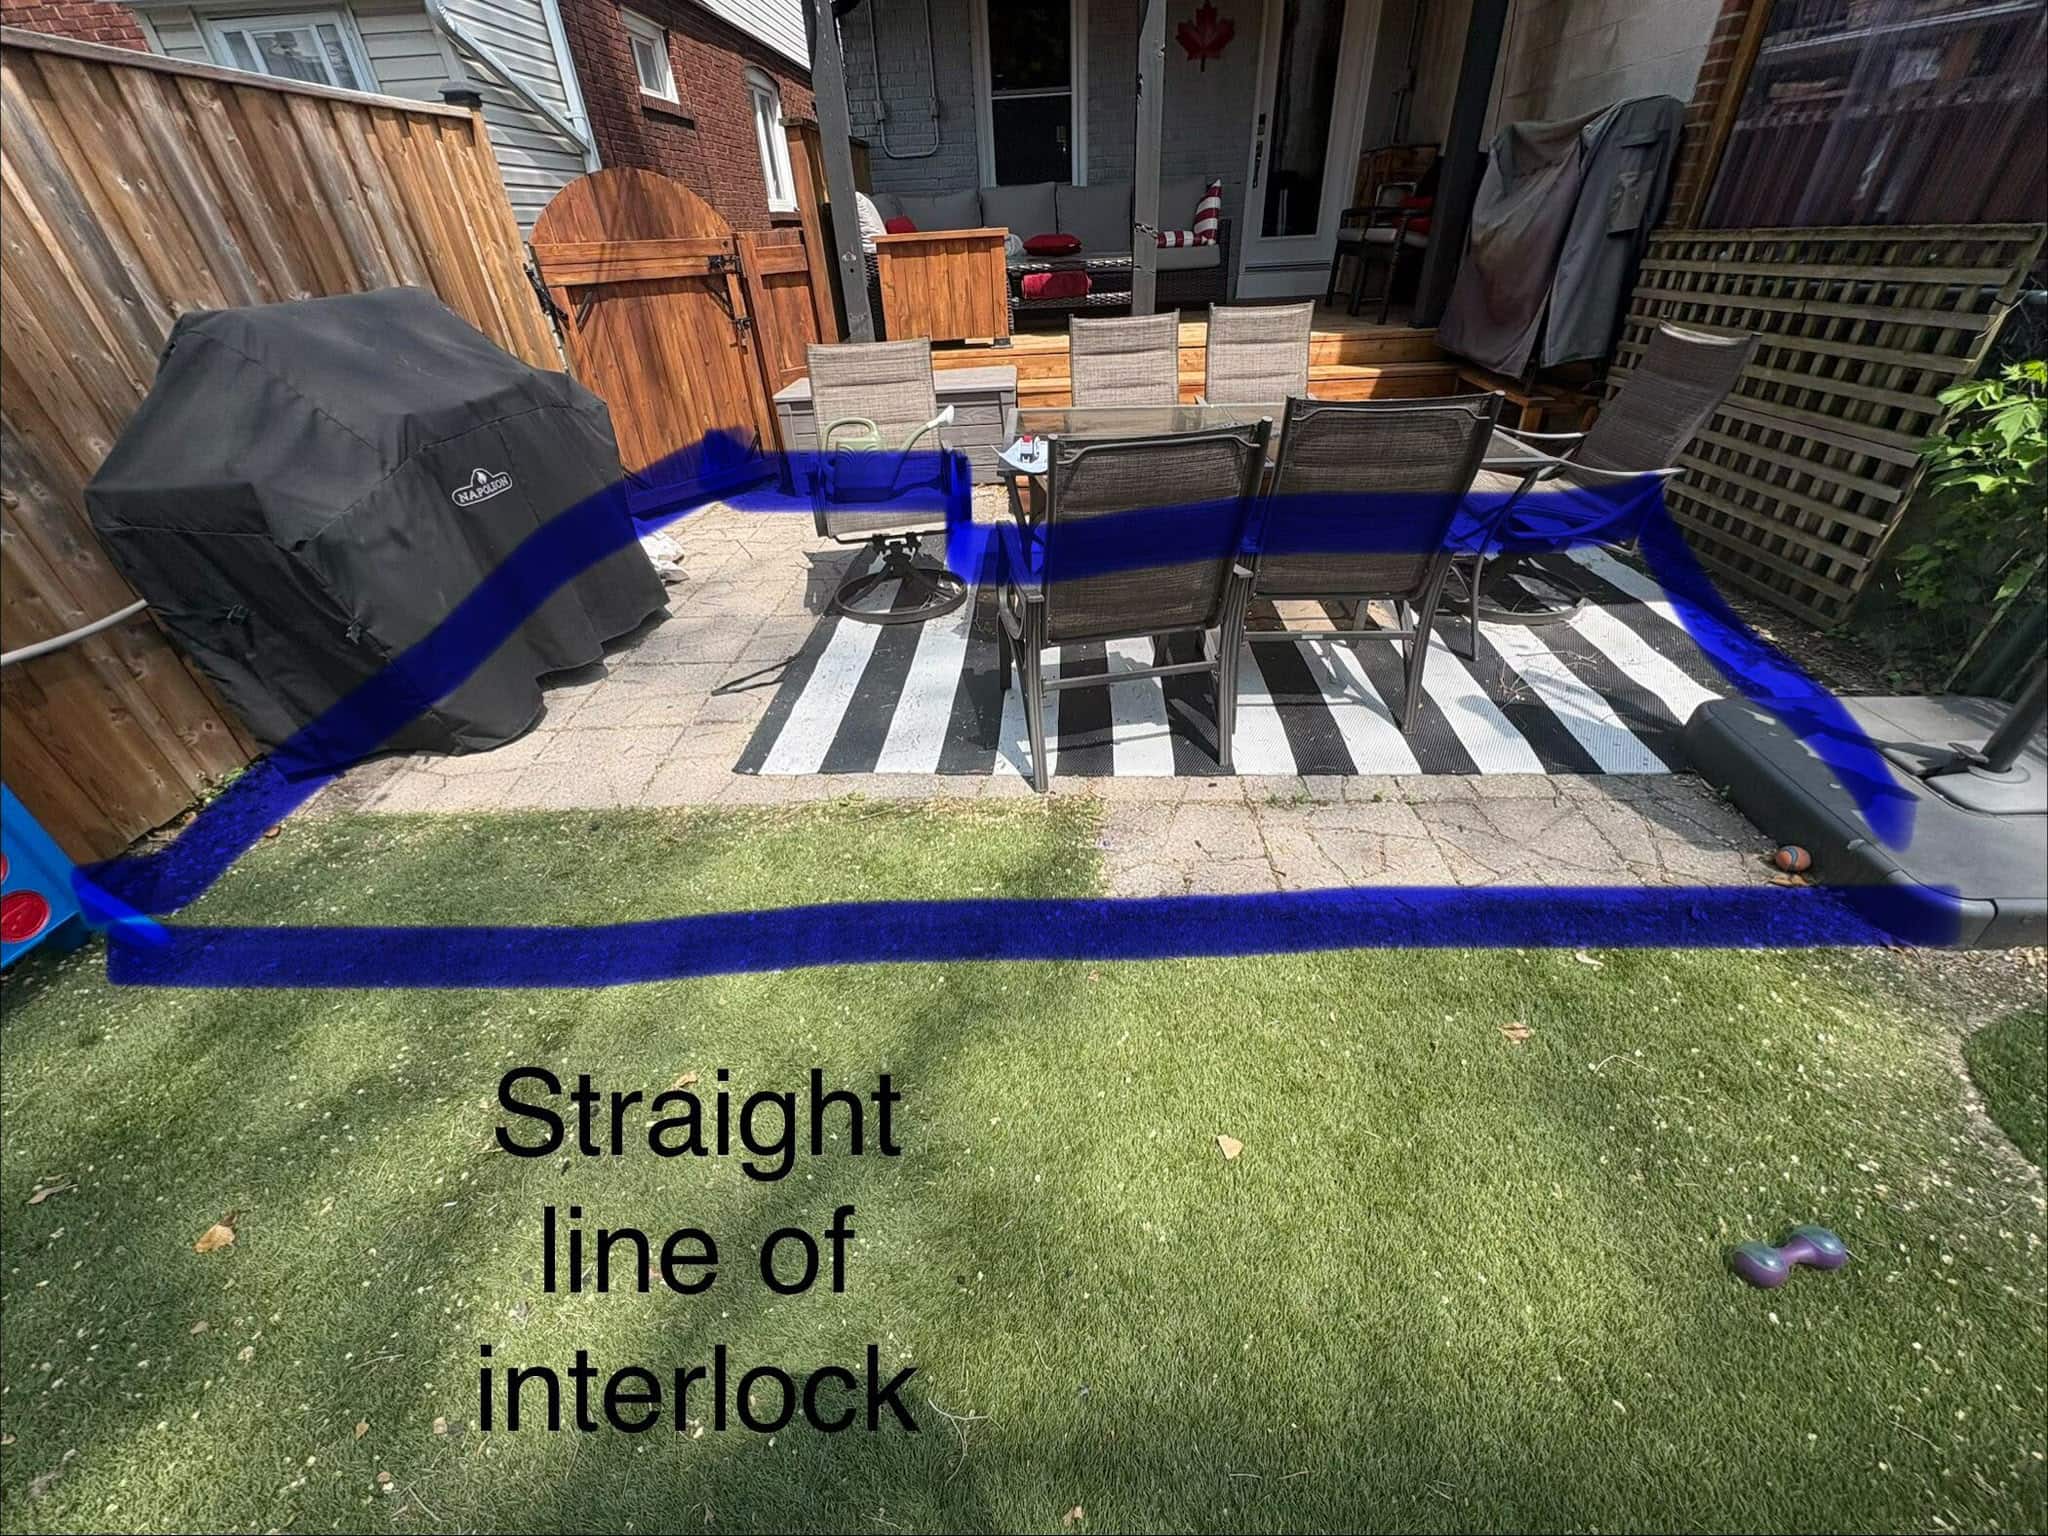
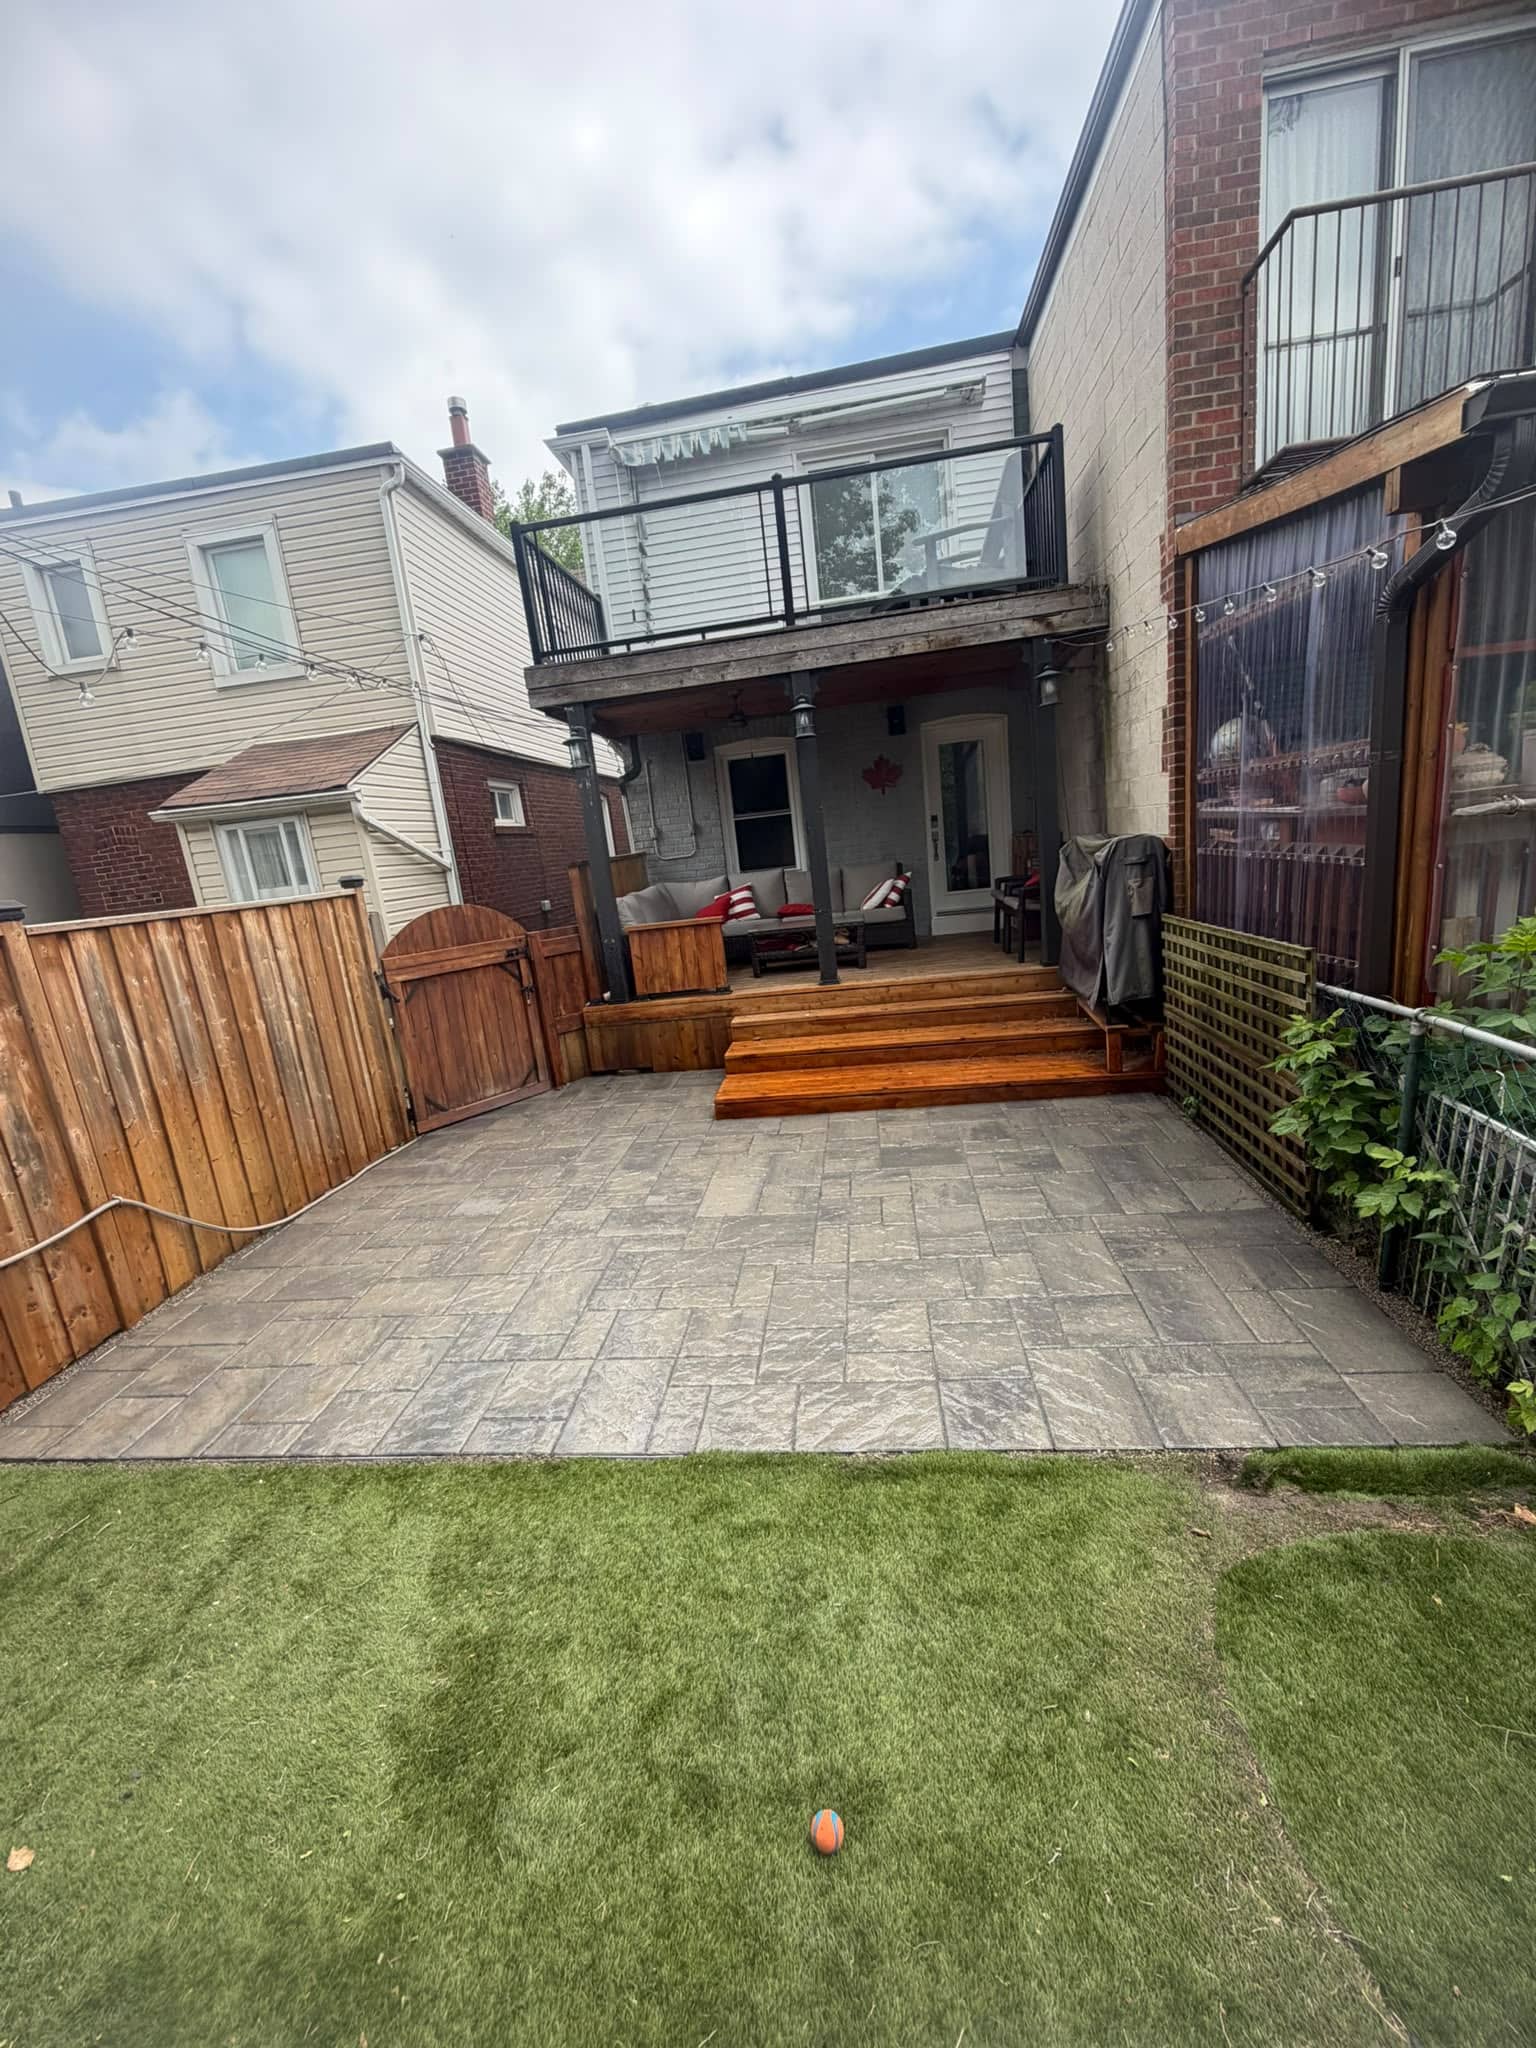
3. Patios and Courtyards
For alfresco dining or lounge areas, natural stone pavers provide an elegant and durable foundation. Their earthy tones pair perfectly with greenery and outdoor furniture.
Ideal stones: Travertine, Sandstone, Granite
4. Pool Decks and Surrounds
Pavers around pools should be non-slip and cool to the touch. Natural stones offer both comfort and safety while elevating the pool area’s aesthetics.
Top picks: Tumbled Travertine, Limestone, Granite
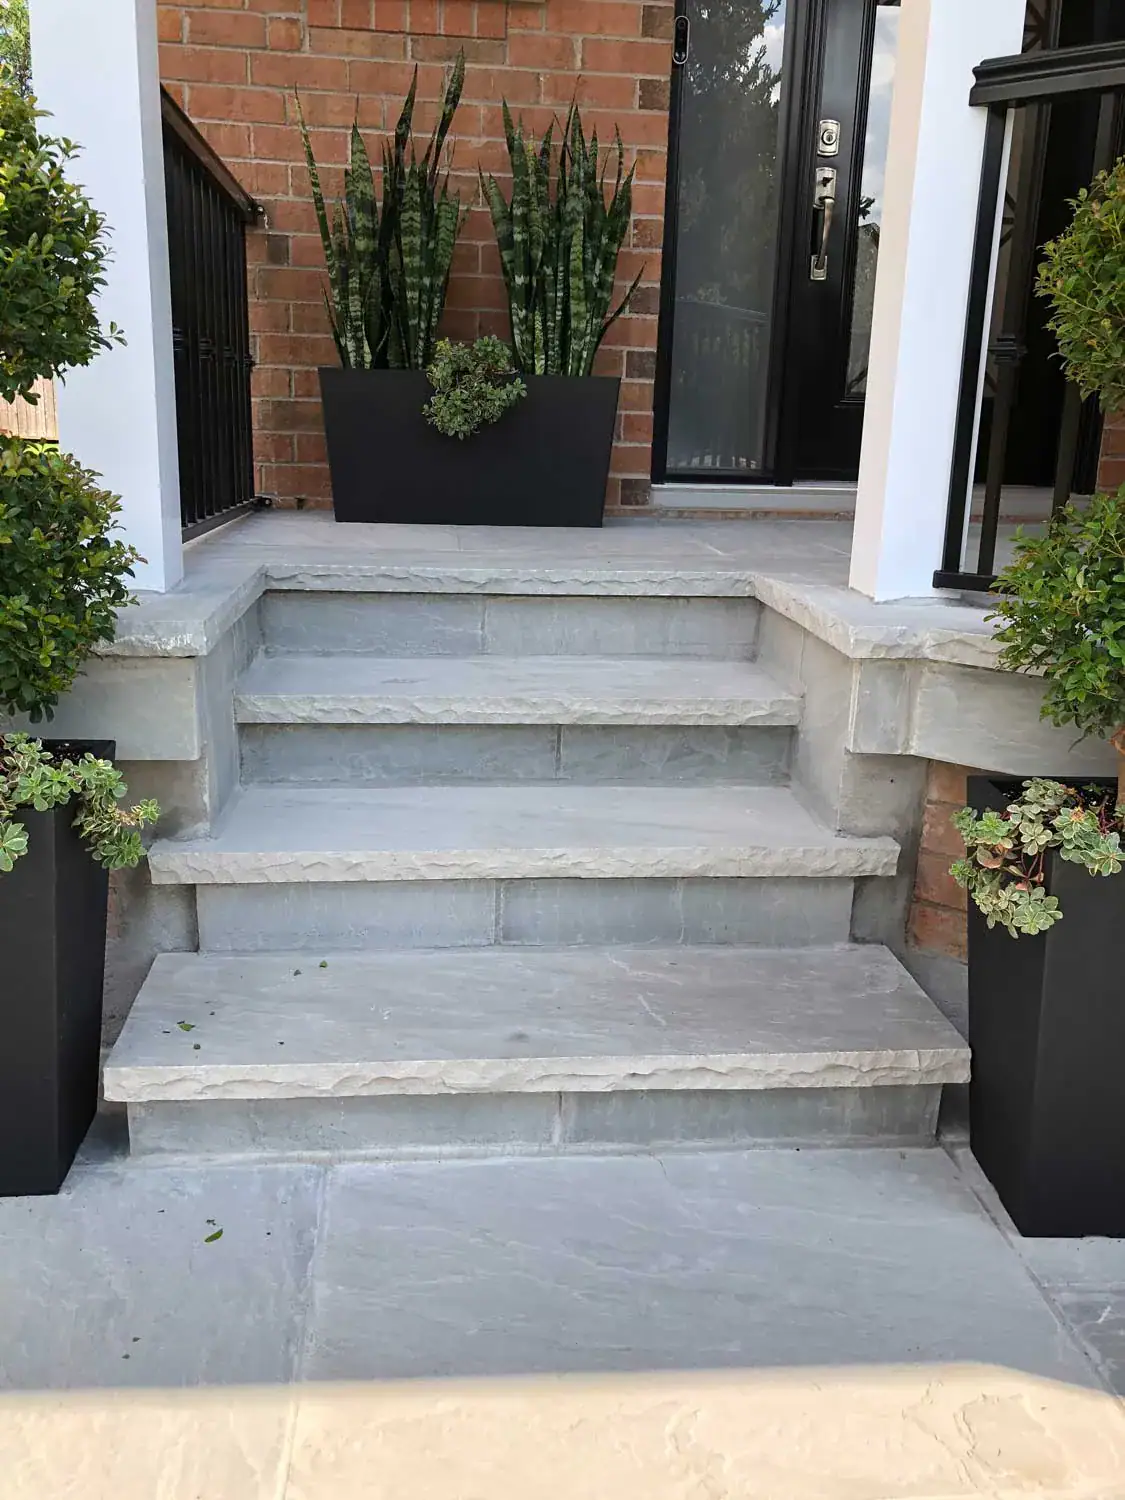
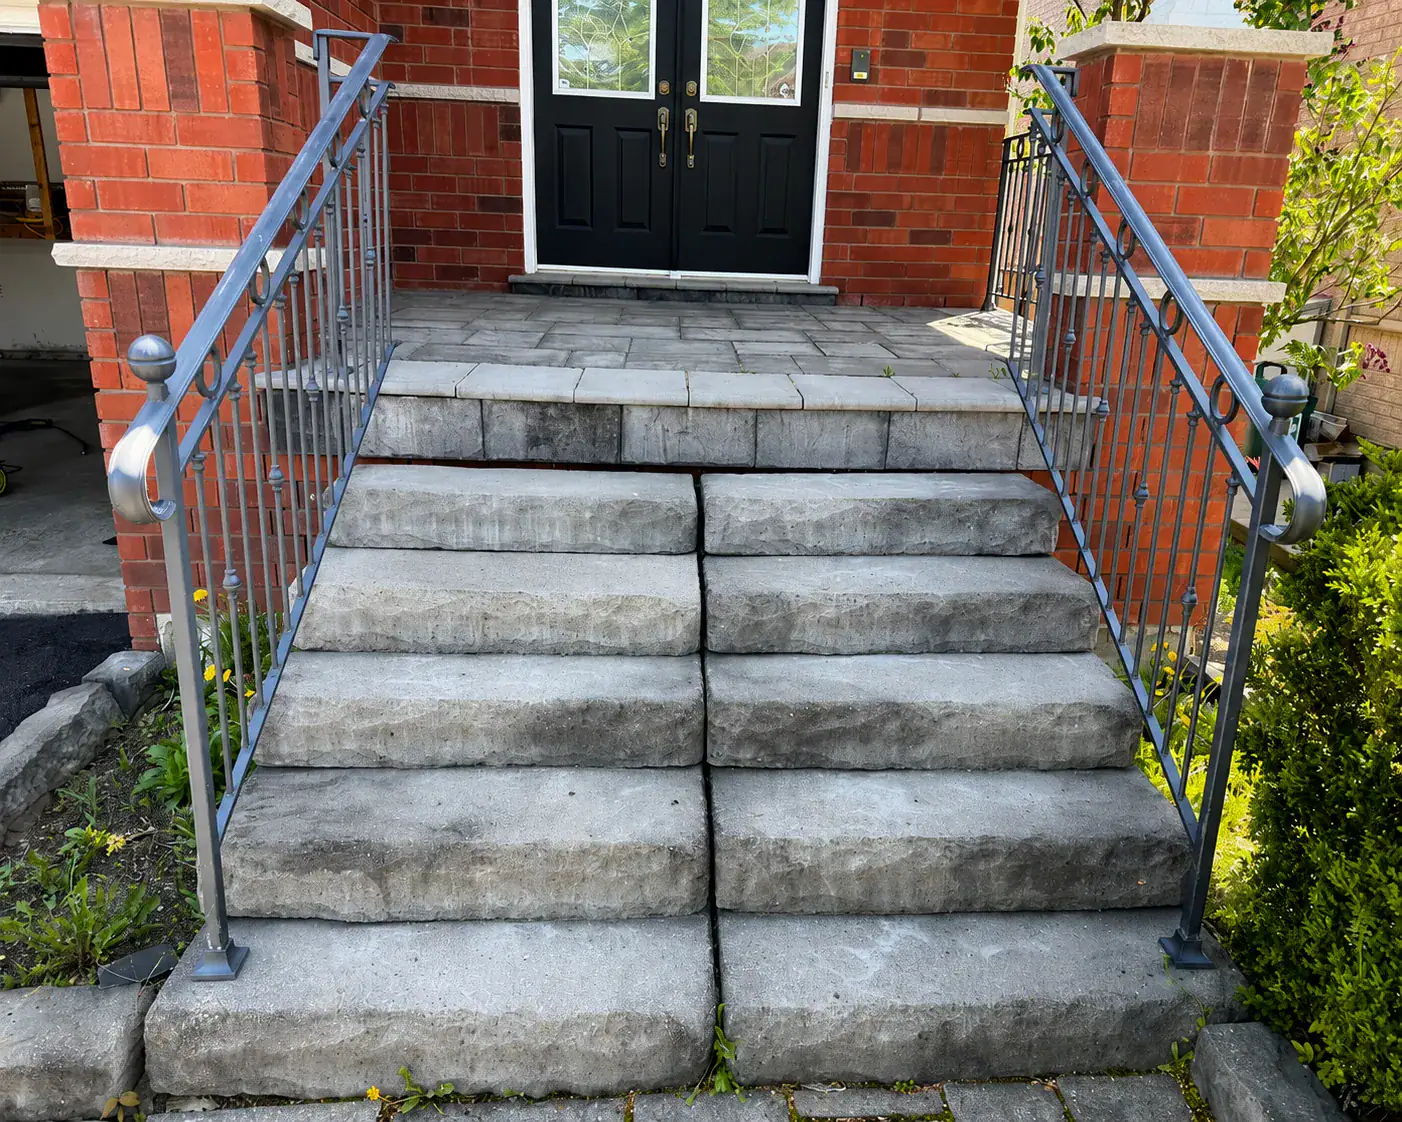
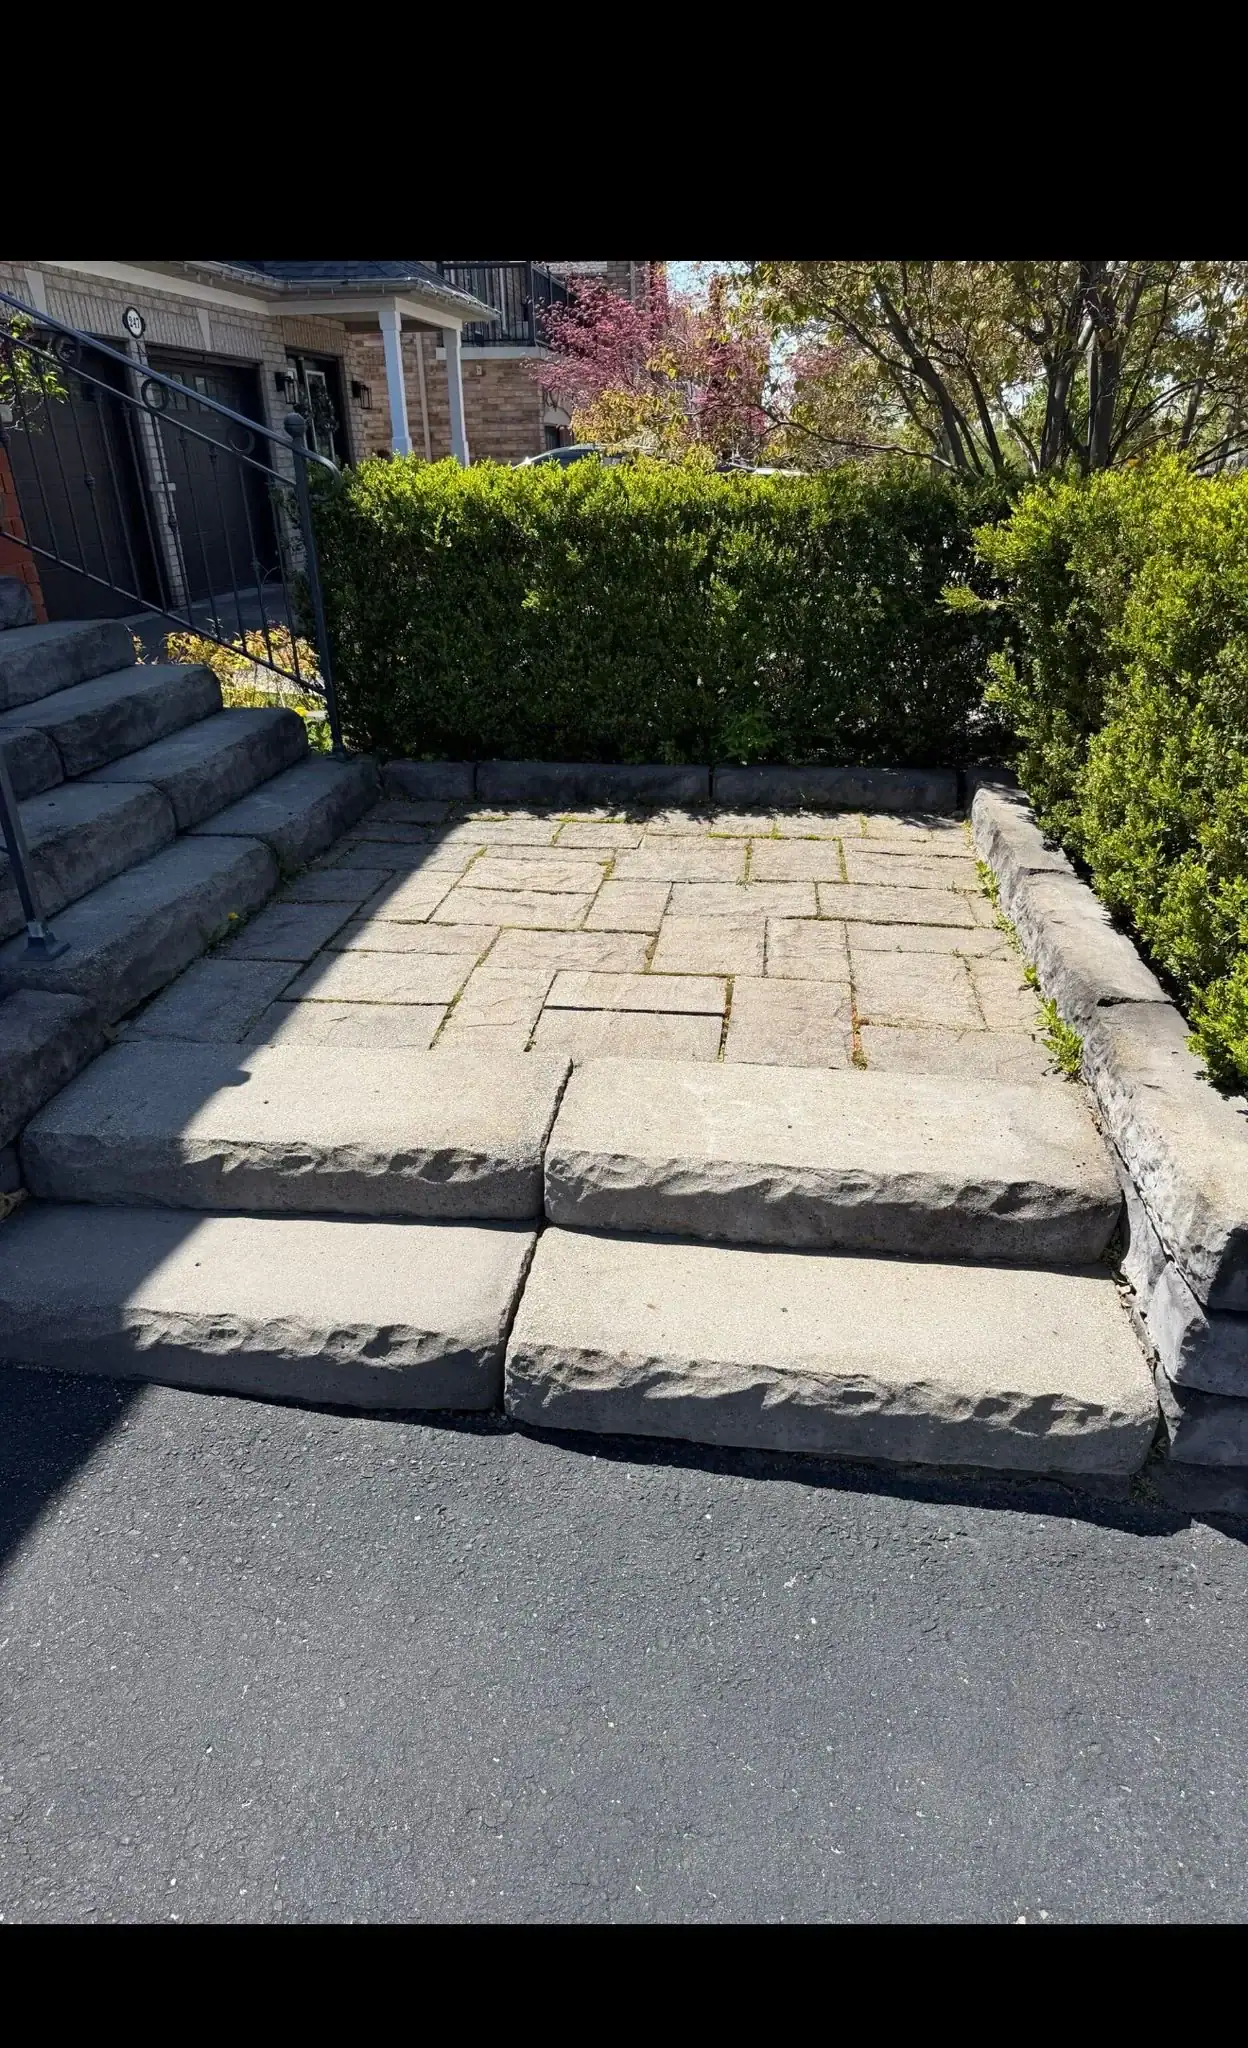
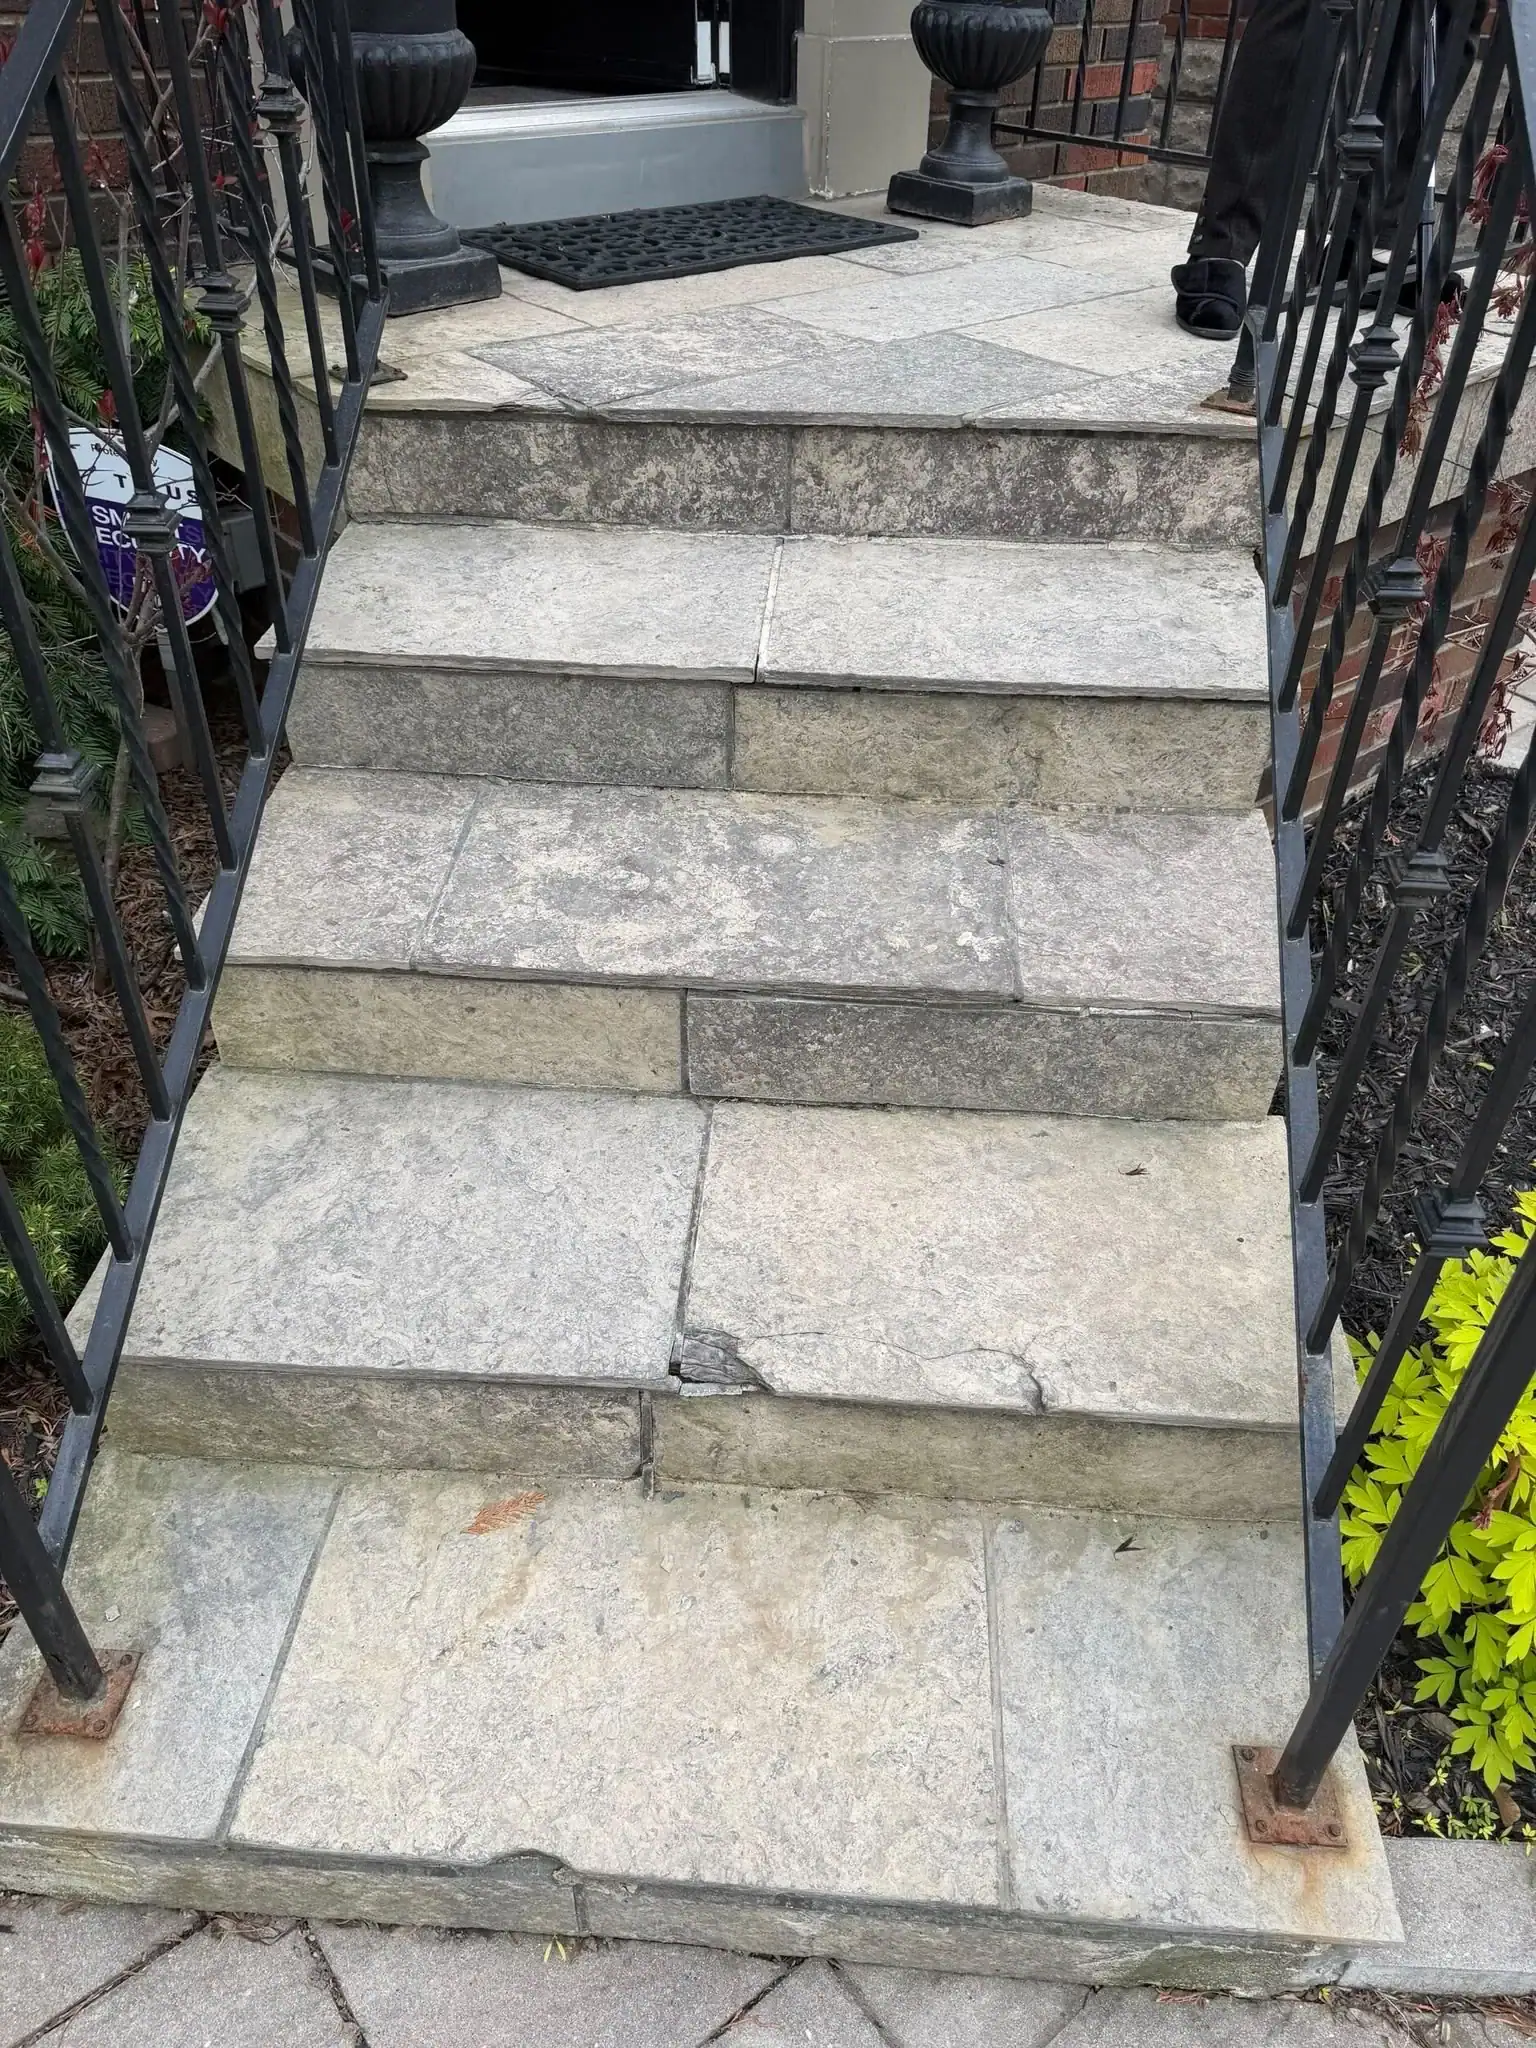
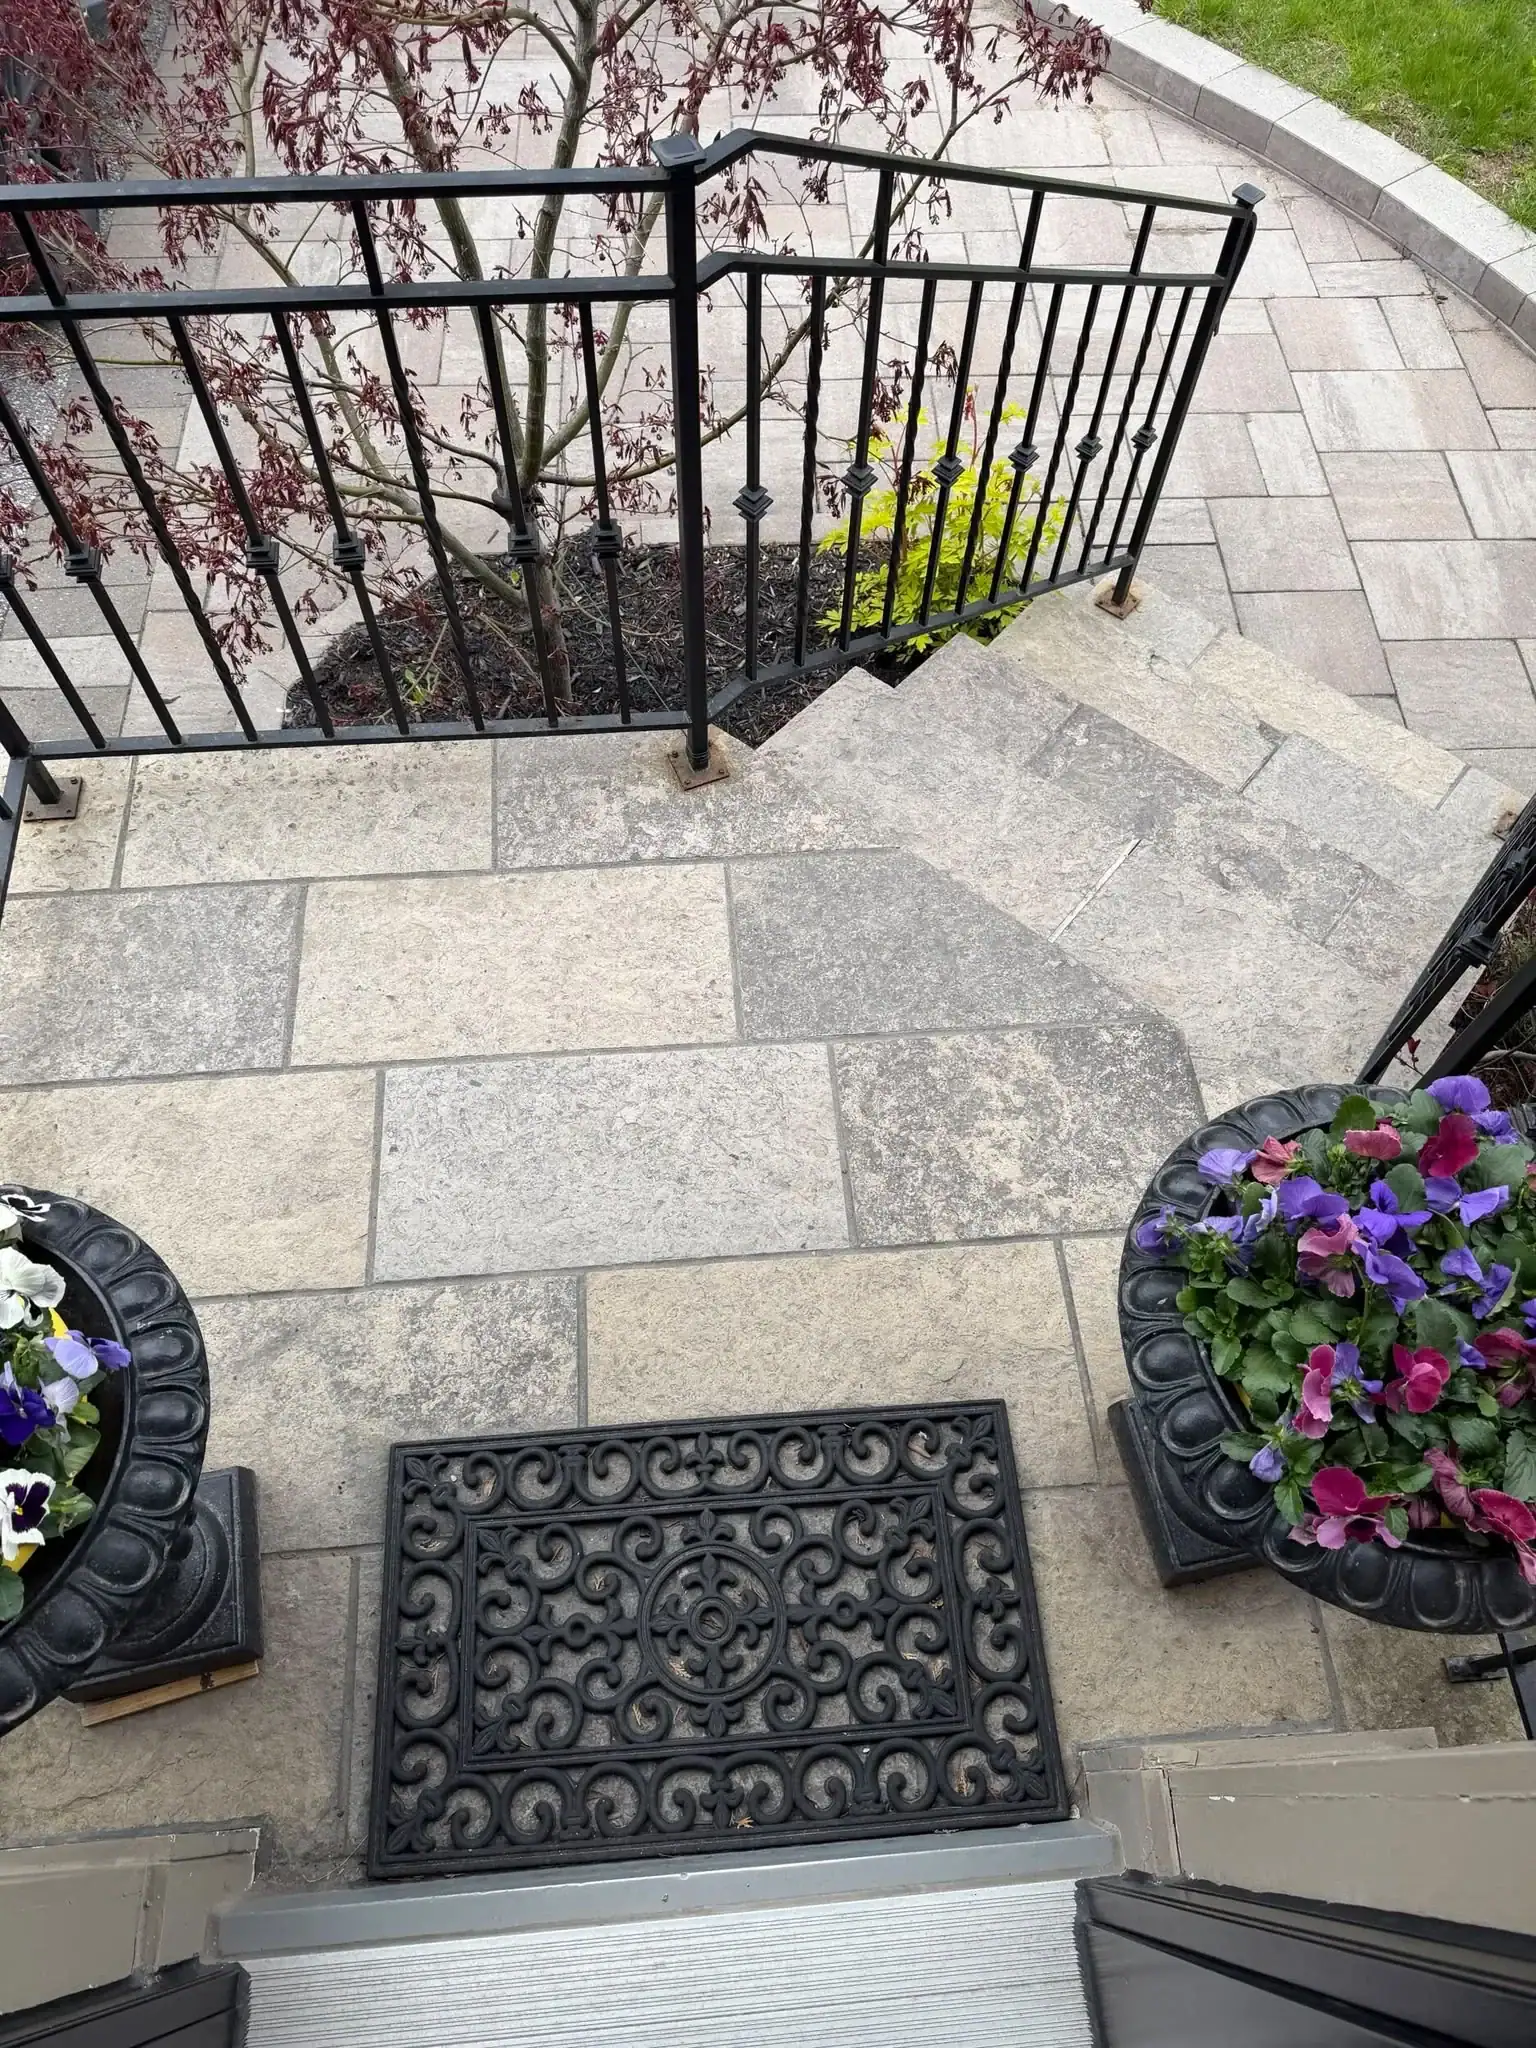
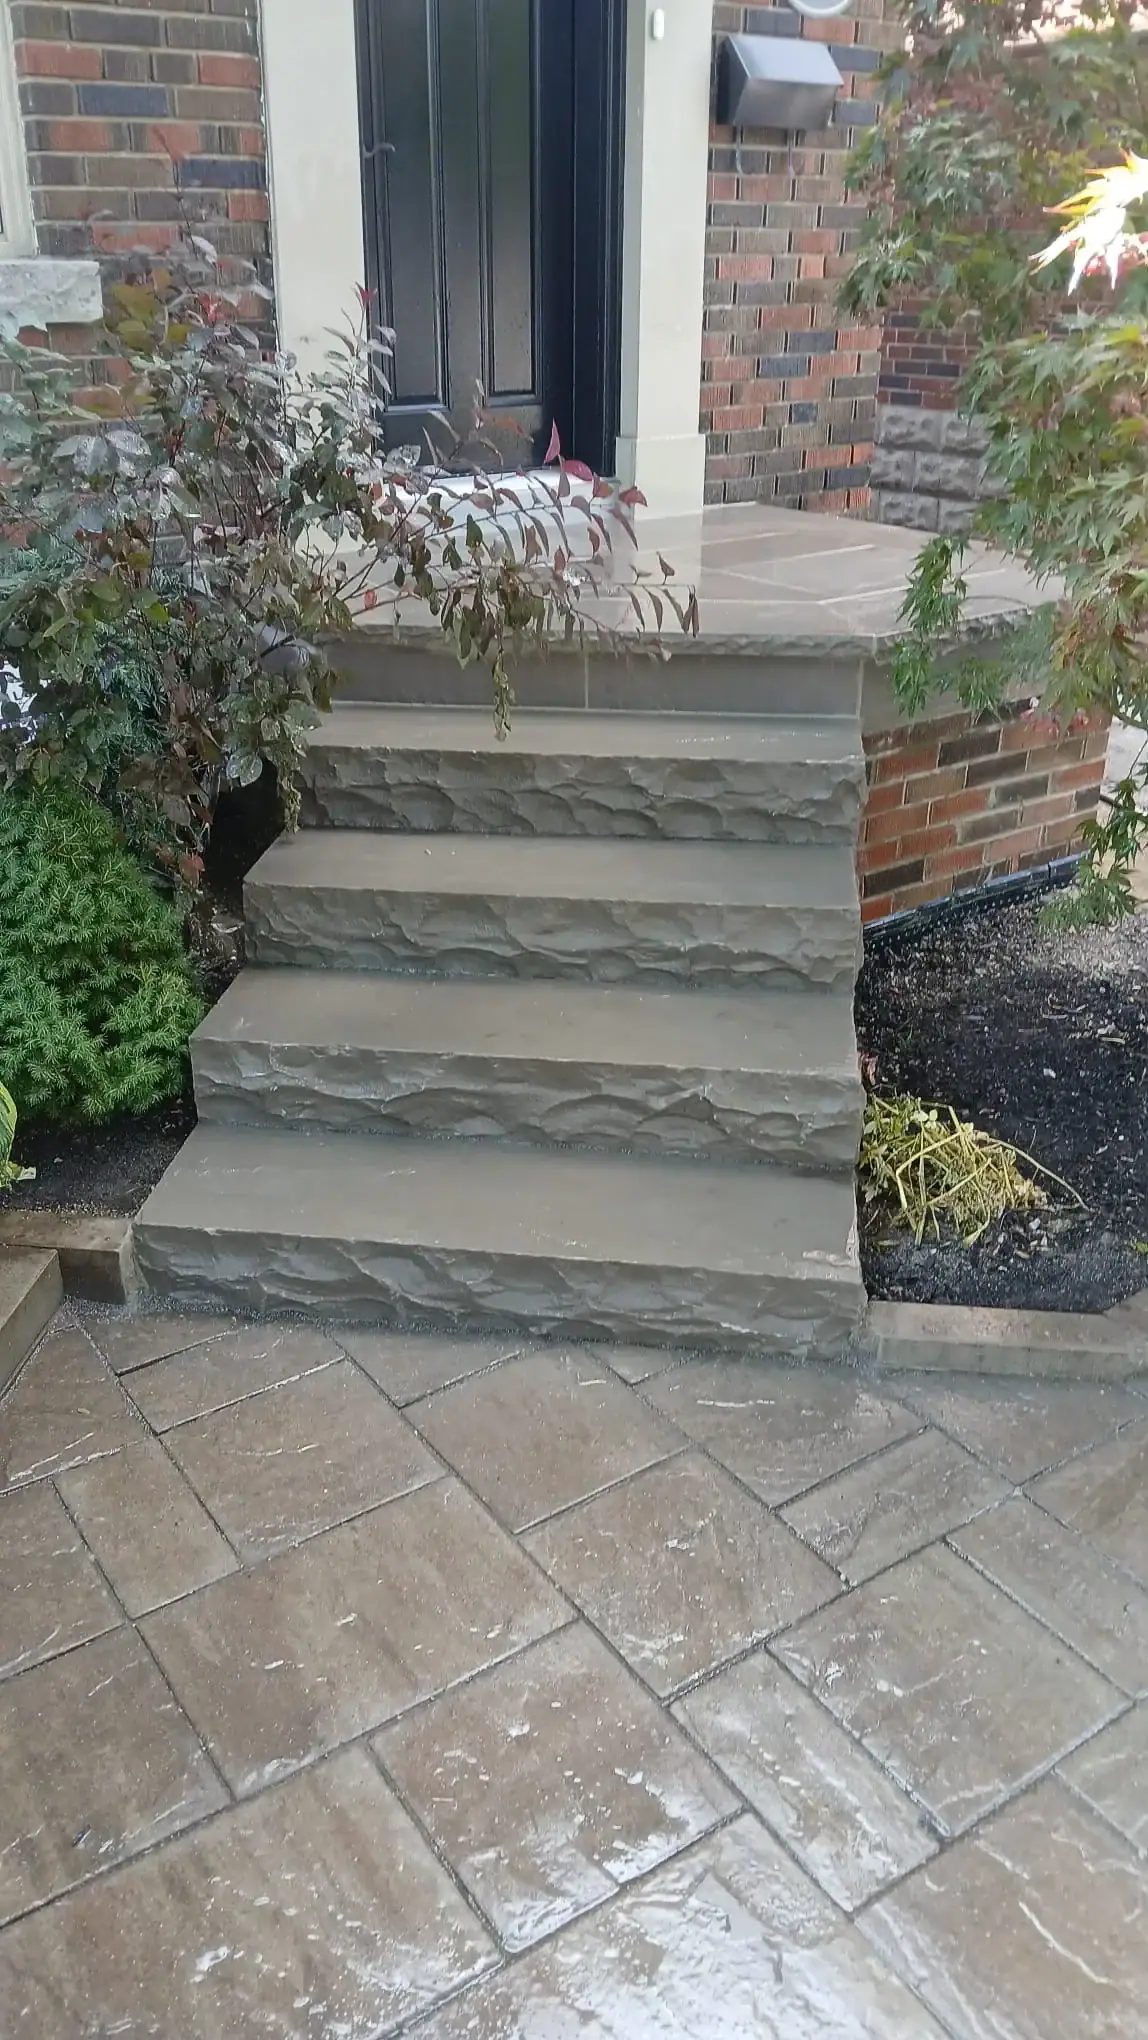
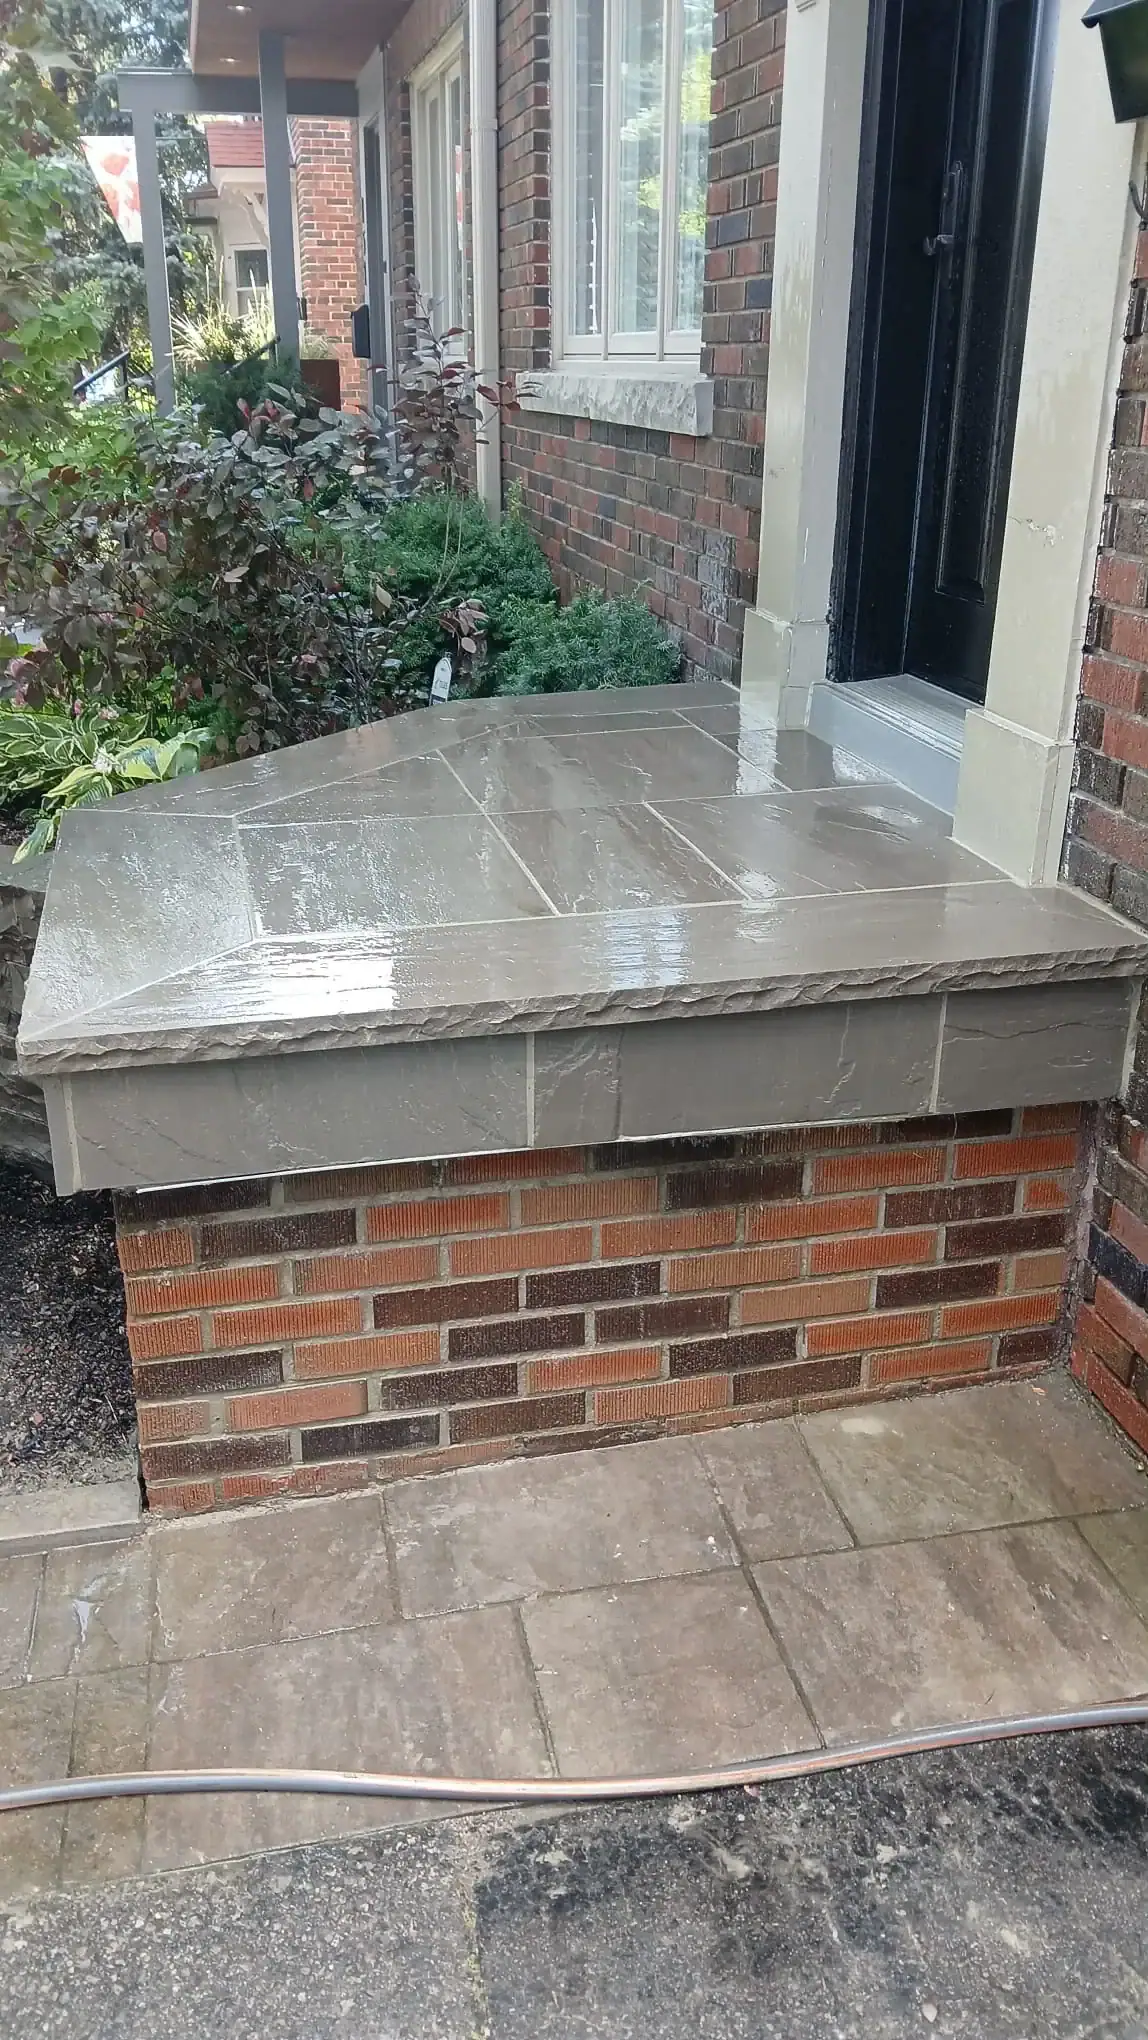
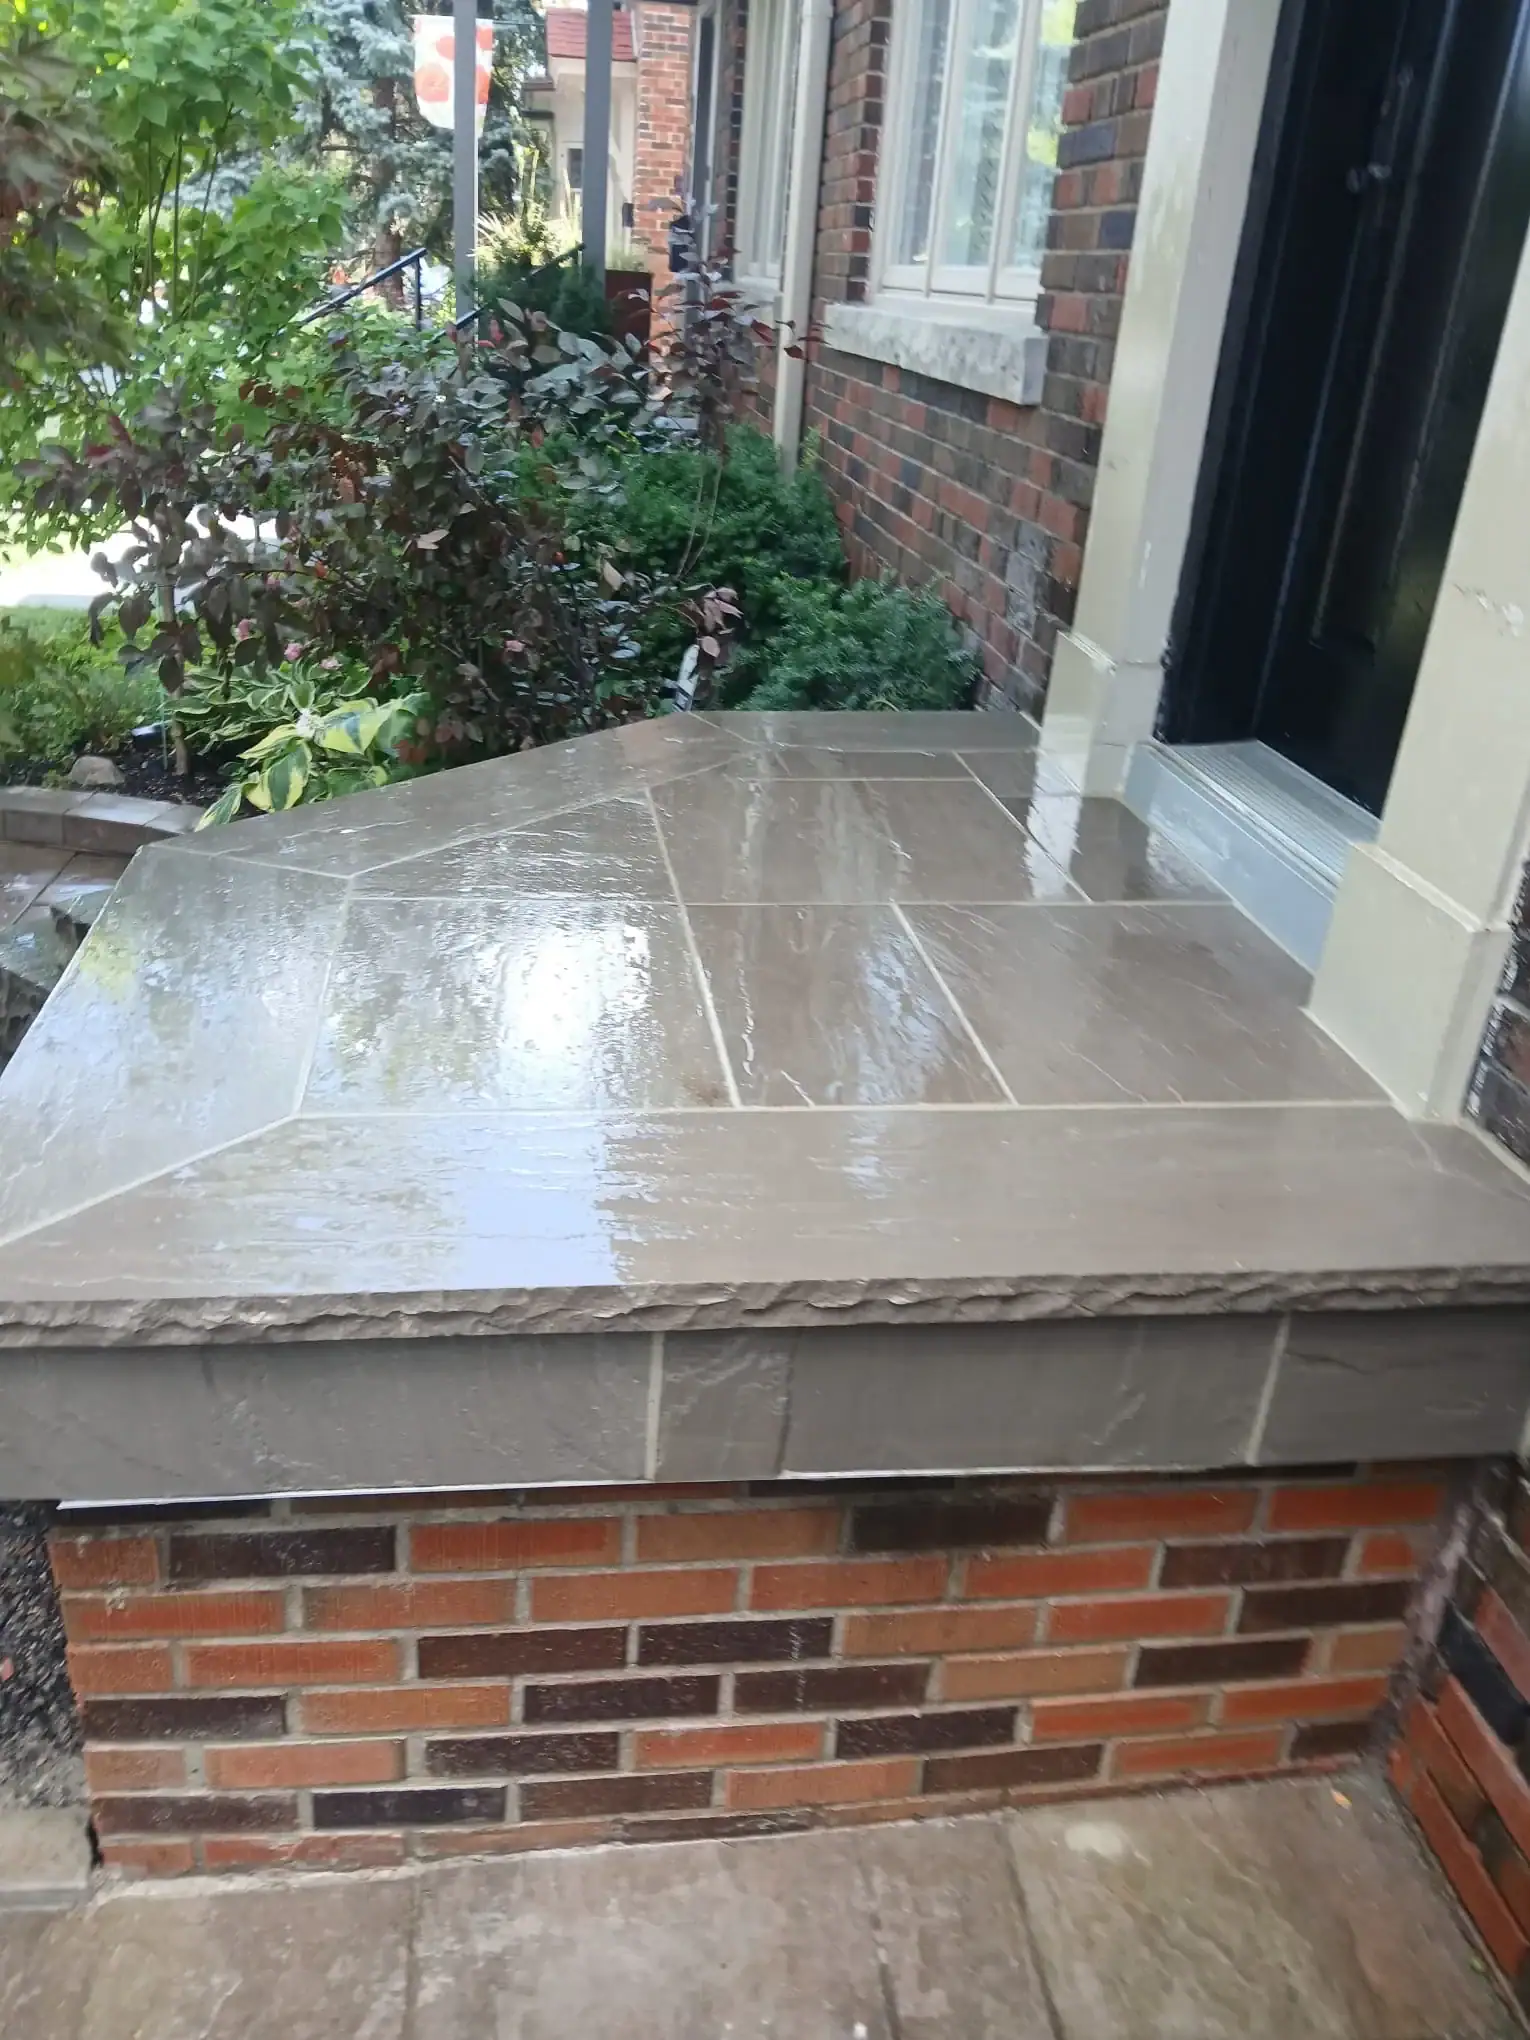
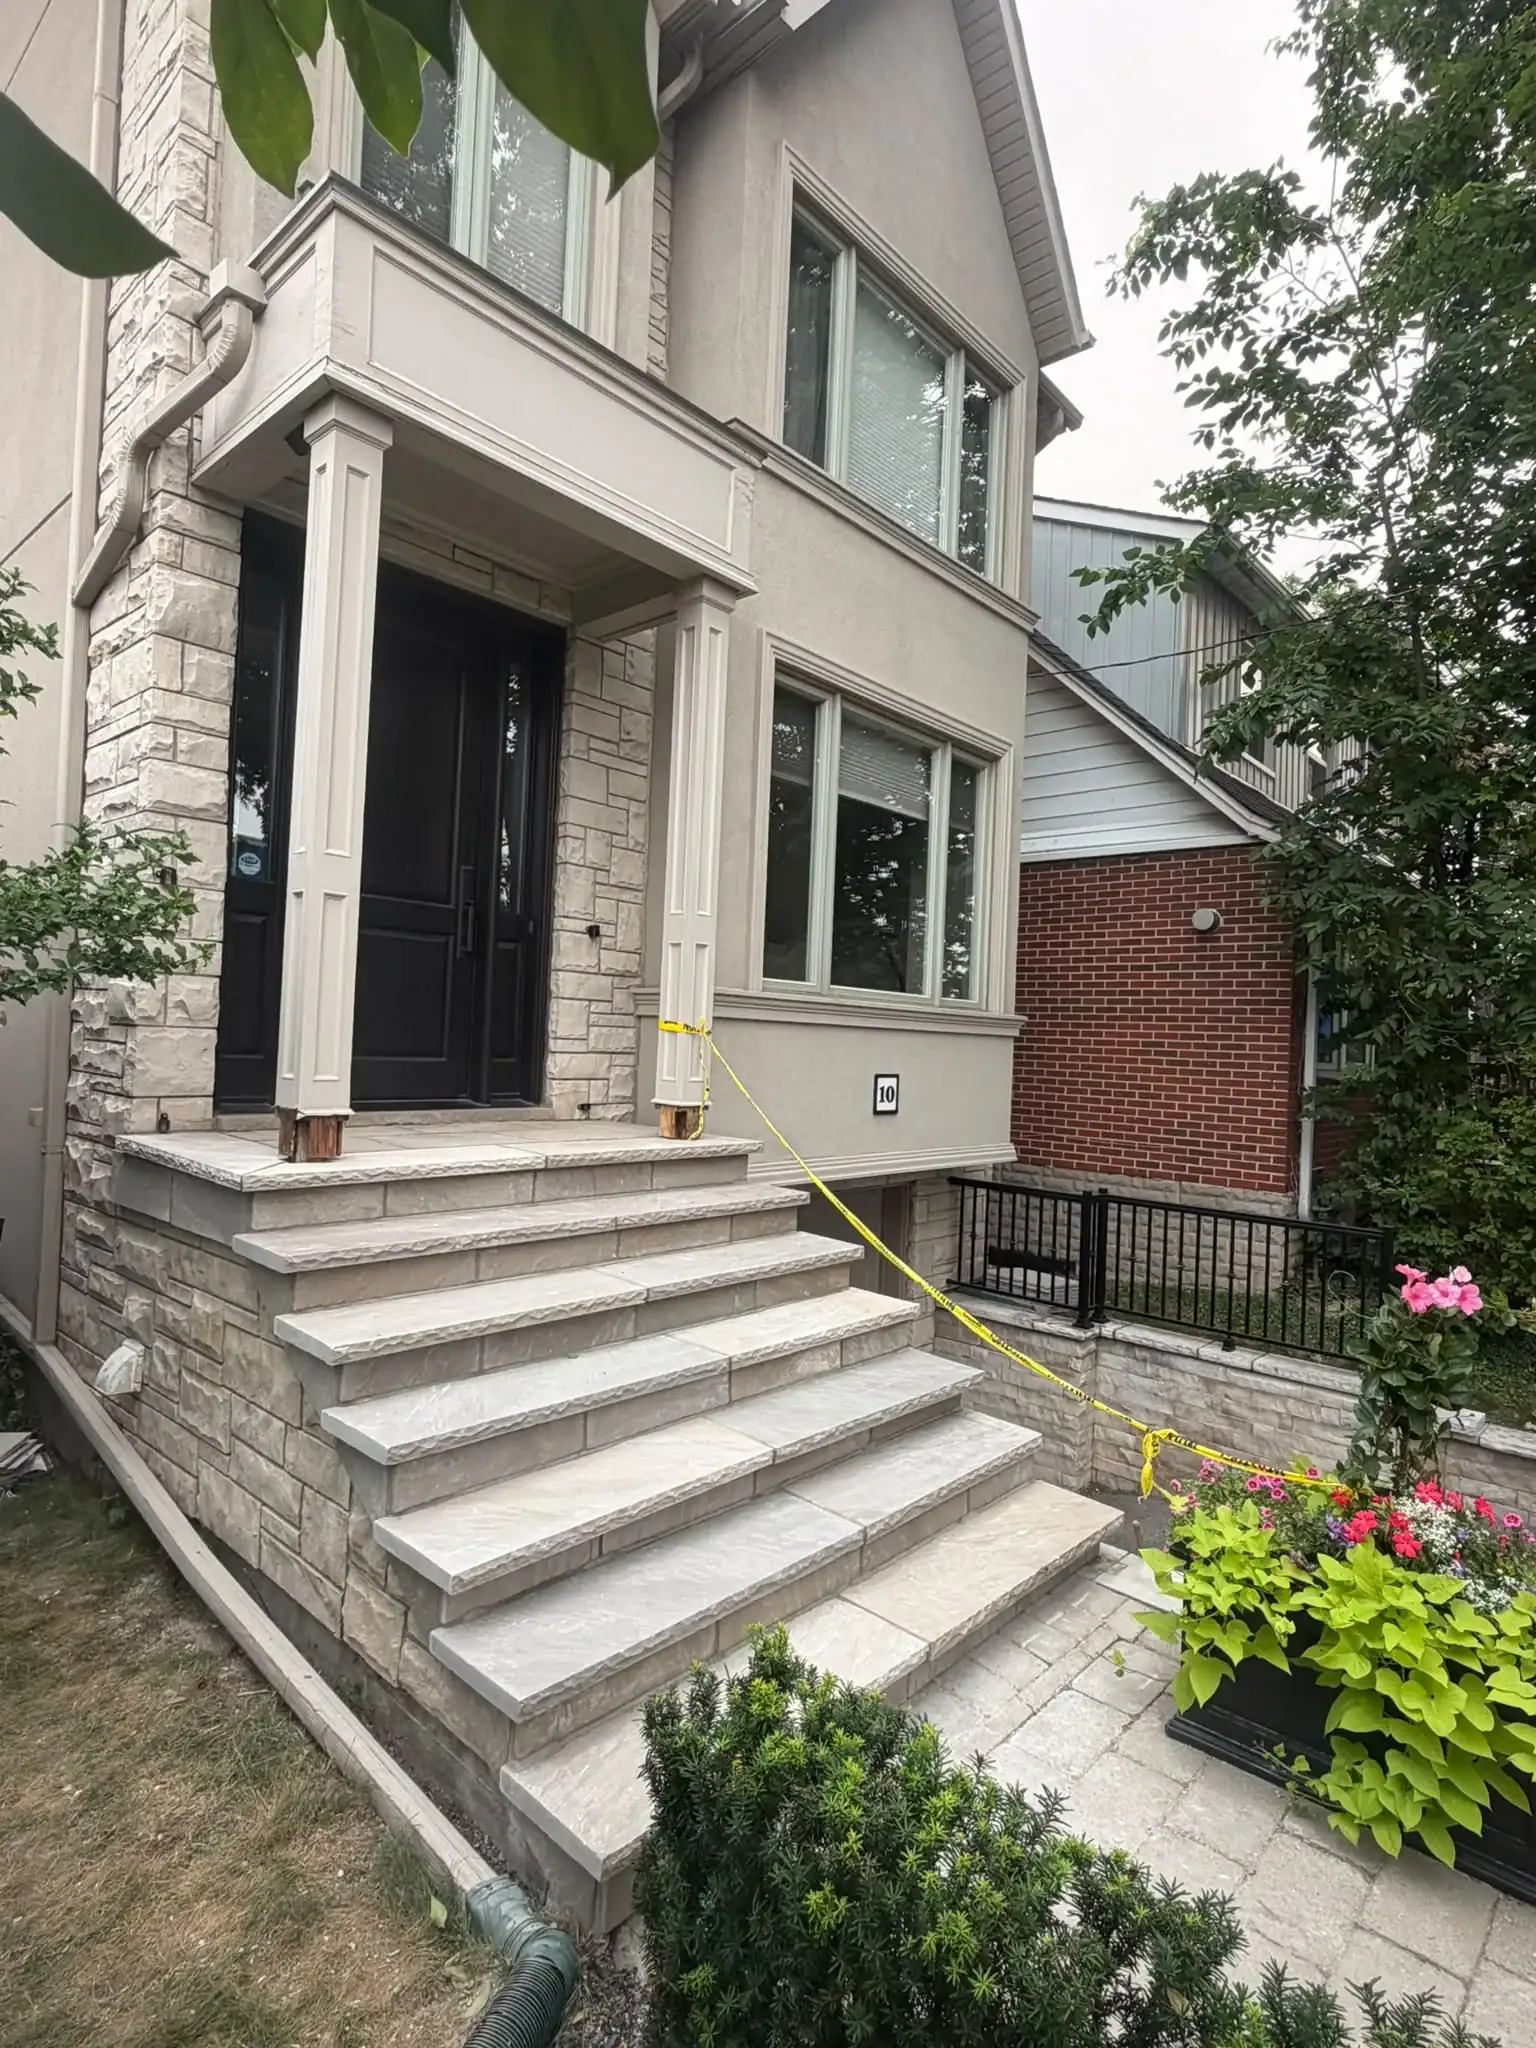
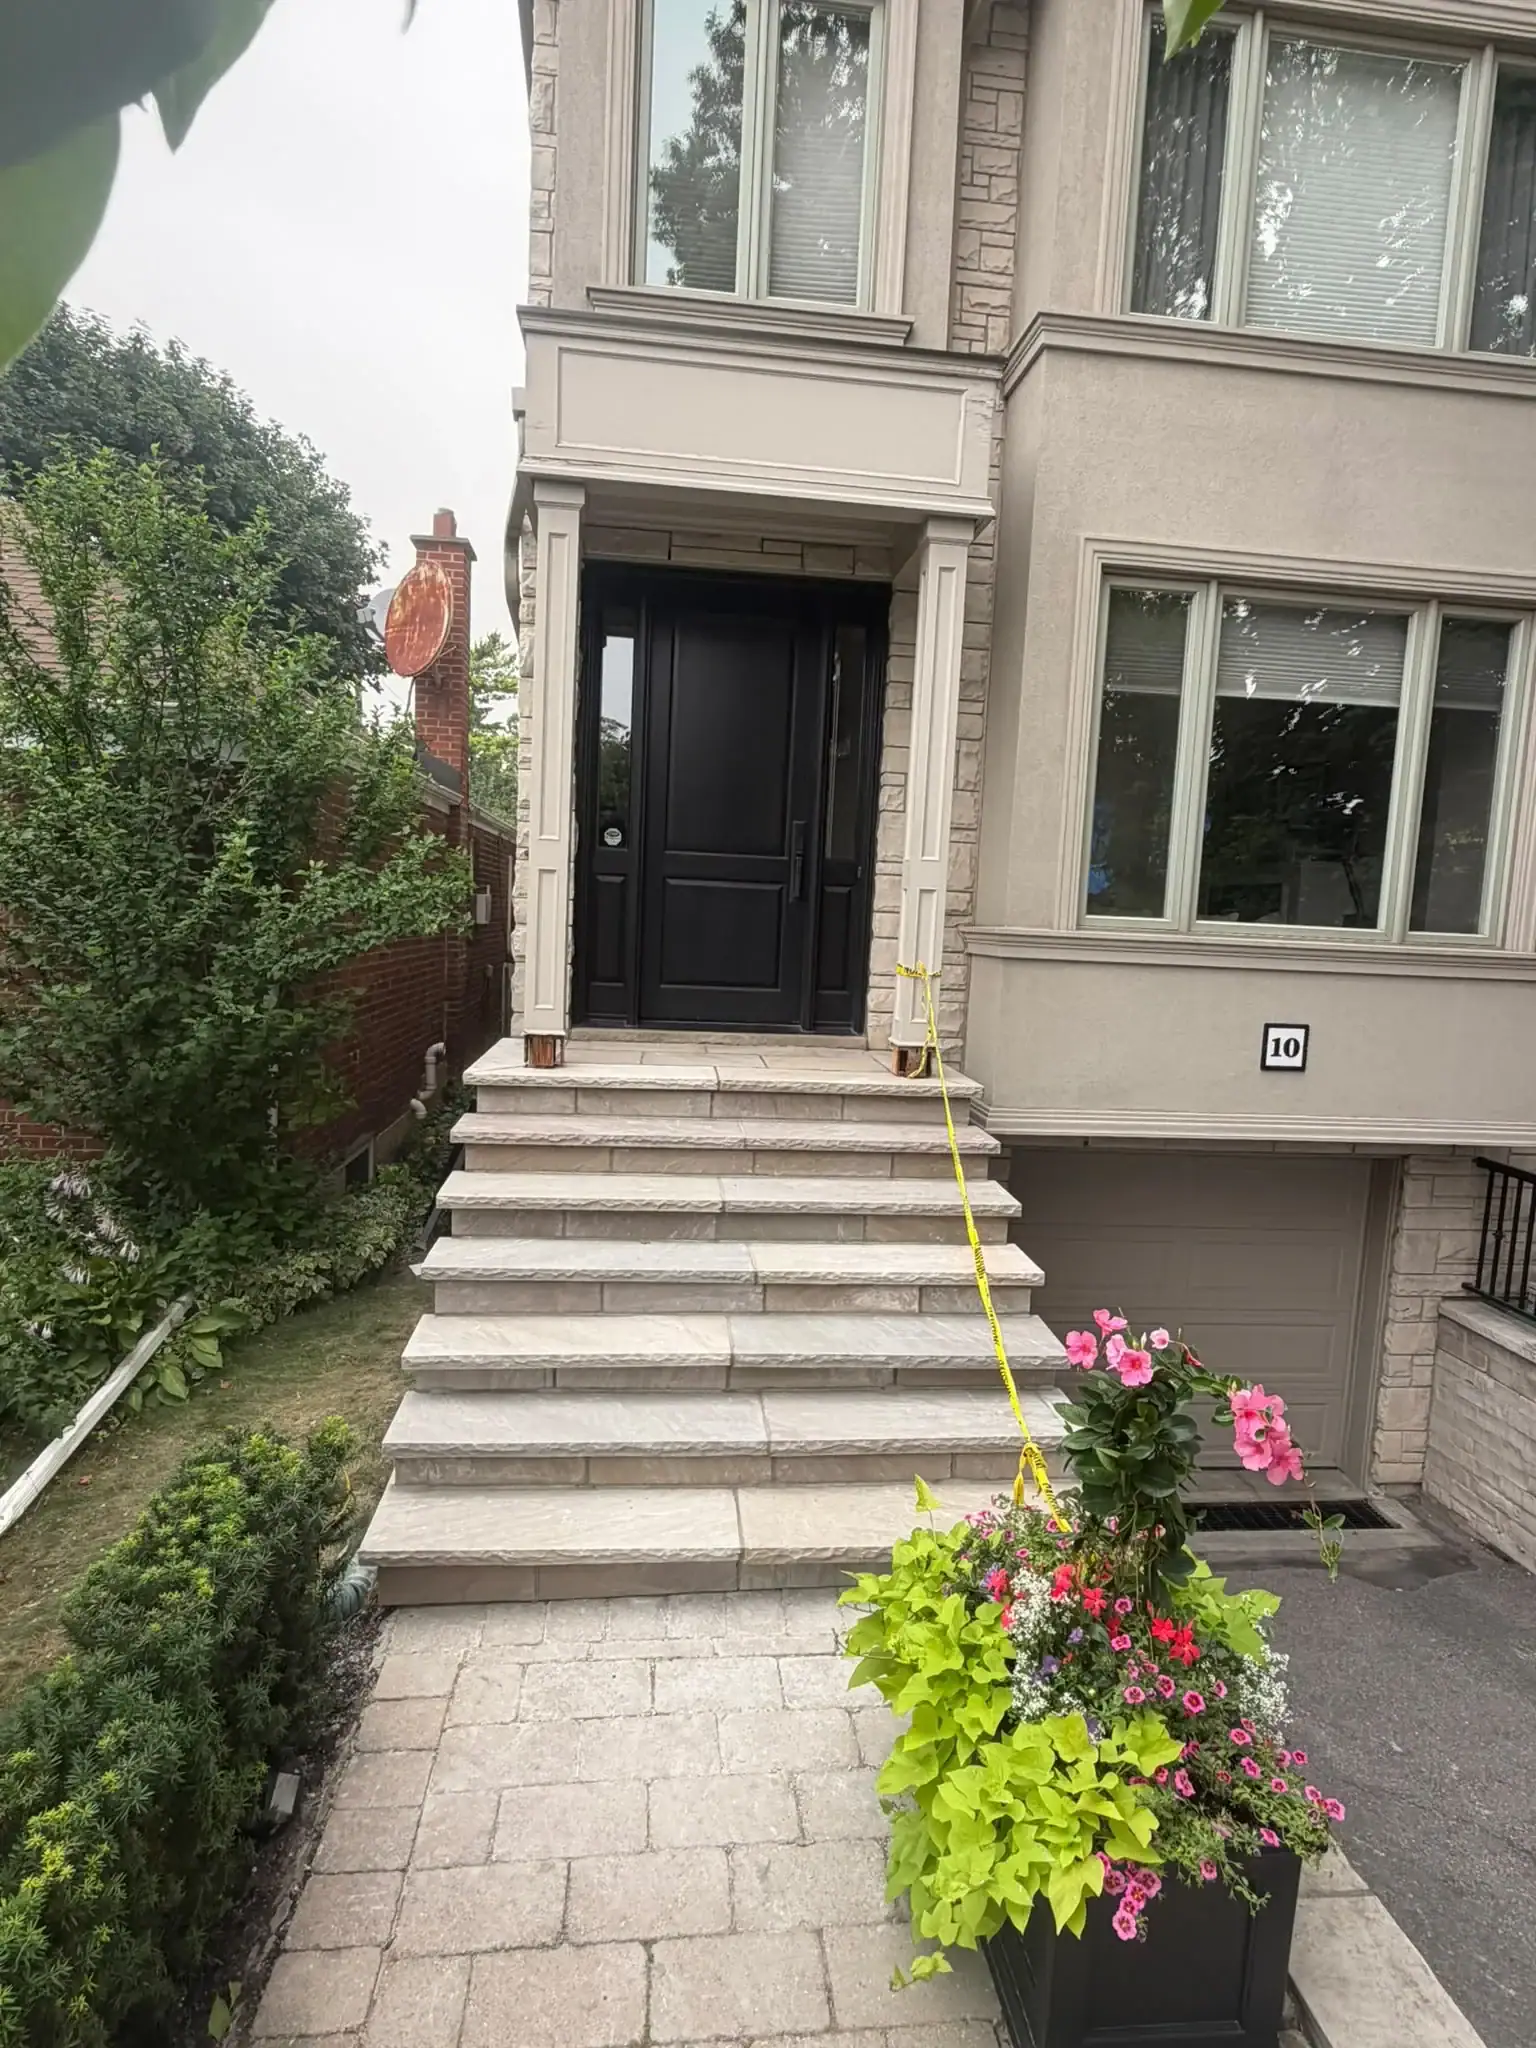
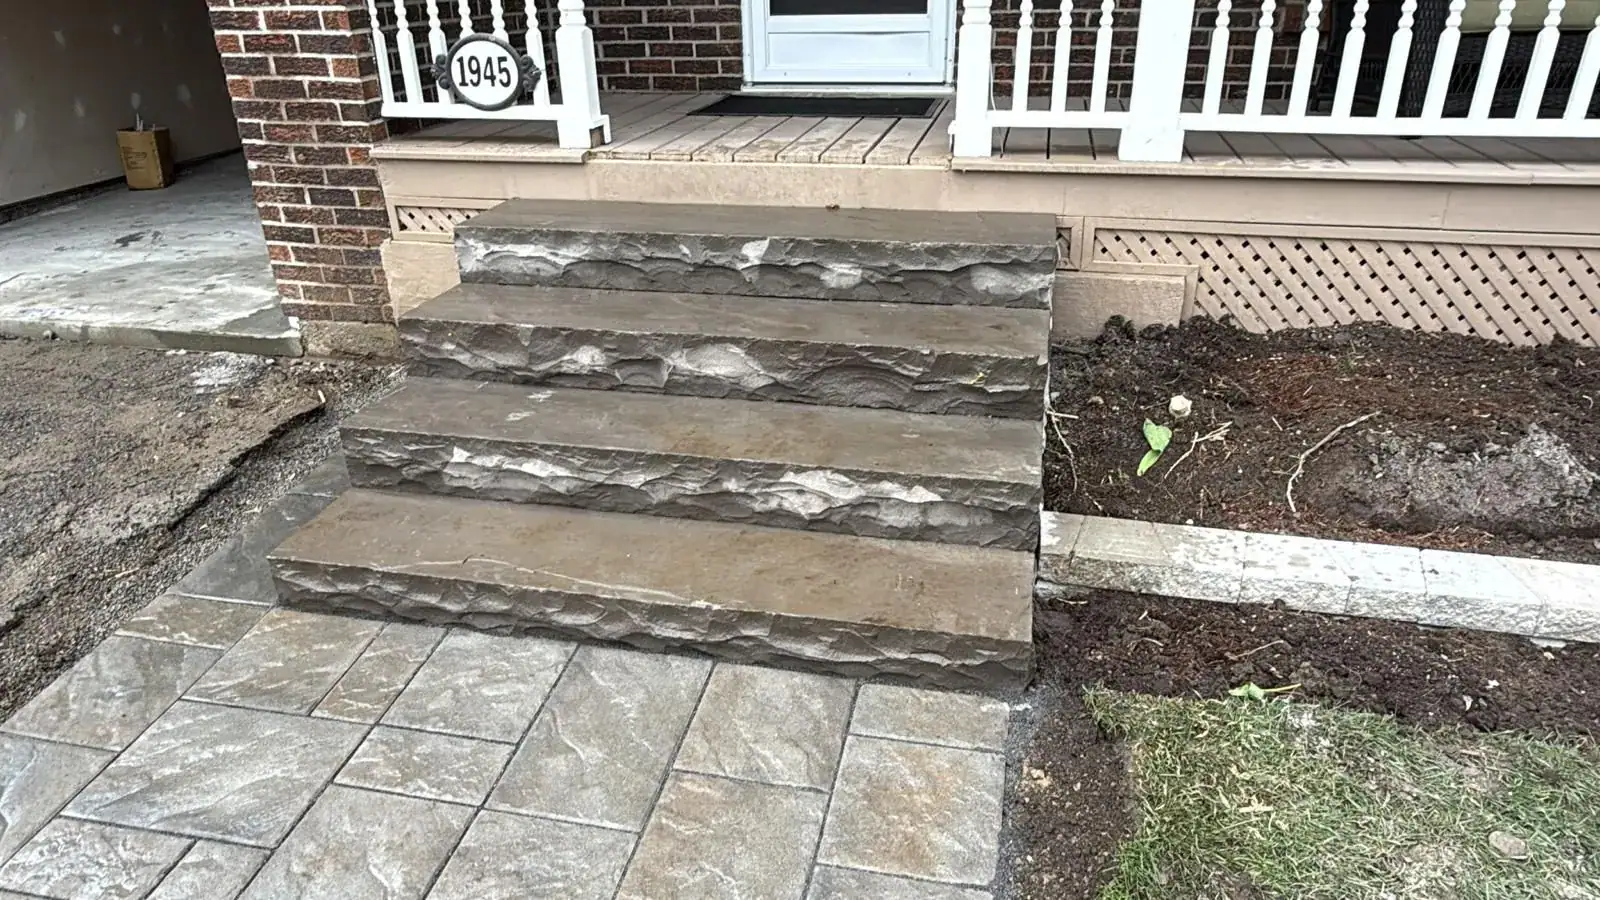
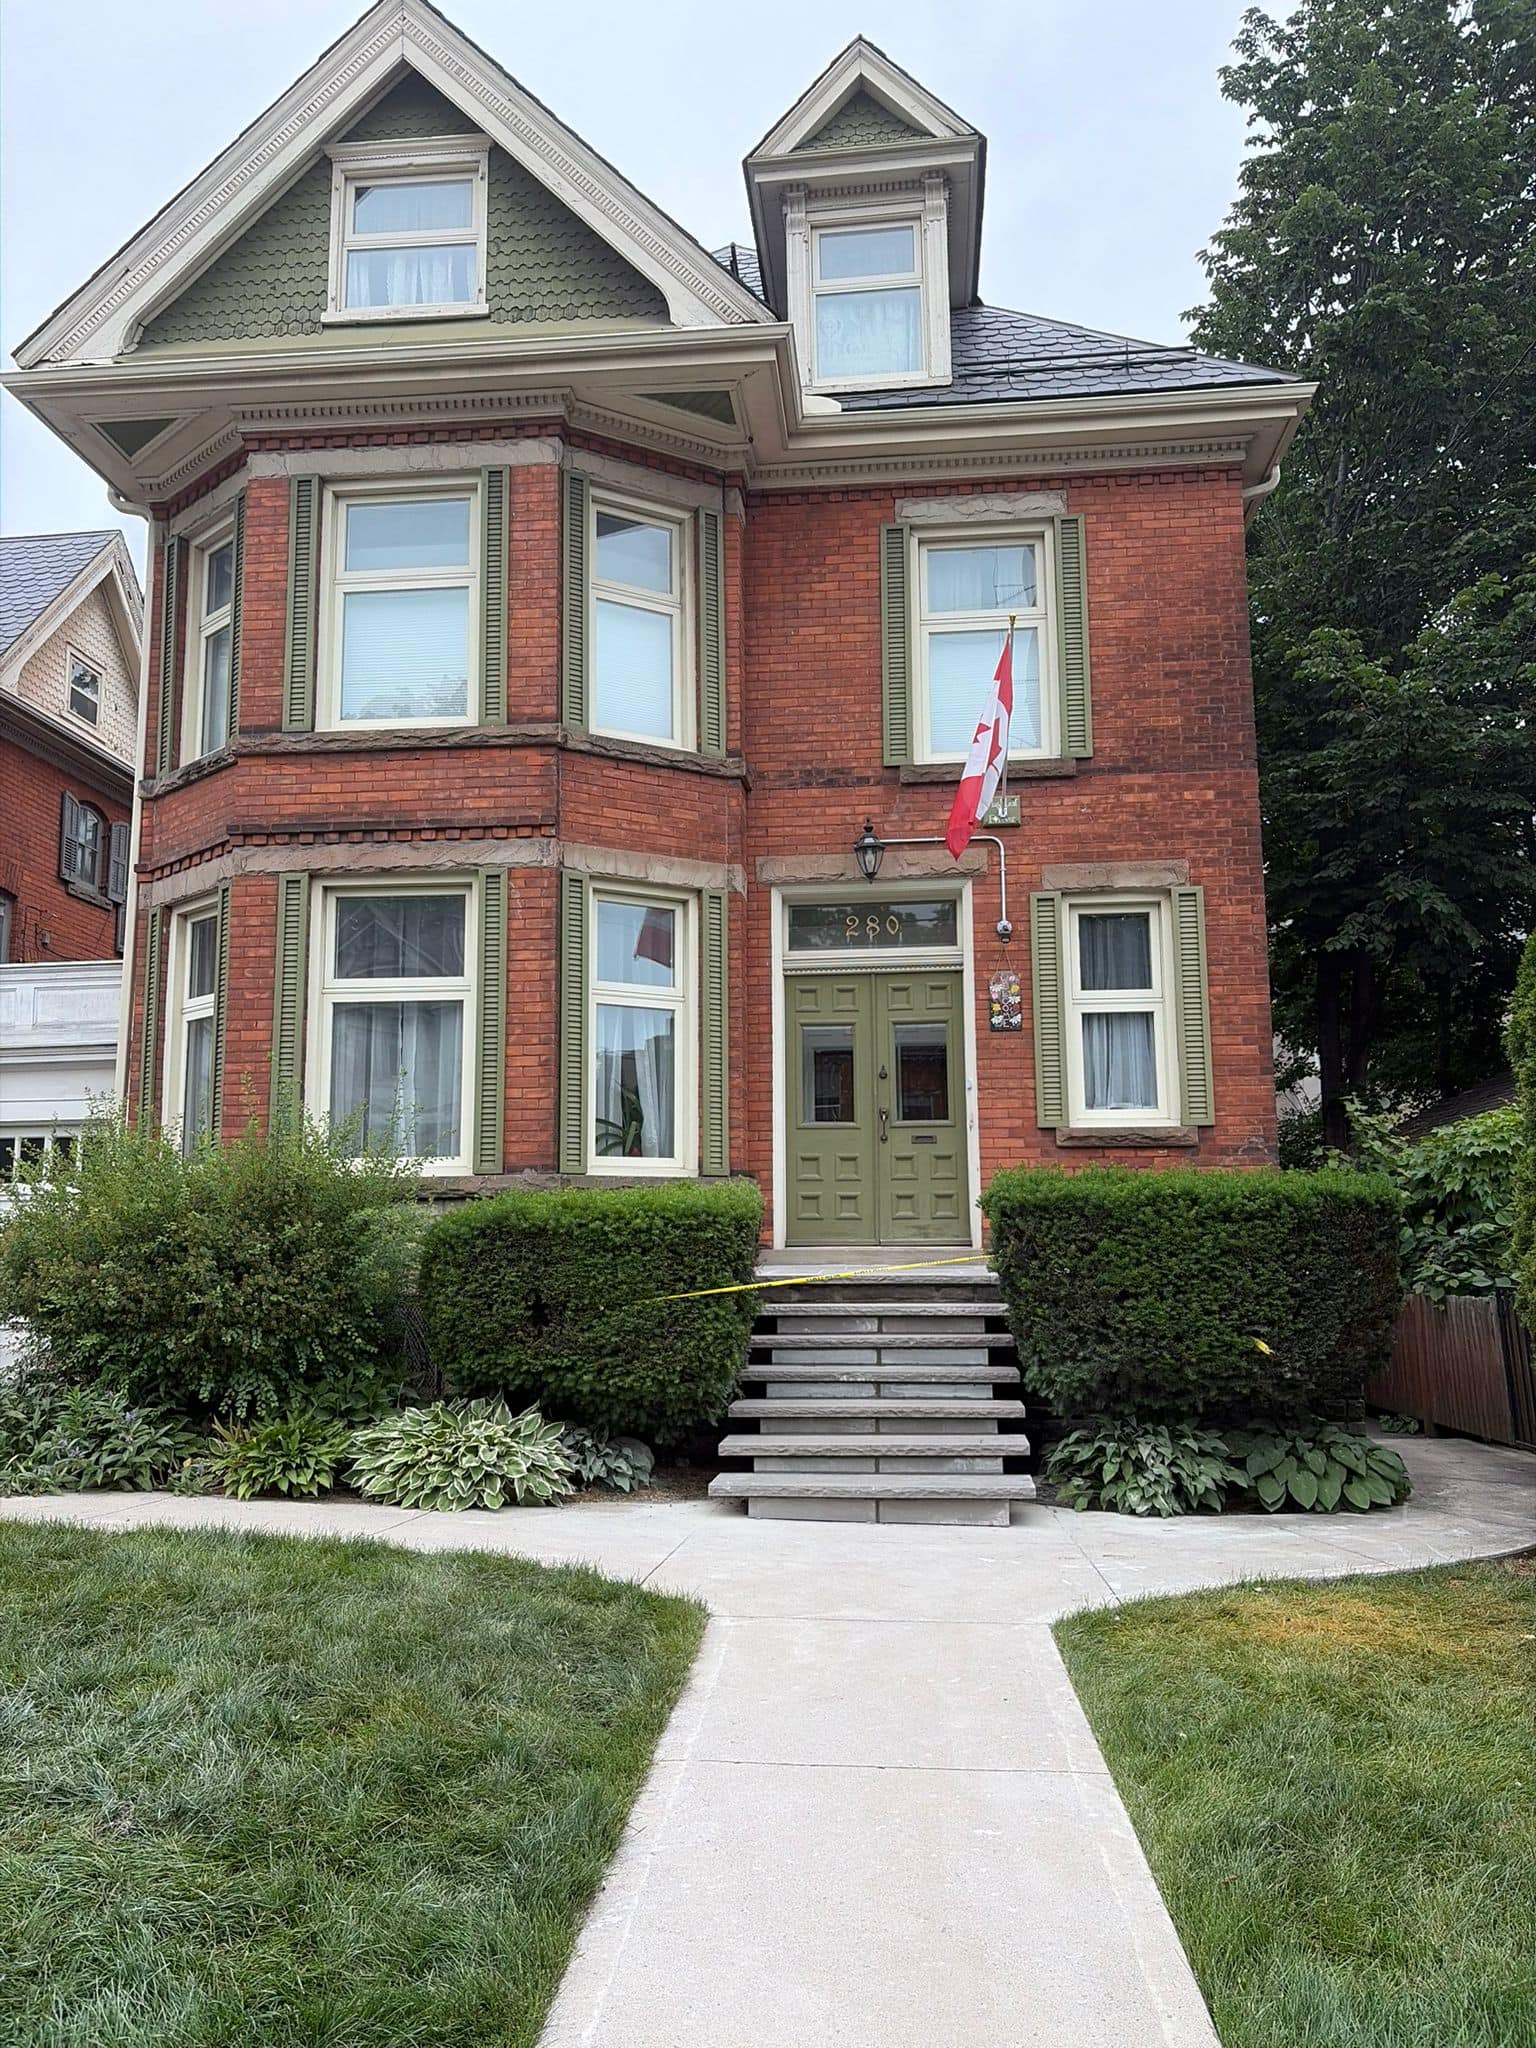
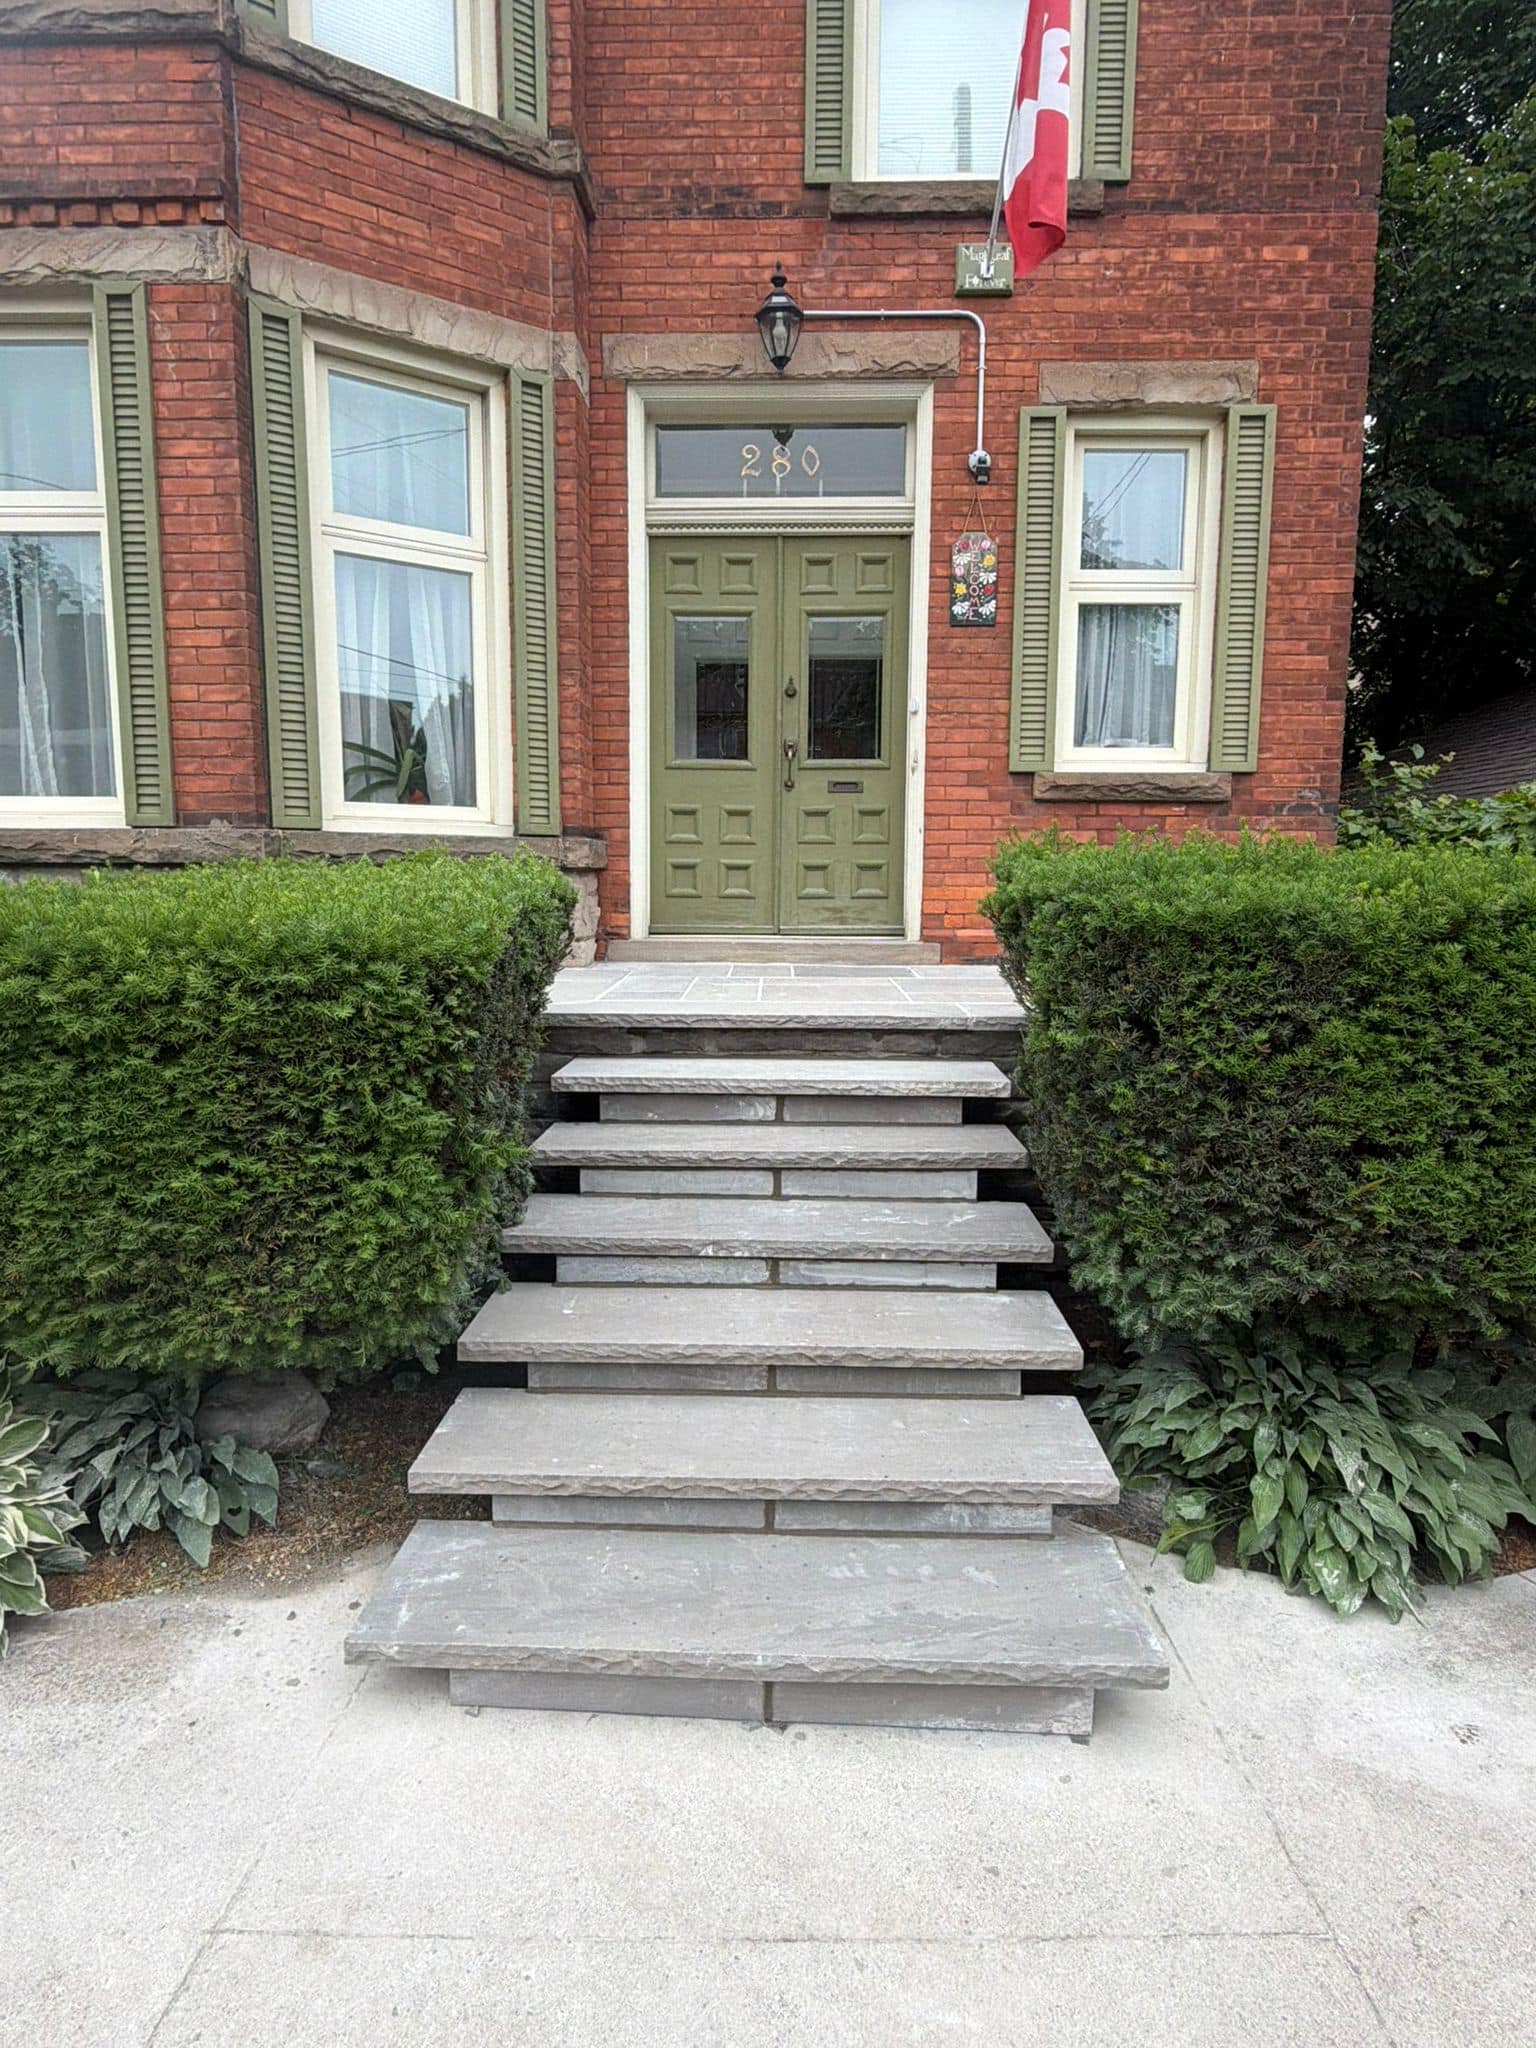
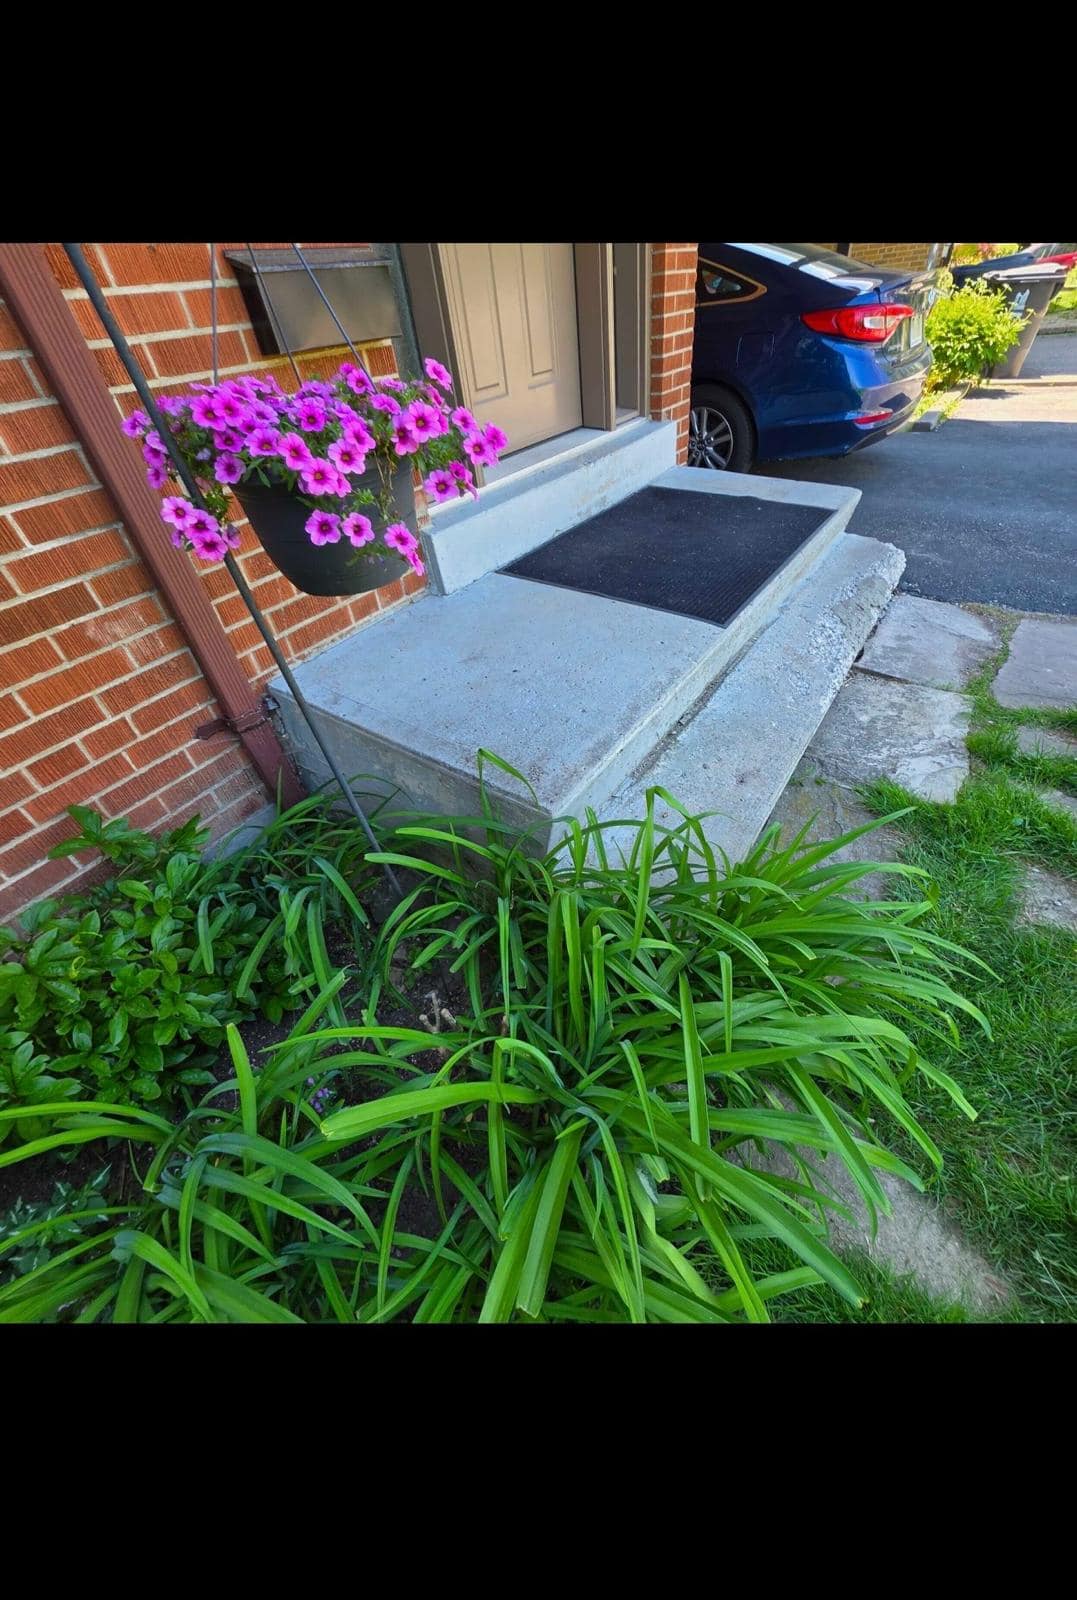
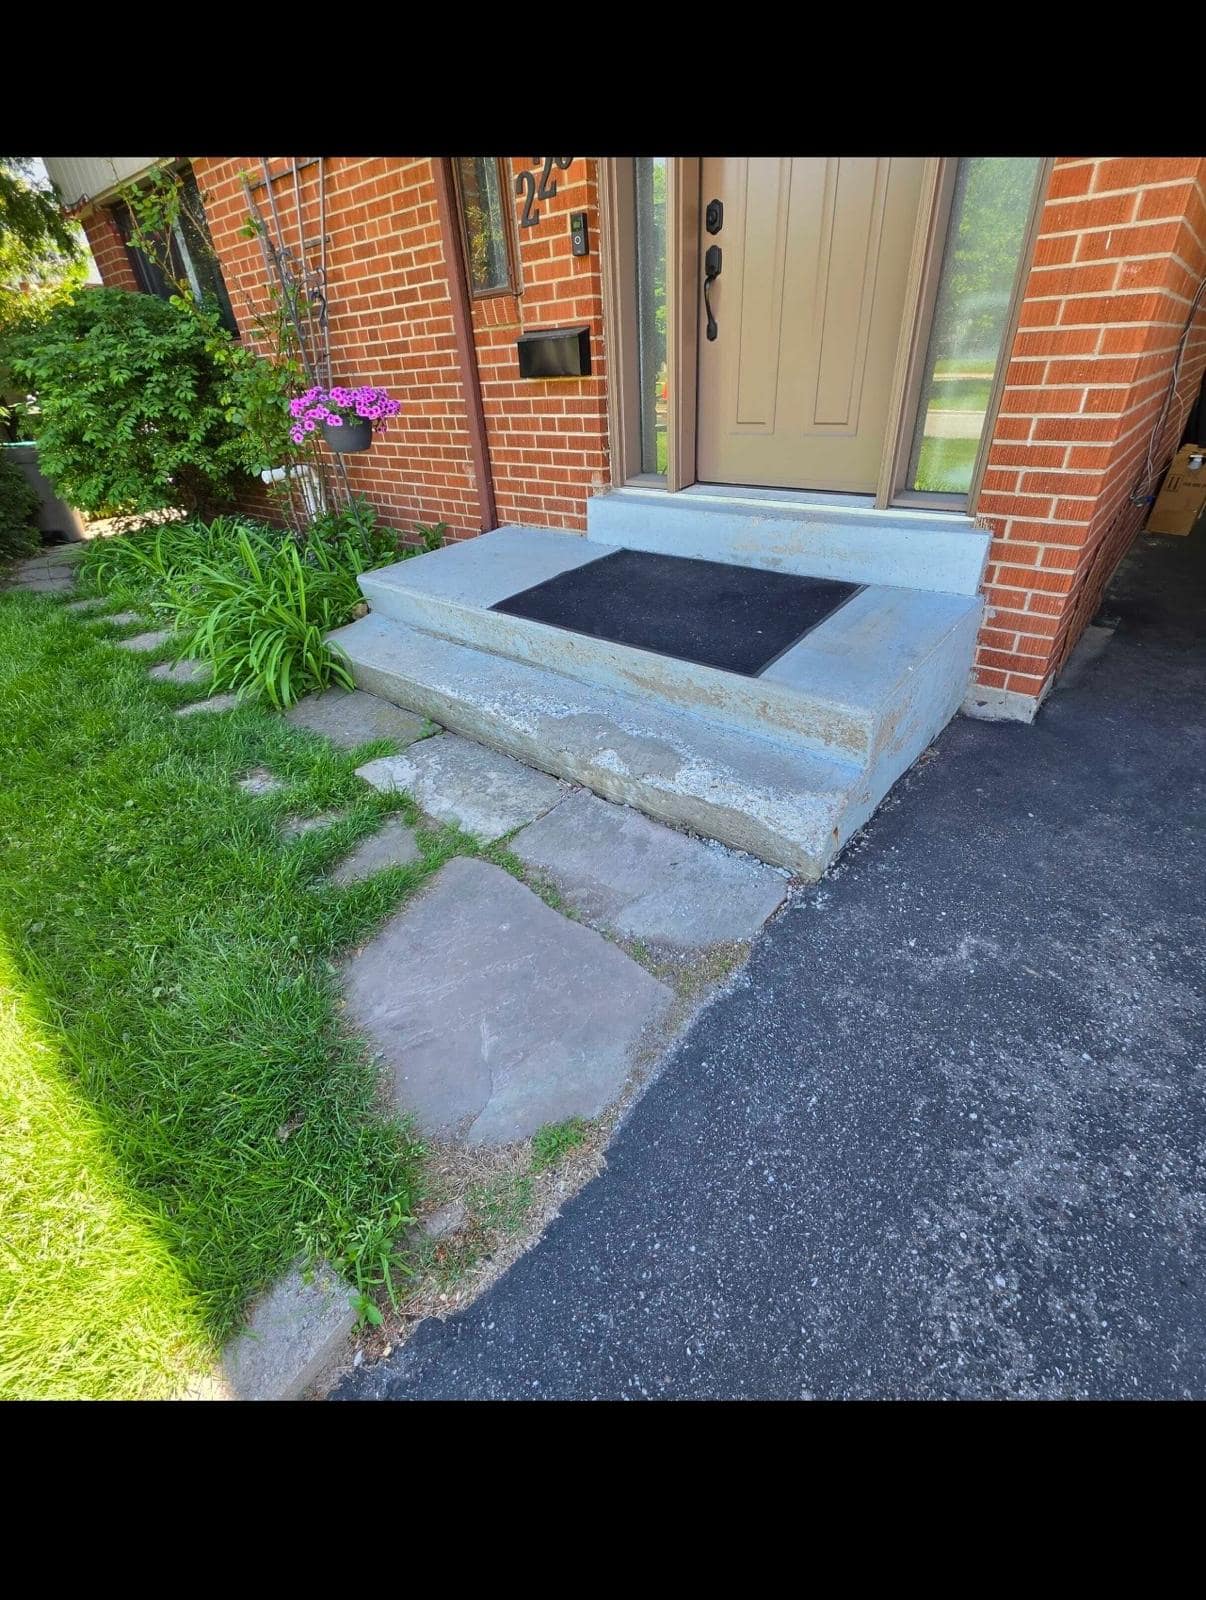
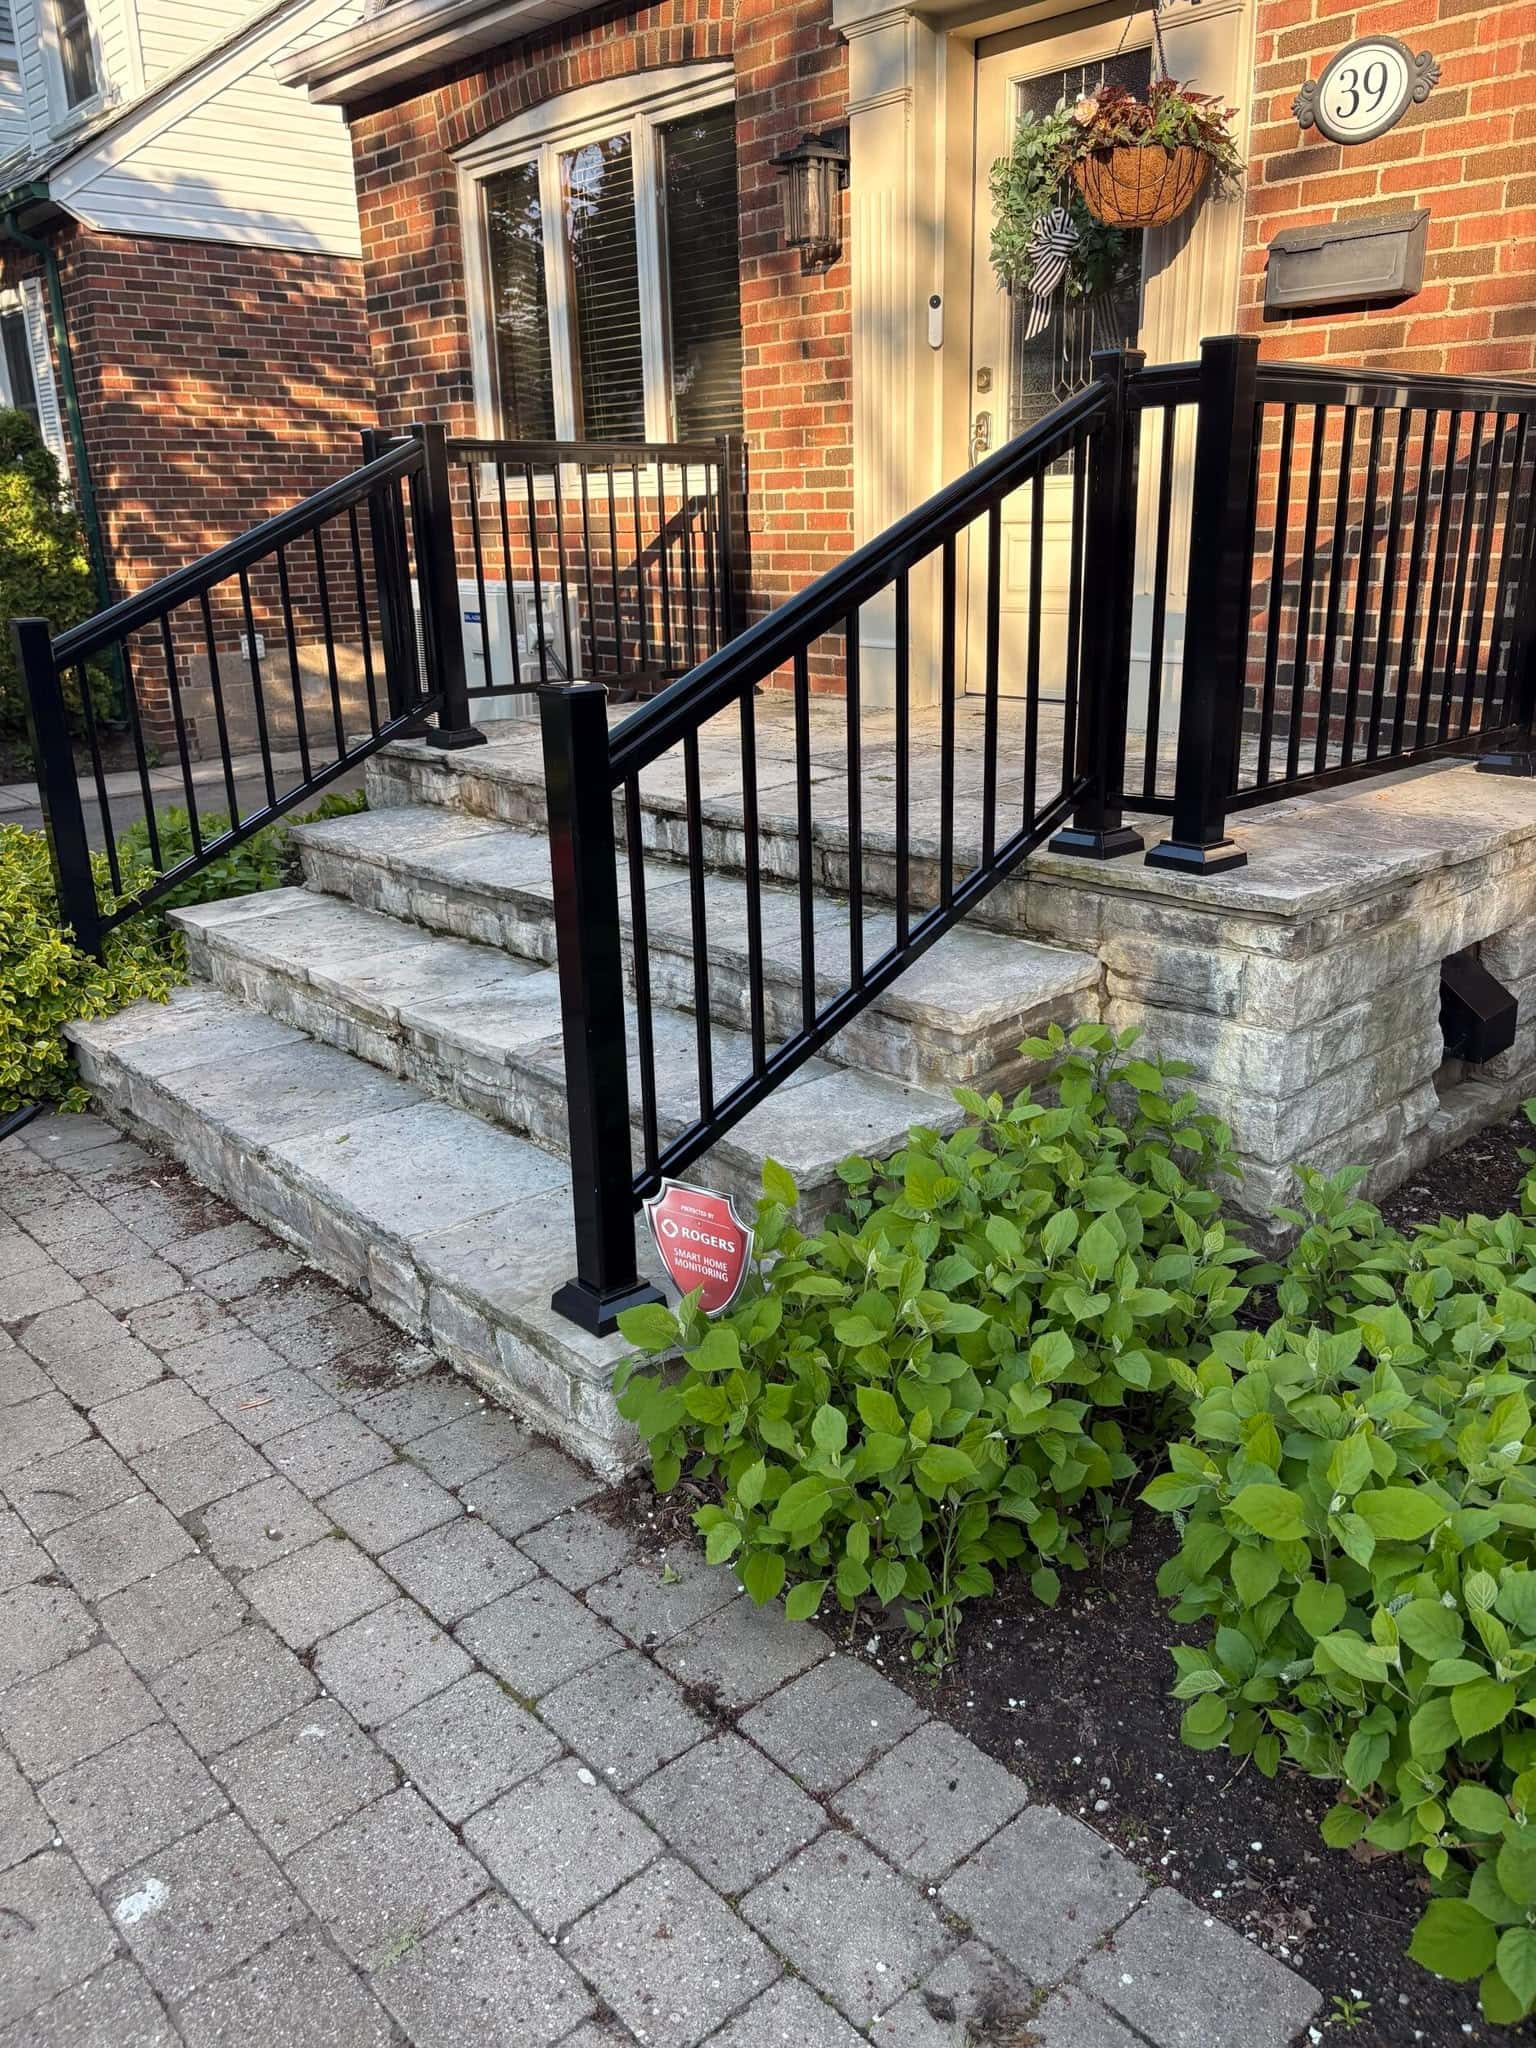
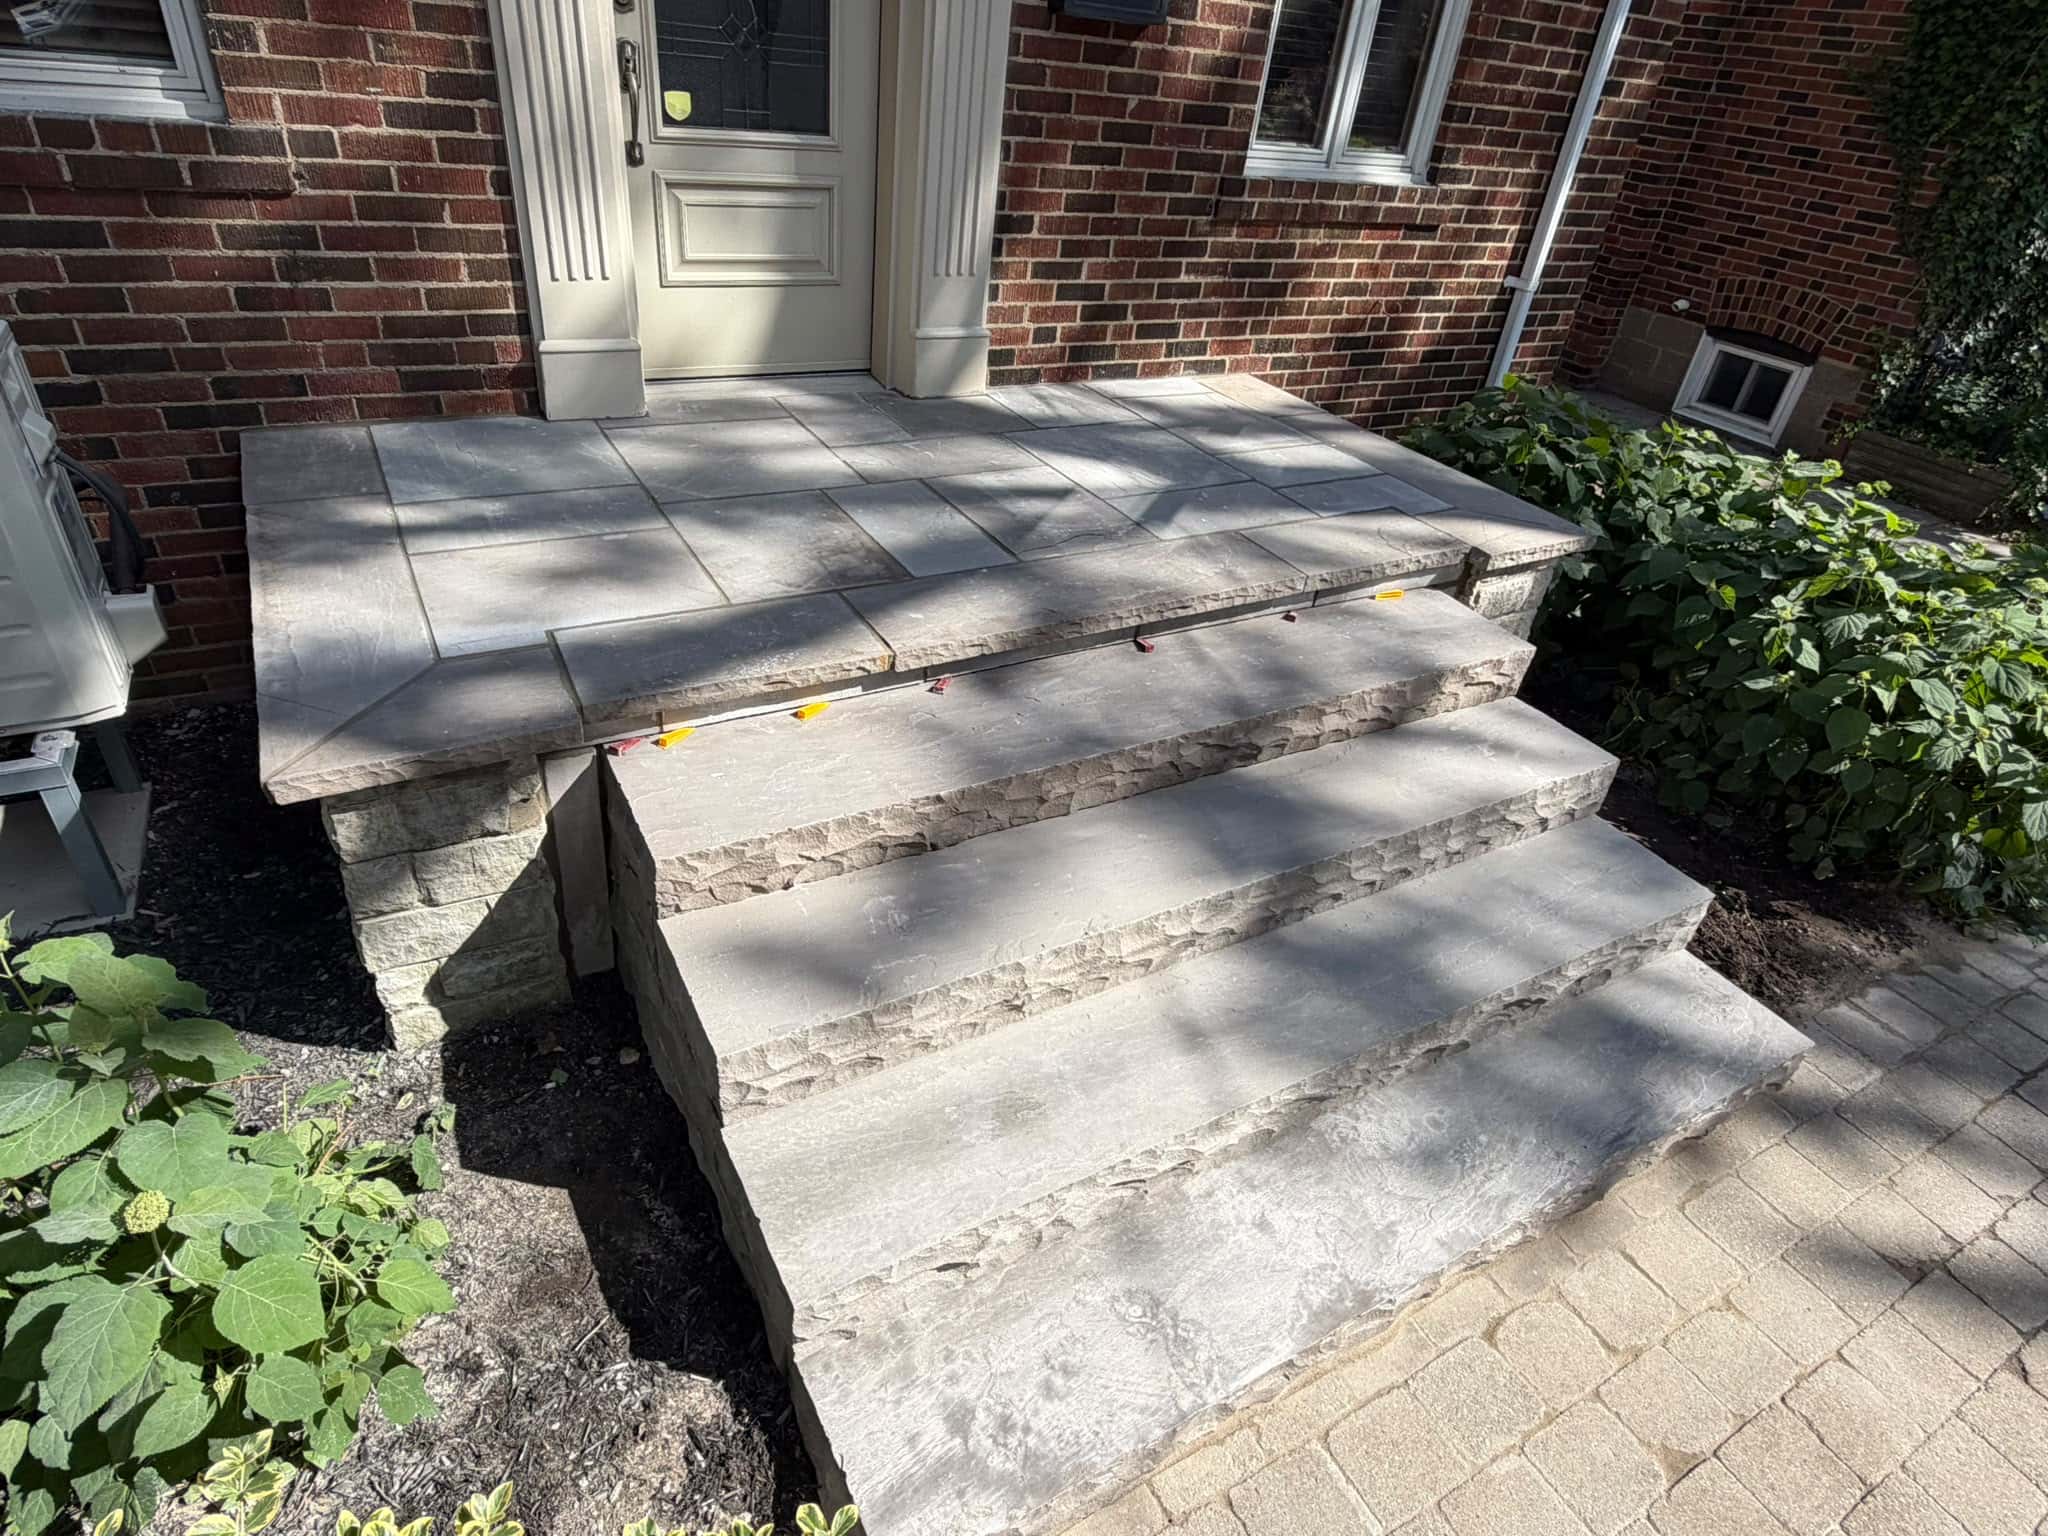
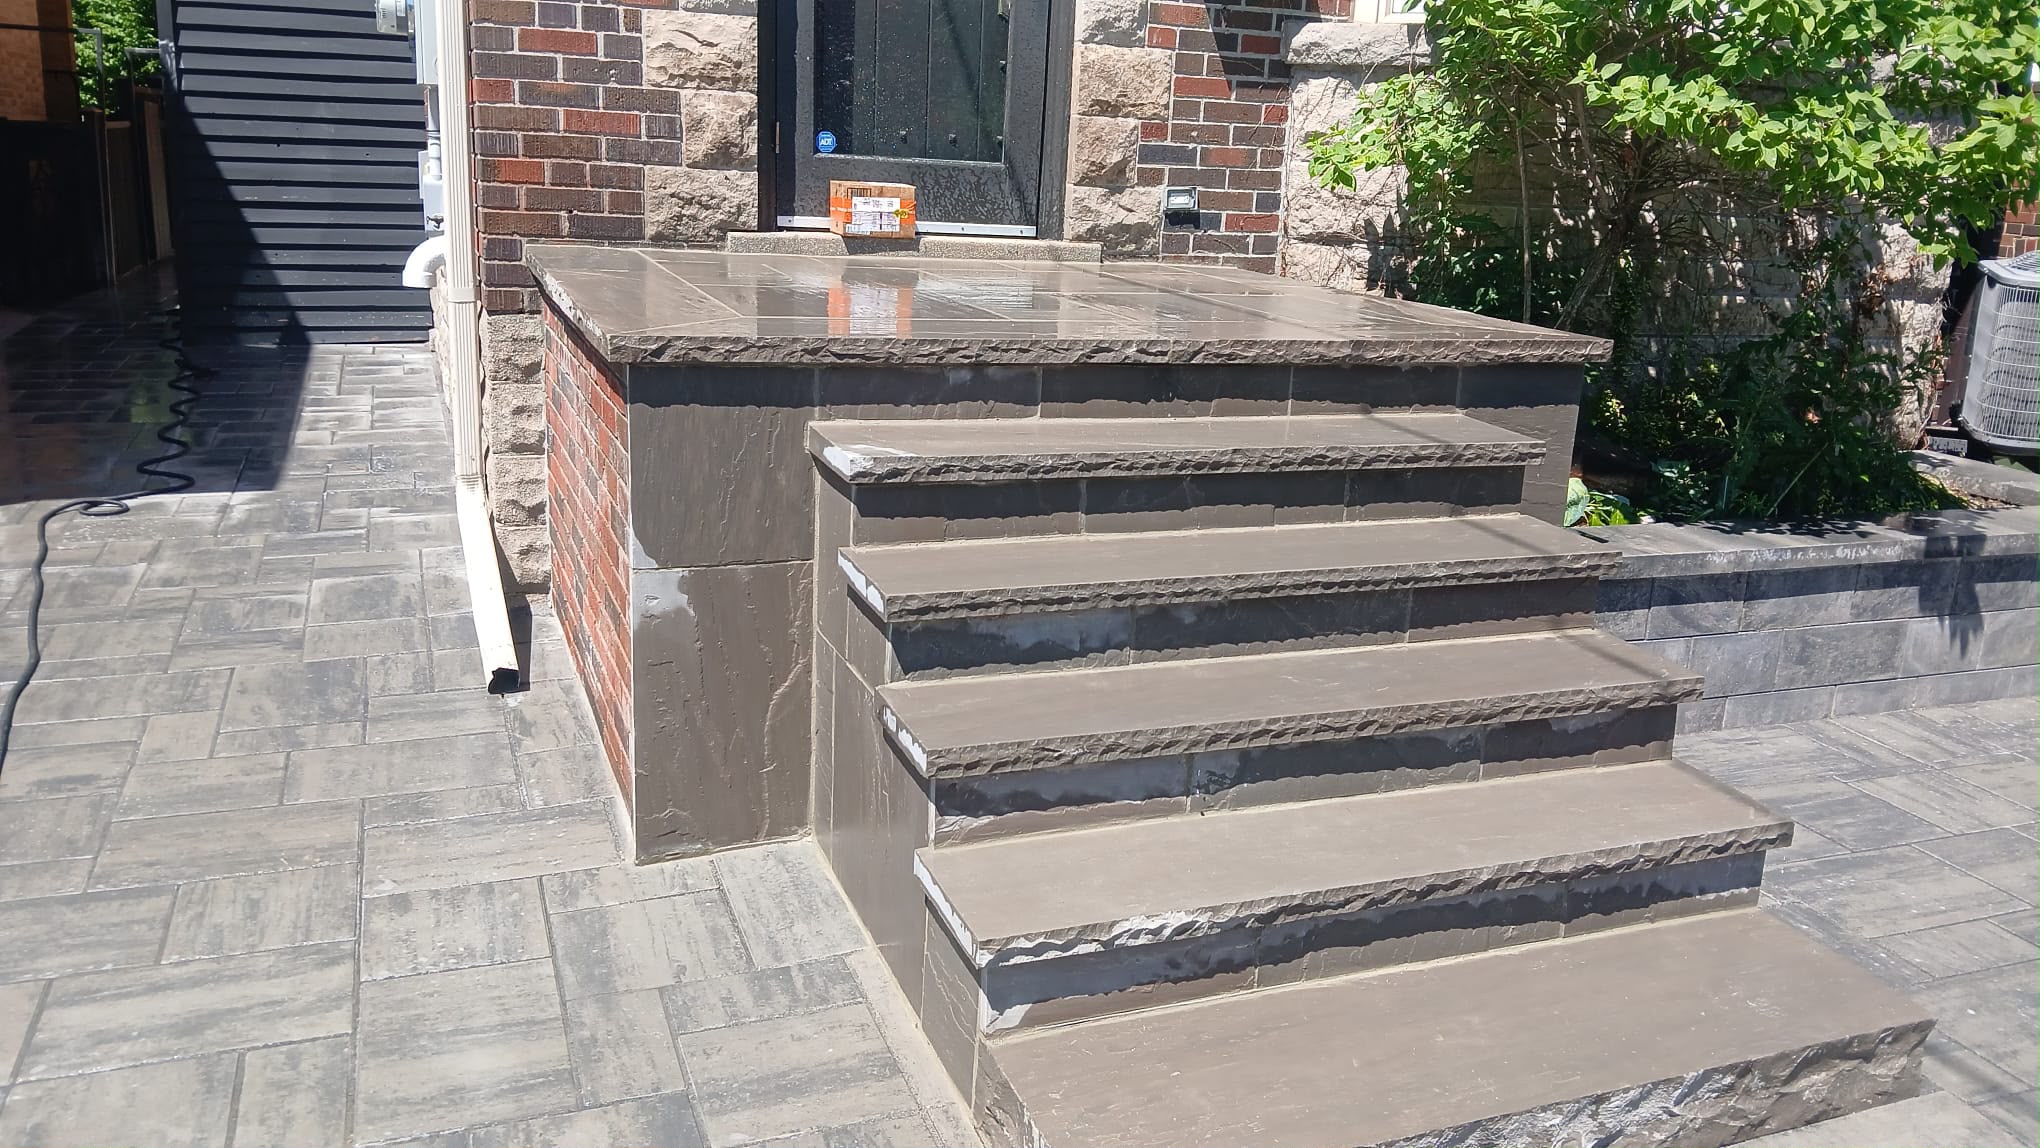
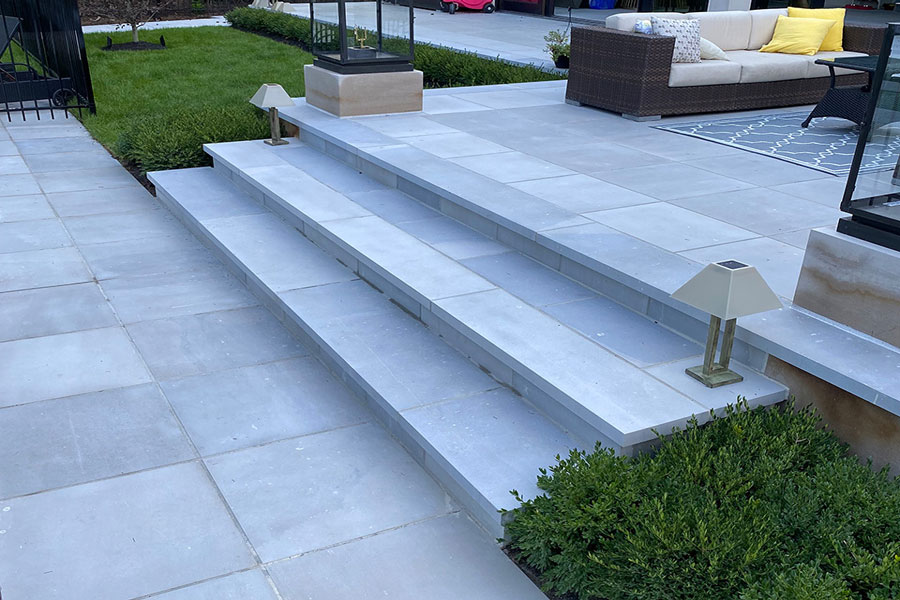
5. Outdoor Steps and Staircases
Natural stone pavers create strong and stylish outdoor stairways that can handle weather and traffic for years.
Use stones with texture: Slate, Sandstone, Flamed Granite
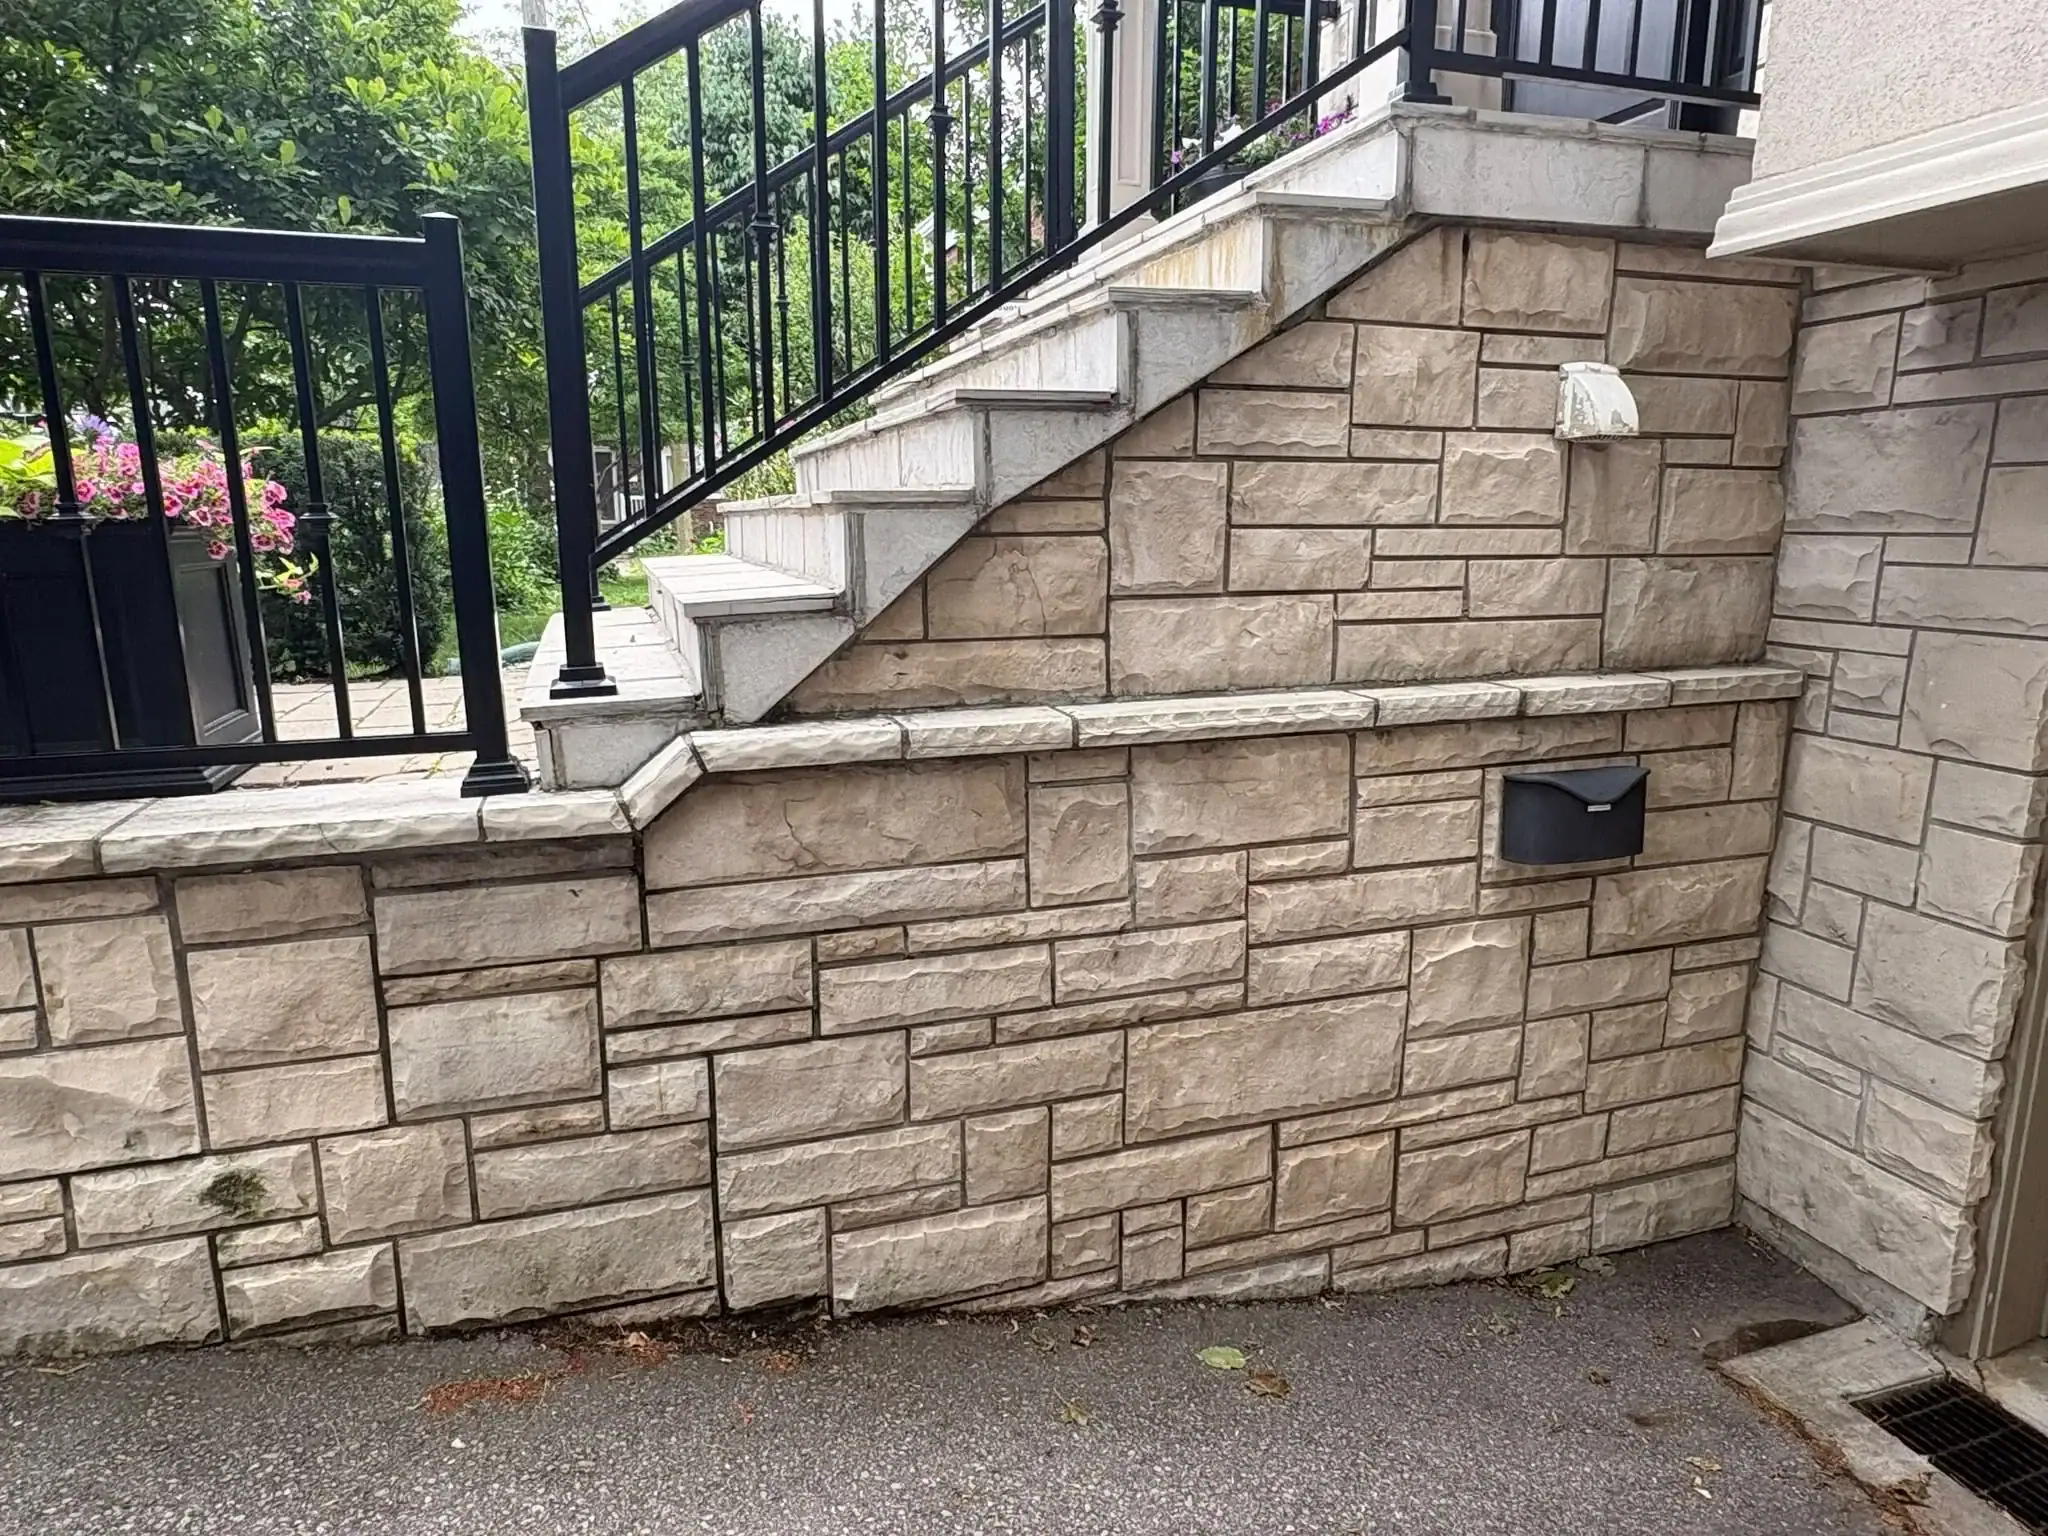
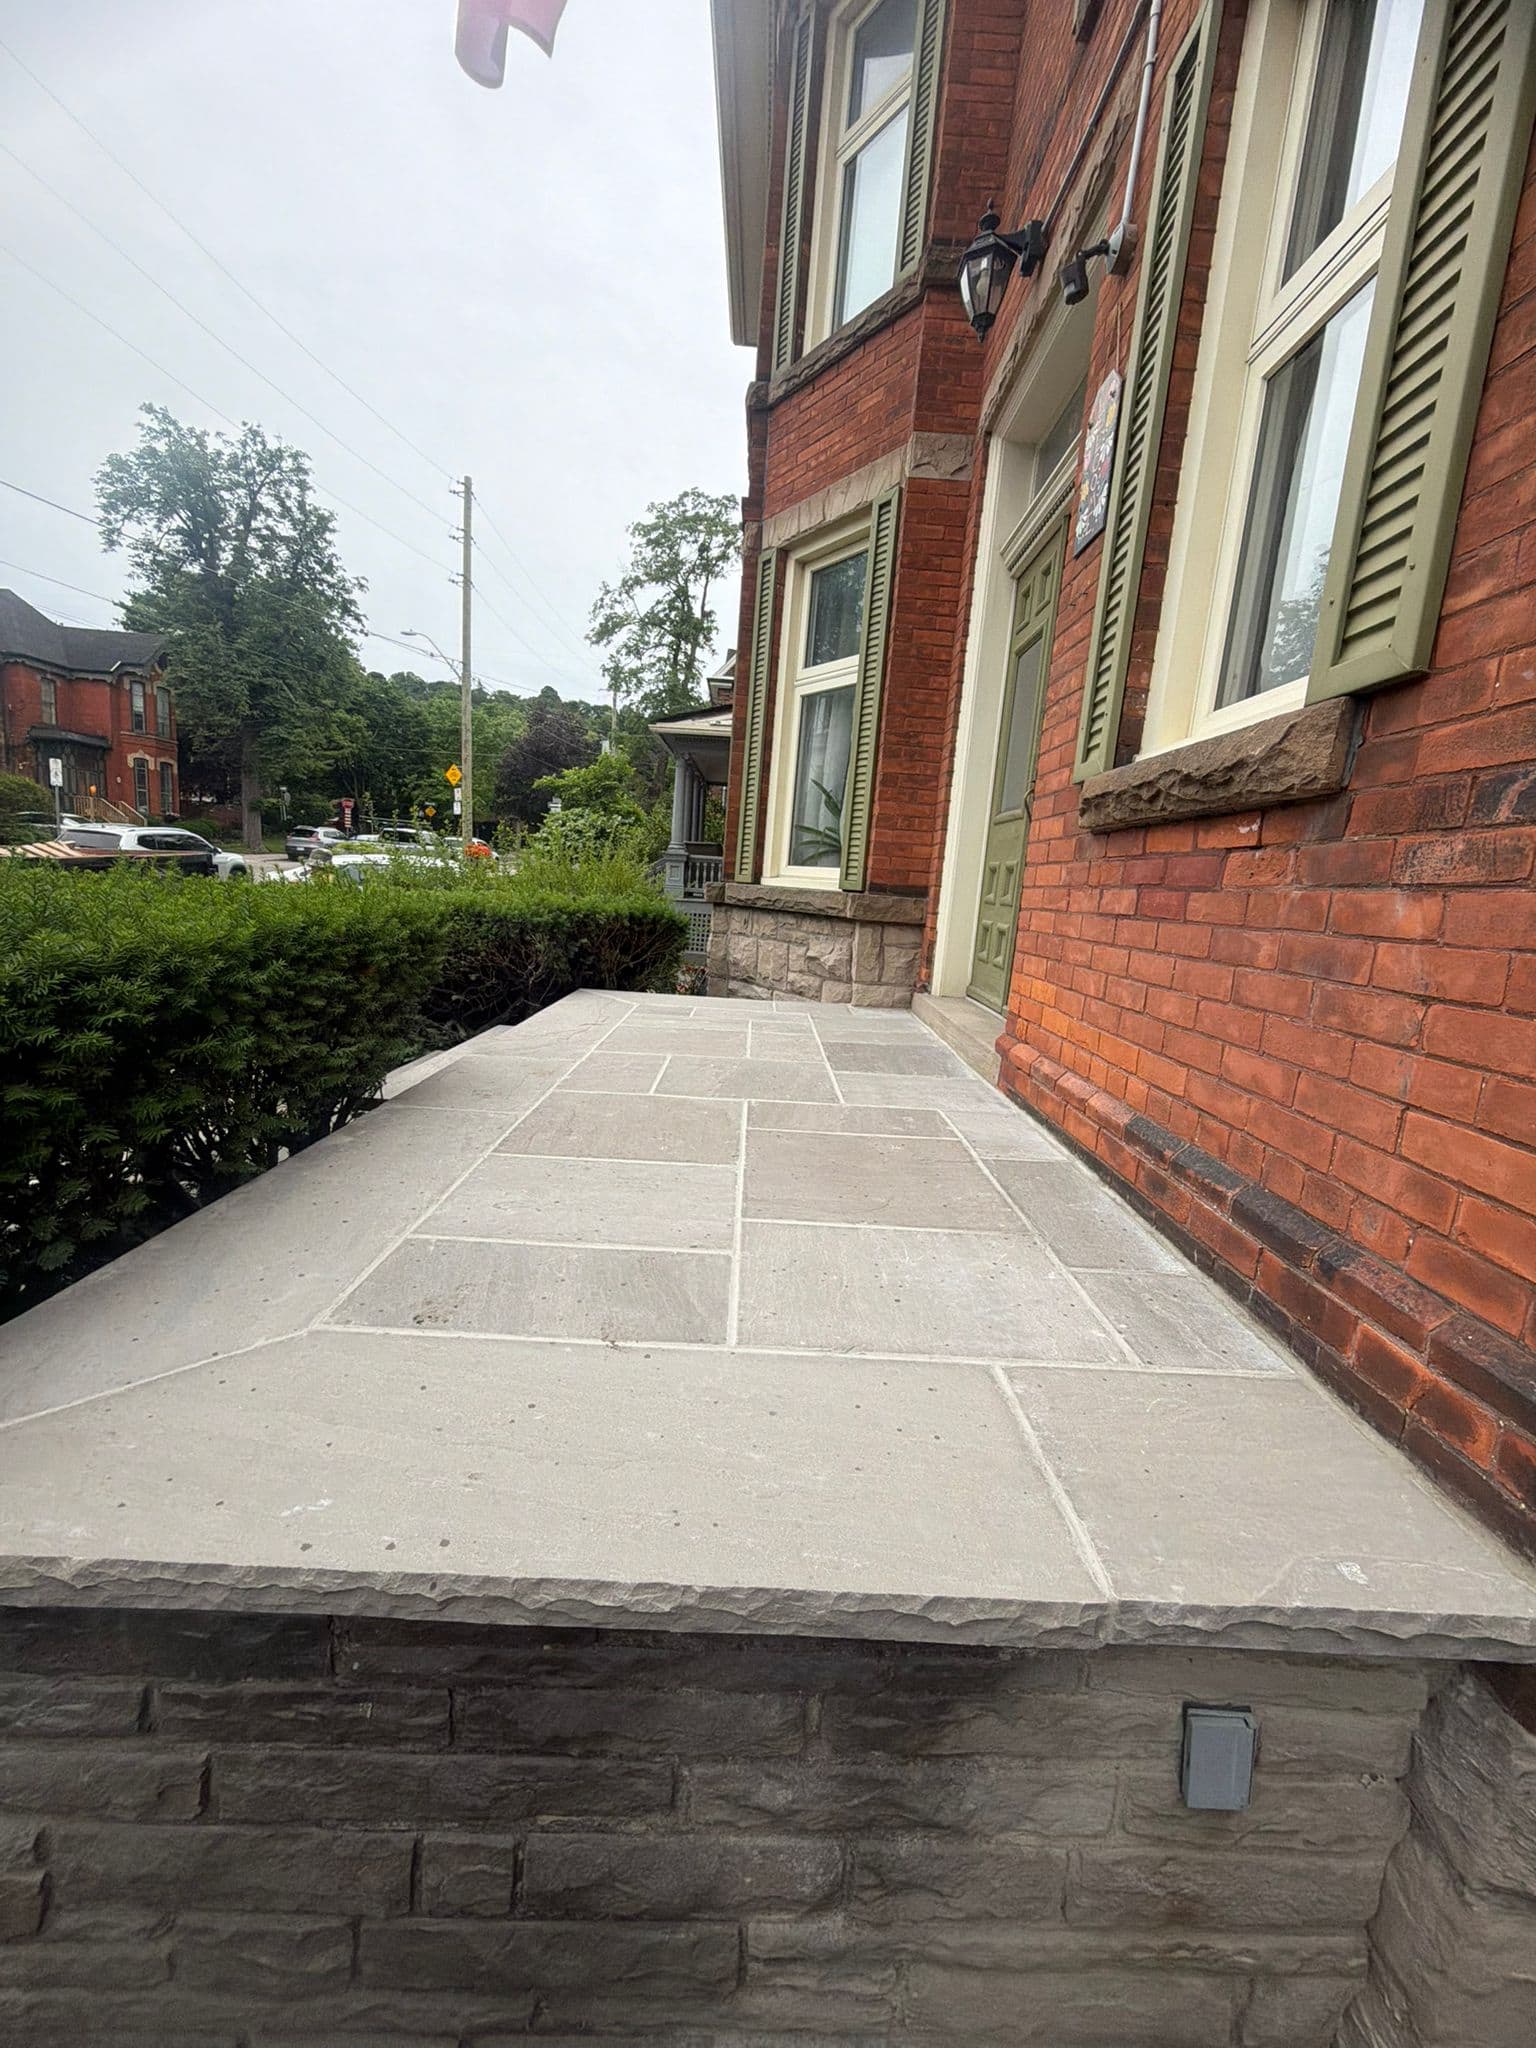
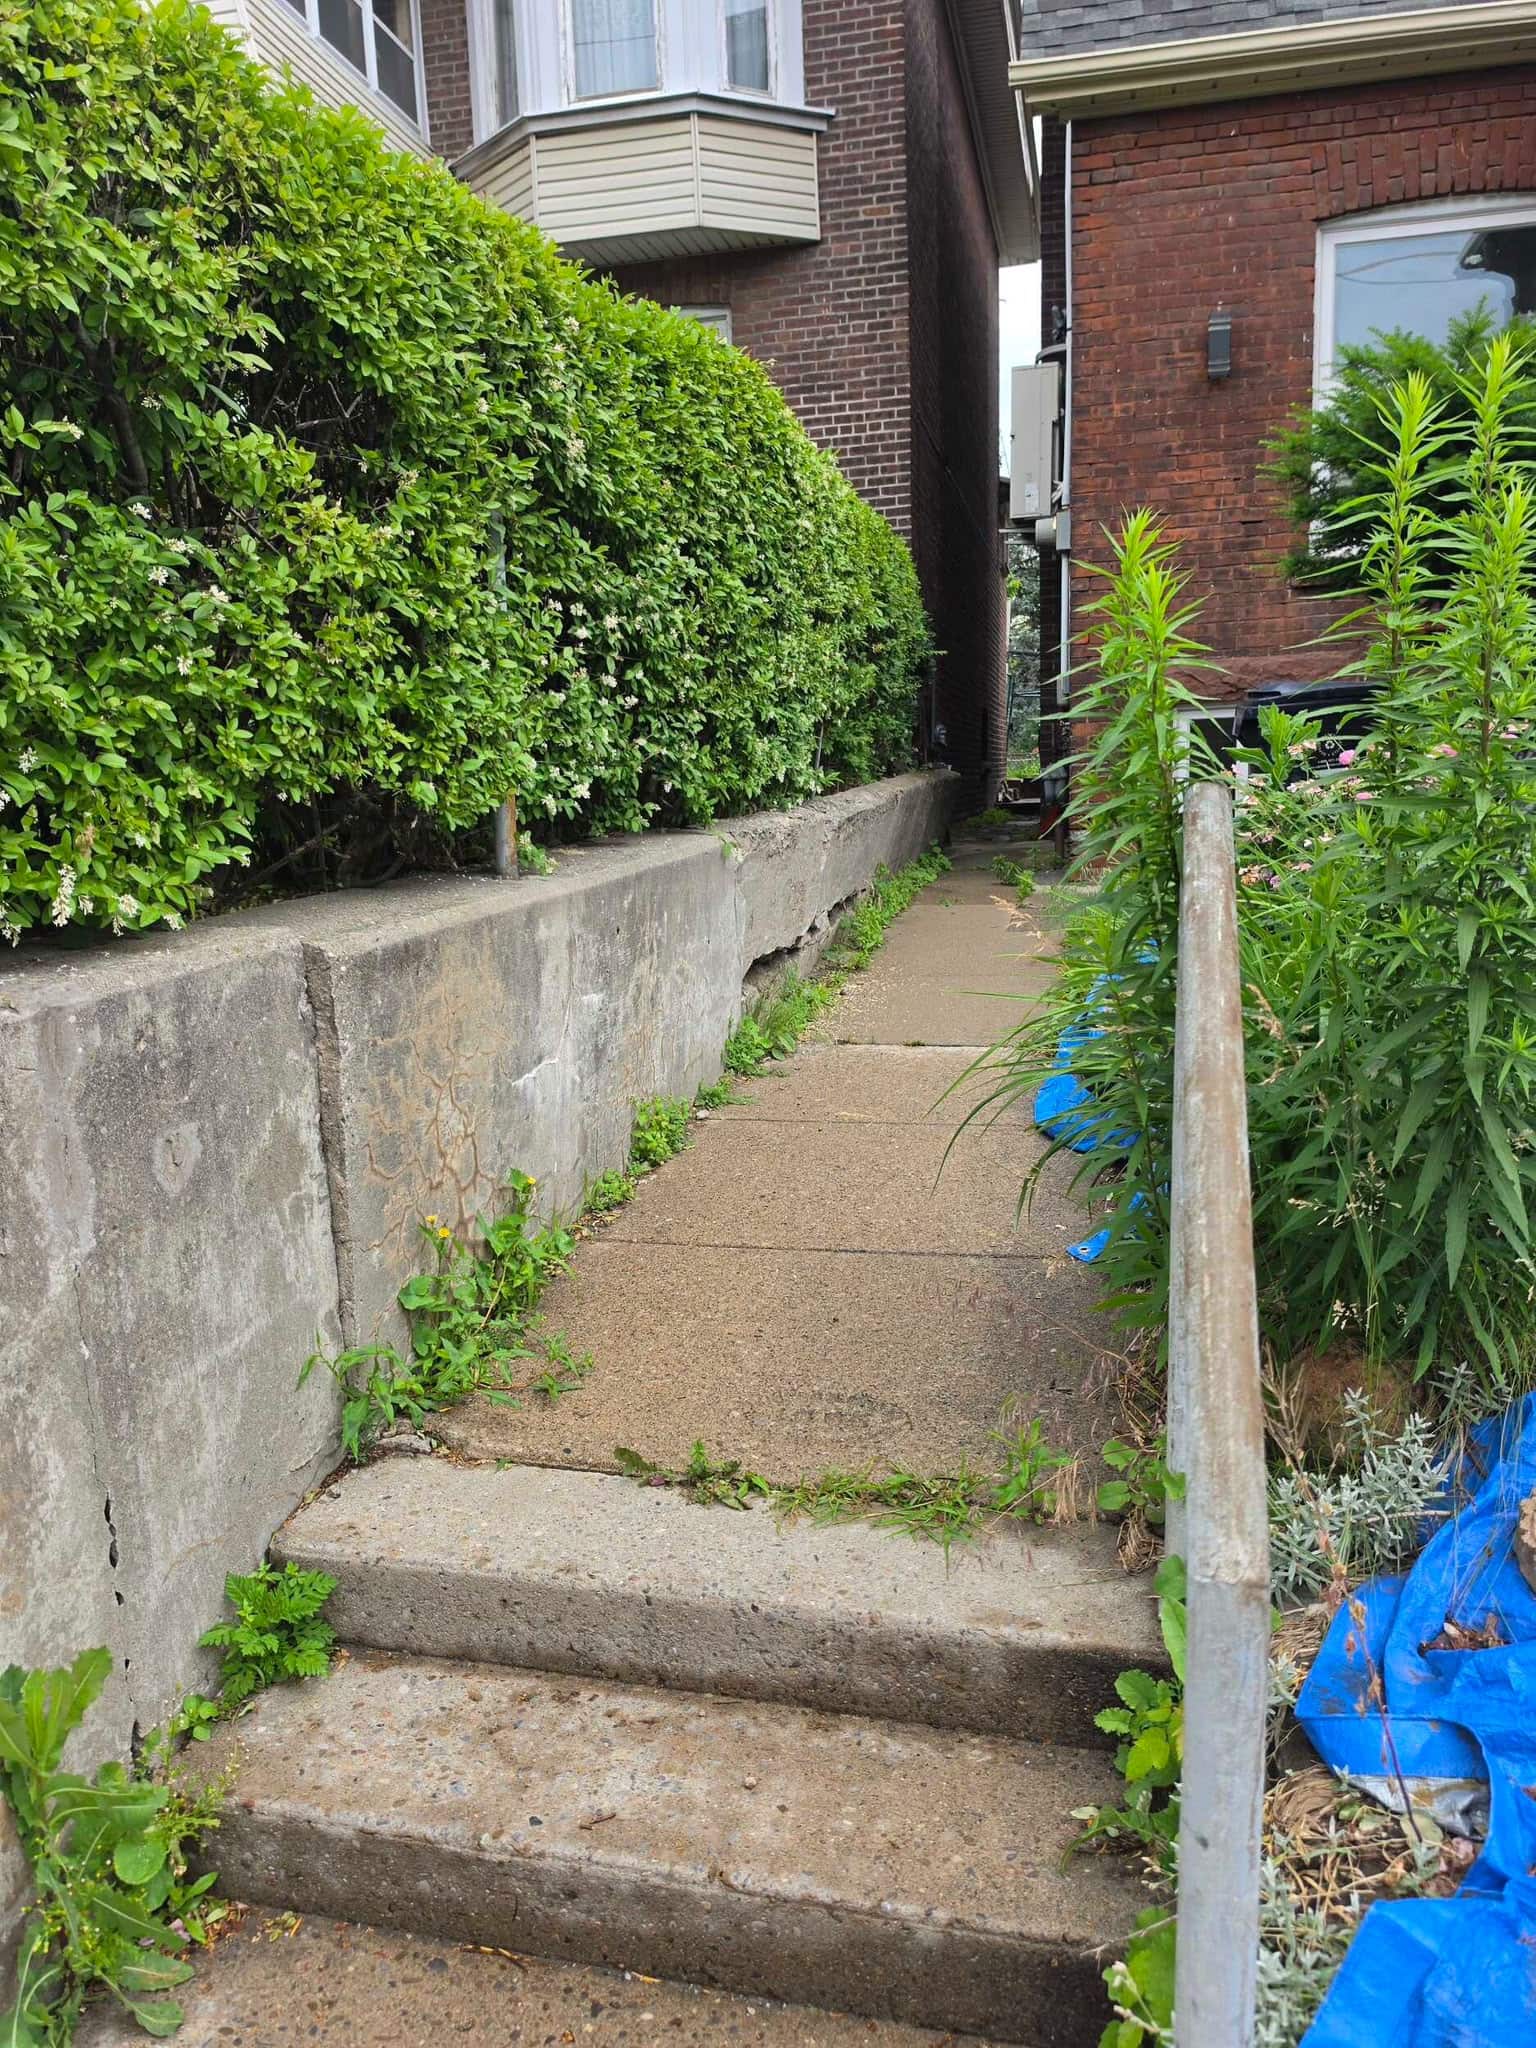
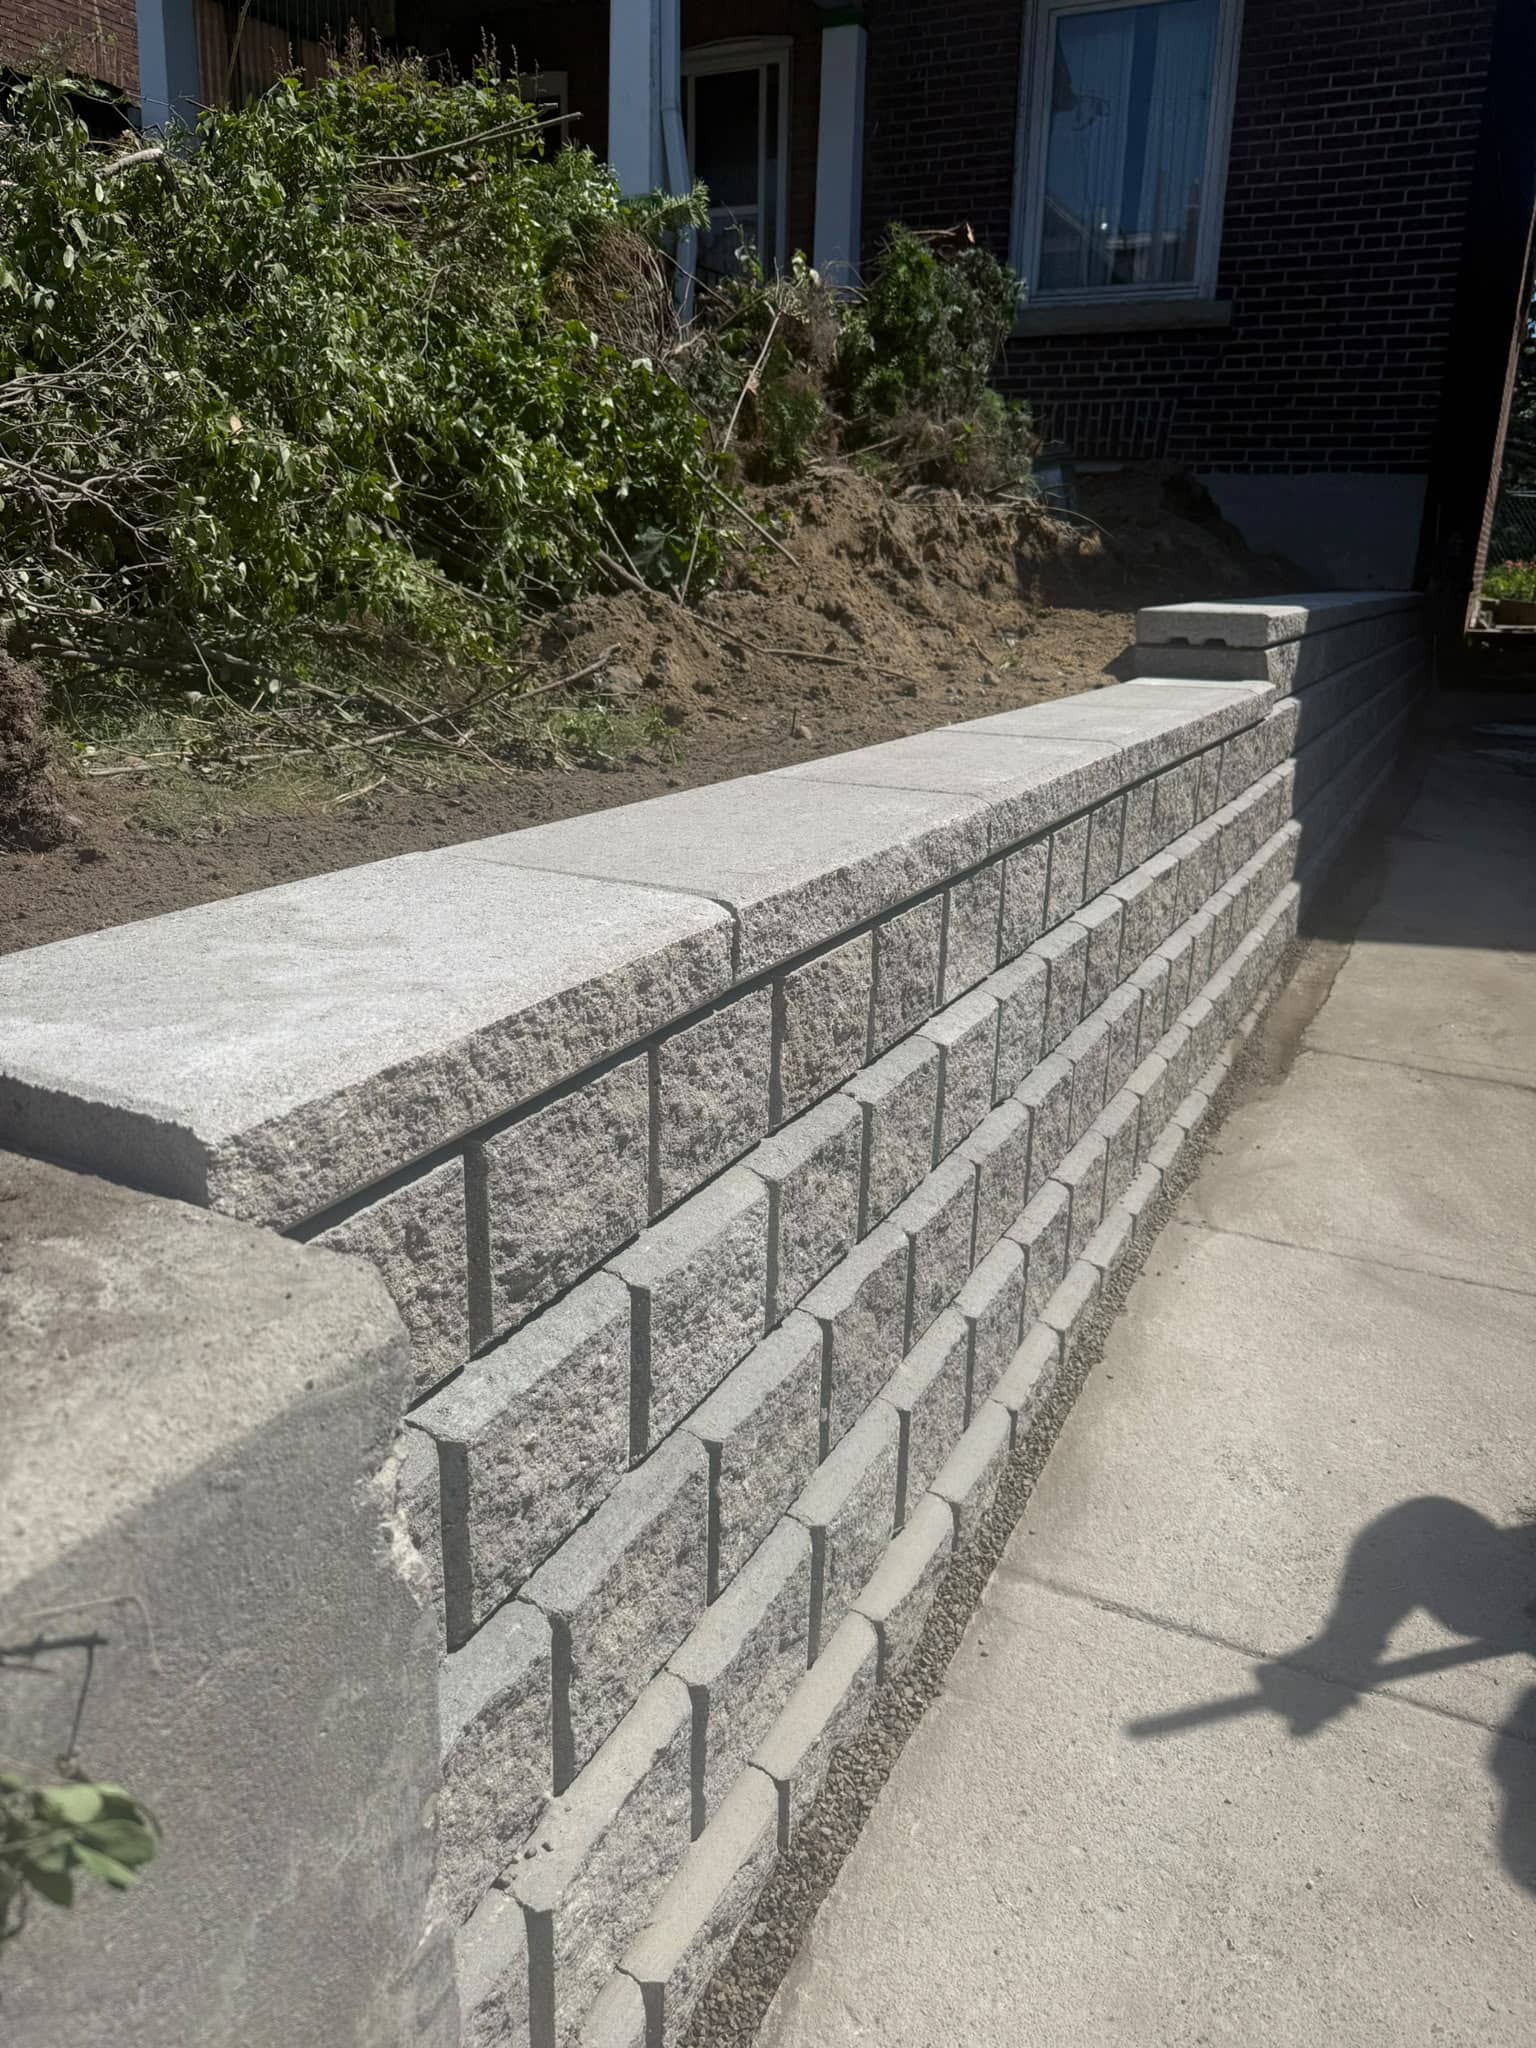
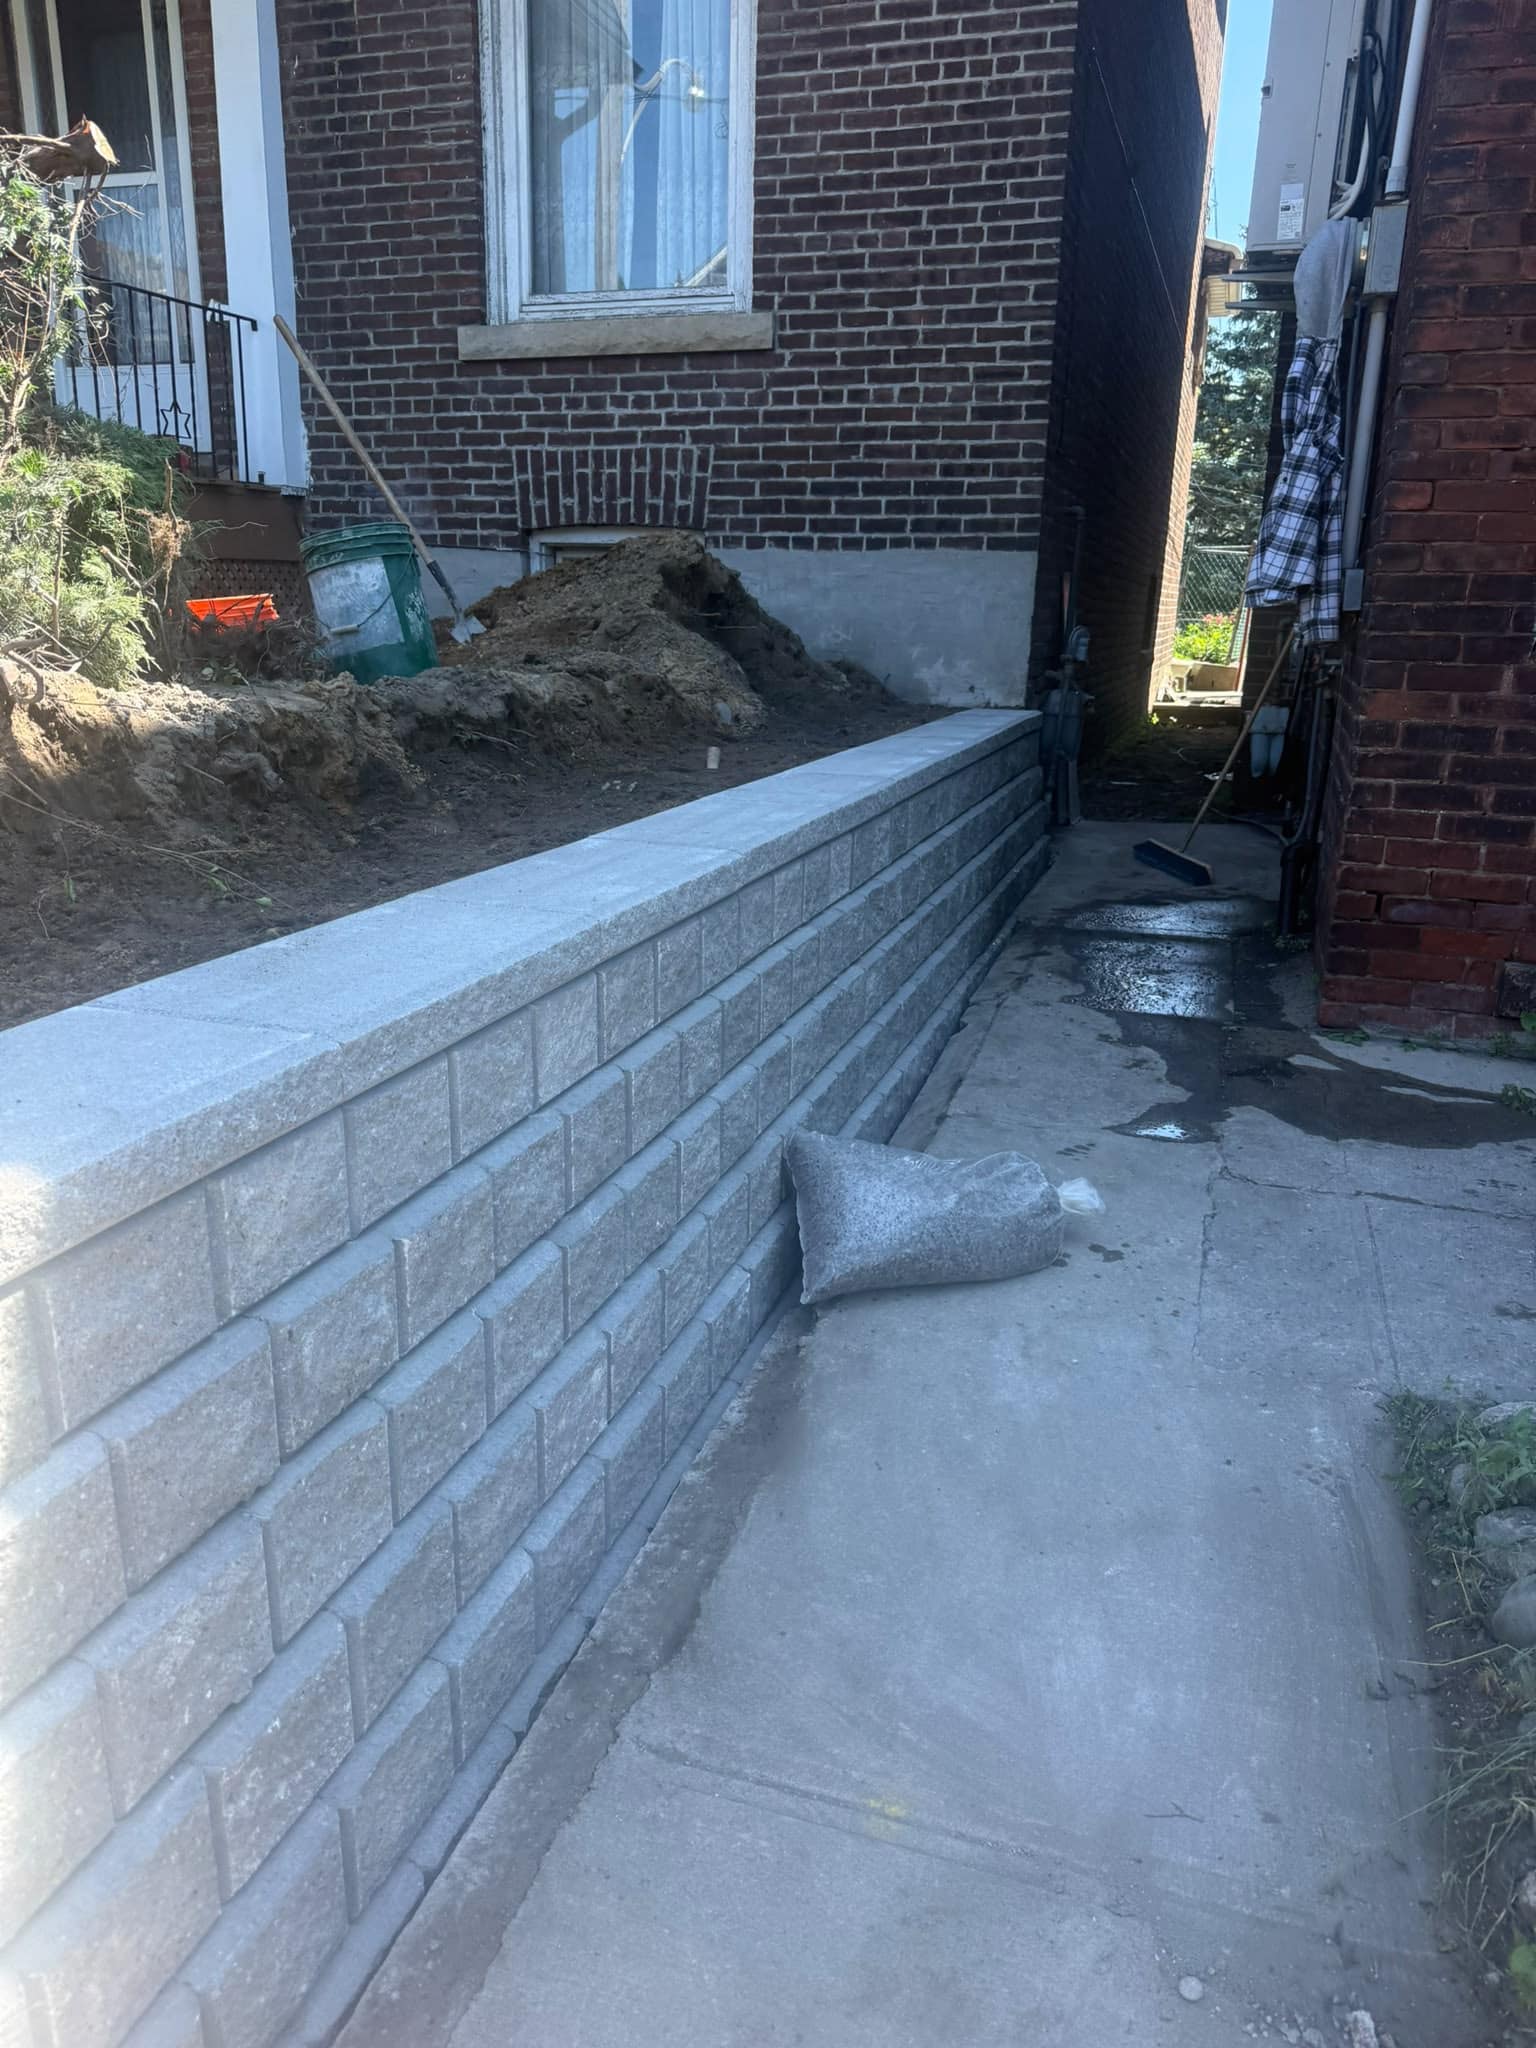
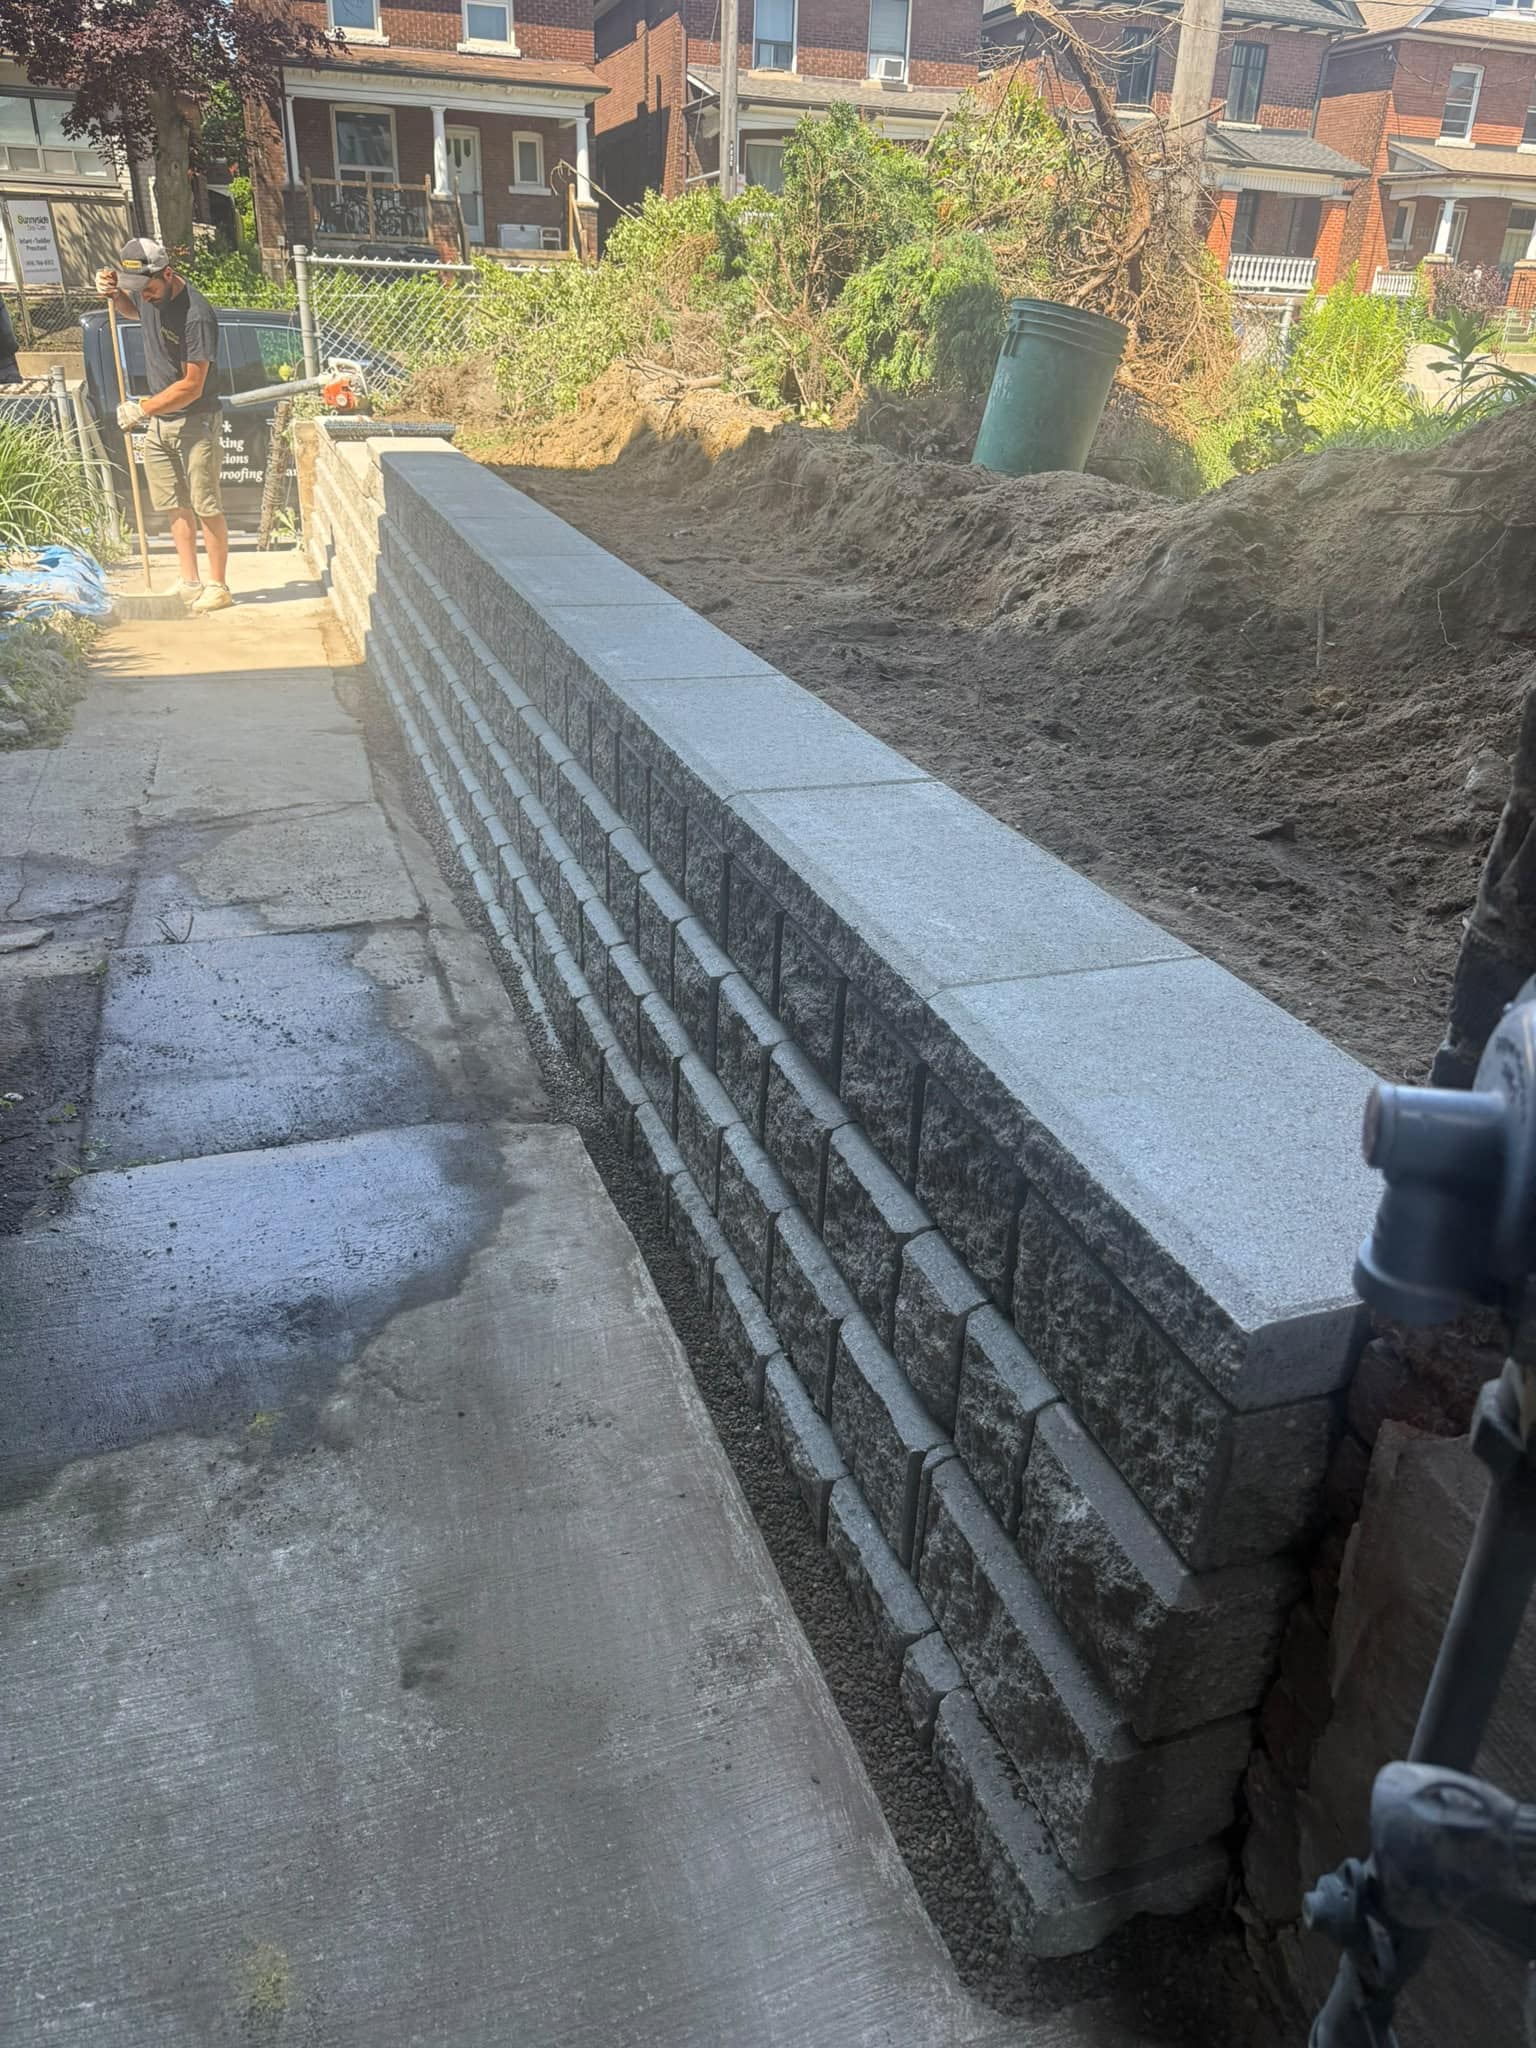
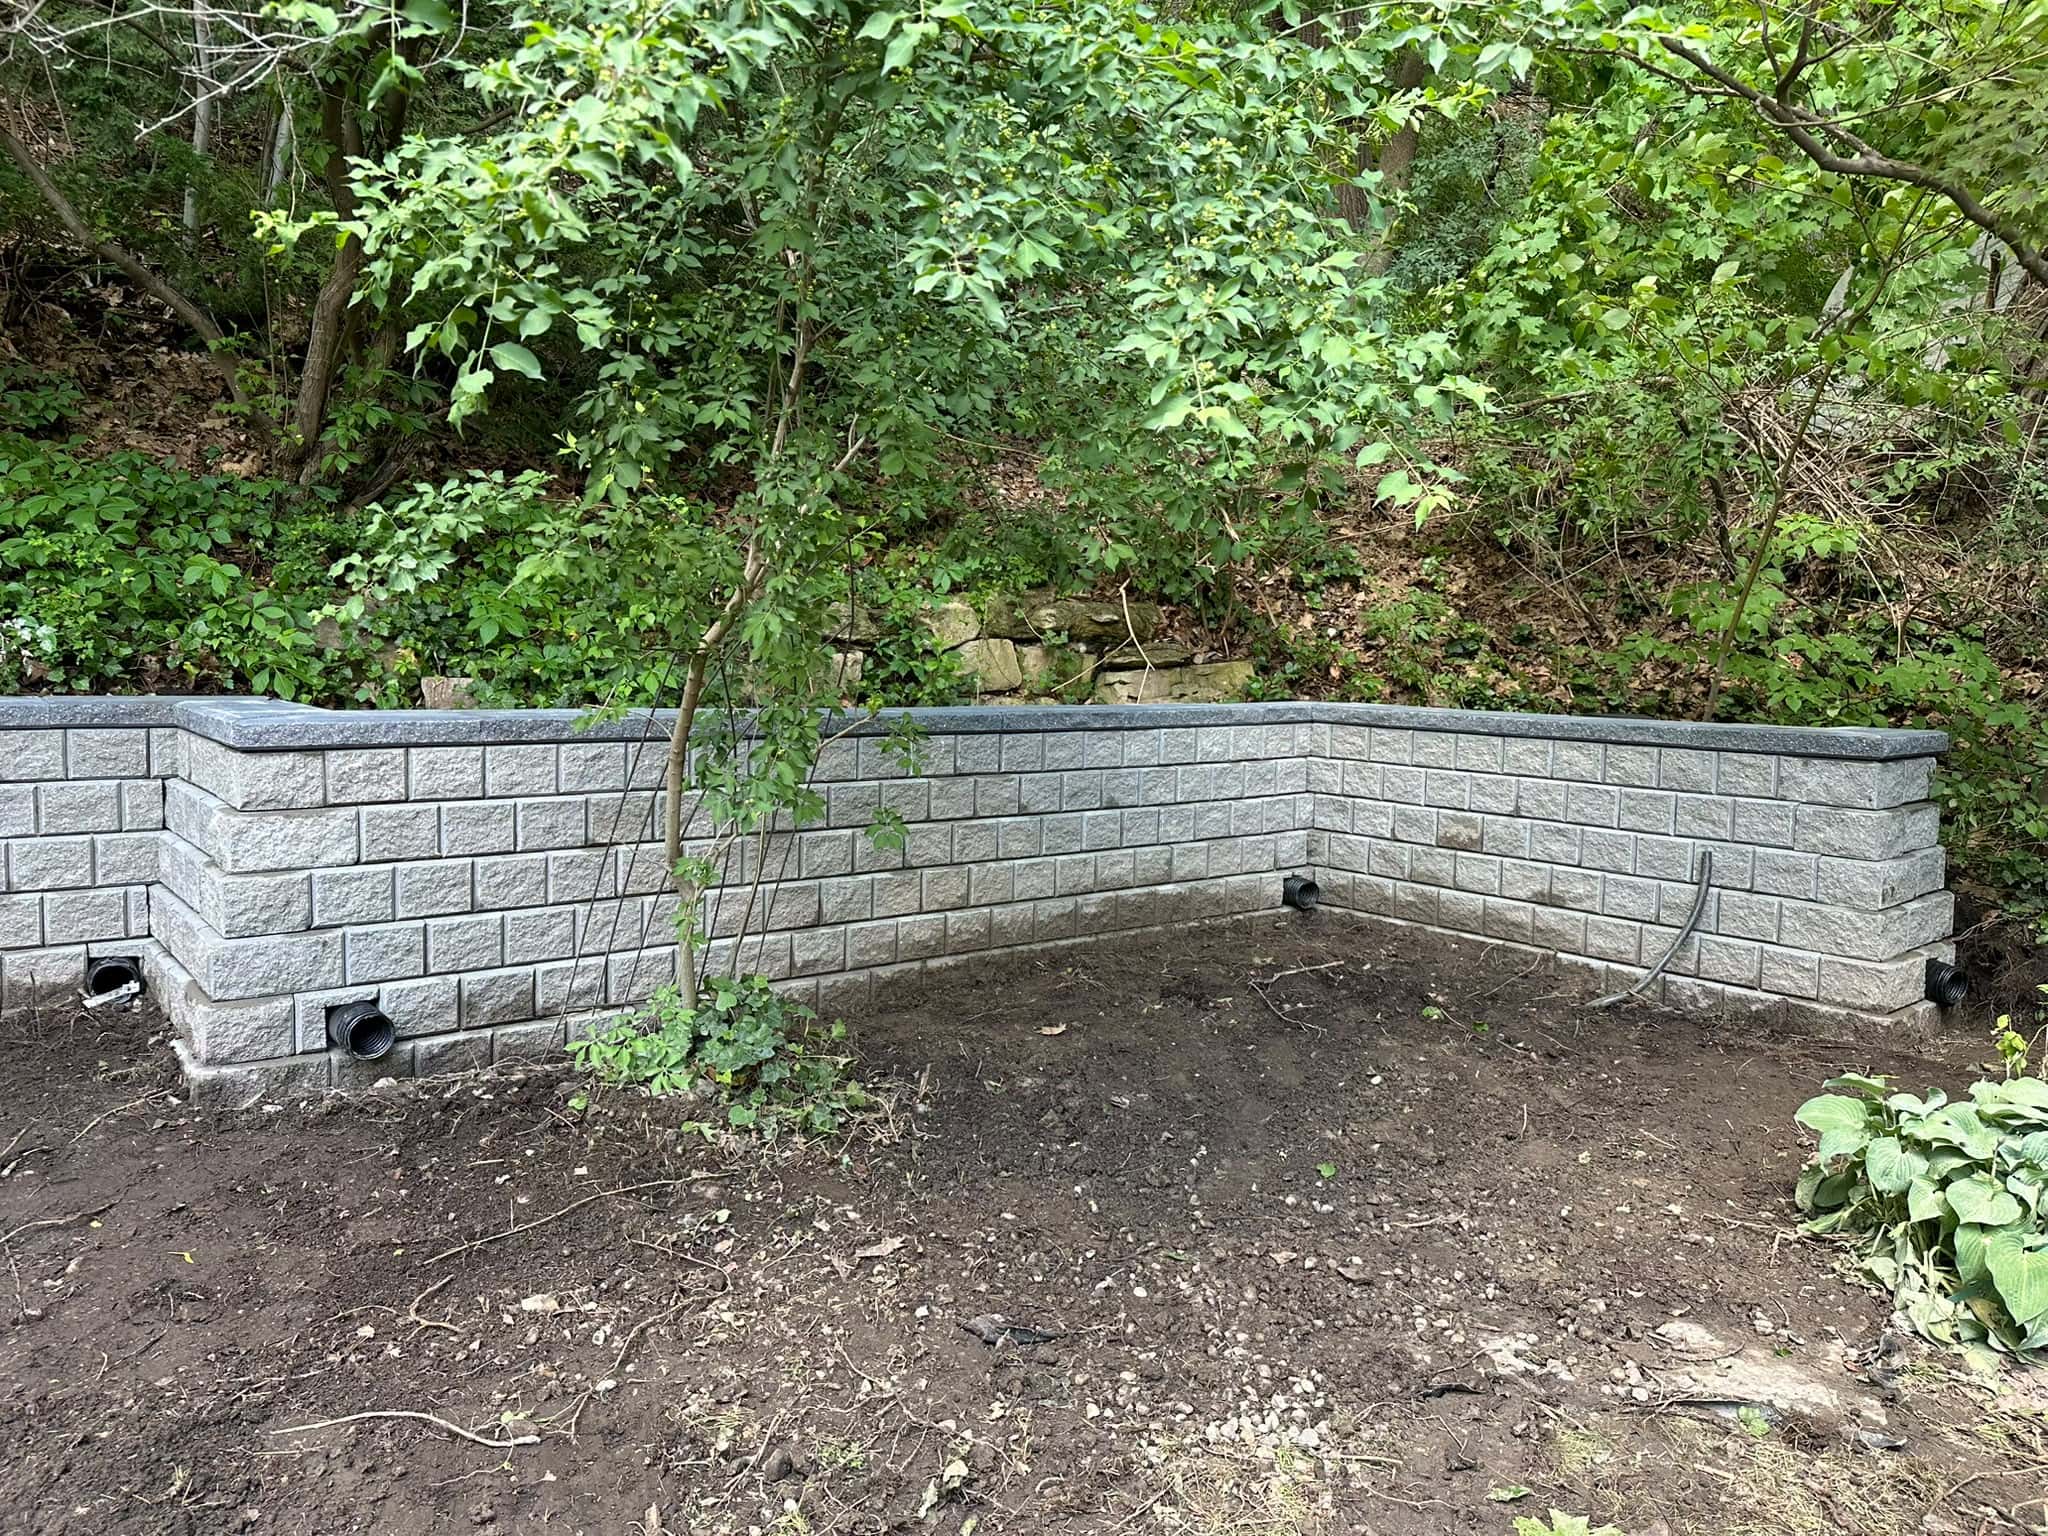
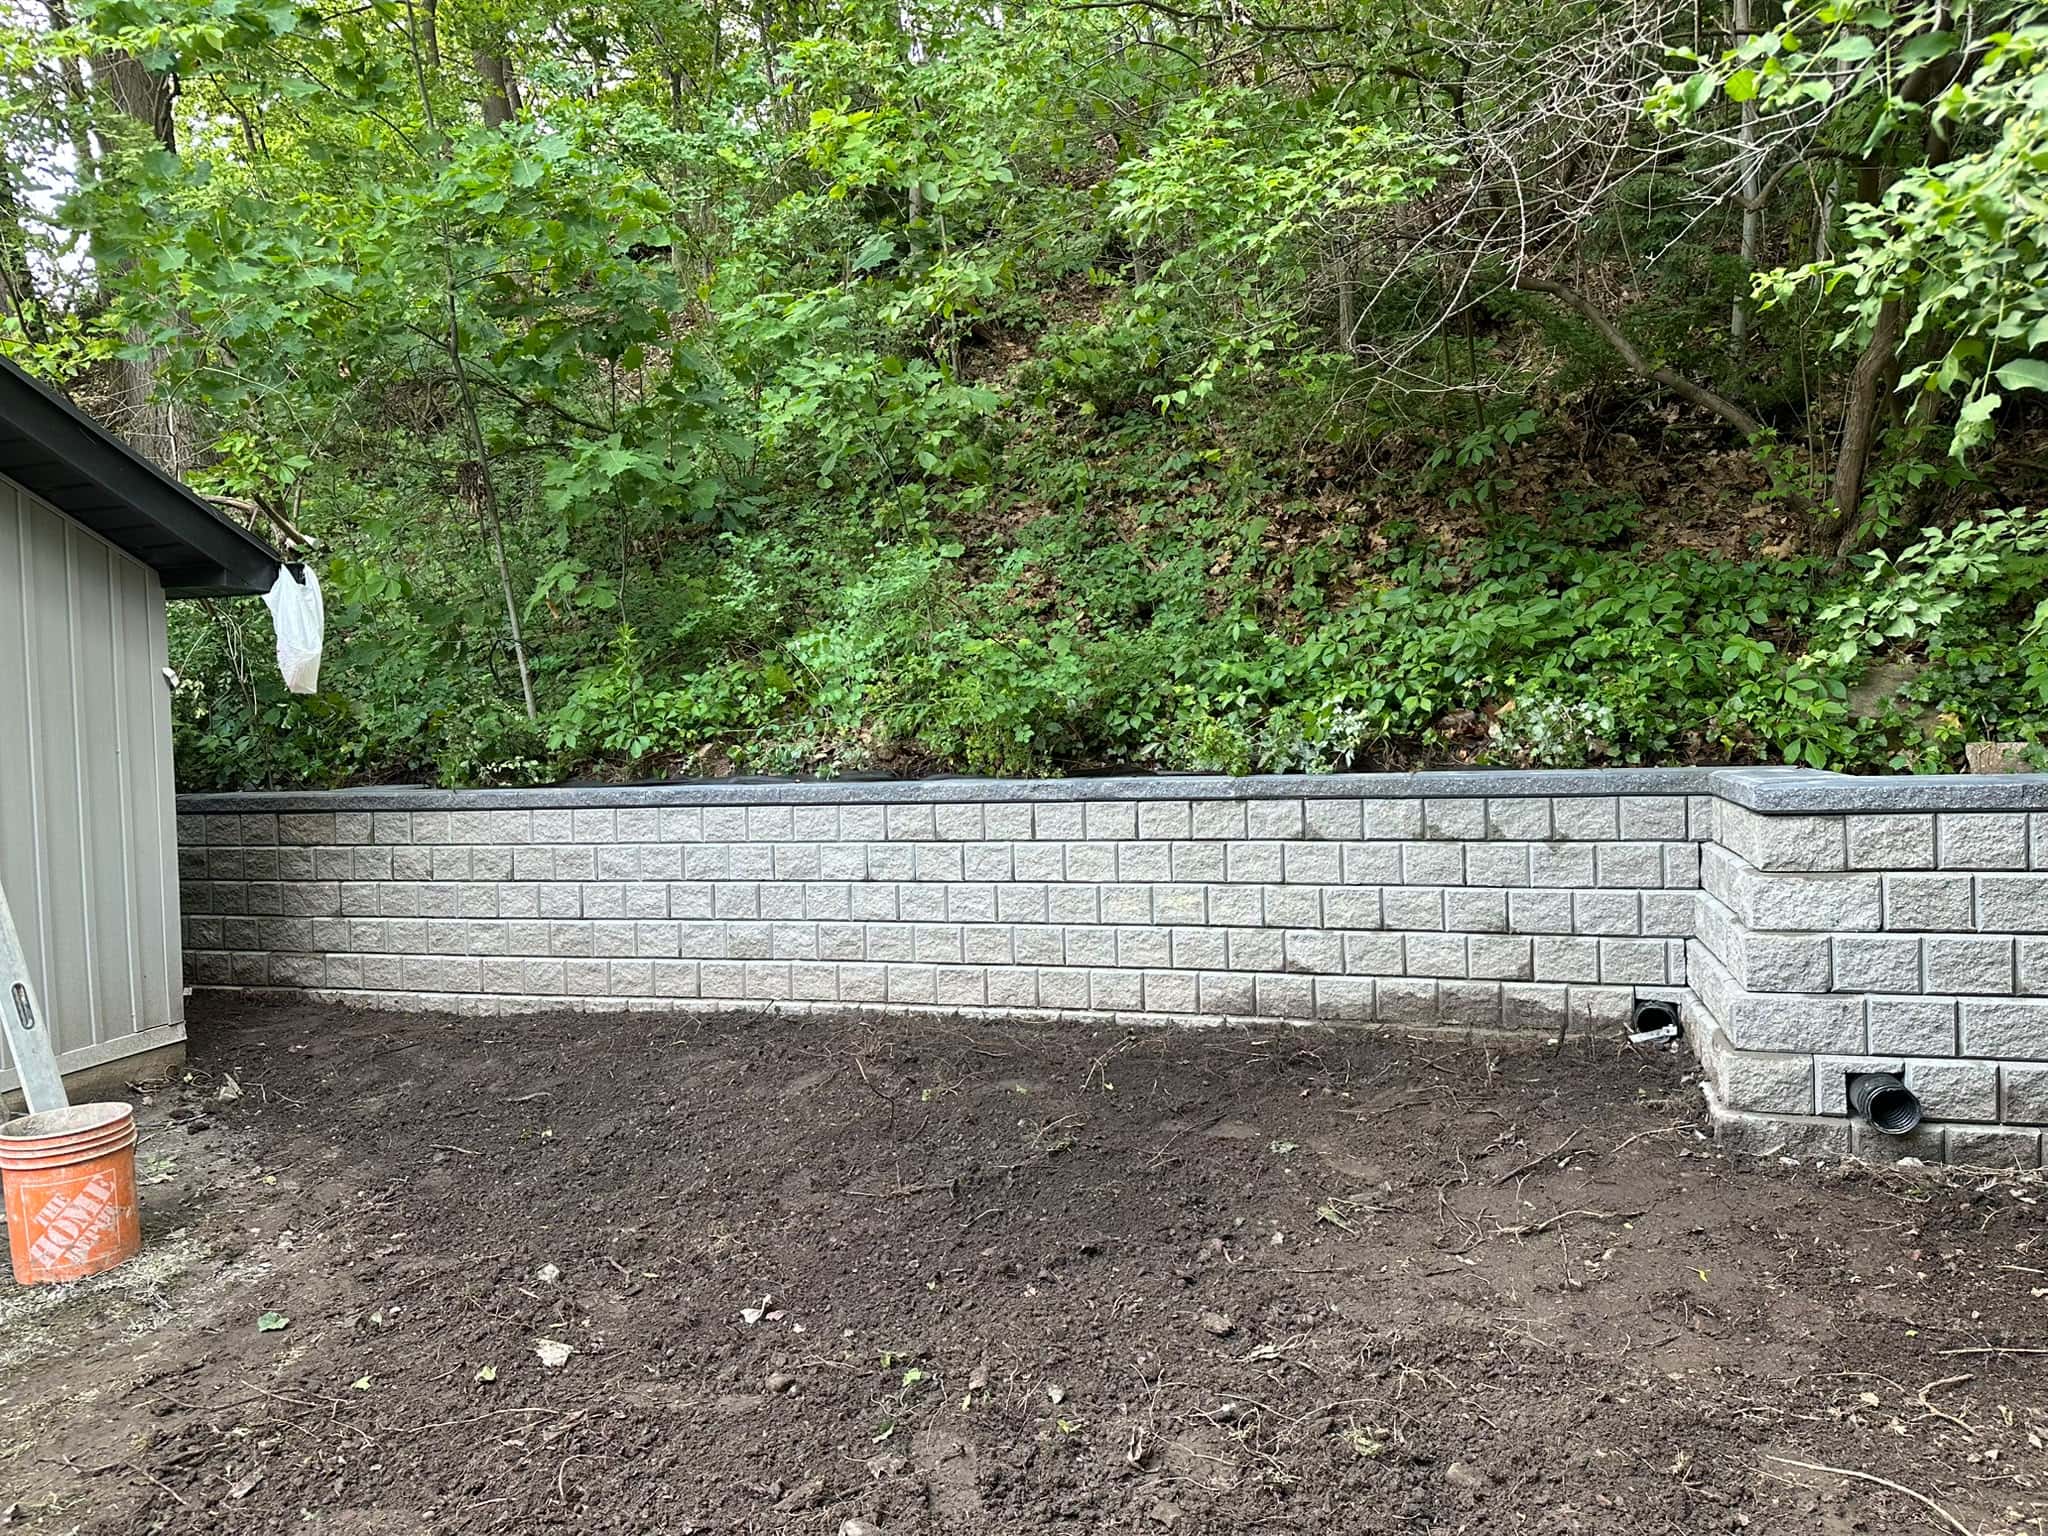
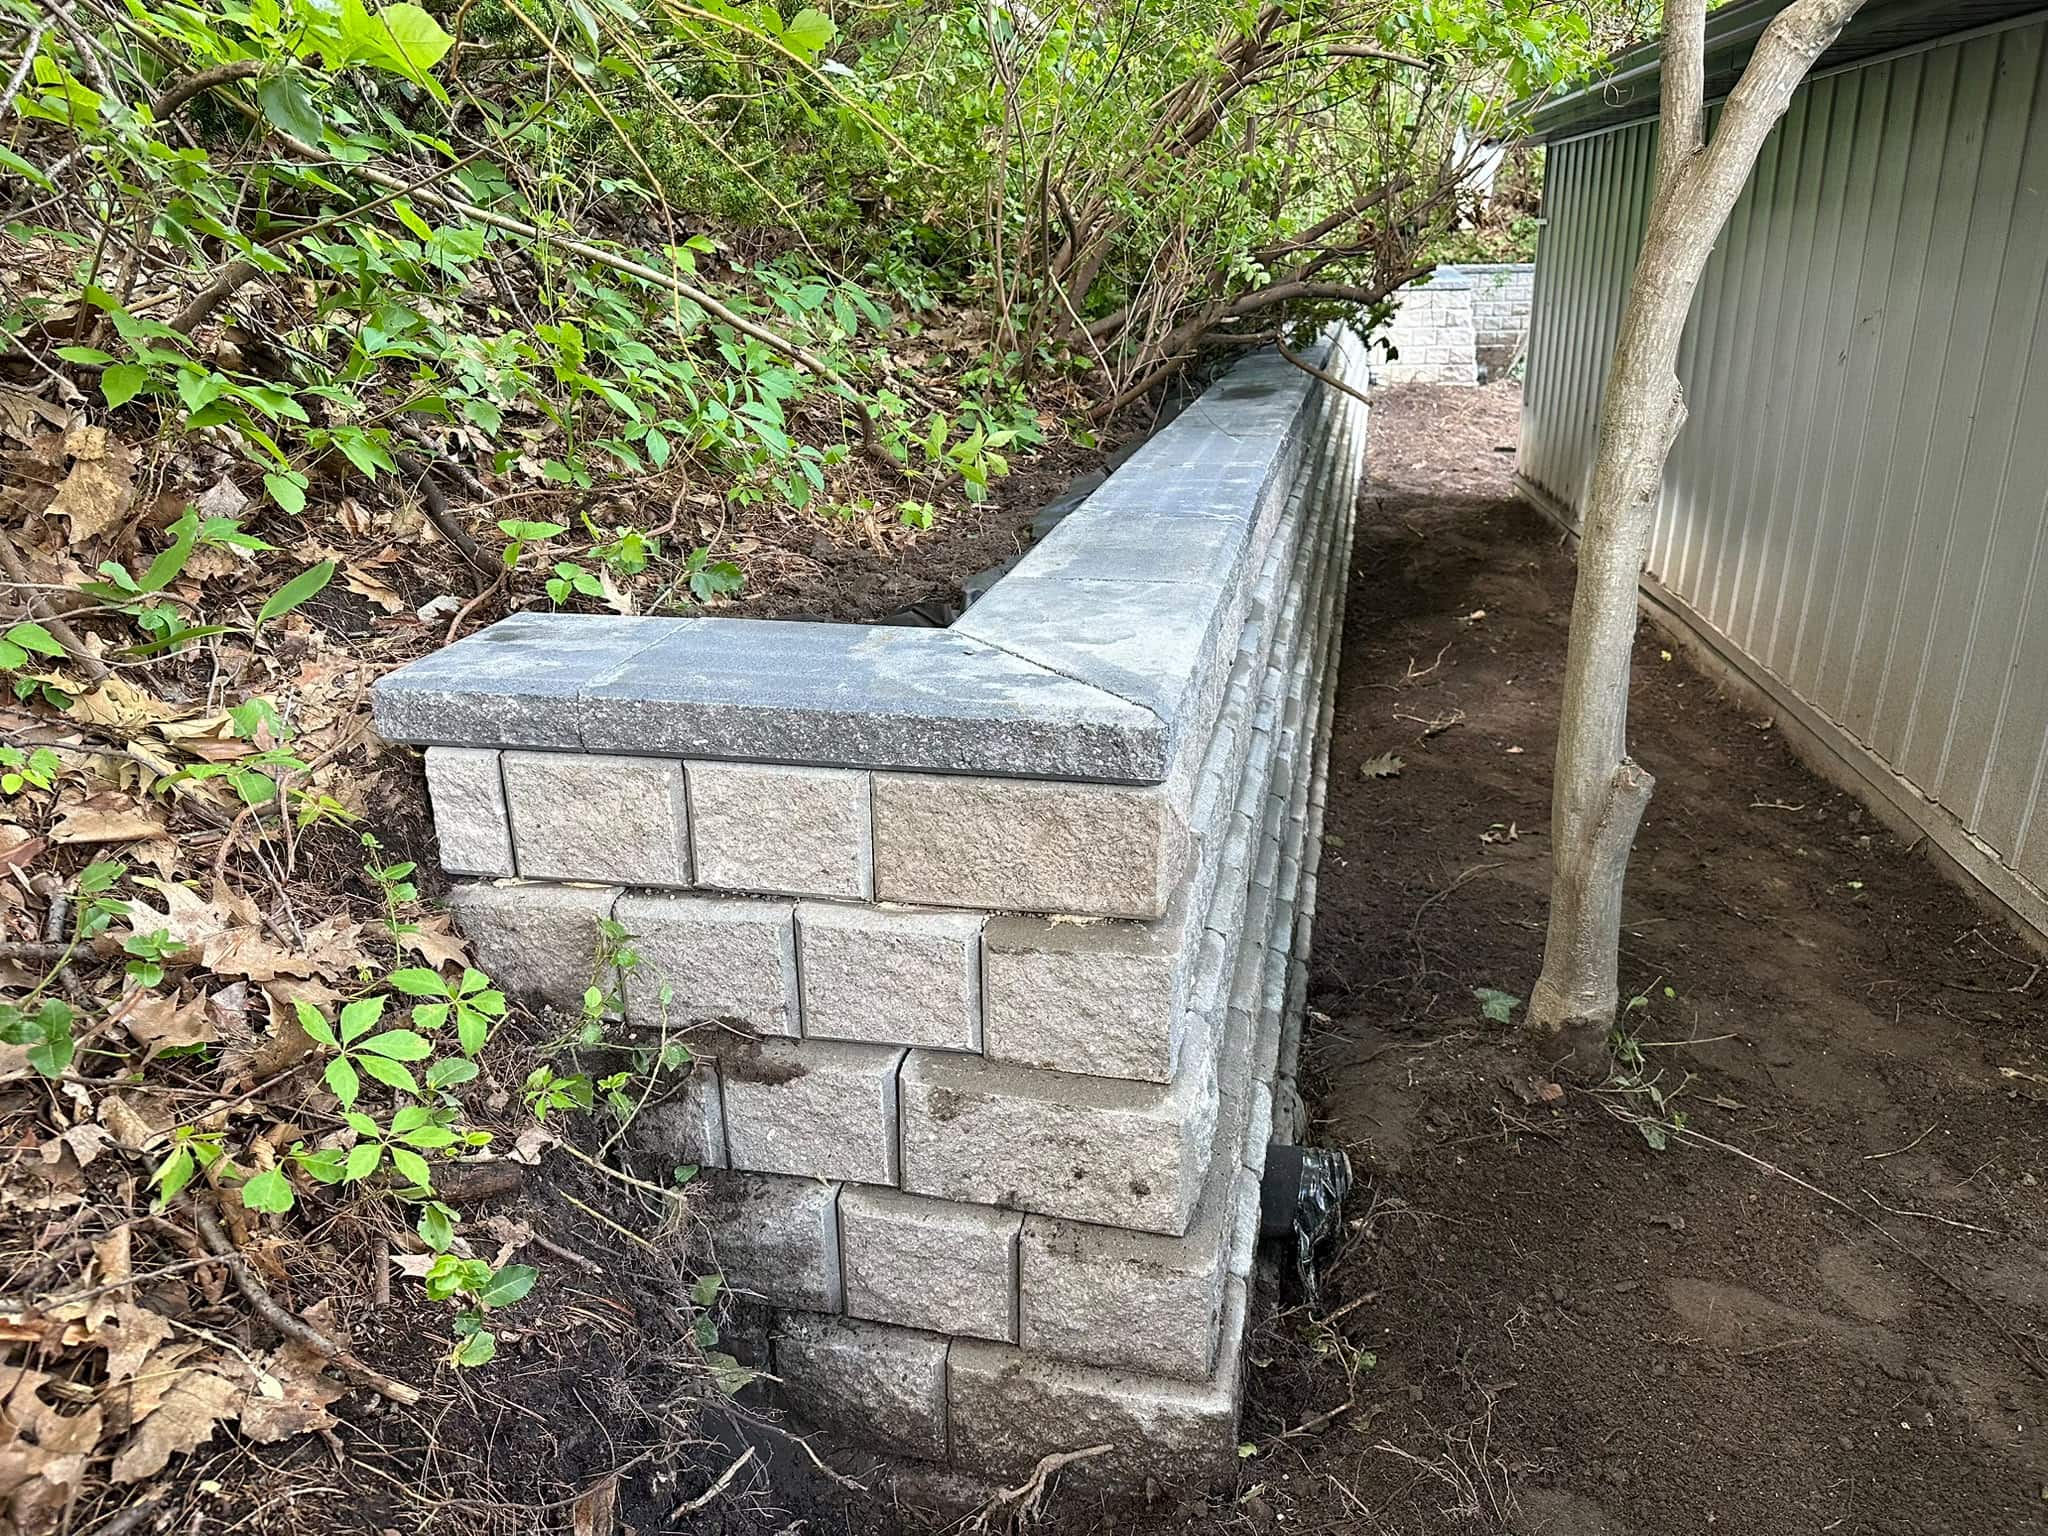
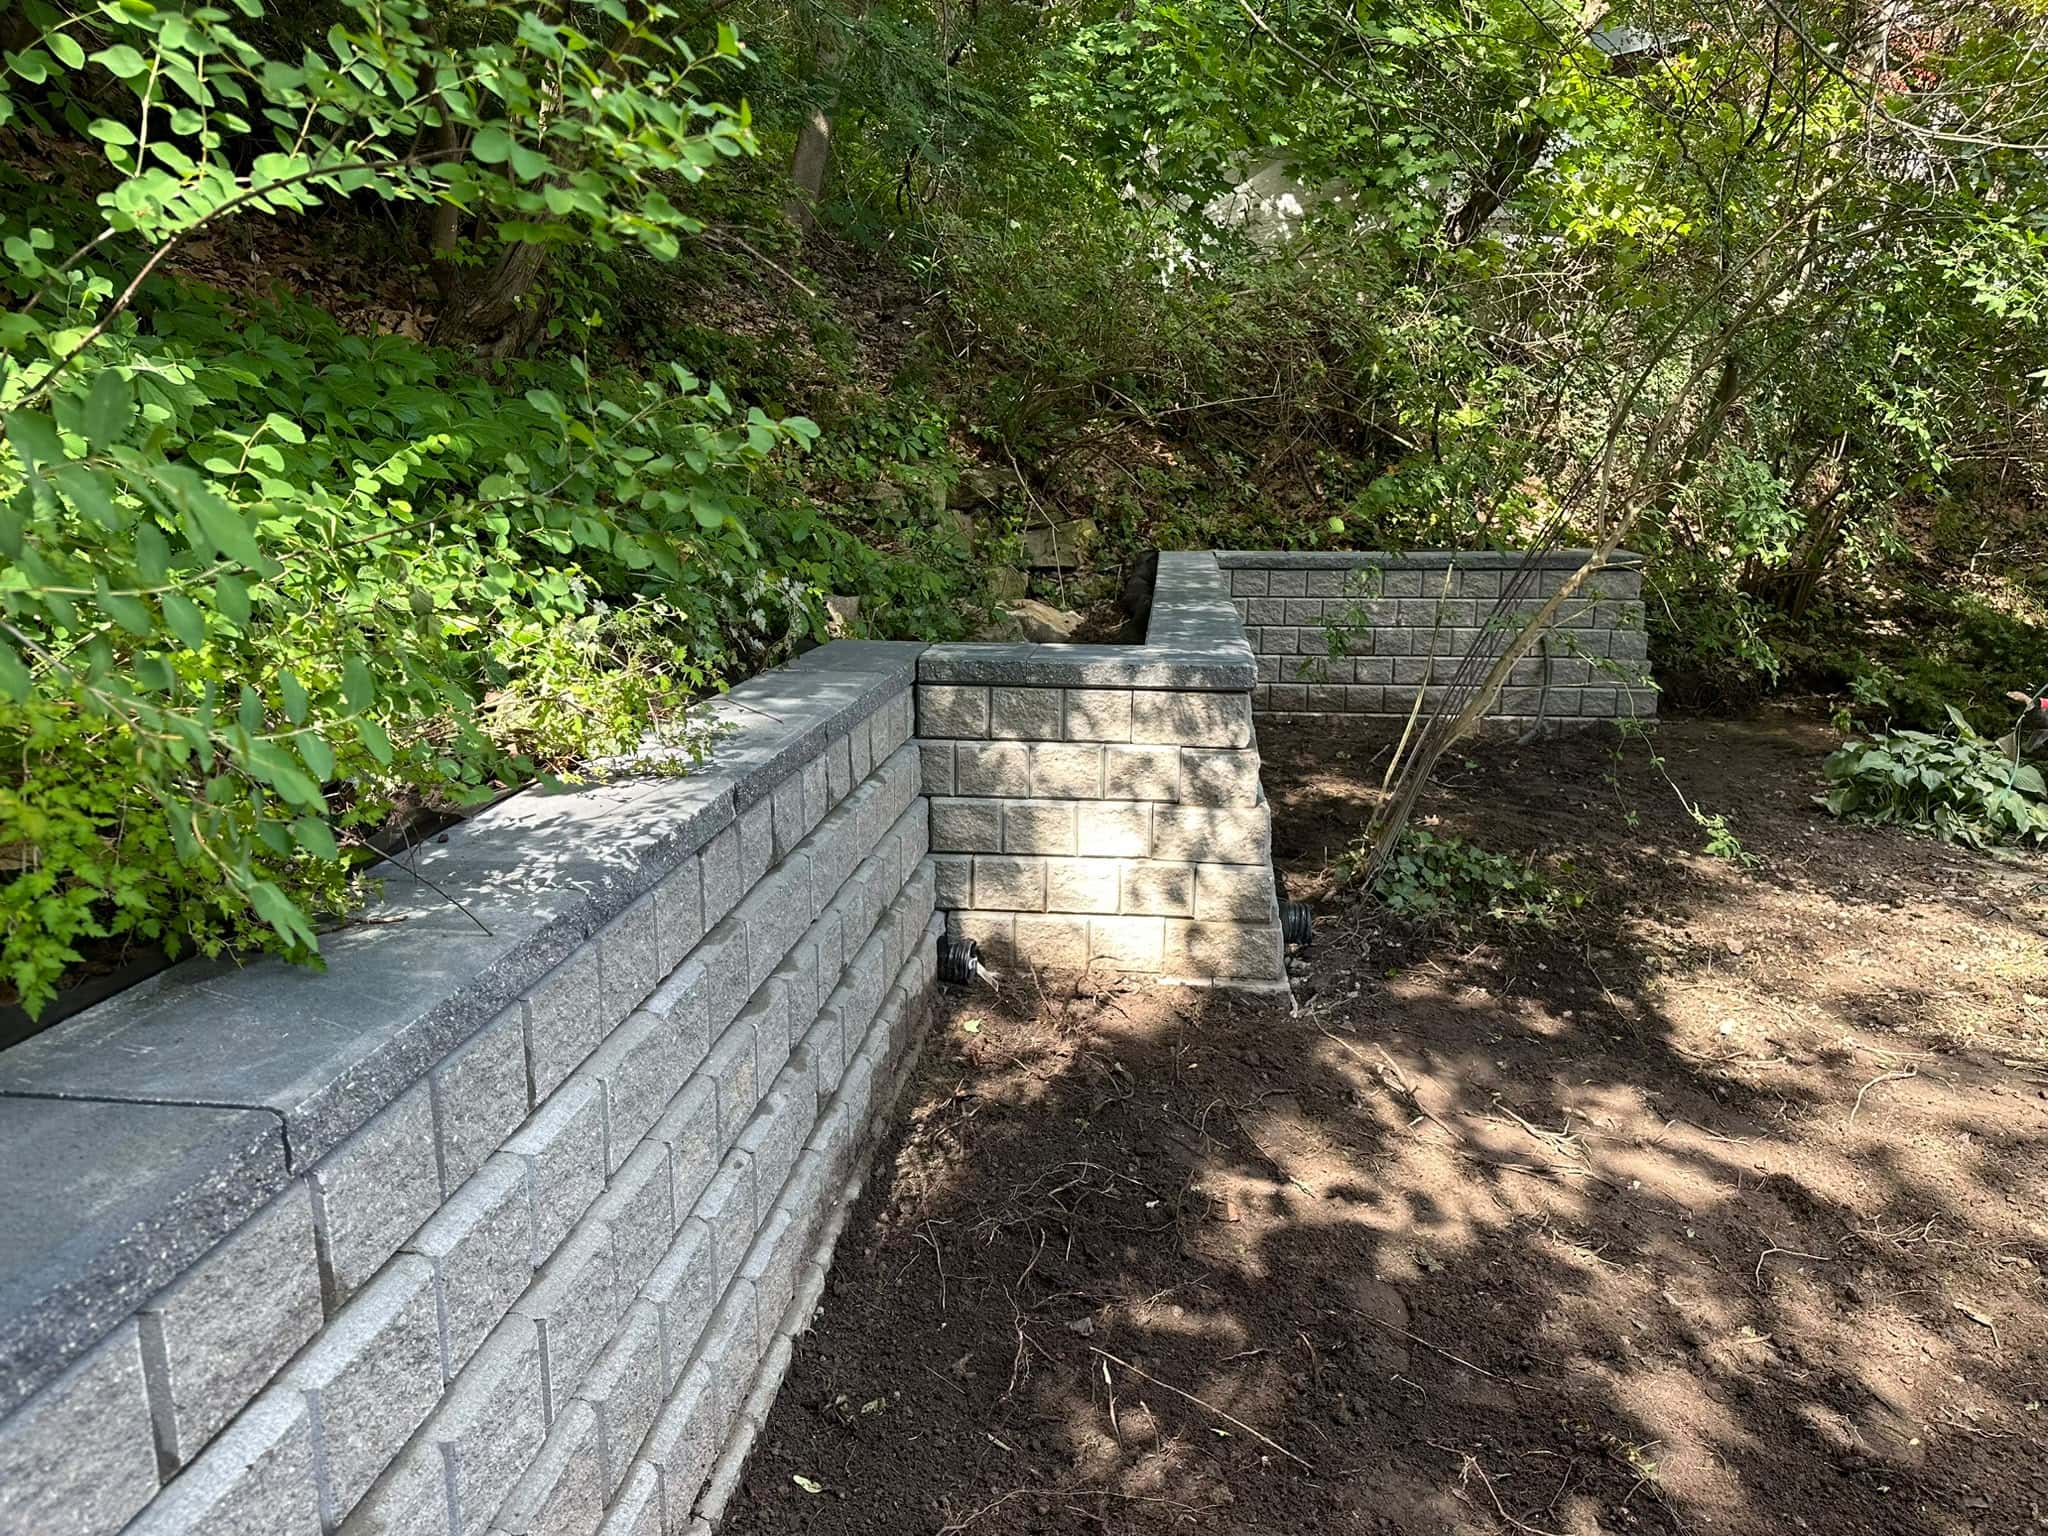
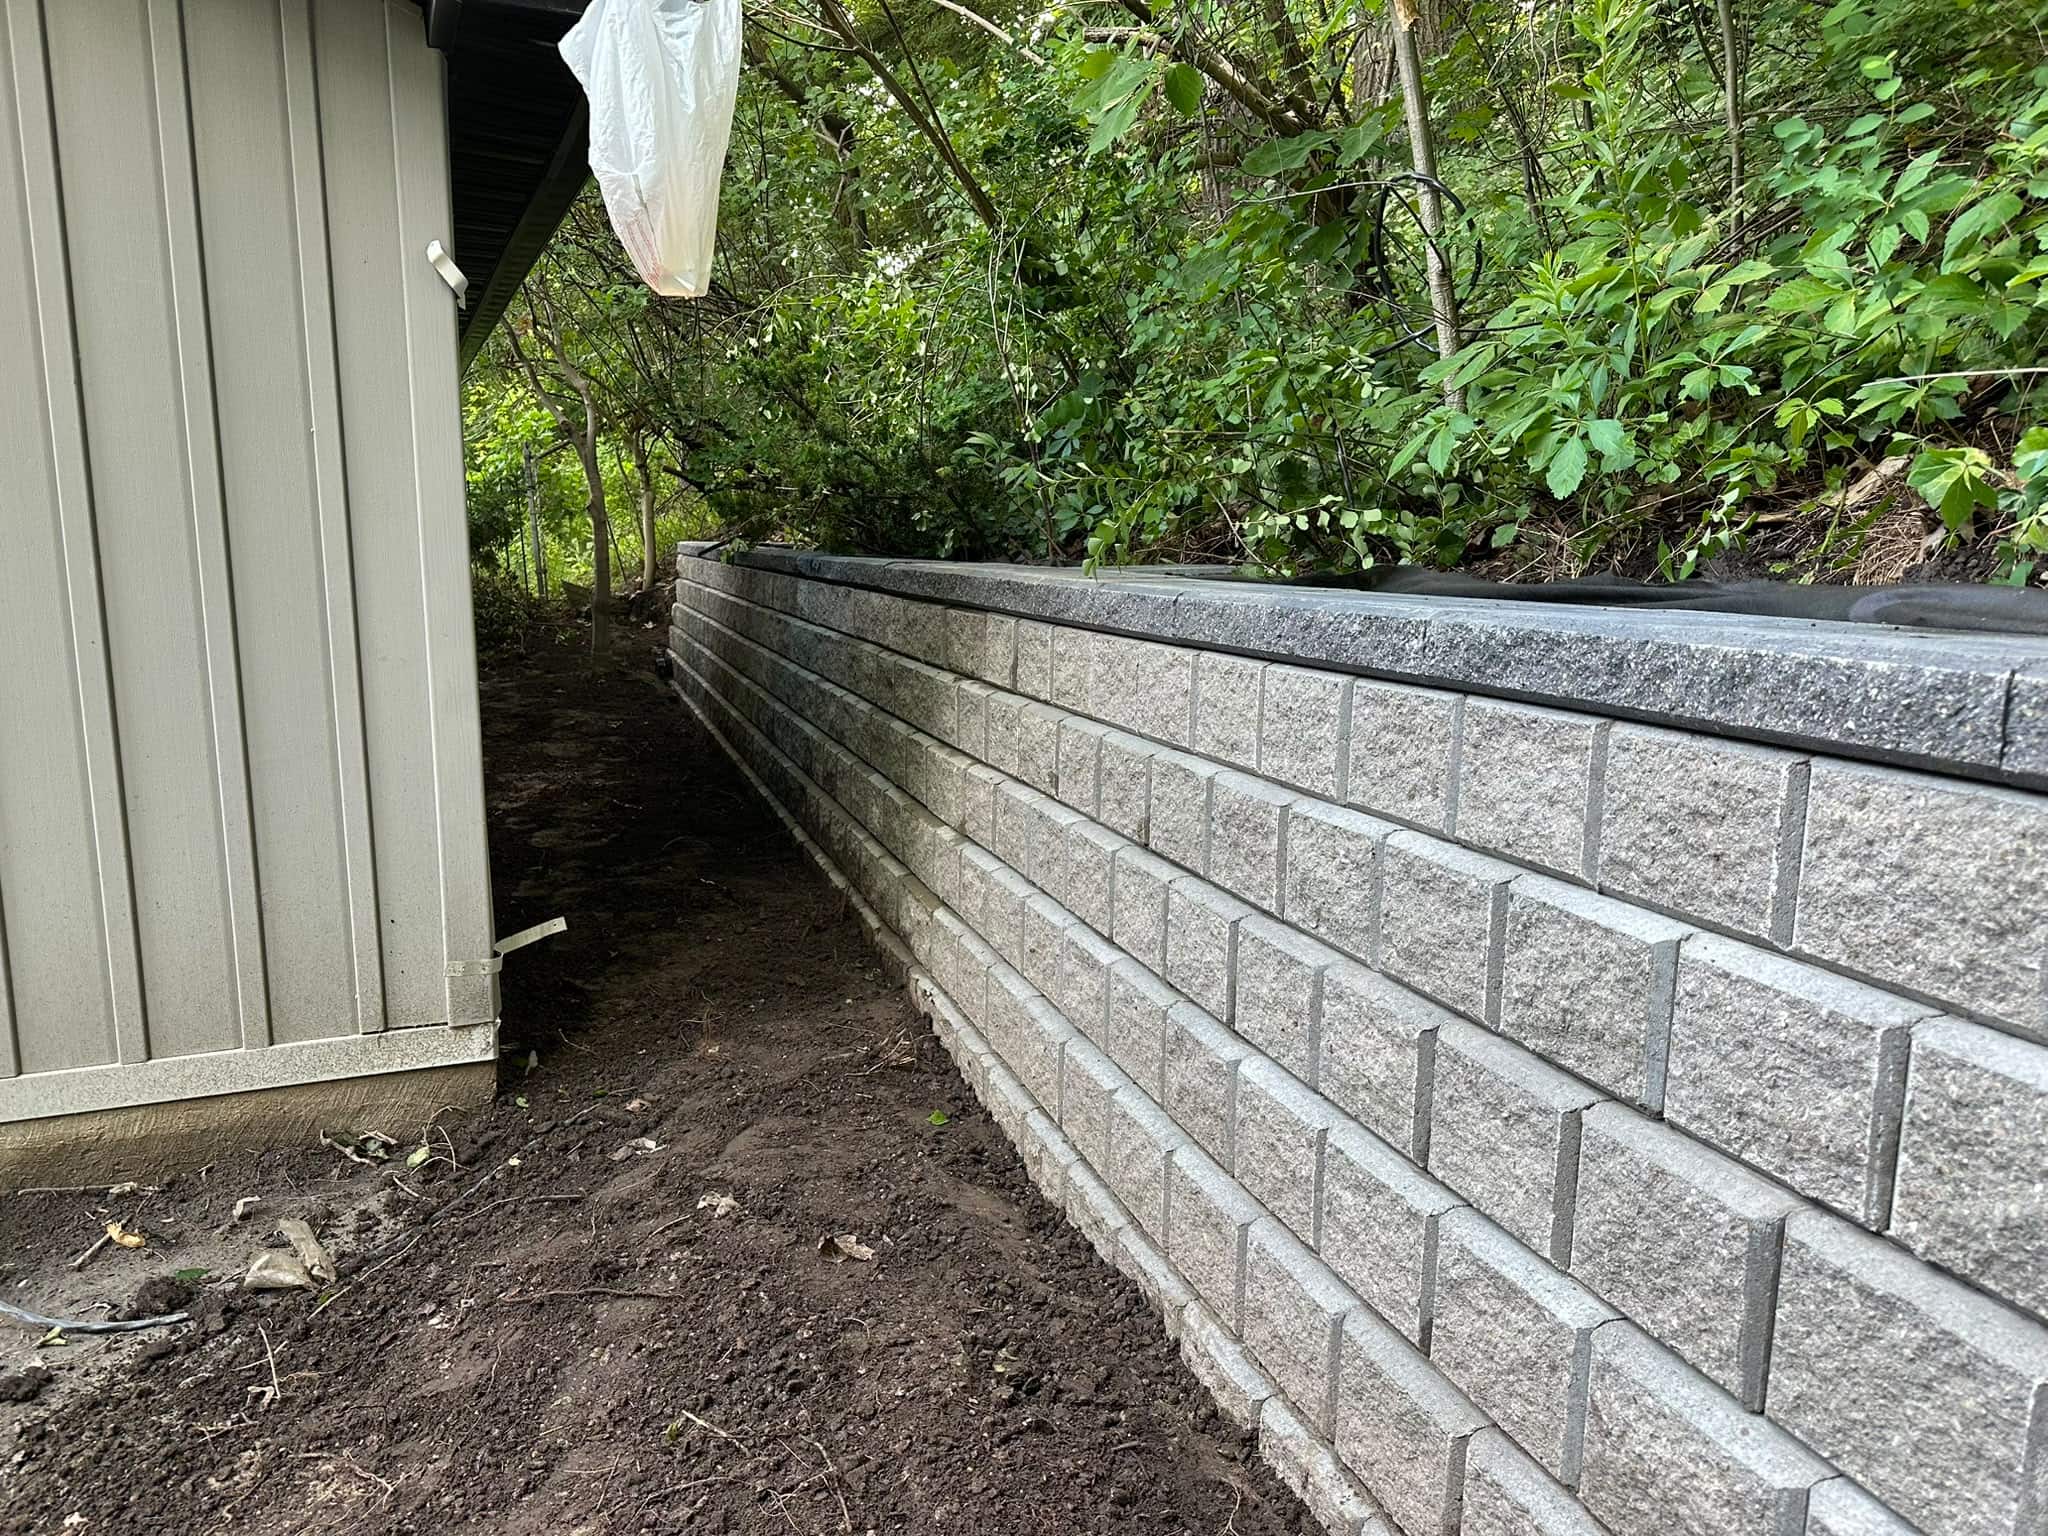
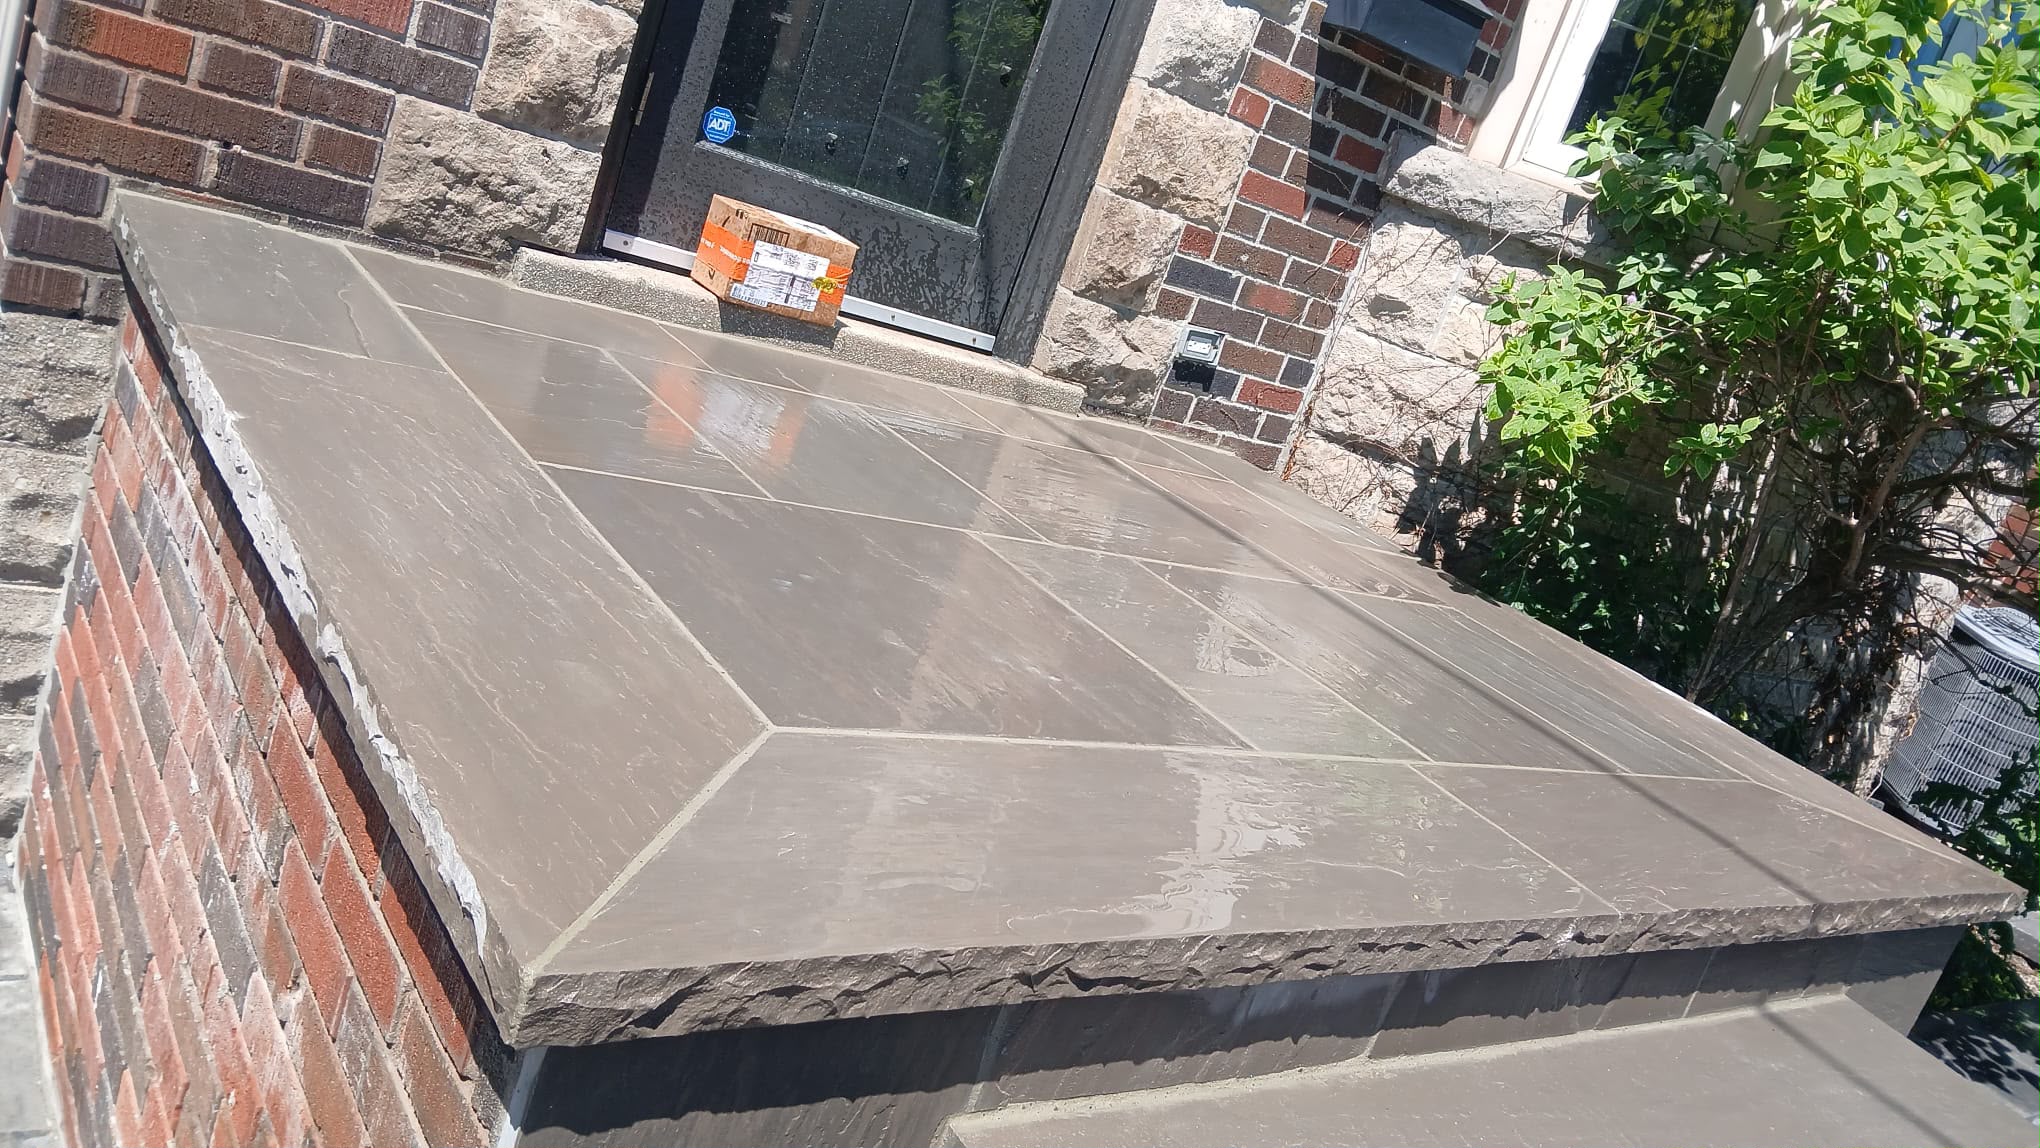
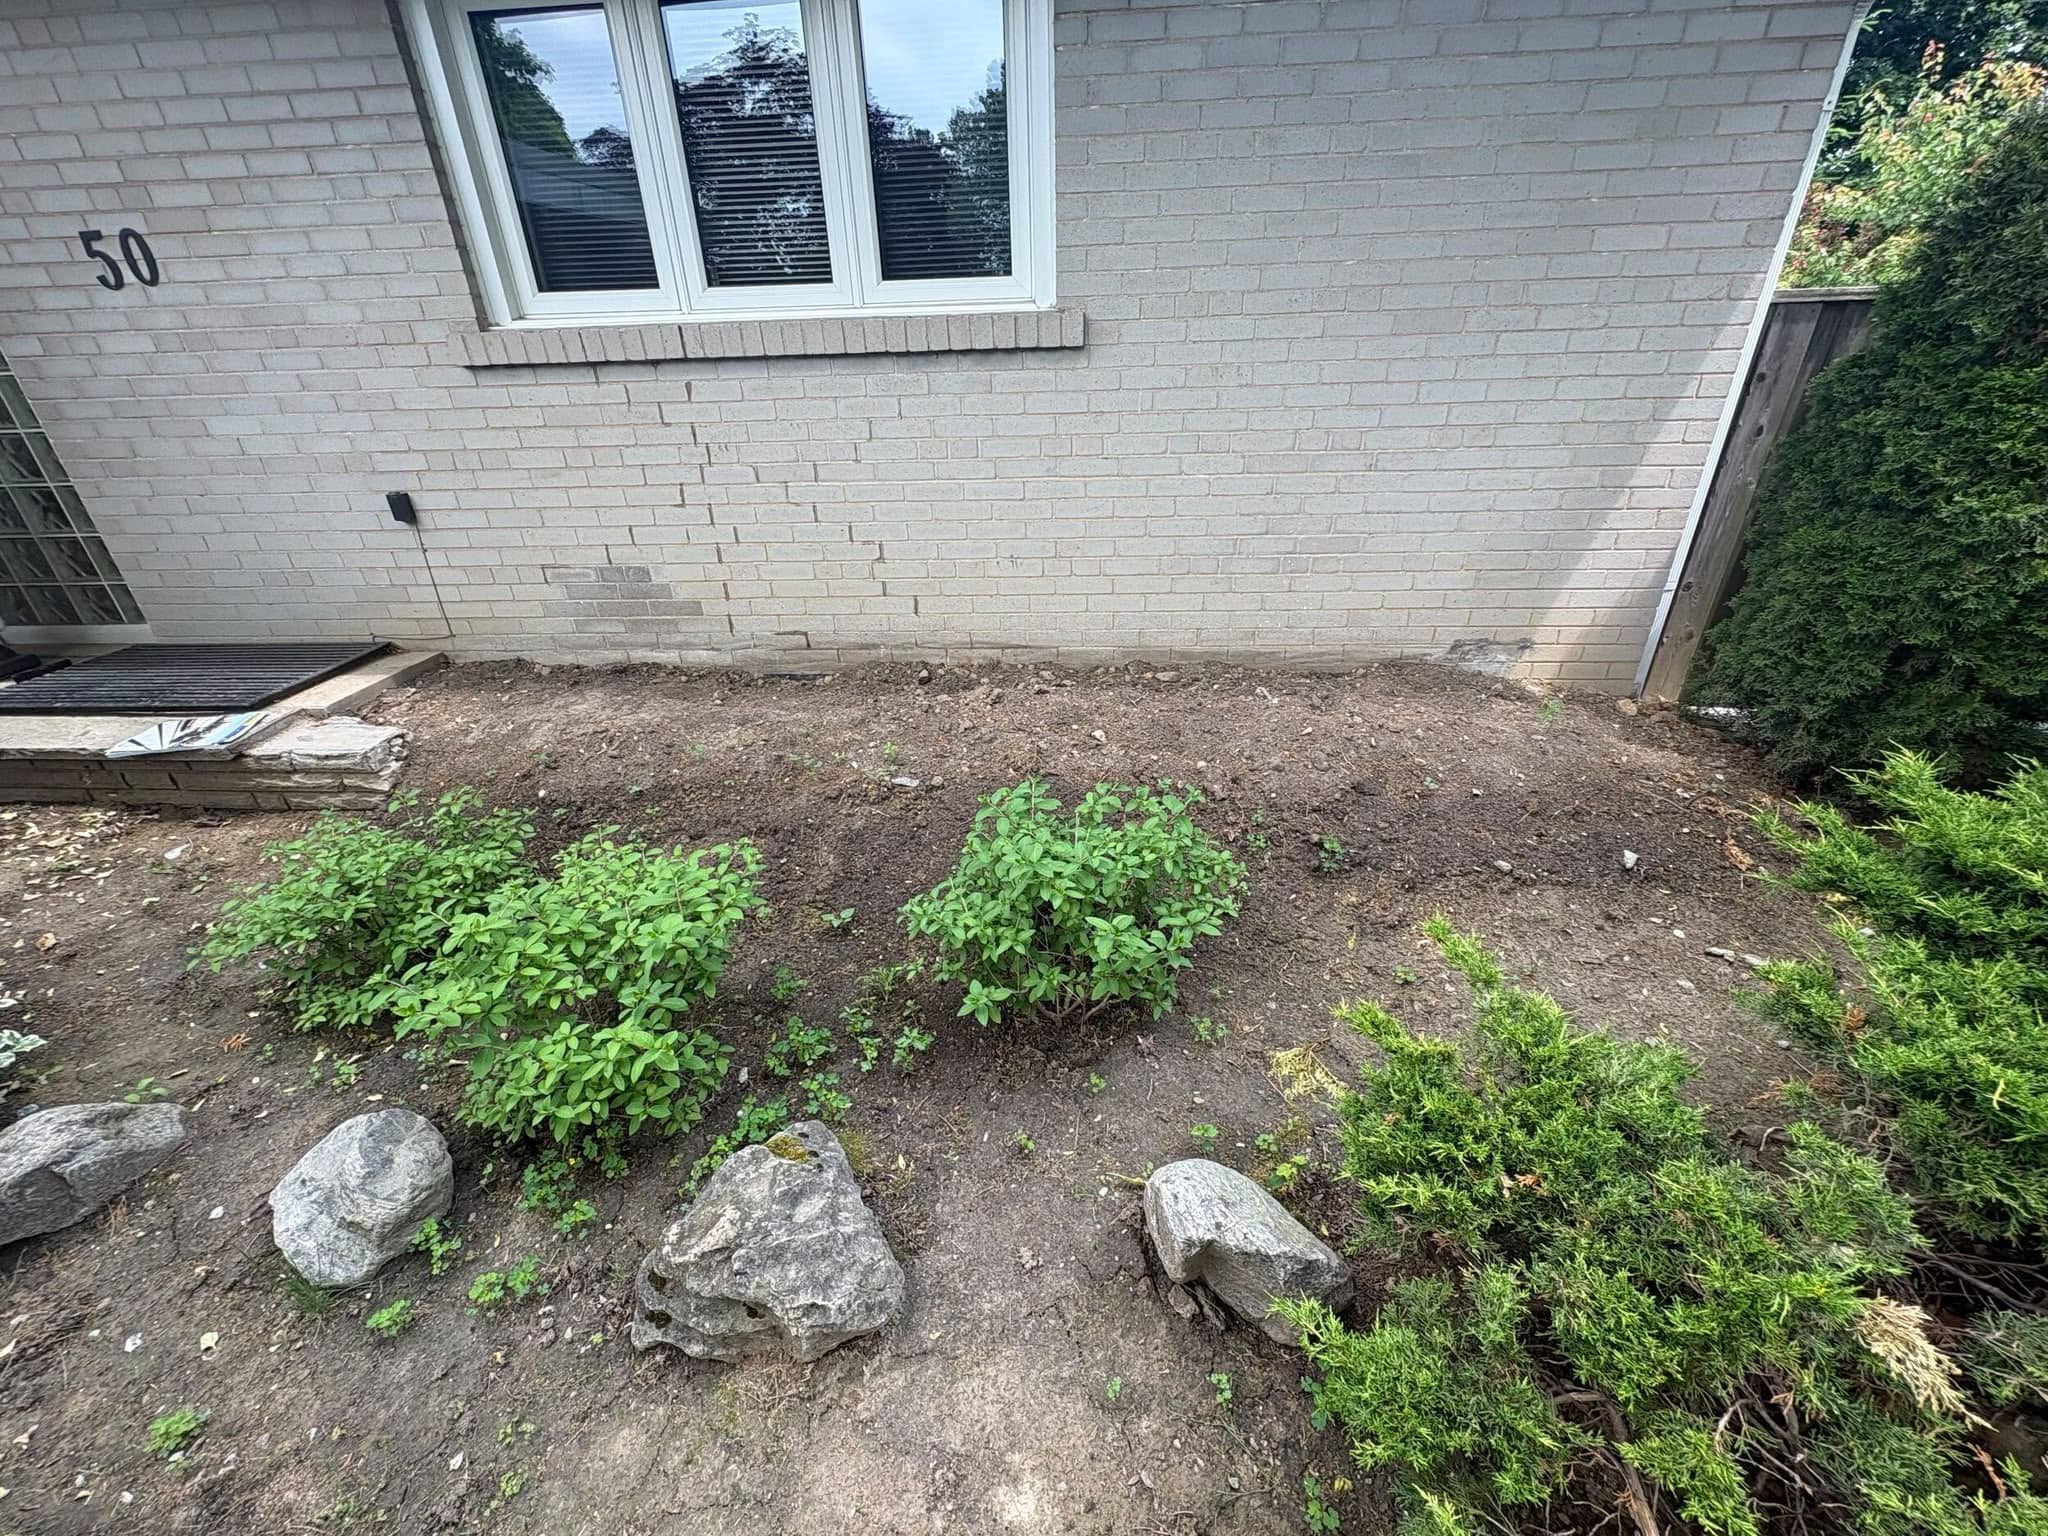
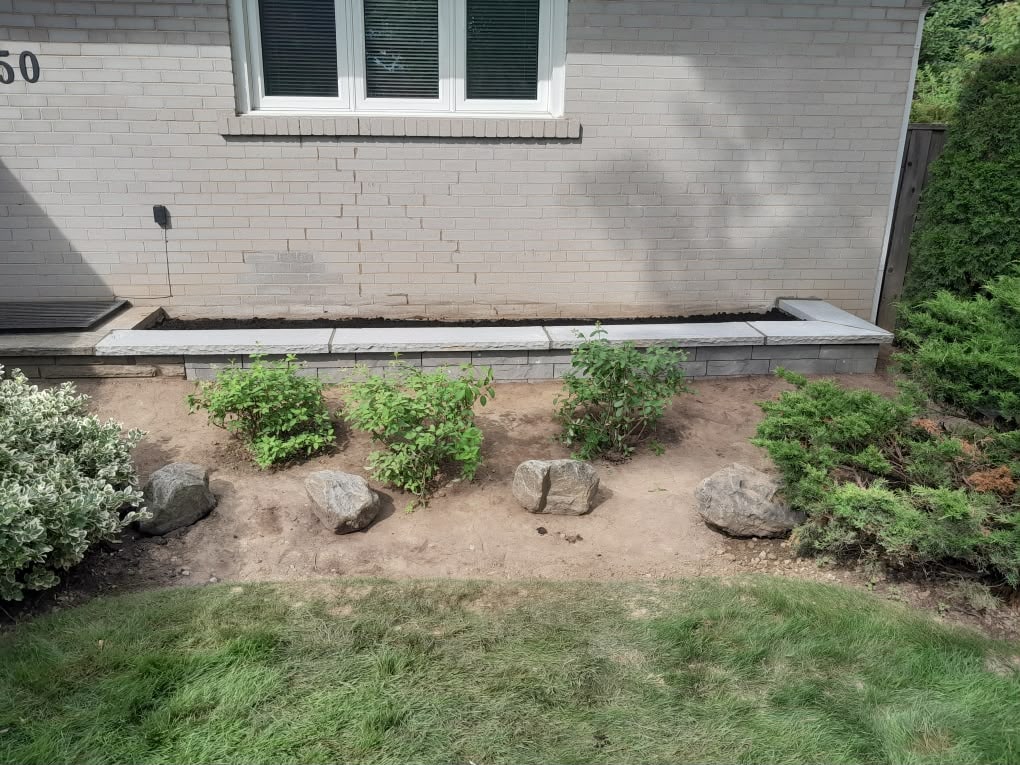
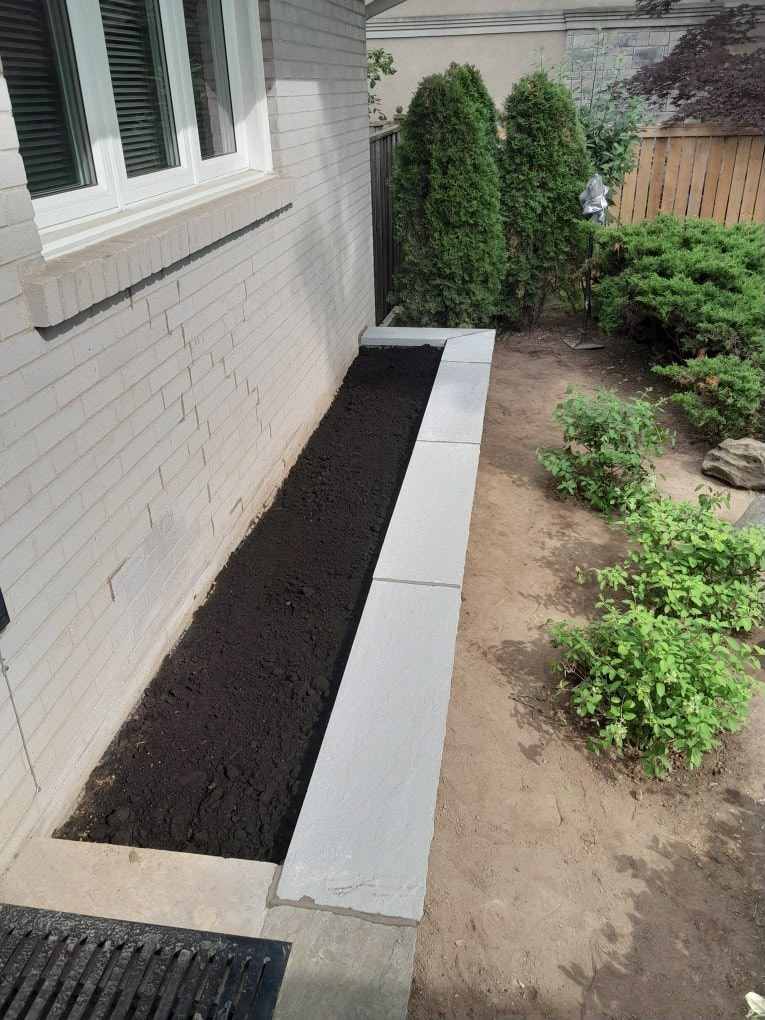
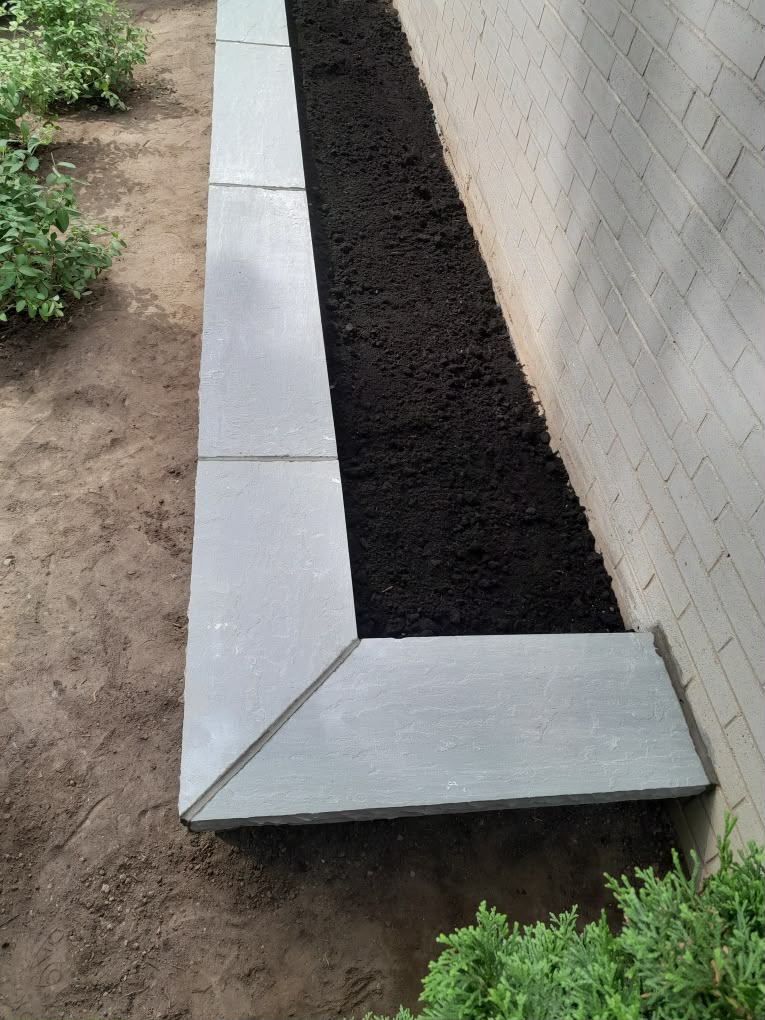
6. Retaining Wall Caps and Edging
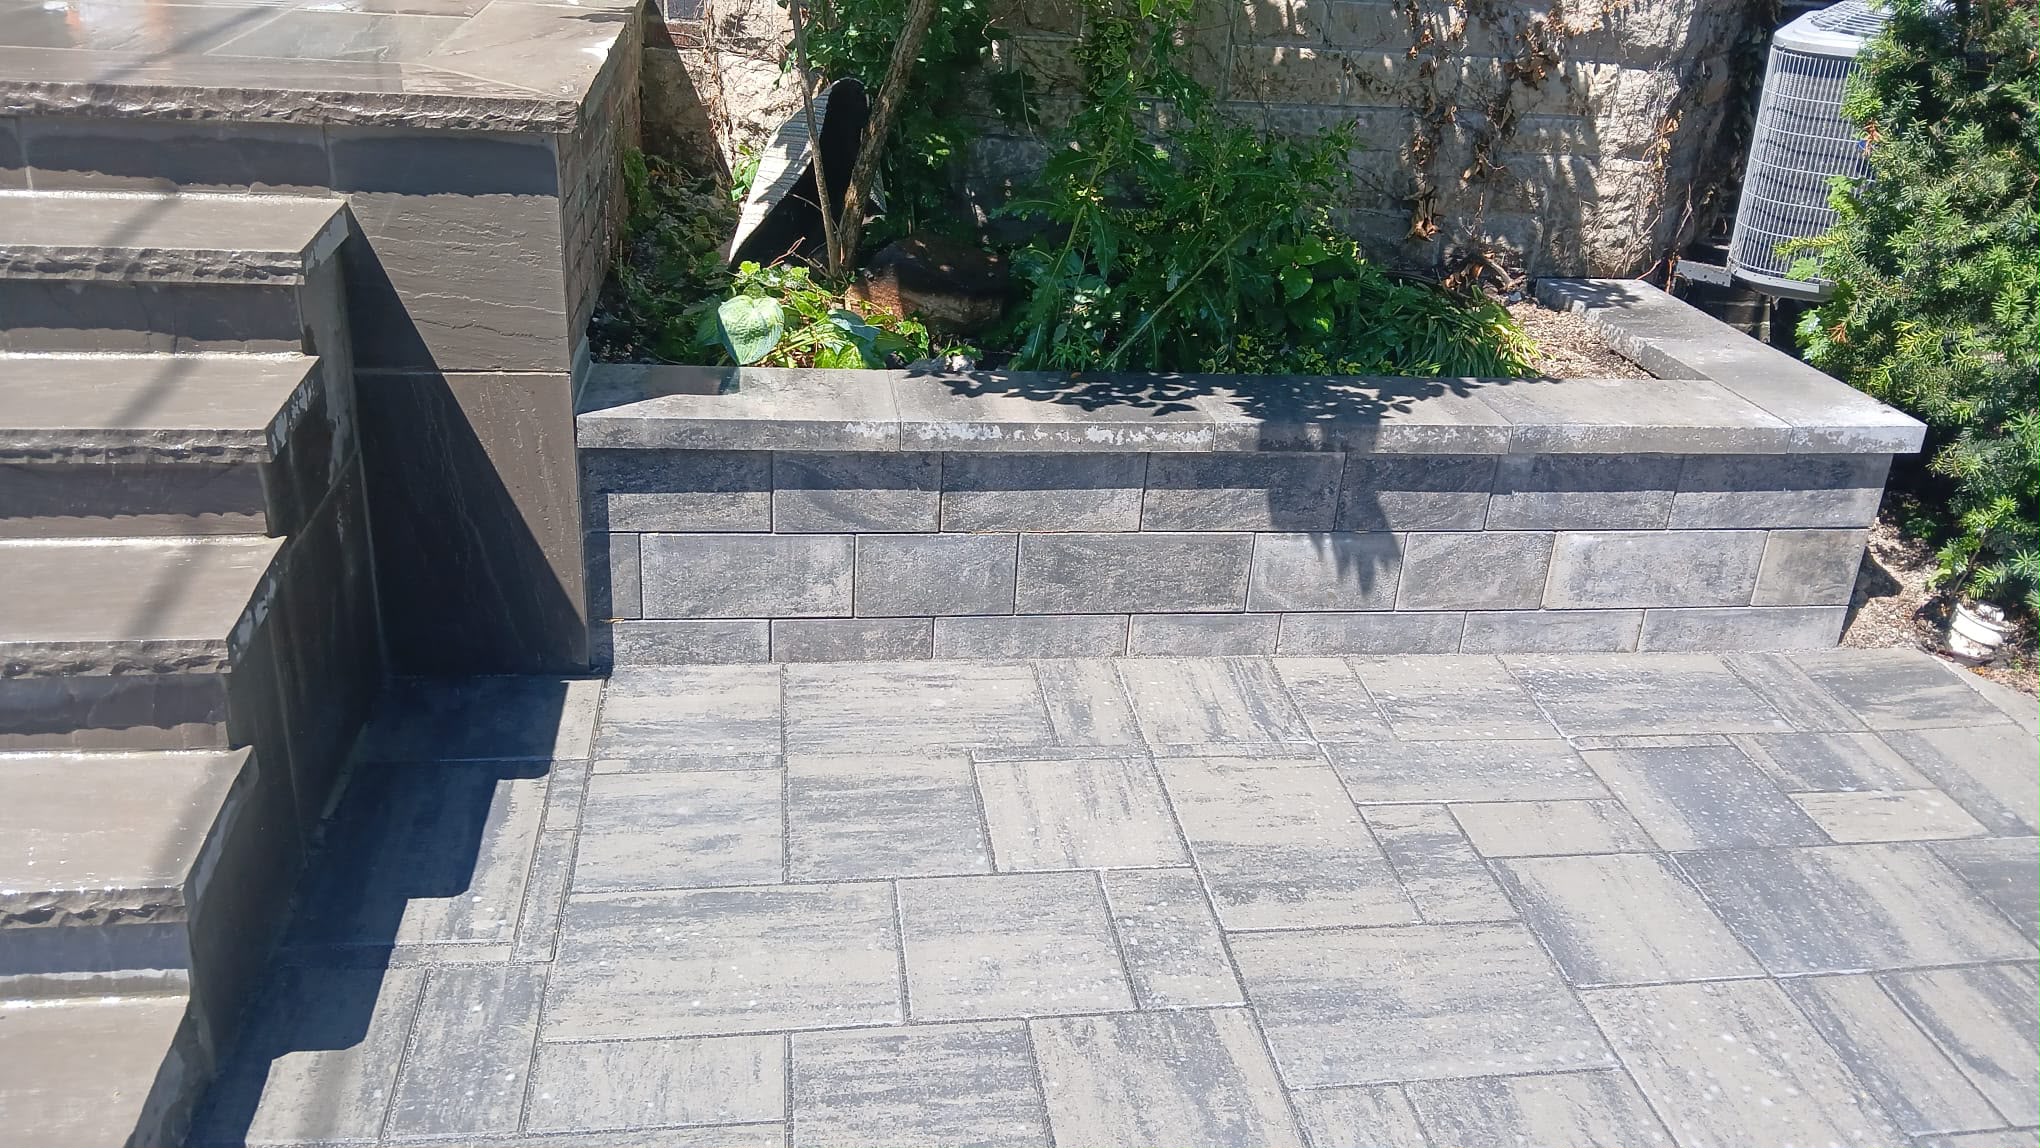
Finish retaining walls with natural stone caps to protect the wall and add a clean, polished look. They also double as bench seating in garden designs.
Best for: Limestone, Bluestone, Granite

Design Tips for Choosing the Right Stone
- Modern homes: Go with sleek granite or polished marble
- Rustic spaces: Slate and flagstone give a natural, rugged look
- Coastal vibes: Light-colored limestone or tumbled travertine
- Always consider texture (honed, tumbled, polished) for safety and feel
Paver Installation Guide
Installing natural stone pavers correctly ensures long-lasting durability, beauty, and minimal maintenance. Whether you’re laying a patio, walkway, or driveway, here’s a straightforward guide to help you do it right.
Tools & Materials Needed
- Natural stone pavers
- Crushed gravel (road base)
- Washed sand (bedding layer)
- Edging restraints
- Rubber mallet
- Plate compactor or hand tamper
- Level
- Measuring tape & string lines
- Broom
- Garden hose or compactor with water feature
- Sealant (optional but recommended)
Pavers Installation Process
Planning & Layout
- Mark the project area and consider the slope to ensure adequate drainage.
- Measure total area to calculate material quantities.
Excavation
- Excavate to a depth of 150–250mm (6–10 inches).
- Account for base, bedding sand, and paver thickness.
Preparing the Base
- Fill the area with compacted crushed gravel.
- Check the slope for drainage.
Bedding Layer
- Spread a layer of washed sand about 25–40mm thick.
- Level it with a straight edge on rails.
Laying the Pavers
- Lay pavers snugly with consistent spacing.
- Use a rubber mallet to tap each paver into place.
Edging and Restraints
- Install edge restraints to hold pavers in place.
- Secure edges before compaction.
Joint Filling
- Sweep fine sand or polymeric sand into joints.
- Compact the surface using a plate compactor.
Final Touches
- Host down the surface or lightly wet it.
- Allow to dry and sweep again if needed.
- Apply a stone sealant for colour enhancement and stain prevention.
Pro Tips
- Use geotextile fabric beneath your base in clay or soft soils.
- For areas with wet climates, consider using permeable pavers and an open-graded base for improved drainage.
- Always buy 5–10% extra pavers for cuts and replacements.
- If unsure, test a small area first before committing to complete installation.
What Are the Different Types of Paver Bases?
Choosing the right paver base is essential for the longevity, strength, and appearance of your outdoor installation. Each type has its benefits and best-use scenarios. Below, we’ve organized the base types and essential components in a logical order — from foundational materials to advanced systems and tools — to guide you through a smart and lasting paver installation.
What Is a Paver Base?
A paver base is the foundational layer that sits beneath pavers, supporting their weight and allowing for proper drainage. It prevents shifting, cracking, and sinking over time.
• Gravel Paver Base (Crushed Stone Base)
The most traditional and widely recommended base. It uses layers of compacted crushed stone (typically 3/4″ minus) to provide excellent load-bearing capacity and drainage.
• Paver Base Sand (Bedding Layer)
Washed concrete sand is placed on top of the gravel base. It acts as a levelling layer and helps lock the pavers in place when compacted.
• Paver Base Panels (e.g., Brock Paver Base)
Lightweight foam panels are designed for quick DIY installations. Ideal for small patios or walkways in low-load areas. They replace both gravel and sand layers in some setups.
• Paver Base Panel vs Gravel
Gravel is more durable and load-bearing, making it ideal for driveways and areas with heavy traffic. Panels are faster to install but not suitable for high-weight applications.
Paver Base Layers Explained
A standard paver base system typically includes:
- Subgrade (native soil)
- Geotextile fabric (optional, for clay or soft soil)
- Gravel base (100–150mm compacted)
- Sand bedding layer (25–40mm thick)
- Pavers
- Joint sand or polymeric sand
Paver Base Depth Guidelines
• How Deep Should a Paver Base Be for a Patio?
Generally:
- Patio/walkway: 4–6 inches (100–150mm) of gravel base
- Driveway: 8–12 inches (200–300mm) of gravel base
• Paver Base Depth Factors
- Soil condition
- Load requirement
- Paver thickness
- Drainage needs
• What is the Right Gravel for Paver Base
When selecting gravel:
- Use angular crushed stone, not round pea gravel (which doesn’t lock in).
- Ideal size: 3/4″ minus or crusher run
- Avoid materials that don’t compact well
• Paver Base Calculator Tools
Use a paver base calculator to estimate how much gravel and sand you need. Most calculators consider: Area size, Desired base depth, and Paver thickness. Using the formula:
Volume (m³) = Area (m²) × Depth (m)
Paver Base Volume Calculator Table (in Cubic Meters)
| Area (m²) | Base Depth (cm) | Volume (m³) | Approx. Tons (Gravel) |
| 5 | 10 | 0.5 | 0.8 – 0.9 |
| 10 | 10 | 1.0 | 1.6 – 1.8 |
| 15 | 10 | 1.5 | 2.4 – 2.7 |
| 20 | 10 | 2.0 | 3.2 – 3.6 |
| 25 | 10 | 2.5 | 4.0 – 4.5 |
| 30 | 10 | 3.0 | 4.8 – 5.4 |
| 50 | 10 | 5.0 | 8.0 – 9.0 |
| 75 | 10 | 7.5 | 12.0 – 13.5 |
| 100 | 10 | 10.0 | 16.0 – 18.0 |
What is the Best Paver Base for Your Project
- Driveways: Deep crushed gravel base
- Patios/Walkways: Gravel + sand or paver panels for light-duty
- DIY Projects: Brock panels for speed, ease
- Poor Drainage Areas: Open-graded stone with geotextile underlayment
Related Considerations
• Patio Paver Base:
Patios require strong drainage and minimal shifting. Gravel + sand remains the most reliable setup.
• Which Paver Pattern Is Best?
Although not part of the base itself, the paver pattern does affect structural integrity. Use interlocking patterns (like herringbone) for driveways and high-traffic zones.
Maintenance Tips
- Seal your tiles and pavers every 1–2 years to prevent stains and water absorption.
- Sweep or mop regularly with pH-neutral cleaner
- Avoid acids (like vinegar), especially on marble or limestone
Conclusion
Choosing natural stone tiles and pavers is more than a design decision—it’s a long-term investment in beauty, function, and value. Whether you’re elevating an indoor space or transforming your outdoor area, natural stone offers unmatched advantages that synthetic materials simply can’t replicate.
Enhance and Protect Your Toronto Property with A&A Masonry!
With decades of expertise, A&A Masonry delivers top-quality masonry, waterproofing, and exterior restoration services in Toronto. From brick and stone repairs to basement waterproofing and interlocking stone installations, we ensure lasting results with expert craftsmanship.
🔹 Skilled & Experienced Masons
🔹 Comprehensive Restoration & Waterproofing Solutions
🔹 Customer-First Service with Transparent Pricing
Our Services Include:
-
Concrete Repairs
-
Stone Masonry
-
Brick Painting
-
Interlocking Stone Pavers
-
Parging
-
Tuckpointing
-
Brick Repair
-
Fireplace Stone Veneer
-
Chimney Repair
-
Commercial Exterior Painting
-
Basement Waterproofing
-
Stucco
-
Interlocking Stone Installation
-
Interlocking Steps
-
Roofing